sick build
Announcement
Collapse
No announcement yet.
Project mexi skyrine ver.2
Collapse
X
-
-
Start of custom parts update
First i starting making intercooler brackets/mounts as i no longer had the stock ones.
starting with some 1/8 aluminum flat bar. i begin making the bottom mounts. cut them to length and bent the one end.
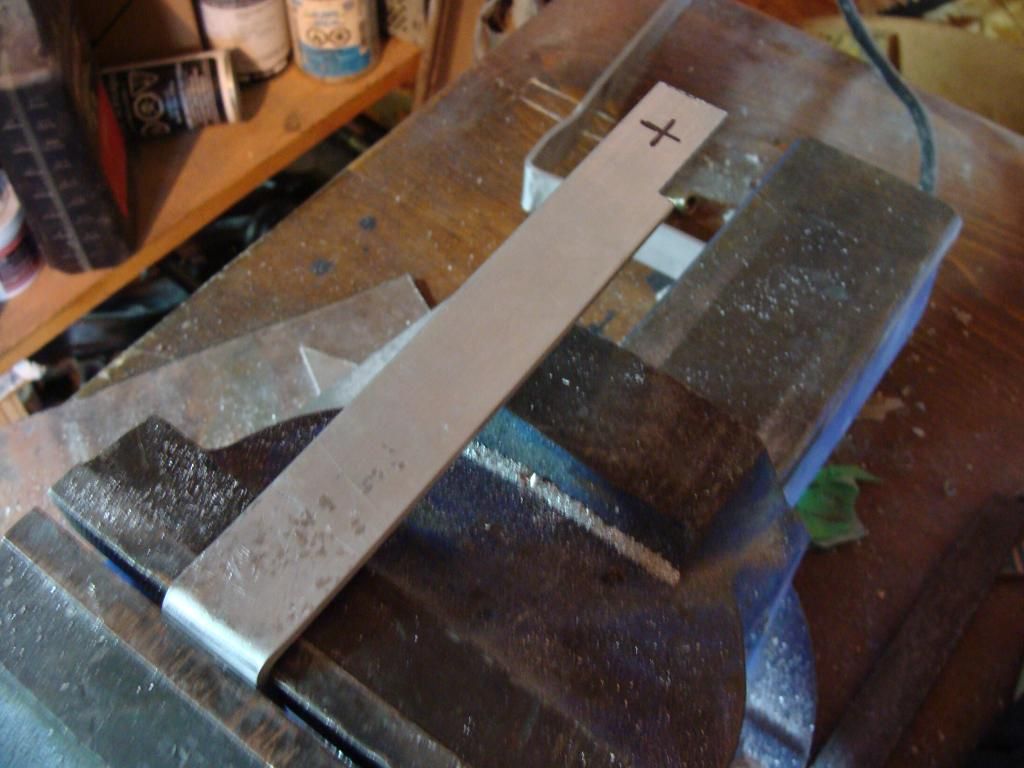
then with these. they are an m6 press in nut

squish them in the hole of bar in the vise they are good to go

drilling more holes.

boom both bottom mounts mounts ready to go.
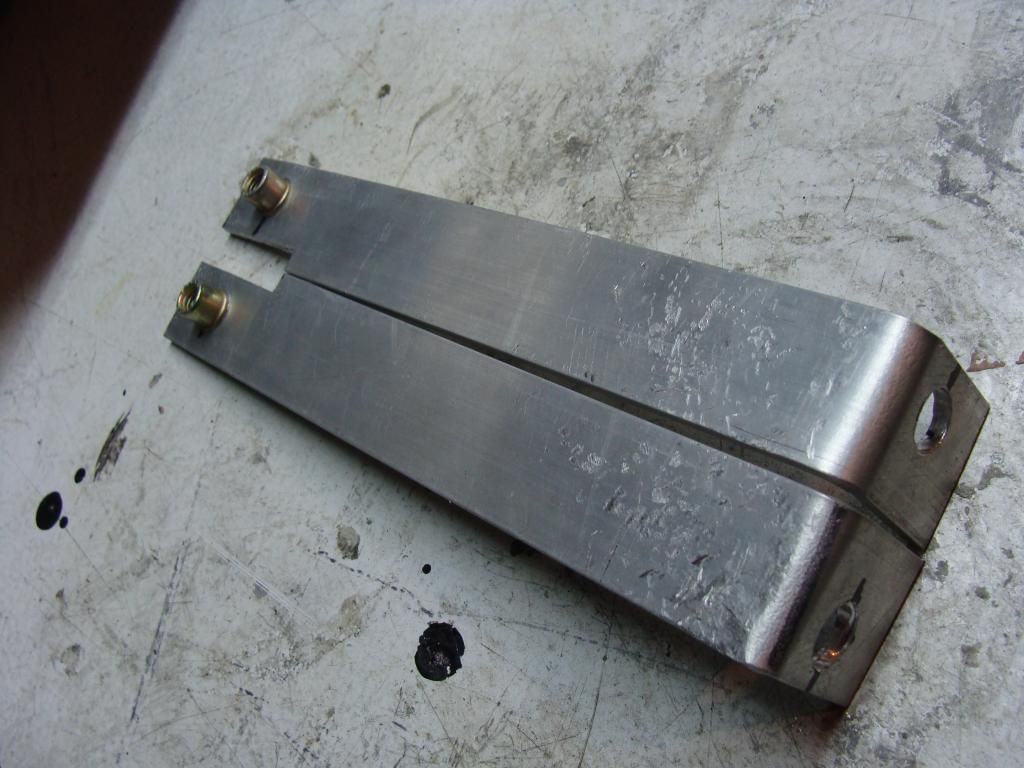
then time for top mounts. took some aluminum plate. cut to roughly a 4x3 piece and started bending them
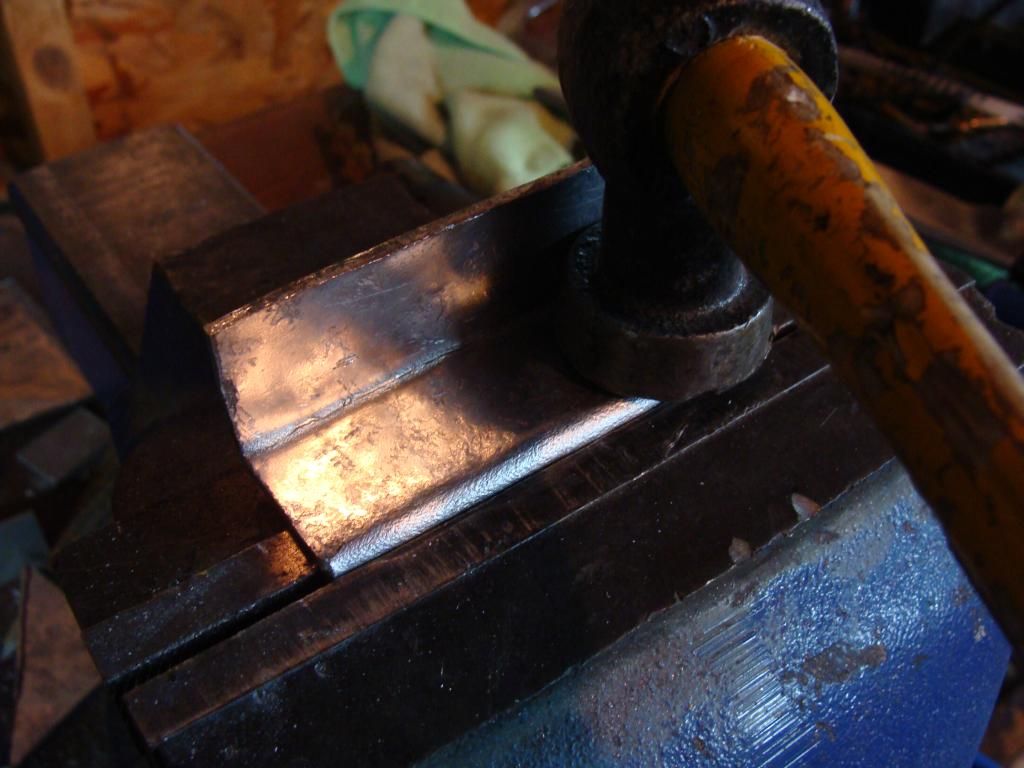
cut cut cut
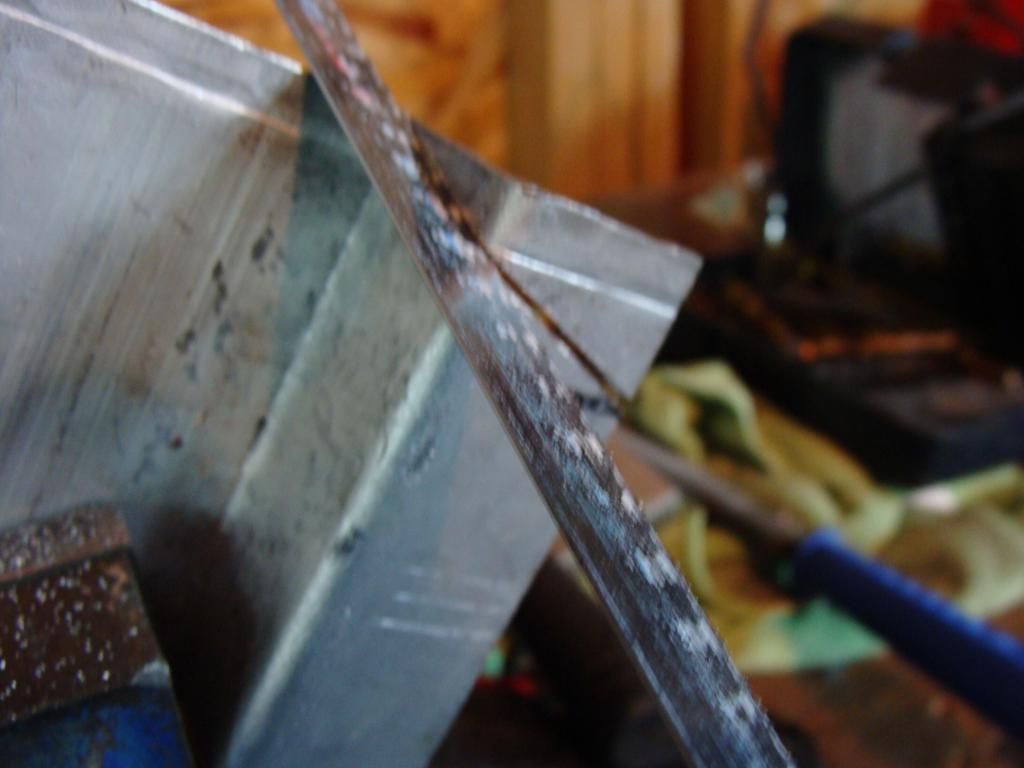
drew out my shape i wanted on them. cut them out after and used a file to make them smooth.
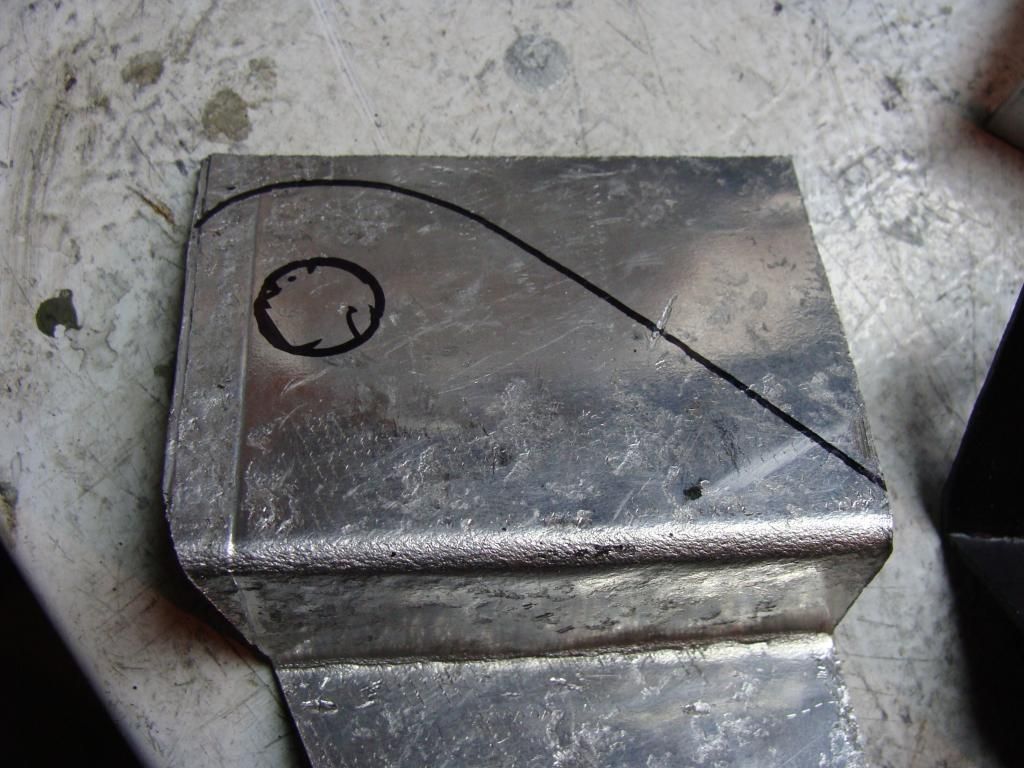
and done. after a coat of black paint. i also found some rubber bushings in my mess of parts. so i put those in. (seen on right)

mounted perfect fit
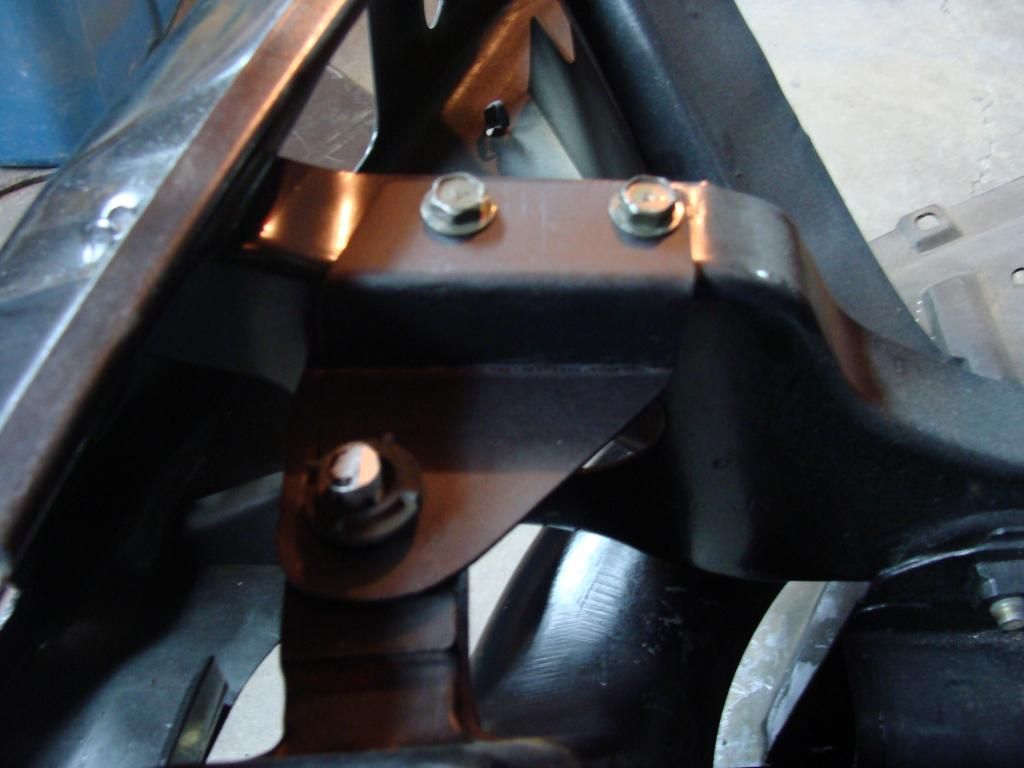
completely mounted. used my stock intercooler. i didnt wanna dent up the arc.

couple days later i got some titanium plate in the mail. 4 pieces.

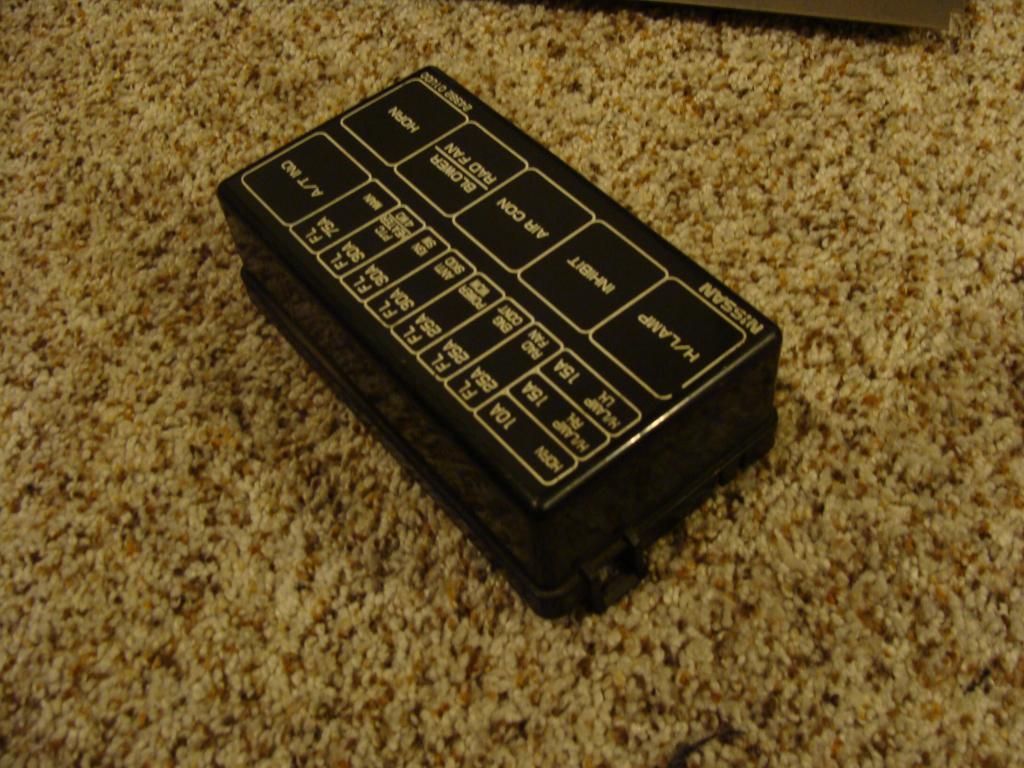
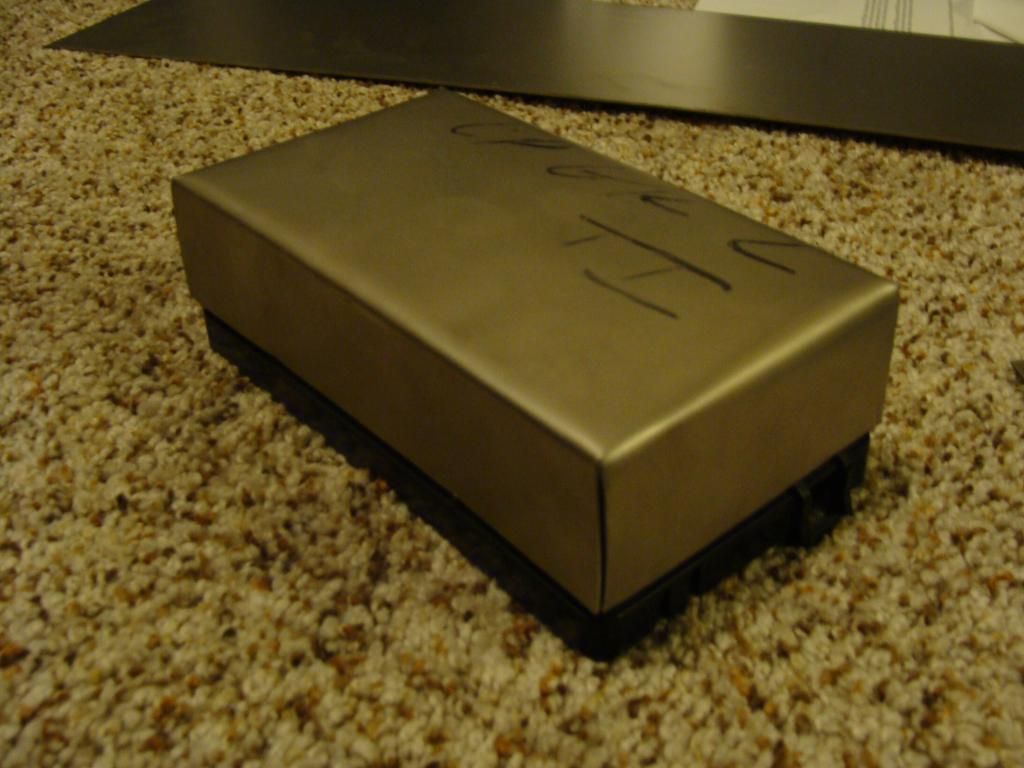
plans are to make a cover for this. (engine bay fuse box)
and redo this. this is my old turbo heat shield. this only protected the valve covers. i want to make it wrap around the entire exhaust housing.

drew out my shape of fuse box on a piece i cut out to proper dimensions
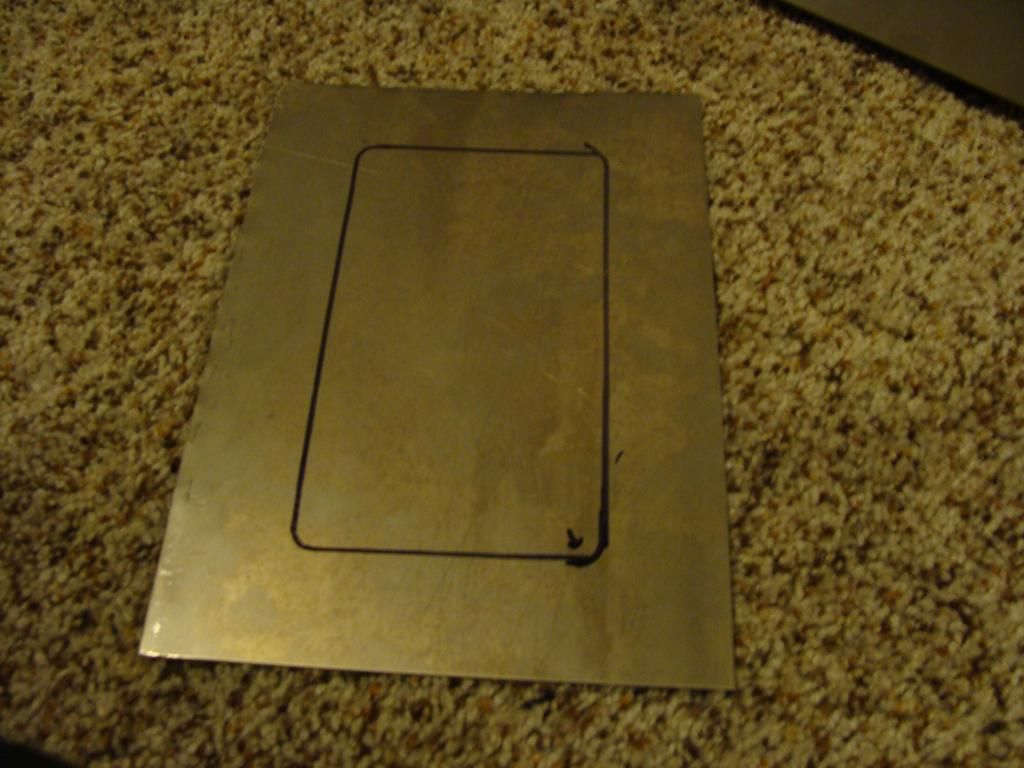
now cut out the corners
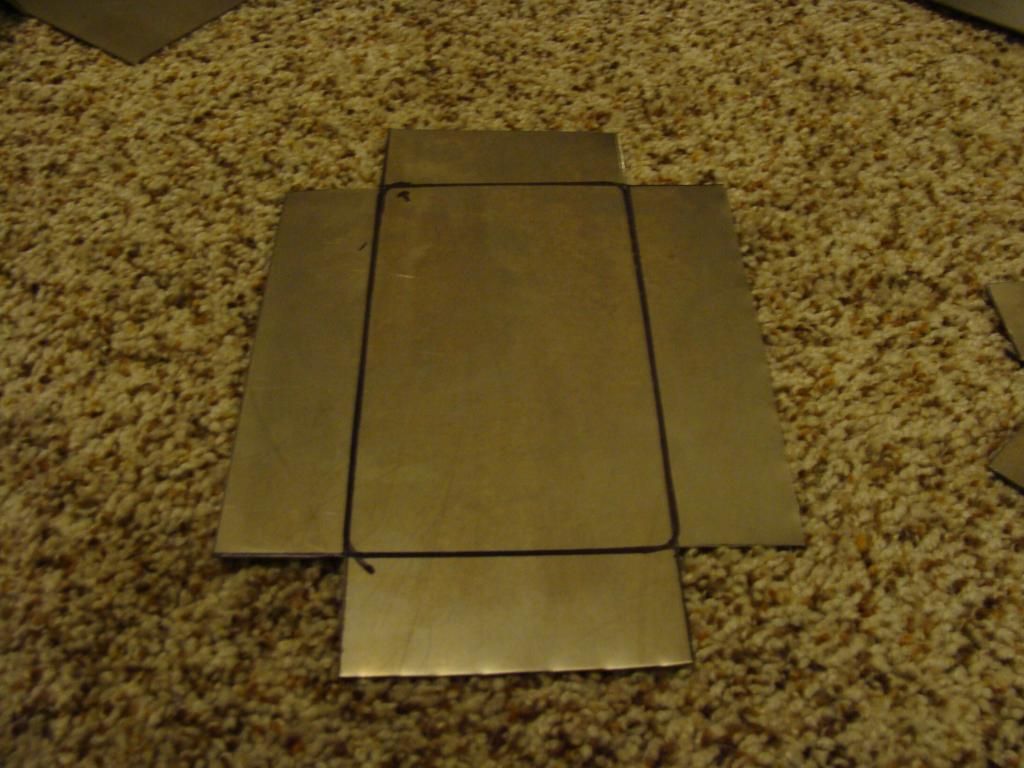
bend them into a box and test fit. near perfect. just need to have the corners welded up.
now heres the new shape i cut out for the turbo heat shield

test fitting before i polish it up and mount it. looks pretty good!

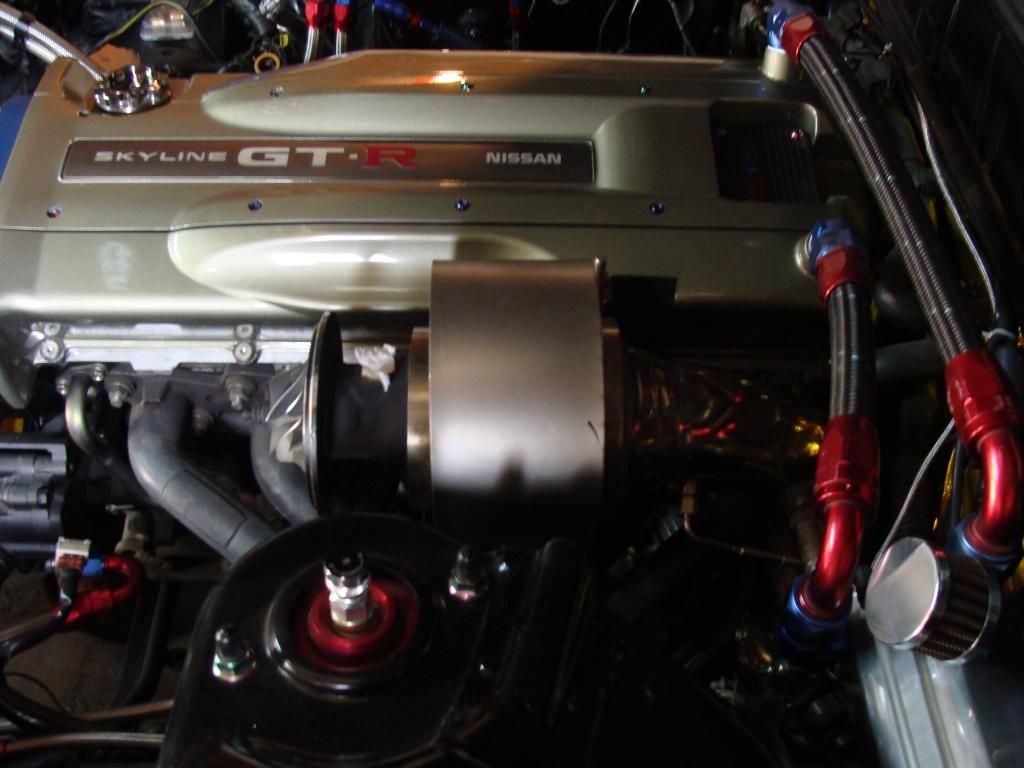
polished it up. and burnt the edges. i didnt do the best job on the back of it. little wavy. but not too concerned as itll probably change colors being that close to the turbo.


thanks for looking/reading. more stuff to come soon!Last edited by RWD_GTR; 03-12-2015, 02:18 AM.RB25 Powered RWD GT-R
Owner for Turtle Garage Hicas Delete Systems
Comment
-
long needed update but ive waited alot on parts.
while ago i decided to make some hose clamps out of titanium. hated the polished worm gears.
so heres the first one i did. i love how it turned out.
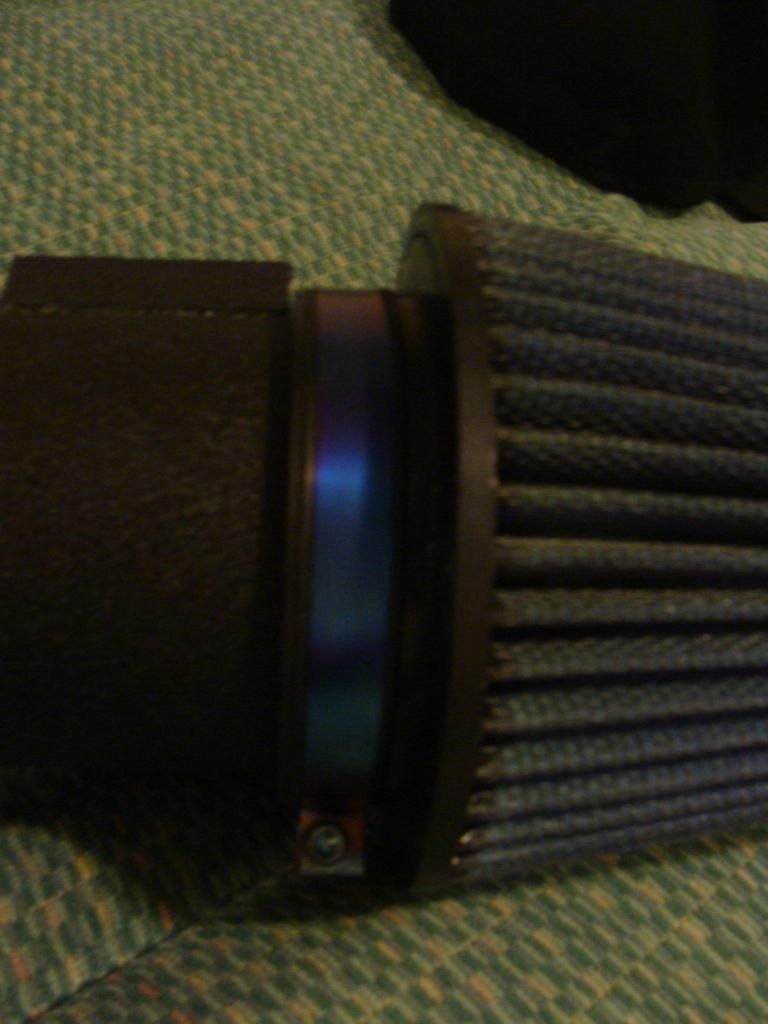
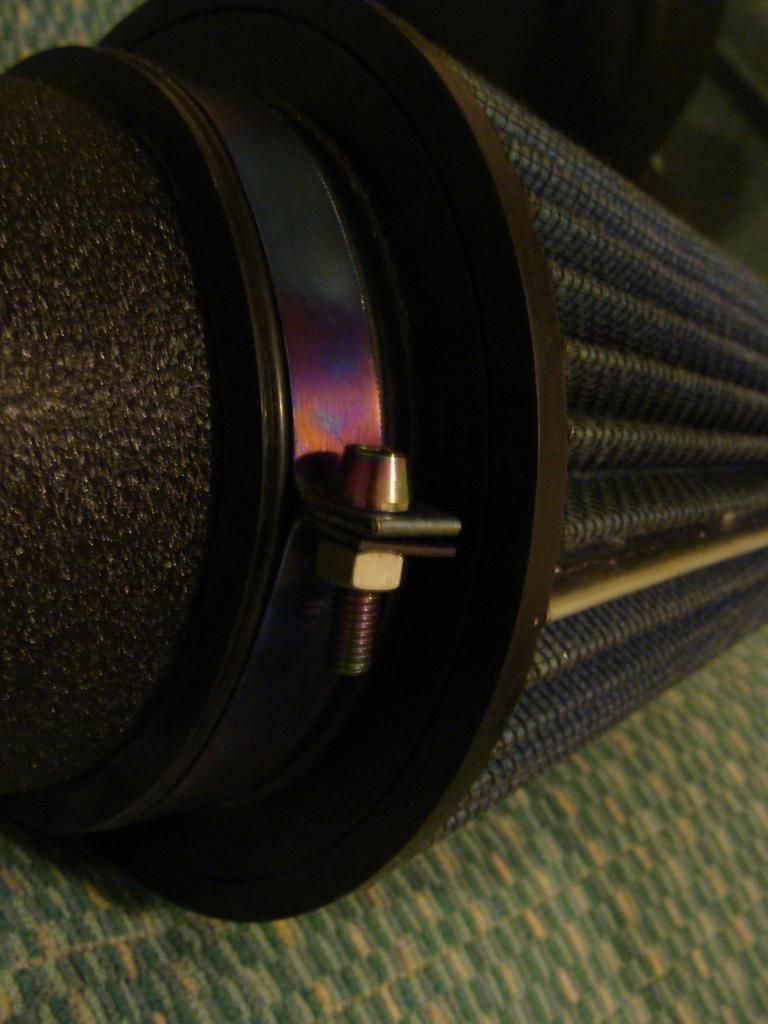
now i wanted some for my radiator hoses.
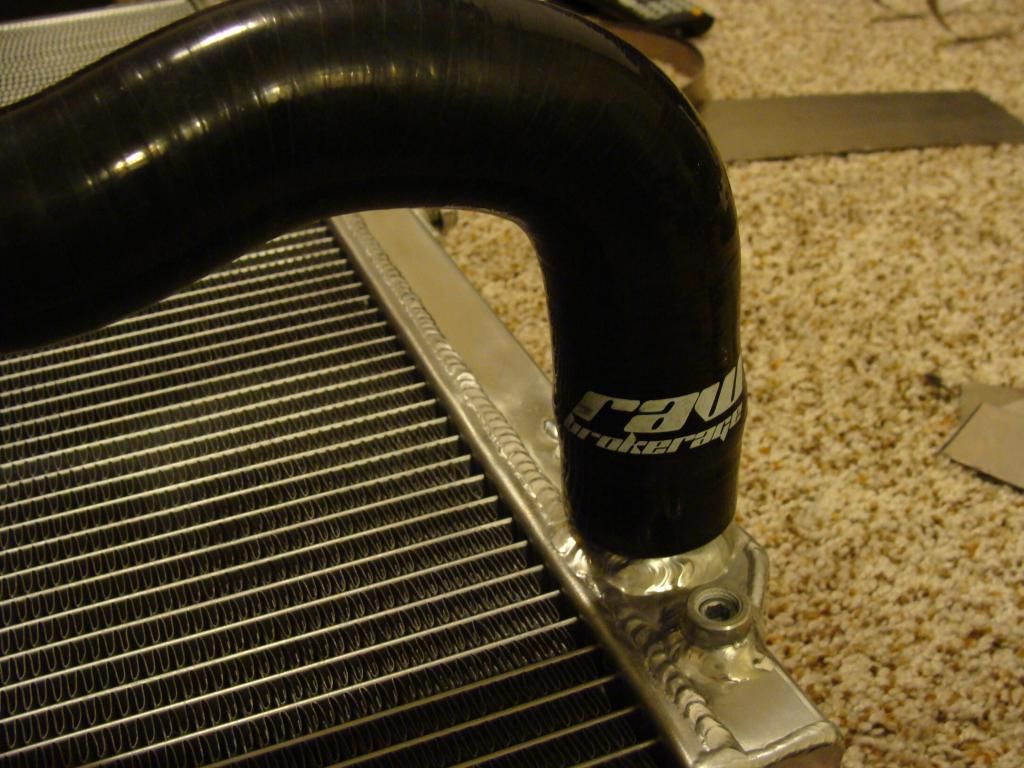
started off by measuring the circumference

after cutting a piece to length i bent one edge and started to round it.

finished bending all tabs and rounding

and gave her the torch treatment
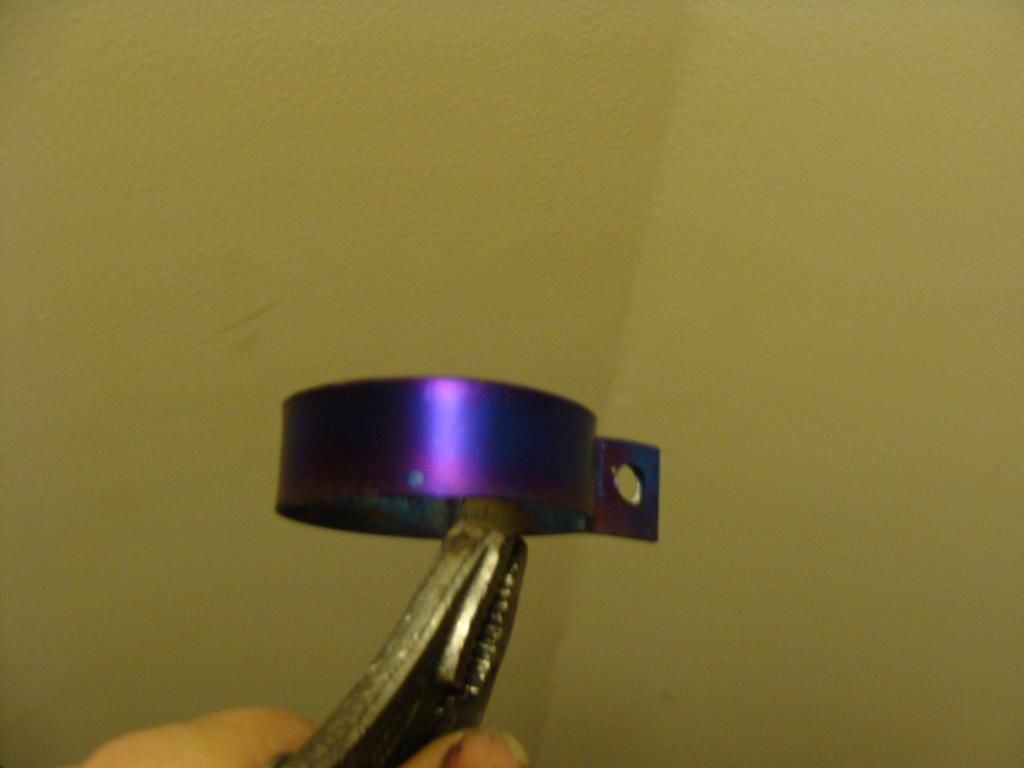
test fit with some neo ti hardware. amazing imo.

finally received more neo ti bolts. took a while as some were custom sizes.
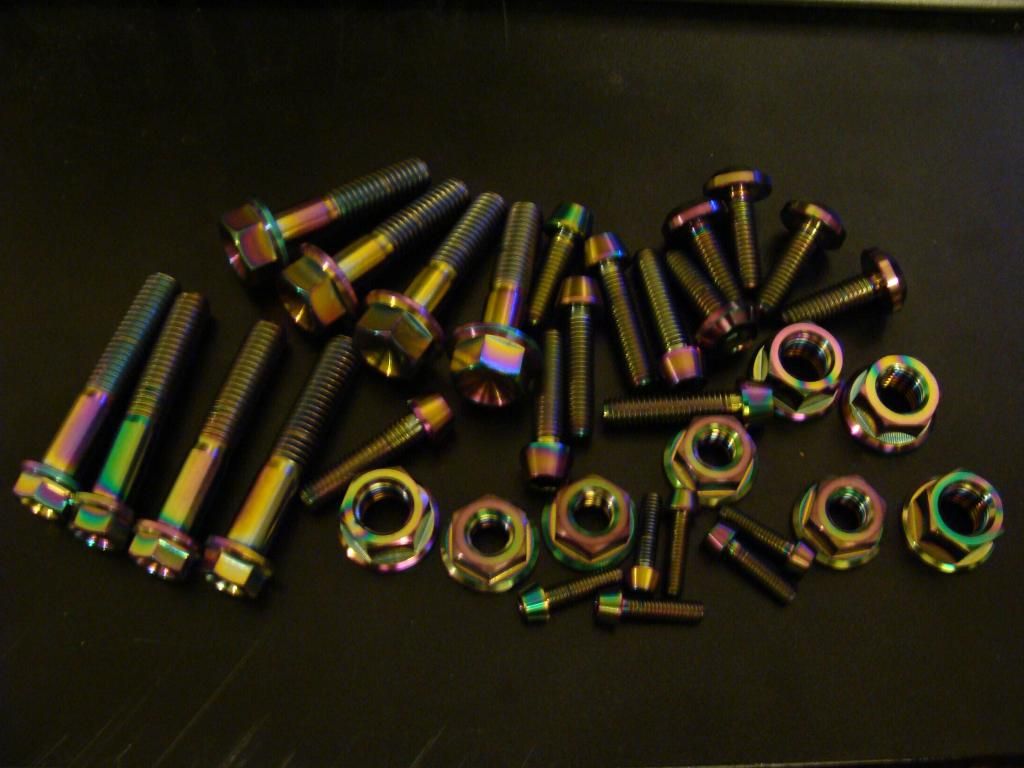
also got my intake from raw brokerage! its simply beautiful. love it.
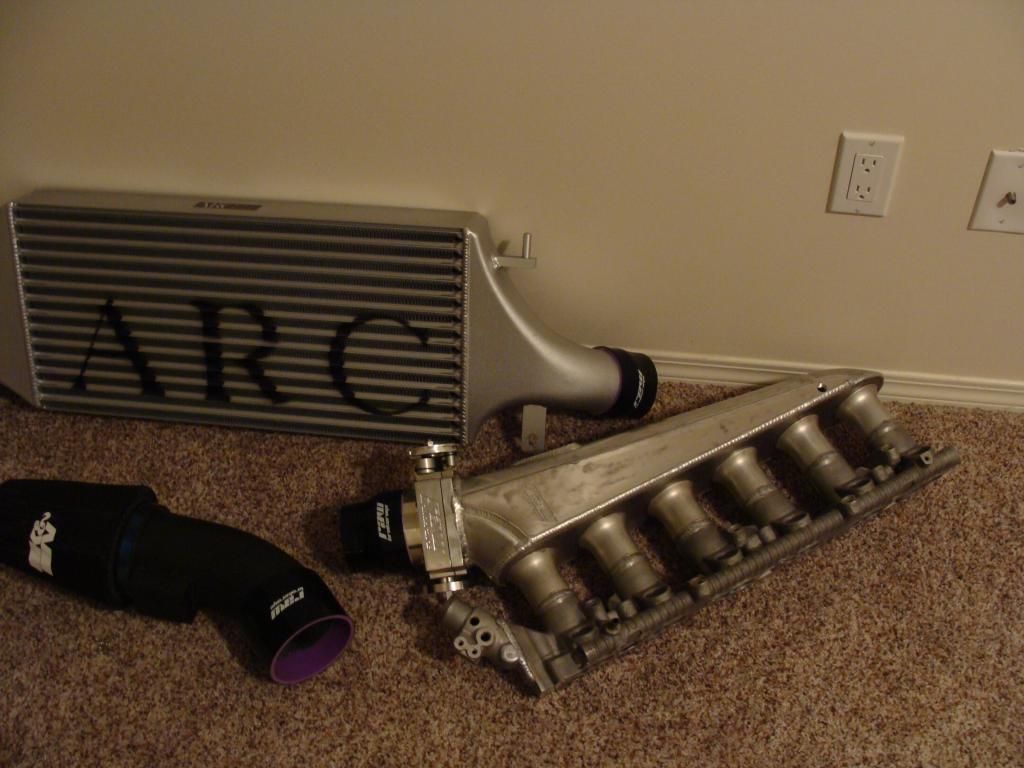


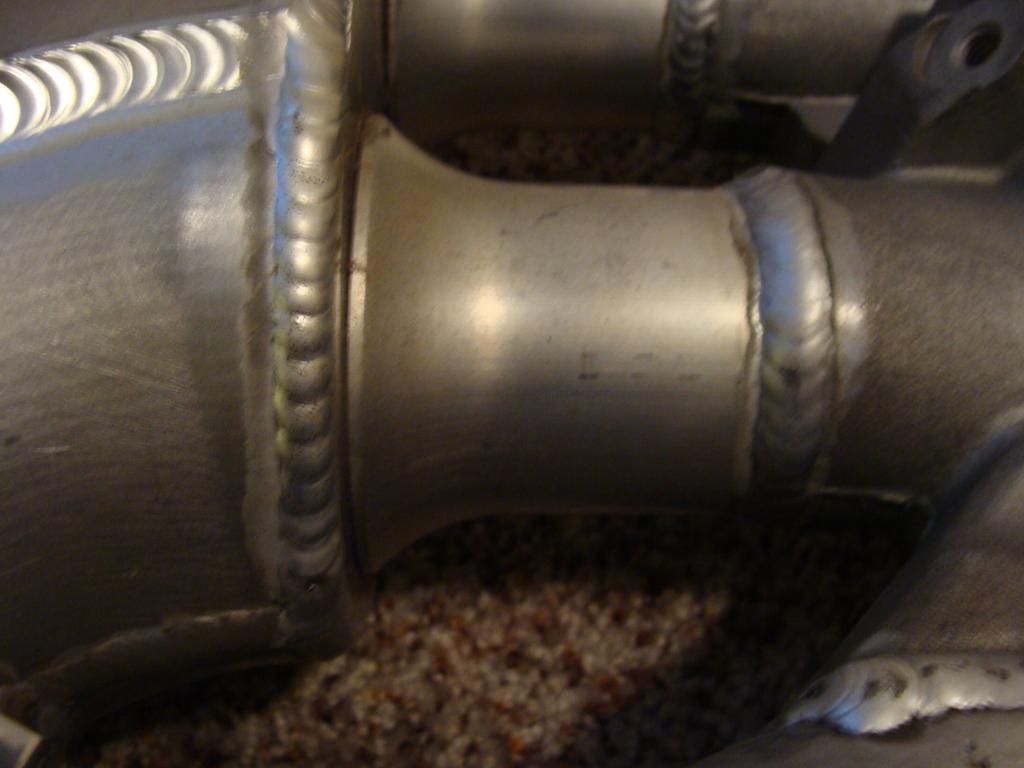
came with throttle body. had to use my neo ti hardware of course
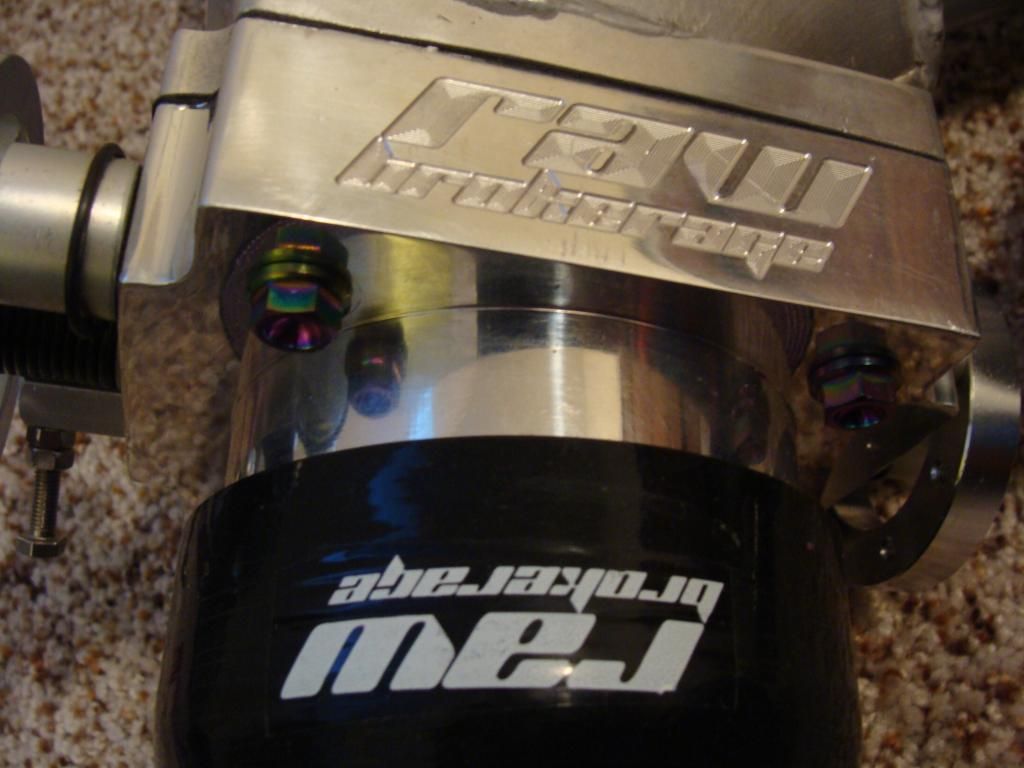 [/URL]
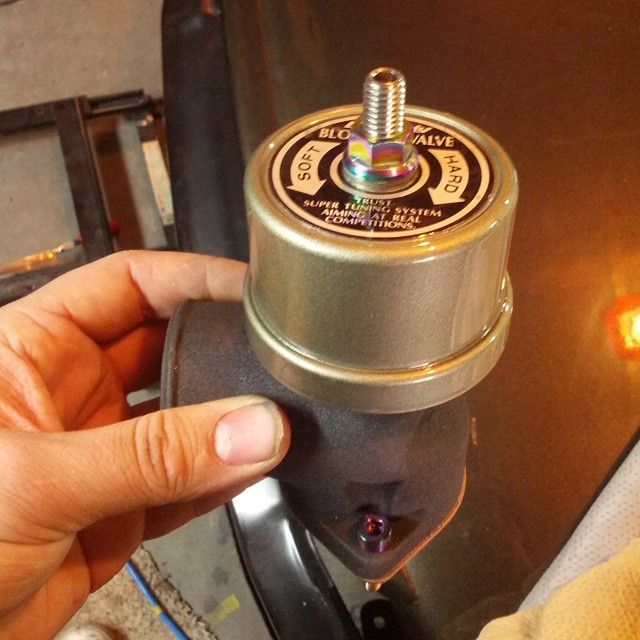
also got a new set screw for my bov and used a neo ti nut for the top. im trying to get every visible bolt changed. i never took a pic but even the brake master ones are neo ti.
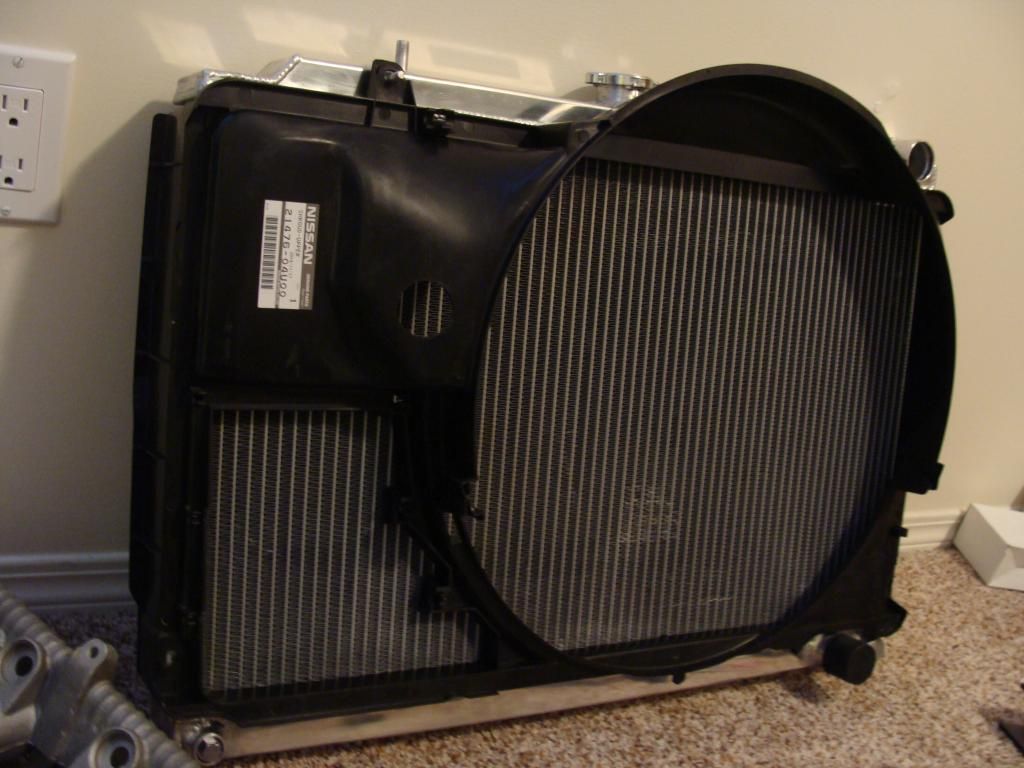
also got a brand new fan shroud from nissan. other one was pretty butchered. i threw it in my missile car along with my old rad.
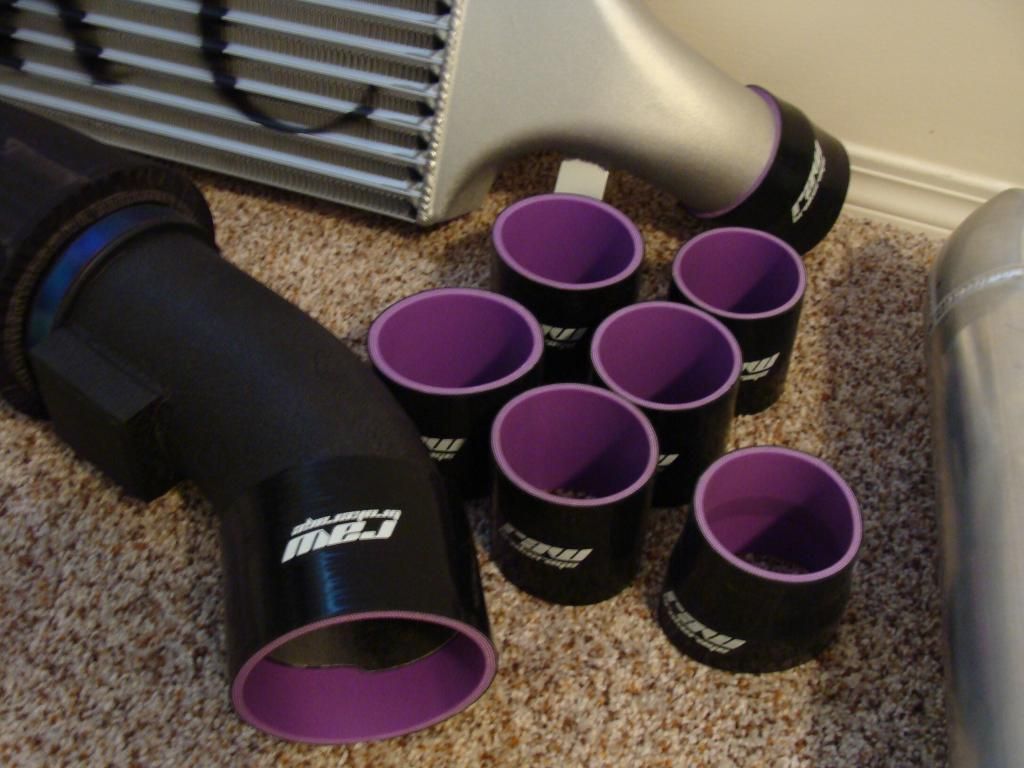
heres what i replaced all my blue couplers for. love the look of these.
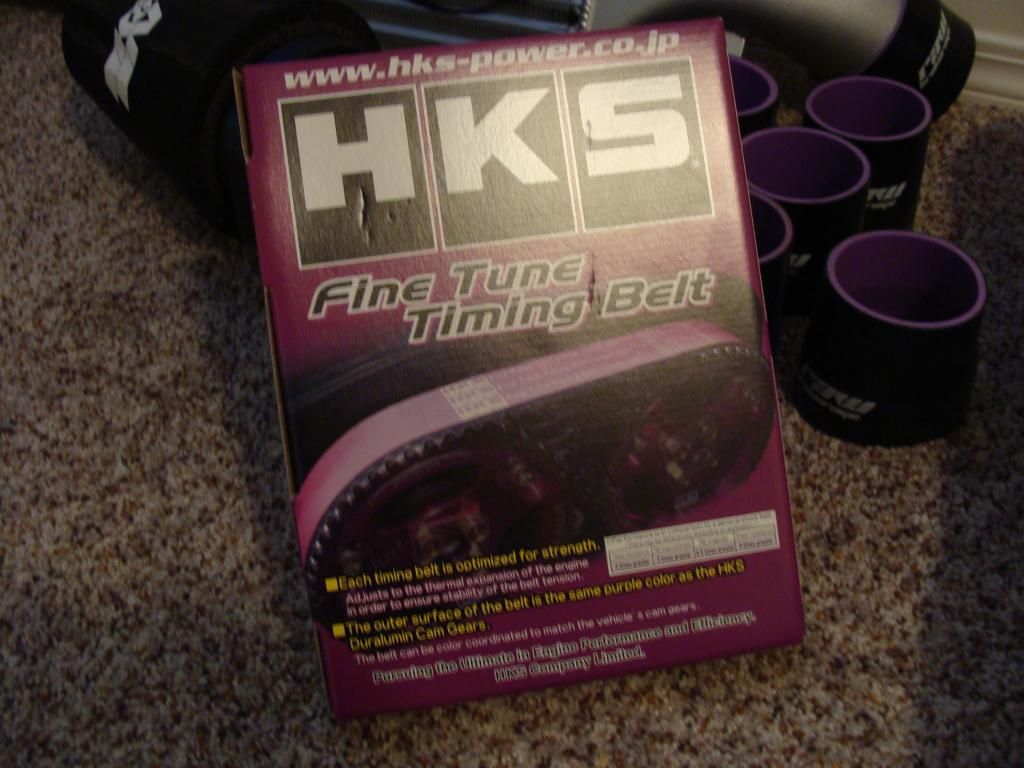
also got a new timing belt. gonna throw the blue greddy on my missile car.
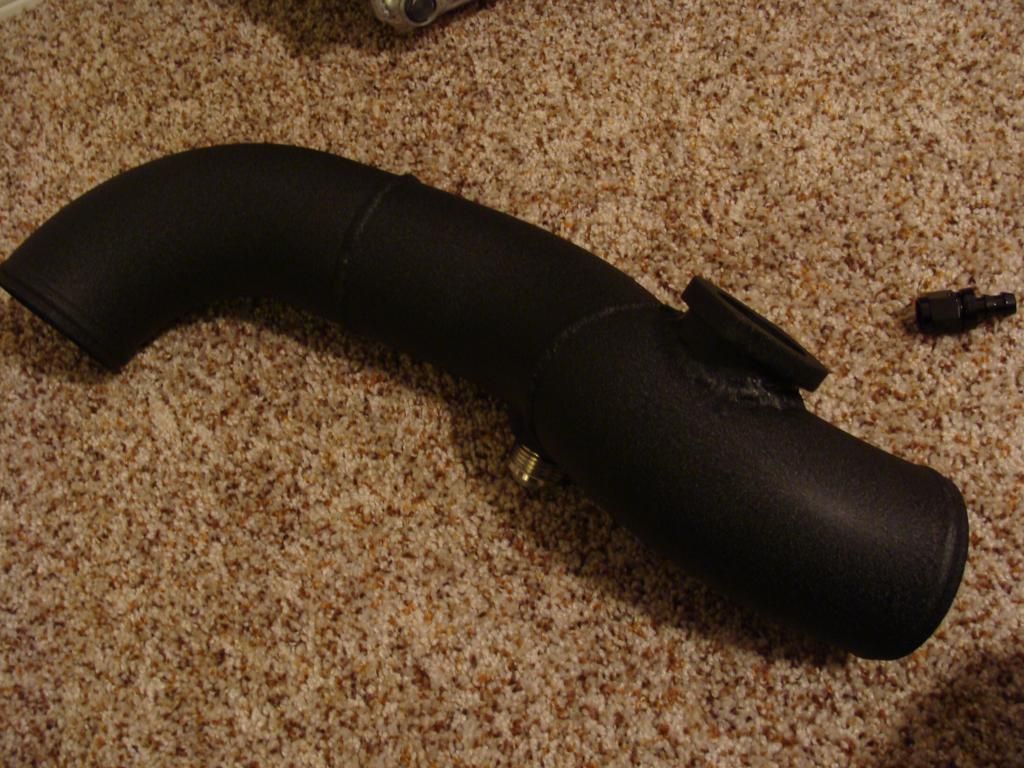
finally got around to making my new cold pipe. 3" aluminum. used some bends i had sitting around. then headed to a friends house to weld it all together and even powder coated it.
i also got my intake powder coated wrinkle black. and put it on for a test fit.
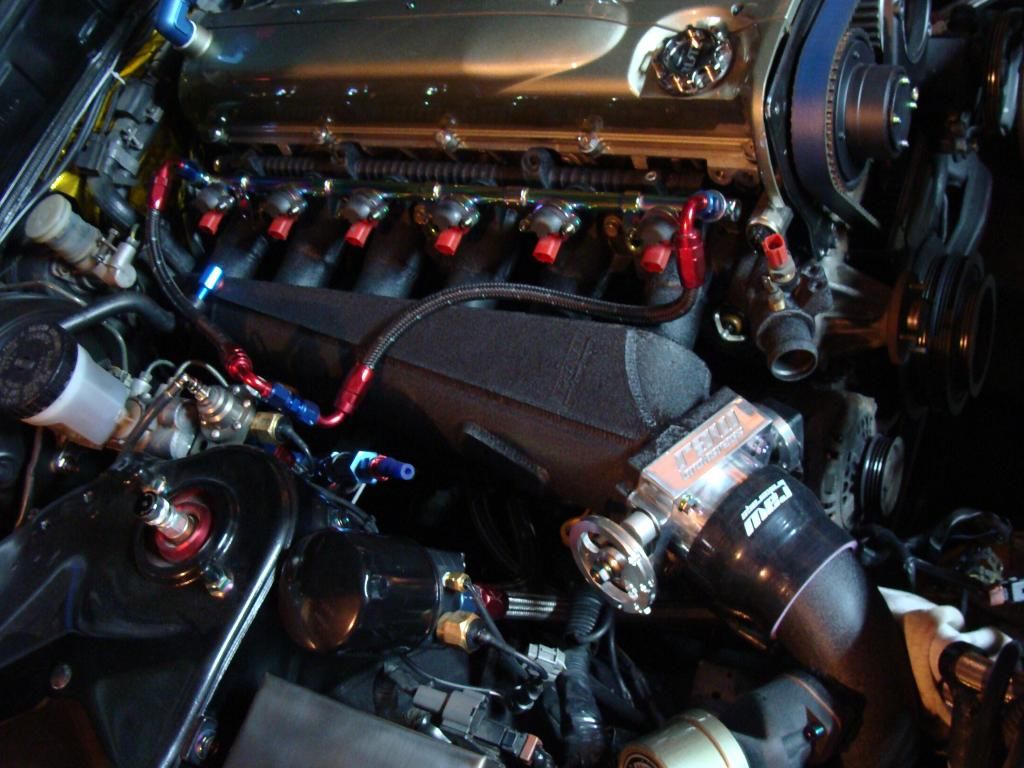
the design of the intake requires the thermostat housing to be modified. (tipped down) so i did that aswell and powdered it. why not right?

thats it for now. waiting on a few things. then it can be fired up.RB25 Powered RWD GT-R
Owner for Turtle Garage Hicas Delete Systems
Comment
-
Started with getting ready for timing belt and water pump swap.
i ordered this a while ago. the stock ones are apparently weak? so i ordered an arp stud to replace the timing stud.
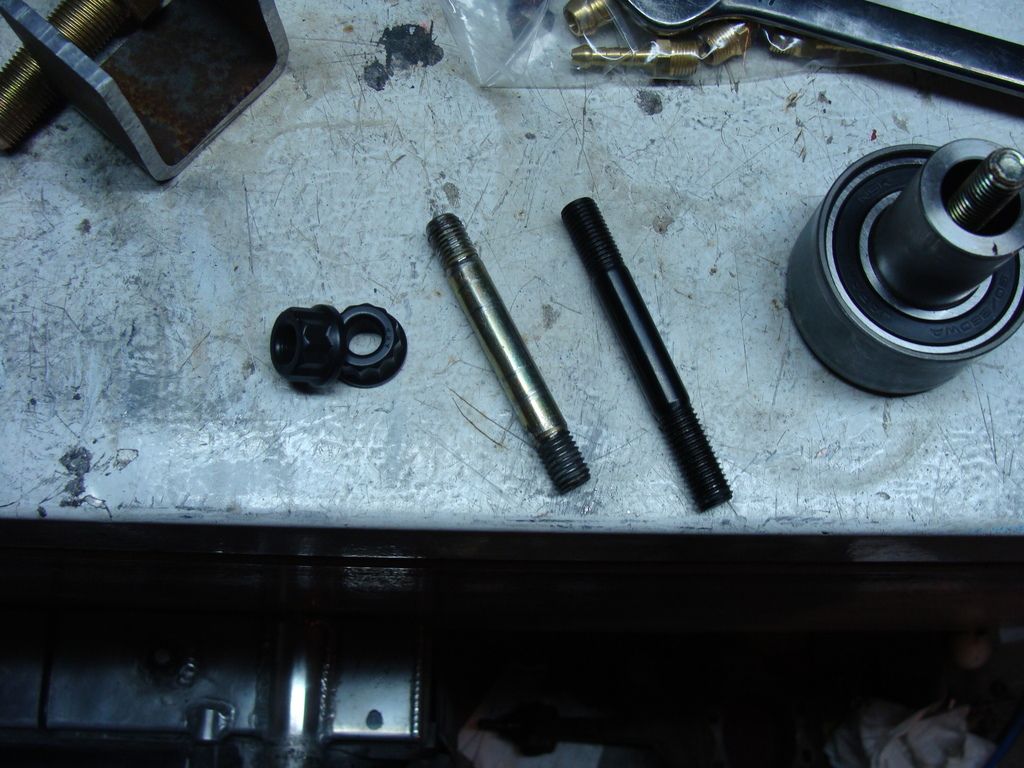
everything looks so dirty down there :/

how the arp stud and nut fit.

like i said. it was very dirty in there. and the bearings howled in this. so i took it out.

and completely apart.
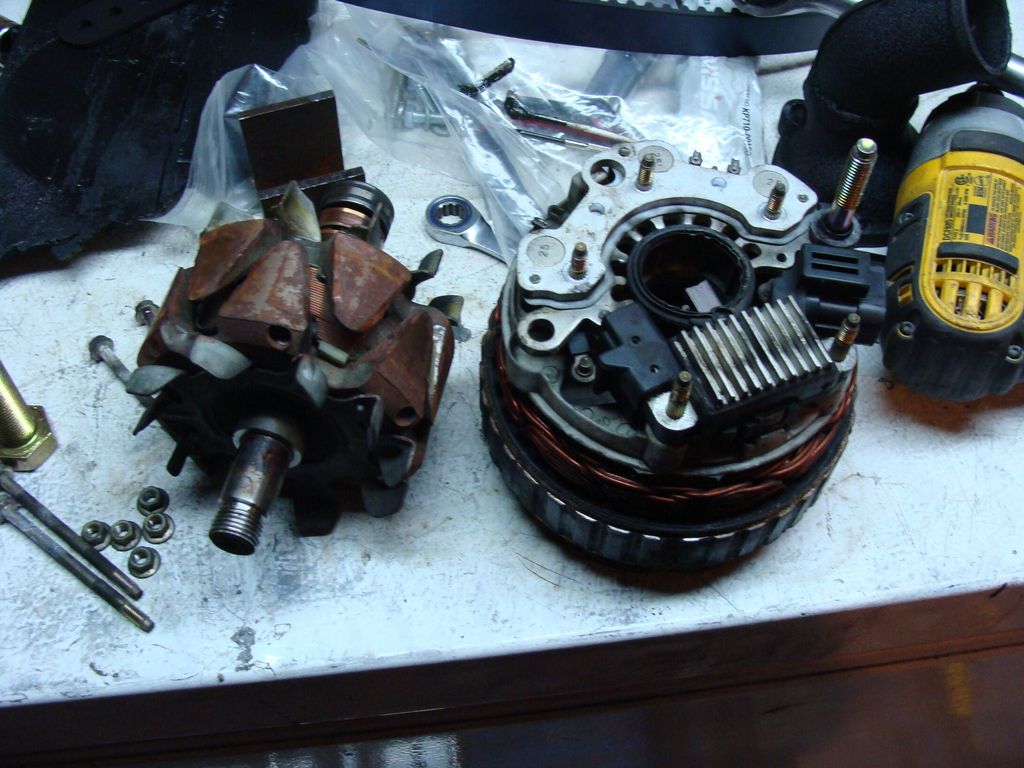
time to clean these pieces up!
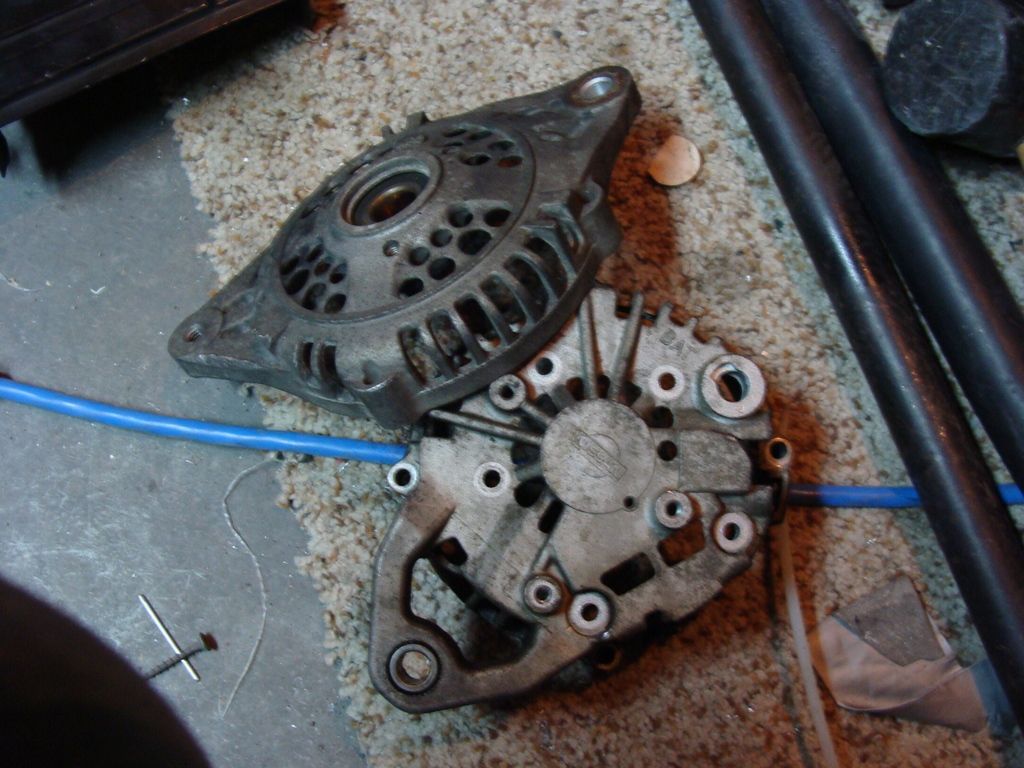
after some degreasing. sanding and a nice thick coat of millenium jade!
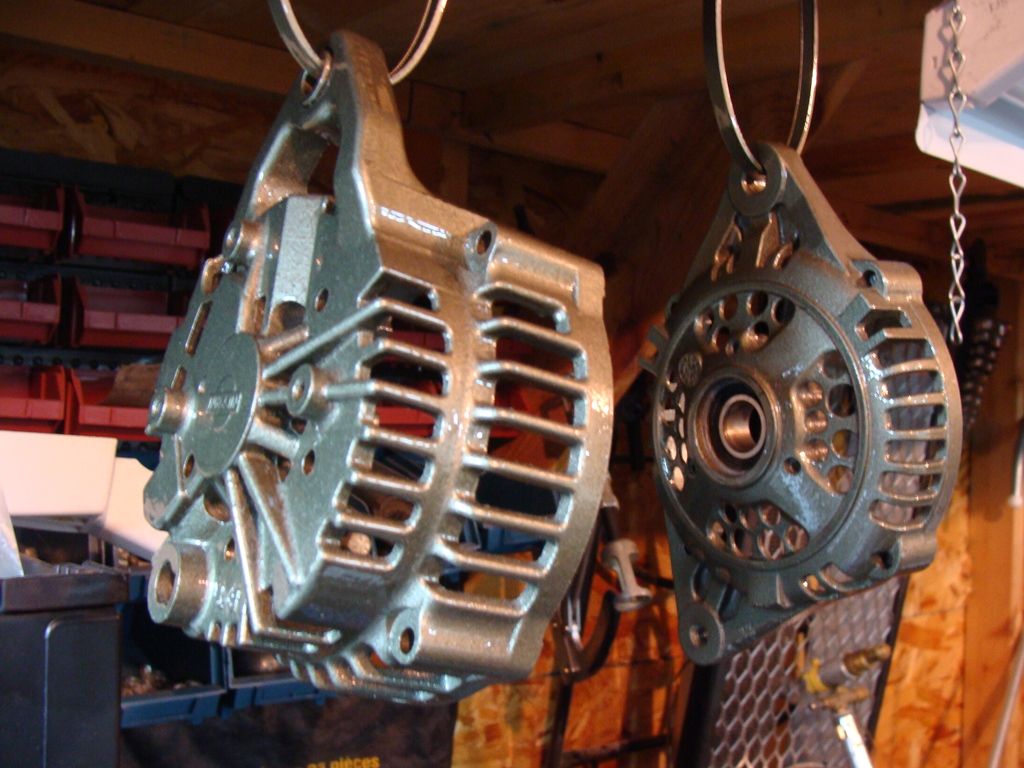
let those dry overnight. took everything else off to replace water pump and thermostat

threw a coat of black on these.
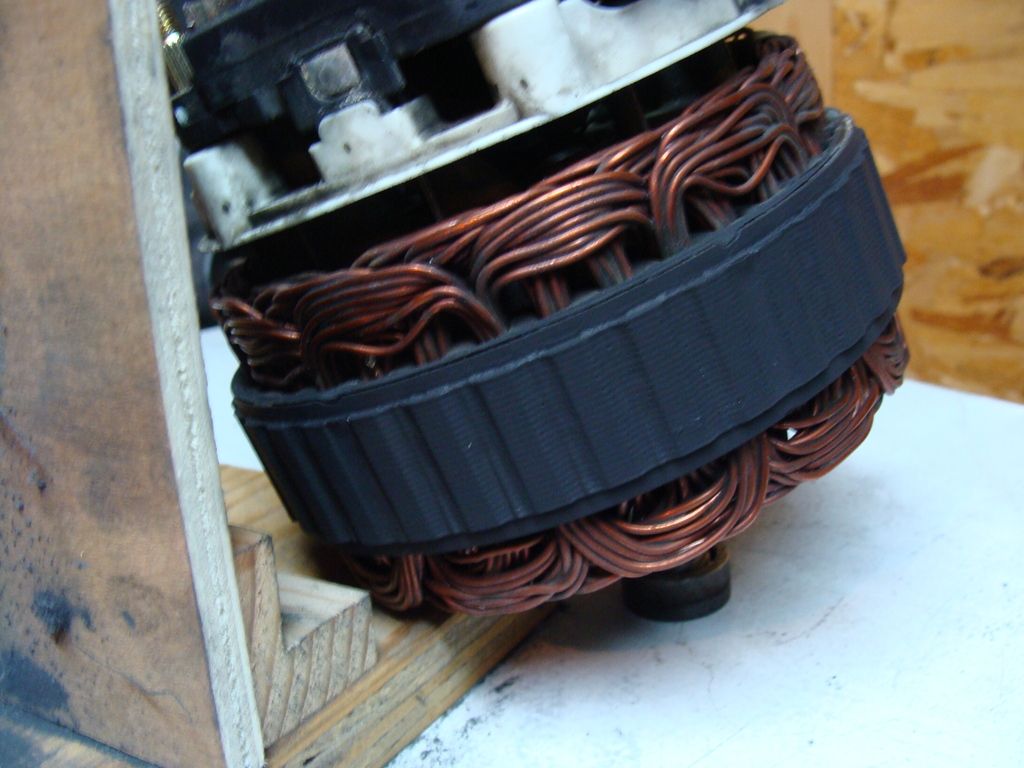
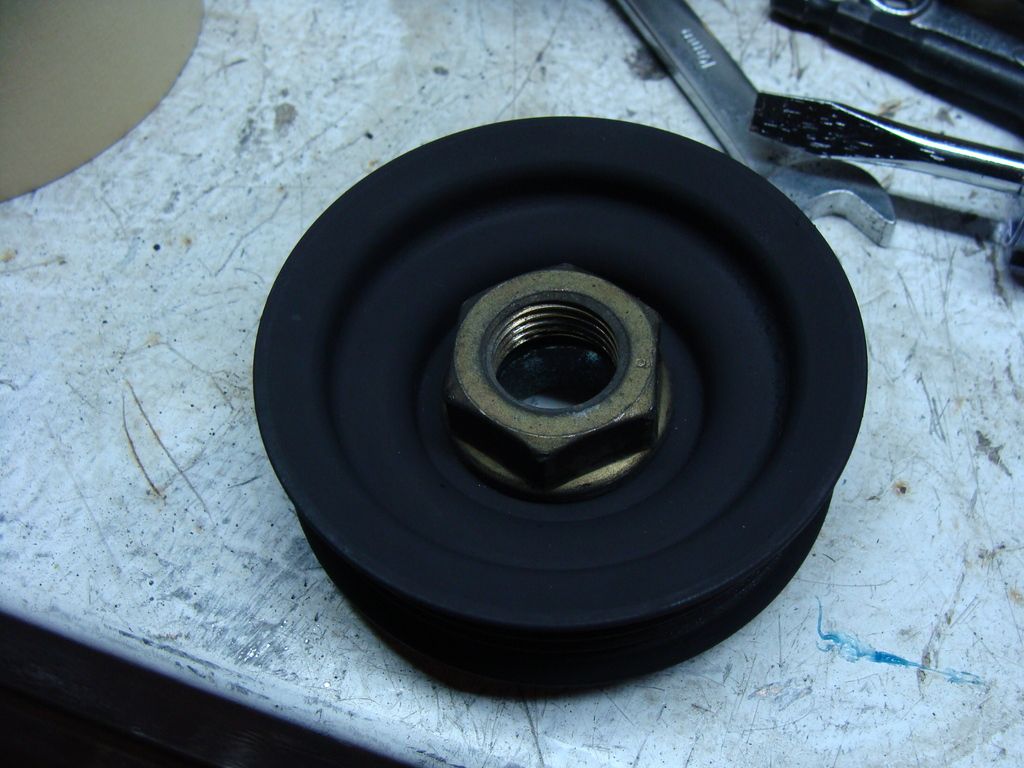
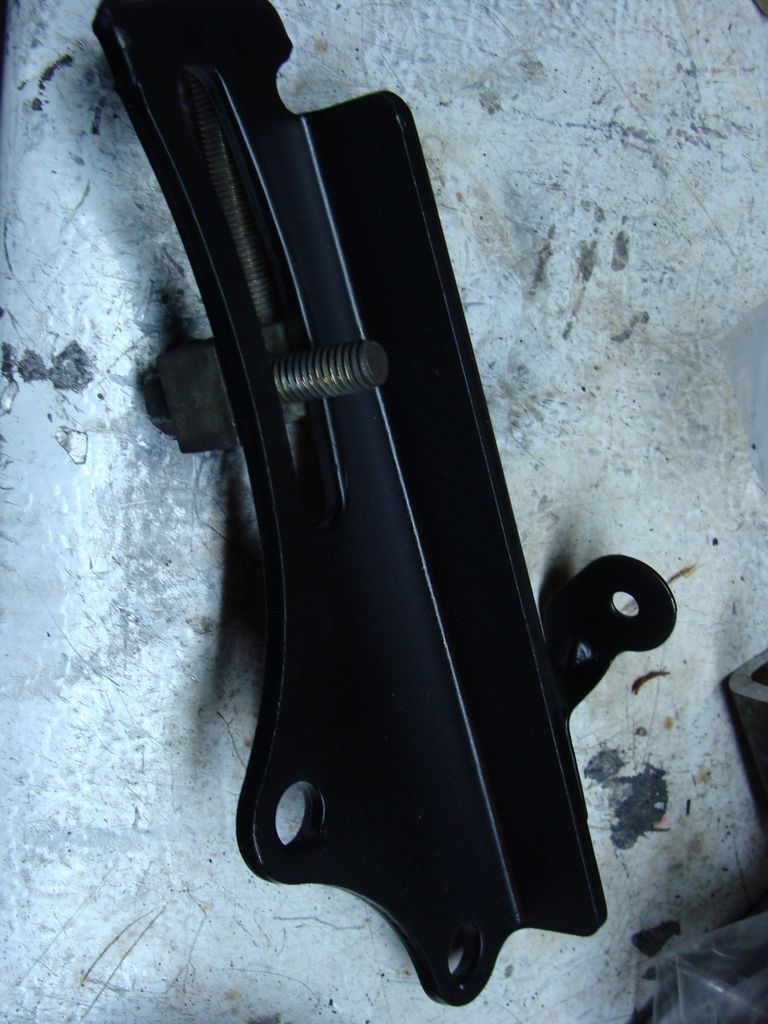
next day i assembled it all.

the rear bearing i was able to pack with grease. but i ruined the front. so i just got a new one. heres the part number
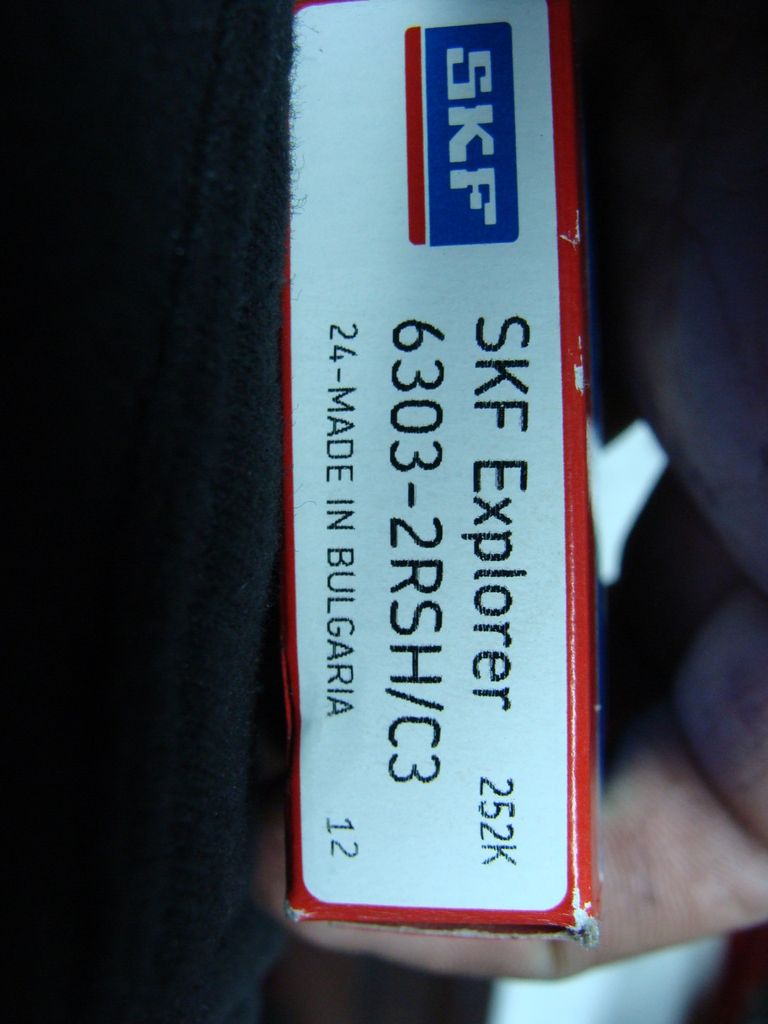
put in the new nismo thermostat and sealed it and bolted on the neck.
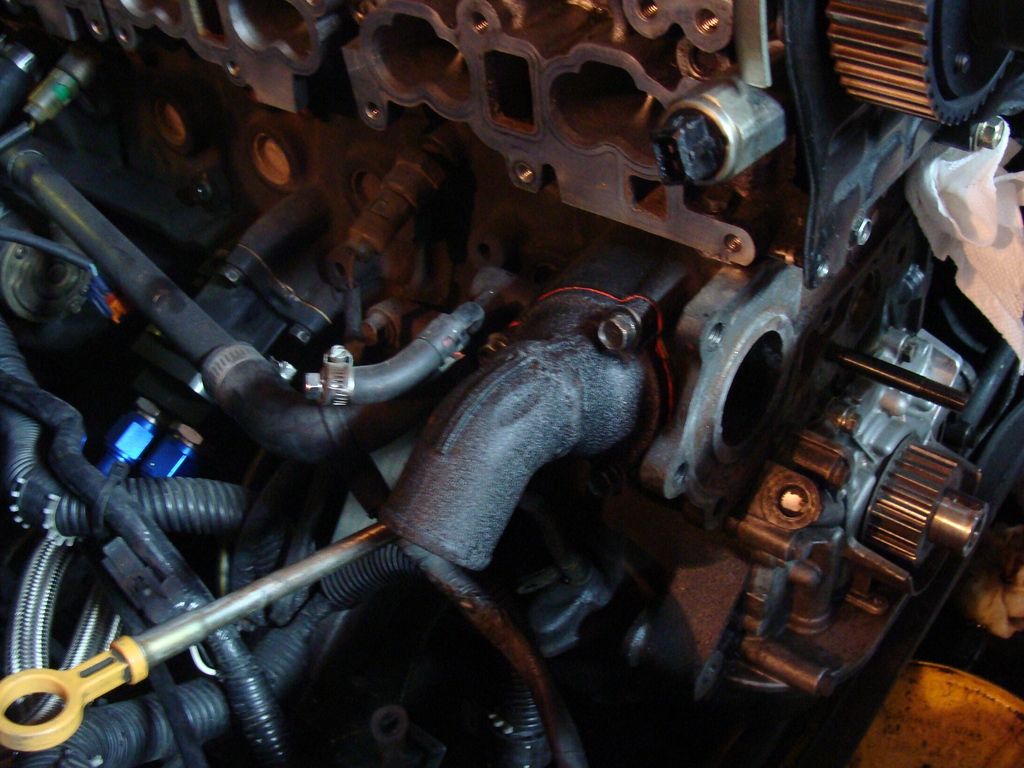
camera died inbetween this and last. everything else installed. HKS belt. new timing bearings. new water pump (oem) thanks to right drive. and also the alternator installed.

more wrinkle black. as you can kinda see. the arp nut hits this. so i had to dent it out. i used a socket and made a nice round dent.

close up of stuff installed.
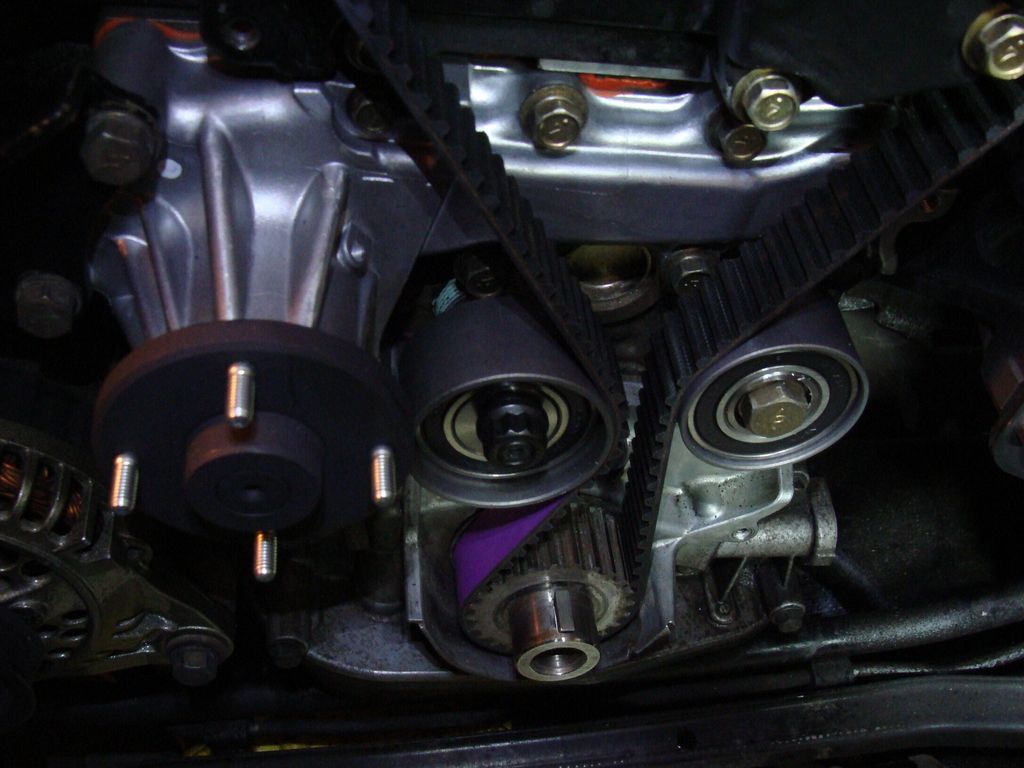
after i got to work test fitting everything. im impatient and had to see gk tech fan cleared with lots of room to spare. where the stock one used to rub really bad.

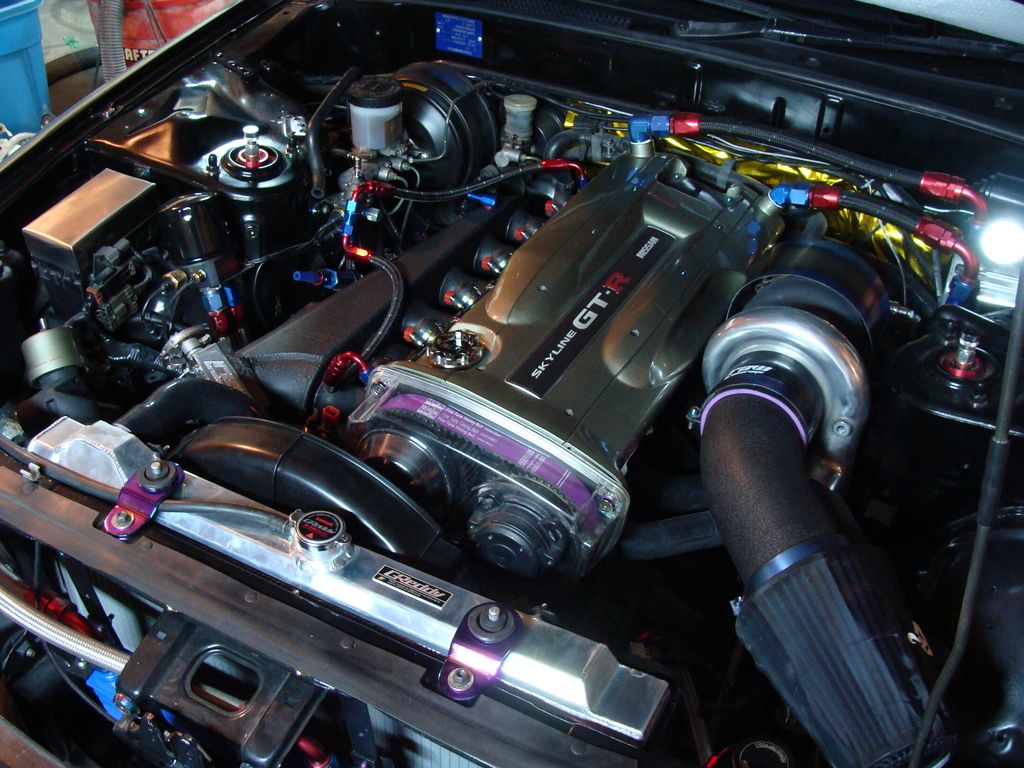
getting really close. waiting on one coupler. and about 10 fittings to finish off intake side.RB25 Powered RWD GT-R
Owner for Turtle Garage Hicas Delete Systems
Comment
-
so we'll start this off with another one of these lol. of course i got more hardware.
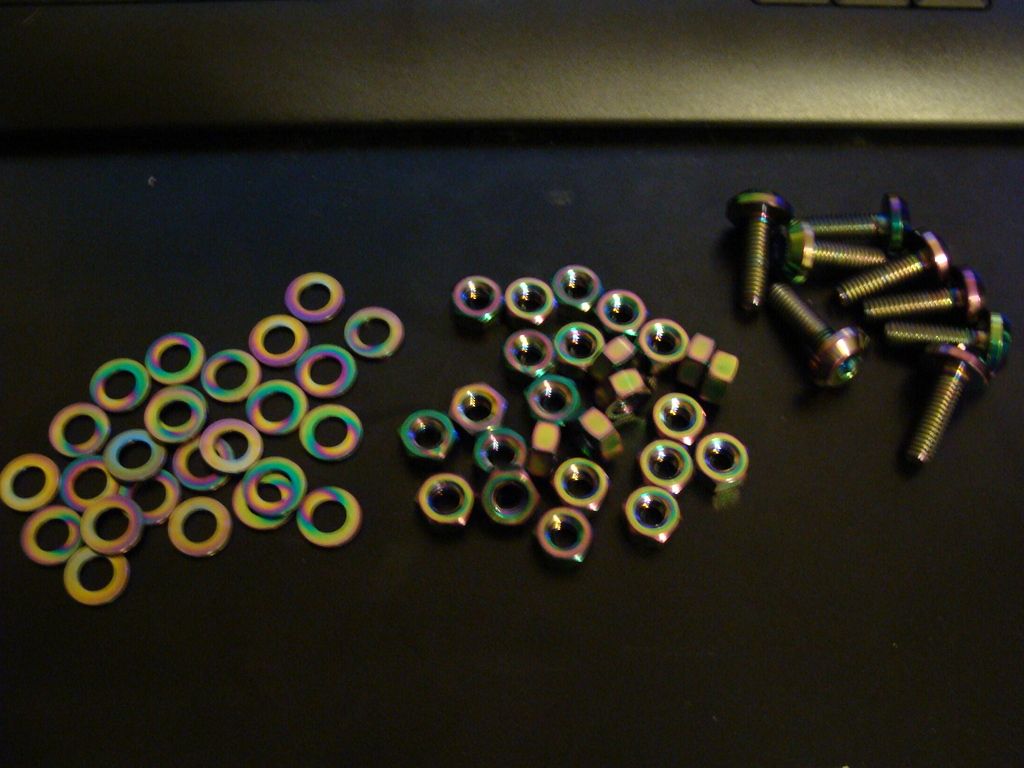
got some fittings
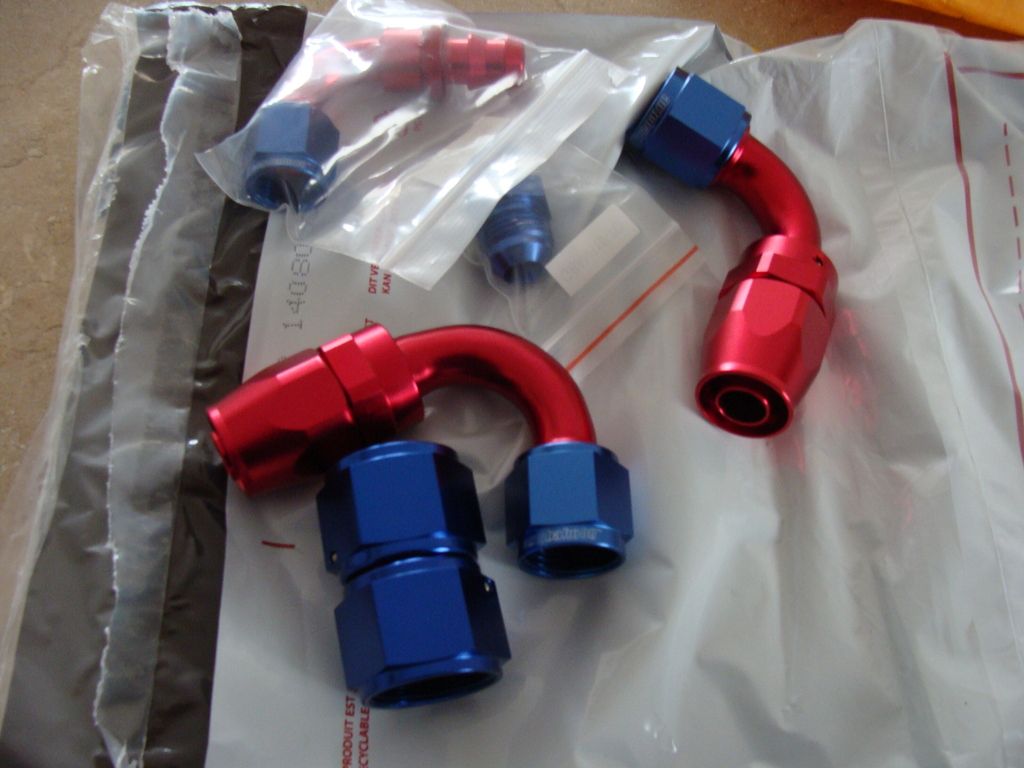
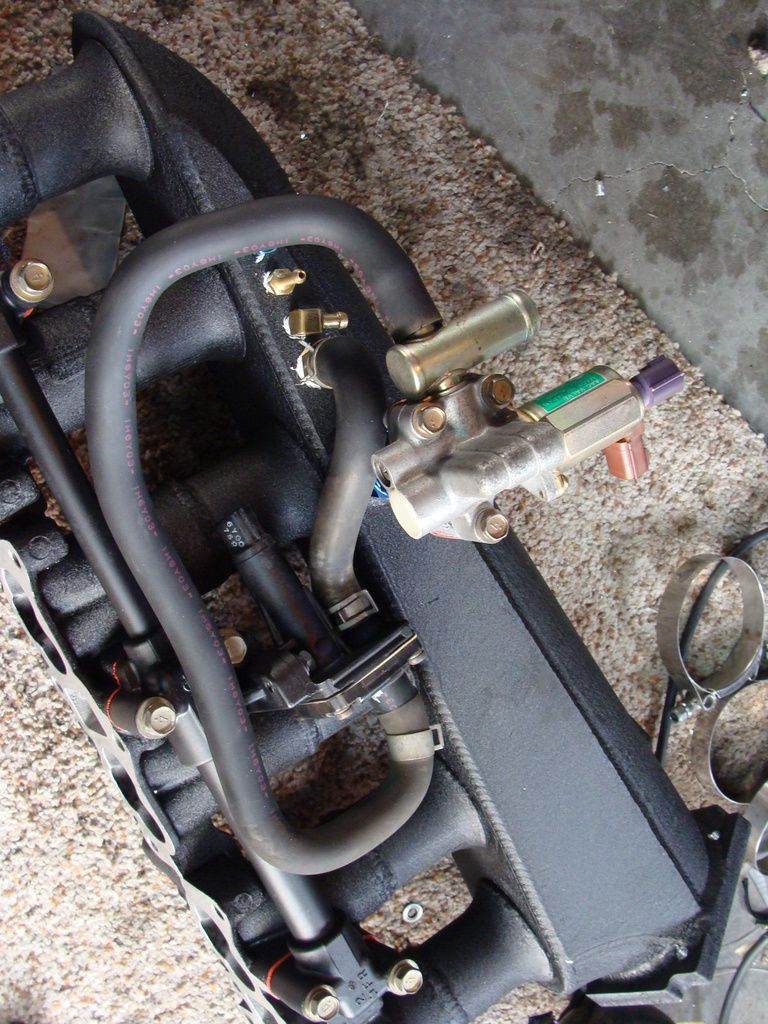
the -12 joiner was so i could finally do that iacv. so i started putting lines together and figuring how to hook it up.

had to completely redo my oil lines as they hit my cold pipe and throttle body on the new setup so i built them like my power steering cooler. used bulkheads fastened to the rad support.


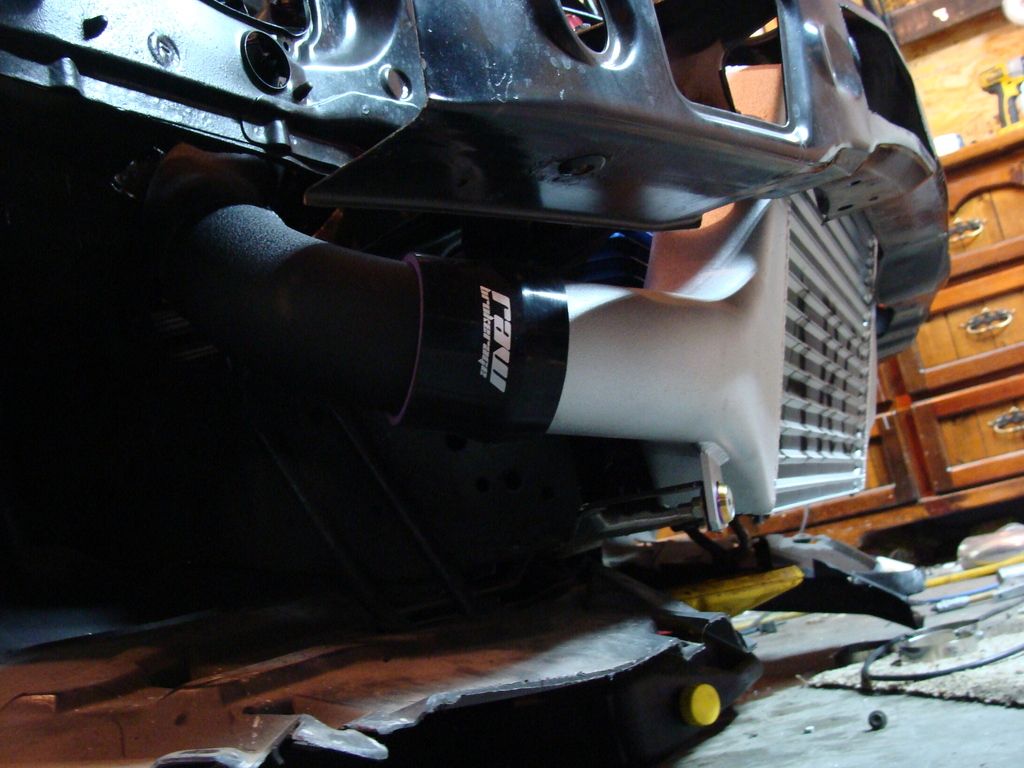
with everything oil related done i could mount the intercooler now. also shows the cold pipe we built. fits perfect

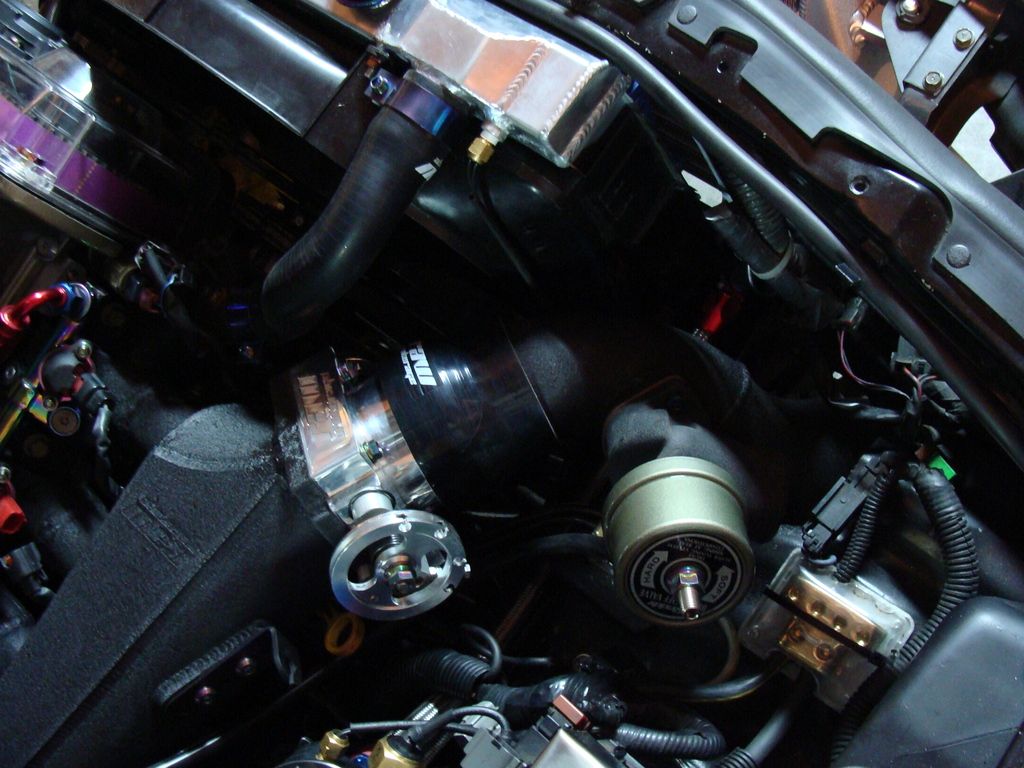
finally bolted the mani on for good and started hooking up fuel and vacuum/boost

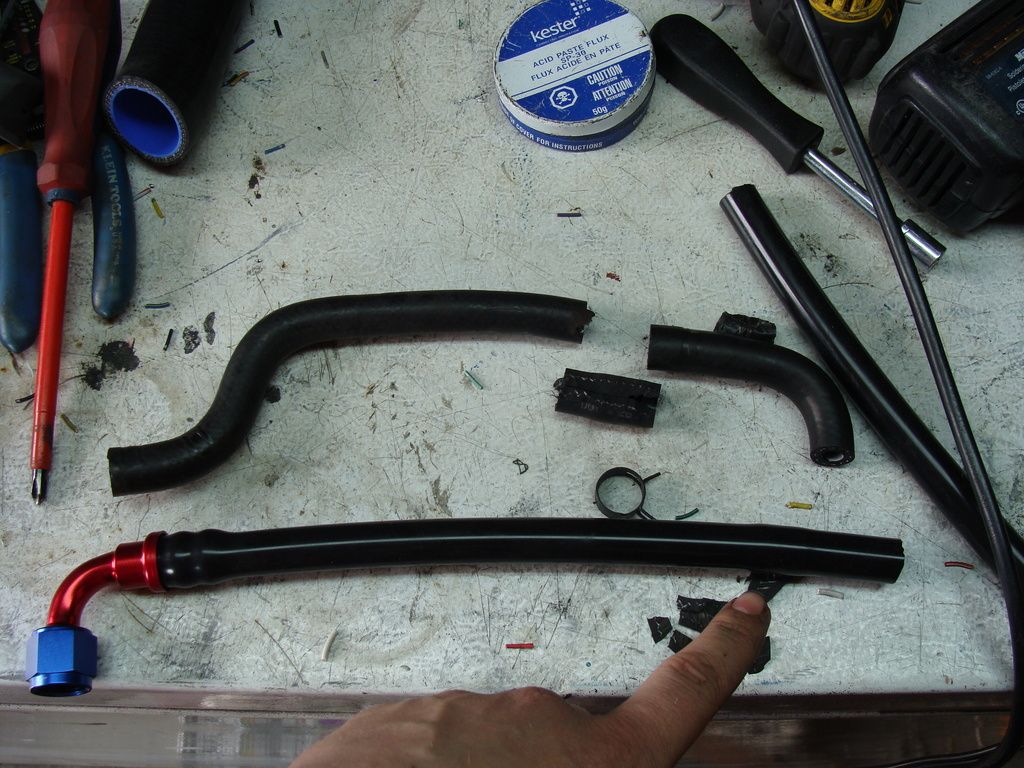
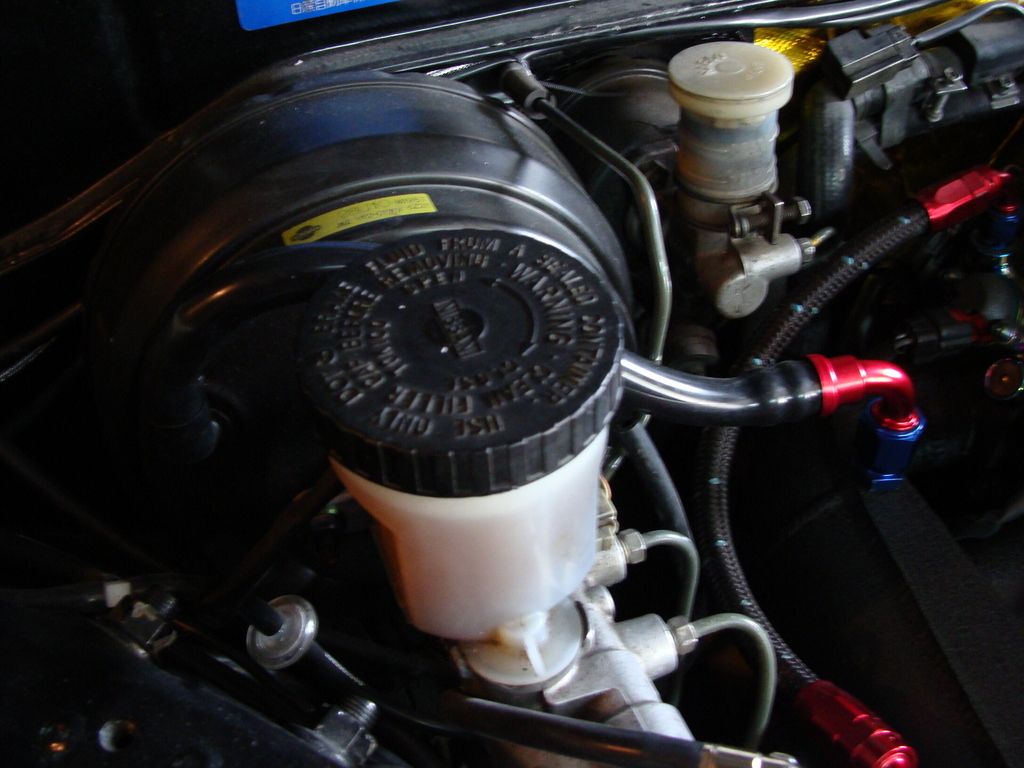
so my brake booster vacuum line no longer fit. and it was at a weird angle so i used a -8 fitting. then cut the 1 way valve out of the line and pressed it into some 3/8 silicone line. you can see the bulge of where it is where im pointing.
and mounted. looks awesome imo
then i started to come up with a new catch can design so my old greddy no longer had to sit sideways to fit.
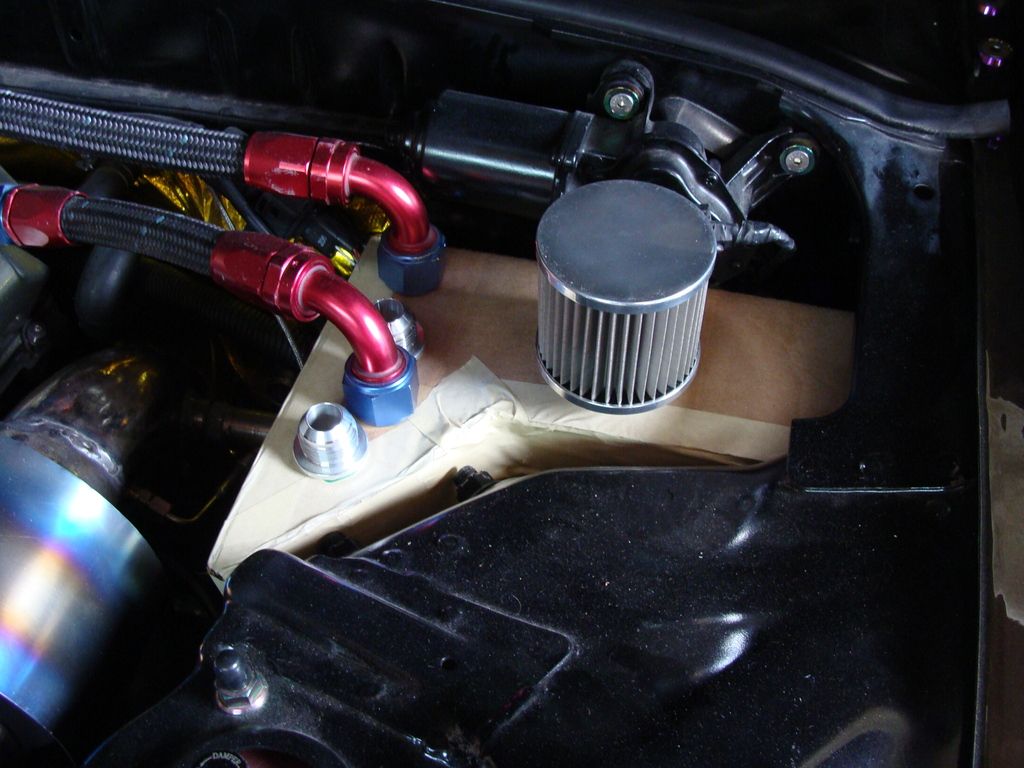
and here it is. you can see the cardboard template to the right of it. its build out of 1/8" aluminum and then powder coated wrinkle black. has a drain port, 2 -12 inlets and a -12 stainless mesh breather.
also the plate to the left i made for the other side.

and fits perfect. snug. but that was the idea.
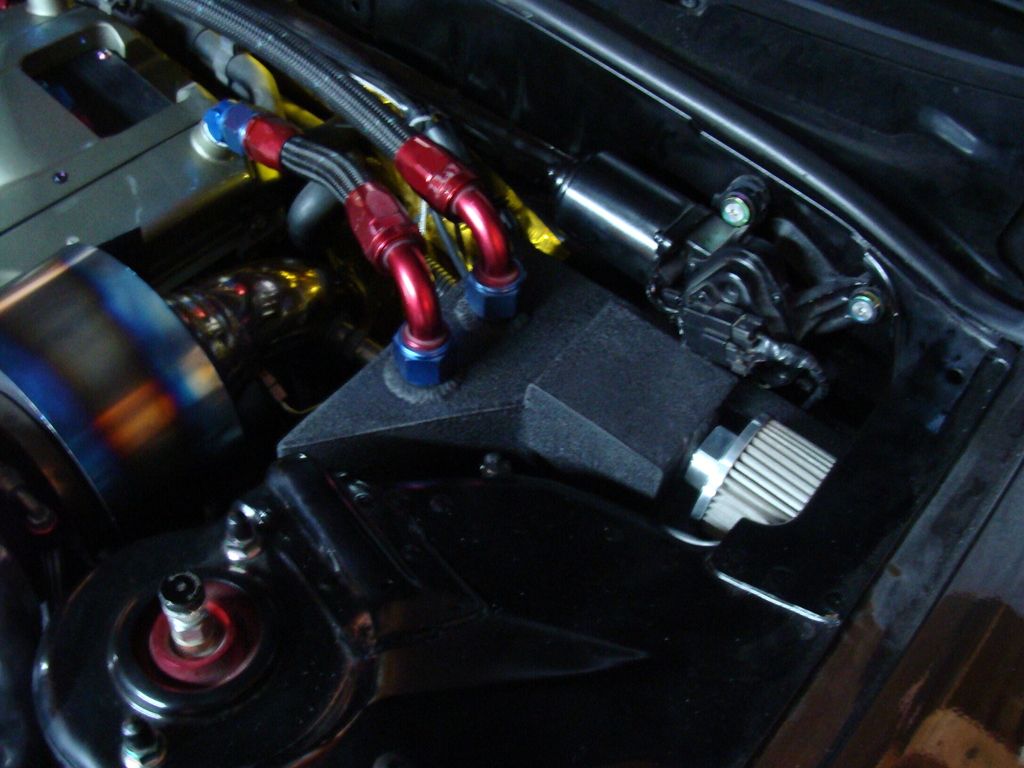
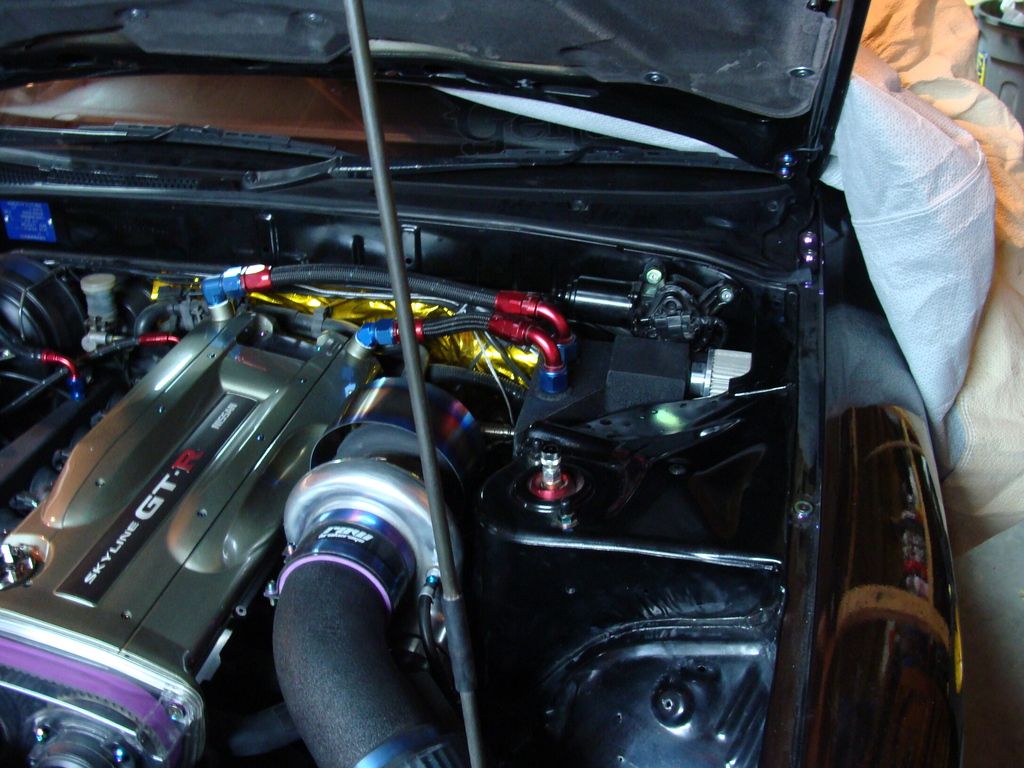
and how its mounted. had bent up a little bracket for an m6 bolt. then welded it on

then heres this plate. using some titanium hardware of course
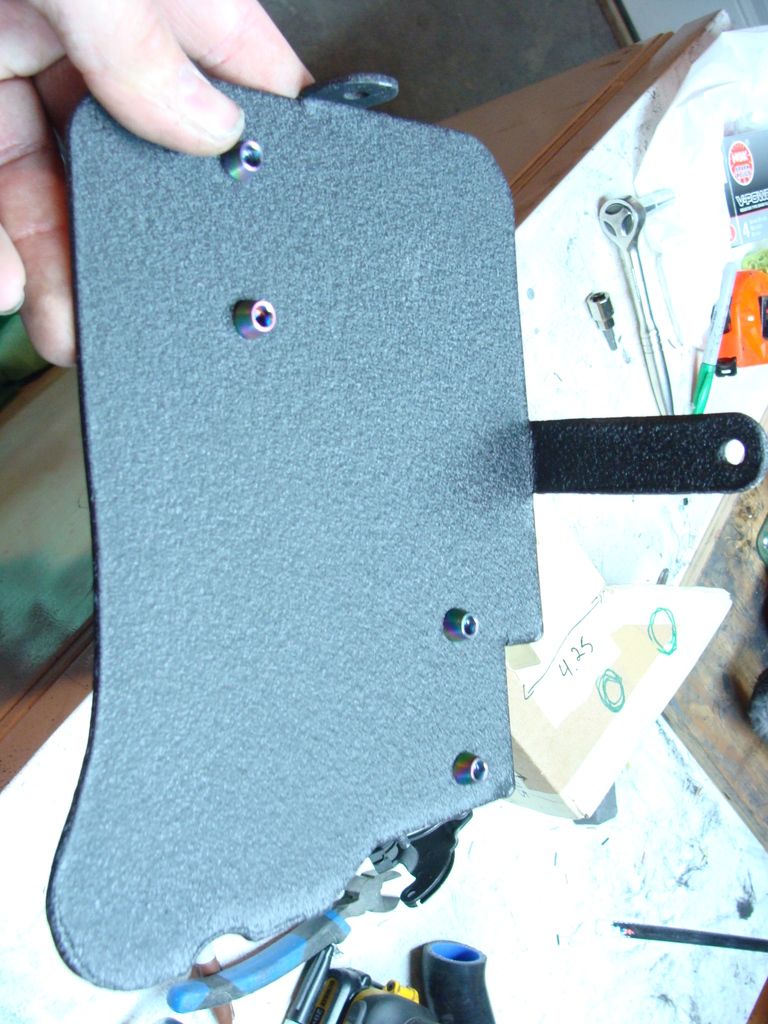
and what its used for. 2 map sensors to keep them safe. and relocated the brown box lower.
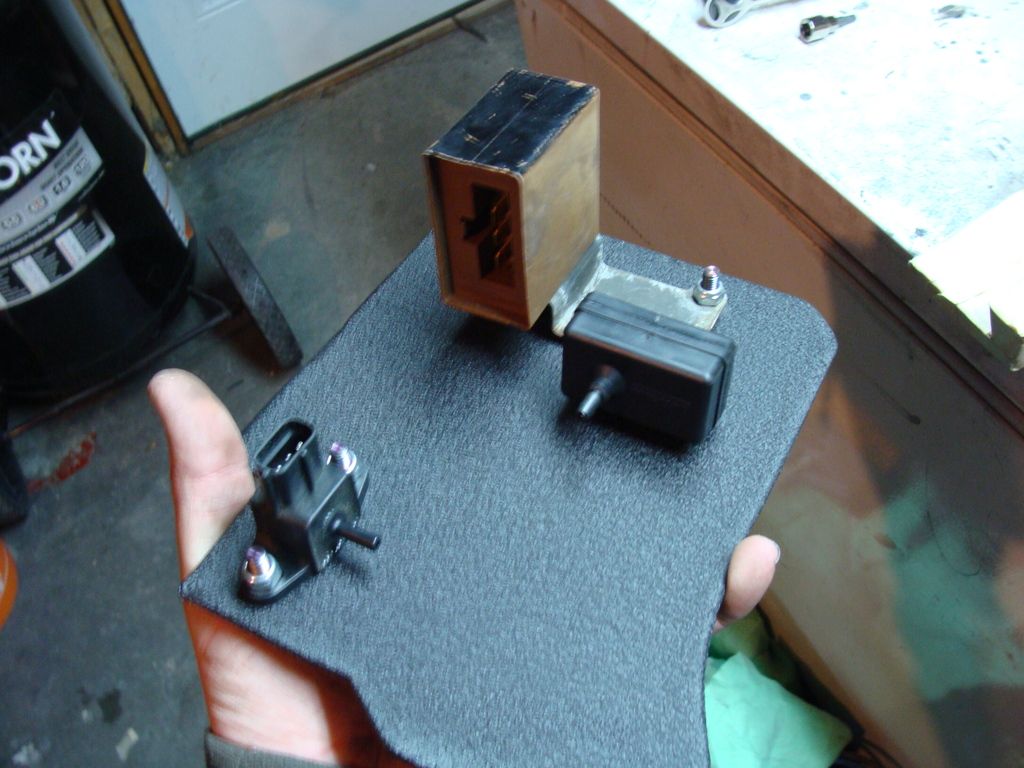
and mounted. no more visible mess
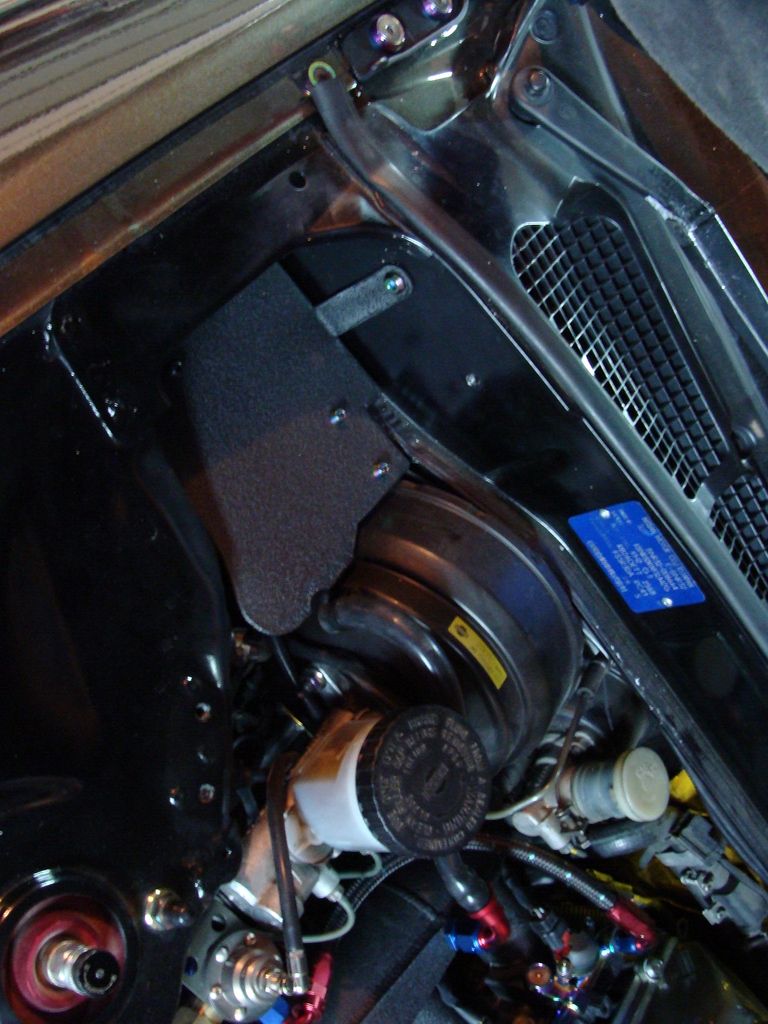
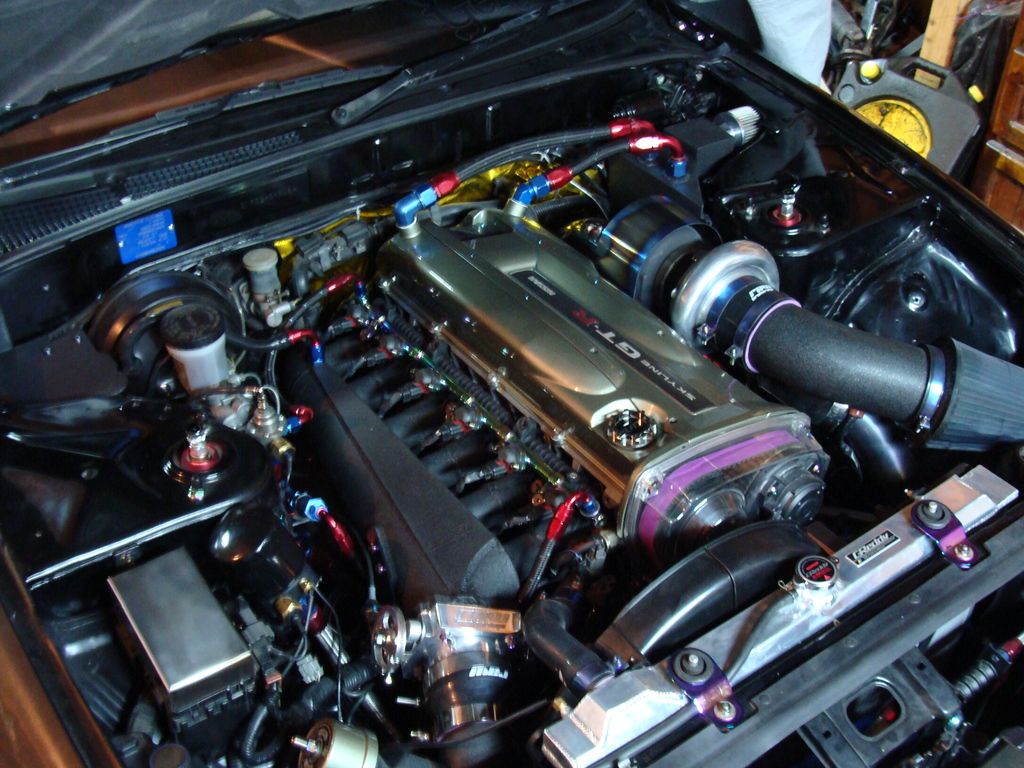
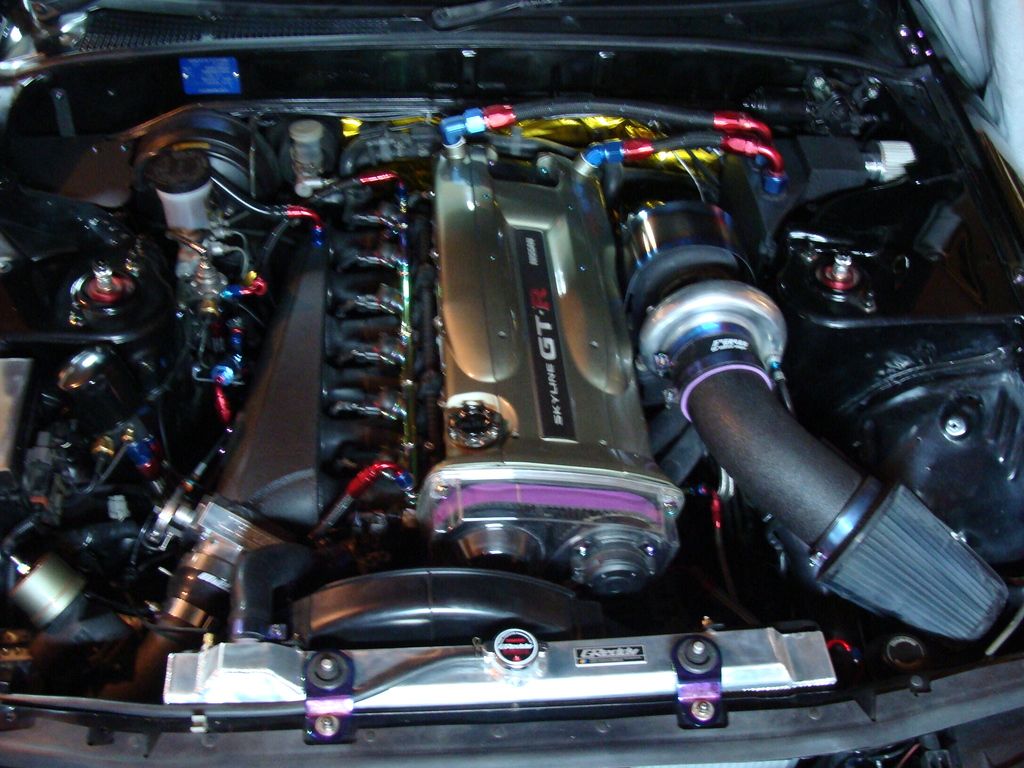
still some final touches needed. but it fired right up and its nearly ready to go!

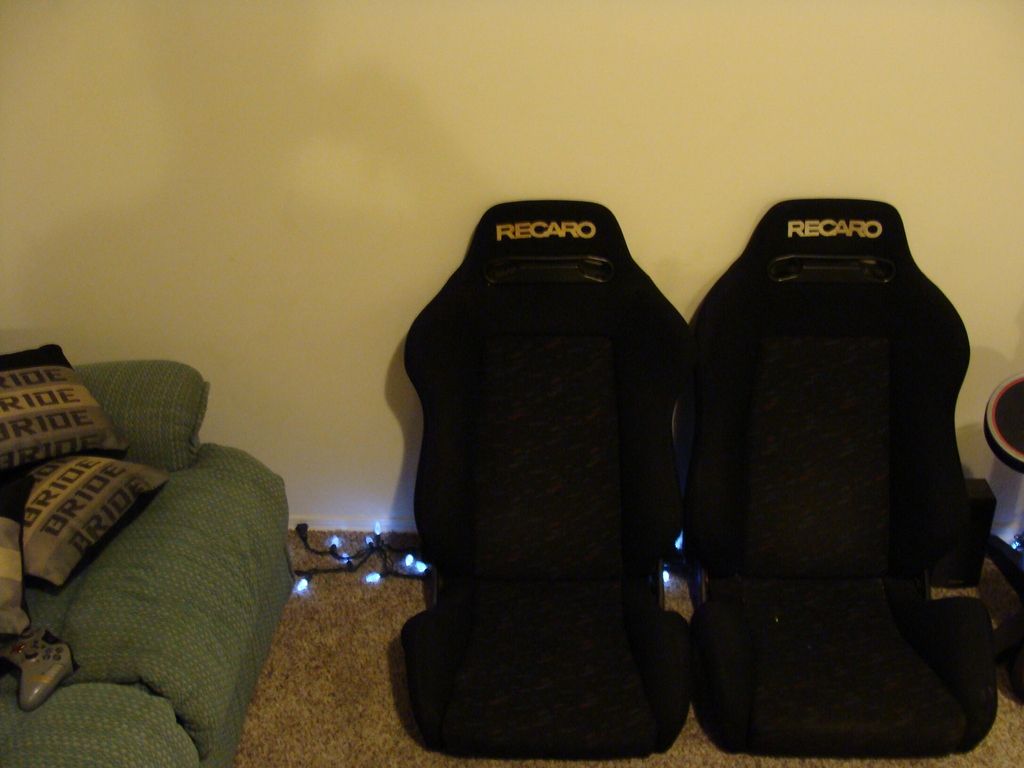
and oh yeah. i finally sourced 2 mint confetti seats! so no more ripped seats! ill put the other 2 in my other skyline.
 RB25 Powered RWD GT-R
Owner for Turtle Garage Hicas Delete Systems
Comment
-

Love the Build Started rebuilding my skyline when i was 18
1992 GTST RB25DET
http://forums.gtrcanada.com/gts-project-cars/54849-saved-my-car-great-scrap-heap-sky-redo-my-first-car-thread.html
Originally posted by BravoPS My wife just told me I was shitting in your Cheerios!
I'm sorry,
Good luck!
Comment
-
Everything looks well thought out and perfectly executed, no half assing here. Great job!ďHey, come on, its a car right? No. Itís a symbol of your history, its a thread of continuity from which you came to where you are. Itís important that you donít want to forget who you are.Ē -Dr.Phil in "Love the Beast"
Comment


Comment