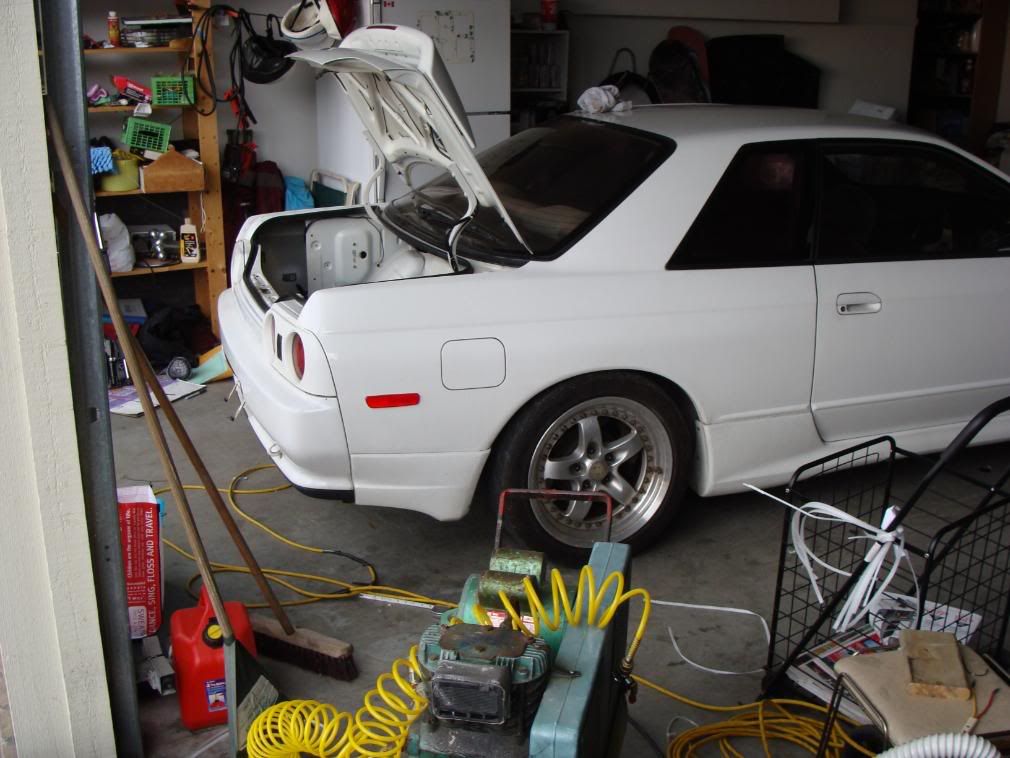
Well, I braved cutting my car today...It was scary, but I think the end result it very good!! I used marker's I got from dah_hunter from a lexus and they look a lot better than some other choices I've seen... Here is how it was done:
First of all, I picked with the help of hunter's keen eye where the best spot for our pretty lexus lights...here looks good.

This is a trick I thought would work the best for what we were needing to accomplish. This one isn't accurate, because I shaved off everything except the bulb housing...put lots of tape around the thing you need a whole of, and then transfer that onto the car so you know how much to cut!
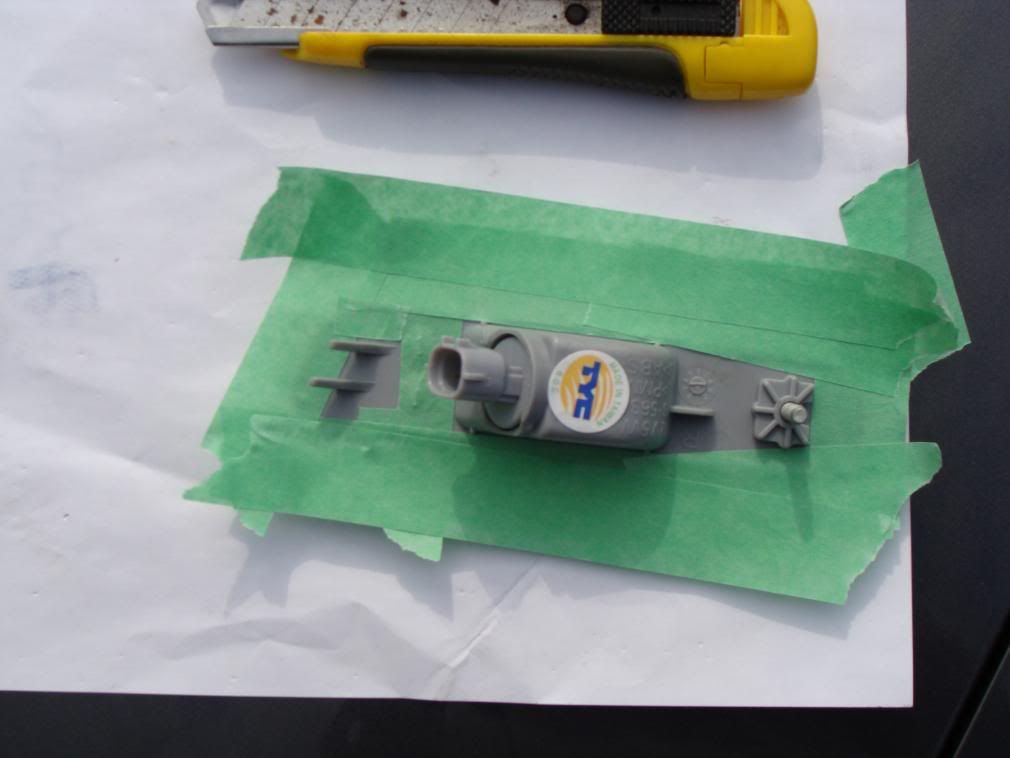
For reference, I eyeballed a line to where I wanted the marker to roughly line up with...
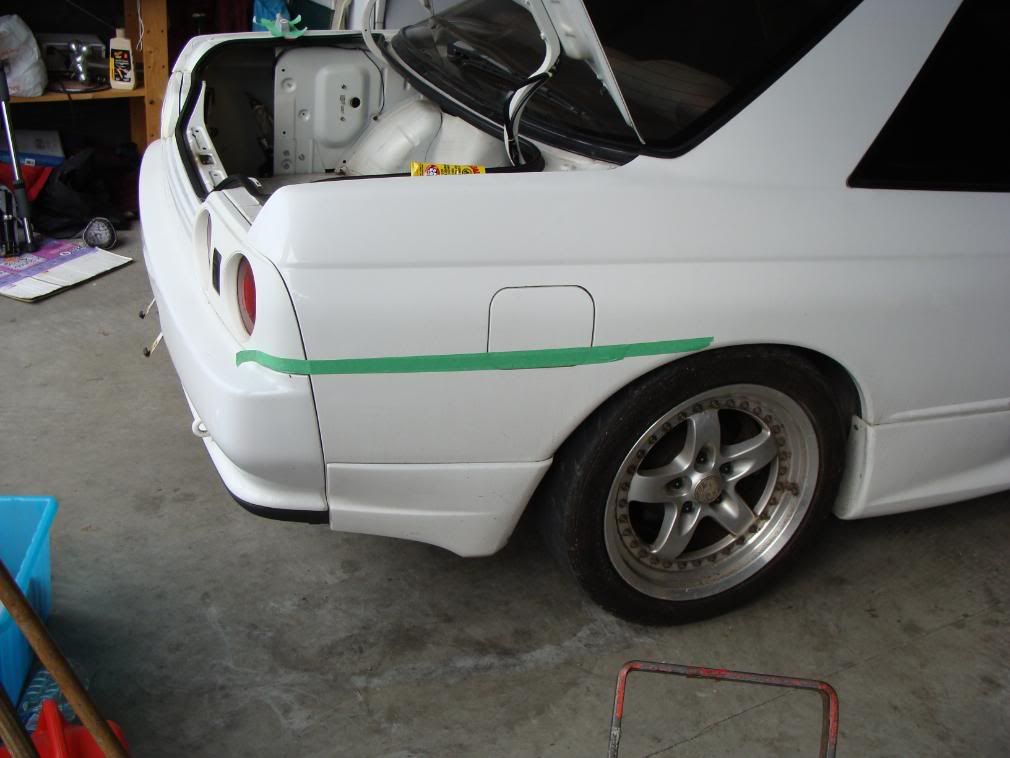
Then you carefully place the tape template where you want the marker to sit.
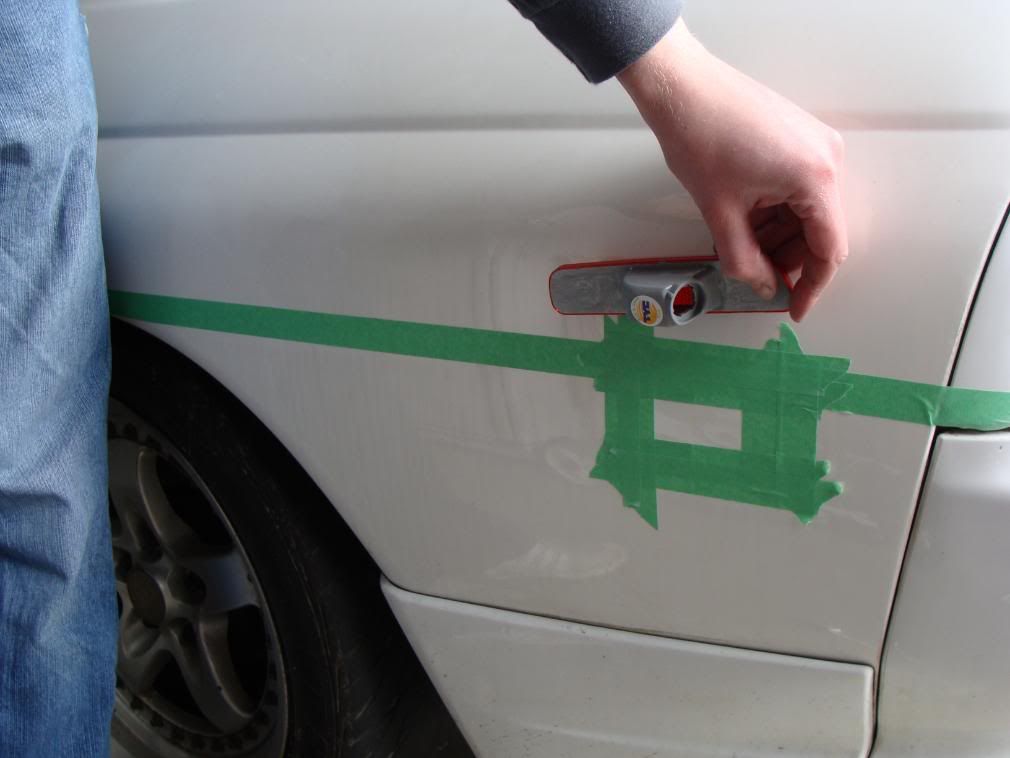
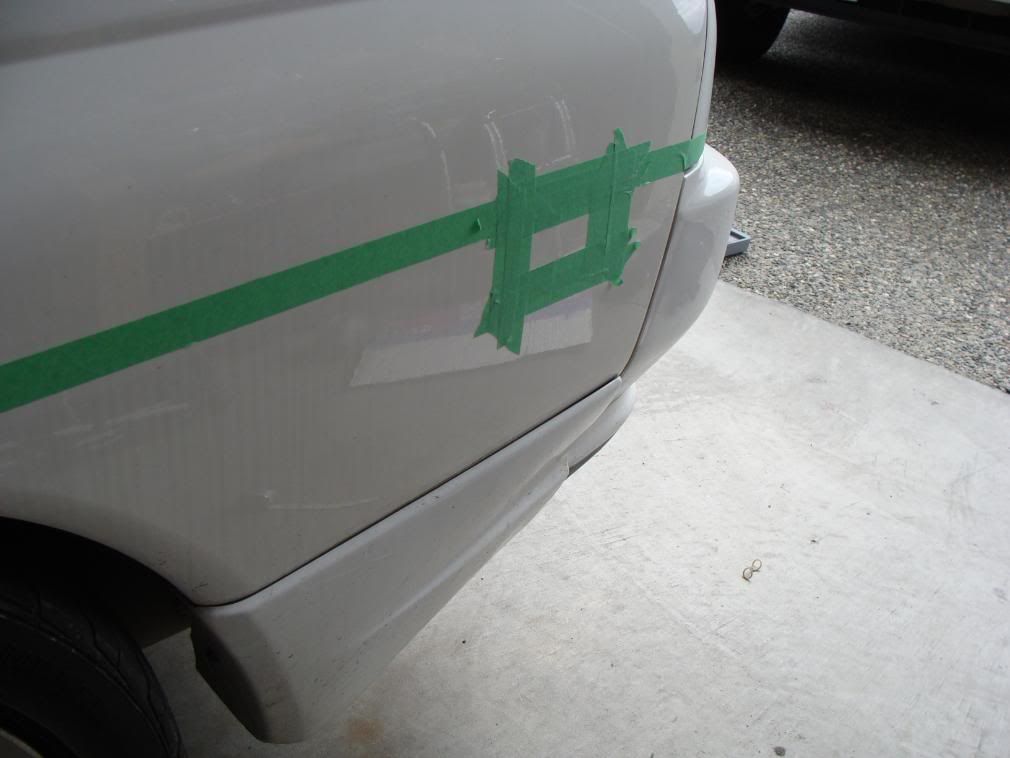
Then I also taped some paper around the hole for when I would be painting...
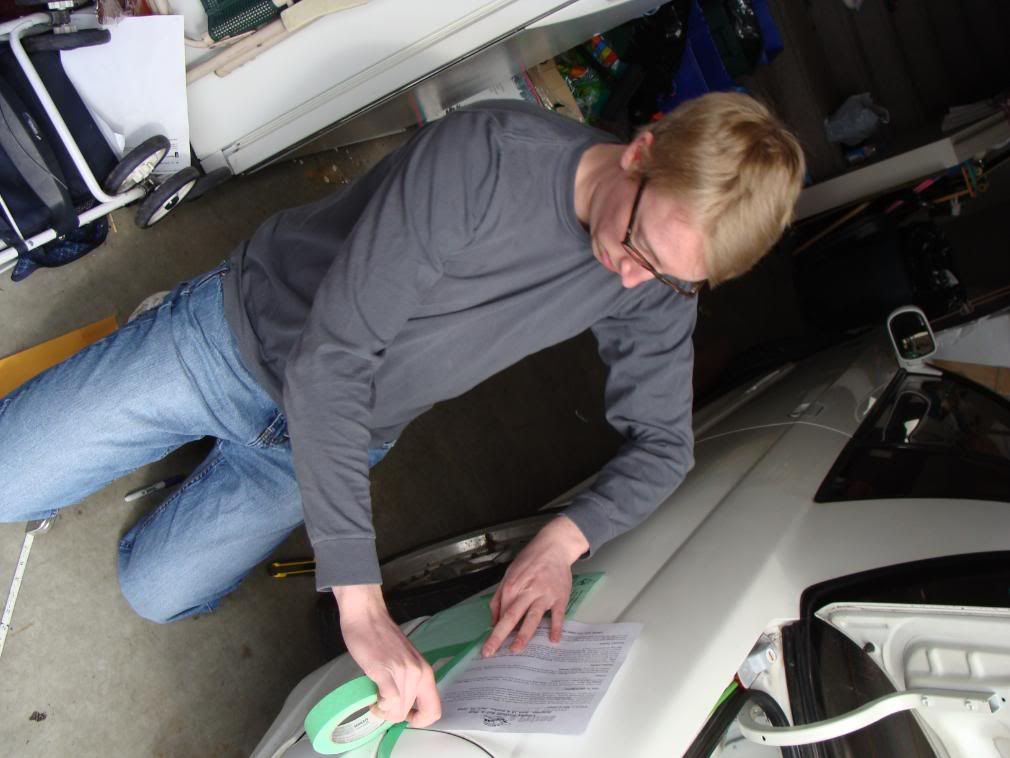
Making the first cut...was a little emotional. It was bawls out at this point.
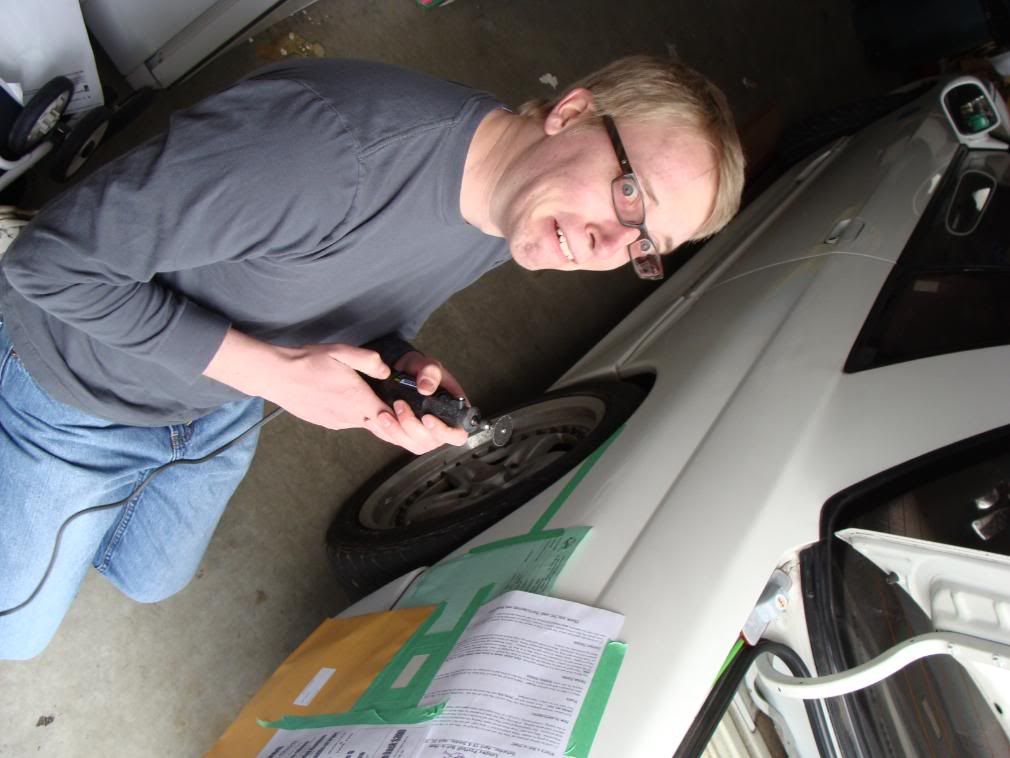
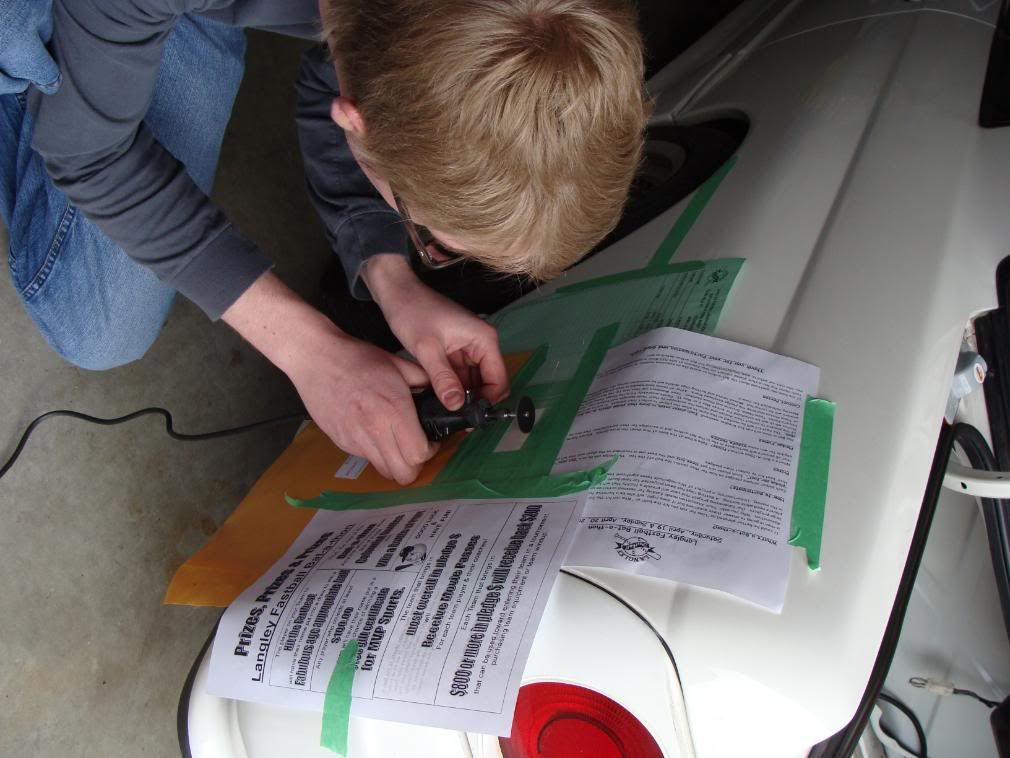
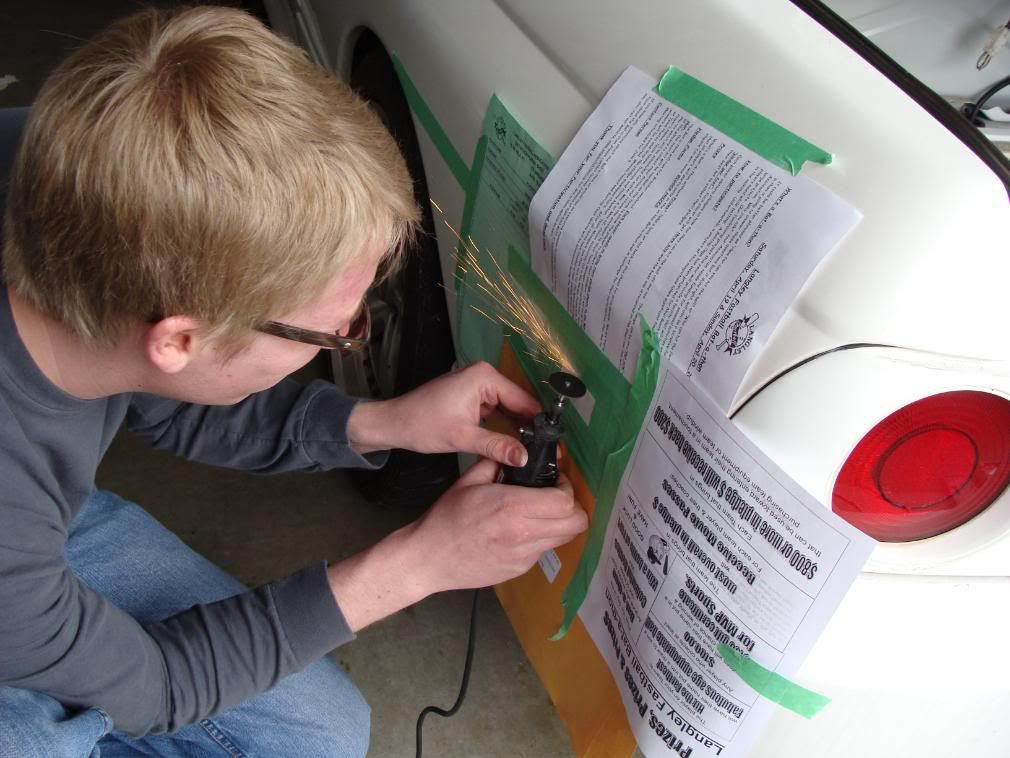
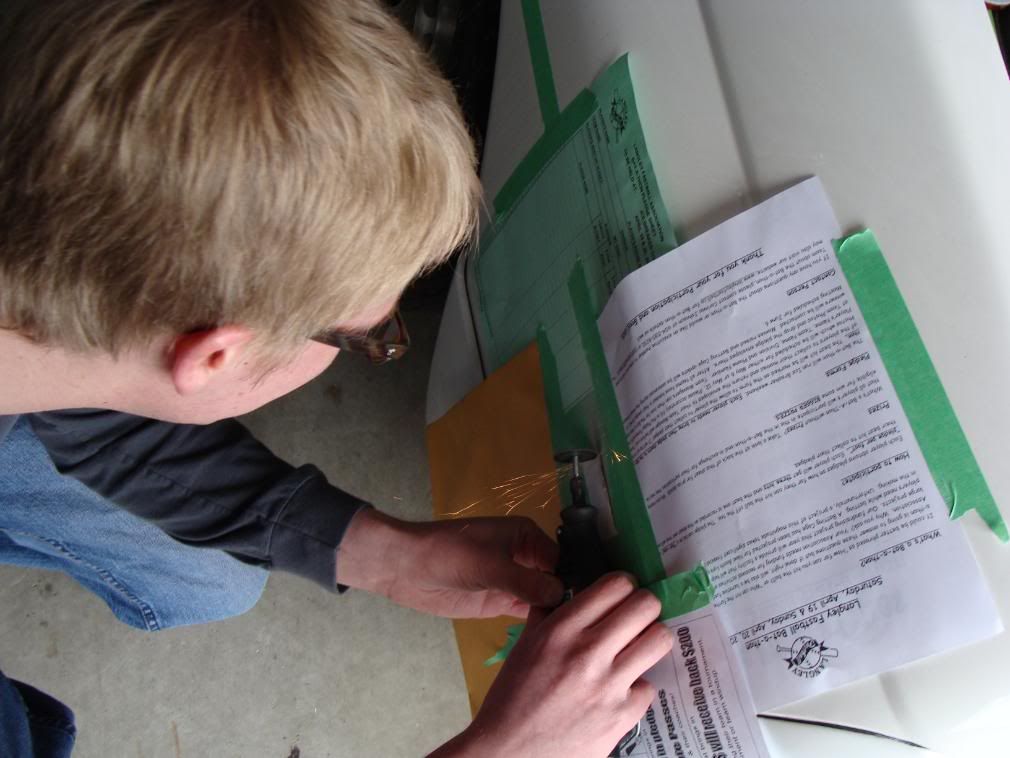
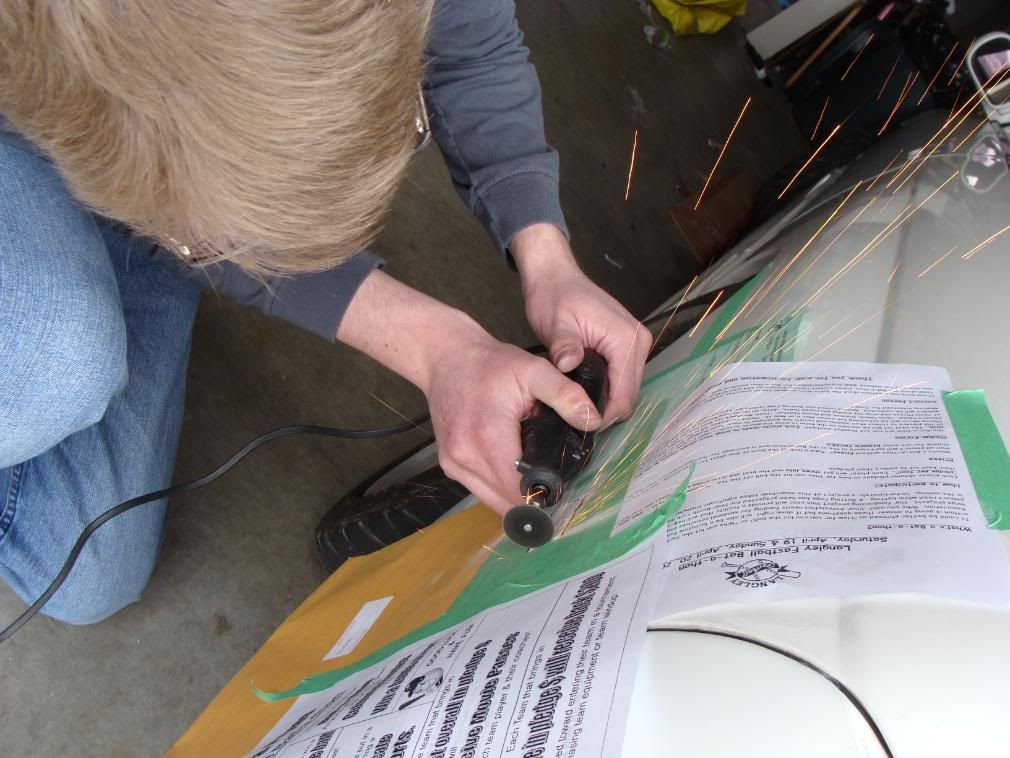
We have a hole!!
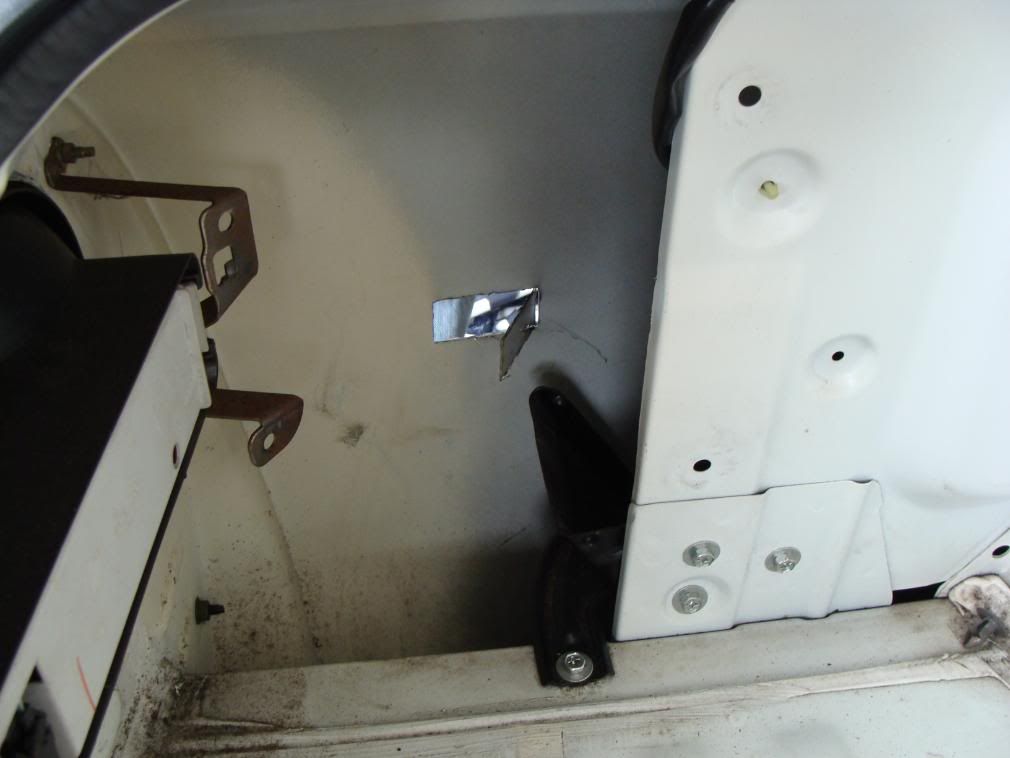
After sanding it smooth, apply primer or sealant to prevent corrosion
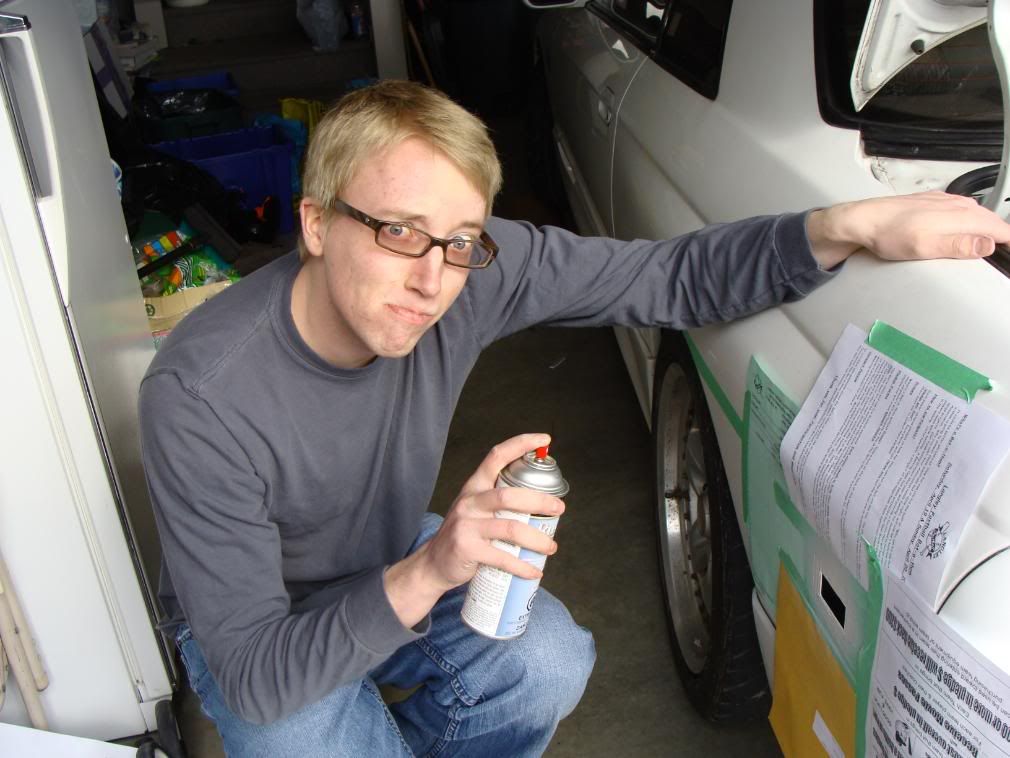
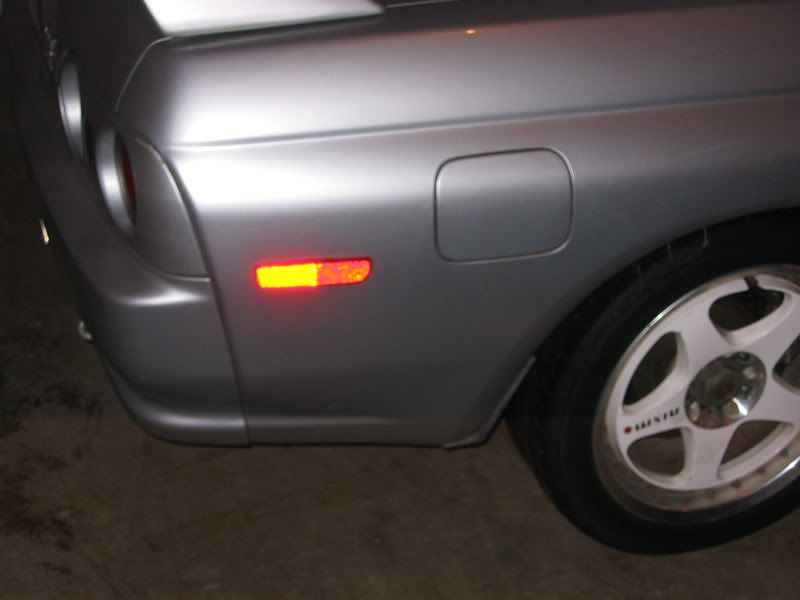
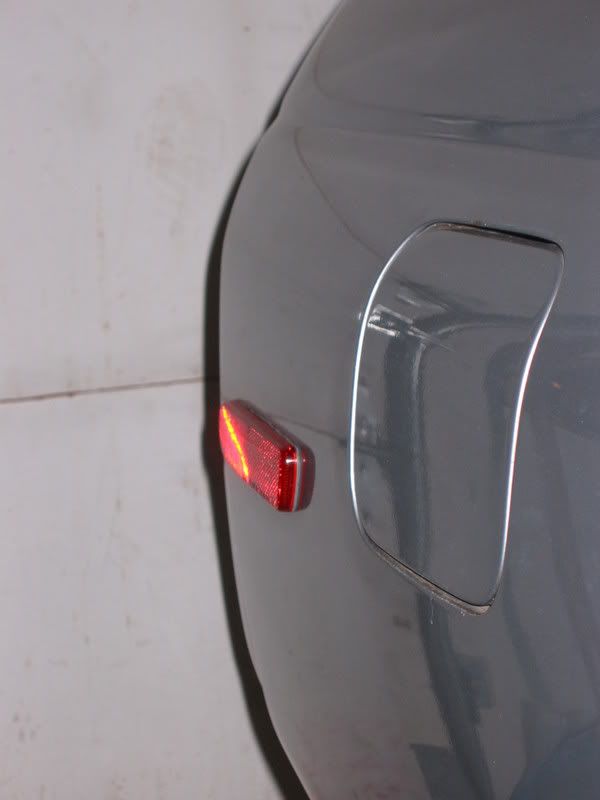
FINAL PRODUCT!!!
I think it looks pretty damn good!! I attached the light with clear silicone as that stuff will hold amazingly well, and will also seal it up at the same time. It's also one of the esiest to use, and more forgiving...easy to remove if booboo's happen. I used a different glue on the other side and it wasn't good...I know have to spend some extra time cleaning up around the light, and then beading it with some silicone.
The markers were then spliced into the rear tail's. I will post some night pics when I have some time...these look very nice!
If anyone needs help, feel free to shoot me a PM.
Cheers!!
First of all, I picked with the help of hunter's keen eye where the best spot for our pretty lexus lights...here looks good.

This is a trick I thought would work the best for what we were needing to accomplish. This one isn't accurate, because I shaved off everything except the bulb housing...put lots of tape around the thing you need a whole of, and then transfer that onto the car so you know how much to cut!

For reference, I eyeballed a line to where I wanted the marker to roughly line up with...

Then you carefully place the tape template where you want the marker to sit.


Then I also taped some paper around the hole for when I would be painting...

Making the first cut...was a little emotional. It was bawls out at this point.


We have a hole!!

After sanding it smooth, apply primer or sealant to prevent corrosion

FINAL PRODUCT!!!
I think it looks pretty damn good!! I attached the light with clear silicone as that stuff will hold amazingly well, and will also seal it up at the same time. It's also one of the esiest to use, and more forgiving...easy to remove if booboo's happen. I used a different glue on the other side and it wasn't good...I know have to spend some extra time cleaning up around the light, and then beading it with some silicone.

The markers were then spliced into the rear tail's. I will post some night pics when I have some time...these look very nice!
If anyone needs help, feel free to shoot me a PM.
Cheers!!


Comment