 Tweet
Tweet
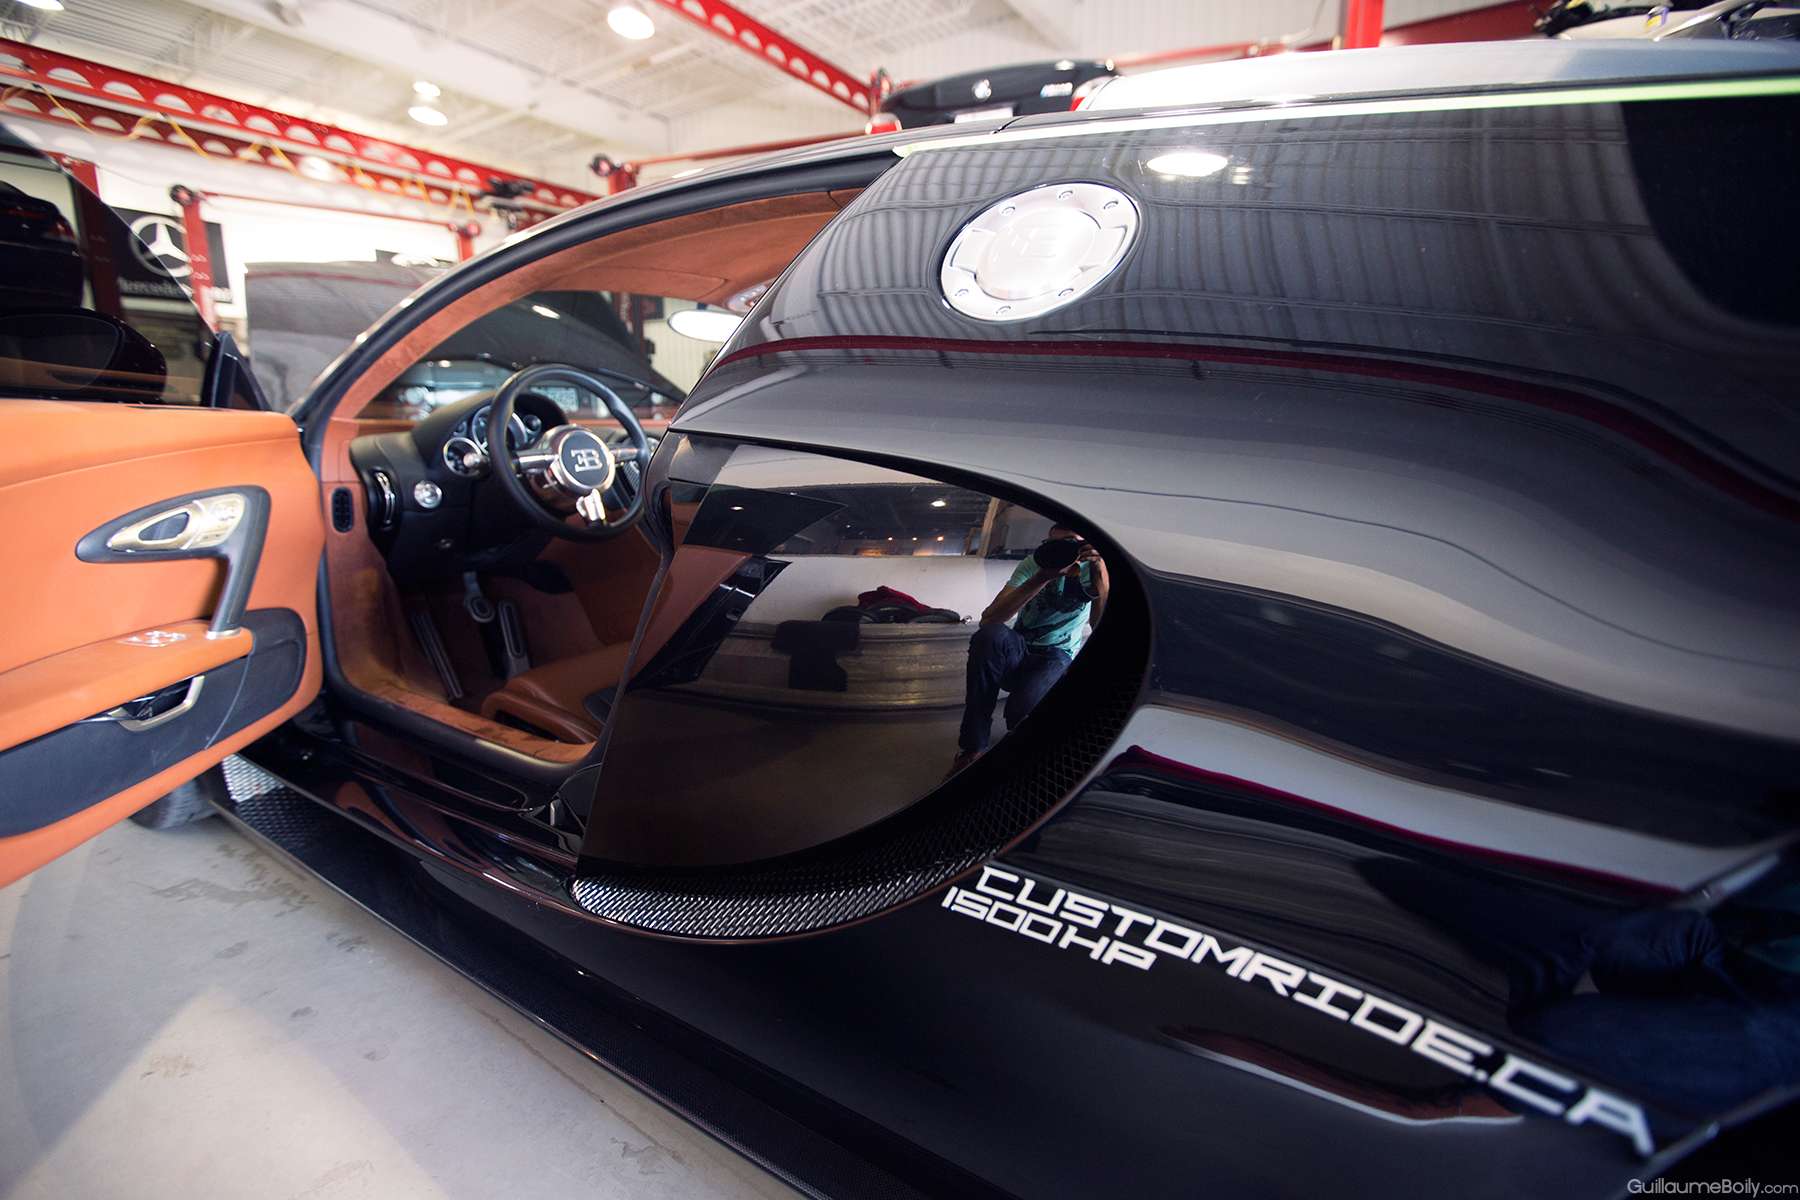
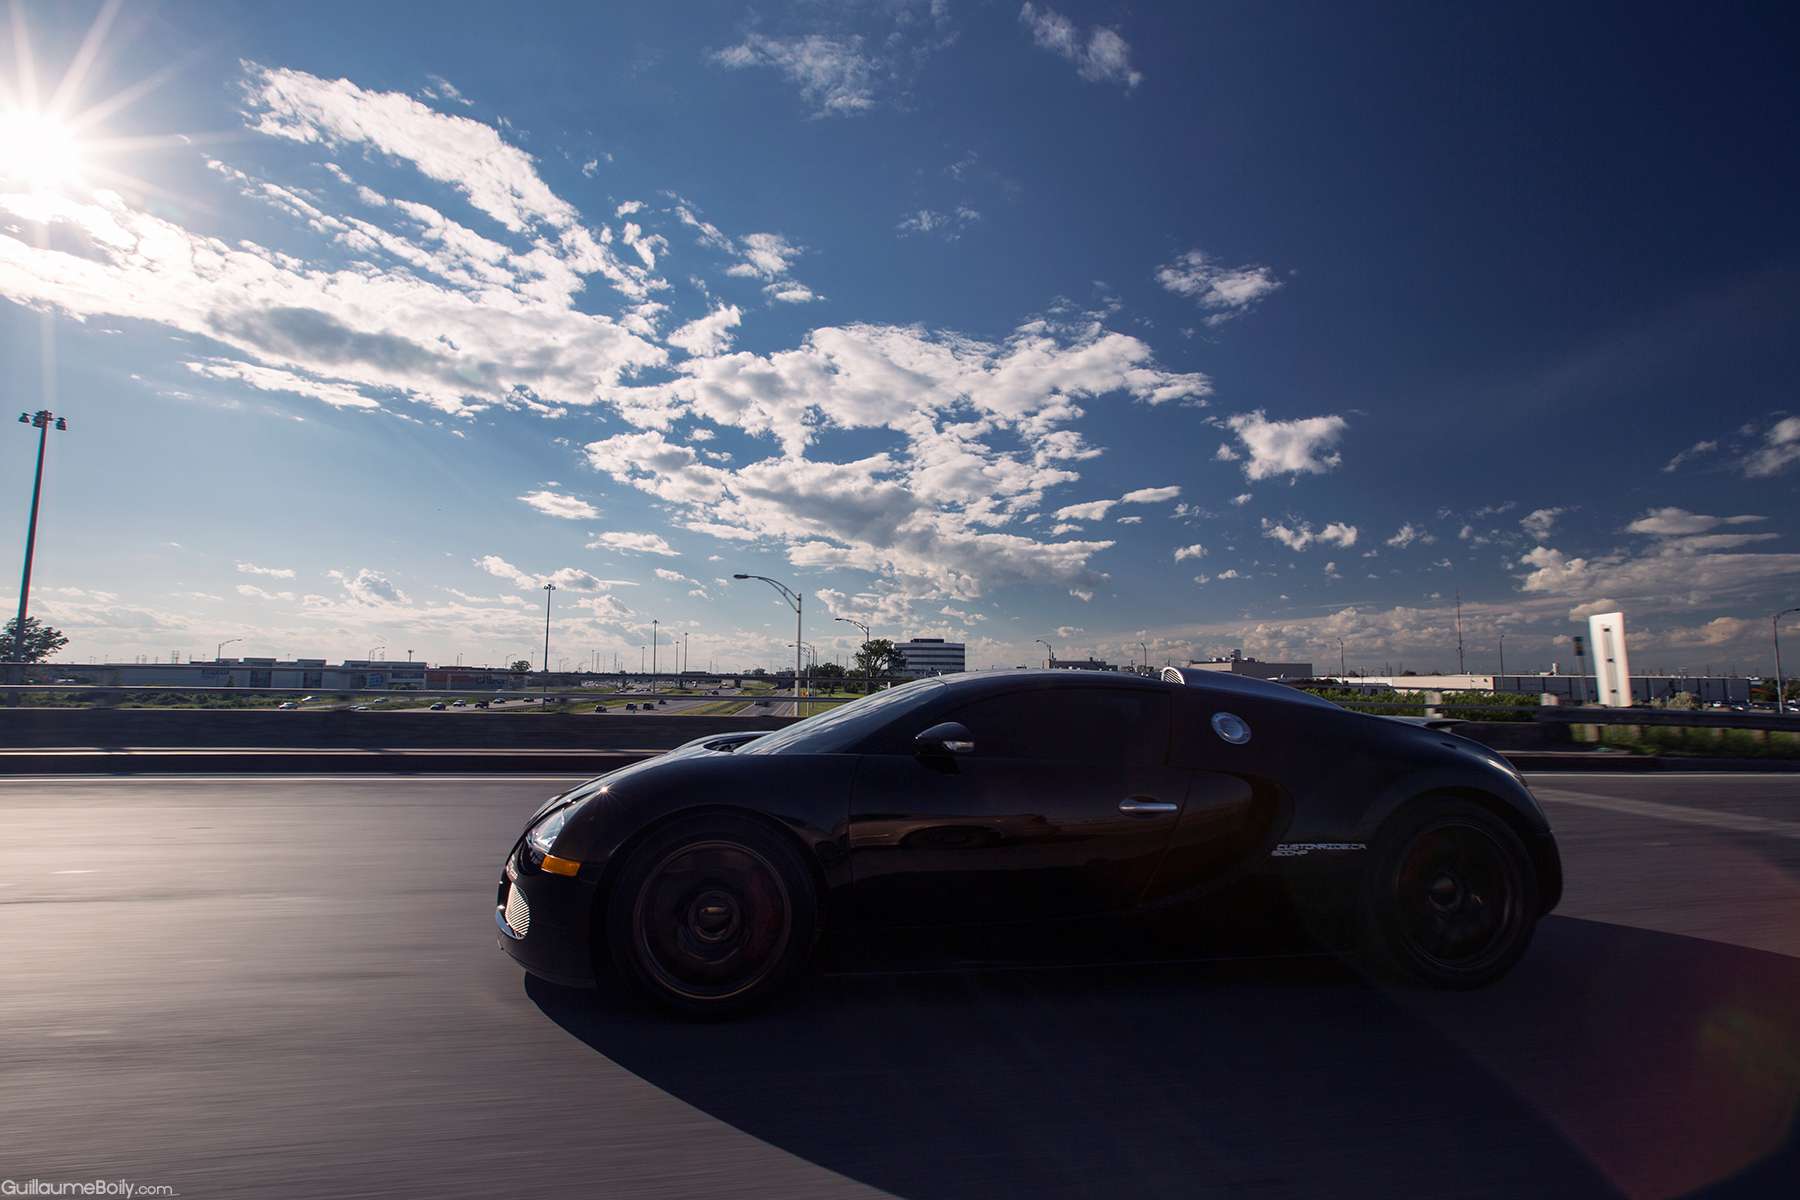
So this is ‘’ part 2’’ of my detailing on this modded Bugatti Veyron. Why part 2 ? Because last time, I had to kind of rush my detail in order to have the car fully detailed before it leaves to the Grand Prix of Monaco. Then.. the car came back to Montreal for the Grand Prix of Montreal, plan was ; I get the car Friday morning around 10am.. I got it at 14h45 and car had to leave back at 16h in traffic hours so the car could be expose in Montreal’s street and be used in a videoclip made by 2 rappers.. From what I know, the videoclip never happened because 1. 50 cent never got into Canada (lol!) and 2. It was raining quite bad.
Je vous présente la partie 2 de ce detail sur la Bugatti Veyron mécaniquement modifié. Pourquoi partie 2 ? Parce que j’ai touché la voitures quelques fois depuis 2013, mais c’et la deuxičme fois oů j’ai vraiment plus qu’une heure, 1h30 avec la voiture. La derničre fois, j’étais pas mal pressé du fait que l’auto avait un petit videoshoot promo et devait partir pour le grand Prix de Monaco. L’auto revient ŕ Montréal pour le Grand Prix. J’attendais la voiture pour 9-10h am, elle est arrive ŕ 14h45 et devait repartir ŕ 16h. J’ai donc pas encore eu le temps de detailed la voiture comme il se devait. L’auto était supposé faire partie d’un videoshoot, mais ce n’est jamais arrivé du fait que 50cent a jamais réussi ŕ traverser le pays et qu’il pleuvait pas mal fort cette journée ( trčs dommage).
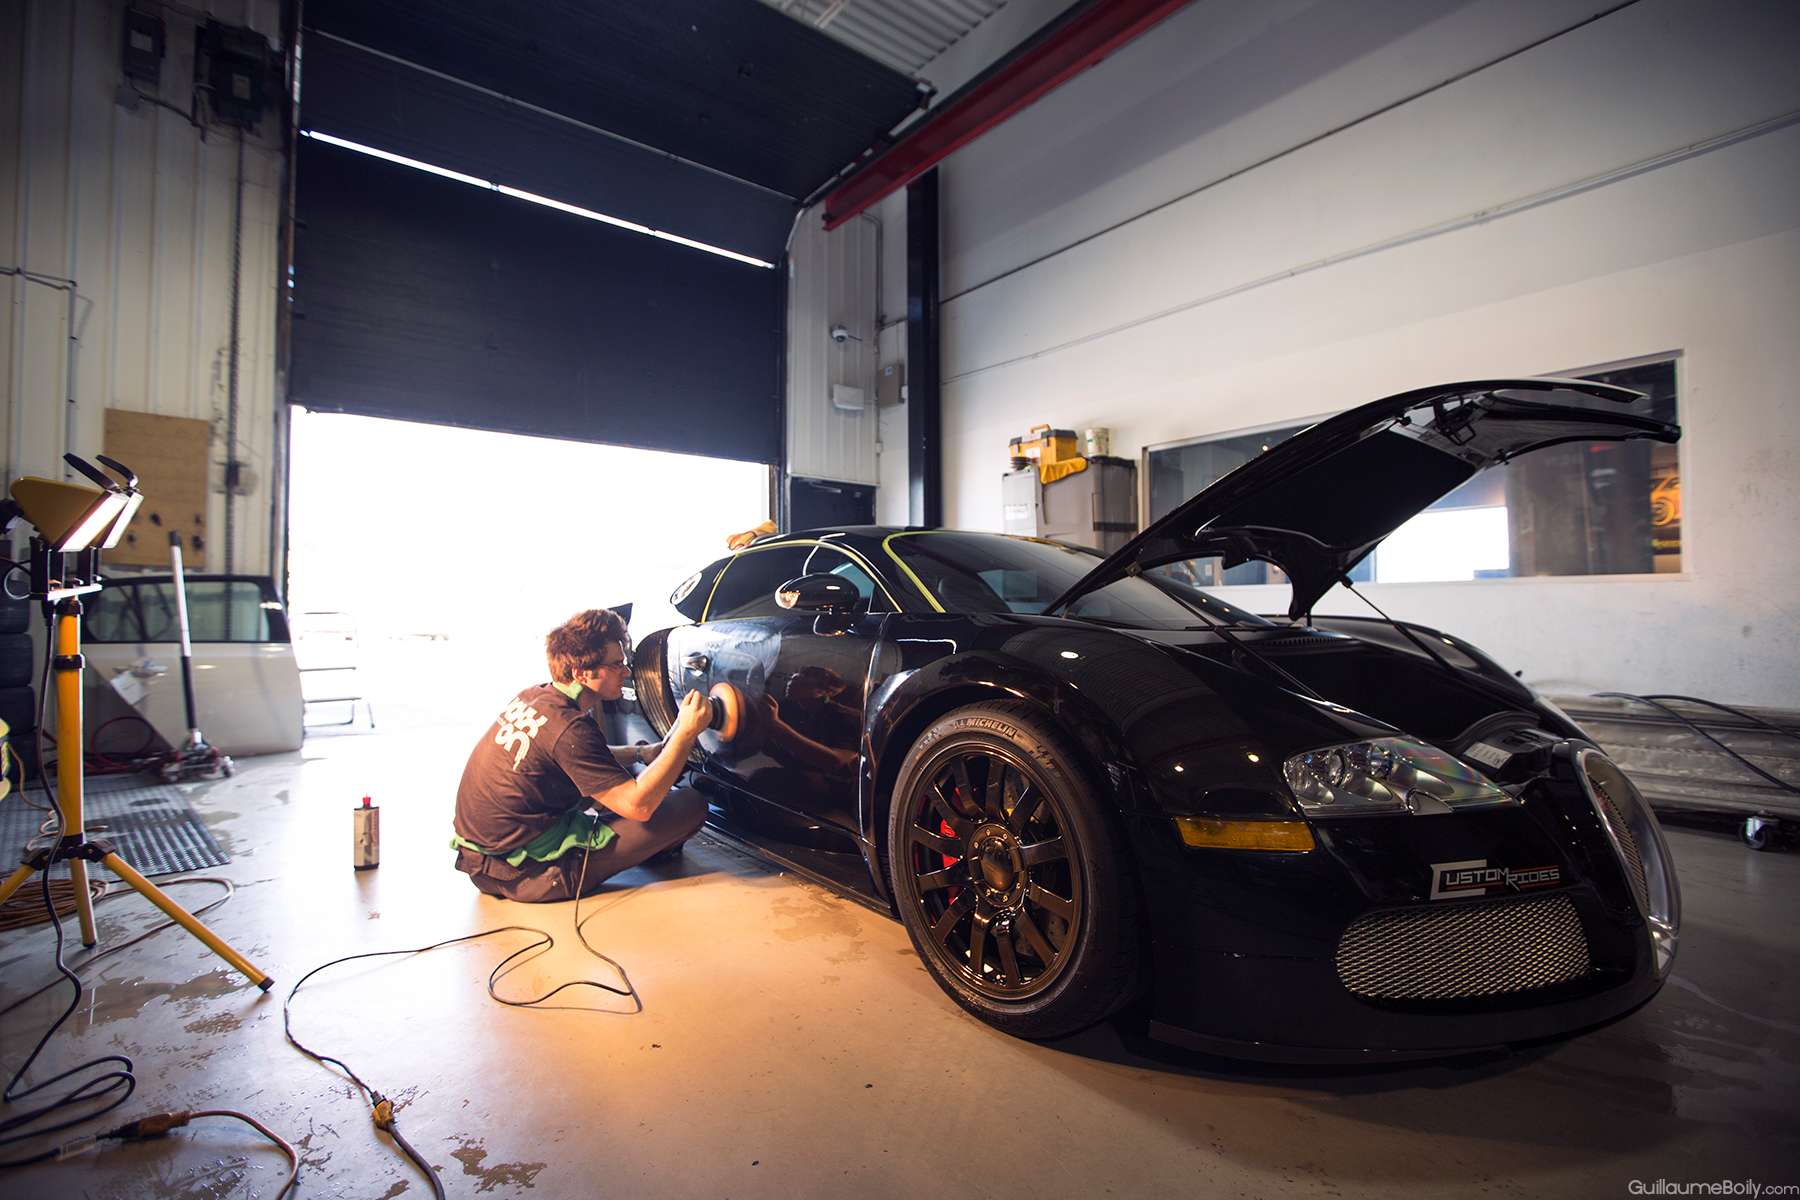
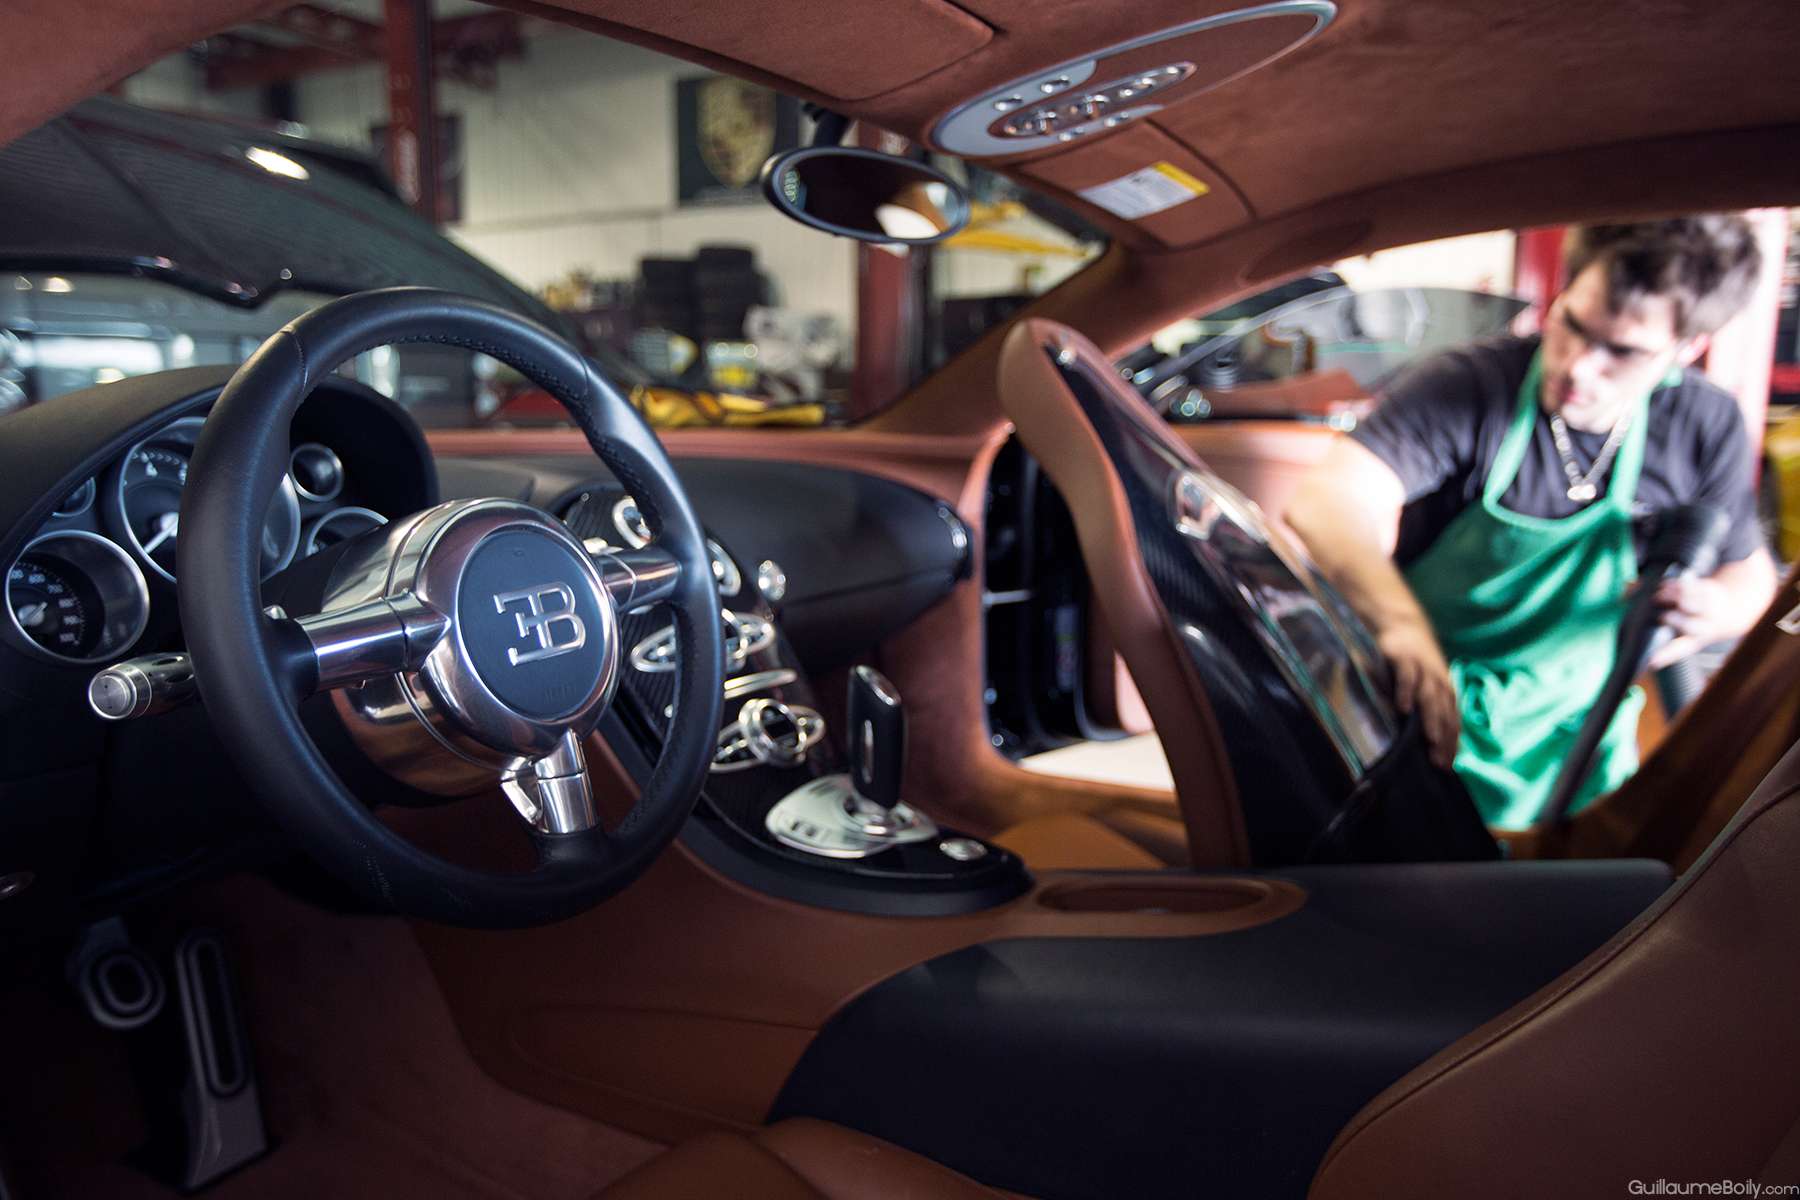
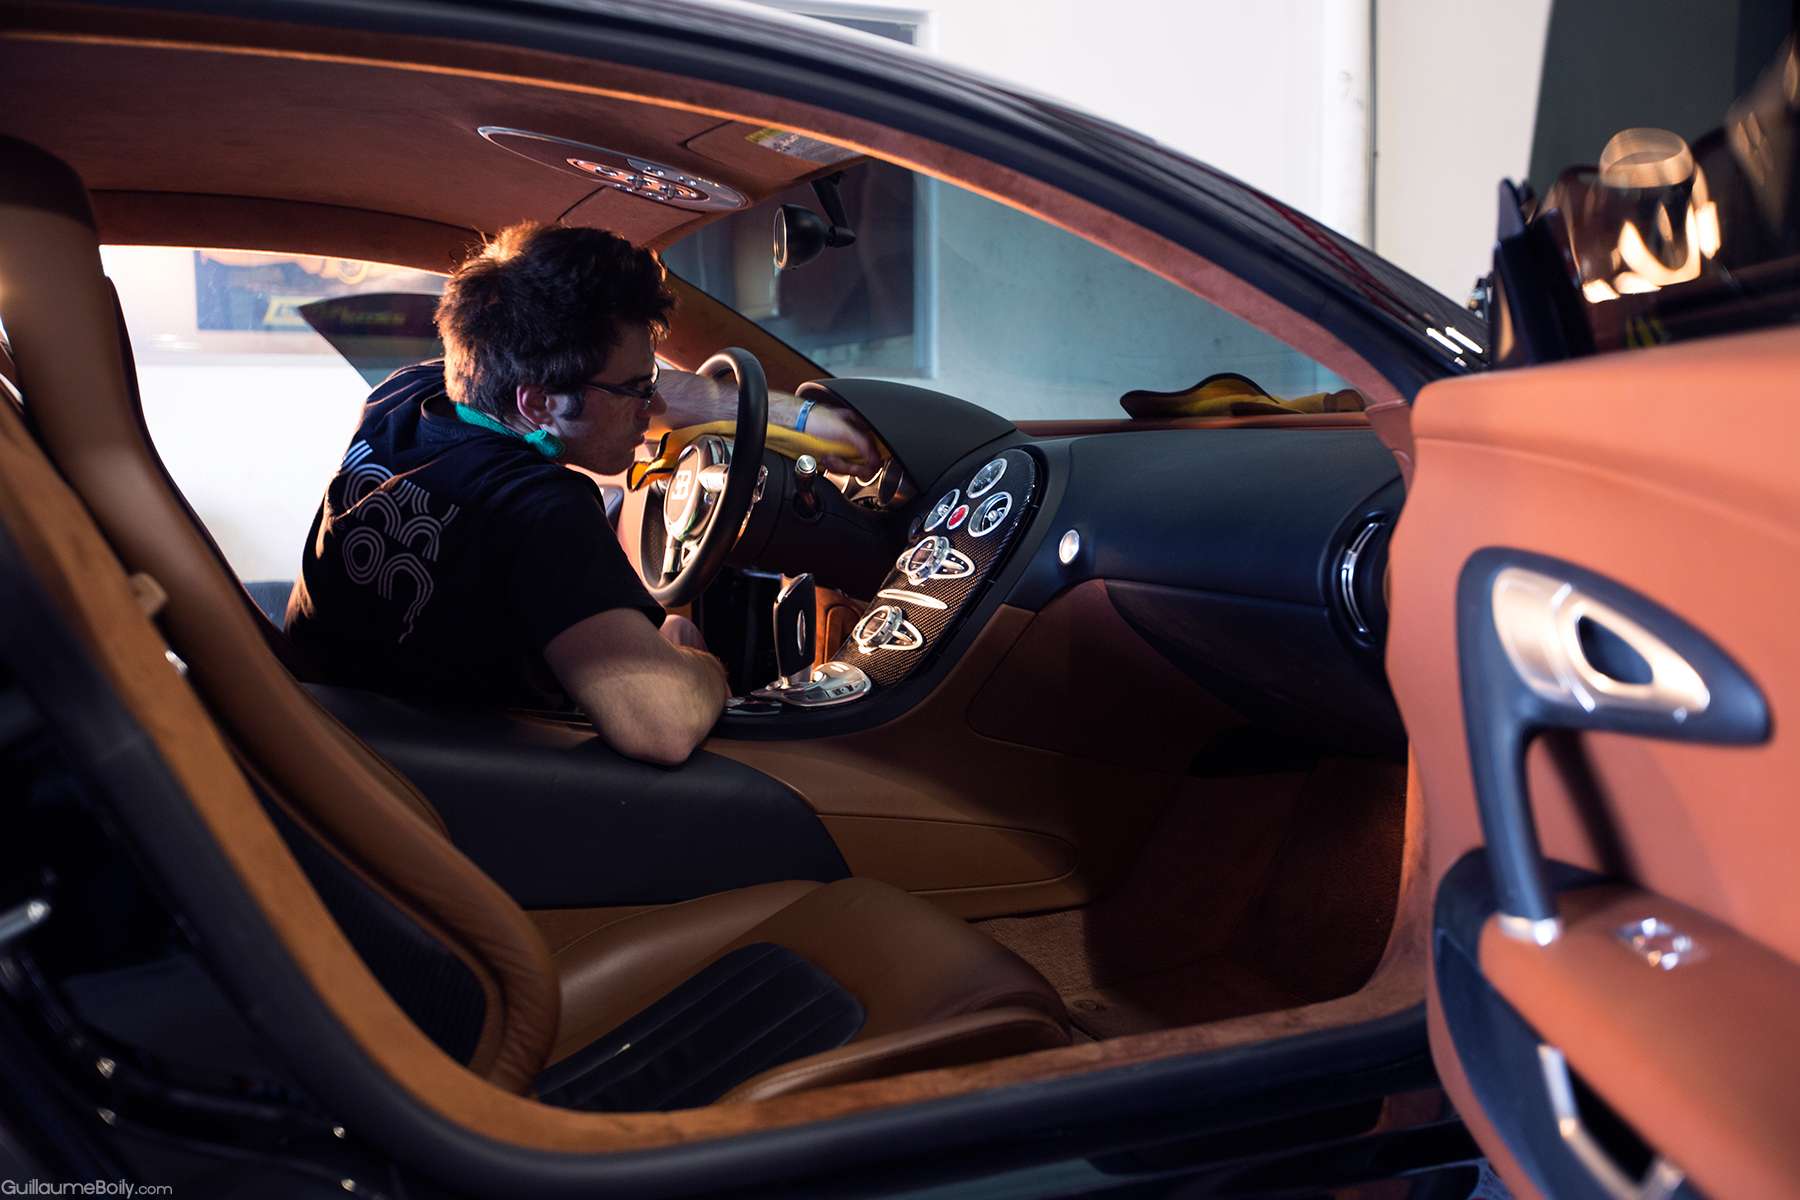
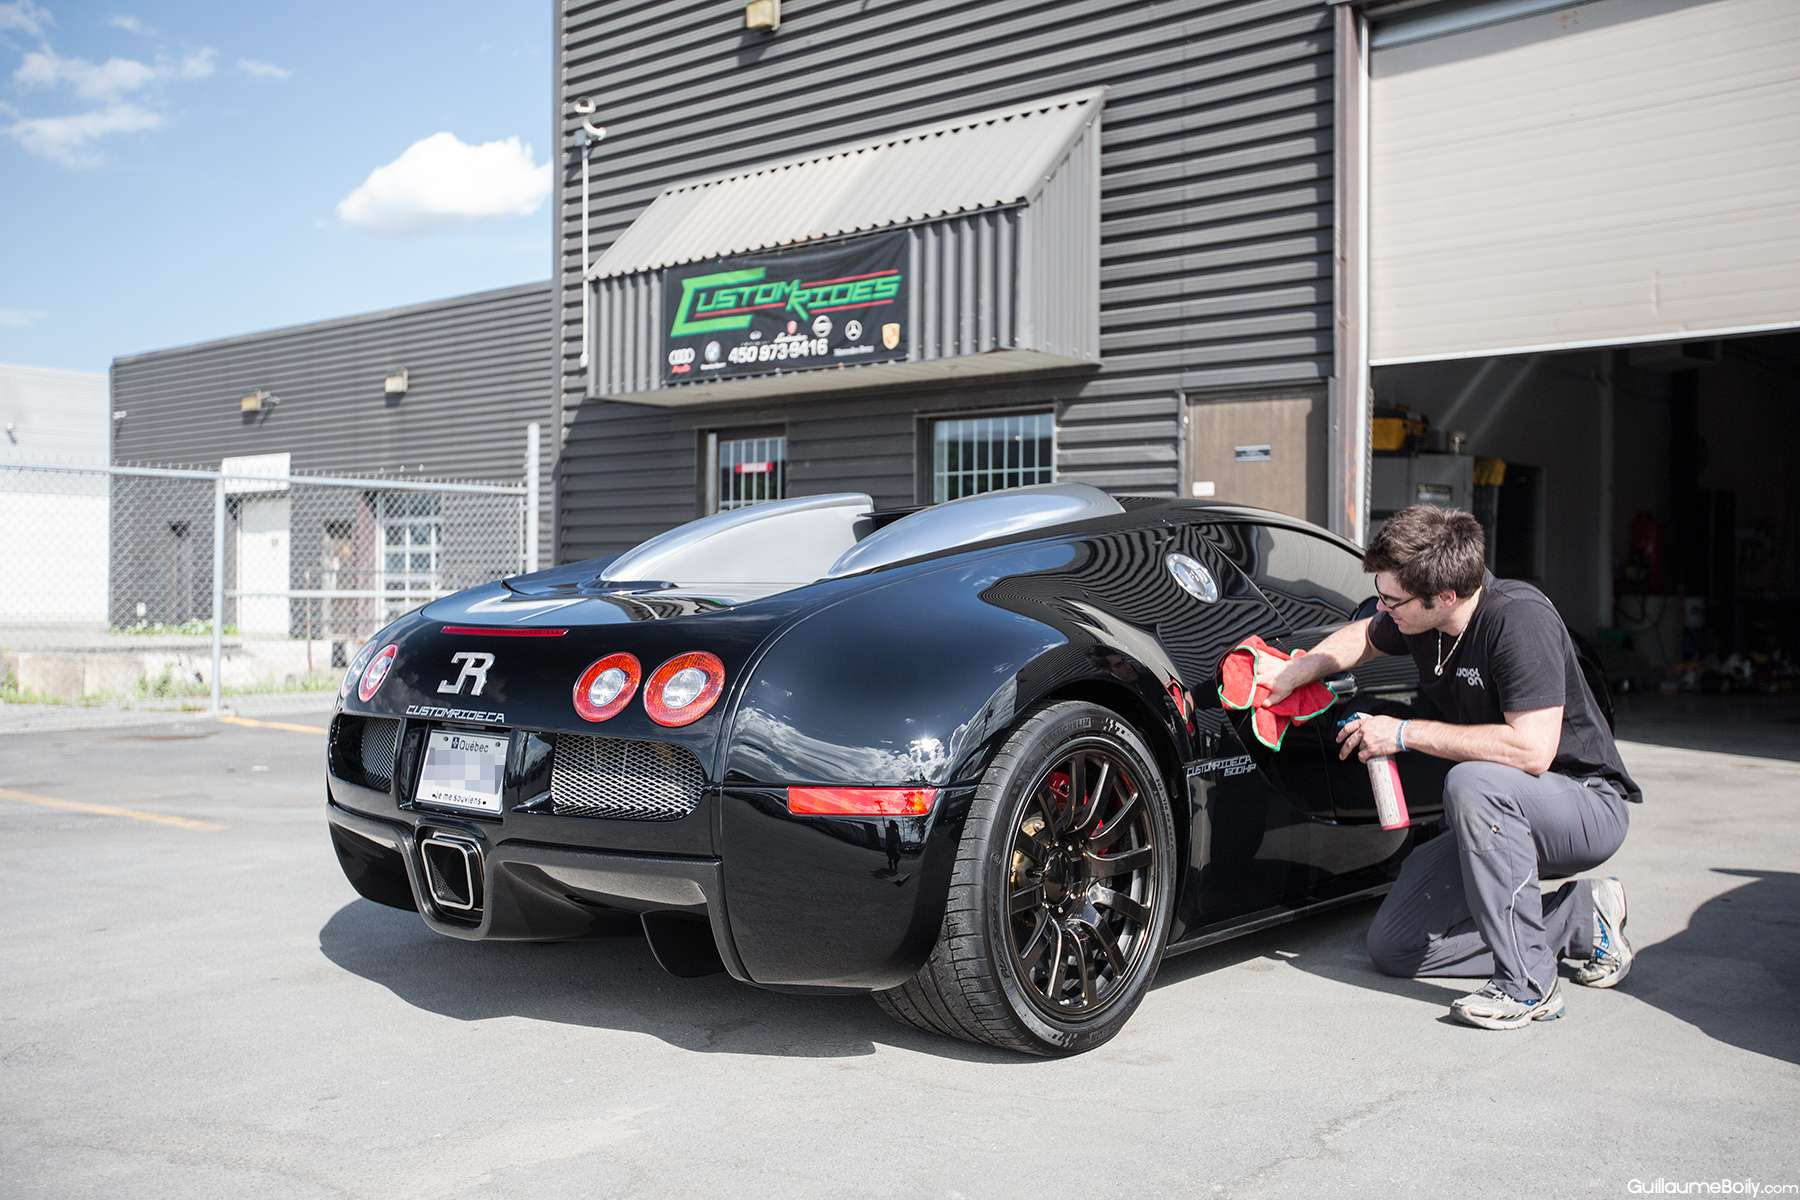
Donc, aprčs les festivités, j’ai finalement pu avoir un beau tęte-ŕ-tęte avec la voiture. Premičre chose que j’ai fait c’est demandé ŕ mon ami ( http://guillaumeboily.com) qui prend des photos de qualité pour que vous puissiez avoir la chance de me voir en action et aussi pour faire différent de nos point and shoot typique.Finalement, je lui ai aussi demandé s’il pouvait nous faire un petit vidéo montrant les différentes étapes puisque vous avez été nombreux ŕ réclamé un vidéo démontrant les différentes étapes d’un detail; quoi de mieux qu’une veyron pour cela ?
So.... after the festivity, I FINALLY got a proper date head to head with this beauty so next thing you know, I called my good buddy Guillaume Boily (http://guillaumeboily.com) to take quality pictures and bring you an exceptional quality thread with before/work in progress/after detail. Guillaume also managed to take a video of it which at the moment of writing this is still not available. So relax, have your favorite drink and enter in the world of Bugatti.
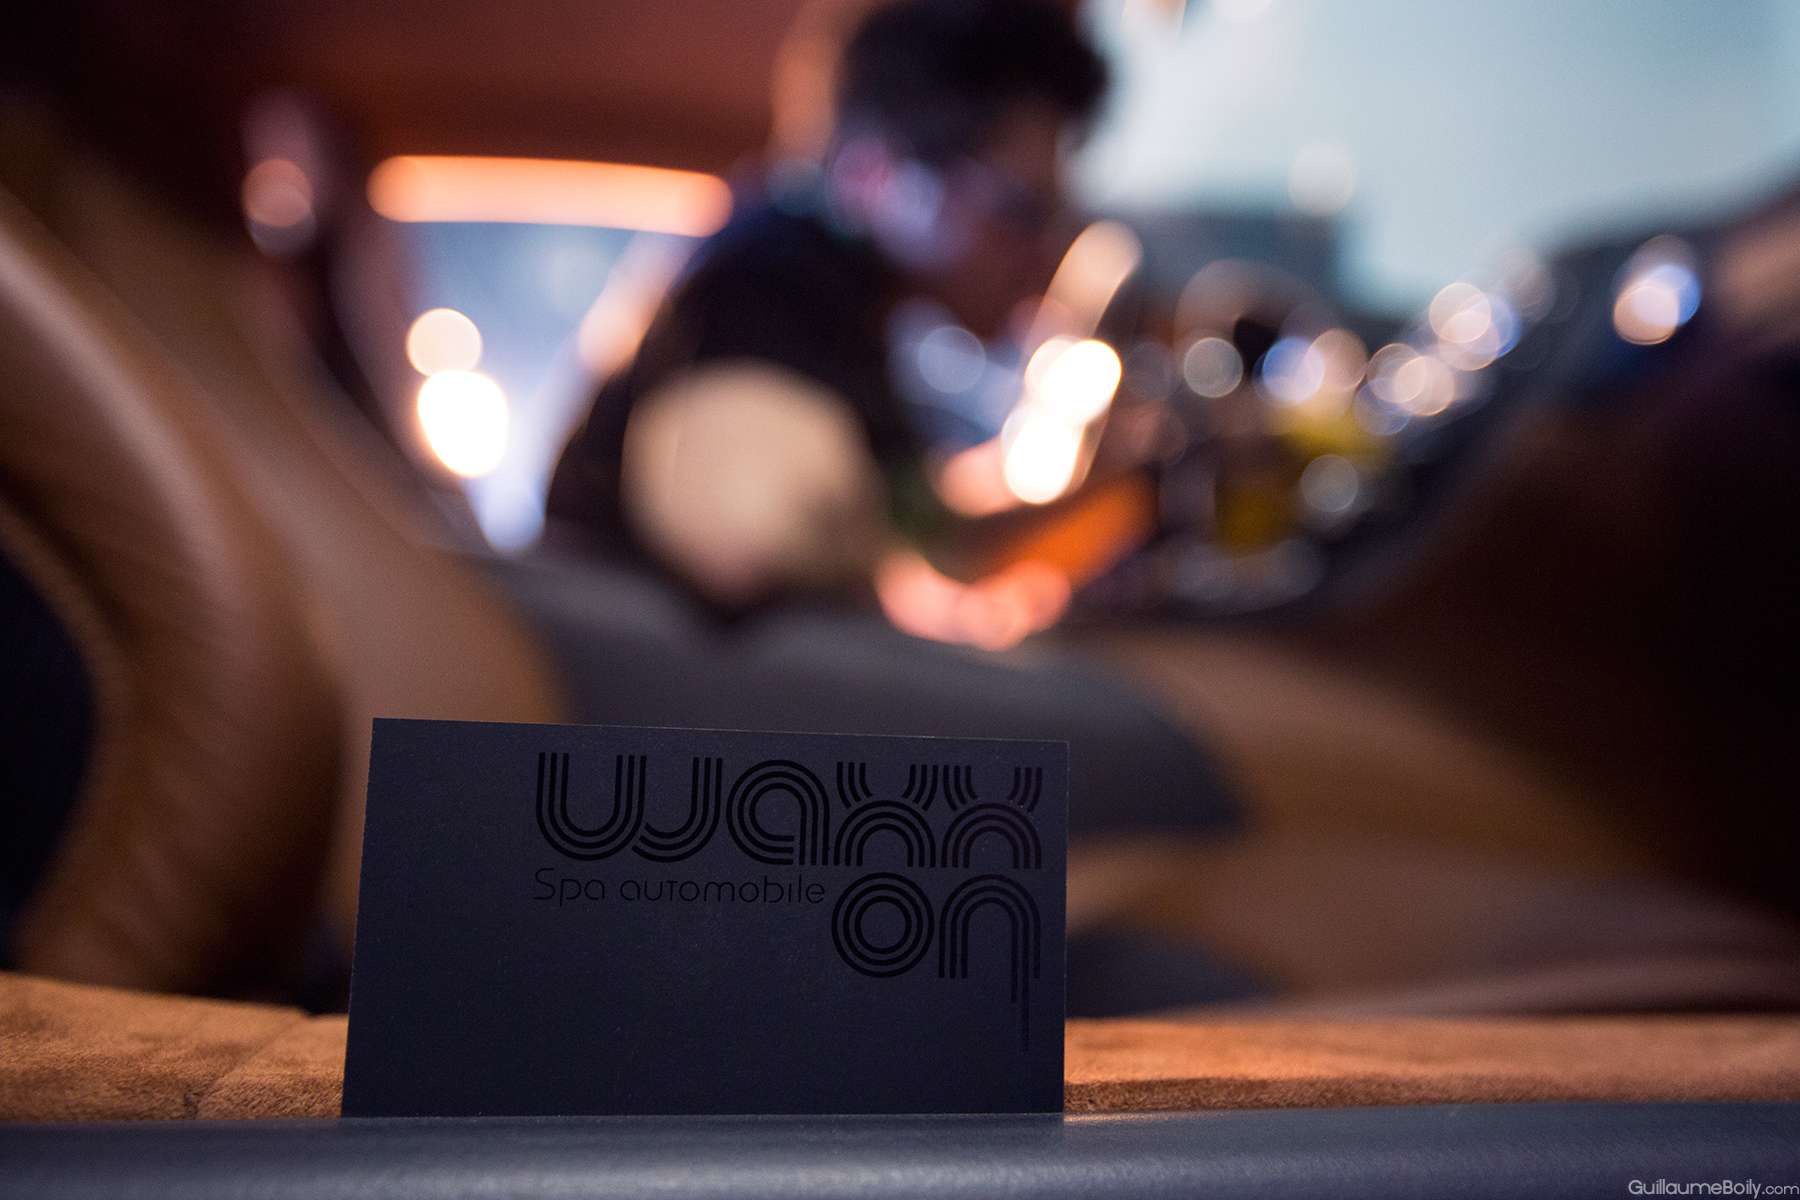
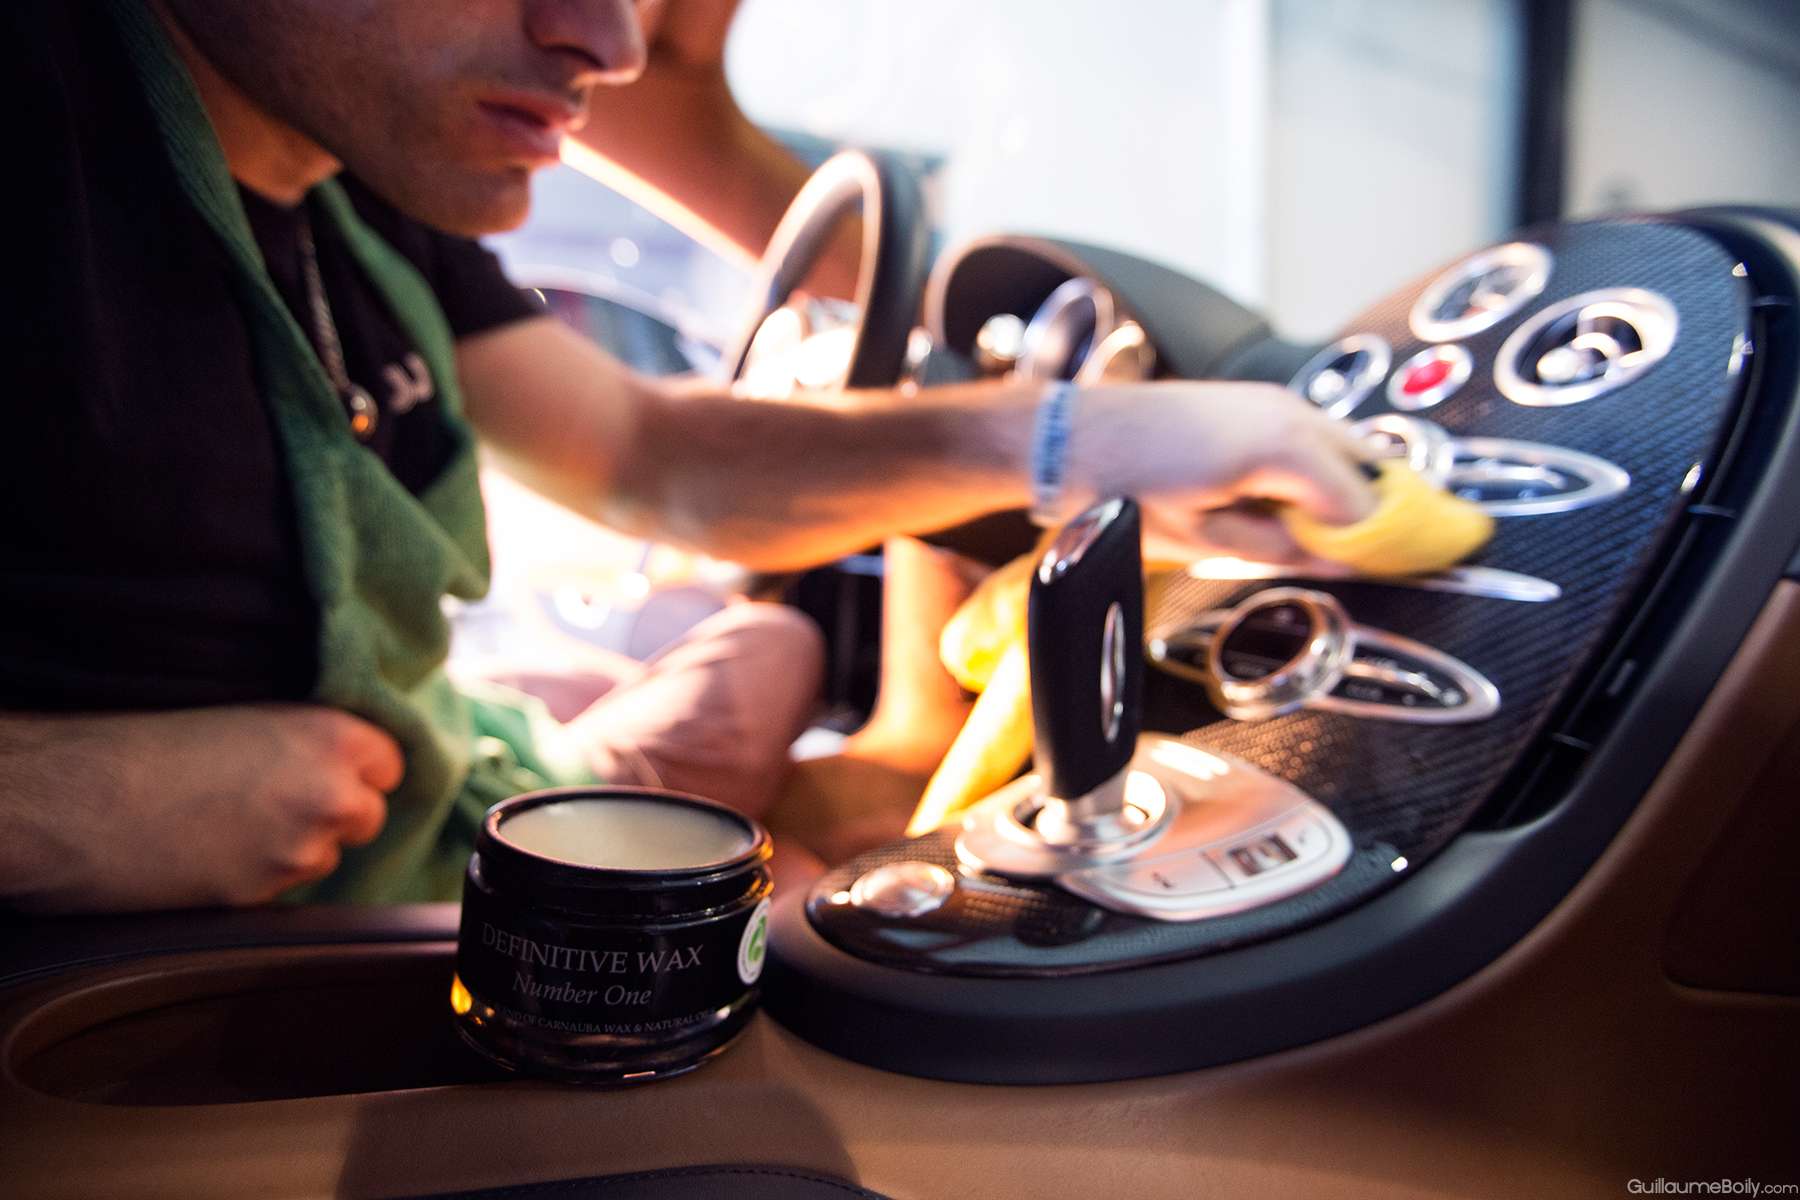
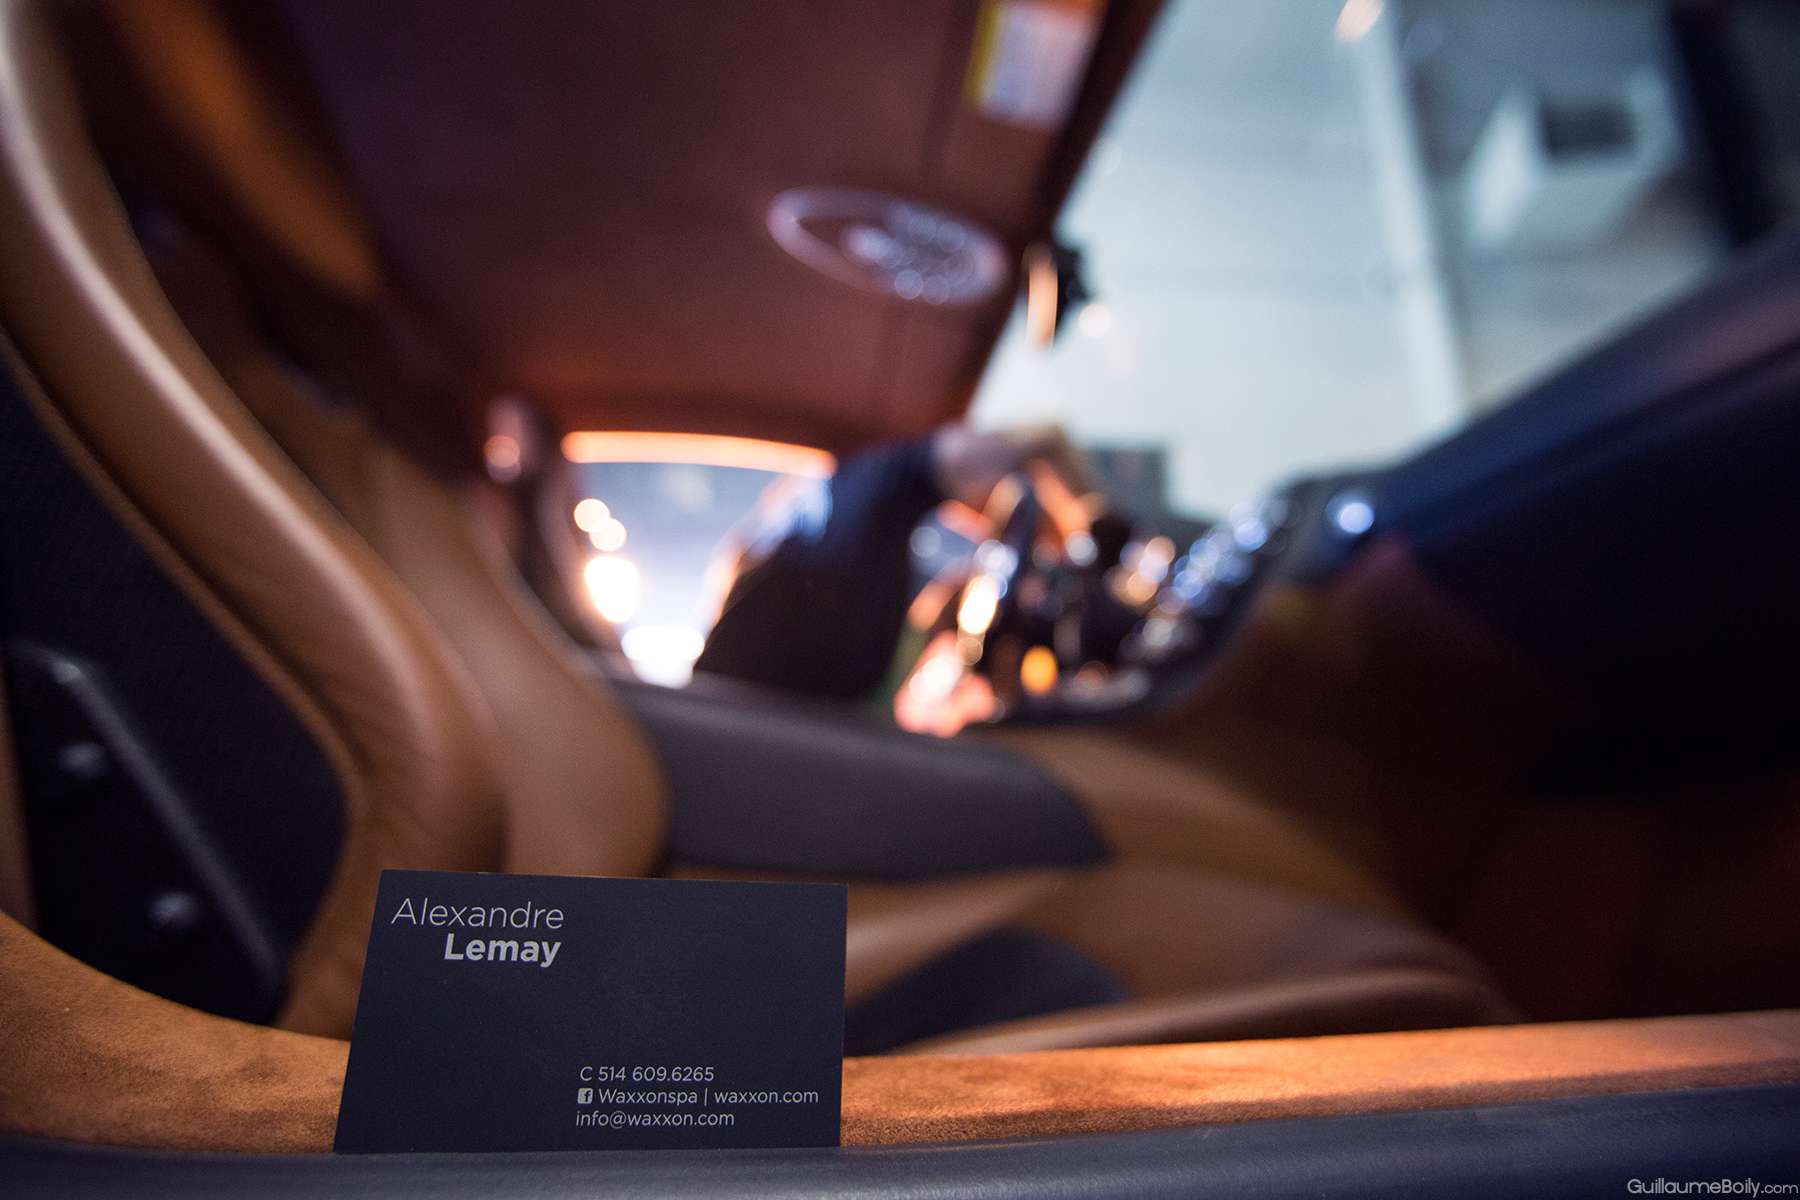
Brought to you by Waxxon Spa Automobile:
Ce thread vous ai présenté par Waxxon Spa automobile :
L’auto fut poli il y a un mois, mais comme toute bonne chose prend du temps, je fus débordé avec mon voyage d’affaire ŕ Halifax et j’ai du retardé l’écriture de ce thread. Le video va plutôt mettre en valeur le début du detail tandis que plus le progrčs avançait plus guillaume prenait de photo pour délaissé un peu le vidéo.
Voici une liste non-exhaustive des produits utilisés, mais ça donne une bonne idée quand męme du ‘’plus gros’’.
The car was done 1 month ago but got way too busy with my detailing trip to Halifax and other concerns in Montreal to post it any sooner. None the least, I believe the car still look as good as it was the day it left the shop.
The video will showcase most of the beginning process so the picture are more focused toward the polish/finishing/after-pic
Product used:
2-bucket wash method using Raceglaze Nano Soap
Sea Sponge Mitt
Sonax Wheel cleaner + various Wheel woollies / Raceglaze brushes
SansZo waterless wash as a clay lube with Raceglaze clay bar
3M masking tape
Gold Microfiber for drying
Menzerna and HD compound/polish
Raceglaze pink paint cleanse
Our own exclusive formula of Raceglaze Black Label Special Reserve
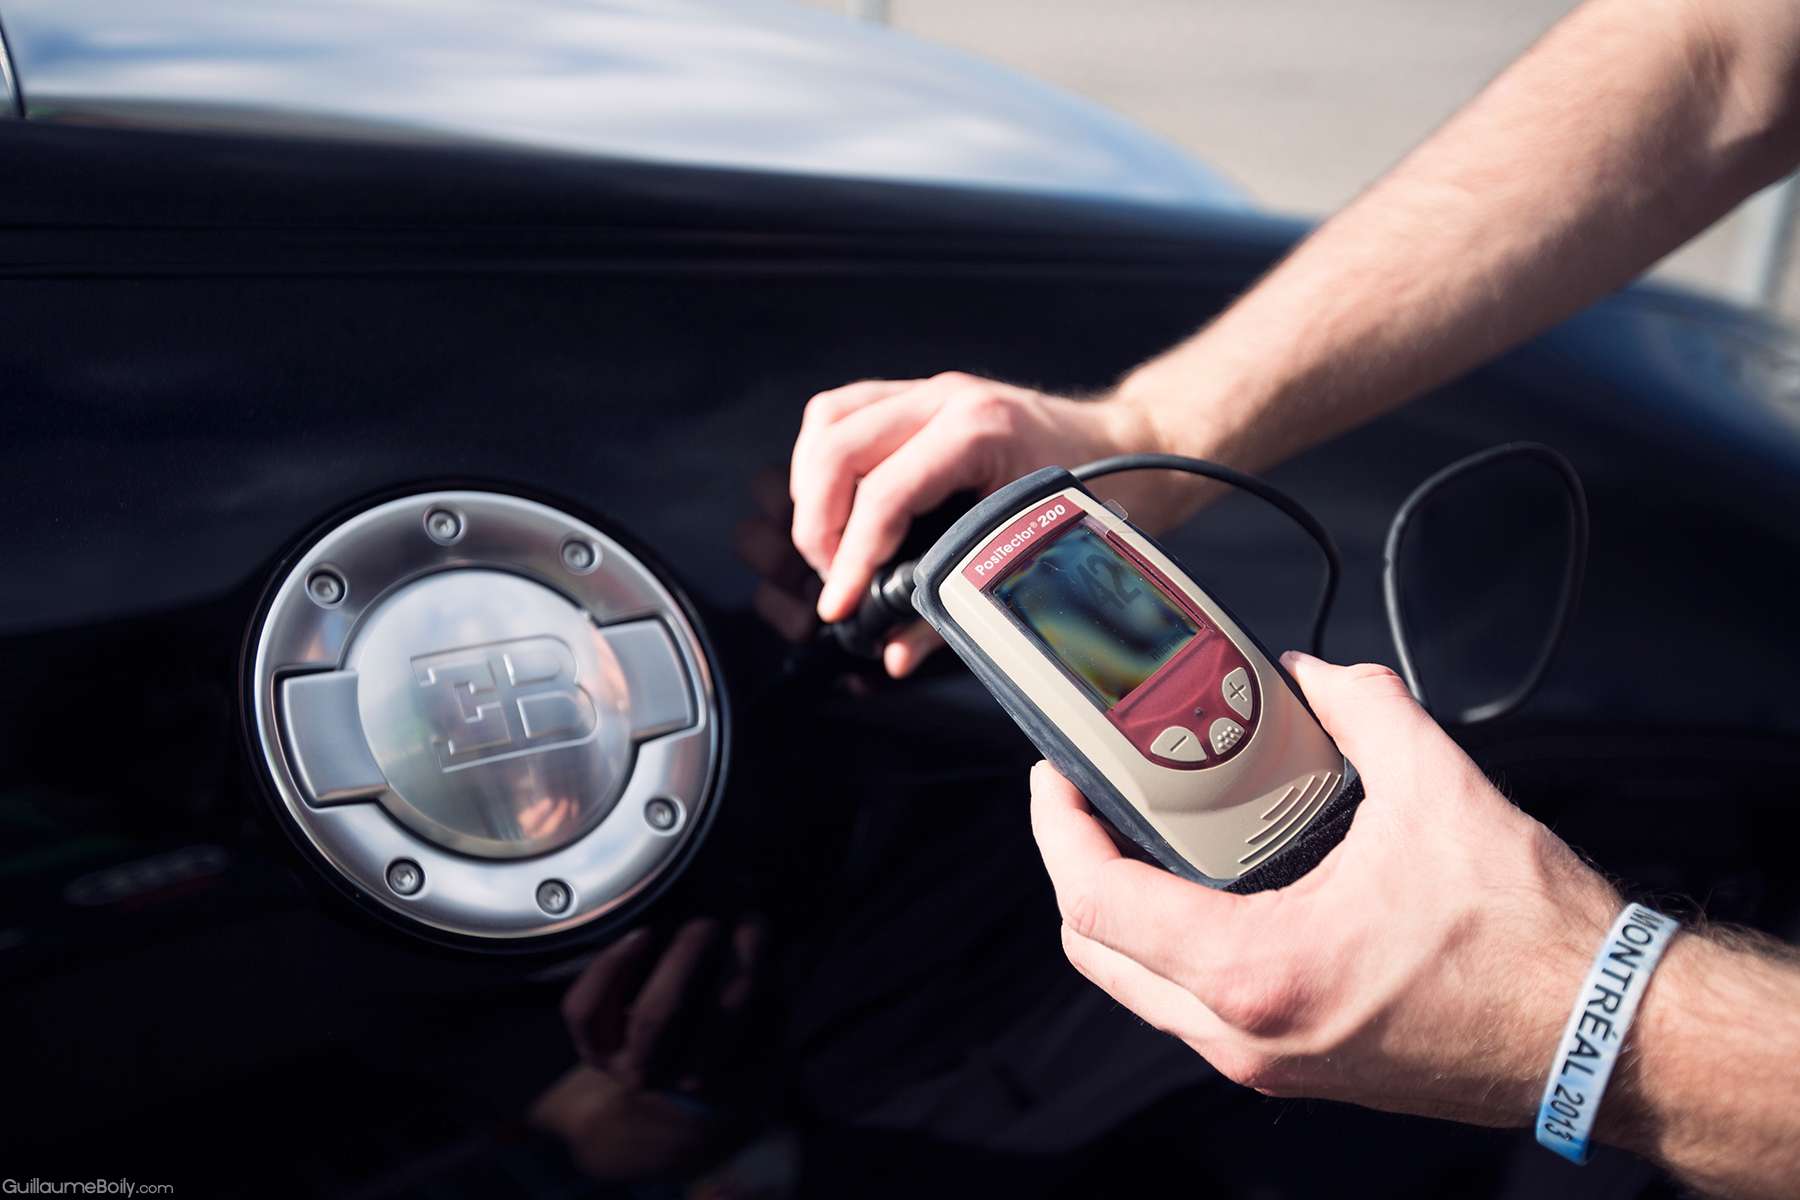
Gauge used to measure paint on aluminum and metal was Positest DFT combo
and the one on fibreglass and carbon fiber panel was the Defelsko 200 standard
We obviously used much more products than these but on top of my hand that’s what I used.
Voici quelques step nécessaire ŕ la préparation d’un polissage. Malheureusement, trop d’individu coupe les coins ronds pour vous offrir un meilleur prix, mais néglige certaines de ces étapes particuličre qui font la différence.
These pre-polishing steps are very important in order to obtain a good finish at the very end. These steps can be sometimes missed in different detail shop that cut corner in order to cut the price but at the end the result won’t be as complete as it should.
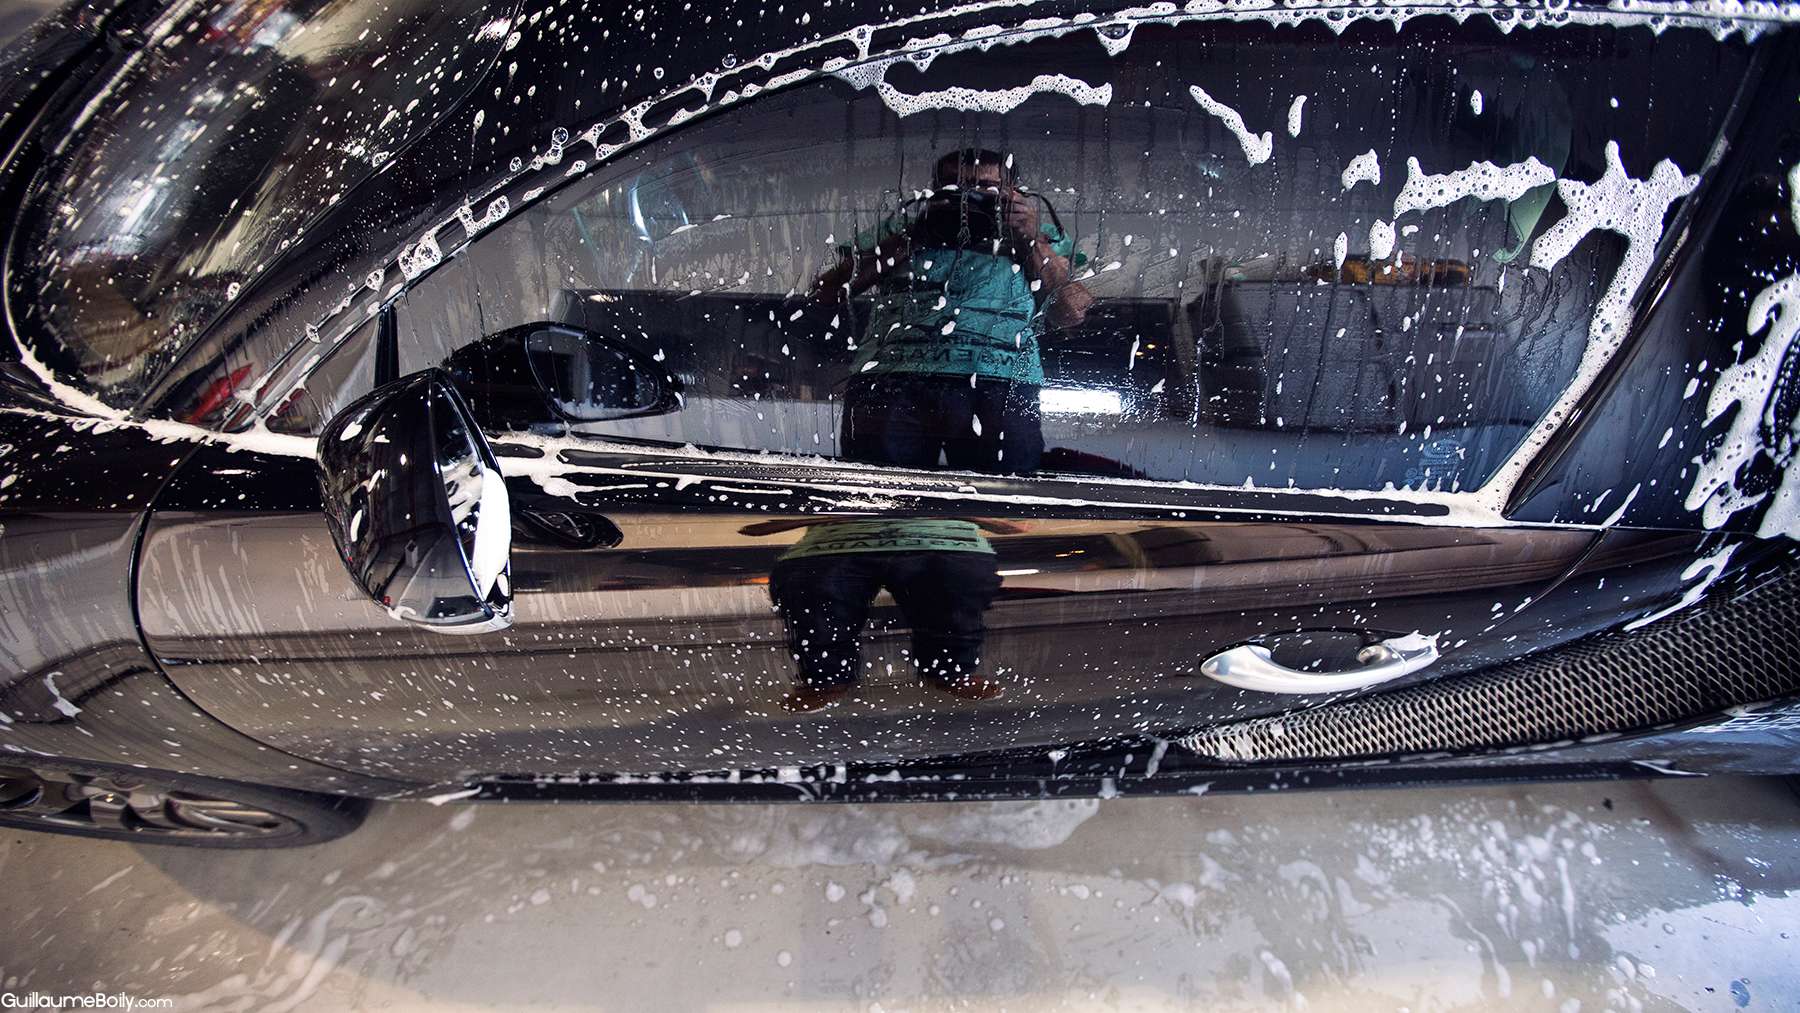
Washing:
Drying the paint:

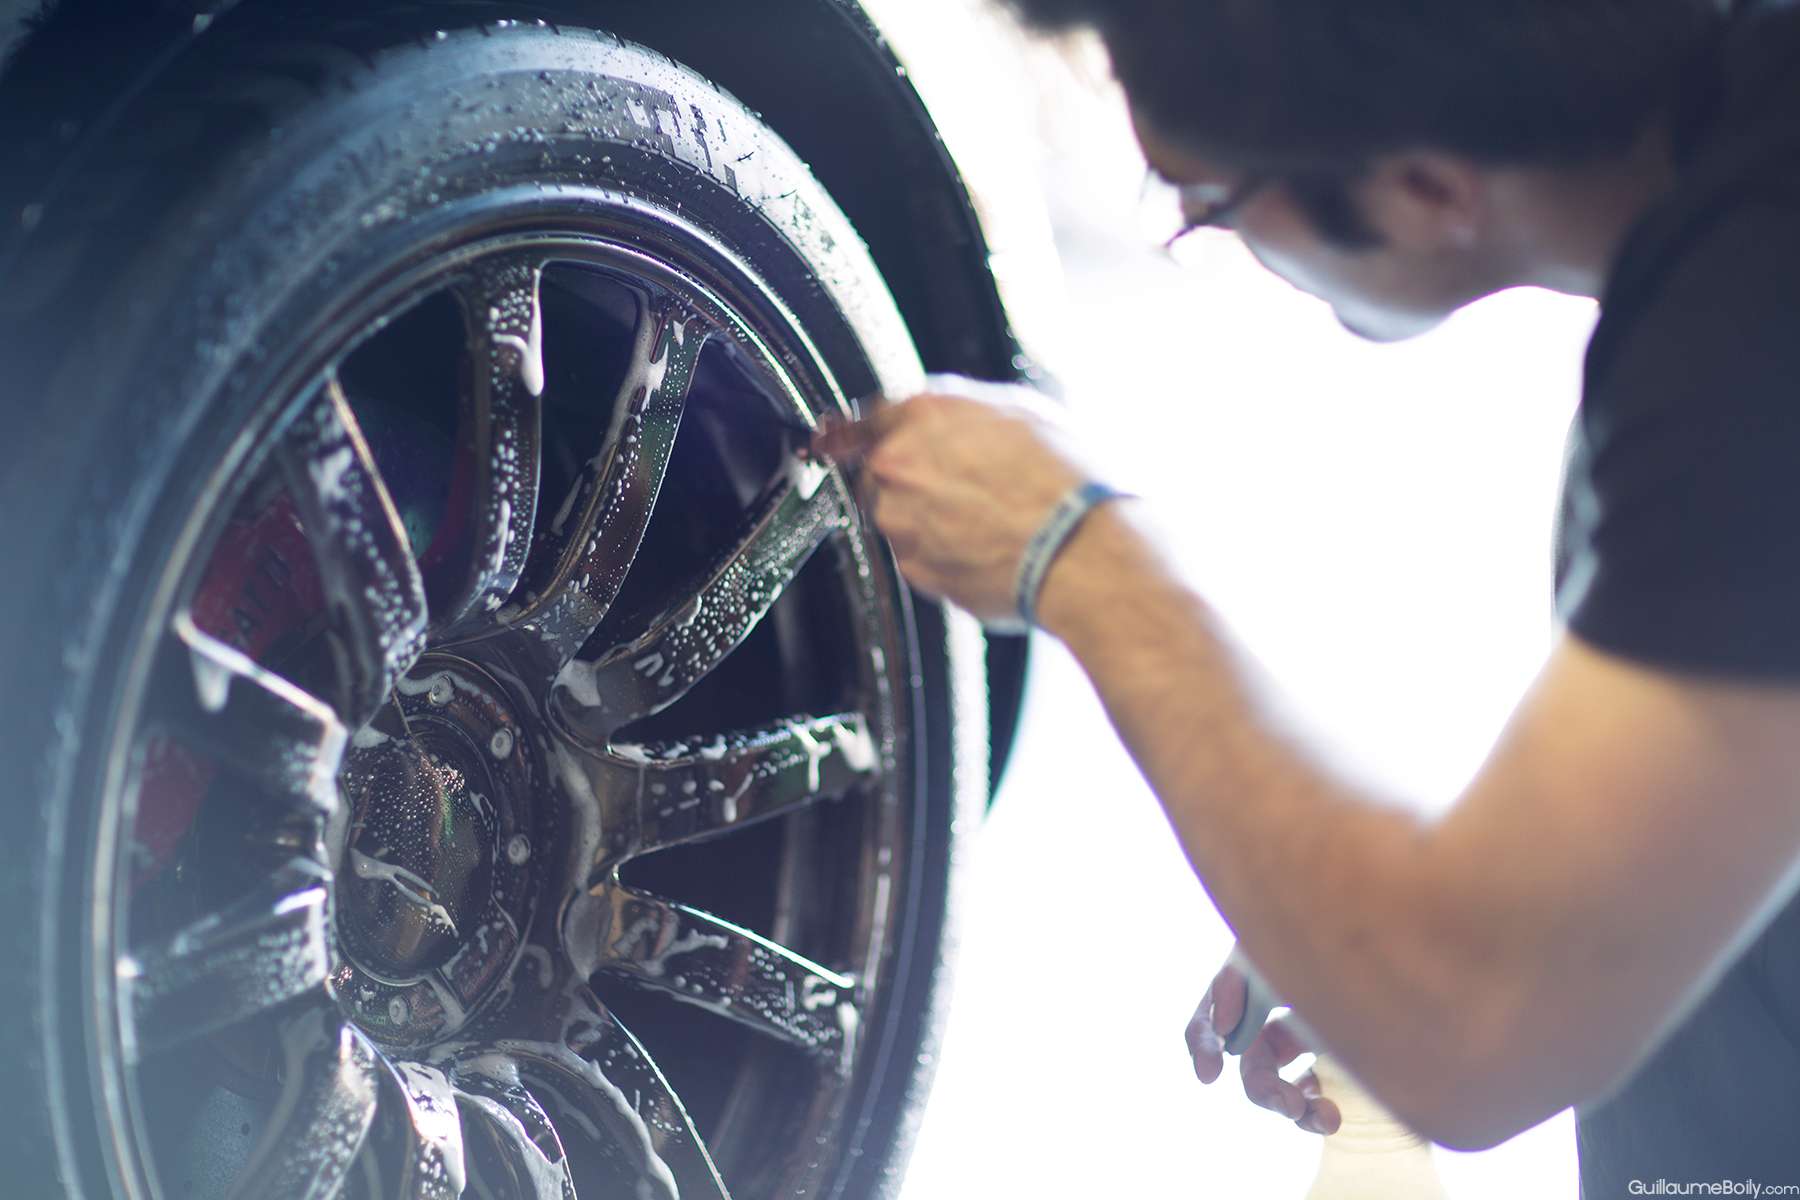
Here, I’m cleaning the inside of the wheel well:
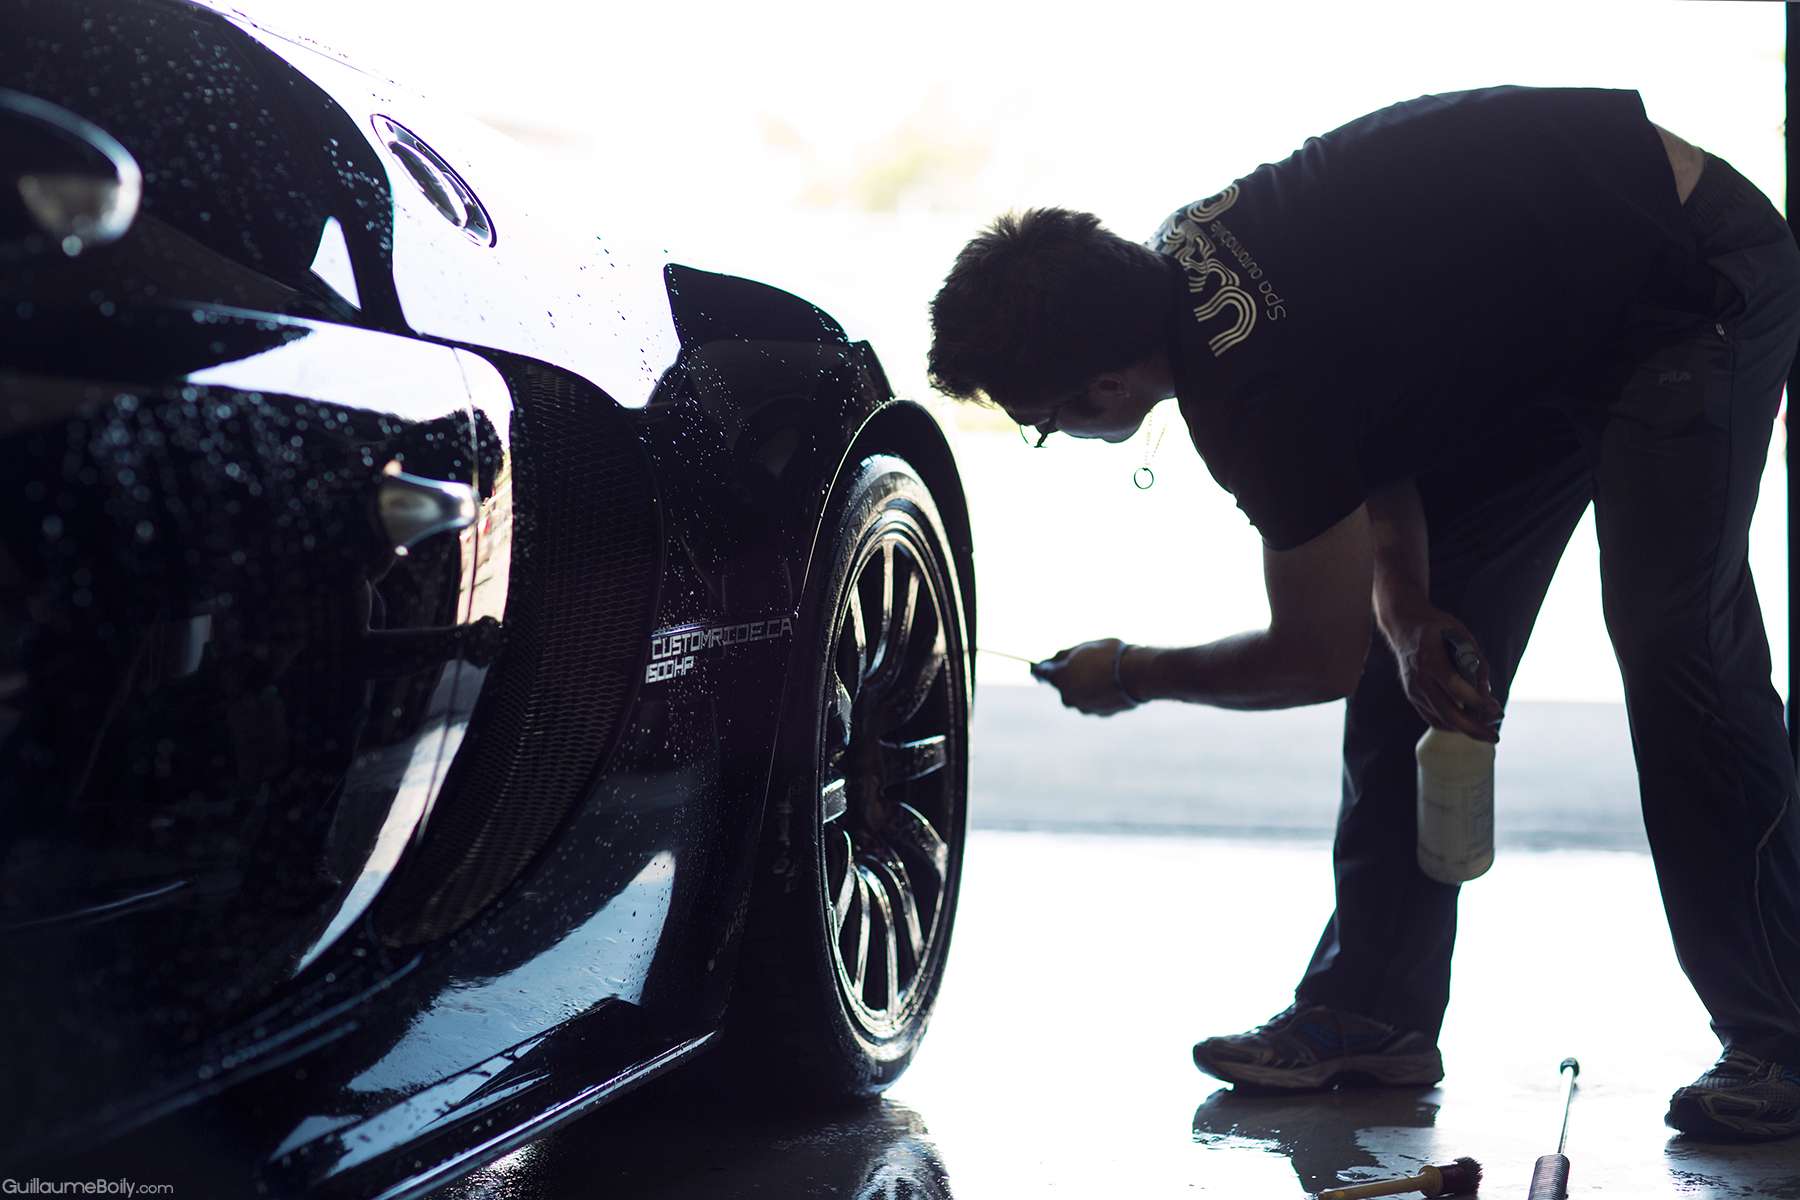
Cleaning inside the wheel with a wheel woollies while the sonax wheel cleaner work its magic:
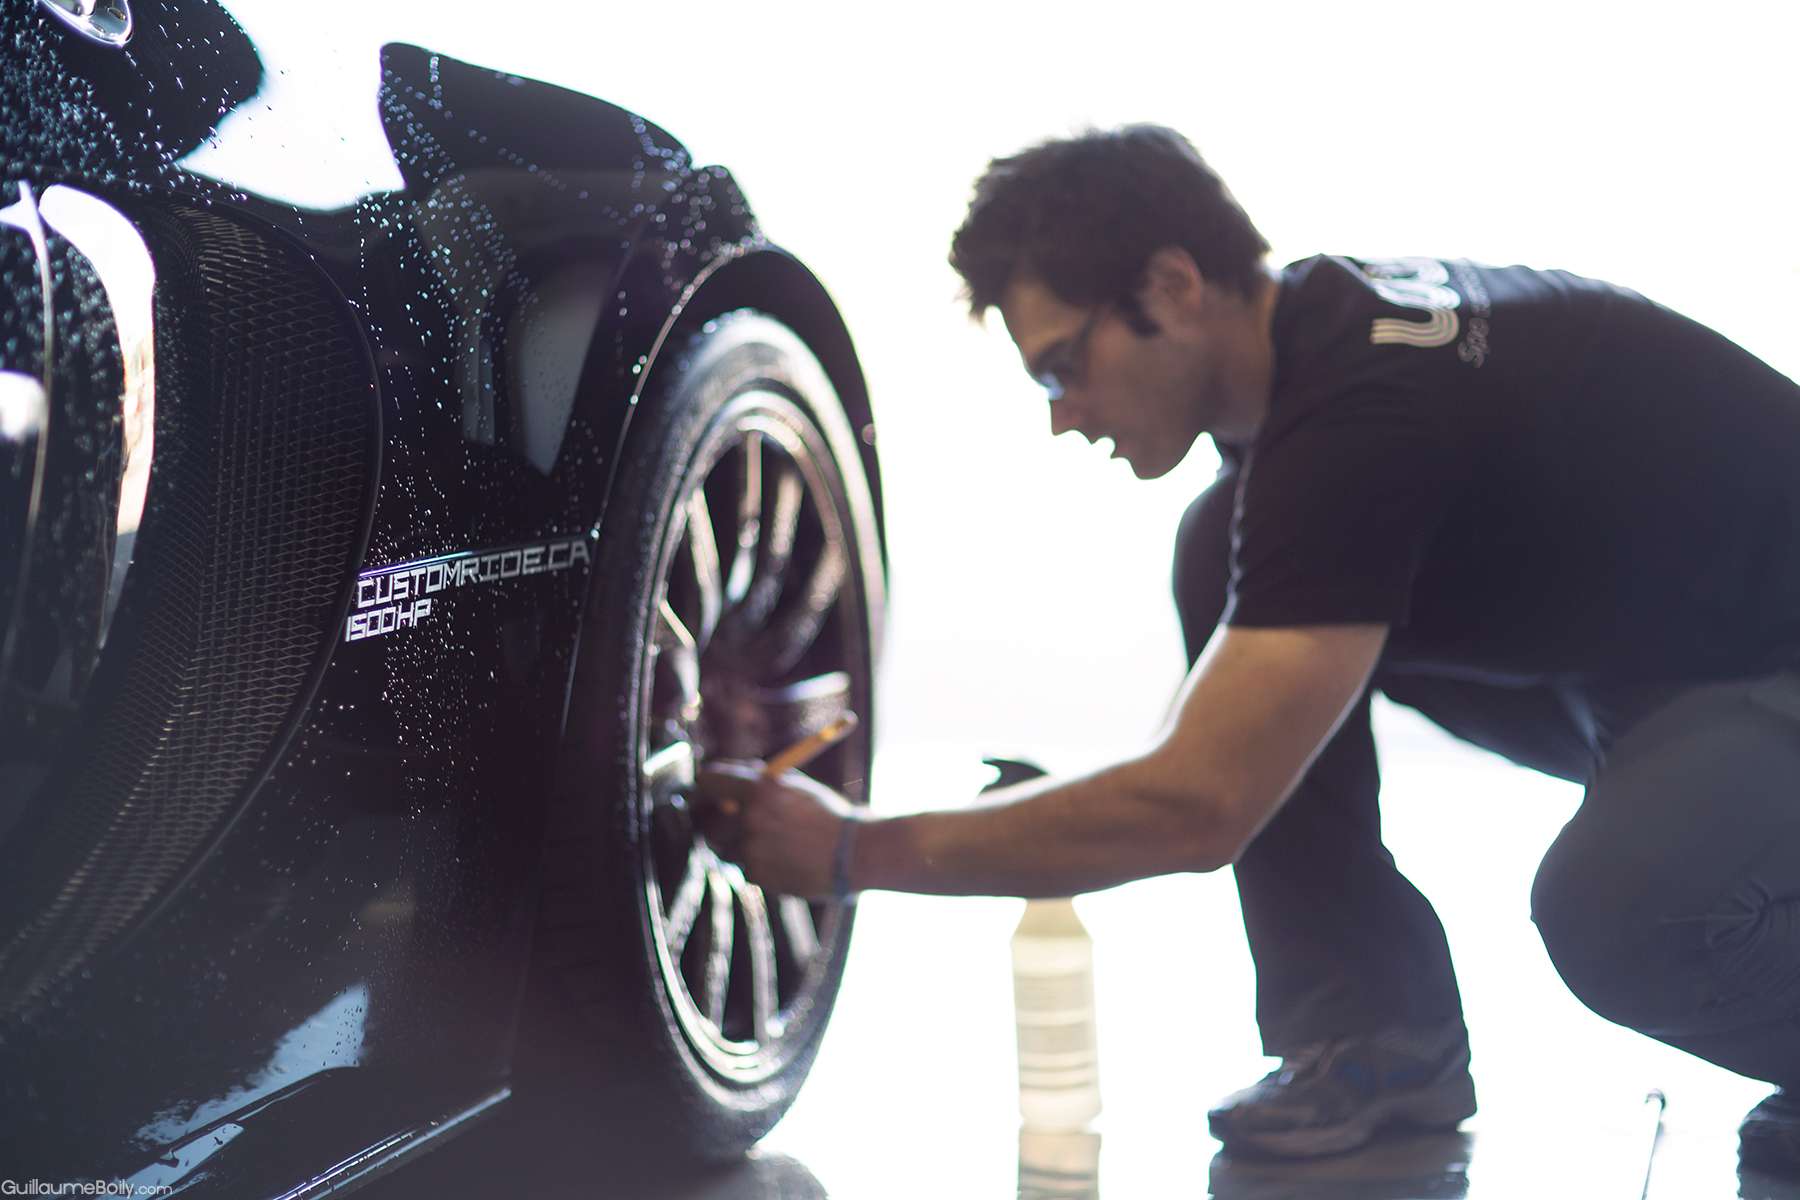
Weird face I’m doing lol.. ! Brushing wheels
Taking reading of the carbon fiber panel:
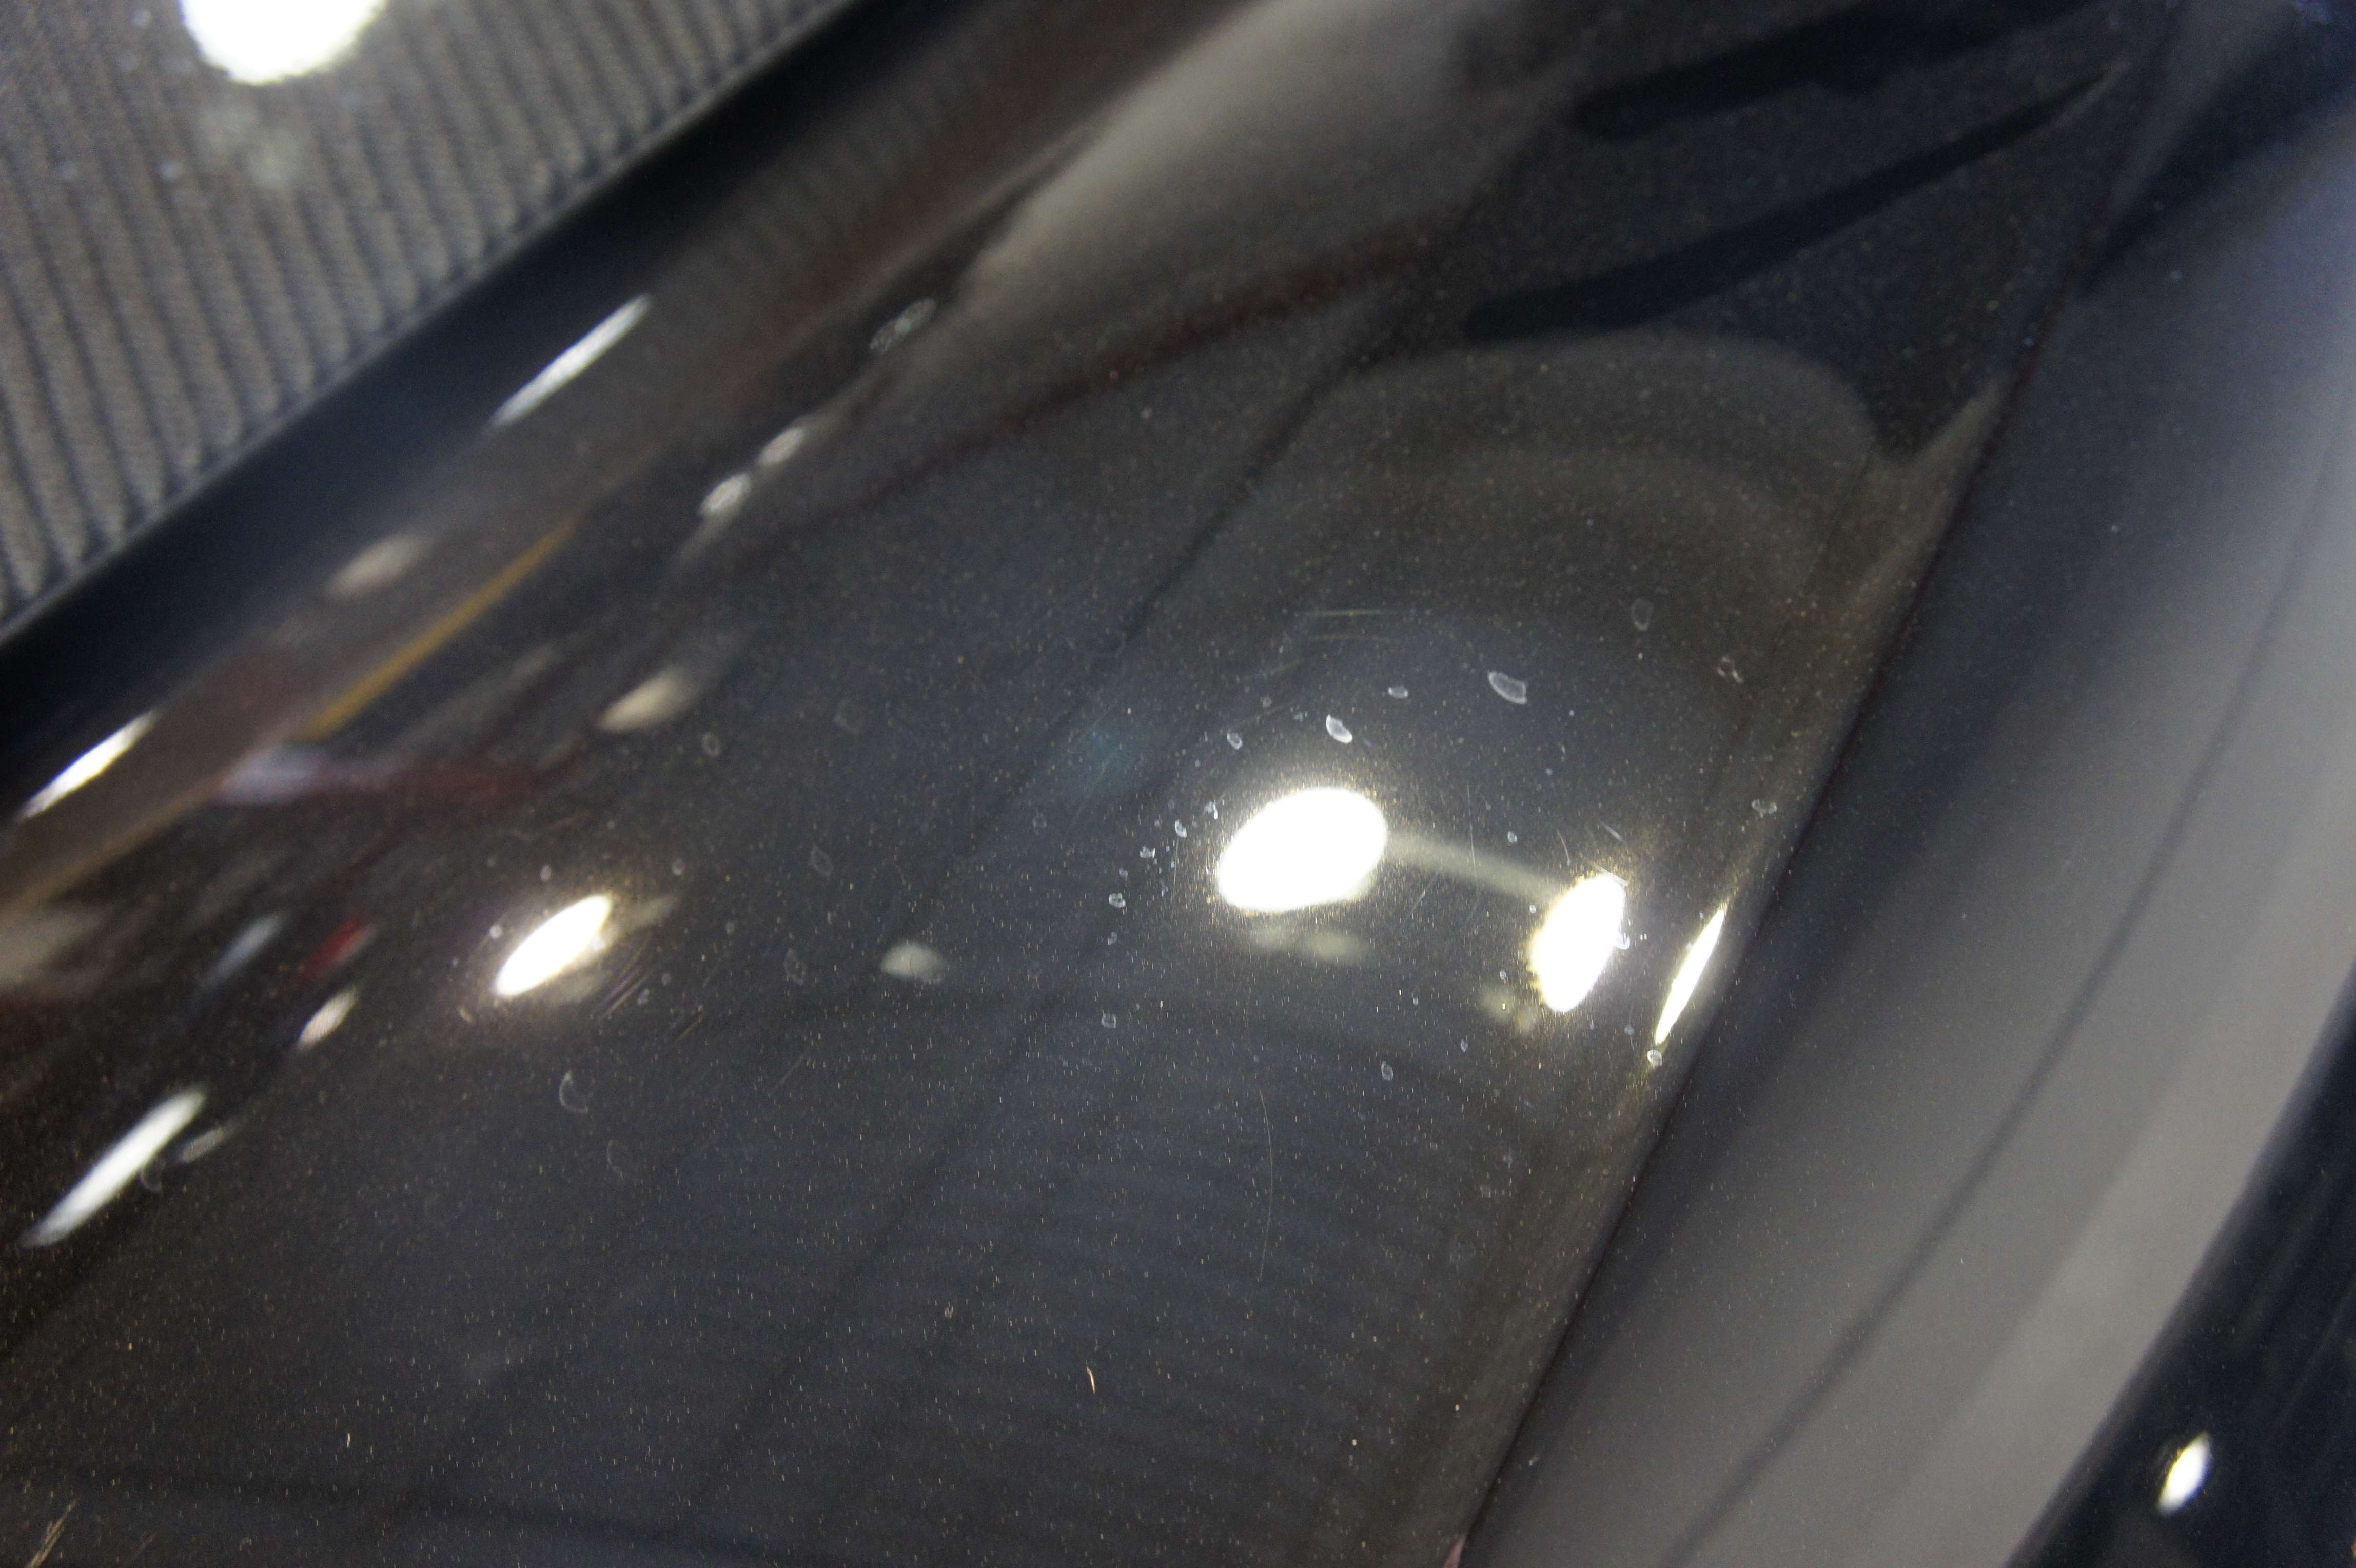
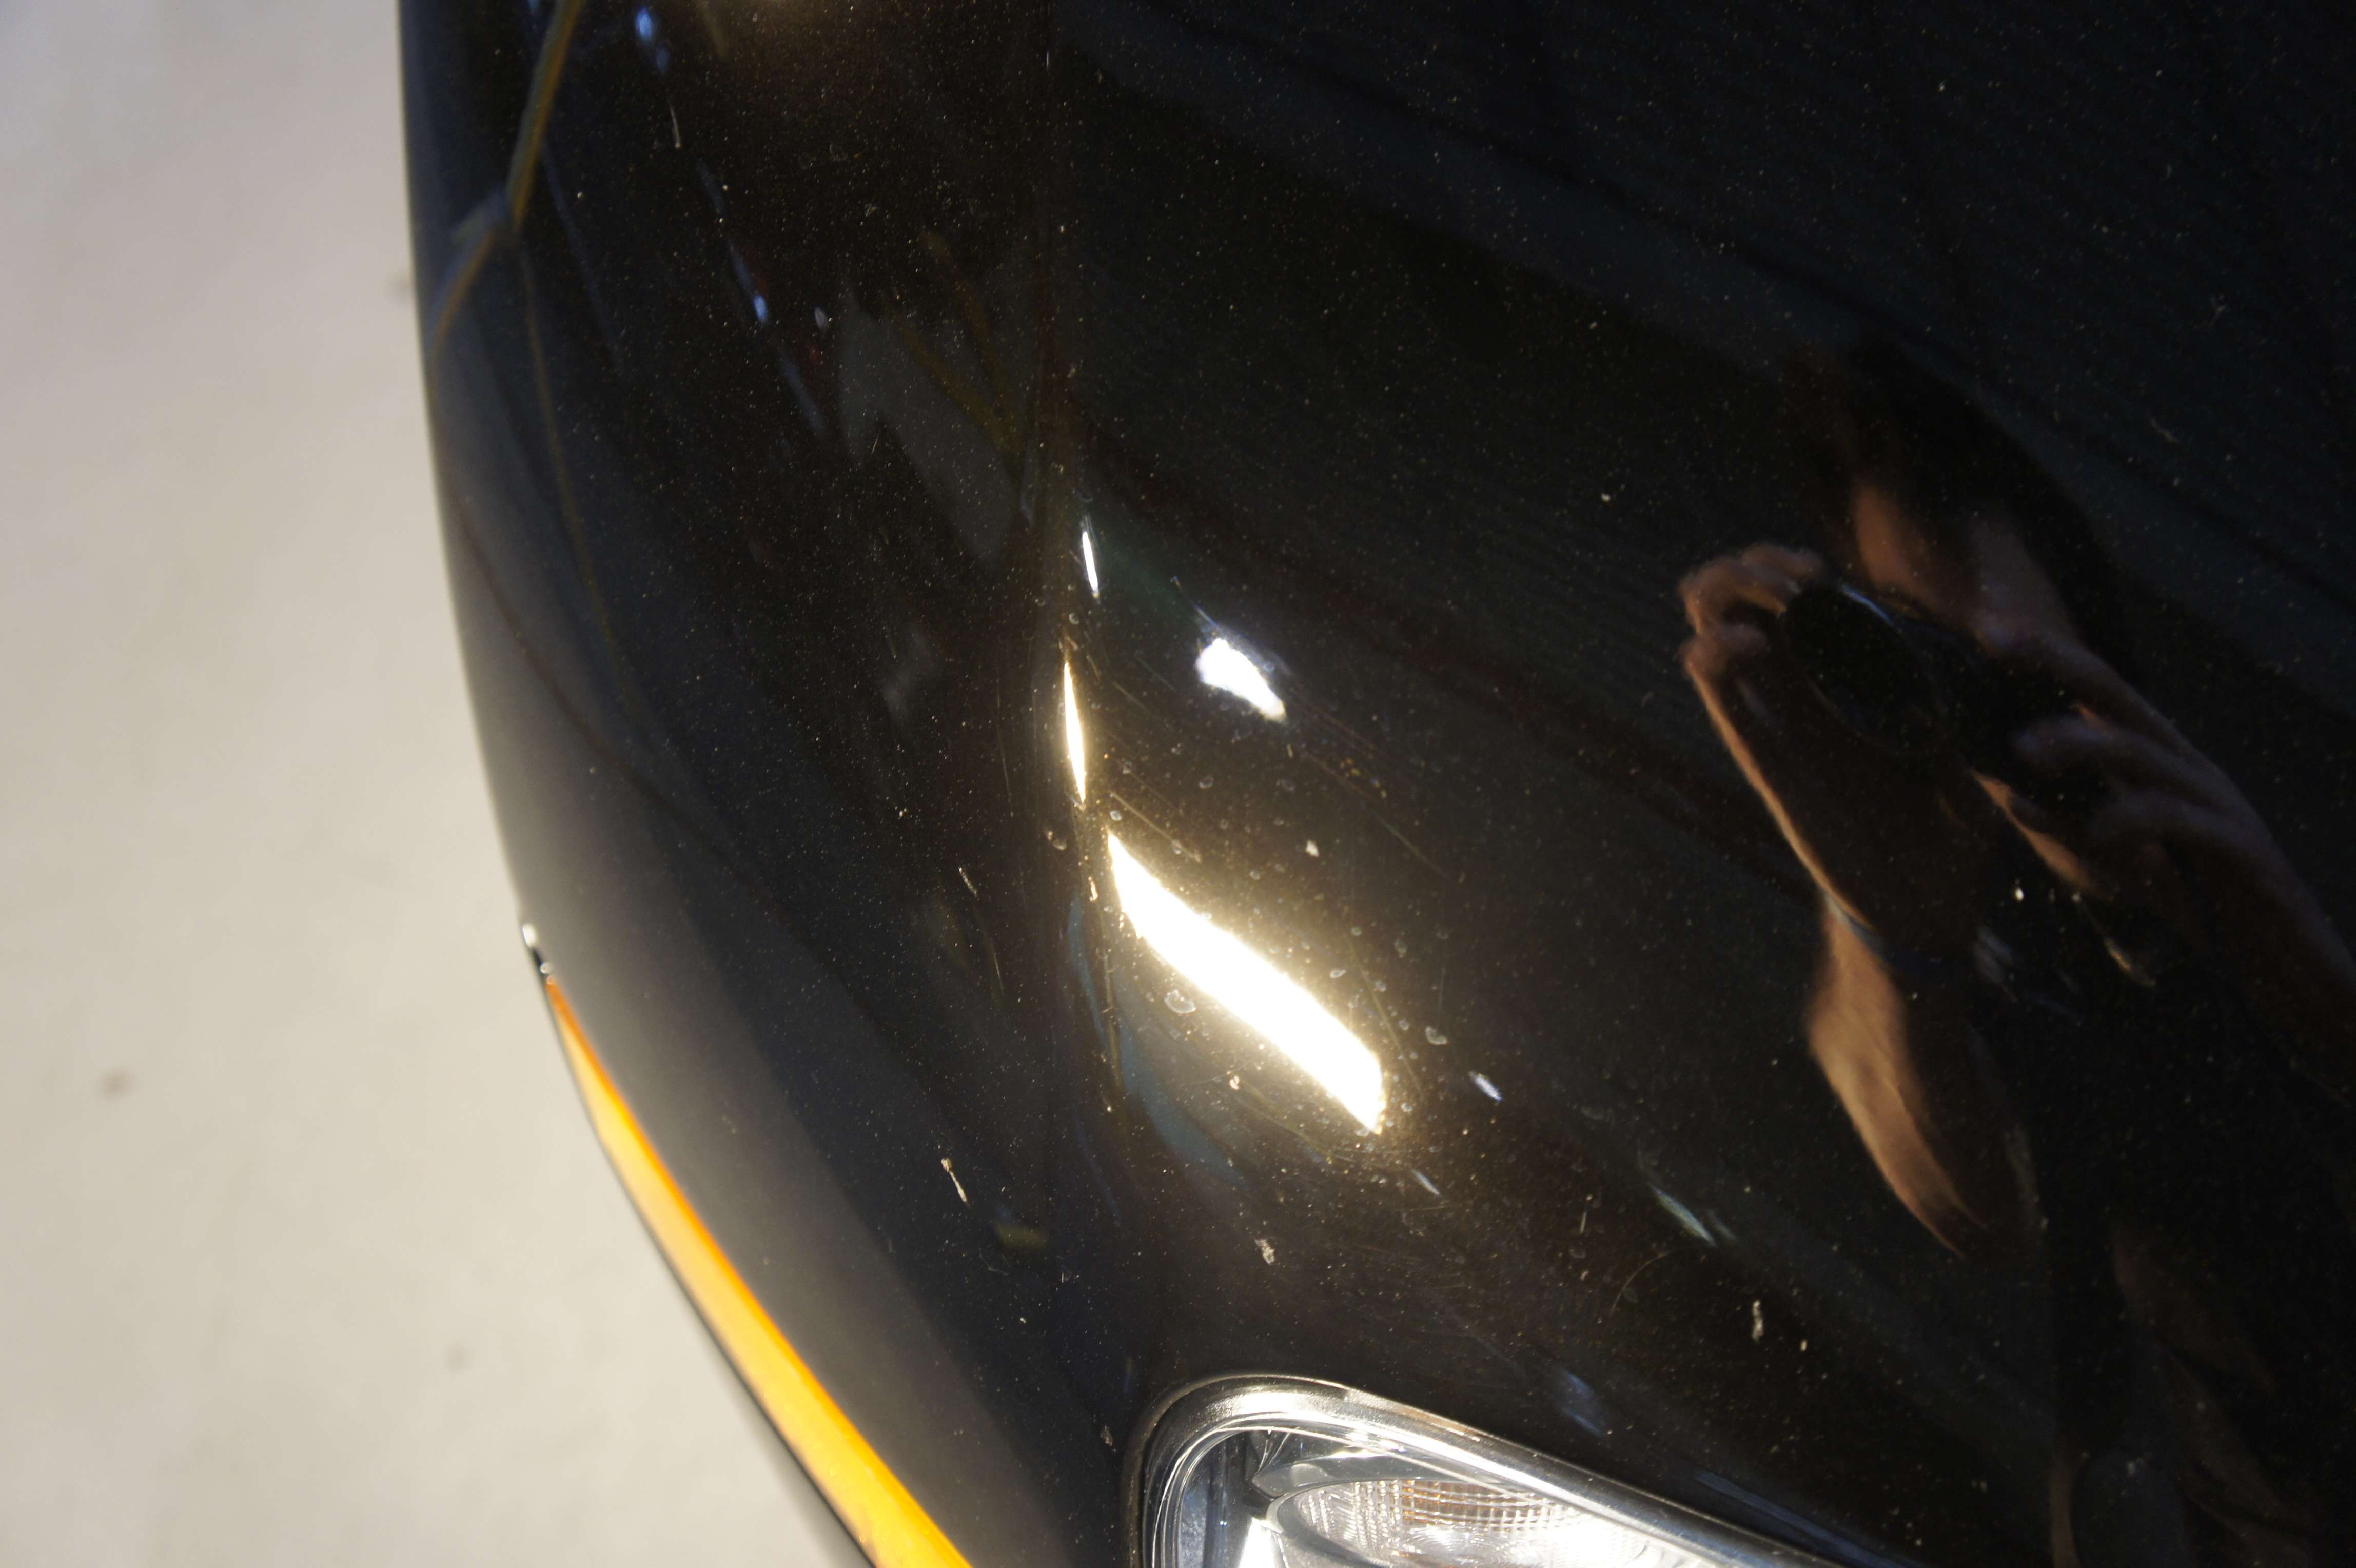
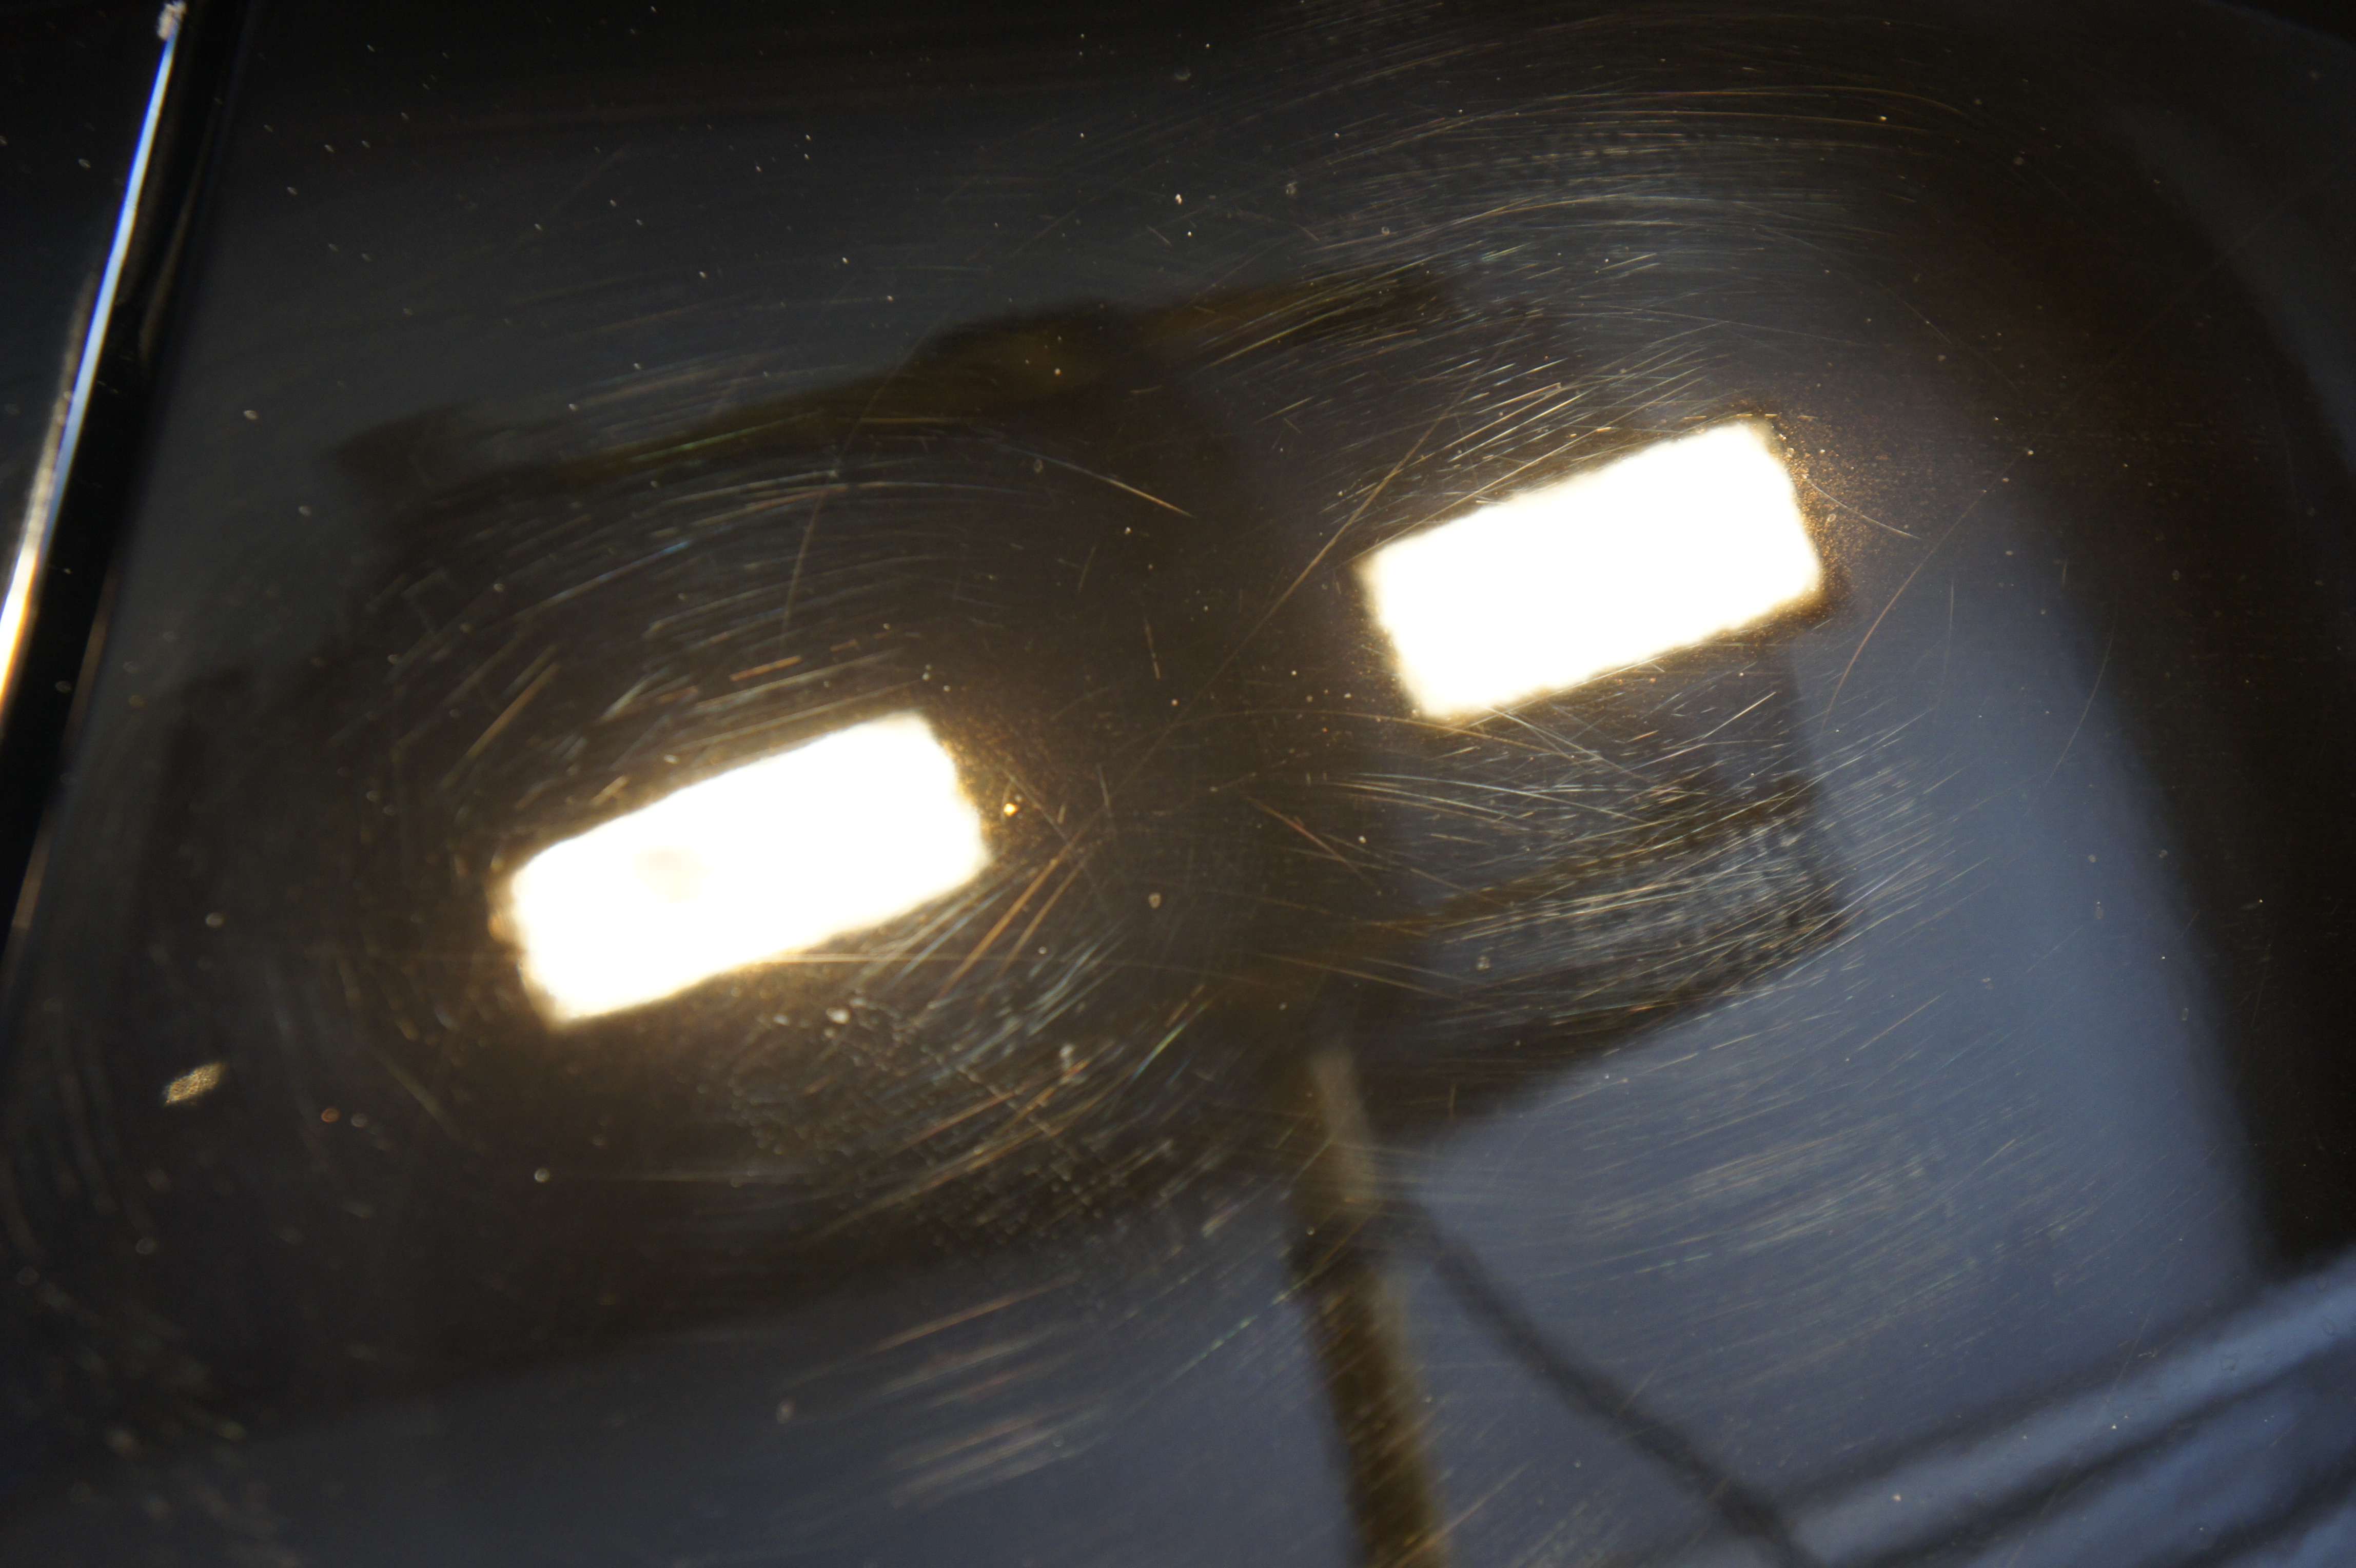
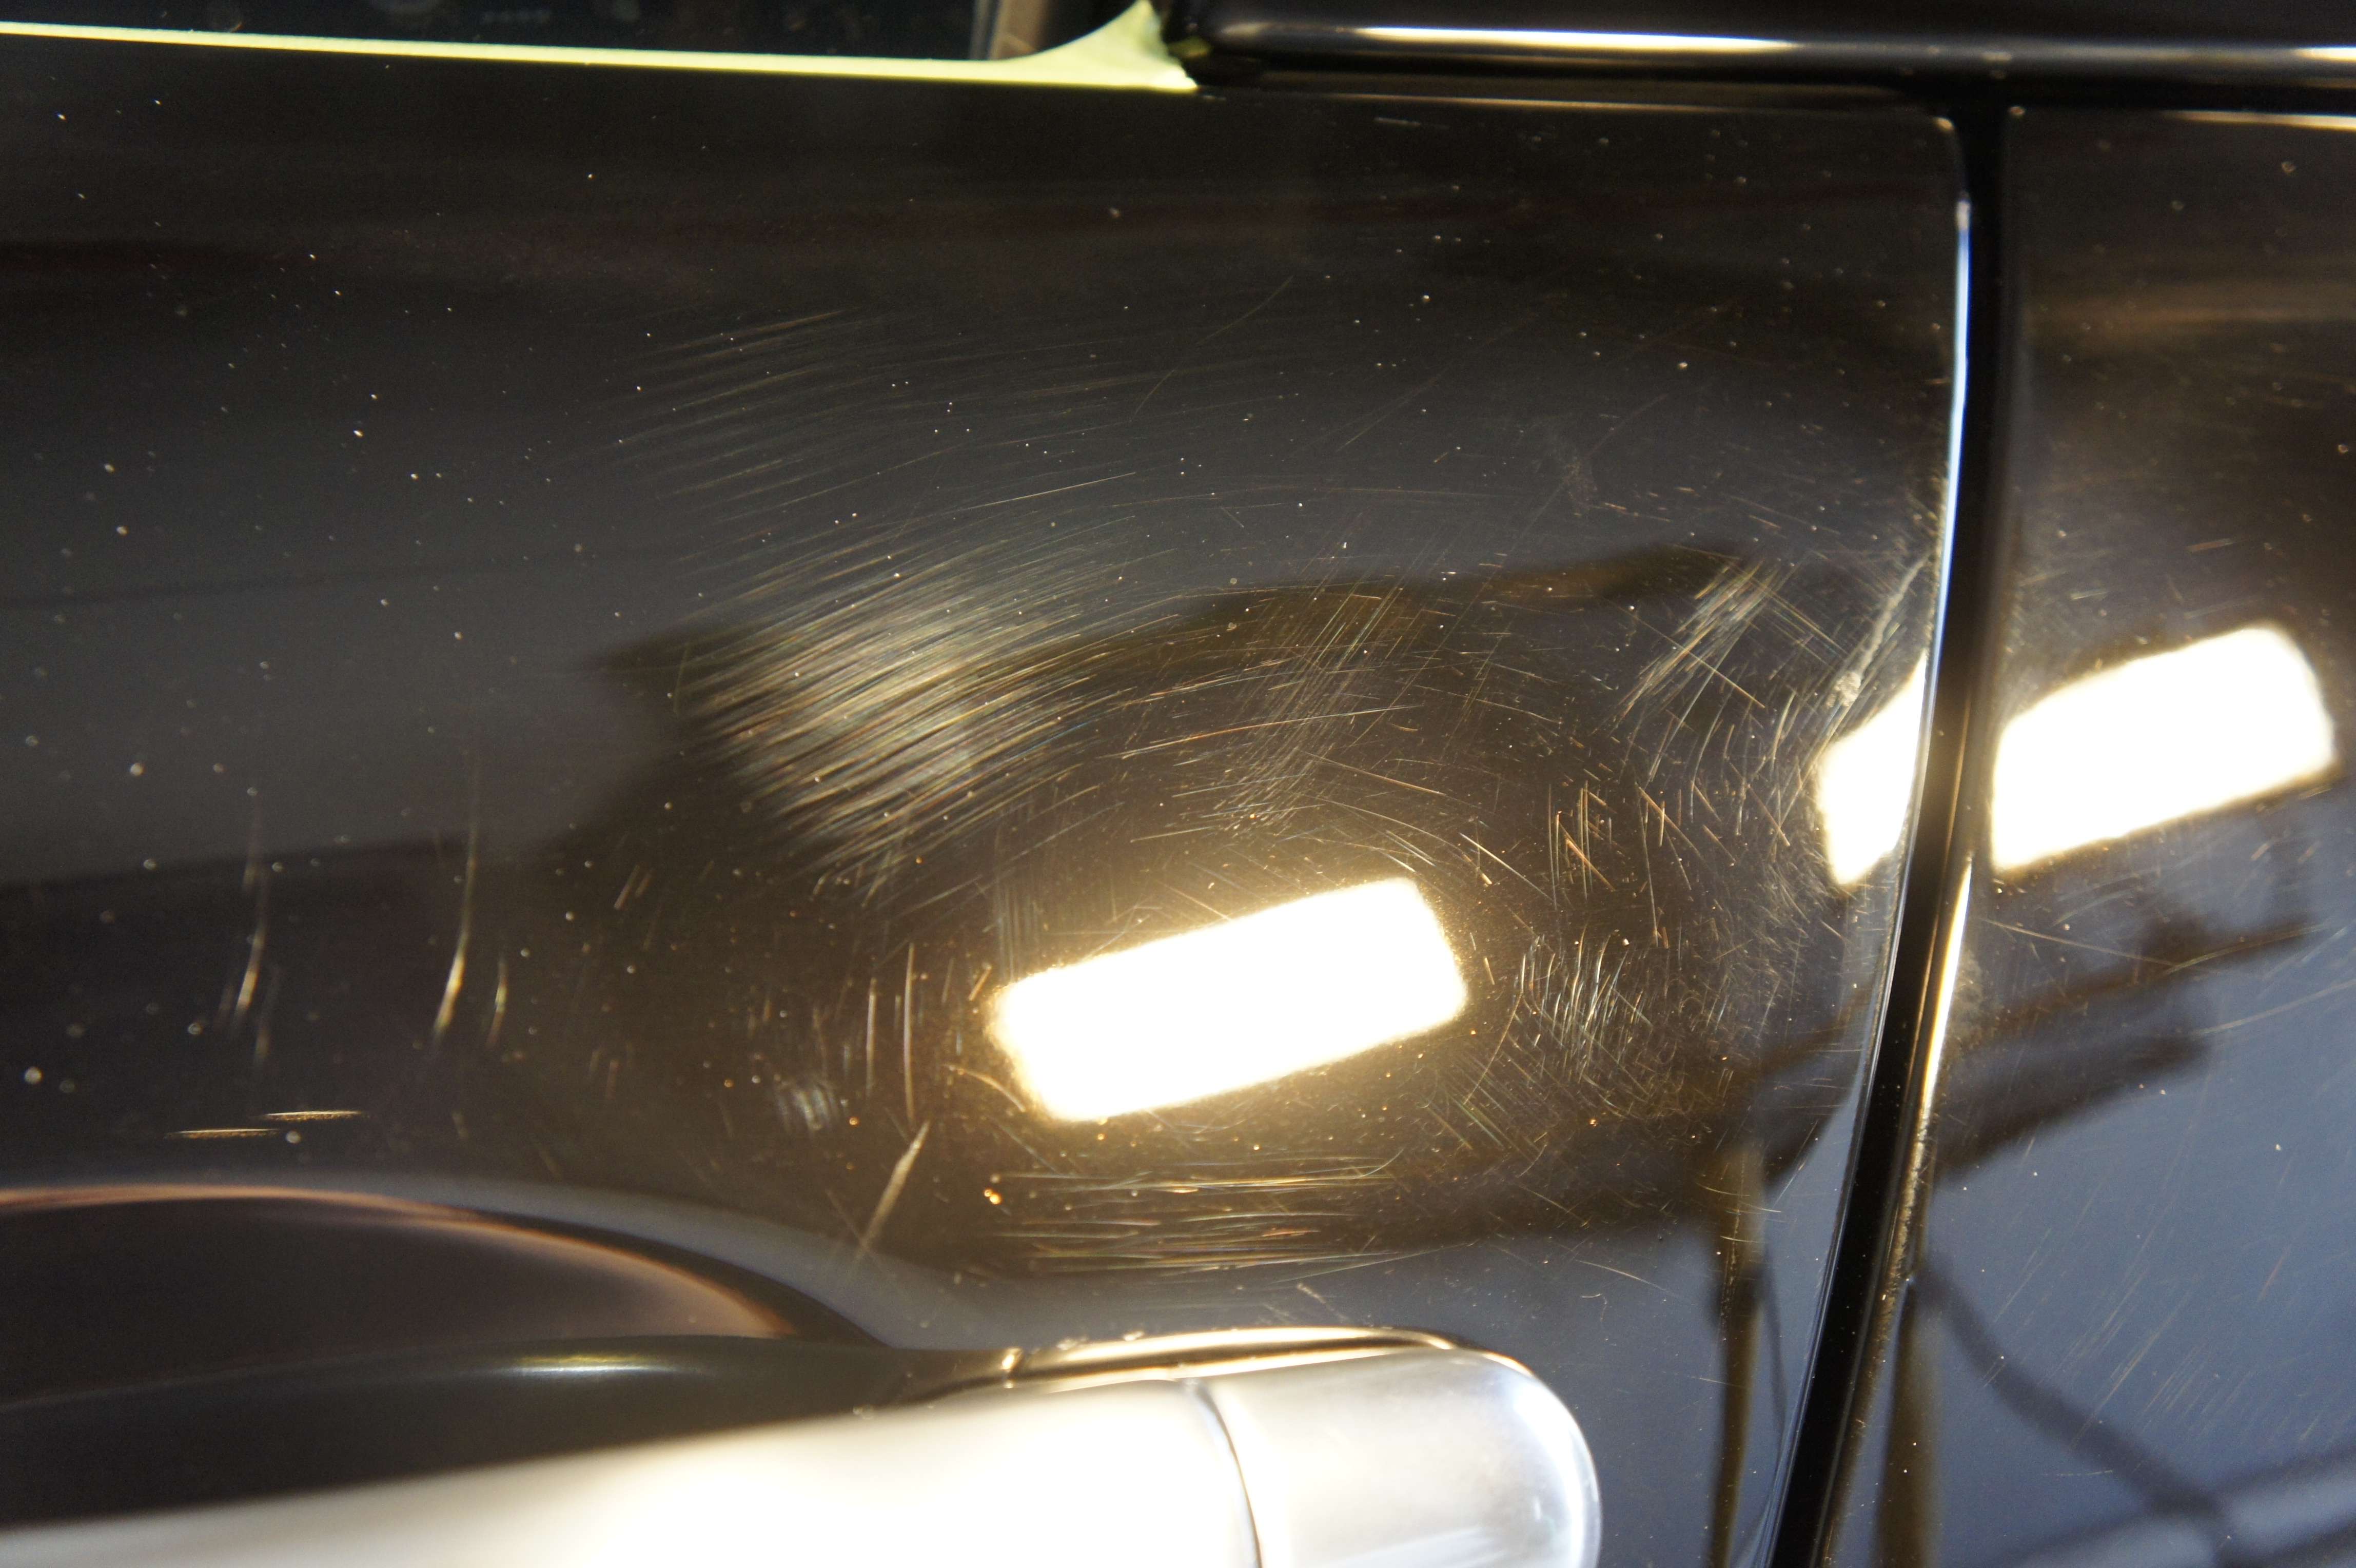
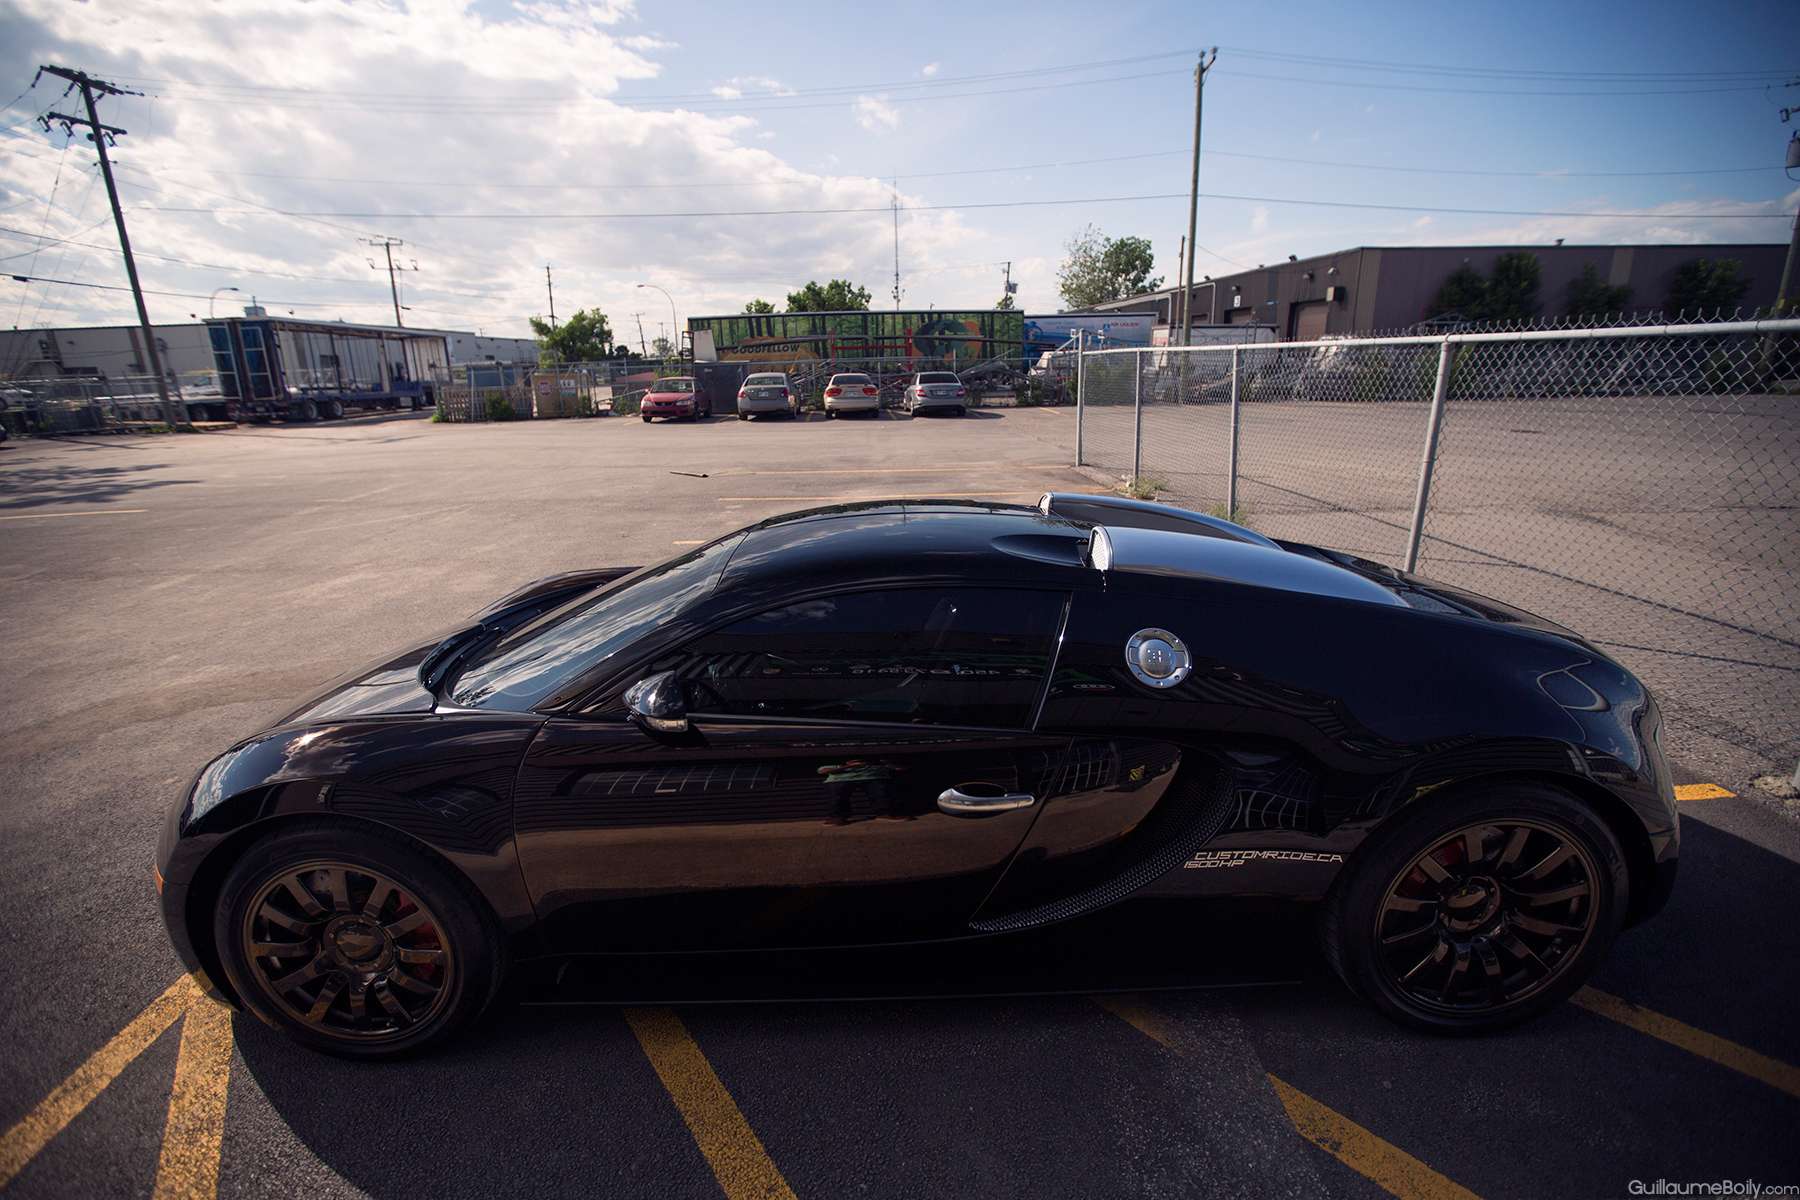
Voici la condition initiale de la voiture dans un intervalle de 6-7 semaines entre ma premičre job de polissage et celle-ci. Pendant ce temps, elle a été entretenue ŕ Monaco du mieux qu’il pouvait et faut pas oublier les 2 voyages en avion que la voiture a fait. Les marques d’eau étaient ancrées dans la couche transparente, un nettoyant chimique ne pouvait pas l’enlever. Il a fallu utiliser un nettoyant abrasif pour faire la correction nécessaire.
This is the initial condition of the car between our last detail, about 6- weeks before, remember the car was maintained in Monaco with the best they could and the car flight twice + vehicle transportation. You can see very bad water marks that etched the clear coat. Glaze or any chemical cleaner couldn’t remove it. Abrasive cleaner ( polish) was needed for this job.
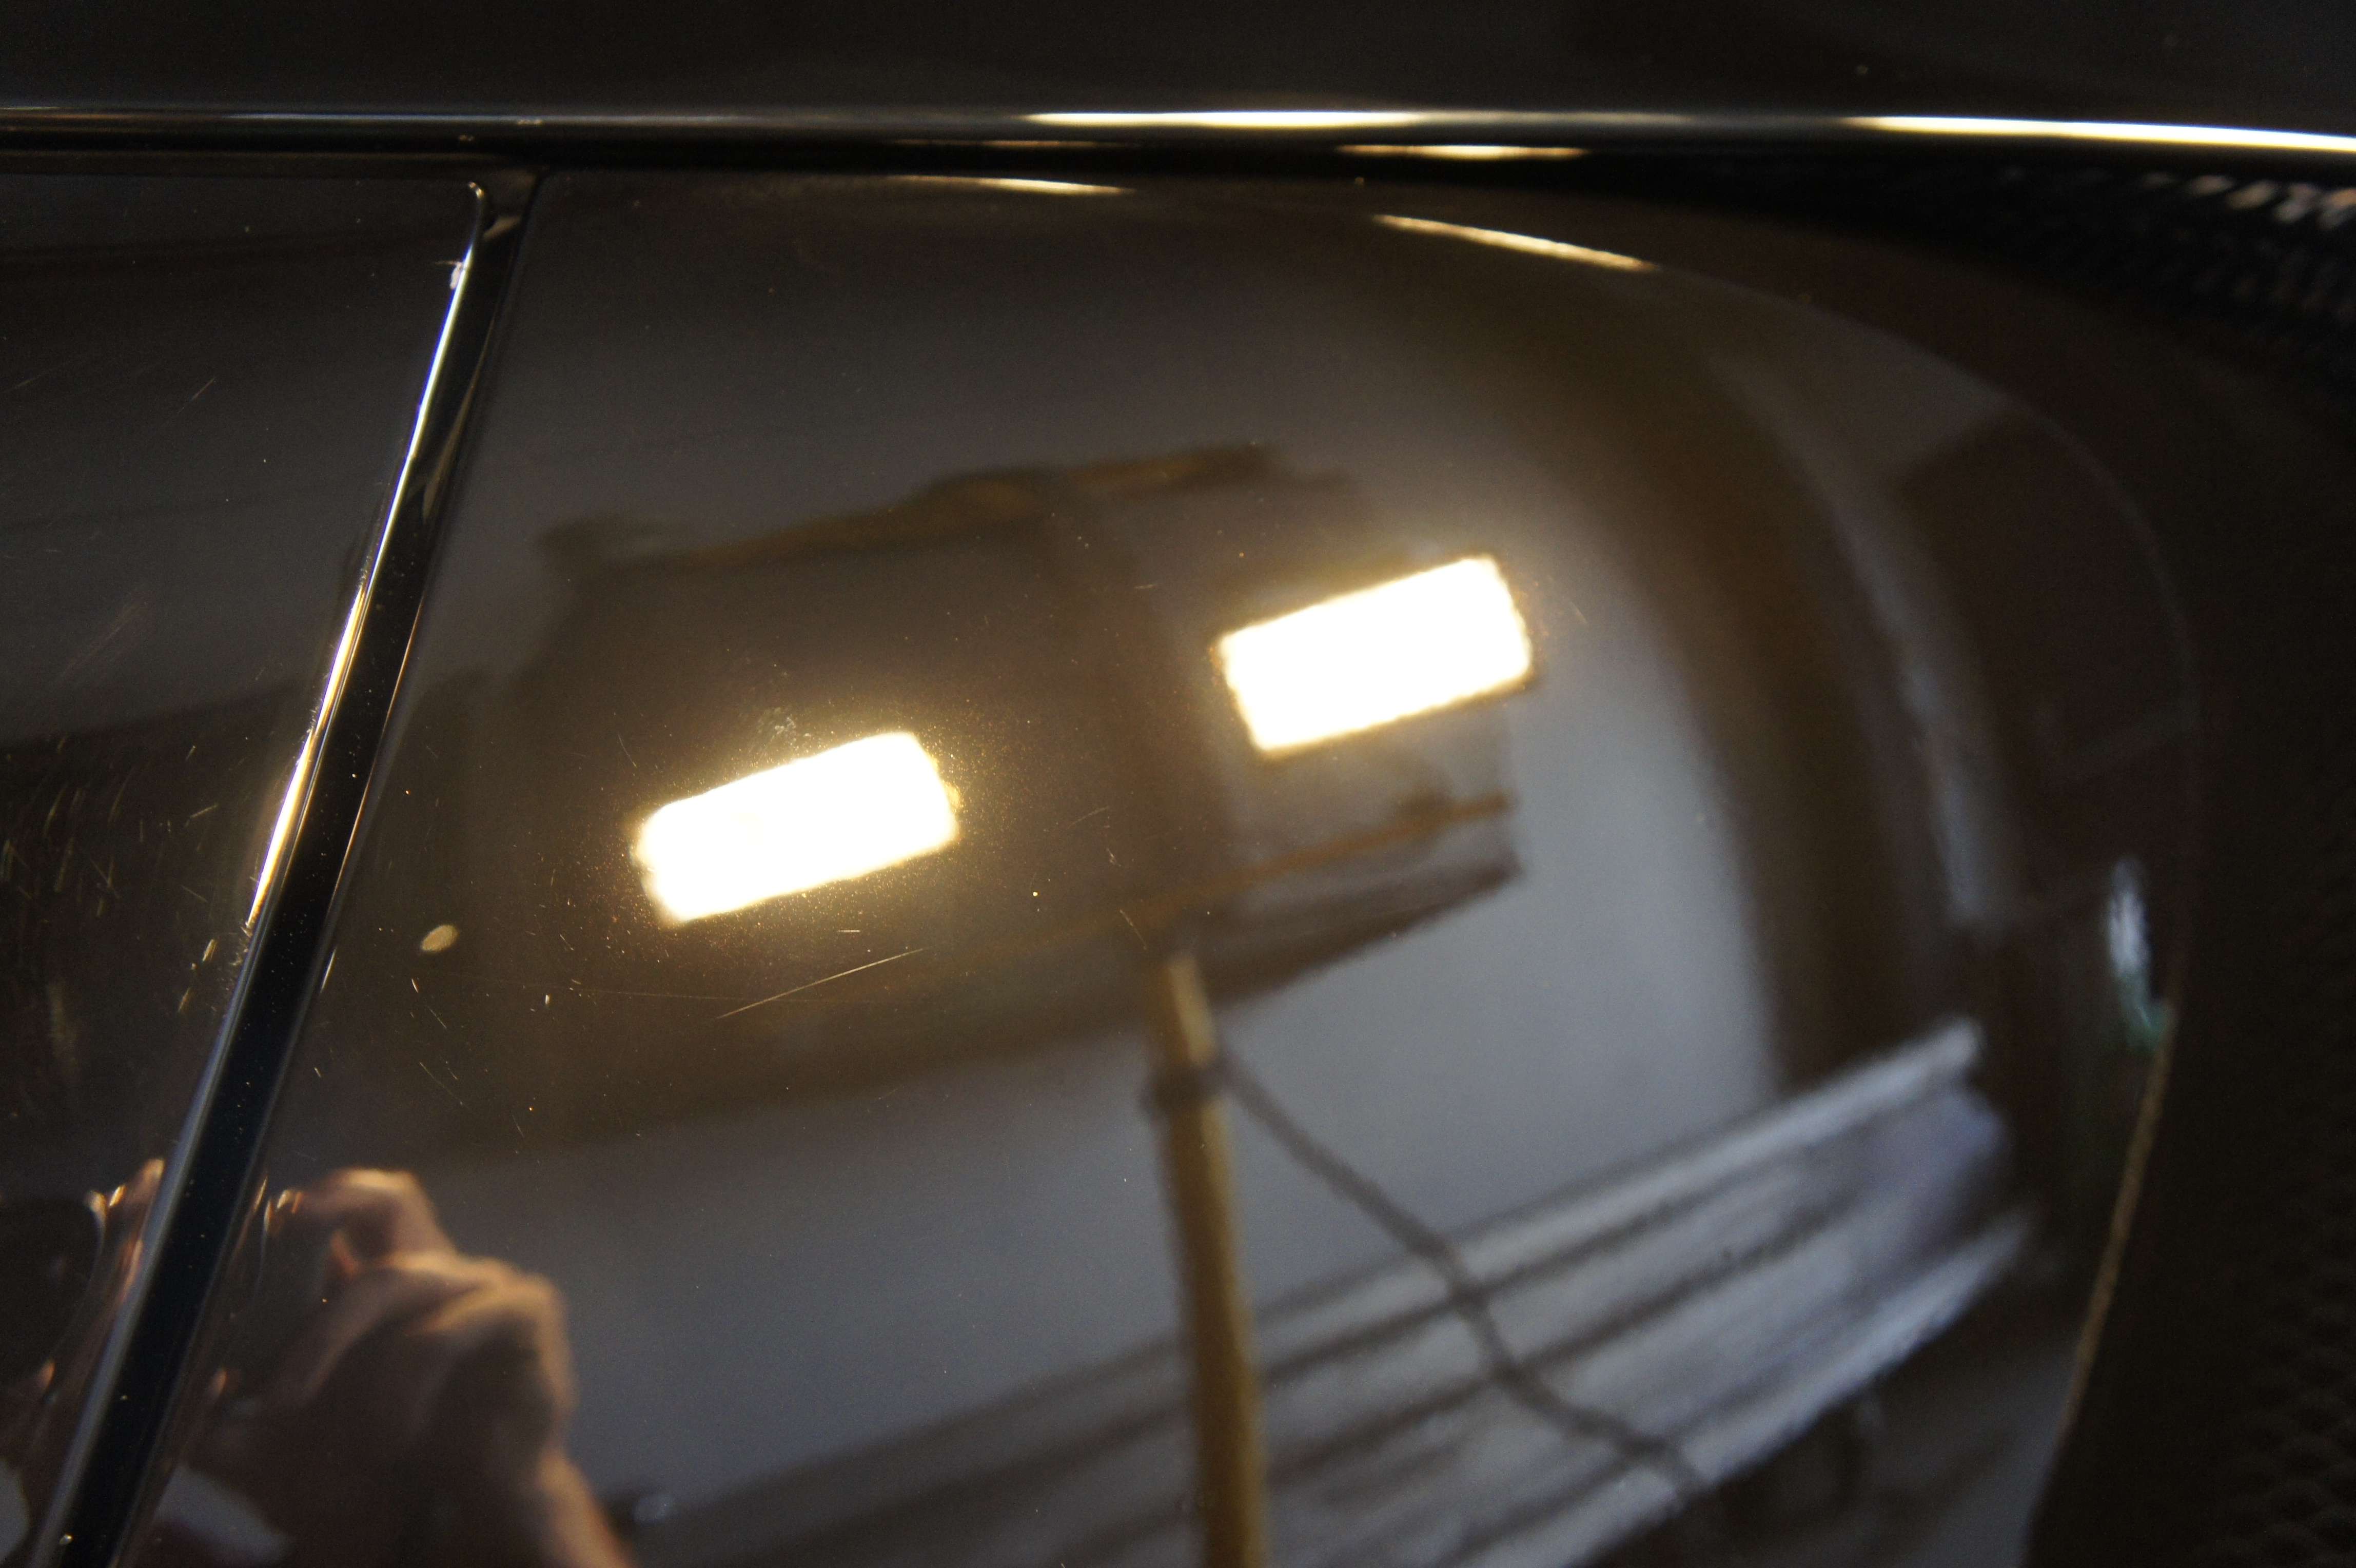
And ... this is what you will see at the end of this thread:
50/50

Comme vous pouvez remarquer, je n’ai pas trop masqué les moulures /fentes car je voulais pouvoir polir le plus de peinture possible sans laissé de bande de peinture non-poli. Nous savions que nous allions relaver la voiture ŕ la fin du processus. Donc, il y avait pas de crainte ŕ avoir au niveau de laissé des résidus de poli dans les fentes.
Here you notice all the taping, we didn’t overly taped because we wanted to polish as much paint was possible along all edges, I knew I would be rewashing the car after the polishing and then would give me the opportunity to clean any residue left behind trims and cracks so no worries, I got this.
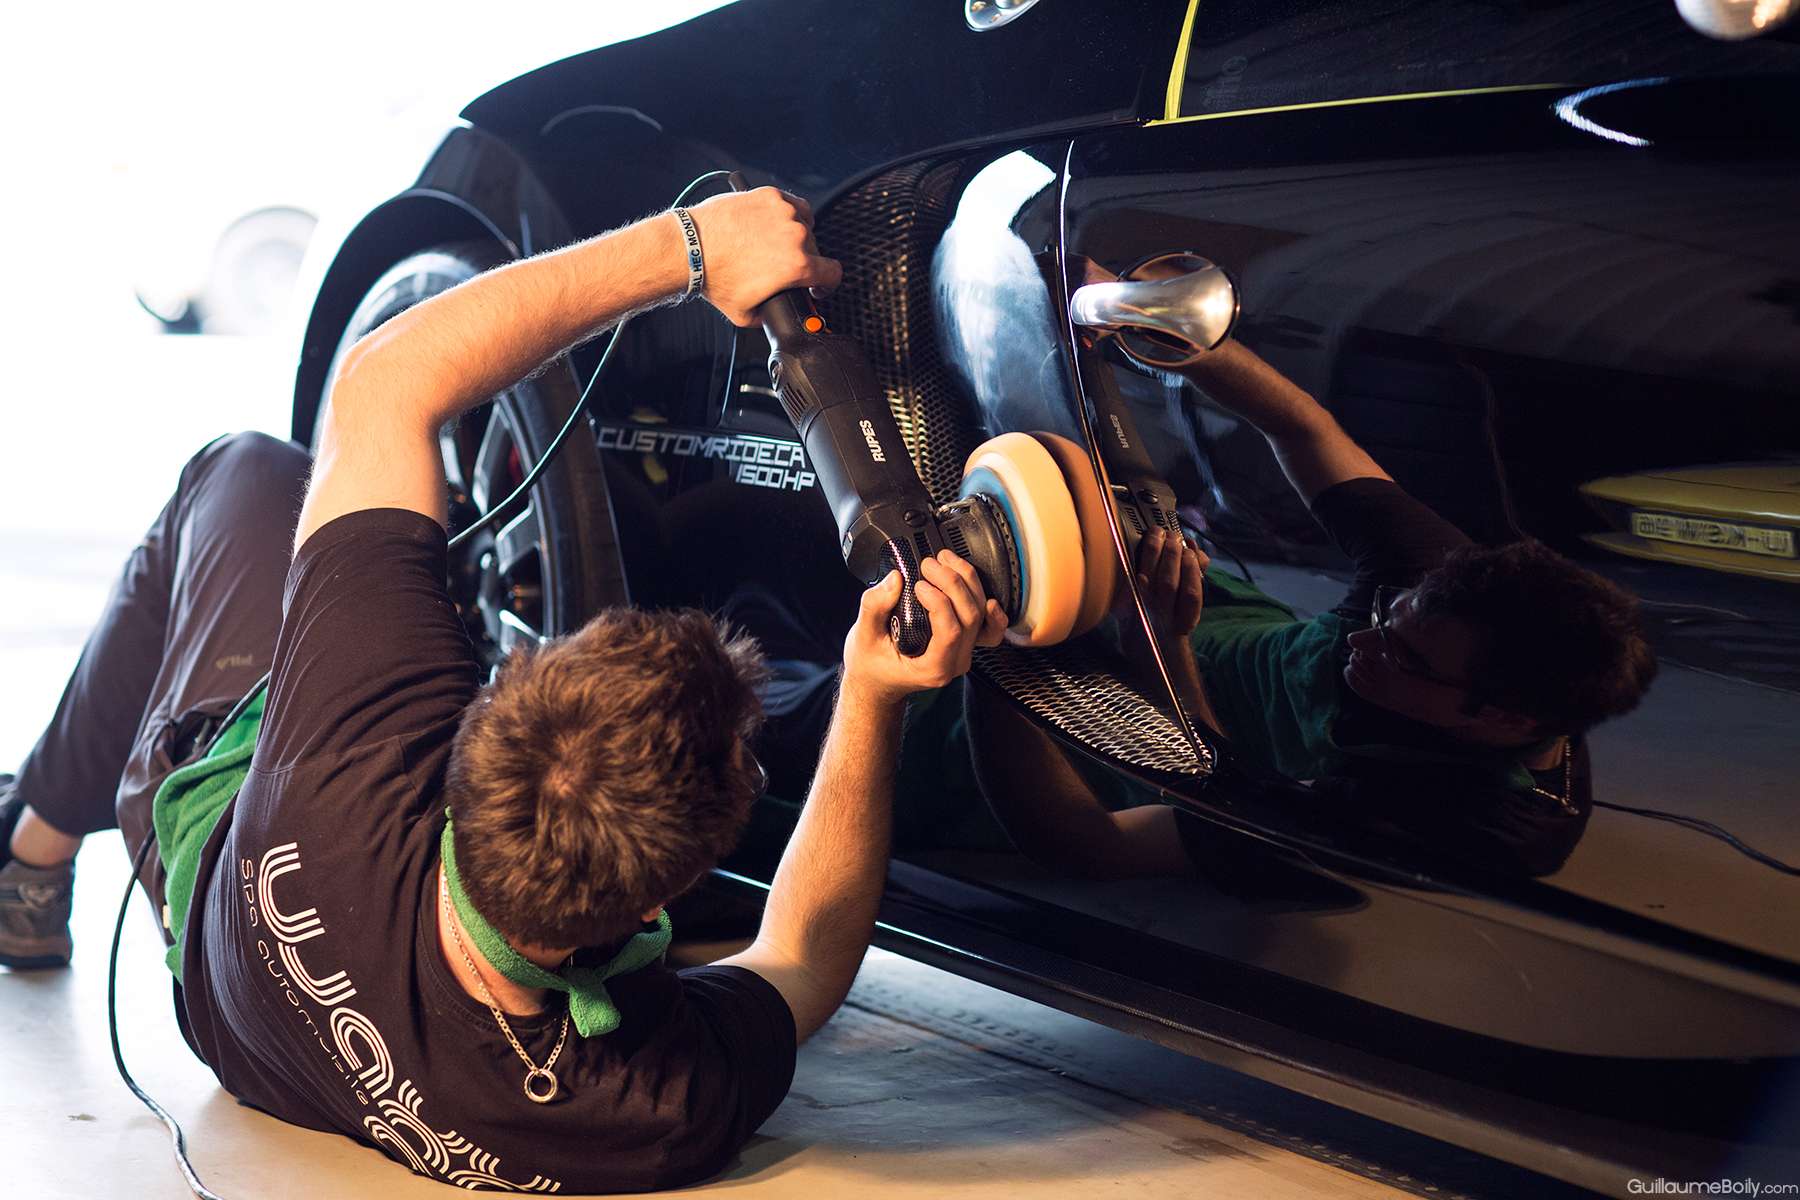
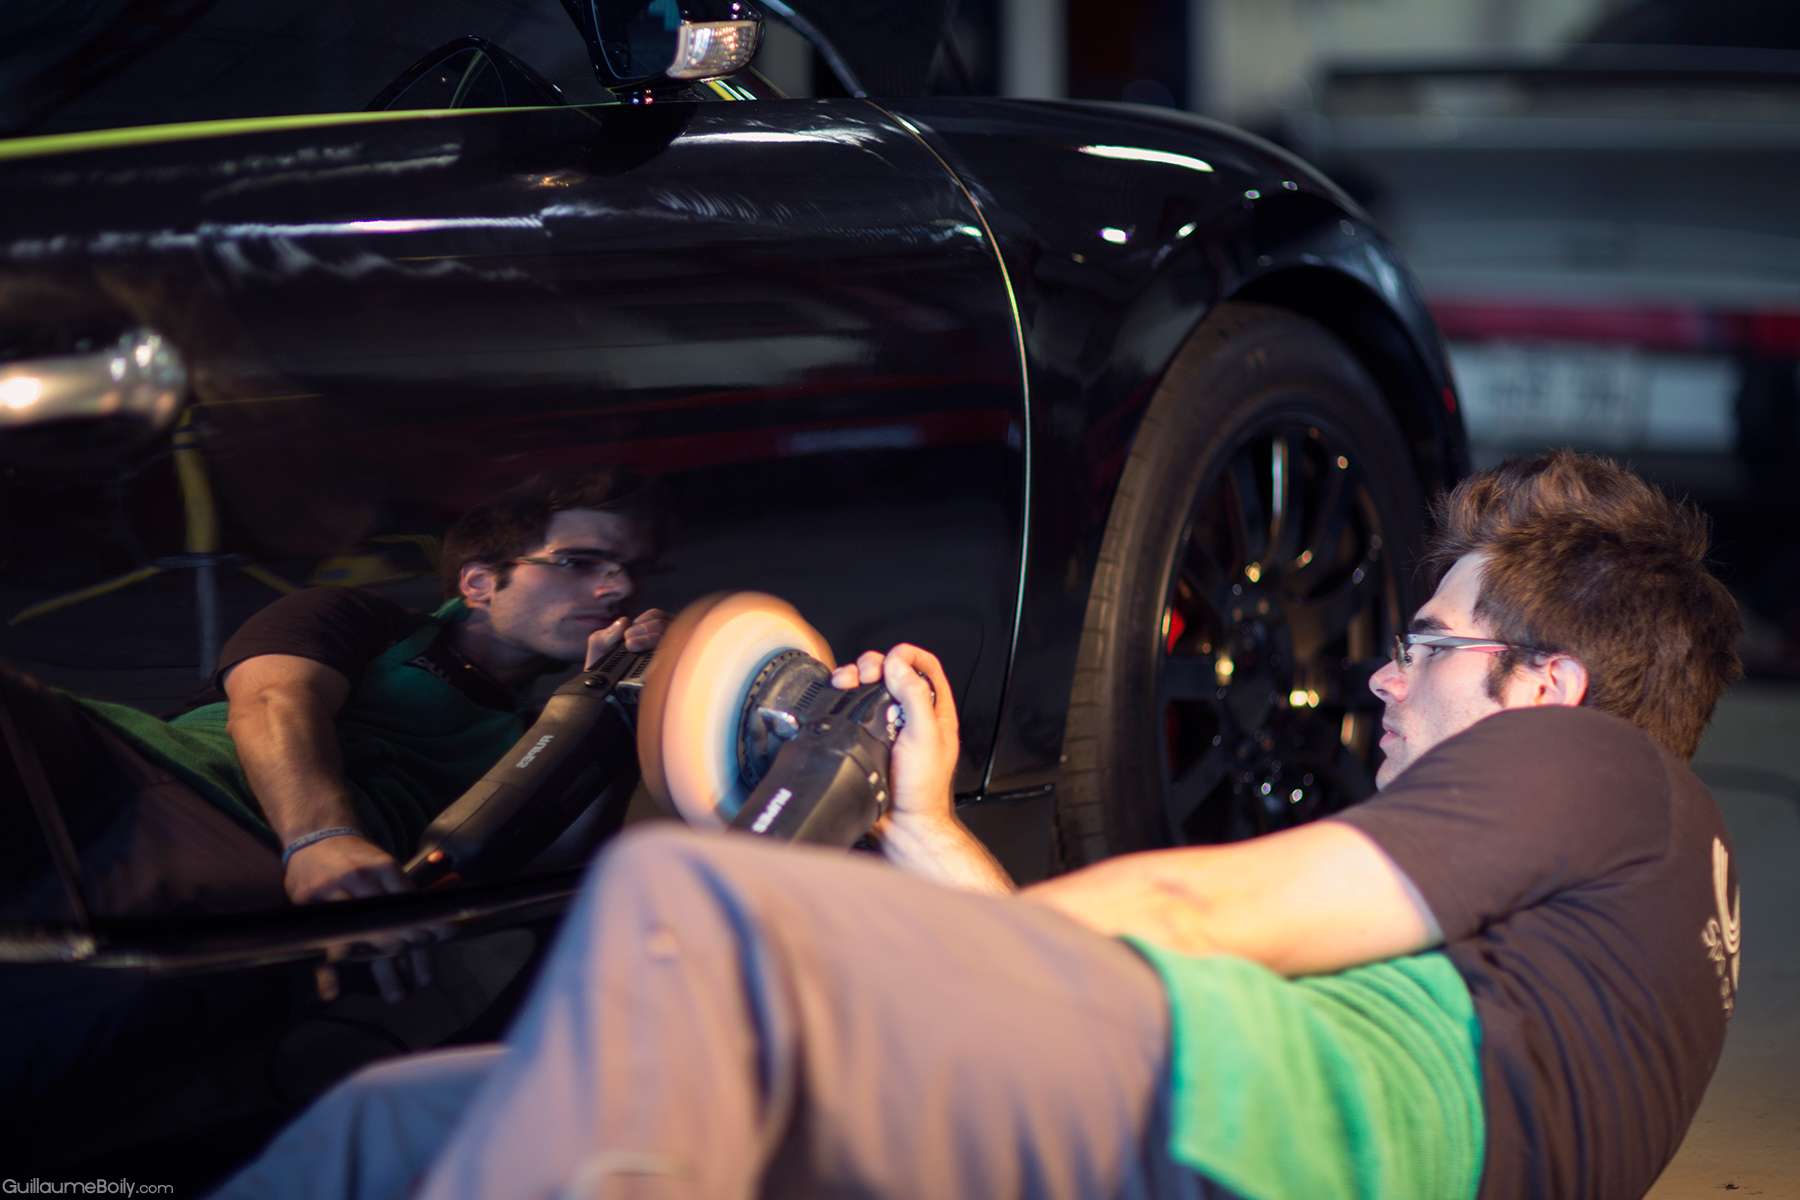
Voici la deuxičme étape du processus, cette fois-ci j’utilise un poli intensif avec un pad orange et la machine rupes.
This is step 2, this is an intensive polish used with a Lake country orange pad on the Rupes polisher.
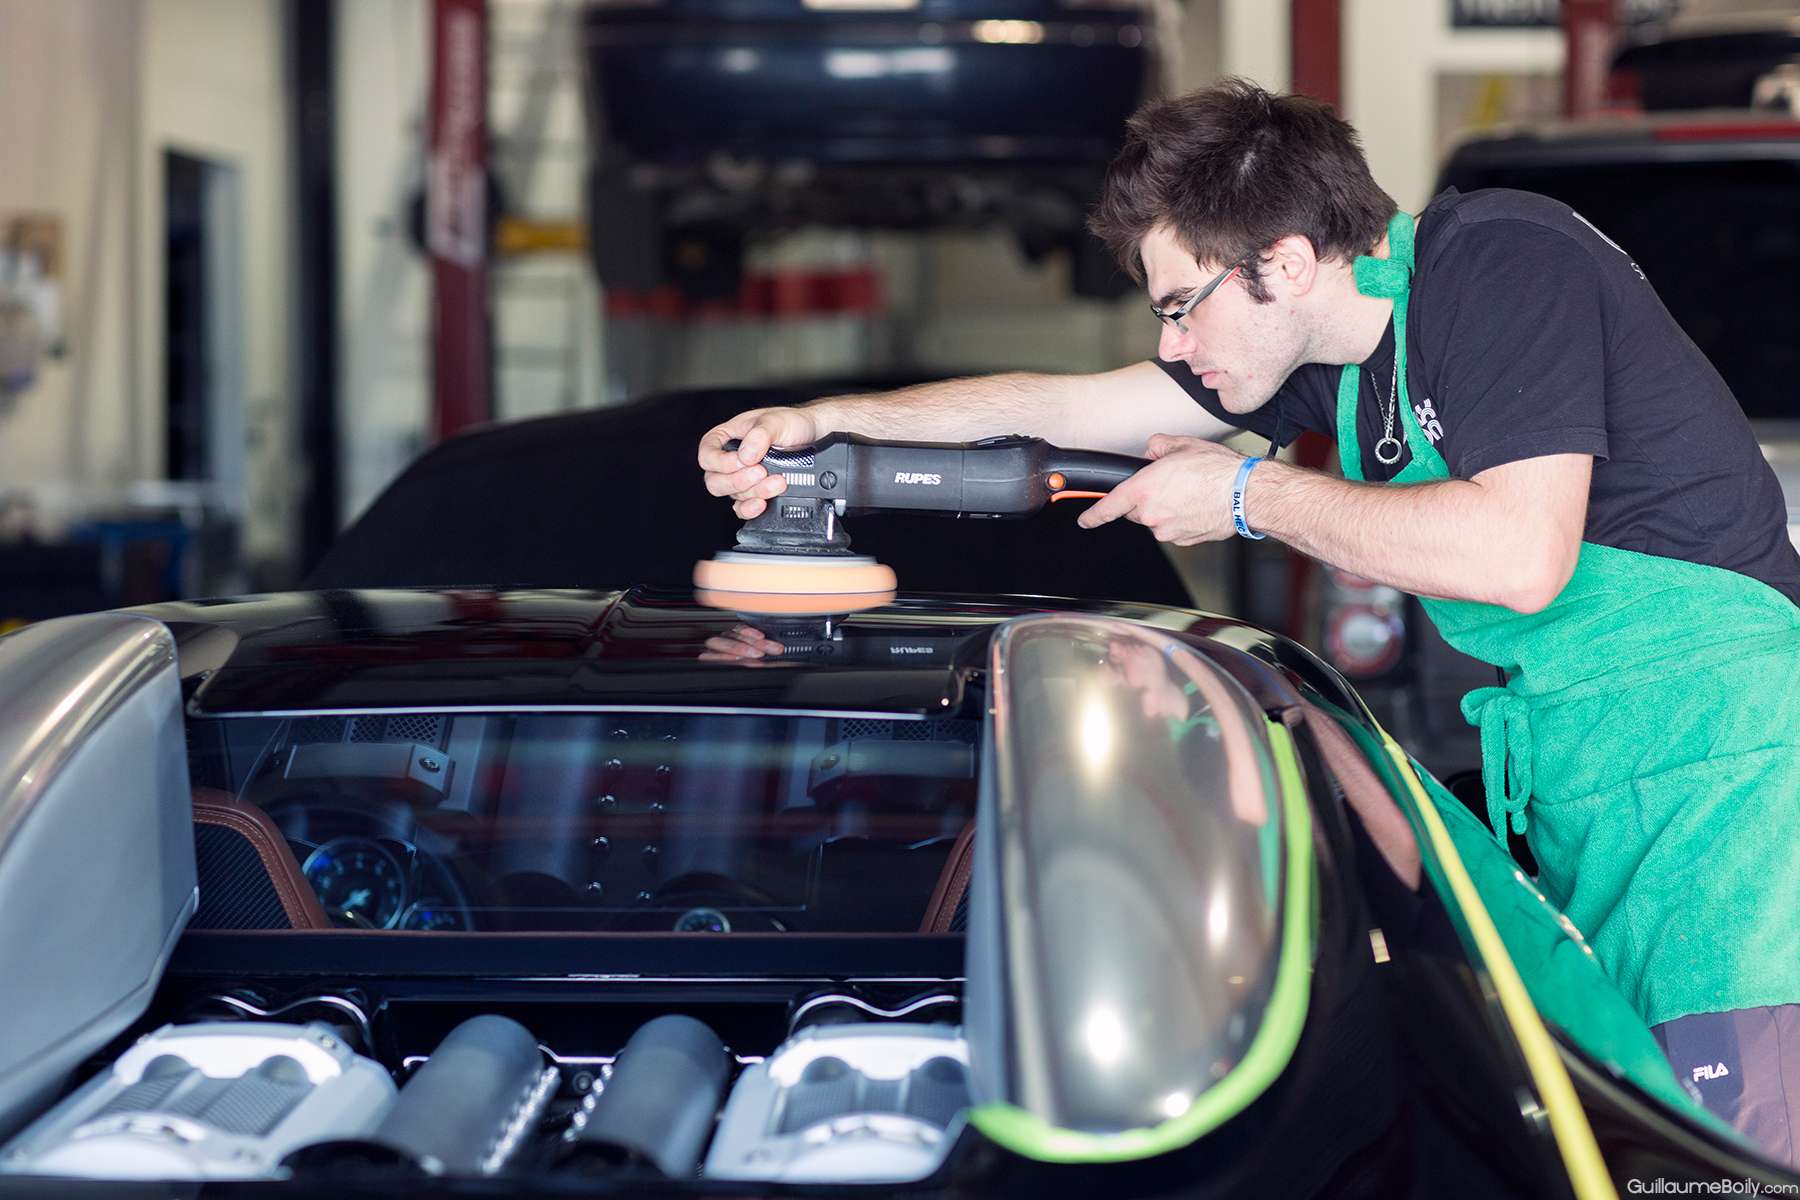
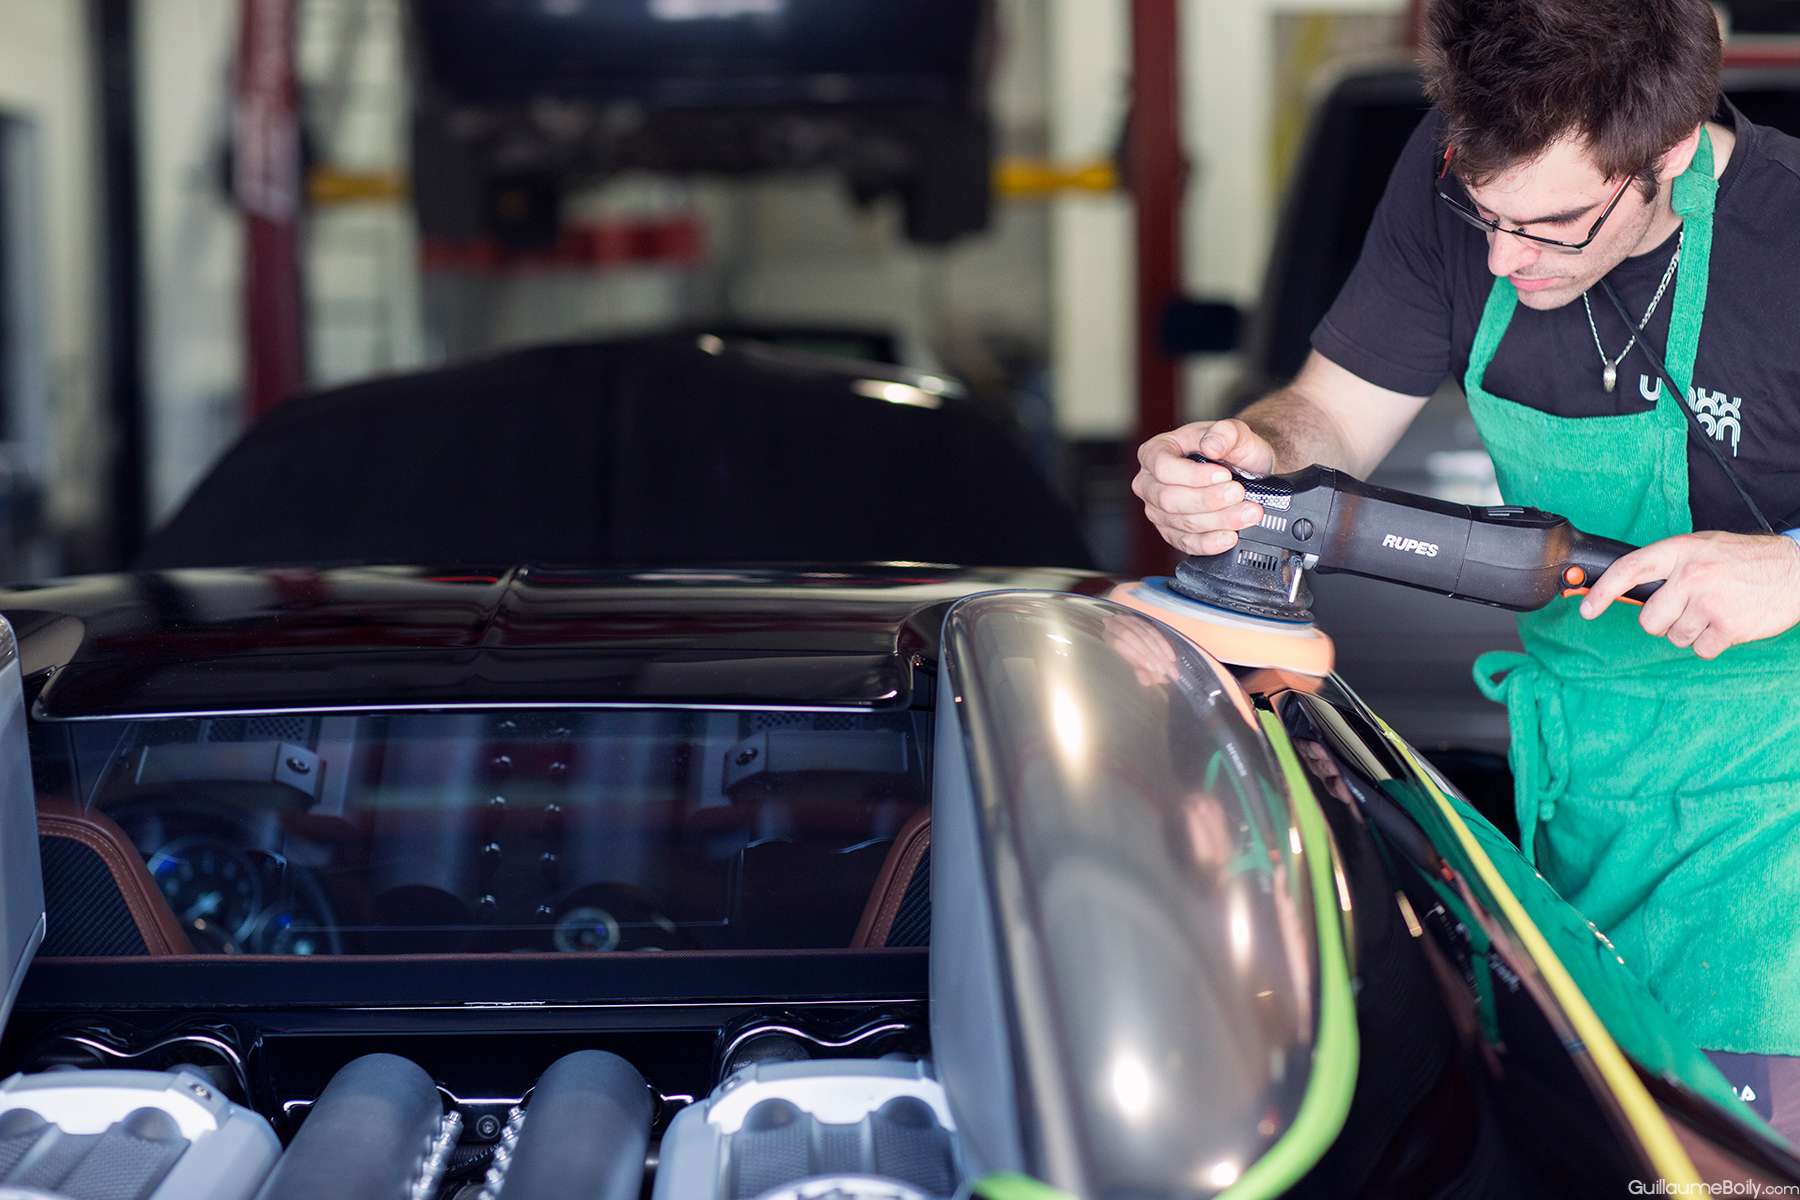
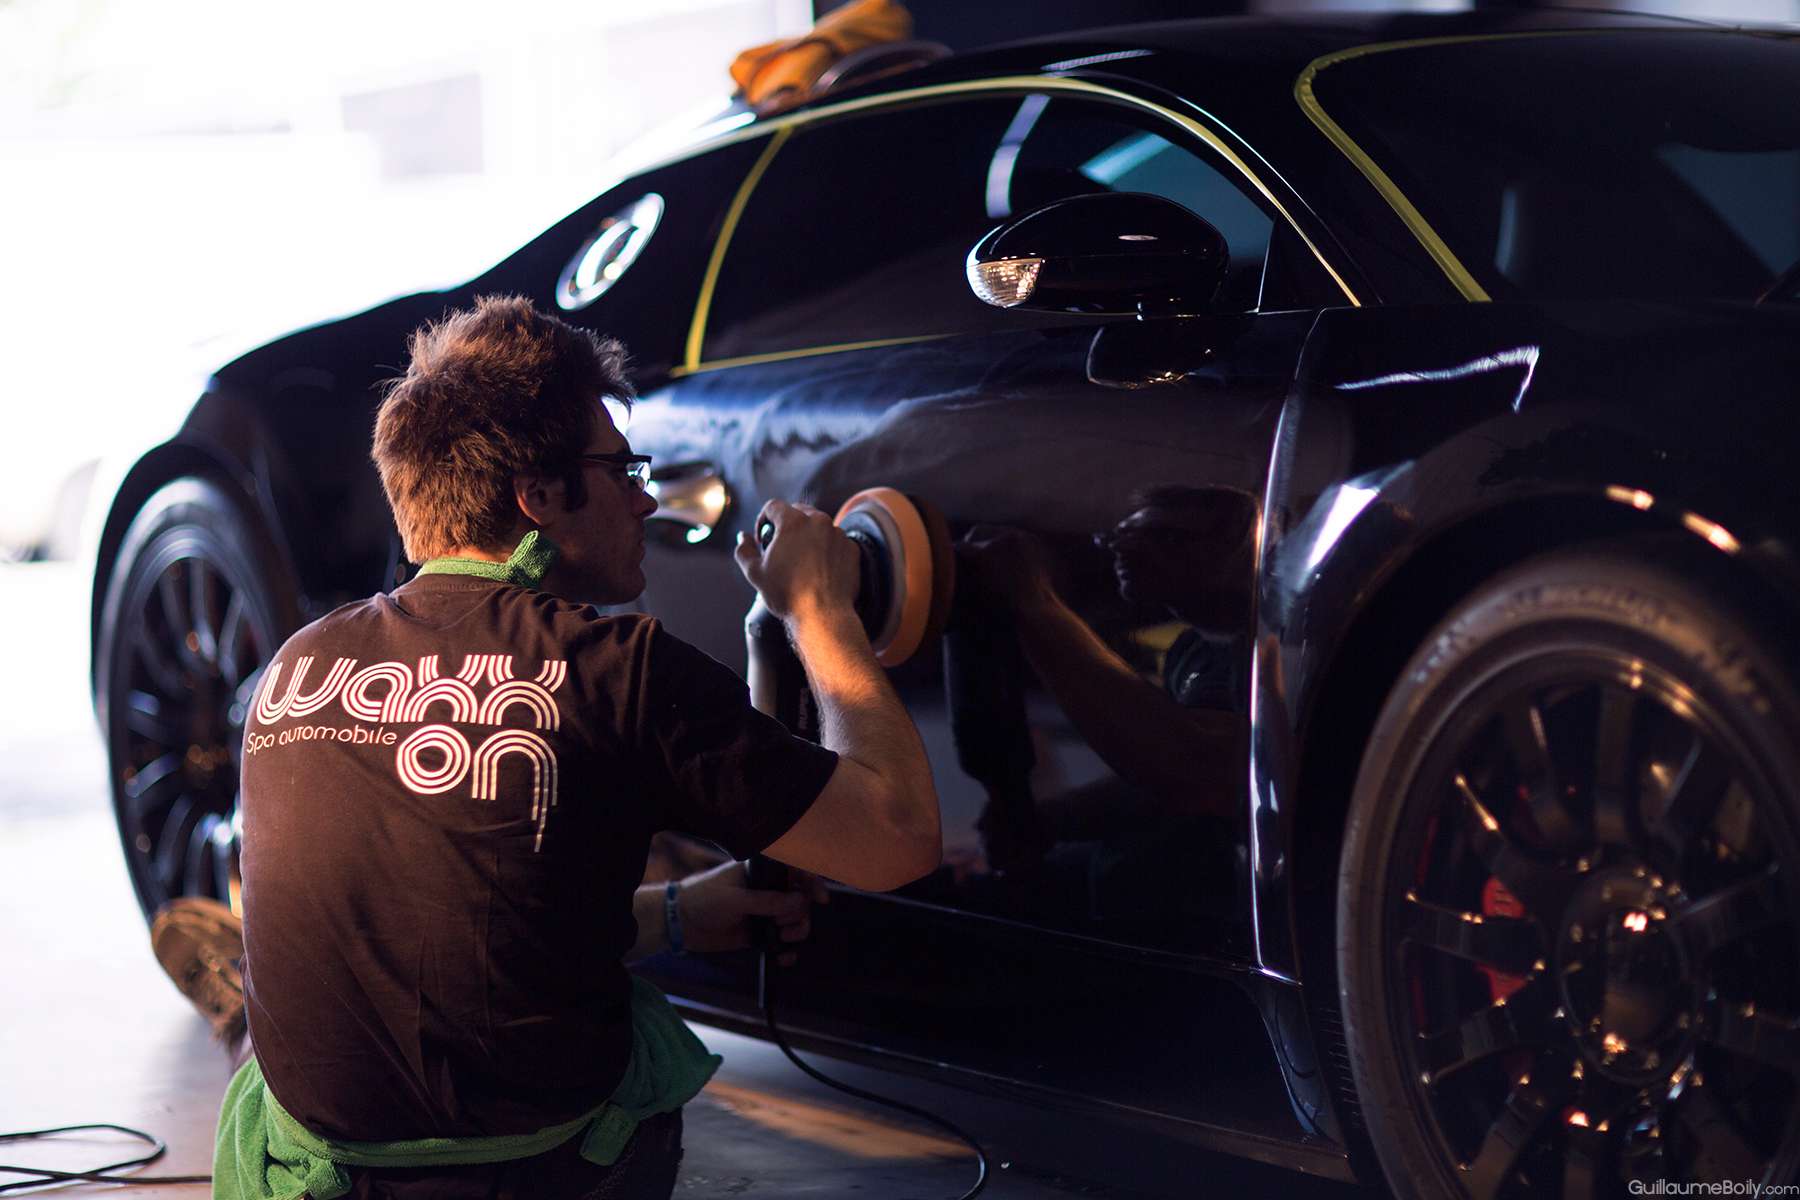
Voici la 3e étape sur notre processus ŕ 4 étapes. J’ai décidé d’utiliser la machine Rupes, un pad blanc de polissage avec HD polish. Tous le long du processus de polissage, j’avais les spotlight 500watts, le sungun 3m et les deux lumičres Brinkmans pour s’assurer que la correction exécuté sur la Bugatti était juste.
This is the step 3 in my step 4 process; here I am working the HD polish with a white pad on the Rupes polisher.

We used 2 set of spotlight, along with our specialities lights ( 3m sun gun, brinkman led and brinkman halogen gun) to make sure the correction was done right and spotless:

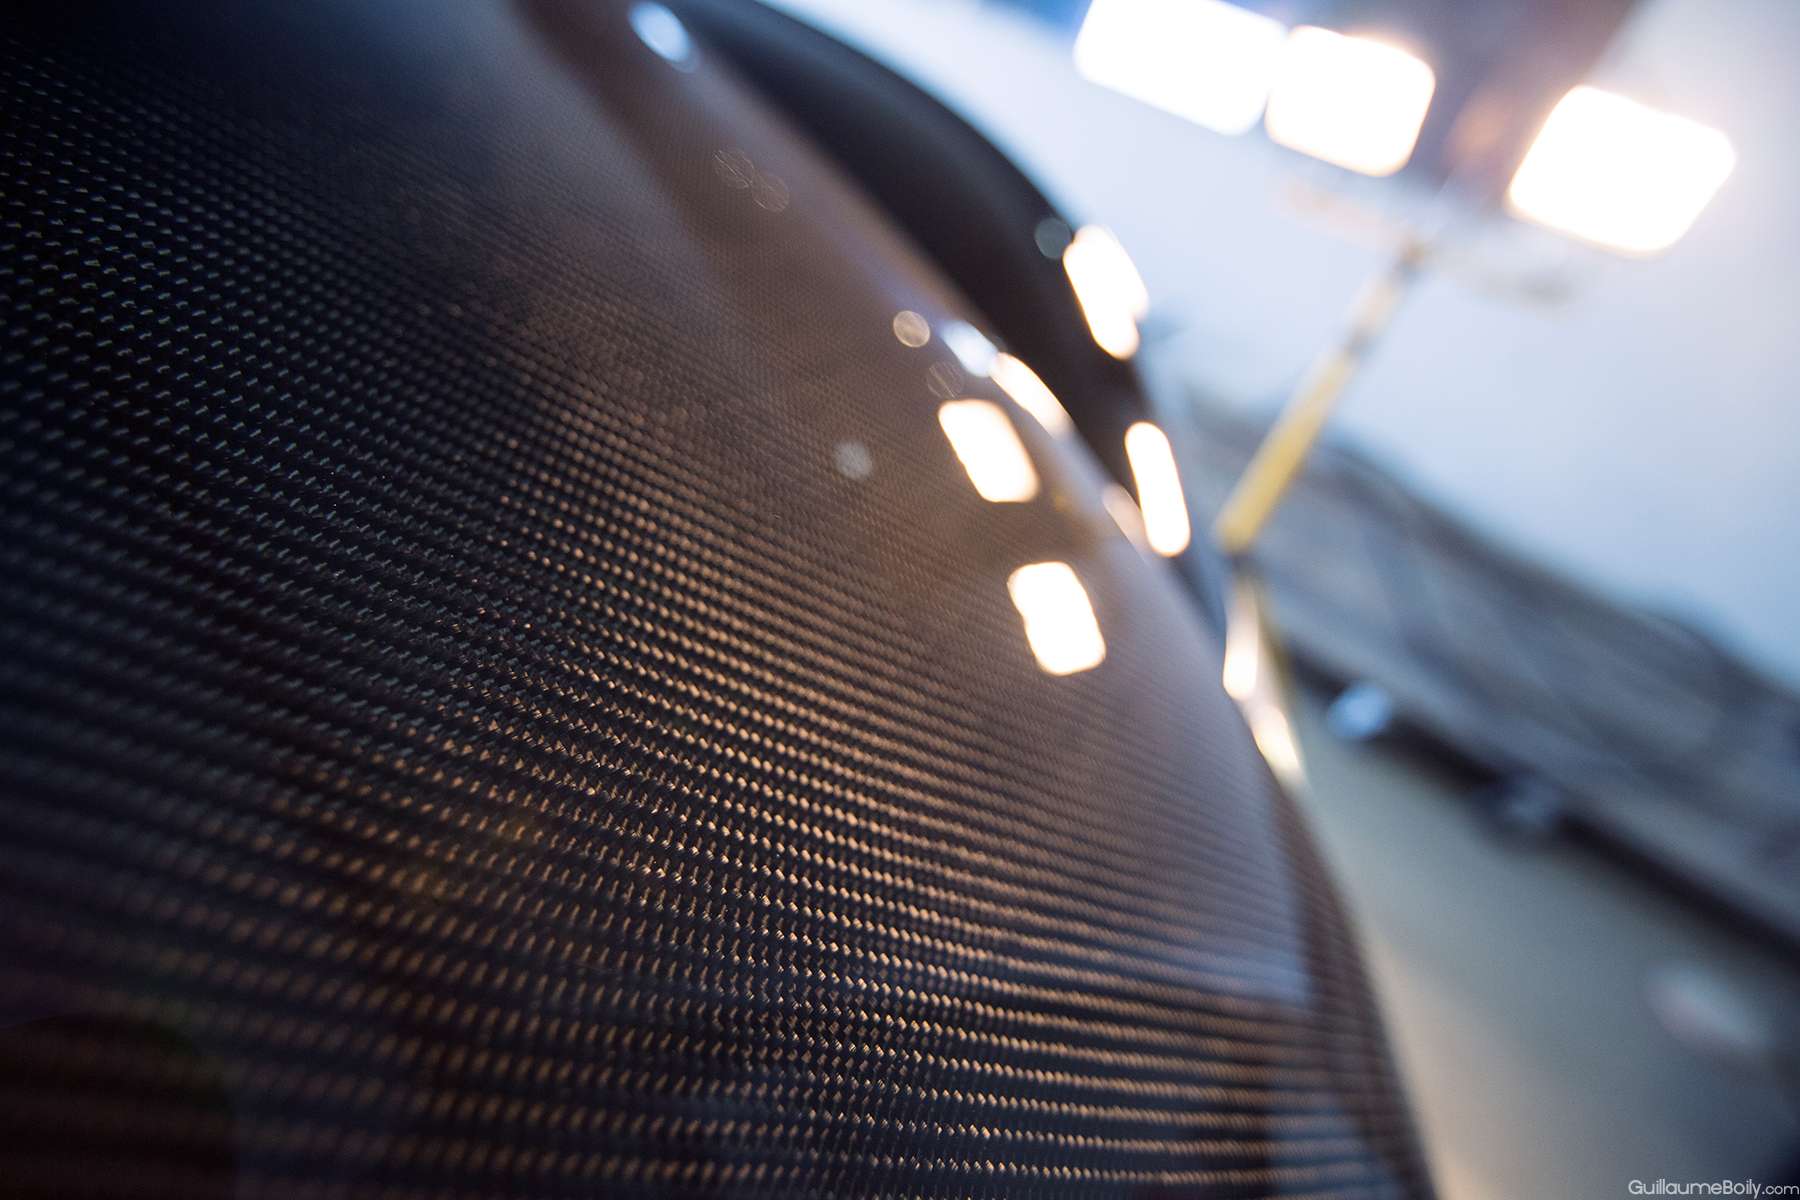
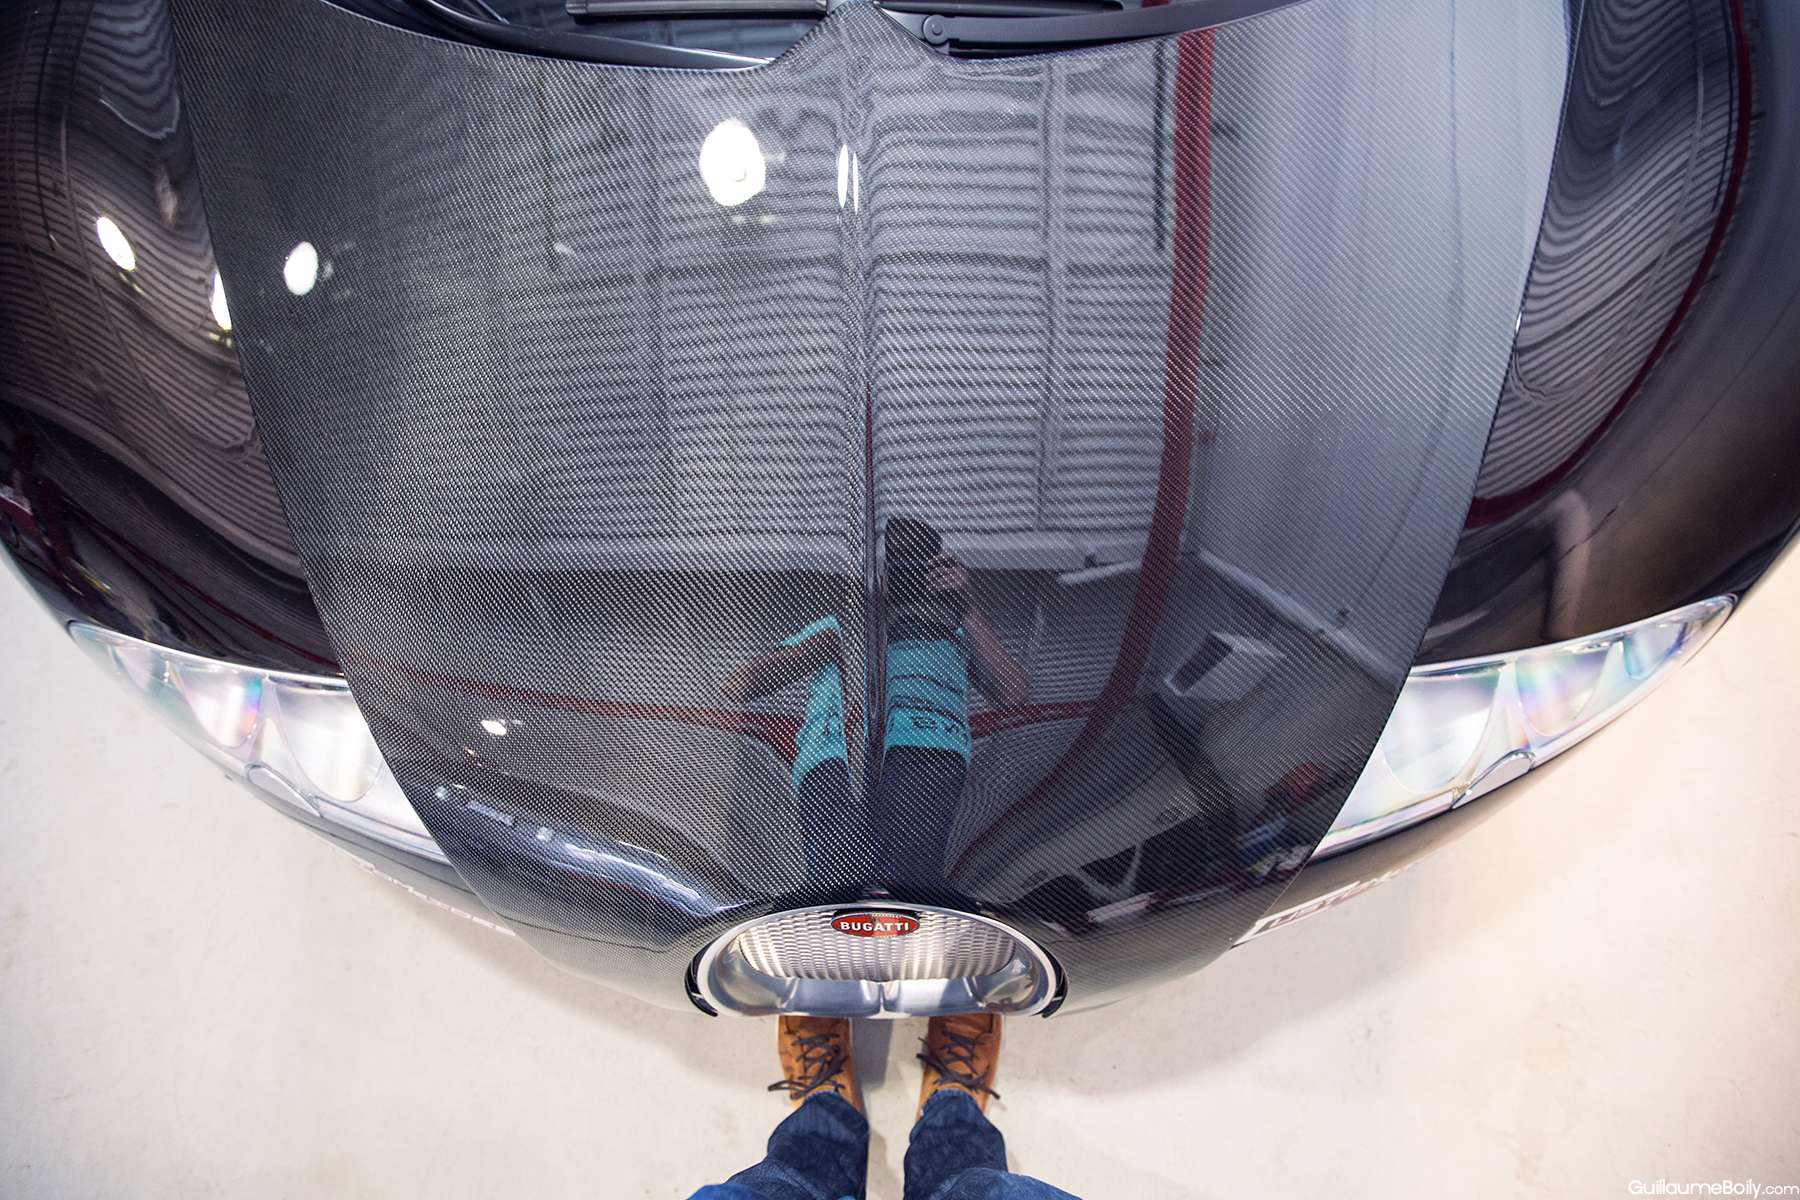
Pour la partie 1 de mon détail en mai, certains ont commenté la partie brune sur le capot et bien comme vous voyez, avec un photographe pro et un éclairage de qualité, la fibre de carbone est absolument impeccable.
In part 1, I had people commenting on the brown thing on the hood, not sure if people were looking at bashing me or just unsure, but I told them it as the carbon fiber, and my bad photographer skill. Here you can clearly see the hood is absolutely spotless and scratch free, just clean sexy carbon fiber weaves
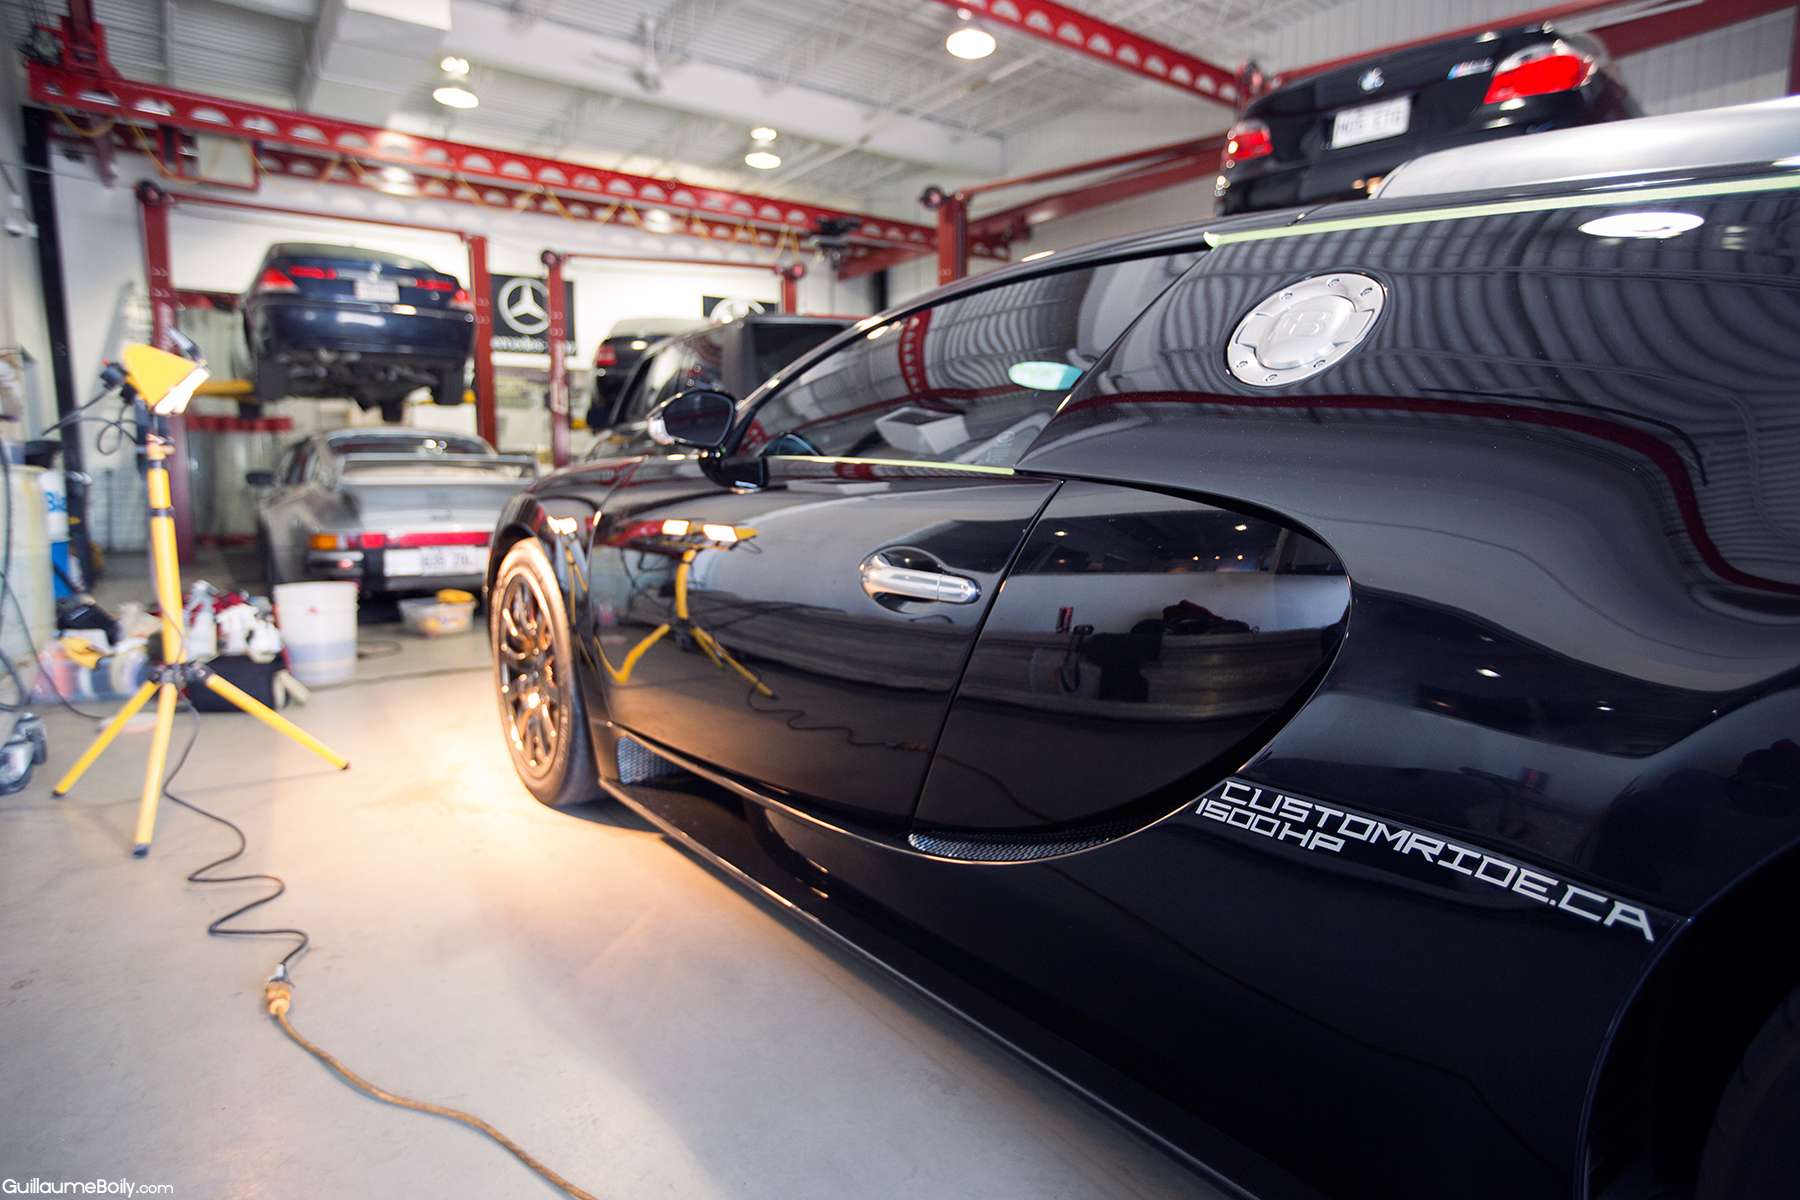
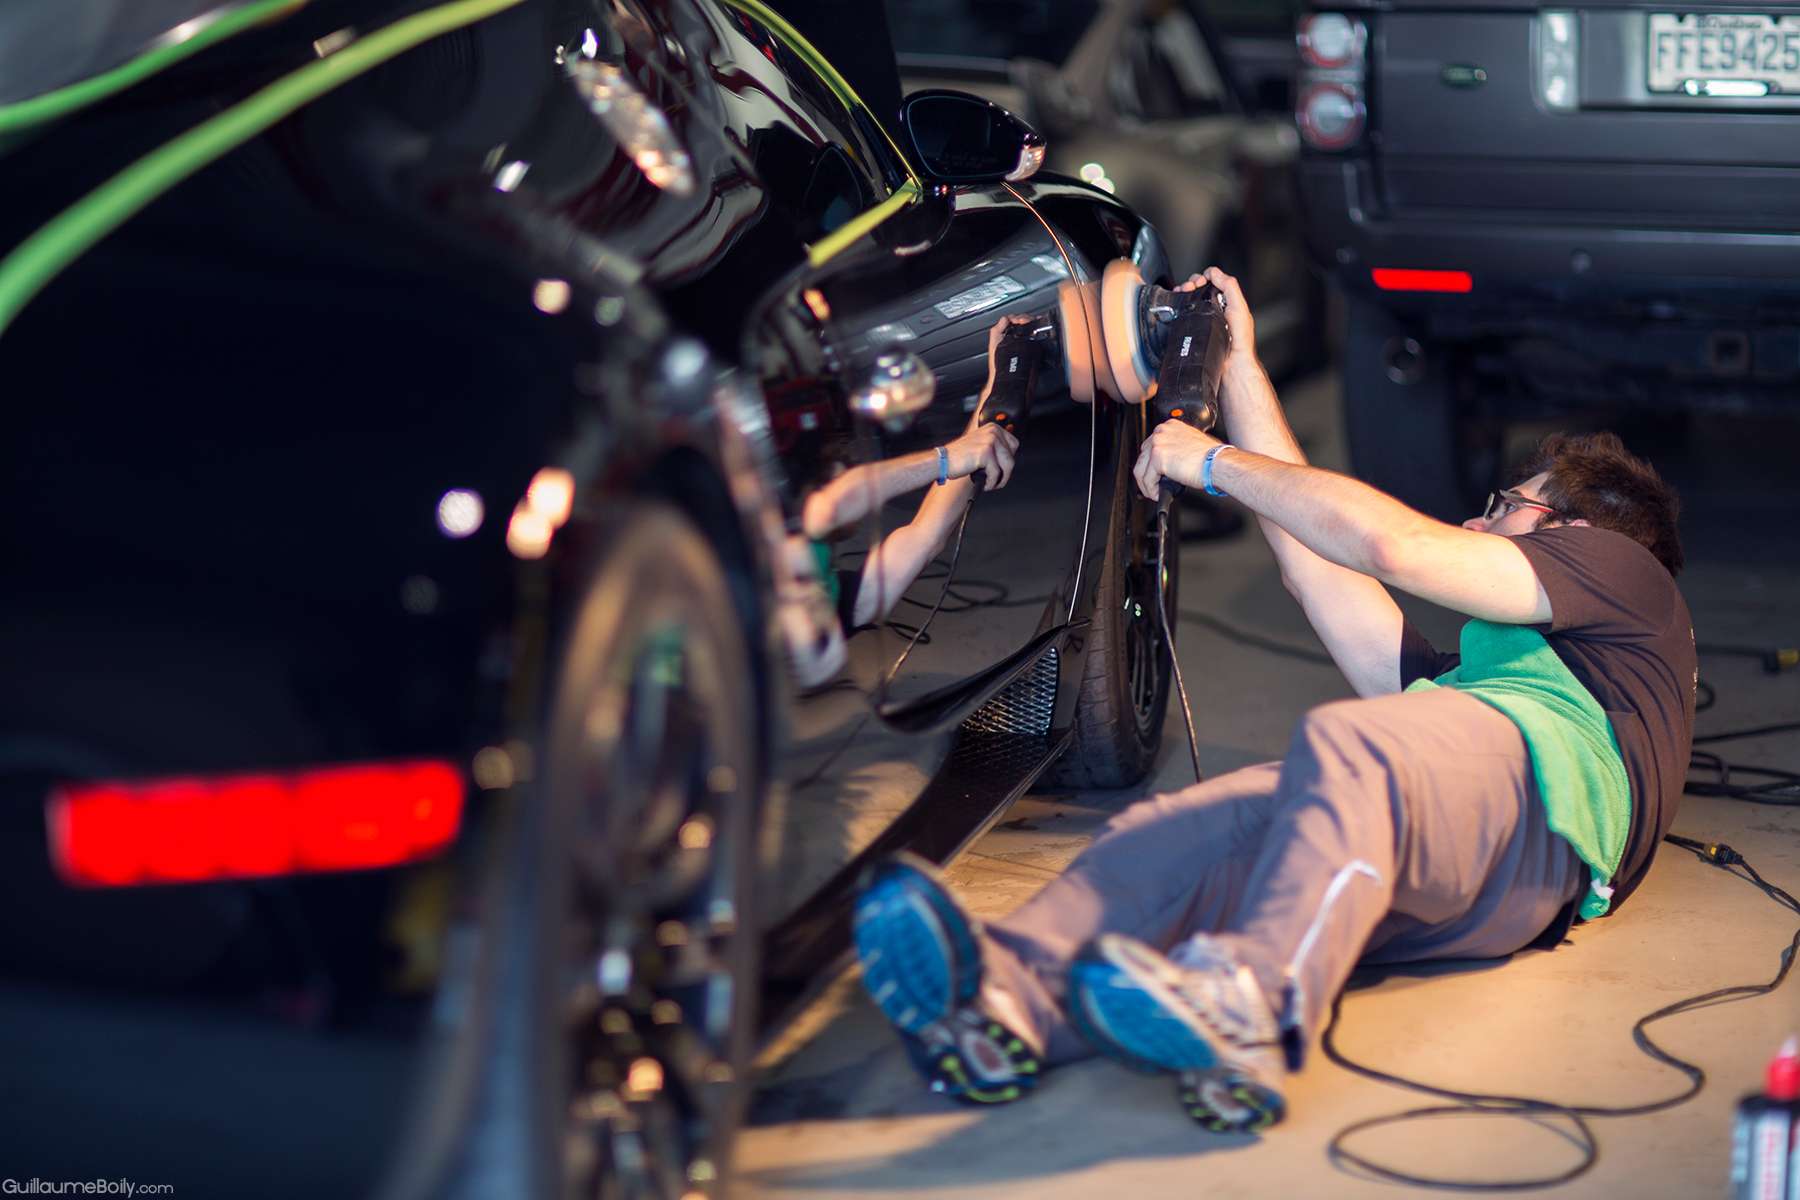
Another work in progress:
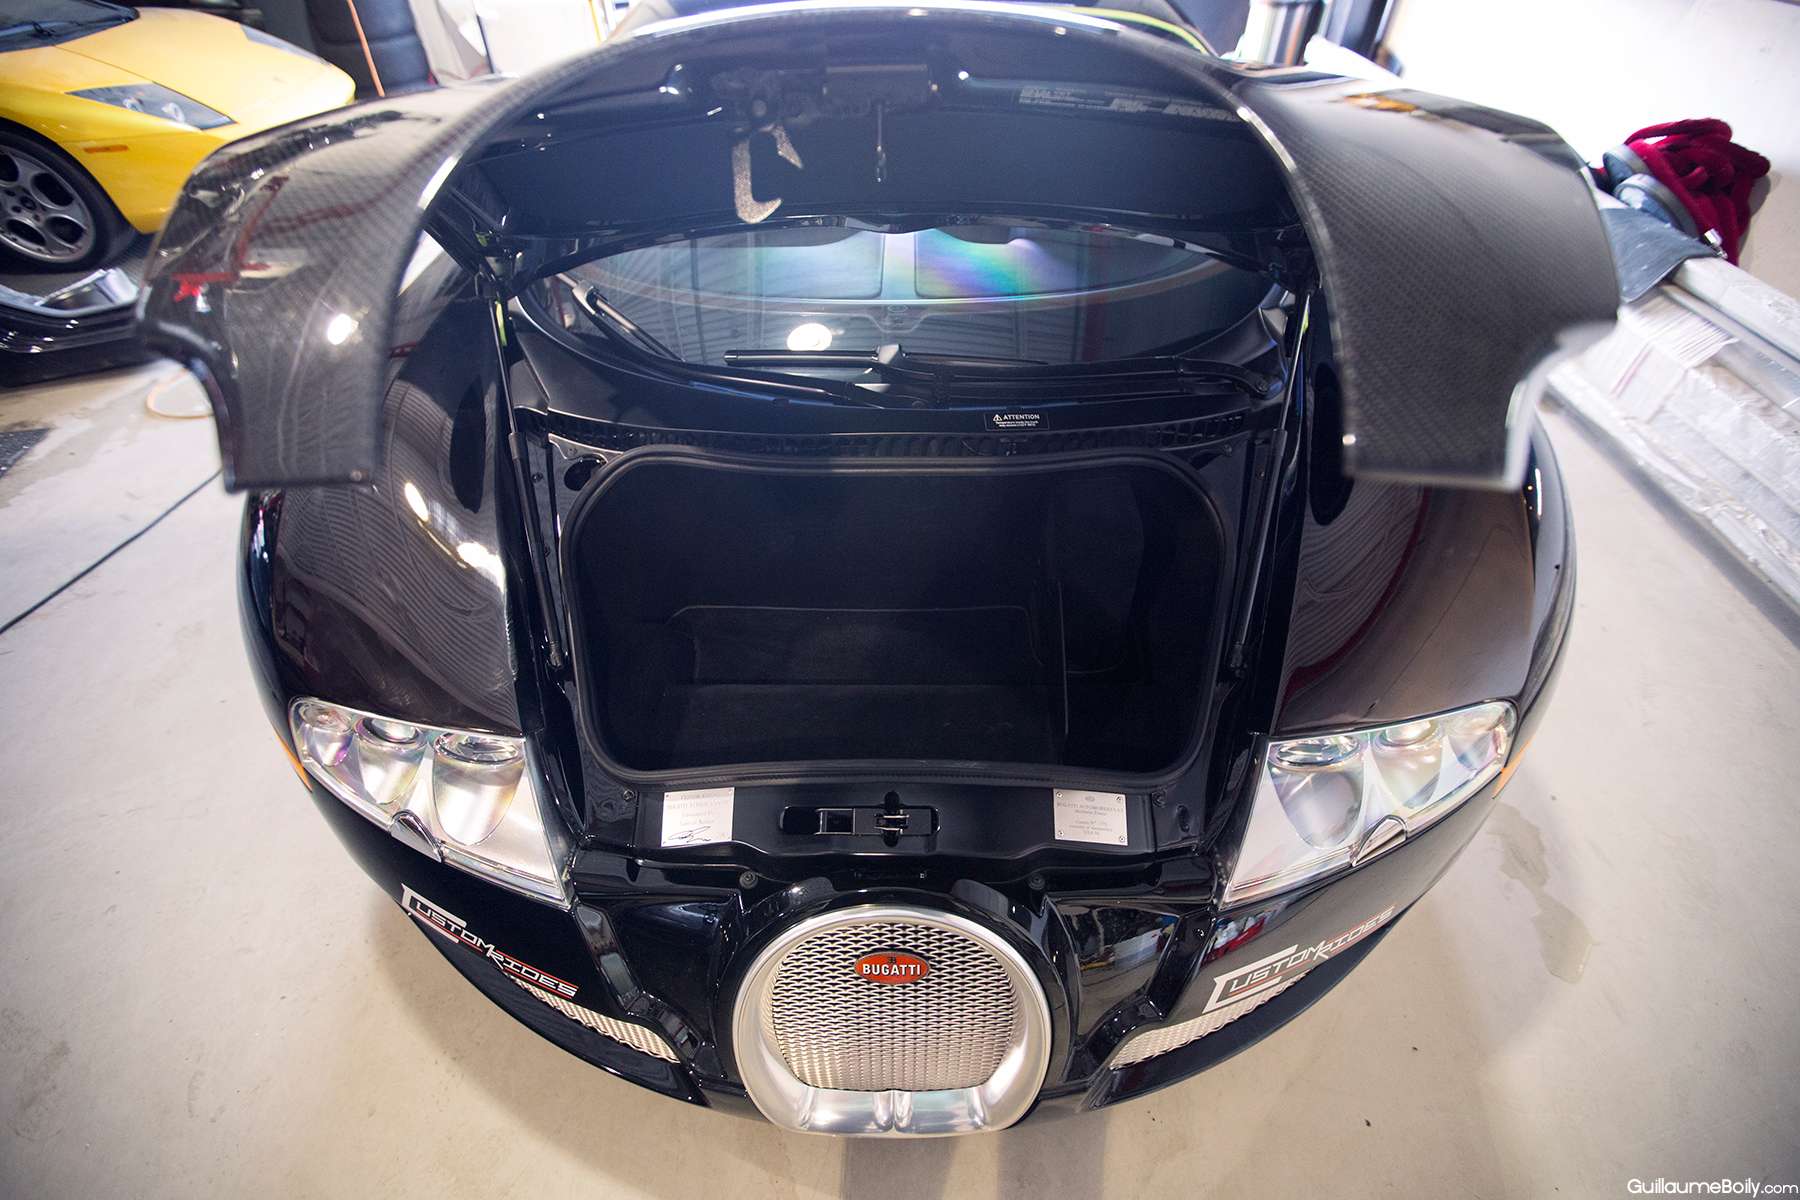
If you ever wondered, the trunk is about as big as a Porsche 911.. Meaning you won’t put much beside 3-4 grocery bag haha. This was in my final stage where I clean every vent/crevice.
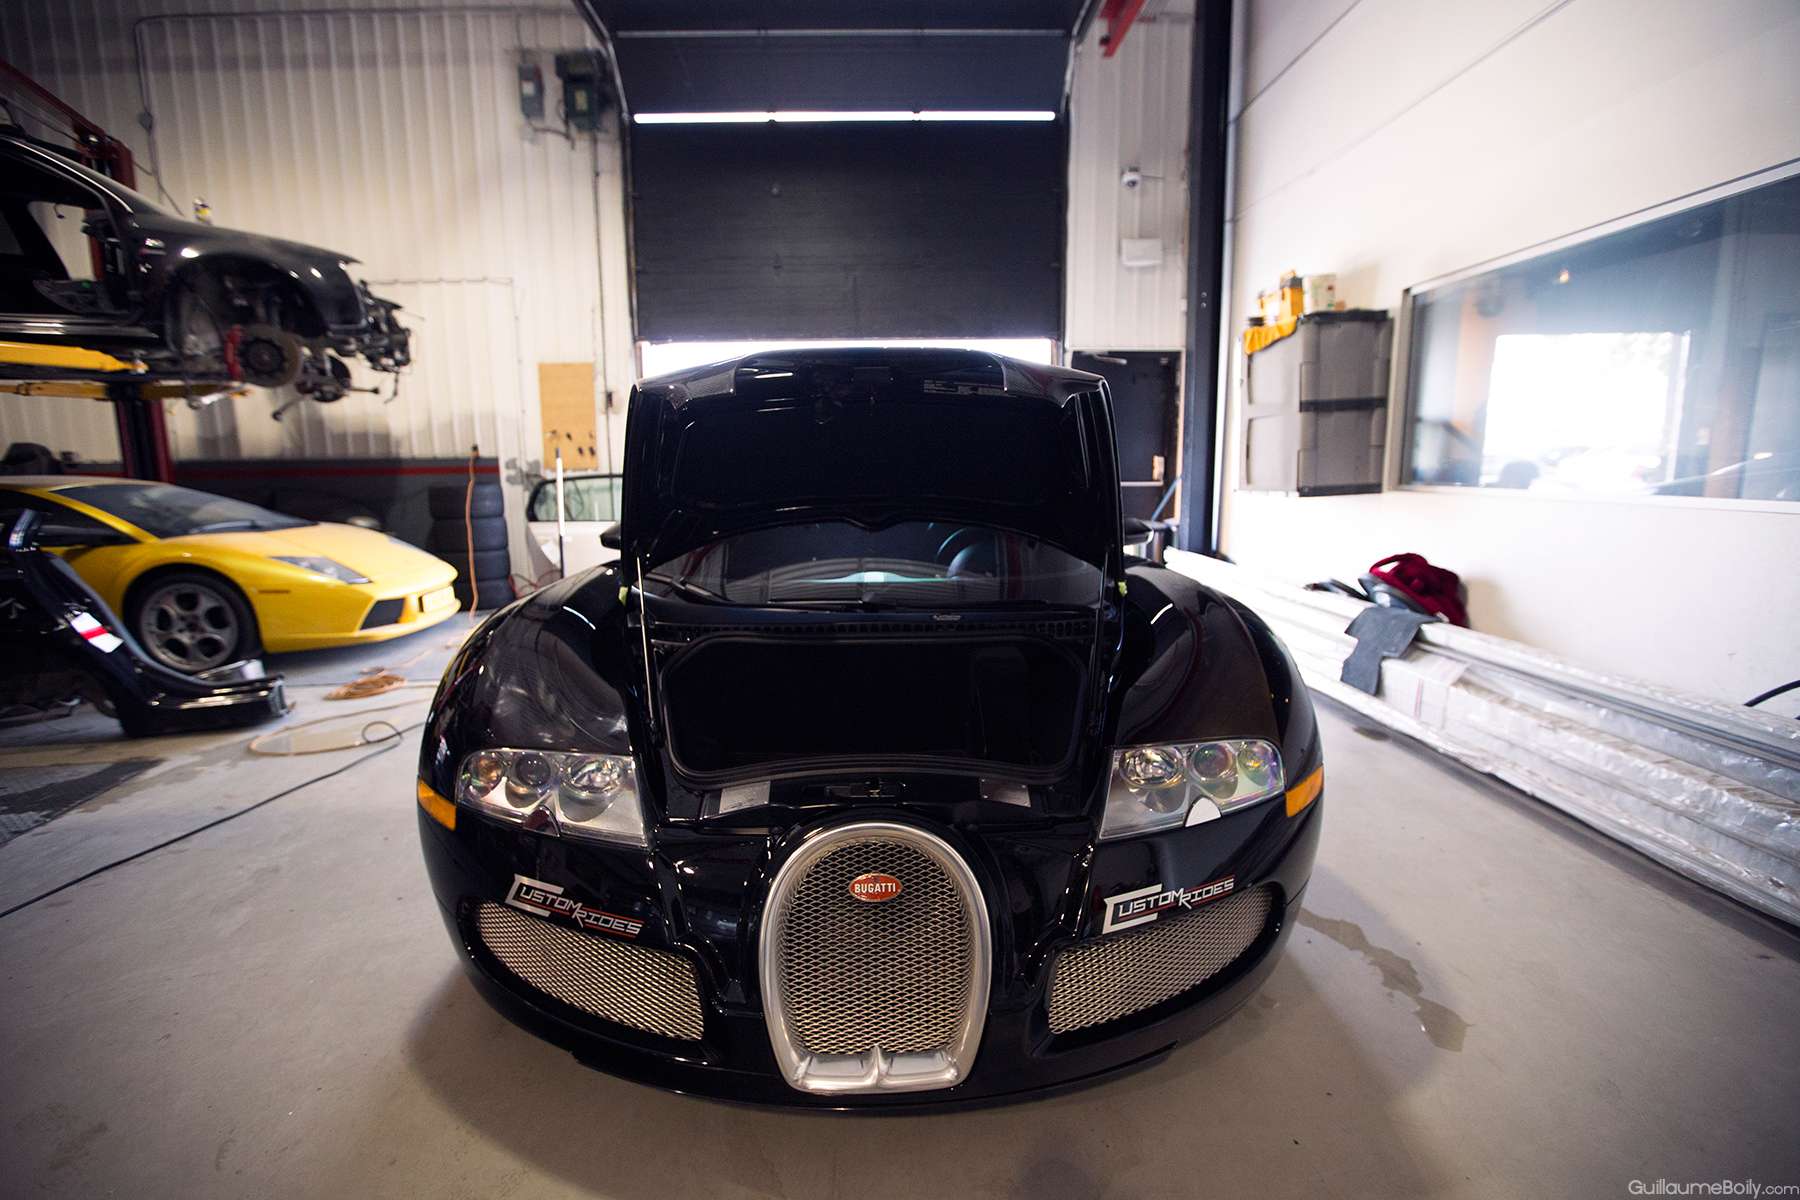
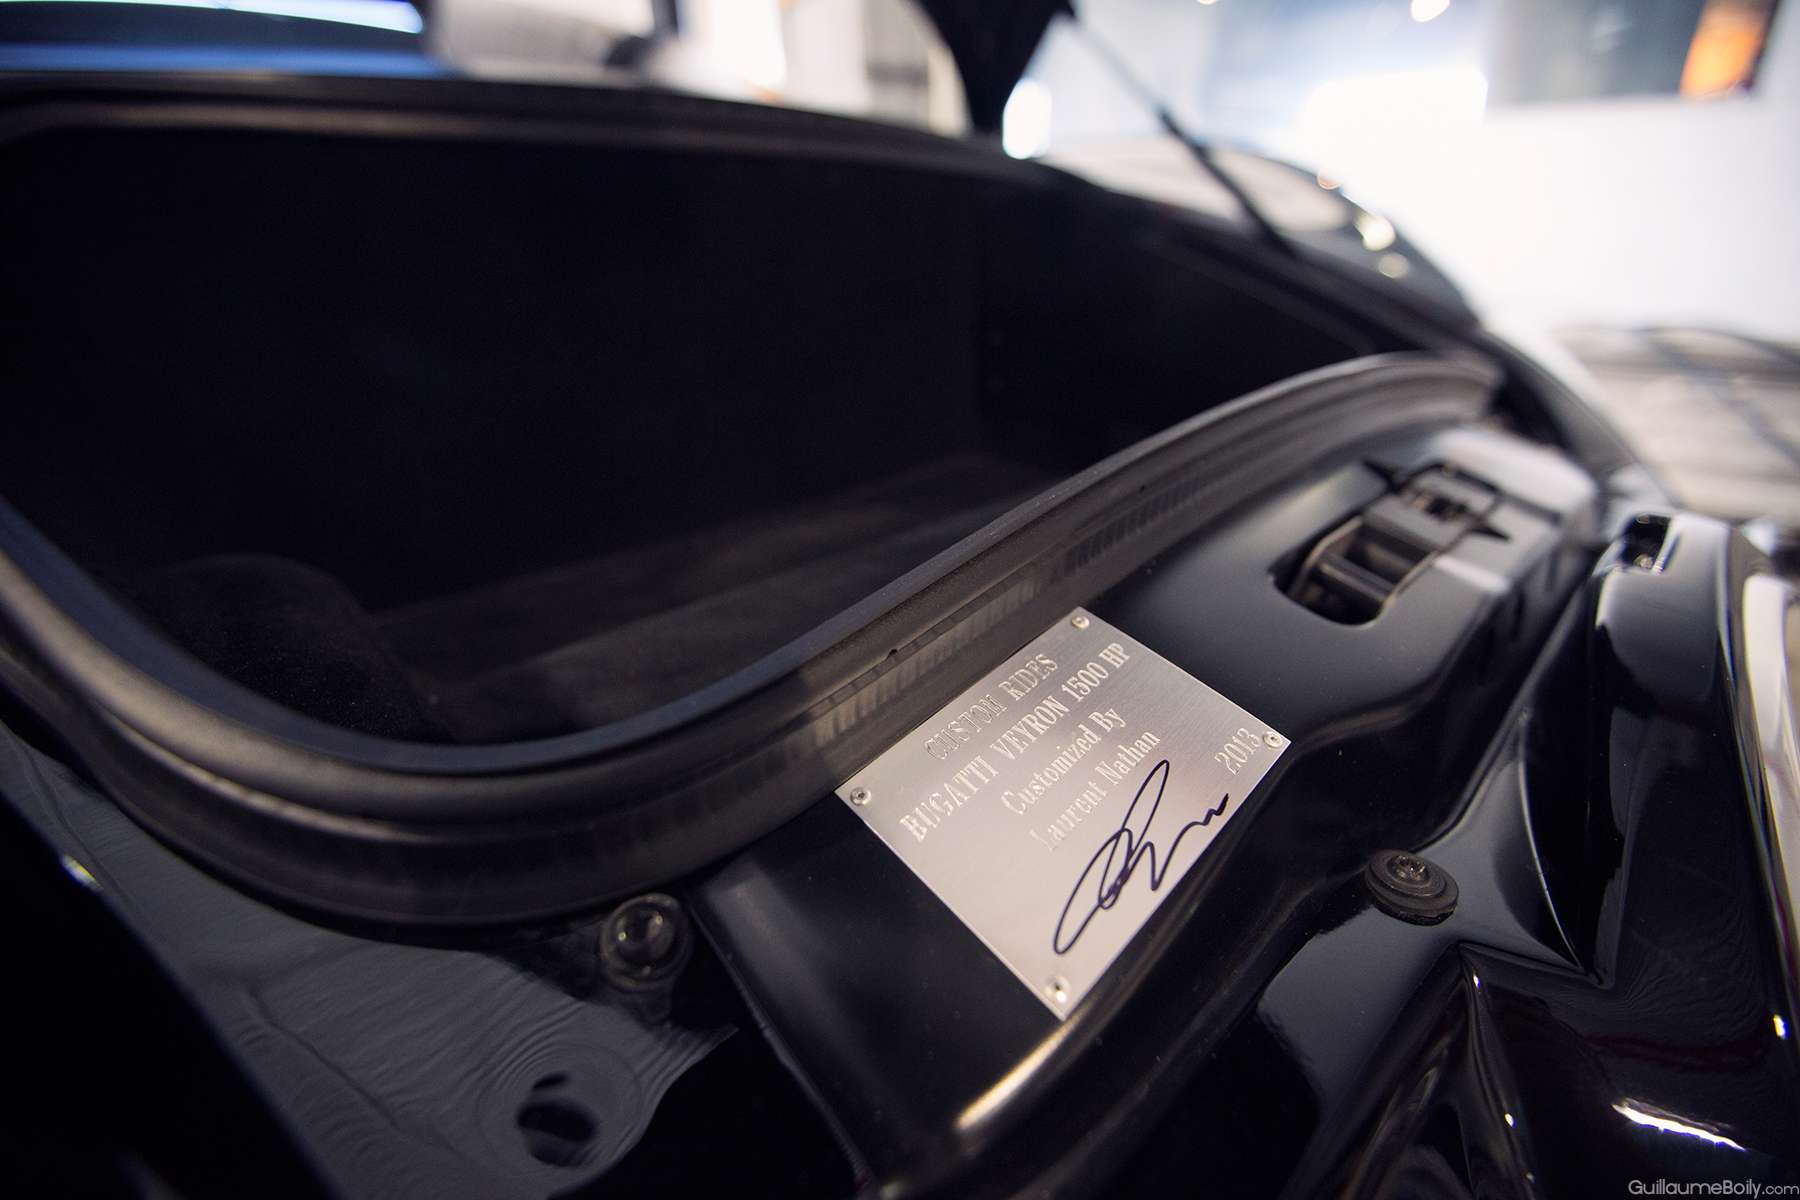
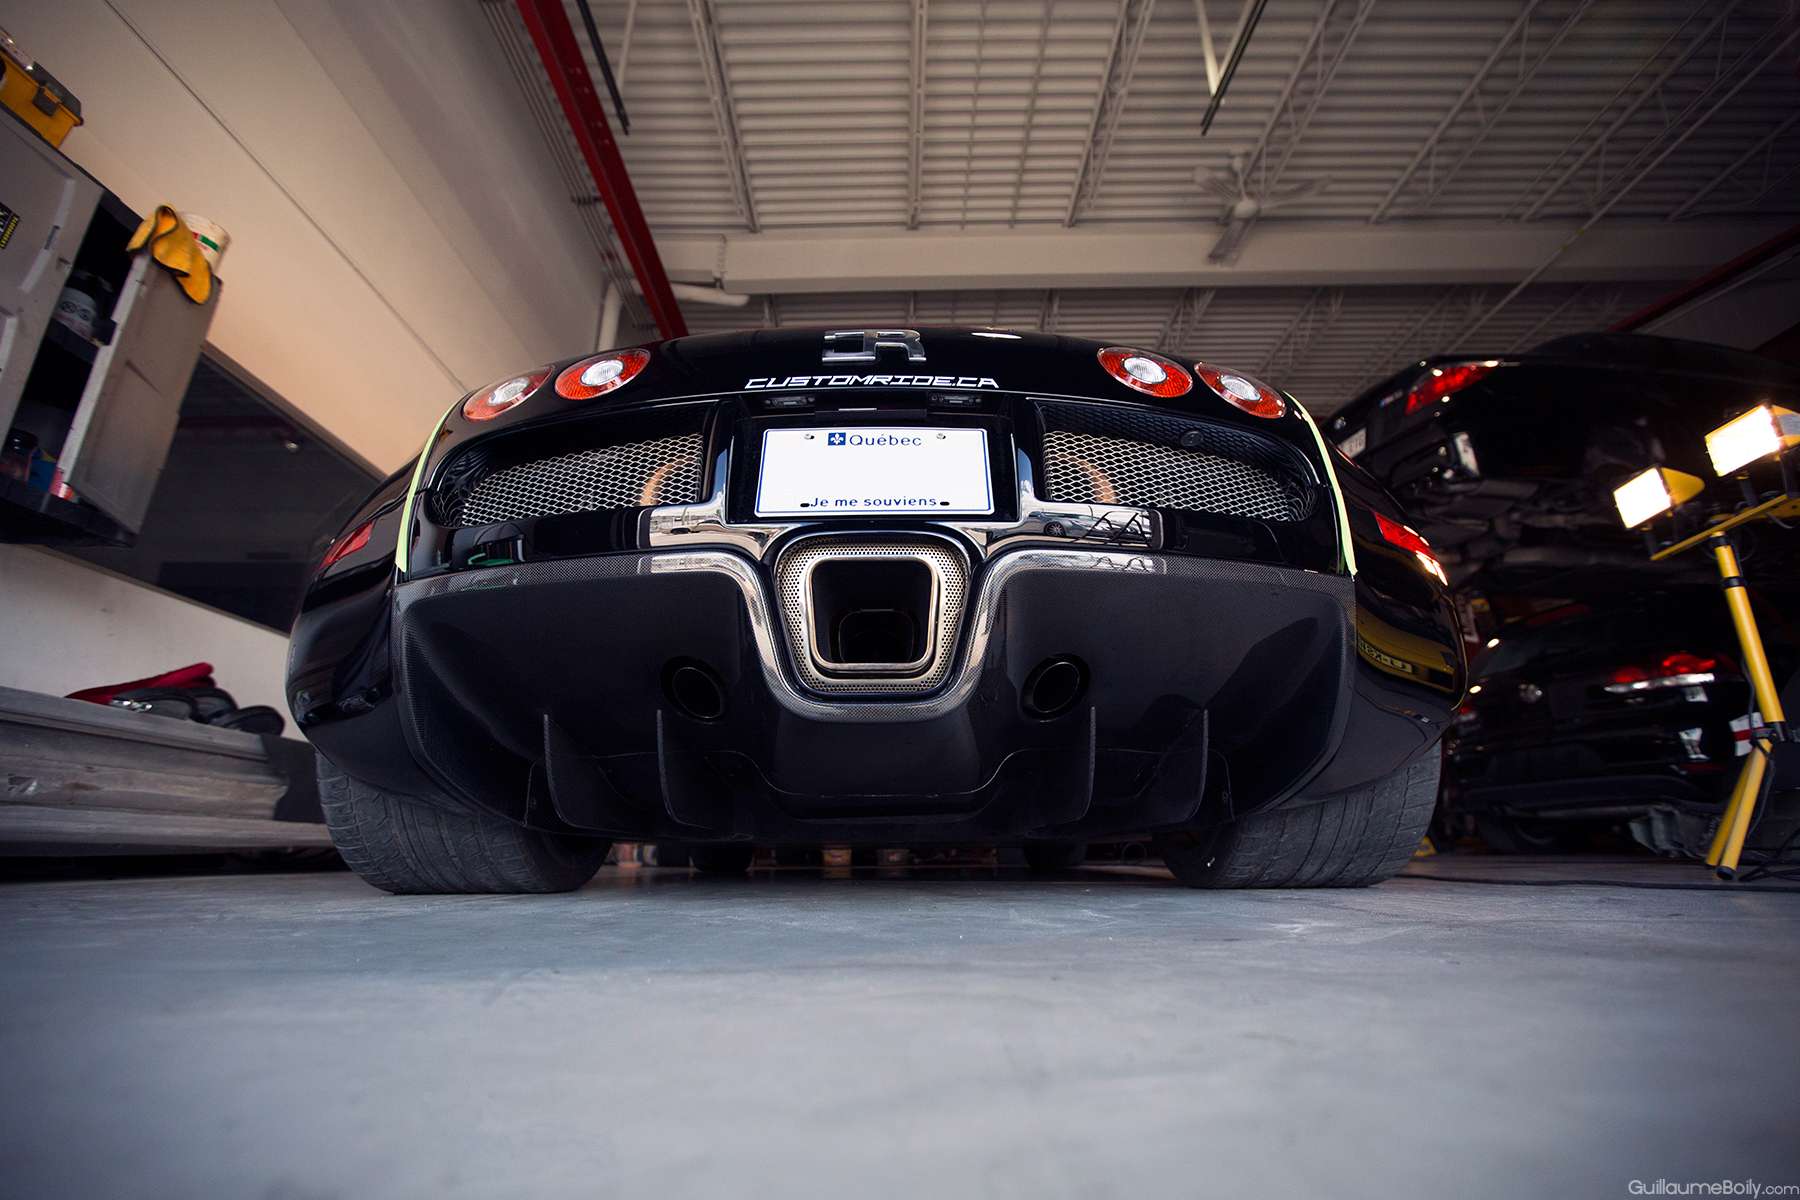
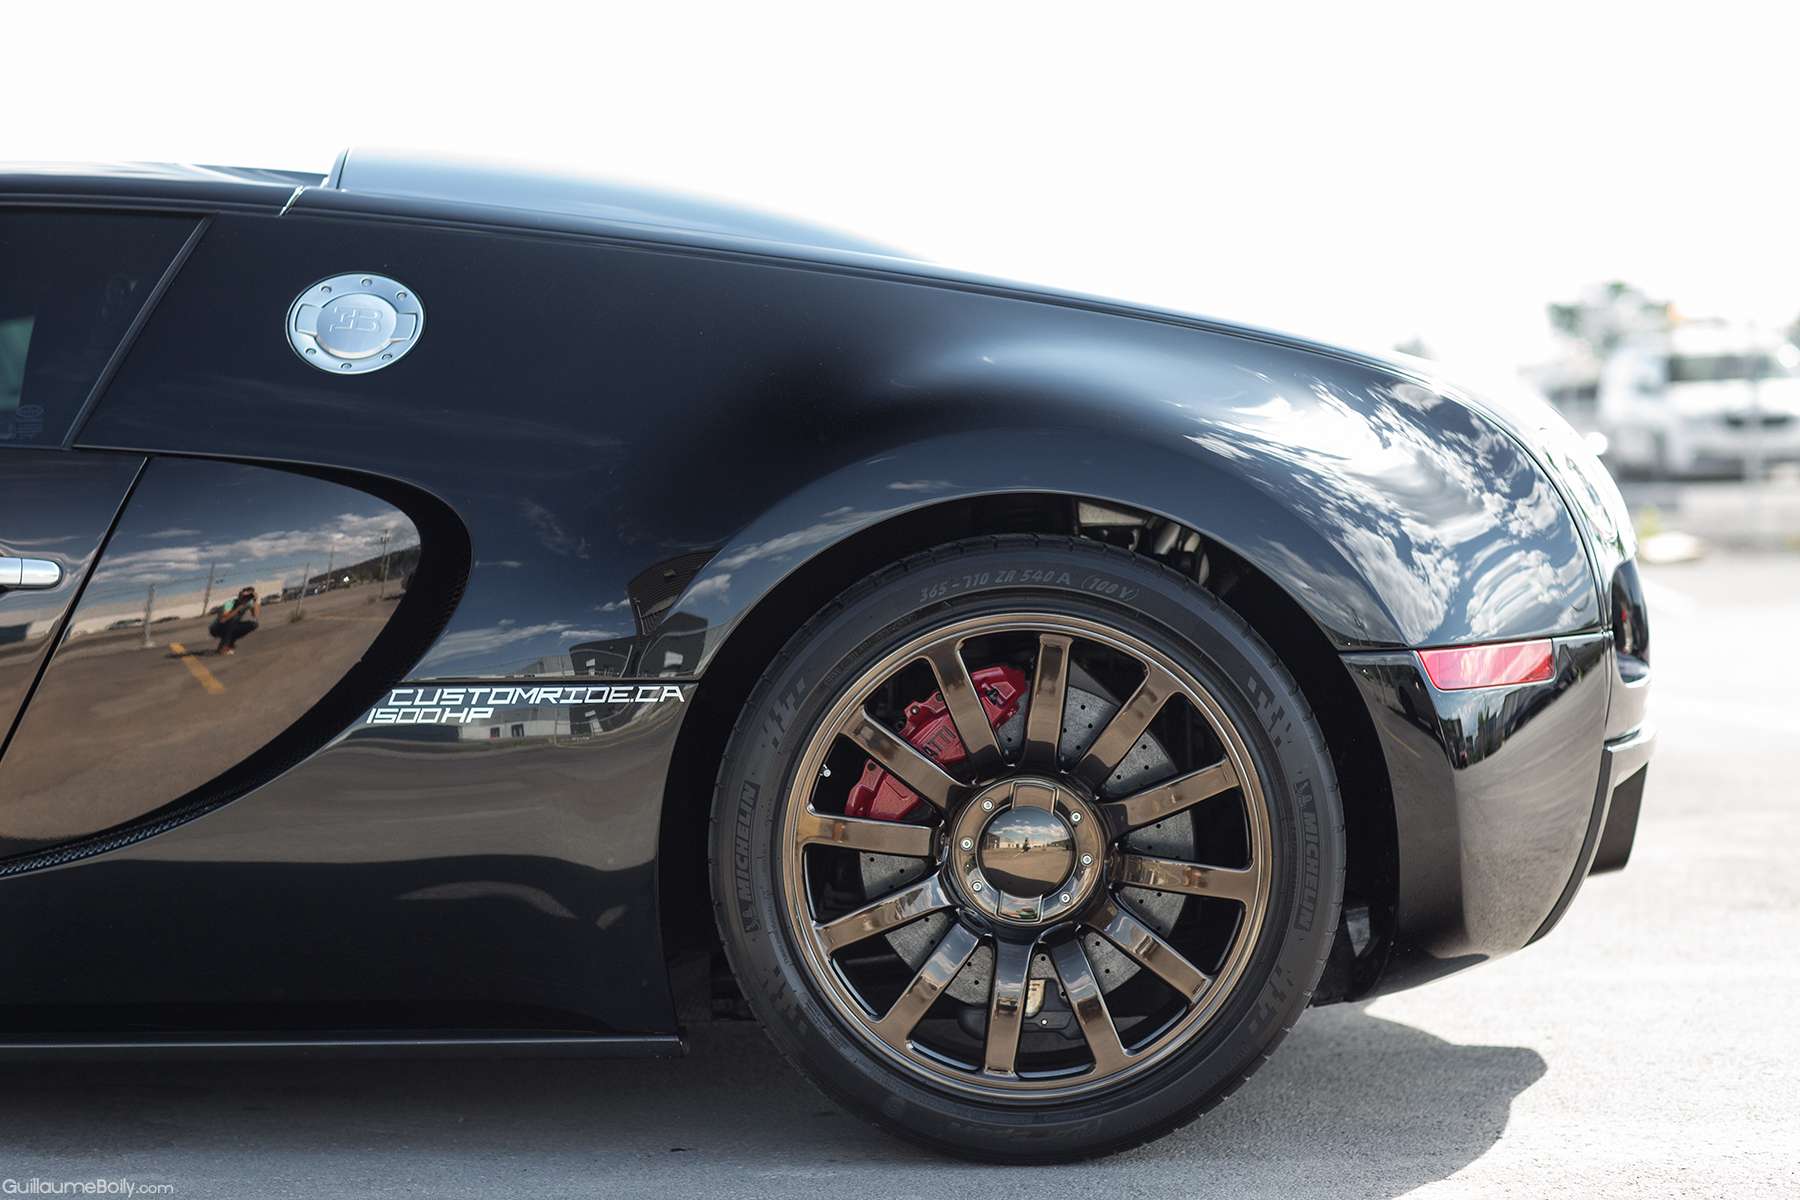
Plaque made by Custom Ride to mimic the original plaque made by Bugatti
Je vous présente la partie 2 de ce detail sur la Bugatti Veyron mécaniquement modifié. Pourquoi partie 2 ? Parce que j’ai touché la voitures quelques fois depuis 2013, mais c’et la deuxičme fois oů j’ai vraiment plus qu’une heure, 1h30 avec la voiture. La derničre fois, j’étais pas mal pressé du fait que l’auto avait un petit videoshoot promo et devait partir pour le grand Prix de Monaco. L’auto revient ŕ Montréal pour le Grand Prix. J’attendais la voiture pour 9-10h am, elle est arrive ŕ 14h45 et devait repartir ŕ 16h. J’ai donc pas encore eu le temps de detailed la voiture comme il se devait. L’auto était supposé faire partie d’un videoshoot, mais ce n’est jamais arrivé du fait que 50cent a jamais réussi ŕ traverser le pays et qu’il pleuvait pas mal fort cette journée ( trčs dommage).
Donc, aprčs les festivités, j’ai finalement pu avoir un beau tęte-ŕ-tęte avec la voiture. Premičre chose que j’ai fait c’est demandé ŕ mon ami ( http://guillaumeboily.com) qui prend des photos de qualité pour que vous puissiez avoir la chance de me voir en action et aussi pour faire différent de nos point and shoot typique.Finalement, je lui ai aussi demandé s’il pouvait nous faire un petit vidéo montrant les différentes étapes puisque vous avez été nombreux ŕ réclamé un vidéo démontrant les différentes étapes d’un detail; quoi de mieux qu’une veyron pour cela ?
So.... after the festivity, I FINALLY got a proper date head to head with this beauty so next thing you know, I called my good buddy Guillaume Boily (http://guillaumeboily.com) to take quality pictures and bring you an exceptional quality thread with before/work in progress/after detail. Guillaume also managed to take a video of it which at the moment of writing this is still not available. So relax, have your favorite drink and enter in the world of Bugatti.
Brought to you by Waxxon Spa Automobile:
Ce thread vous ai présenté par Waxxon Spa automobile :
L’auto fut poli il y a un mois, mais comme toute bonne chose prend du temps, je fus débordé avec mon voyage d’affaire ŕ Halifax et j’ai du retardé l’écriture de ce thread. Le video va plutôt mettre en valeur le début du detail tandis que plus le progrčs avançait plus guillaume prenait de photo pour délaissé un peu le vidéo.
Voici une liste non-exhaustive des produits utilisés, mais ça donne une bonne idée quand męme du ‘’plus gros’’.
The car was done 1 month ago but got way too busy with my detailing trip to Halifax and other concerns in Montreal to post it any sooner. None the least, I believe the car still look as good as it was the day it left the shop.
The video will showcase most of the beginning process so the picture are more focused toward the polish/finishing/after-pic
Product used:
2-bucket wash method using Raceglaze Nano Soap
Sea Sponge Mitt
Sonax Wheel cleaner + various Wheel woollies / Raceglaze brushes
SansZo waterless wash as a clay lube with Raceglaze clay bar
3M masking tape
Gold Microfiber for drying
Menzerna and HD compound/polish
Raceglaze pink paint cleanse
Our own exclusive formula of Raceglaze Black Label Special Reserve
Gauge used to measure paint on aluminum and metal was Positest DFT combo
and the one on fibreglass and carbon fiber panel was the Defelsko 200 standard
We obviously used much more products than these but on top of my hand that’s what I used.
Voici quelques step nécessaire ŕ la préparation d’un polissage. Malheureusement, trop d’individu coupe les coins ronds pour vous offrir un meilleur prix, mais néglige certaines de ces étapes particuličre qui font la différence.
These pre-polishing steps are very important in order to obtain a good finish at the very end. These steps can be sometimes missed in different detail shop that cut corner in order to cut the price but at the end the result won’t be as complete as it should.
Washing:
Drying the paint:
Here, I’m cleaning the inside of the wheel well:
Cleaning inside the wheel with a wheel woollies while the sonax wheel cleaner work its magic:
Weird face I’m doing lol.. ! Brushing wheels
Taking reading of the carbon fiber panel:
Voici la condition initiale de la voiture dans un intervalle de 6-7 semaines entre ma premičre job de polissage et celle-ci. Pendant ce temps, elle a été entretenue ŕ Monaco du mieux qu’il pouvait et faut pas oublier les 2 voyages en avion que la voiture a fait. Les marques d’eau étaient ancrées dans la couche transparente, un nettoyant chimique ne pouvait pas l’enlever. Il a fallu utiliser un nettoyant abrasif pour faire la correction nécessaire.
This is the initial condition of the car between our last detail, about 6- weeks before, remember the car was maintained in Monaco with the best they could and the car flight twice + vehicle transportation. You can see very bad water marks that etched the clear coat. Glaze or any chemical cleaner couldn’t remove it. Abrasive cleaner ( polish) was needed for this job.
And ... this is what you will see at the end of this thread:
50/50
Comme vous pouvez remarquer, je n’ai pas trop masqué les moulures /fentes car je voulais pouvoir polir le plus de peinture possible sans laissé de bande de peinture non-poli. Nous savions que nous allions relaver la voiture ŕ la fin du processus. Donc, il y avait pas de crainte ŕ avoir au niveau de laissé des résidus de poli dans les fentes.
Here you notice all the taping, we didn’t overly taped because we wanted to polish as much paint was possible along all edges, I knew I would be rewashing the car after the polishing and then would give me the opportunity to clean any residue left behind trims and cracks so no worries, I got this.
Voici la deuxičme étape du processus, cette fois-ci j’utilise un poli intensif avec un pad orange et la machine rupes.
This is step 2, this is an intensive polish used with a Lake country orange pad on the Rupes polisher.
Voici la 3e étape sur notre processus ŕ 4 étapes. J’ai décidé d’utiliser la machine Rupes, un pad blanc de polissage avec HD polish. Tous le long du processus de polissage, j’avais les spotlight 500watts, le sungun 3m et les deux lumičres Brinkmans pour s’assurer que la correction exécuté sur la Bugatti était juste.
This is the step 3 in my step 4 process; here I am working the HD polish with a white pad on the Rupes polisher.
We used 2 set of spotlight, along with our specialities lights ( 3m sun gun, brinkman led and brinkman halogen gun) to make sure the correction was done right and spotless:
Pour la partie 1 de mon détail en mai, certains ont commenté la partie brune sur le capot et bien comme vous voyez, avec un photographe pro et un éclairage de qualité, la fibre de carbone est absolument impeccable.
In part 1, I had people commenting on the brown thing on the hood, not sure if people were looking at bashing me or just unsure, but I told them it as the carbon fiber, and my bad photographer skill. Here you can clearly see the hood is absolutely spotless and scratch free, just clean sexy carbon fiber weaves
Another work in progress:
If you ever wondered, the trunk is about as big as a Porsche 911.. Meaning you won’t put much beside 3-4 grocery bag haha. This was in my final stage where I clean every vent/crevice.
Plaque made by Custom Ride to mimic the original plaque made by Bugatti


Comment