 Tweet
Tweet
I mean everyone is entitled to their own opinion of what suits a car, but it's not the best idea to test a drivetrain with different sized wheels. 4% may not seem like that, but if you start doing the math based on wheel rotations its quite a lot.
-
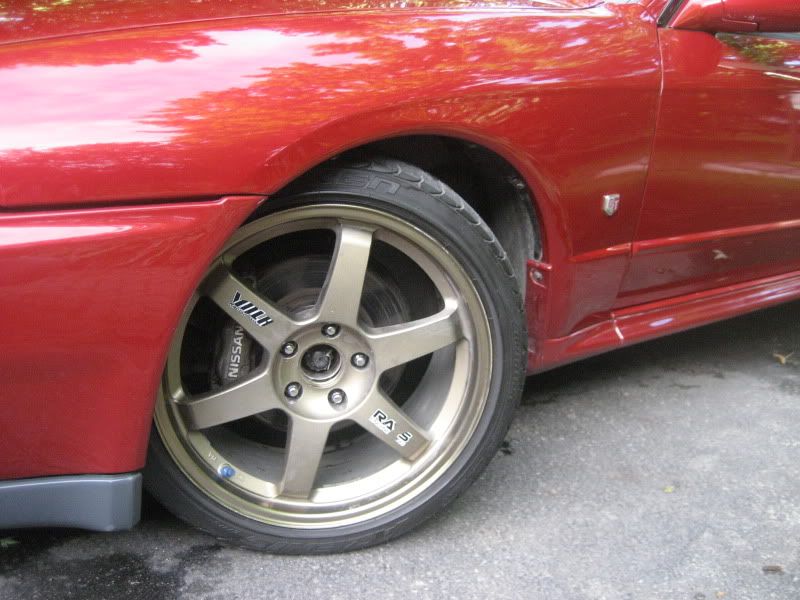
 Please sell your wheels and get some proper fitting ones for a gtr... They are higher offset than OEM Wheels.
I mean everyone is entitled to their own opinion of what suits a car, but it's not the best idea to test a drivetrain with different sized wheels. 4% may not seem like that, but if you start doing the math based on wheel rotations its quite a lot.'12 STi Sedan -
^ he said he want flat face......so to each their own;-) ;-)
BTW OP, didn't you know wheel fitment is the new trend?? it will make you car looks 10x better with flush /proper fitment. It is call attention to detail.Biggest selection of Skyline CarbonFiber & FRP Aero in Canada. PM me.
Comment
-
naw, not a new trend... people just havent paid much attention to itOriginally posted by C-unit View Post
but hey op, aside from looks.. ur grip will be more second to none than ur current second to none if u try out wider wheels 輝く ヘタクソの星 -- 含撚啦爛袋獸
Comment
-
its been said many times, whenever I see charles post, its like a giant "i sell rims, hit me up." it never gets old.Originally posted by C-unit View PostVictory is on the horizon..Comment
-
WOW FINALLY AN UPDATE!
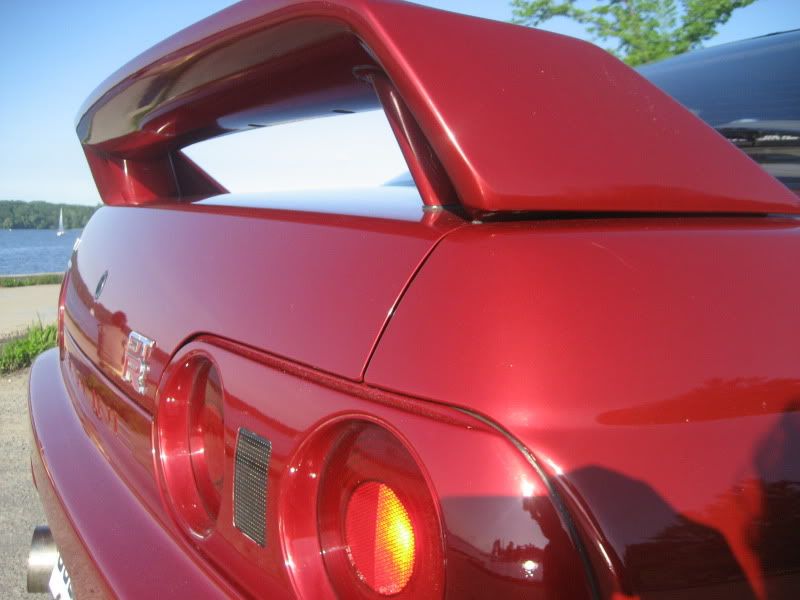
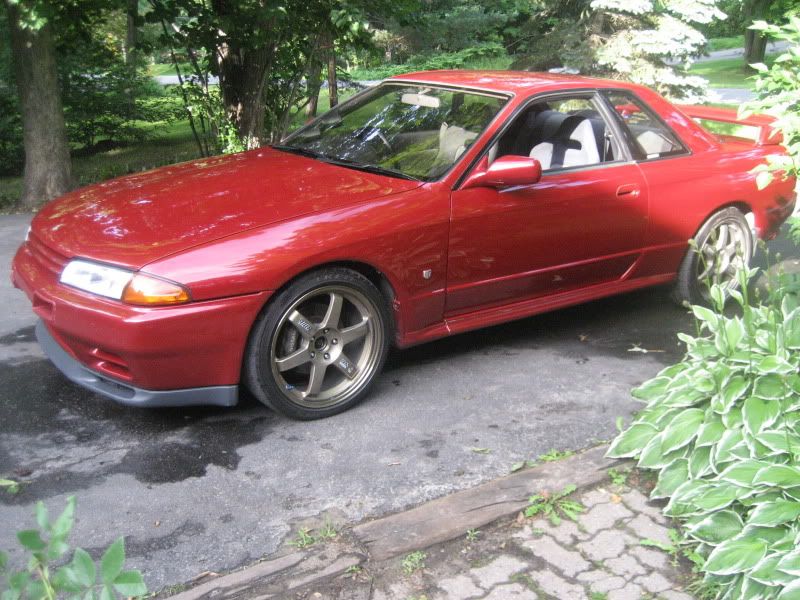
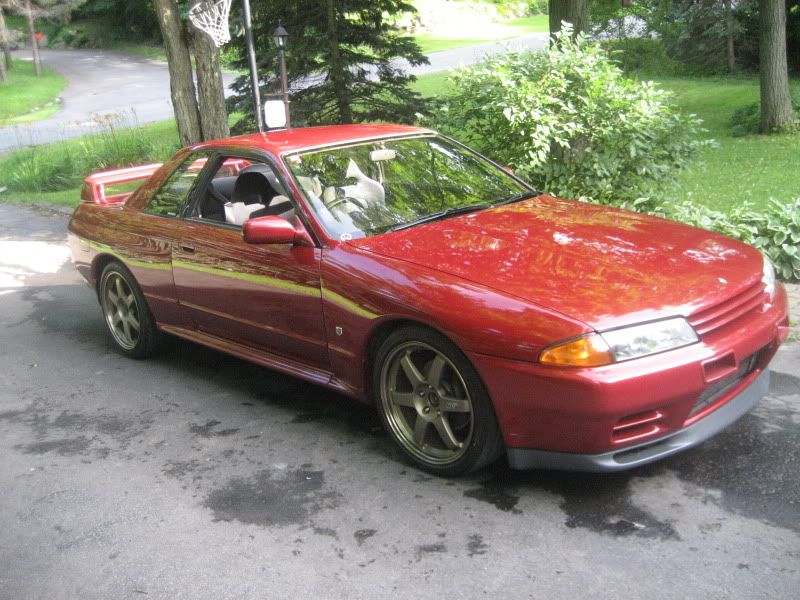
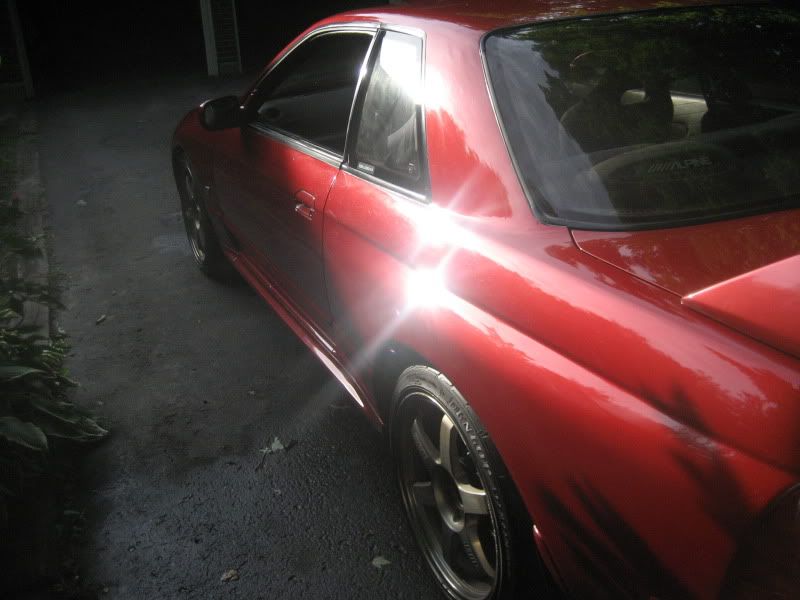
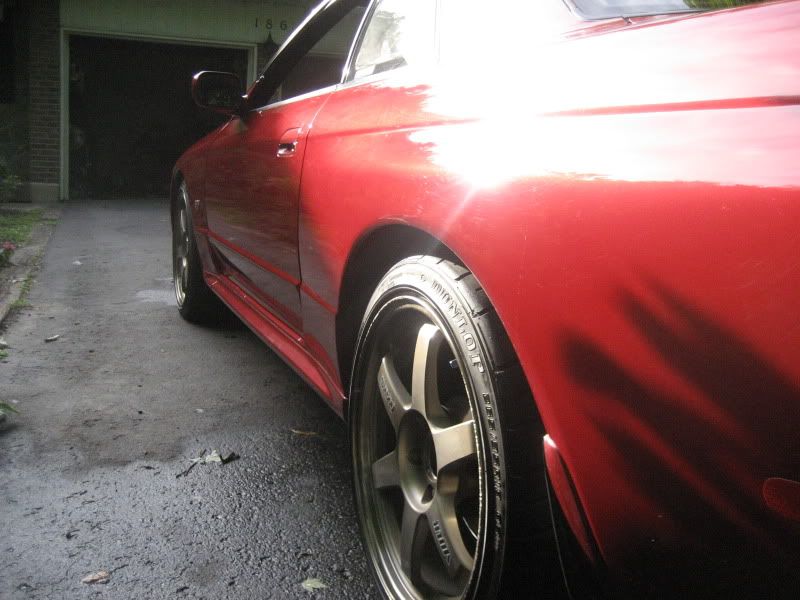
hey everyone, sorry its been SO long since my last update, but ive been on tour across Canada (vancouver to montreal and back) for the last 5 weeks with my band, crazy road life...
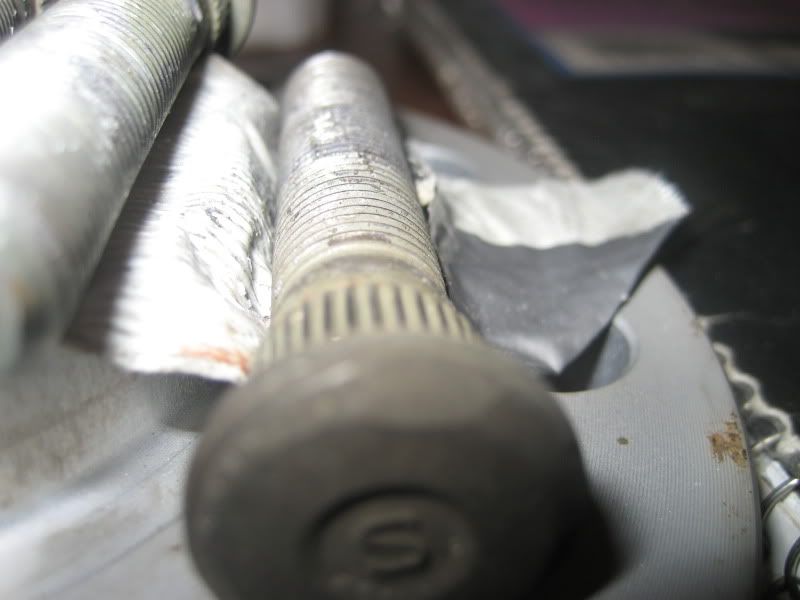
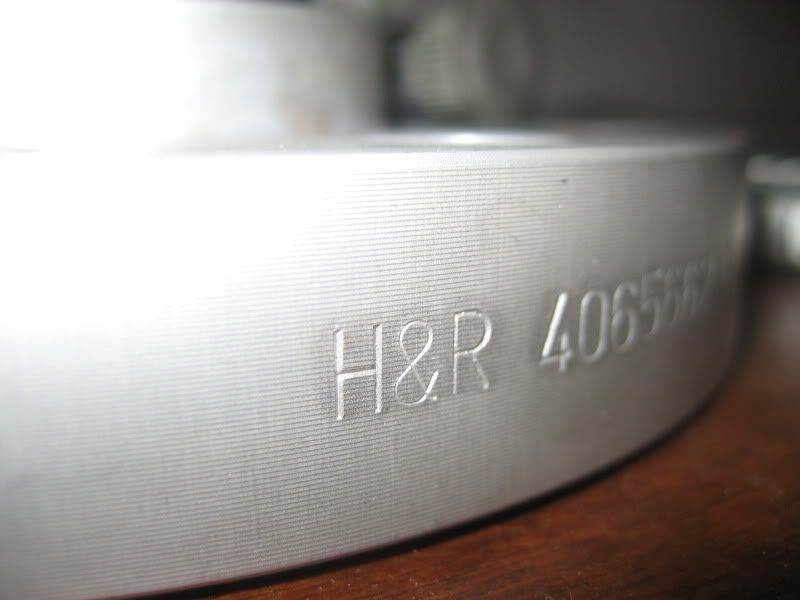
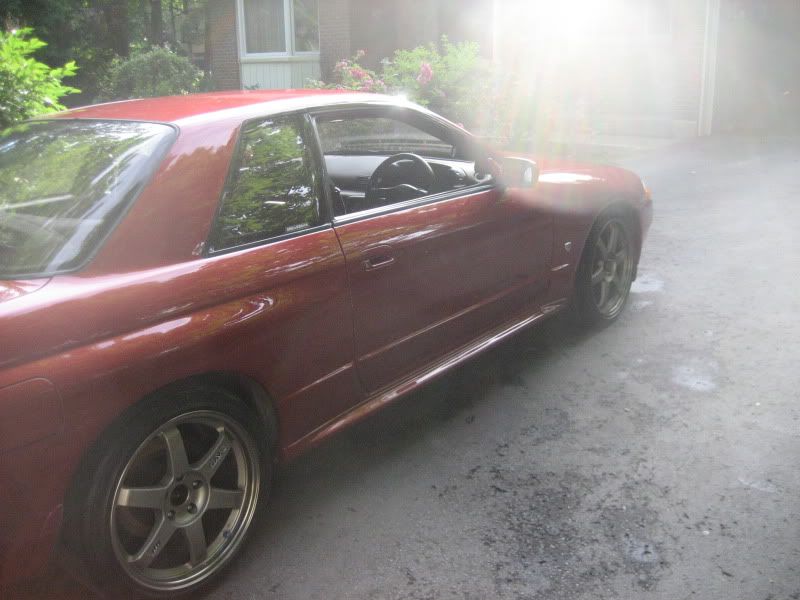
anyways, i just got back a few days ago, and picked up some H & R +20mm spacers for my front wheels, along with some +20mm nismo studs to accomodate the new offset.
i also picked up a claybar kit and did a super clean of my car,
i washed and shammyed it, then claybar'd it, then waxed and buffed it...
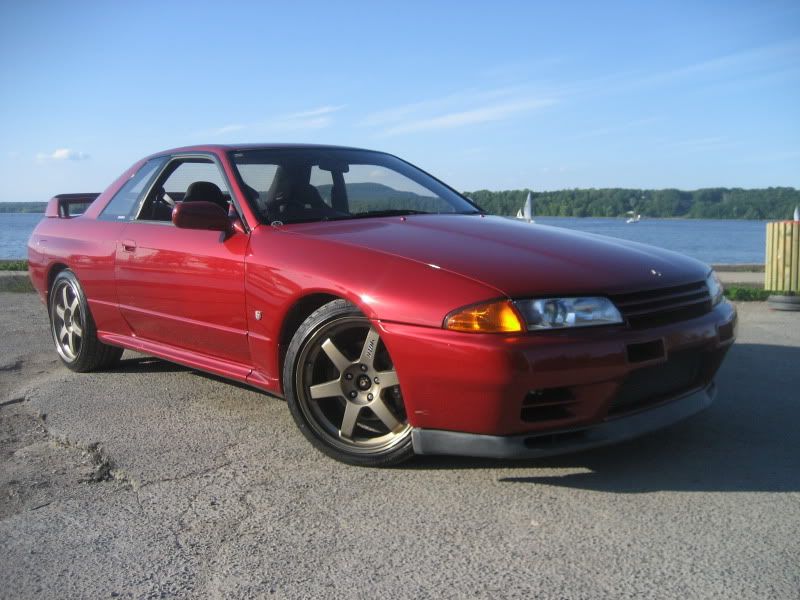
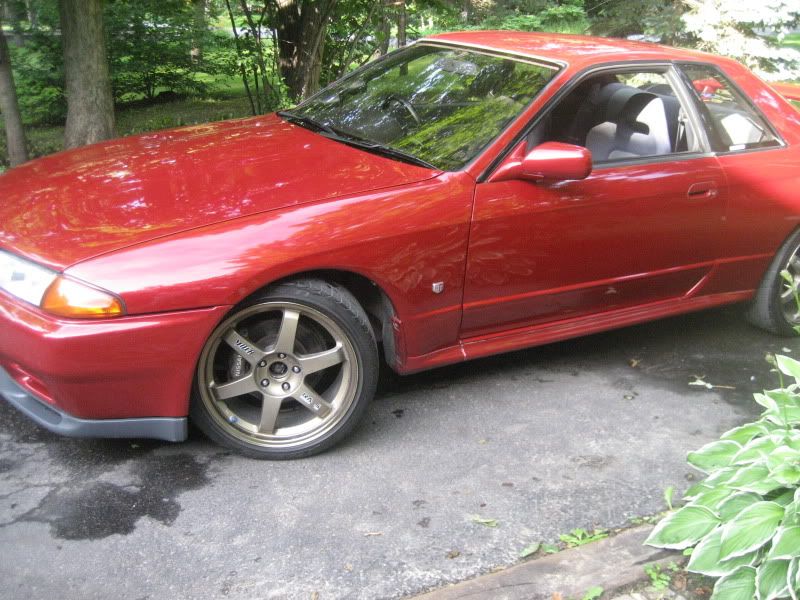
so heres some pics of the final result, and the new spacers!
ill get them put on in a few weeks when i go in for an oil change!
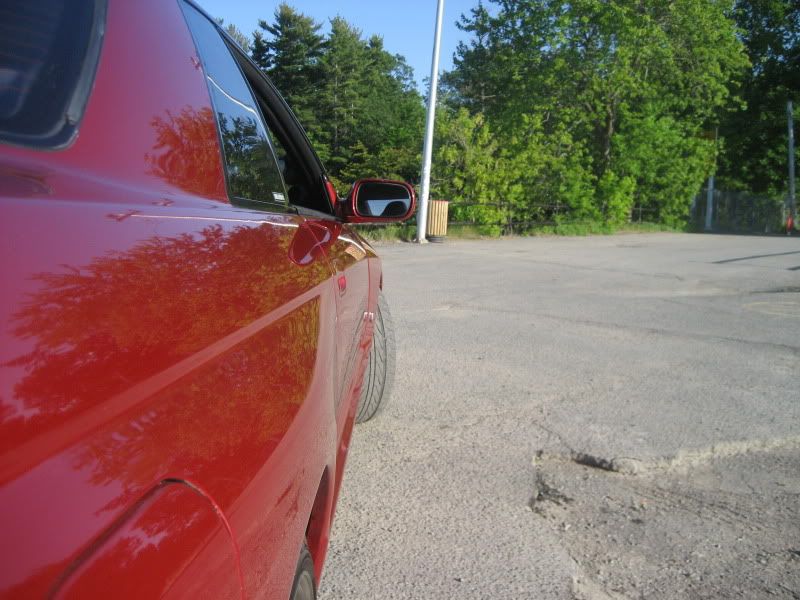
what a difference the clay bar makes eh?

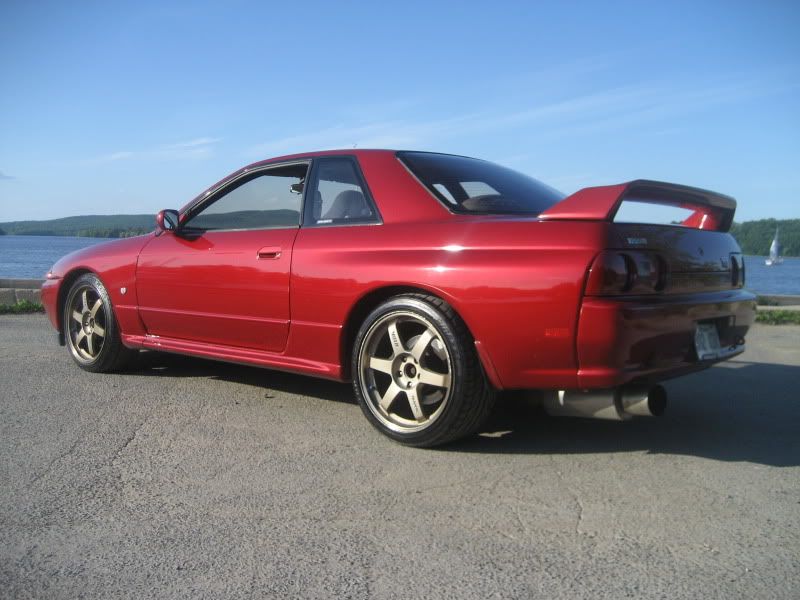
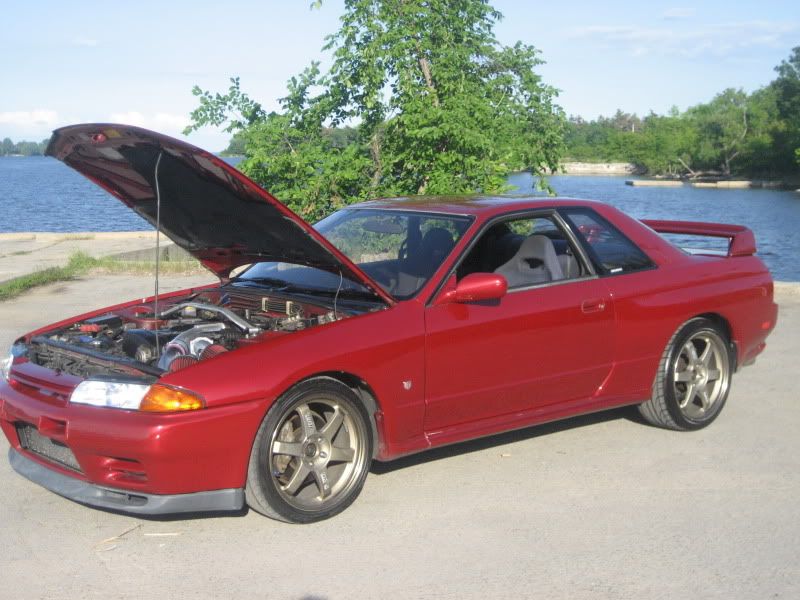
**Note the reflection of the girl in the paint.. sooo smooth**

 The SkyLife Community & News Website --> http://www.skylife4ever.com
Comment
-
-
using a claybar when you first get these cars or any used car should be one of those "must do things." It makes the paint look so much better and is so easy to do. wheels should look good with those spacers installed Tџяϊsм�
Comment
-
finally an actual update!
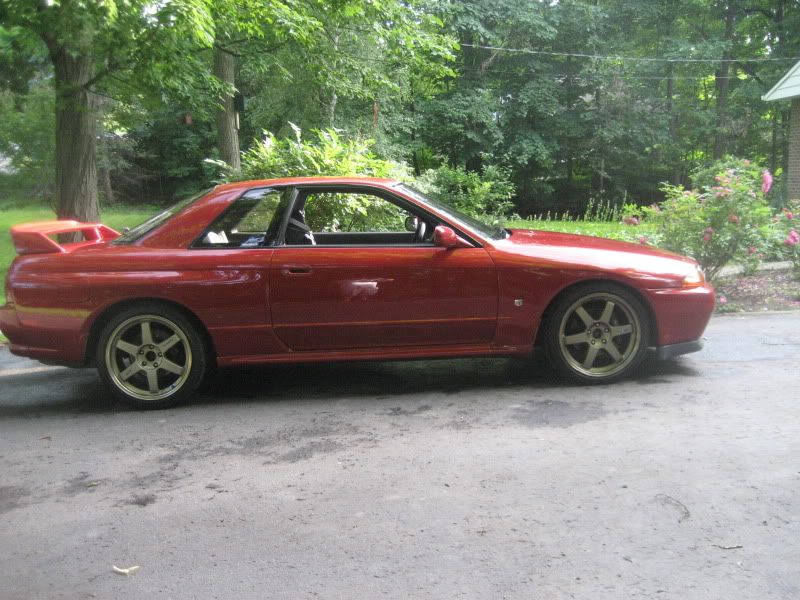
so, i went to autoworx on thursday, got my oil and oil filter changed, got the headlights repositioned to north american directions, (they used to point to the wrong side of the road).
the mechanic also noticed the vehicle speed sensor had come loose from the transfercase, so he tightened up all that.
they did a thorough inspection and found everything to be in great shape!.
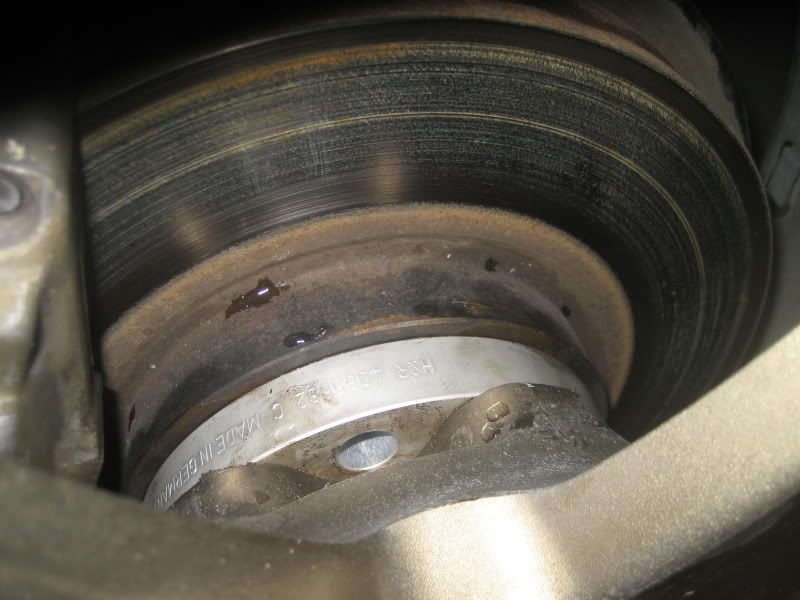
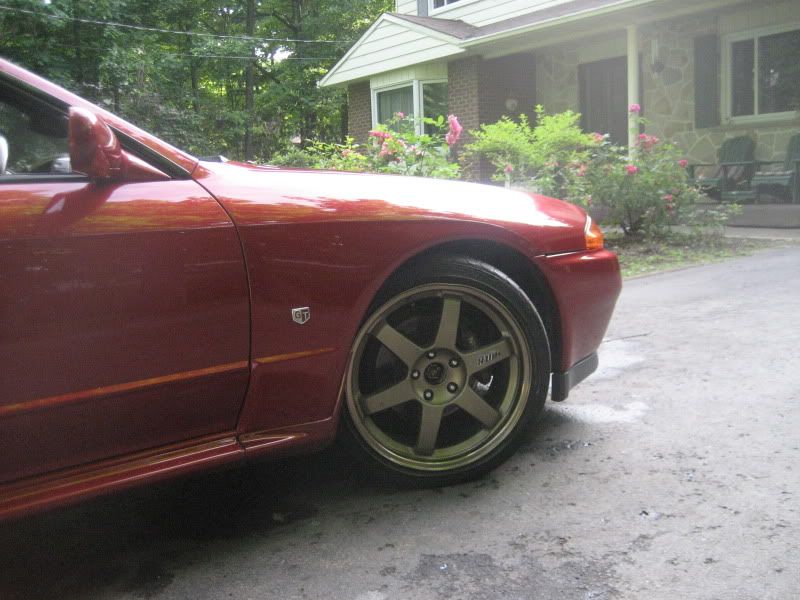
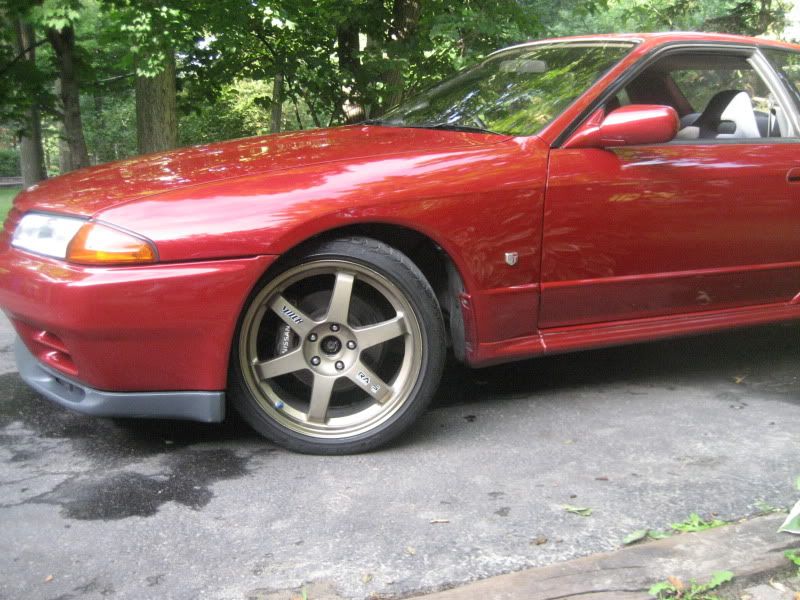
oh yah, they also installed the 20mm HnR spacers + 60mm nismo studs for the front rims... check the new fitment! finally, looking better i feel.

 The SkyLife Community & News Website --> http://www.skylife4ever.com
Comment
-
 sigpic
Originally posted by m_melenComment
-
hahah thanksmanThe SkyLife Community & News Website --> http://www.skylife4ever.comComment
-
Wheel set up looks 100x better. Man that red and gold looks good together.Tџяϊsм�Comment
-
so i KNOW its been a while since my last update on this build, but ive been super busy with work all summer.
regardless the car has been for an oil change a few weeks back. all looks good still.
heres what i just did now...
*** IF ANYONE IS HAVING AN ISSUE WITH THEIR POWER WINDOWS YOU NEED TO READ THIS! ITS A COMPLETE WALK THROUGH OF DIAGNOSING + FIXING THE PROBLEM***
about 2 months ago, the passenger side electric window switch stopped working... the thing would only respond to putting the window up! and refused to put the window down, but i could still control it from the drivers side main switch.
also at the same time the drivers side main switch was becoming fussy about the electric mirrors.
anyways 2 nights ago i was driving home from work and i noticed the electric windows suddenly stopped working, ALL of them! wouldnt go up and they were stuck in the down position!!
along with that the central locking no longer worked as well.
so i drove home a little upset and parked in the garage then scoured the internet for any idea of what was going on. and heres the conclusion AND solution i arrived at.
- pretty much every nissan on the V, S, RB, and VQ chassis has issues with faulty electric windows!
1) listen! when you click the switch for window up and down what do you hear?
- grinding and whirring = broken gear on power window motor
- clicking or no clicking = the relay for the power windows... clicking = its still good.
- if you hear NO clicking and NO whirring (my situation) then you're not getting power to the system.
LOOK!
- are you're locks working or no? (if yes then its not the circuit system at fault, and its an isolated issue with the window alone)
- is it BOTH windows or just one? (if its both windows then its a circuit related problem, if its just one then its a relay or motor)
*DONT JUST BANG ON THE DOOR AND HOPE THAT MAKES IT WORK... if electricals are not working.. there is a REASON why they`re not working*
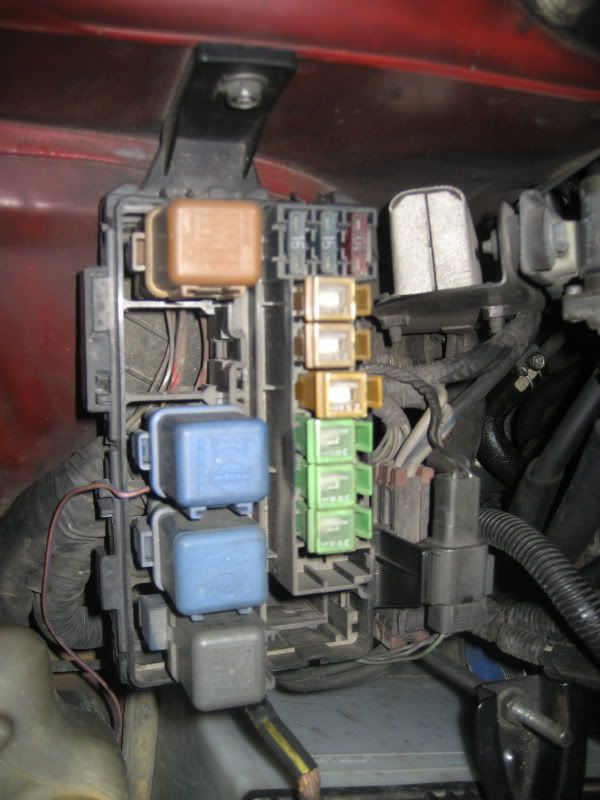
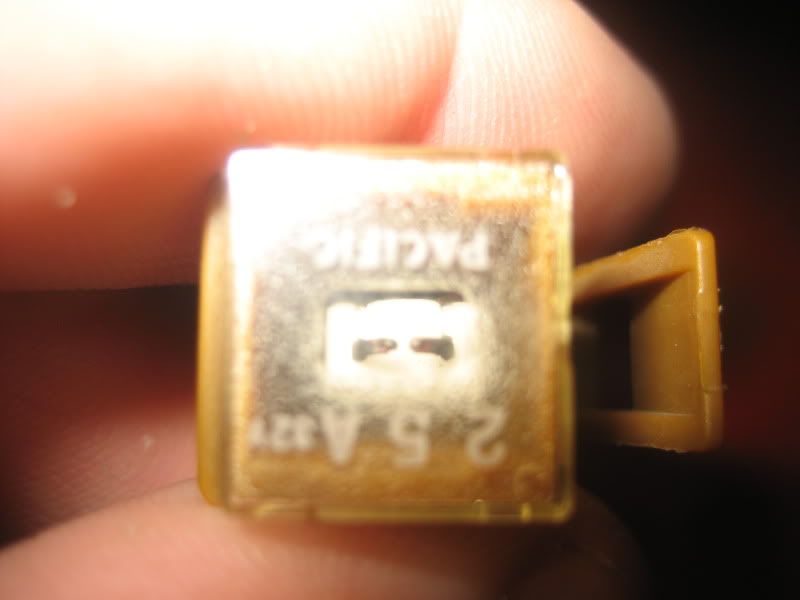
2) check the fuses.... theres the power window fuse in the engine bay. its a 25A strange little brown fuse (i found my replacement from my local auto parts store)
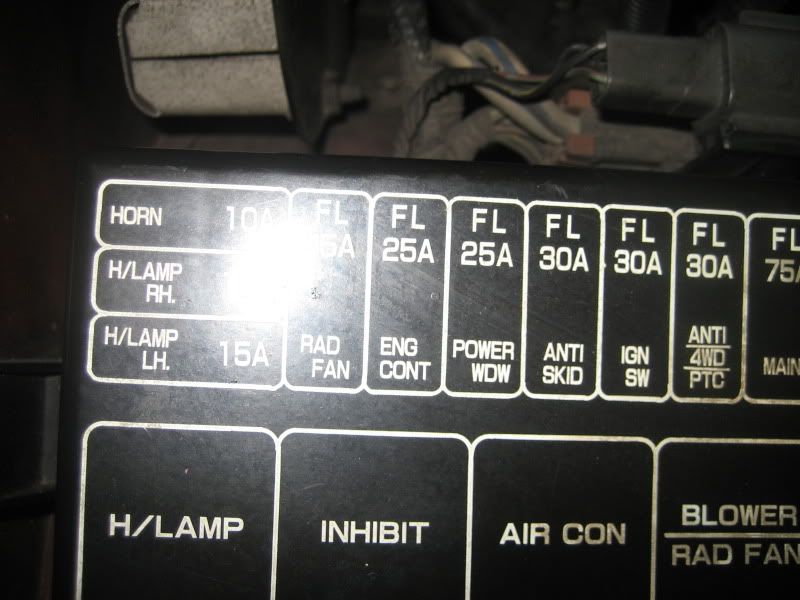
***THIS IS WHAT A BURNT FUSE LOOKS LIKE.. THE COPPER CONNECTION WILL HAVE MELTED IN THE MIDDLE!!**
3) if your fuse is good... then your problem lies in either the relay, or the motor itself.
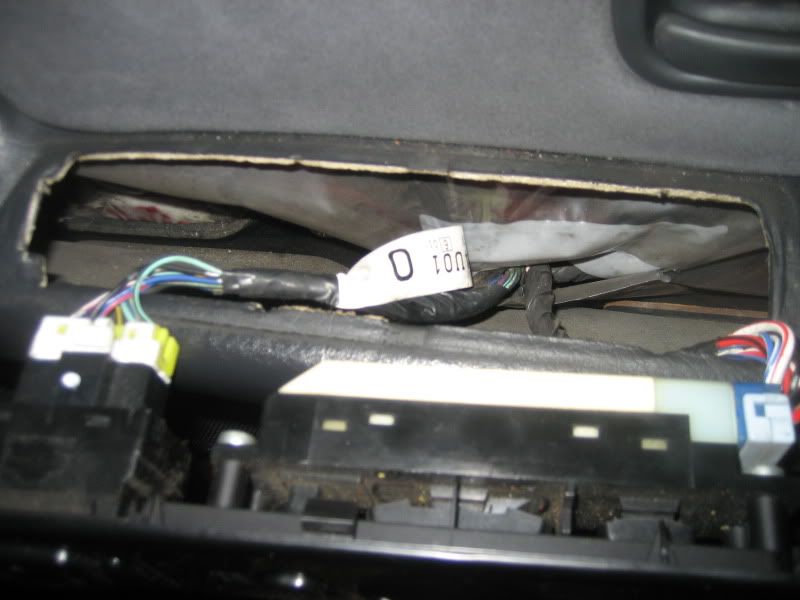
NEXT... you must remove the door panel, its really easy... 3 screws along the bottom, one screw in the handle under a plastic cap, and once you pull out the switch assemby theres a screw under there.. lift up and outwards on the door panel and it should all come off..
then you should see a little black box in the bottom right corner... thats the relay.
also you will see the power window motor.
use a multi-meter/volt meter to verify if the relay is good... if its bad, remove it... open it... and first try re-soldering all those connections as they sometimes come loose. if not a new relay from nissan is about $60 i believe.
then if the relay is good... grab a car battery hook up 2 wires to it.. put one wire to the positive of the power window motor and the other to the negative (make sure your car battery is disconnected BEFORE you do this or you risk blowing all your fuses). if the motor responds and makes the window move up and down as you reverse the polarity of the connections, then your motor is fine.
if its making a grinding noise then the most common problem is the plastic gear, probably has come off, or broken..
if there is no response from the motor... then you have to buy a whole new assembly (about $300 from nissan dealership.. OUCH!) but if its broken anyways, take it out of the door, and try your best to repair it... probably one of the brushes has come off or something.
so that covers relay, fuse, and motor.. the only other component which can fail is the switch assembly... be weary. the switch assembly causes almost every problem! what happens is the contacts INSIDE get carbon build it and they stop conducting properly.. leading to excessive heat production in the switch and a breakdown of components.
SO! i asked myself.. why did my fuse blow!? and the only thing i could think of .. was due to the resistance being created by moldy contacts inside the switch...
so here is a detailed procedure for how to clean and re-assemble the switches... and just so u all know.. once i put it all back together.. EVERYTHING WORKED 100% PERFECTLY including the passenger window switch which was fishy before and the electric mirror switch!
1) remove the switch assemblys from both sides. and unplug the 2 plugs from the drivers side
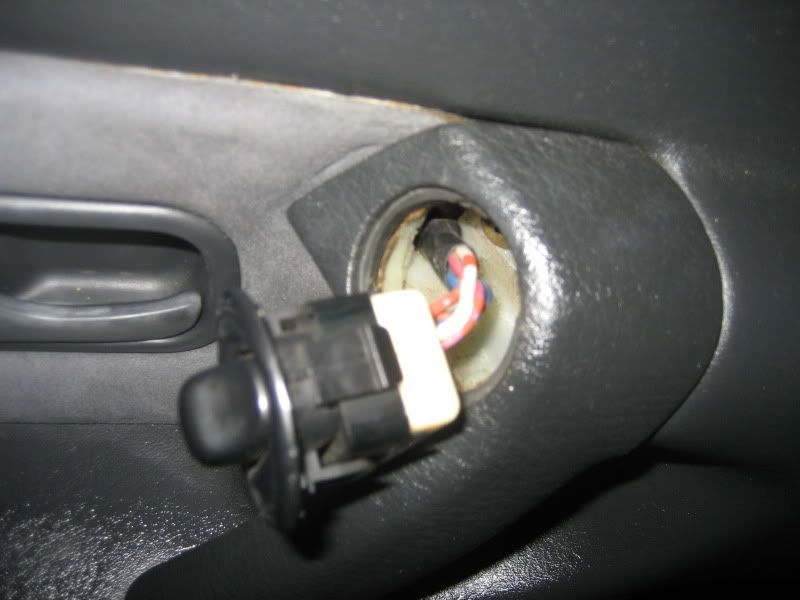
2) crack open the passenger side first as there is no plug to remove it... and just BE CAREFULE not to lose the 2 copper pieces which go flying once you open it.
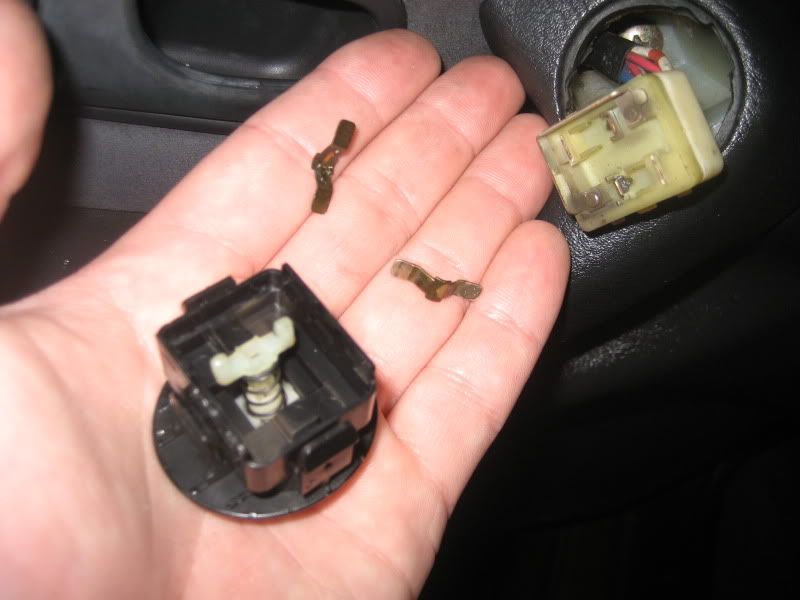
3) you can see right away what the problem is... see that black garbage on the ends!?? thats whats making things not work properly!!!
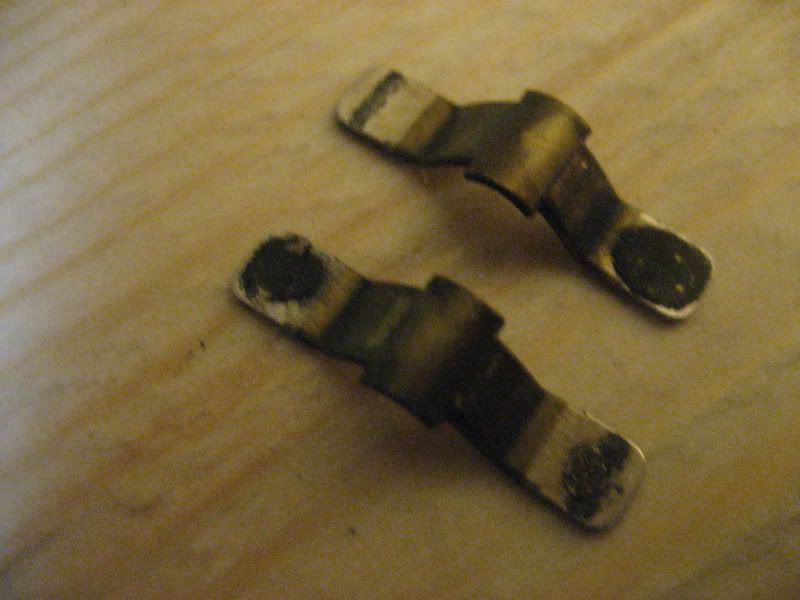
4) use automotive electrical contact cleaner, and some sand paper to clean those suckers until they look like this:
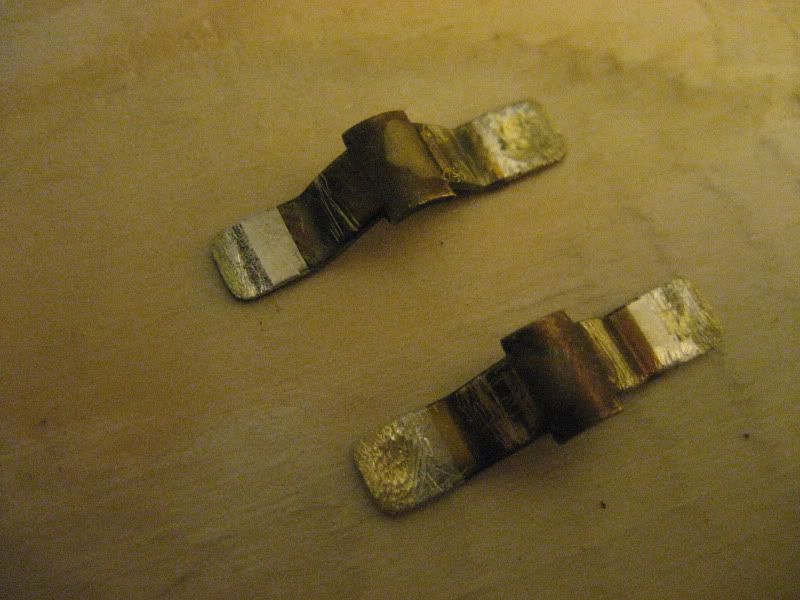
5) put the passenger side swithc back together and plug it back into the door hole.. and your good to go on that side.
6) remove the 4 screws that hold the window switch to the surround and theres 4 clips to remove the power mirror switch assembly
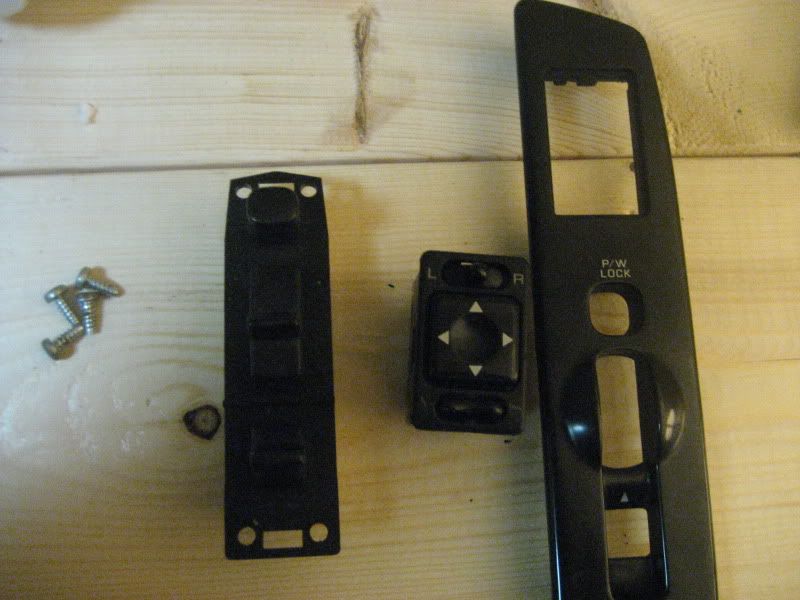
7) crack open the power mirror assembly and you can again see right away what the issue is!
Clean off all that black garbage spray some contact cleaner and apply di-electric grease if you have it
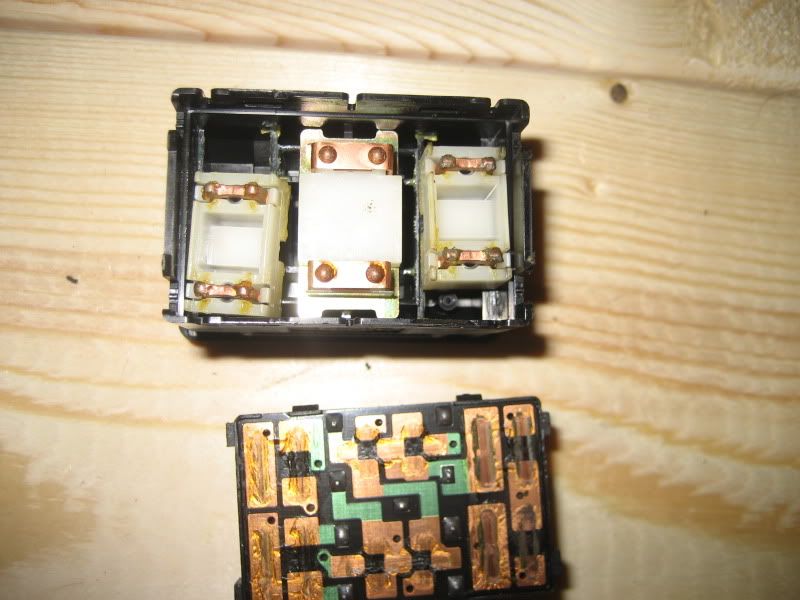
8) then you can snap that all back together and now you open up the power window part... first remove the white plastic covering, i used an exacto knife to pry apart the sides.
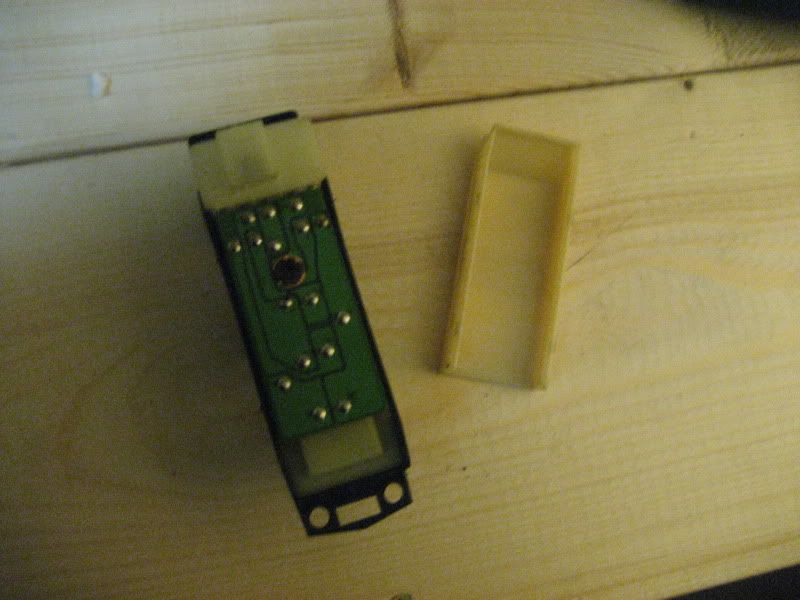
9) there theres this strange little brown and blue thing... turn it 90 degrees and pull it out.. it should come out super easy.
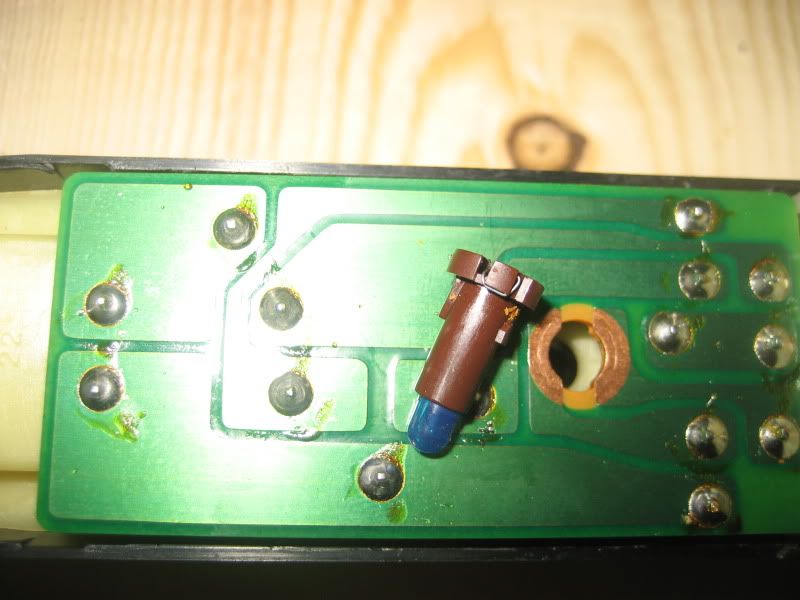
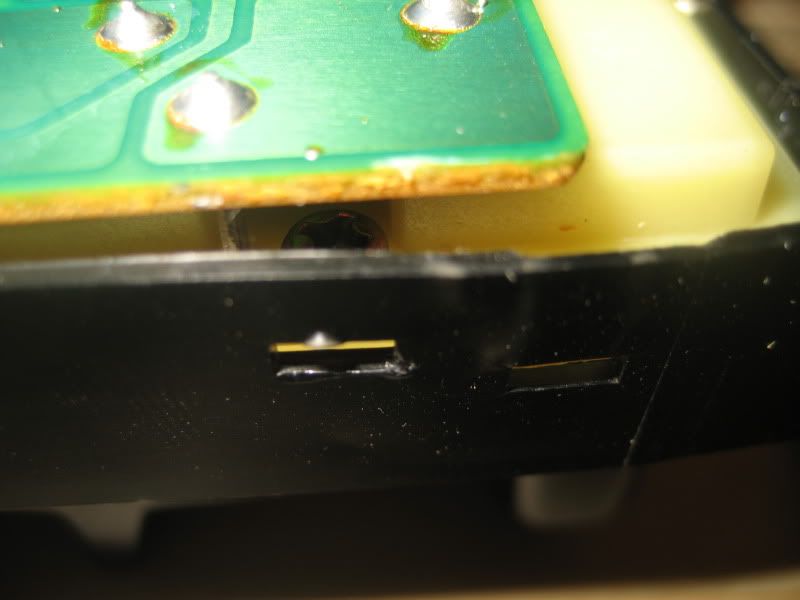
10) STOP! dont try to pry apart the circuit board any further.. as you will break it.. if you look at this picture you can see that due to this whole assembly being screwed down THEN soldered in the nissan factory.. its not possible to remove this, so i just sprayed the cleaner as much as possible inside and re-assembeled everything, i suppose if it got really broken in there you could cut the circuit board to remove those 2 tiny little screws you see in the pic and get in there... because a new switch form nissan is quite costly... so do what you can.
anyways, this all fixed my problems and i hope this helps everyone else too...The SkyLife Community & News Website --> http://www.skylife4ever.comComment
-
next tuesday... the car is going into the Mechanic for a pretty big update.
keep watching this space to see whats commin!The SkyLife Community & News Website --> http://www.skylife4ever.comComment
-
another big update!
car went in yesterday and got the following:
Nismo N1 Front + Rear Cross Drilled Rotors - made by brembo
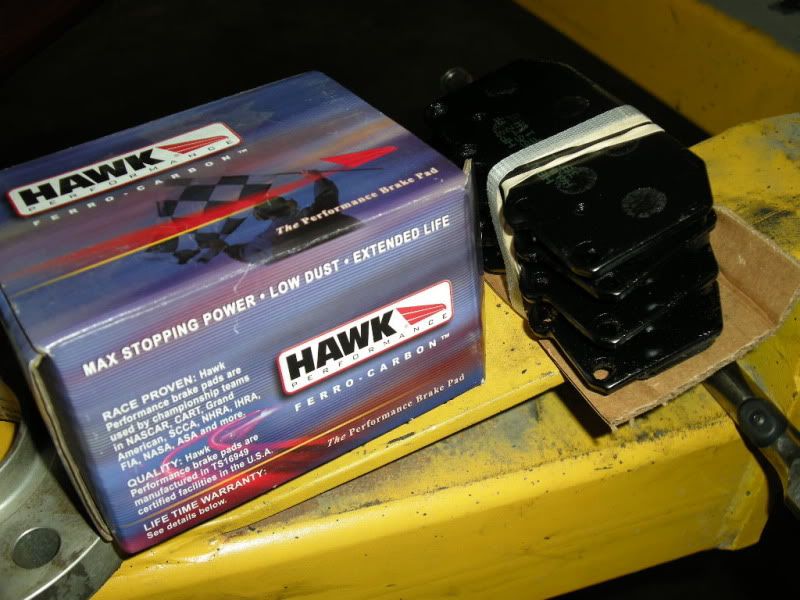
Hawk HPS Performance Brake Pads Front + Rear
Stainless Steel Brake line kit Front + Rear
Flushed out the old brake fluid put in Hi-Temp RBF660
new NGK Type - R x6 spark plugs
New Nissan Fuel Filter
Rear Subframe Red alloy spacers (to stiffen up the rear)
Rear Diff Red Allor Spacers (again to stiffen things up)
Hicas Pump & Rack Mod - to lock out the Hicas
coated all the rotors in Zinc anti-rust.
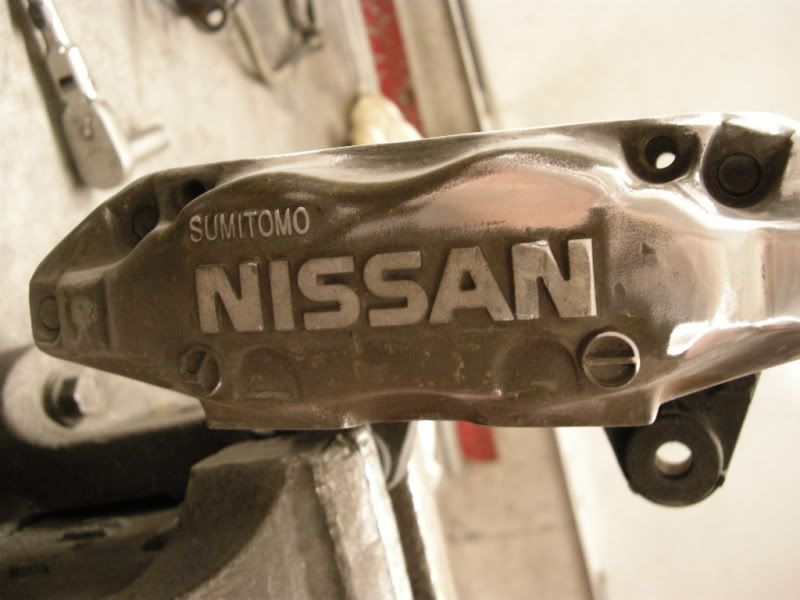
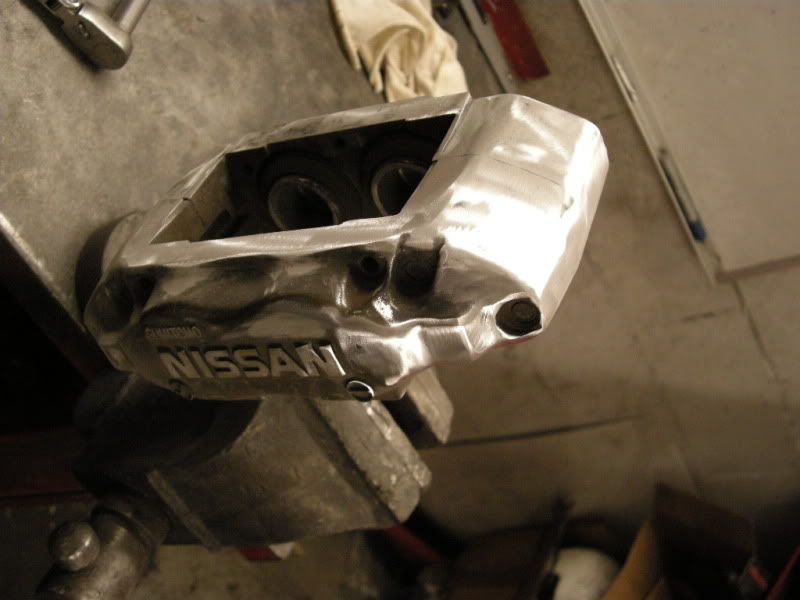
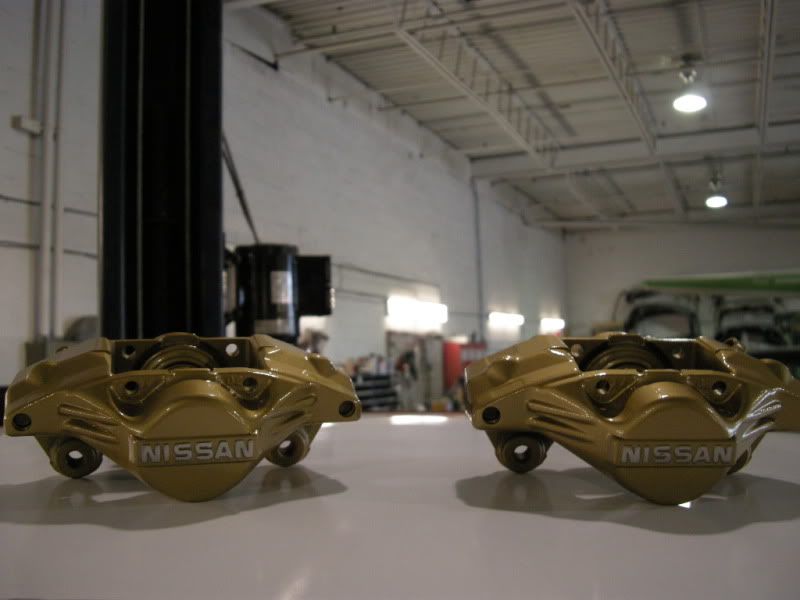
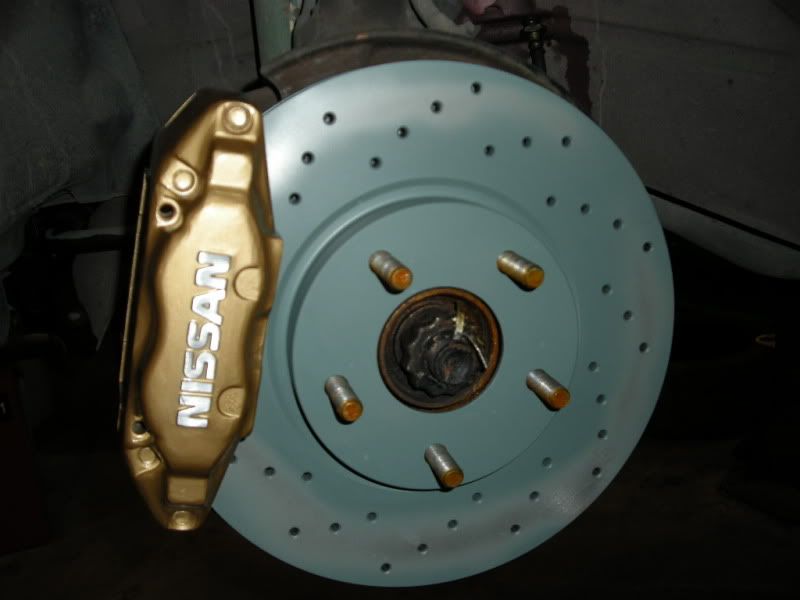
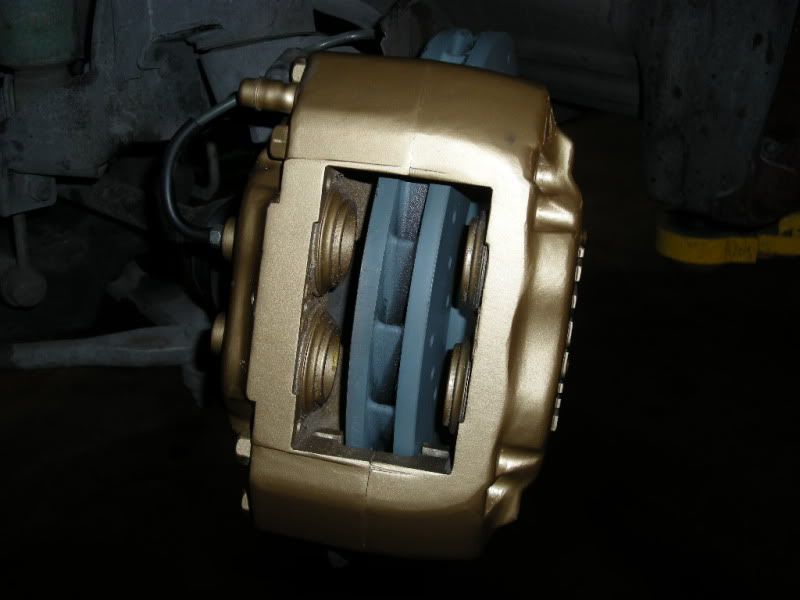
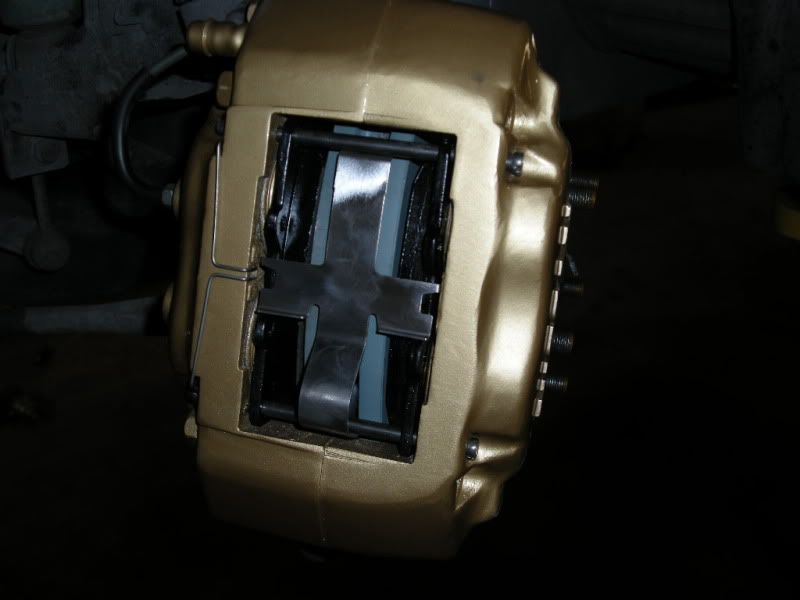
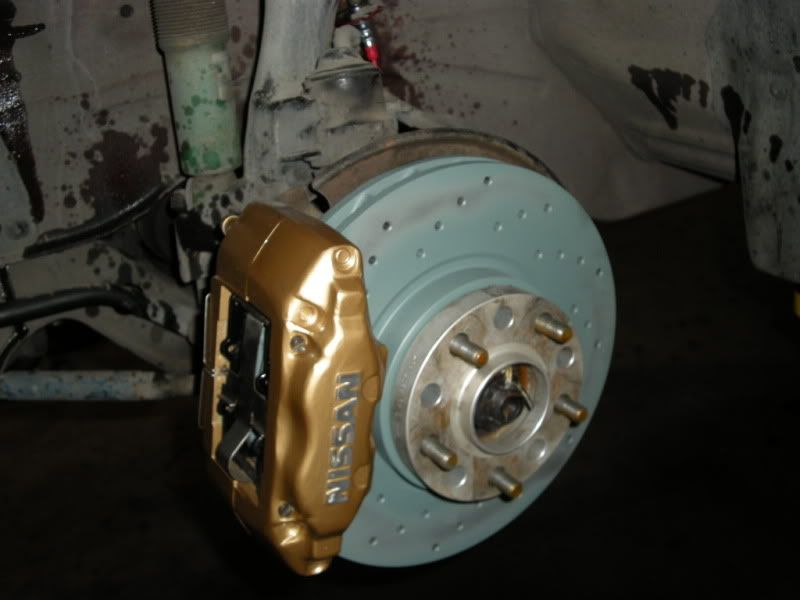
and finally my favorite part! All 4 Calipers went for a sandblast + grinding.... then gold paint... then a polish of the Nissan logo then a coat of clear.
some pretty good stuff to get done.. the car handles SO much better in corners... its sooo solid at the rear... and the brakes feel awesome. the guys at Autoworx do amazing work... i never even asked for the special attention to grind down the calipers.. they just did it cause it would look better...
lemme know what you all think of the new look!?
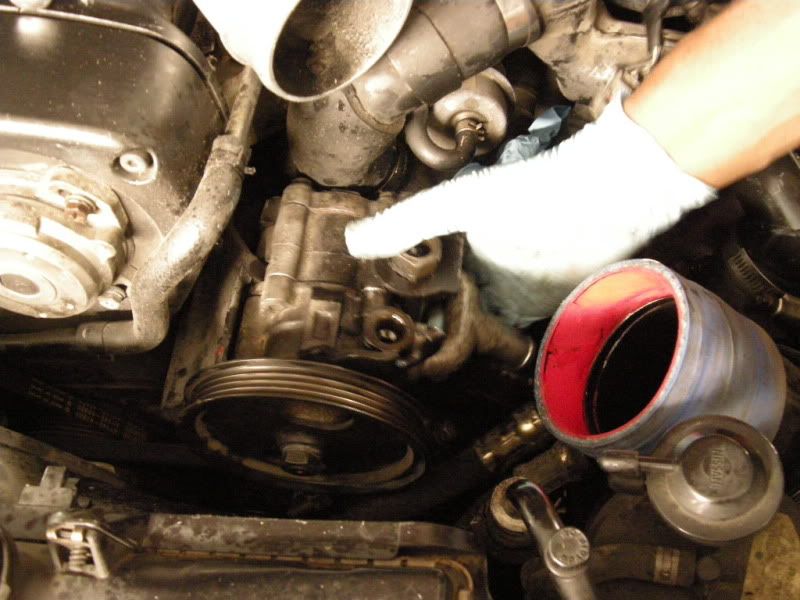
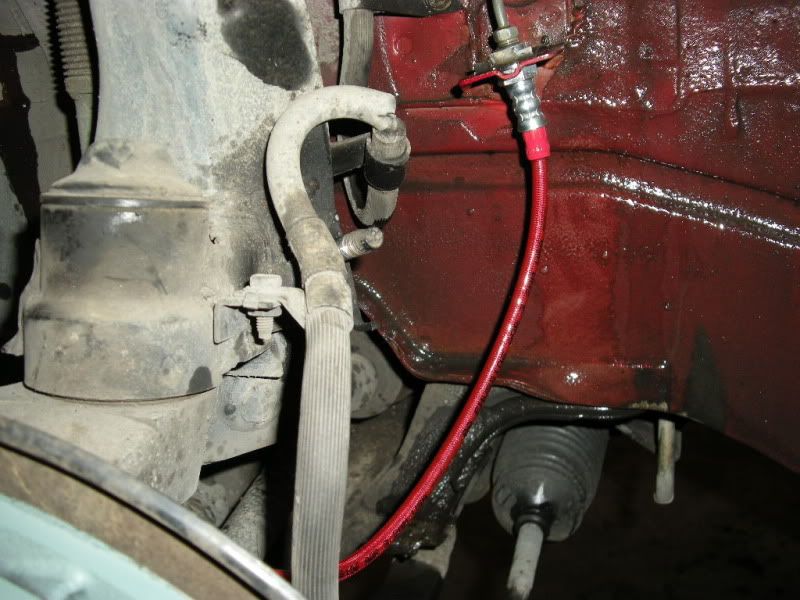
this is them modding the PS pump.
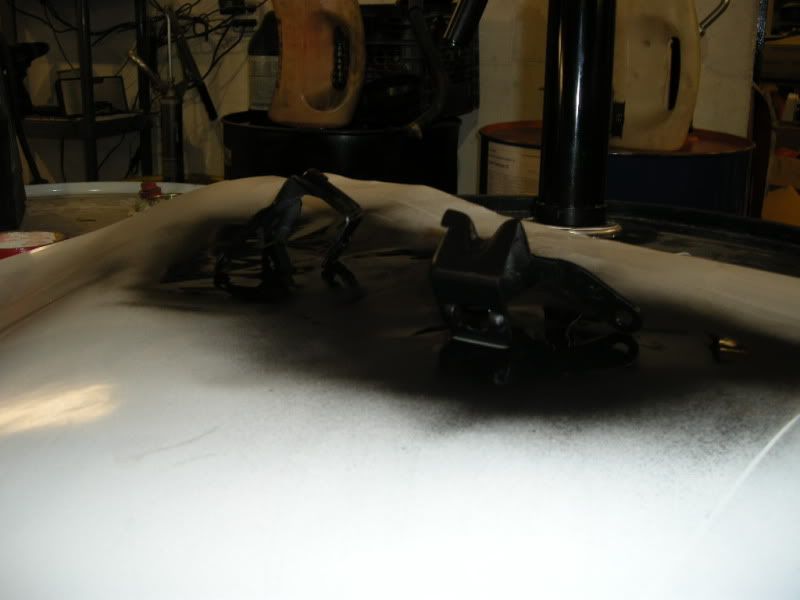
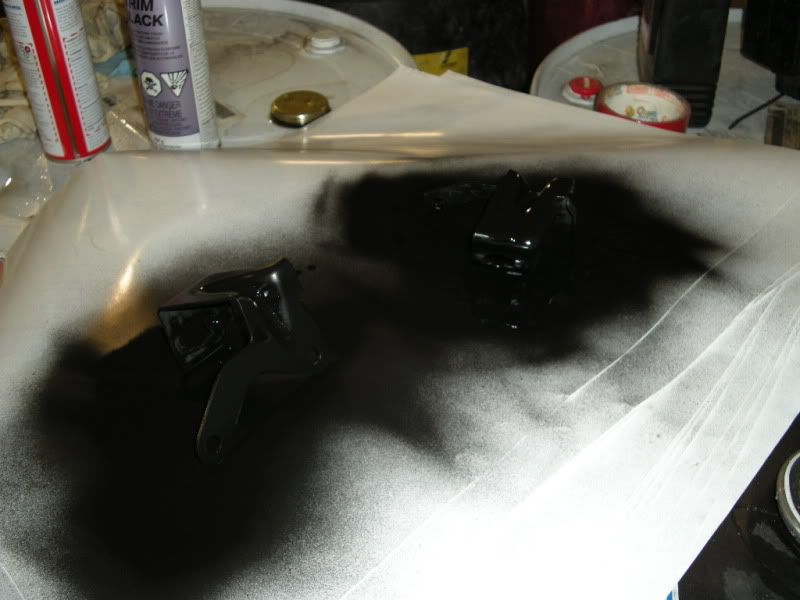
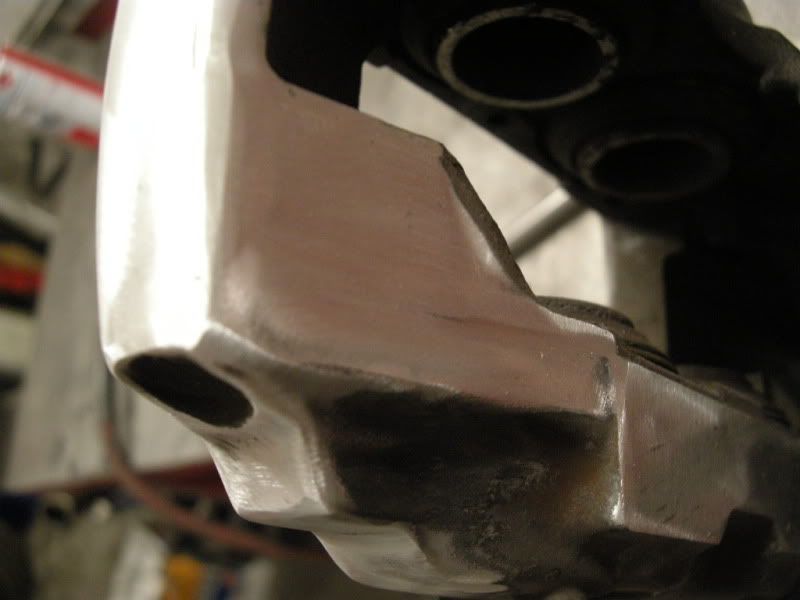
then they did some touch ups on the caliper brackets
then they installed the new brake lines... (im glad they chose red Stainless!)
this is where they were sandblasting and grinding:
then the paint!

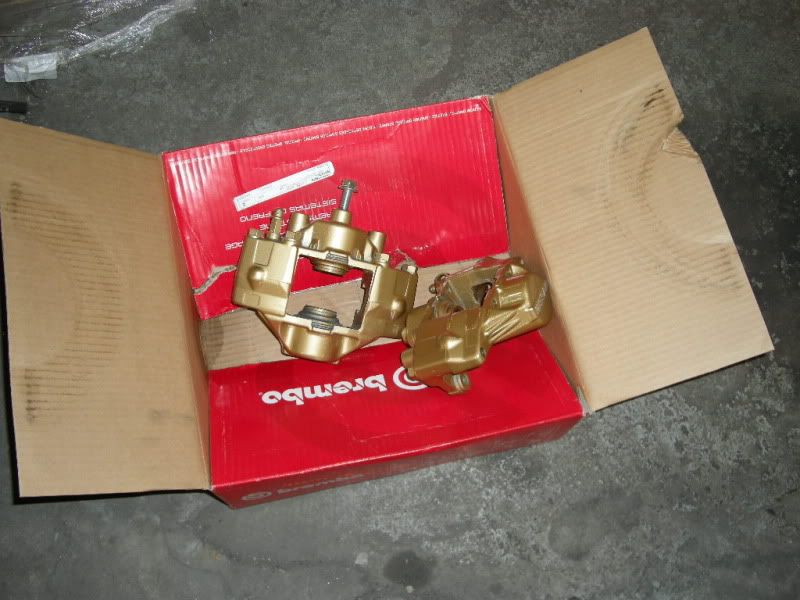
these are the painted front calipers resting on the box that the new rotors came in.
heres rotors and calipers re-installed:
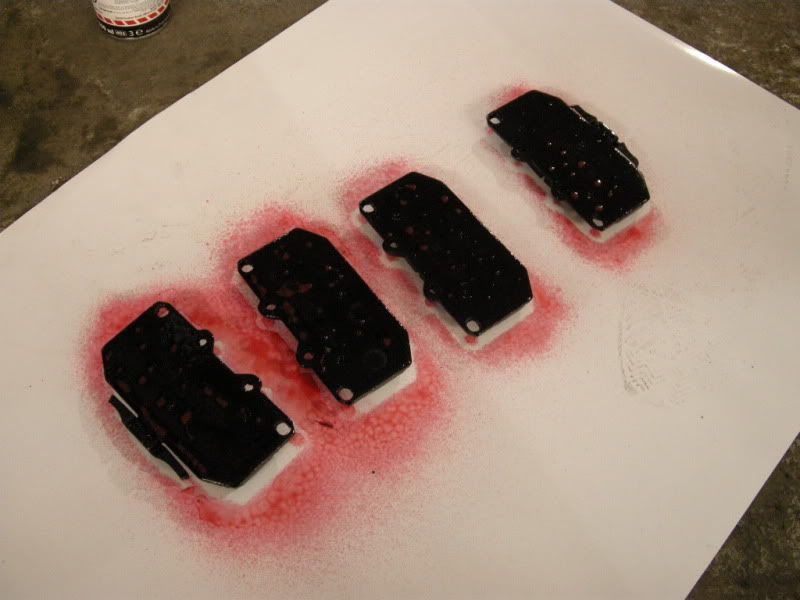
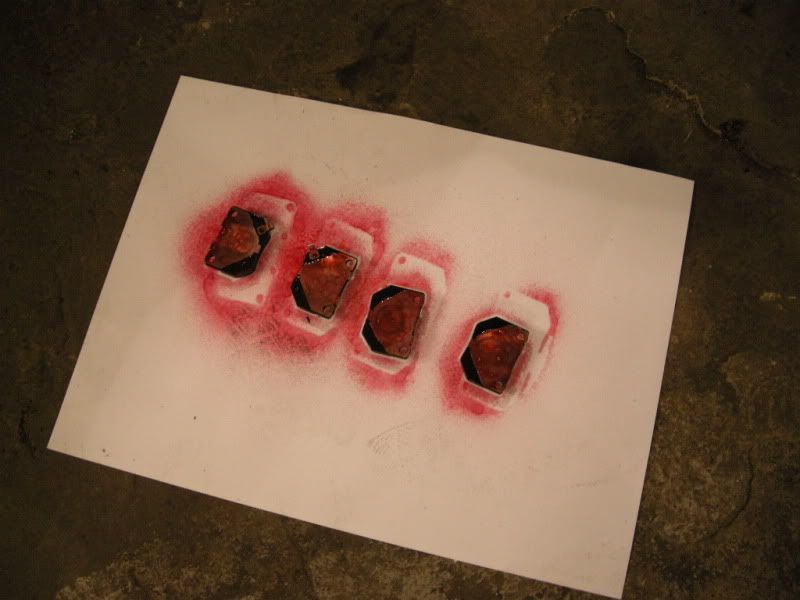
heres the new brake pads:
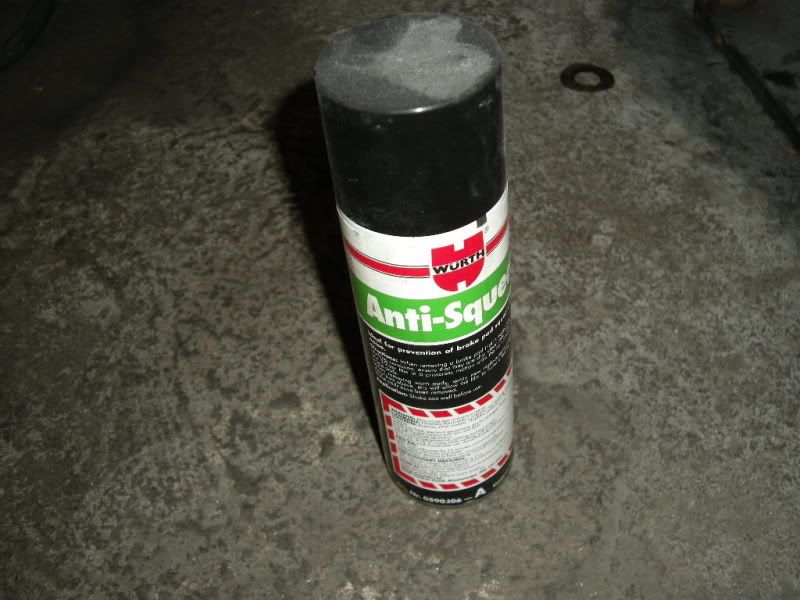
they of course prepped the brake pads with some anti-squeal
then they put it all together:
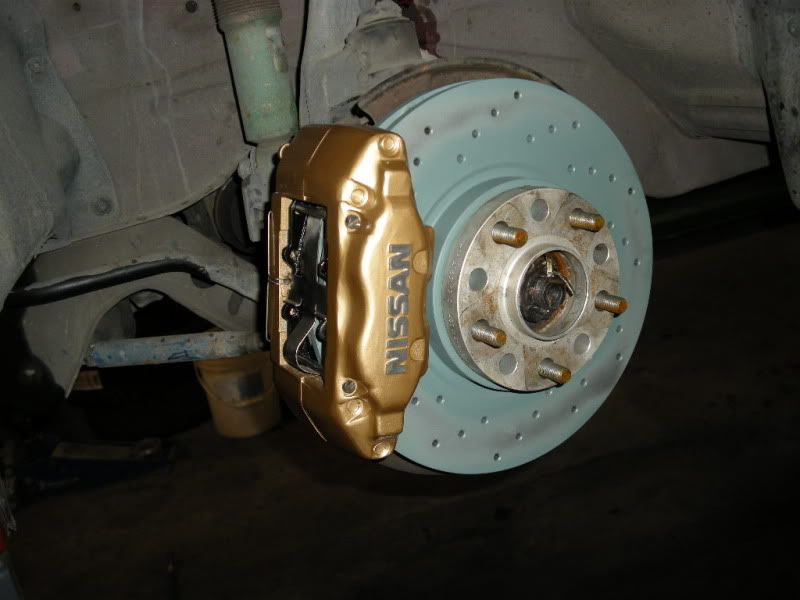
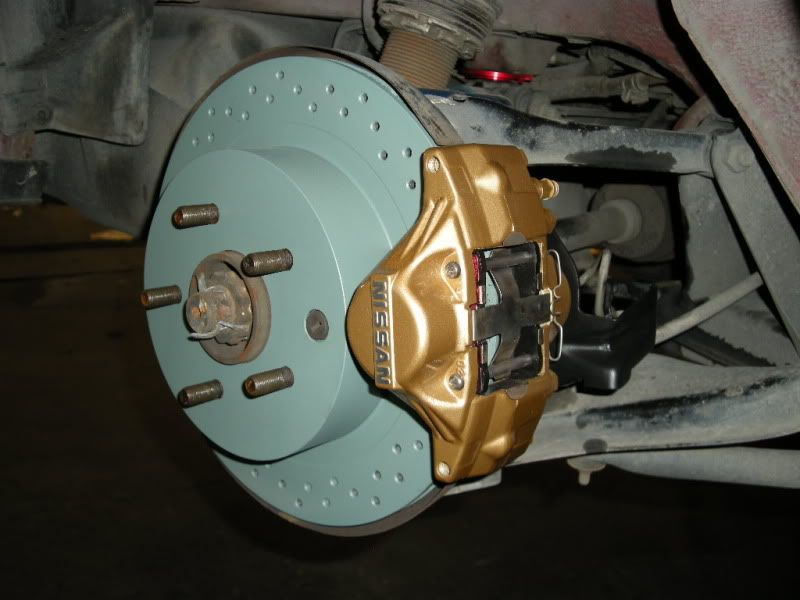
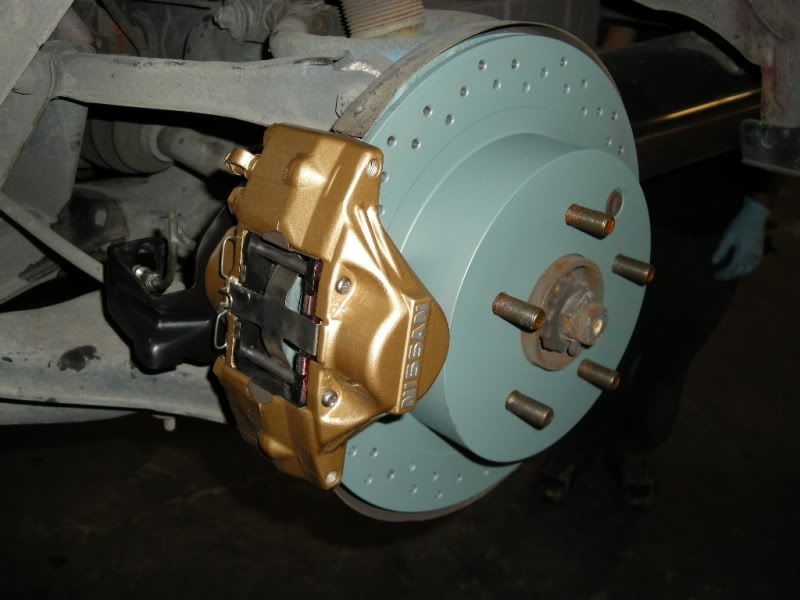
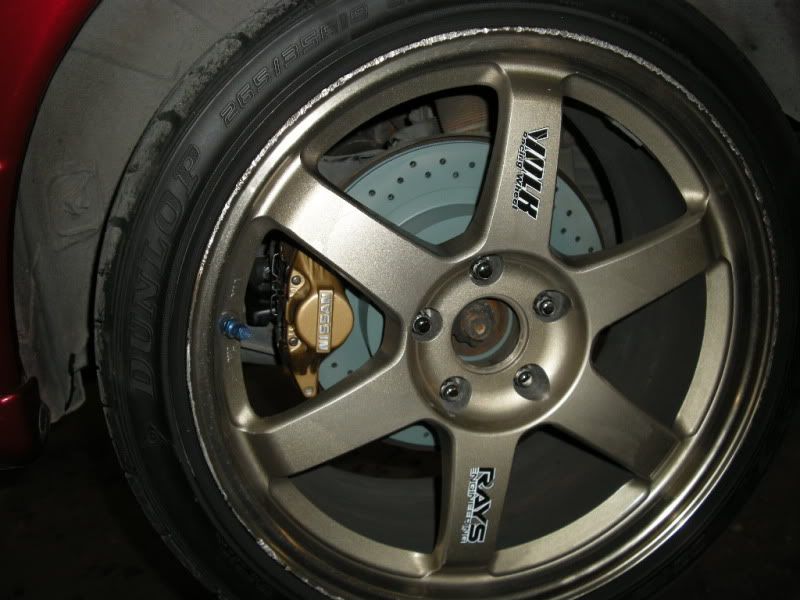
and heres the rear with the rims back on... ill get a photo of the front + rim soon.
so the blue stuff on the rotors is the special zinc coating.
tell me what you guys think!The SkyLife Community & News Website --> http://www.skylife4ever.comComment


Comment