
 Tweet
Tweet
Chapter 44 - Carbolicious2
week7 - 2011, part 1/2
disclaimer :
the following story depicts actions that occured between June 12 and 18 2011
information is recalled purely from memory, give me a chance
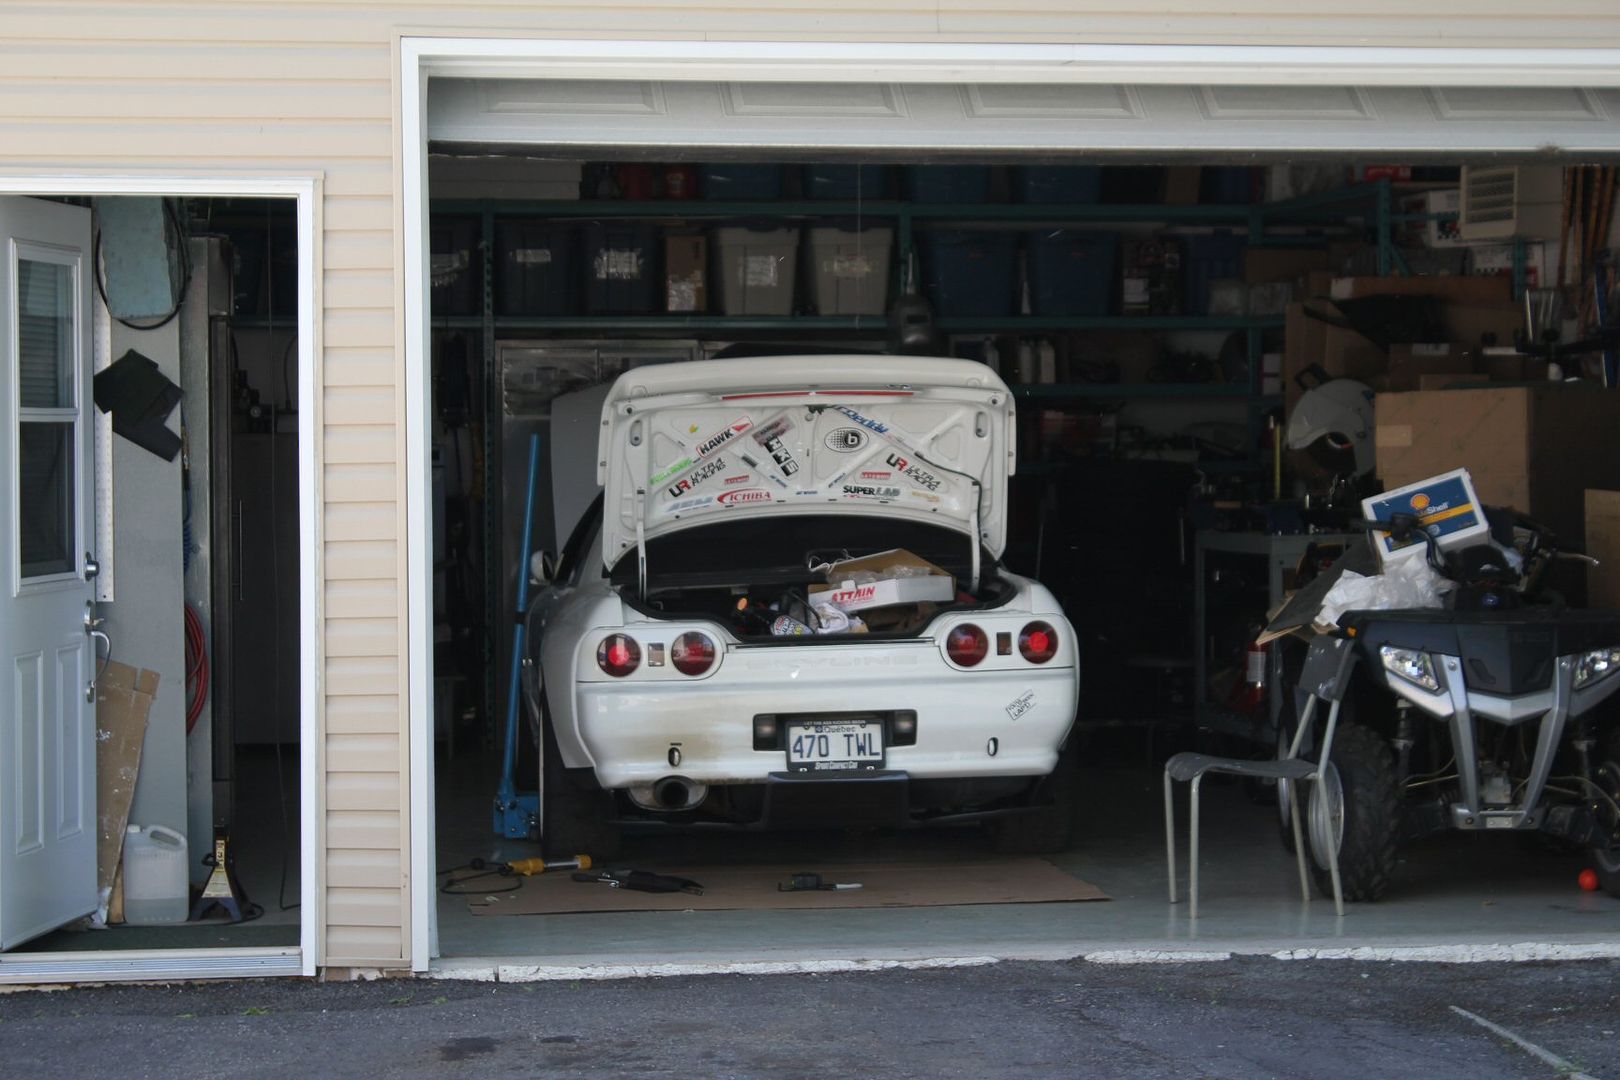
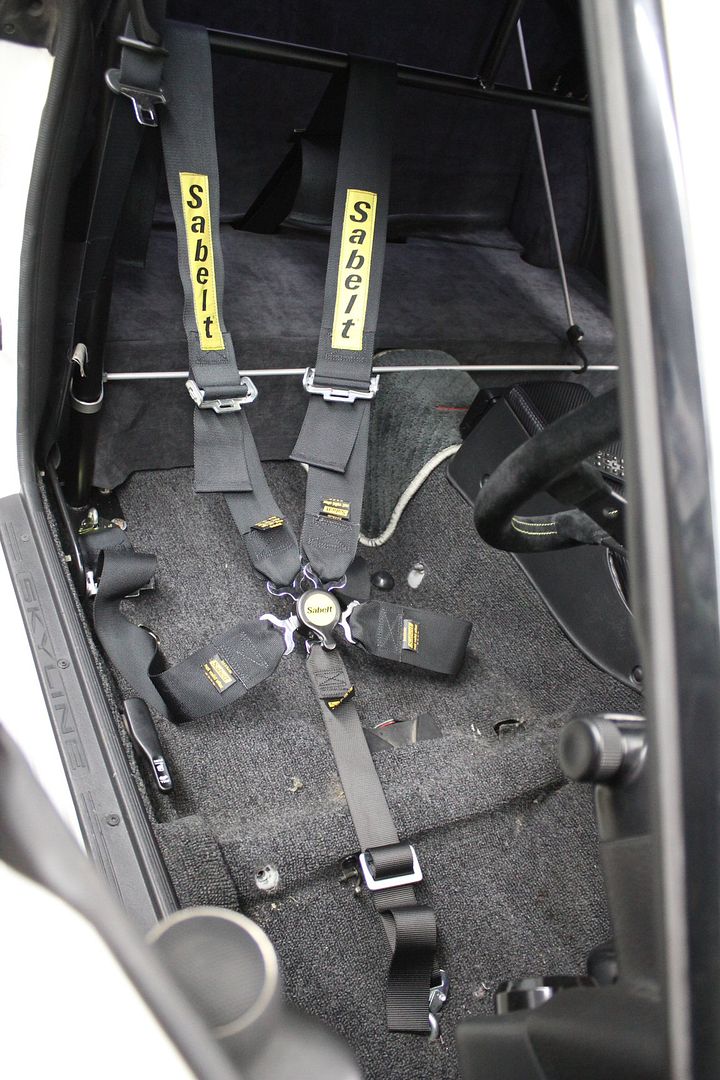
in the last weekly update, i finished most of the interior work i set out to do,
so i got back to installing some more exterior parts,
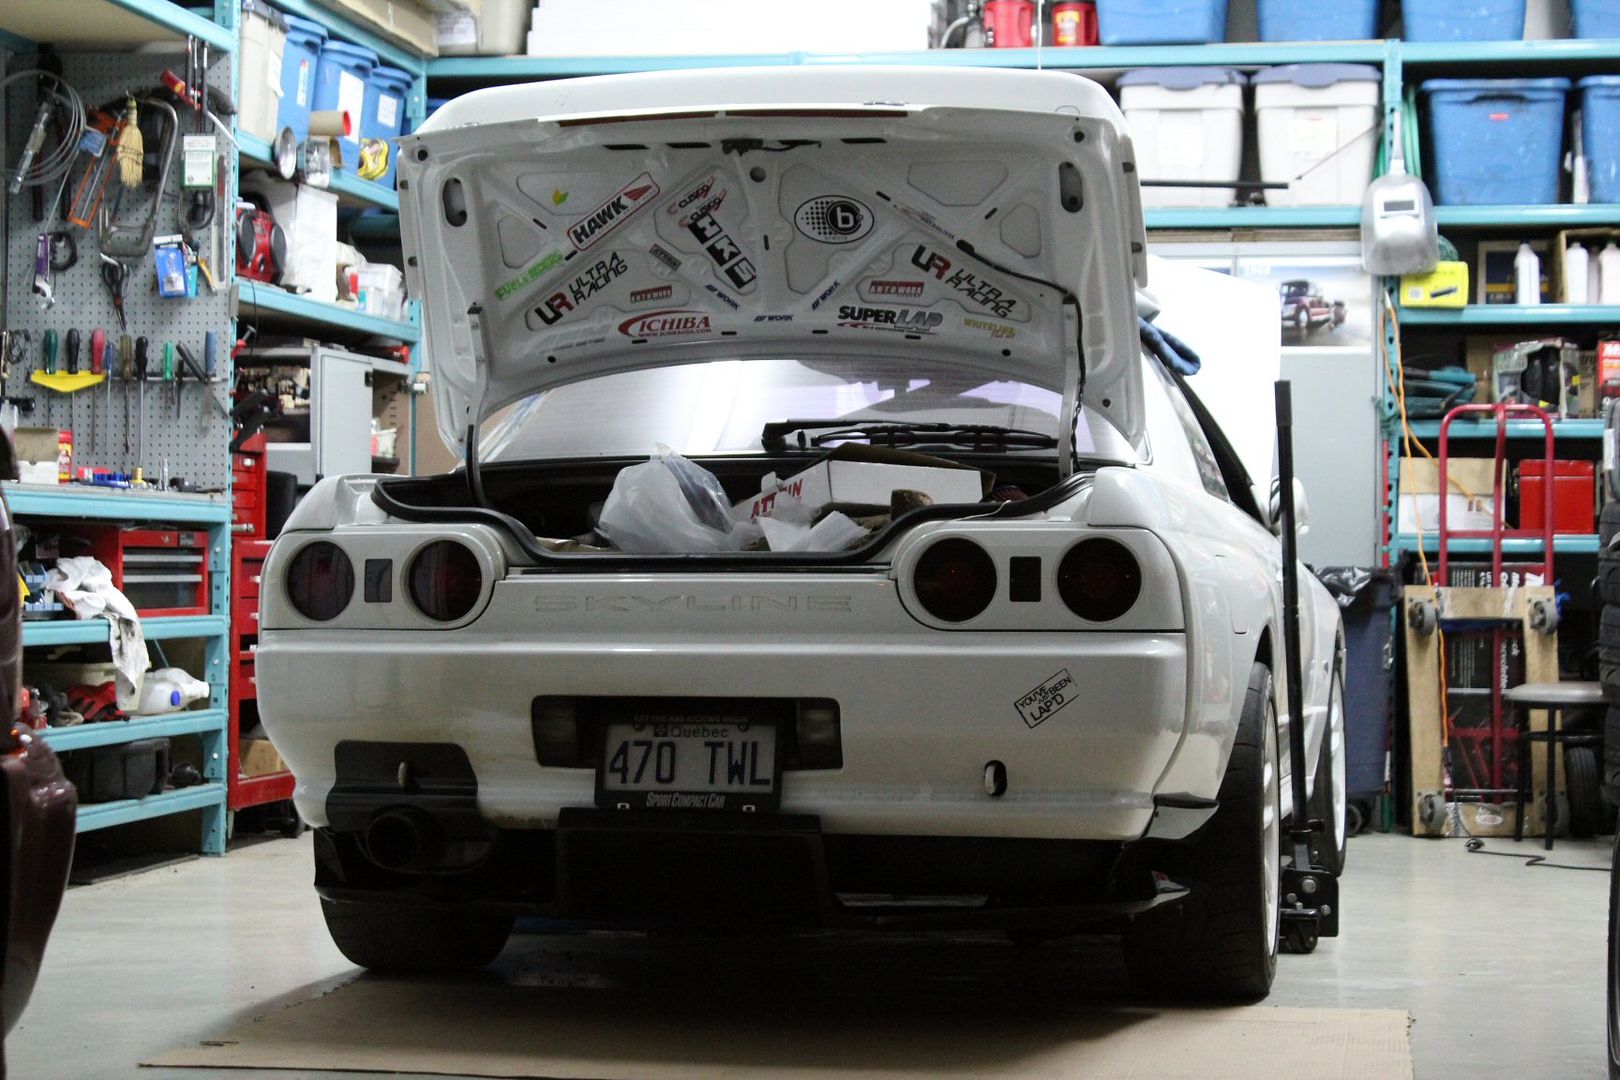
to go with the super sexy AB-Flug front diffuser, i also got this;
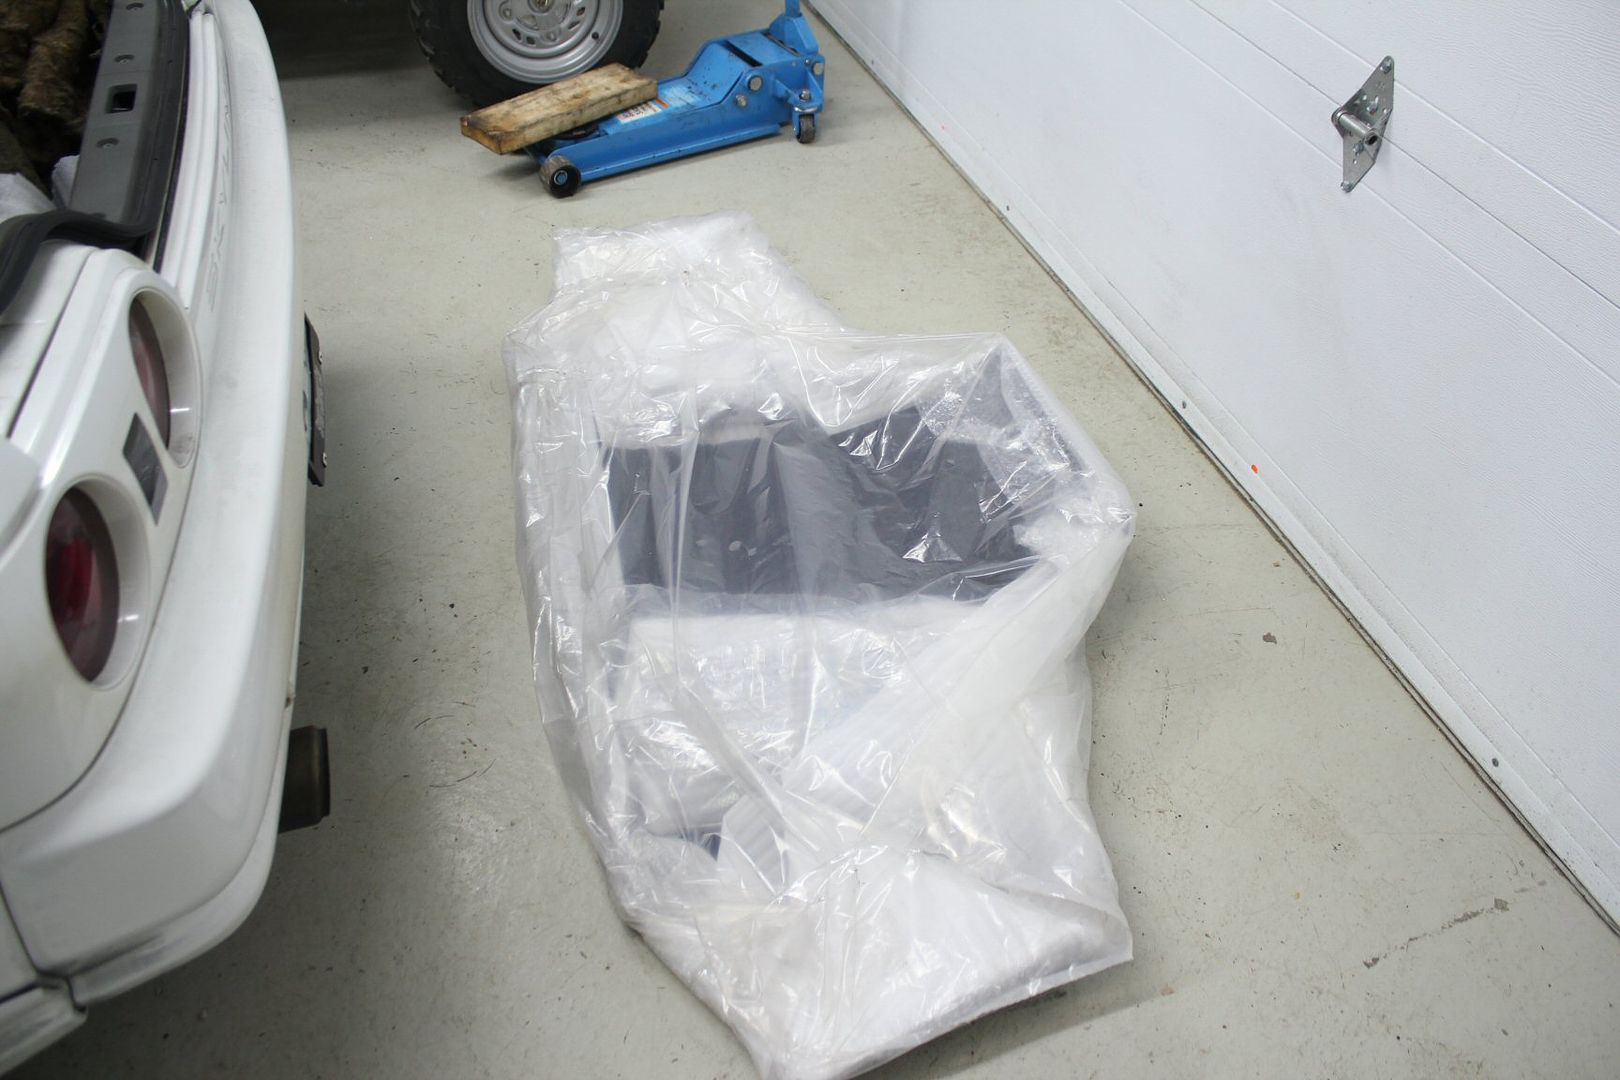
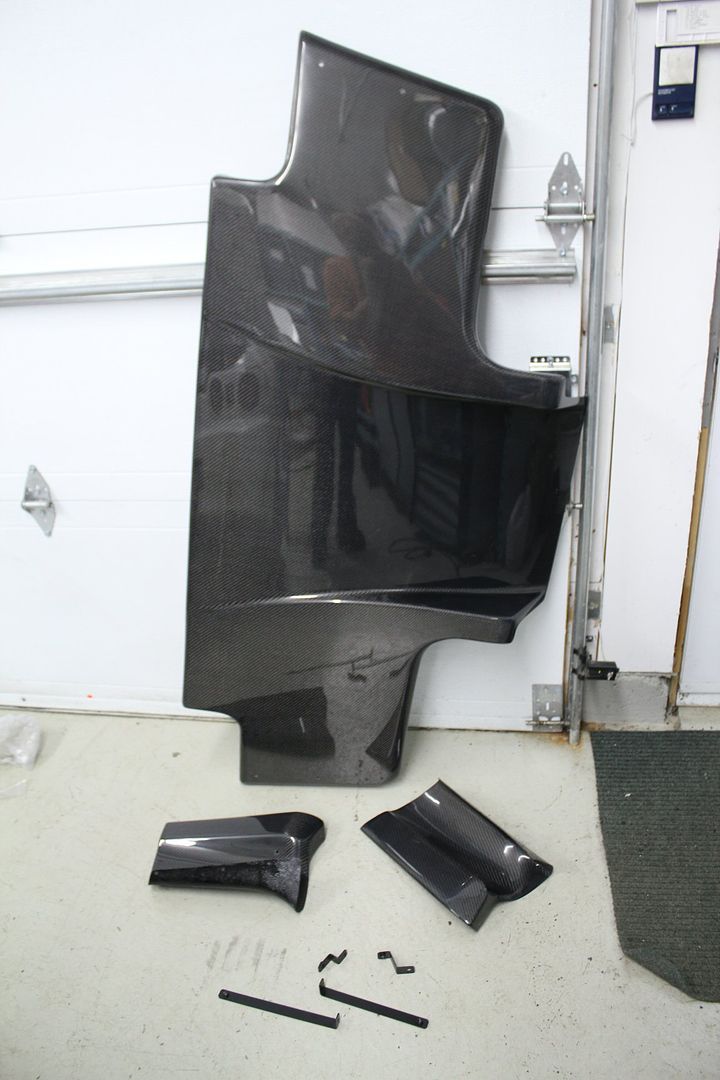
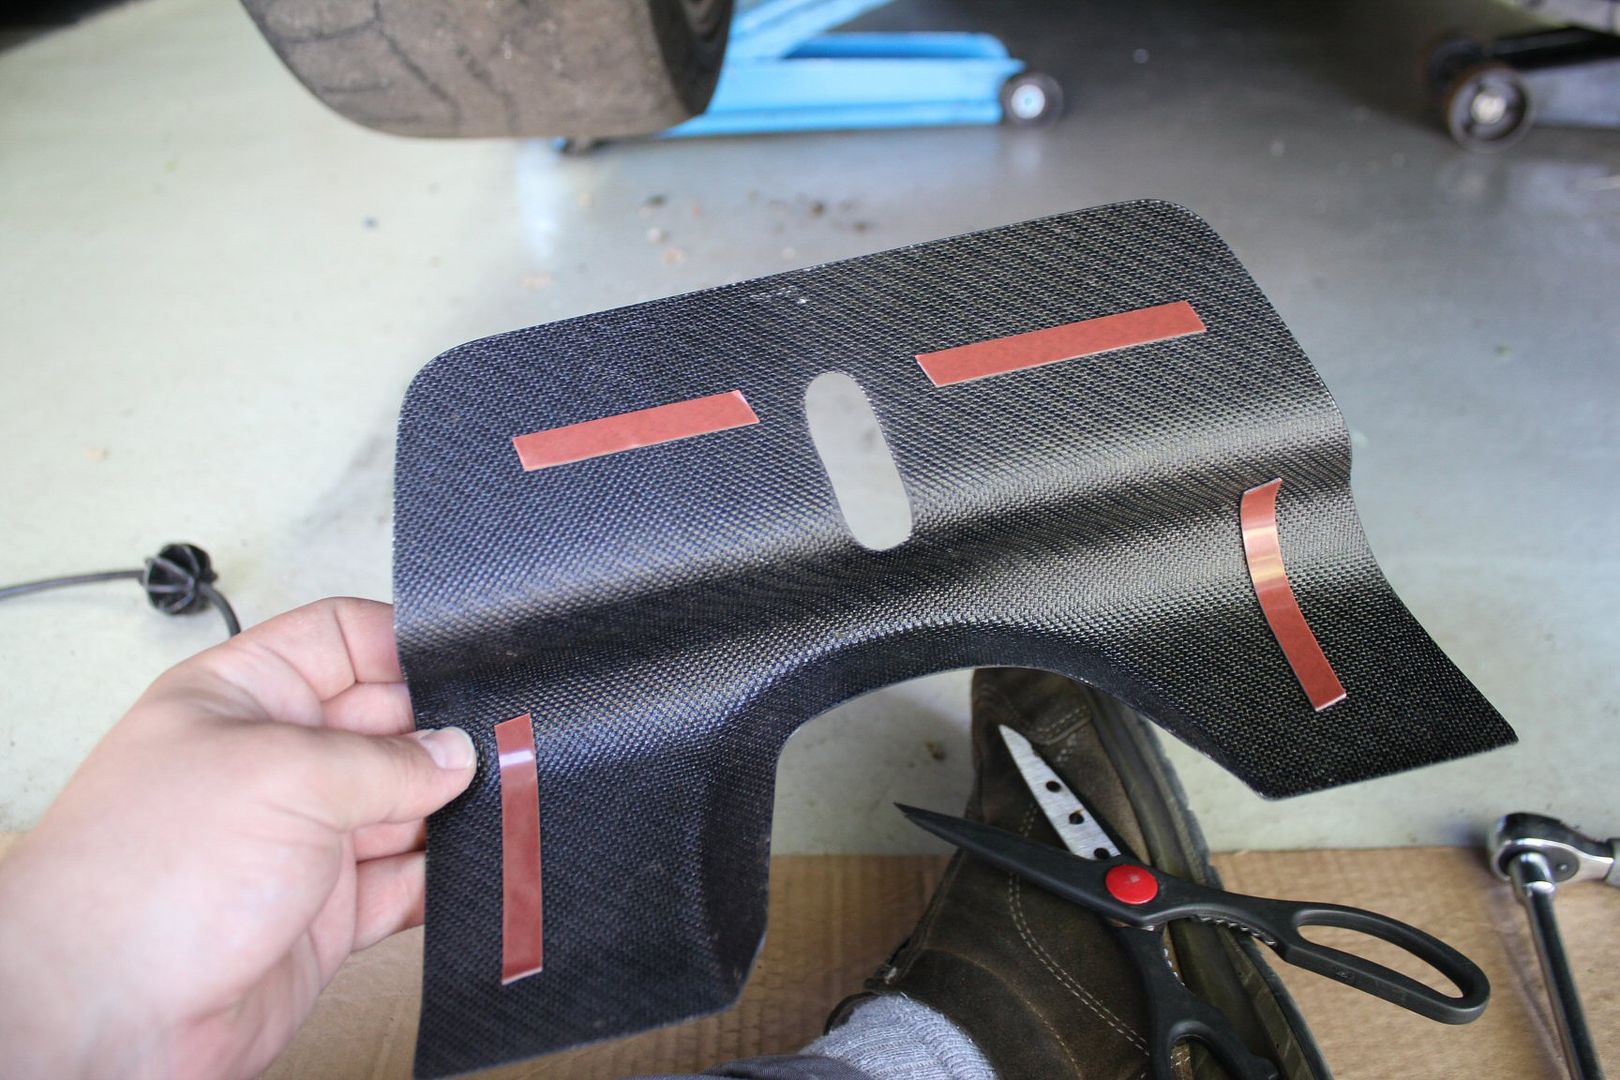
a Top Secret "replica" carbon fiber rear diffuser...........this is a budget build,
its looks amazing, comes with some brackets not all useful;
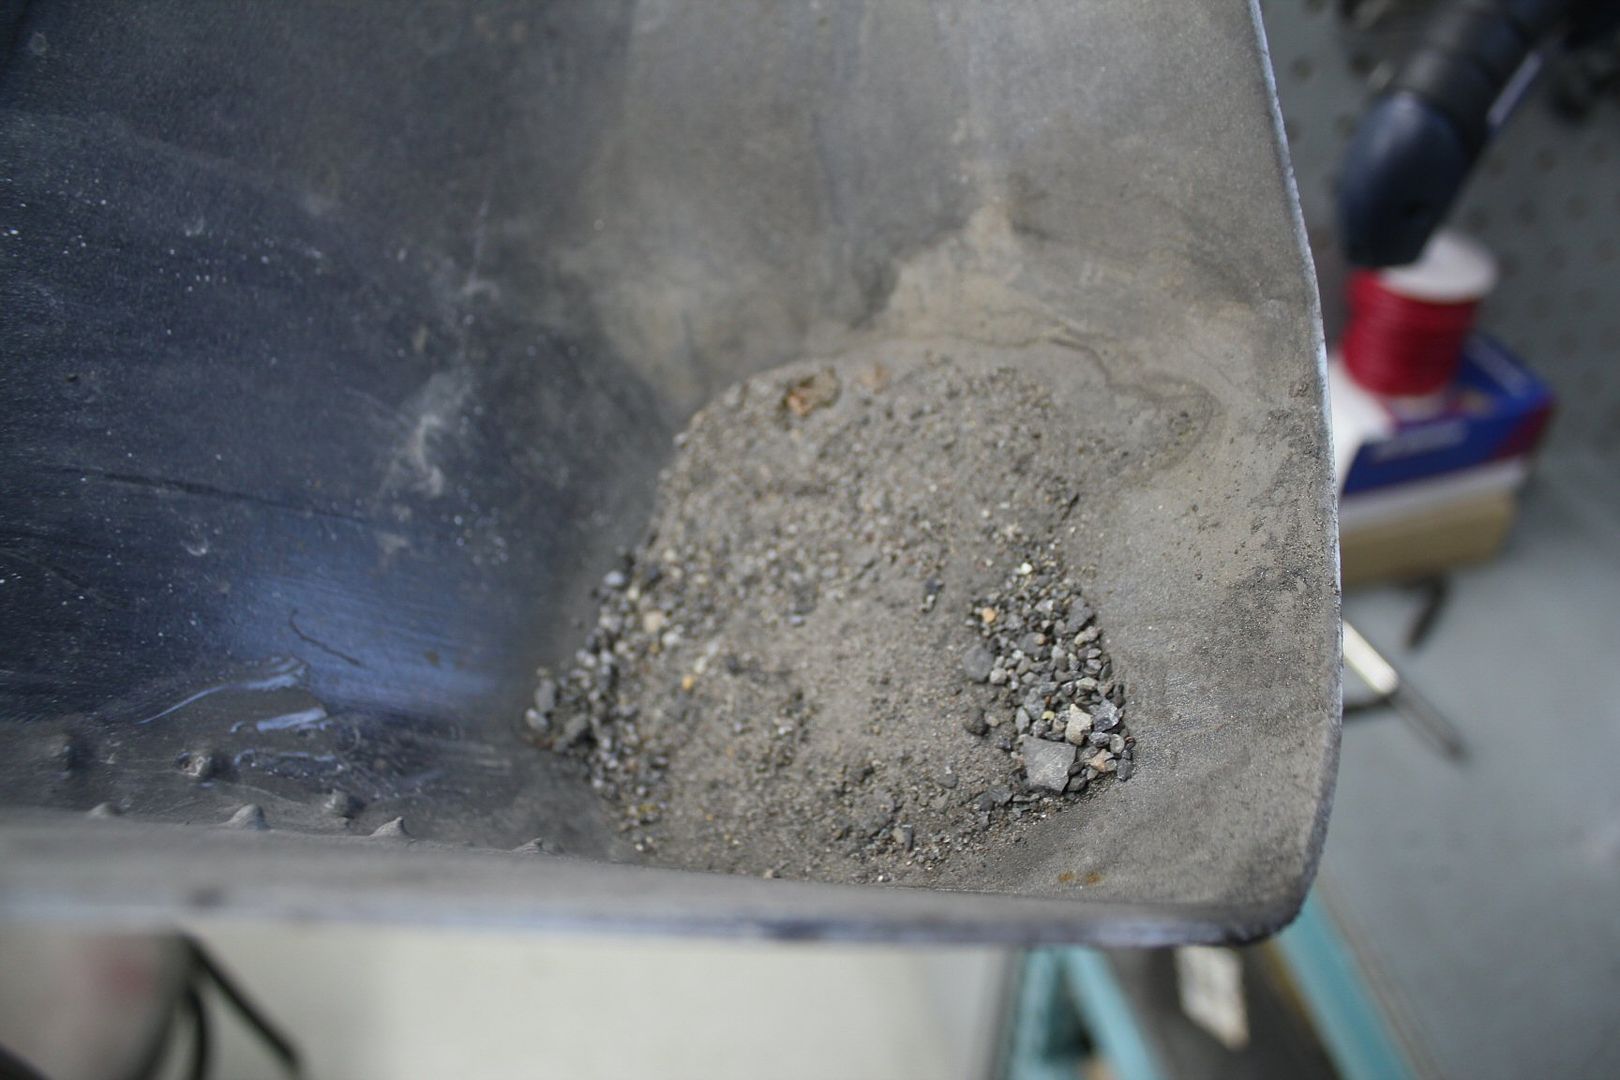
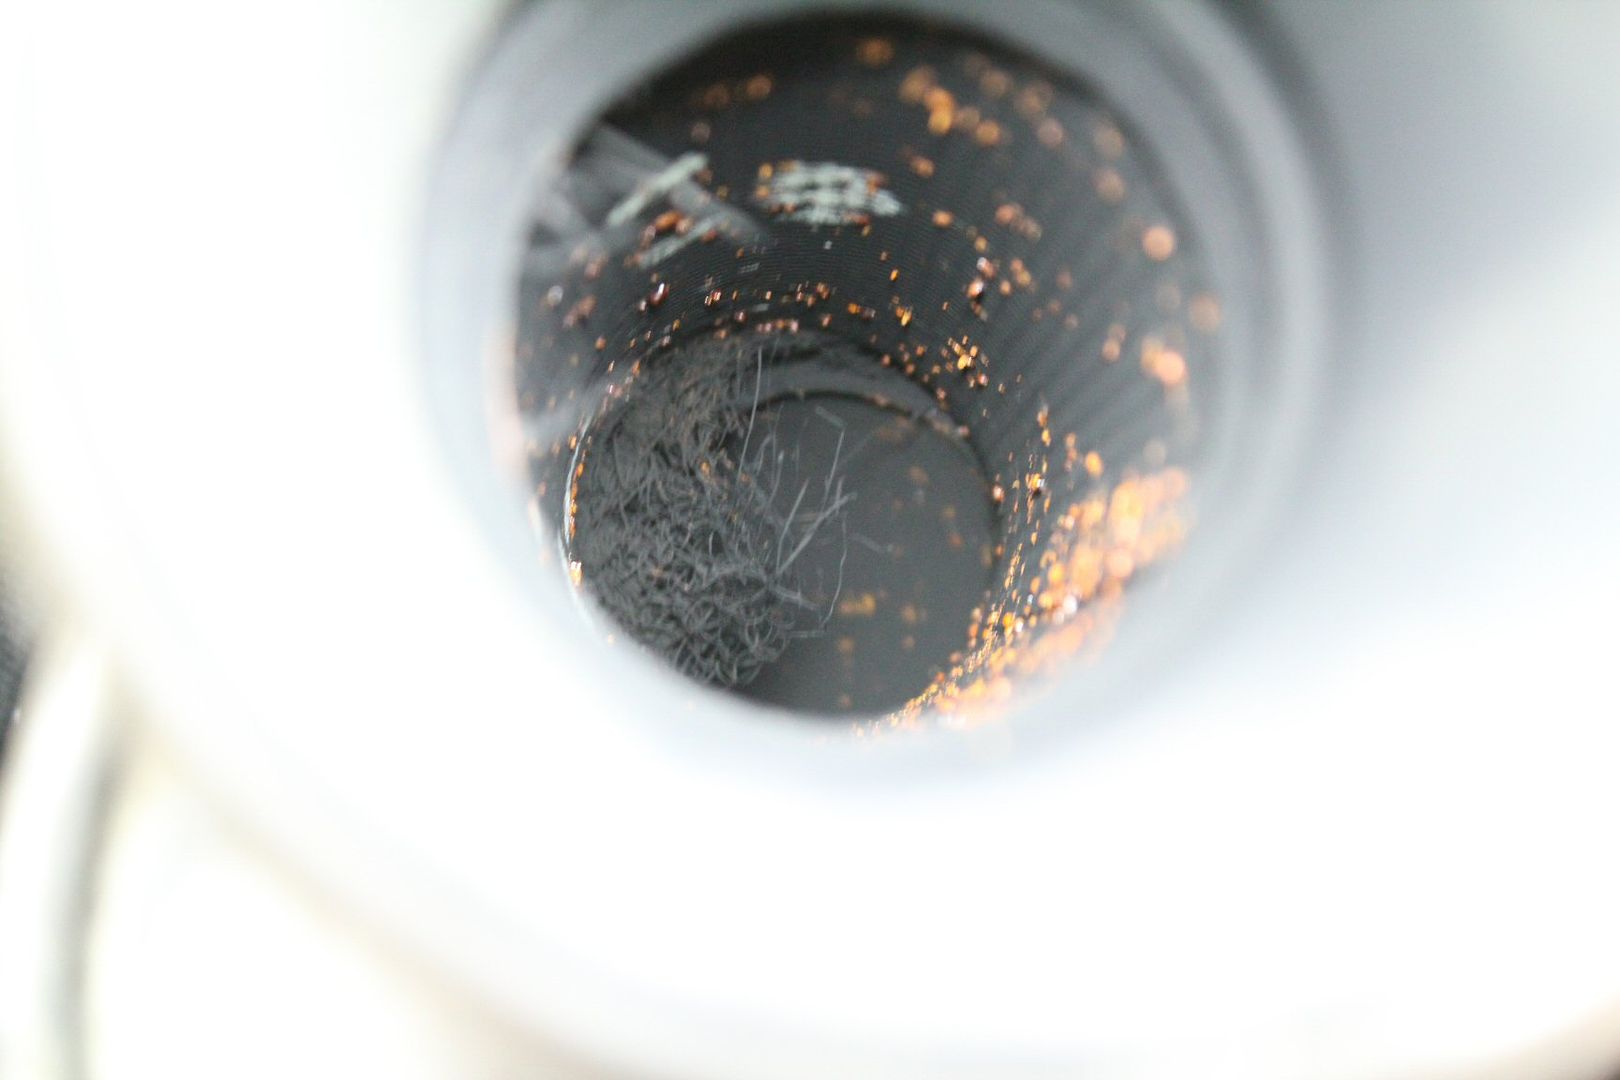
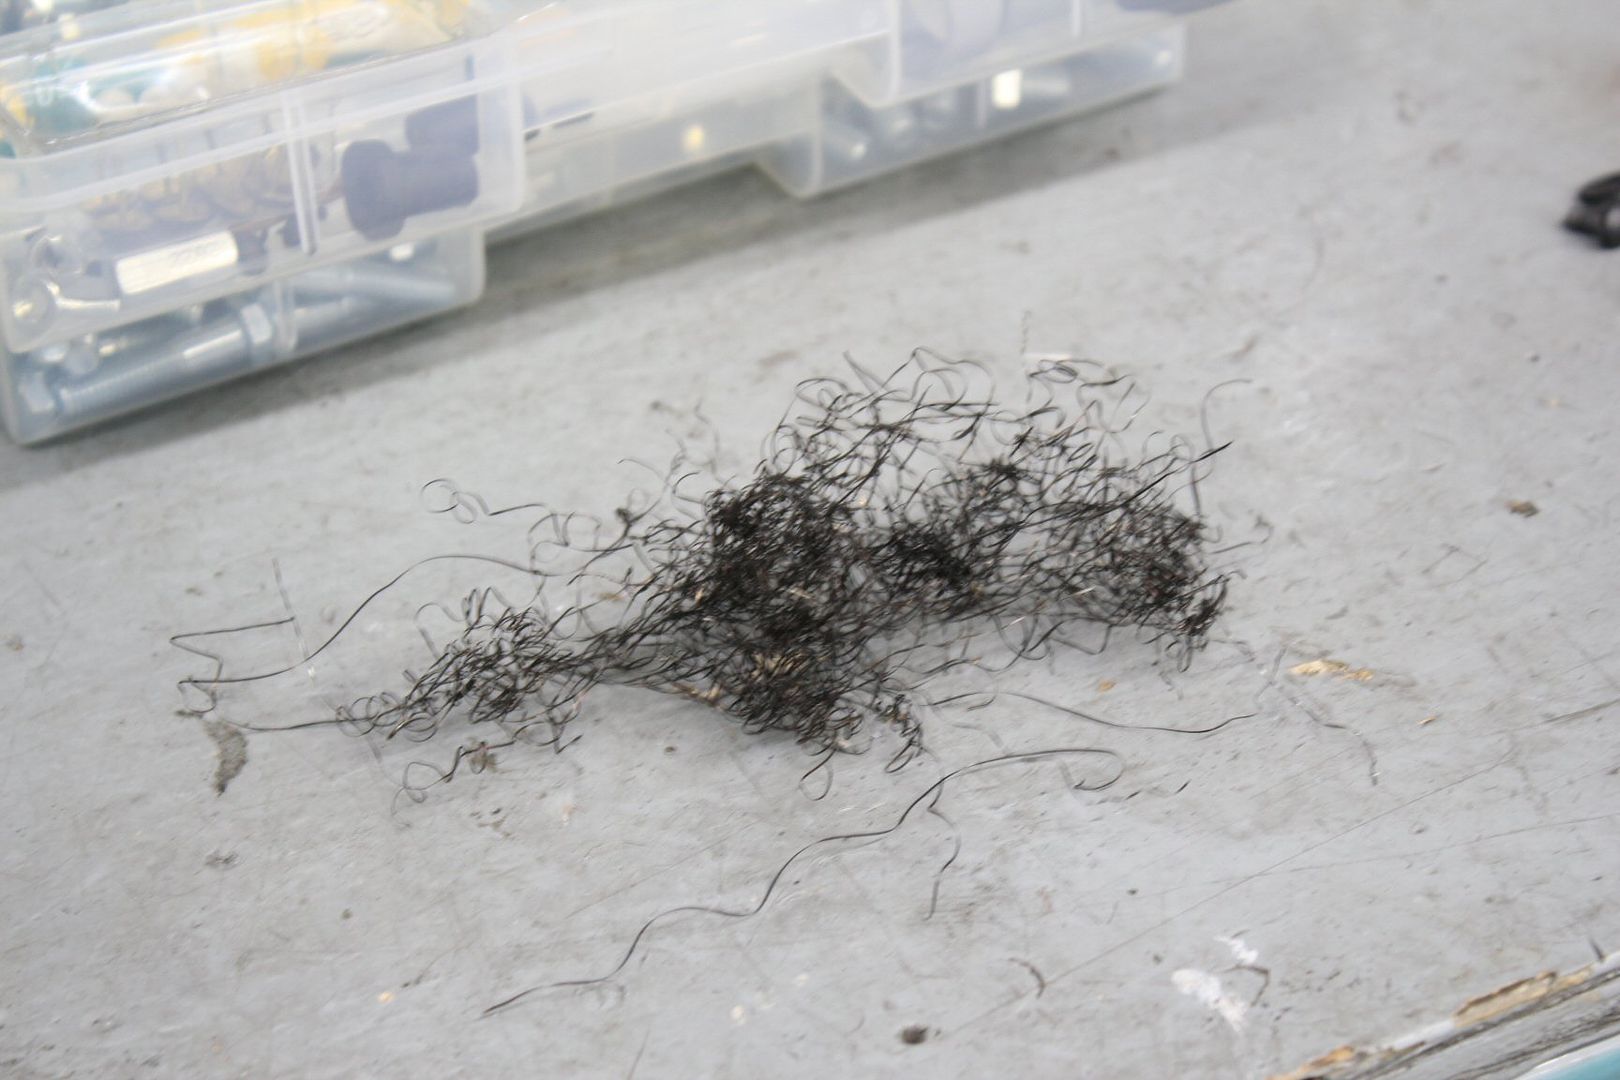
the first thing to do was to remove my Type-M mud guards i had installed the previous year;

these things had accumulated lots of debris over time;
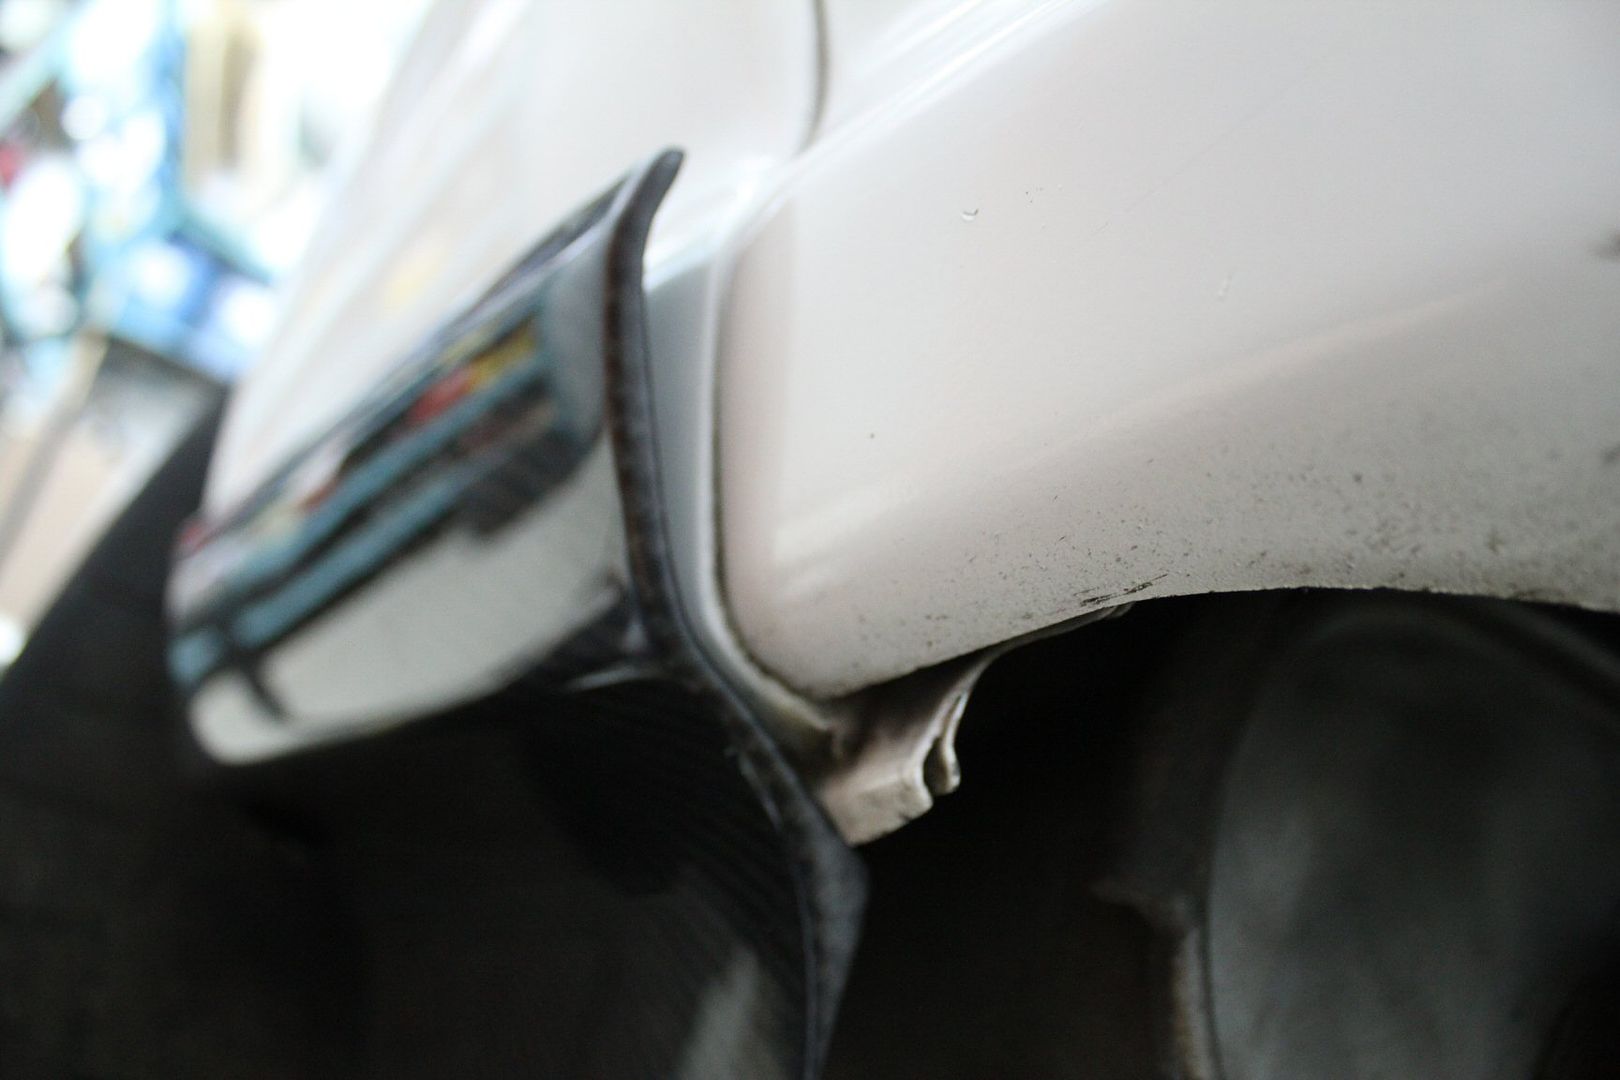
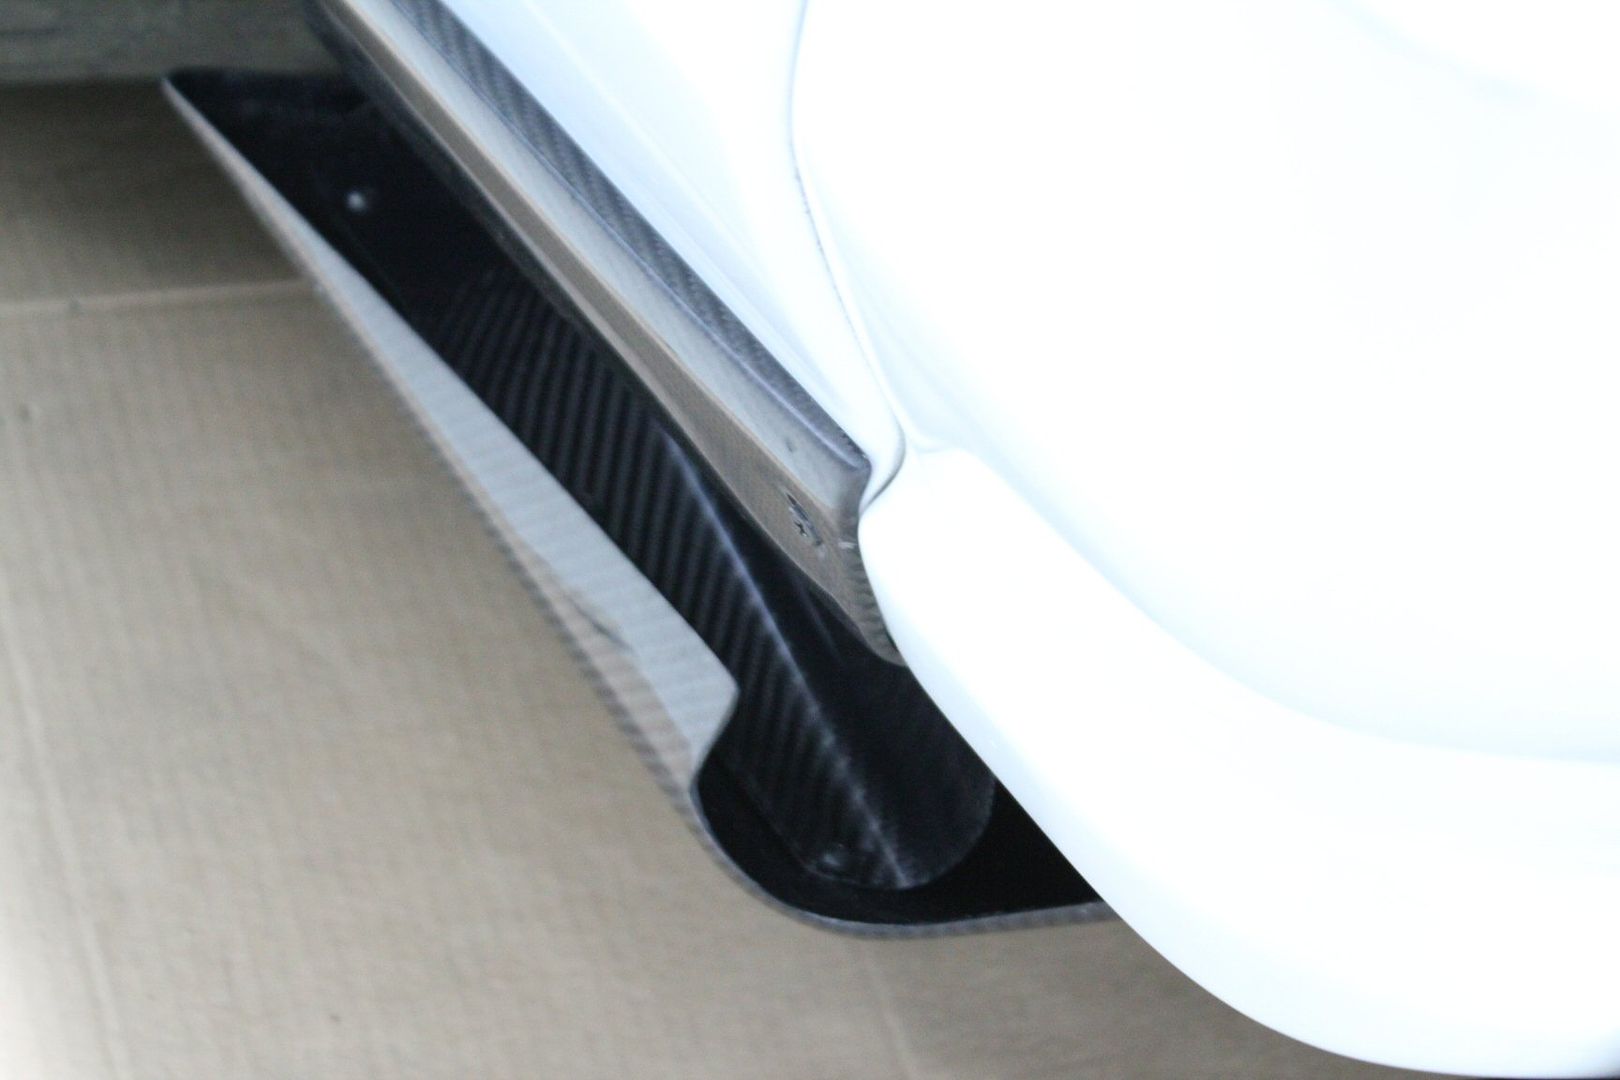
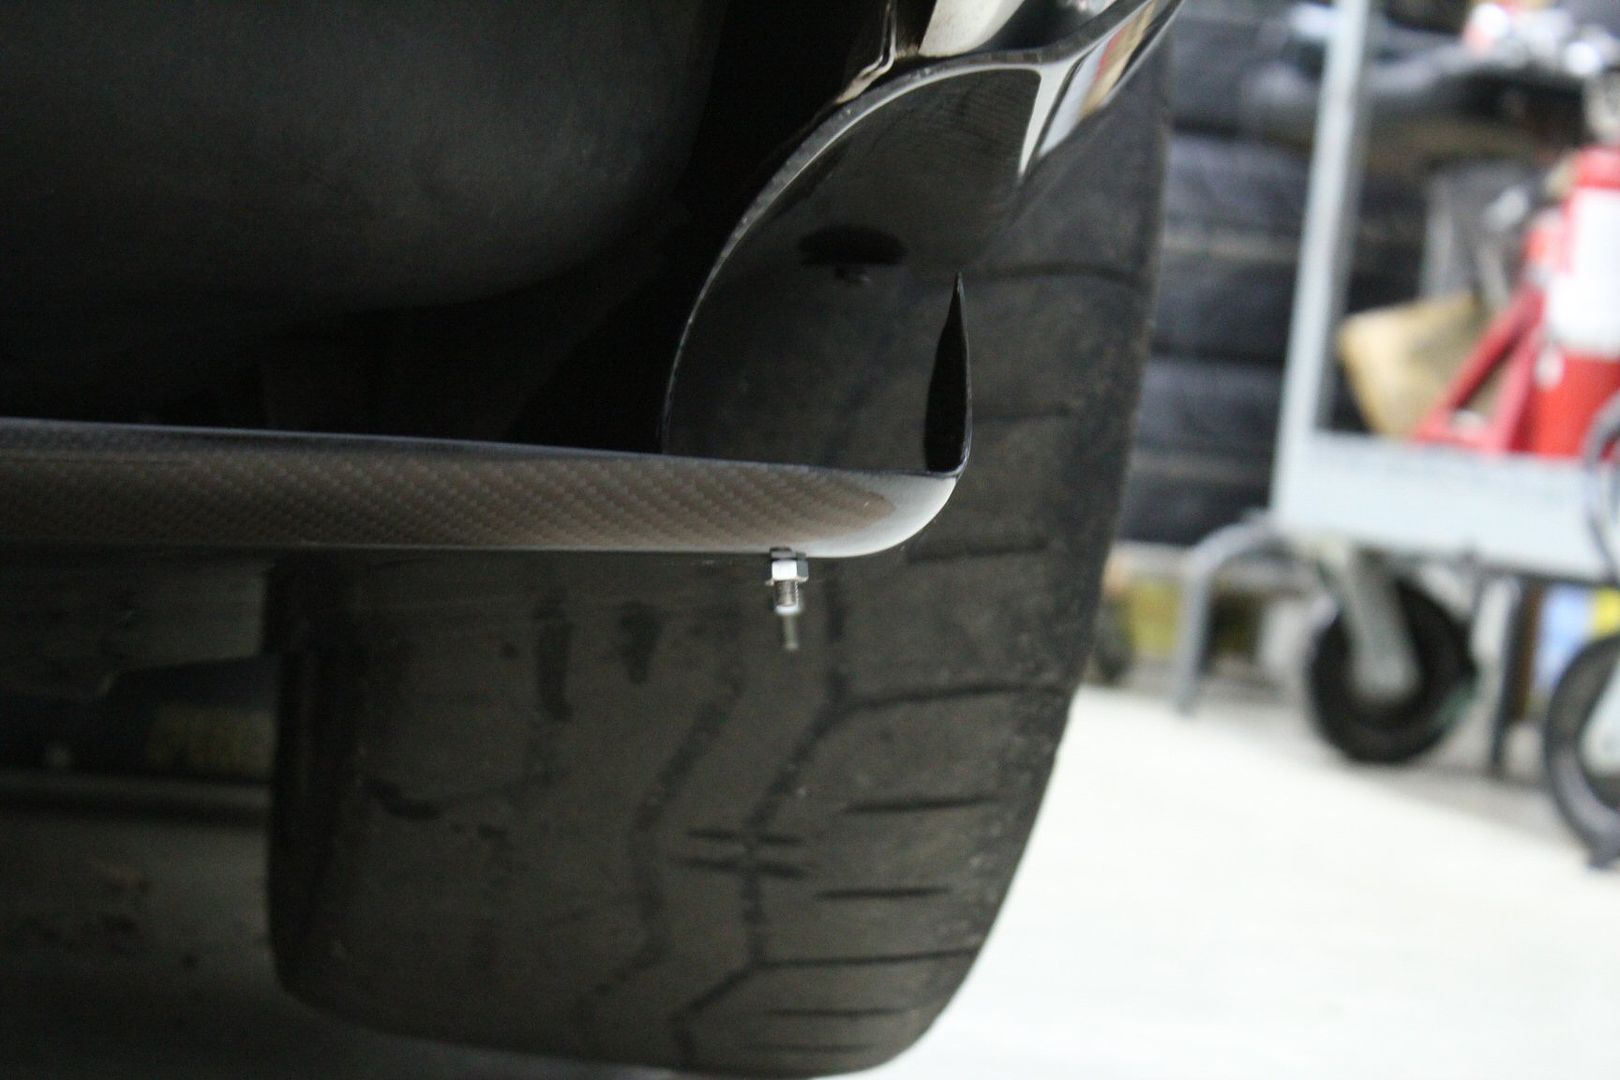
the side pods that come with the diffuser fit pretty well, they actually better contour the body than the Type-M mudguards;

the front of it is simply help with a body screw, but the back isn't held by anything,
so at first i tried double sided tape, since thats how the Type-M were installed;
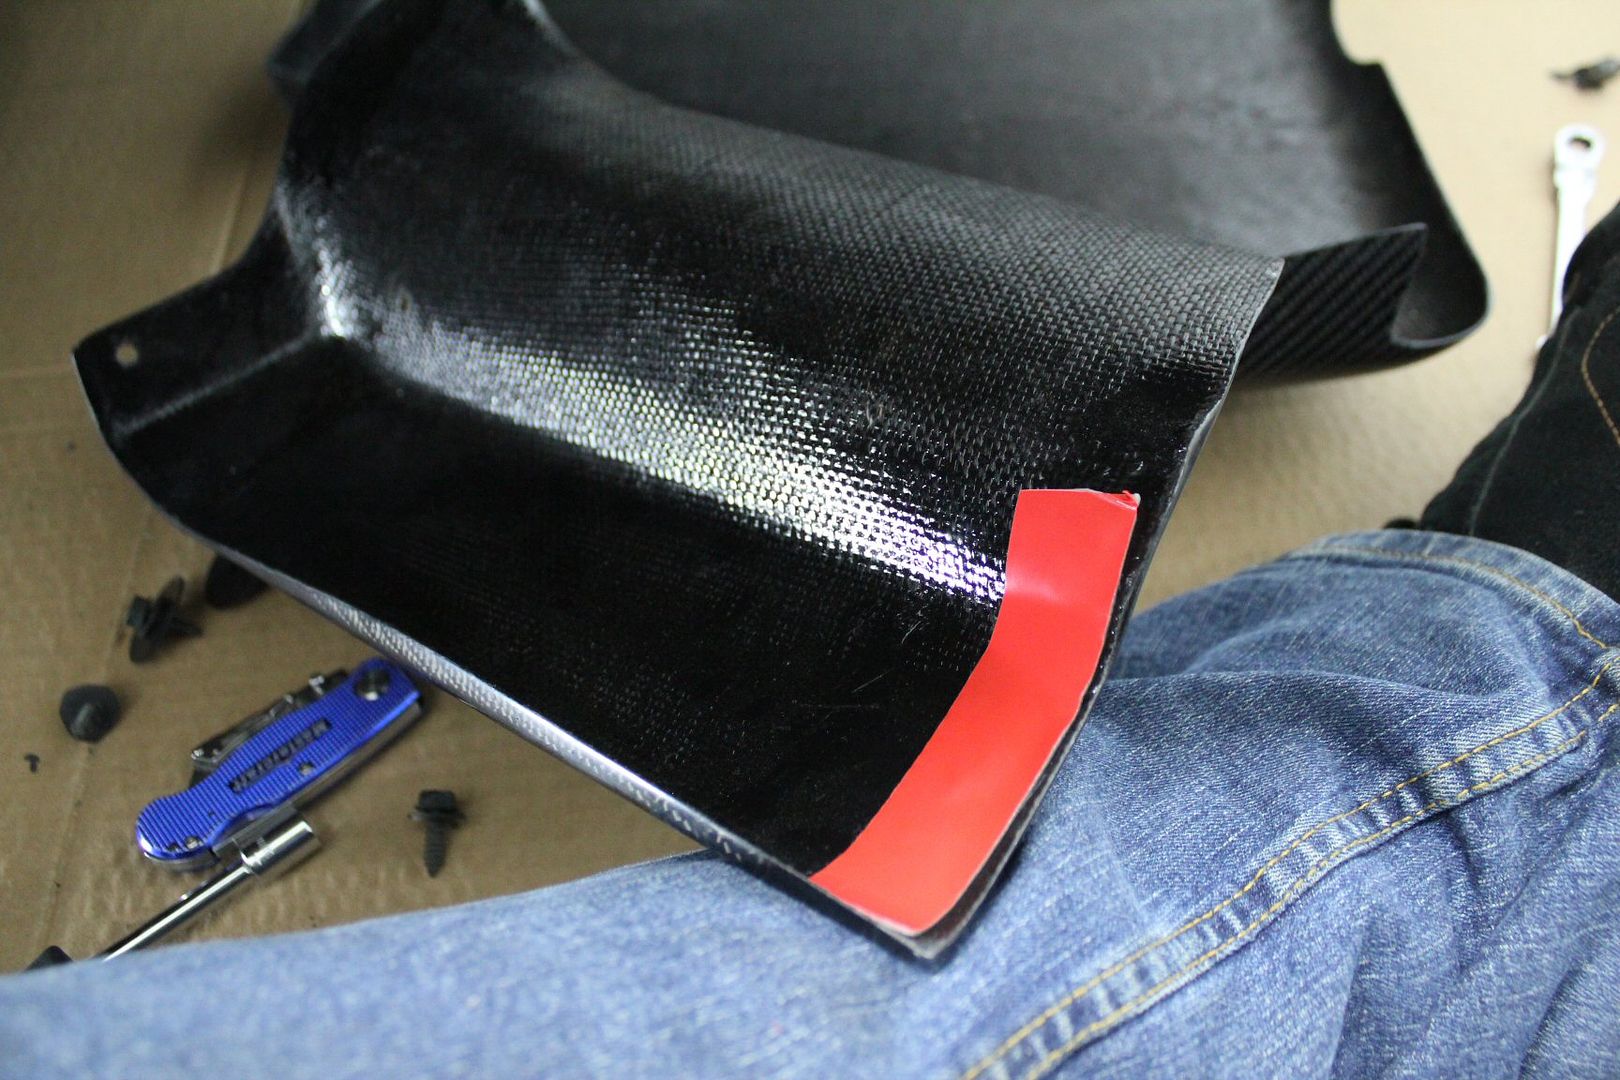
but because its carbon fiber and not polyurethane, its much stiffer and kept pelling the tape off;
another approach had to be taken,
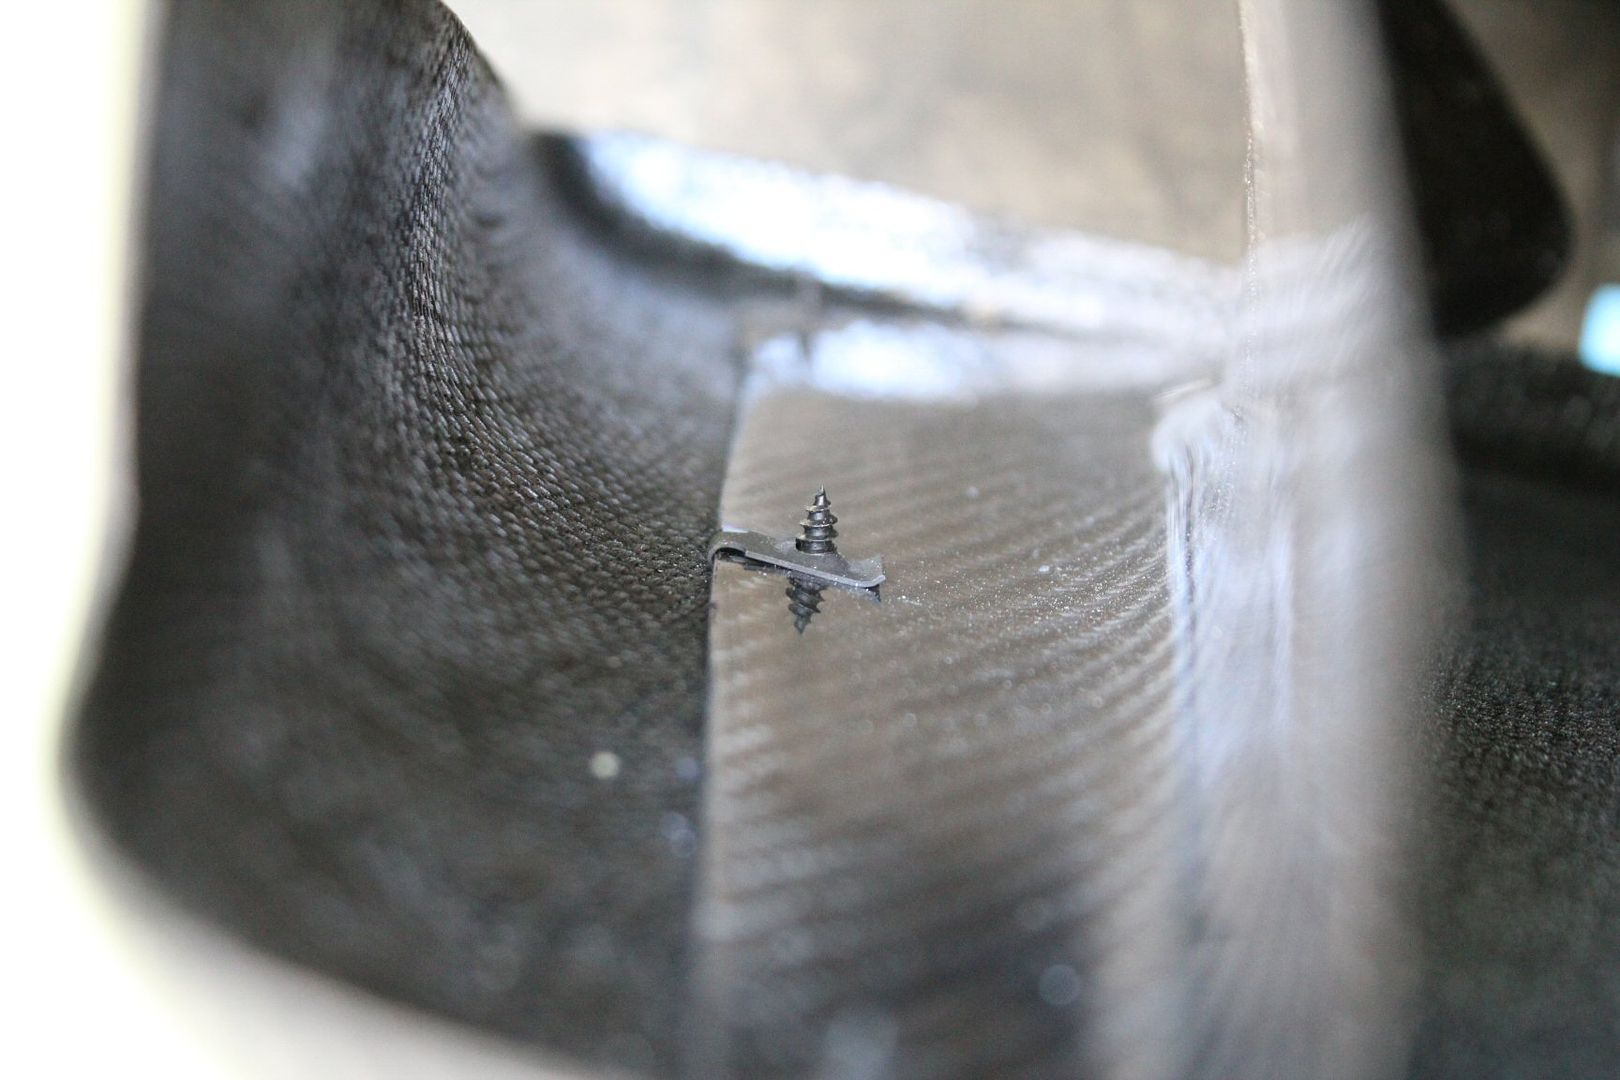
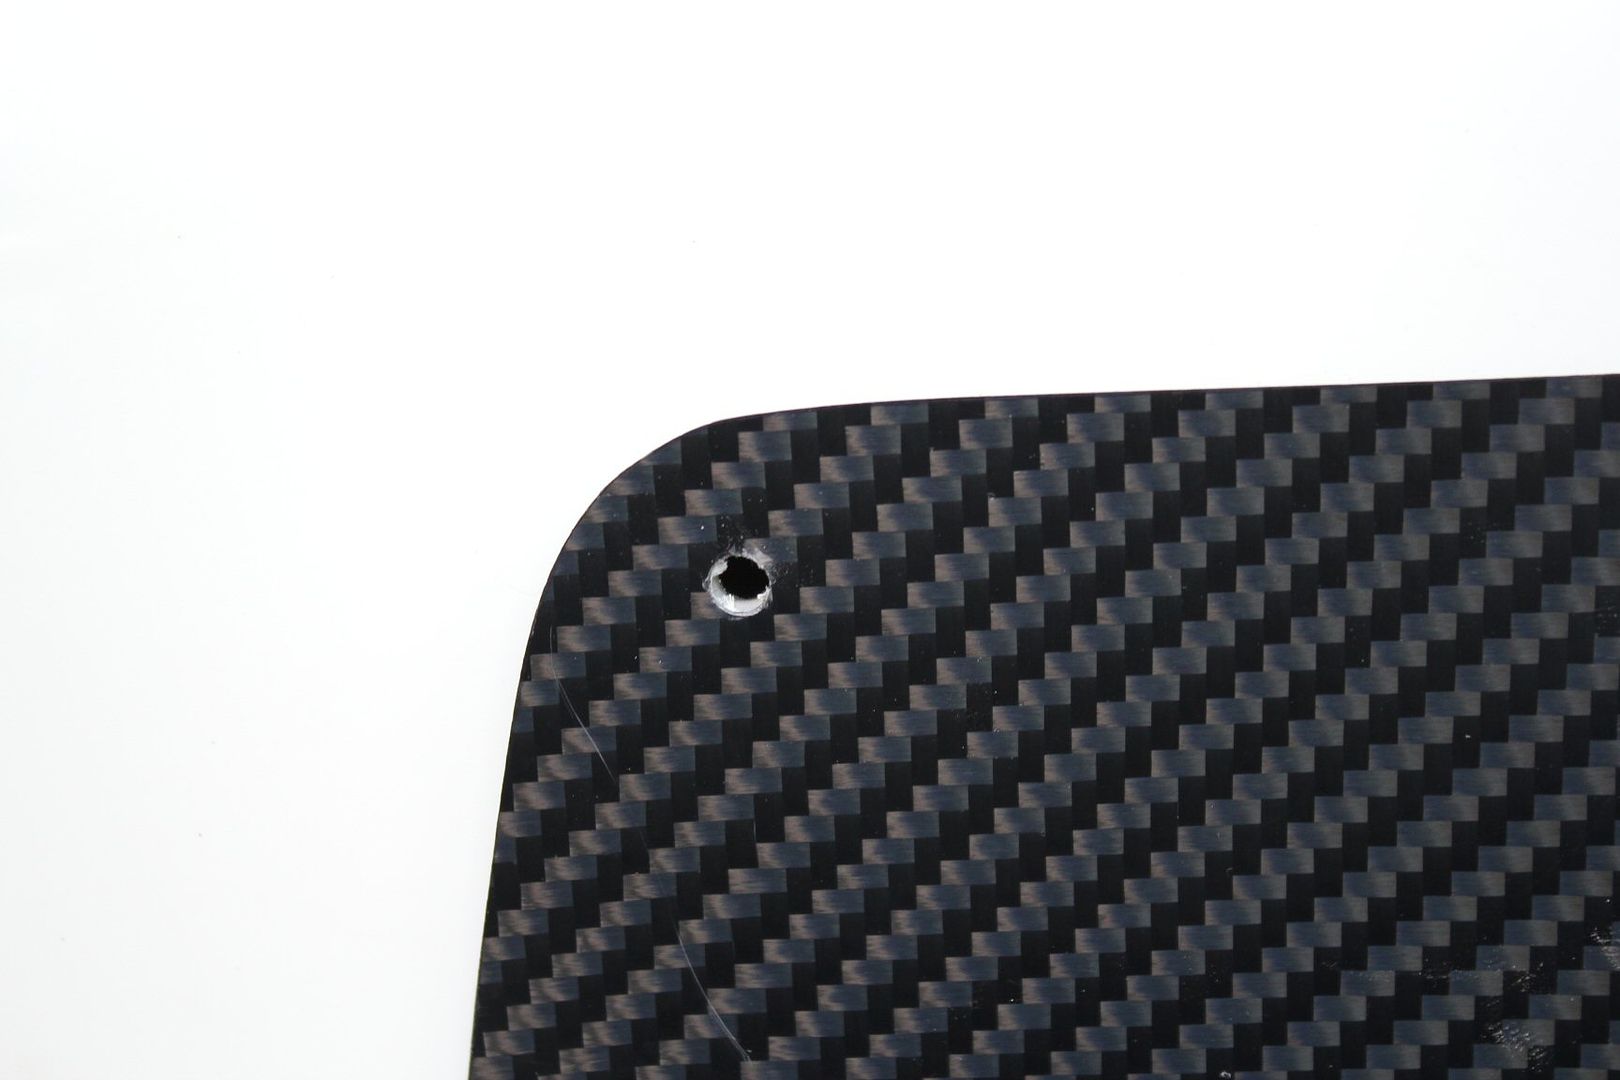
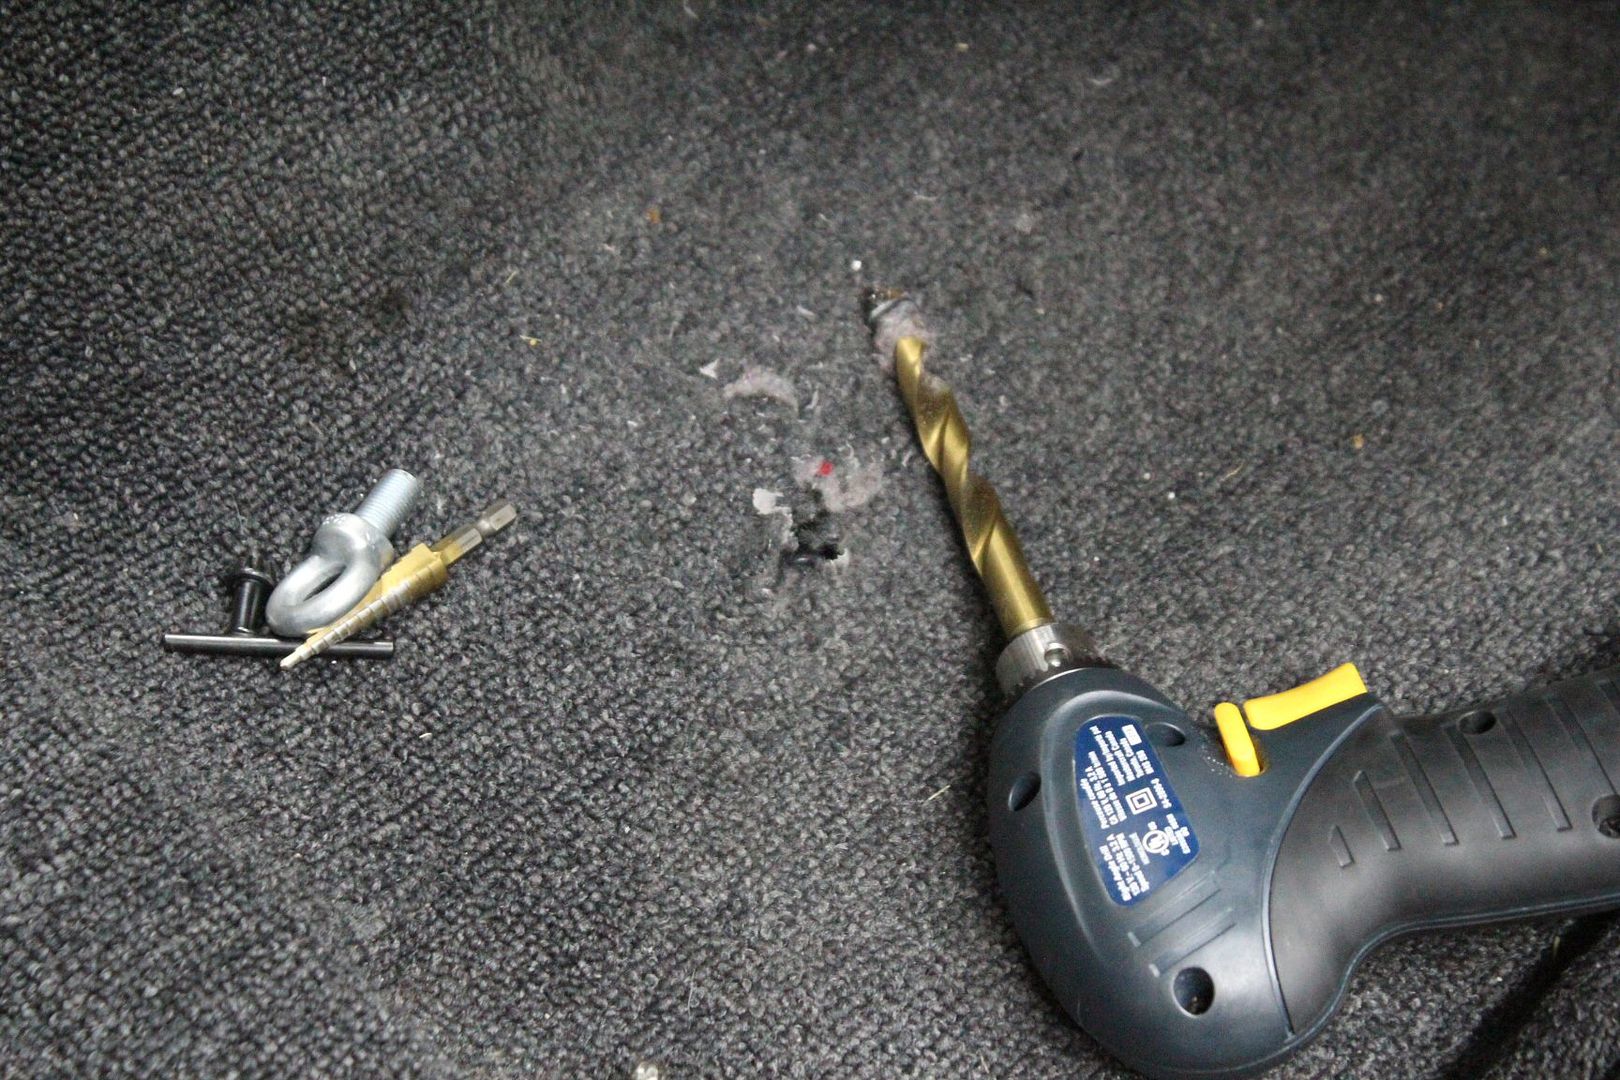
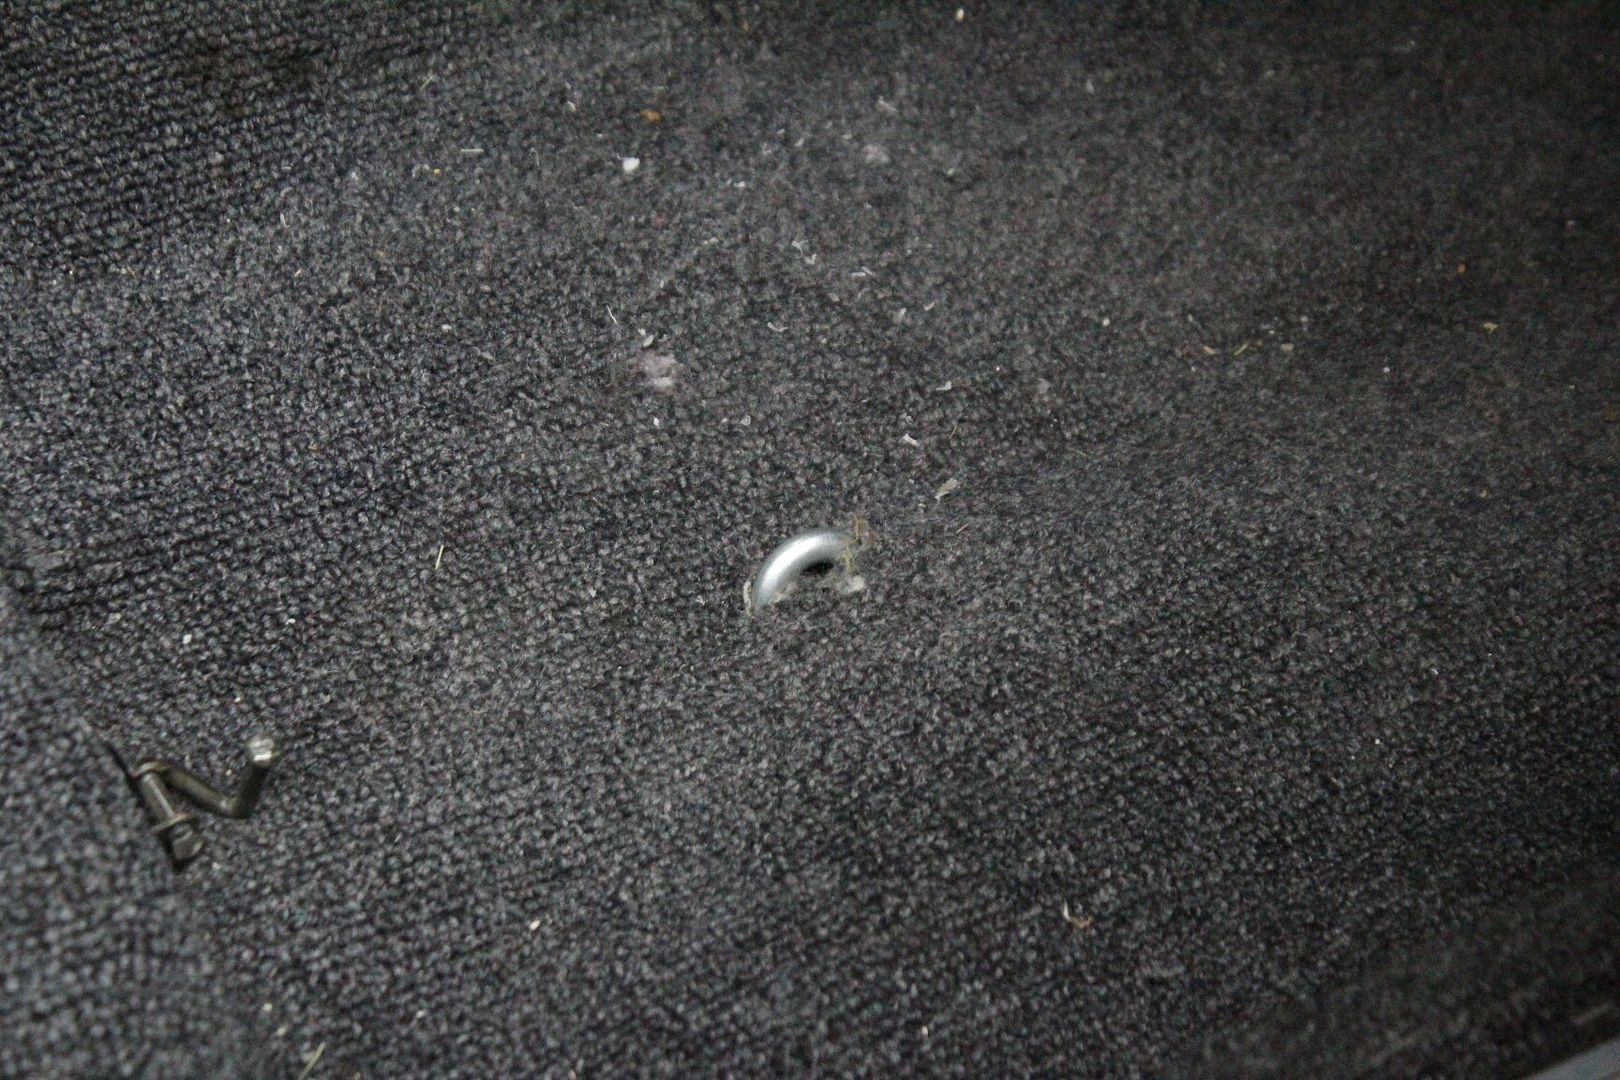
after thinking hard about it, i drilled a hole through the CF into the bodywork to screw it on;
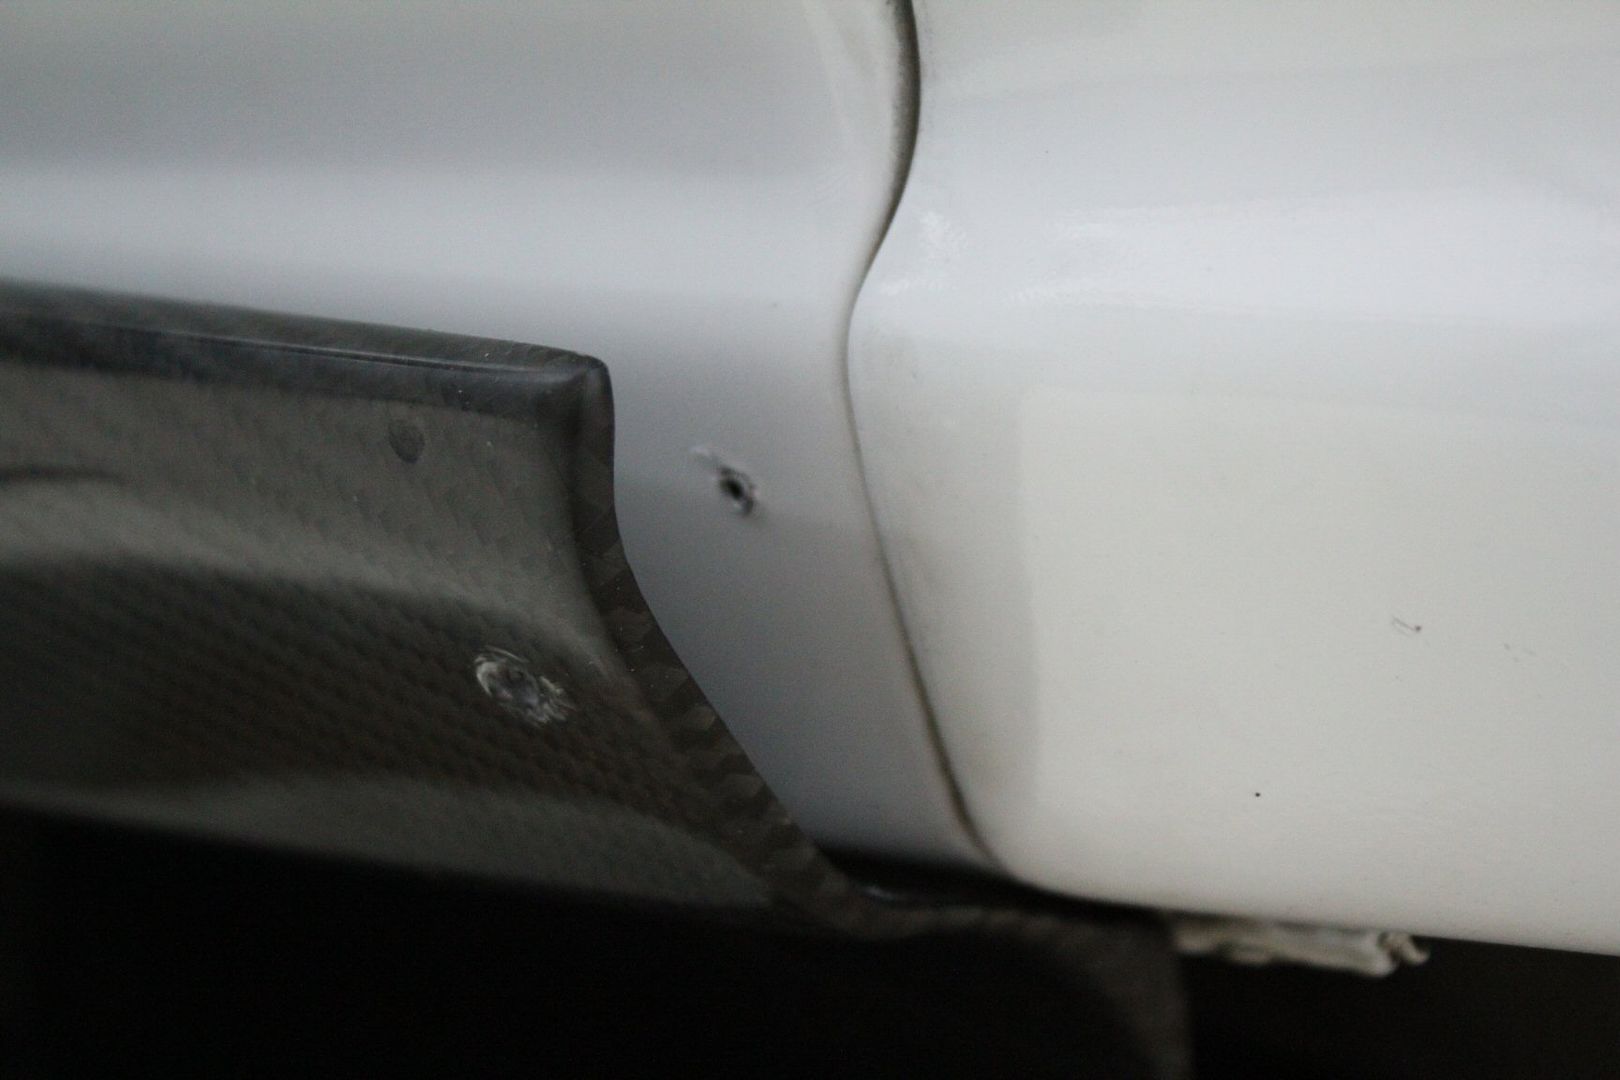
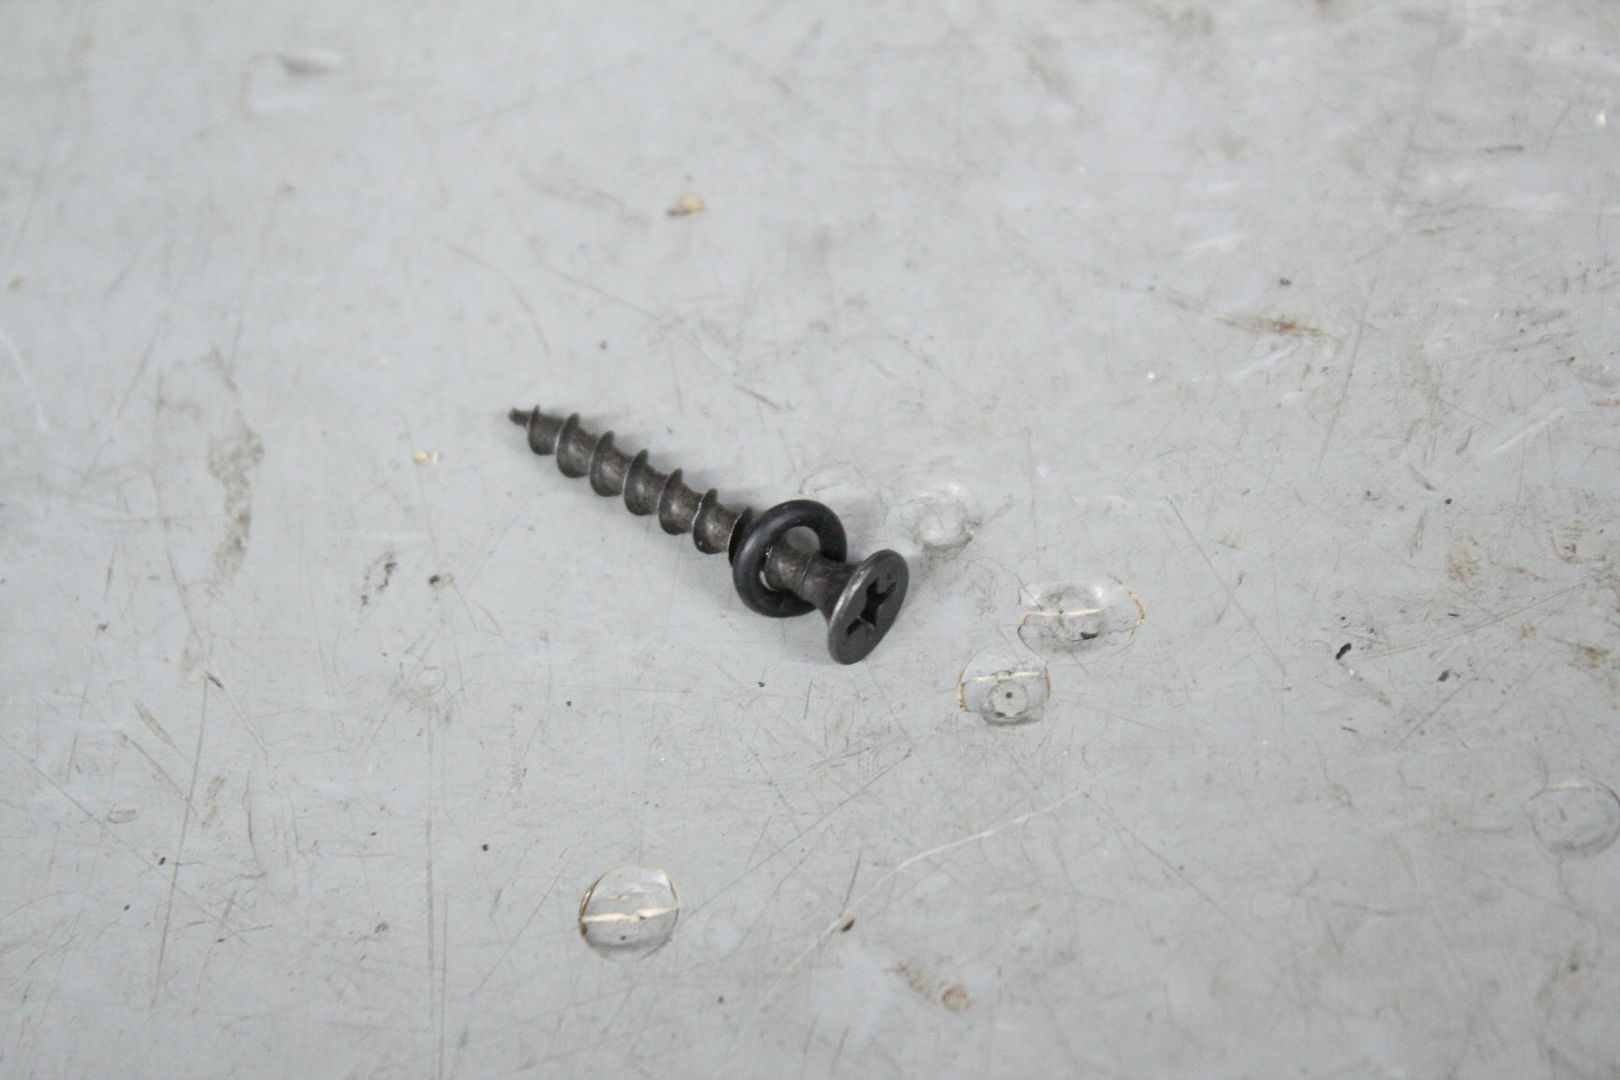
and at first i simply used a screw that i found, with a rubber washer (cut from a bigger one);
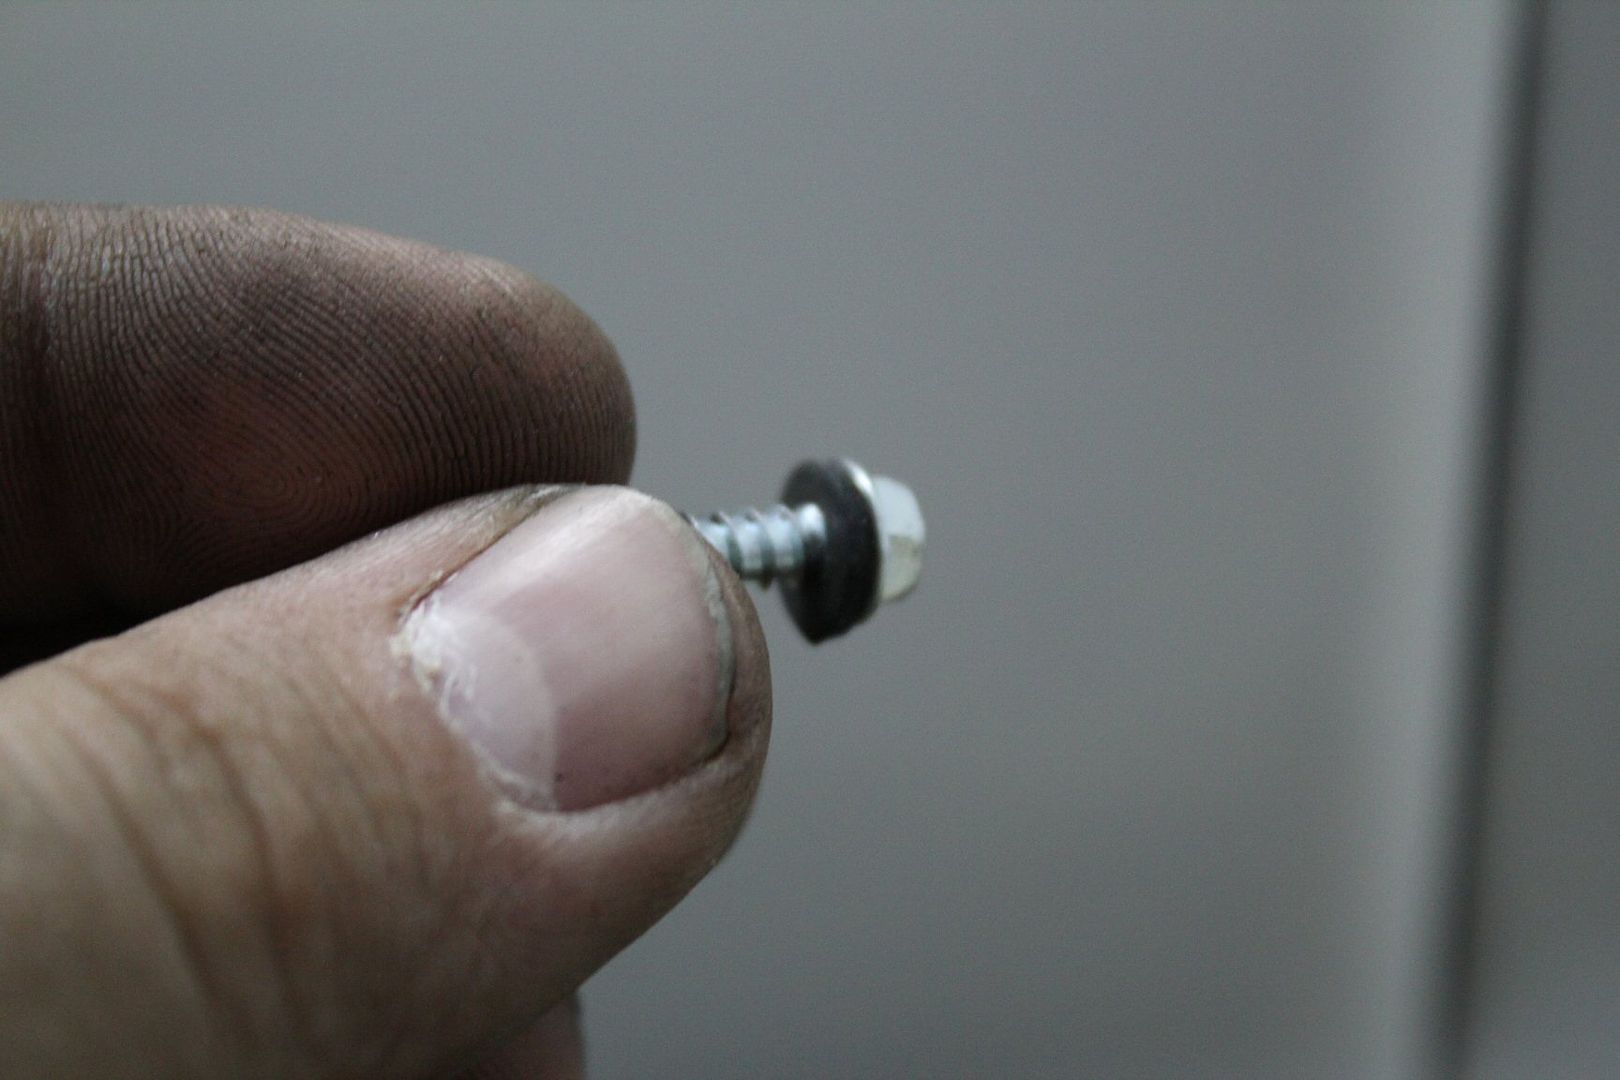
i painted the screw head black, but i didn't like it at all at first, and was regretting my doing;

later i found a set of hydraulic o-rings, and bought real body screws, countersunk and flat black, perfect;
the end result was much better, can't even see the screw if your not looking for it;
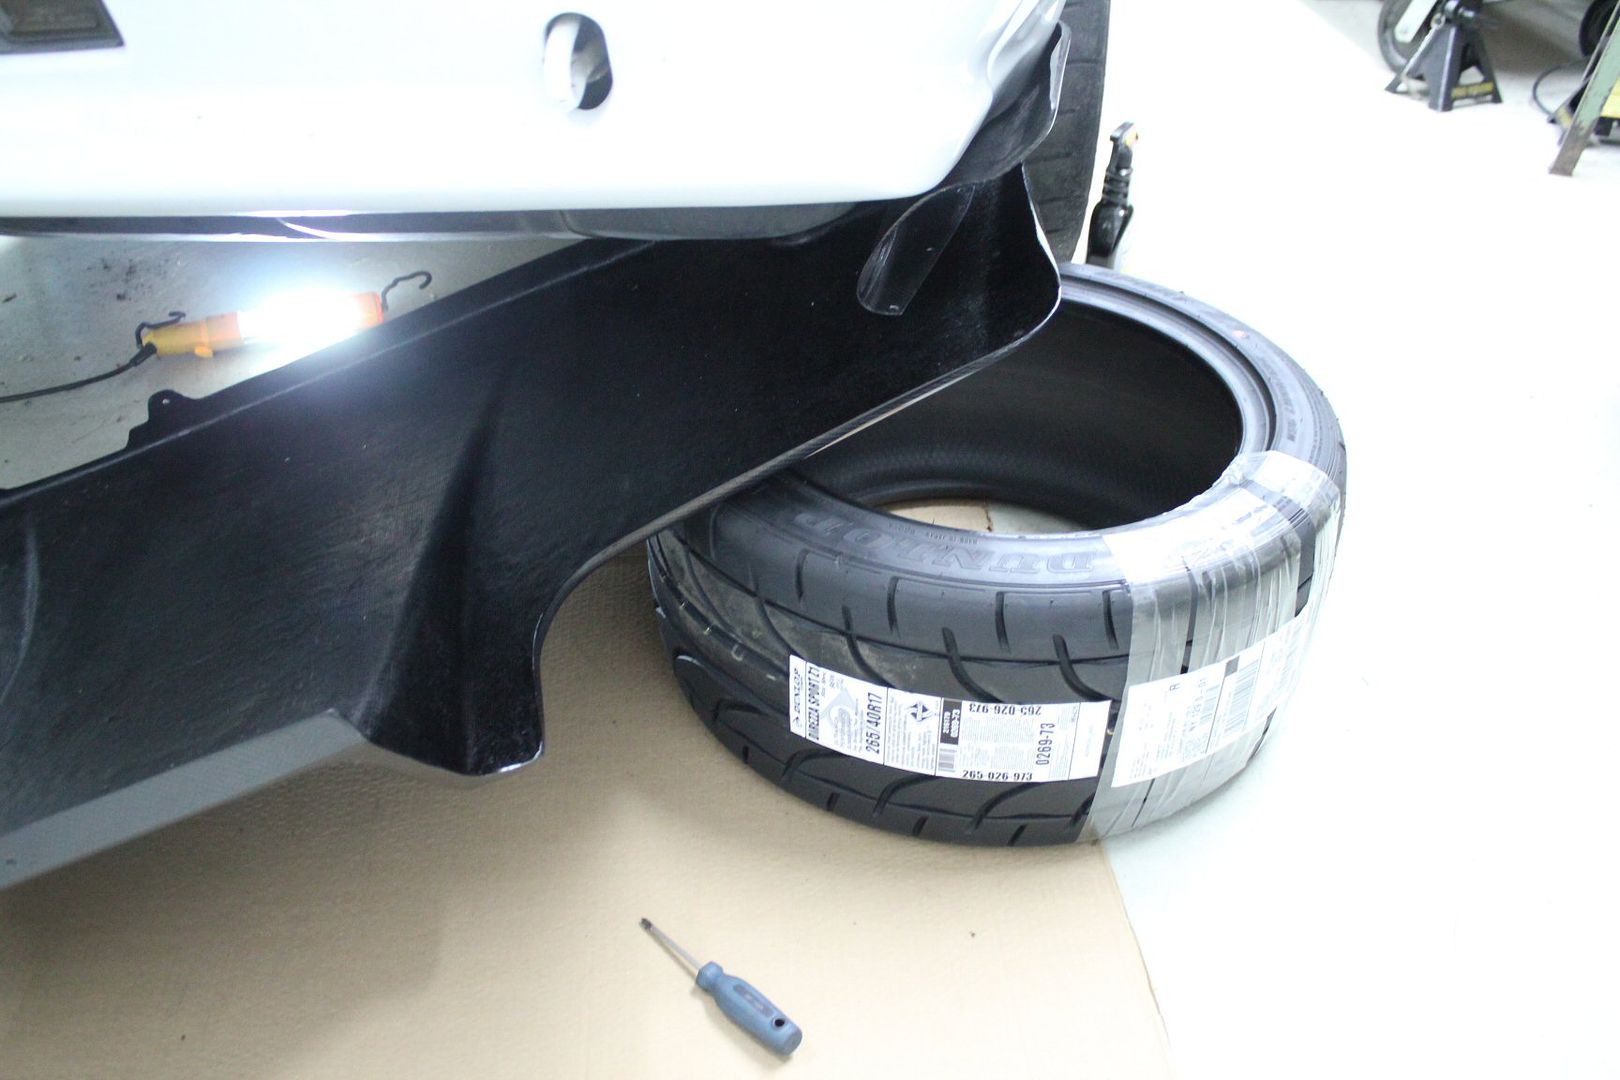
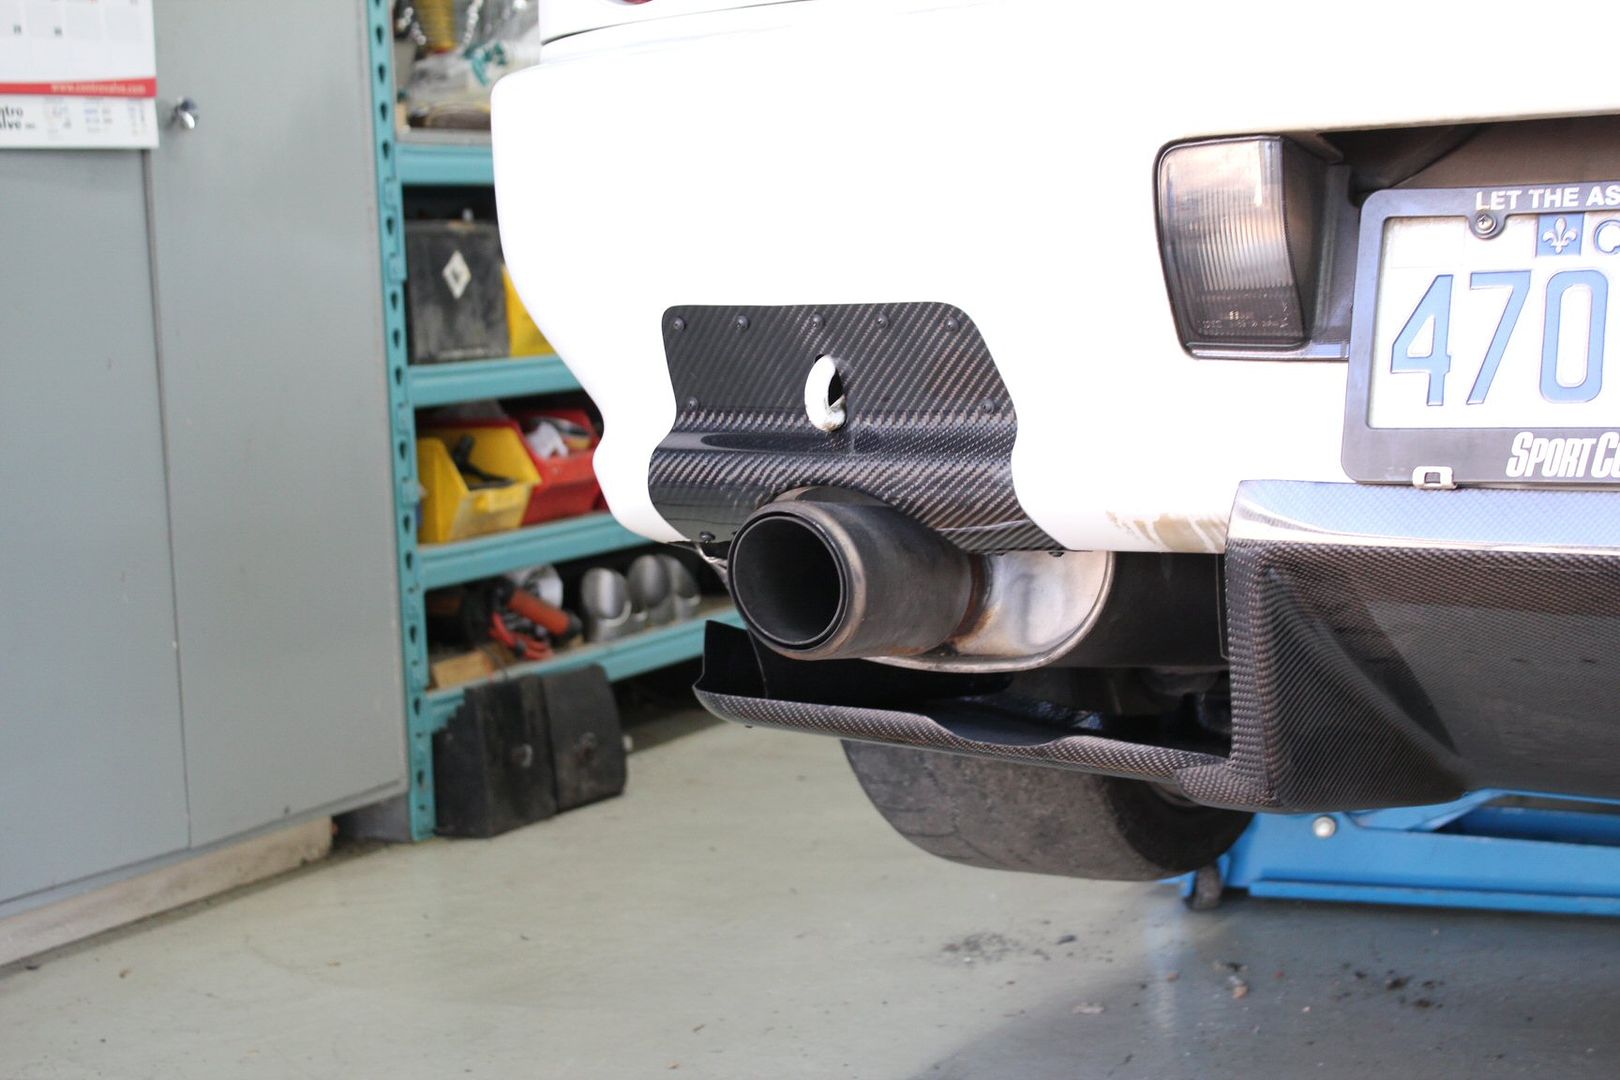
with the TS diffuser, its the side pods that partially hold the diffuser underneath the car,
but to screw it on i needed a bit of help, from my brand new tires;
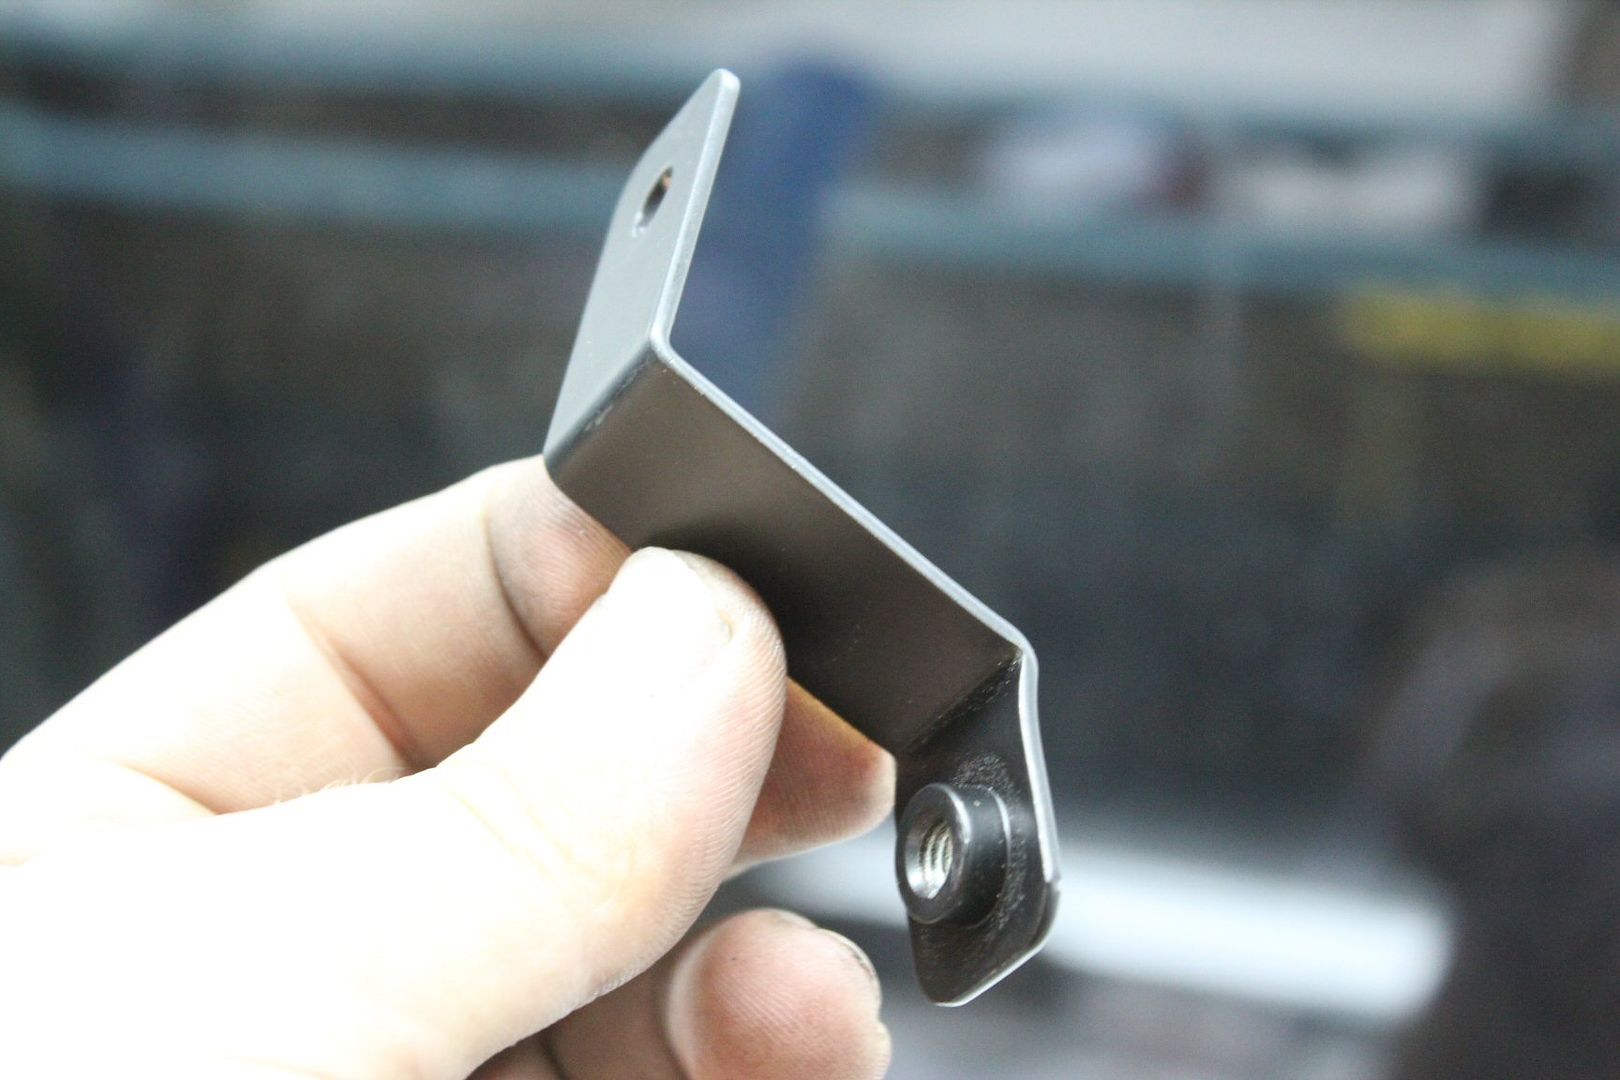
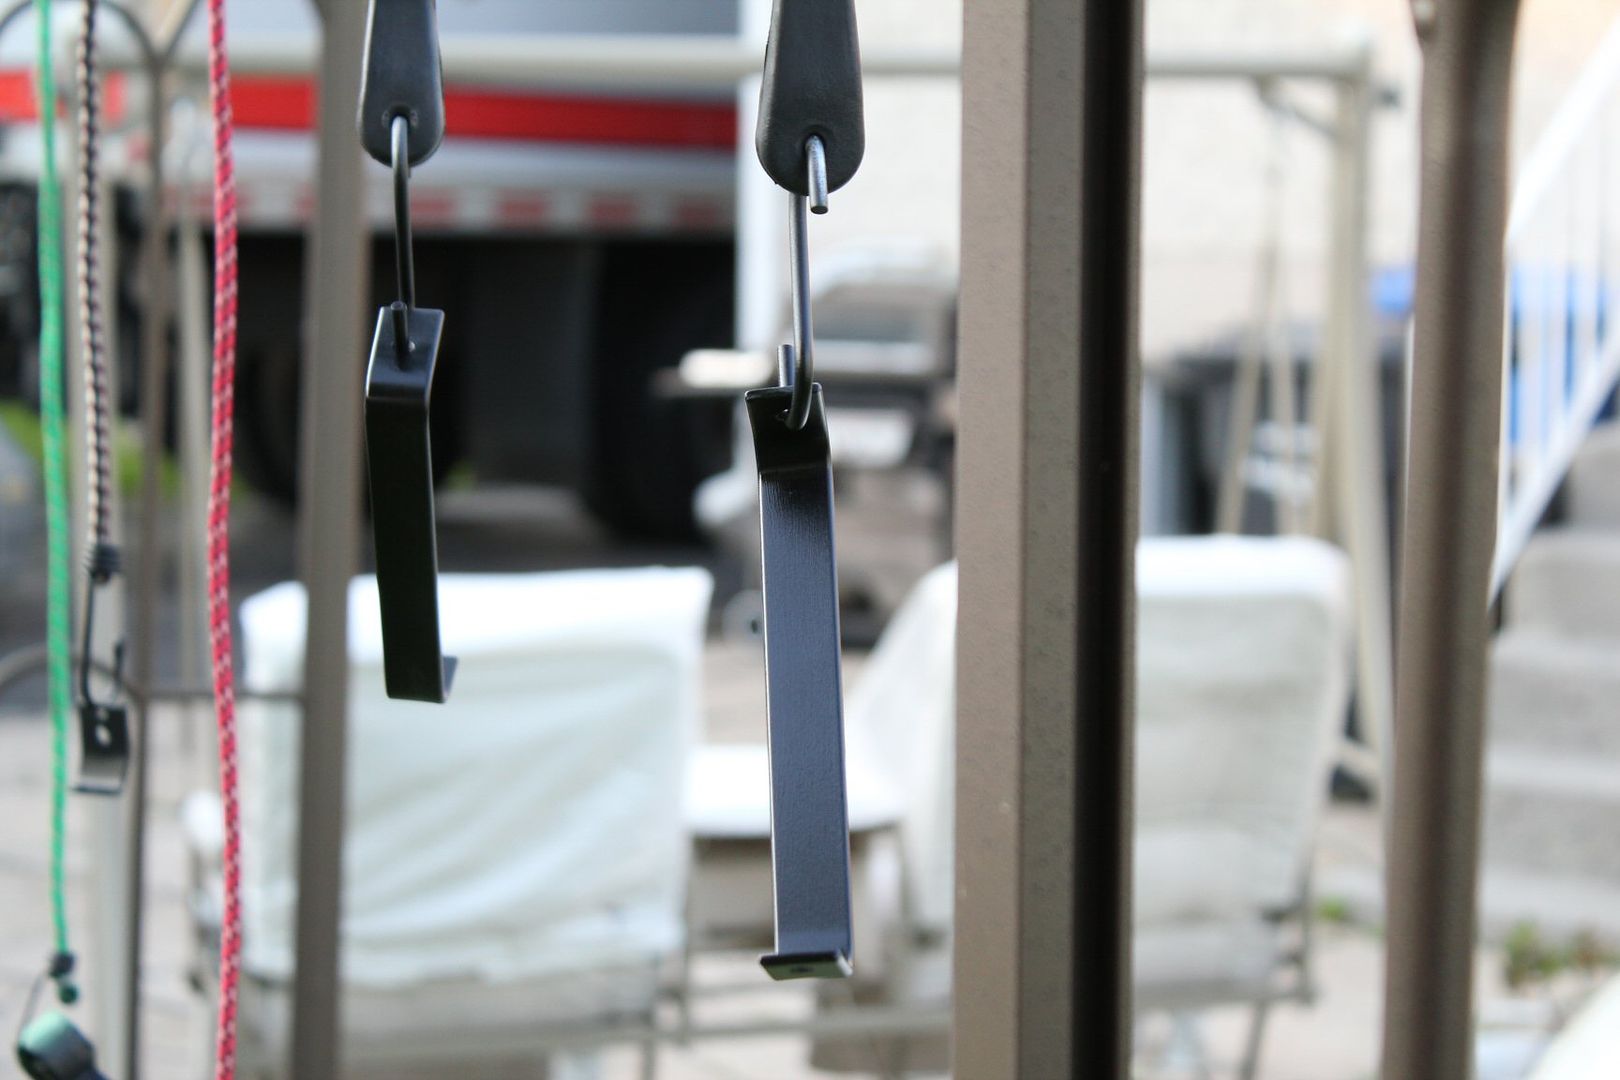
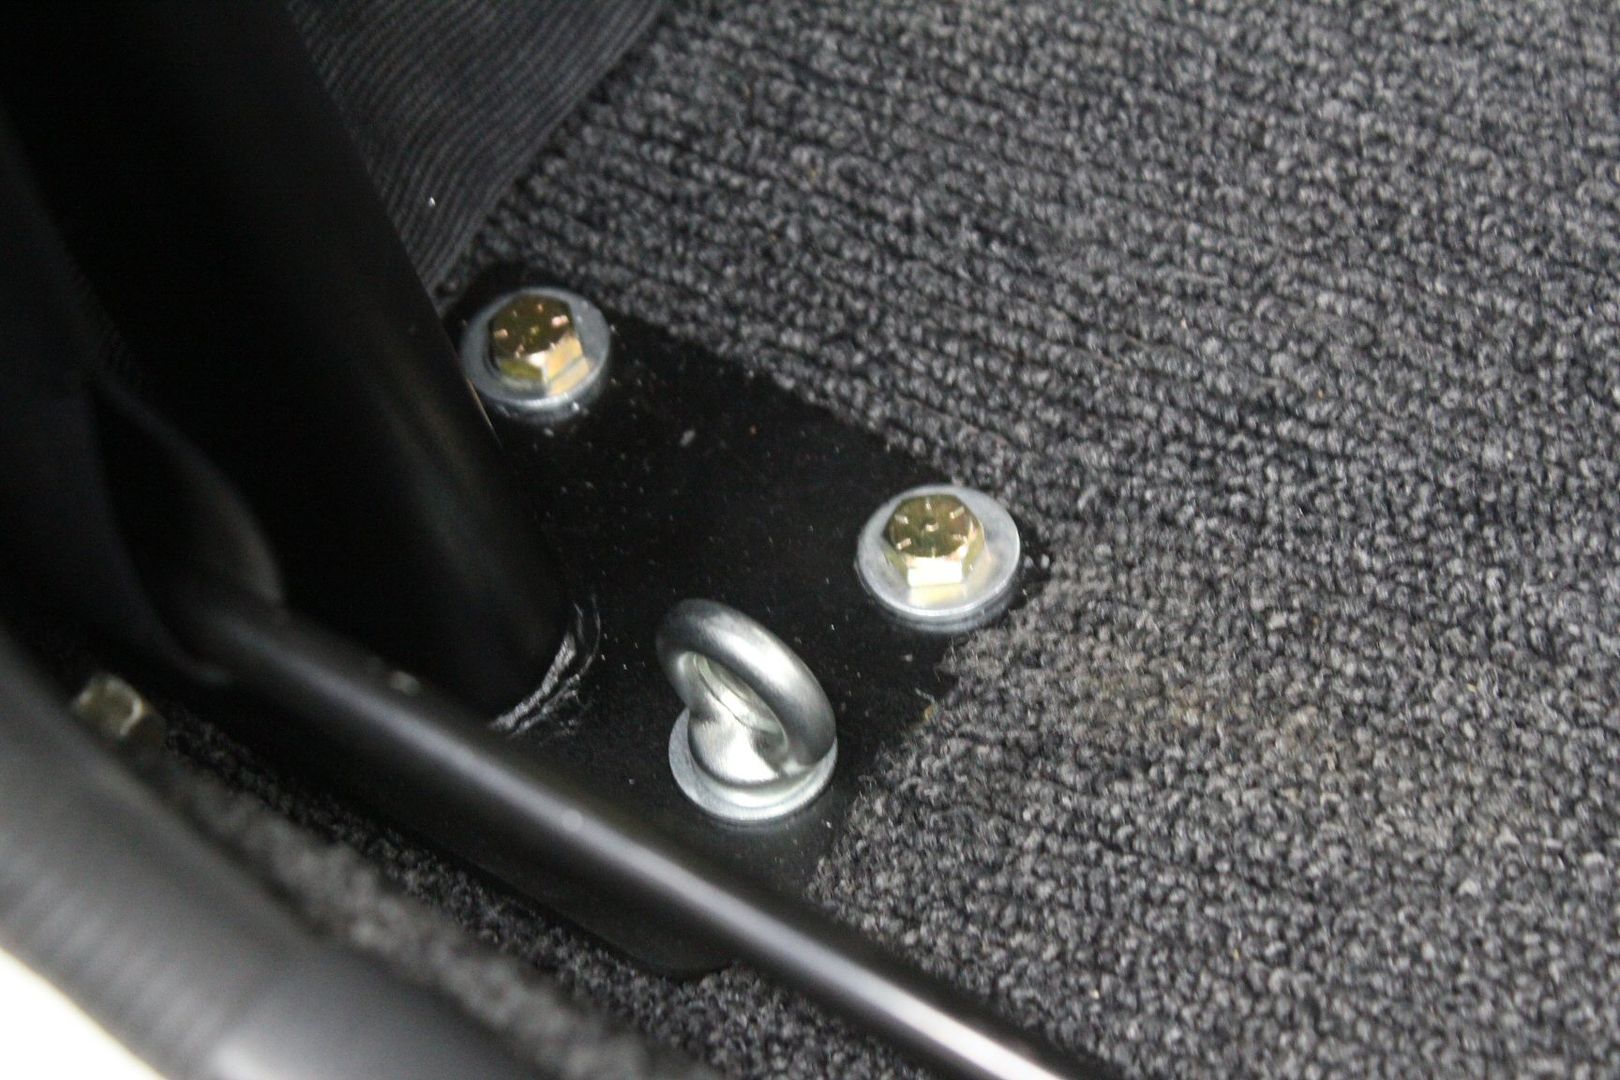
in the kit, there was many several different brackets, that at first i had no clue where they'd go,
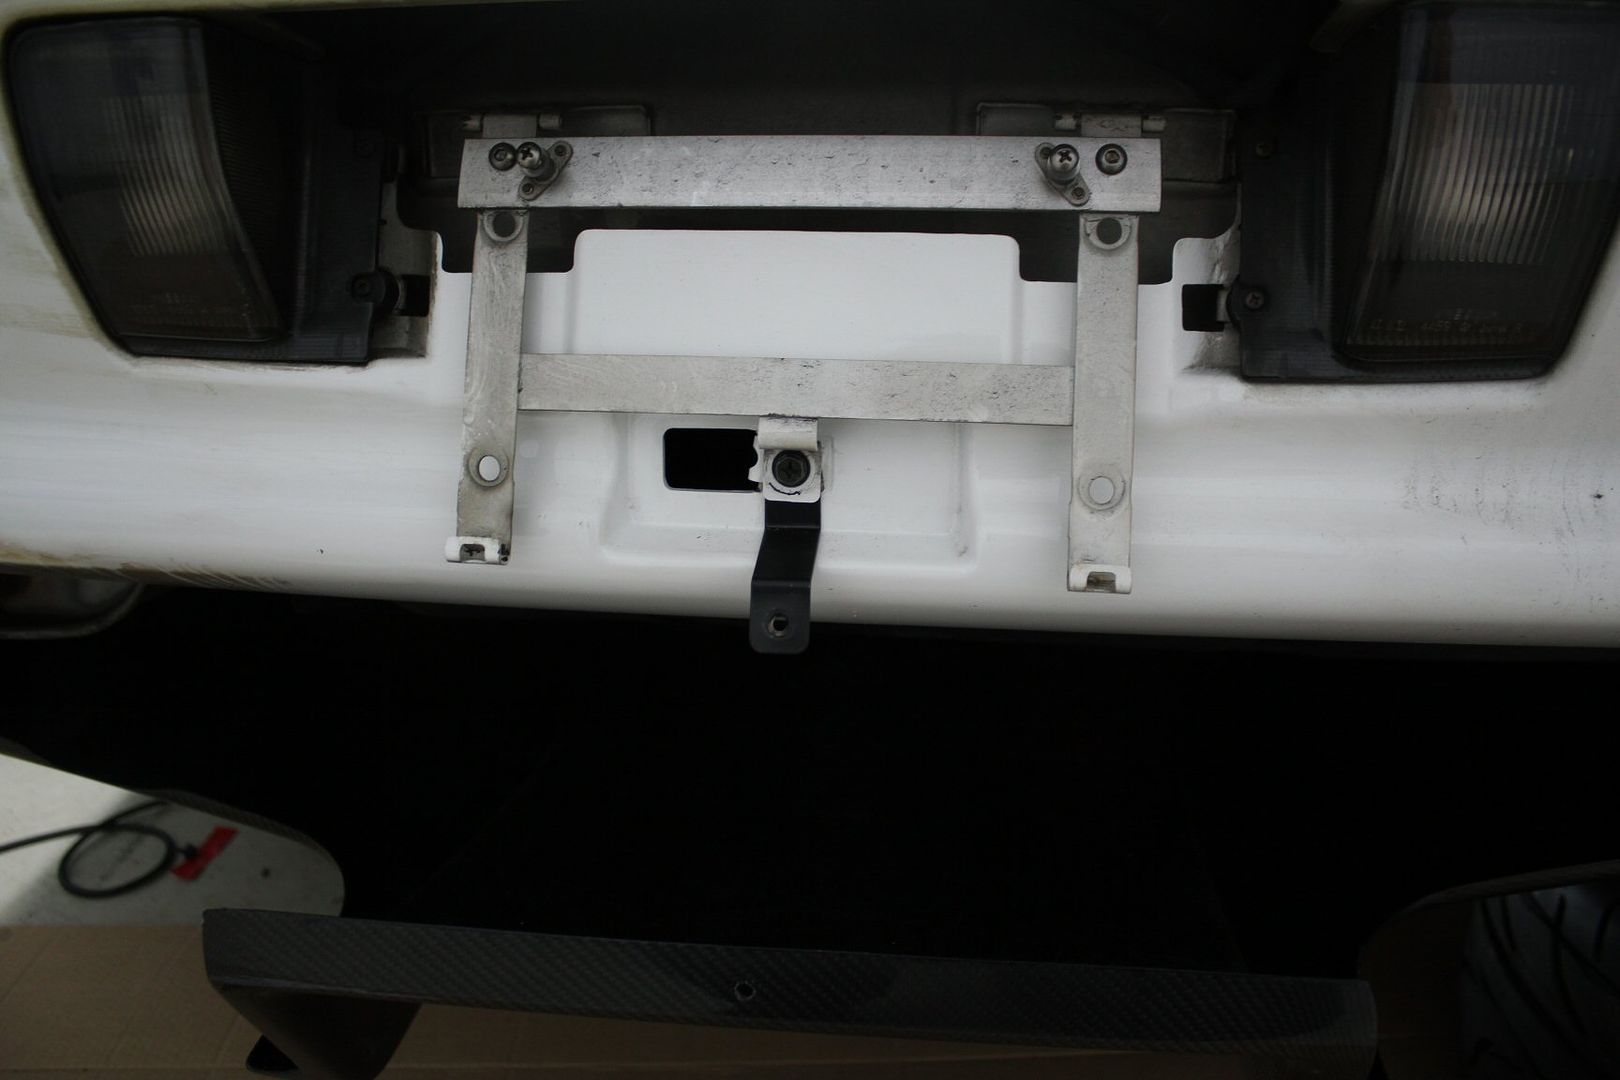
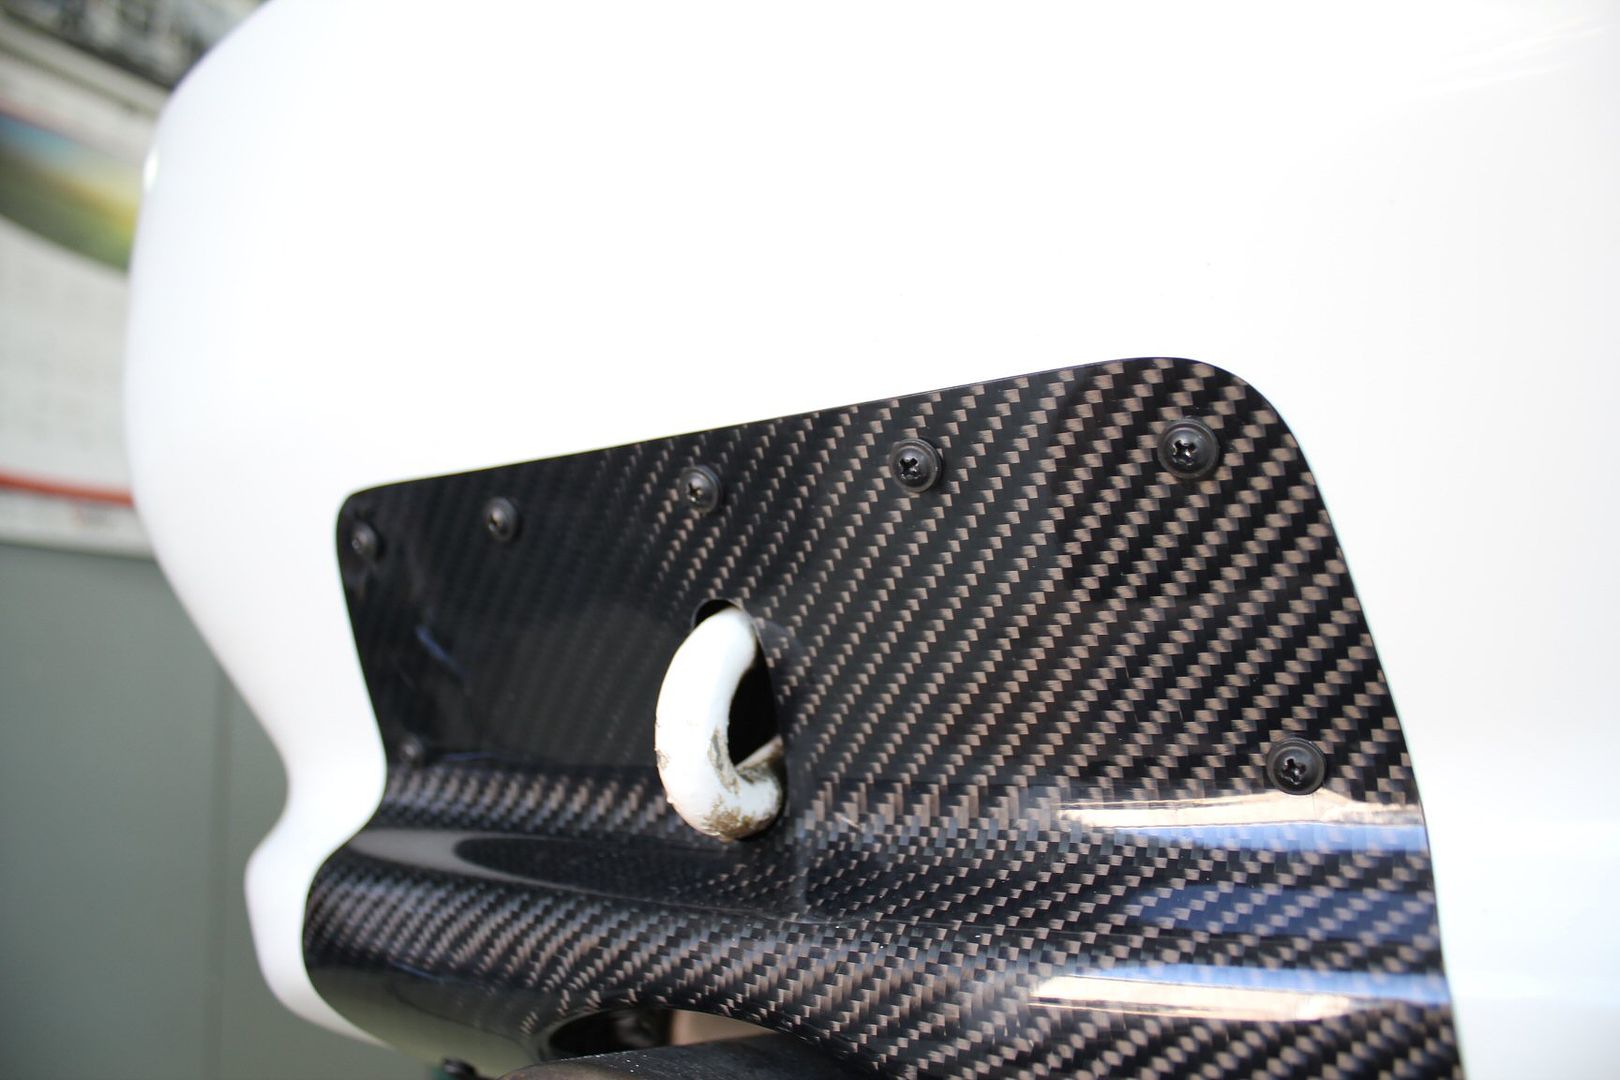
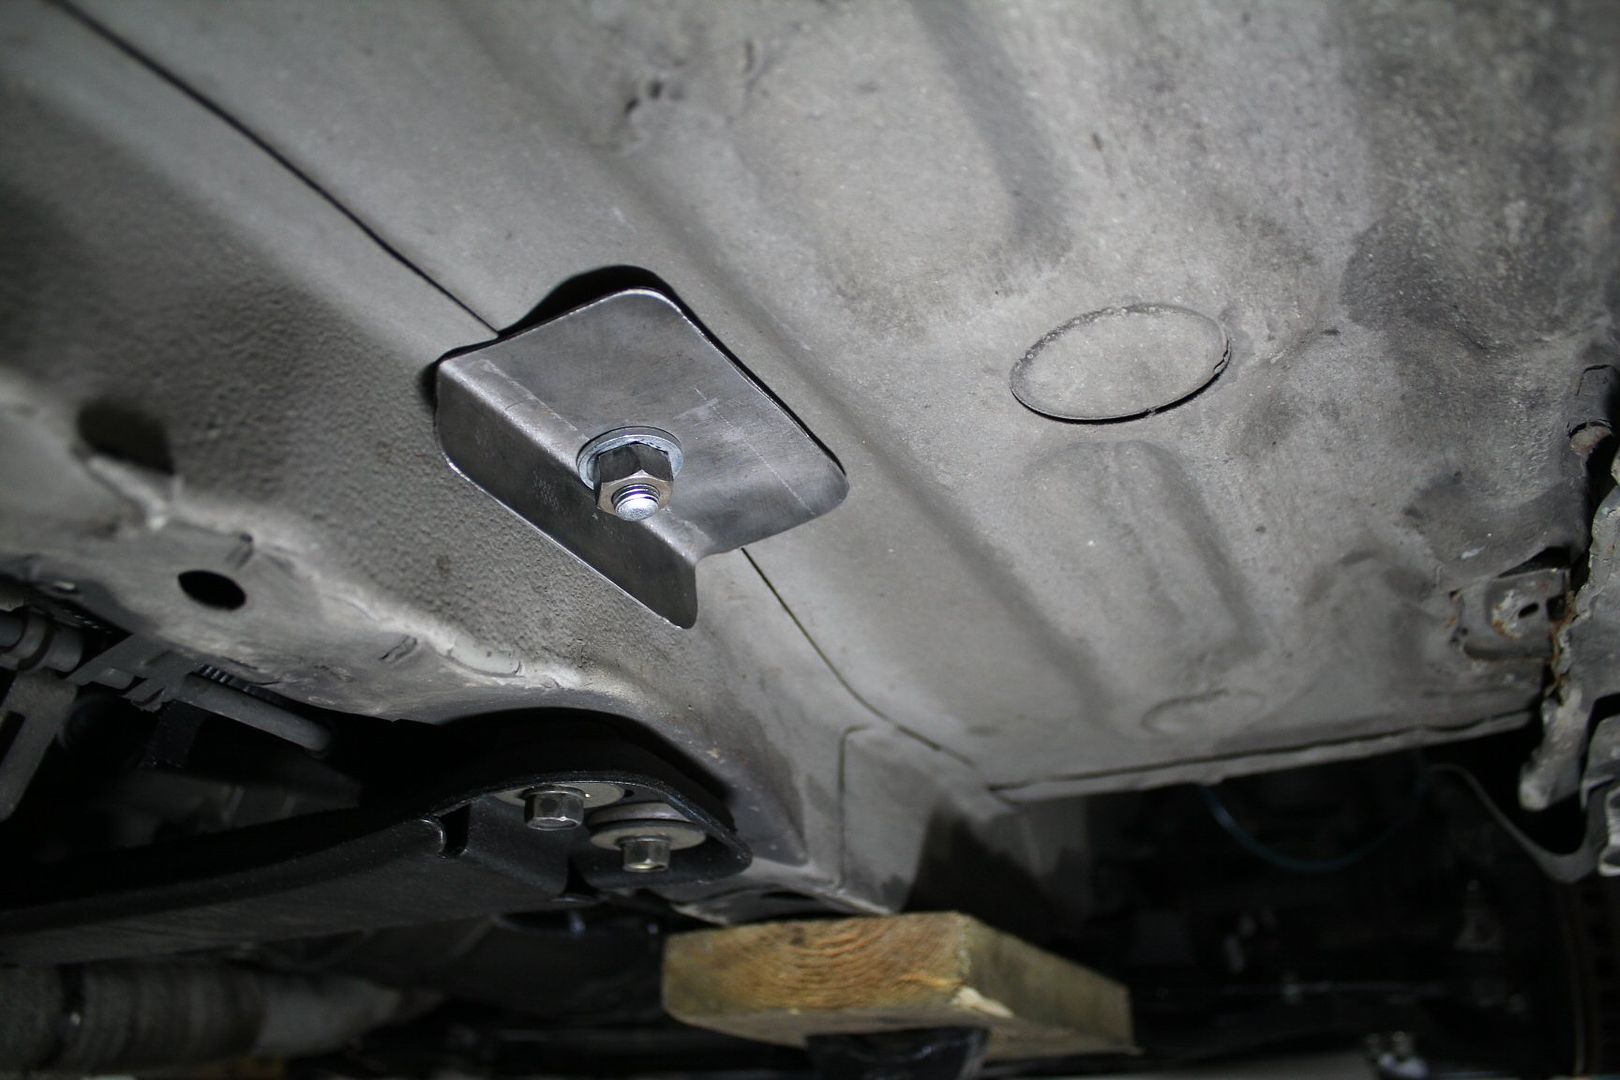
i identified this one to hold the diffuser right under the license plate;
i took the plate off, unscrewed the support and flipped it up (its on hinges) then bolted the bracket in that spot;
my first idea on how to screw it was hidious;
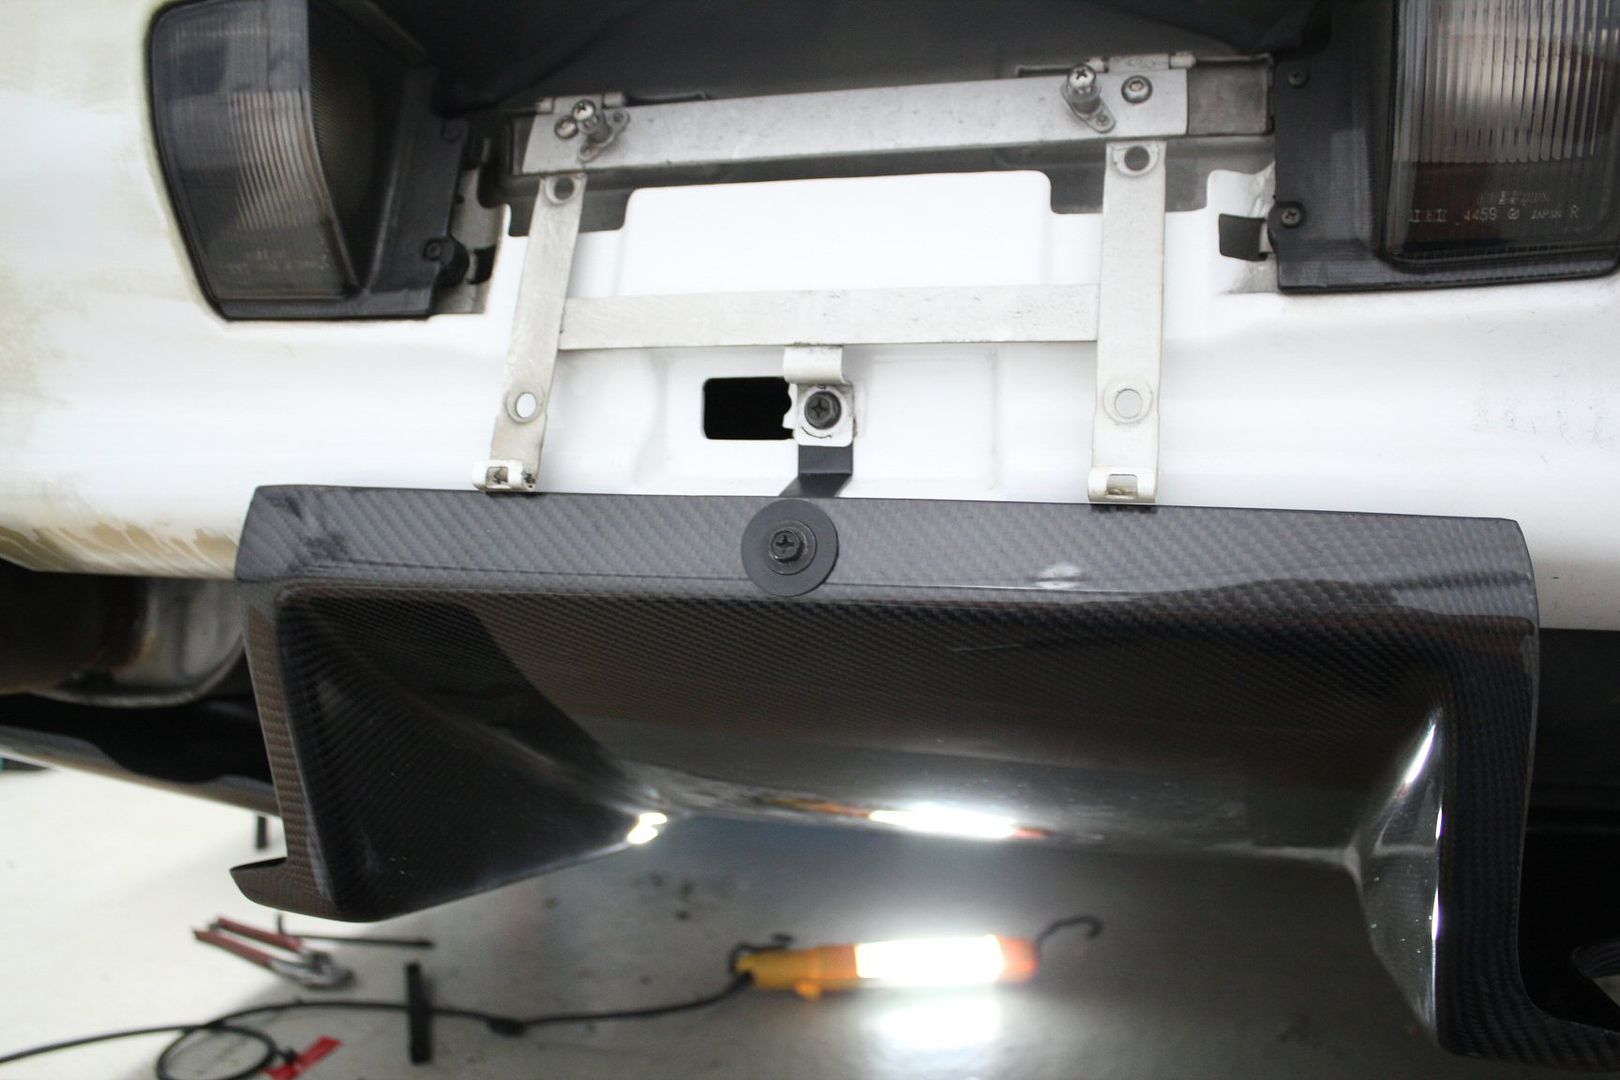
so i found a thin flat head screw and cut up a rubber washer, for a better look,
the rubber washer was later swapped for a real one of the right size for a seamless look;
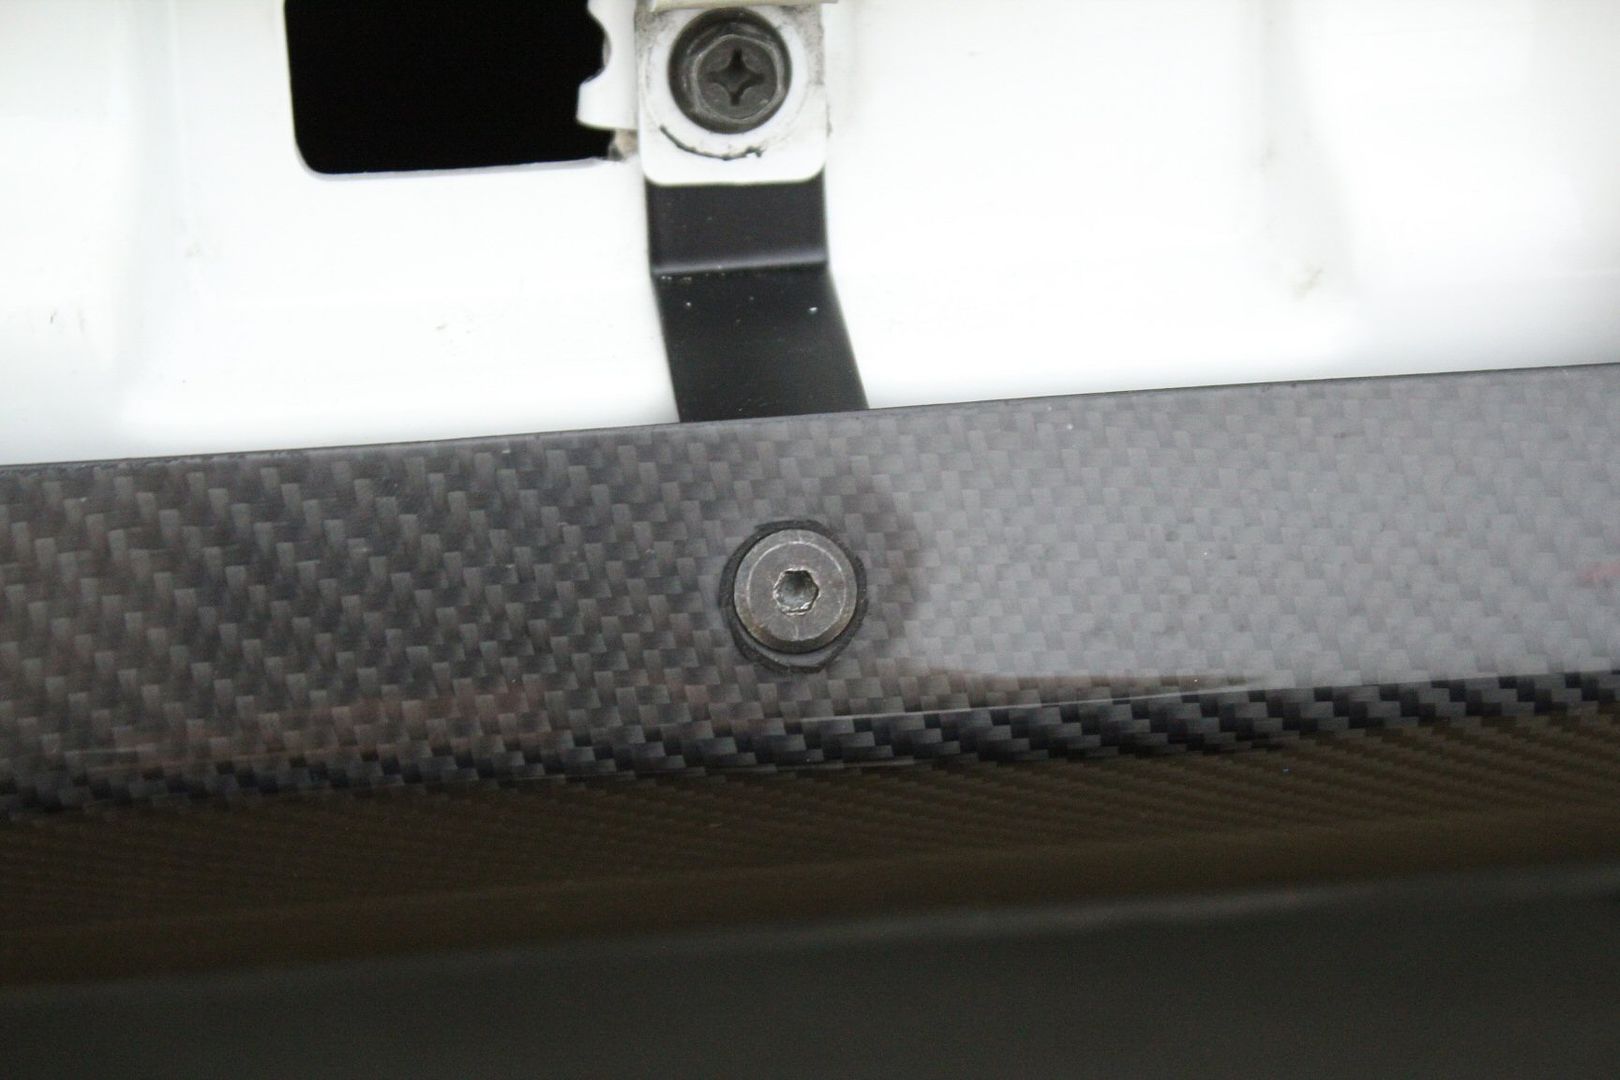
the holes in the diffuser and the side pods aligned perfectly,
and through the next fews days i experimented with differents fastening options,
some looked like crap;
some much much better;
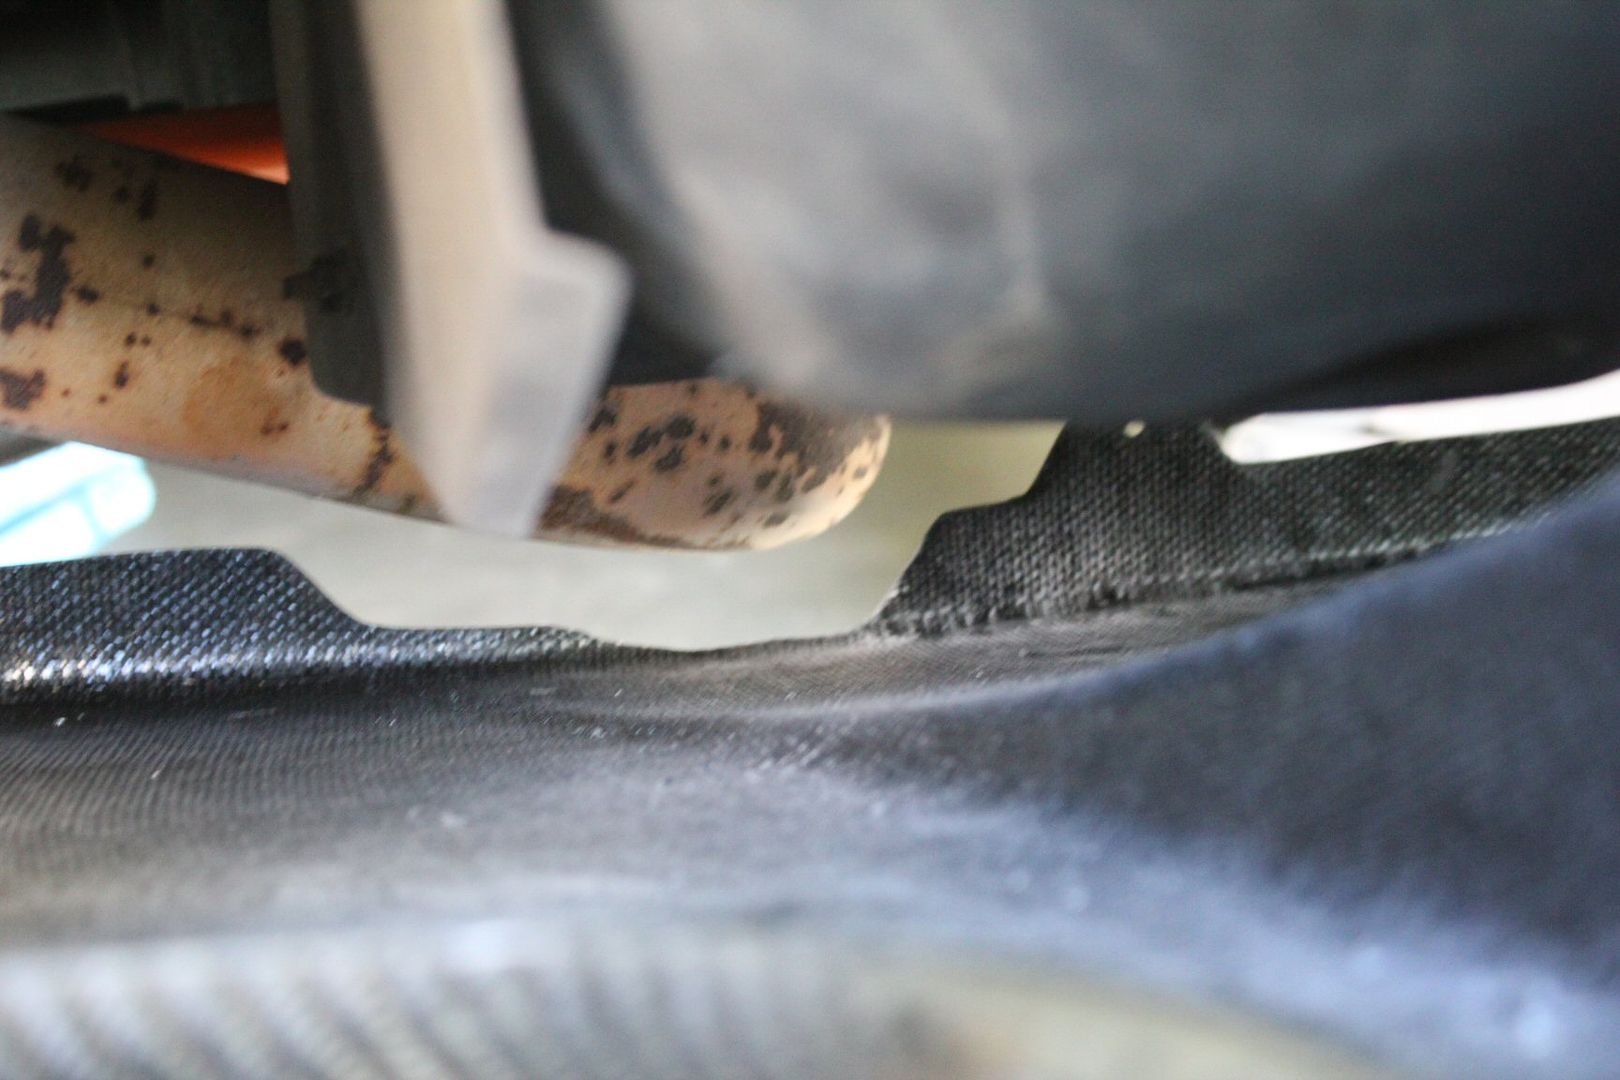
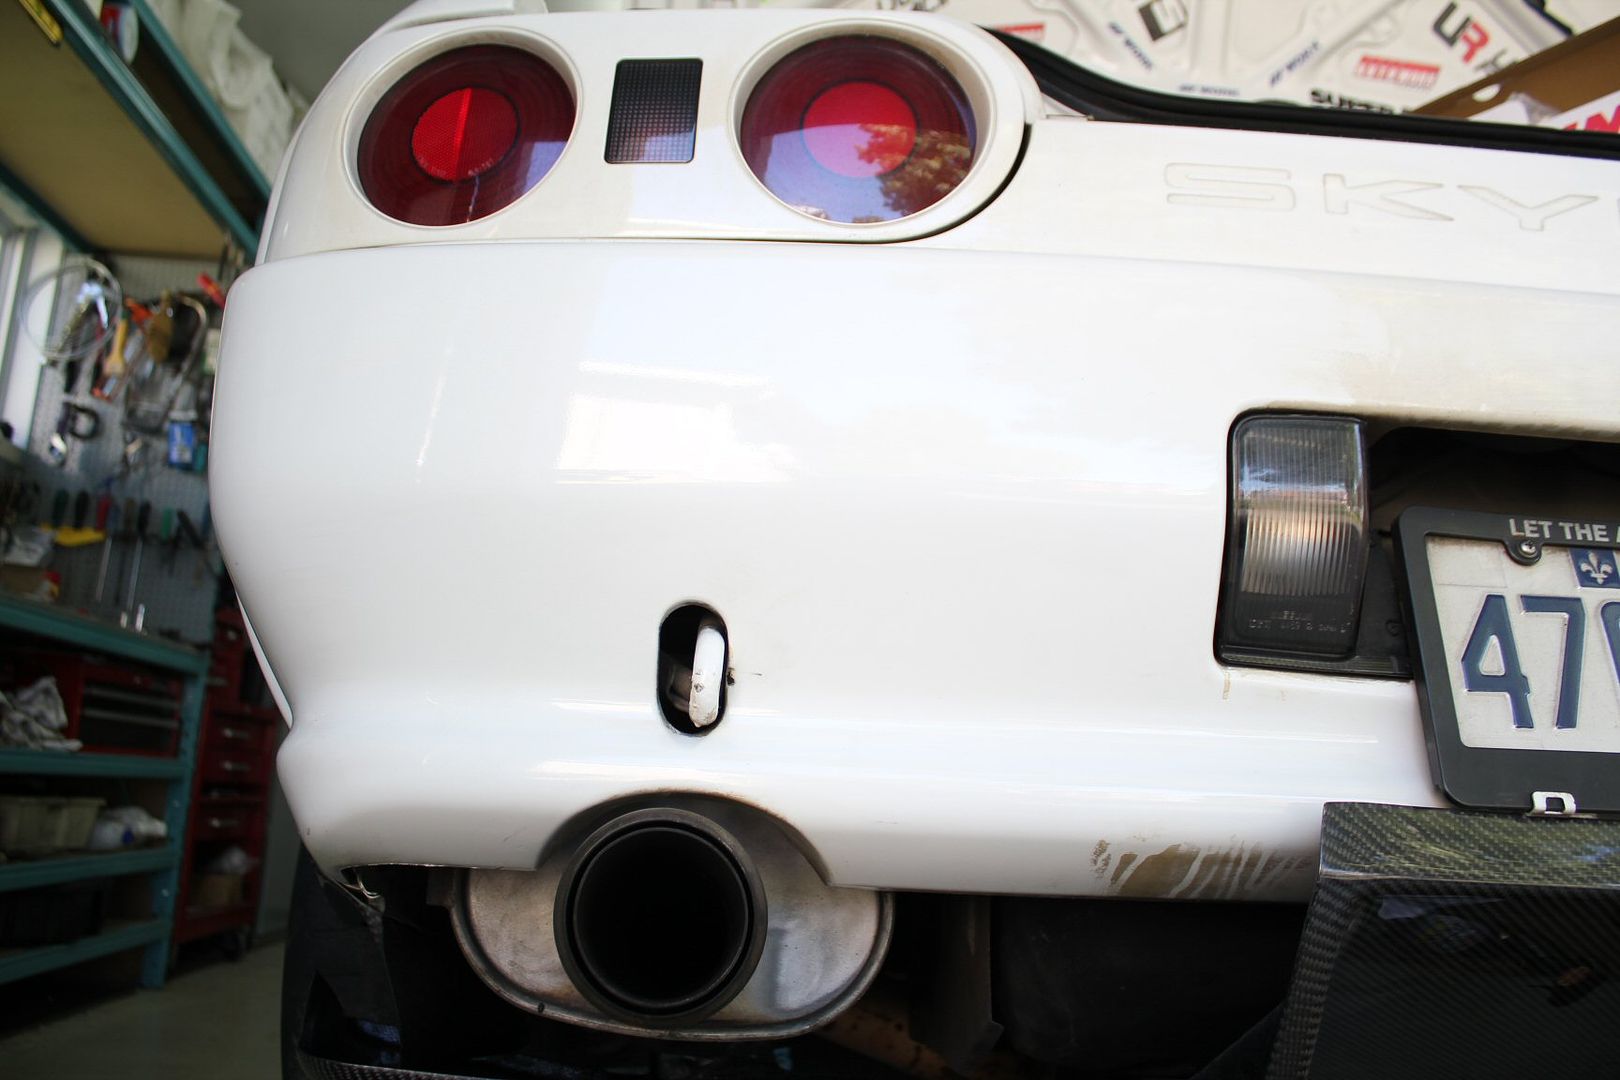
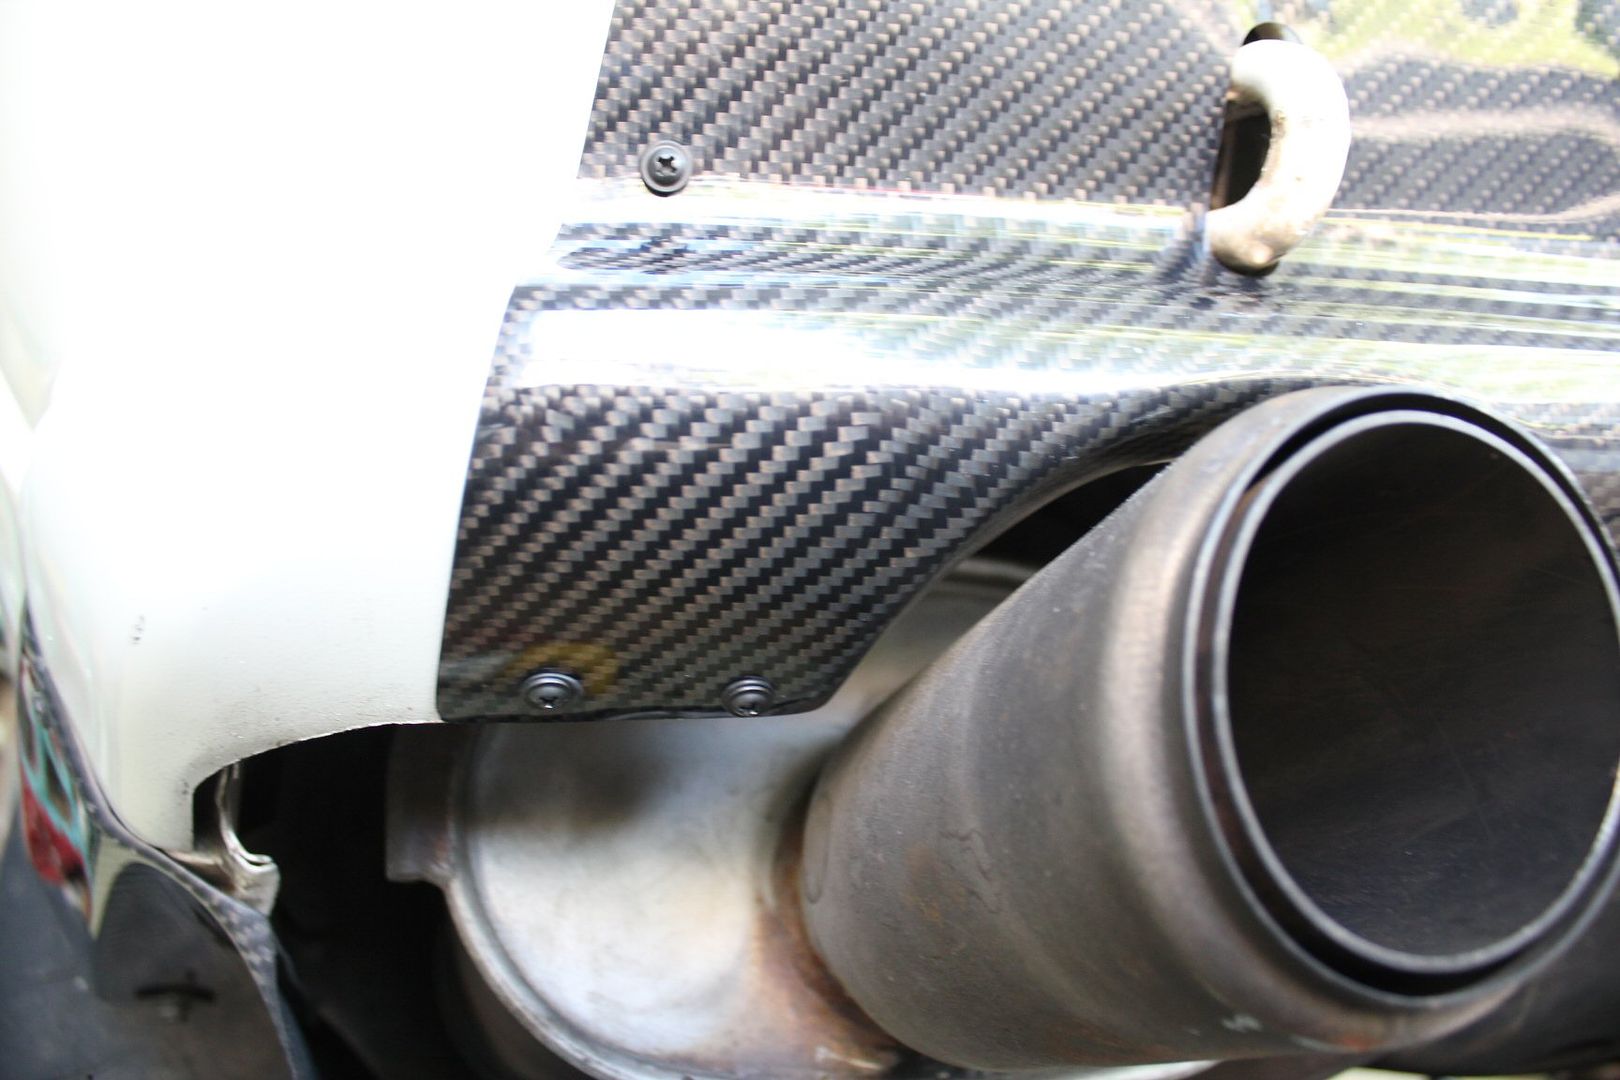
with the diffuser hanging pretty much in its final position, i had to trim a bit off the frontward rim,
i was scared it could touch the exhaust and cause problems,
p.s. don't breathe when sanding off carbon fiber, the resine particals smell like uther ****, but more importantly they are toxic;
the brand new high-gloss carbon fiber finish was super shiny;
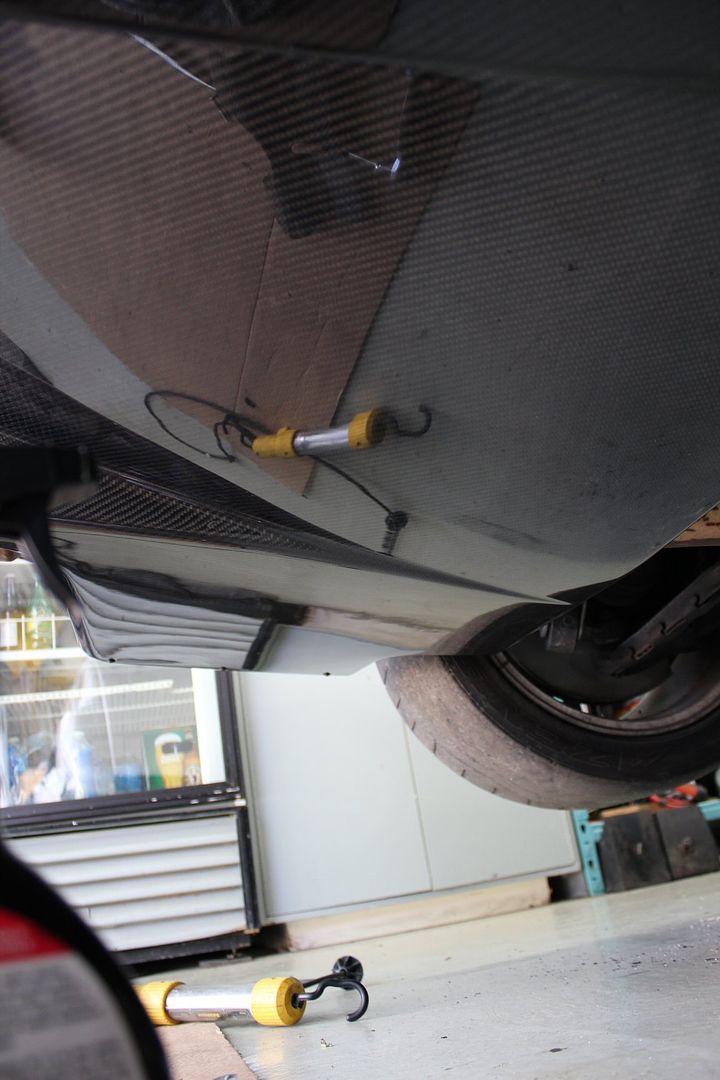
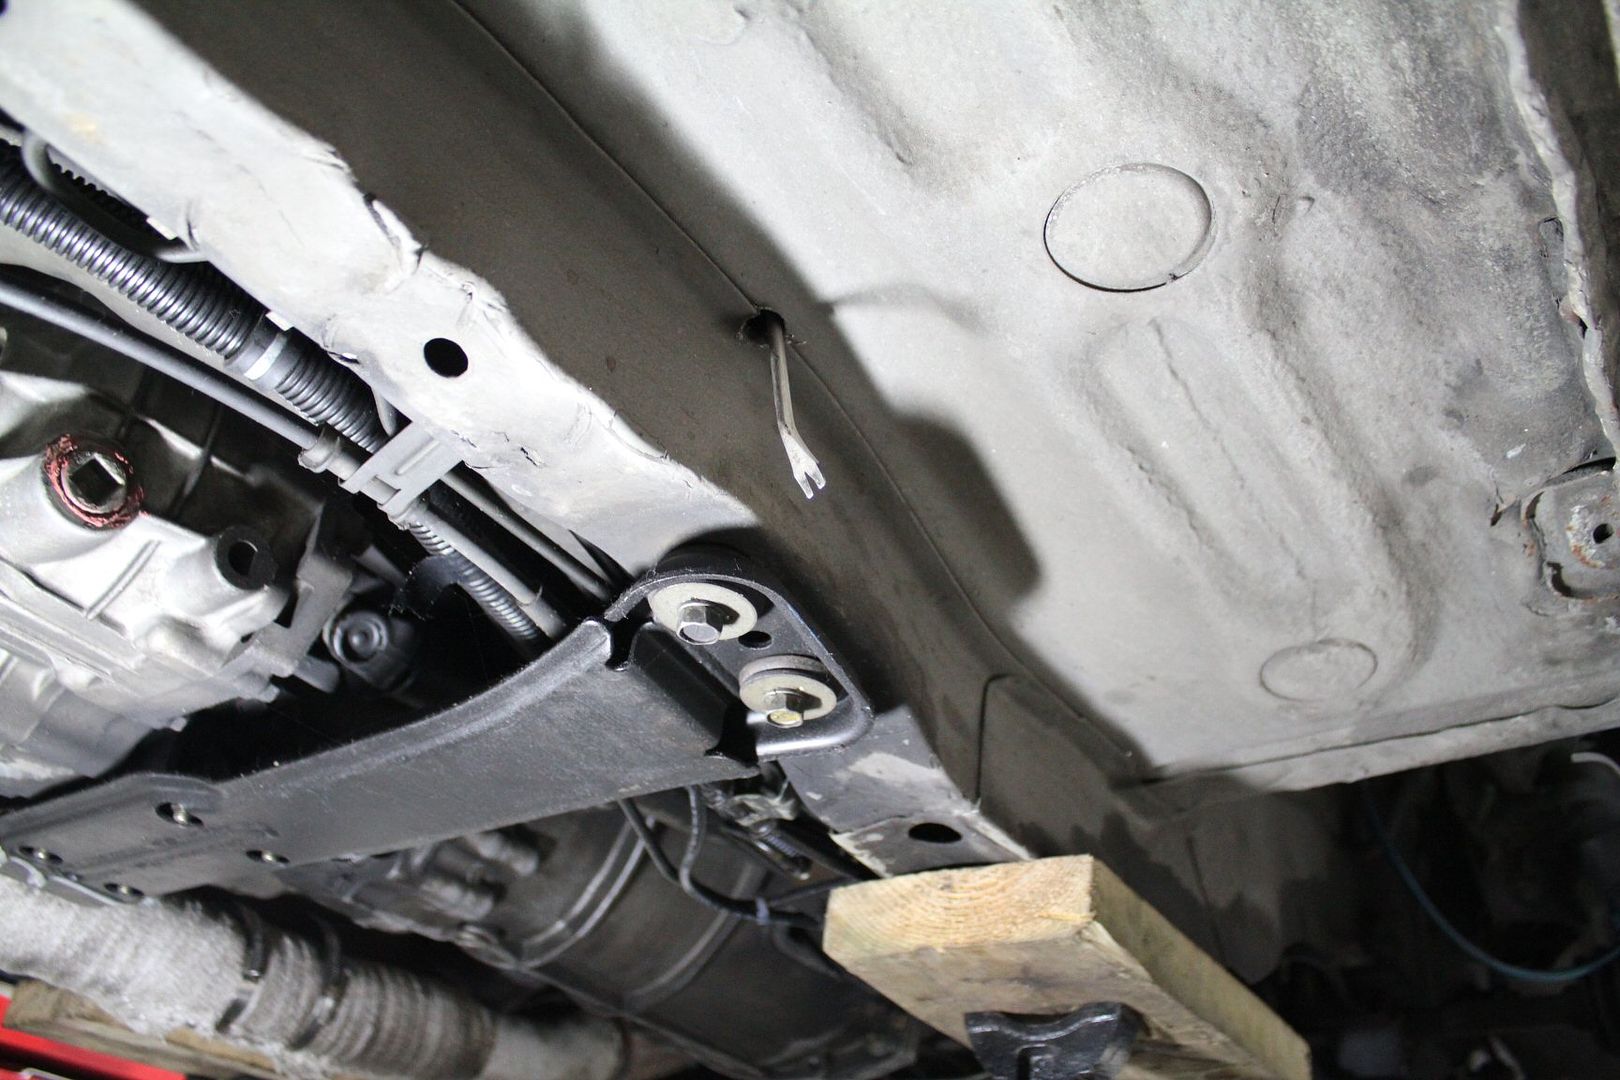
since i didn't find the overall mounting of the diffuser solid enough and was scared that the bolt under the license plate would rip right through the CF,
i made extra brackets, from 3/4"x1/8" aluminium bars
the would be much stronger;
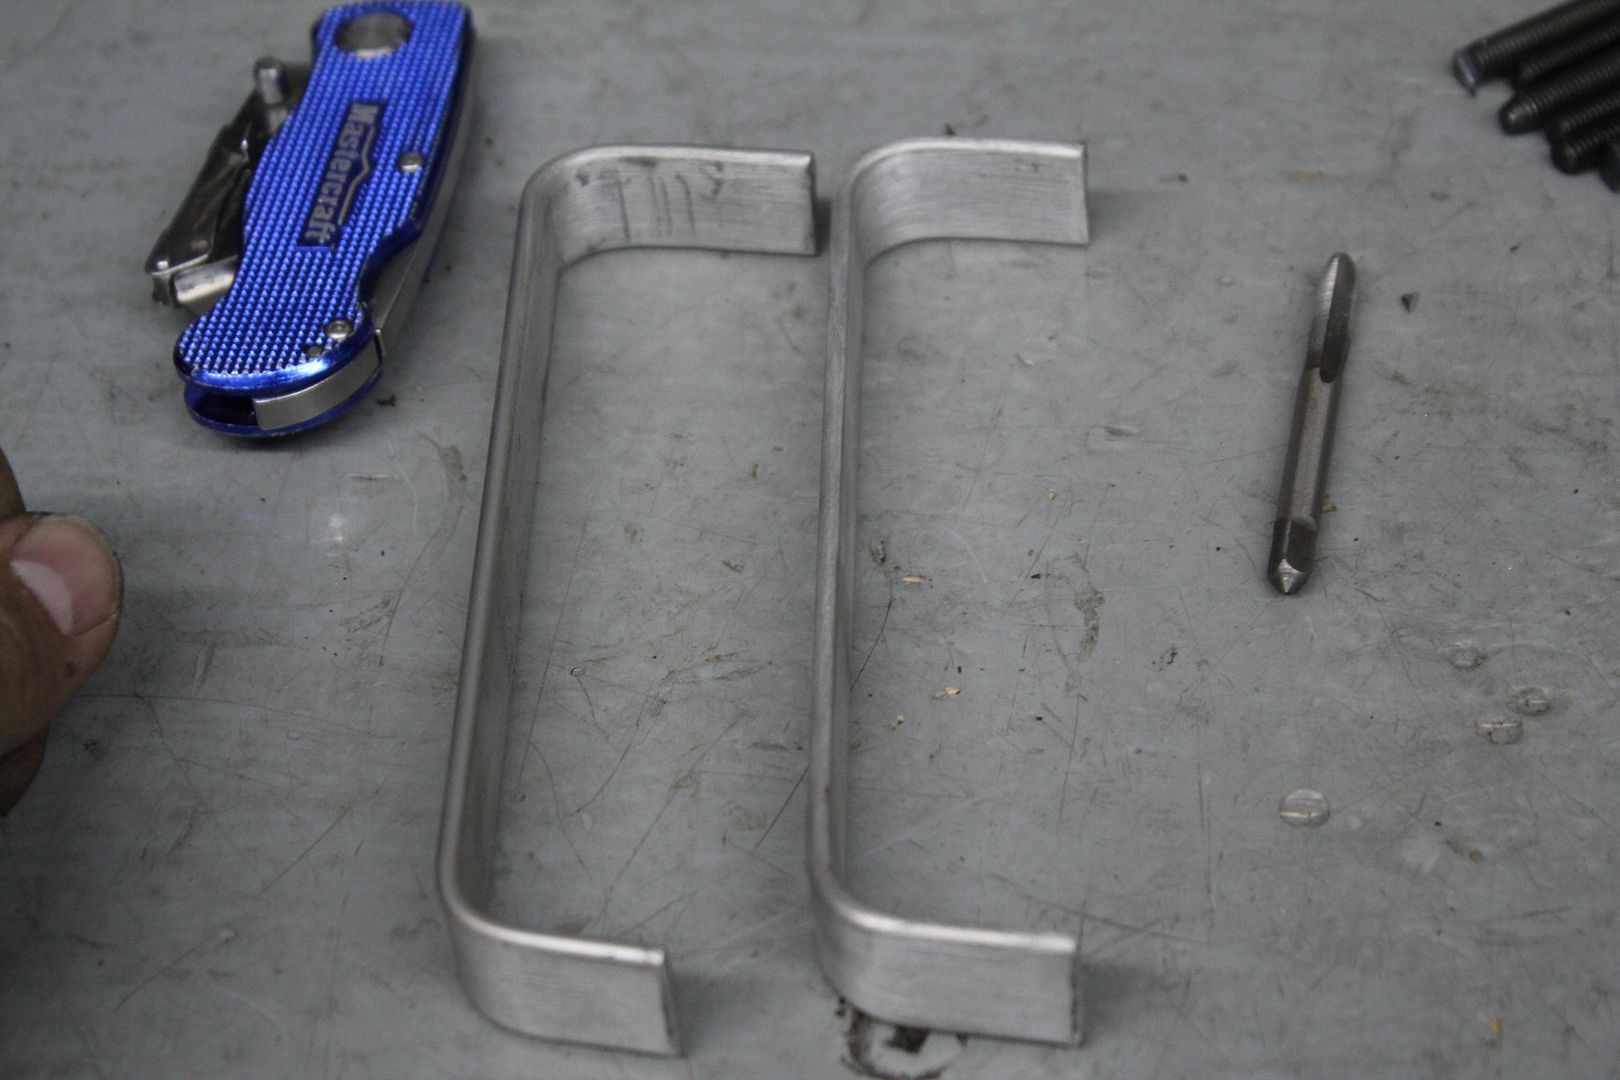
then i drilled through both the diffuser and the bumper to bolt it on;
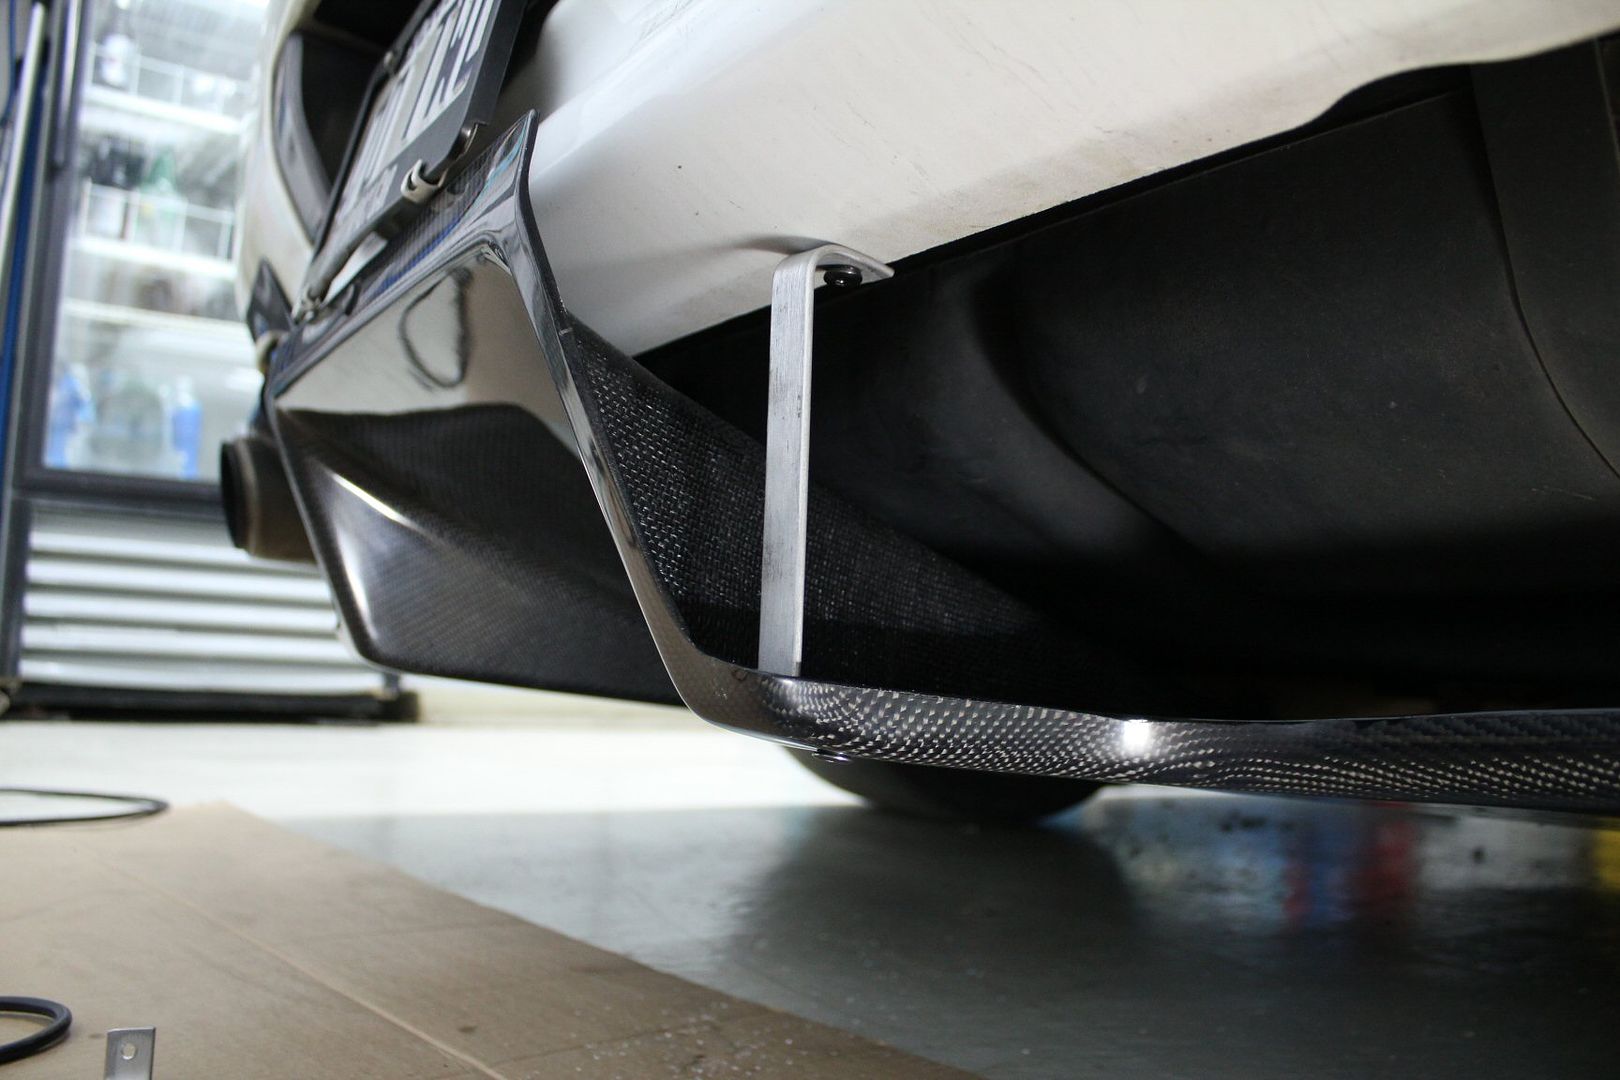
and later i painted them with tough epoxy metal paint;
thats all about the diffuser for week7,
the installation was finished during week8
but i'm not done with week7, alot more was done !
keep reading -->
week7 - 2011, part 1/2
disclaimer :
the following story depicts actions that occured between June 12 and 18 2011
information is recalled purely from memory, give me a chance
in the last weekly update, i finished most of the interior work i set out to do,
so i got back to installing some more exterior parts,
to go with the super sexy AB-Flug front diffuser, i also got this;
a Top Secret "replica" carbon fiber rear diffuser...........this is a budget build,
its looks amazing, comes with some brackets not all useful;
the first thing to do was to remove my Type-M mud guards i had installed the previous year;
these things had accumulated lots of debris over time;
the side pods that come with the diffuser fit pretty well, they actually better contour the body than the Type-M mudguards;
the front of it is simply help with a body screw, but the back isn't held by anything,
so at first i tried double sided tape, since thats how the Type-M were installed;
but because its carbon fiber and not polyurethane, its much stiffer and kept pelling the tape off;
another approach had to be taken,
after thinking hard about it, i drilled a hole through the CF into the bodywork to screw it on;
and at first i simply used a screw that i found, with a rubber washer (cut from a bigger one);
i painted the screw head black, but i didn't like it at all at first, and was regretting my doing;
later i found a set of hydraulic o-rings, and bought real body screws, countersunk and flat black, perfect;
the end result was much better, can't even see the screw if your not looking for it;
with the TS diffuser, its the side pods that partially hold the diffuser underneath the car,
but to screw it on i needed a bit of help, from my brand new tires;
in the kit, there was many several different brackets, that at first i had no clue where they'd go,
i identified this one to hold the diffuser right under the license plate;
i took the plate off, unscrewed the support and flipped it up (its on hinges) then bolted the bracket in that spot;
my first idea on how to screw it was hidious;
so i found a thin flat head screw and cut up a rubber washer, for a better look,
the rubber washer was later swapped for a real one of the right size for a seamless look;
the holes in the diffuser and the side pods aligned perfectly,
and through the next fews days i experimented with differents fastening options,
some looked like crap;
some much much better;
with the diffuser hanging pretty much in its final position, i had to trim a bit off the frontward rim,
i was scared it could touch the exhaust and cause problems,
p.s. don't breathe when sanding off carbon fiber, the resine particals smell like uther ****, but more importantly they are toxic;
the brand new high-gloss carbon fiber finish was super shiny;
since i didn't find the overall mounting of the diffuser solid enough and was scared that the bolt under the license plate would rip right through the CF,
i made extra brackets, from 3/4"x1/8" aluminium bars
the would be much stronger;
then i drilled through both the diffuser and the bumper to bolt it on;
and later i painted them with tough epoxy metal paint;
thats all about the diffuser for week7,
the installation was finished during week8
but i'm not done with week7, alot more was done !
keep reading -->


Comment