-
Thanks again for the hicas help. Put it all back together and did a self diagnosis and the rear wheels steer again! Which bulbs in your car are HID? I hear our years of car it can be either 1 of 2 H1 and another dont have it in front of me... -
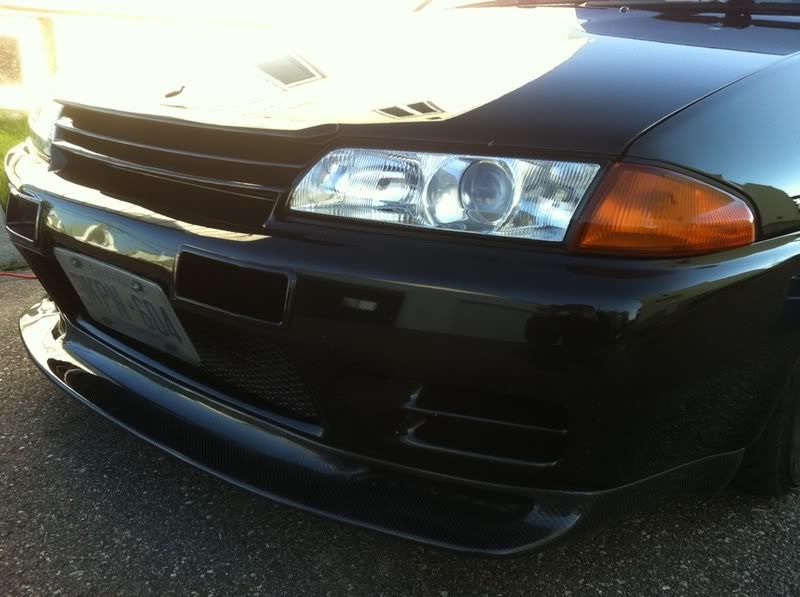
I ran into a little "oops" when I angled my projector too far...
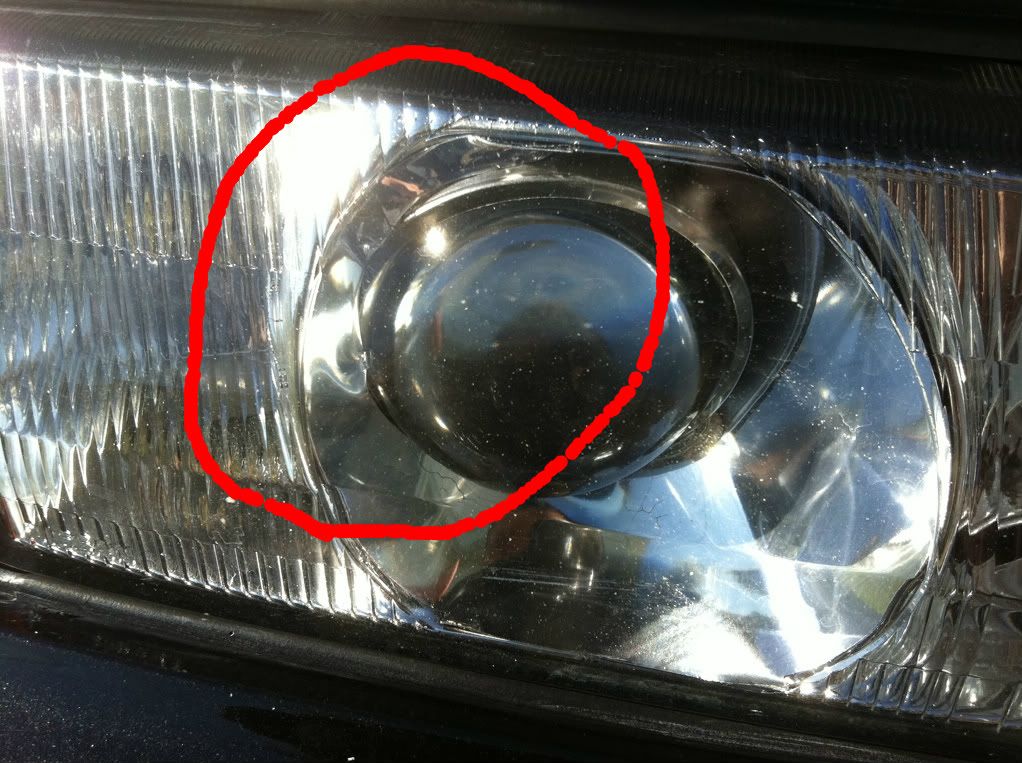
So I cracked open the headlight and did this...
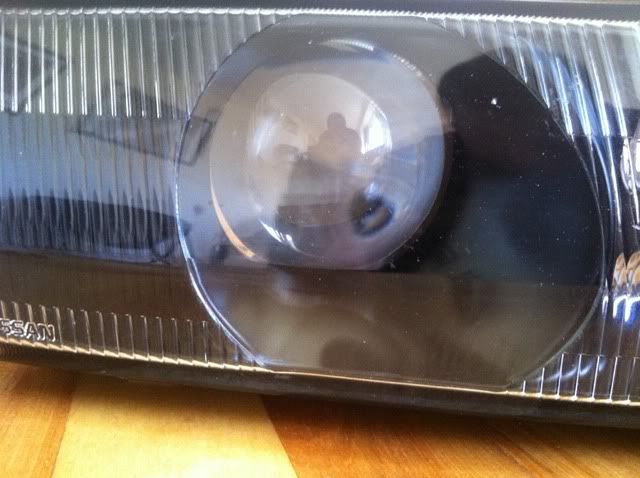
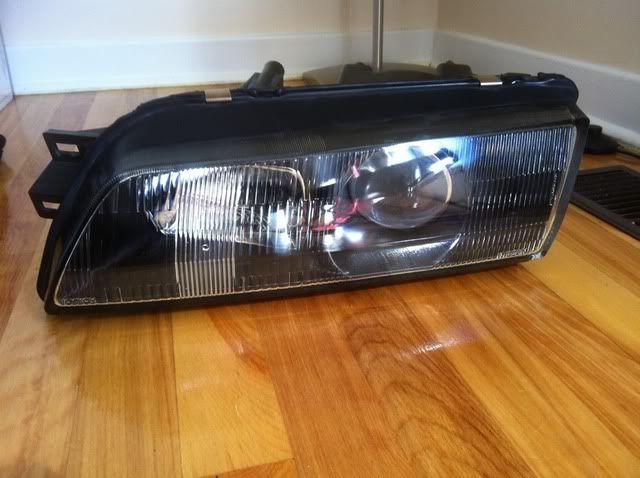
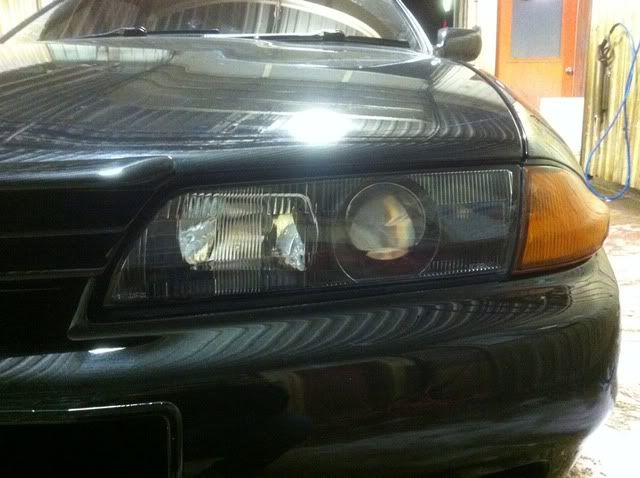
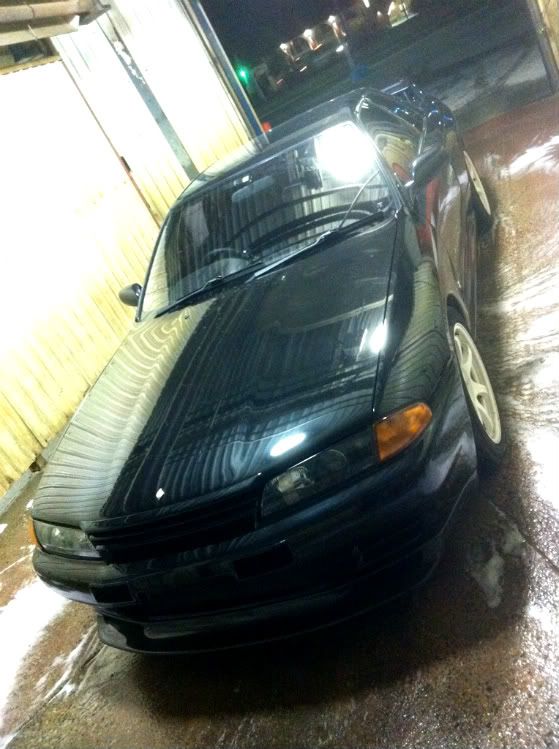
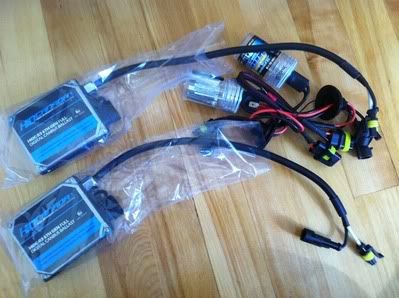
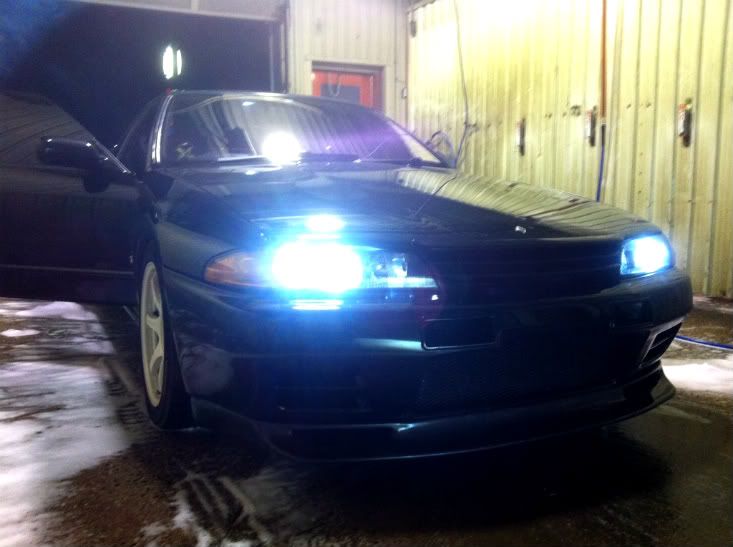
Oh, and I bought a new HID kit because one of the ballasts from the old setup went south. 6000K, the Iphone camera makes it look more blue but in actuality it's more white. Bought from HID Canada, high quality product for very reasonable cost.
Leave a comment:
-
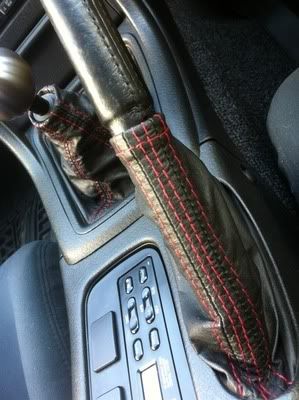
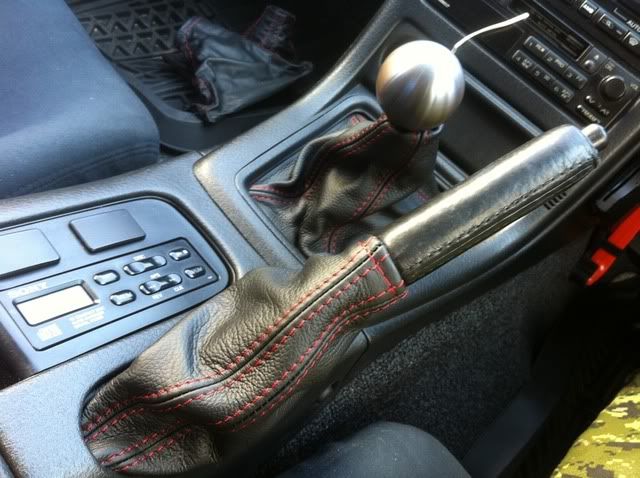
Interior Refresh Pt 2
Upgraded the leathers on the e-brake and shifter. The texture of the leather is quite nice and matches the console trim.
before:
after:

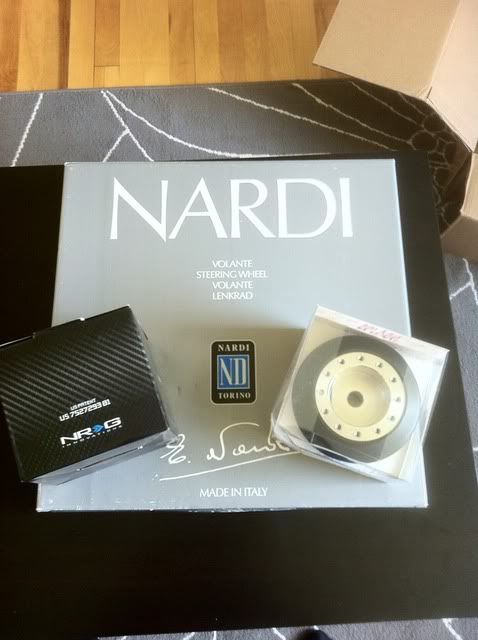
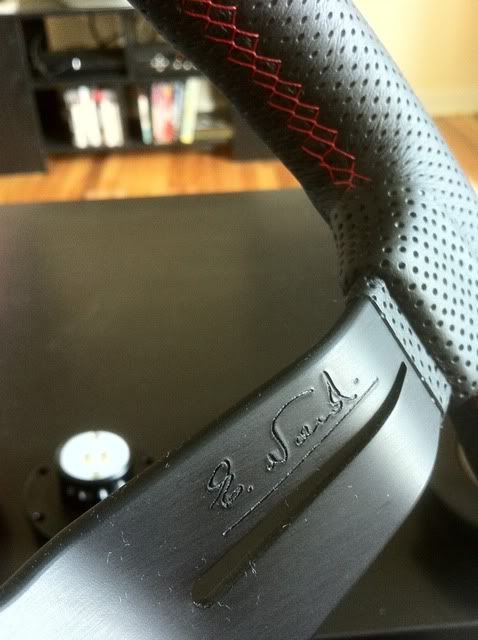
Haro, what do we have here? I was so anxious to receive these in the mail. As soon as it came in I got right to the install. I went with the 330mm Nardi Deep Corn wheel, Works Bell 629s short hub, and NRG quick release.

THAT is attention to detail:
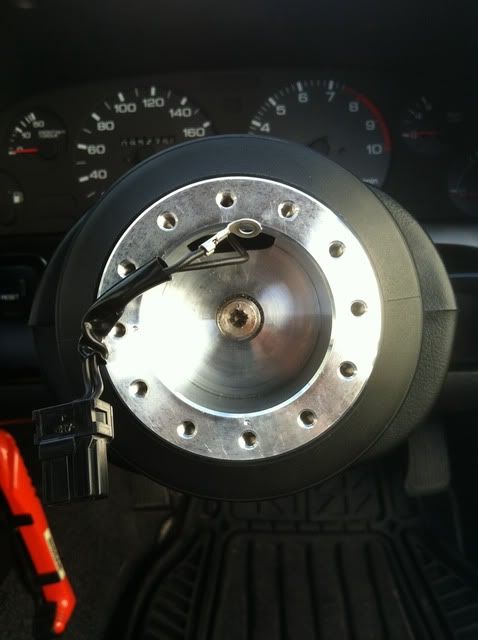
It took quite a bit of modifying to make the hub fit and have a working horn. Essentially the route I took was filing down the bottom tab of the hicas angle sensor, and widening the hole on the bottom of the hub.
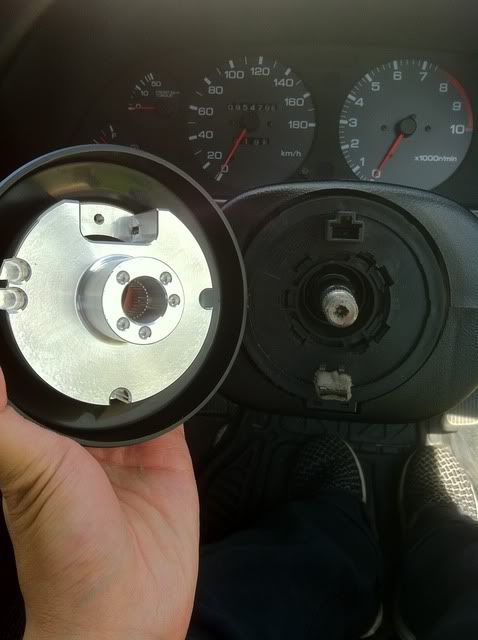
Next obstacle was figuring out the wiring for the horn. The wiring included in the boss kit was absolutely useless so I had to use the existing wiring harness which wasn't exactly compatible with the quick release (QR).
I connected the QR to the horn button and slipped the ground wire onto the spring on the back of the button.
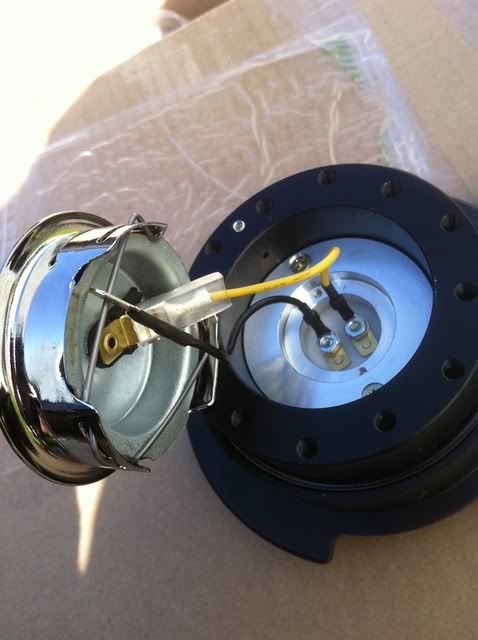
Then the back of the QR was hooked up to the existing wiring harness. The ground wire on the QR would be wrapped around the spindle, secured by the 19mm nut, and the ground wire on the old harness was just left dangling.

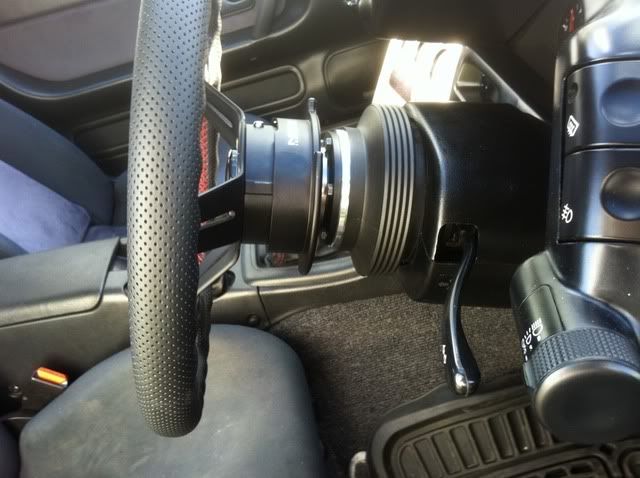
The ground wire on the QR was too short to wrap around the spindle, so my buddy Matt grabbed some of the wiring from the boss kit and spliced it onto the ground wire to elongate it. The hub was then fitted over the spindle like so:
A job well done:
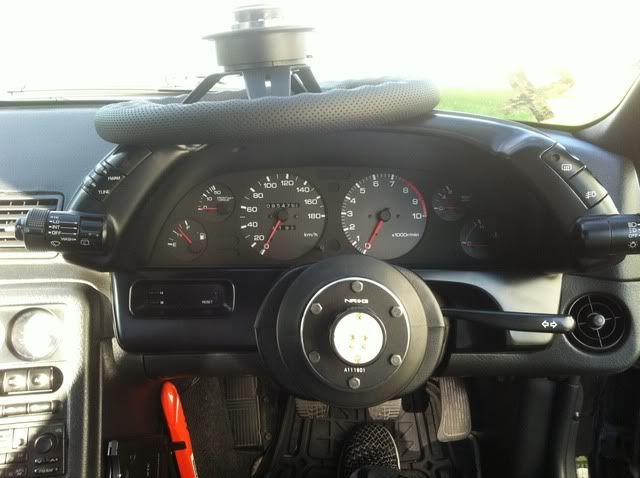
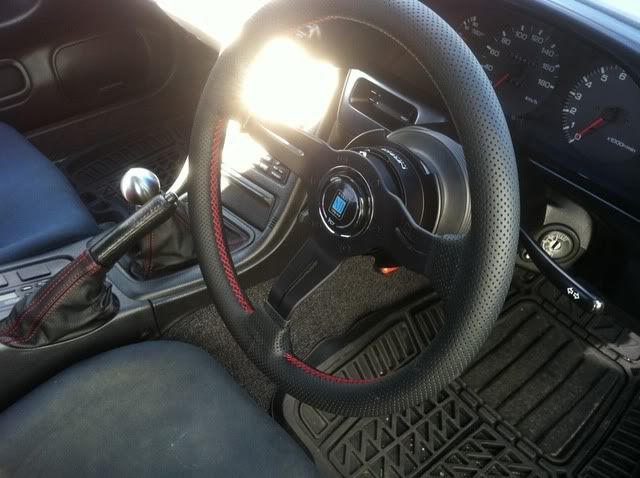
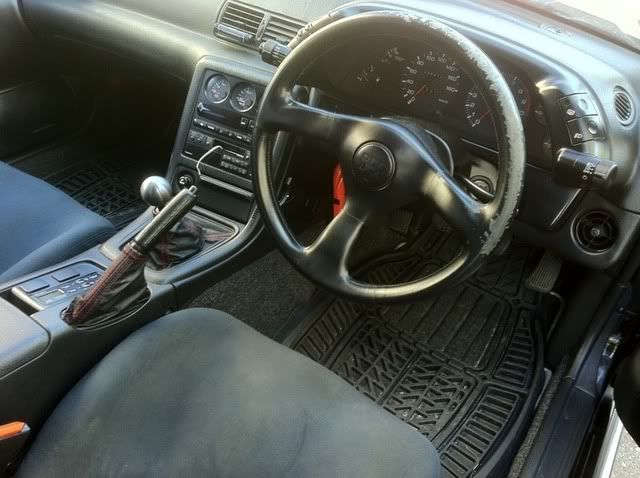
Vs old:
 Last edited by louis110; 08-13-2011, 04:00 PM.
Leave a comment:
-
Yeah I did the inspection in Edmonton. They put adhesive side markers on the quarters but I took them off as soon as I got home.Originally posted by Oakville View Post
As far as detailing goes, I put in a total of 4.5 hours so far and I've completed the hood, bumper, fenders, and entire left side of the car. I'm guessing another 3.5 hours for the right side, roof, trunk, and rear bumper. It probably won't last long at all lol, there are a lot of broken up and gravel roads here. Within a day I had a layer of dust on my car. There's a show and shine next month so I'm going to give the car another polish before the event.Leave a comment:
-
idk if it has to be done, but for side markers...dont cut the quarters
how long did that whole process of detailing take? and roughly how long do you think itll last in a condition close to that?Leave a comment:
-
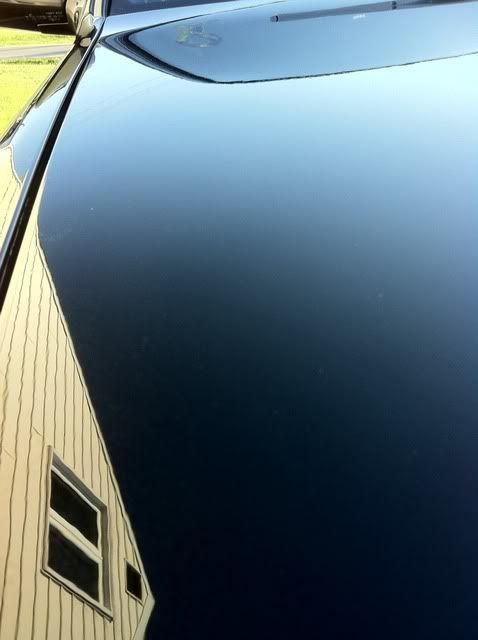
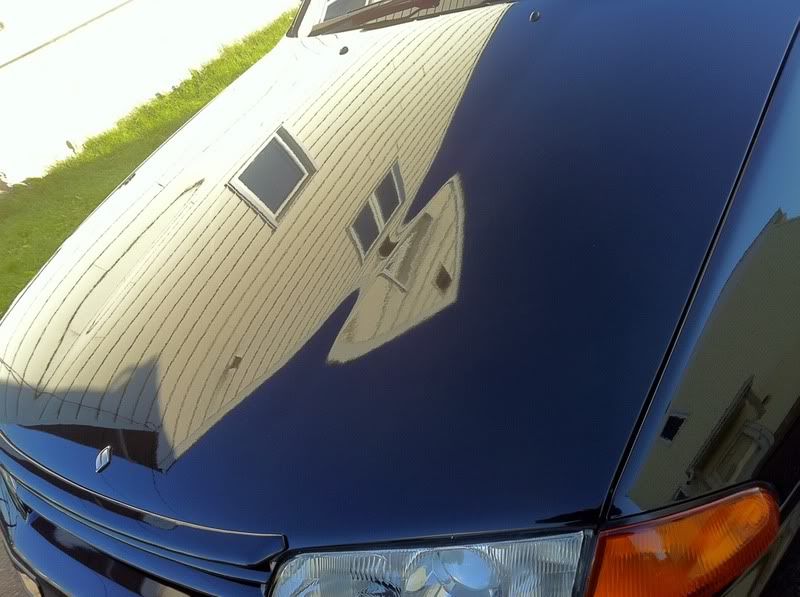
Slow Roll Detail
The 6 hour drive to and from Edmonton really messed up my paint. The painters tape I wrapped the front end with didn't last very long and scuffed my hood and fenders when it started to flap in the wind and the poor weather left a lot of grit and water marks on the car. I didn't take pictures of the damage after the drive, but trust me, it was bad lol.
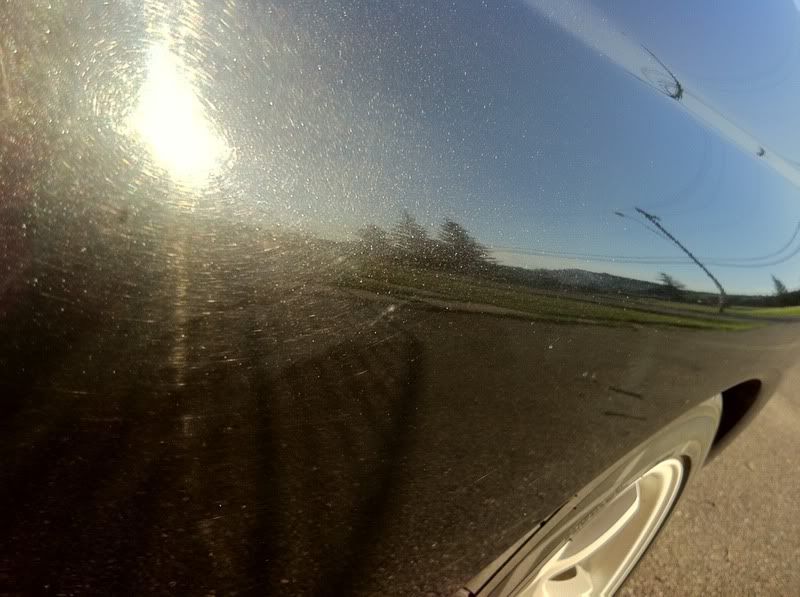
I've taken this opportunity to do a thorough refresh of the paint.
Steps:
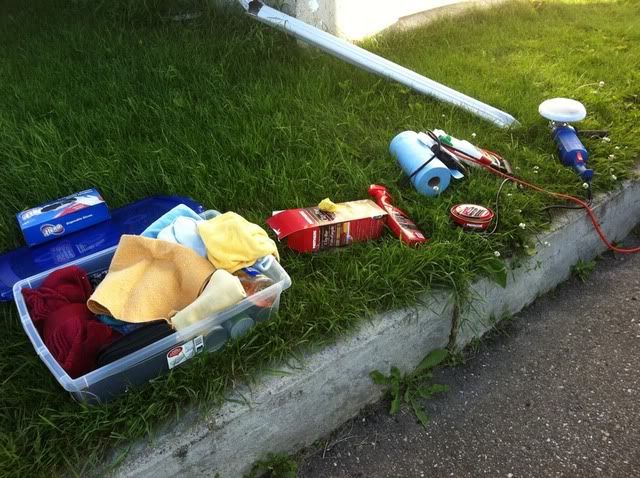
1) Rinse, hand wash with hot water and dish soap.
2) Mother's Instant Detailer followed by Mother's claybar.
3) Polish with orbiter and Meguire's Superior polish.
4) Mother's Carnauba wax.
I've been doing sections of the car for a couple of hours here and there after work, and these are the results so far:

 Last edited by louis110; 07-22-2011, 12:50 AM.
Leave a comment:
Leave a comment: