 Tweet
Tweet
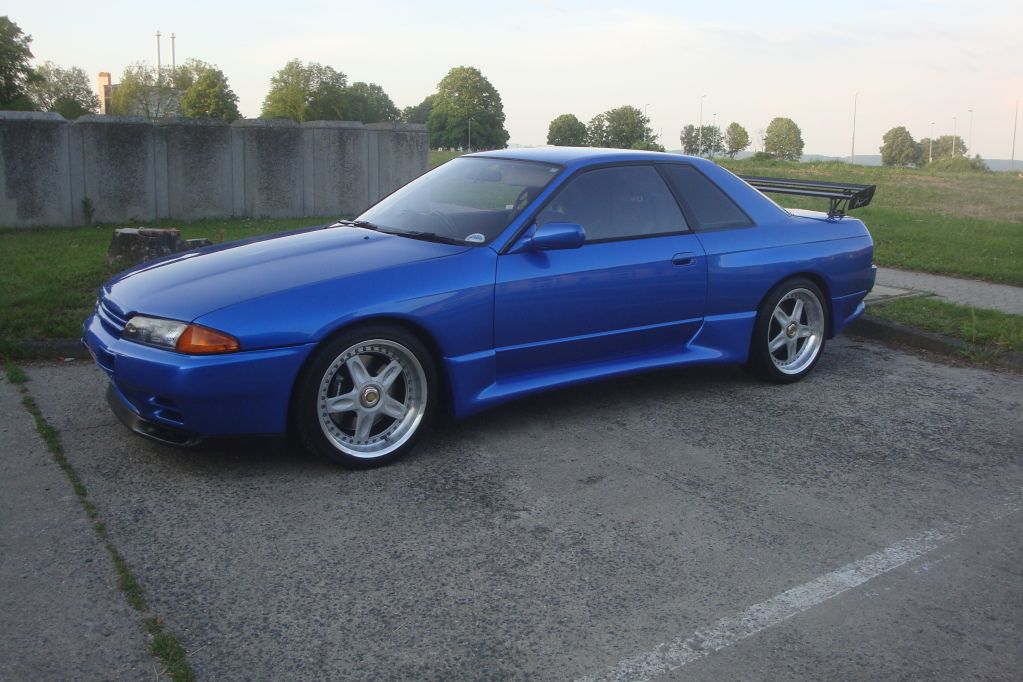
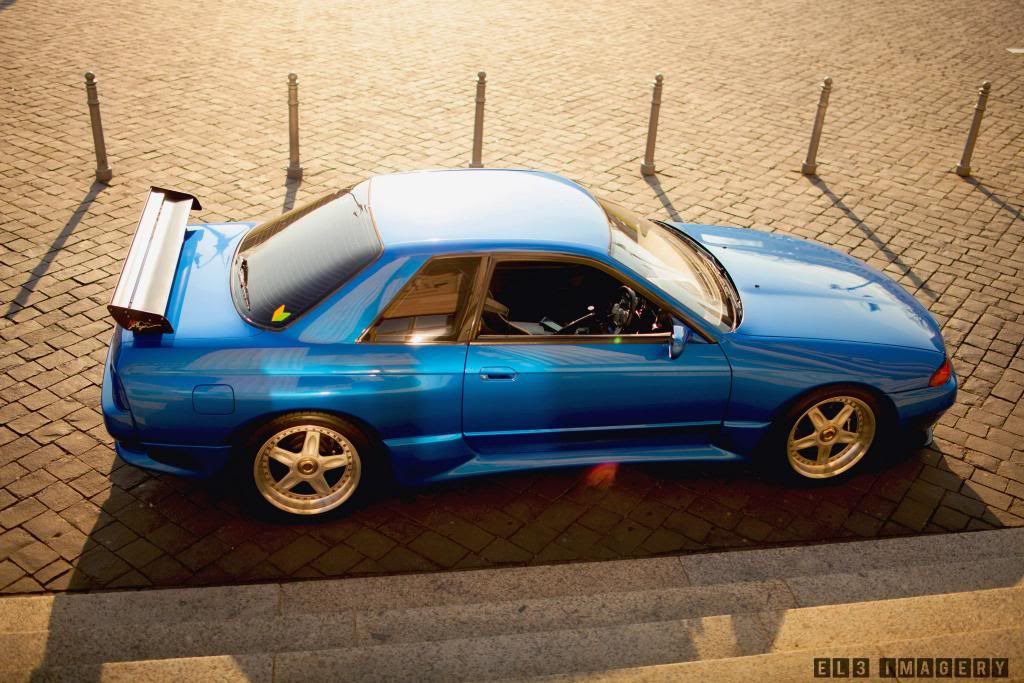
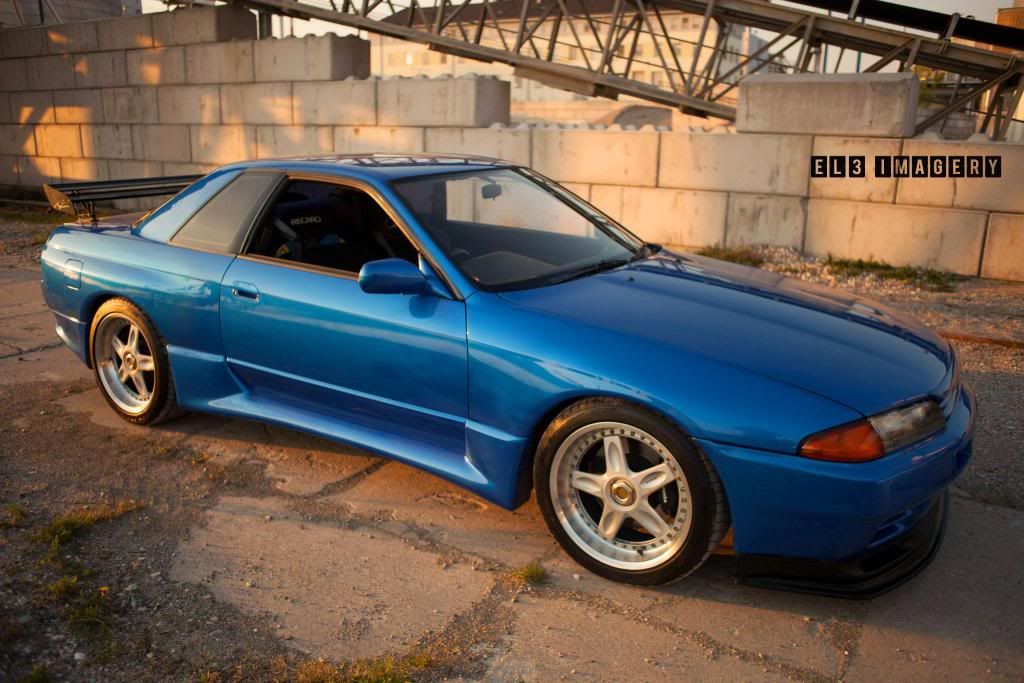
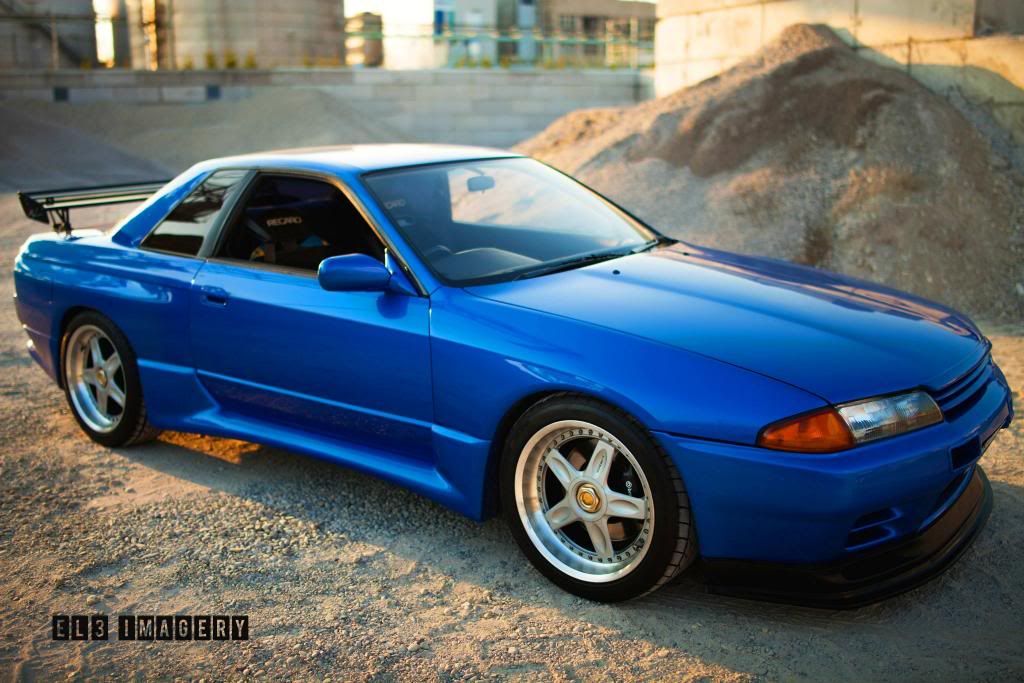
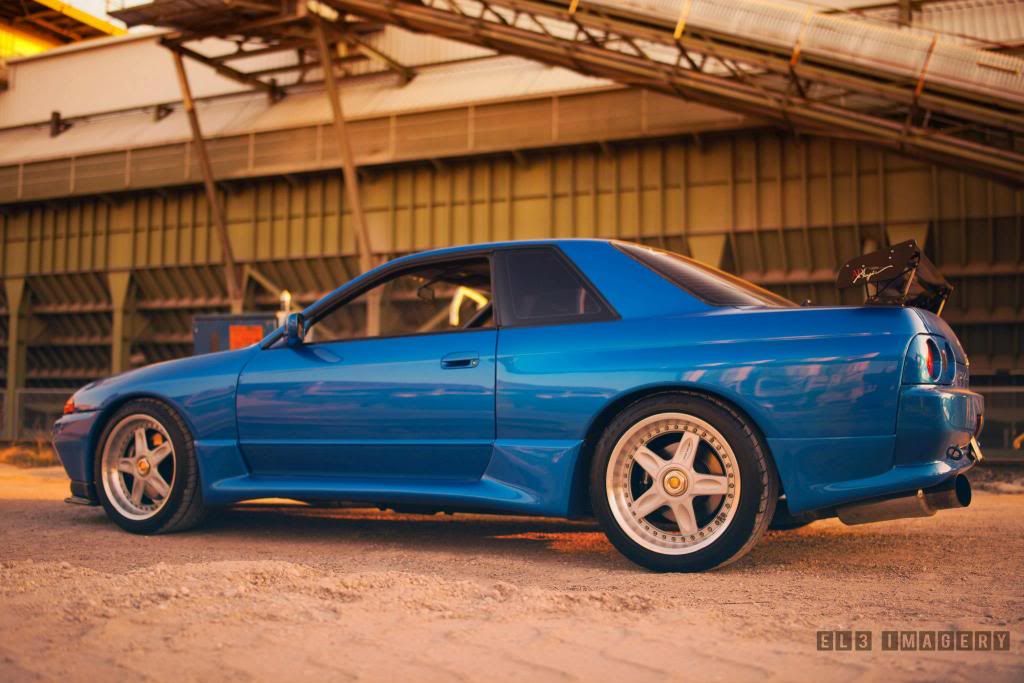
I figured it was about time to finally start a build thread, I bought the car in May 2012 and drove it "as is" for the summer. It was plenty of fun and turned many heads down here in Germany. But in the inevitable addictive pursuit of more power I collected a new turbo and fuel setup over the winter. Here is my story up to this point:
-
Jeremy Clarkson: "A turbo: Exhaust gasses go into the turbocharger and spin it, witchcraft happens and you go faster."
(OO\ skyline /OO)
http://www.youtube.com/watch?v=g2f55KOe7n4&feature=youtu.be -
When I first purchased this GTR in May 2012 it had the following modifications:
KS ROM ECU
HKS camshafts & vernier pulleys
Trust hard pipe suction kit
Greddy intercooler & hard pipe set
Greddy front pipe
Greddy clear pulley cover
Greddy remote oil filter mount with 16 row oil cooler & Earl's fittings
Apexi AVC-R boost controller
Apexi exhaust control valve
Metalit high flow catalyst
Kakimoto Racing Hyper 2000 Full Mega N1 stainless 304 exhaust
Tabata Dual core copper high capacity radiator
Cusco oil catch tank
Ogura twin plate clutch with light-weight flywheel
Nismo engine & gearbox mounts
Nismo clutch slave cylinder
Greddy radiator cooling panel
Aragosta suspension
ARC Pipe Stabilizer
up-rated anti-roll bars front & rear including pillow drop links
Cusco front strut brace
Midori pillow front tension arms
Driftworks HICAS elimintor kit
RAYS 18" 2 piece forged wheels
R33 GT-R Brembo calipers and discs
Braided hoses and a Cusco brake master cylinder stopper
ARC bespoke adjustable spoiler
Trust Gracer body kit
Nismo front bumper & genuine bonnet lip
N1 headlights modified with HID for main beam
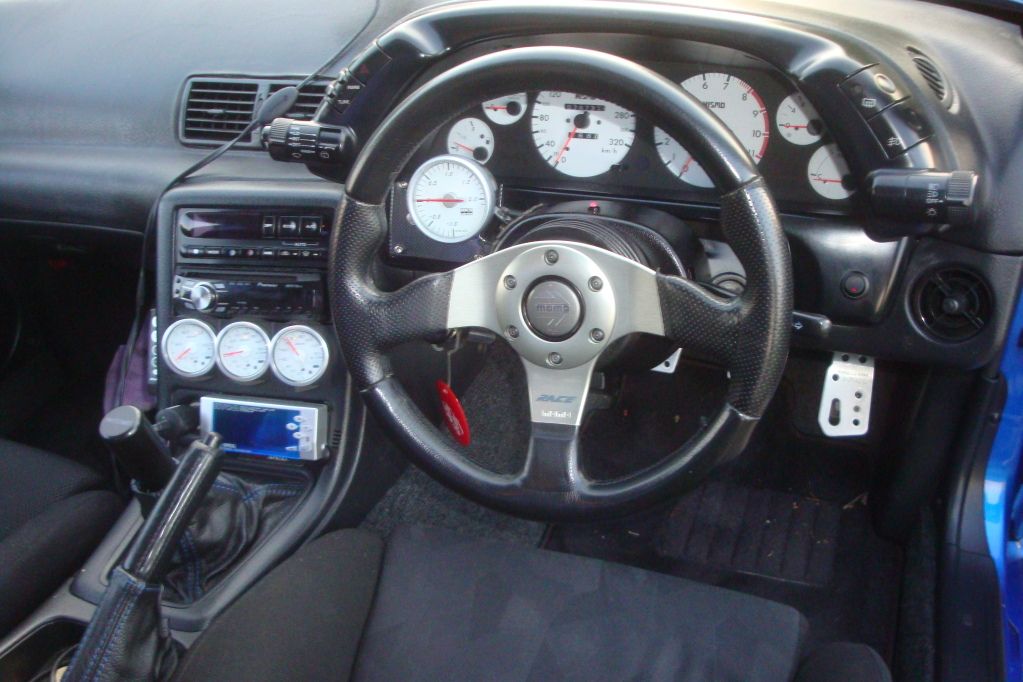
Defi white faced 60mm gauges for oil temp, oil pressure & water temp
Defi data logging controller
HKS electronic boost gauge
Nismo white faced 320 km/h speedo
Recaro reclinable SPG with bespoke adjustable Recaro seat rail x2
Momo Race steering wheel
Splash HICAS steering boss
Razo alloy pedal covers
Nismo floor mat set
Willians 4 point harness
Tomei Gearknob & engine oil cap
Custom Car Cover
 Jeremy Clarkson: "A turbo: Exhaust gasses go into the turbocharger and spin it, witchcraft happens and you go faster."
(OO\ skyline /OO)
http://www.youtube.com/watch?v=g2f55KOe7n4&feature=youtu.be -
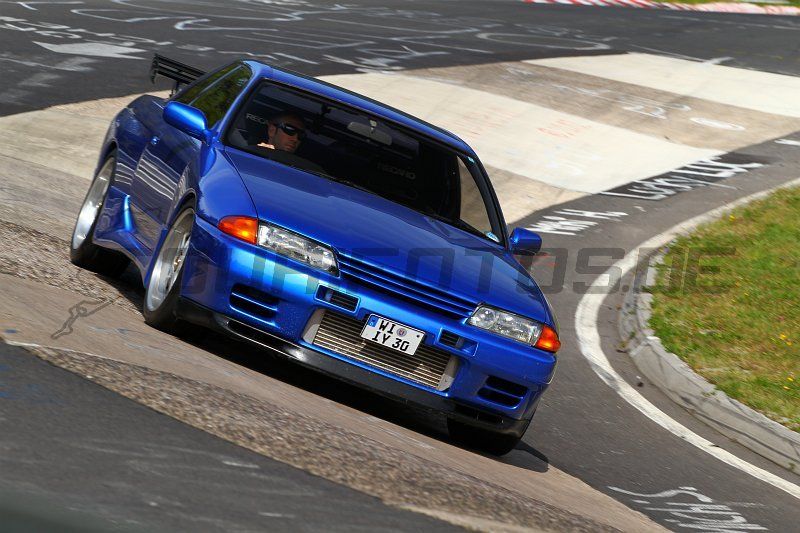
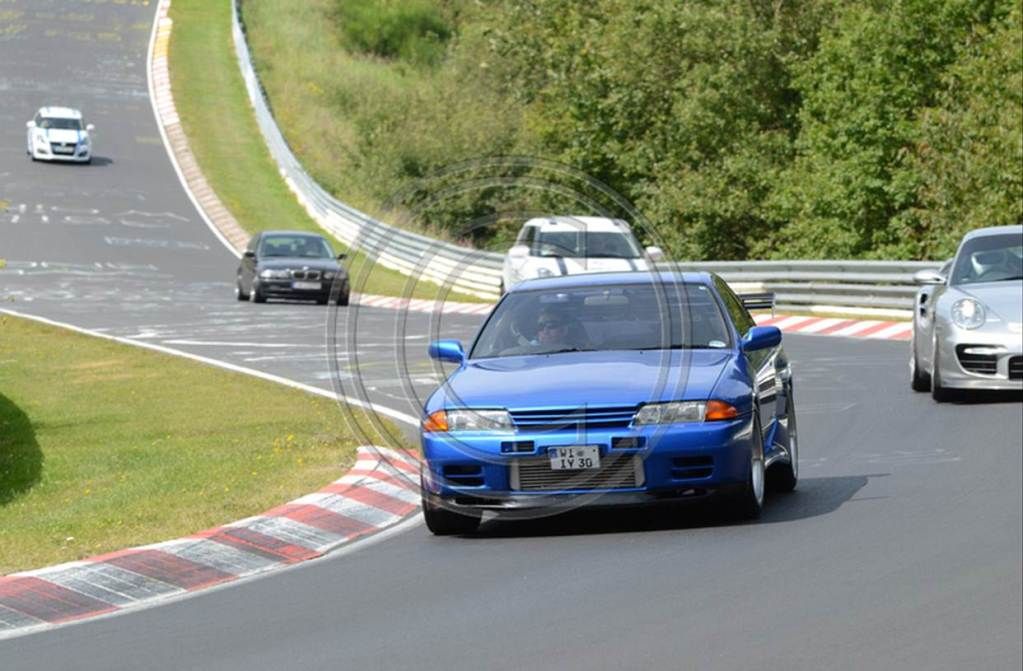
I drove the GTR pretty much in this same state for the entire summer. Made a few trips to the Nurburgring since living rather close gave me easy access. But then the obsession with always wanting more started to take hold.
 Jeremy Clarkson: "A turbo: Exhaust gasses go into the turbocharger and spin it, witchcraft happens and you go faster."
(OO\ skyline /OO)
http://www.youtube.com/watch?v=g2f55KOe7n4&feature=youtu.beComment
-
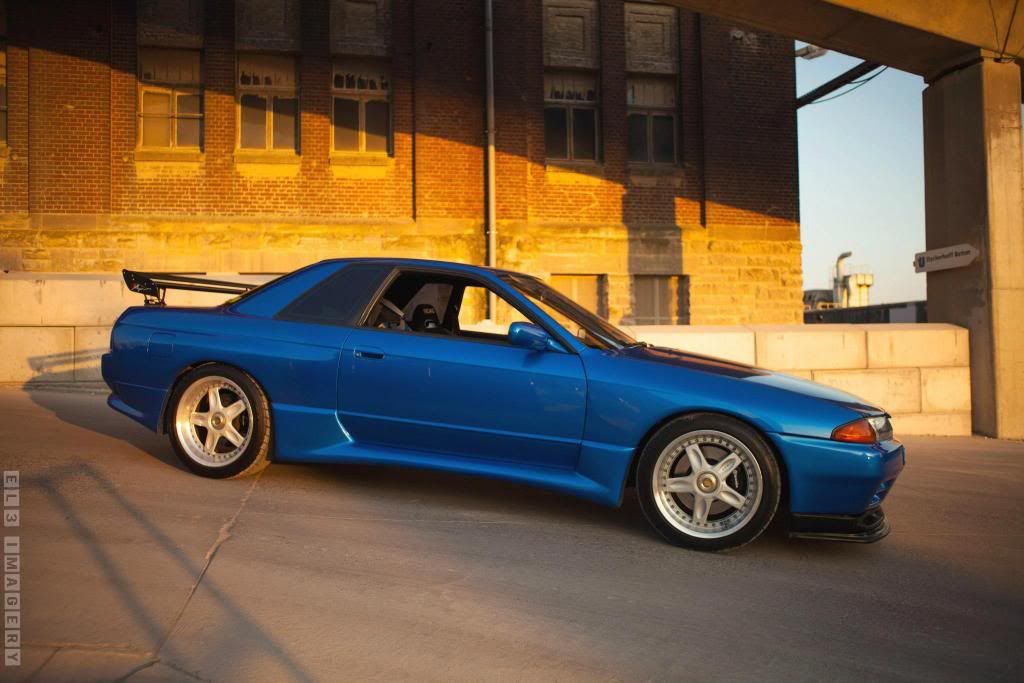
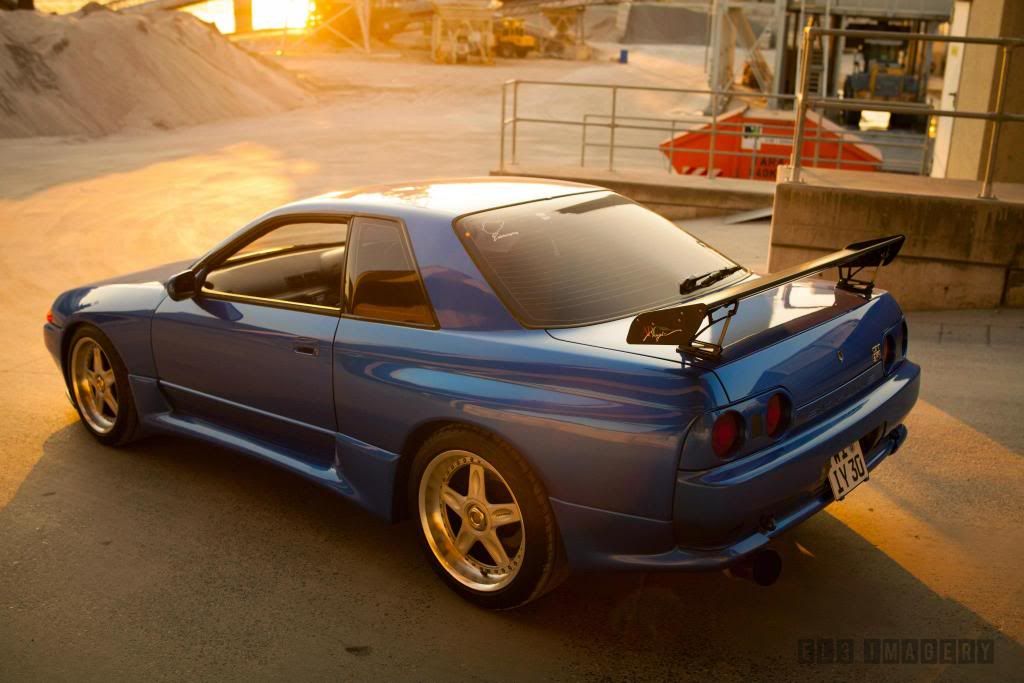
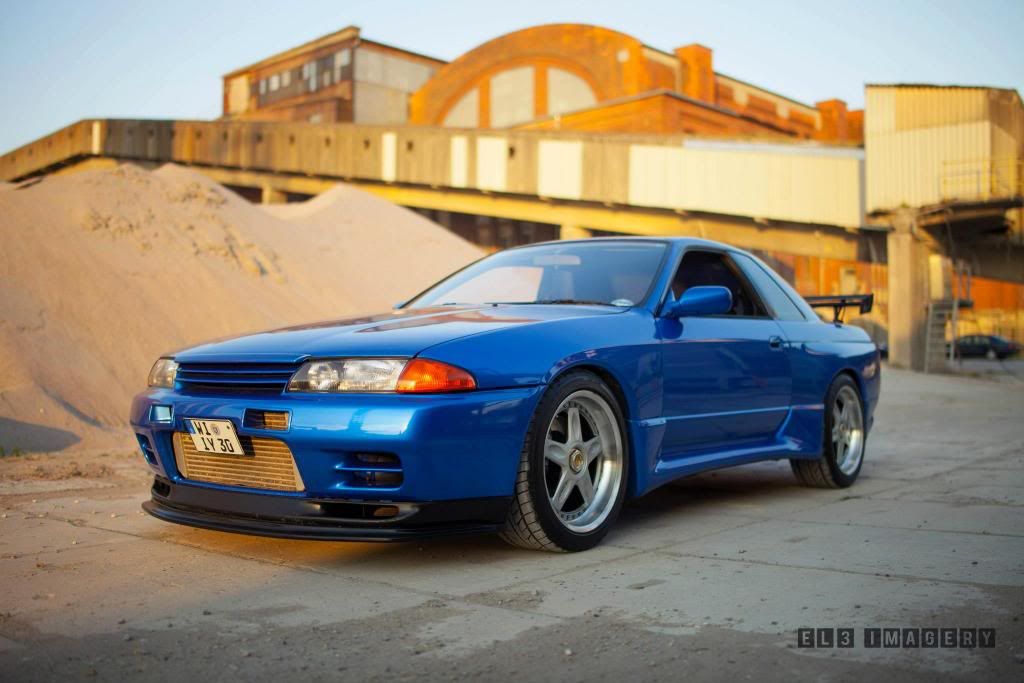
Big thanks to my man Simon from EL3 Imagery Photo and Cinematography https://www.facebook.com/el3imagery
 Jeremy Clarkson: "A turbo: Exhaust gasses go into the turbocharger and spin it, witchcraft happens and you go faster."
(OO\ skyline /OO)
http://www.youtube.com/watch?v=g2f55KOe7n4&feature=youtu.beComment
-
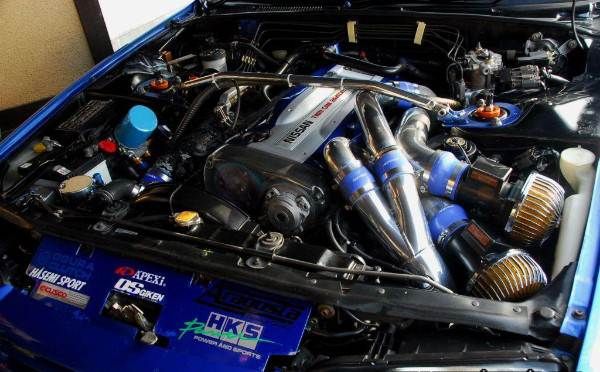
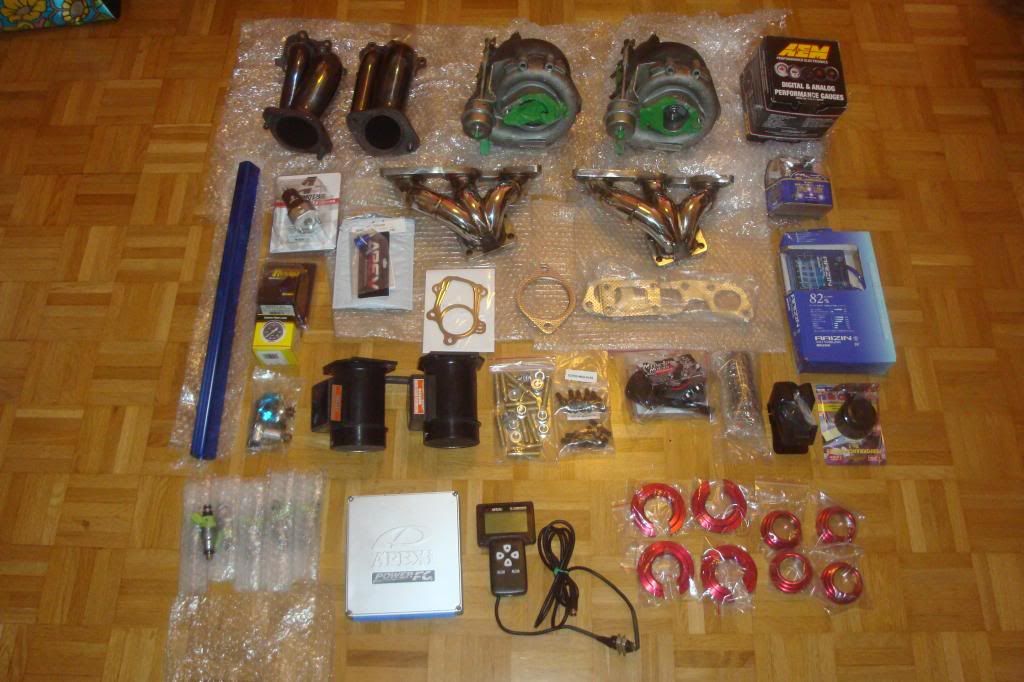
So began the search for parts over the long German winter. I figured I had about six months to collect everything and prepare for the installation during the spring. I decided the logical route to go would obviously be to upgrade the turbo's. Then if you're going to upgrade the turbo's I figured you might as well do a complete fuel system to help support that. Below is a list of the parts I collected over the winter.
Garrett GT2860-5 twin turbo upgrade
HKS split waste gate turbo elbows
NISTune ECU
Z32 Twin Mass Air Flow Sensors
HKS mega flow 150mm pod filters
SARD 800cc Fuel Injectors
SARD large bore fuel rail
Aeromotive fuel pressure regulator
Aeromotive high flow fuel filter
AEM 320LPH high flow fuel pump
AEM wide band Air Fuel ratio sensor
Raizin voltage stabilizer / grounding kit
Apexi 1.3 bar radiator cap
magnetic oil plug
"C" collar solid subframe bushings
Cusco Strut Brace
 Jeremy Clarkson: "A turbo: Exhaust gasses go into the turbocharger and spin it, witchcraft happens and you go faster."
(OO\ skyline /OO)
http://www.youtube.com/watch?v=g2f55KOe7n4&feature=youtu.beComment
-
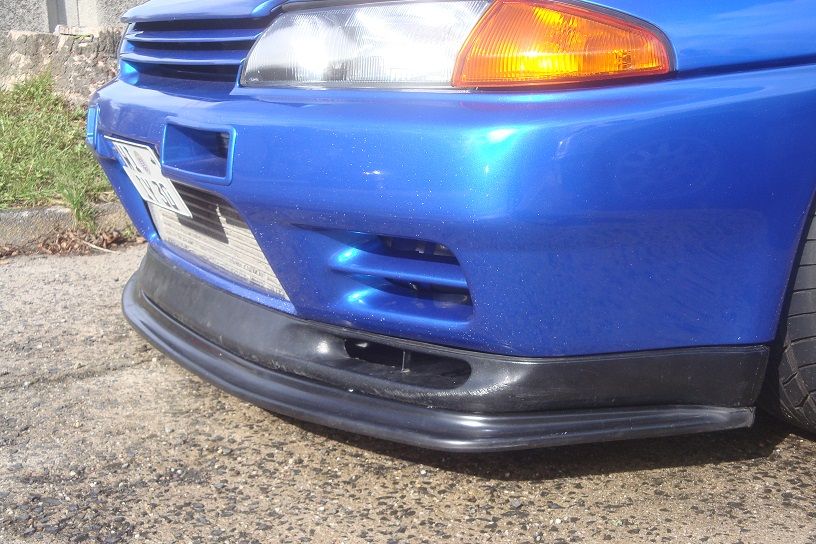
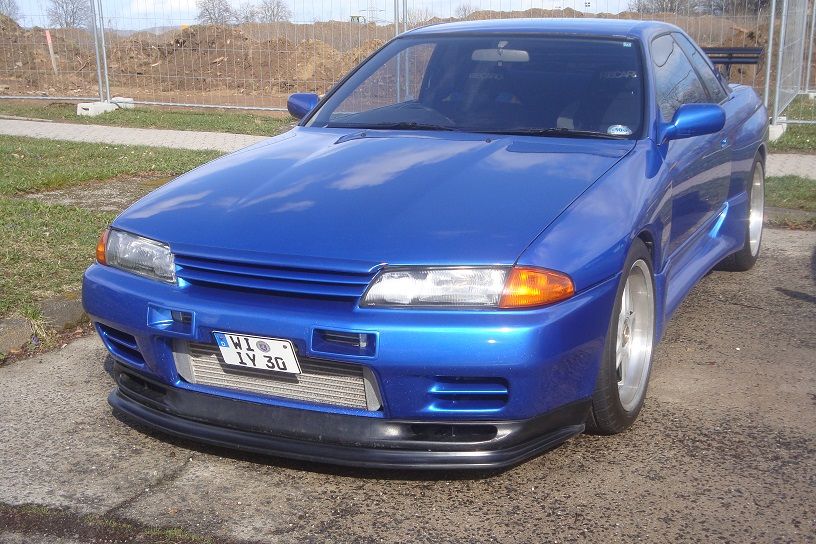
I could not wait to install my one and only cosmetic item (although functional); I managed to acquire a ABFLUG style front diffuser from Knight Racer in the UK. I did not have my camera on me so no pics of the installation but trust me it was a real pain in the @$$ for as simple of an addition it appears to be. When I originally ordered it, I did not assume that extra 3/4 inch would make that much of a difference; now speed bumps are my enemy, it clears them but just barely lol. In hindsight; the bumper needed to come back off to add some internal support braces, the added down force was testing the factory Nissan splitter's mounting points.
 Jeremy Clarkson: "A turbo: Exhaust gasses go into the turbocharger and spin it, witchcraft happens and you go faster."
(OO\ skyline /OO)
http://www.youtube.com/watch?v=g2f55KOe7n4&feature=youtu.beComment
-
Next on the list was to tackle the turbo swap. I had never really done any work on a skyline before but I was determined to accomplish everything possible on my own. Not only for a sense of accomplishment and ownership but to help save a ton of cash. I searched online for a manual in English and studied up on the forums. I did all this work in a well equipped shop with lifts and all; let me give major props to you guys that do this in your own garages on jack stands and such. After completing this you all are crazy! lol
First removed all the unnecessary things to get them out of the way; strut brace, catch can hose, air filters, MAF's, suction pipes, etc...
 Jeremy Clarkson: "A turbo: Exhaust gasses go into the turbocharger and spin it, witchcraft happens and you go faster."
(OO\ skyline /OO)
http://www.youtube.com/watch?v=g2f55KOe7n4&feature=youtu.beComment
-
Next went the bumper... Wasn't really necessary but the more things out of the way the better and peace of mind that I wouldn't accidentally step on and break that new front splitter...
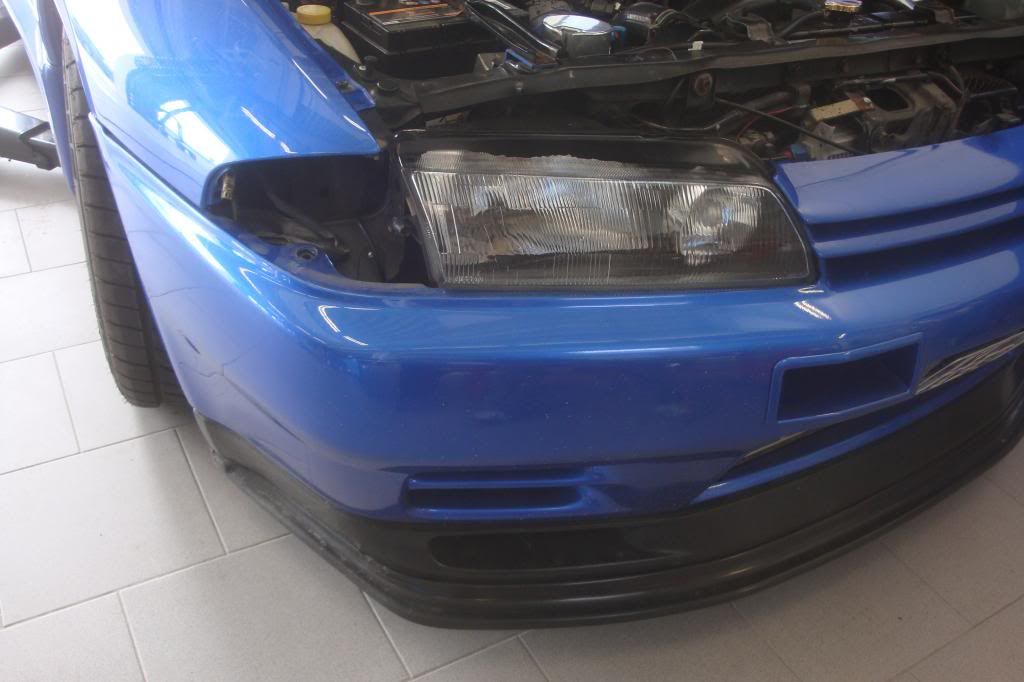
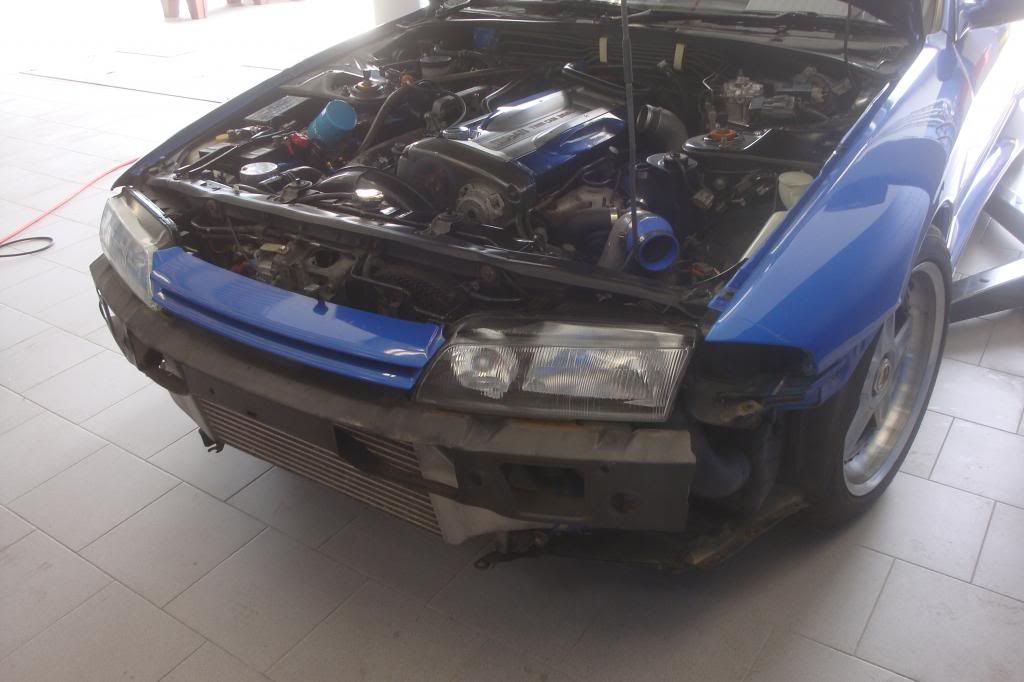
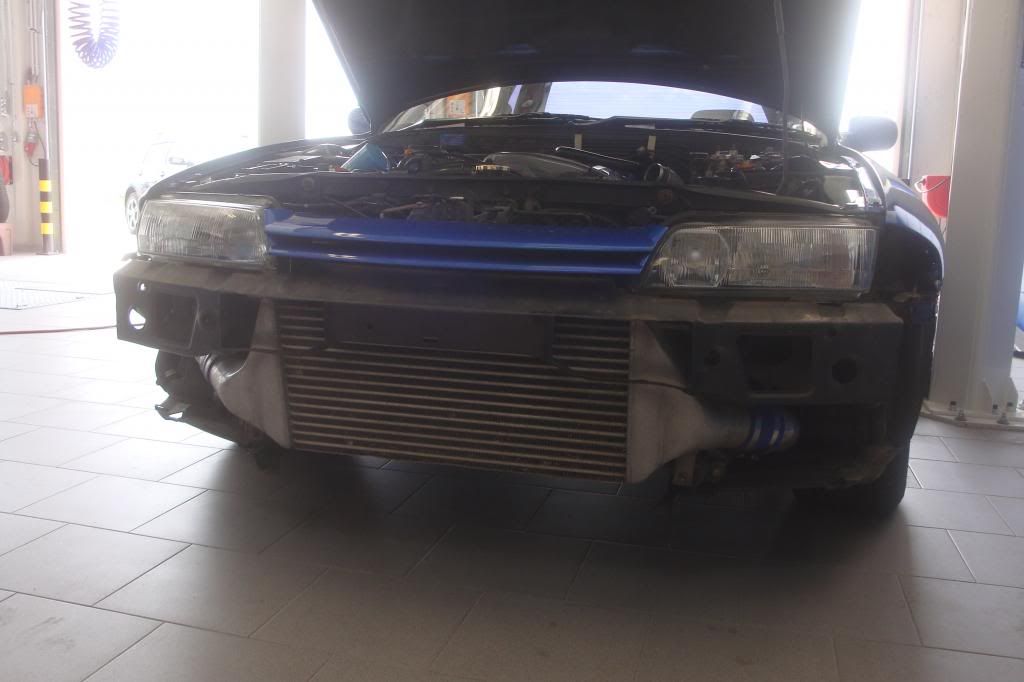
At this point it was looking pretty sad Jeremy Clarkson: "A turbo: Exhaust gasses go into the turbocharger and spin it, witchcraft happens and you go faster."
(OO\ skyline /OO)
http://www.youtube.com/watch?v=g2f55KOe7n4&feature=youtu.beComment
-
After removing the suction kit the coolant return lines were the next to go... Brake line wrenches were a "must" have for this one as they were tightened on really good...
With the coolant lines removed you could then get to the front heat shield which came off rather quick as the bolts snapped off as usual...Jeremy Clarkson: "A turbo: Exhaust gasses go into the turbocharger and spin it, witchcraft happens and you go faster."
(OO\ skyline /OO)
http://www.youtube.com/watch?v=g2f55KOe7n4&feature=youtu.beComment
-
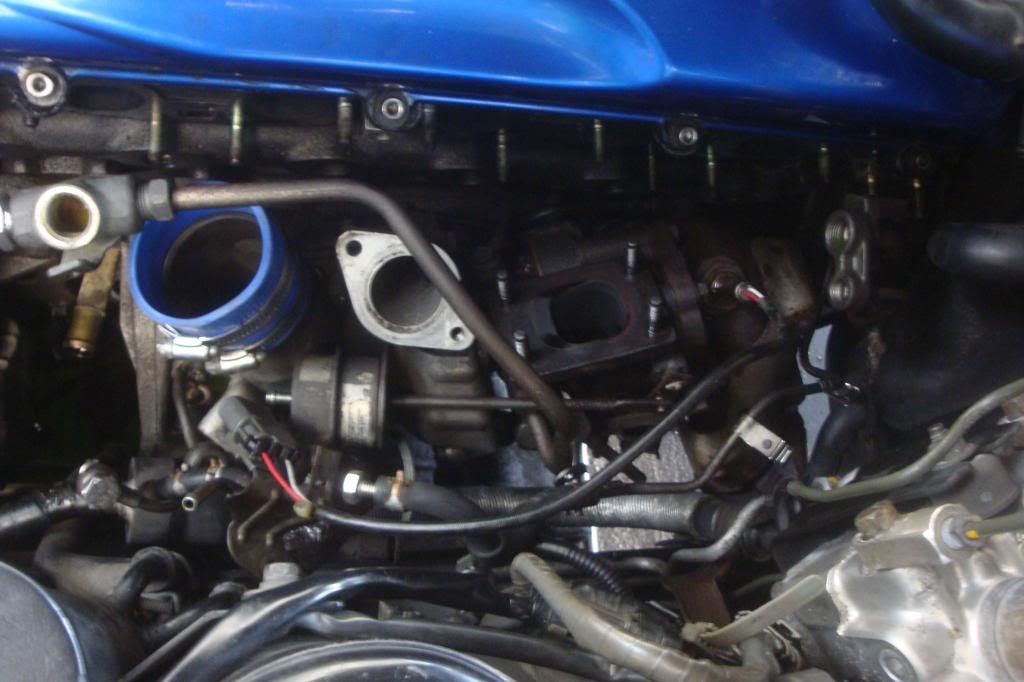
Before starting to remove the turbo's I raised the car, drained both the oil and coolant (it was to be replaced anyway), removed the downpipe from the factory turbo elbows, and disconnected the lower oil return lines... Next was the heat shield; after the heat shield was off I disconnected the turbo from the manifold in order to lower it a bit... It is not possible to remove the turbo before removing the manifold completely... It takes some real wrench trickery to get those six manifold bolts off as there is next to NO room in there... A good set of ratcheting wrenches will get the job done with some mild persuasion... Once the manifold was removed (which also took slightly more than mild persuasion to actually create enough room to clear both the block and turbo studs) you could maneuver the front turbo around enough to remove the oil and water banjo bolts...
 Jeremy Clarkson: "A turbo: Exhaust gasses go into the turbocharger and spin it, witchcraft happens and you go faster."
(OO\ skyline /OO)
http://www.youtube.com/watch?v=g2f55KOe7n4&feature=youtu.beComment
-
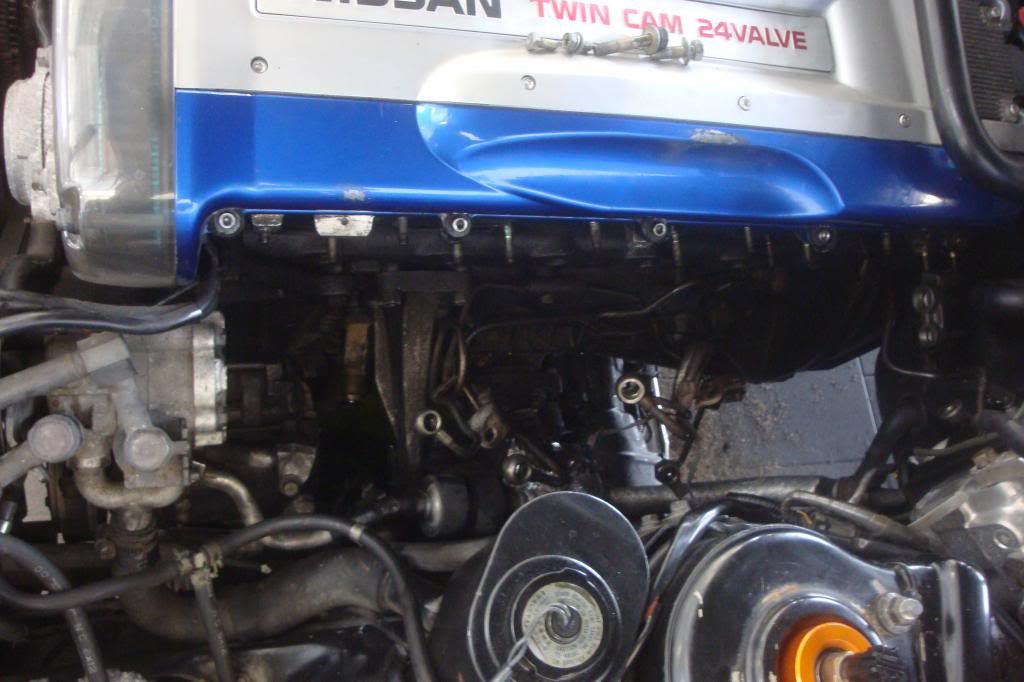
Next for the rear turbo I had to completely removed the upper coolant hard line in order to remove the heat shield... After that all was the same as the front, removing the manifold in order to lower the turbo and remove the oil and coolant lines...
 Jeremy Clarkson: "A turbo: Exhaust gasses go into the turbocharger and spin it, witchcraft happens and you go faster."
(OO\ skyline /OO)
http://www.youtube.com/watch?v=g2f55KOe7n4&feature=youtu.beComment
-
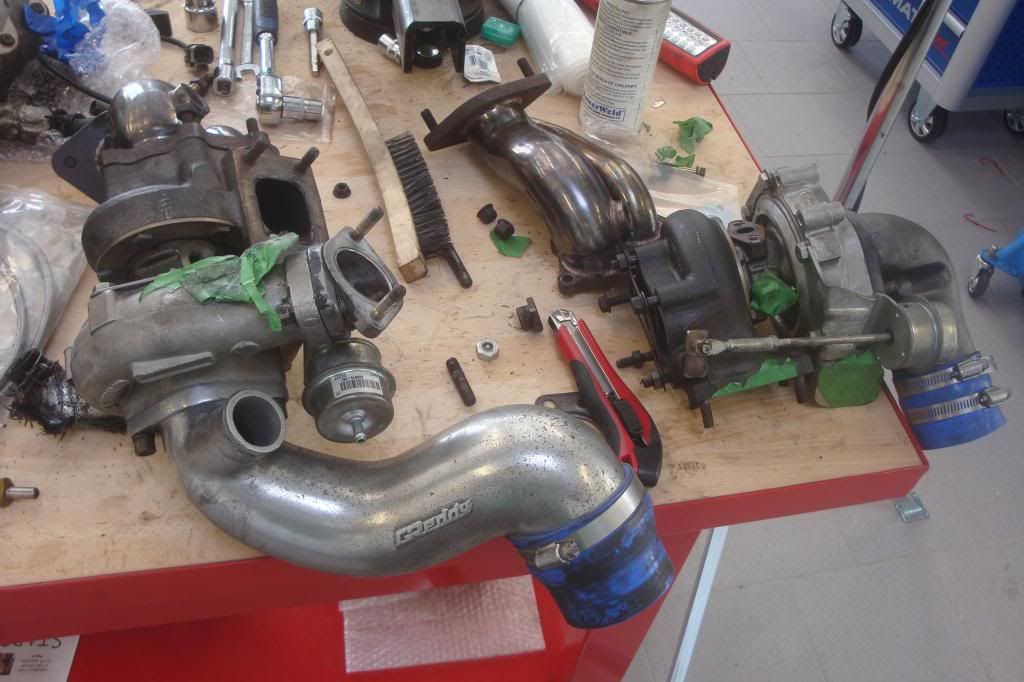
Here they are both fully removed... How cute and tiny are those!
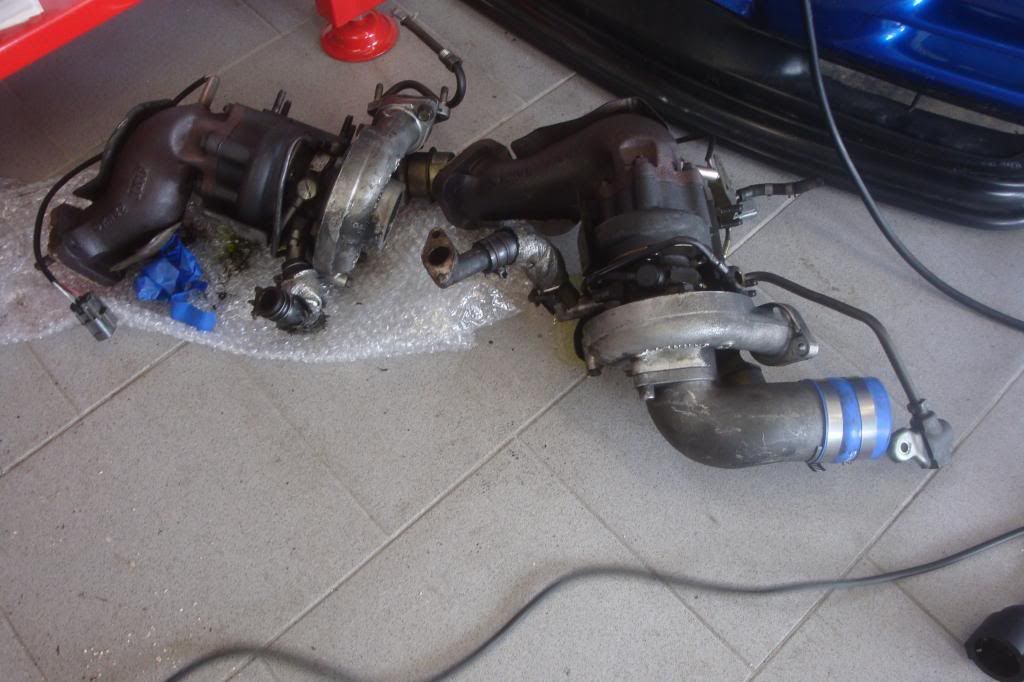
Next was reassembly... and that is where things started to go down hill...
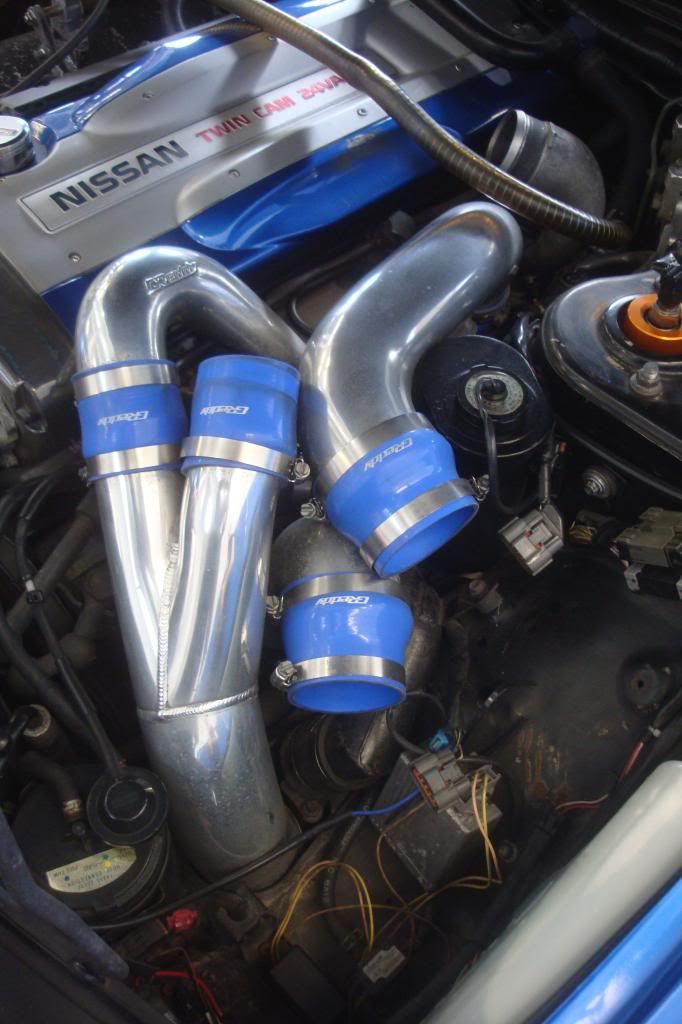
First order of business was to swap over the suction piping and attach my HKS turbo elbows... This all went smooth...
 Jeremy Clarkson: "A turbo: Exhaust gasses go into the turbocharger and spin it, witchcraft happens and you go faster."
(OO\ skyline /OO)
http://www.youtube.com/watch?v=g2f55KOe7n4&feature=youtu.beComment
-
Then when trying to fit the factory O2 sensors... The sensors themselves were much smaller than the HKS thread... and the factory R32 O2 bung's were much too large to fit the HKS threads as well...
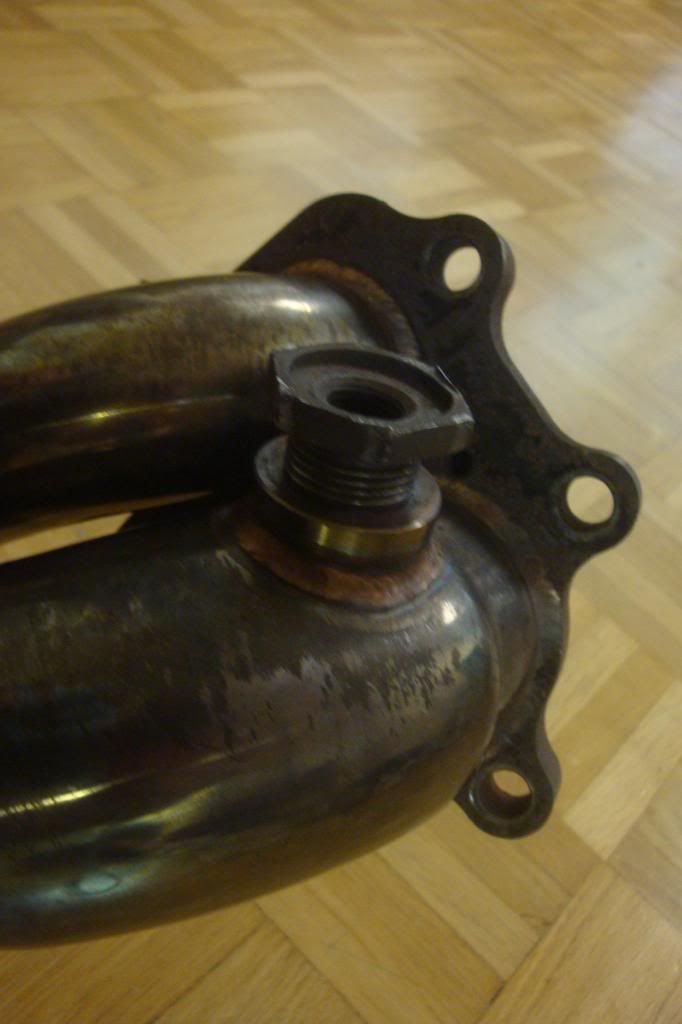
So this is where the moral dilemma came in to play... No one ever wants to modify something as expensive as those HKS elbows so the first project was to find a machine shop that either had a bung on hand or would machine one... Well I was on limited time and fairly frustrated at the lack of assistance any German shop wanted to provide... In the end I finally drilled out the threads and re-tapped them with the correct size... Now the factory R32 bung threads rite in!
The second issue which I didn't take pictures of because I was that mad at the time was the oil lines... I bought a braided kit from a reputable manufacturer (more about them later)... All the lines mounted rite up to the turbo's no problem but they sent me the wrong size -AN to NPT fitting for the engine block... Once again on a wild goose chase across Wiesbaden and Mainz to find the proper fitting or at least an adapter and NOT ONE SINGLE PLACE carries these nor would they refer me to anywhere that might carry them... So apparently Germany; center of speed and amazing cars; if it doesn't come with it from the factory it doesn't exist...
Only short notice option was to scrap the braided lines and recycle the factory hard lines; it was a good thing I kept them intact and didn't bend them all to hell... Took a little bit of time but managed to transfer them all over from the old turbo's to the new; ensuring I used the oil restrictor banjo from the braided kit to suit the ball bearing turbo's rather than the factory journal bearing banjo...Jeremy Clarkson: "A turbo: Exhaust gasses go into the turbocharger and spin it, witchcraft happens and you go faster."
(OO\ skyline /OO)
http://www.youtube.com/watch?v=g2f55KOe7n4&feature=youtu.beComment
-
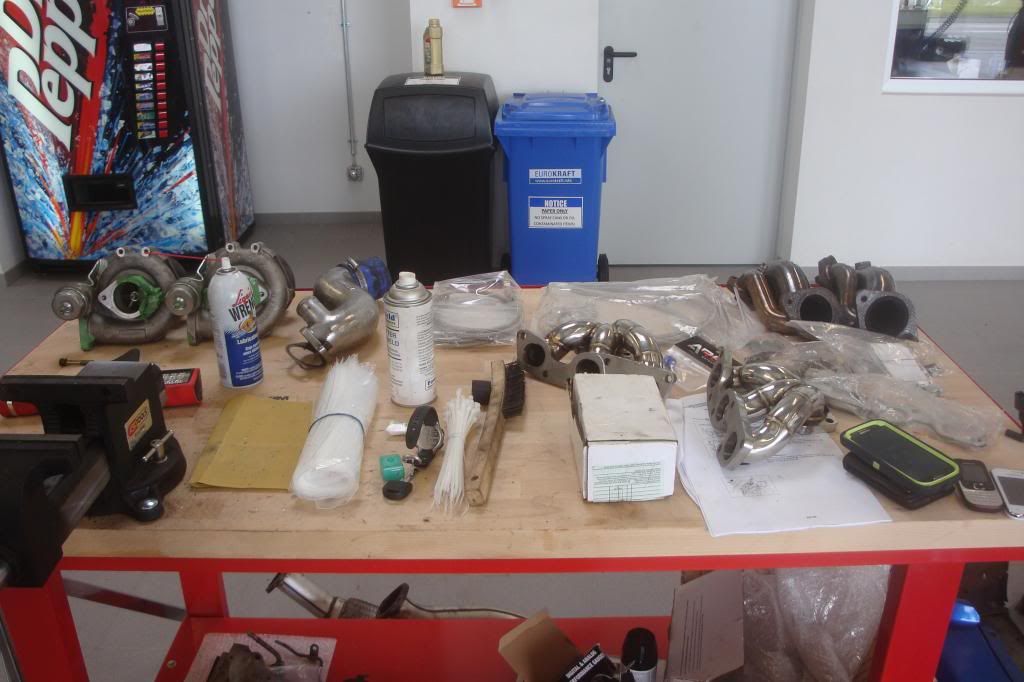
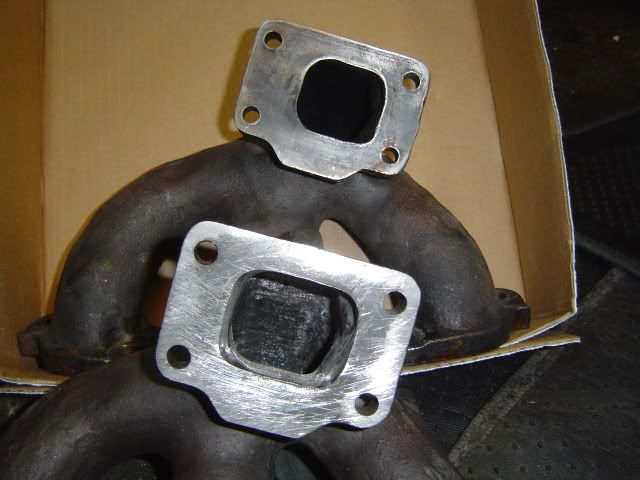
Next I test fitted the stainless manifolds to ensure they were a proper fit... Look pretty sexy in there if I do say so myself...
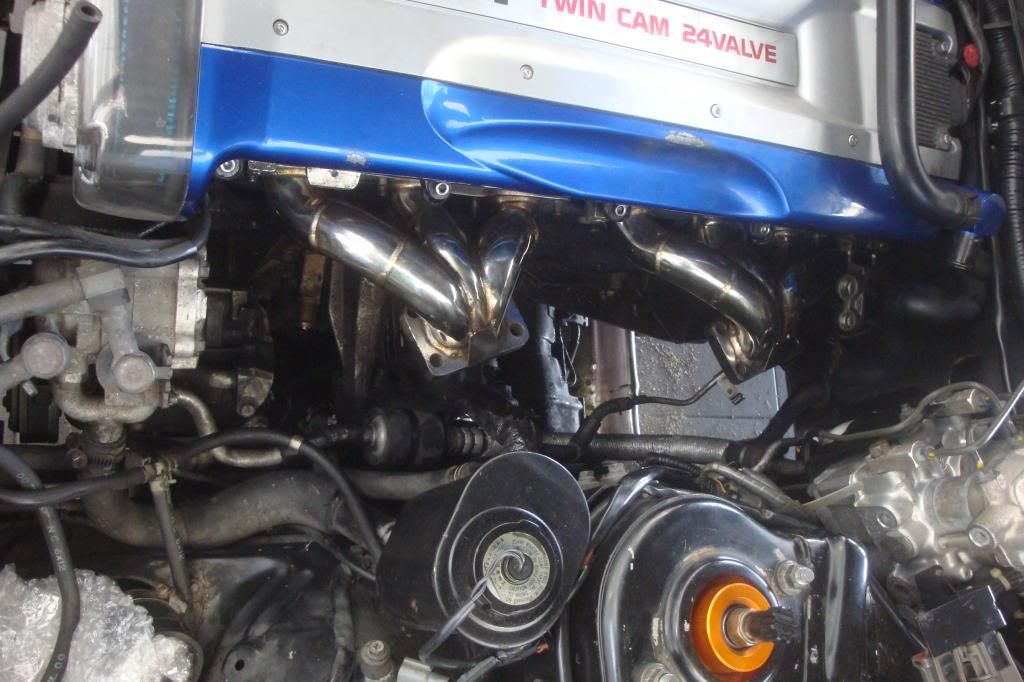
In the end I didn't use them though... I've heard many a story of aftermarket ones cracking if they don't have support brackets to hold the weight of the turbo's and I didn't have time or energy at this point to manufacture the brackets... So for safety and reliability sake I ported the factory cast manifolds (which were quite restrictive until we took the die grinder to them)...
 Jeremy Clarkson: "A turbo: Exhaust gasses go into the turbocharger and spin it, witchcraft happens and you go faster."
(OO\ skyline /OO)
http://www.youtube.com/watch?v=g2f55KOe7n4&feature=youtu.beComment
-
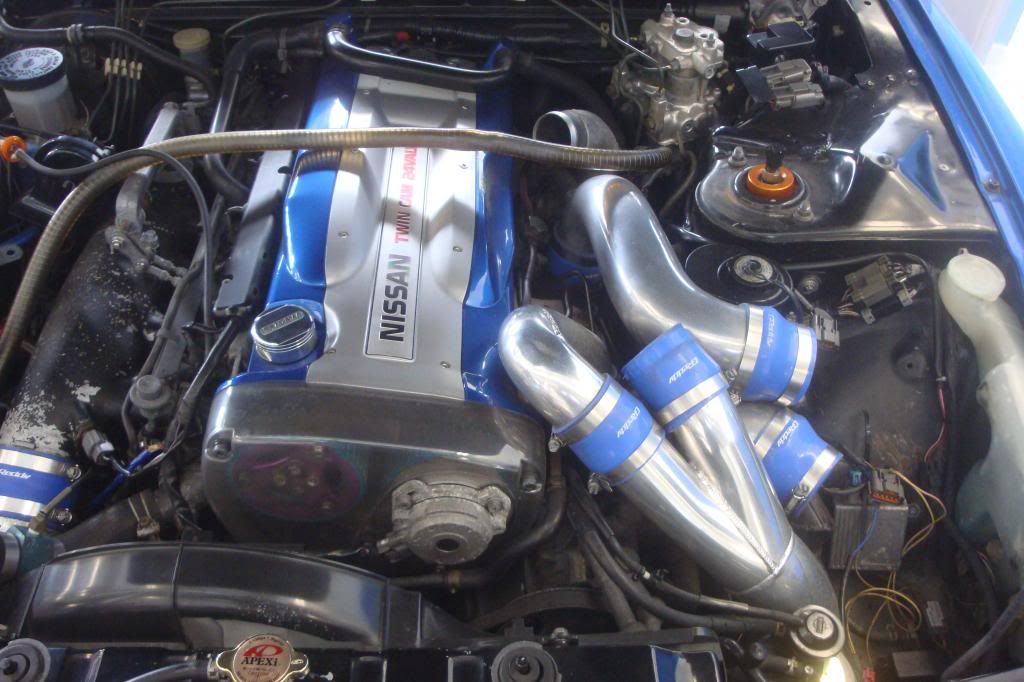
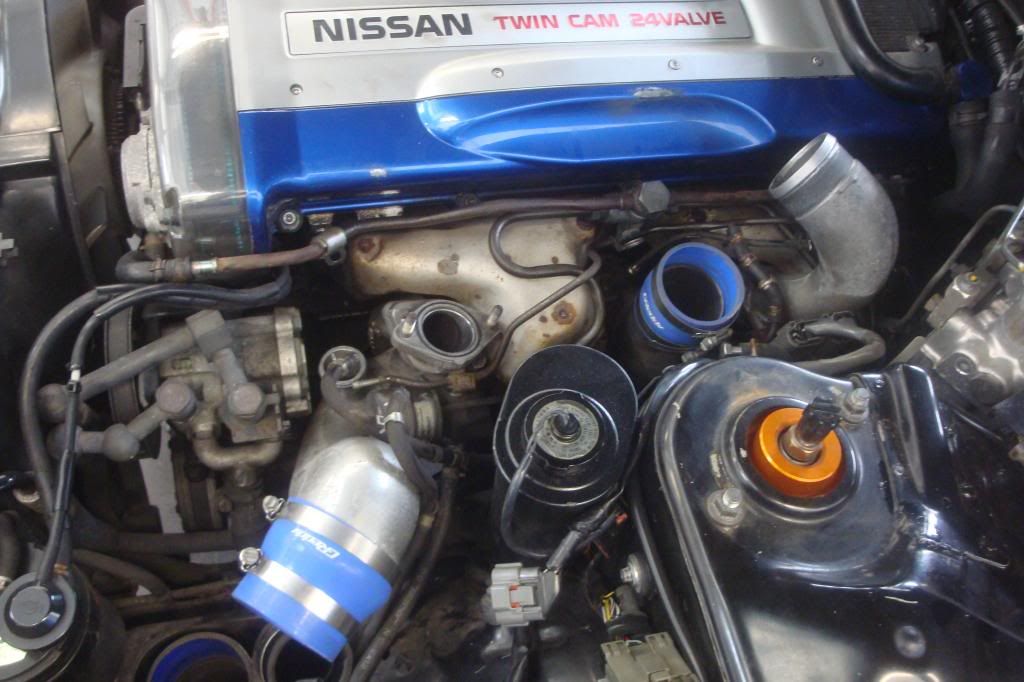
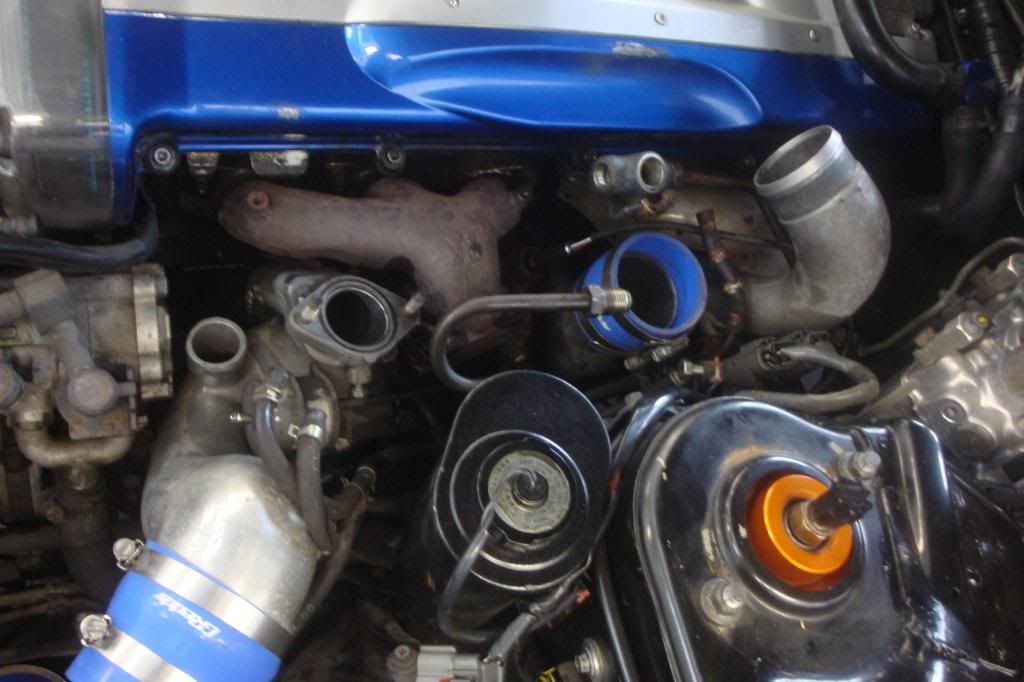
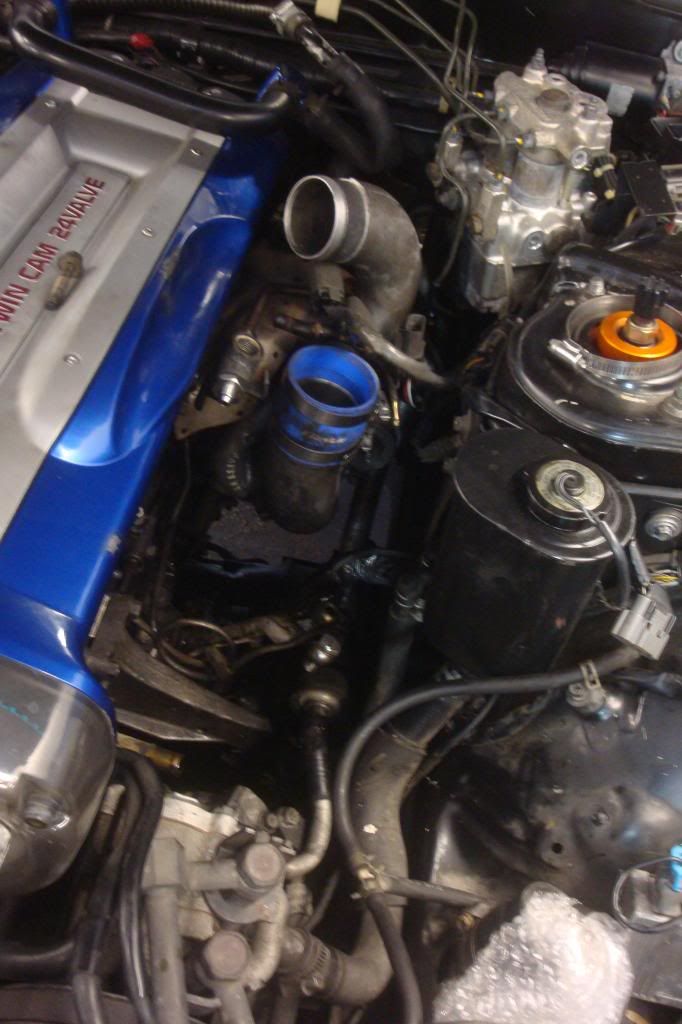
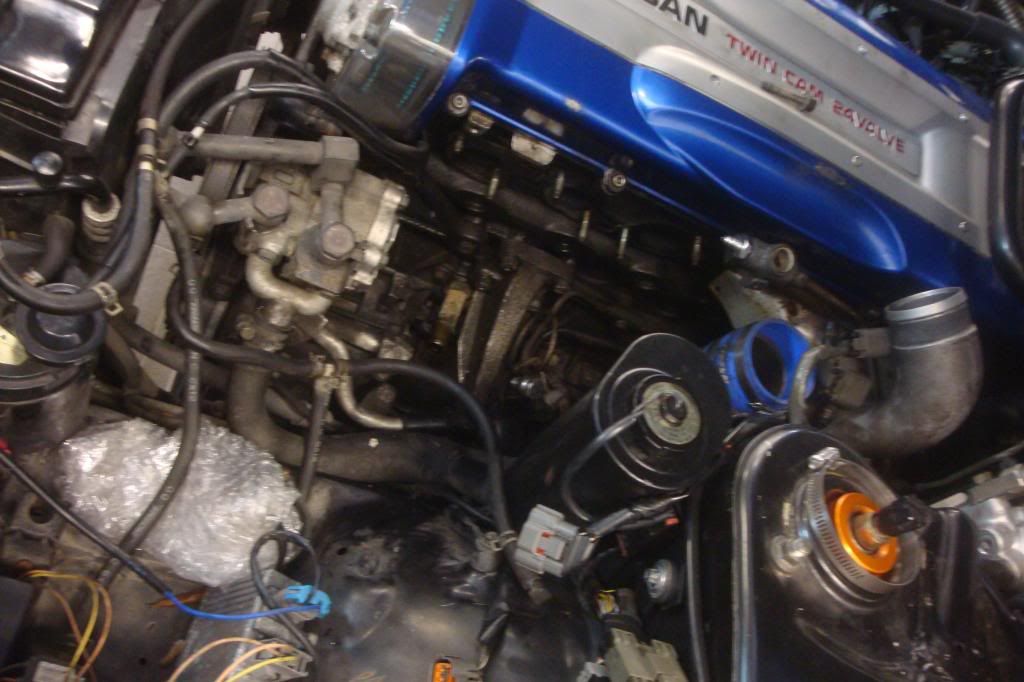
Now with all the proper lines attached and positioned it was time to give the rear turbo a new home...
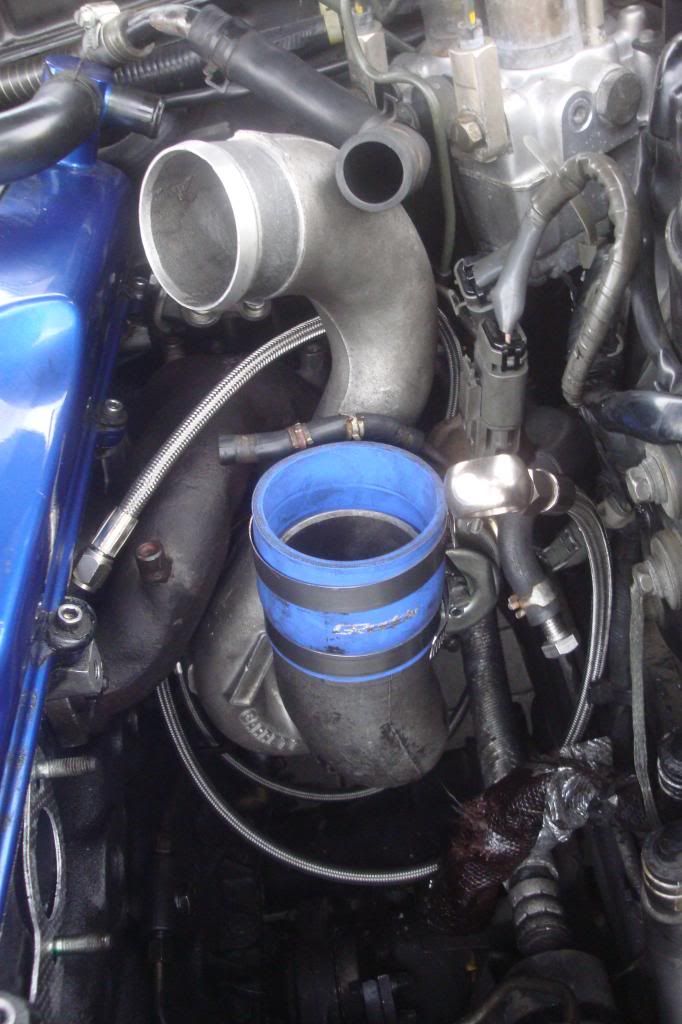
It went in much smoother than I originally assumed it would; for as much of a hassle they are to take out going back in is half the work... I set the turbo in first, connected the oil and water lines, then placed the manifold on top, hand tightened all the manifold nuts while I had room (turbo not attached yet), then lifted the turbo housing up into place on the manifold... tightened all the nuts appropriately and it was in...Jeremy Clarkson: "A turbo: Exhaust gasses go into the turbocharger and spin it, witchcraft happens and you go faster."
(OO\ skyline /OO)
http://www.youtube.com/watch?v=g2f55KOe7n4&feature=youtu.beComment


Comment