 Tweet
Tweet
I did a search but could only find a DIY how to for the GTS-T, so here are the steps for a GT-R. Sorry no pics. I replaced the stock pump with a Tomei unit. Should be the same procedure for OEM, and Nismo as well.
1. Pull the 15amp ( 6th from the left, top row I believe. Can someone else confirm this?).
2. Turn the car over to relieve fuel pressure.
3. Disconect negative from battery.
4. Pull out carpeting, and spare tire well cover from trunk.
5. Pull black foam tape from trunk floor on drivers side that holds pump wiring in place.
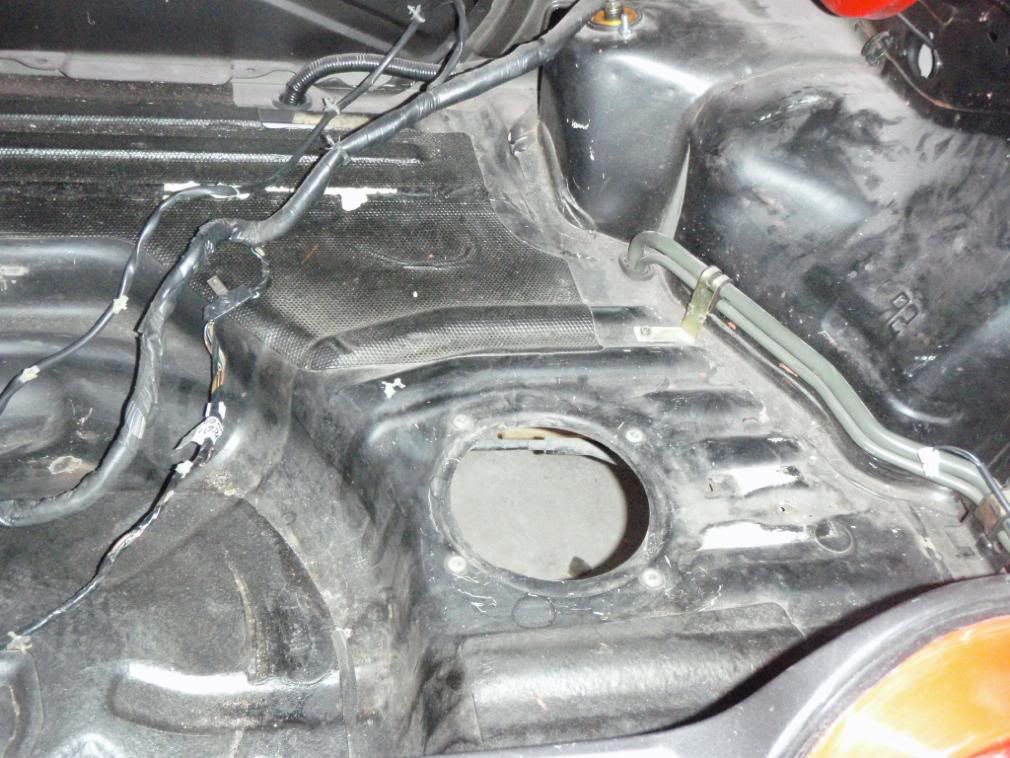
6. Take out the 4 screws that hold the cover on.
7. Pull the cover off and disconnect the two plug connectors.
8. Undo the hose clamps for the fuel supply and fuel return lines. (They are marked by direction of flow. Also the pressure side has the screw type clamp while the return uses the 3-prong style clamp.)
9. Pull of the 2 fuel lines and push them aside being carefull not to push them to far to the point where you can't reach them again.
10. Unscrew the locking ring counter-clockwise. I had to push on it with a flat head screw driver as there isn't alot of room for your hands. Place the locking ring aside.
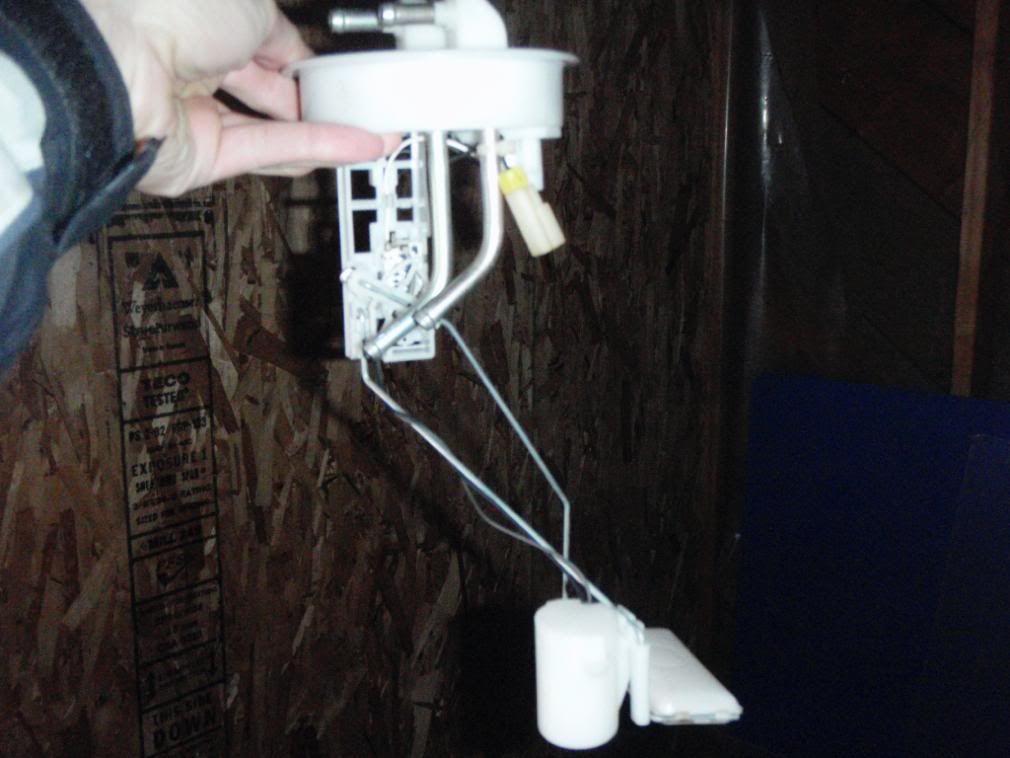
11. Carefully pull out the fuel level sending unit. It's a tight fit but it will come out. Set aside.
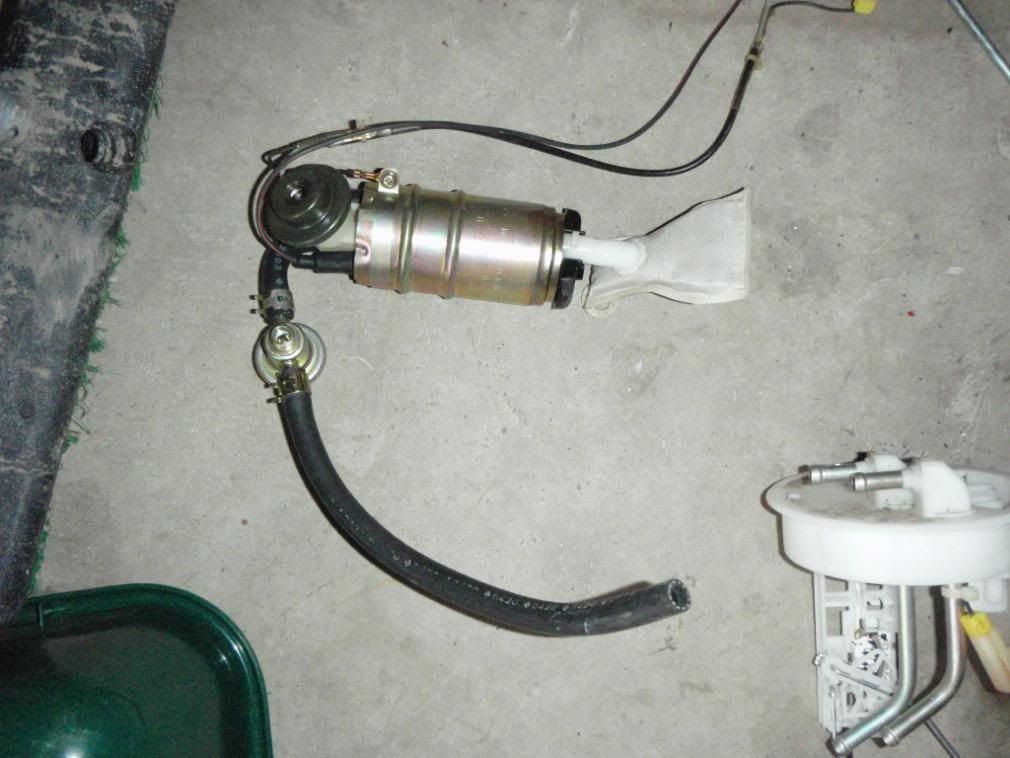
12. Reach into the fuel tank and on the driverside of the fuel pump where you can't see there is a plactic tab you have to push to release the pump so it can come out. Pull out the fuel pump.
13. Undo the two electrical connectors from the fuel sending lid, as well as the fuel line from the top of the pump.
14. The plastic carrier that the pump is in splits in two by pressing a couple of tabs. Remove the rubber isolator from the bottom of the oem pump and put on new pump.
15. Place new pump with rubber isolator in the plastic carrier.
16. Connect the two electrical connectors to the fuel sending lid, and connect the fuel line to the top of the pump.
17. Use zipties to strap the wiring to the fuel line so it is not dangling in the way.
18. Place new pump back into tank and make sure it clicks back into place again.
19. Carefully put fuel level sender back into tank.
20. Reverse order of disassembly for everything else.
If I missed something feel free to add.
1. Pull the 15amp ( 6th from the left, top row I believe. Can someone else confirm this?).
2. Turn the car over to relieve fuel pressure.
3. Disconect negative from battery.
4. Pull out carpeting, and spare tire well cover from trunk.
5. Pull black foam tape from trunk floor on drivers side that holds pump wiring in place.
6. Take out the 4 screws that hold the cover on.
7. Pull the cover off and disconnect the two plug connectors.
8. Undo the hose clamps for the fuel supply and fuel return lines. (They are marked by direction of flow. Also the pressure side has the screw type clamp while the return uses the 3-prong style clamp.)
9. Pull of the 2 fuel lines and push them aside being carefull not to push them to far to the point where you can't reach them again.
10. Unscrew the locking ring counter-clockwise. I had to push on it with a flat head screw driver as there isn't alot of room for your hands. Place the locking ring aside.
11. Carefully pull out the fuel level sending unit. It's a tight fit but it will come out. Set aside.
12. Reach into the fuel tank and on the driverside of the fuel pump where you can't see there is a plactic tab you have to push to release the pump so it can come out. Pull out the fuel pump.
13. Undo the two electrical connectors from the fuel sending lid, as well as the fuel line from the top of the pump.
14. The plastic carrier that the pump is in splits in two by pressing a couple of tabs. Remove the rubber isolator from the bottom of the oem pump and put on new pump.
15. Place new pump with rubber isolator in the plastic carrier.
16. Connect the two electrical connectors to the fuel sending lid, and connect the fuel line to the top of the pump.
17. Use zipties to strap the wiring to the fuel line so it is not dangling in the way.
18. Place new pump back into tank and make sure it clicks back into place again.
19. Carefully put fuel level sender back into tank.
20. Reverse order of disassembly for everything else.
If I missed something feel free to add.


 )
)

Comment