Announcement

Collapse
No announcement yet.

Skyline GTR build/project *lots of pics + document

Collapse
X
 
  • Filter
  • Time
  • Show
Clear All
new posts

  • #91
    awesome advice, thanks for giving me so much to consider in the upcomming winter months when we will all be dieing to drive our cars but can't! lol

    and yea, a meet at autoworx or near autoworx would be SICK... but it would also be cool to maybe do it in a HUGE parking lot so they can set up cones and maybe allow a small drifting event or something ( i dono if that would ever fly though.. i can't see that being legal anywhere lol)

    do you have a project thread going? specs or pics on your car?
    (im in physics and concordia... so i understand what ur talkin about! ... do you use solidworks? im using solid works now to help me engineer my twin turbo top pipe.. im gonna come up with the smoothest flowing design possible and fabricate it myself)
    The SkyLife Community & News Website --> http://www.skylife4ever.com

    Comment


    • #92
      i'm going to start writing my own project thread today, but its going to have ALOT of info in the first post(s) since i got the car back in April, and done alot of work on it

      i yeah i used to use soilid works in cegep, very user friendly software
      but now i have to use Catia
      sigpic

      [links to all chapters in first post]

      Comment


      • #93
        sweet! keep in touch buddy, shoot me a PM next time u hit the track maybe ill just come to watch first and see what its all about.
        The SkyLife Community & News Website --> http://www.skylife4ever.com

        Comment


        • #94
          i'll be at st-eustasche tomorrow from 6pm to 7pm for my last track session of the season

          you can come and watch, call me when you get there

          edit; just started writing my project car thread if you want to go take a looksy, i'll add alot in the following days
          sigpic

          [links to all chapters in first post]

          Comment


          • #95
            Well that certainly was a LOT of reading Josh, amazing build progress.. Given me a lot of ideas for this winter, especially after i saw those calipers...
            We'll meet up soon and discuss some CF
            Check out the GTST Projects page and keep up to date with my build!
            www.nelsonmx.wordpress.com
            Like us on Facebook! www.facebook.com/NelsonMX
            Any part inquiries can be forwarded to marc@nelsonmx.com

            Comment


            • #96
              Well time for some more updates~!

              last week, a buddy and I went out for a run at the JDM shops here in Montreal, we know they just extended the ban on RHD in quebec for another 6 months so we figured now would be a great time to get some good deals on parts... if you can find what your looking for! LOL... in these shops its really sort of tough to find anything, and a lot of times you find something, they tell u its not for a skyline.. and u buy it anyways because you KNOW it is of course for a skyline ...lol

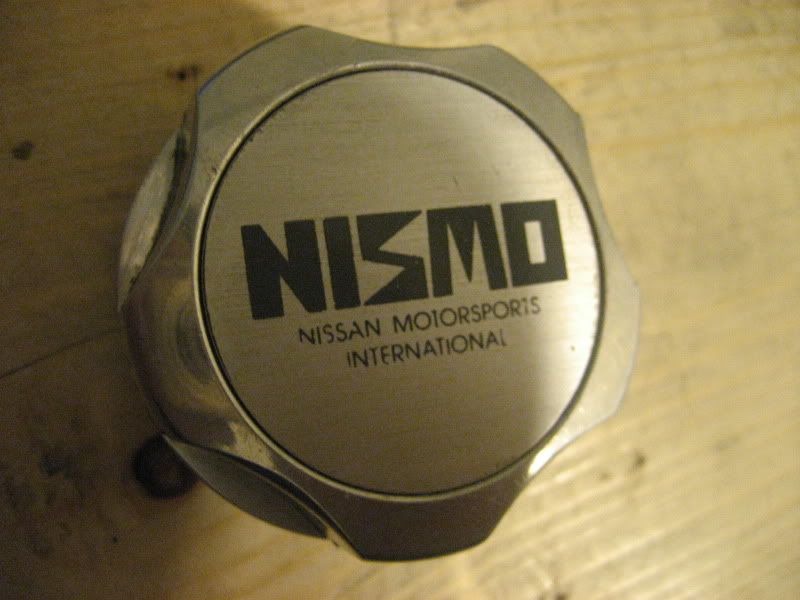
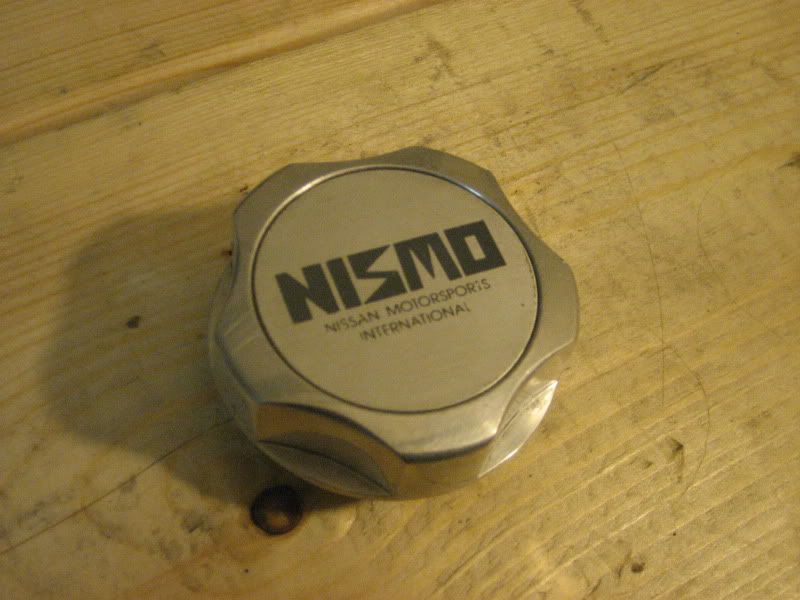
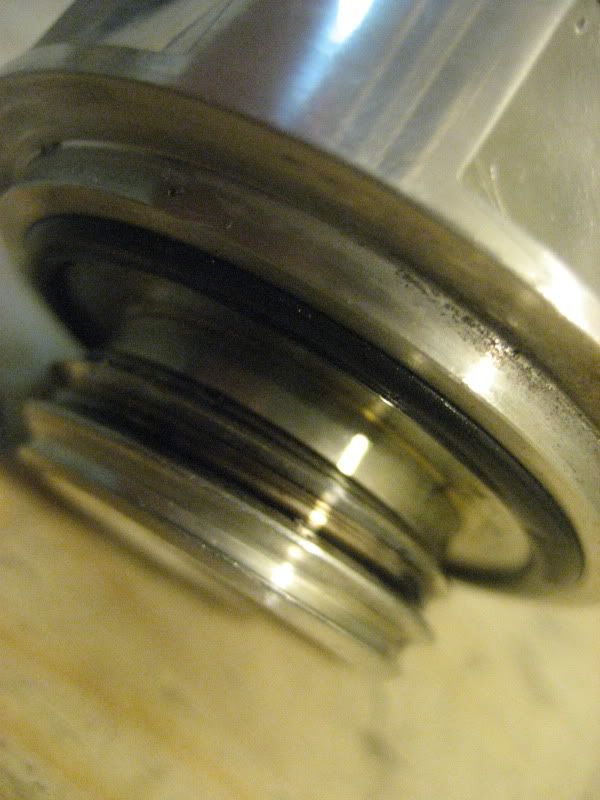
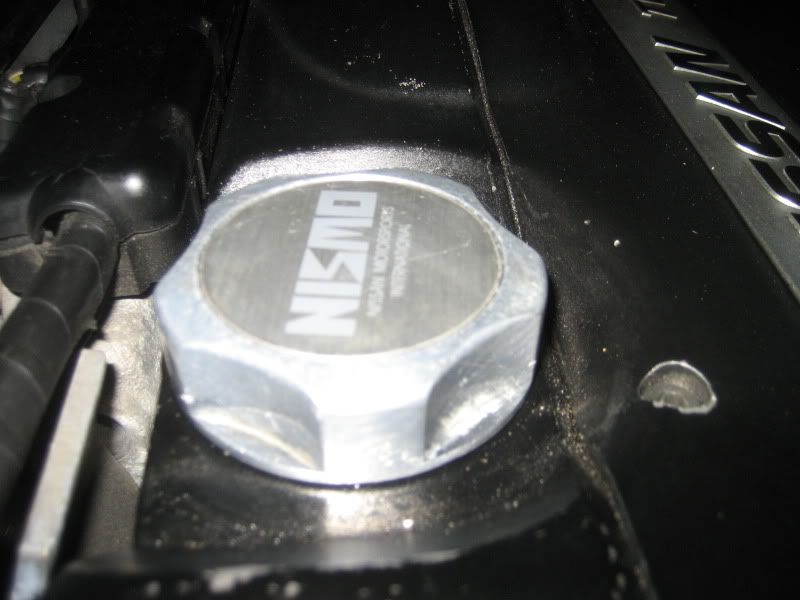
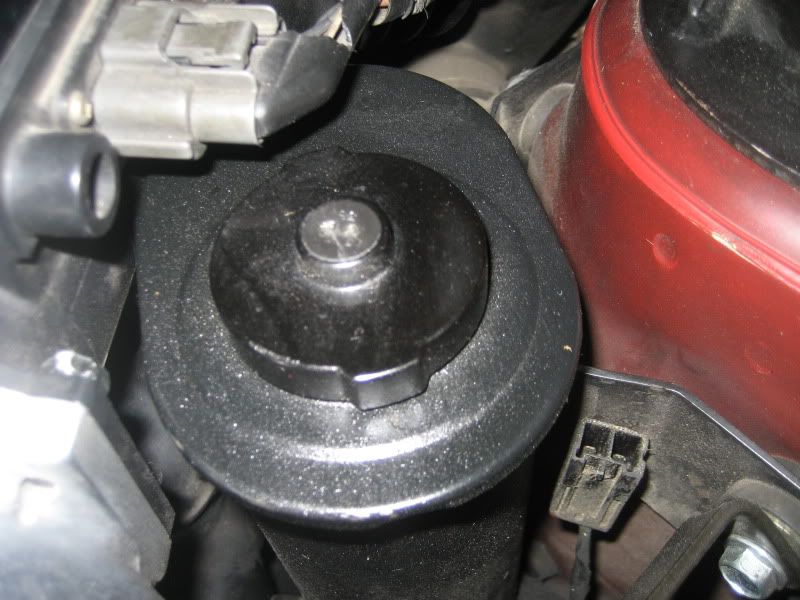
              anyways, peeped this nice little beauty under the hood of a front clip from a GTR... gave the guy some $ + my OEM oil cap for it.

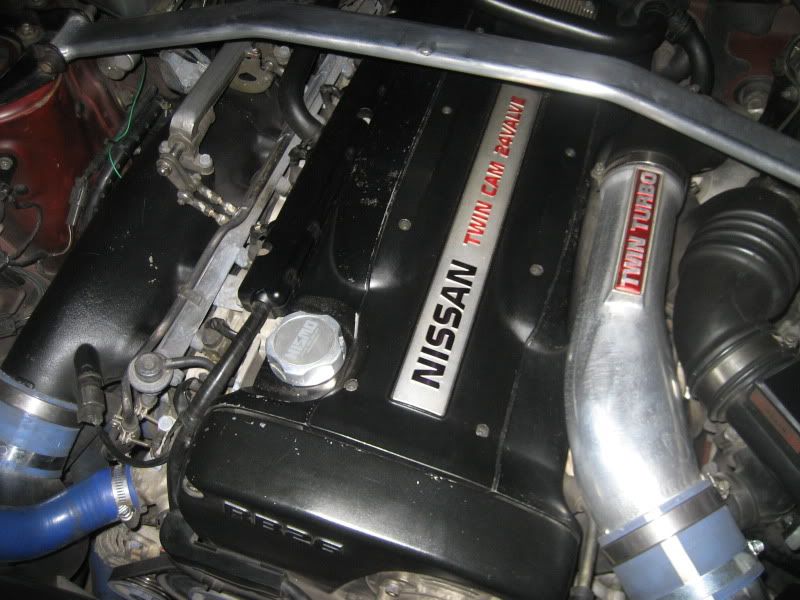
              Genuine NISMO alloy oil cap... wooot!


              I wanted a nice picture of it installed but since its dark in the garage and my camera has recently been acting up i couldnt get a nice shot of it.. regardless.. its installed lol


              ================================================== =================
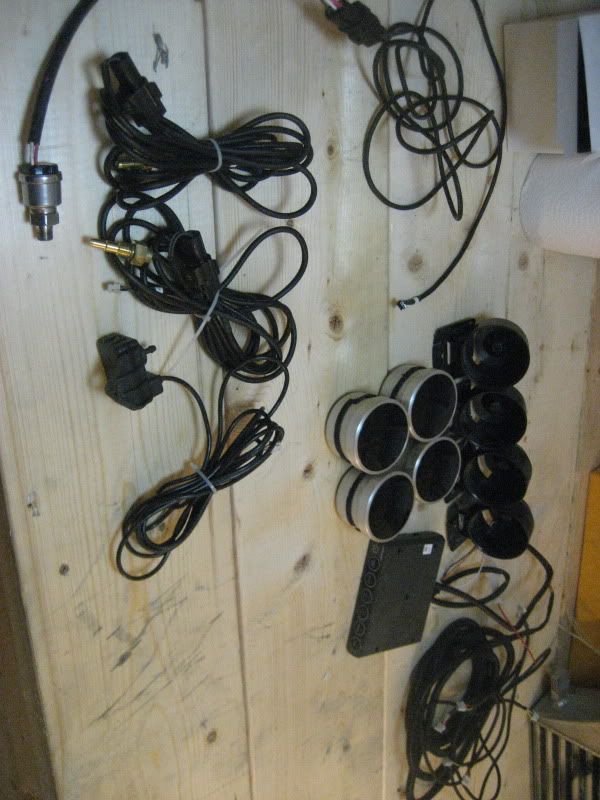
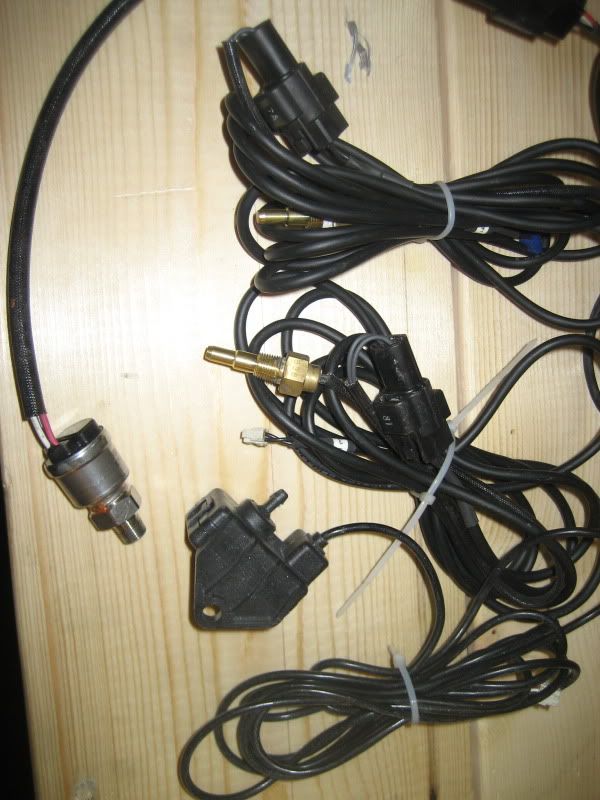
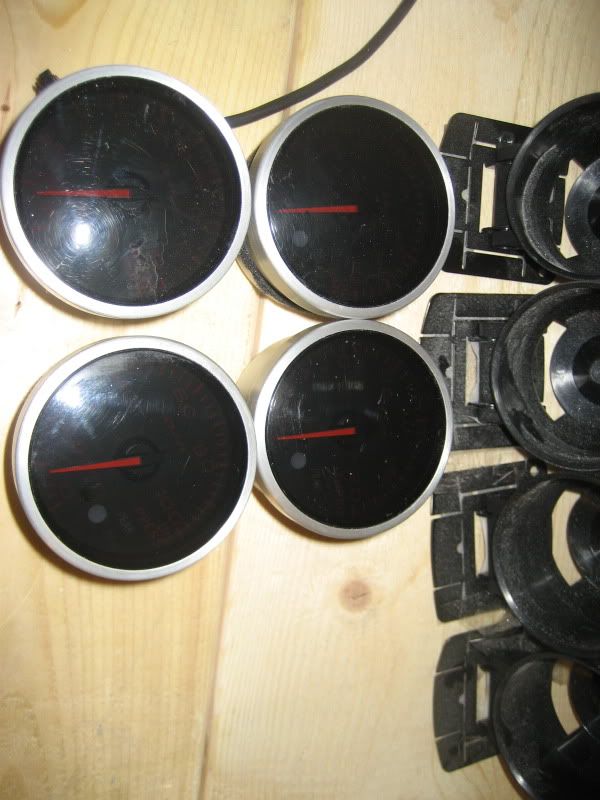
              I've felt in the dark for a long time, using only the OEM gauges...and since im a huge Defi fan i couldnt resist....

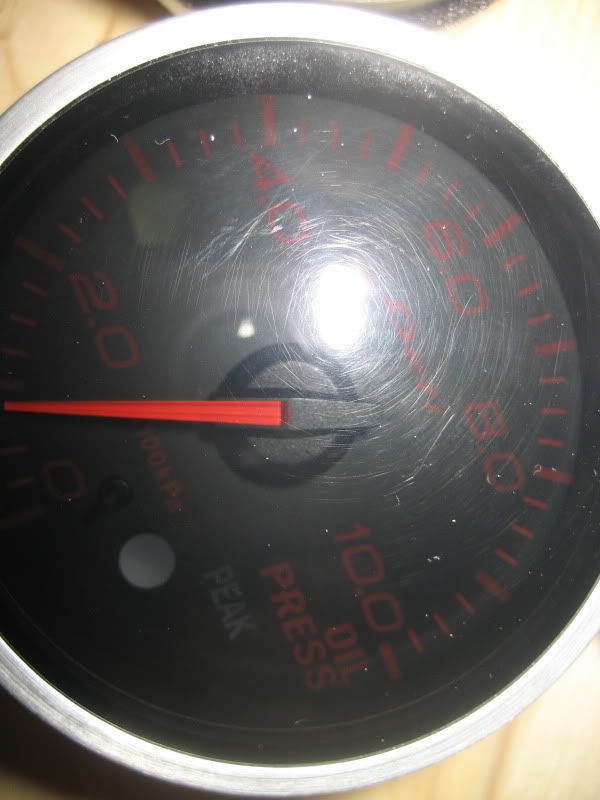
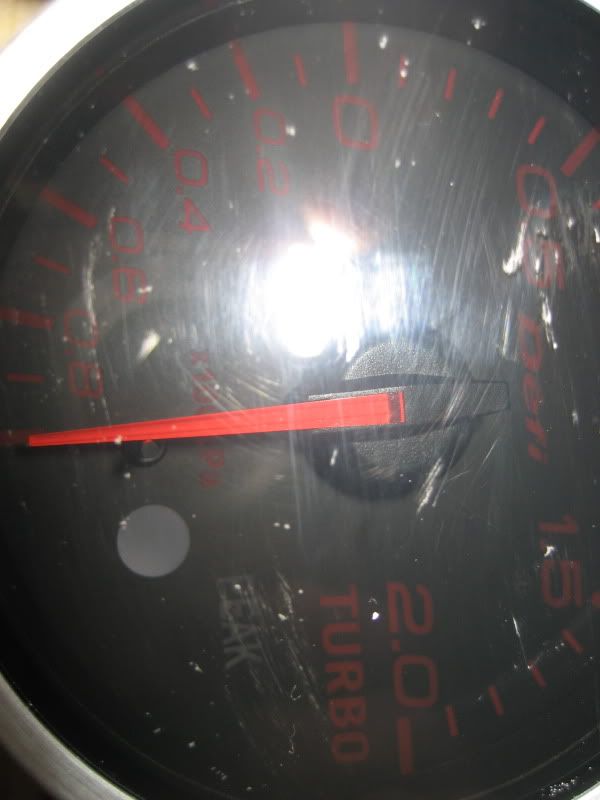
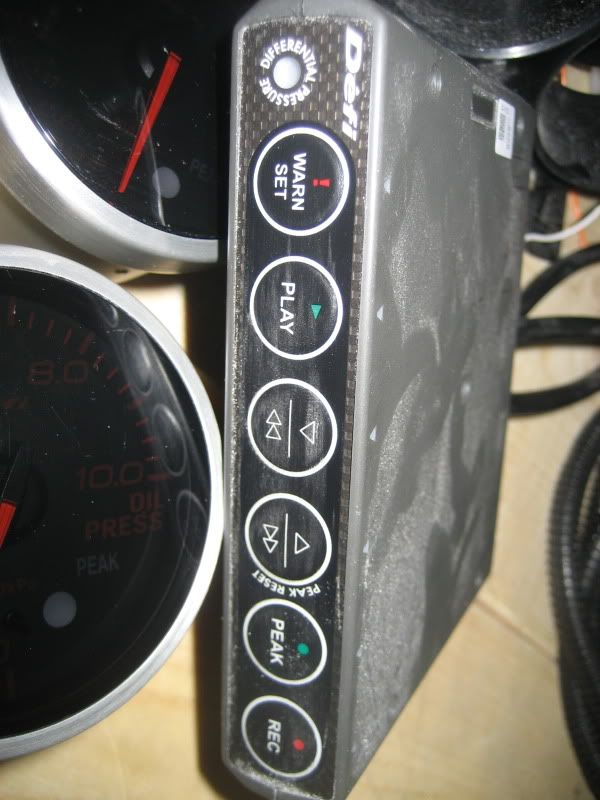
              Defi Link Meter Controller System with BF gauges Amber in color: Oil Pressure + Oil Temperature + Water Temperature + Boost Pressure... (the lenses arent scratched just my stupid camera flash make it look that way and the controller is covered in dust apparently lol)

              i have also converted the bulbs in the AC unit from green to RED now as well.. im just waiting for a few bits for my speedo cluster and ill be converting that to RED too. pics will be later in the seson of those once they're completed


              ill do a seperate post for what came next as its a pretty awesome piece... !!!
              The SkyLife Community & News Website --> http://www.skylife4ever.com

              Comment


              • #97
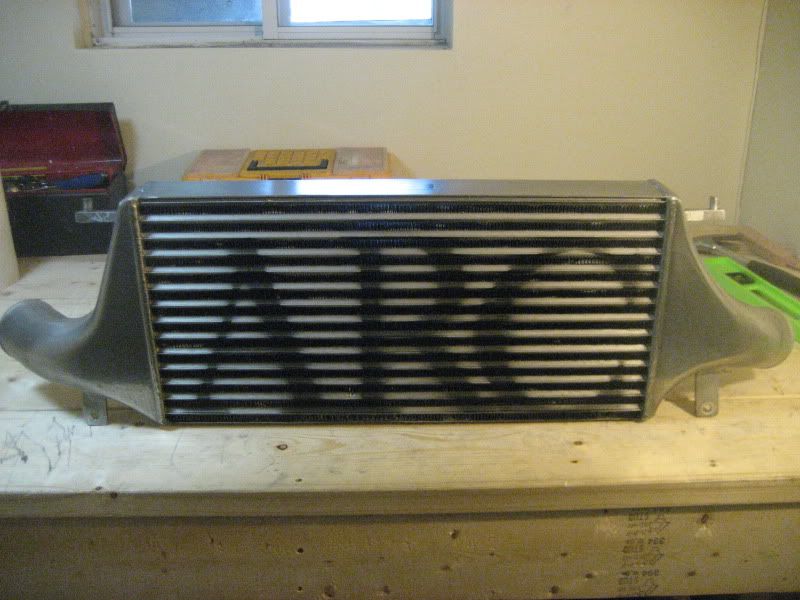
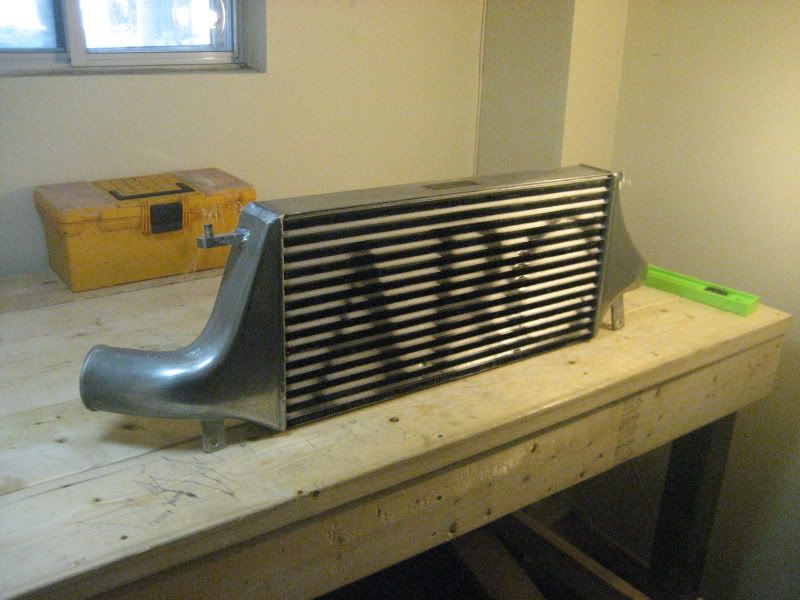
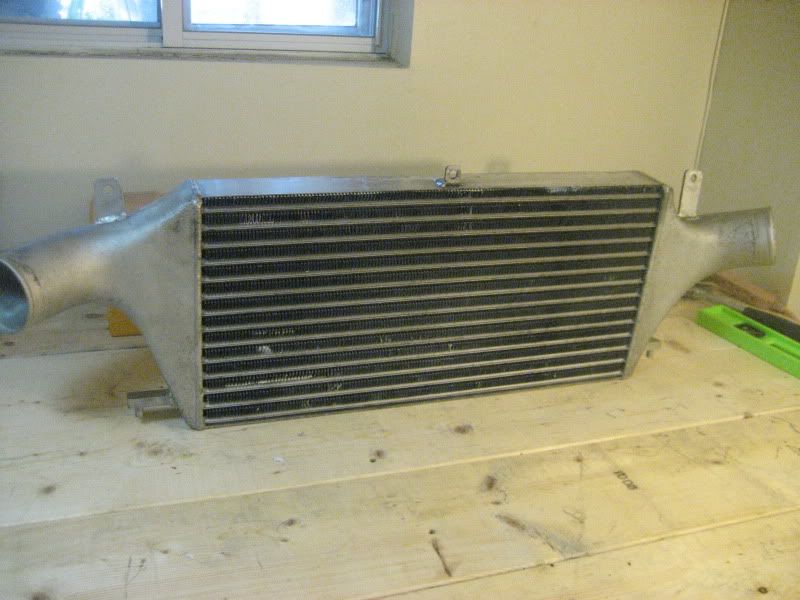
                so here its.. my new intercooler... its taller and a little longer than oem... and also 10mm thicker than oem.. i wanted to stay relatively small as i don't want too much pressure drop since i don't run crazy high boost, and i probably won't be running high boost for a year or so.

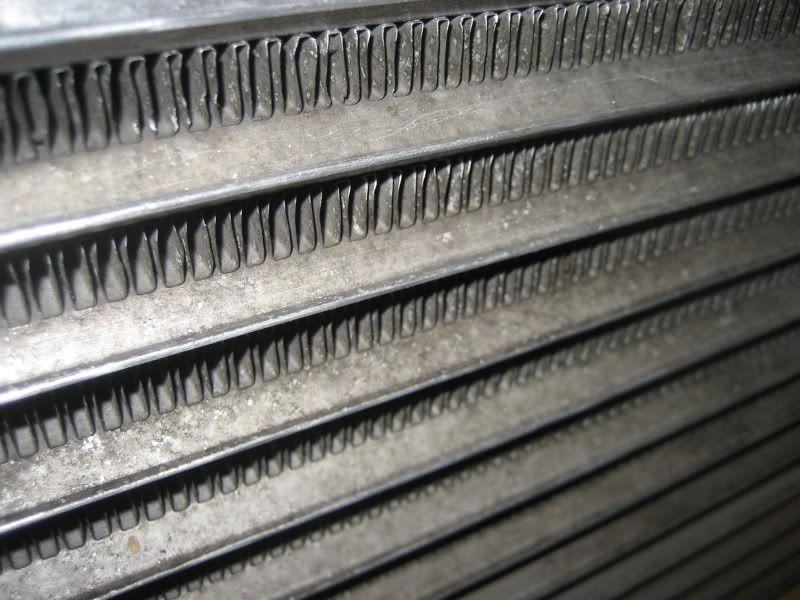
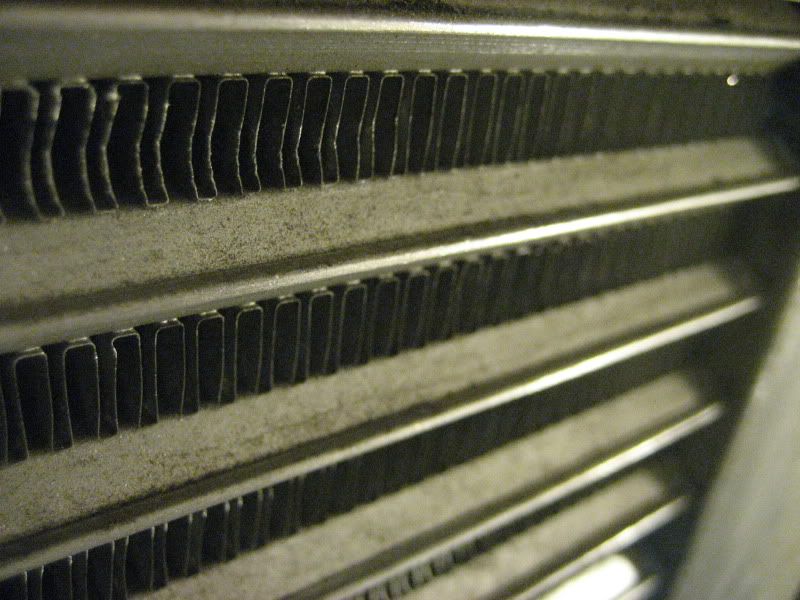
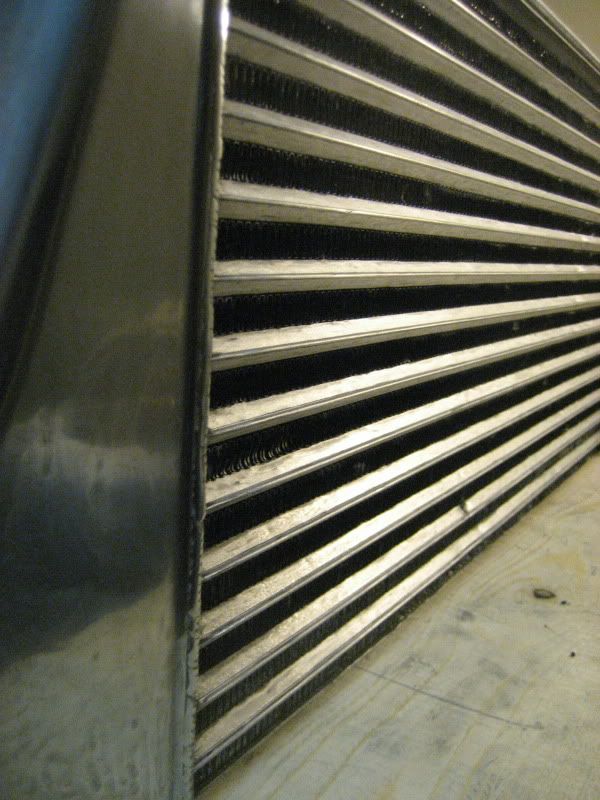
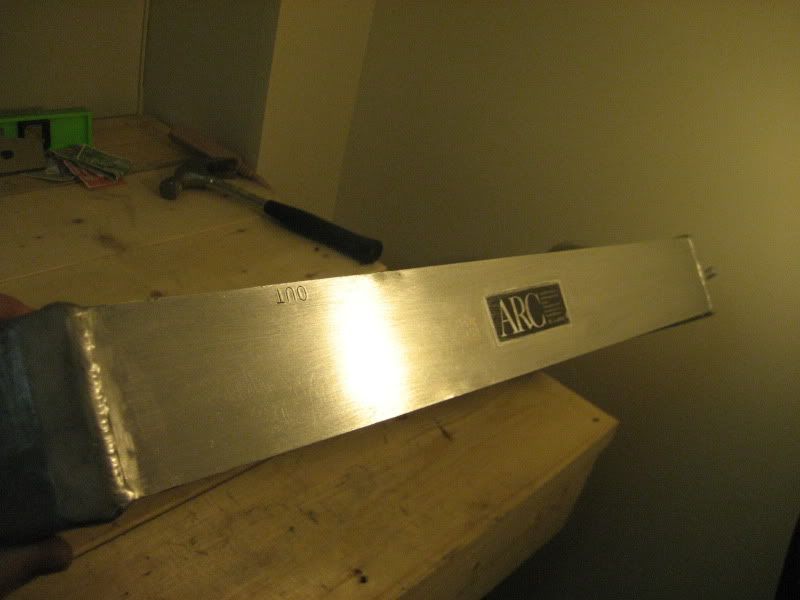
                anyways its an ARC Front Mount Intercooler, lucky find... how ever its clearly been burried away a long time... it was in REALLY rough shape when i picked it up (Neslonxmarc can testify to that! lol) the bottom was all mashed in, it was very discolored, and there was oil visibly inside. so! heres what i did:

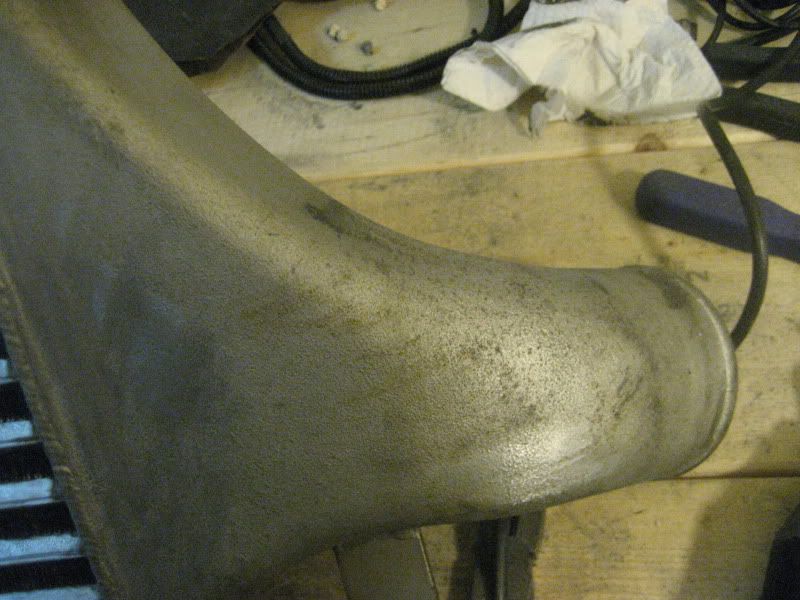
                you can see here the gunk/corrosion all over the aluminum channel tanks:


                so i whipped out my old faithful Dremel and began working with that tiny little wire brush wheel to remove all the old corrosion and not damage any more fins, i also fixed the bottom where it was all mashed... i couldnt fix ALL the fins there.. but the majority came out ok.

                and YES we pressure tested it and it doesnt have any leaks


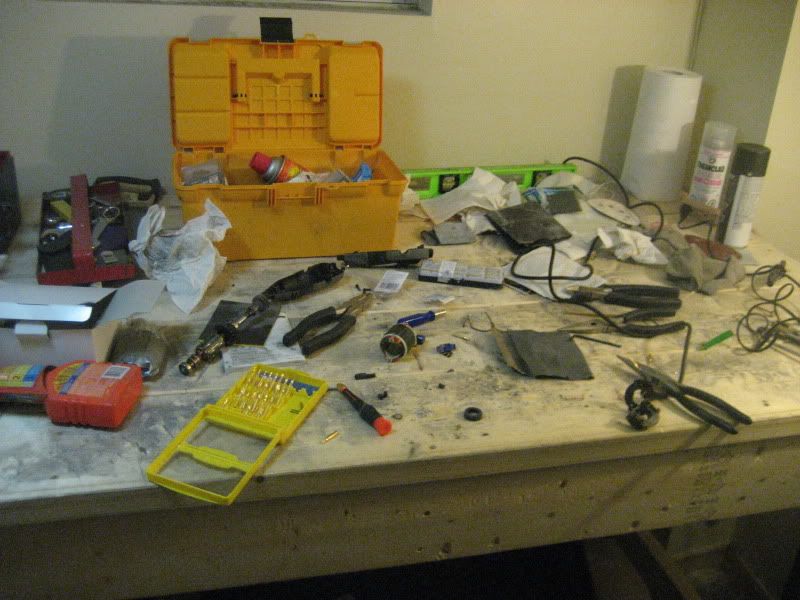
                After hours of grinding and sanding with the poor little dremel.. it gave up.. so i went to replace the motor brushes inside and the old ones got SO HOT.. that they melted some stuff around them.. anyways cleared it all out, replaced them.. plugged it back in.. and i guess it melted a wire or soemthing inside too! cause when i plugged it in.. it burst into flames!!!!... no more dremel... LOL


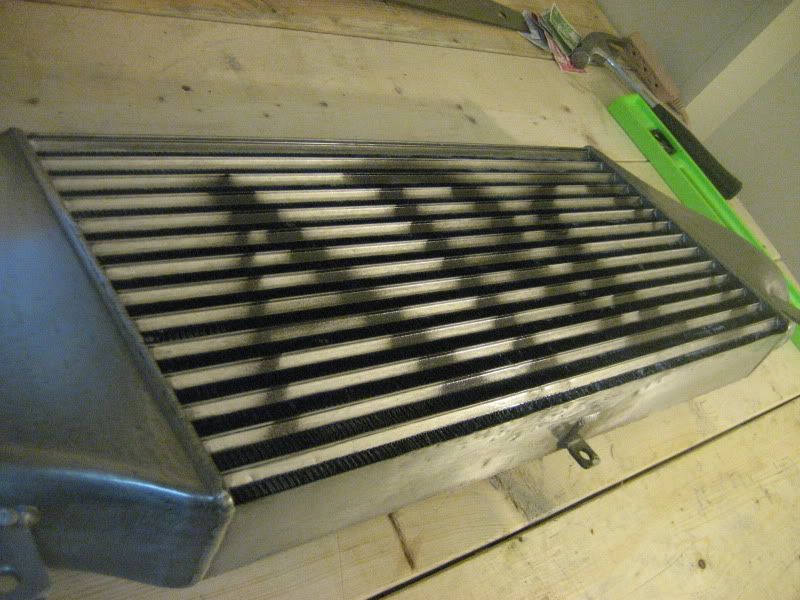
                alright so i was able to bring the entire thing to a pretty awesome shine and clean:


                but now i had to address the cleanliness of the inside.. so i went to the bathtub... and filled the tub with scalding hot water... a few rinses through the intercooler revealed a slurry of oilly crud that just didnt seem to want to end regardless of how many rinses... so i poured in some harsh chemicals... and all of a sudden a neon green (engine coolant) and oil came flushing out...

                i did 4 passes with the solvent chemicals and hot water untill the liquid went in one side and came out the other clean.. then did 4 more passes of just hot water to confirm nothing was left.. finally it was clean on the inside and out!

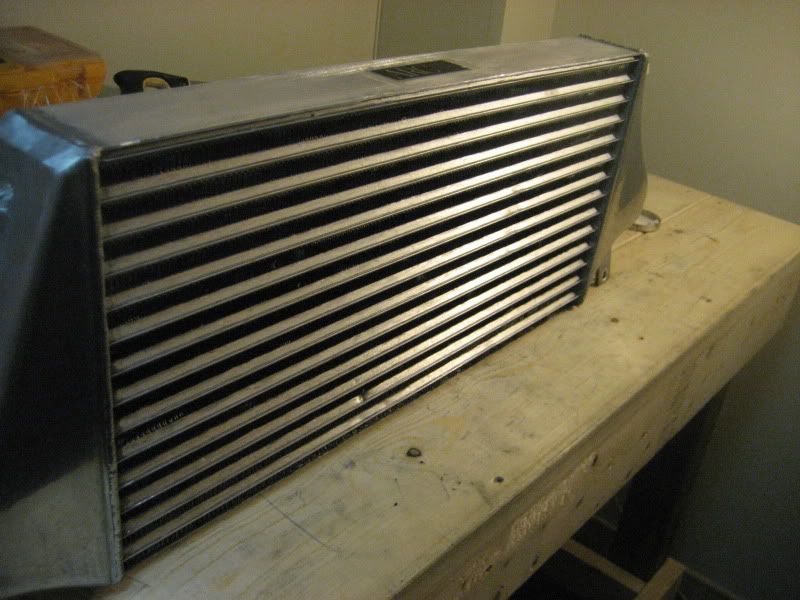
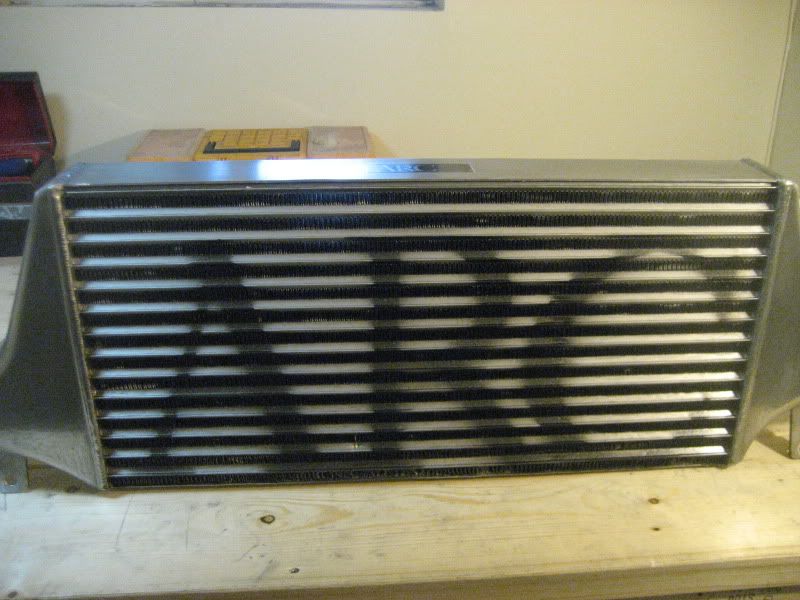
                brought it back downstairs, made an "ARC" stencel and enlarged logo... sprayed on some metal black to put the logo back on the intercooler.. and got a supply of clear coat to help protect it from corroding ever again... i swear this was a 30+ hour job!..

                anyways heres the finished product:


                got a lot planned for winter so stay tuned!
                The SkyLife Community & News Website --> http://www.skylife4ever.com

                Comment


                • #98
                  wow, incredible find on the oil filler cap, at which shop did you find it?

                  and incredible work on the intercooler, looks sick!

                  and you didn't call me before heading out to those shops?! arg
                  sigpic

                  [links to all chapters in first post]

                  Comment


                  • #99
                    hah! Frank $h1t man, it completely slipped my mind, was kind of a last minute thing to head out! all the guys told us to come back in 3 weeks , so ill shoot you a PM before then bud!

                    the oil filler cap came from royal japanese racing cars or something? lol

                    thanks for the props on the IC!
                    The SkyLife Community & News Website --> http://www.skylife4ever.com

                    Comment


                    • Hahahaha;
                      plugged it back in.. and i guess it melted a wire or soemthing inside too! cause when i plugged it in.. it burst into flames!!!!... no more dremel... LOL
                      I can just picture this happening; all the excitement of the new brushes and wham! Spontaneously combusts.. epic.

                      Intercooler looks new! Love the stencil work on the front too. Man that thing had seen better days when we picked it up.. just goes to show you what 2 dremmels and serious man hours / arts and crafts time can really do to an abused and lonely intercooler.
                      Check out the GTST Projects page and keep up to date with my build!
                      www.nelsonmx.wordpress.com
                      Like us on Facebook! www.facebook.com/NelsonMX
                      Any part inquiries can be forwarded to marc@nelsonmx.com

                      Comment


                      • ...hrrrm speak of the devil! this next update is brought to you by nelsonxmarc himself! lol!

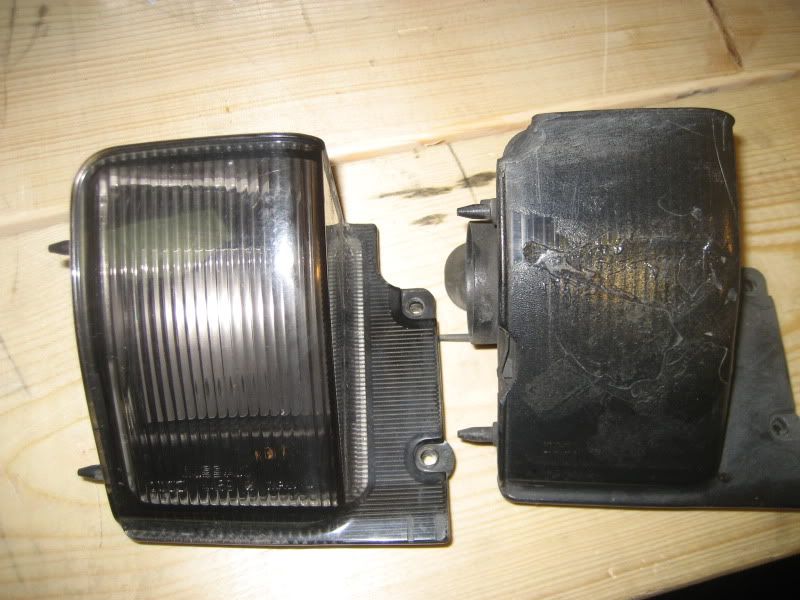
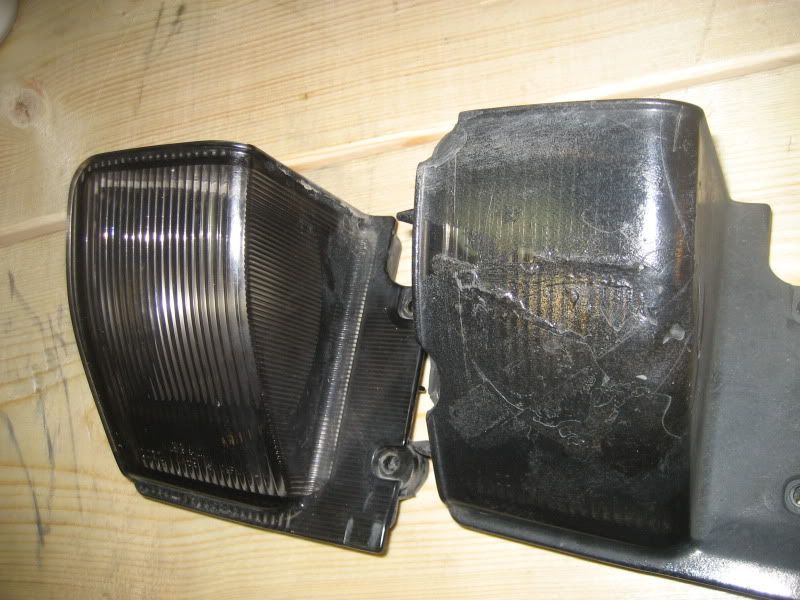
                        thanks to the generousity of marc, i was able to replace 2 parts of my car today that have been bothering me for a long time!

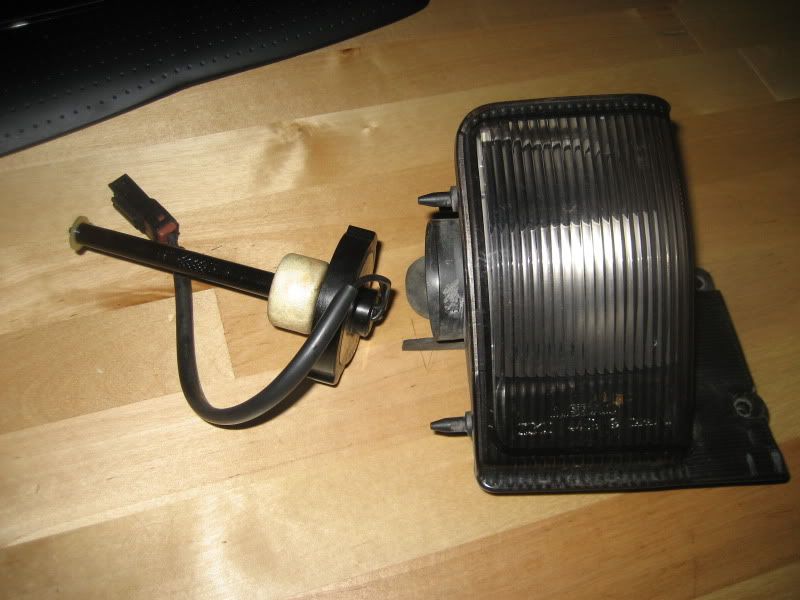
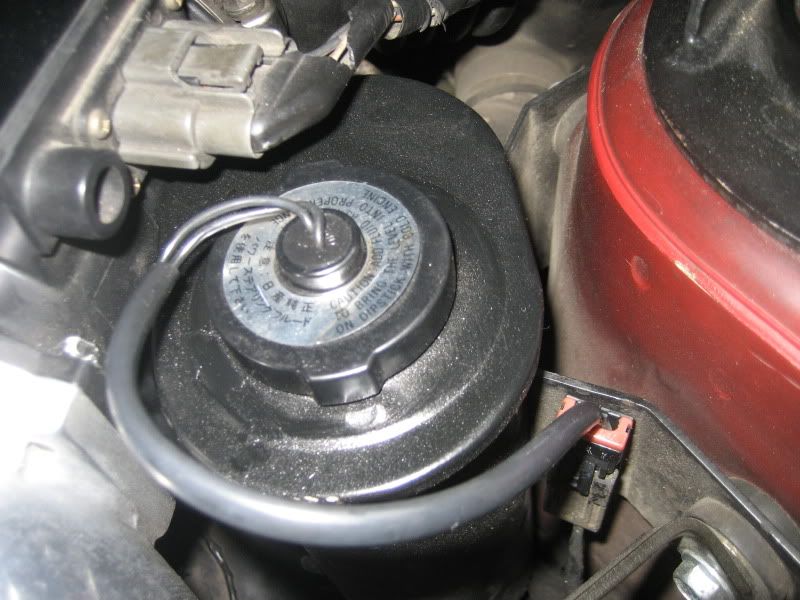
                        #1... that stupid power steering reservoir wire sensor thing broke off on me while i was removing the intake last summer... he hooked me up with a new one.

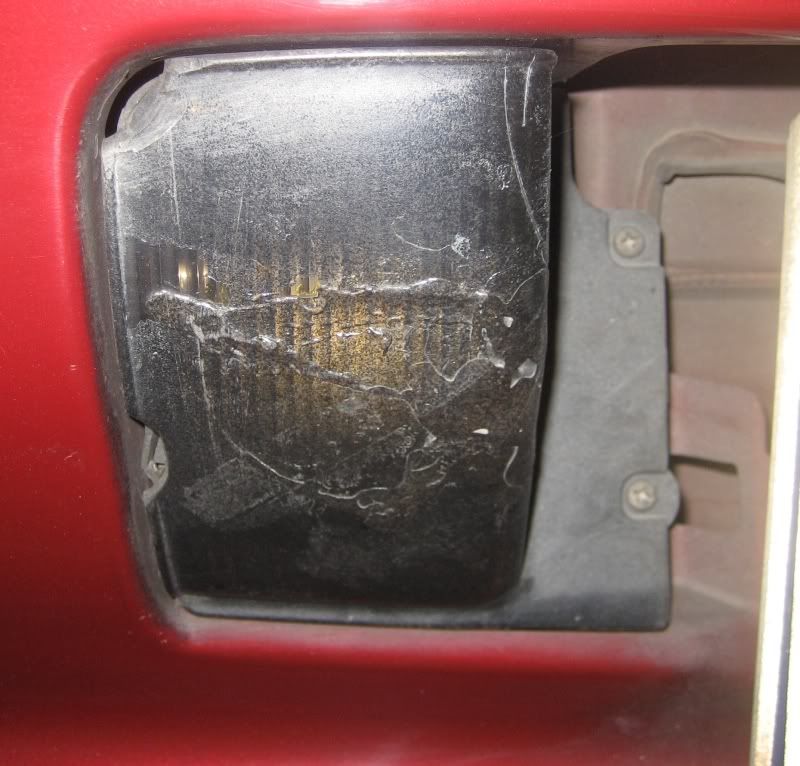
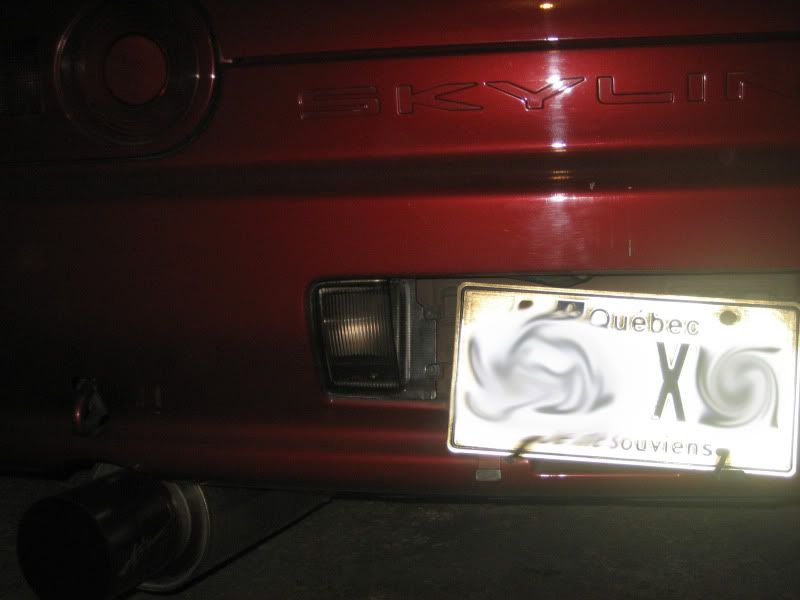
                        #2 the reverse light!.. some old bro in a bimmer backed into me in the parking lot last year, anyway he apologized and i was able to use some epoxy to repair the hole he put in the lense for the light, anyways marc hooked up a new one! woohoo!


                        out with the old:


                        in with the new:


                        my god out with the old:


                        and in with the new:


                        side by side compairison!

                        The SkyLife Community & News Website --> http://www.skylife4ever.com

                        Comment


                        • Never noticed how bad that lense was! Looks like the guy 'smoked' it for you.. LOL GET IT?!? ugh.. Glad that lense and cap went to good hands! looks a lot better, i wont lie haha.
                          Check out the GTST Projects page and keep up to date with my build!
                          www.nelsonmx.wordpress.com
                          Like us on Facebook! www.facebook.com/NelsonMX
                          Any part inquiries can be forwarded to marc@nelsonmx.com

                          Comment


                          • hey buddy, was looking back into your thread and i was wondering, were did you find those used cusco tension rods ?

                            and did you order the AMS FUCA directly from them?
                            sigpic

                            [links to all chapters in first post]

                            Comment


                            • hey frank! i got the tensions rods belive it or not from an original HKS drag racing car... some guy in the north shore bought the HKS dragster like 4 years ago from osaka.. osaka had no idea it was an HKS drag racing car and they sold it to him for $20,000 or so! man, that thing had a 2.8L stroker, full roll cage, and even massive custom wheel wells to house disgustingly big radial slicks... the guy told me he had to part it out to get cash to re build it to something more streetable, he said it was burnning rubber all the way through 4th gear!!! it was a monster! lol anyways, i bought the cusco rear UCA's and front tension rods off him, nice guy!

                              and ya i got the AMS FUCA directly from them.. its a great product, very solid!


                              just picked up some smaller parts, but important none the less!


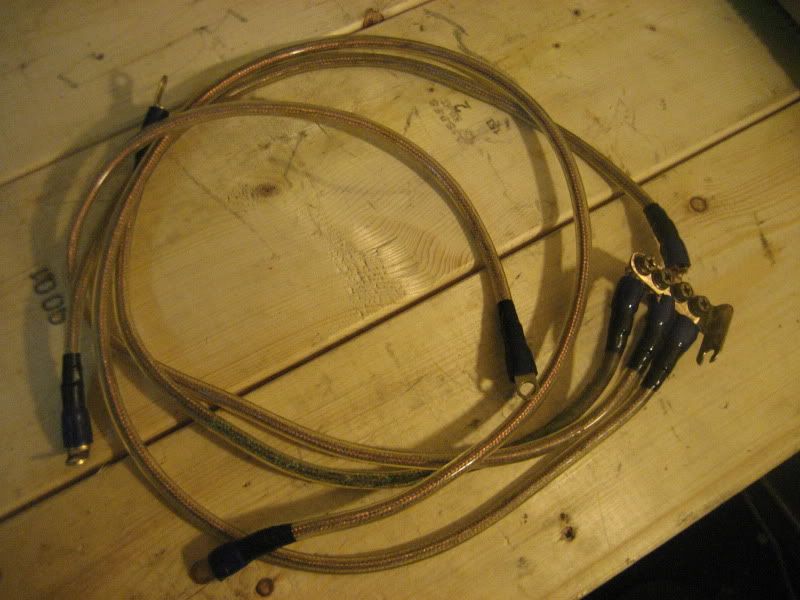
                              - Ground wiring earthing kit

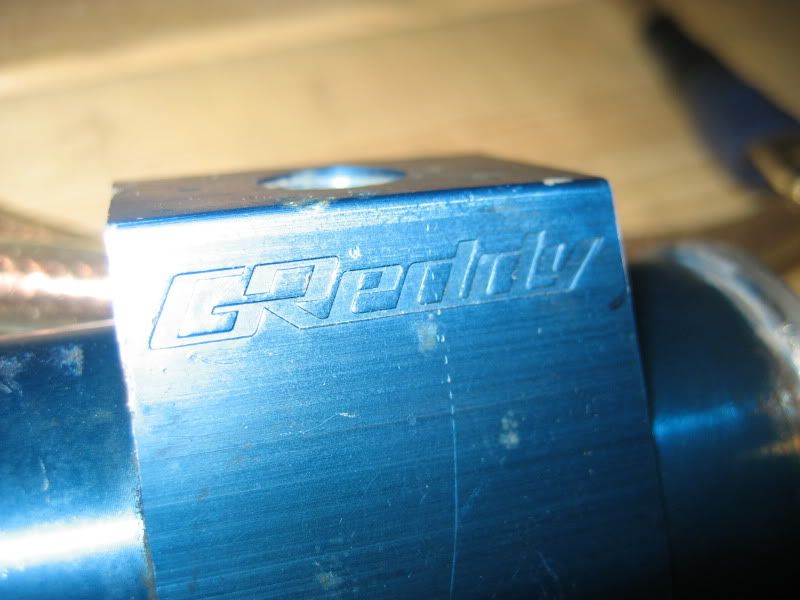
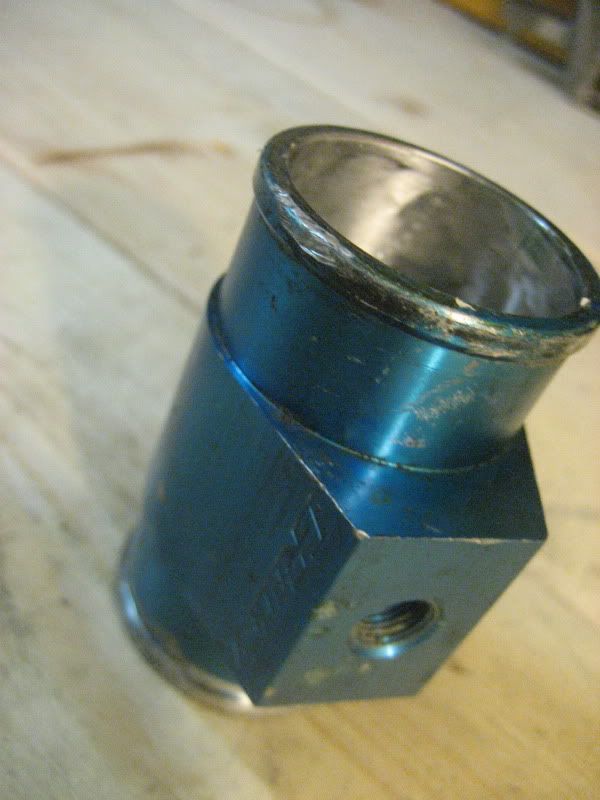
                              - Greddy radiator hose adaptor for the Defi water temp sensor

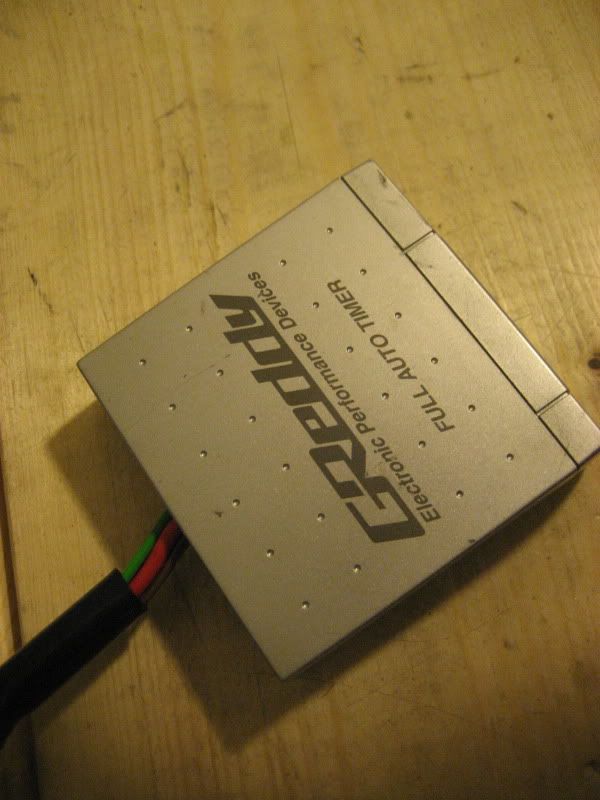
                              - Greddy Full Auto Timer w/ extension harness and IGN harness


                              Also just dropped the car off for another oil change I'll put up more pics once things start getting installed or if i happen to buy anything more!


                              The SkyLife Community & News Website --> http://www.skylife4ever.com

                              Comment


                              • Hey guys, i know the photos are dead at the moment but i assure you they will be back within a few hourse (new month).. stupid photobucket!

                                anyways im trying the new google picasa 3 program instead, see how you guys like it...

                                anyways a lot happened since last update!

                                i brought the car into autoworx for the end of season oil and filter change... but before anything else i wanted to make sure i was in good health (motor wise) before investing another $ into this car.

                                so i had a compression test done and i took photos of the whole thing to prove the awesome #'s

                                for the first 2 cylinders, they only let it crank 3 times cause they figured anything over 150 is fine... but for the others i wanted to crank 4 times to see if a higher reading was found... and it was. so thats why the first 2 cylinders seem low (usually its the last 2 cylinders that get low first!)

                                heres the #'s... and the proof!

                                Cylinder 1 @ 155.5 (PSI)
                                Cylinder 2 @ 154.5
                                Cylinder 3 @ 167.5
                                Cylinder 4 @ 163.0
                                Cylinder 5 @ 167.5
                                Cylinder 6 @ 160.0

                                and thats after a year of me driving it! im proud to say im a responsible GTR owner officially!! lol


                                heres the photos:


                                at the same time i was getting my Defi sensors installed into the proper locations, when they took off the upper rad hose to install the water temp sensor the top of the rad crumble away!

                                now i knew thats a pretty common problem so no blame to be laid.. it would've broke soon enough anyways!... and i had been meaning to replace my old worn rad for a while now.. just needed a kick in the pants!

                                so heres what we got:


                                they did a clean install, and i topped it off with a new 1.3 bar rad cap


                                then i also picked up one of these bad boys....


                                ive also just placed some orders from online spots... so check back soon theres more to come!!!
                                The SkyLife Community & News Website --> http://www.skylife4ever.com

                                Comment

                                Working...
                                X