If this is your first visit, be sure to
check out the FAQ by clicking the
link above. You may have to register
before you can post: click the register link above to proceed. To start viewing messages,
select the forum that you want to visit from the selection below.
If you look, the plate on the turbo has both the r34 n1 turbo part number, along with the -7 number. But on that website, it says they have different compressor housings??? They do have the same hp rating though.
that is proper weird,
thx for the link ! great info,
i've added an image in the last chapter with that info
Chapter 39 - That good ol' feeling of hard work week2 - 2011
disclaimer :
the following story depicts actions that occured between May 1st and 8th 2011
information is recalled purely from memory, endure with me
on week 1, the old oil had been emptied when the turbos were removed,
but it wasn't actually, not all of it,
since some oil was still stuck between the filter relocation plate and the oil cooler
but it was all thought out in the design of my oil cooler setup,
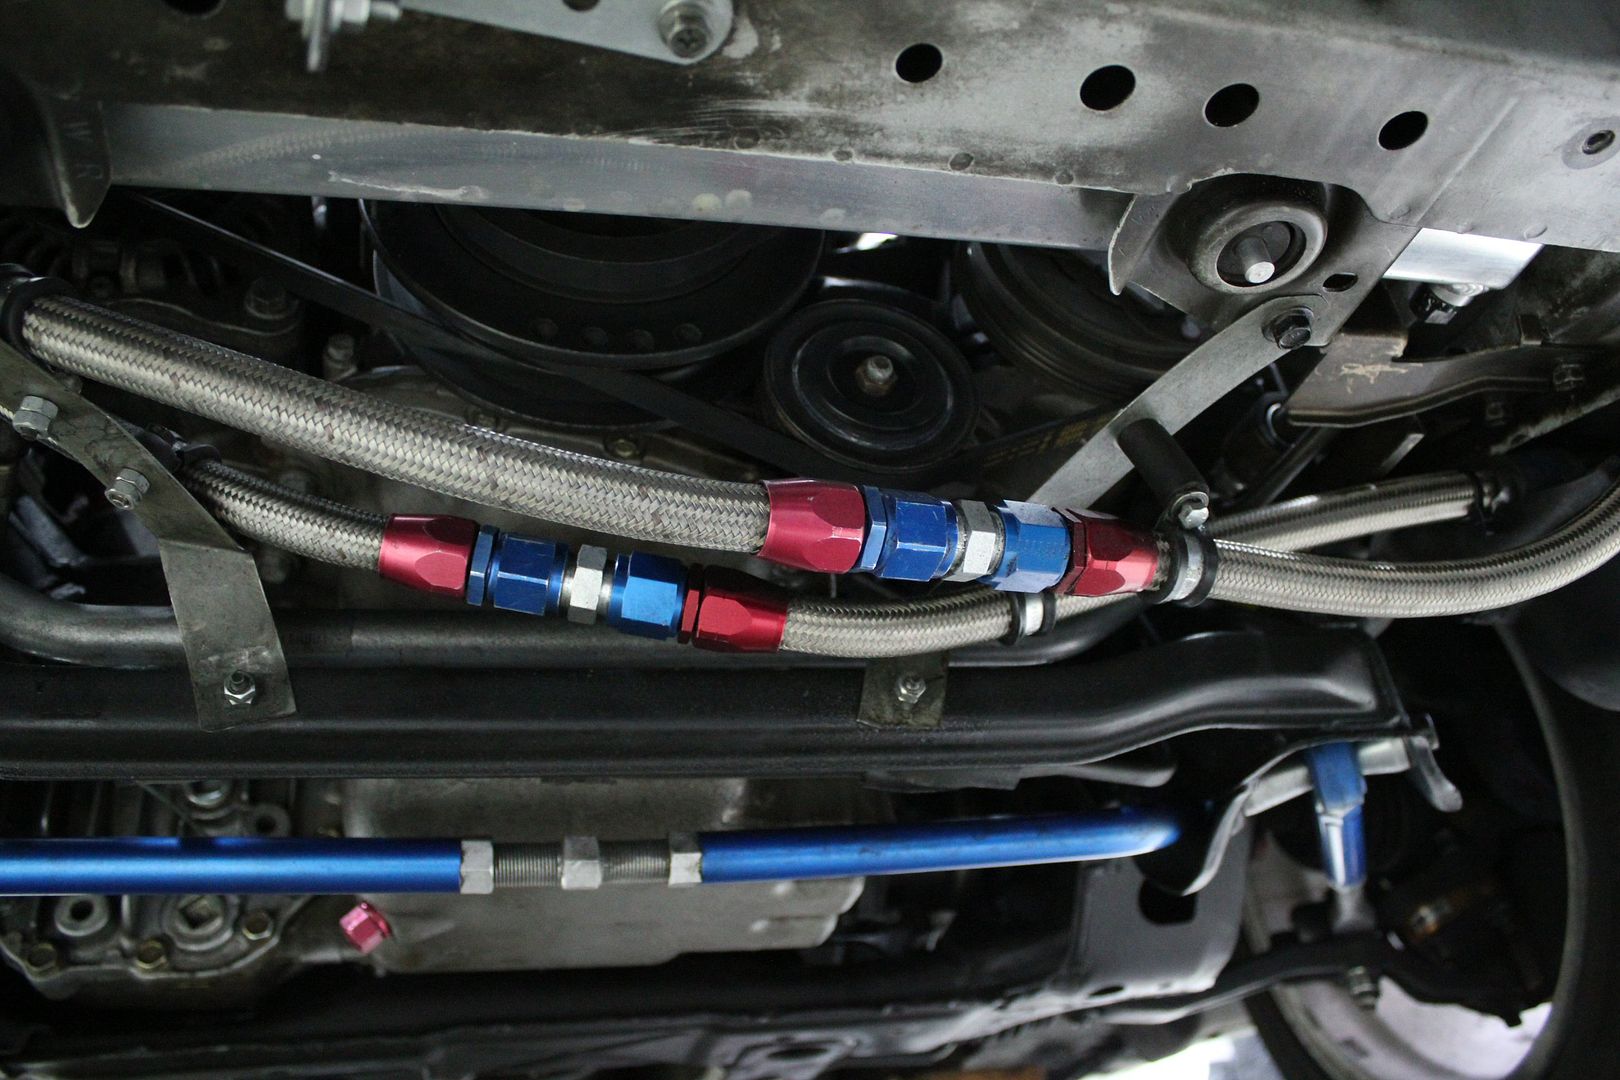
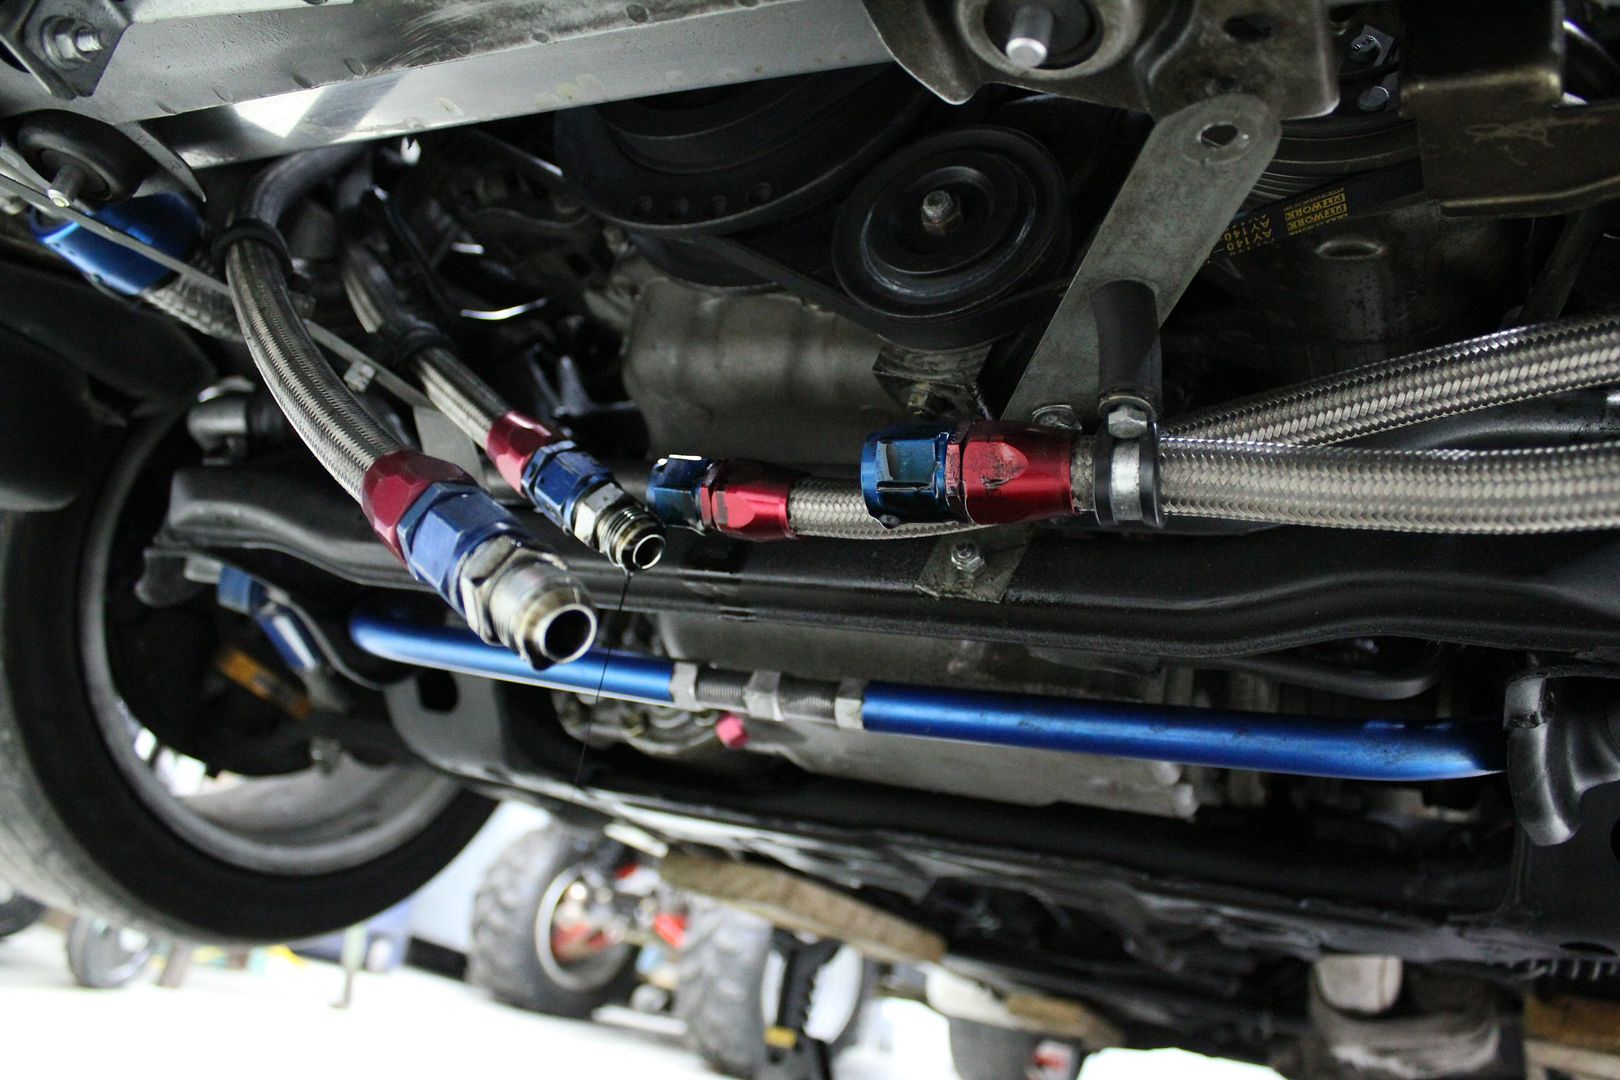
you see, the -10AN lines that join the filter to the cooler aren't whole
i made them in two sections each, that join directly underneath the car, almost in the same spot, where they are easily accessible
because of this, the lines could simply be seperated in the middle to empty for remaining oil,
you just let gravity work its magic (because gravity is magic, Newton was wrong )
but the cooler is pretty slow since the passages inside it are so small, it creates small pockets of suction,
so i found that pushing a low amount of air (~40psi) in one side of the cooler helped tremendously;
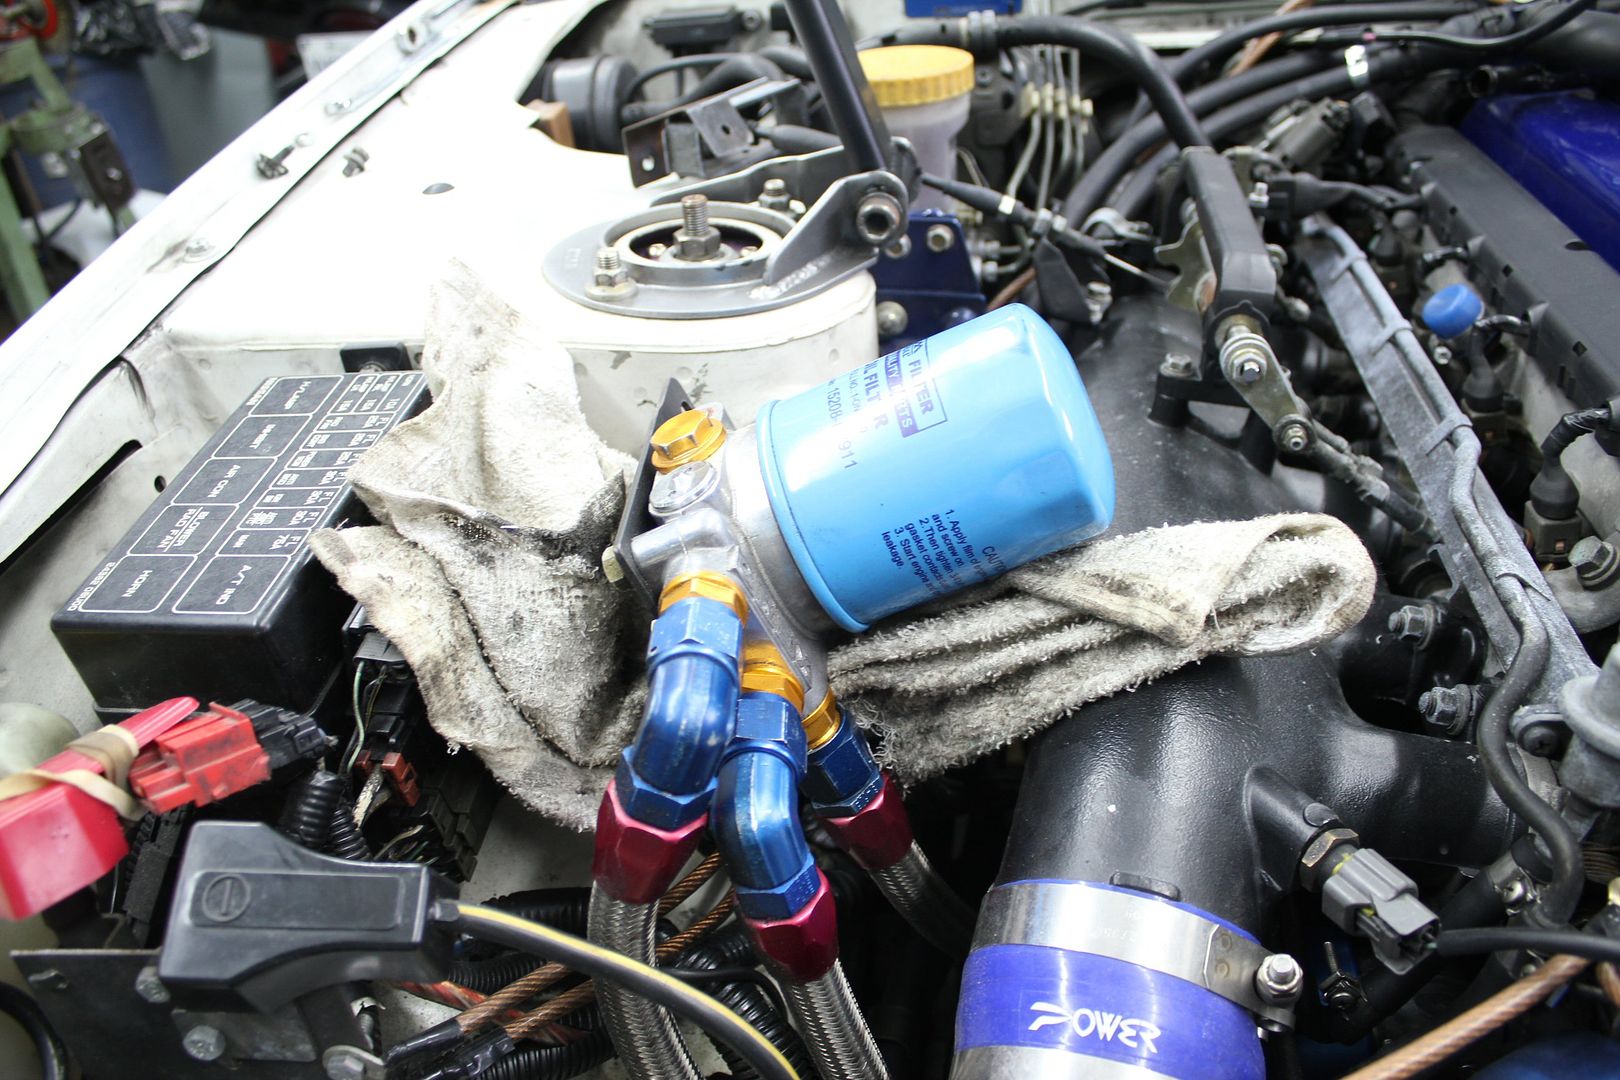
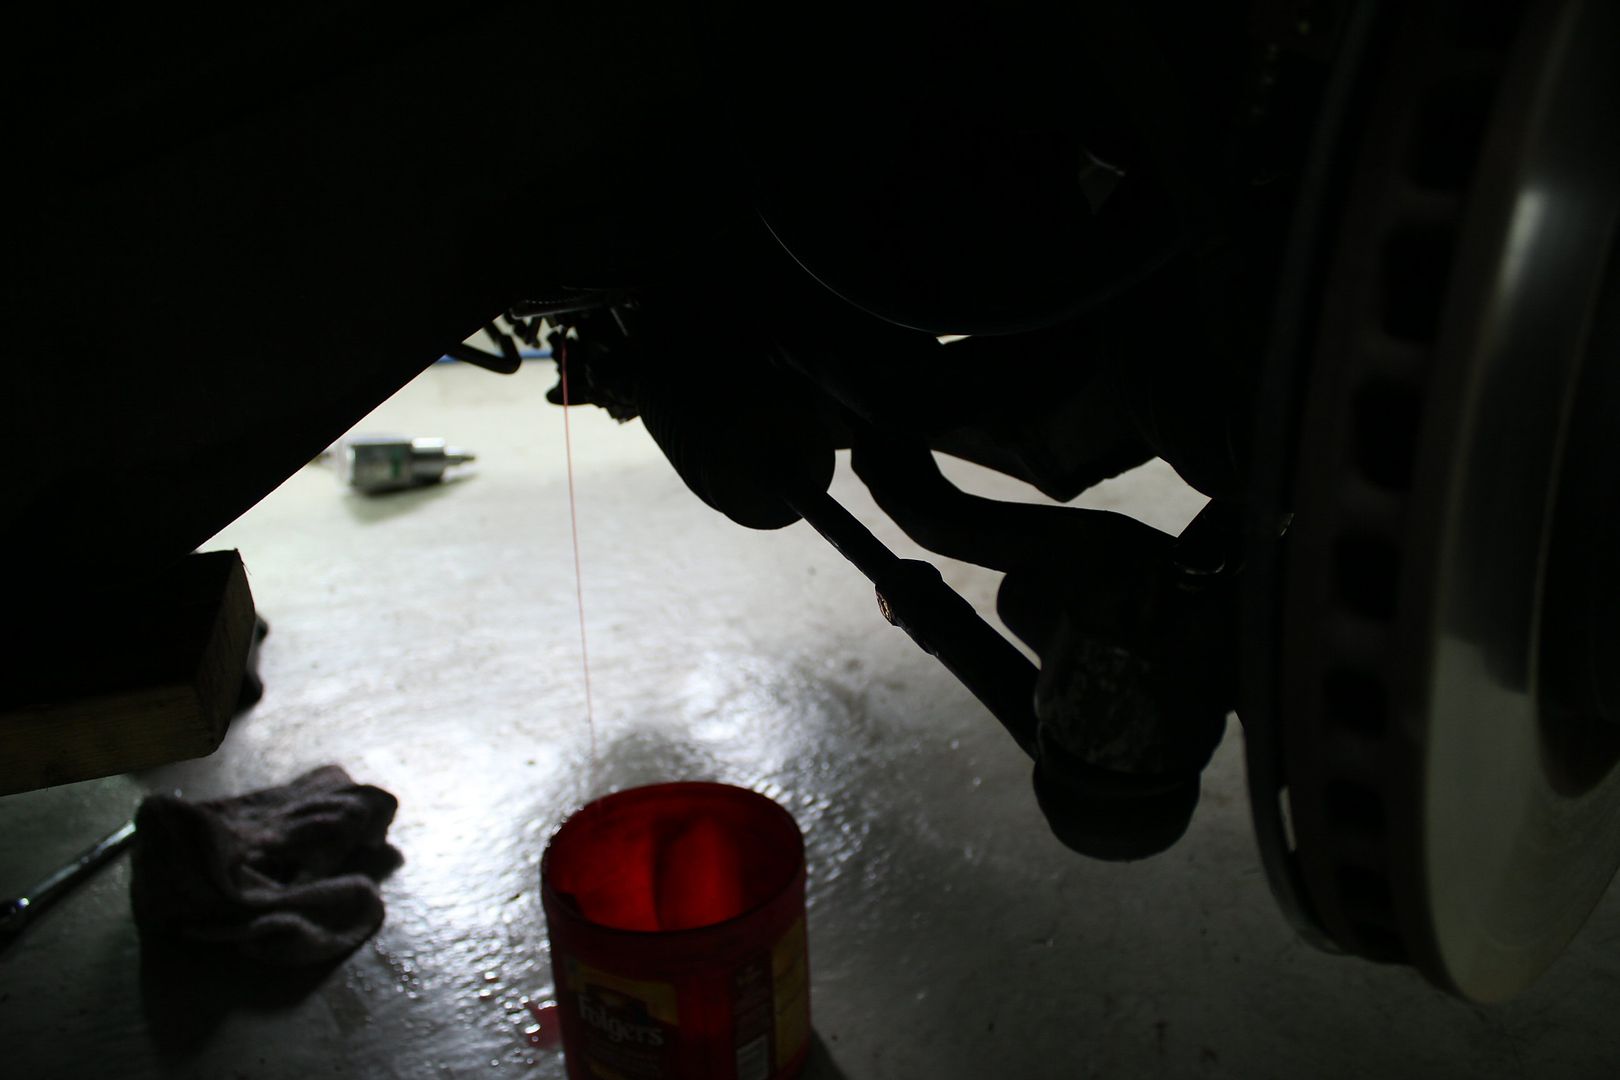
after that i could get on with the dreaded removal of the oil filter,
why dreaded?
because of the relocation kit is, i could only set it up at a ~45deg angle,
which means it never completely empties itself from gravity so there is always a small amount left in it,
and because of that 45deg angle, its almost certain that small amount will drip out as soon as the filter is unscrewed;
also, for the last portion of the 2010 season, i always small drips coming off my took how, but could nerver figure out where it was coming from
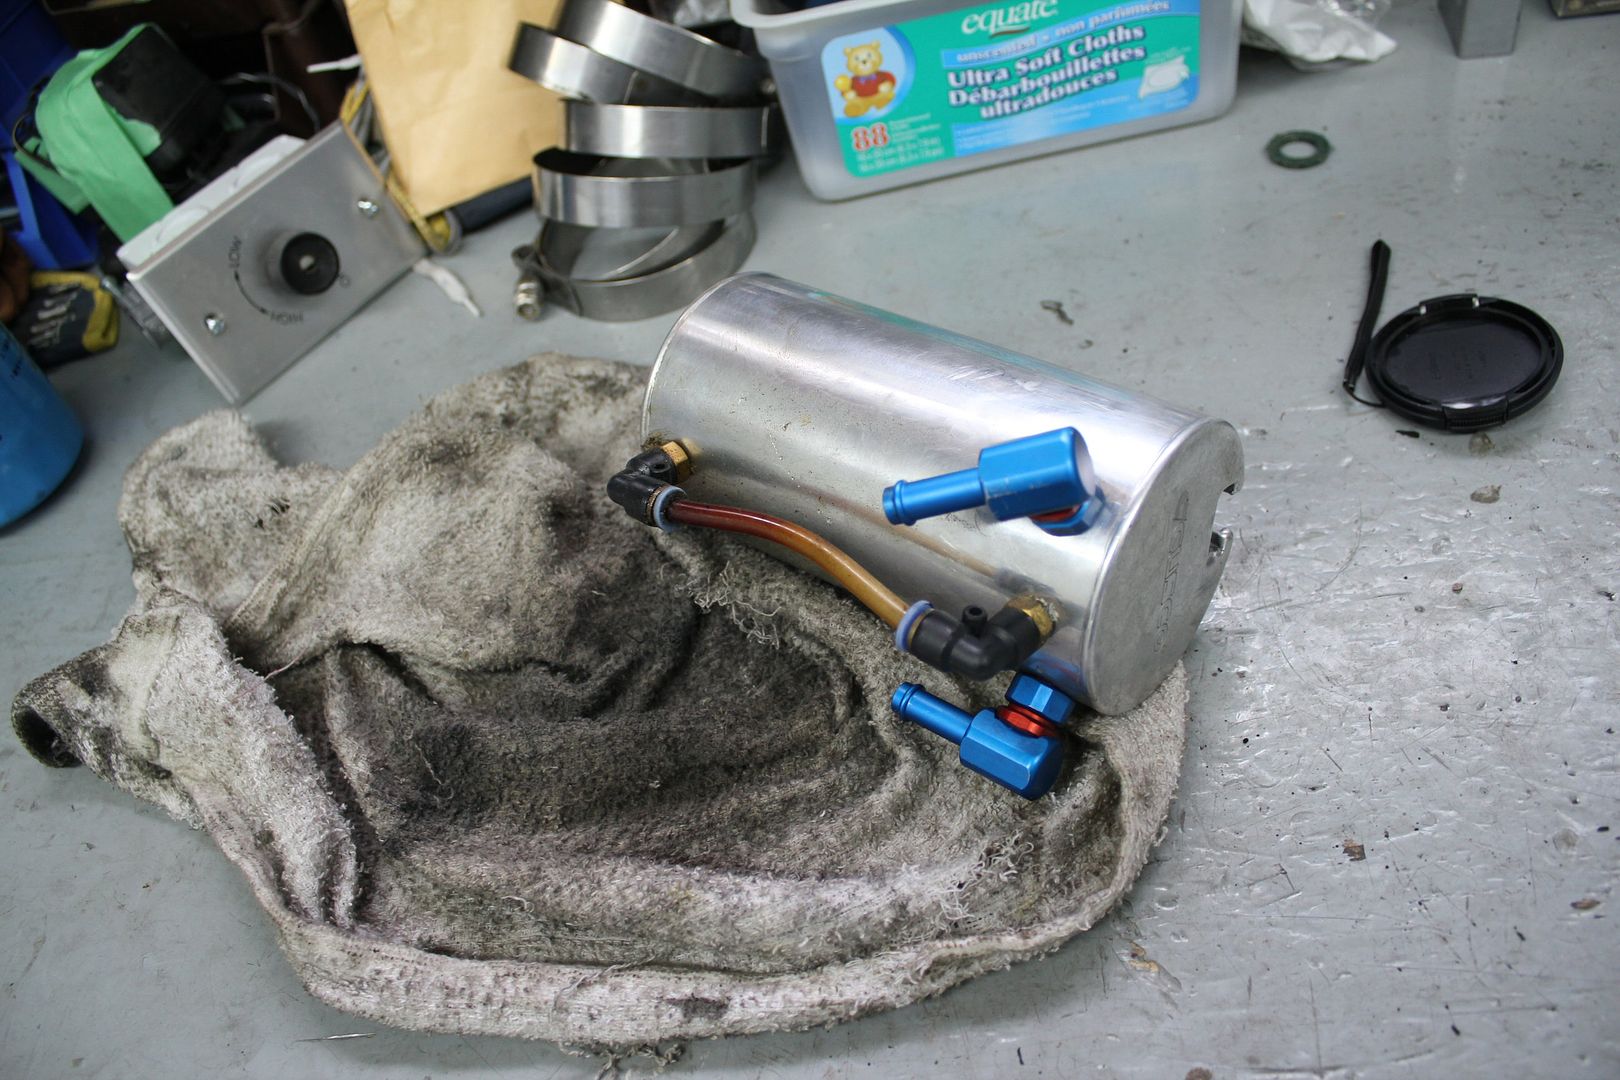
that question was answered when i took the catch can out,
as soon as i tilted it, it pissed all over me... wtf...
it was completely full !!!
remember this is a 600ml catch can, full after 3000km
can you say breathing problem?
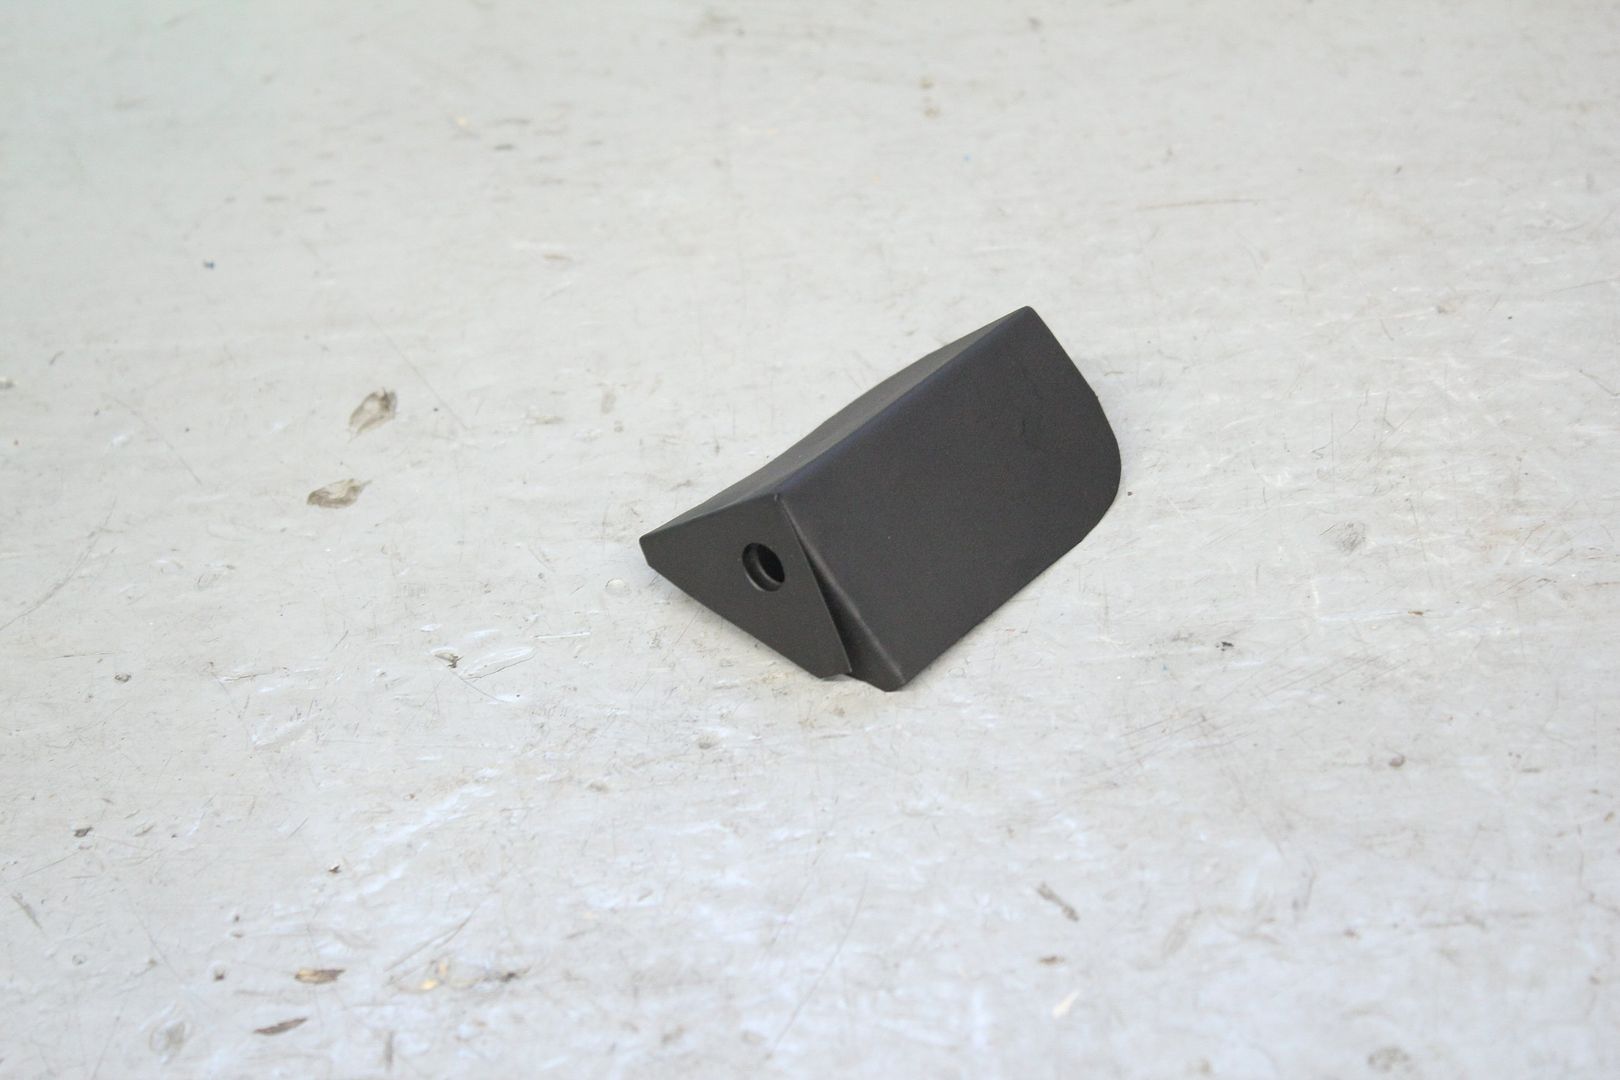
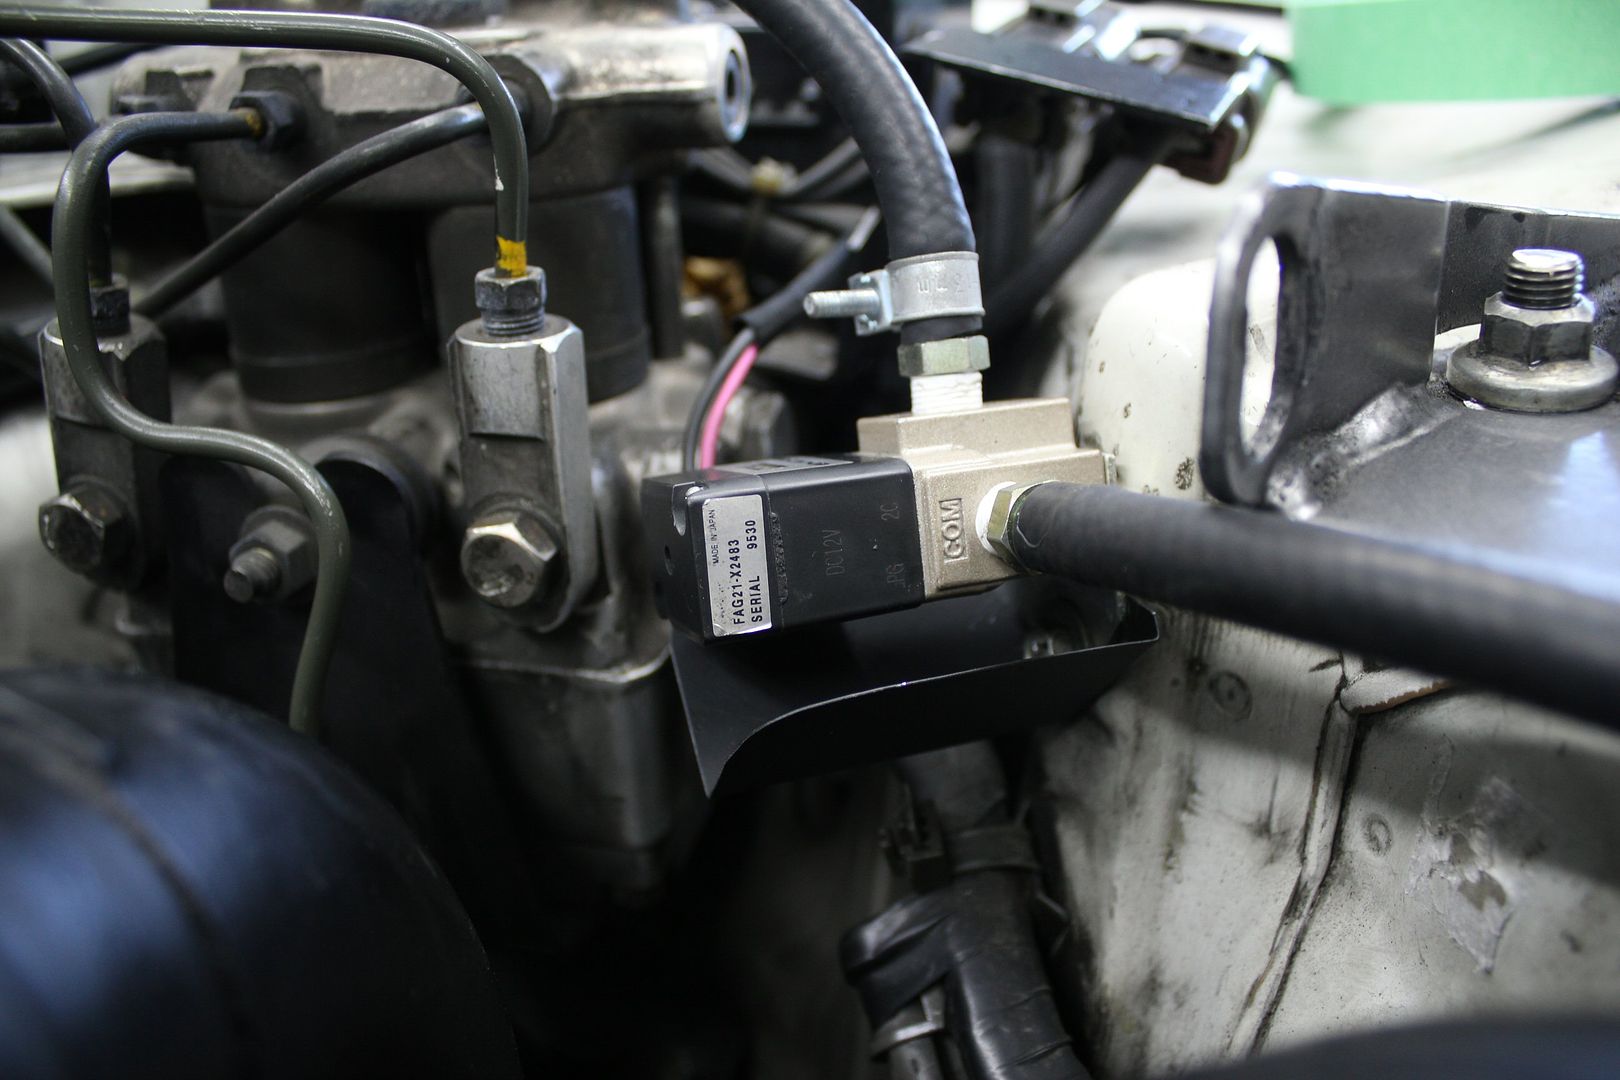
after looking around the engine bay a bit, i decided to make this,
a small sheild for the boost controller selenoind from the heat of the exhaust manifold and such
a 10 min fab-up really;
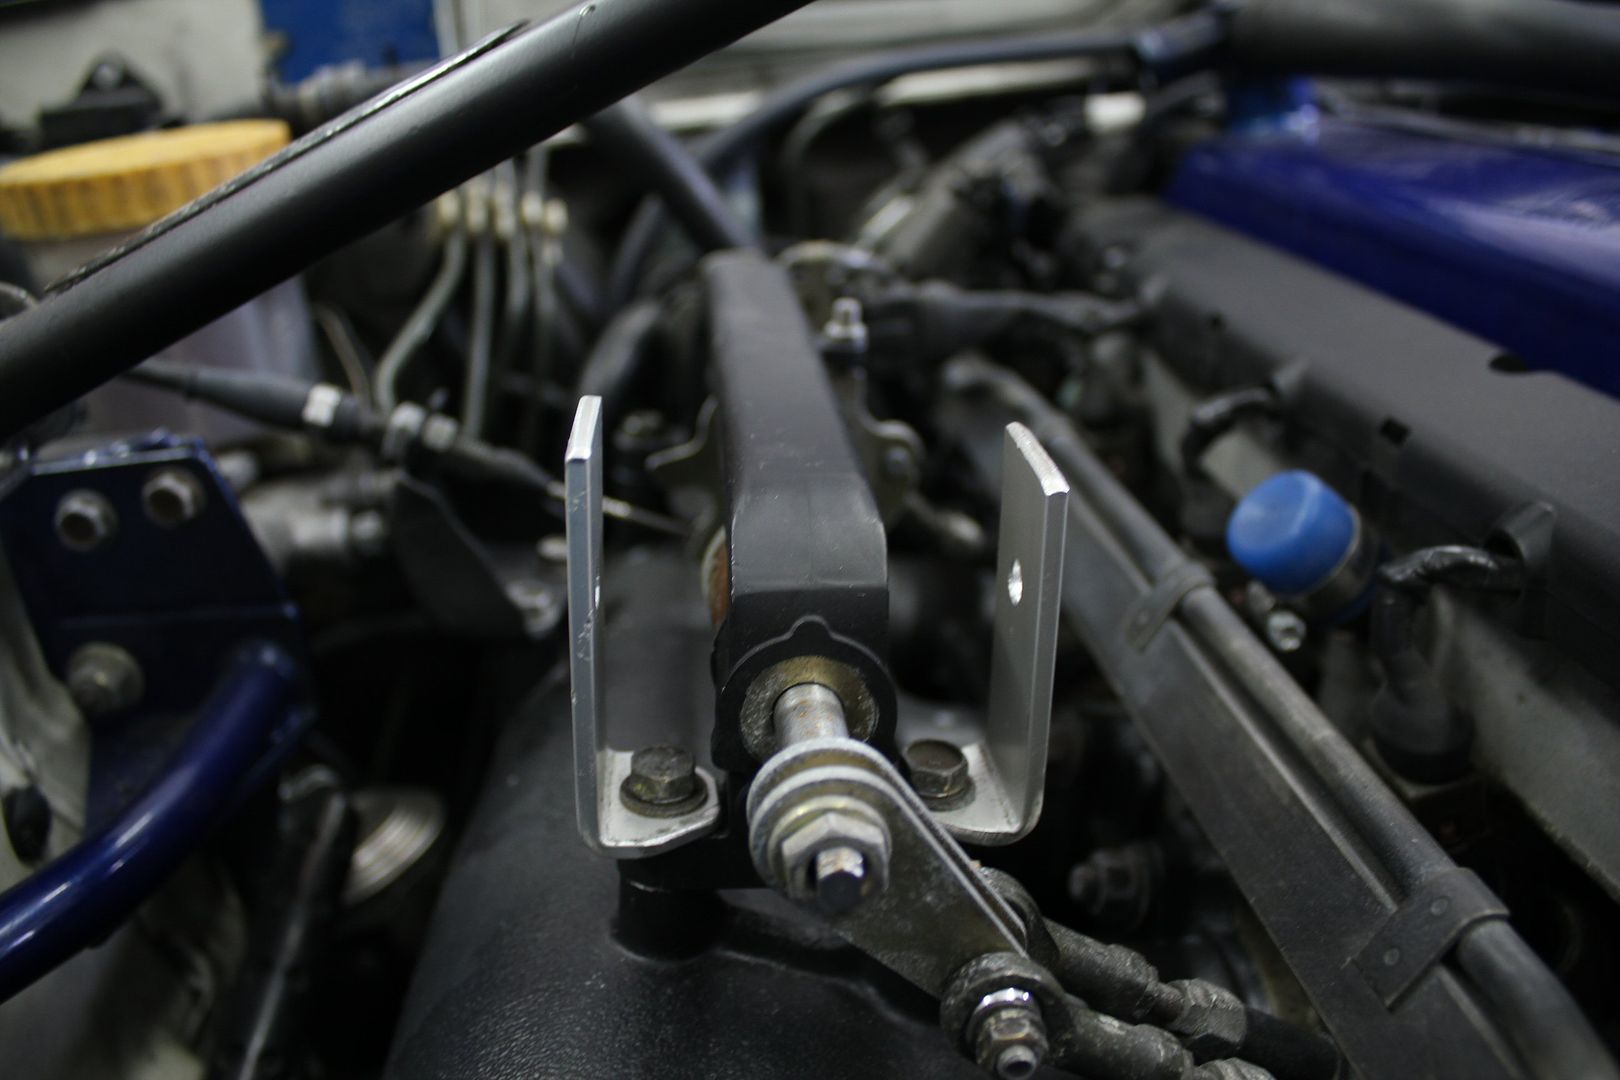
since i was in the mood to fabricate small pointless items,
i made some brackets to hold the new catch can hose,
and found a good spot to put them;
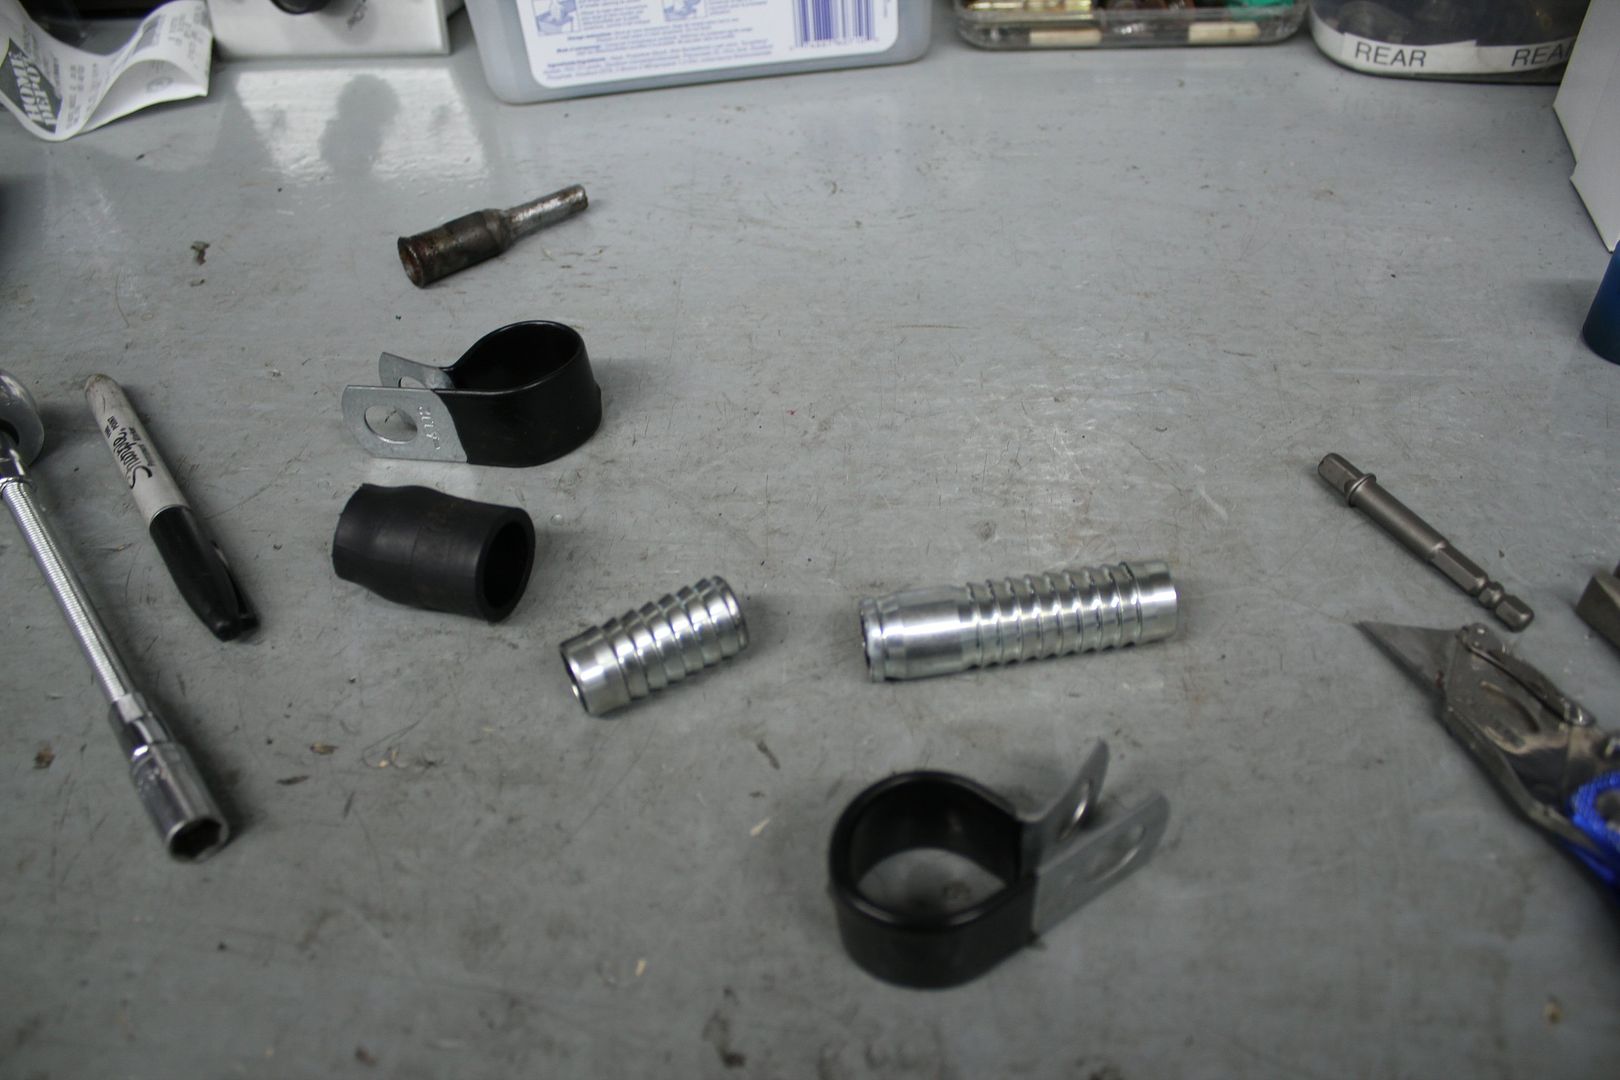
this is some of the stuff i'd be using for the improved oil catch can setup,
some P clamps, stainless 3/4'' barbed connectors, and imagination;
since the fittings off the valve covers are 7/8'', i'd have to use a small portion of the old hose with a small tube to reduce it down to 3/4'',
i know clamps are ugly and it doesn't look clean
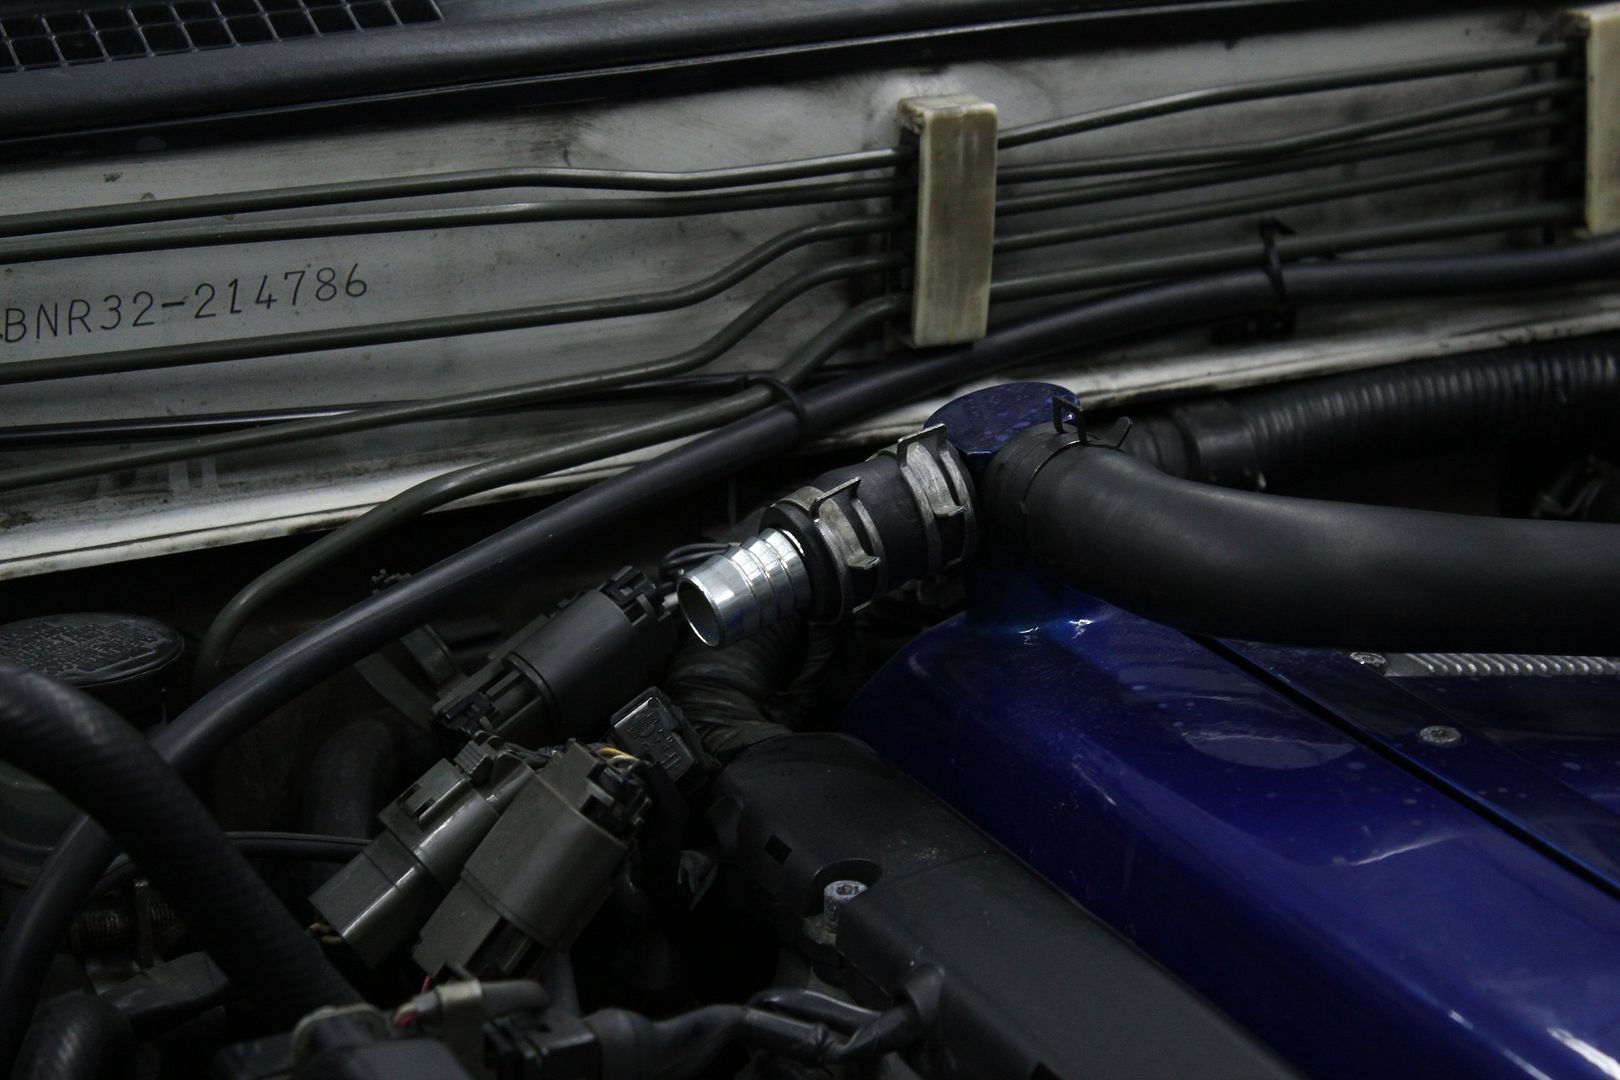
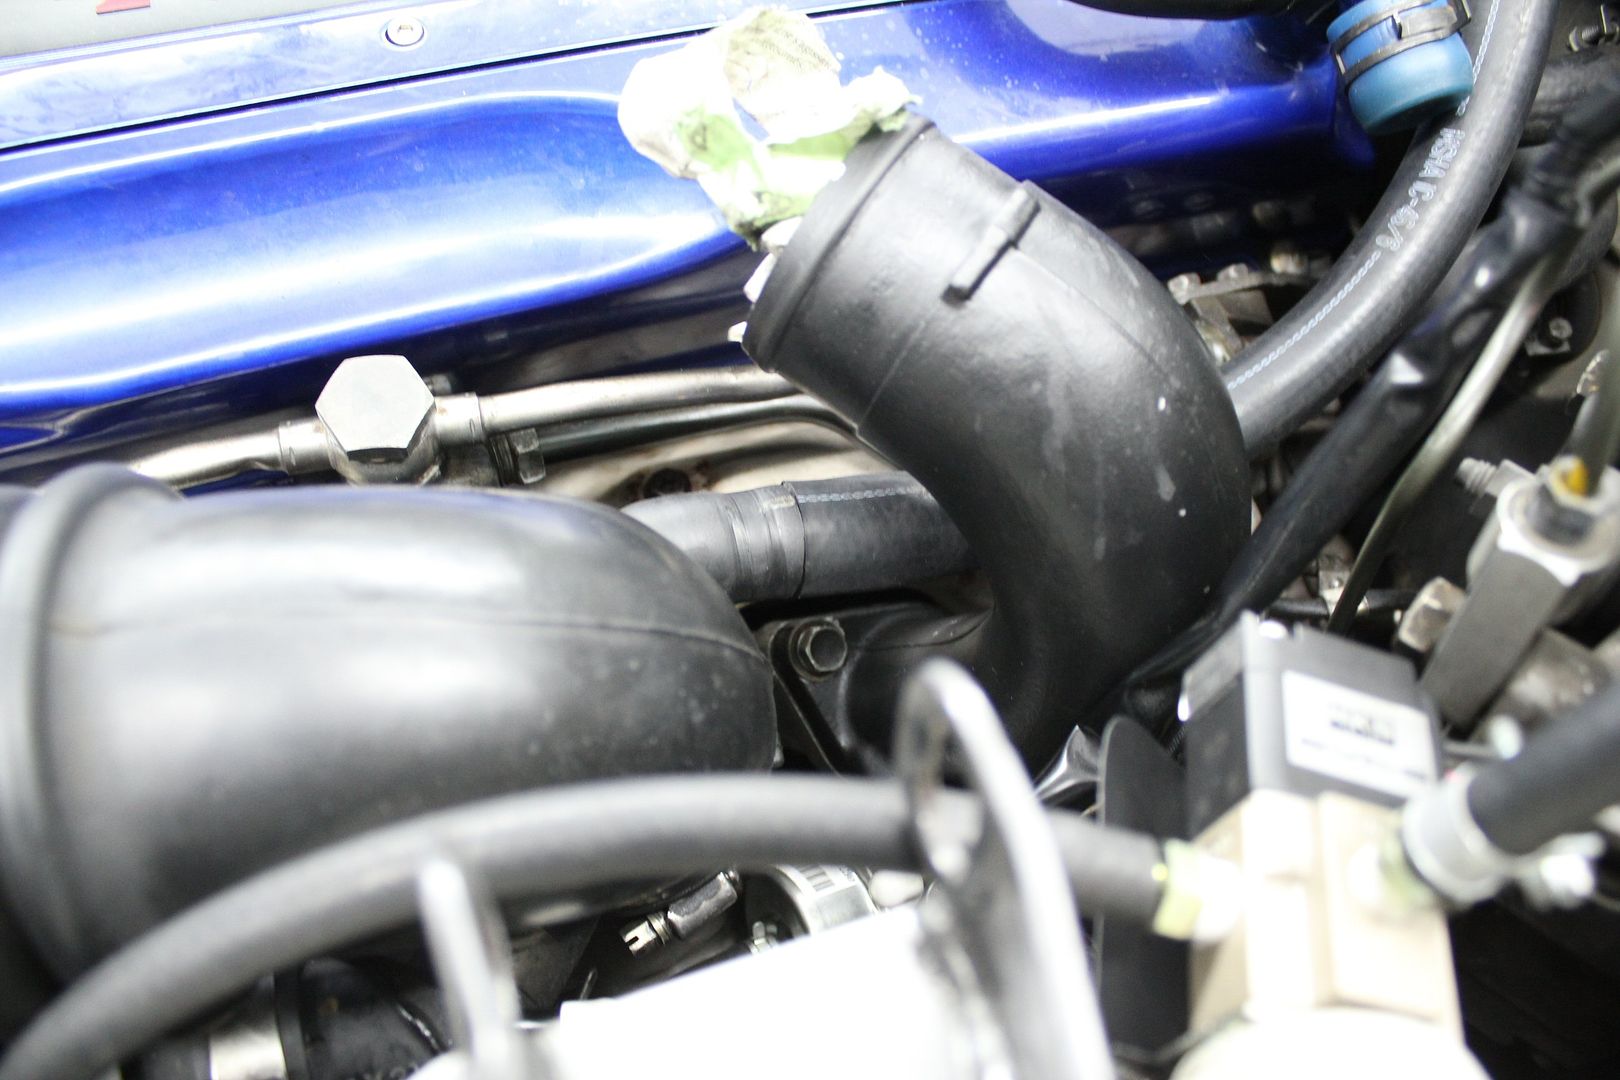
one 3/4'' hose was connected to the big induction hose for the rear turbo, in the OEM spot,
using the longer barbed tube which was inserted just deep enough into the induction hose
this, looked clean
because a barbed tube was used, no clamp was needed, this is a low pressure application after all;
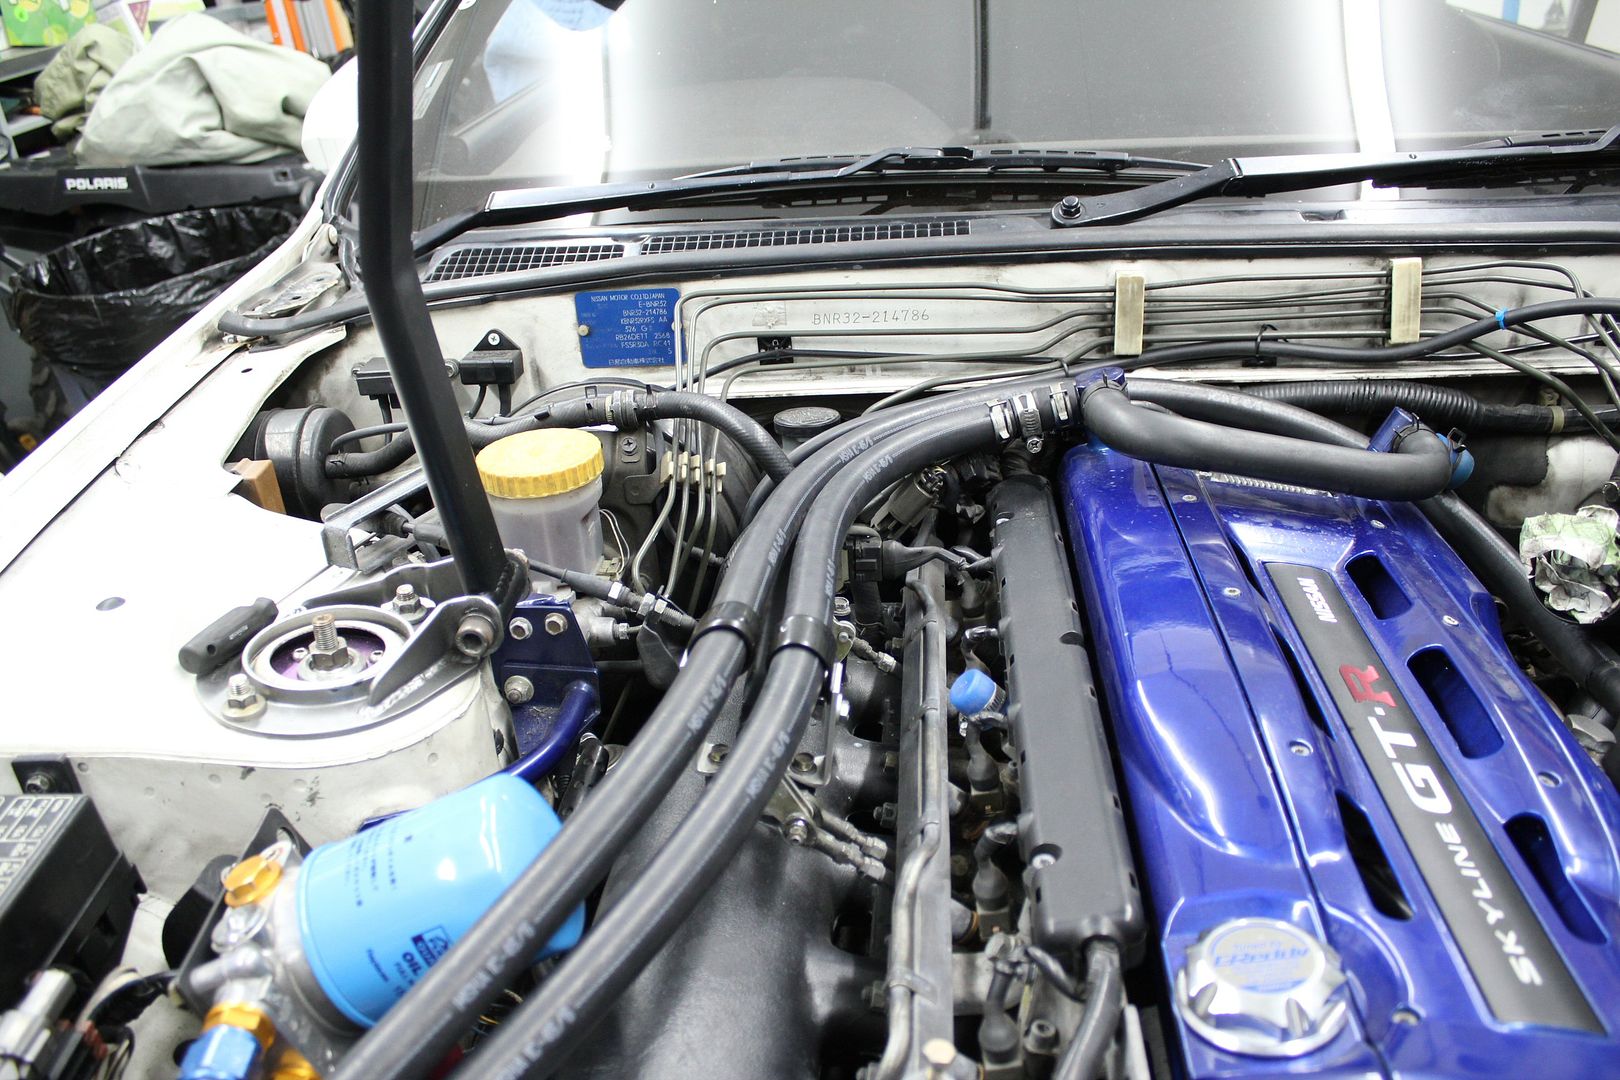
i placed the long 3/4'' hose approximatly how i'd want them to be,
and clamped them on the small brackets i had just made;
(if anyone has a good idea how to make the 7/8 to 3/4 reduction look more appealing, please say so)
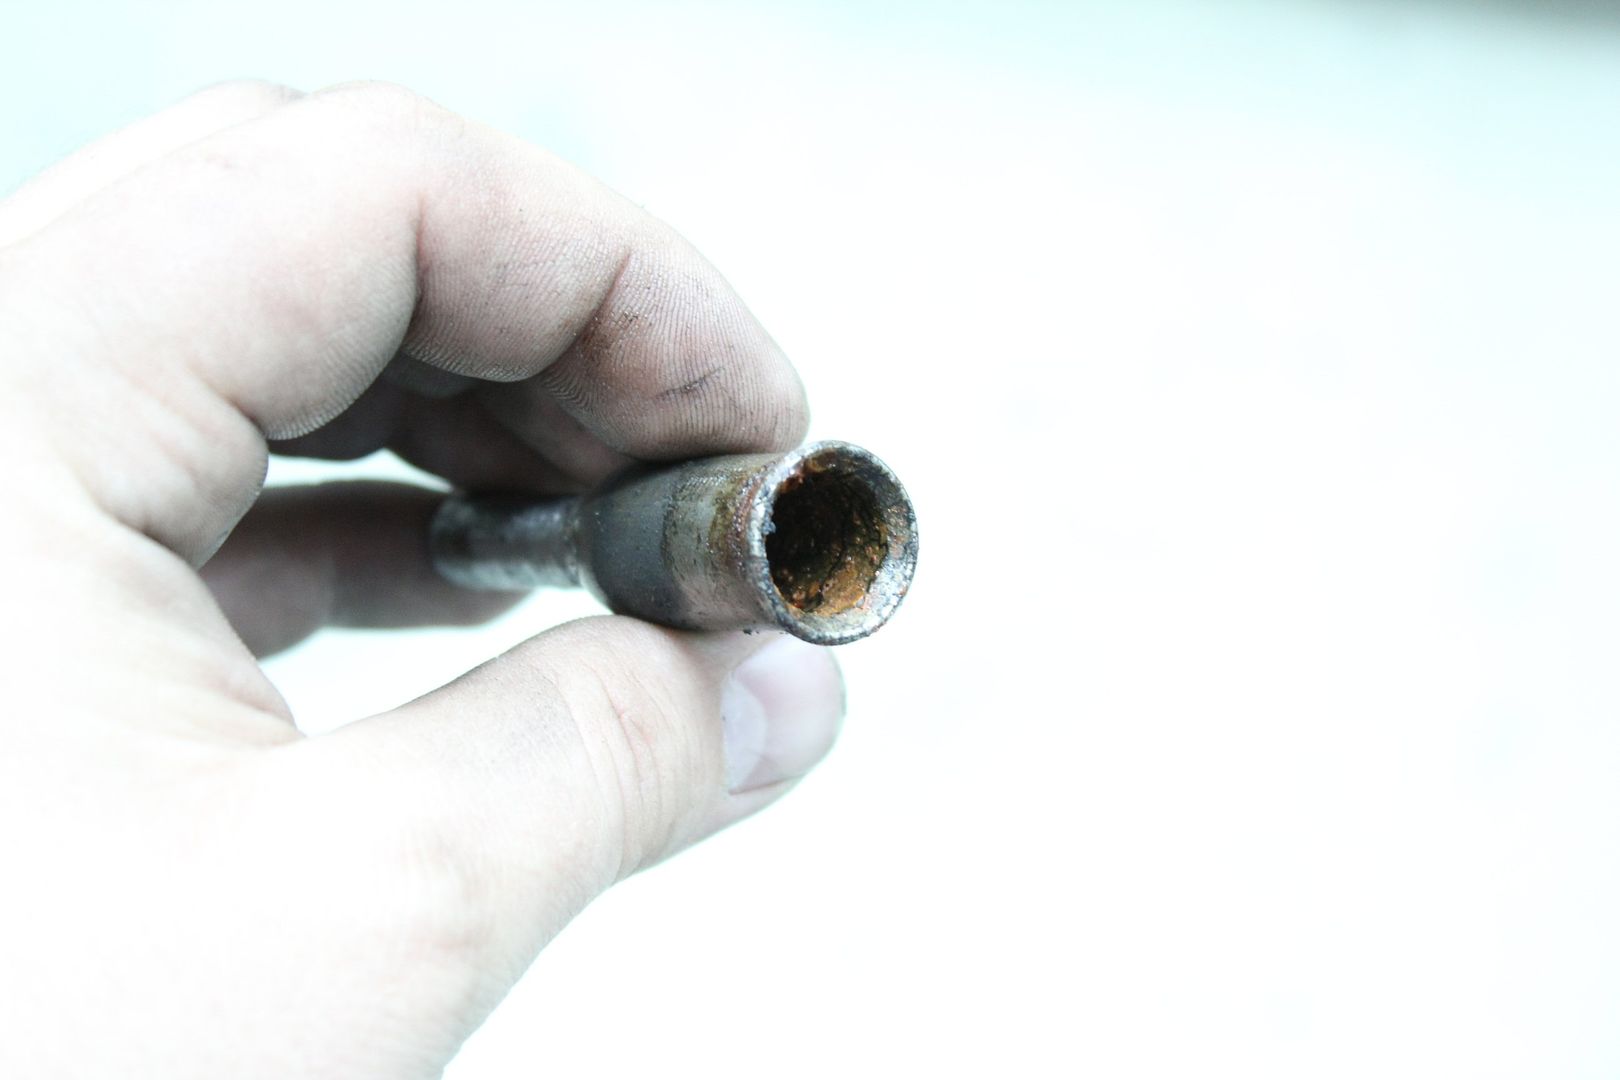
this is the old 3/4'' to 3/8'' i used on the old setup, gummed up with oil or whatever,
restriction much?
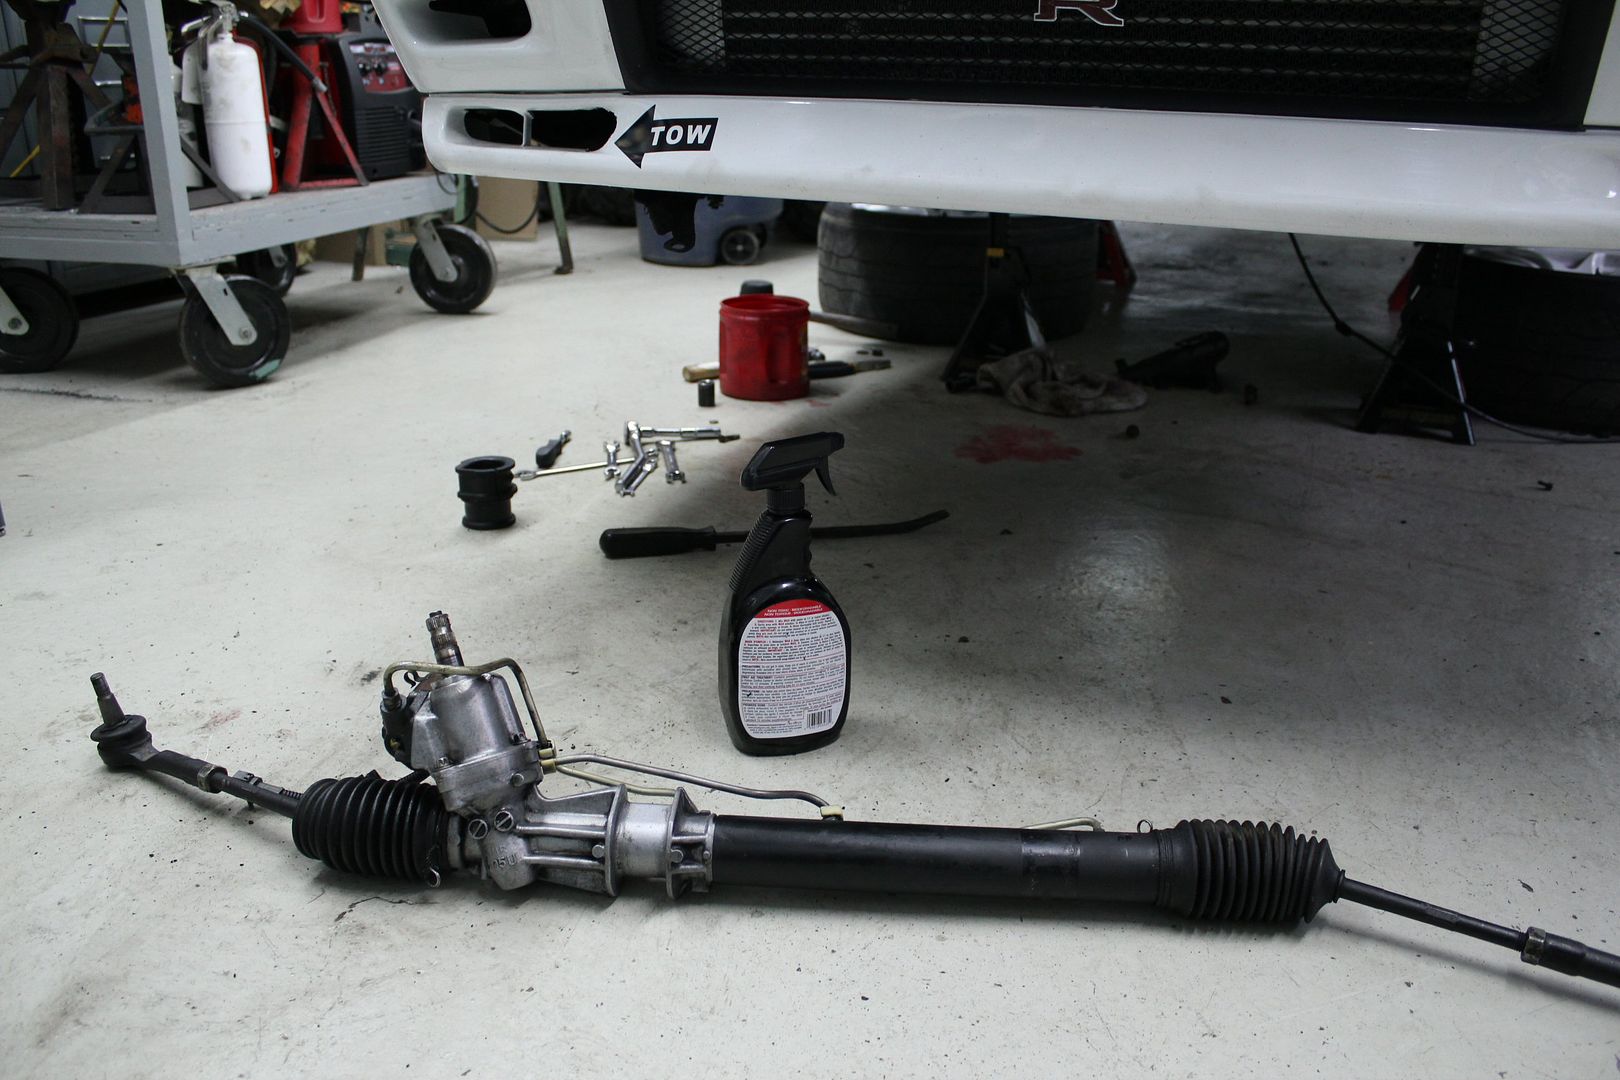
something else that had been bugging me for a while was my steering rack,
it had been leaking for the longest time,
changing copper washers and over-tightenin fittings never cured the problem
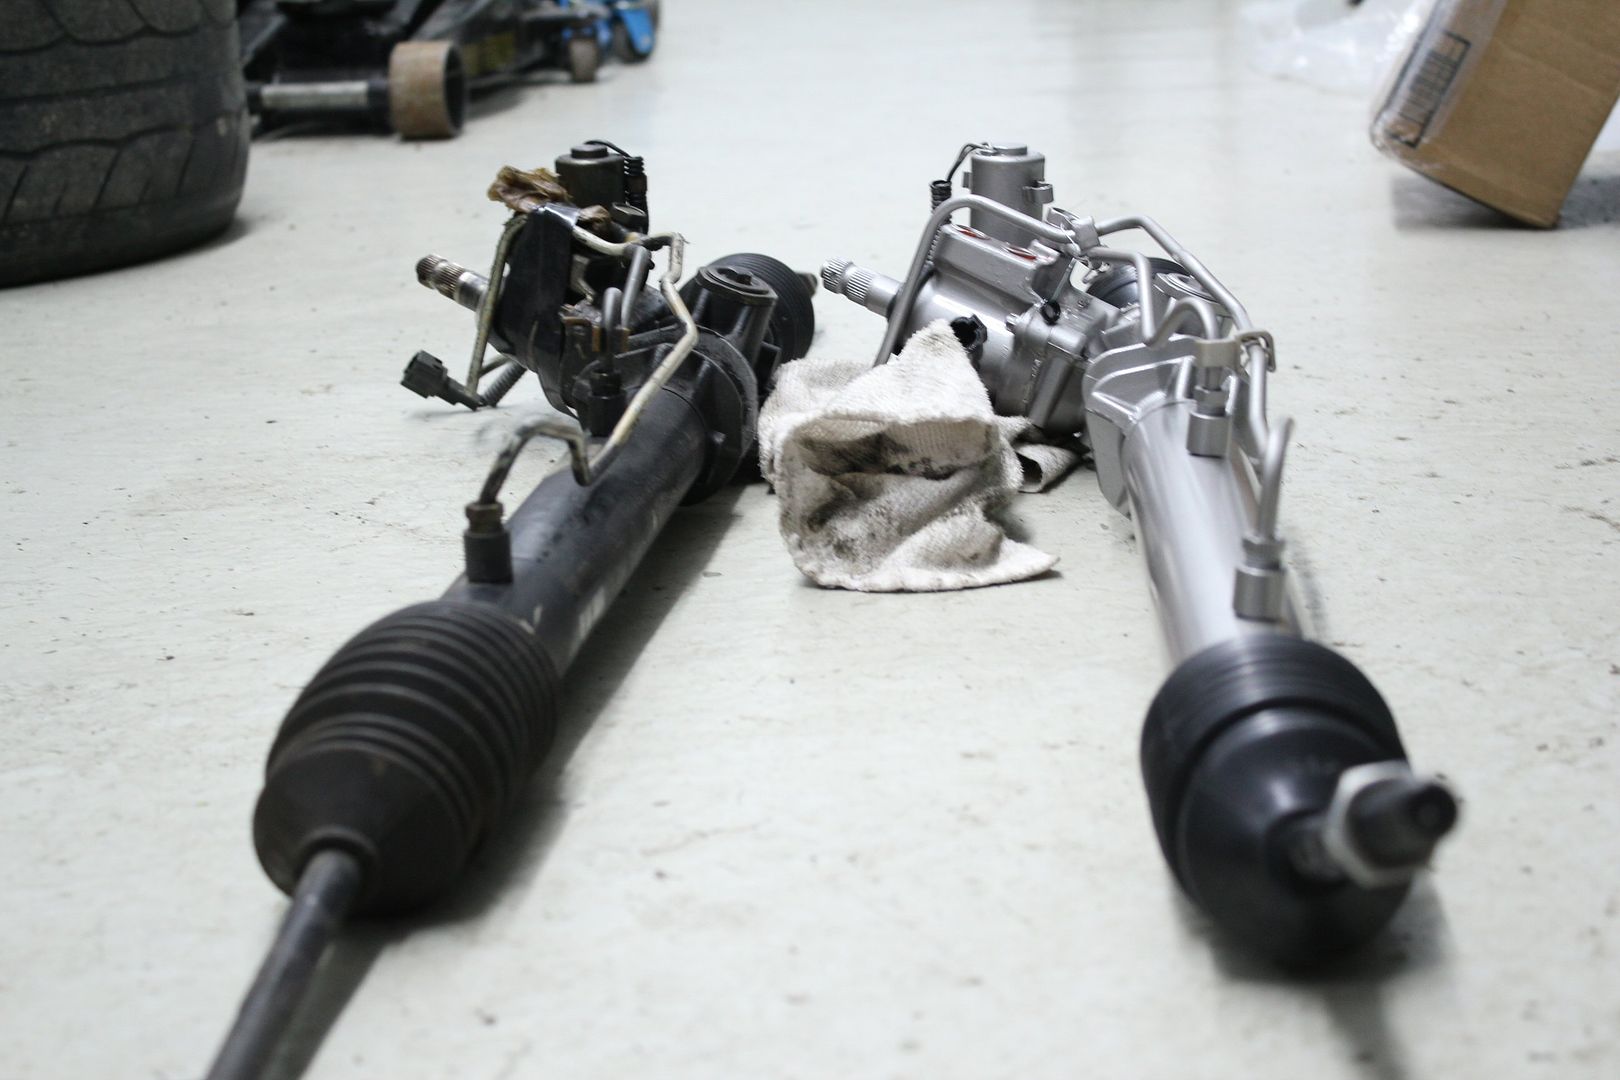
the only thing left to do was to take it out, send it for a rebuild;
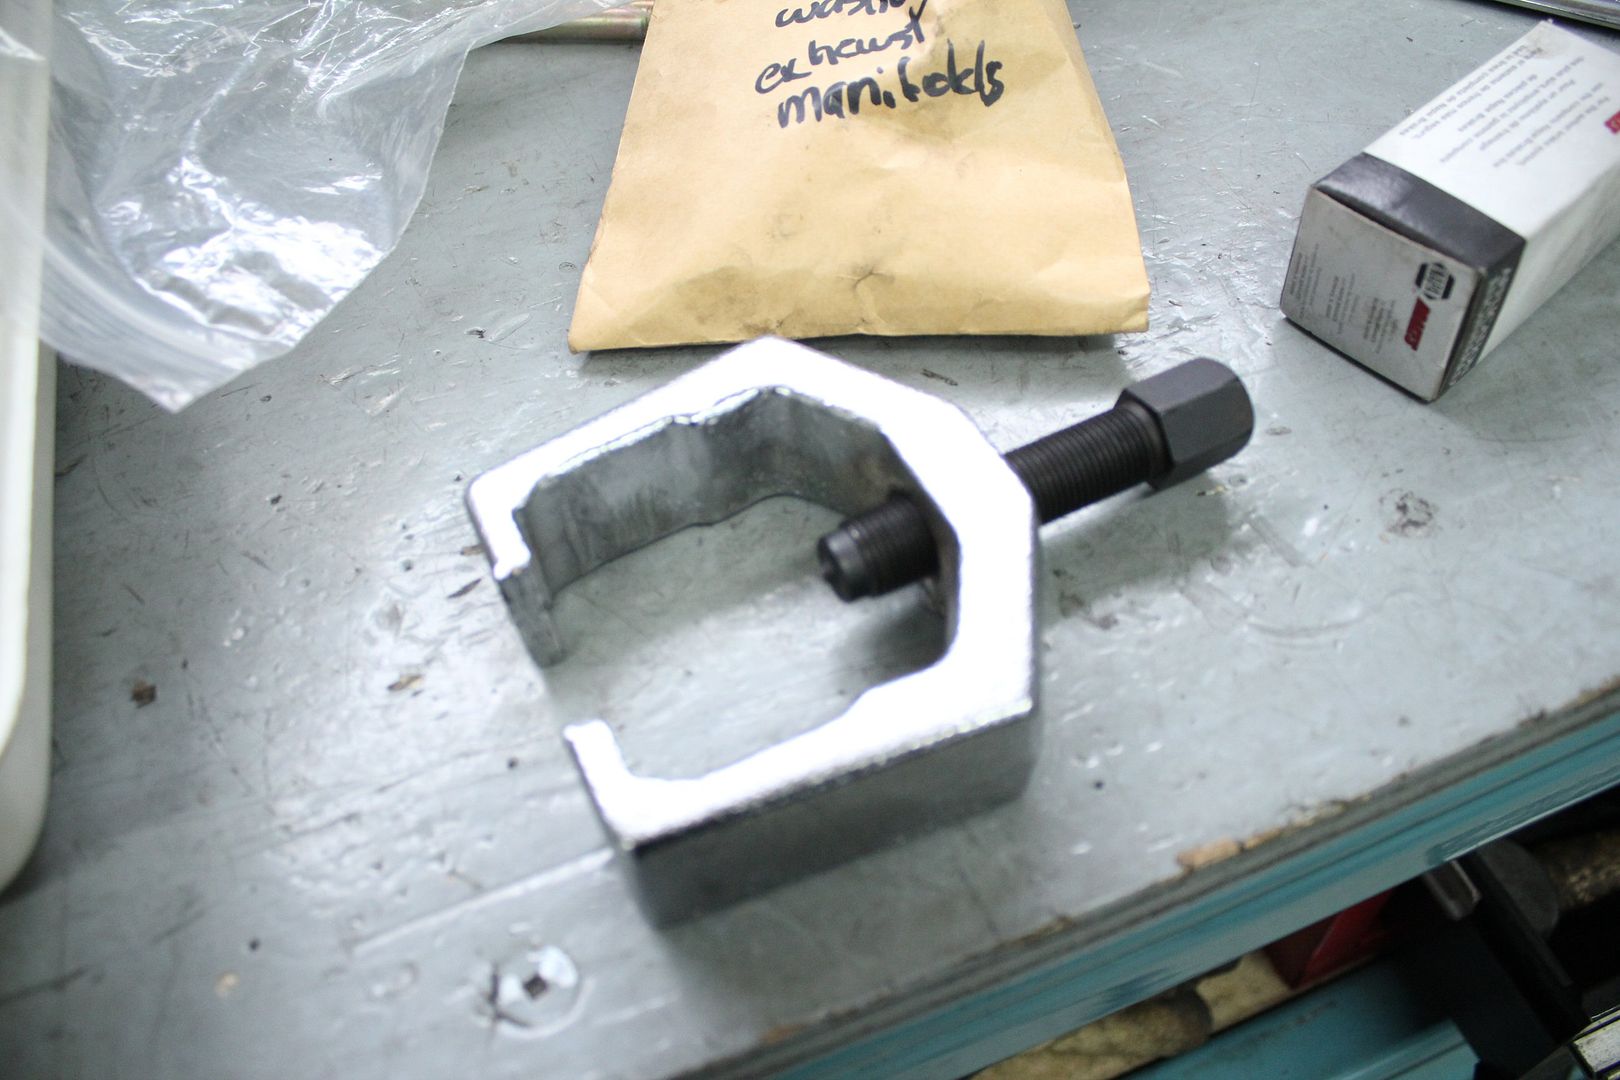
having a tool like this makes the seperation of the tie rod ends a hammerless breeze;
the worst part of removing the steering rack is getting it out of the tight space its in after the bushings holding it in place are untightened,
also, there is always a bit of p/s fluid leaking everywhere thats get on you, your hands, your tools, which makes it dirty business,
the whole ordeal was a 2 hour job (remember, i'm slow and meticulate)
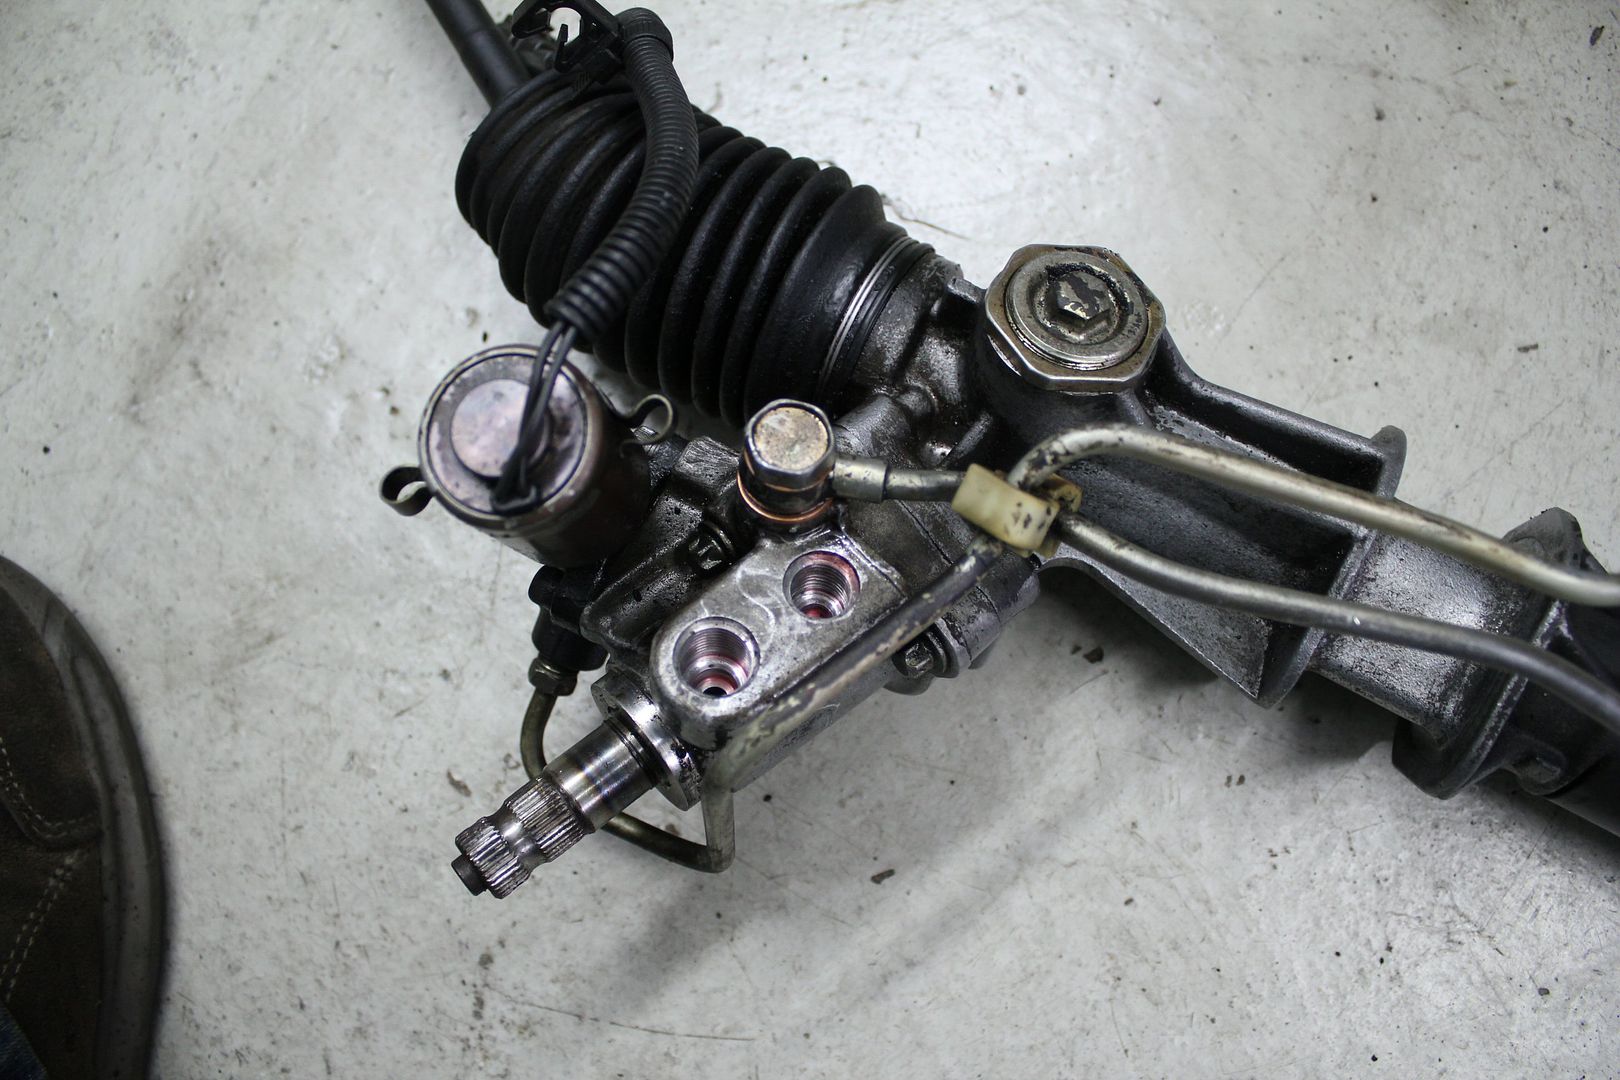
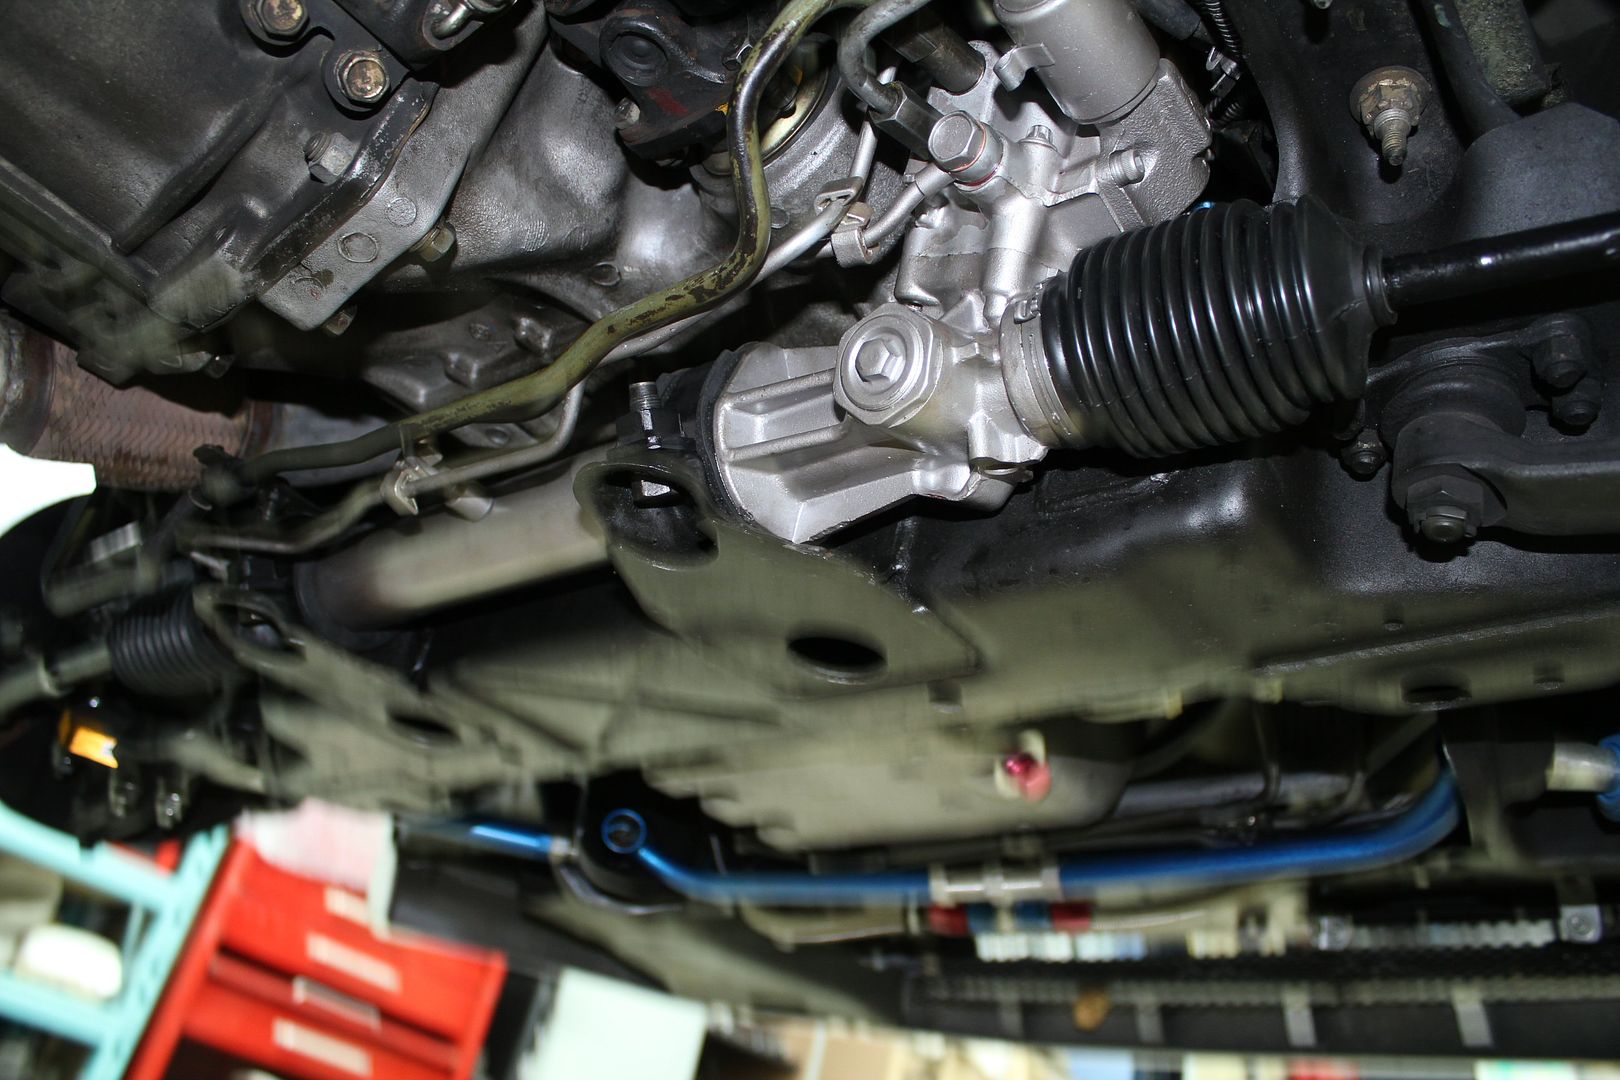
the following picture was taken after spending about 30 minutes clean the rack with degreaser and a wire brush, it was incredibly dirty beforehand;
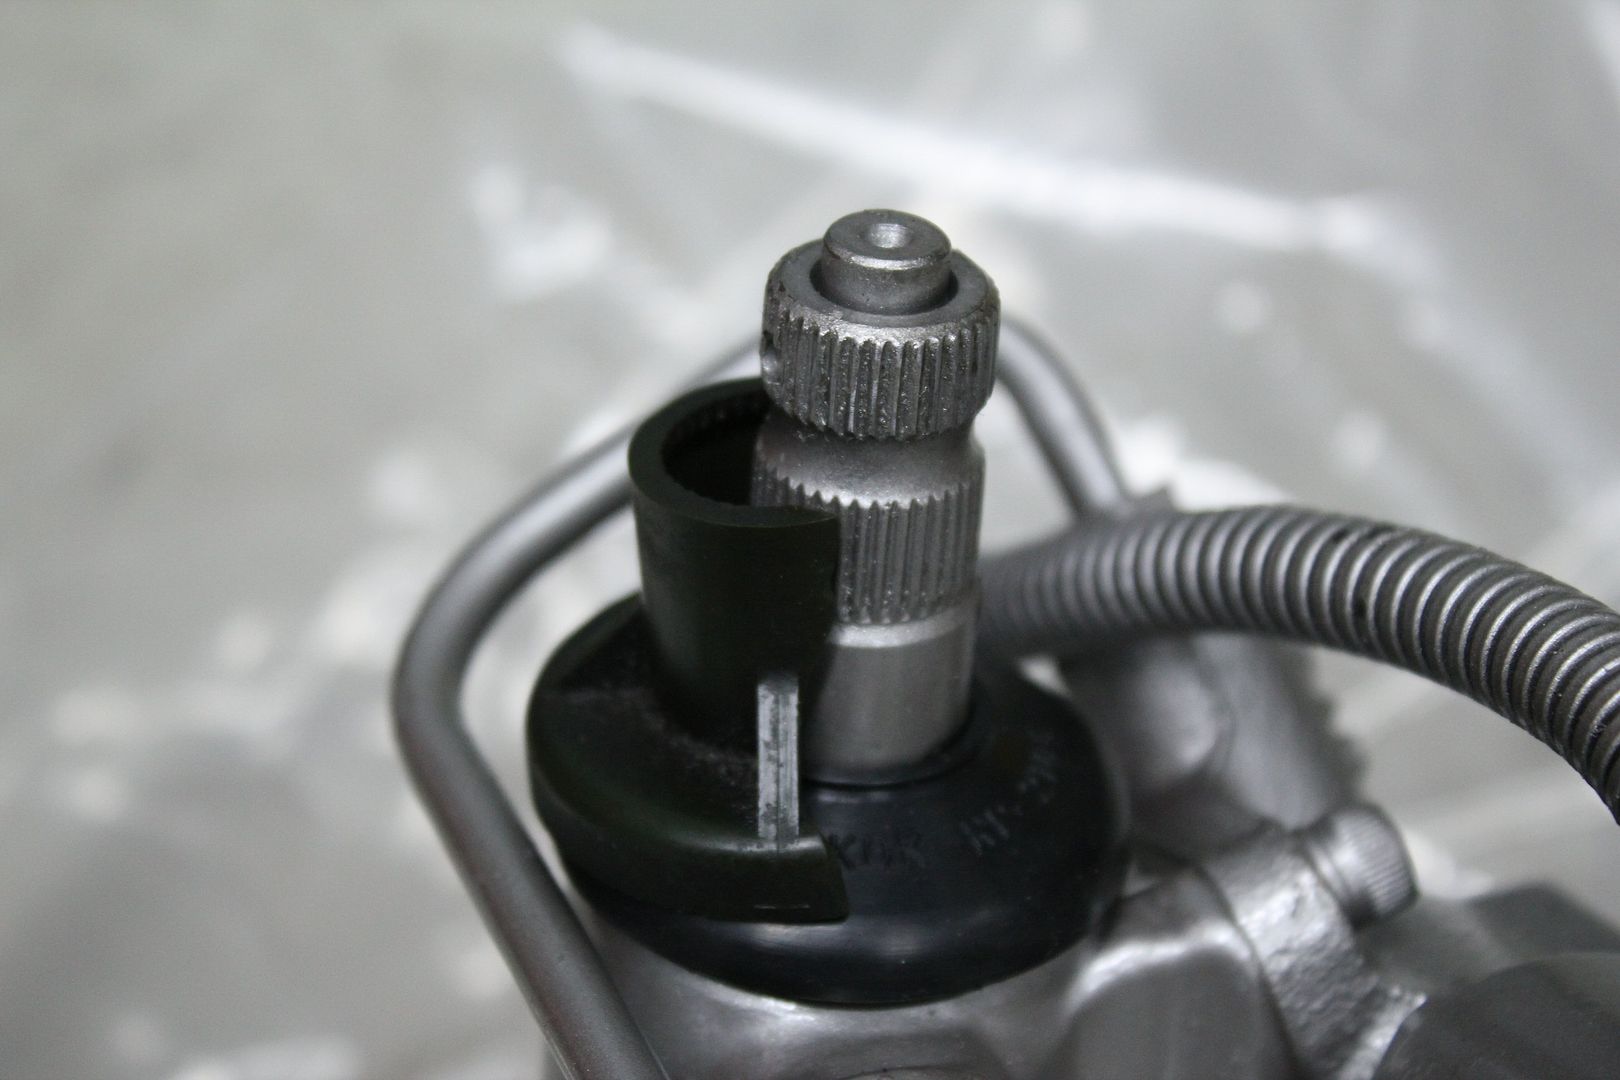
the culprit of the leak was the seal of the imput shaft,
which because of the position of the rack when in place, caused a stream of fluid to come down directly in line withthe fittings,
which originally led me to think they were the problem;
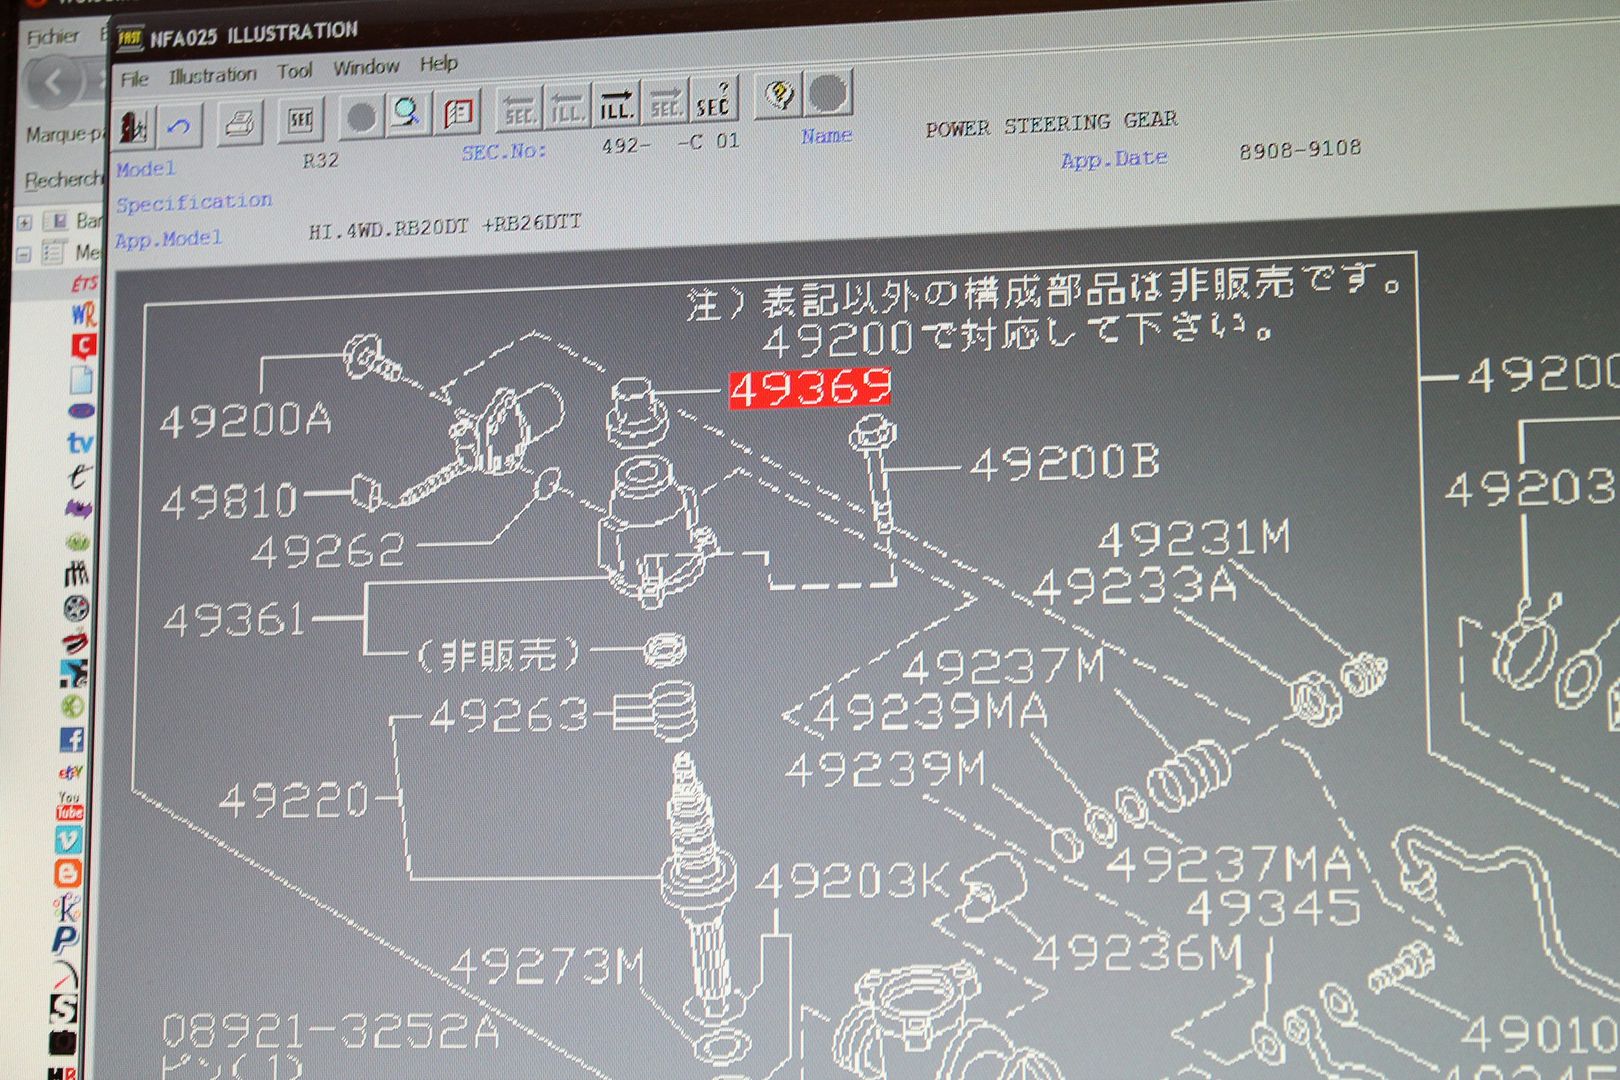
i later checked for the part number of the input shaft dust cover,
since mine had been destroyed in quite a while,
thx FAST;
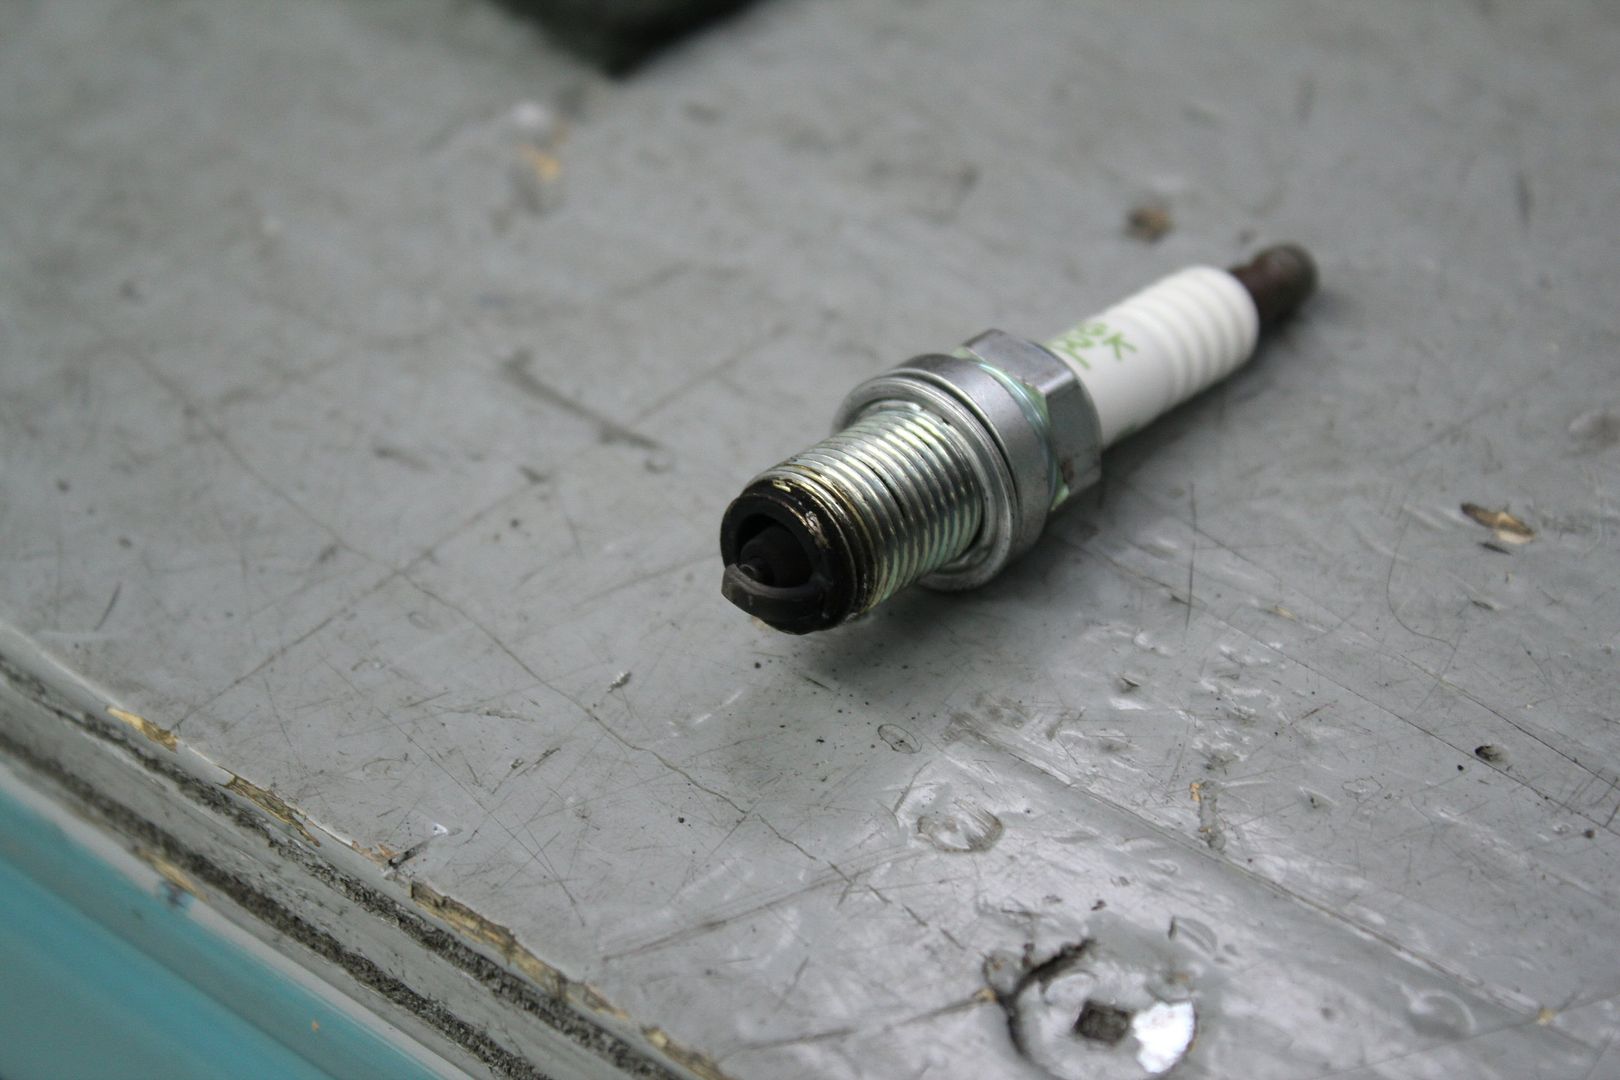
after that, i checked the spark plugs after a winter's rest,
they seemed to have some carbon build-up, but nothing too crazy,
so they were cleaned and put back in their hole;
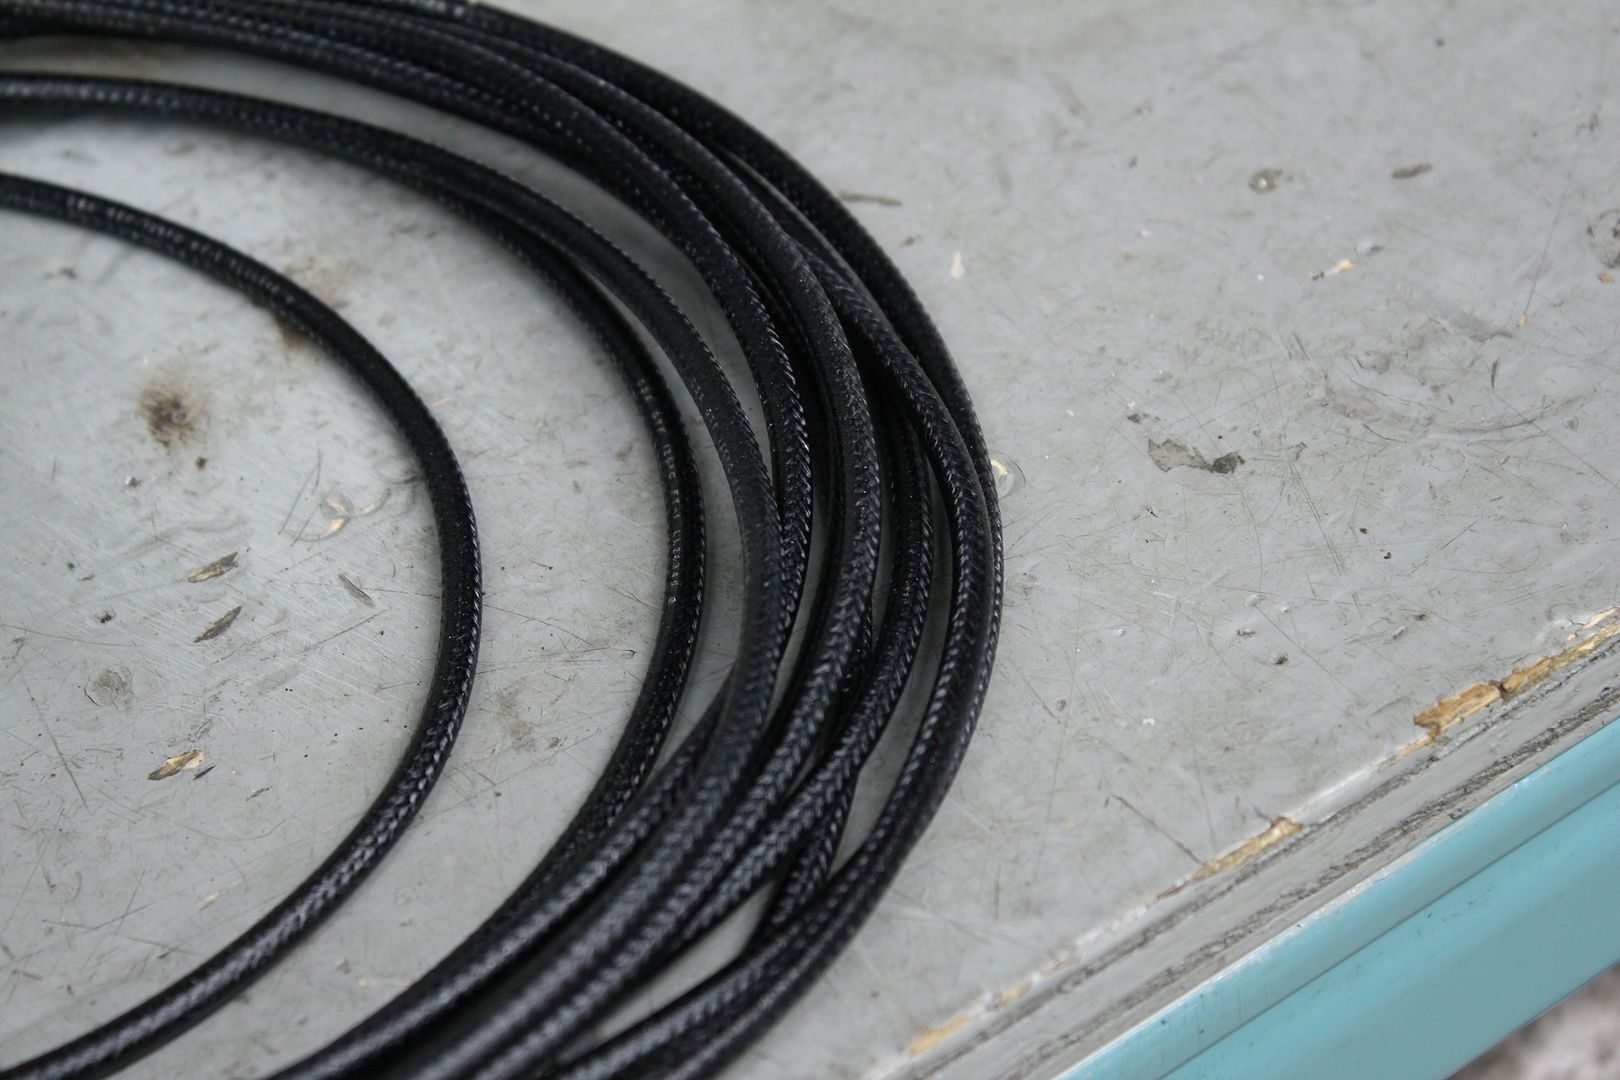
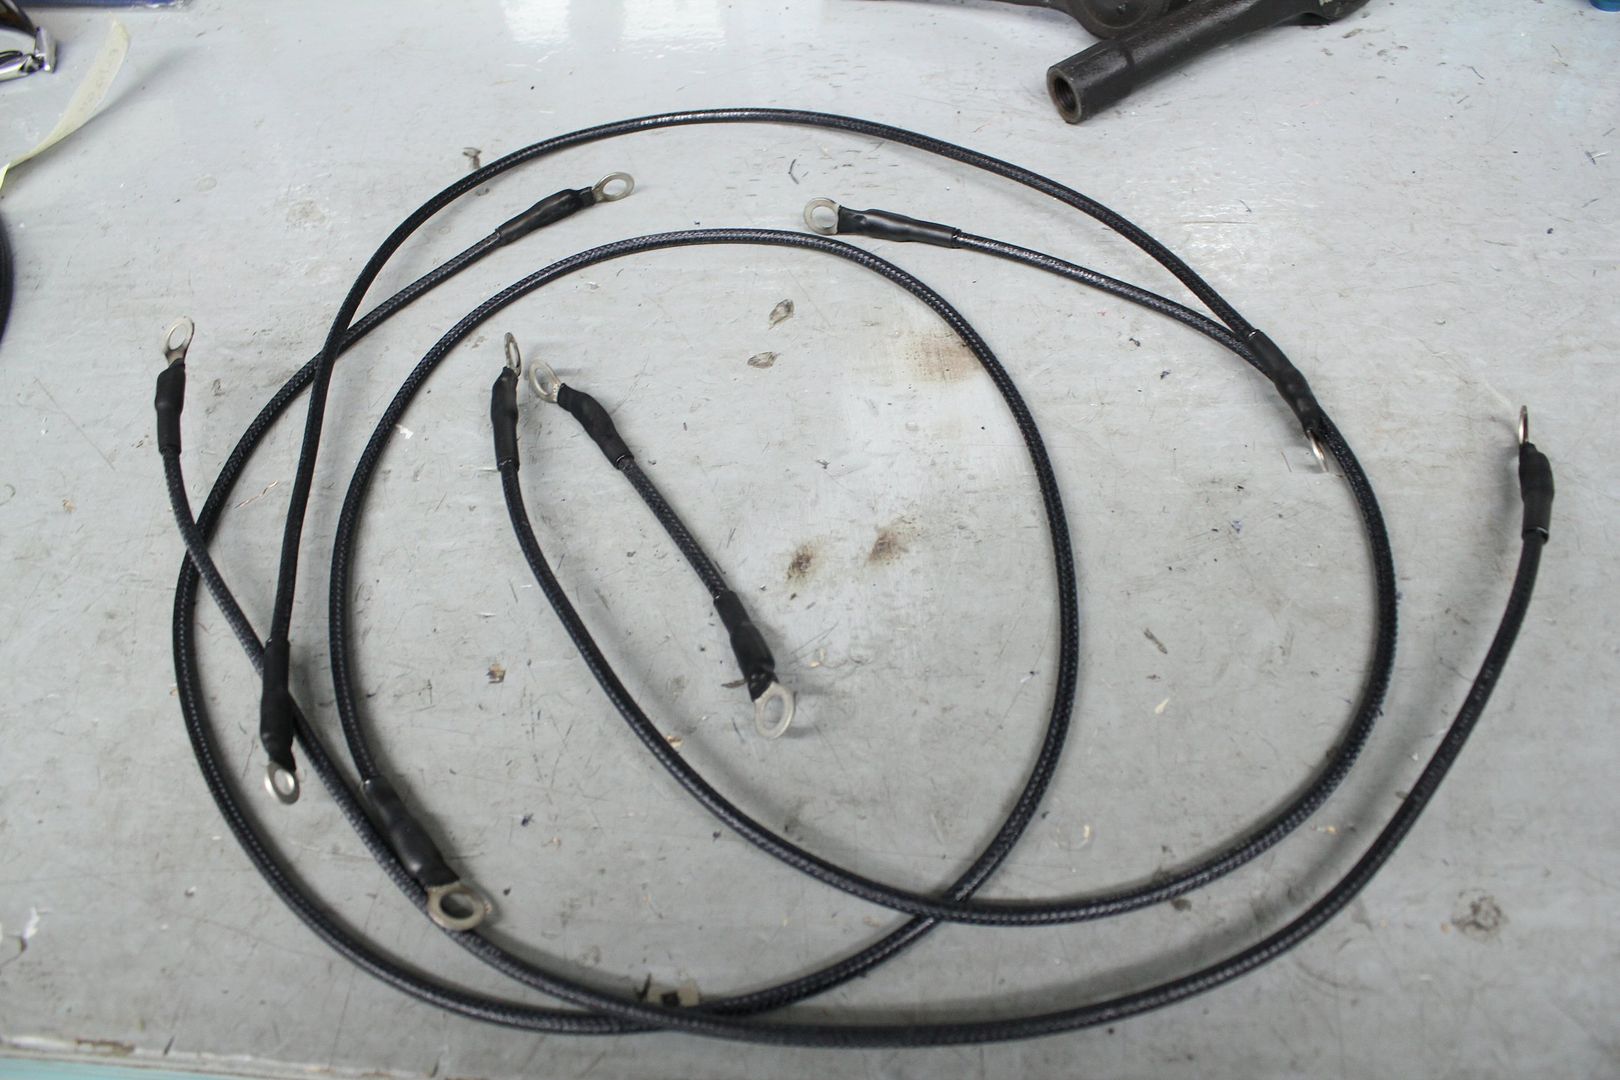
then it was time to cleanup the grounding wire kit i had made the prior summer,
so i found some smaller - better looking cable at an electronics/electric supply store;
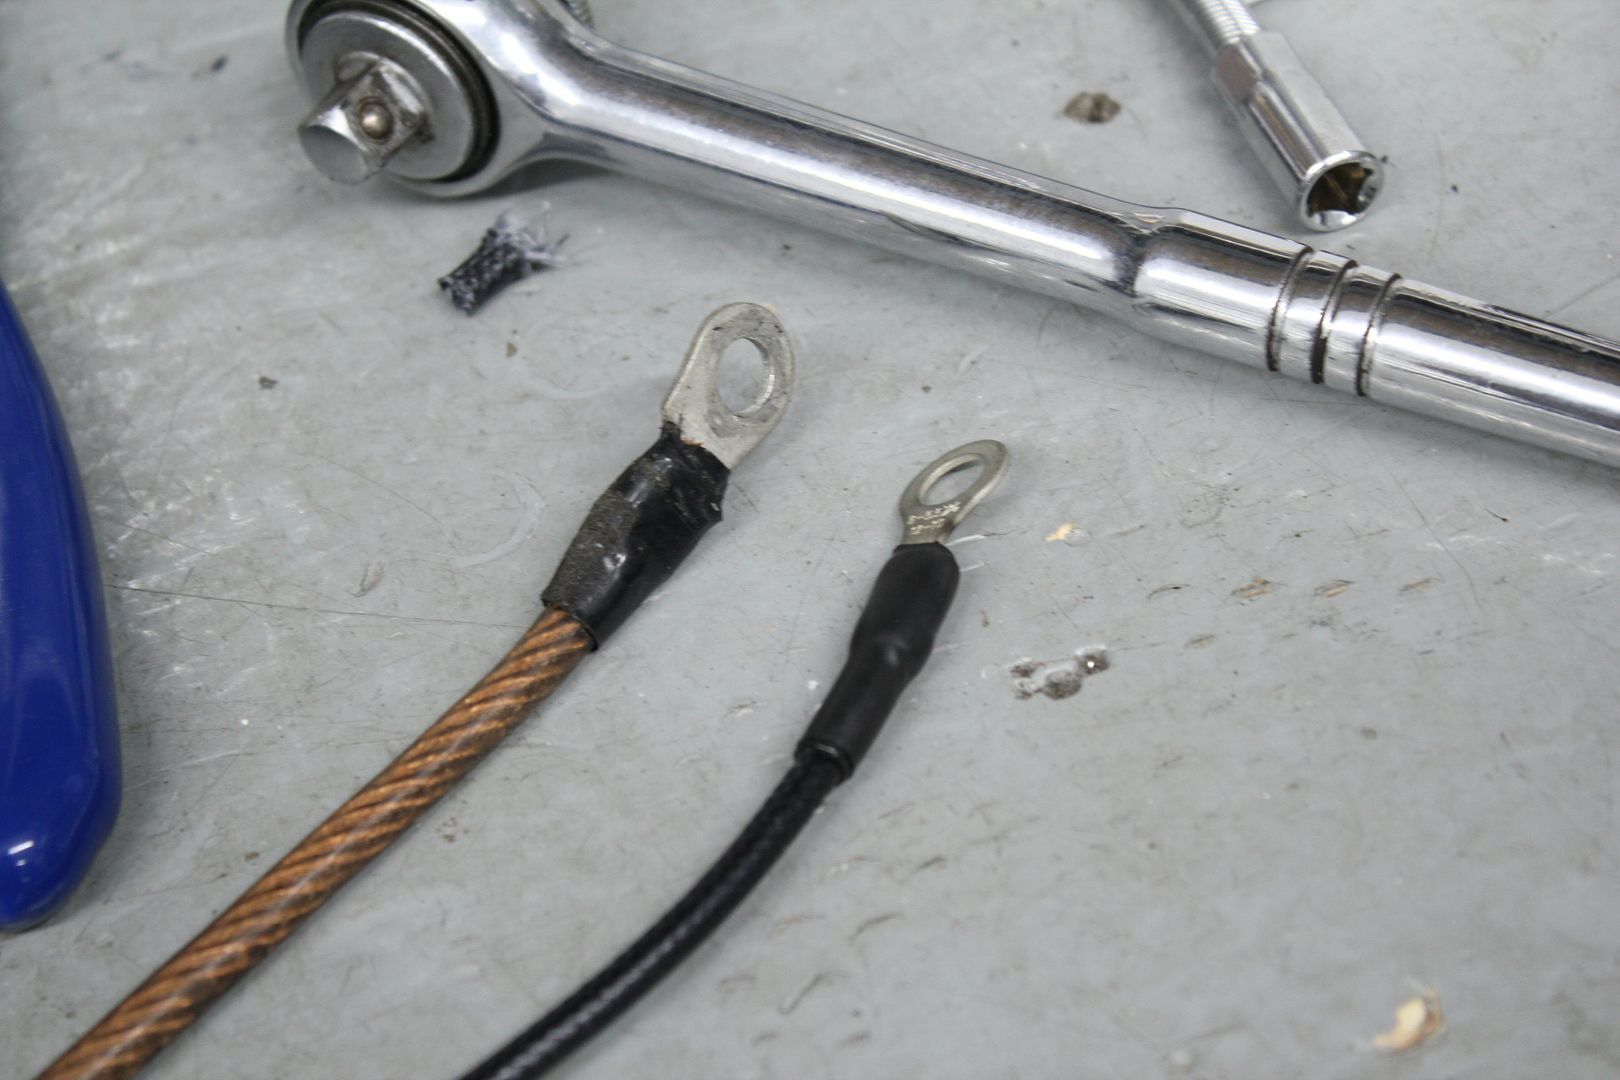
i re-made each wire with smaller connectors and using shrink tubing instead of ugly tape;
this would be much more subtle;
during the winter, i had bought a set of standard OEM GTR projector headlights,
but i didn't know if i really wanted to swap out my N1 headlights to go back to stock
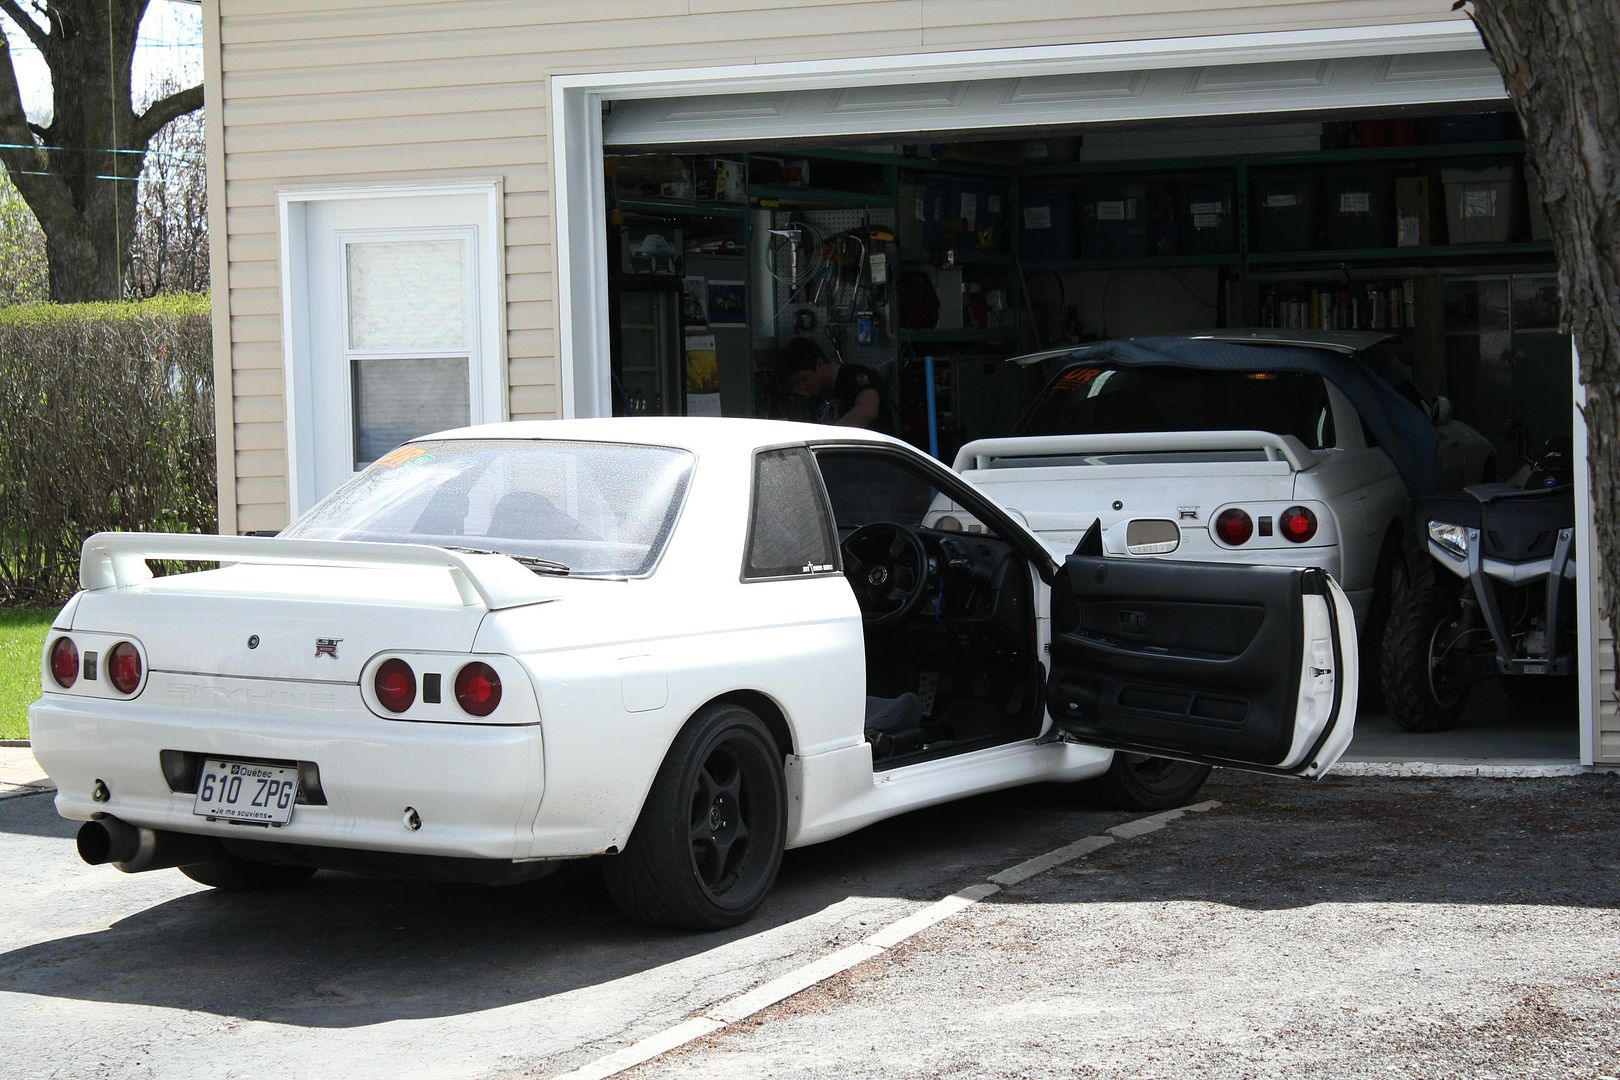
during one of those days of work, the decision took itself,
a friend of mine came by to get some minor work done on his GTR,
then i saw that his driver's side headlight was cracked, a GTR projector headlight
so i asked him if he wanted to purchase my set of mint projector lights, and i would change his broken one on the spot free of charge
he was more than happy
while i was changing the headlight, which isn't a job i like, i pretty much hate it, another friend called me,
he had just got his car out of the body shop with a brand new paint job, and asked me if i had headlights for sale, since he had a broken one
...
really? what side i asked him ; passenger's side he replied ; come by my friend, its your lucky day i said
so friend #1 sold the un-needed passenger light to friend #2
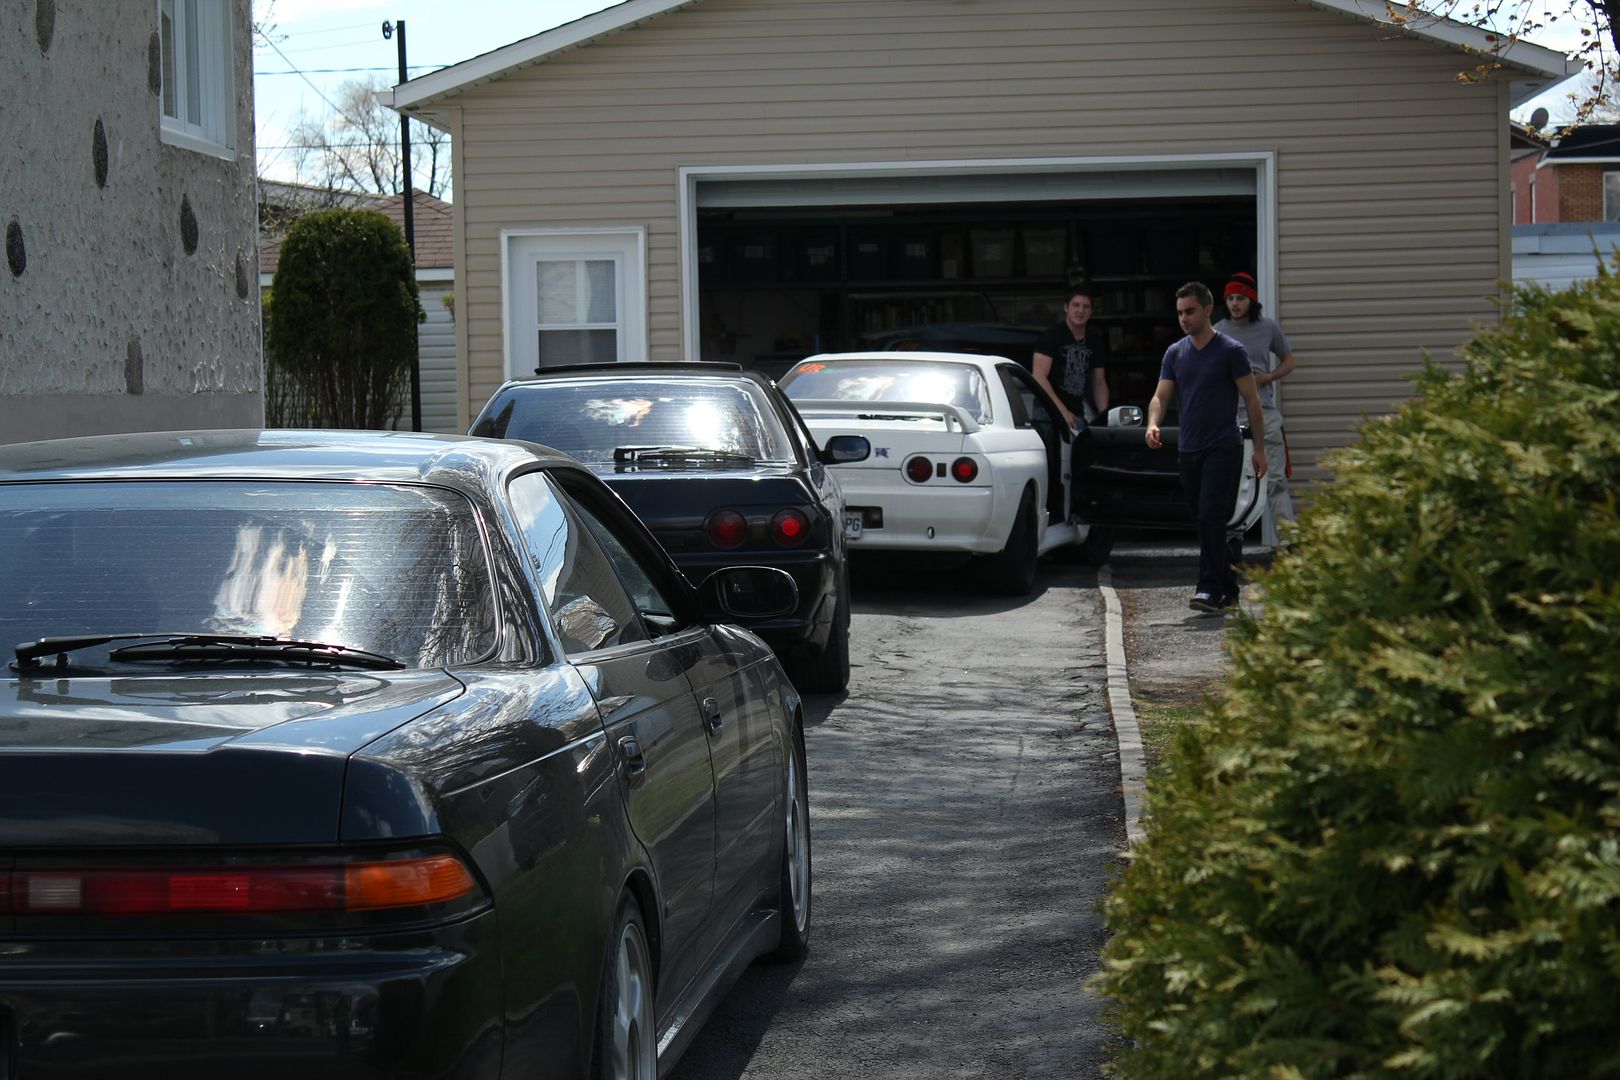
he arrived with another friend that gave him a lift to the body shop,
my driveway quickly became a JDM parking lot
3 skylines, 1 toyota MarkII
so i changed the broken light on the GTR-headlight-equipped black GTS-T
and made 2 guys happy that day
and made a bit of money, so 3 happy guys after all
thats all for that particular week
more to come soon
disclaimer :
the following story depicts actions that occured between May 11 and 20 2011
information is recalled purely from memory, endure with me
you may have read in the last chapter that my steering rack had been leaking for quite a while,
so i took it off and sent it off to get rebuilt
i took it to ''Monsieur Cremaill�re'' which translates as ''Mr. Rack&Pinion'' pretty straight forward name,
thats all that shop does, they must have thousands of tie rods and rod ends in storage, its crazy
the shop i situated on the south shore of MTL
first i ask if only the input shaft seal could be replaced and was told that the head of the rack&pinion needed to be taken completely apart and polished and put back together with new seals in order to make as good as new,
but he also said the my rack would probly need a complete rebuilt, with the rack seals as well, and that he couldn't garantee the job if he only did half of it,
since i didn't want this overhaul to cost me an arm, i was reluctant to get to whole package done
so the boss took the steering rack off the counter and asked me to follow him inside the shop,
he put it in a vice on a test bench, took both rubber boots off the tie rods and it was evident there was p/s fluid mixed into the grease,
so i agreed for a full overhaul, but in the end i got a great deal because my dad has a compagny and sometimes has stuff done on his trucks by that shop, lets just say i got a 25% discount (pm for price)
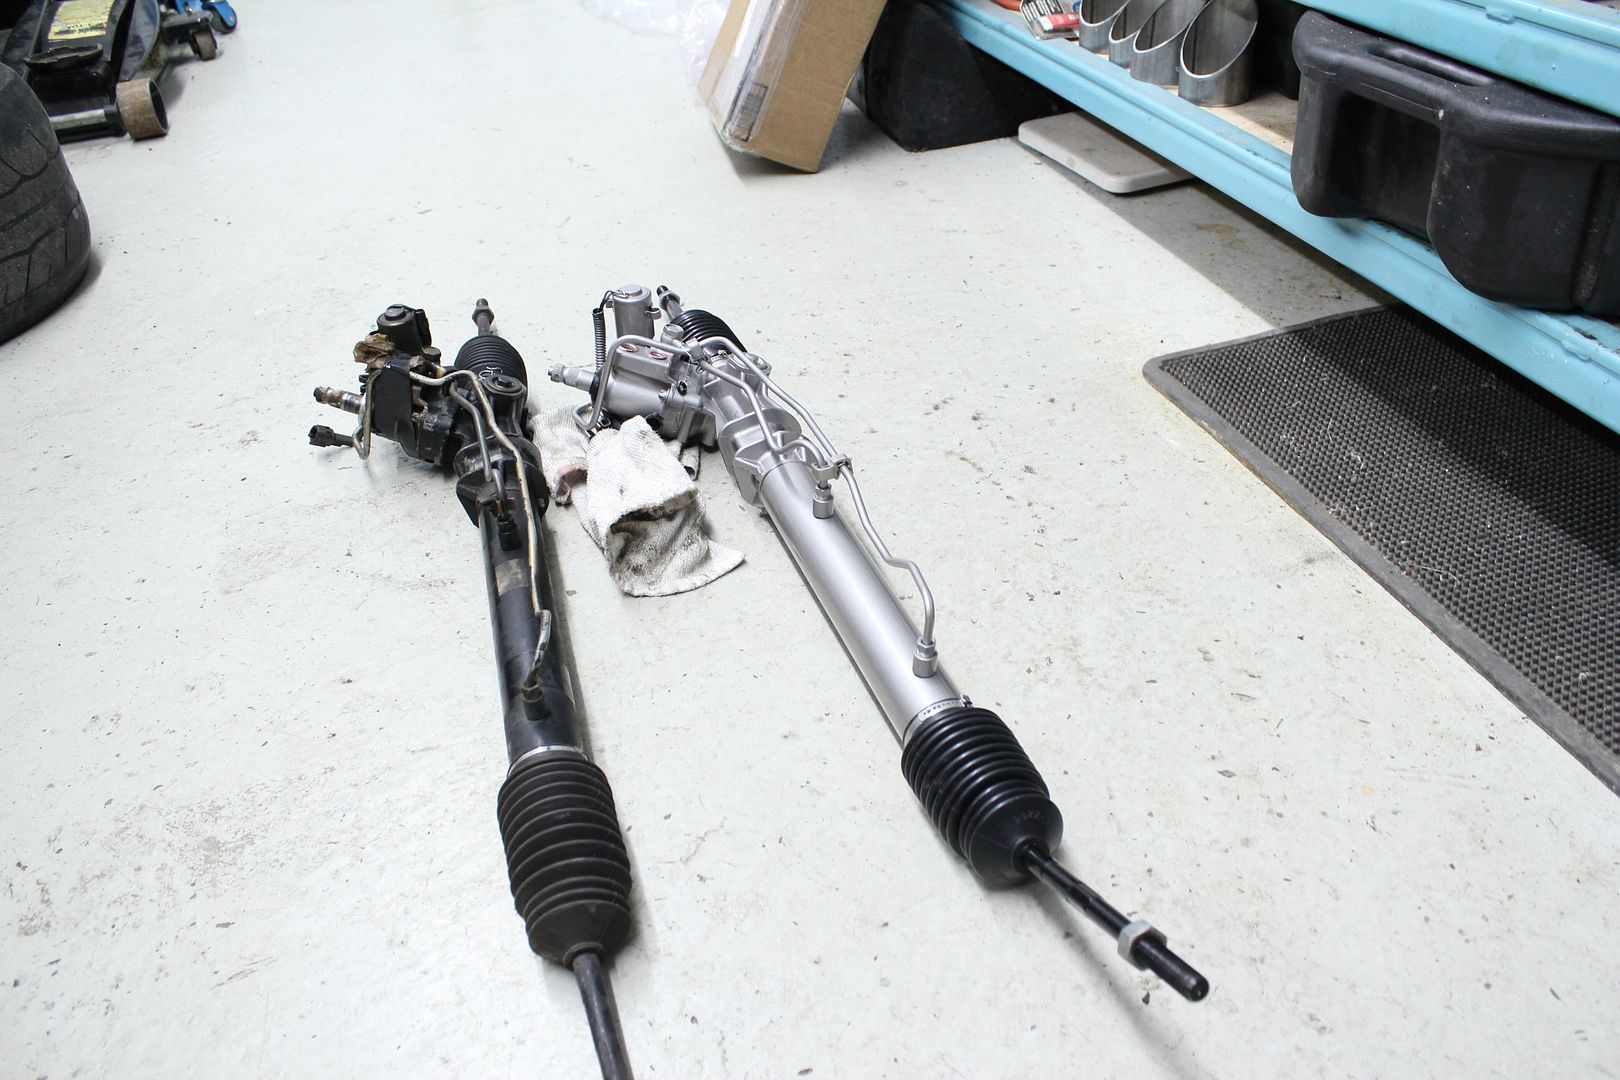
2 days later i got it back and it looked like this;
i put a spare rack (from my old GTR) next to it for comparison
he told me that the tie rods didn't need replacing yet, but since they were just a bit used, he punched the inner portion of it to make it more fit,
you can see here that the tie rod stays up because its so tight;
instead of using an OEM dust cover, which would have taken 5 weeks to get from Nissan Japan, a generic Toyota rubber cover was used instead,
here is the comparison, the broken OEM and the new Toyota;
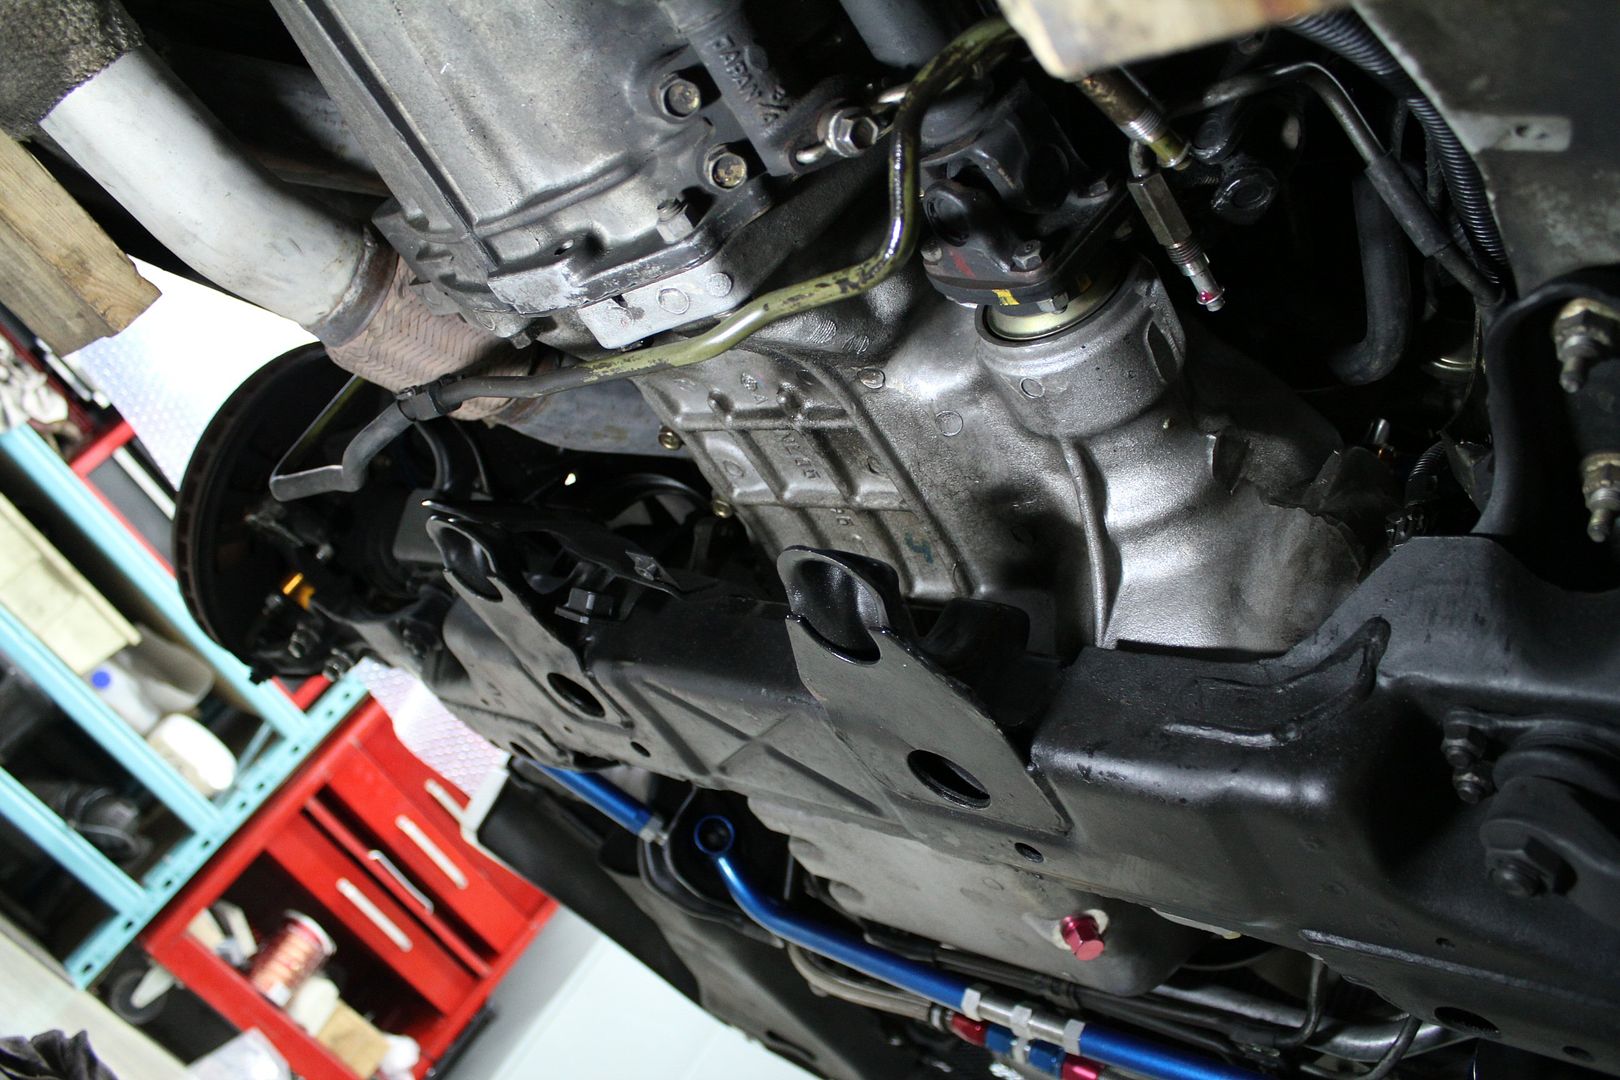
when the rack was taken off the week prior, this was the gaping hole left behind;
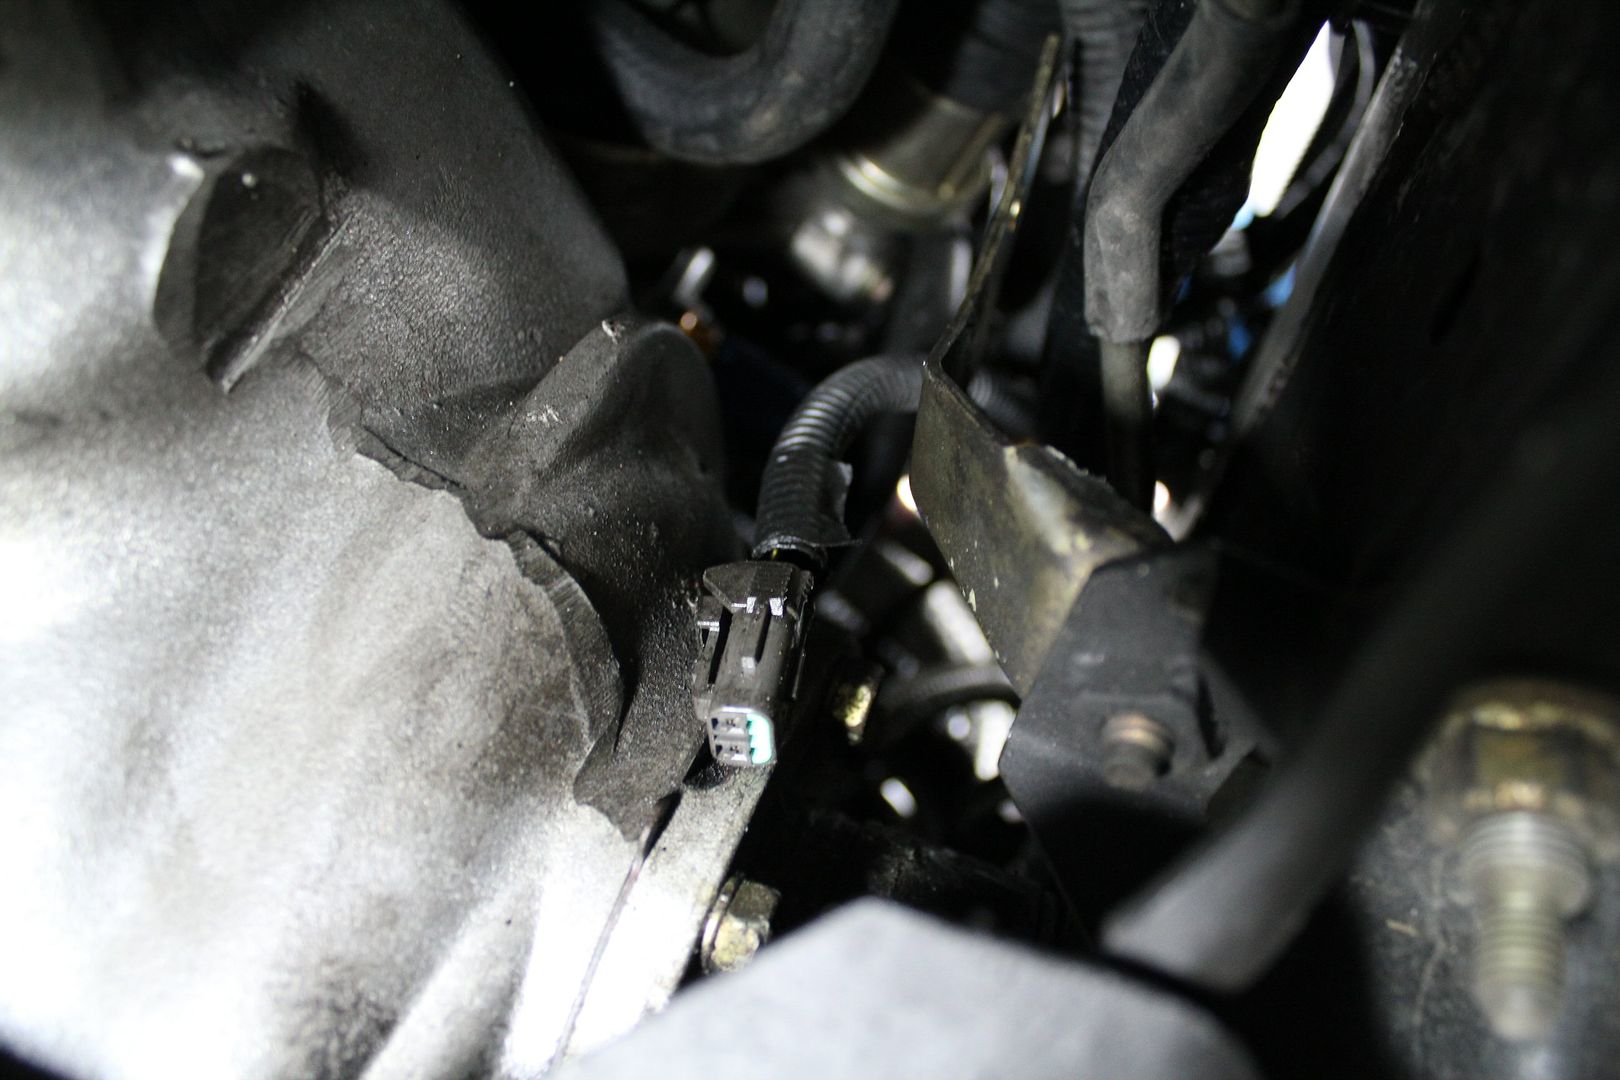
this connector proved to be a real PITA during the removal of the rack, since i worked alone, with the car not-so-high-off-the-ground, it proved very difficult to reach, disconnect, and unclip from the bracket all at the same time this little connector;
after a good 2 hour struggle, it was back in place, all connected, looking all pretty and new;
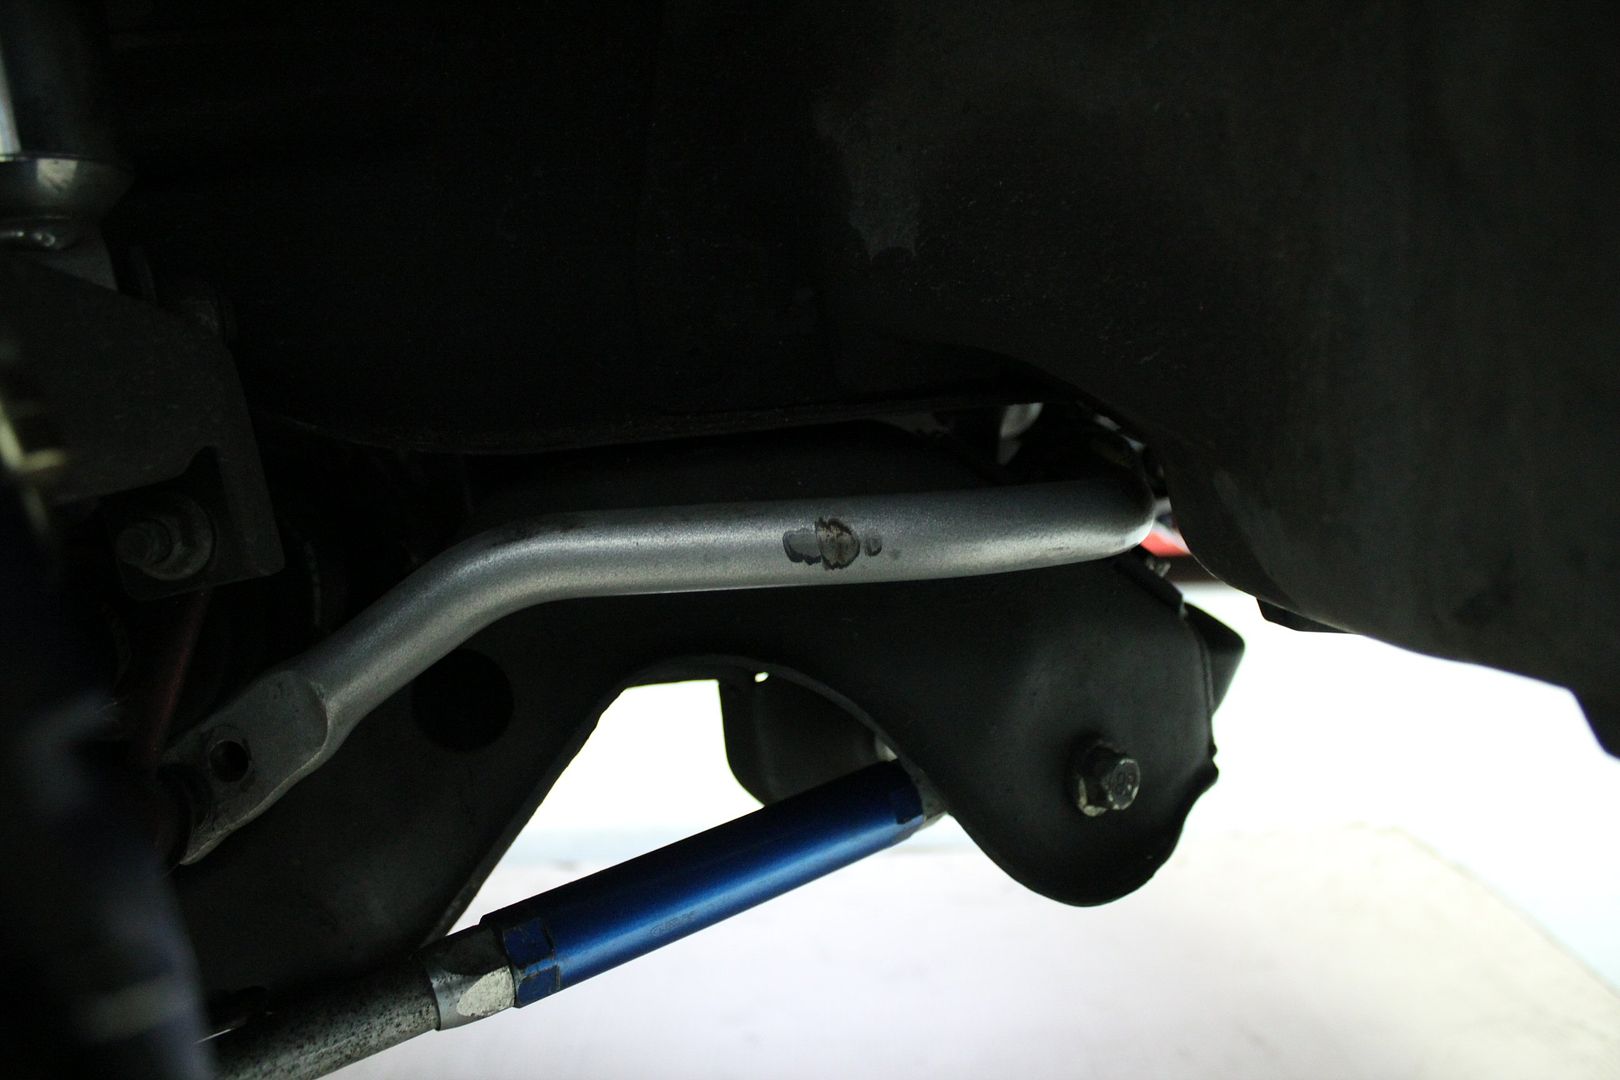
i snapped a picture of some tire-rubbing action on the front swaybar;
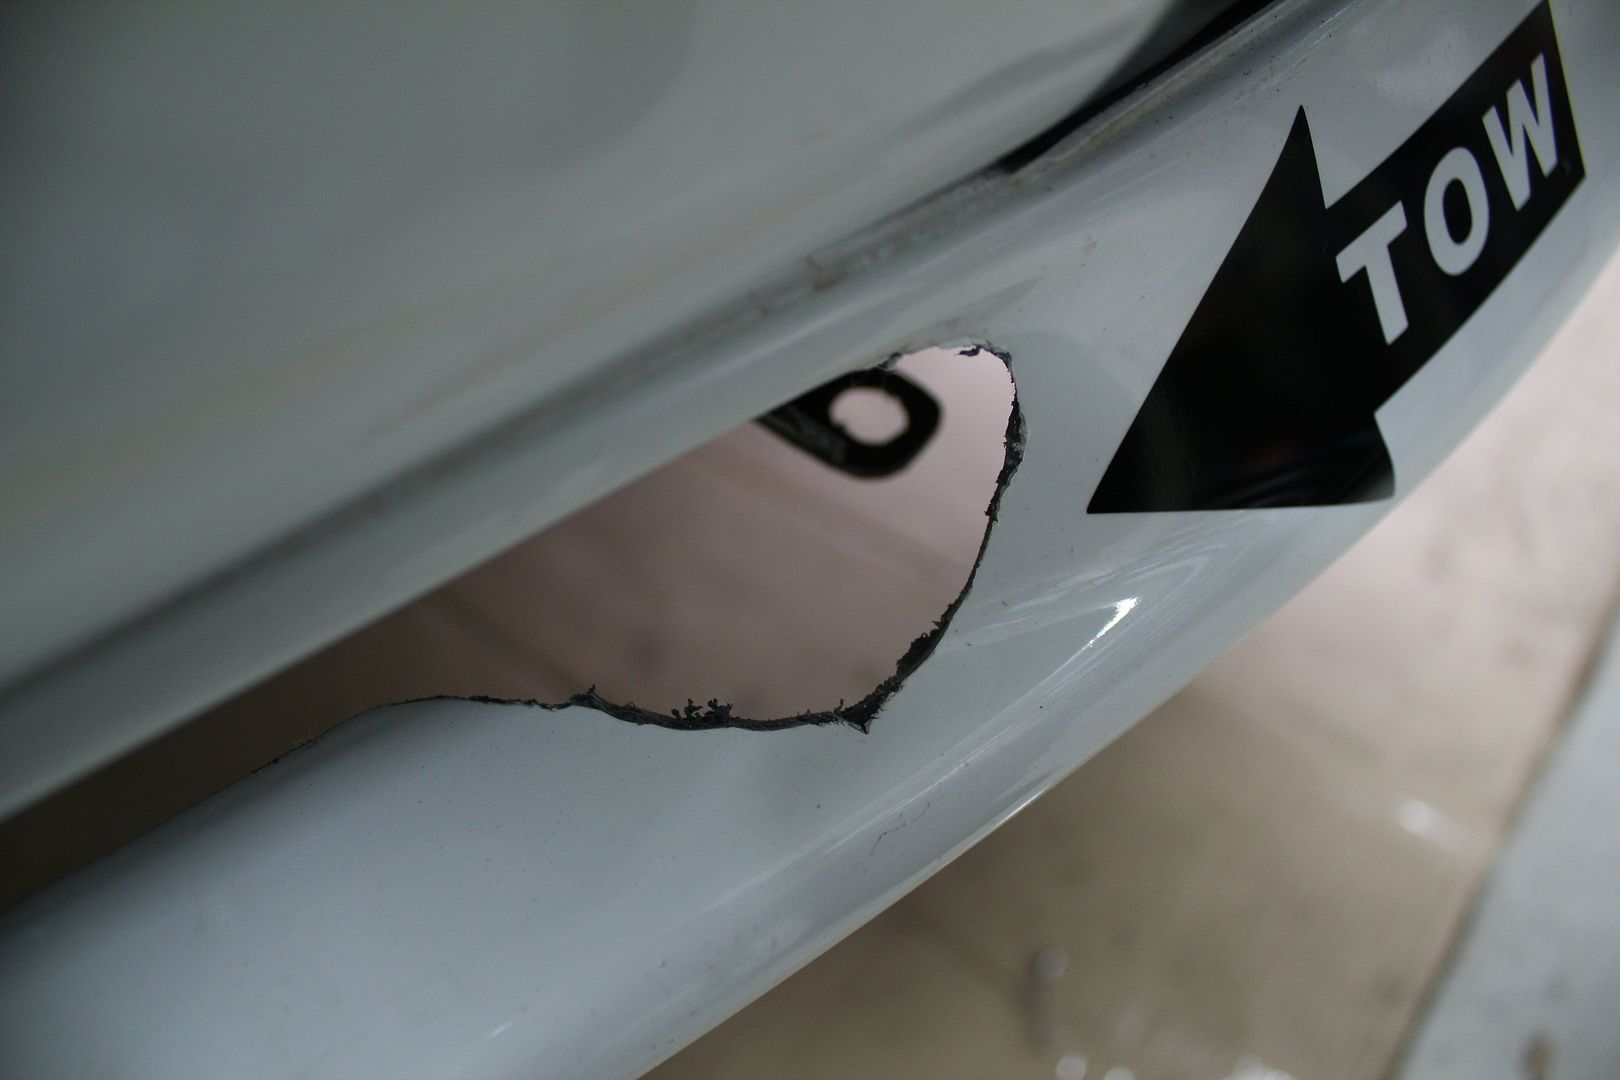
after that hard work, i opted for something a little lighter, fixing my lip
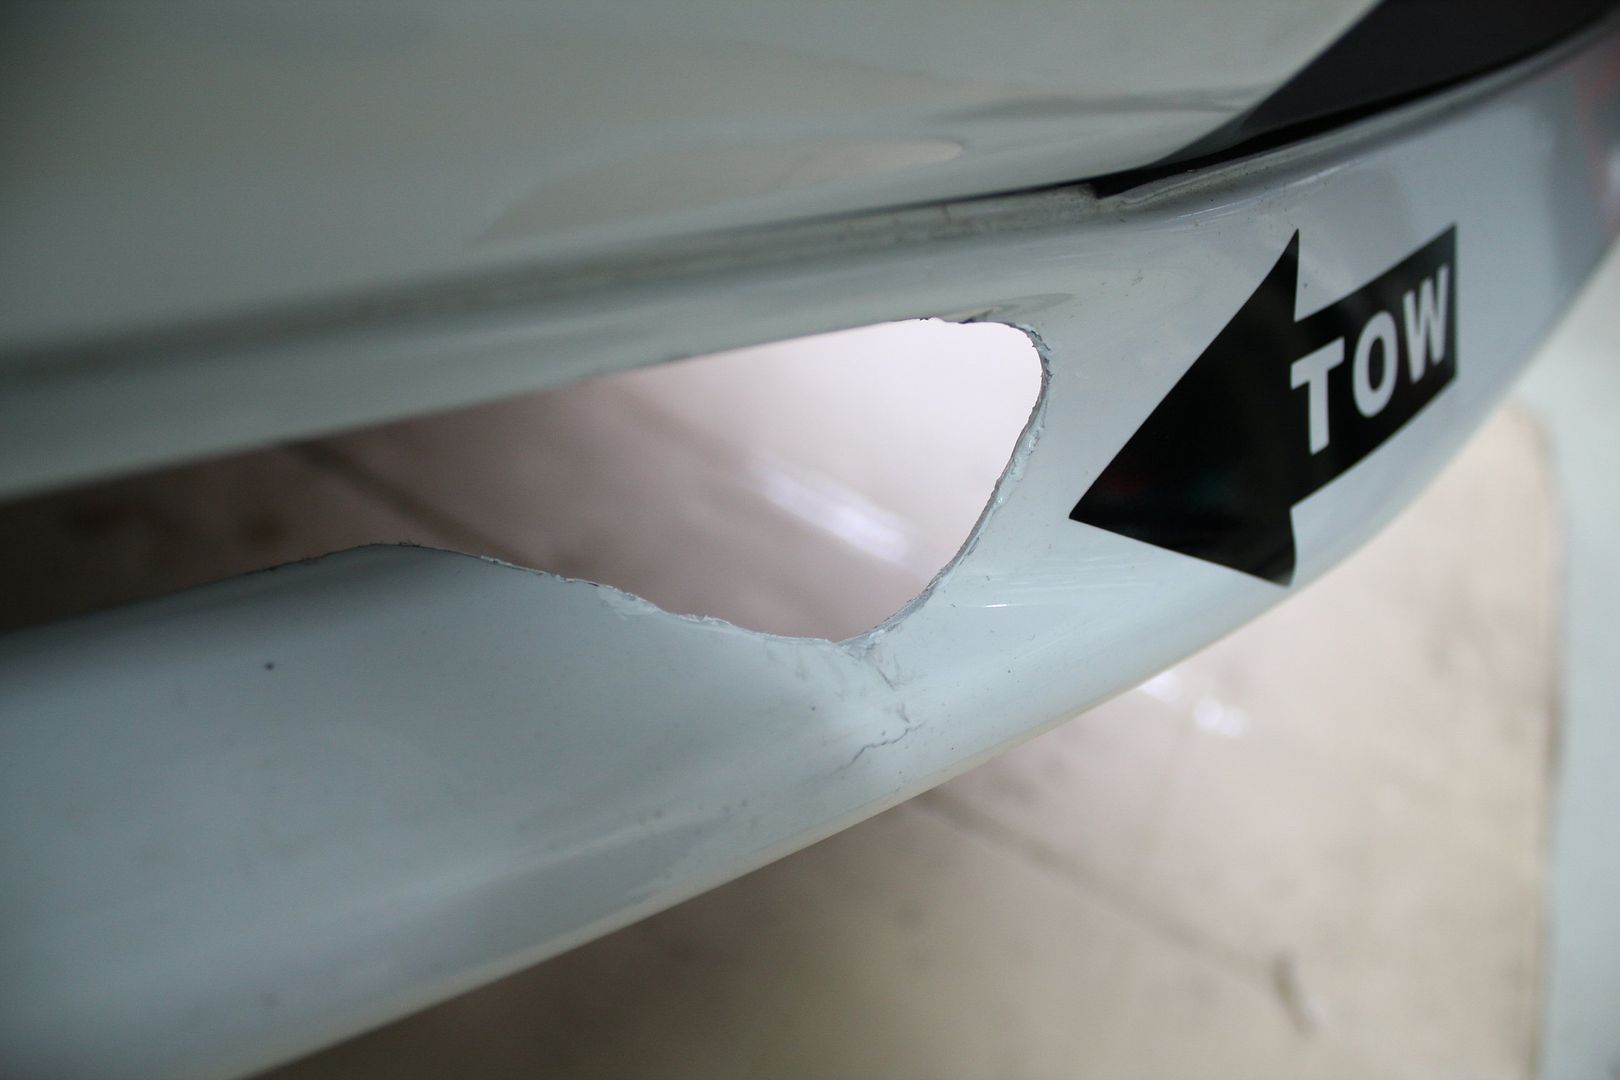
last year, to fit my tow hook, i grinded away part of an opening in the lip, leaving an ugly rough paintless surface
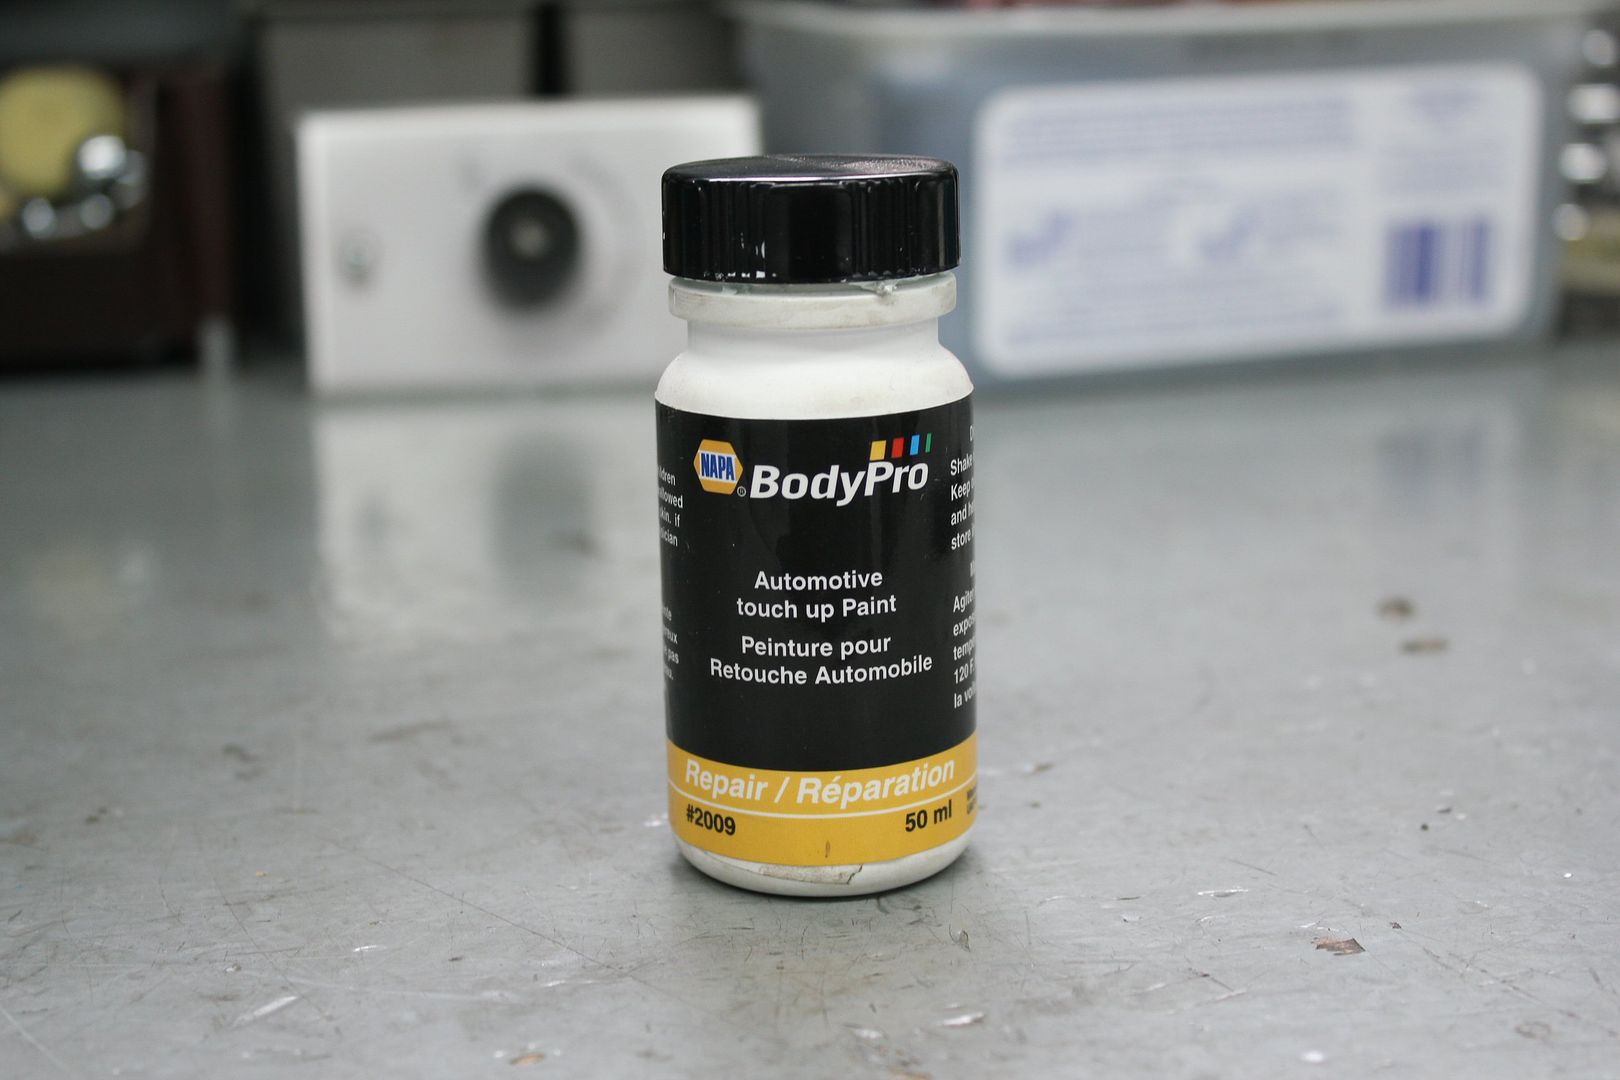
luckily i've had a bottle of touch-up paint around for years
so after cleaning up the surface with fine sand paper, i painted it, for a ''better'' look
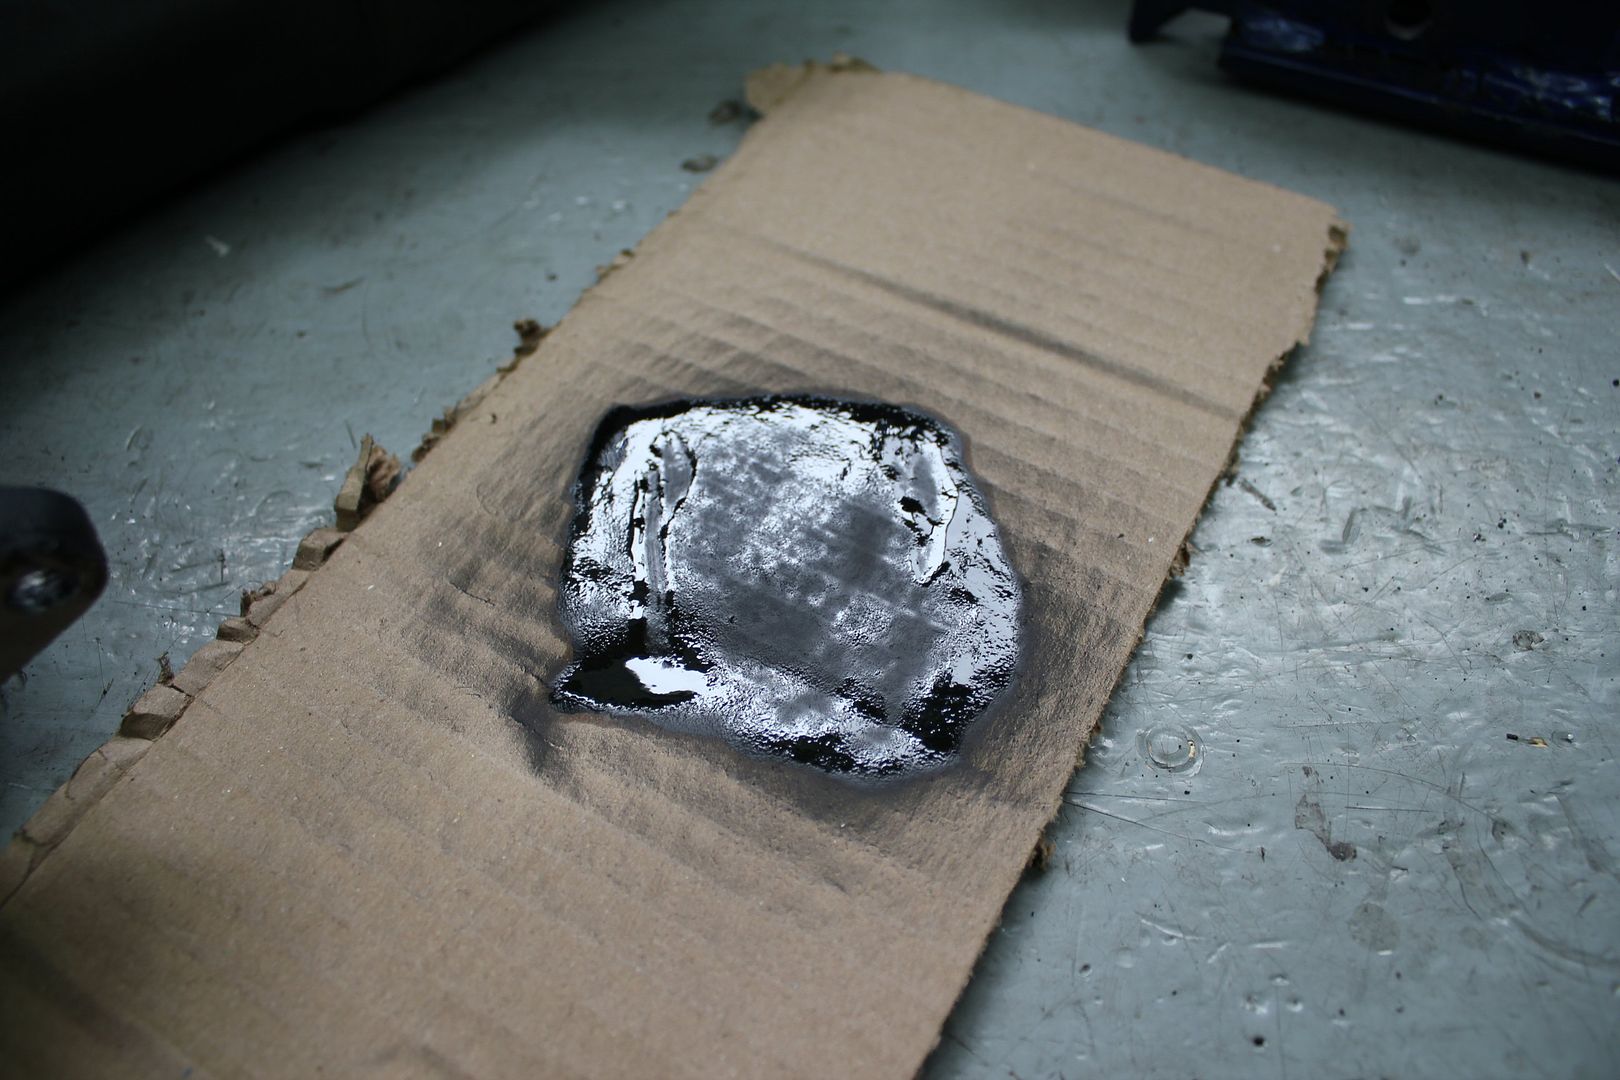
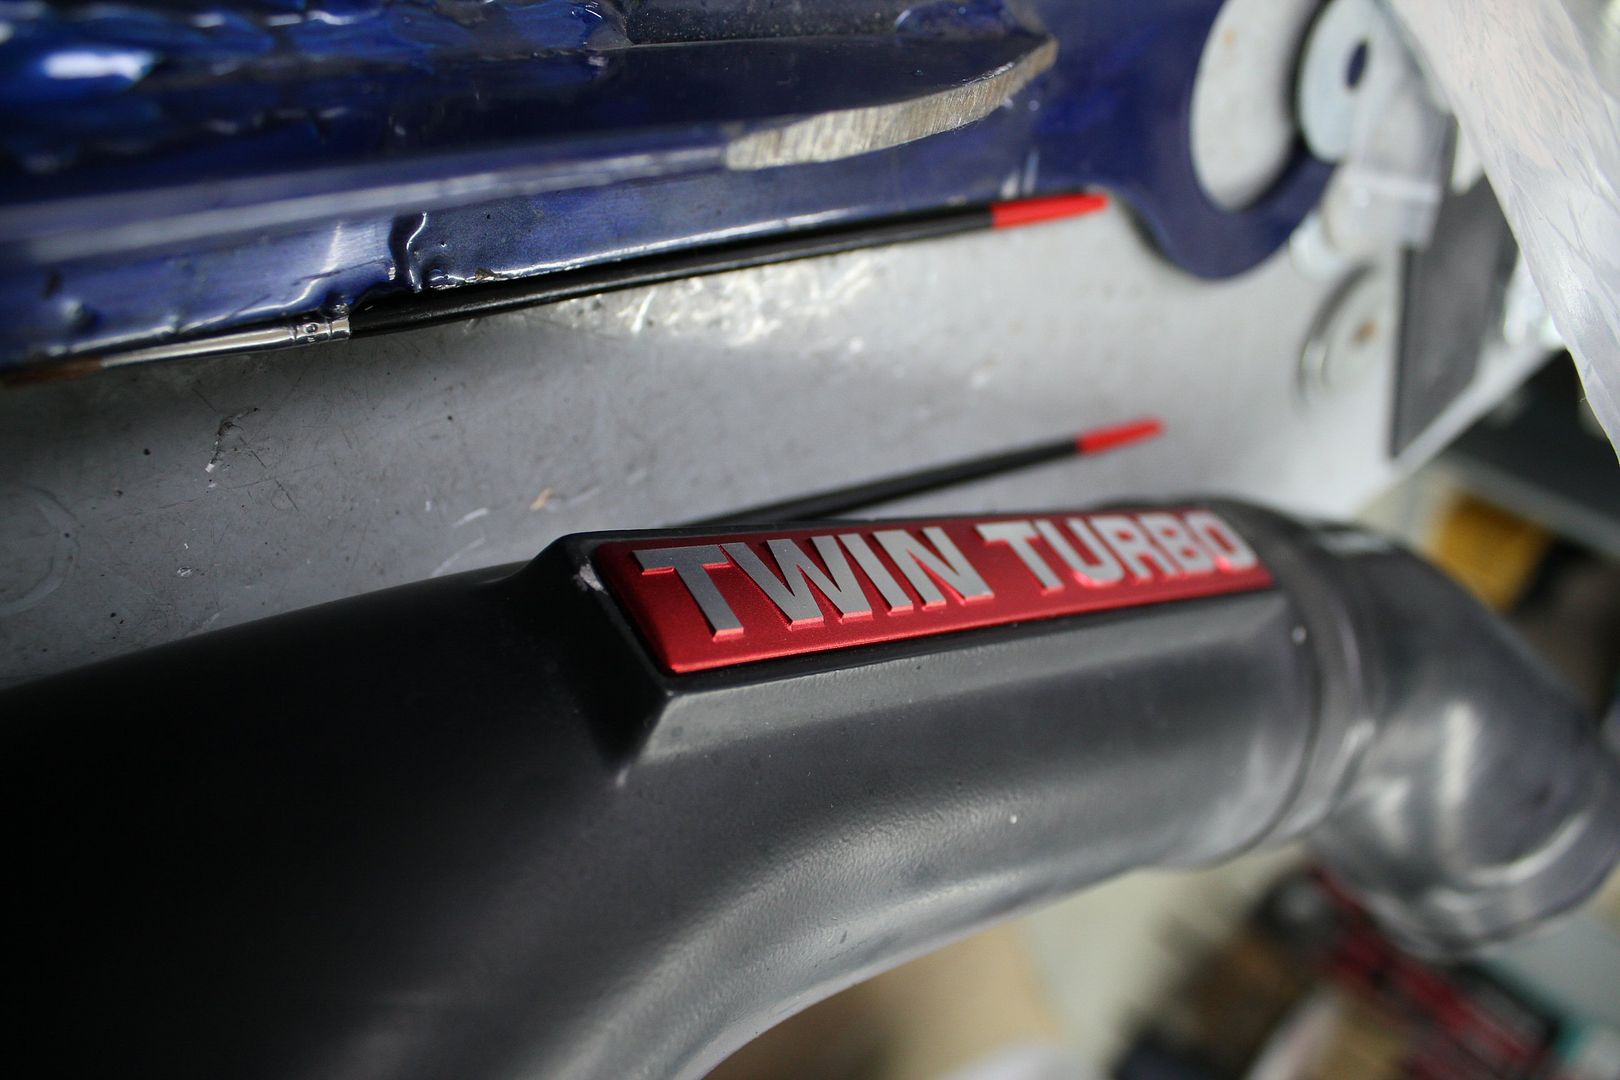
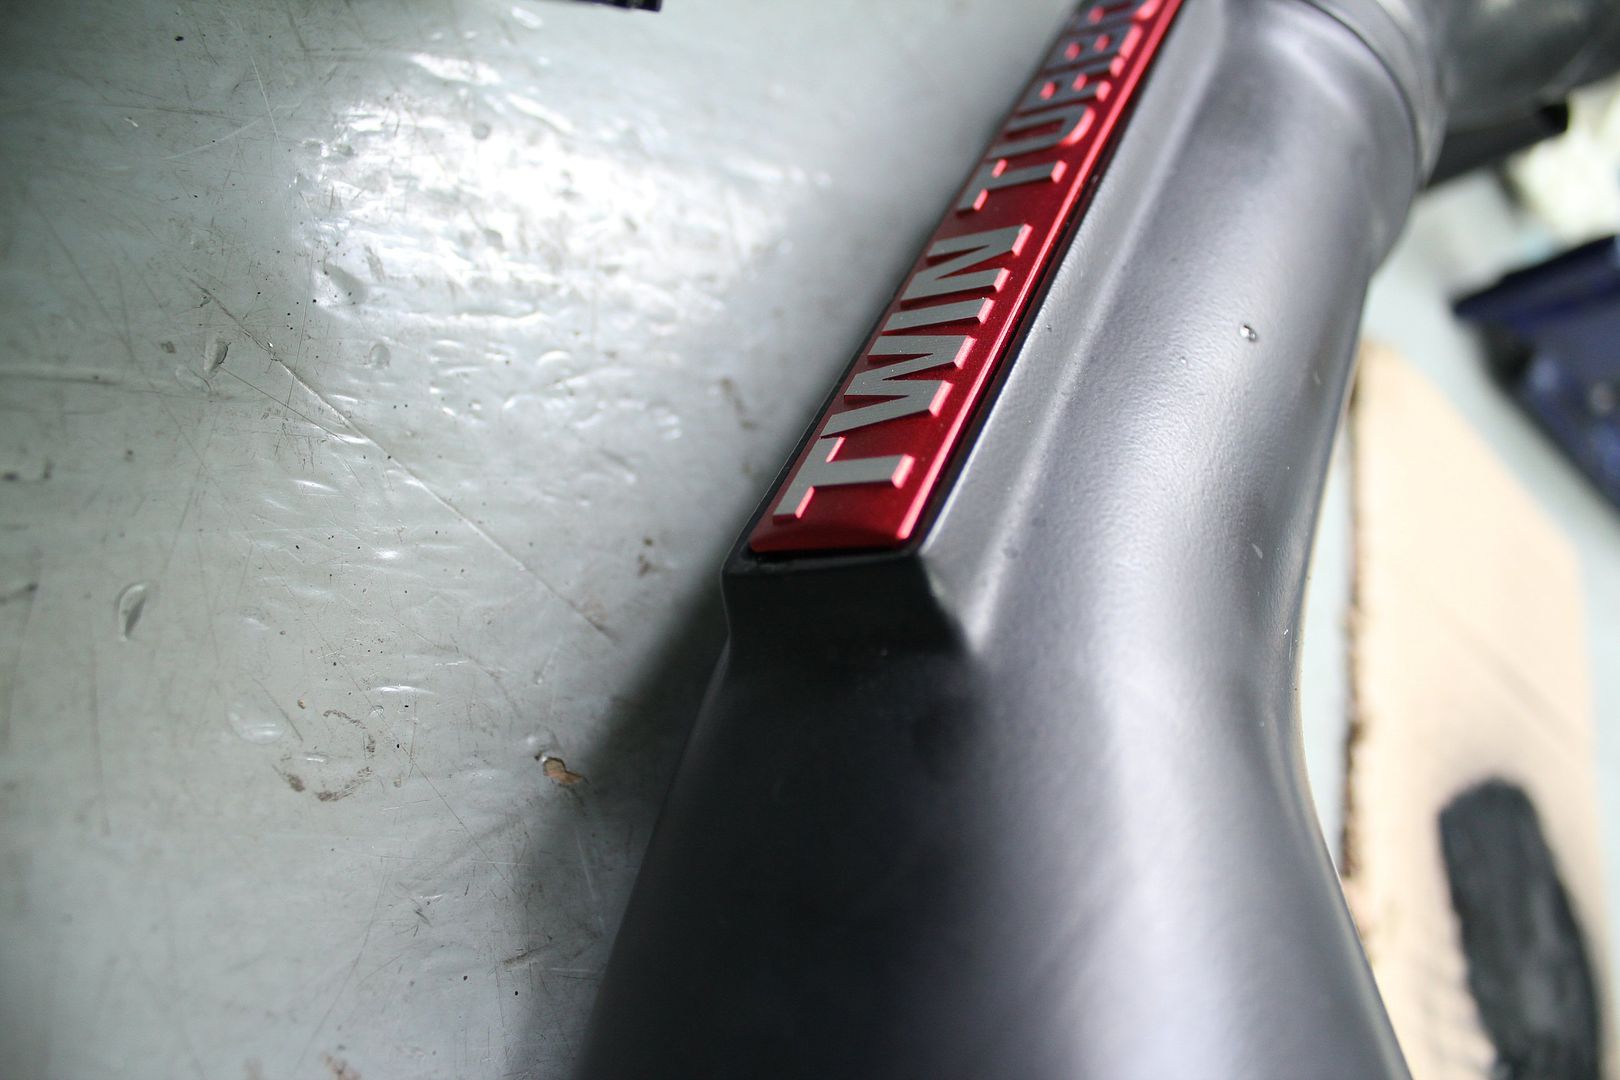
i did the same with of my engine bay piping, which had cheap powder coating that chipped in some places,
i sprayed a pool of paint on a piece of cartboard and used a fine brush to touch-up areas in need, about 20 of them
before
after
-----------------------------------------
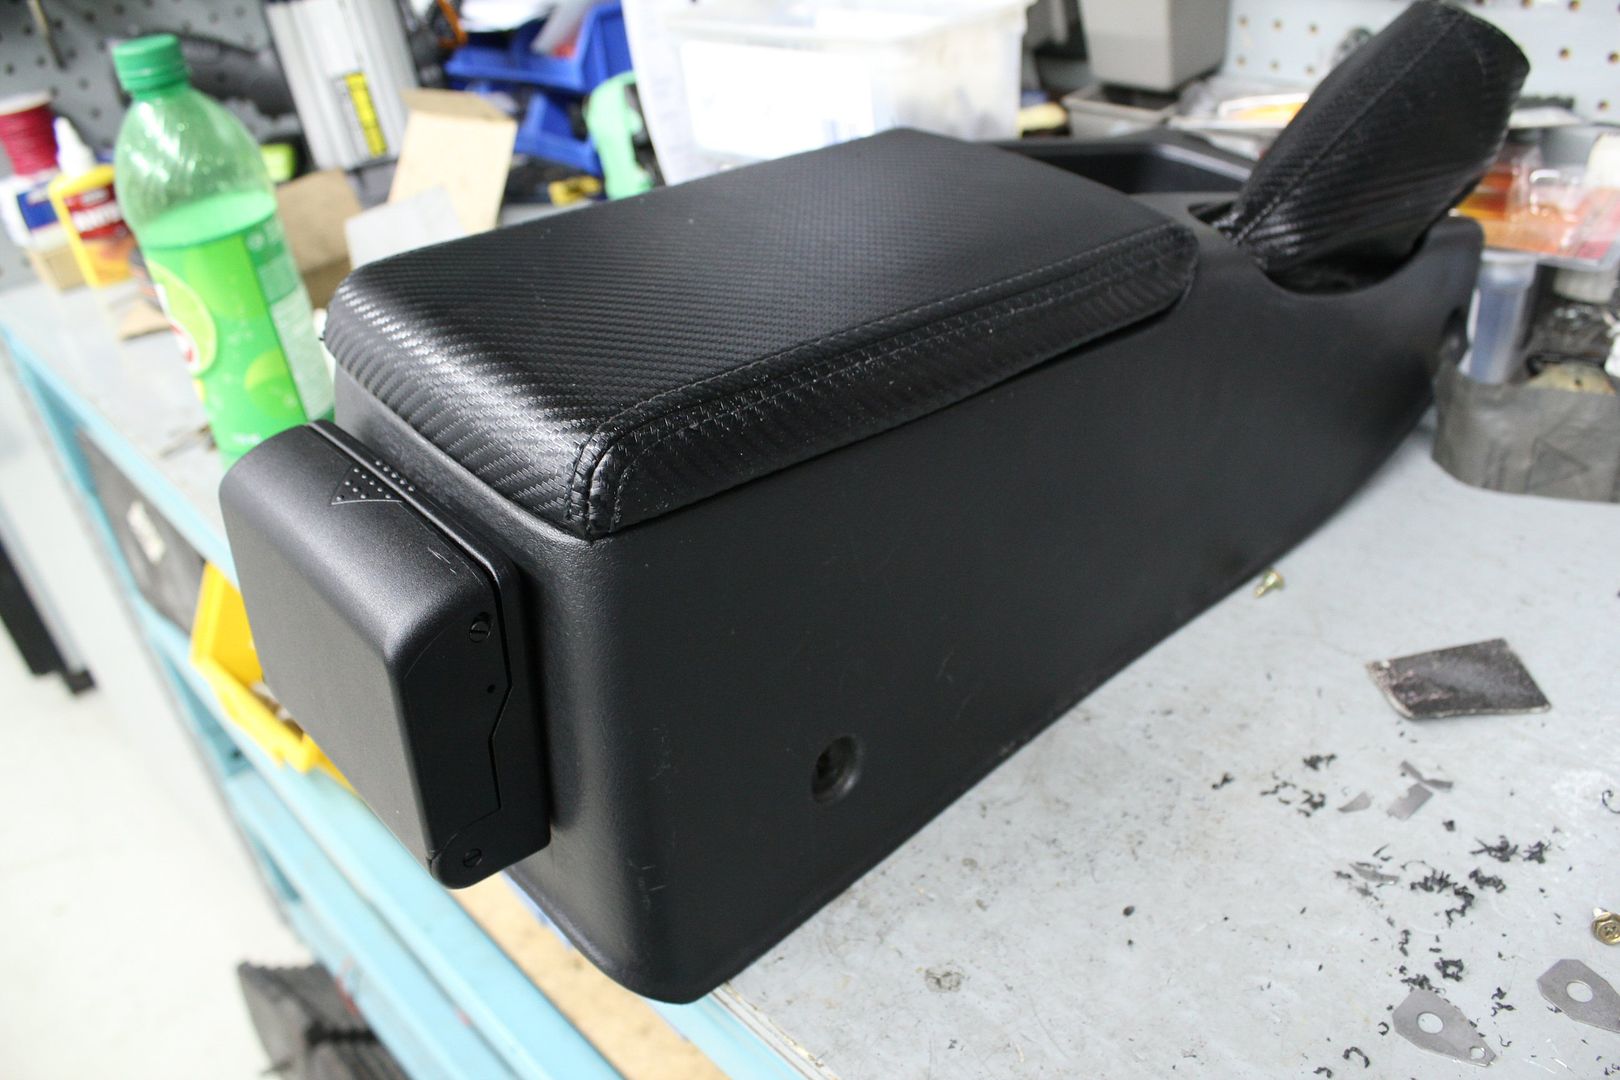
Project : ''Le'' cup holder
as we all know, nissan didn't make a built-in cup-holder on R32 skylines,
which sometimes can be agrevating, because you can only drink bottled drinks,
i'm my case, i'm a big amateur of Timmies Iced Cap, which is a big no-no without a cup holder (unless your a ninja)
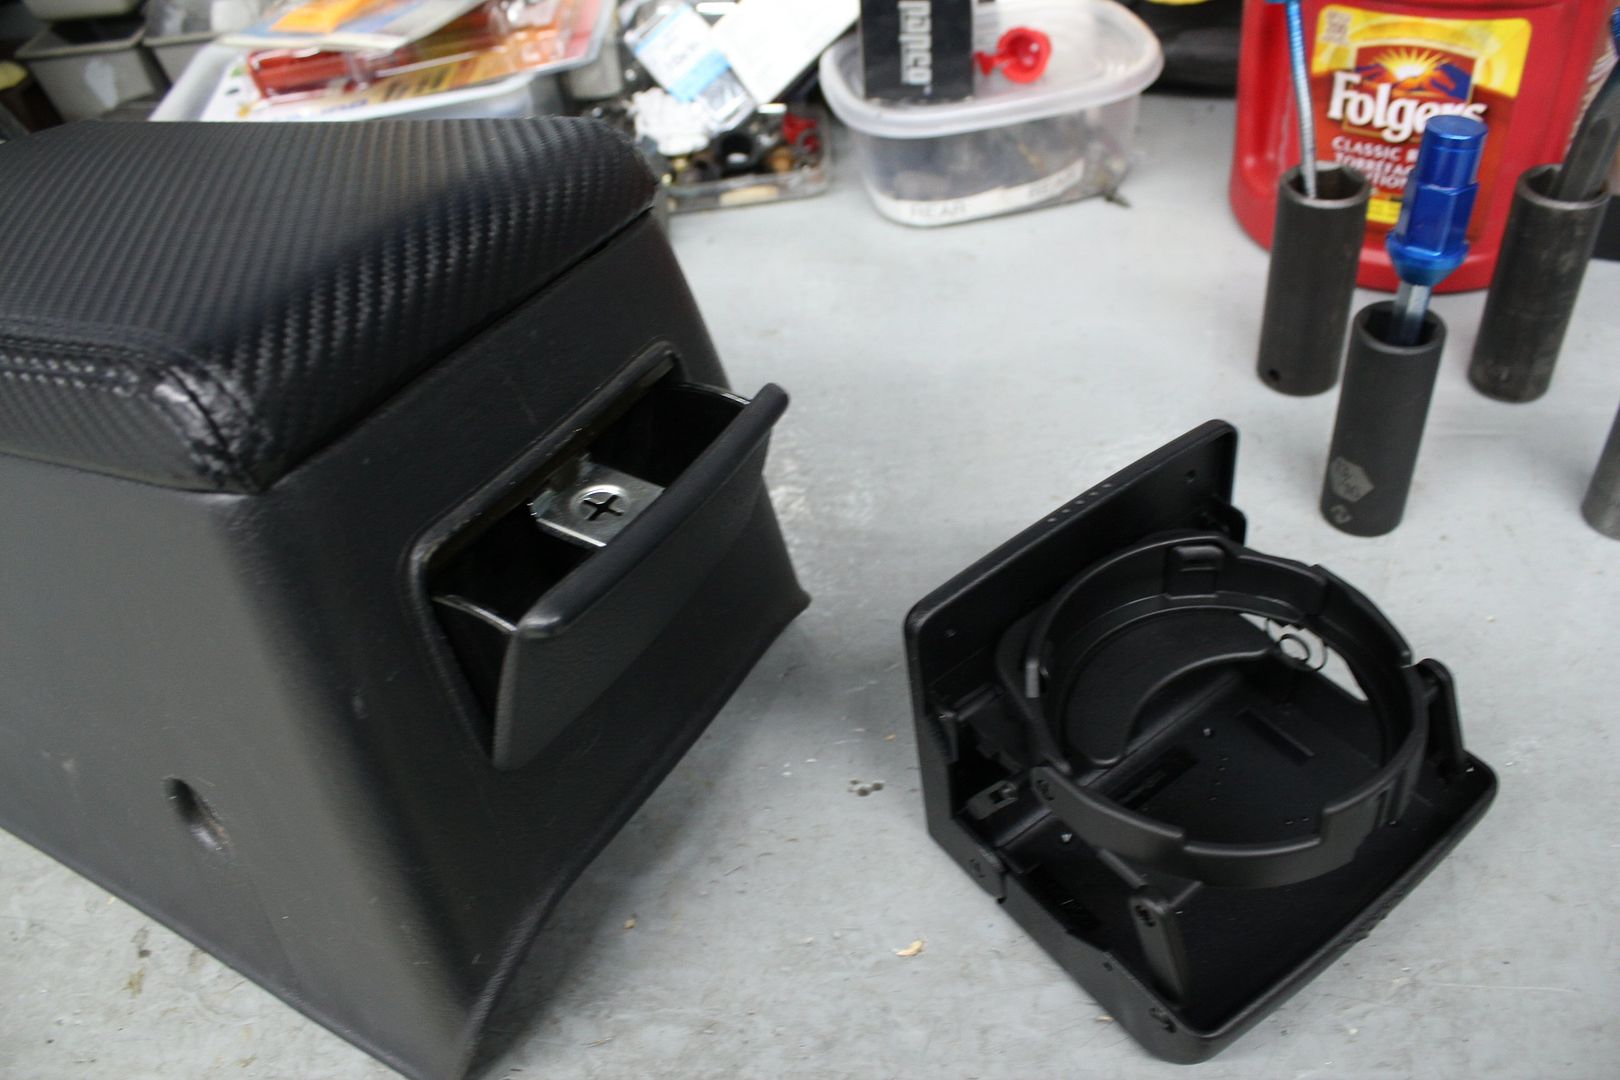
so i while back, i found a tutorial on GTRC about installing such a device behing the skyline's armrest
therefore i bought the exact same unit that was used in the tut, a fischer cup holder
Ultimate Cupholders (tm) - High quality, functional cup holders / cupholders for BMW, Porsche, Mercedes, Audi, and other fine cars.
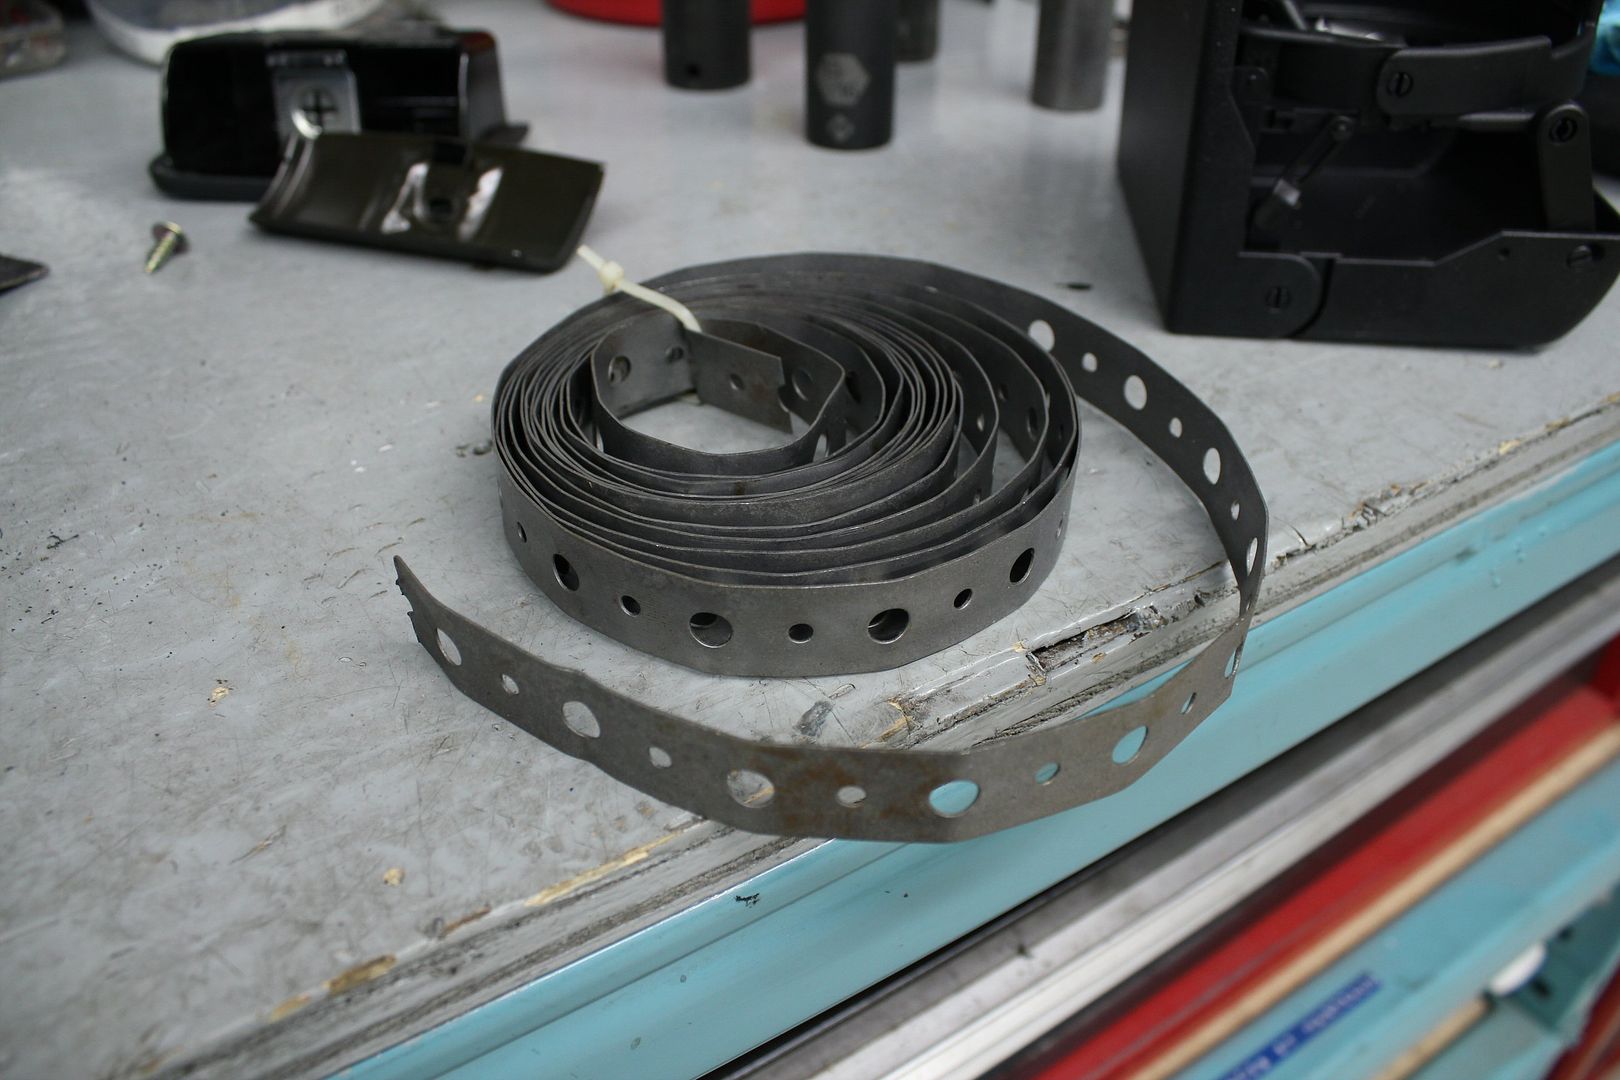
i found a roll of perforated galvanized steel in the garage, which would be perfect;
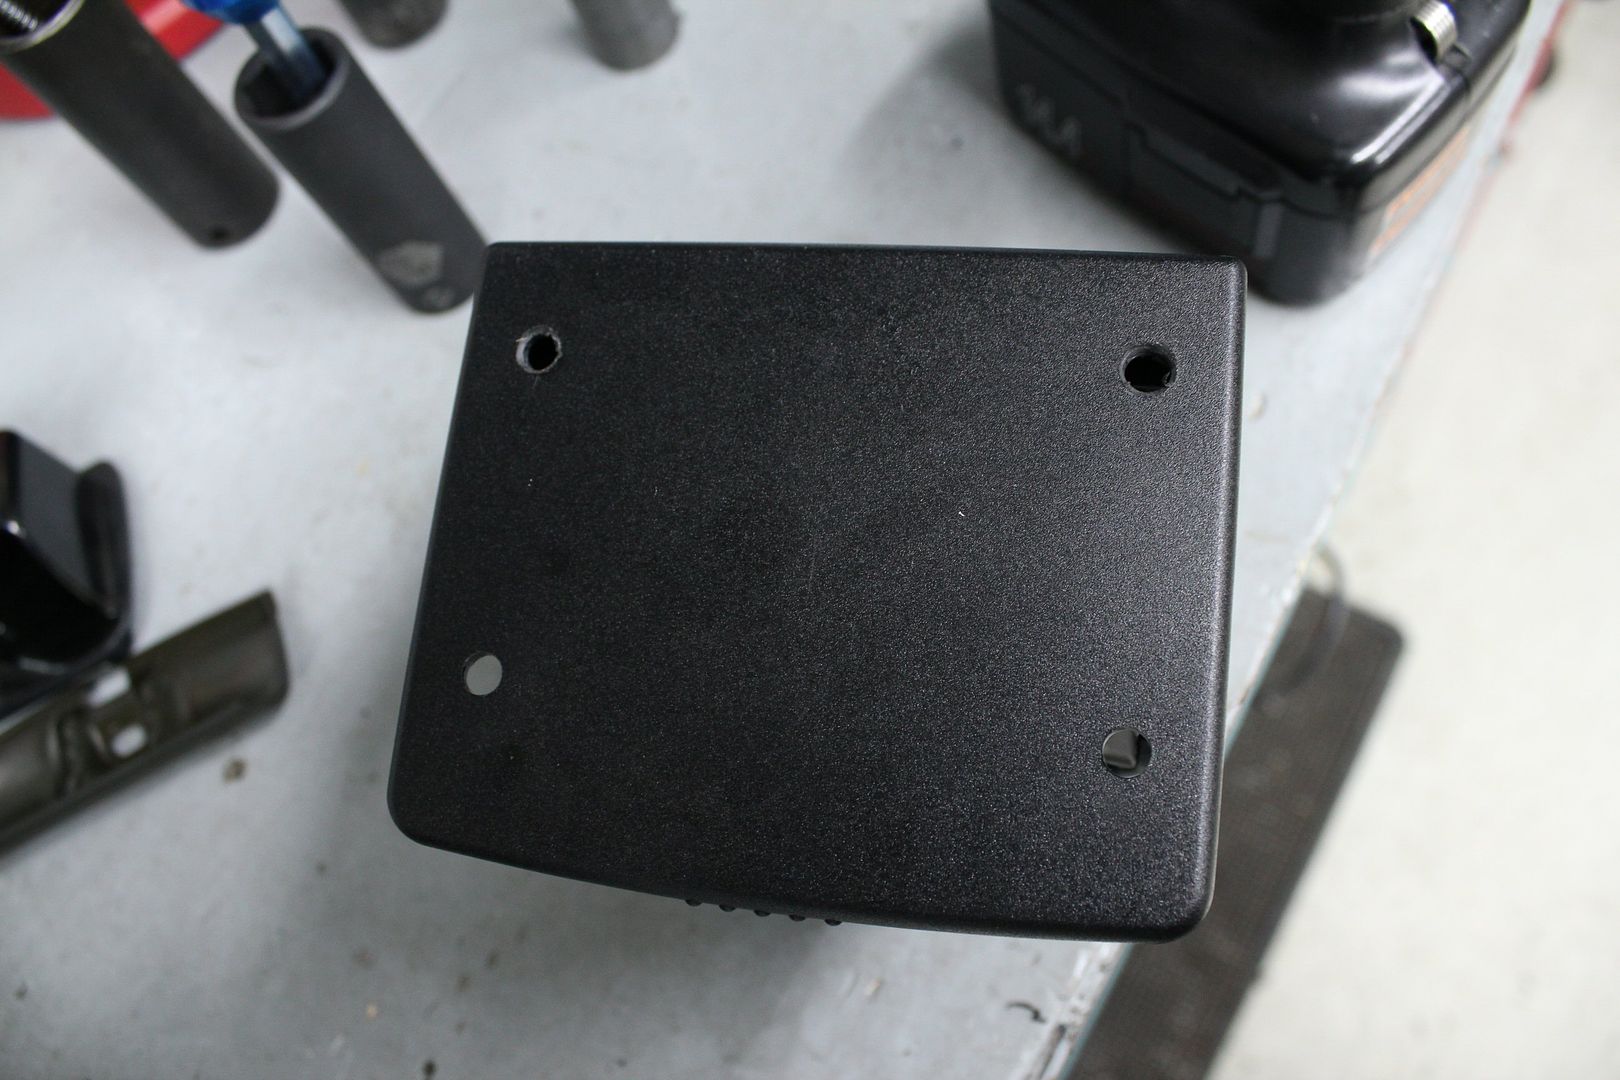
first thing to do is to drill 4 holes in the back of the cup holder, making sure not to damage the mechanism;
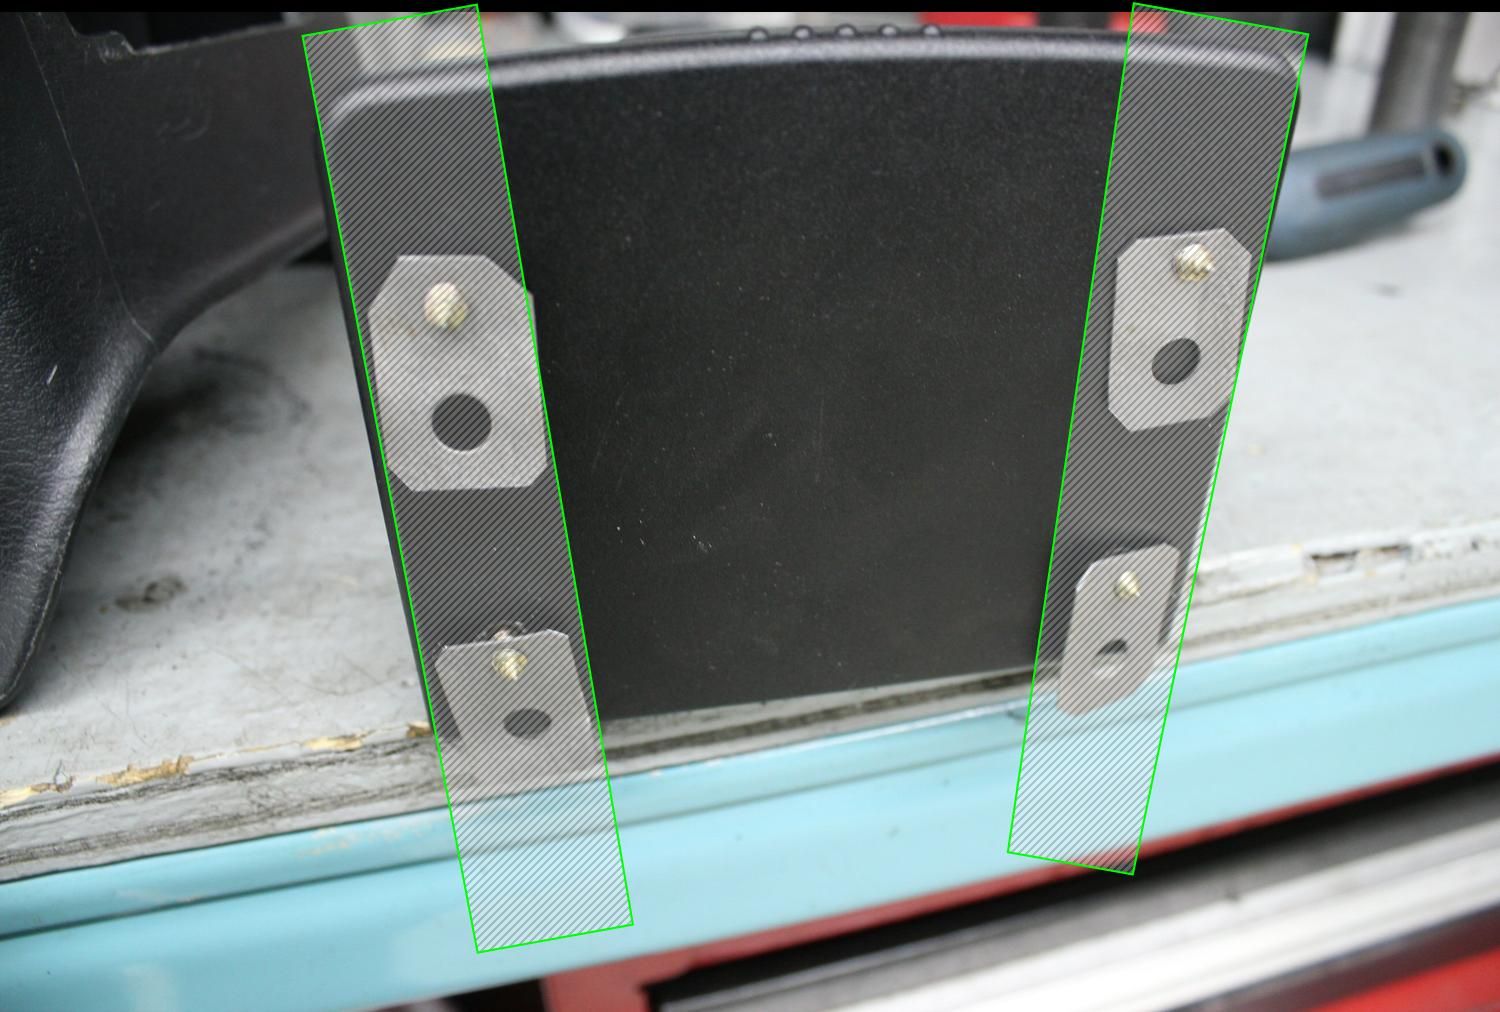
then cut 2 strips of steel, and loosely screw them at the back;
(i don't actually have a picture of that, which was my 2nd try, since the first time i only cut 4 small pieces but i really wasn't working right, so i figured 2 strips would be much better and it was, so in the picture bellow, the strips are drawn onto the picture)
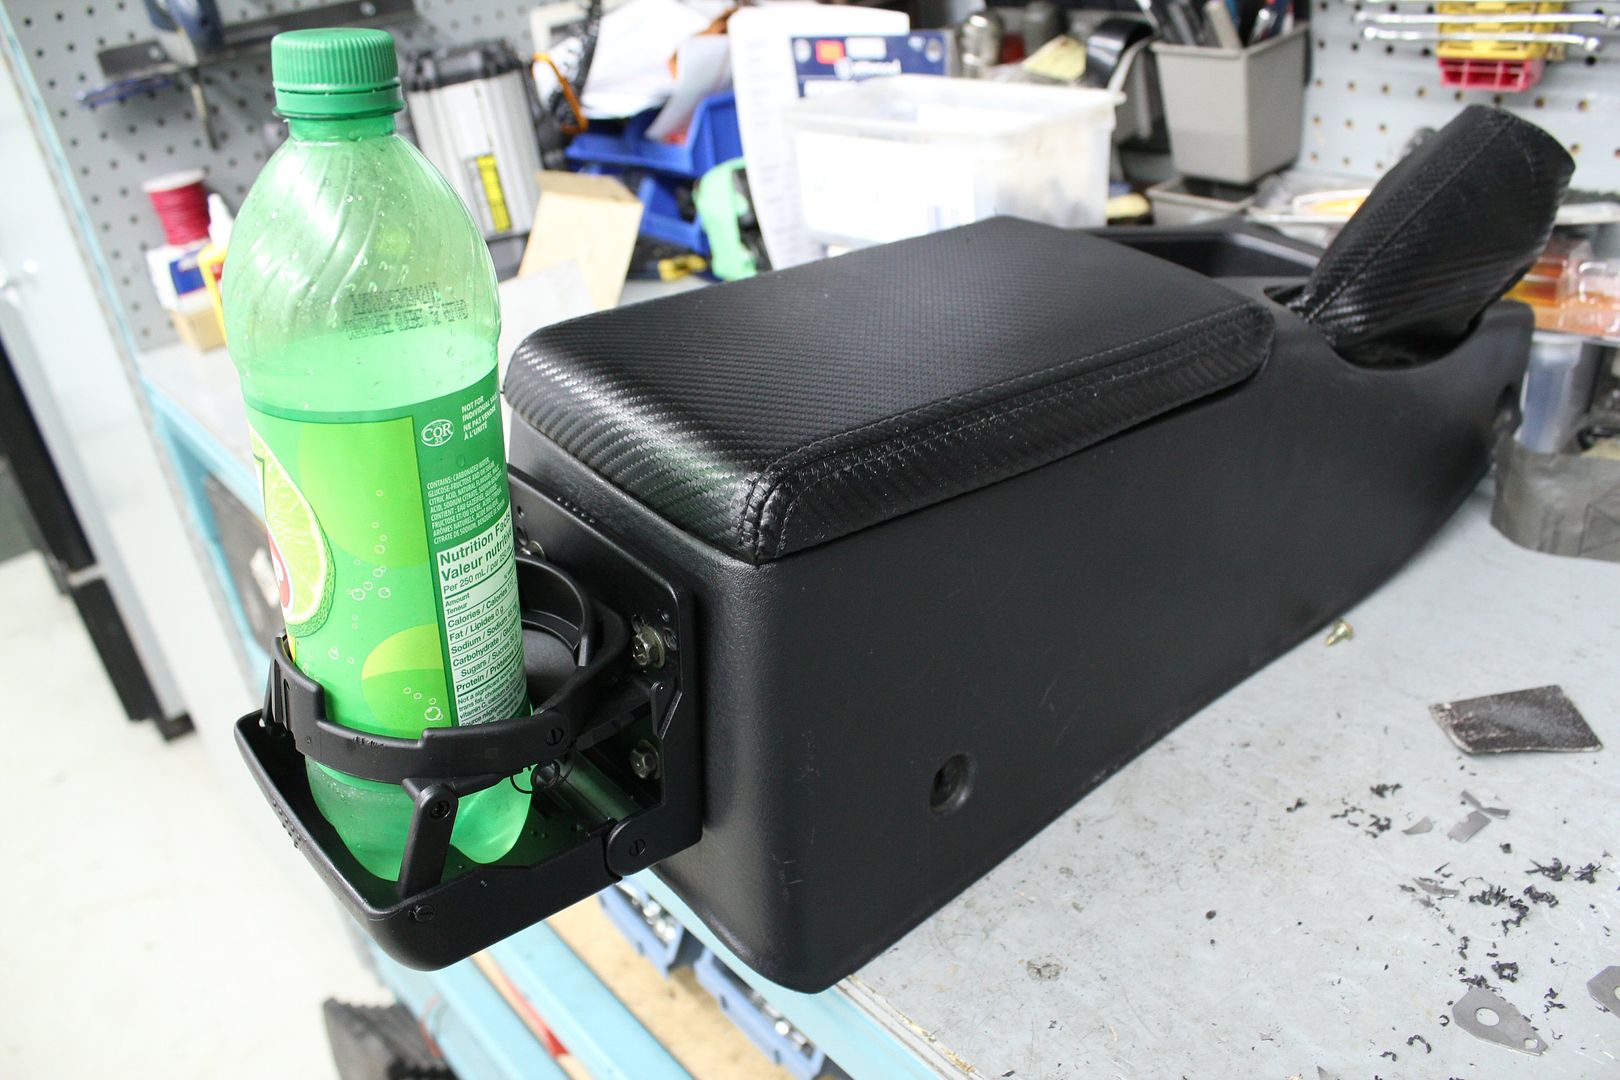
then you remove the ashtray, enlarge the hole a bit,
and attach the cup holder from inside with the strips;
results;
[9 months later - i still think this is one of the best mod i've done on the car, streetability-wise]
----------------------------
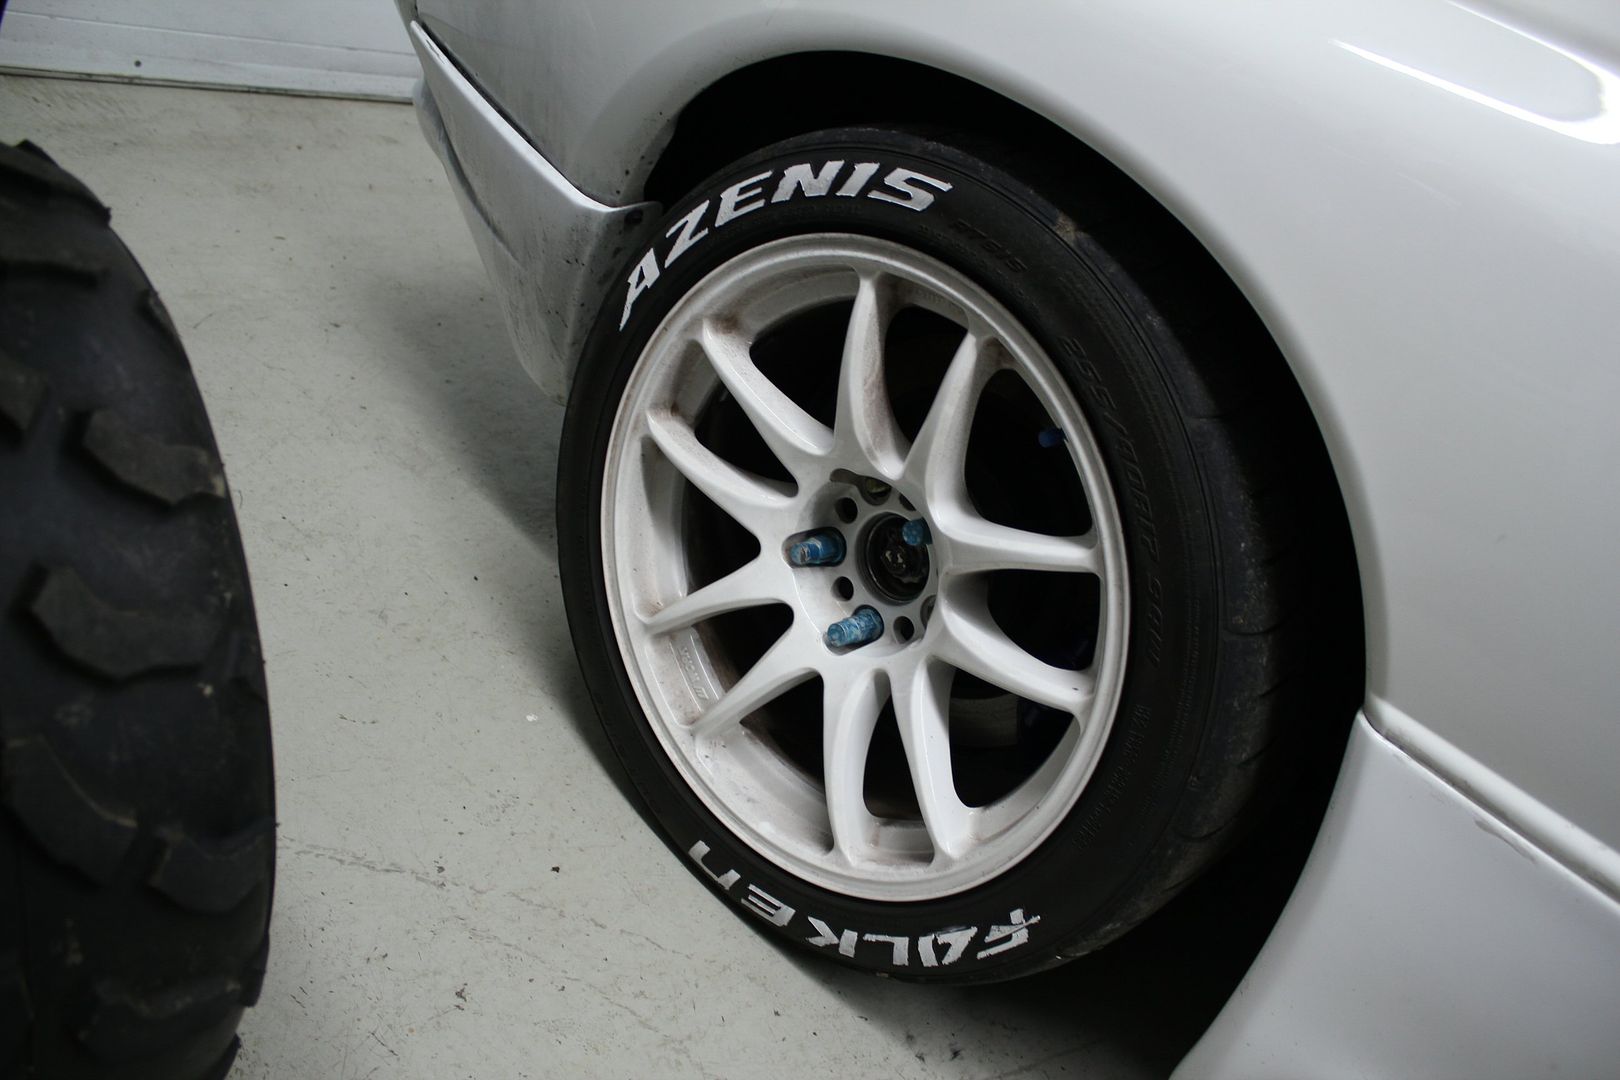
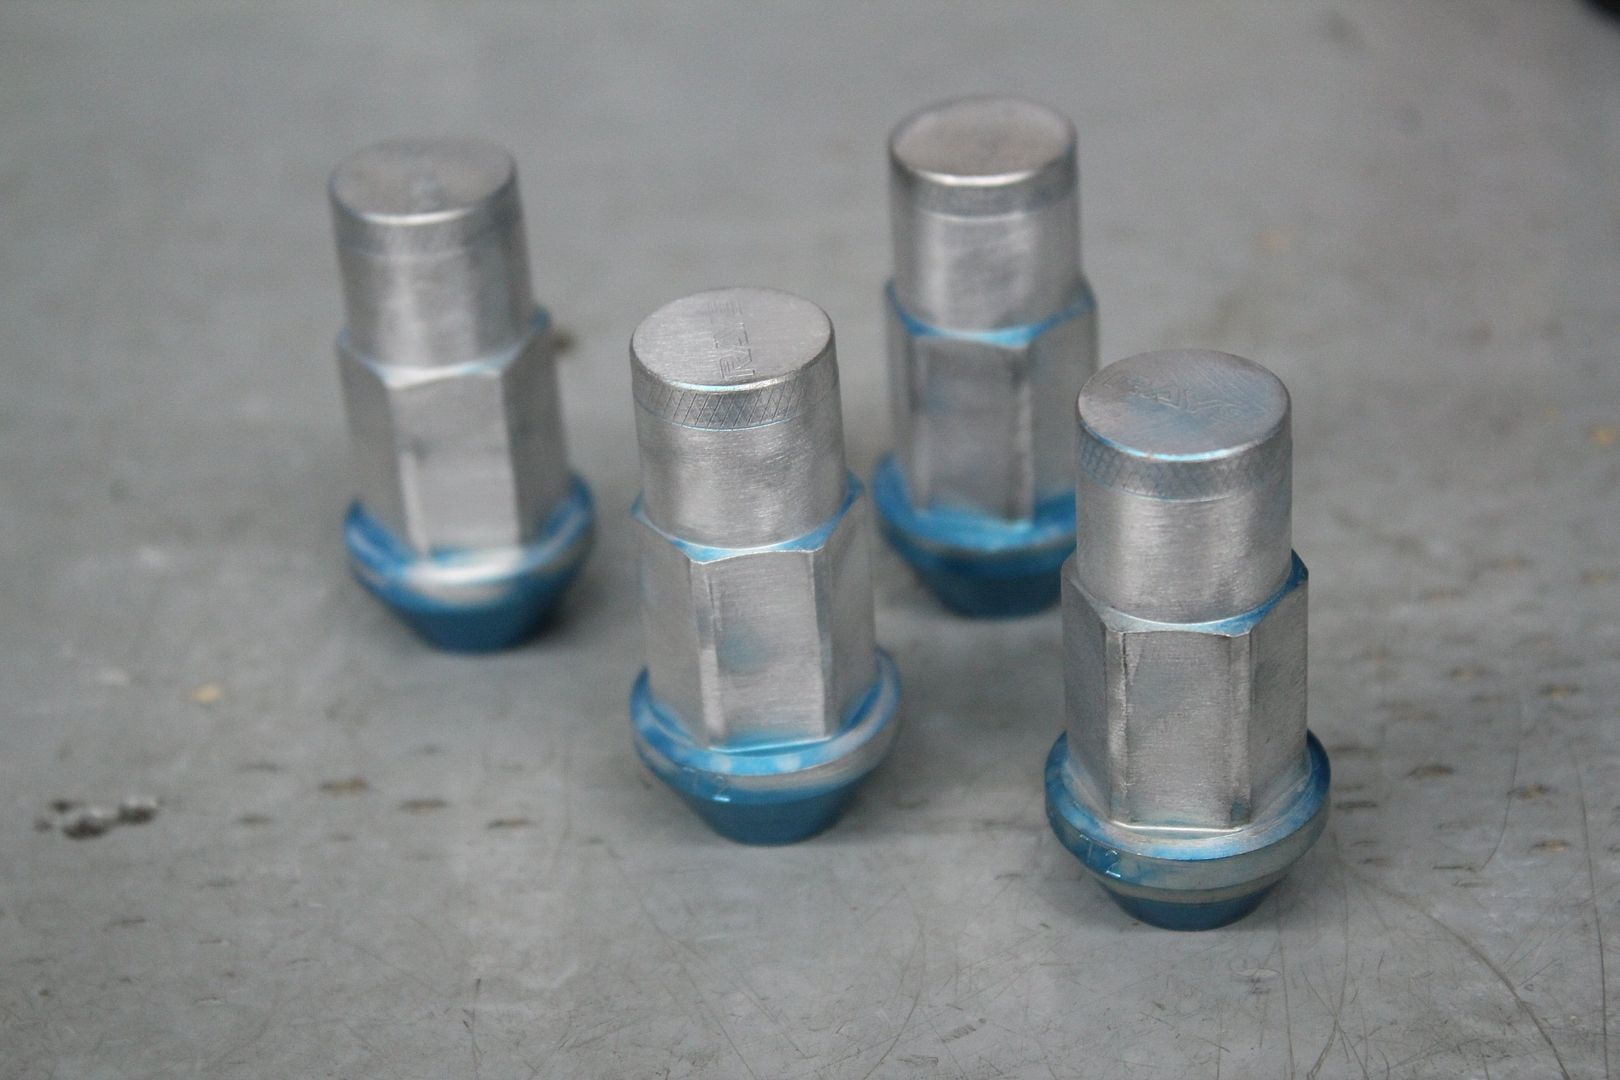
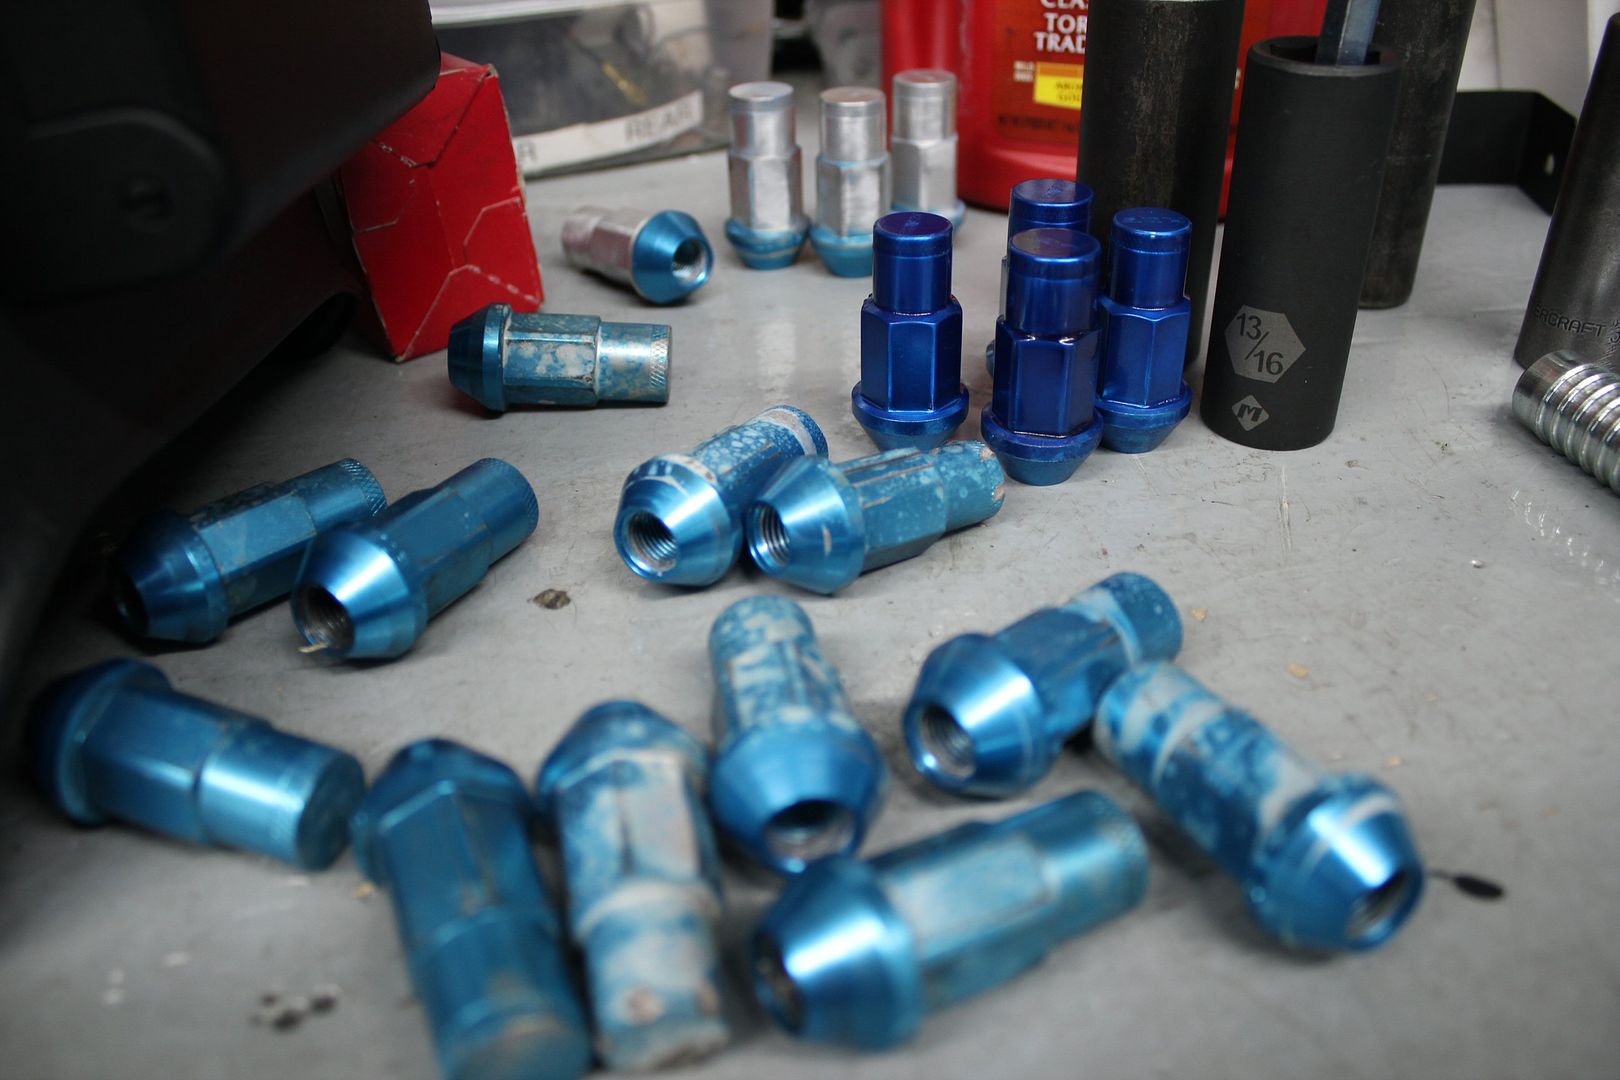
another thing i wanted to fix, was Rays Duralumin nuts,
the anodizing on them sucks, this is my 2nd set and it just seems to wear off within weeks, maybe du to high brake temps on the track;
the white lettering is just a test on the old tires, i used an industrial all-purpose ink marker, but the results were crap
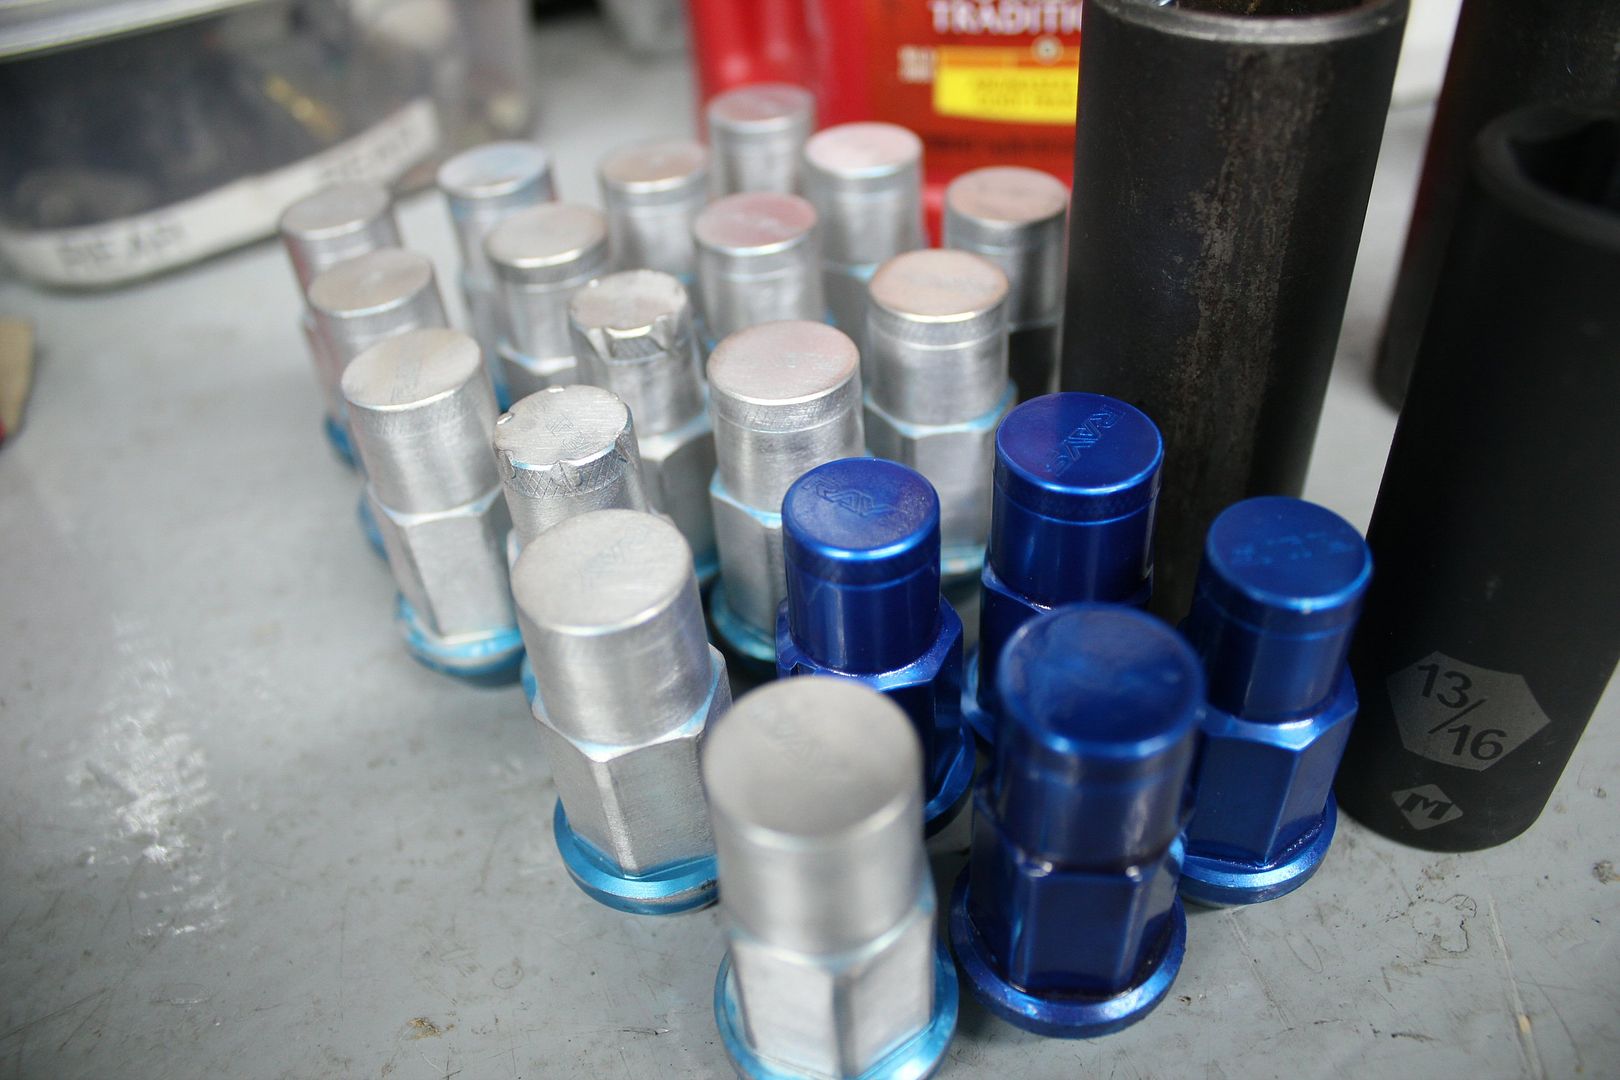
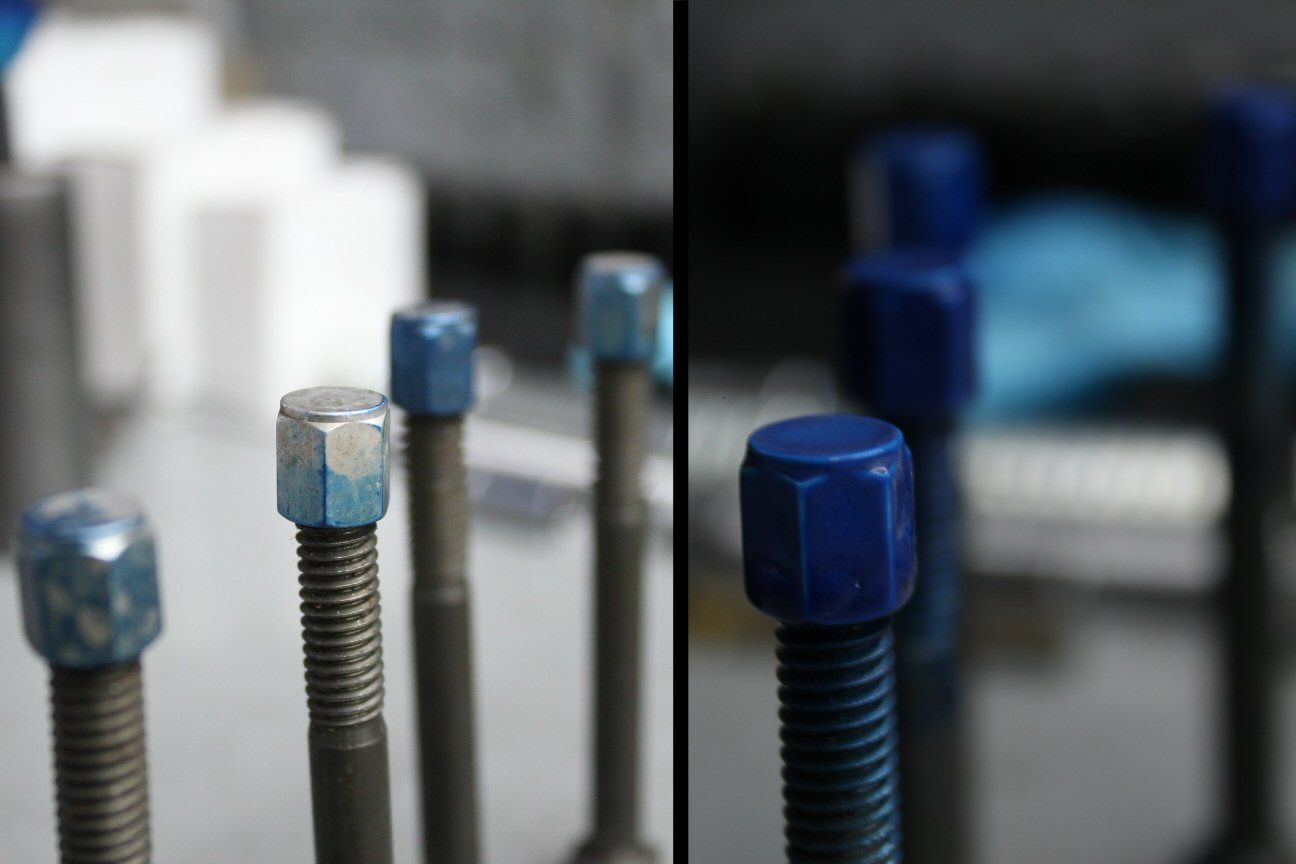
thus i buffed the remaining anodizing off a couple nuts using my bench buffer;
i sprayed them with Dupli-Color Metalcast anodizing effect paint,
and must say i like the color even more;
so i spent about 30 minutes that day buffing the remaining nuts, not a fun job;
i even did the same with the valve stem caps to make it match;
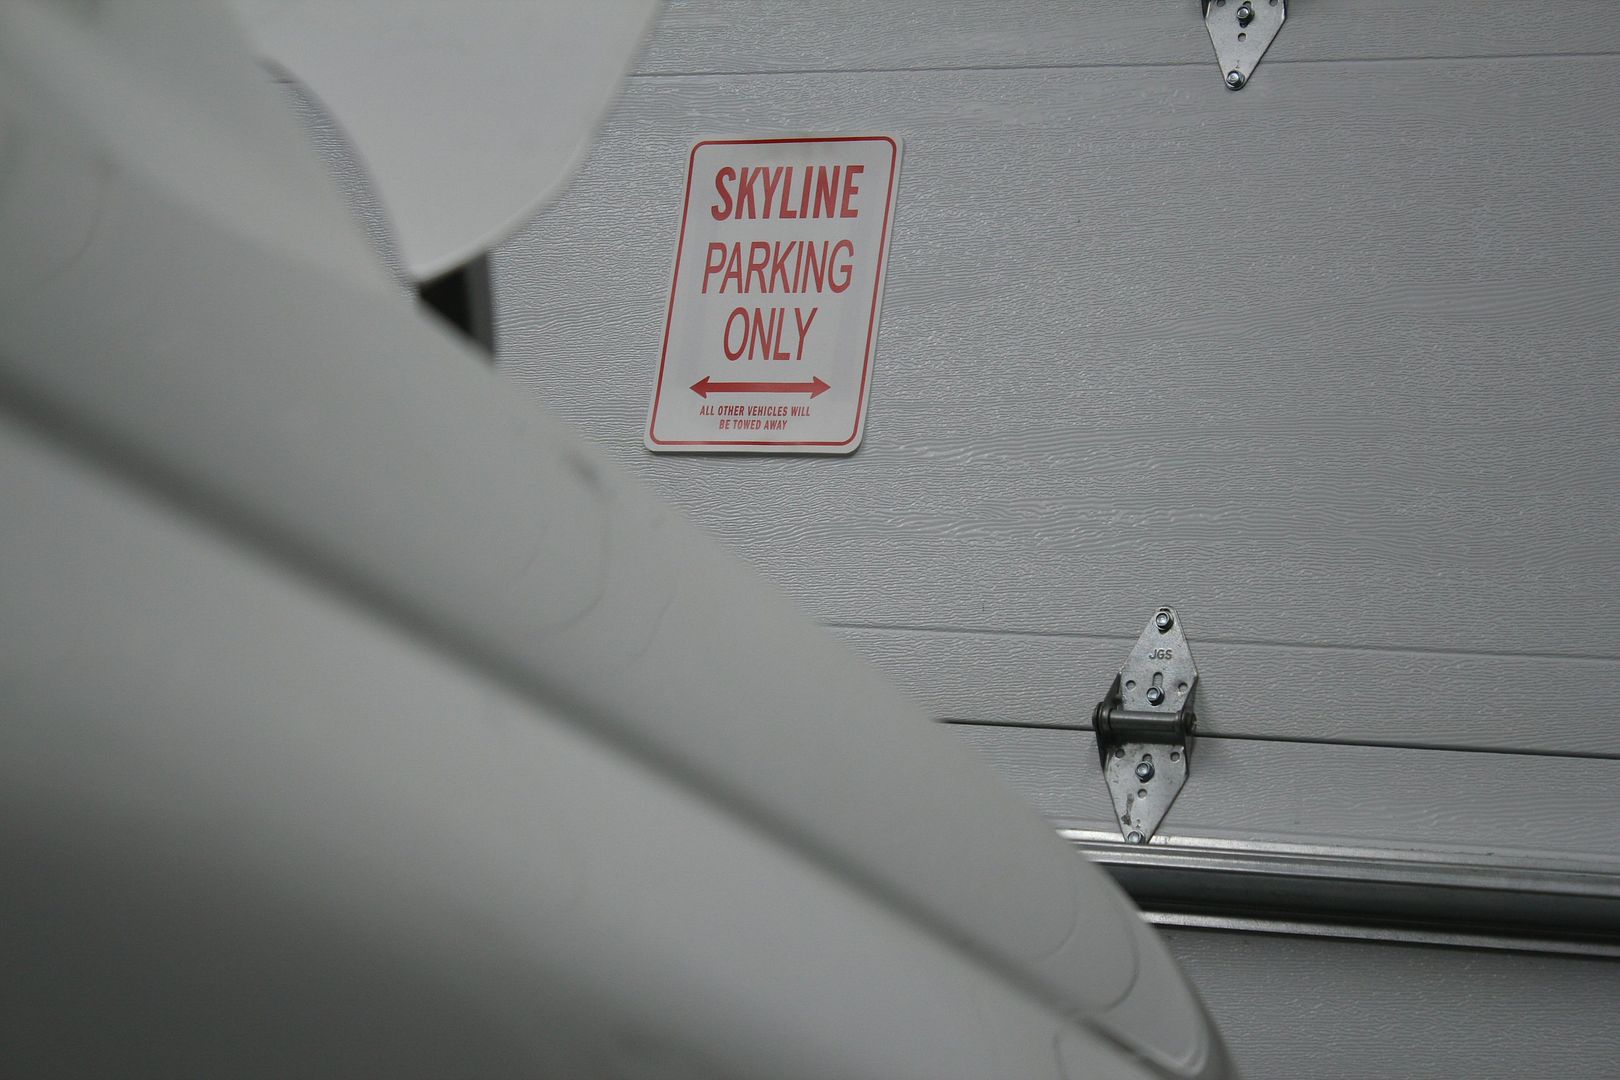
and also added this in the garage, cheesy but effective;
disclaimer :
the following story depicts actions that occured between May 11 and 20 2011
information is recalled purely from memory, endure with me
-----------------------------------------------
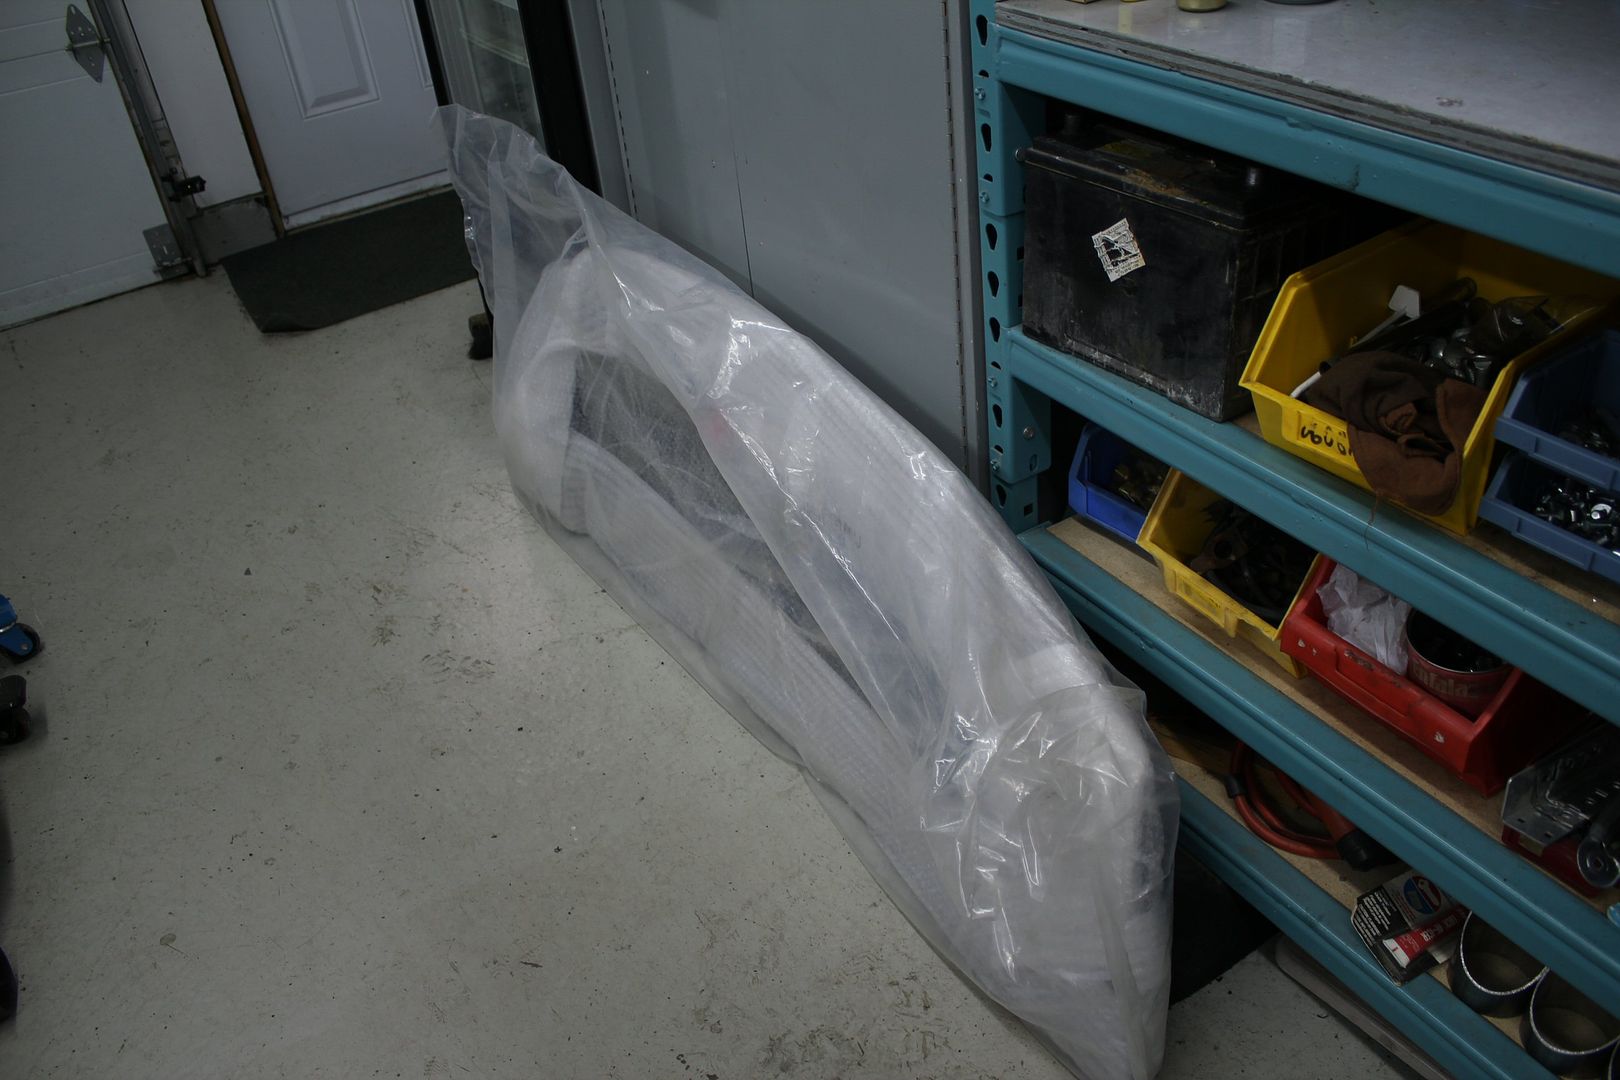
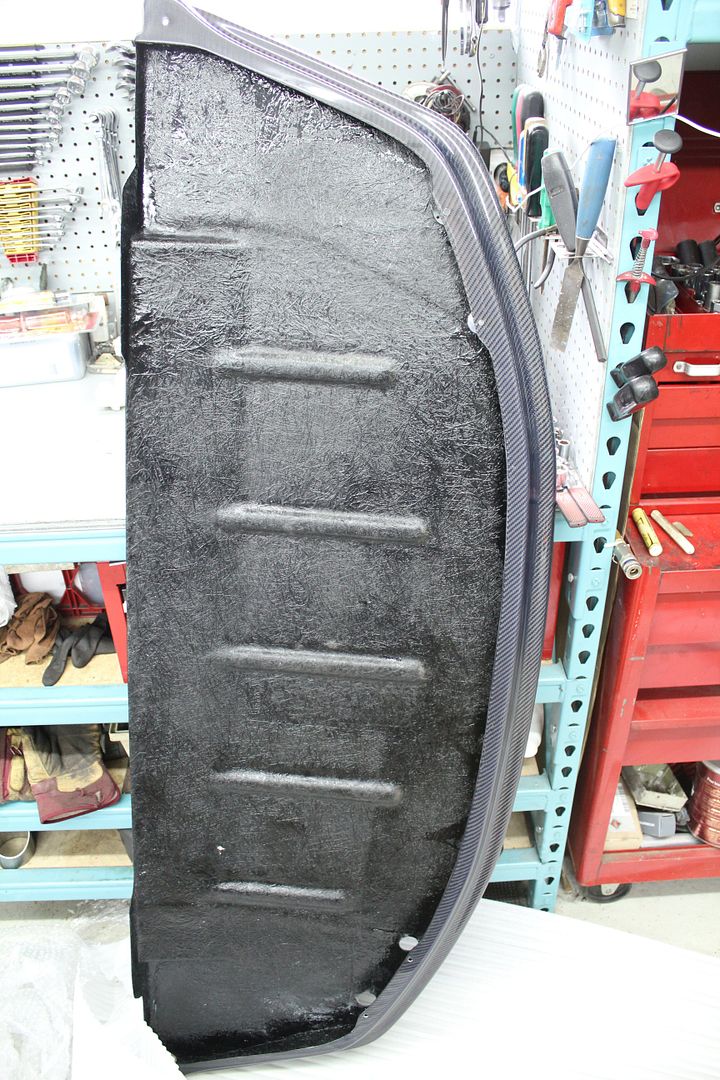
a couple days later i tackled something much much cooler
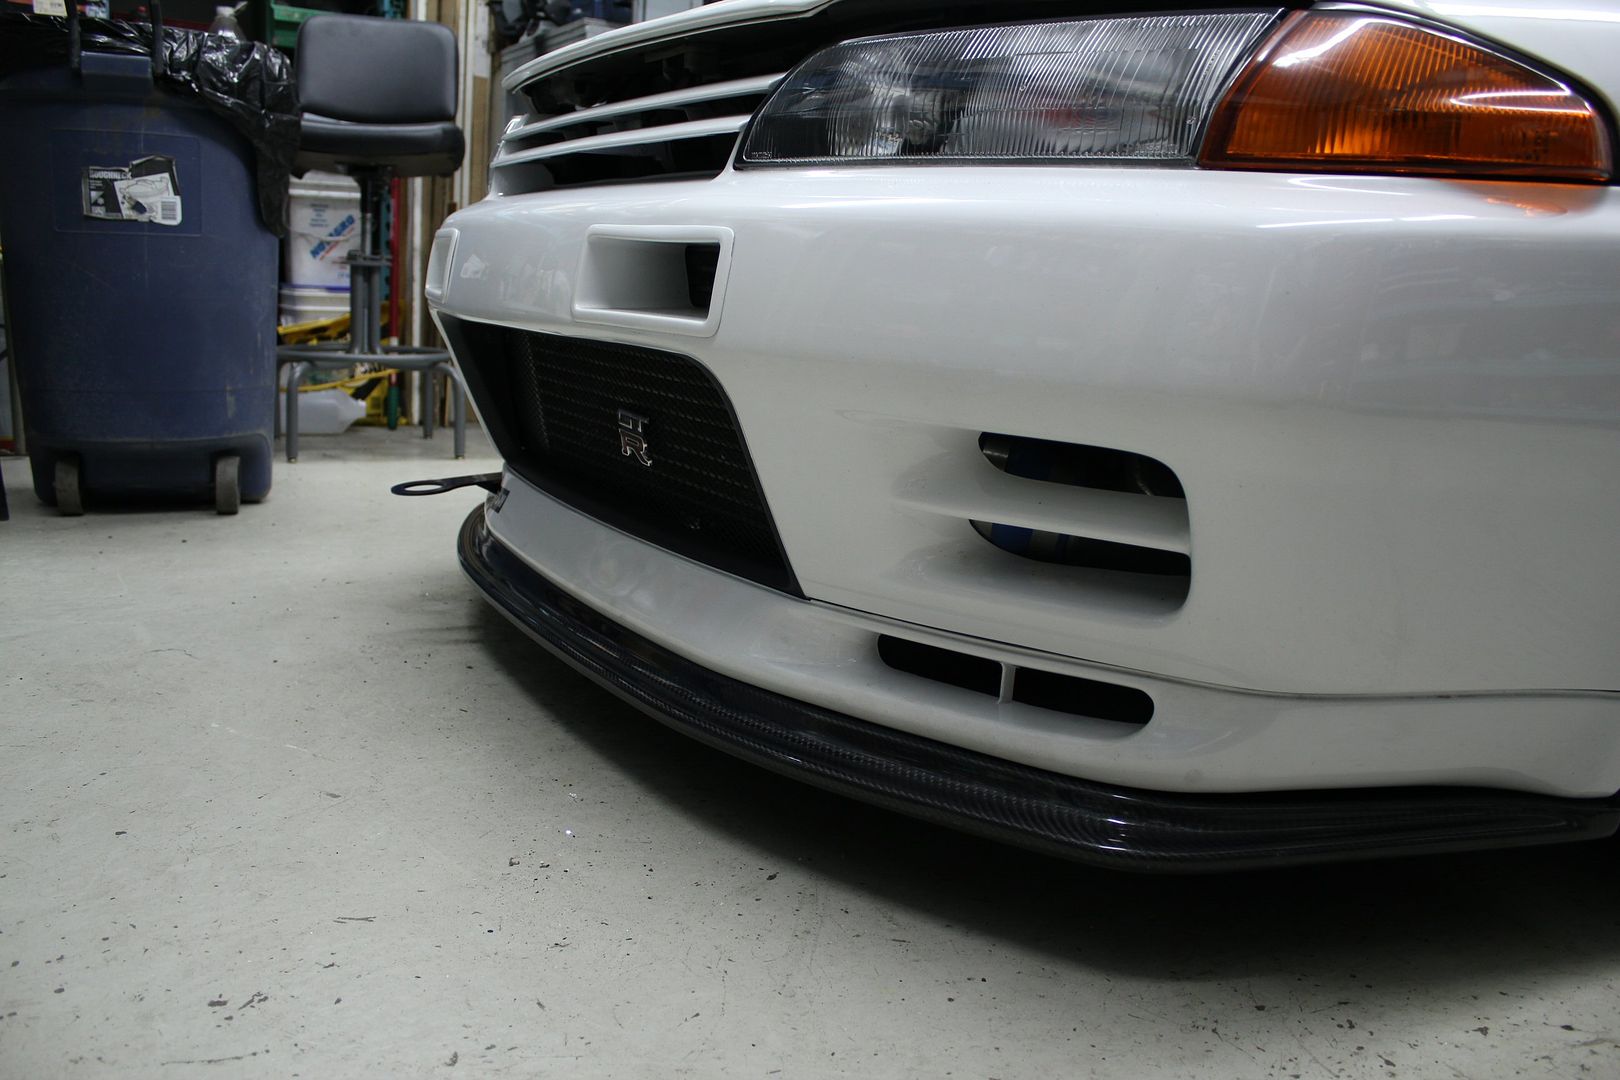
indeed, a Carbon Fiber AB Flug front diffuser/splitter
to be honest, i must have spent a good 10 minutes just looking at it
just so pretty
and of course this is a replica, since this IS a budget build (btw, i would never buy mechanical replica parts, thats just silly)
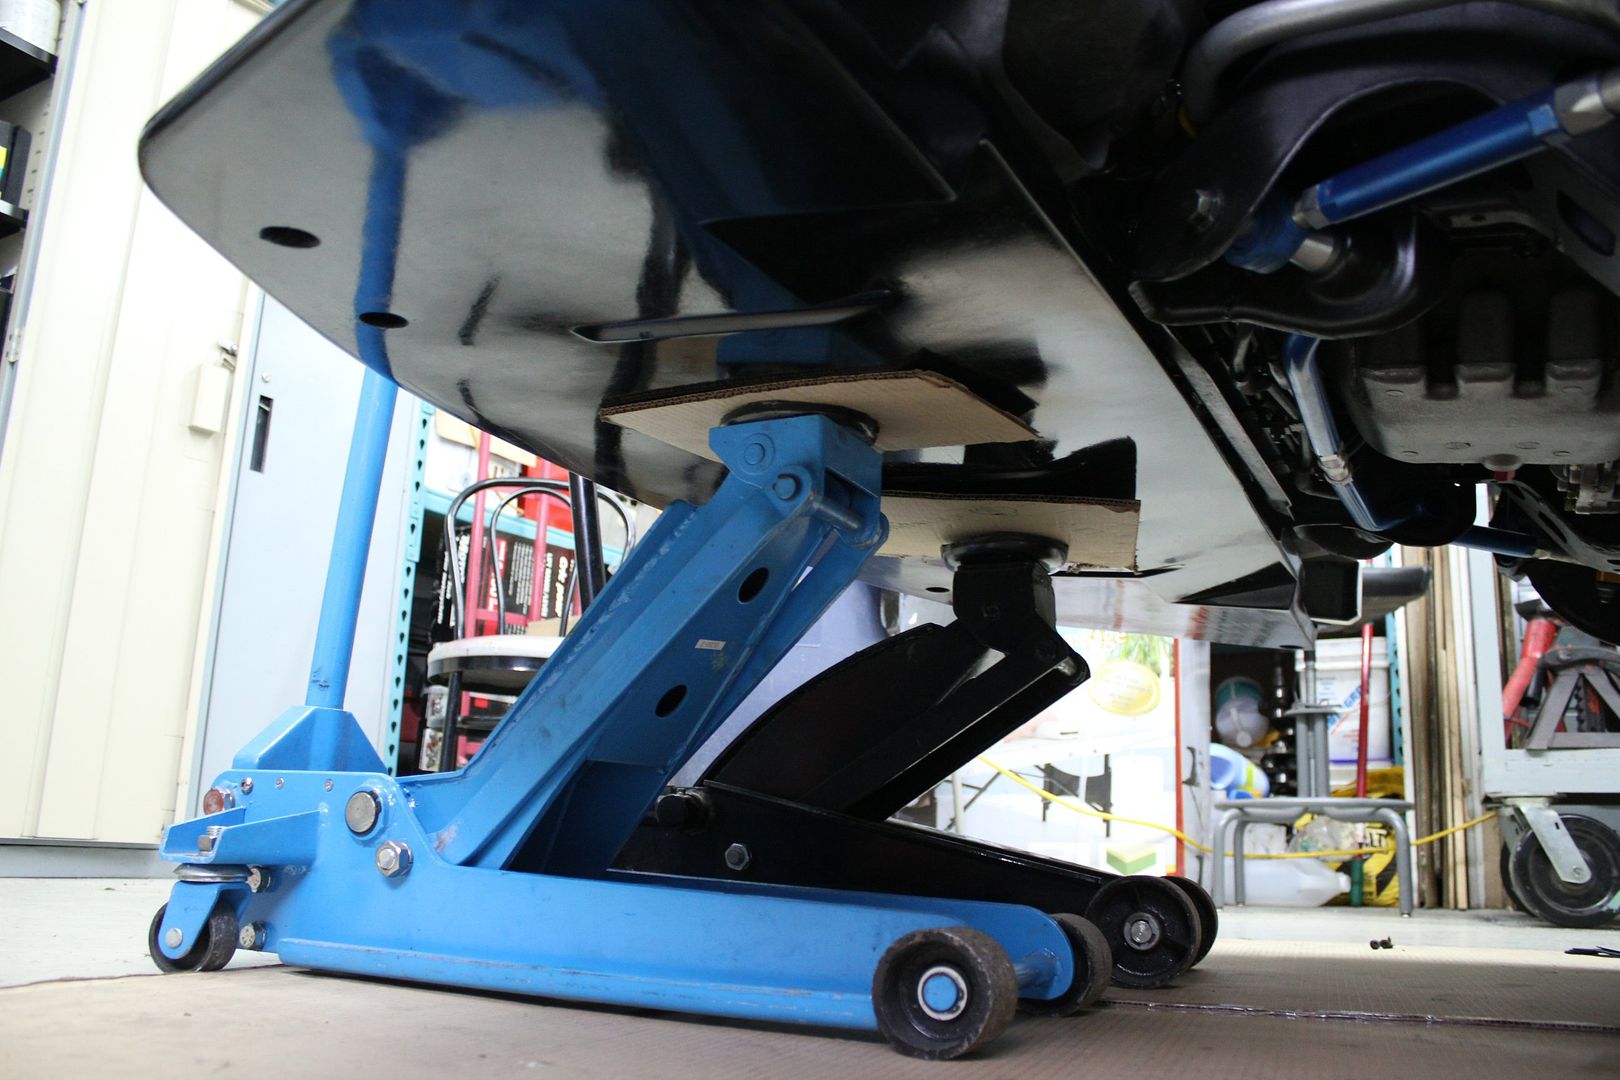
first thing to do was to get it approximately in place to se how it would fit and where it was going to need to be attached,
JDM-twin-jack-late-braking-double-clutching-takumi-gutter-technique;
after seeing that there was only 6 mounting points, all around the edge, onto the lip,
i decided to add 3 more mounts to make it more sturdy, and put less stress on the lip,
the blue circle are the existing holes, the red ones are the ones i added;
then i bought a bunch of rubber washers, to make sure the vibrations of the car wouldn't chew through the carbon fiber
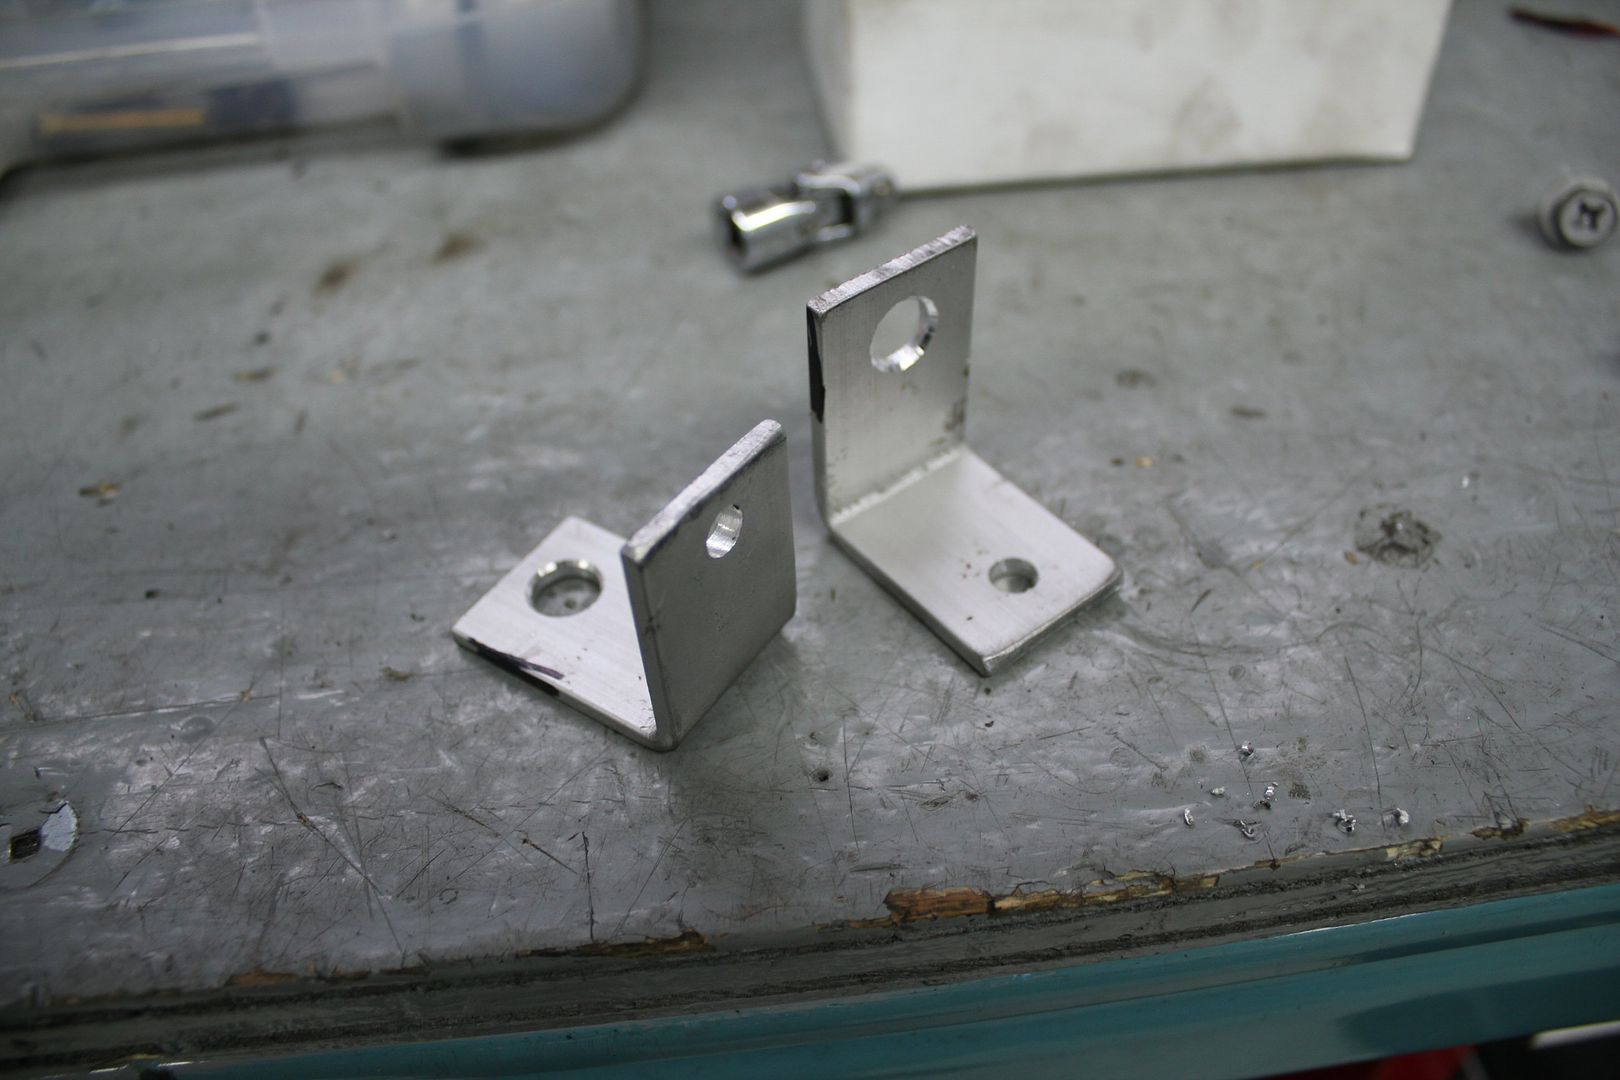
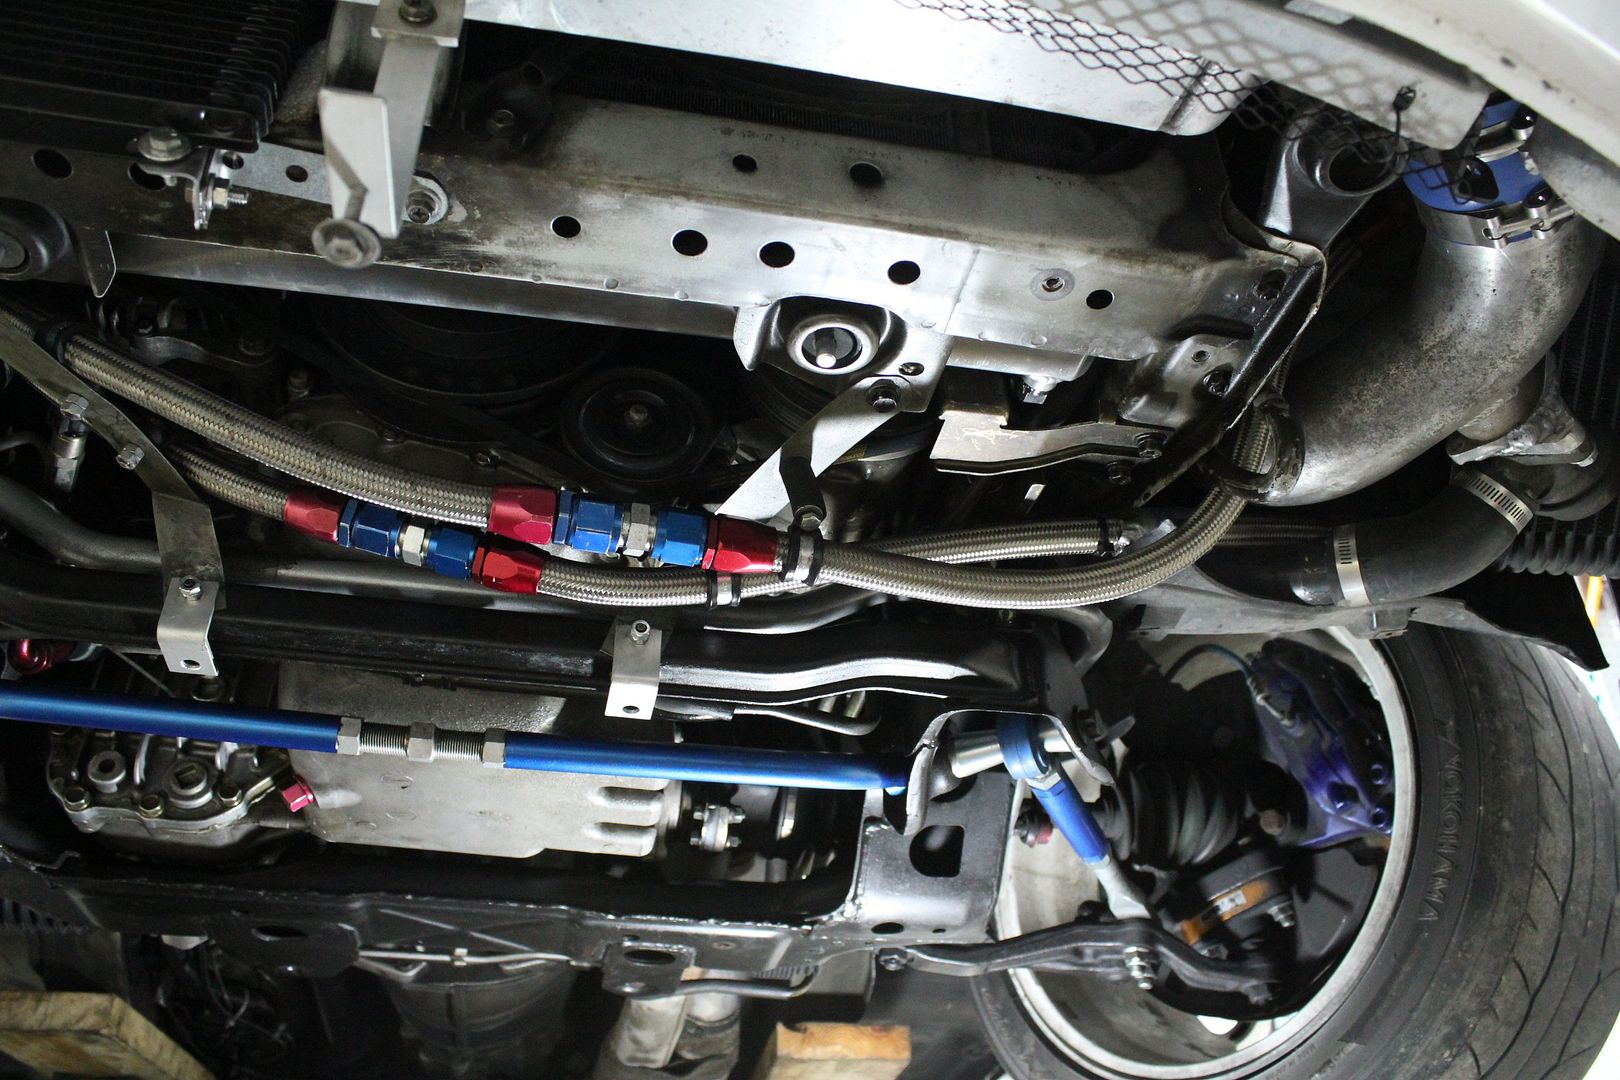
i made simple aluminium brackets to hold the back of the diffuser, bolted directly on unused holes in the front subframe,
these brackets were eventually redone with threaded holes, to avoid the use of nuts;
to hold the middle of the diffuser, i had to think outsite the box, since there would be no way to reach whatever it was attached to while the diffuser was on,
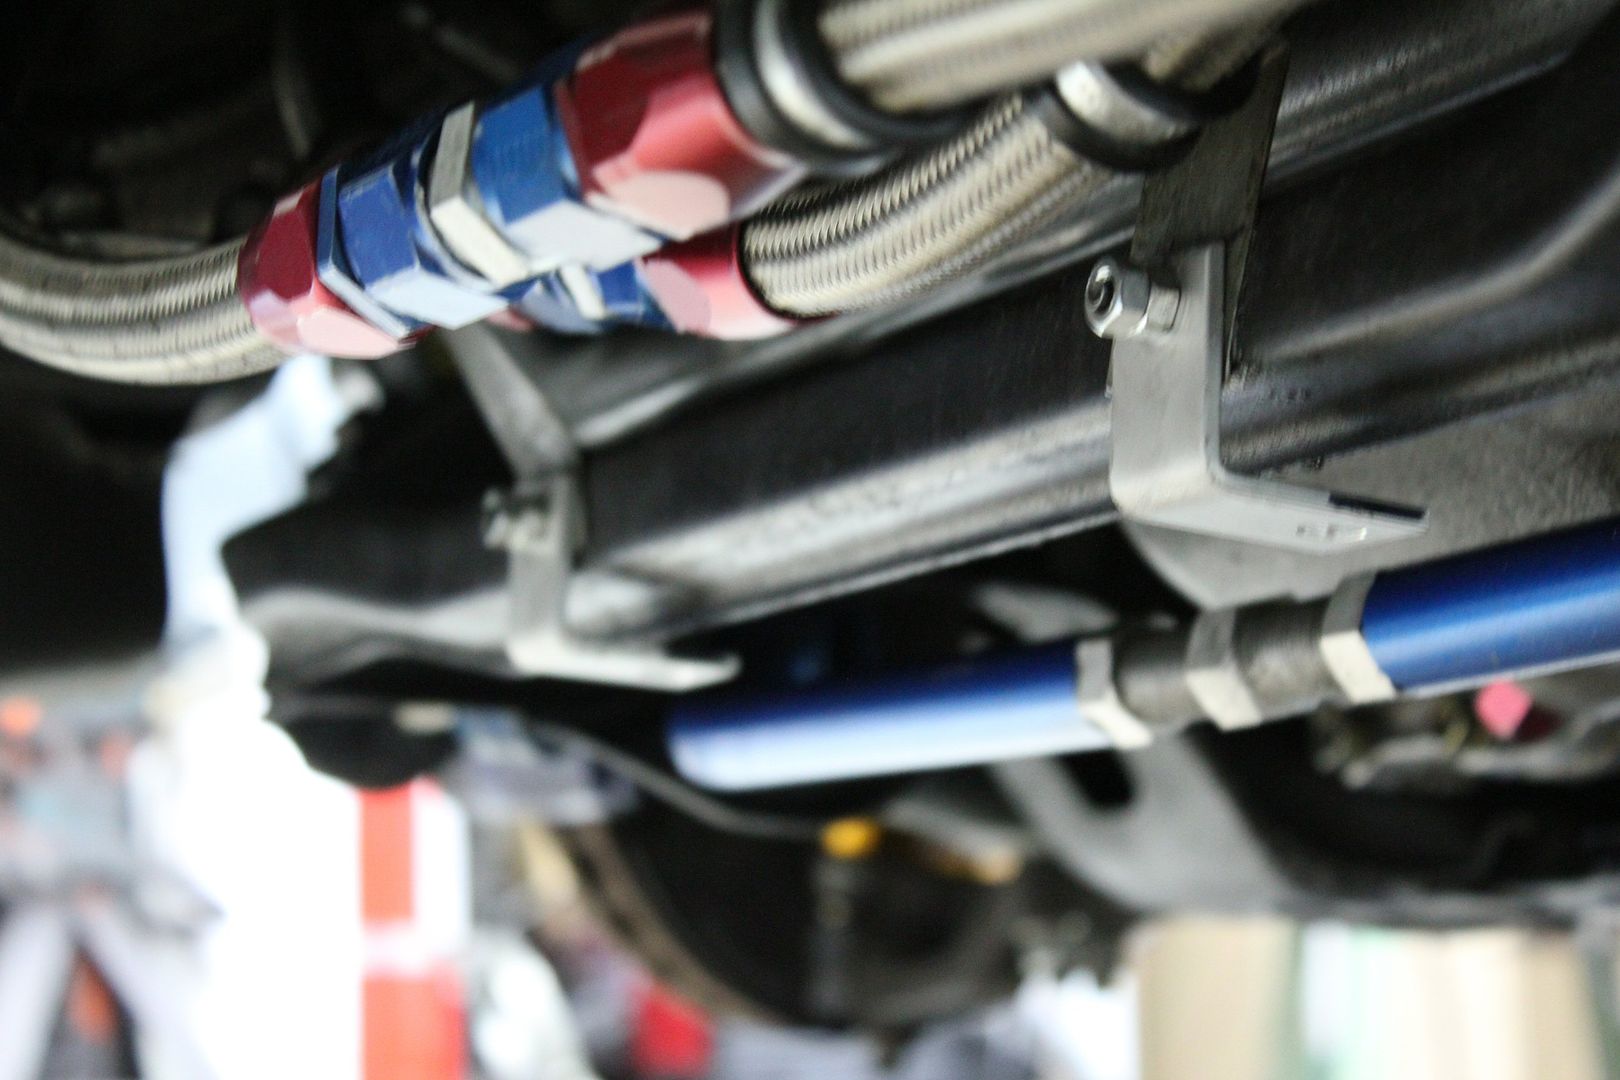
so looking around the underside of the car, i saw that my huge Greddy/Trust intercooler had a ''pointless'' bracket welded to it under it, right in the middle of the car, exactly were i needed a mounting point,
so using an areospace grade measuring tape, i calculated how long a bracket would need to be to reach the exact height of the bottom of the diffuser,
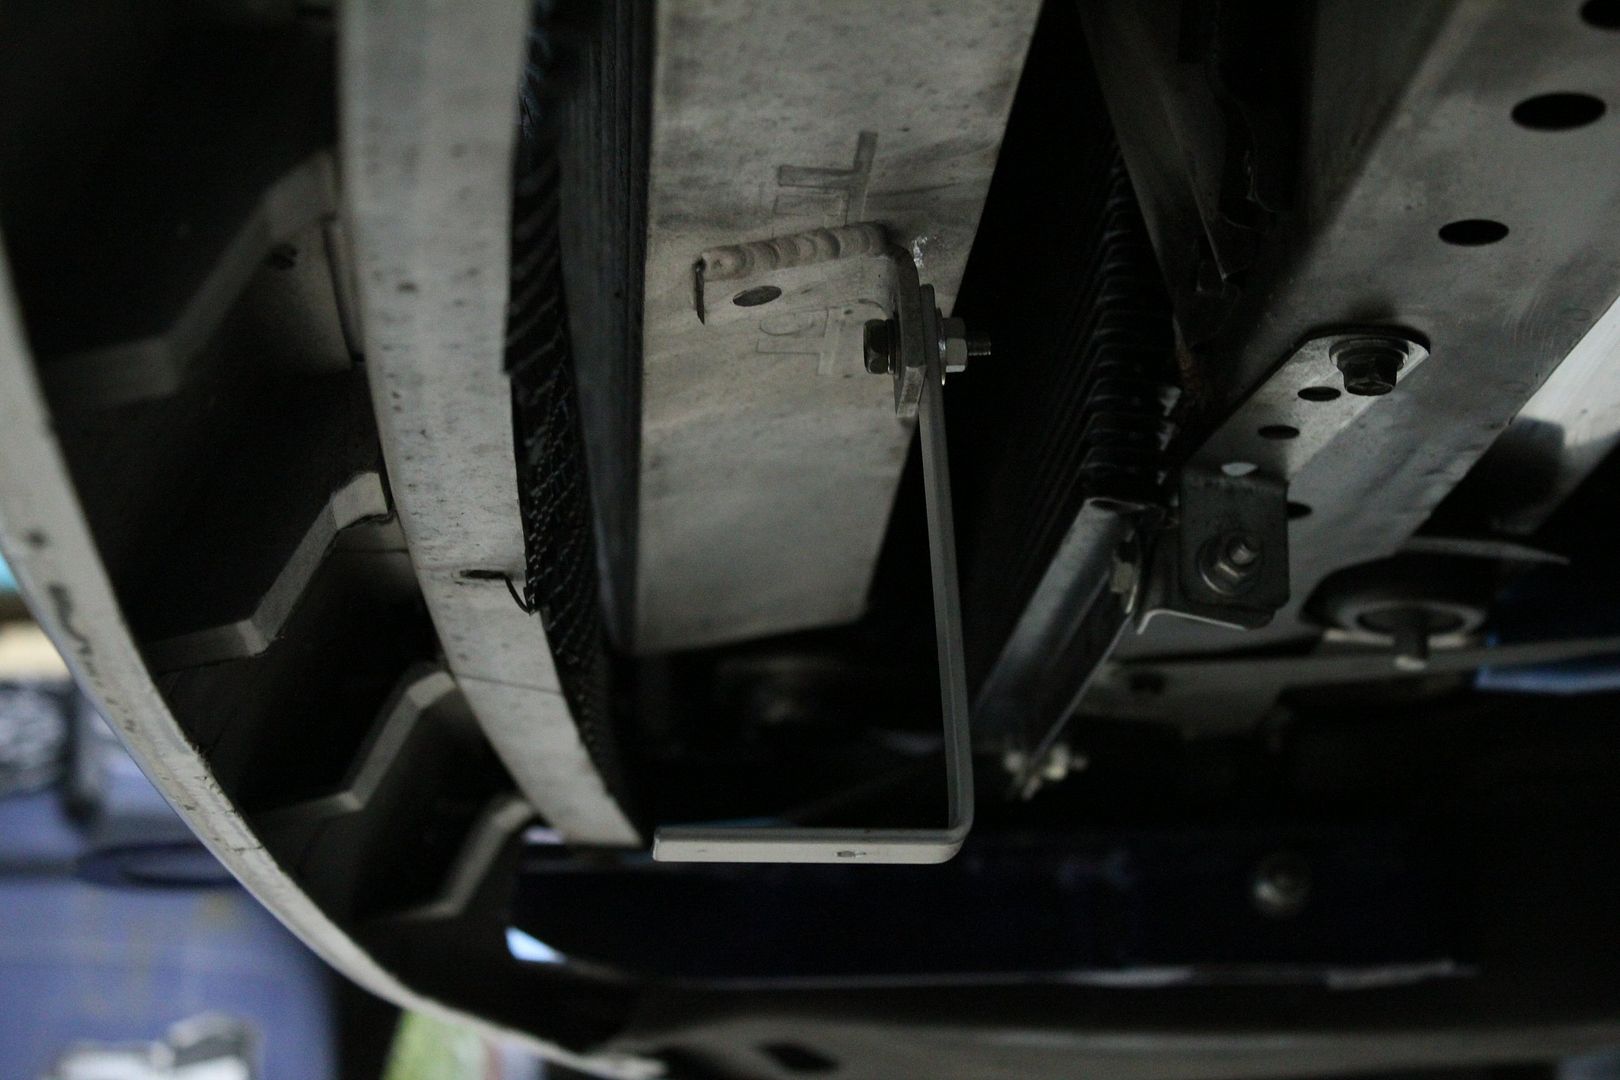
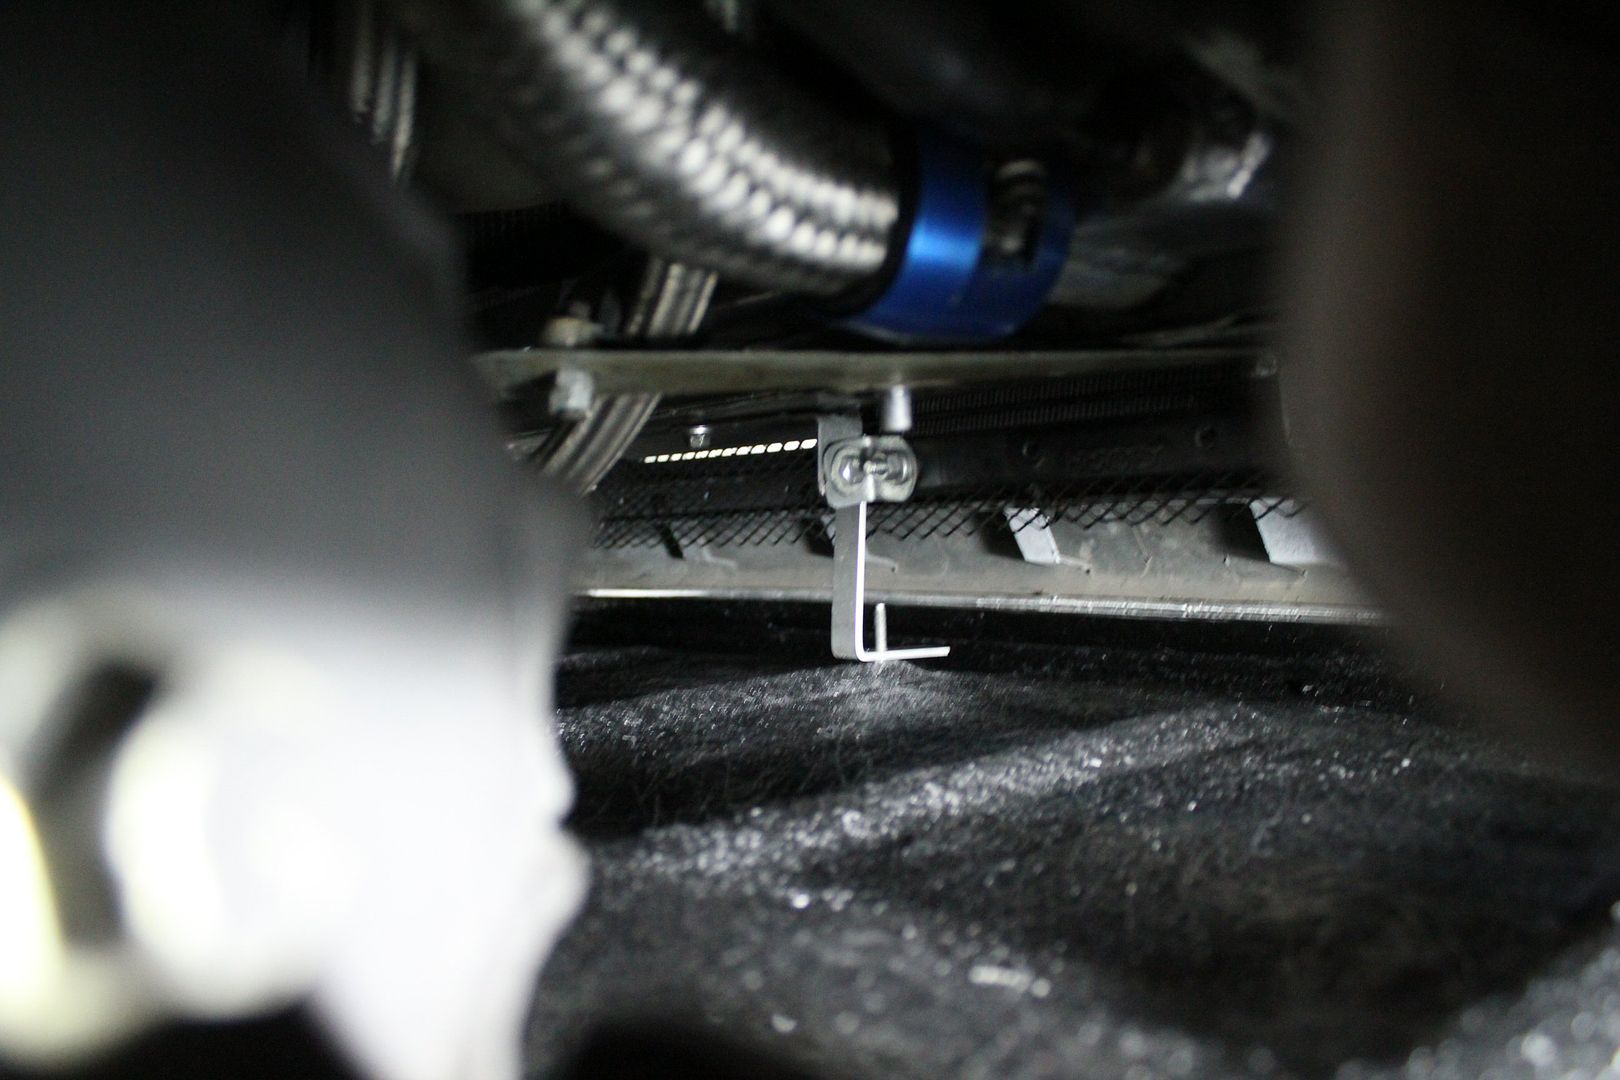
i made a simple L shape bracket again, bolted to the intercooler which looked like this;
this is height i needed, about 1'' lower than the lip;
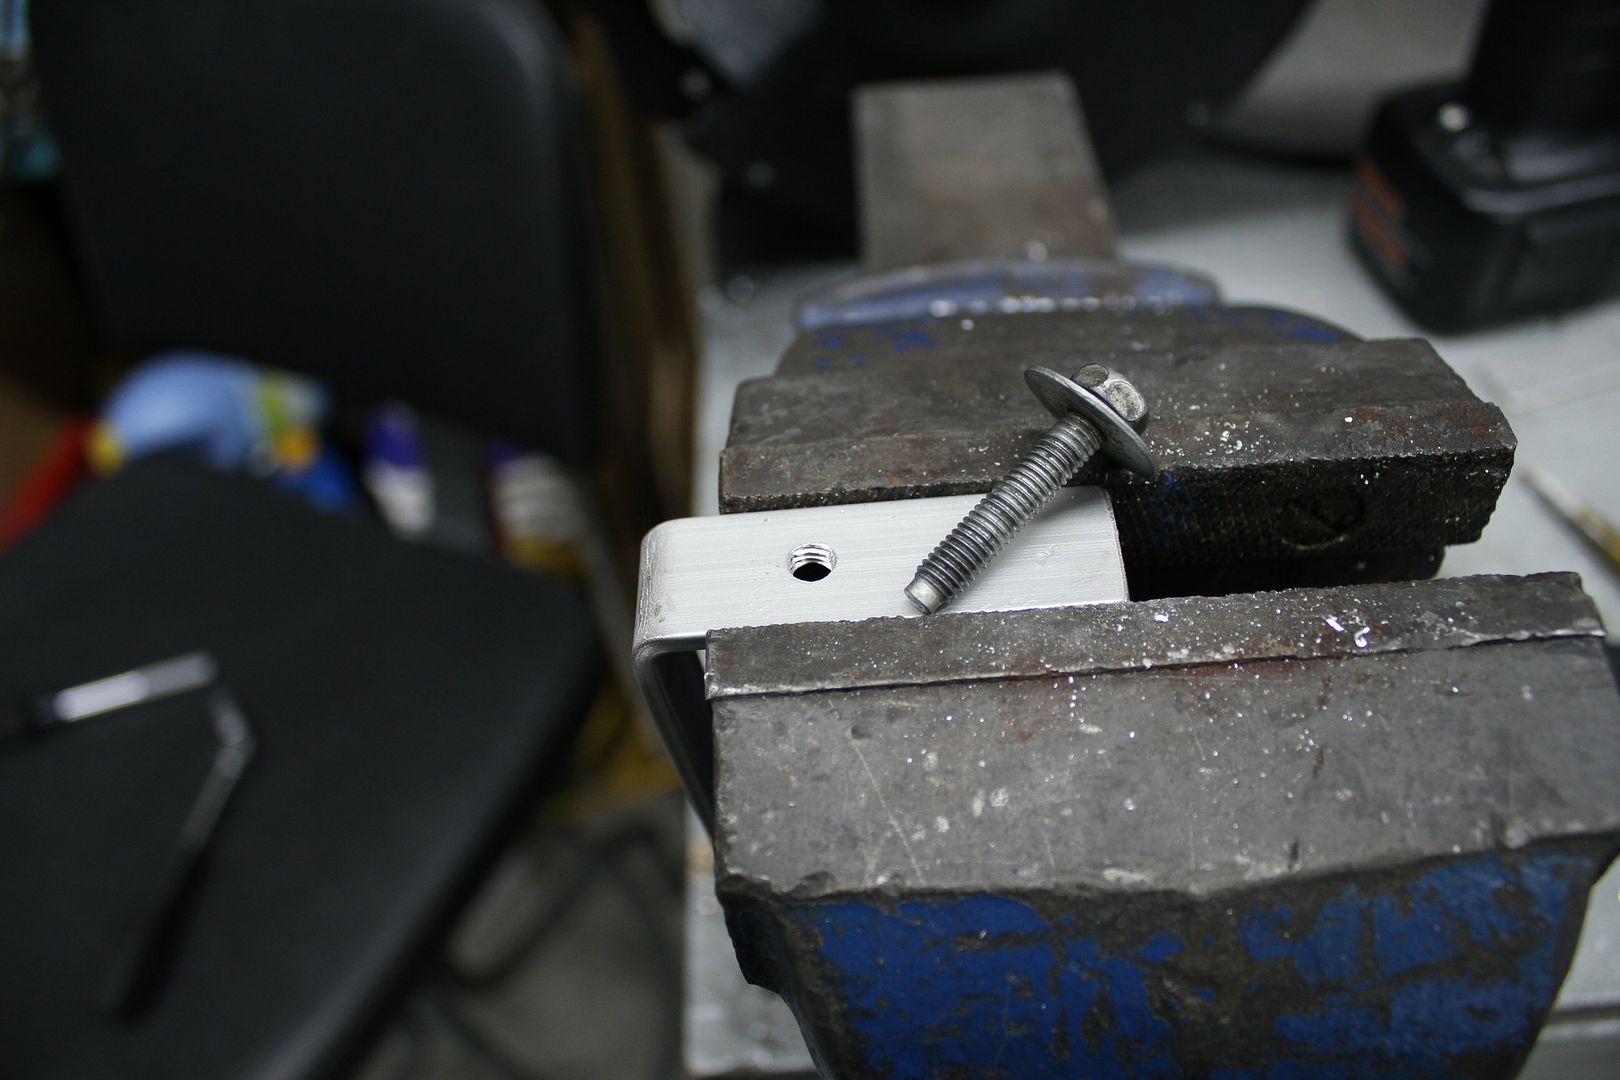
its then i had the idea fir the first time to thread the bracket and avoid the use of nuts, which means i don't have to reach the back of it at anytime
and found a good long bolt that had a cylindrical bit at the tip which makes it much more easier to center into a hole;
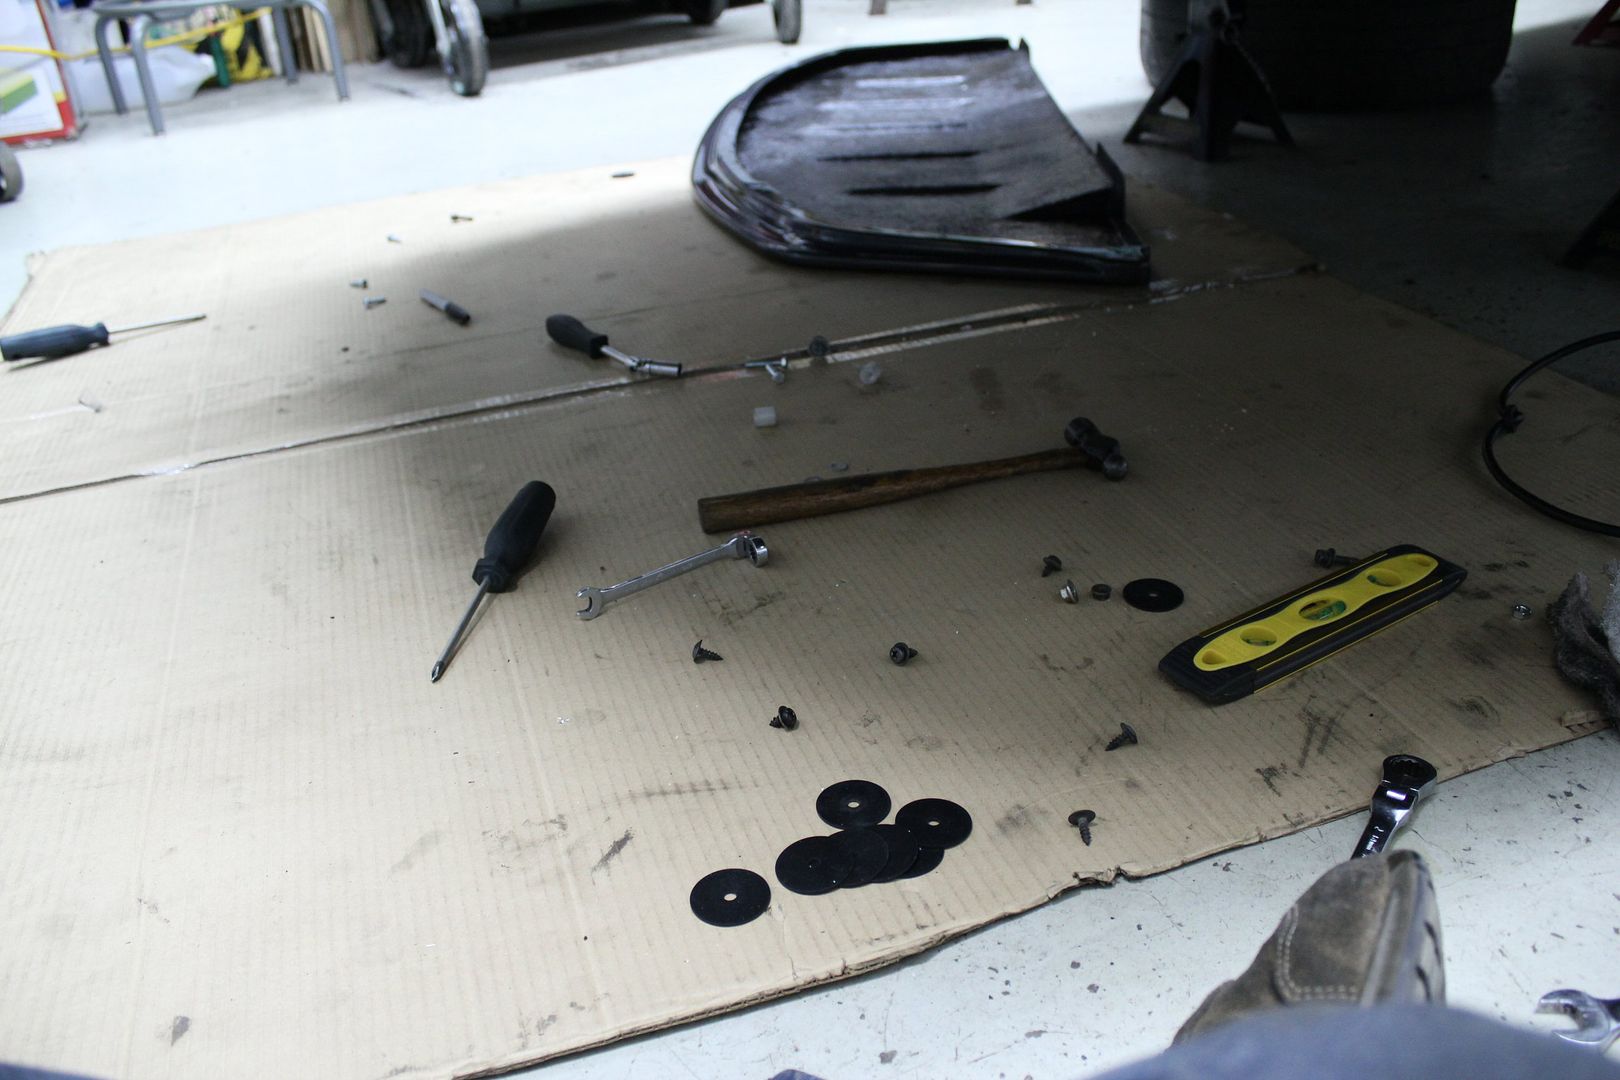
this is what my work place was looking like;
sooo sexy;
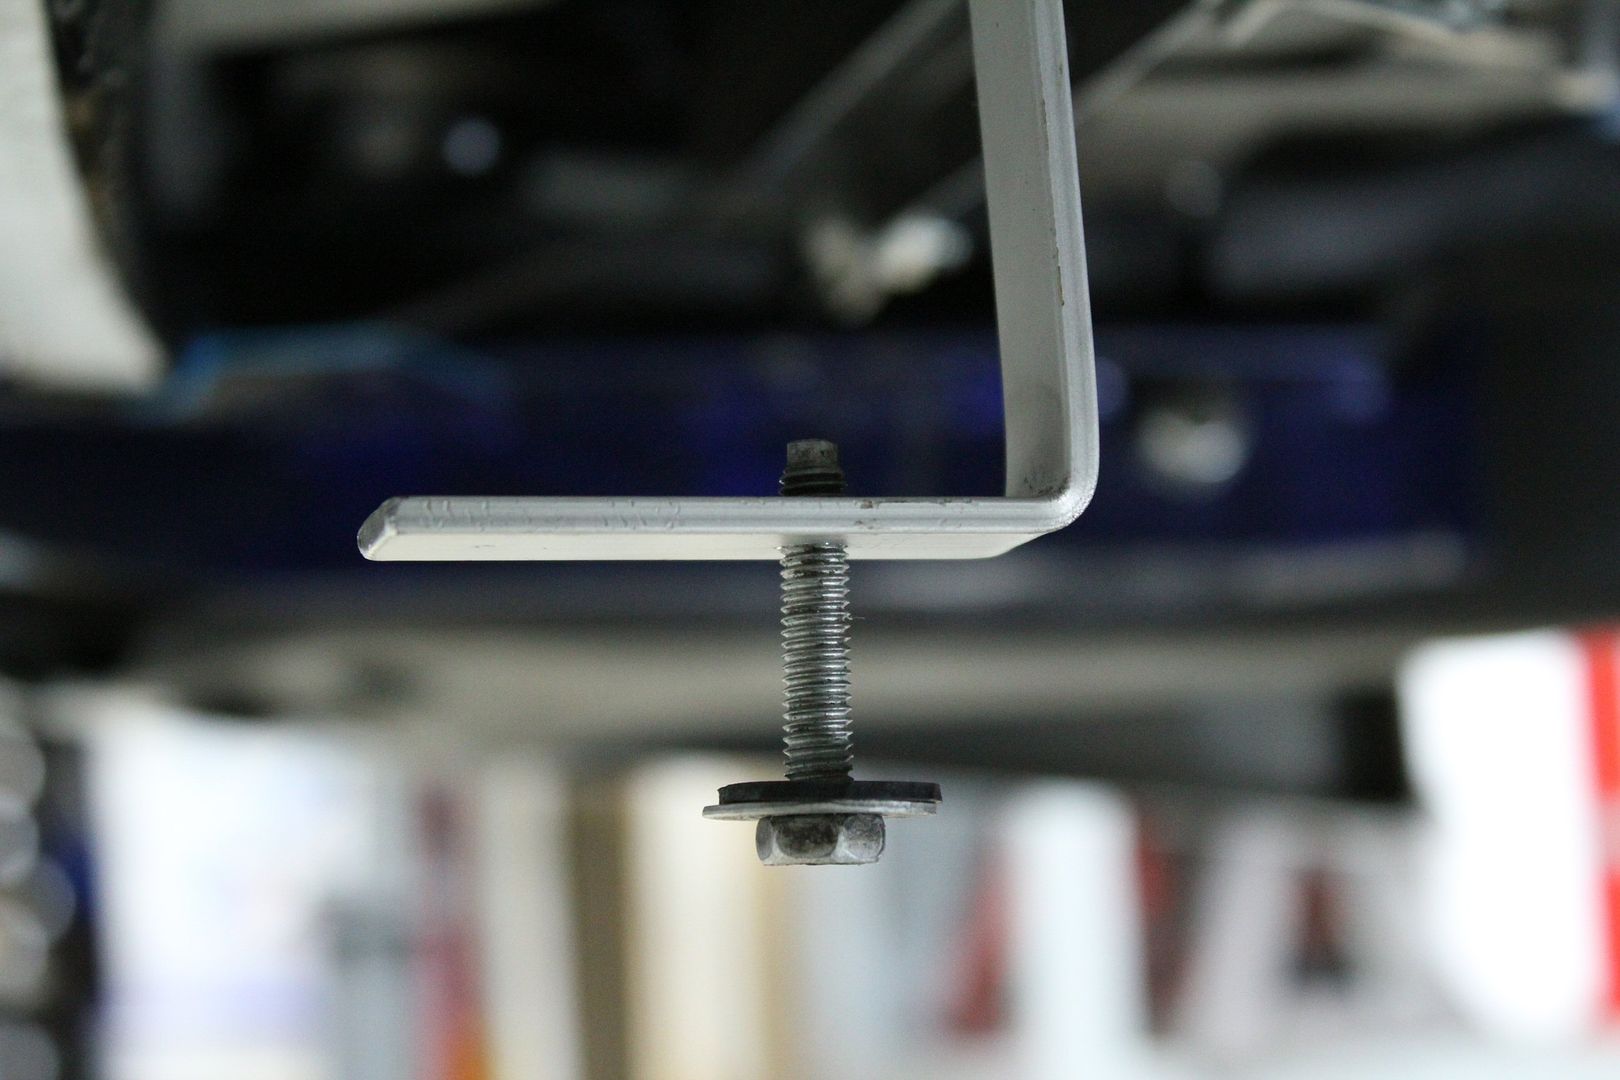
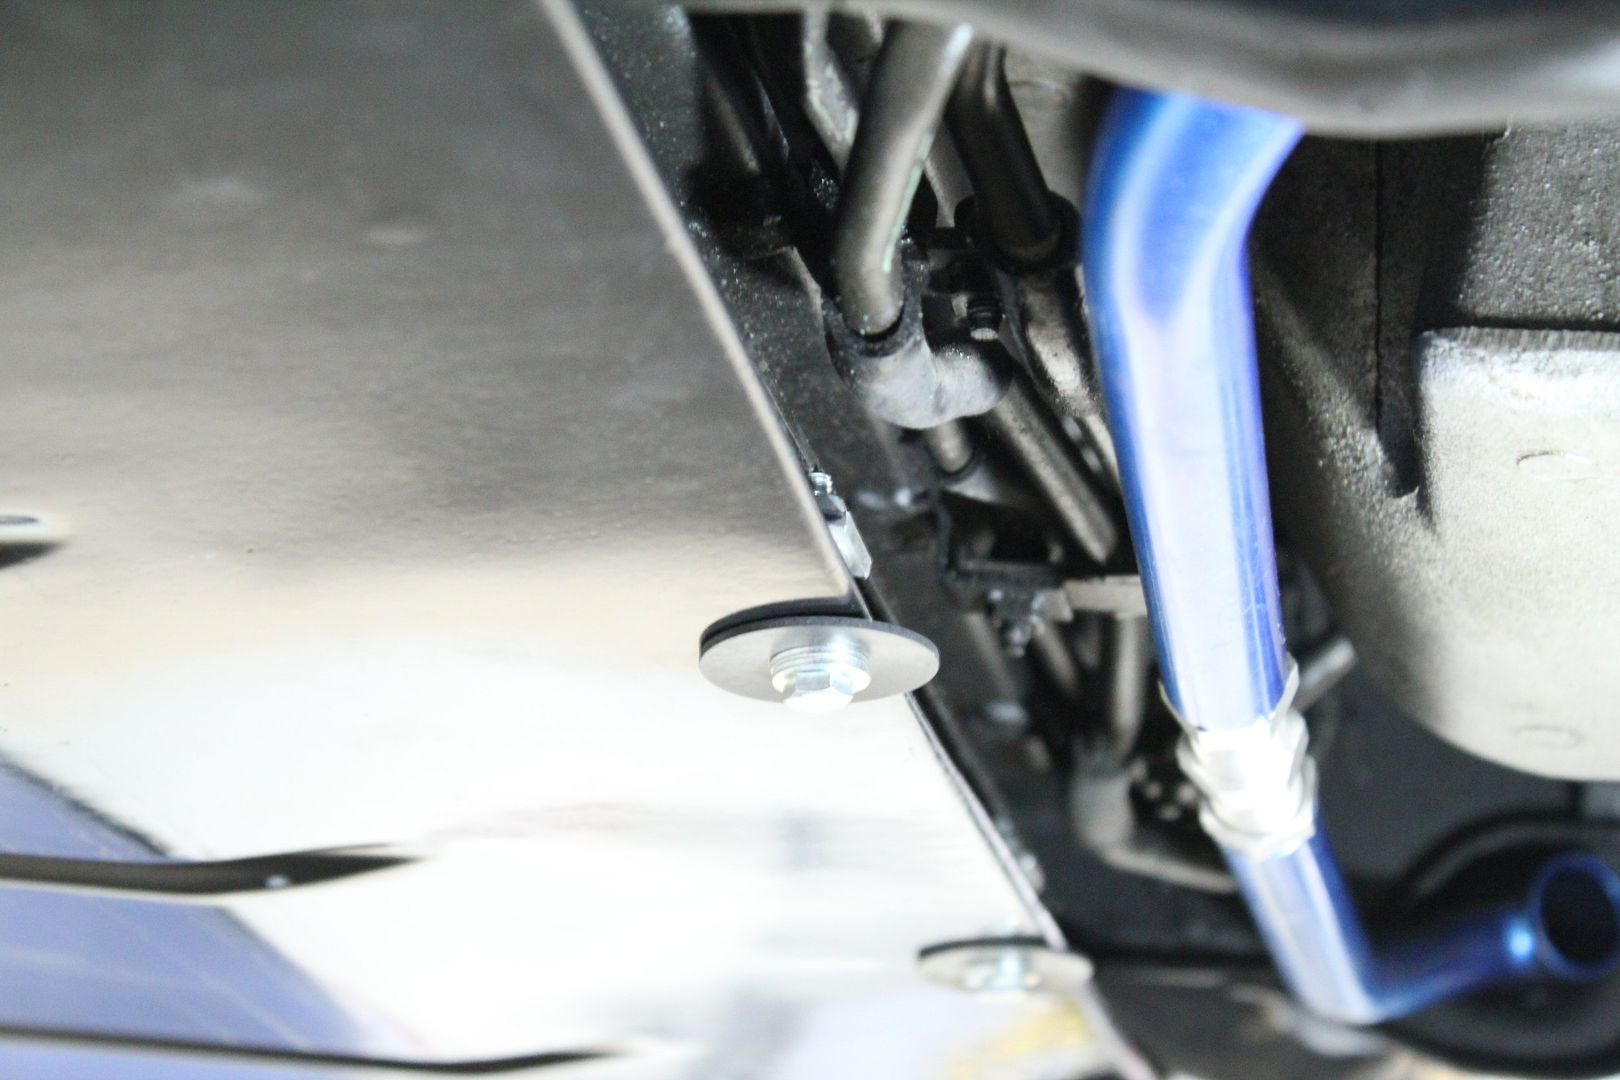
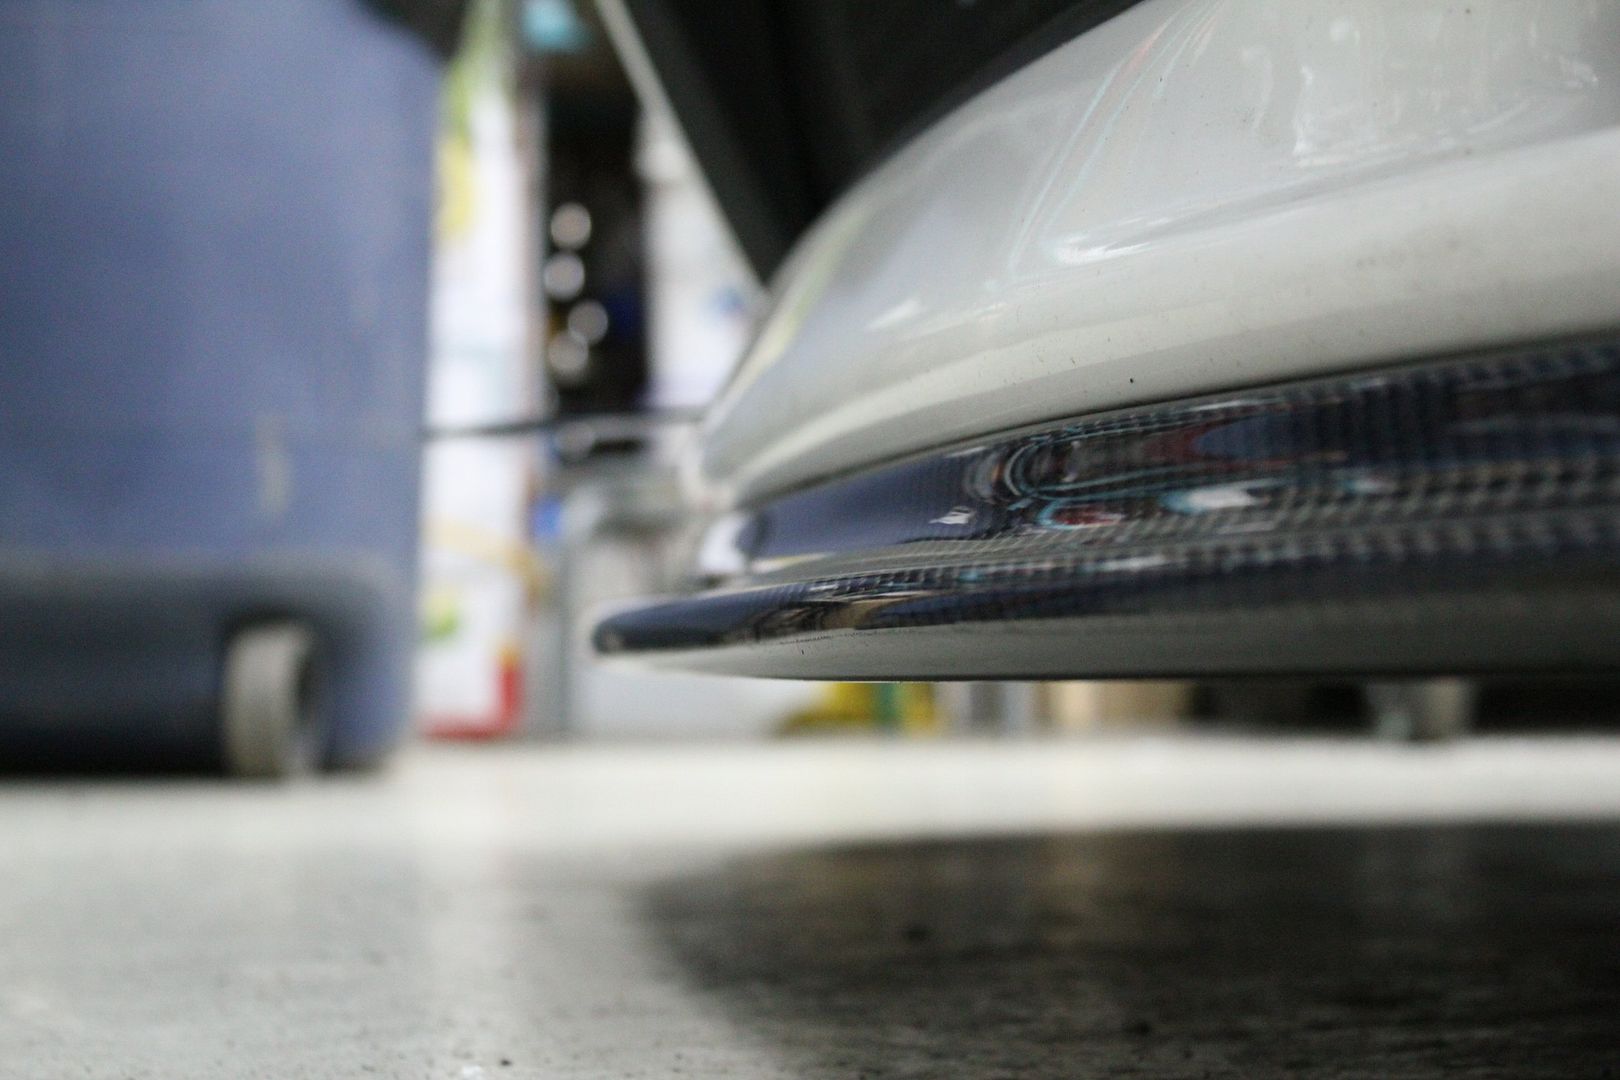
this is how the back of the diffuser looked after beeing mounted;
and how my center bracket idea worked;
Carbolicious;
only 3,5'' off the ground,
who needs ground clearance, heh fellas?
------
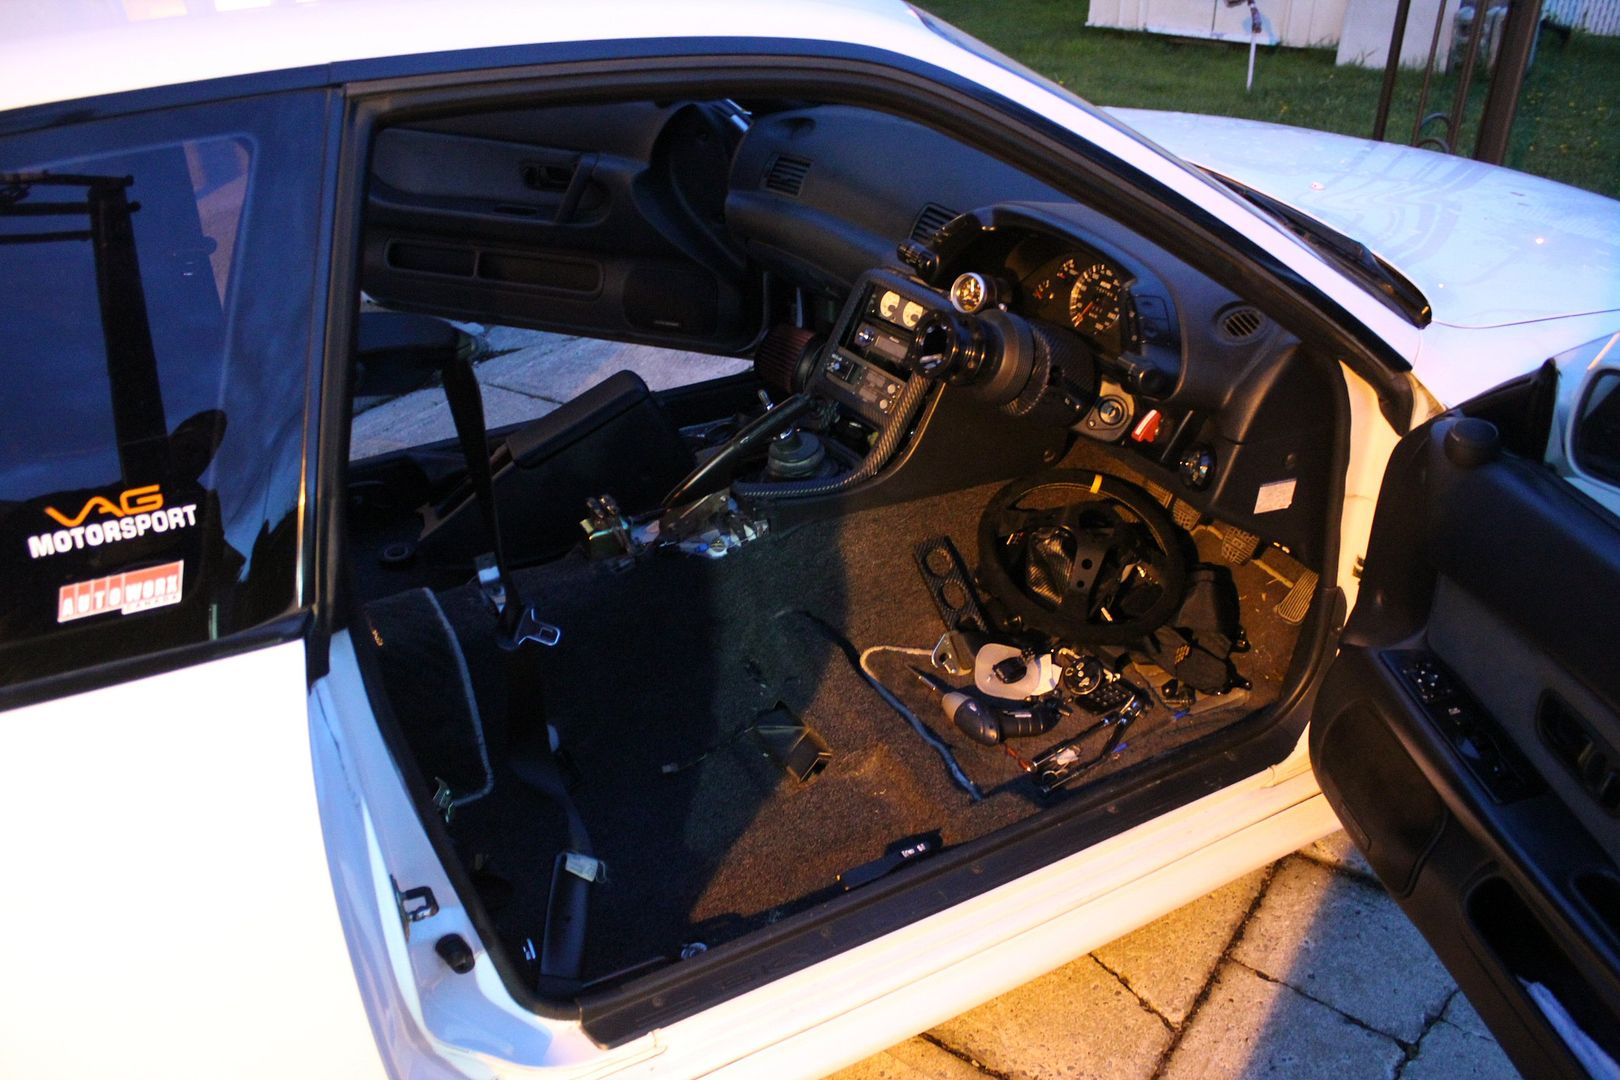
later i had to drag the car outsite since my father and my uncle needed the garage,
so i used that time outside to take the whole inside apart for what was coming........

 Tweet
Tweet

 )
)


Comment