
 Tweet
Tweet
Great, thanks man. It would be great to go to a big brake setup bu at this point I'm not ready to shell out 4000$ for a big brake kit. Brembo calipers might cost me 1000$ and then I can buy new rotors so I'll be 2000$ all in. I'll focus on getting a ride on the road and to where I'm satisfied and then go from there. Definitely going to do some track days this year though. I'll have something going.
-
Miss driving sooooo bad! Need to get a car on the road ASAP! -
Great few pages theses were.
I literaly was screaming at my computer when you had tyhour break issues : "ITS THOSE FOKING SHITTY AMS ROTORS!!!!!11"
Knew it,
Thanks for the backfire/missfire write up , just what i needed.
sorry , but i missed what management system are you running. I know its either a rom or chip tune but other then that i dotn remember.
GO with project mu for the track.Originally posted by bobbo View Post
I did ebc in the front and Hawk Hp in the back for the street . either or are great.Last edited by RABBIT; 02-20-2012, 02:31 PM.Comment
-
WTF. why is there two pics in my last post??
how did they get there? how do i get rid of them?Comment
-
Im running a stock ecu with nistune
Sent from my iPhone using TapatalkComment
-
-
I'll keep you advised as the date approaches. If memory serves the application comes out around the end of May. Cost I think was $575 which included initial instruction and both days. Friday is available too for an extra $125. From what my friends said that went last year it's worth every penny.
Thanks for the brake pad info. Will likely go with Hawks for their availability.Comment
-
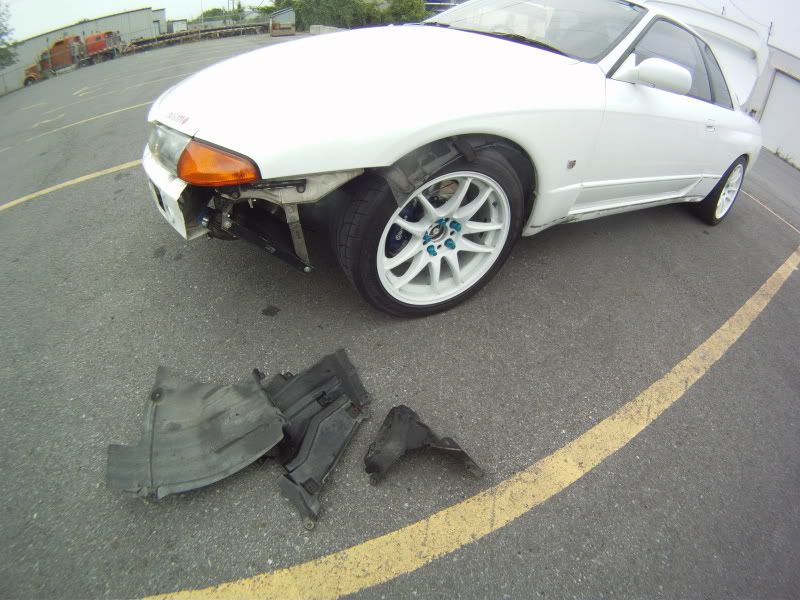
Looking through your thread again I realized we had the same problem with the fender liner haha...I was on the highway about to get off the exit and boom, I hear a snap and instantly the steering wheel pulls left, almost putting me in the ditch on the other side of the road. The liner was hanging to low I guess and eventually got underneath the wheel causing the left wheel to slip and loose traction. Once I got off the road it smelt like lots of burnt rubber and found the liner burnt up and in pieces.
Also going through all the pages, you have came a long way. I bet it feels awesome to go back and look at all this. I really hope I'll have the same progress done within the years.
Great stuff Franki, love seeing your ideas and work.Heart rate 160, I'm goin 260, RB26 run me past you in a jiffy
GT-R
O O SKYLINE O OComment
-
Everytime I read this thread it makes me sad. Sad that I will never be as awesome as Frankie.Comment
-
Chapter 38 - The master plan continues
week1 - 2011
as always with this project, i have a vision of what i want the final result to be, and try to always stay on the path to acheive that vision
even though i had done alot in 2010, the project was still far from beeing completed
so during the winter i again stocked up on parts and planned what i would be able to do in the summer of 2011 ;
2011 Goals
1- a friend would help me to take the turbos out to inspect them, and install brand new Garret adjustable wastegate actuators
2- I was also going to take the big rubber suction pipe that sits on top of the front turbo to swap it with a KTS metal pipe, and also customize it to allow for a 7/8" vaccum hose (instead of the stock 1/2" hose)
and finally powder coat it satin black to work with the engine bay color scheme
3- I would be sending my mirror finish ARC aluminium radiator diversion plate to get powder coated flat black, the polished finish didn't work at all with the rest of the engine bay
4- I was going to make a custom catch can setup with 7/8" hoses all around, to correct my blow by pressure problem
5- I would be installing the rear section of a Cusco roll cage, which will be modified to allow for a harness bar
basically, a horizontal bar, behind the front seats sitting just higher than my shoulder which the racing harness will pivot on
6- I would also going to change out my old HID ballasts, since they are totally blown, place them another way in the engine bay
7- the biggest change will probly be the addition of an AB Flug carbon fiber front diffuser paired with a Top Secret carbon fiber rear diffuser
some more CF parts would also be added
8- the new tires would be either Kuhmo Ecsta XS, Bridgestone Potenza RE-11, Dunlop Direzze Star Spec or Hankook RS3, in 265-275 / 40 / 17 size approximatly
9- the car is going back on the dyno to see if the new actuators fixed my boost drop problem, if it doesn't, i might get a whole new cat-back exhaust custom made, i'm pretty sure my current muffler/resonator are FUBAR
10- something really cool will be done with the rear seats
11- a custom brake ducting system will finally be installed
then its track, meet, track, meet, ride, etc...
i already had most of the parts...
Week 1 - 2011
the first thing i wanted to take care of, was the removal of the turbos for maintenance and info
so i enlisted the help of a good friend, Luigi (what we call him), his name is Vulcain on GTRC
he is a professionnal heavy machinery mechanic, and has done RB26 turbo swaps 3-4 times already
he likes my car..
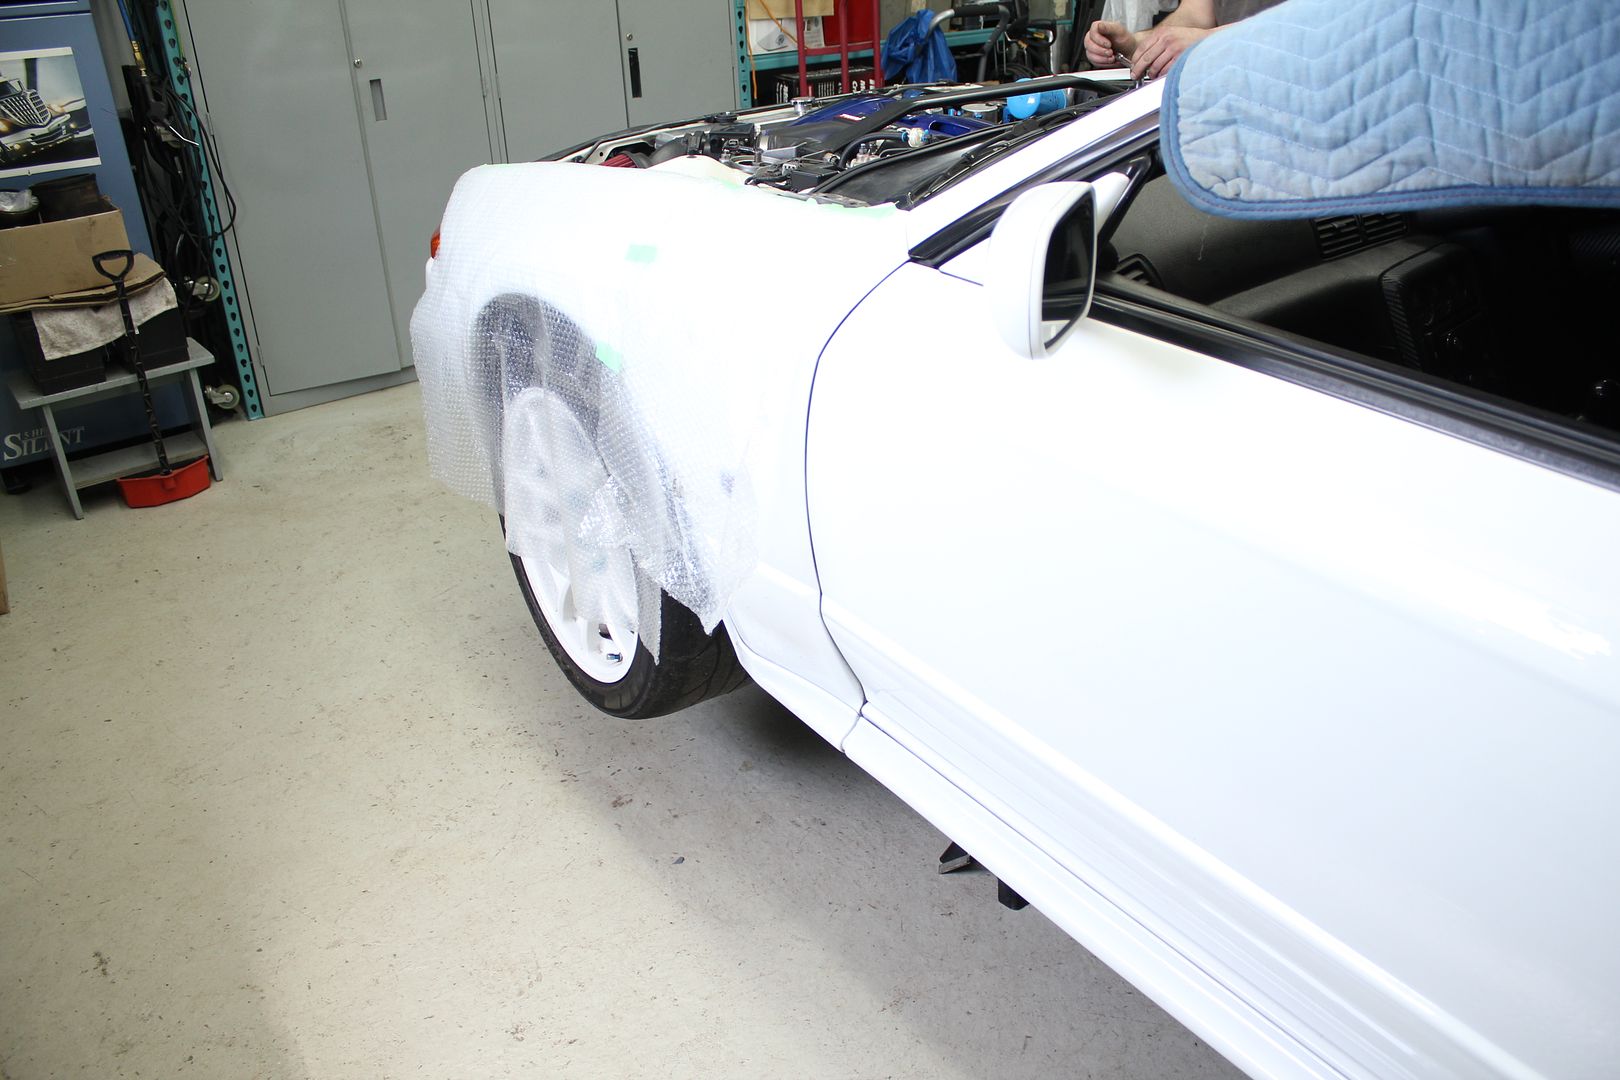
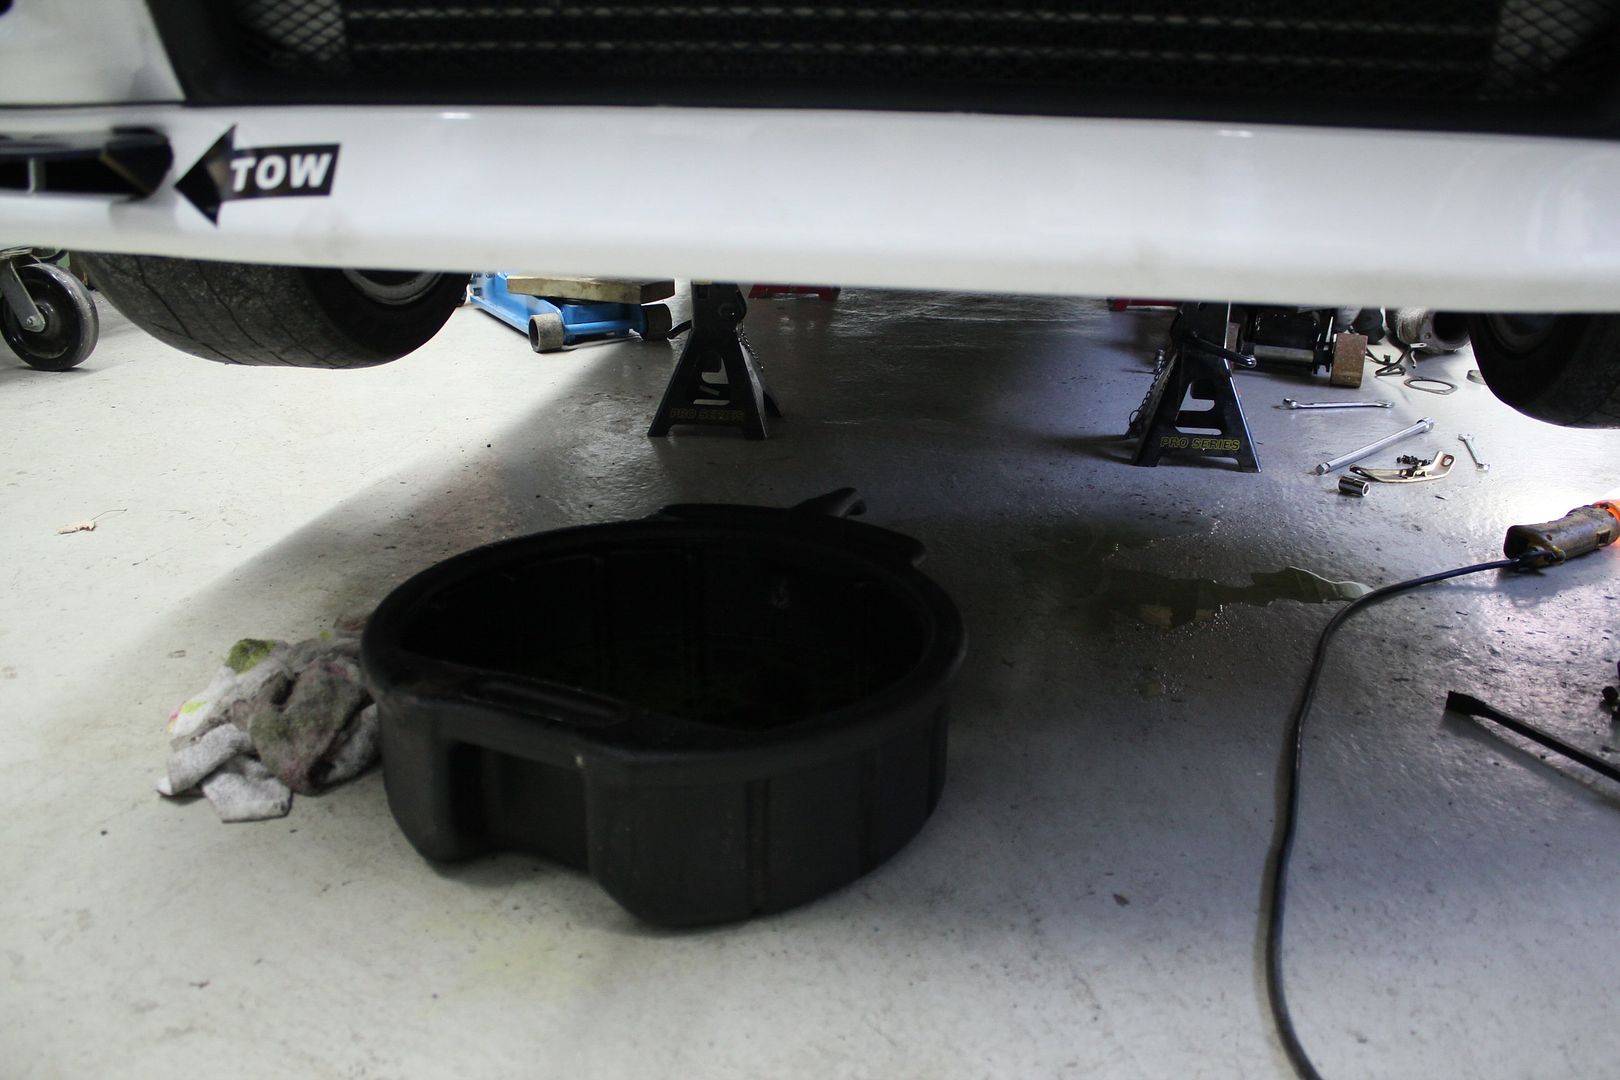
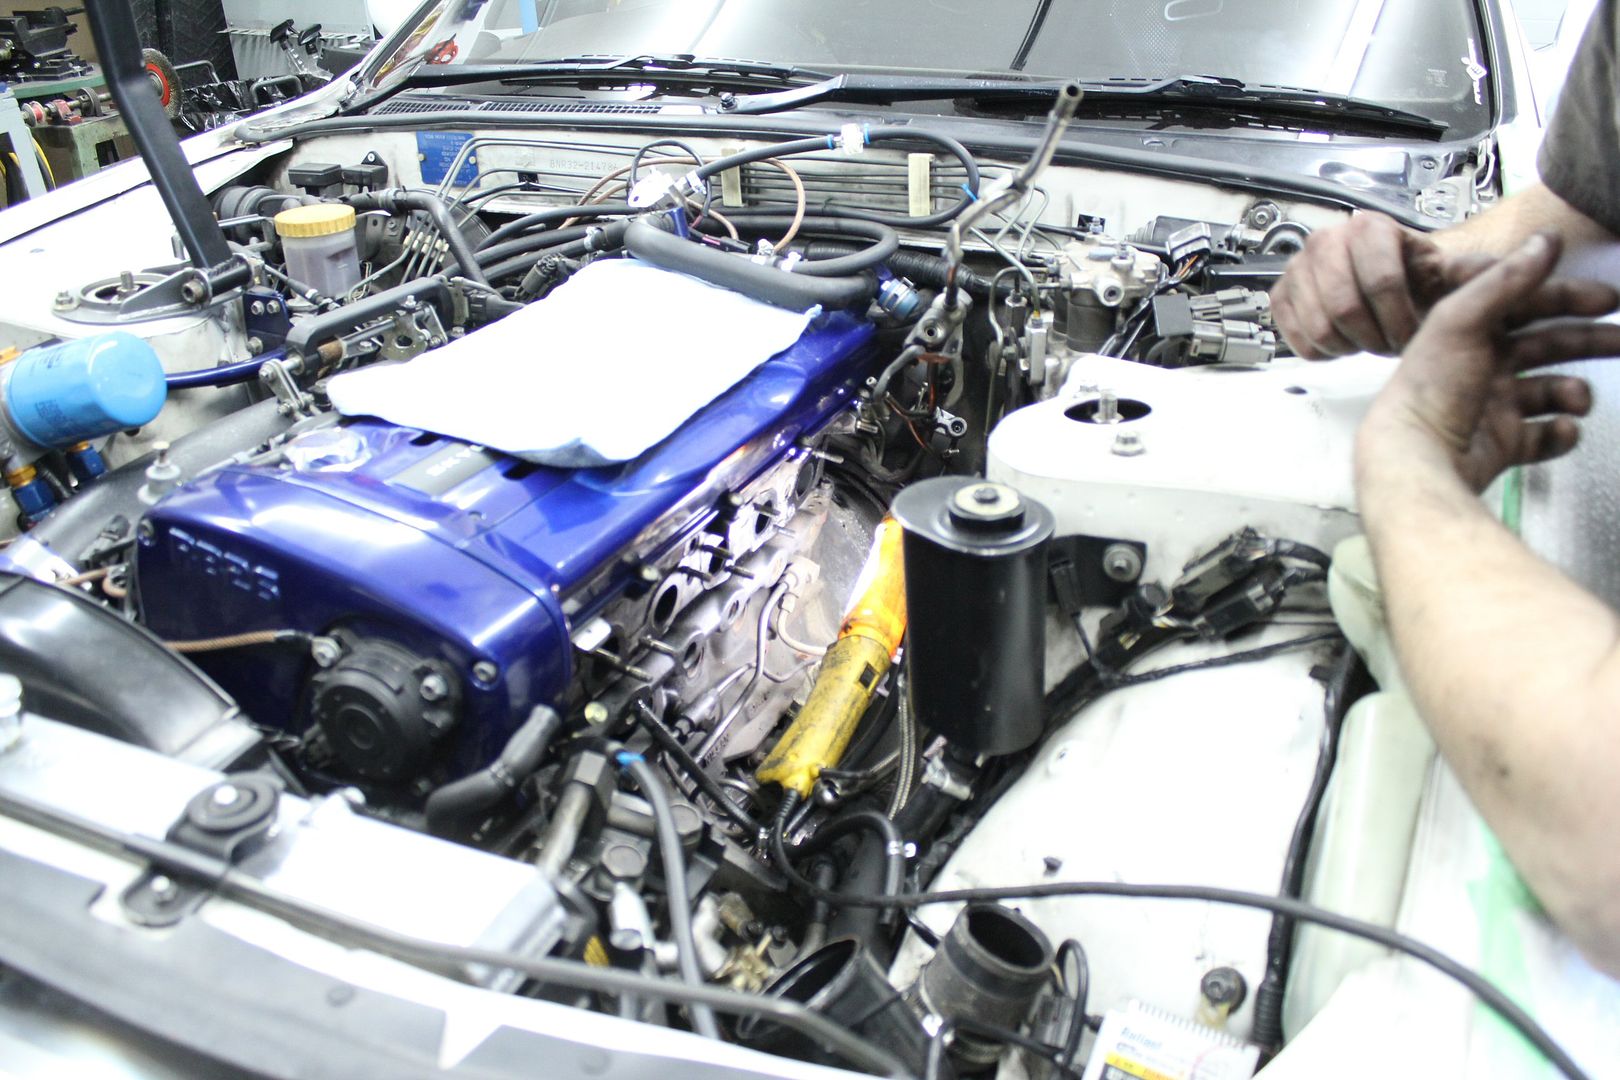
first thing to do was to lift the car on stands, take the hood off and put in on the roof
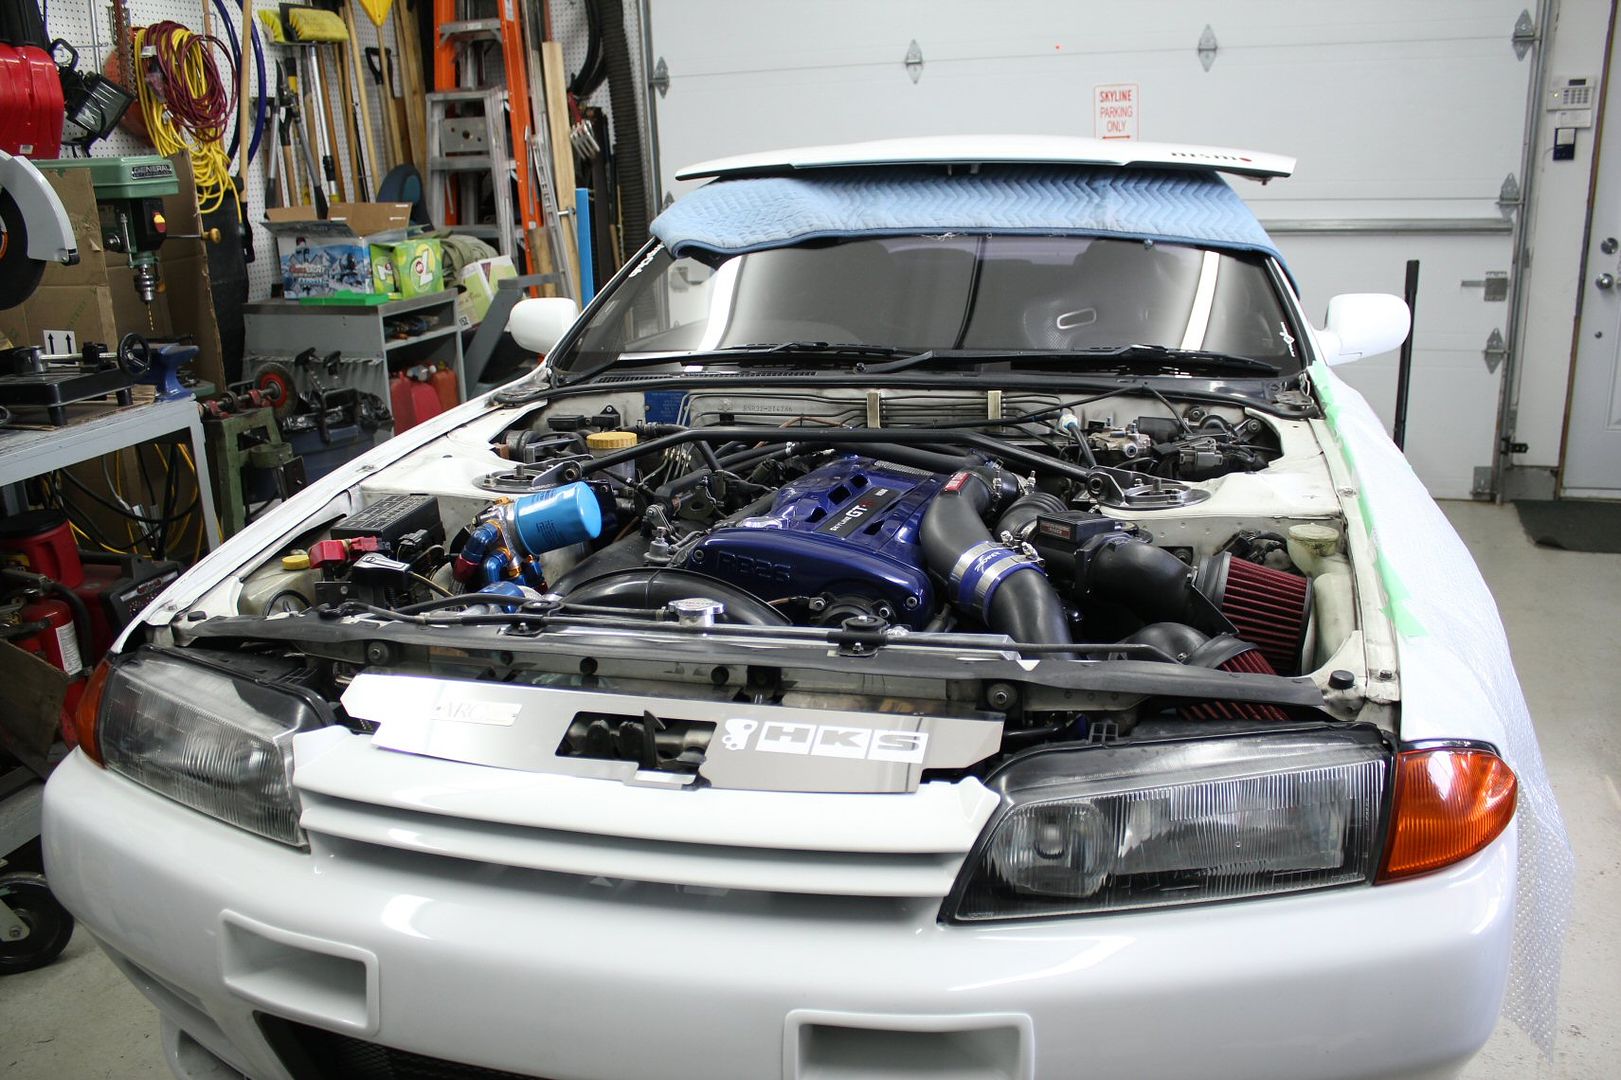
and then, obviously install my protect-o-fender
while Luigi was removing parts from underneath, i was doing the same from above
it wasn't too long before most of it was apart
when we got to the actual turbos, all important tubing were clogged with newspaper of rags
then the old winter storage oil was drained, along with the prestone
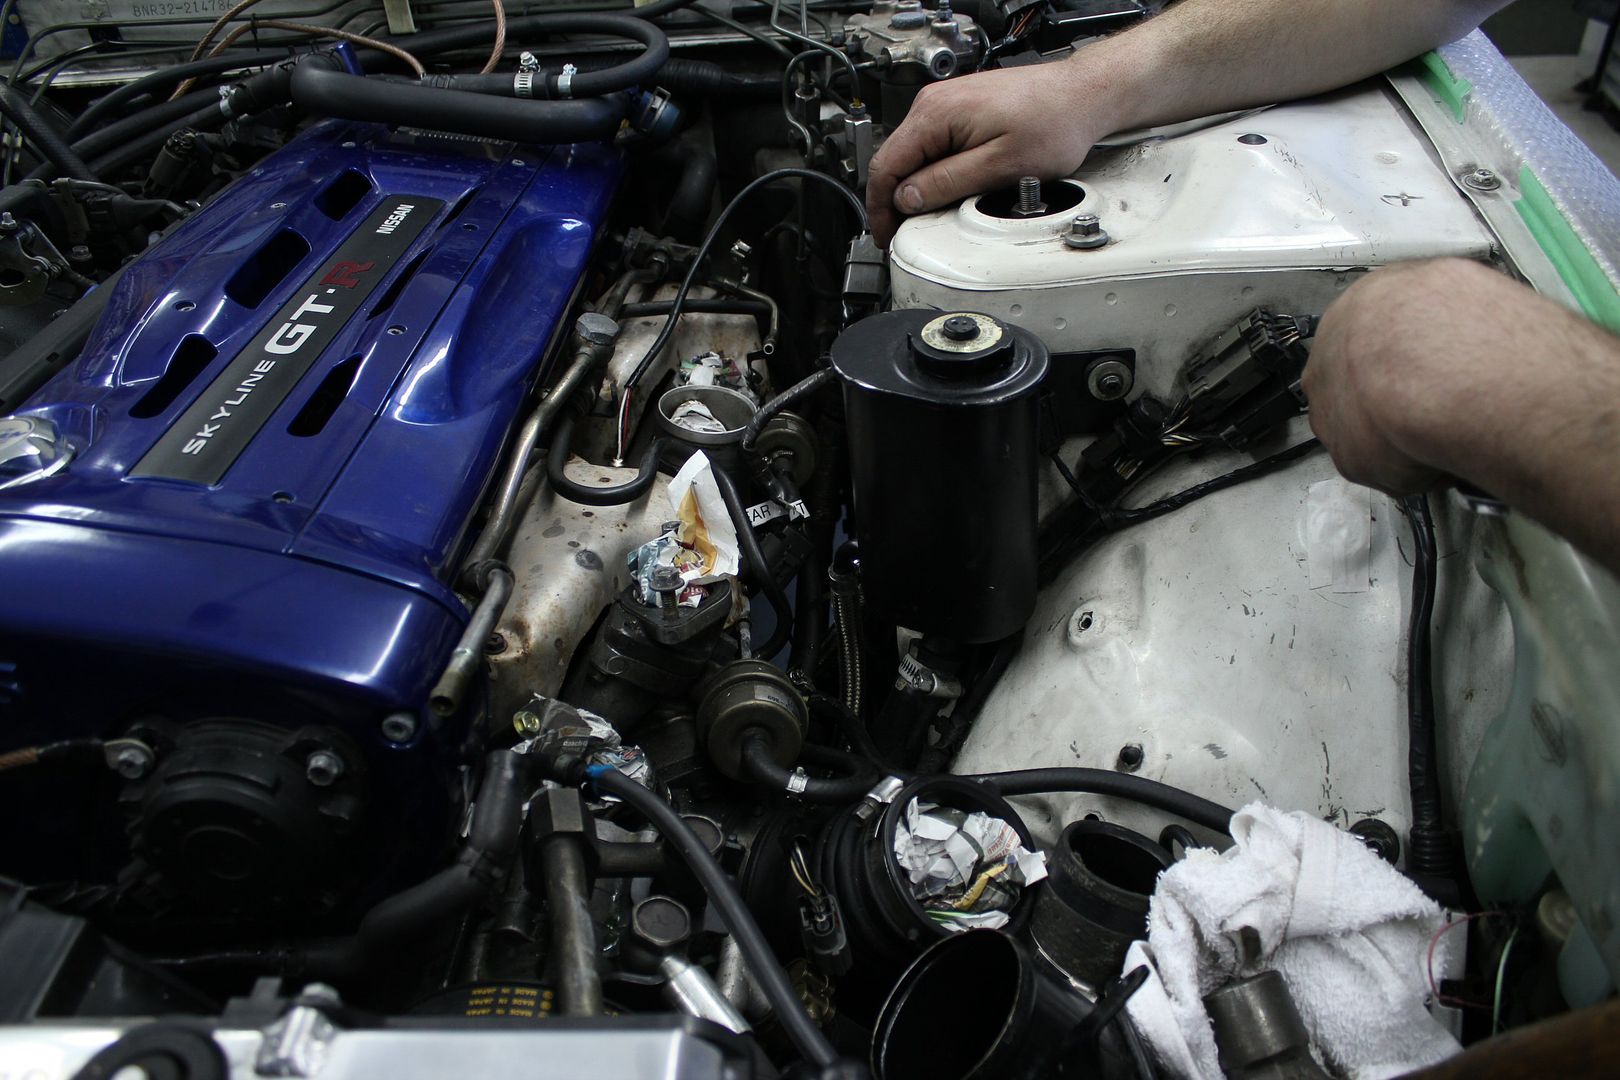
then the actually removal of the turbos and manifolds started,
everything went well, but the while strying to remove the coolant line going over the manifolds, the fitting nearest to the back of the engine was jammed
so we tried the usual ''add lube & force'' but we couldn't really get a good angle on it to apply the necessary force
so we had to think outside the box, or ''on top of engine''
in the end we couldn't make it budge as we were stripping the fitting, so we opted to bend the line out of the way, in a manner that it would'nt be damadge but still allow us to work in that area
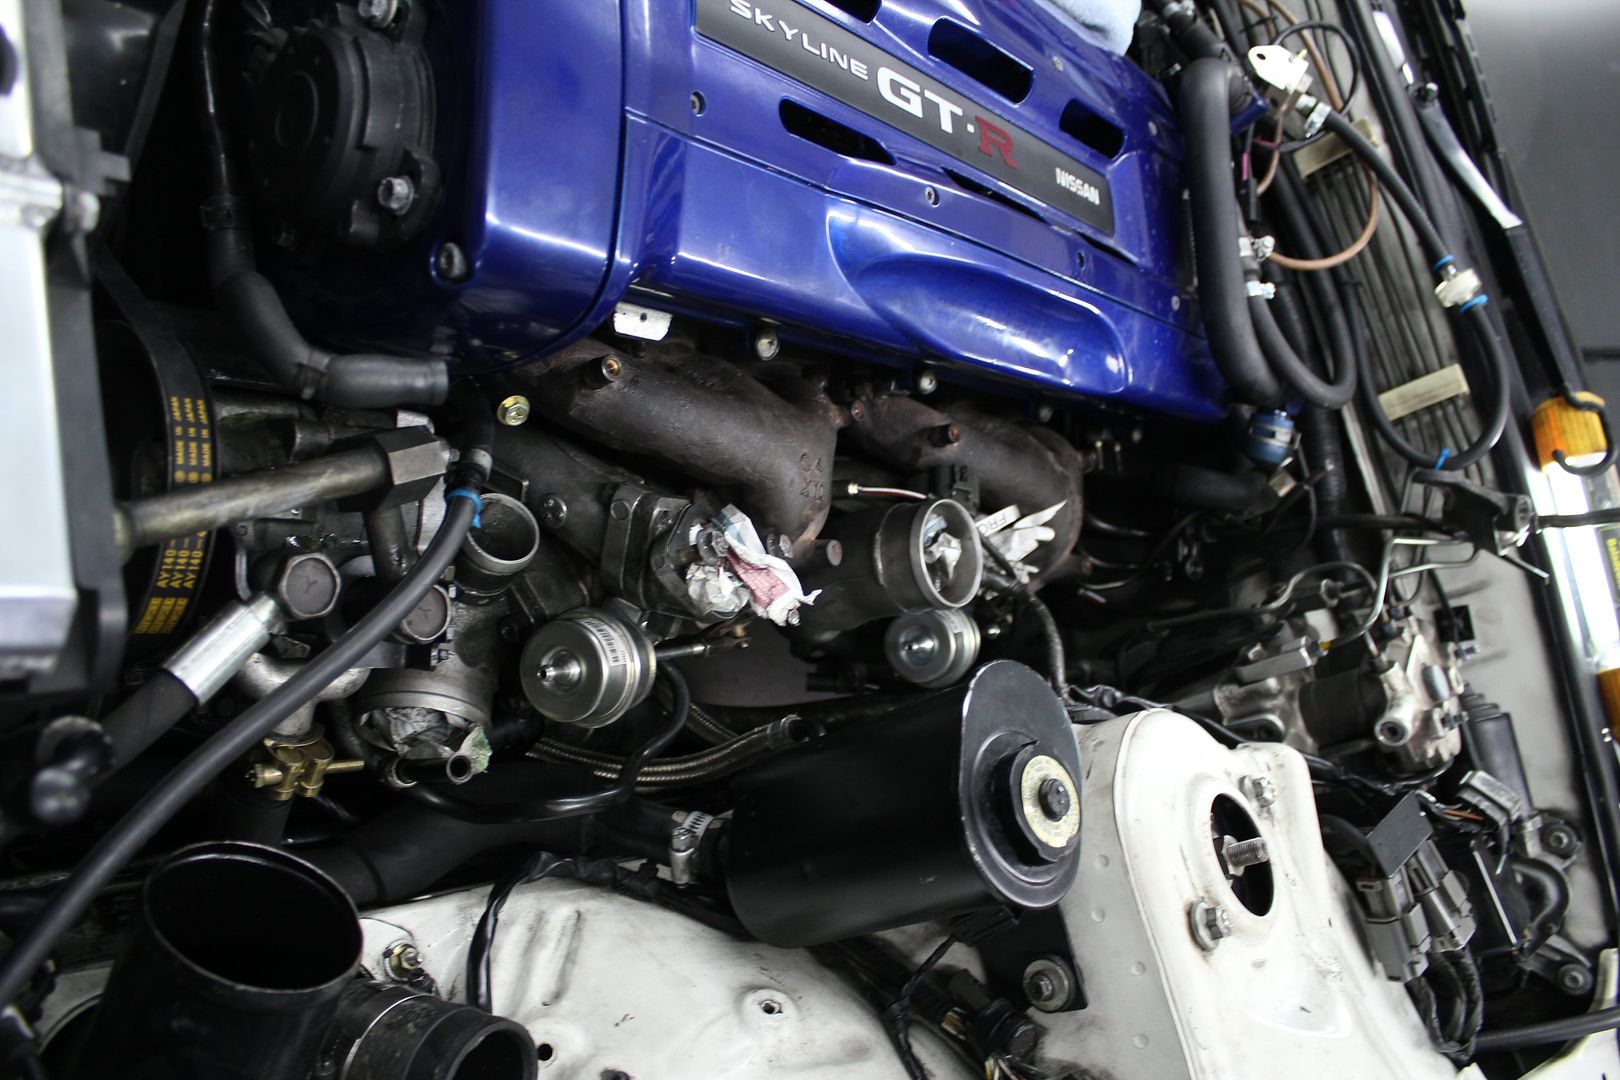
after a while the turbos were finally off
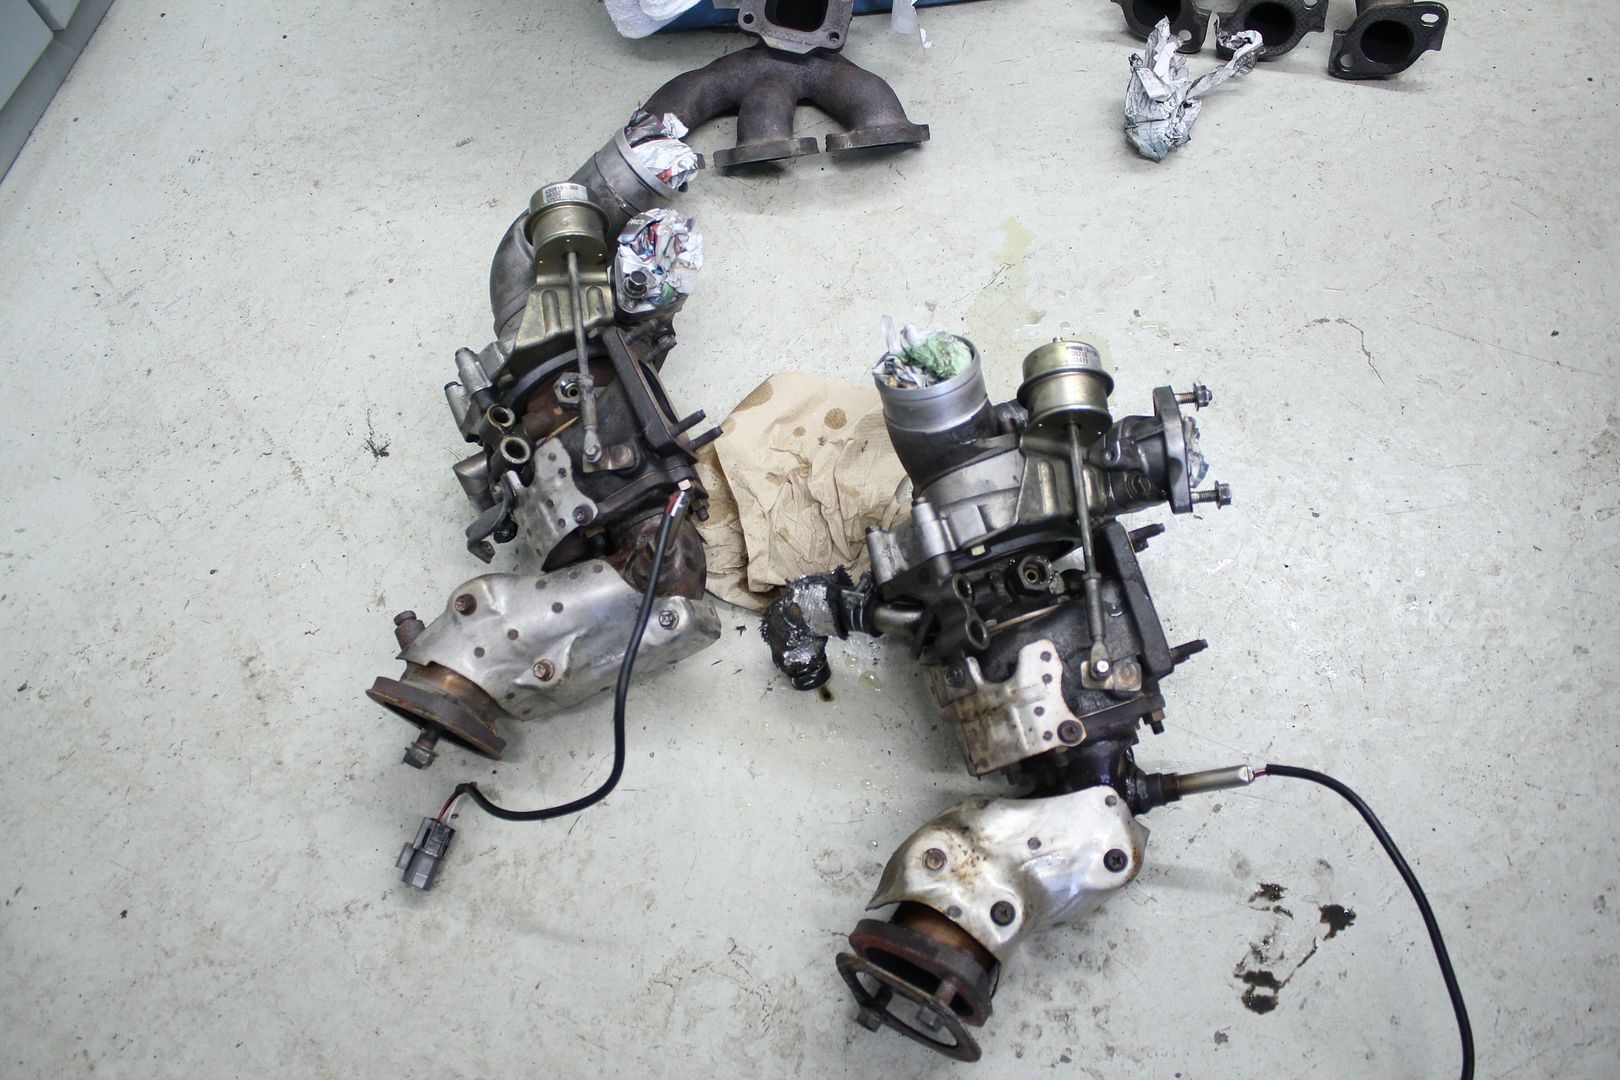
here you can see the bent coolant line at the back
now it was time to find out what i actually had in there all that time
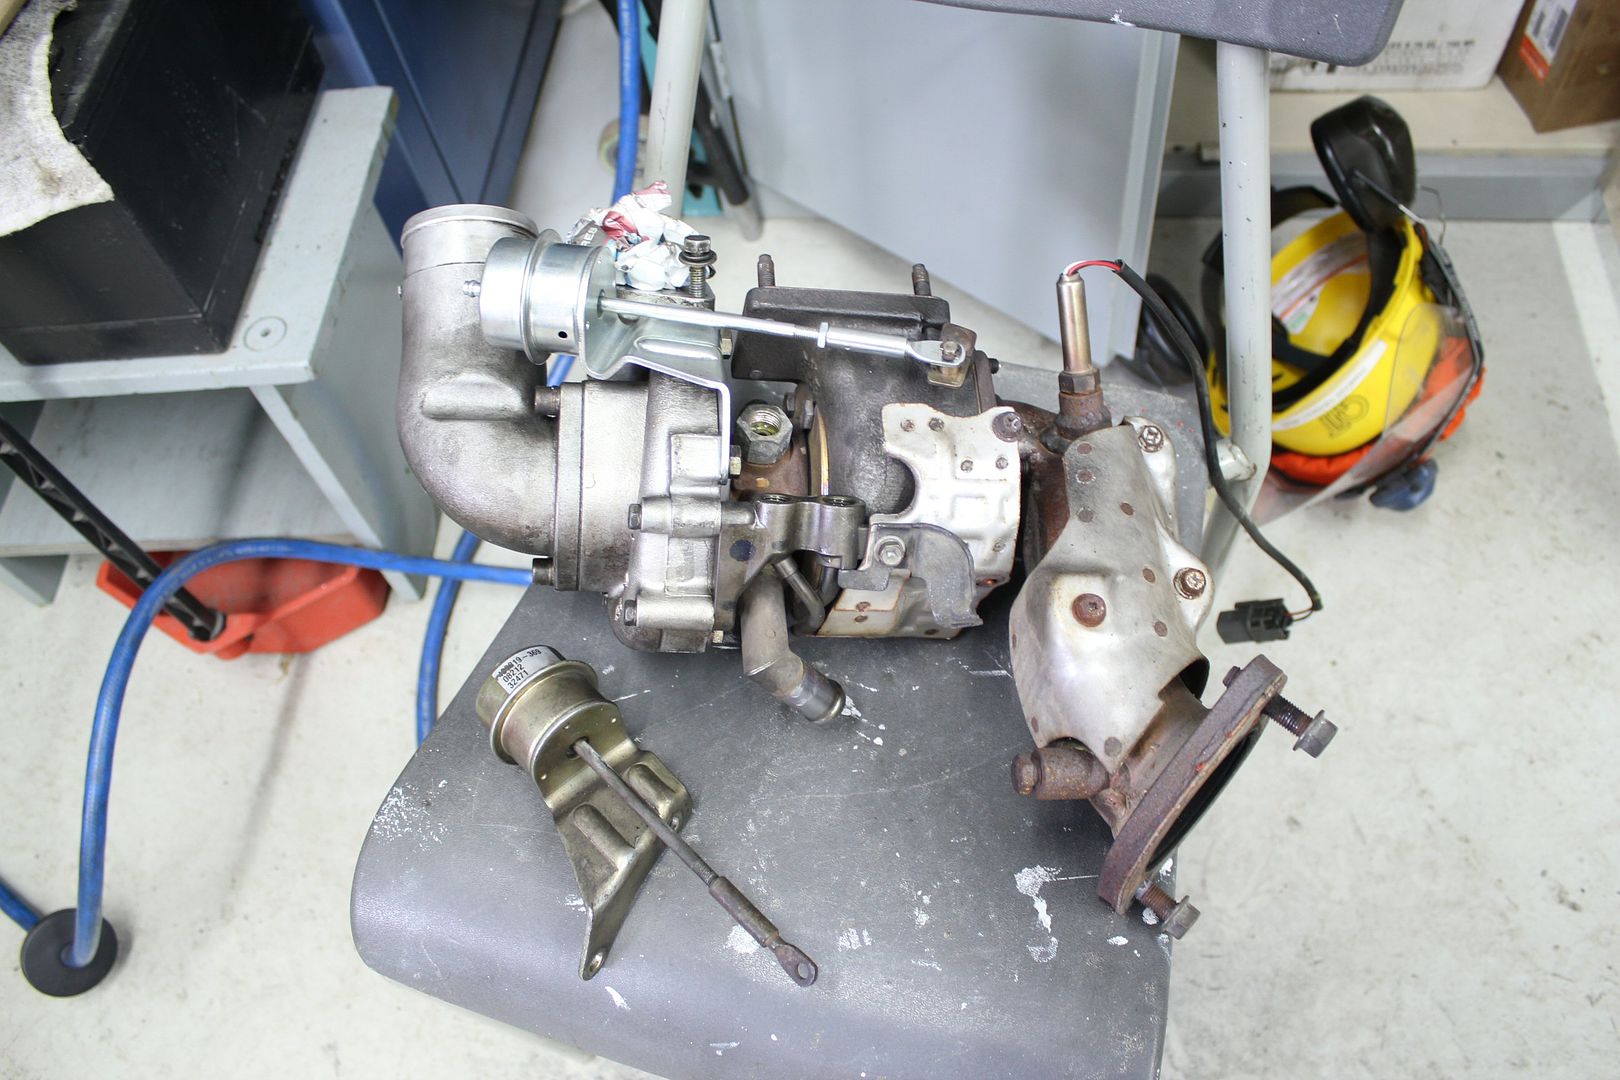
first off, the dump pipes
it was clear they were old stainless steel items, looked OEM-ish quality
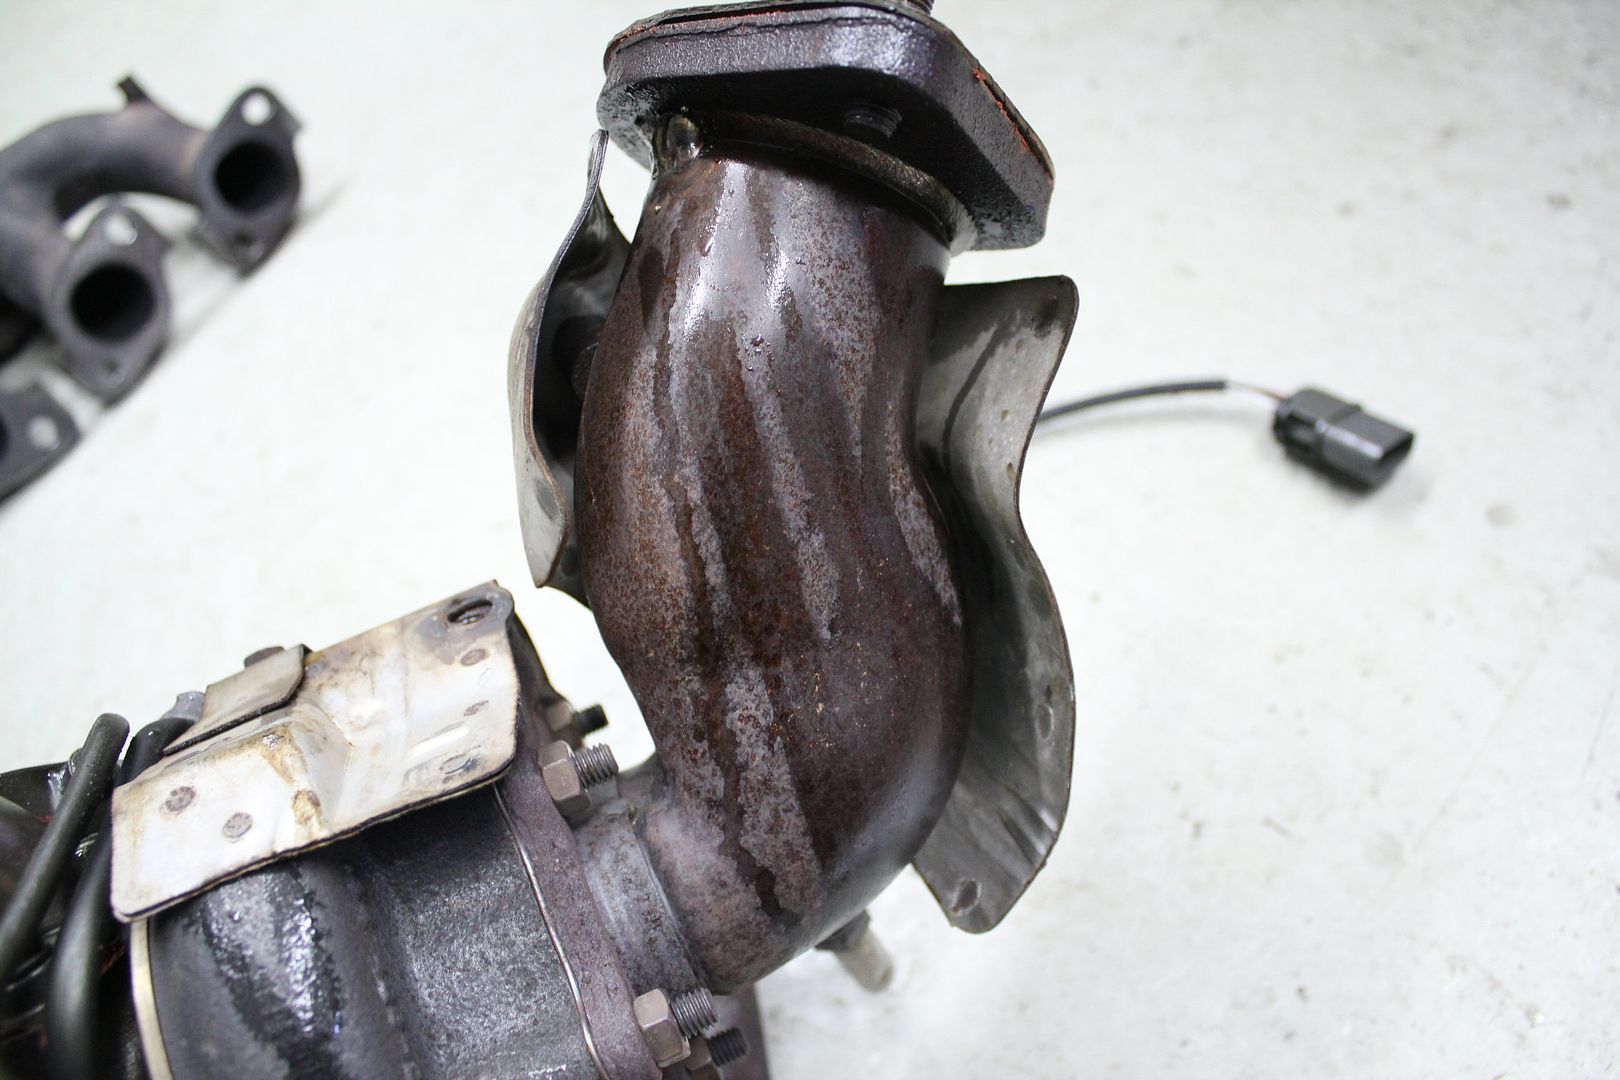
when comparing them to stock units, it was clear these were of a much larger diameter, my assumption was that they were from an R34 GTR
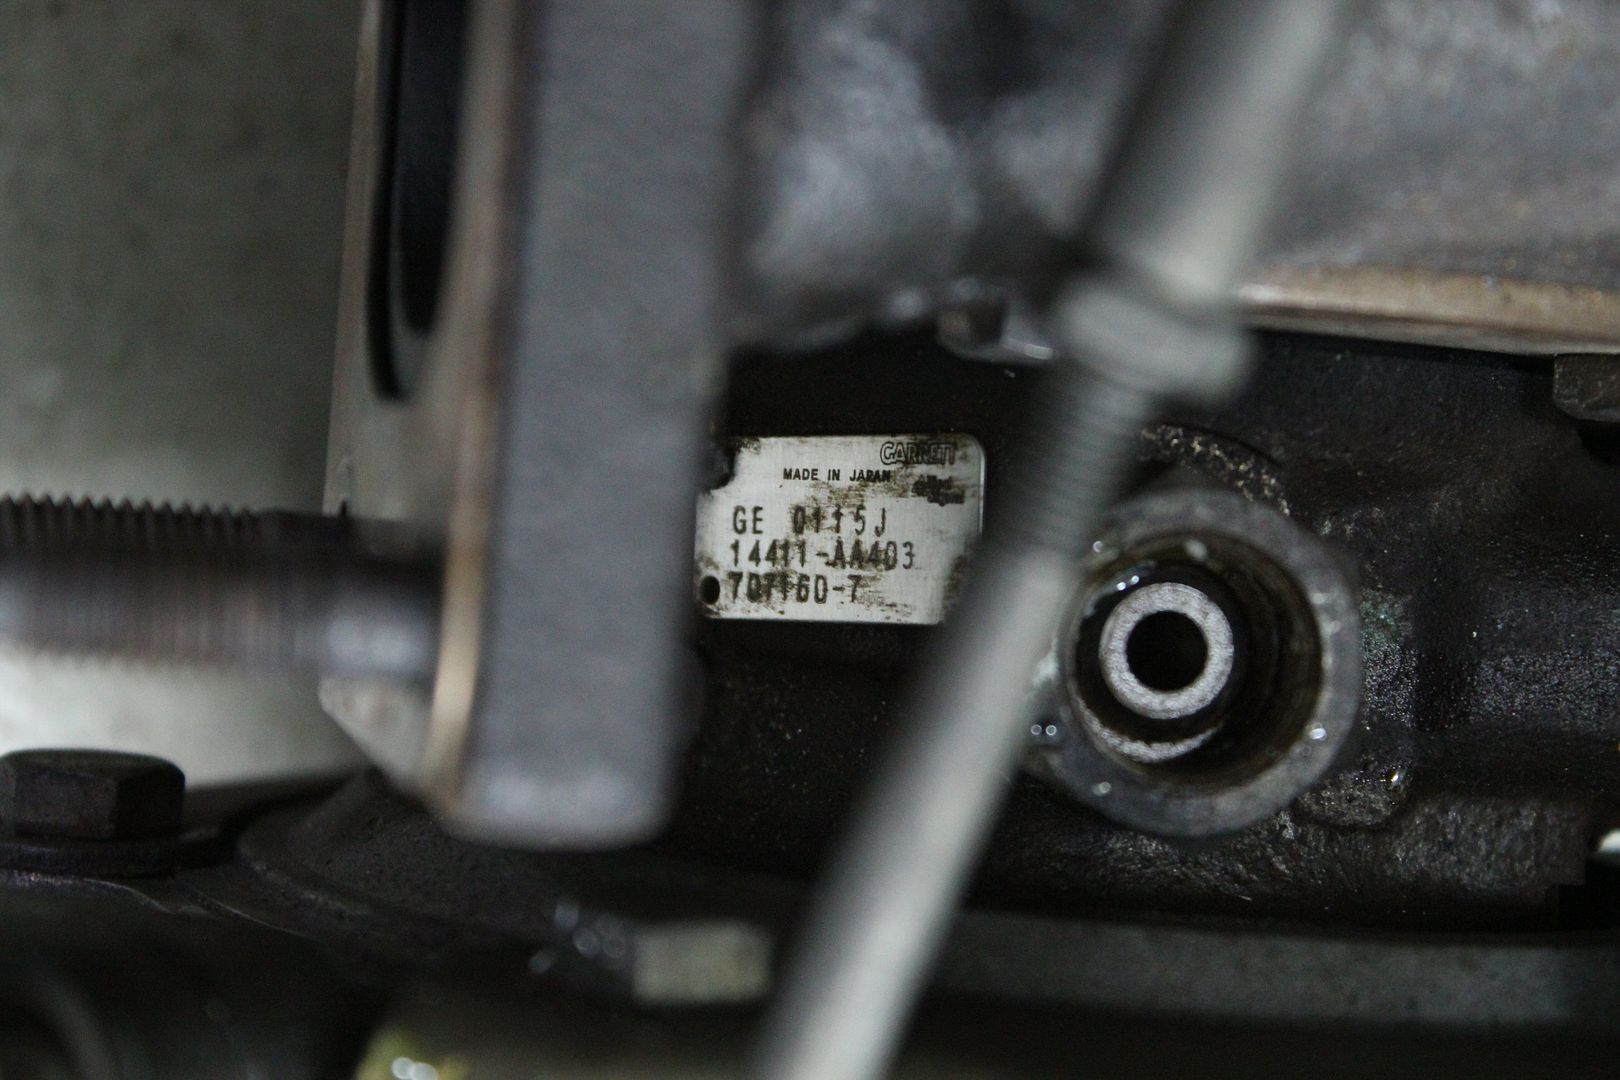
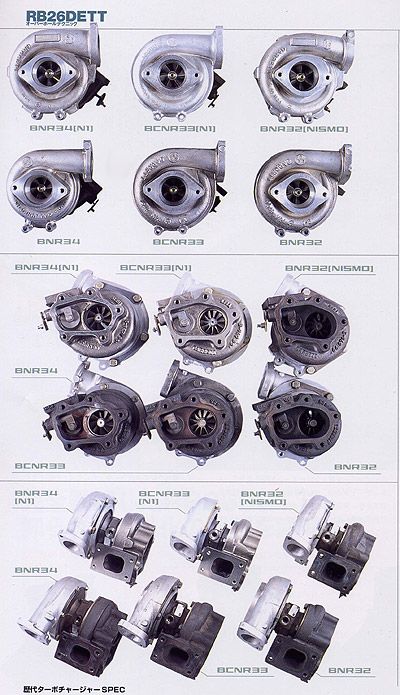
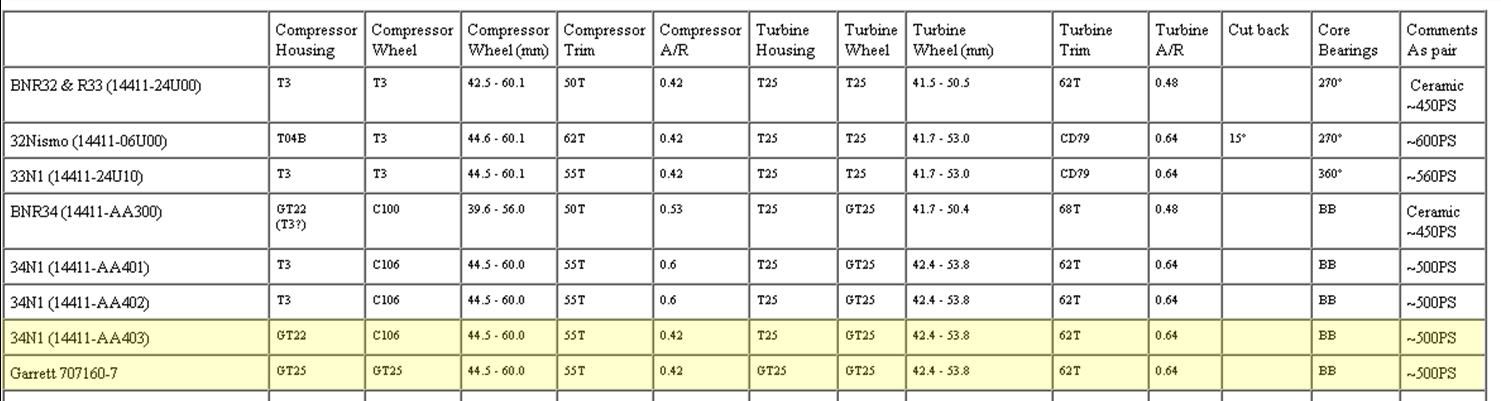
from the information tagged on the turbos, and the fact they were ball-bearing, again it was assumed they were N1 R34 GTR, at the time i had found an image on the web with all stock and N1 turbos from R32 to R34, these were shown as R34GTRN1
but the tag also shows them as beeing -7s
i'm confused
they are both rated for 500hp, which i'm pretty much testing the boudaries of right now
after there was no shaft play at all, the turbos looked in order
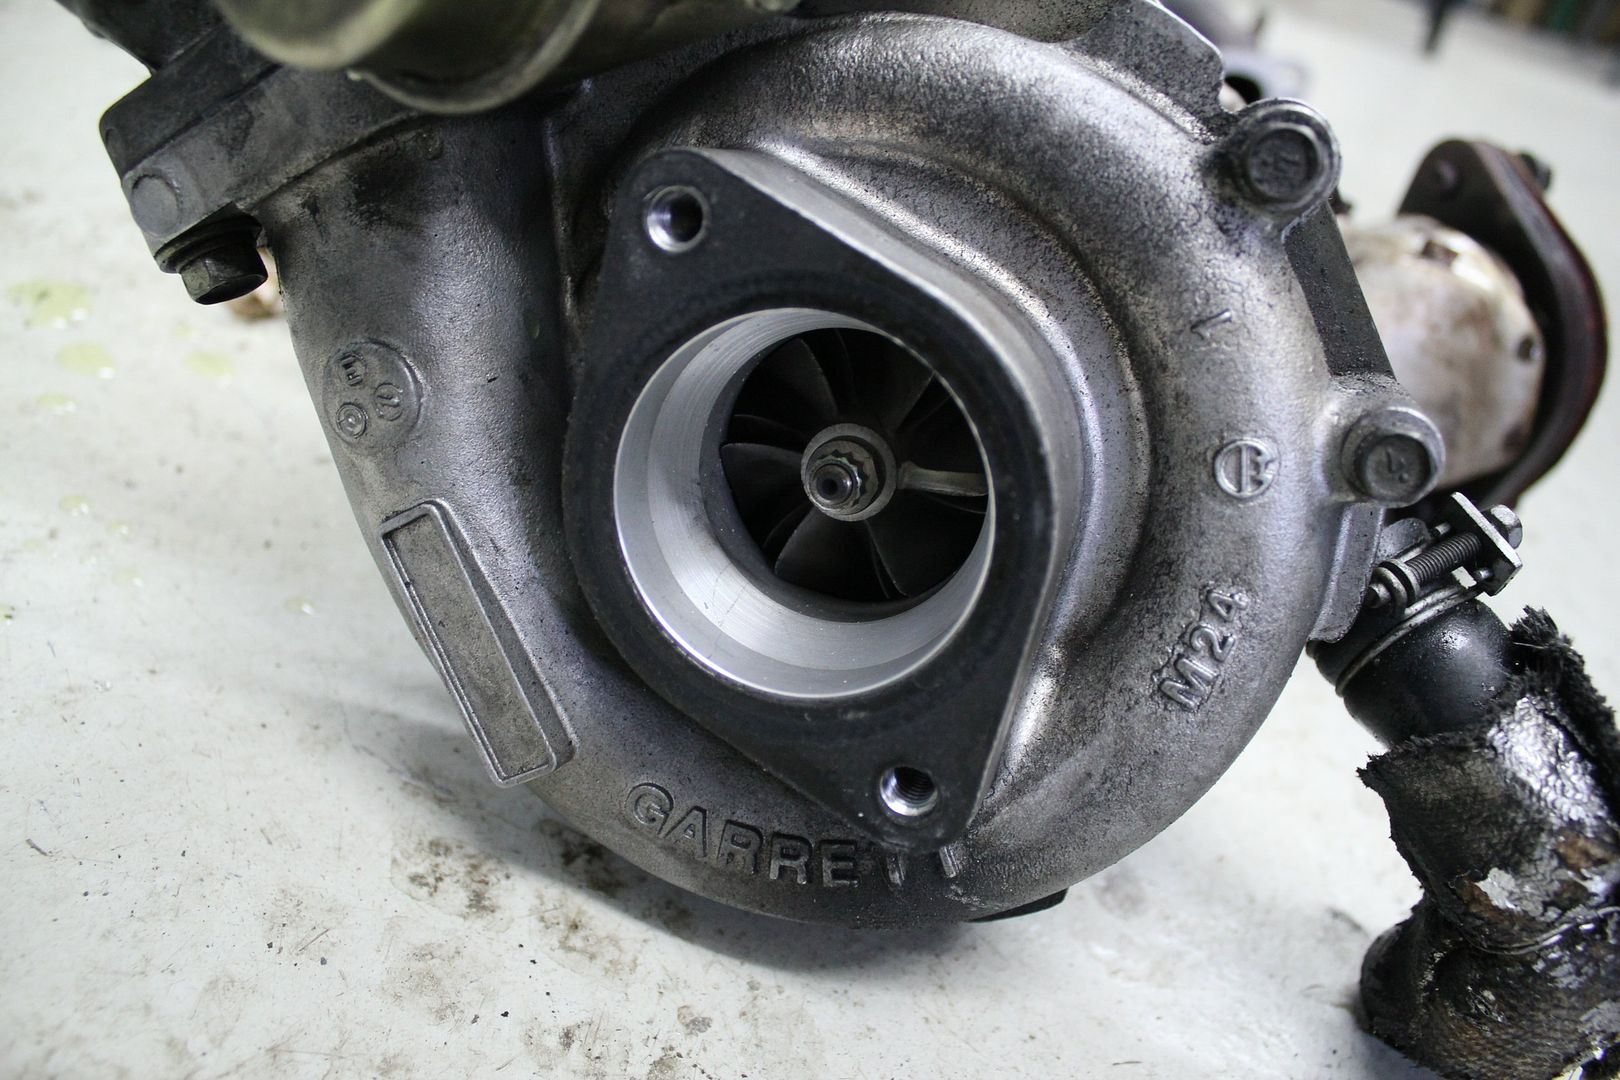
here it is
and
while both turbos were out, i swapped the wastegate actuators from original units (bronze) to brand new Garret adjustable units (silver), i adjusted them for just a little preload, in order to help my loss of boost at higer rpms
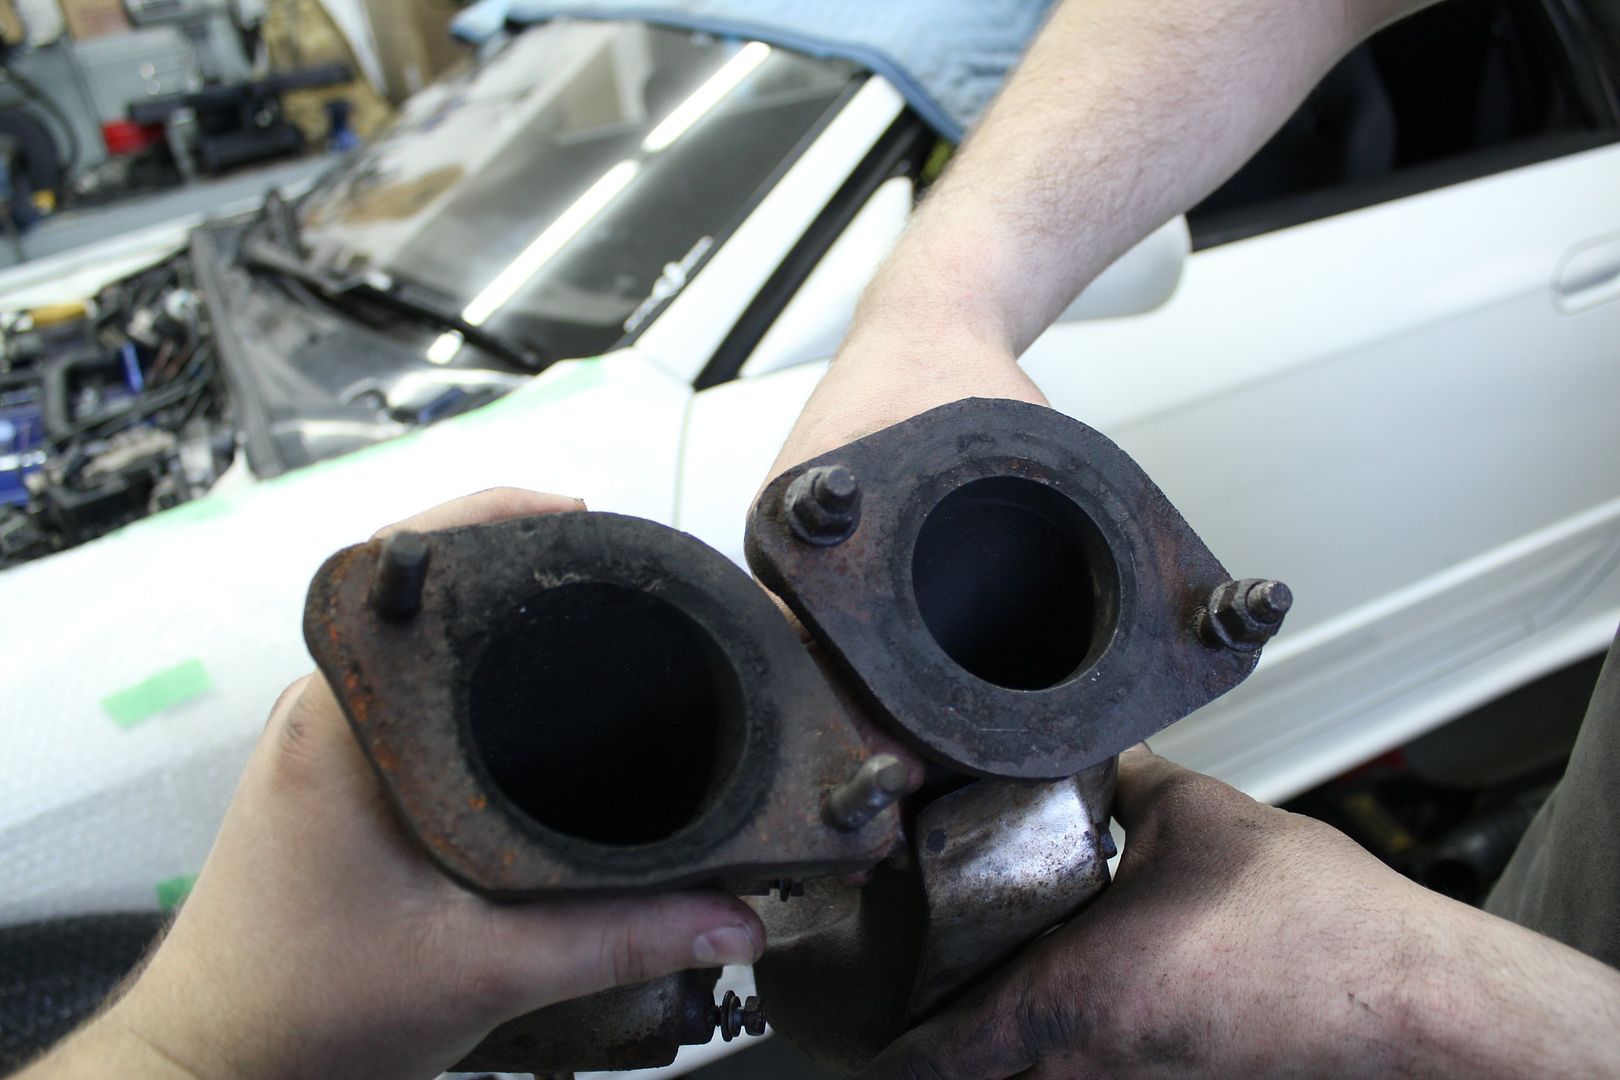
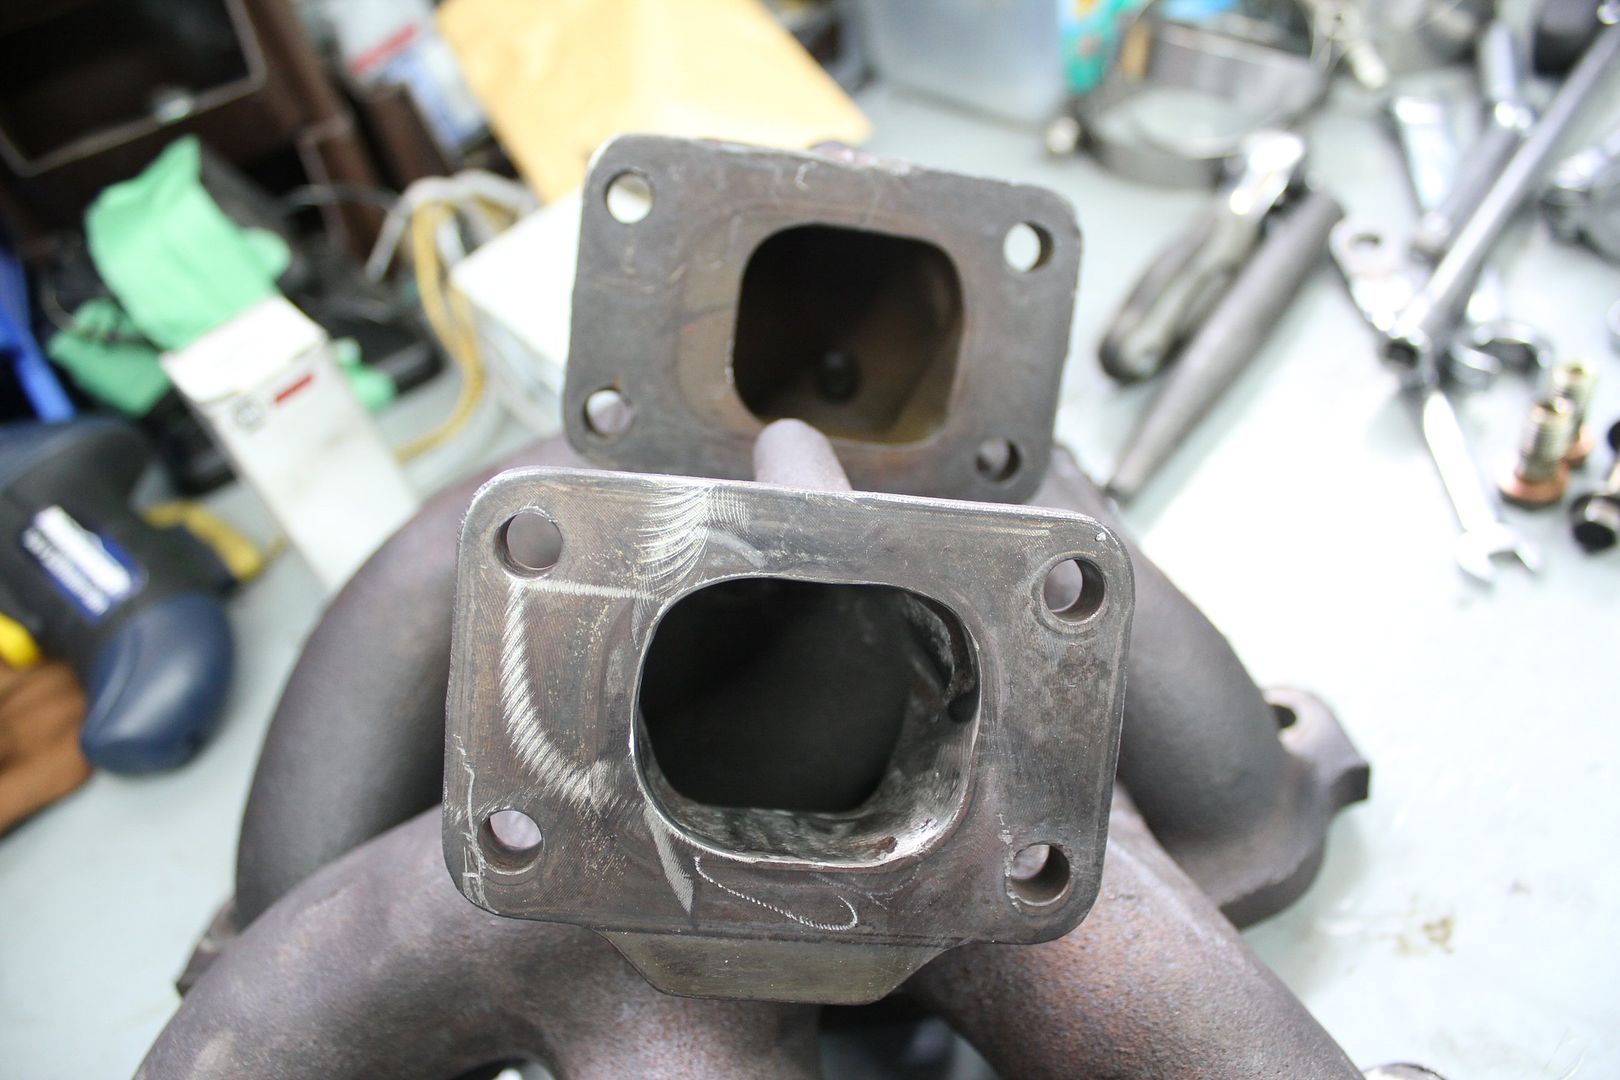
also, when i measured the outlet flanges on the manifolds, and the inlet flanges on the turbos, i realized that since the turbos weren't stock BNR32 units that the size of the ports were completely different, they didn't match at all
the outlets of the manifolds were 4mm narrower
so i decided to port match them,
using 2 pneumatic rotating sanders, one rough the other smooth, Luigi and I did a pretty good job in just a couple minutes
here you can see the before and after, a big improvement
while putting the turbos back on, Luigi had a problem within the bracket that holds the rear turbo from underneath and the one that hold the oil line
''hey there''
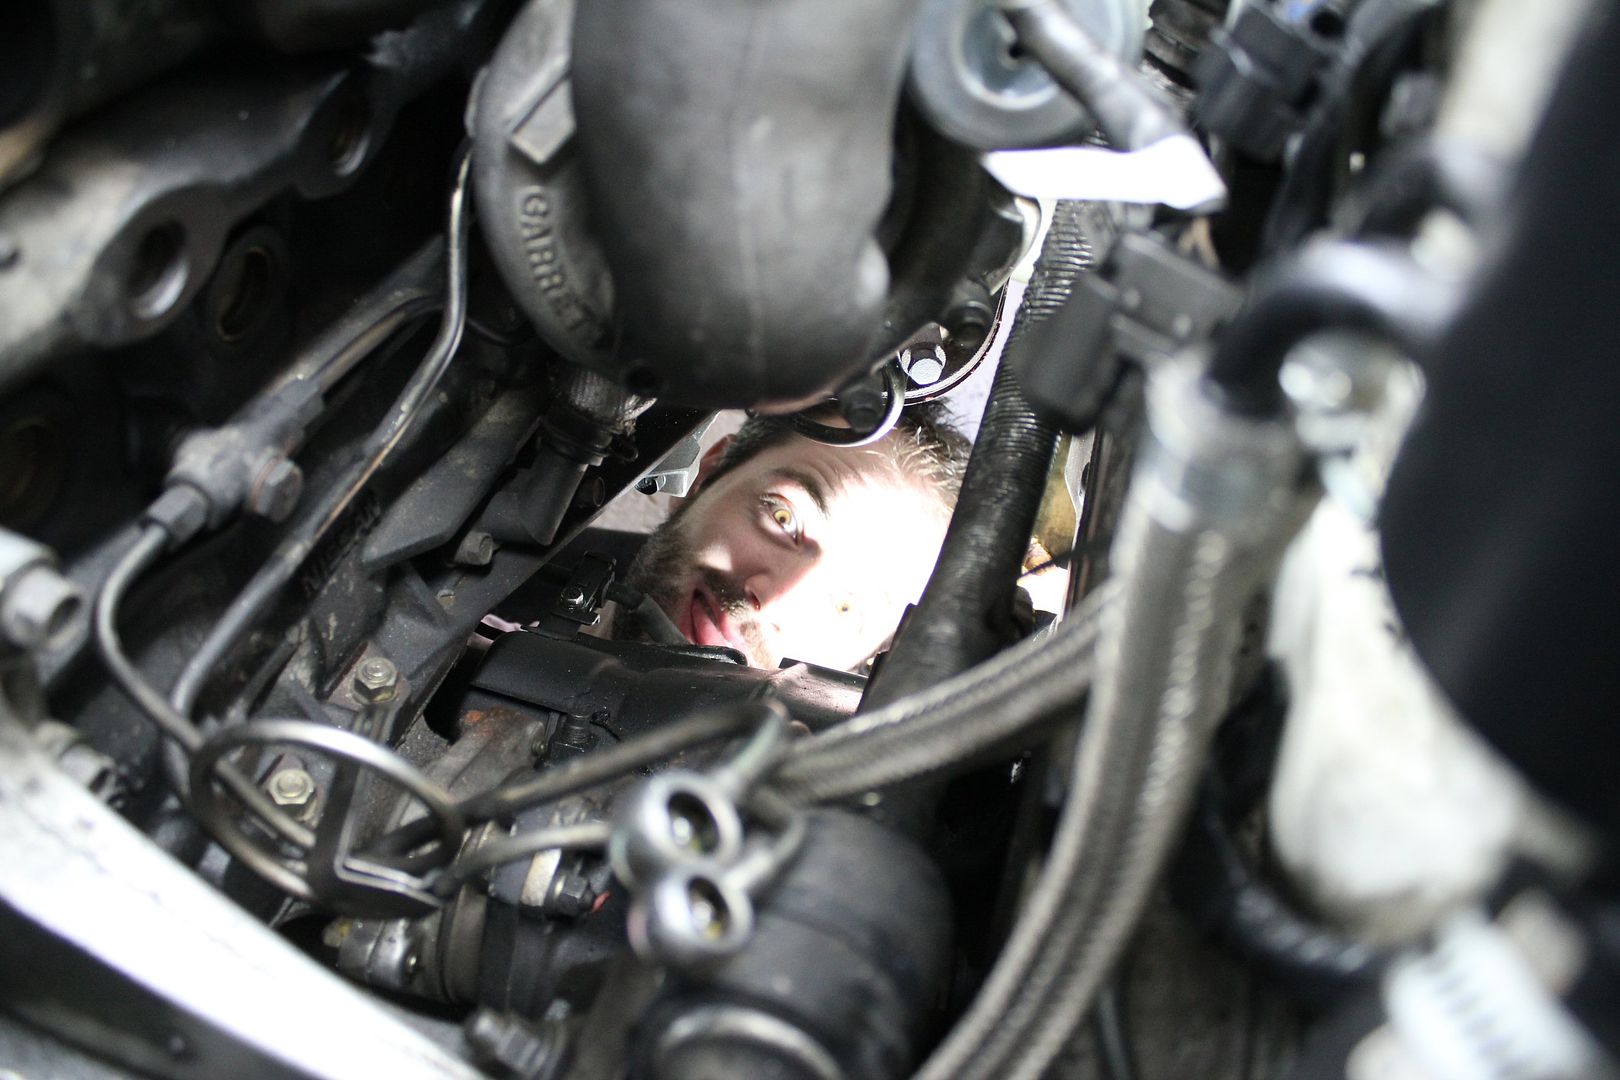
so it was my turn to go under, i fitted both brackets with minor difficulty, until i realized that when we took everything apart, 1 bolt snapped inside the turbo, a bolt for the bracket
it would have been easy to extract that bolt while the turbos were out, but now it was too late and we didn't want to back-track
so while Luigi was putting the front turbo back in, i tried drilling the bolt to extract it from underneath
it didn't work out so well, so i guess its going to stay like that till the engine blows up,
its not a big issue since alot of people run aftermarket turbos with no brackets at all
the worst thing about the removal/installation of turbos on GTRs, is getting the freaking oil and coolant line on them, with very little room to work, and banjo fittings with copper washers and ARGHHHHH
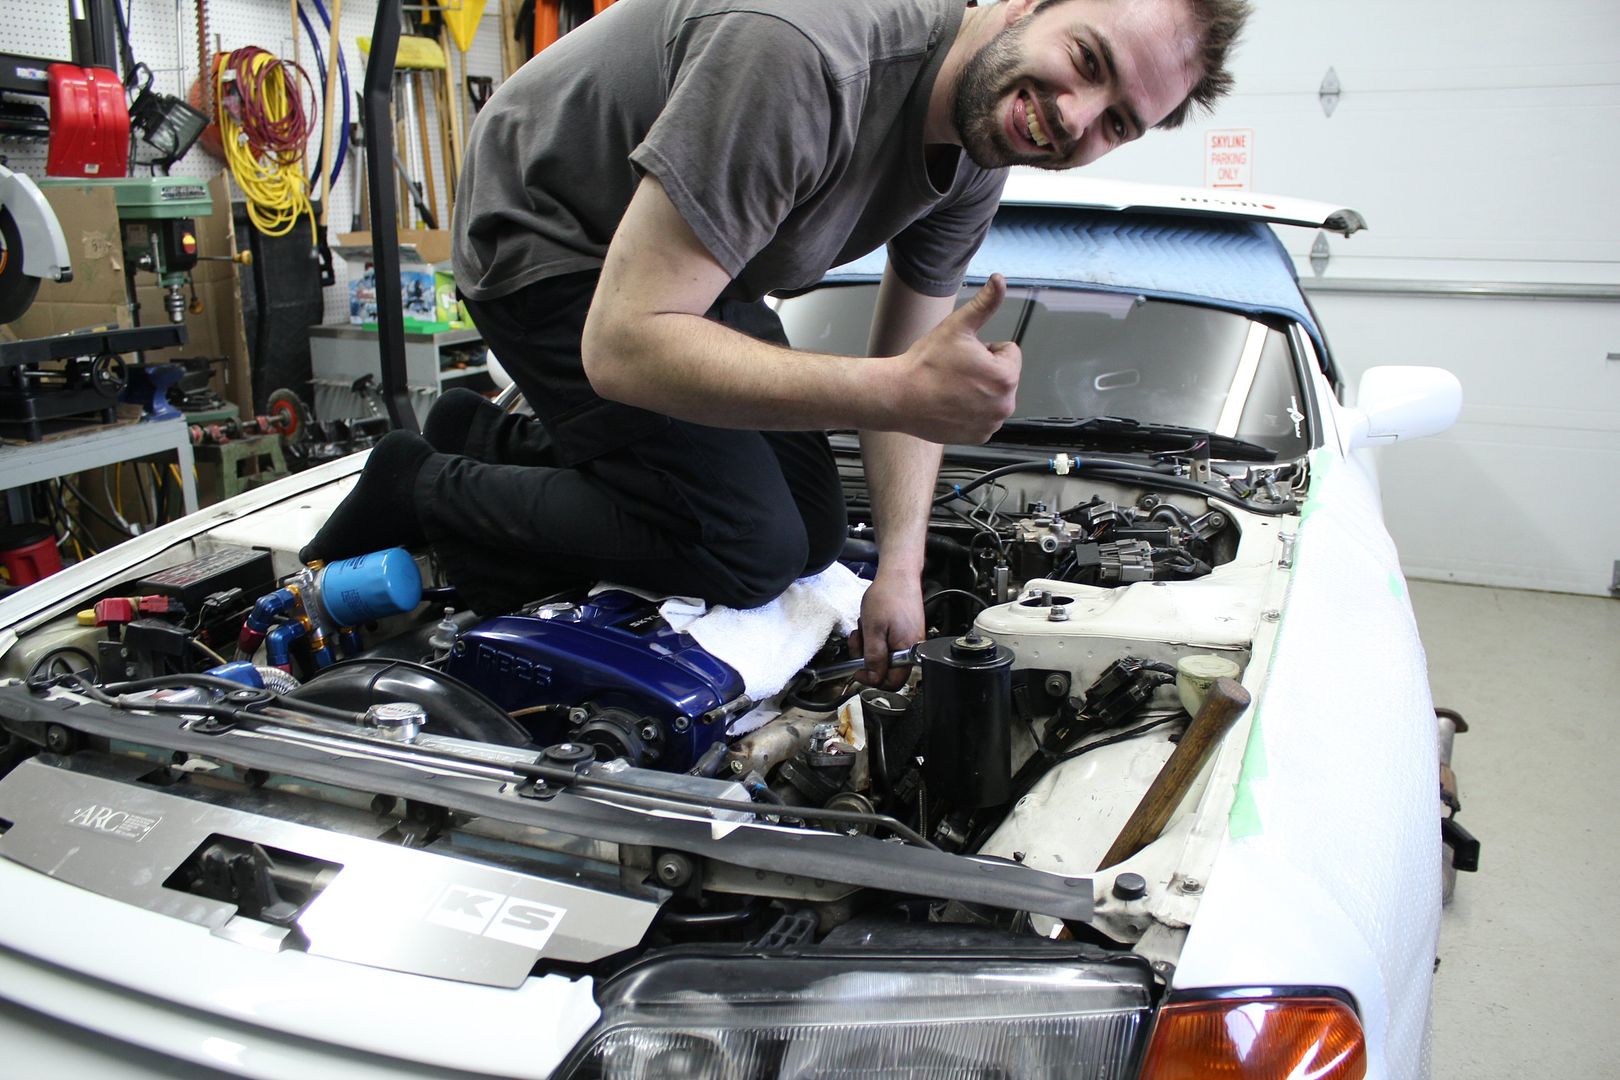
almost done
(that was 3 evening's work right there)
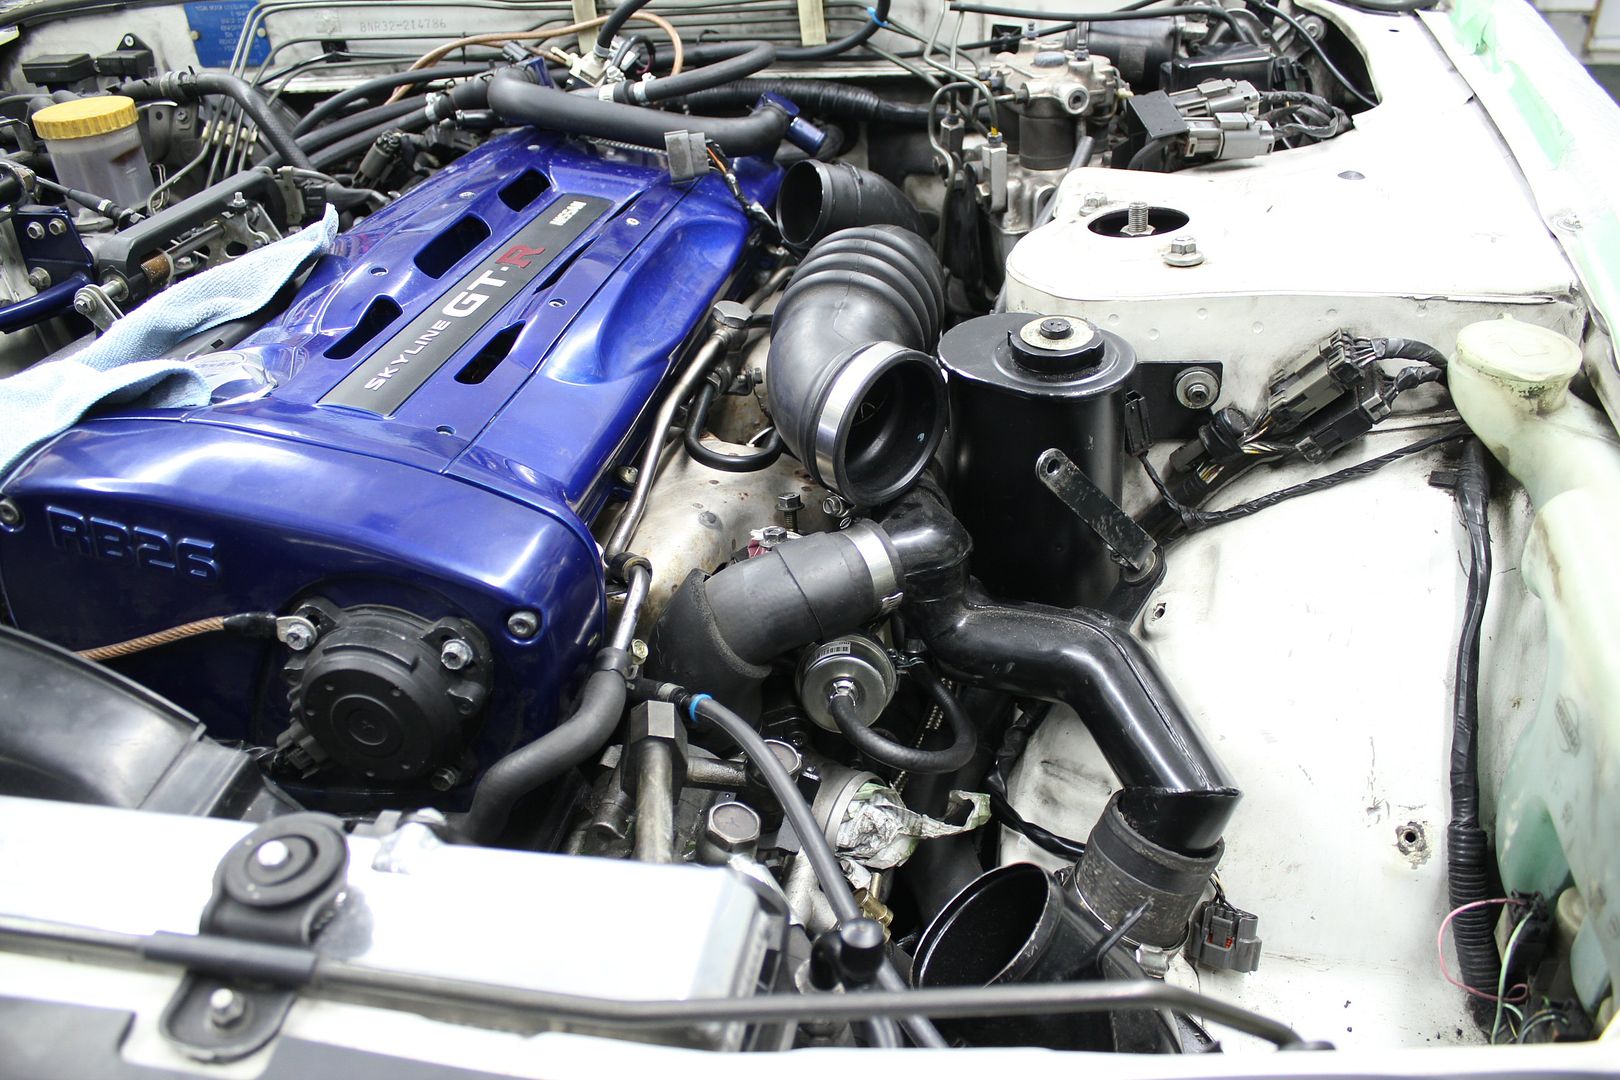
after Luigi left the 3rd day, I reassembled some of the piping and vaccum lines, while admiring the new actuators
i took the KTS pipe, but it seemed too complicated to work with often, since i do alot of maintenance on the car, i didn't want to lose time to remove it if needed, and it looked awkward anyways, so i sold it, pretty fast
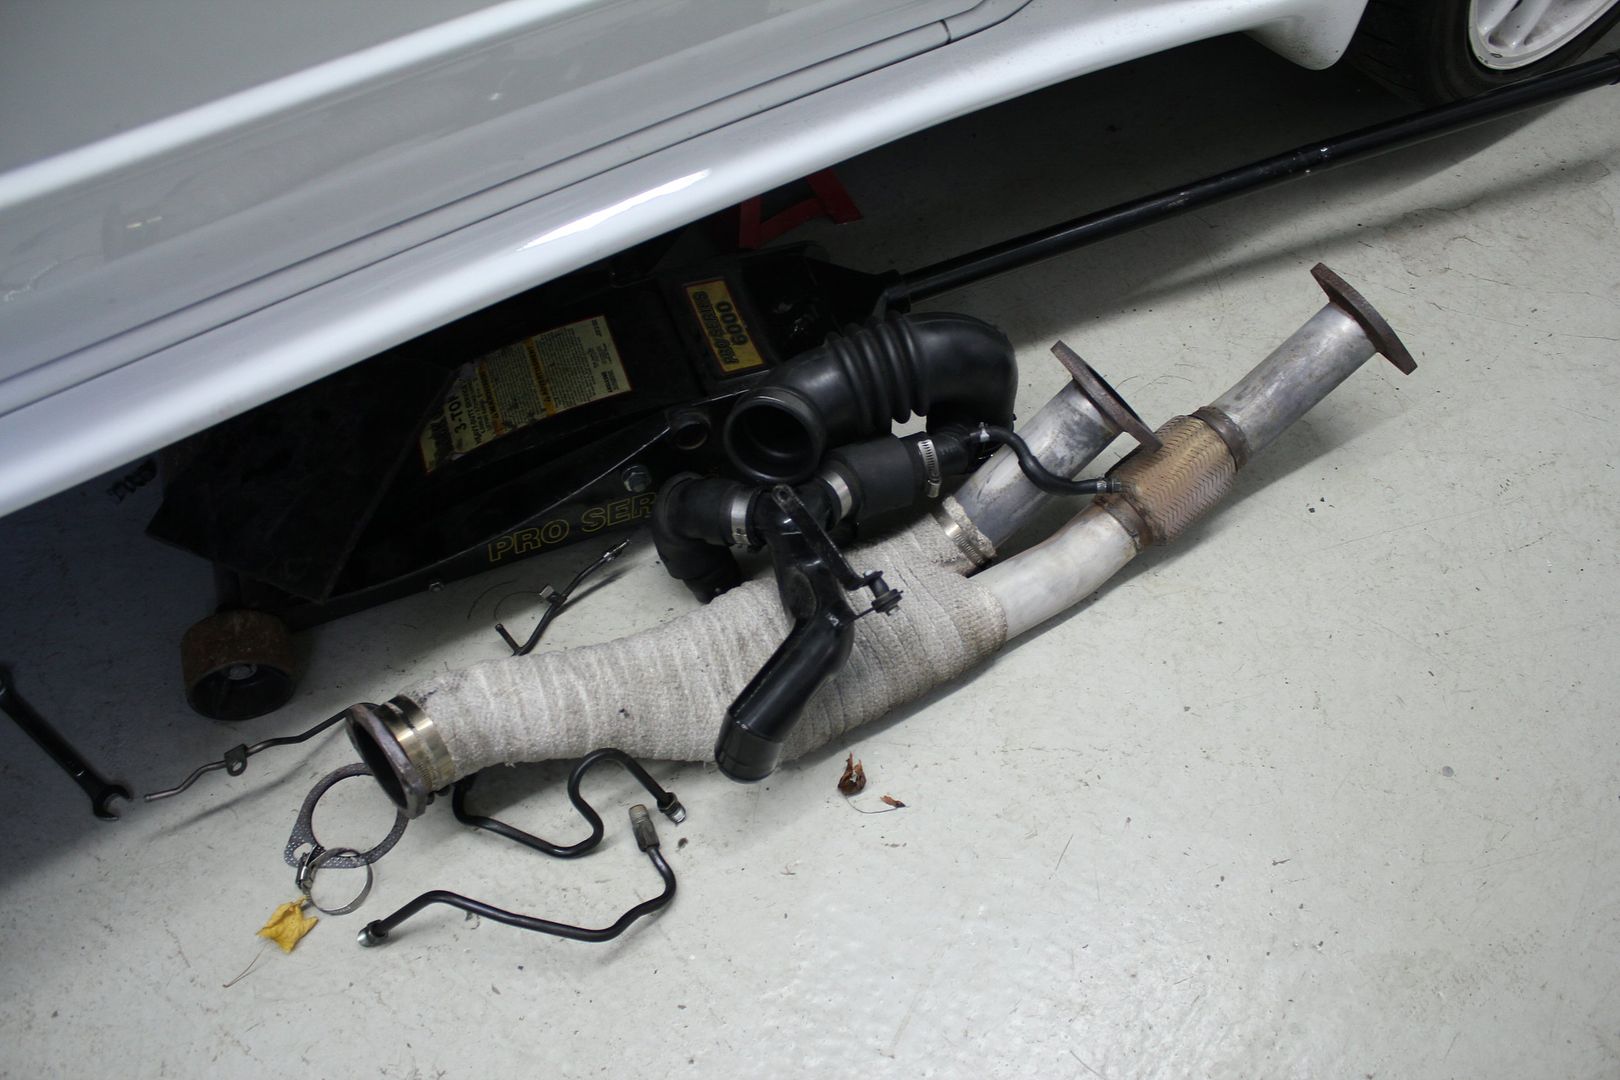
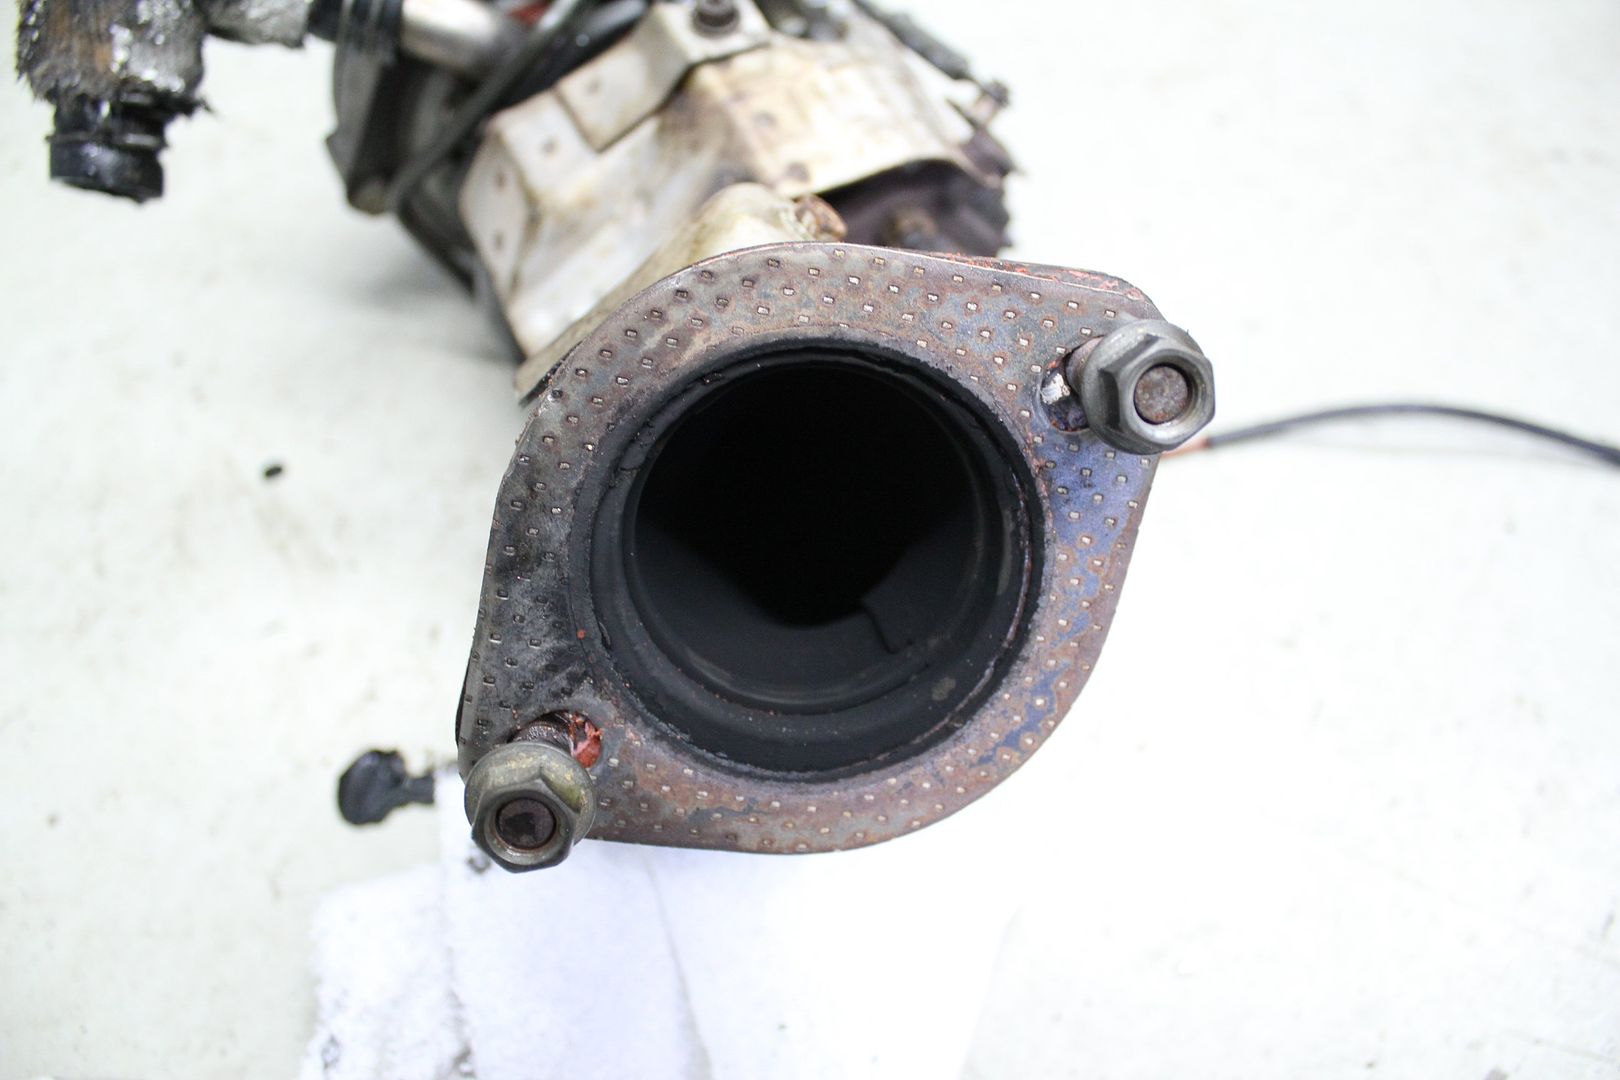
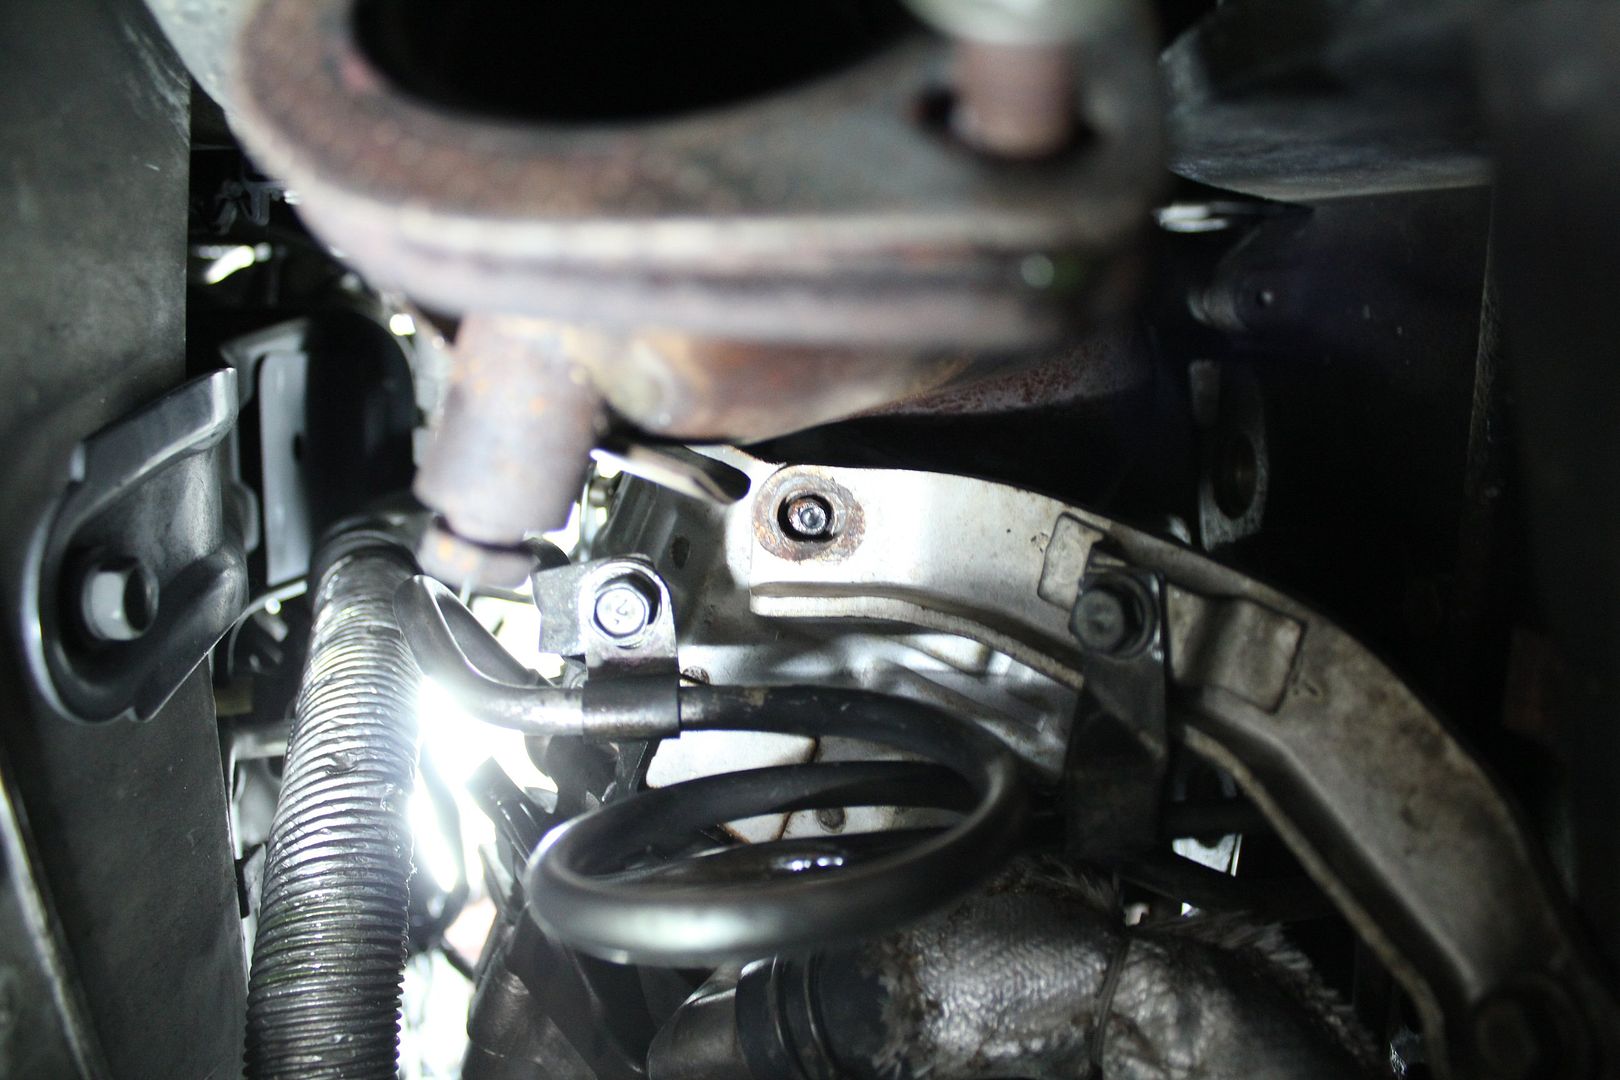
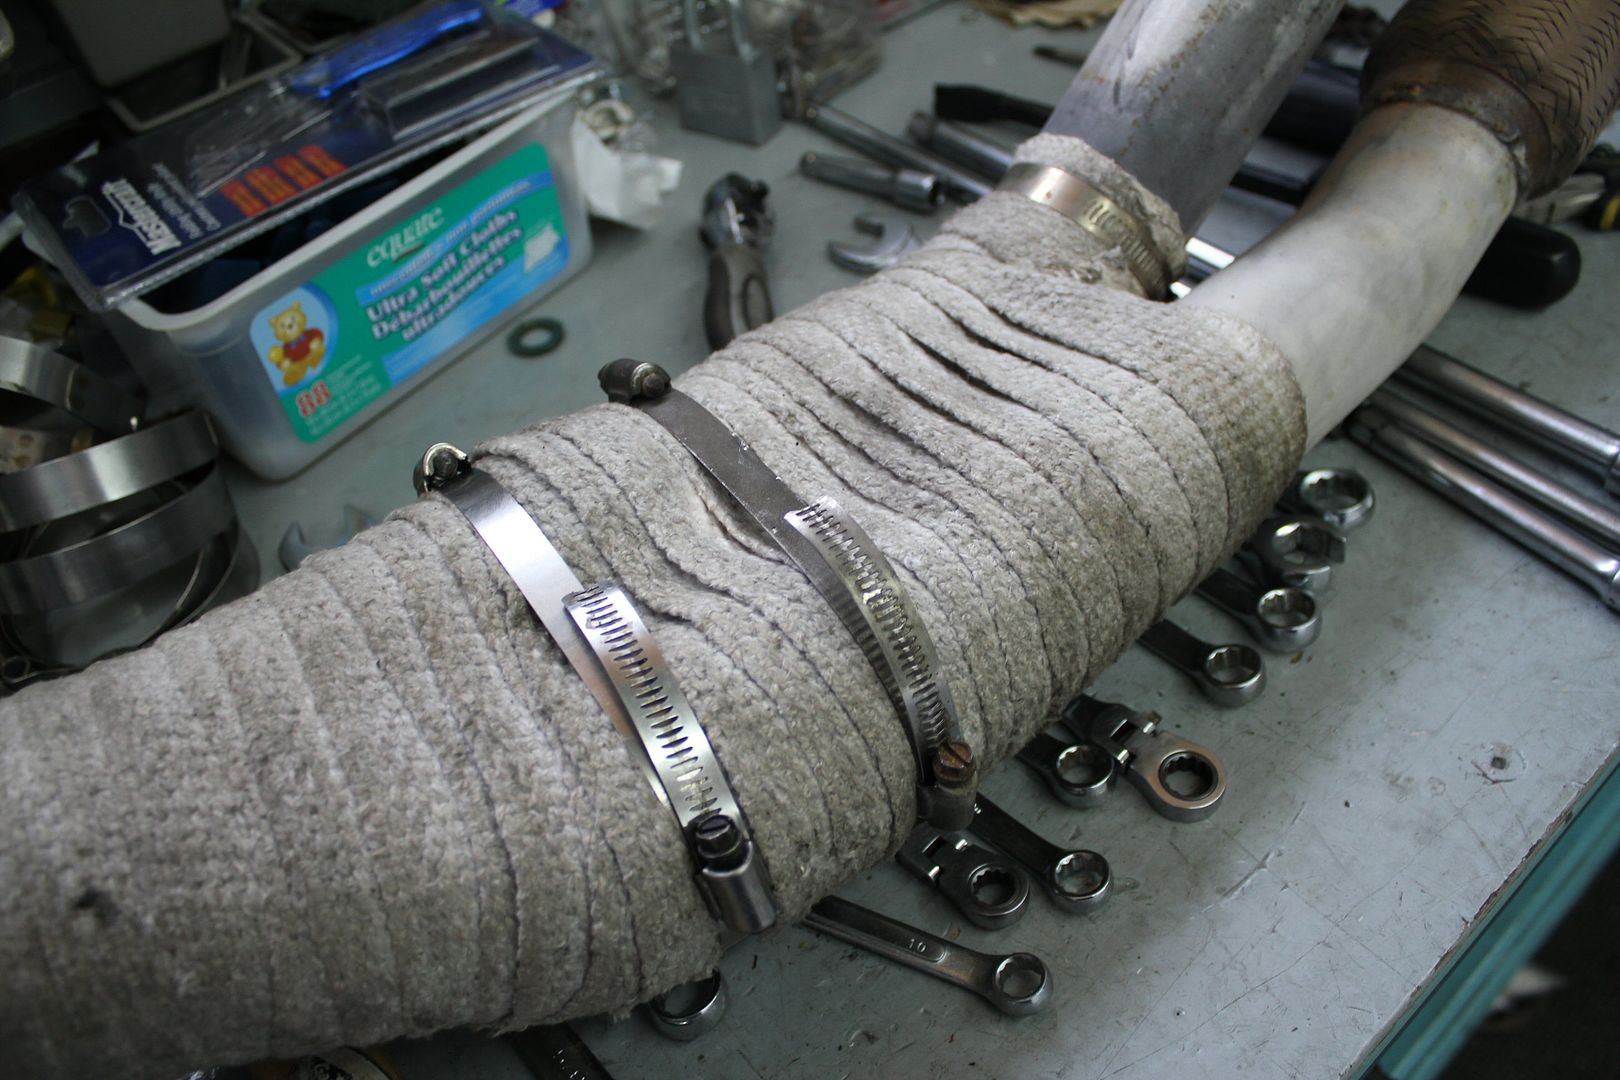
after that, I fixed a certain issu with my downpipe,
it had been catching on speed bumps for a while now, and the thick exhaust wrap was torn and hanging under the car
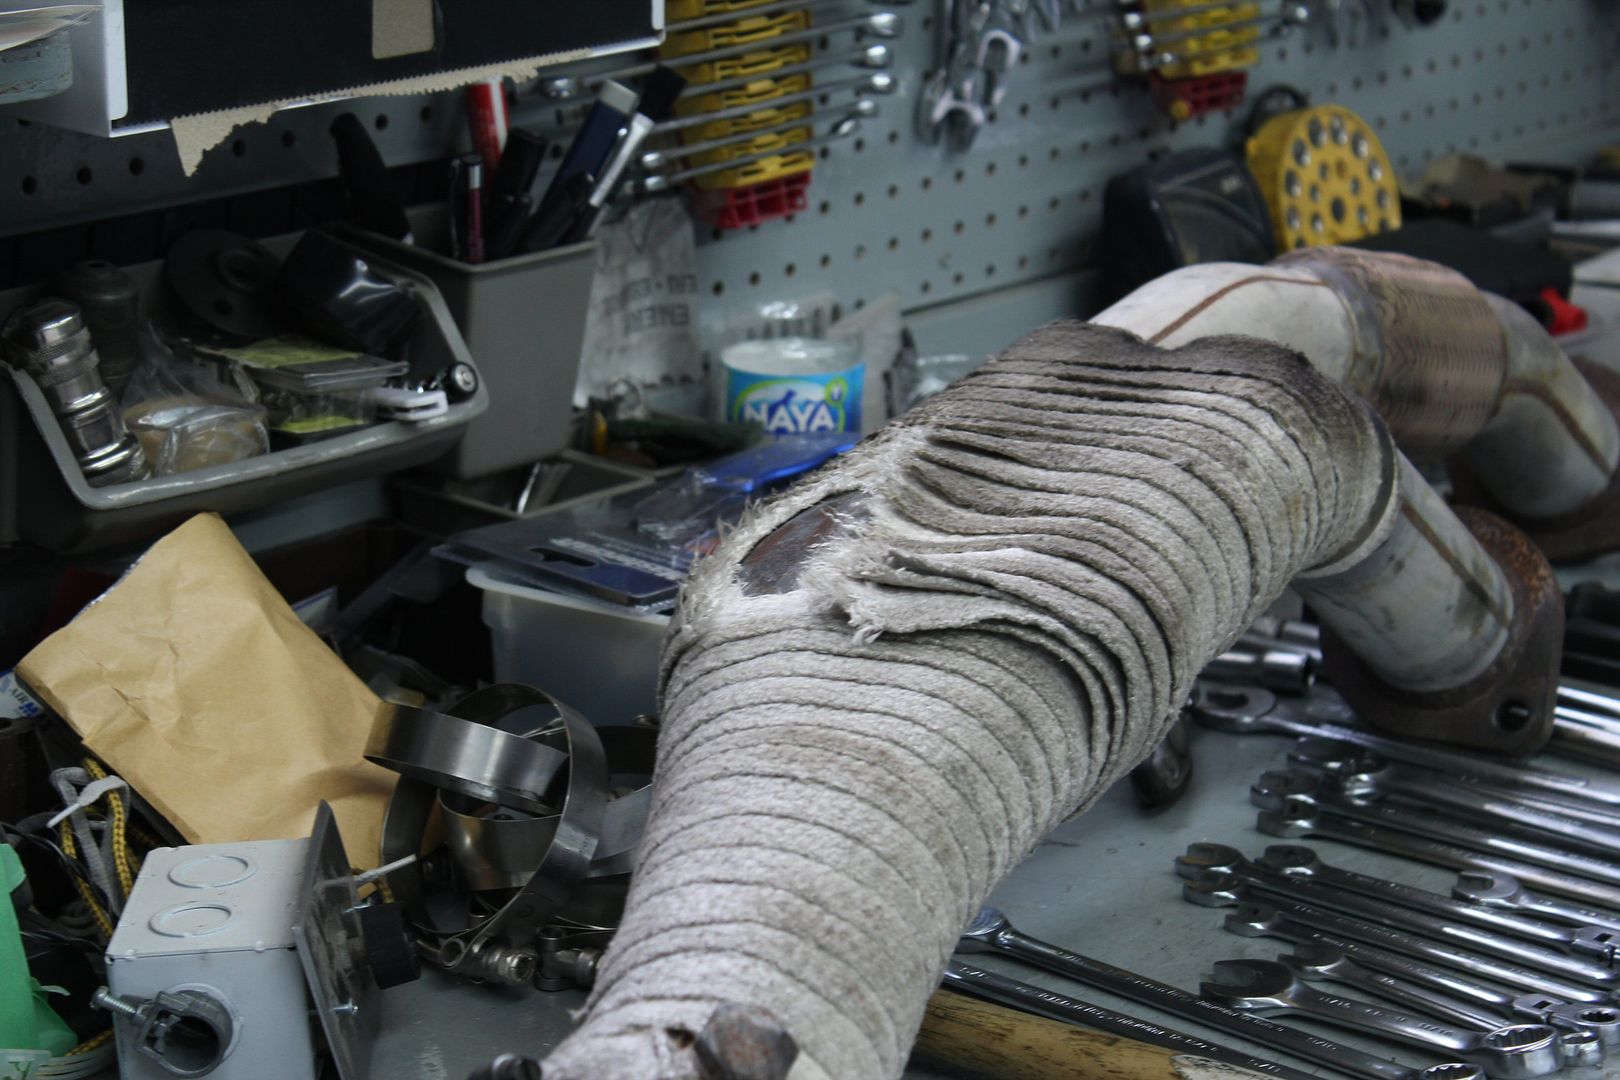
so I cut off the biggest torn section and clamped it all down using the ''twin worm clamp'' technic
that was all for the first few days, i am pretty satisfied with the knowledge i had acquired regarding my turbo setup, and that they were in great shape
more soon!Last edited by frankiman; 03-10-2012, 12:21 AM.Comment
-
i wish my turbo had no shaft play!
after there was no shaft play at all, the turbos looked in order
1991 Nissan Skyline R32 GT-R: 710whp 521 ft/lbs 27.5psi 11.8 @126mph low boostComment
-
my shaft has tons of play. No shaft play makes me soft.Comment
-
I know what to do now to fix my backfire problem. Could you send me the way you did your seafoam by pm?Comment
-
Are those n1 turbos? That's the number on the plate for the -7 (dash seven) turbos. Are R34N1 turbos the same as the -7's?Comment
-
If you look, the plate on the turbo has both the r34 n1 turbo part number, along with the -7 number. But on that website, it says they have different compressor housings??? They do have the same hp rating though.Comment


Comment