Announcement

Collapse
No announcement yet.

CobrAA's Eastern detailing pic

Collapse
X
 
  • Filter
  • Time
  • Show
Clear All
new posts

  • cobrAA
    replied
    FREAKIN CLEAN CIVIC EG6 RHD detailed for a car show

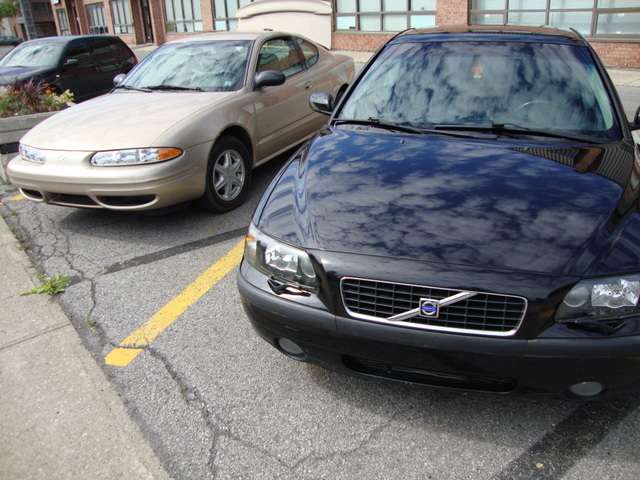
    So, after the skyline, I had another RHD I had to do before the next week car show.

    The car is 100% OEM, with oem paint and oem rubber! OEM wheel too. 20 year old paint is usually in very bad condition and considering the car is black it's even worse! The challange I had to deal with is the very thin paint left on the car. About 100 microns. So, instead of doing a full correction and remove like 20 micron on the paint, I decide to remove about 10 microns and the rest would be final polishing to burnish the paint for a higher wetness and reflection. This way your eyes won't see the swirls/defect but the extreme wetness the paint shows.

    Also, the owner wanted something really durable. So, I decide I would put one coat of Klasse High gloss sealant instead of a wet-looking carnauba wax like Pinnacle souveran ( too bad, it would have been even more wet after haha)

    Product:

    2 bucket washing
    MEG shampoo +
    Sheepsking wash mitt
    Lot of Microfiber
    50/50 alcohol/water for final wipe down.
    SSR2 | Orance CCS
    CG Nano polish | white pad
    Menz Final polish II | white pad
    Riccardo blue Clay bar
    Klasse Sealant
    PB Wheel sealant
    SSR2 | WG finger applicator on wheel
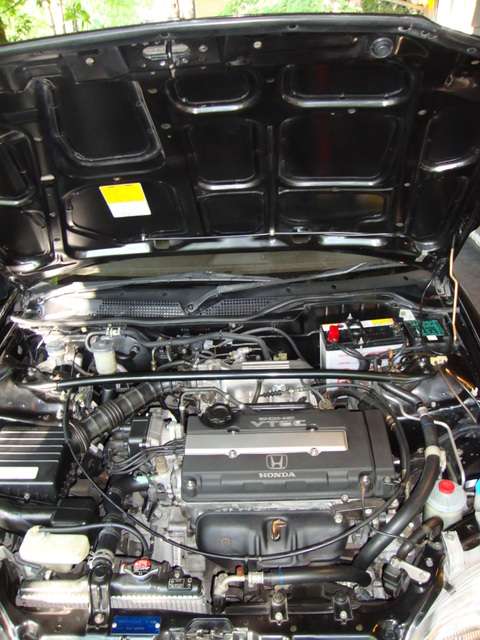
    303 protector on trim and engine
    Meg APC+ 4:1 for engine.
    PB QD+ for added slickness


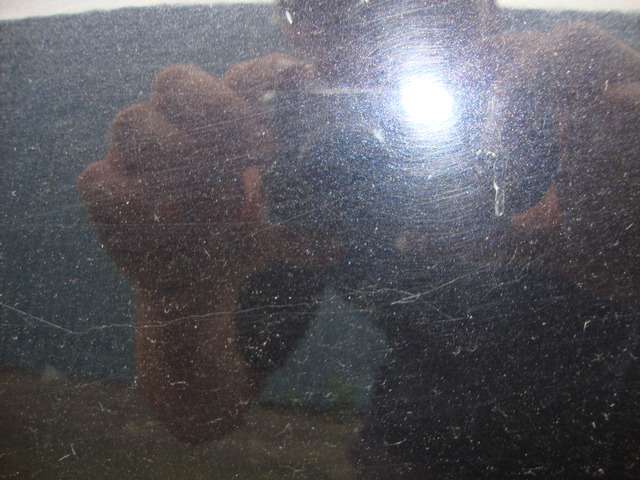
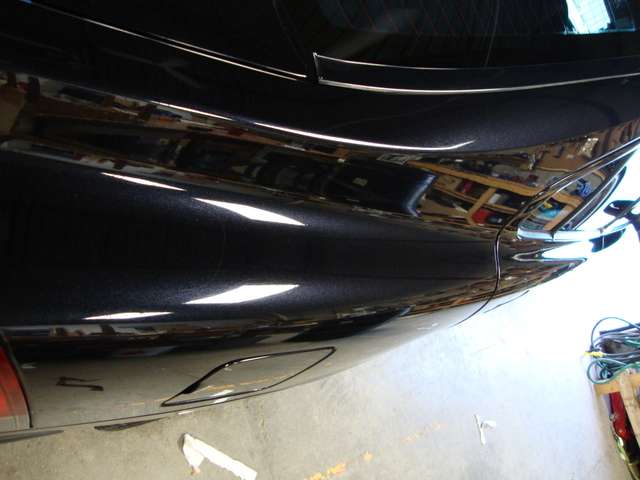
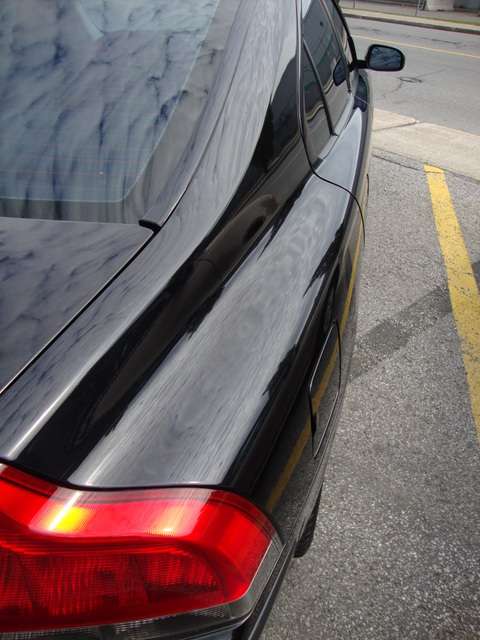
    Initial conditon of the paint:


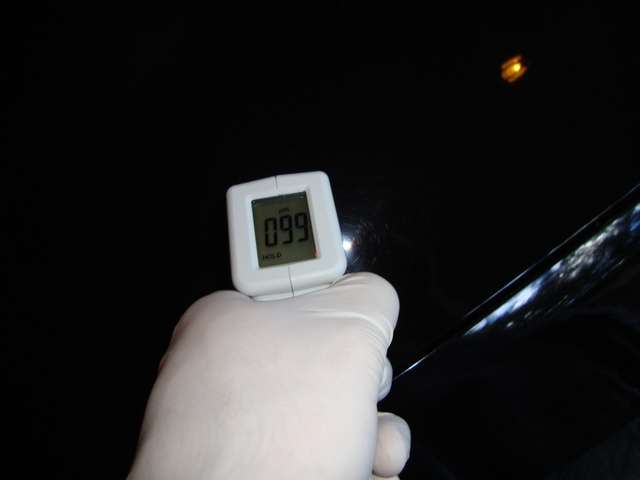
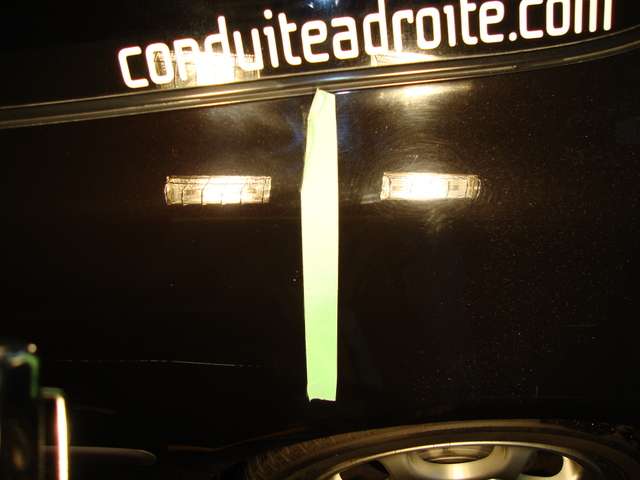
    Pretty intense under 2x 250w halogen spot:
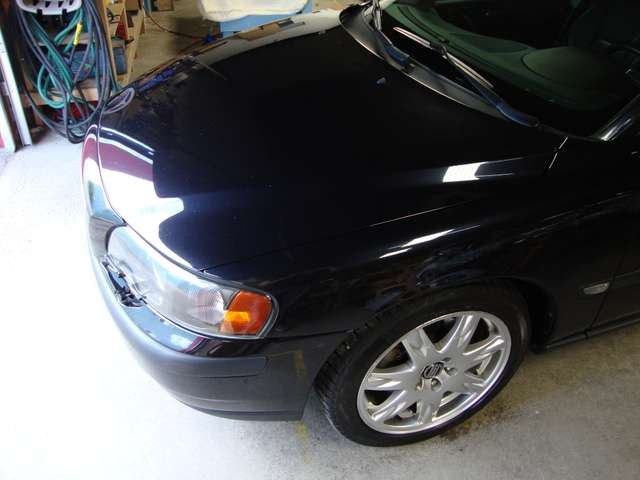


    Hood:


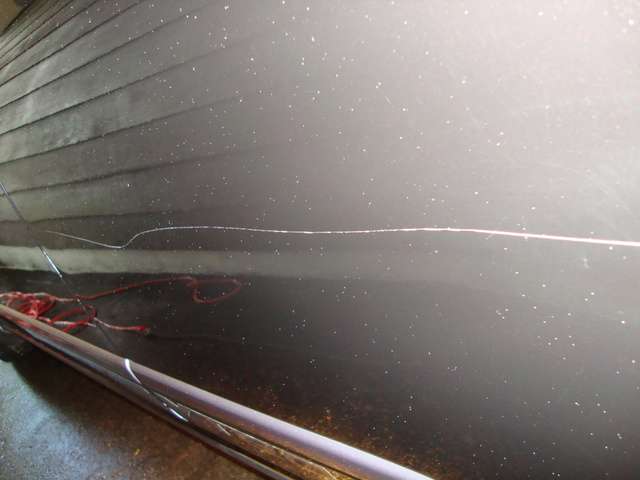
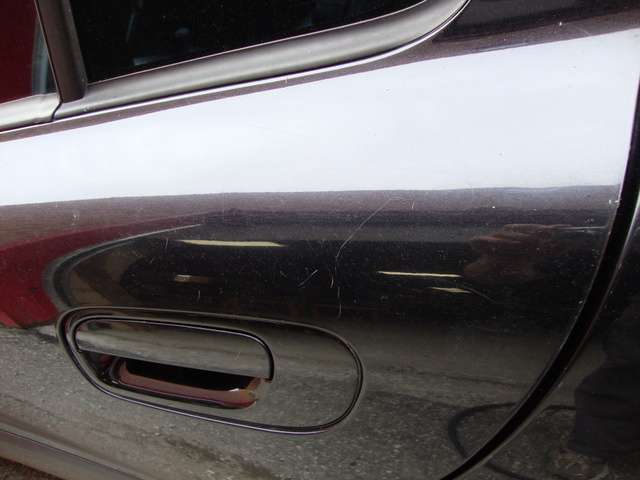
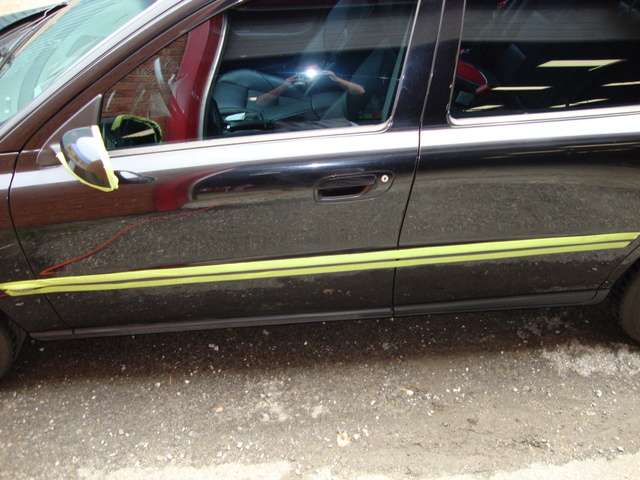
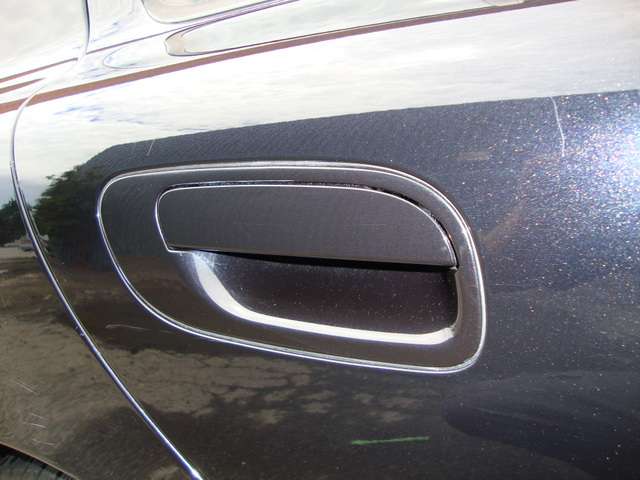
    Key scratch... Hater I guess:


    50/50 shot!

    A lot better hen! This is after doing my 3 pass compound.

    Hood:


    fender:


    Quarter panel:


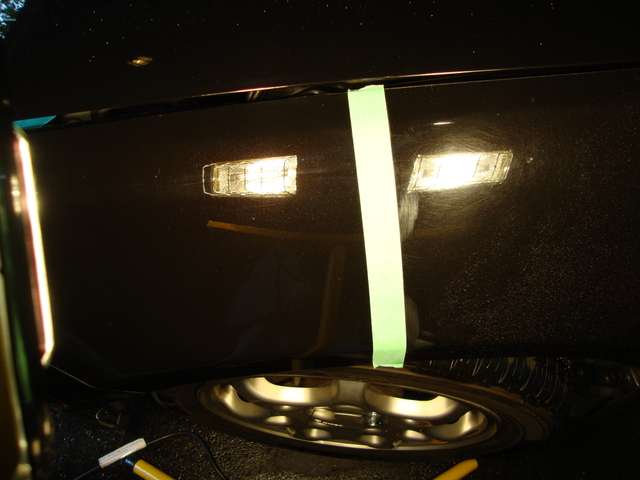
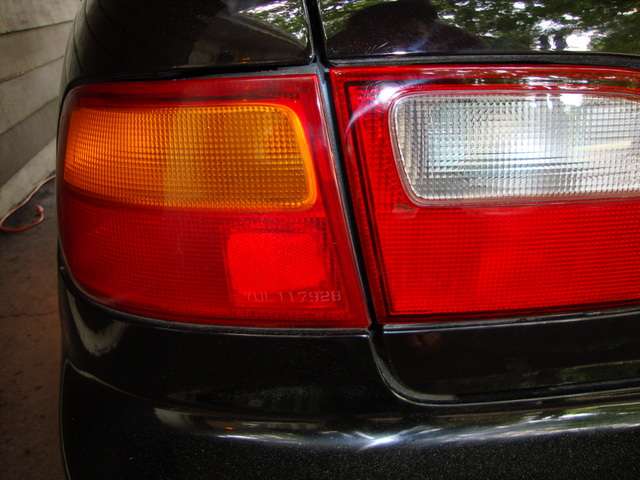
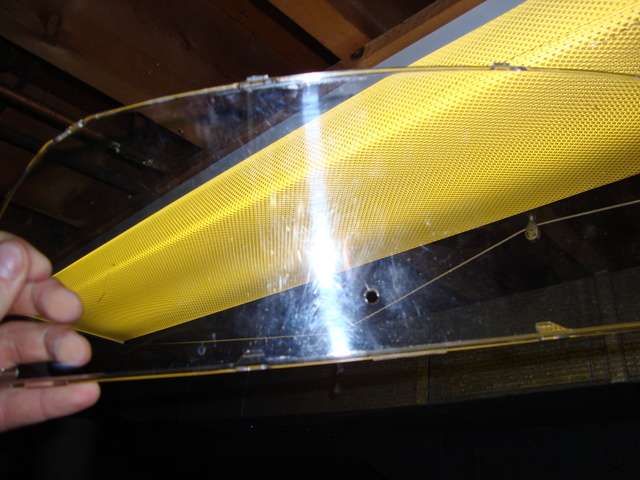
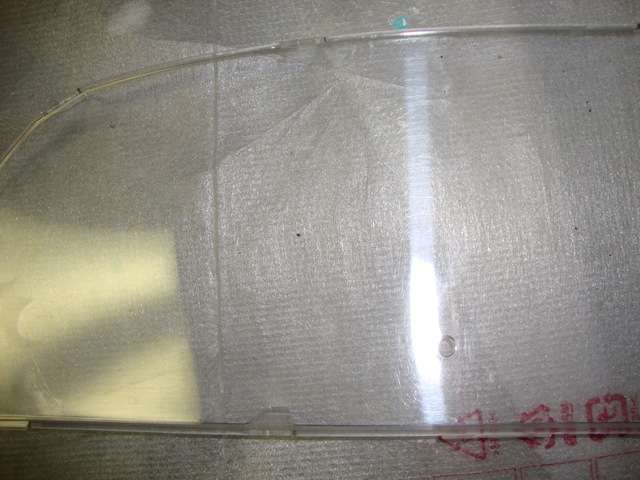
    Left light is untouched, I hope you can see the difference. Result will be better once I polish with Plastic polish.


    No before. Sorry guys, but, at the end, what is important is the final result no ?


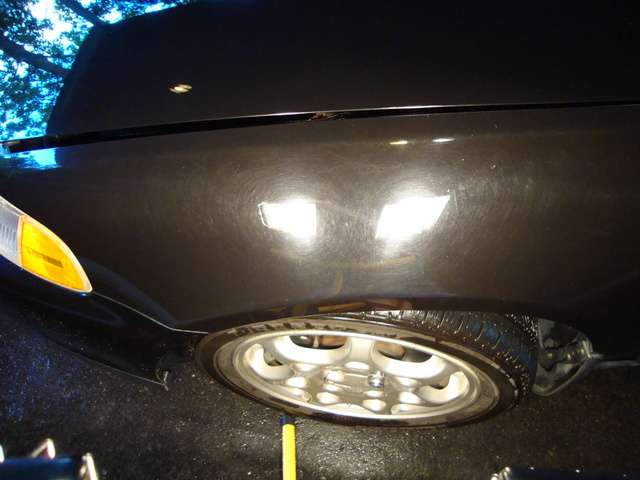
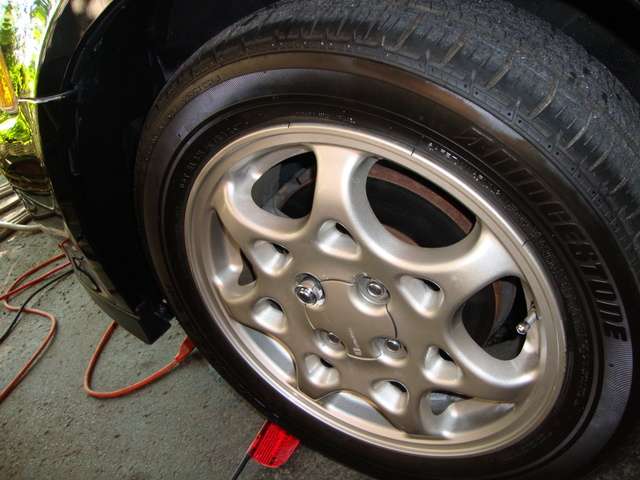
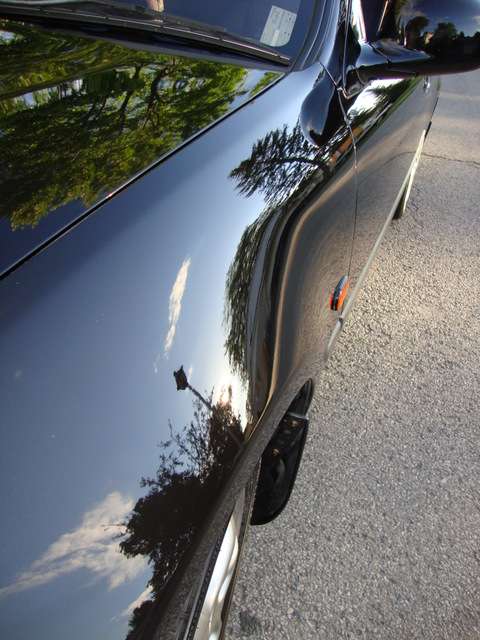
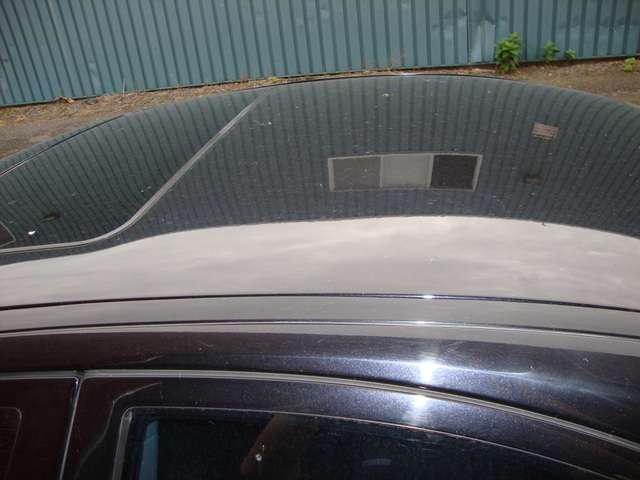
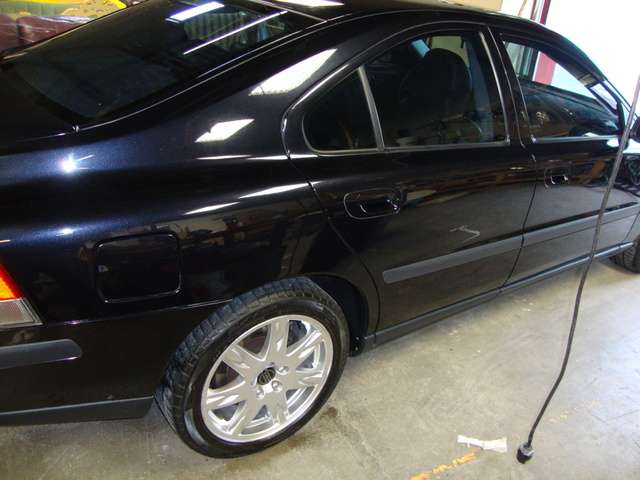
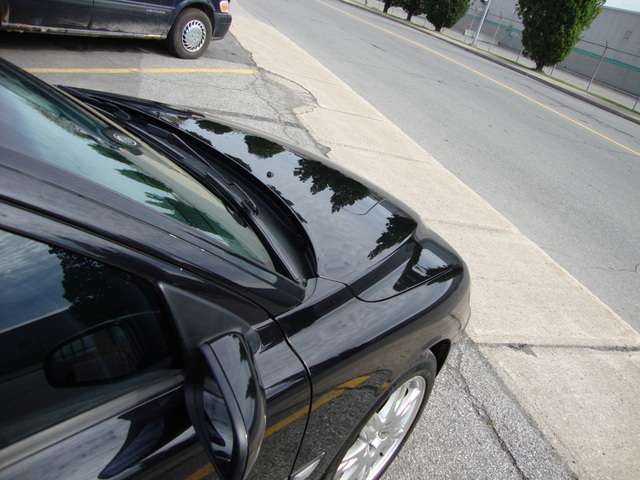
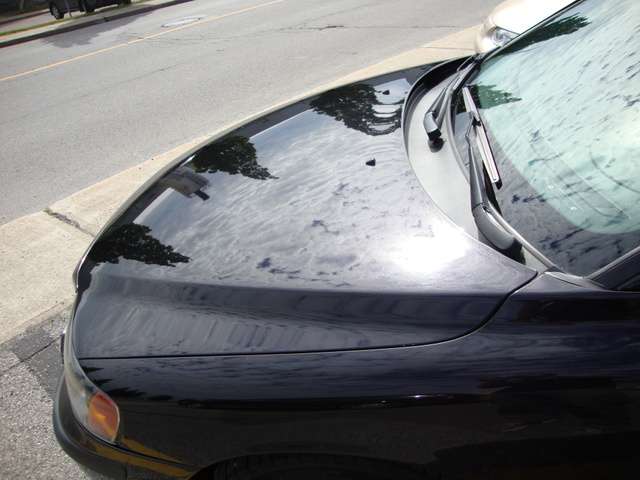
    After-shot, paint is darker,reflection is better, wetness factor and the clear coat is no more oxided.
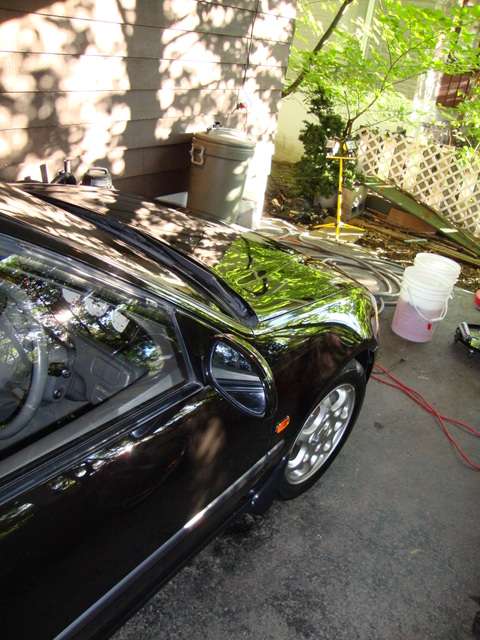
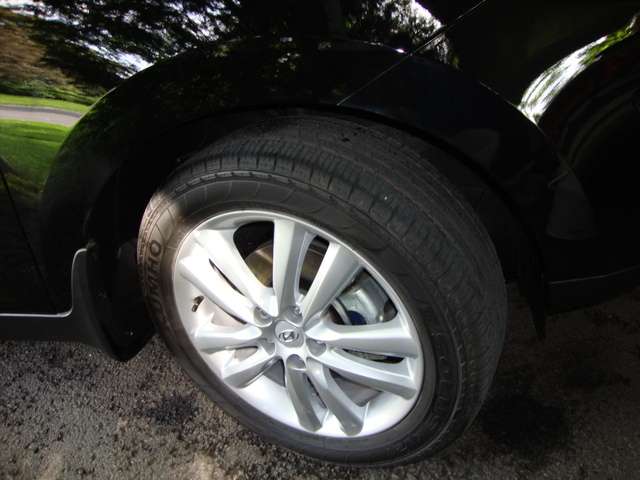
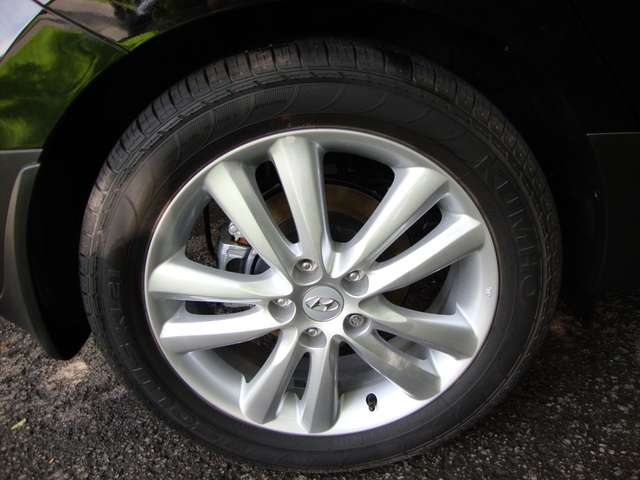
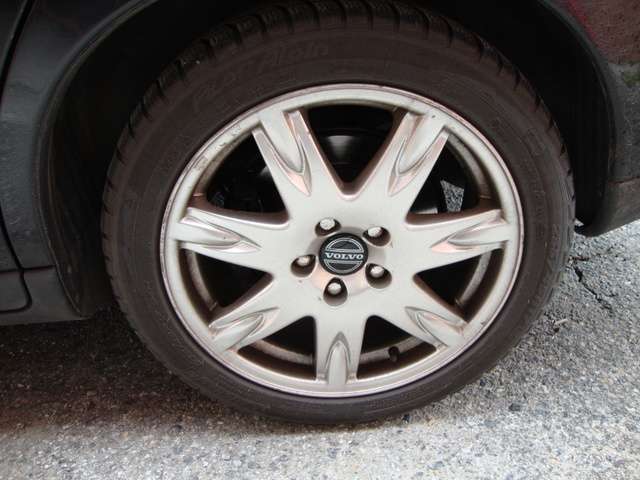


    Wet tire too!! haha


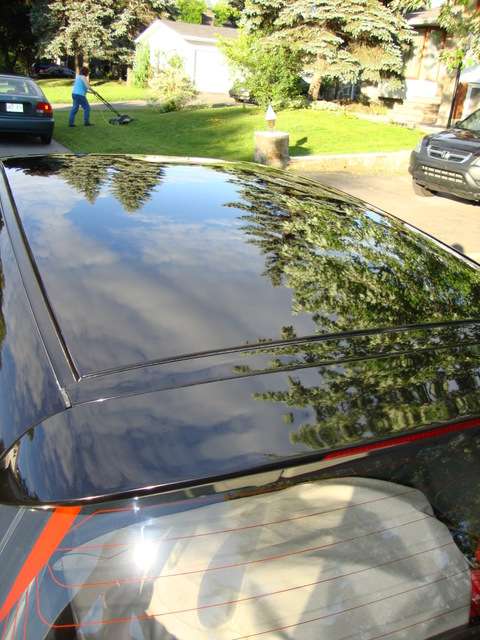
    The sky is the limit!


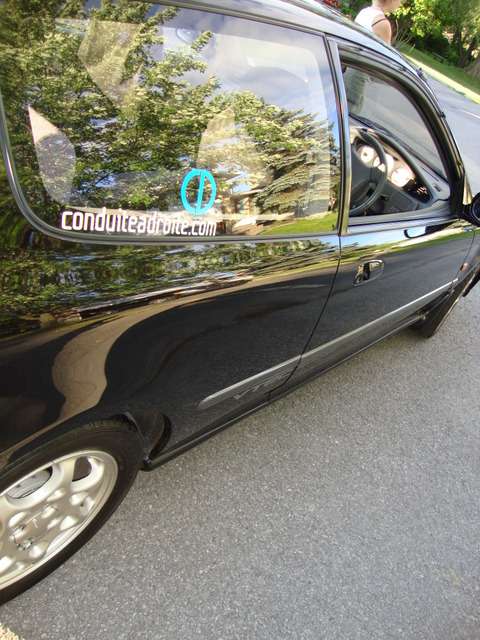
    Free advertising haha!


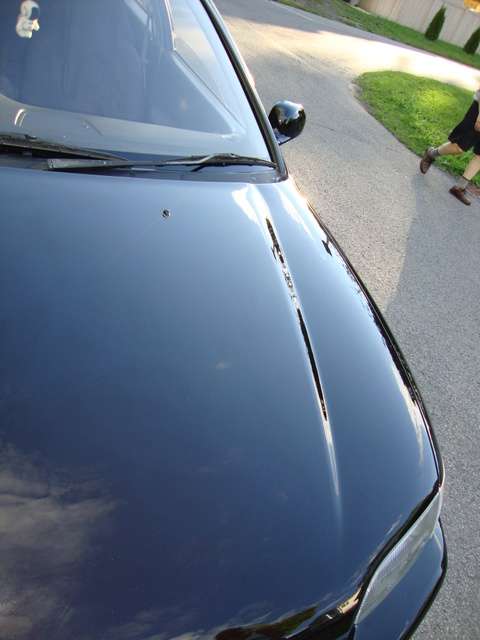
    I've been able to diminish the effect of the key scratch but as you can see, when it's white, it's because you see the under the paint, there's no way to correct this kind of defect.


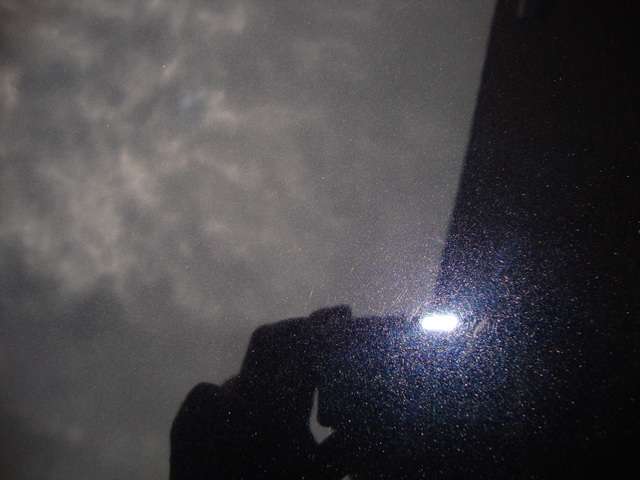
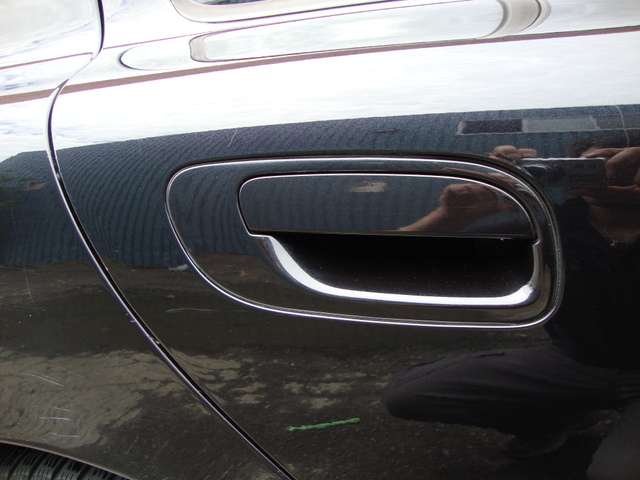
    here's my favorite shot!! see how wet it is!


    See ya next week guys.
    Last edited by cobrAA; 07-19-2010, 11:49 AM.

    Leave a comment:


  • cobrAA
    replied
    I thought this detail was too hot to include it in this thread, However here's the link, for futur reference, a Skyline GTR R32 showroom condition 99% correction.

    Leave a comment:


  • cobrAA
    replied
    Since it's way too hot over here, I decide to do some work inside in the garage !

    Polishing a cluster cover and then coated with a sealant for anti-static protection.

    Before:


    After:


    Look tons better now!

    Leave a comment:


  • cobrAA
    replied
    This owner just got his new truck and want to add some shine and protection to his new tucson 2010.

    Let see what I can do.

    Leather conditioner
    303 uv protectant
    1 coat of ultra durable was
    DP MAX WAX for extreme wetness

    Fabric-guard on fabric
    A professional wash done by myself!:yhea:
    Wheel sealant.


    Inside of the wheel was done too with a wheel brush.


    Some interior shot :


    WET-LOOK:


    Leave a comment:


  • cobrAA
    replied
    Volvo S60 charcoal

    Initial condition: Lot of brake dust on wheel,faded plastic trim, almost white, paint is pretty mat too and chalky and lots of RDS ( Random deep scratches)

    Riccardo clay bar
    SSR2
    Orange pad Lake country CCS
    Makita
    Hi-tech spray wax
    QD+ spray wax
    303 Protector


    Prepping the car to not stain the plastic trim


    For 1-step, I'm stunned by the correction


    No doubt the wheel look better and the wheel well have been detailed too


    Pretty wet for a pearl charcoal paint!


    Exemple of some RDS I corrected

    Better no??


    Headlight polishing


    Trim protective treatment.


    thanks for looking!

    Leave a comment:


  • cobrAA
    replied
    Originally posted by DJ View Post
    10 hours!! Man I could do the valve covers in 40-60 min...
    sorry I call BS. no way you can sand from 320 to 2000 + polishing in 40 minutes. WTF man?

    Prove it then lol.. geez

    Leave a comment:


  • DJ
    replied
    Originally posted by Brody_Howell View Post
    Jesuss. I was going to do my valve covers polished, and then you said 10 hours and i regretted even thinking that hahaha. Good work my friend! Looks awesome!
    10 hours!! Man I could do the valve covers in 40-60 min...

    Leave a comment:


  • cobrAA
    replied
    Here's a friend of mine who was completing in a SQ audio competition and there's point allowed for the installation and how clean it is. So, he ask me to do a quick interior detail.

    Produit:
    All purpose cleaner d
    Salt remover
    Professional upholstery stain-remover ( for coffee stain)
    Micro-fiber towel for dust
    303 protector
    degreaser for door jamb
    little brush for crack
    Galaxyhot water extractor
    Air compressor to clean vent


    before:

    Just a bit of salt....

    LOTS OF DUUUUUSSTT!

    A lot of coffee stain everywhere, he must learn to drink while driving haha


    after:

    No more coffee stain.


    While washing the trunk with my extractor


    Wash the seat quick just so the dust can get wet and trap more dust this way. Wet dust is easier to trap than dry dust.


    Door have been degreased.


    Here's what you do with an air compressor and lil brush.


    Rubber transfer, I guess? Who cares? It's gone now haha.


    Damn, I'm looking forward to do some JDM but hey, I won't force anyone ! Maybe next summer ''tuner'' will trust me more and gives me a try.

    Leave a comment:


  • cobrAA
    replied
    Originally posted by Brody_Howell View Post
    Jesuss. I was going to do my valve covers polished, and then you said 10 hours and i regretted even thinking that hahaha. Good work my friend! Looks awesome!
    thanks for the comment, I would like to do more JDM car and especially skyline but.. oh well.. as long as I have some jobs to do, whatever the car is hen!

    Leave a comment:


  • cobrAA
    replied
    Originally posted by Bugsly17 View Post
    hey, on the sentra, how do clean up the black plastic? i need to get my fan shroud cleaned right up. and other plastics.

    do you use the same for interior and exterior plastics?
    it's called 303 protector. degreaser then finish it with a coat of protector.

    Leave a comment:


  • Brody_Howell
    replied
    Originally posted by cobrAA
    umm... 10 hours approx lol. if not more!
    Jesuss. I was going to do my valve covers polished, and then you said 10 hours and i regretted even thinking that hahaha. Good work my friend! Looks awesome!

    Leave a comment:


  • Bugsly17
    replied
    hey, on the sentra, how do clean up the black plastic? i need to get my fan shroud cleaned right up. and other plastics.

    do you use the same for interior and exterior plastics?

    Leave a comment:


  • cobrAA
    replied
    Originally posted by bellis_GTR View Post
    Im definitely coming back to this thread when I do my twin turbo pipe. How long did it take you to finish it?
    umm... 10 hours approx lol. if not more!

    Leave a comment:


  • bellis_GTR
    replied
    Im definitely coming back to this thread when I do my twin turbo pipe. How long did it take you to finish it?

    Leave a comment:


  • cobrAA
    replied
    Twin turbo pipe polishing.

    150
    220
    320
    400
    WET 400
    WET 600
    WET 800
    WET 1000
    WET 1500
    WET 2000
    Steel wool_ metal polish
    Polishing pad with metal compound
    metal polish
    metal sealant

    before :


    bigger grain:


    gettin smaller:


    now, this is polishing! :


    2000 step:


    Sorry about the light in my work place, it make the pipe look pretty fugly but you can still see there's quite a bit of reflection


    Last step: Polished with the metal compound, then, with a microfiber I slightly rubbed my metal polish to pick up any compound residu and then put 2 coat of metal sealant.


    No pic in the engine because it's under construction and have been scratched a lil bit.

    Leave a comment:

Working...
X