-
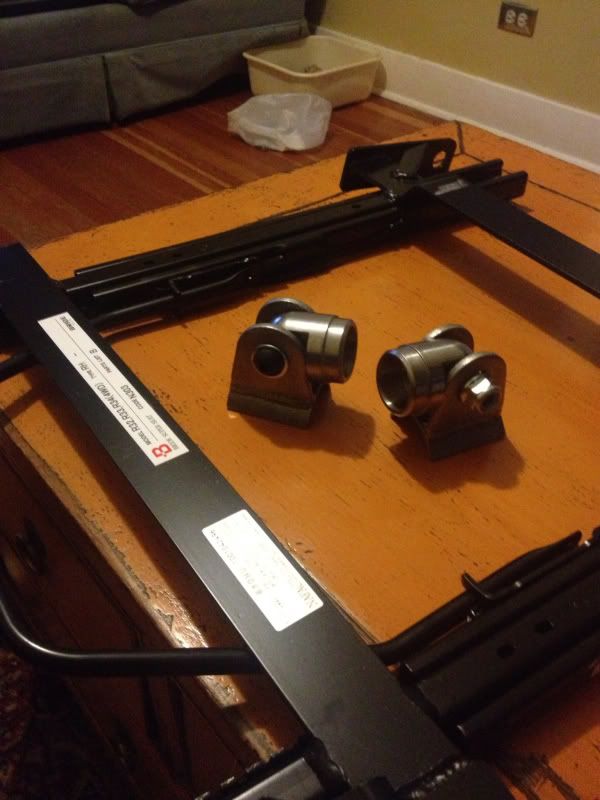
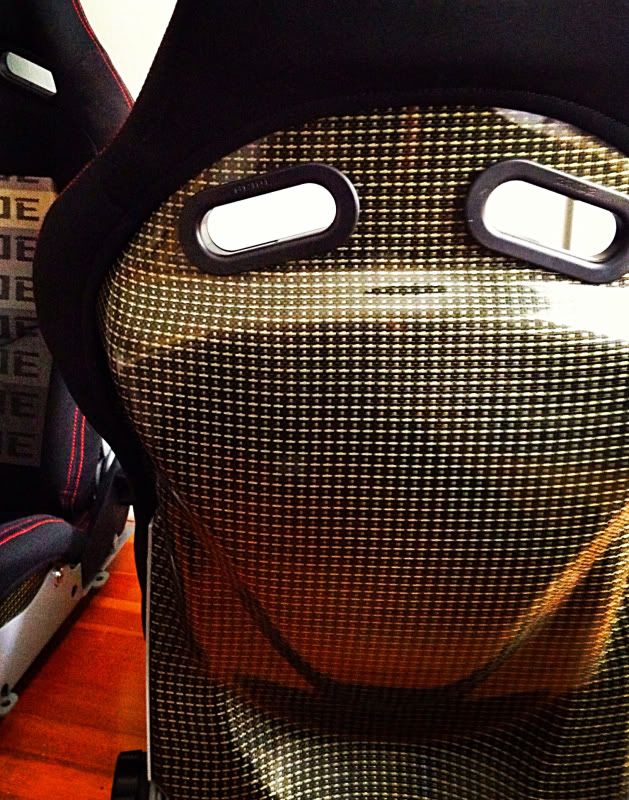
Looks great! I love the seats! I wanted the same ones but couldn't find rails unless I wanted to pay another $700 for a pair.
What are you using for rails?Leave a comment:
-
So I haven't updated in a while. Just a couple things to update.
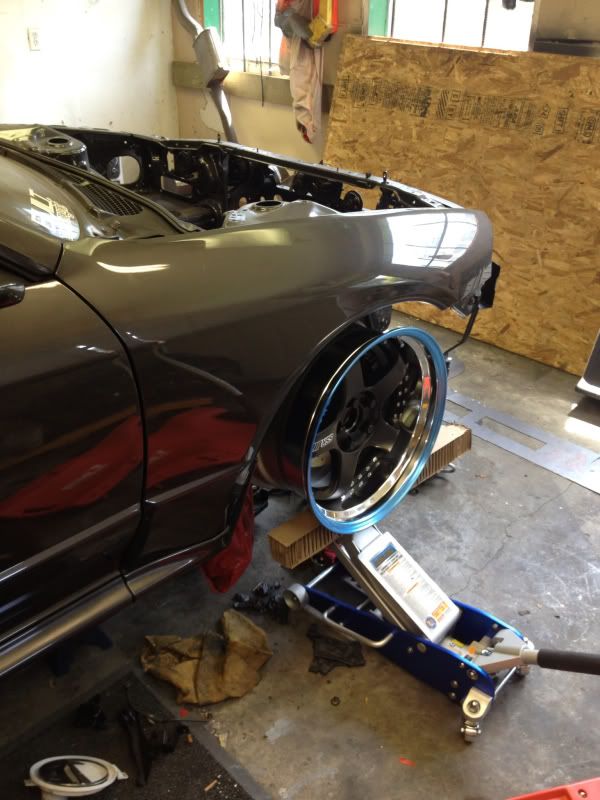
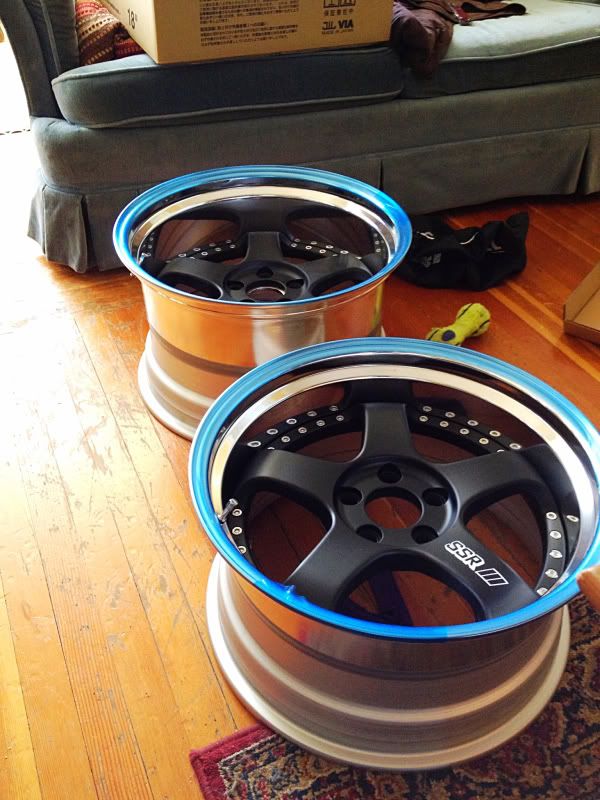
Test fitted the front wheels
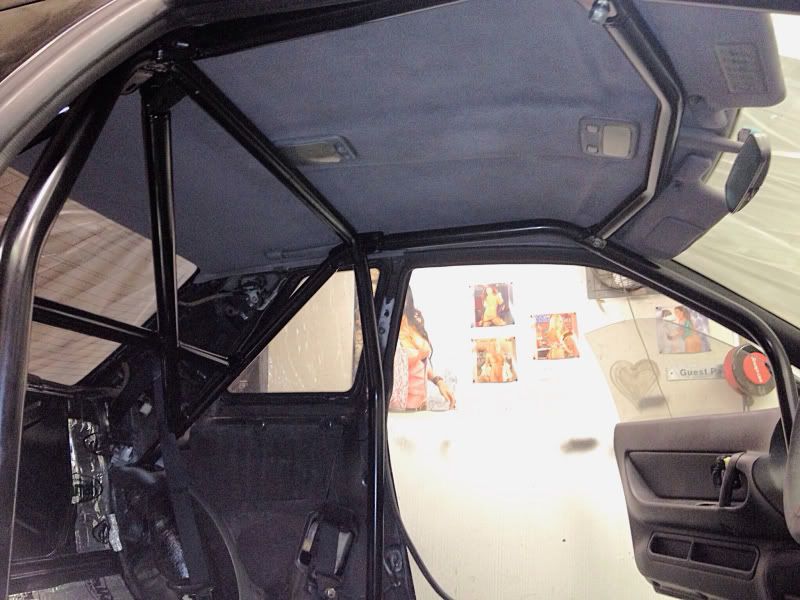
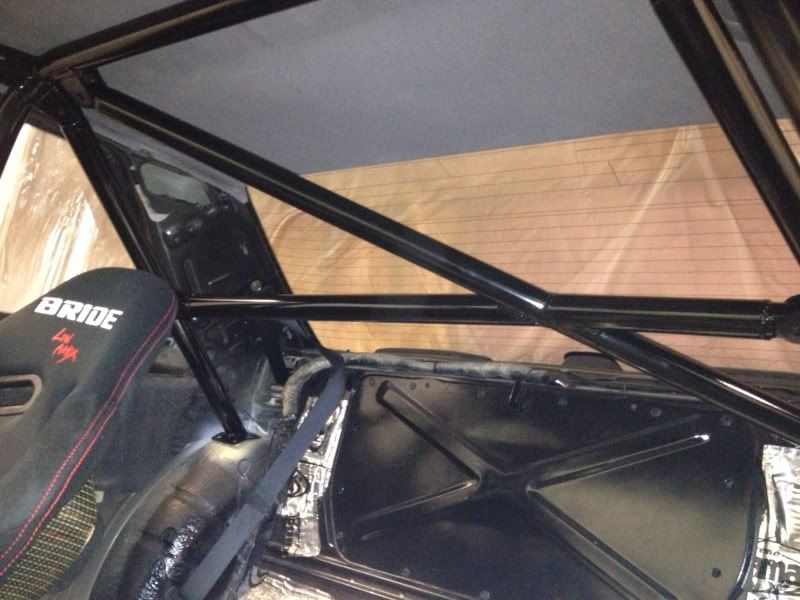
Picked up a cusco safety 21, don't plan on doing anything serious with my car as i would be destroyed if it was crashed but the fanboy in me couldn't resist, so I chose the bolt in.
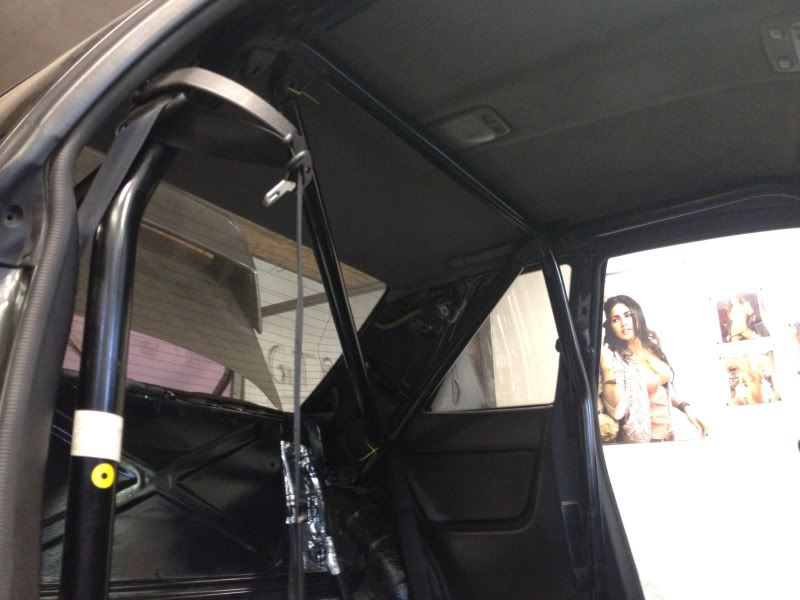
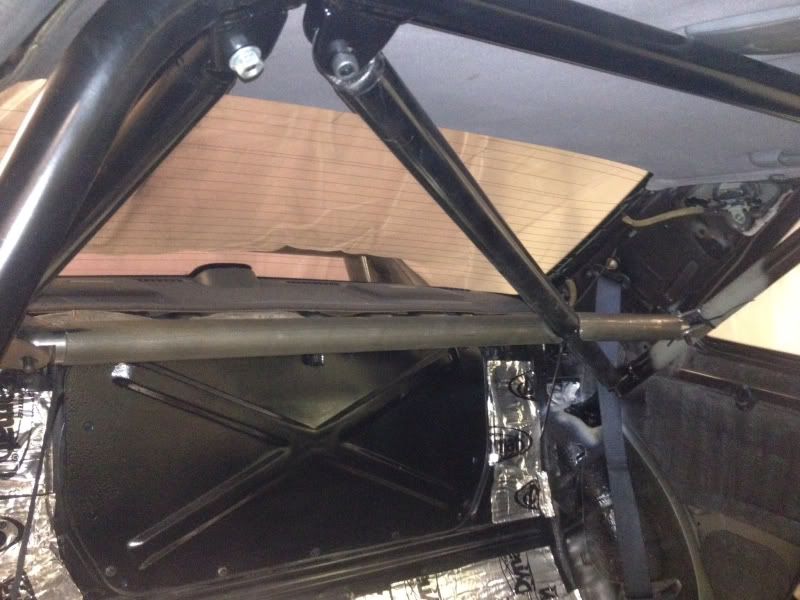
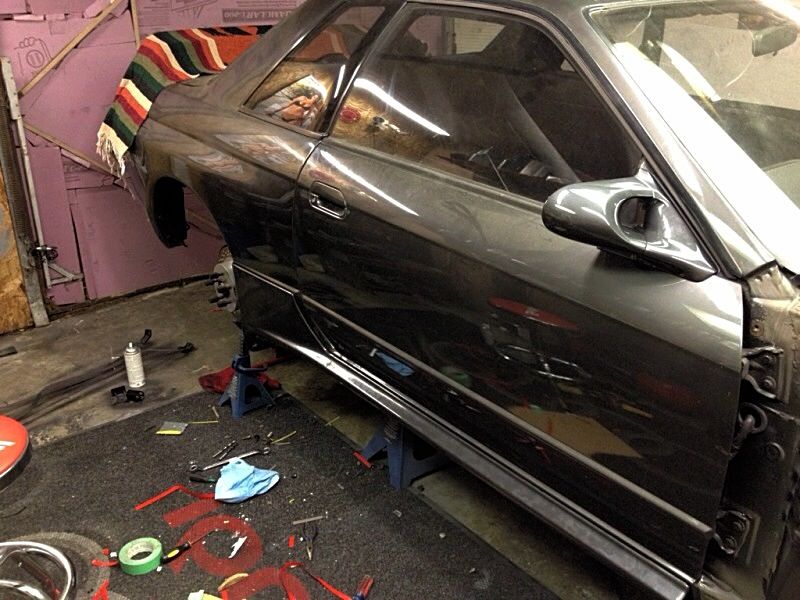
Needed a new paint job, so it got sand blasted then painted. Black again, nothing too flashy. I felt the cage was lacking some sort of harness fastening so I picked up a set of cusco bar ends, and the bride LR rails for the seats.
Got the piping and cut it to size with some test fitting
Welded it all up and this is the result.
Fuel system is on the way, I really hope I meet my deadline of summer 2014 for this thing to be on the road.Leave a comment:
-
If your not too concerned about drilling through the body, you can easily put remote battery posts anywhere you want for ease of access if its in a box or tucked away. Realistically one good battery ground will suffice but having extras isn't bad. Keeping or beefing up your existing engine grounds is good though, that where the 4gauge wire I got comes inOriginally posted by markdett View PostLeave a comment:
-
Installed the nismo extended hub bolts and picked up my holding monsters, Gias II's in kevlar

Planning on doing the interior trim and trunk platform in kevlar too.
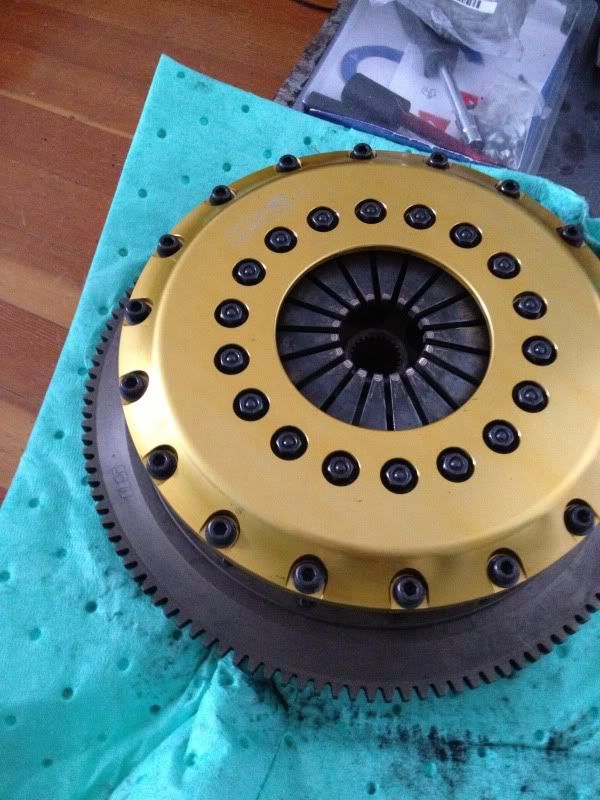
Also picking up my clutch tomorrow!Leave a comment:
-
Either straight down to the body or on one of the strut tower bolts or maybe around it. I'll have to play around a see what gets the best ground.Leave a comment:
-
I really like that plate in the trunk for battery and fuel. So clean and tidy, and you'll have lots of space left over.Leave a comment:
-
Been a while since I updated. Heres what I've been up to lately.
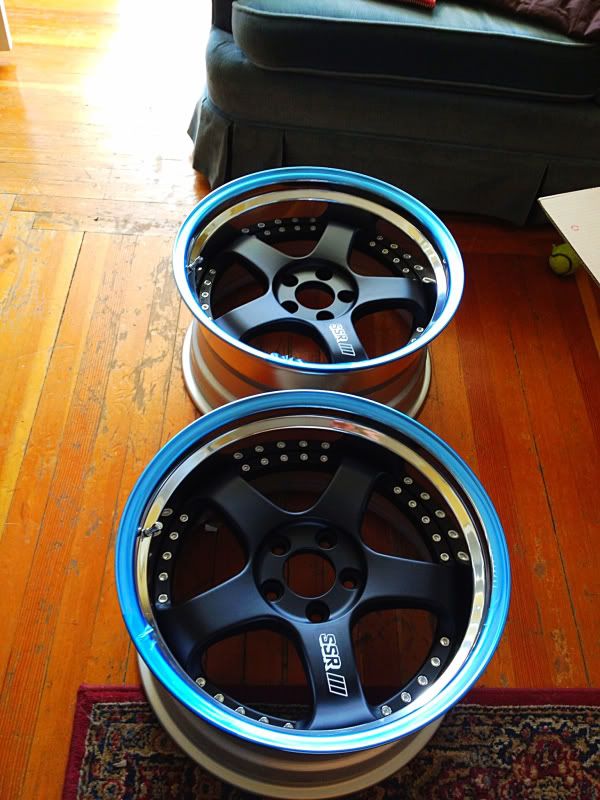
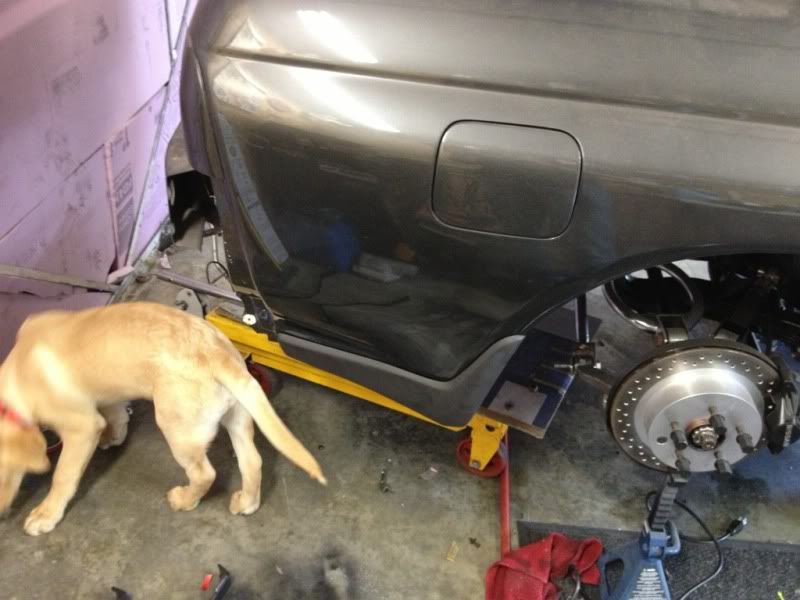
Finally got my front wheels, 18x9.5 et+18 unfortunately they don't clear the brakes and need a spacer so nismo extended lugs and spacers are on order.
the difference between front and rear
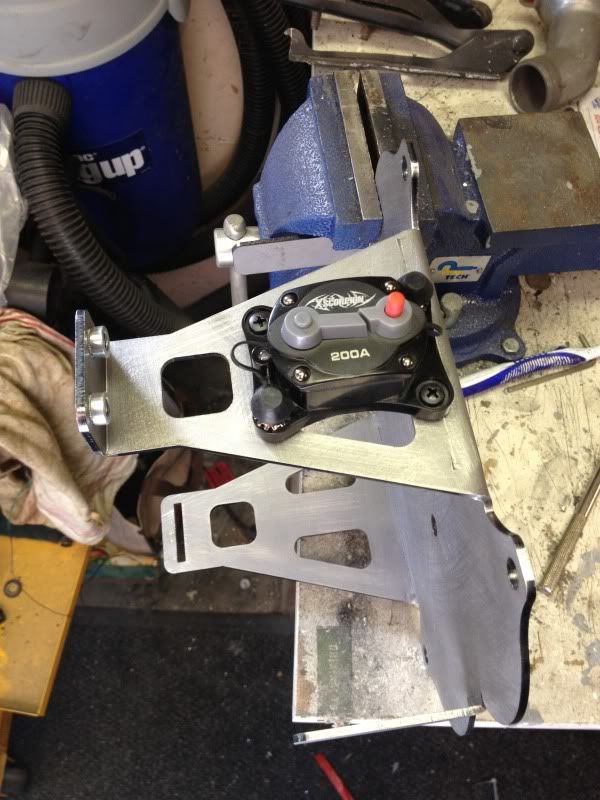
and then got my battery relocation parts, mounted the circuit breaker and some different lengths/thicknesses of gunmetal Kicker wire.
some polyurethane swaybar endlink bushings
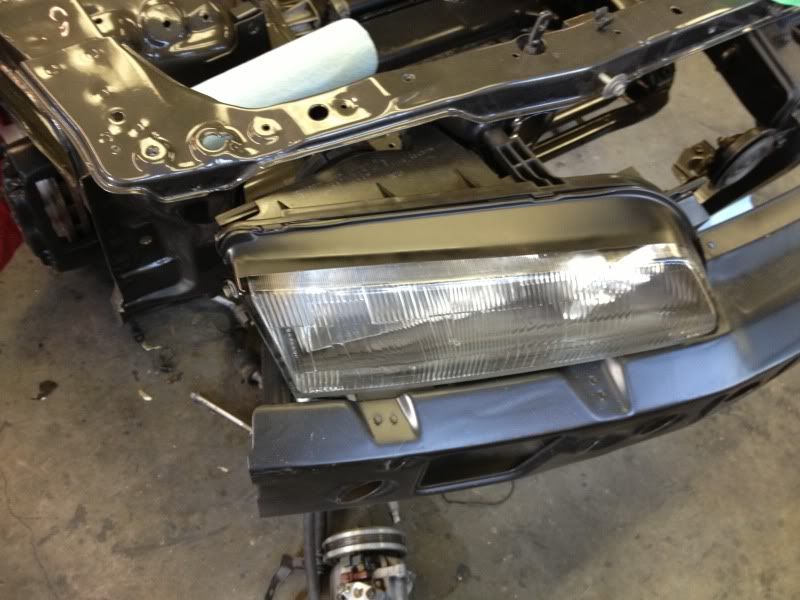
and recovered the headlights with a plastidip film
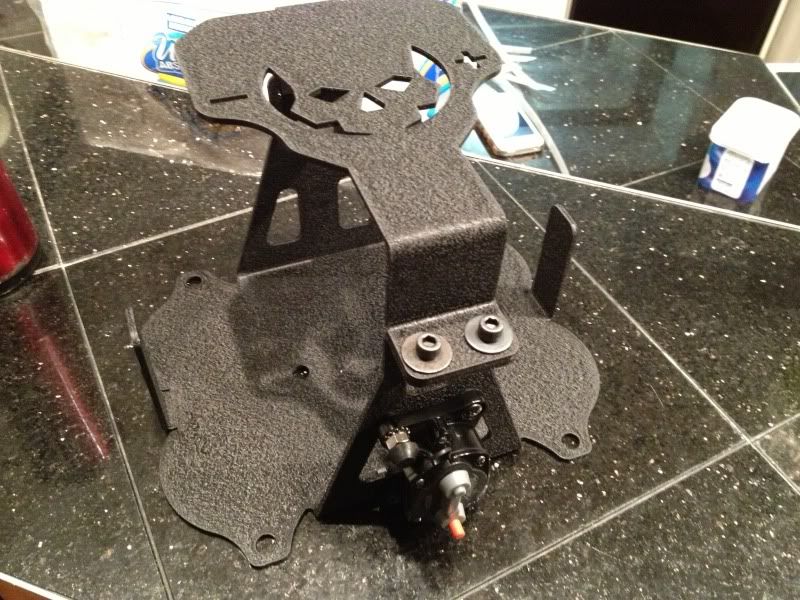
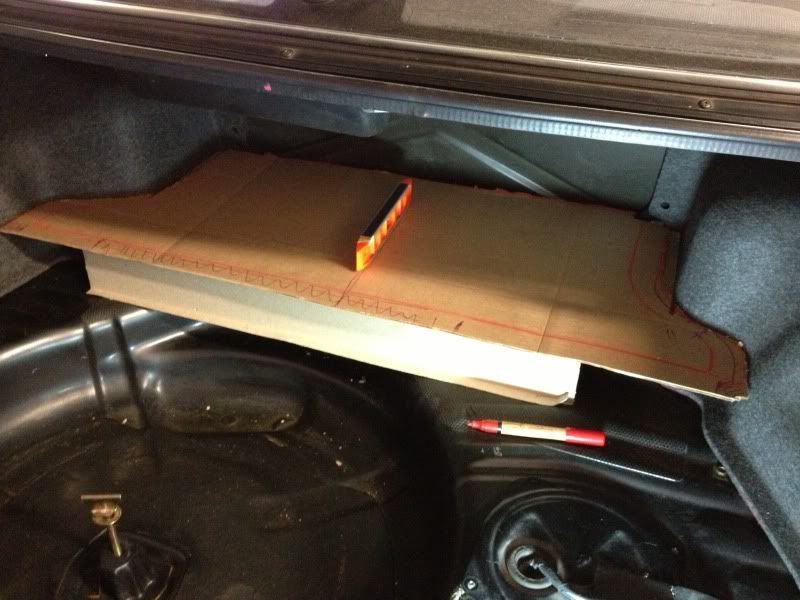
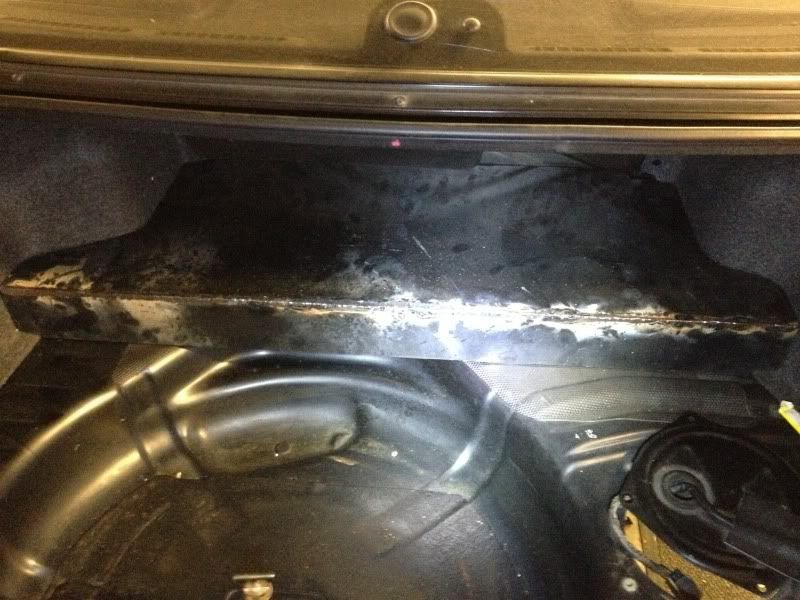
then i got around to making the base plate for the battery relocation and the soon to be fuel system, i didn't want my trunk scattered with fuel parts and such so i tucked it up against the firewall. So i started with some scrap cardboard to get the shape.
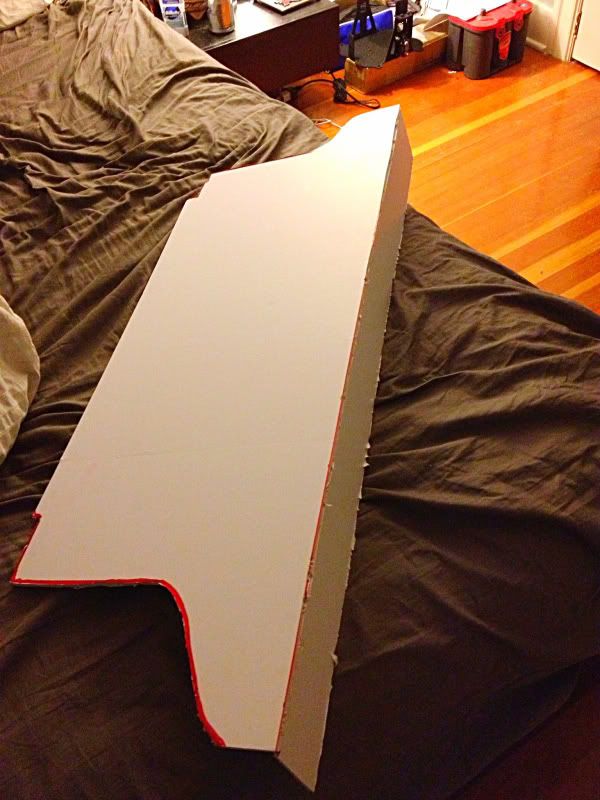
then i remade it in foam board to get a more exact shape and fit.
and then rough cut and welded with some 16 gauge steel.
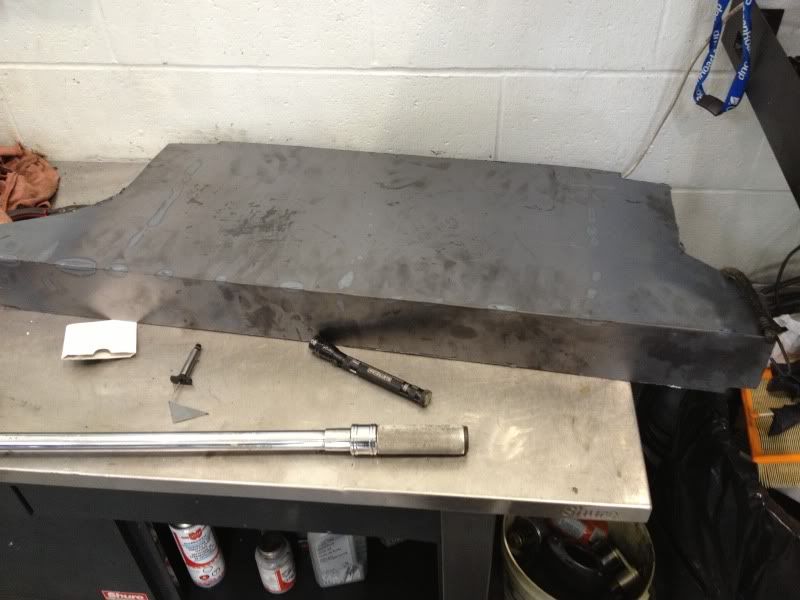
then grinded down and smoothed for a test fit, like a glove.
and then for a completely aesthetic touch to hold it down, some aerocatch locks.
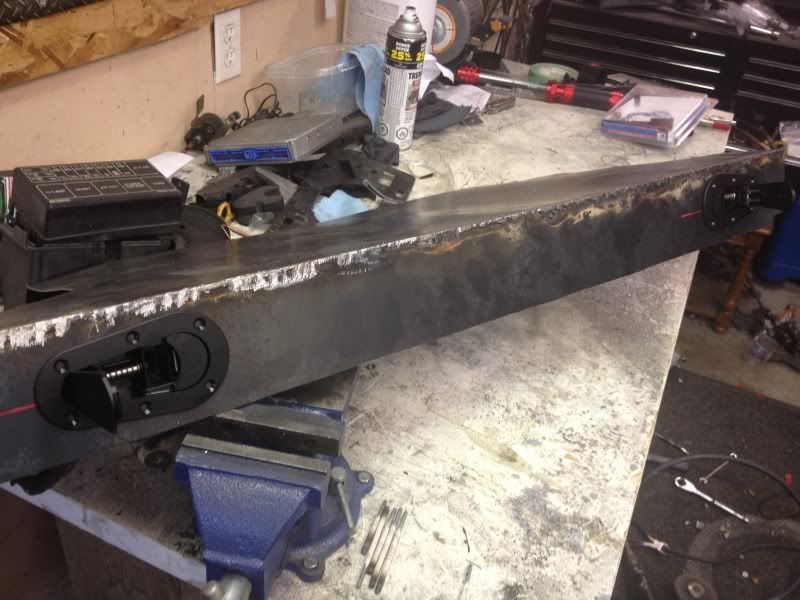
thats where I'm at now. The entire base plate will be covered with carbon fibre or carbon kevlar (havent decided) and if all goes well making it, ill lay more on the interior trim pieces. I still have get the pump, filters, line and fittings before fully assembling the base plate but its taking shape slowly.
Picked up a OS Giken R3C clutch from a member here, and waiting on the spacers to test fit the front wheels. Then to get the thing on the ground and start compiling parts for the engine so i can get it to the machine shop.
more to come hopefully in the following weeks.Leave a comment:
-
^ yeah it's perfect for what I'm planning.... But what I'm planning is going to be a lot of hours in and a lot of fab work in a tight space.
Speaking of hours, I spent a few hours gruellingly heating and bending the Fiberglass mud guards to fit right. I got some inspiration from this picture a while back and always liked the look.
And after paint! and that is the end of my exterior trim pieces!!!! Woo now onto interesting things.
Leave a comment:
-
Thanks man, still seeing if it will work with my plans, so ill keep you postedOriginally posted by GTRawrr View Post
I other news I managed to get those damn skirts put on, and aside from those rear valence pieces, I'm done with exterior trim and not a moment too soon because I HATE BODY WORK! * sigh of relief*
I should be getting my front wheels and seats within the next few weeks
After, that's when the real work starts.Leave a comment:
-
Hey I saw you were interested in my y pipe, the diameter is about 95mm or 3.5"Leave a comment:


Leave a comment: