LOOKING SEXY! i love R33's only the best car out there...
subscribed.
Amy
-
That looks really good!!! Tho, curious... is that just raw CF matting? How does it stick on and is it a rough surface or do you need to spray a resin over the top to make it more durable preventing any separation or snags down the road?Leave a comment:
-
I haven't taken the light out yet, but when I do I'll let you know if I have any problems. Adam, thanks for the RG info. The setup is actually pretty stiff, especially for Edmontons crappy roads! Might need a kidney belt.Leave a comment:
-
Hey just out of curiosity but when you remove the light from the cluster did anyone have any problems? When I did it the first time I took the bulb out and then it felt like my power steering was gone. I put it back in and everything was fine again. All I did Is went into the trunk and snipped the wire for hicas. It was alot faster then taking the dash apart and my hicks light has never come back on. And if I ever wanted to I could just solder the wires back together and it would be good as new.Leave a comment:
-
Coming along quite nicely.
Regarding RG. They are well known in Japan. Mostly involved with circuit sports these days. Offering suspension, lightweight flywheels, brakes & rotors etc.
The RG "Tokiko" branded suspension would have been entry level through them back in the day, perhaps equal damper strength as basic Nismo S-Tunes. Must be comfortable no?
They do have some real nice coilovers these days. Perhaps the lightest on the market being shelled out of aluminum. Flag being JGTC N1 Dampers. Image below.
URL: www.racinggear.co.jp


Leave a comment:
-
So started on my first winter work, CF wrapping the dash, got a sheet of CF vinyl from Carbon Fiber Gear. First was to get the crappy rubber junk off - goo-gone and a scotch brite pad got it off...

Made sure it was nice and clean and started the wrap.

About 1.5-2 hrs of work and it is done!

The stuff is very forgiving, a little tricky in some areas but considering it was the first time it turned out pretty good I think. Gotta do the shift surround and a few other bits now!Last edited by ColinR33; 11-11-2010, 01:35 AM.Leave a comment:
-
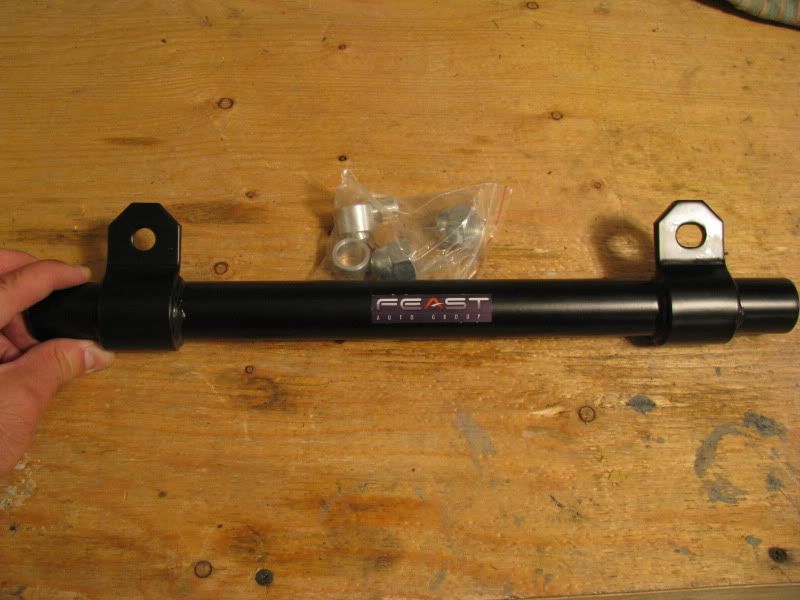
Well, turns out an R32 lockout bar was shipped to me by accident (yes, Adam was embarassed), I've got the R33 bar know, but I'm too busy to install right now (put everything back together and running HICAS again). If the HICAS light does come on after I install it, I'll just take the bulb out...
Mounting points are about 10mm farther apart on the R33.Last edited by ColinR33; 07-16-2010, 07:05 PM.Leave a comment:
-
Yeah you pull the bulb out too.
The R33 one is in fact different. I would have thought Adam would have known!
Are the mounting points the same? Mine looks quite different.Leave a comment:
-
I was thinking about doing the same with the hicas bar. Does it leave the "HICAS" light on? That would be so annoying for me to see all the time.Leave a comment:
-
I'm watching this thread for sure. I'm starting to get the itch for one (Buying a house first though) in the next year or two...I've always had a soft spot for the R33's
Leave a comment:
-
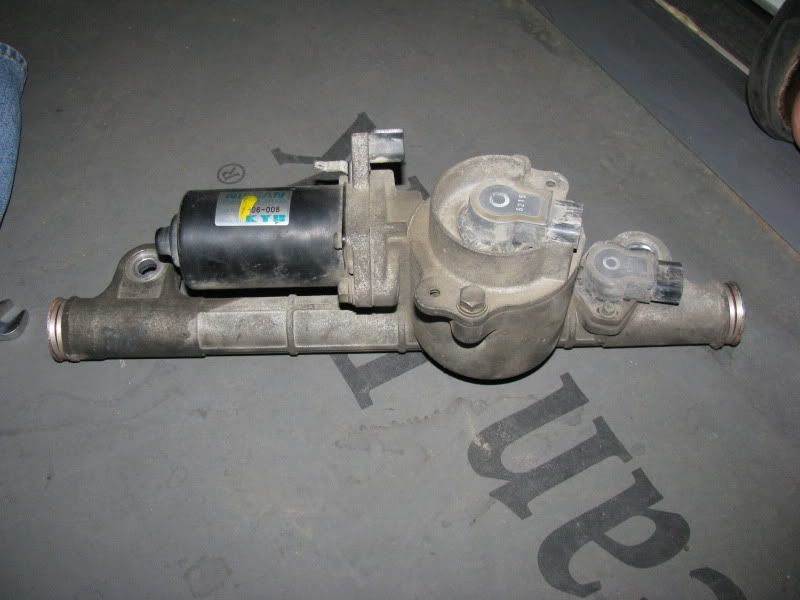
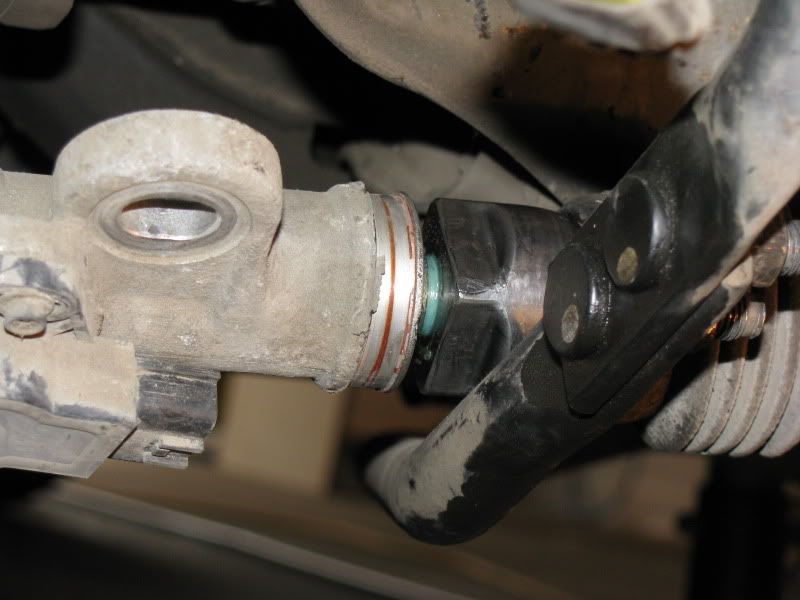
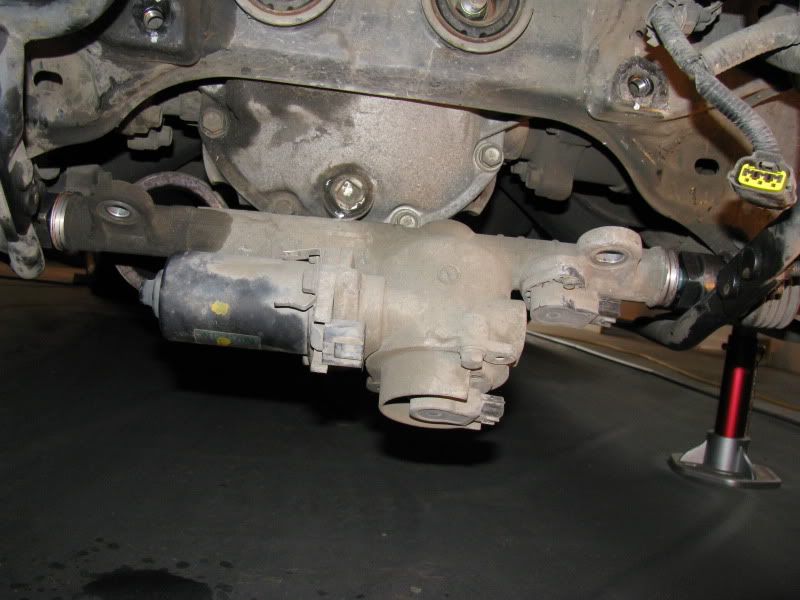
Unthread the rod ends and remove the HICAS unit!
Now to install the lockout bar....Dammit, won't thread on! What's going on? Ahhh...
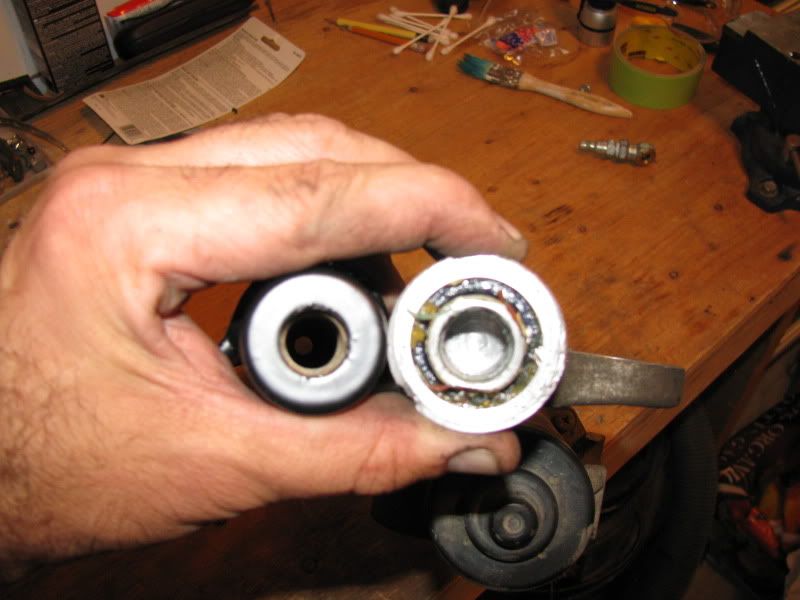
The threads are different! Guess it changed from R32 to R33. Time to take it into the shop tomorrow and tap the bar out to match.
To be continued....Leave a comment:
-
So, got my HICAS lockout bar from Adam @ Feast...
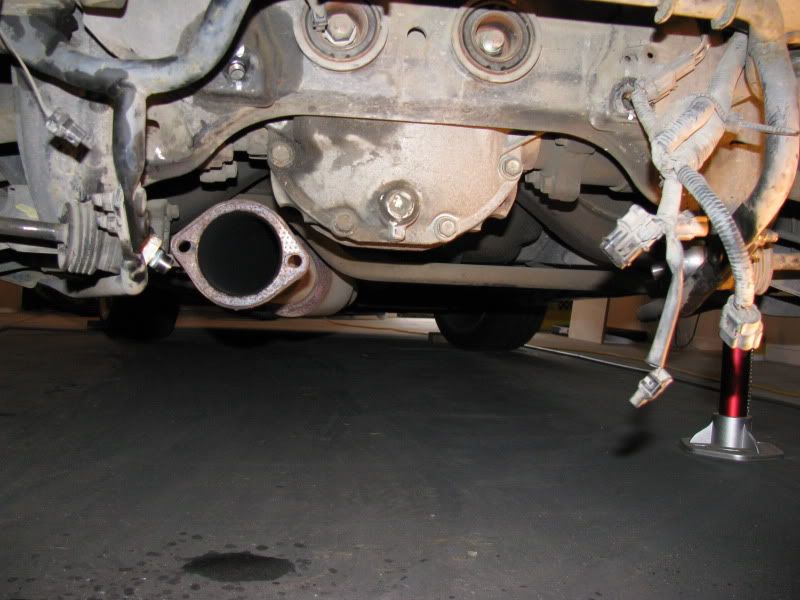
Started the removal....unplug all the wires...
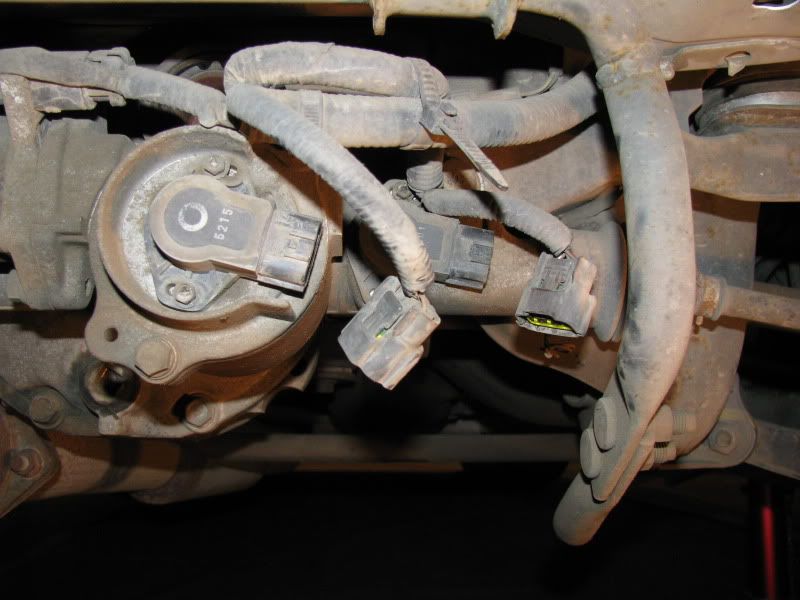
Undo the lock wires holding the rod end boots in place
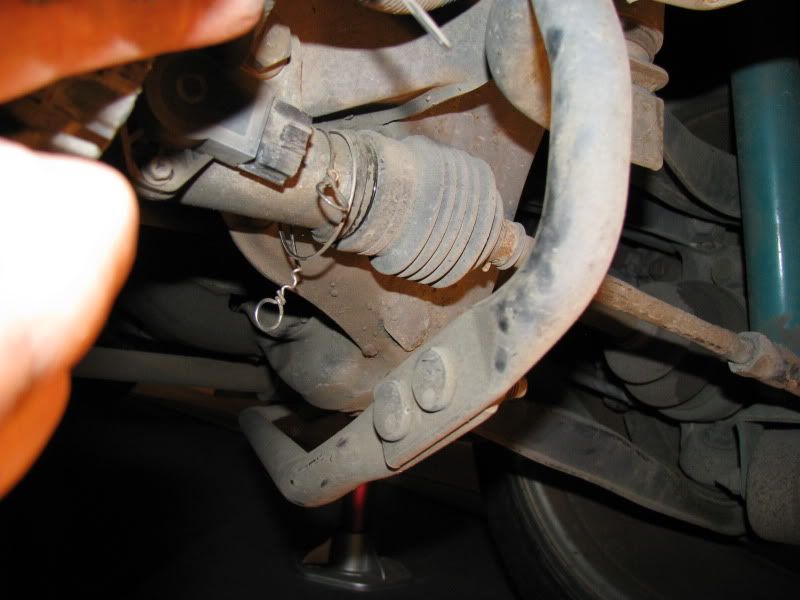
Pull back the boots and loosen the 4-sided rod end bolts - PITA to get at with the sway bar there...
Remove the bolts holding the HICAS module in place
Leave a comment:


Leave a comment: