Where did you get the 256's? And how much work is needed to put them in?
Announcement
Collapse
No announcement yet.
Supraclean's "Drift Sicle" Project
Collapse
X
-
Glad my build helps man! That's what it's there for
So which torquing scheme did you use on the cam install? That's my next thing once my head studs arrive, just wondering what everyone used.
From what i read, the manual states Outside-In .. so i guess 1..3...5.6...4....2?Check out the GTST Projects page and keep up to date with my build!
www.nelsonmx.wordpress.com
Like us on Facebook! www.facebook.com/NelsonMX
Any part inquiries can be forwarded to marc@nelsonmx.com
Comment
-
Yes you have to be careful starting on the outside. I requimend have another person there holding down the oppostie side that you are starting on the cam to insure that it goes down evenly. Also I retraced the threads for the cam brackets with tap and die set as I found oil and crud from the dissassembly that might get ya problems. Also go in stages just like the head studs, even tho they dont require very much torque on the brackets its a good idea to just make sure it goes down evenly.
Taker slow and you should be good to go, Also I got relube from the local machine shop and lubed the cams/lifers before install. I can take a picture of the stuff I used if you need Marc.Traction is optional, so are zipties
92 Gtst/Silver bullet
Comment
-
Yup good call Mike, slow steady and do it in stages, and PRELUBE!Originally posted by M13 View PostI've put in cams several times. (just did mine yesterday)
just have to follow bolt sequence but do 3-4 steps.
I just do: get thread started, then two full turns, then torque to hand tight, then torque to spec. That would mean 4 whole sequence.
Thanx man those your subframe swap going? Im going to be on the lookout myself for next fall as the suspension will be geting overhauled, Not by Chip Foose tho if you catch my drift.Originally posted by Stiky View PostCar looks great. Really loving you RB20... Traction is optional, so are zipties
92 Gtst/Silver bullet
Comment
-
SUNDAY! SUNDAY! SUNDAY!
MASSIVE UPDATE!
I Tackled my Brake setup while I was waiting on some parts to arrive to finish up the engine.
Here is how she went:
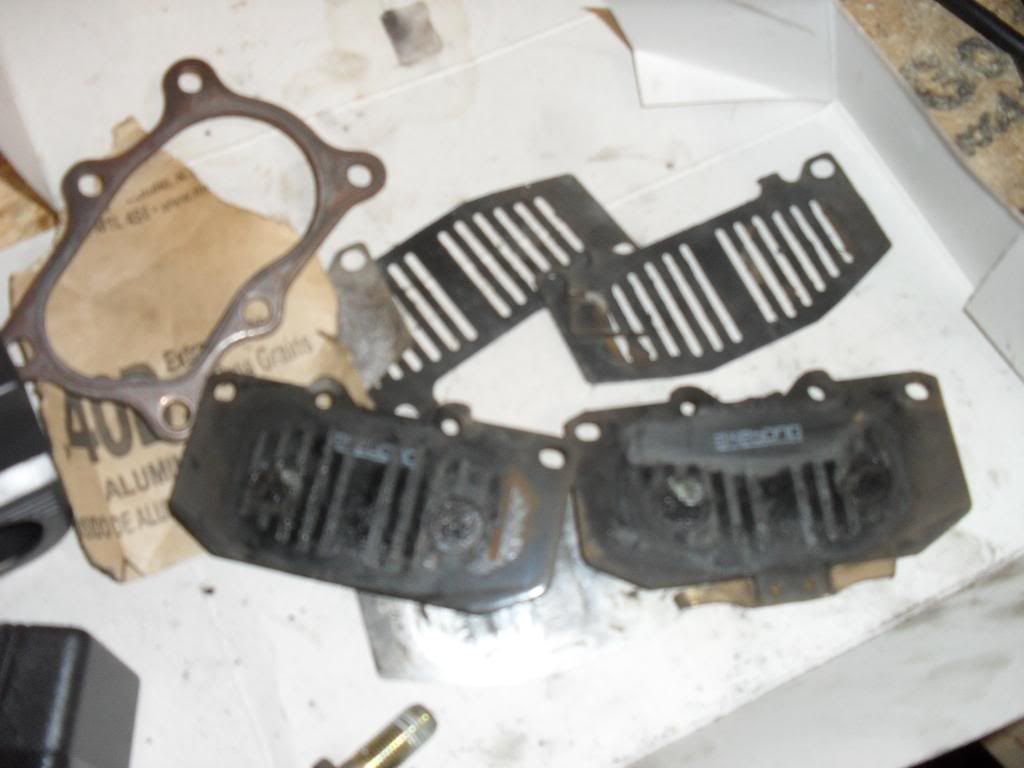
Old brakes out
Painted up Calipers!
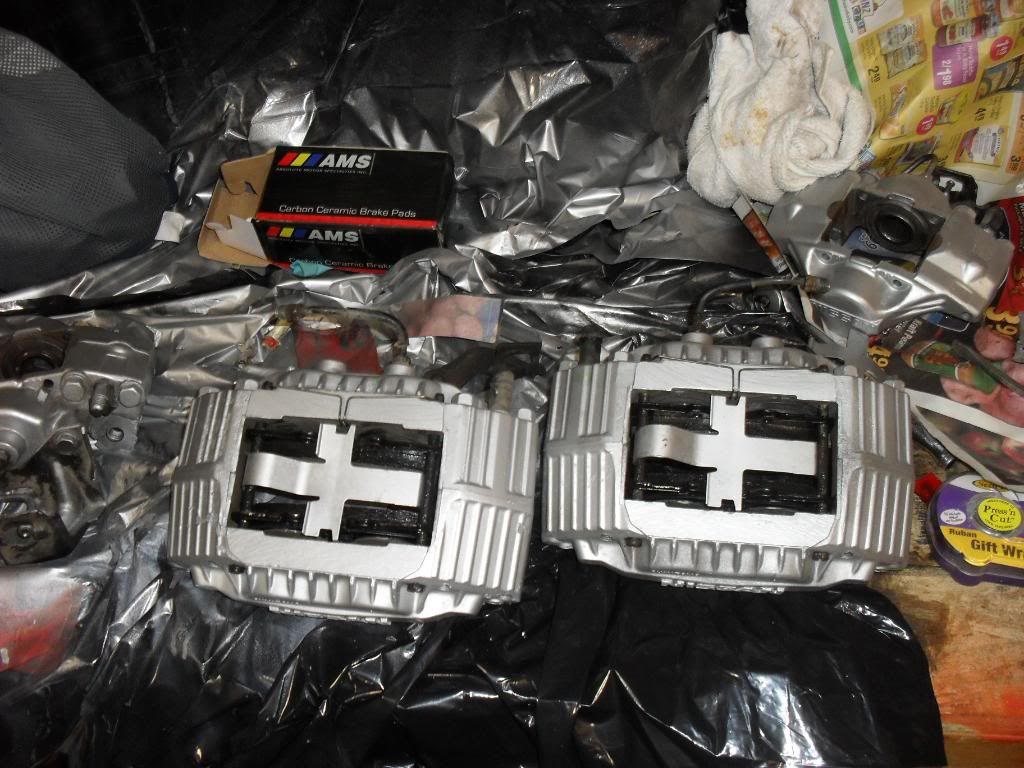
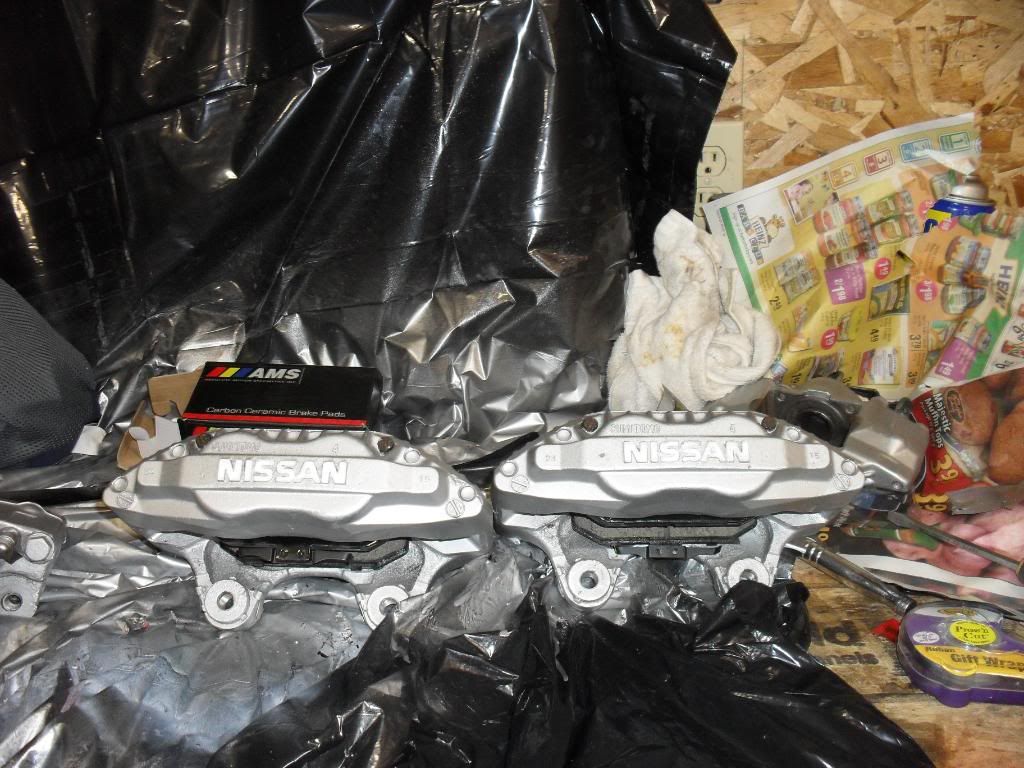
And filled them with New Ams Ceramic pads to go with there SS Brake lines
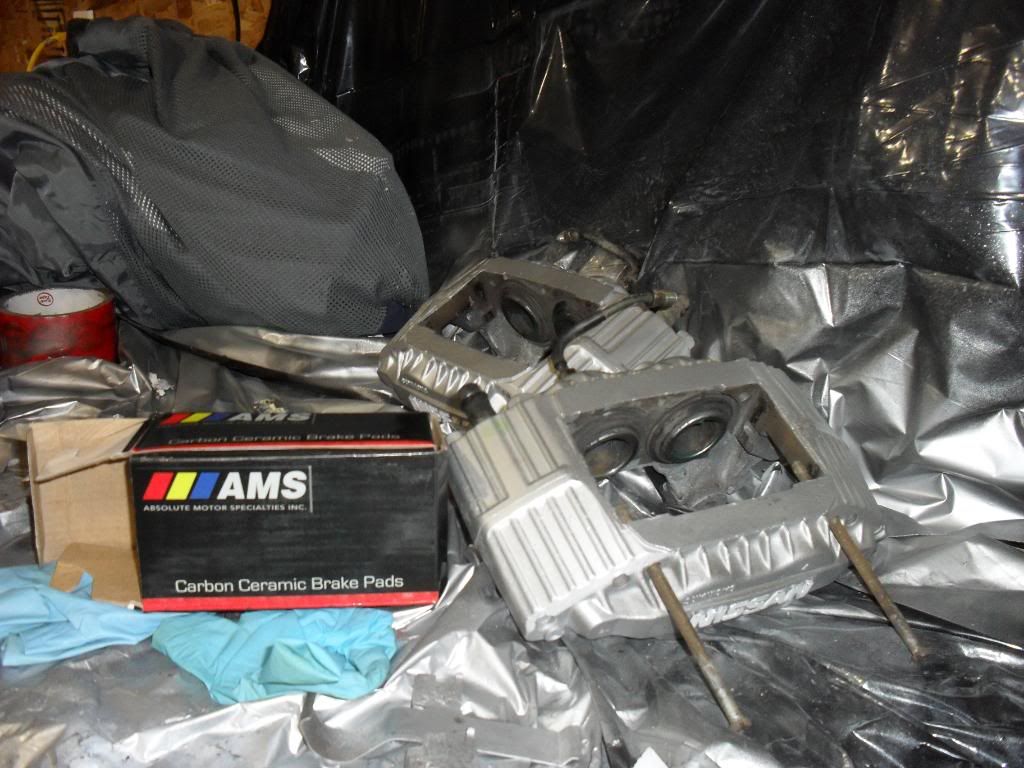
Old Rotors are boring and I figured with the Great service I got from Vuk at Ams I couldnt pass up a set of Z32 sized all the way around!
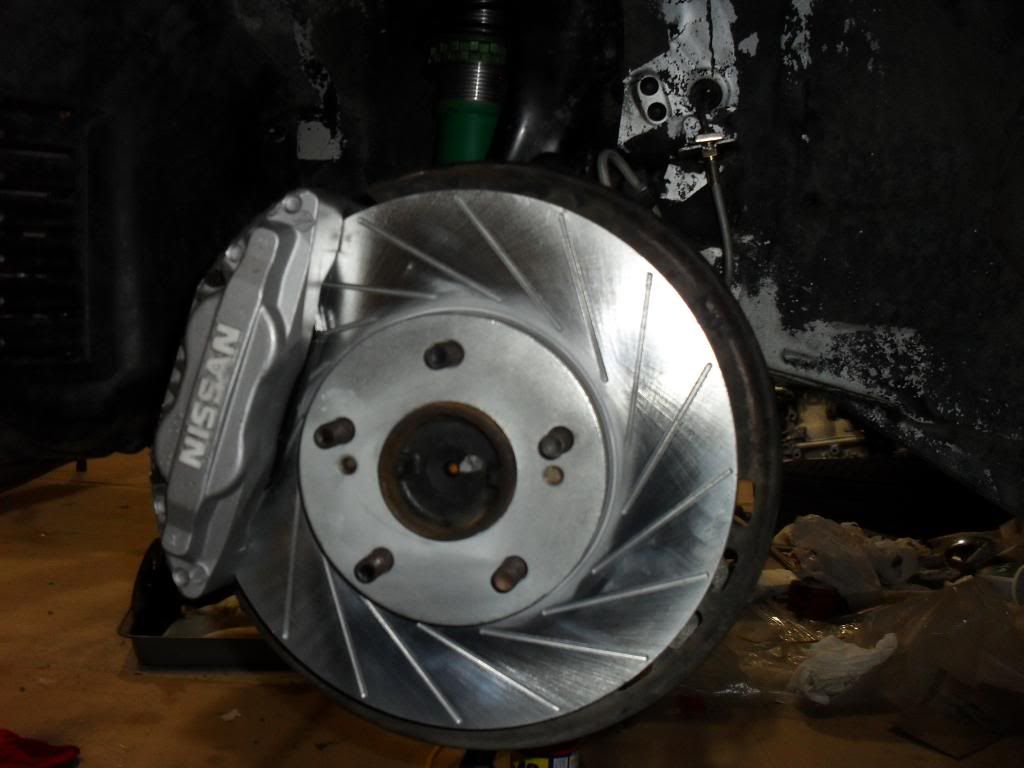
Honestly I cant say how nice it is to buy quality products that bolt right up. The install of the brakes/lines rotors went alot smoother then I thought. Came with everything I needed and I am very Happy with the end result. I cant wait to break them in properly and test them out
Tools used include:
10mm open ended brake line wrench
vise grips
rubber mallet ( to get out old line clips)
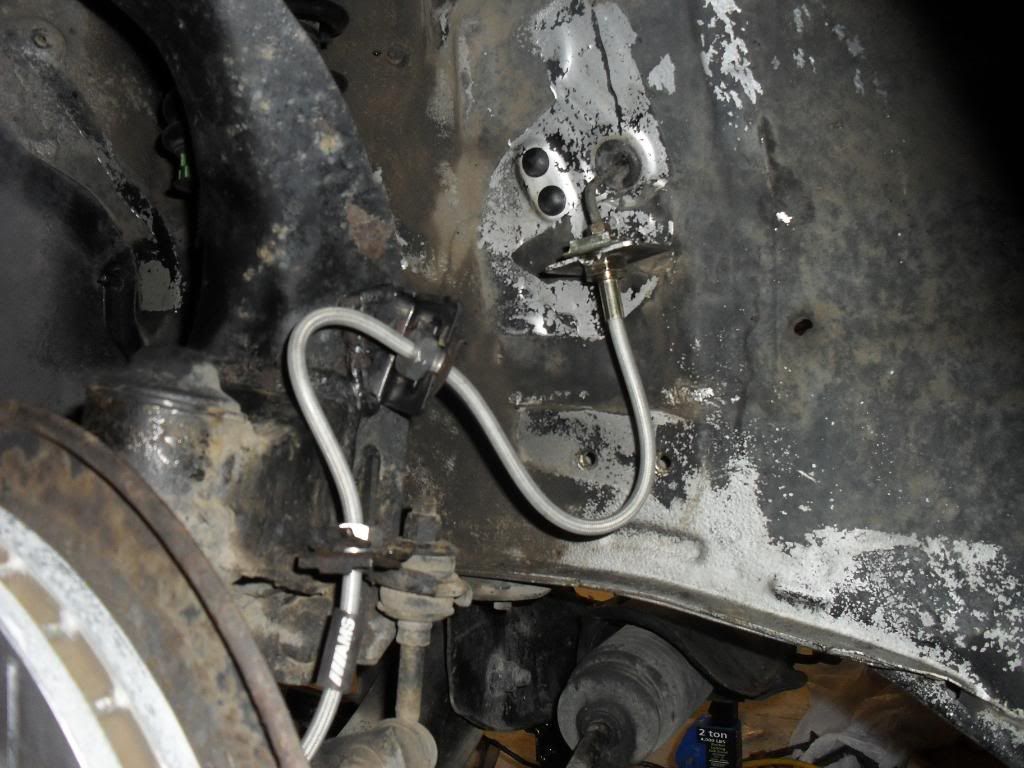
Shot of the front line S curve.
And wheels back on:
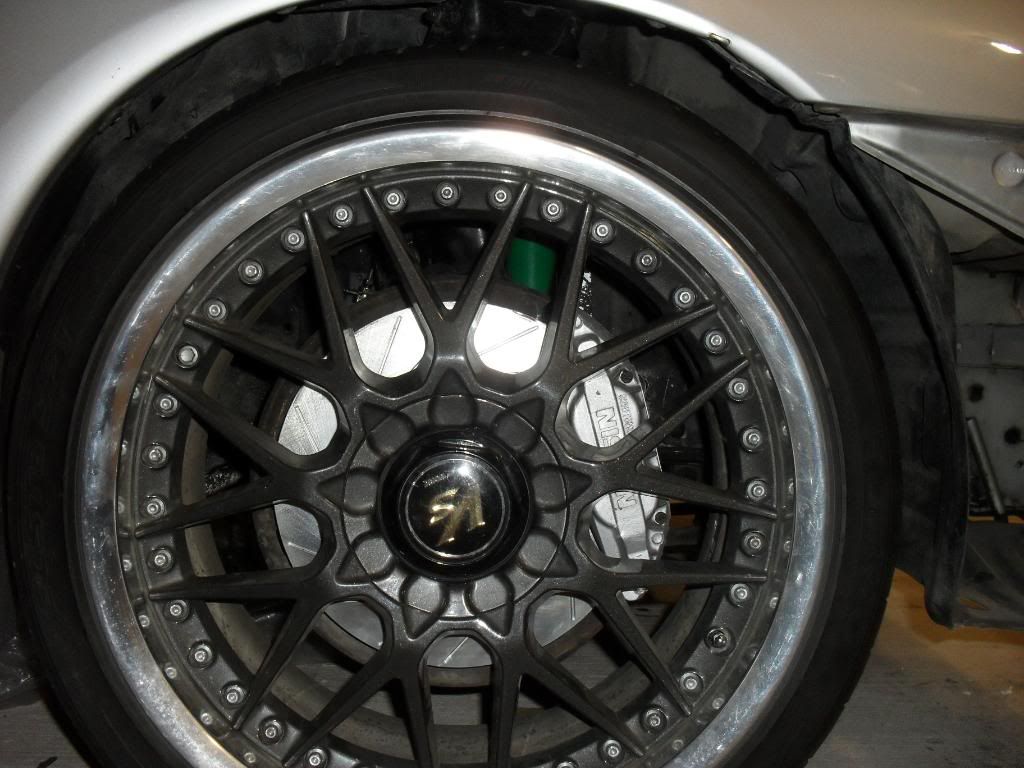
I still have to bleed my lines competly to get any air out of the system but that will be done once engine is in a hooked back up.
Steering Bushing
Remeber that tired loose rubber bushing I posted?
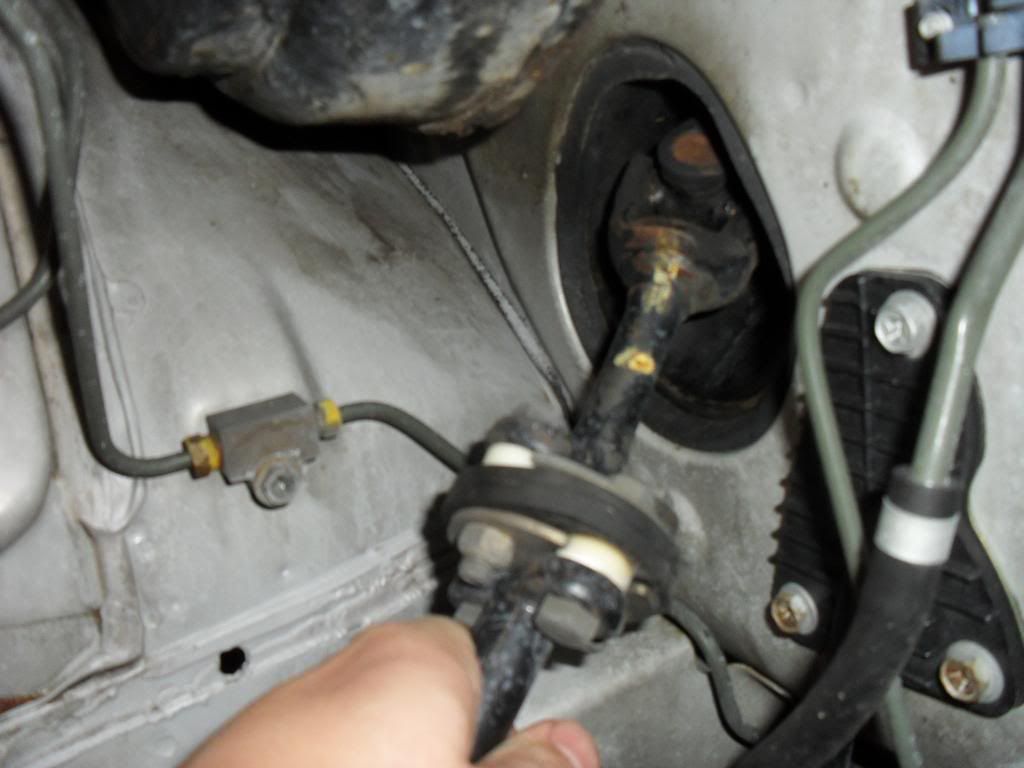
Old and busted...
And New hotness!
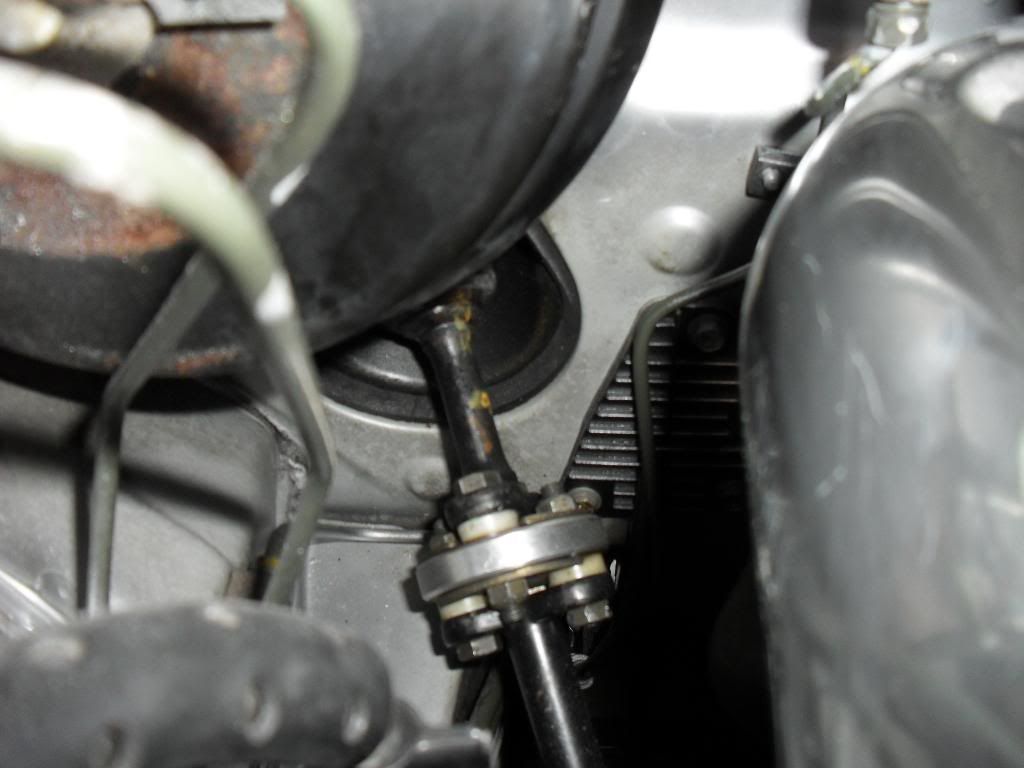
This litterly made it so there was no play in the steering colum what so ever. I also cant wait to try it out, sure it might be a little rough around town but once its out on the track I think I will love it.
It took more work then I thought to get in tho.
you need to:
-Drop the steering rack
-disconect a couple PS lines/holder
-undo the bolts holding the colum together
Picked the aluminum bushing from Bings for like $25 shipped, Im sure you could probably make your own but it was just to easy. They said it was for an S13 but it fit like a glove.
Just make sure you mark before to take it apart as the ends of the colum have splinds on them and if you dont line it up your steering willl be out.
Ill let you guys know what it handles after the tune date:P
NEXT!
Well time to put in the new pilot bushing. wait..... wtf how am I sopose to get this out?
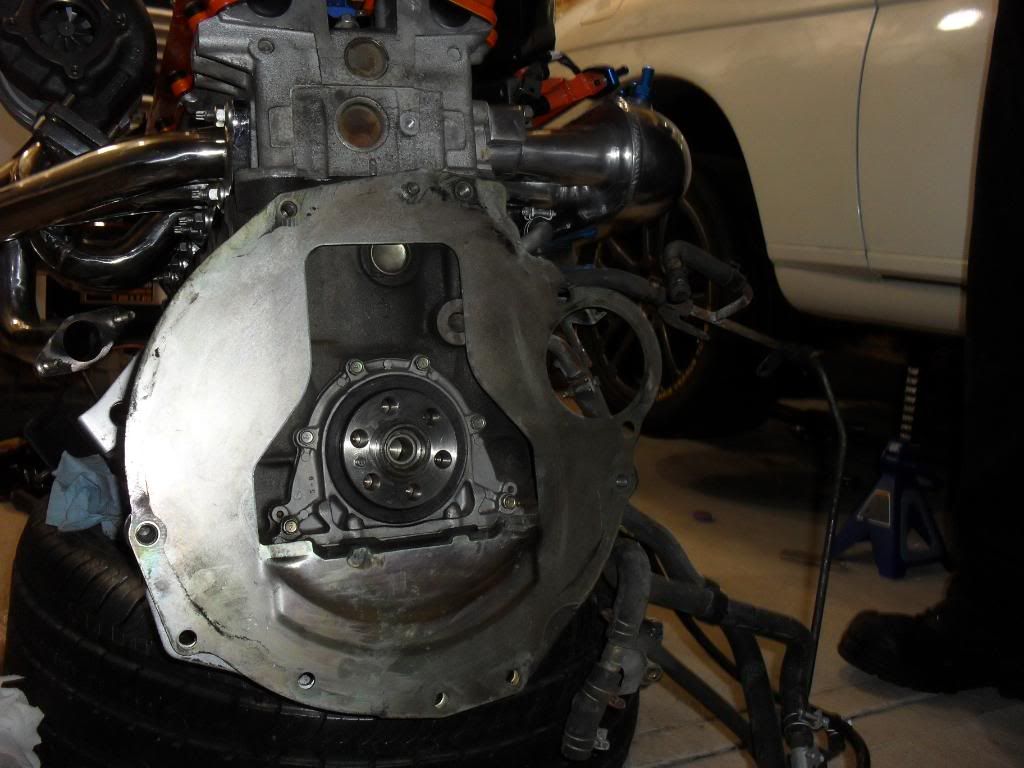
Canadian Tire Pilot bushing puller! Rent it for $45 and take it back an hour later.
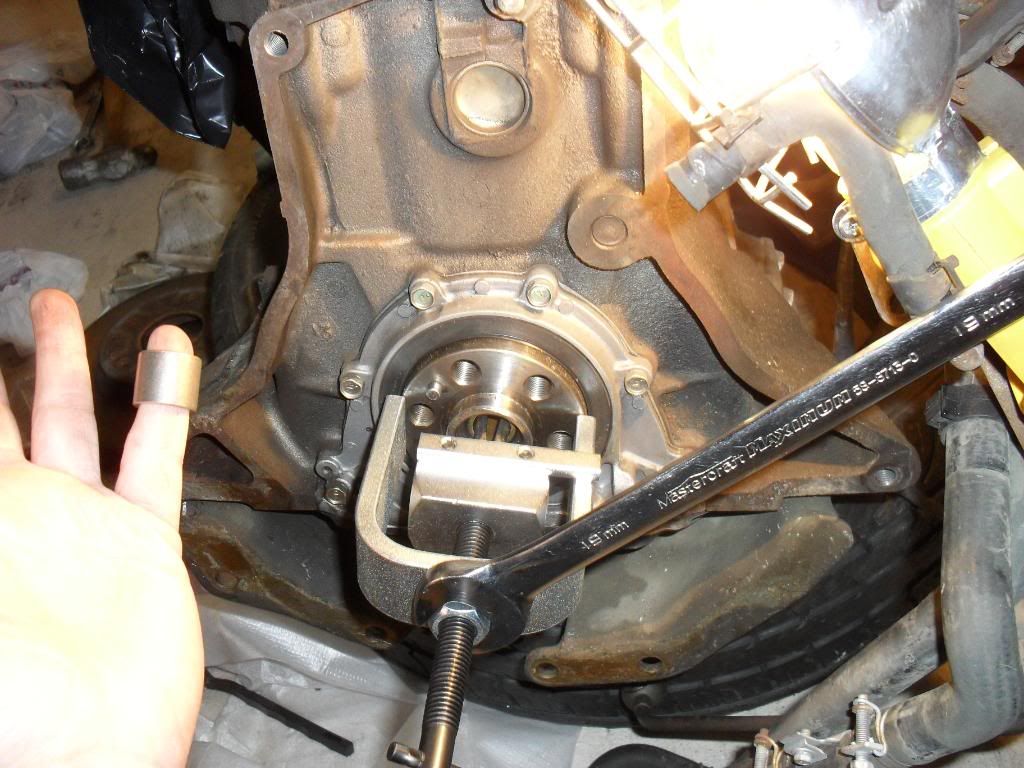
New on the left/ old on the right
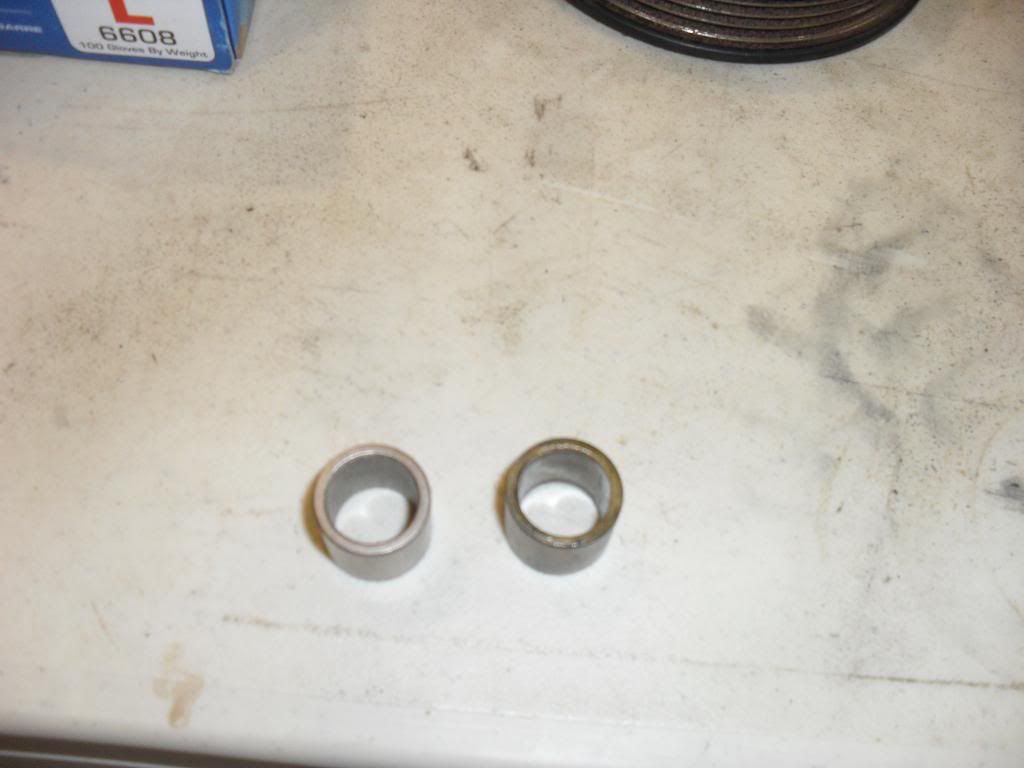
Didnt seem to have too much wear on it but I was down there anyways to might aswell change it out.
Had to use a block of wood with the old bushing/ hammer it slowly back in. "Just Tap it in, giver a tap,tap taparooo"
Done, Now Flywheel time:
Light weight Spec Aluminum Flywheel:
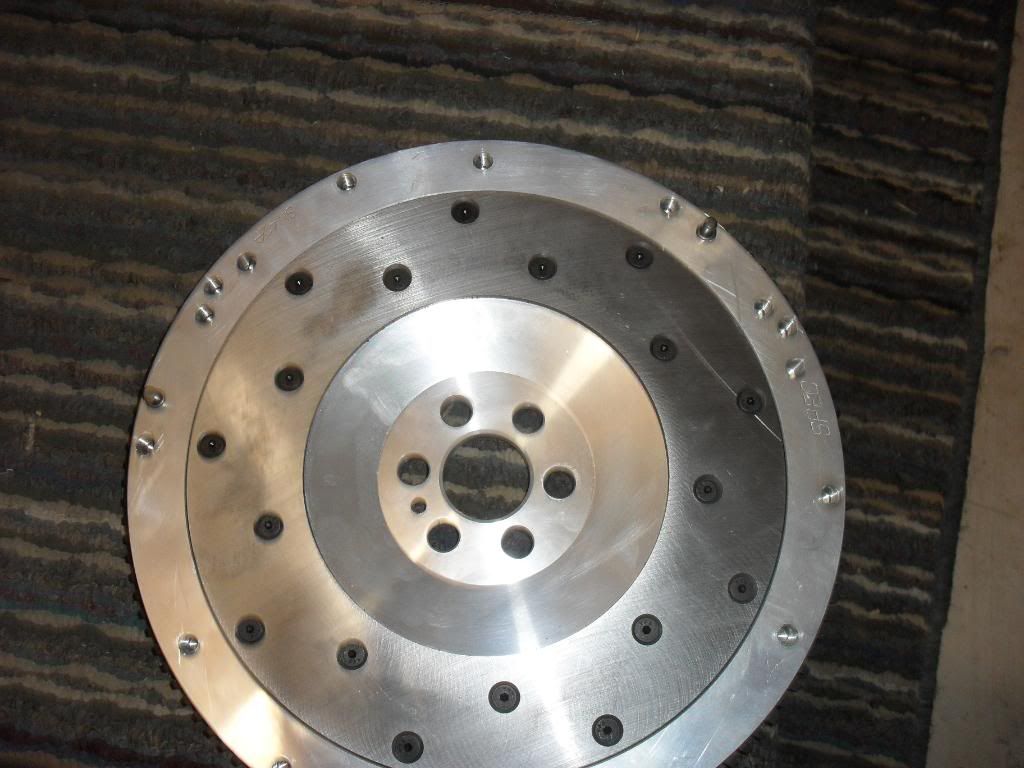
Should help out a bit.
O wait whats this..... it doesnt fit.
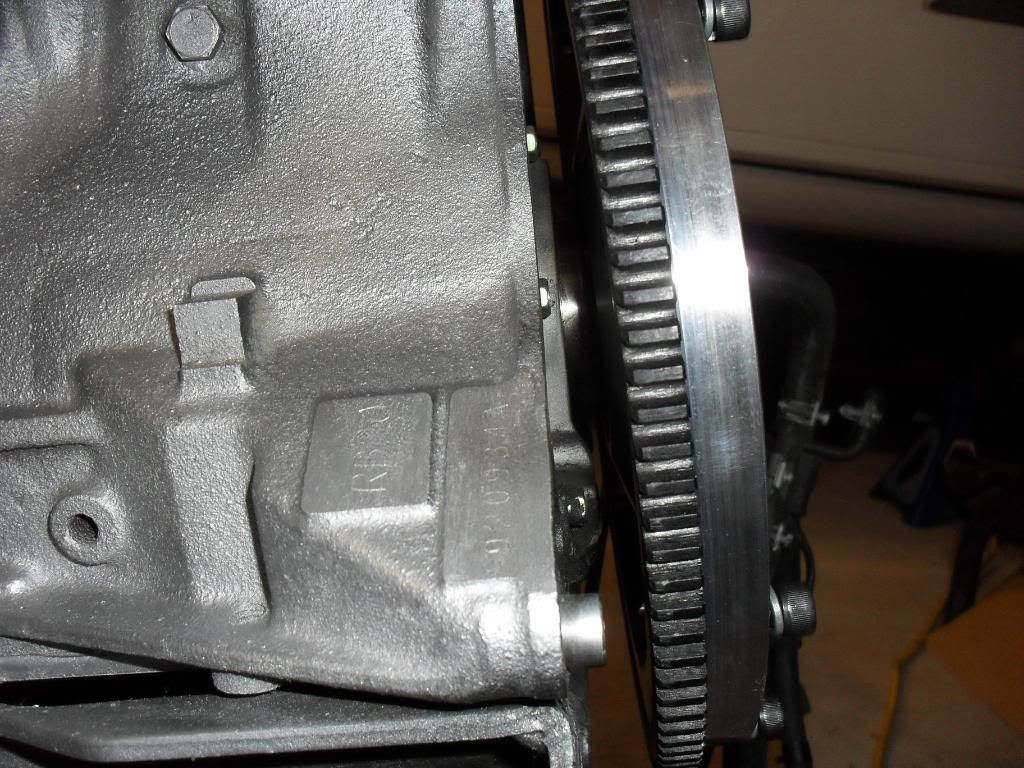
Either Spec or RawBrokerage sent me the wrong Flywheel which happens to be the same as a Sr20/Ka 24/Ca 18 just the dowel pin and inside diameter is machined a bit.
After waiting 2 weeks of emails/ calls I finnaly get the proper flywheel:
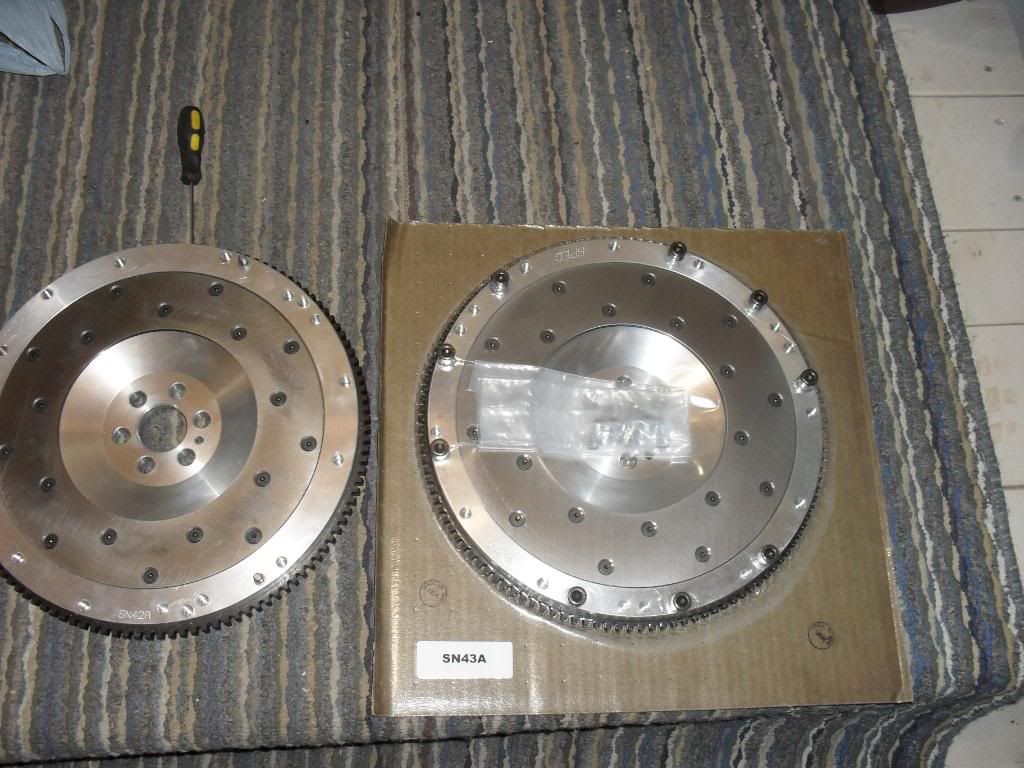
USed a little engine grease to help slide it on, using the bolts I tightinged in a cross pattern like wheels studs so that it would lock down enven and clean not bend/breaking it.
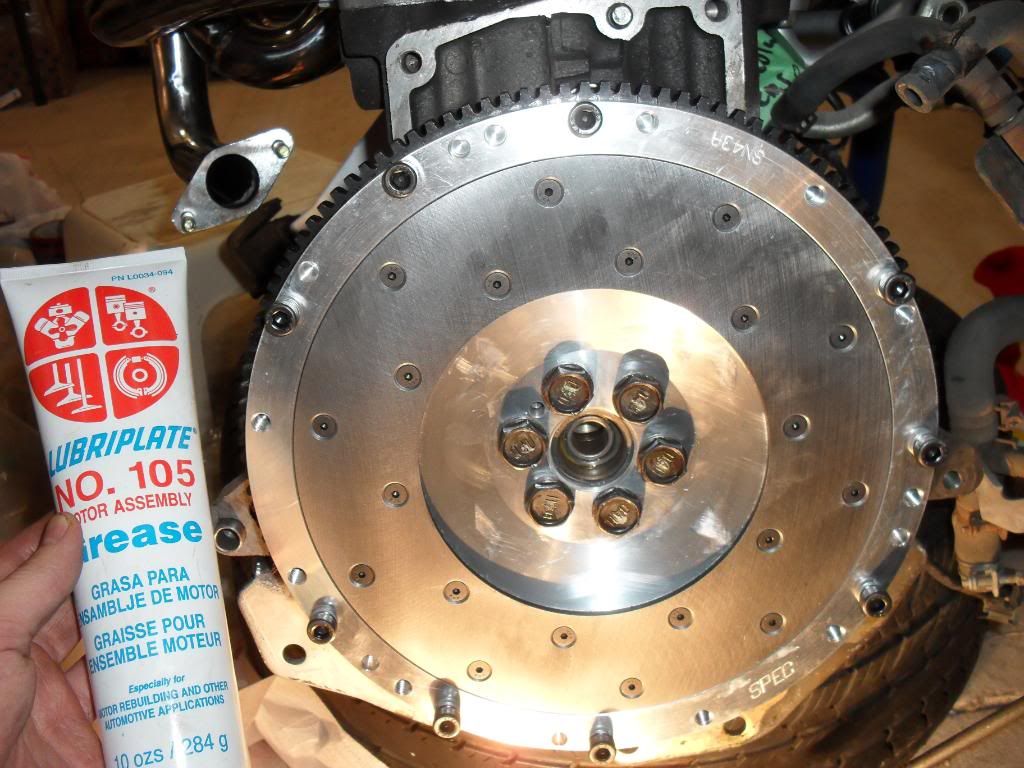
Torqued to 110 foot pounds and im set, BammM!
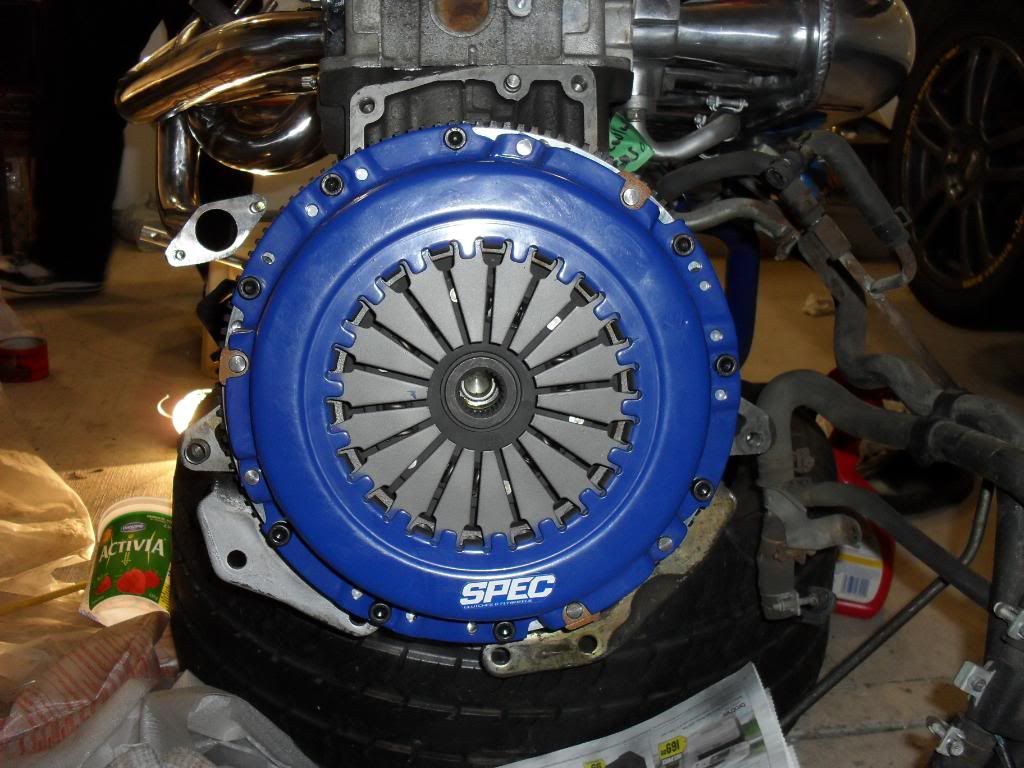
Clutch on like a boss:

Wait, "one of these things does not belong here, one of these things does not look like the other"

I forgot the damn spacer plate for the tranny... off goes the clutch and fly wheel agian.
There nub mistake fixed:
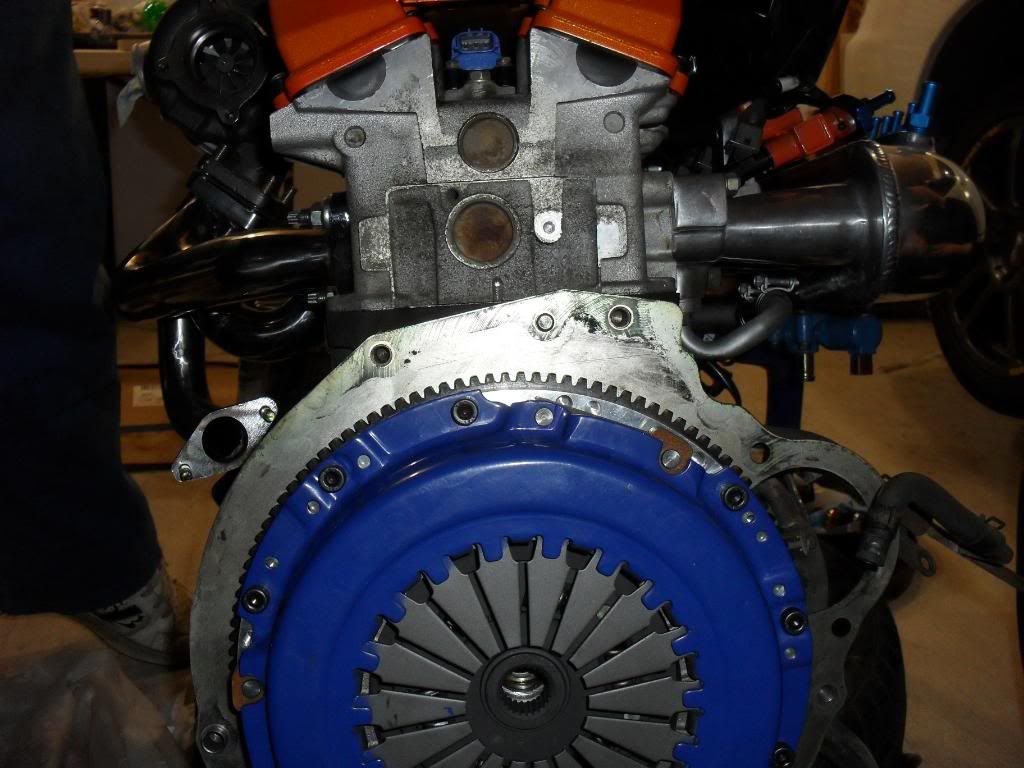
I leave you guys with that for now. I cant really rate the parts for performance wise as I havnt tested them out. I will touch on that after the car is running. Im super happy with the progress tho even If I had to wait 2-3 for the proper flywheel that obvously wasnt the one I ordered Traction is optional, so are zipties
92 Gtst/Silver bullet
Comment
-
Nice work man!
Did you change your rear main seal while you were down there?
Also, for the pilot bushing, an easy way is to take your flywheel/clutch aligning tool with a big wad of grease on the end, and hammer it into the pilot bushing. Since the aligning tool fits inside the bushing, the grease displaces any air and forces the pilot bushing out. Normally after a few good whacks, you can pull the aligning tool out and voila, the pilot bushing will come along with it.
Let me know how those pads turn out! Dont forget to do a proper bed in procedure, as SOME (lol) people completely over look this - result will be glazed rotors, and horrible stopping power.
I opted to buy this package along with my control arms and suspension work, but im hesitant about the pads.. I love the HPS on and off the track. With a light car they really shine - where the HP+ dwell on cold temps and brake dust, my HPS have never let me down.. So i am a bit resistant to change, but i'm excited to see how yours are!
Good stuff man, glad to see this is coming along nicely!Check out the GTST Projects page and keep up to date with my build!
www.nelsonmx.wordpress.com
Like us on Facebook! www.facebook.com/NelsonMX
Any part inquiries can be forwarded to marc@nelsonmx.com
Comment
-
Marc I am embarrased to say I did not, definatly over looked/forgot. Hope for the best I guess. I know it wasnt leaking before engine was pulled. Fingers crossed:P
I would have never thought of that with the alingment tool! Good call, I will keep that i mind and pass it on the boyz in the car club.
As for the rotors/brakes I will let you know. Honestly I havnt went threw alot of brakes before but will difinatly be able to compare to what the stock/ AM ones that were in there.
Thankyou I got more for you guys when im on my home computer. Happy Family Day!Traction is optional, so are zipties
92 Gtst/Silver bullet
Comment
-
I love long weekends!
Pretty excited about these next couple updates, be busy but I wouldnt have it any other way.
Started the weekend off by Pulling another members engine out (LEttogtst) to put in his new twin plate clutch. Then put in back in with a fresh new paint job on his engine bay. Needed to do that first as I needed my jack and his engine puller back:P
So thankyou again Letto.
How she sat friday Febuary 18th, 2011
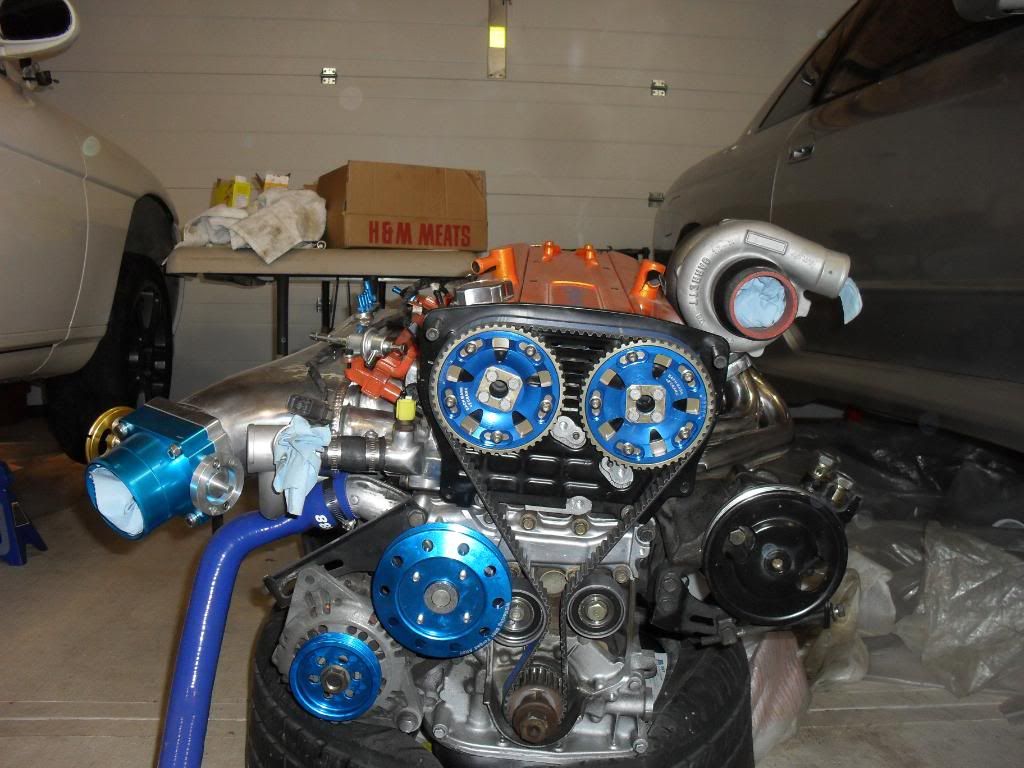
Cleaned up tranny and a little spray bomb.
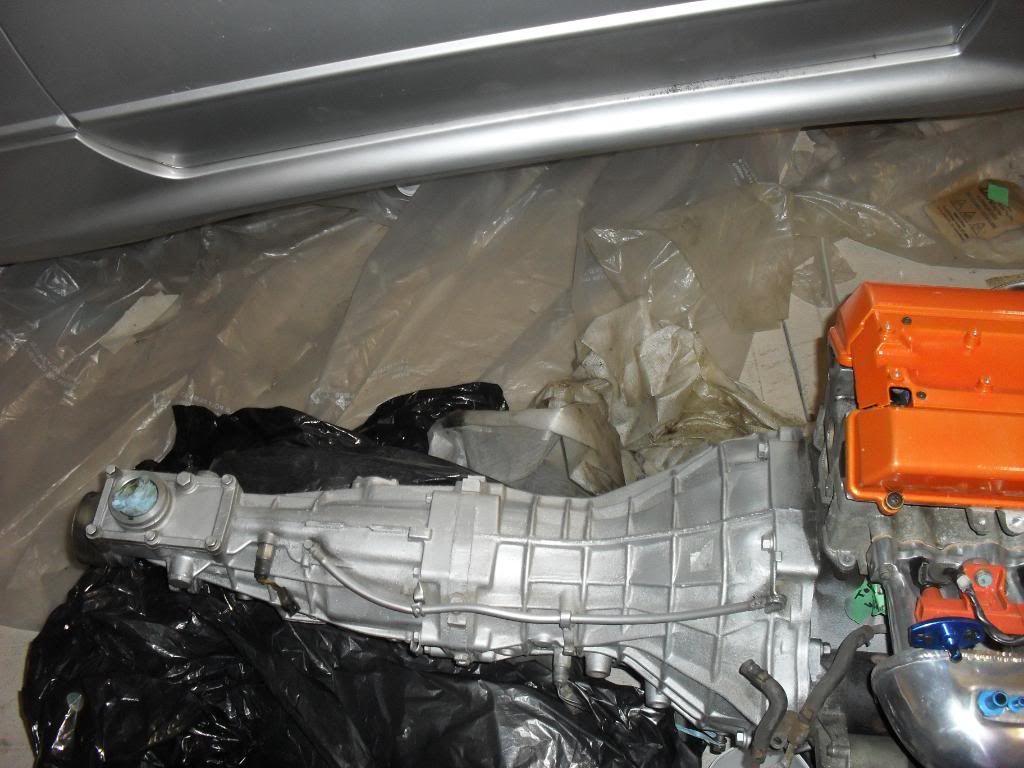
Geting set in ever so gentley
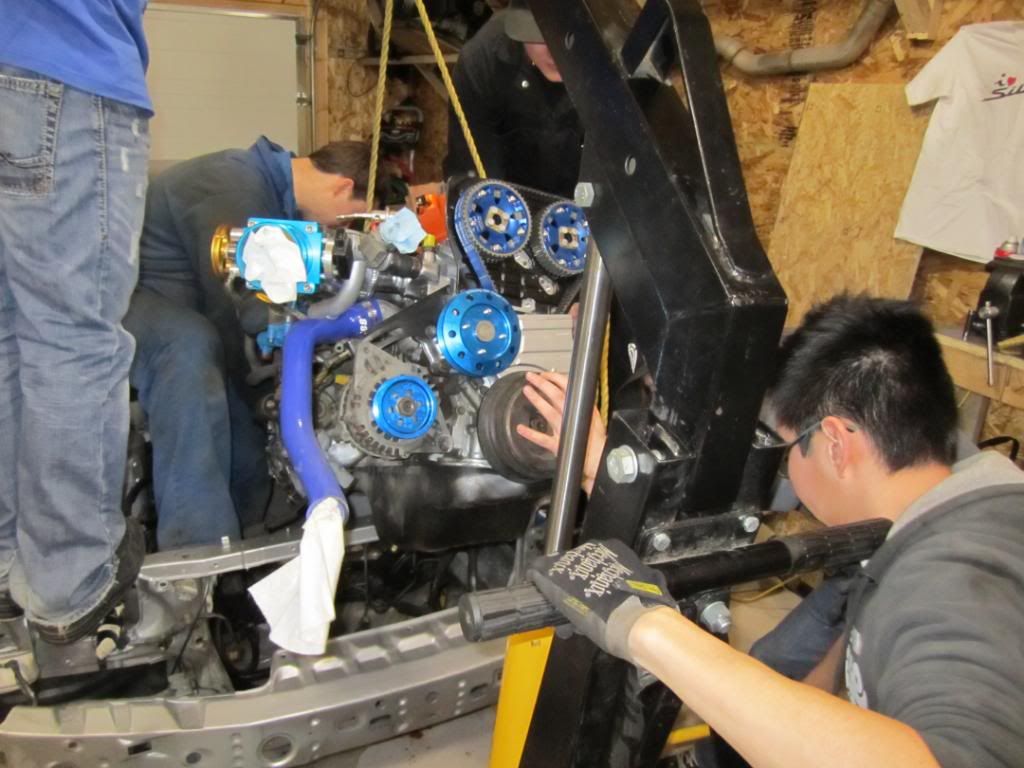
And FINALLY IN!!
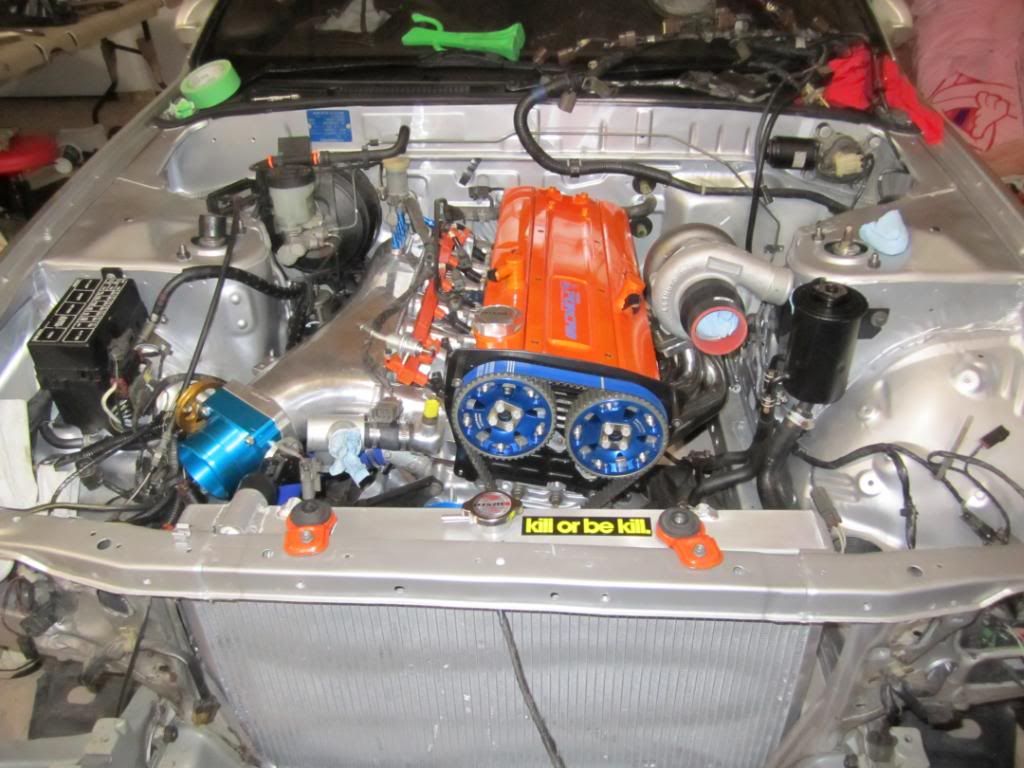
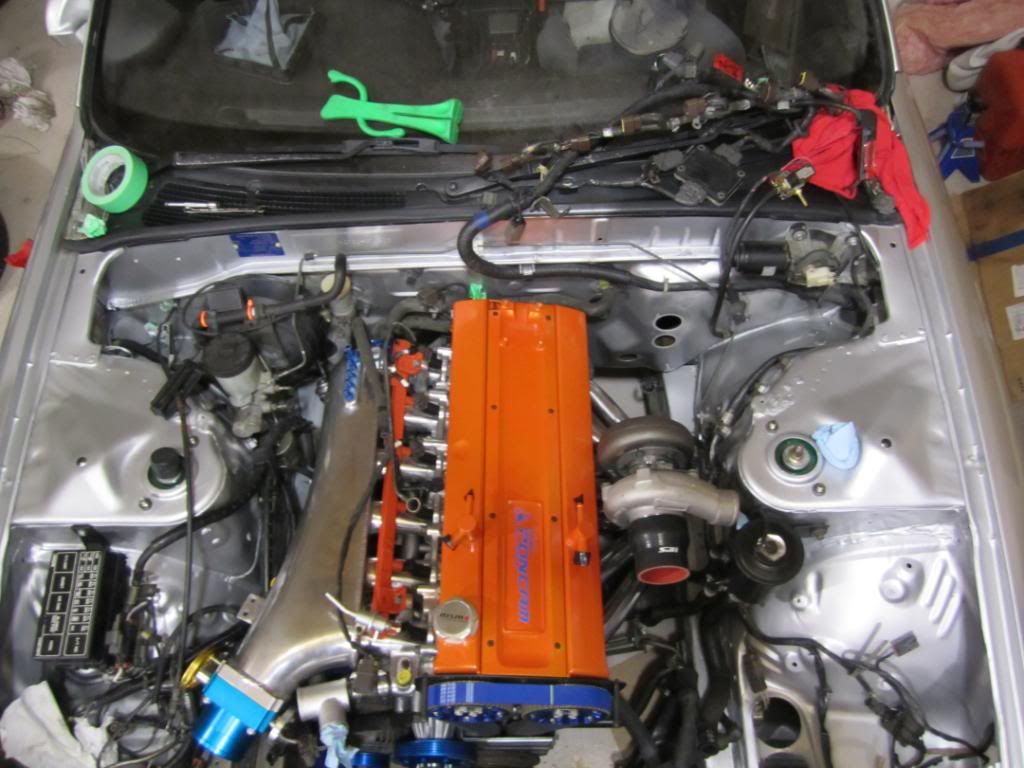
I probably spent a good hour just admiring it after waiting so long for parts/money. Im sure you guys know all to well what I mean.
There was one casualty tho worth mentioning, the clutch slave line from the res got bent and will need a new M10 brake line that I will have to bend myself. Not a biggy but its gonig to be a bit of a plain to change.
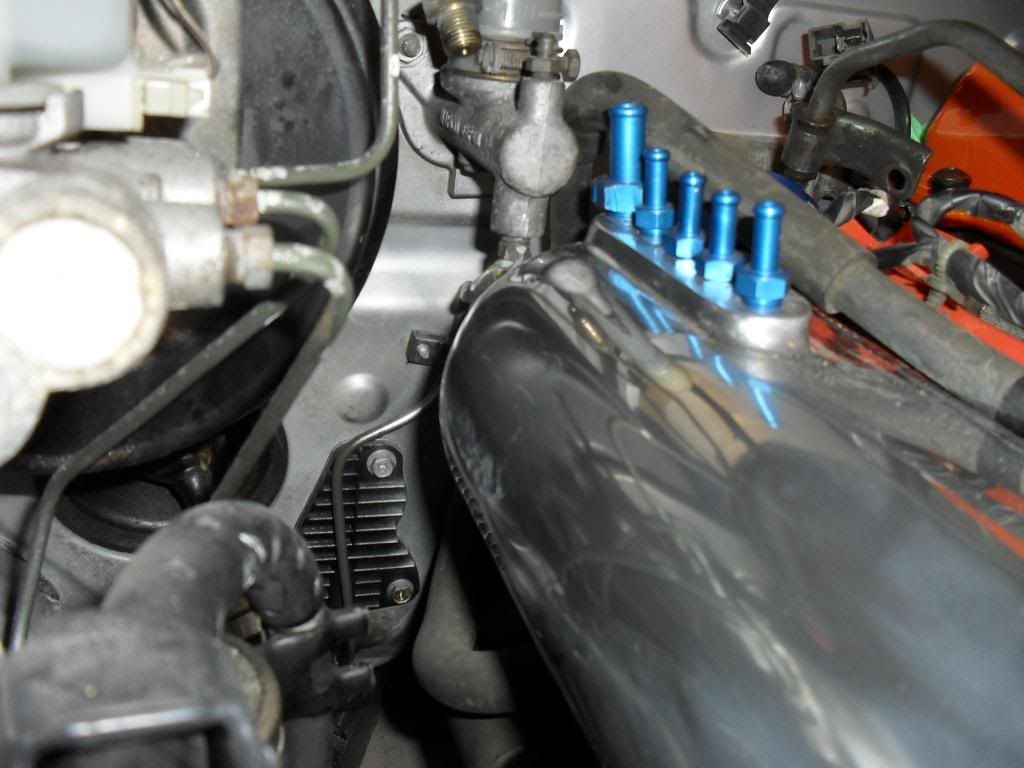
Will be hooking up everything next and making sure everything looks neat and tidy.
All in all im happy with the progress, project still needs a list of things done before I can test out the Apexi PFC.
- Custom lines sorted out oil/coolant
-Battery Relocation to rear
- Mount Front mount Greddy Spec V intercooler
- Order/ Cut piping / weld
- Vacum lines/ new Ground wires
- Relocate PS Res
- Custom downpipe/ Screamer pipe
Basicly just waiting on some more funds and hoping everything just works from when I pulled it all out.
Tune date is May 18th at Lightspeed so that is the deadline:P
So Recap:
Pics from 2009:
Old Engien bay:
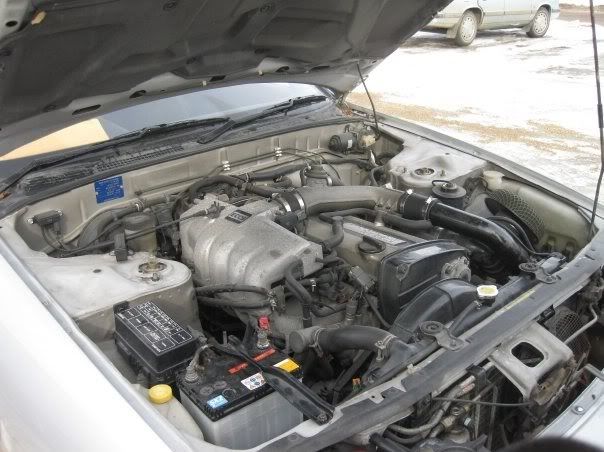
new:

Old wheels/ side shot:
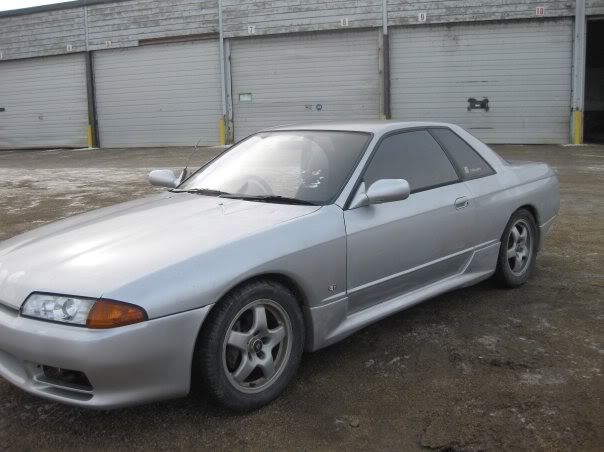
And new/current:
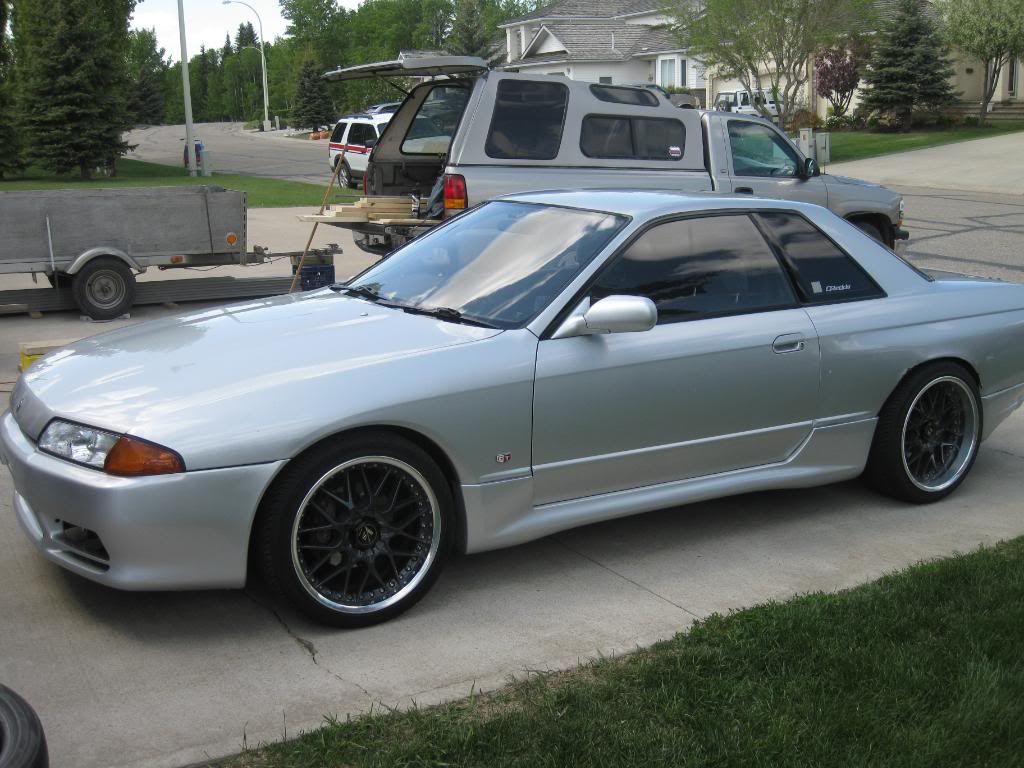
Car has came a long way and has pushed me to new levels of things I never would have be able to do/learn change on my own. I can only look forward to the future and what else the skyrine has in store for me.
It was my Birthday on the 10th so I figured I needed to buy myself a present right?
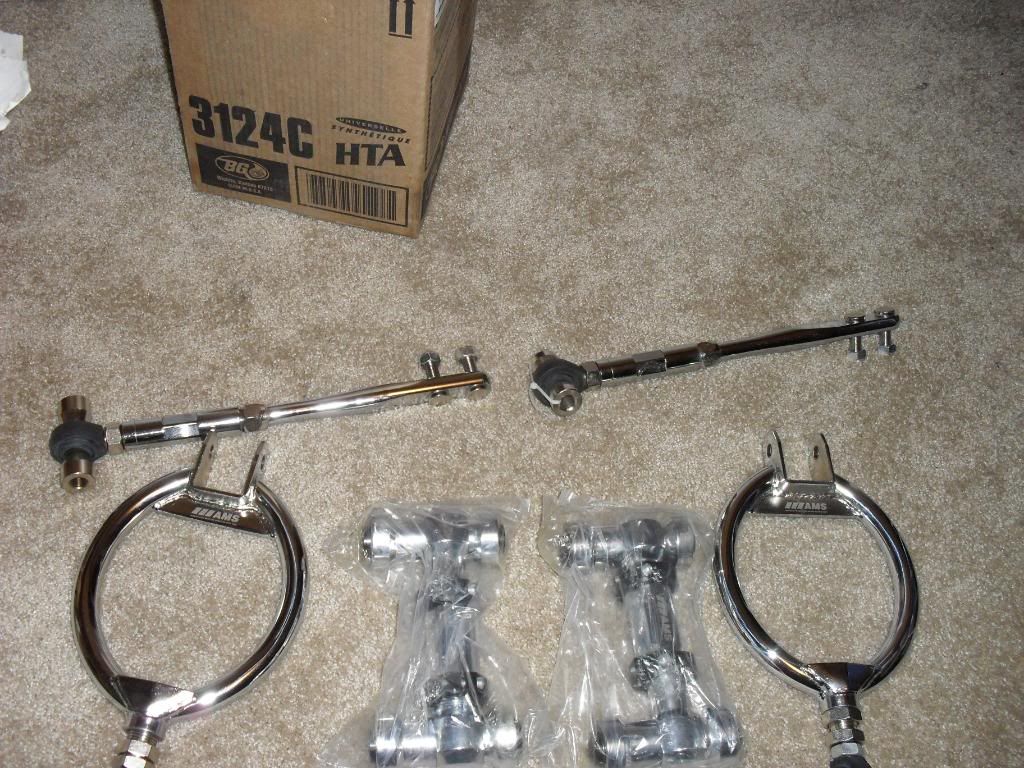
BNIB AMS Parts!
-Tension Rods
- RUCAS
- FUCAS
With the 10inch wheels in the rear the camber wear is just a bit to much and a waste of tire really. I mean I want some camber for track drift days and what not but not that much.
Once the tune is done and I can afford a good alingment this will go one and should really help out with wear but also replace some tired bushings on the car.
Next update will include full part list of Custom Coolant lines/Oil feed/Drain and Oil cooler setup.
Enjoy!Traction is optional, so are zipties
92 Gtst/Silver bullet
Comment
-
There are 2 oem clutch masters you can also consider. R33 and the stubby S13 one might work. I run a 33 master on my silvia with greddy mani. Looks like you got a lot done this weekend! Looking pretty fresh!ALLEN PETERSEN
Number (604) 961-2449
4XTOYS/ Lower Mainland Skyline Service and aftermarket RB parts.
RB30`s for sale!
Comment
-
Damn I didnt even think of that Allen, thanx man Ill call up mike at 4xtoy and see what hes got. Are all S13 ones stubby? Yea it was a good long weekend for sure and I try to keep it as clean as possible. After some track days well see how much spray 9 I go threw:PTraction is optional, so are zipties
92 Gtst/Silver bullet
Comment
-
ALLEN PETERSEN
Number (604) 961-2449
4XTOYS/ Lower Mainland Skyline Service and aftermarket RB parts.
RB30`s for sale!
Comment




Comment