-
no i havent looked at it yet. i think a bearing went because i boiled the oil driving like an idiot -
lookin' good. Ever find out what happened with your old motor?
Pump issue? clearance issue?Leave a comment:
-
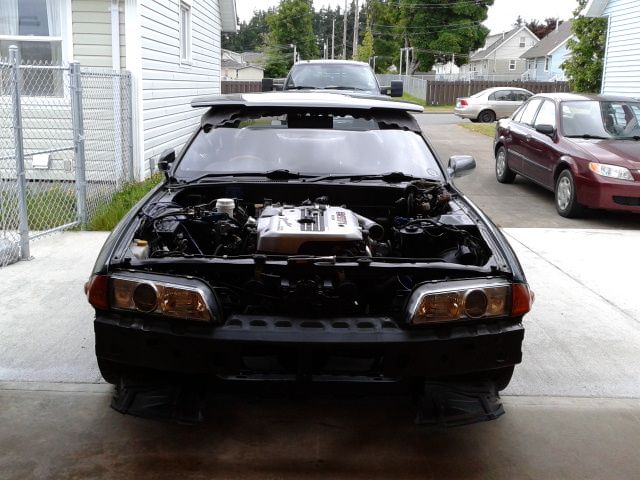
I've been slacking on keeping this updated. but the swap is all done. only thing I've left for the winter is the transmission wiring and the speedo. but i just wanted to have it on the road for the rest of the summer/fall.
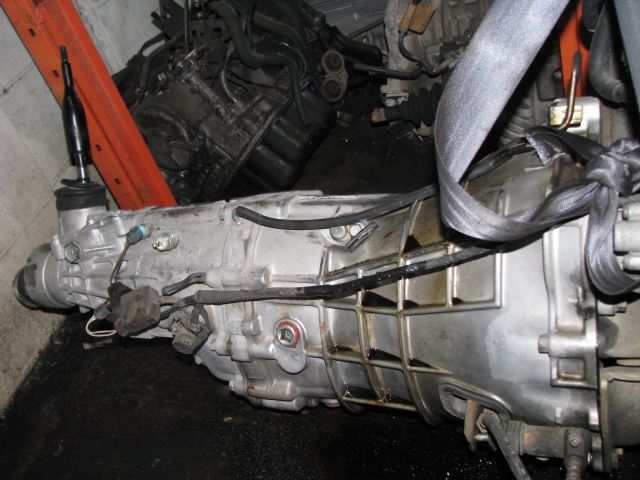
had to buy an aftermarket drive shaft for the rb25(non neo) transmission.

here's what my kitchen floor looked like for a week while i was tackling the wiring. it sat there for a while why i did research and once i found little info on how to do the wiring with r34 loom i decided to just try and figure it out on my own. so with the rb20 pin out diagram and the r34 pin out diagram i just did one wire at a time. and labeled EVERYTHING.. i cant stress that enough lol
once i figured it out its actually pretty simple. just overwhelming at first.

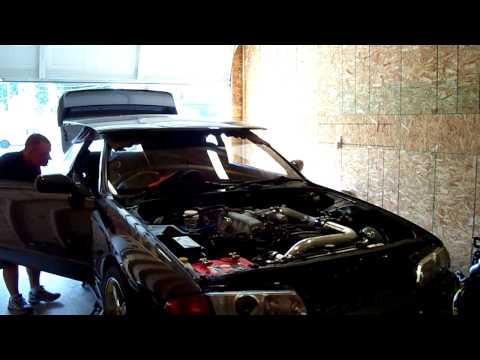
here's a video of the first start up. (runs no problem once you have the fuel lines the right way around)
Leave a comment:
-
looks good man!
im toying with the idea of a 25 swap aswell, you should post up any challenges that you come across so i know what im getting myself into lol.Leave a comment:
-
12-June-
picked it up and brought it home.

gave everything a good once over. and removed stuff not needed/mounted transmission ready for install

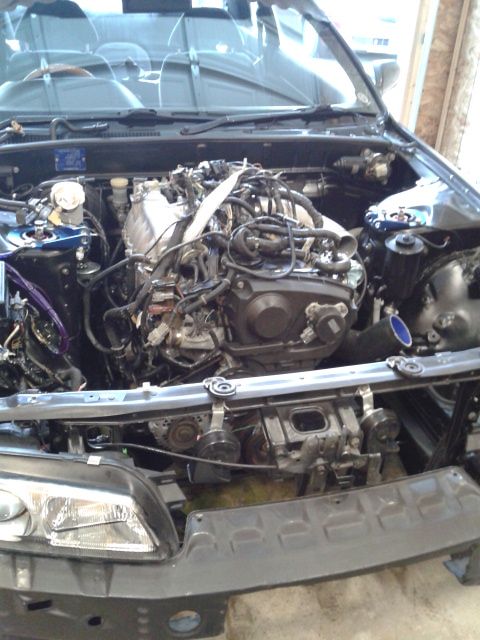
13-June-
installing engine

Leave a comment:
-
Sorry to hear.Originally posted by amnash View Post
Wow, so 121 degrees Celcius (250 degrees Farenheit). I think stock w30 oil starts to break down after 100 degrees Celcius and even w40 would struggle with a constant 121 degrees Celcius. w50 might work.
Average of 88 degrees Celcius (190 degrees Farenheit) sounds normal. Anything over 90 degrees Celcius is too high.
Nismo explains what happens to bearings here (might need to translate text) -
High oiltemps = oil breaks down, surface of bearing melts and clearances between crank, bearings widen = rod knock.Leave a comment:
-
So u figure out what was wrong with it? How much for the rb25? Can pm me, my next door neighbor just picked up an r33 but has an rb20 slapped in there,wierd, it's really rough,but the car is in excellent shape. he's lookin for a 25 , and in Calgary also, I'll give him the guys number for sureLeave a comment:
-
This project has taken a very fast sharp turn. As you can tell by the video and my comments on Facebook, i blew my motor while bombing down the highway. I now have bad rod knock, didn't realize while driving that my oil temp was at 250 degrees Fahrenheit (its 190 during normal driving) and after that i had constant rod knock and my oil pressure was about 15psi lower then normal even after oil temps were cool again.
if i would have known when i first bought the car what i know now, i would have just bought a full engine swap in the first place and saved myself a lot of time and money. it was a good learning experience i suppose...
so im going to have one very last kick at the bucket and if luck is on my side it will be running this summer still (a lot of luck).
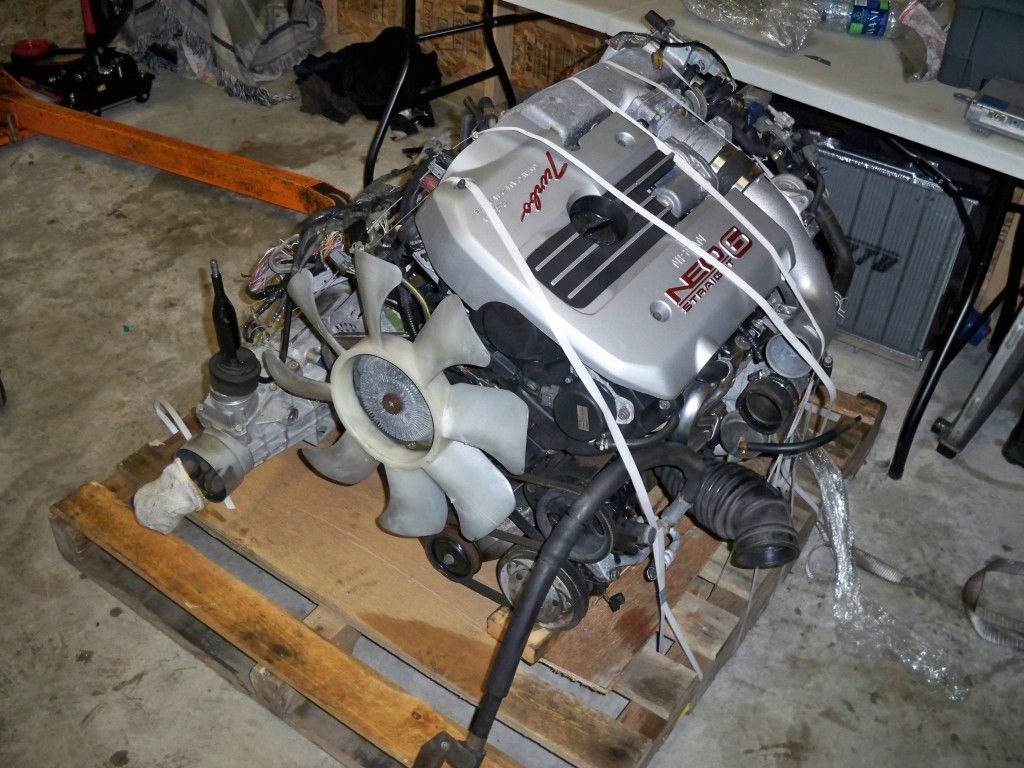
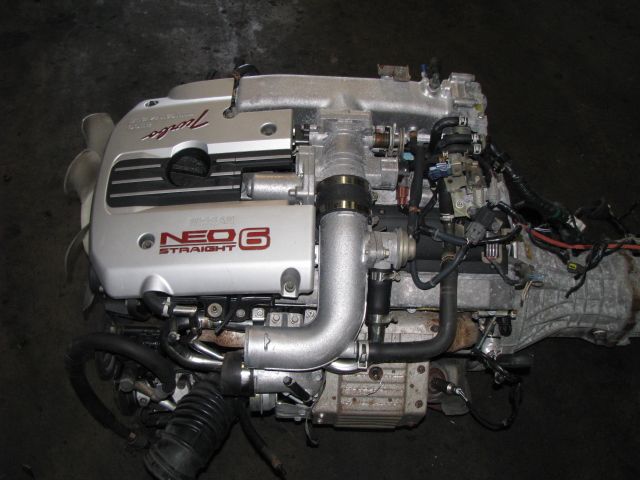
I've ordered a full R34 GT-T RB25DET NEO swap including transmission full wiring harness and ecu.
i picked it up from http://www.jdmsource.ca/index.php i gave them a call and spoke to a guy named Shoaib (sho-hab) and he was super helpful. i did a couple hours of research of were to buy from and these guys had almost 100% positive feedback on multiple forums. so once i seen that i felt in good hands.
My rb20 is already pulled out and sitting off to the side. and the rb25 is getting shipped out tomorrow from Calgary. so hopefully it wont take to long to get here. ill post up some pics when it comes in. until then..Last edited by amnash; 06-07-2012, 02:58 AM.Leave a comment:
-
so i had an alignment done today and the car is handleing a lot better now and wheel isnt shaking like crazy. took it on an empty highway and had it at about 200 for a couple seconds, man this car is rock solid. so im happy with the alignment.
but.. after that good stretch down the highway i started to hear a noise under the hood and pulled over.
i then limped it all the way home not going over 2000rpm and its sitting in my garage now. ill be pulling apart a few things trying to find it. im hoping its a loose bold under the valve cover..

Leave a comment:
-
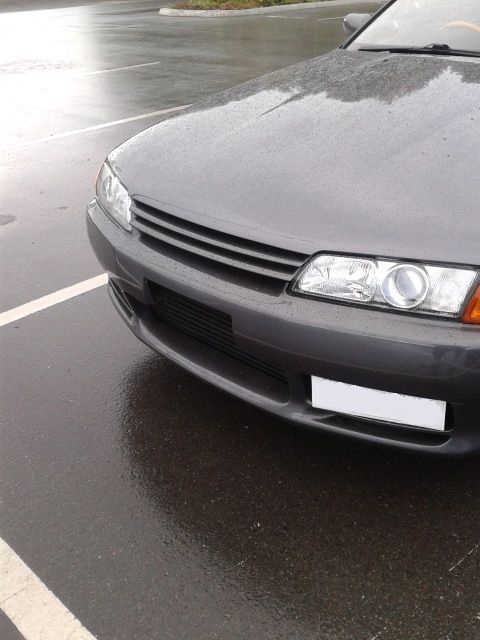
car is all done and on the road. i have 600km on the motor and there hasn't been any issues so far.
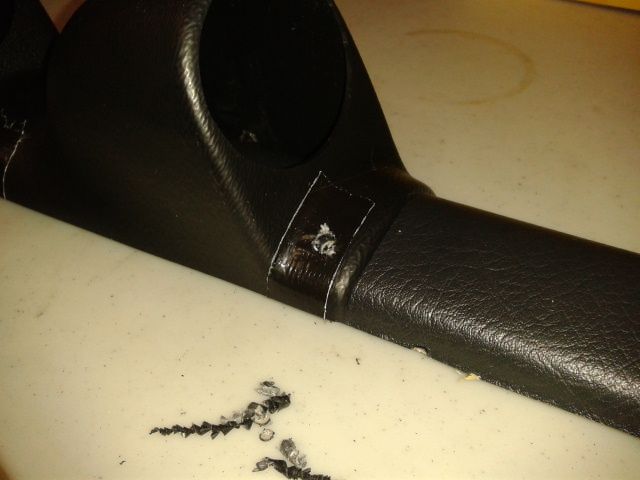
I finally mounted the gauges on my A pillar without the use of zap straps, and thought i would do a little write up.
DIY: professional gauge pod install for under $50
things you need :
- gauge pod from autometer PN#23904($35 lordco).
- 2 part plastic welding epoxy($10 c-tire).
- 8 plastic clips($3 lordco)

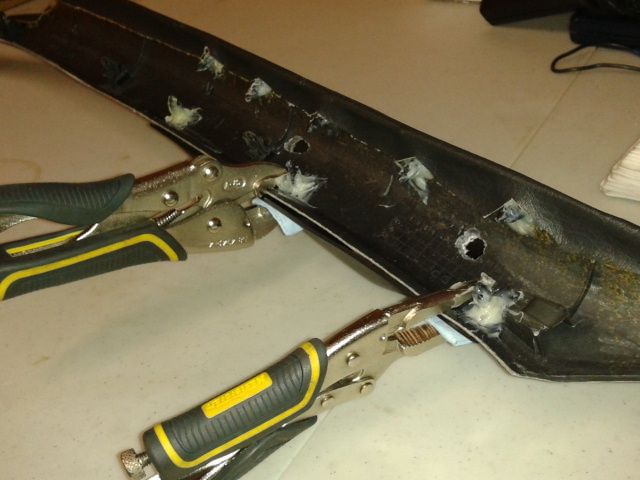
the gauge pod doesn't fit that great so you have to bend it to fit and hold it with tape.once its taped down nice and tight where you want it start drilling 1/4" holes and one at a time remove the tape and insert a clip.
only do one full side at a time. i started at the top side because thats the side you can see through the glass and alignment is more important. so after one side has all the clips in lightly clamp the clips down using a cloth not to scratch the pod. and then use the epoxy on the back of the clips. this acts as an anchor and will keep the pod held in place much better then clips alone. when epoxy is dry carefully remove clamps and move to the next clip.
once all that is done, you have to trim the clips on the bottom side so that the oem clips will still be able to engage.
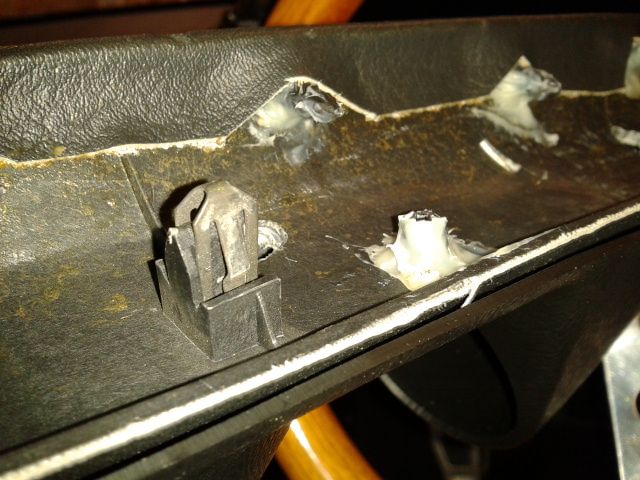
and thats it, your pod will now be a part of the a pillar trim and is rock solid.


 Last edited by amnash; 04-21-2015, 08:20 PM.
Leave a comment:


Leave a comment: