If this is your first visit, be sure to
check out the FAQ by clicking the
link above. You may have to register
before you can post: click the register link above to proceed. To start viewing messages,
select the forum that you want to visit from the selection below.
- Interior Shampoo
- 2-step leather treatment
- Engine Shampoo
- 1-step polishing Meguiars
- Clay Bar
- Just tried the new beta wax Liquid Natty�s Blue (really nice)
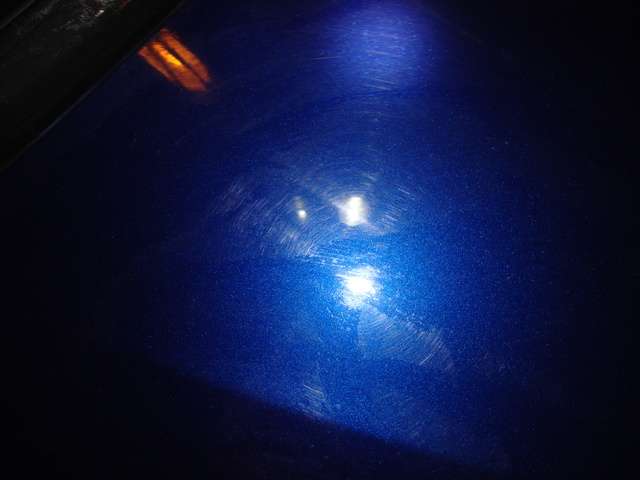
Initial condition: There was no sun that day so it was a bit hard to see all the defect, However I have my light and I could tell you that a clay bar was needed!!!
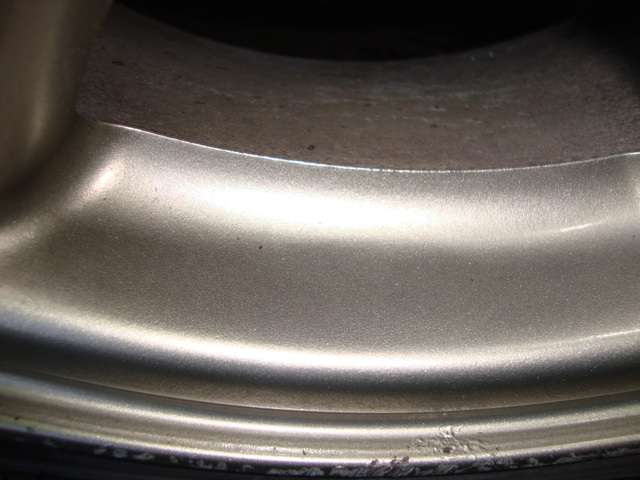
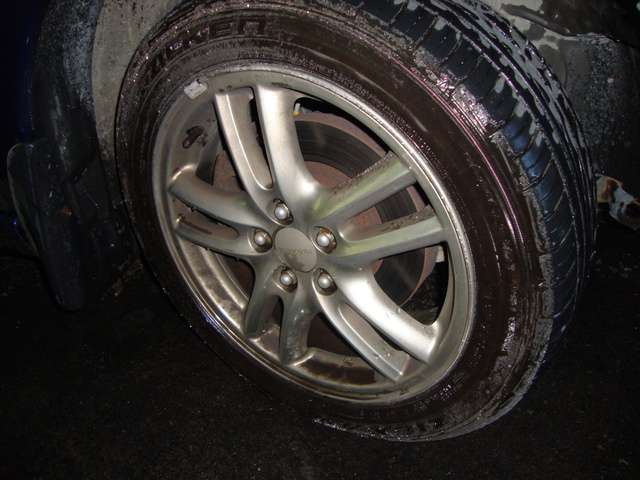
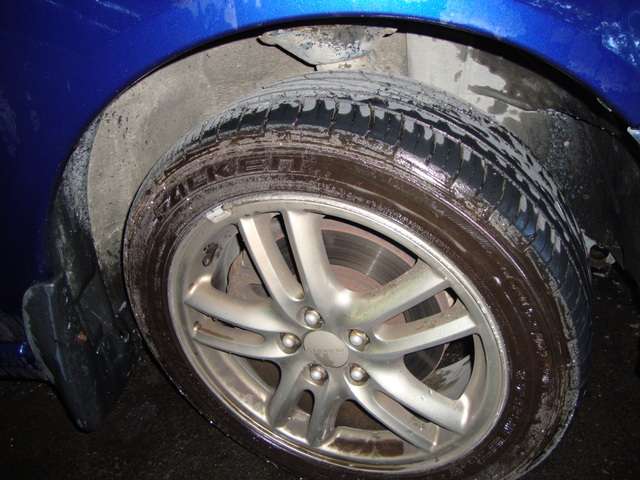
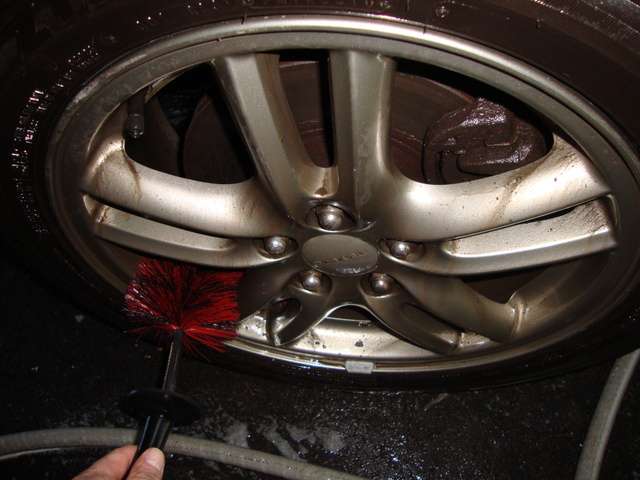
Wheels need serious attention!
Oxydation..
2- Clay bar:
Paint transfer
Gone :
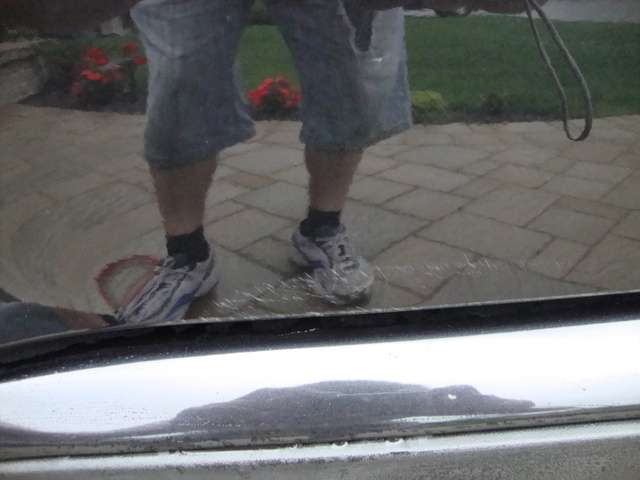
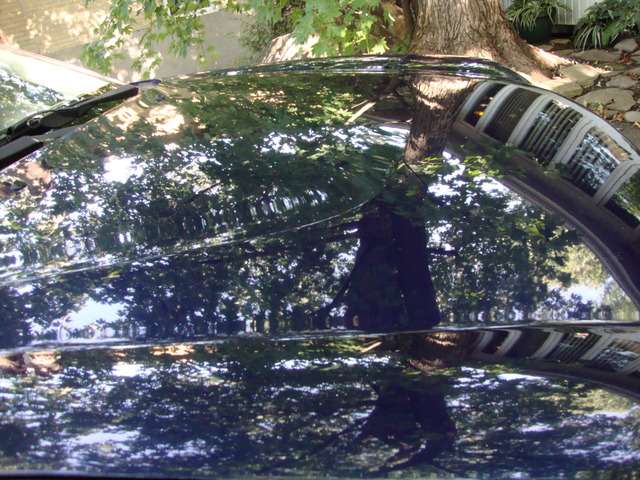
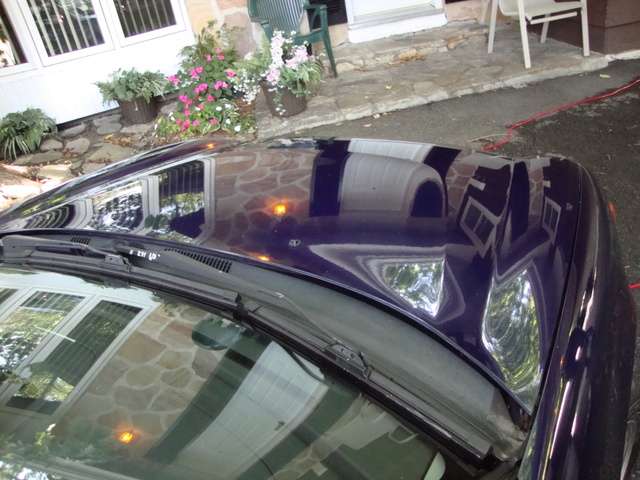
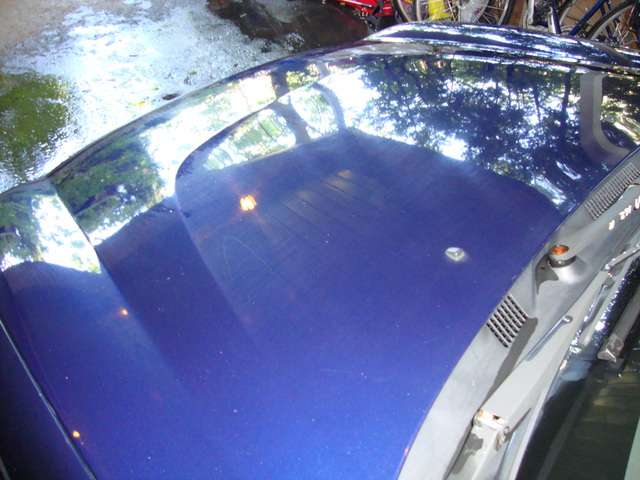
Look like brake dust or ''track abuse'' but on the roof is pretty rare.. however, it was a b*tch to clean!
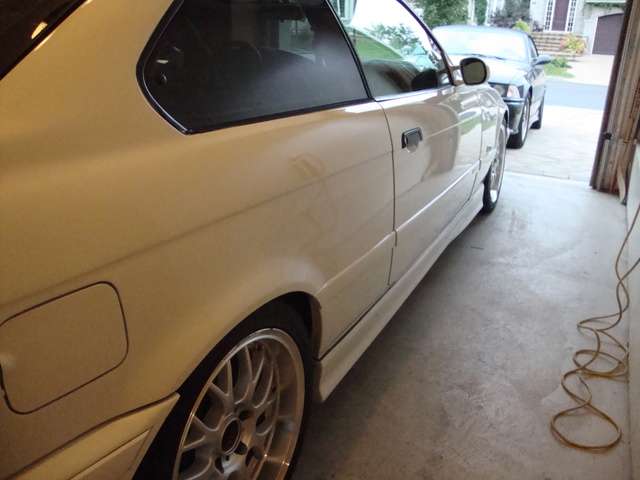
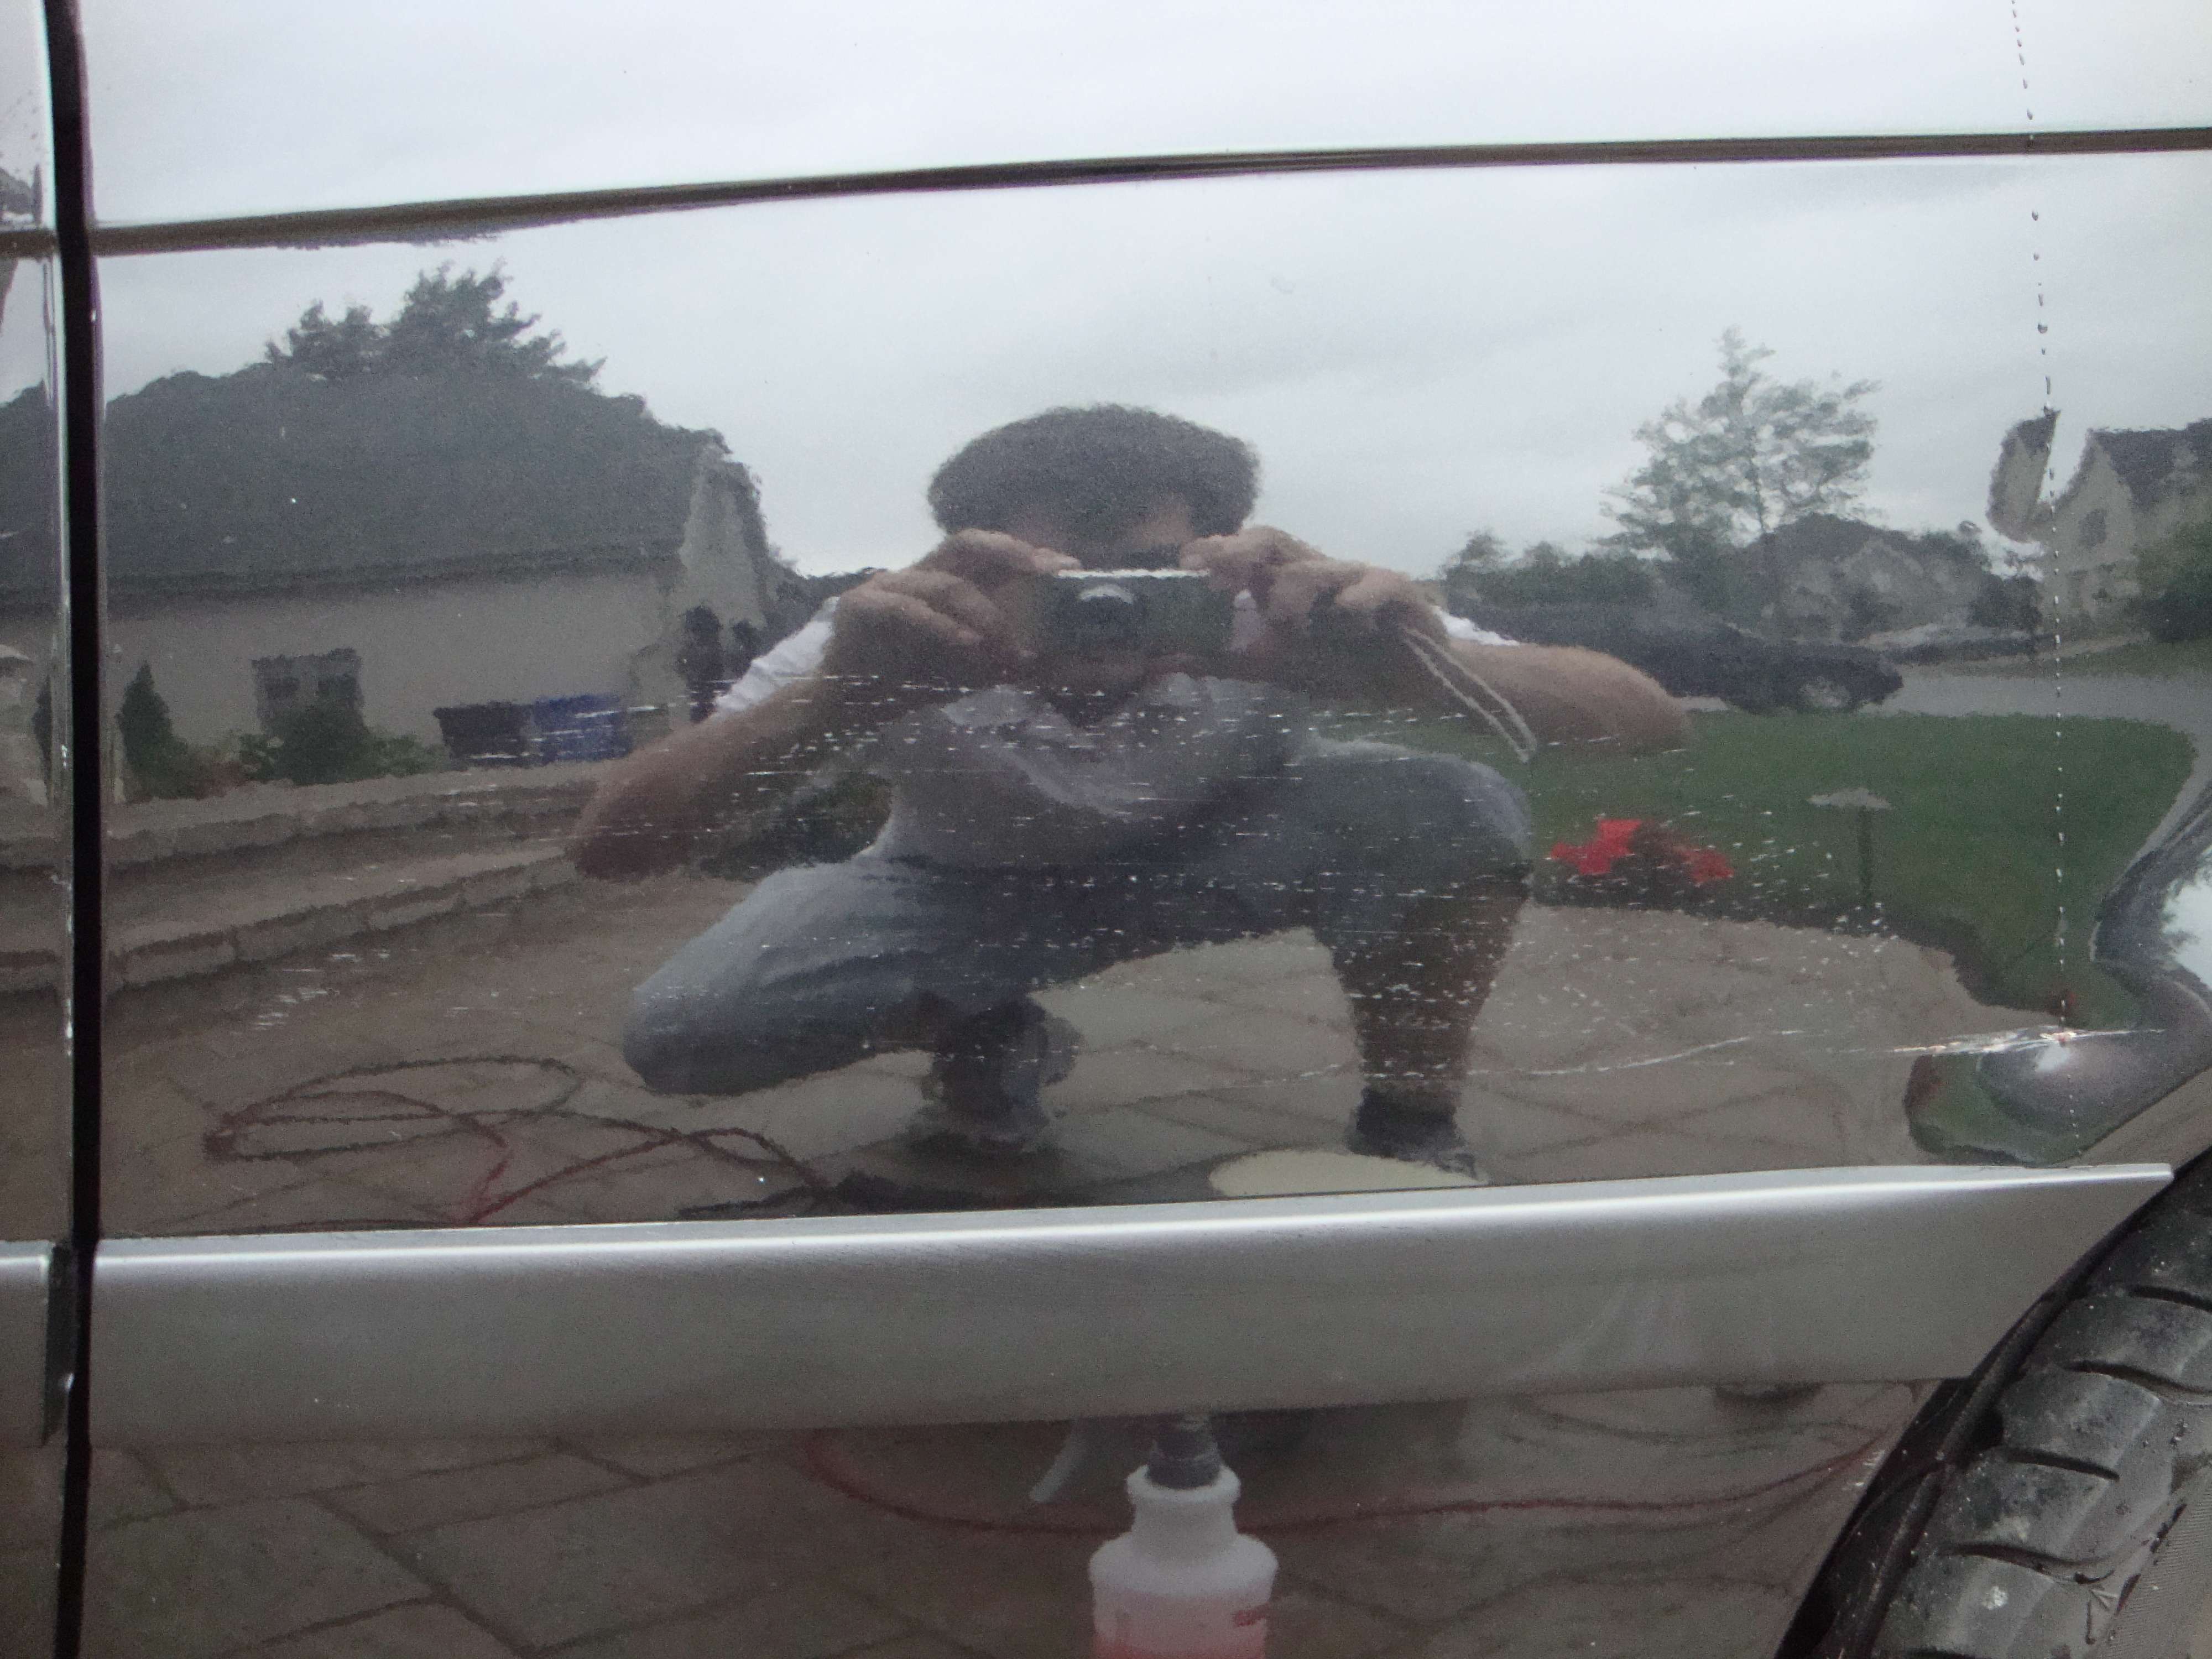
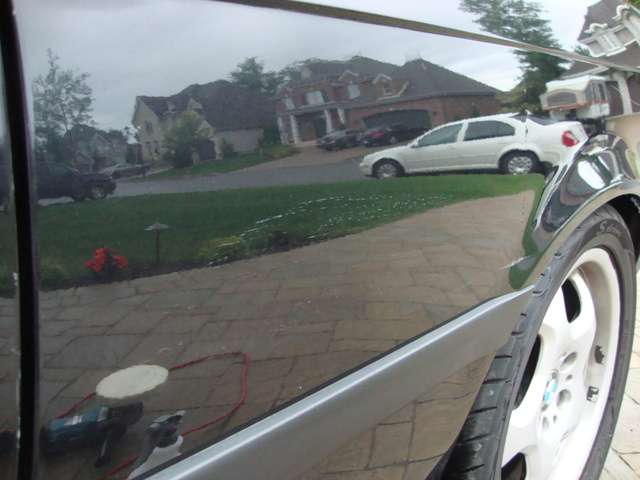
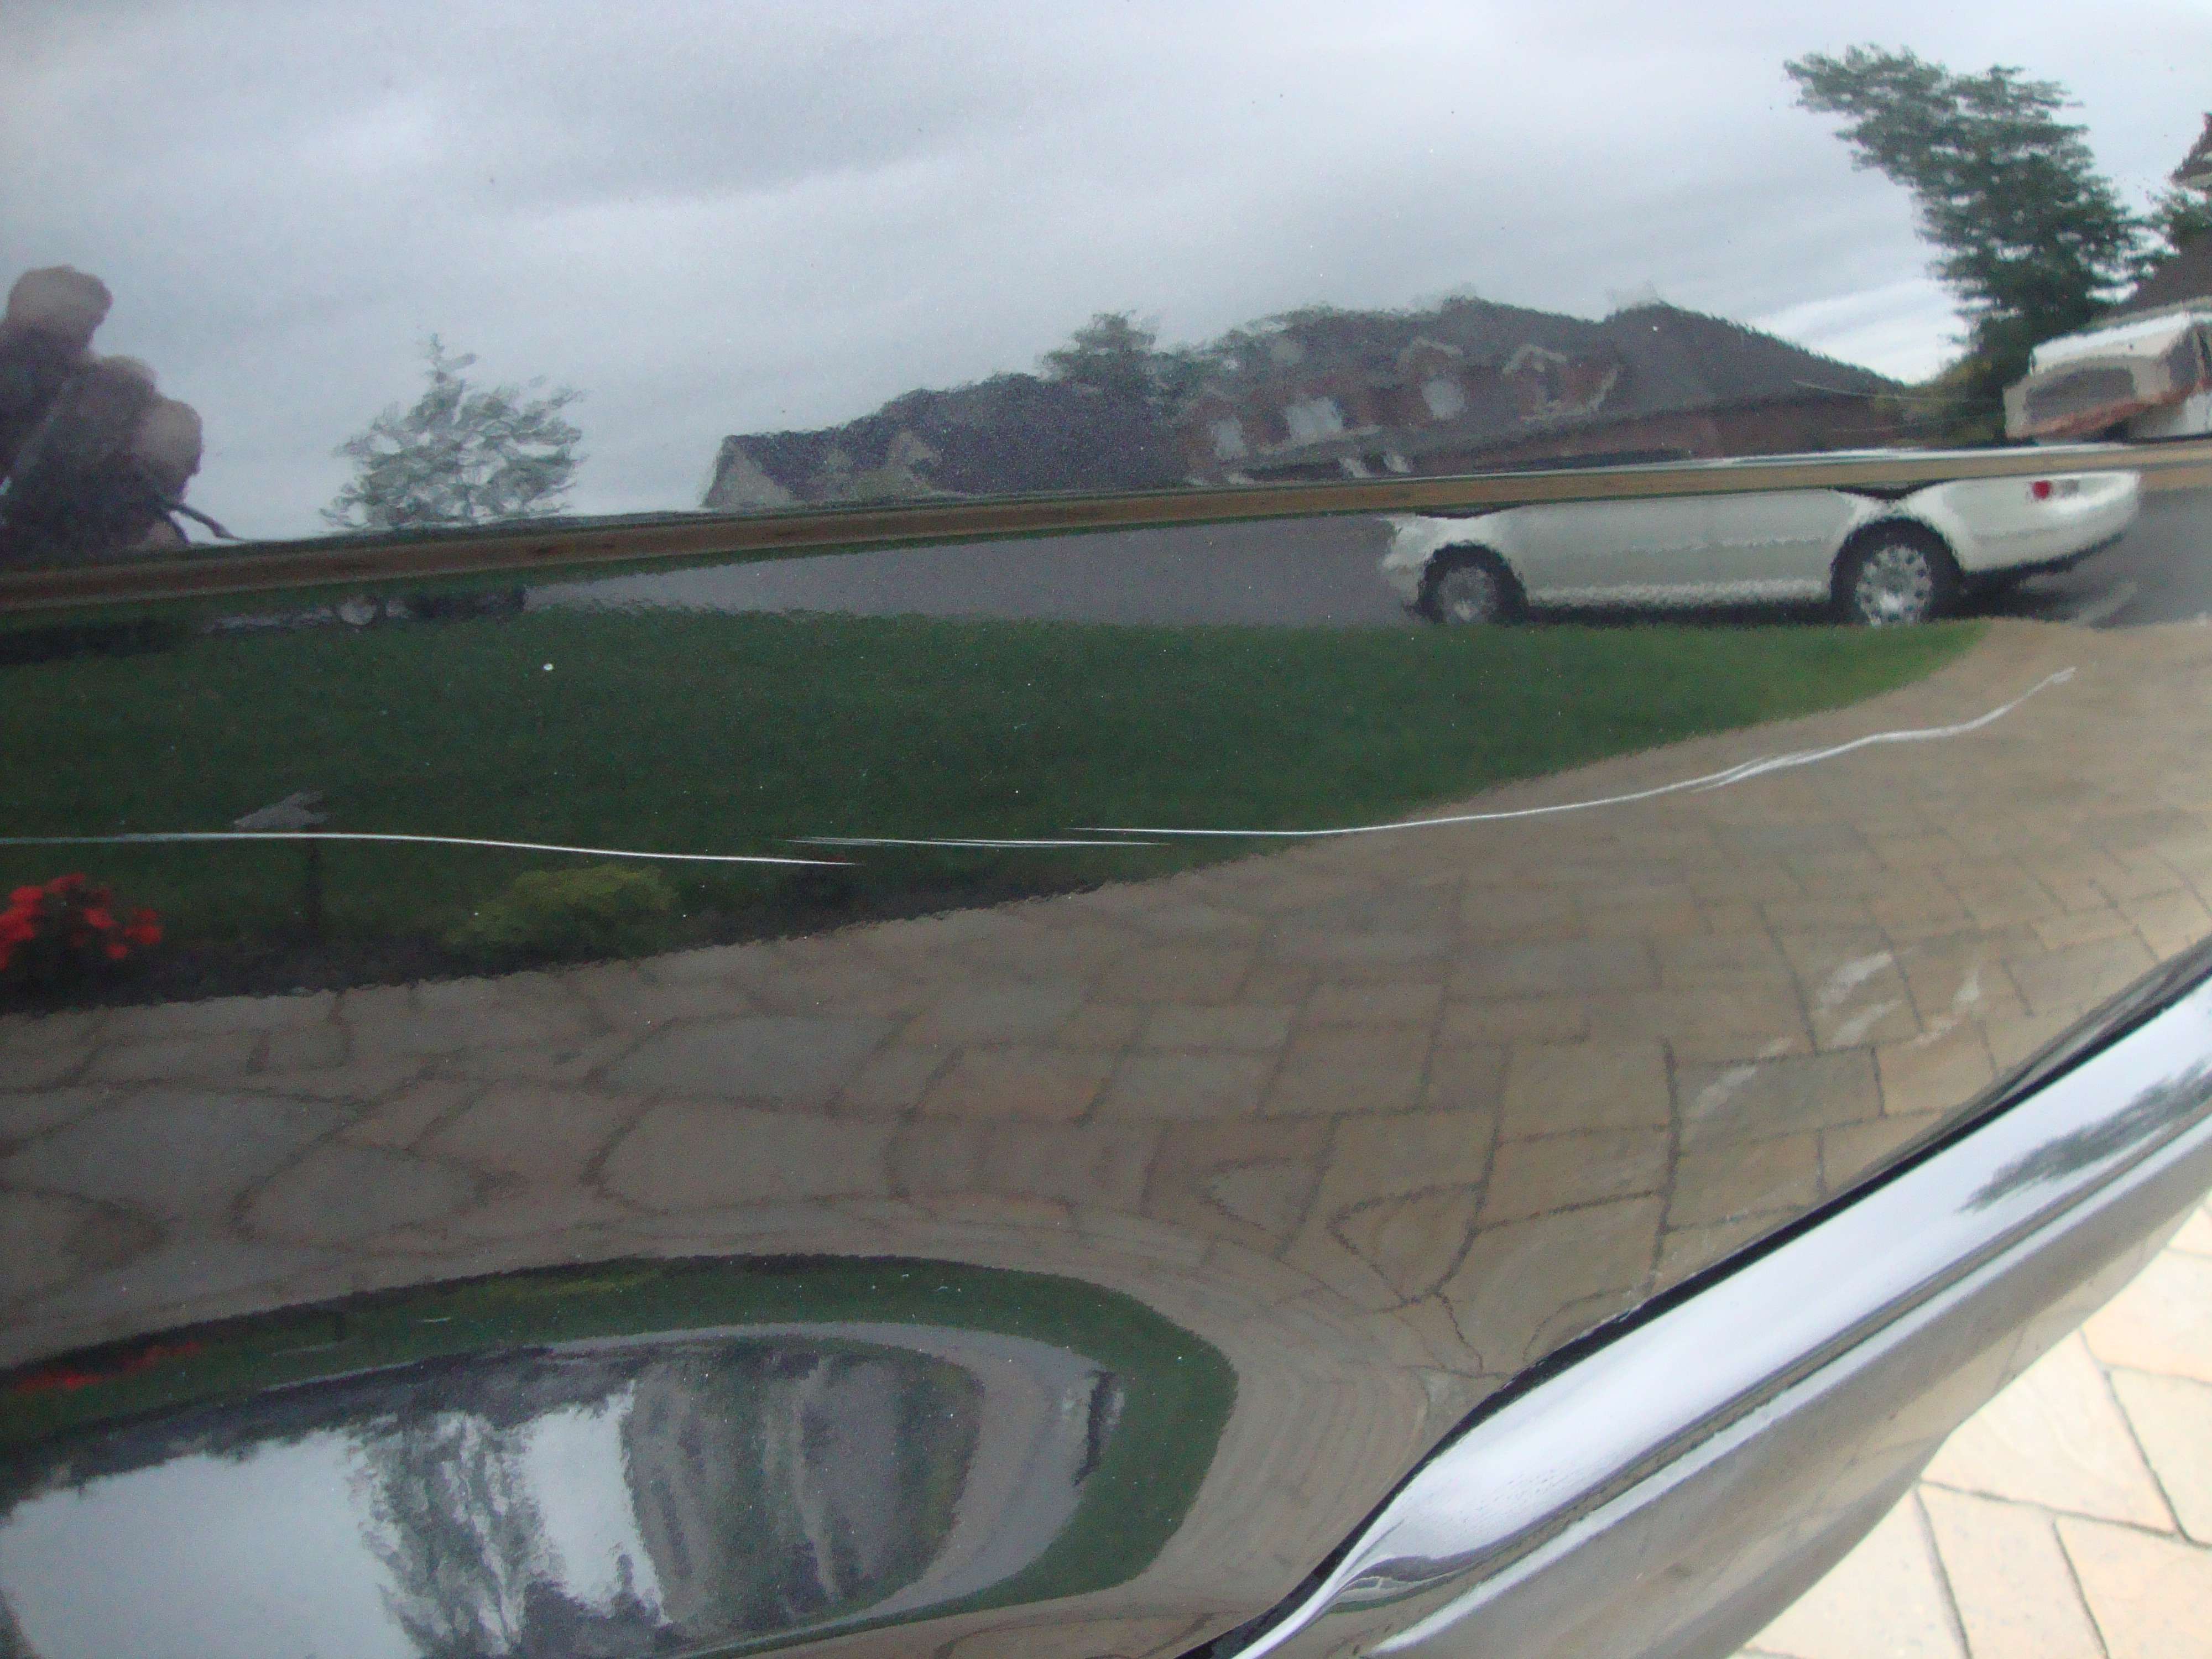
This is a BMW M3 in JET BLACK. ( this paint is a REAL B*TCH to work with) The owner scratched one panel badly. However he didn't want to have his car detailed but the thing is that if my correction is too agressive, one panel will look better than the rest of the car and you don't want this. so I had to blend the finsh with the rest of the car while still correcting the scratches haha! here's the pictures!
The story behind this integra's hood is that my step-father wanted to move the recycle bin and what he did was lifting the bin over the car but instead of that, he put the bin on the hood and drag it completely to the other side, you can see the damage by yourself!
Before:
After:
and no there was no hologram left on the hood, flawless finish
2 bucket washing method
Ultra-Look Car soap
SSR2 on pad CCS green coarse
APC+ dilued 4:1 for wheel well
Riccardo blue clay bar + clay lube
Makita Rotary
microfibers
Autoglym protectant on rubbers
Metal polish
Plastic polish
Wolfgang Fuzion estate wax.
Initial condition of the pick-up :
Rubber really needs to be detailed!!
Here's some good exemples of what a clay bar can do to a bad paint.
Before:
After: I wasn't able to completely remove everything but oh well, still look tons better now!
Freaking contaminants!
Just a pass of Ricardo clay bar and nada ; glass-looking!
Look how rubber look darker and just like-new
Here's what the metal look like after a good metal polishing and metal sealant :
Who said a white pick-up can't look wet !? Wolfgang Fuzion wax.
wow, amazing work as usual! the wet shots of the wrx...practically blew my load lol
And thanks for responding to my request! :P
H�h�, with that kind of request, I couldn't not respond to that LOLL I'm just pretty busy with the montreal auto show, I don't have times to upload pictures but I will sure get you a nice post with inside scoop on how it works.
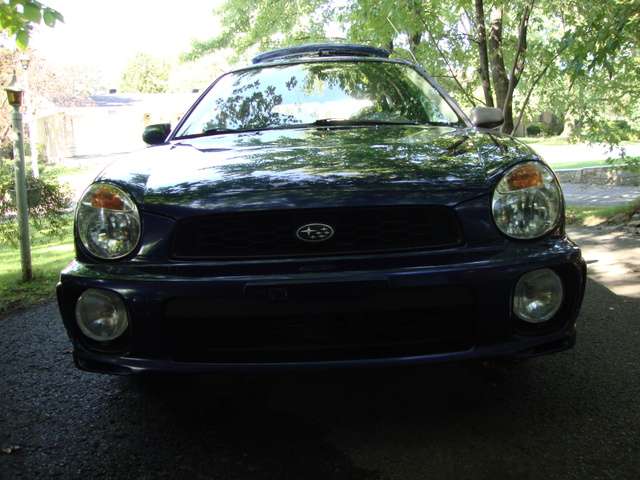
The owner just bought the car and thought it would be a good idea to get it detailed and I totally agree with him!
So we went ahead and did a 1-step detailing, debadging the trunk, I used the DP max wax and i also polished the fog light cover and headlight as usual!
1. Initial condition :
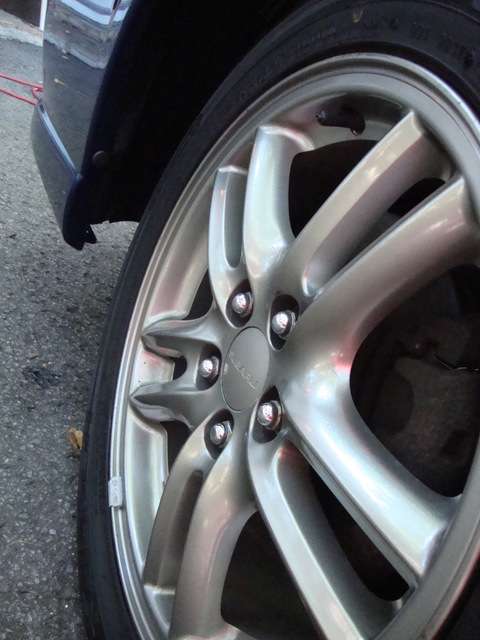
Overall the paint is really faded and swirled, In other words, the color is not vivid enought! Wheels needs love too!
! Lot of swirls!
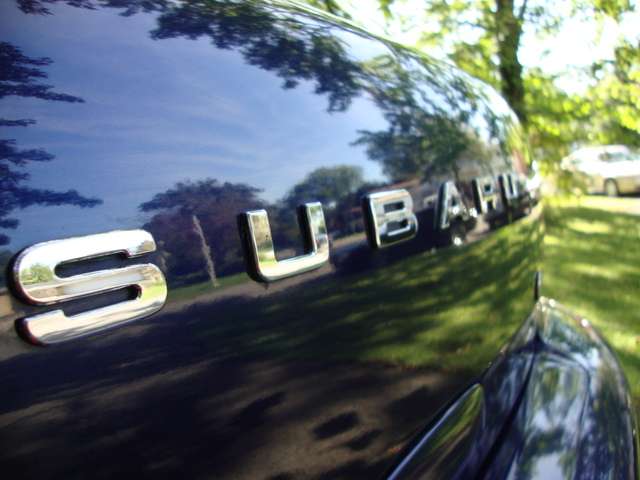
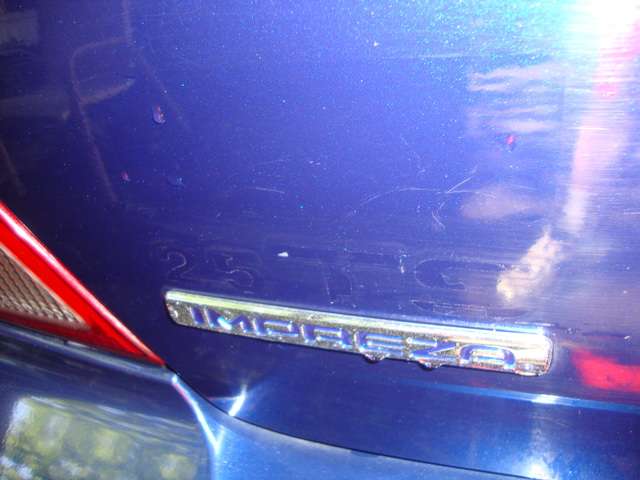
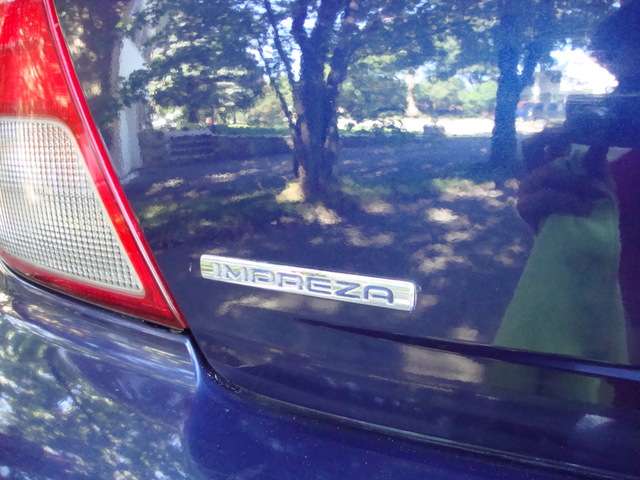
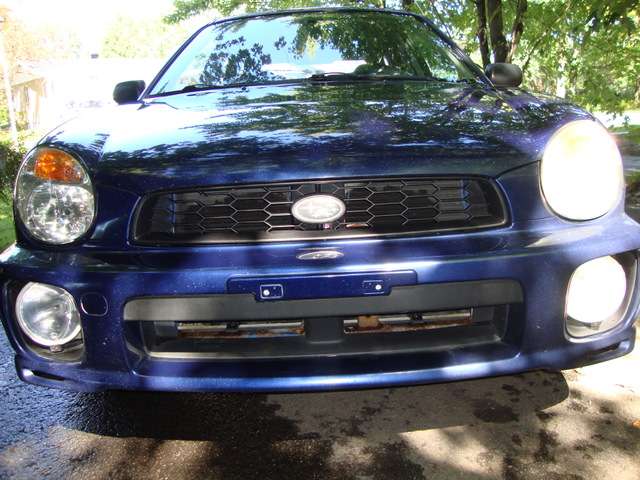
2. Debadge.
No more badge and glue was also removed.
See, how it blend nicely with the paint after the compound ?
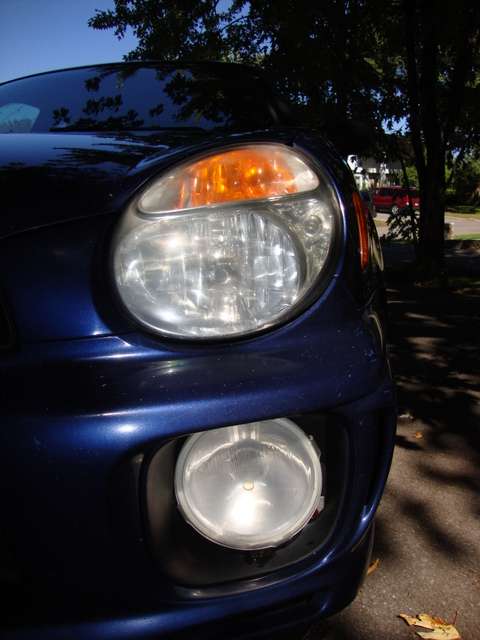
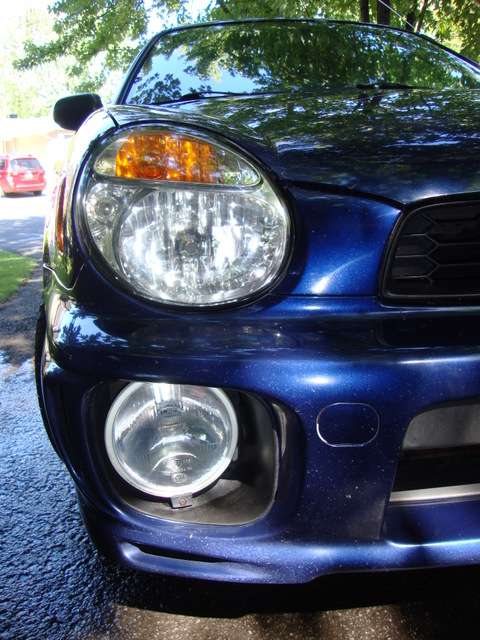
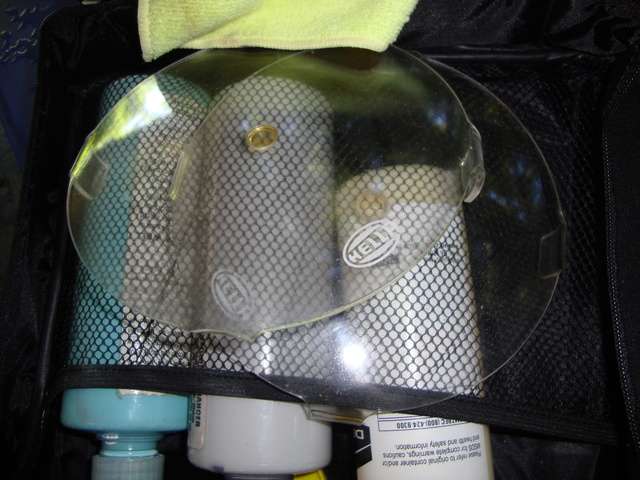
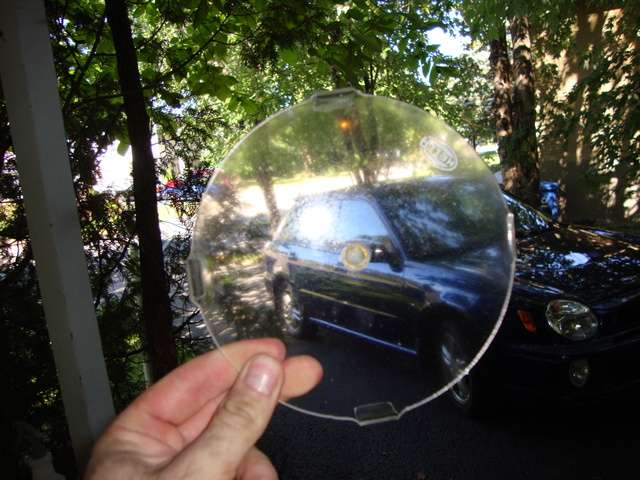
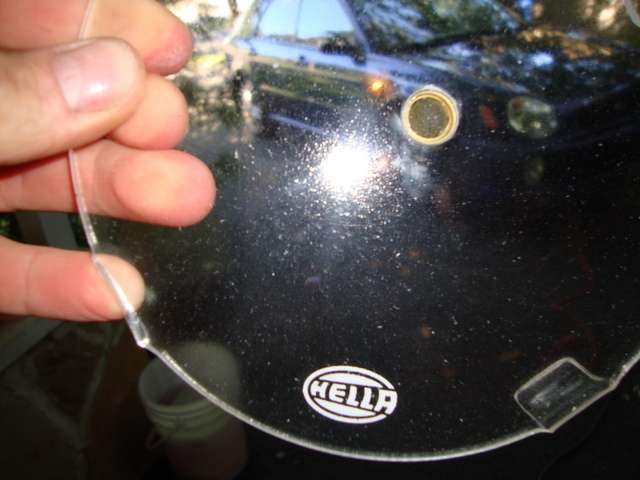
3. Headlight + Fog light!
White, you simply can't see with the cover on! It really need a good cleaning.
50/50 shot.
after :
Left is done, right is untouched!
I had to remvoe the cover and polish inside and out and I also lightly polished the fog light itself for a clearer result and to improve safety too!
dude, you should come down to the Toronto area and do our cars !! plan for it this summer !!
You are the fifth person to ask me this request. I will do it. I would just ask a deposit from everyone because I don't want to take any risk to drive 6 hours for nothing. I might sleep in a little motel at 60$ a night for 3-4 days and I will have a blast with my ontarian gtrc members!
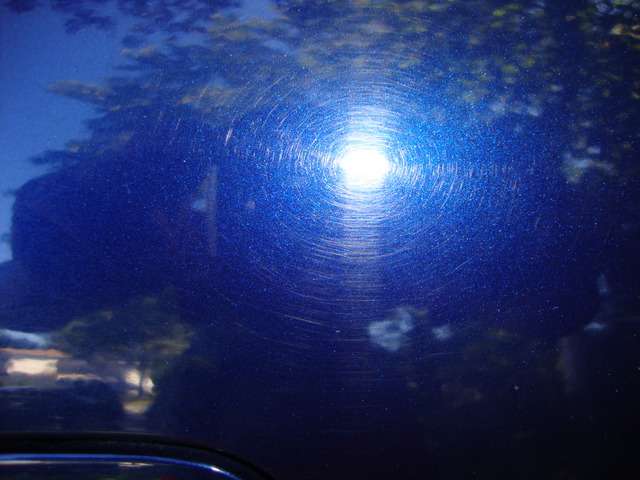
Blue Alero. I don�t think that car has ever been polished before so it was worth it.
This is what I call a �� winter protection treatment��. It consist of:
- A good cleaning
- Clay bar
- 1-step polishing ( to deeply clean, correct approx. 50% and remove oxidation)
- Then, I top it with a high-durability Sealant that will hold up all winter long against salt and such.
- Polishing the headlight ( we drive a lot in the dark in winter)
Before:
One 50-50 shot. See how the reflection is improved, paint is darker and less swirls obvisouly!
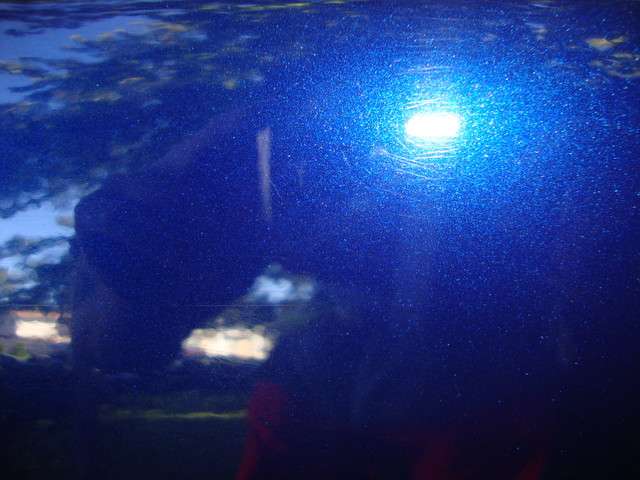
Deep scratches.
There�s still somes but hey, it�s so wet anyways, you can�t seem them :P
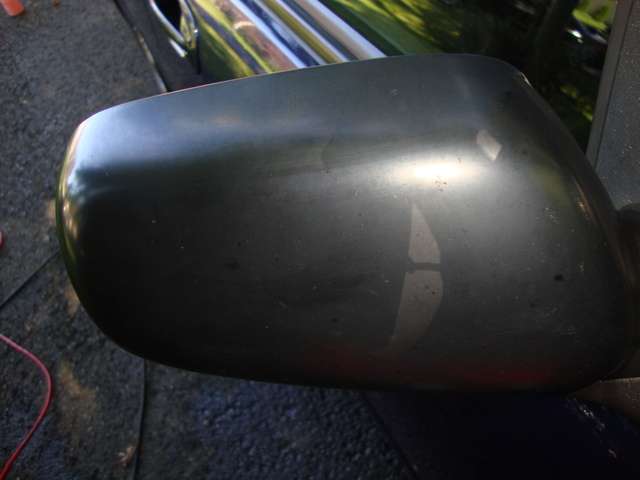
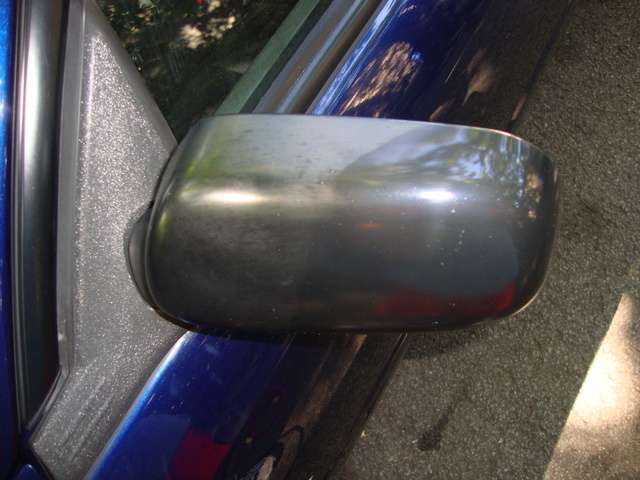
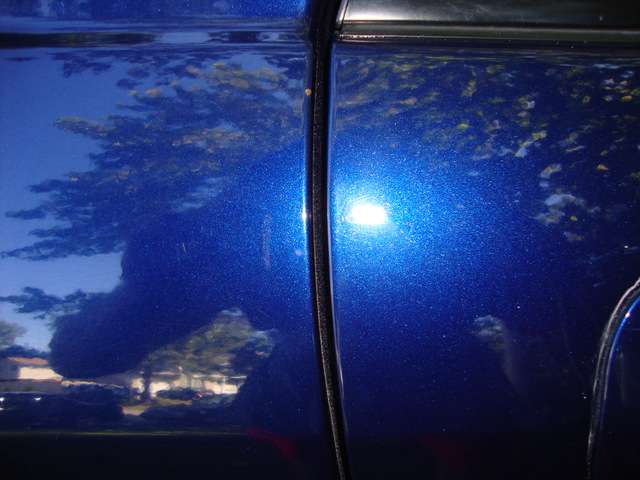
Good difference between the B-pillar
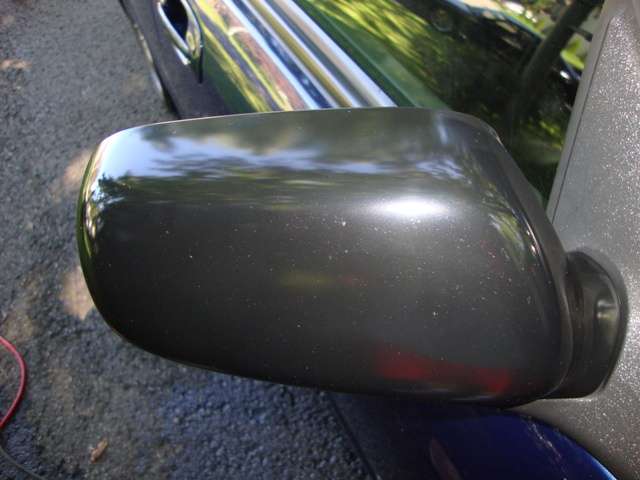
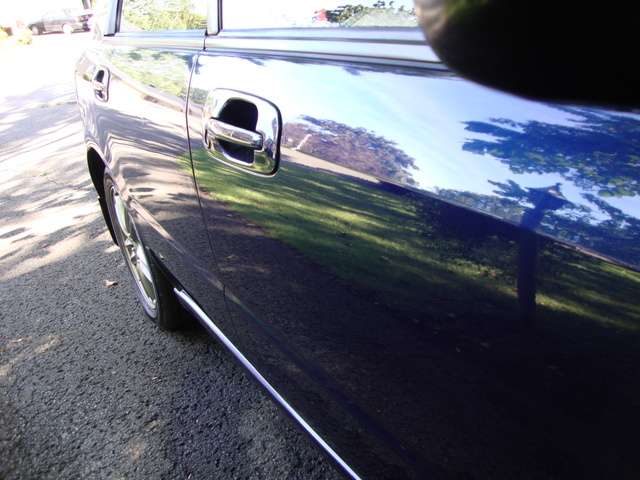
Finishing with Quality sealant. It make the pearl pop.
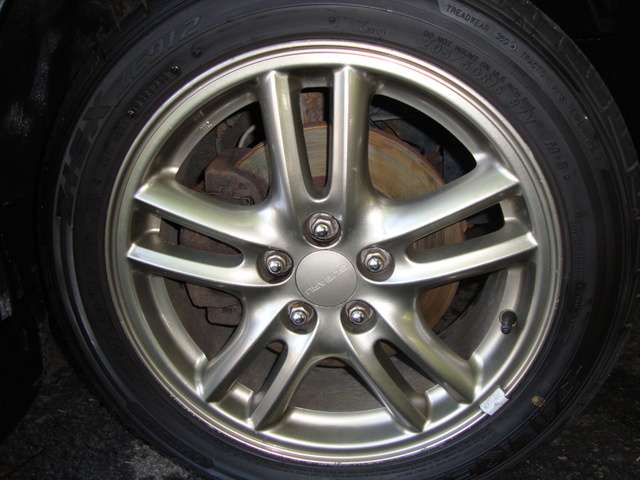
It�s not because he has winter tire with no caps that I won�t detail his wheel well and protecs the tires!
I think the car look a lot better than it was 3 hours ago! It was well worth it! Great reflection, paint is darker which look better. Reflections are more detailed.


Leave a comment: