If this is your first visit, be sure to
check out the FAQ by clicking the
link above. You may have to register
before you can post: click the register link above to proceed. To start viewing messages,
select the forum that you want to visit from the selection below.
So I�m thinking.. if the owner took the times to wet-sand his whole car, he might expect a near-brand new finish no? I decide to go ahead and do the 5-step, without charging anything more, because I�m not a business, I�m here to do a great job, that�s the ultimate goal. Make sens? And it�s Christmas for Christ sake!![/COLOR]
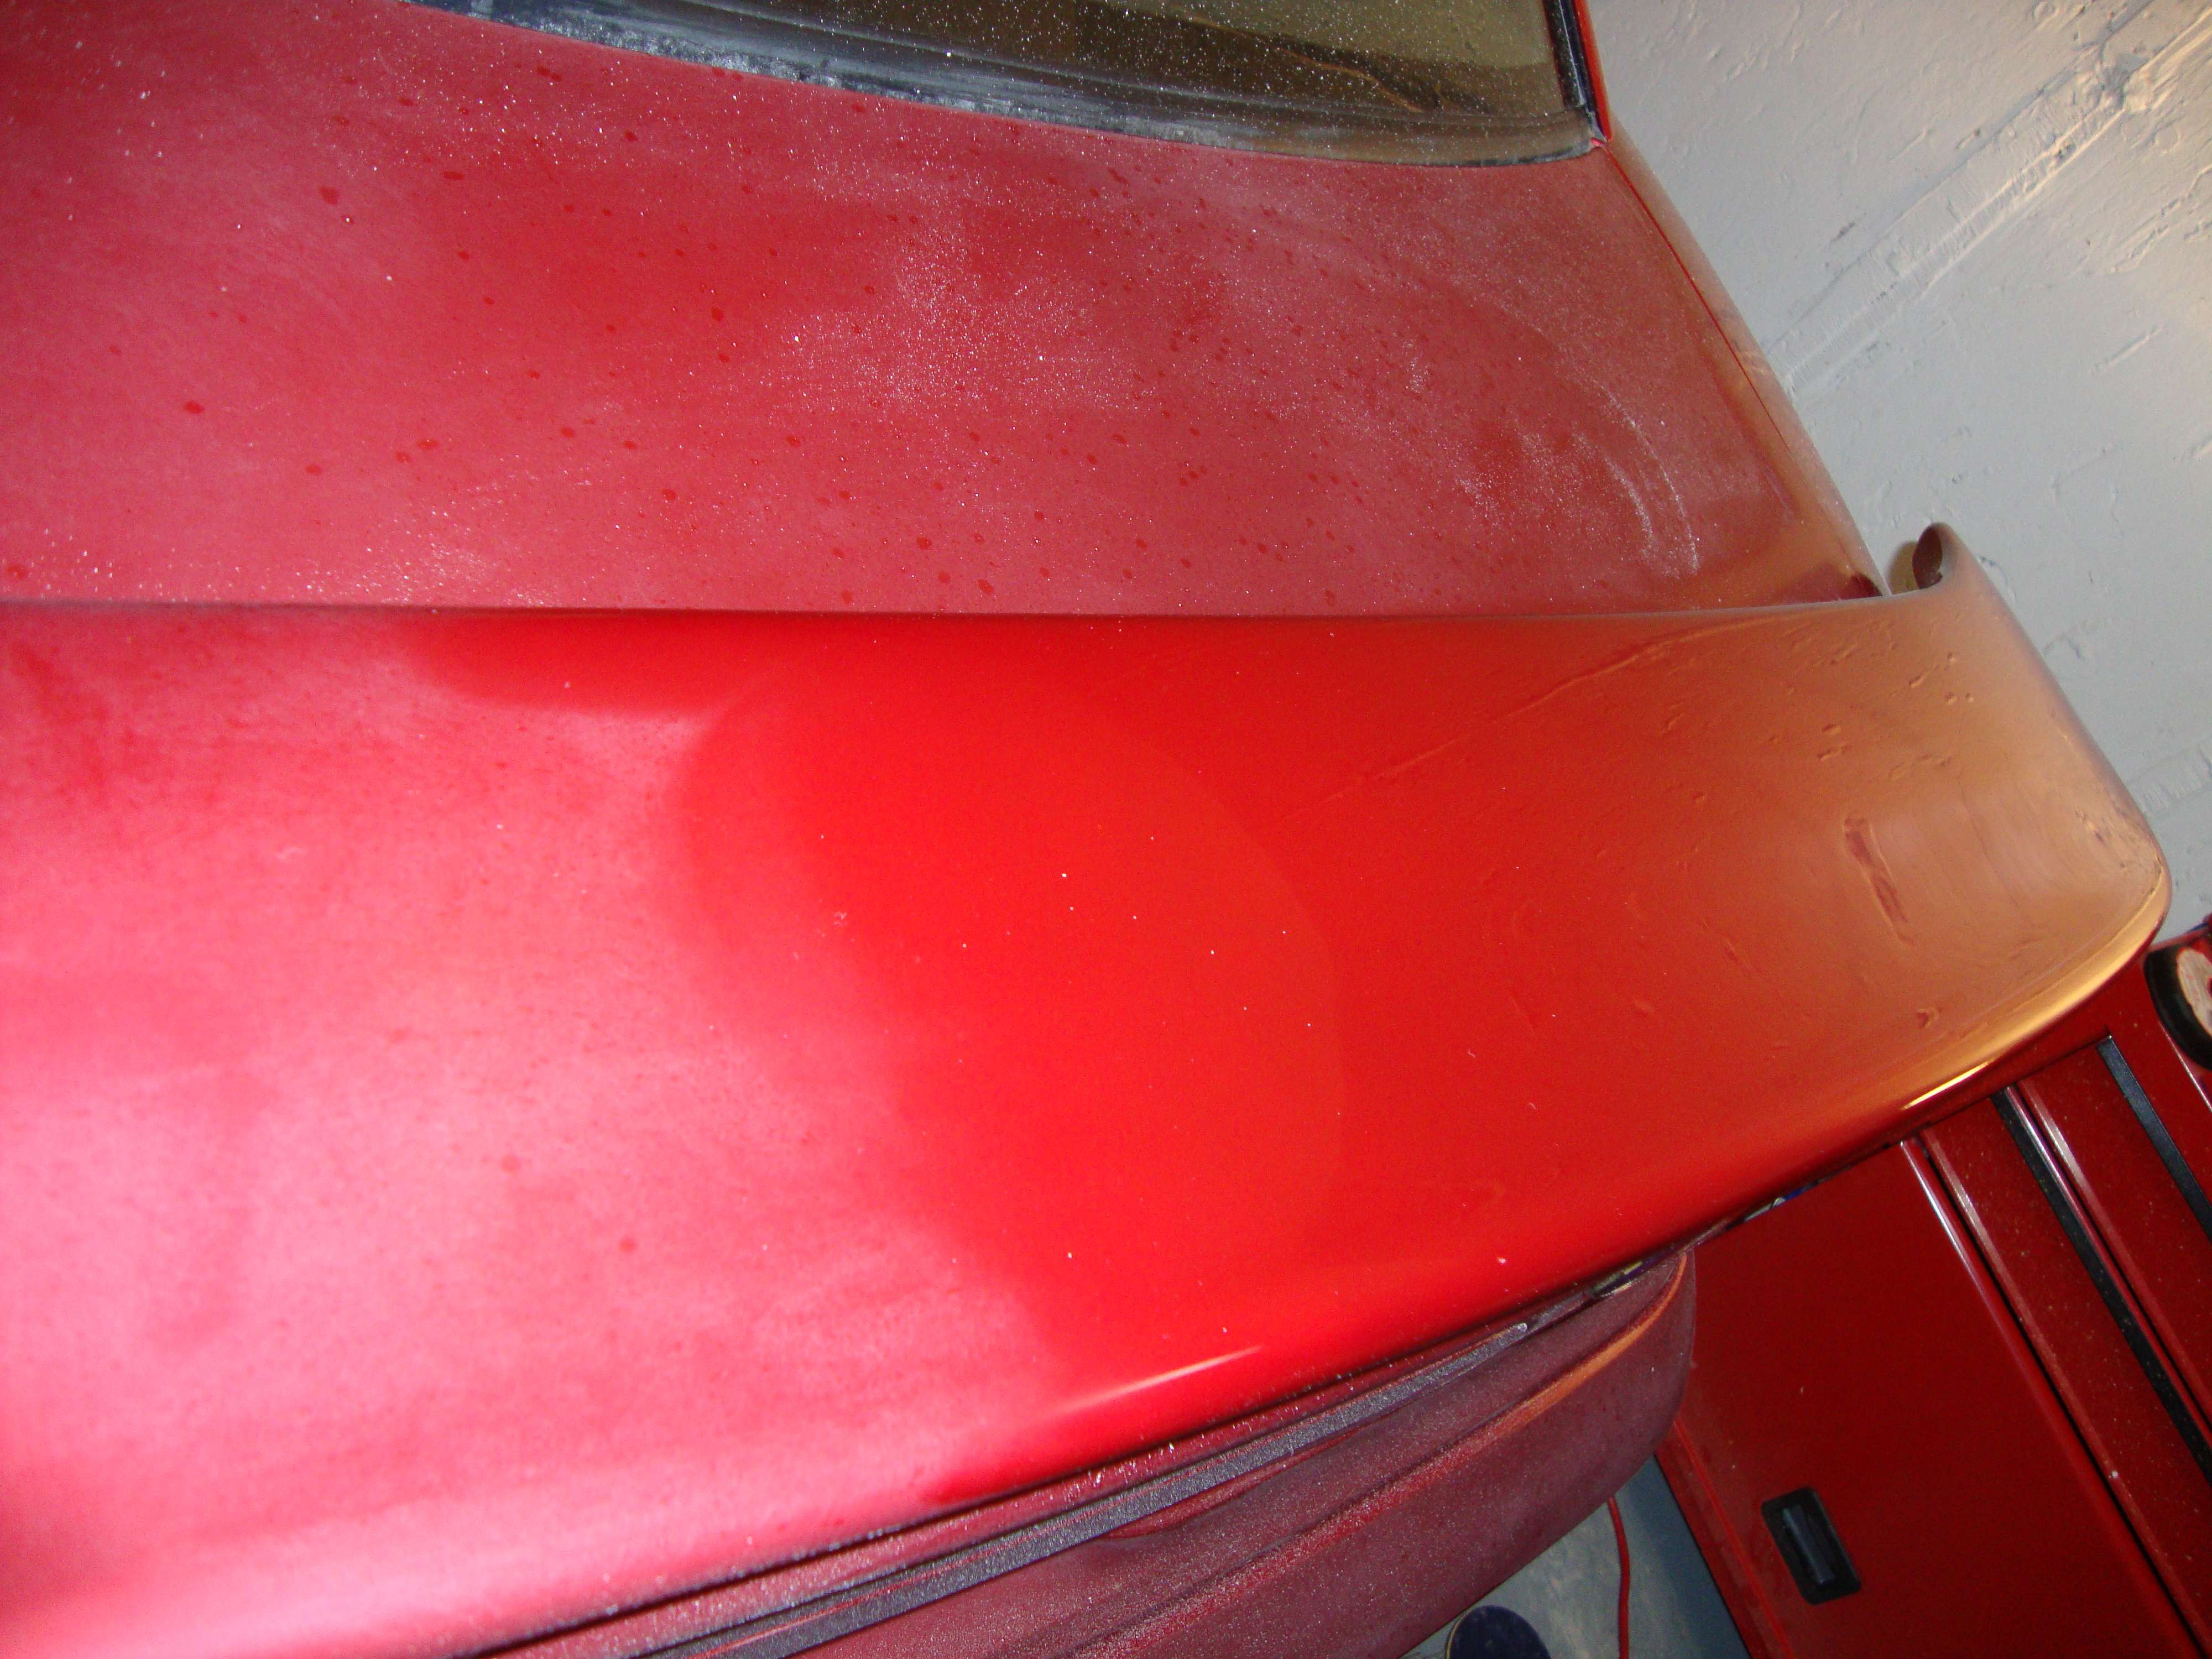
ue"]See how wet the wing is, there�s no wax by the way.[/COLOR]
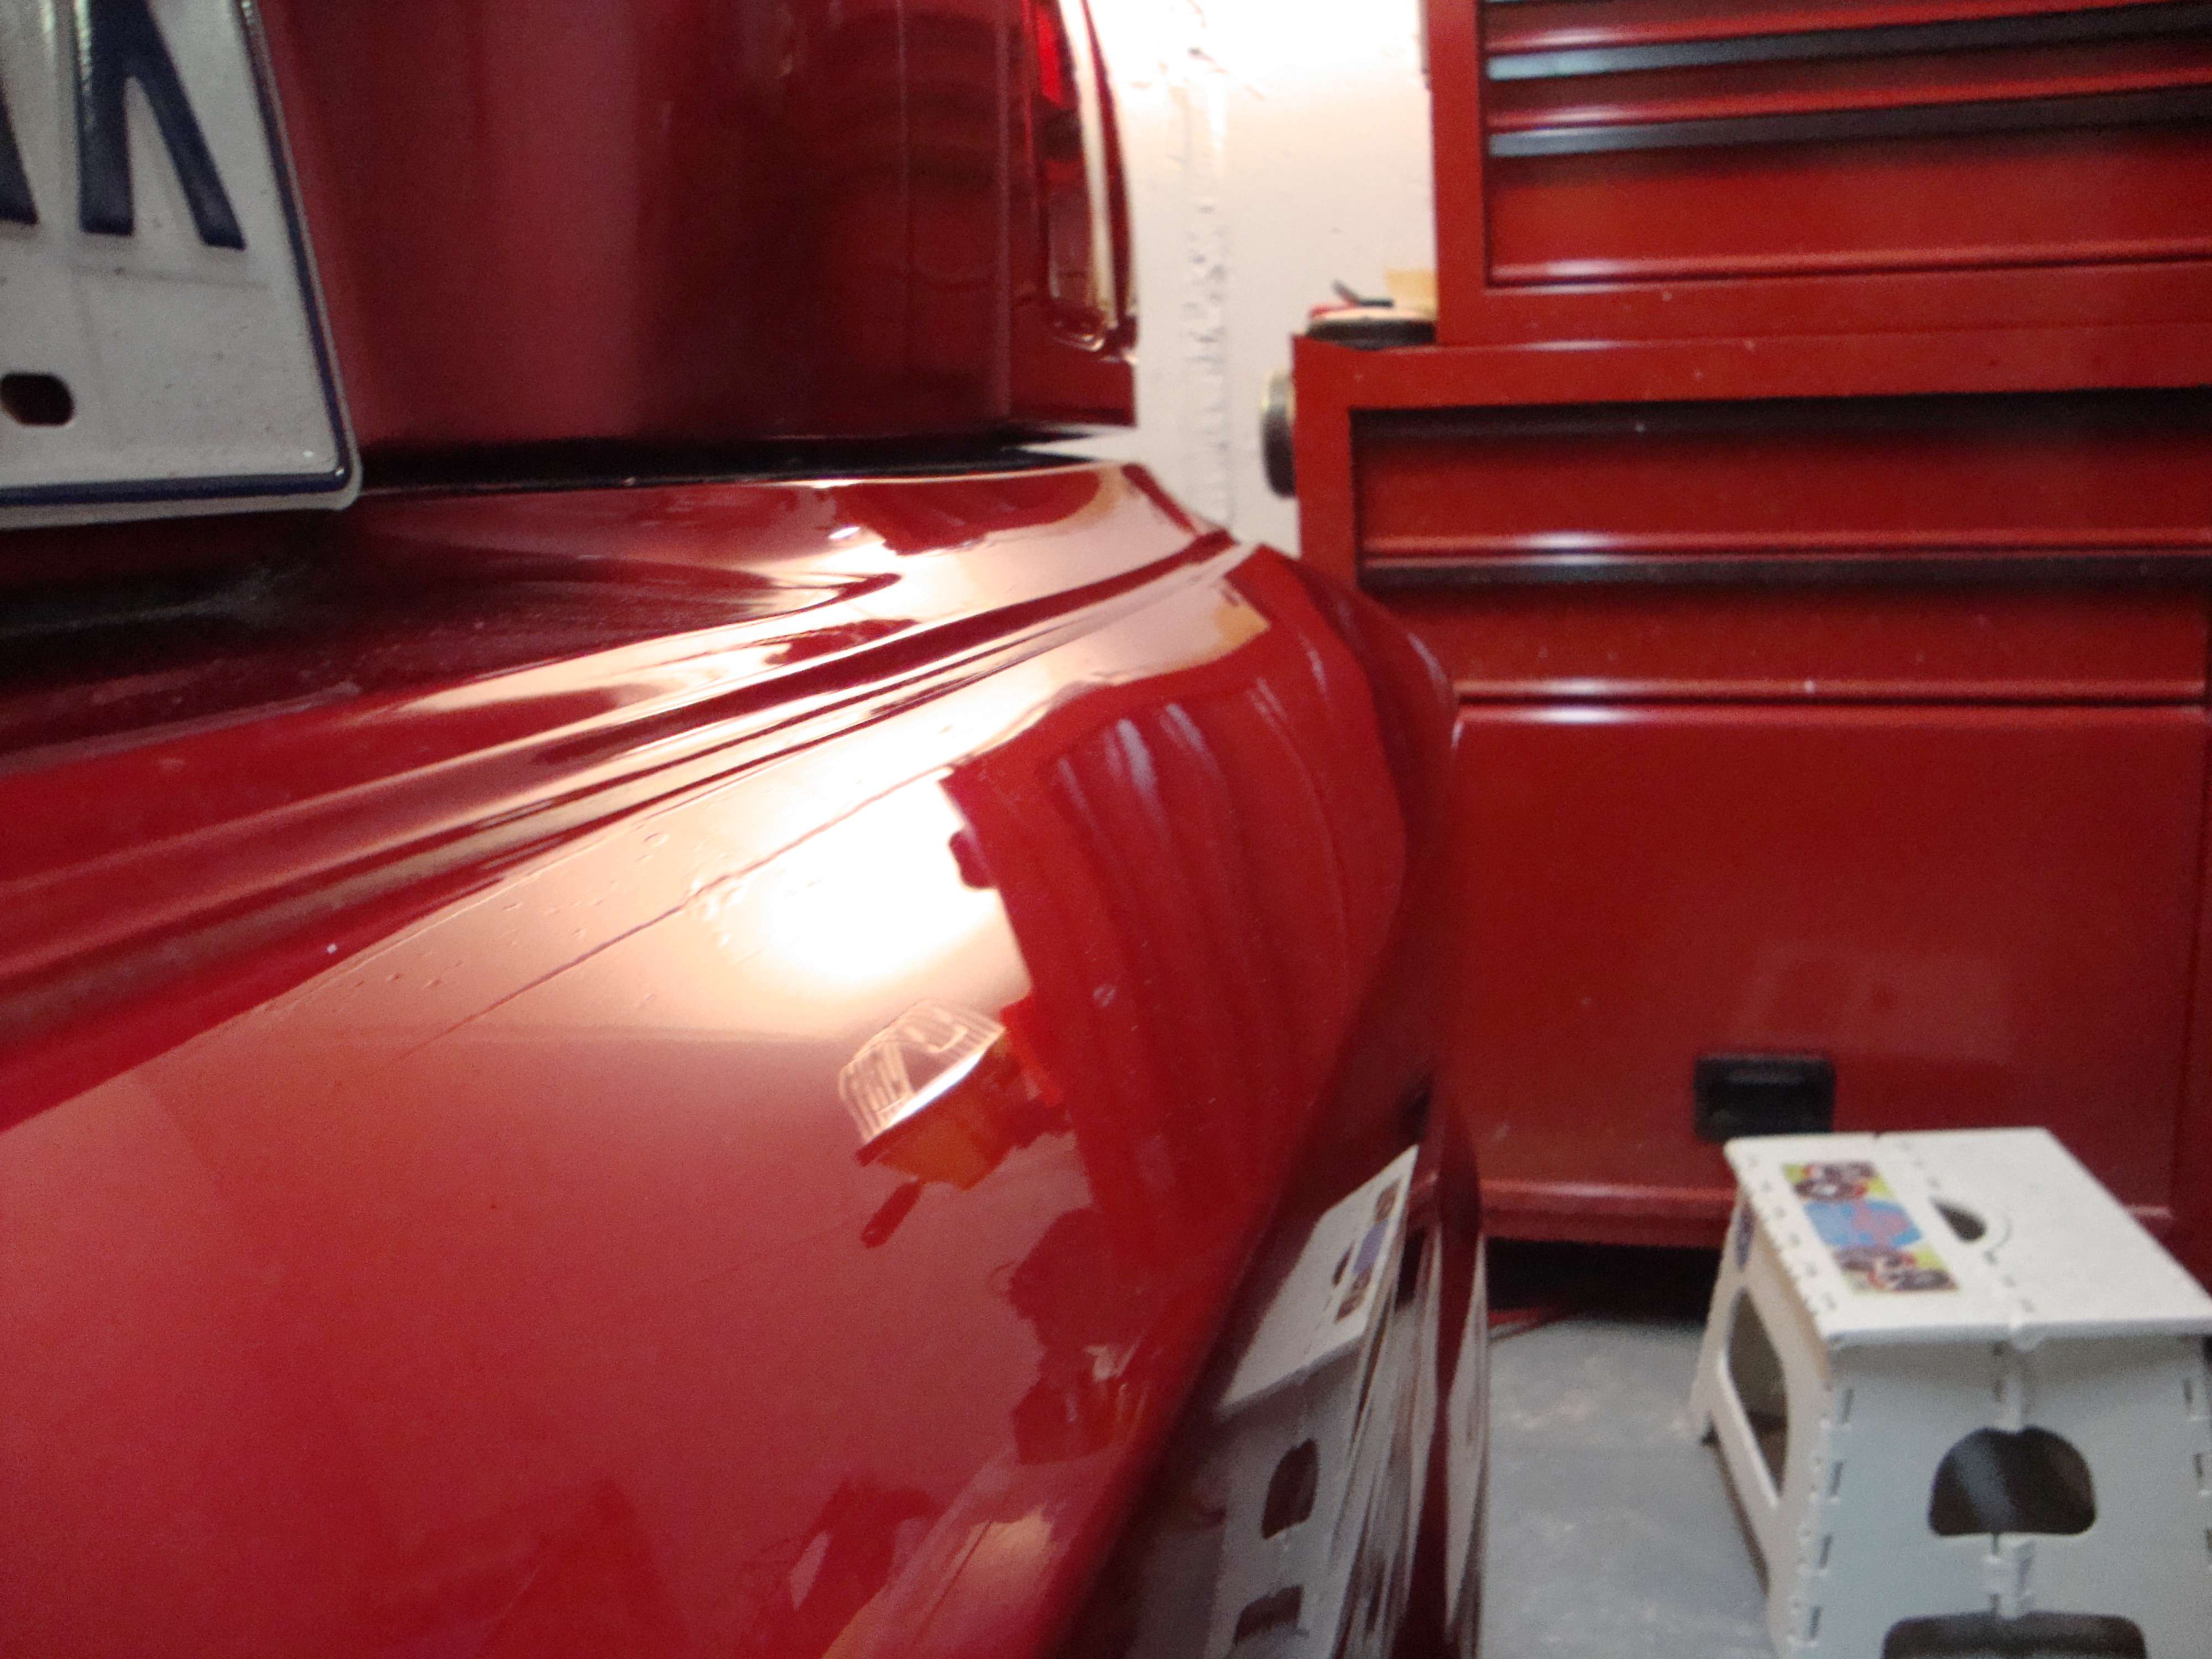
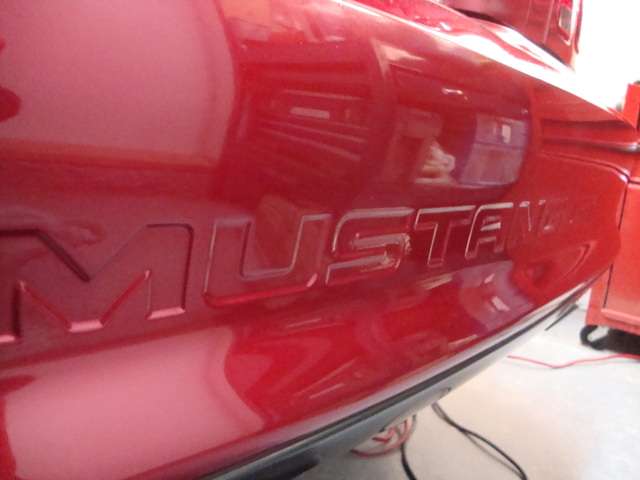
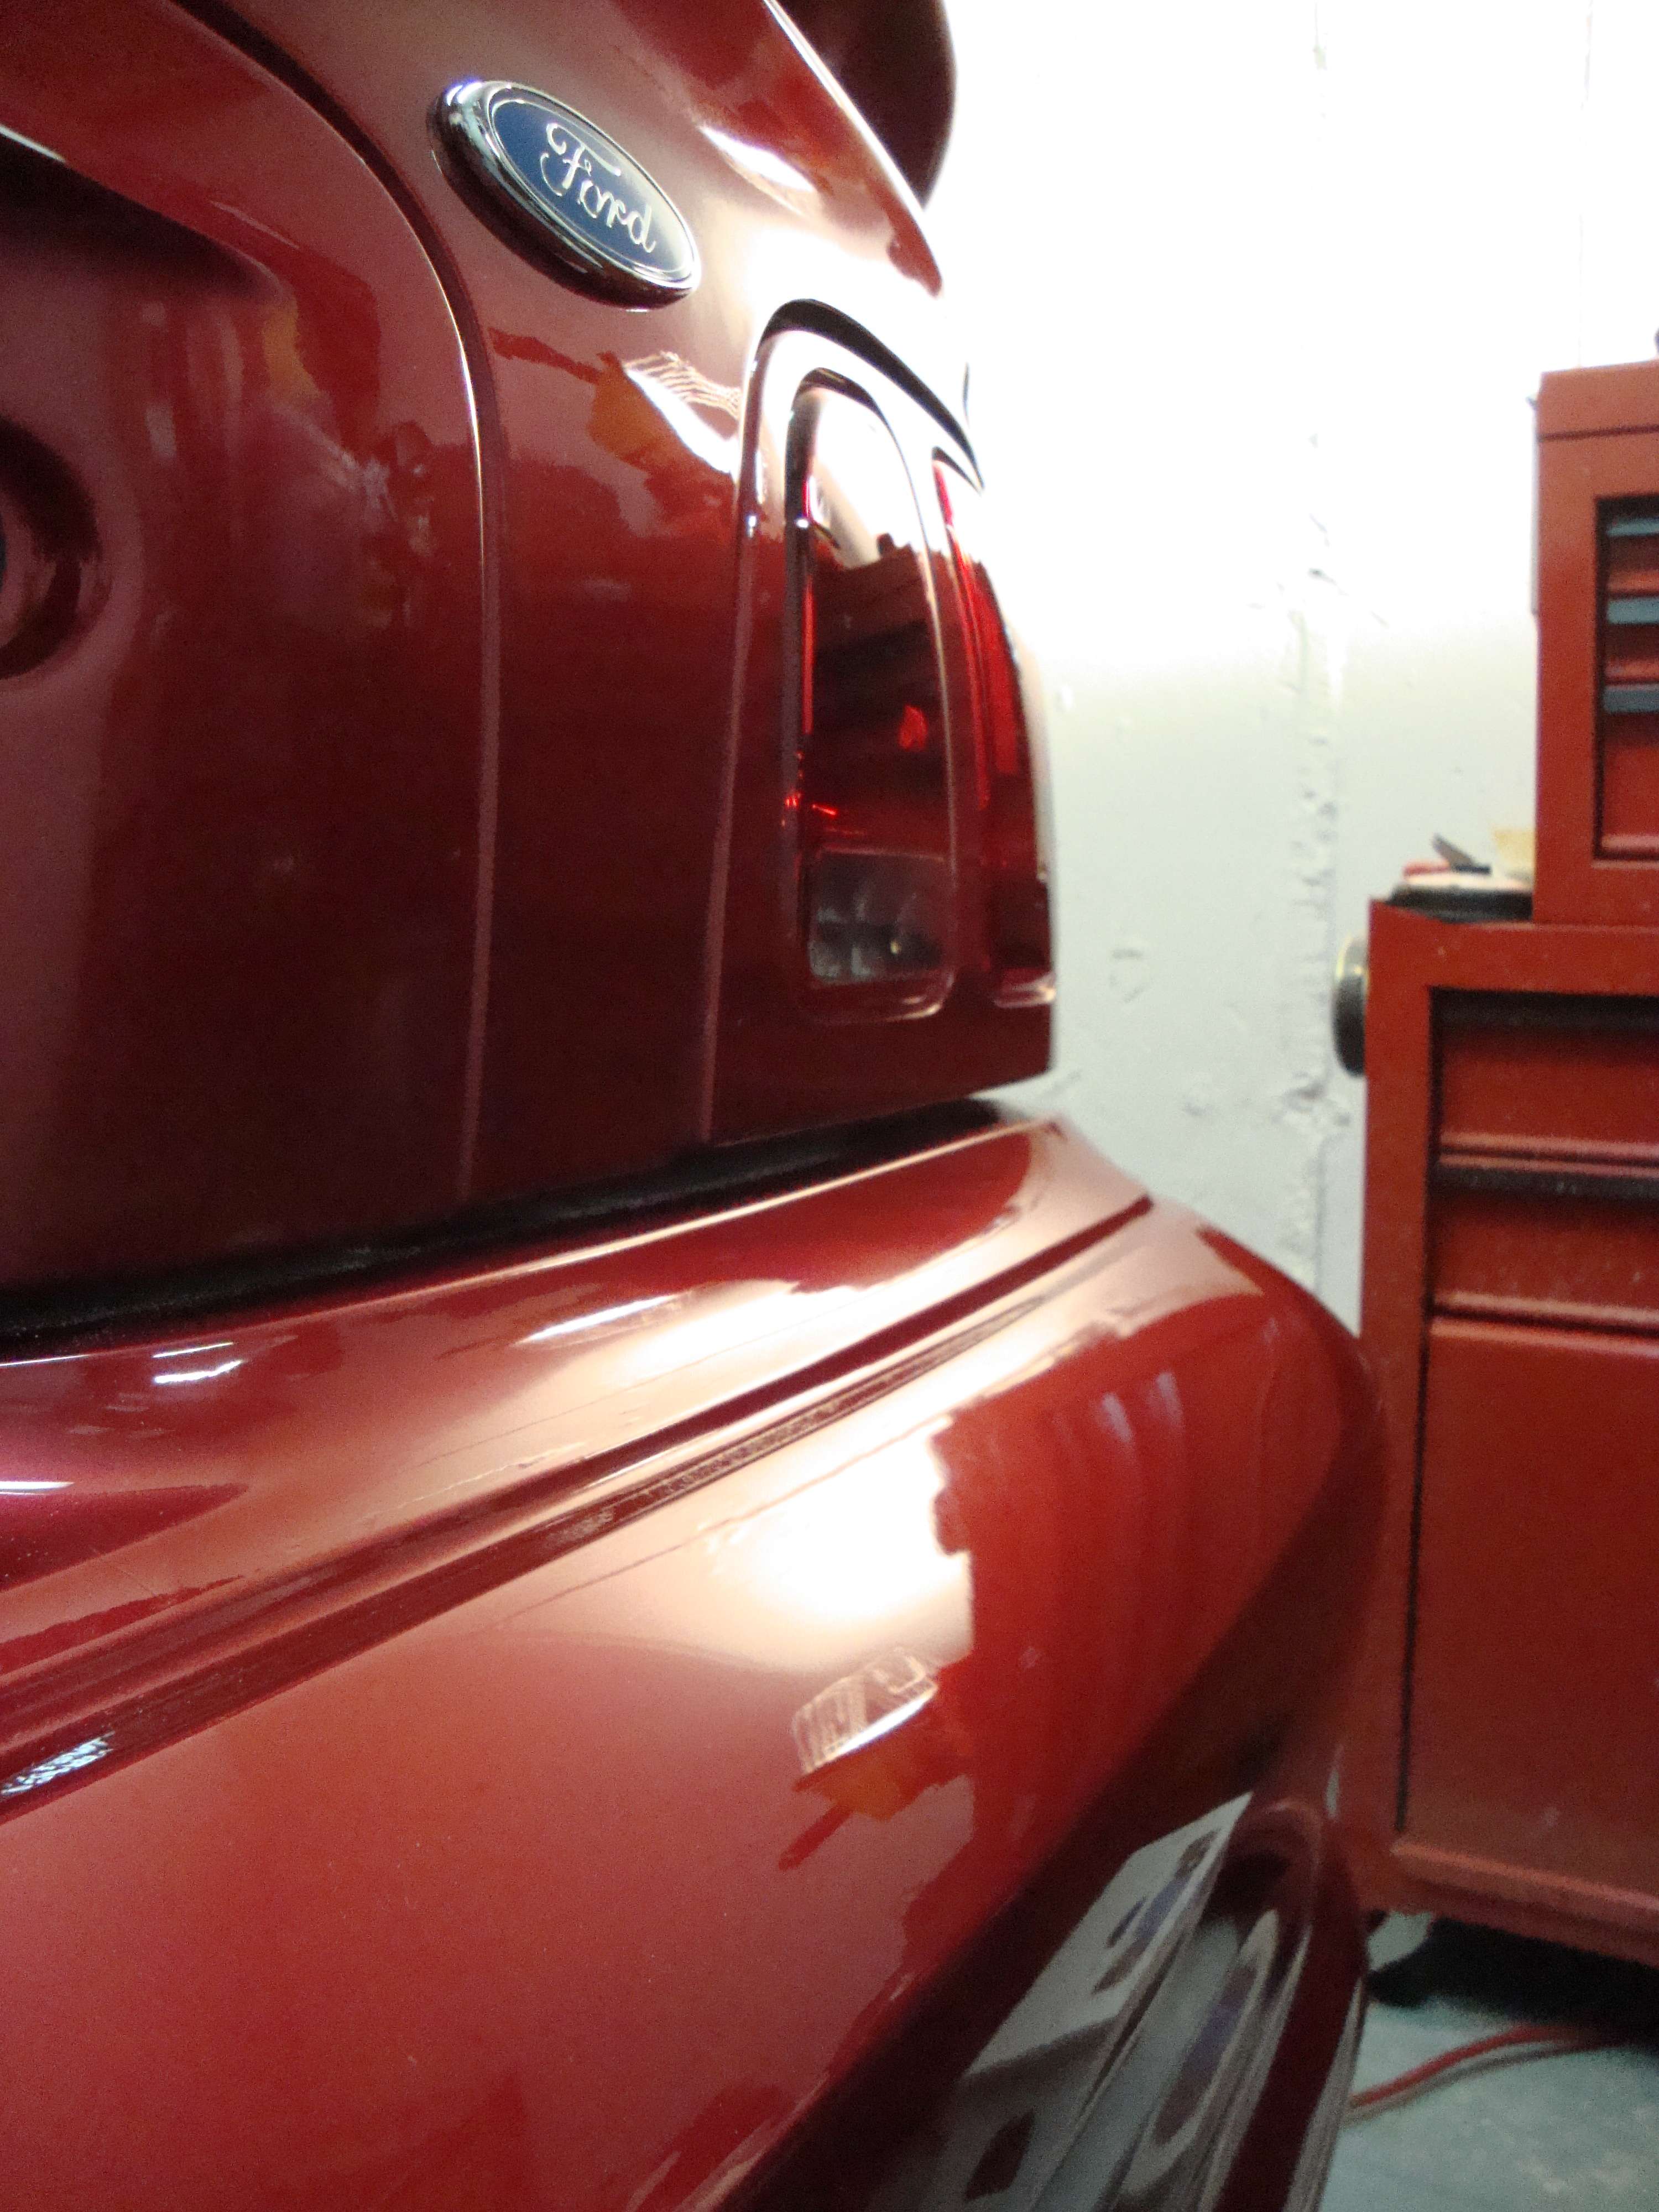
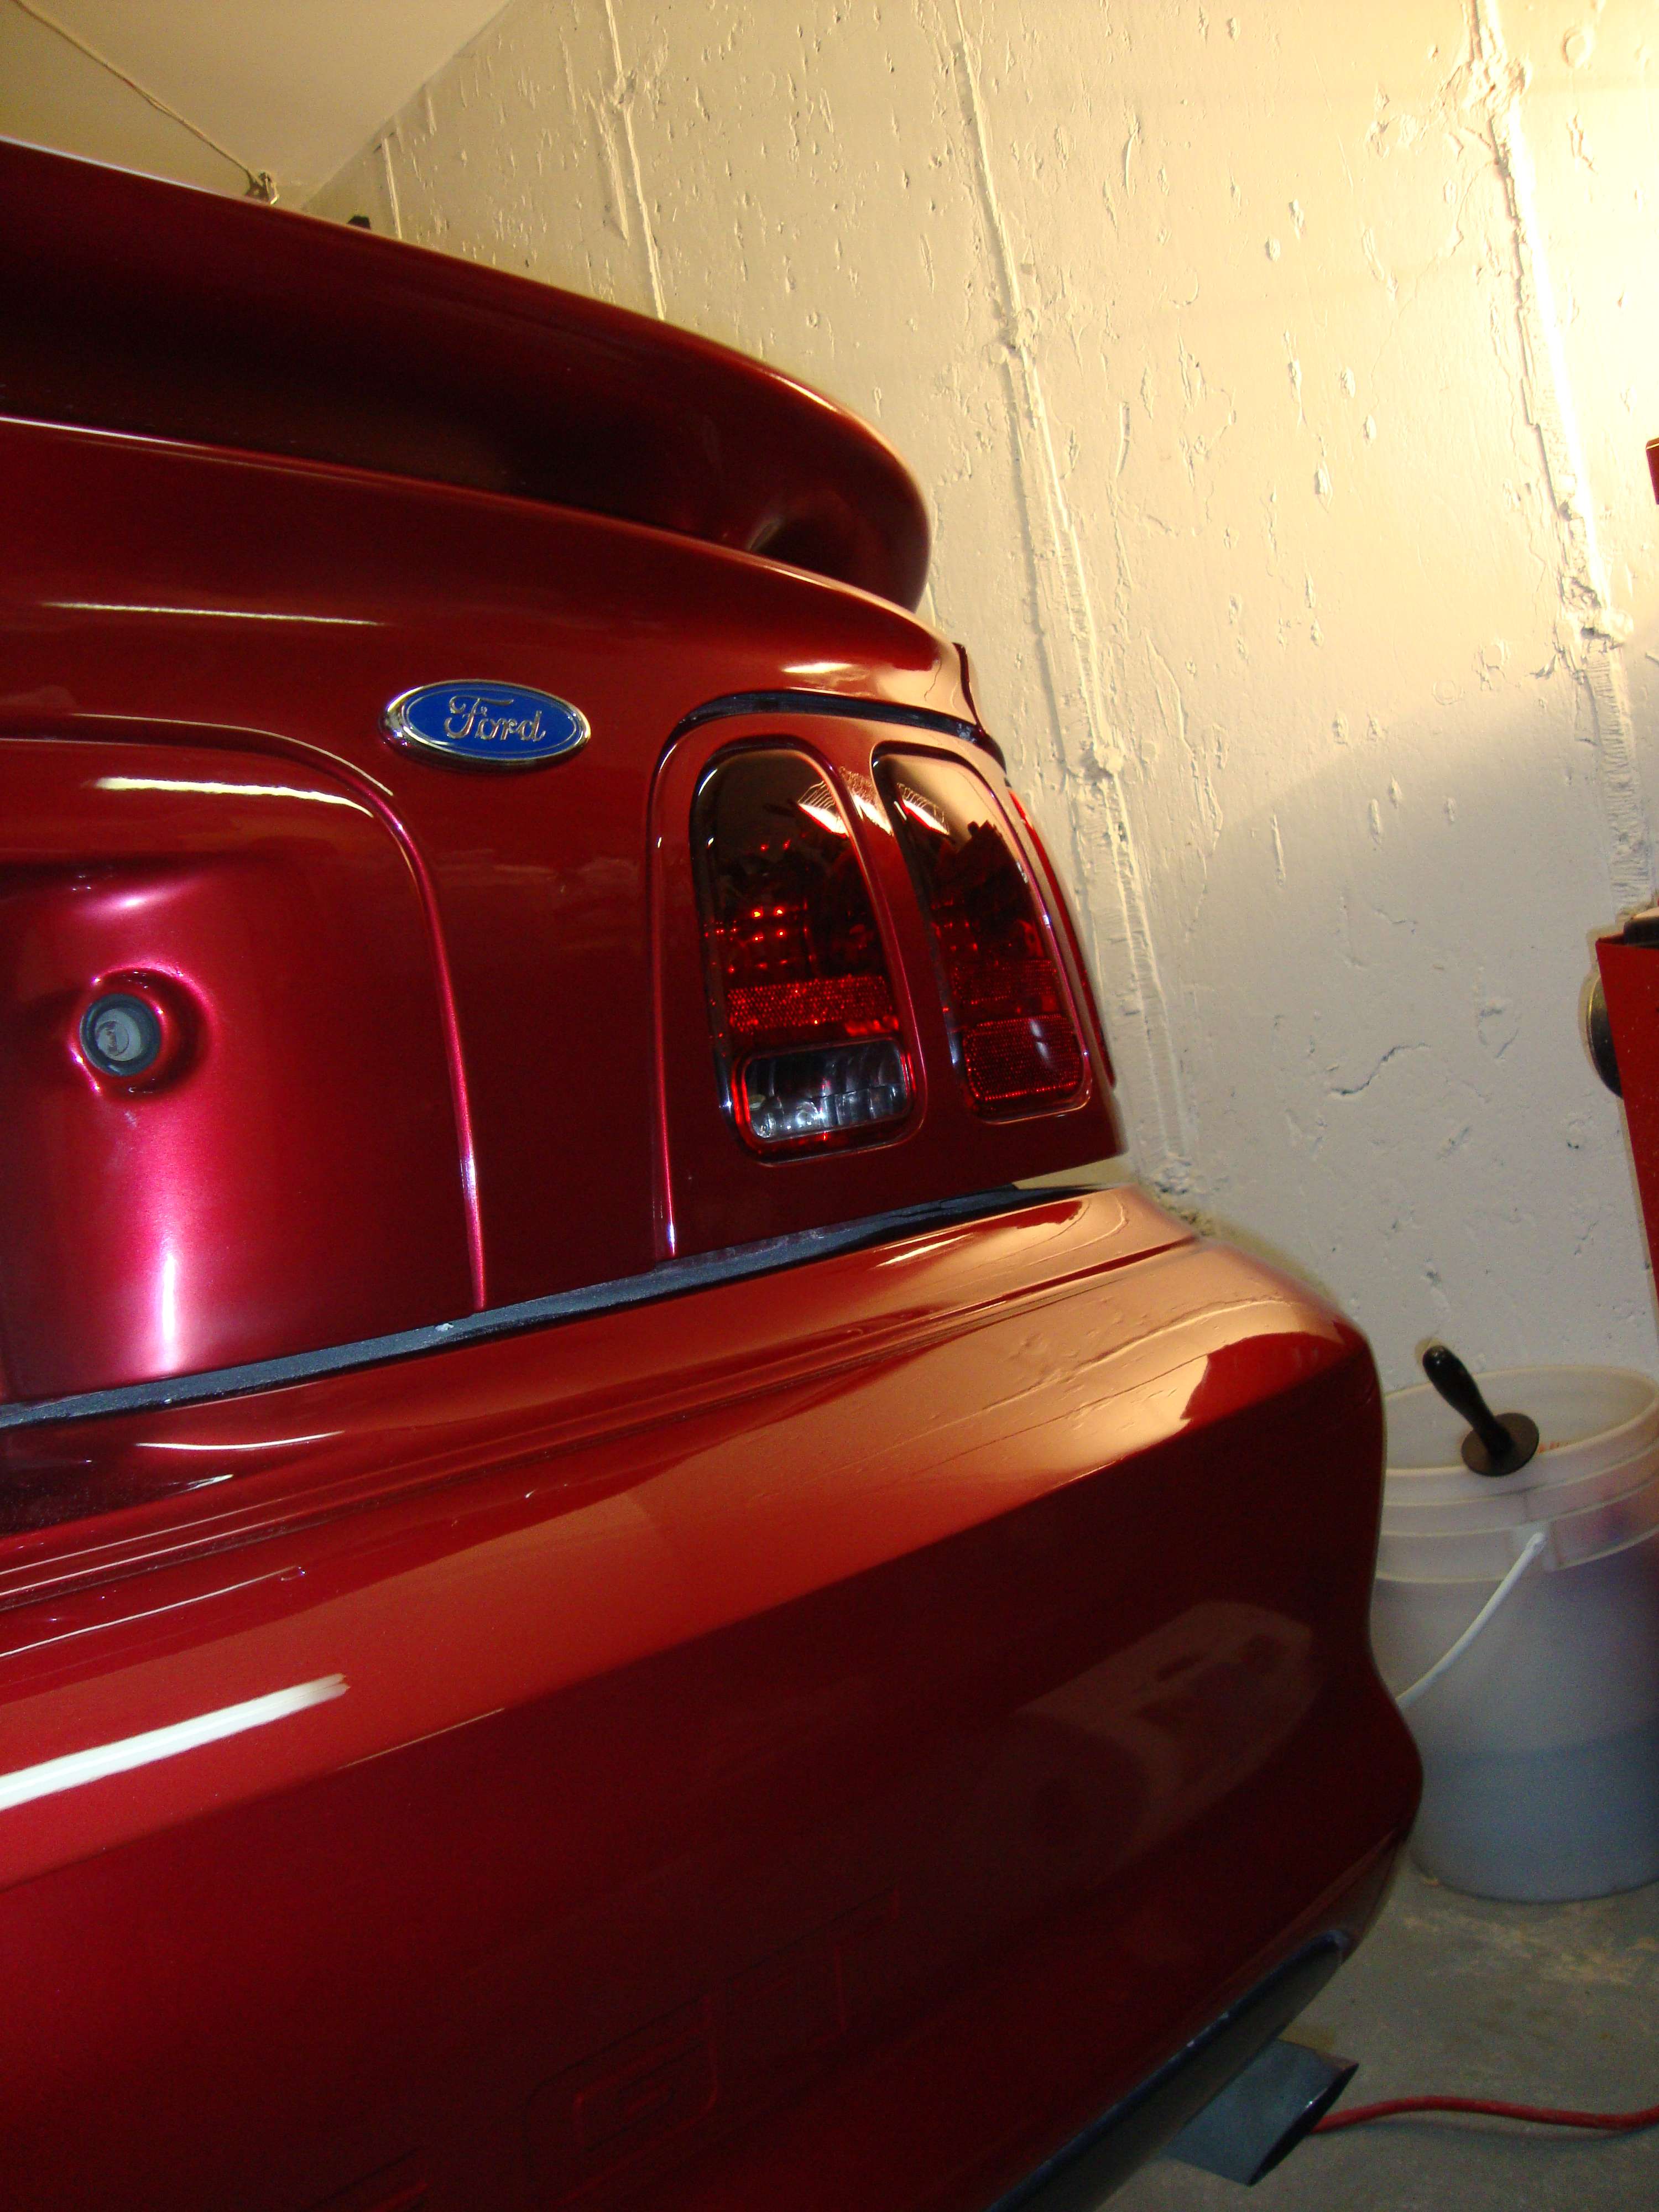
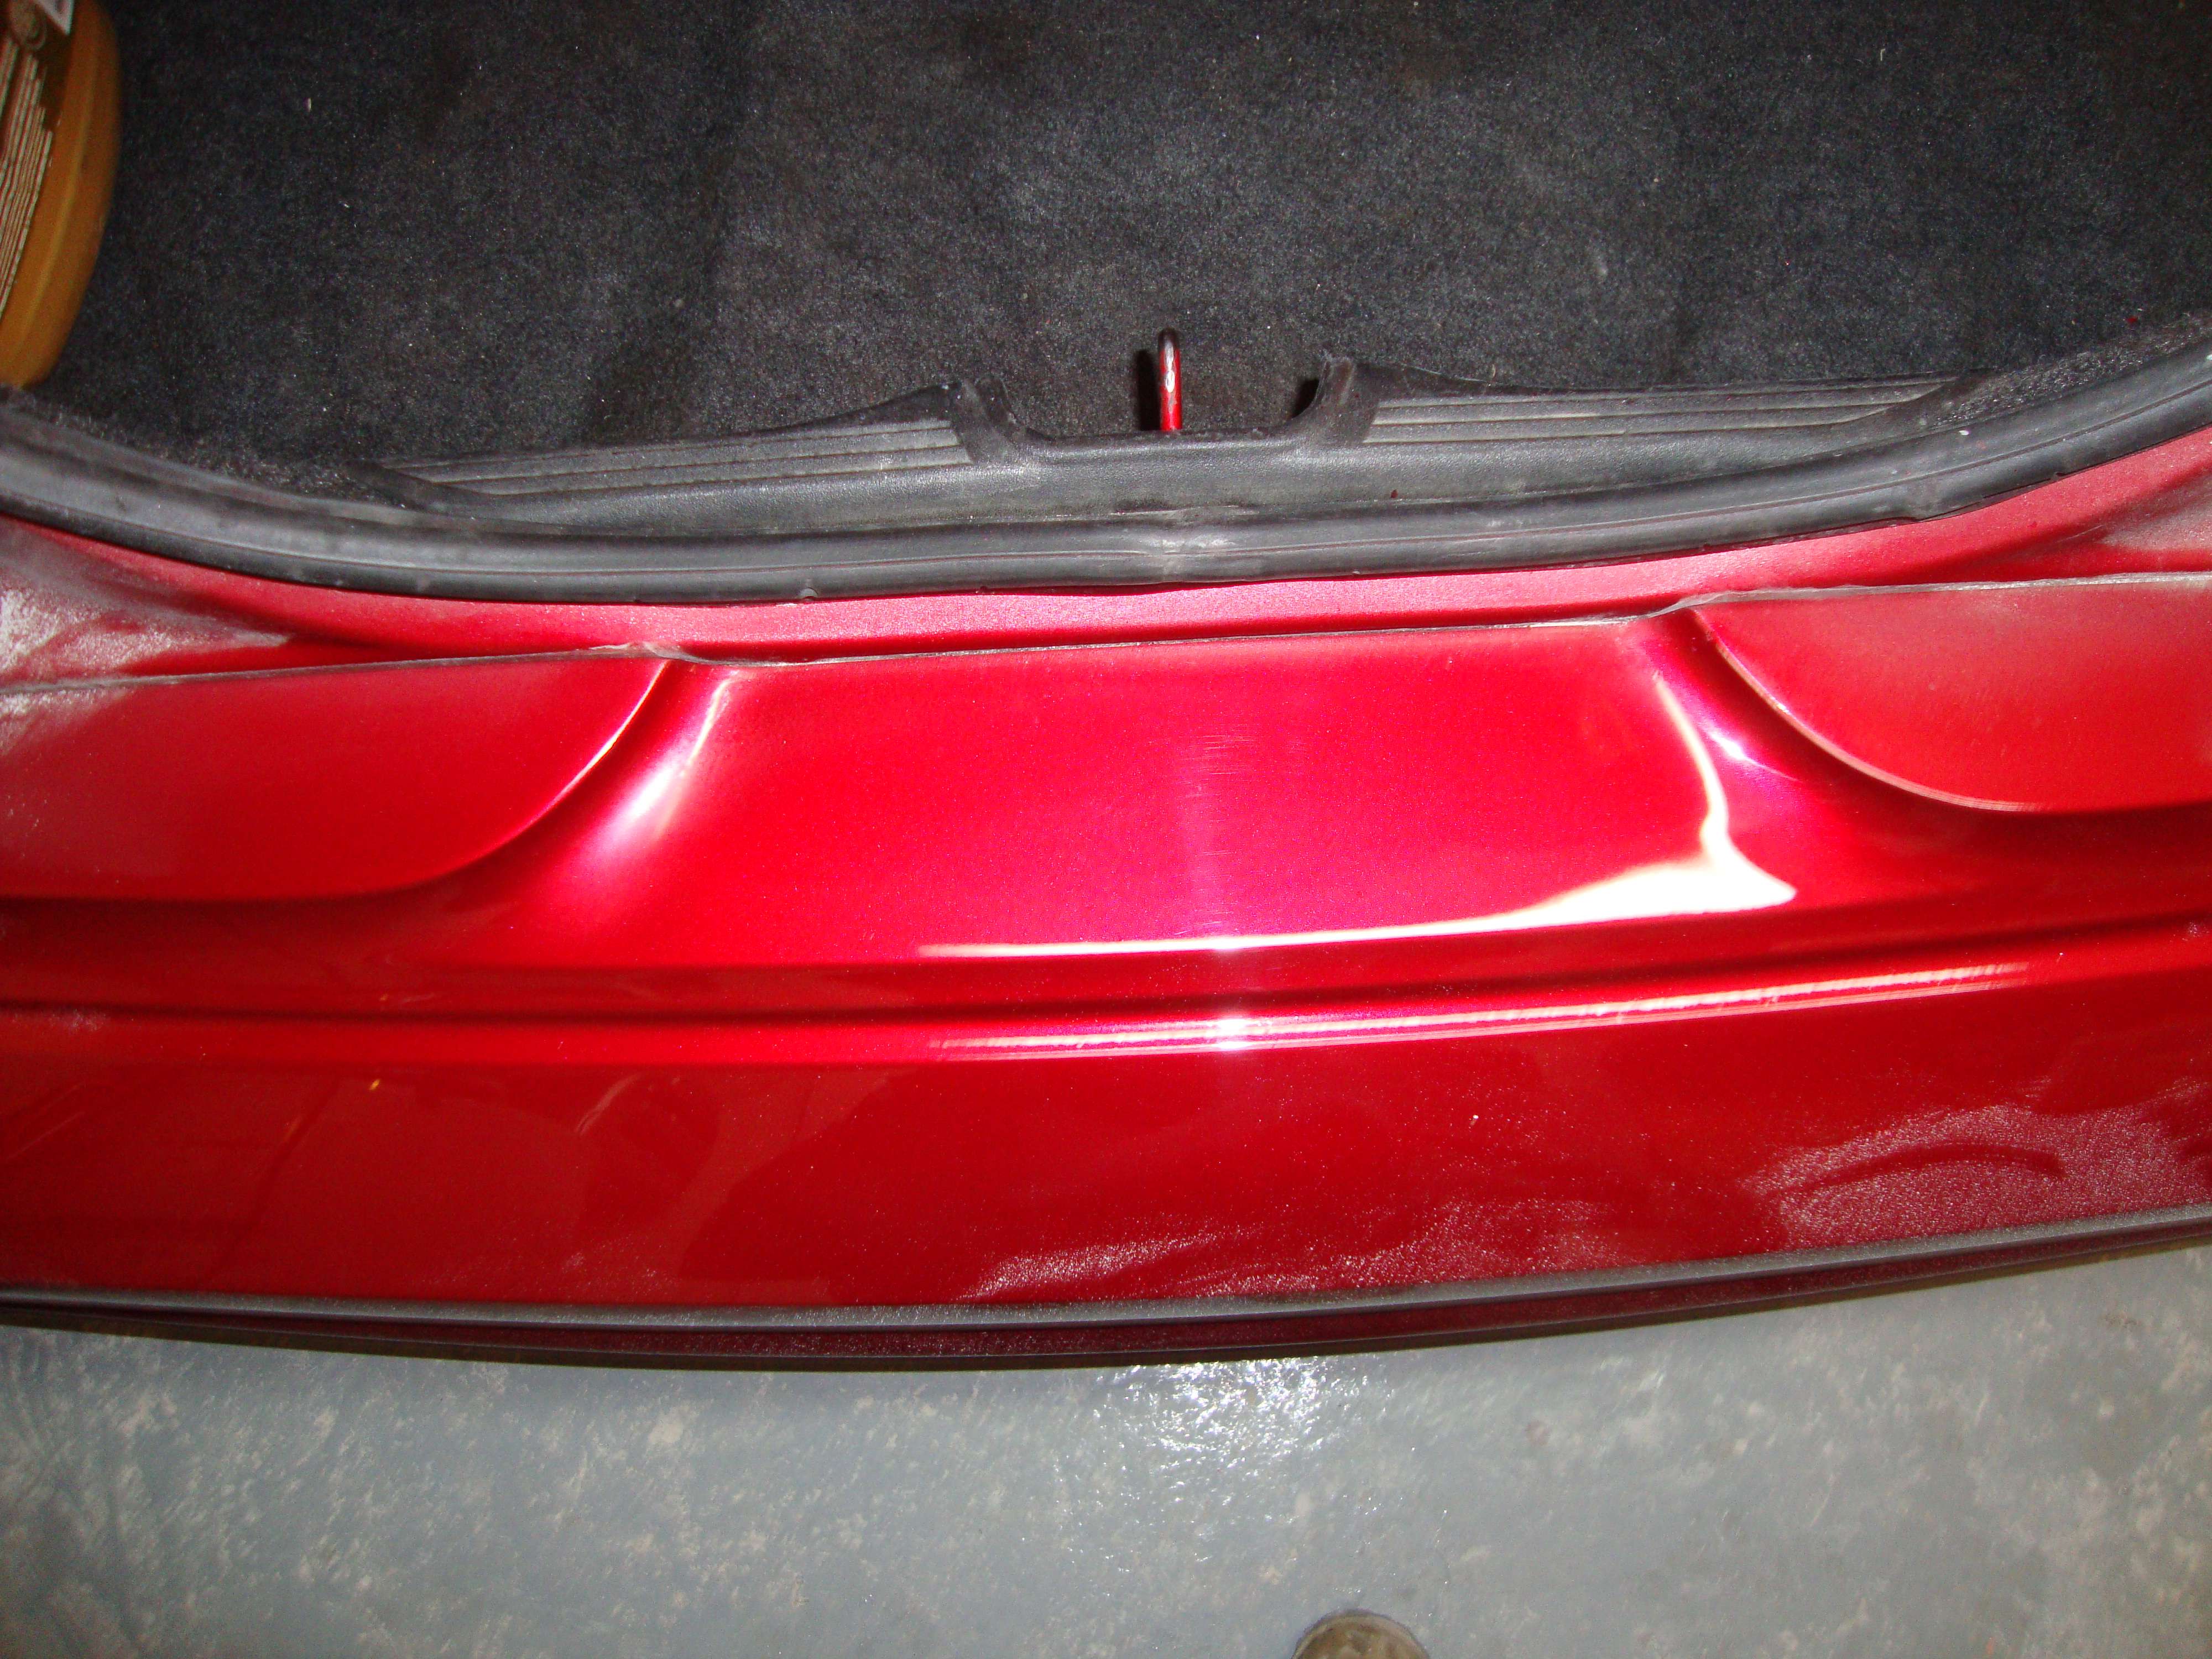
"blue"]Rear bumper ( dah!)[/COLOR]
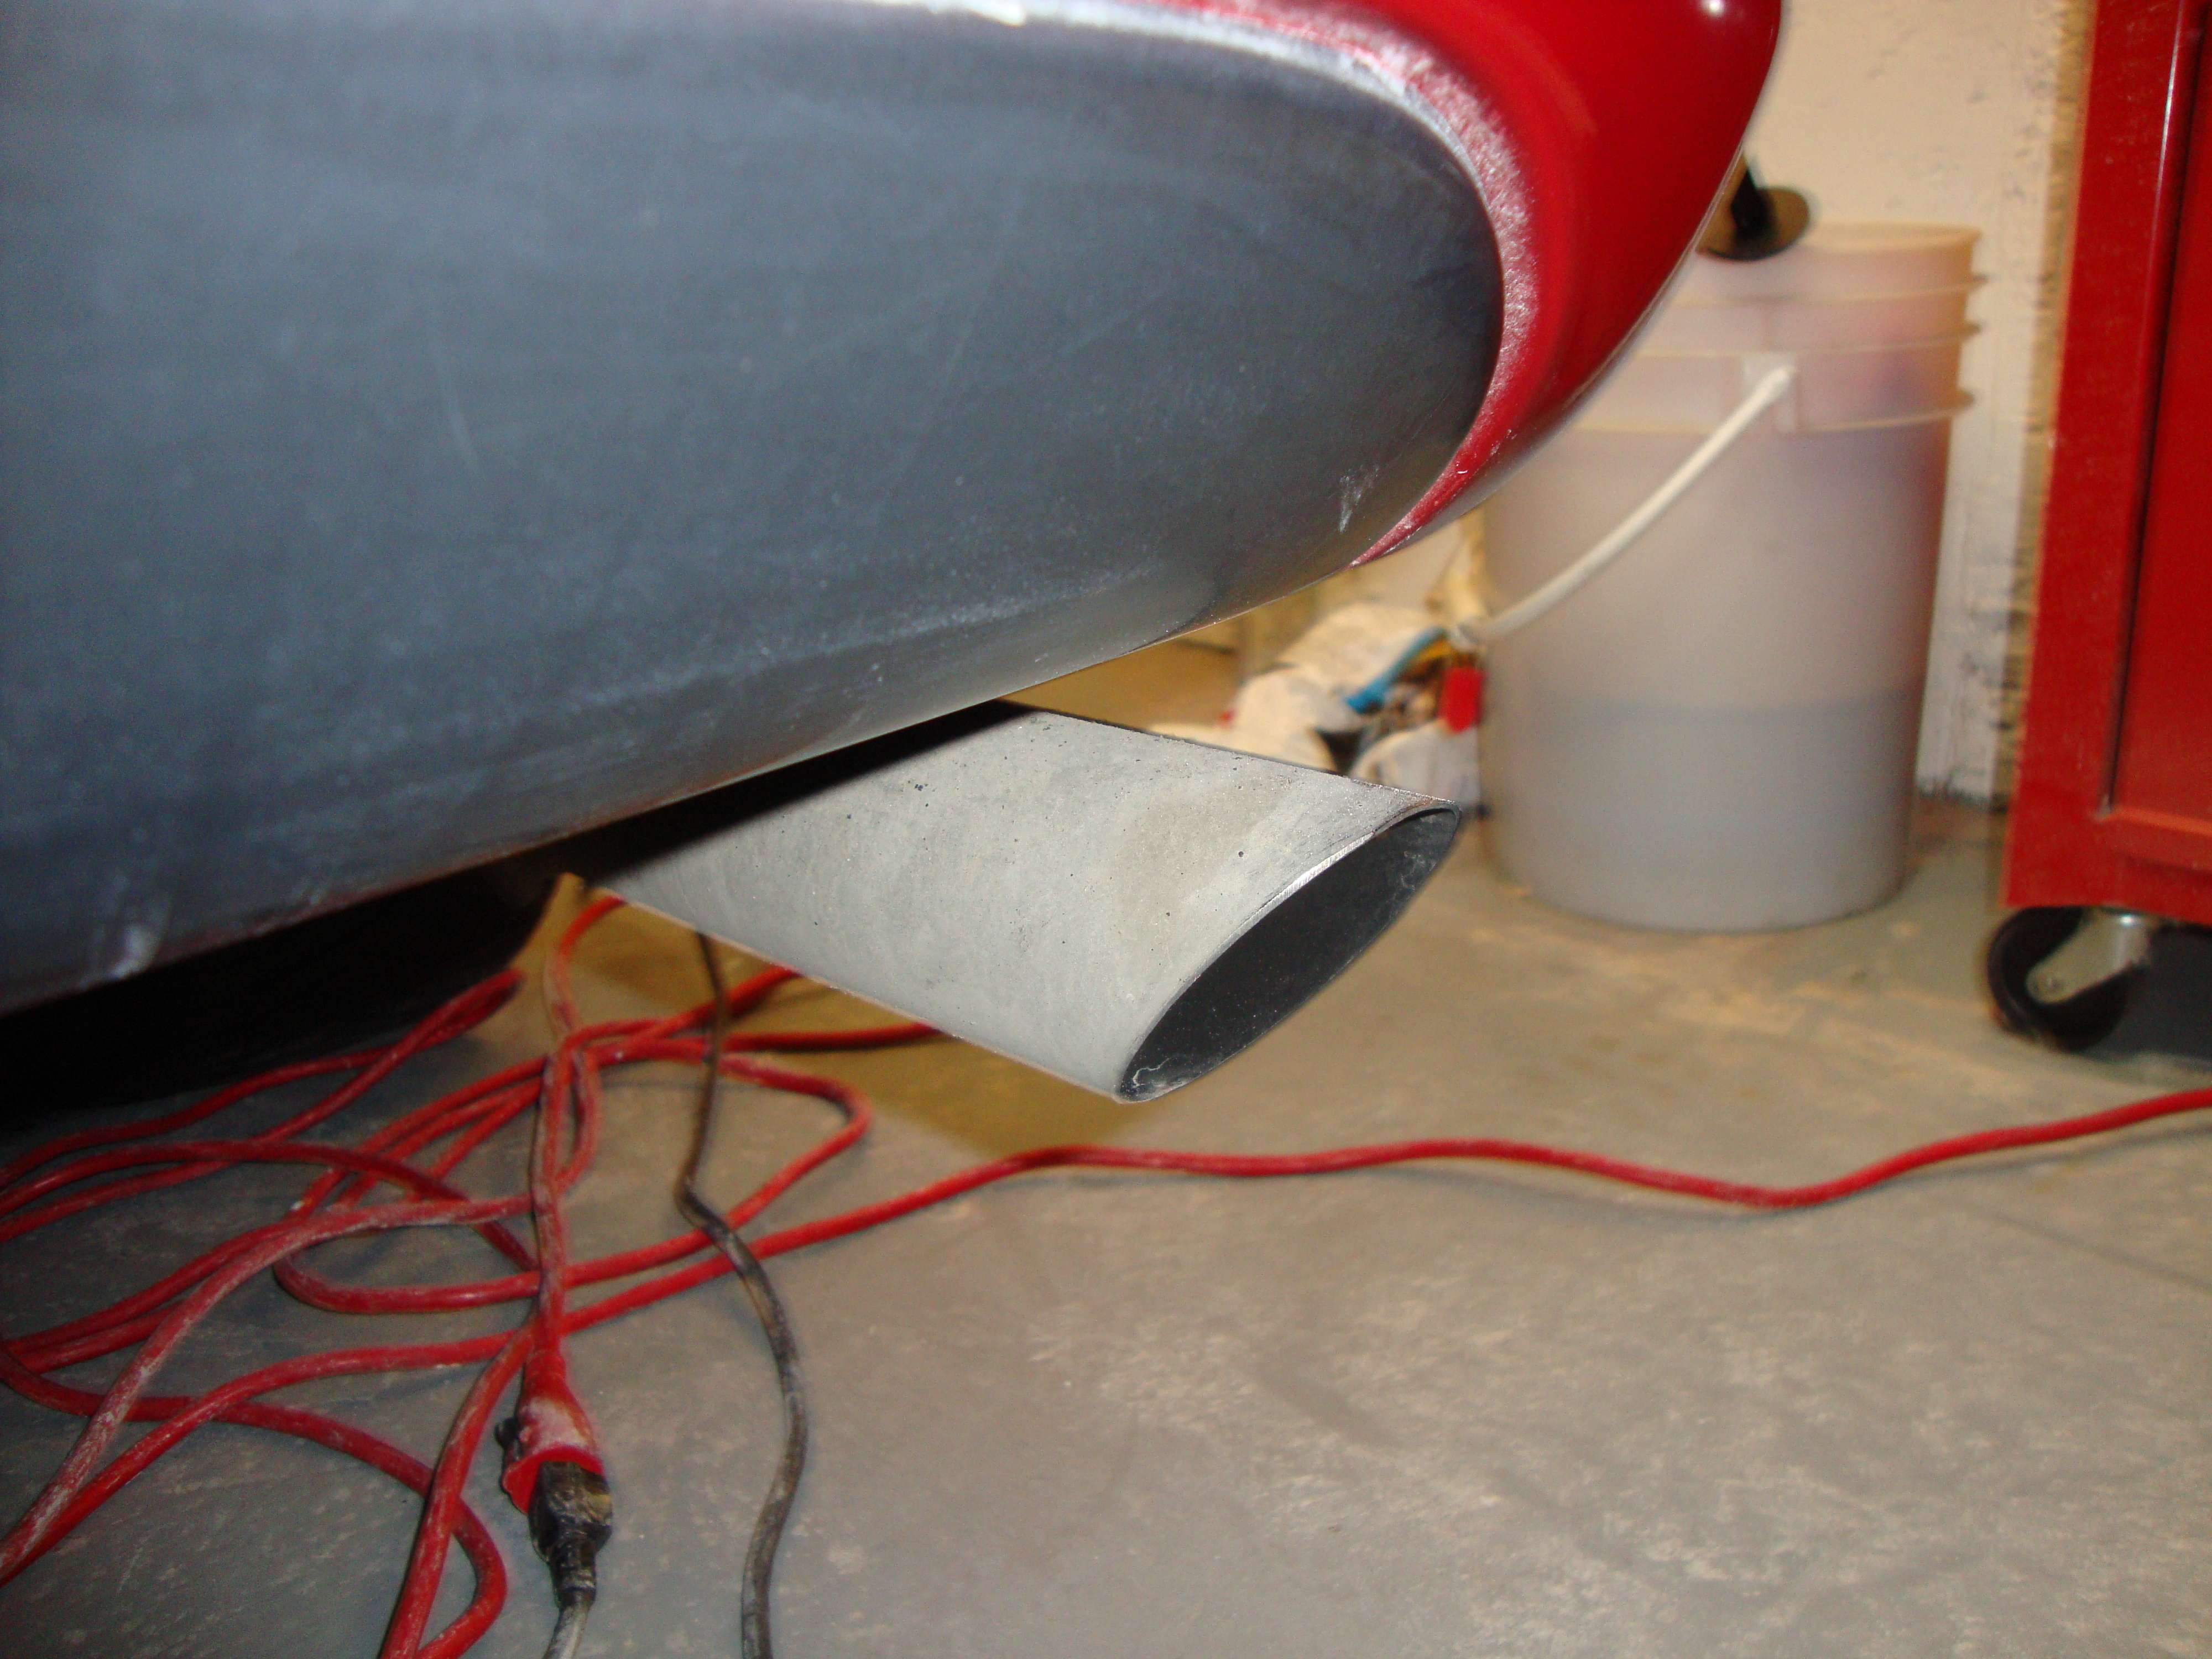
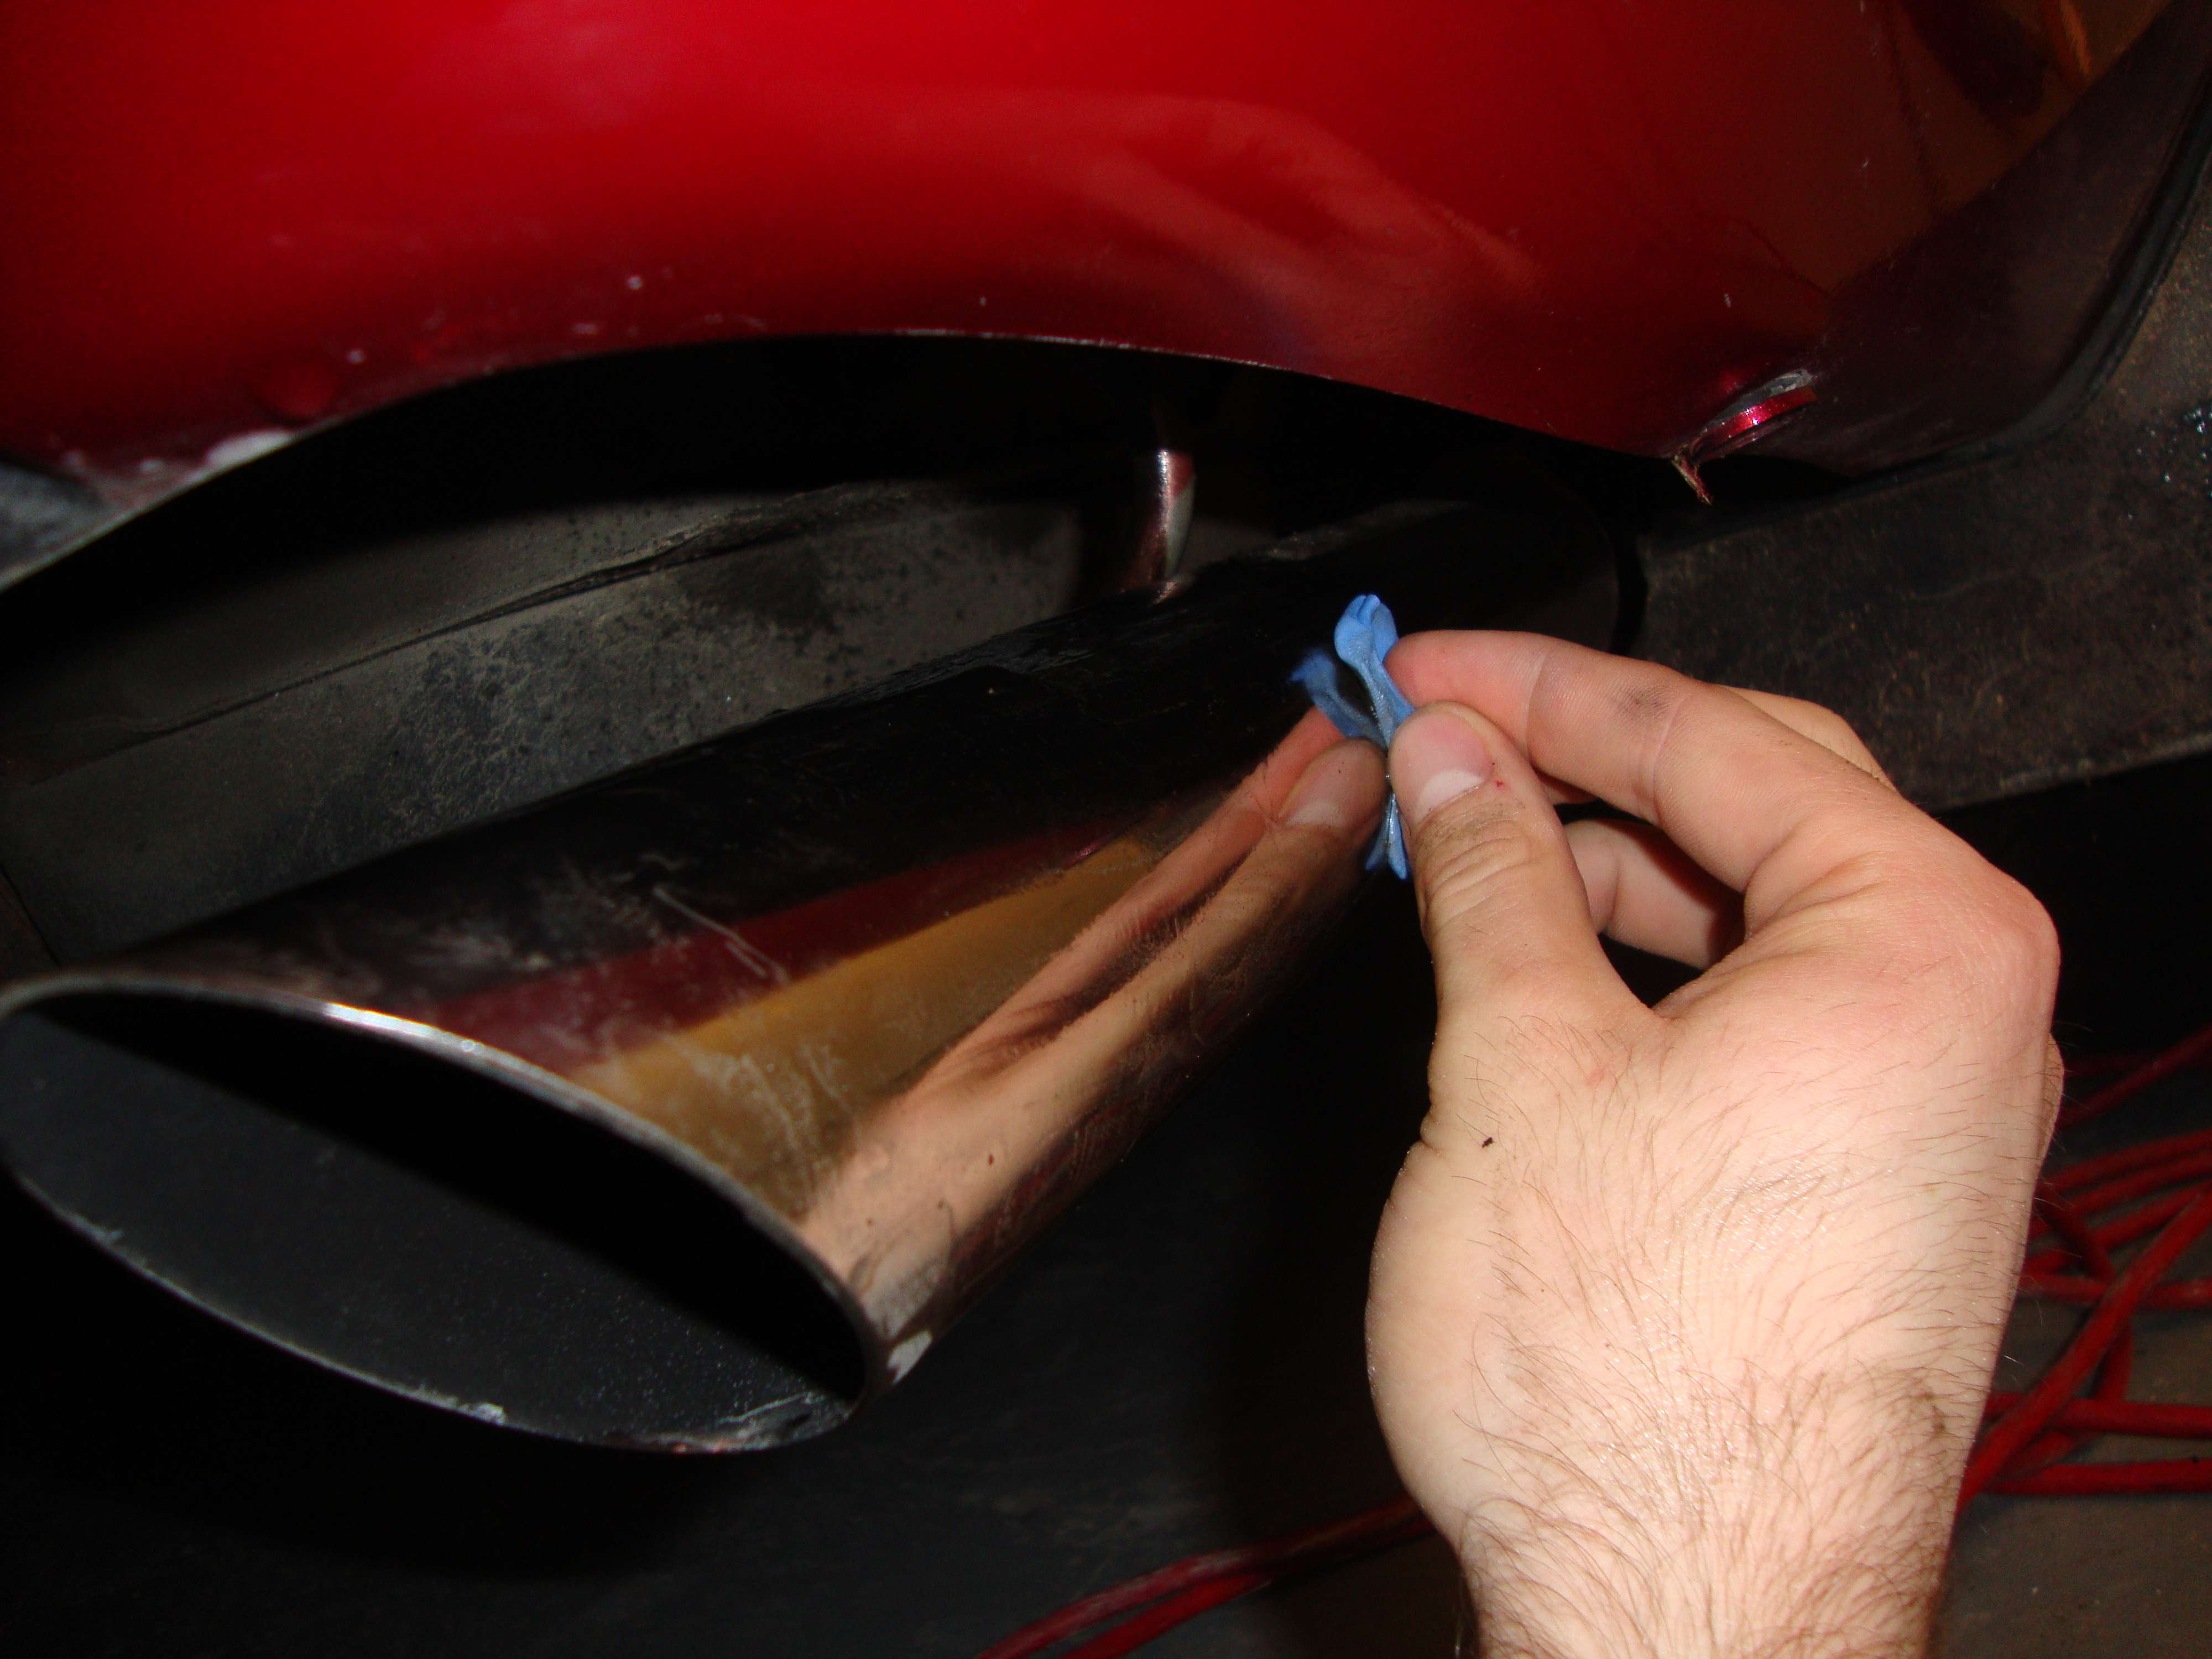
]Those exhaust pipe were dirty, I needed a clay bar to remove everything and bring back the shine[/COLOR]
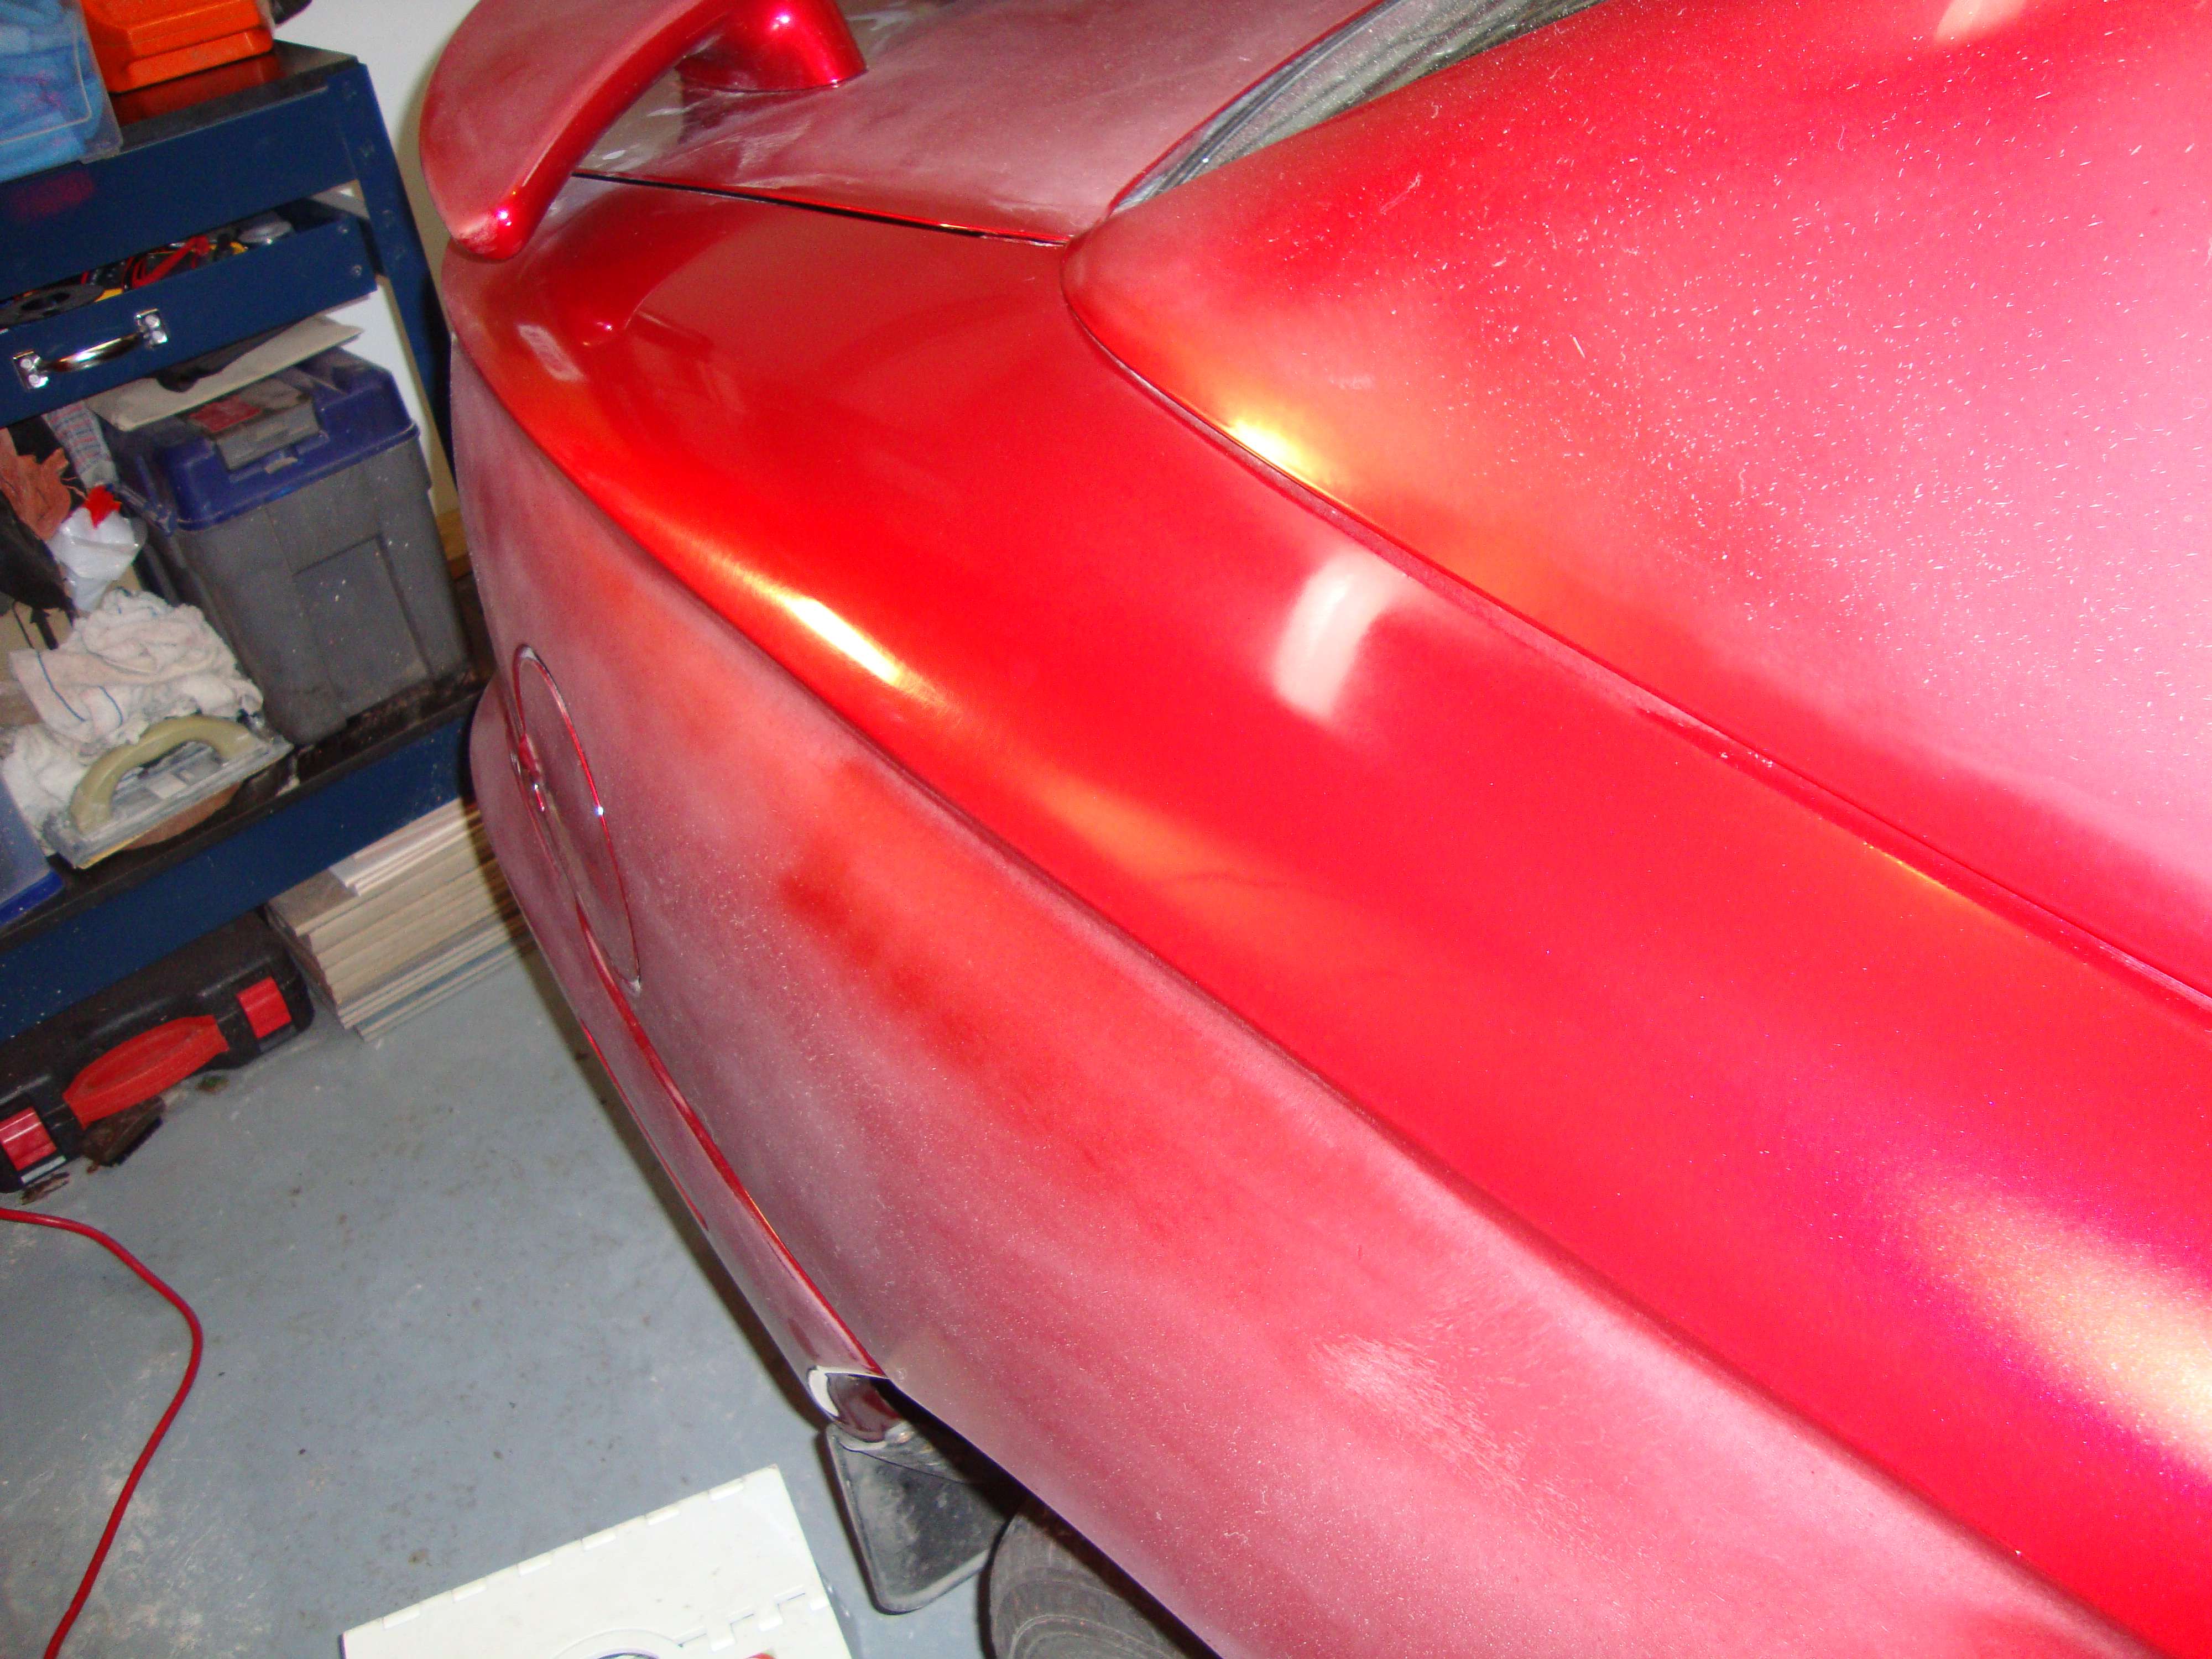
This week I had the chance to work on my first american car, the owner bought the car with that horrible paint job and decide to sand it to achieve a better finish. The problem with his sanding was that he didn’t use the same method everywhere on the car( some panels were done my wet-sand, some were done by machine, some with different grades). After trying to compound 2 differents panels he gave up and gave me a call so I can fix his problem. This is another good exemple where wet-sanding is not as easy as people may think.
Passager side :
/ Here’s the initial condition of the car.
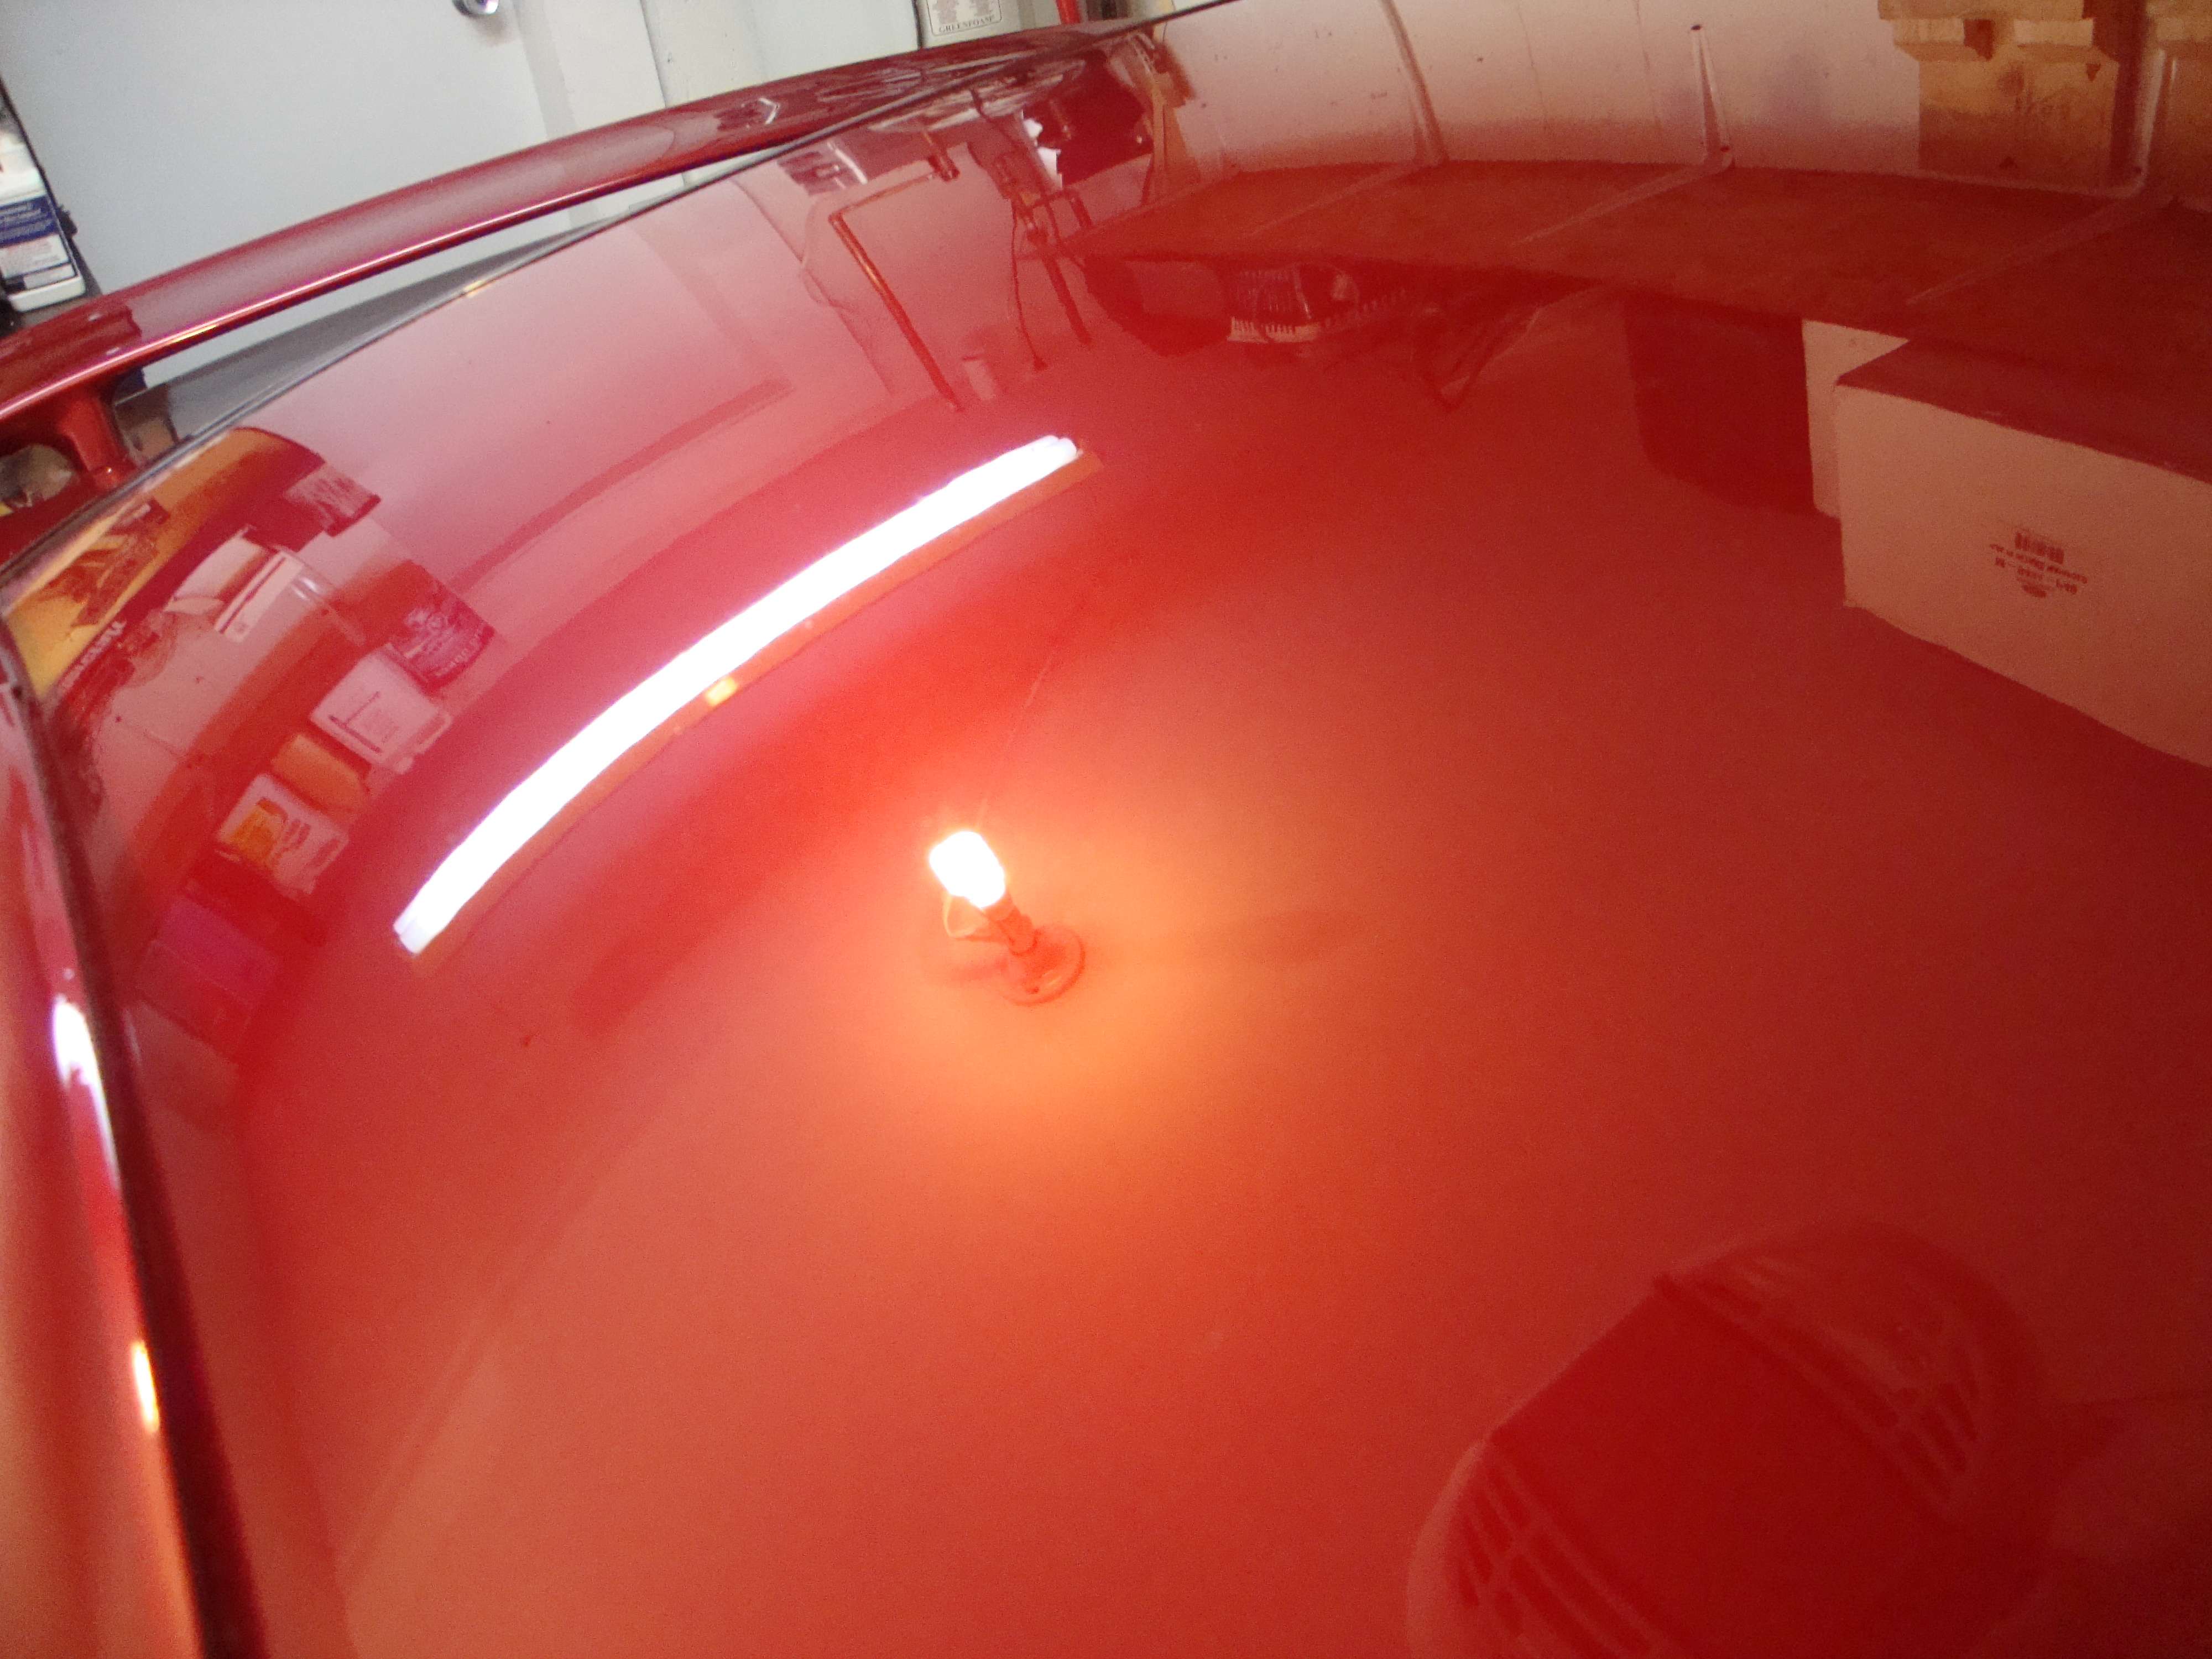
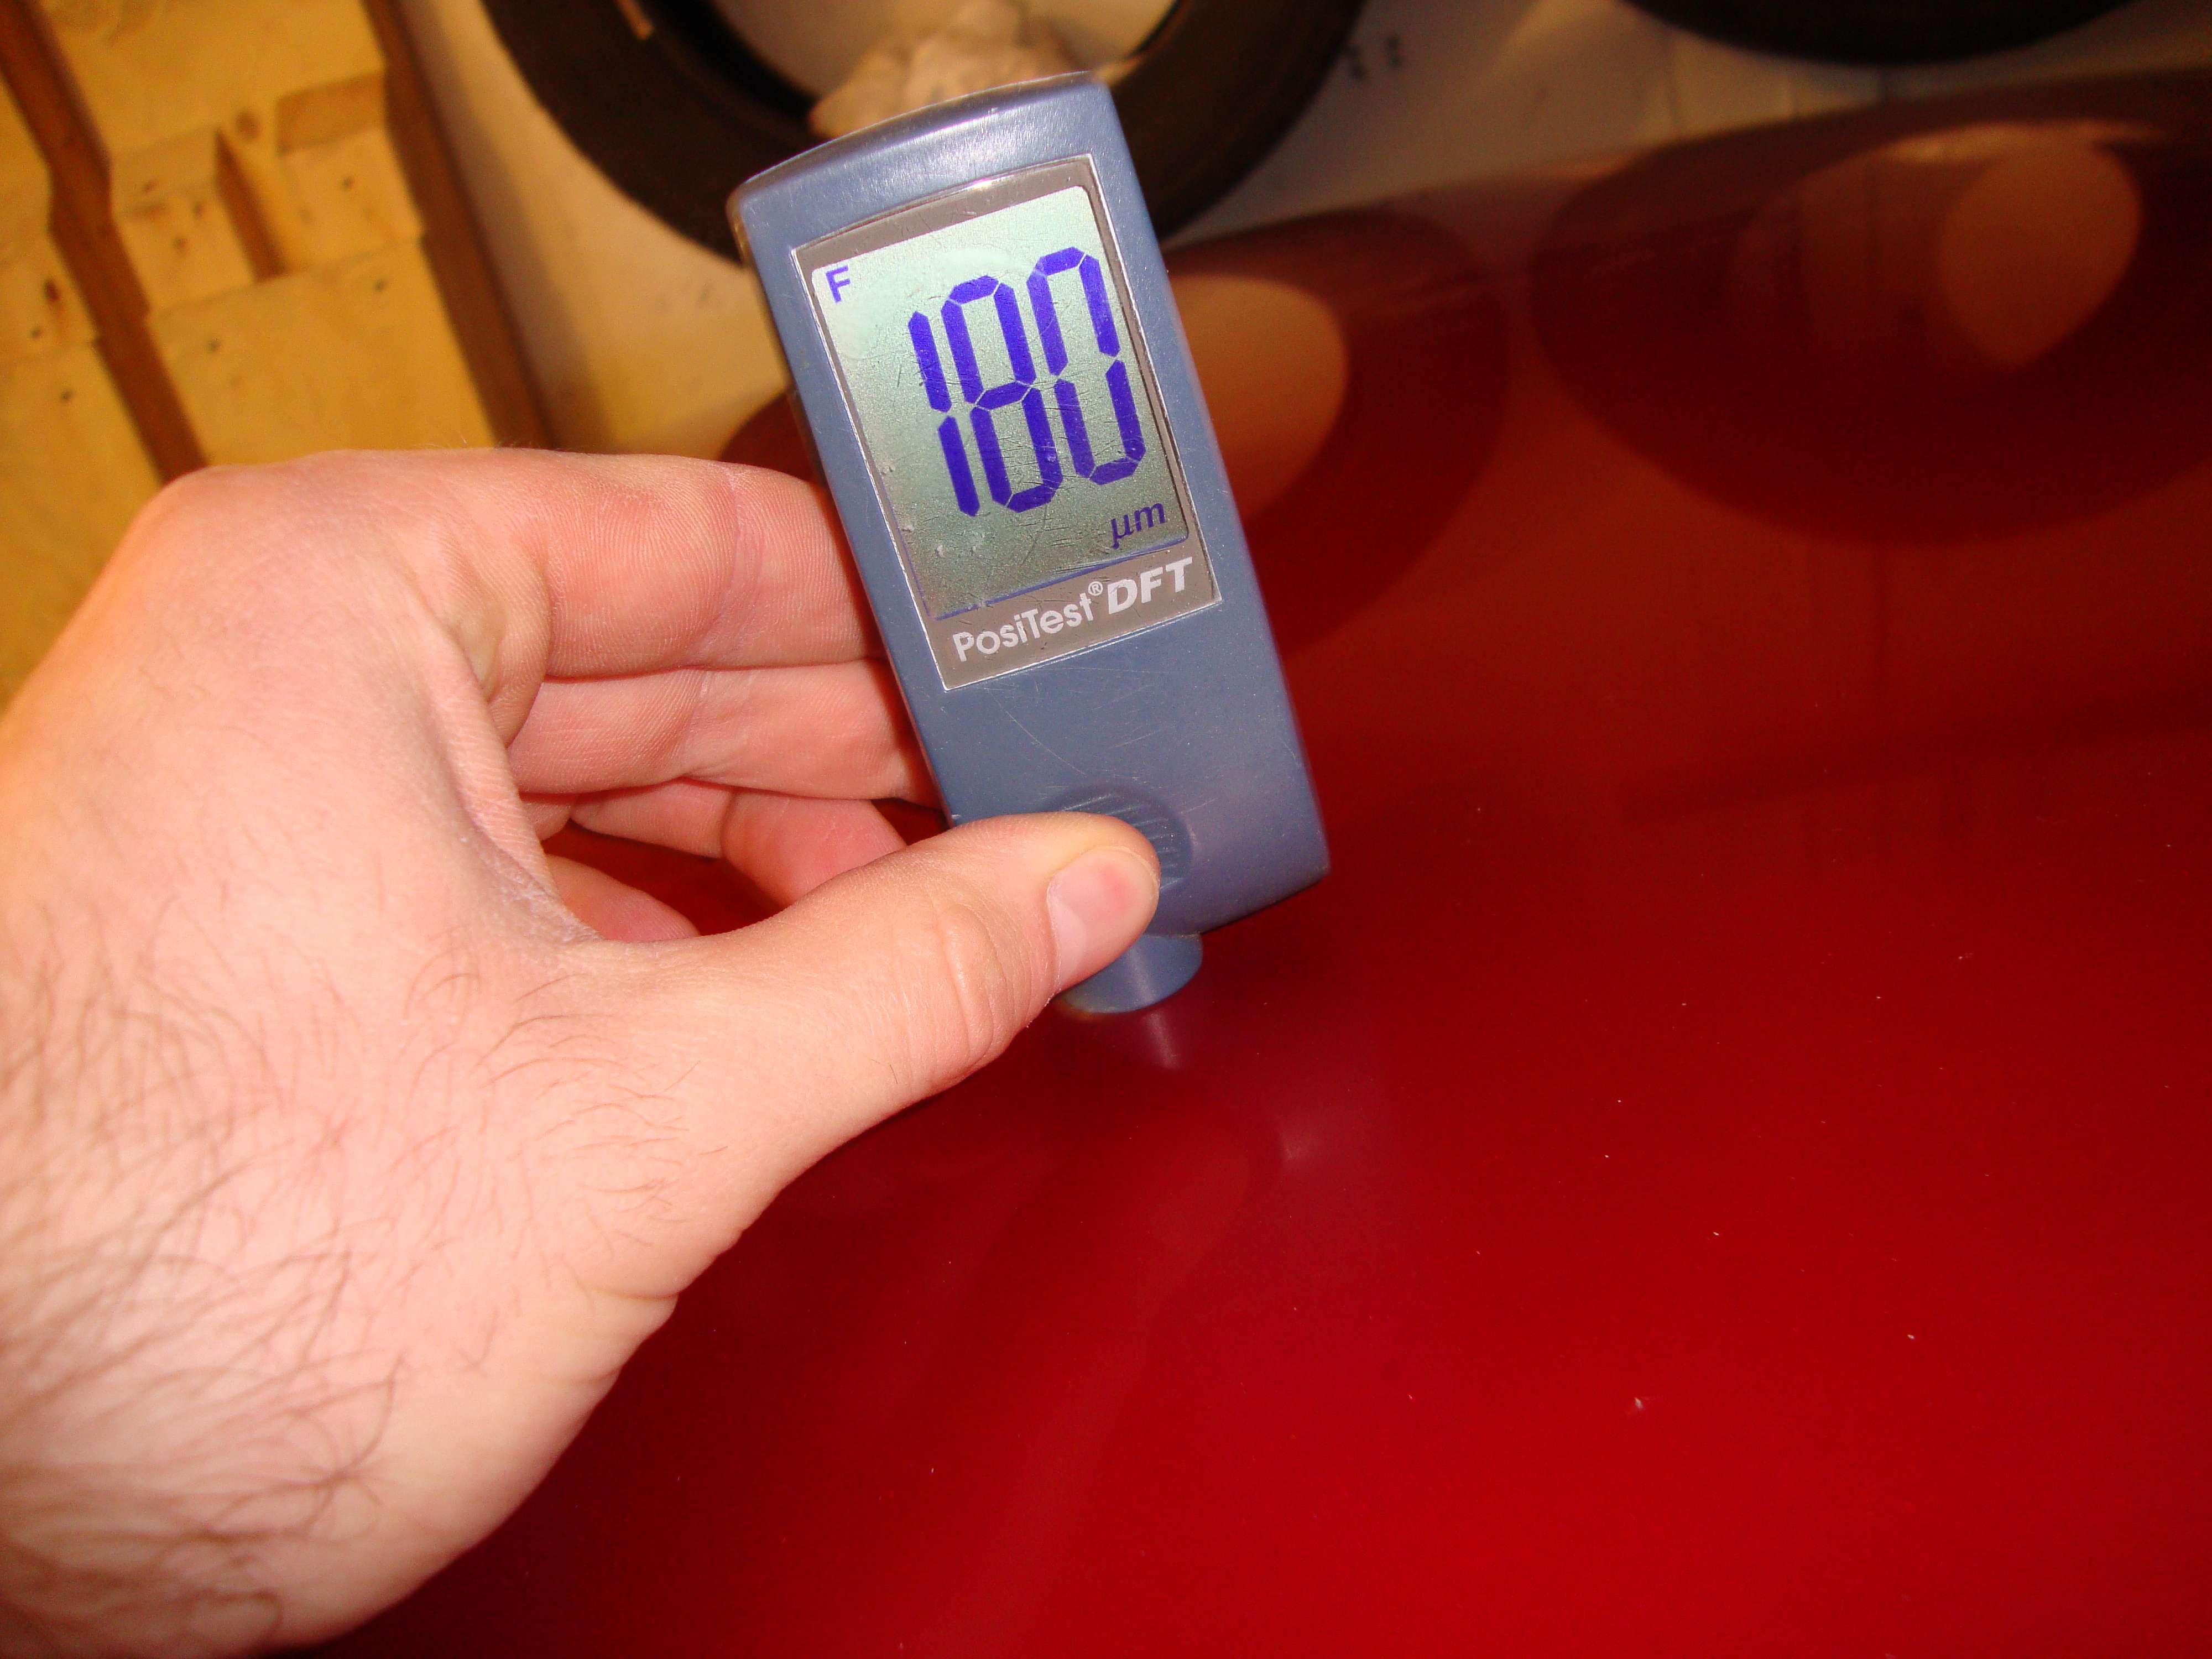
Measure the paint with my paint gauge to make sure it’s thick enought to do the good correction.
Thickness is fine, so I start doing my 3-step like we agreed.
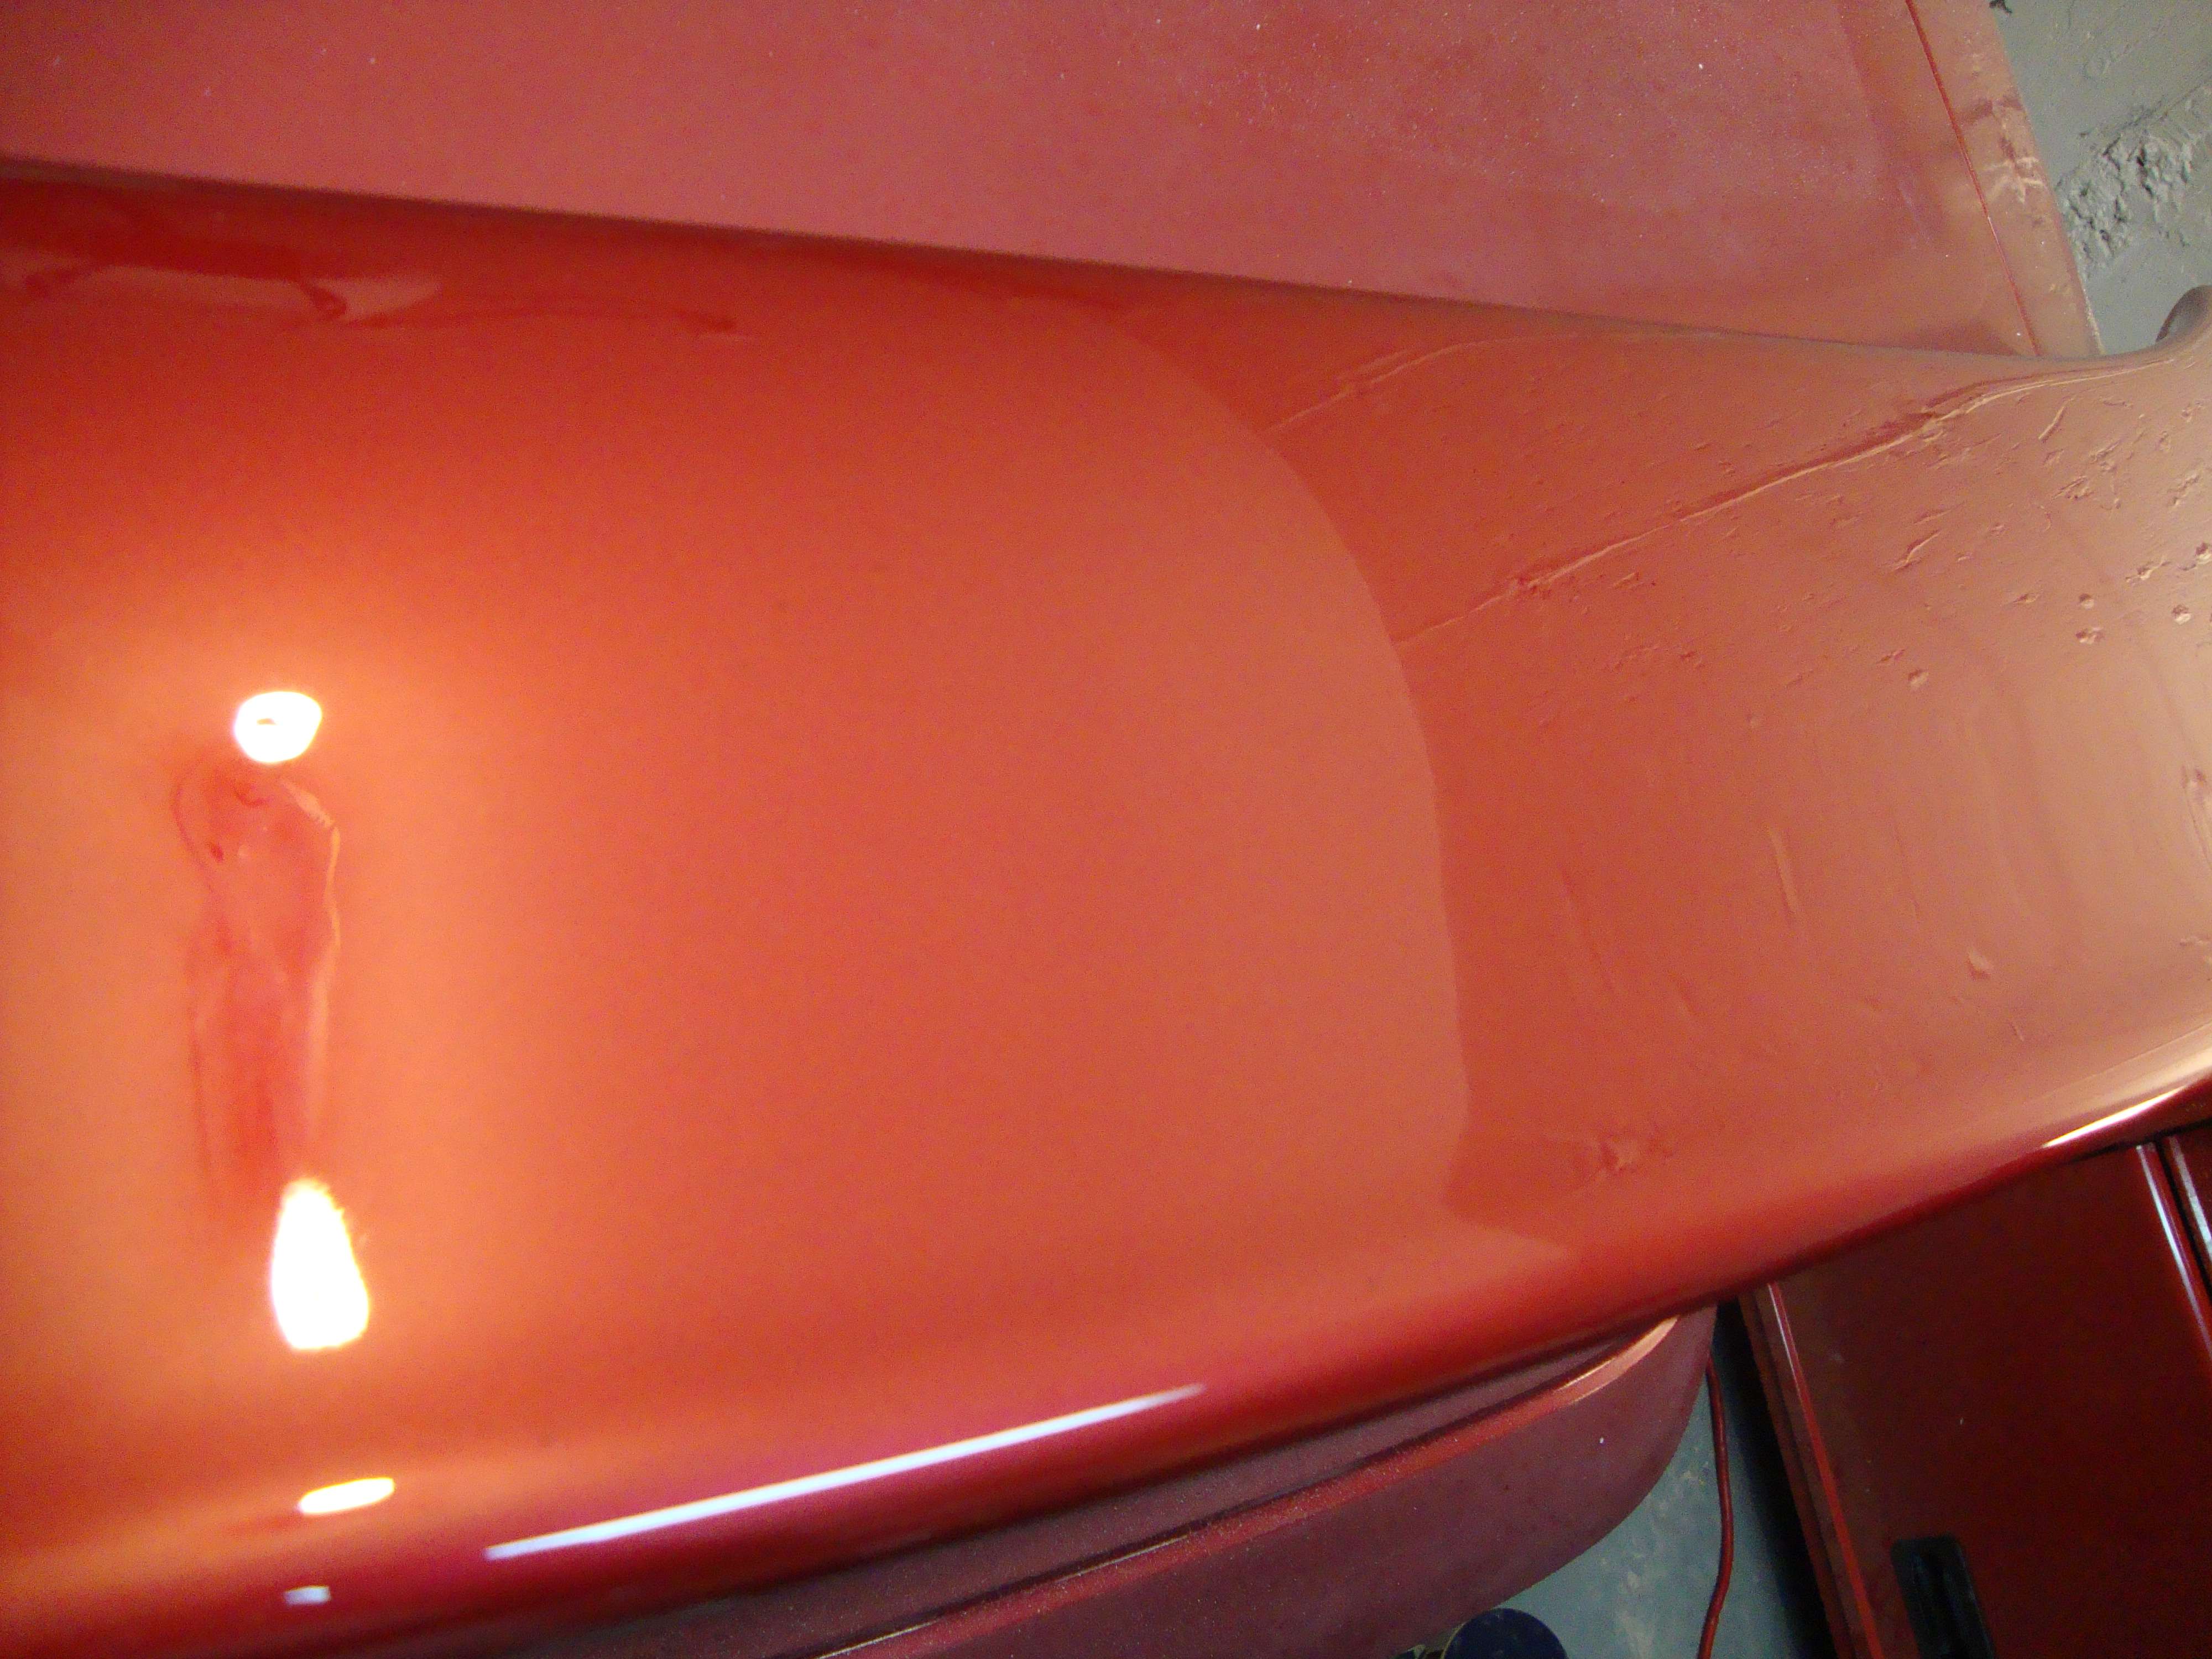
Look great but let’s look closer..
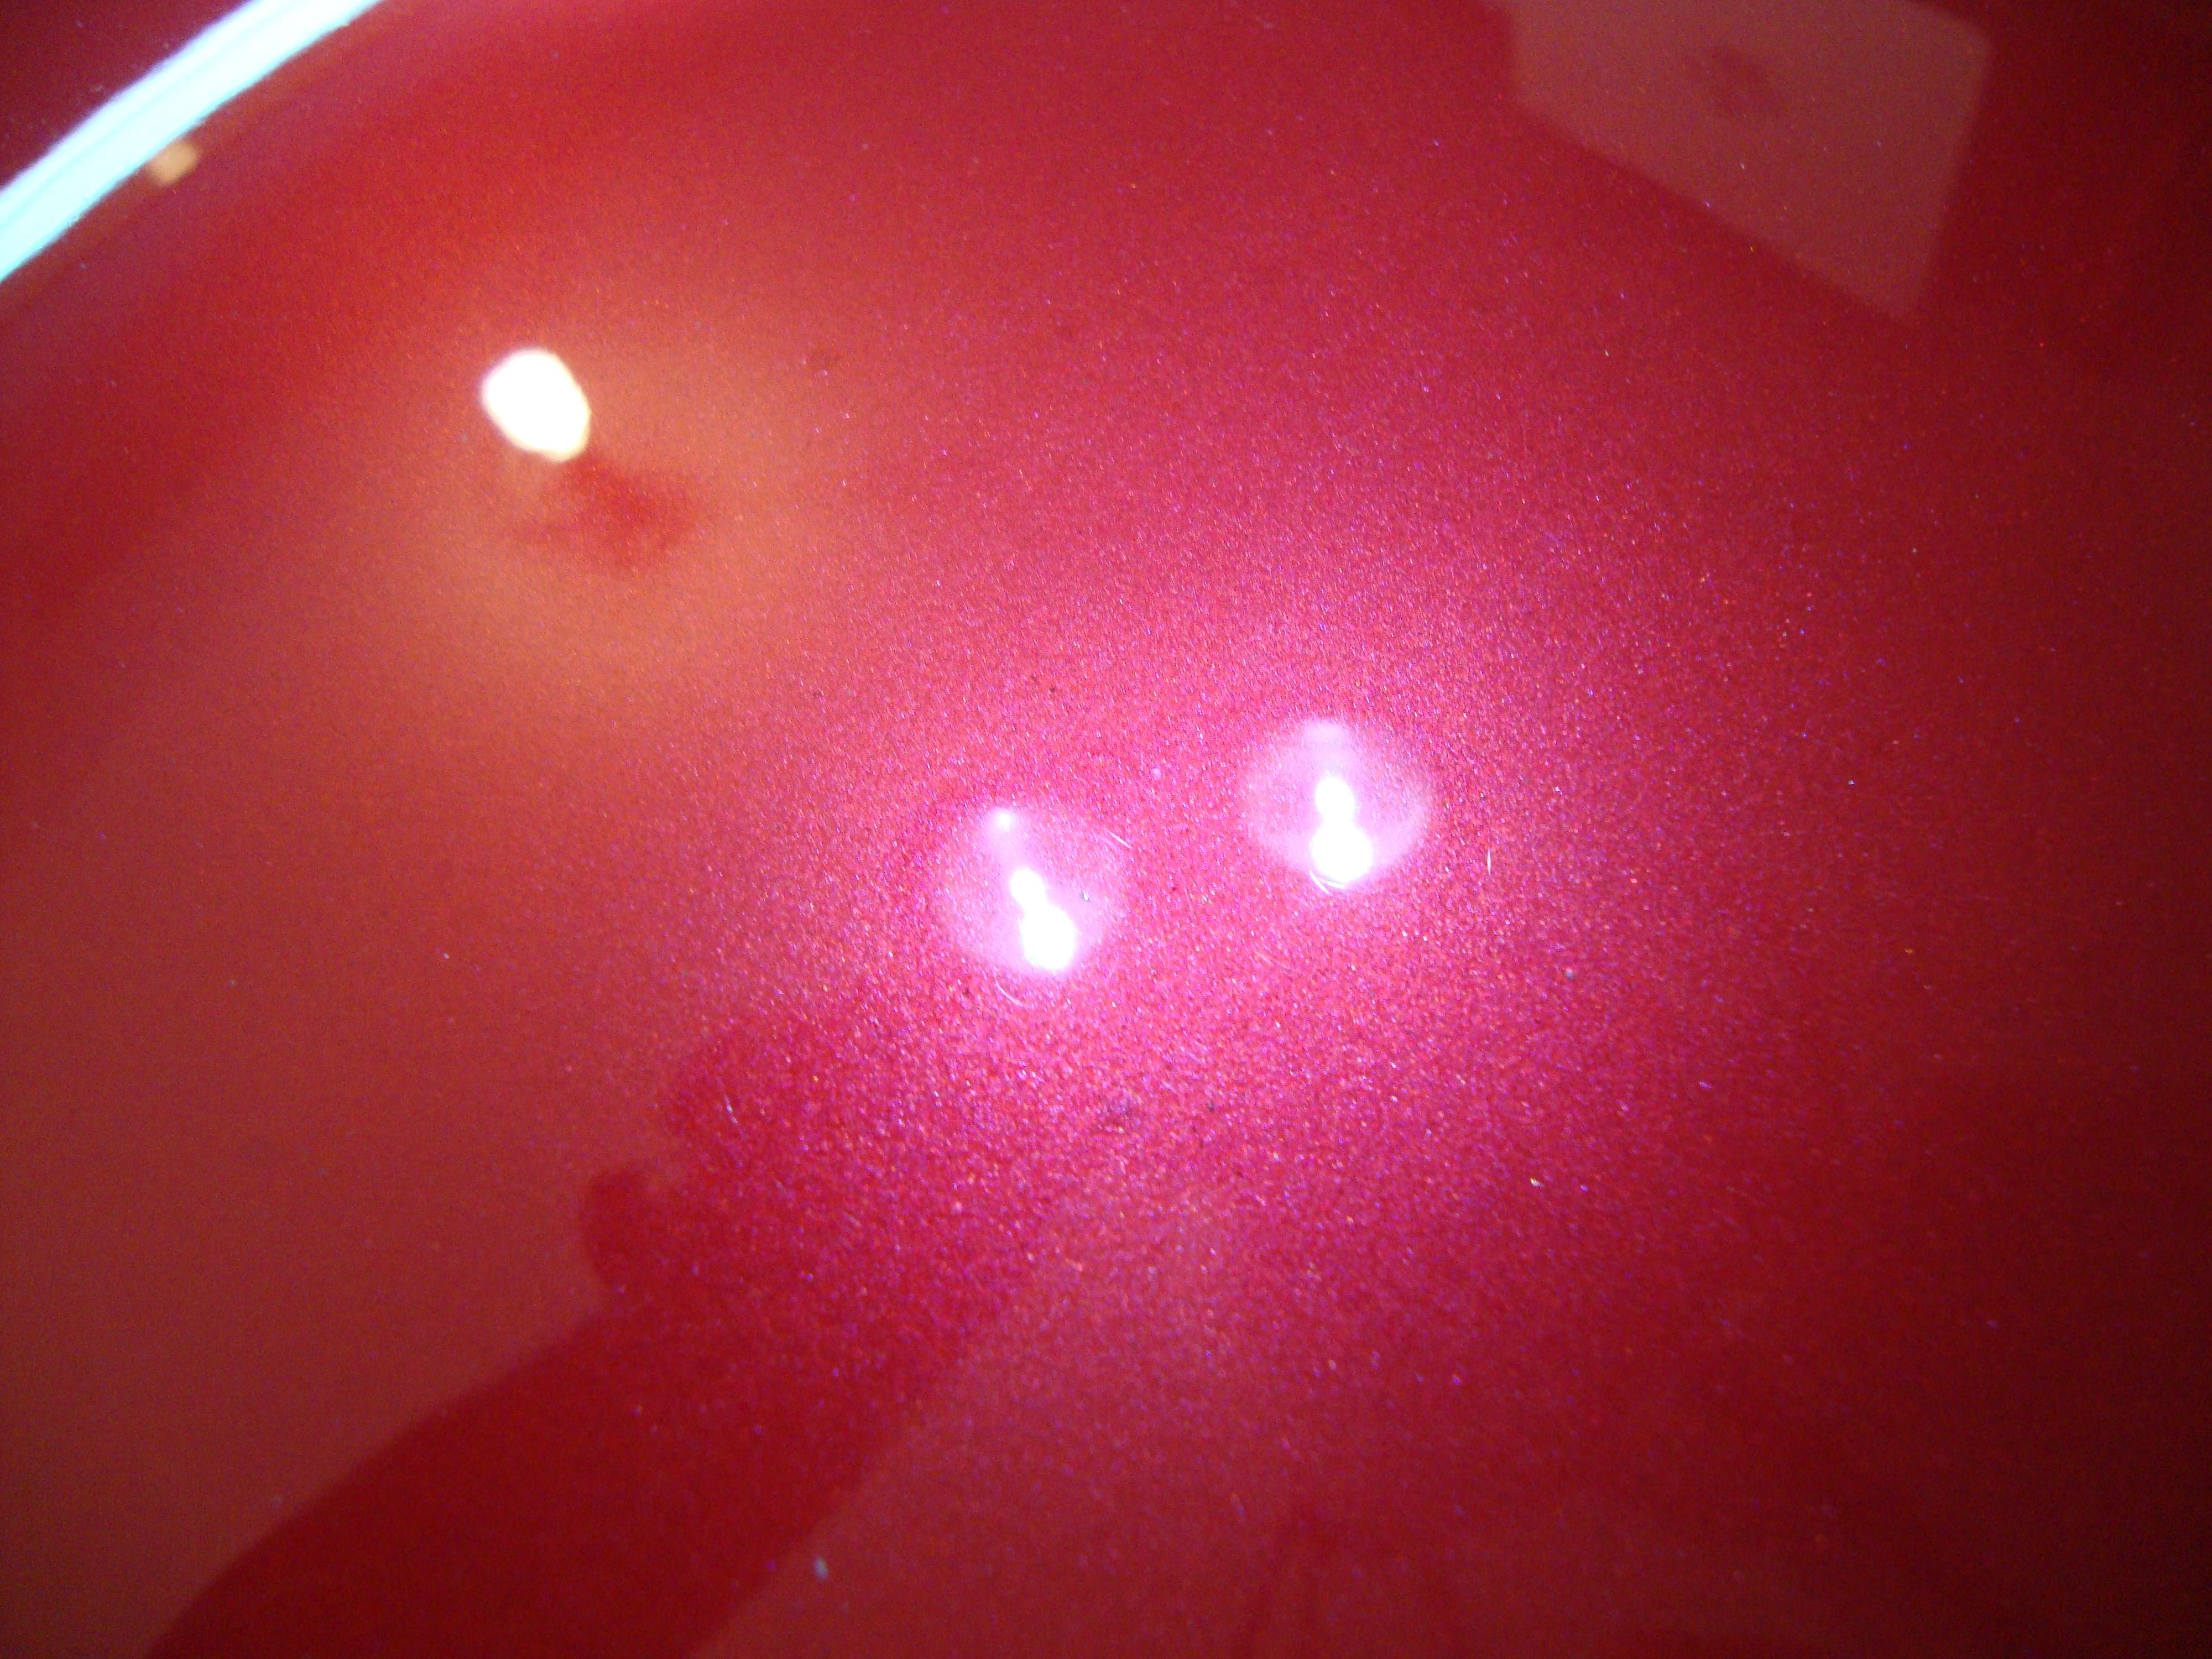
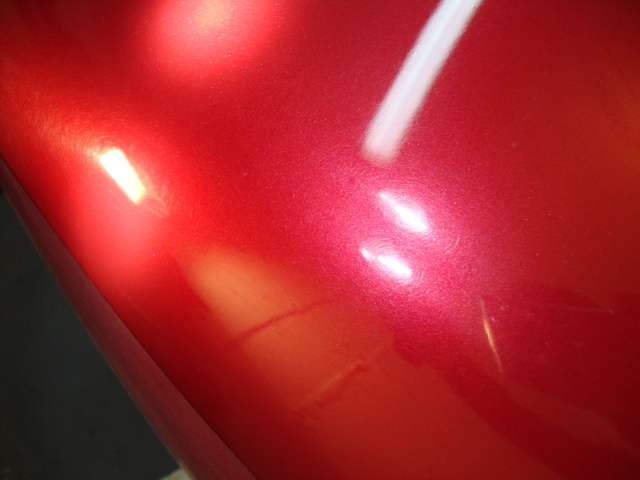
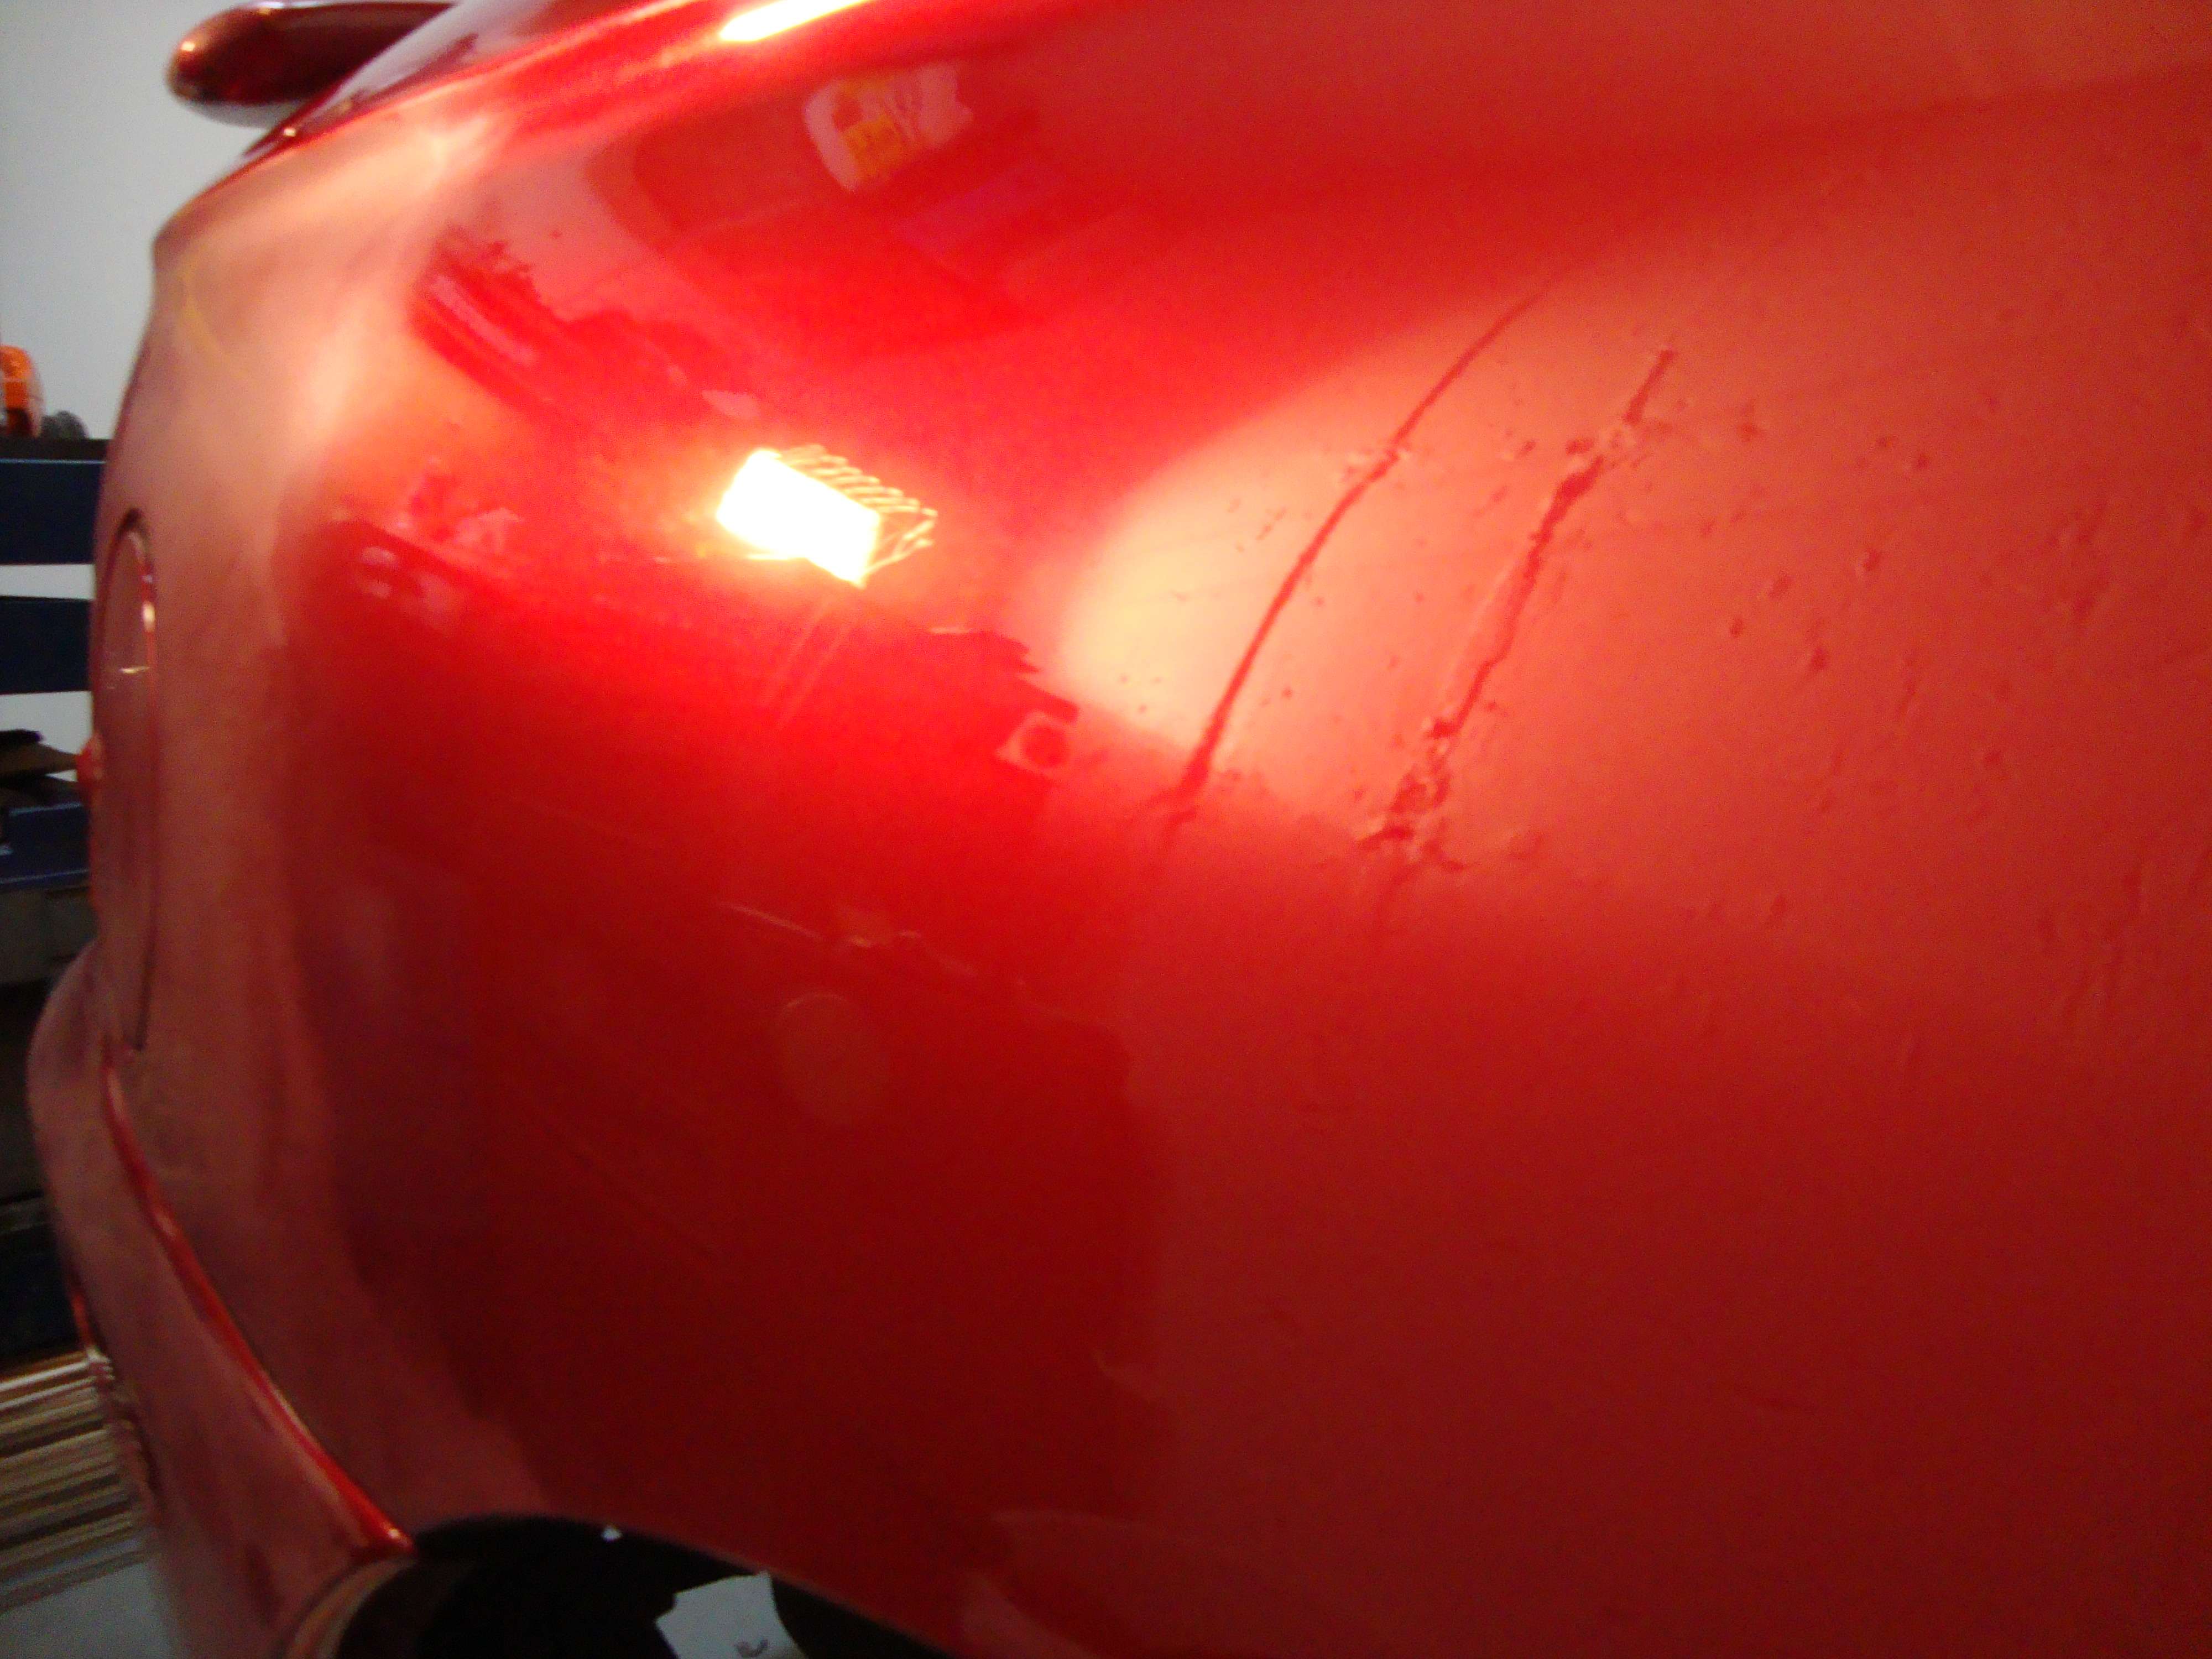
/ There’s way too much small scratches, I can’t do this.
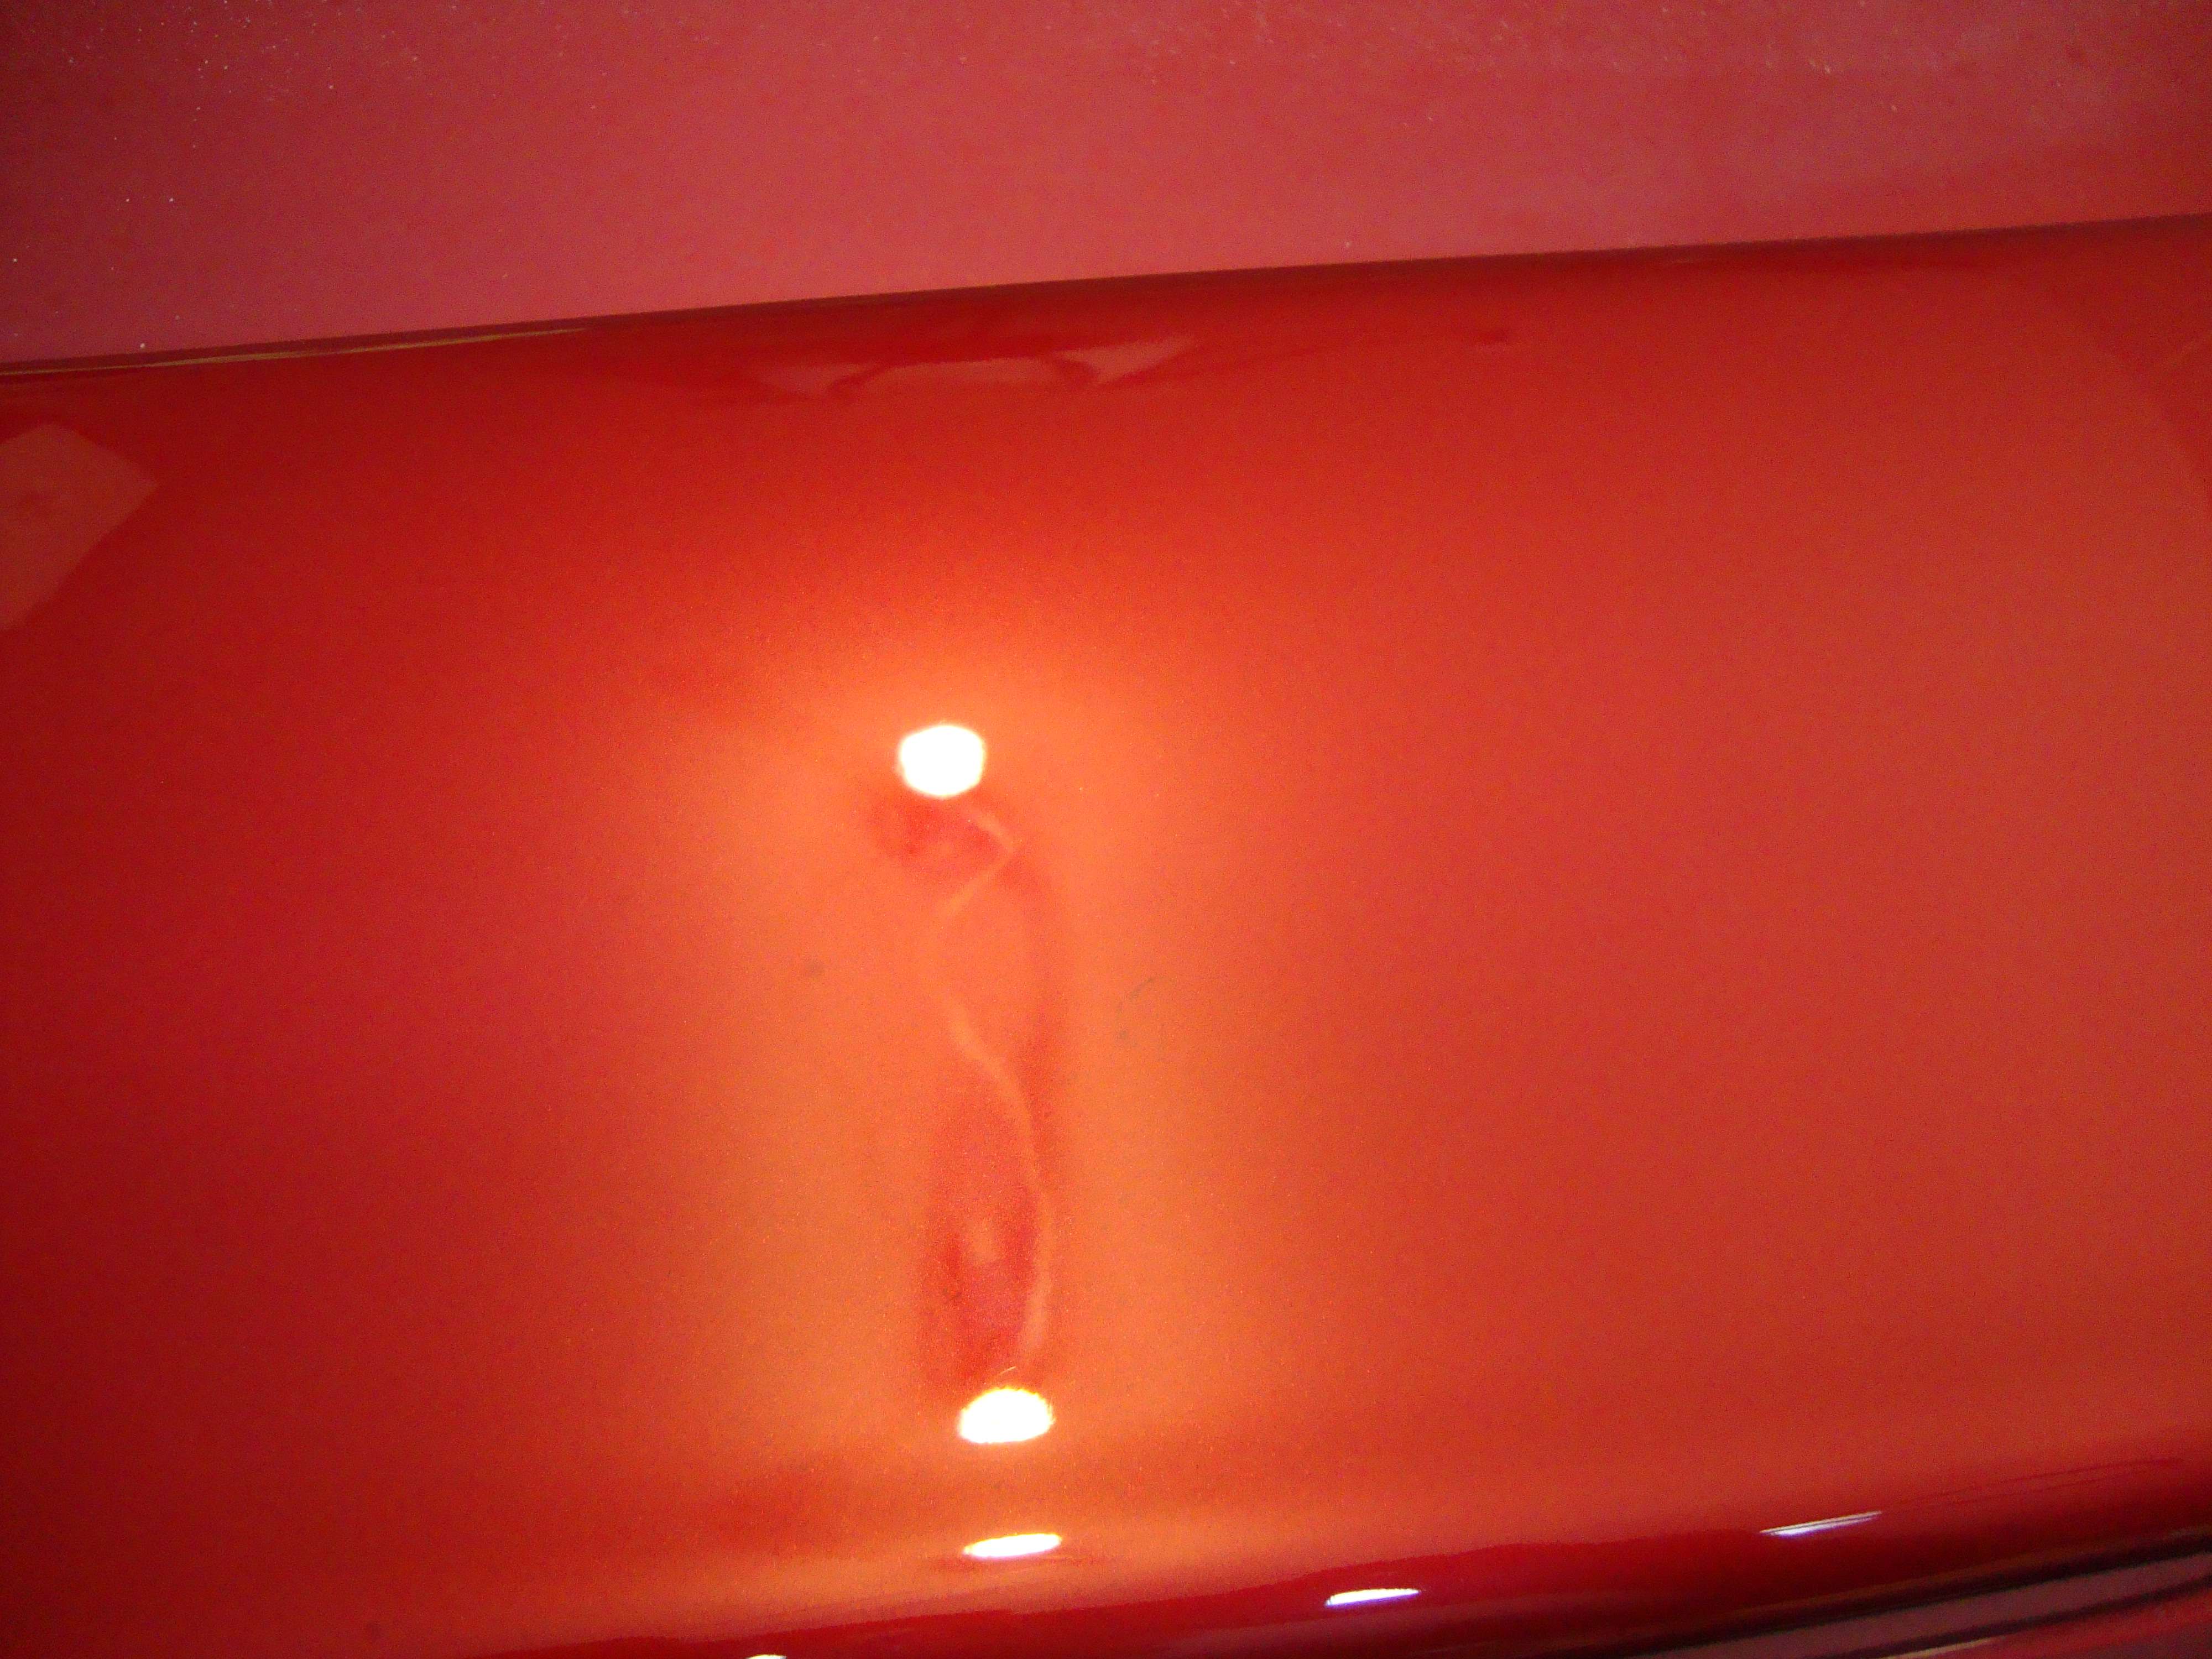
So, I try a 5-step polish.
And closer…
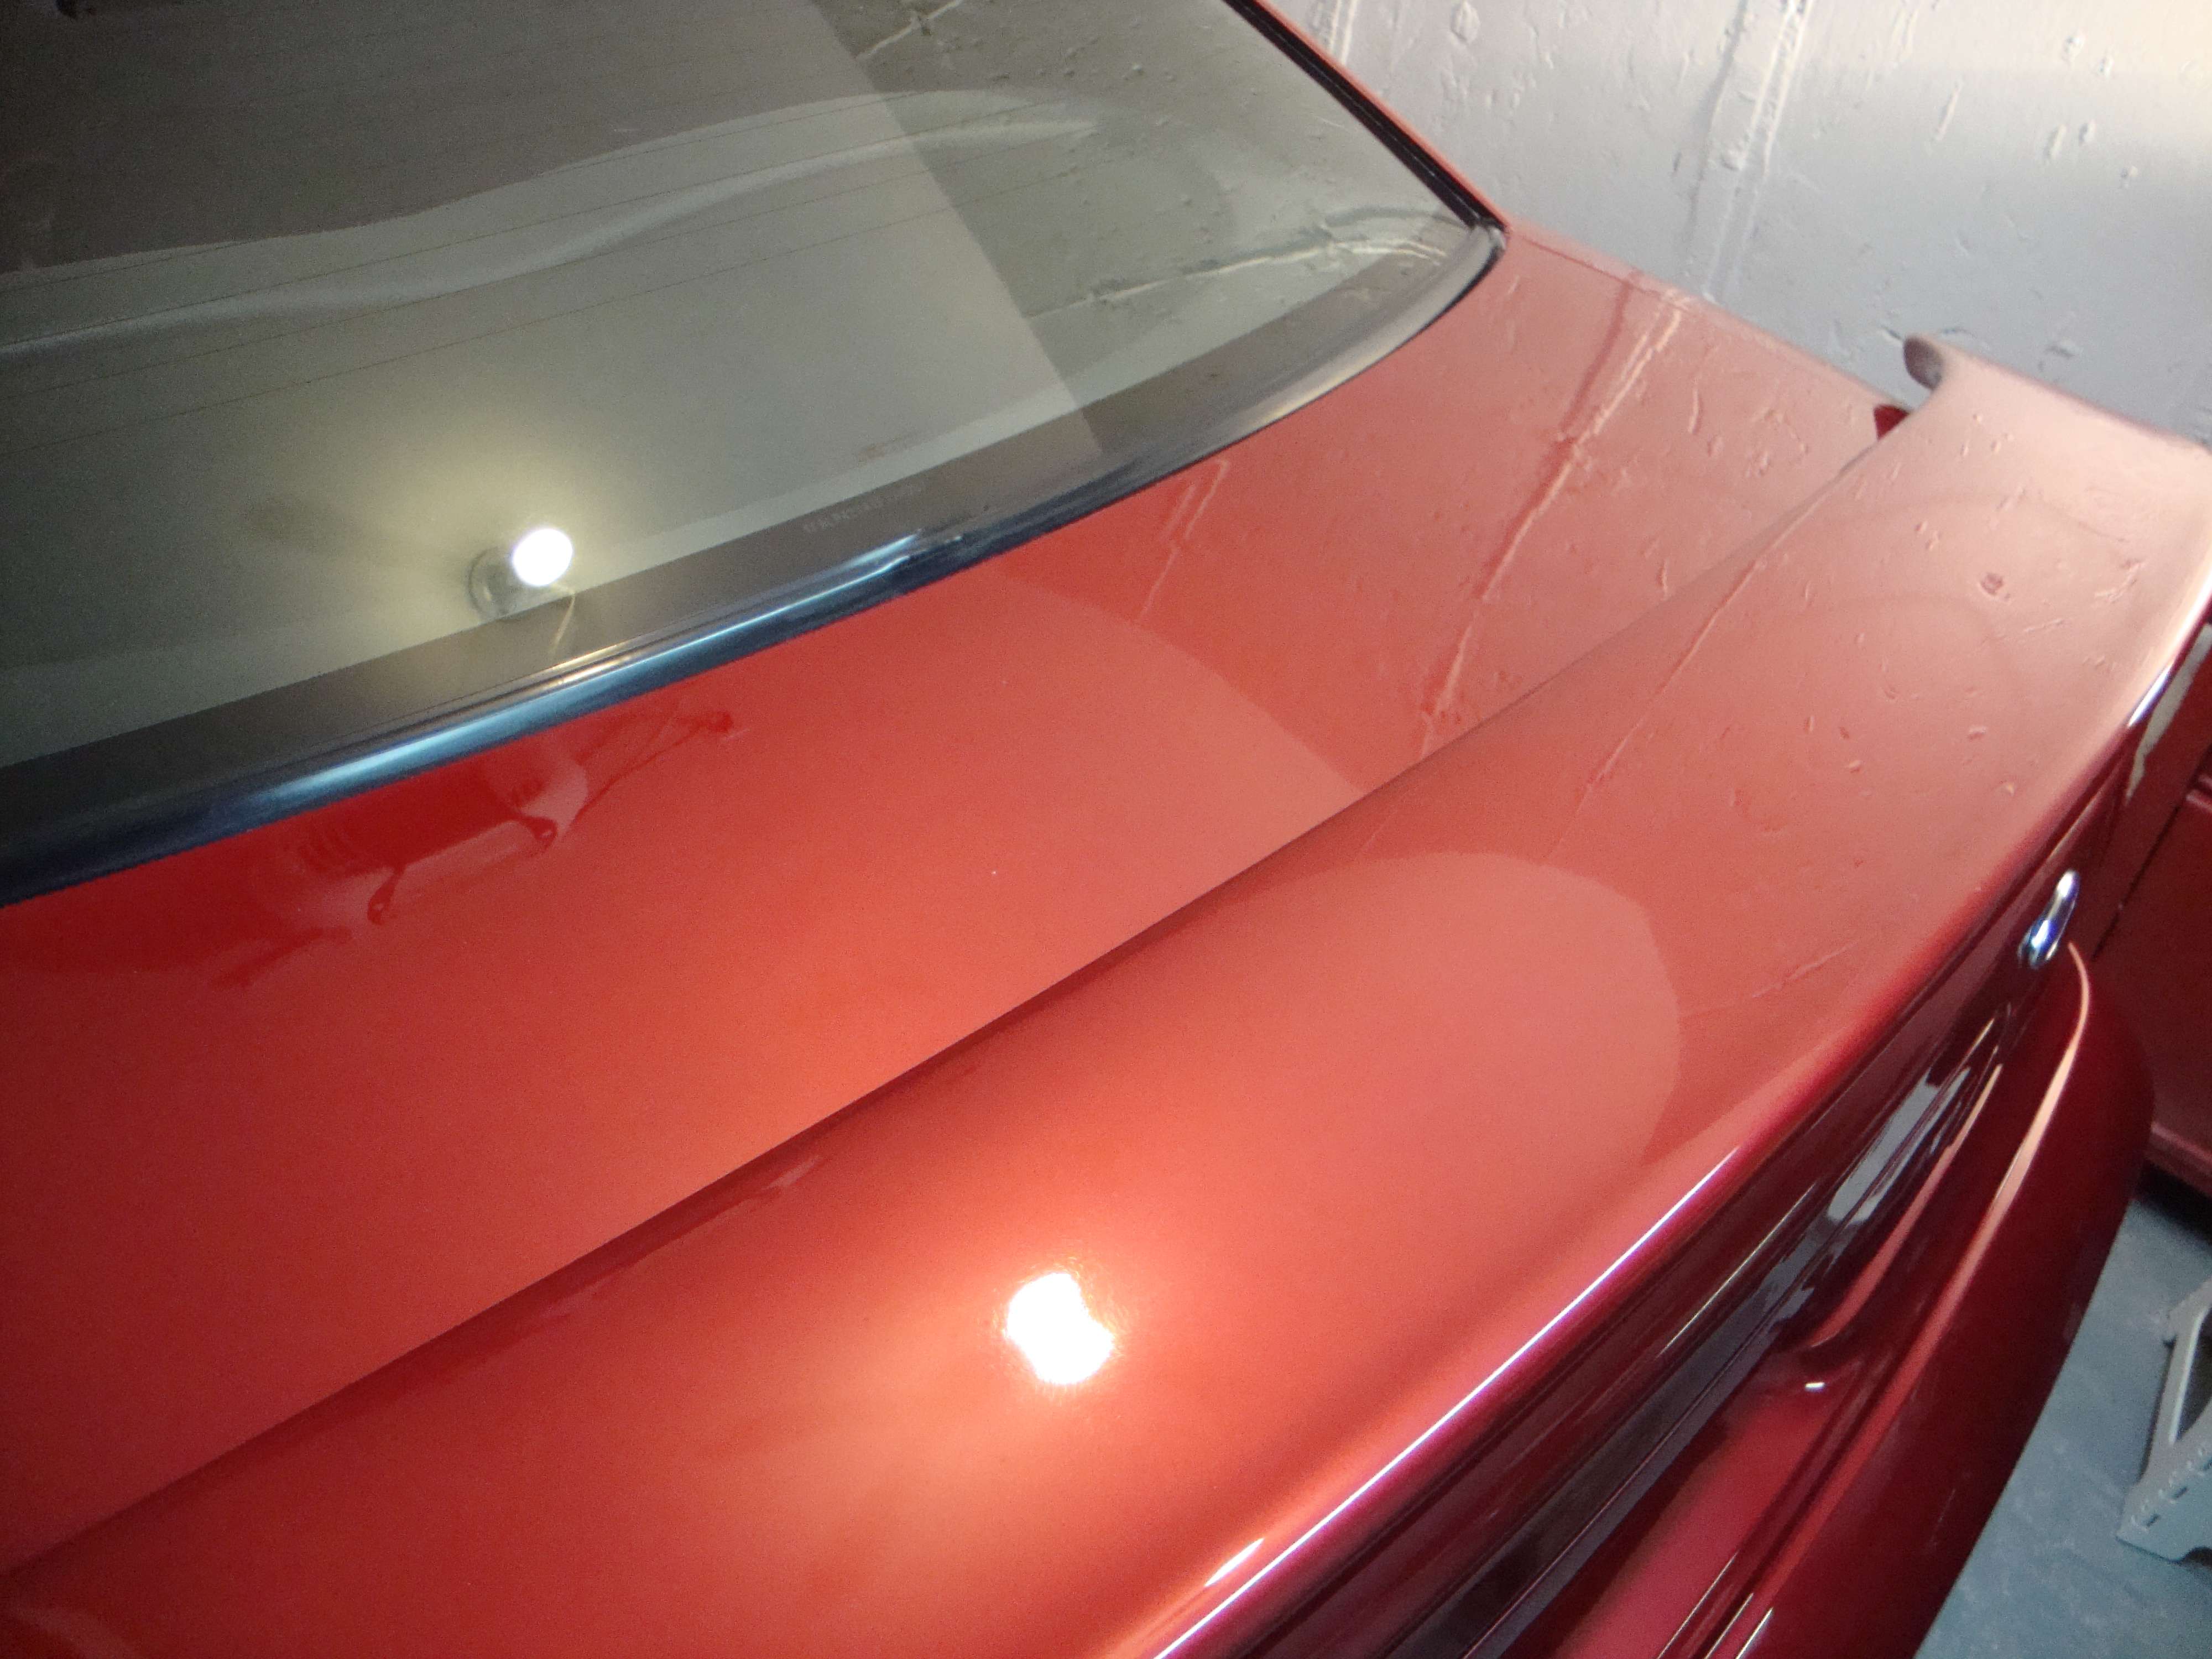
/ This is what I’m looking for. Great finish! But there’s a problem, I can’t do a 5-step in one single day and the owner agreed to pay for a 3-step not a 5-step.
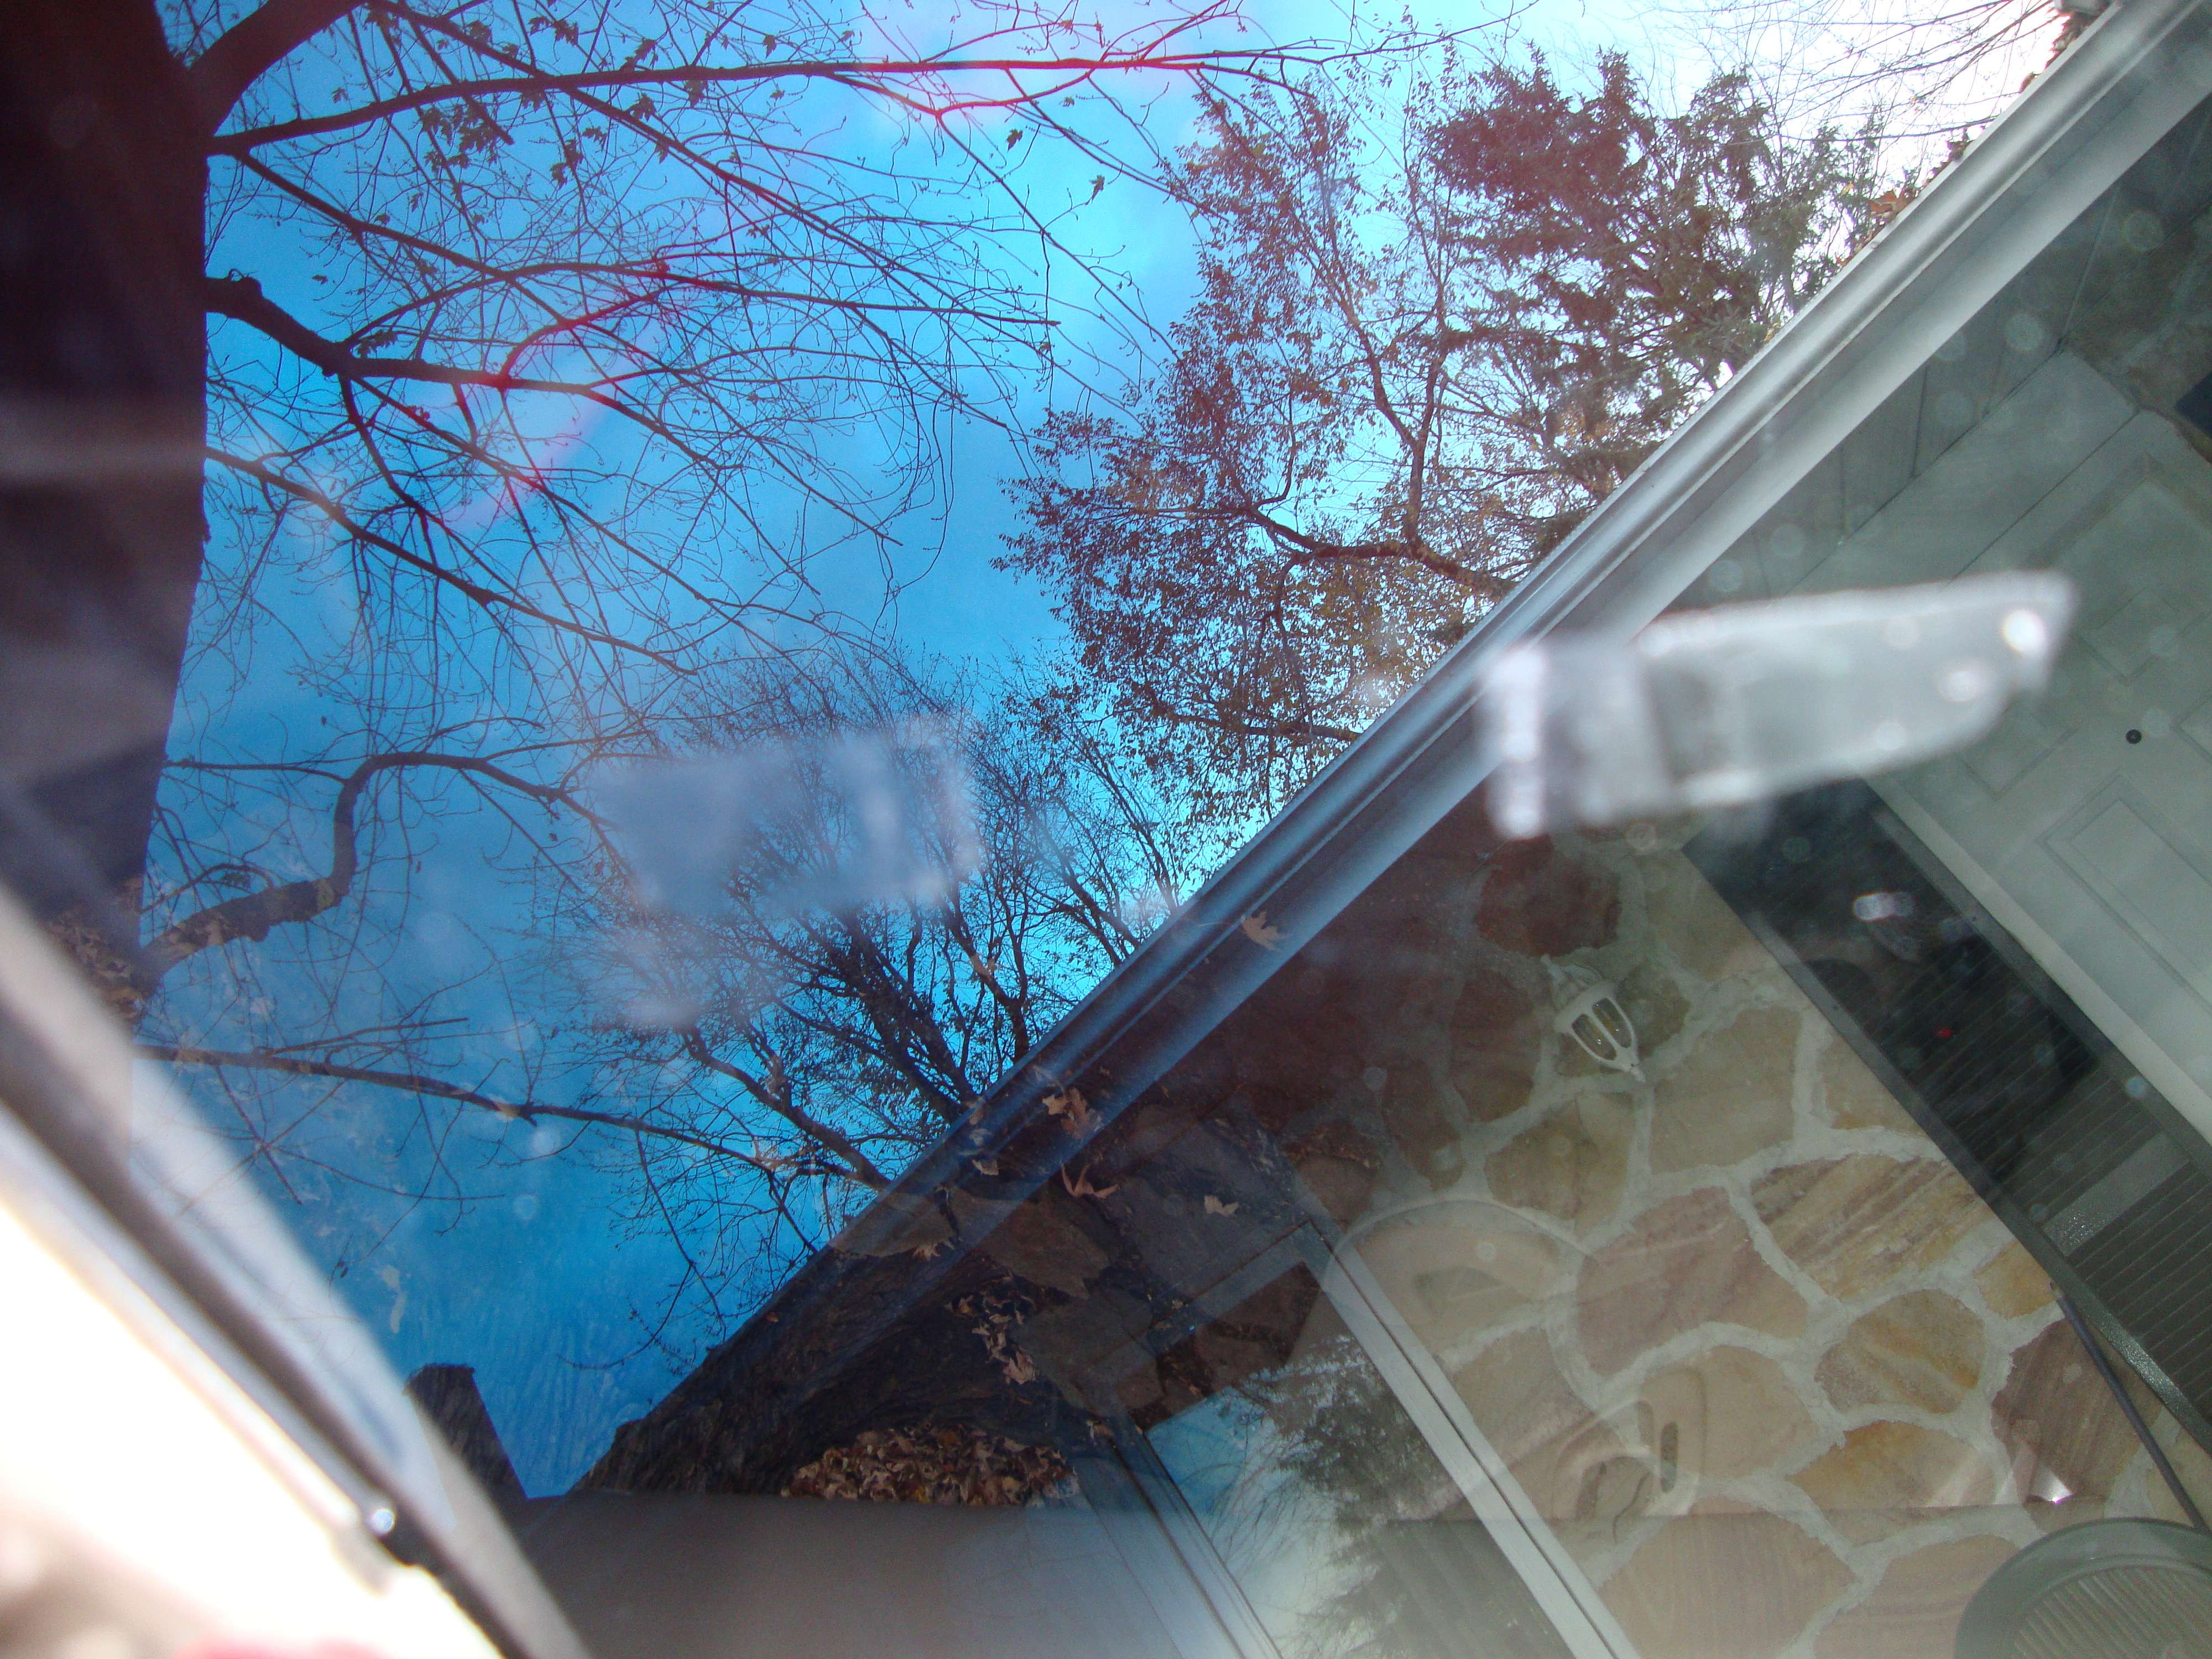
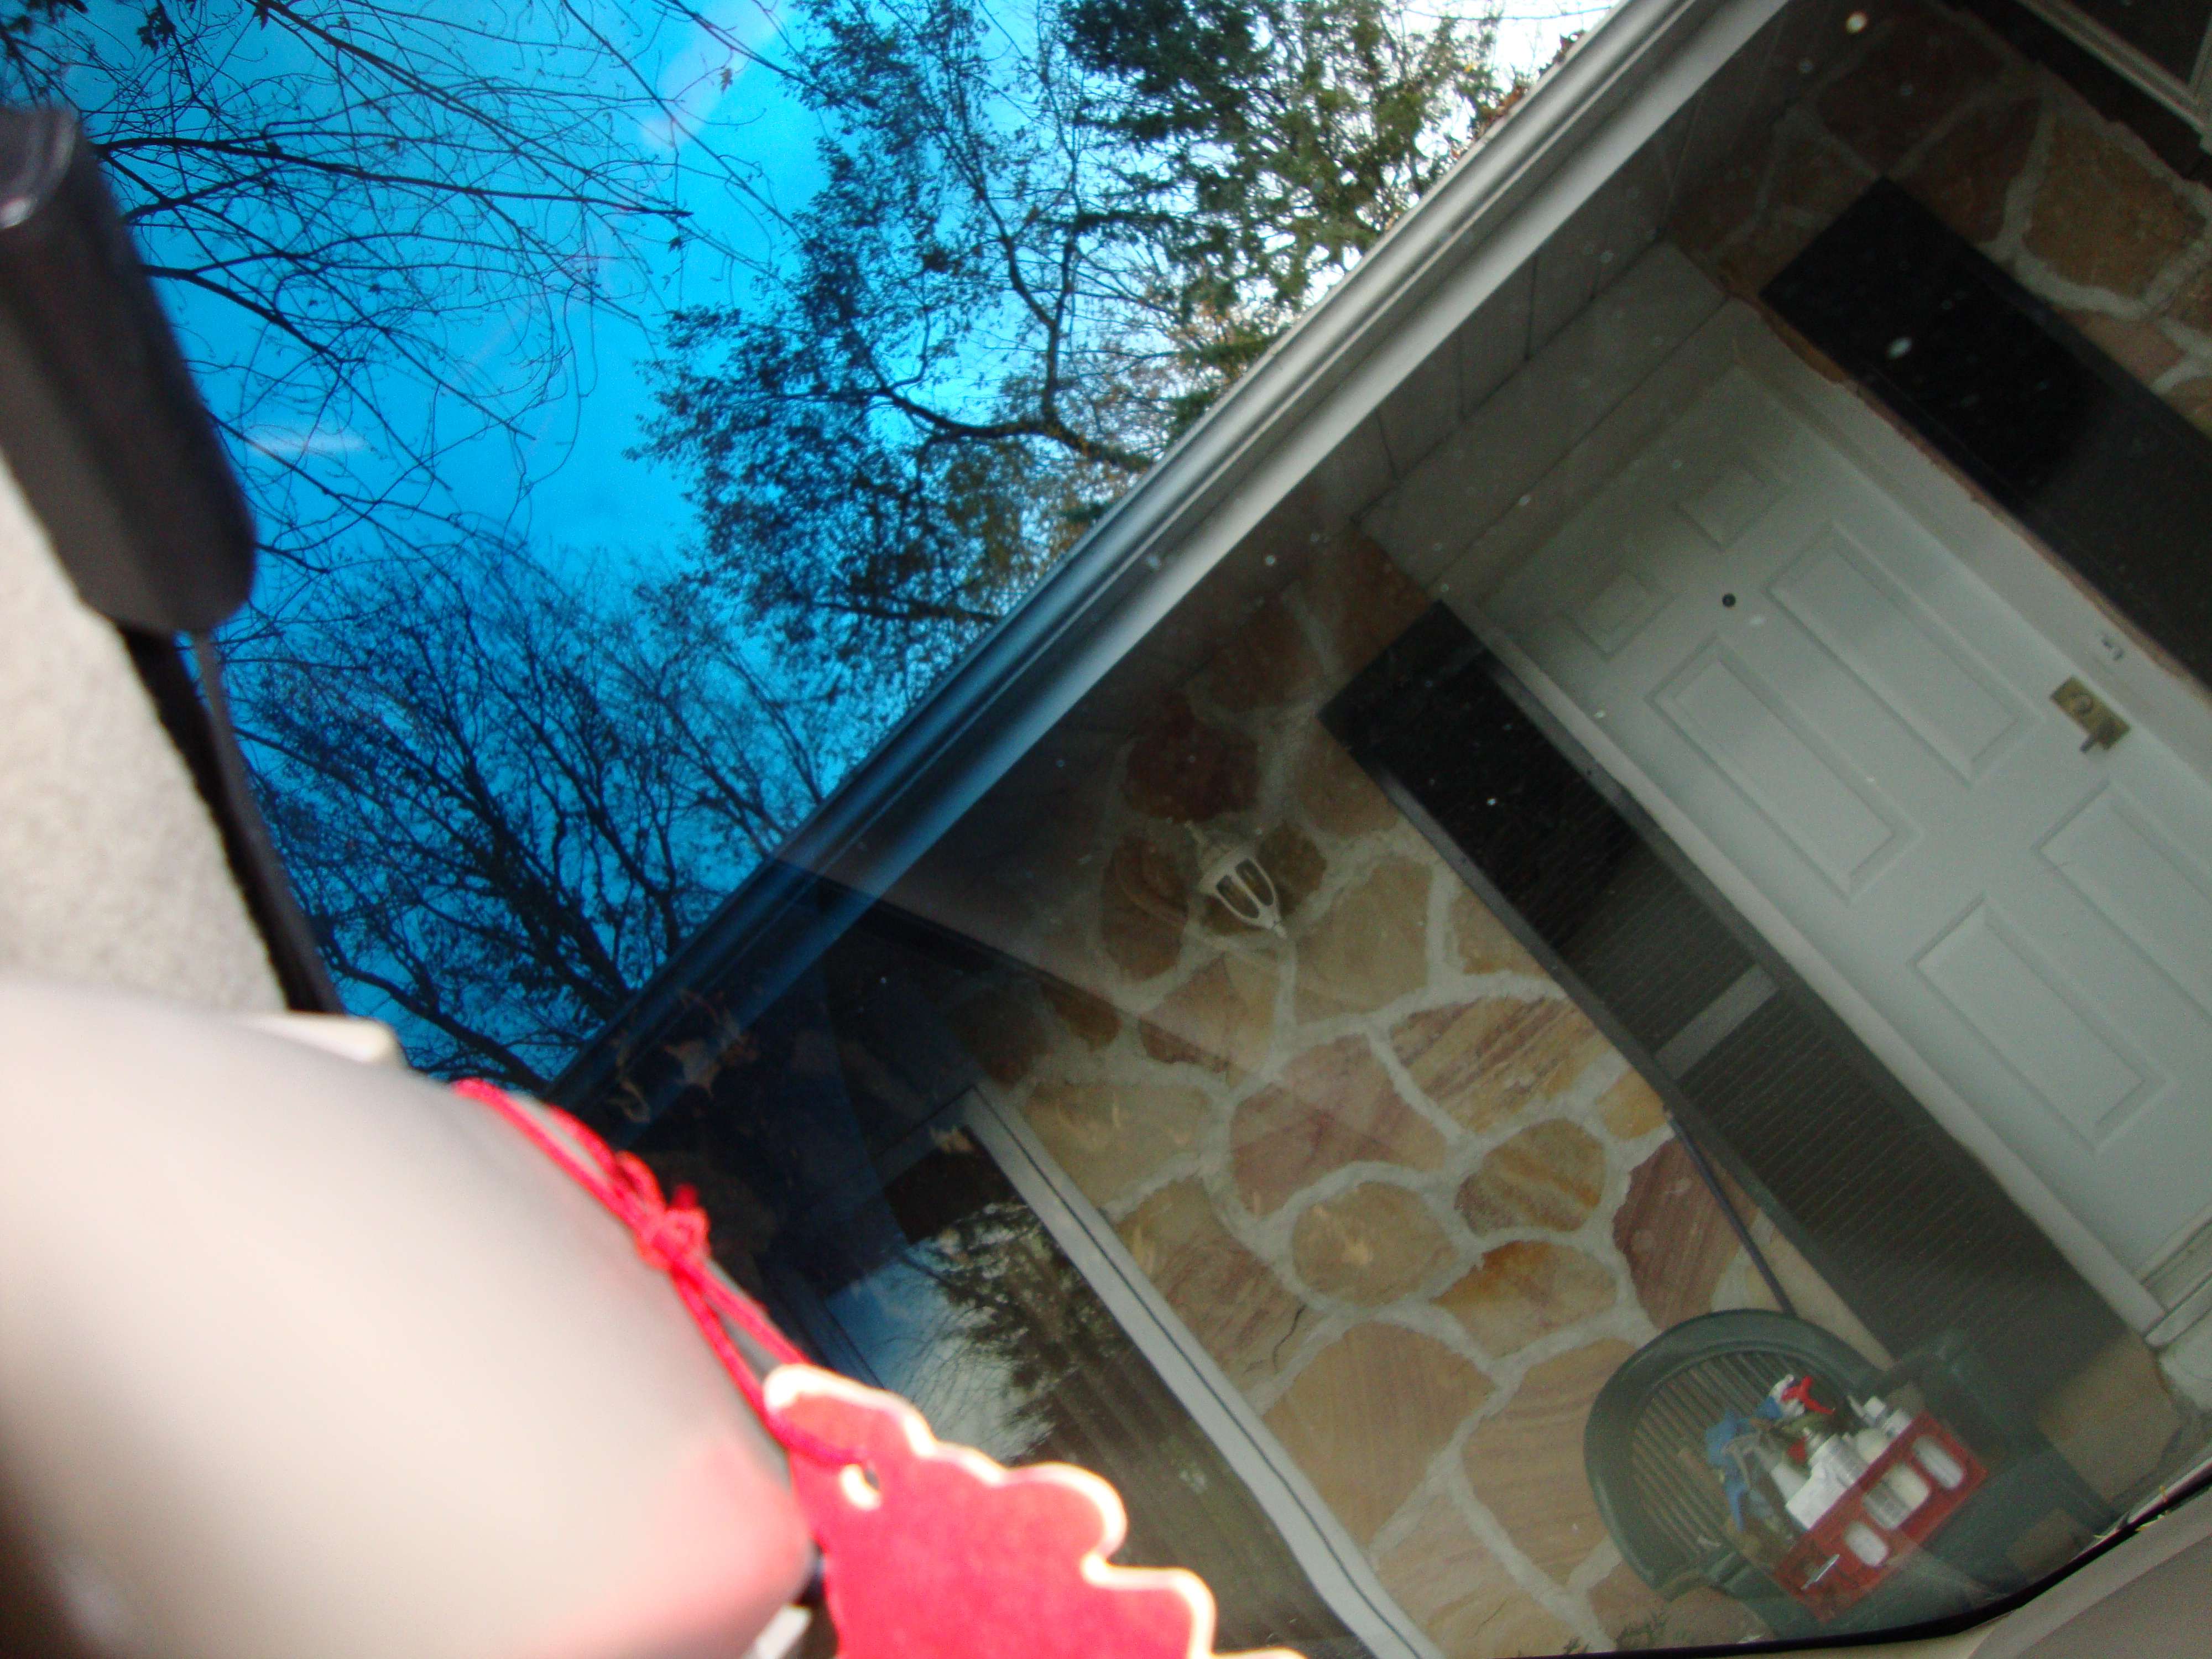
I know you guys likes when I add more than just pictures. So, here's a video I took to show you how Aquapel is still going strong after 5 month of salt,winter and sand abuse!
Here's my grandpa malibu, last time he waxed his car he said he took 1.30 so I thought he needed some help from his grand-son .
2 bucket wash
Clay bar
CG Nano polish on white pad CCS
DP Max Wax
Aquapel treatment windshield et backglass
Plastic polish
Autoglym rubber protector
Microfiber
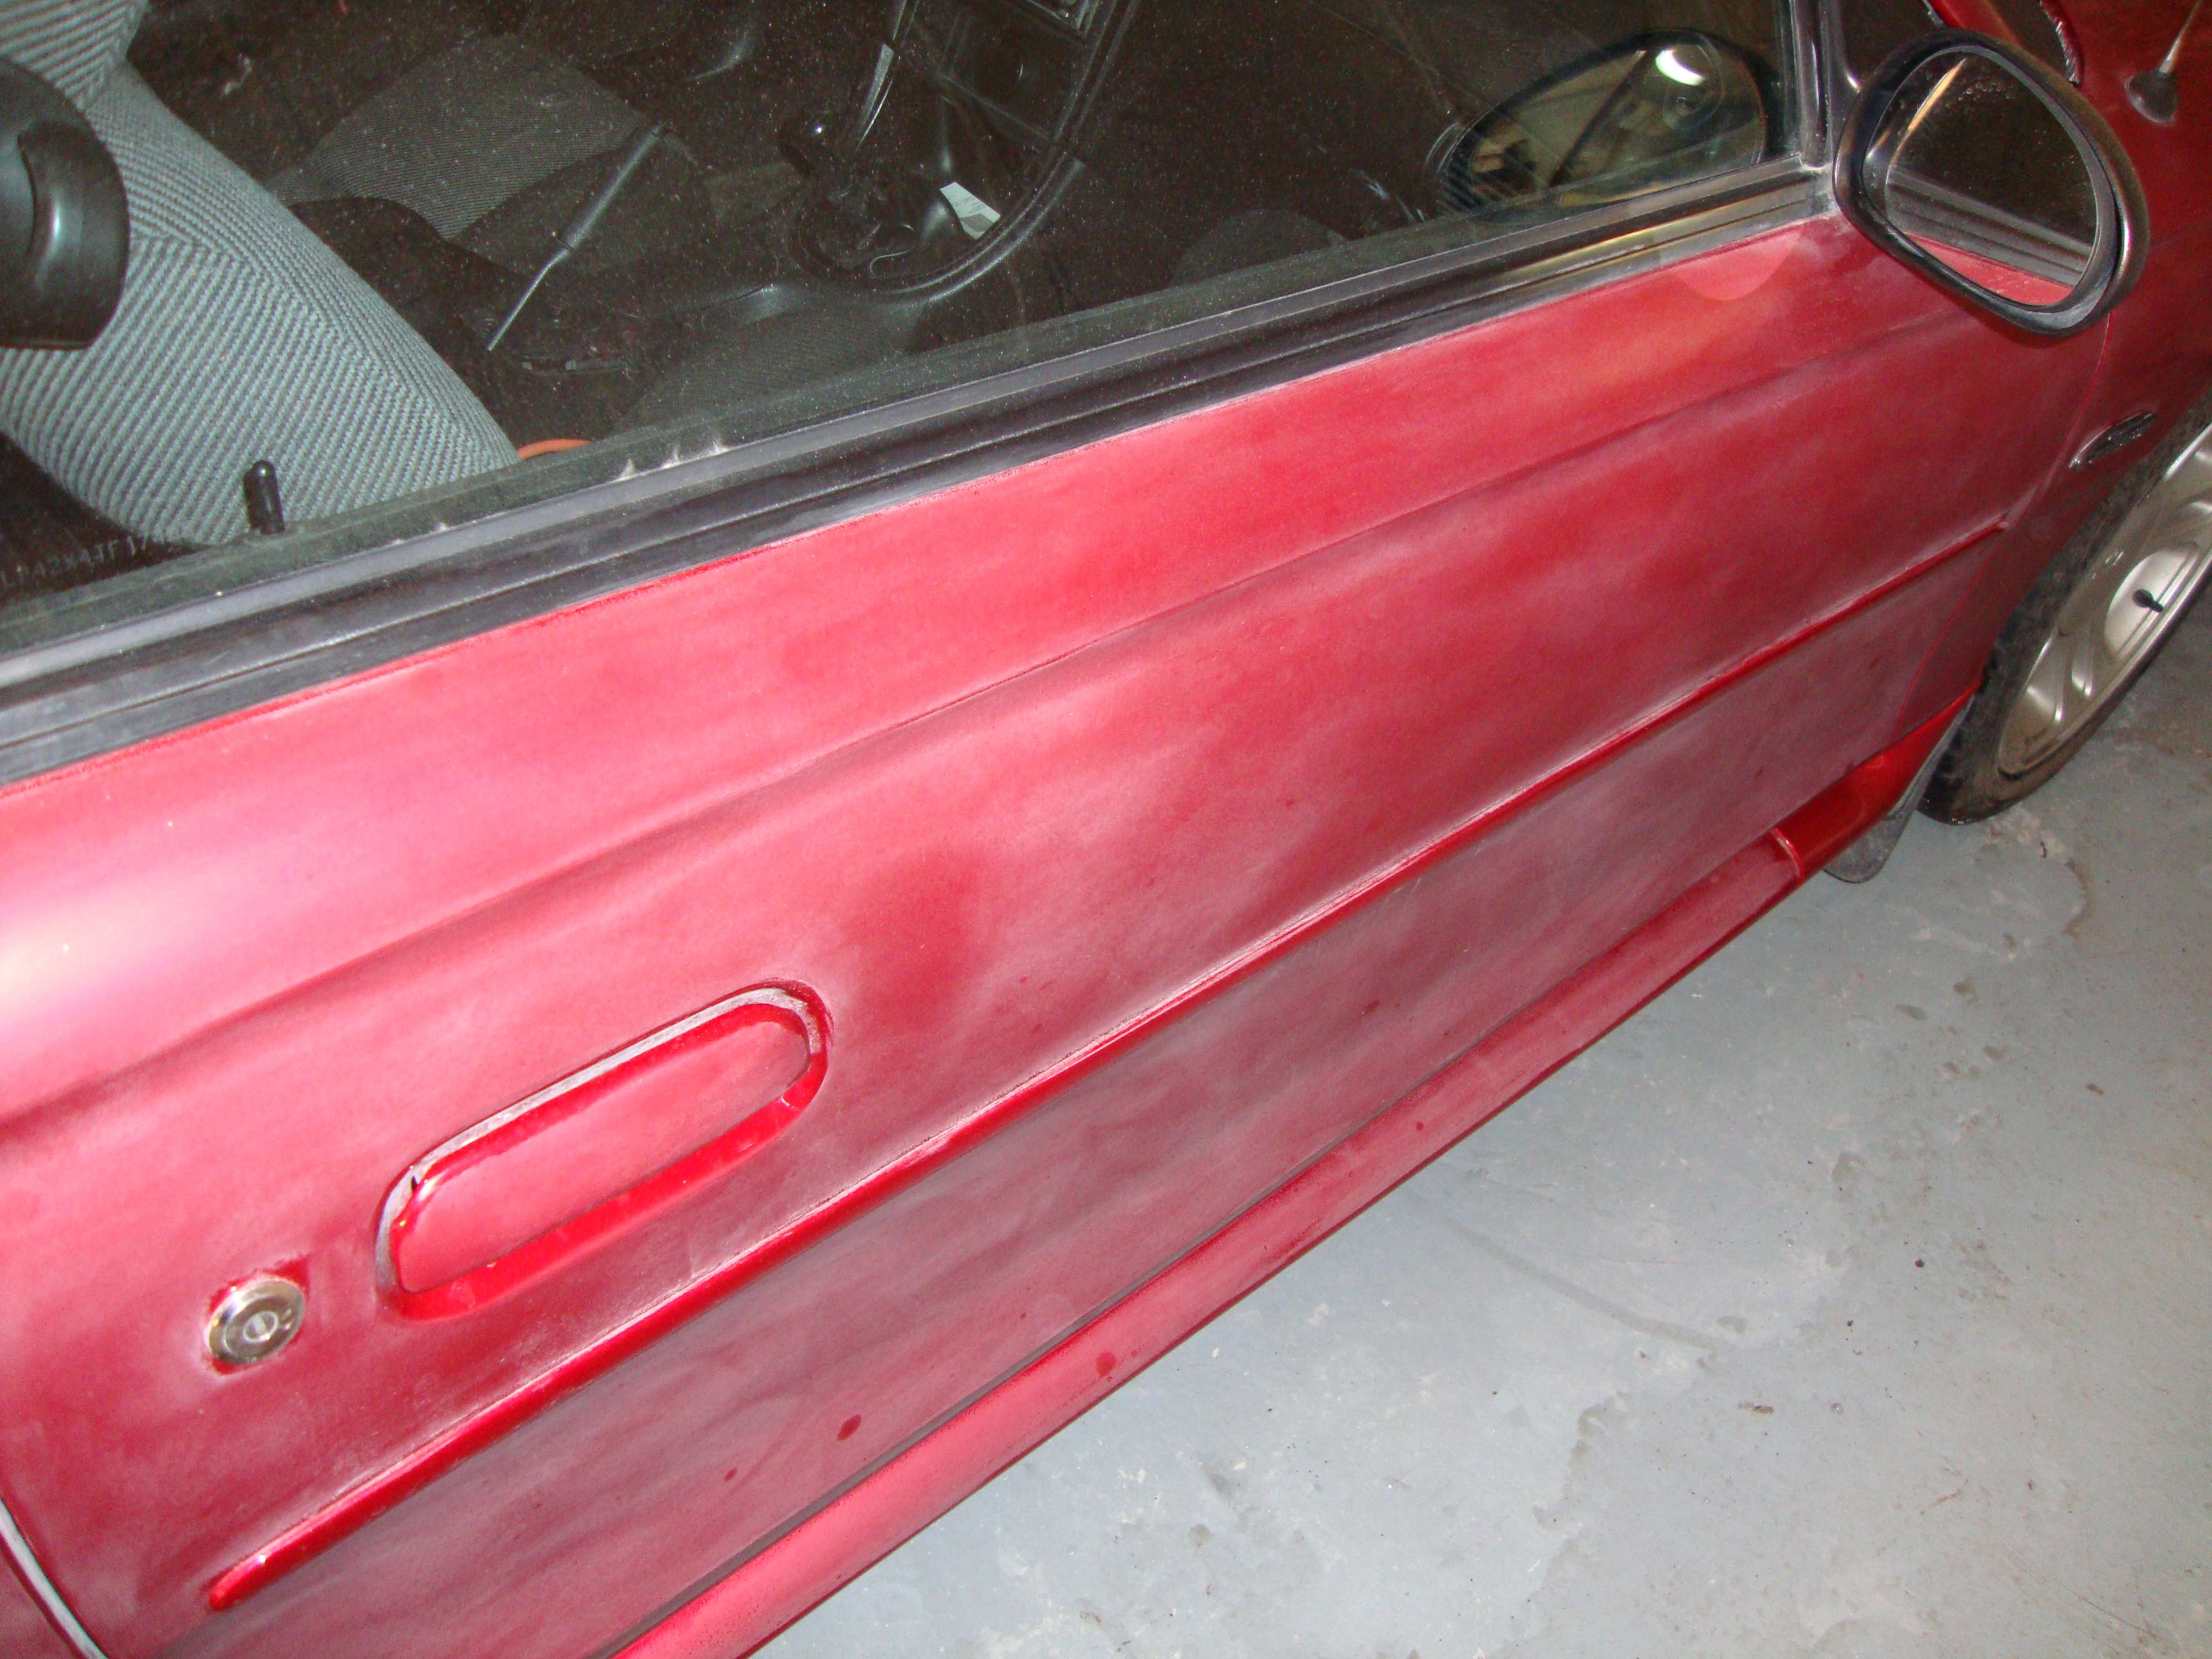
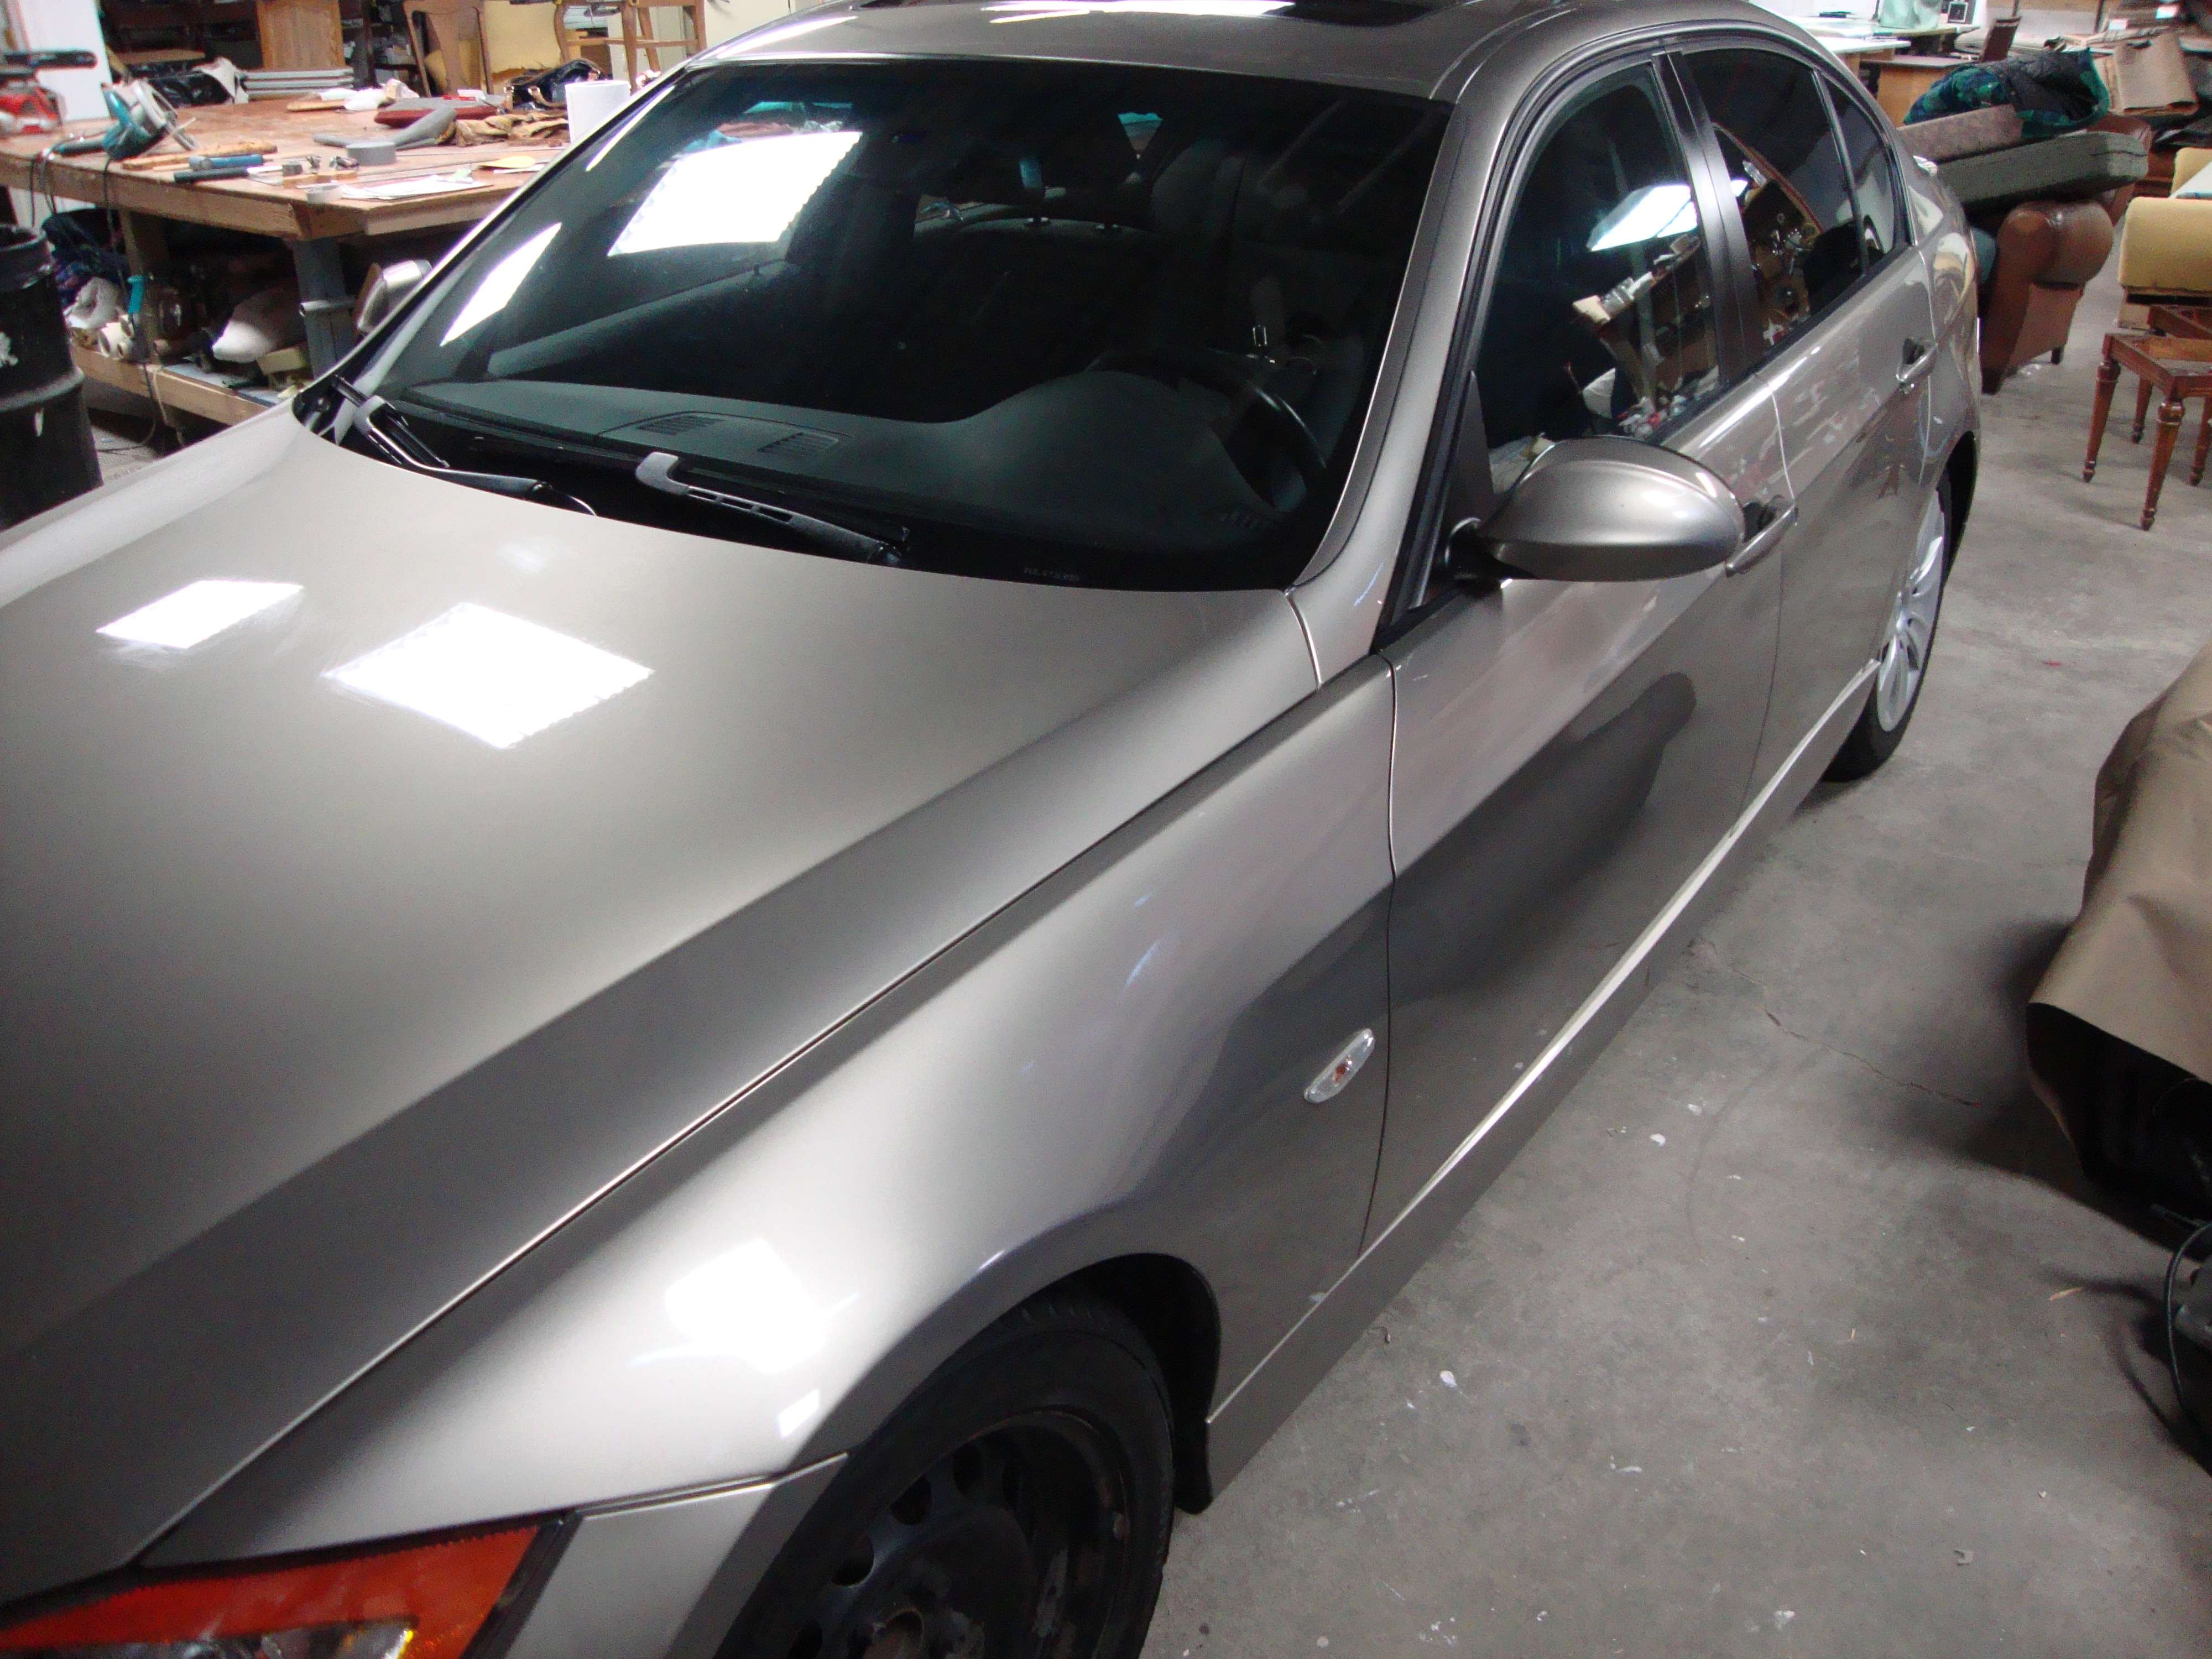
This person was refered to me from the Tucson�s owner I did earlier this season. This bmw 328i was a lease return and his brother decided to help him enhance the look of his car by removing the sticky contaminants on his paint with a SCOTCH-BRITE� instead of a clay bar. It was horrible!
I must tell you, his reaction after seeing the car was PRICELESS, I think he couldn�t believe I could fix all that and he thought it looked nicier than when he pick it up at the dealer haha! This kind of reaction makes me love what I do and I appreciate that these owner likes what I do.
2-step polishing + Glaze ( it�s a lease return!) + DP Max Wax
Compound sur wool pad
Polissage sur pad orange
Glaze sur pad blanc
DP Max Wax
303 protector
Metal polish on tips
Defalsko paint gauge ( just to be safe)
2 bucket was method with grit guard
Sheepskin wash mitts
Meg shampoo
See how the clay bar is dirty! Insane.
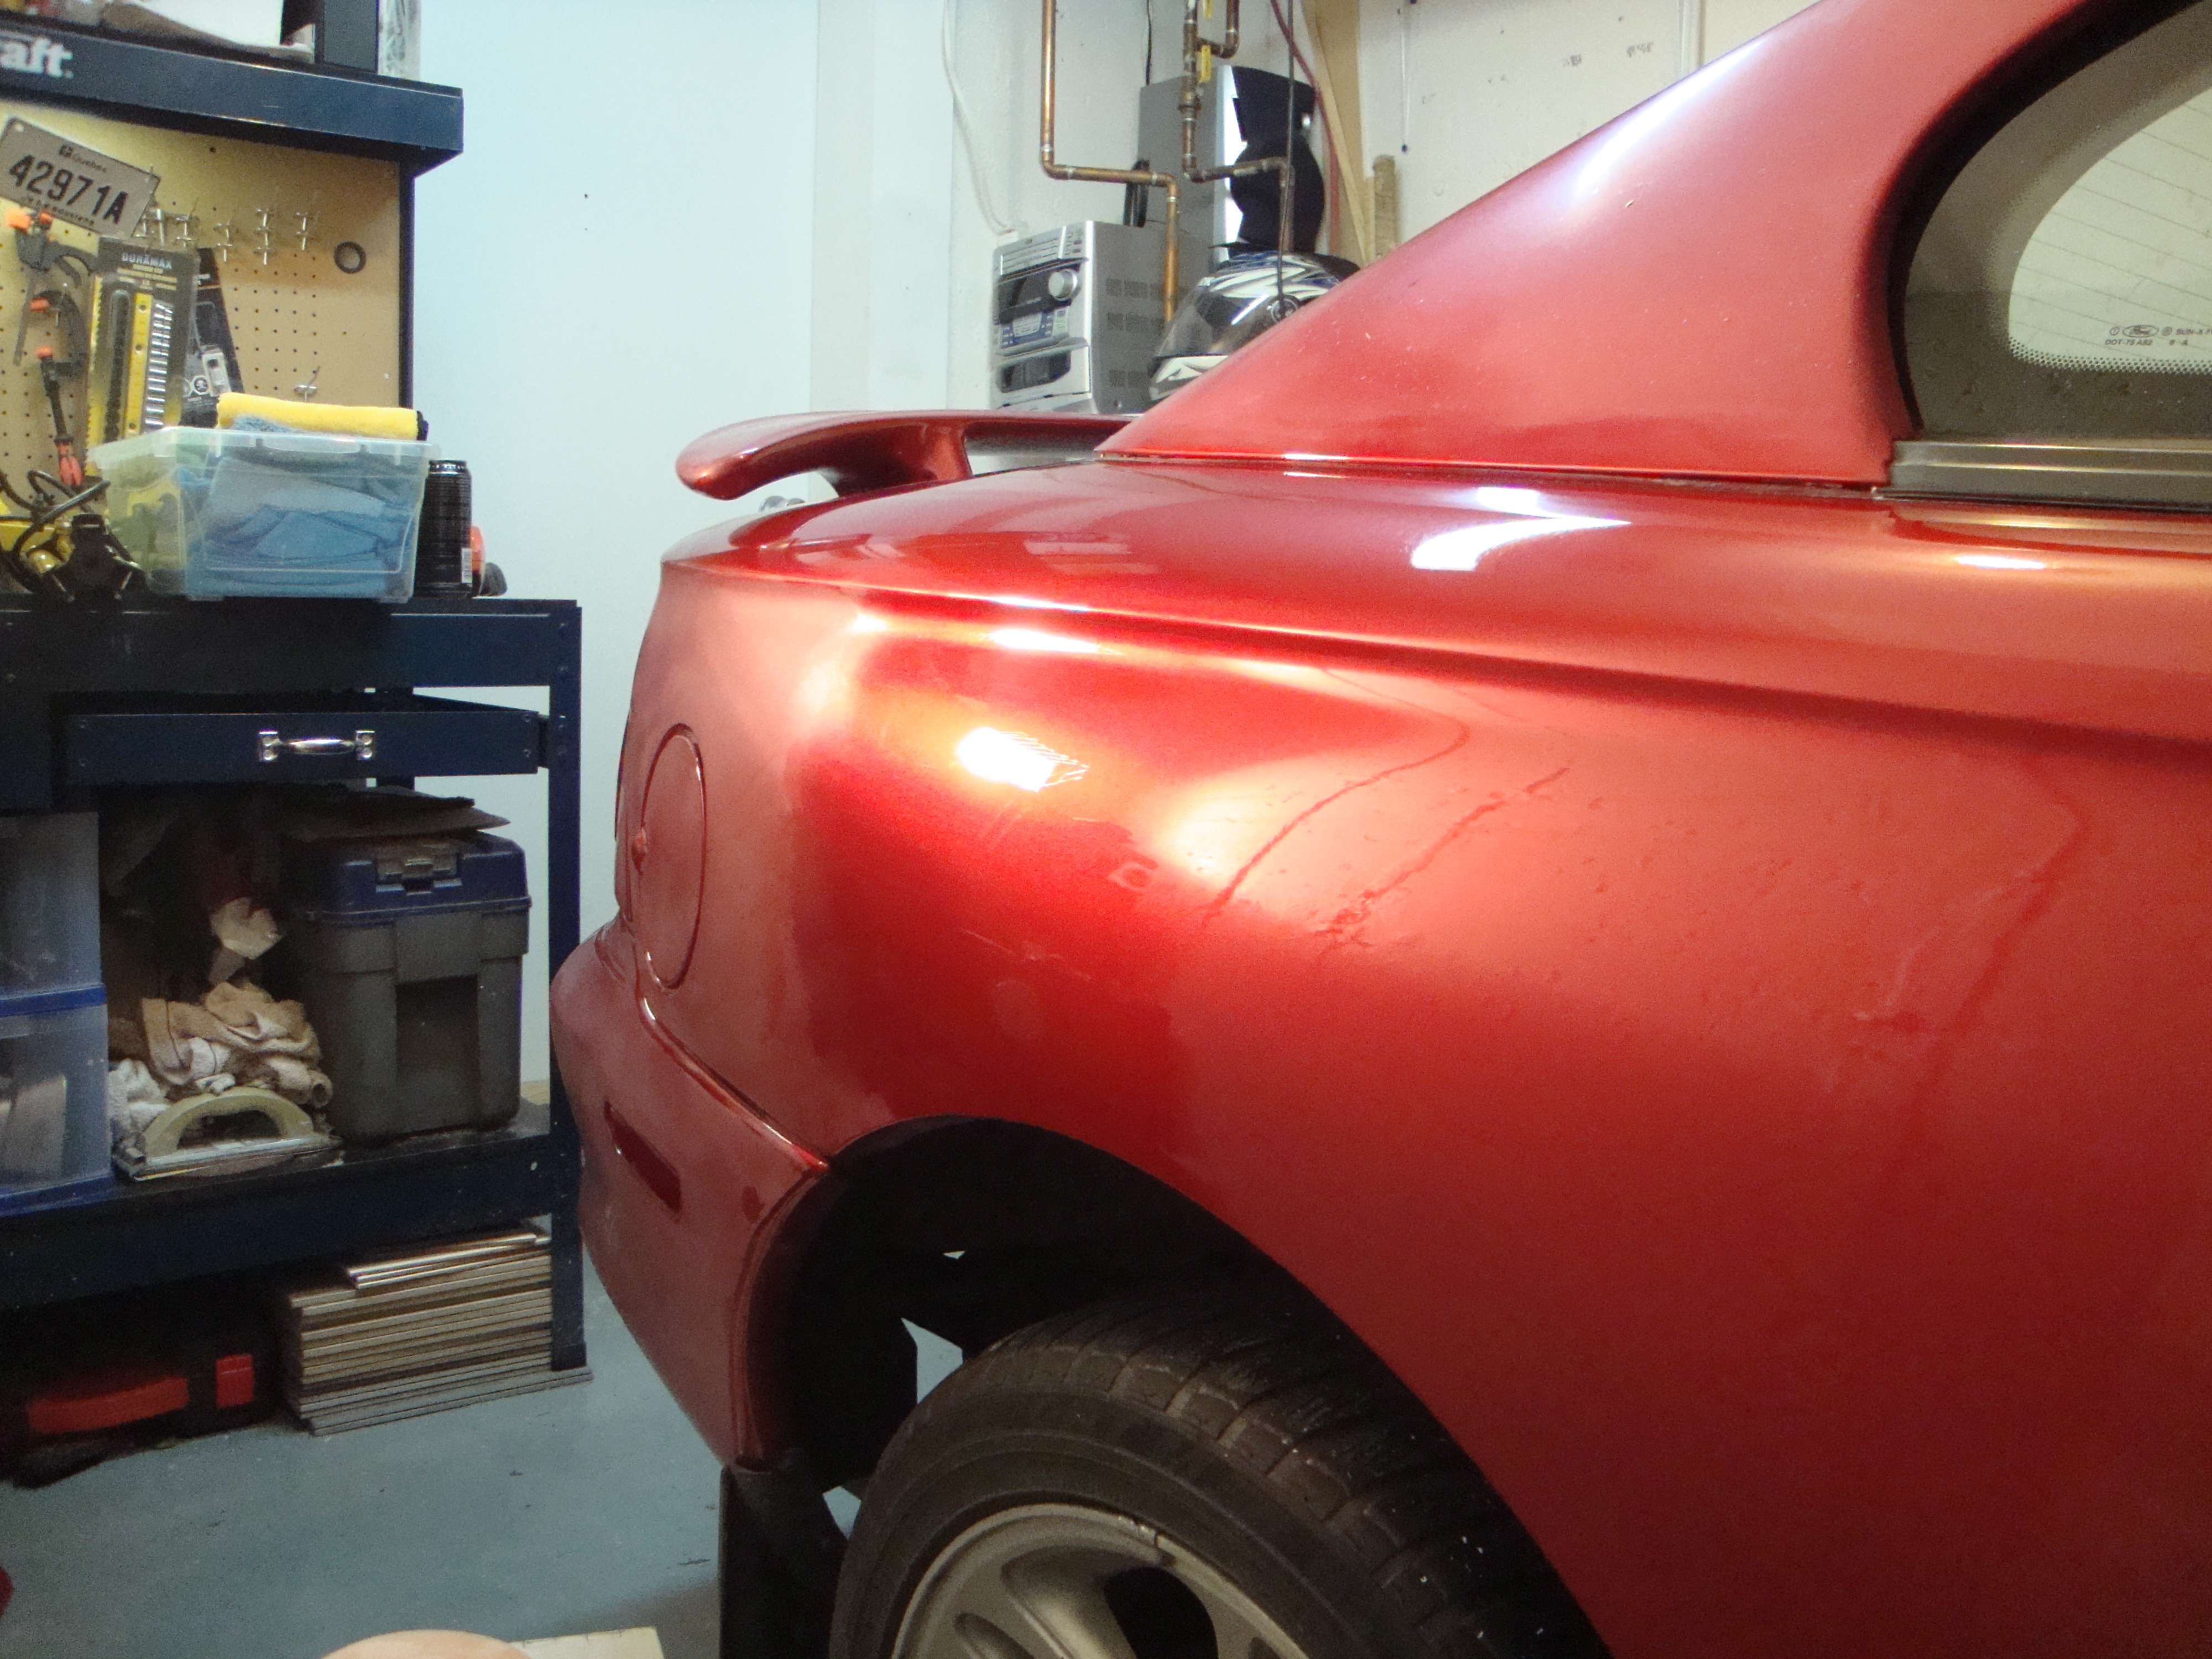
Yellow road paint on the fender. Such a b*tch to remove but I got it! ( dah! :P)
After :
Dirty exhaust tip:
After a good cleaning with clay bar and a metal polish:
Salt ?! Not a problem for me and I guarantee it won’t smell vinegar !
Take a look at those black stain!!
After:
And now!! Back to original color!
No more salt either.
Here’s a video showing how important it’s to have a clear tools so you can monitor your cleaning process and you can see how strong is the suction power.
[ame="http://www.youtube.com/watch?v=GJPjfo5pyrY"]YouTube - MOV03352[/ame]
Just to let you know, if you have a grange large enought to work, I’m still accepting works. I also have a garage but it’s more complicated LOL! Anyways, ask and worst case, it will be no!
Hope you guys enjoyed, I took like 2 hours to write this thread!
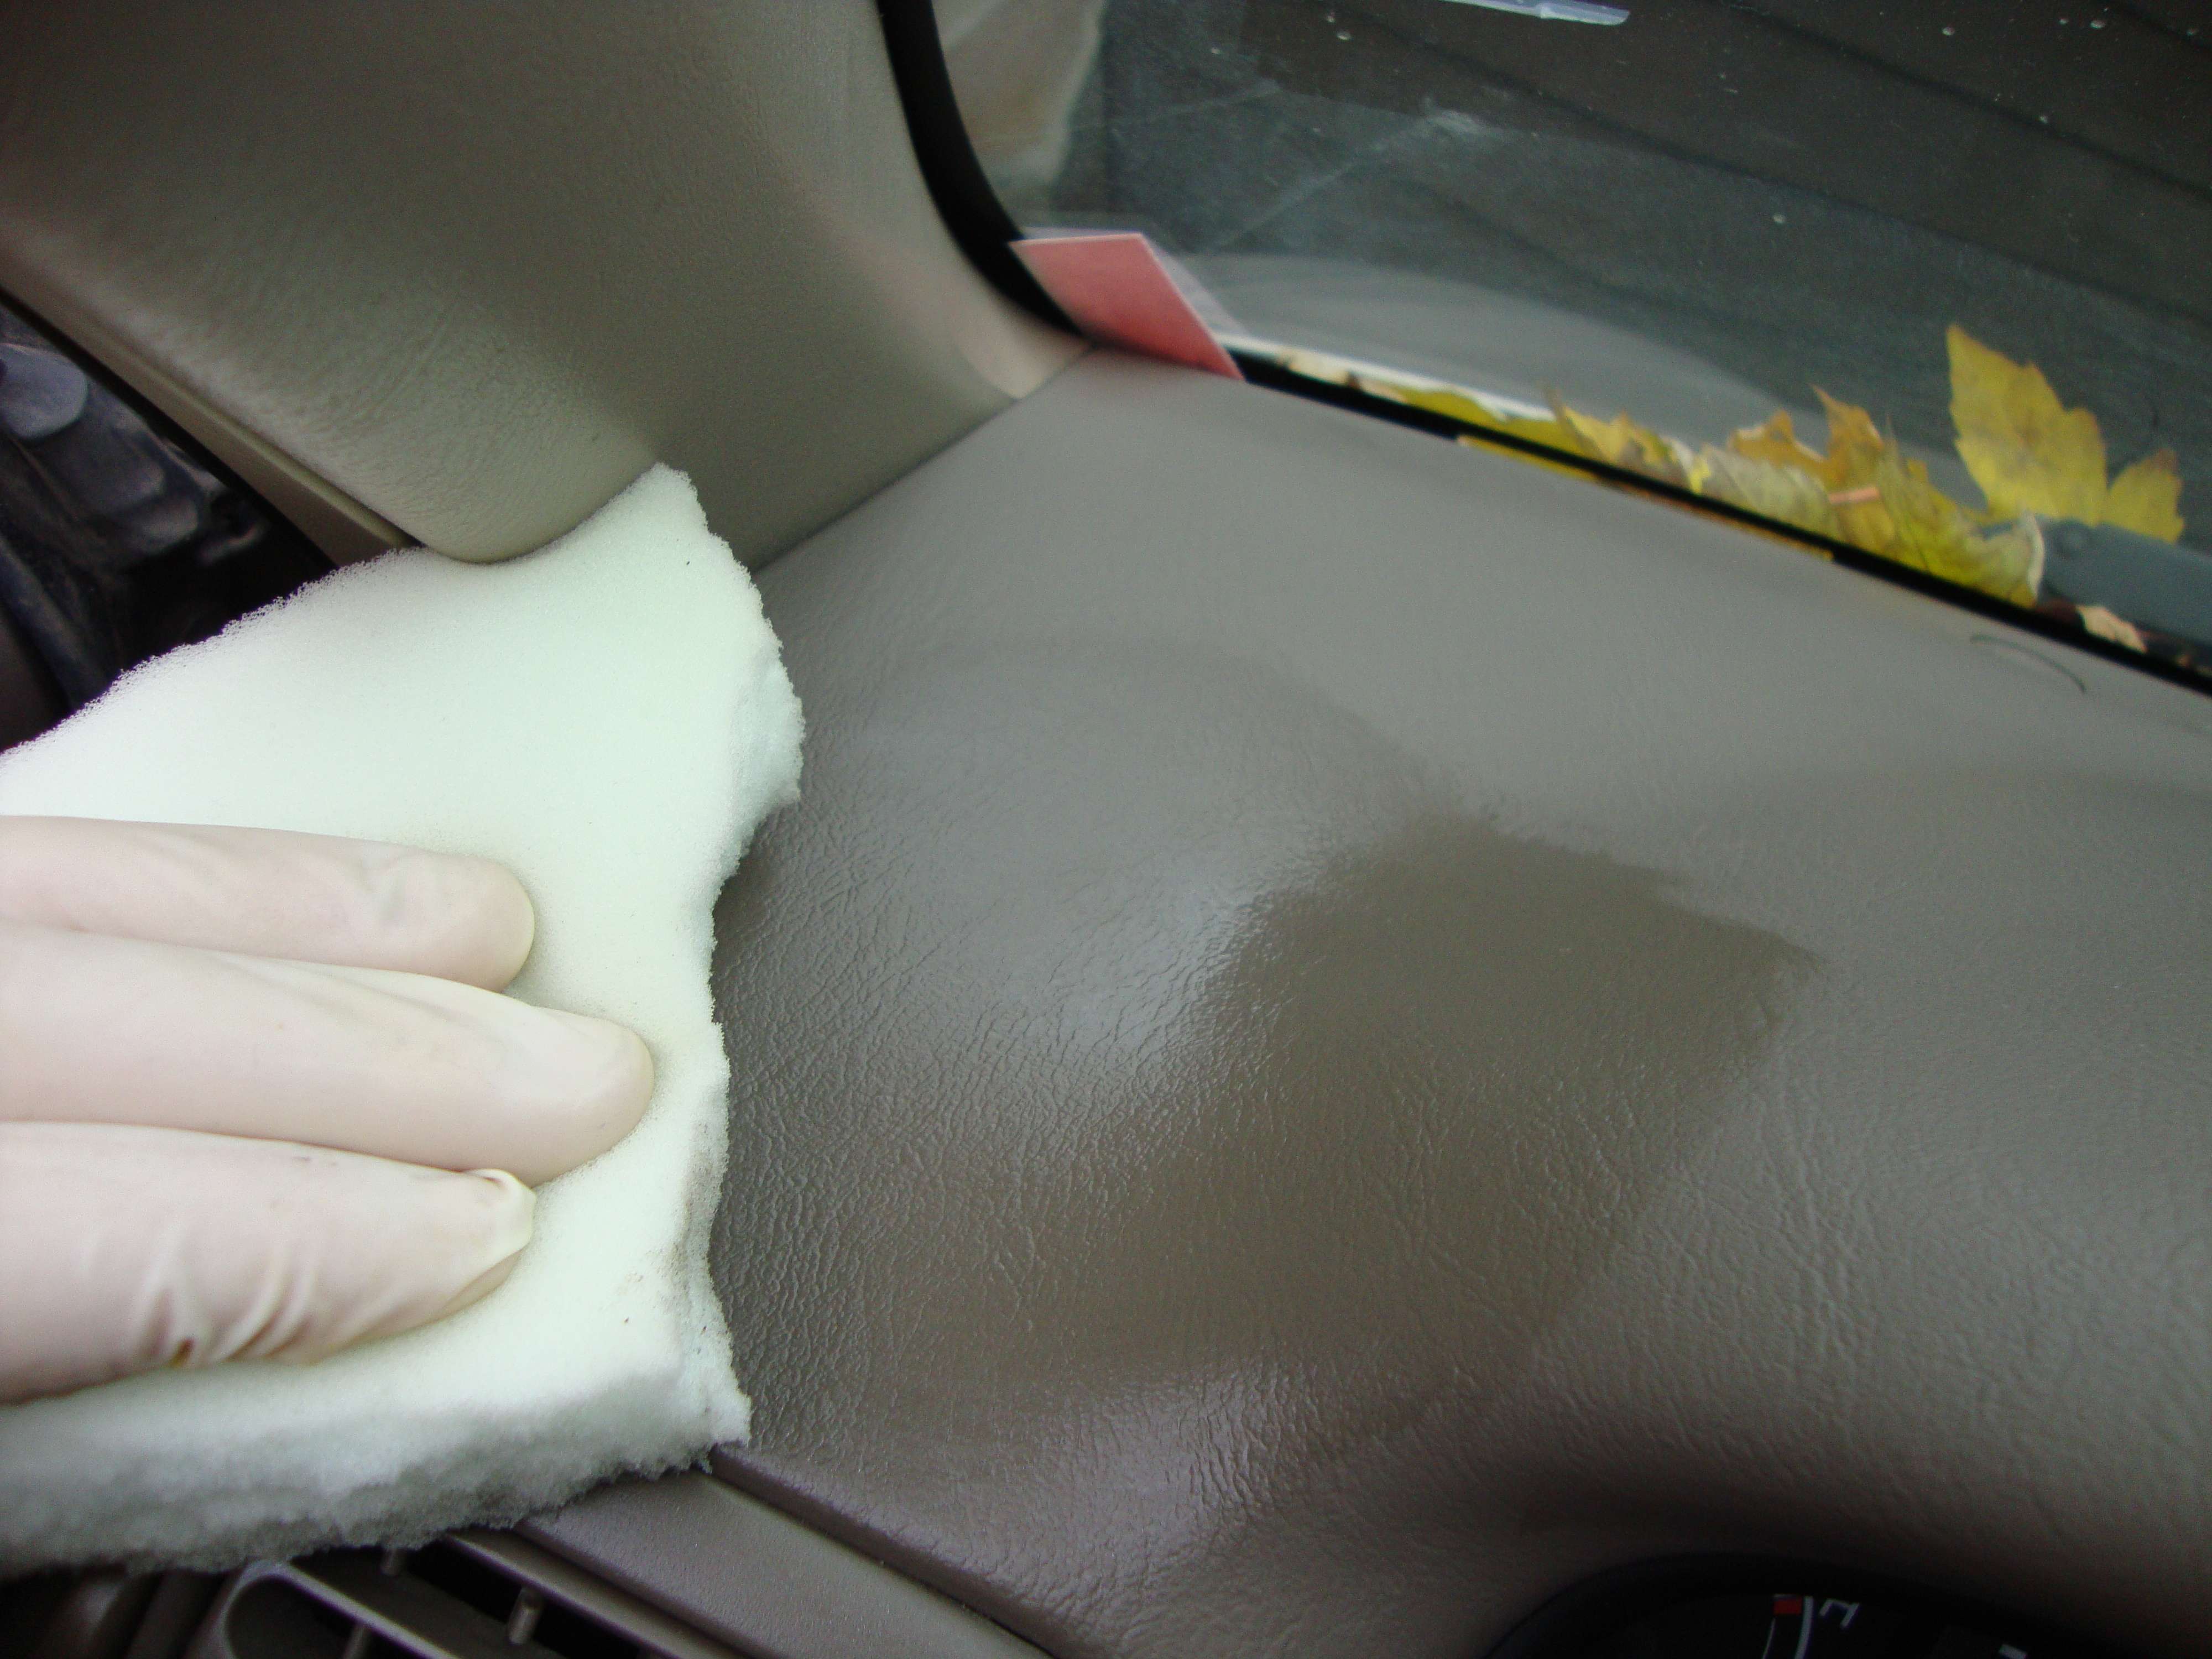
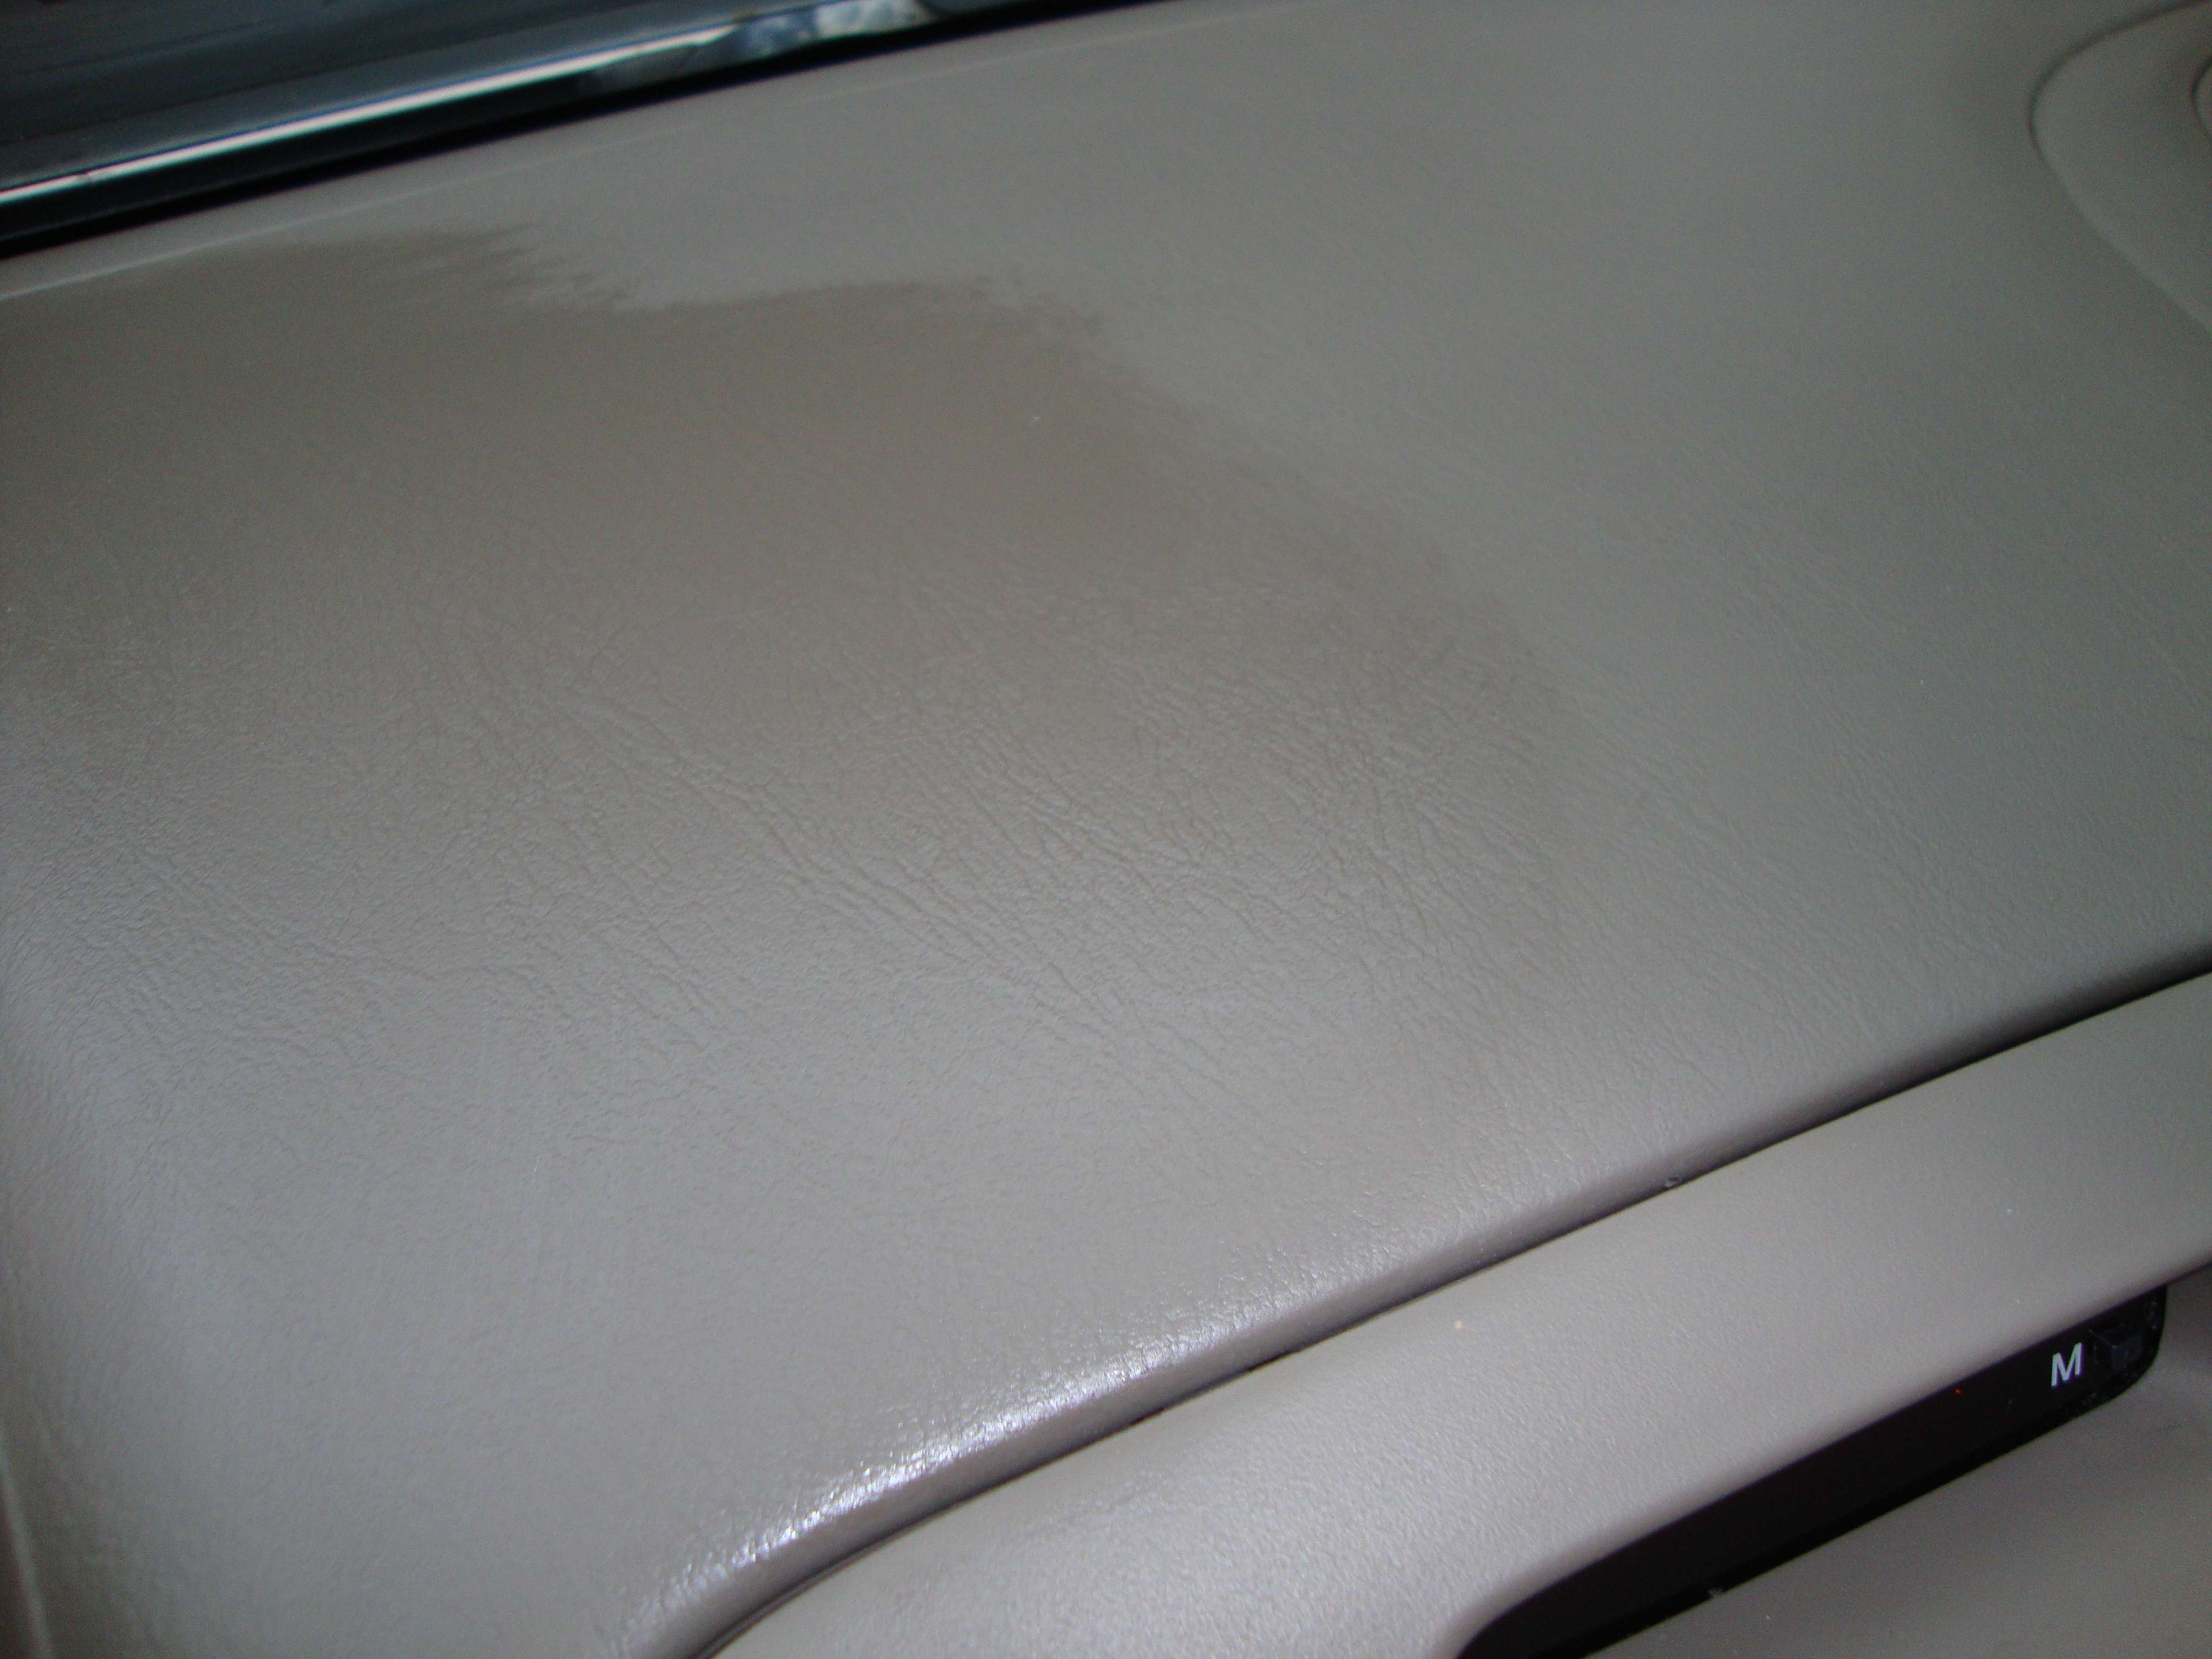
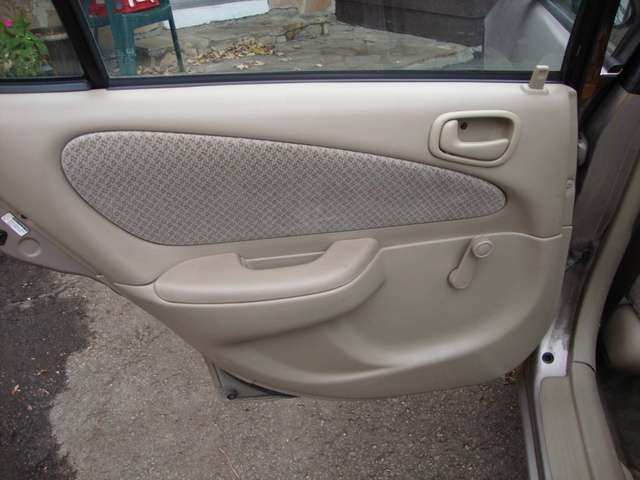
Cleaner clean dash and doors but they dry the material. This is why it’s important to protect it with a special UV protector that hydrate the material, protect it, it’s also anti-static and gives a better look
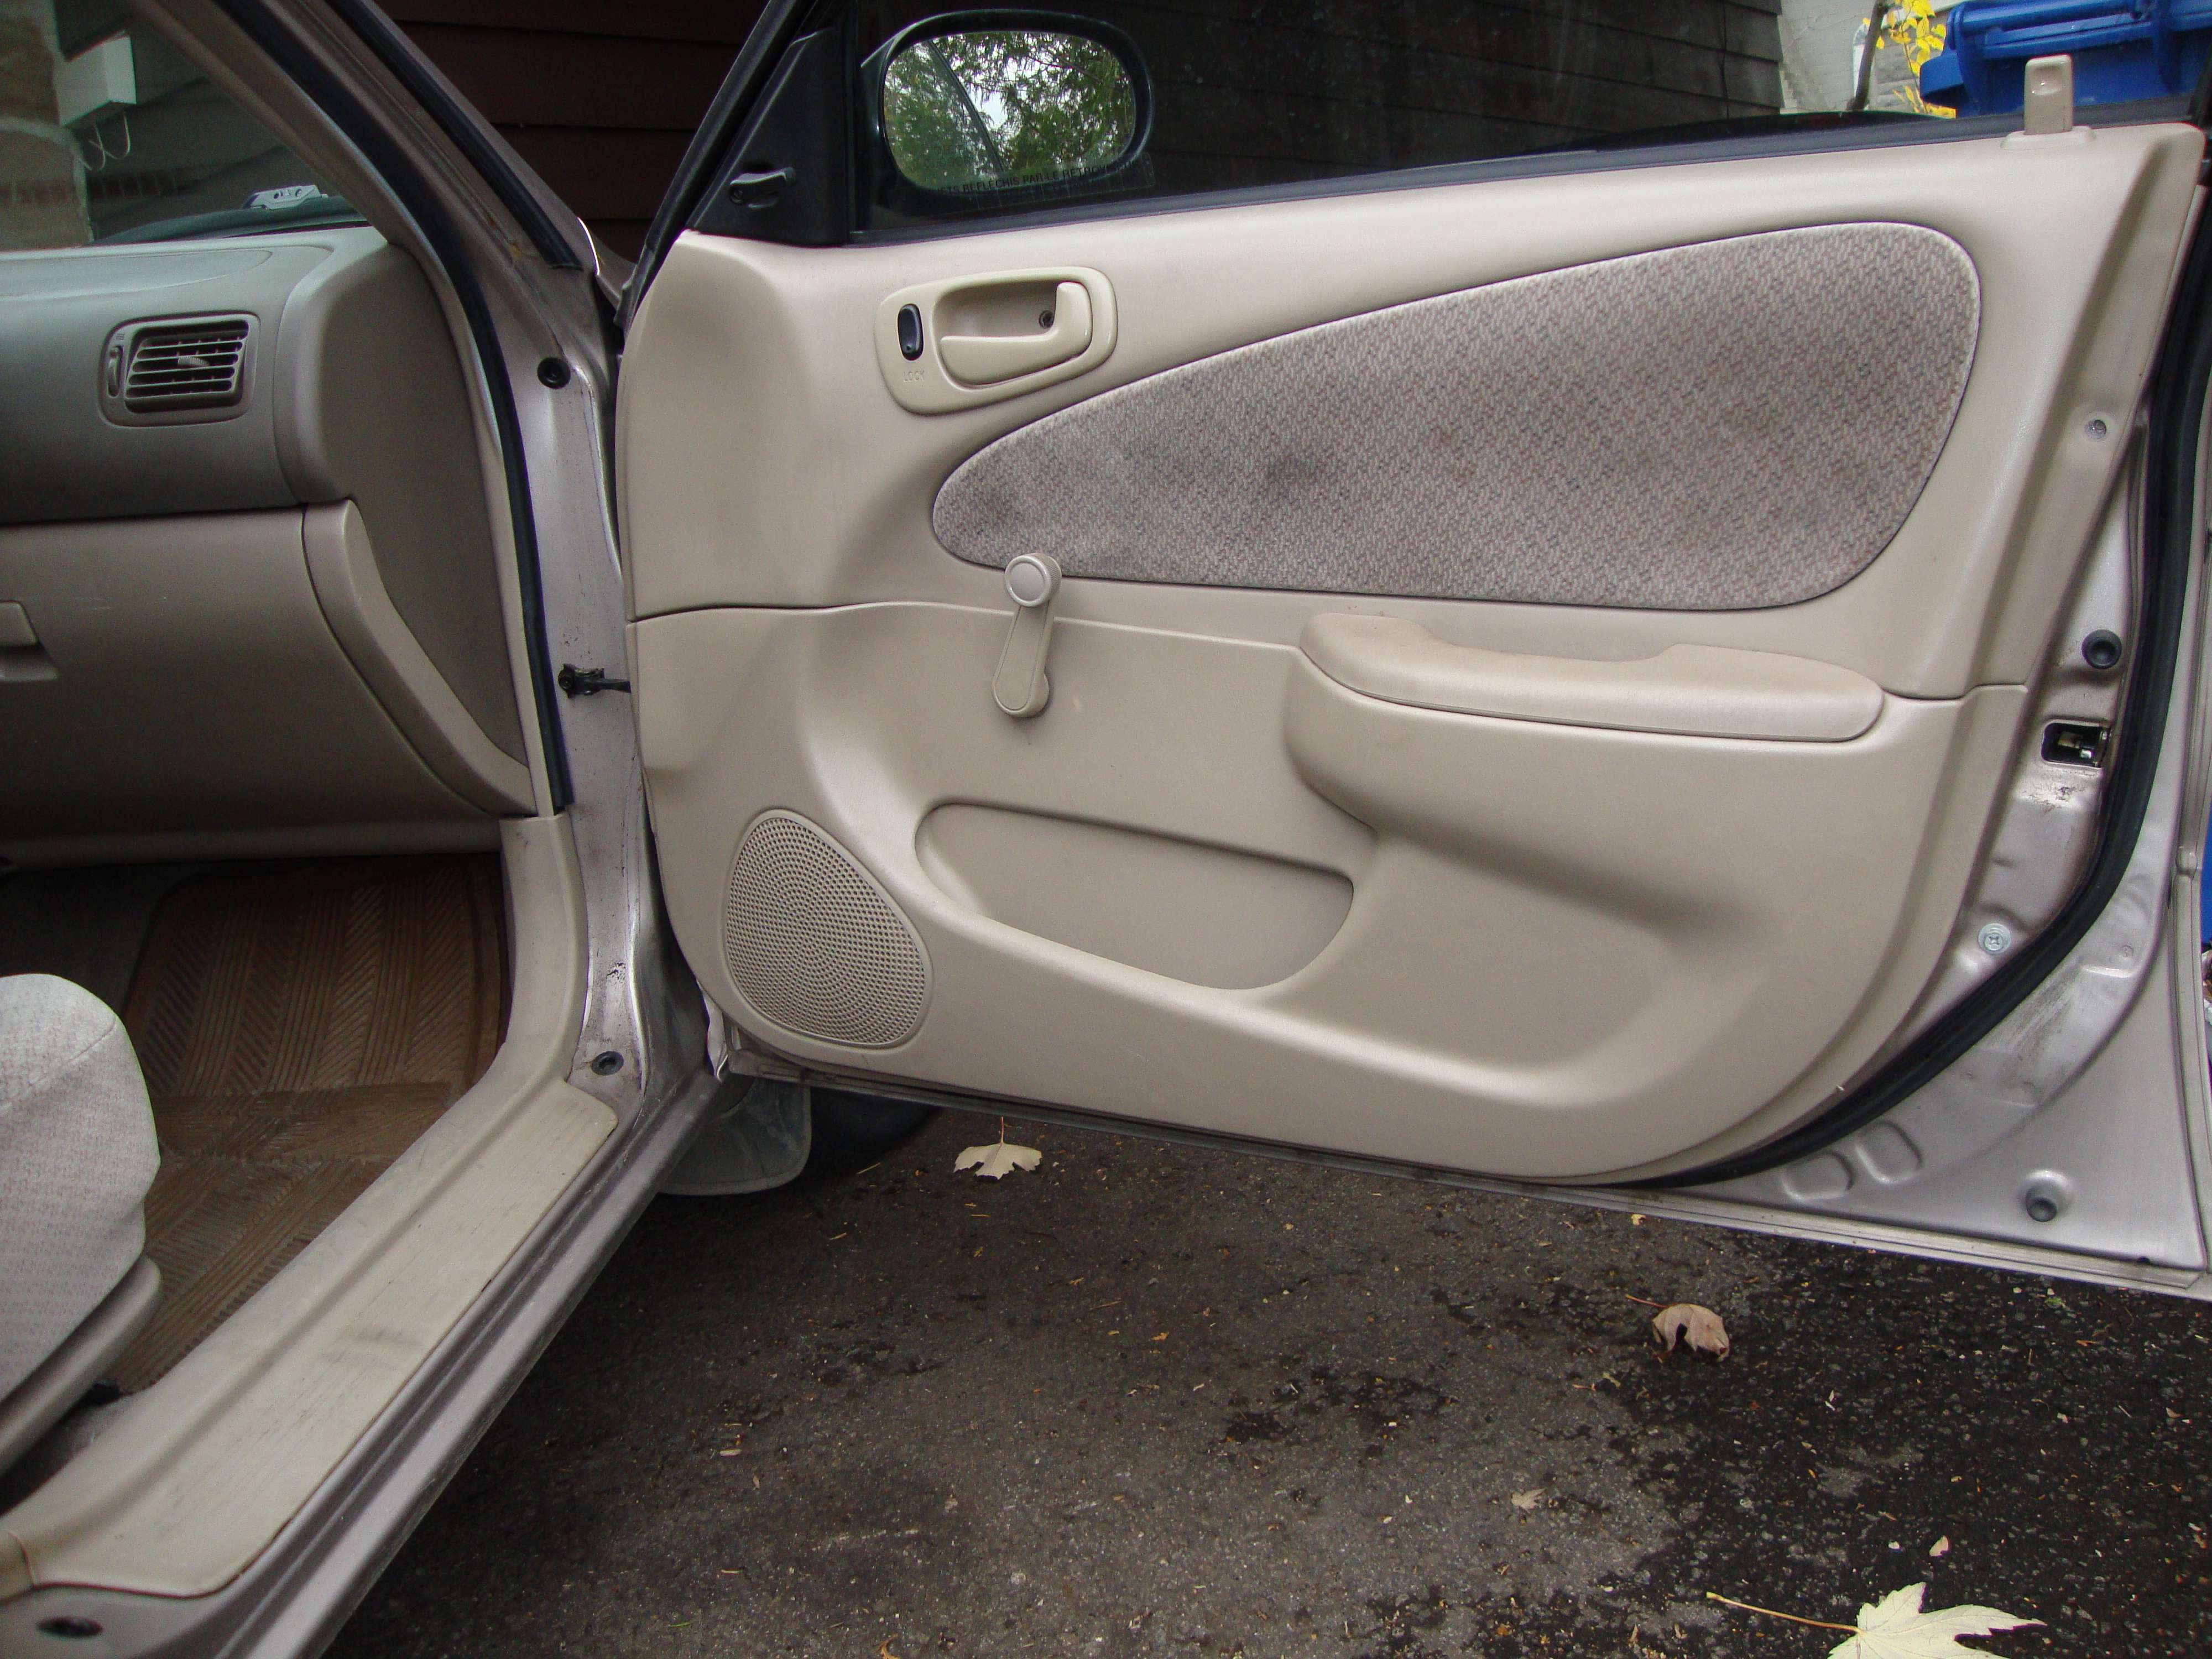
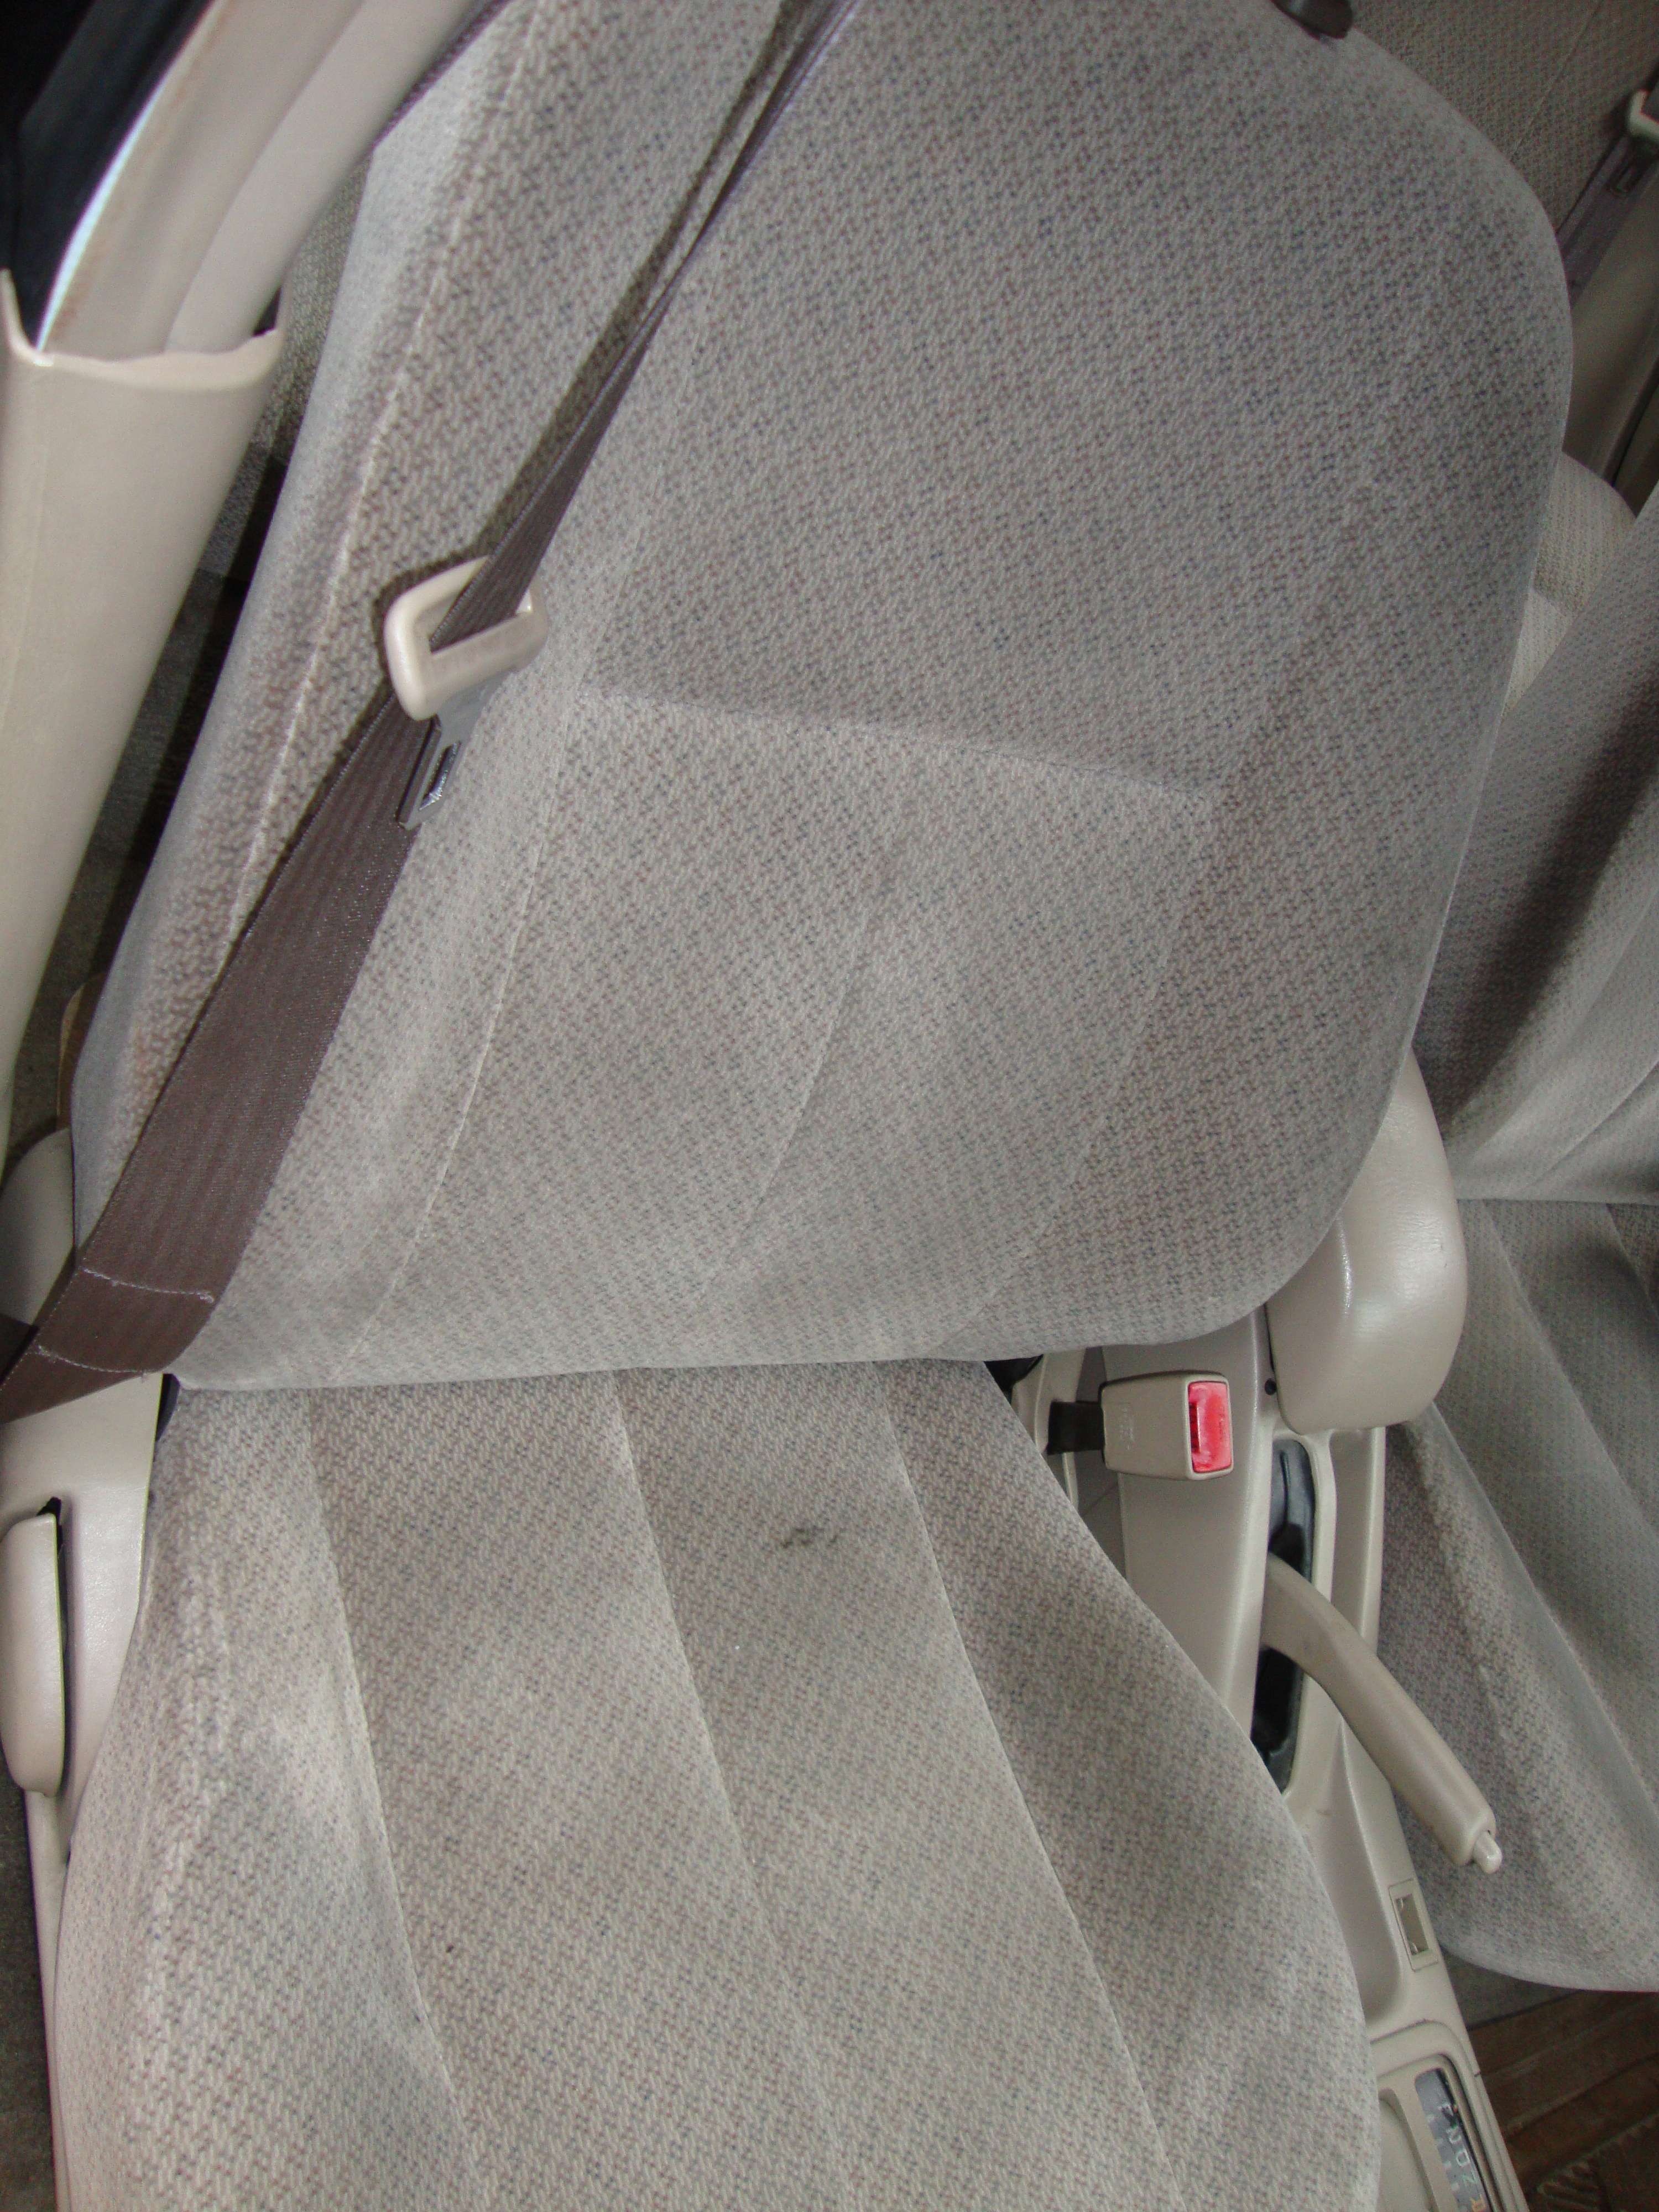
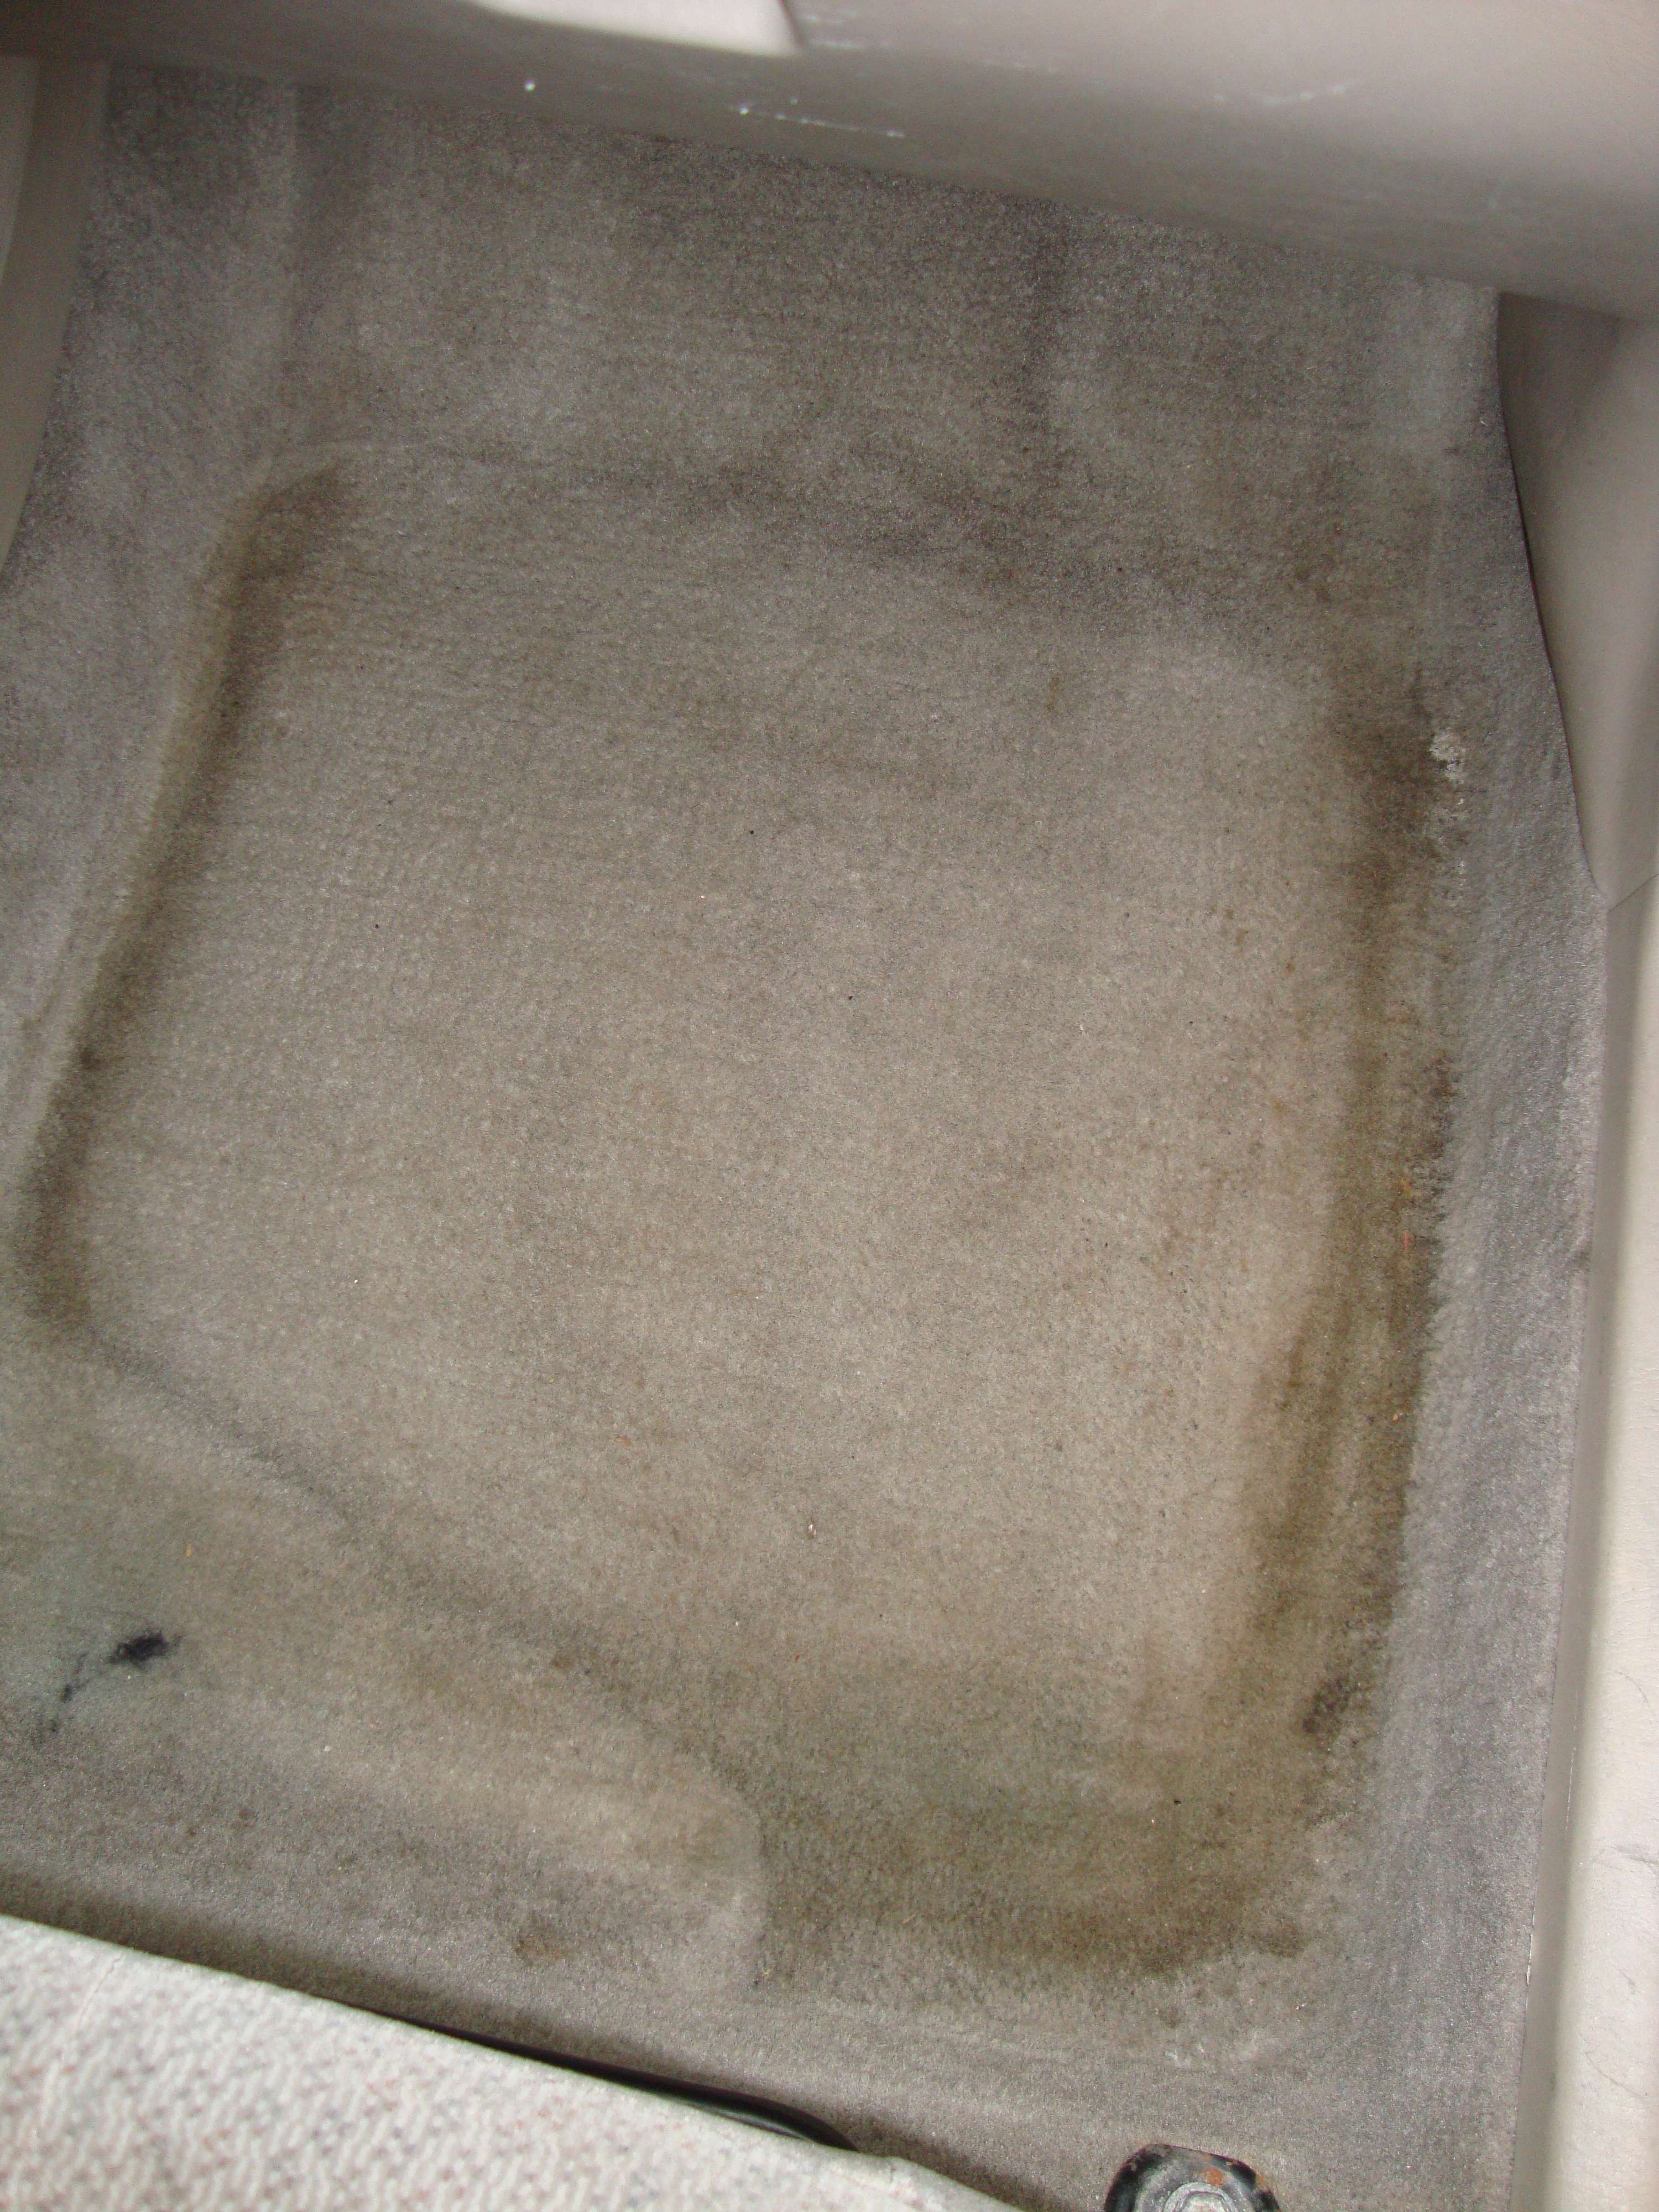
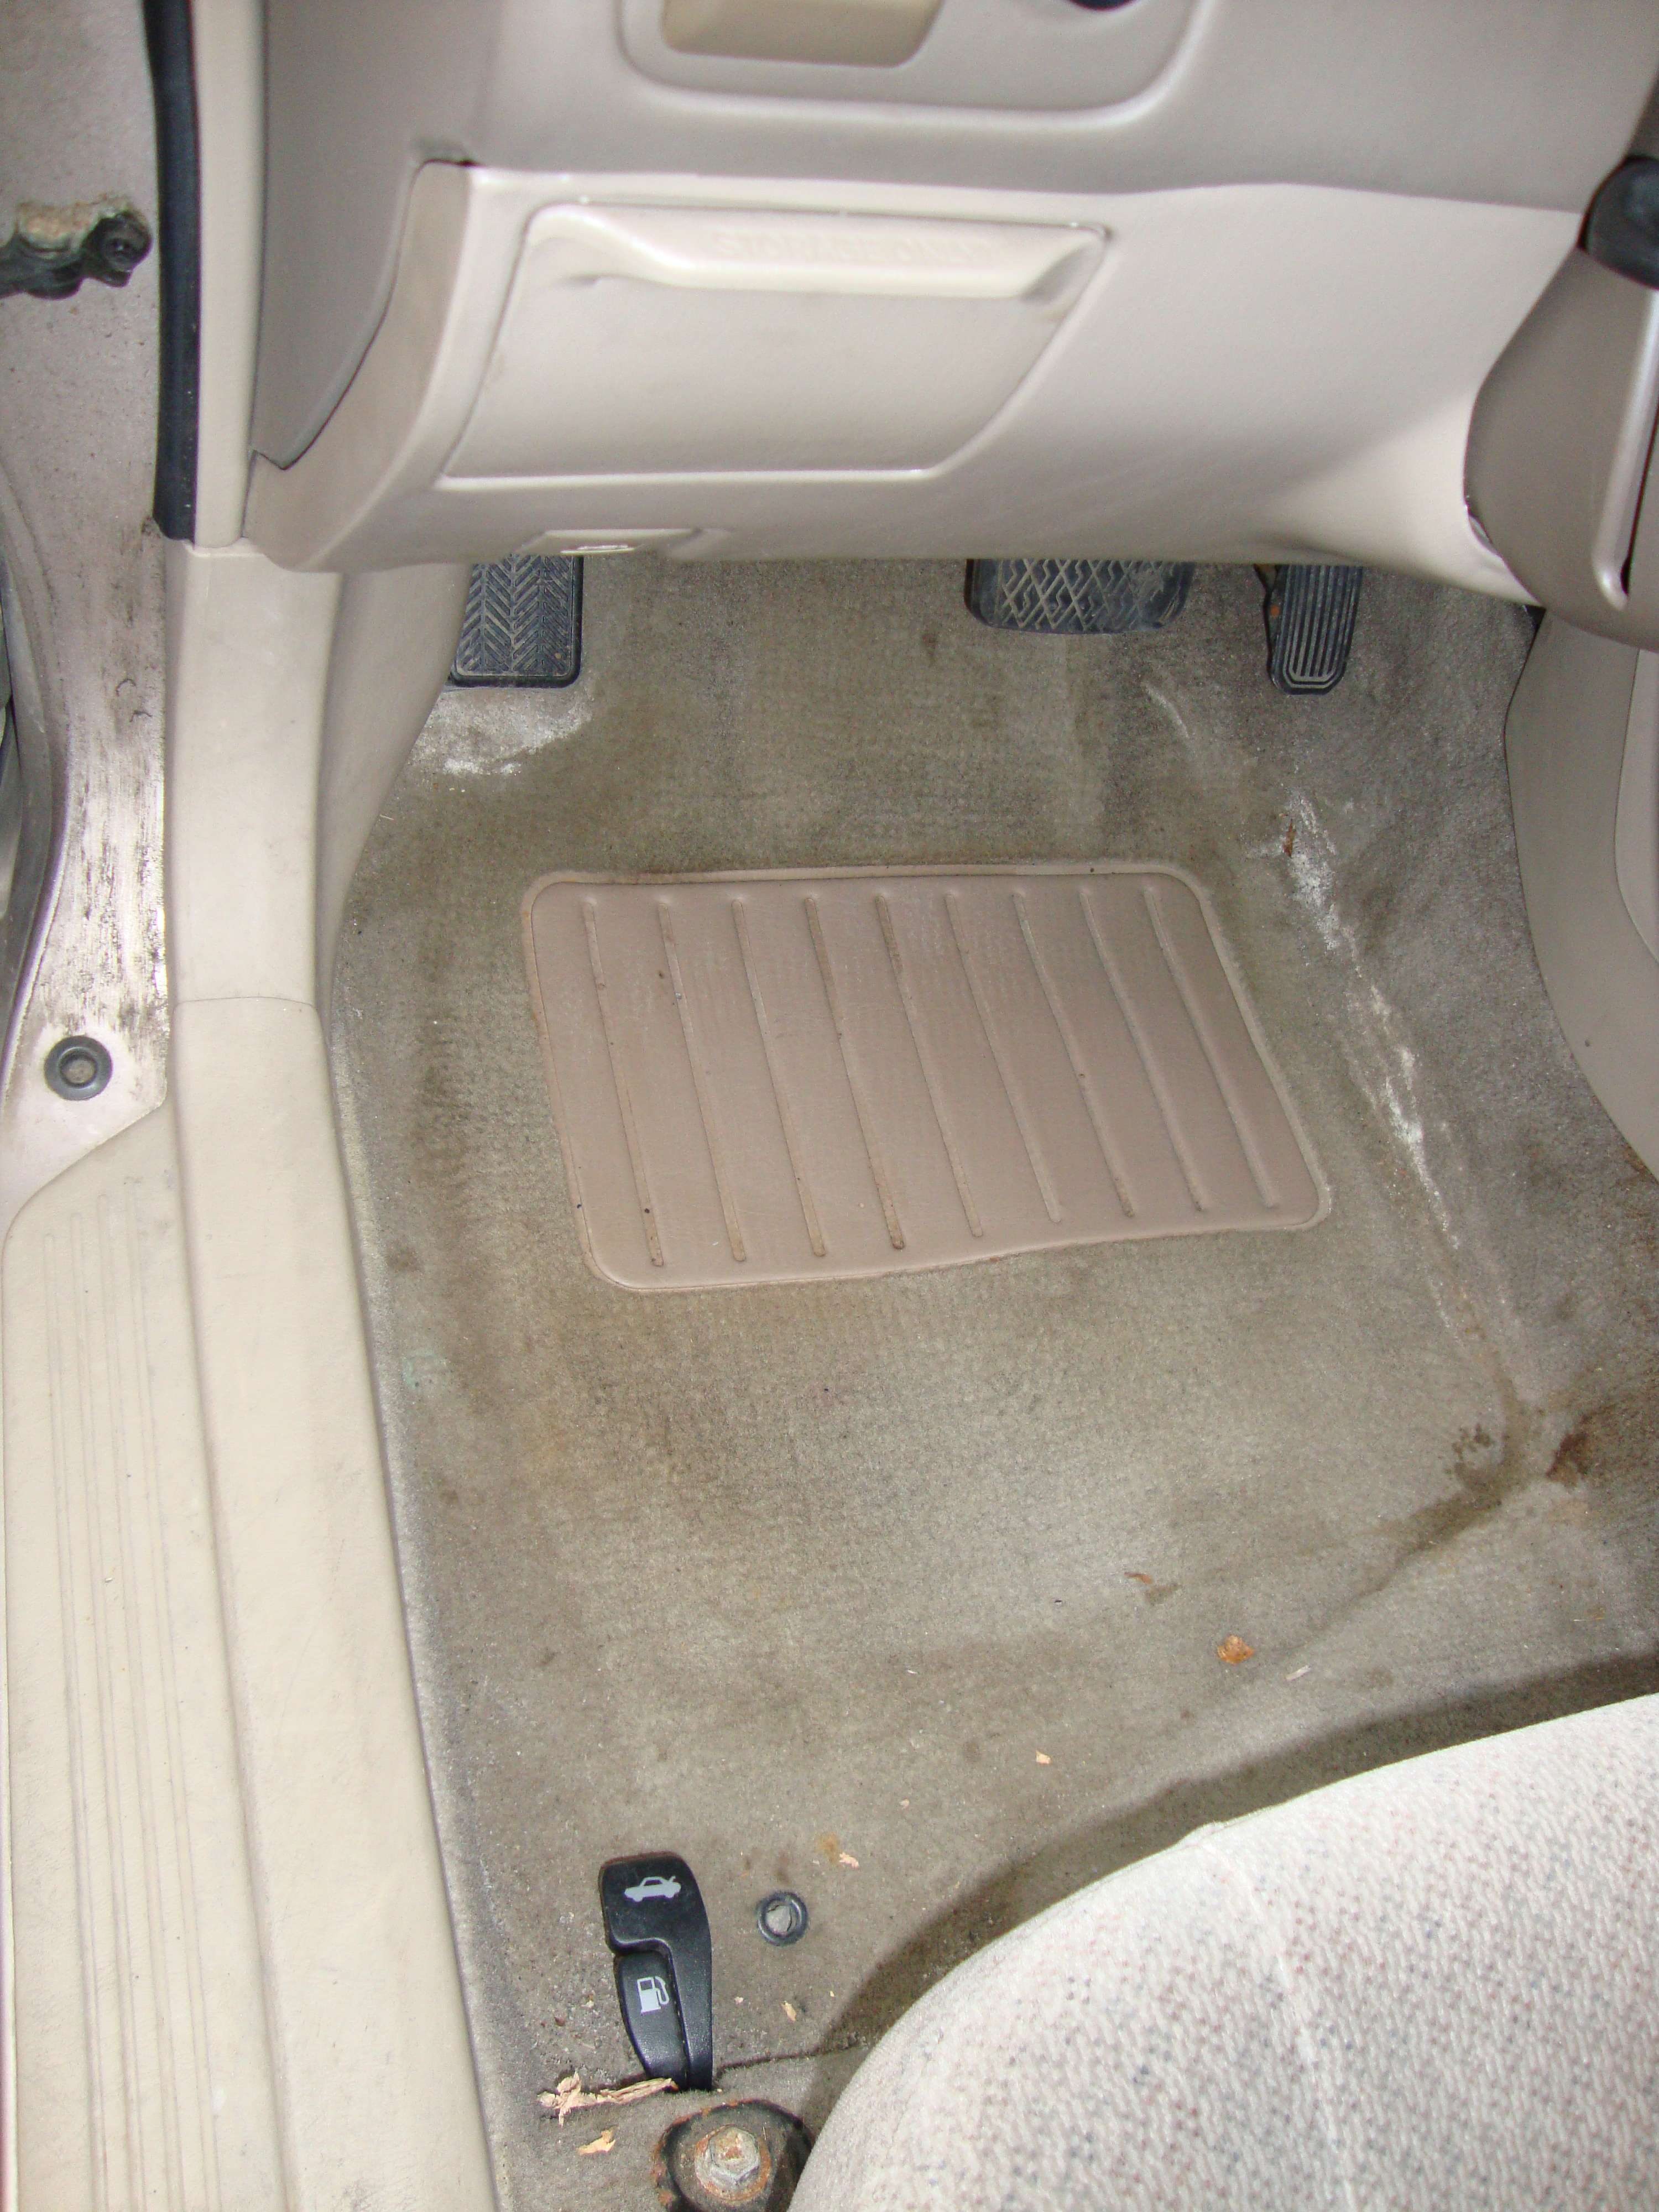
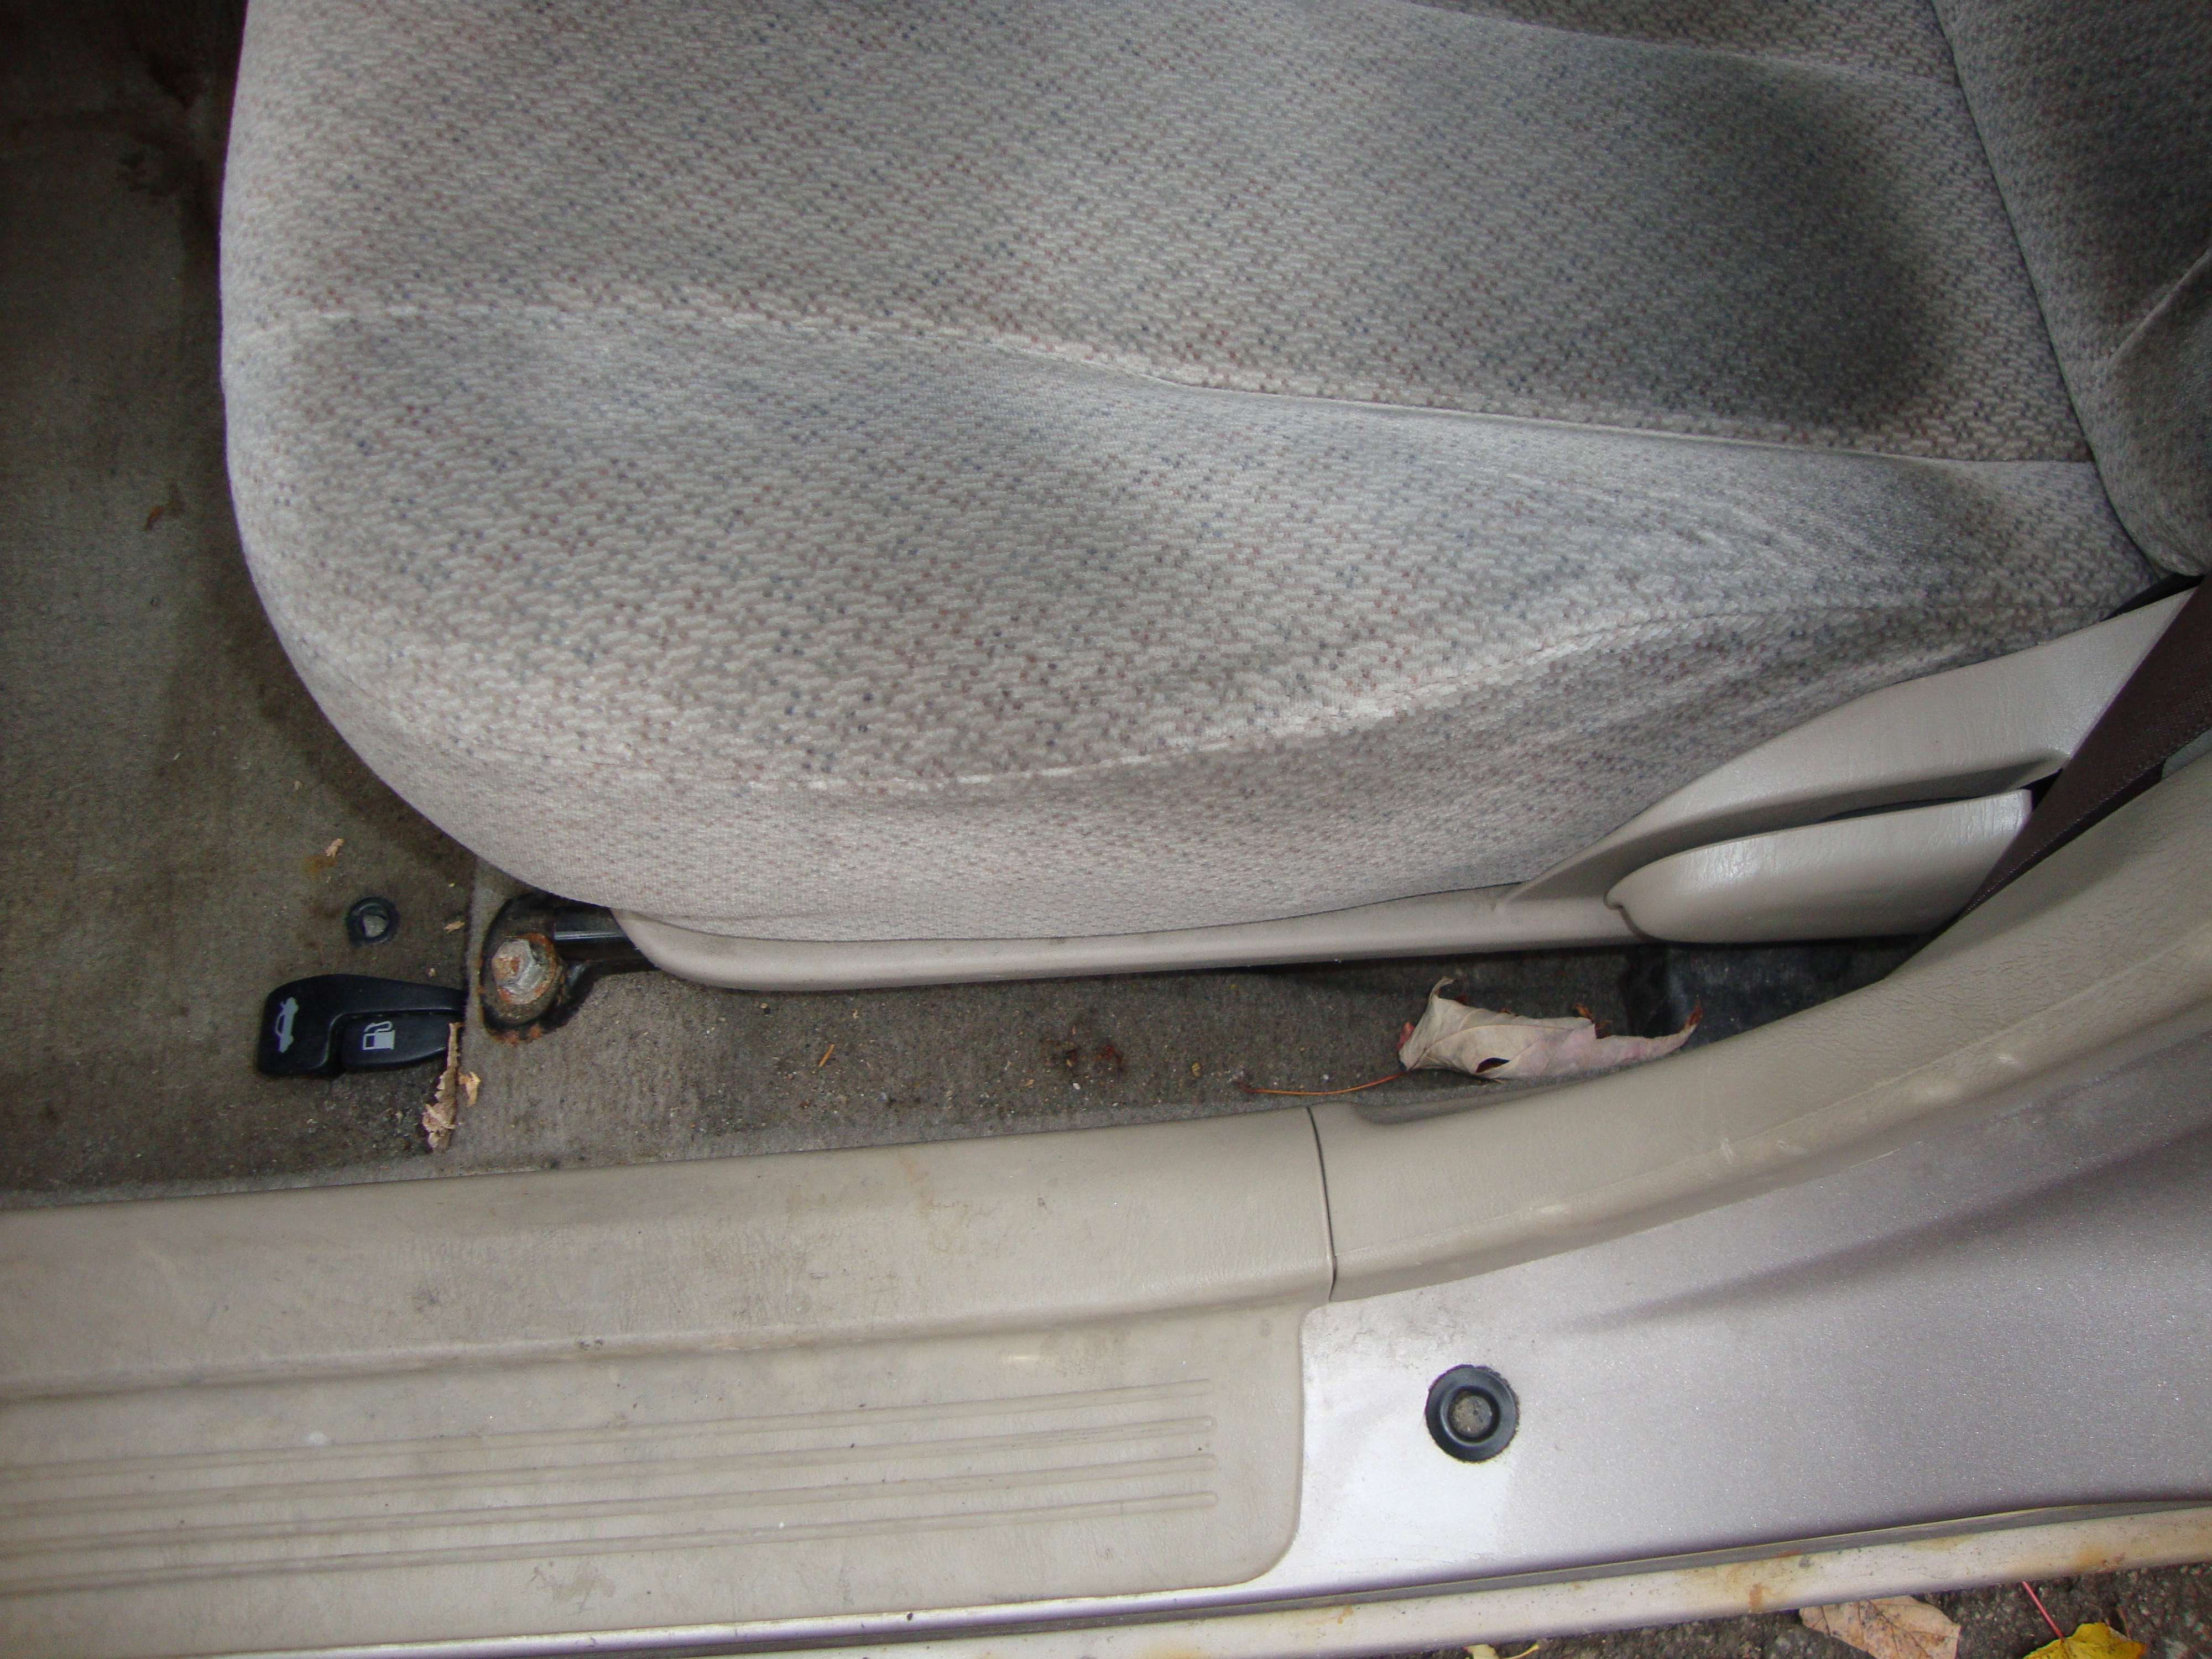
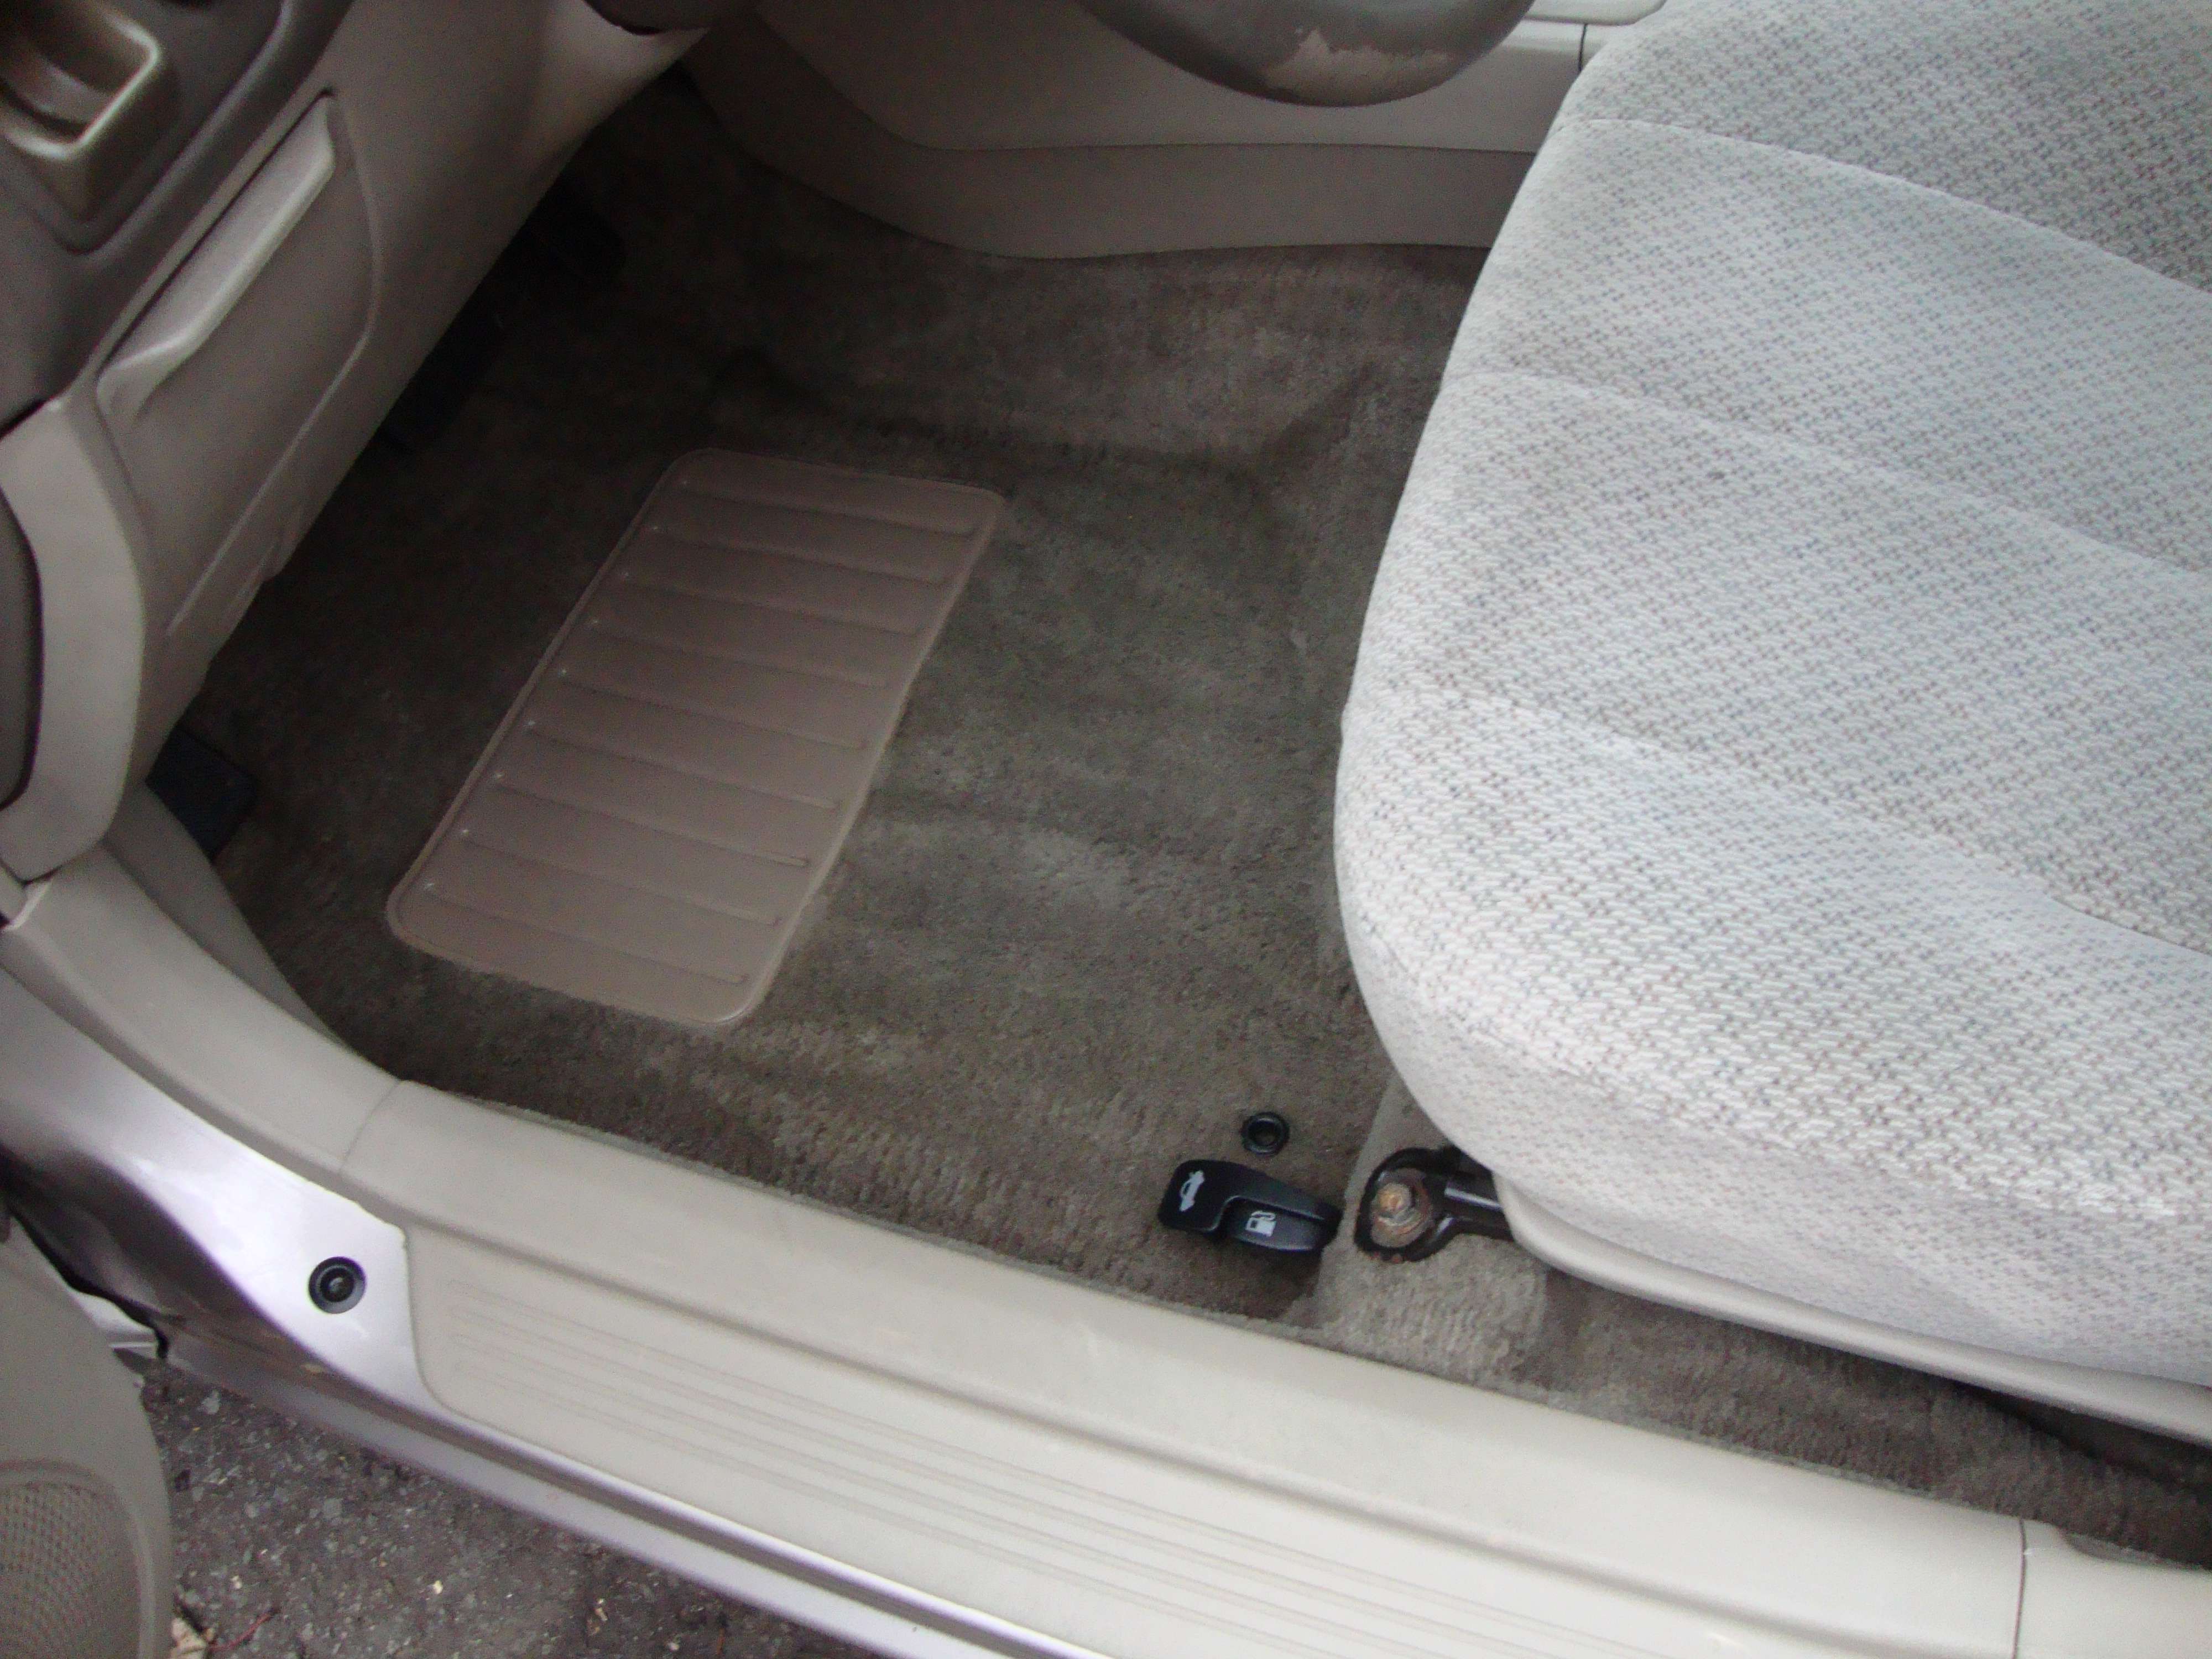
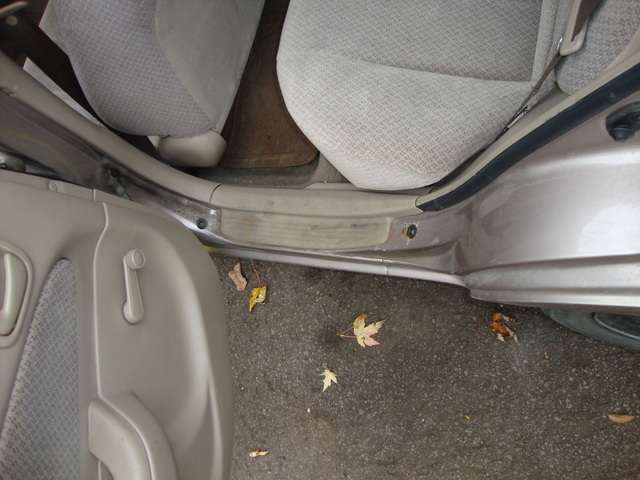
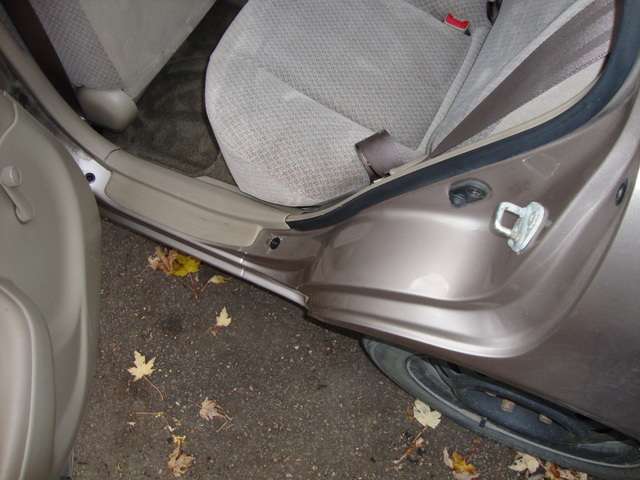
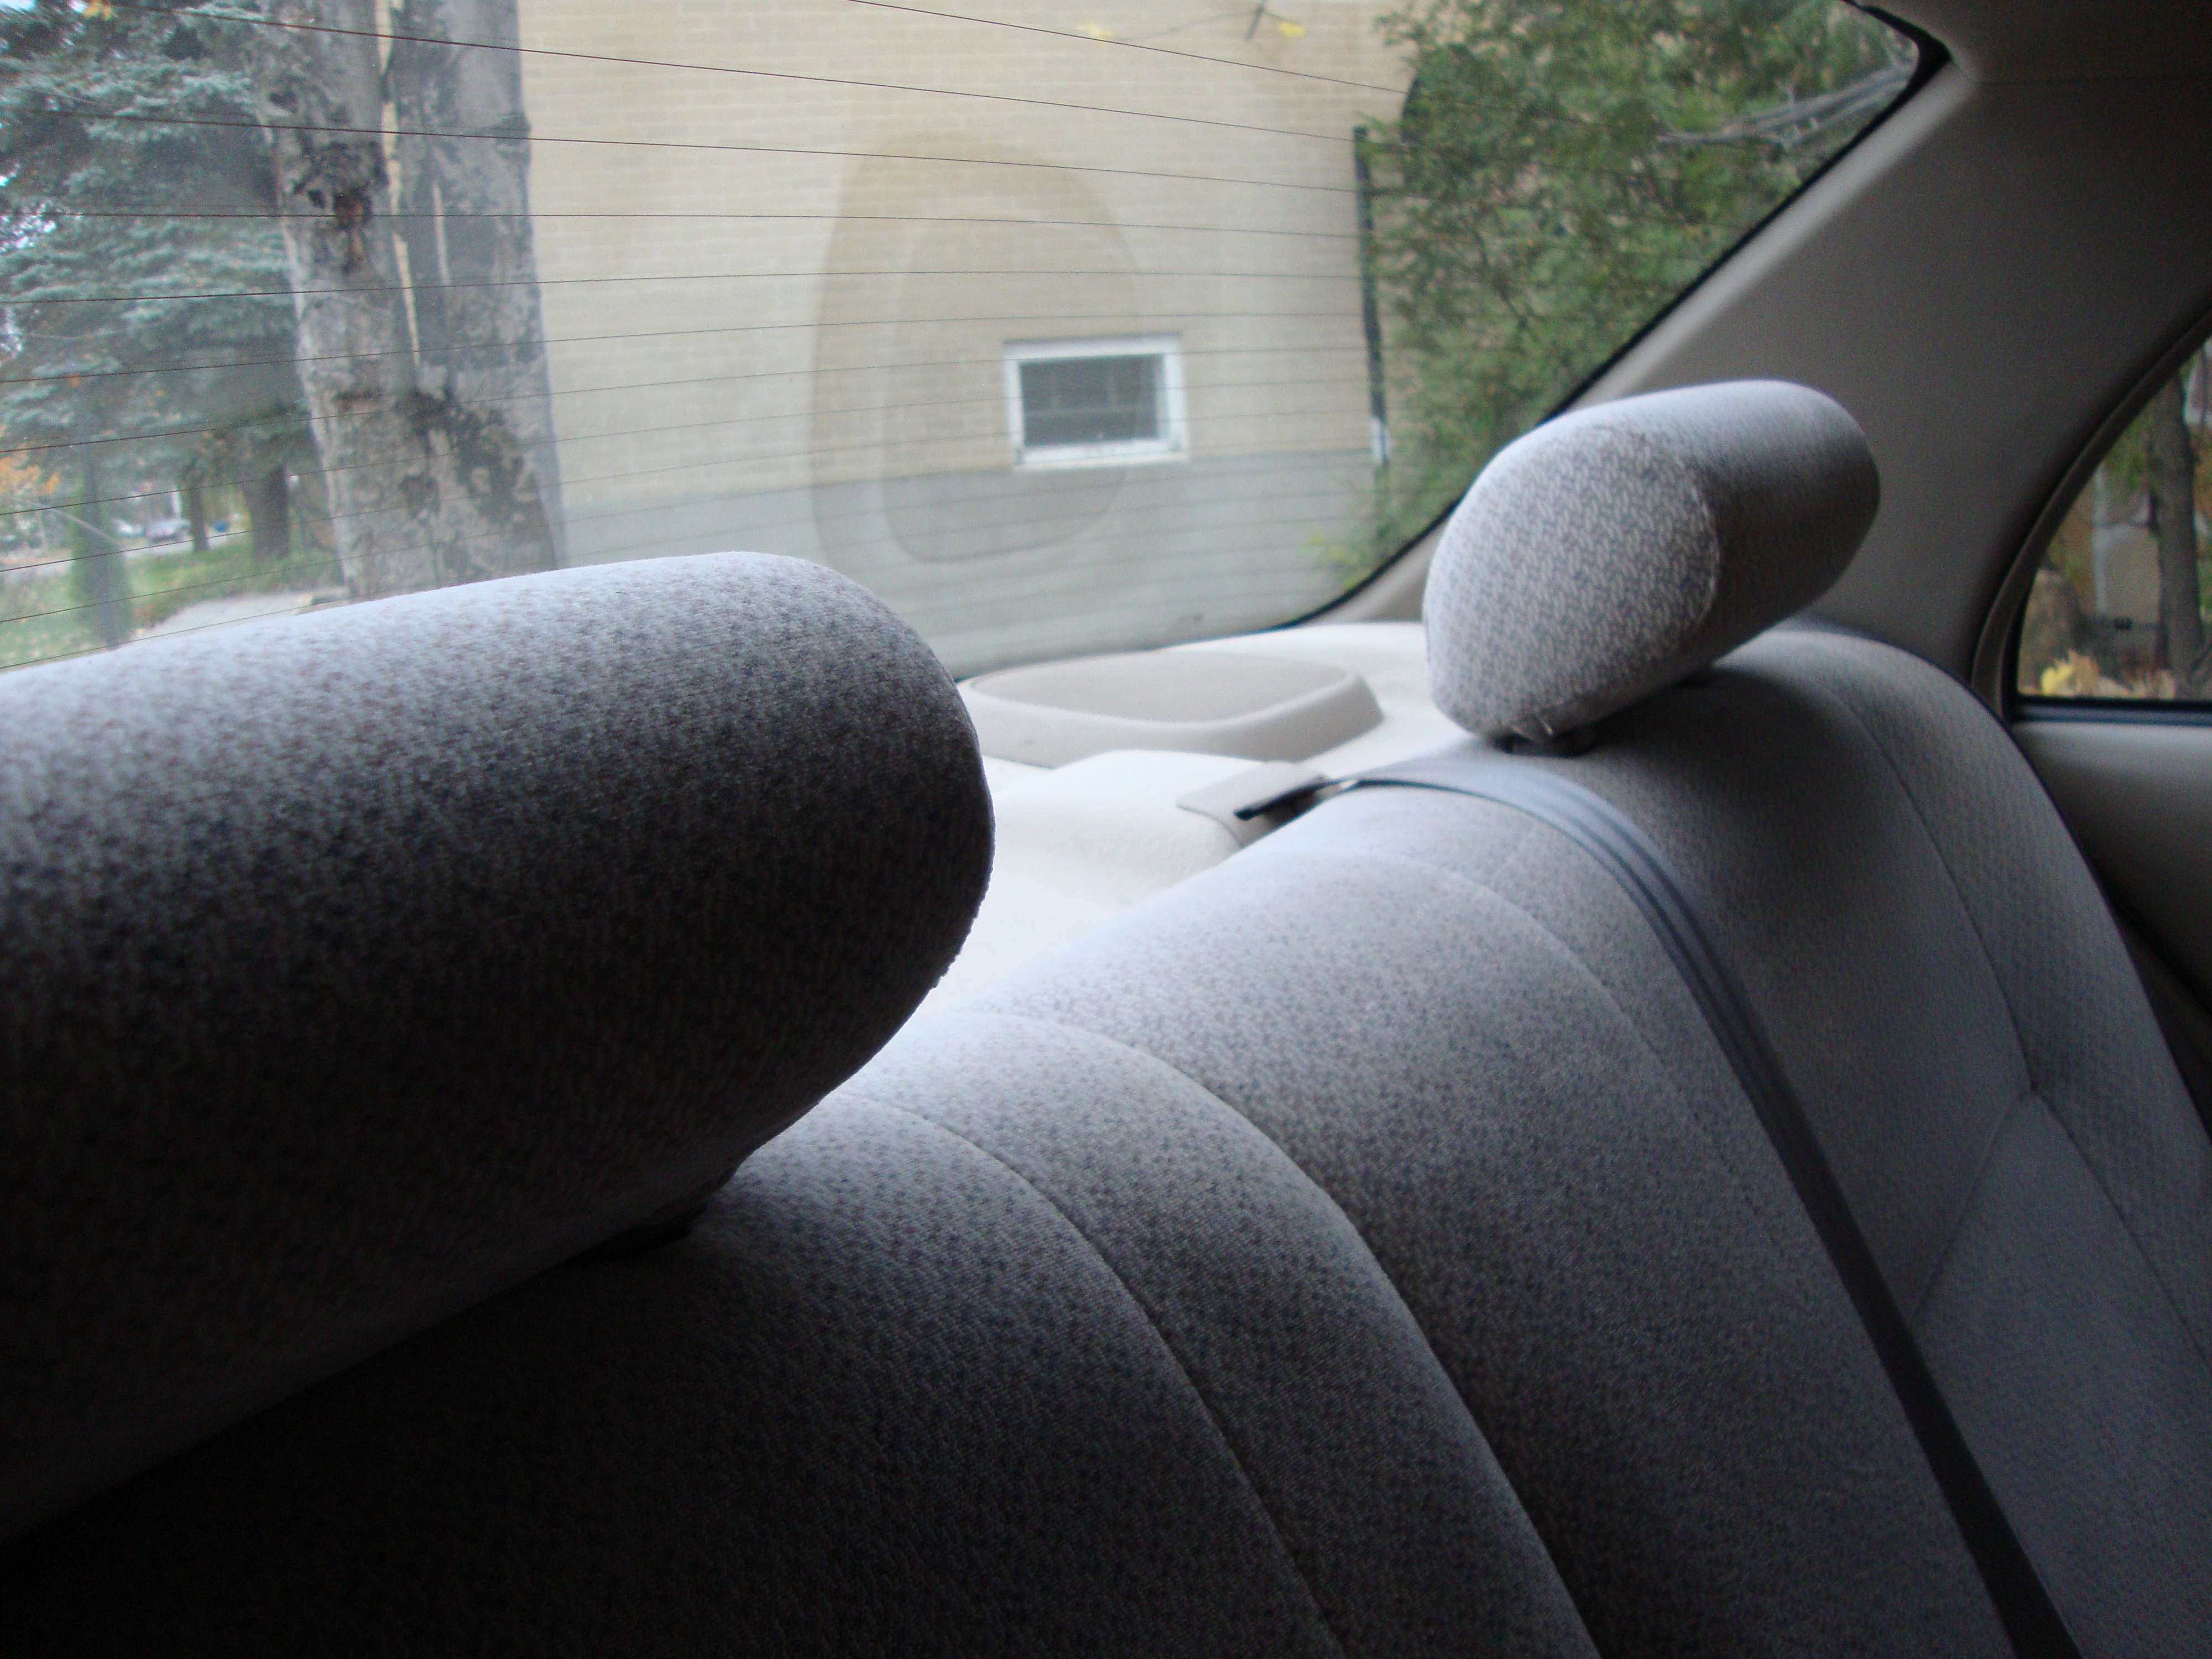
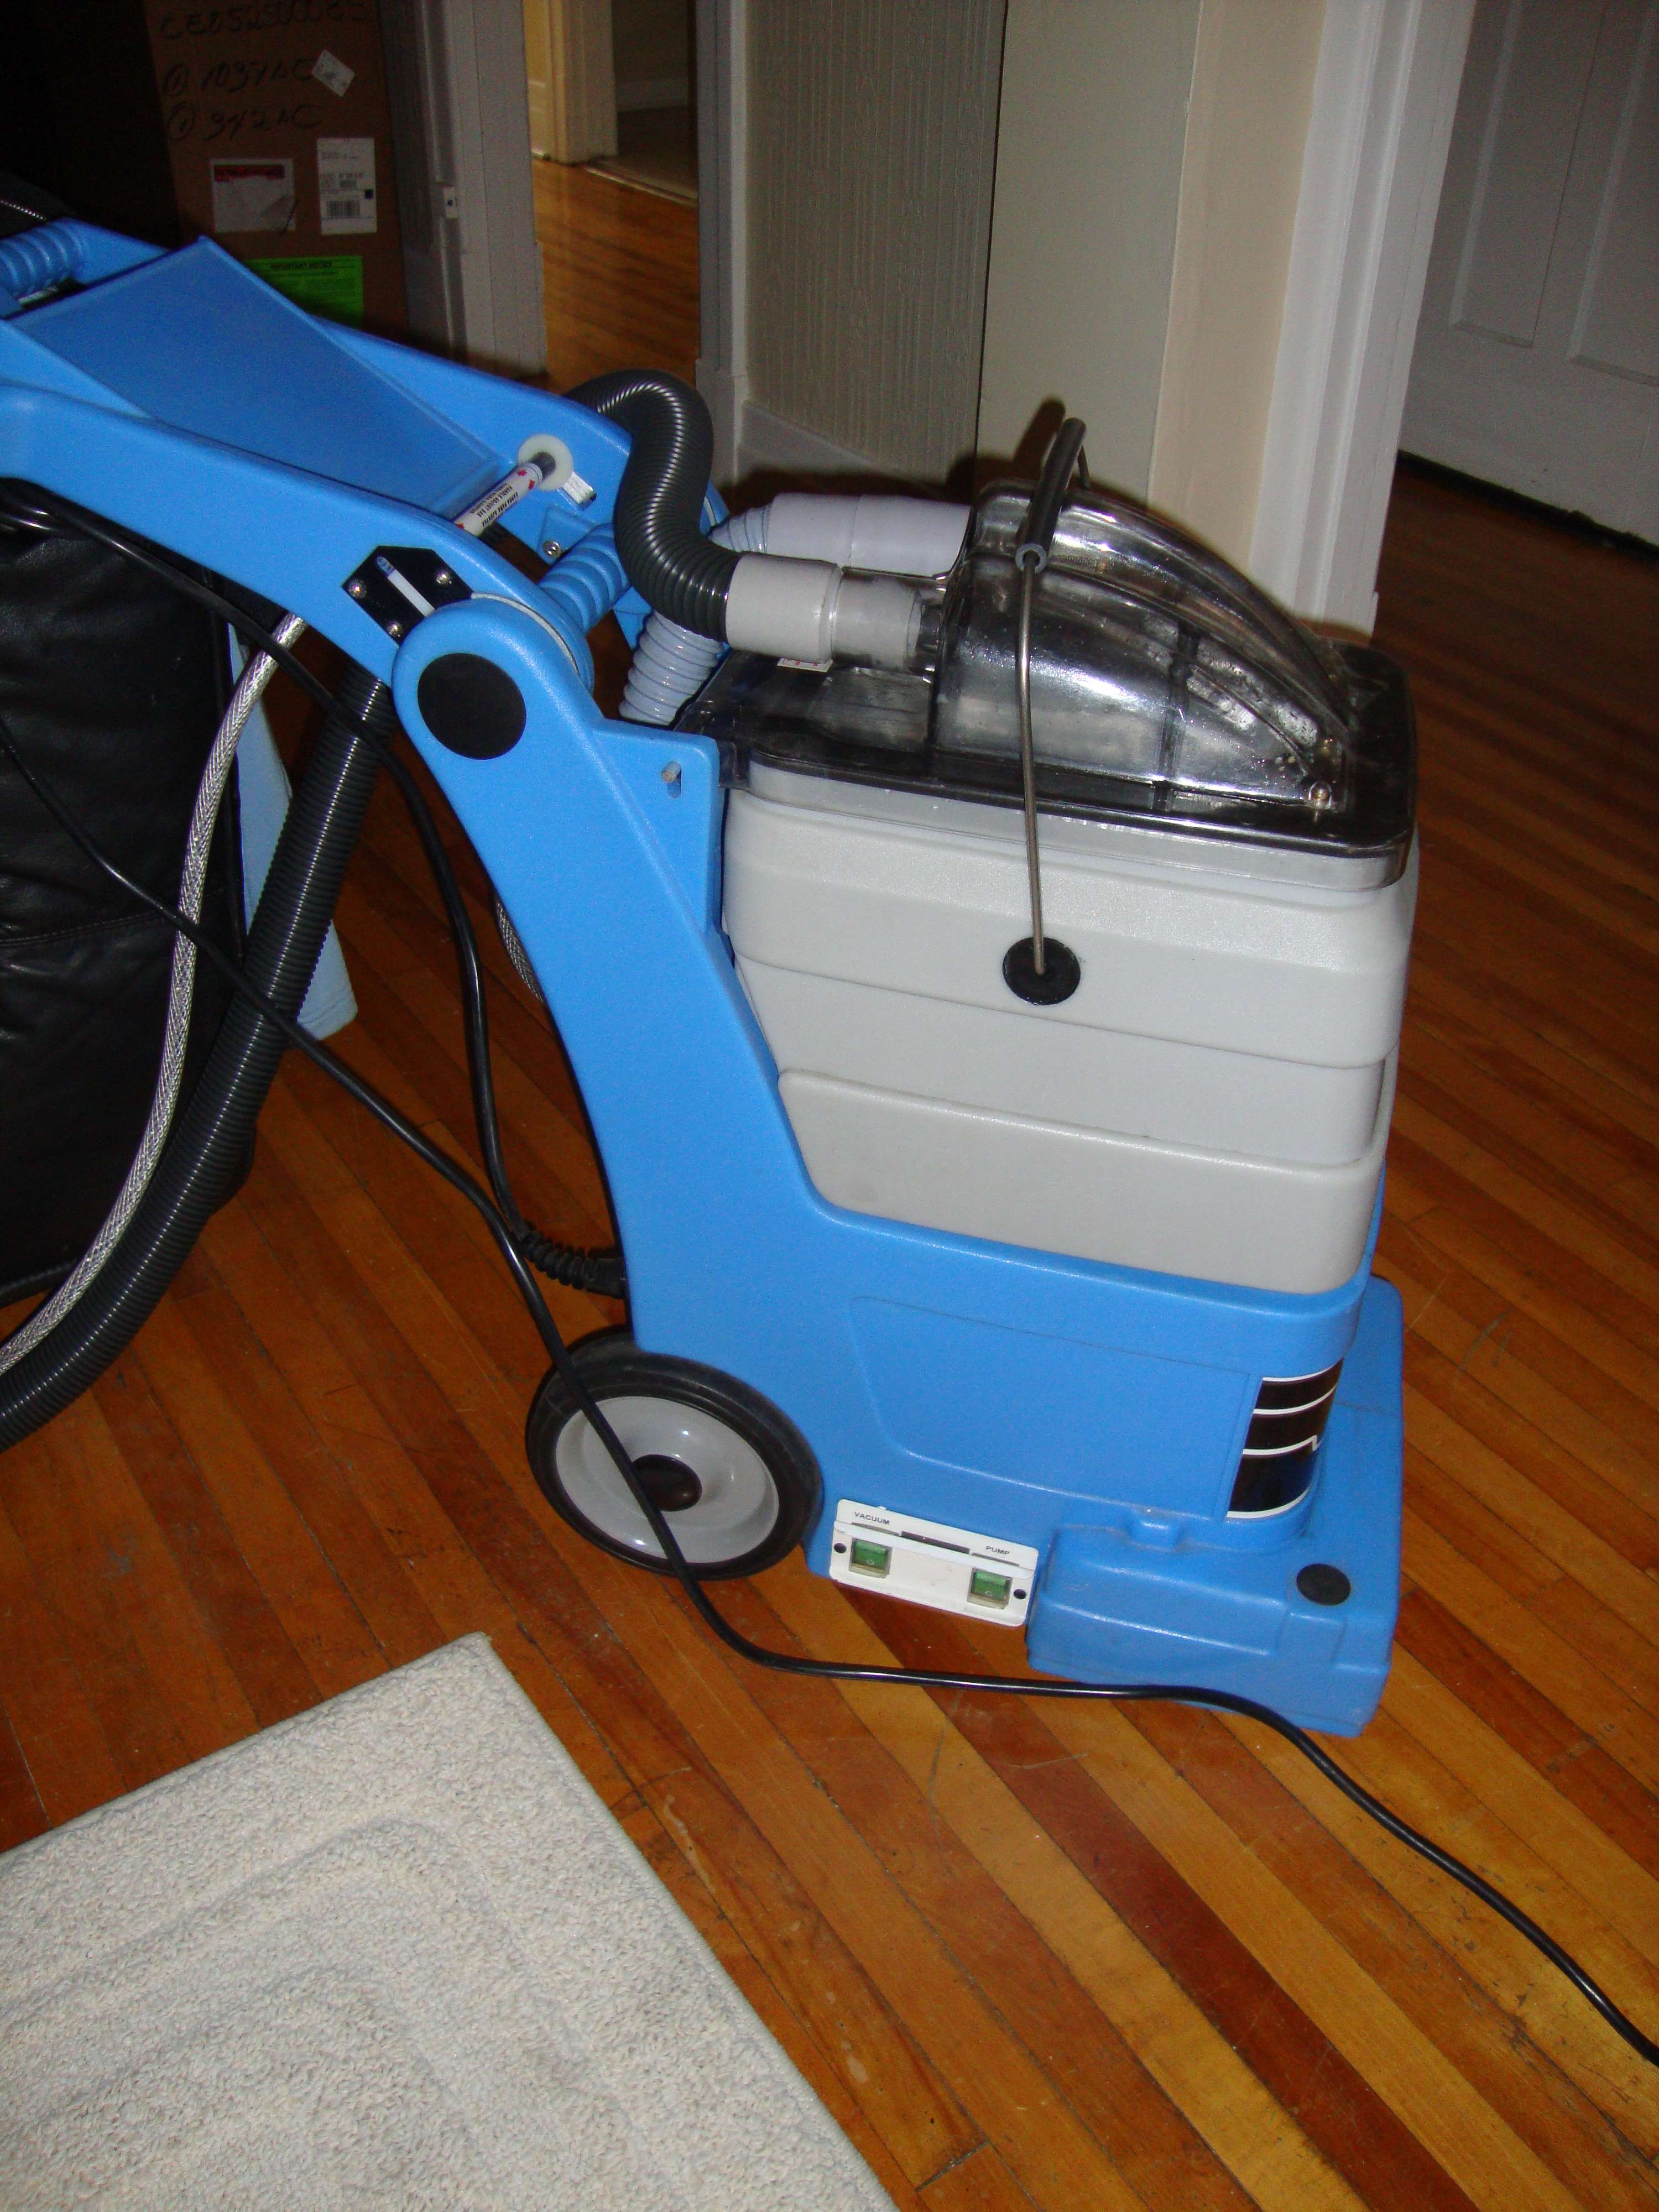
Today was my first interior detailing with my new pro extractor. Let see if she was up to the task of this ‘’trashed’’ corolla!
Here’s what I did in order to achieve a pro result:
- Vacuum using a Shop-vac ( will buy a more powerful unit next year)
- Blowing debris with air compressor on hard to reach area
- Cleaning windows and removing glue with a windows cleaning cloth
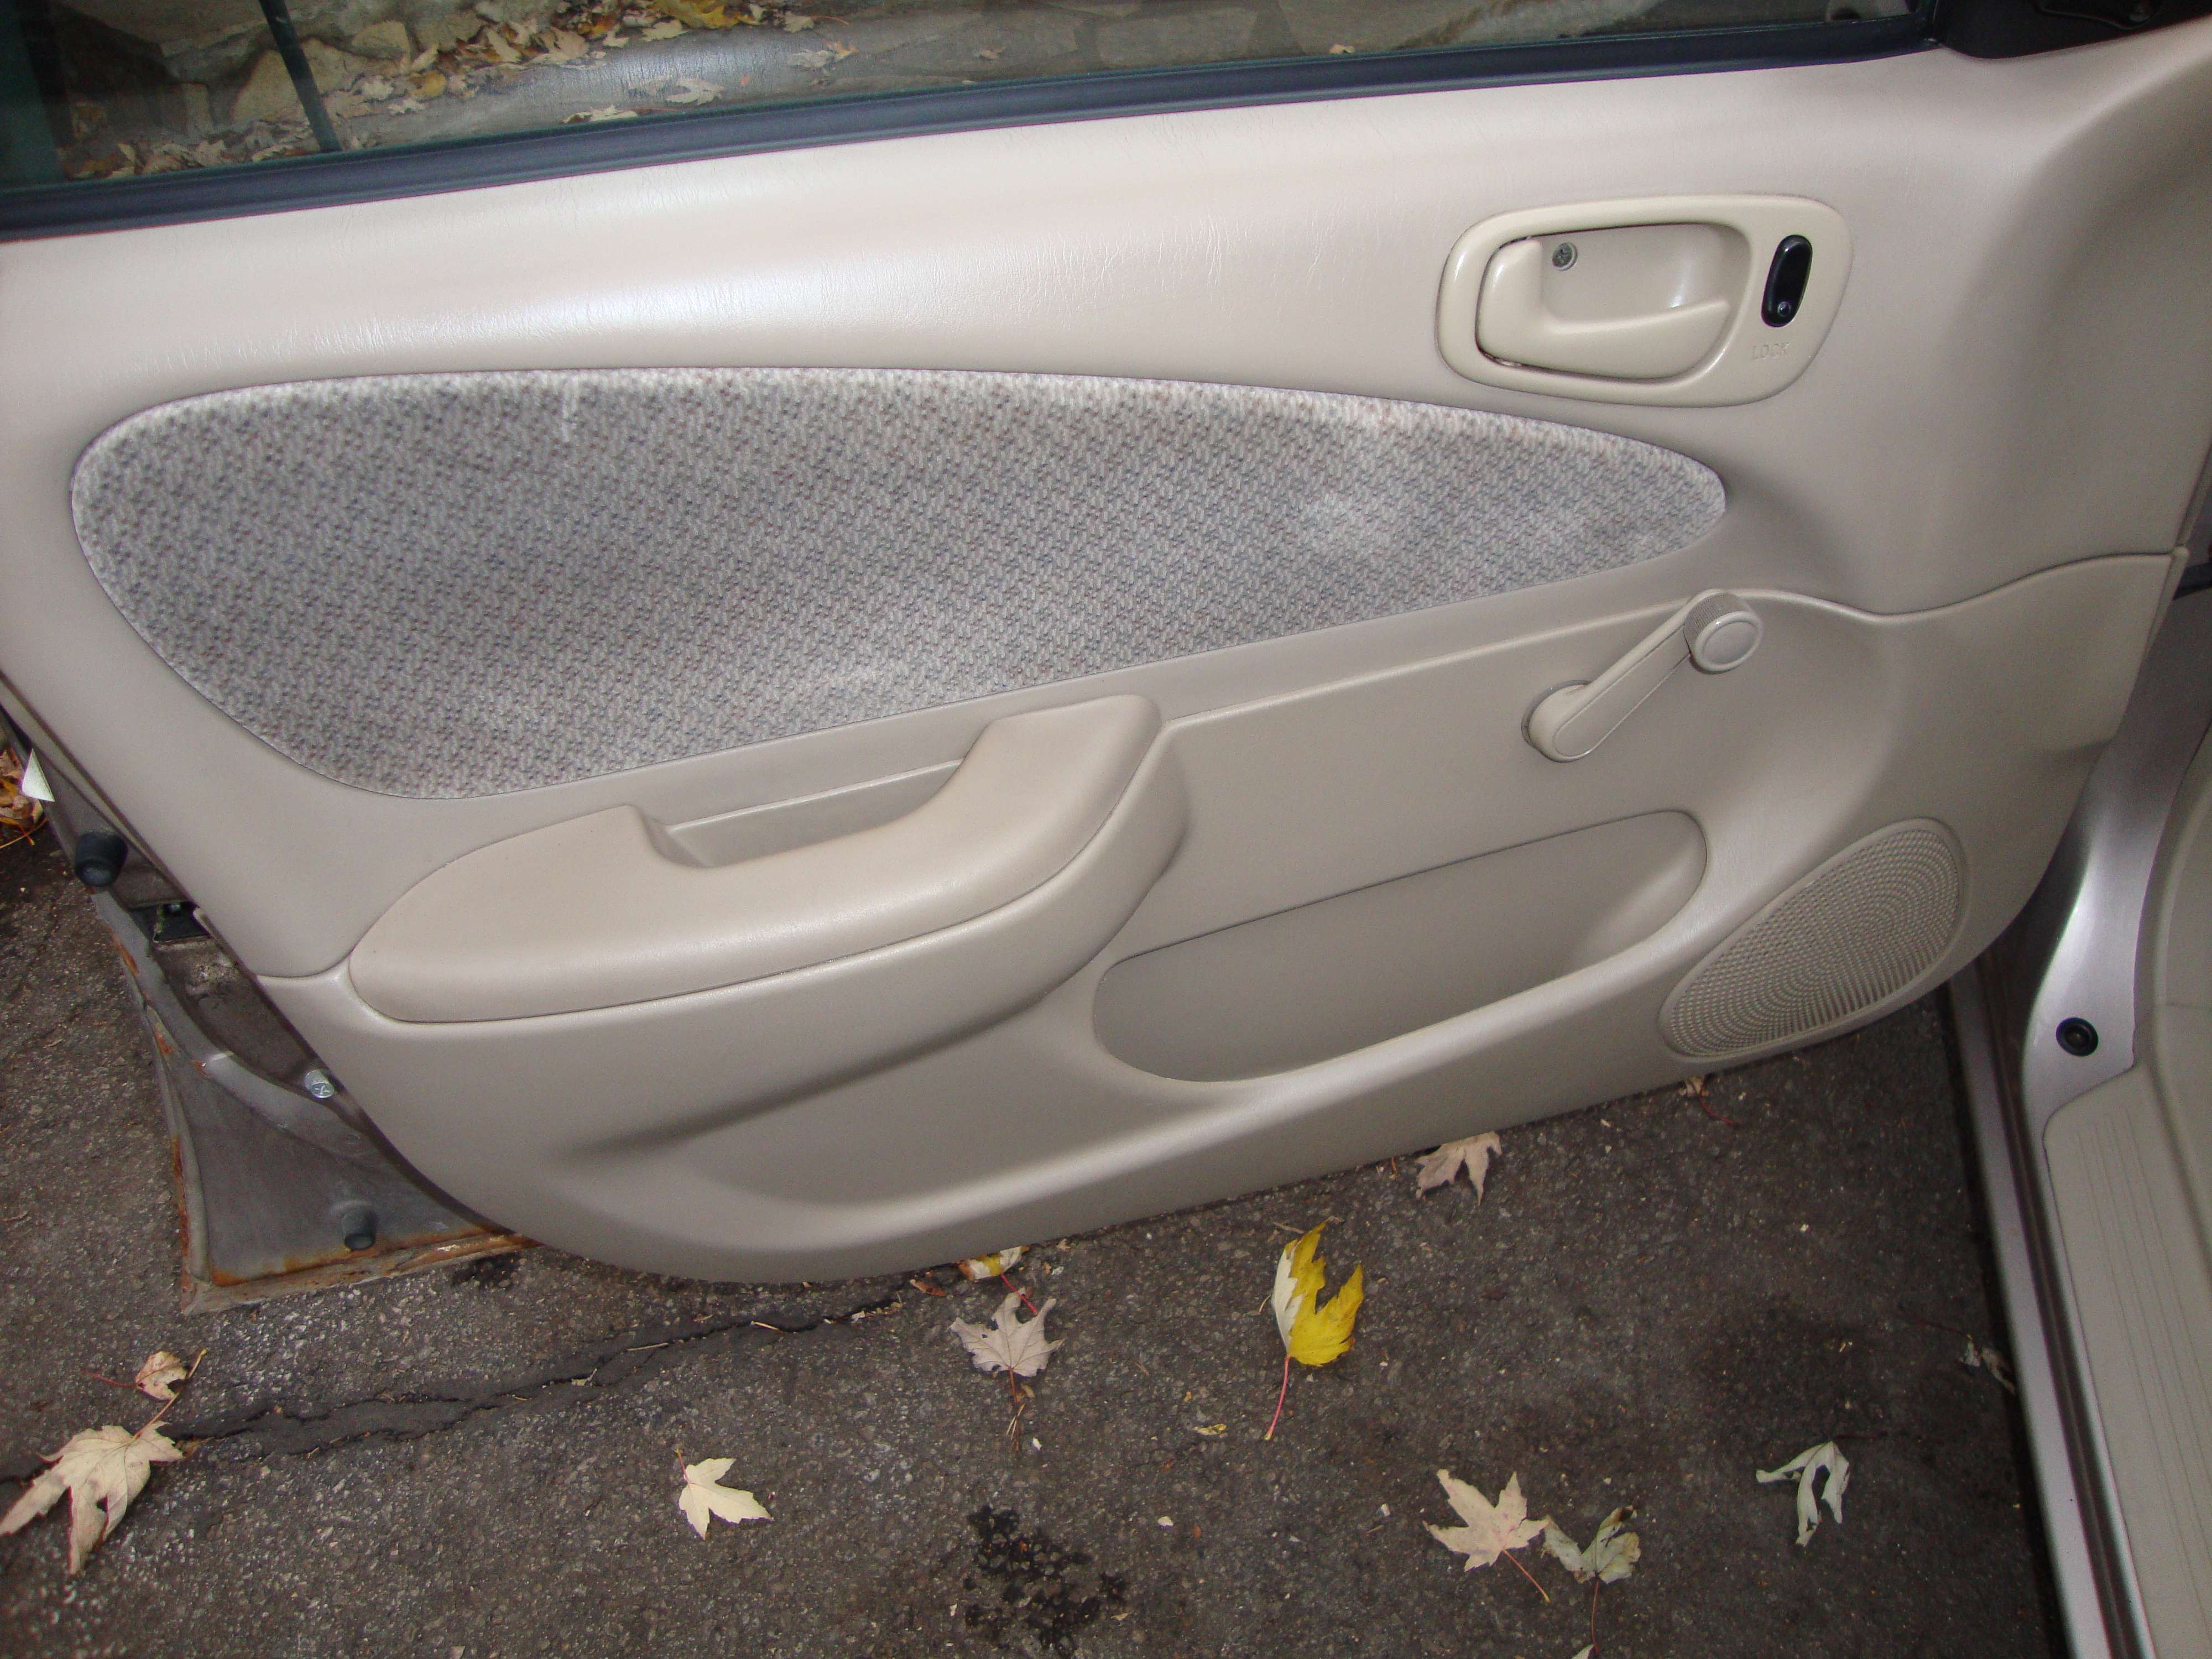
- Cleaning rubbers with an APC and brush
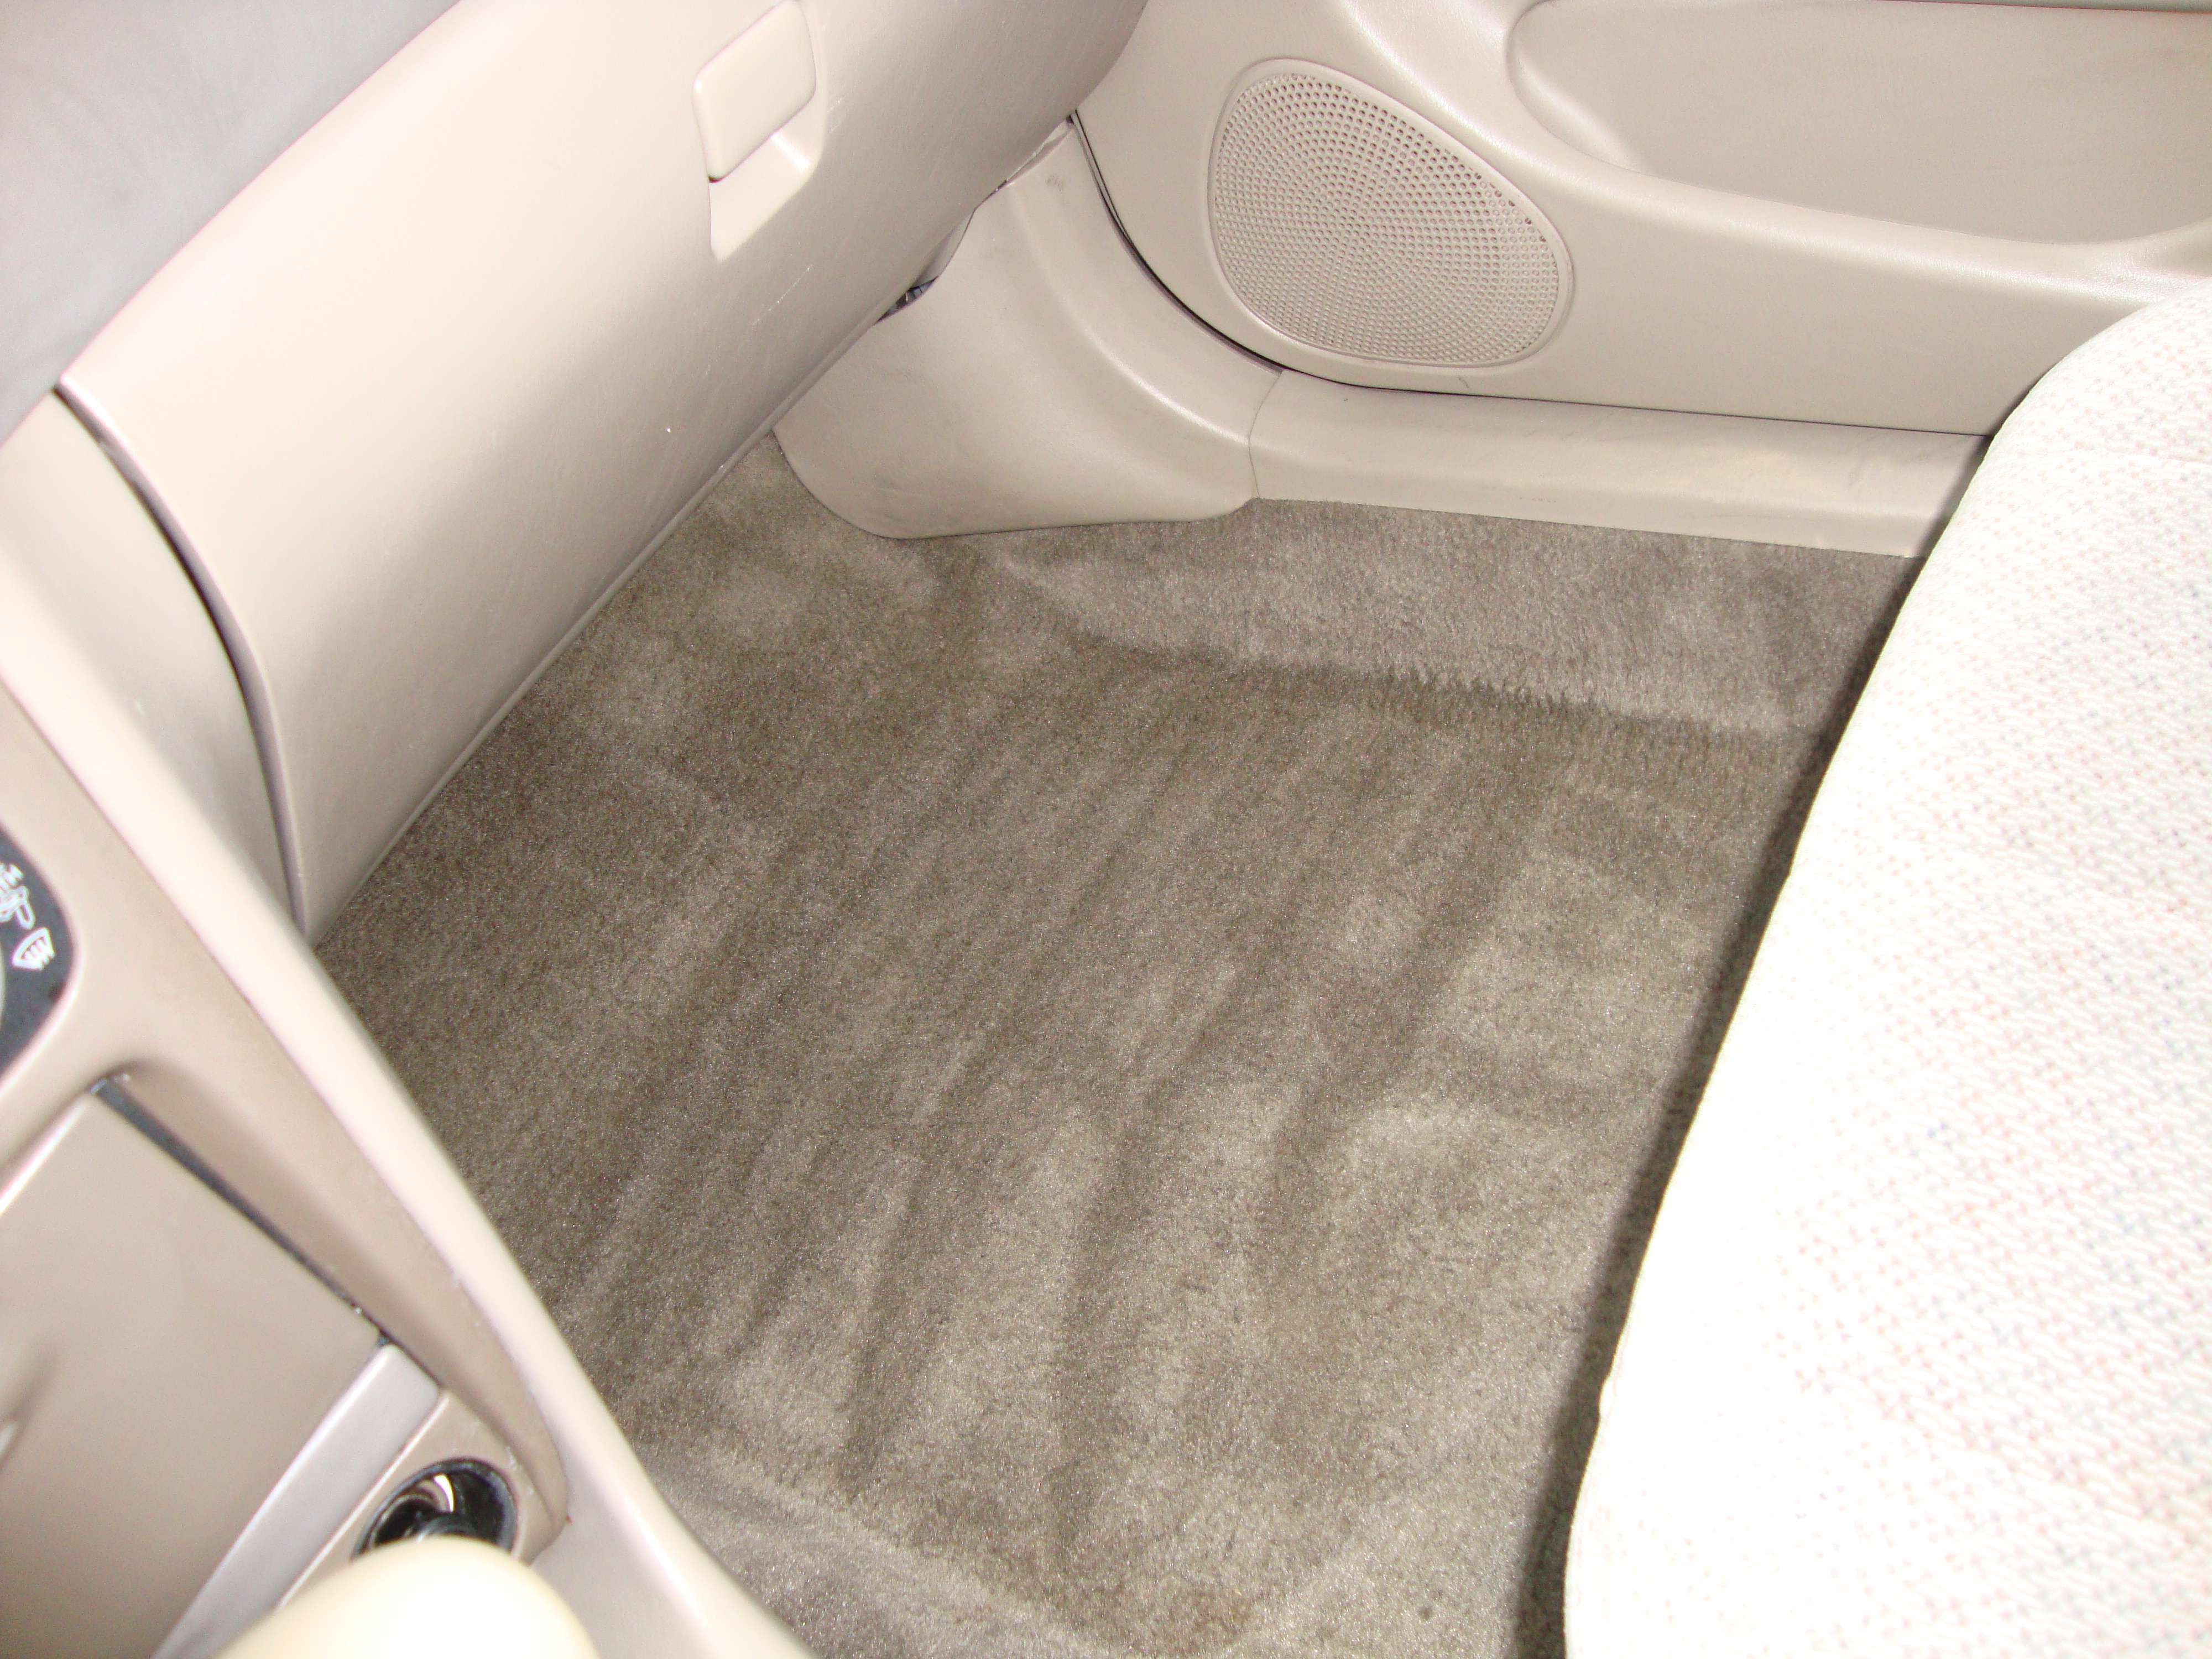
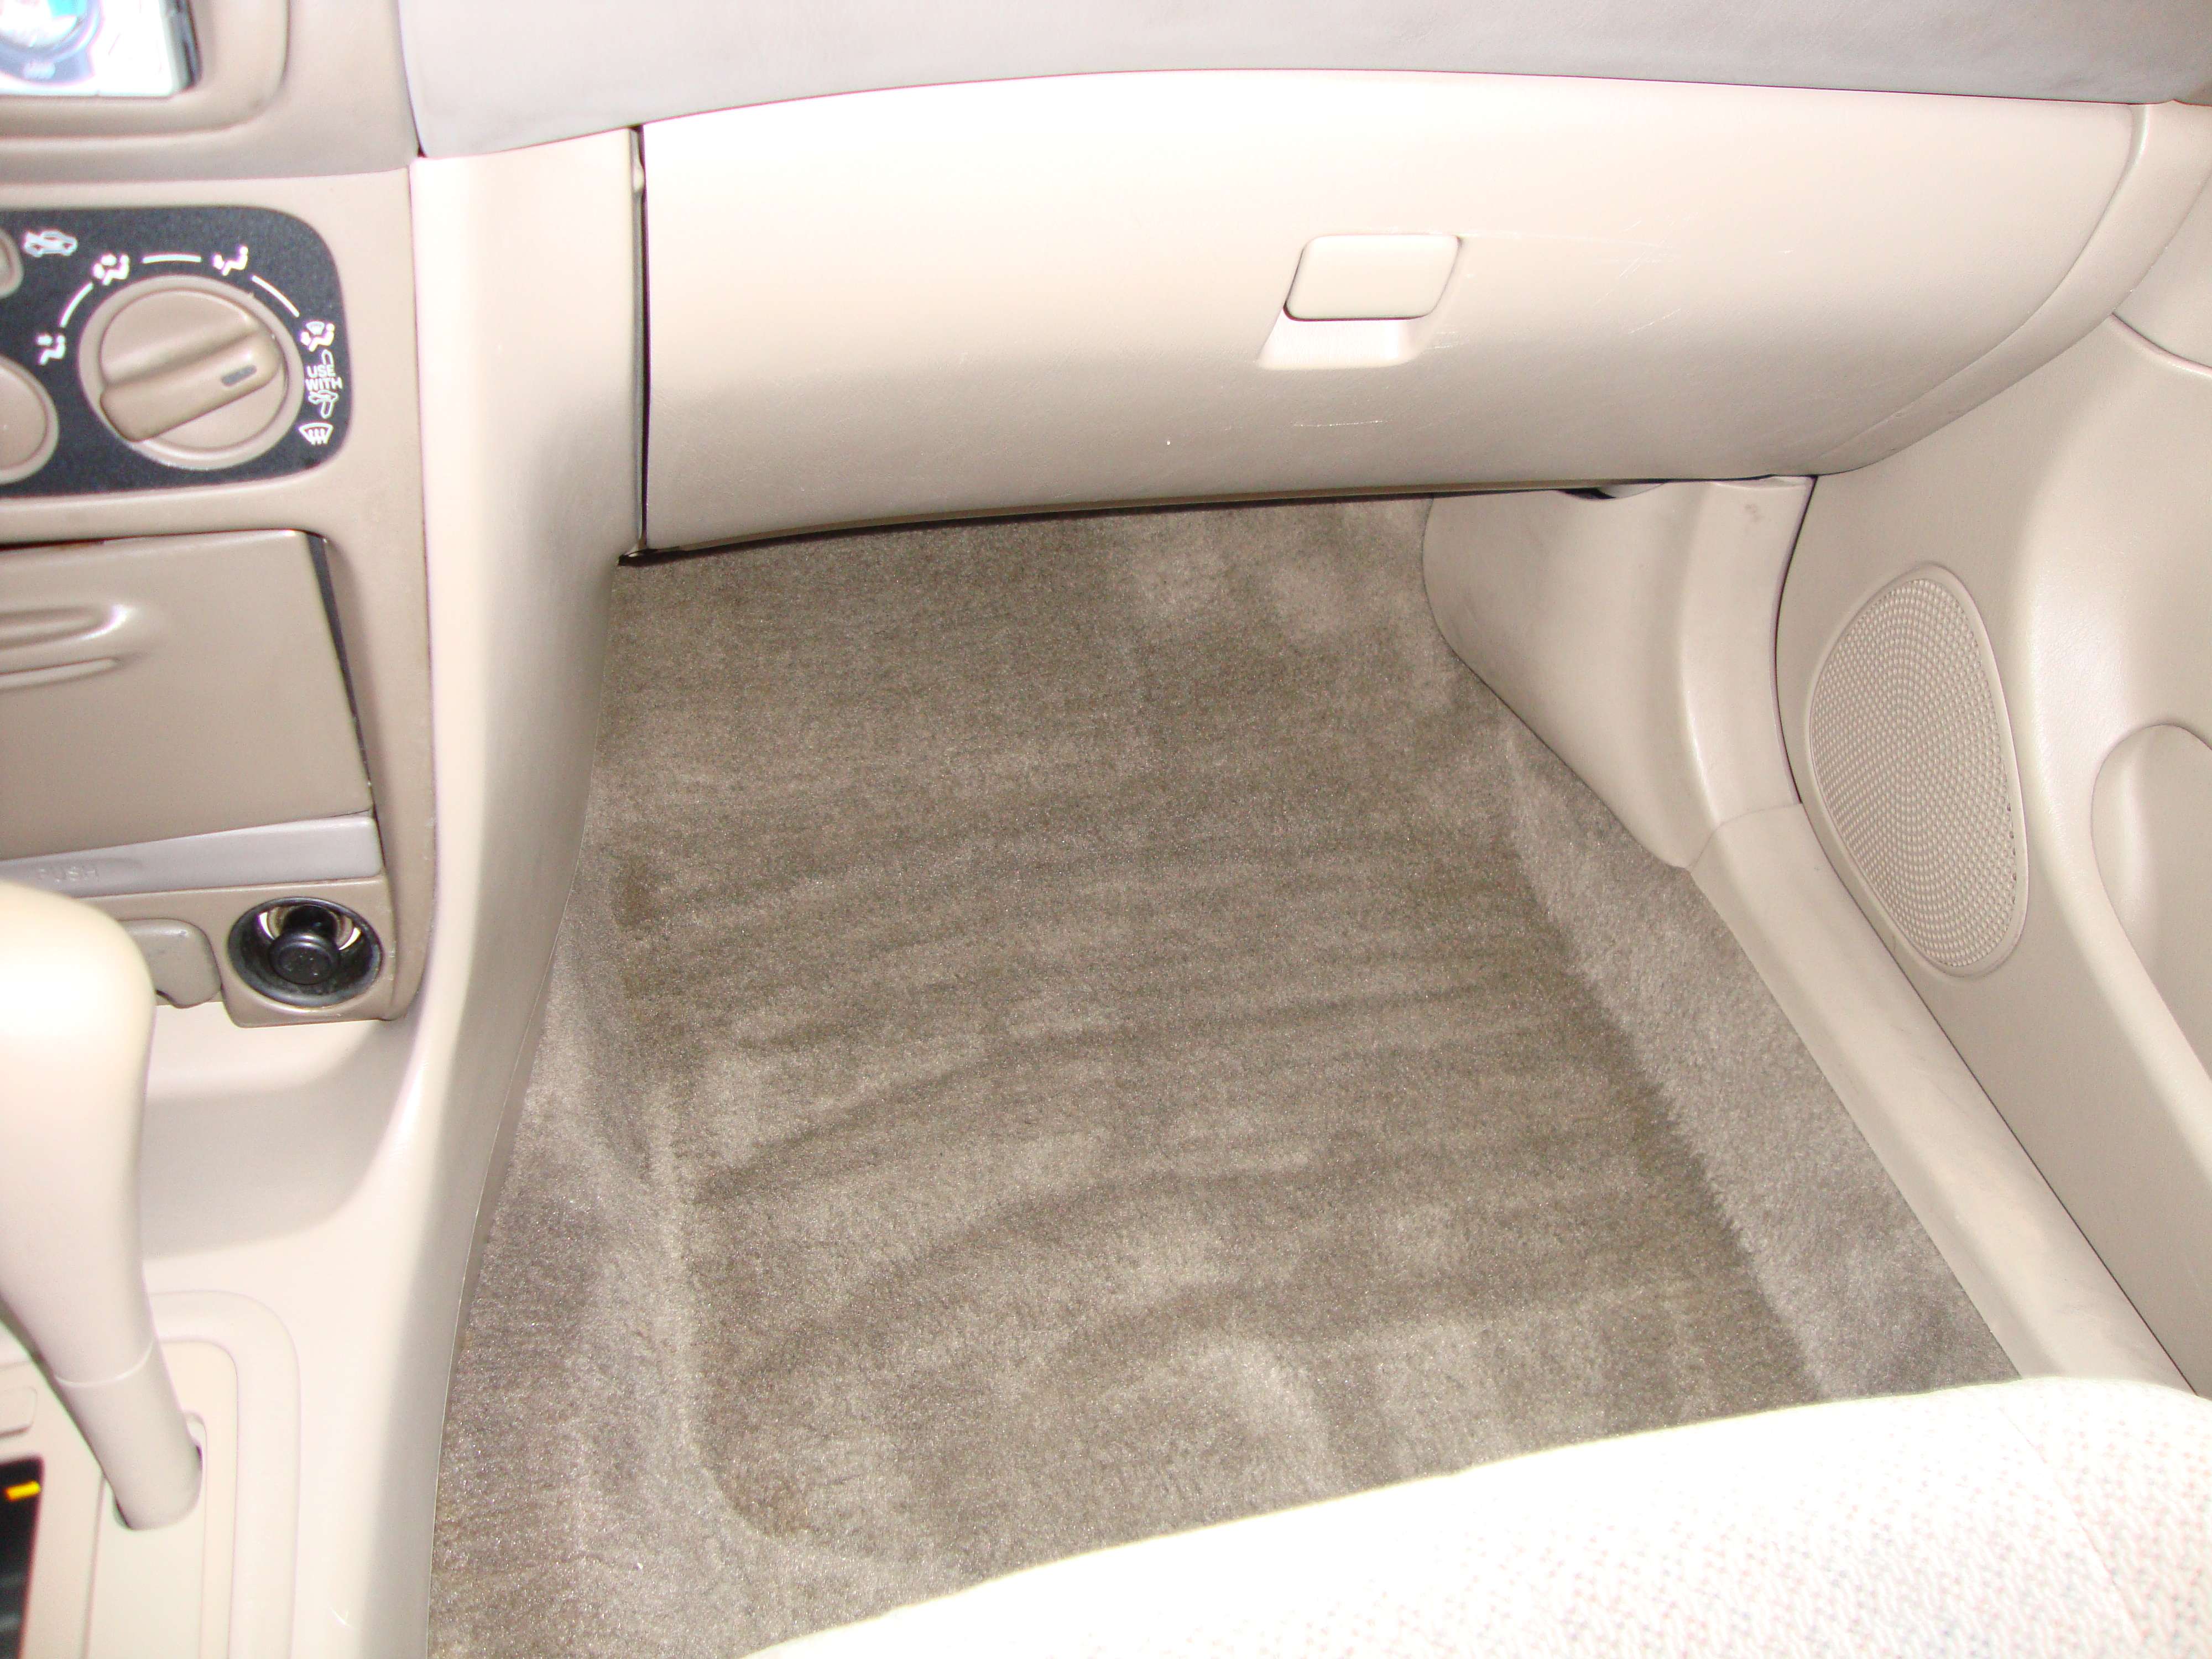
- Cleaning carpet and removing salt with extractor and brush
- Seat shampoo with extractor
- Applying UV protector everywhere
- Anti-odor ( odor absorber) treatment at the end.
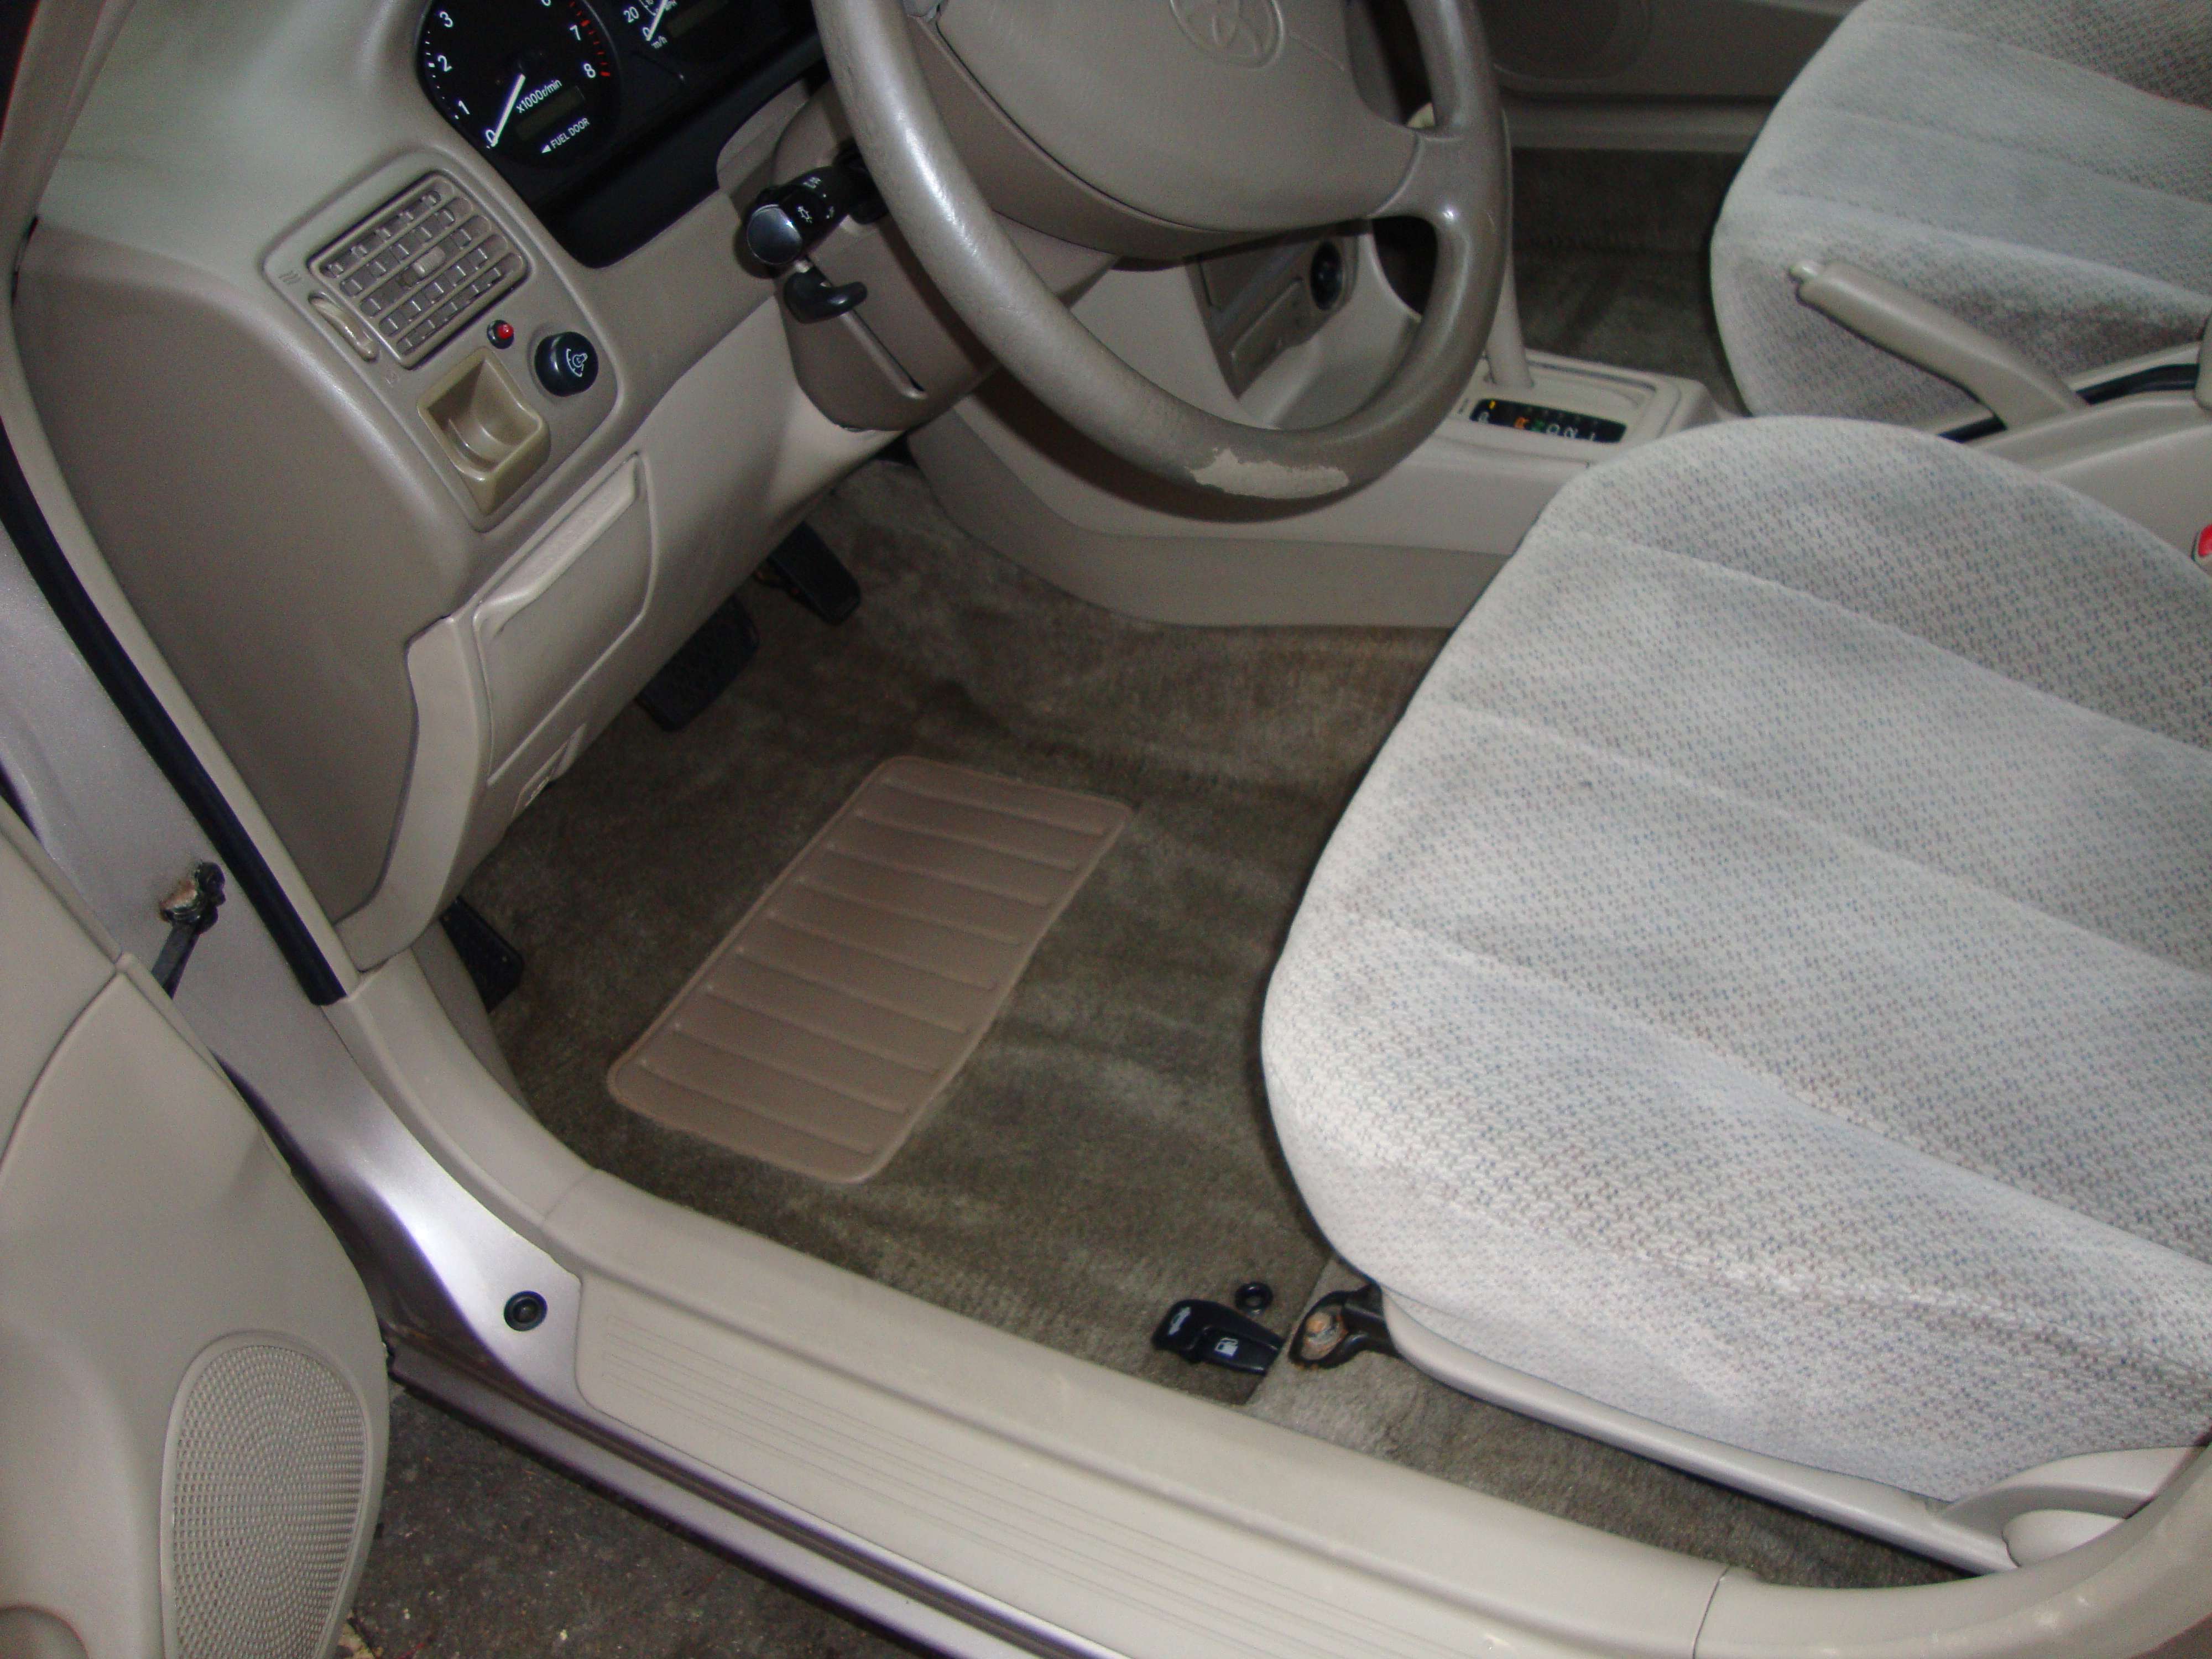
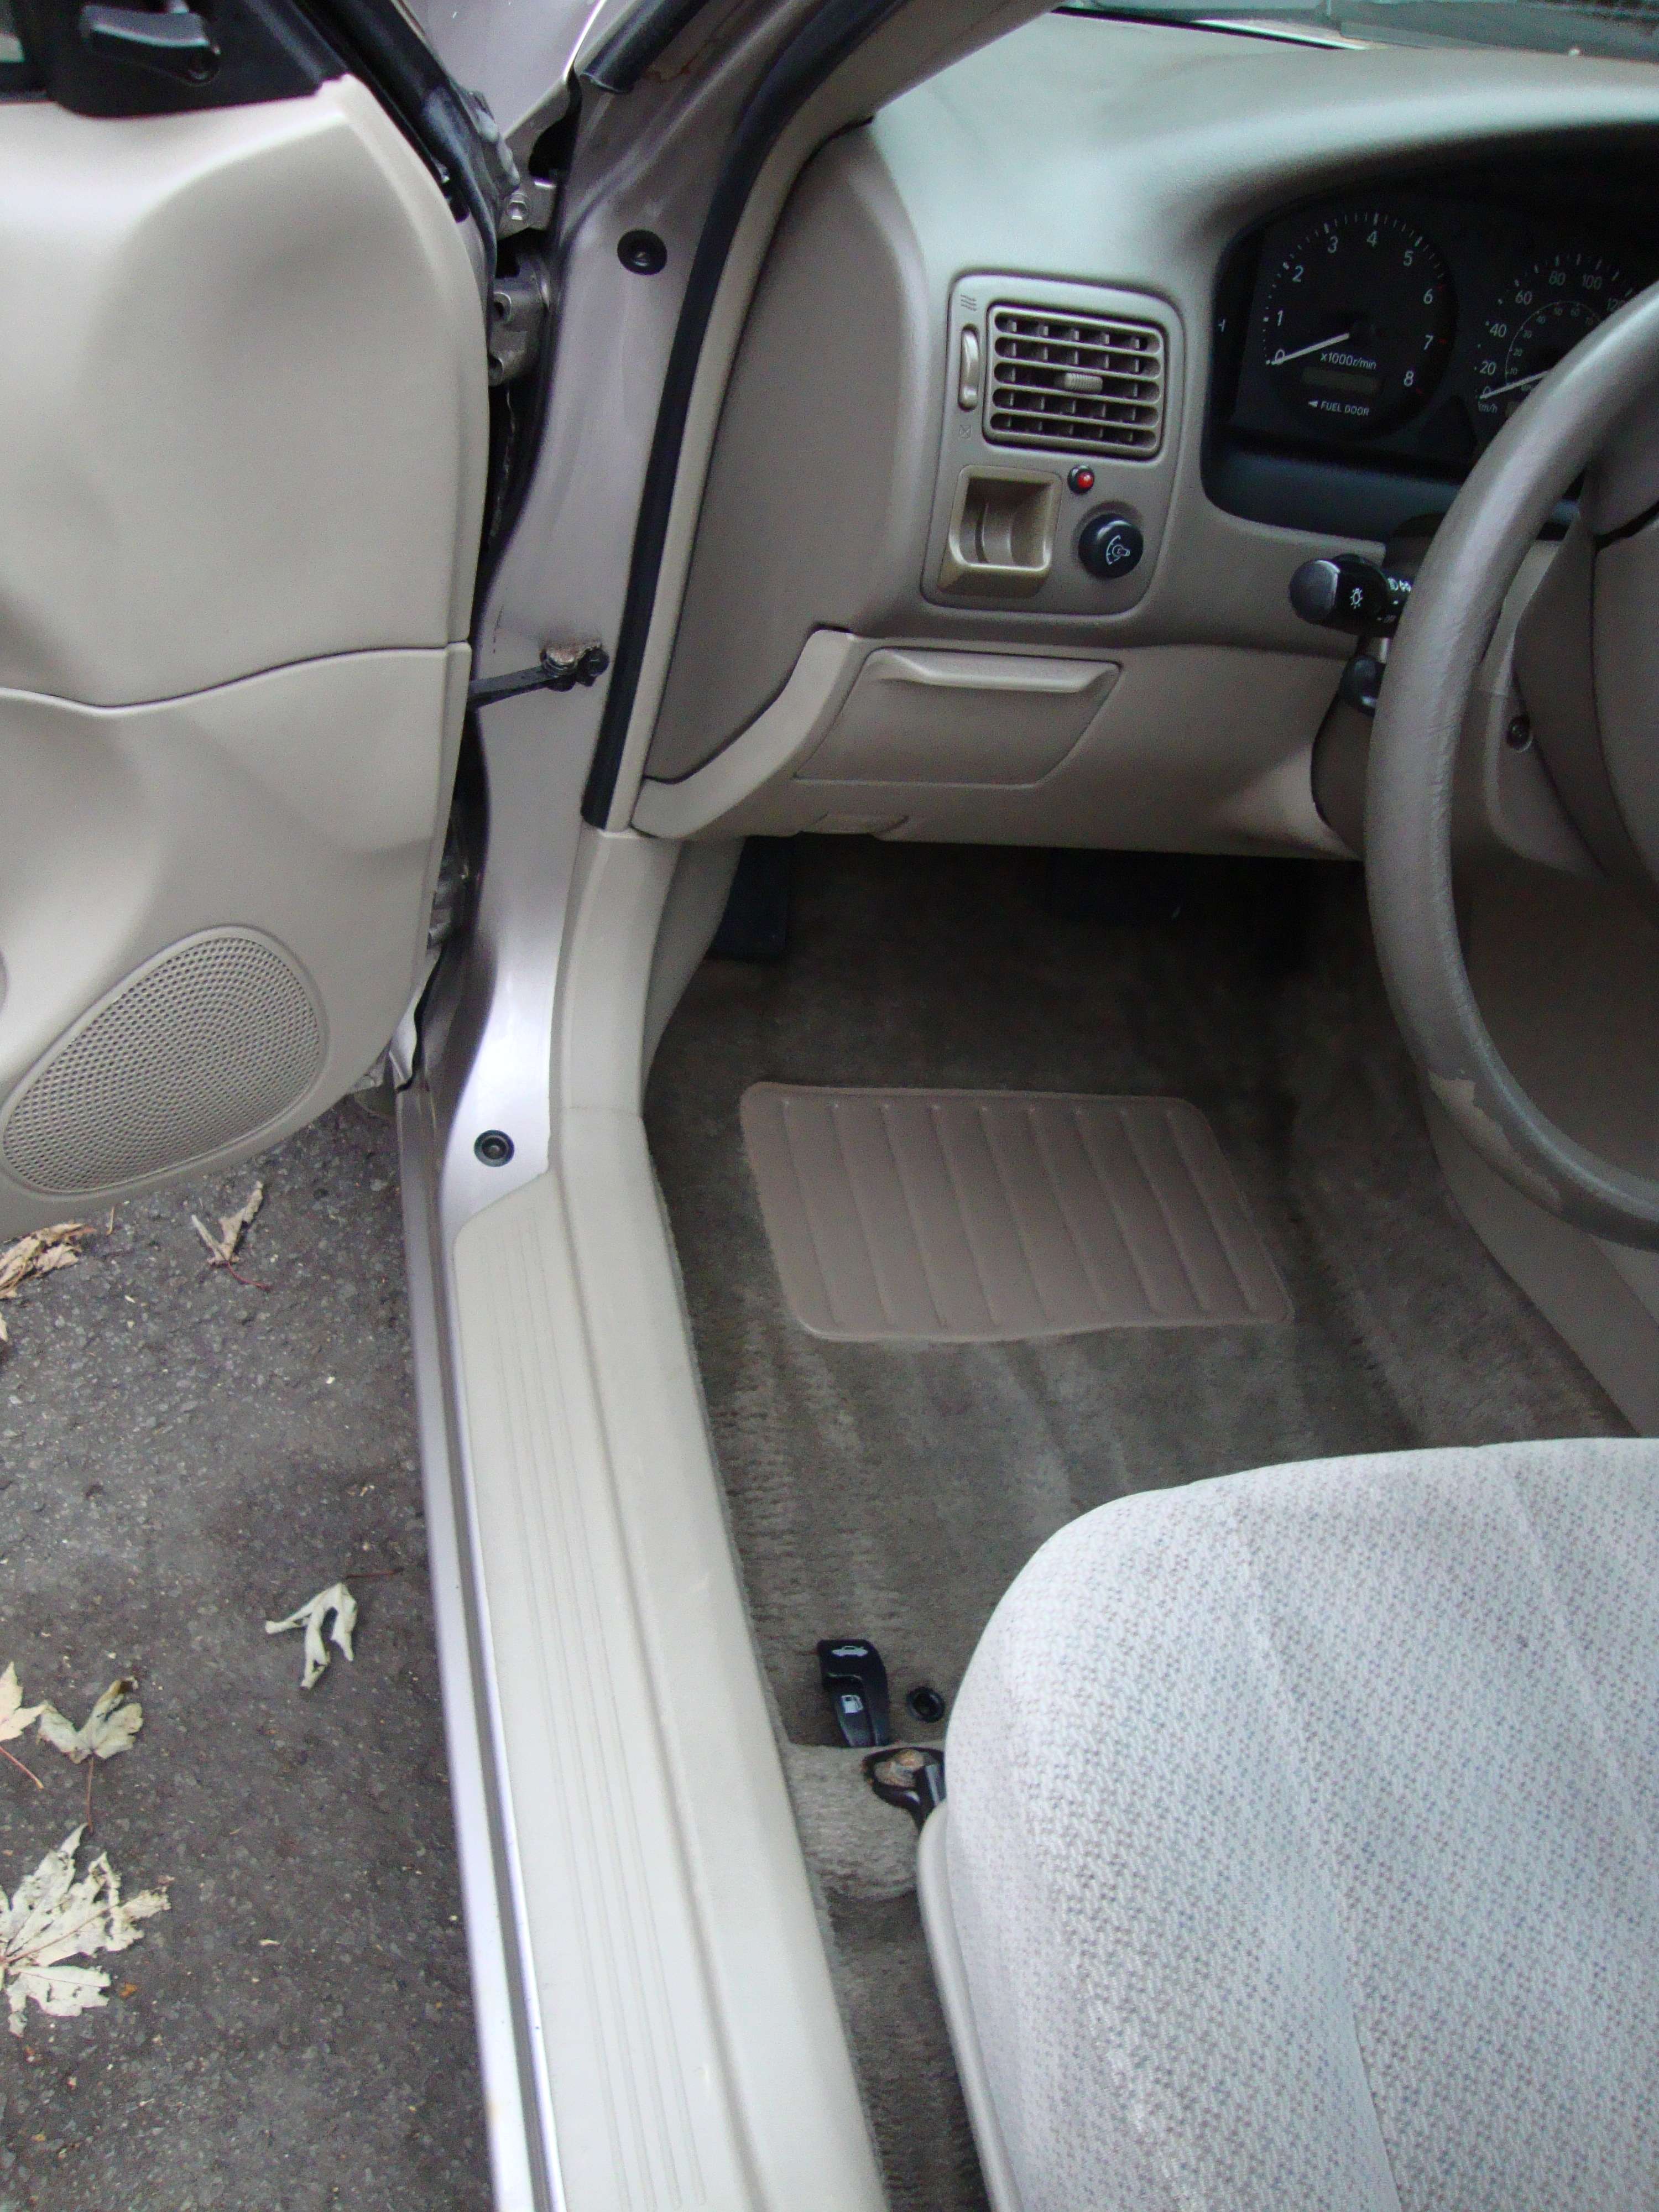
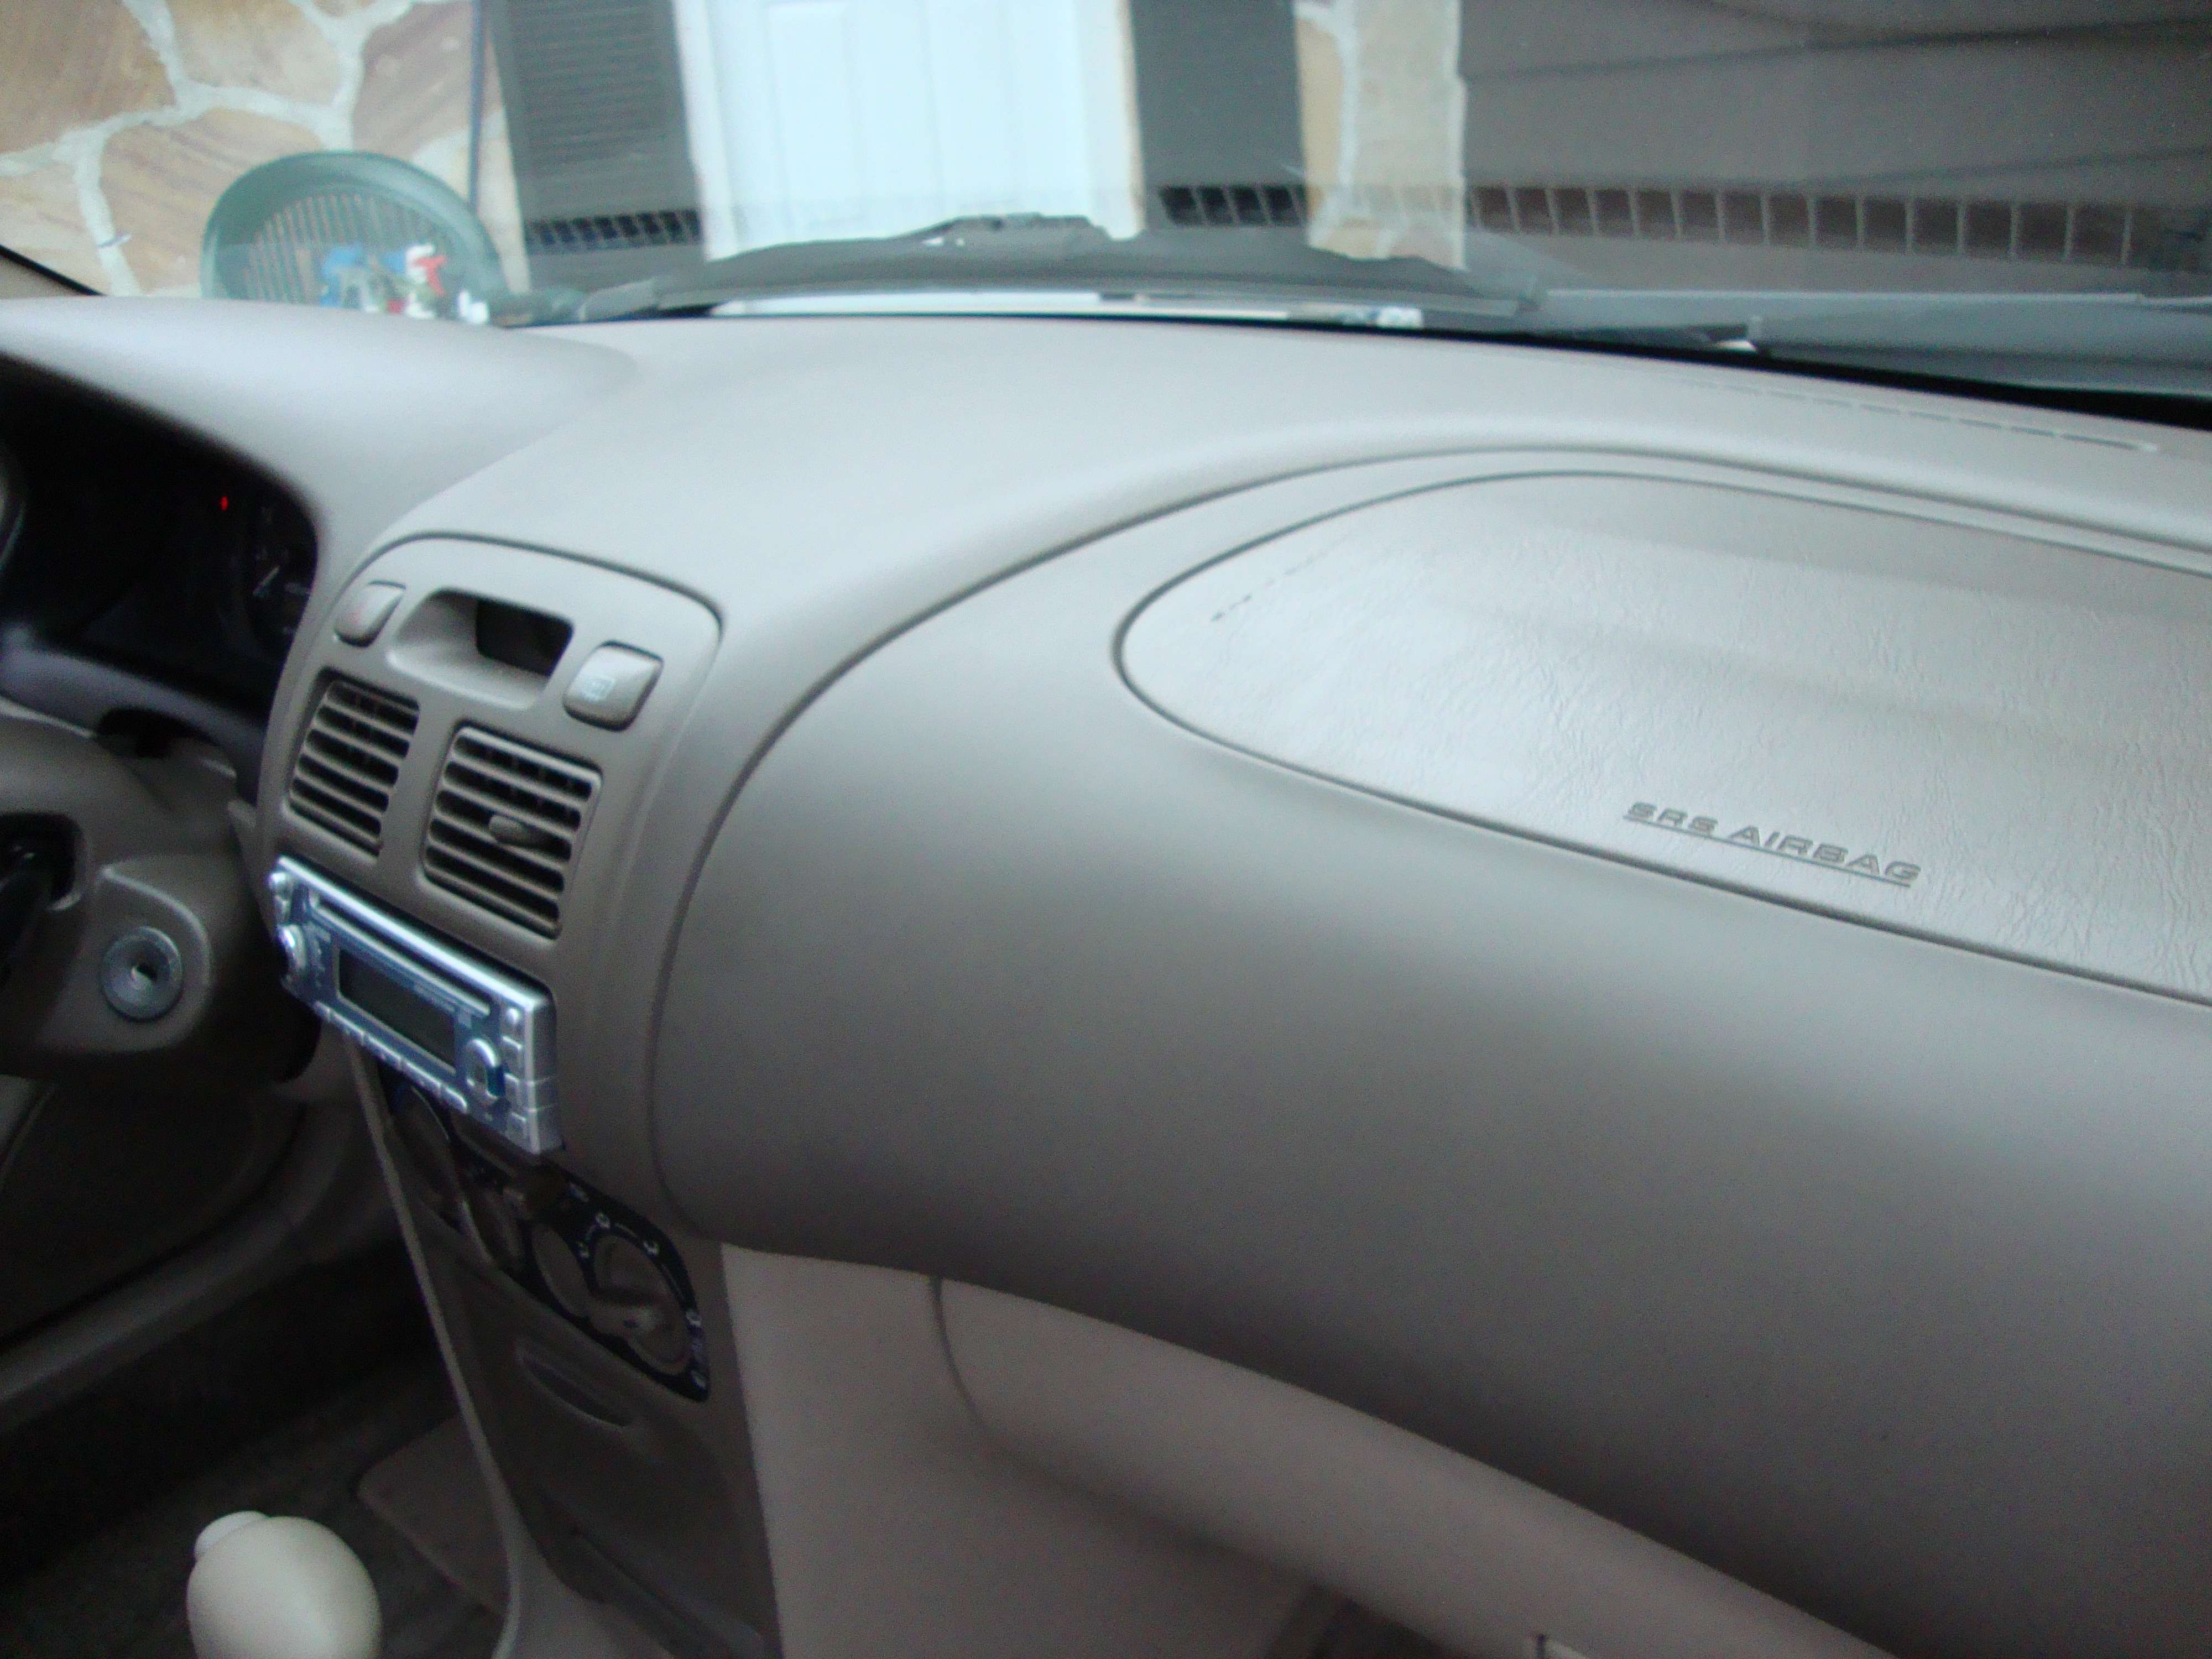
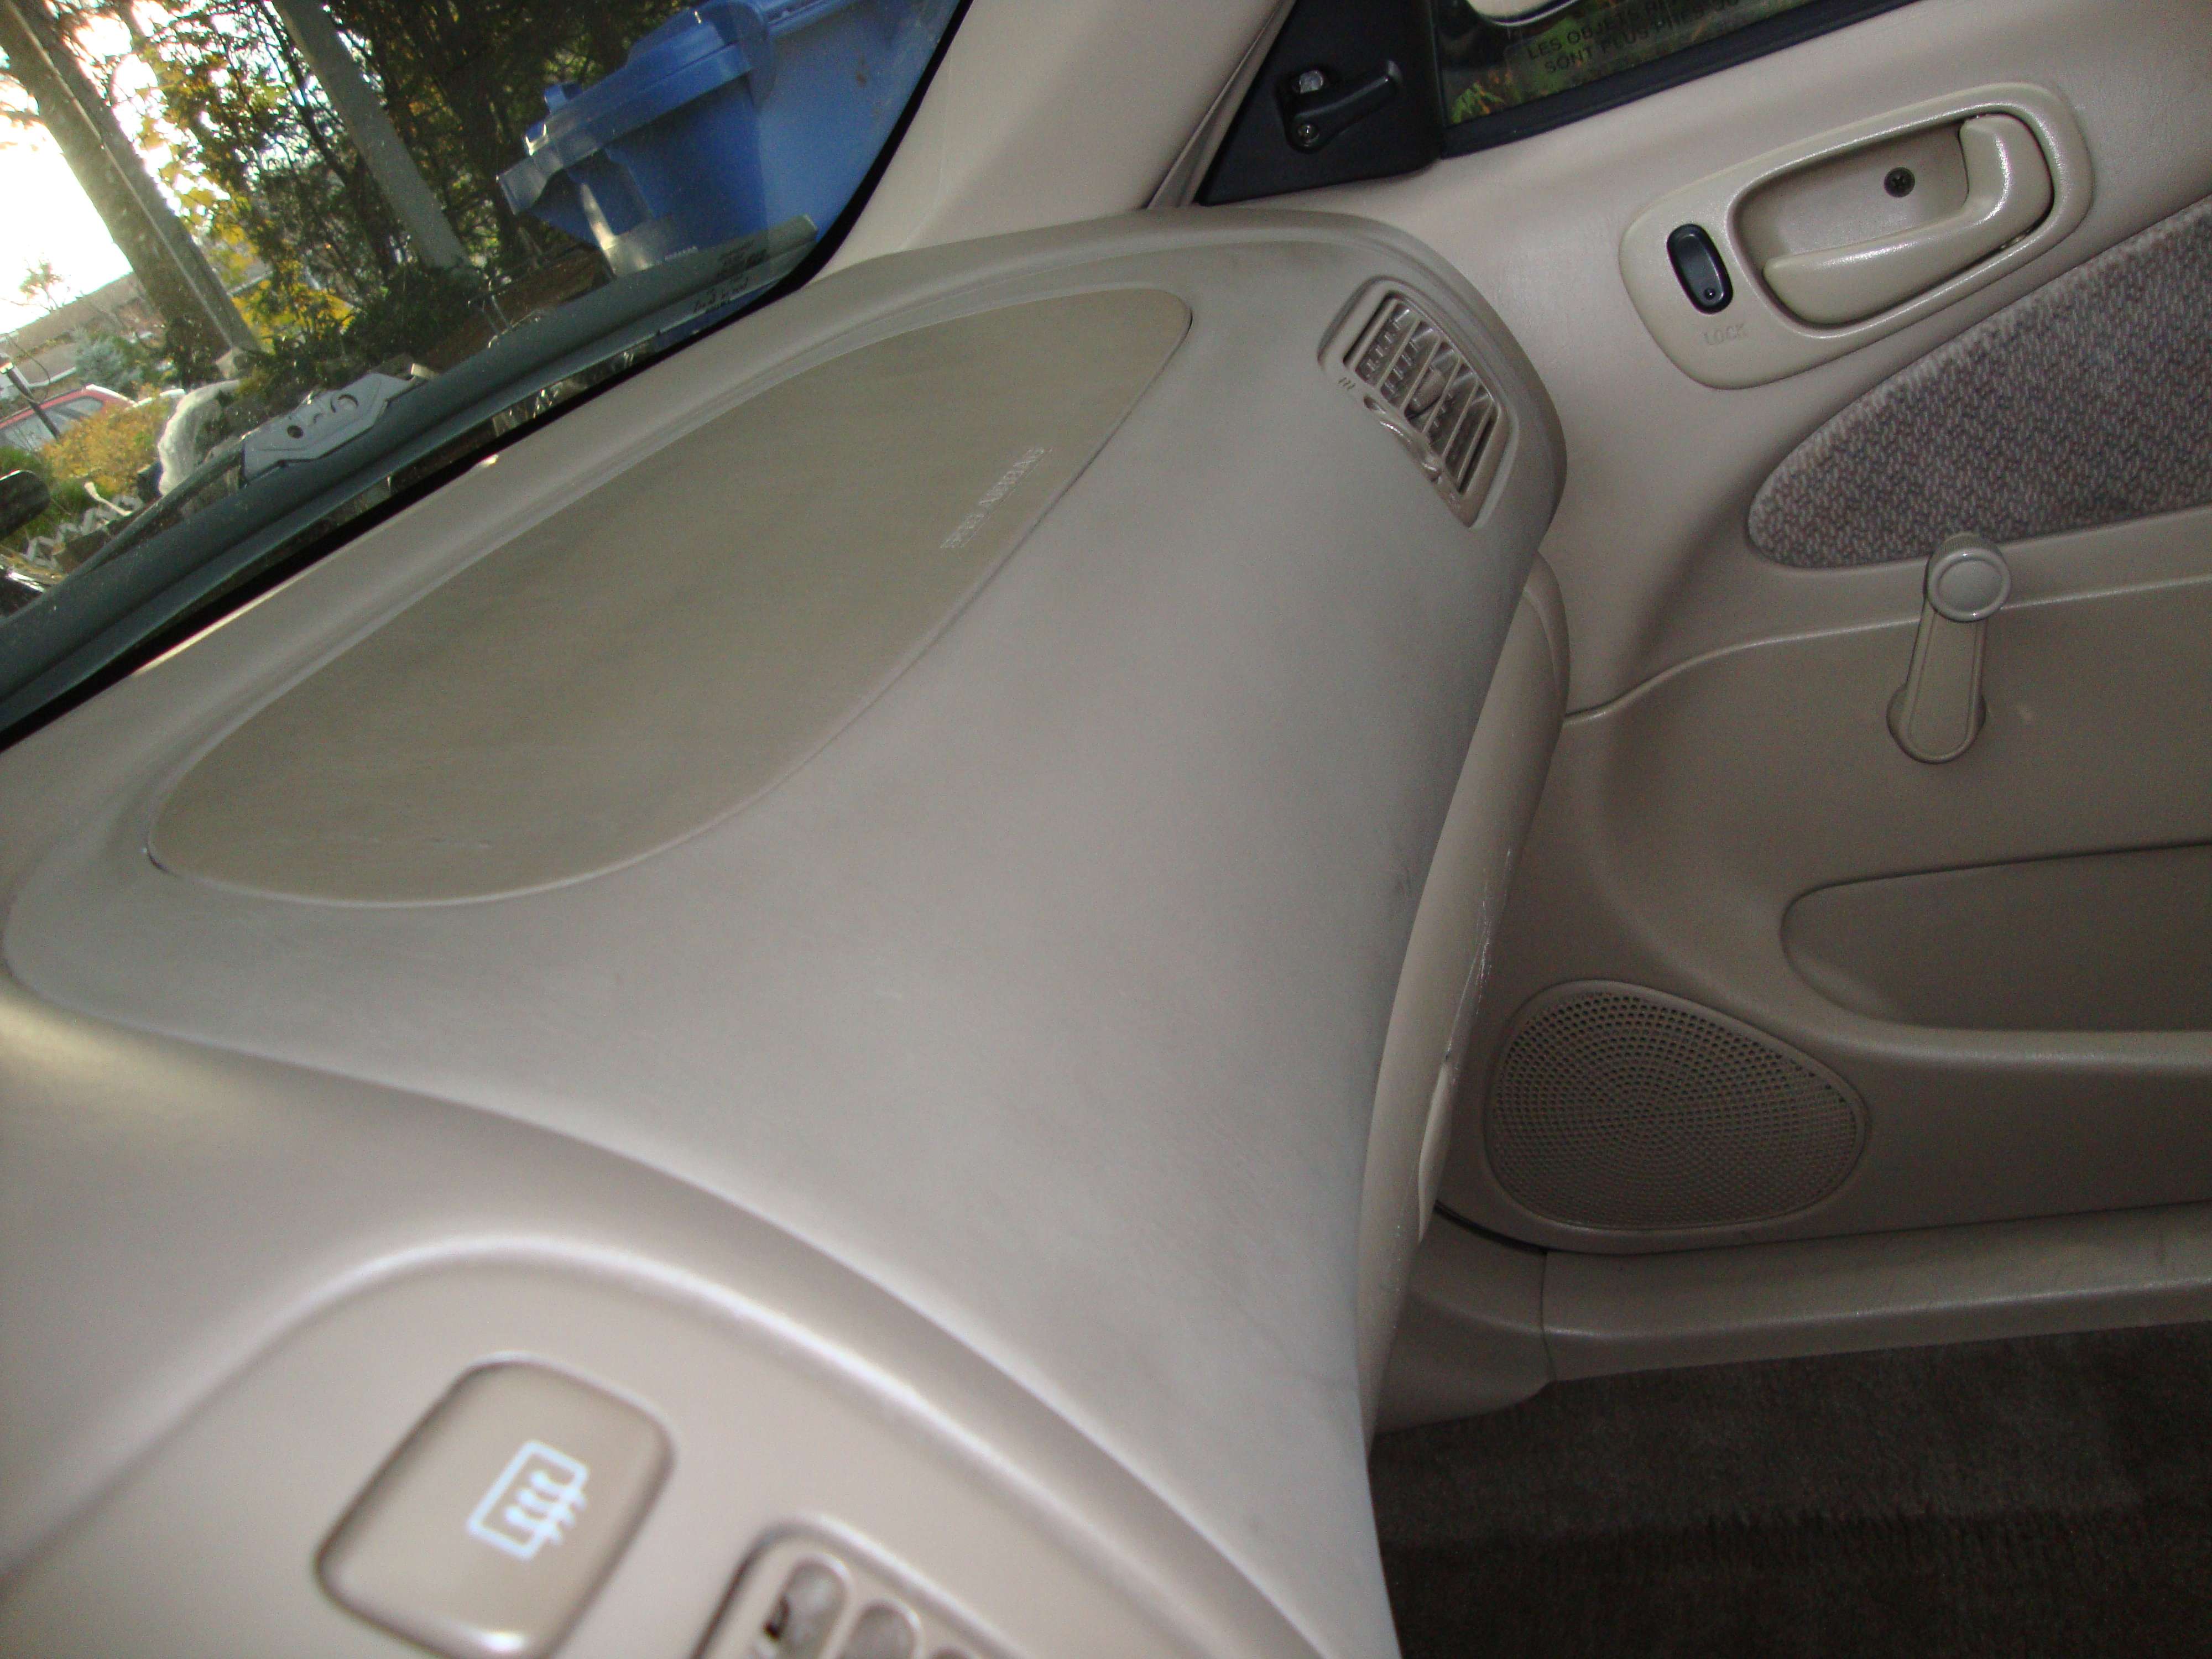
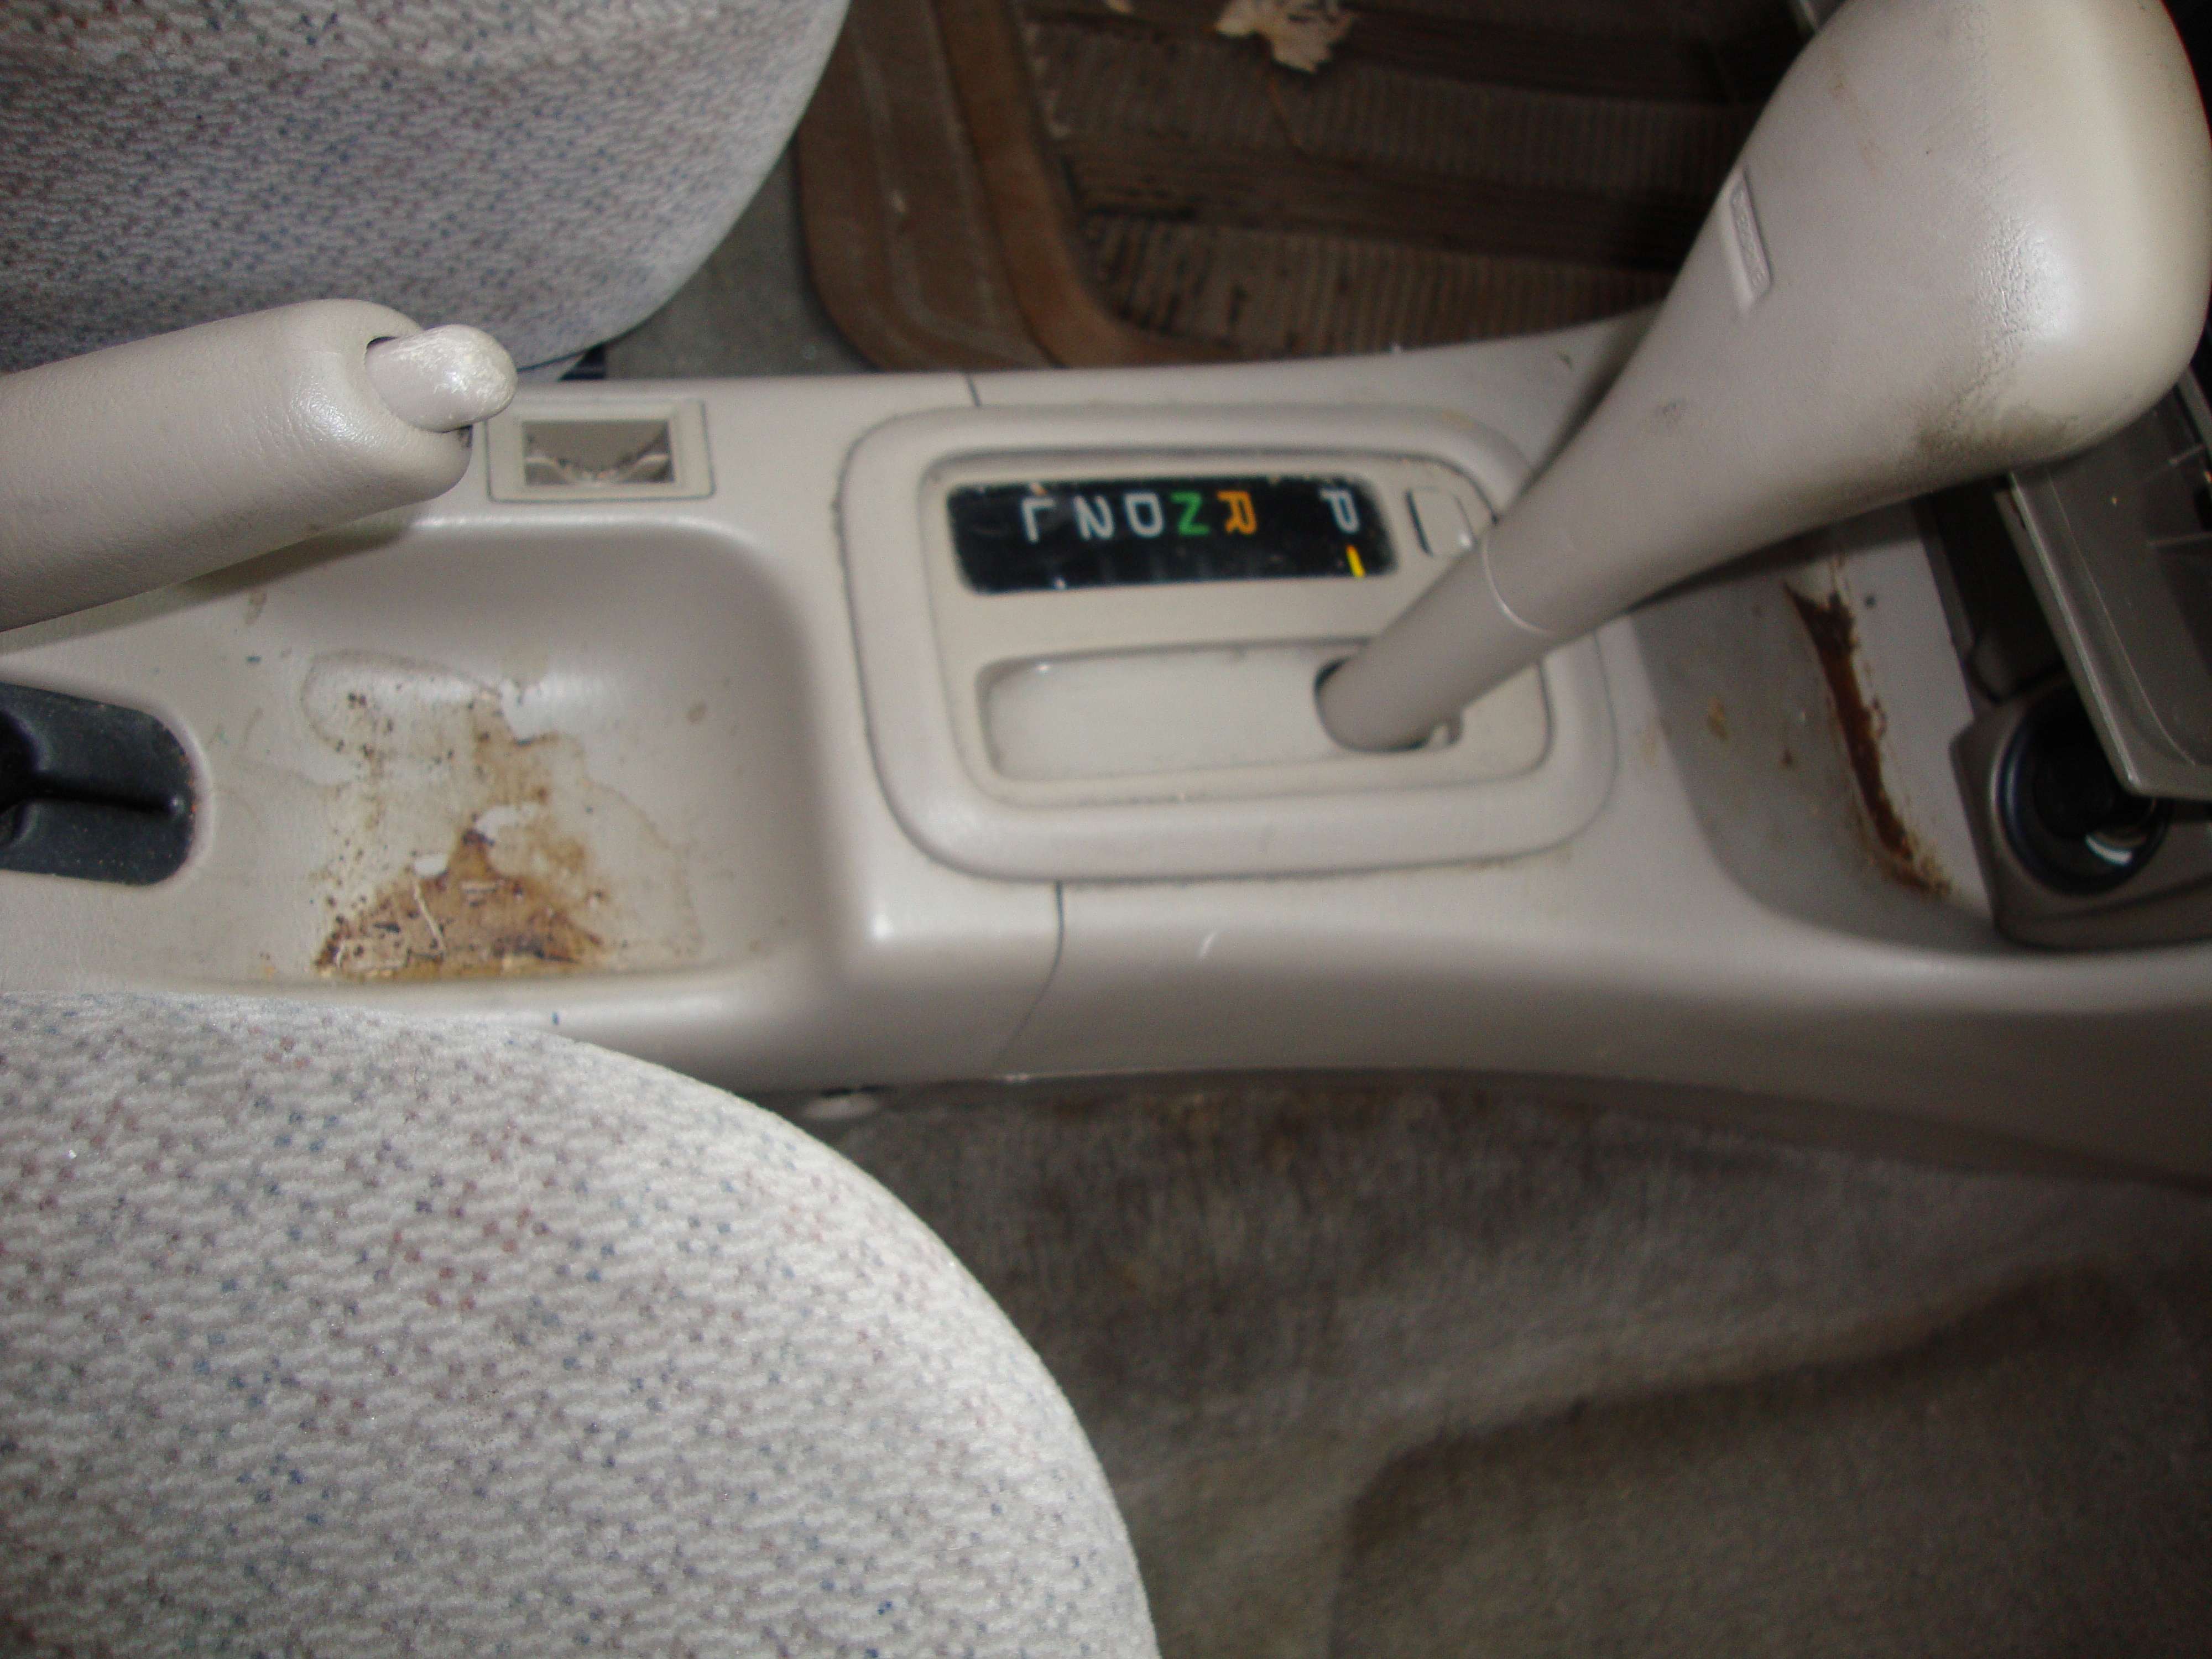
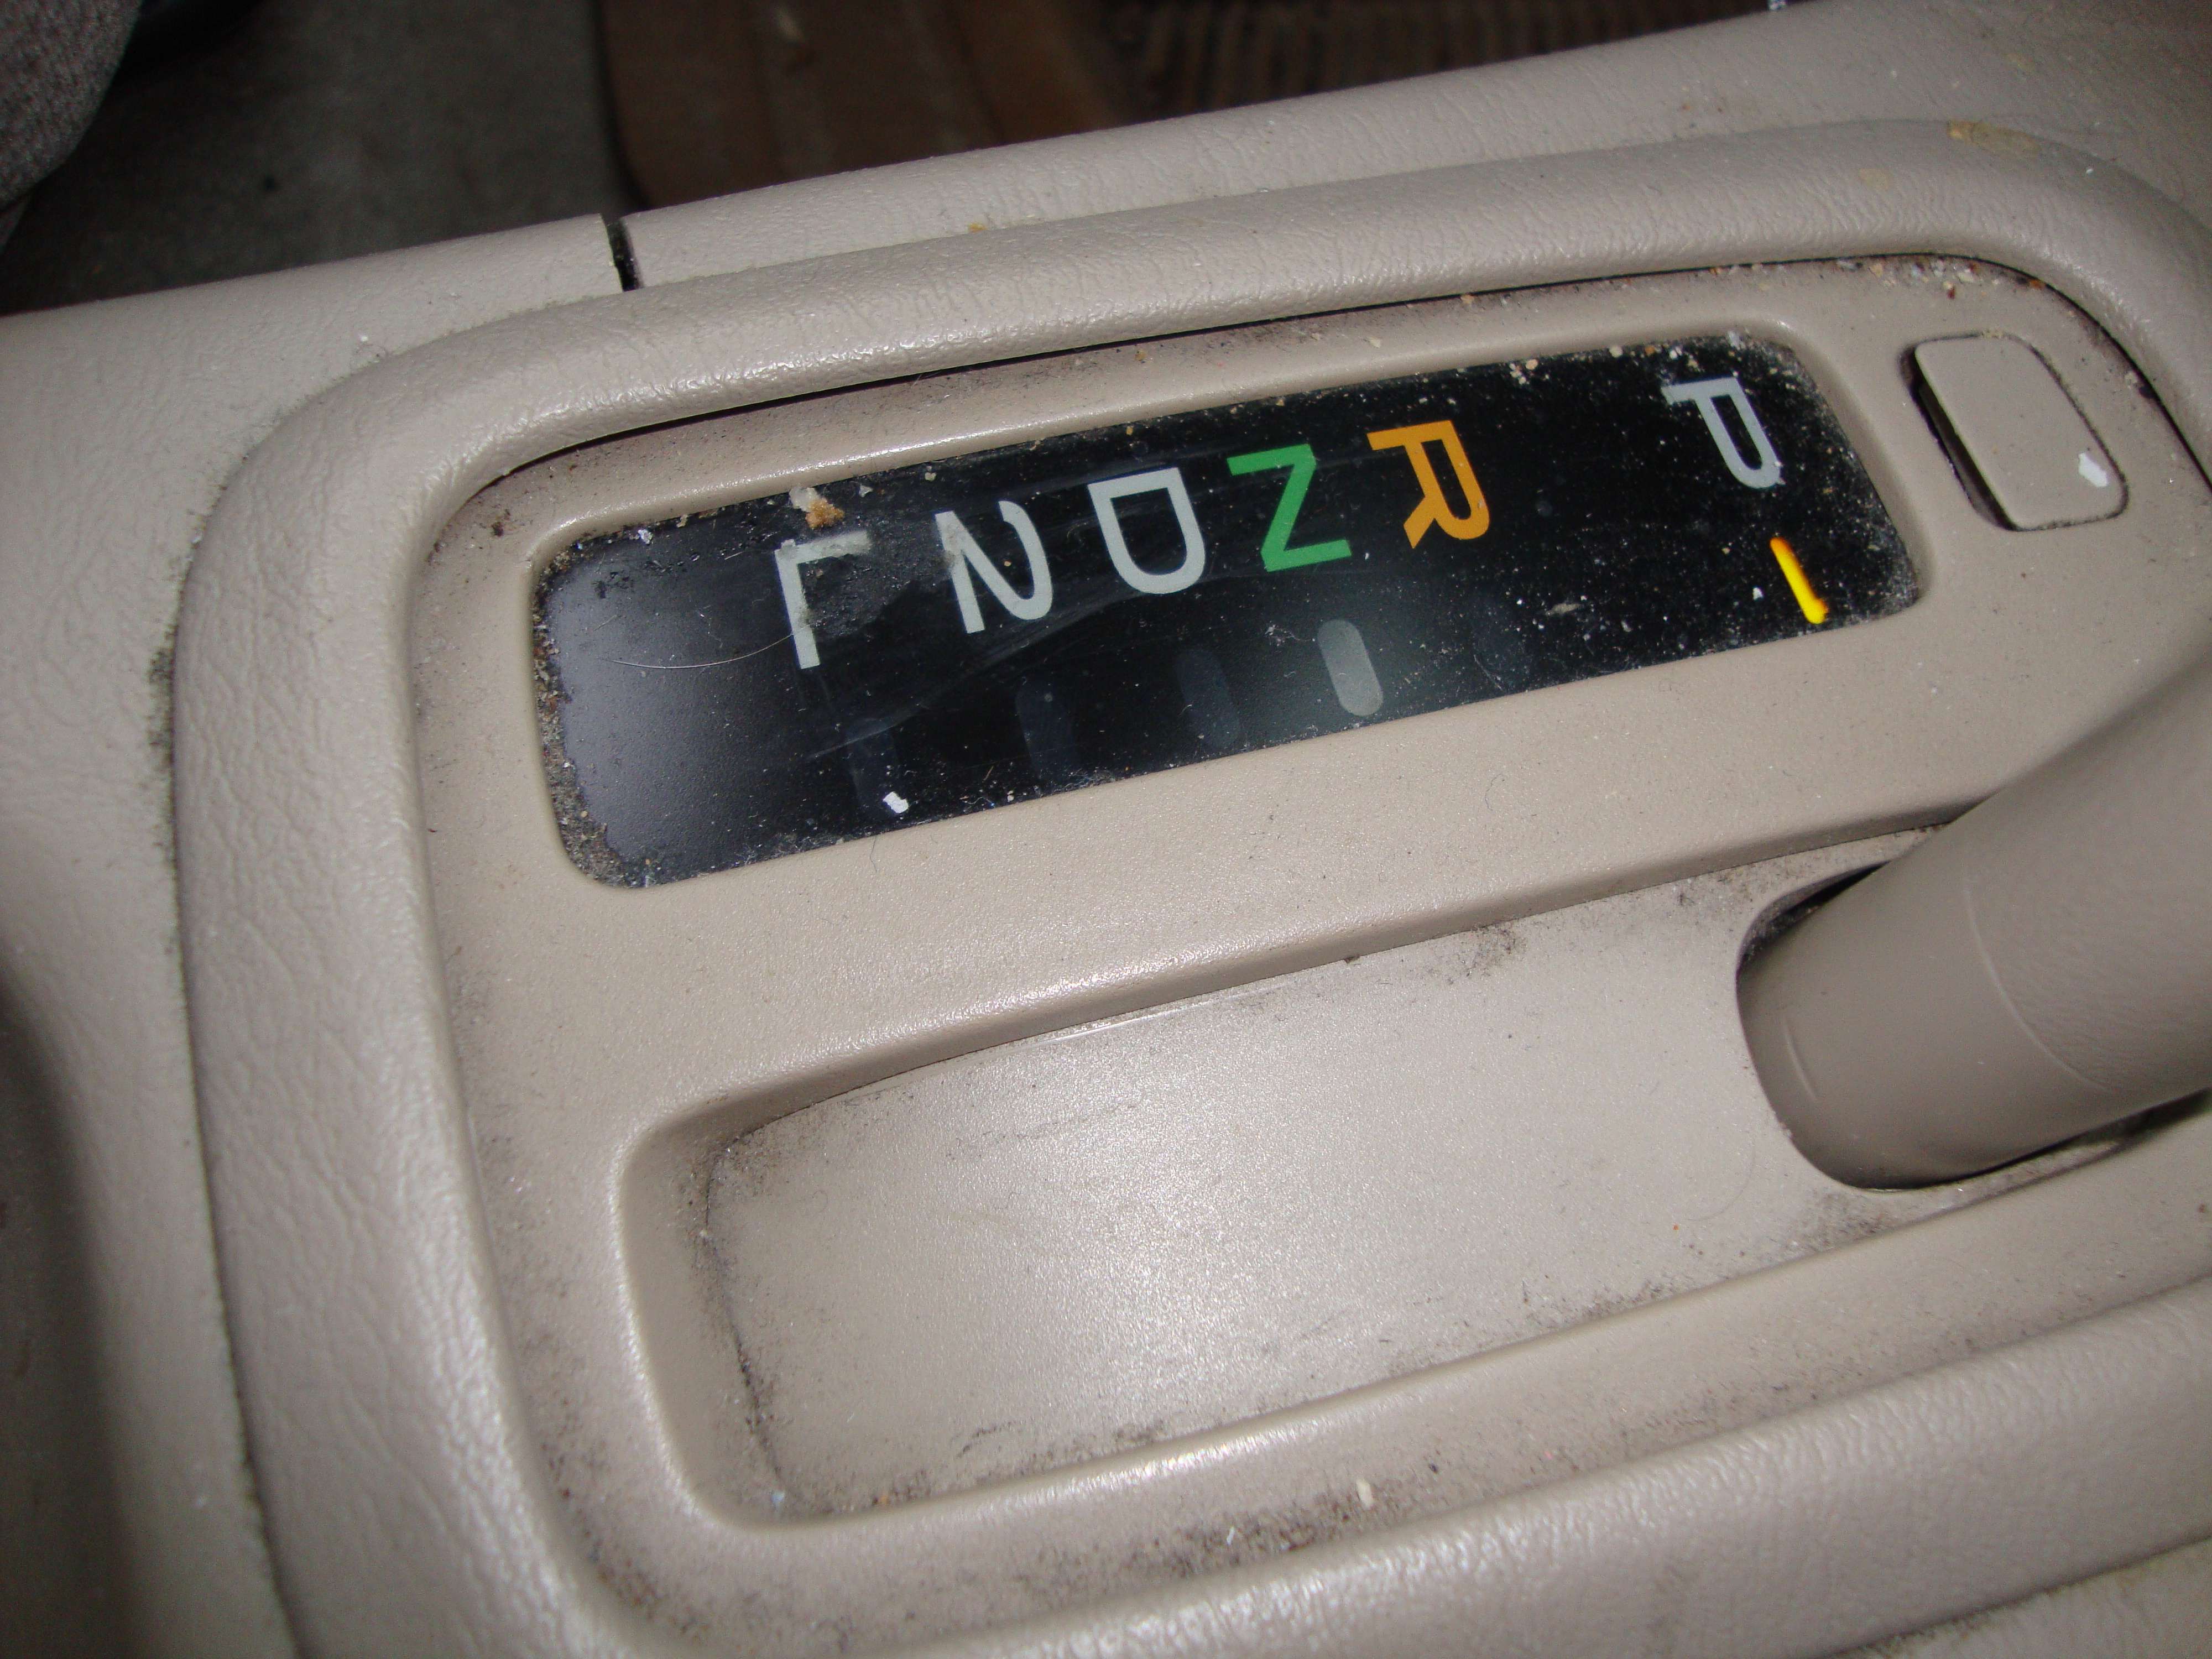
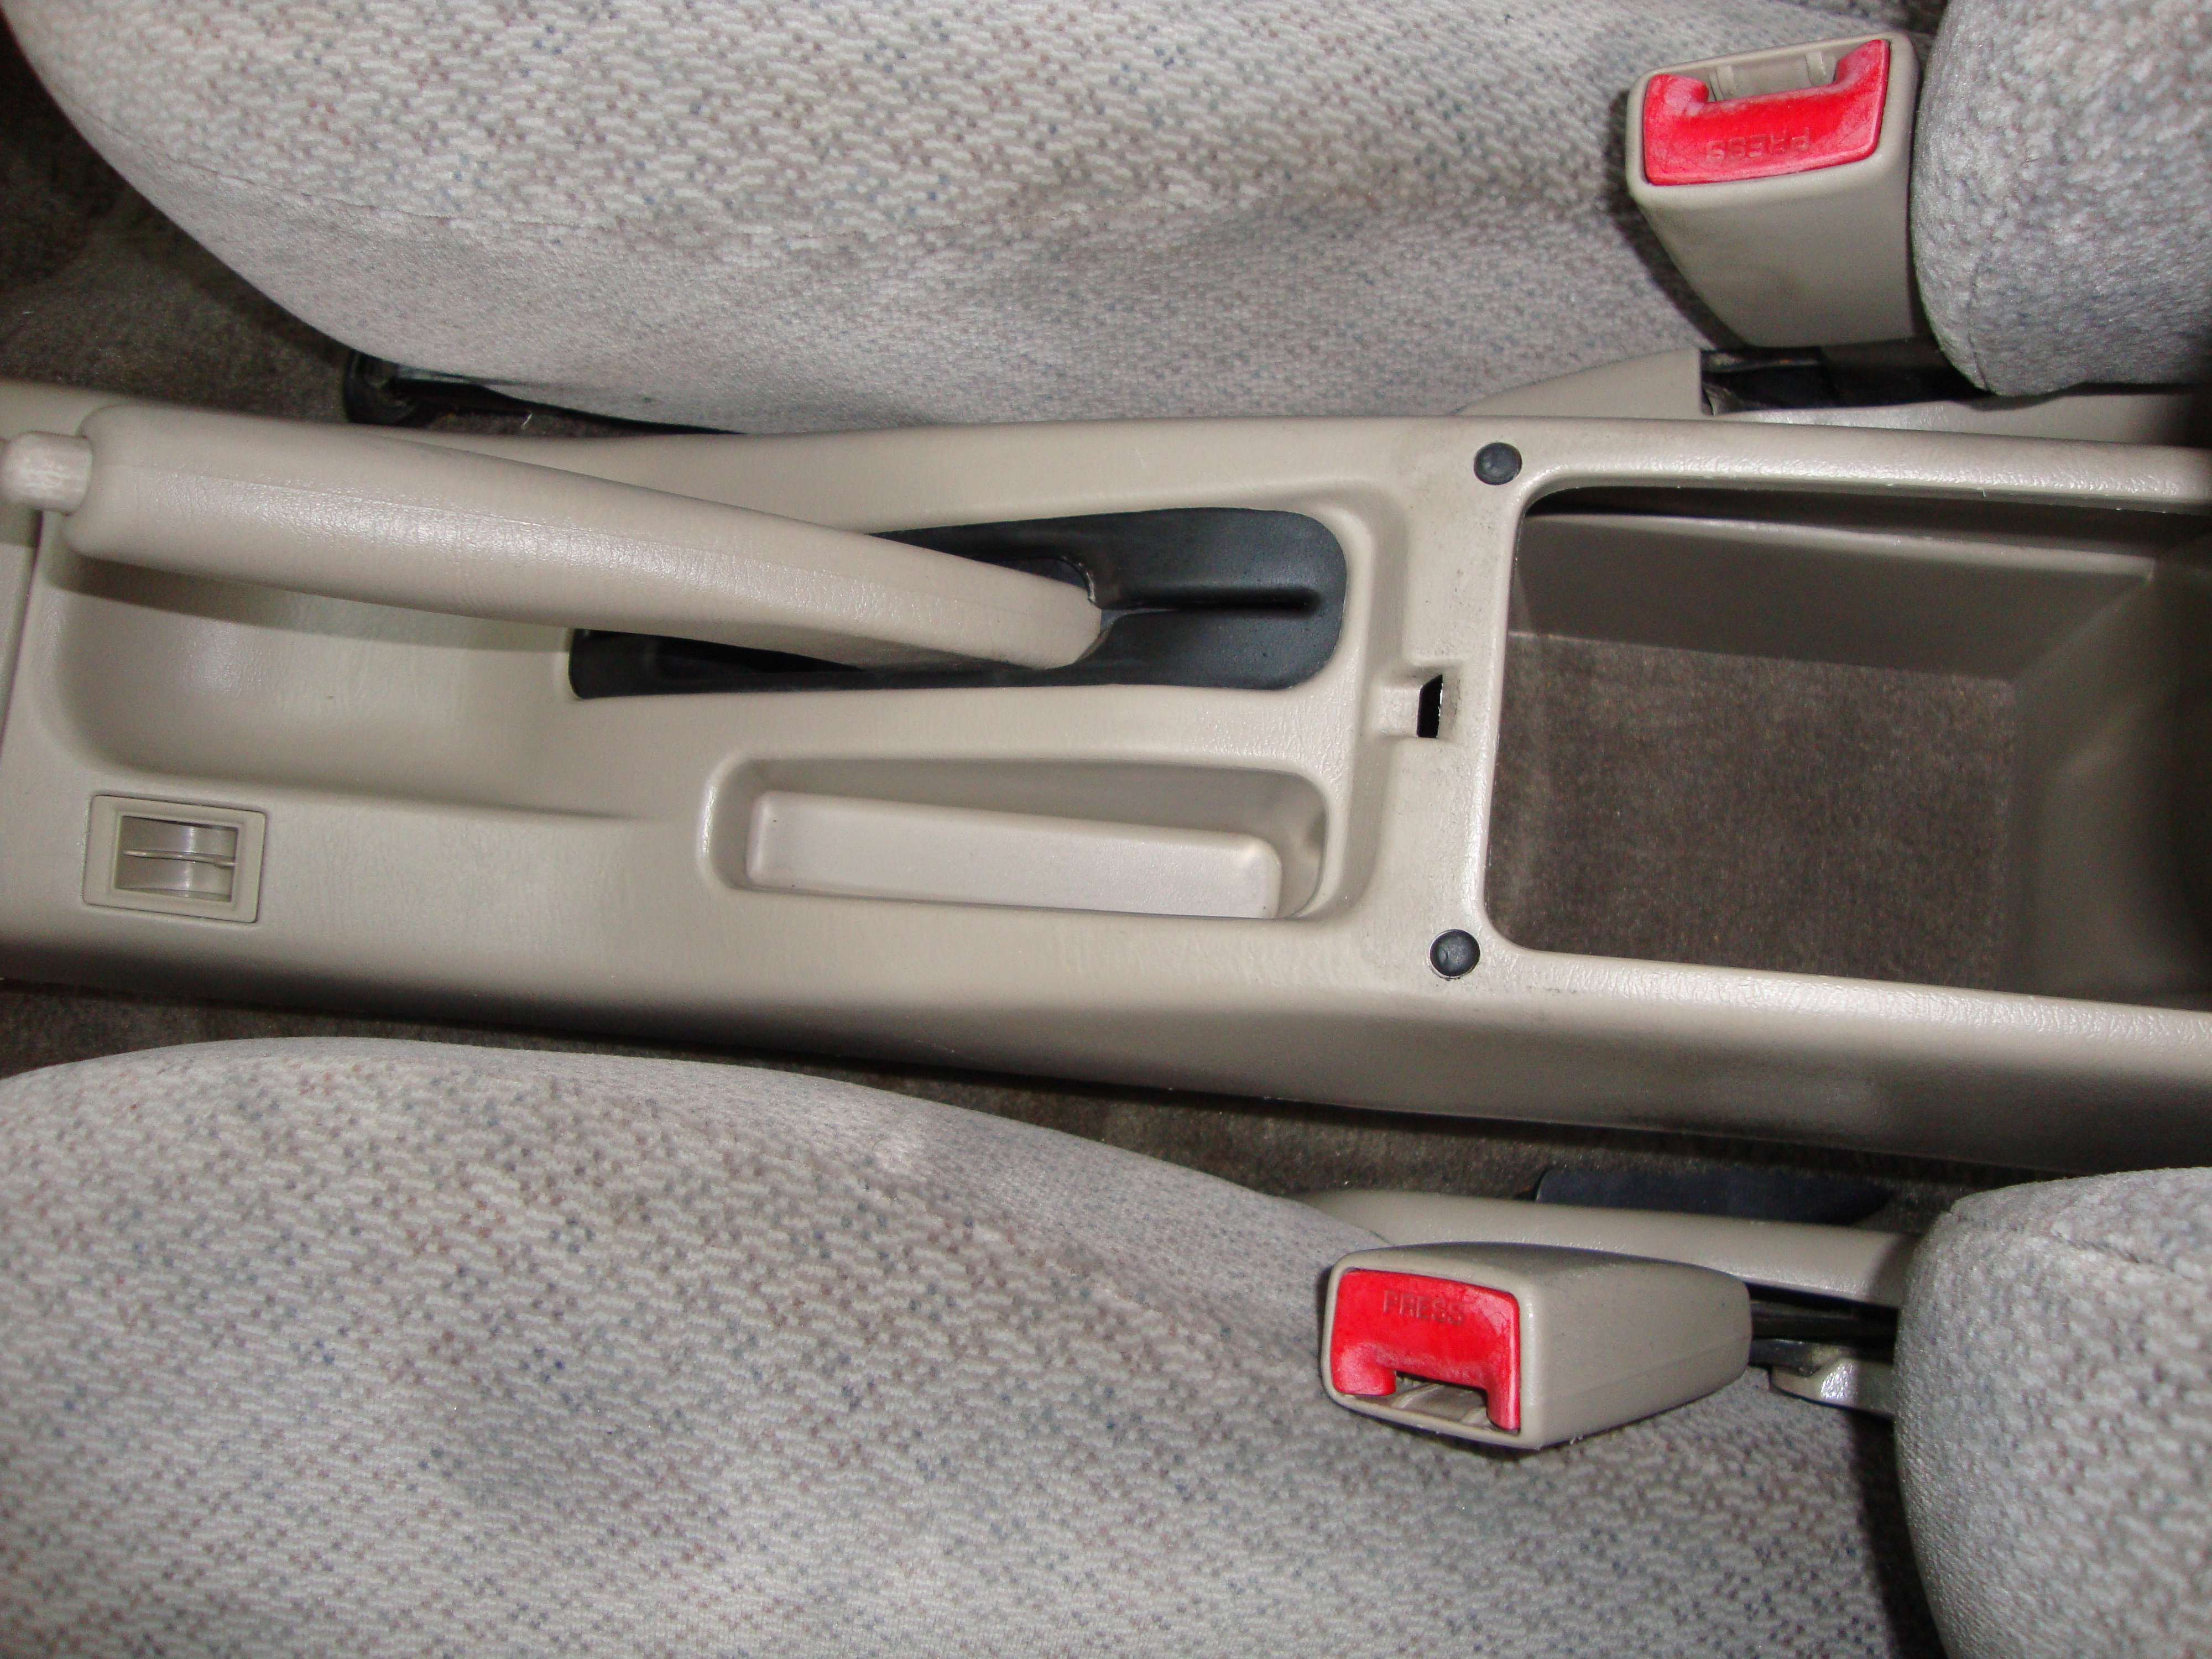
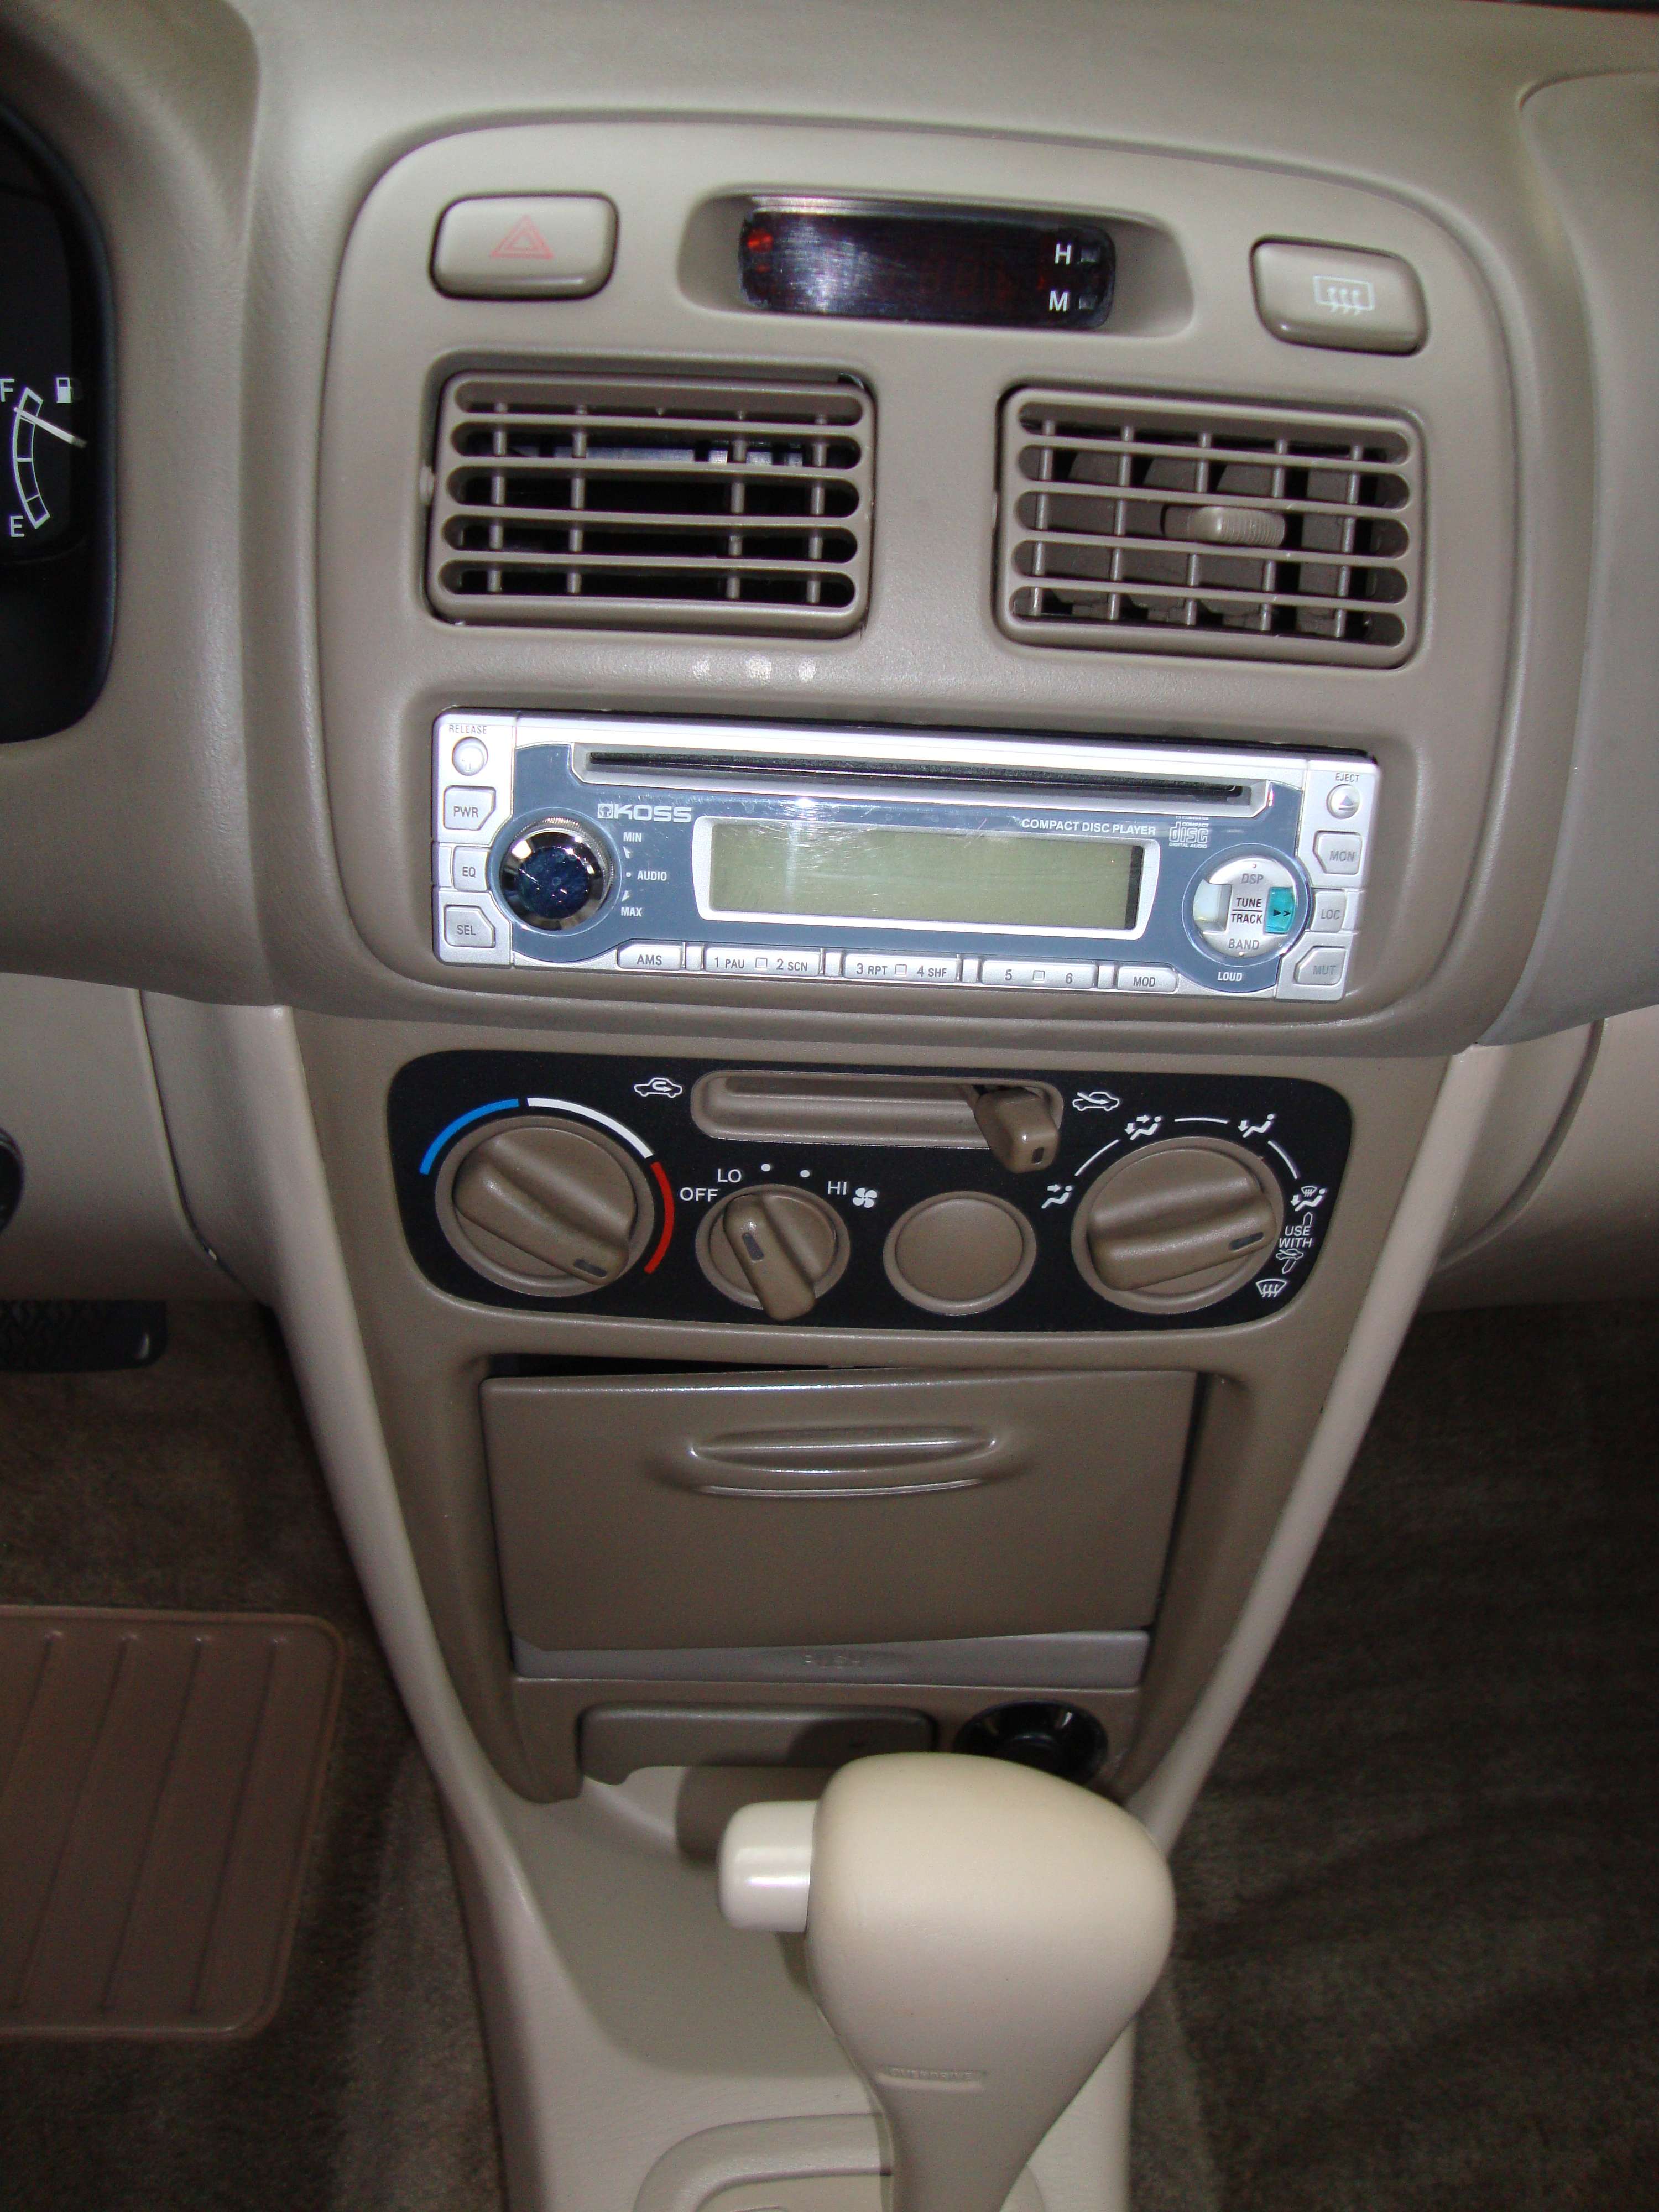
Voici la console, tableau de bord/volant etc. Before/ After :
Cleaning..
After :
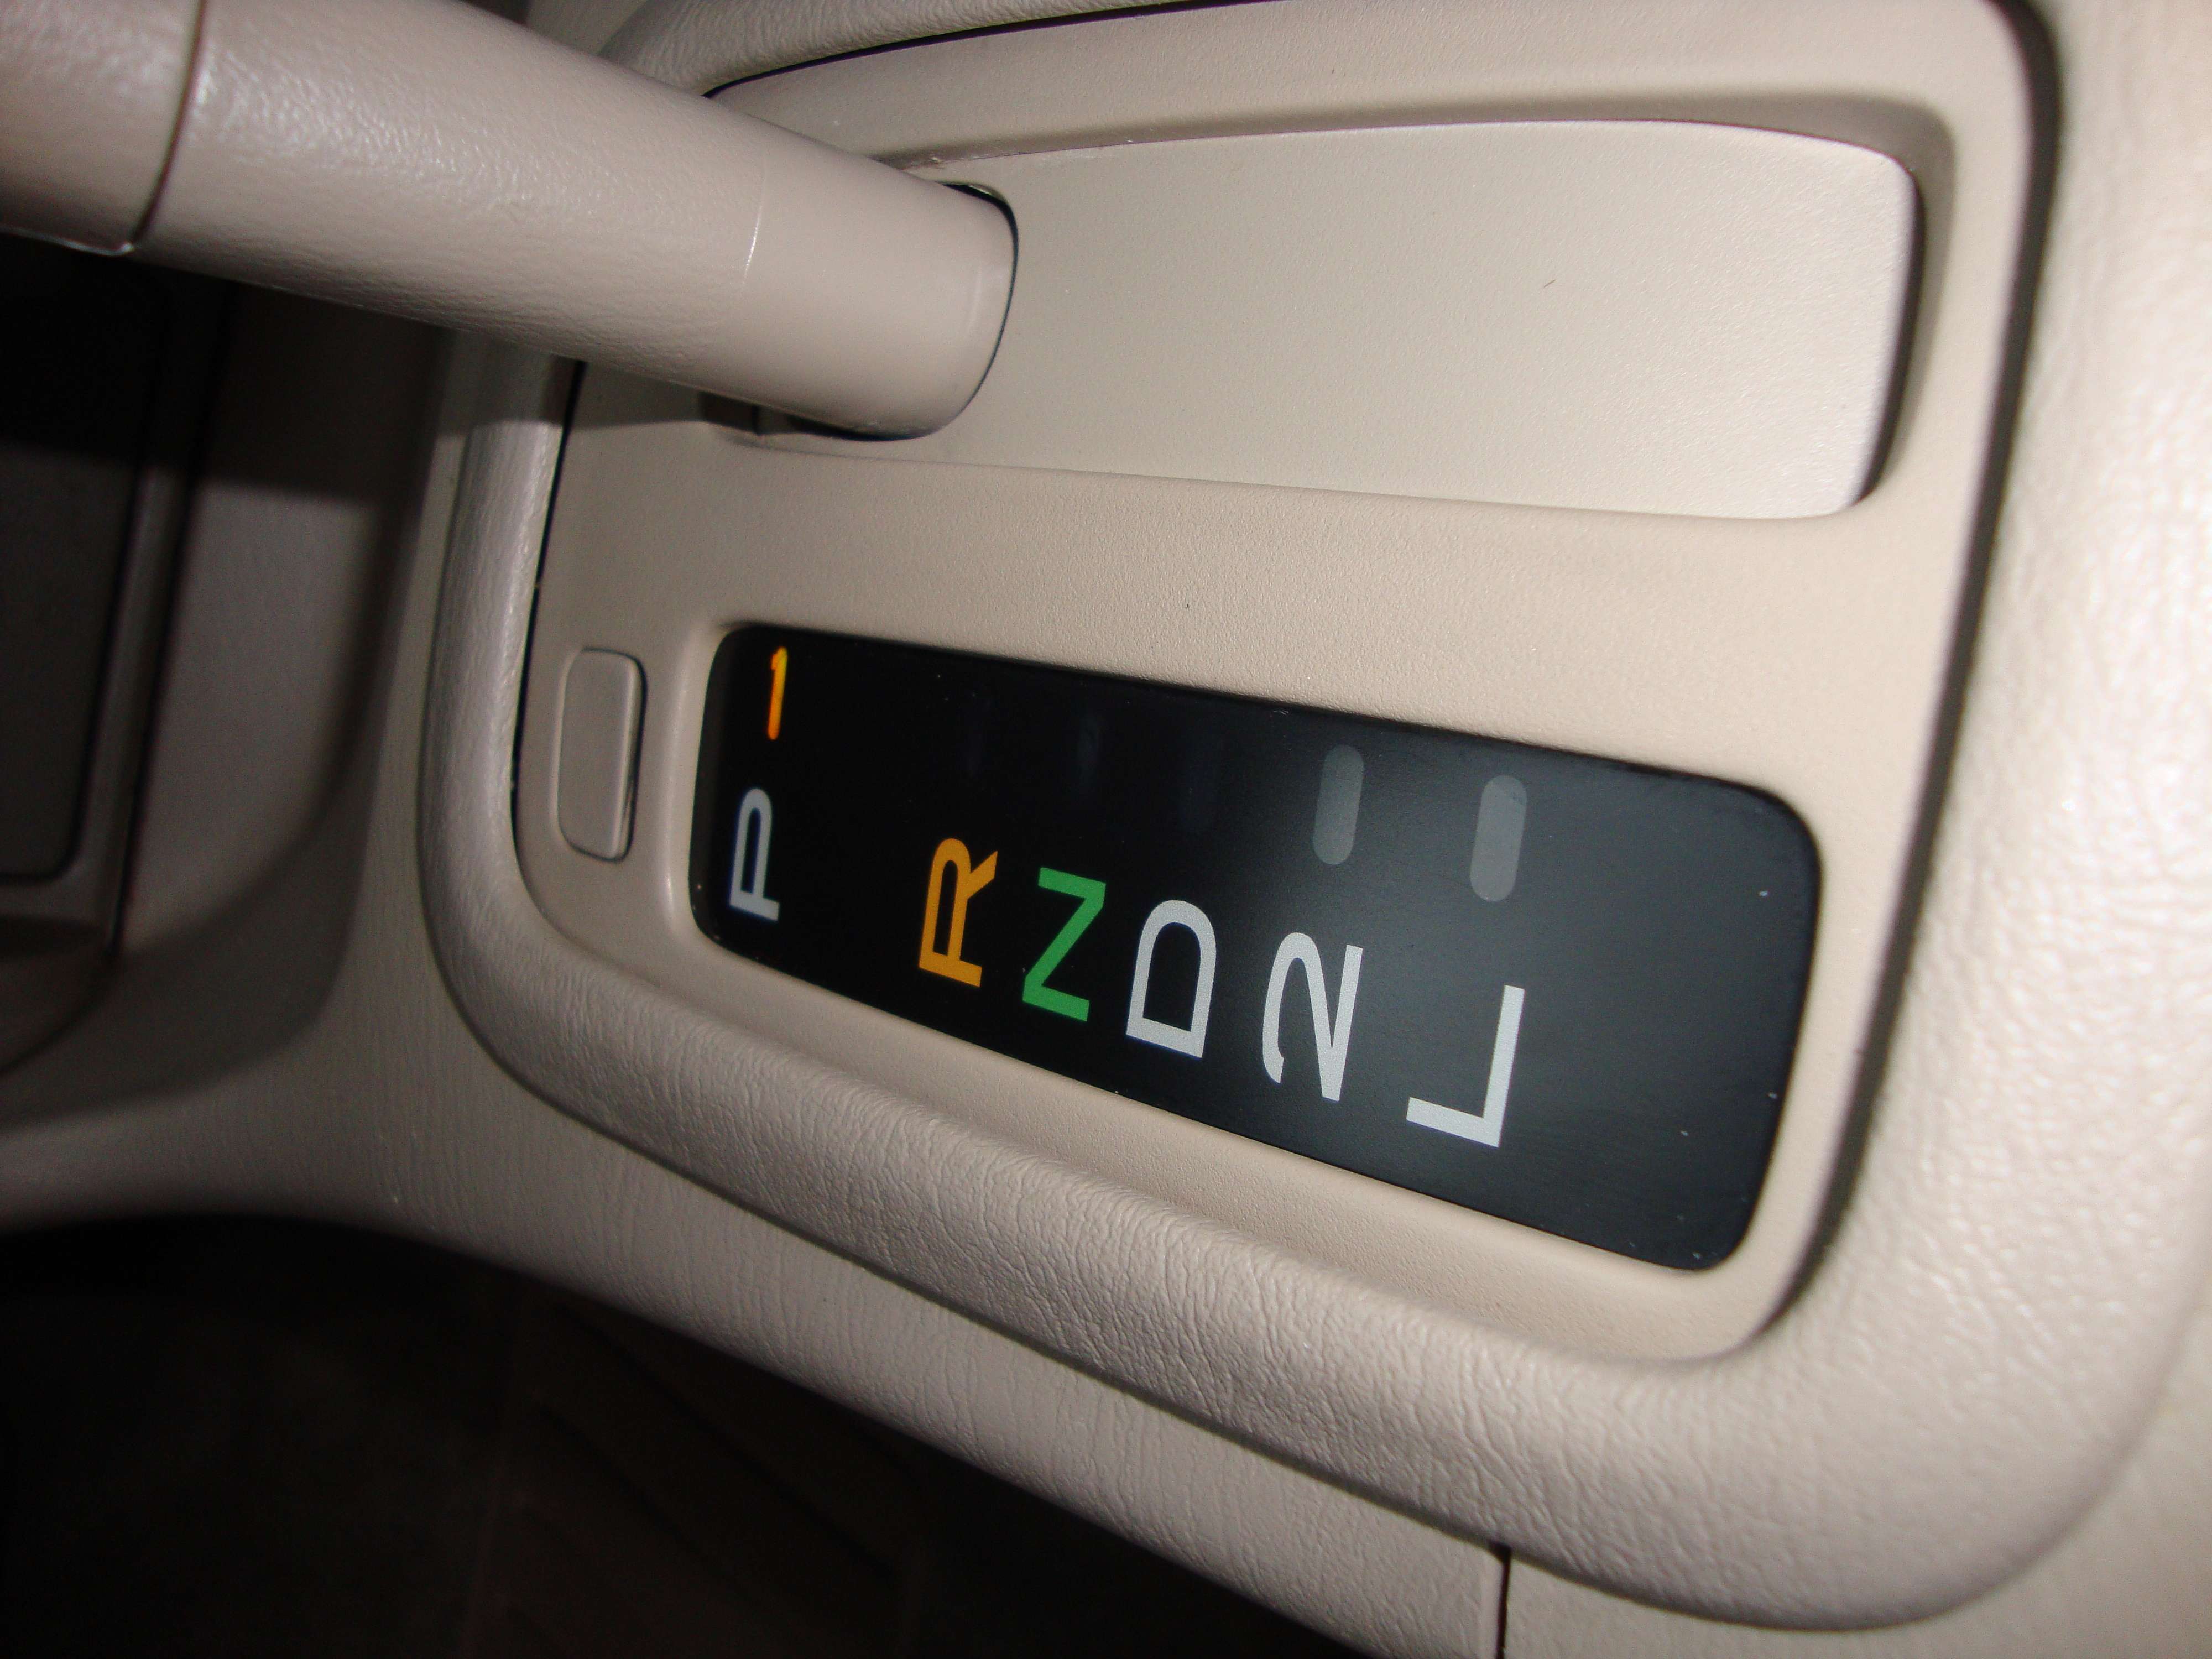
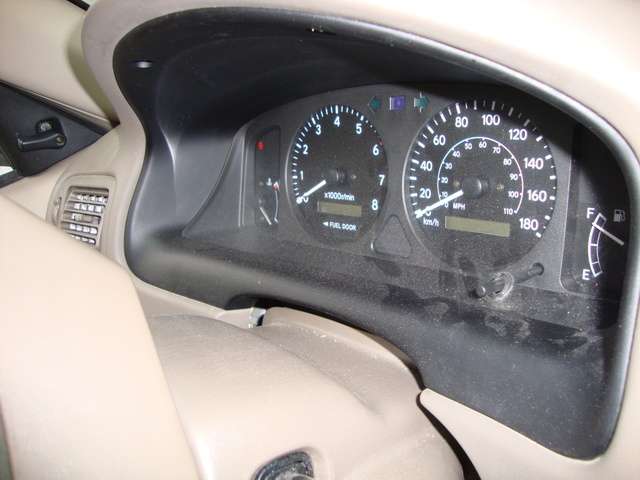
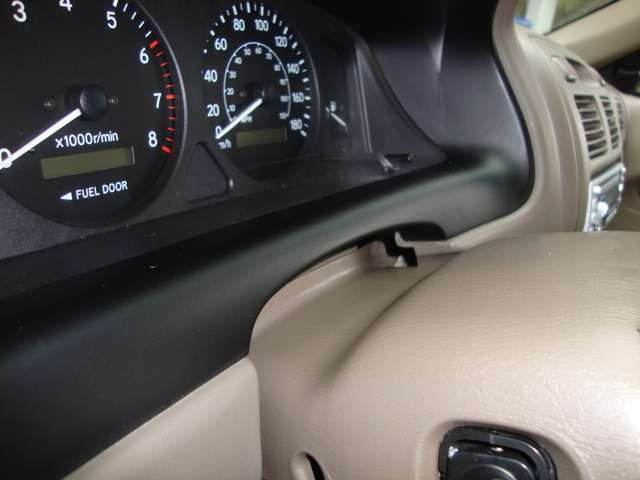
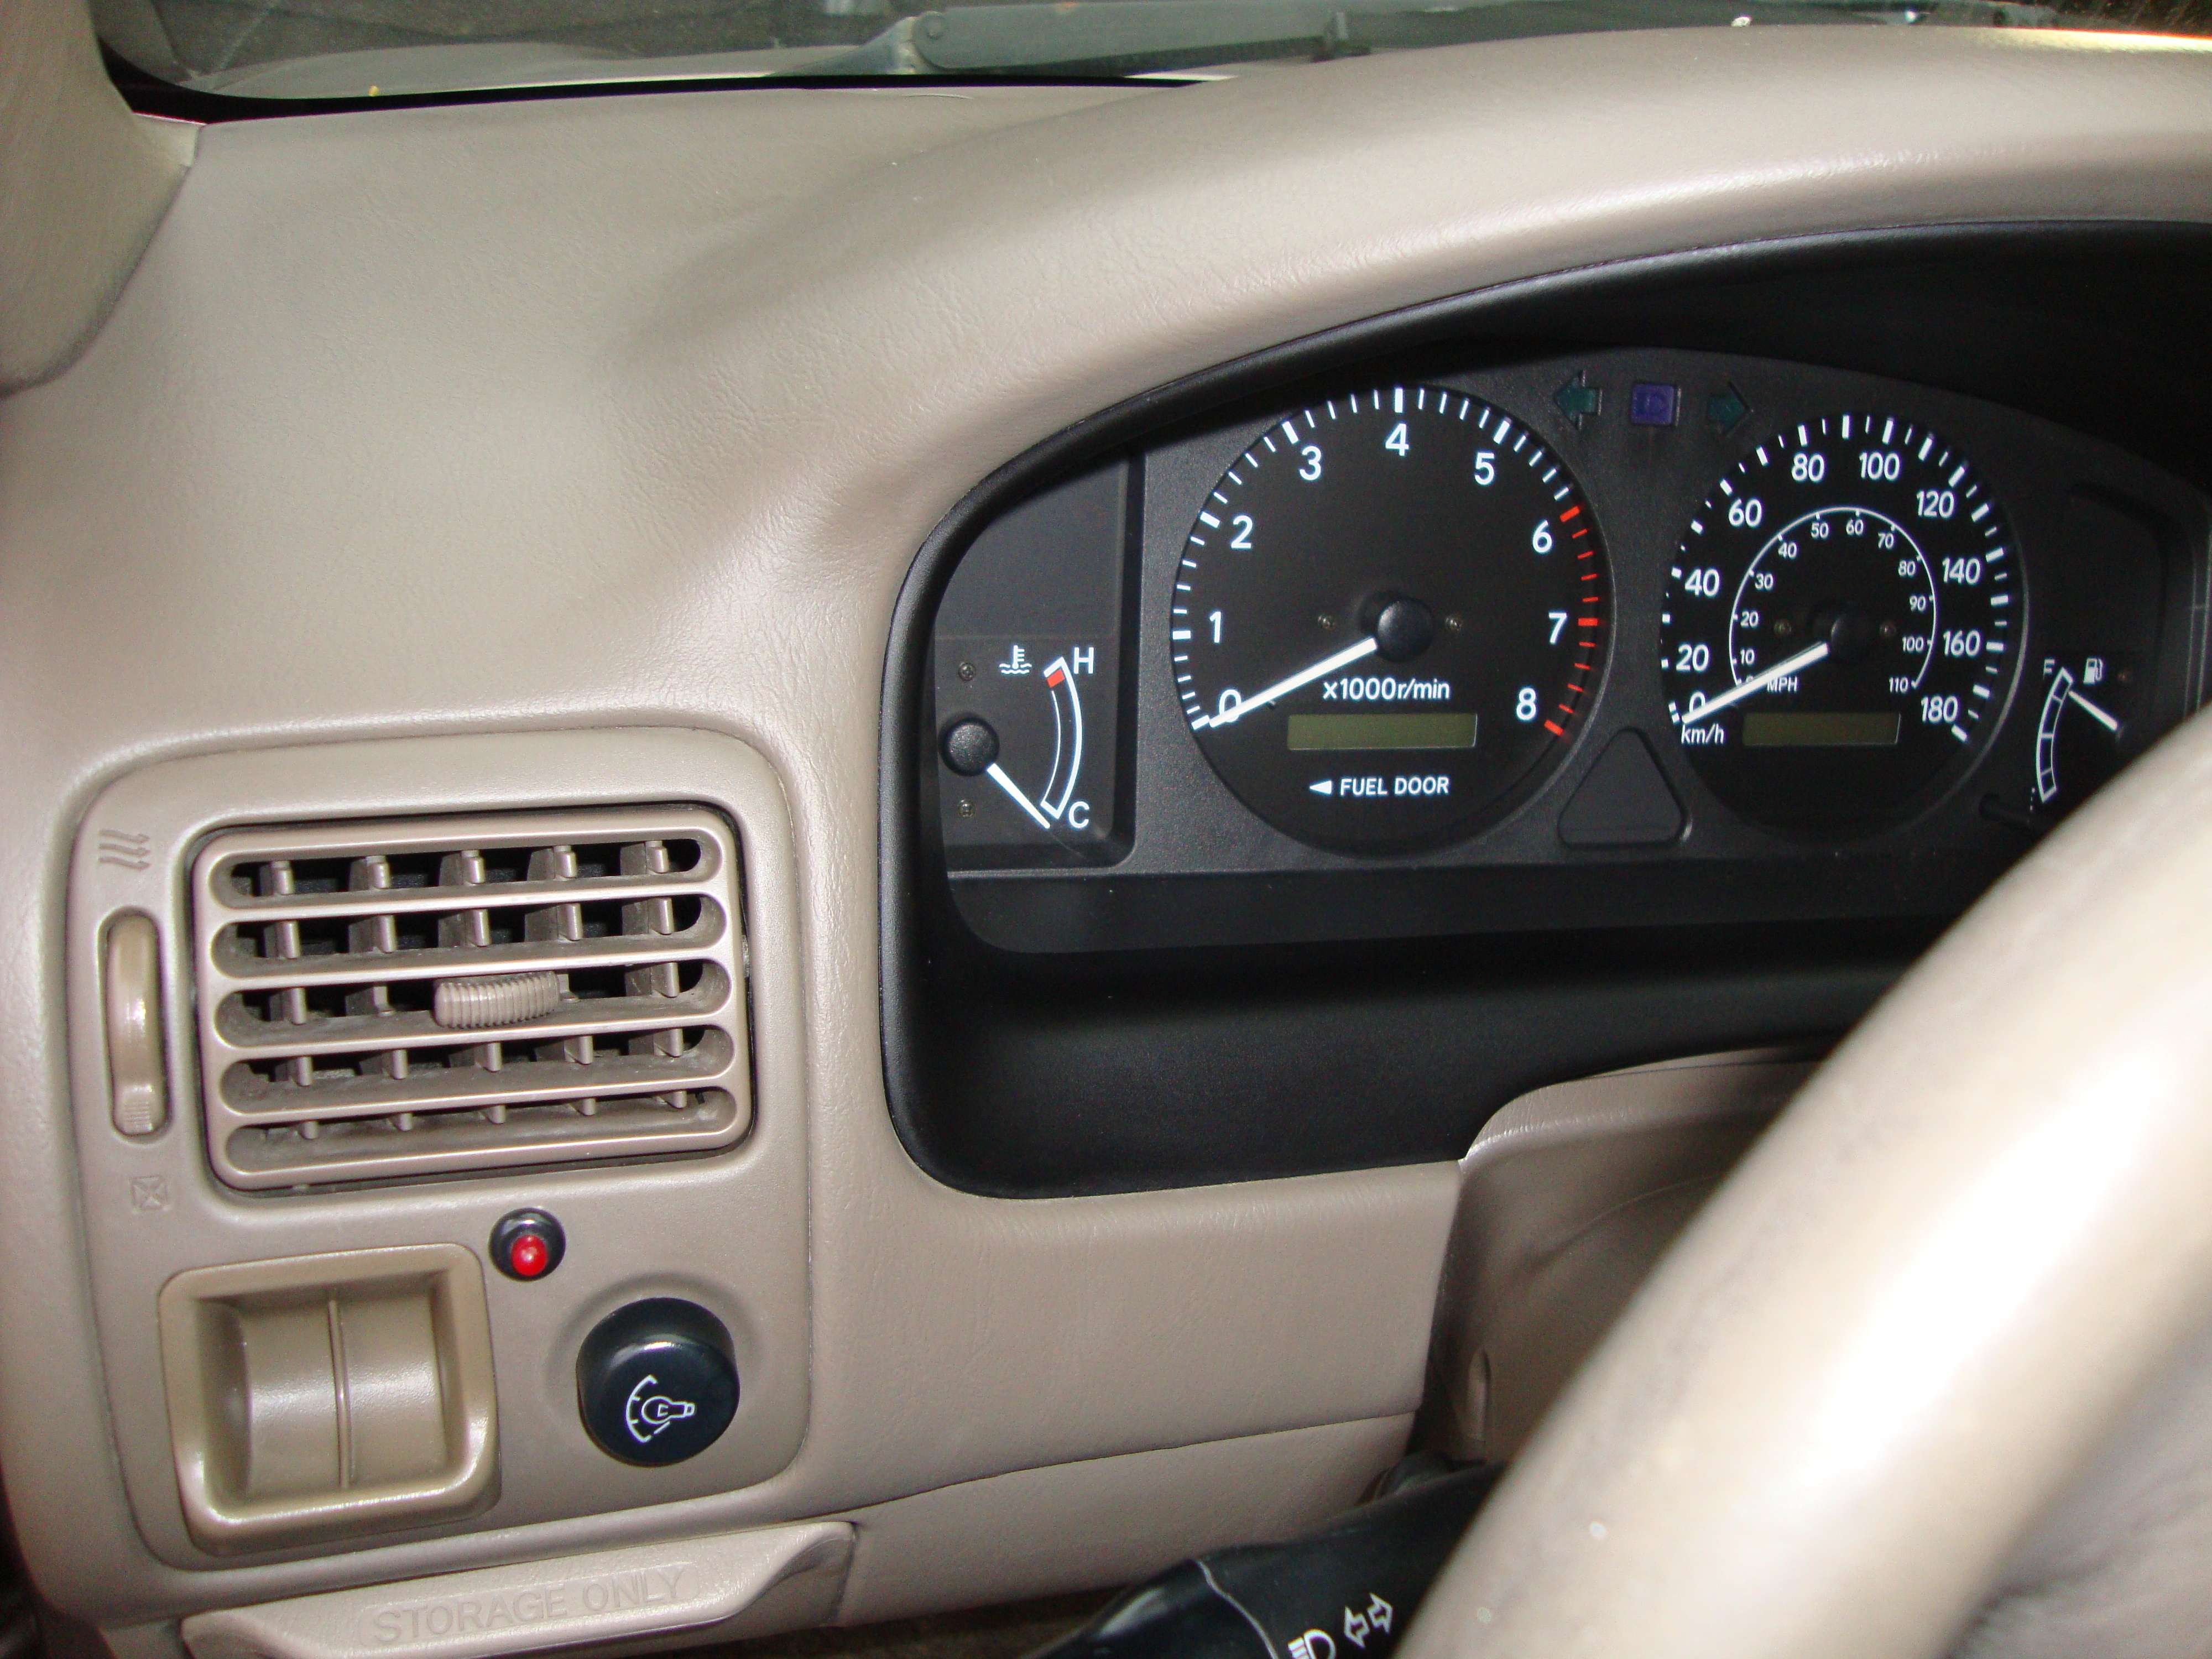
Cluster before :
After:
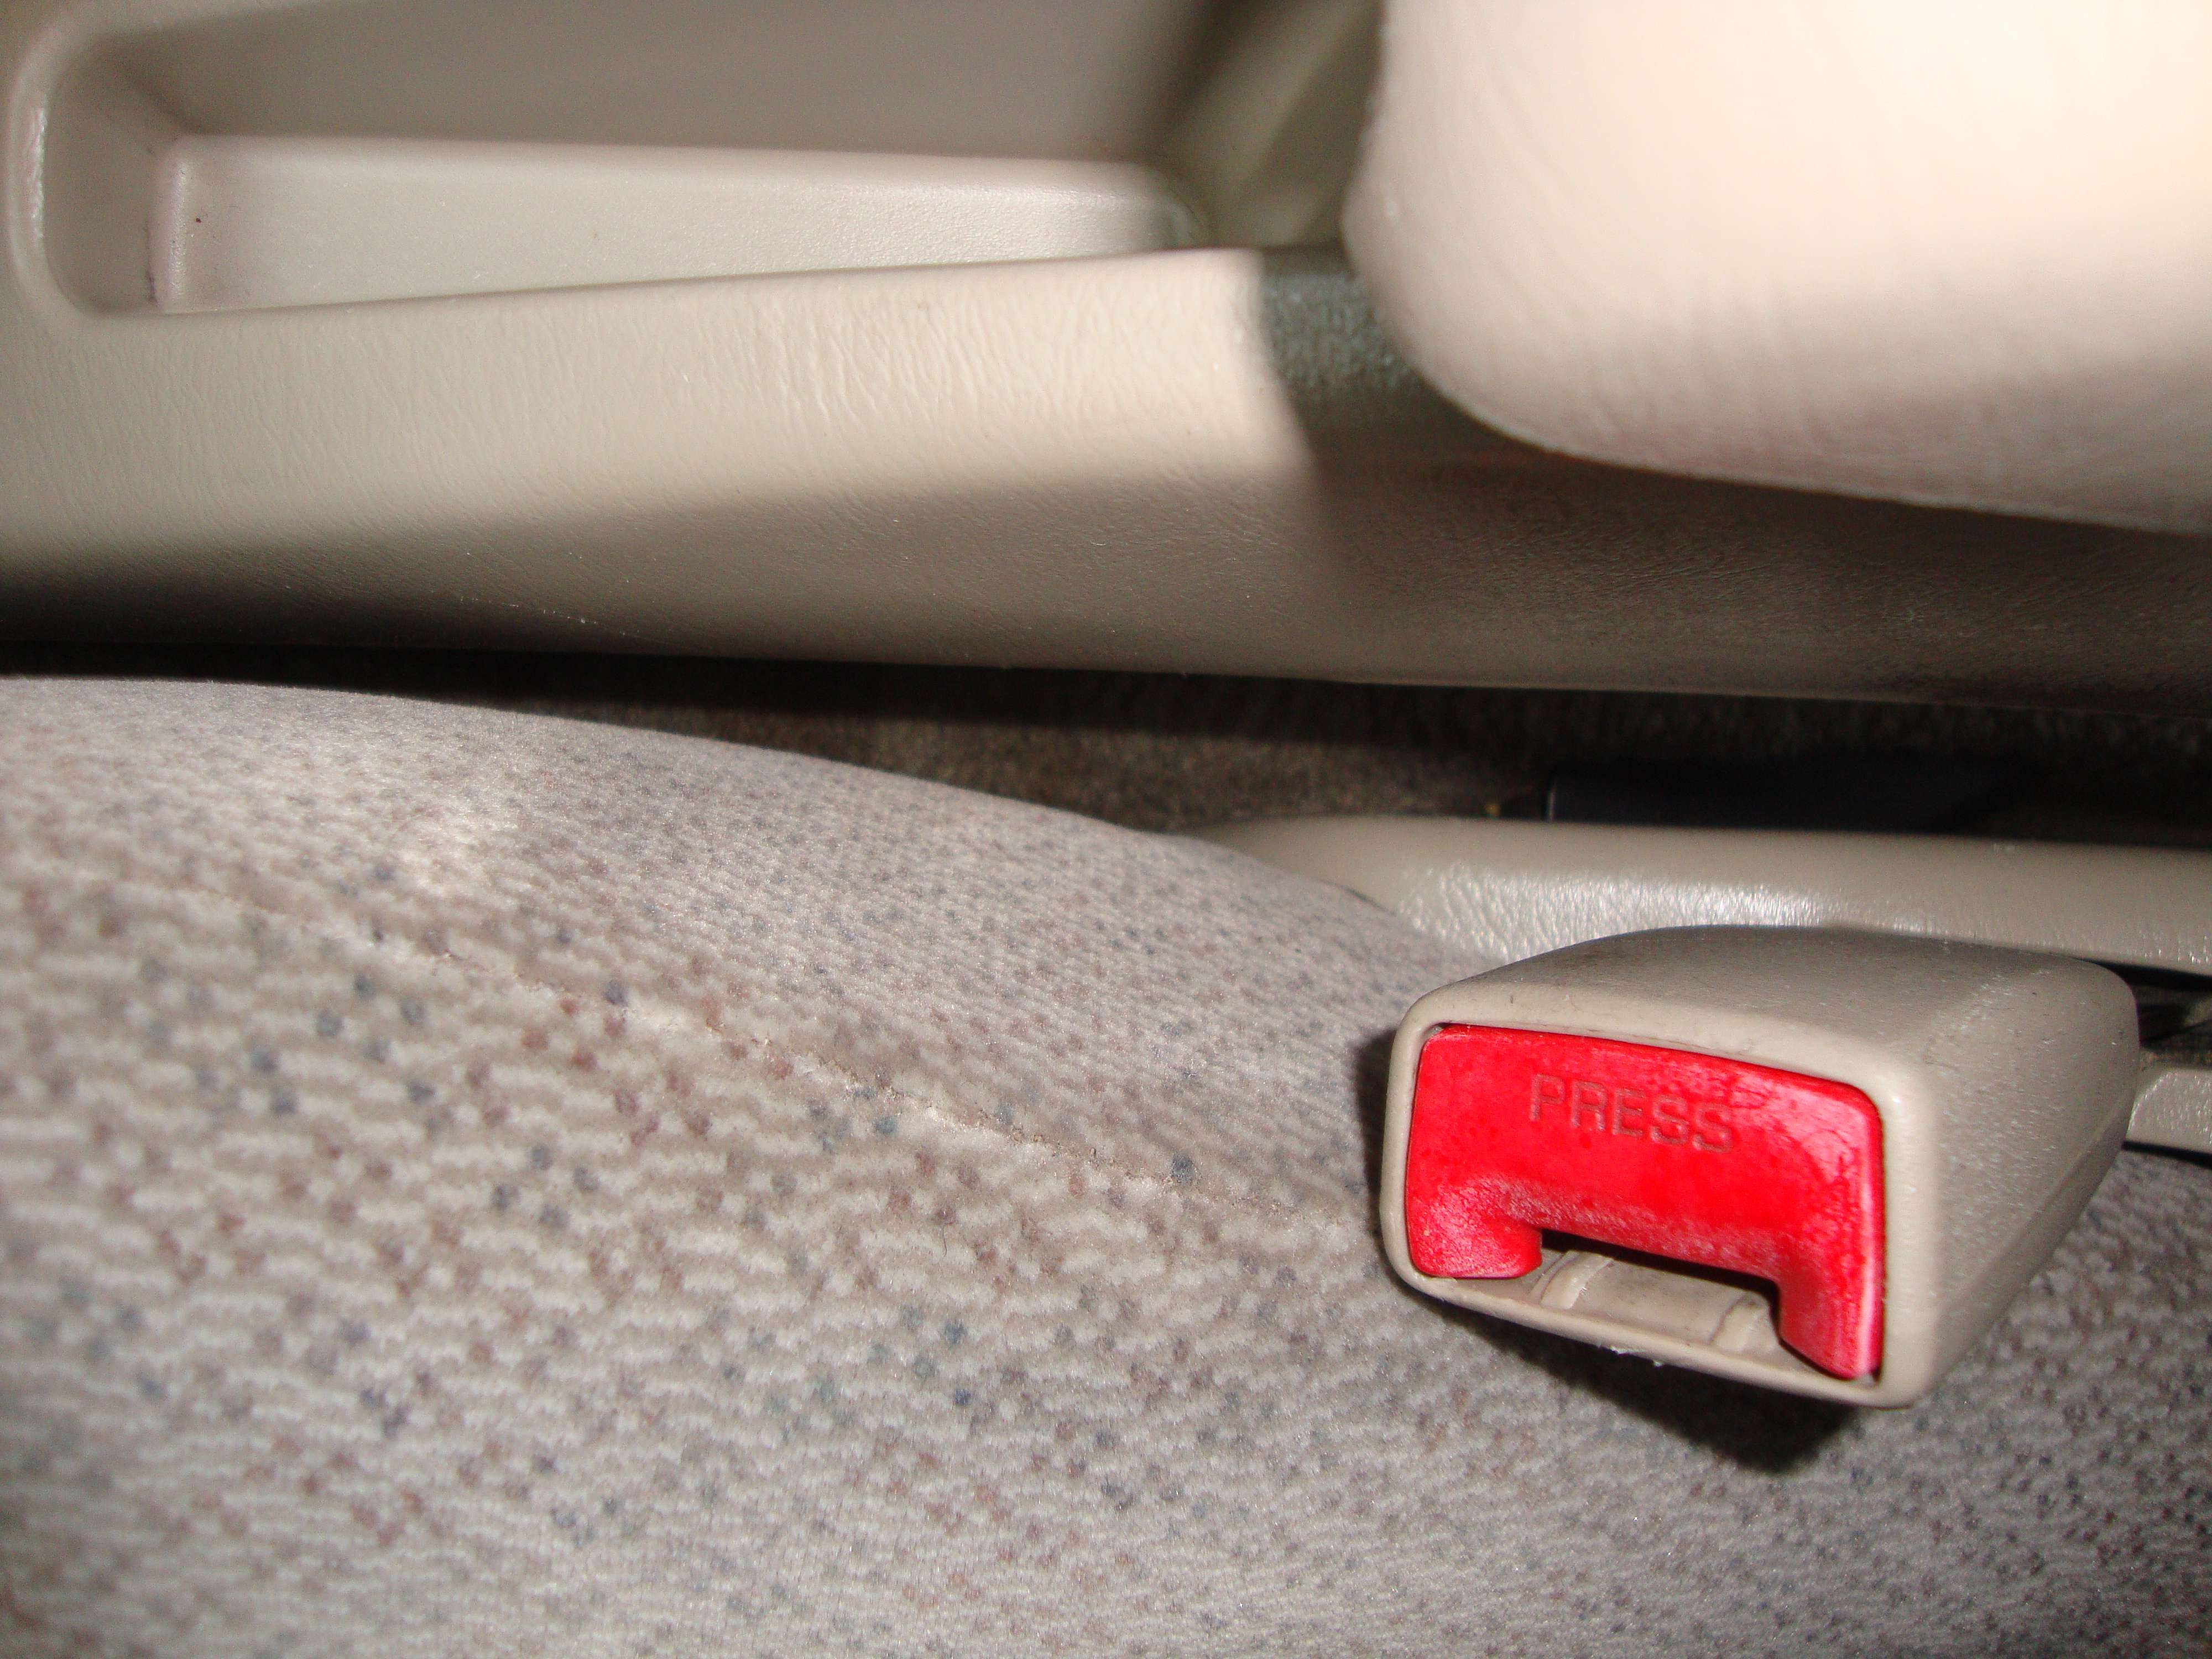
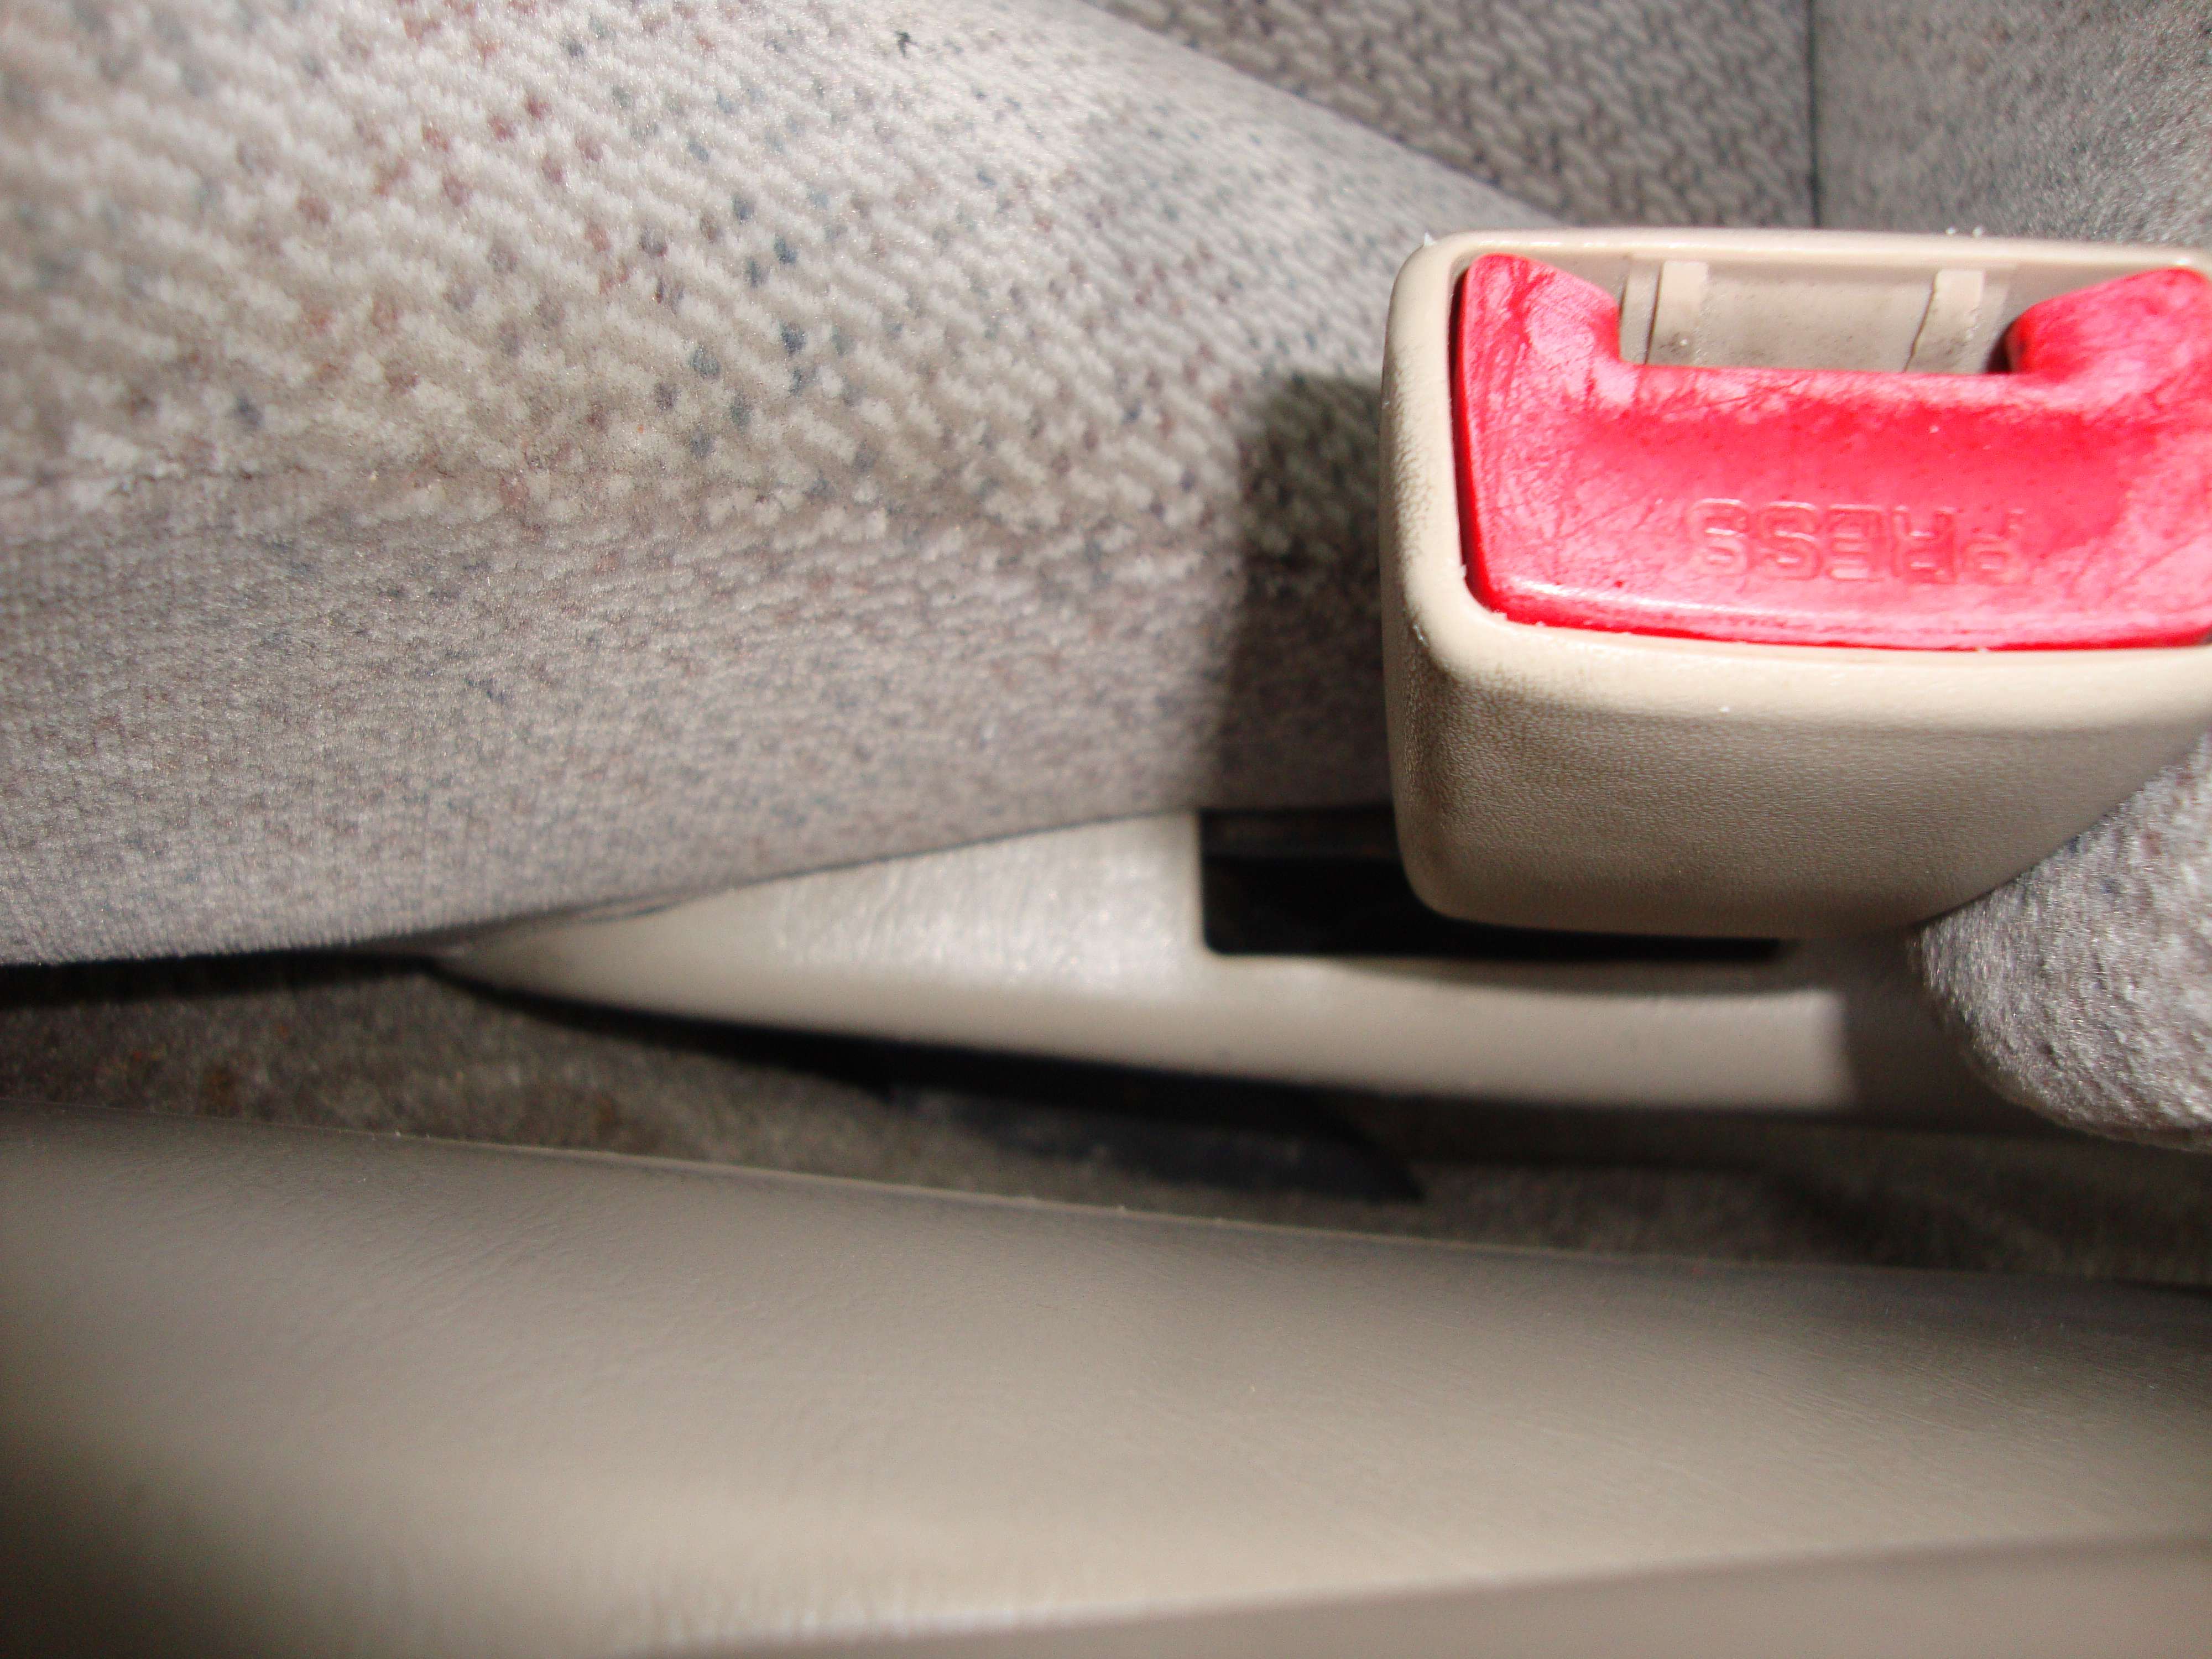
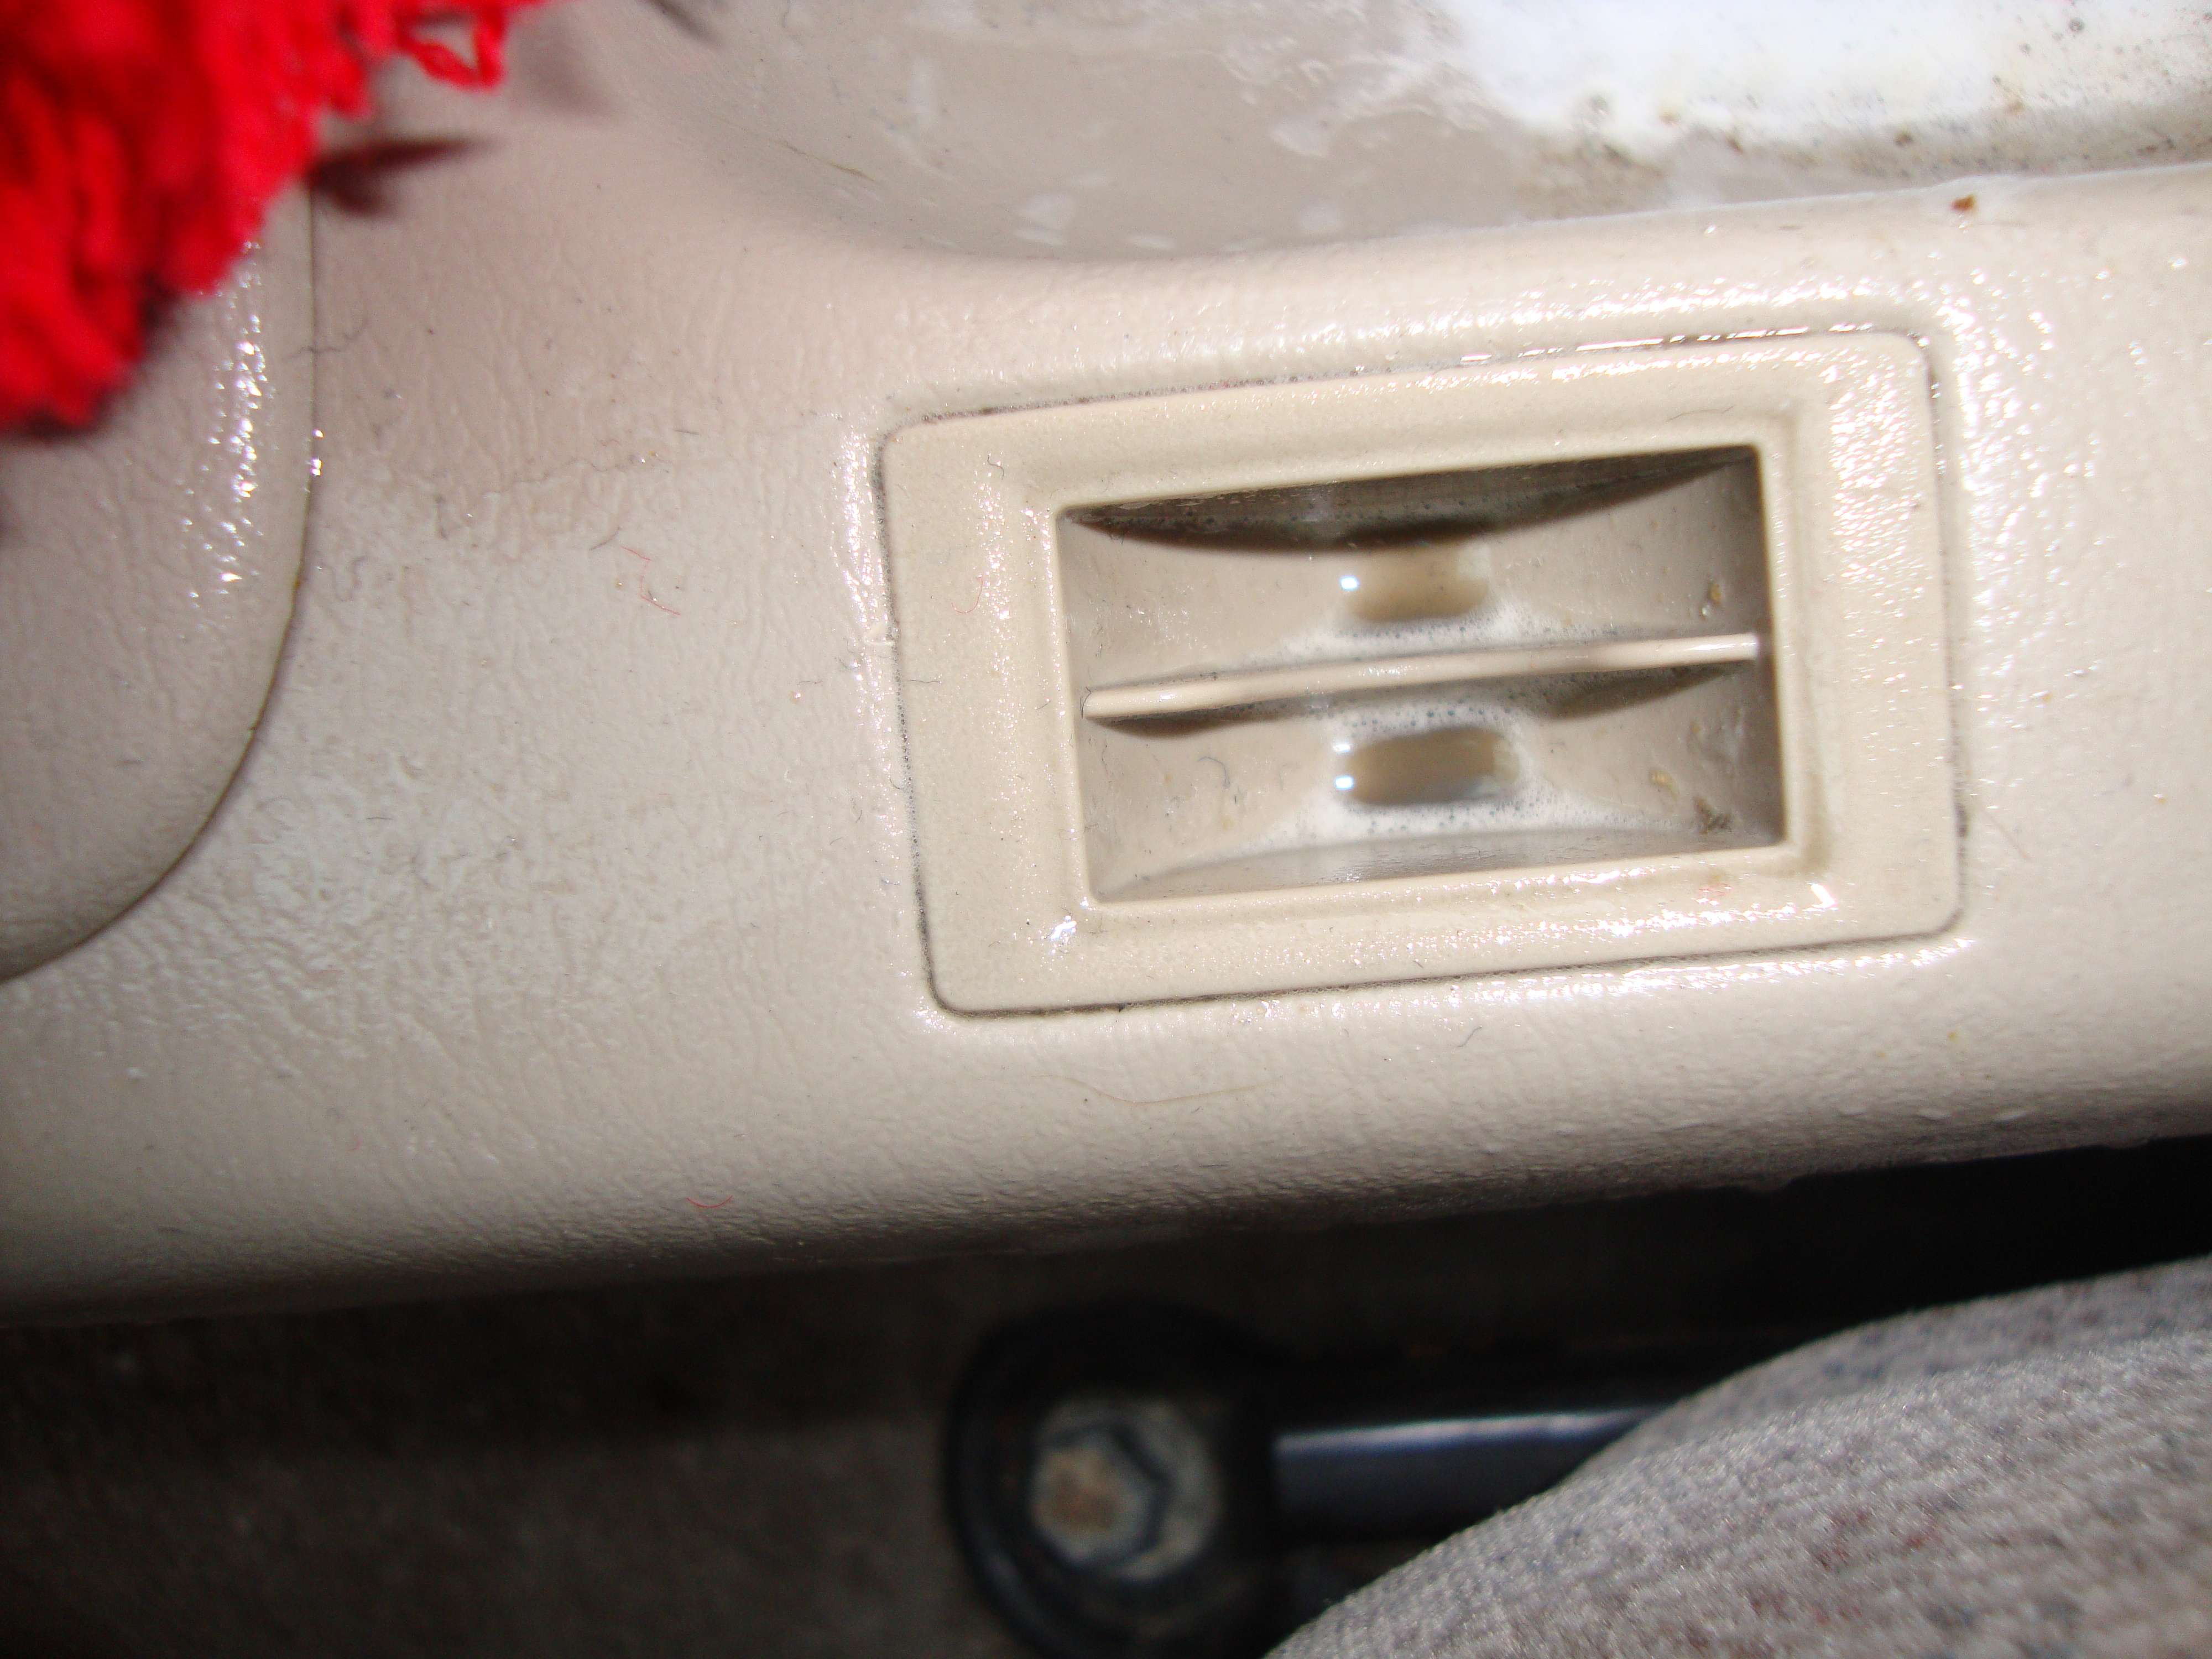
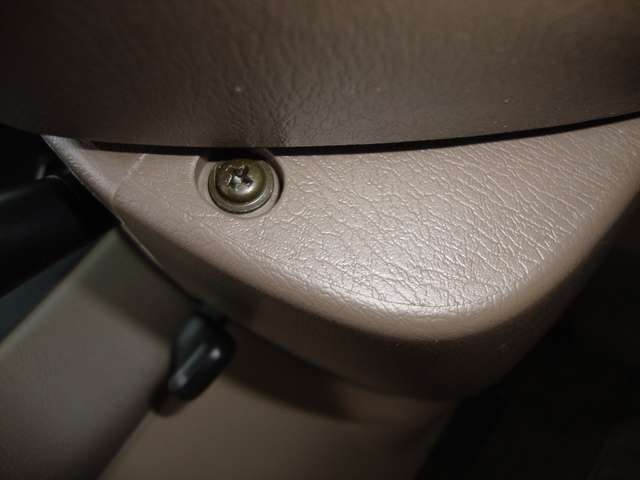
See all the small details to the job?
Yeah, even that bolt lol
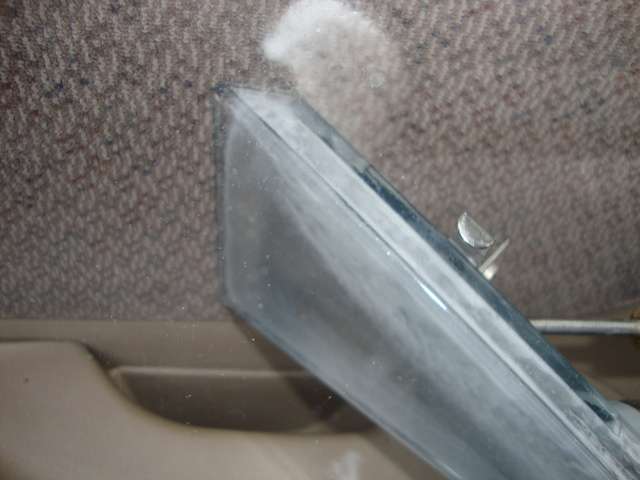
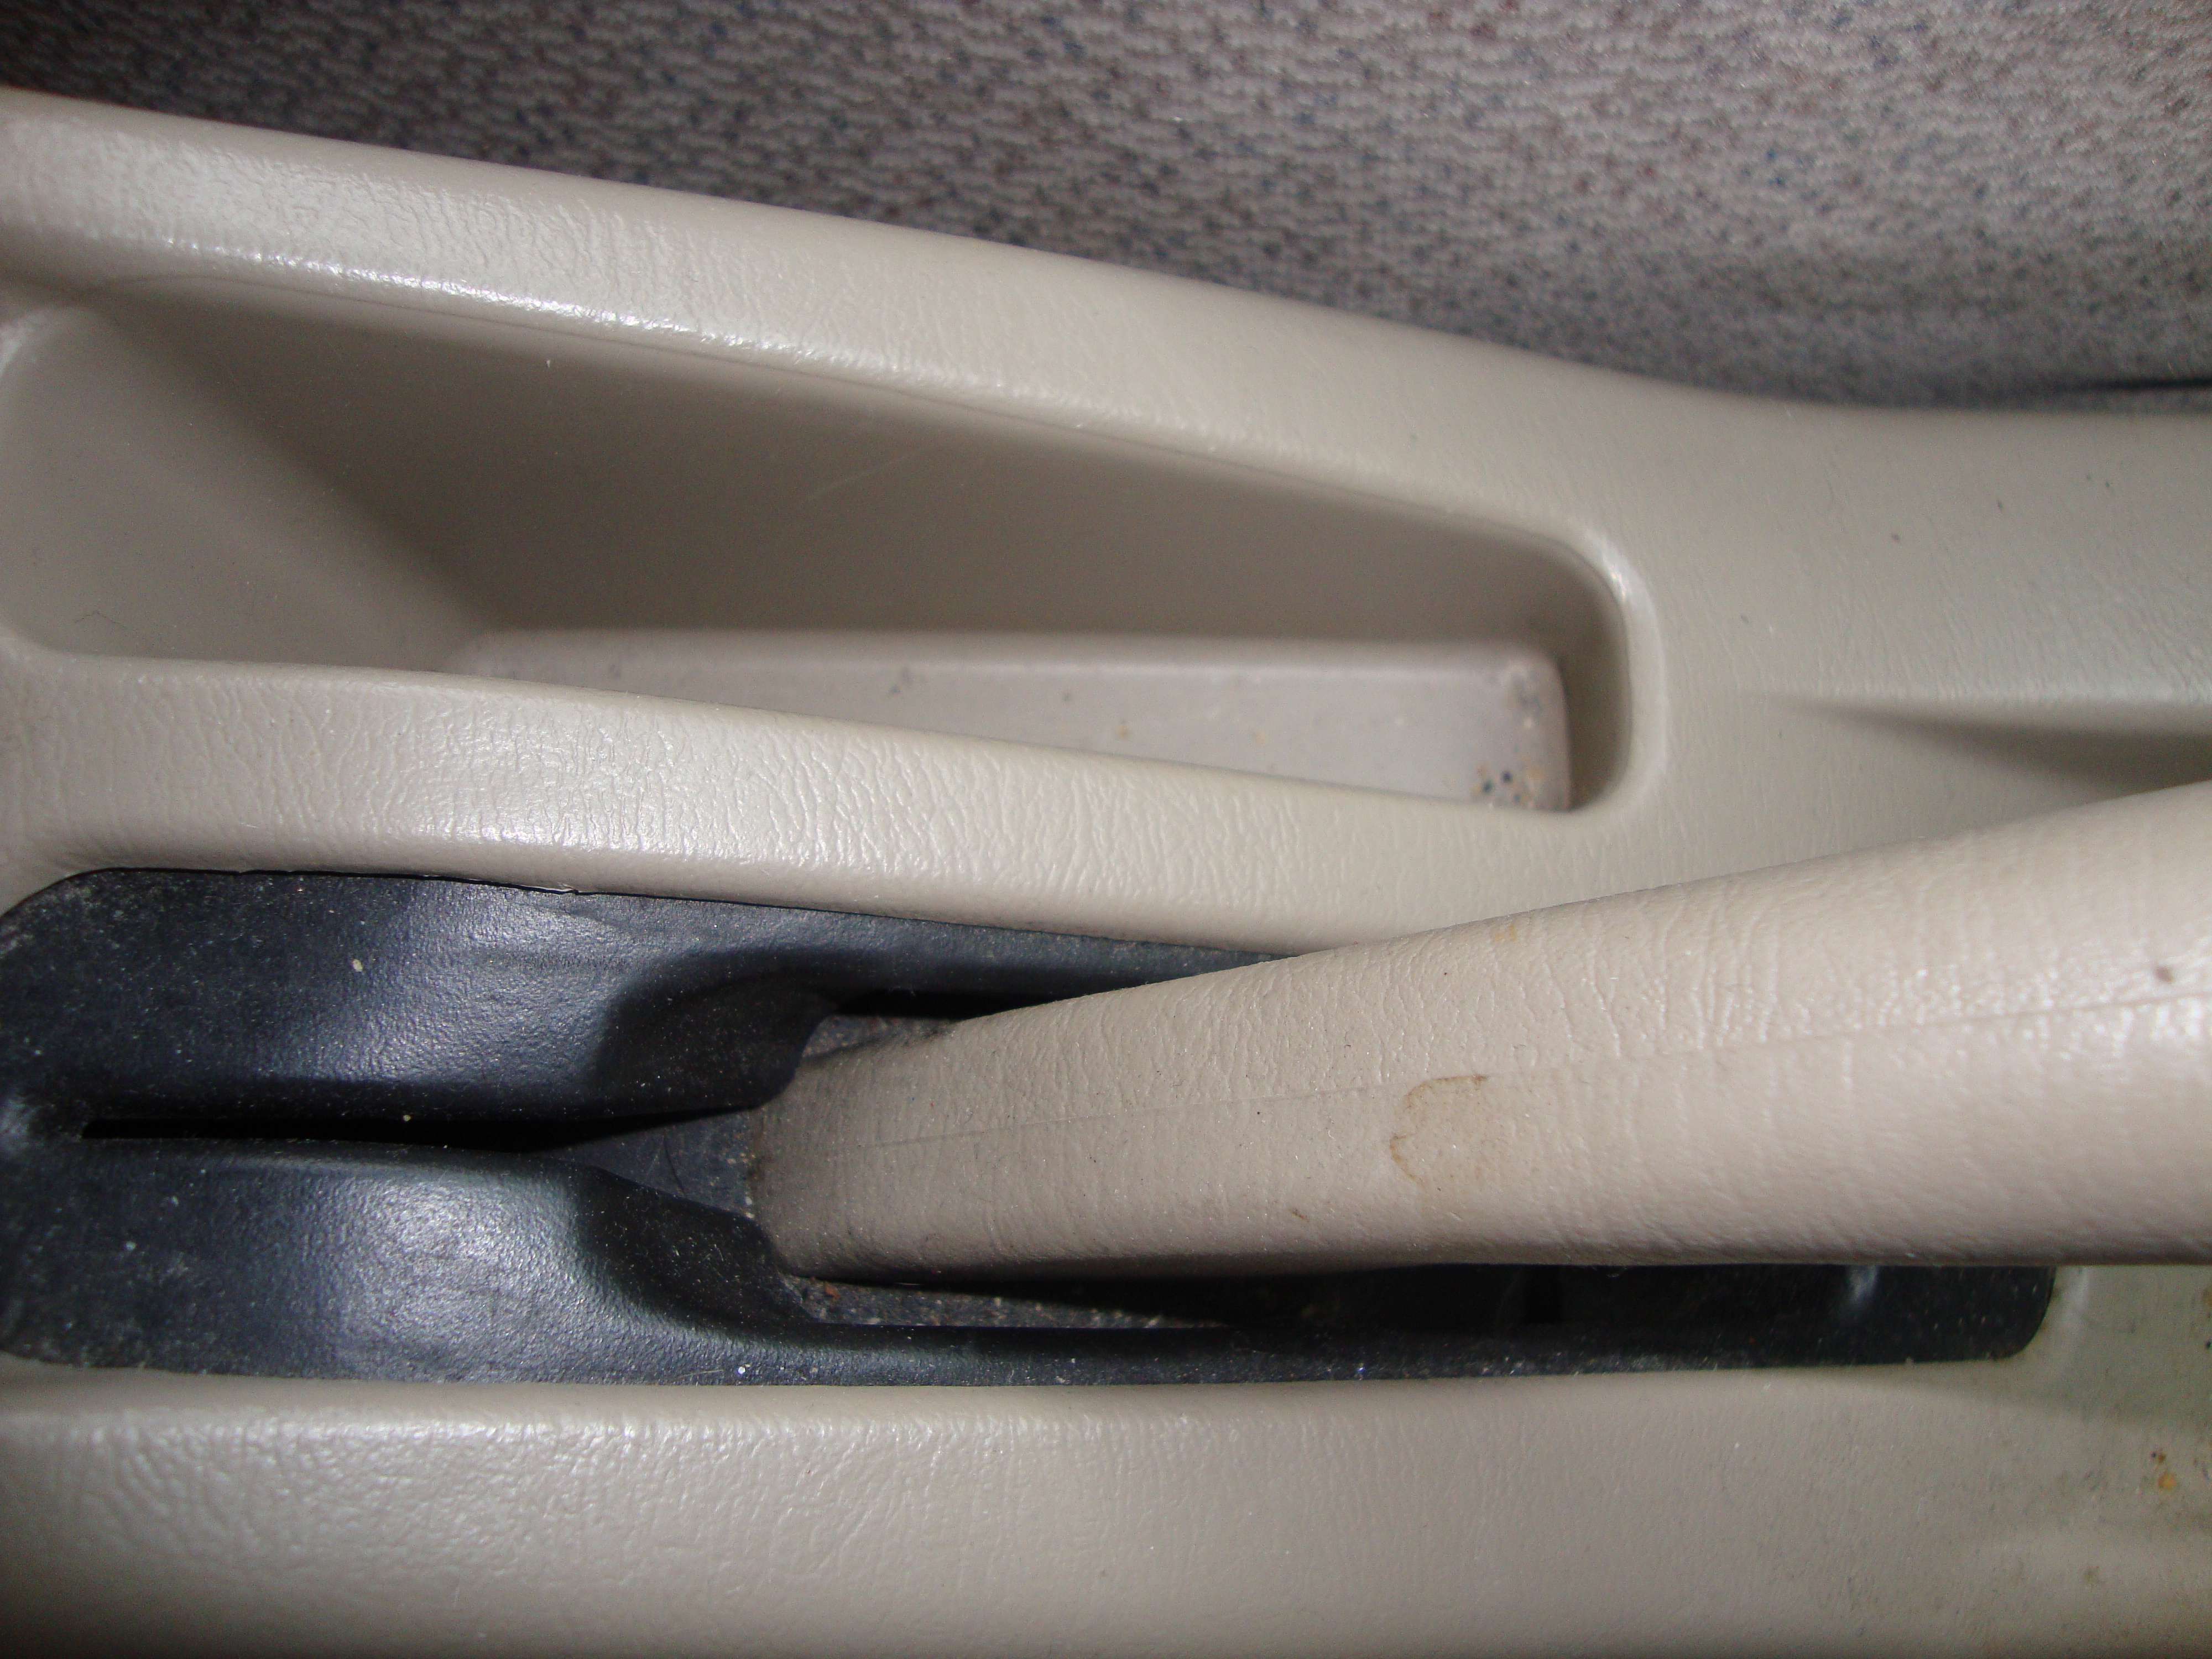
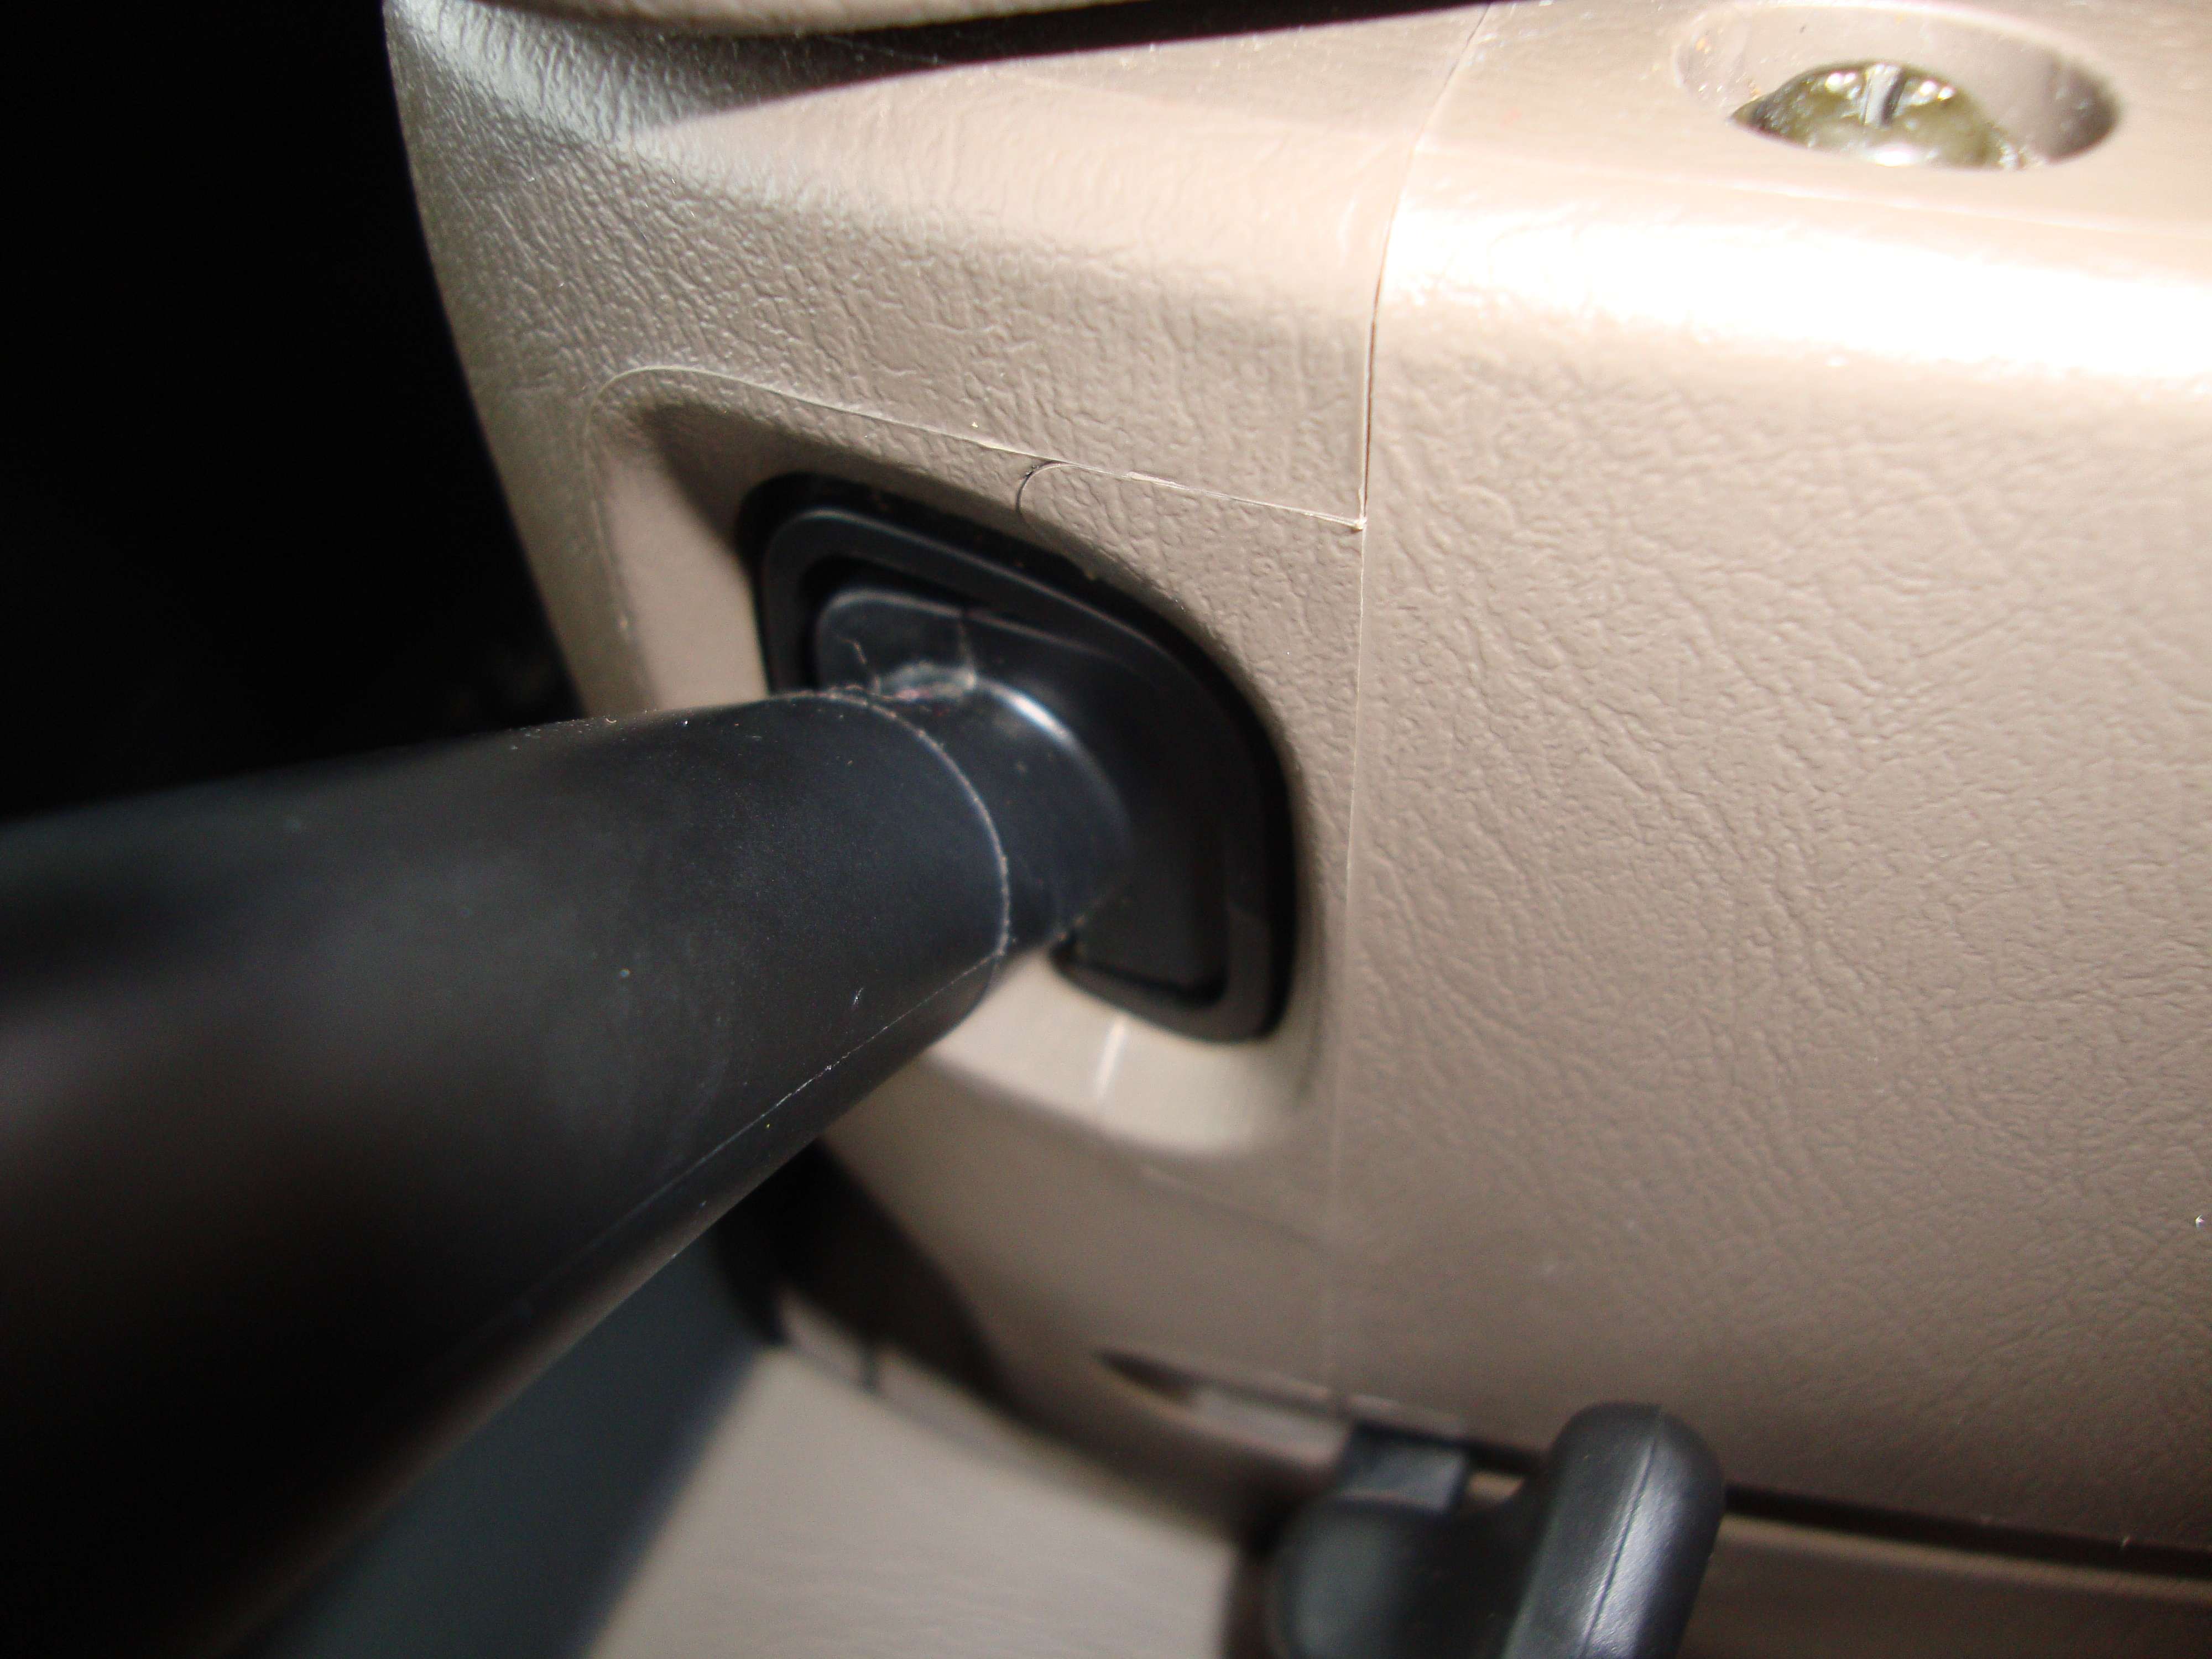
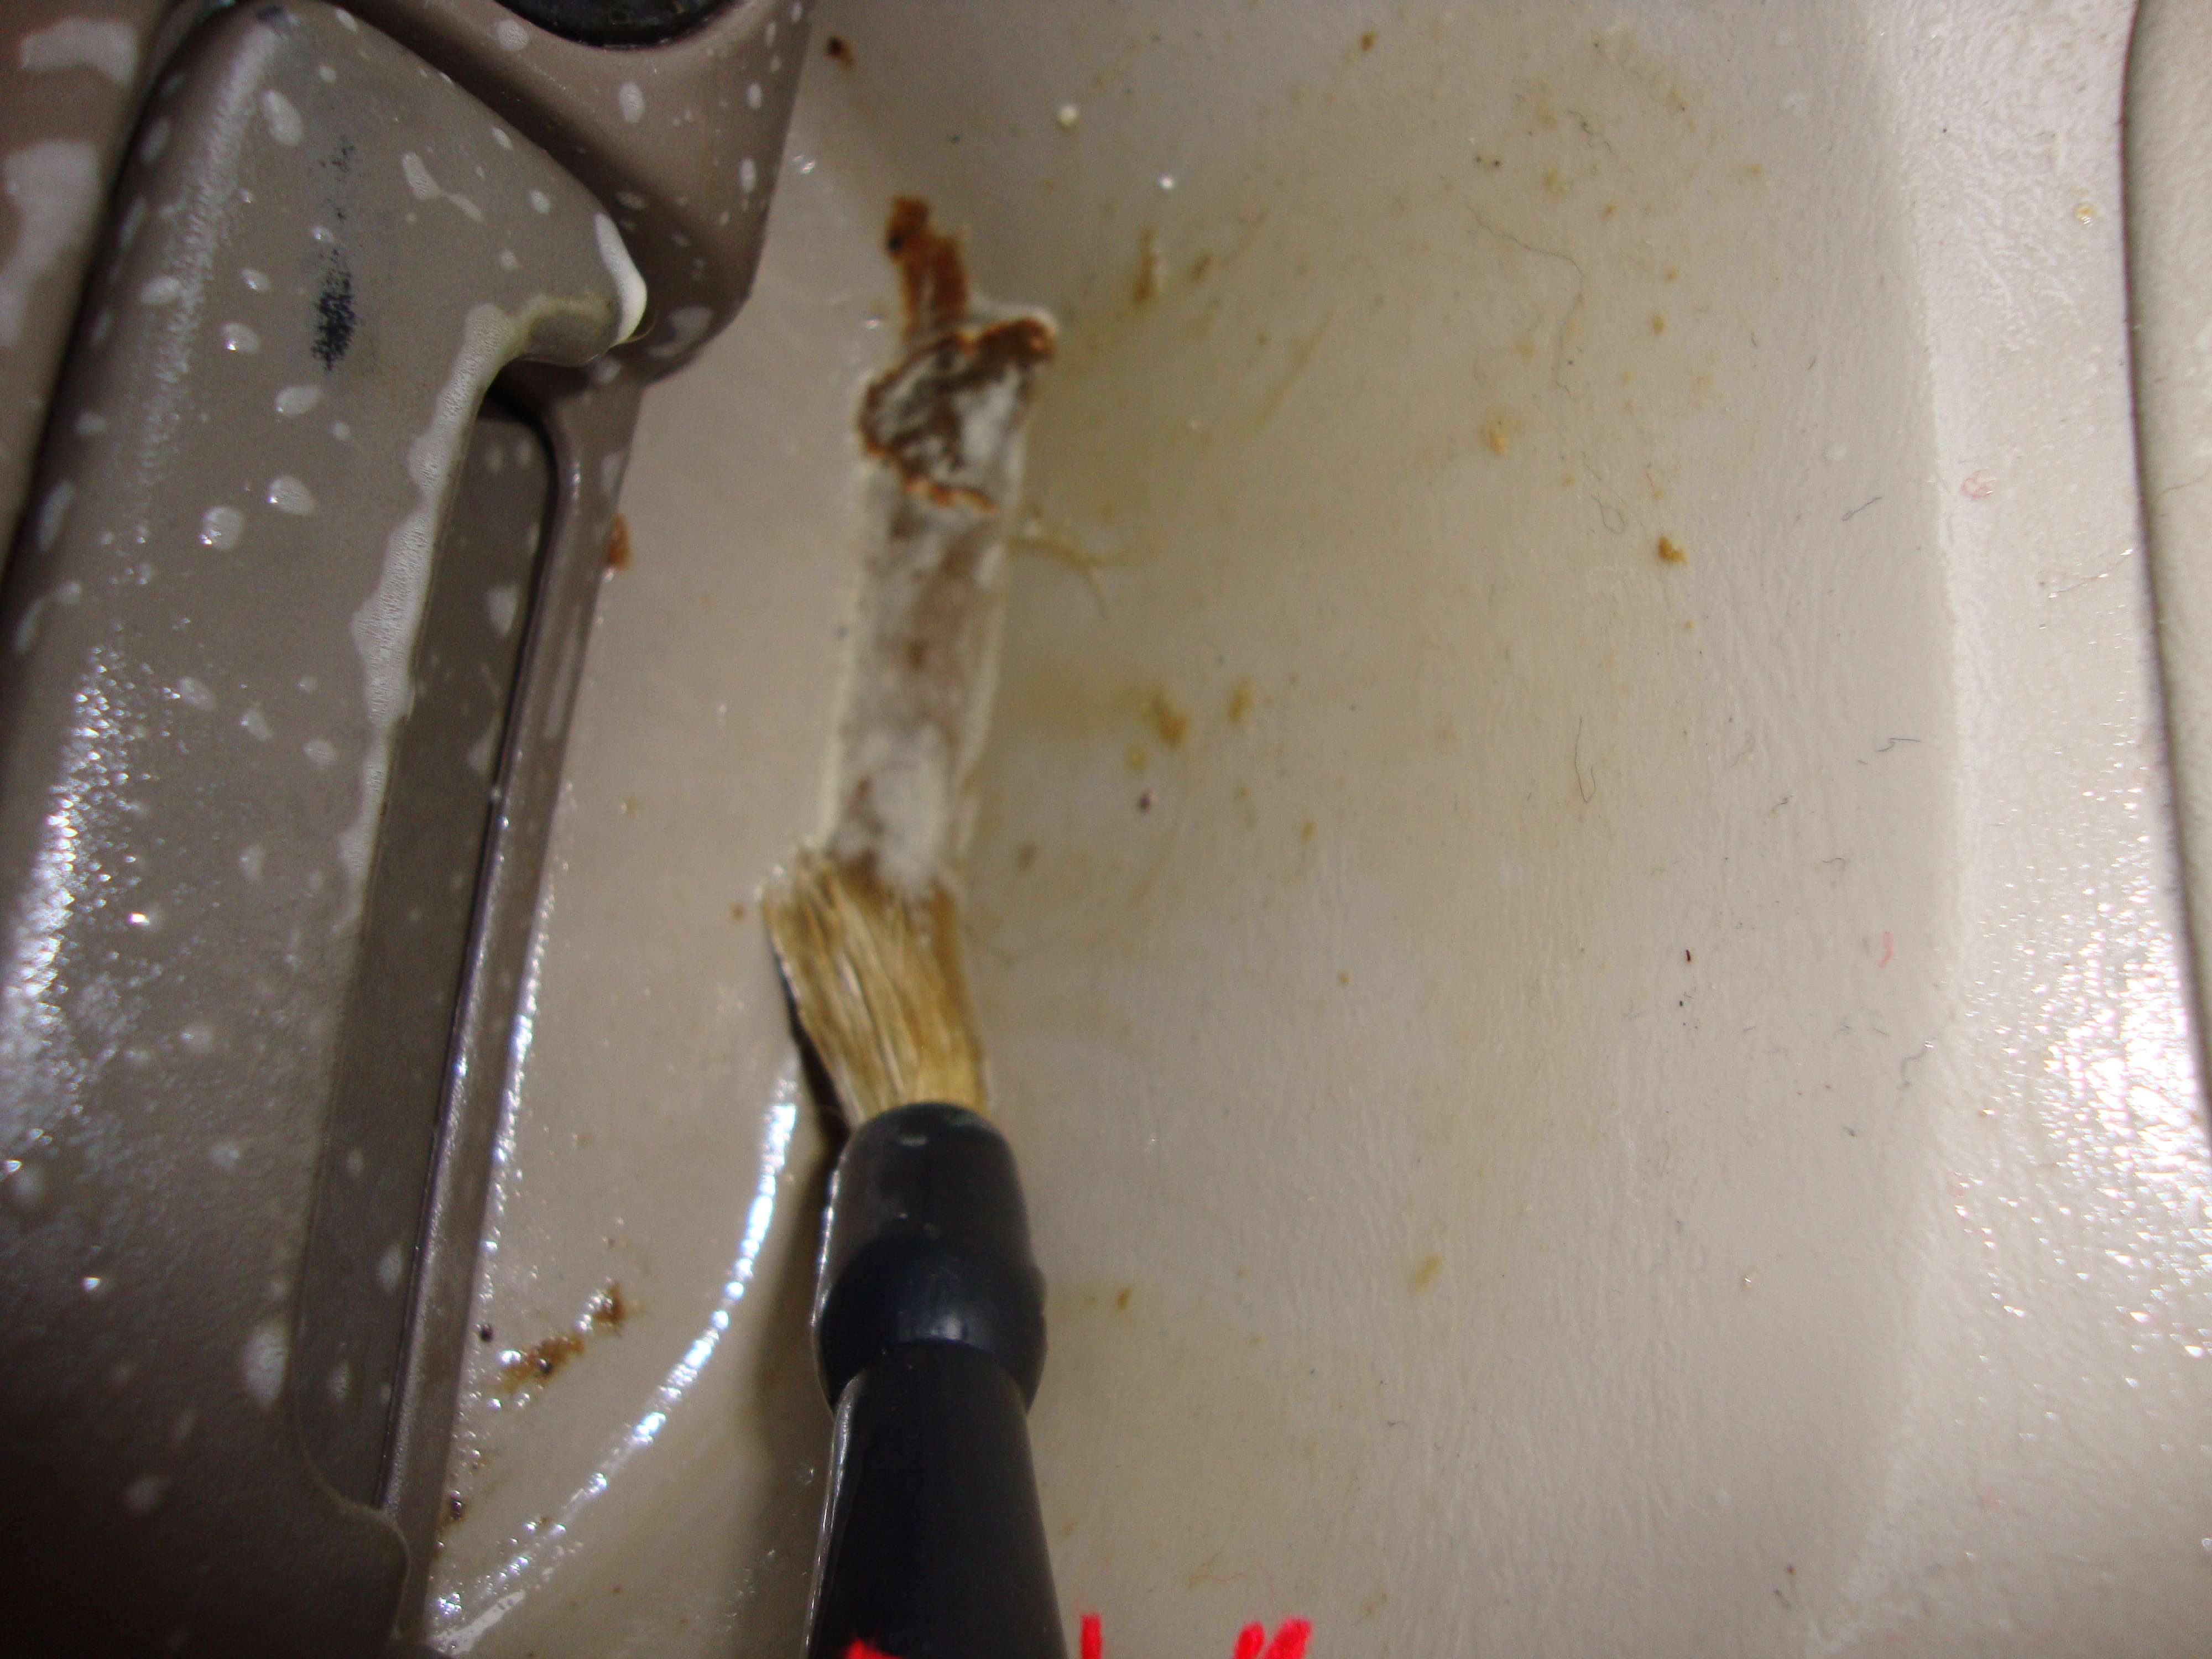
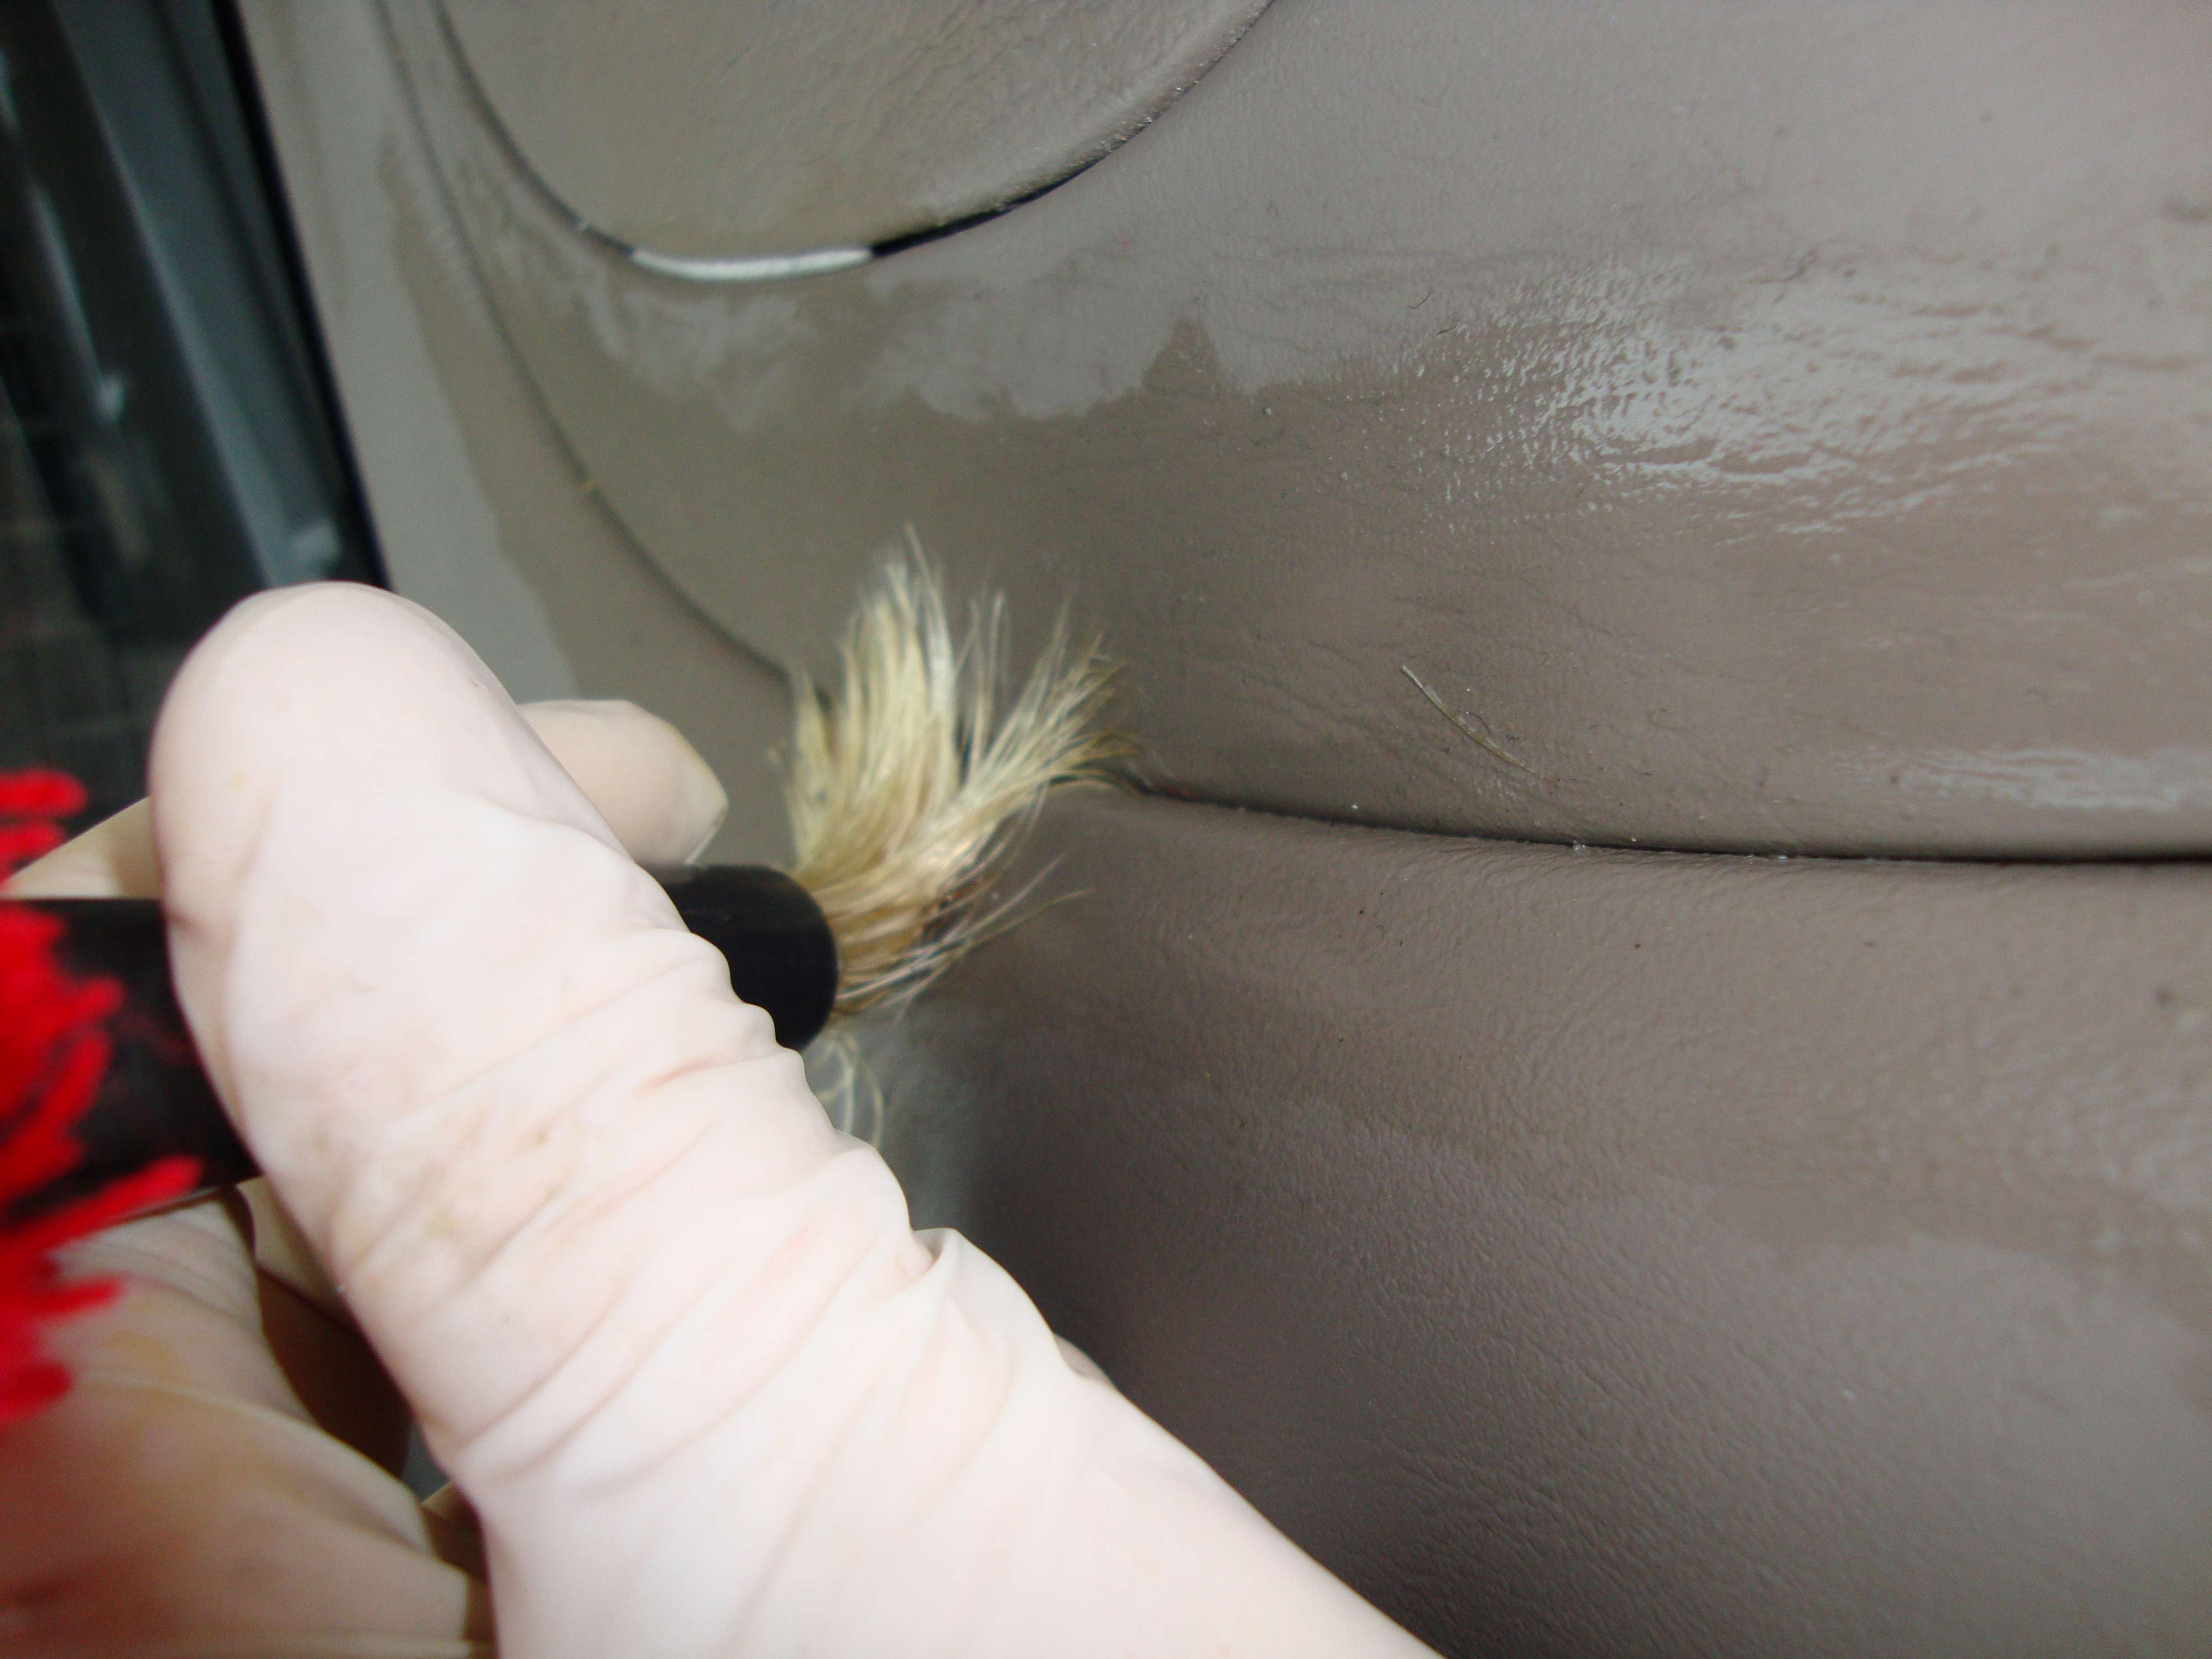
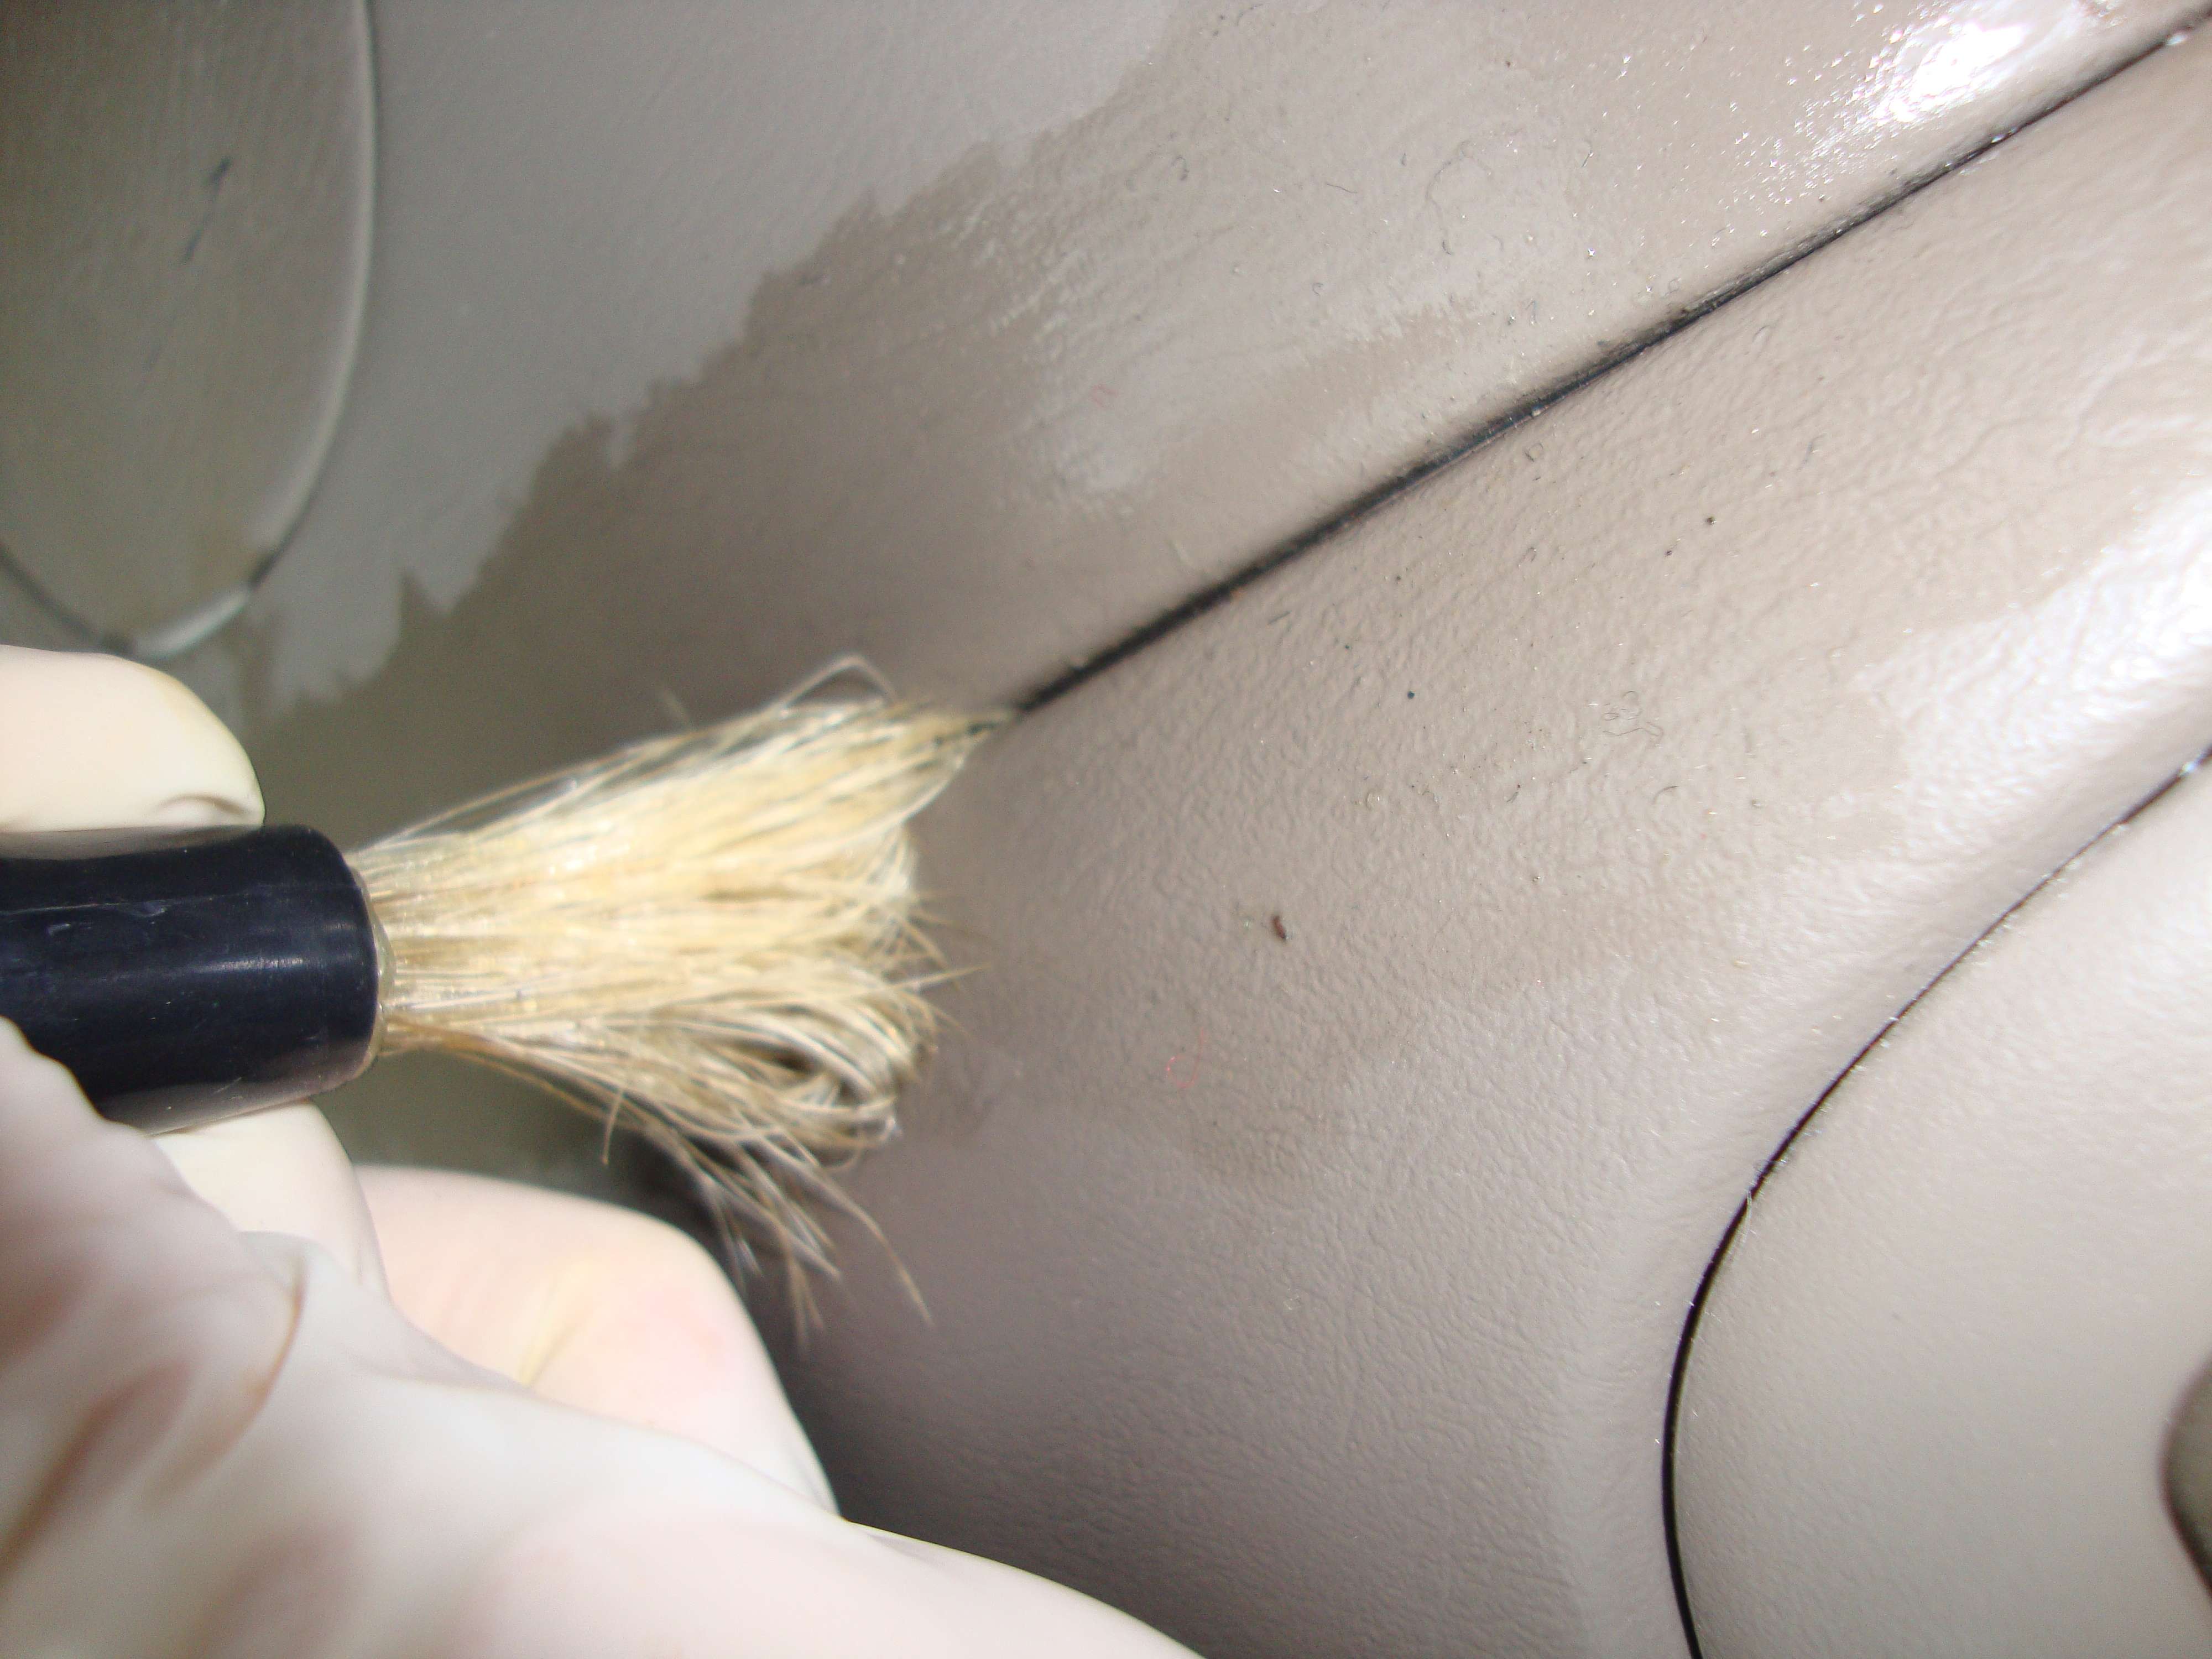
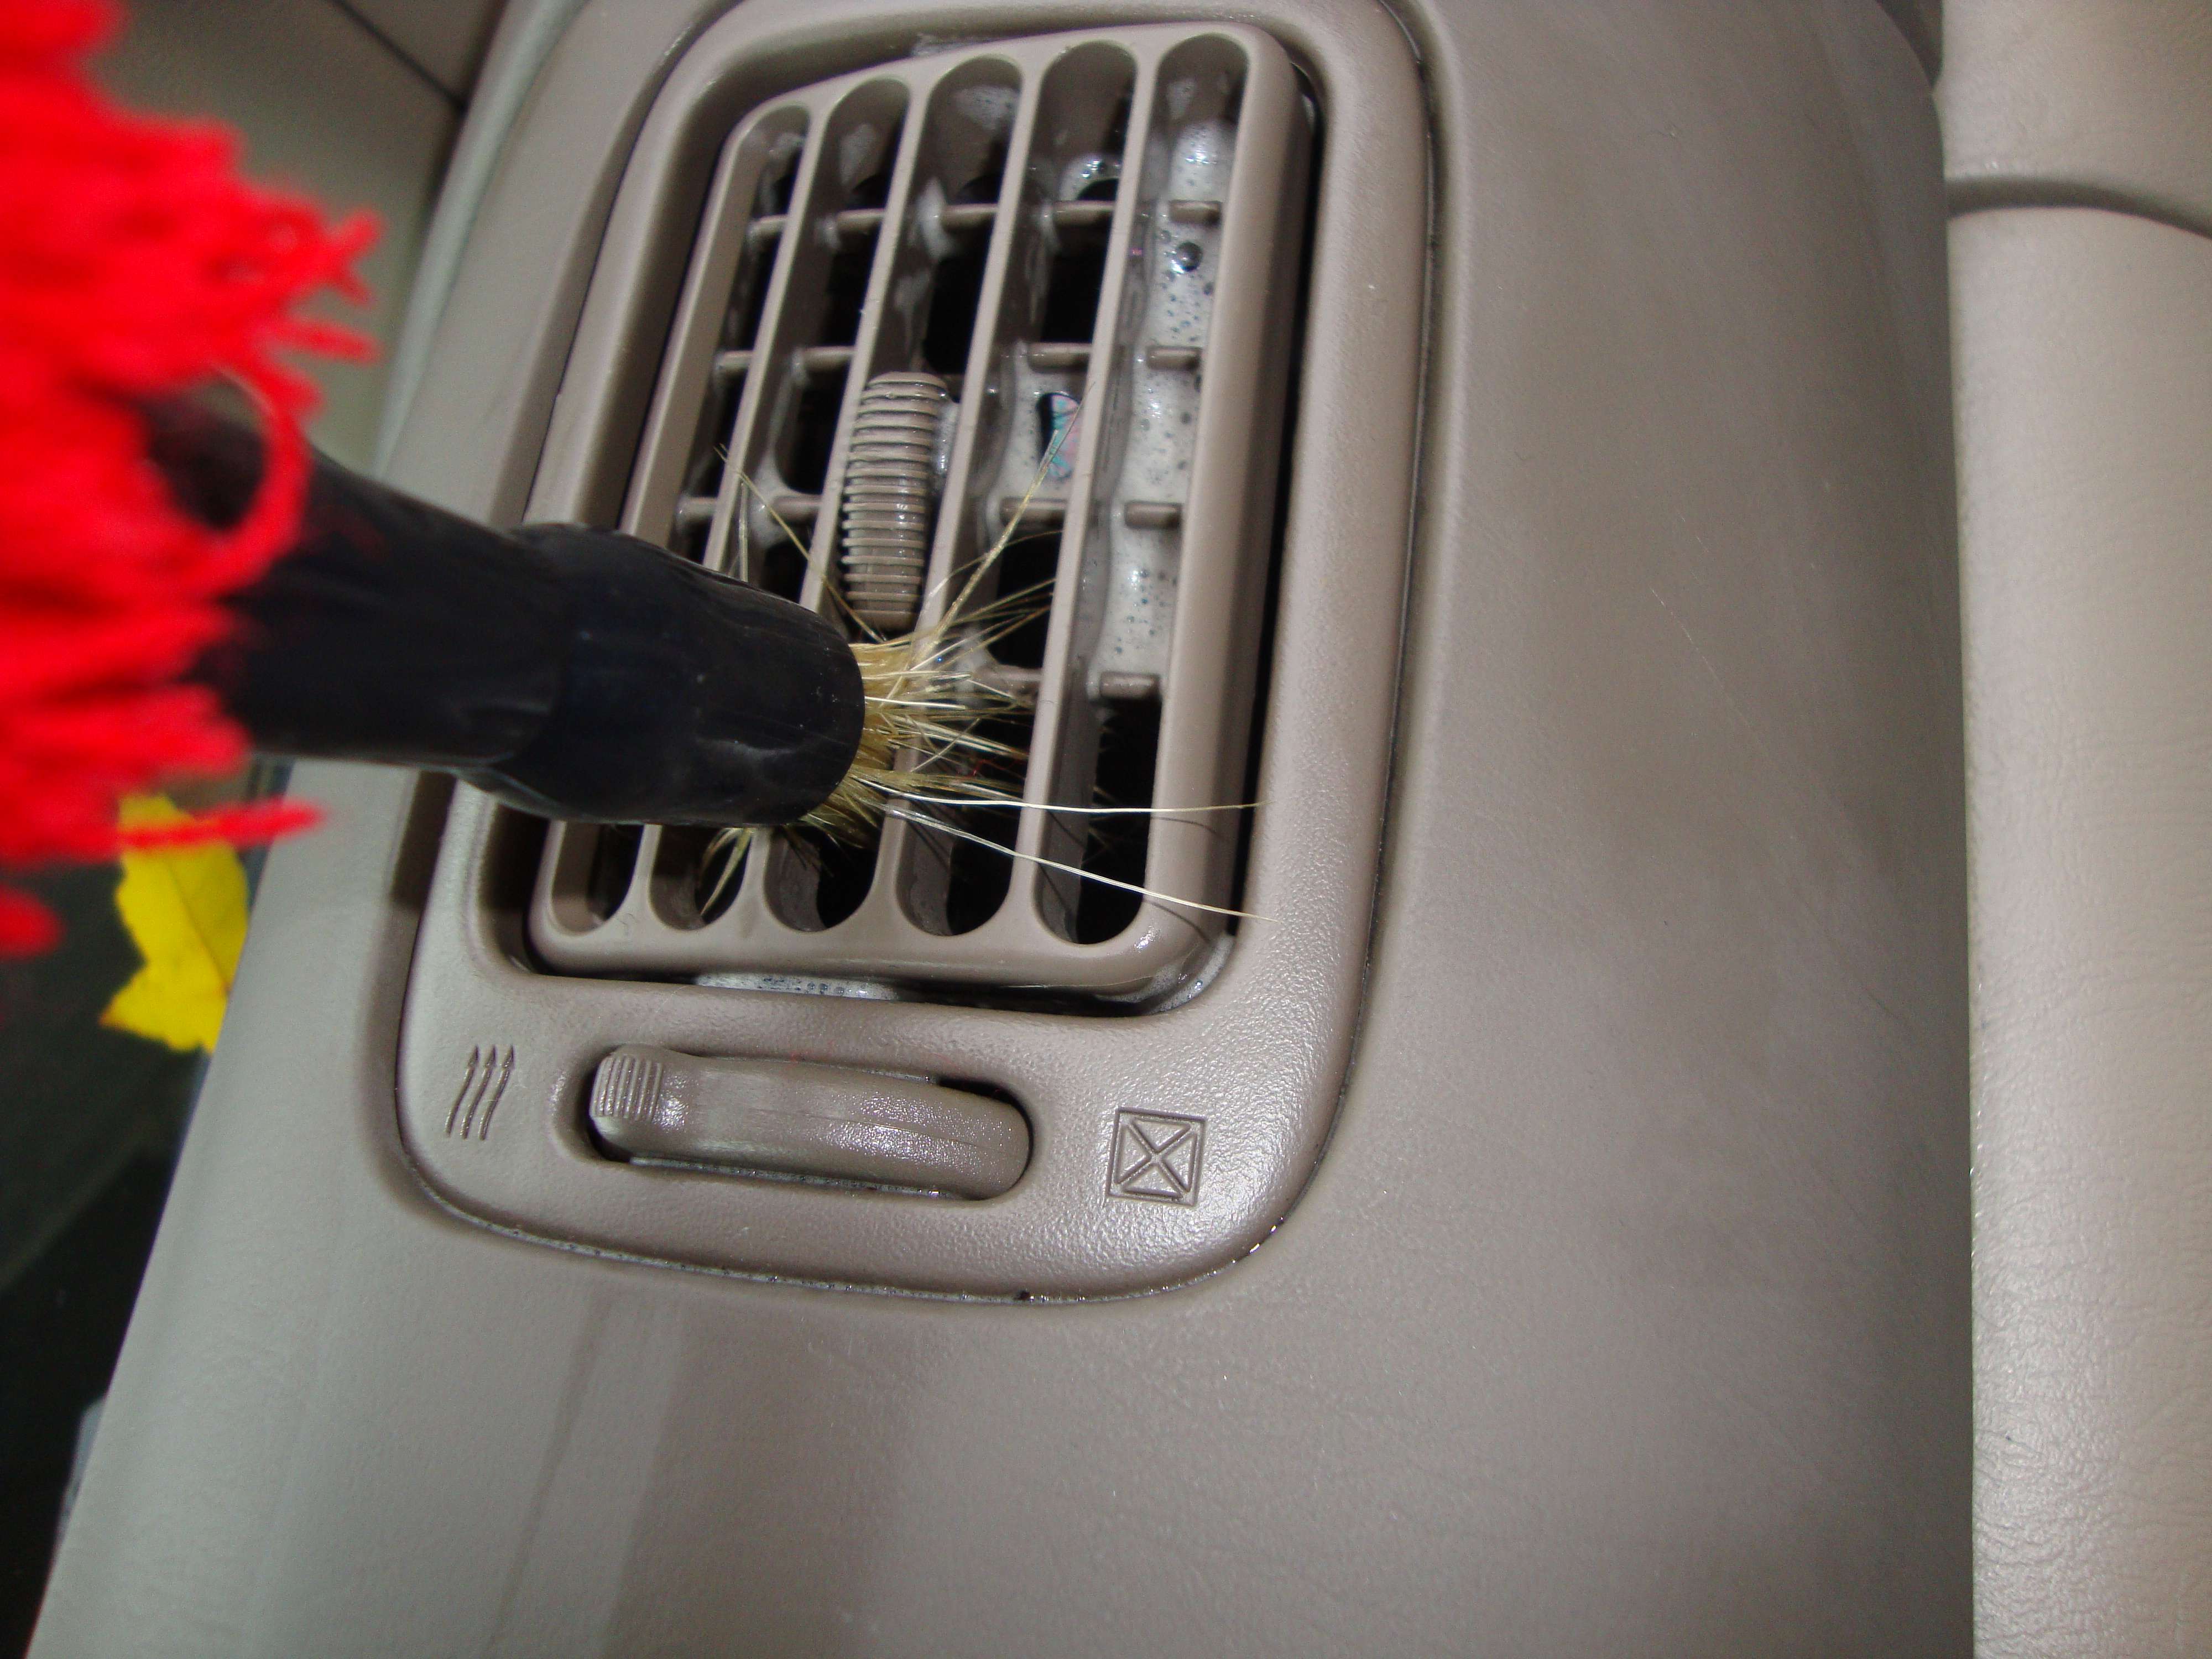
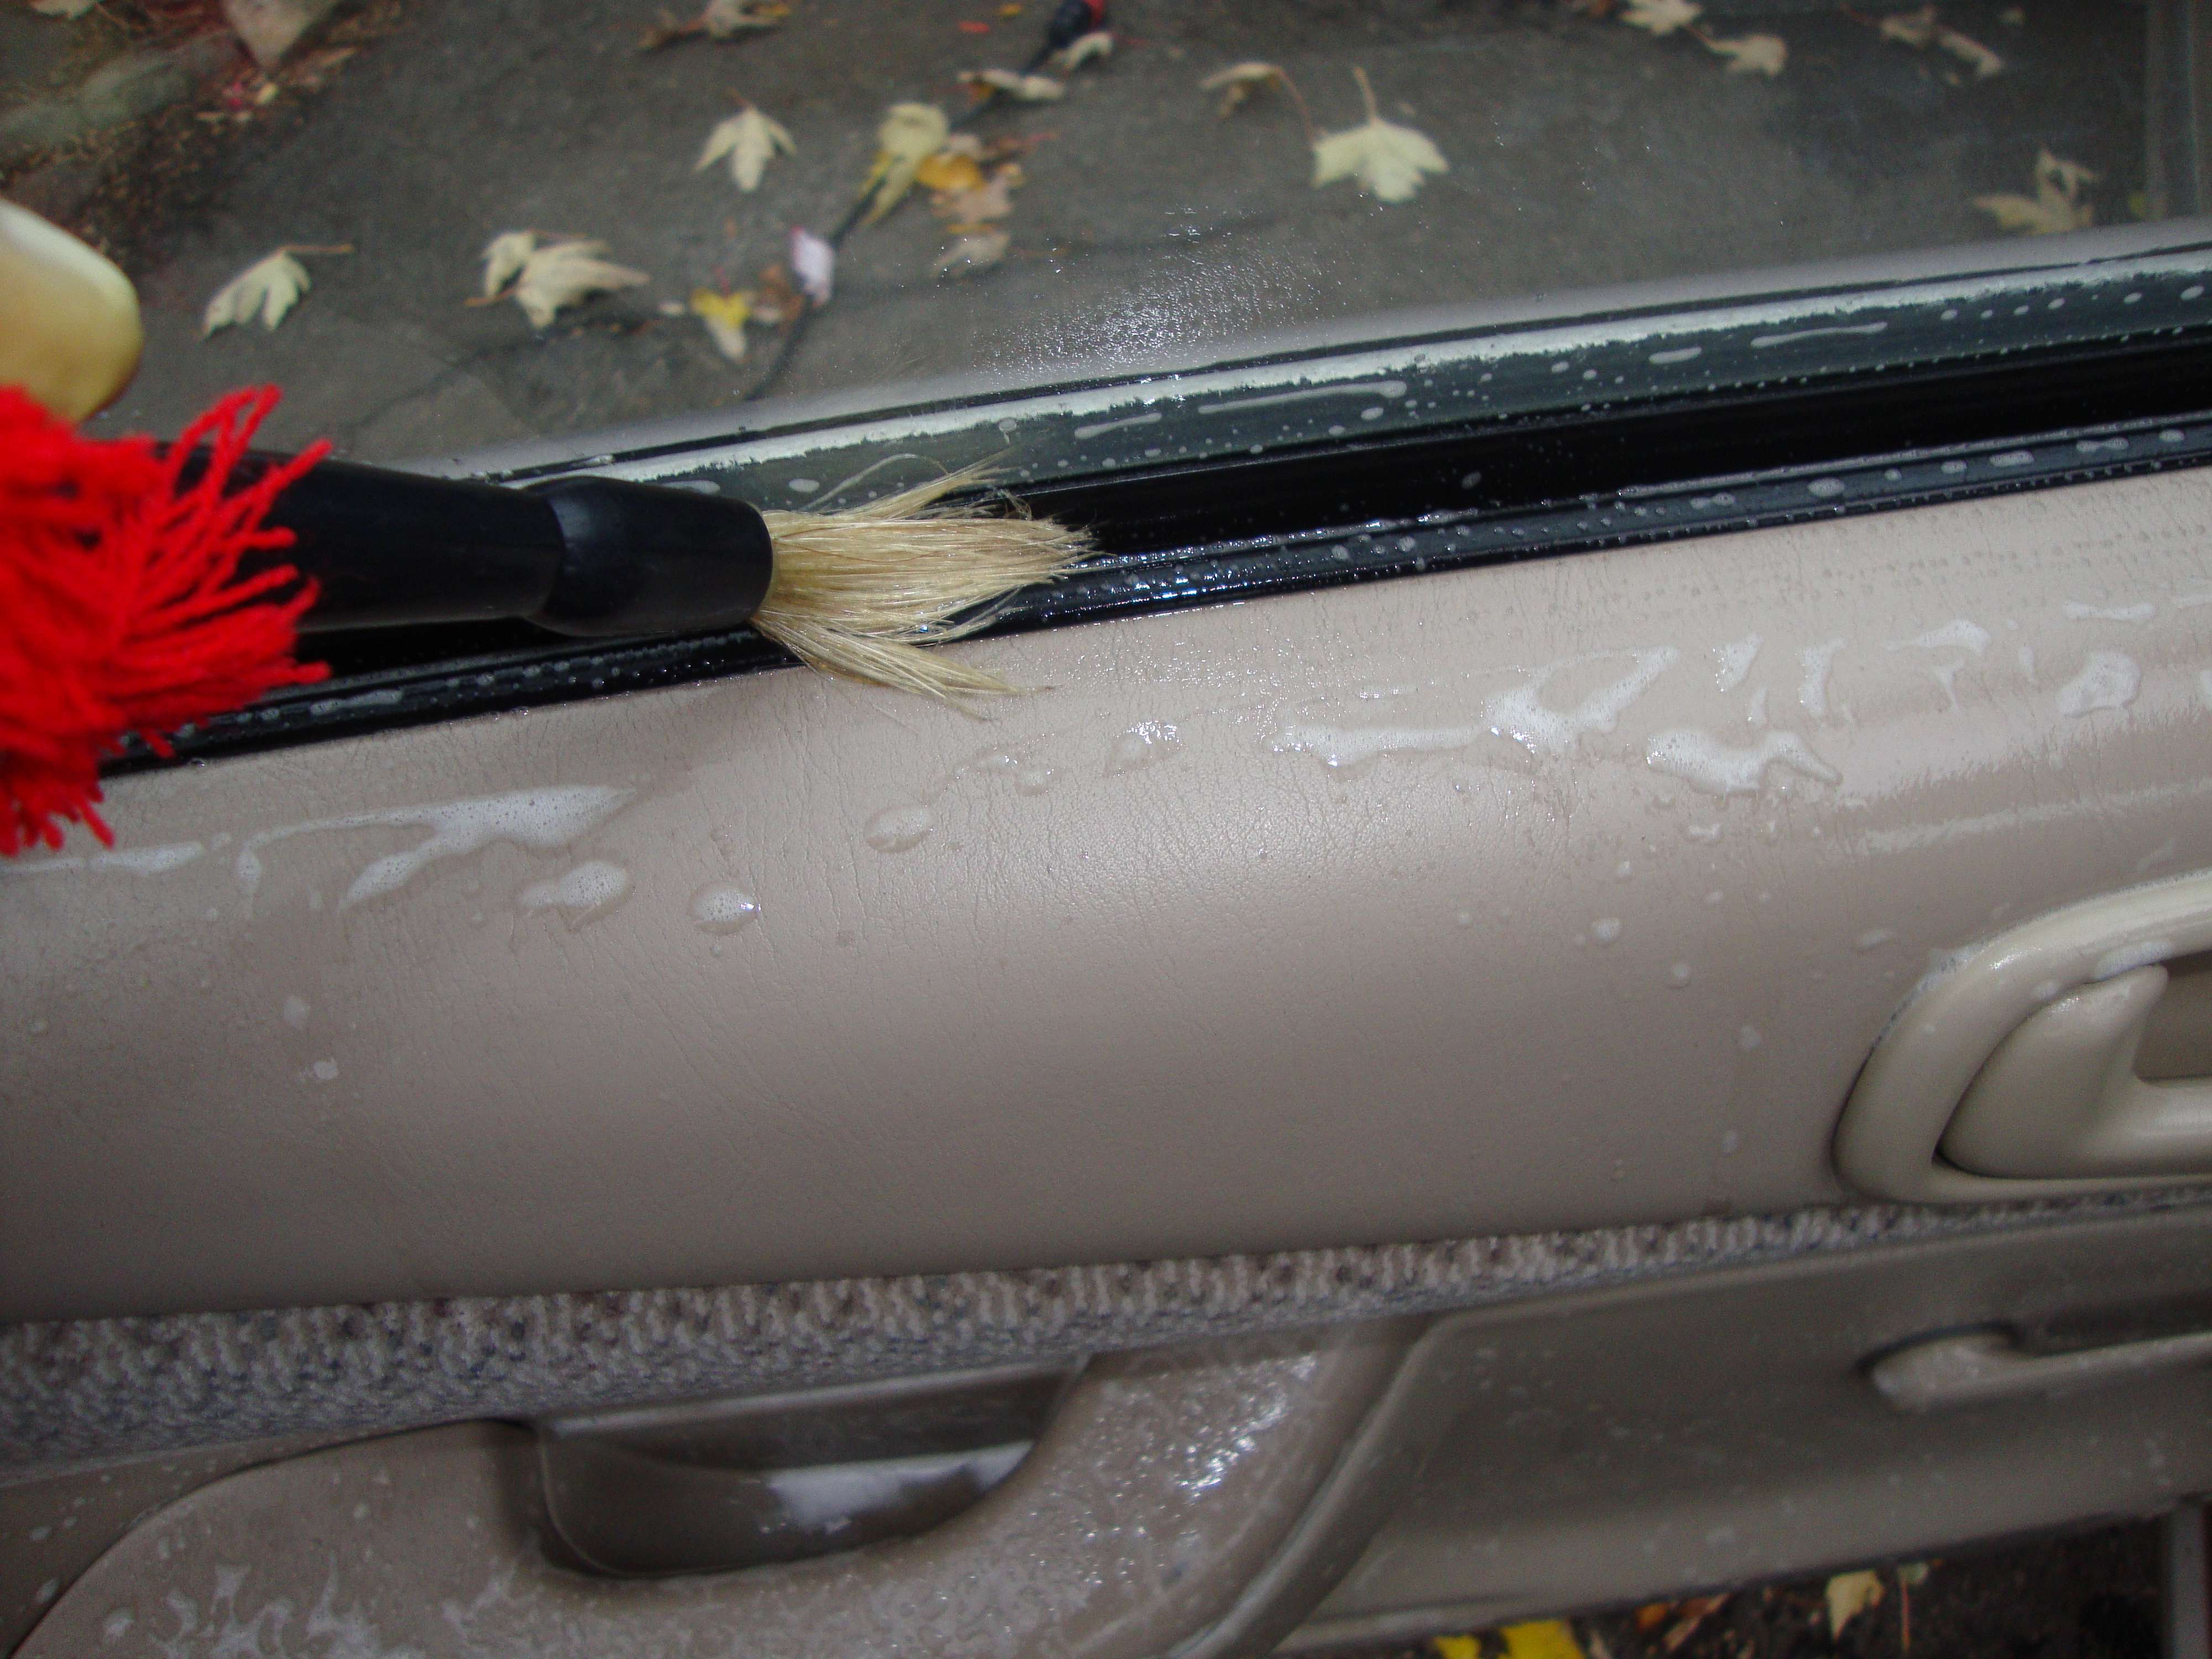
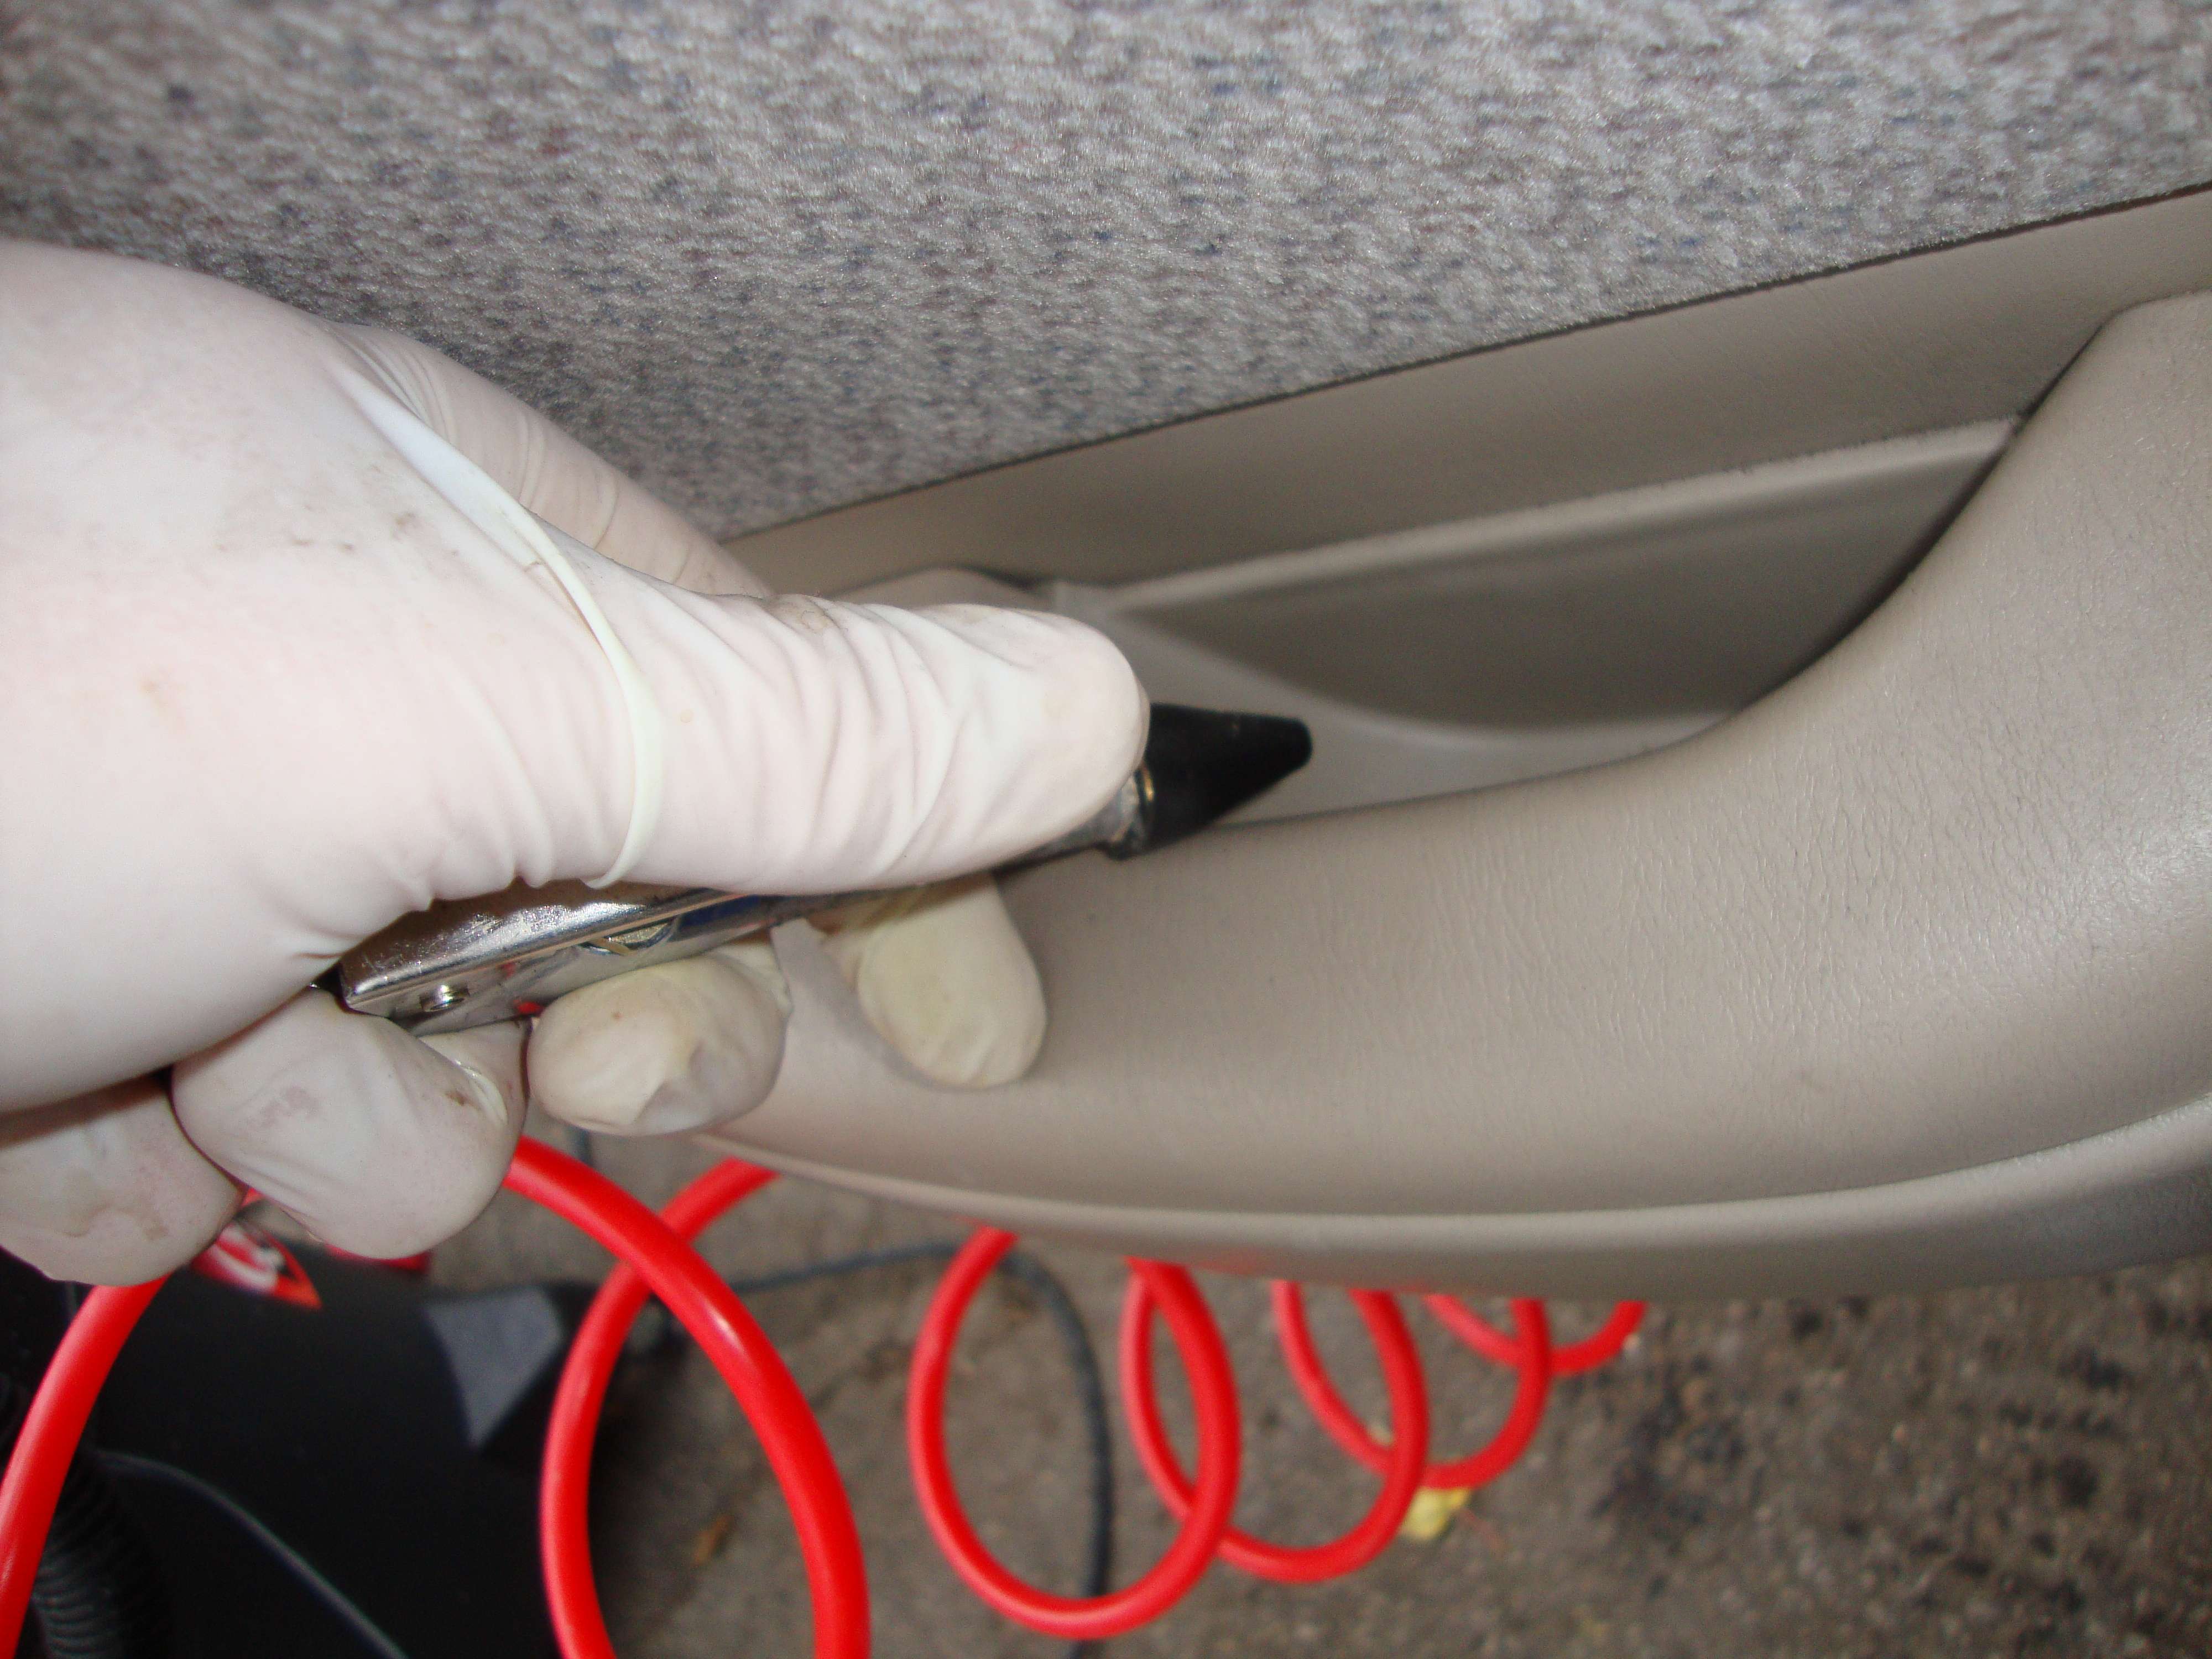
Nettoyage des fentes avec une petite brosse fine :
Cleaning cracks with small brush. Small details!
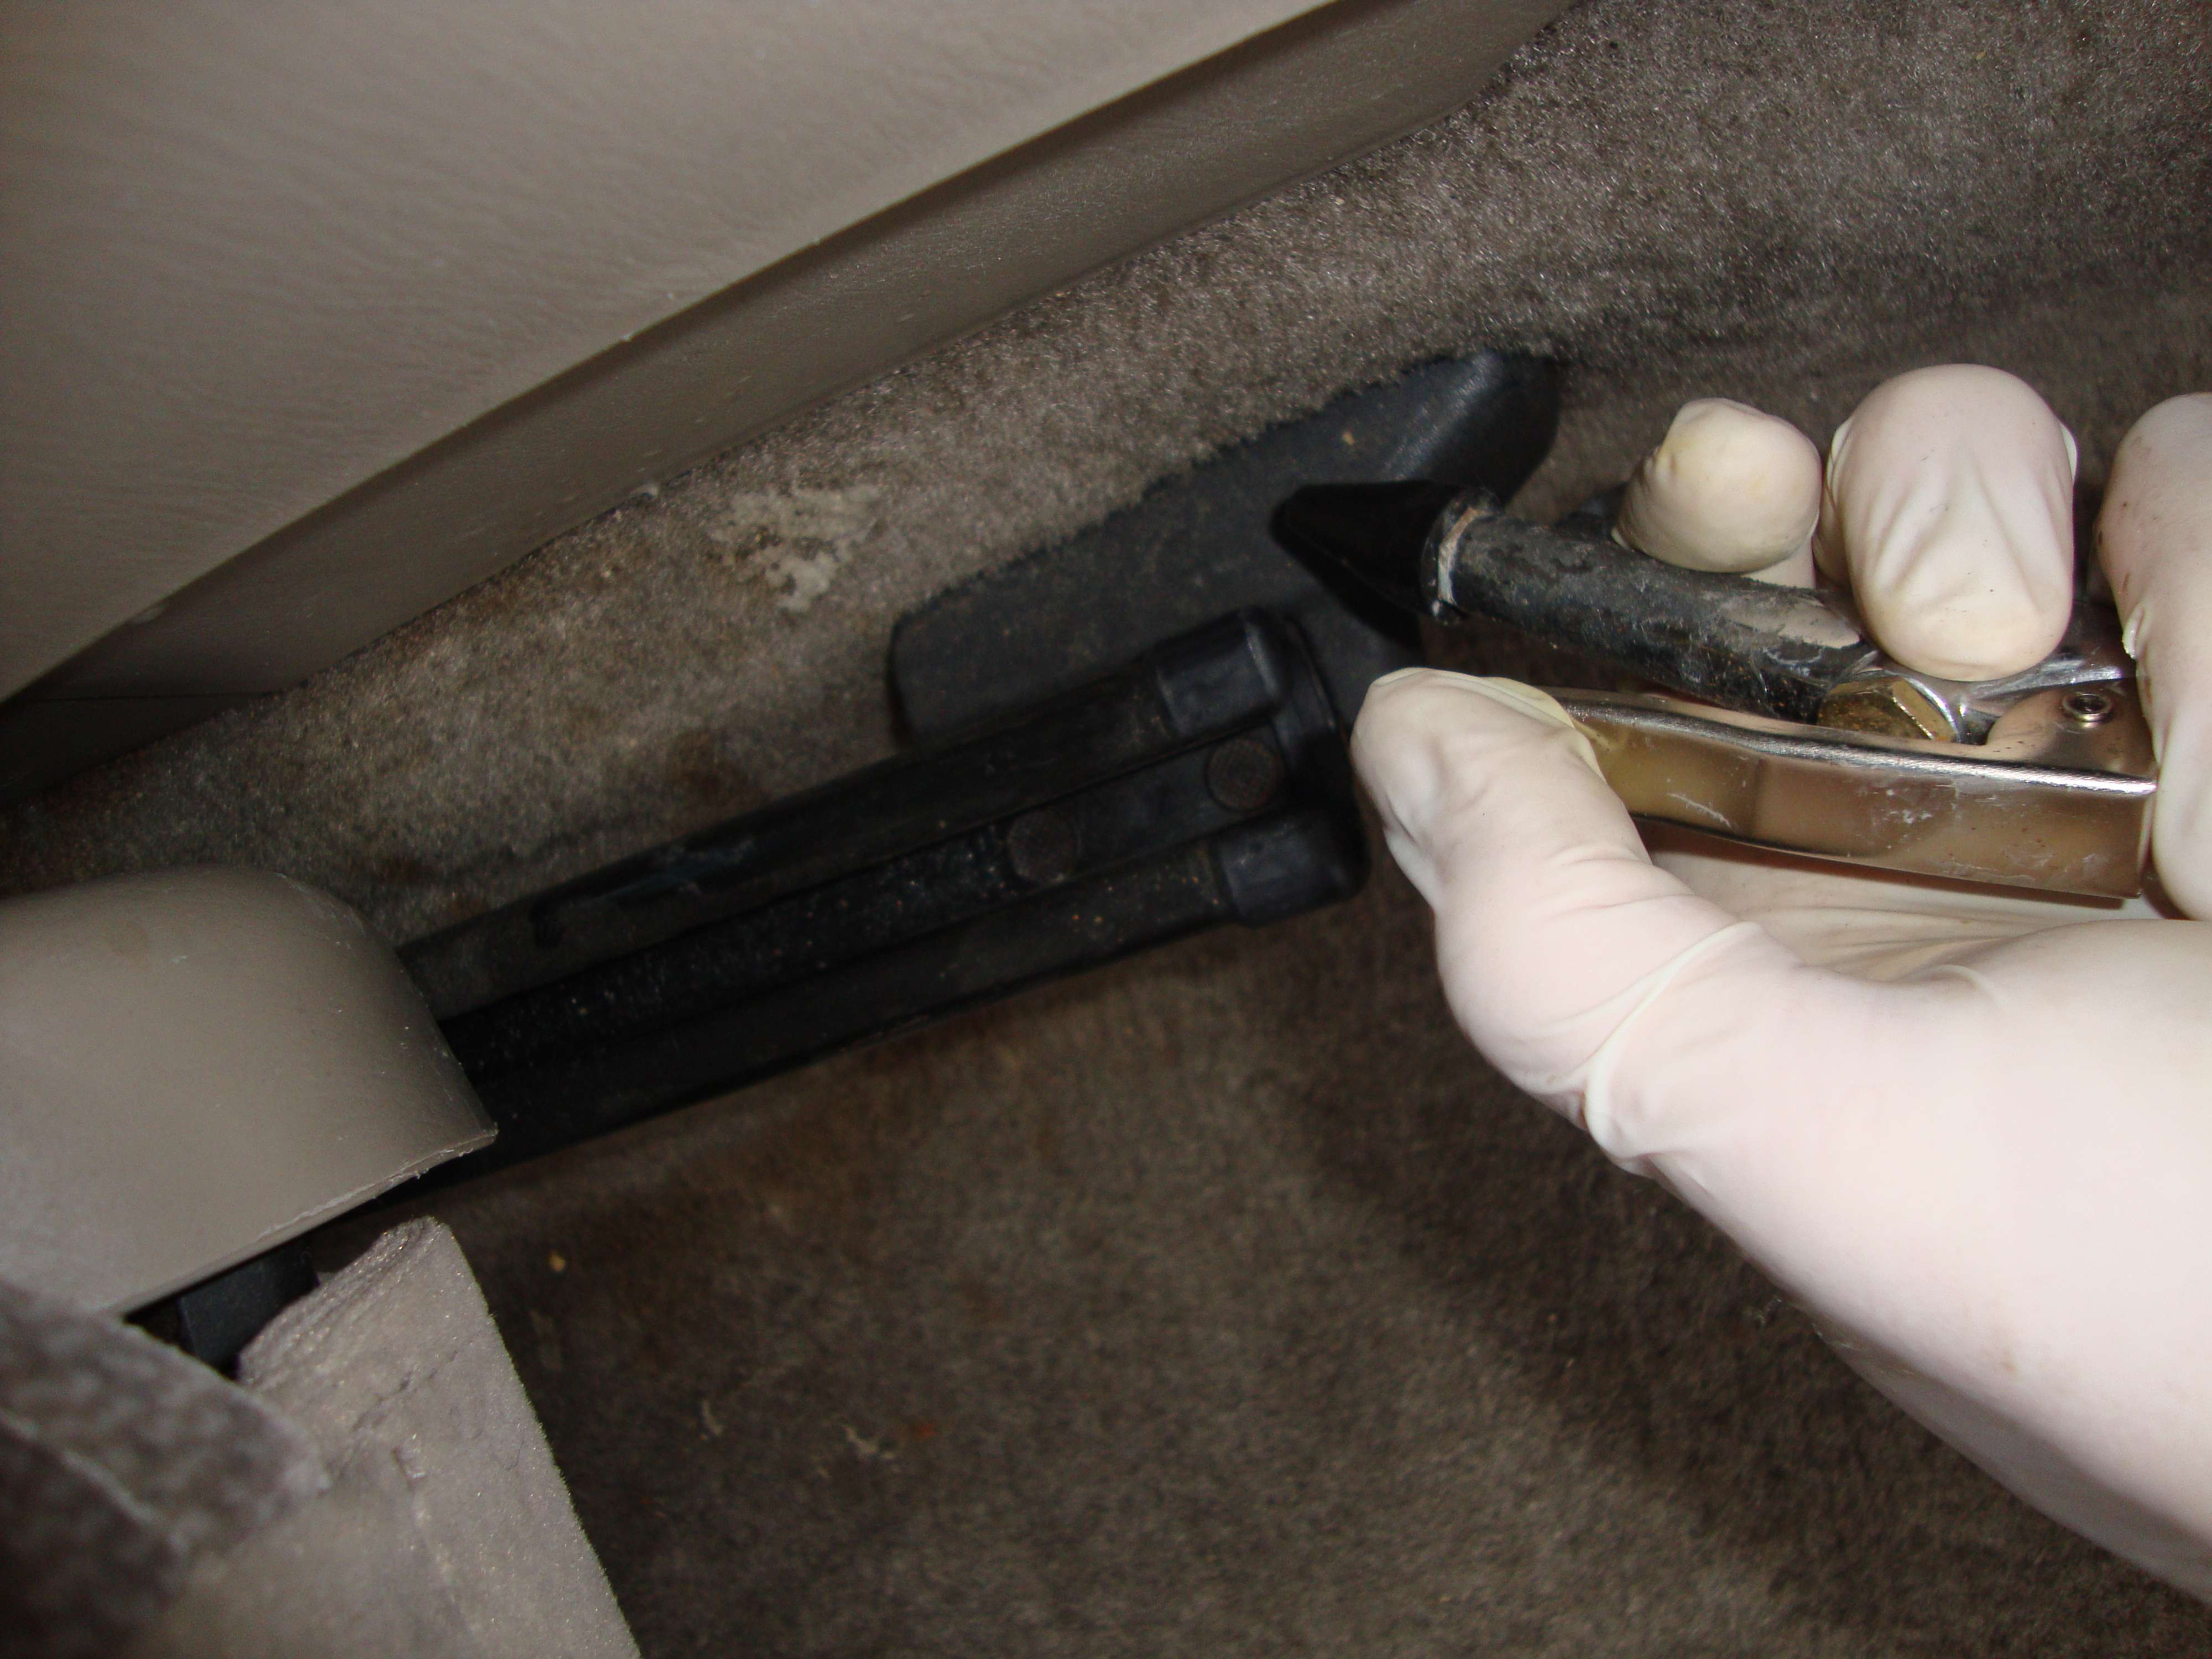
Utilisation du compresseur pour aller chercher les petits morceaux dans les endroits impossible. �a l’aide aussi � nettoyer dans les fentes apr�s avoir passer la brosse.
Like I said, I’m using the air compressor for hard to reach area
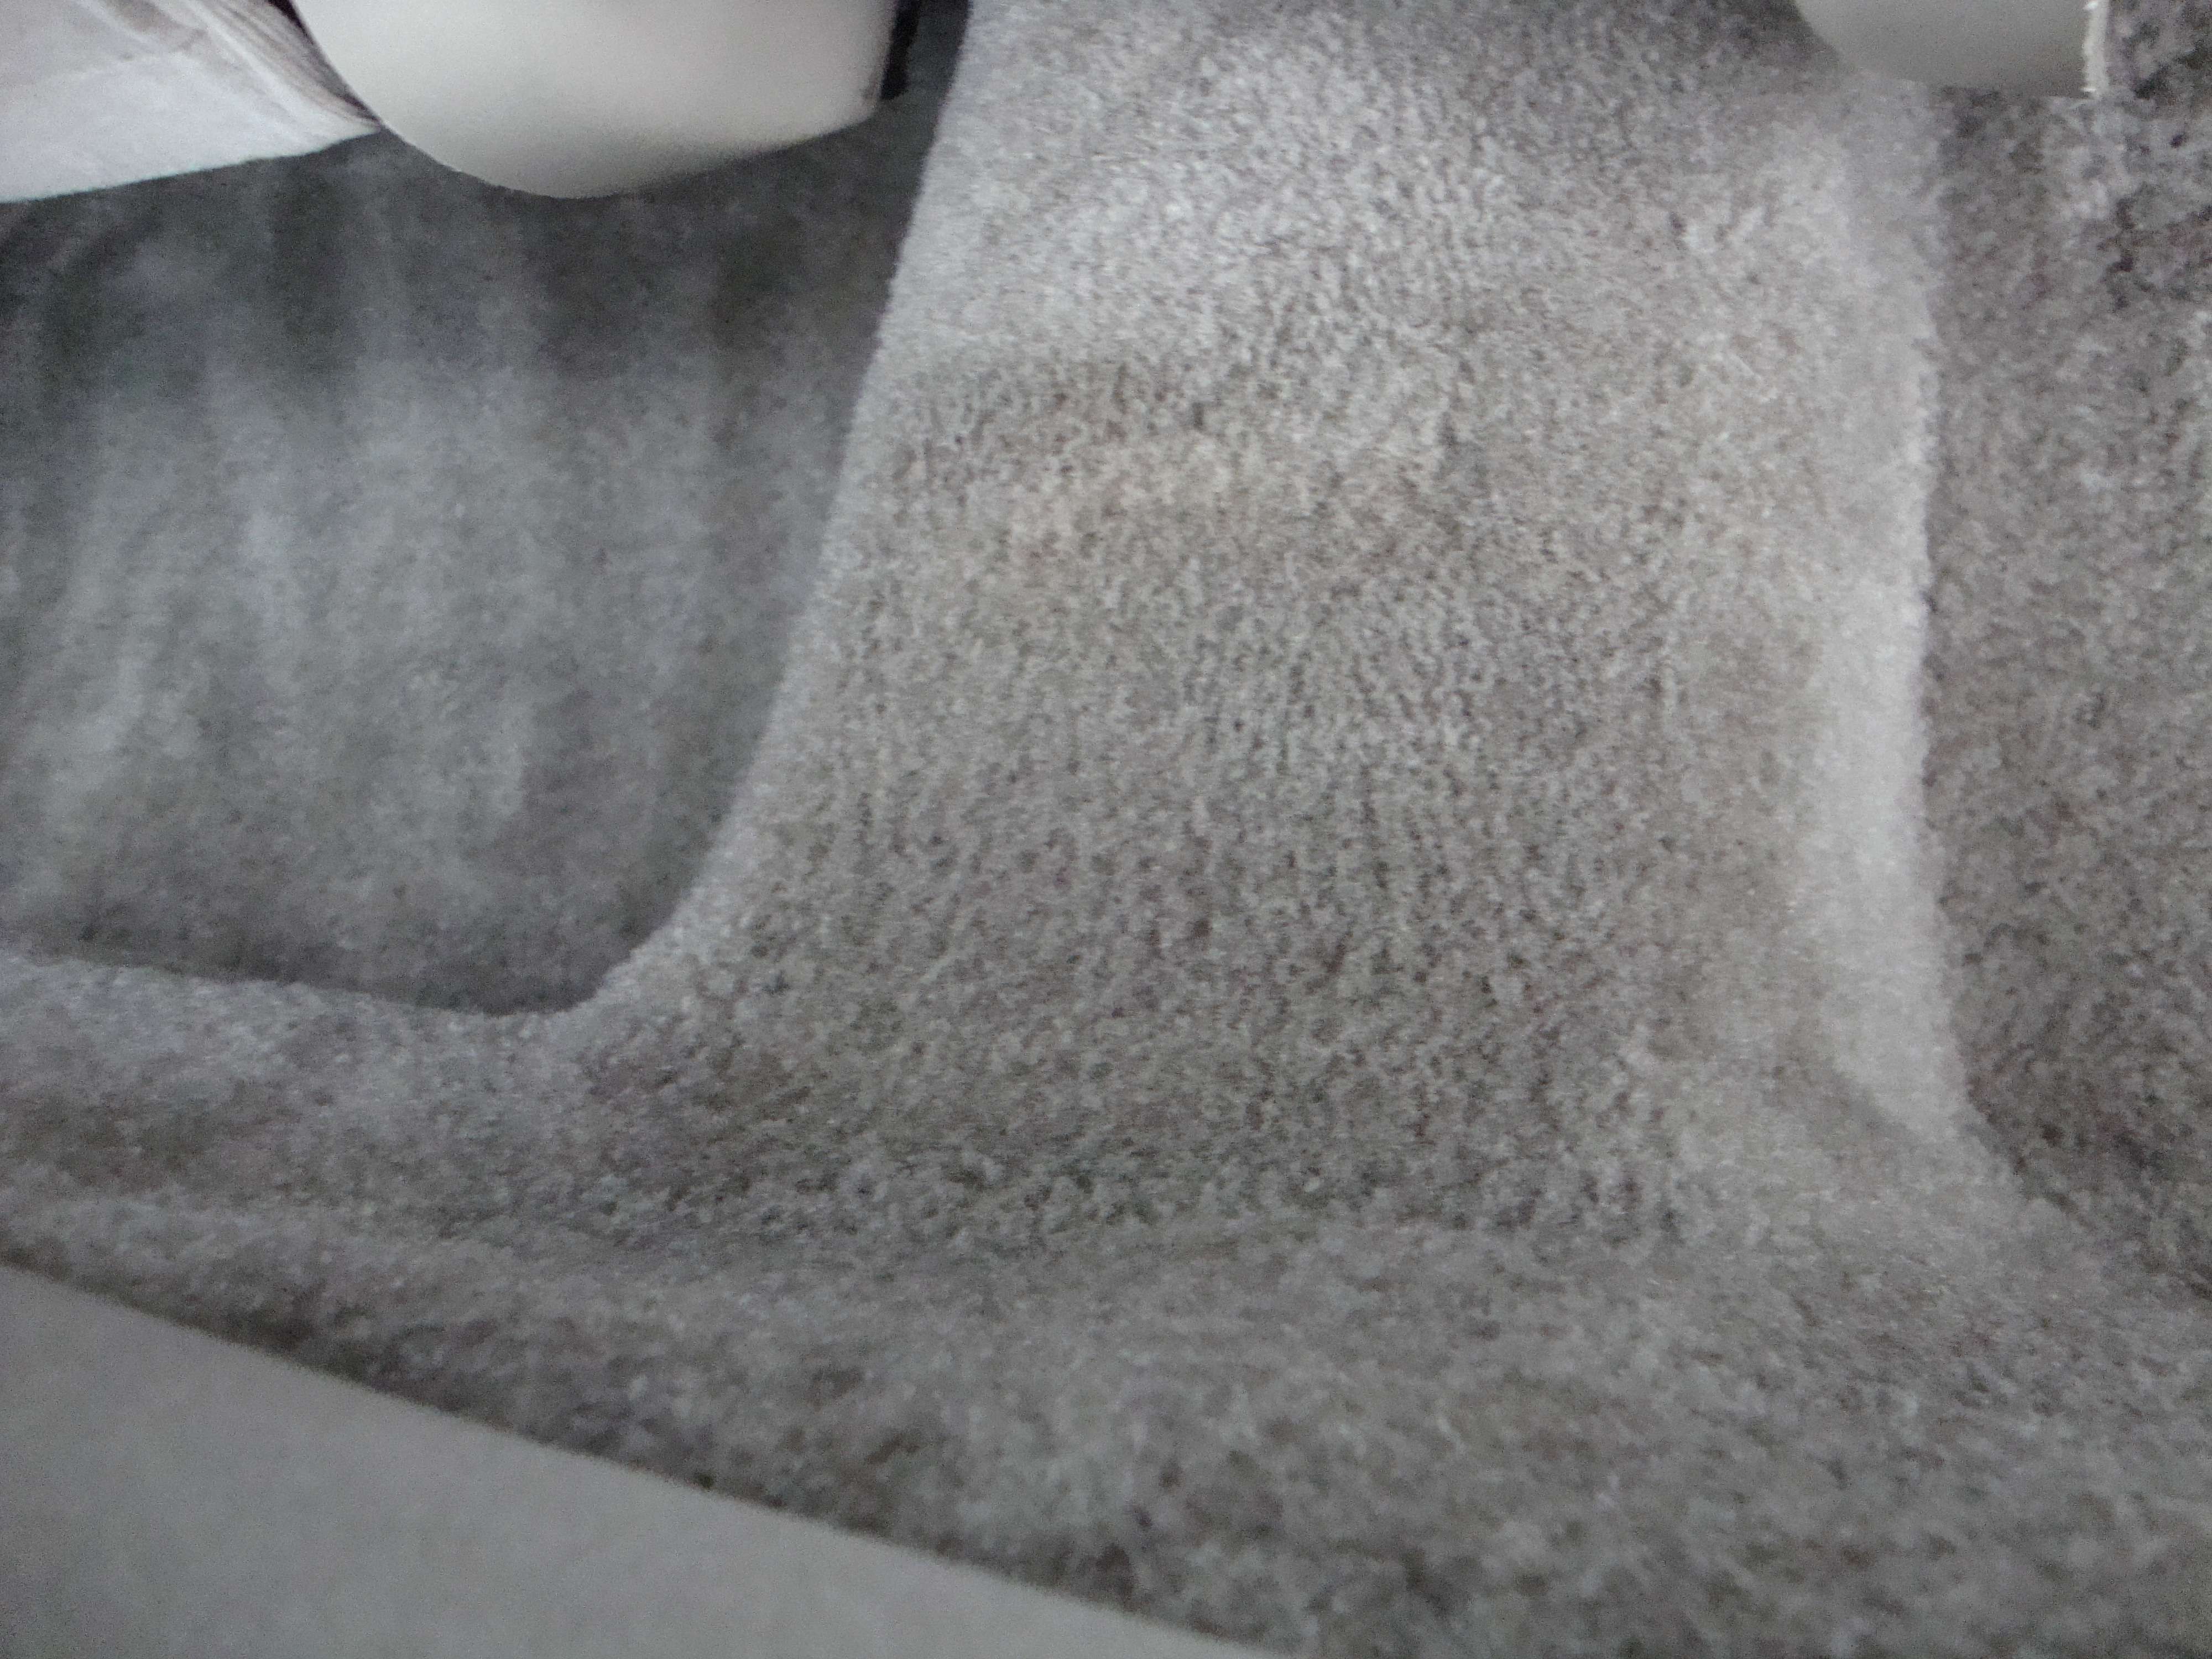
For the past 2 years, I've been working with a powerful yet very expensive galaxy extractor at my upholstery shop cleaning anything you can think of that have fabric/leather.
I think it was times for me to step up with a portable extractor in order to make cleaner jobs.This thing ain't cheap but I guess it's worth it!
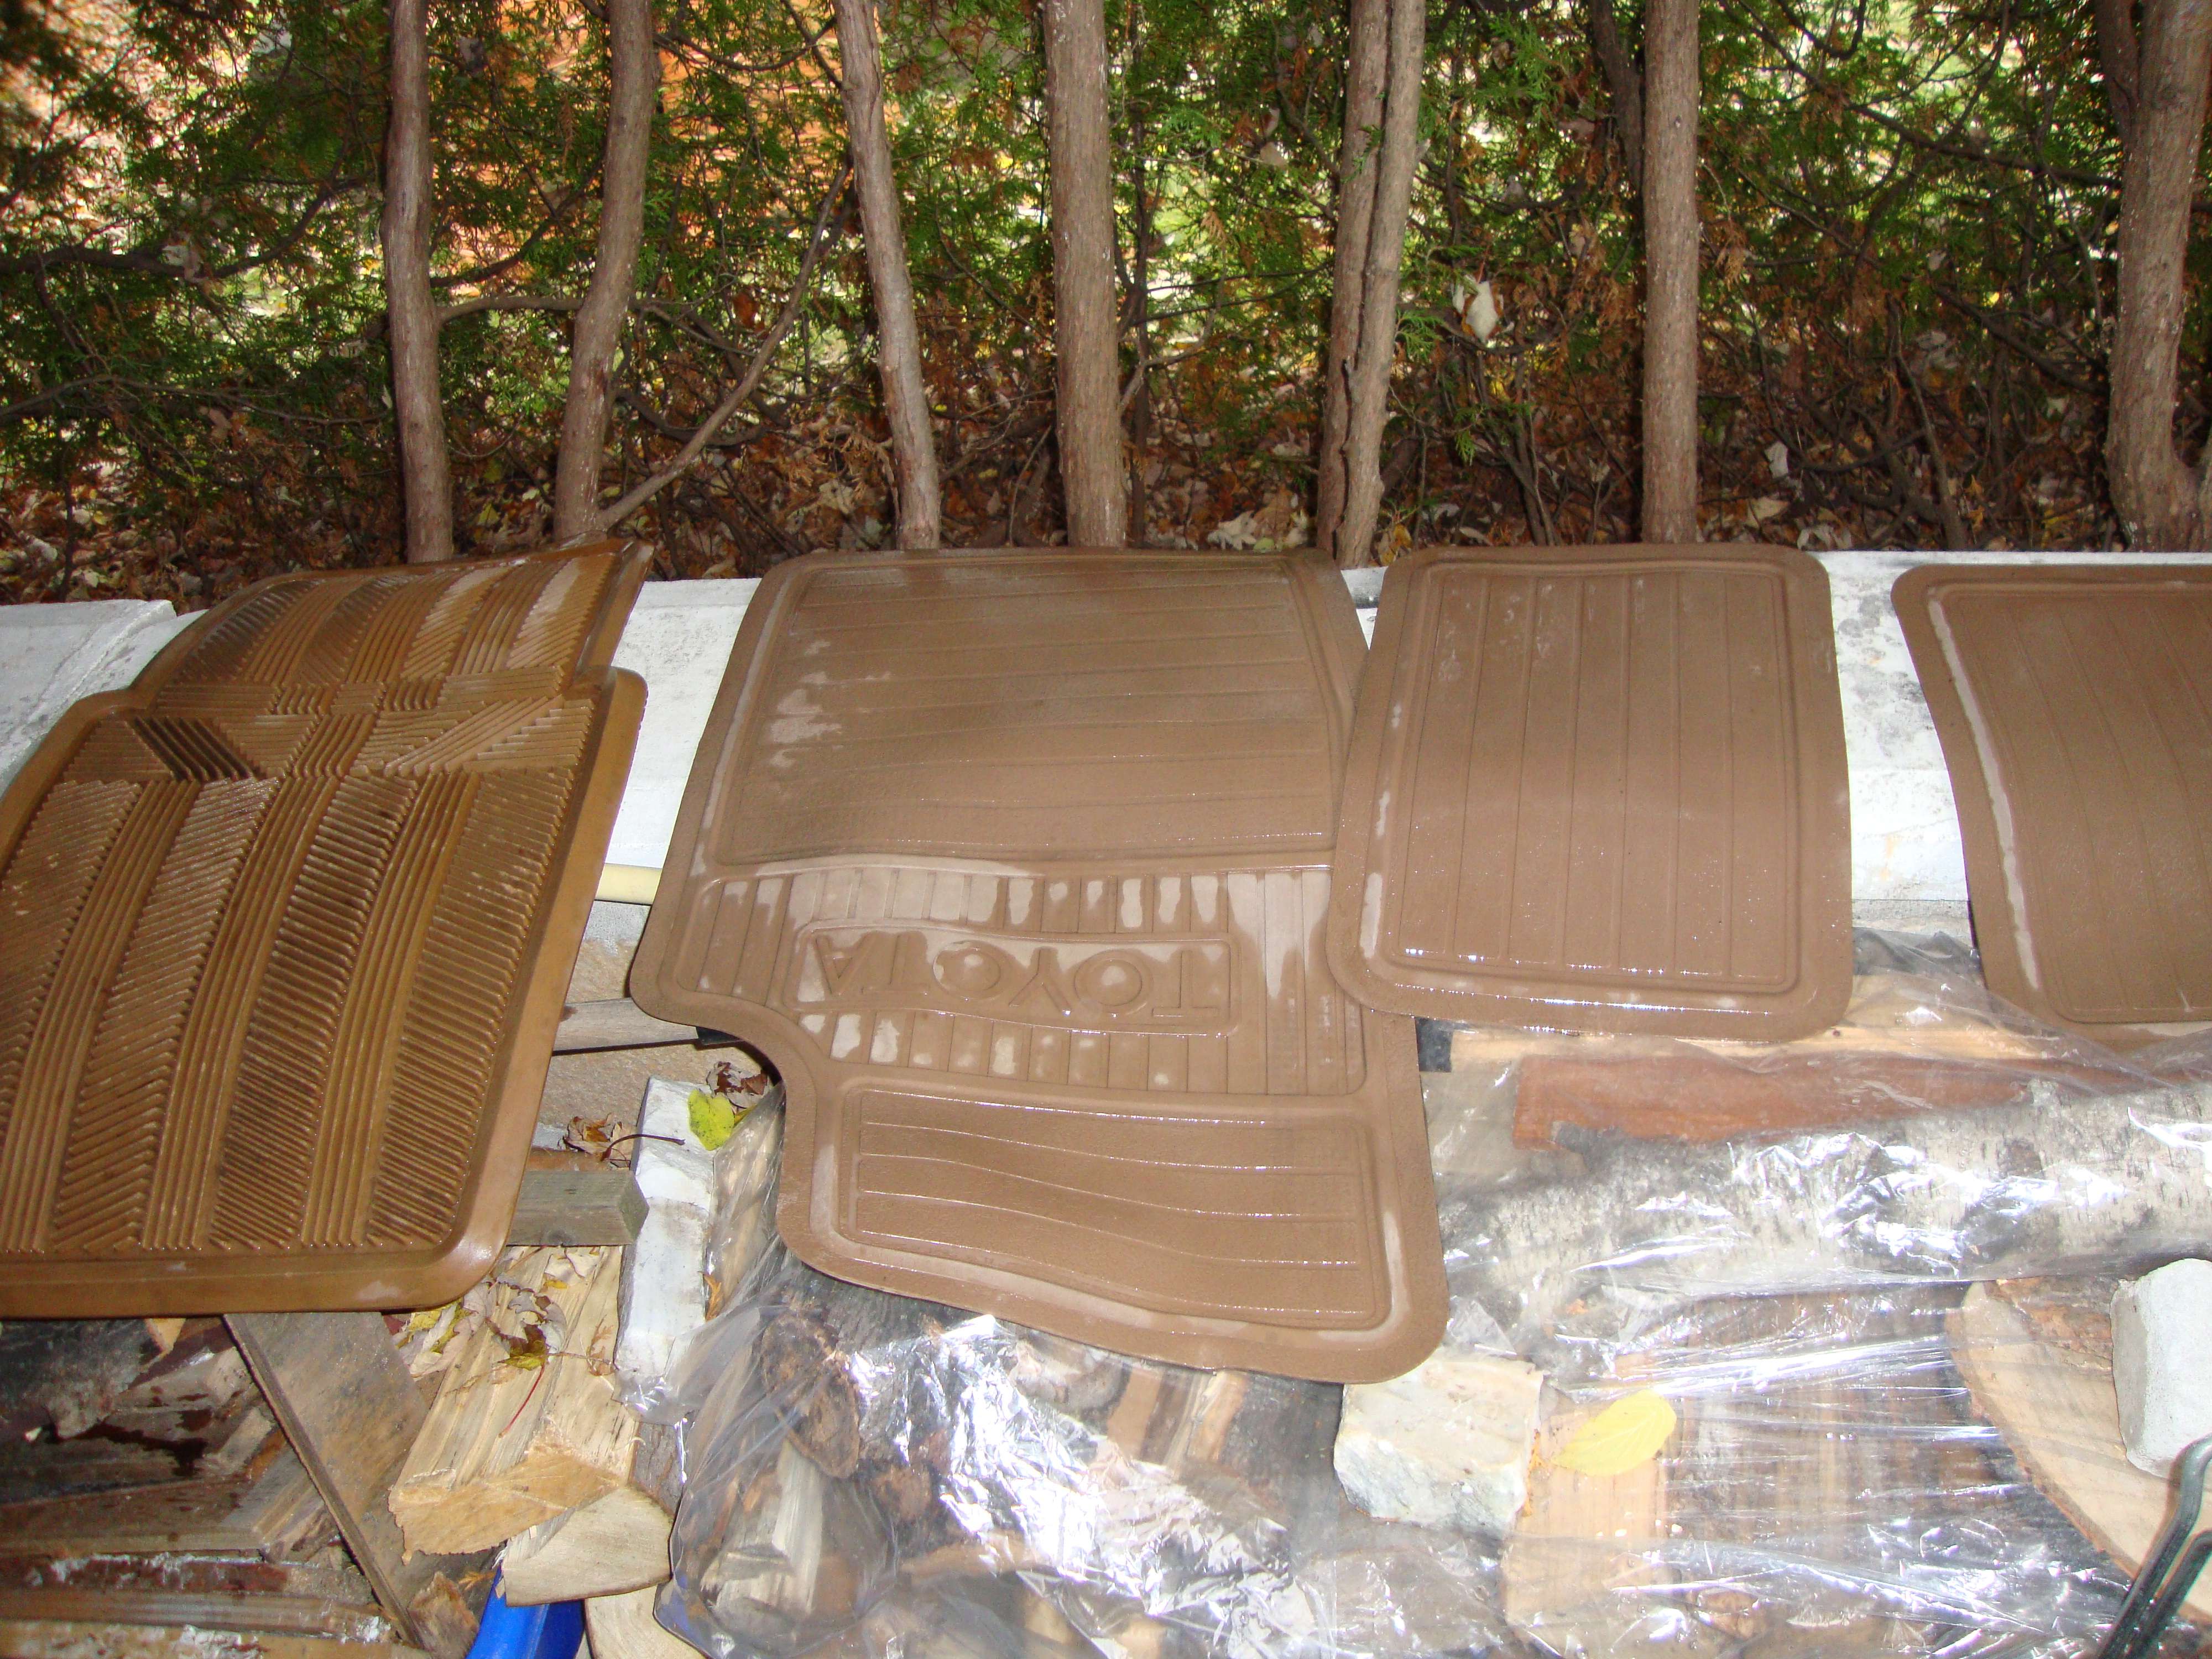
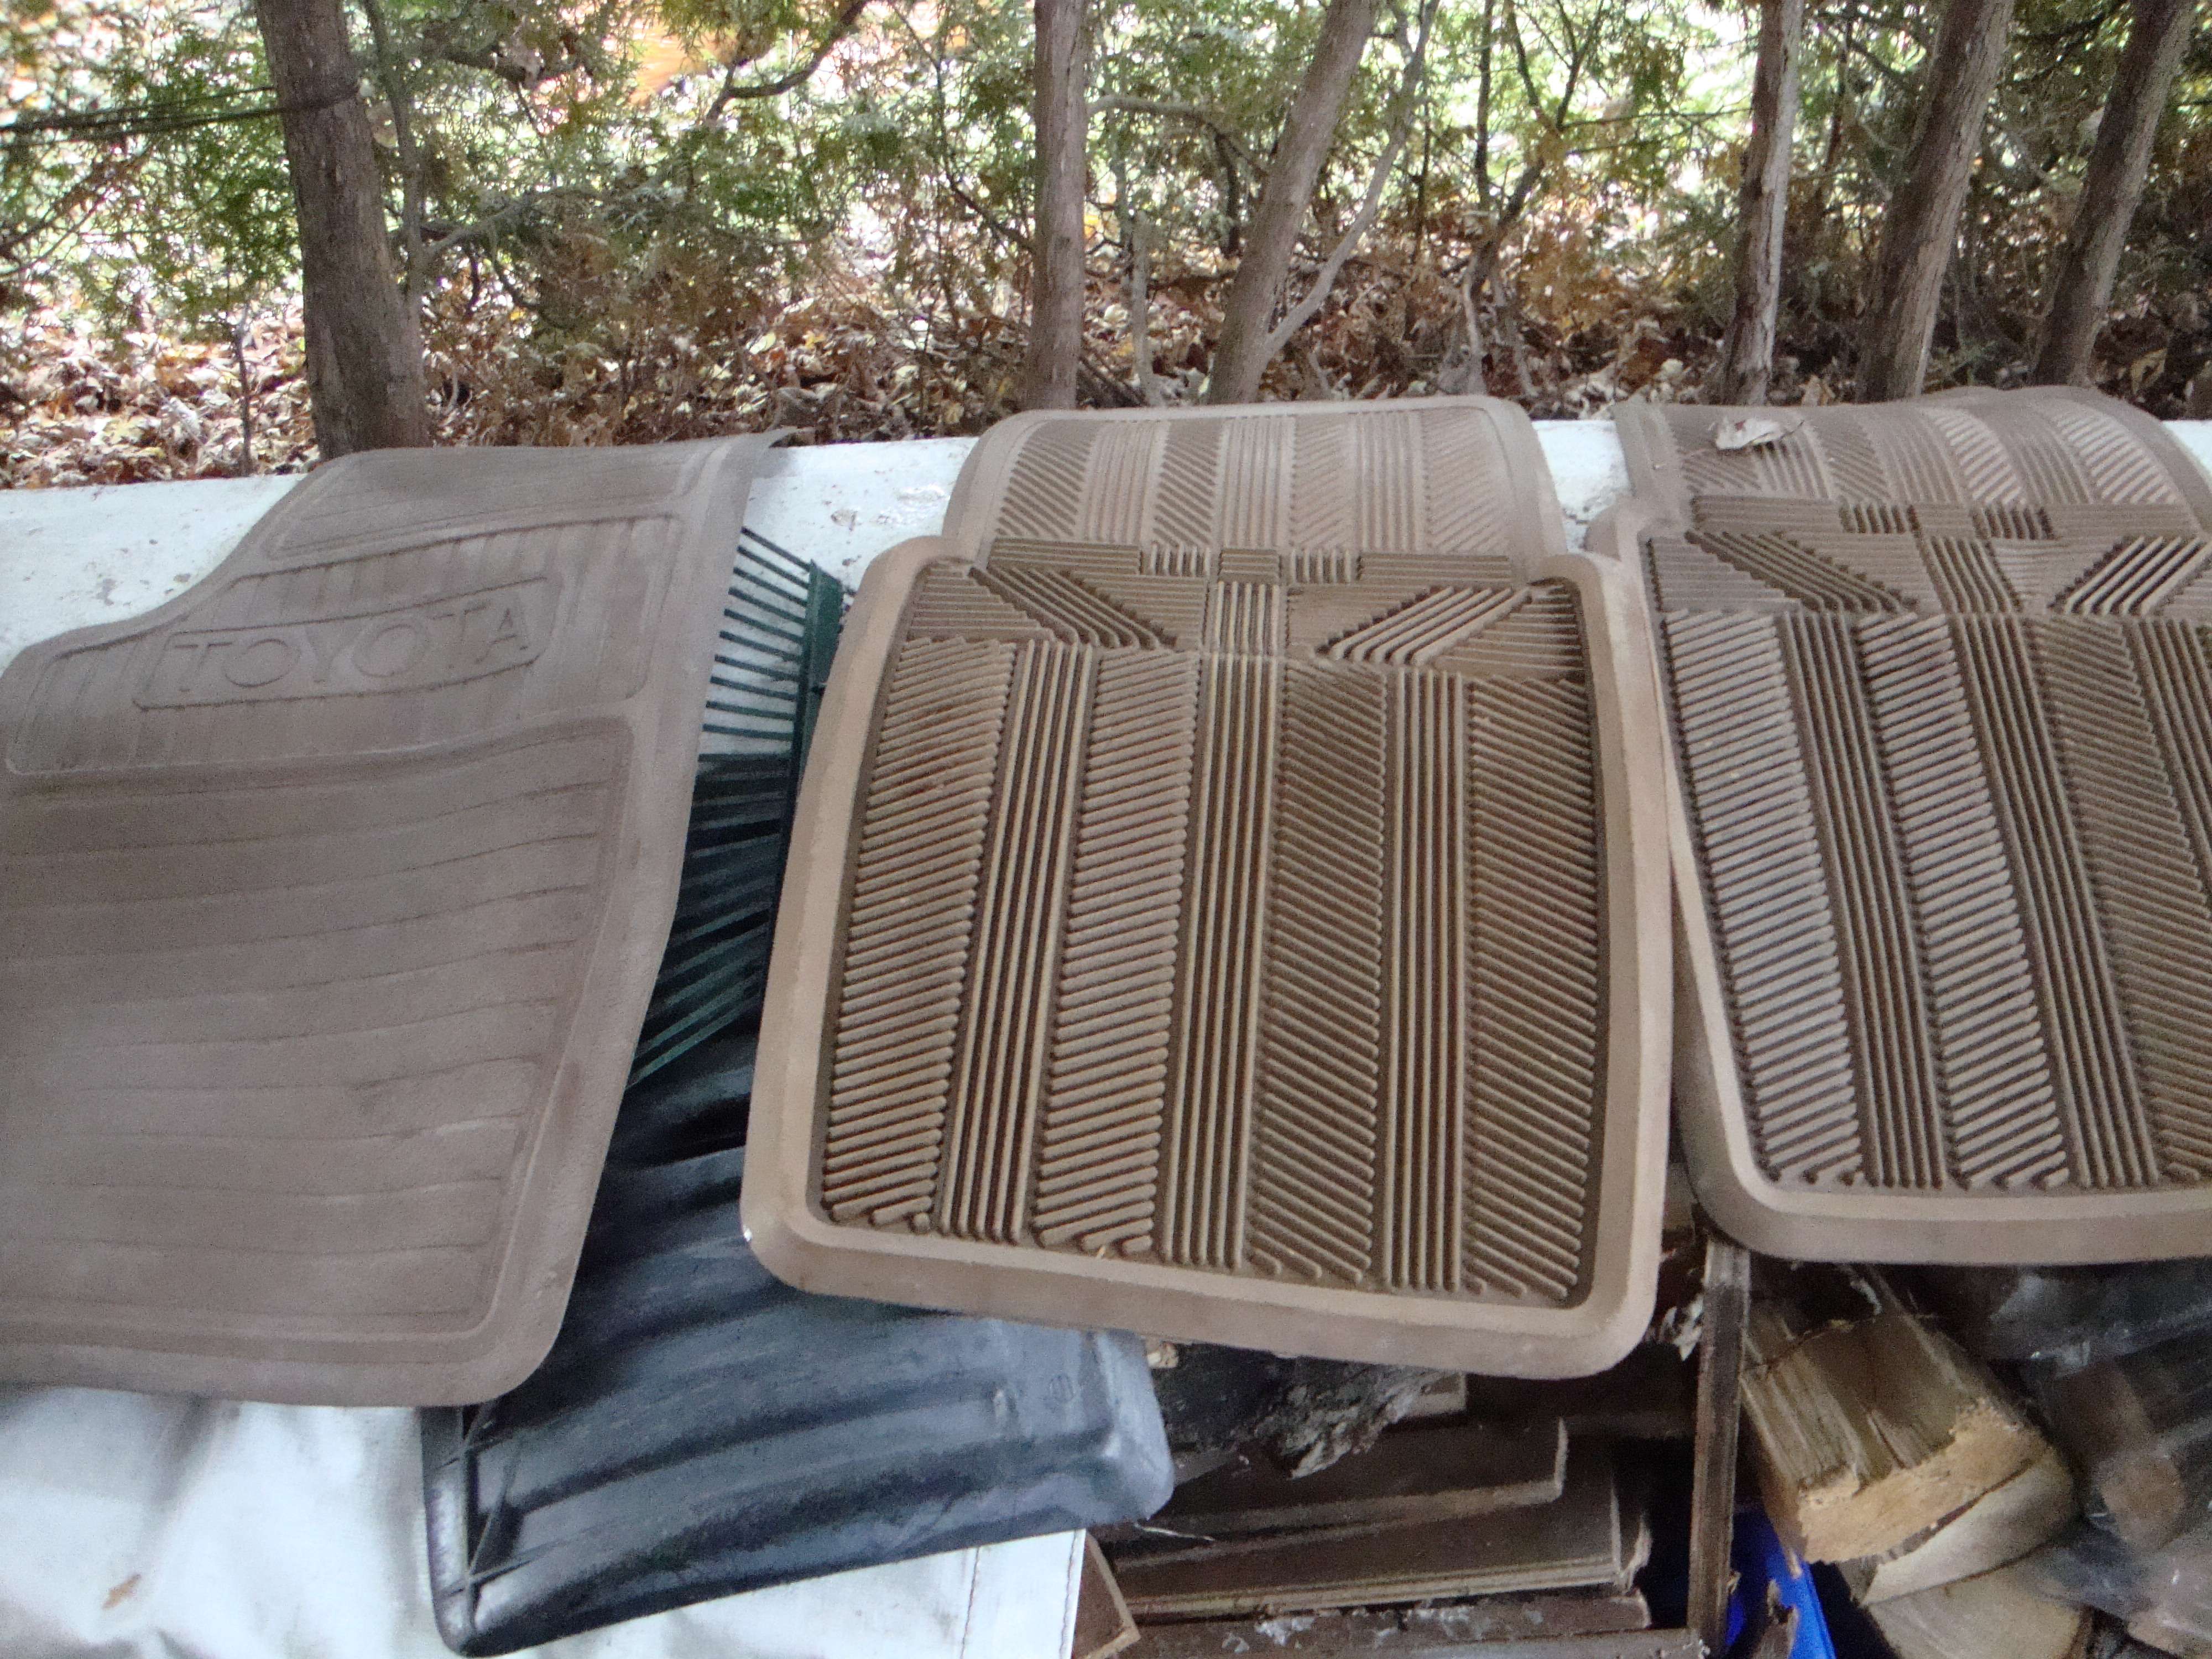
So, before doing a car with this machine, I decide to test it on my white carpet. good test. Here's the result.
:


 .
.


Leave a comment: