If this is your first visit, be sure to
check out the FAQ by clicking the
link above. You may have to register
before you can post: click the register link above to proceed. To start viewing messages,
select the forum that you want to visit from the selection below.
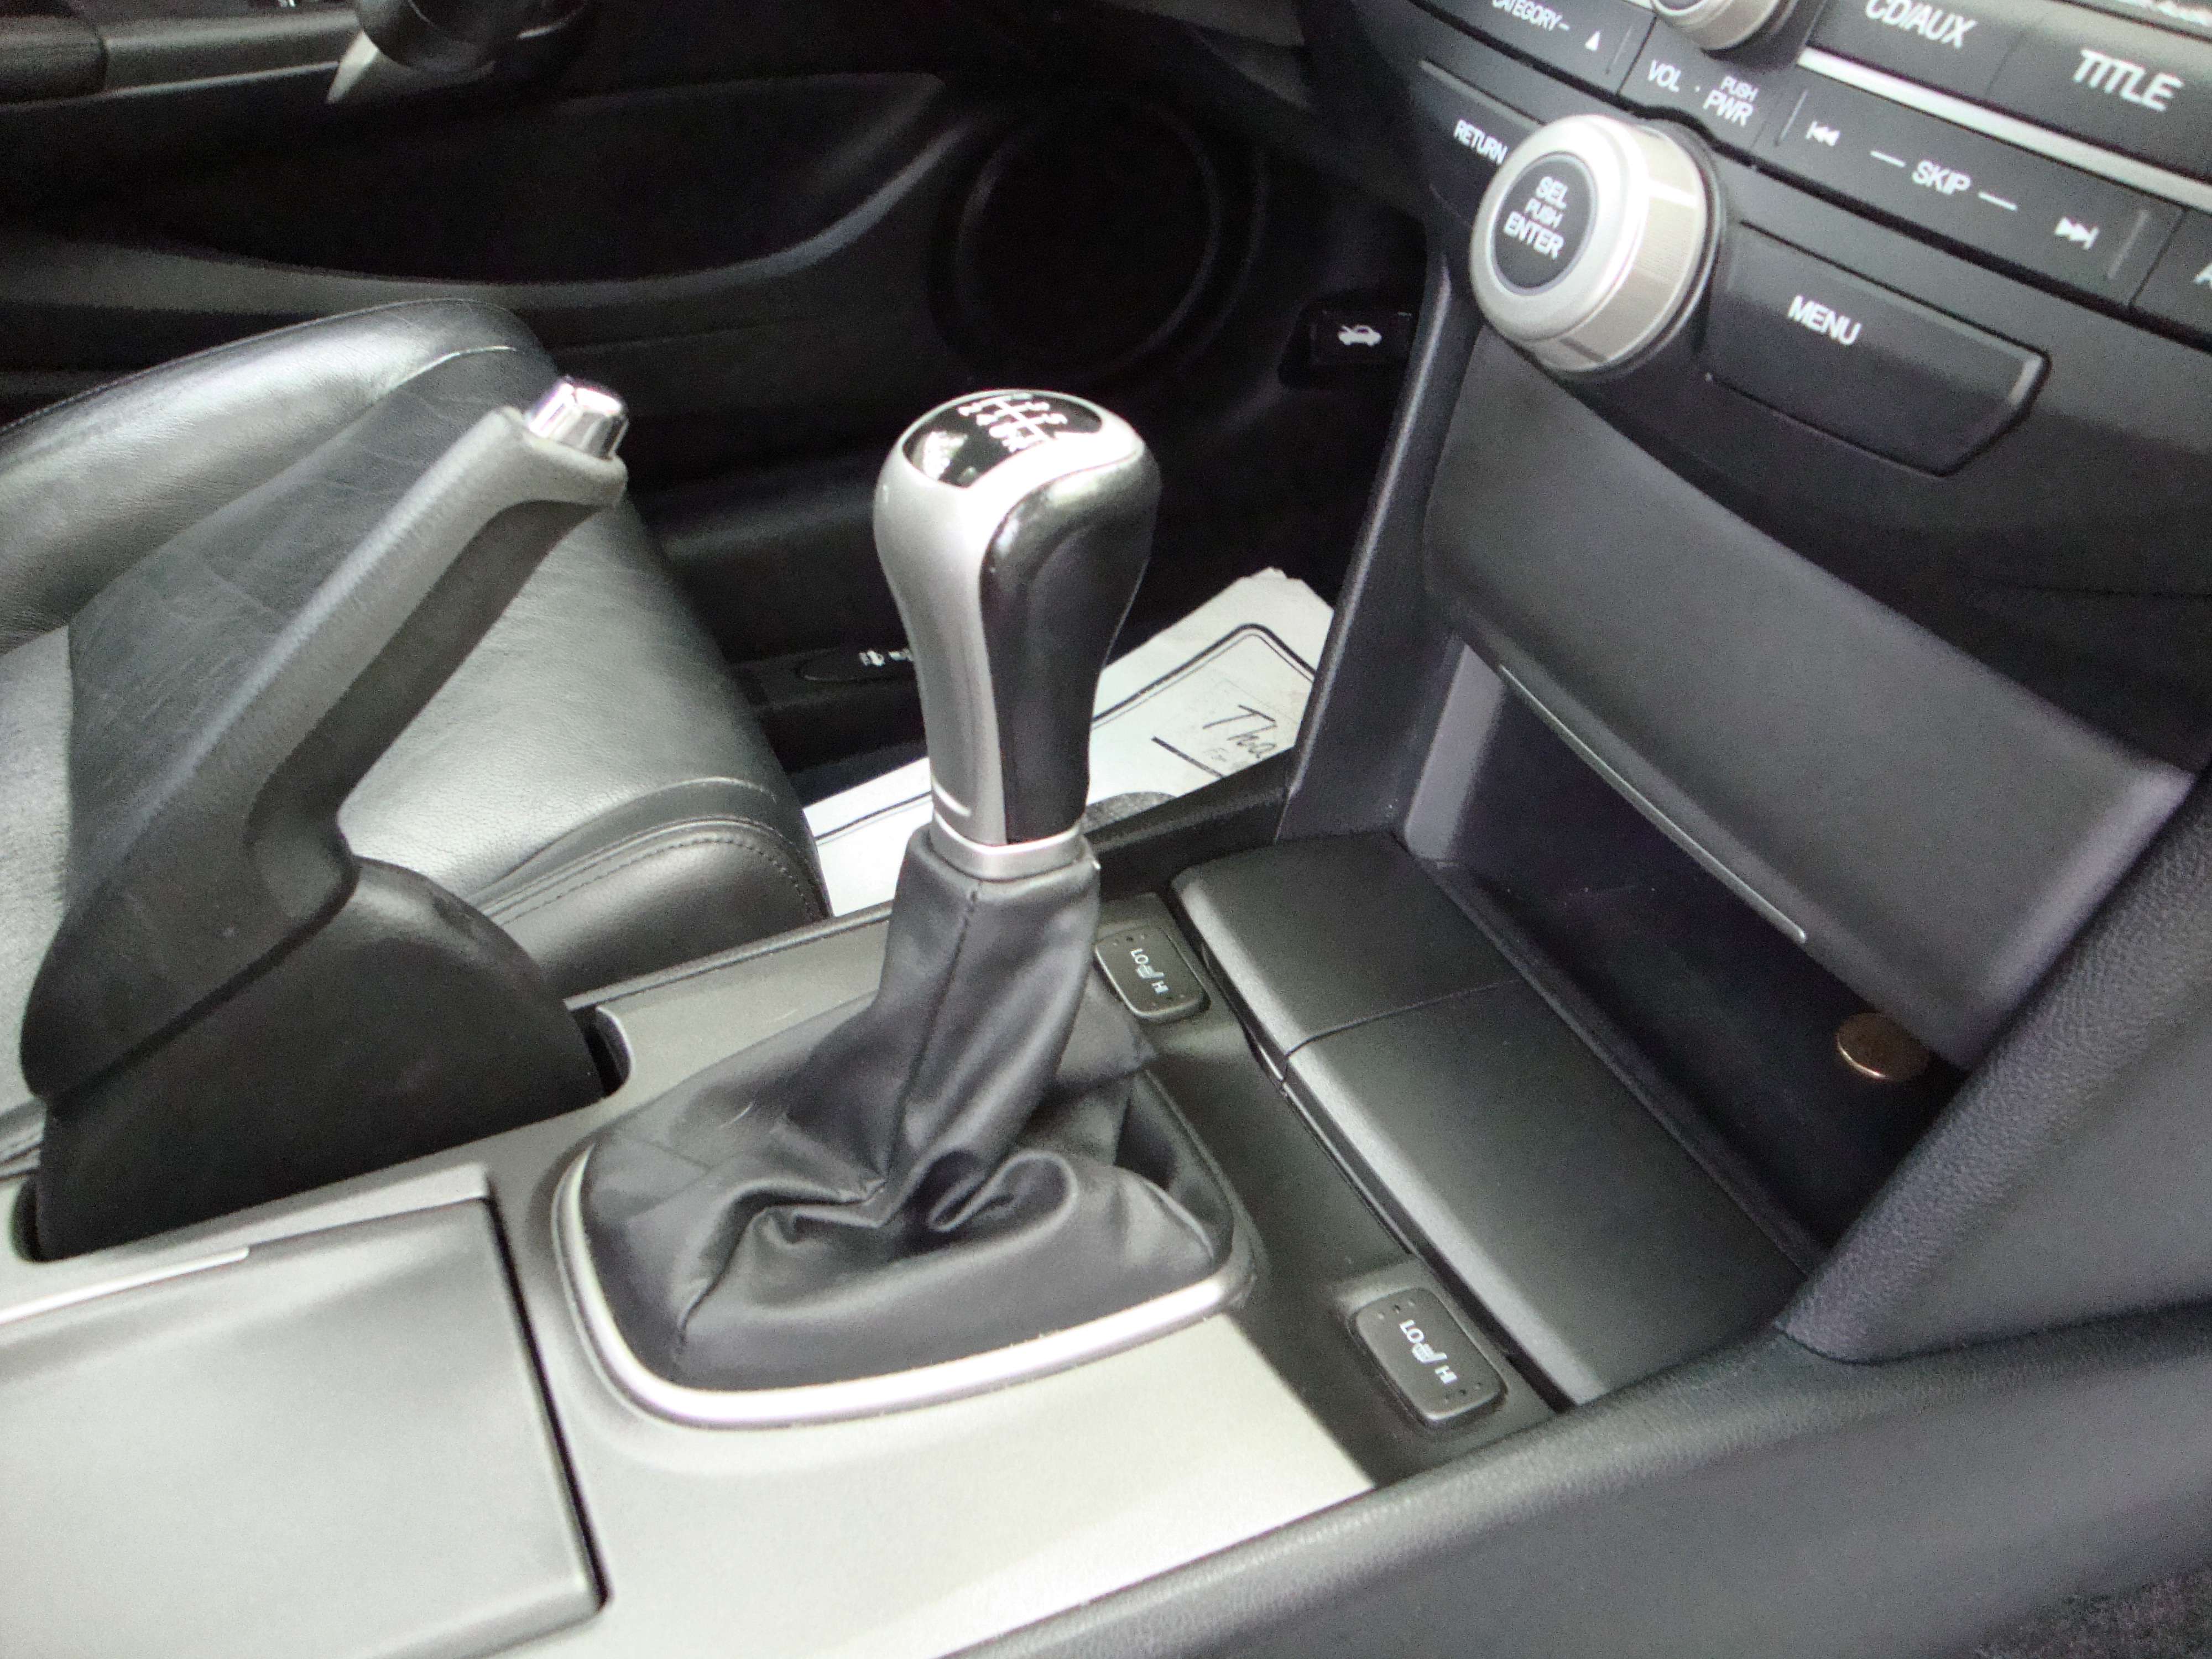
C�est assez rare que je travail sur des Audis, mais c�est pourtant pas une nouvelle pour moi car j�ai d�j� travaill� chez Audi. La S4 et la R8 �taient de loins mes pr�f�r�s
Donc voici une belle S4 en bonne shape.
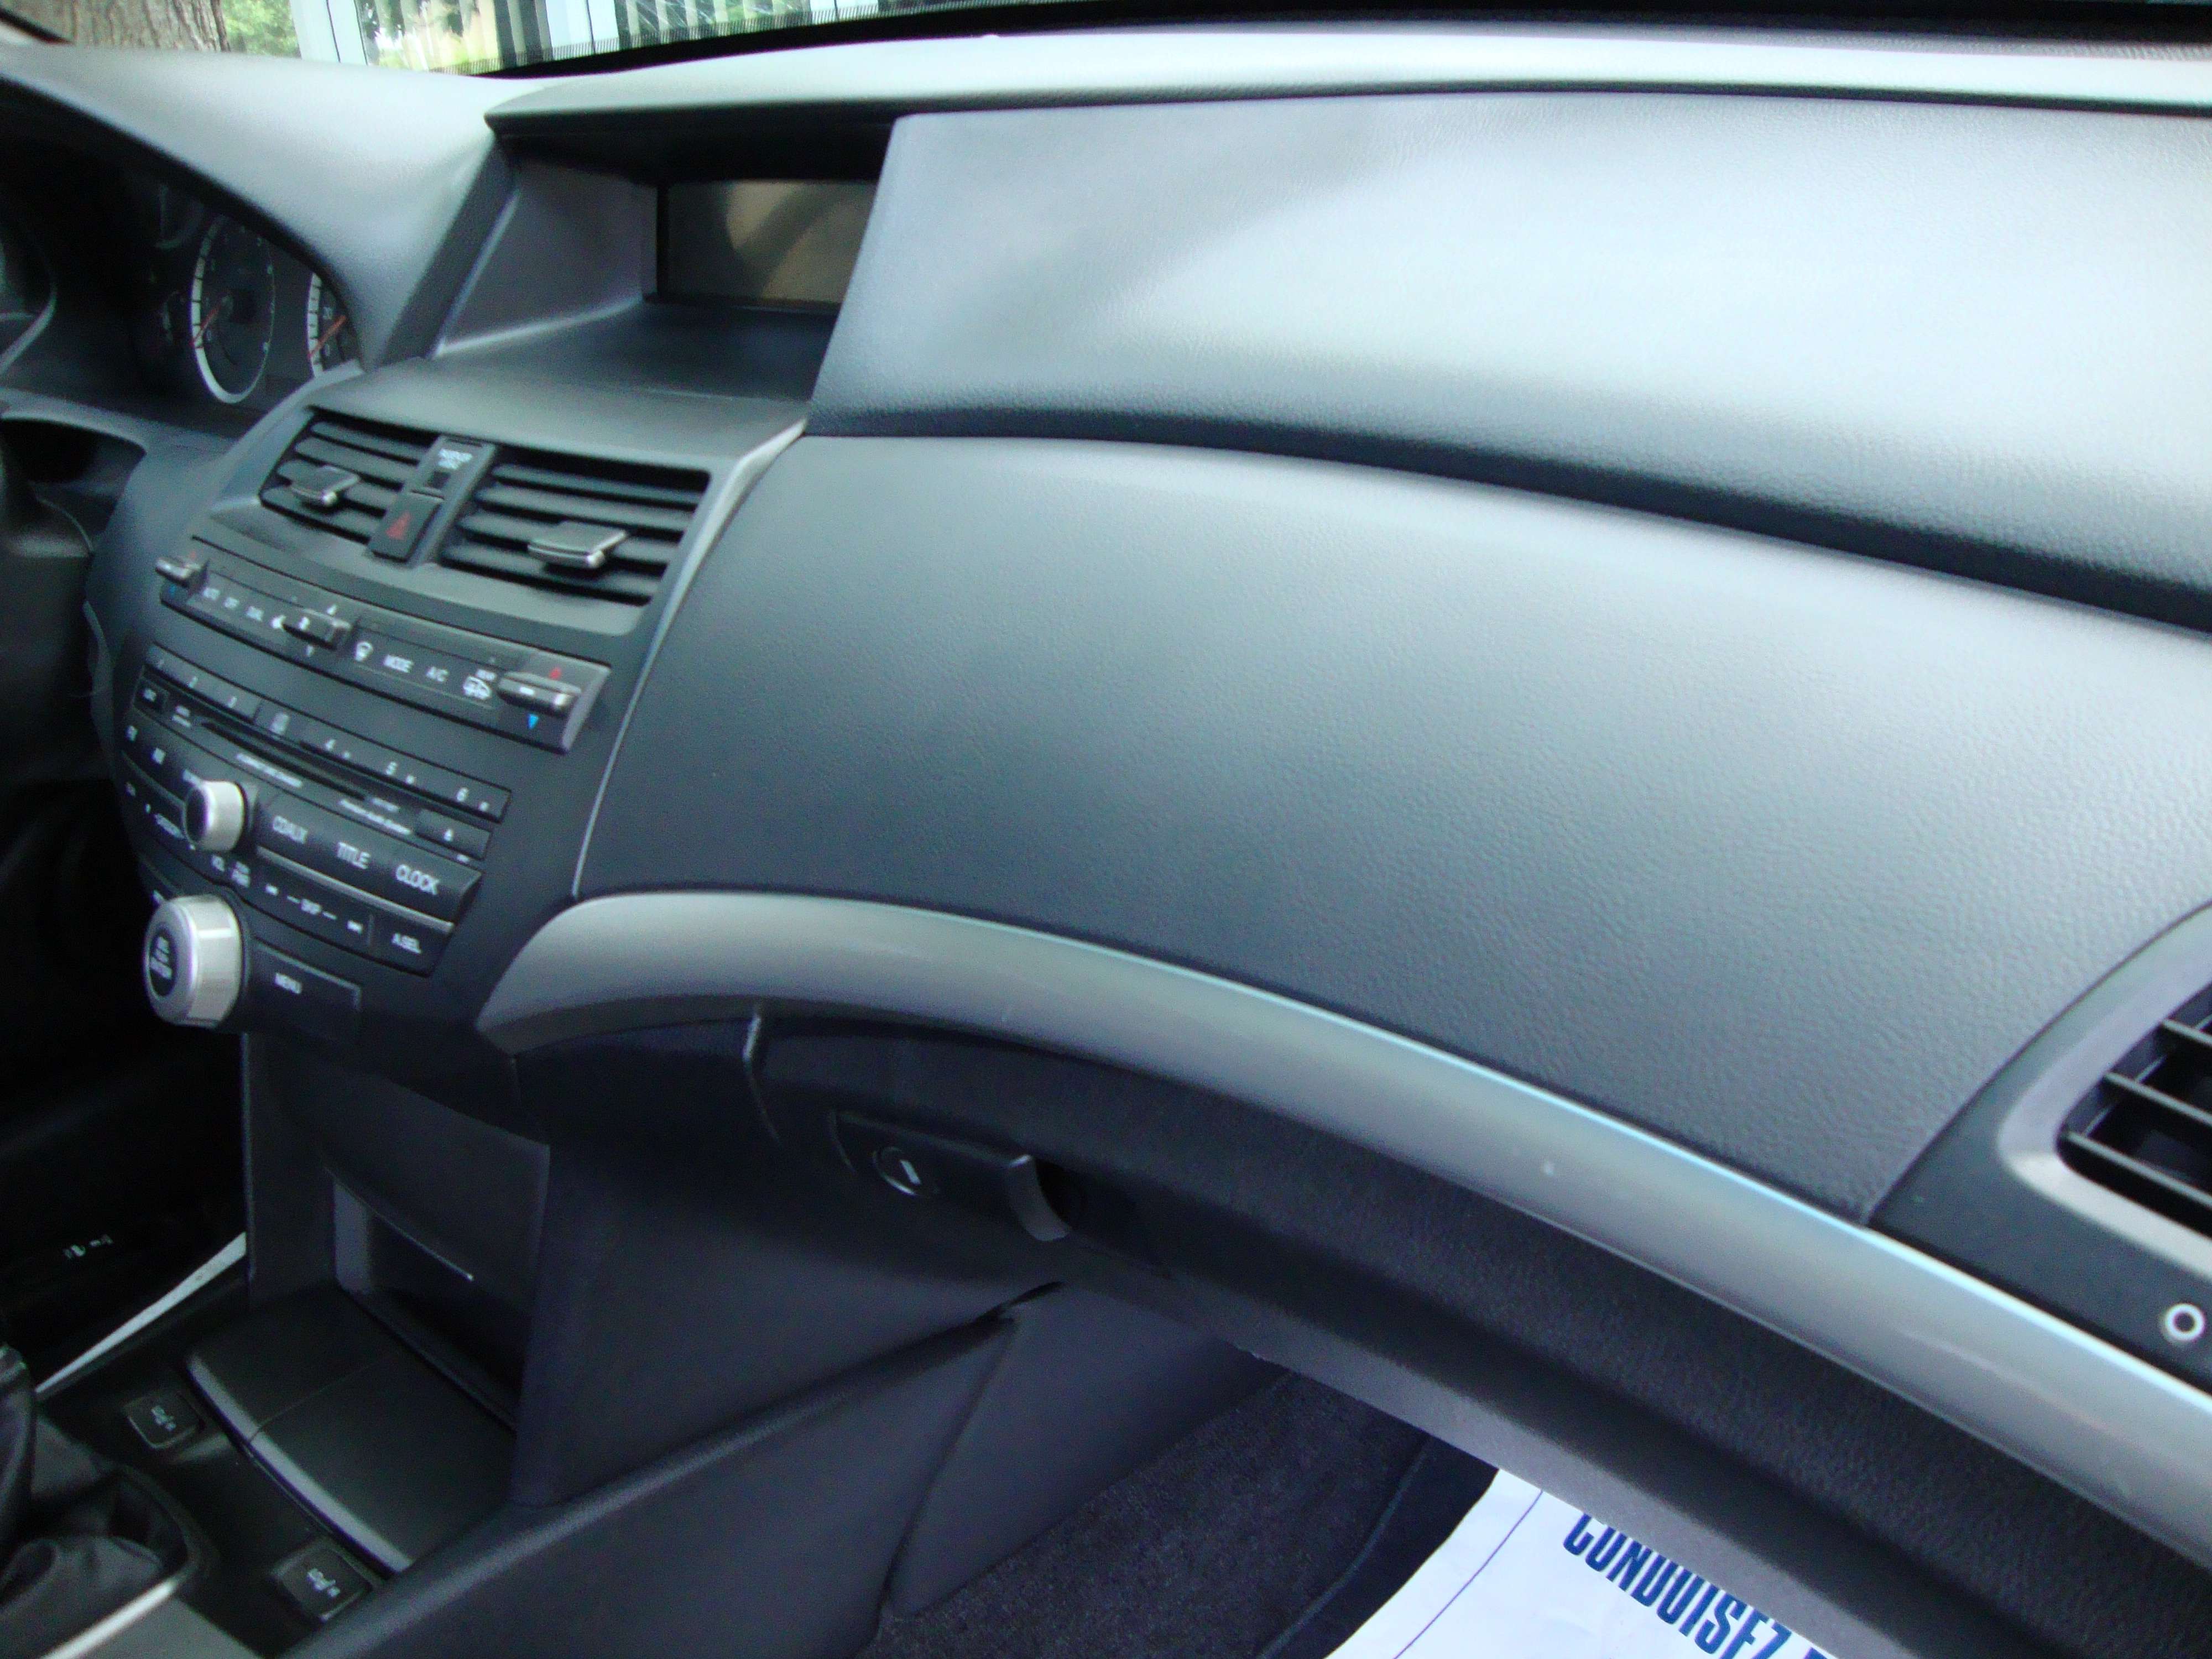
Je me suis attard� � l�int�rieur avec un quick polish pour l�ext�rieur + une bonne cire pour un beau shine.
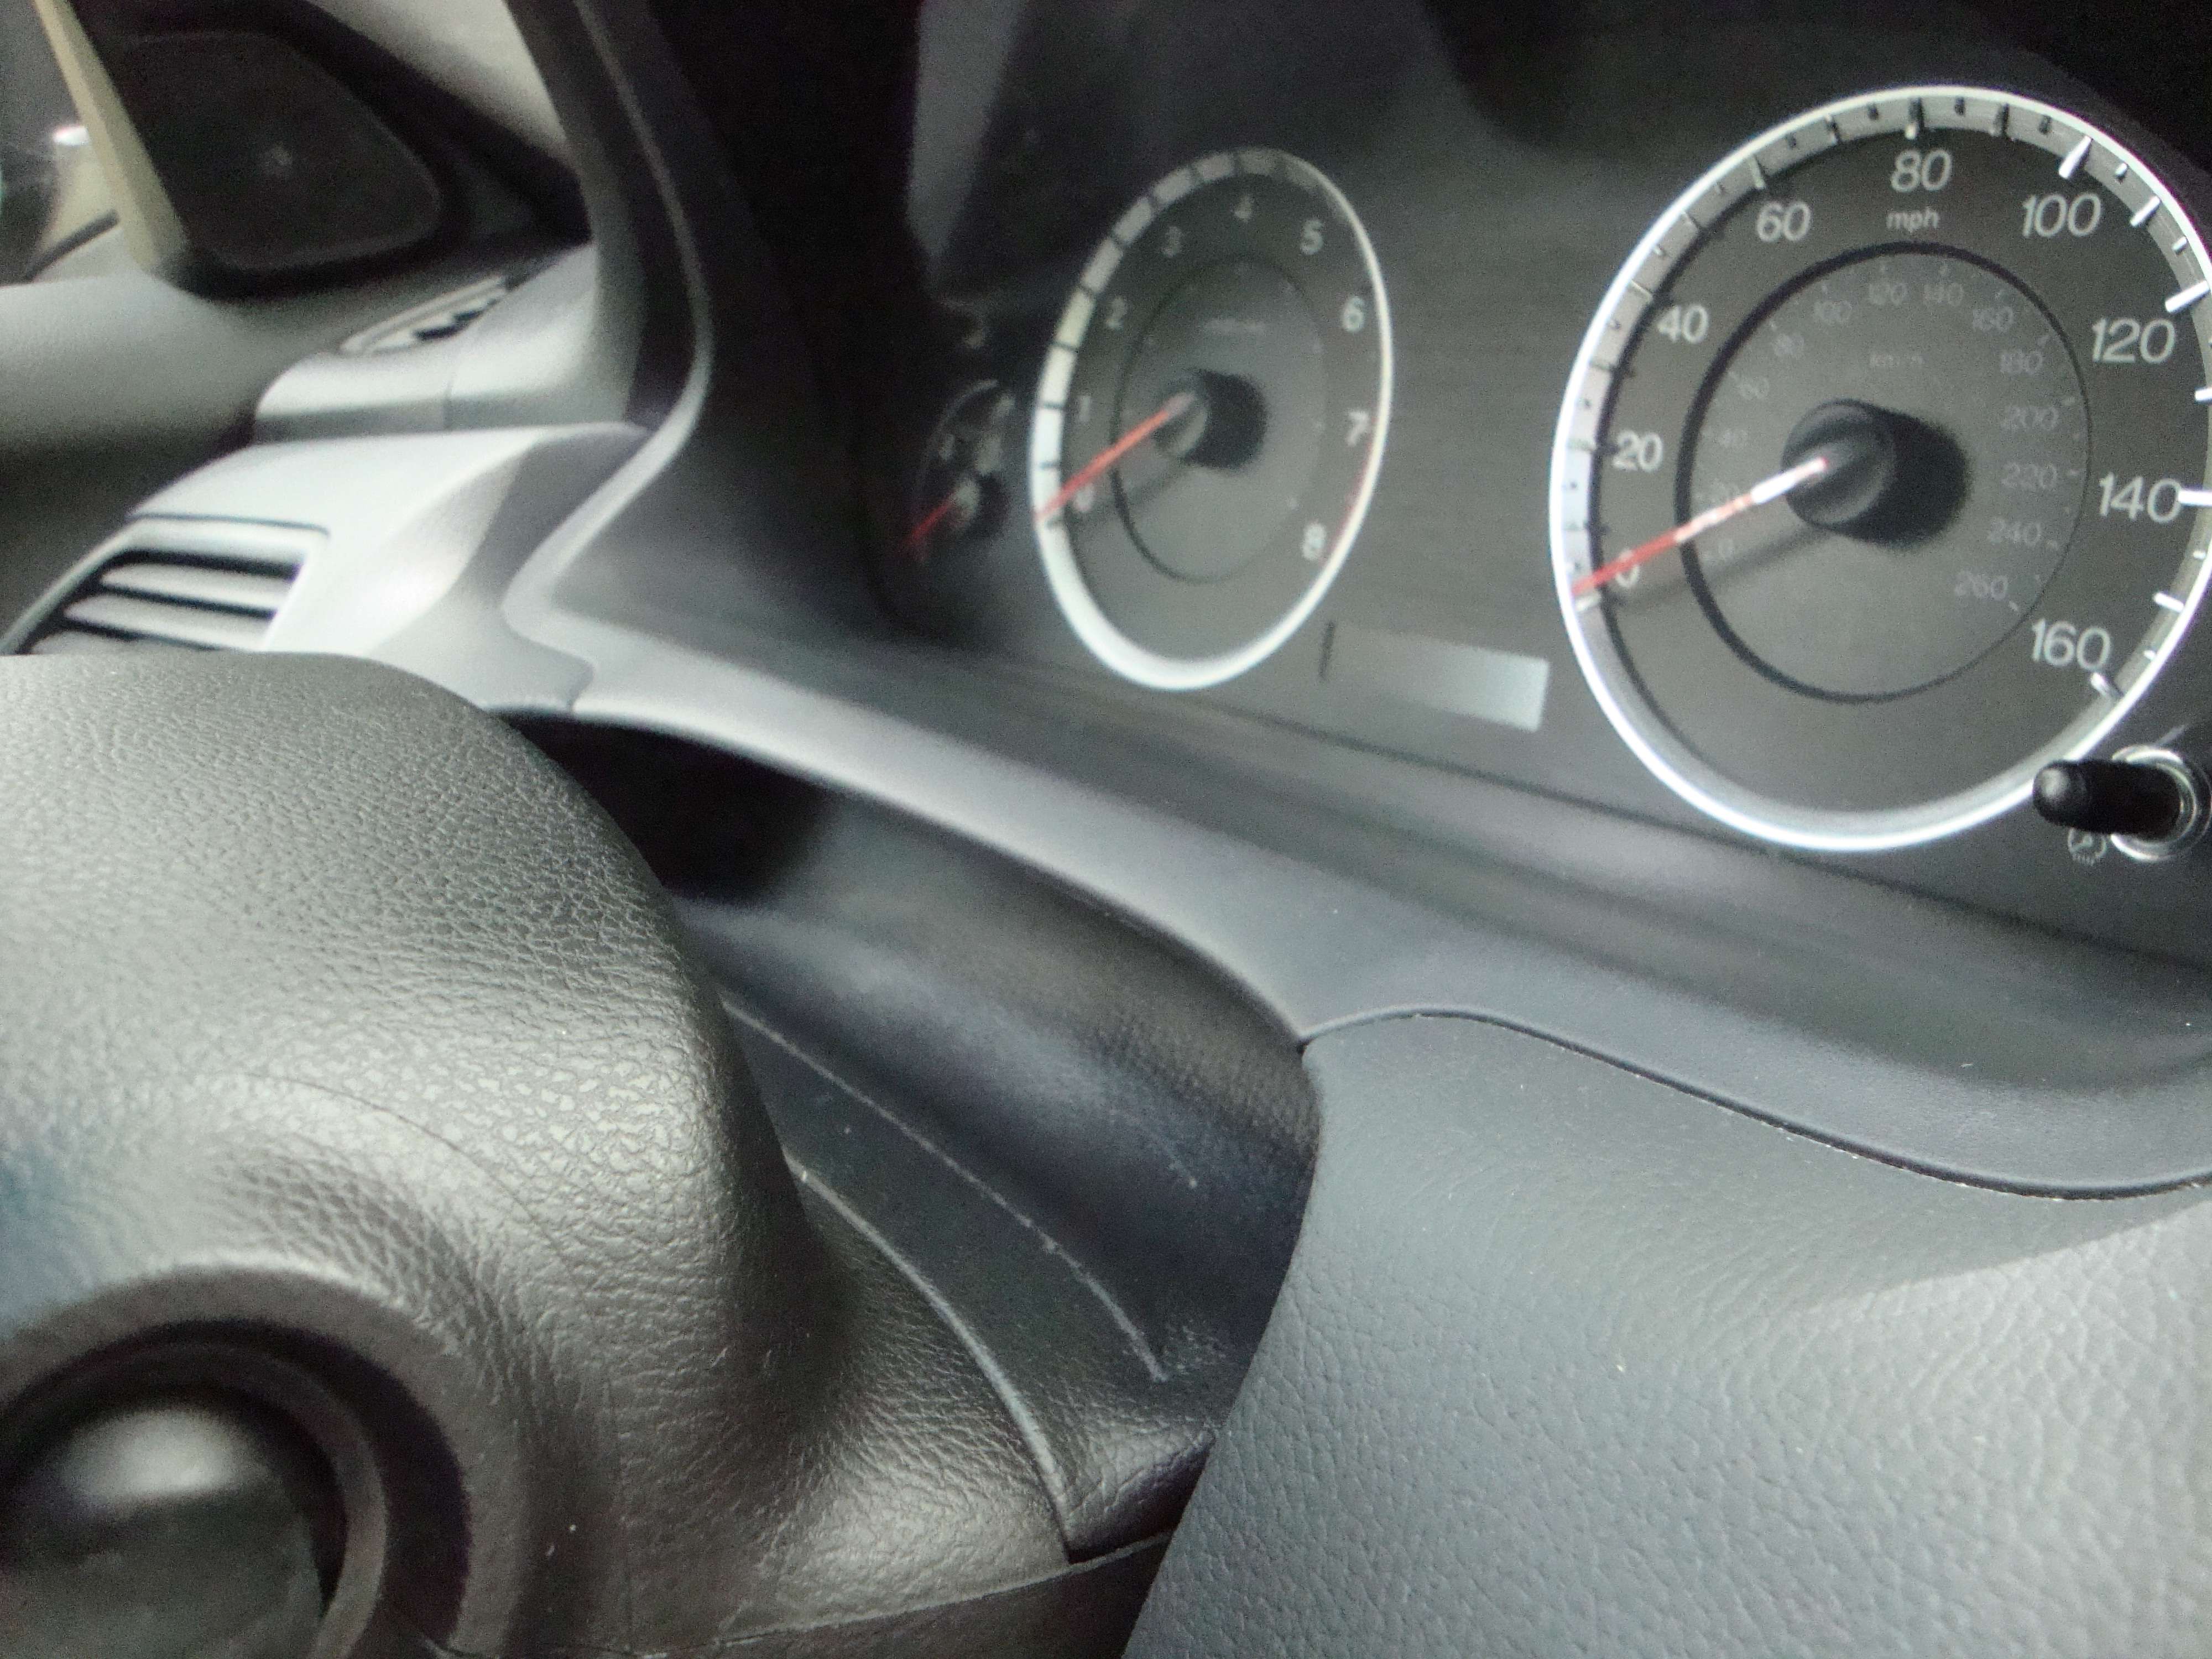
Before :
**The owner was waiting for his car so I didn�t want to take too much pictures and keep him longer.
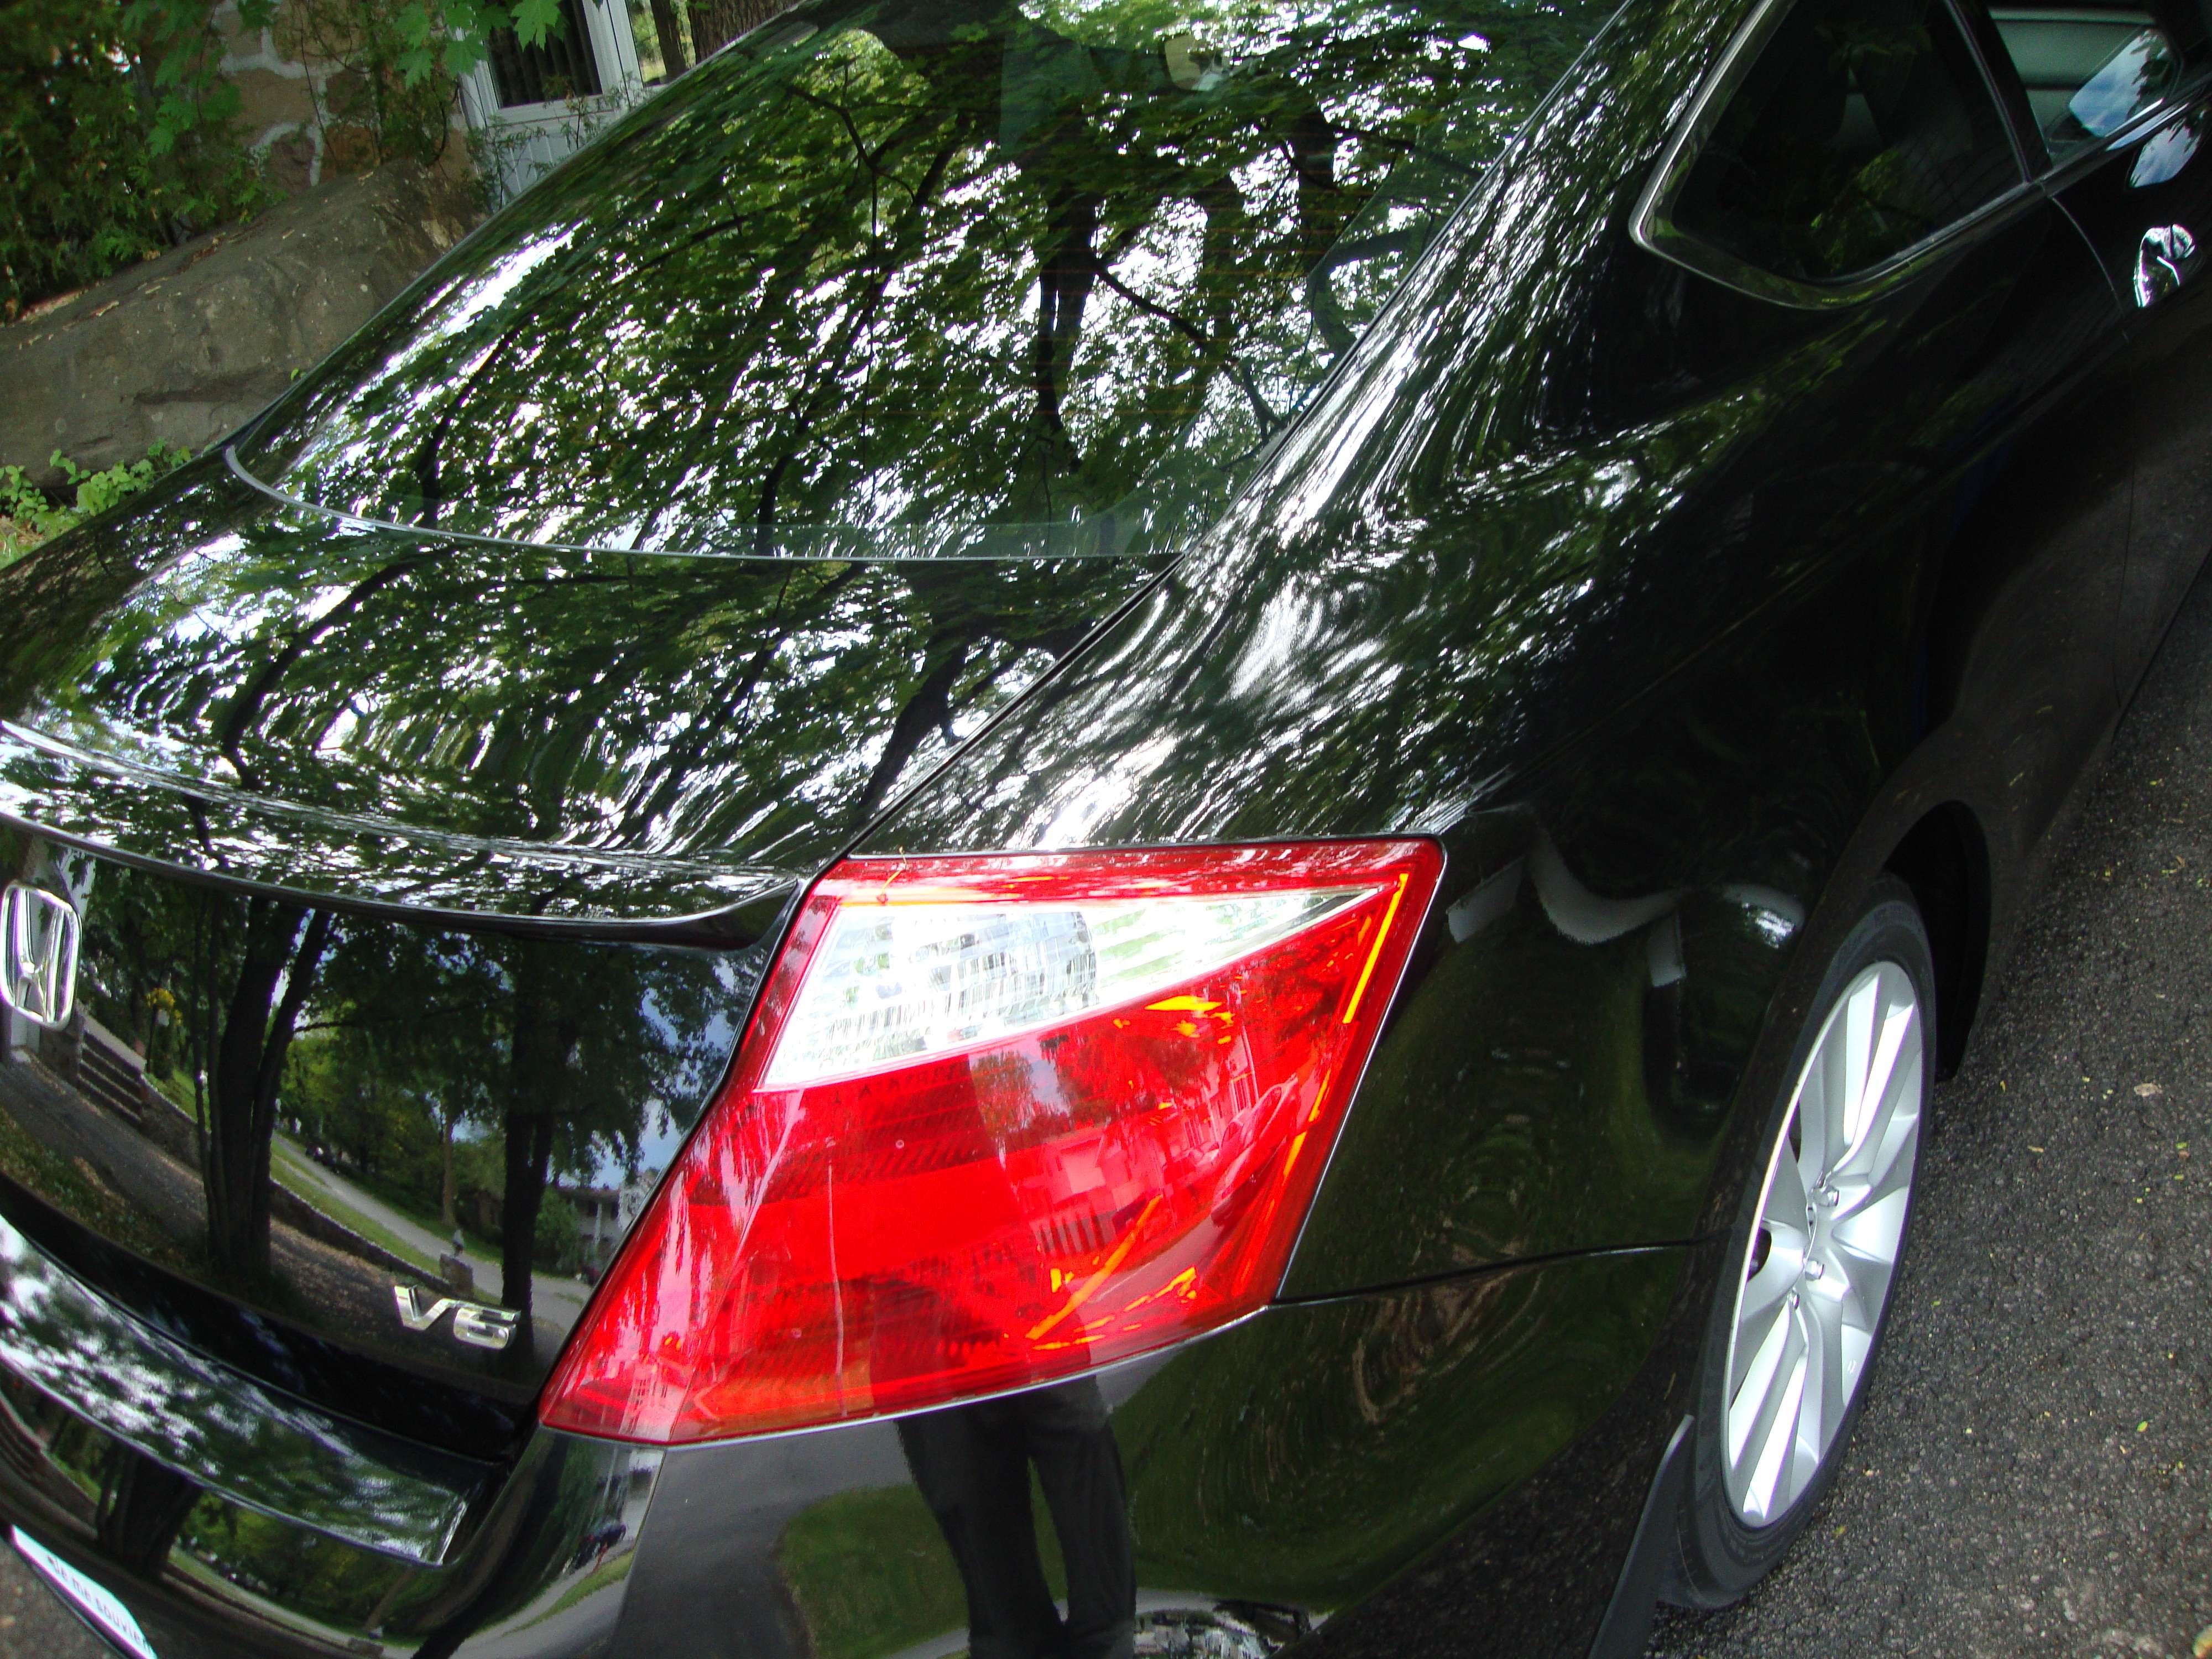
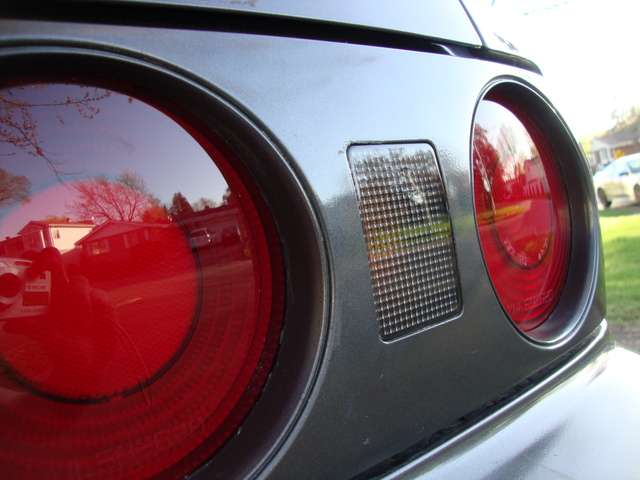
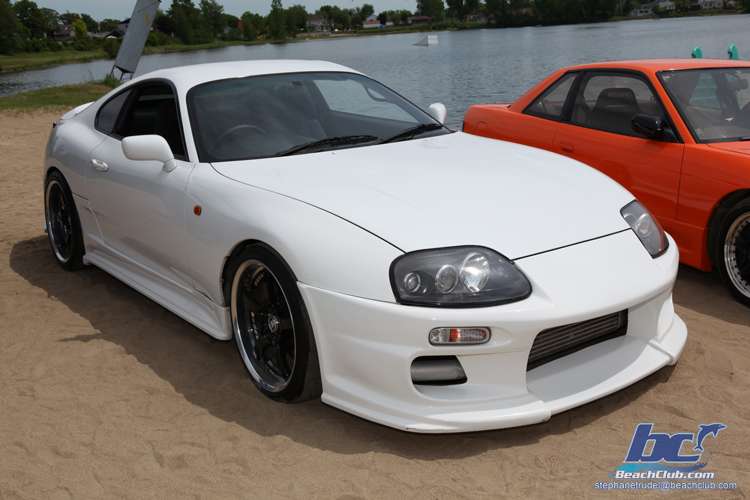
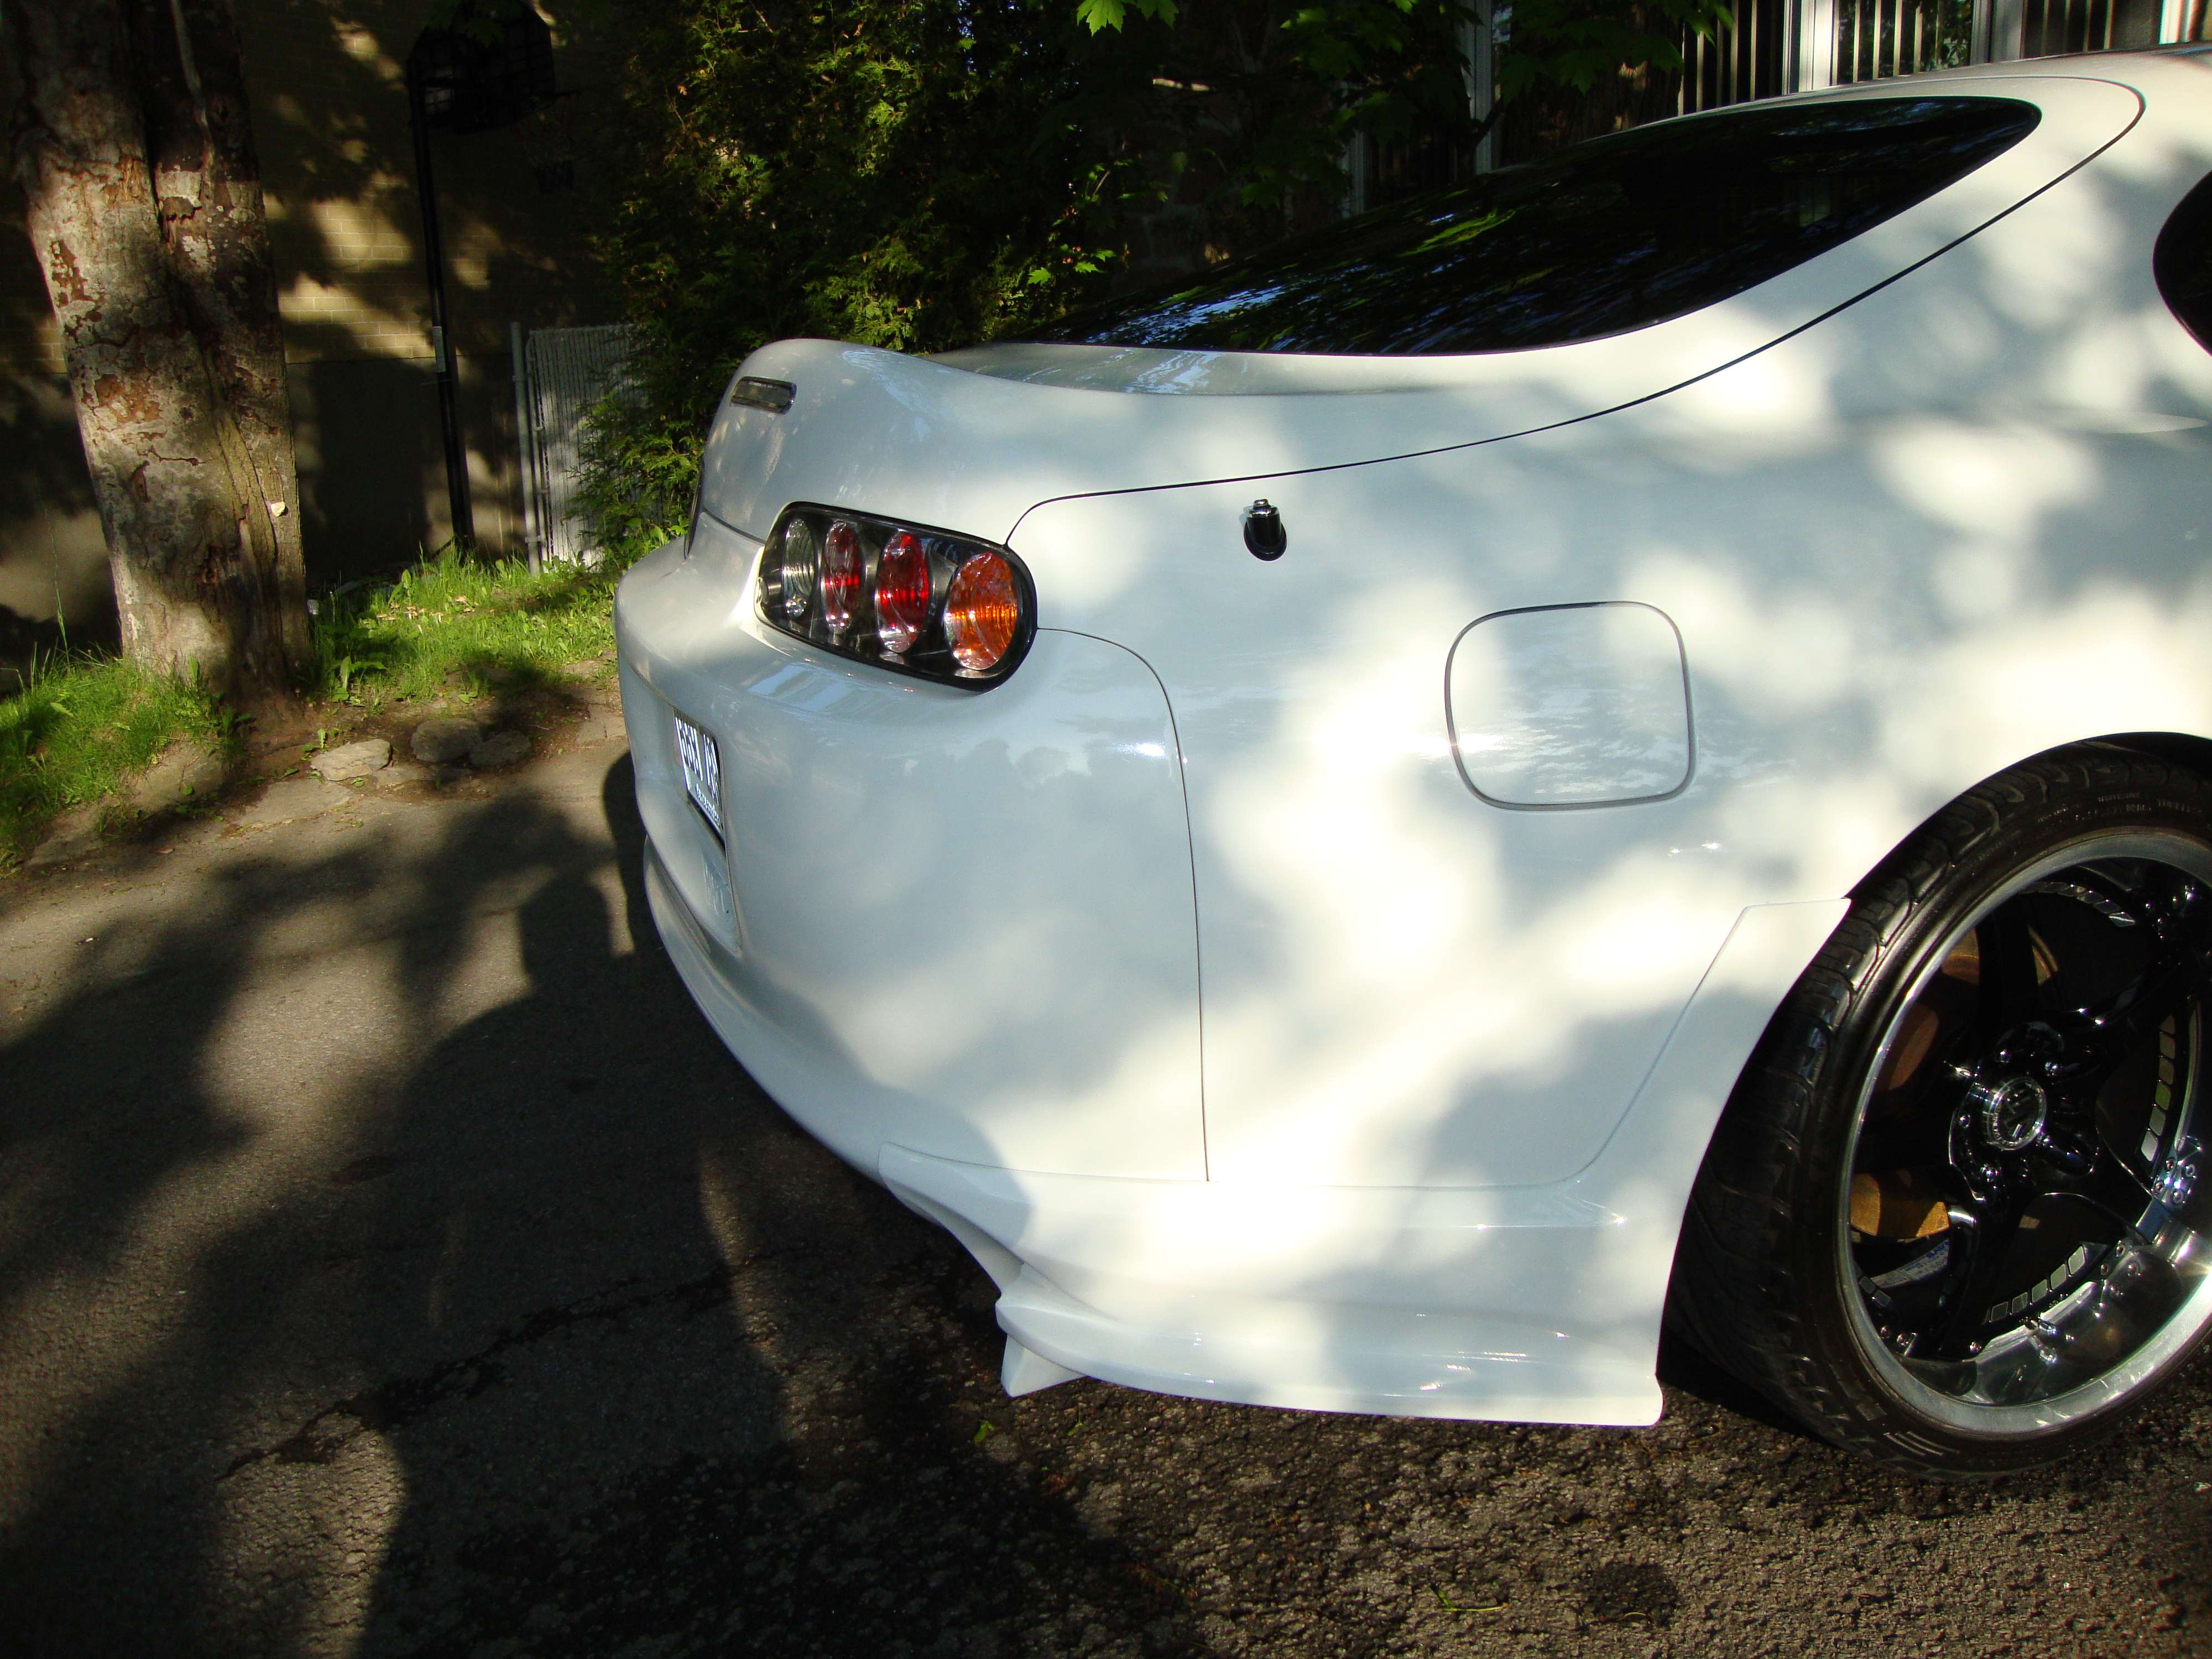
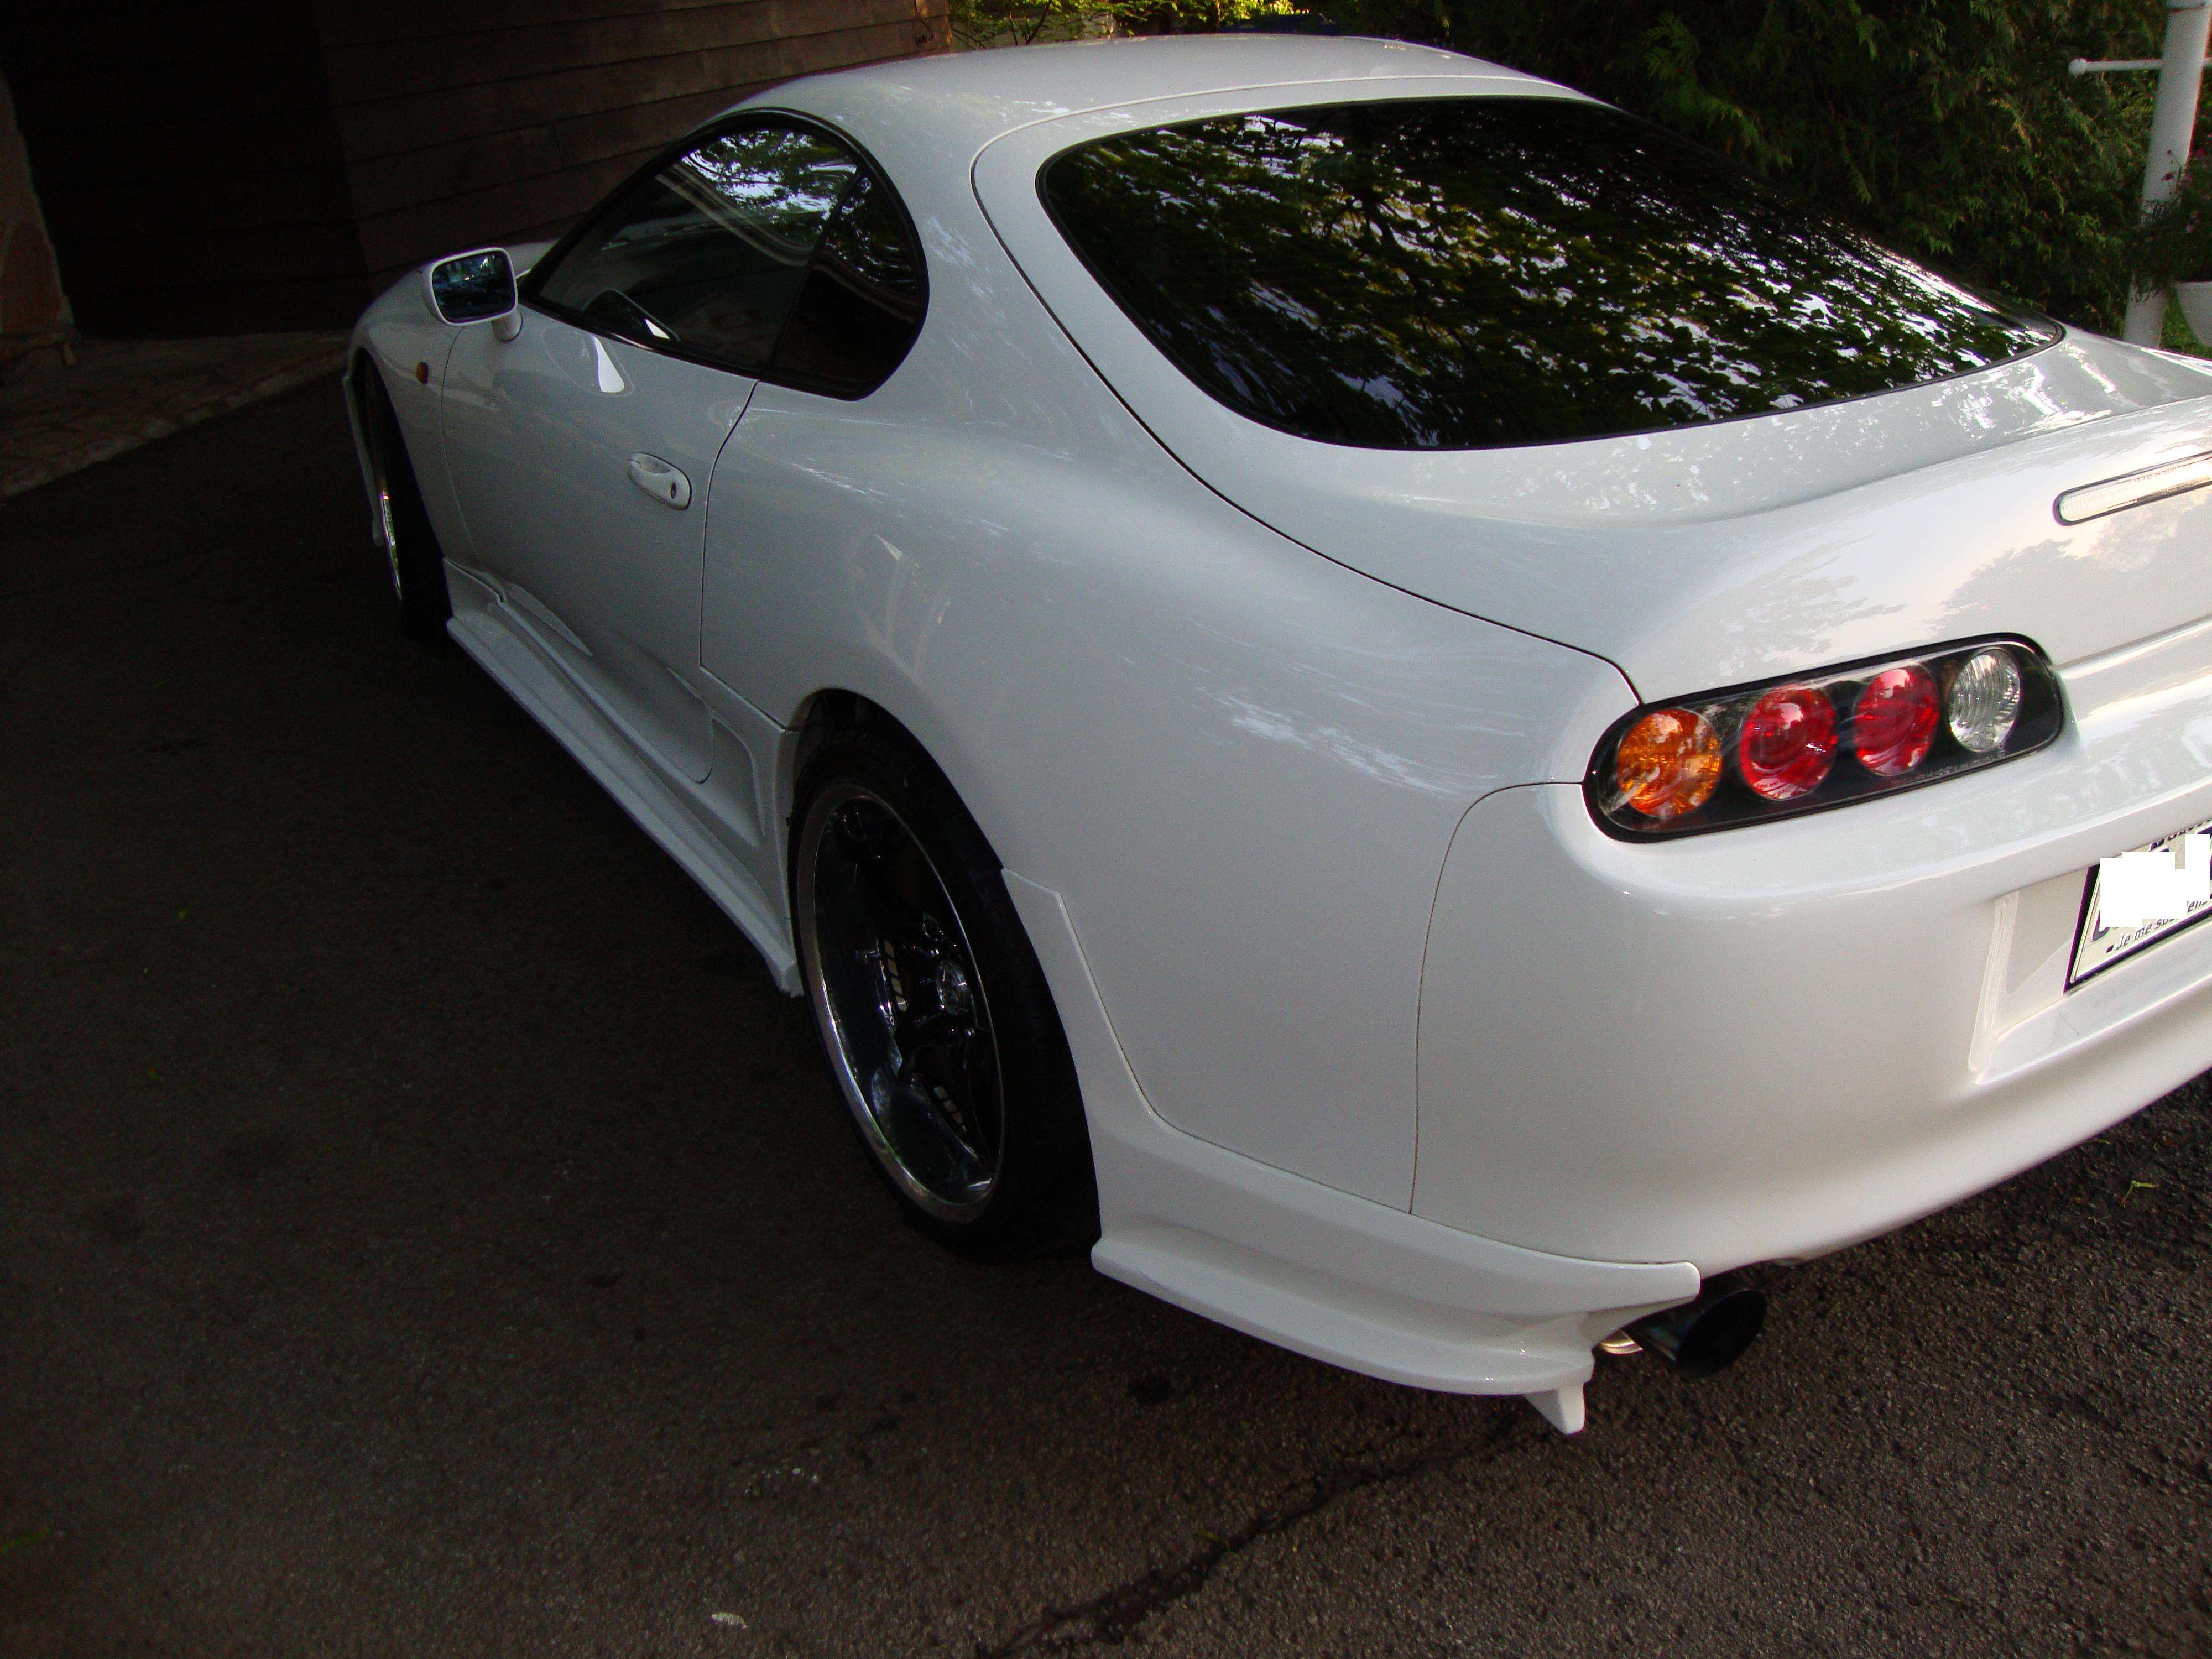
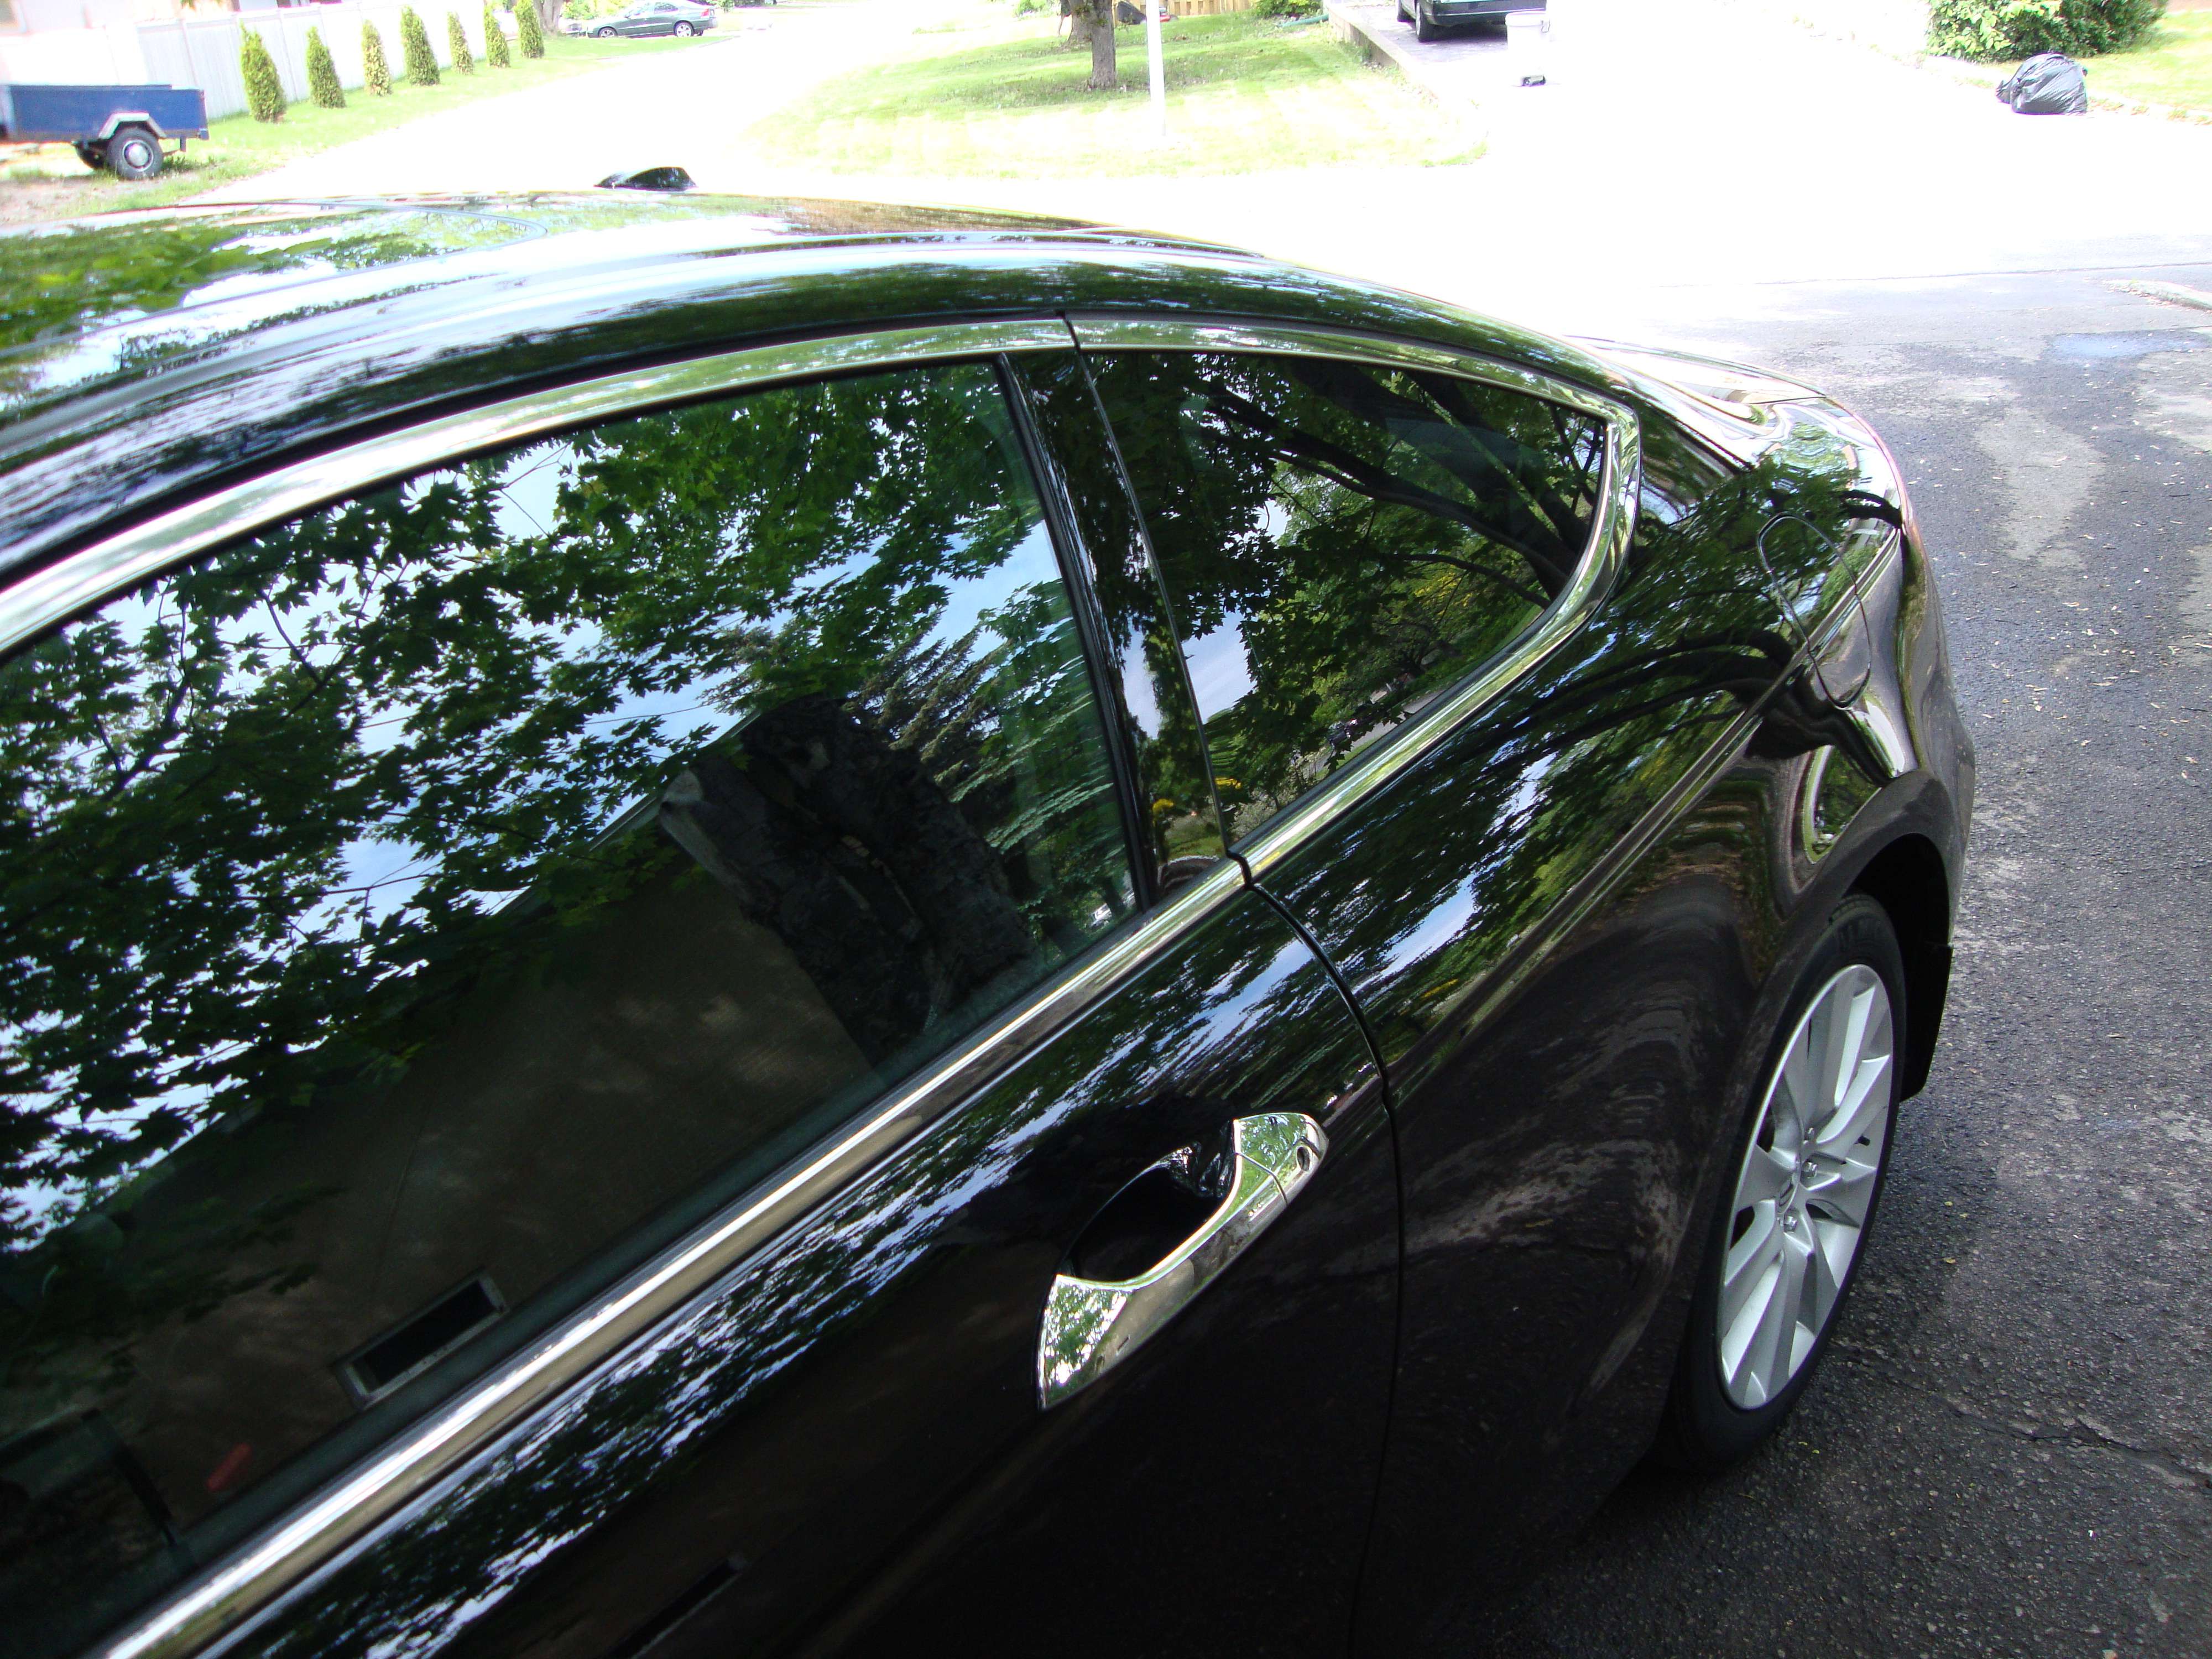
Once Lil Jon said.. get low B*TCH!! That�s what I did mouhaha!
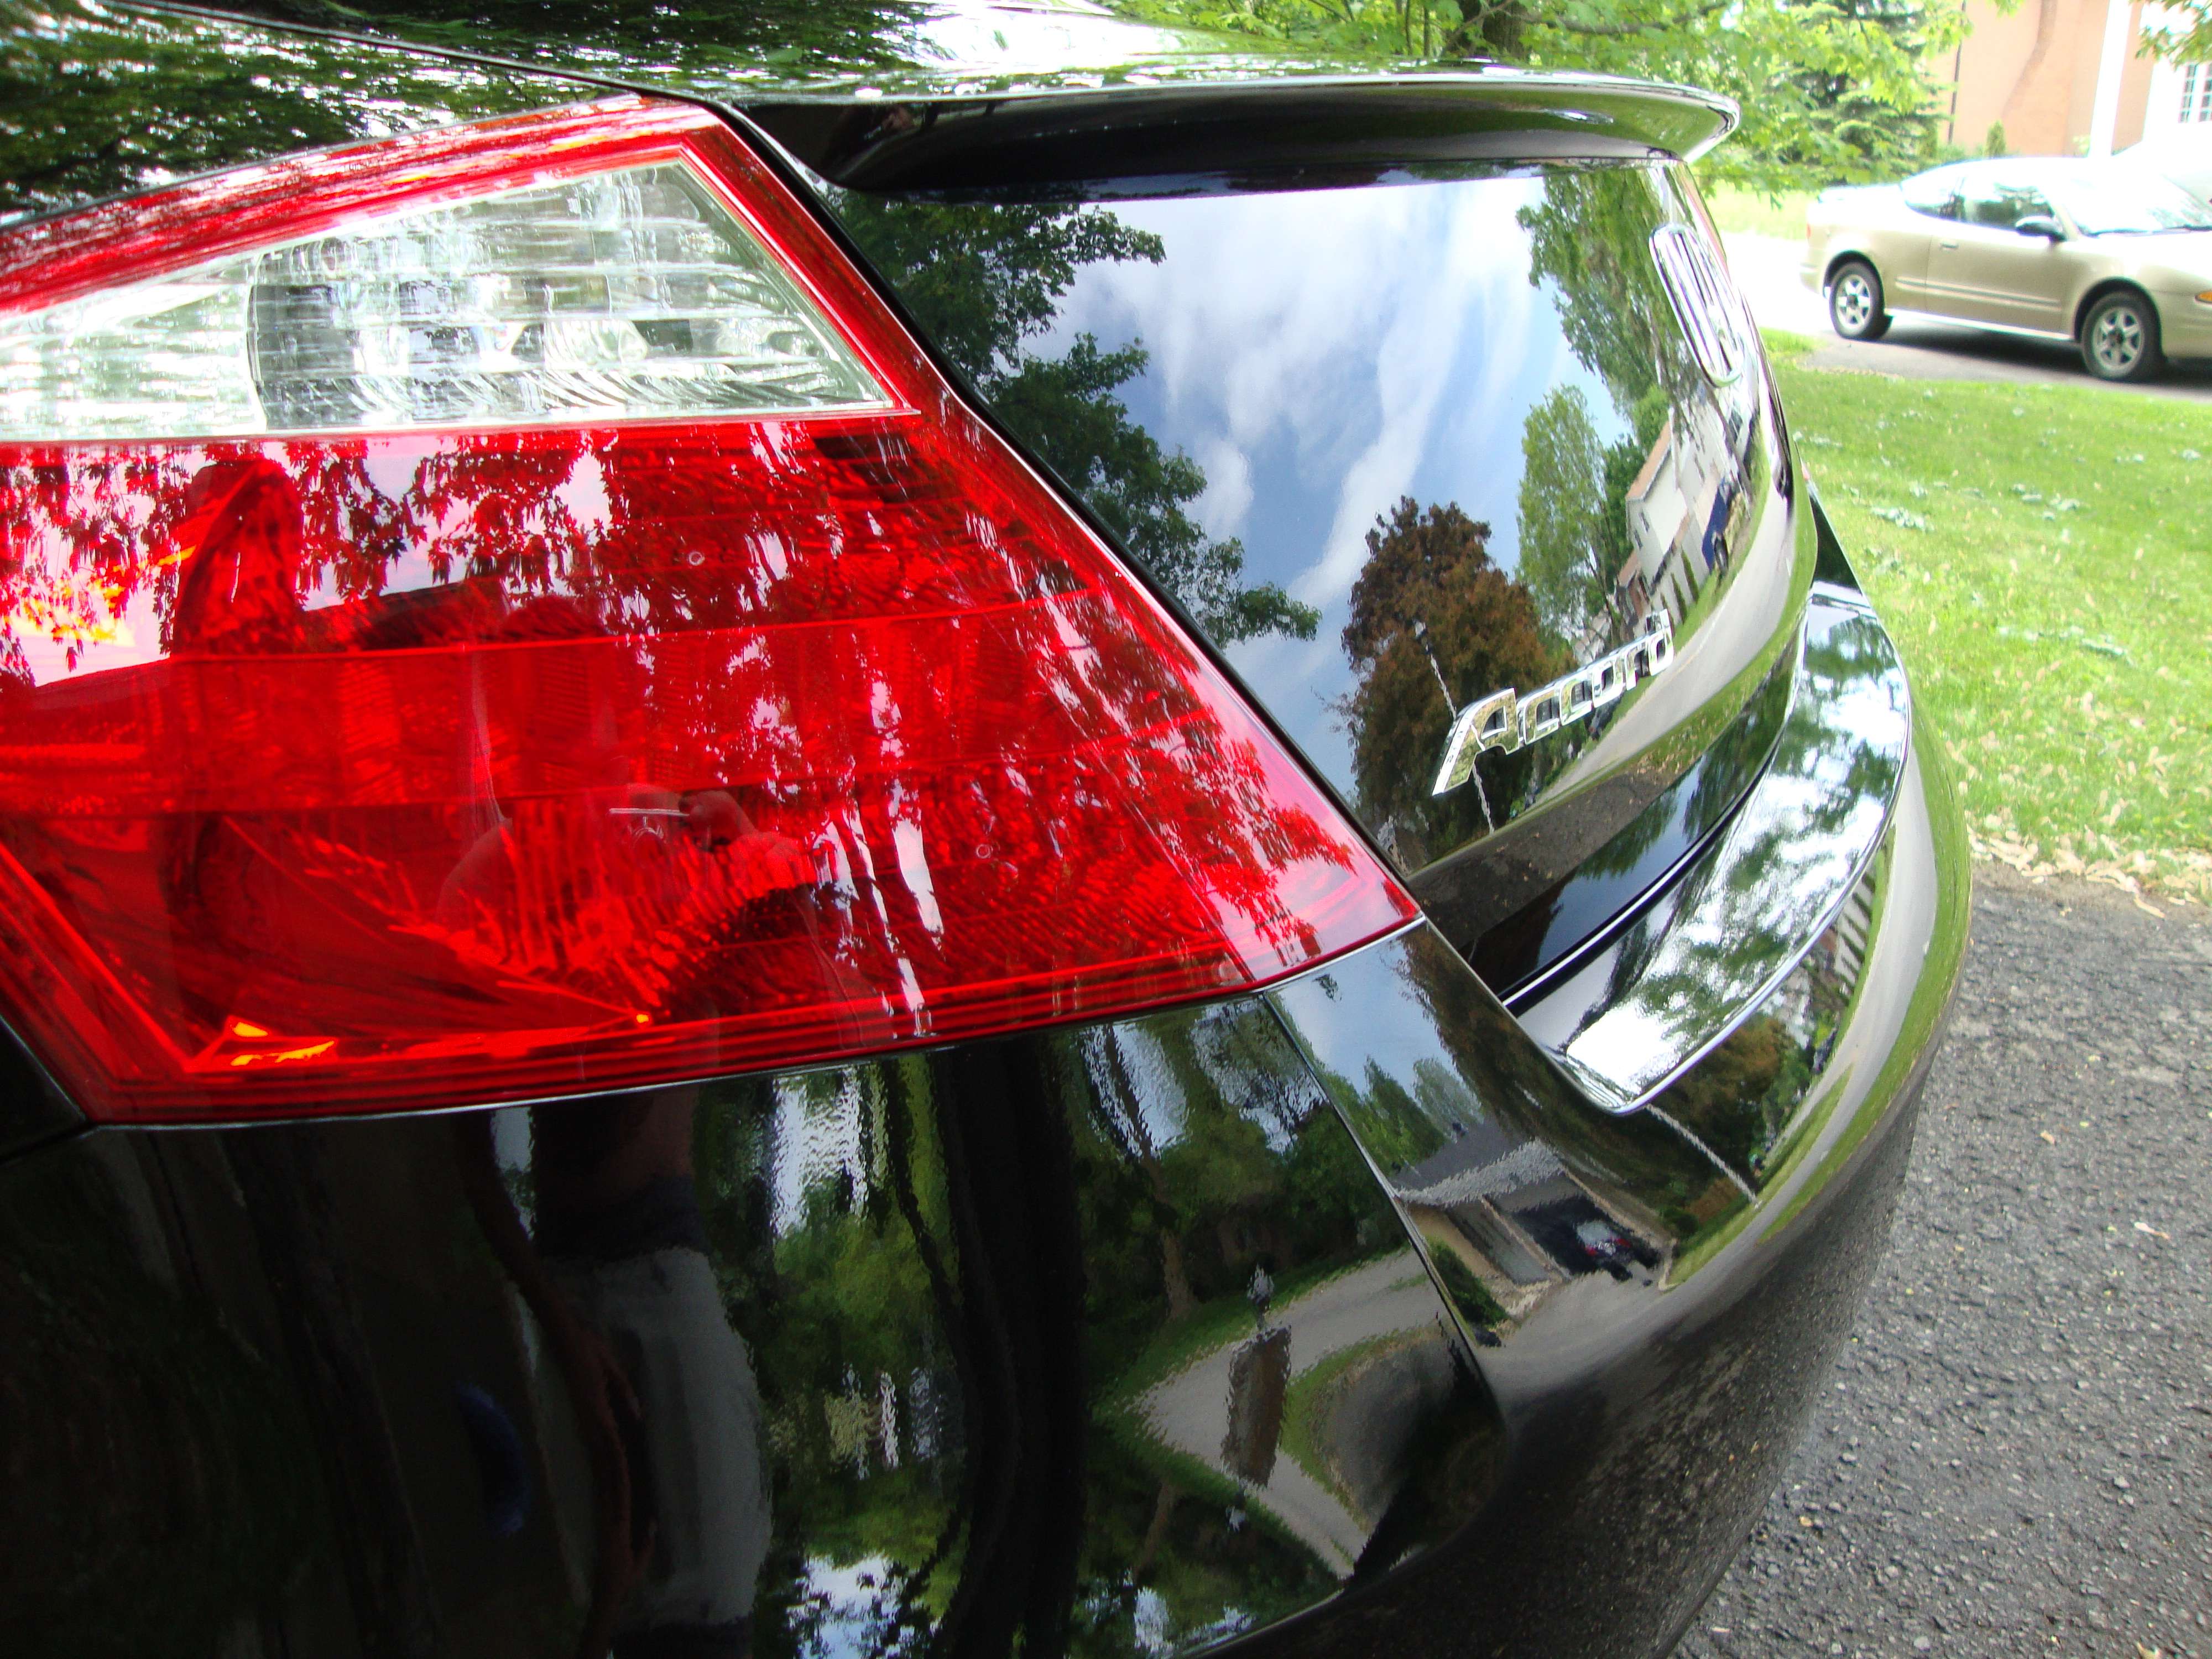
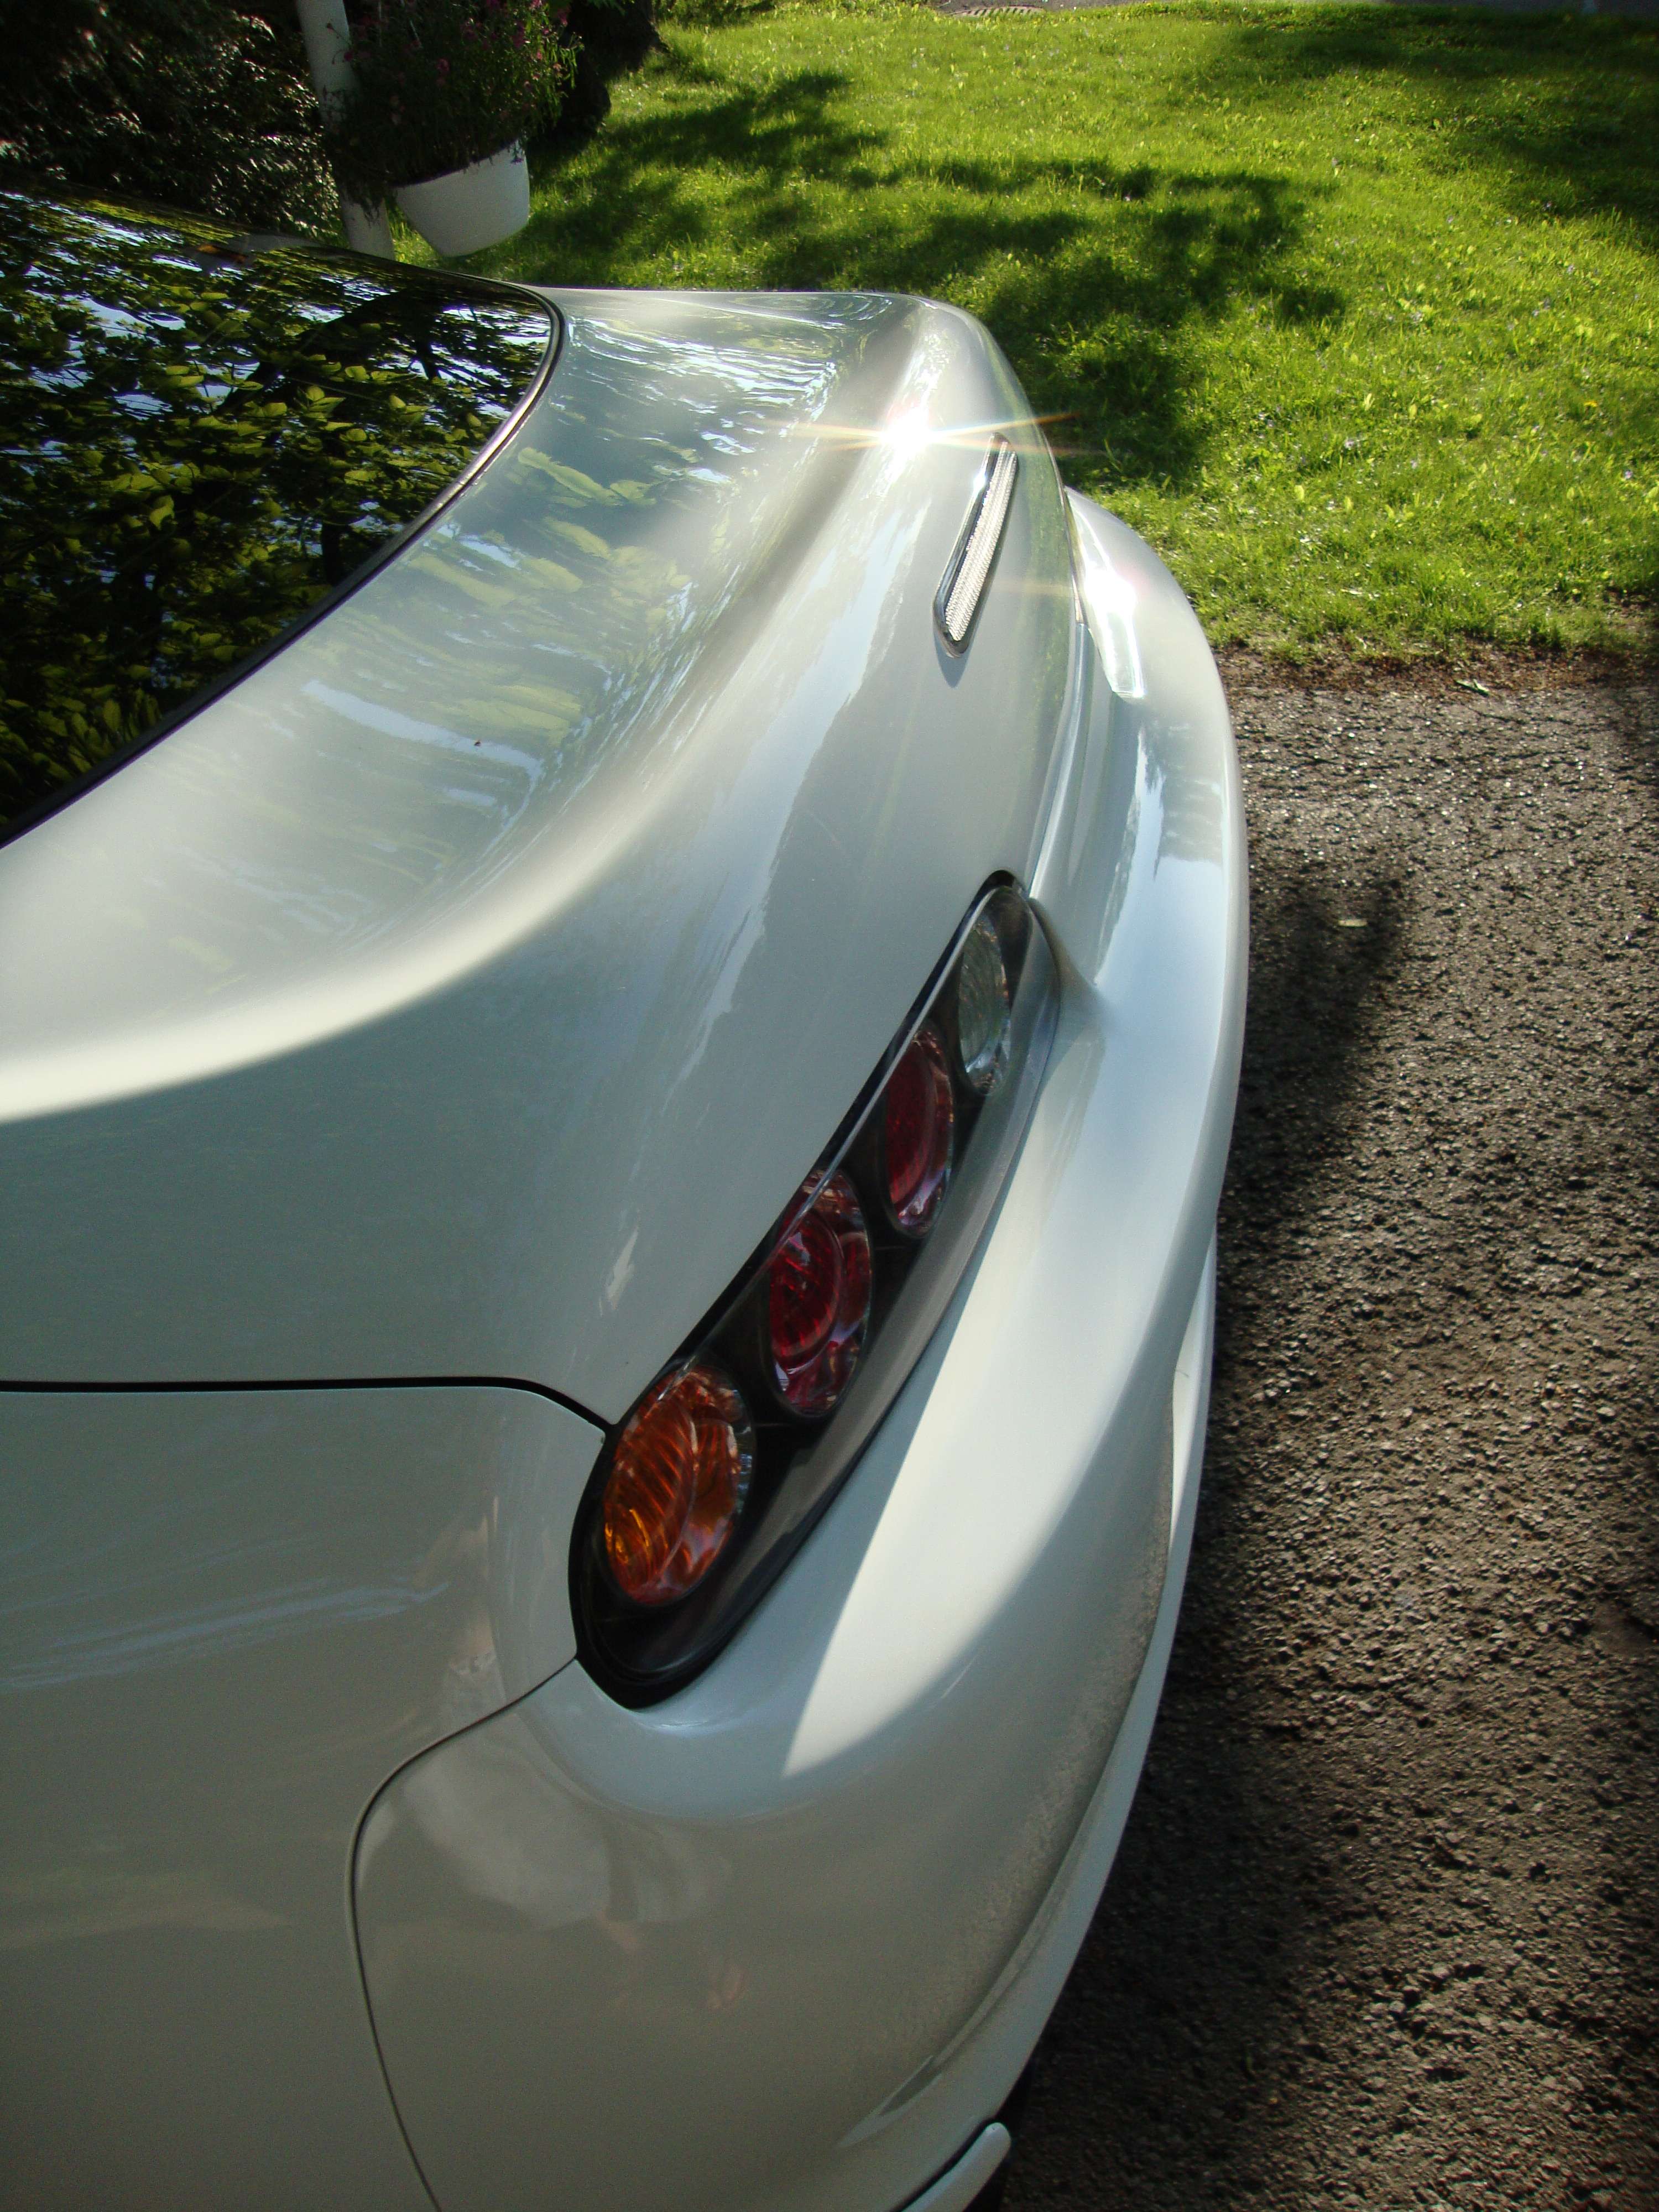
Sure the most epic taillight of all times has been polished to perfection. I�m serious, is there a more epic set of taillight than the twin red round of the skyline !?
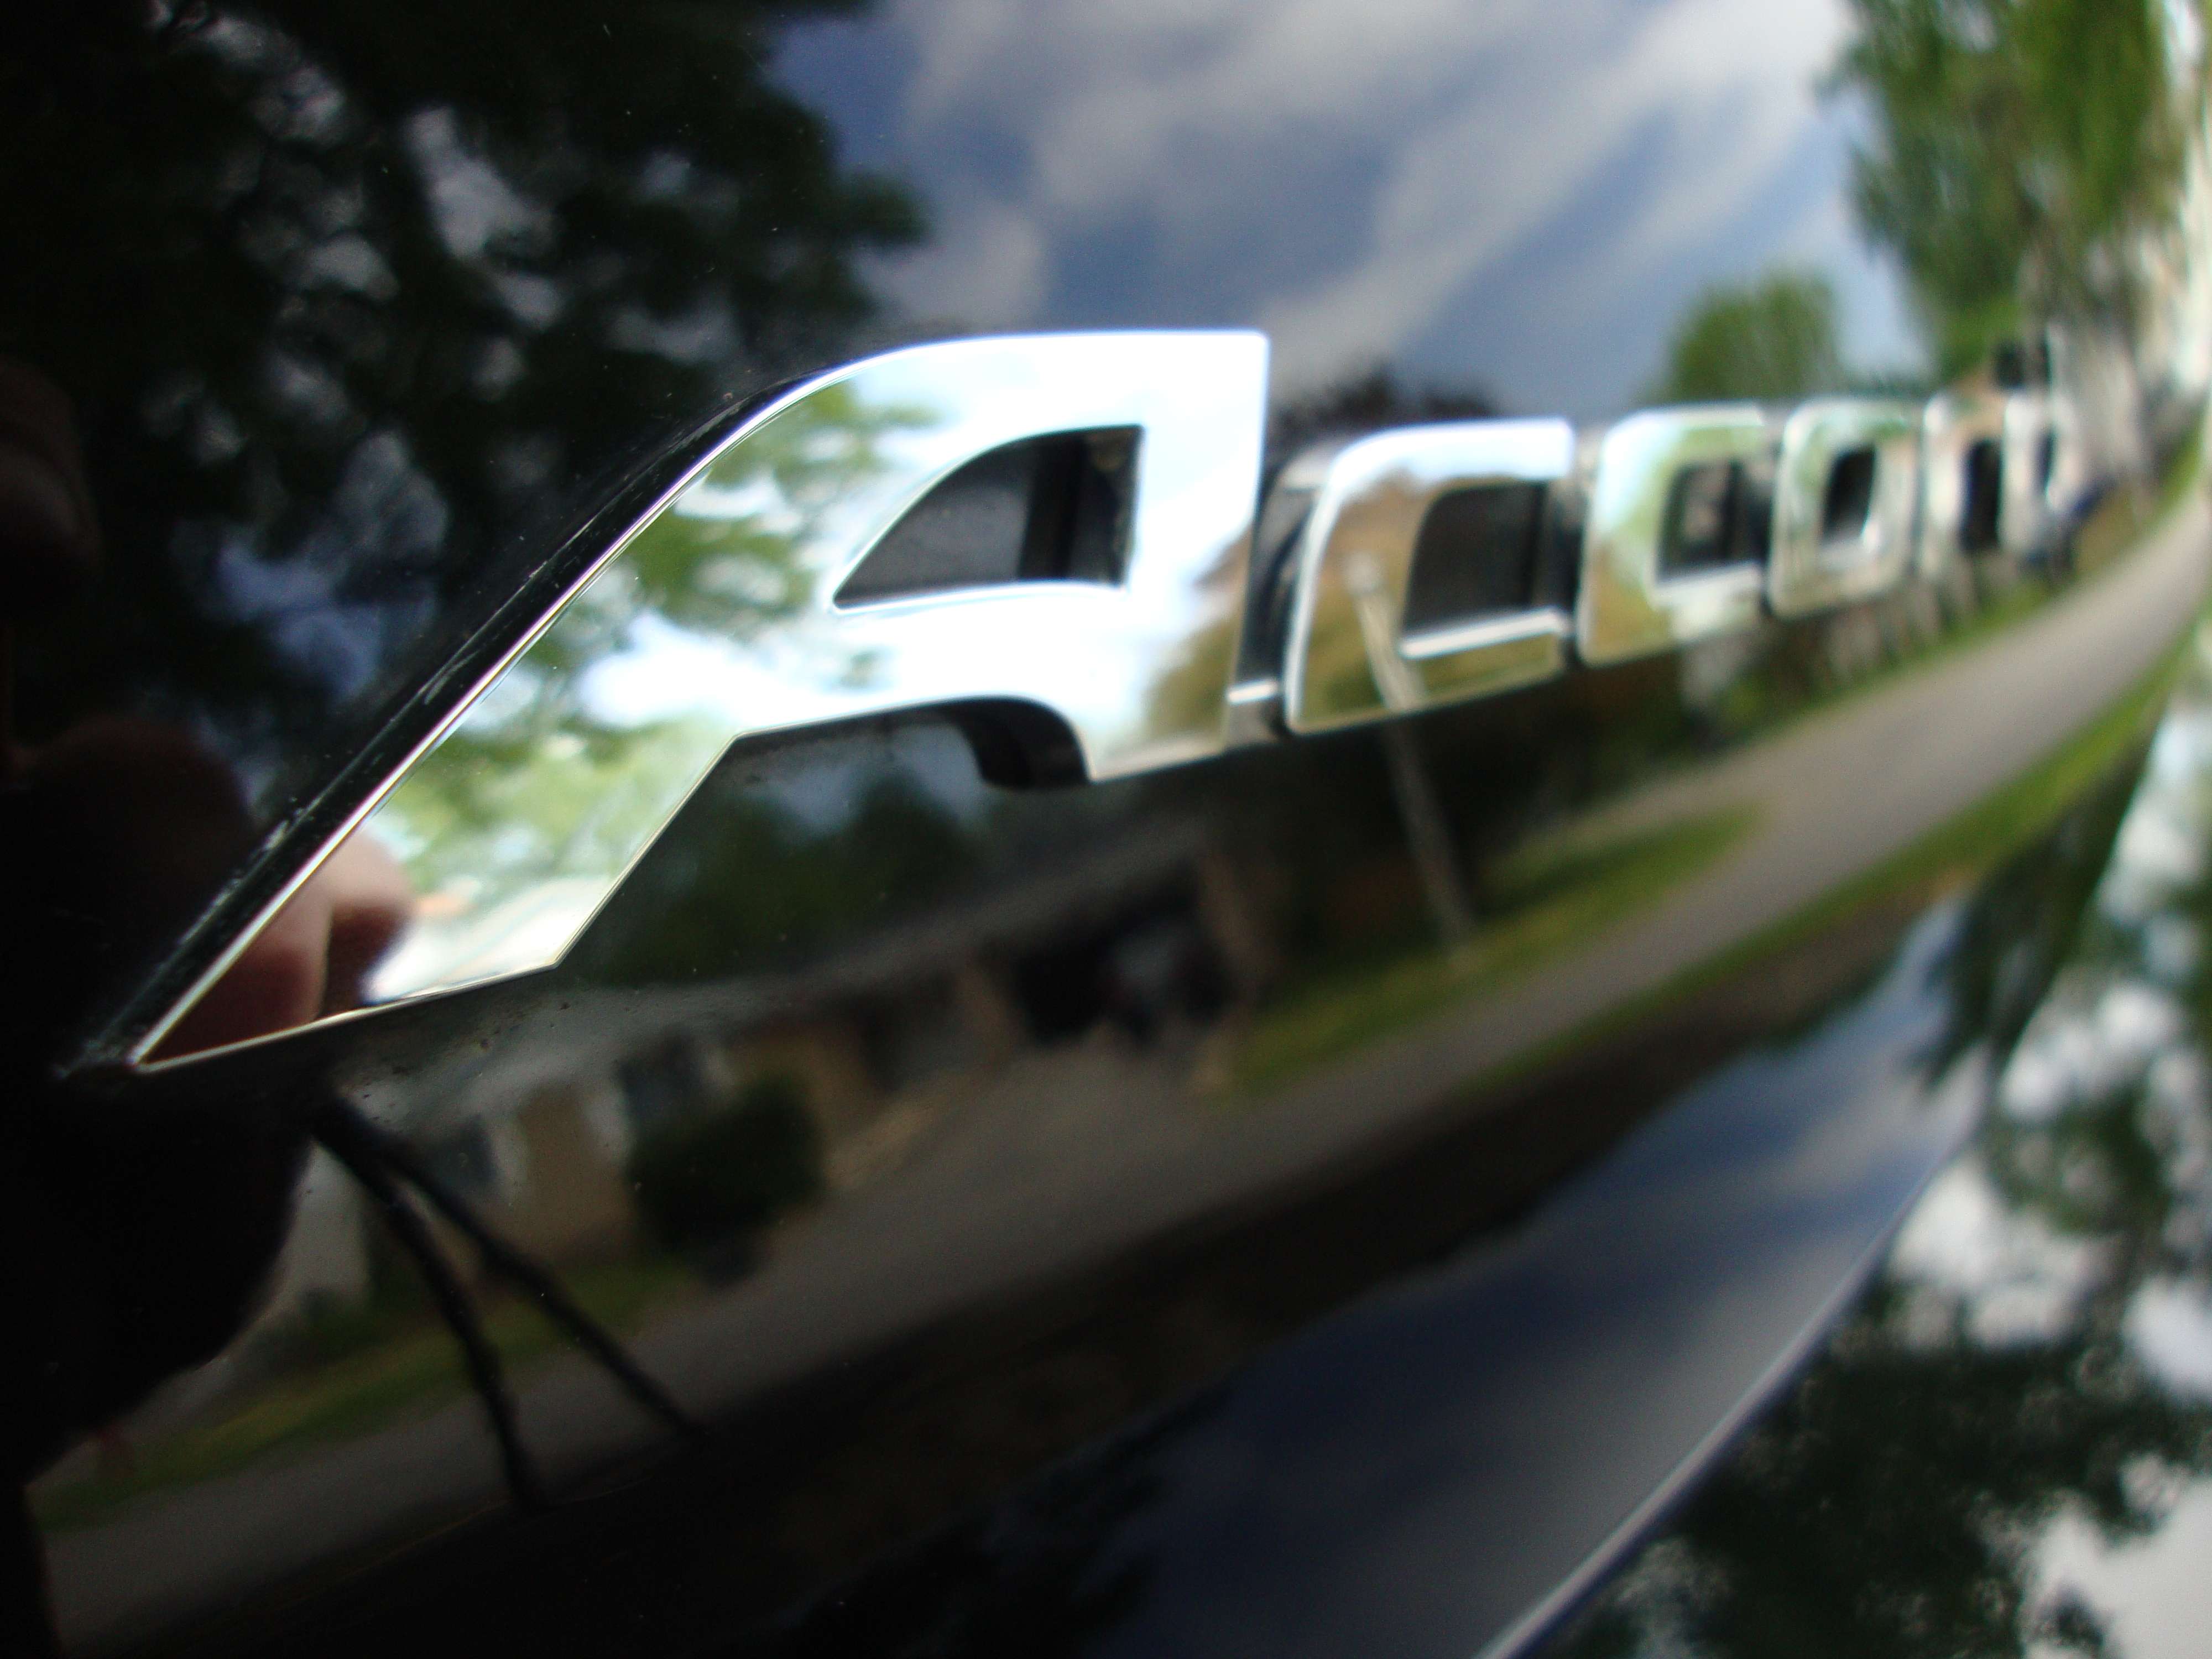
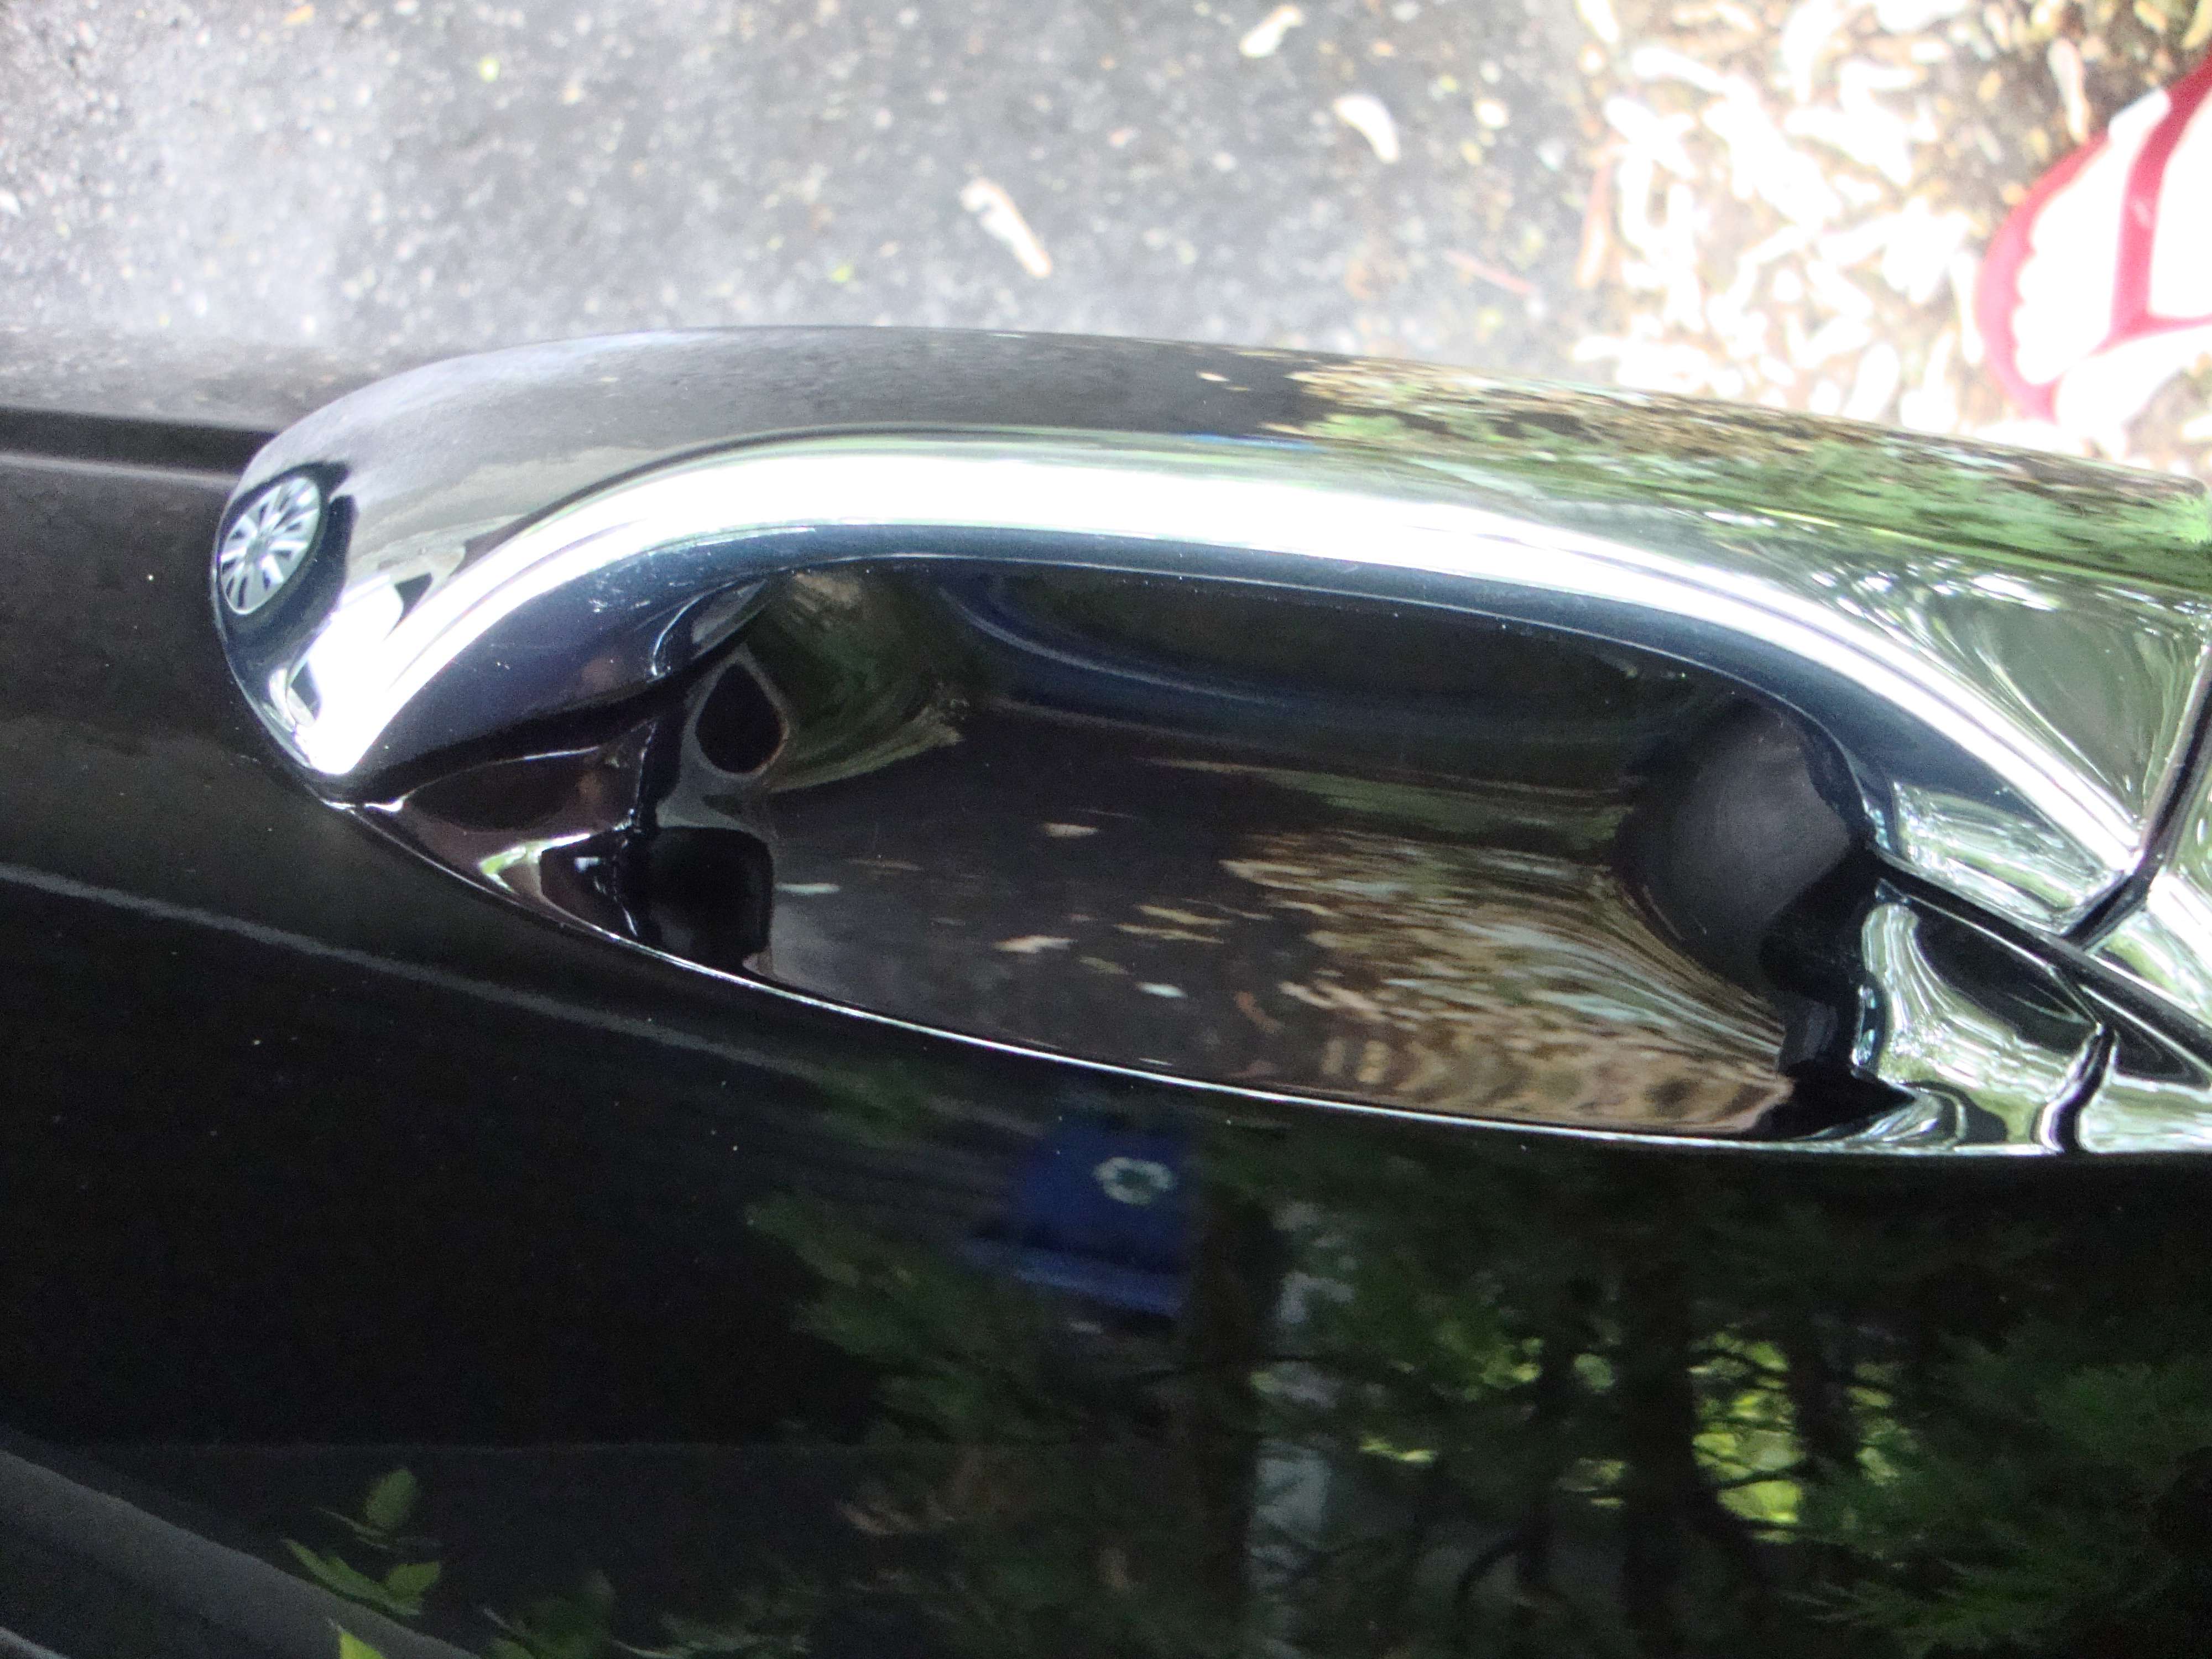
Nothing is left unpolished is that simple :P
I hope you enjoyed this thread, took me a little times to write it off and translate.
J�esp�re que vous appr�ciez le thread et on se revoit bientot!
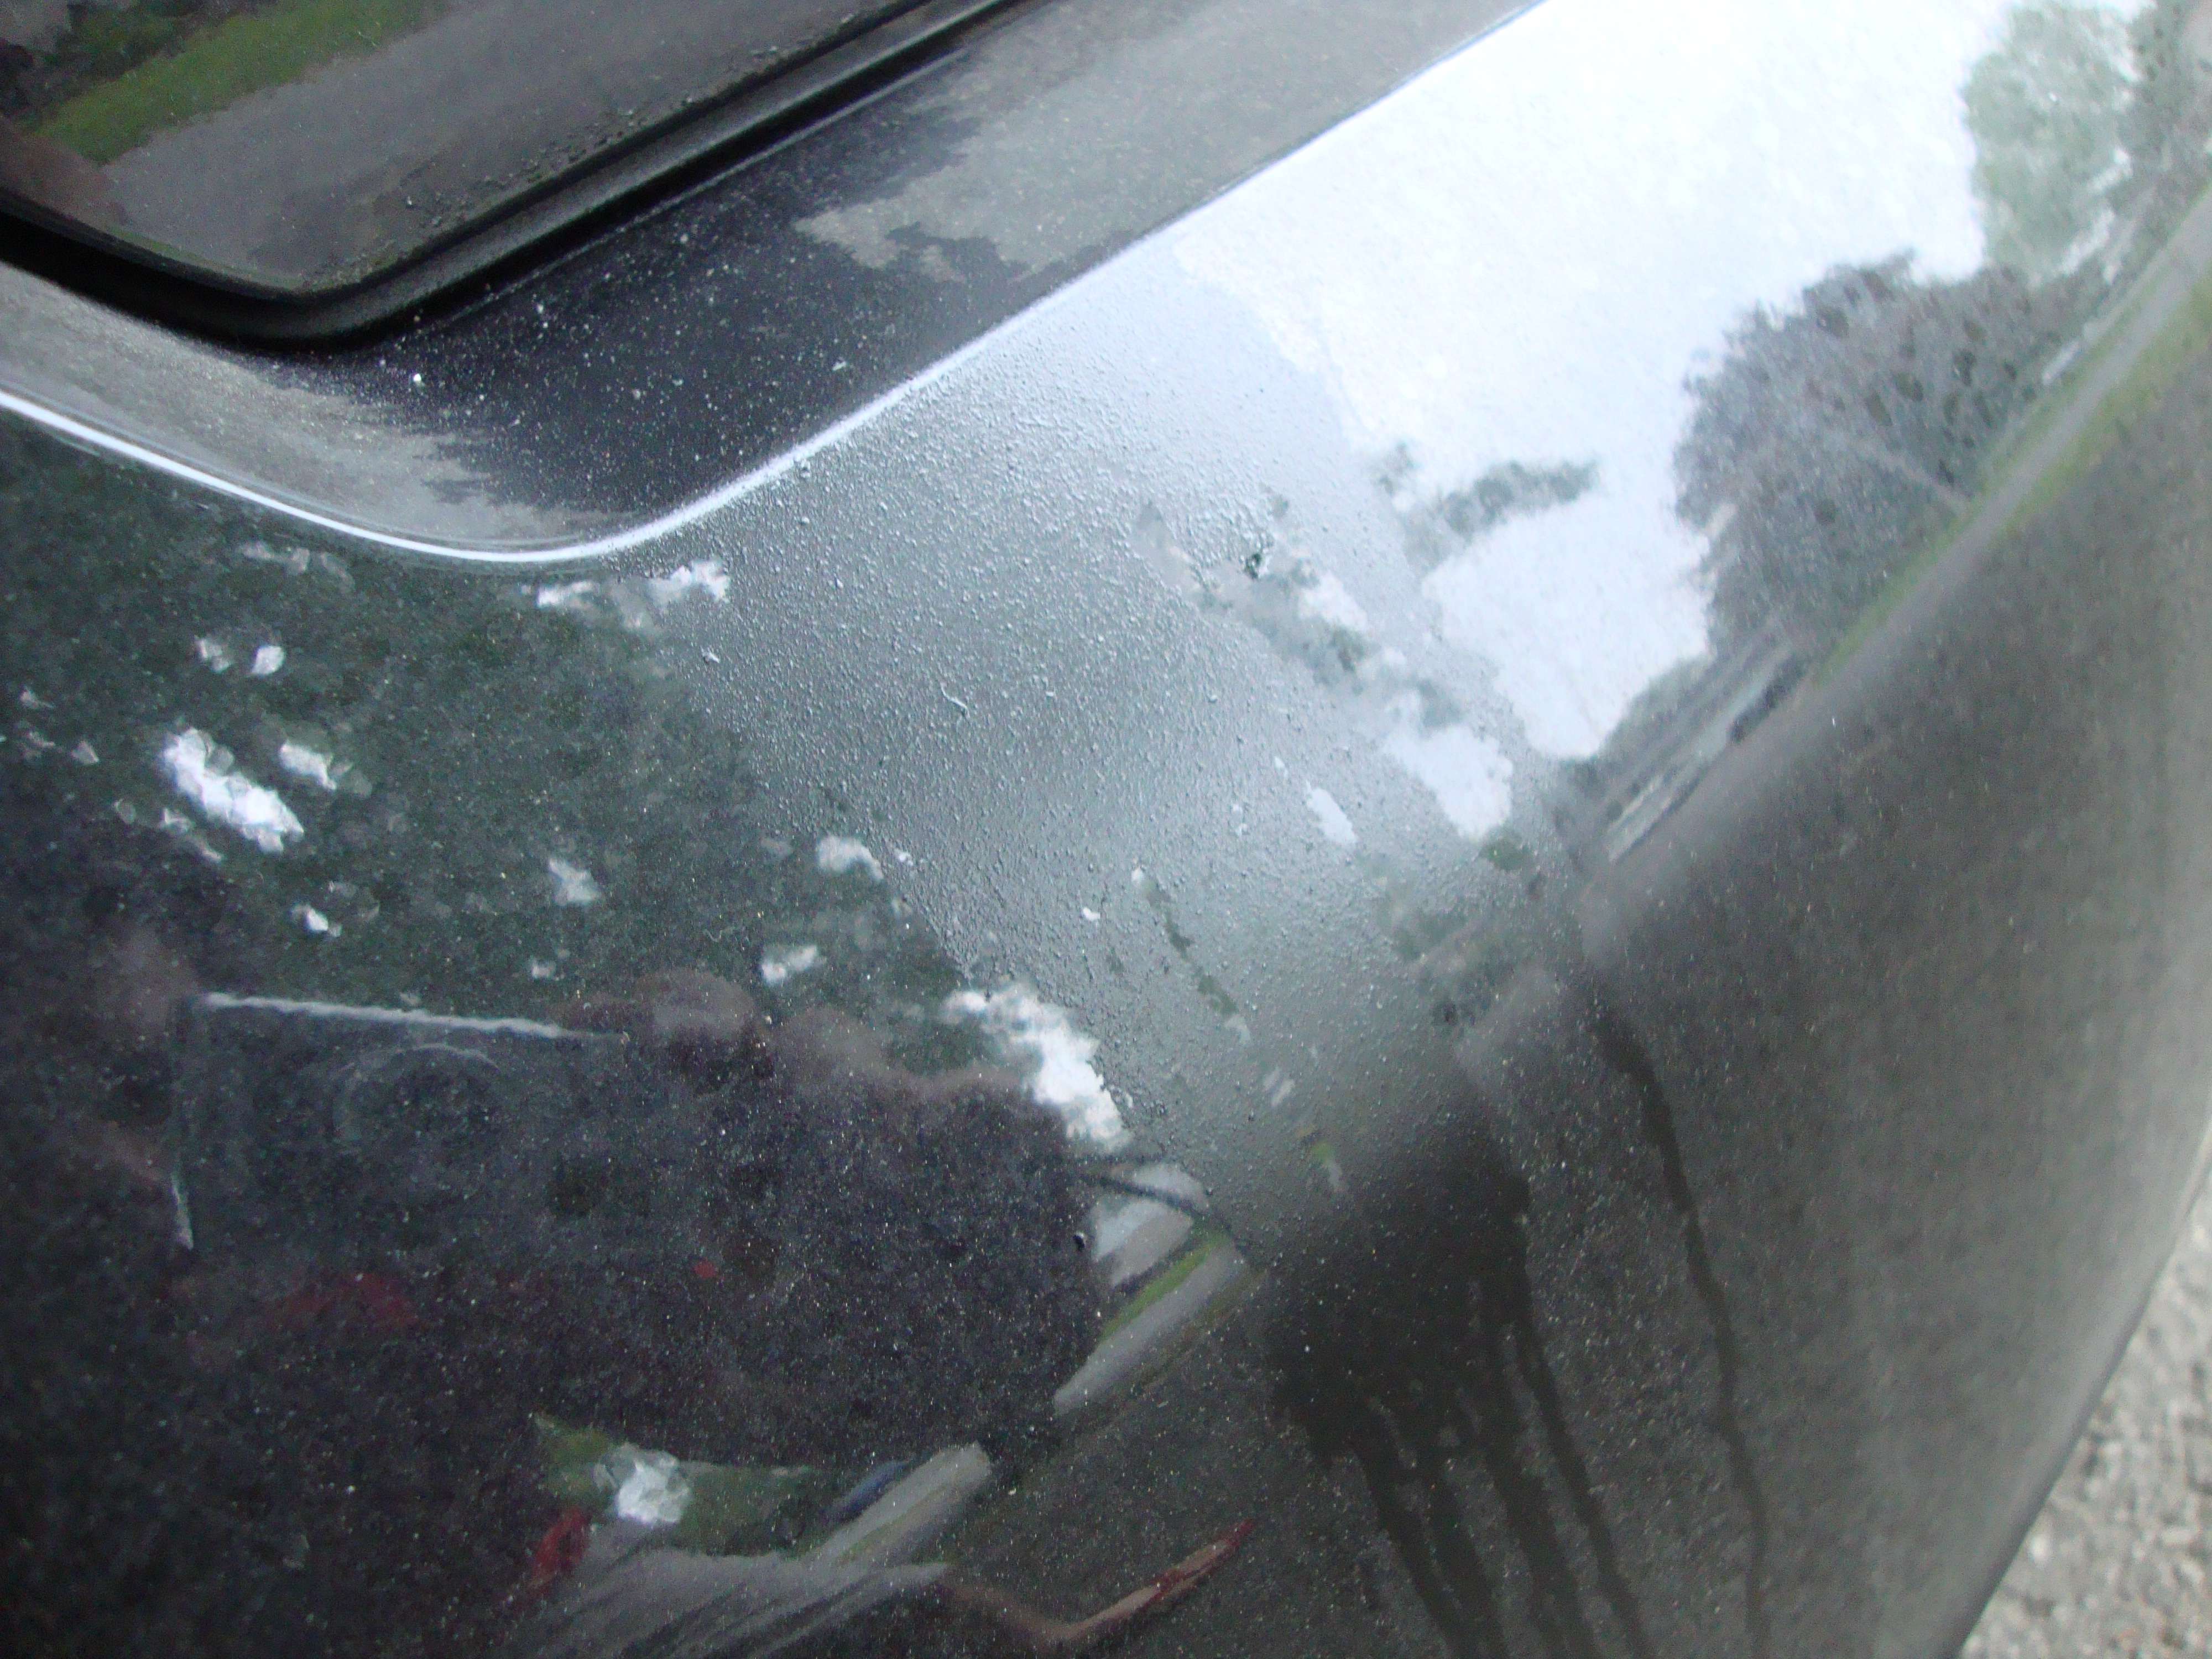
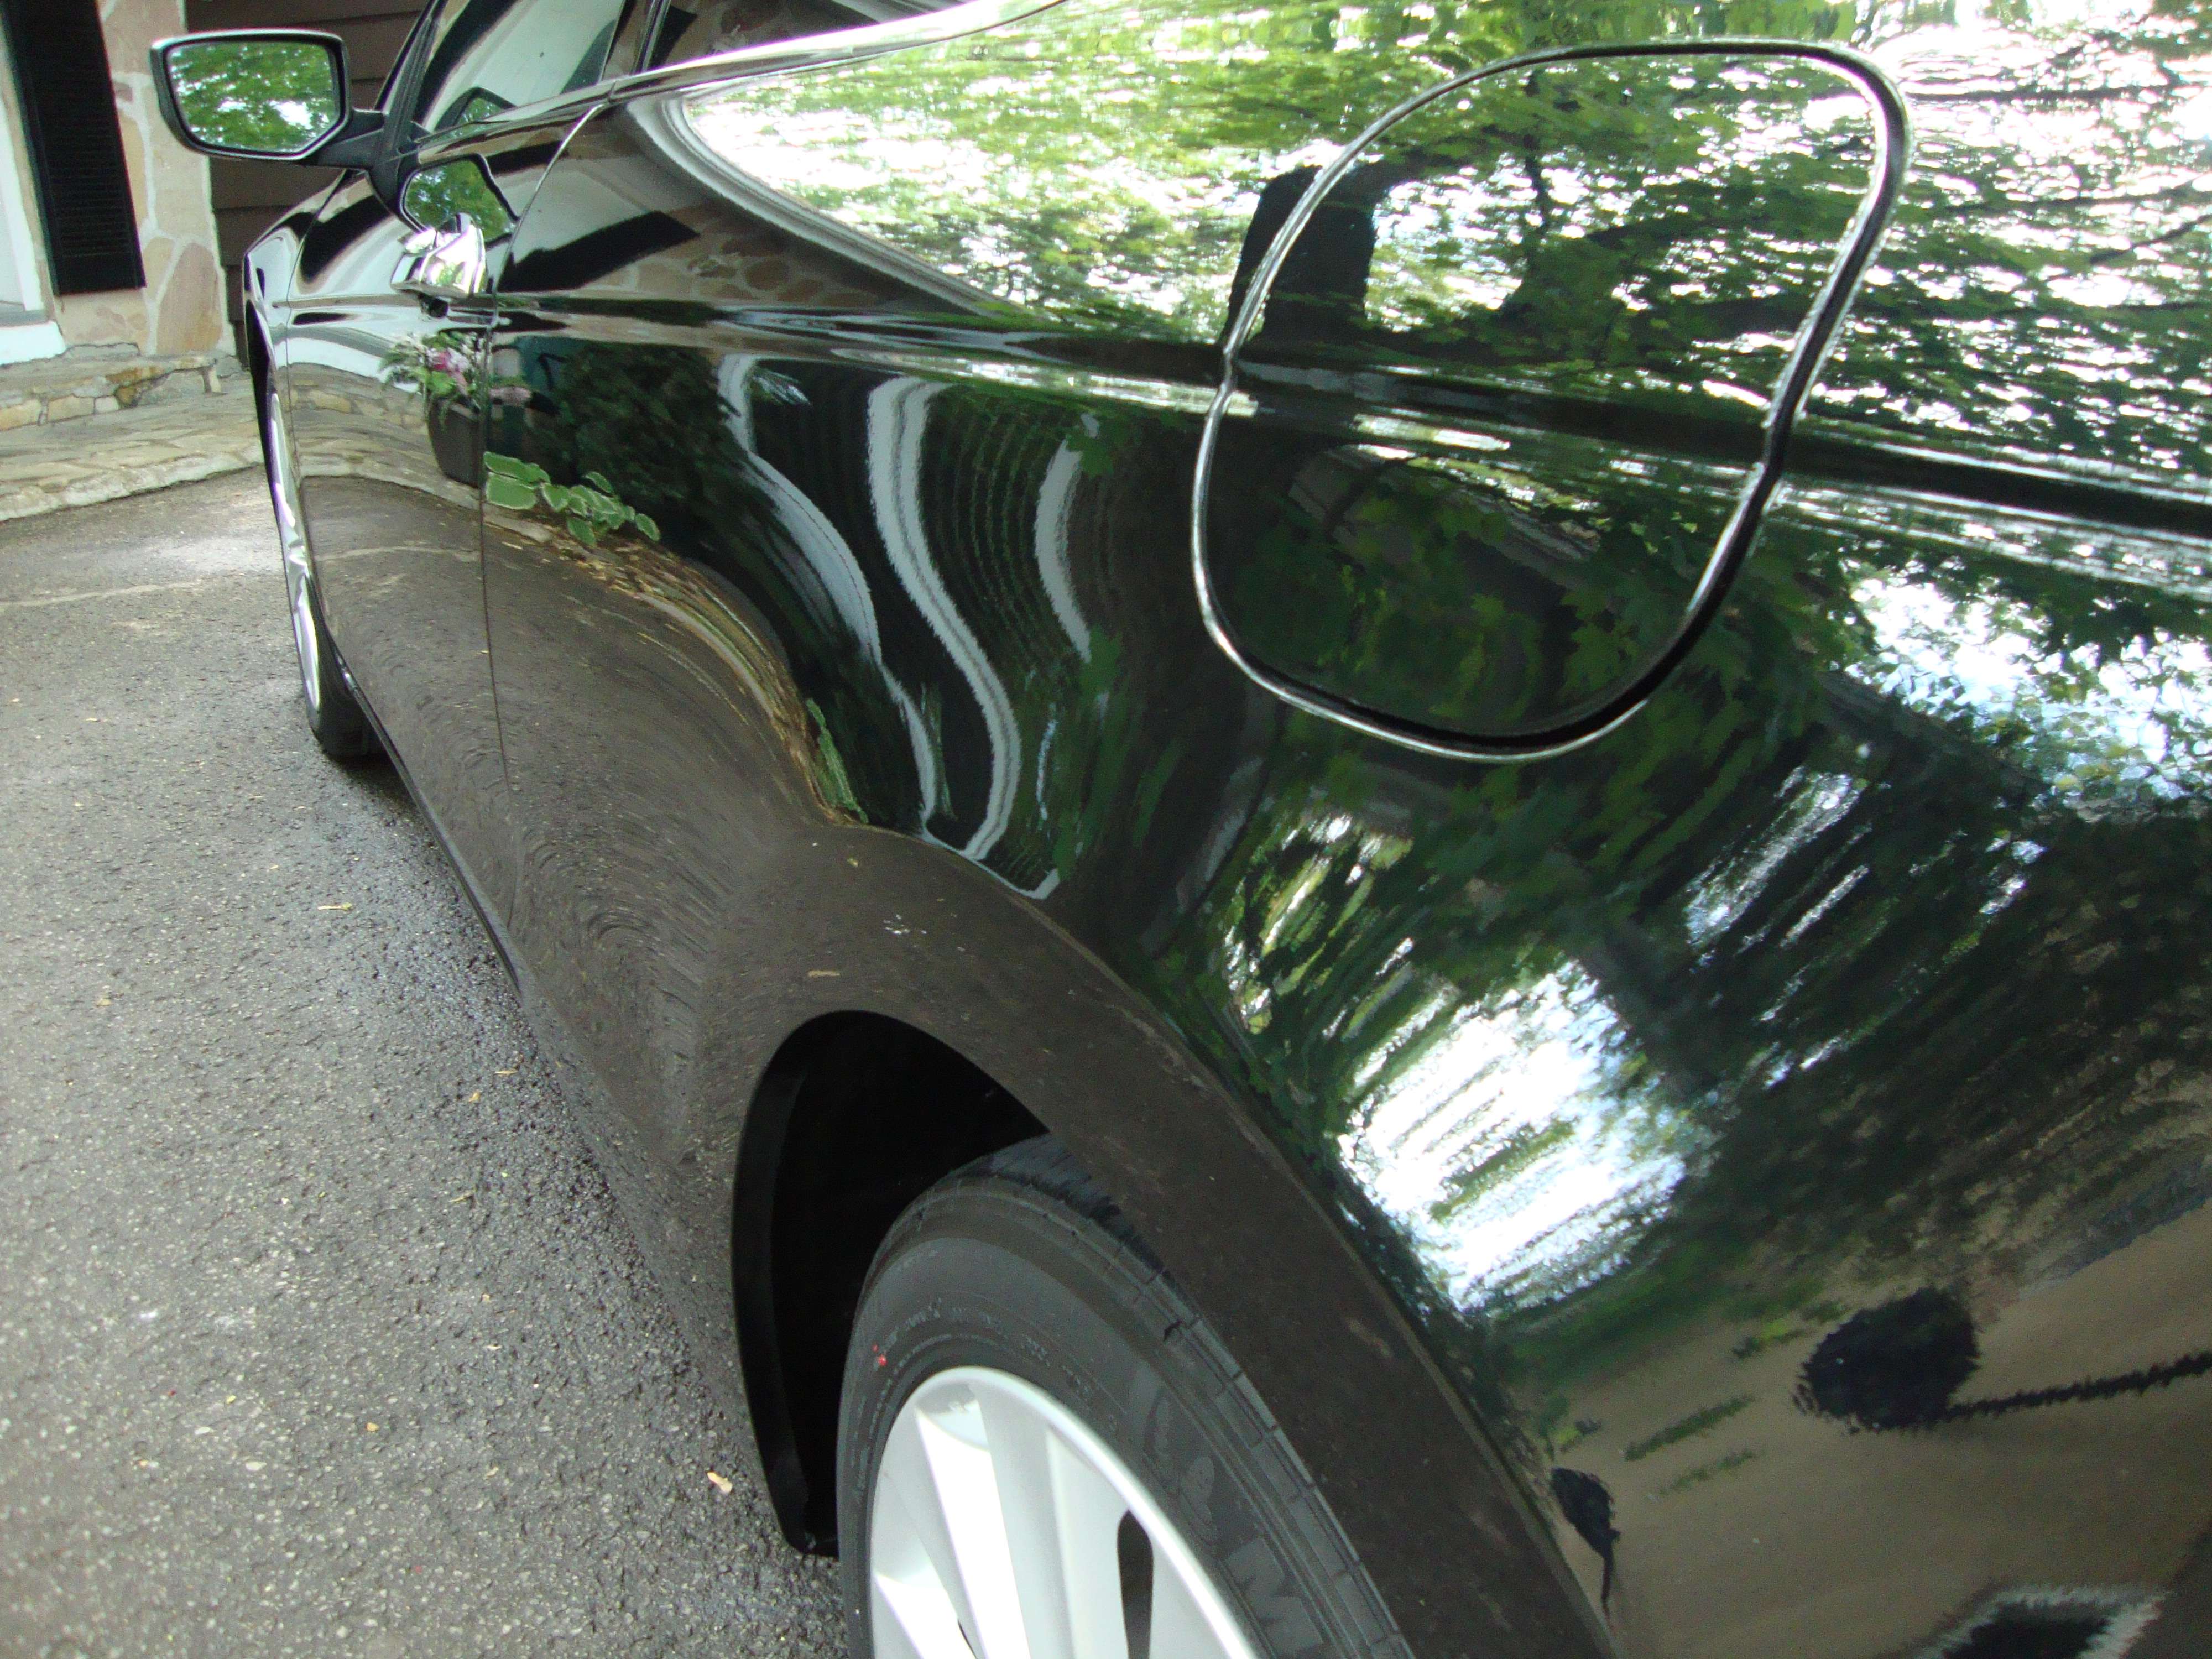
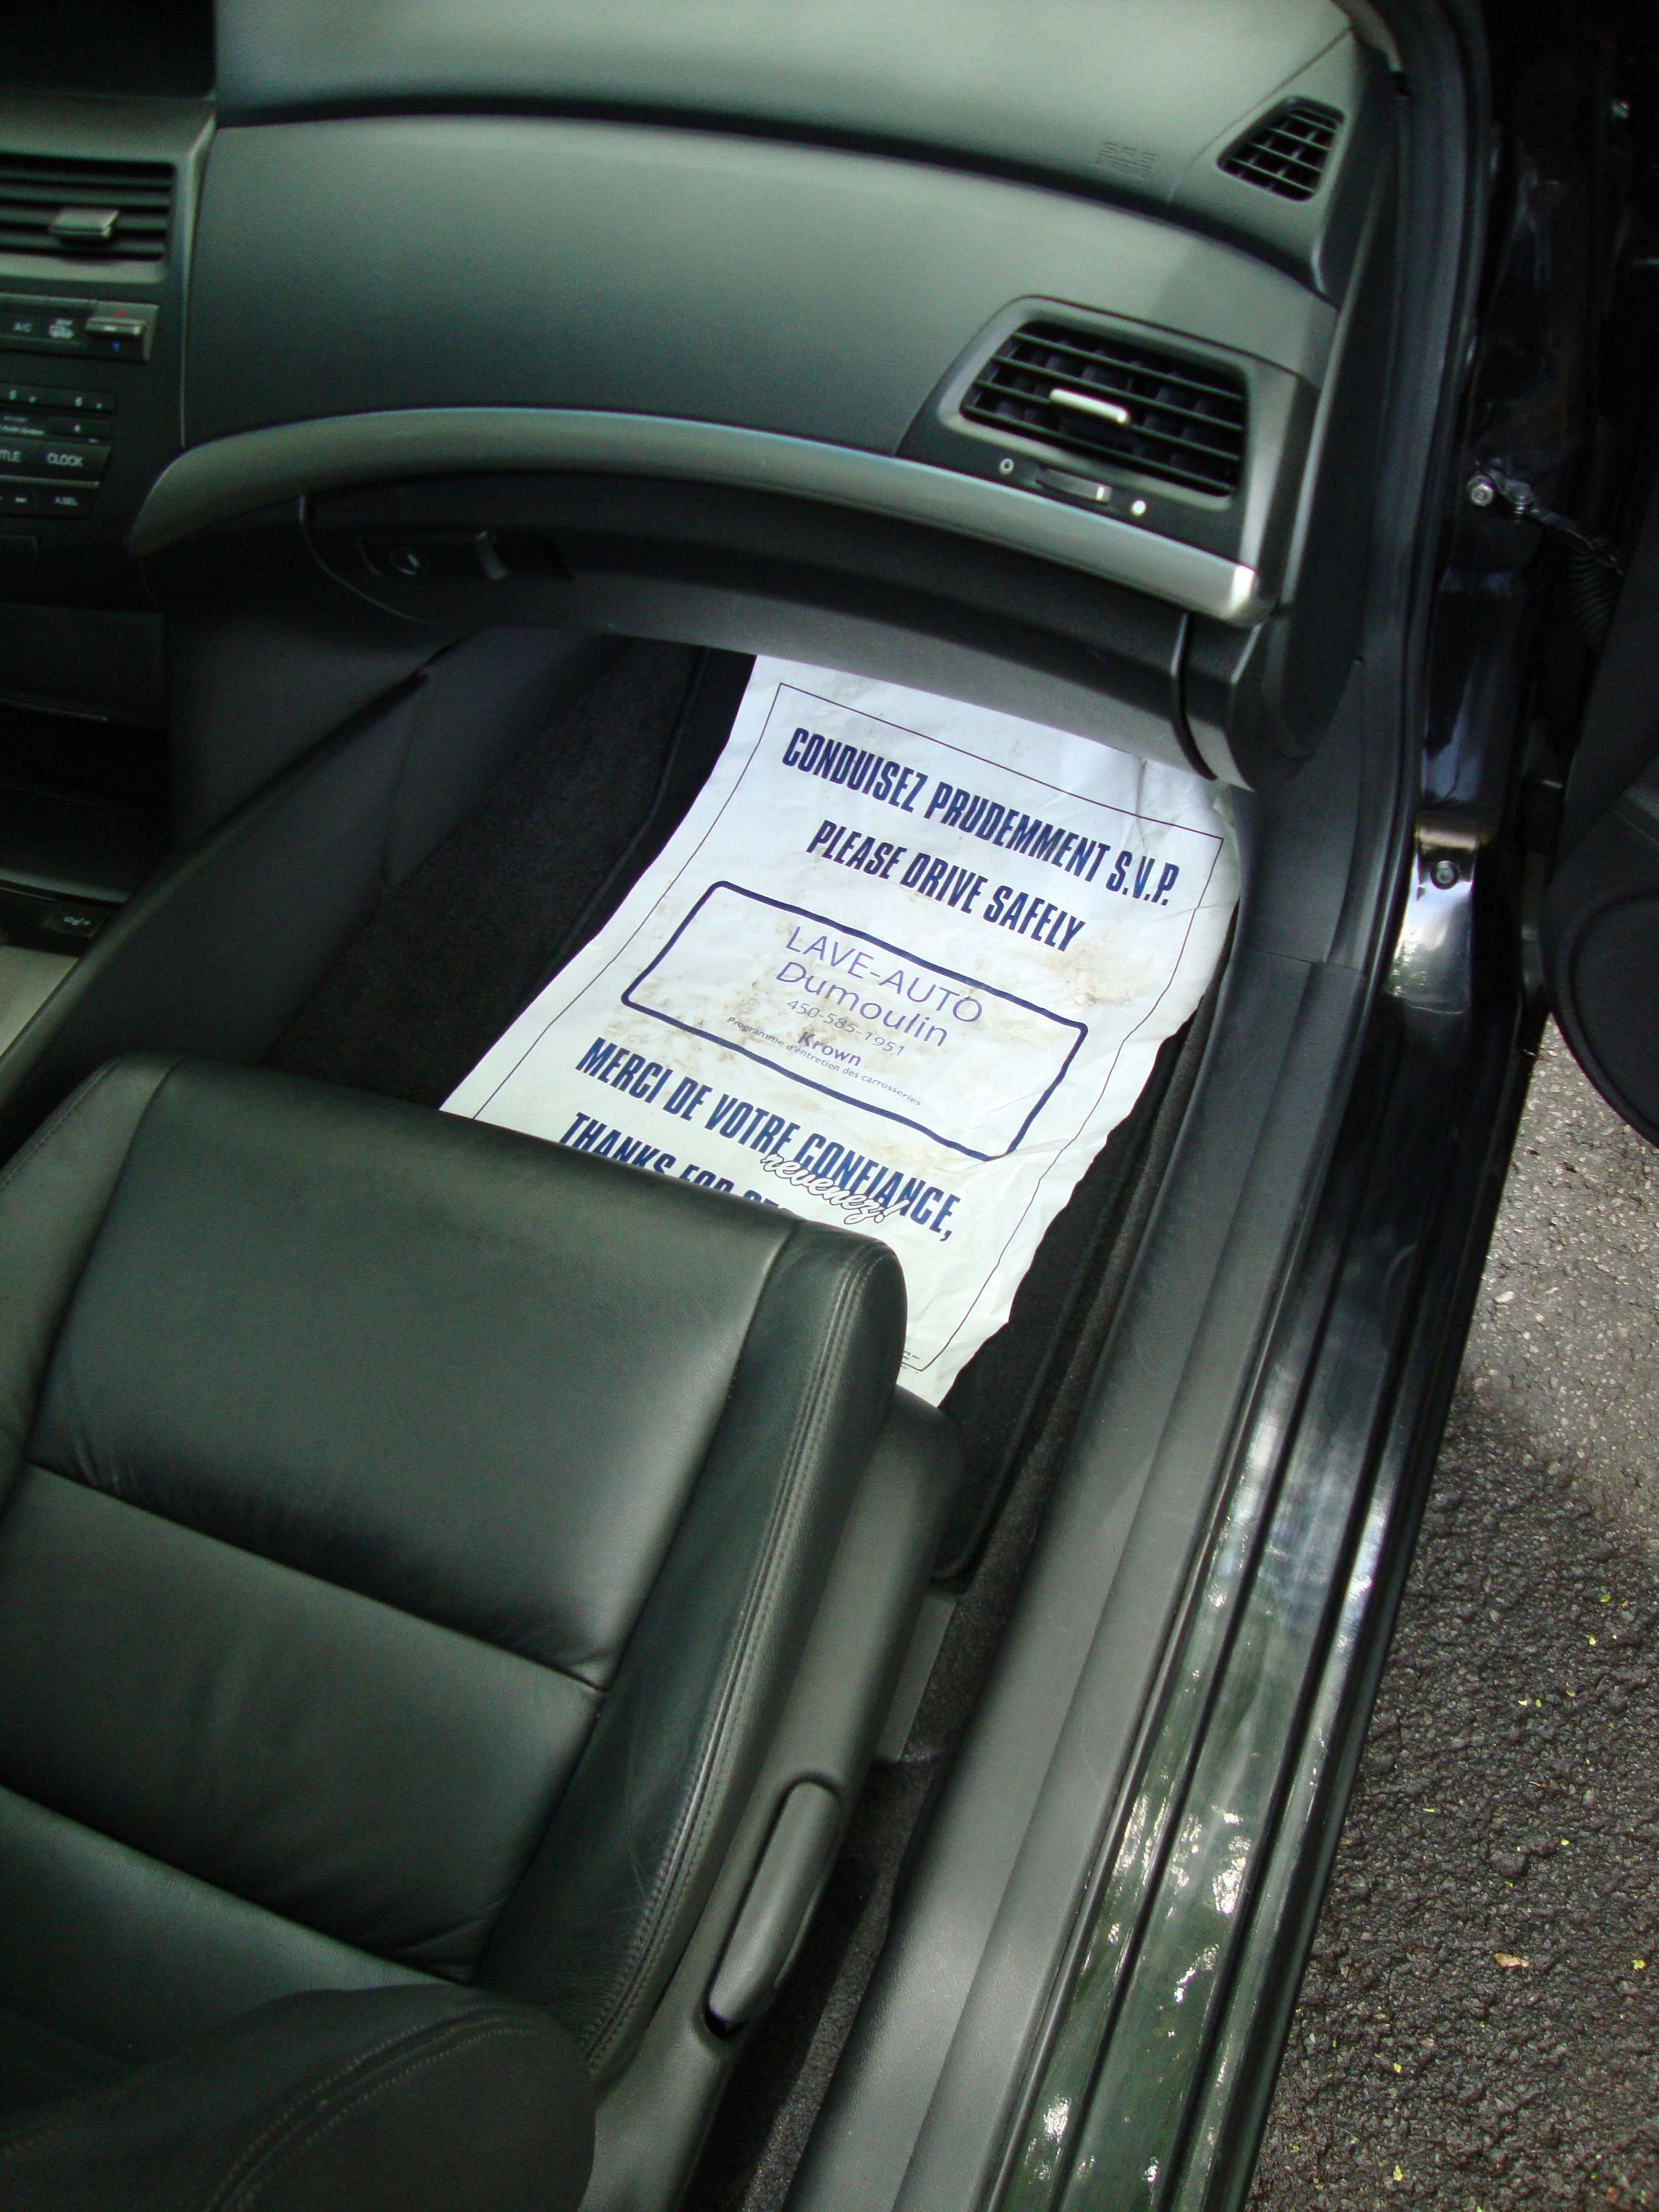
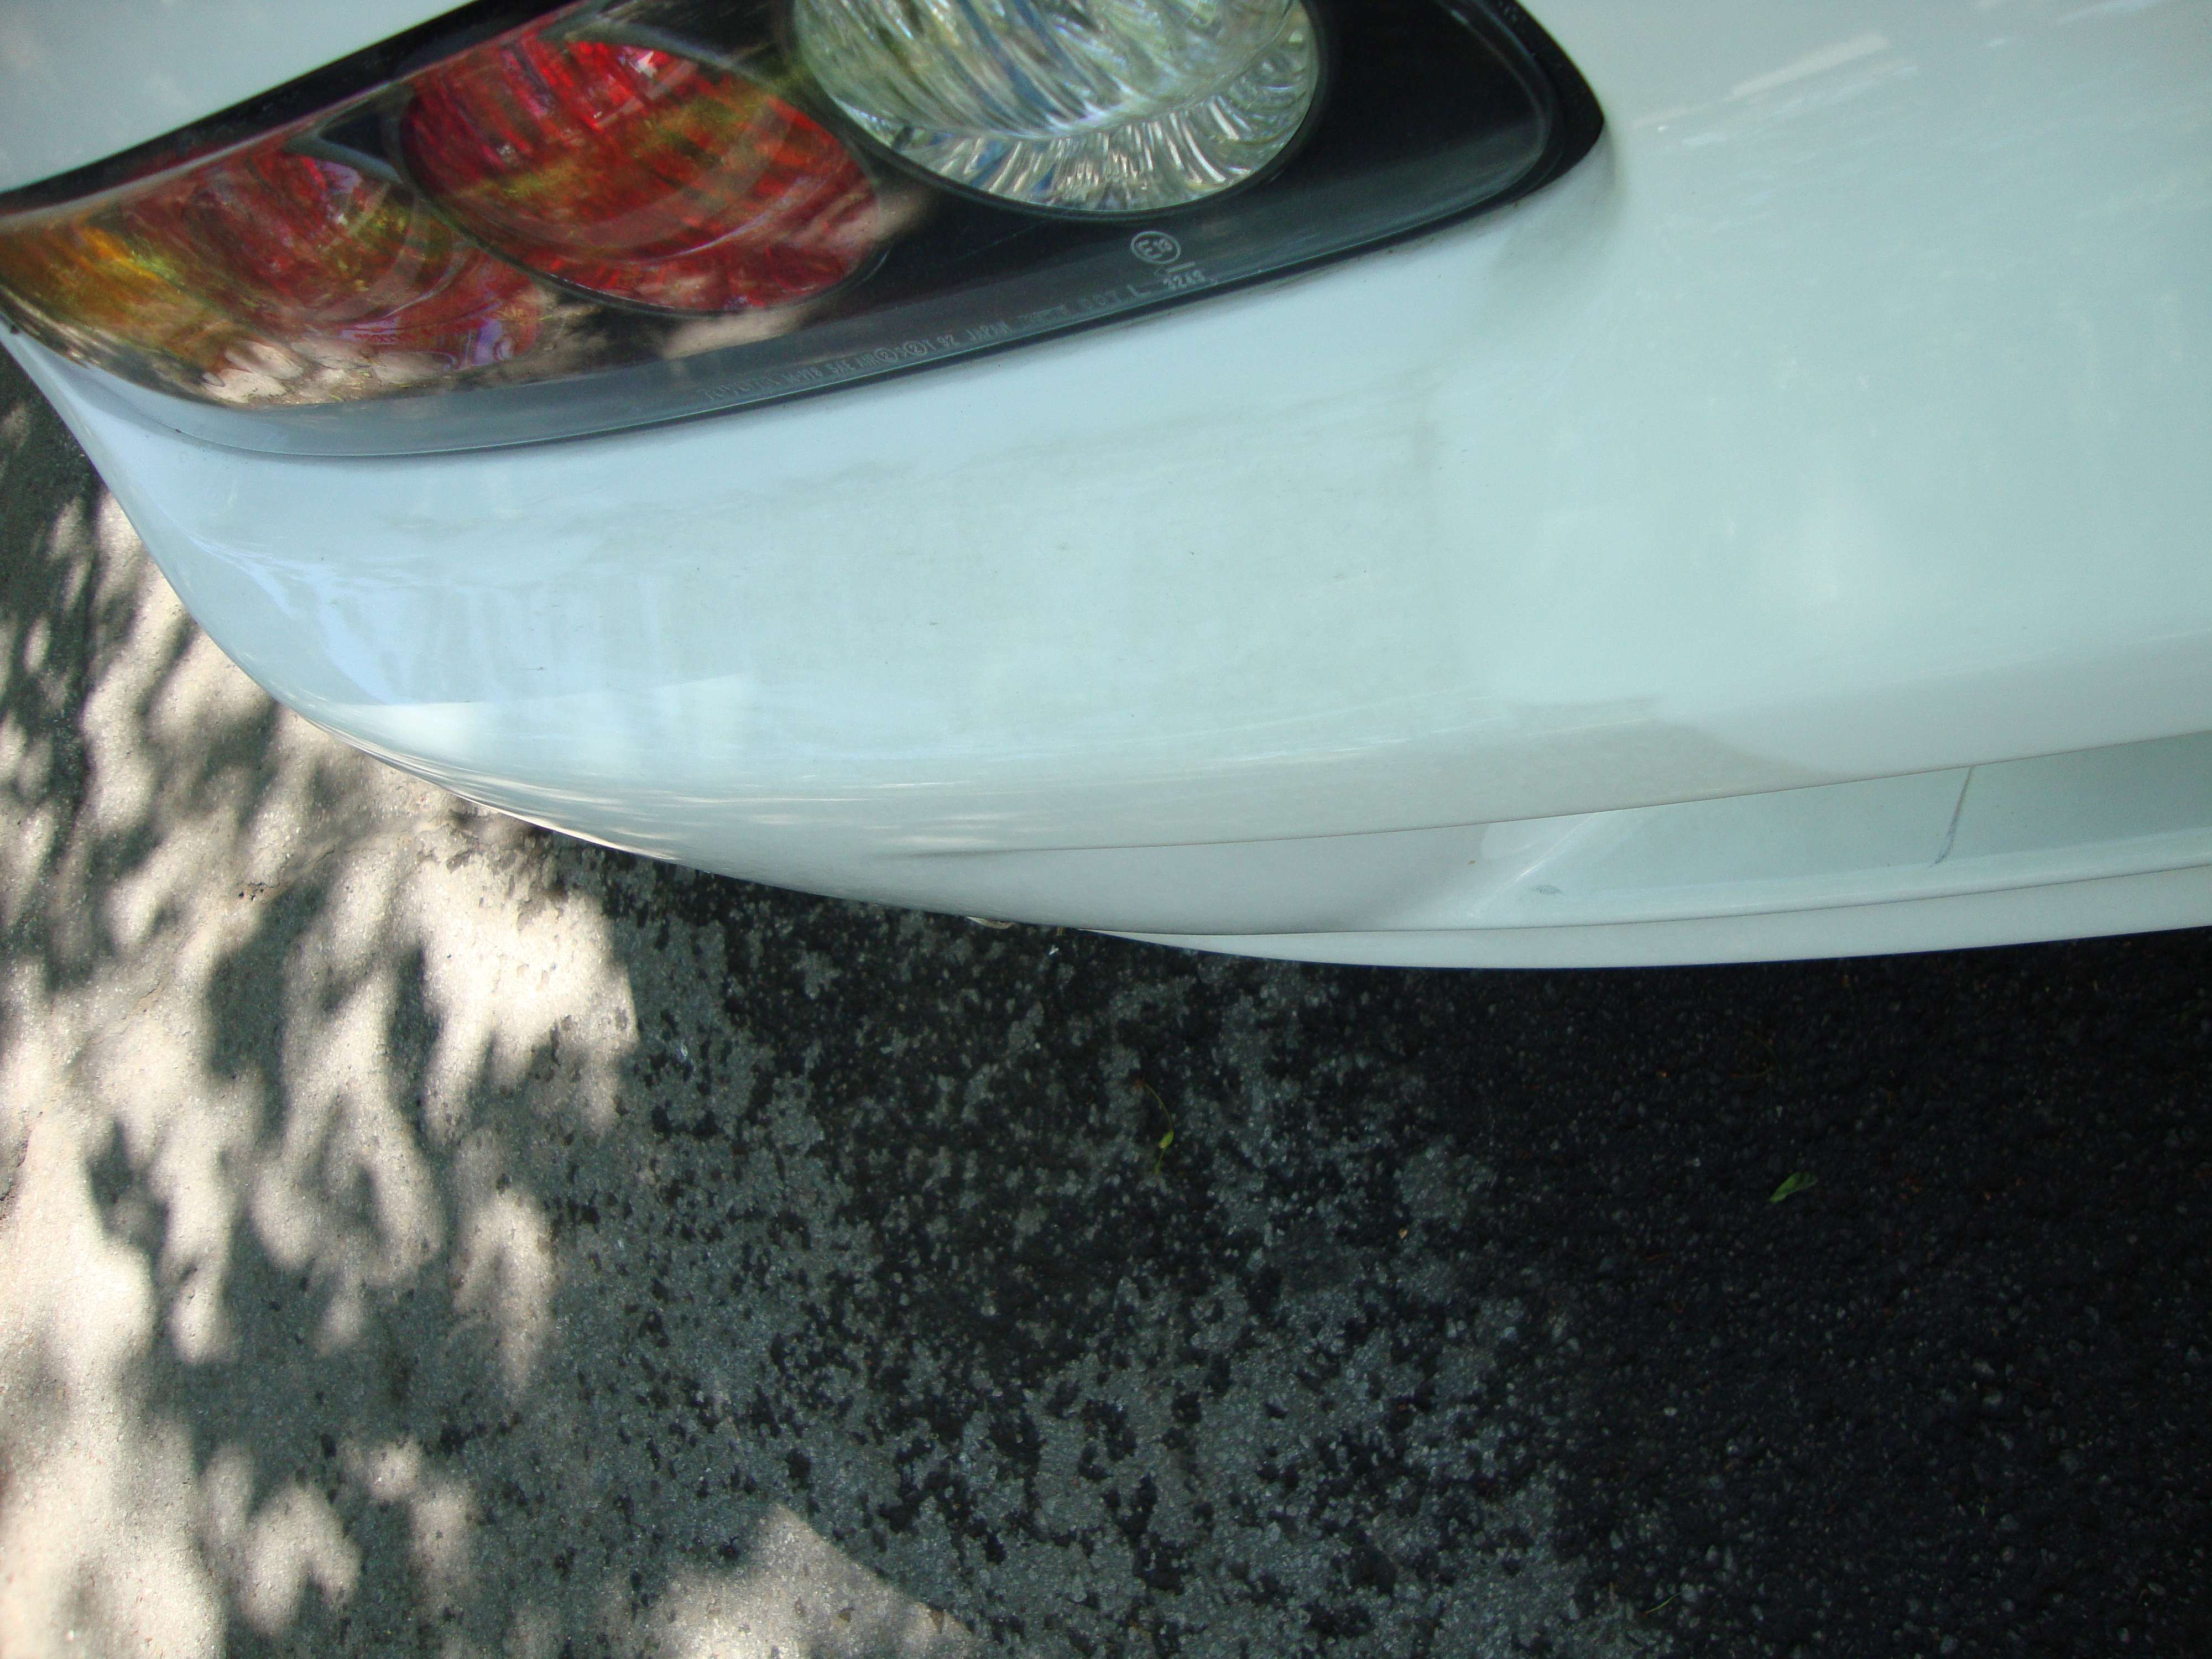
Le propi�taire ne ma pas demand� d�enlever les marques de ce sticker, mais comme je lui ai promit un showroom condition, je me devait d�oter �a.
The owner never asked me to remove the marks left by the sticker but I had to do it because it�s part of my commitment to a showroom finish. You know, when your not on a rush to finish the car like your in a production. Just take my time, no matter how much times it takes, it doesn�t matter, what matter is your getting a showroom finish at the end
Mon stuff pour oter la colle ne fait rien du tout pour cela, le dommage est dans le clear.
My glue remover didn�t do fu*kall for this sticker so the damage was done in the clear. I had to wet-sand it.
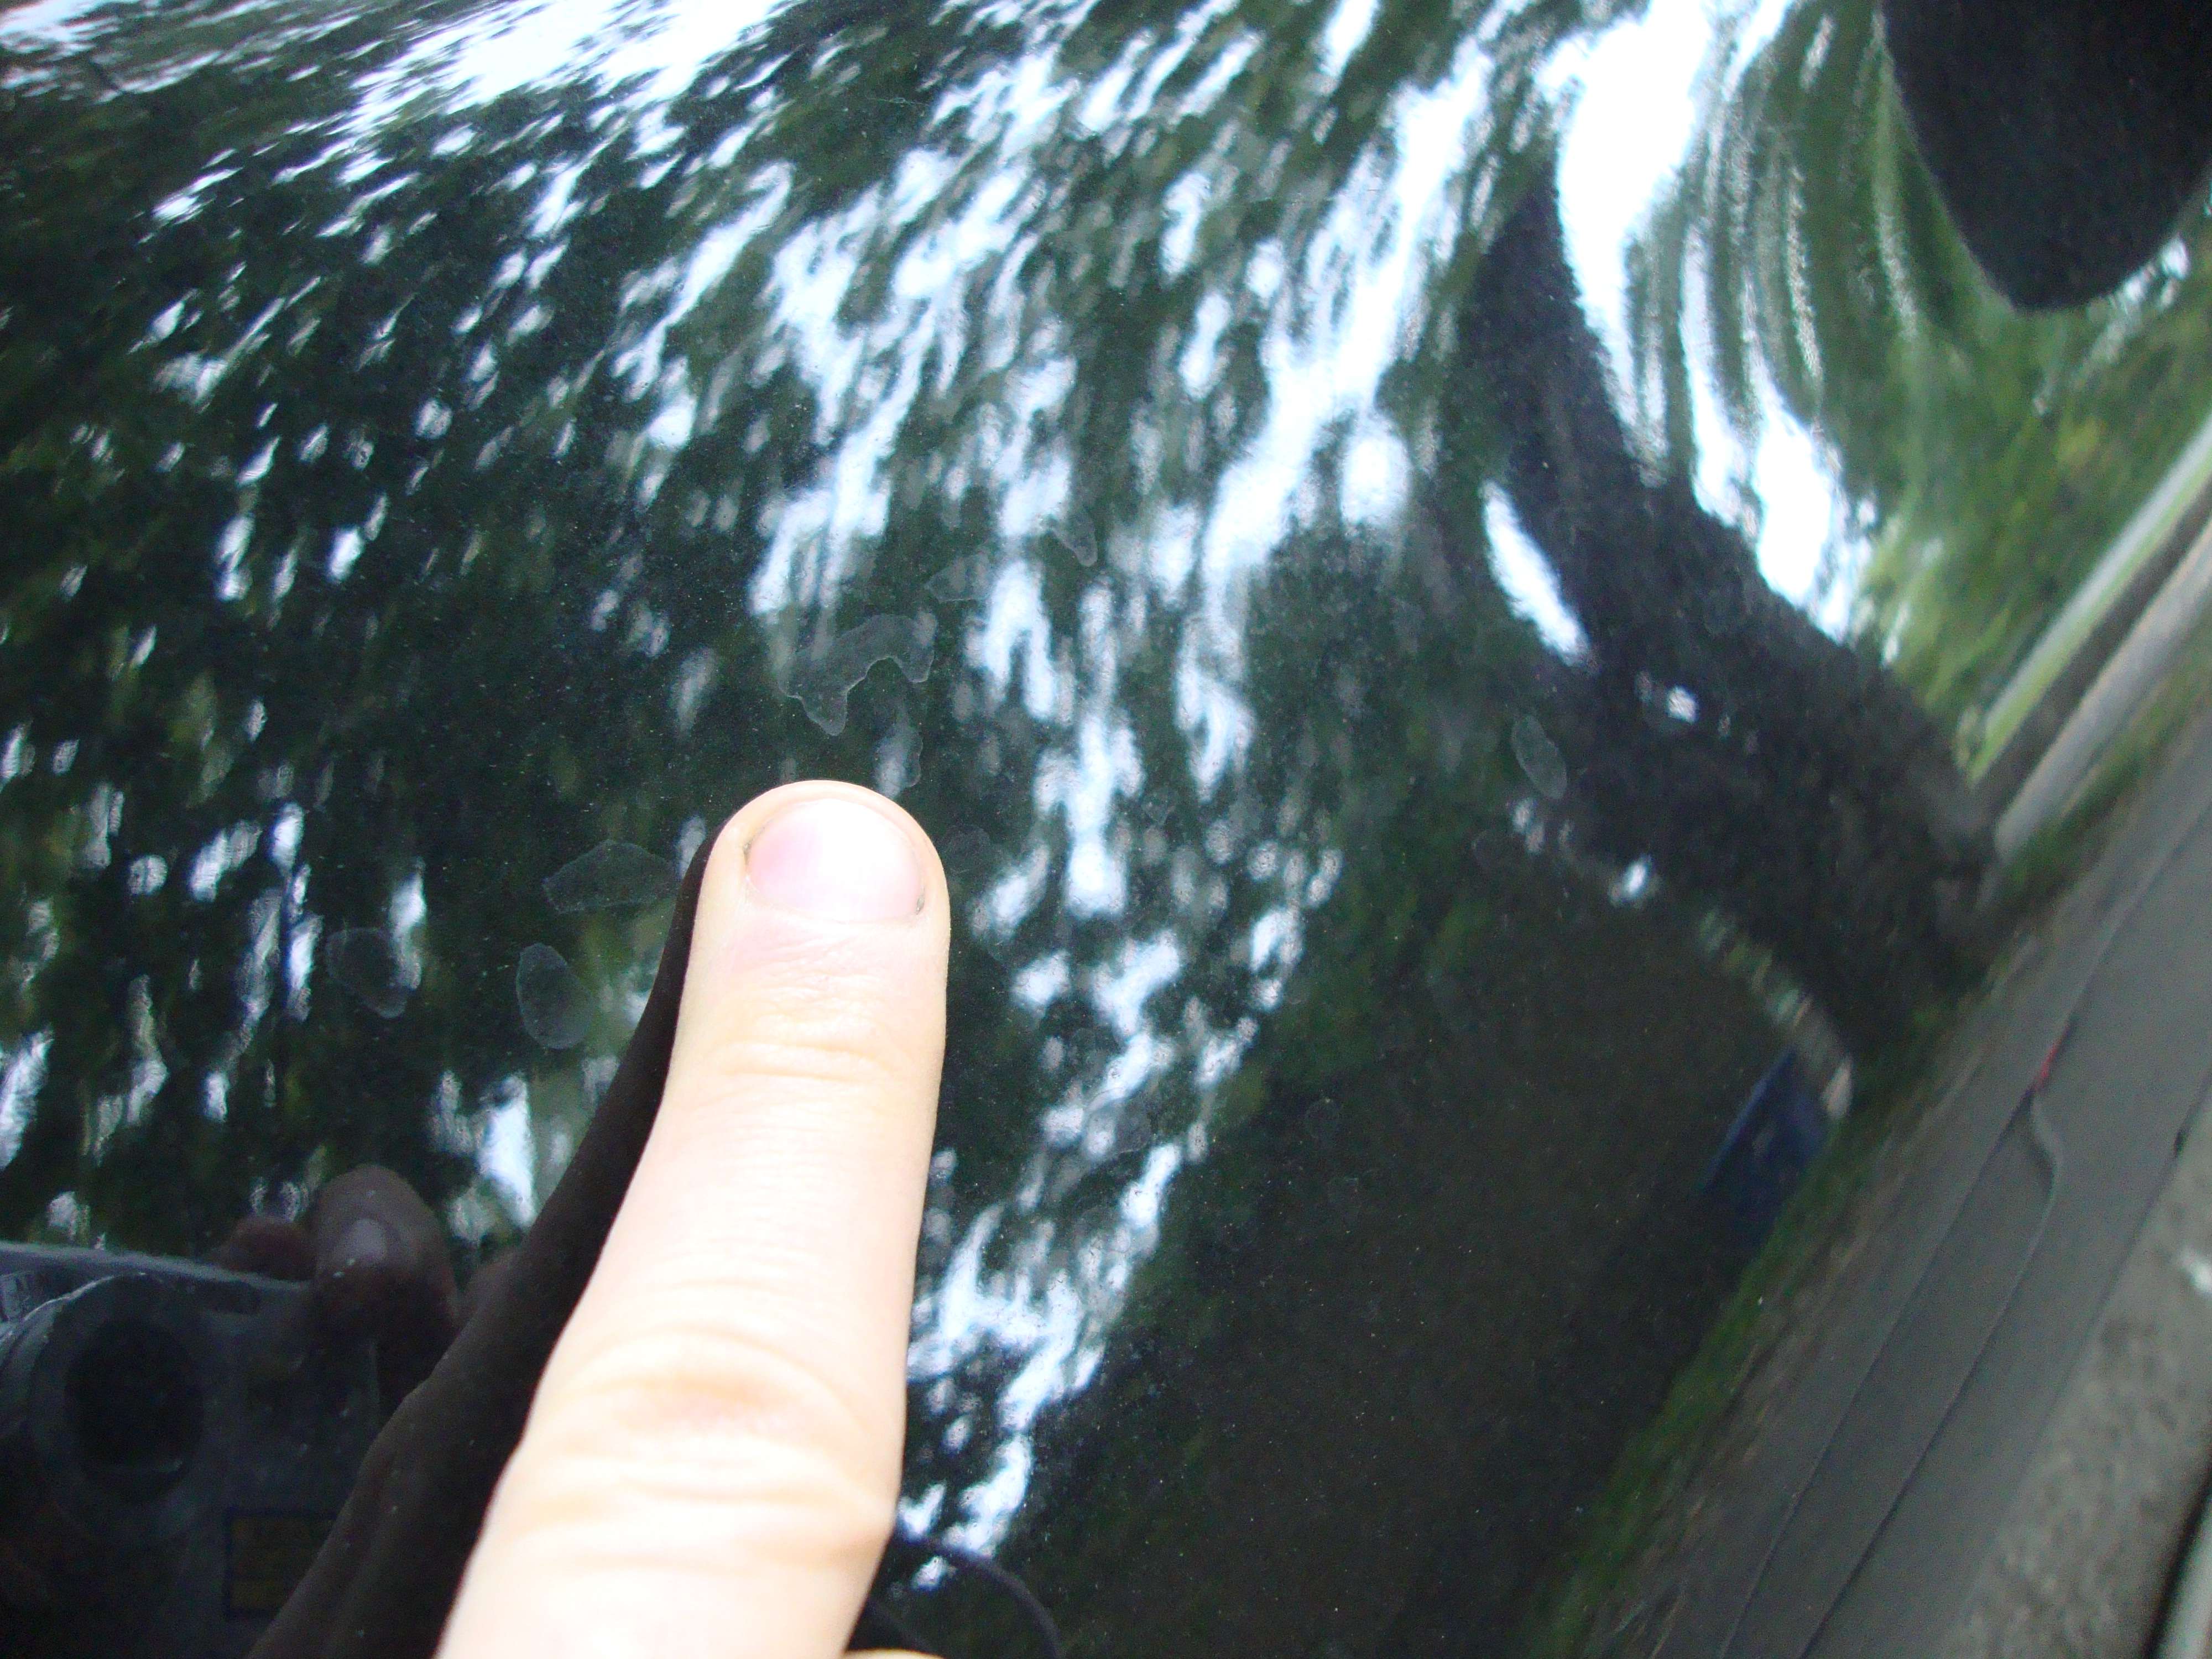
WET-SANDING.
Je m�assure que je ne brule pas la peinture.
At this point, I can�t take the chance that there�s 291 microns of clear coat because I knew the car was repainted. However, when I saw some defect on the paint, I knew the paint job wasn�t done 100% right so I had doubt that the guy simply painted over the existing charcoal paint so in this case, I knew my reading was pretty worthless. Yes, that�s how much I�m taking care and making sure I�m doing a good job on your car!
� ce point, je savais que je ne pouvais pas me fier sur mon gauge car j�avais vu quelques d�faut dans la job de repeinture ailleurs sur l�auto et je savais que l�auto, au depart, �tait charcoal, alors pour une job vite bonne pas ch�re, le peintre a surment juste repeinturer par-dessus la peinture existante. Ainsi, mon gauge lit 2 couches de peinture.. plut�t inutile. Alors, je devais me fier � mon instinct. Selon certains, instinct du d�butant, mais pour ses personnes, sachez que je me fous de ce que vous pensez de moi Ce qui importe, c�est que vous �tes en s�curit� avec moi !
� la fin, il n�y avait que quelques petites ligne du ��Y�� qui paraissait. ( J�avais trop peur d�aller plus profond)
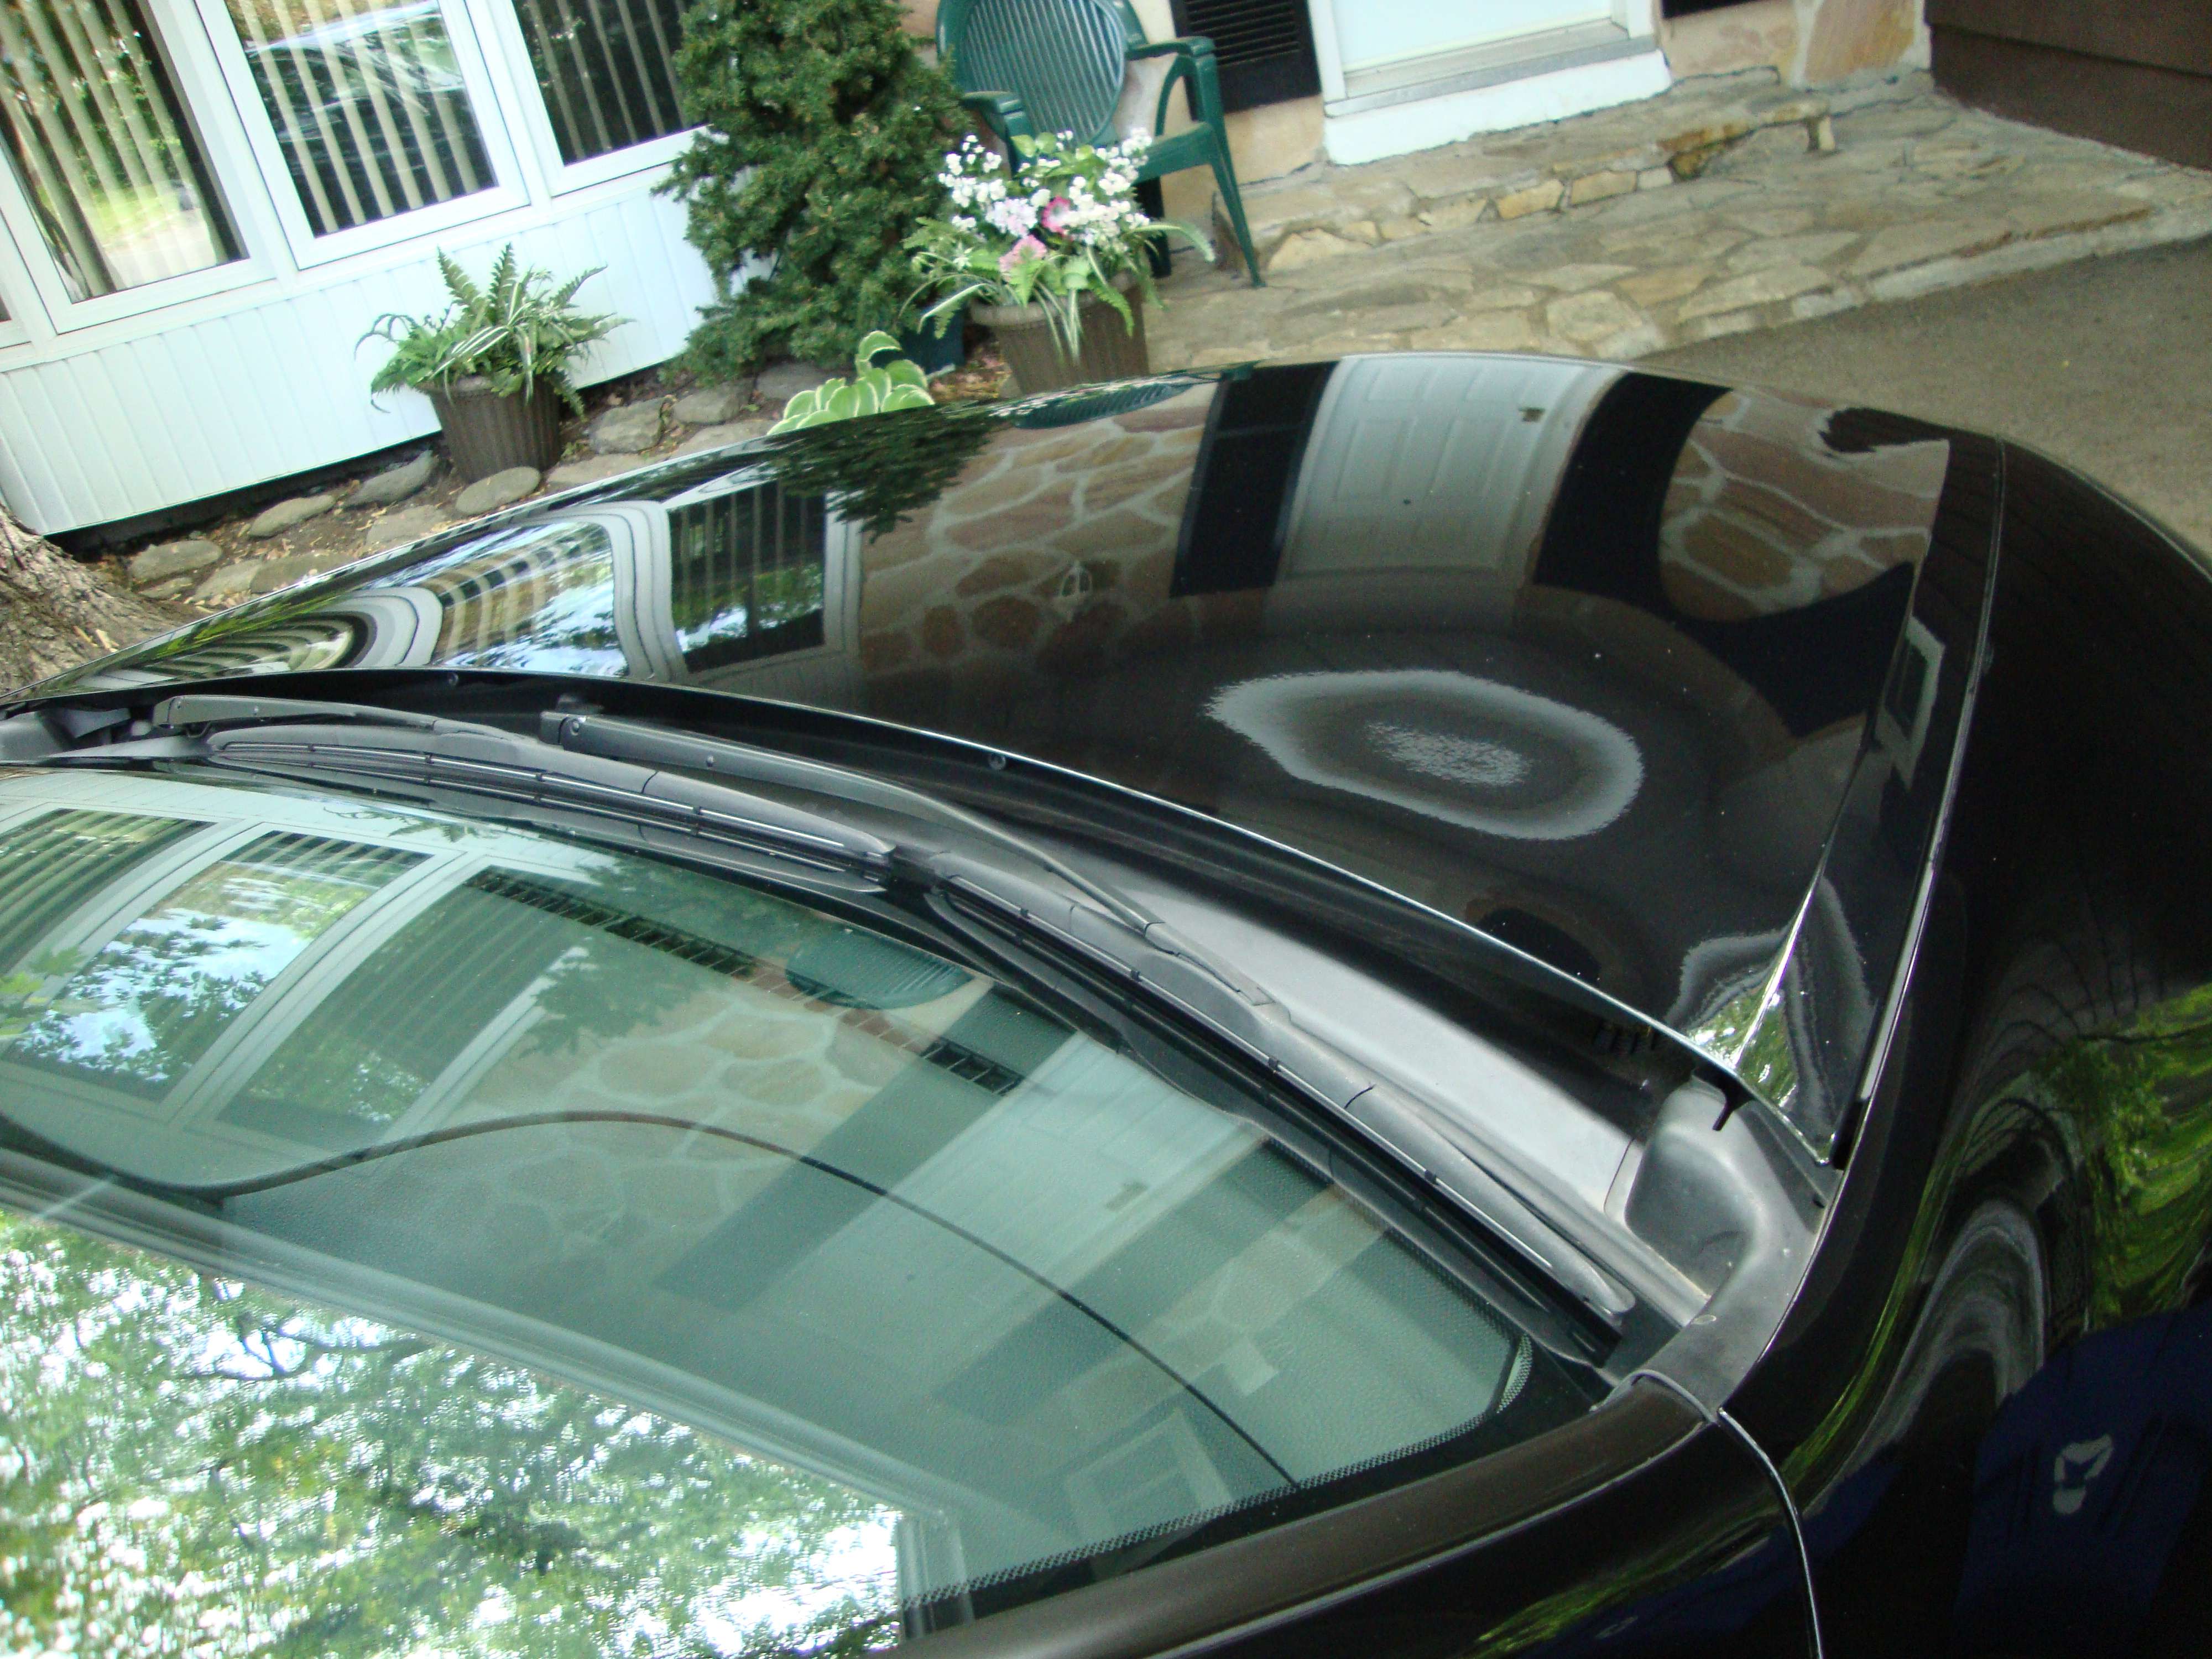
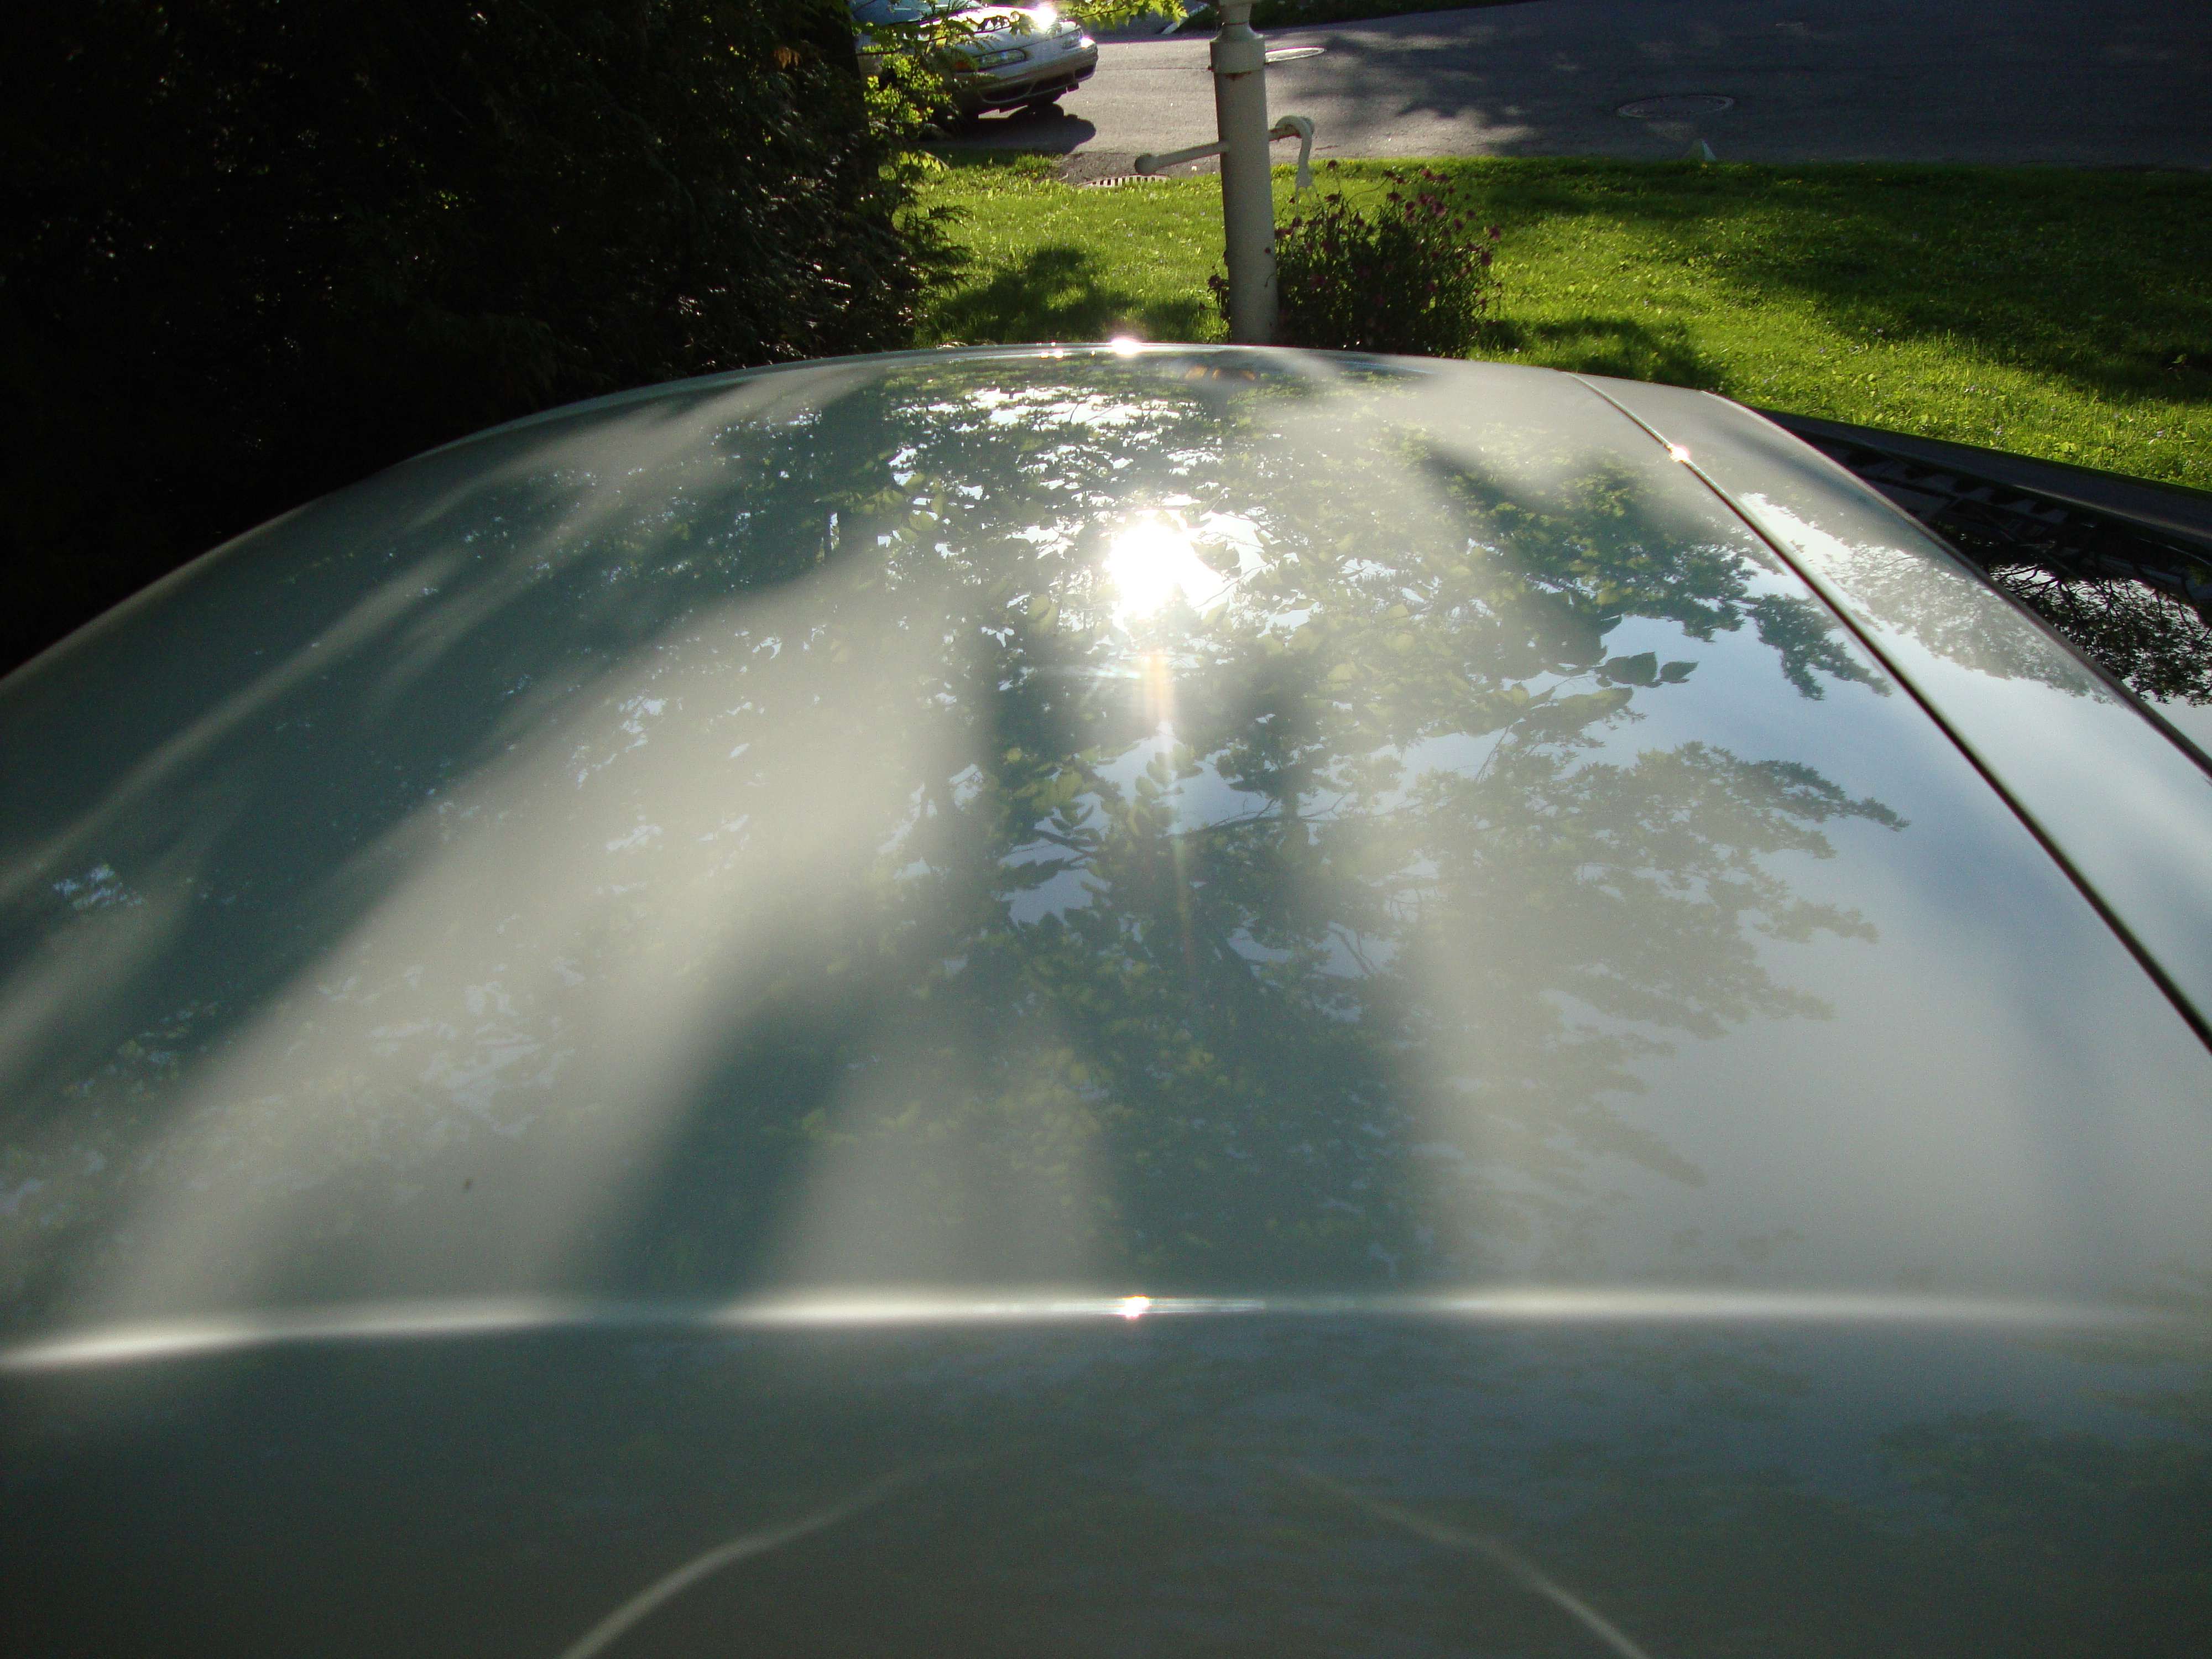
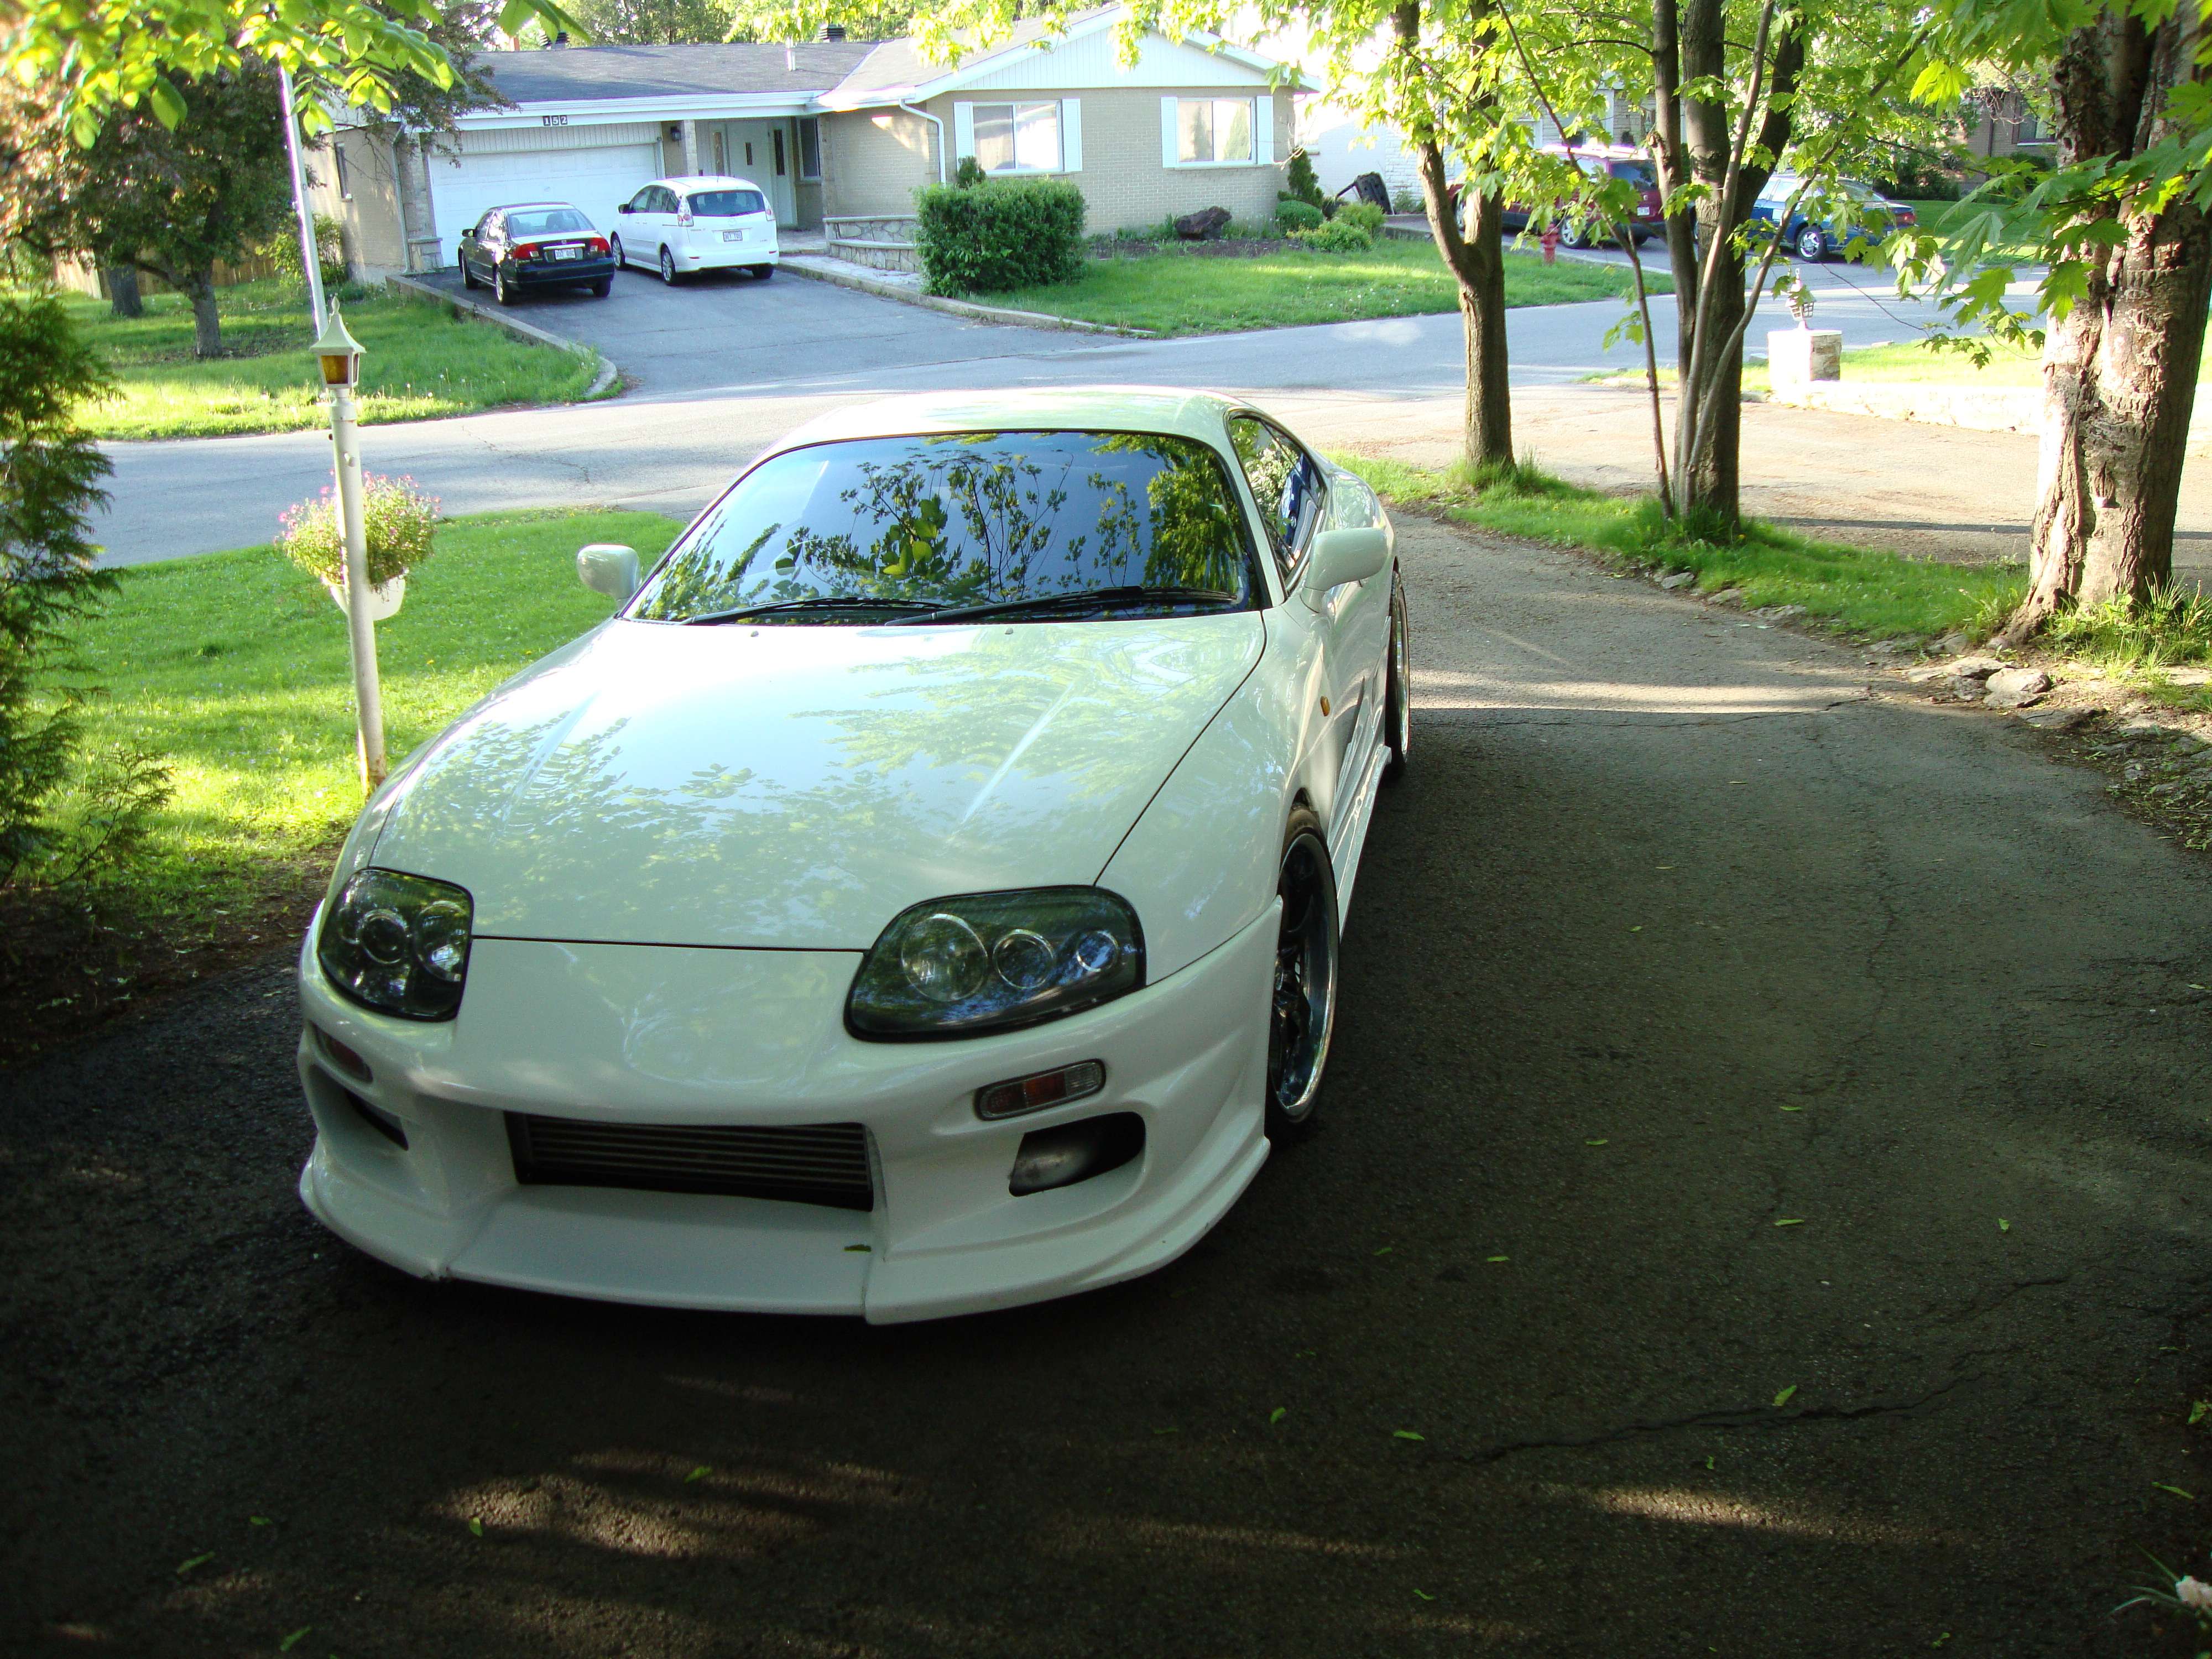
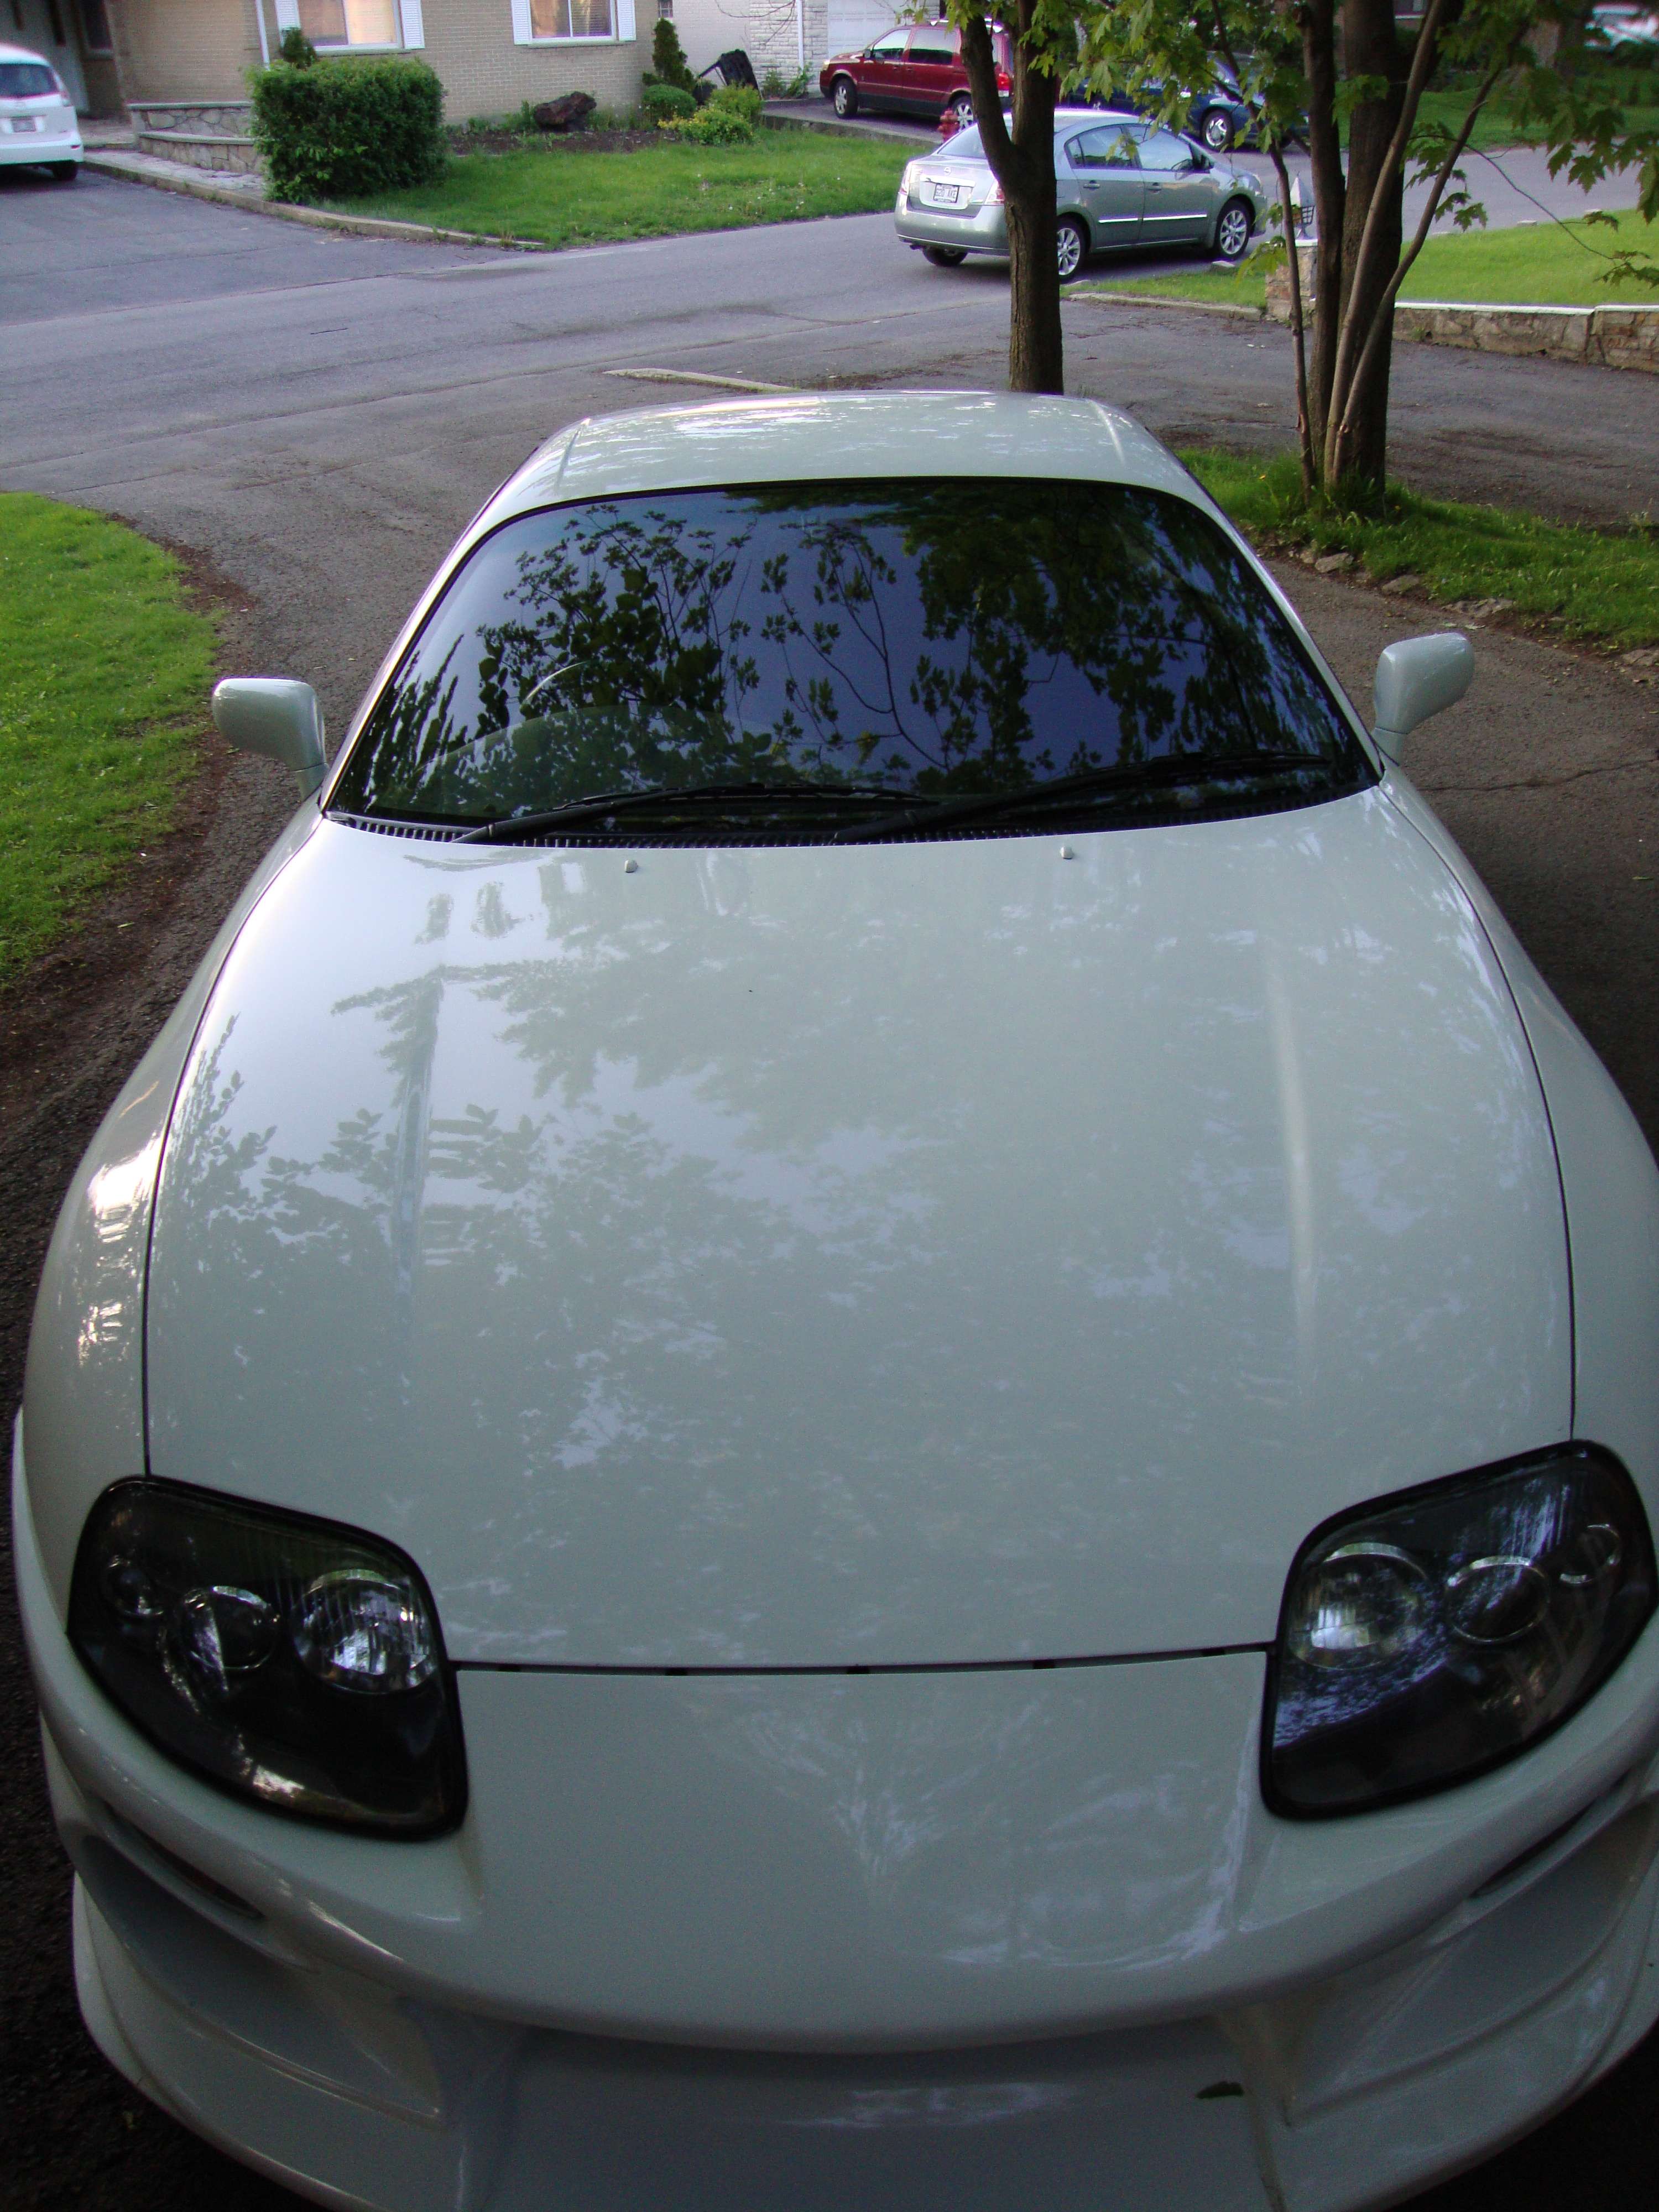
5) Correction.
Before :
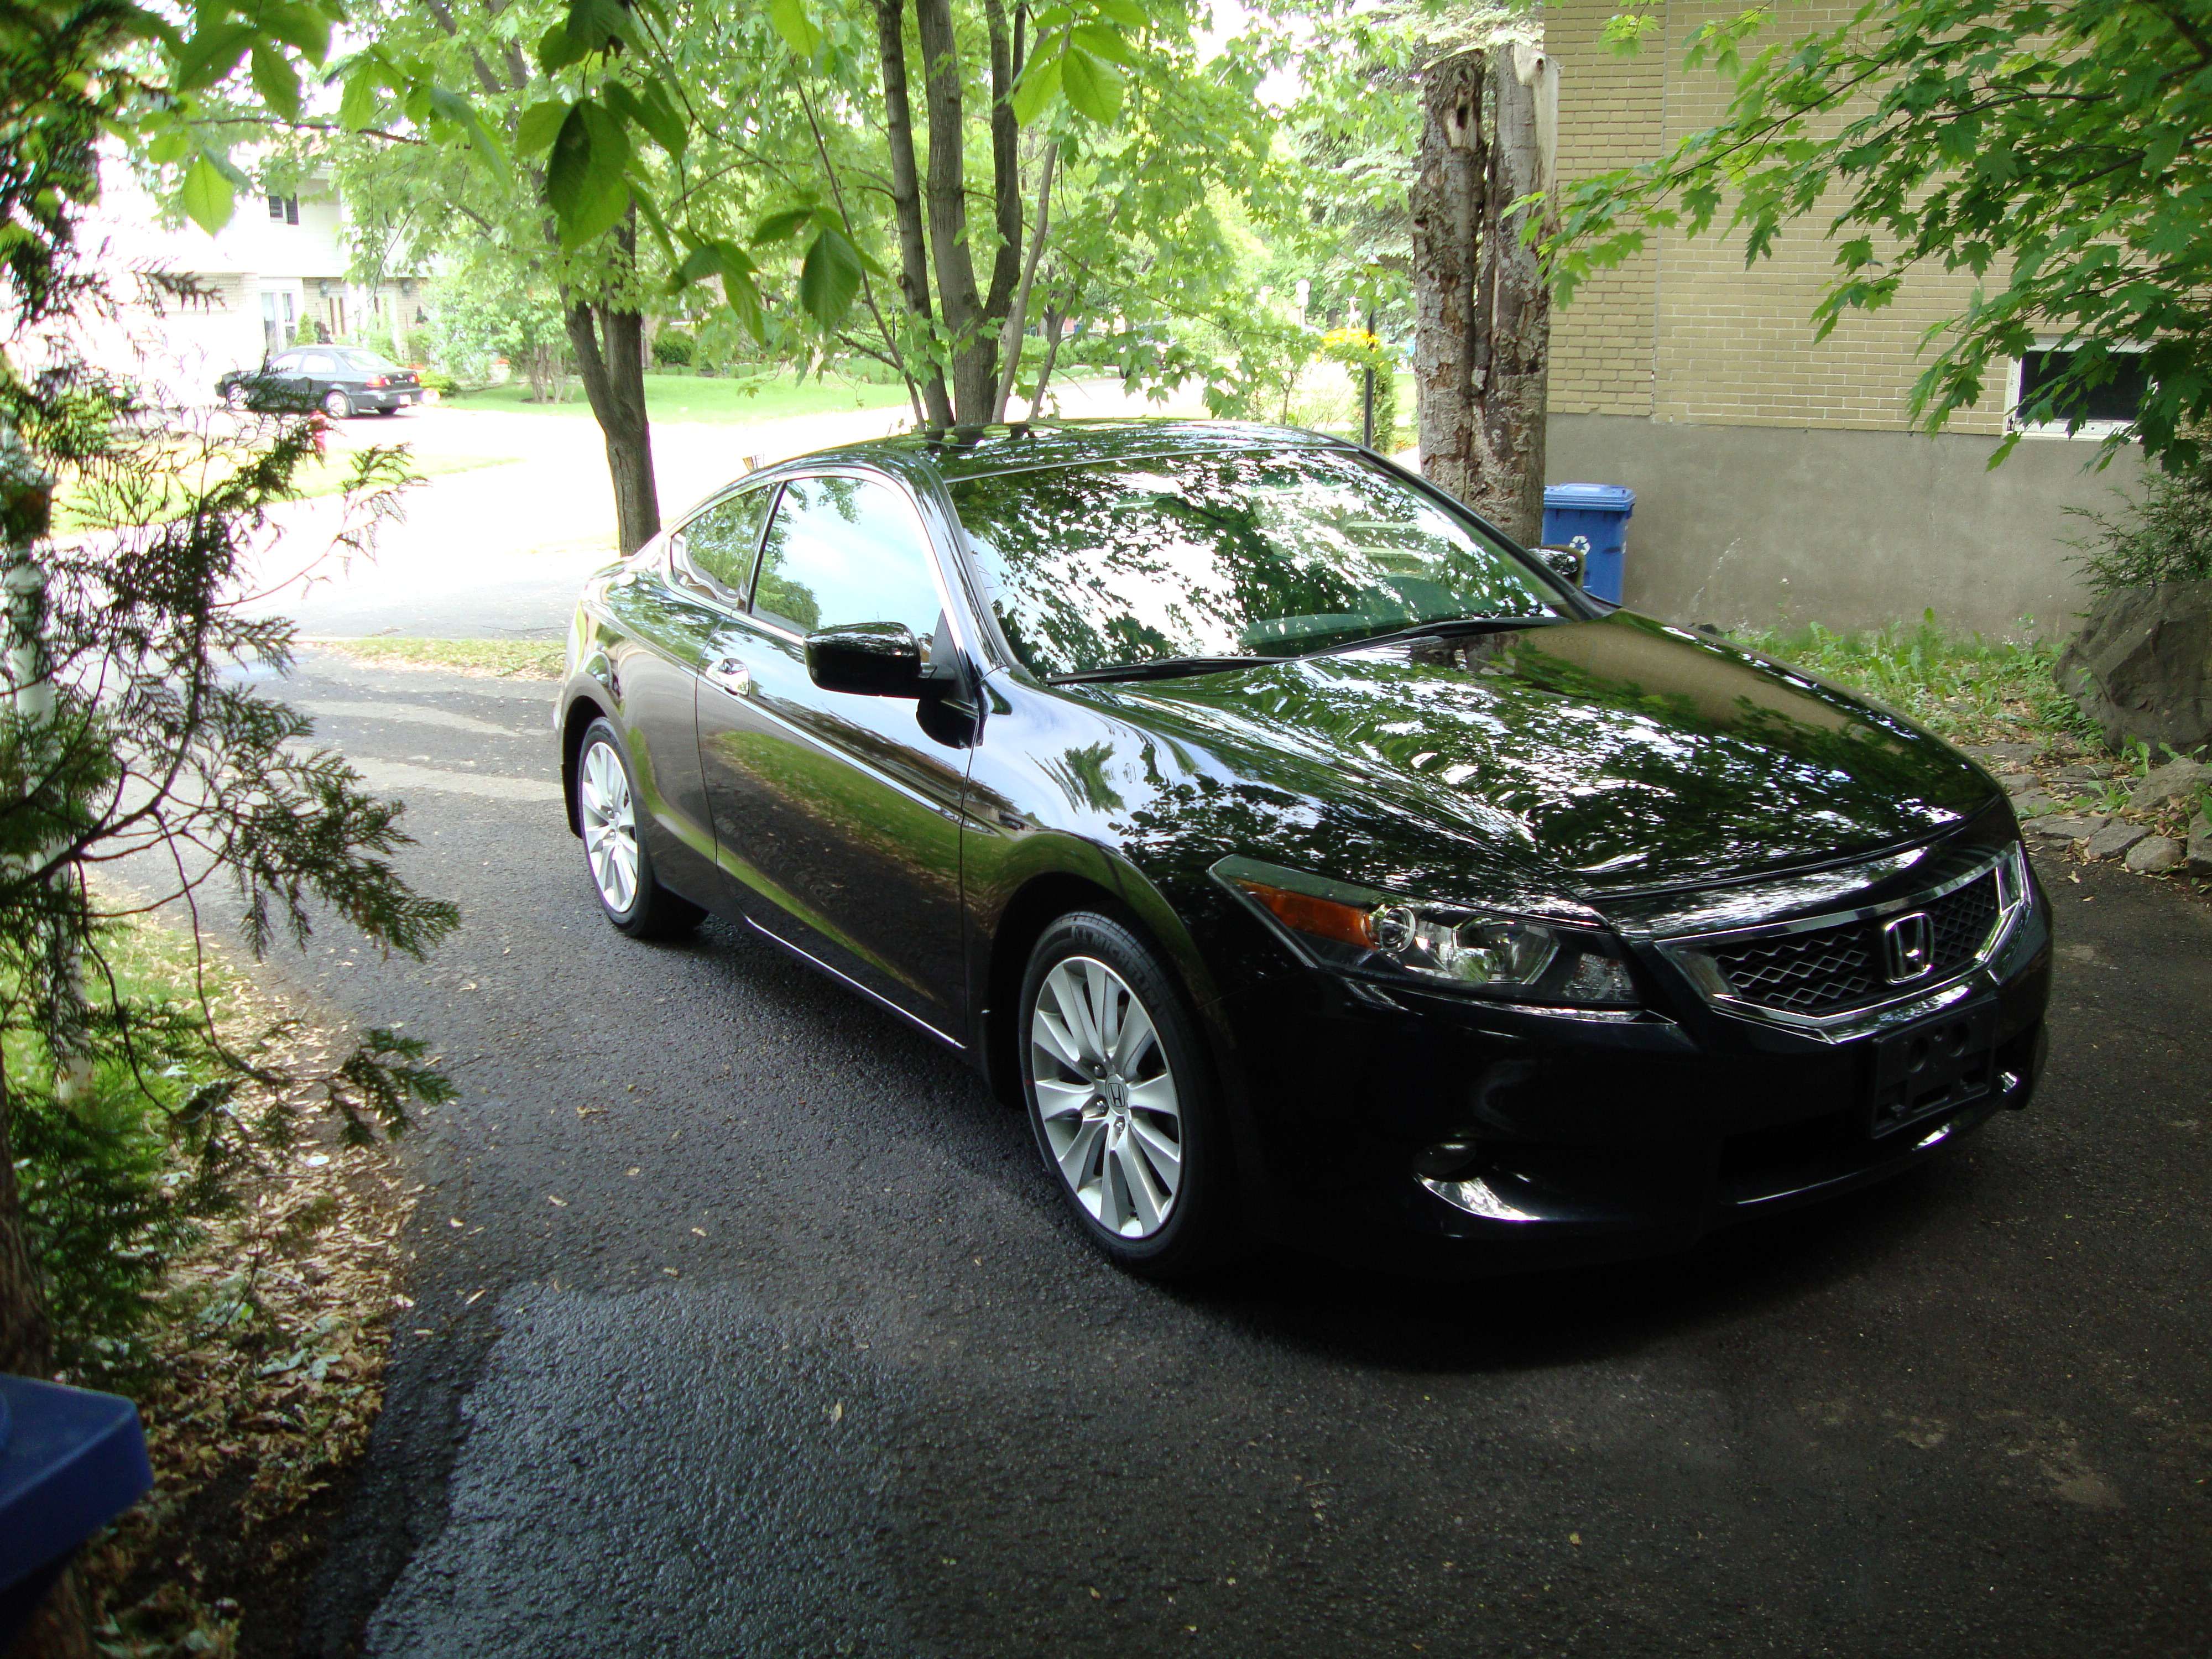
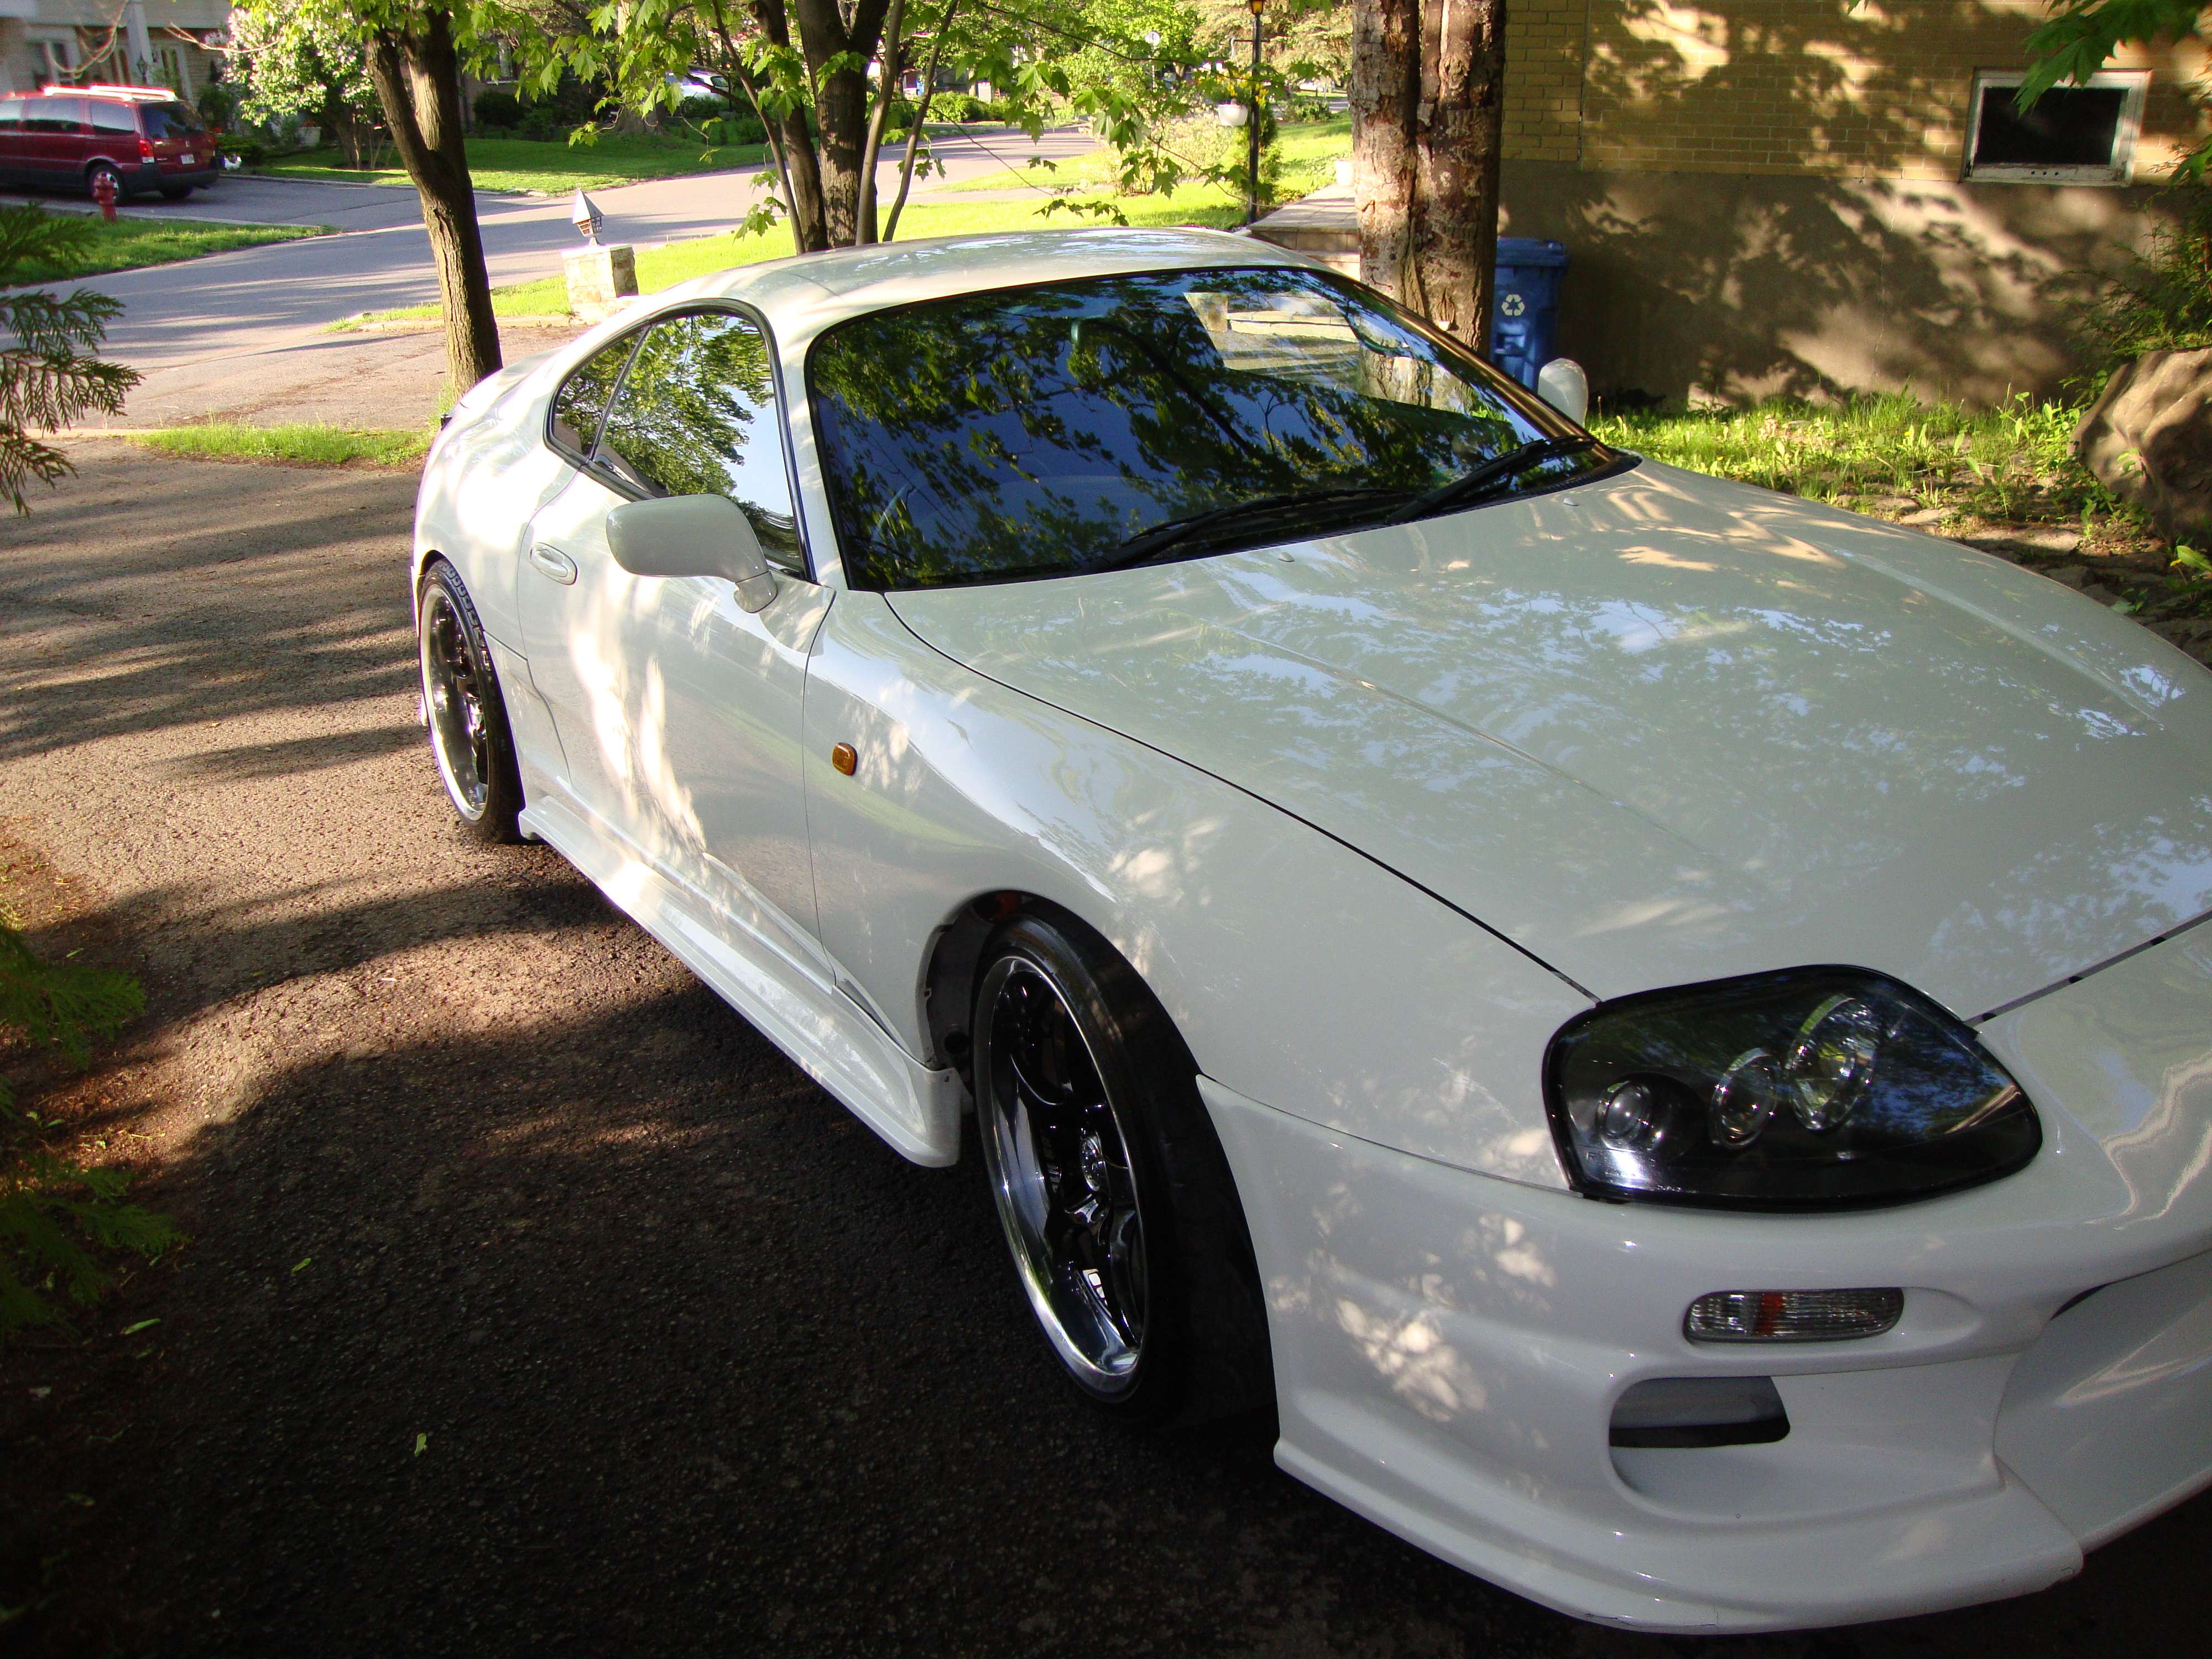
After :
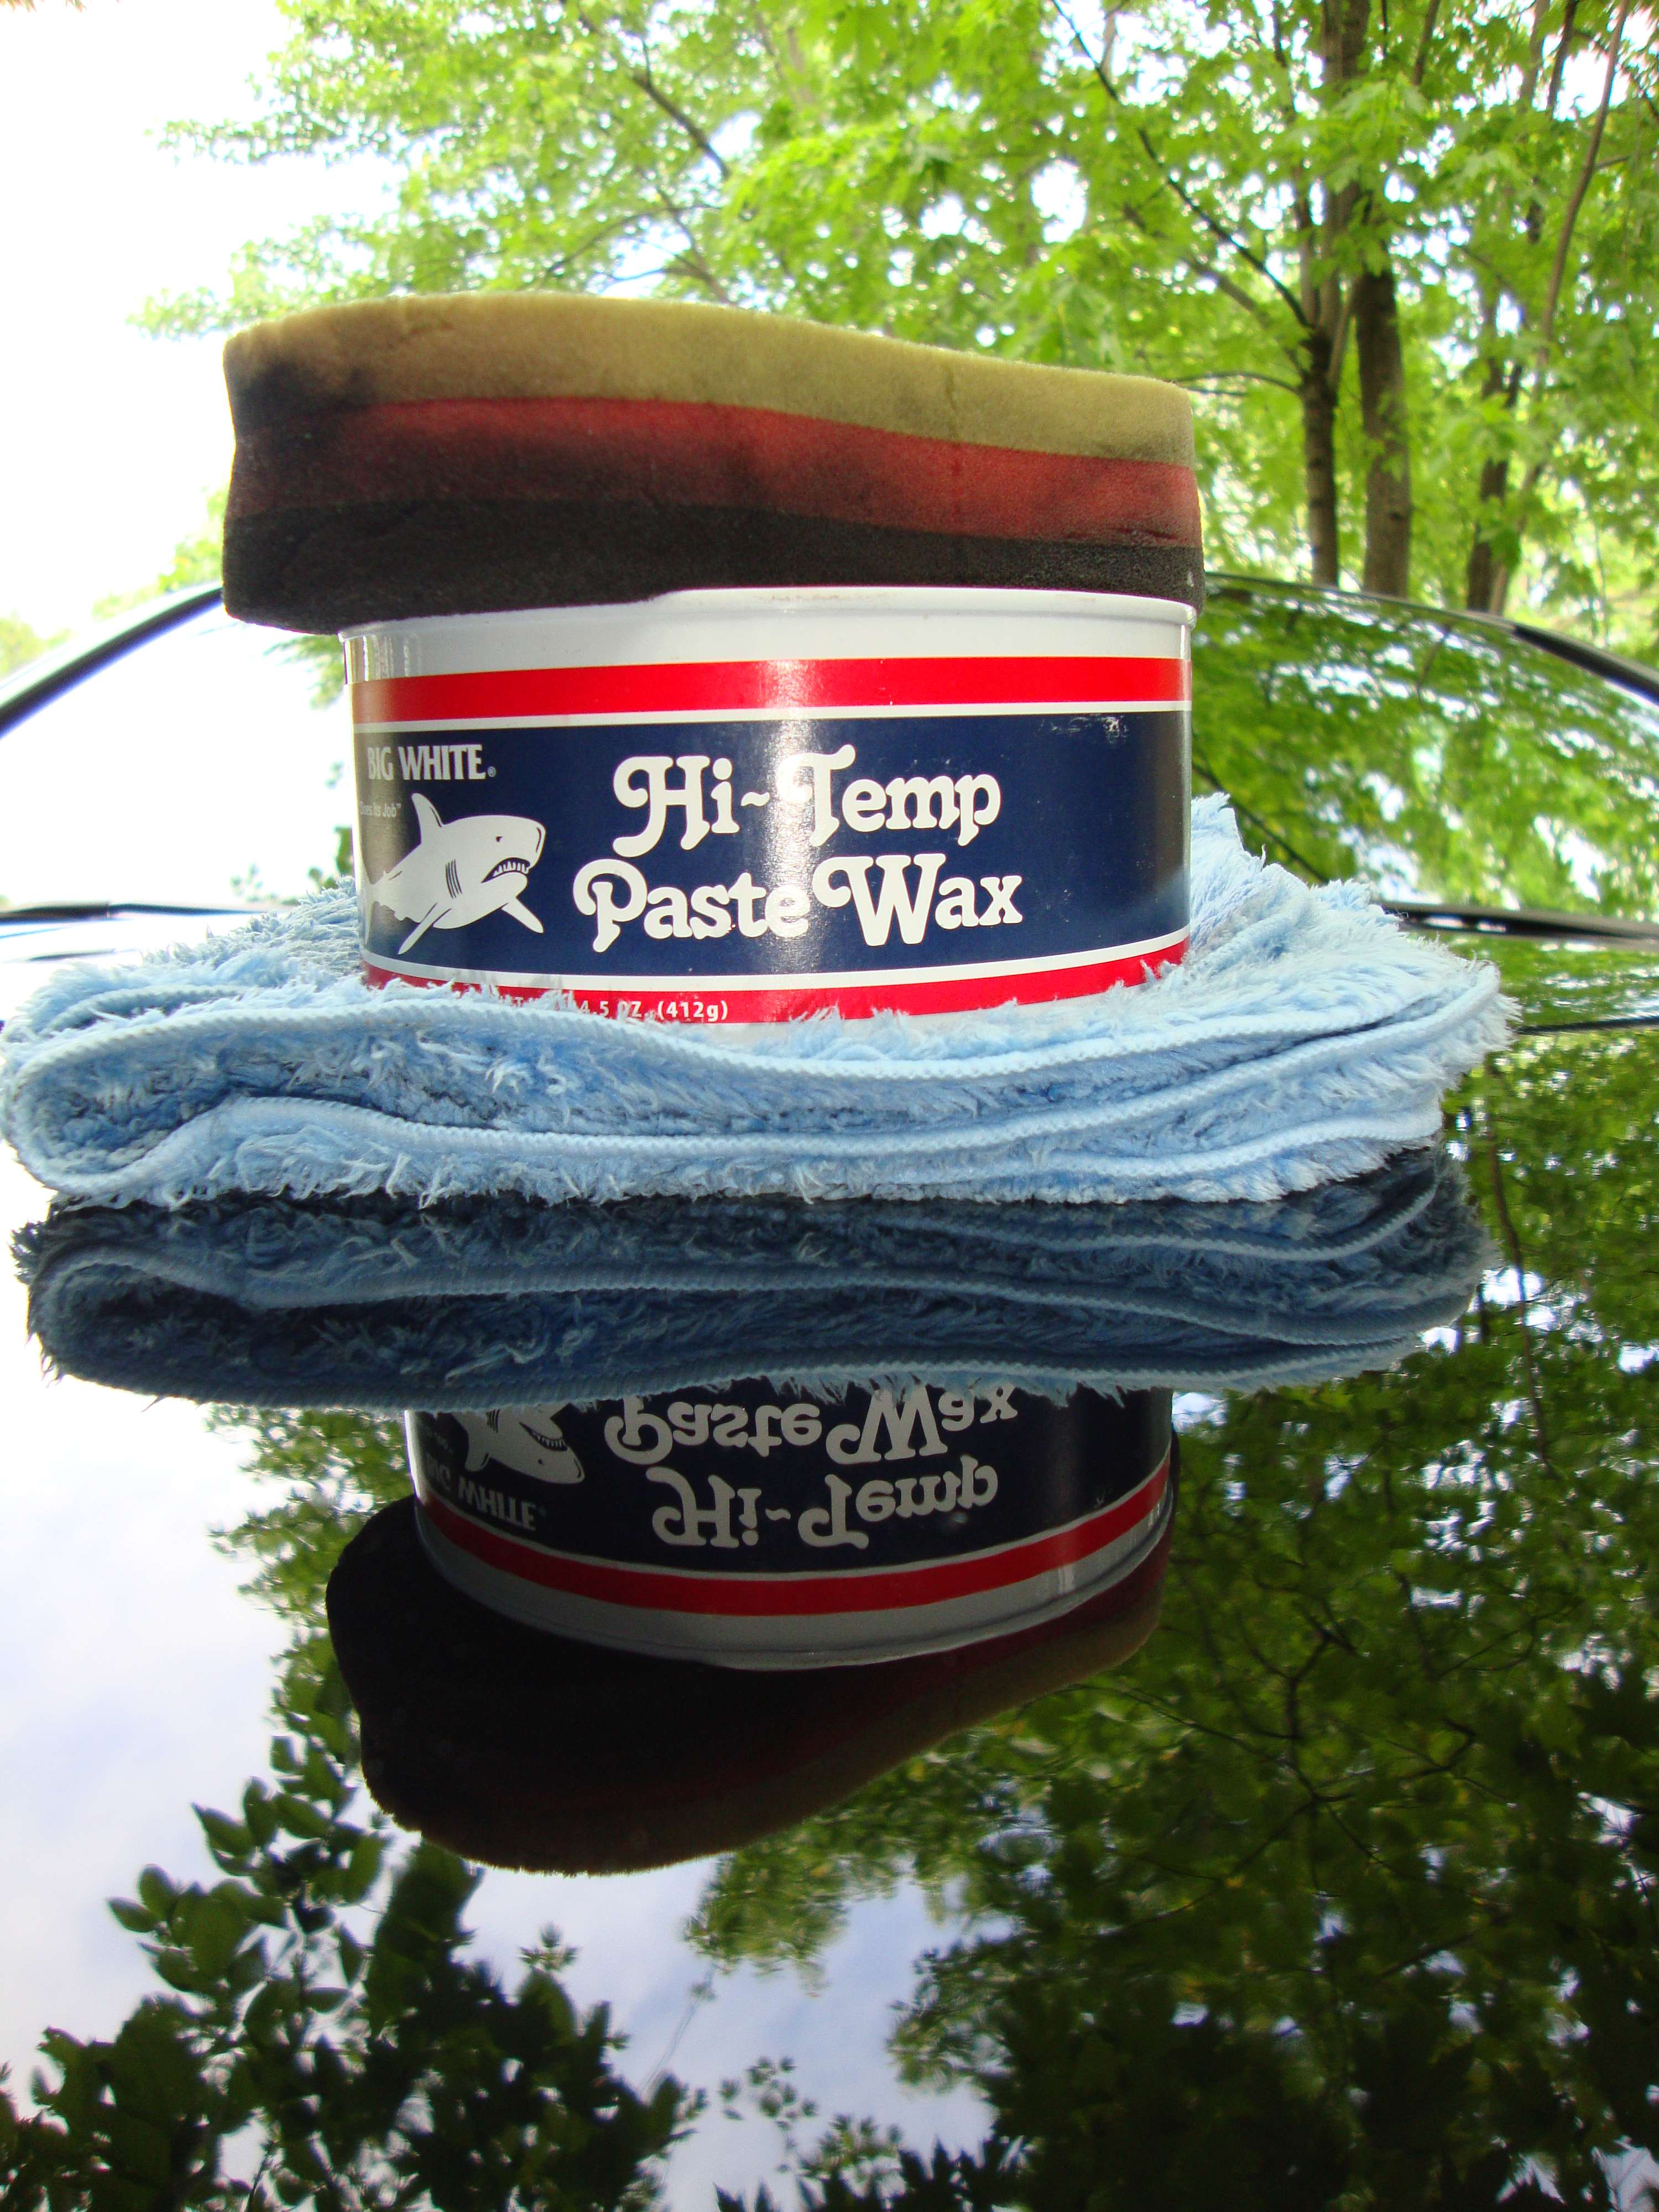
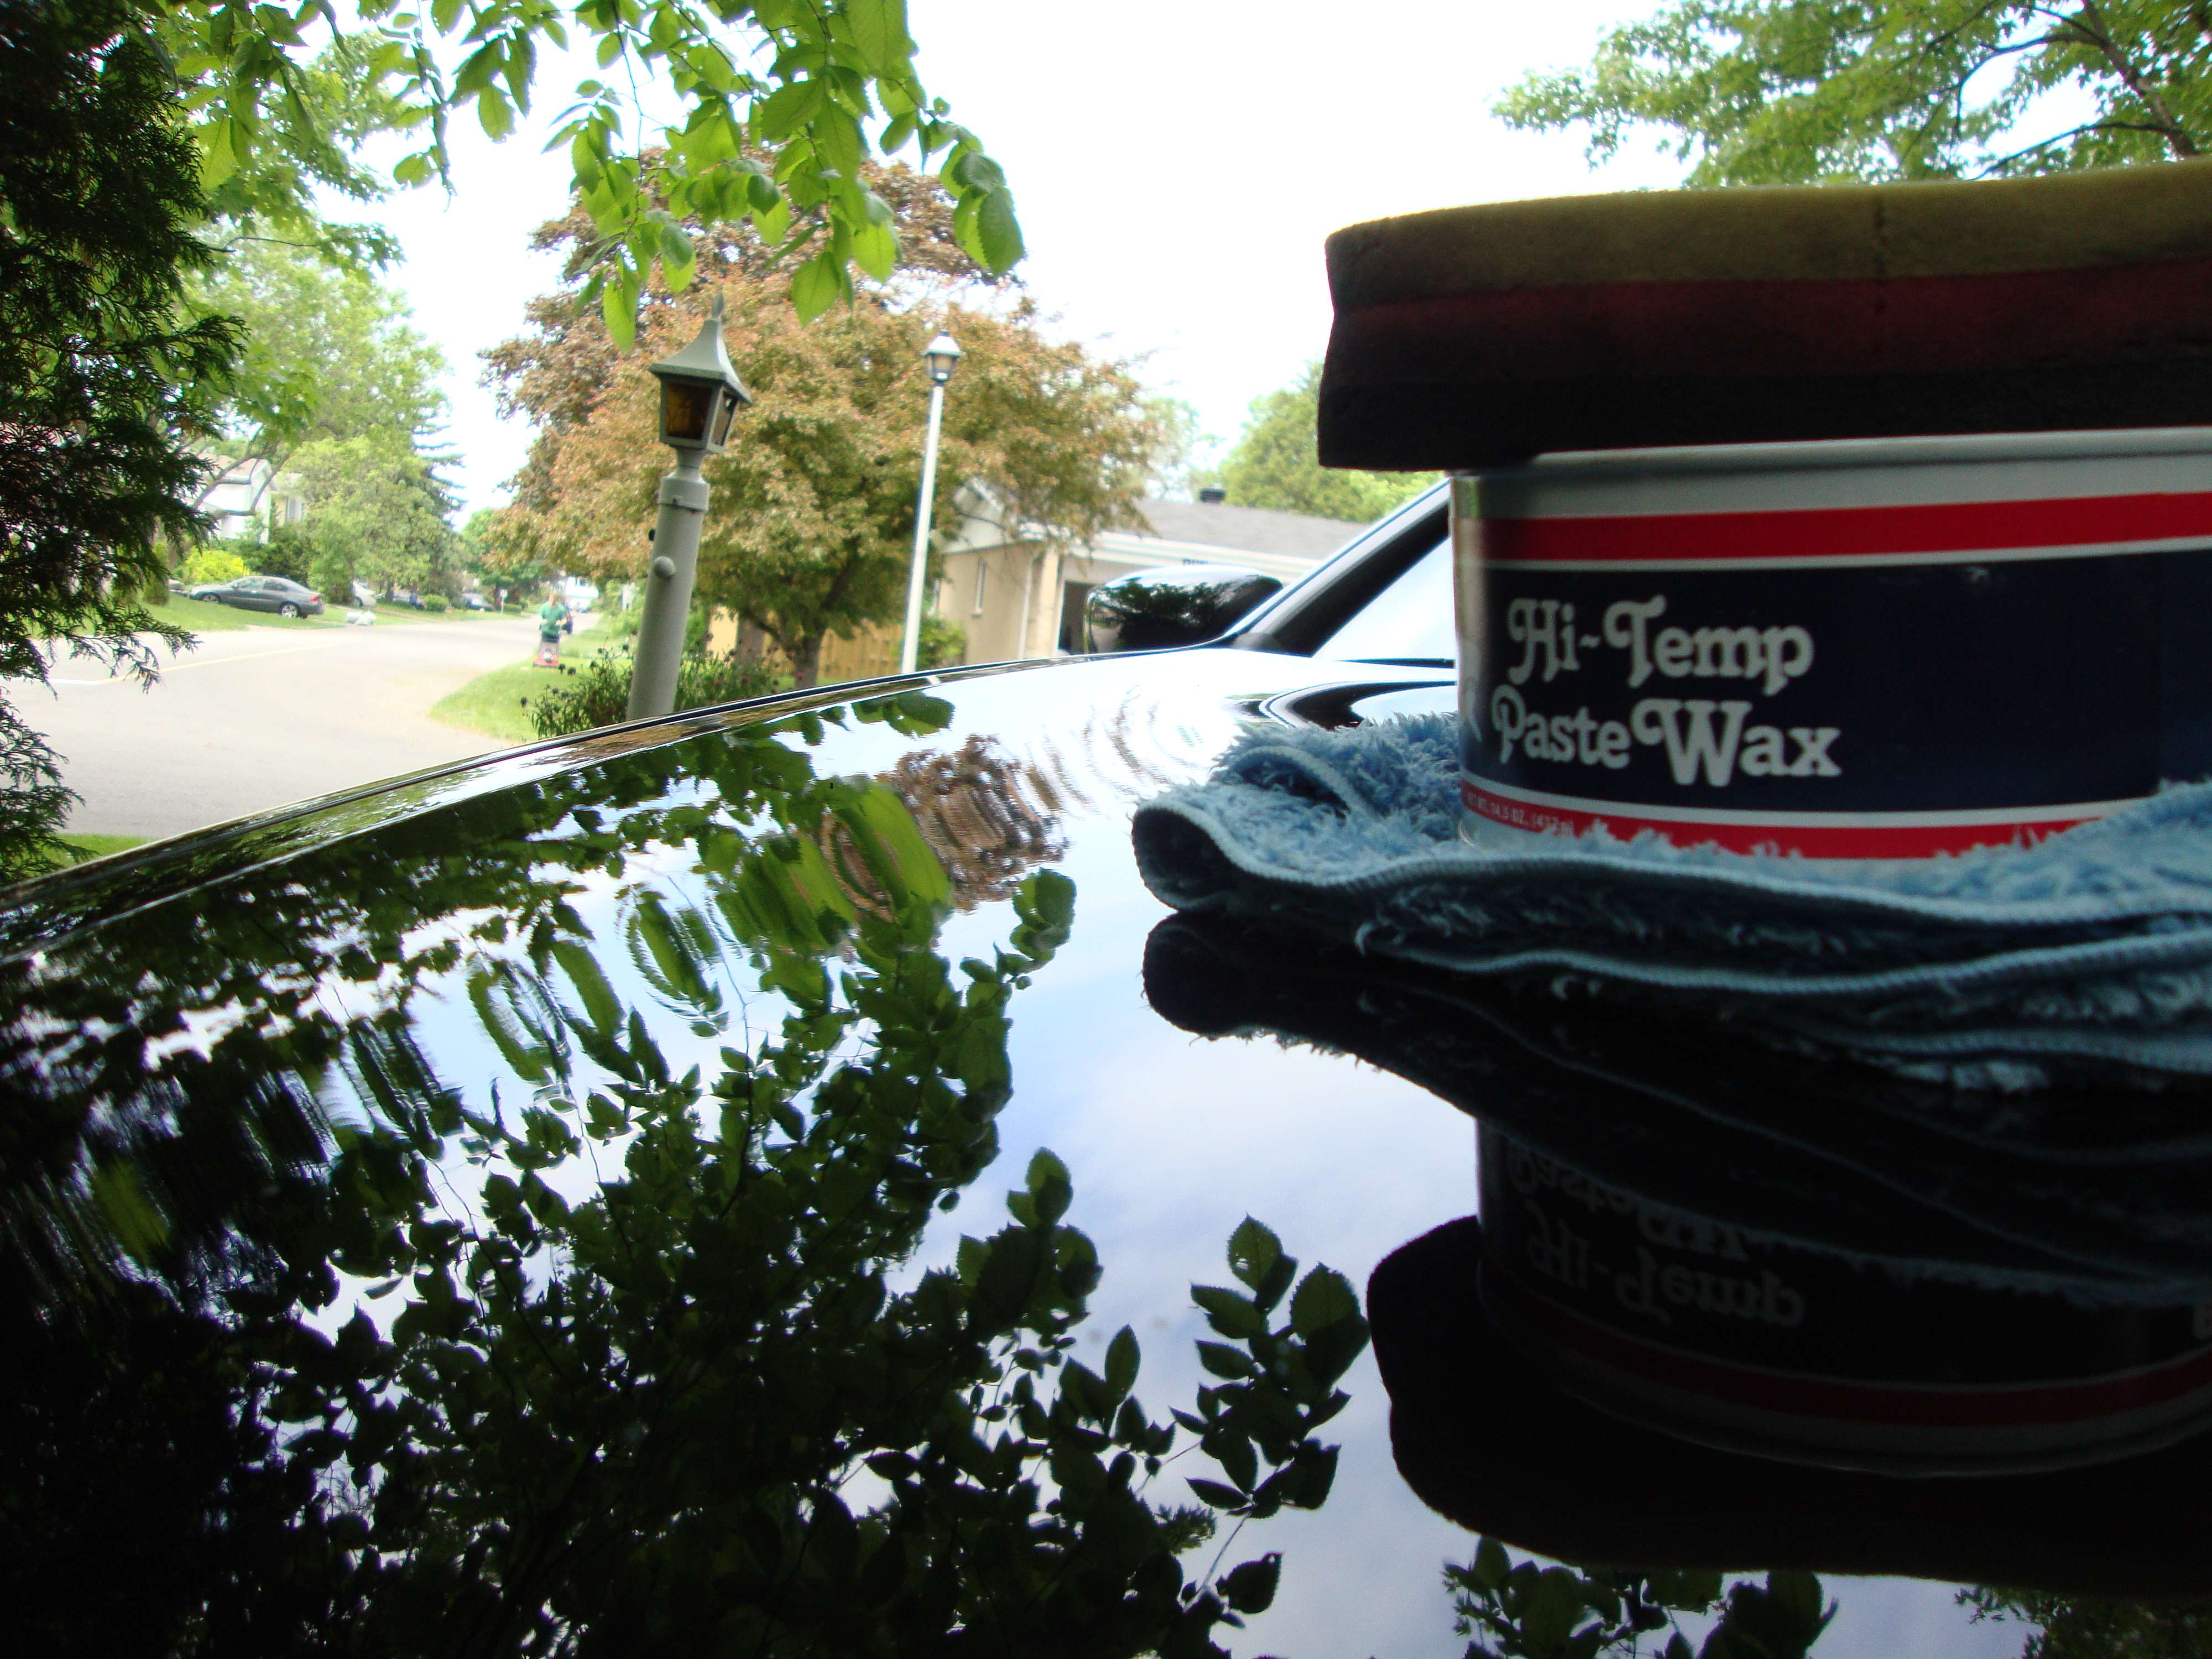
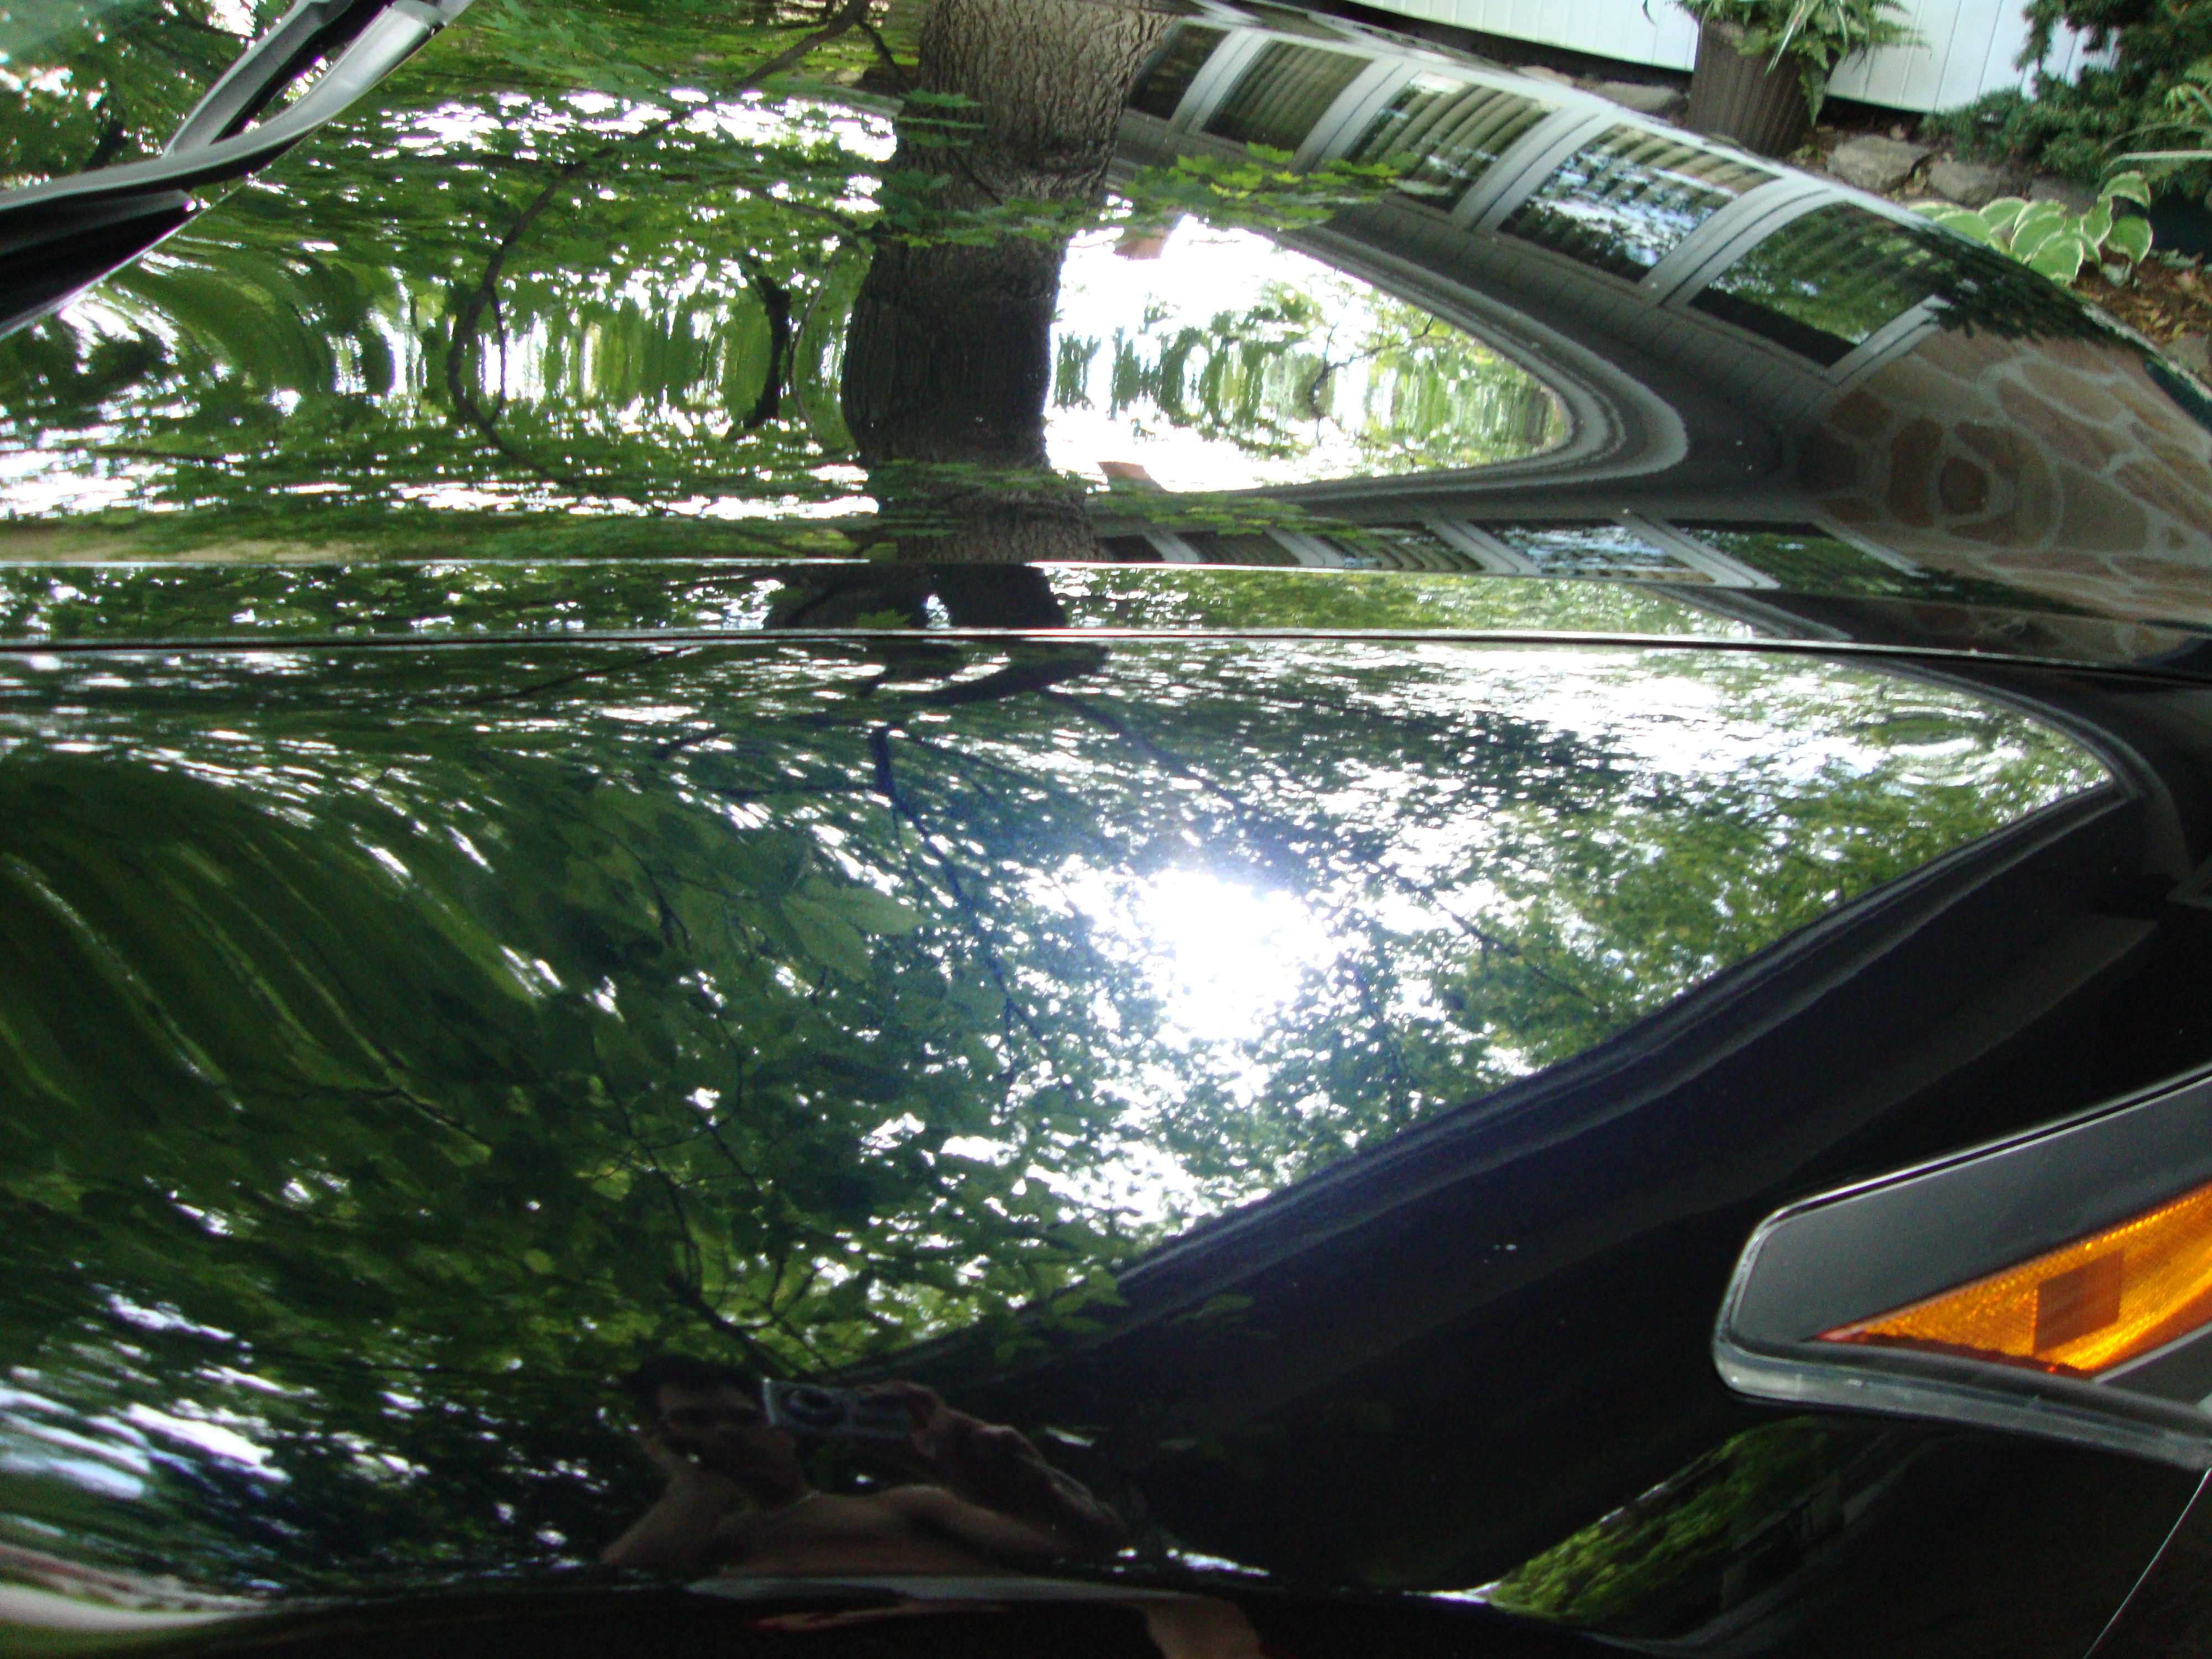
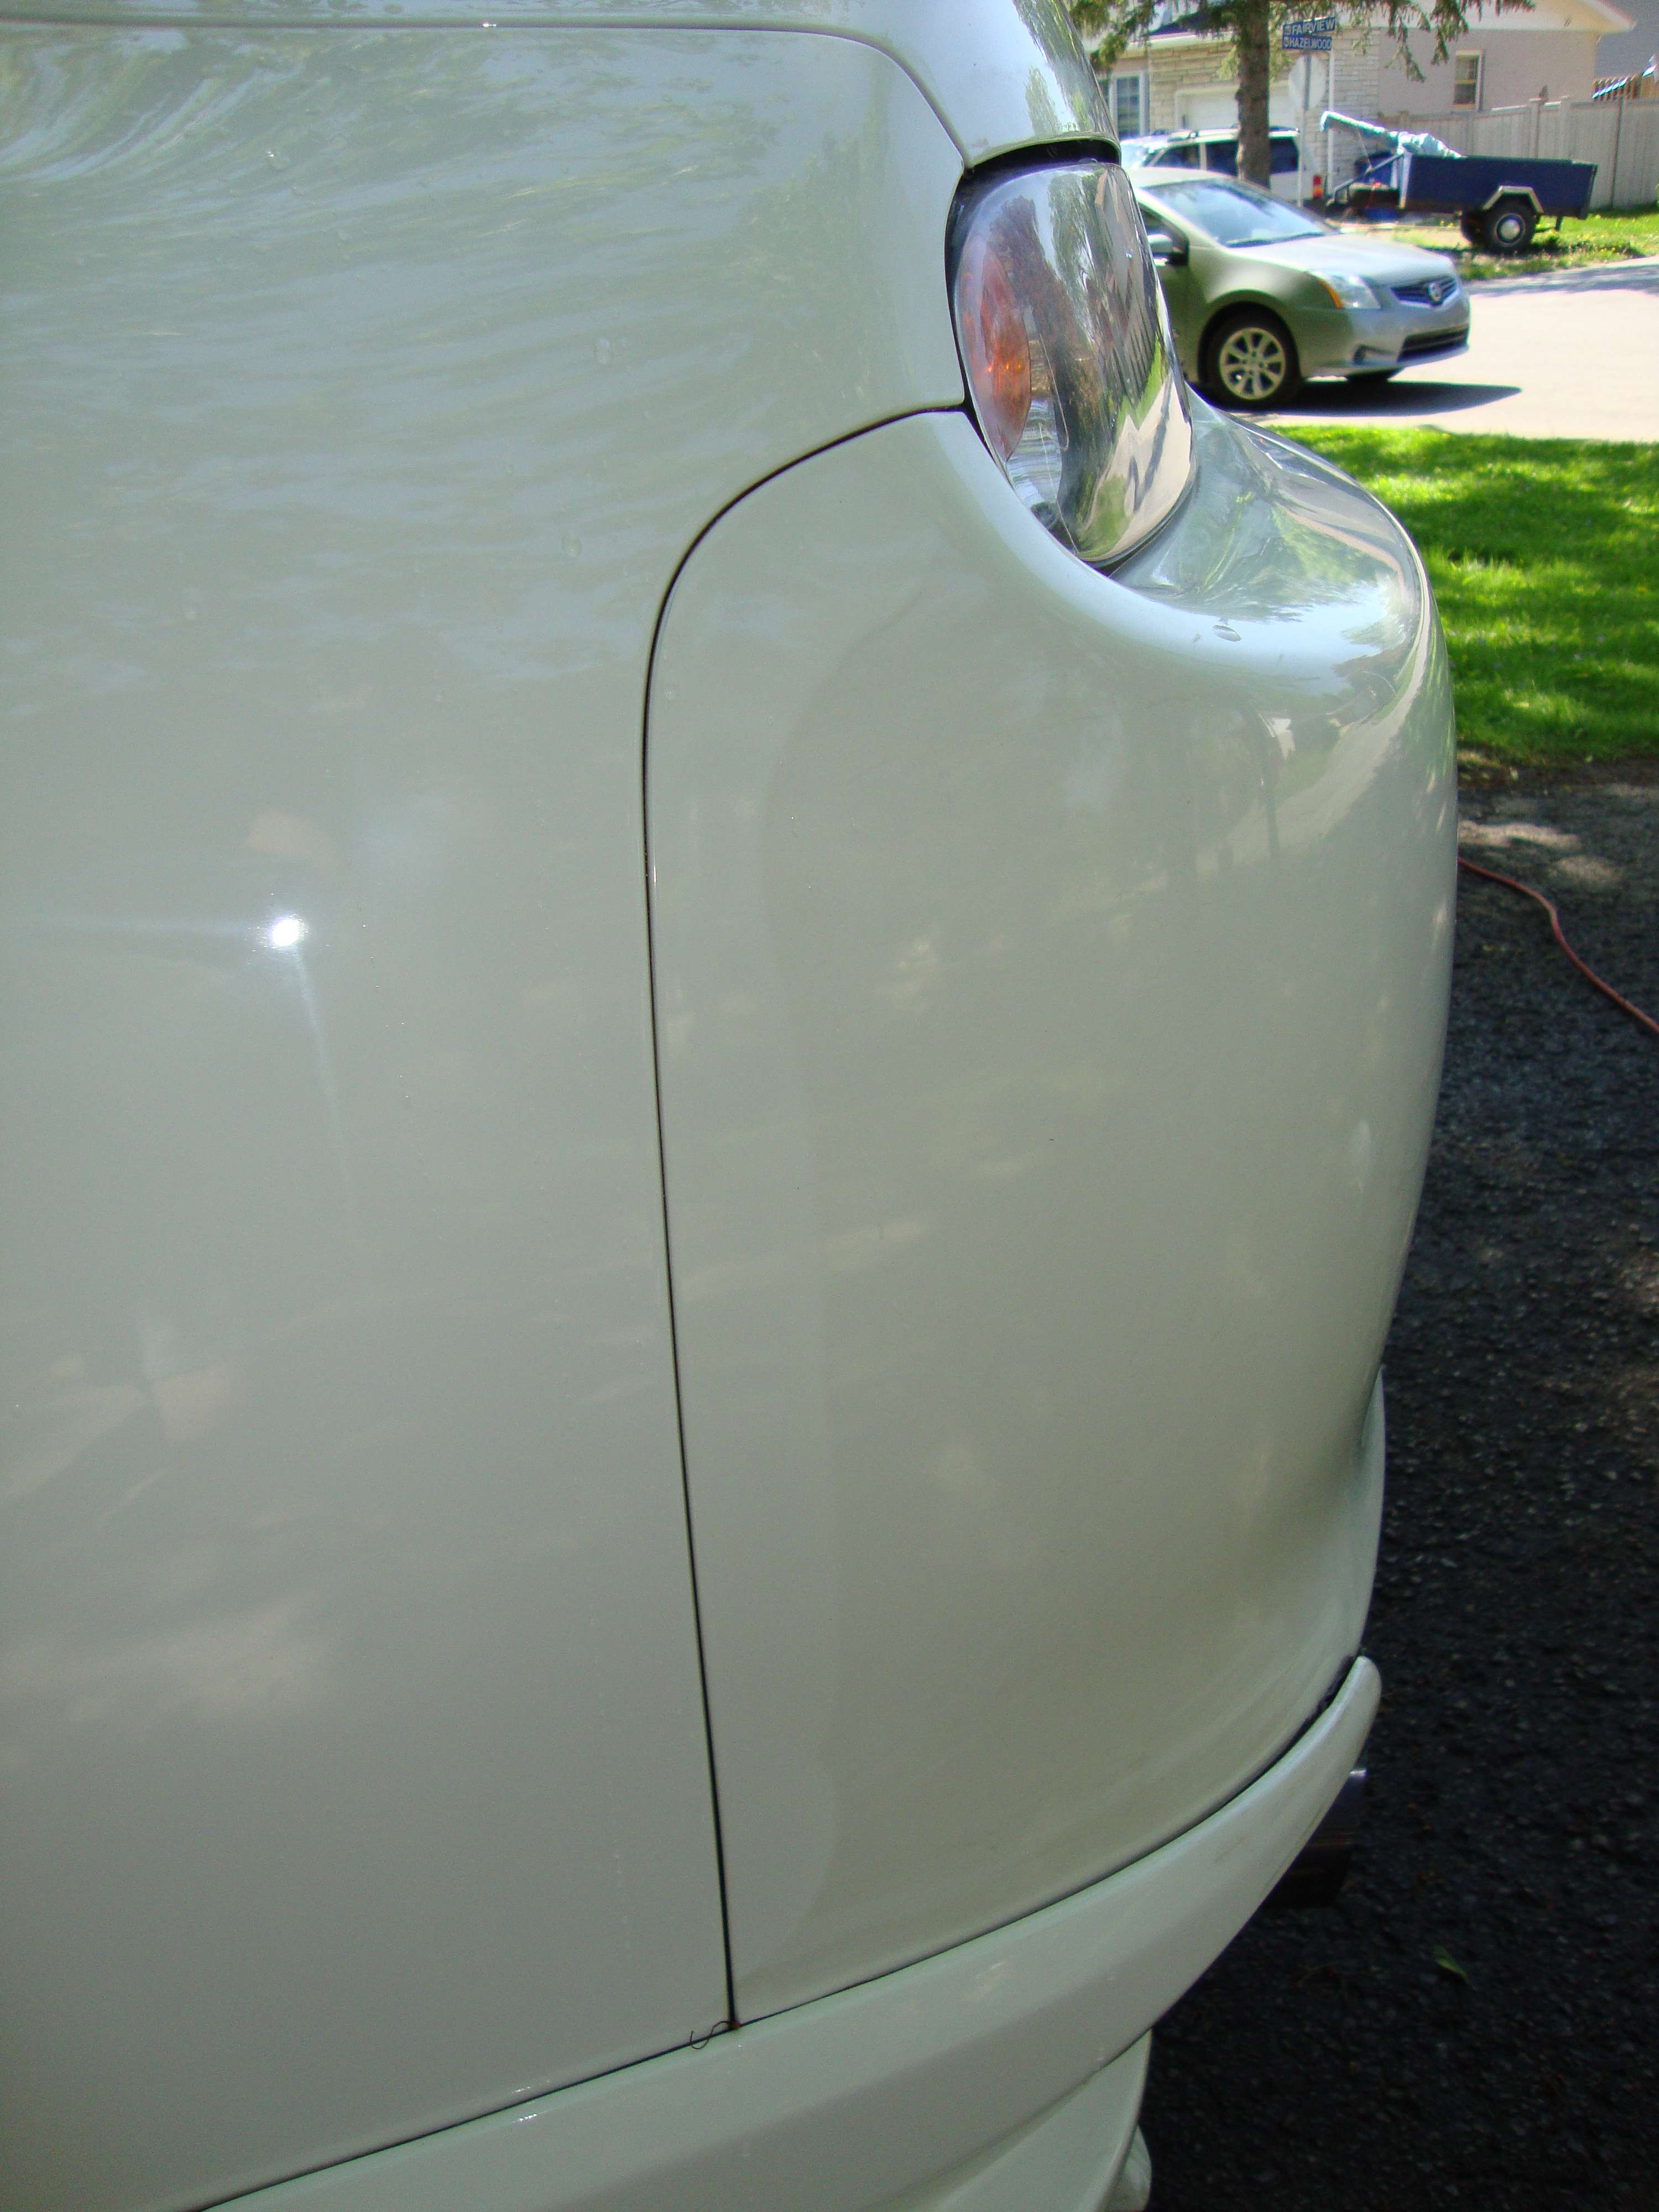
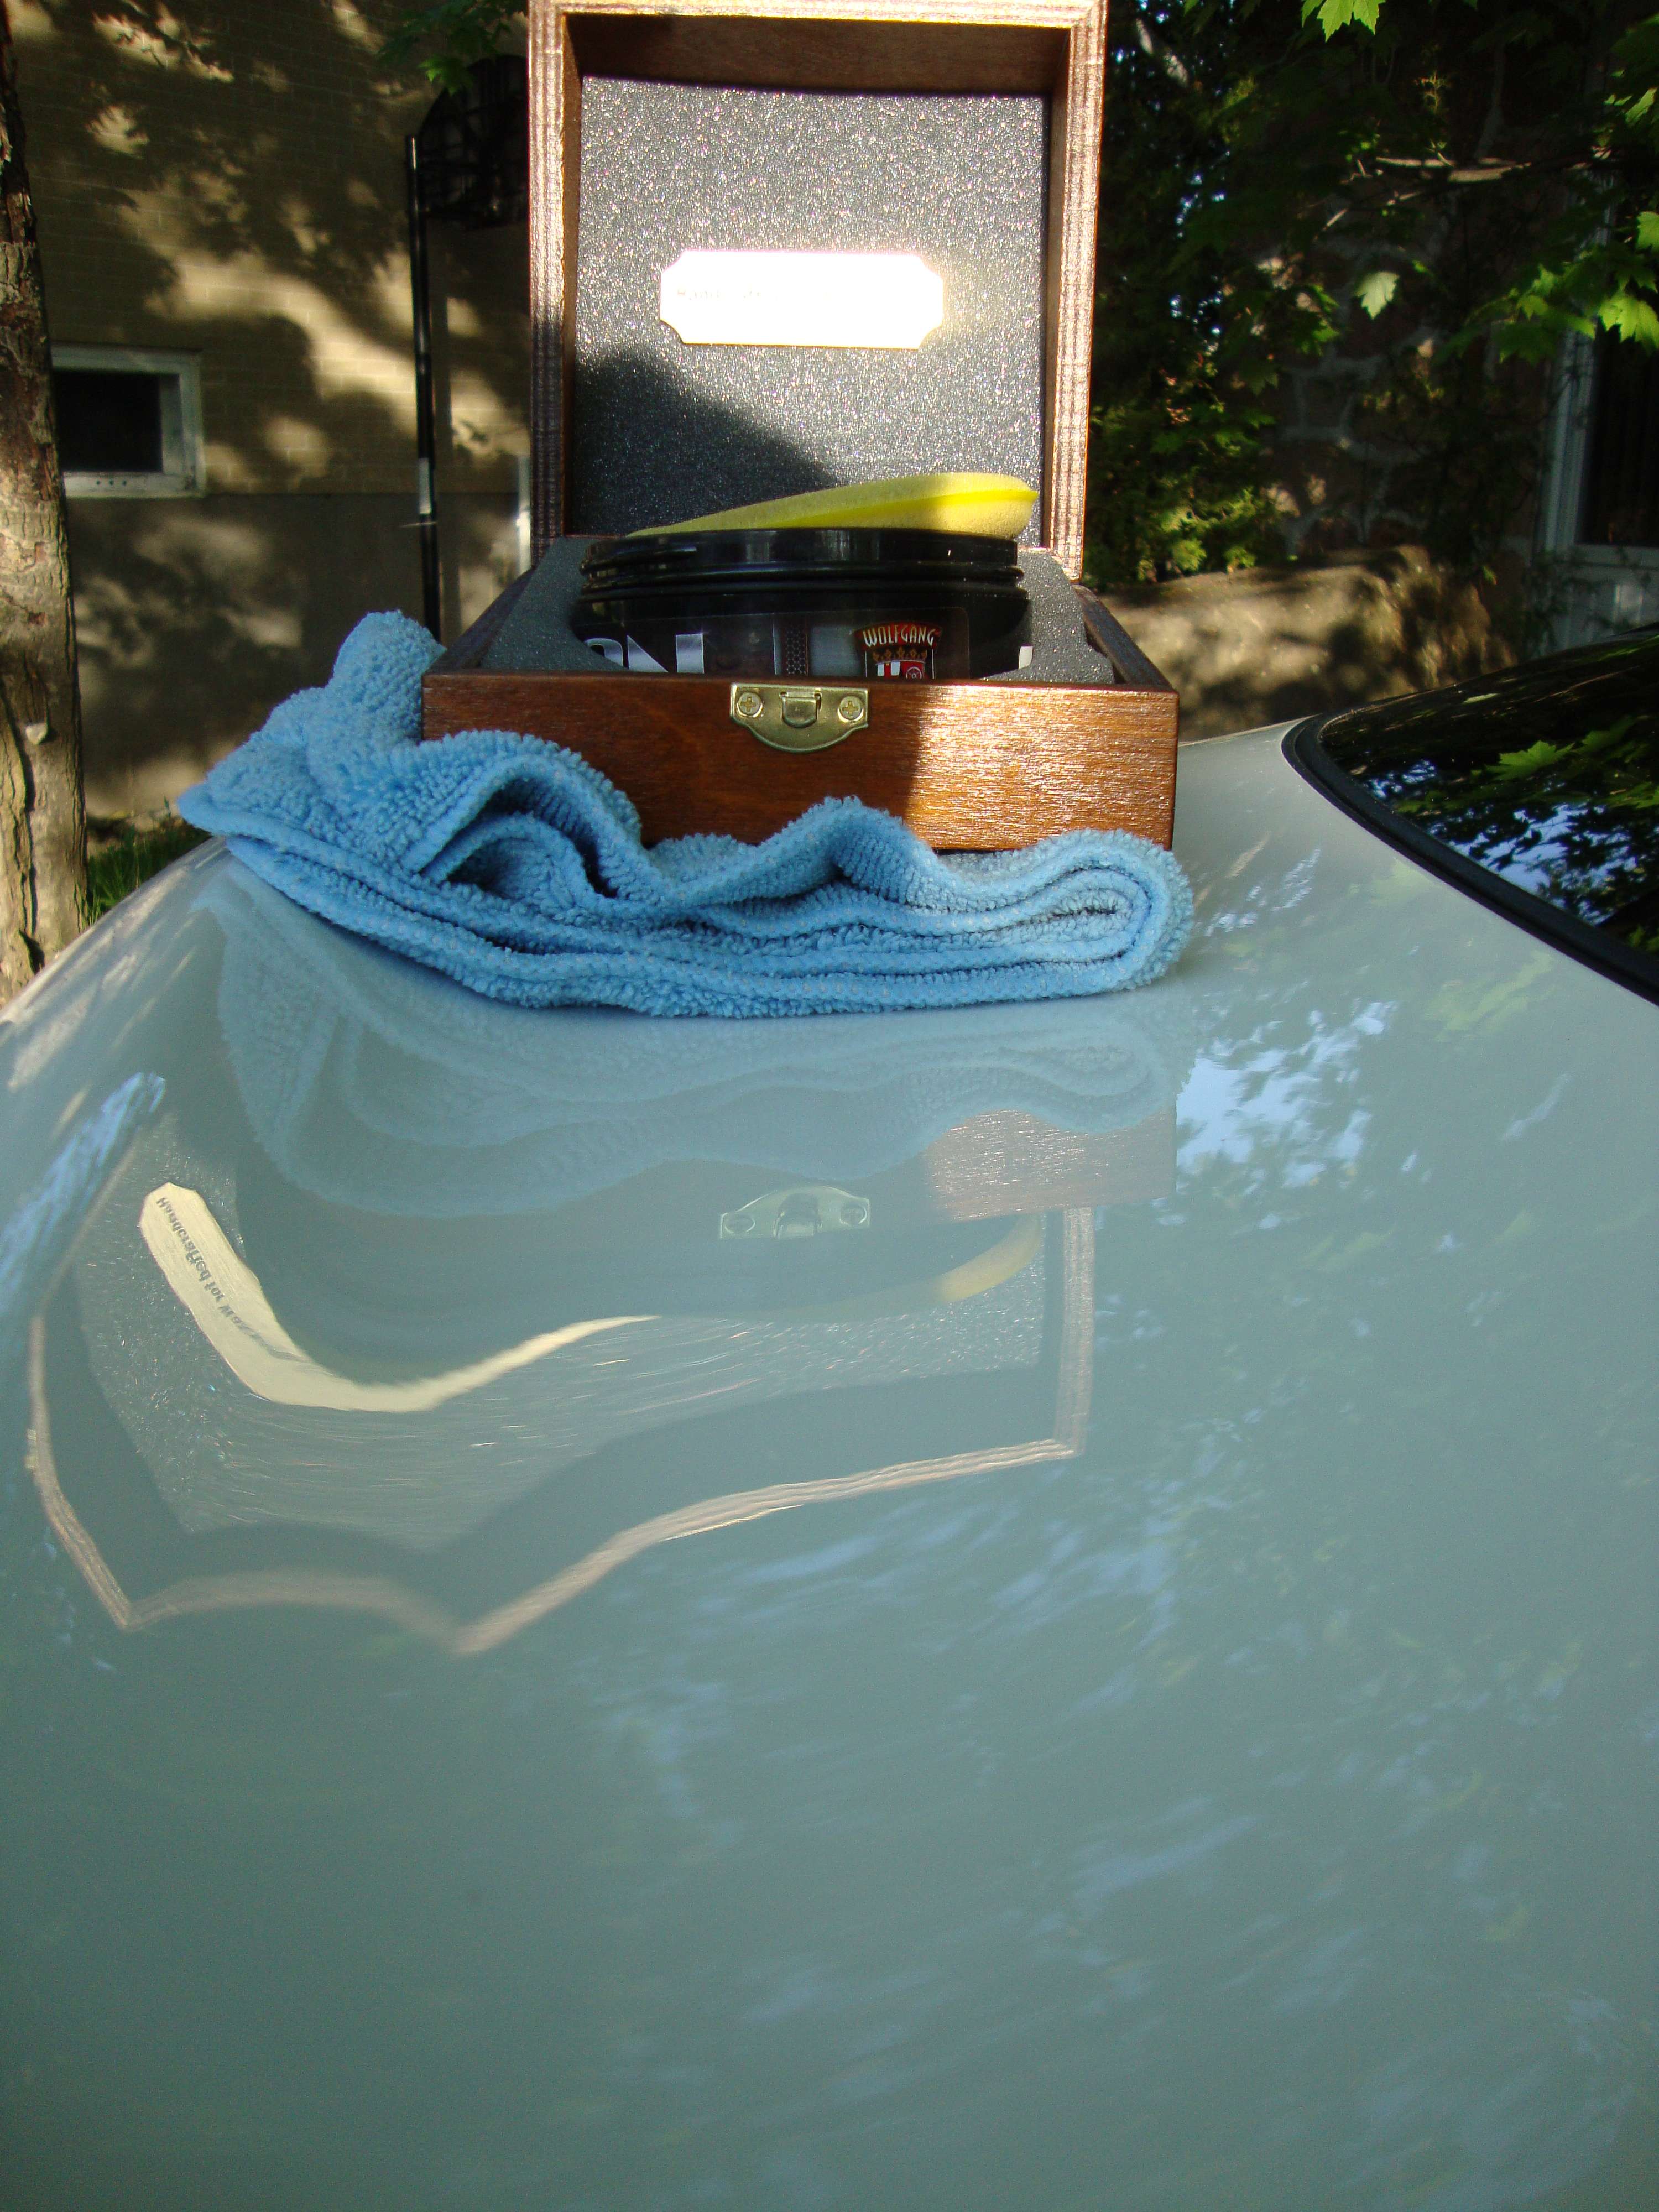
1 coat of sealant was applied on the car. And then I applied this particular wax.. Fuzion Estate wax
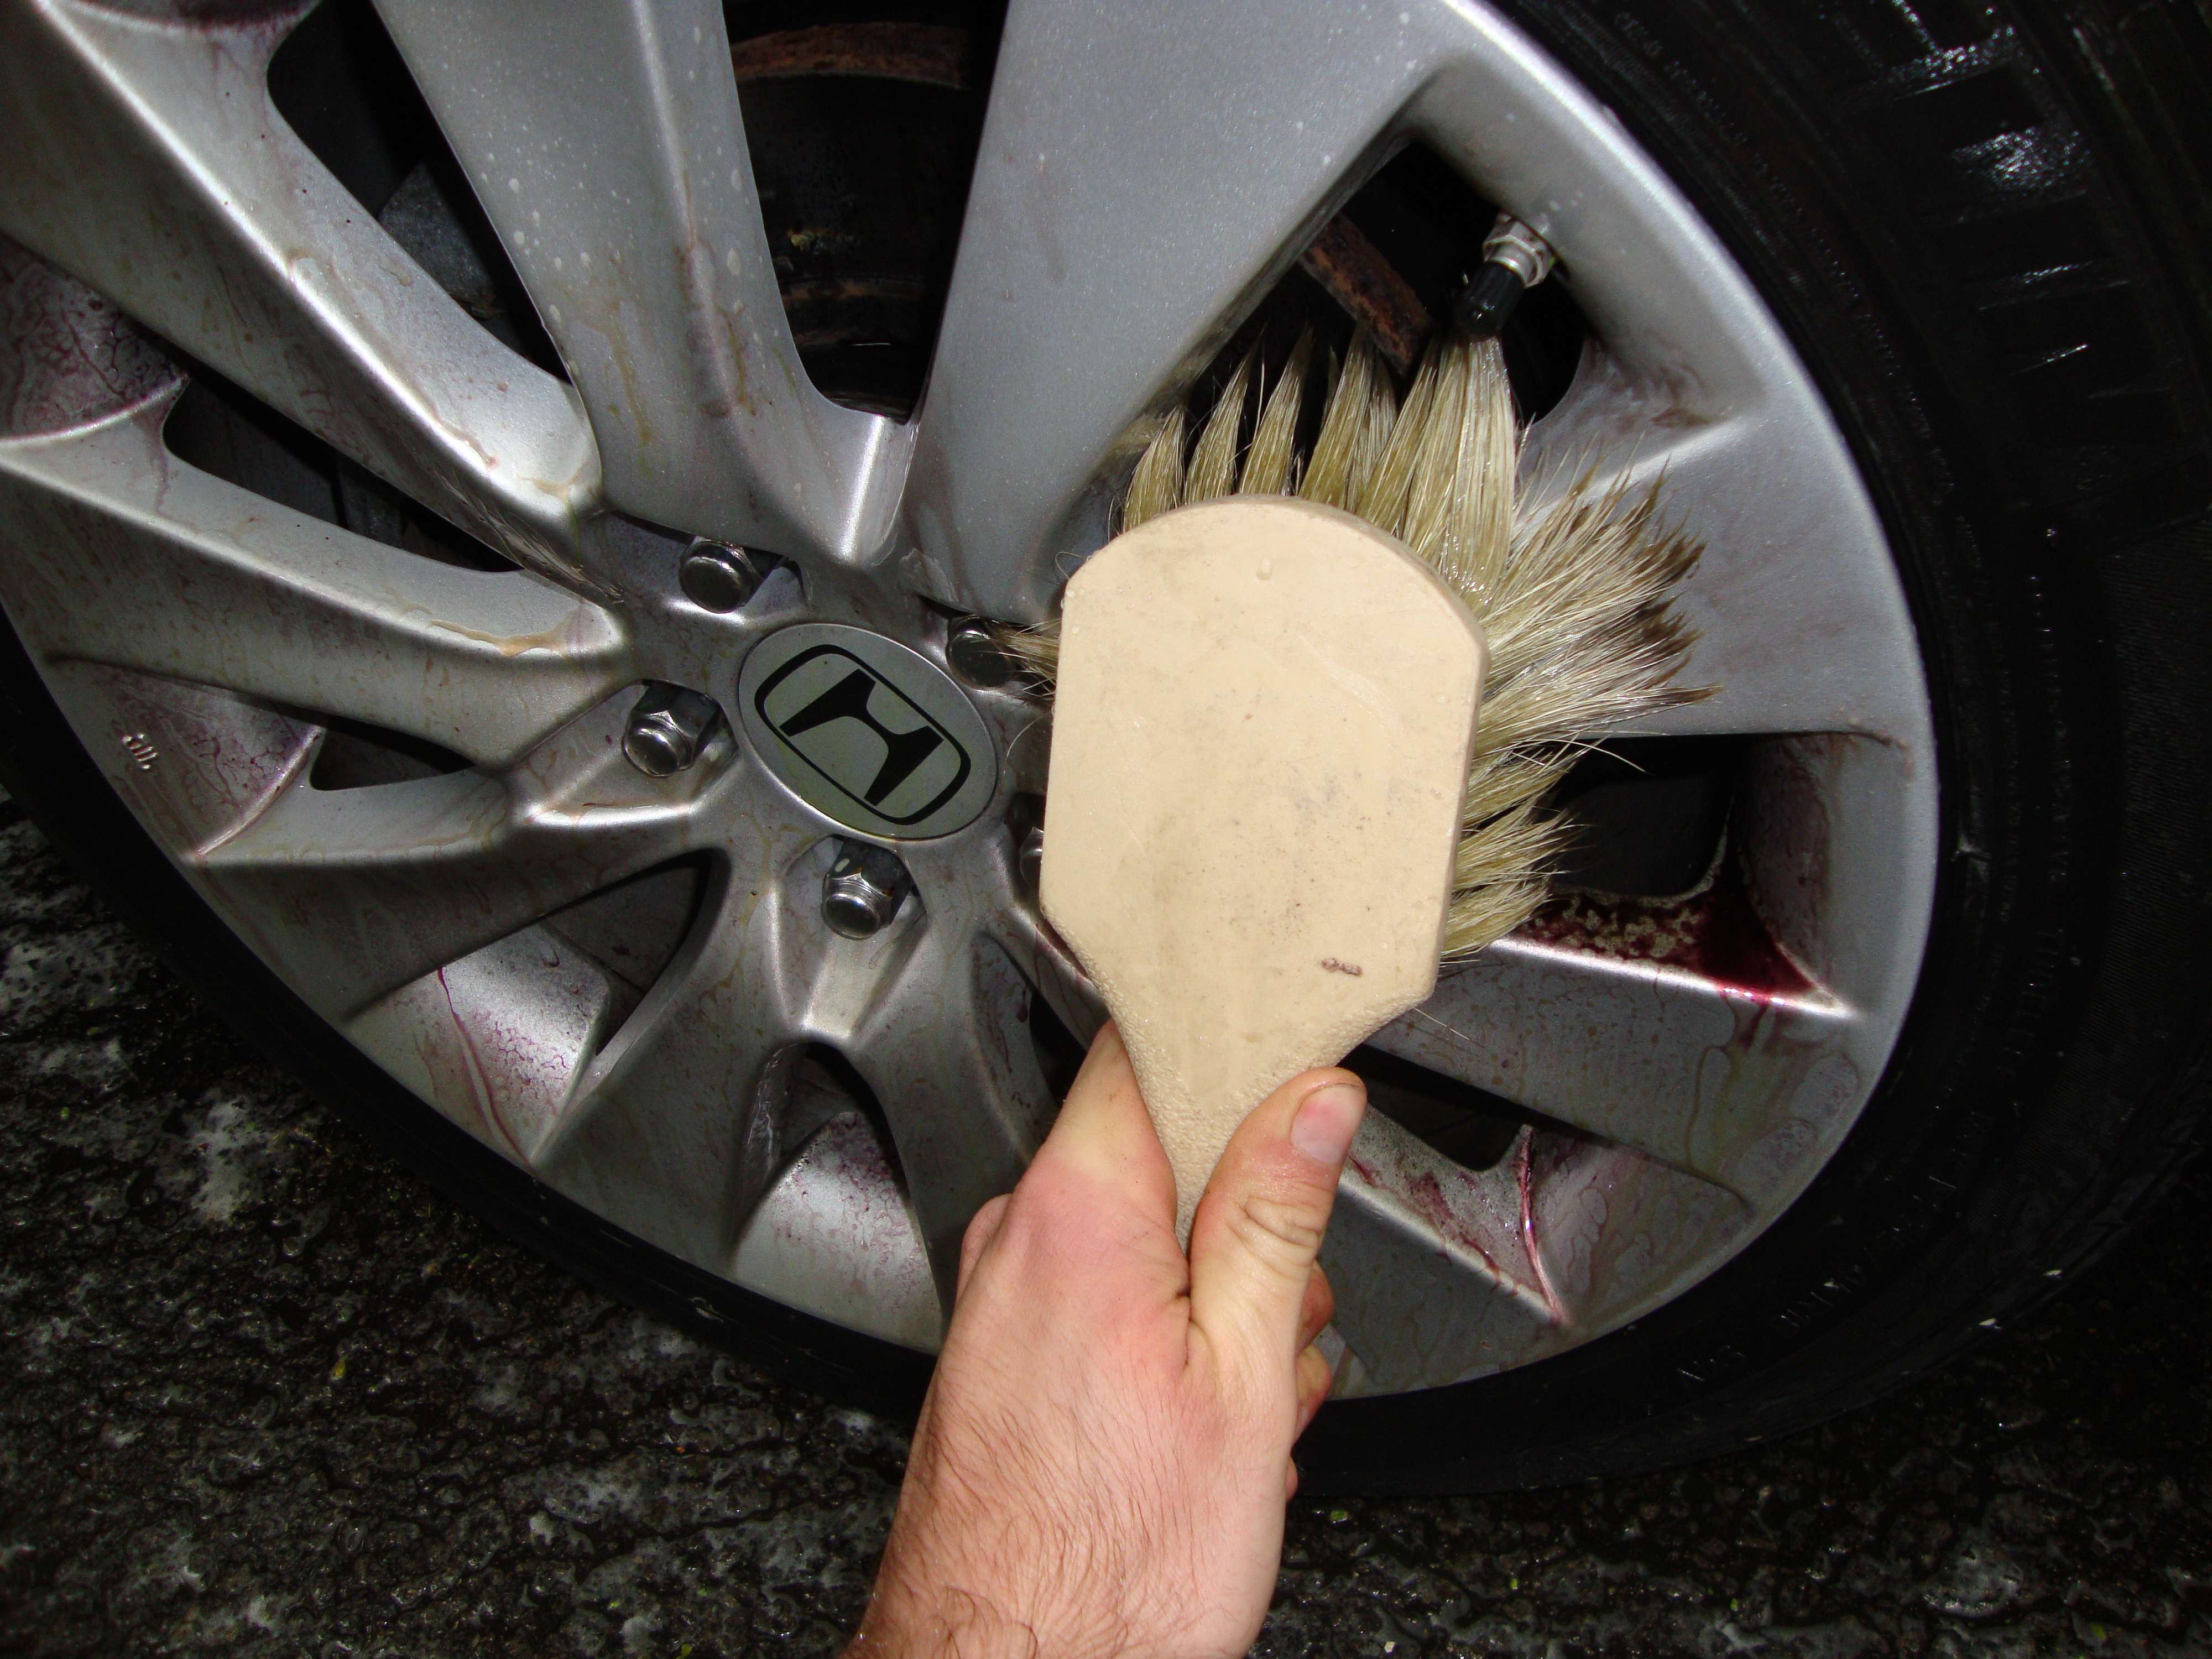
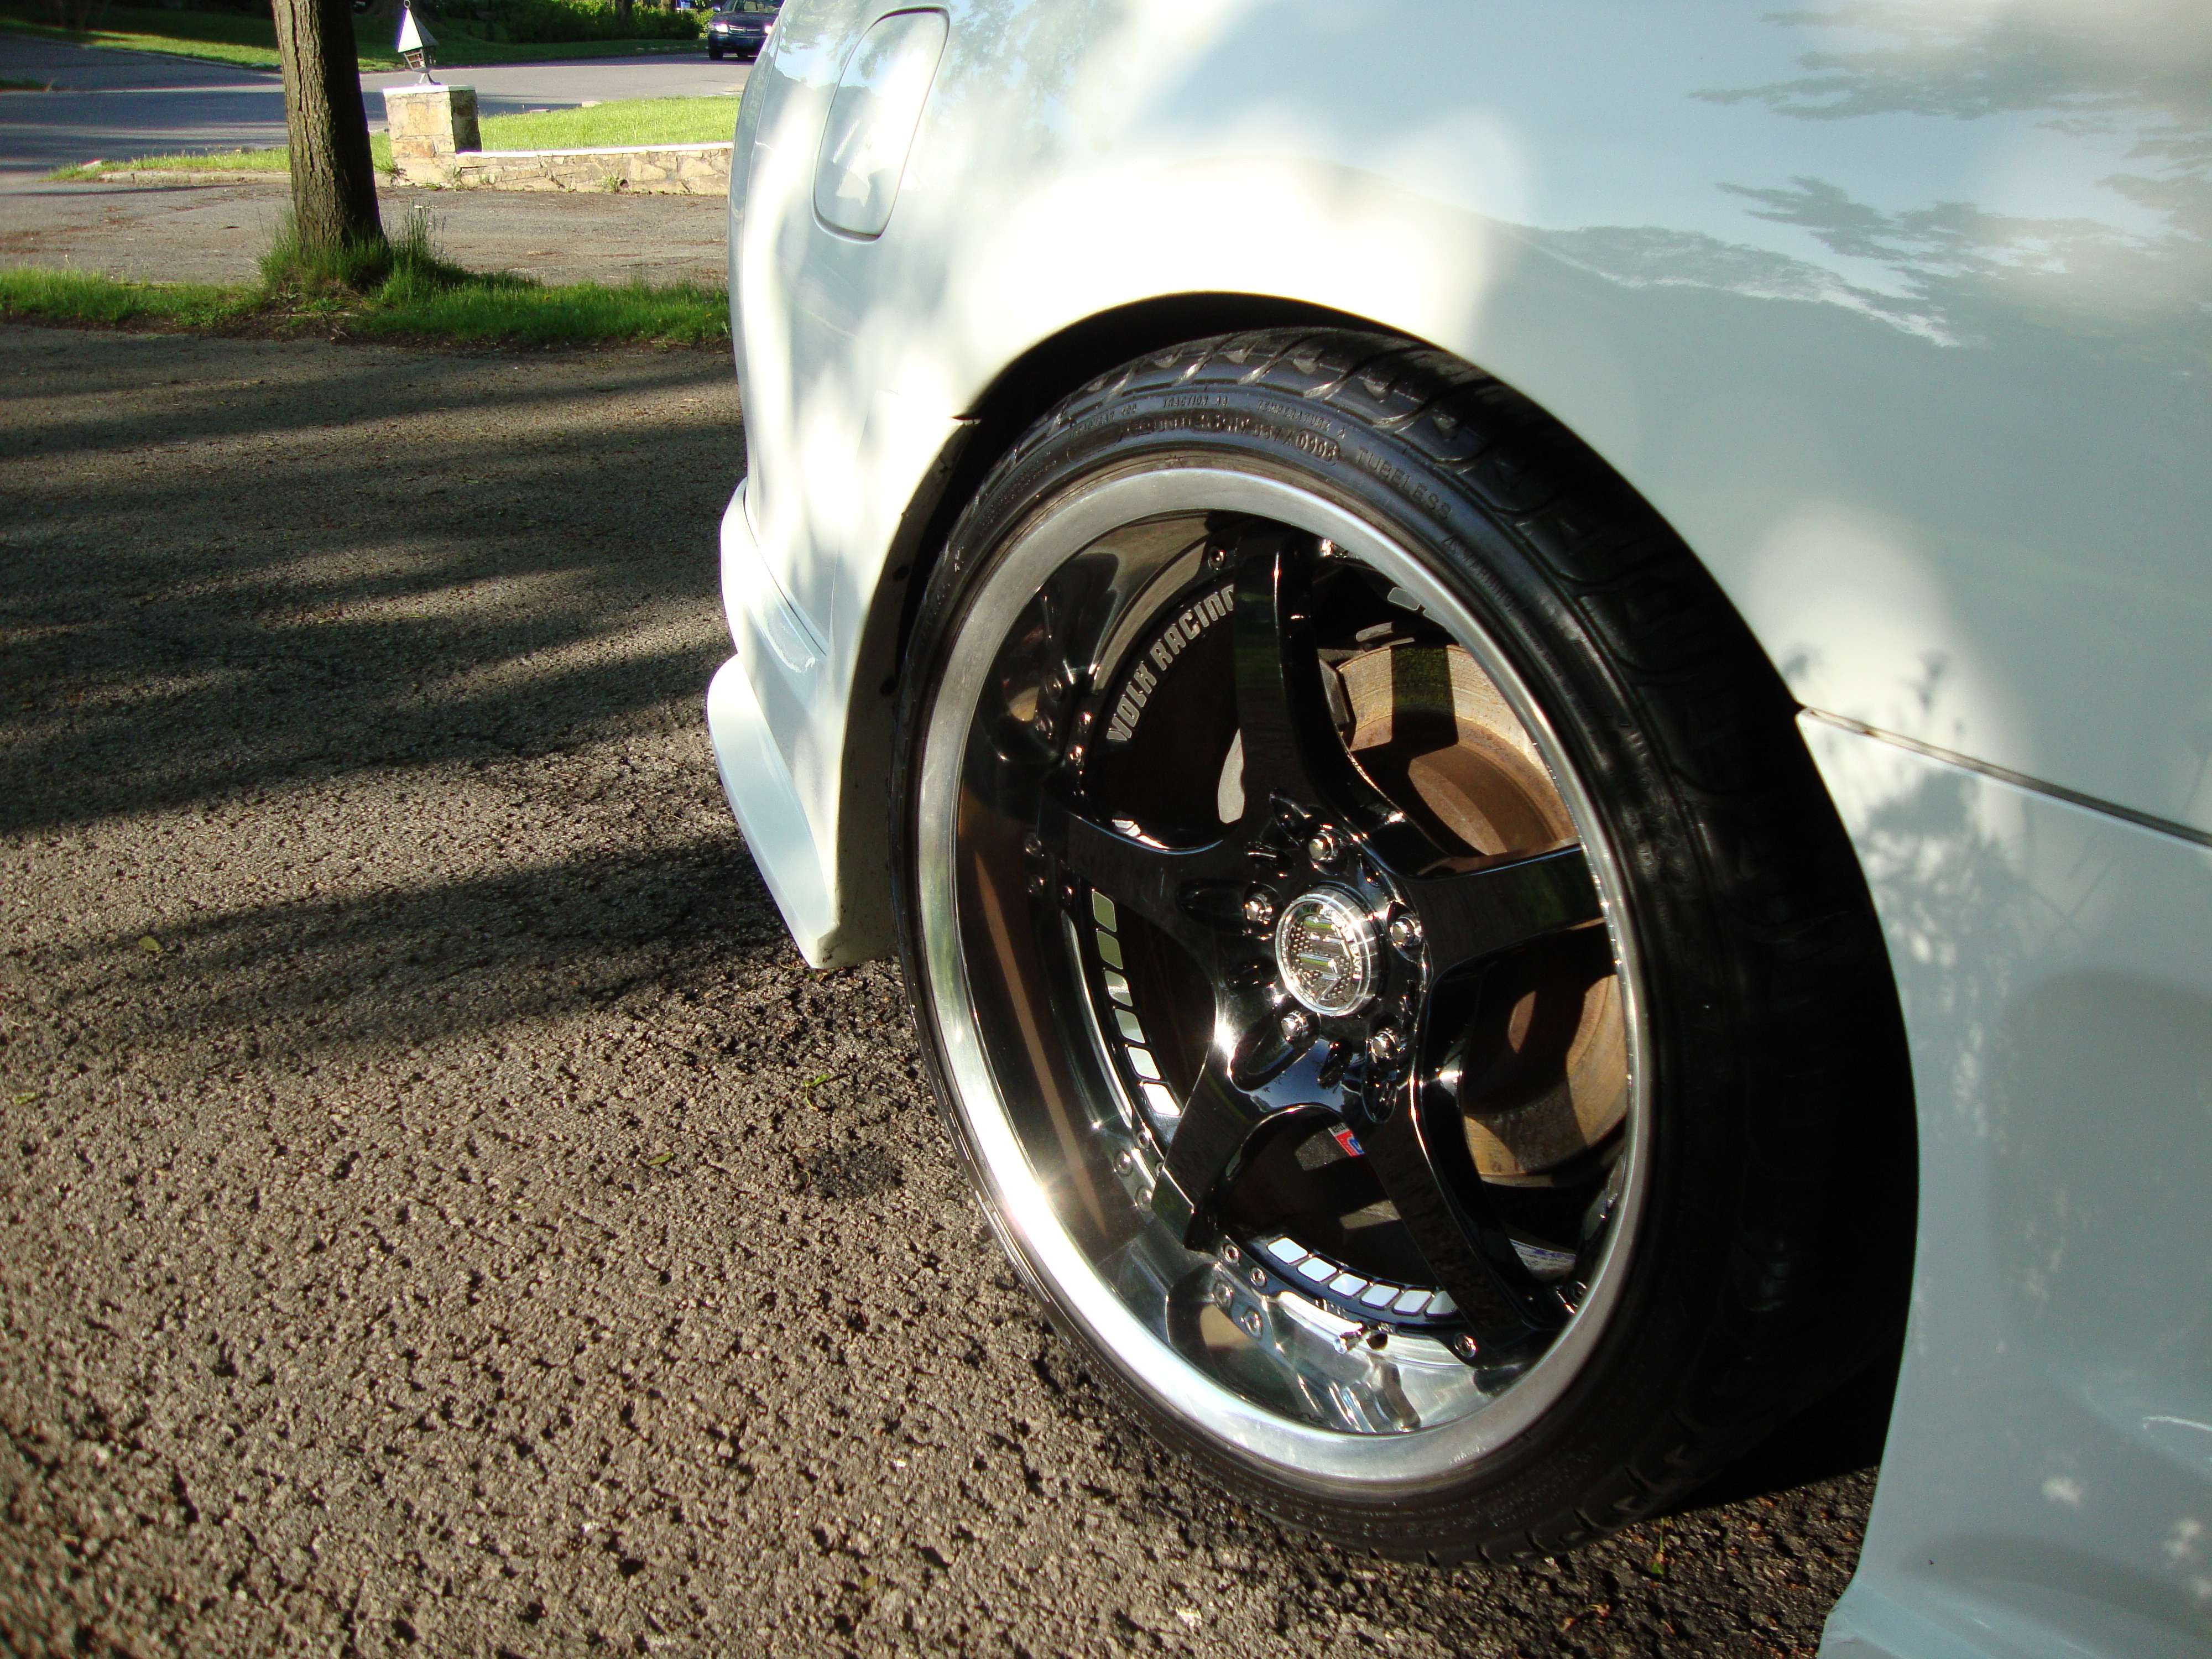
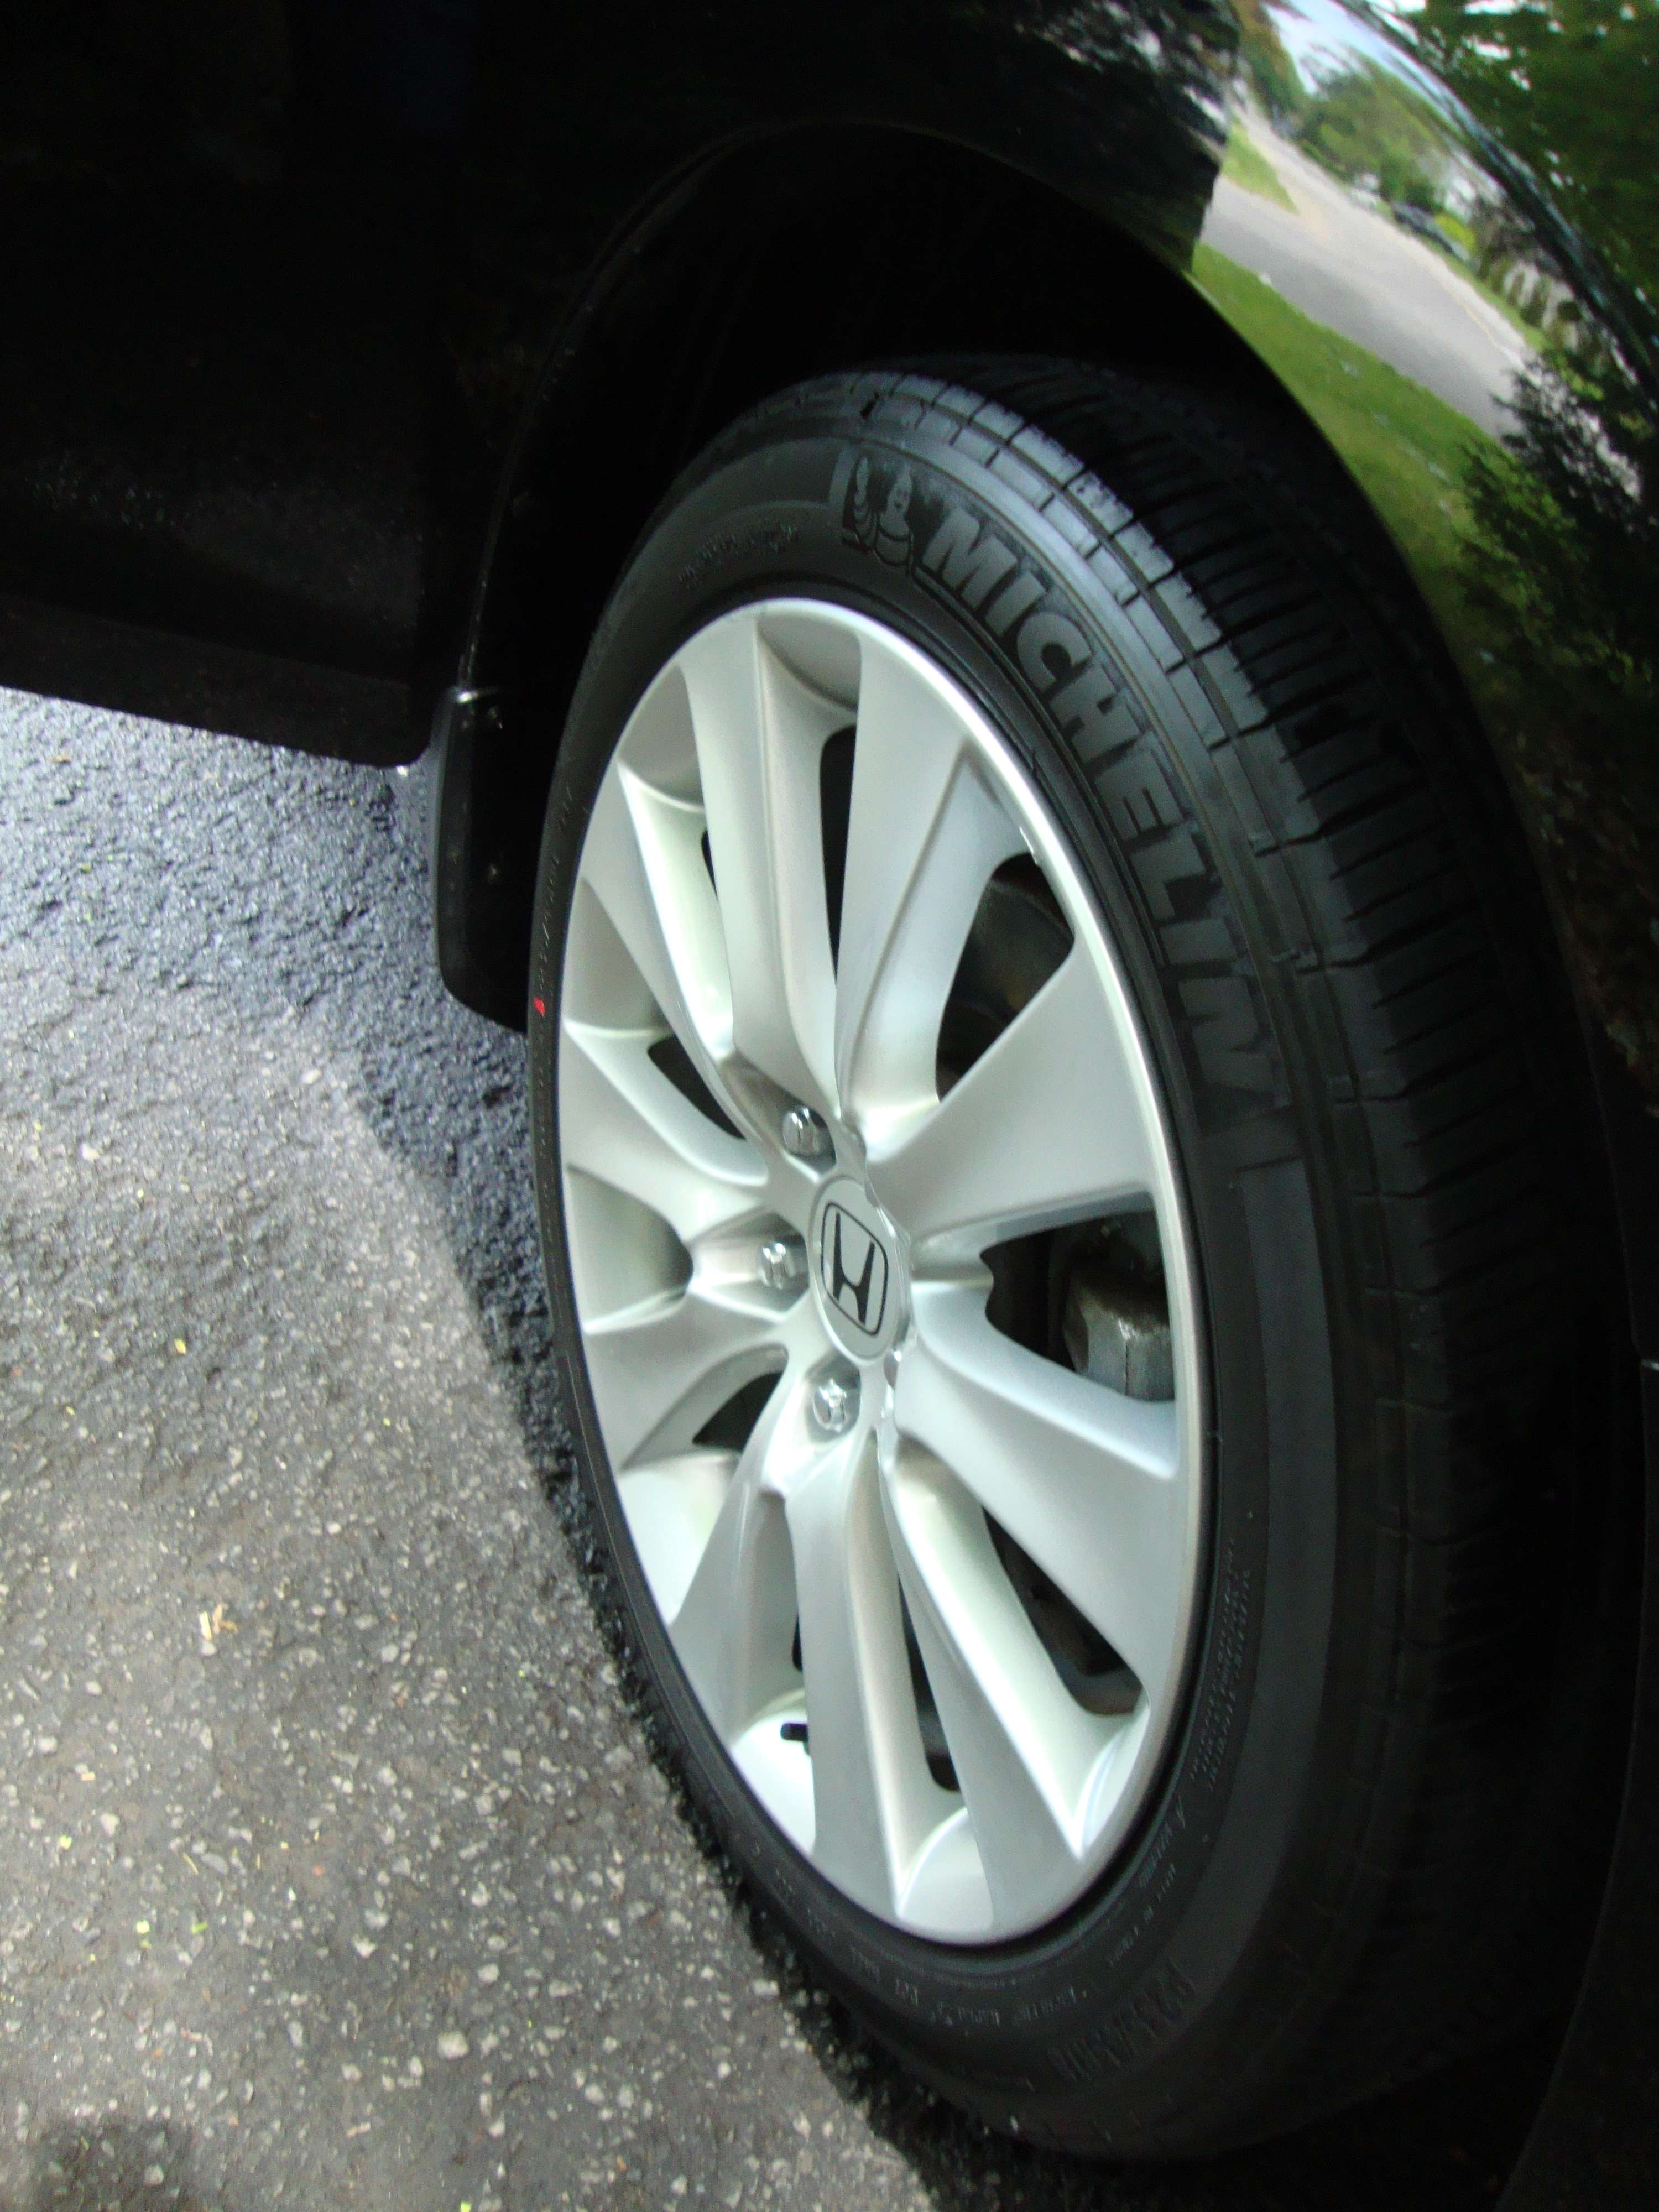
Voici comment je prend soins des roues : Here�s how I take care of wheels :
Vaporise le nettoyant � rou�s qui tourney mauve au contact de la poussi�re de freins. Je nettoie l�int�rieur des roues avec une brosse anti-scratch tr�s longue Spray Wheel cleaner, let it turn purple under the contact of brake dust. I clean the inside of the wheel with an anti-scratch brush.
Apr�s, j�utilise une brosse � poil de cheval tr�s douce qui ne scratch pas After, I�m using a boar brush that wont scratch the finish of the wheel.
Utilise la brose � lug nut, une autre broche special � poil de cheval. Another special lug nut brush with horse hair.
Je nettoie les rou�s avec une microfiber et finalement j�utilise un scellant pour les prot�ger et leurs donner du shine. I then dry the wheels with a microfiber and seal them with a special wheel sealant that protect and shine the wheels.
Oui oui.. tout �a, juste pour des roues!! Allez voir juste pour le fun, le retail price de tout ces brosses et produits hihi.
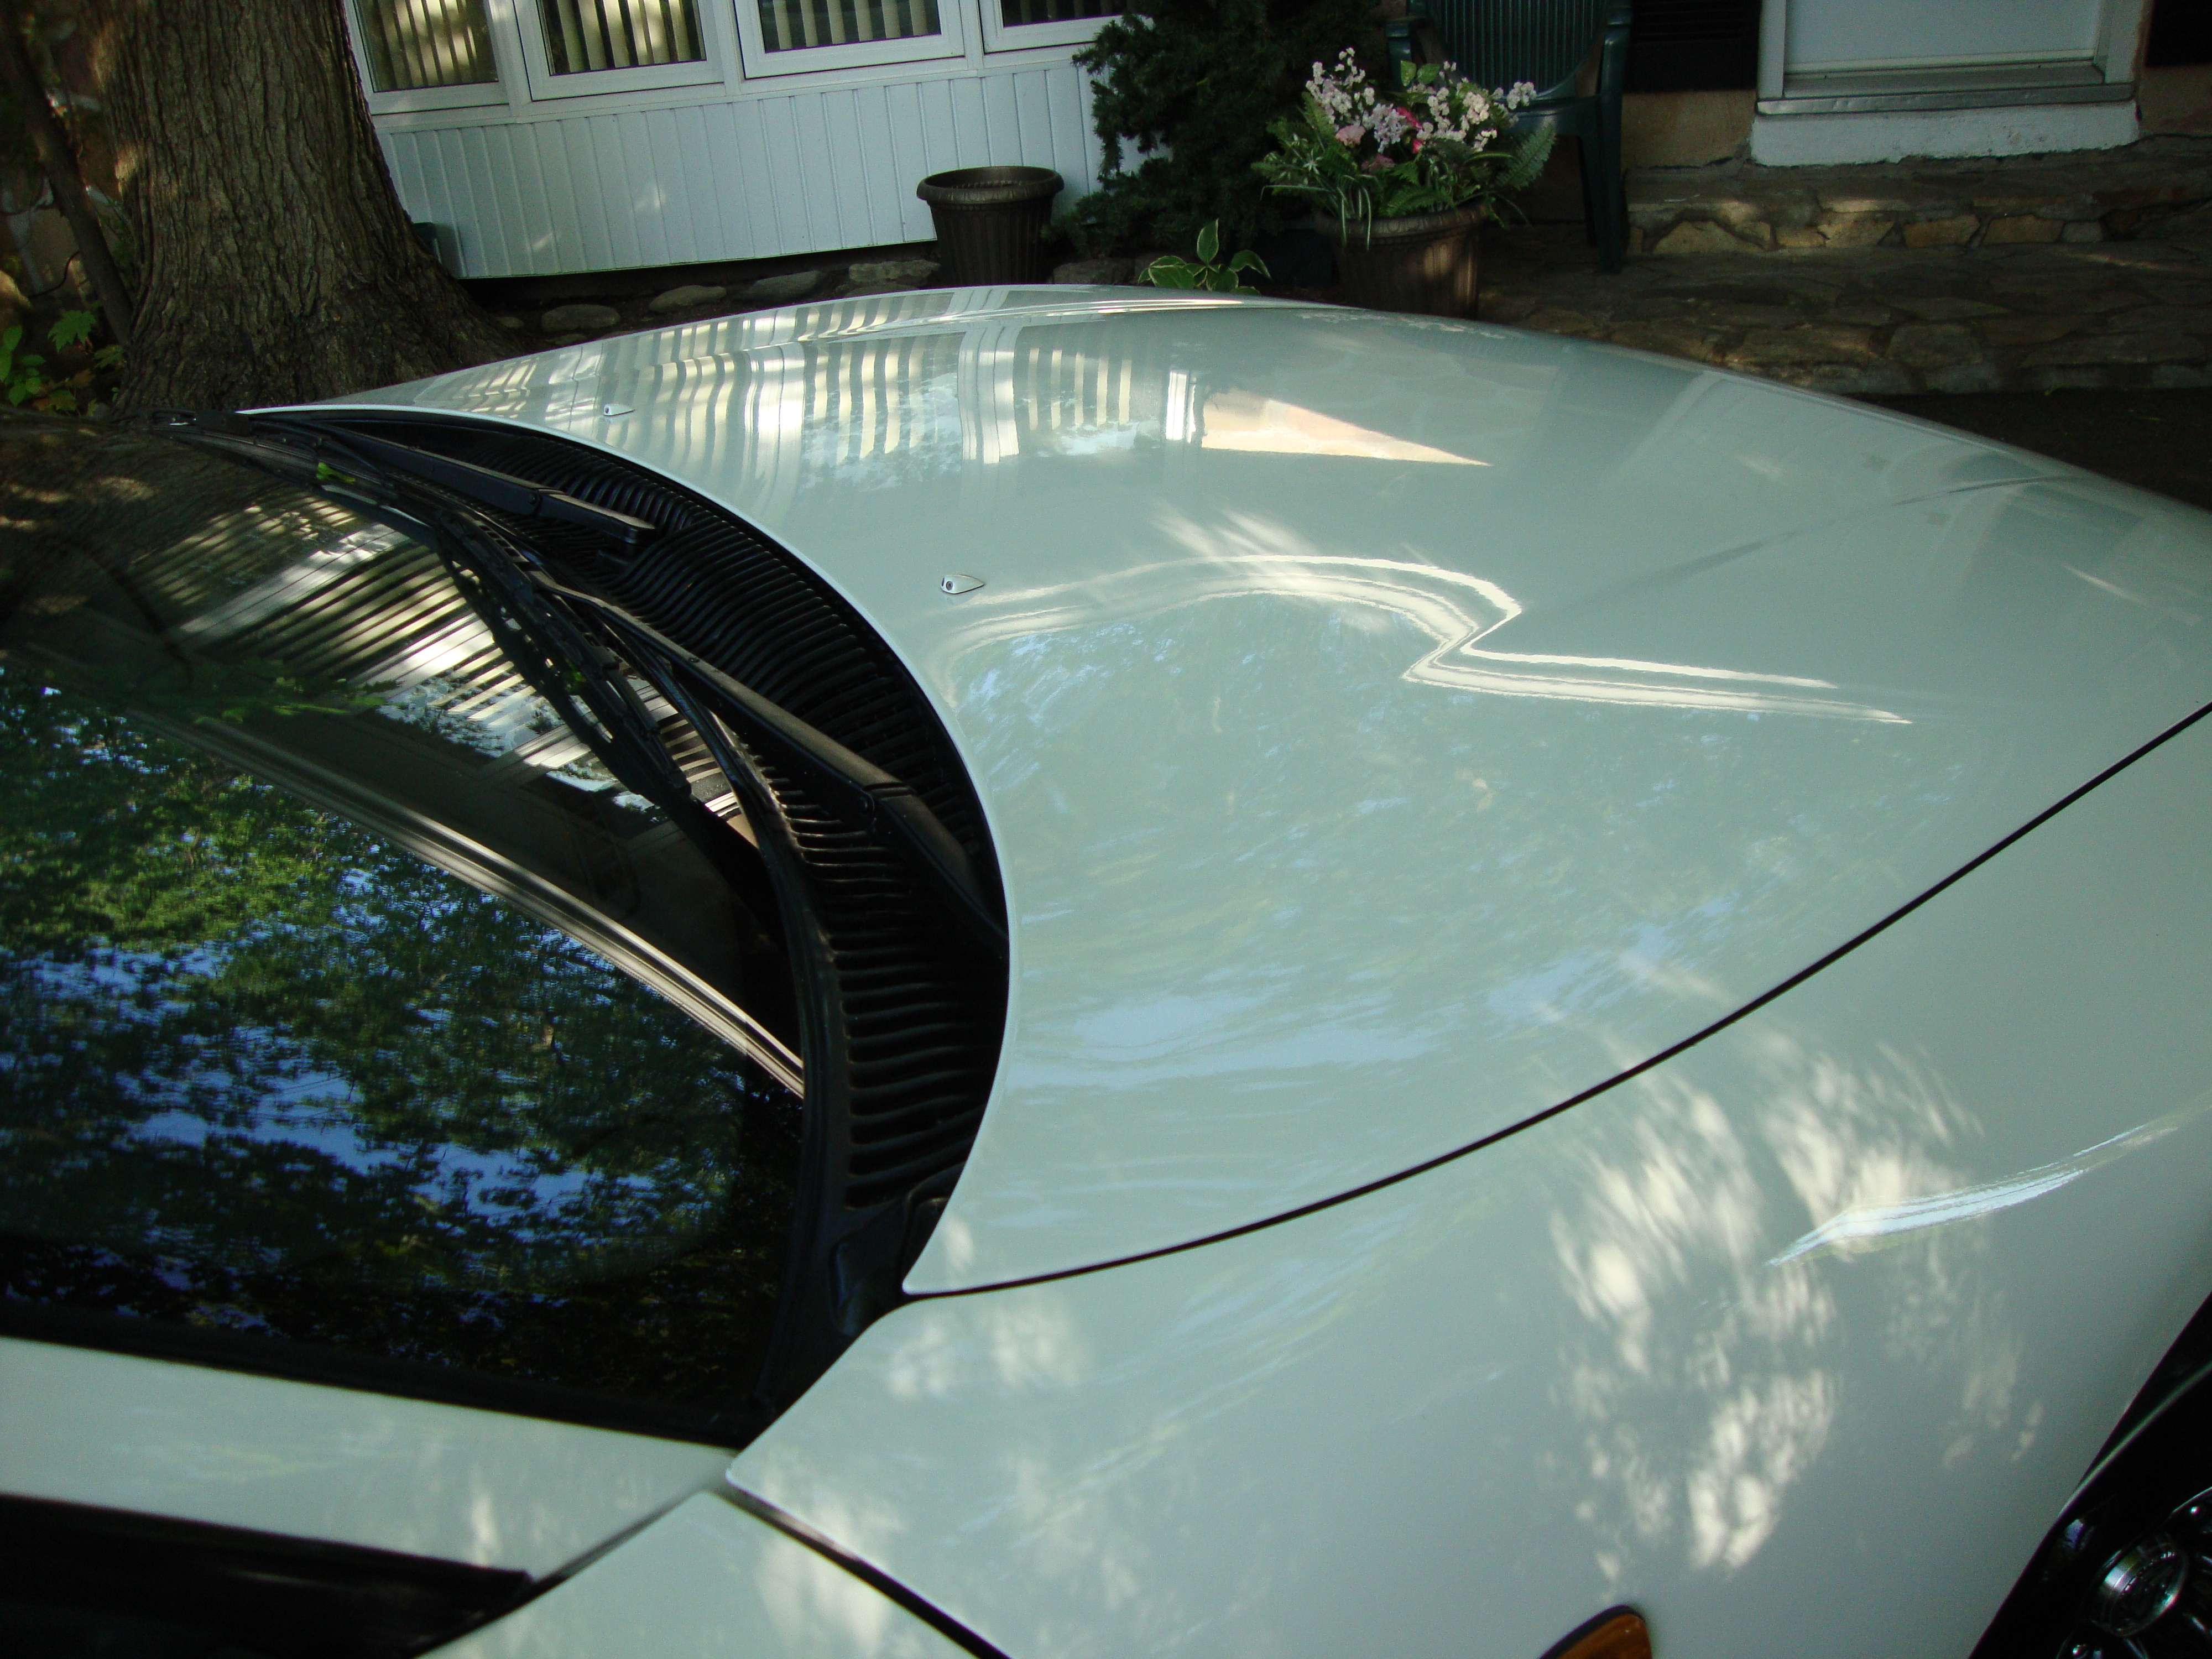
2) Engine bay.
Before :
Je prot�ge toujours les air filters et nettoie le moteur avec un savon test� sur les moteurs et diff�rentes brosses encore une fois!
After :
Uv protector and anti-static.
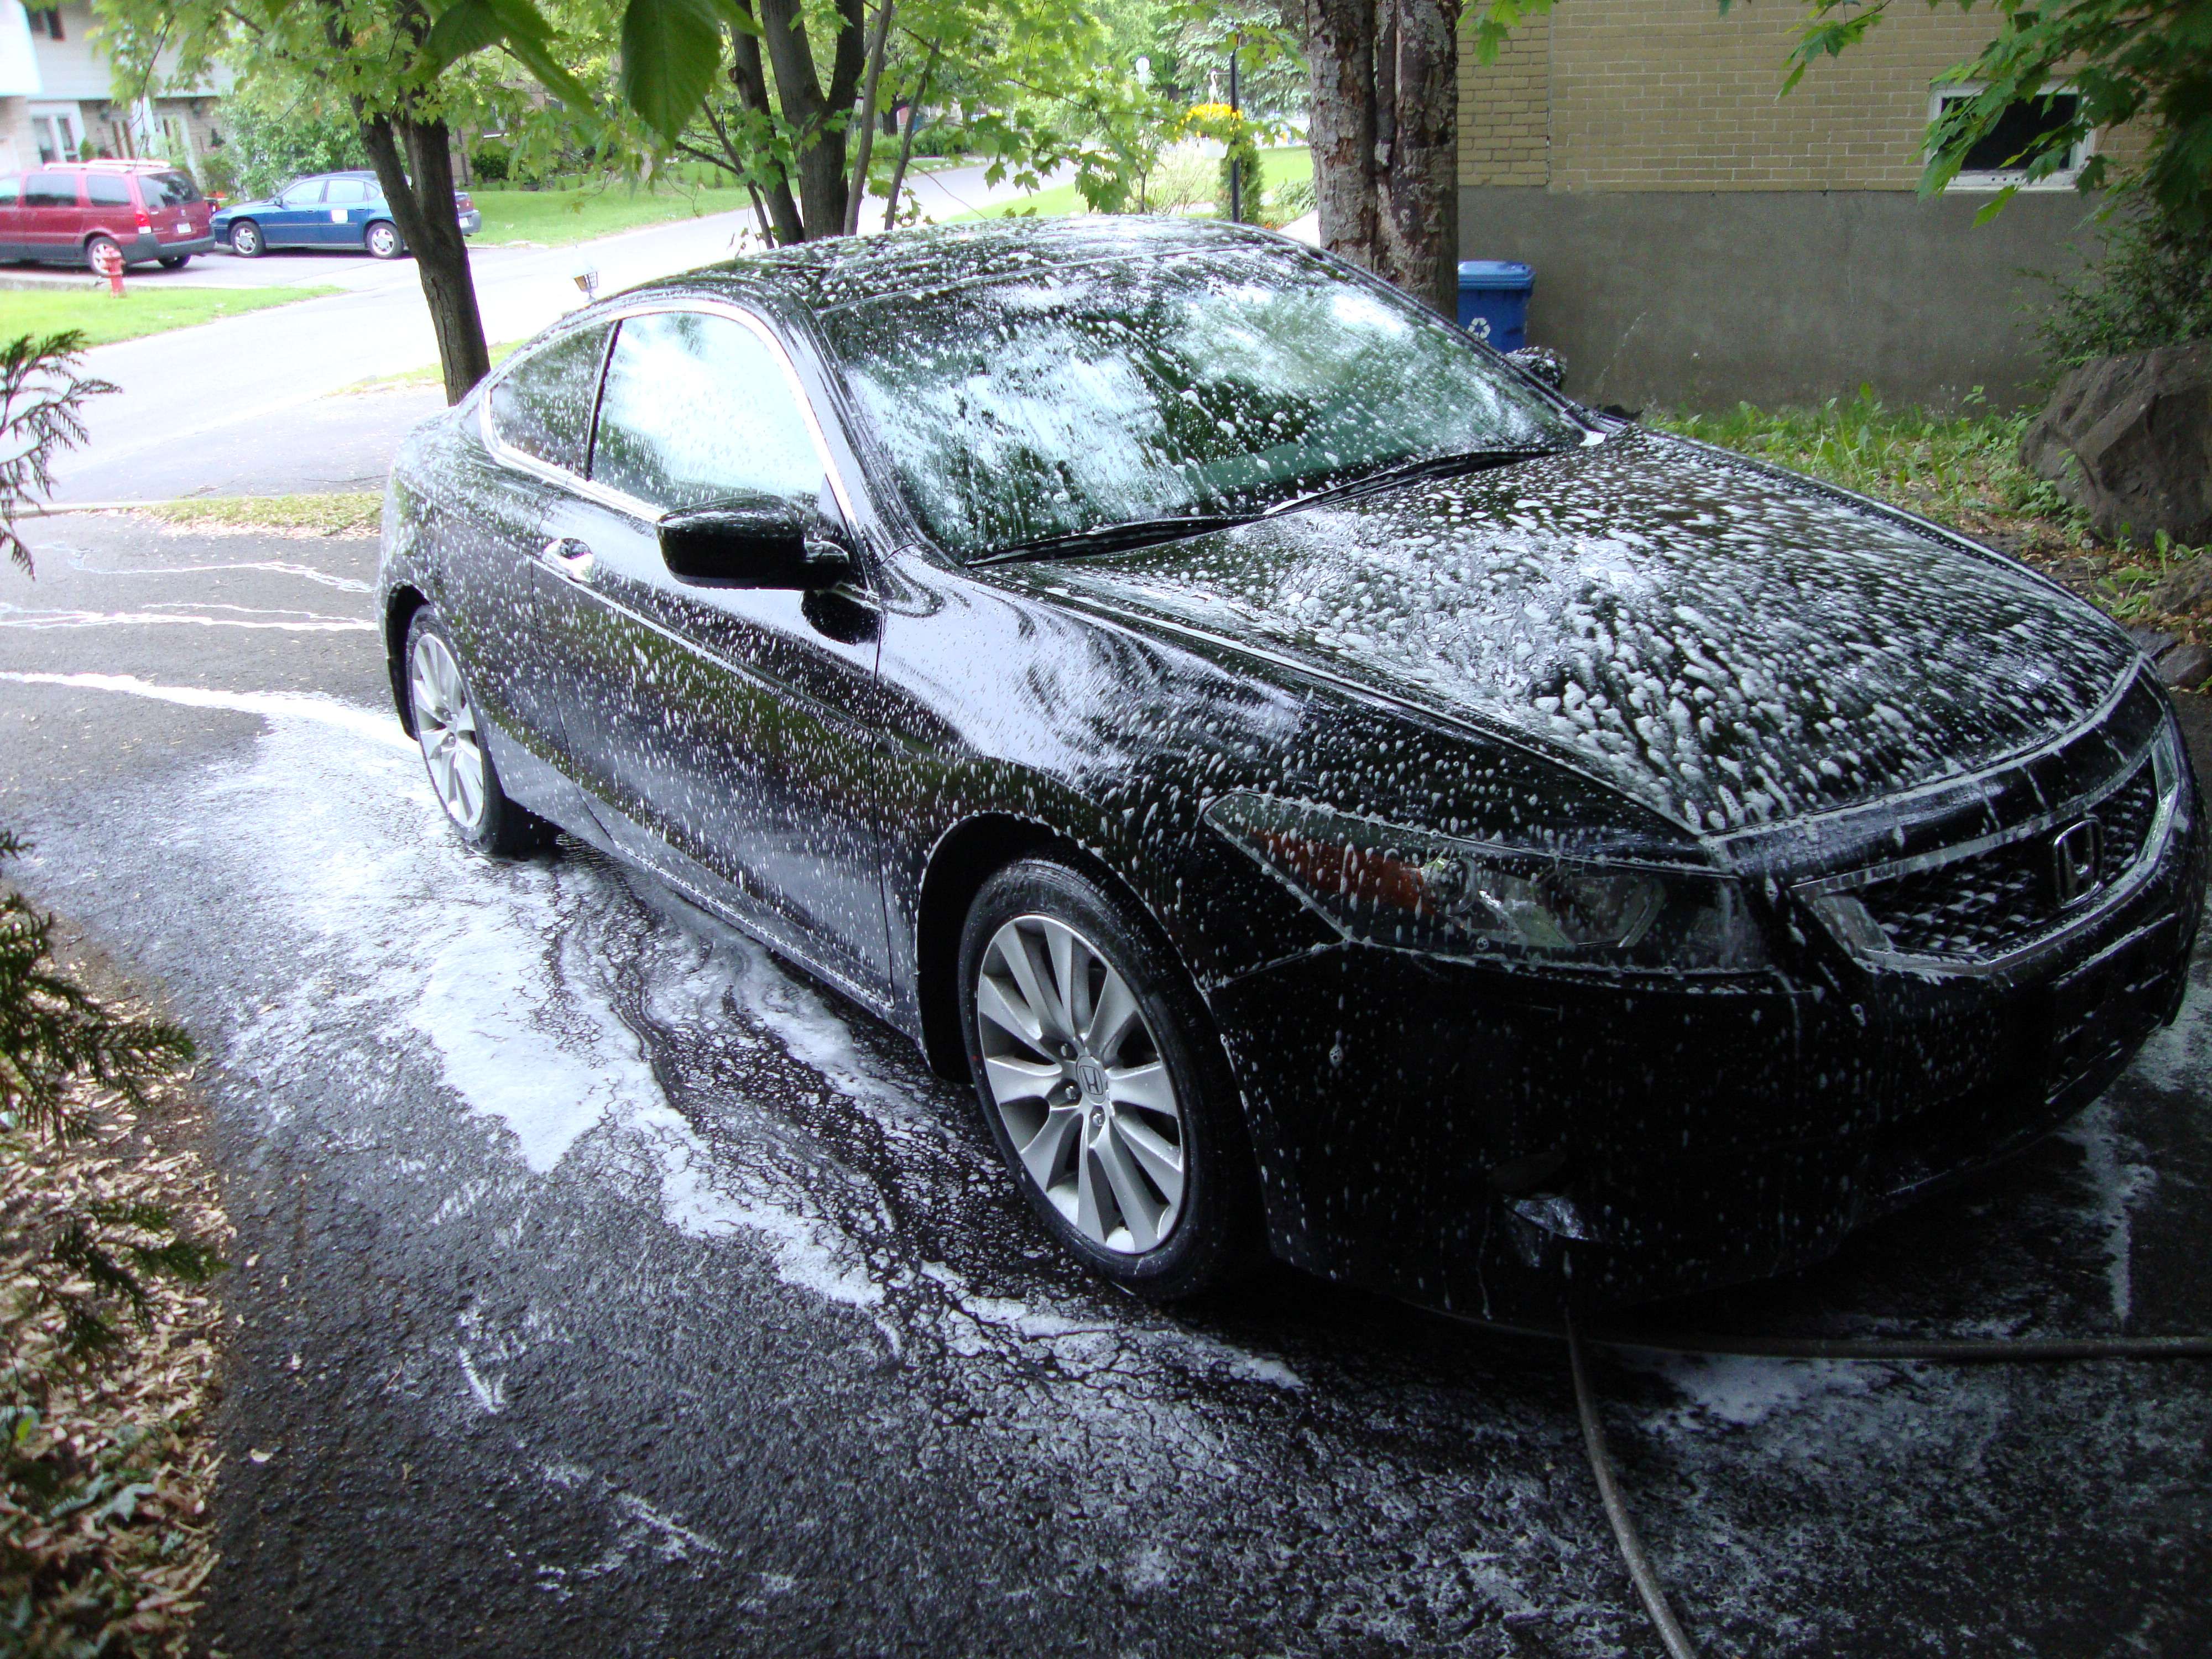
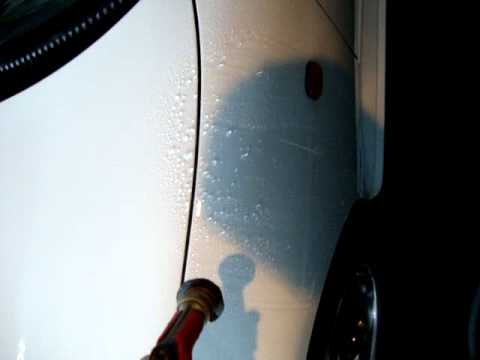
3) Washing the car.
2 buckets with 2 grit guard in each using the CobrAAA�s washing technique


Leave a comment: