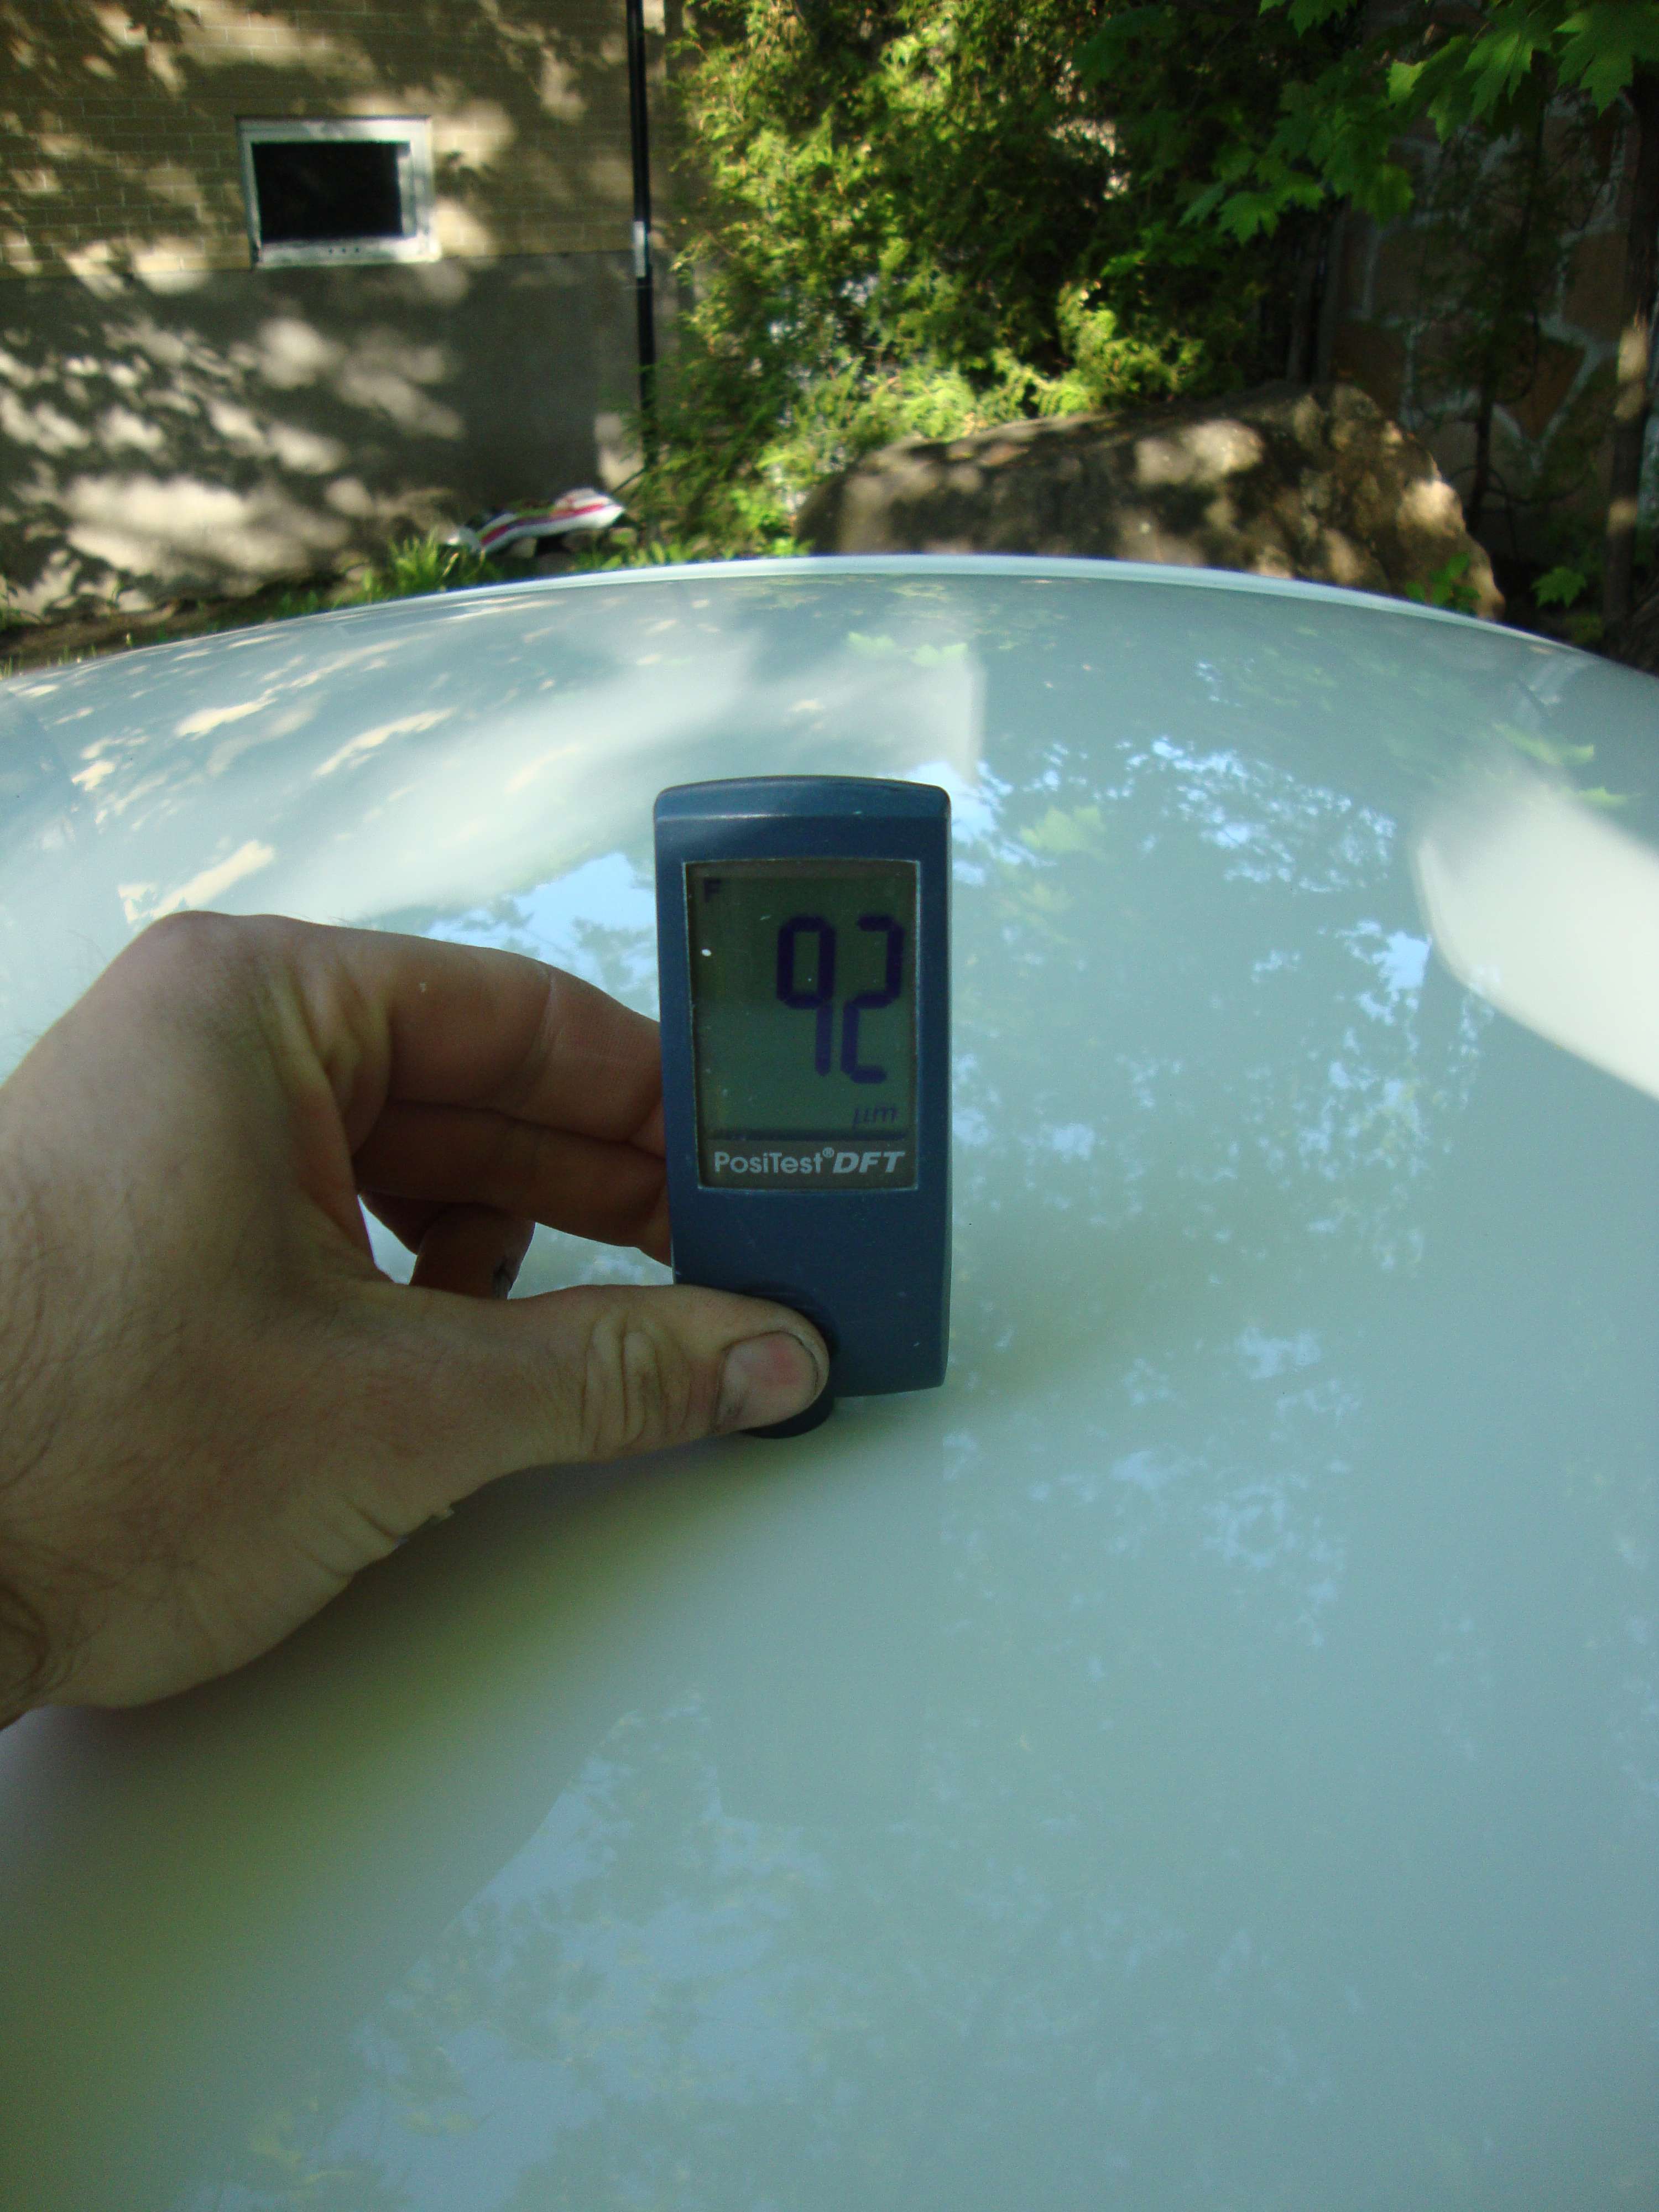
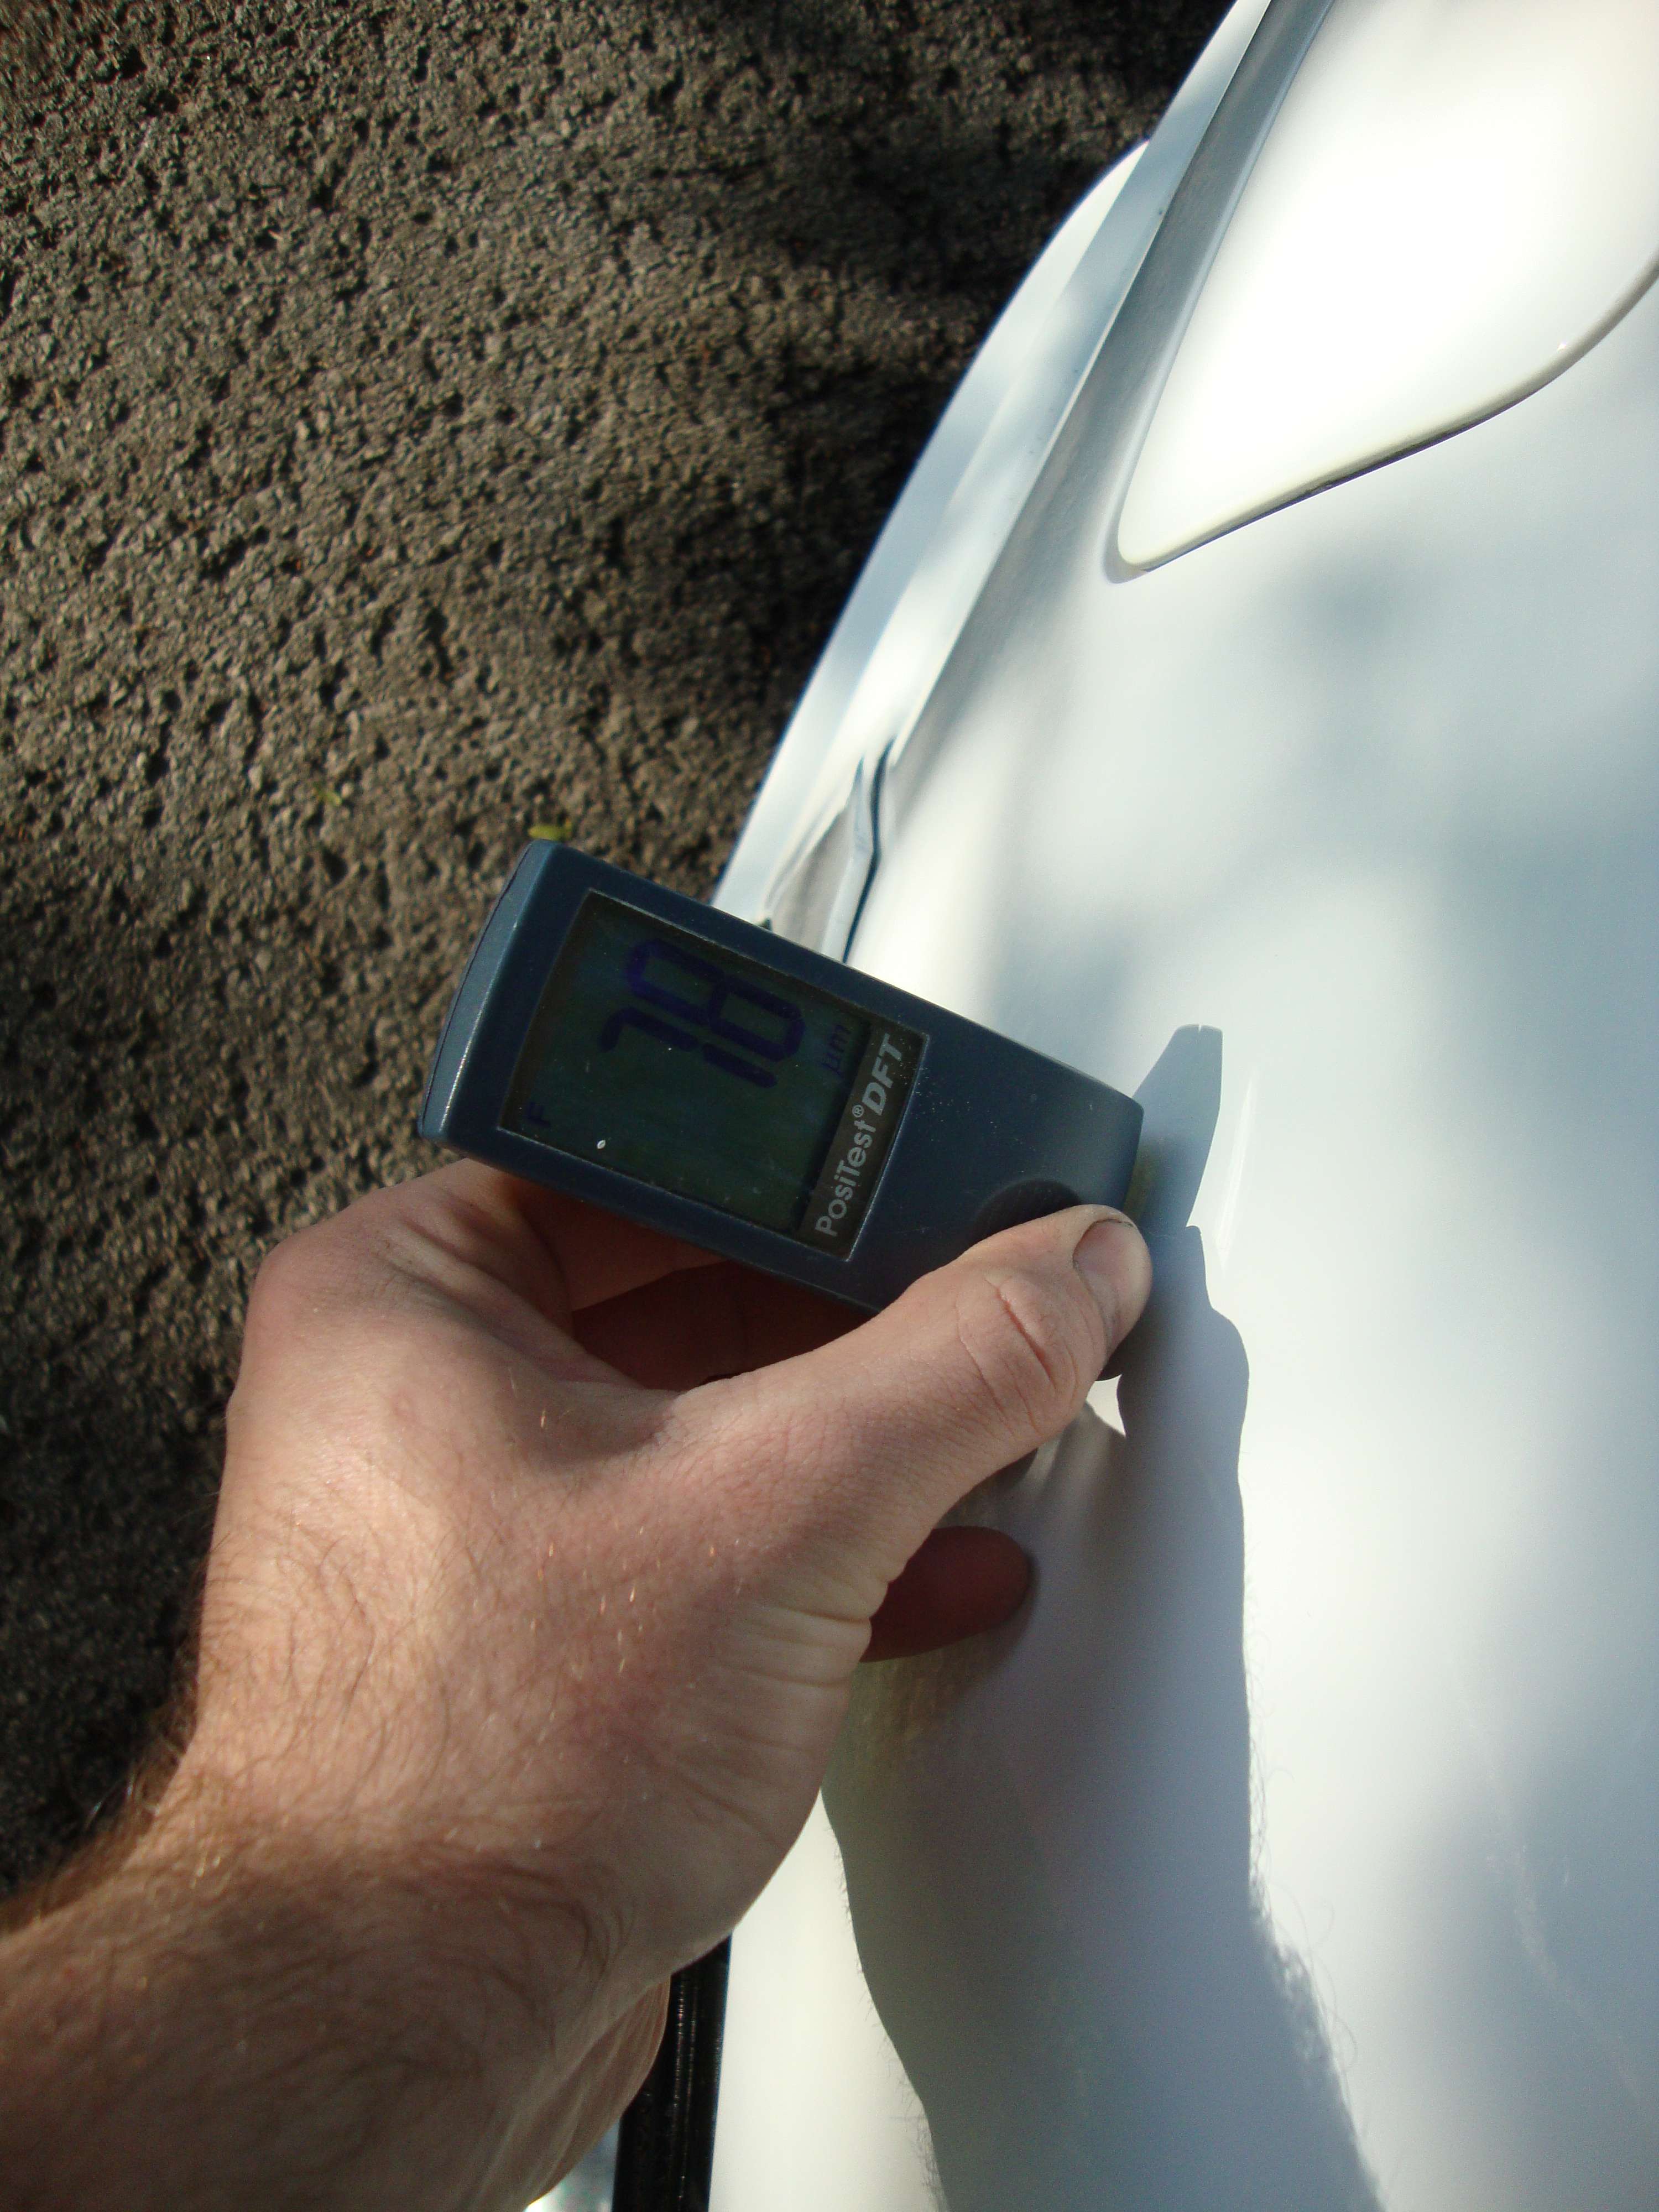
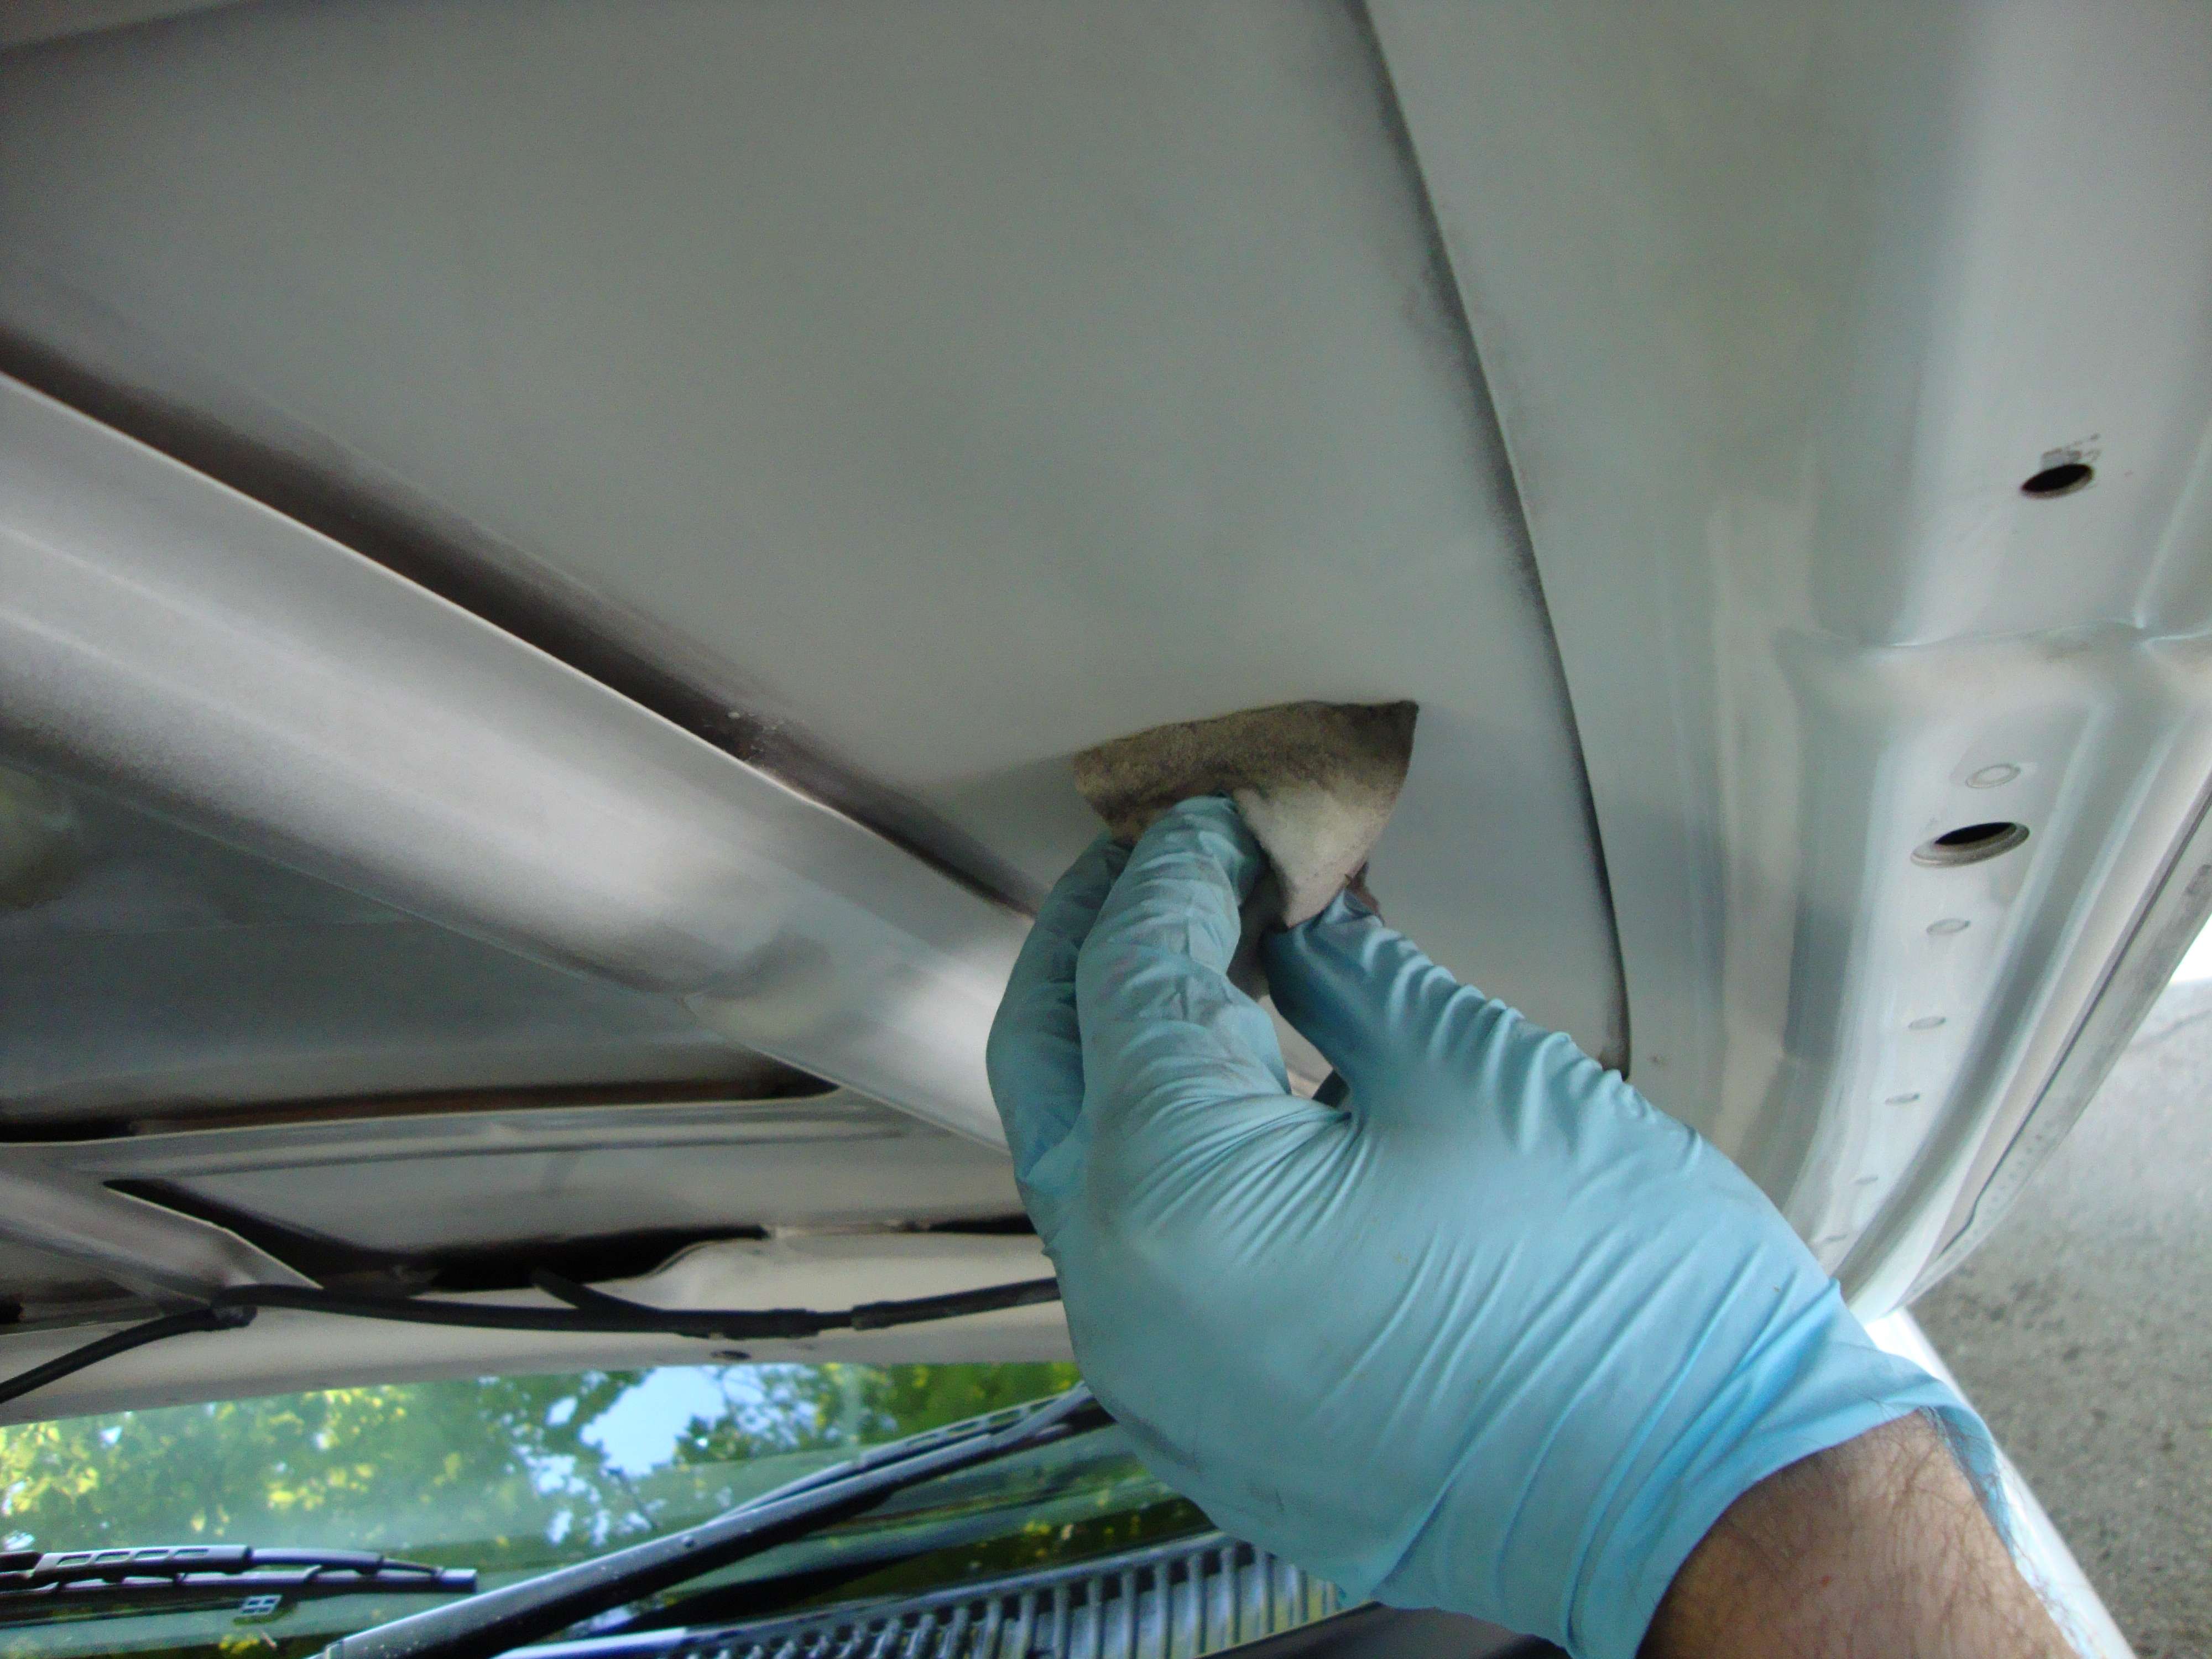
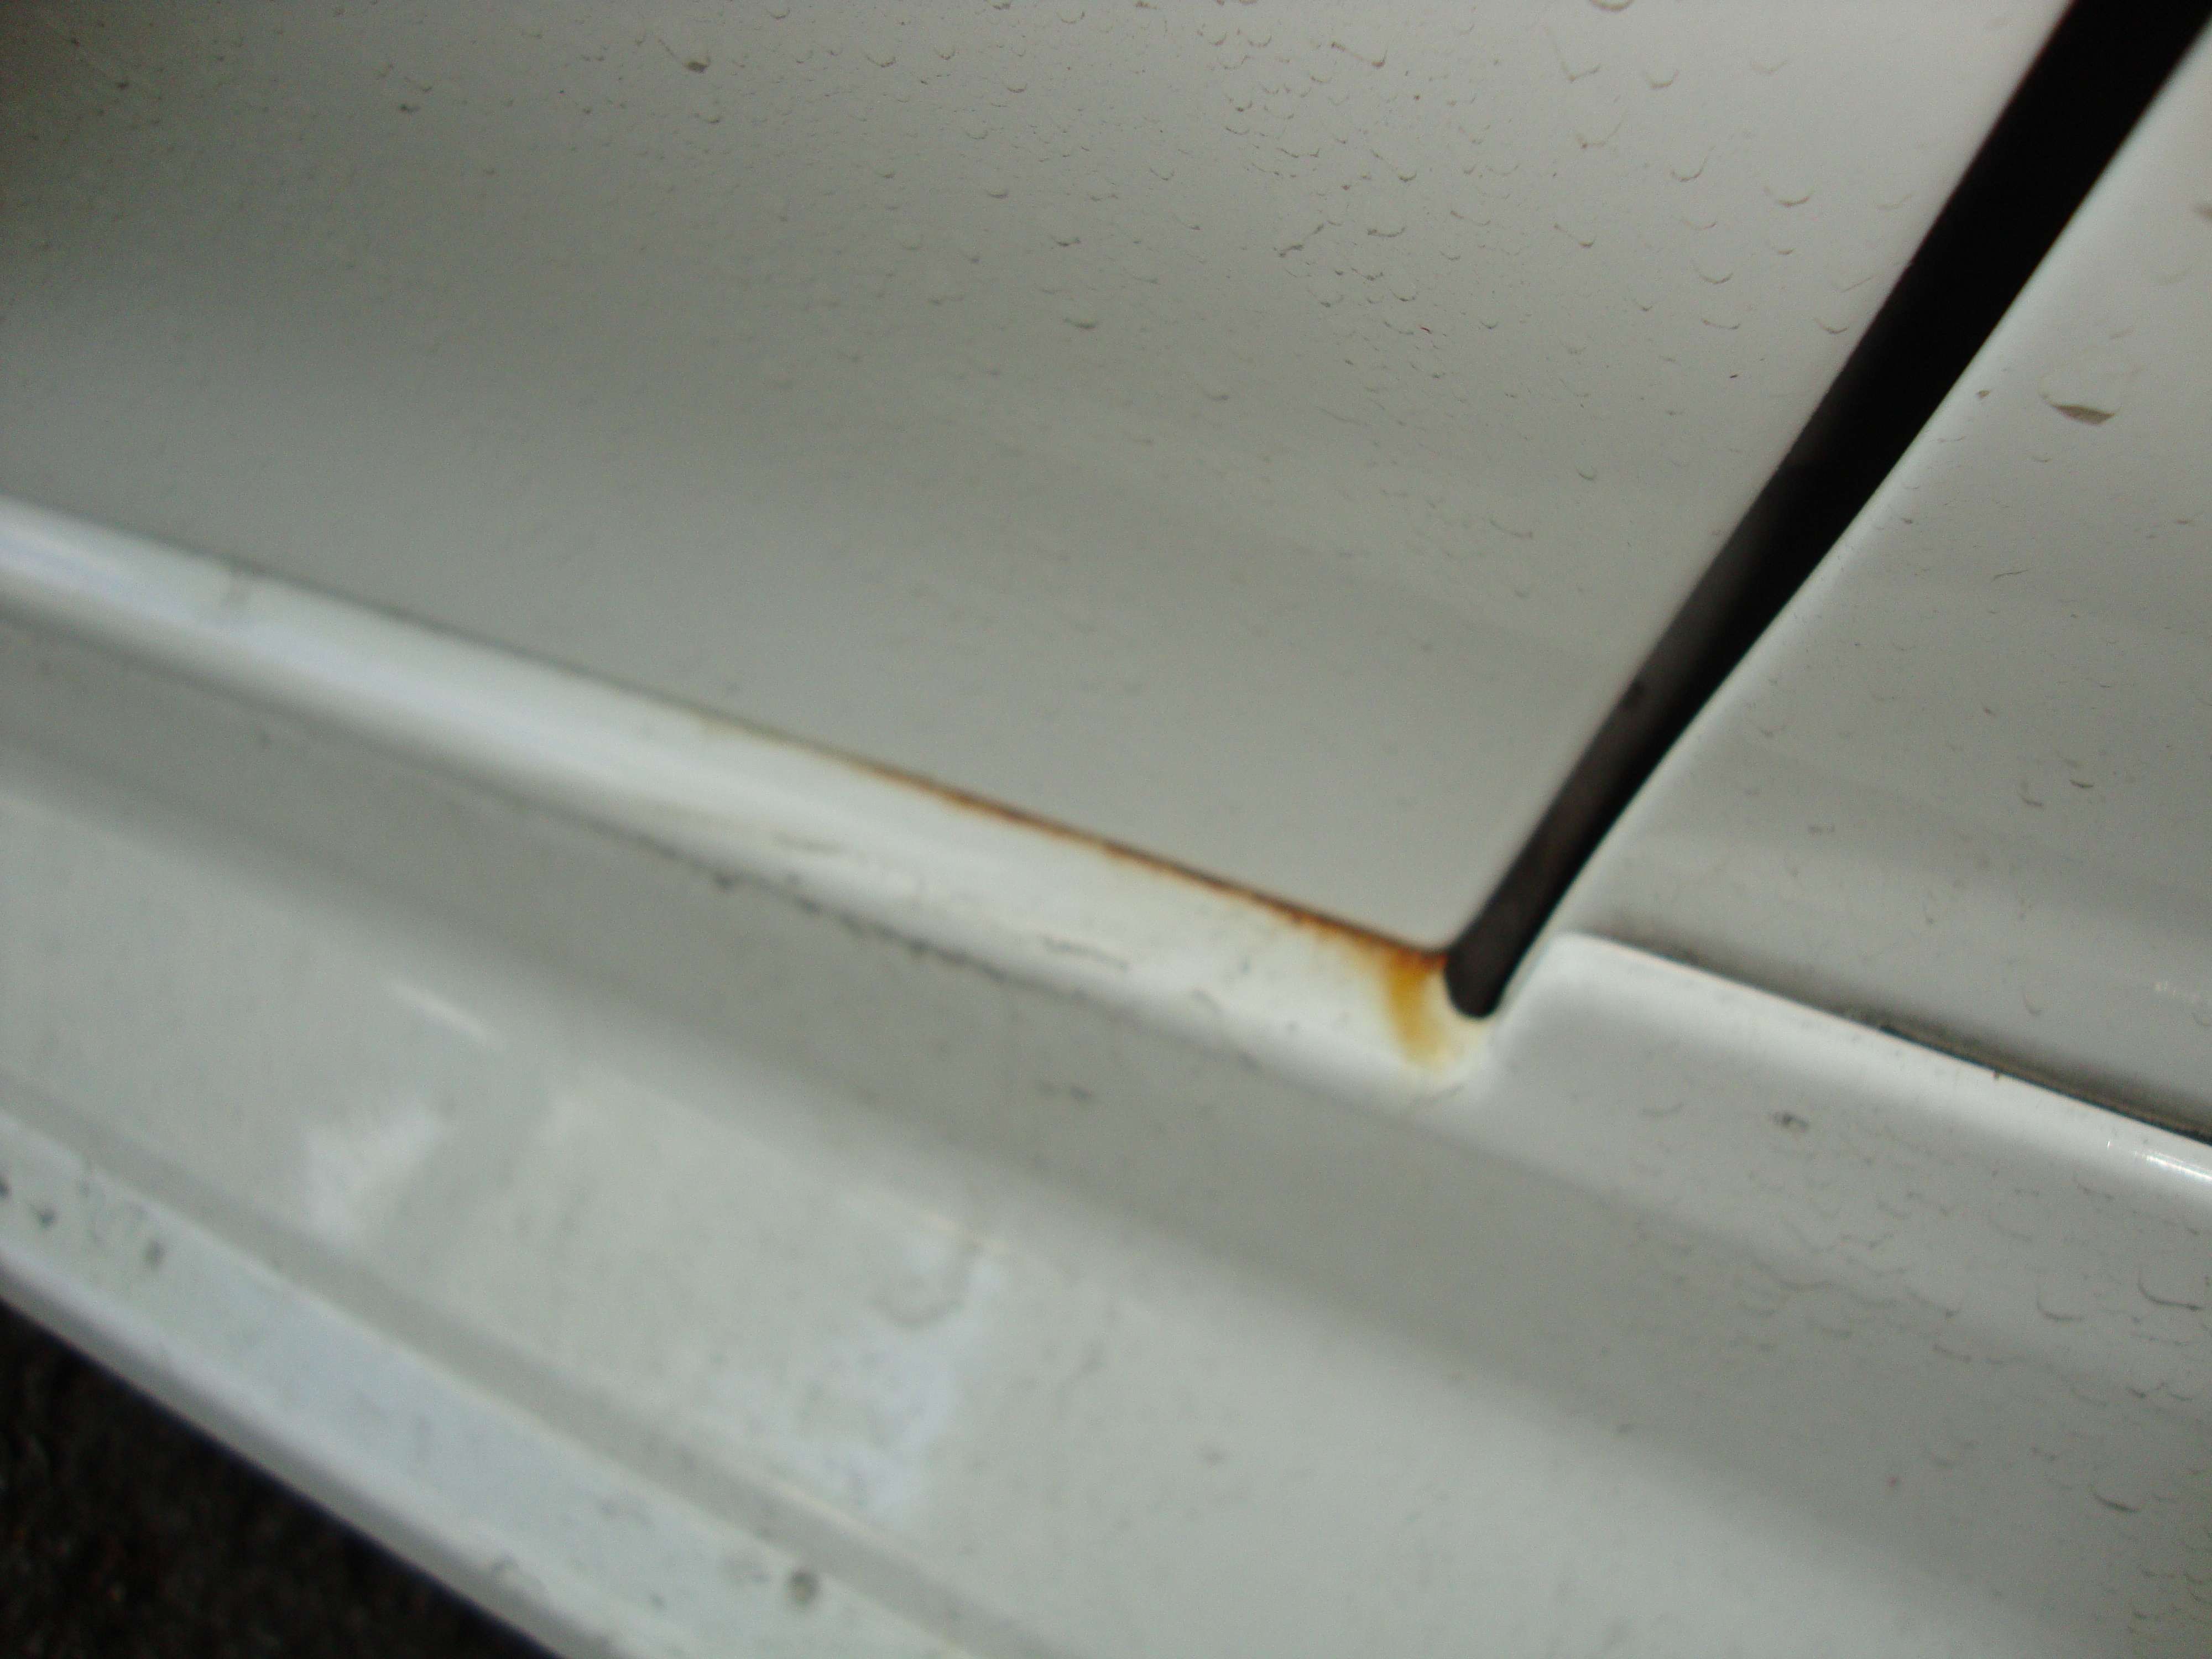
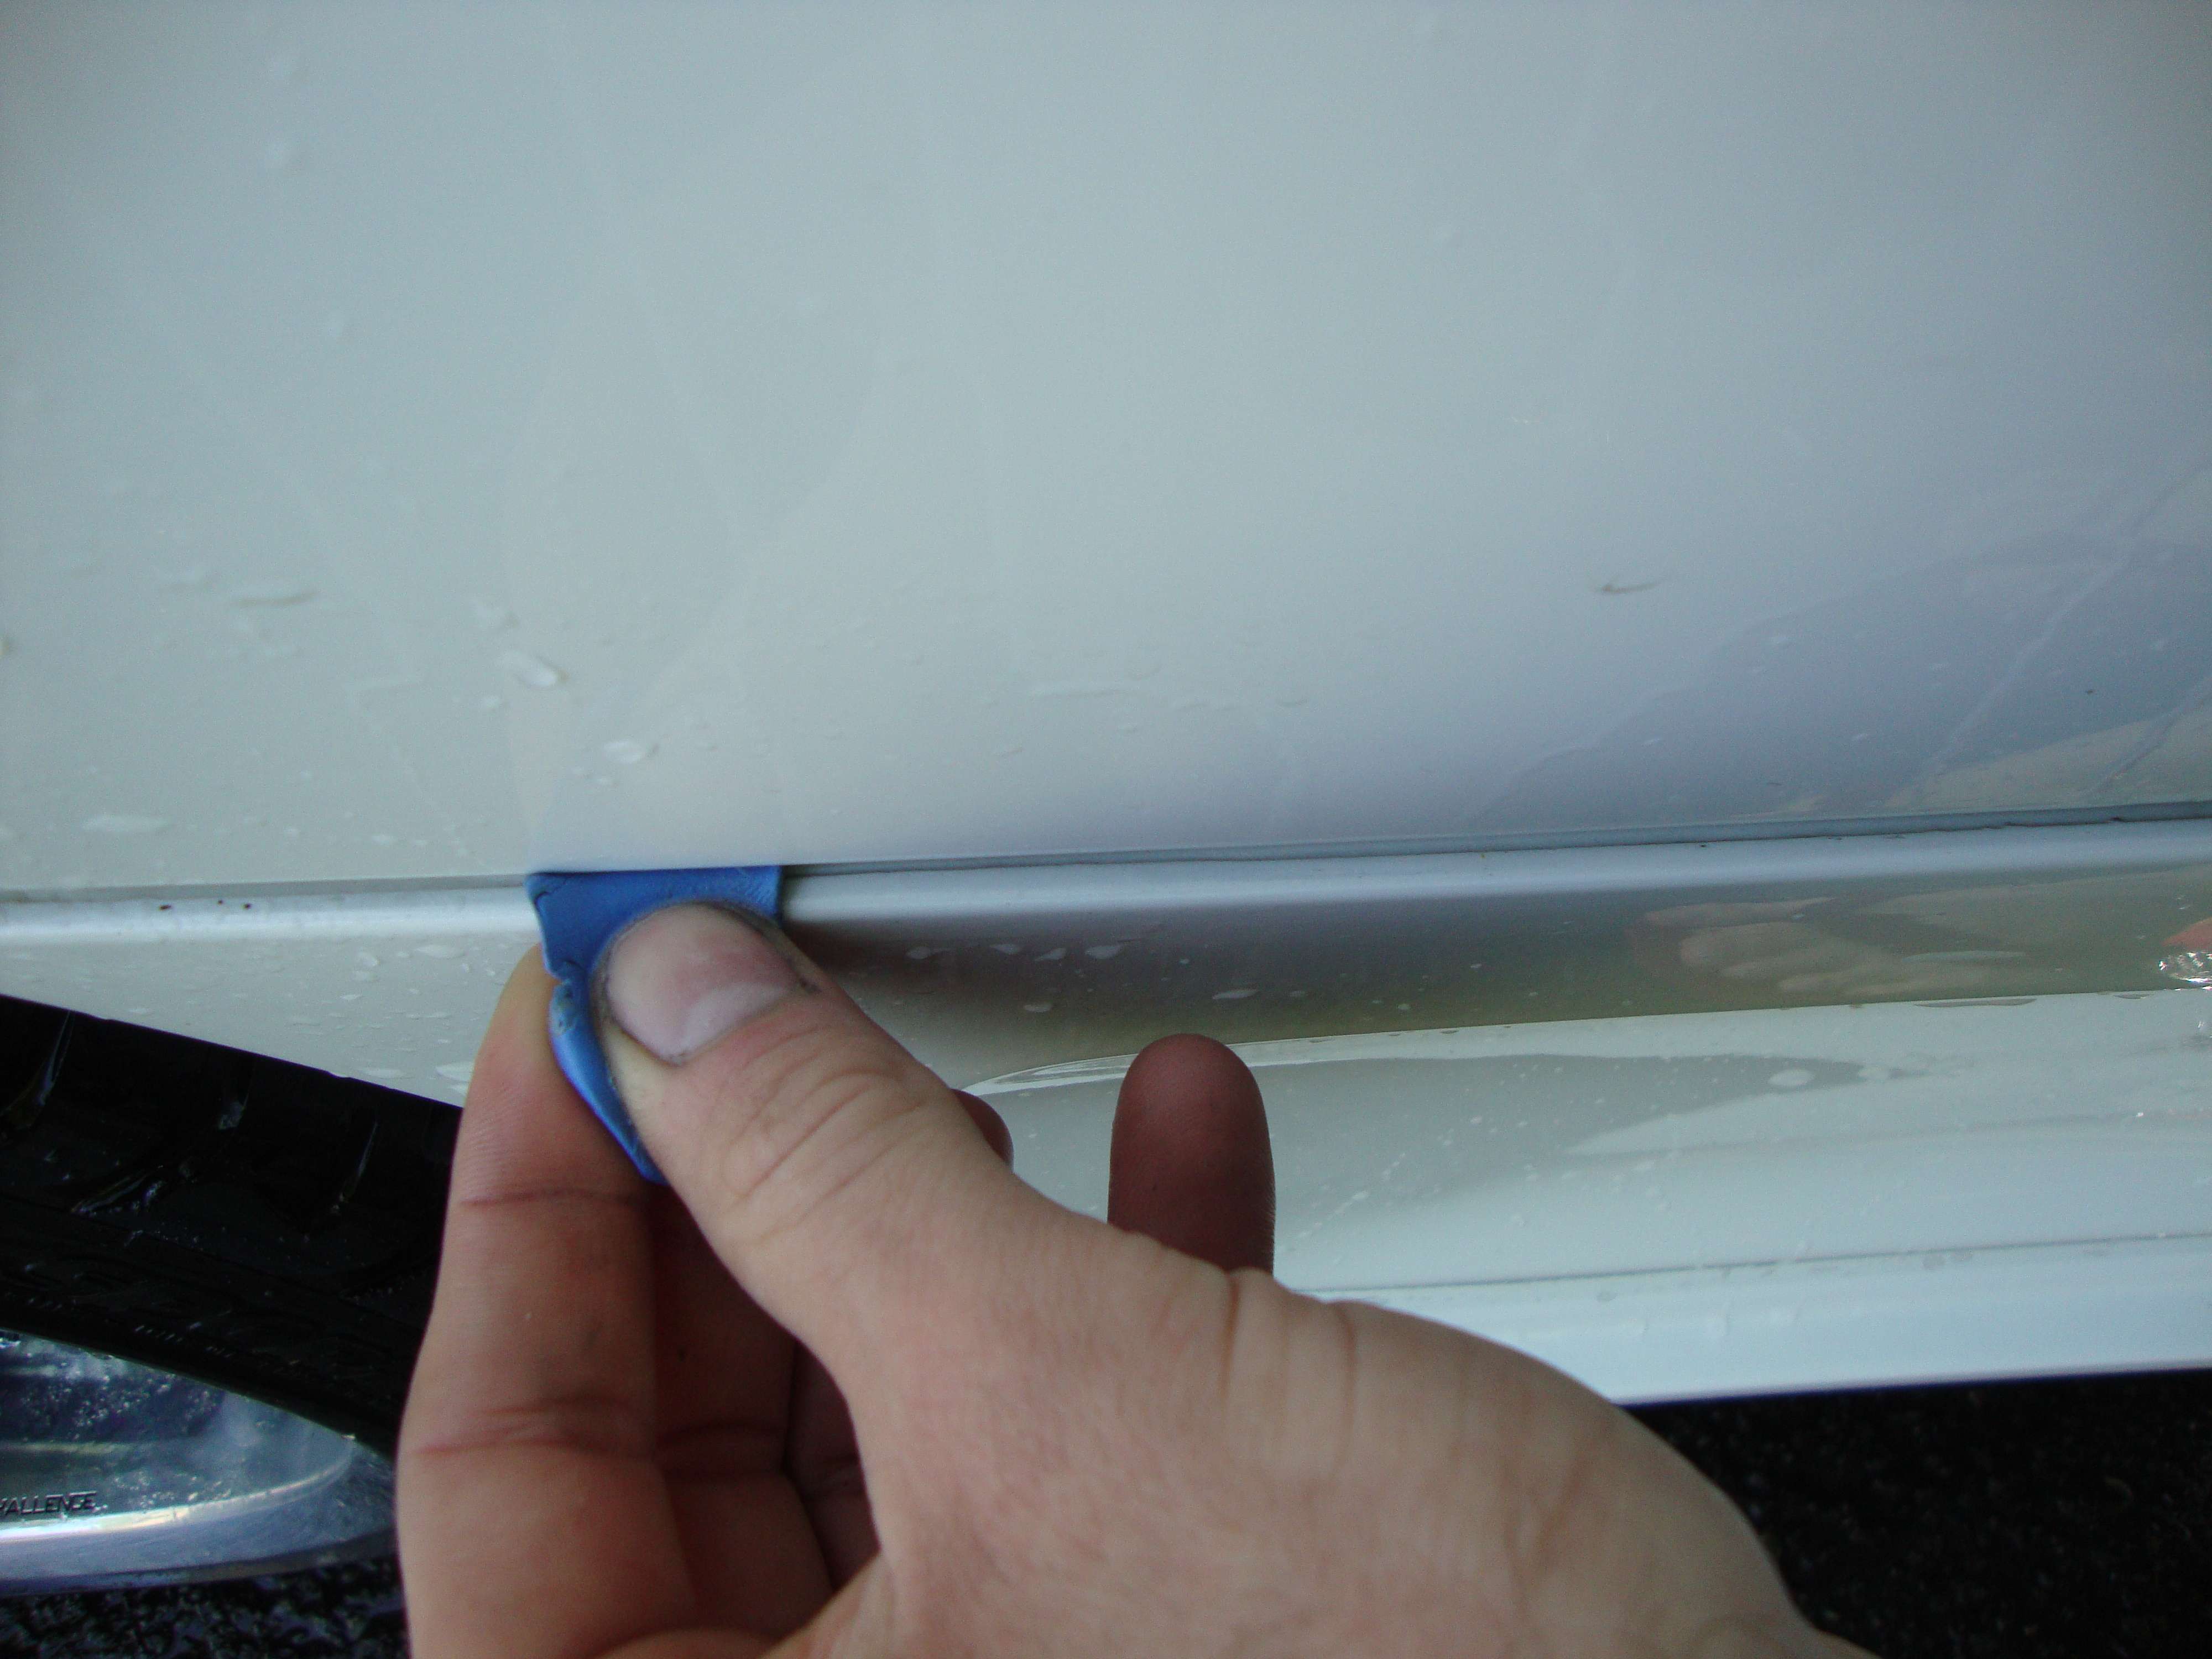
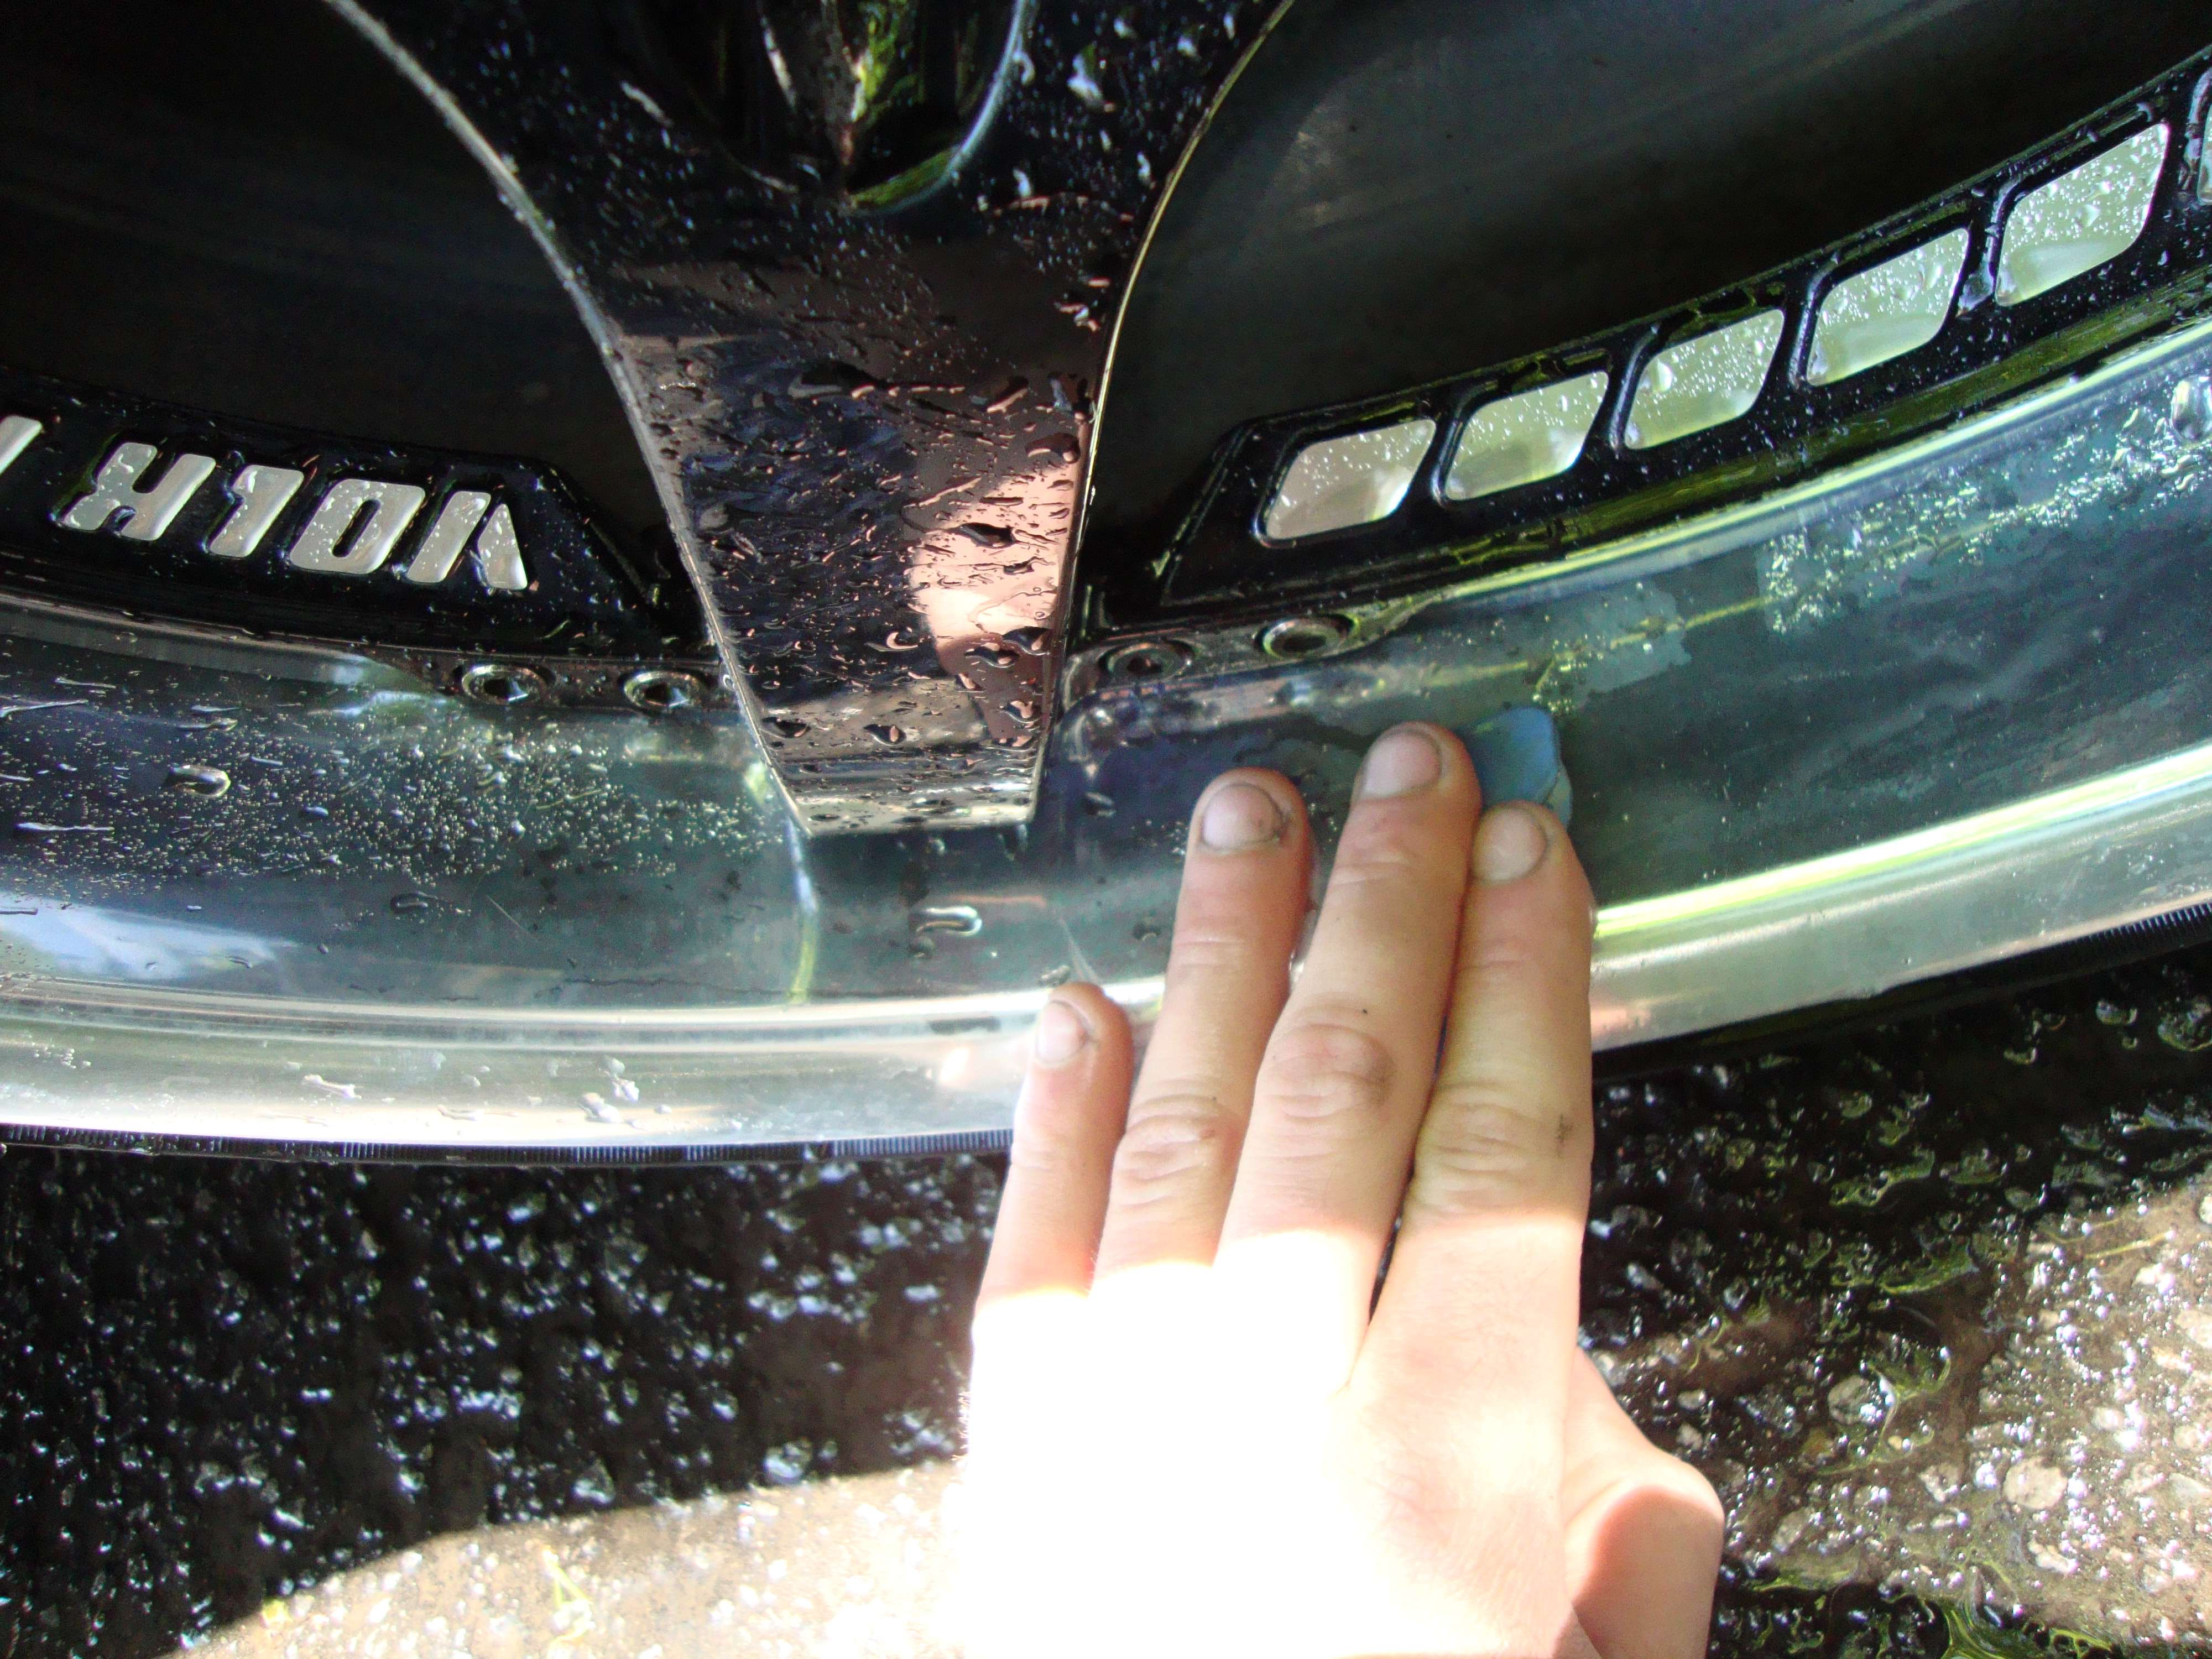
I then measure the thickness of the paint because we all know those jdm have been abused some way or another.
Pretty thin if you ask me:
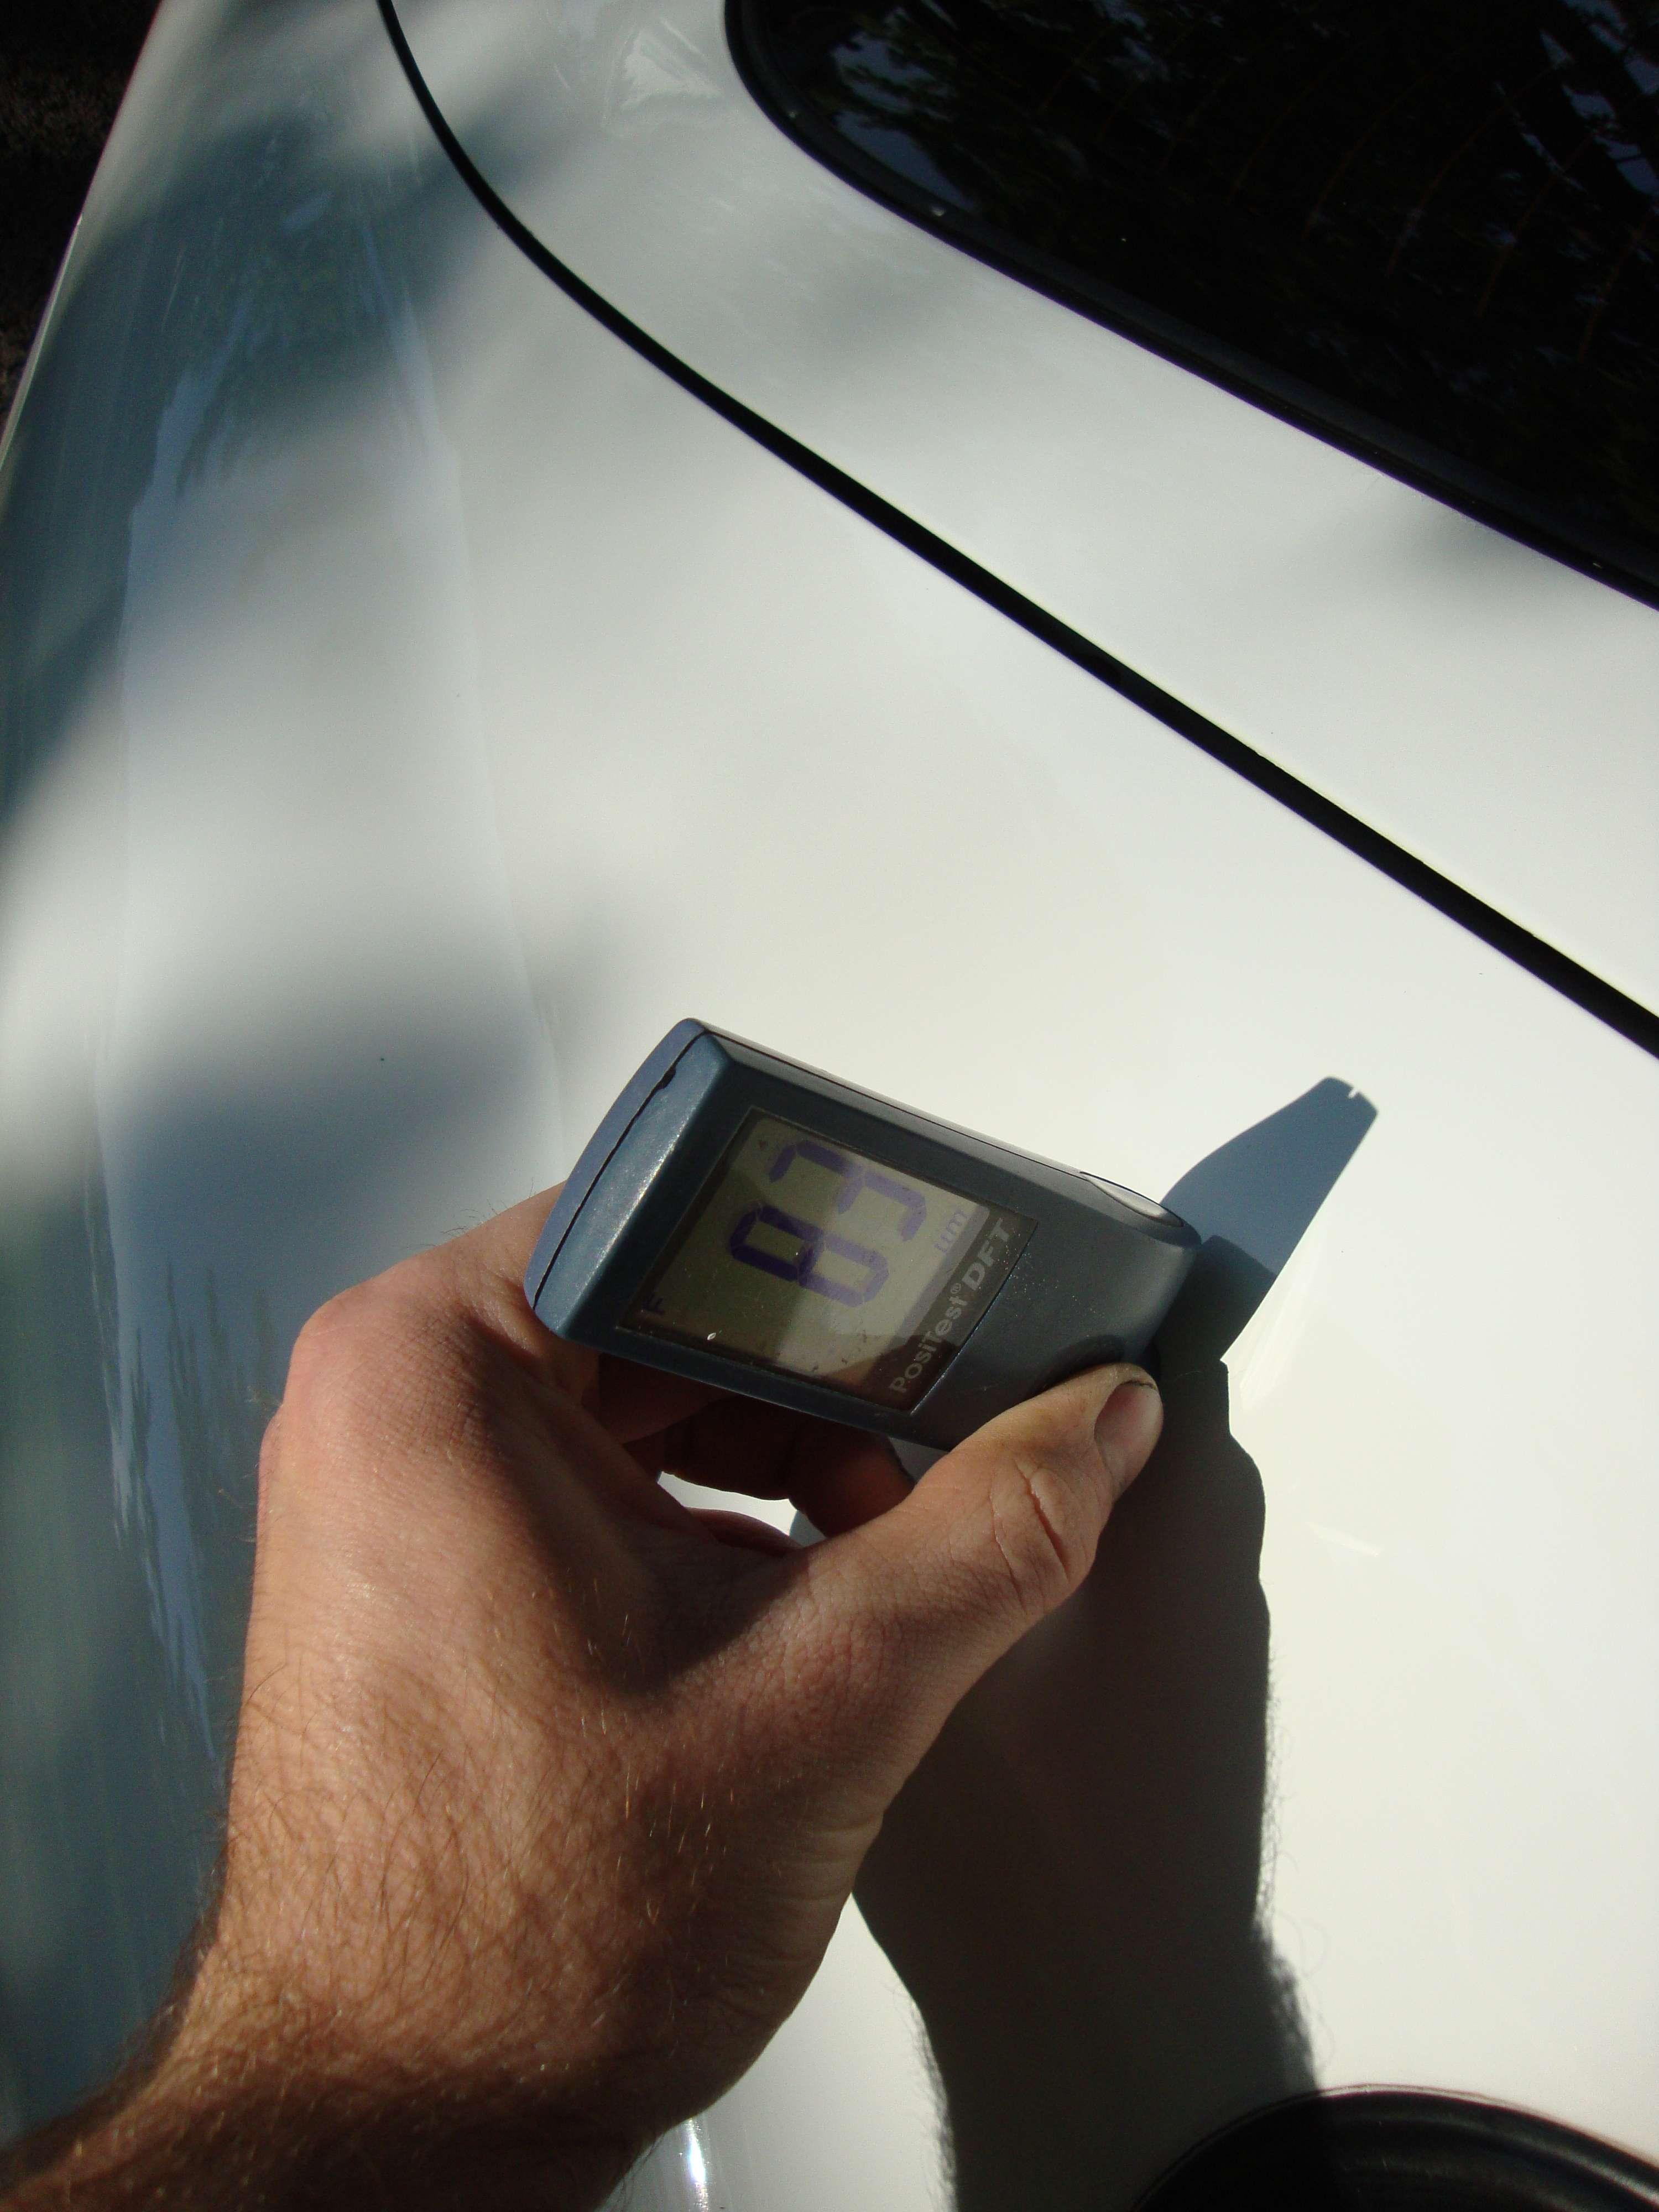
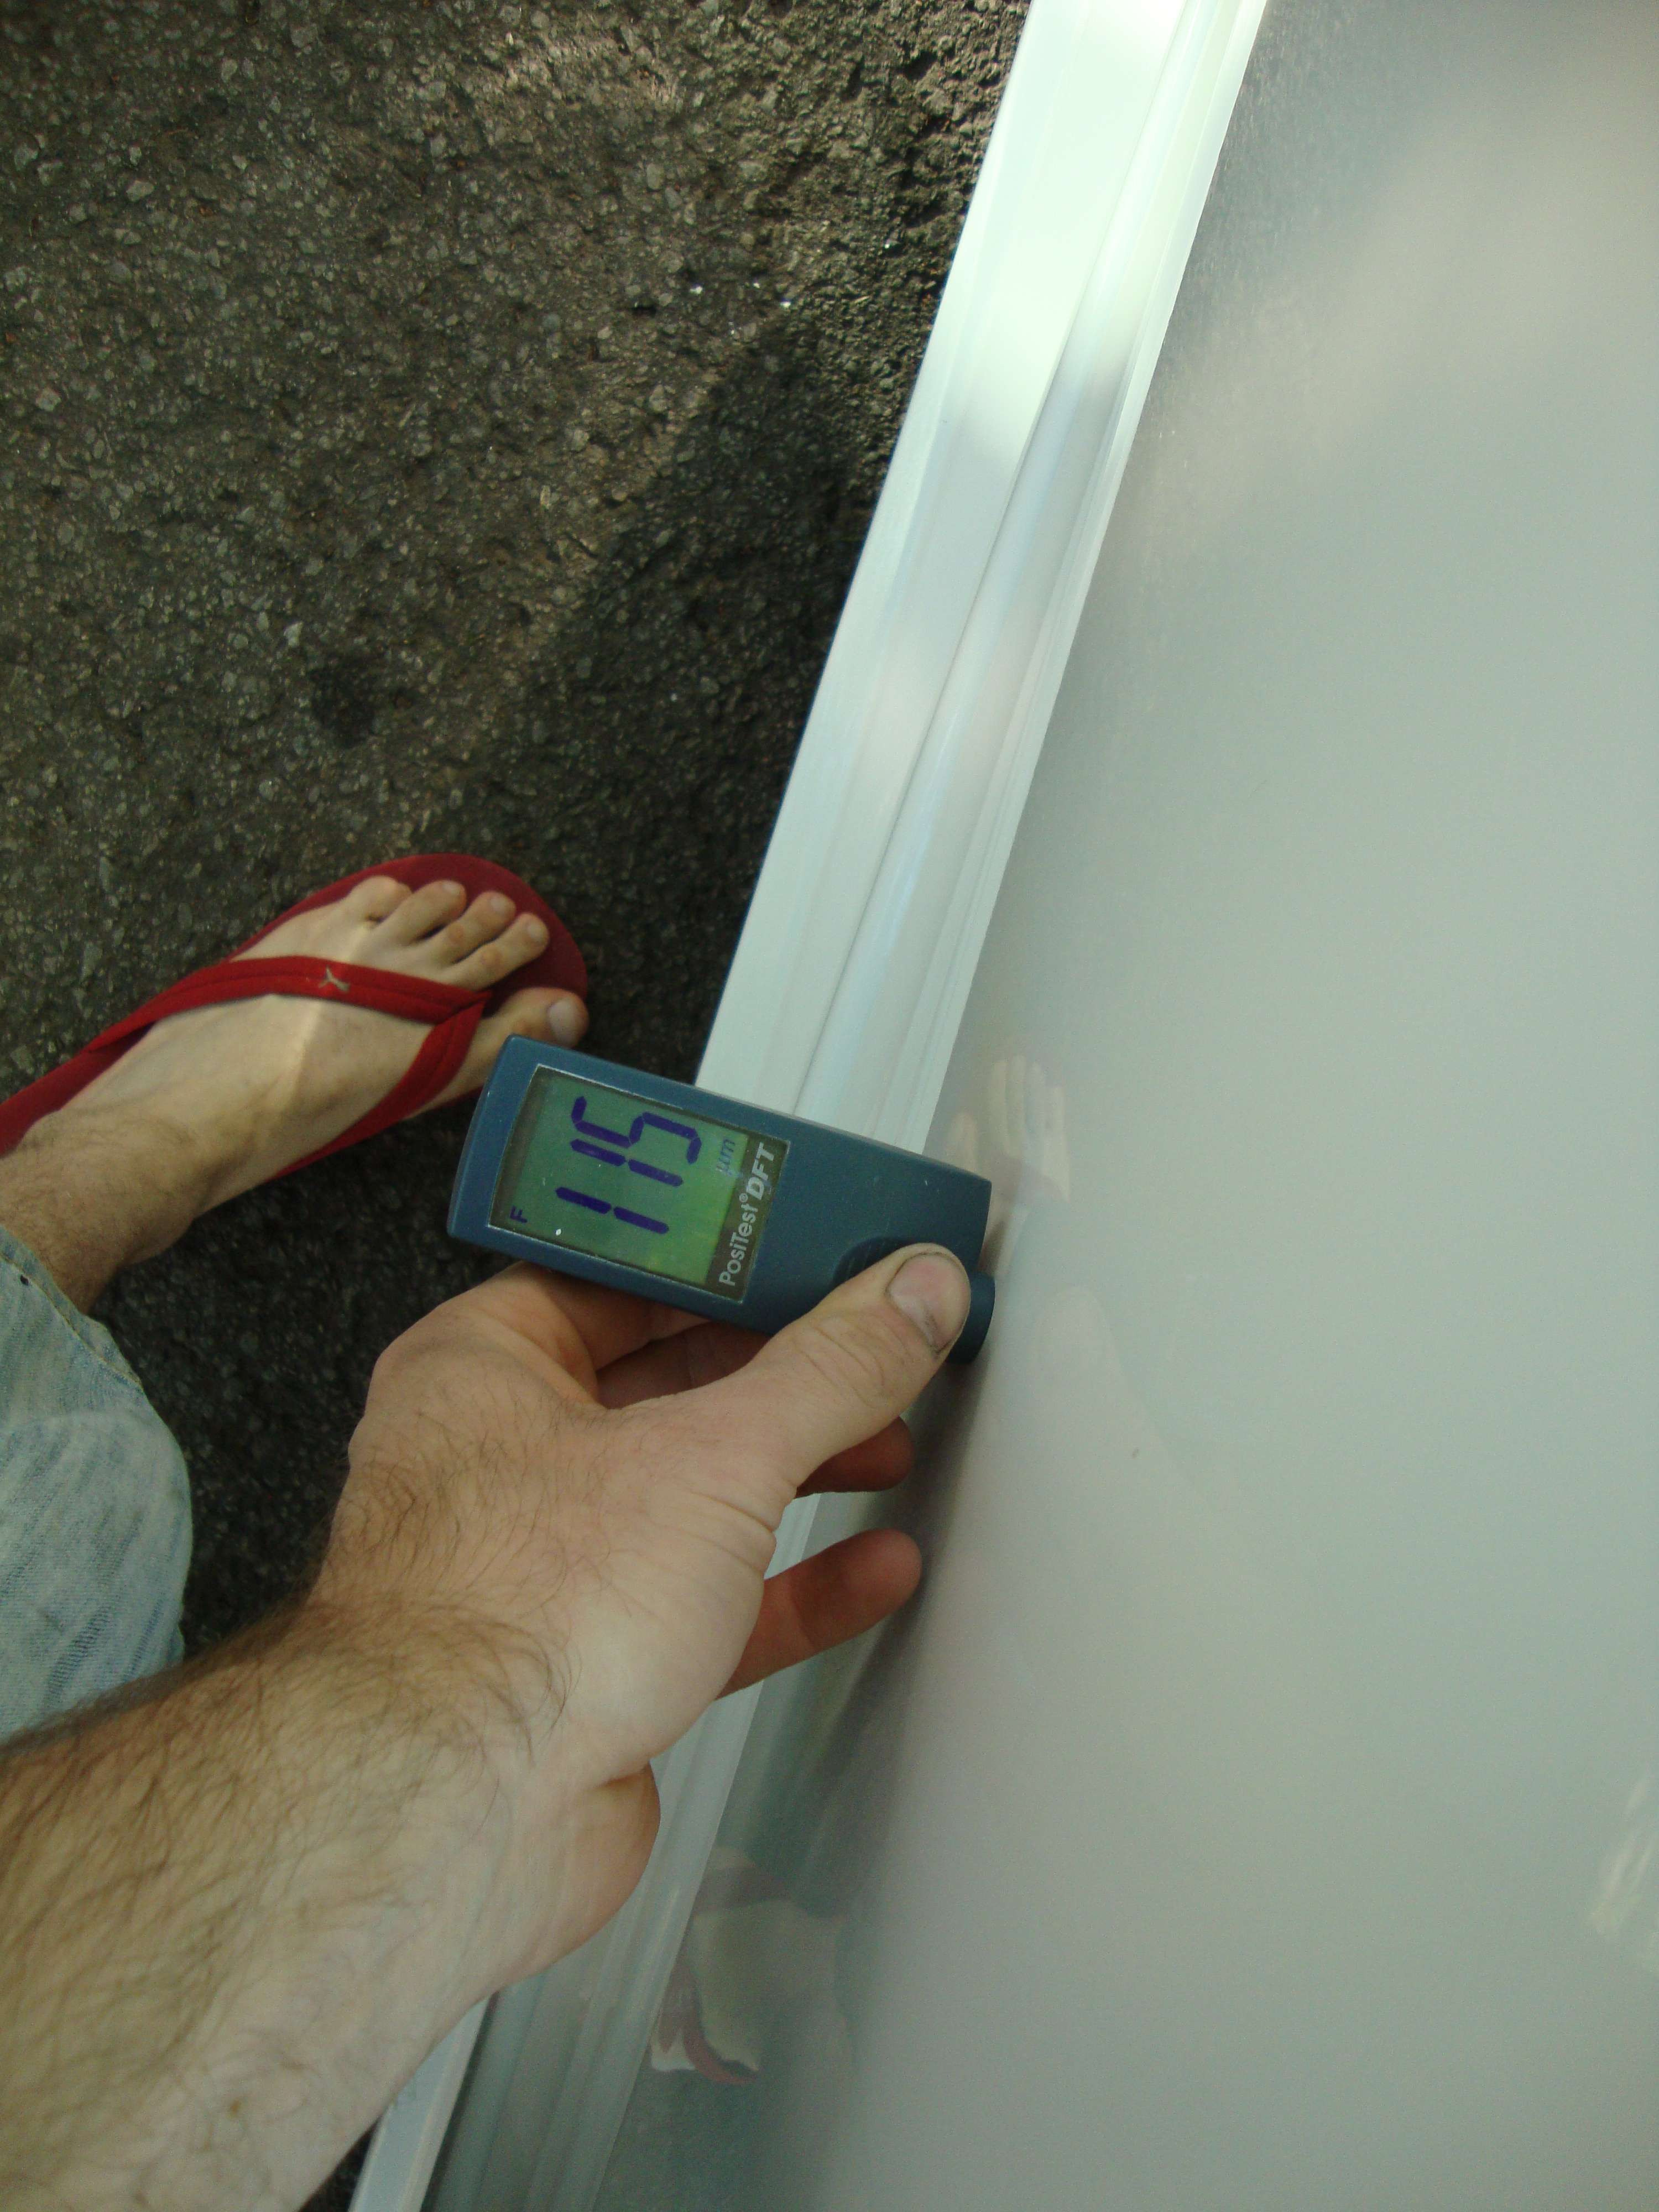
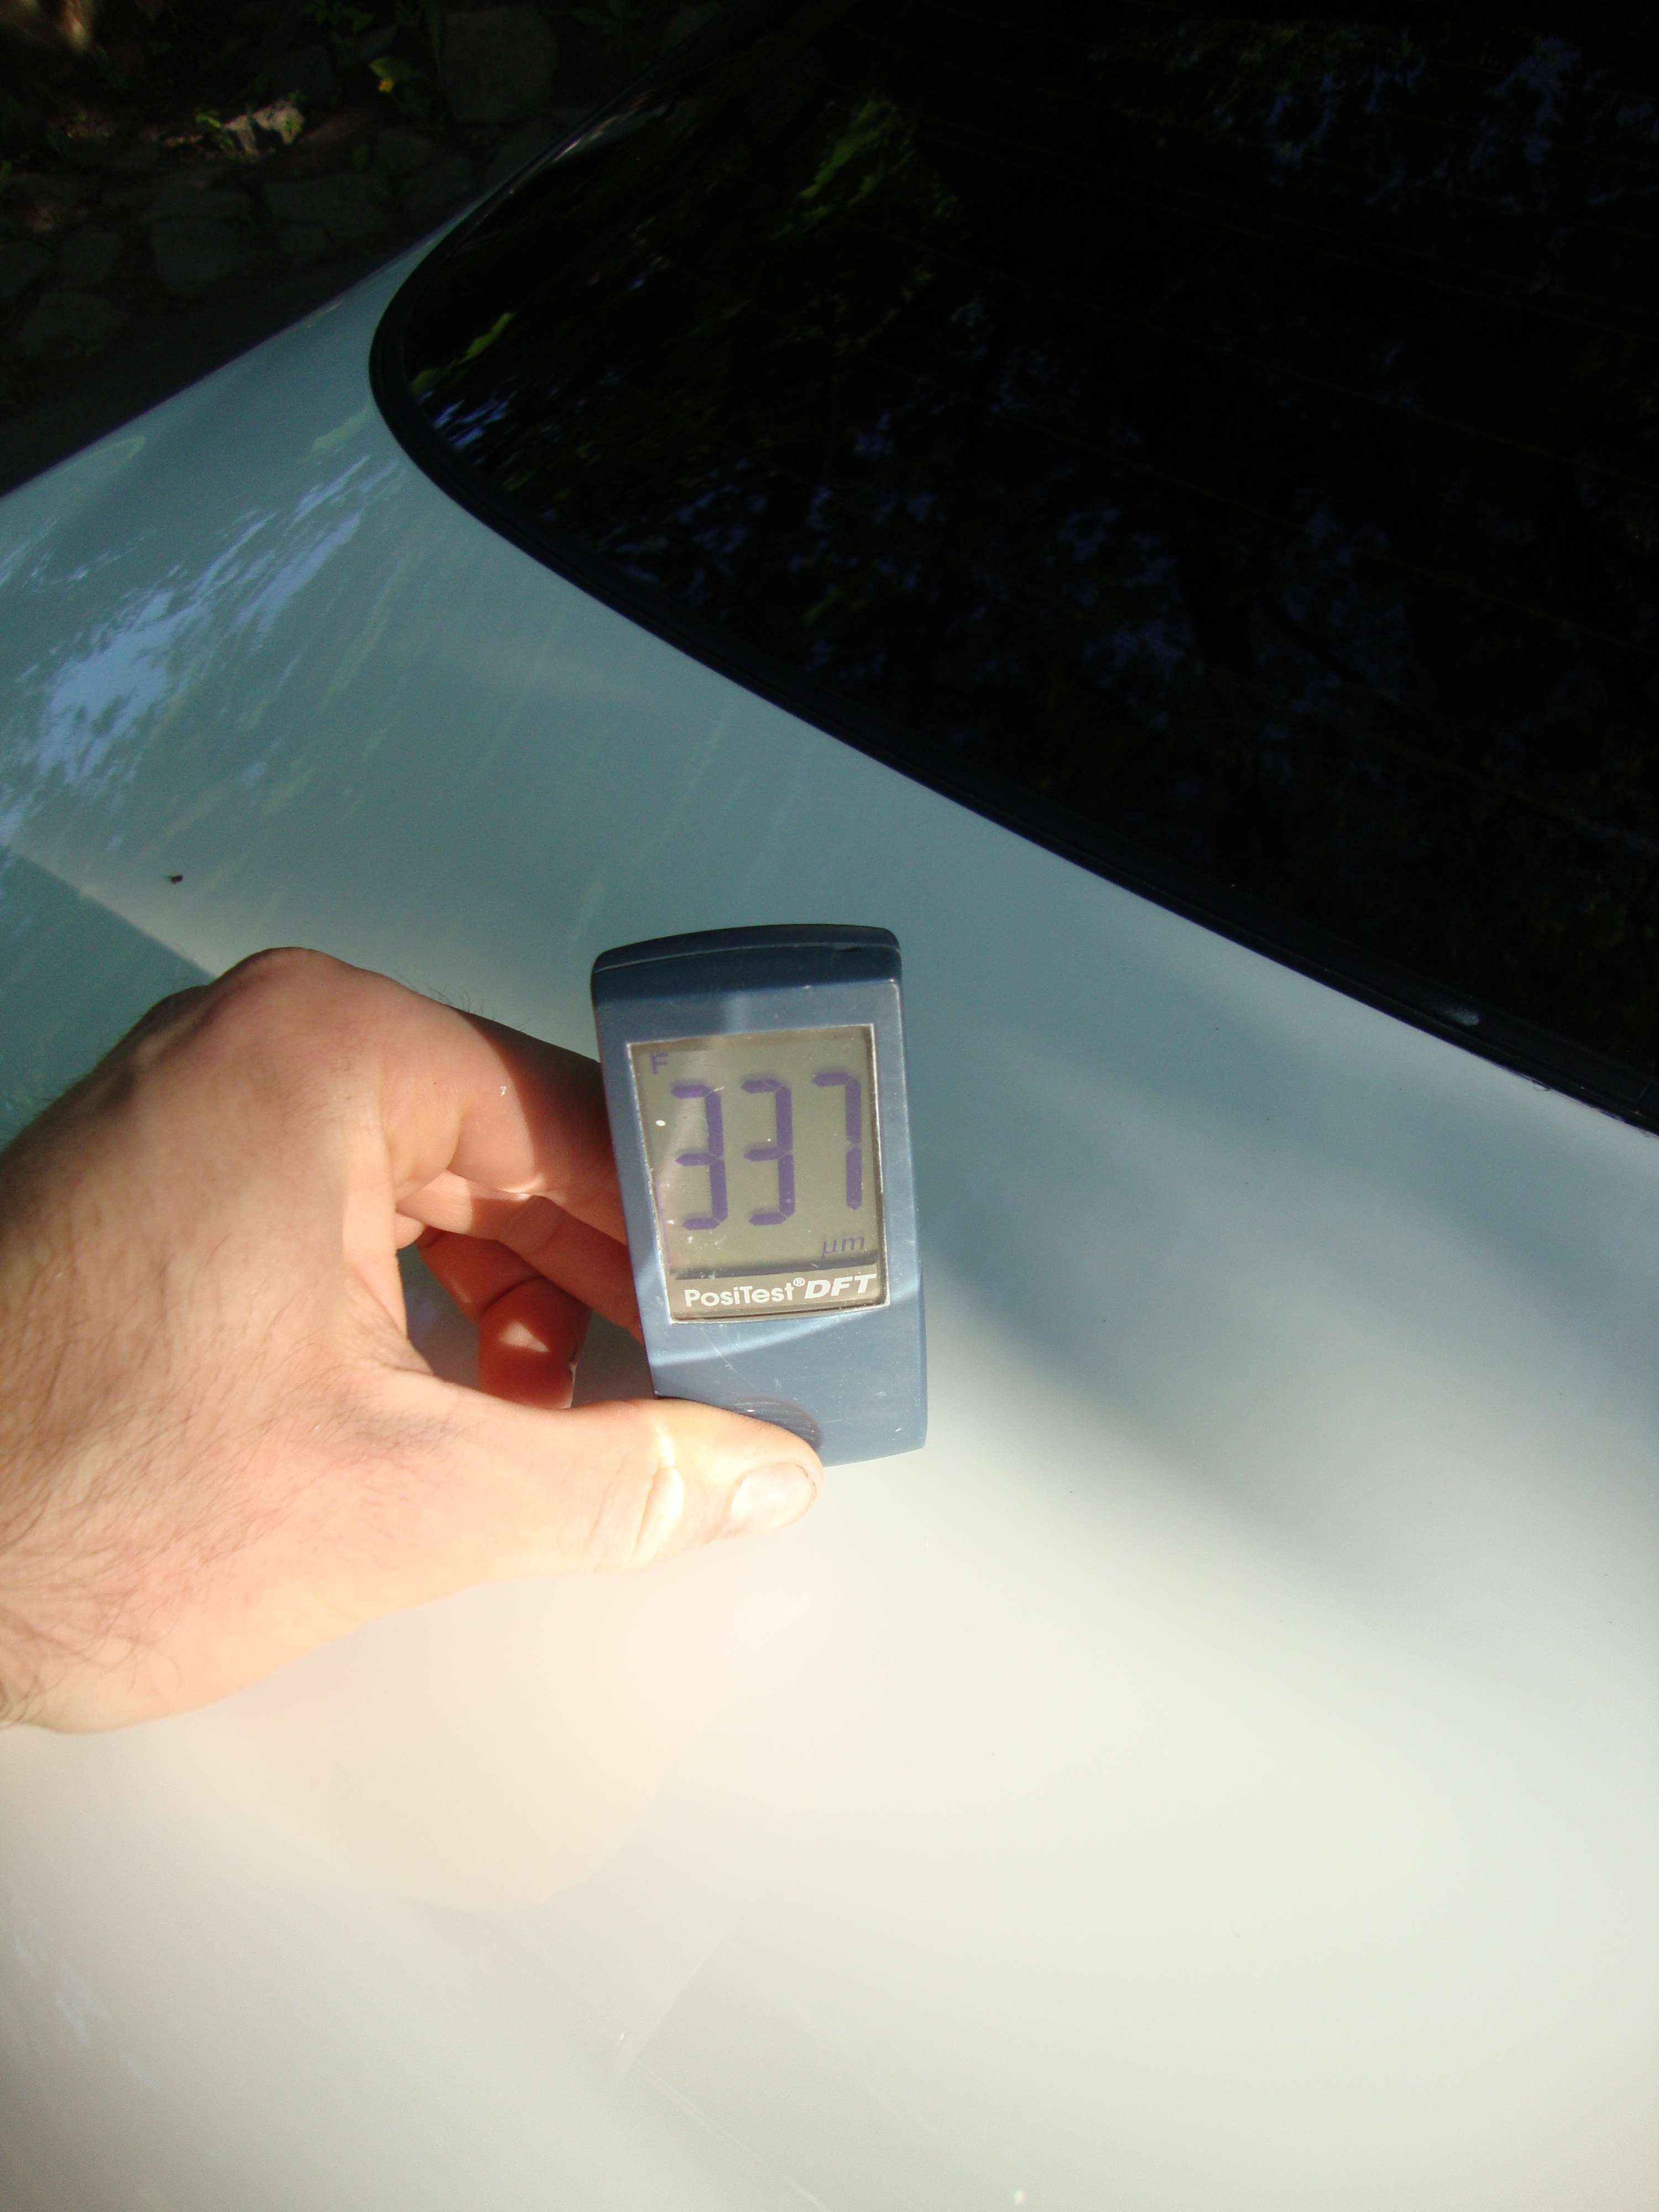
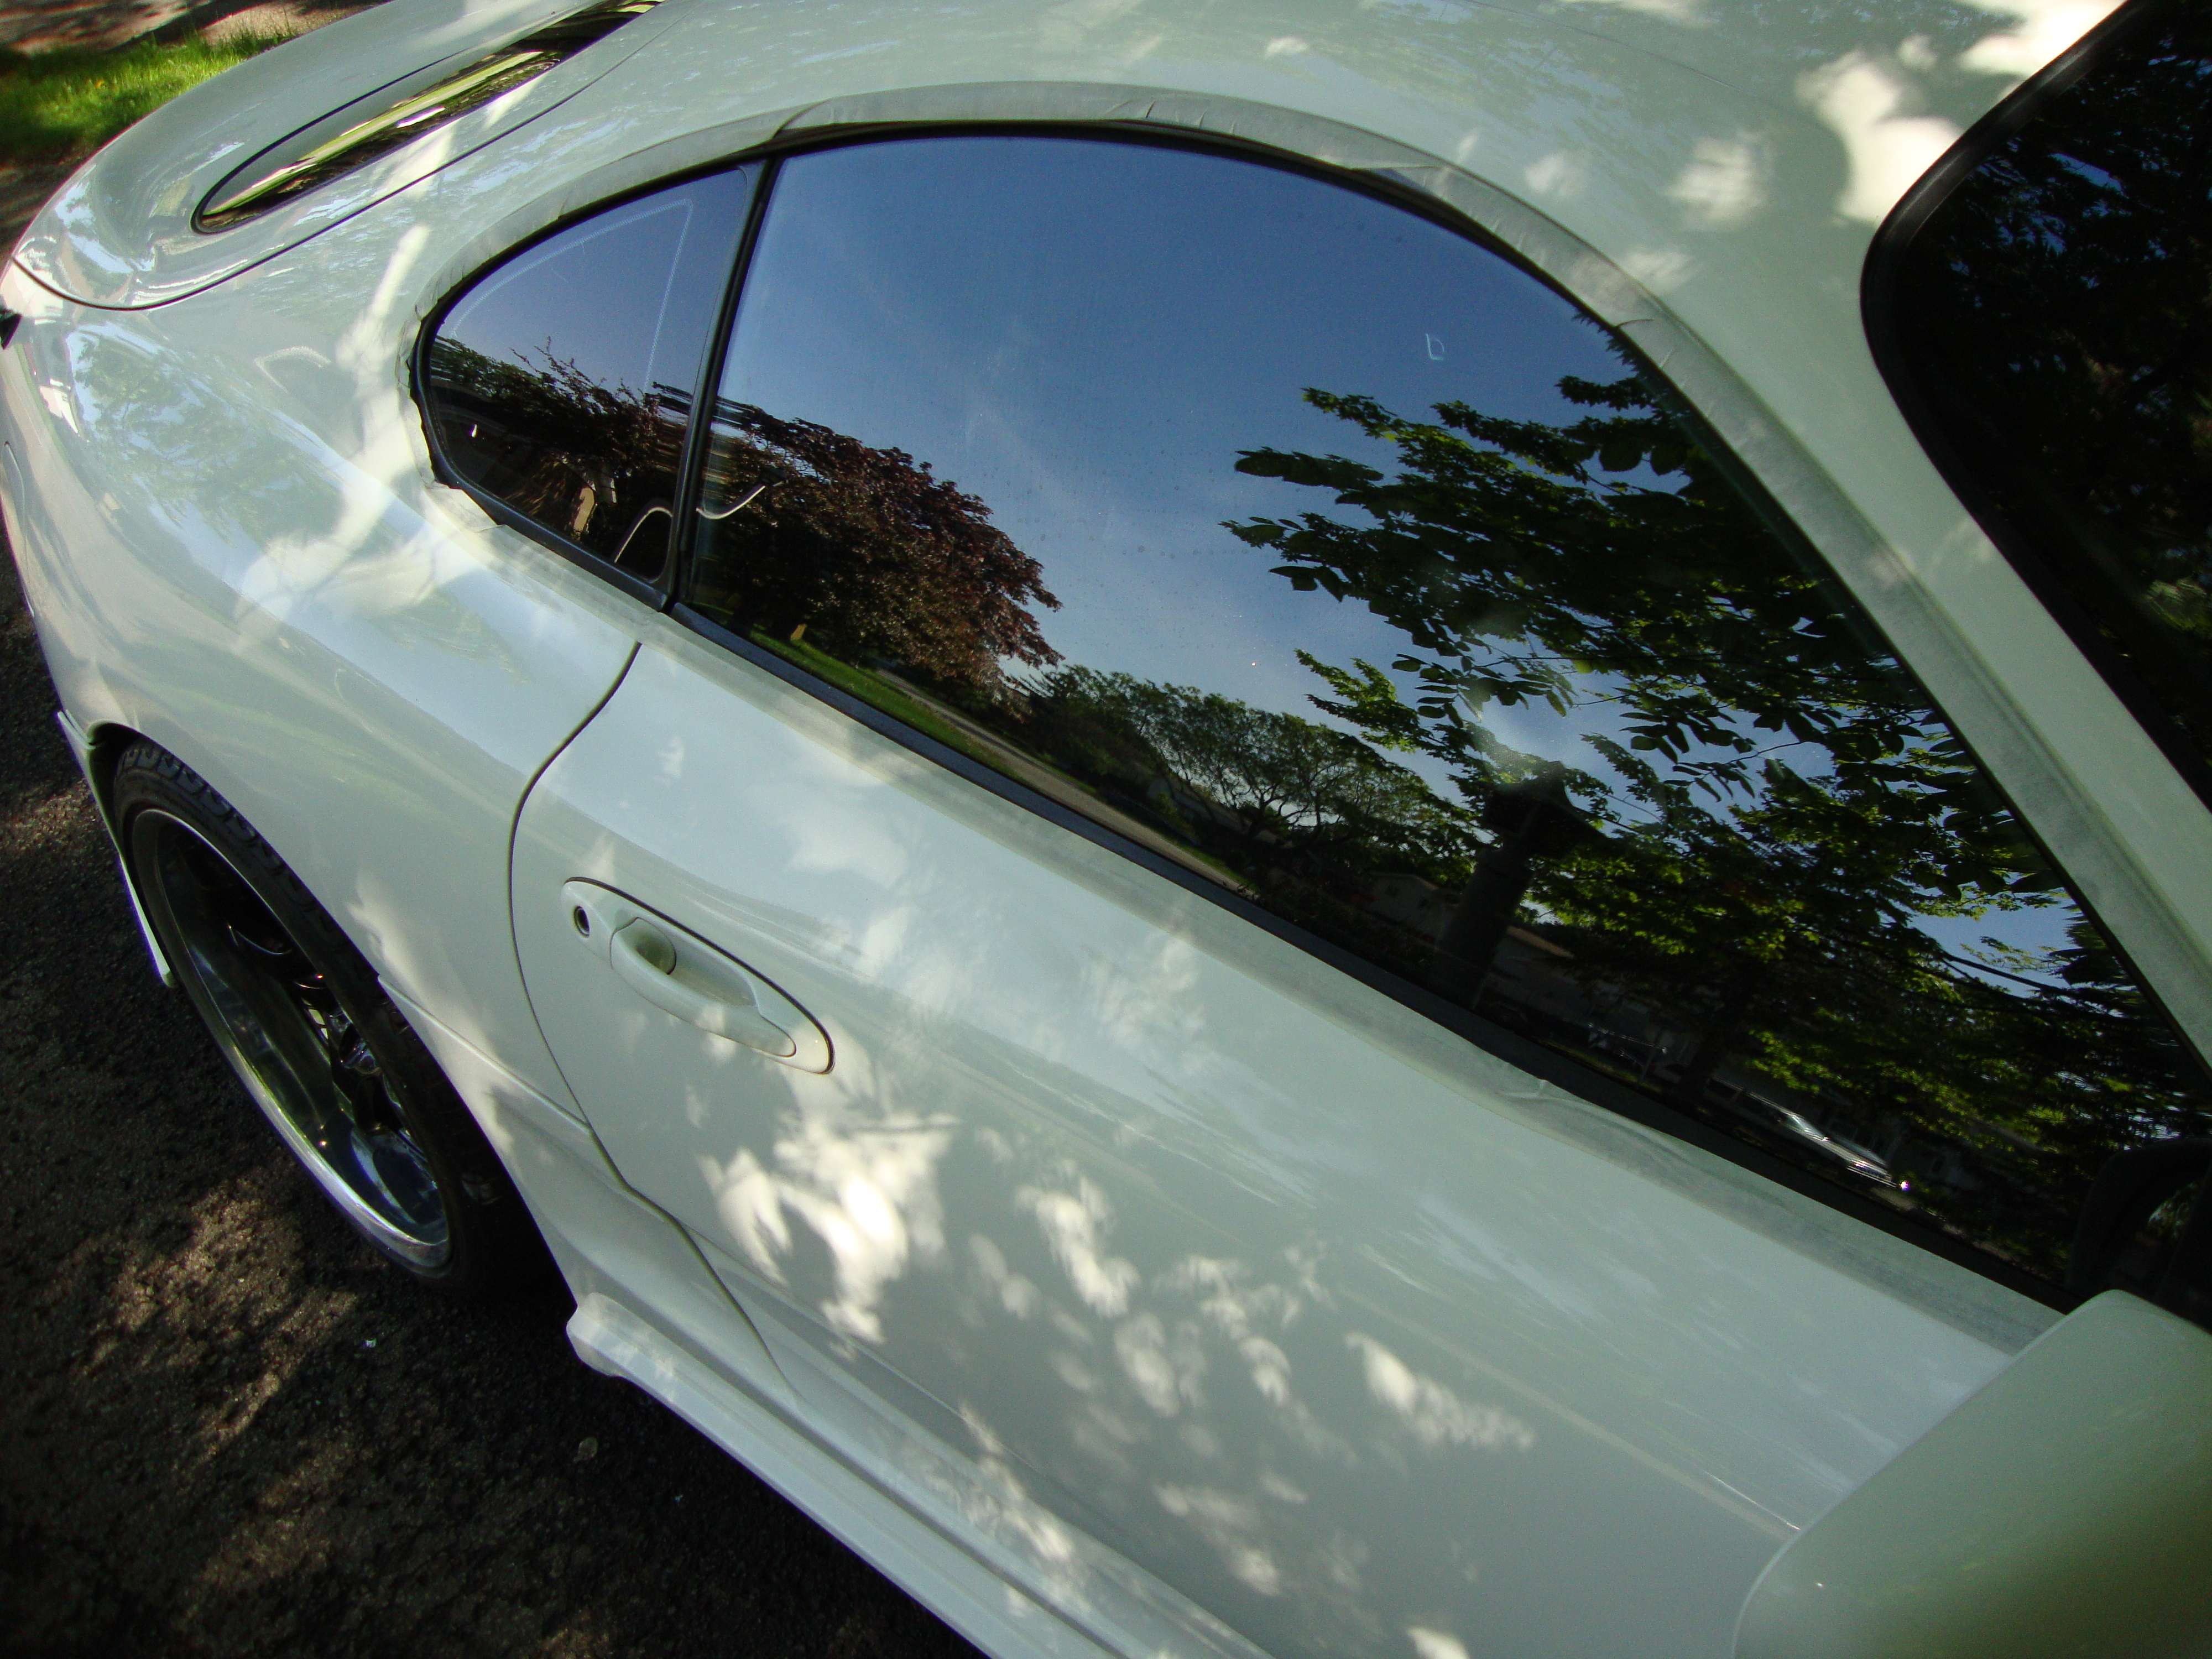
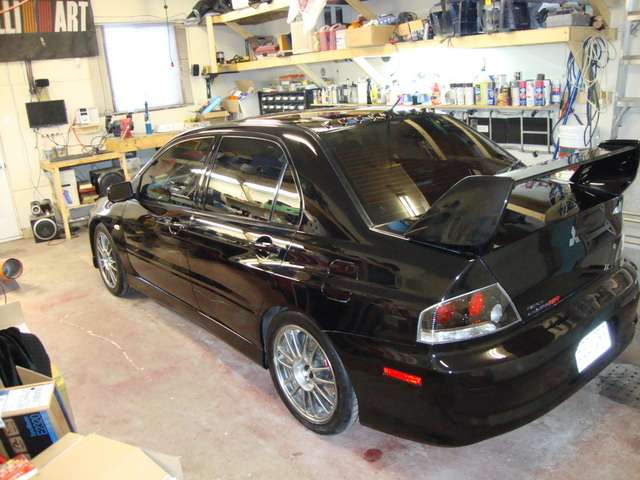
Yup, ton coffre a �t� repeinturer :
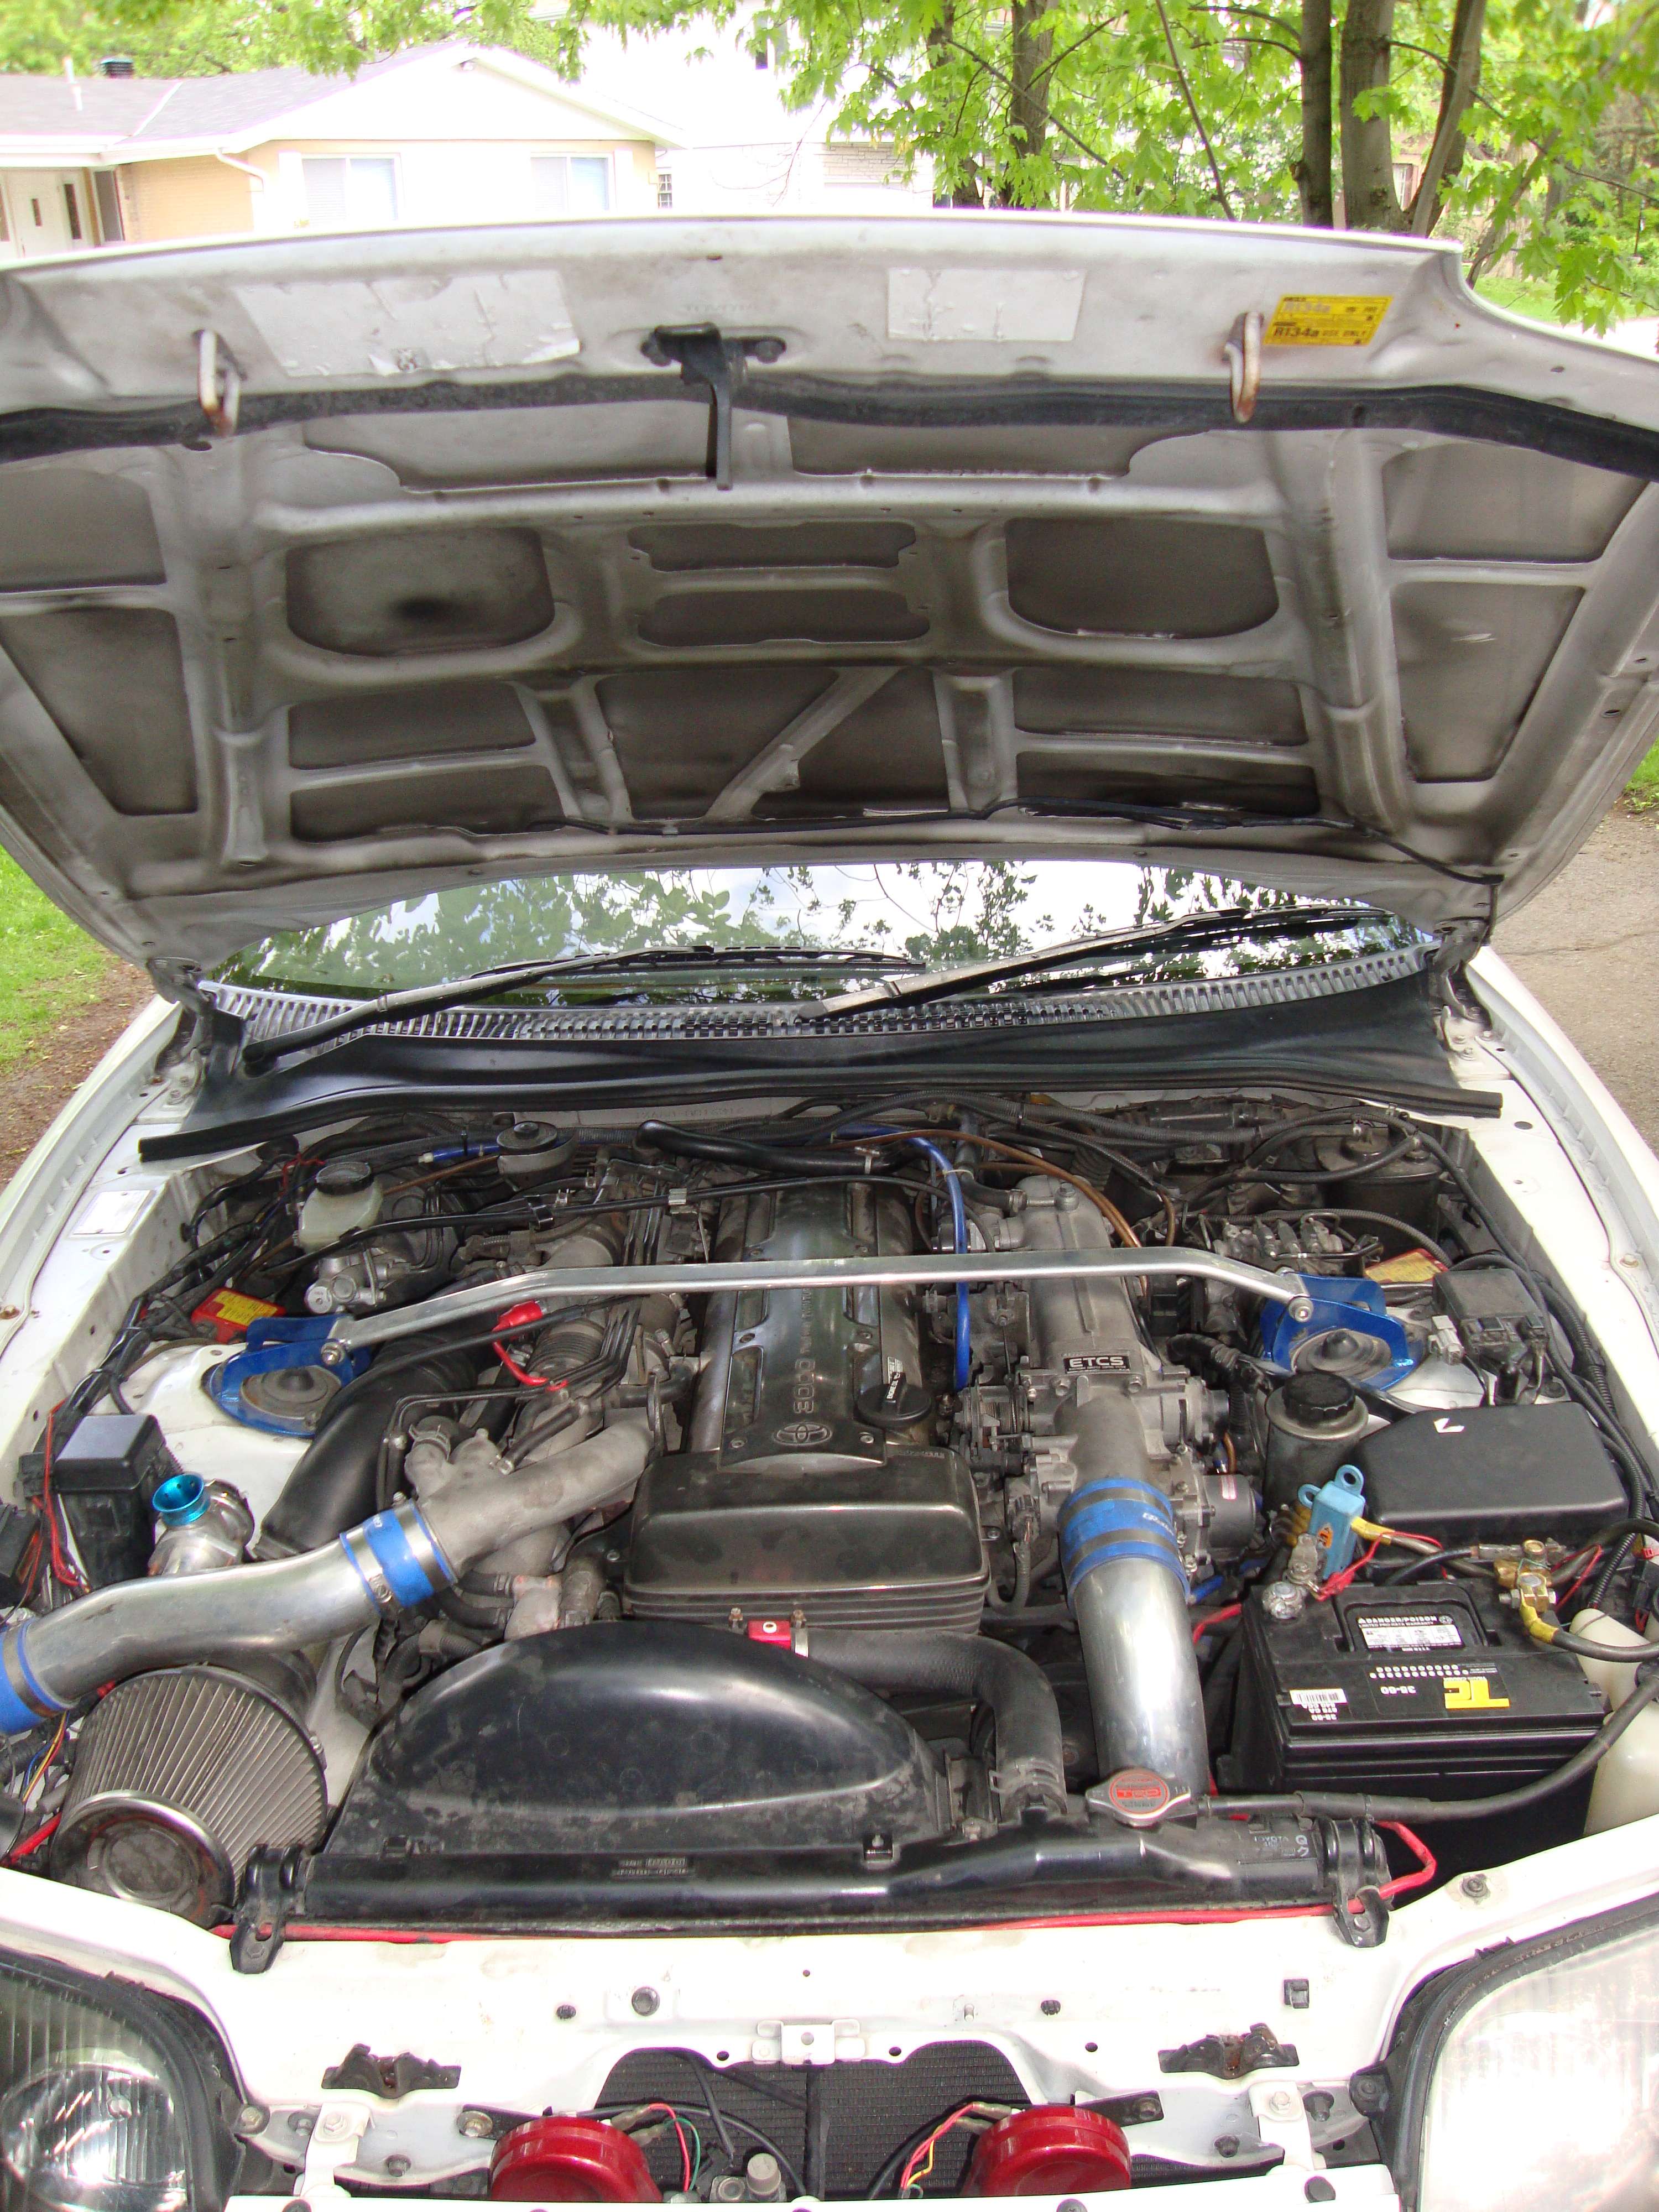
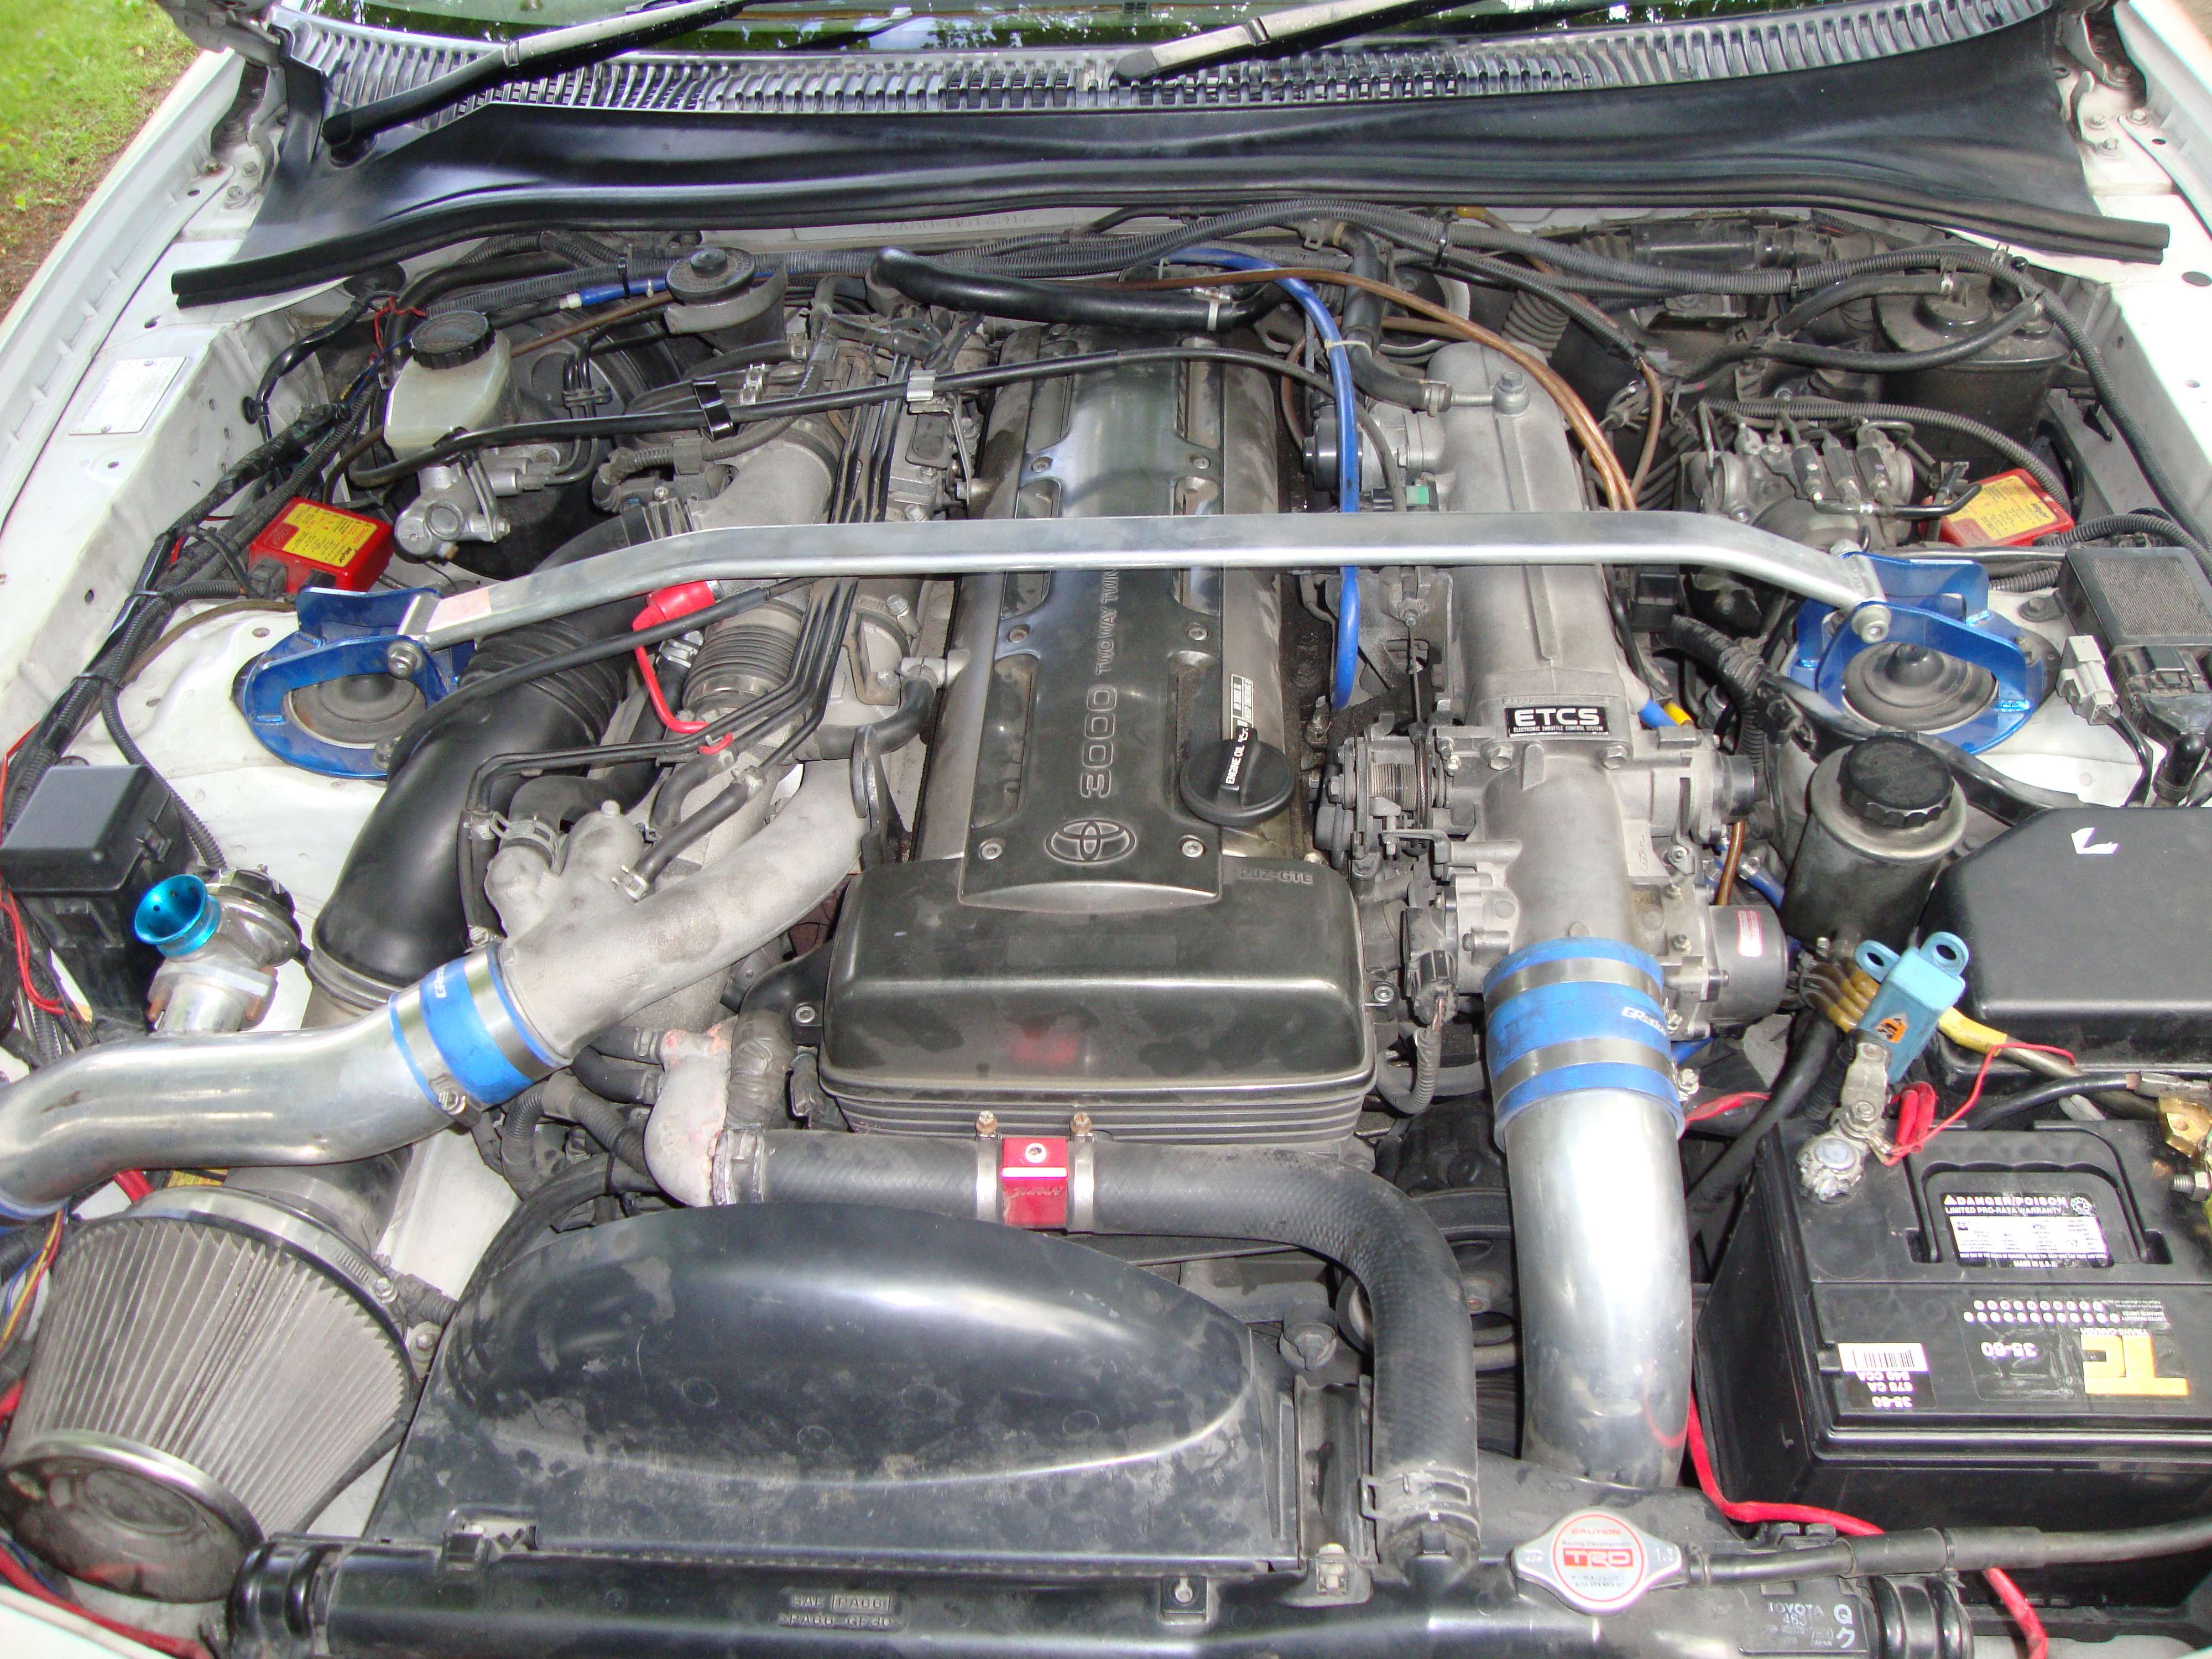
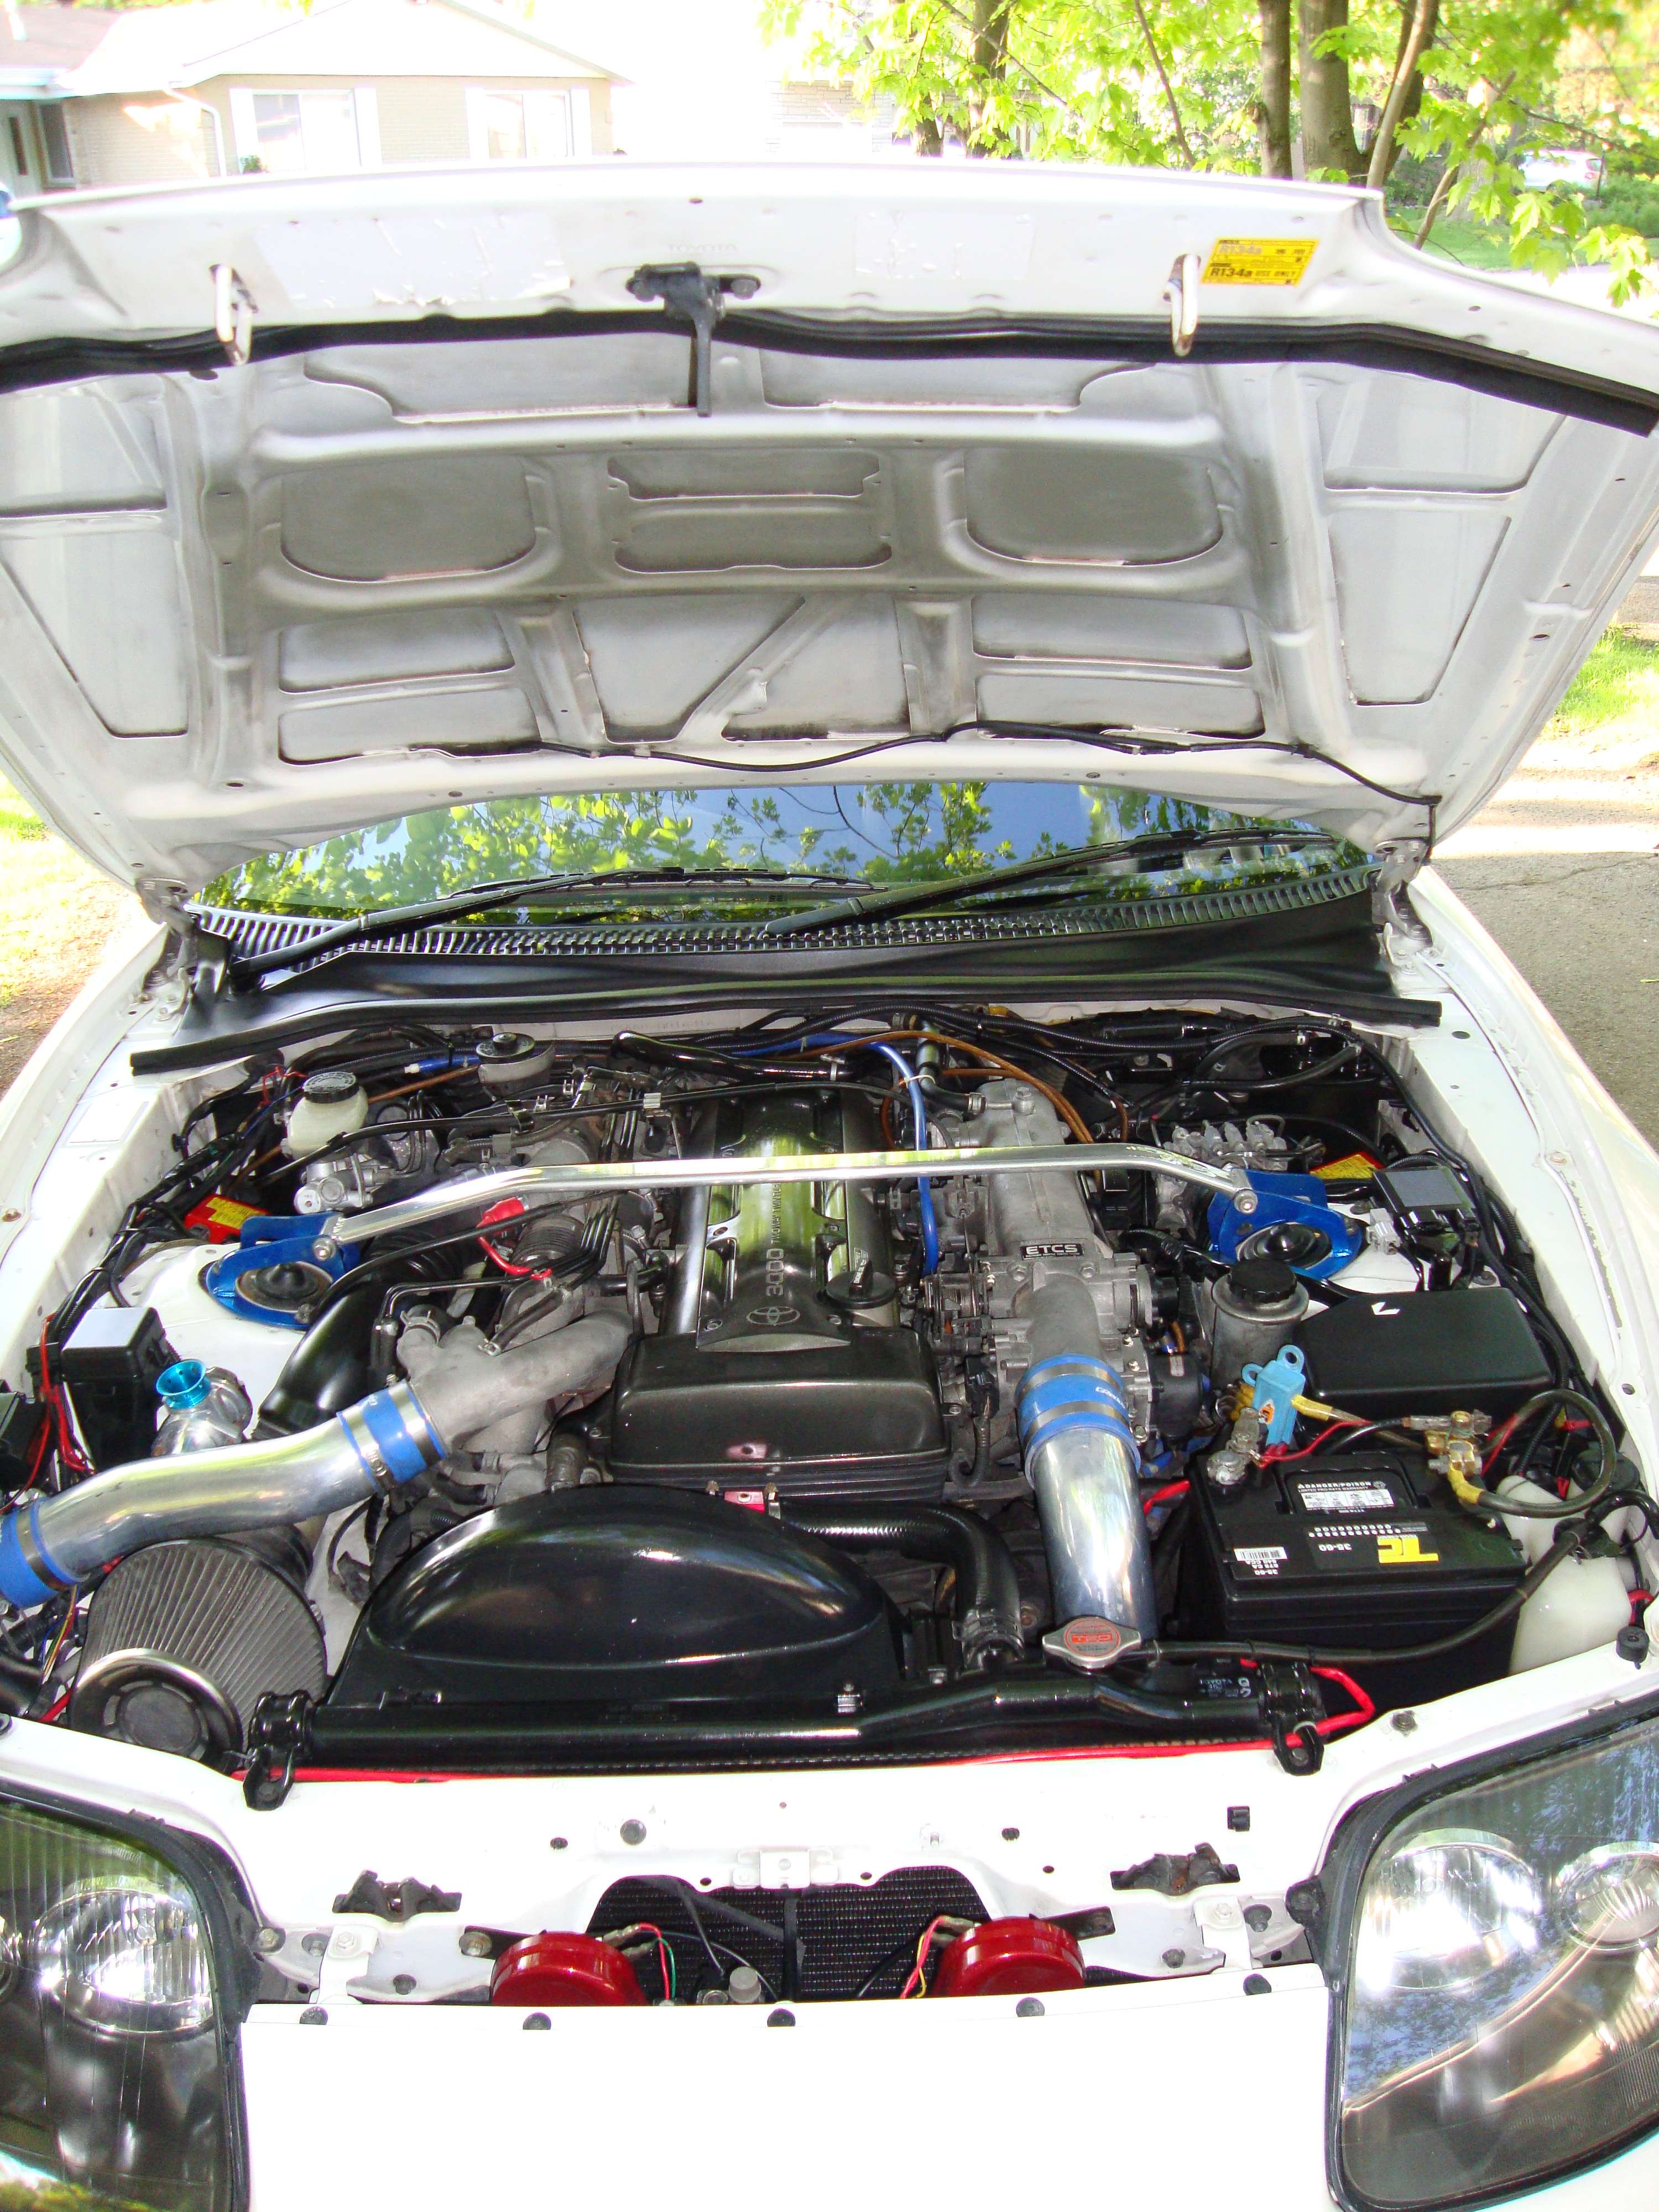
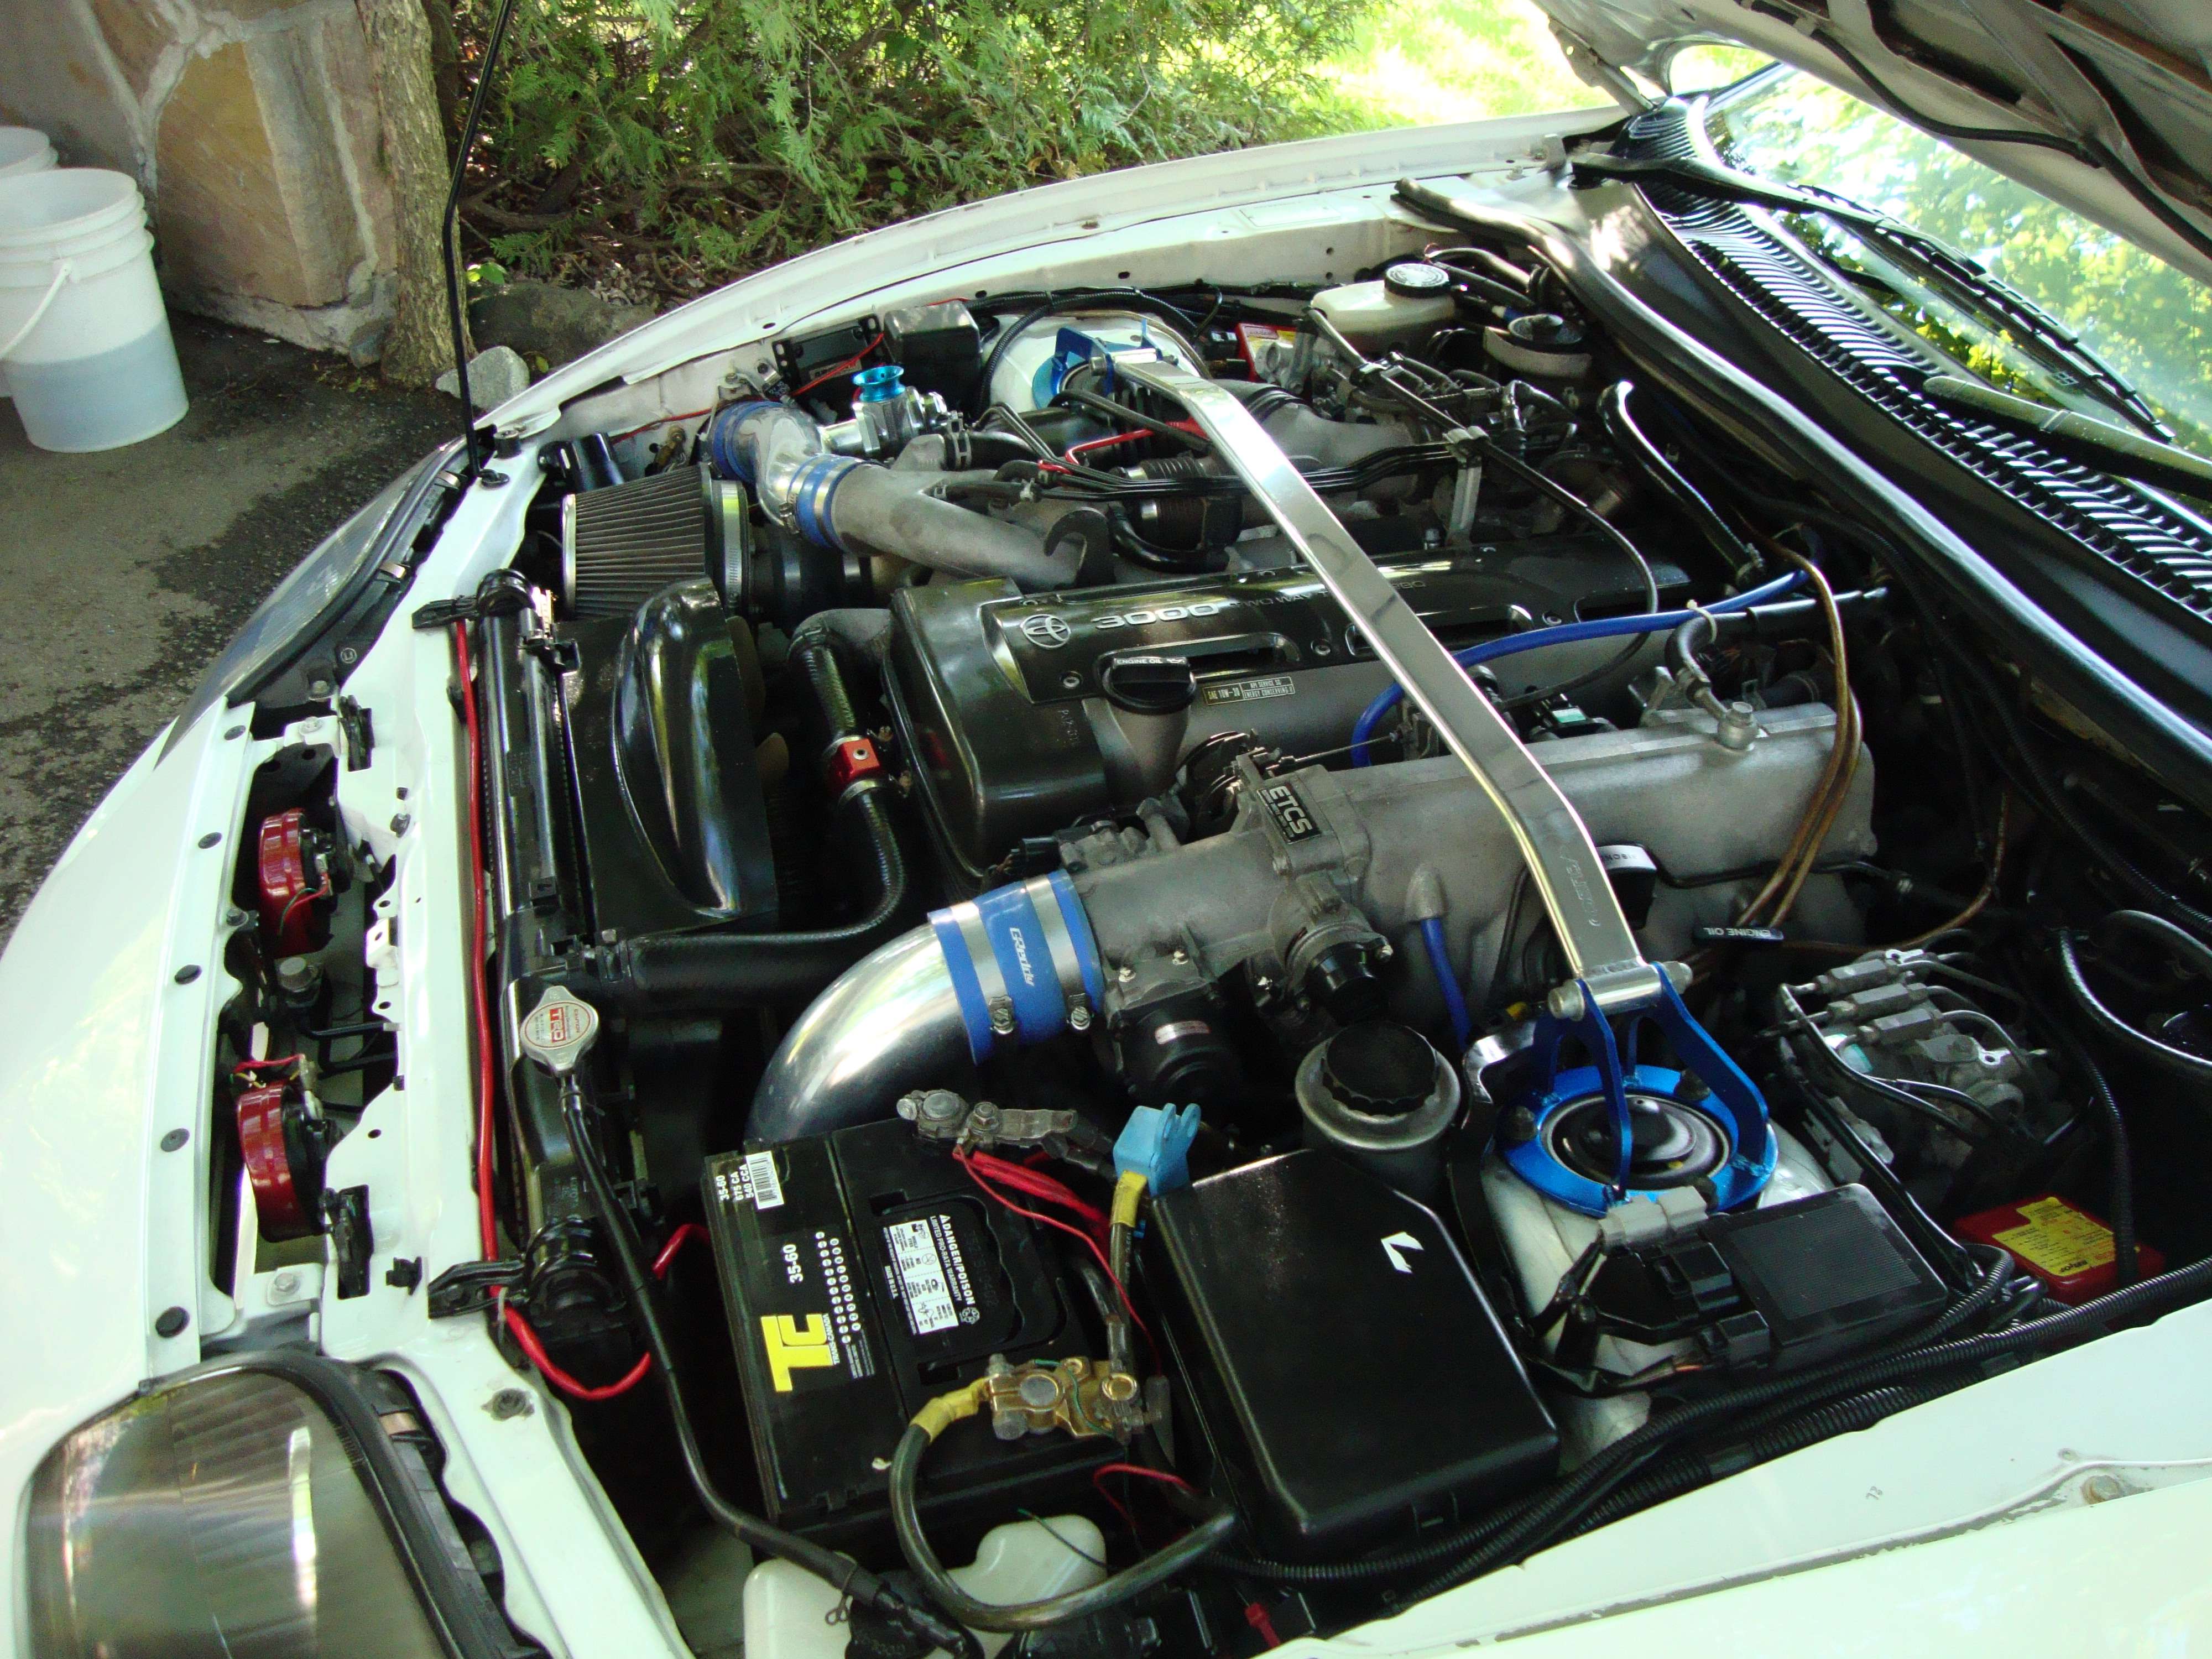
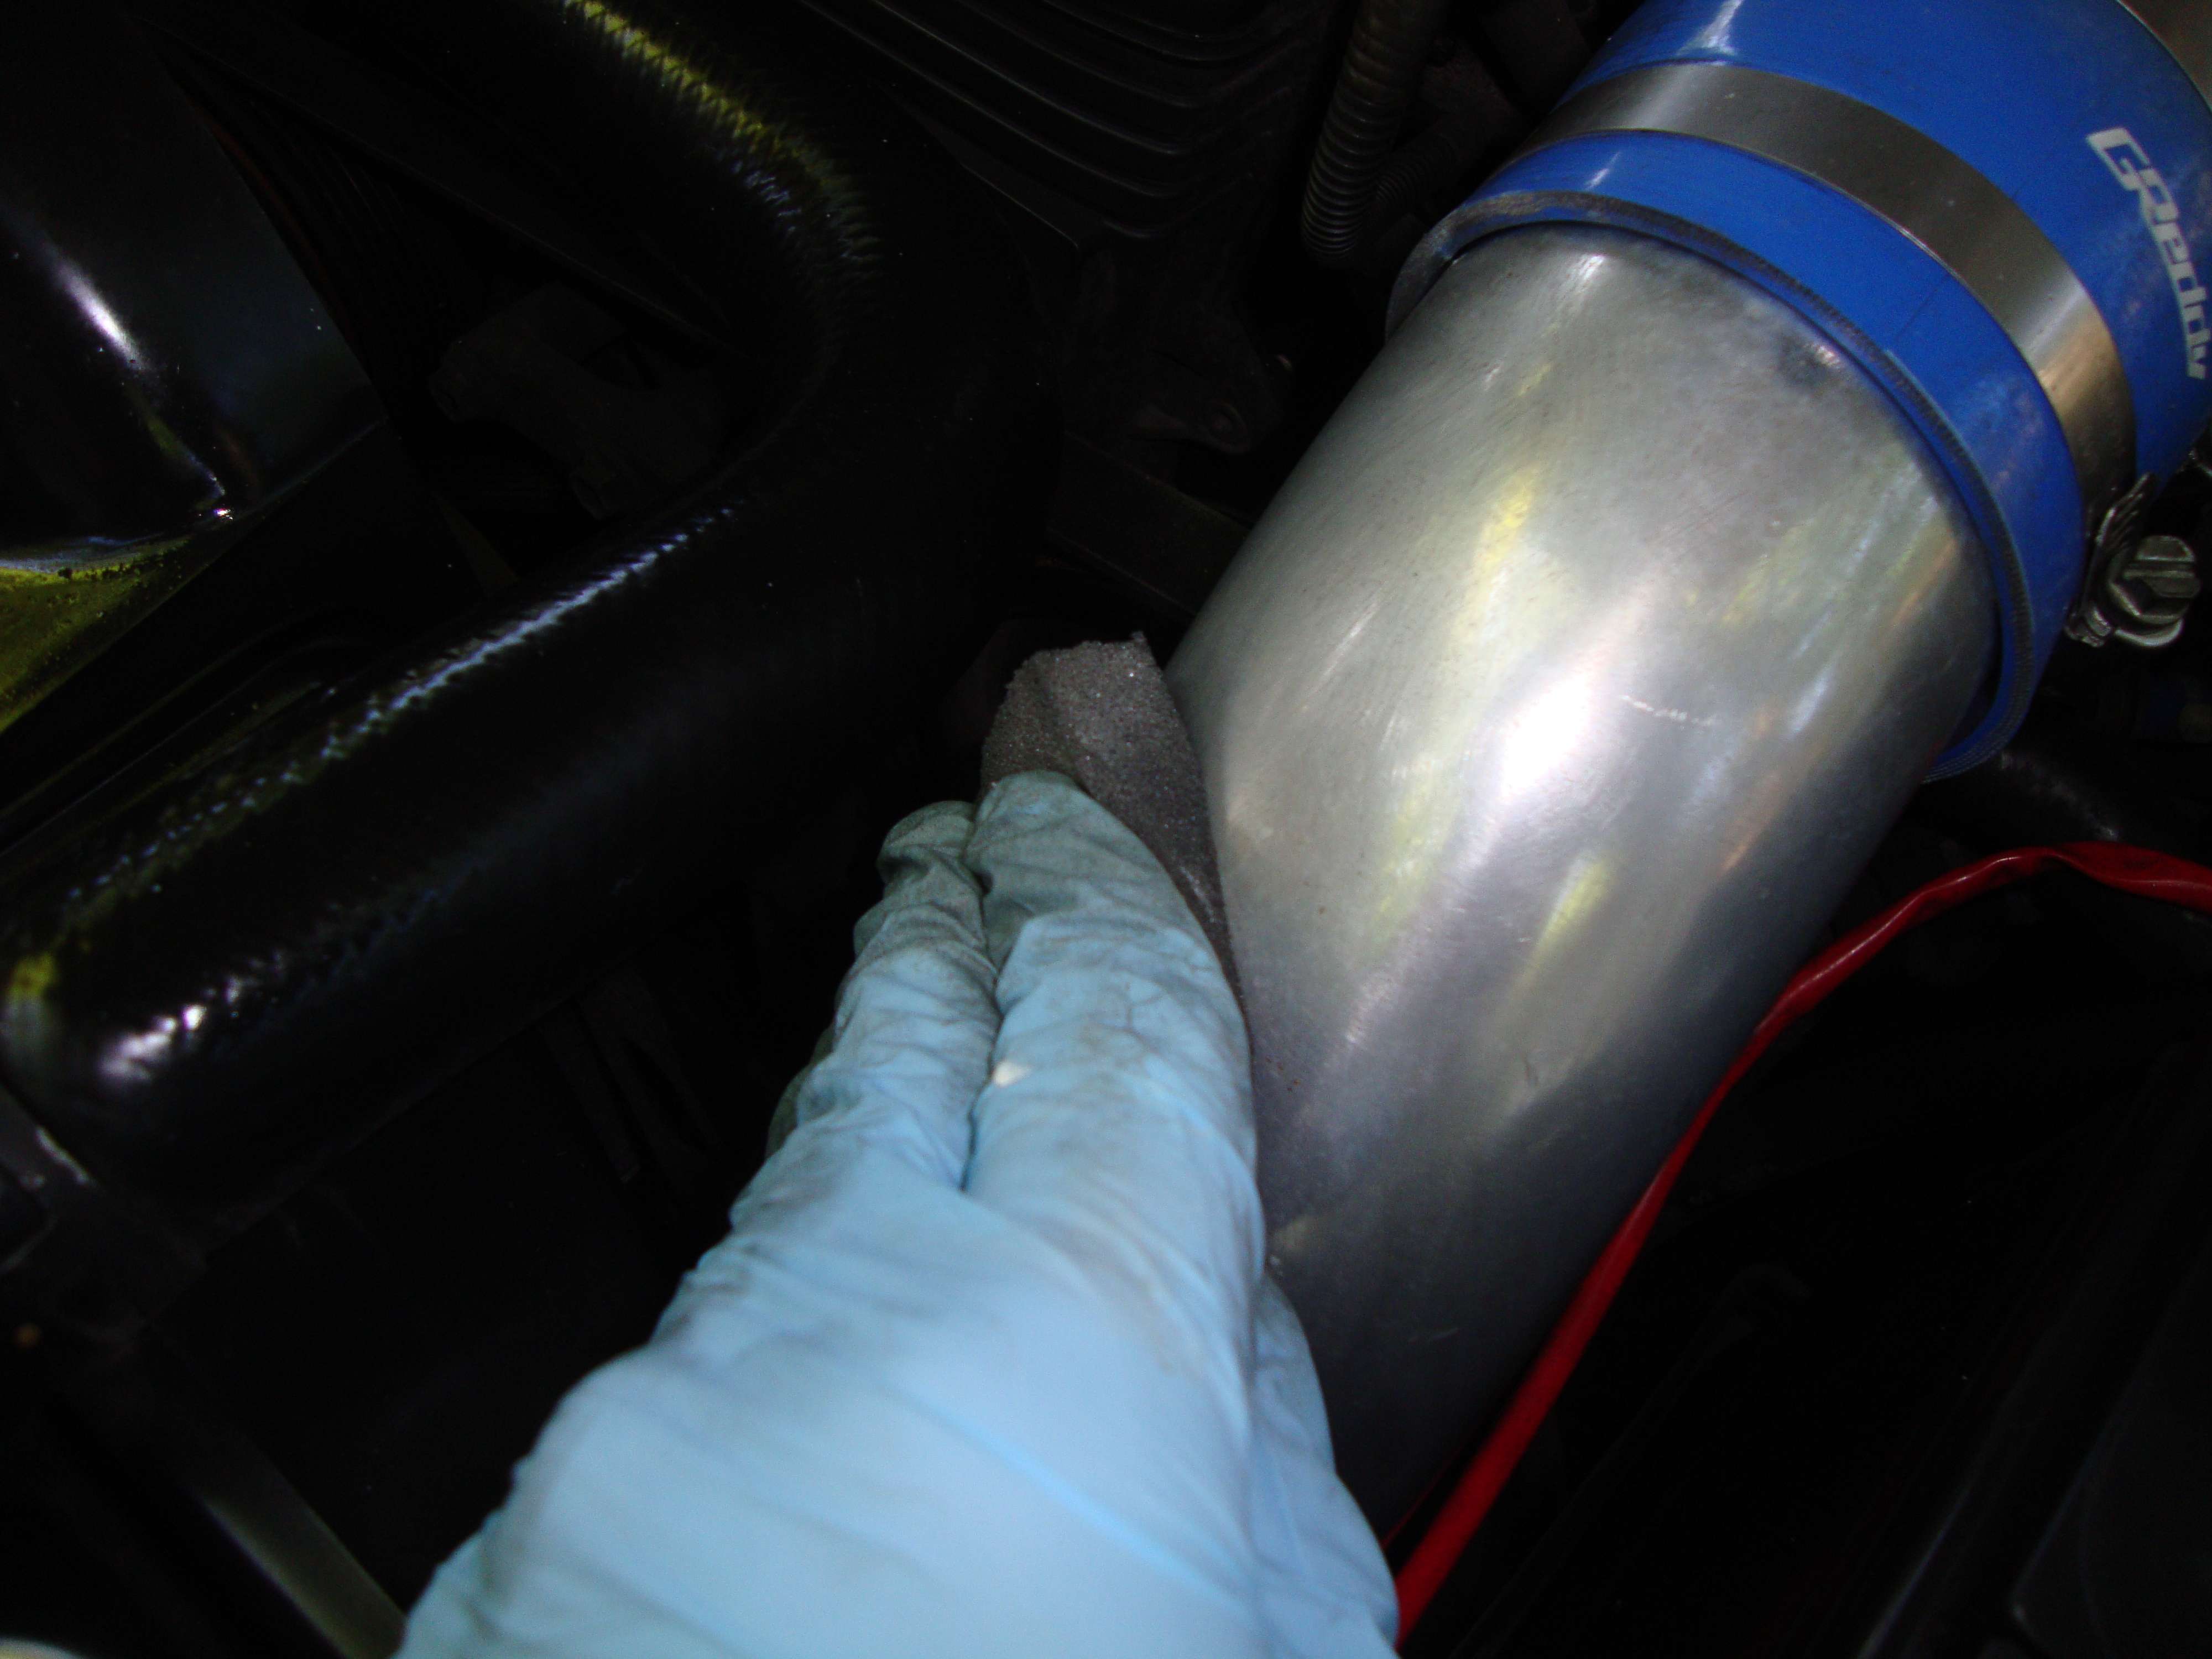
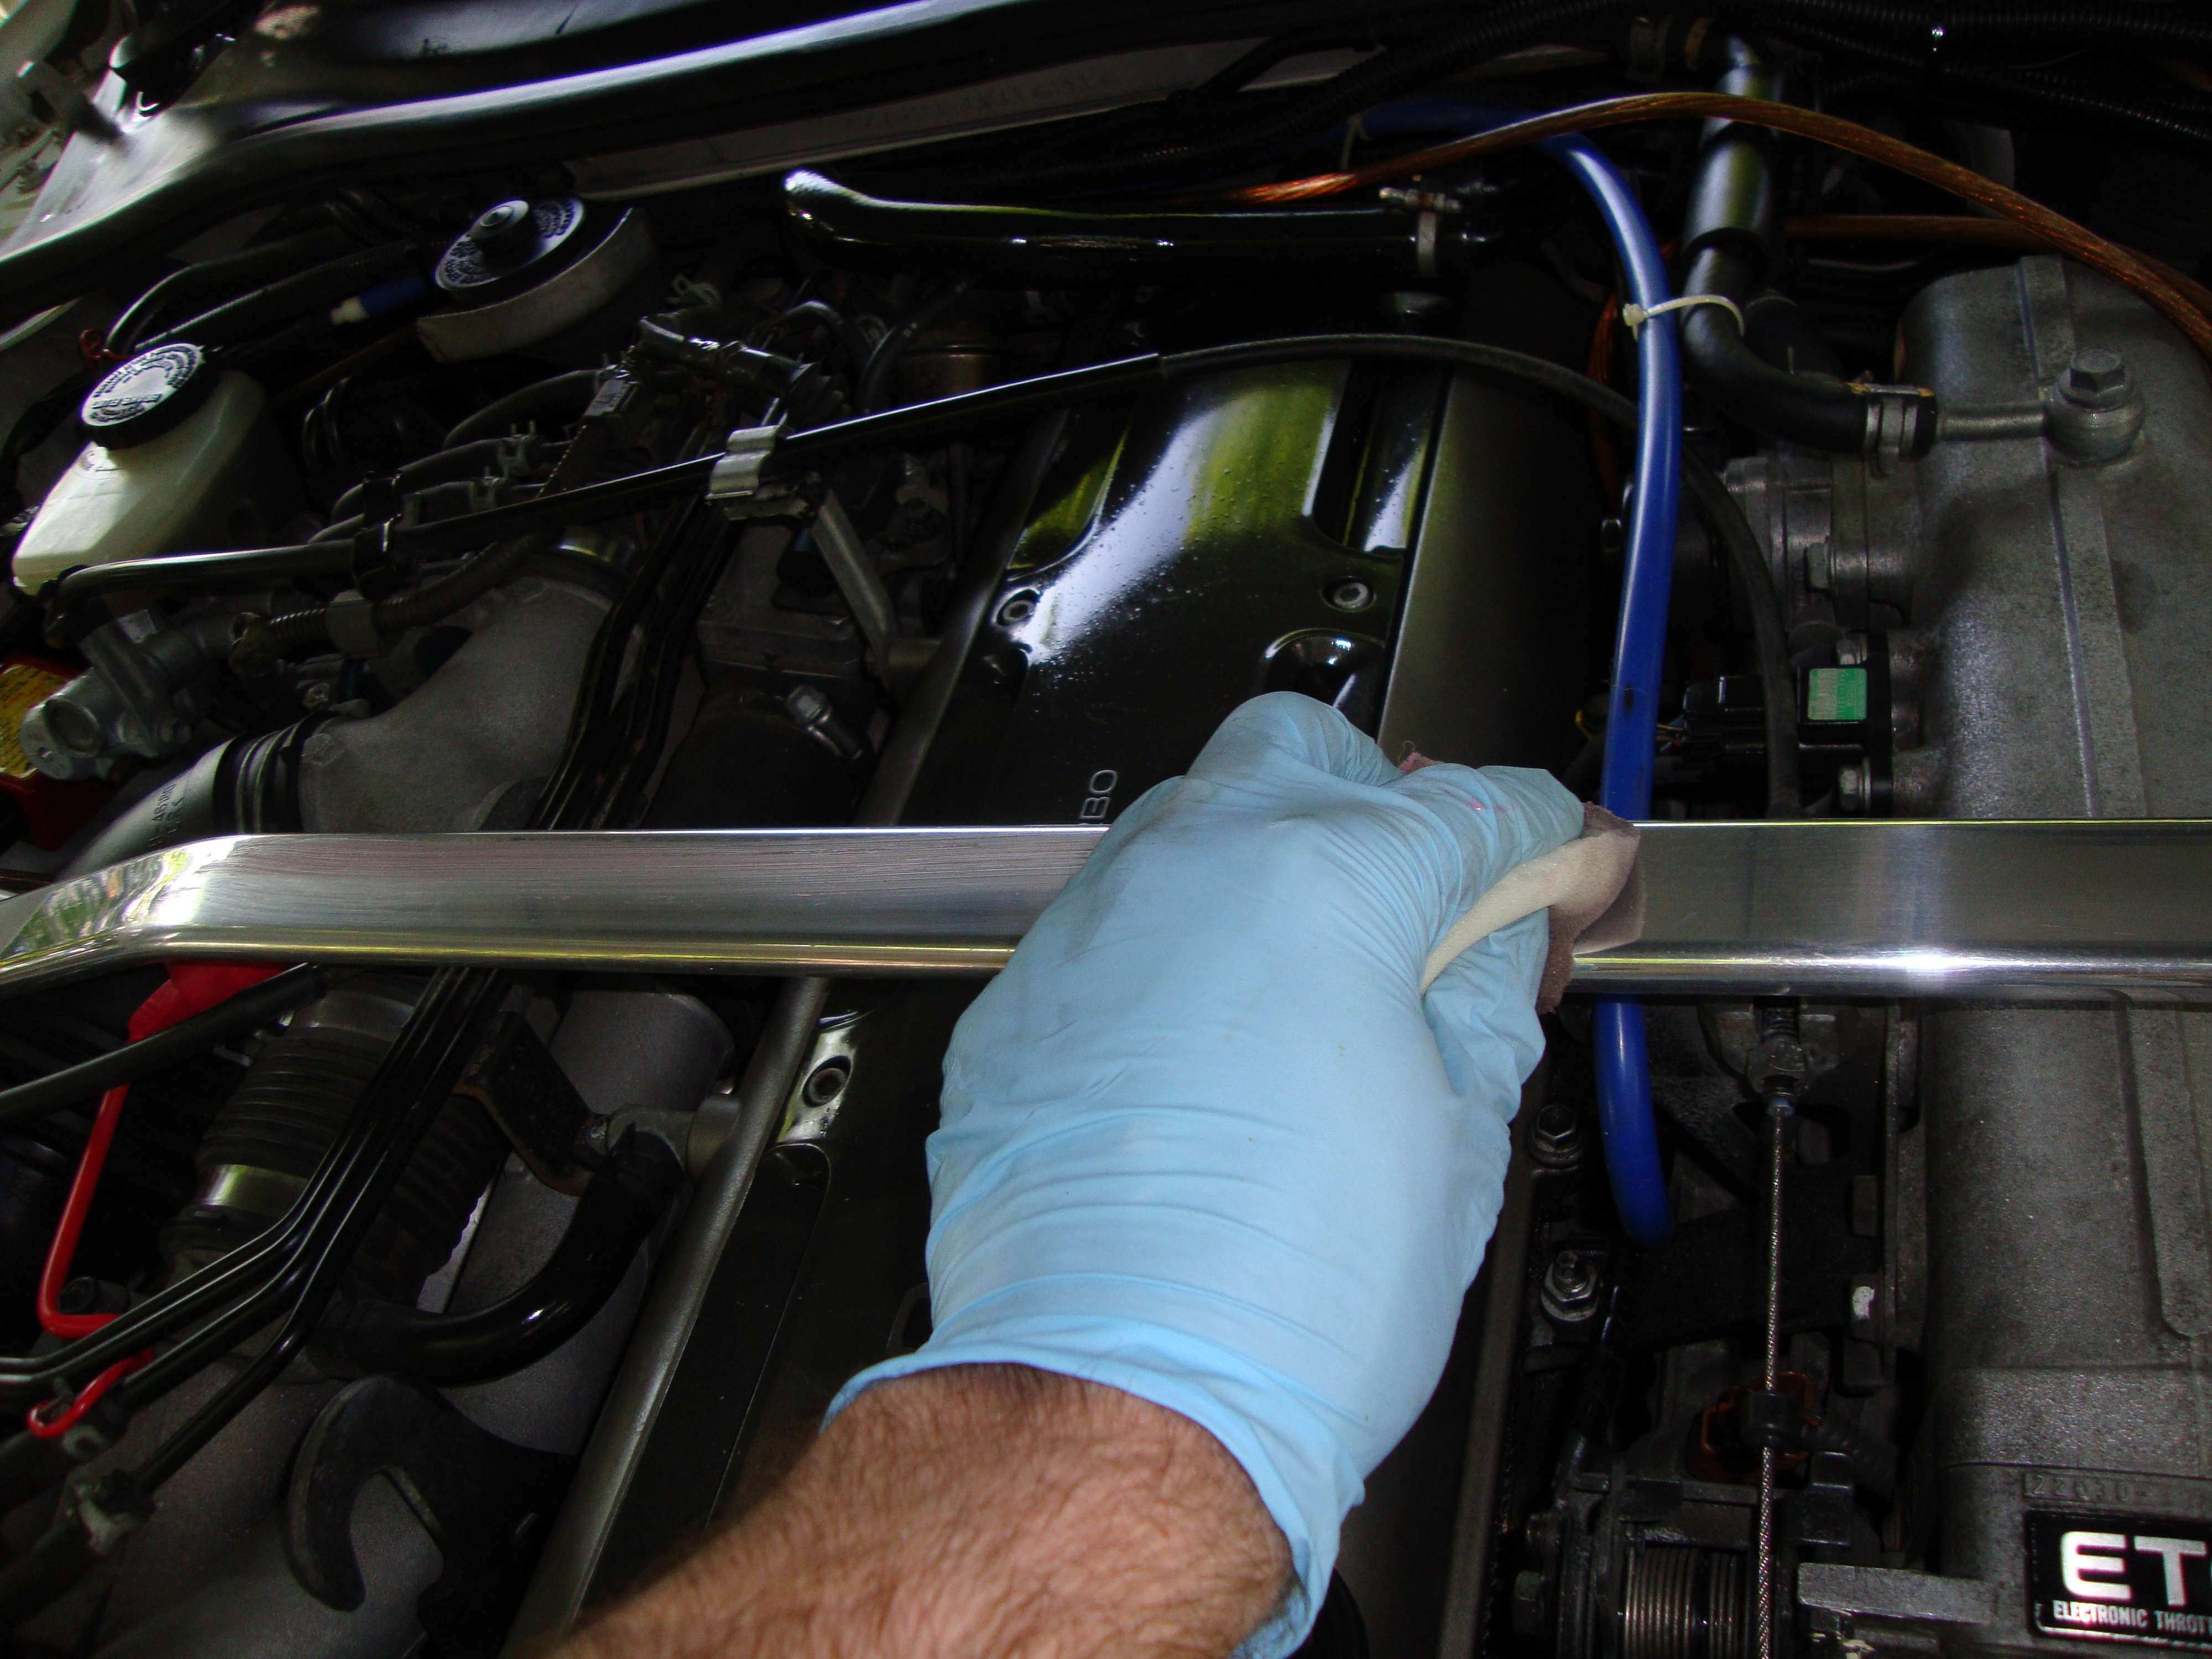
Engine bay :
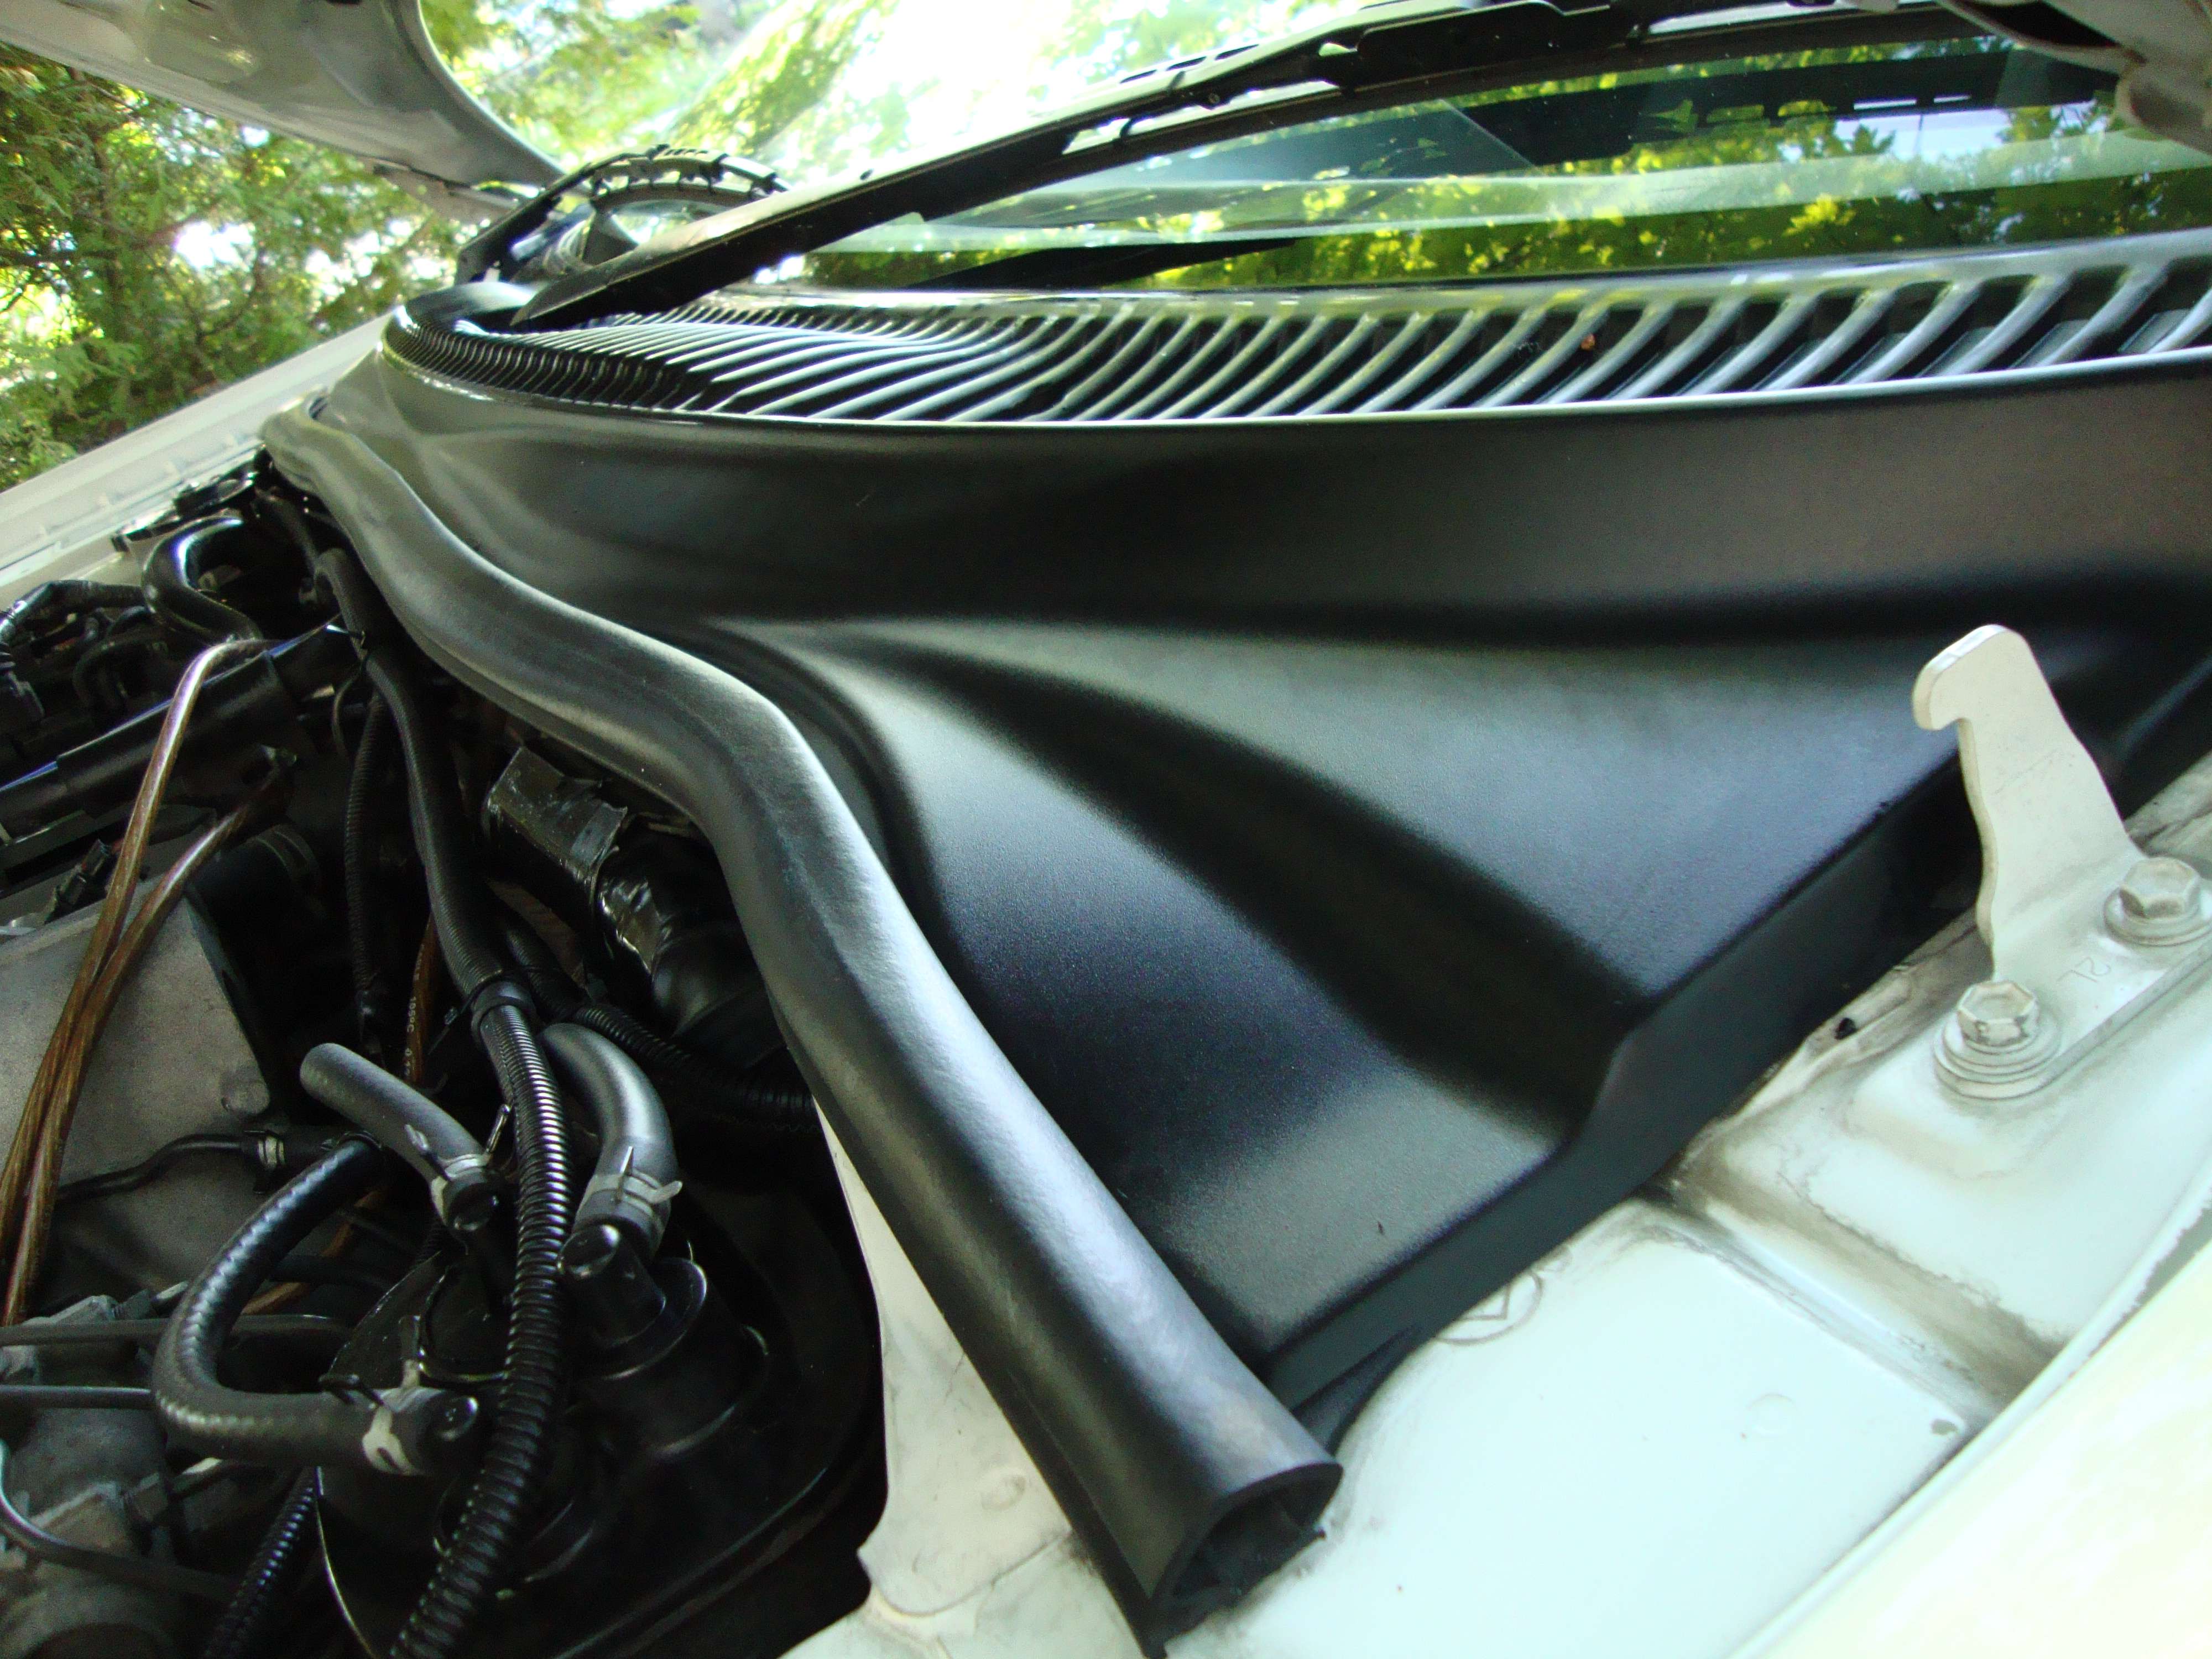
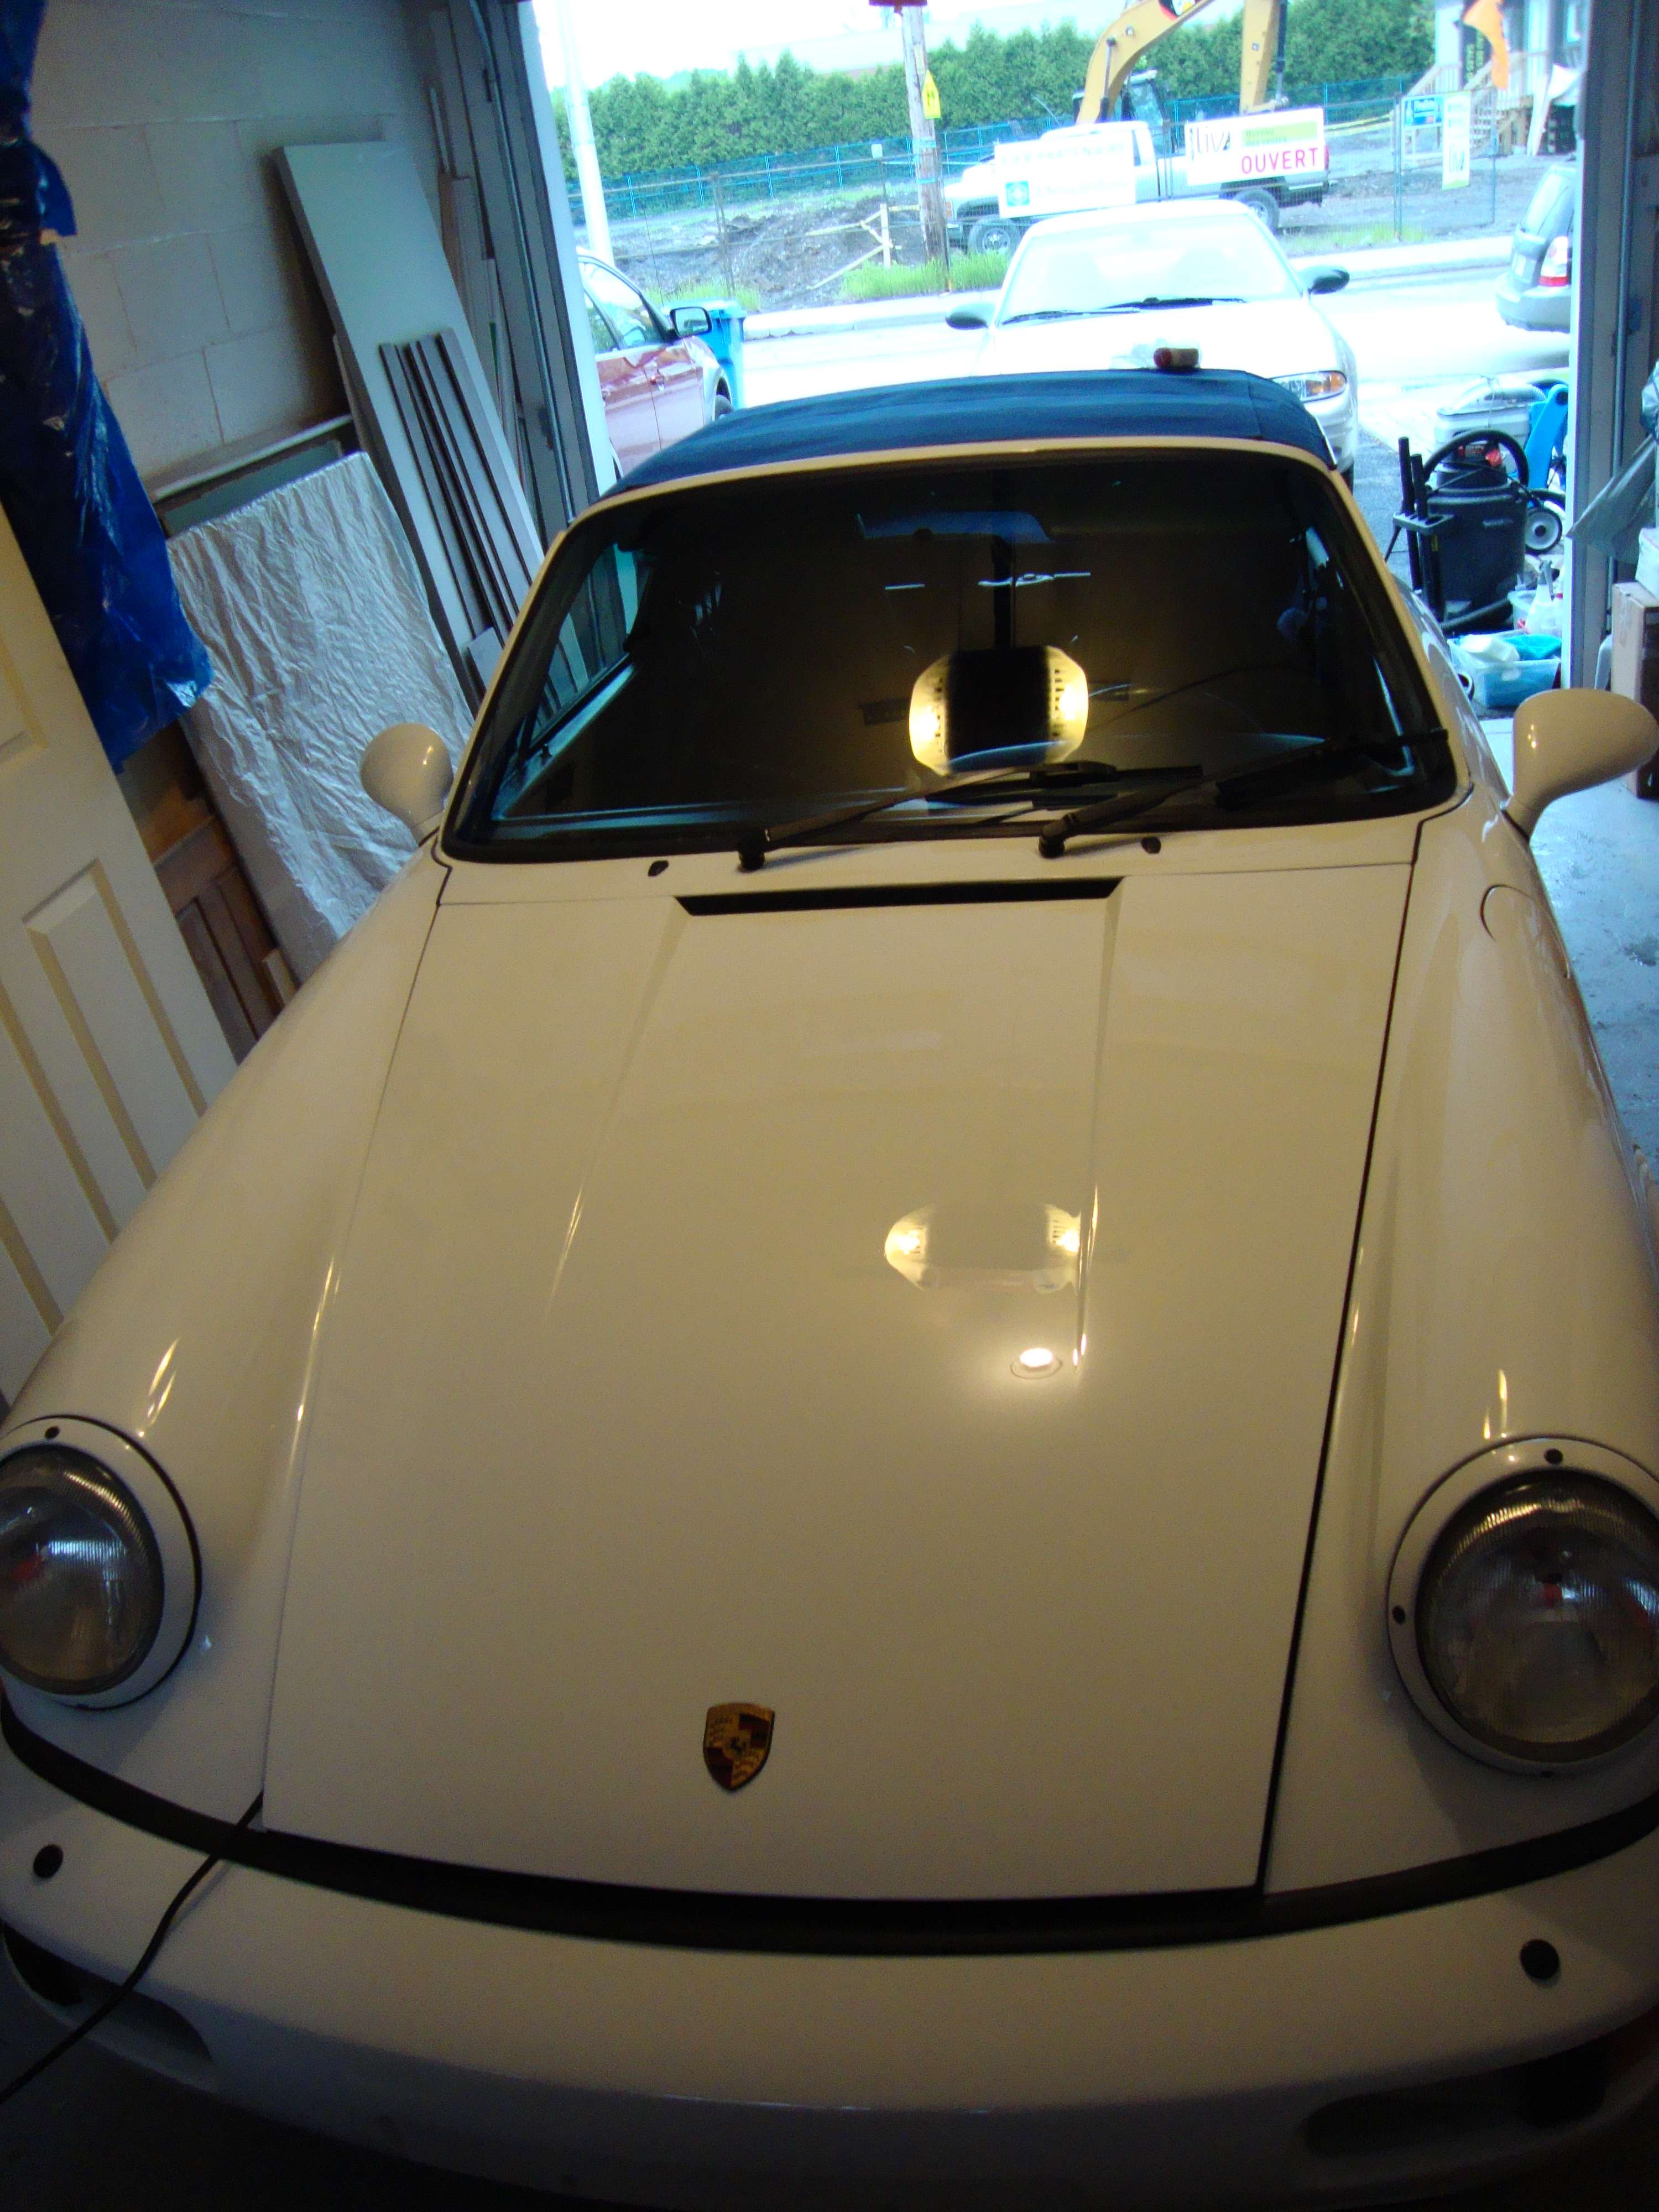
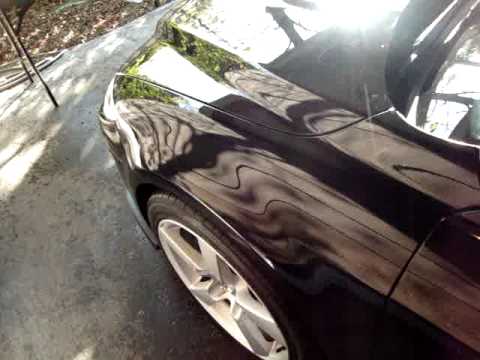
Notez comment noir est le hood. L�enfer!!!
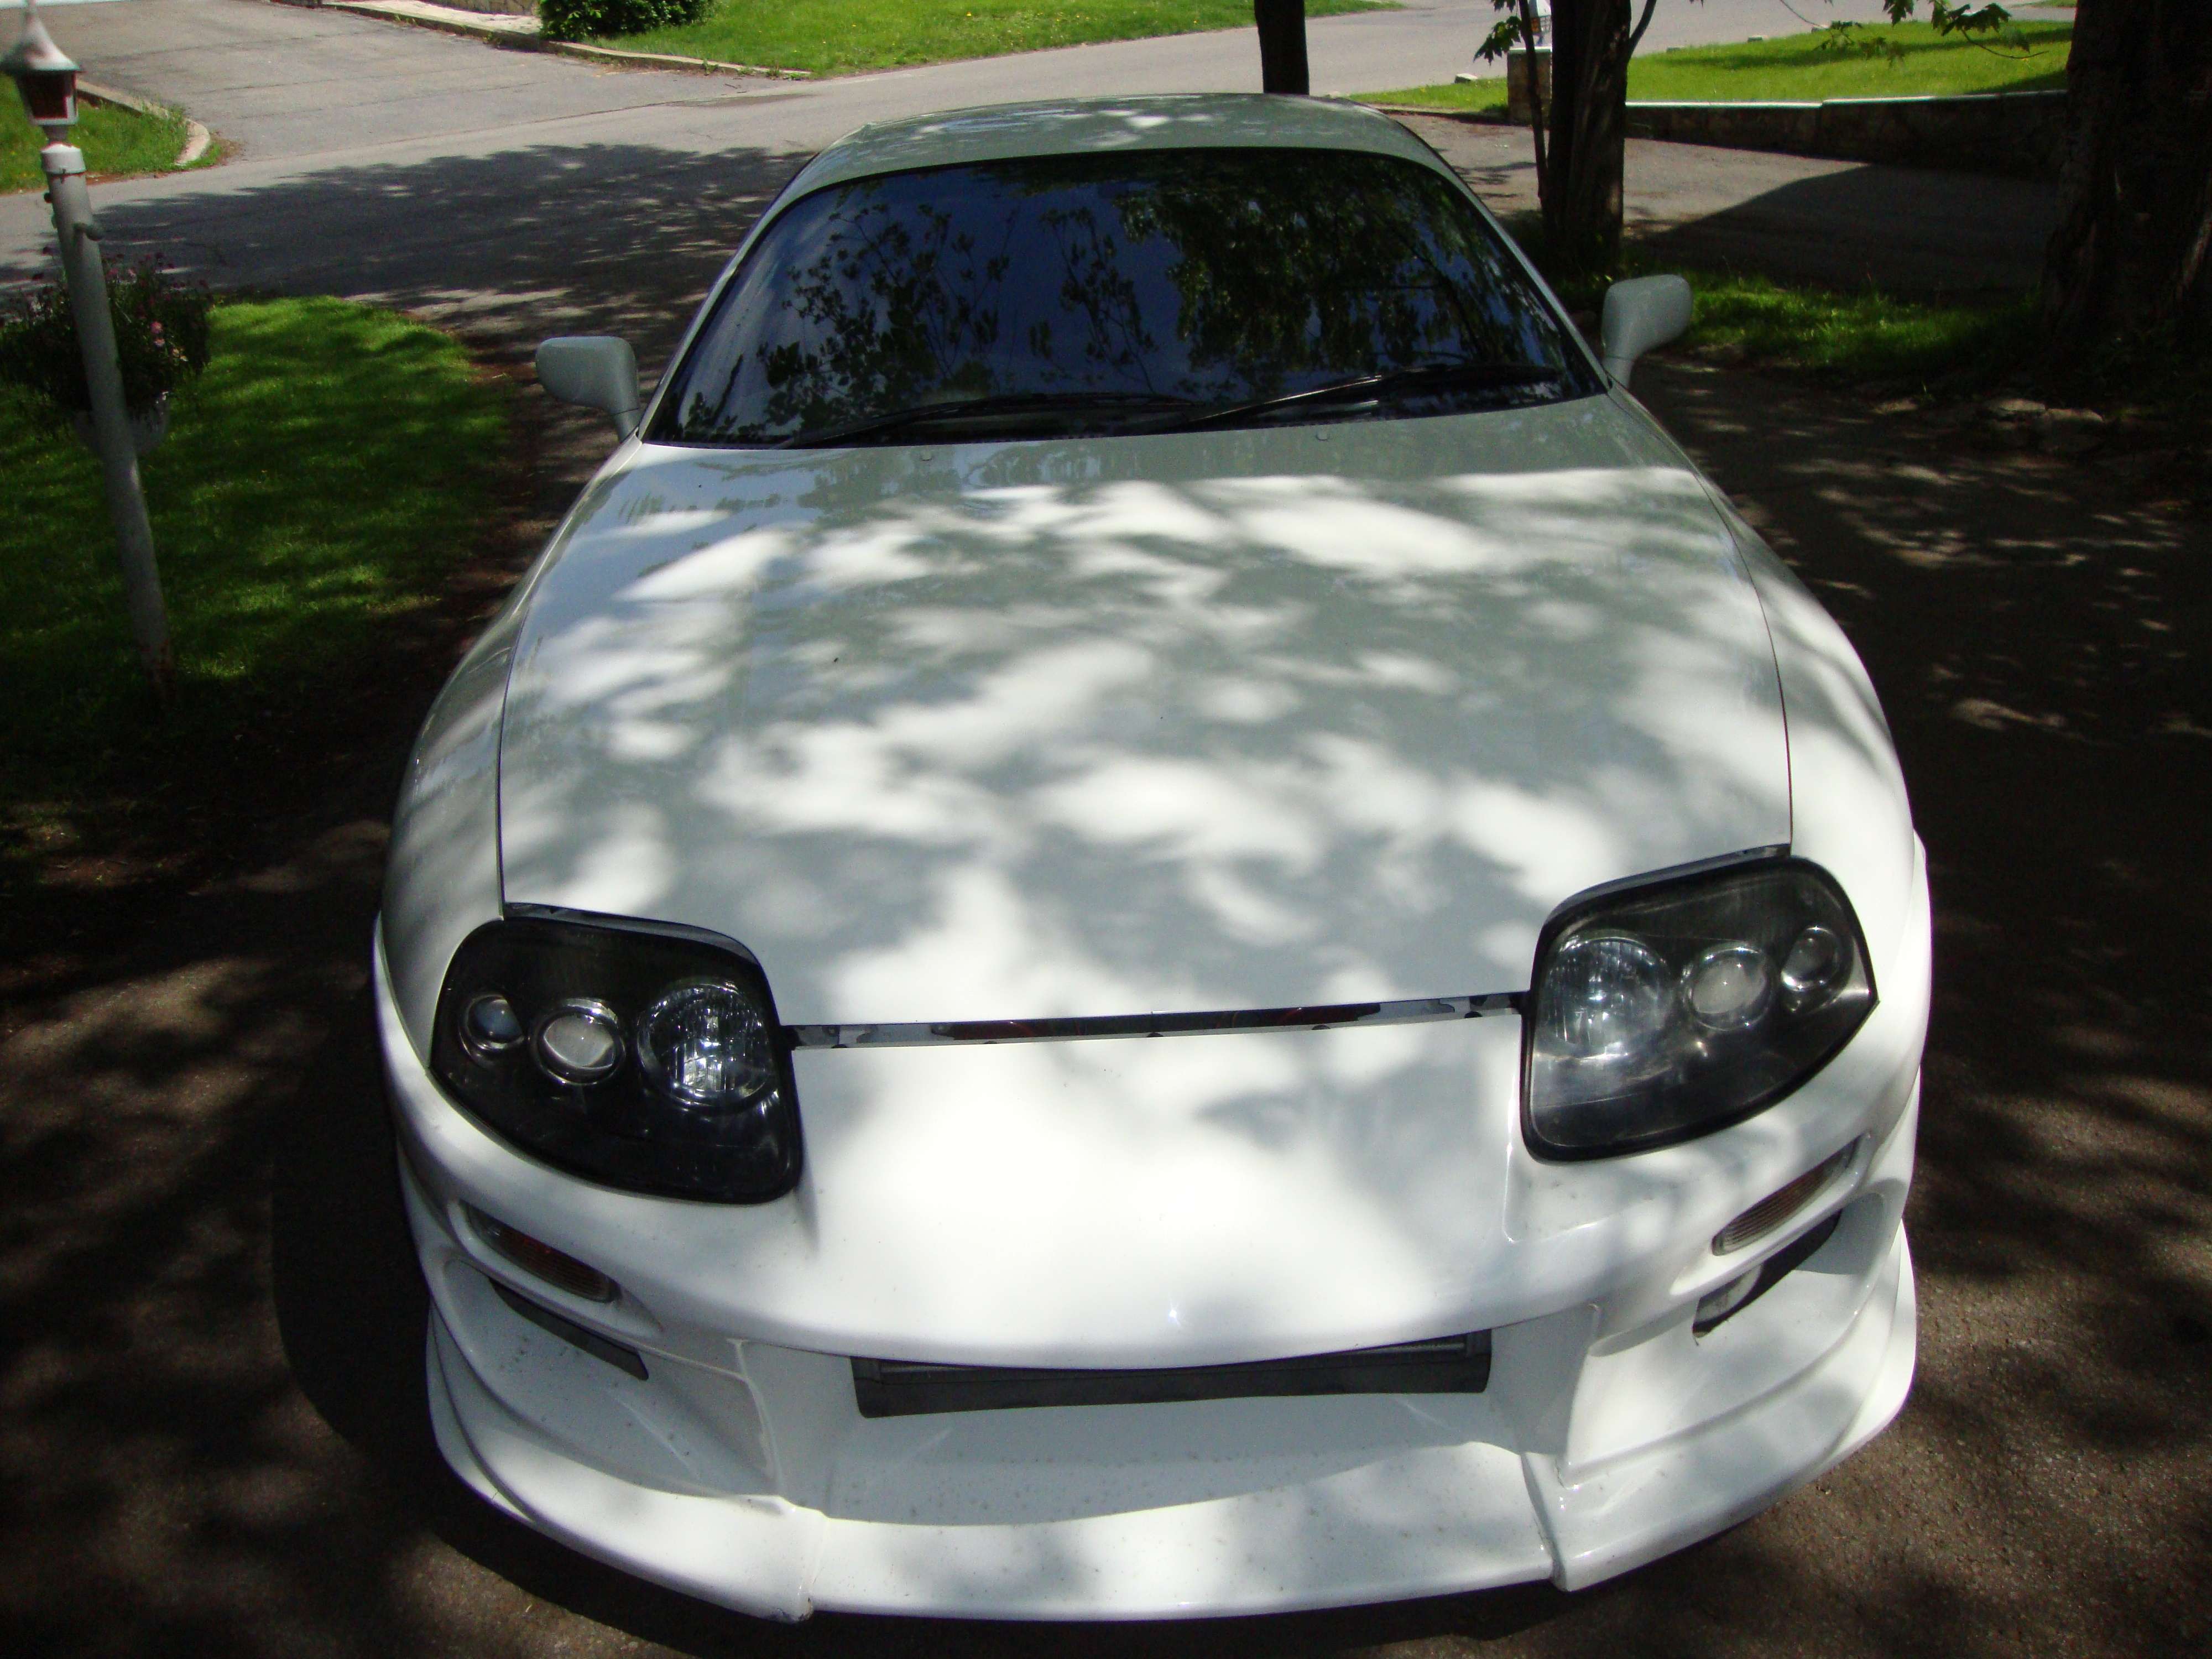
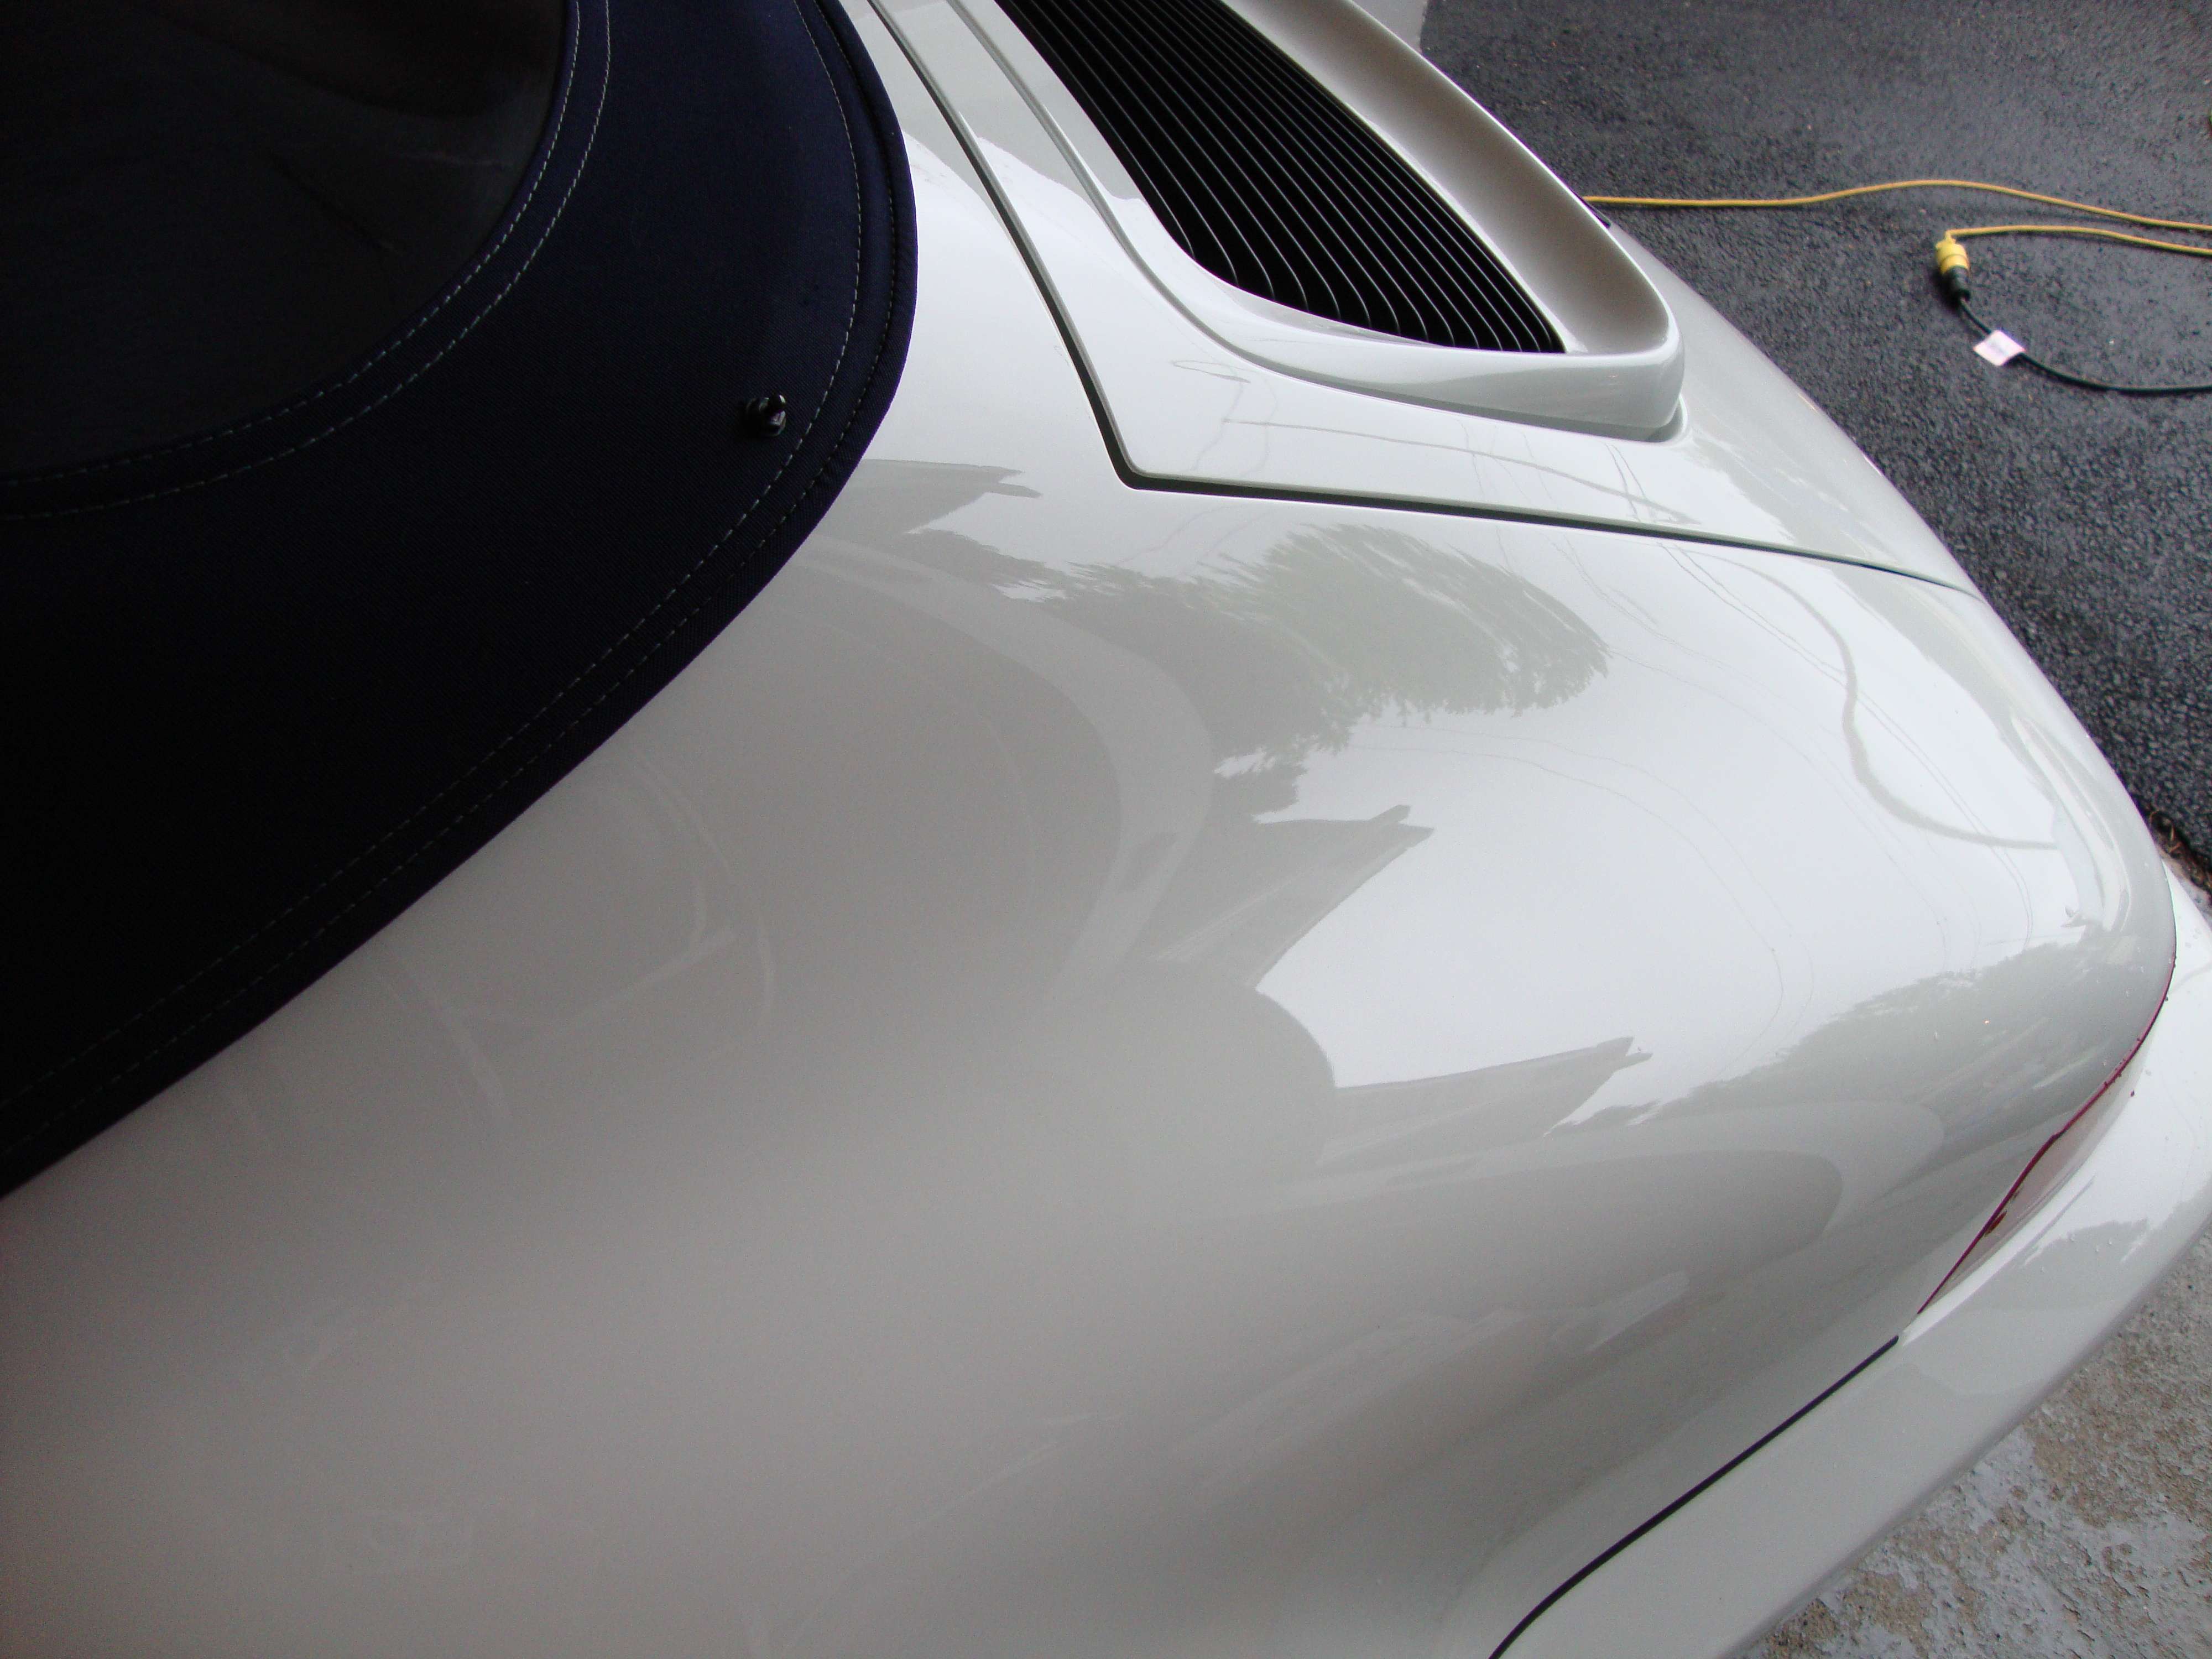
After :
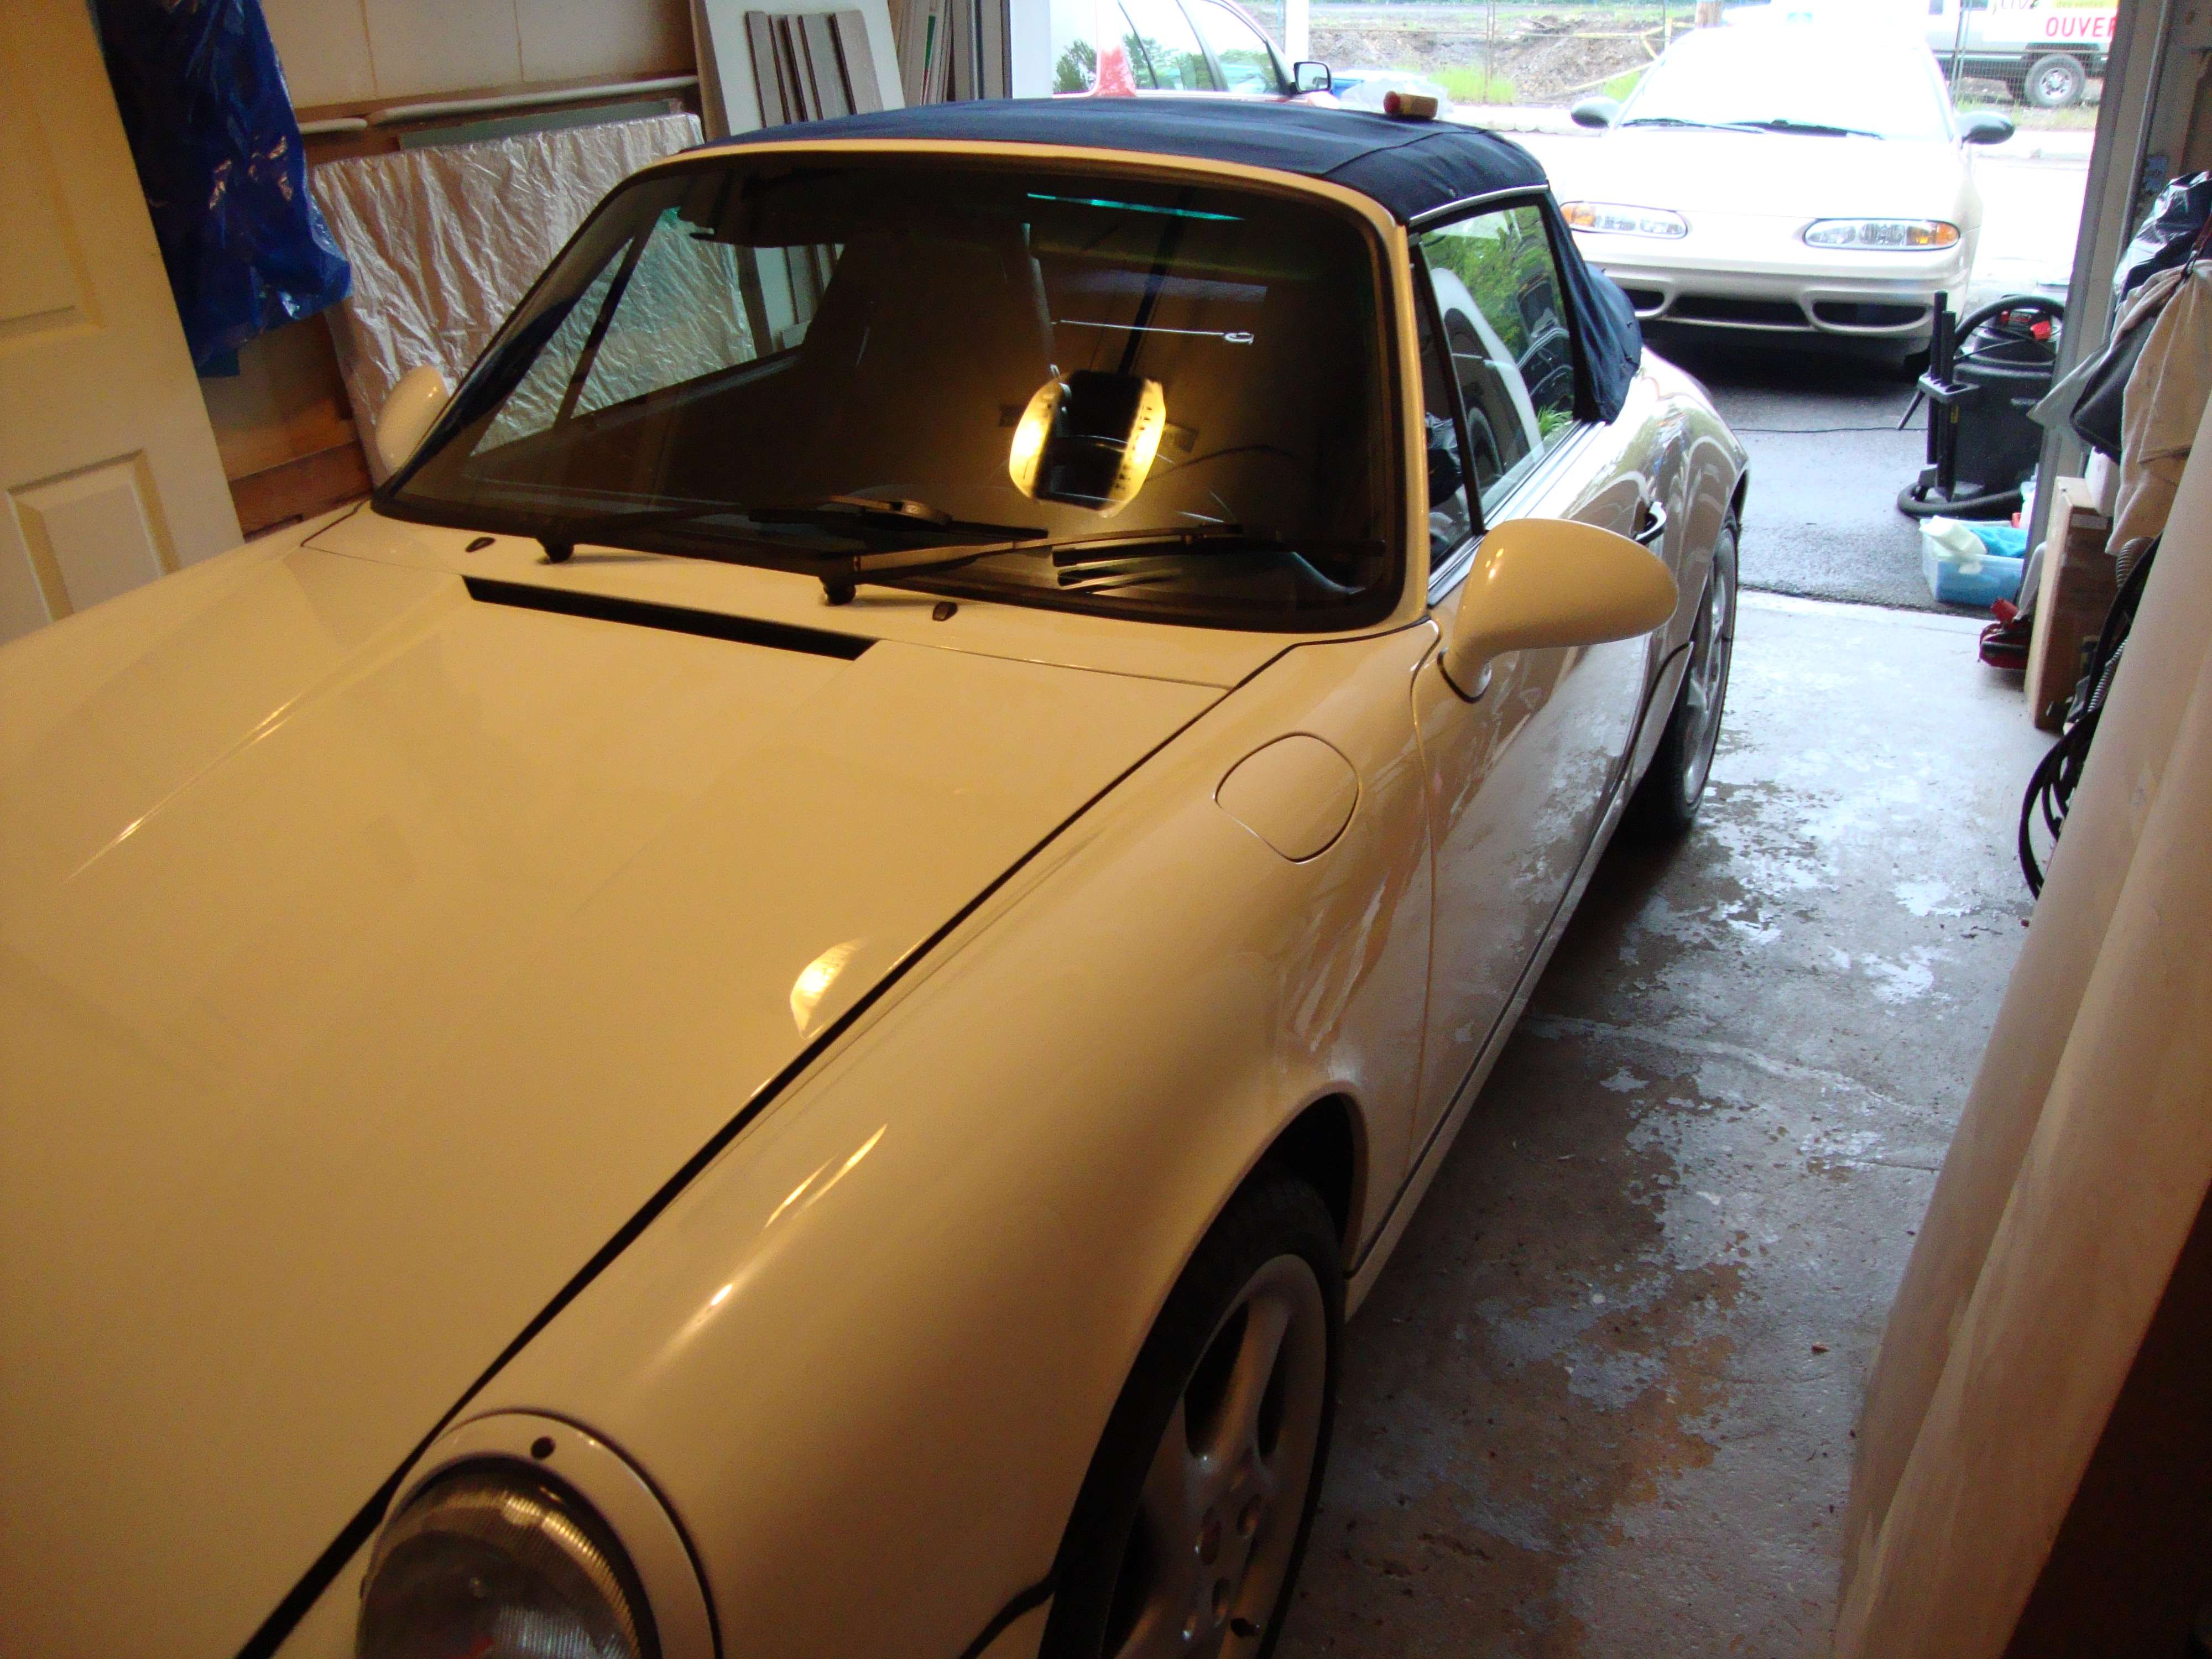
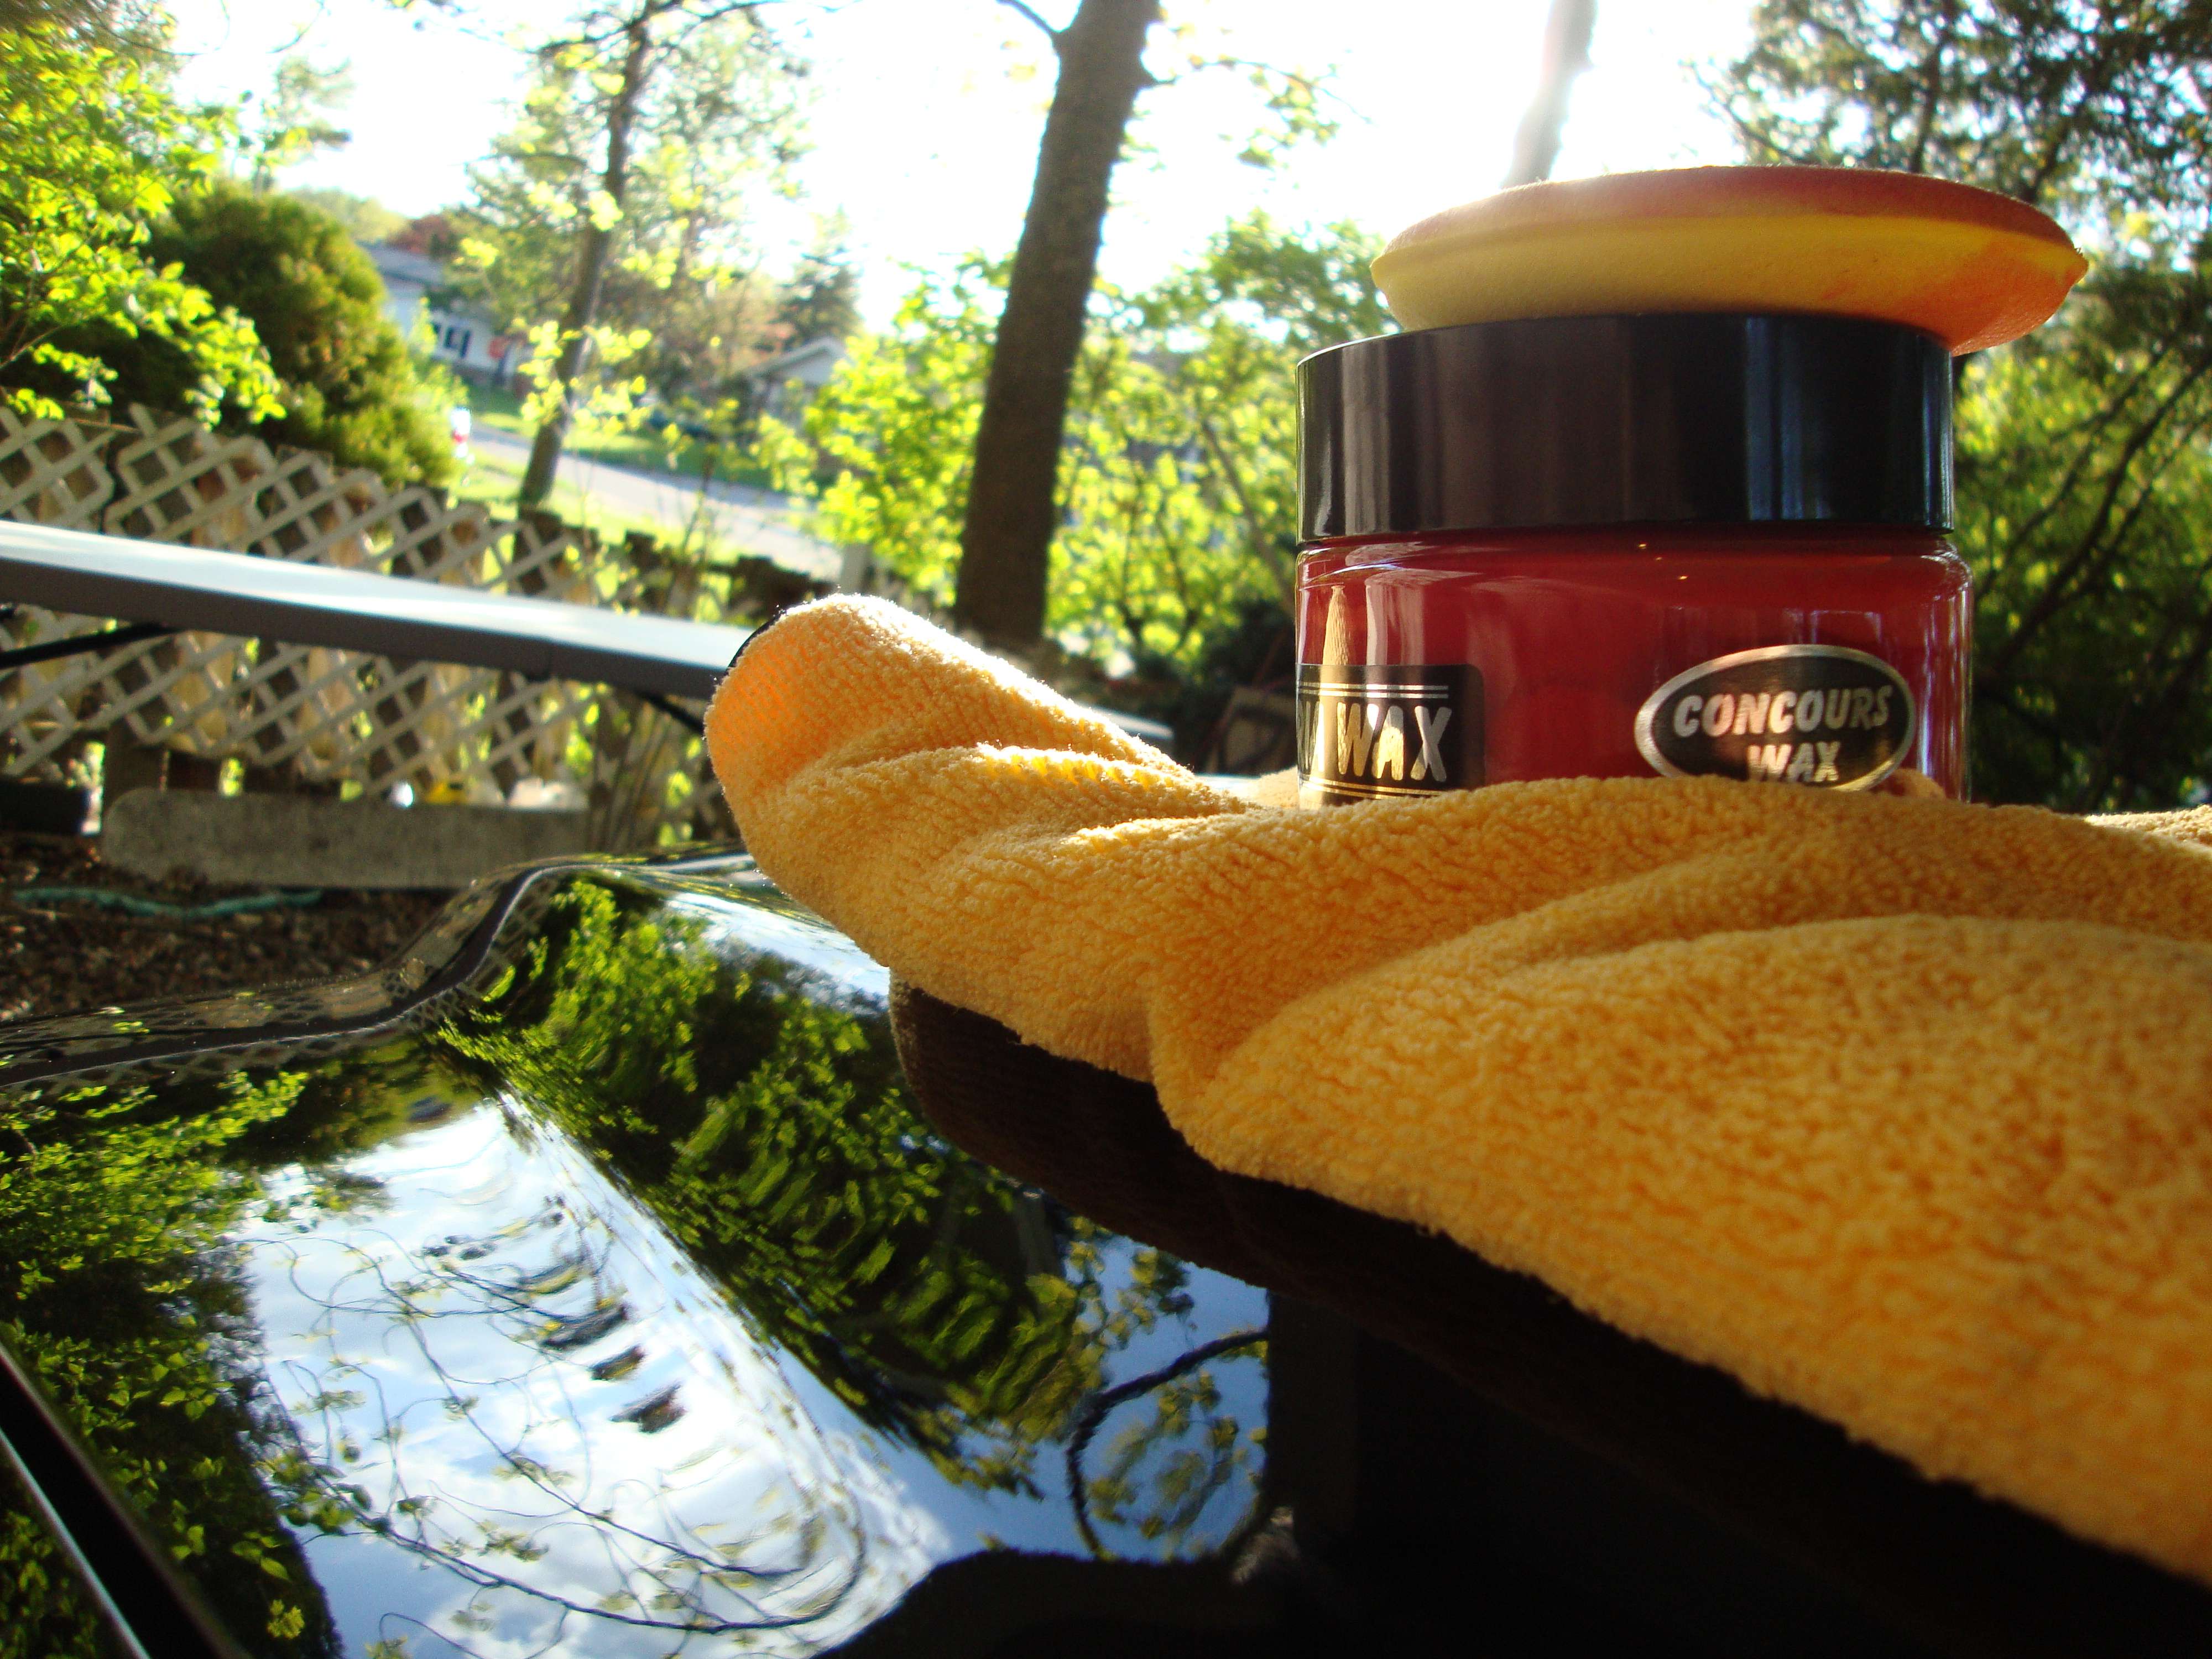
Polish the hood then coati t with a wax to protect it in the future :
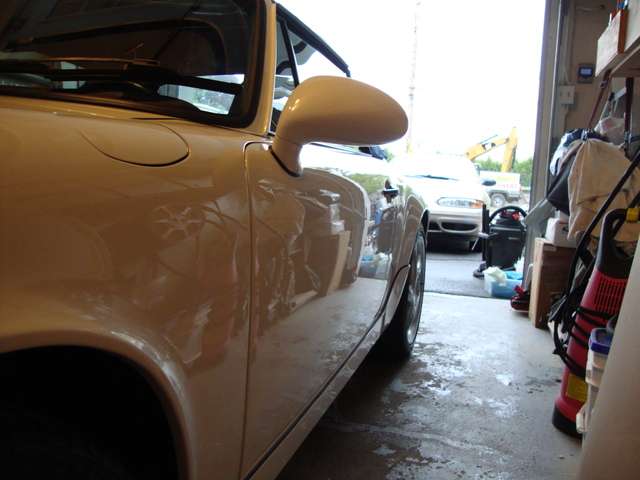
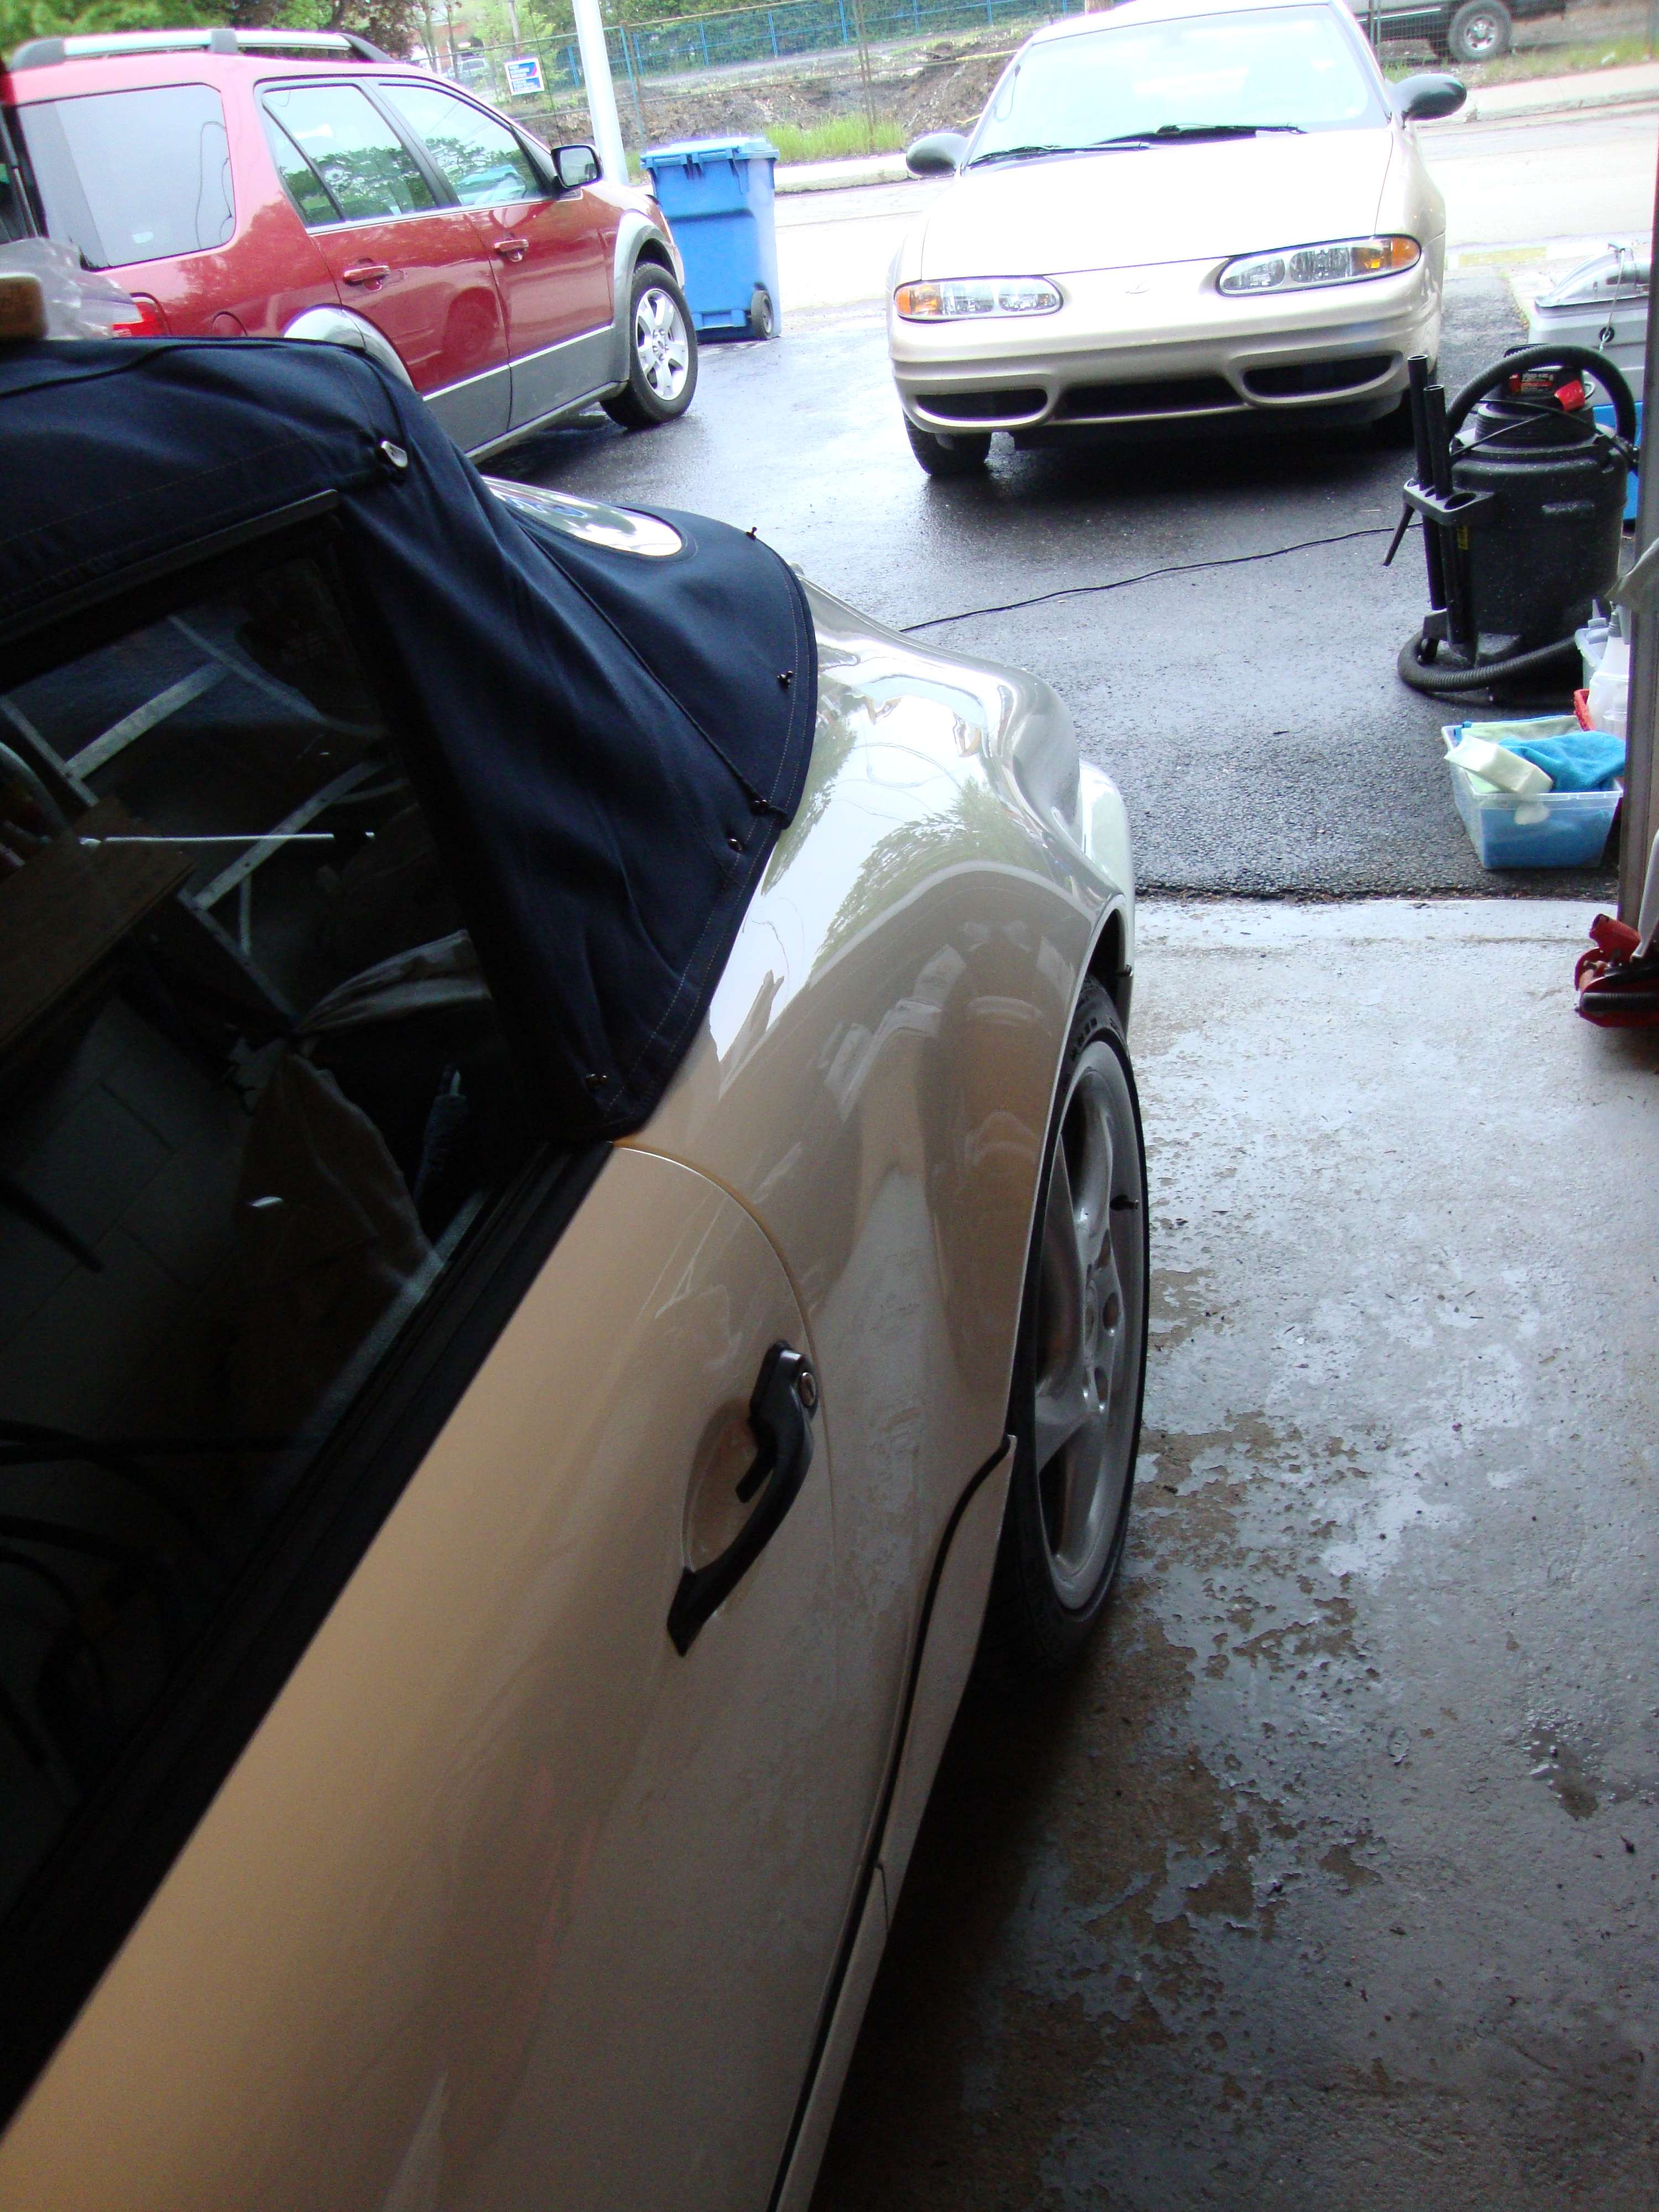
Every plastic is treated:


Leave a comment: