If this is your first visit, be sure to
check out the FAQ by clicking the
link above. You may have to register
before you can post: click the register link above to proceed. To start viewing messages,
select the forum that you want to visit from the selection below.
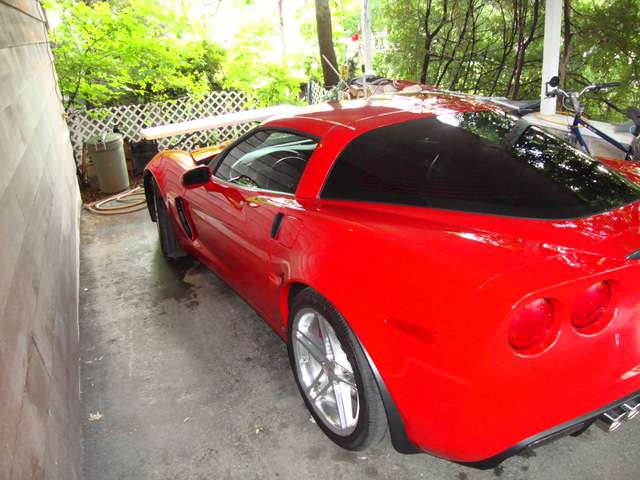
Voici un camion � vendre, la personne l�a fait buffer, mais le r�sultat �tait pas tr�s beau avec pleins d�imperfection, alors il m’a contact� pour faire un petit bijoux.
This pick-up is for sale and he got it buffed to help his sale but the car had so many imperfection he contacted me to finish the job properly. Enjoy!
Voici les d�fauts:
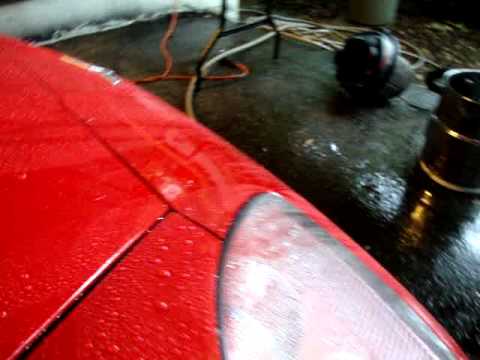
See, that�s exactly what you would get from a car-wash * cough* *cough* lol!
And what your about to see is MY attention to detail with professional result.
1 headlight is nicier than the other one..
After-shot:
Le couch� du soleil de la cire!
Paint is alright, could be better but still great.
Voici une Corolla tr�s bien entretenu par un m�canicien. EN plus cette voiture vois la track quelques fois par ann�e!
It�s pretty rare to see a mecanic taking a good care of his ride but here�s one. By the way, this car see the track once in a while!
Here�s the after-picture: My battery was dead so I could only takes after-pictures. Enjoy!
Not bad no?
SUN SHOT!!!!
For the interior, I must say, it was easily the dirtiest seat I had to wash this year, I swear the color of the seat.. I thought someone did a #2 on the seat� Nasty!
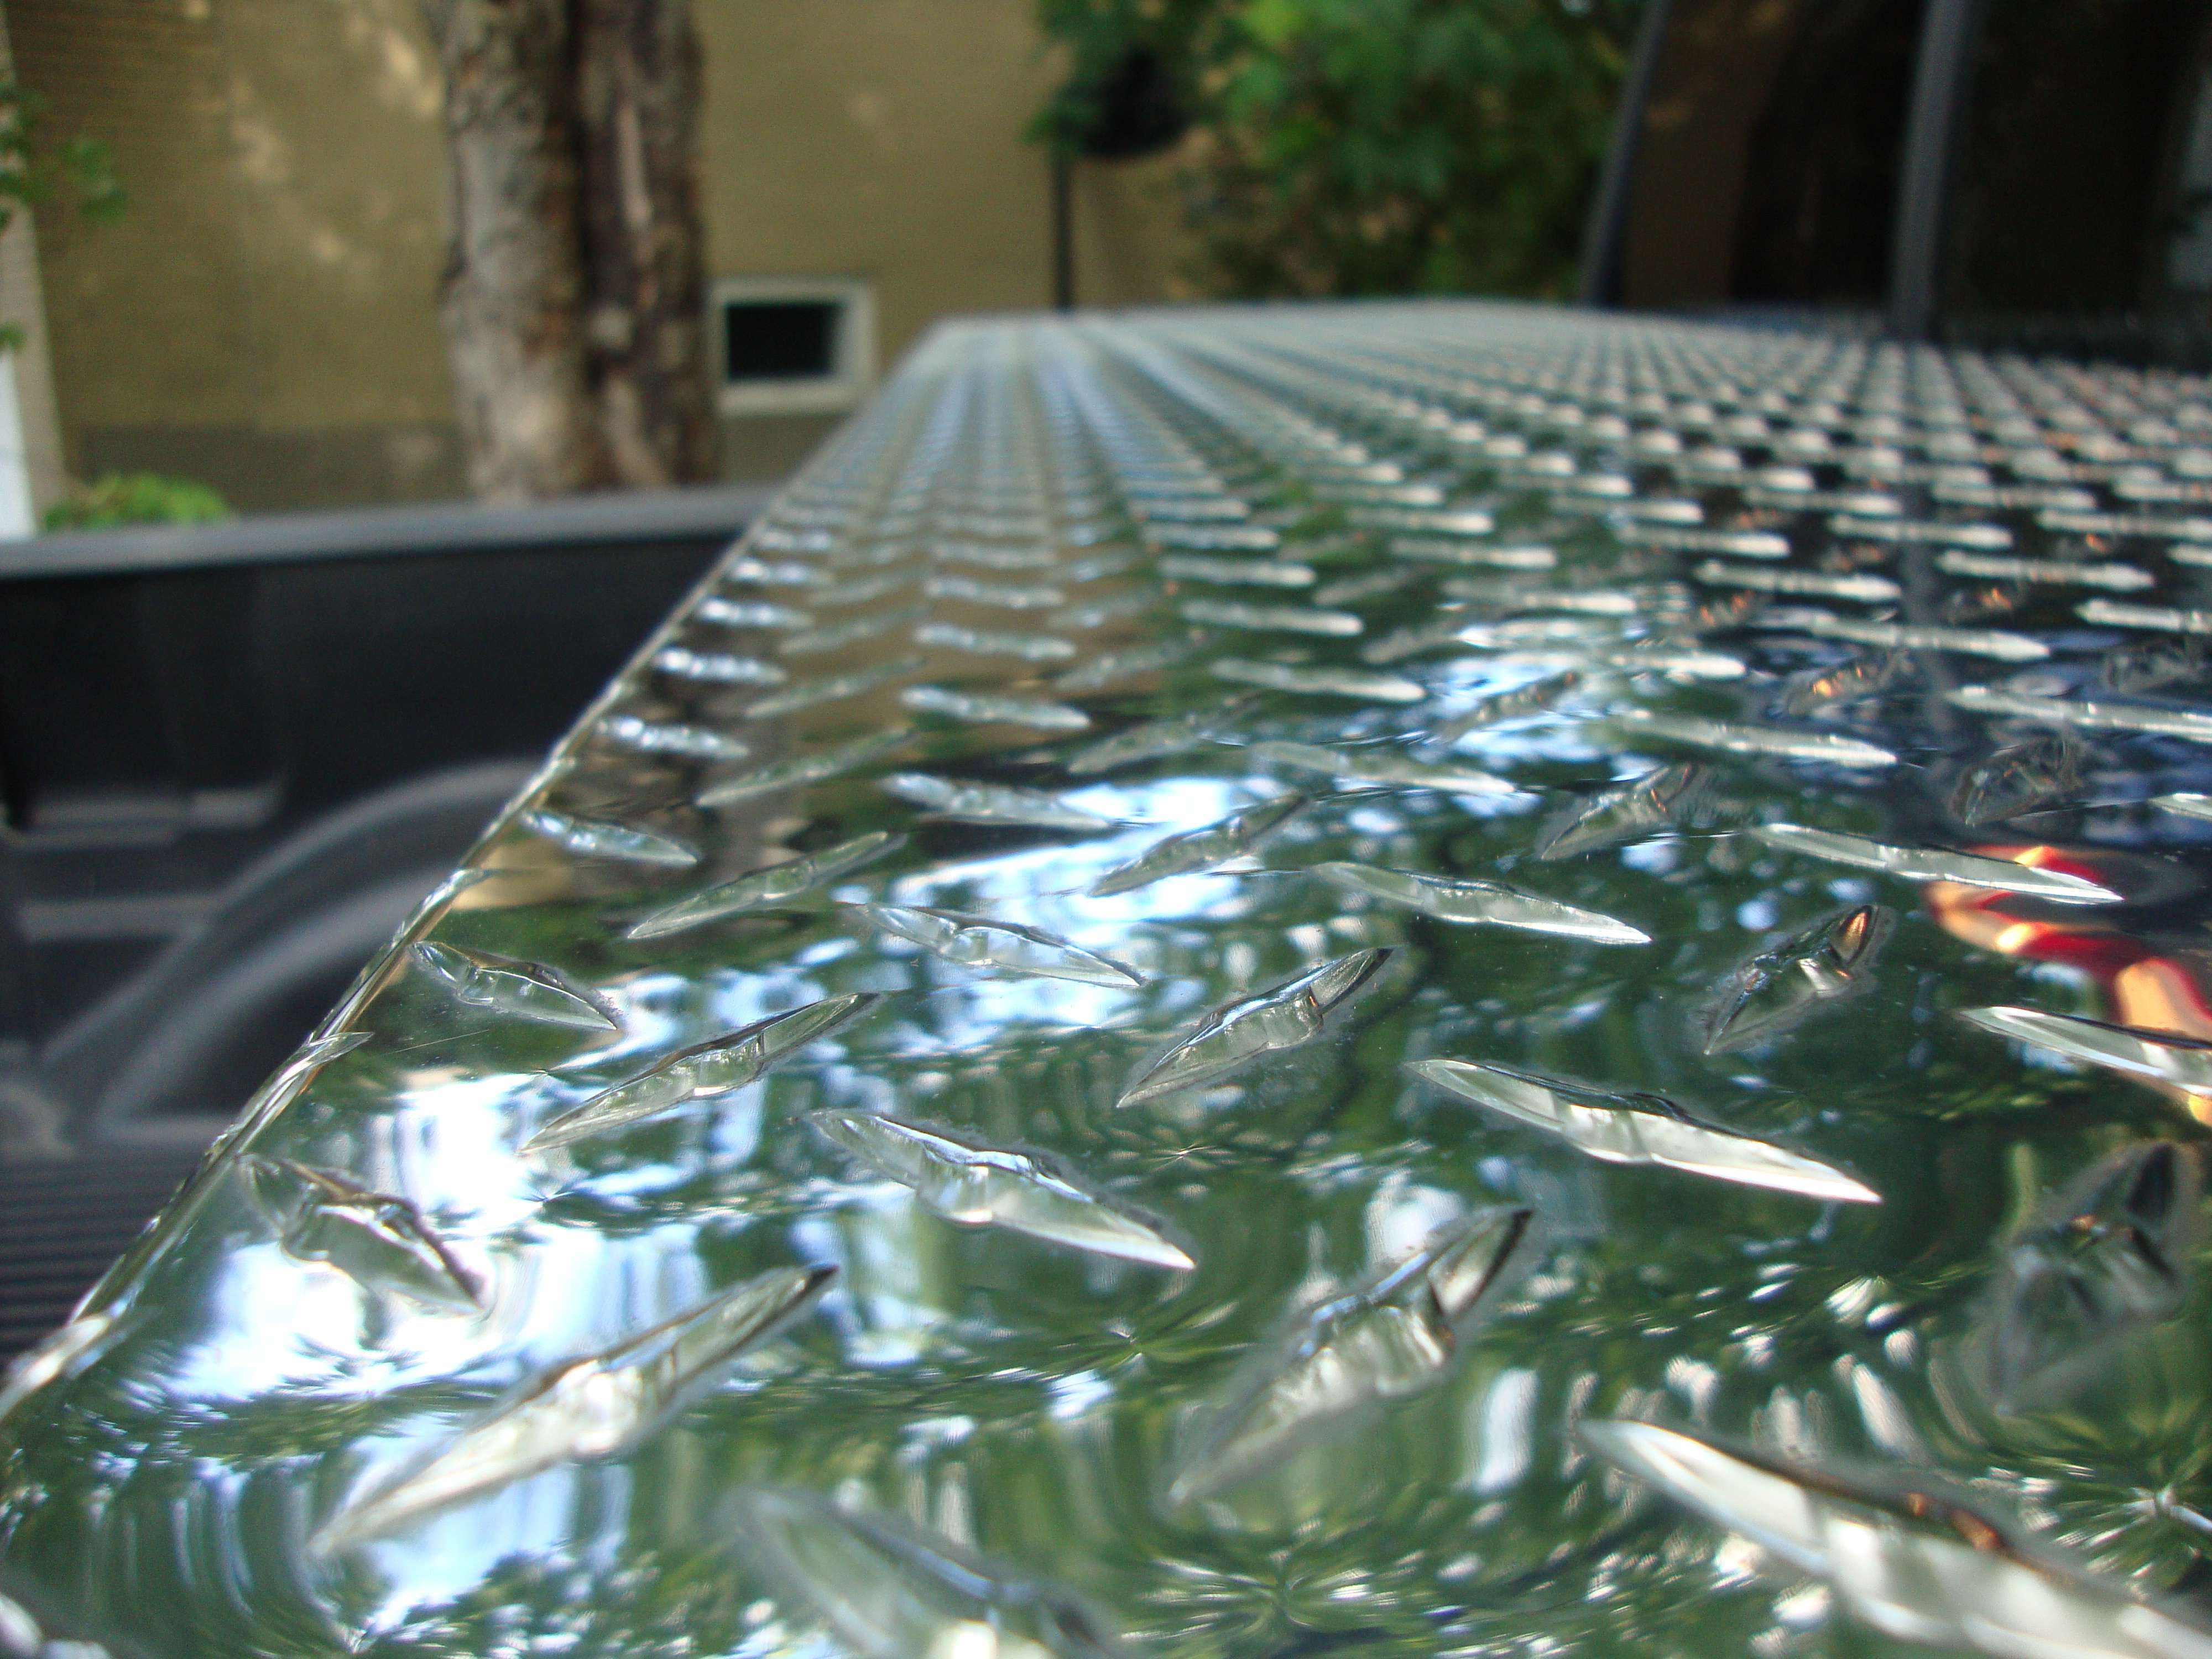
Bon ben, je commence � respirer un peu et j’ai maintenant le temps pour certains petit projet plus exotique.
Le m�tal est toujours d�licat car, sans �tre un expert en m�taux, je peux dire qu’un m�tal sur une strut bar se polit beaucoup mieux que celui du intercooler que je vais vous pr�senter.
C’est tr�s dure dire � 100% comment il va sortir avec, disons 1 heures de travail par pipe, justement. C’est sur que si je passait 5 heures par morceaux, le r�sultat serait mieux, mais seriez-vous vraiment pr�t � passer 20 heures sur 4 morceaux de piping qui risque d’�tre tout cach� par le bumper ou salit apr�s 2000 kms ? �videment, je connais pas grand monde qui voudront sortir leurs morceaux � chaque fin de saison pour les avoir poli.
Alors, ici, je m’�tait dit… je vais me donner 4 heures et essayer de faire le mieux que je peux. Je crois avoir bien r�ussit. En fait, j’ai pris plus de temps, genre 5h30, mais bon, pas grave! Je suis confiant que j’aurais pu arriv� � un plus beau r�sultat en sablant plus, mais j’aurais peut-�tre doubl� mon temps.
Si quelqu’un me donne carte blanche, par contre, je suis pr�t � essayer. Une derni�re chose, un m�taux poli ne sera jamais du chrome, trop de monde cherche se chrome-look. Bah dans ce cas-l�, je vous invite � visiter une shop qui fait du chrome plating, mais tr�s couteux et des fois, �a dure m�me pas.
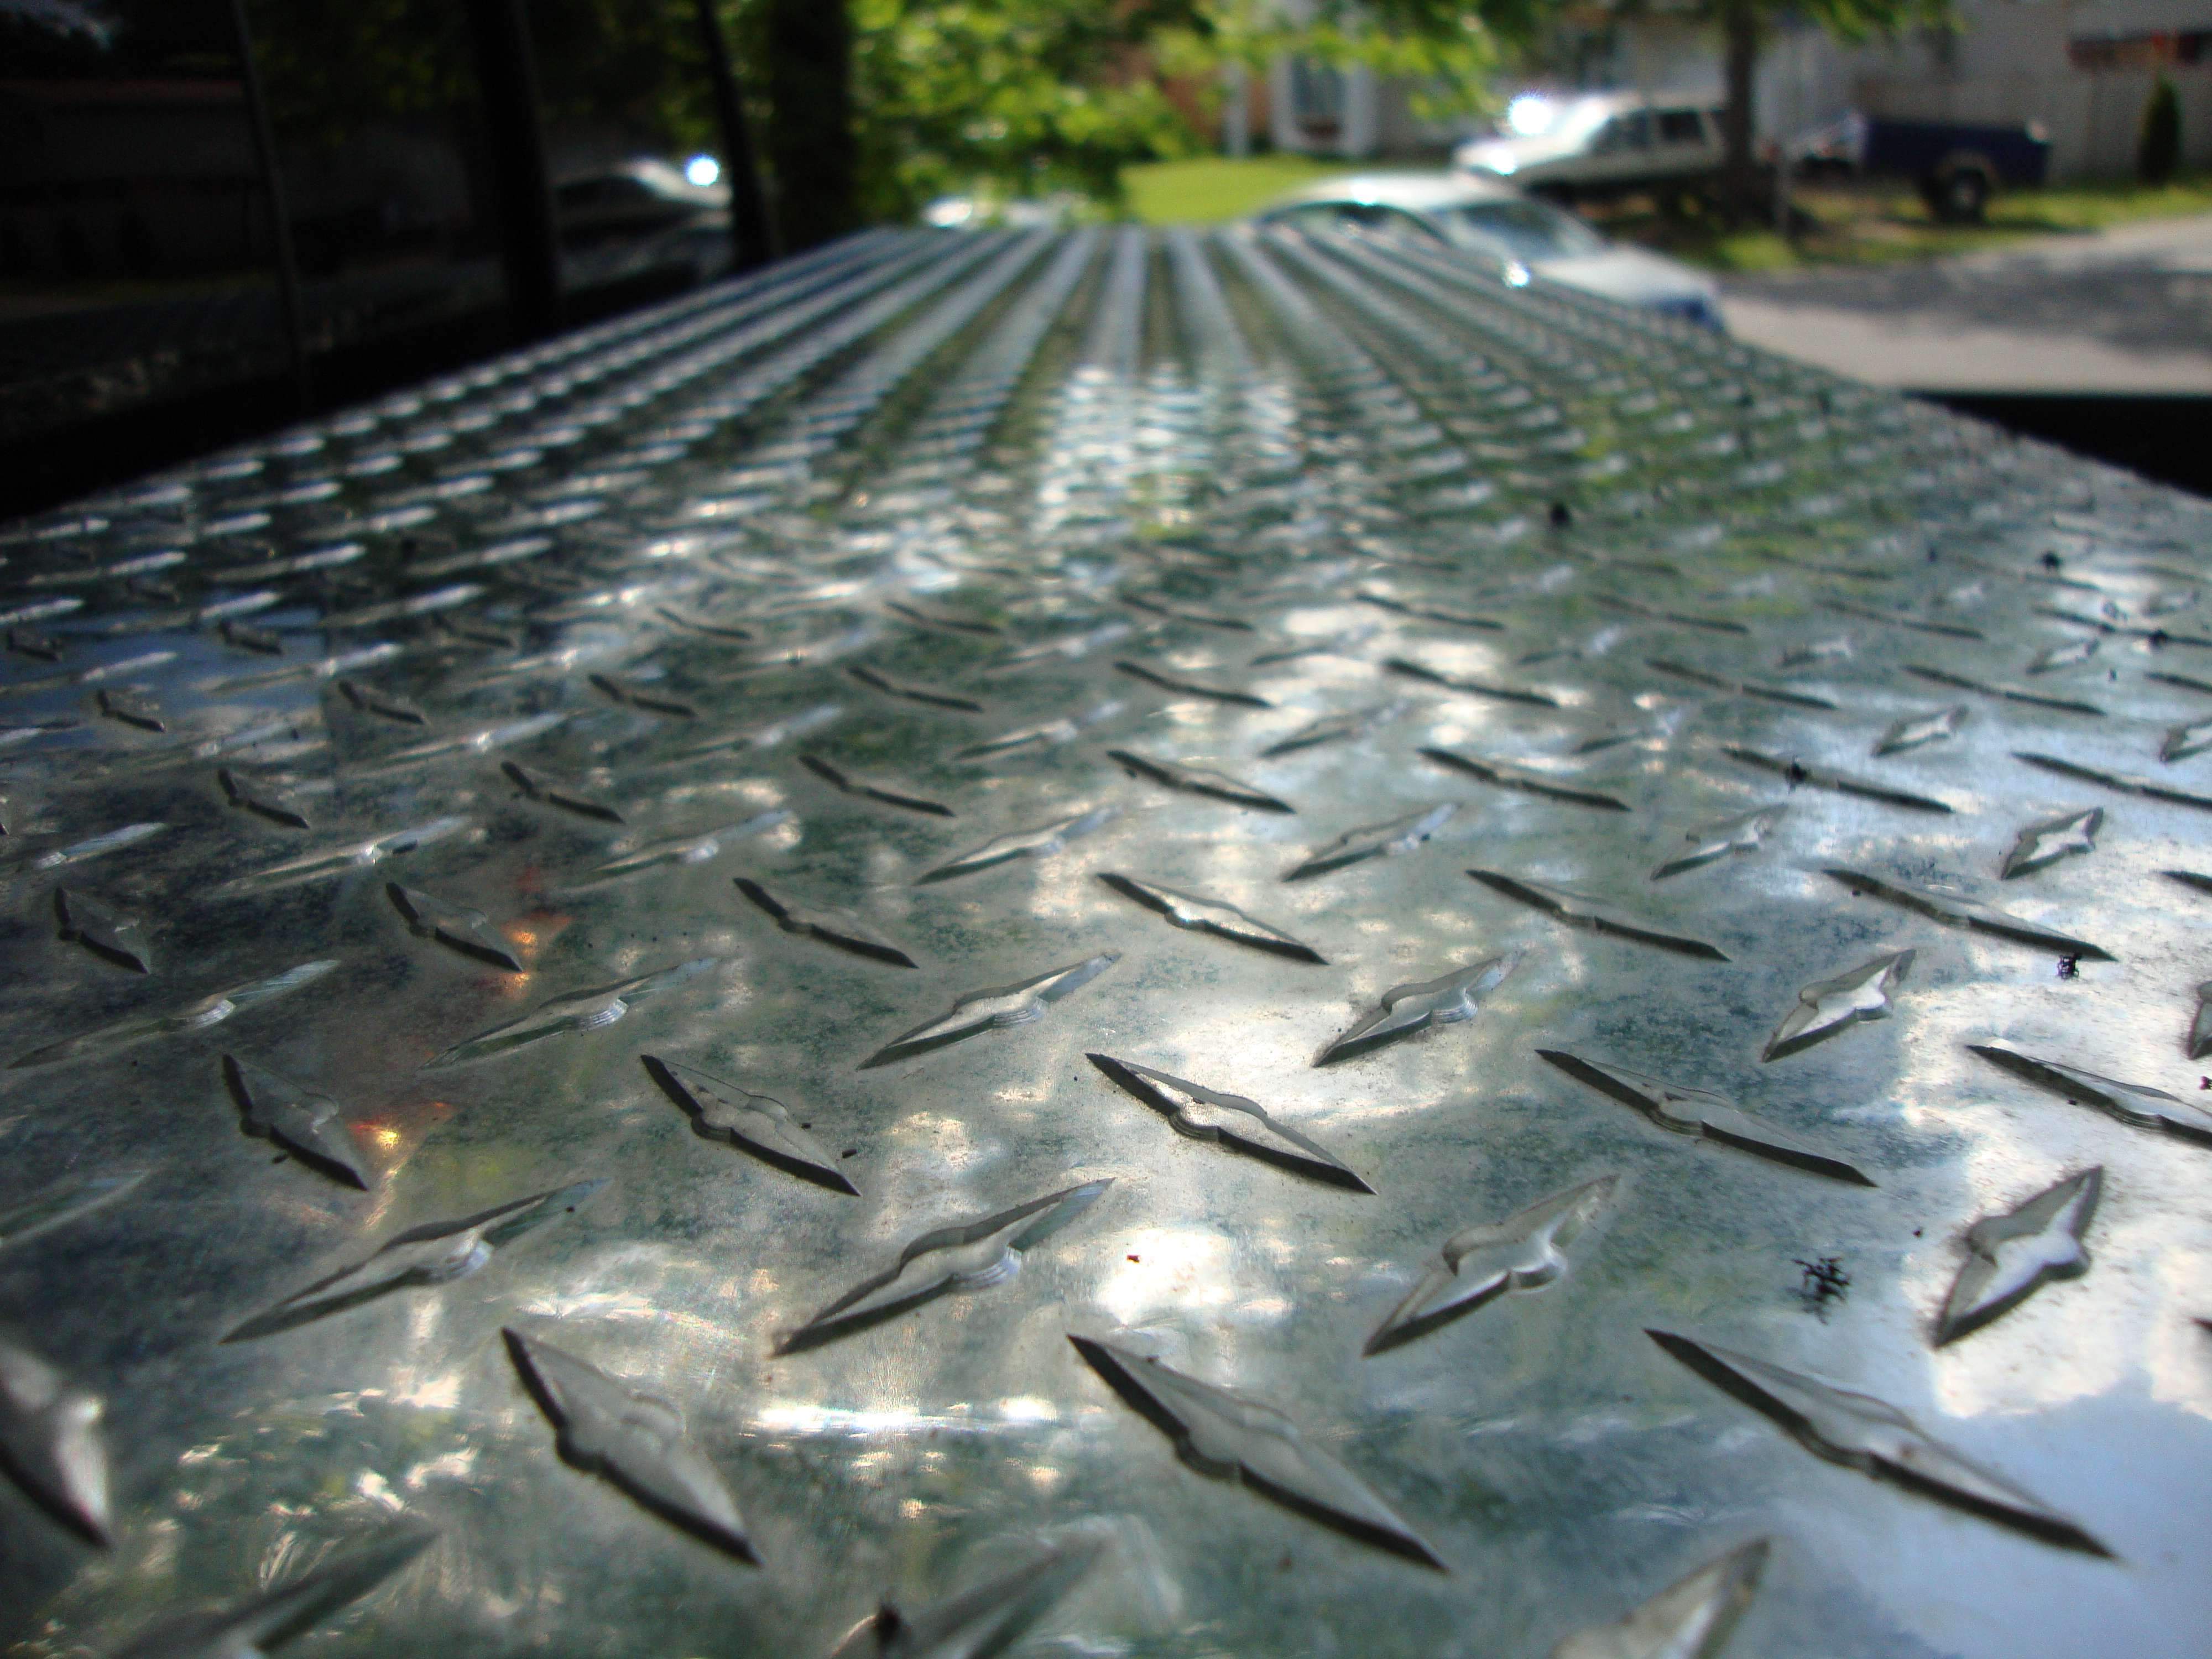
Ce que j’ai fait :
Une passe de sablage pour oter le plus gros.
Polissage � la laine d’acier
Polissage avec le gros pad � buffing compound et le grinder
Polissage avec polishing foam
2 couche de metla sealant
1 couche de hard hi-temp wax.
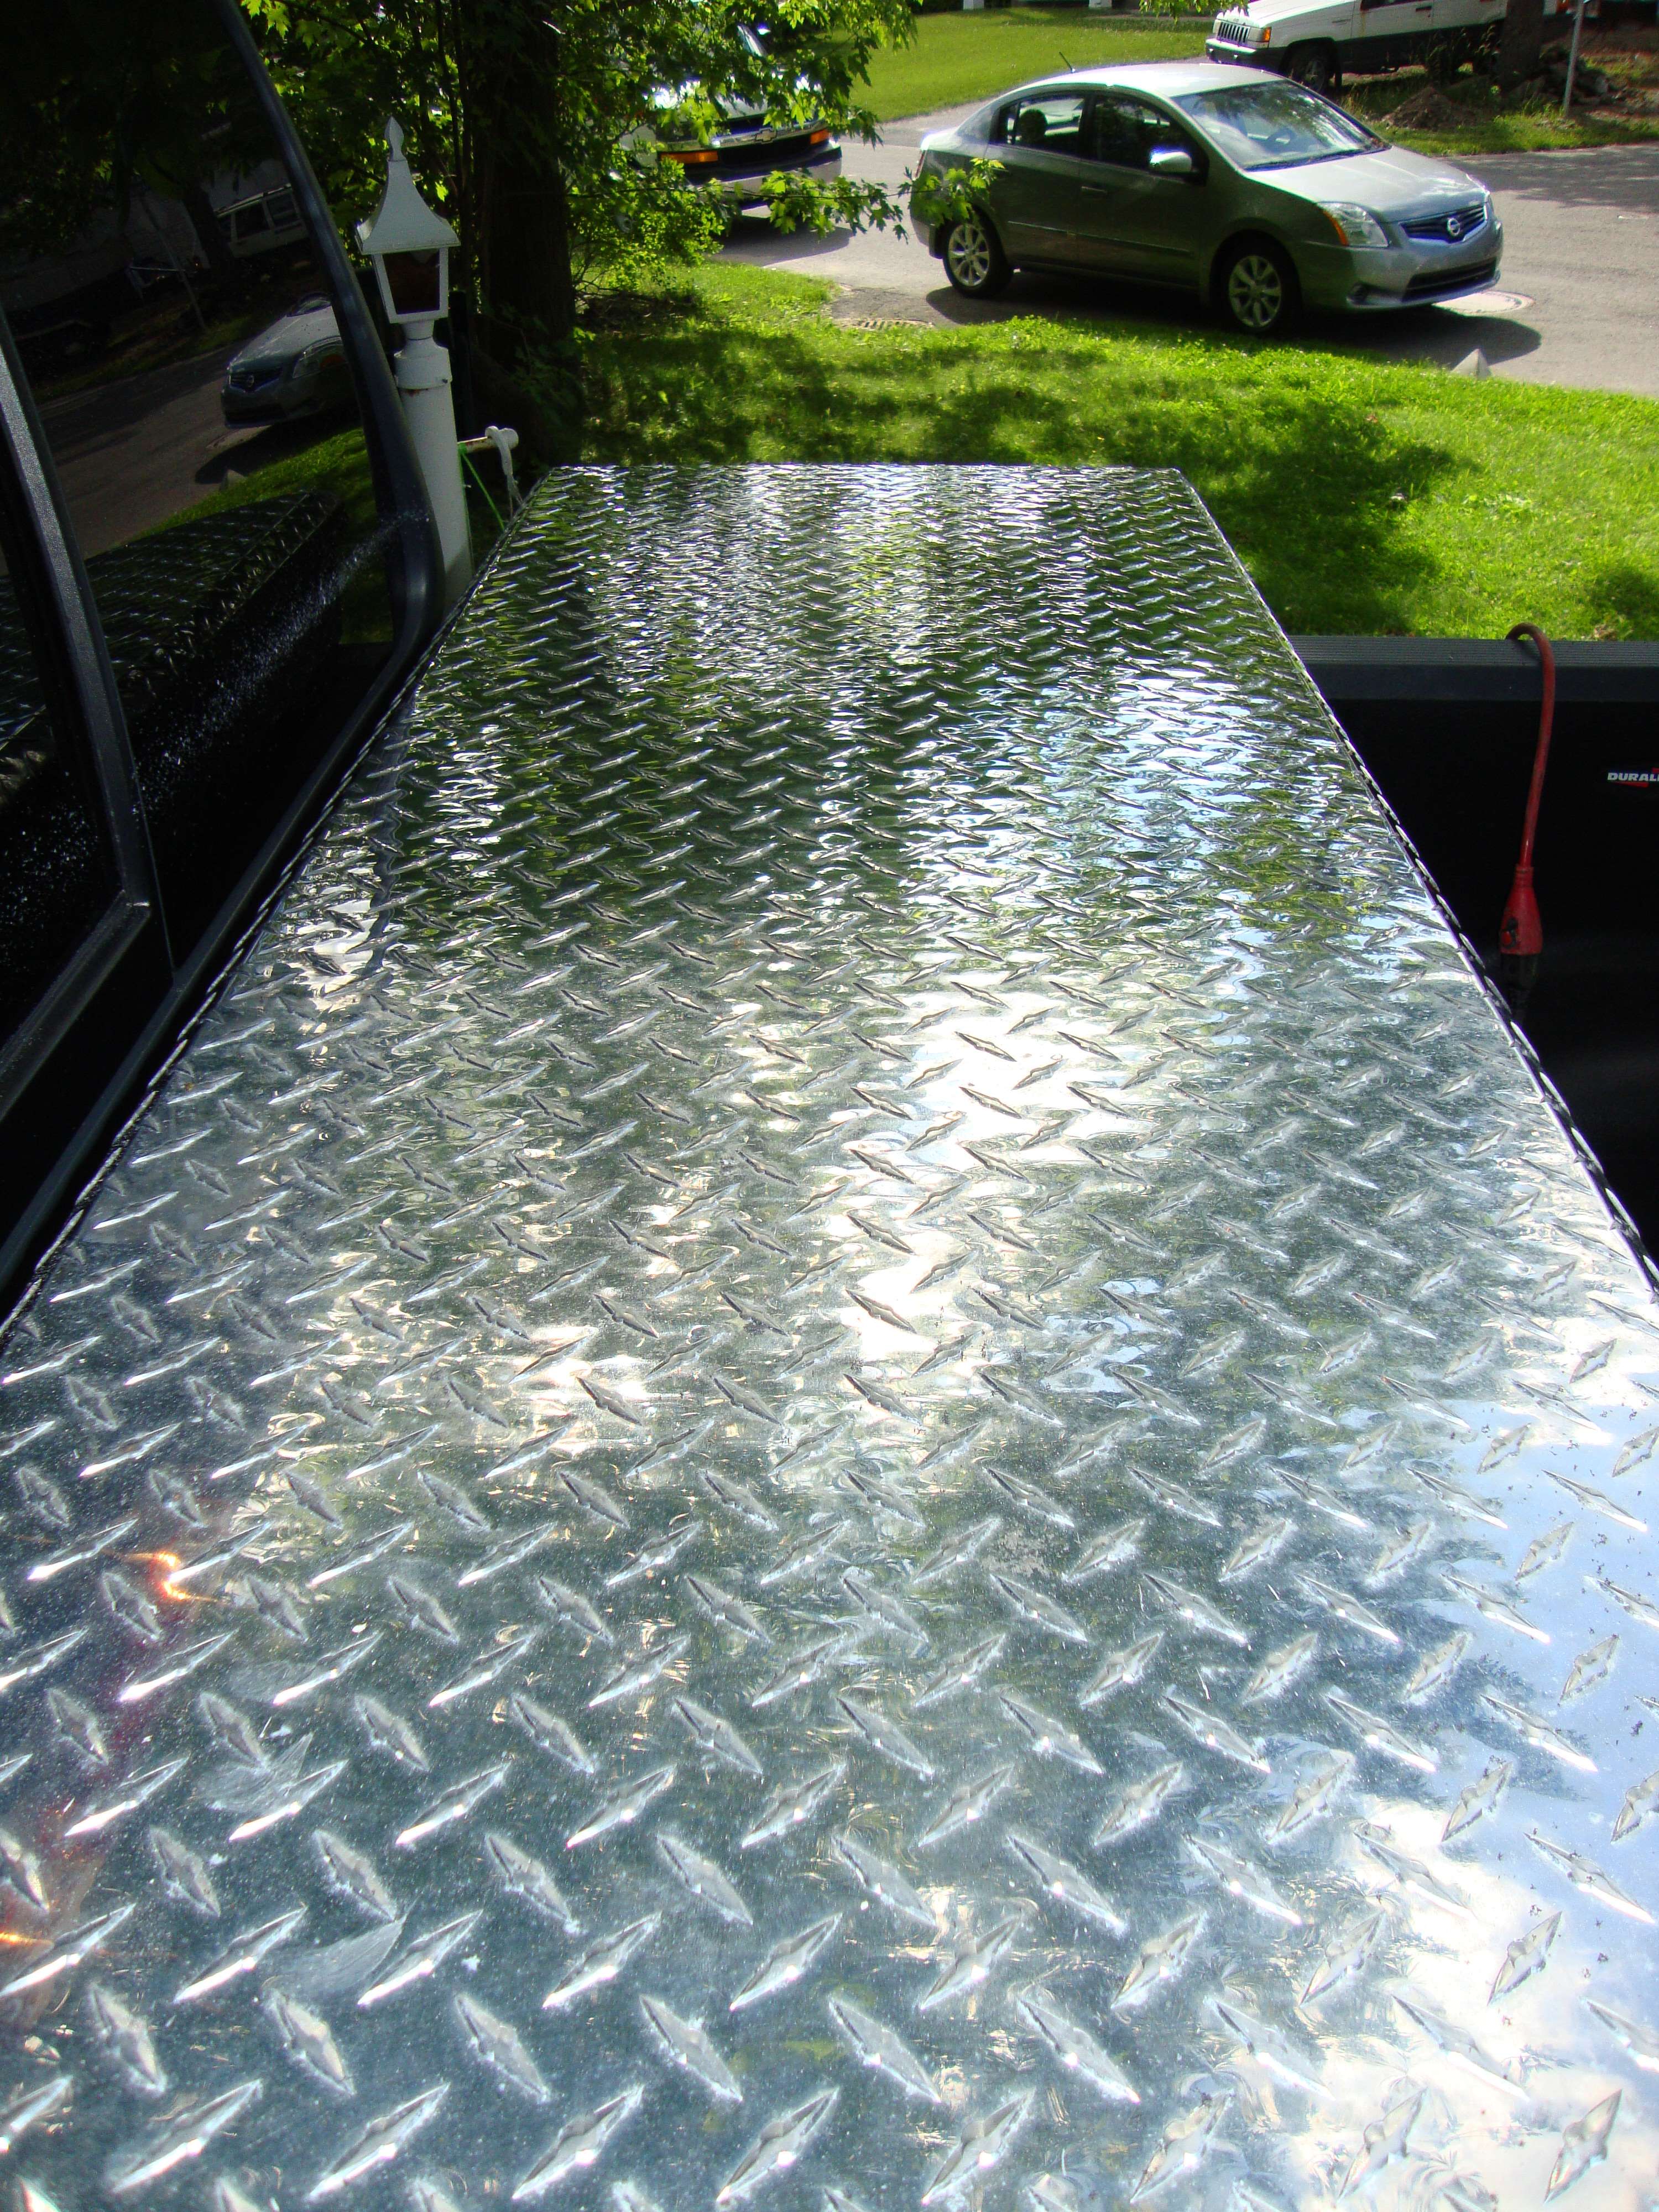
Avant# :
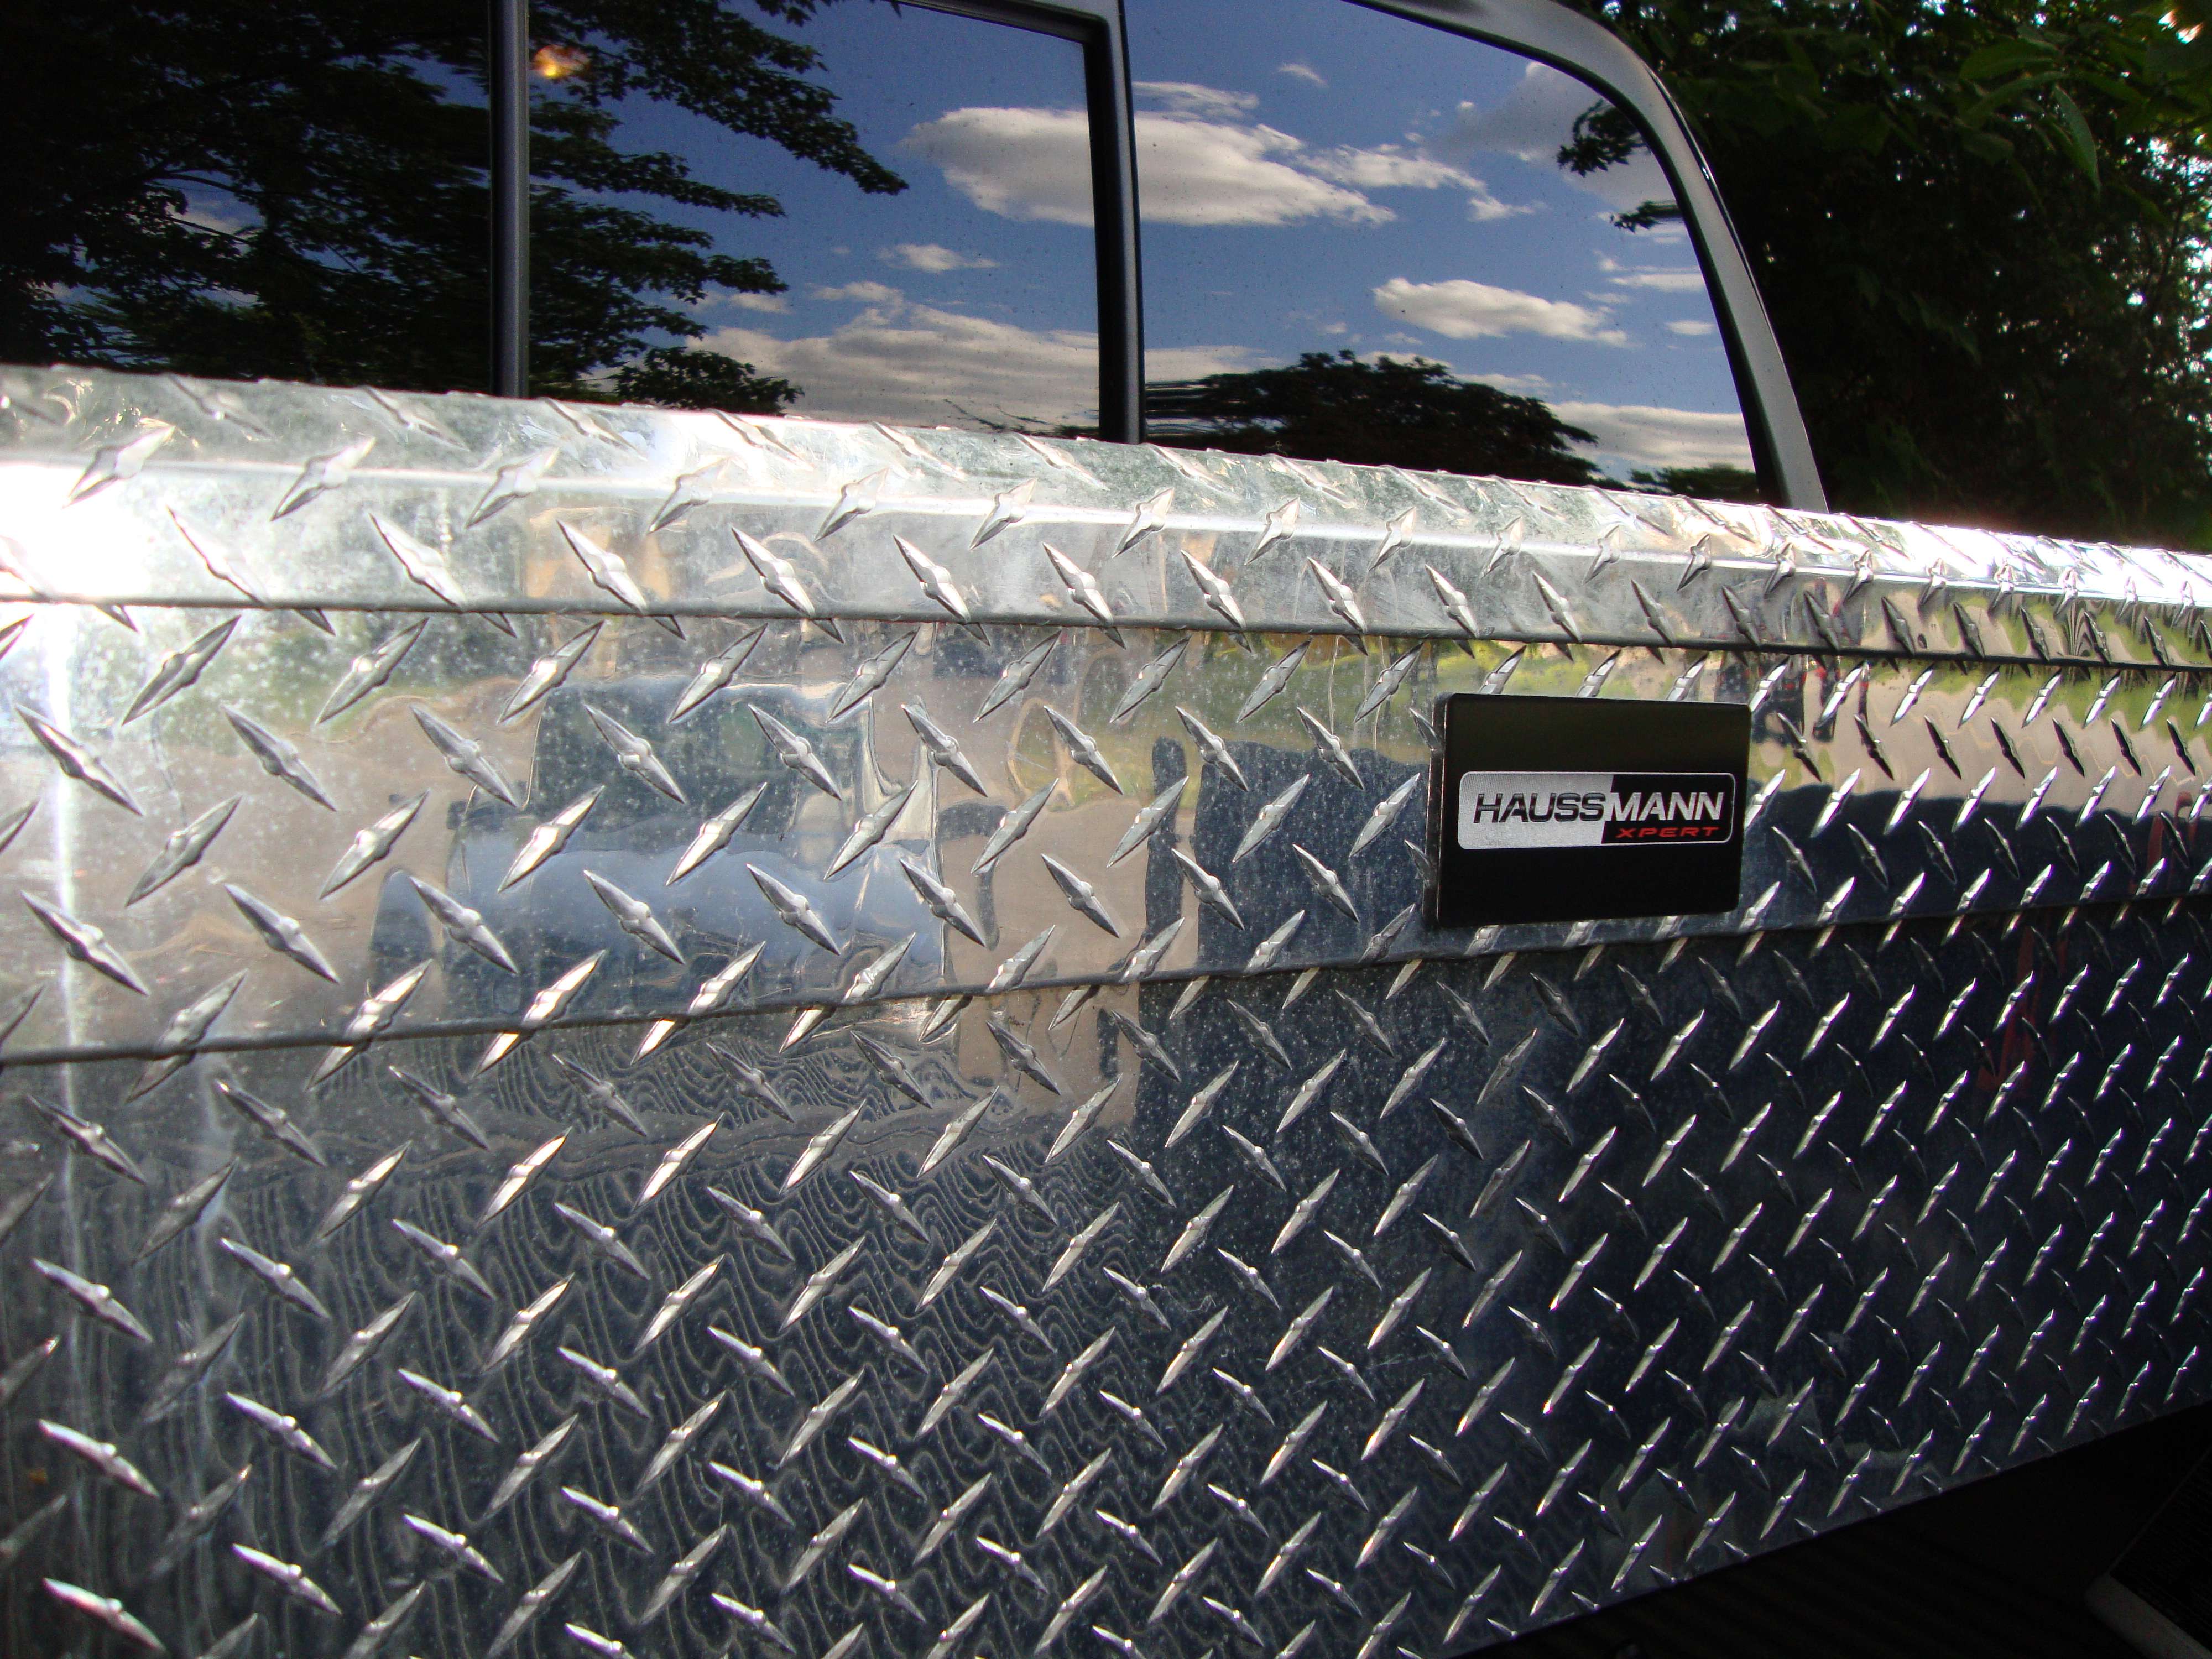
Apr�s :
J’ai aussi poli les clamps et WD40 sur les vis.
Et j’ai nettoyer les hose aussi au APC + protecteur/conditionneur :
Peintur� la pipe flat black, pour un plus beau look.
Apr�s �a, dites-moi pas que je suis pas un passionn�, sinon je prendrais pas mes soir�es � toujours vous faire part de mes projets et de nouveaux aussi qui diff�re d’une peinture.
Merci d’avoir pass�!
A+ et si vous avez un projet semblable, laissez moi savoir, on sait jamais
Sonax and my boars hair brush is taking care of the job :
I then spray cleaner inside the wheel well and brush it off.
I then clean the inside of the wheel see how passe-partout is that brush!
Boar hair lug nut brush and calliper
Rinse!
Dry with a quality MF.
Seal the rims and put a tire dresser. Job done my friend!
Clean!?
2) Engine:
Before:
After the cleaning with various brush and cleaner.It’s time to dry the engine, I like to use a blower for this.
After applying a protectant on hose and such:
With times, I tried a ton of last step product (LSP) and I’ve been able to create my own collection of quality LSP that fits every kind of paints and expected result.
- What’s the advantage of applying a protective coating on my paint?
1) Your paint will get a look that was impossible to achieve before that only a wax or sealant can offer you.
2) The coating protects your paint from the harsh UV rays, headlight turning yellow, red paint turning pink, white paint turning yellow etc.
3) The coating makes the paint ultra-slick which make the dirt and debris easier to wash off because they don’t have anything to grip to. This result in fewer scratches on your paint!
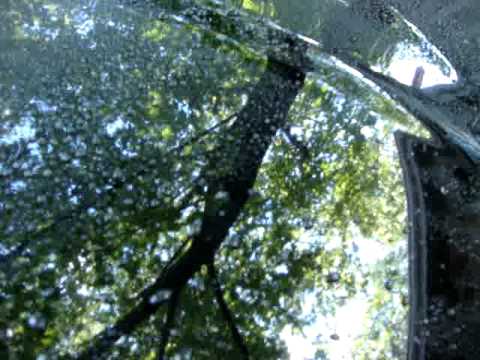
Have a look at this video, what I wanted to show is how the water sheet of the panel, same thing happens with contaminant, a good pressure washer regularly and you barely have to touch your paint to clean your car. It takes now fewer times to wash the car.
- What the difference between a liquid wax and a paste wax ?
Pretty simple, a paste wax contains more carnauba than a liquid wax. So you can conclude that a paste wax usually is a more concentrated and purer wax than liquid resulting in a greater shine and better protection for your paint. Worse, must of the times a liquid wax contains polish that can damage your freshly polished paint and even scratch your paint.
I classified waxes in 3 category:
The wet-looking wax: Usually made with pure white wax, they give the wet-look you might be dreaming of. The metallic look: carnauba wax with a touch of polymer to make the pearl of your paint popping! The durable look: wax with a good load of polymer for added durability and a warmth look but not as wet as a pure white or yellow carnauba. Similar to sealant but with a wax-look instead of a sealant looking paint.
Uusually showroom wax last between 2 to 16 weeks. Durable wax can last from 6 to 12 months.
- What is a sealant?
A sealant is 100% made from chemical, there’s nothing natural about it resulting in longer lasting layer of protection and usually sealant sheet water better and are slicker. However, even the ‘’wettest looking’’ sealant can’t be compared to showroom wax in term of warmth and deep look of the paint. Another advantage of this product is they are suppose to attract dust least than wax. However, don’t expect miracle! It does help but the difference is slight.
So on the market there’s 4 differents types:
Acrylique: Gives a very mirror, hard glass look to the surface. Last 6-9 months.
Polym�re: Gives a look closer to carnauba. Last 3-6 months.
Nano-coating: This coating is pretty unique; it kinda transform to the paint your working on ( i.e: will make dark paint wet and the flake on metallic paint should pop out more than you ever see). Since the coating is harder than the clear-coat, it make washing the car easier and it has anti-scratch properties so your car look better longer! Last between 12-24 months. Can be topped with another carnauba after the drying time.
Resin-coating: Same to the nano-coating but you can’t top it off with anything after this application.Once you do that treatment there’s no need to touch your car after, simply wash it. The coating is PERMANENT.
For the last 2 coatings, only pro can apply those products and it’s not everyone who stock these.
Why did my LSP only lasted 6 weeks when you said 2-4 months?
I will start by saying that every single LSP I apply on a vehicule, I previously tested it on my own personal car or family car so the claims I make are real and proved. So, how long the protection layer will last on your car depends on how good you take care of your car, if it sit under a tree where you get 10 bird boops per day or inside and if you drive 300-500 kms a week or 1000 will differ the result.
My test are done on car that sit outside 24/7 and drive about 1000-1500 kms a month.
Now that I learned the difference, which one is better for me?
Well it depends on the kind of look you prefer and durability your expecting. However, I tend to go with carnauba for a summer ride and sealant for winter driven car or daily-driven car or high mileage car too. Another thing you should know is that you can top a carnauba over a sealant but you can’t top a sealant on a wax. So let say you like to wax your paint once in a while, I would recommend you to go for a sealant so you can top it off with a wax later.
I hope this helped a lot of people because I must of answered that questions over 50 times.
Enjoy!
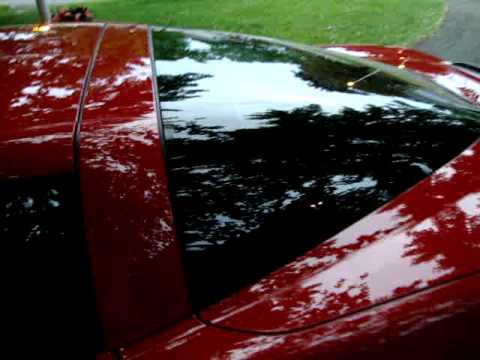
Voici un autre 50-50 que j'ai fait. sans cire et avec cire. voyez la diff�rence.
Enjoy!!!! I tried to take as many shots as possible to try to capture the finest reflection of this high-end paint but keep in mind that it�s a silver and I think the reflection is exceptional for such a light colored paint.


Leave a comment: