


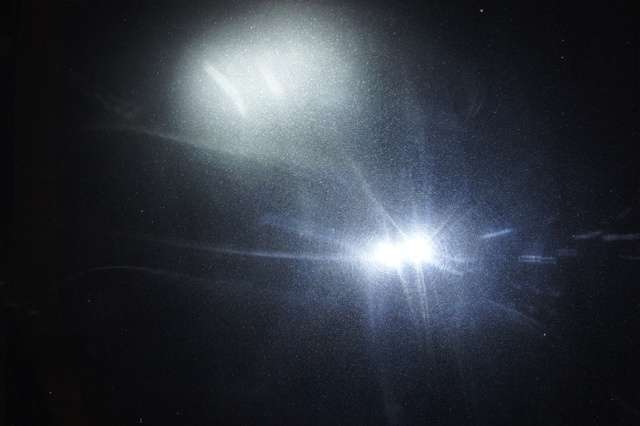
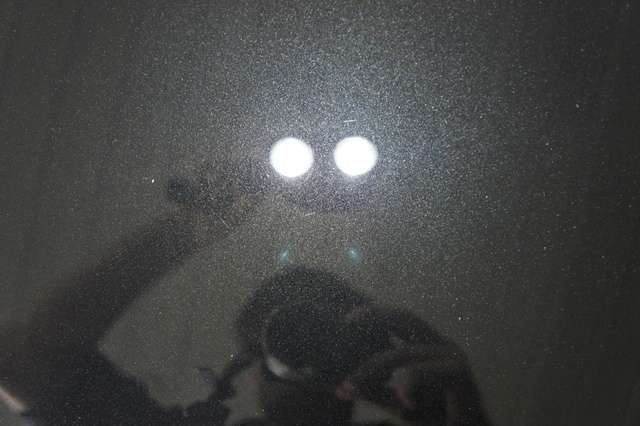
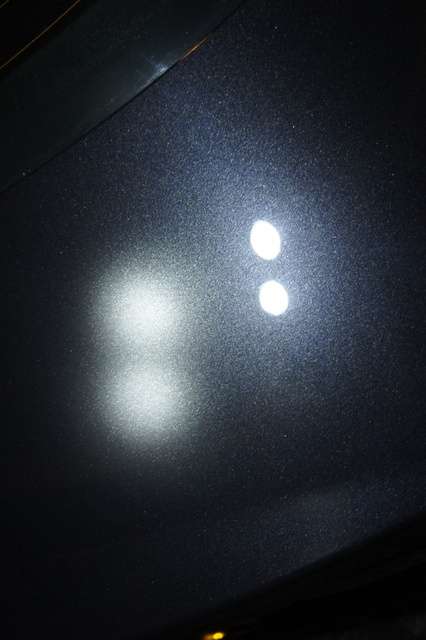
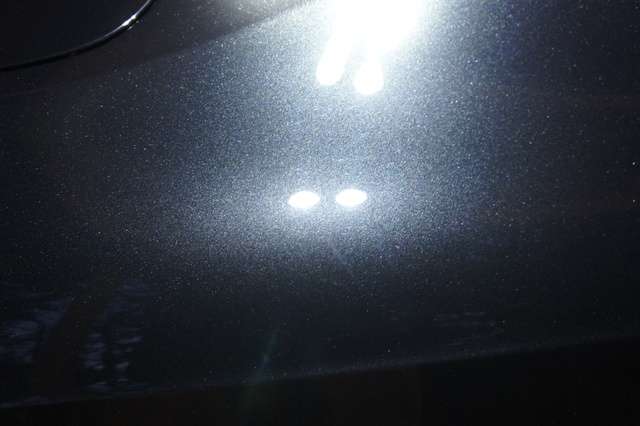
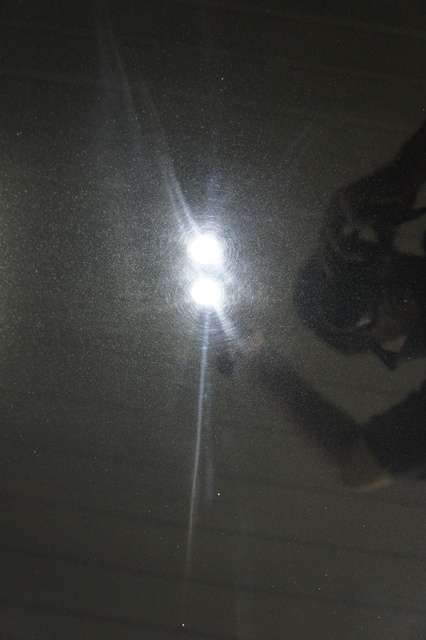
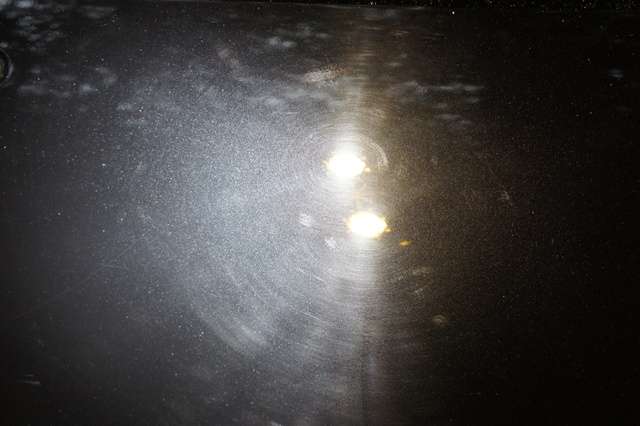
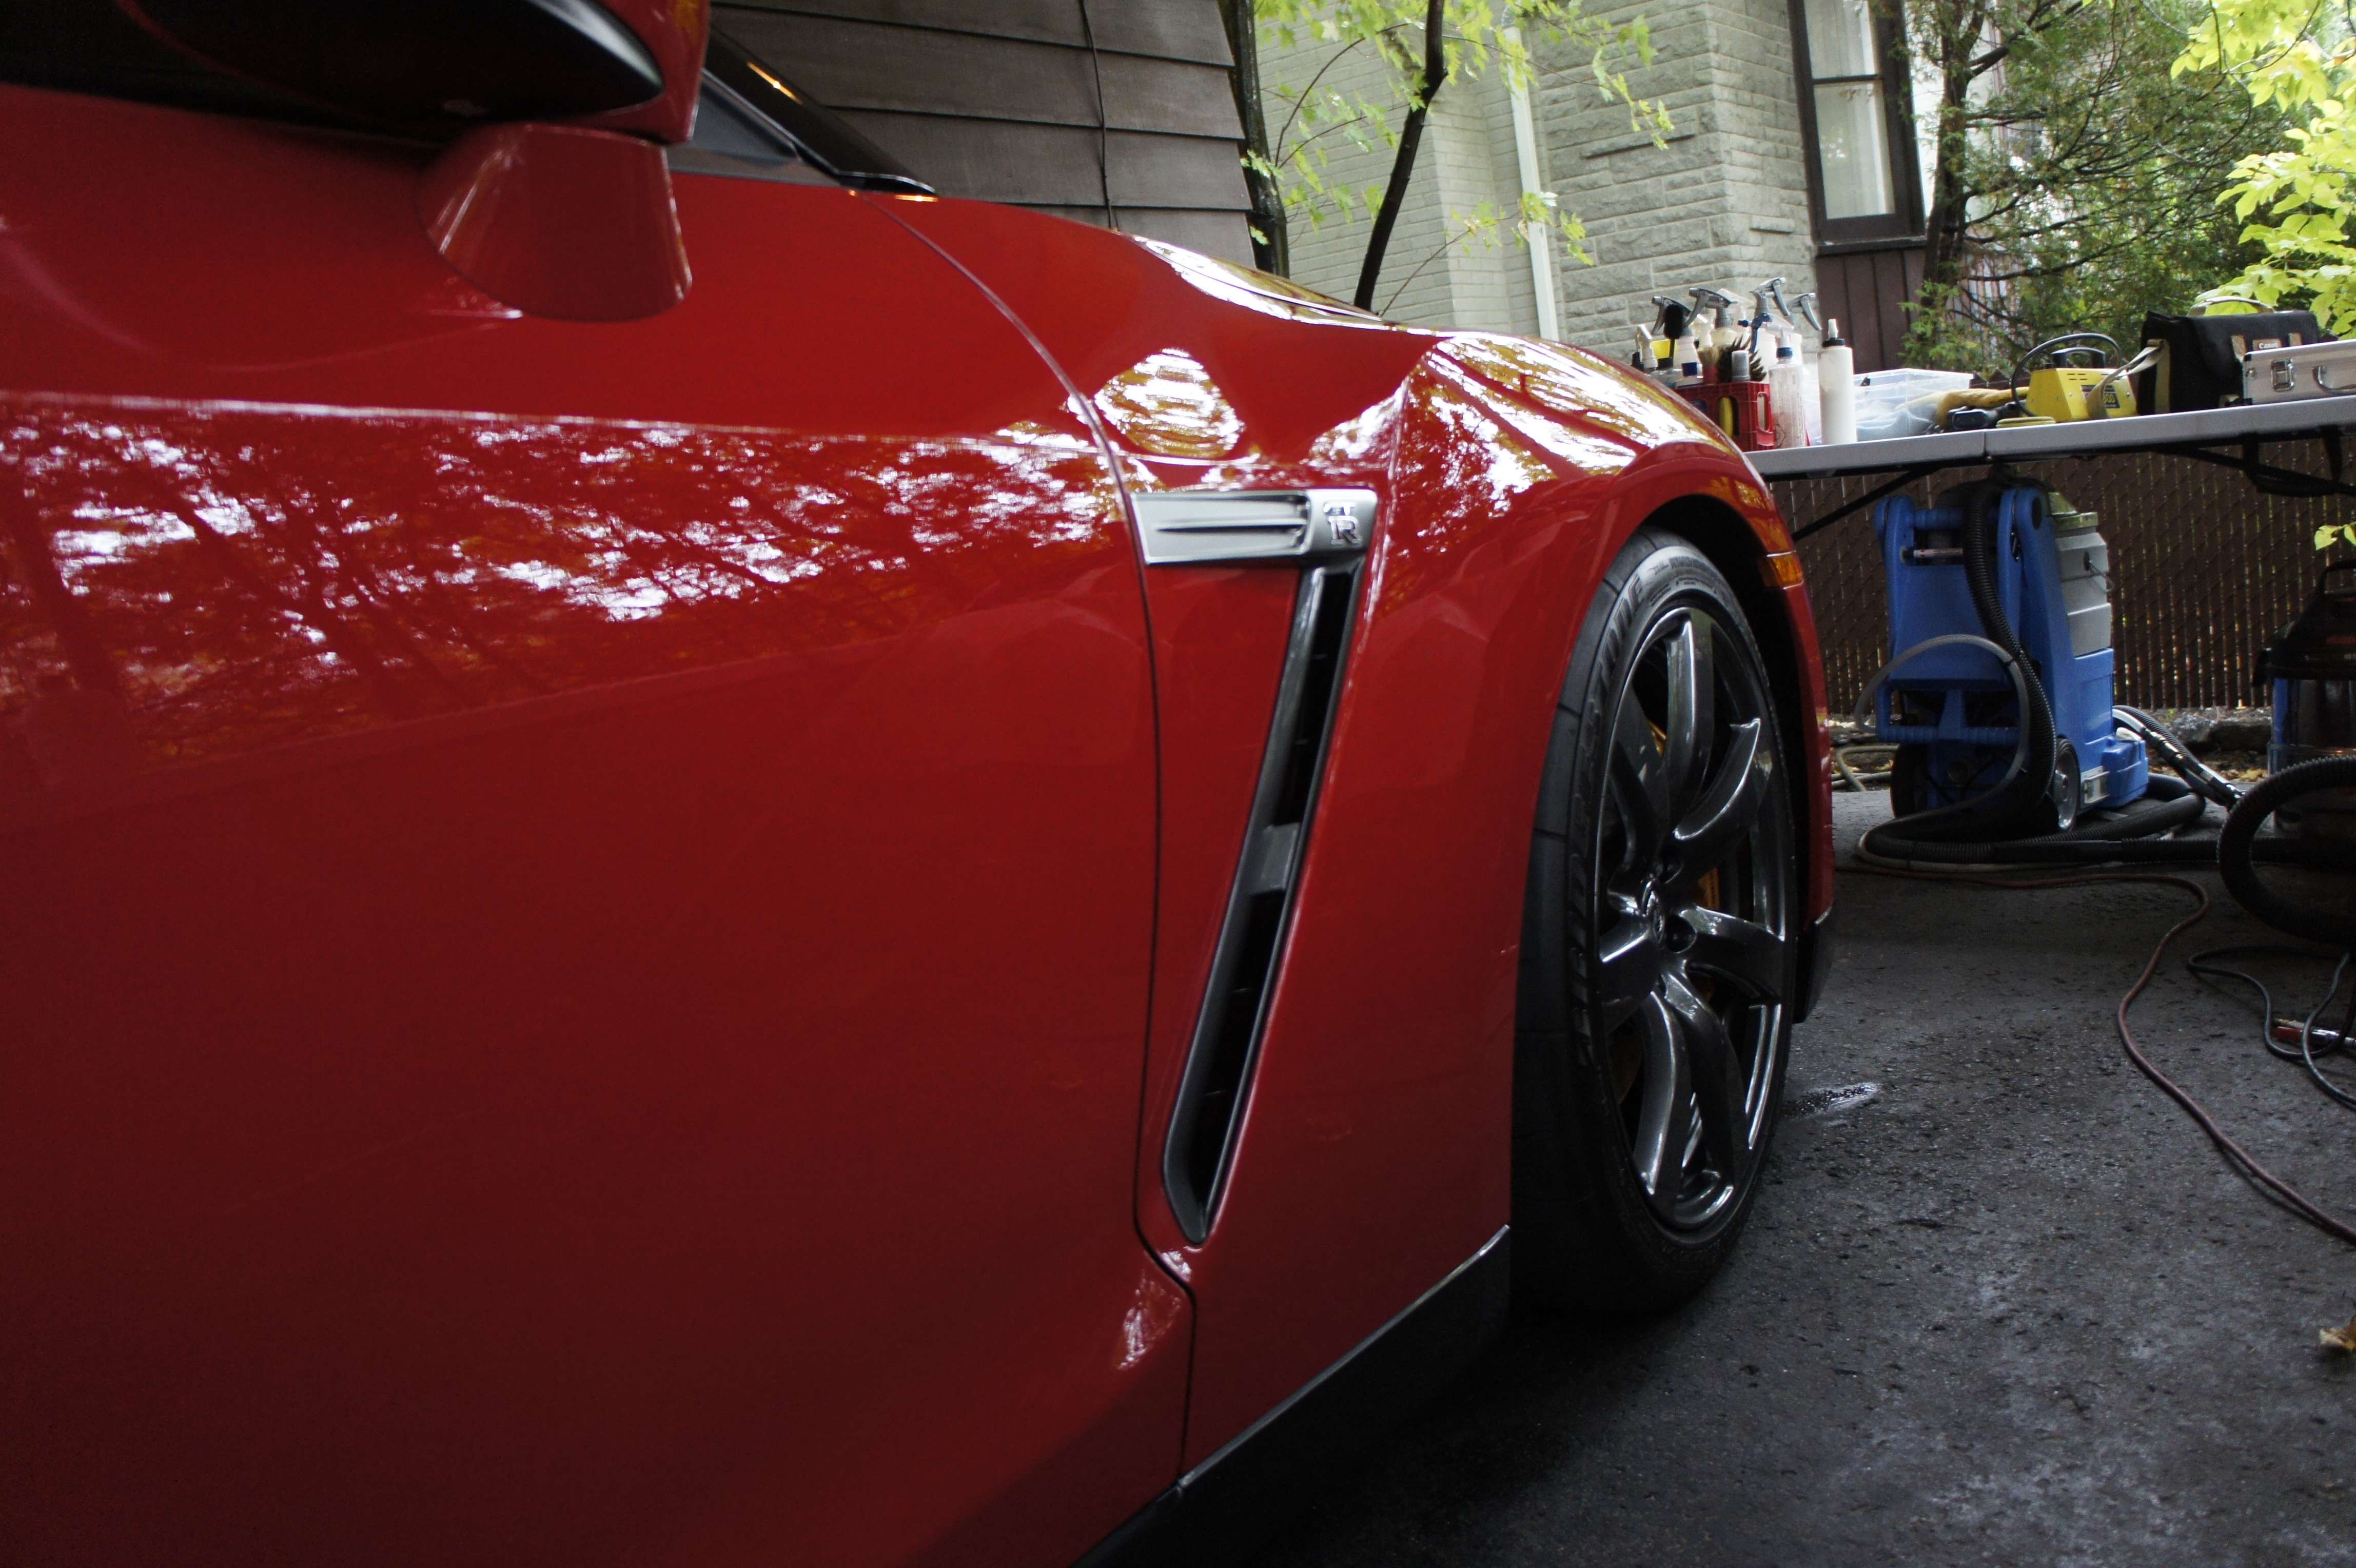
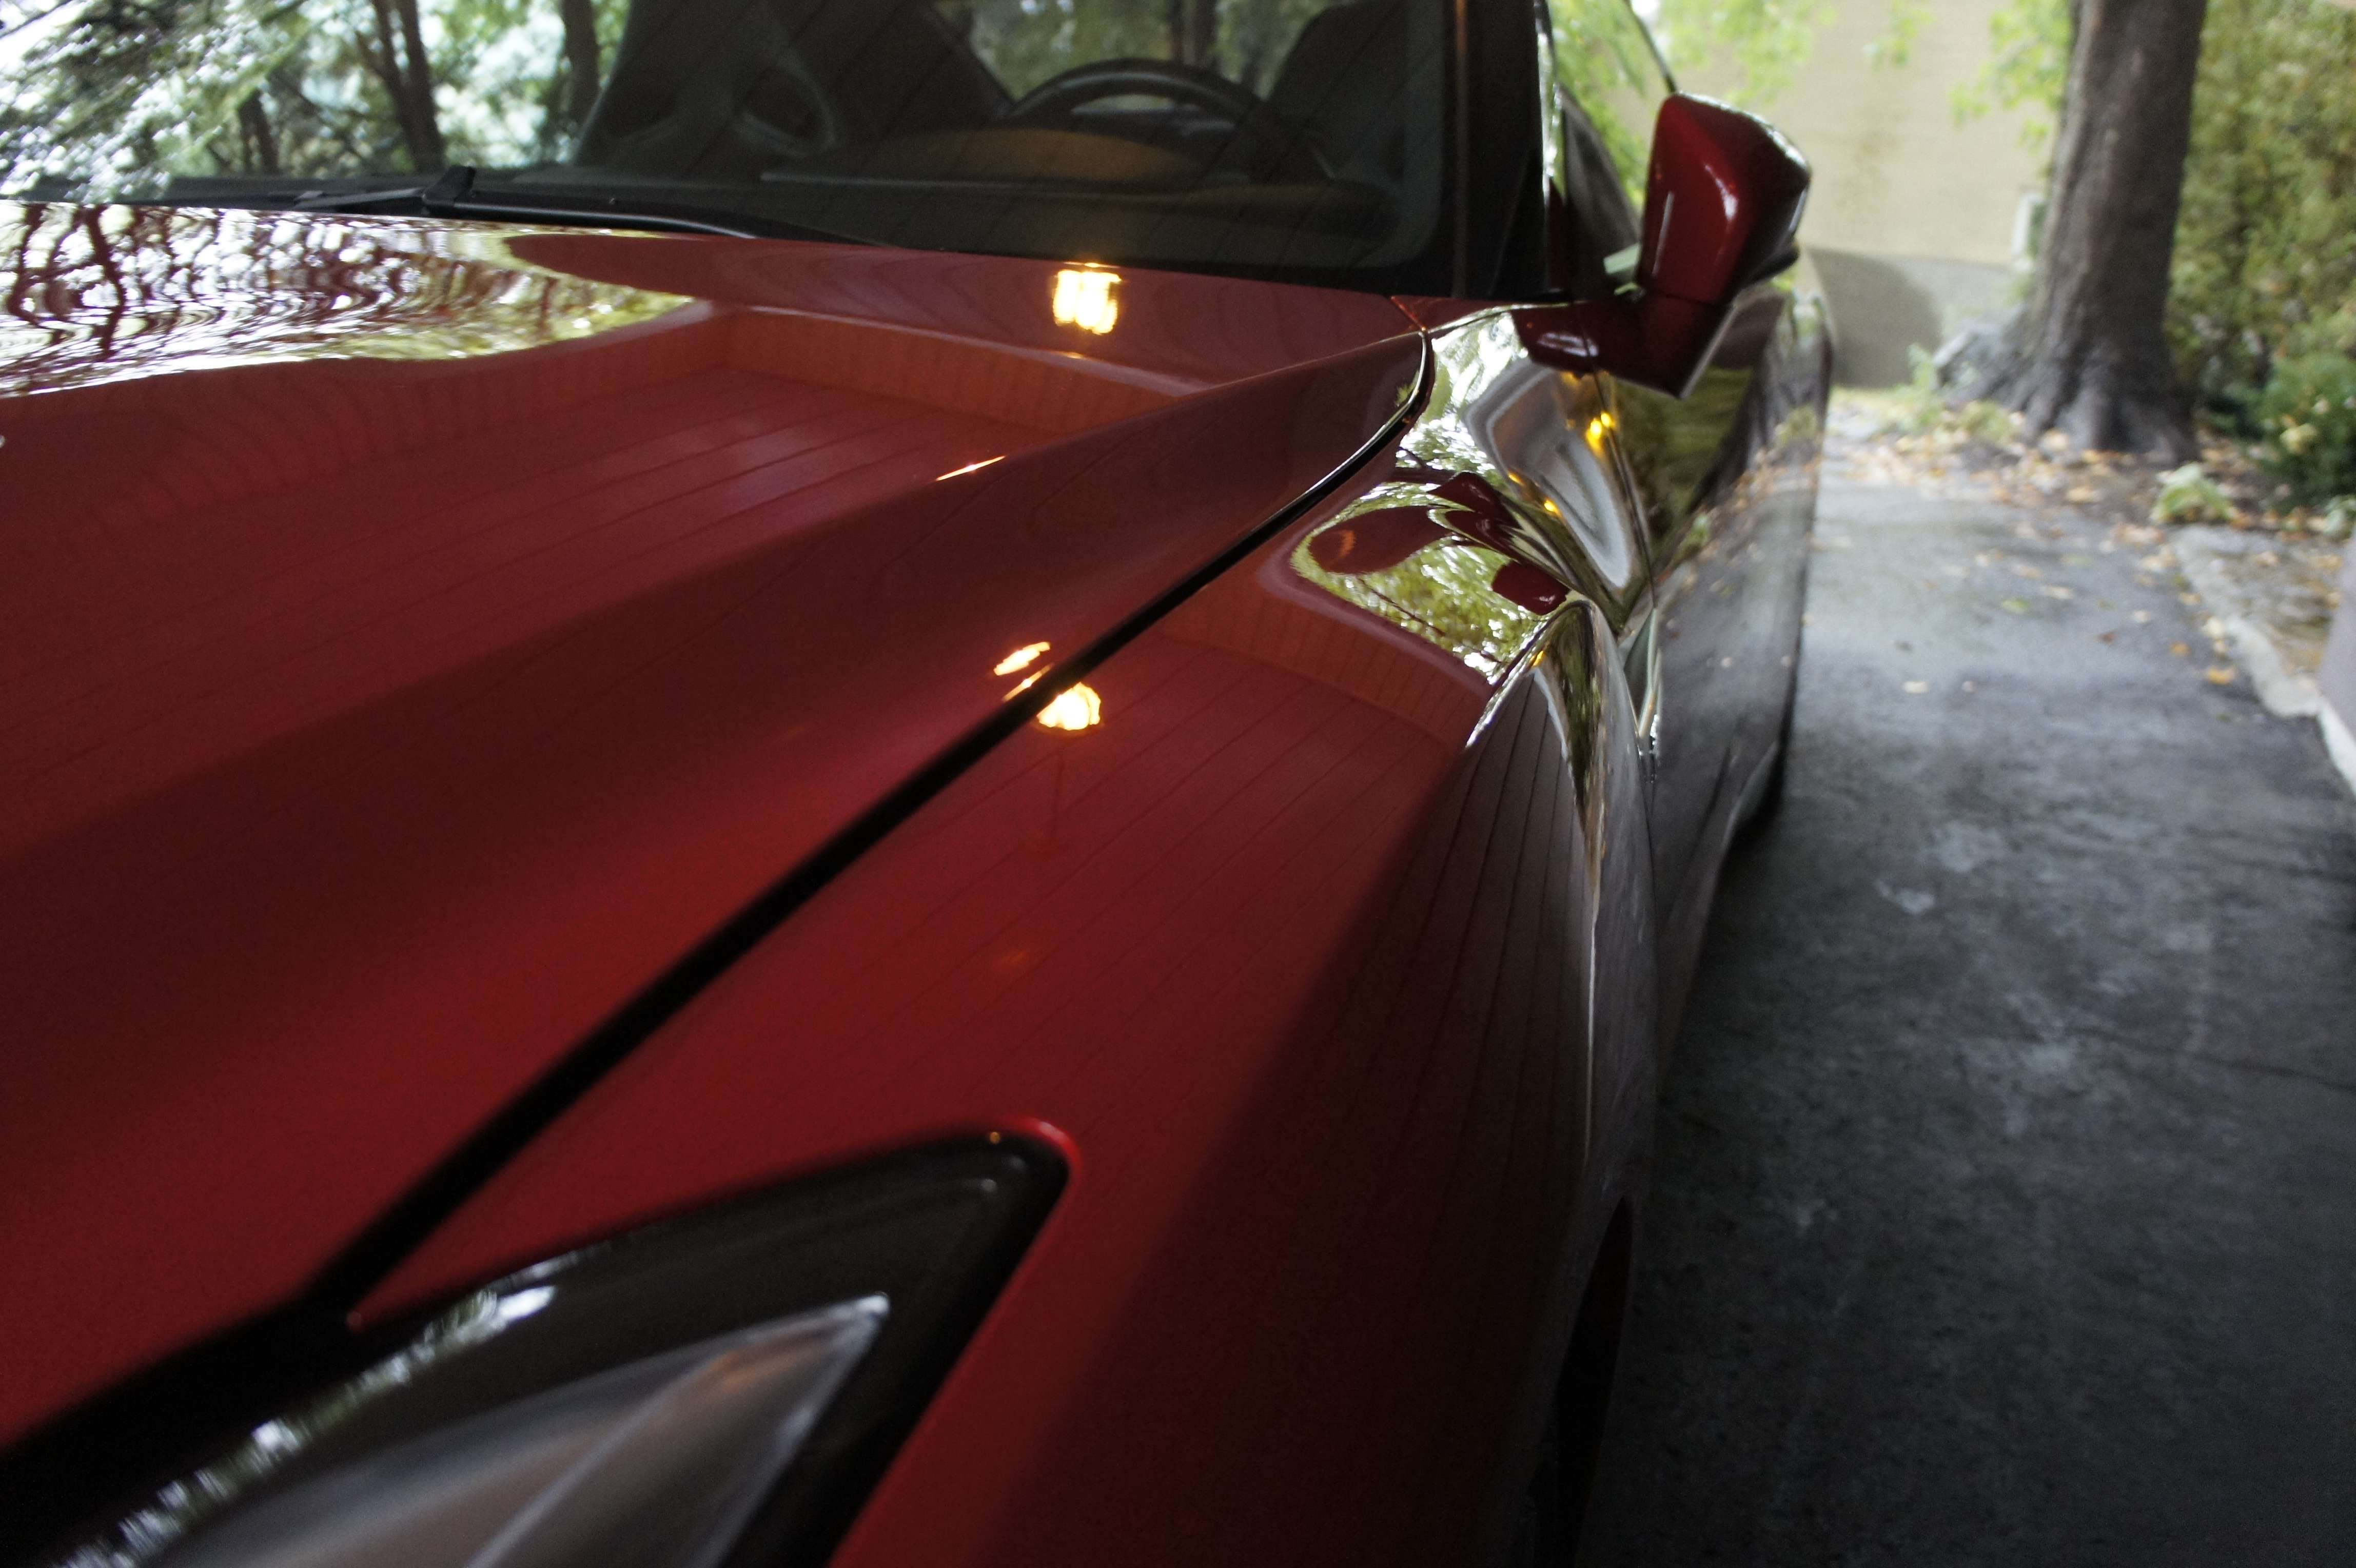
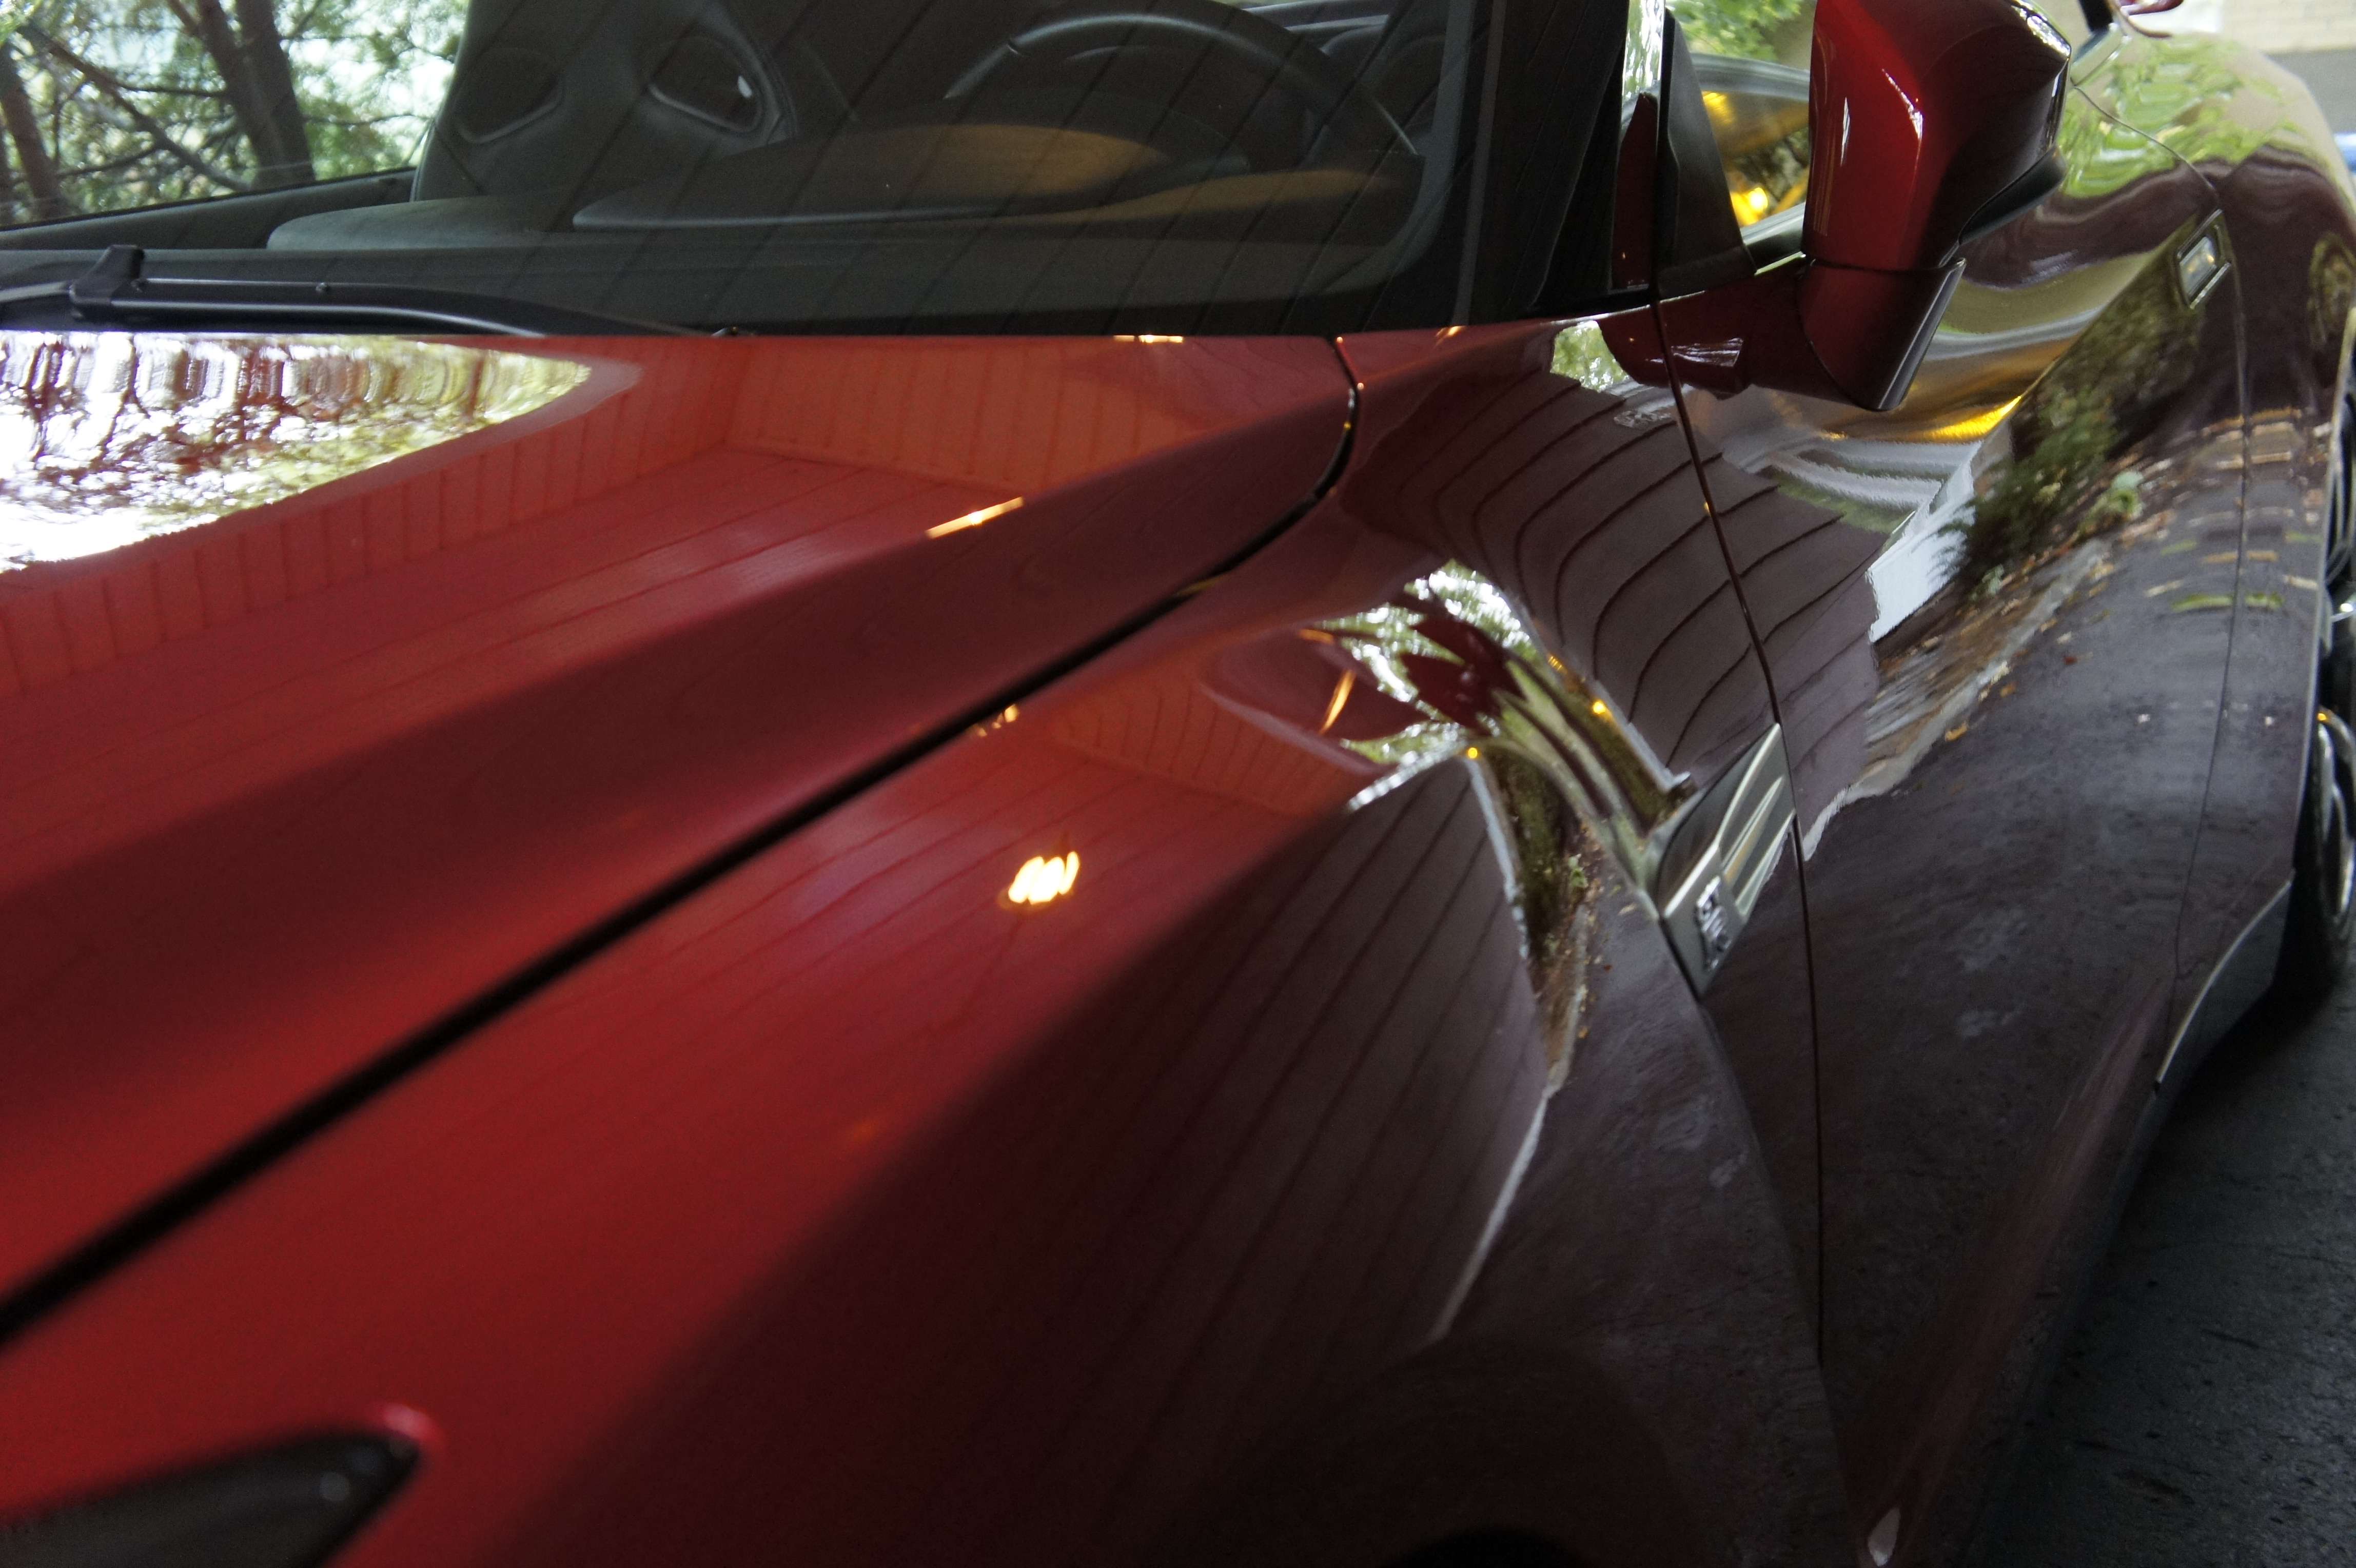
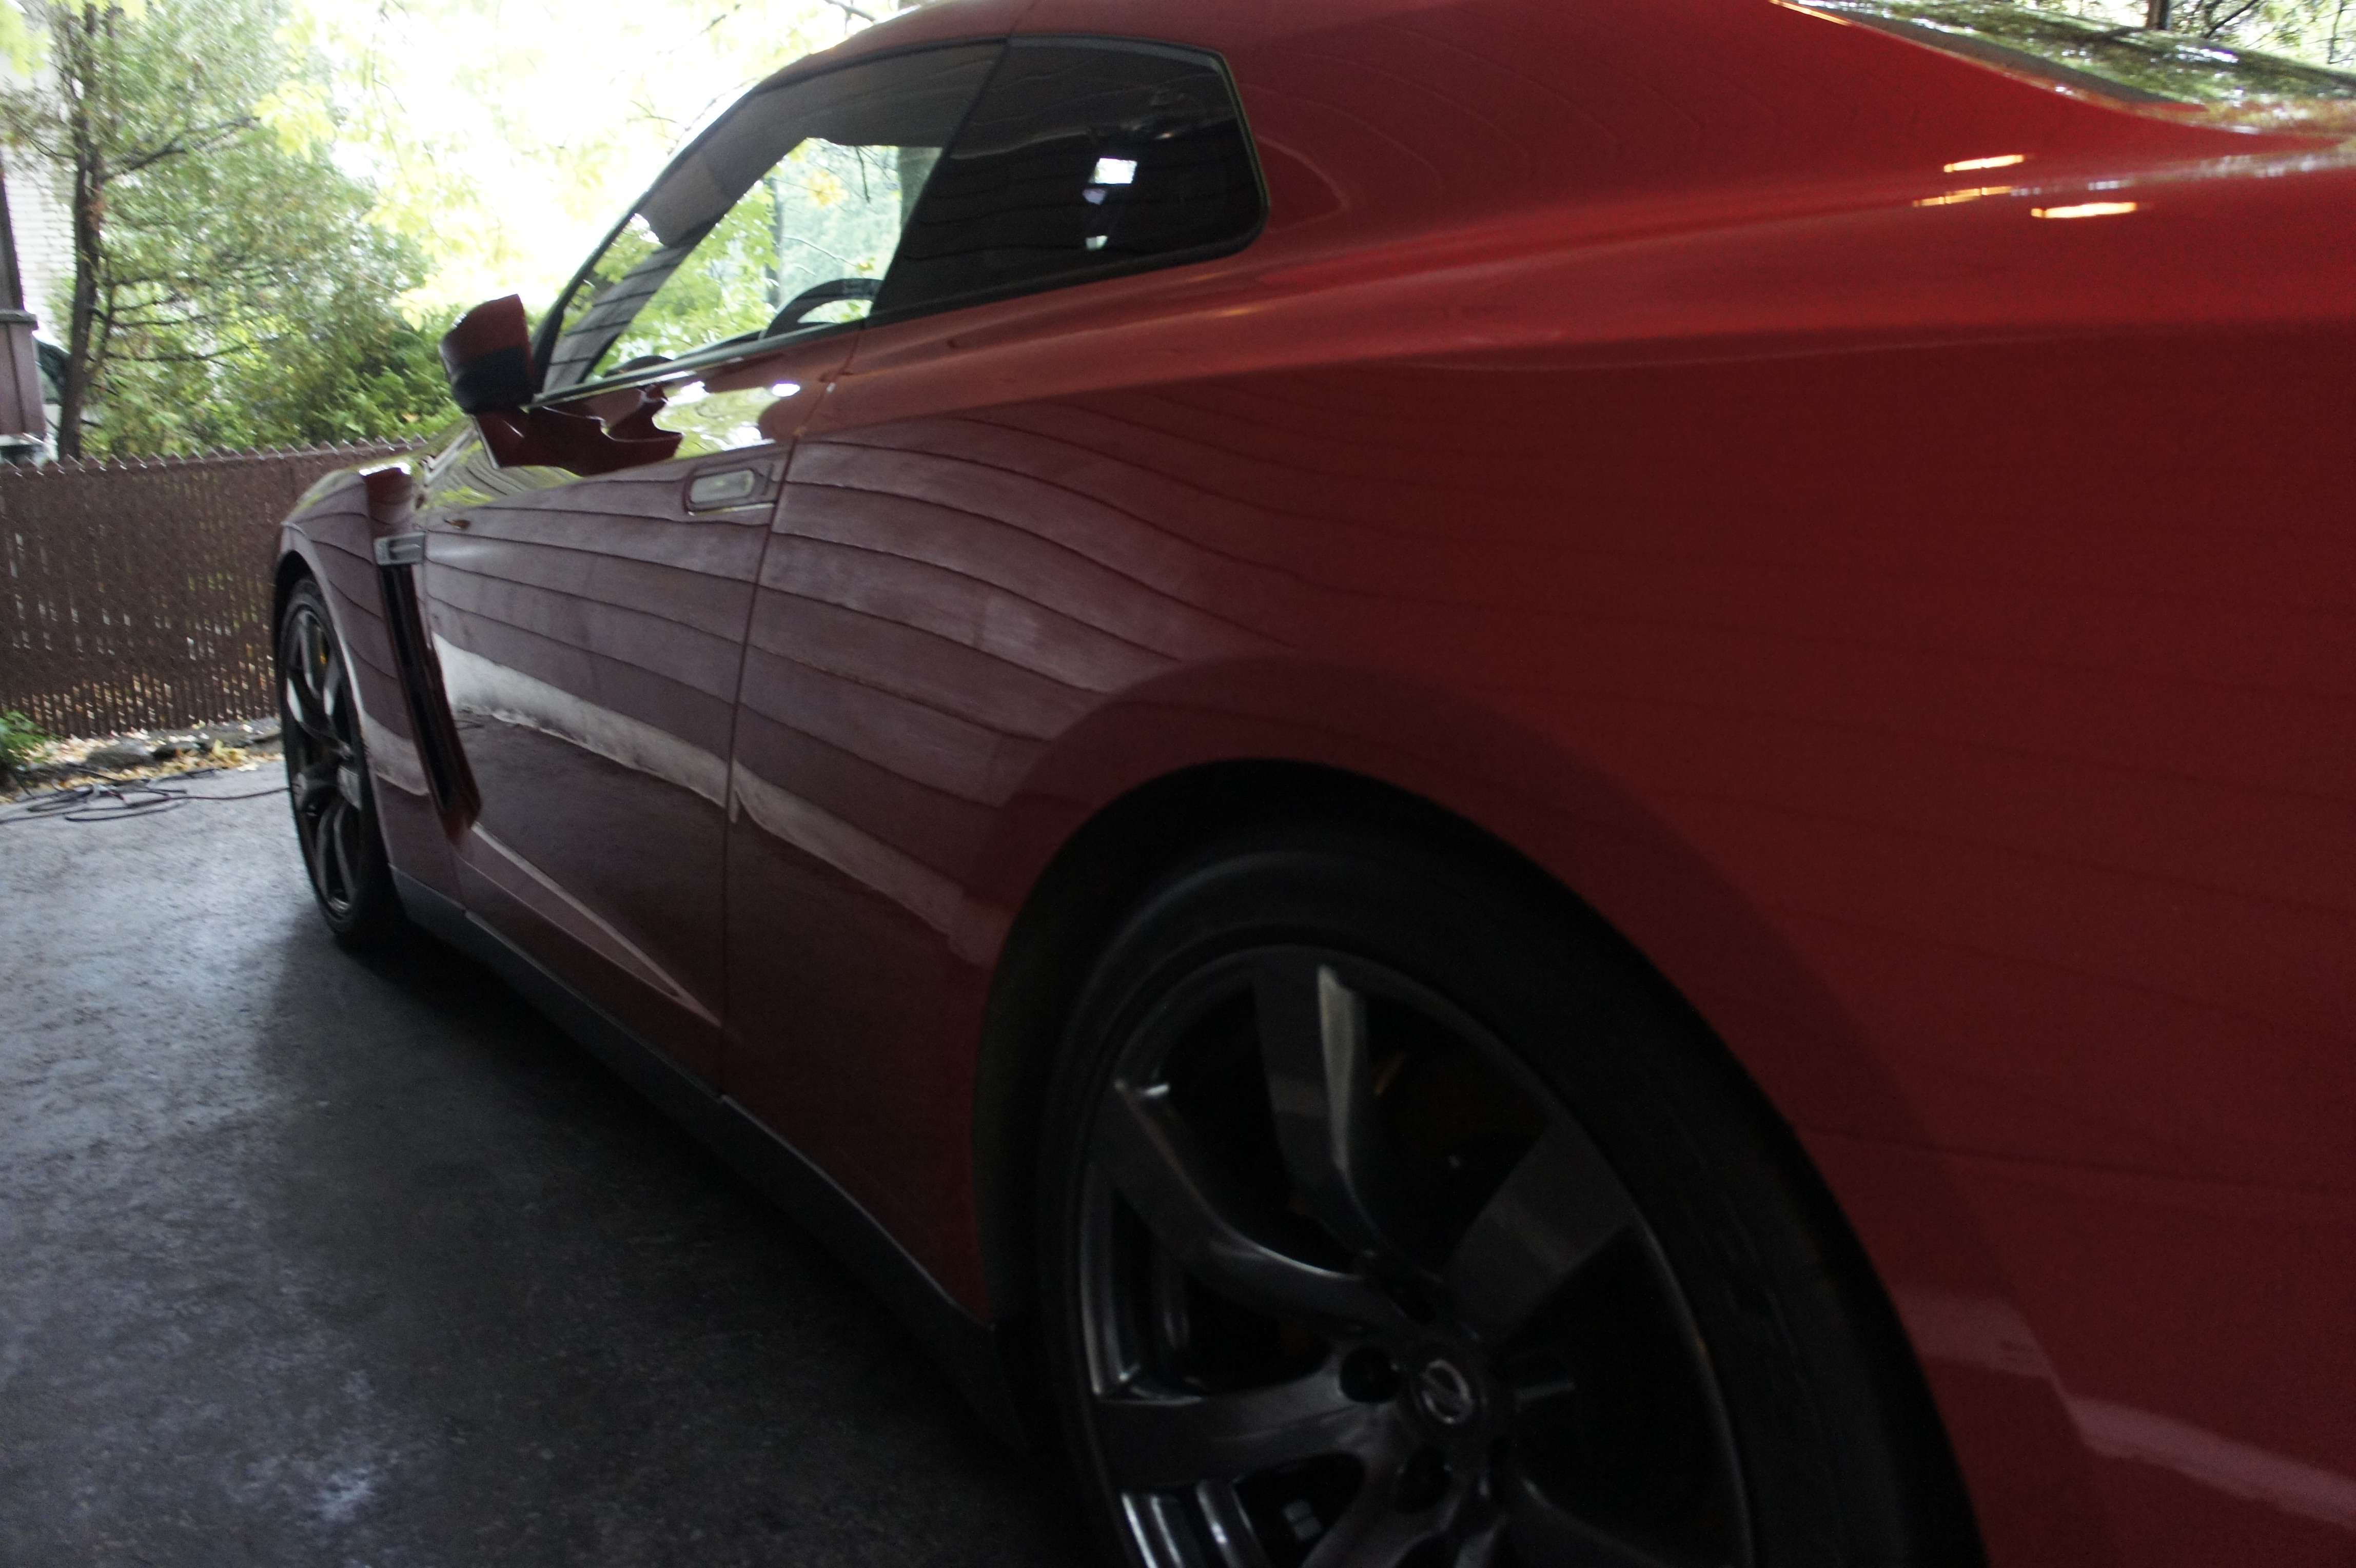
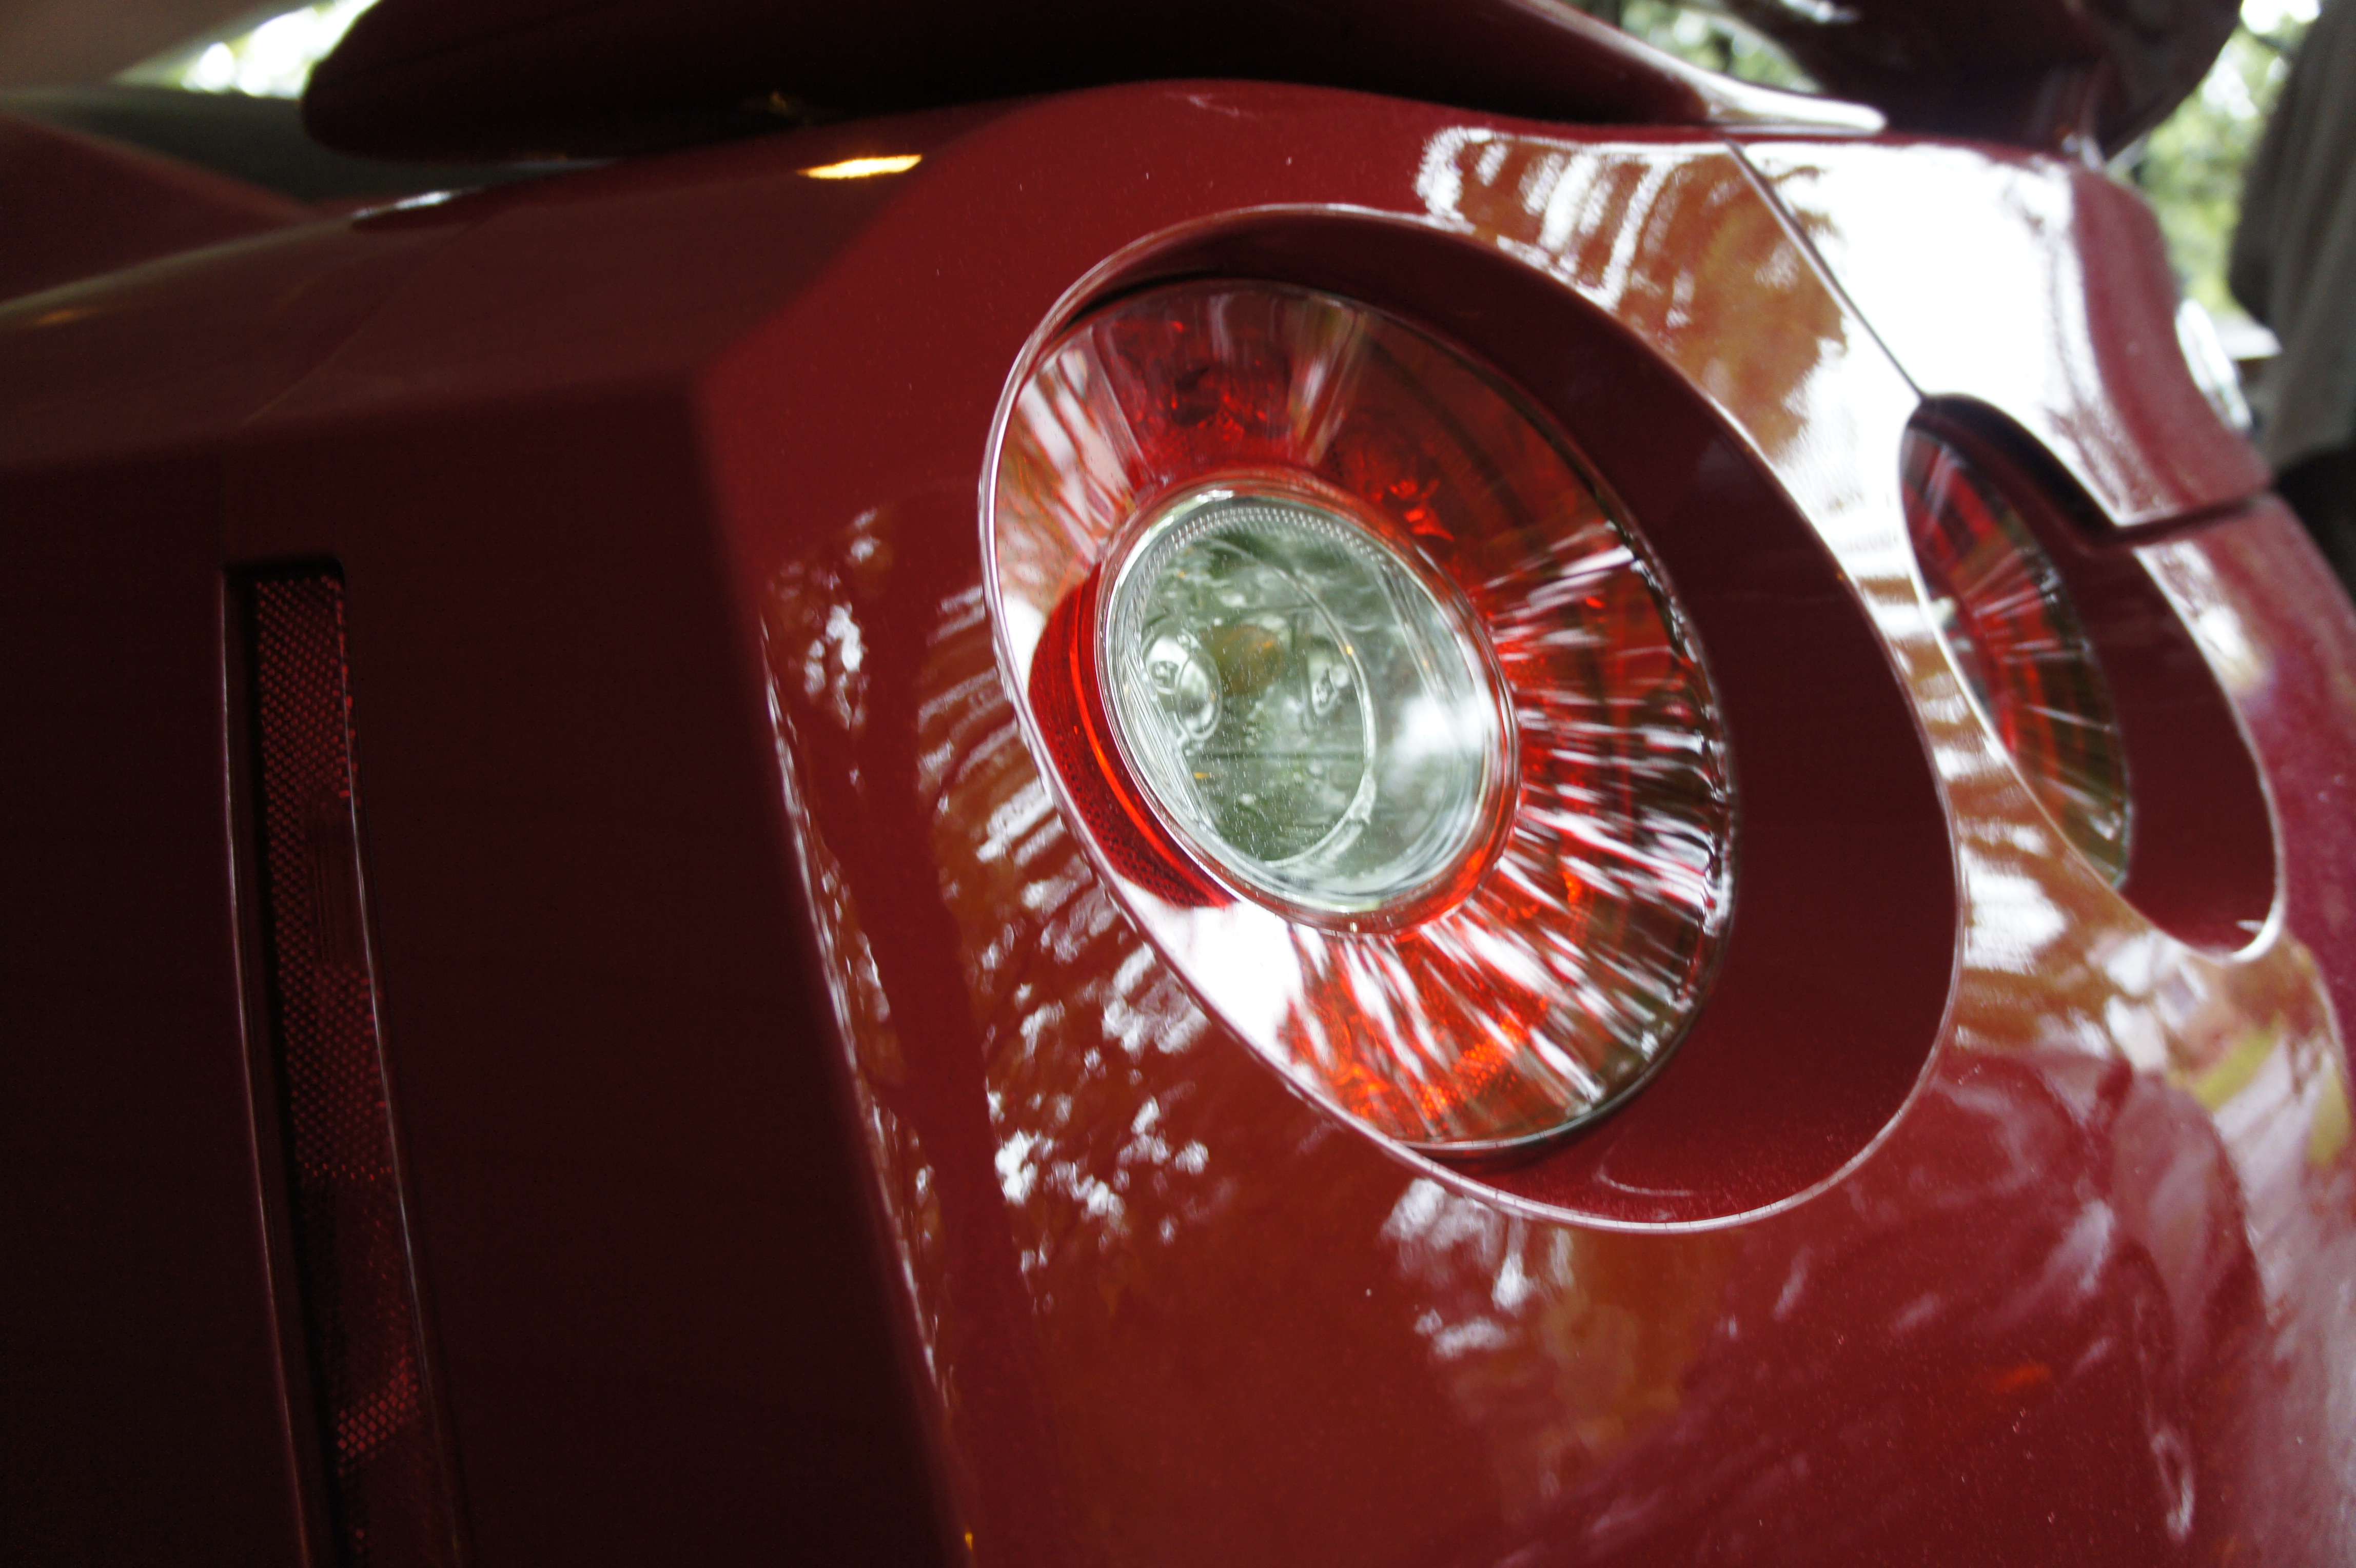
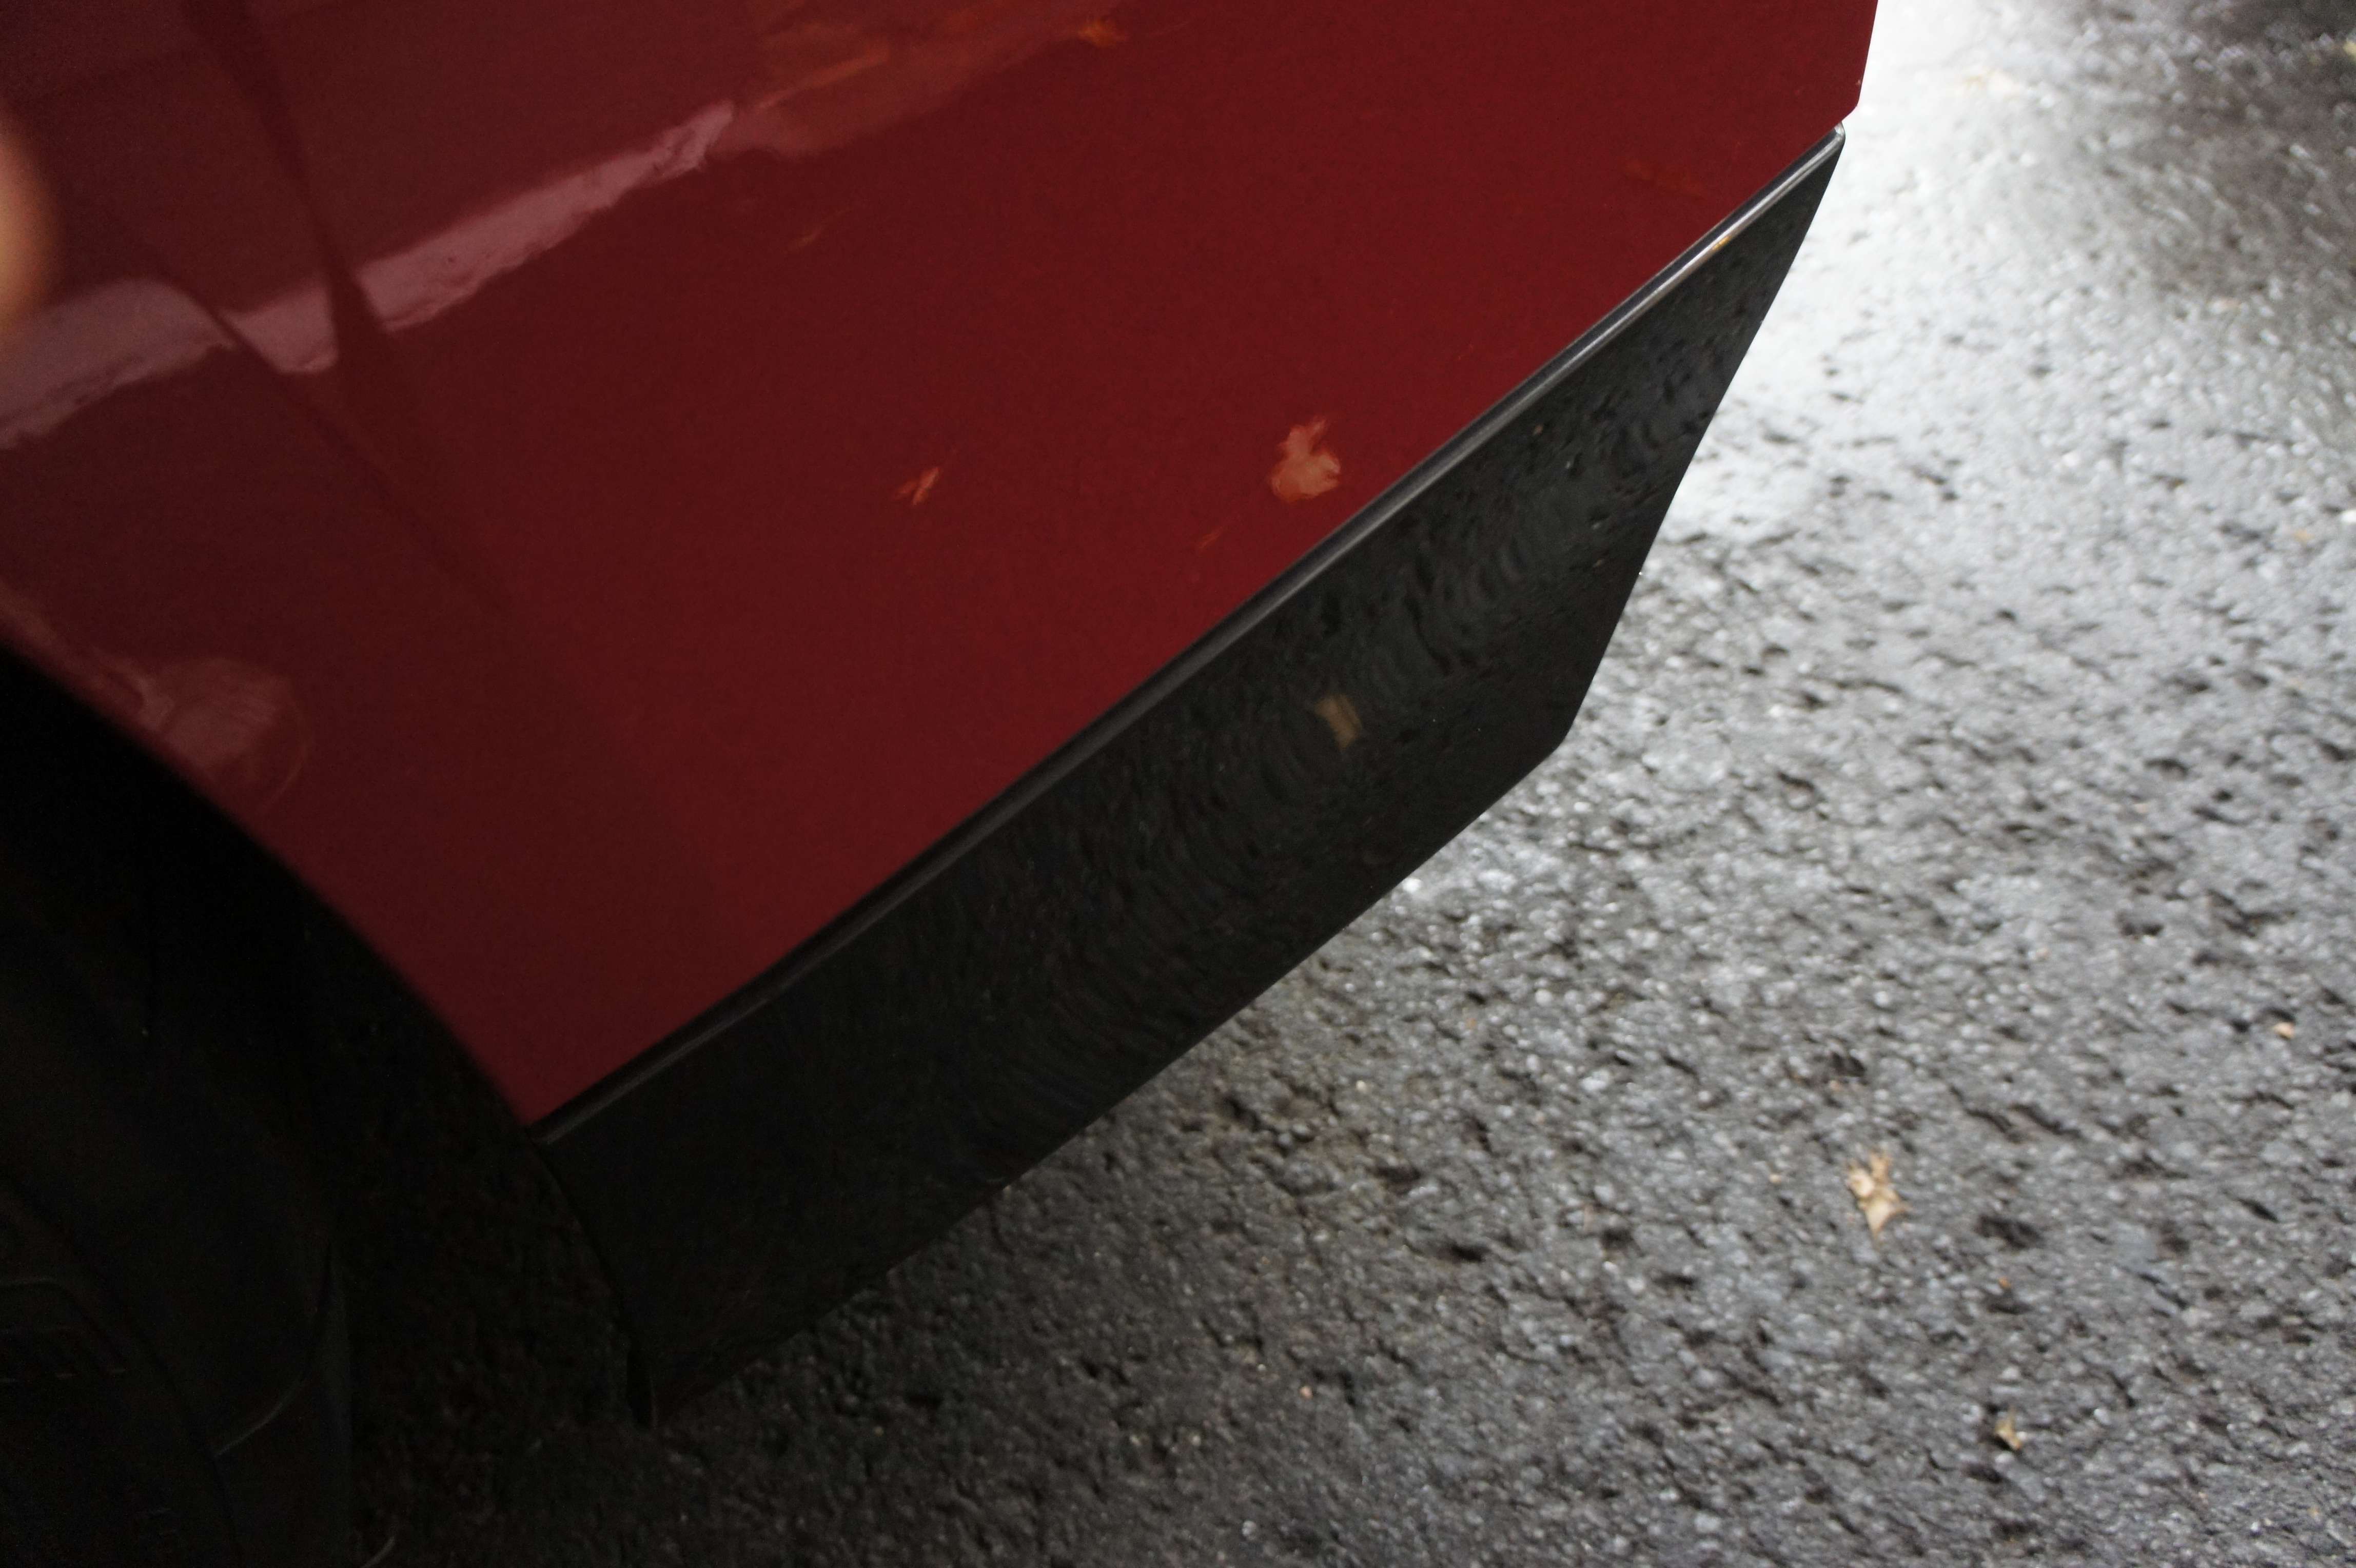
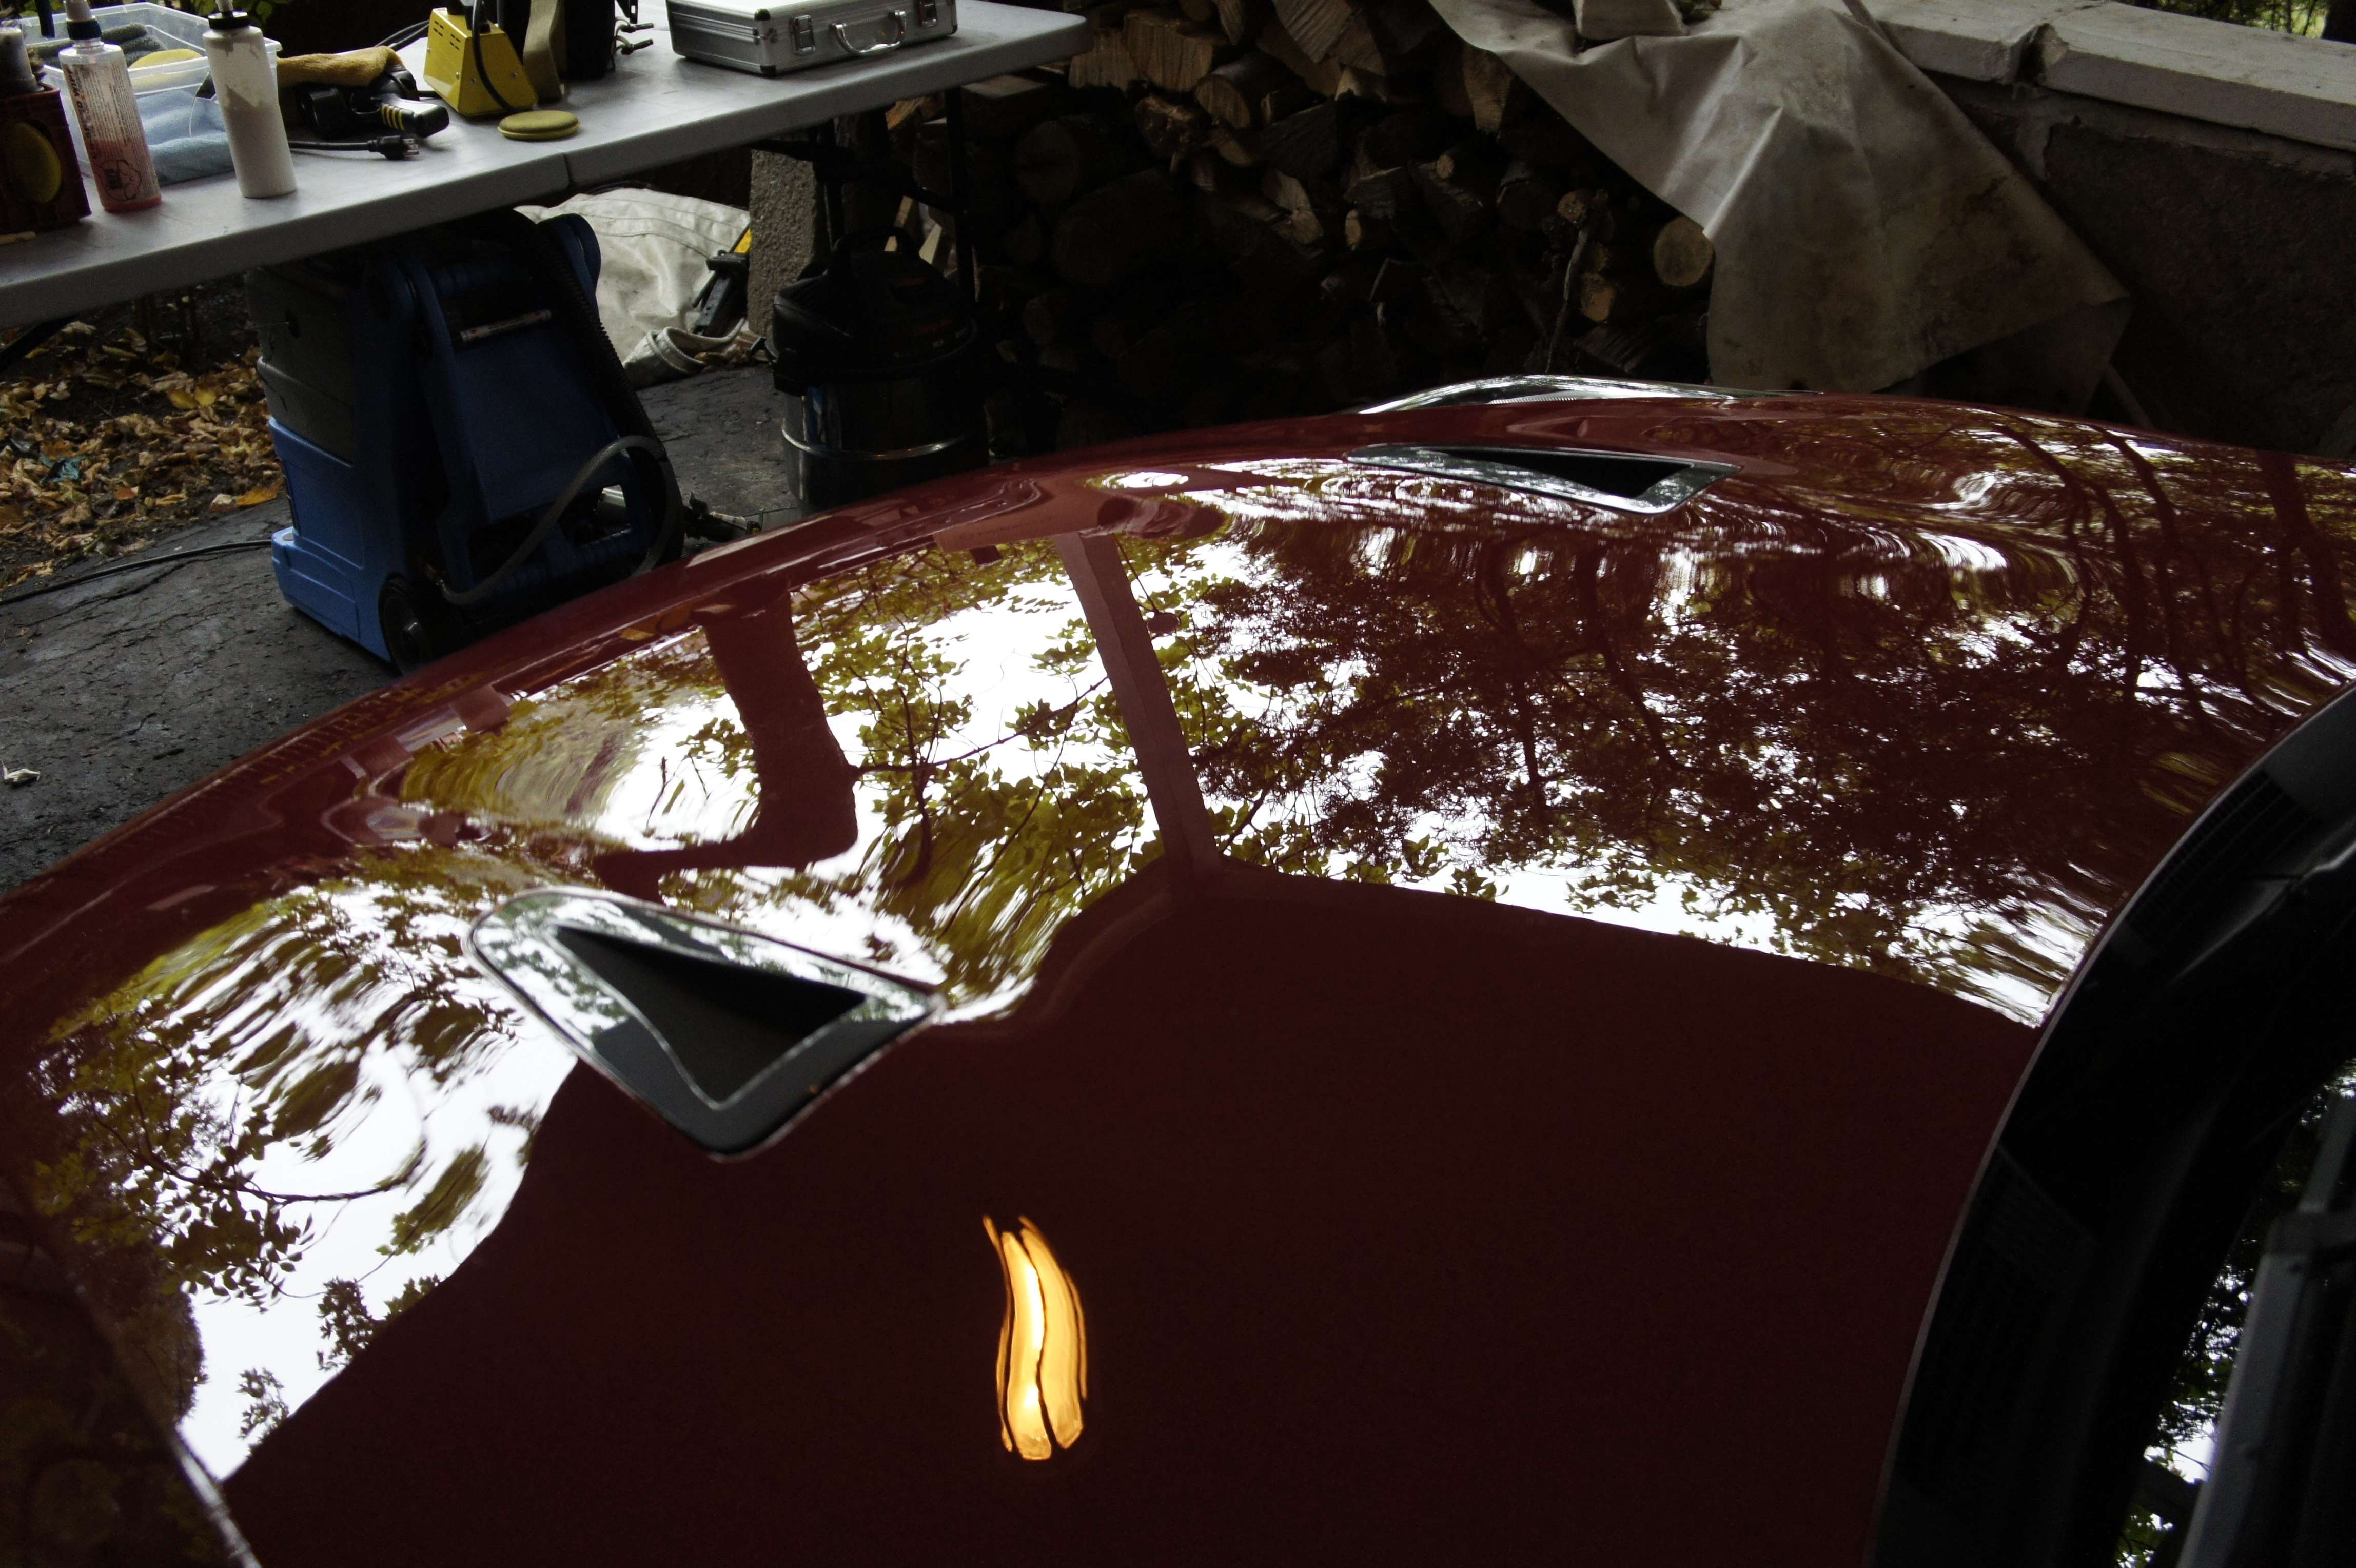
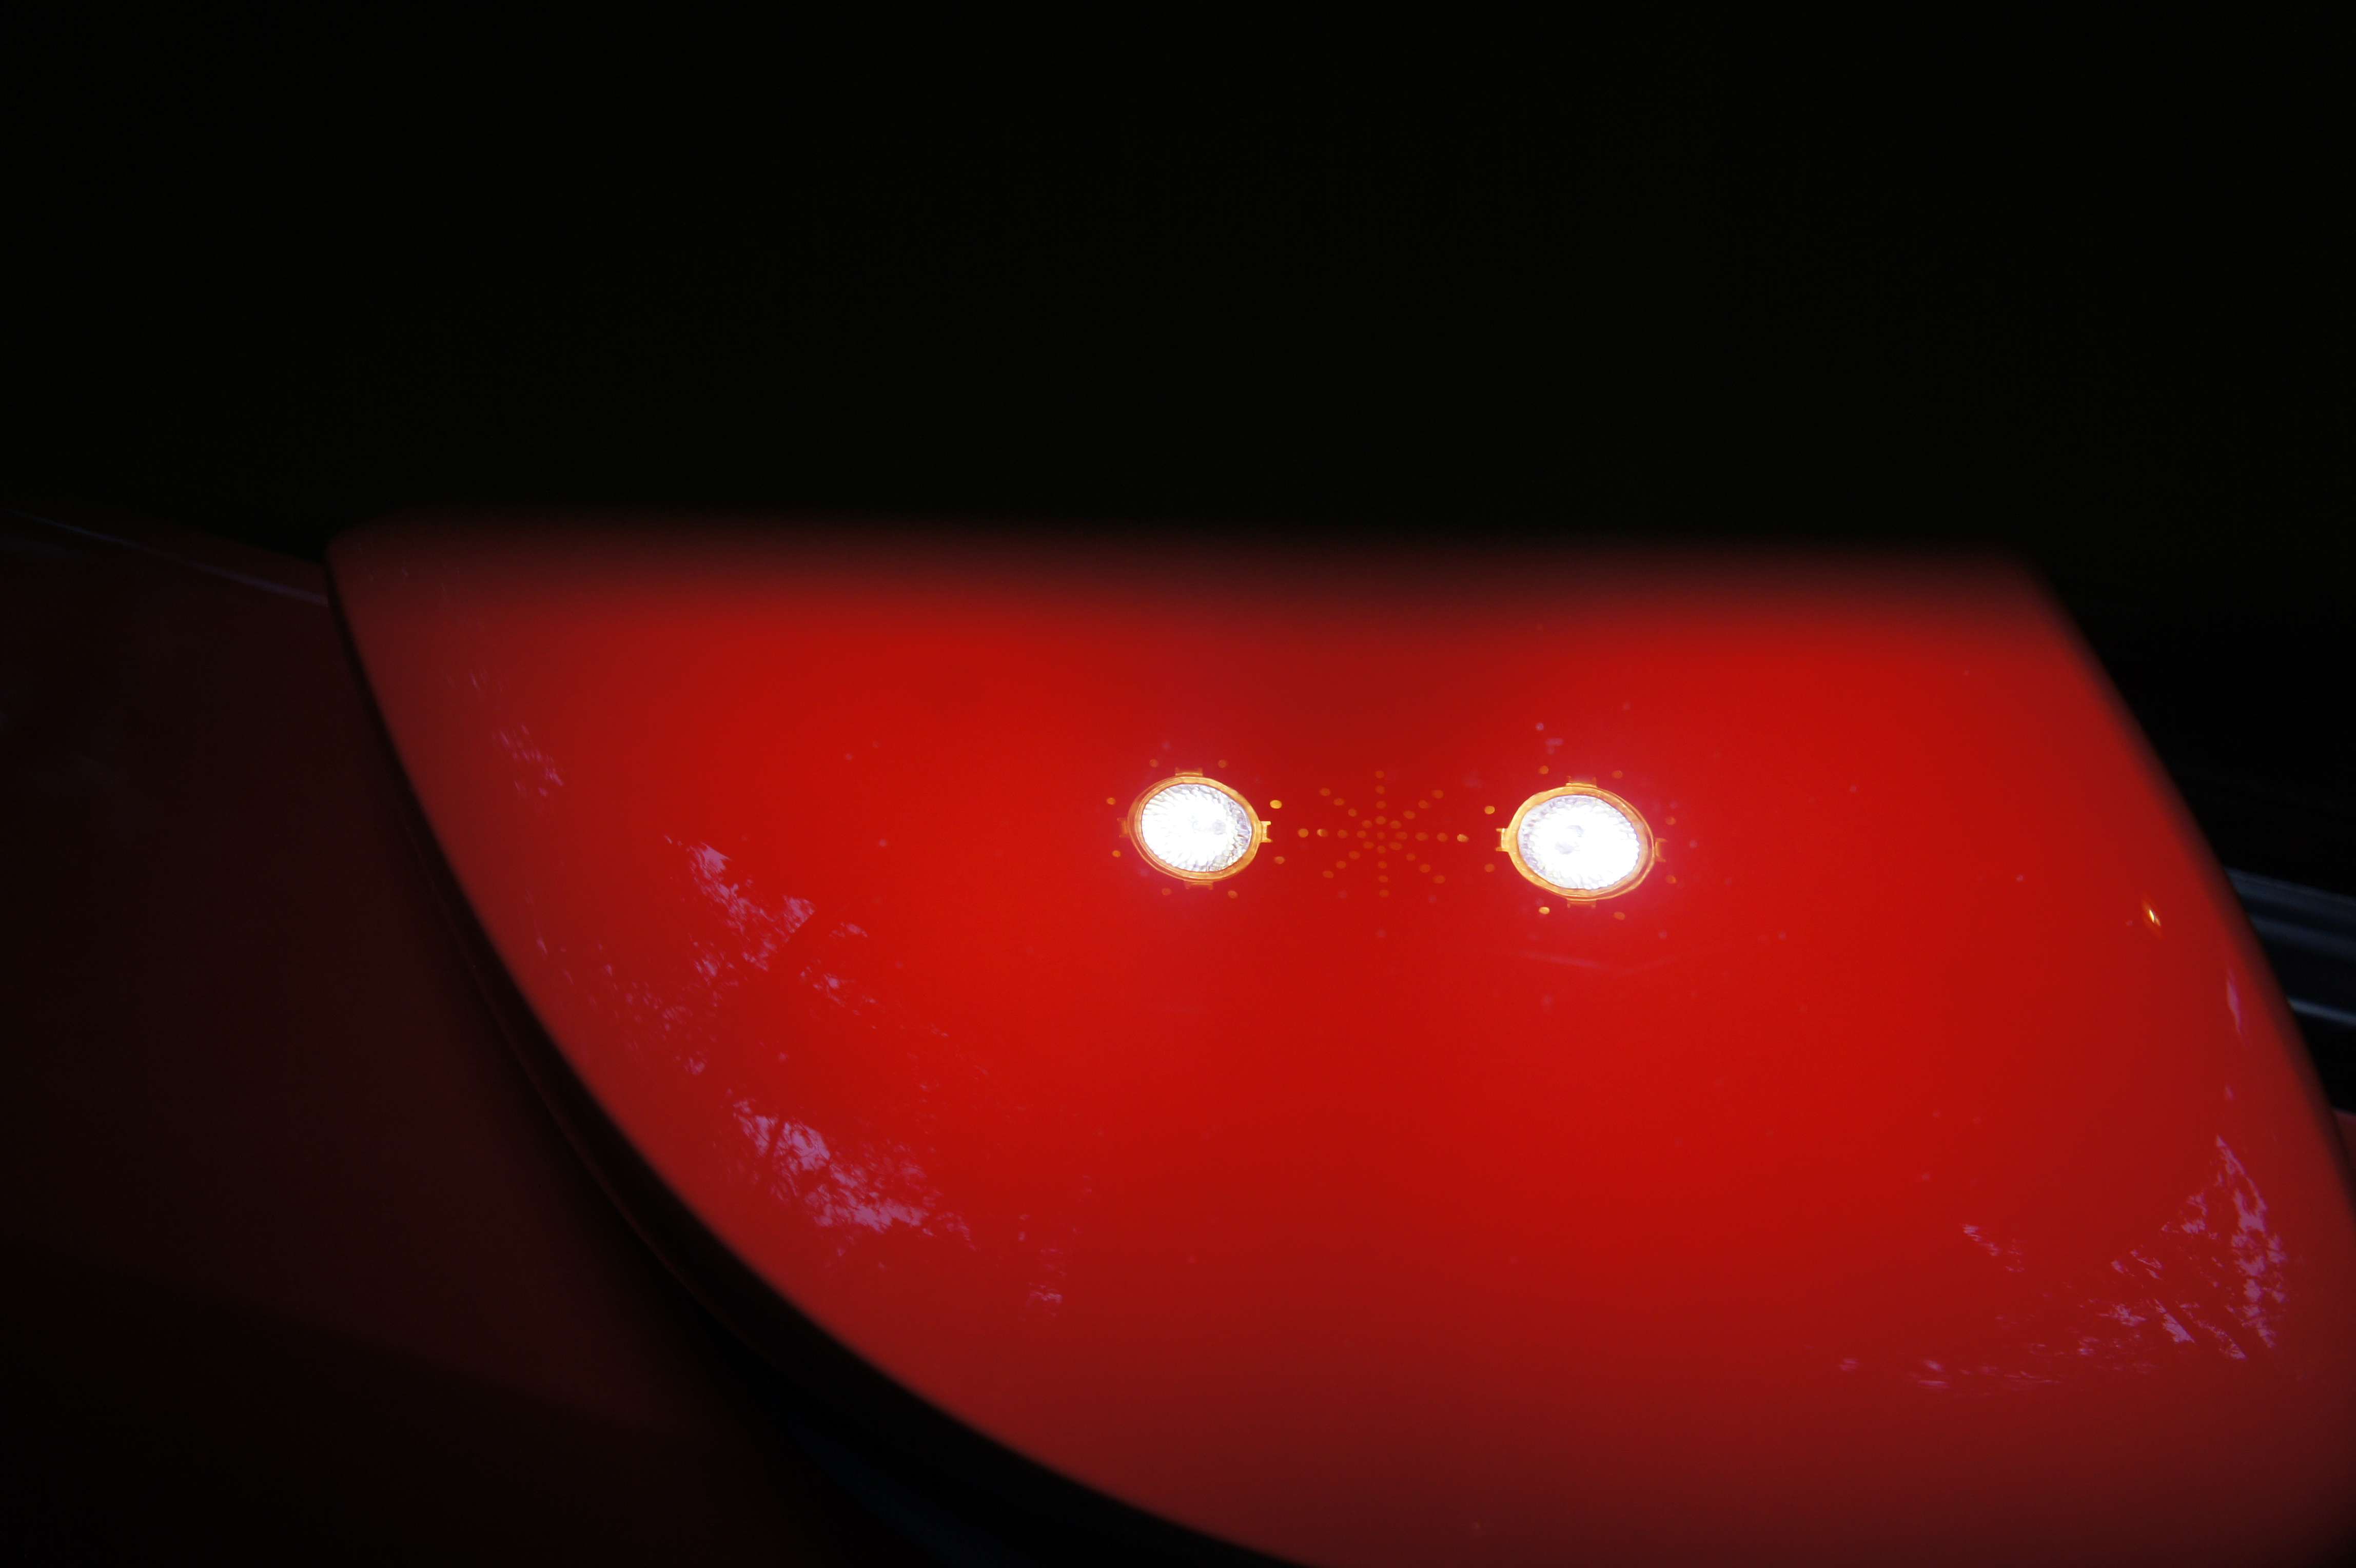
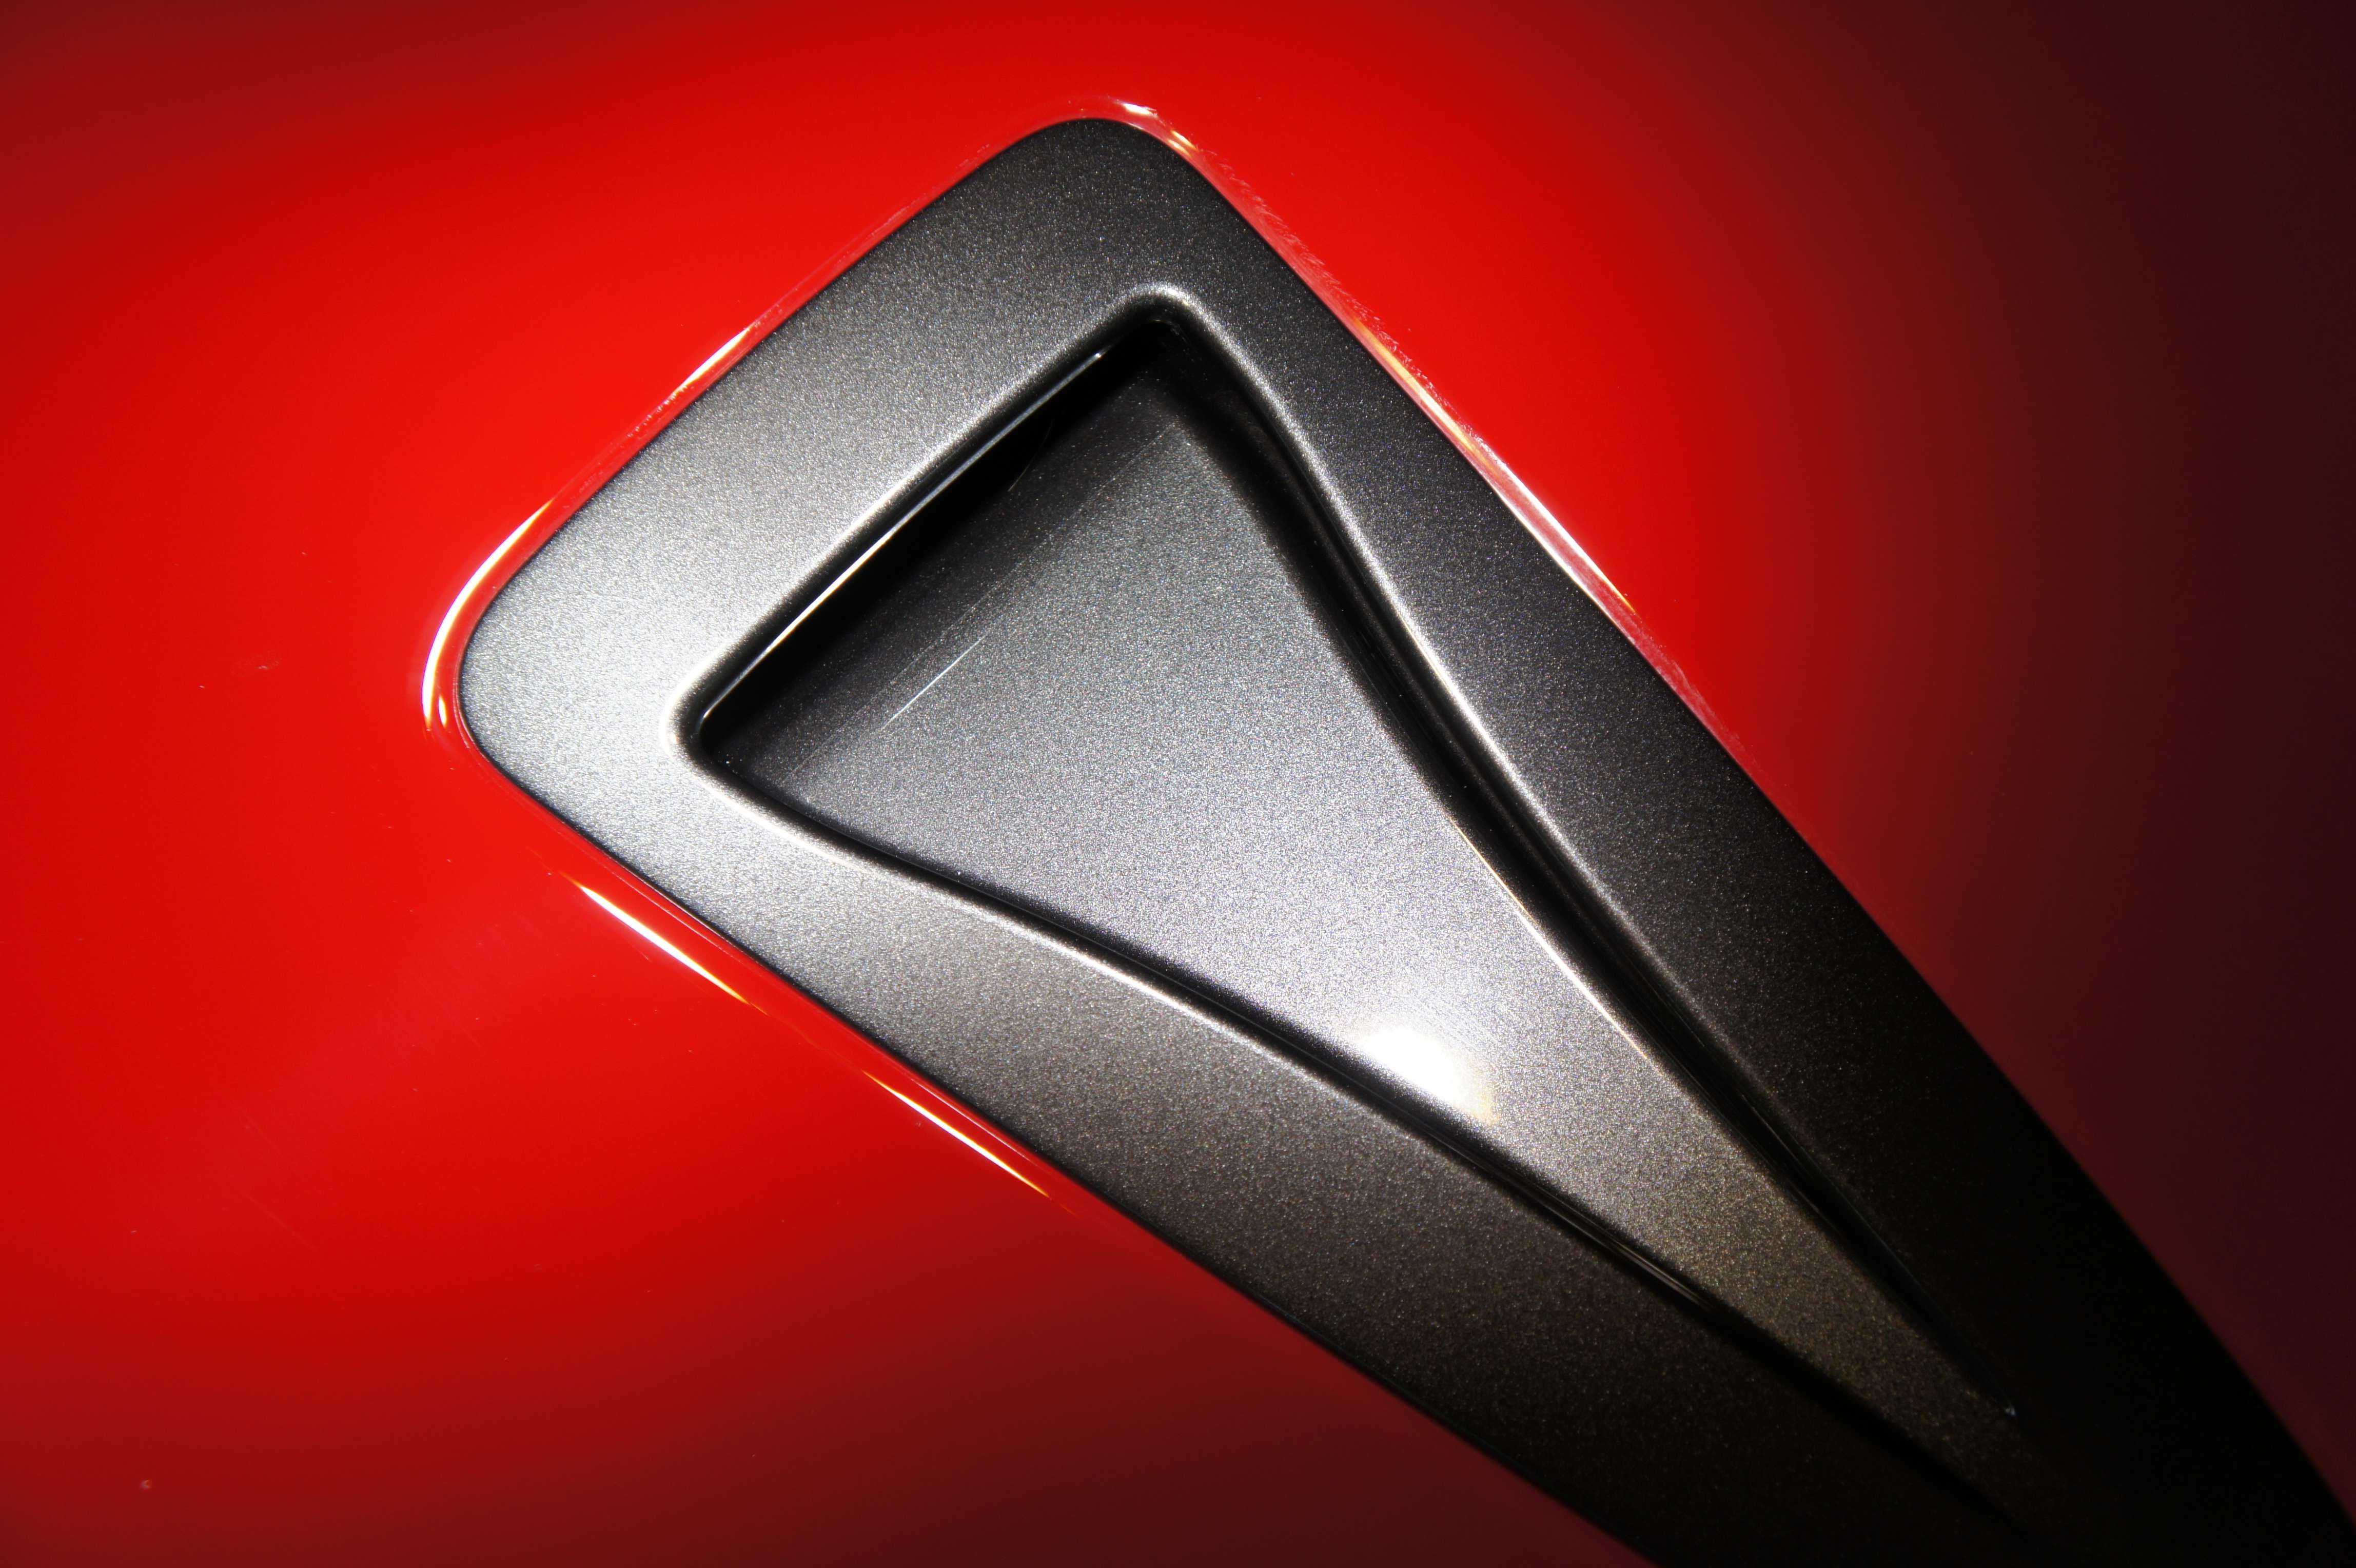
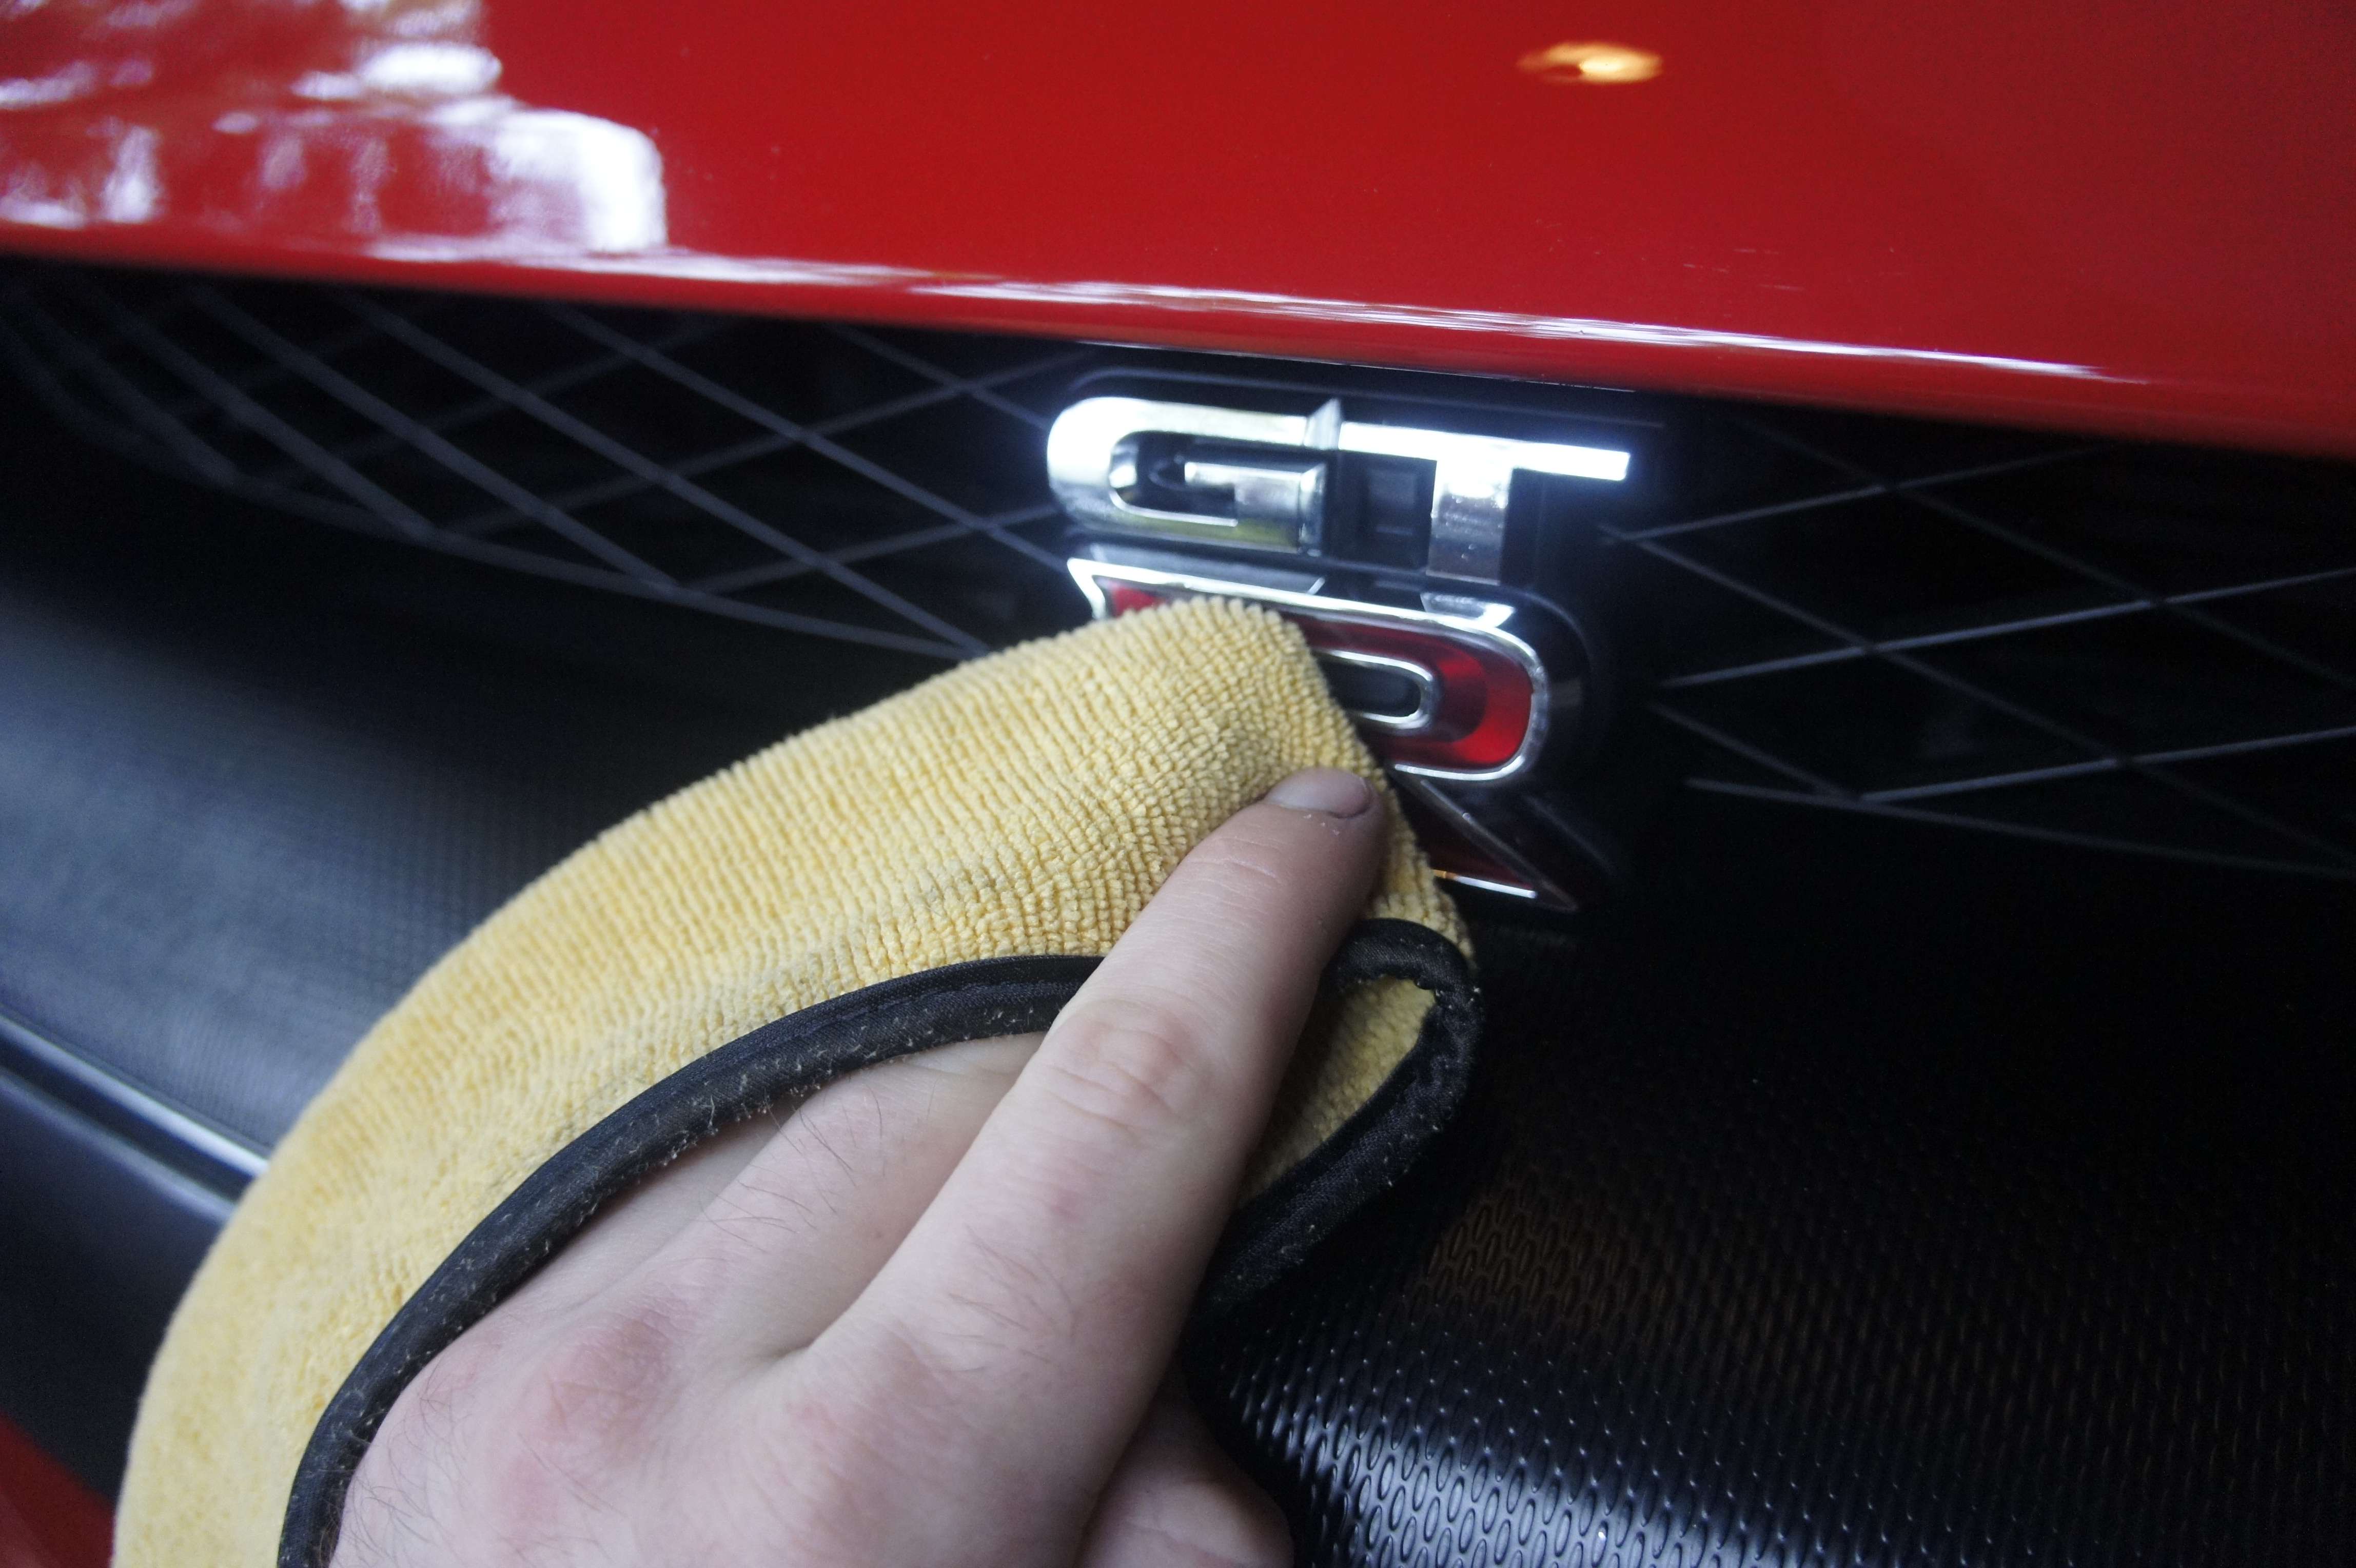
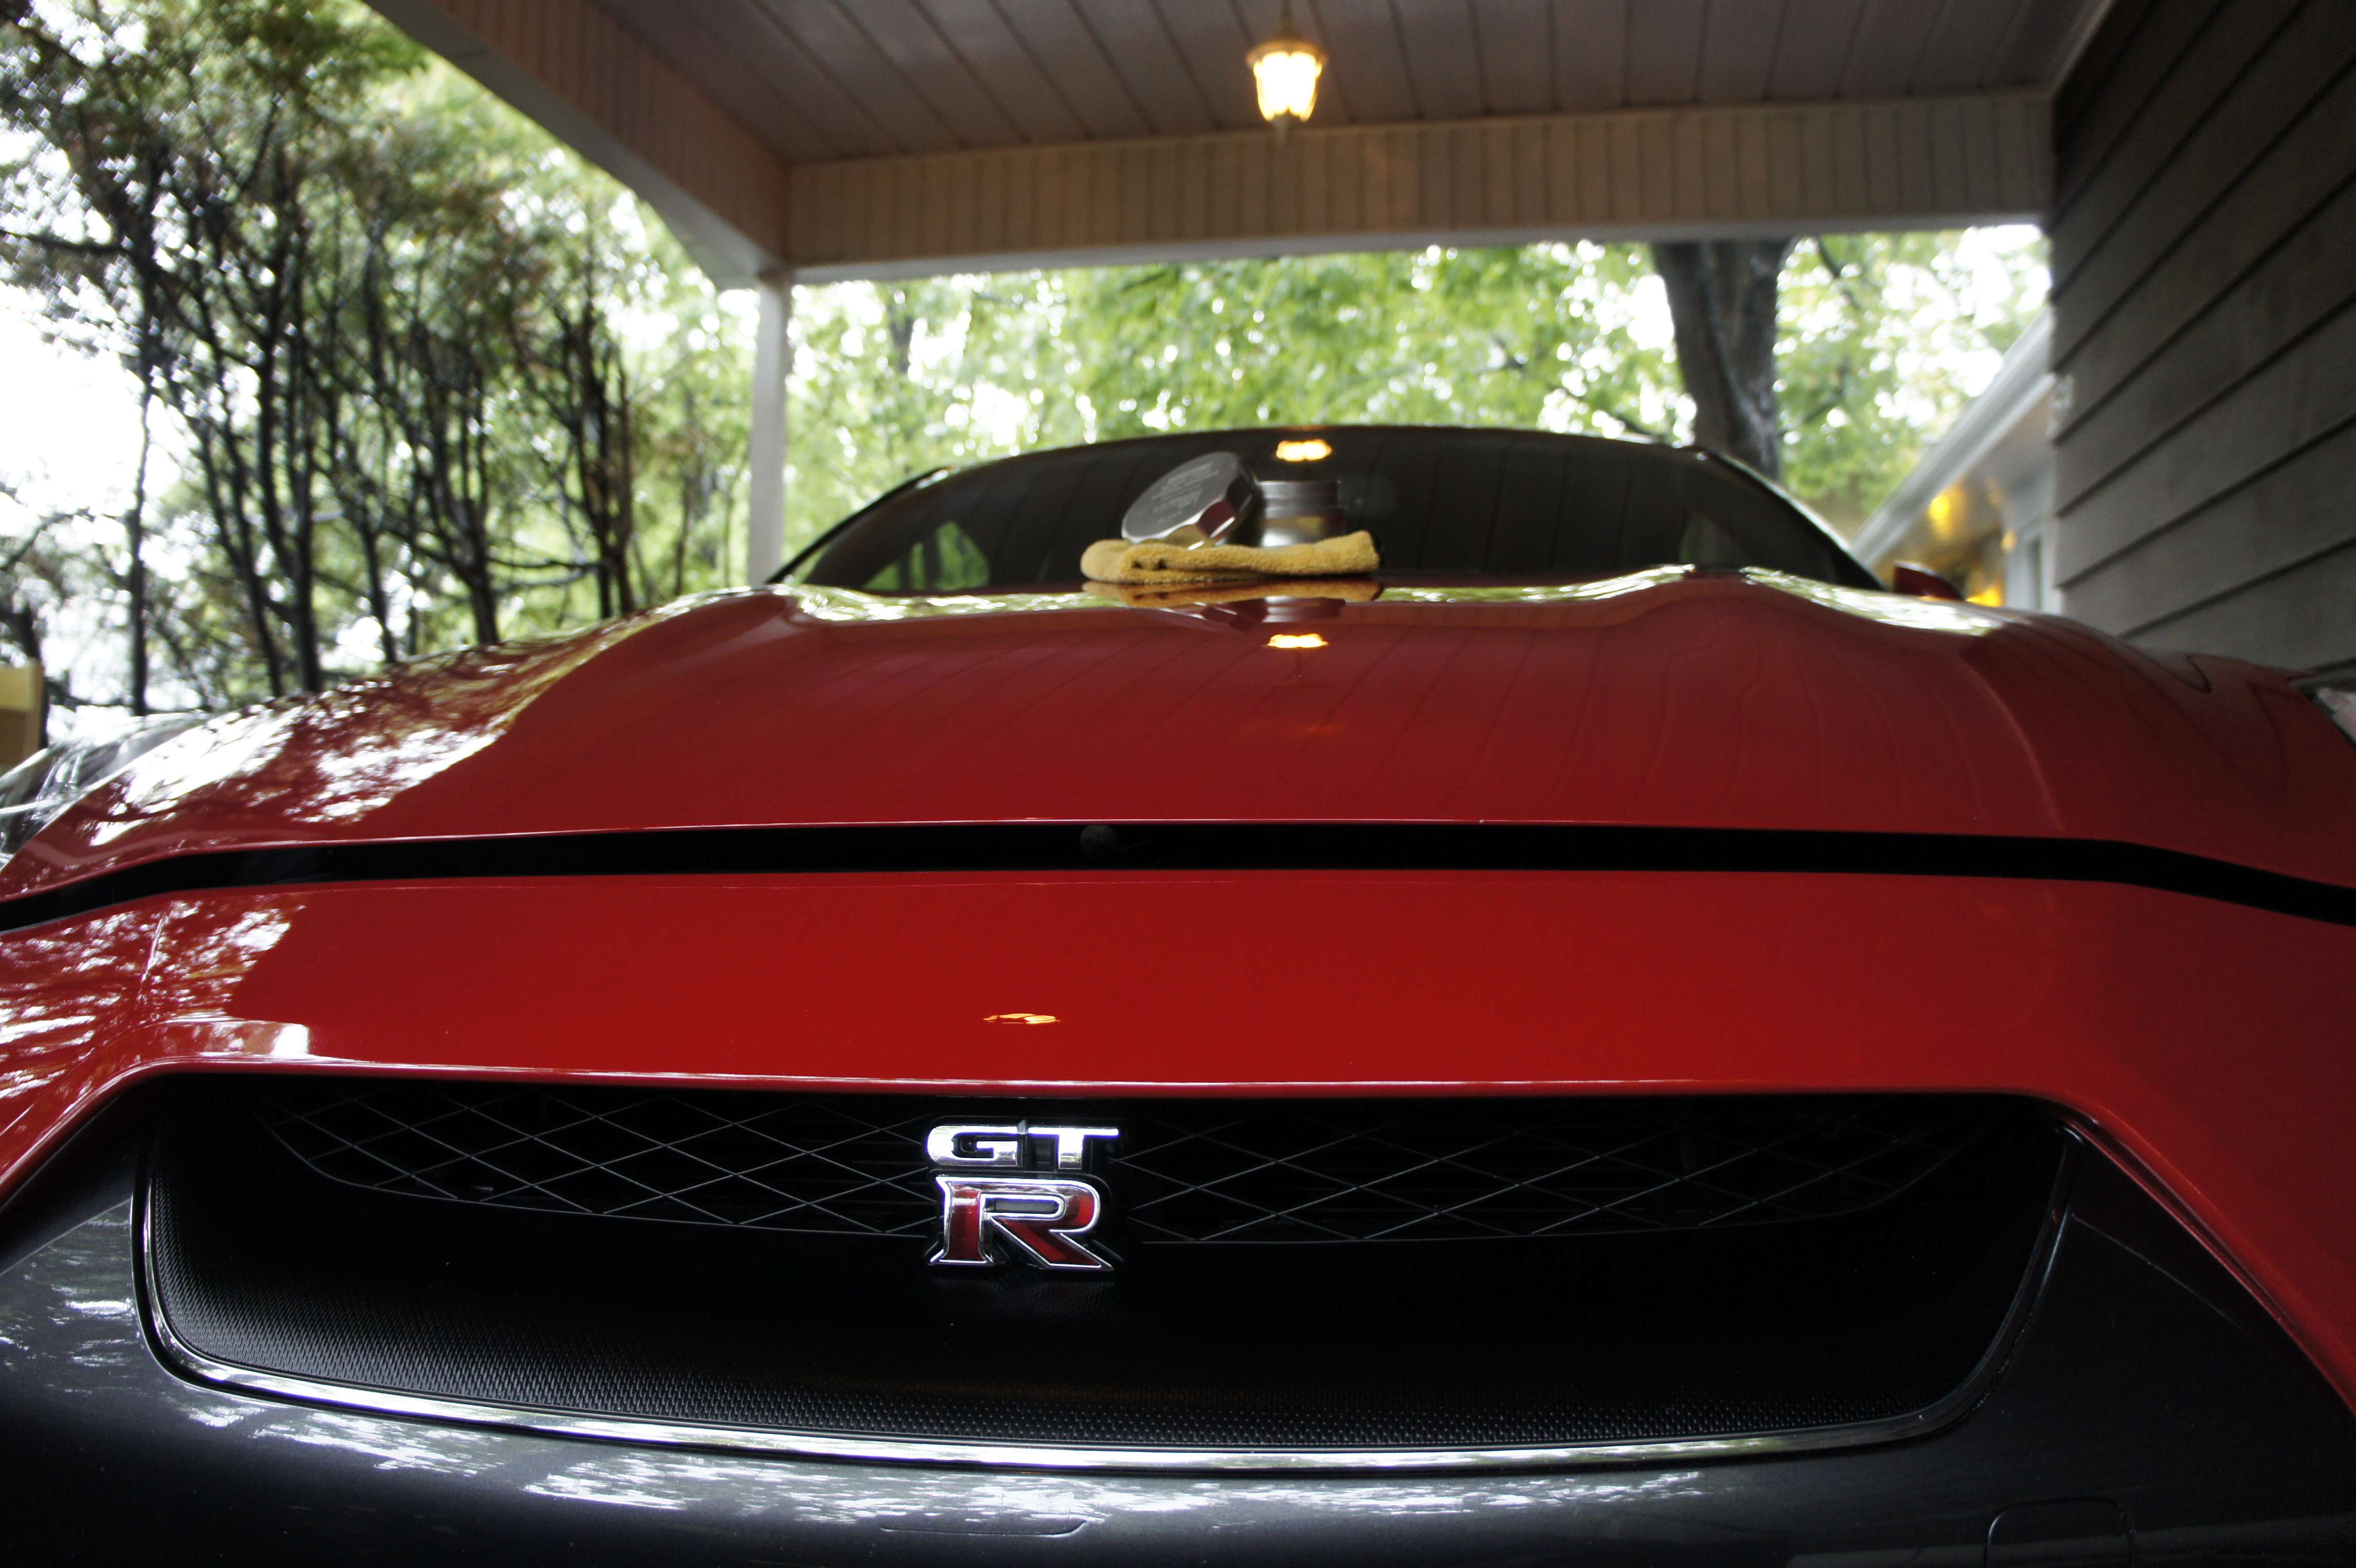
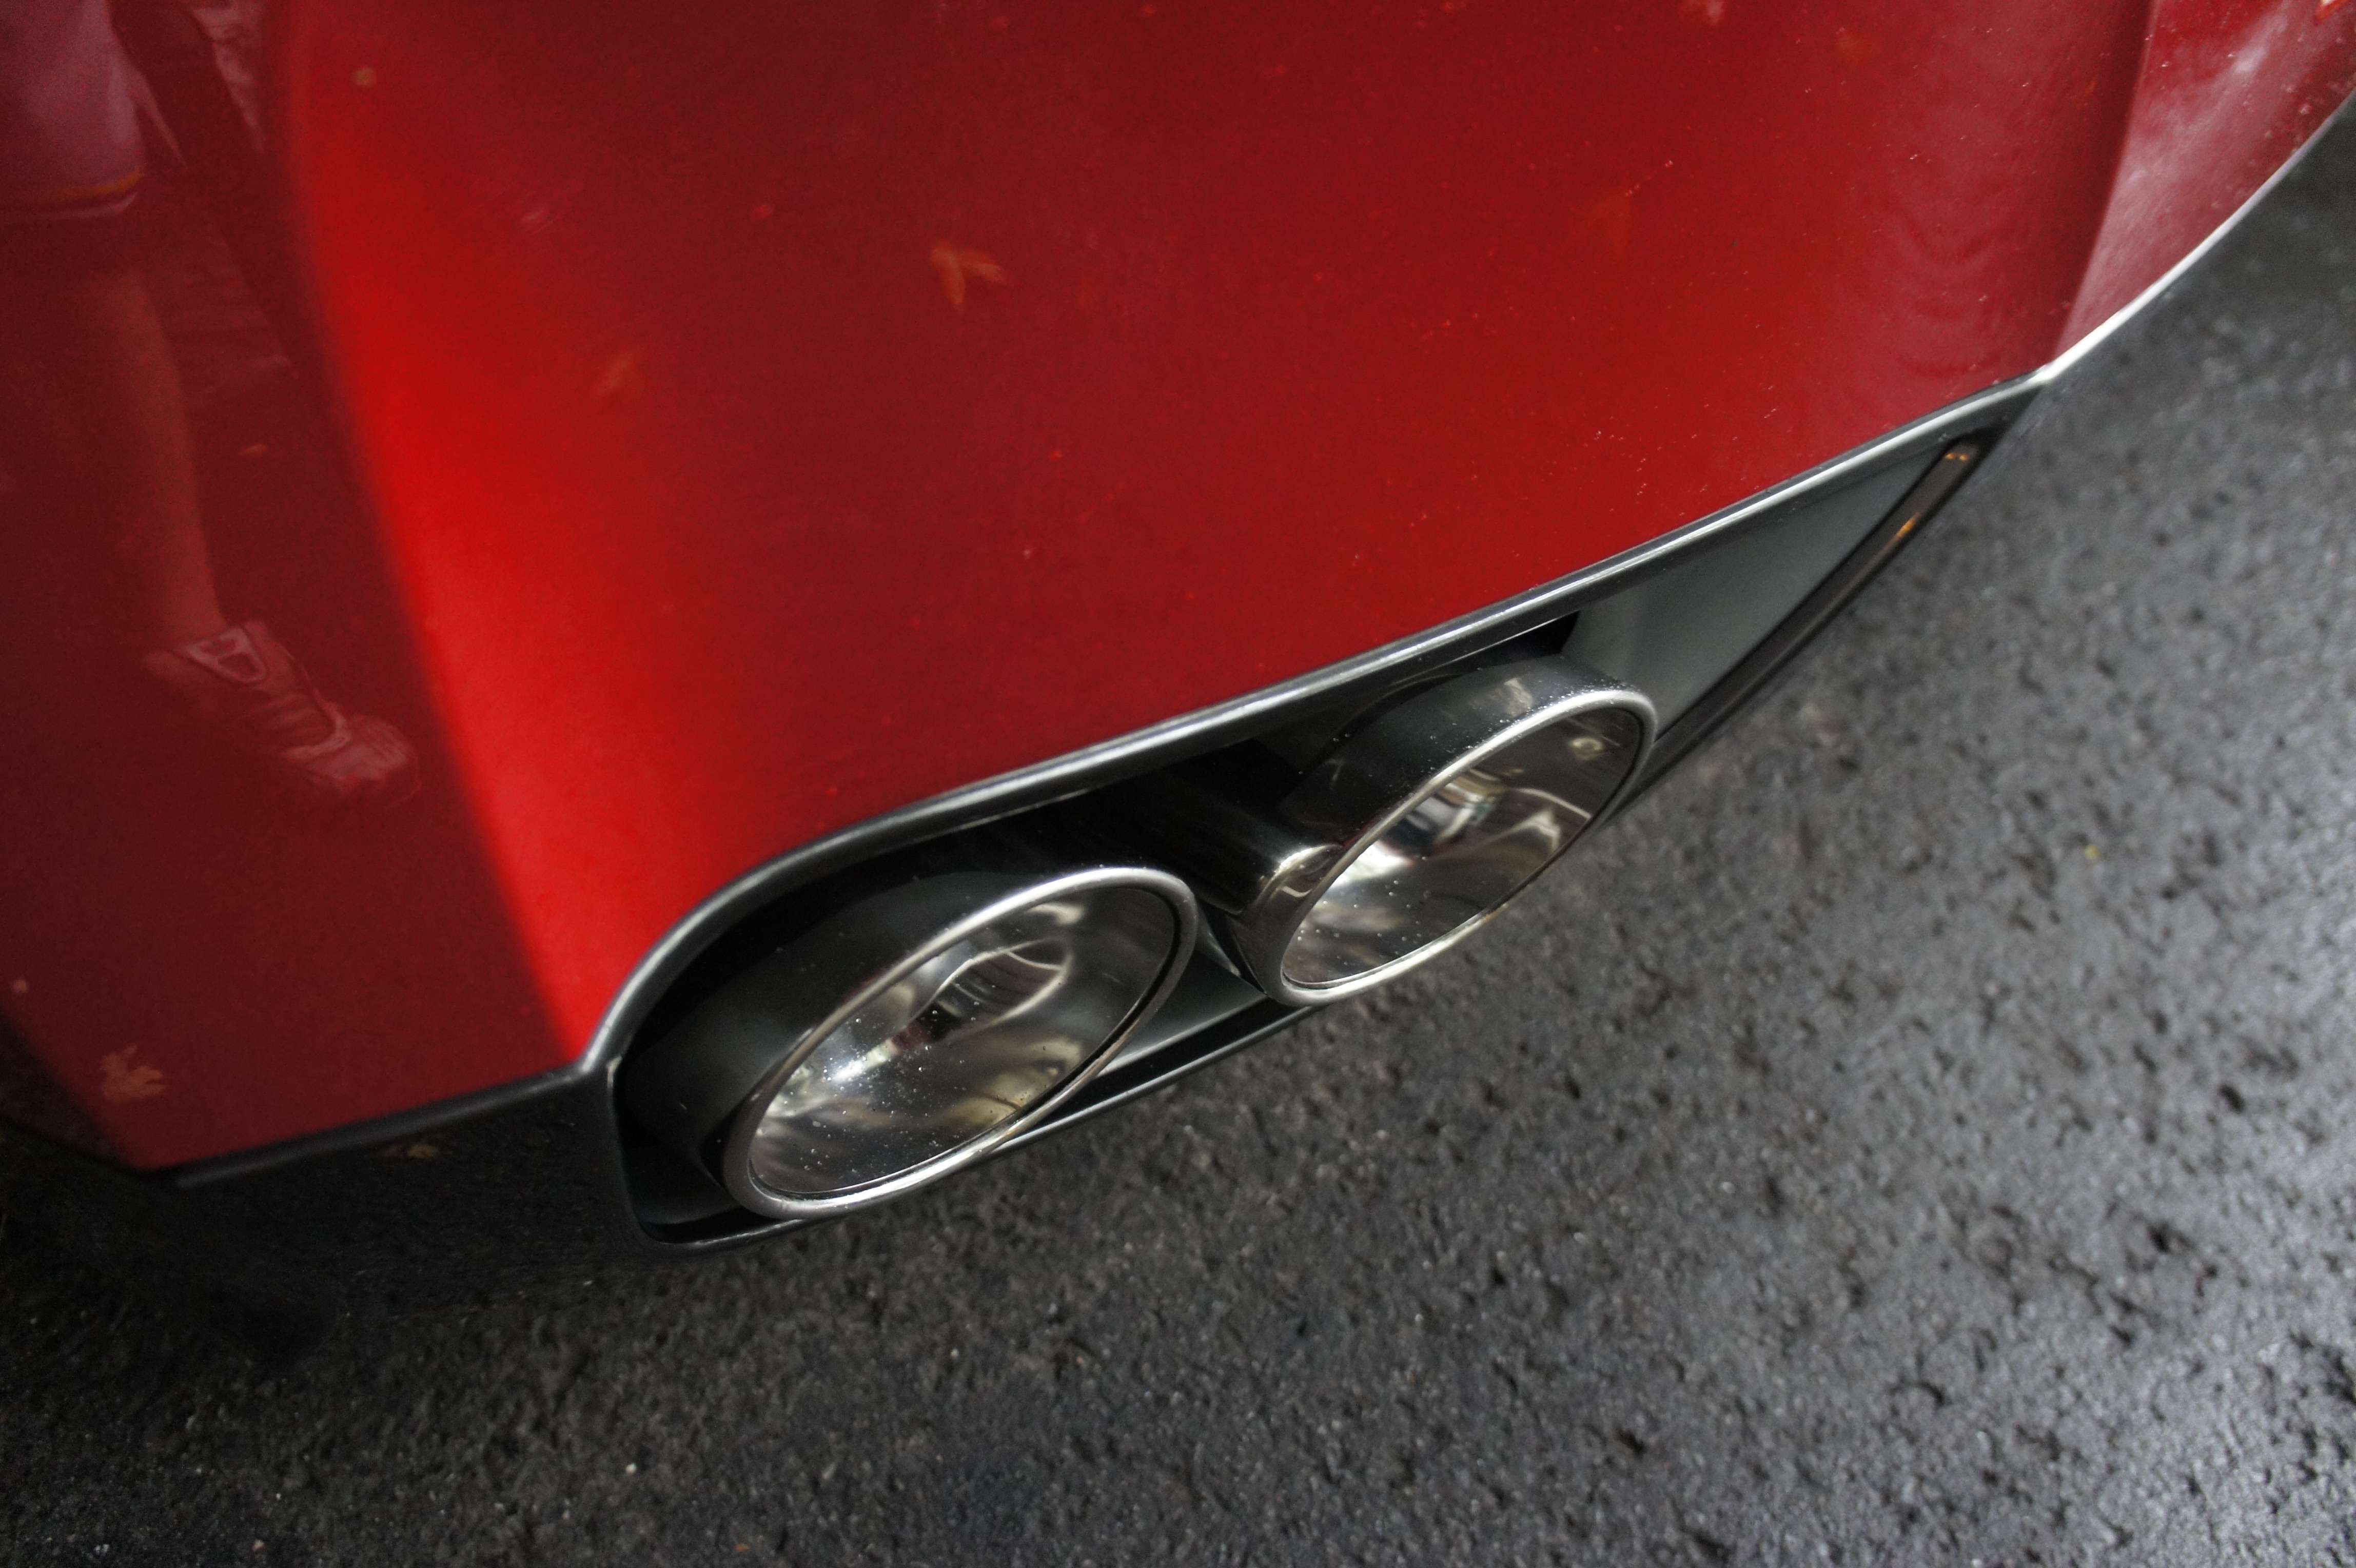
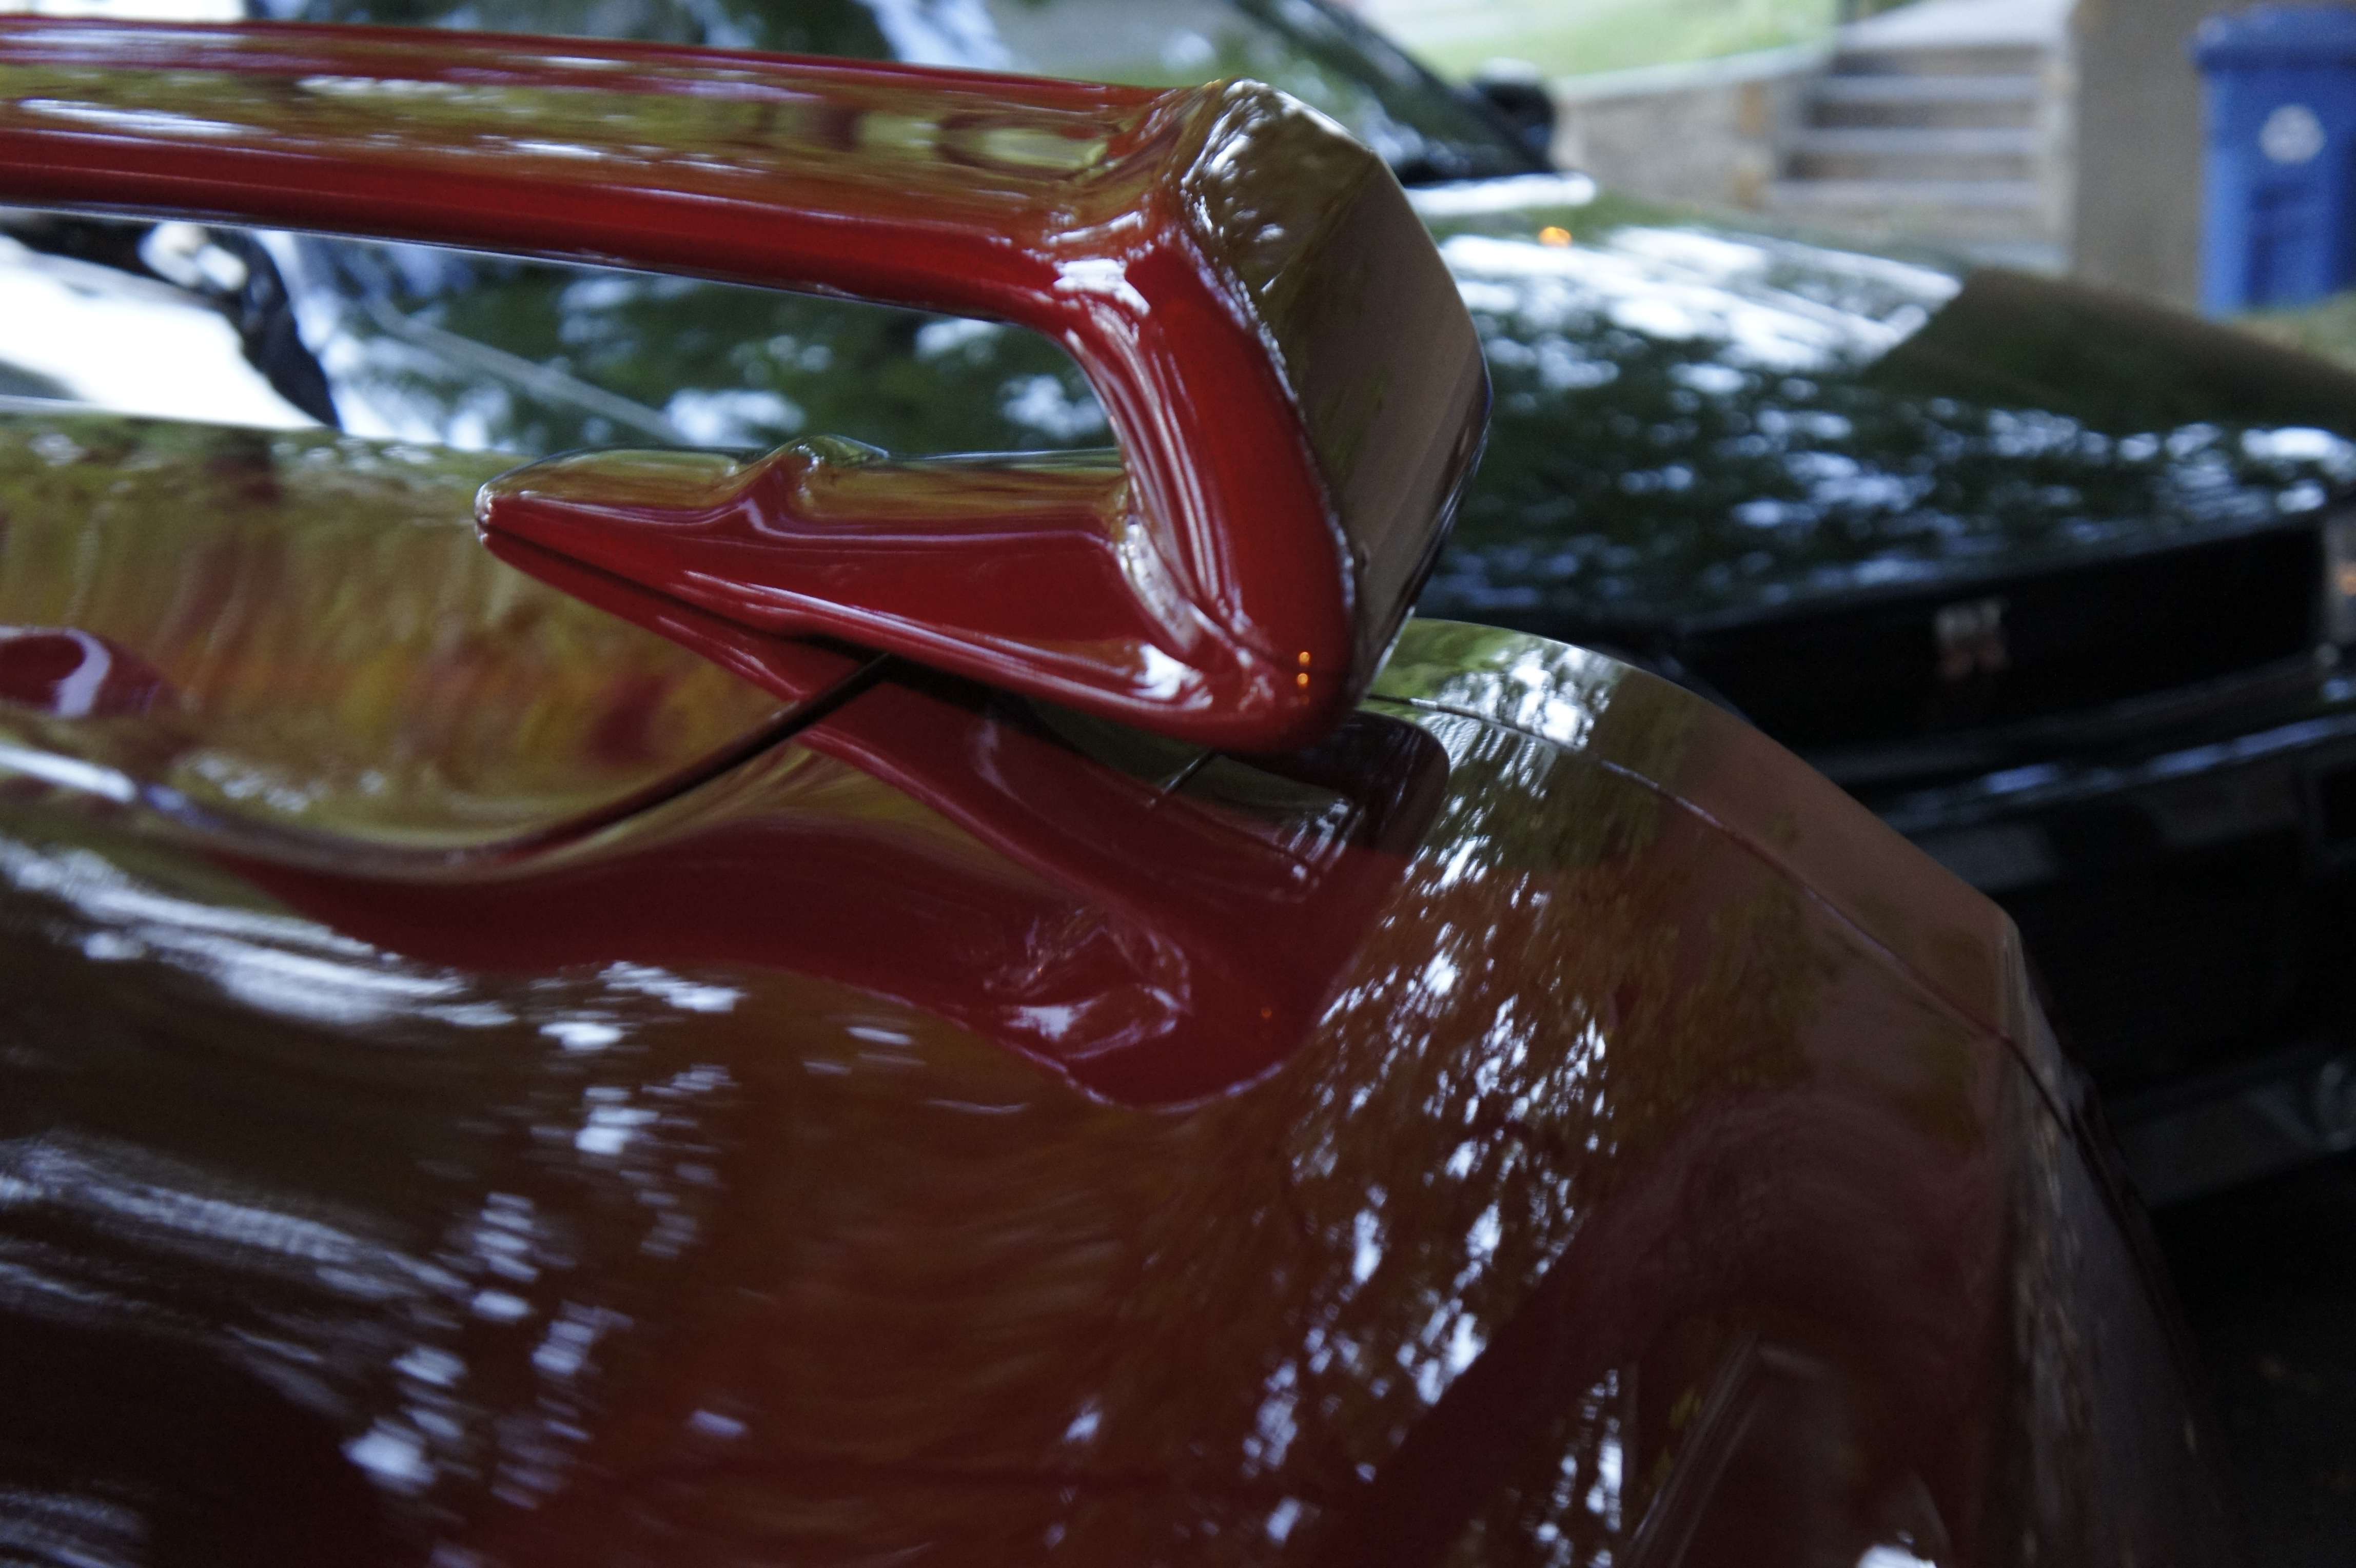
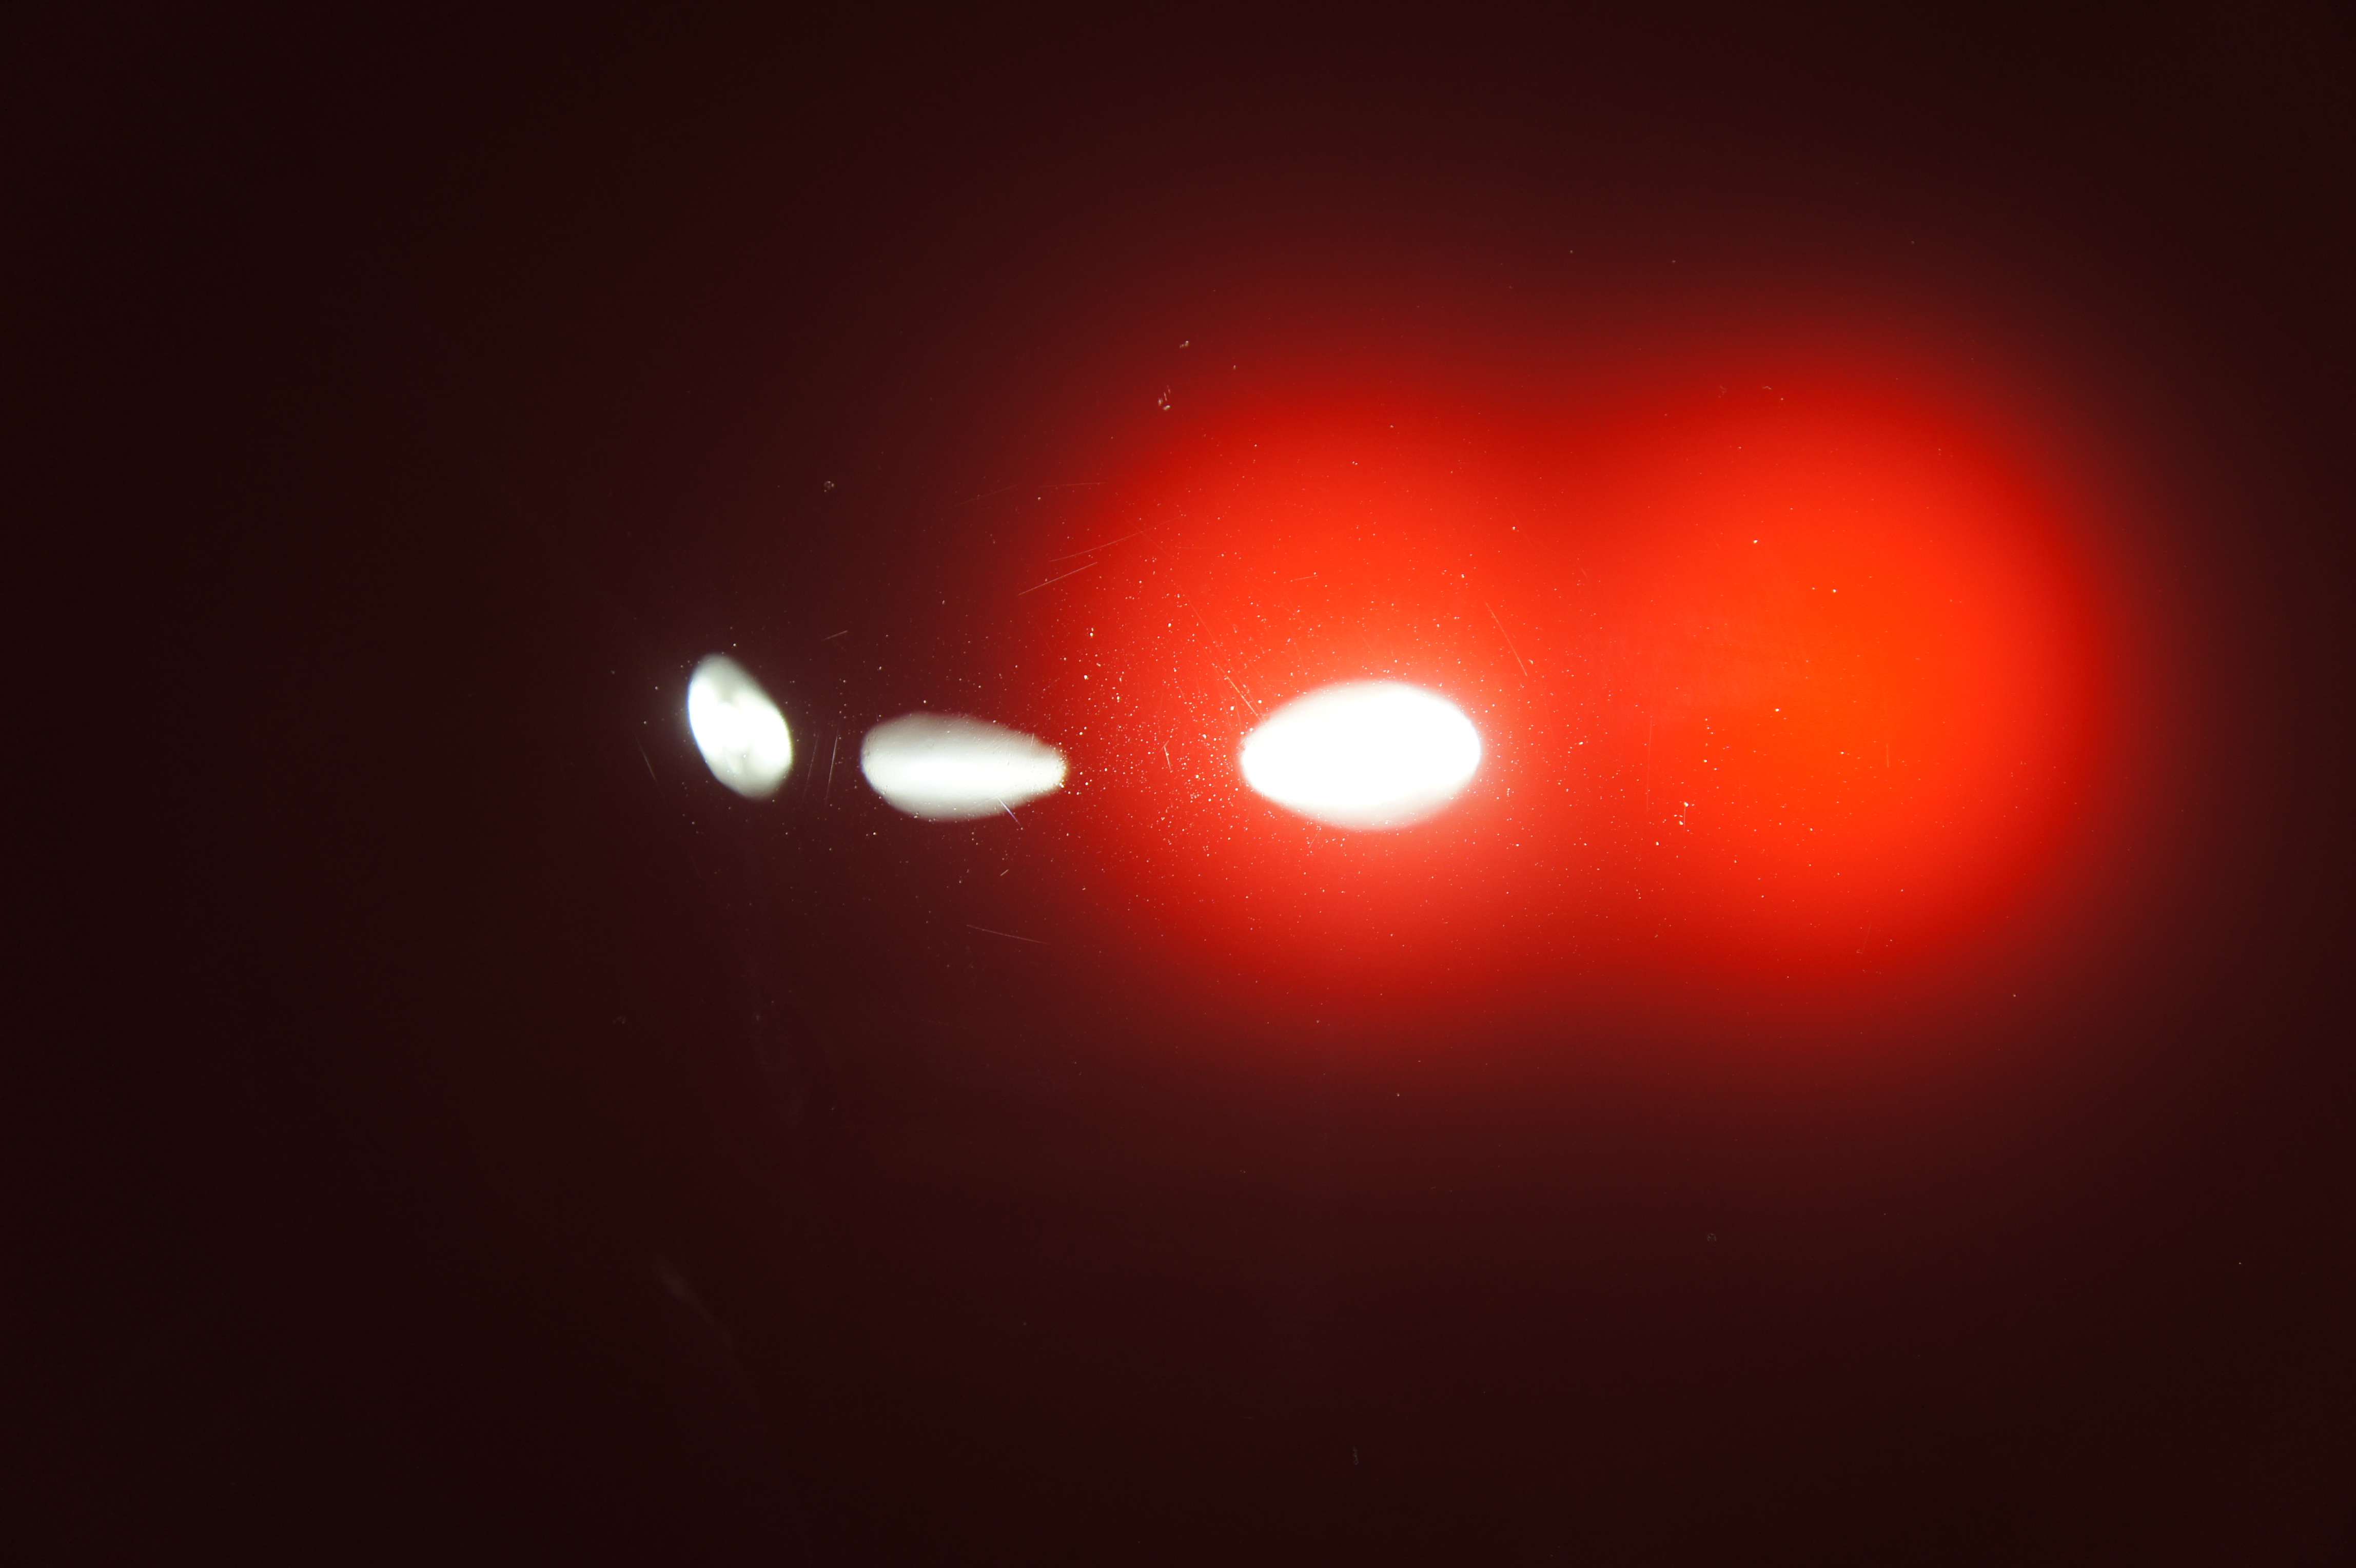
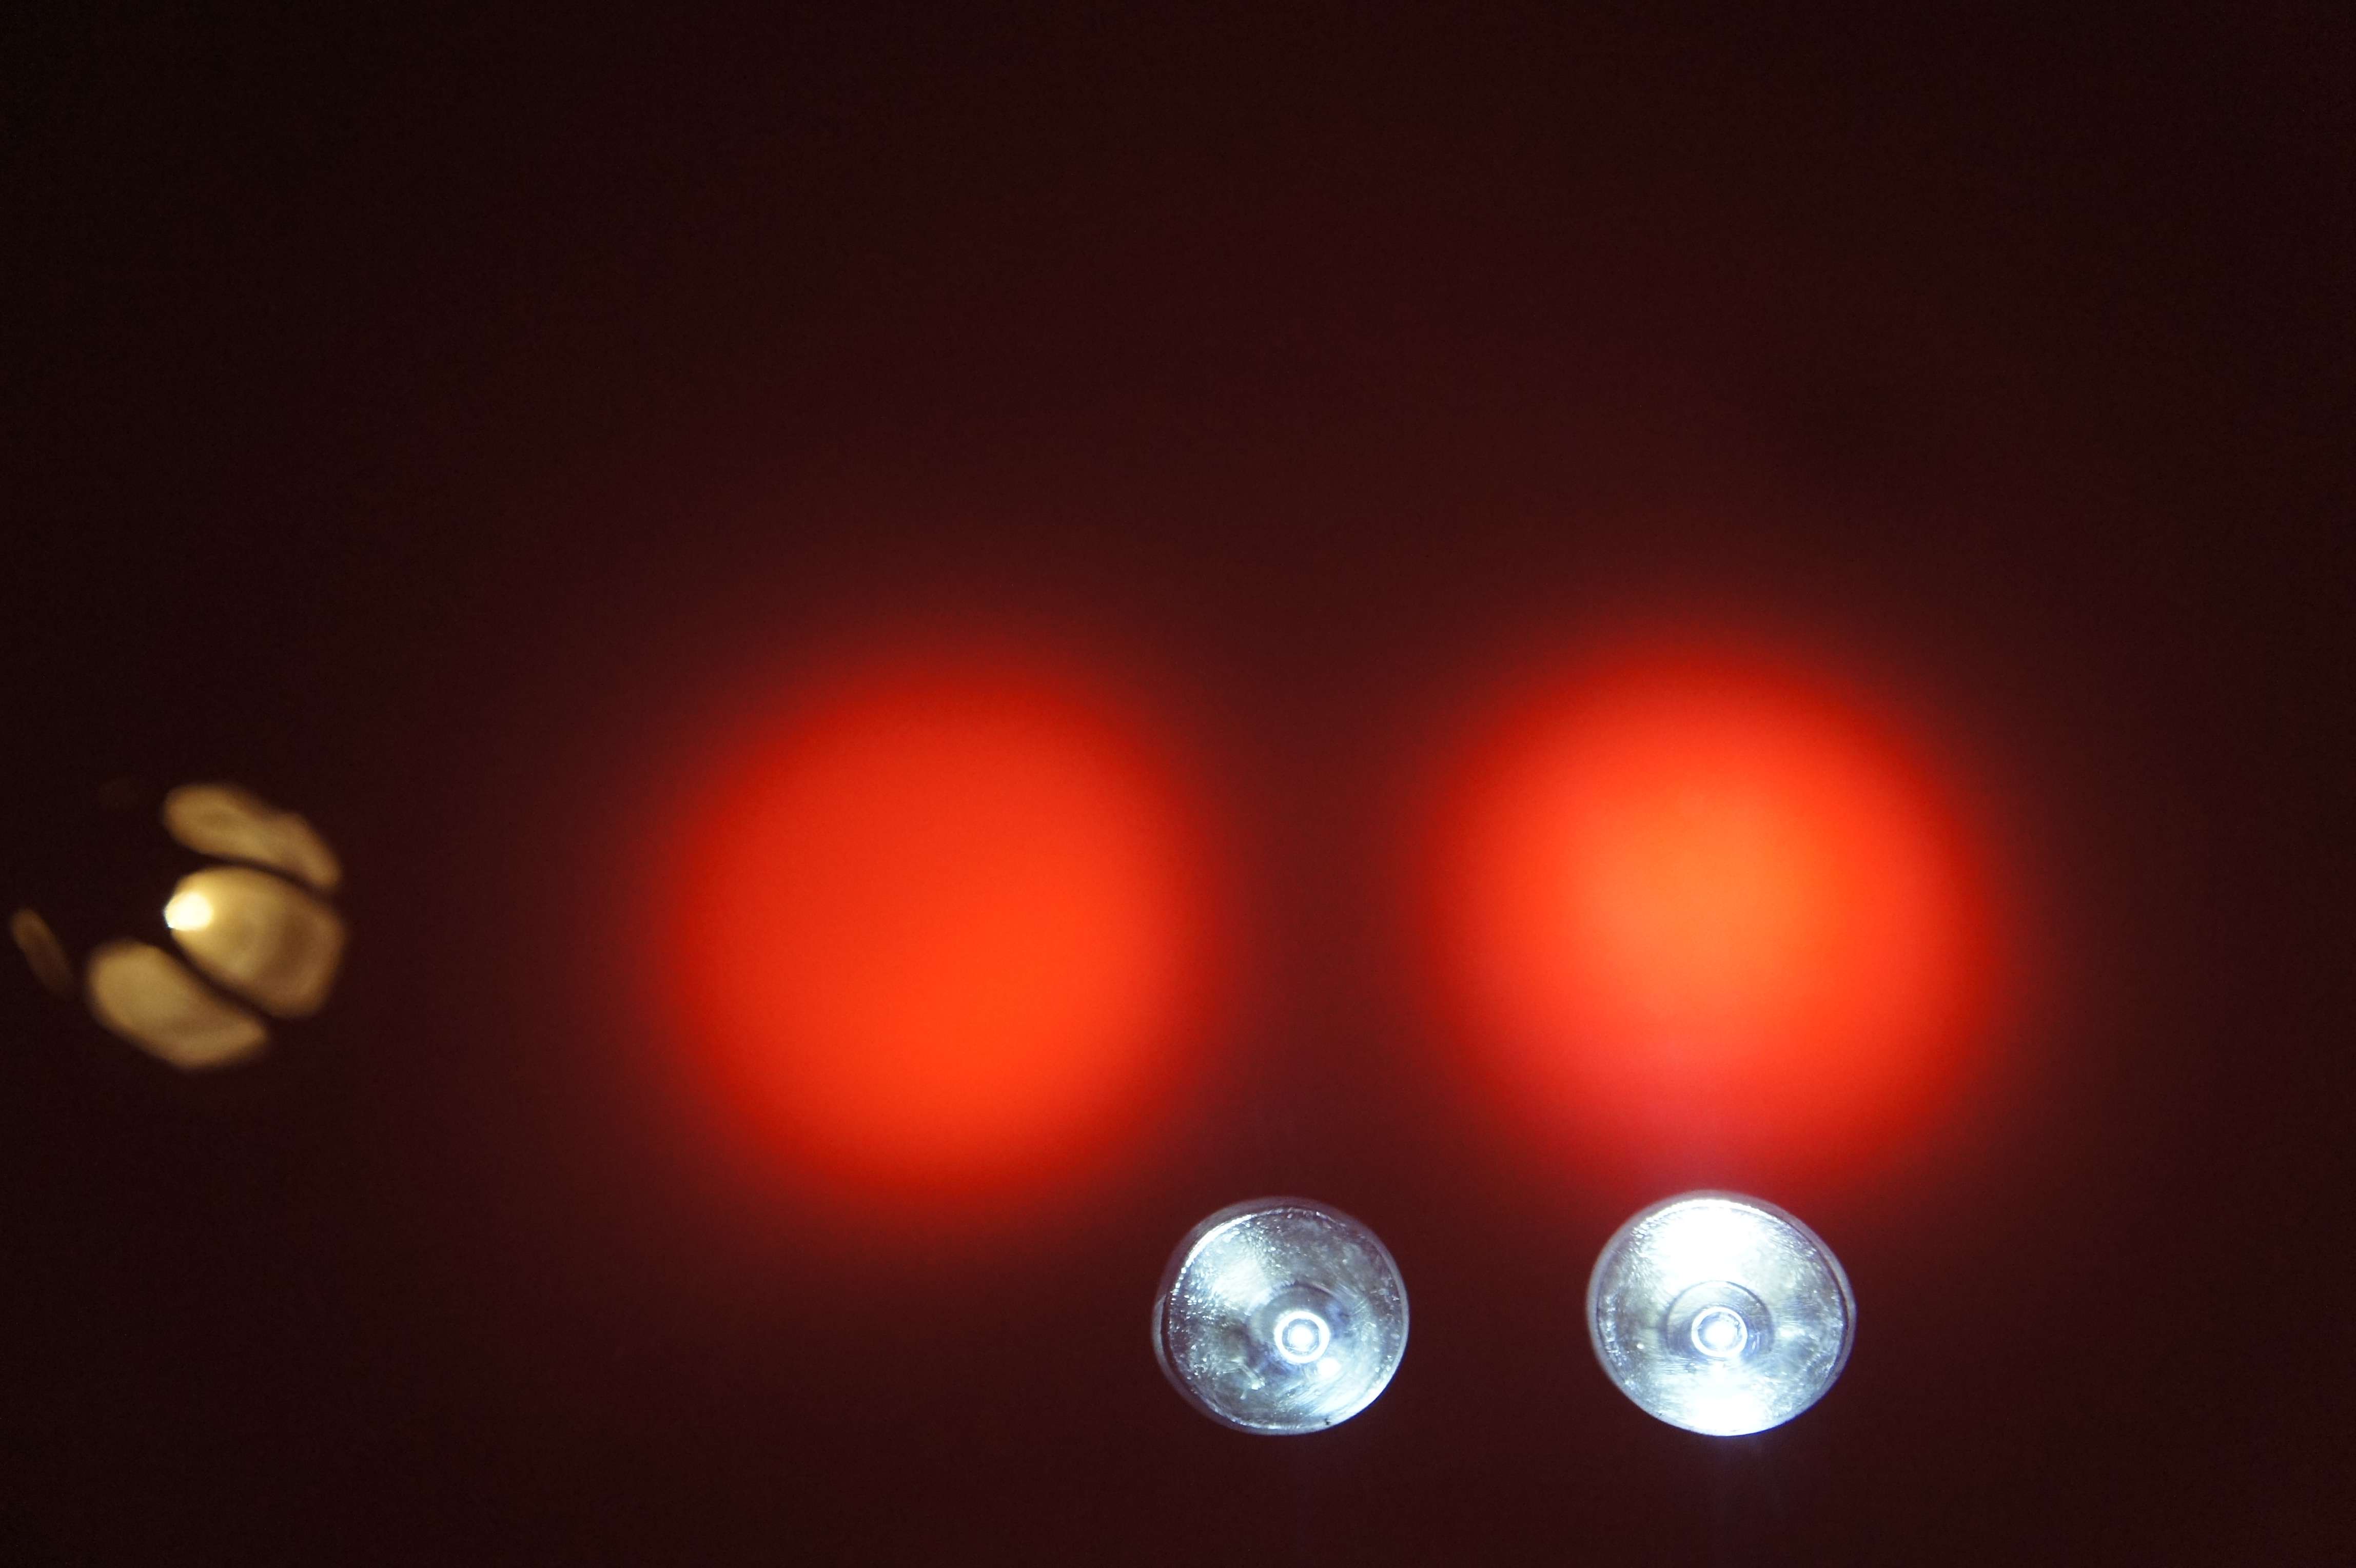
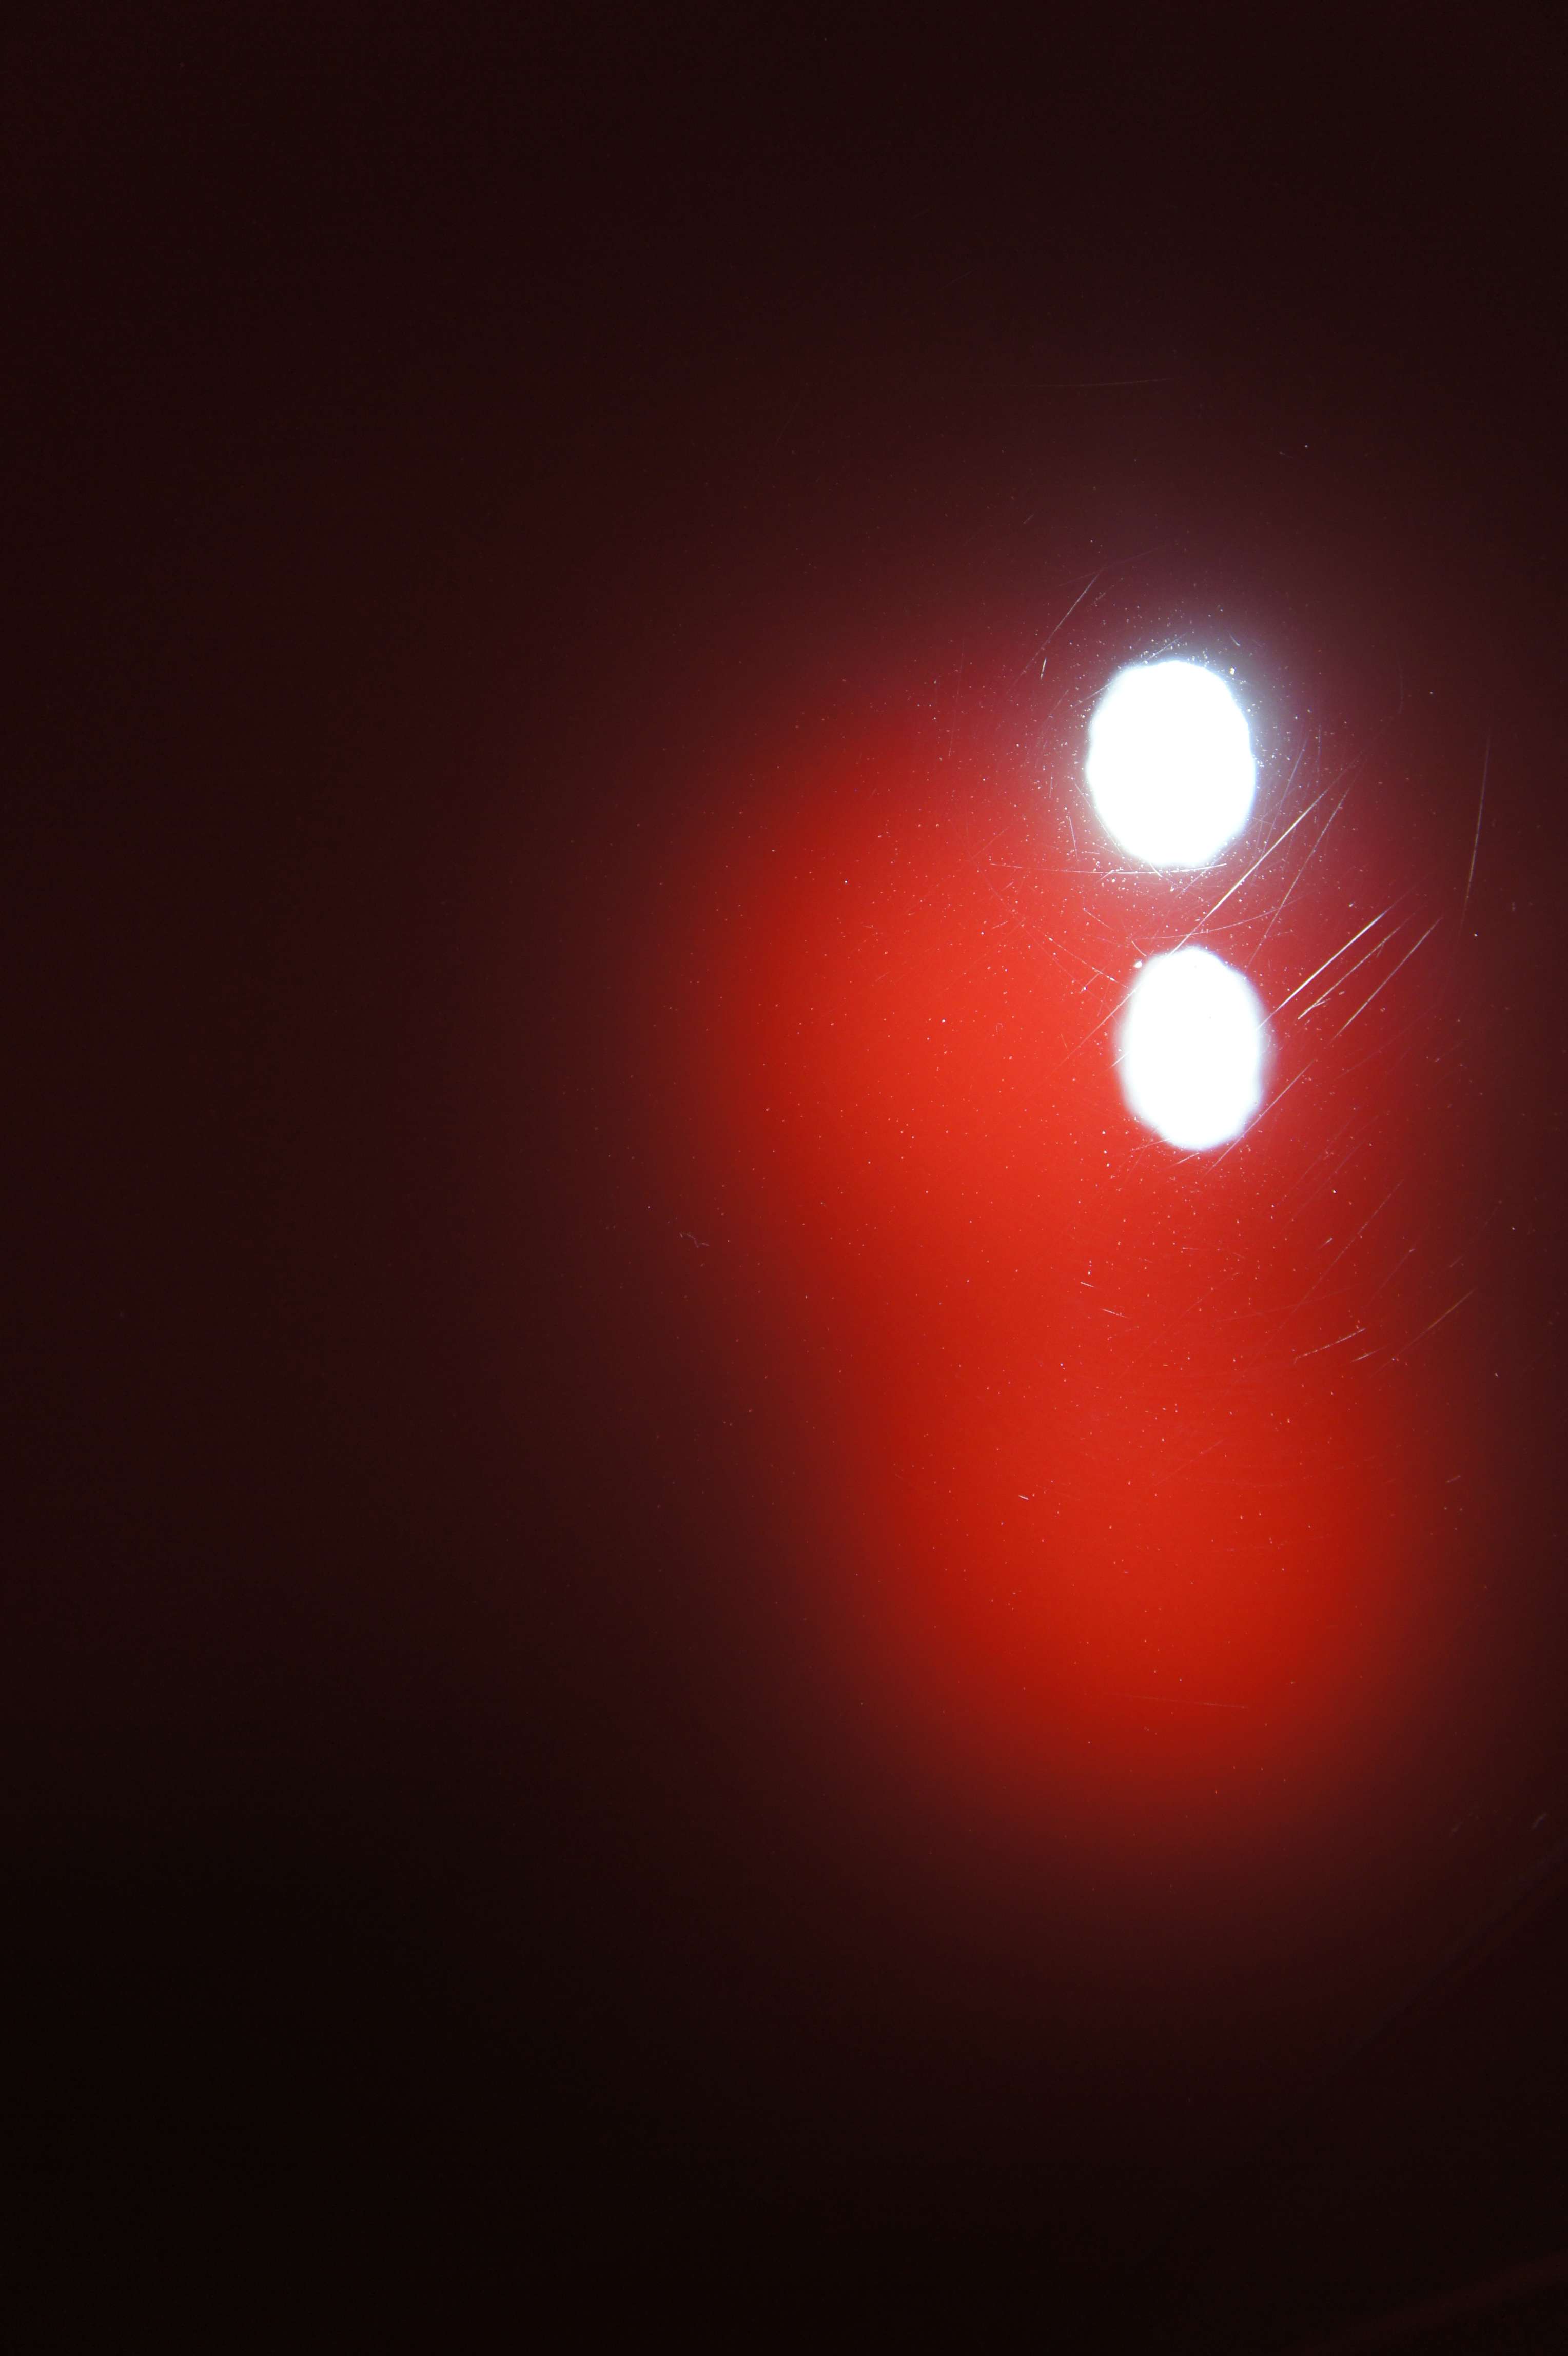
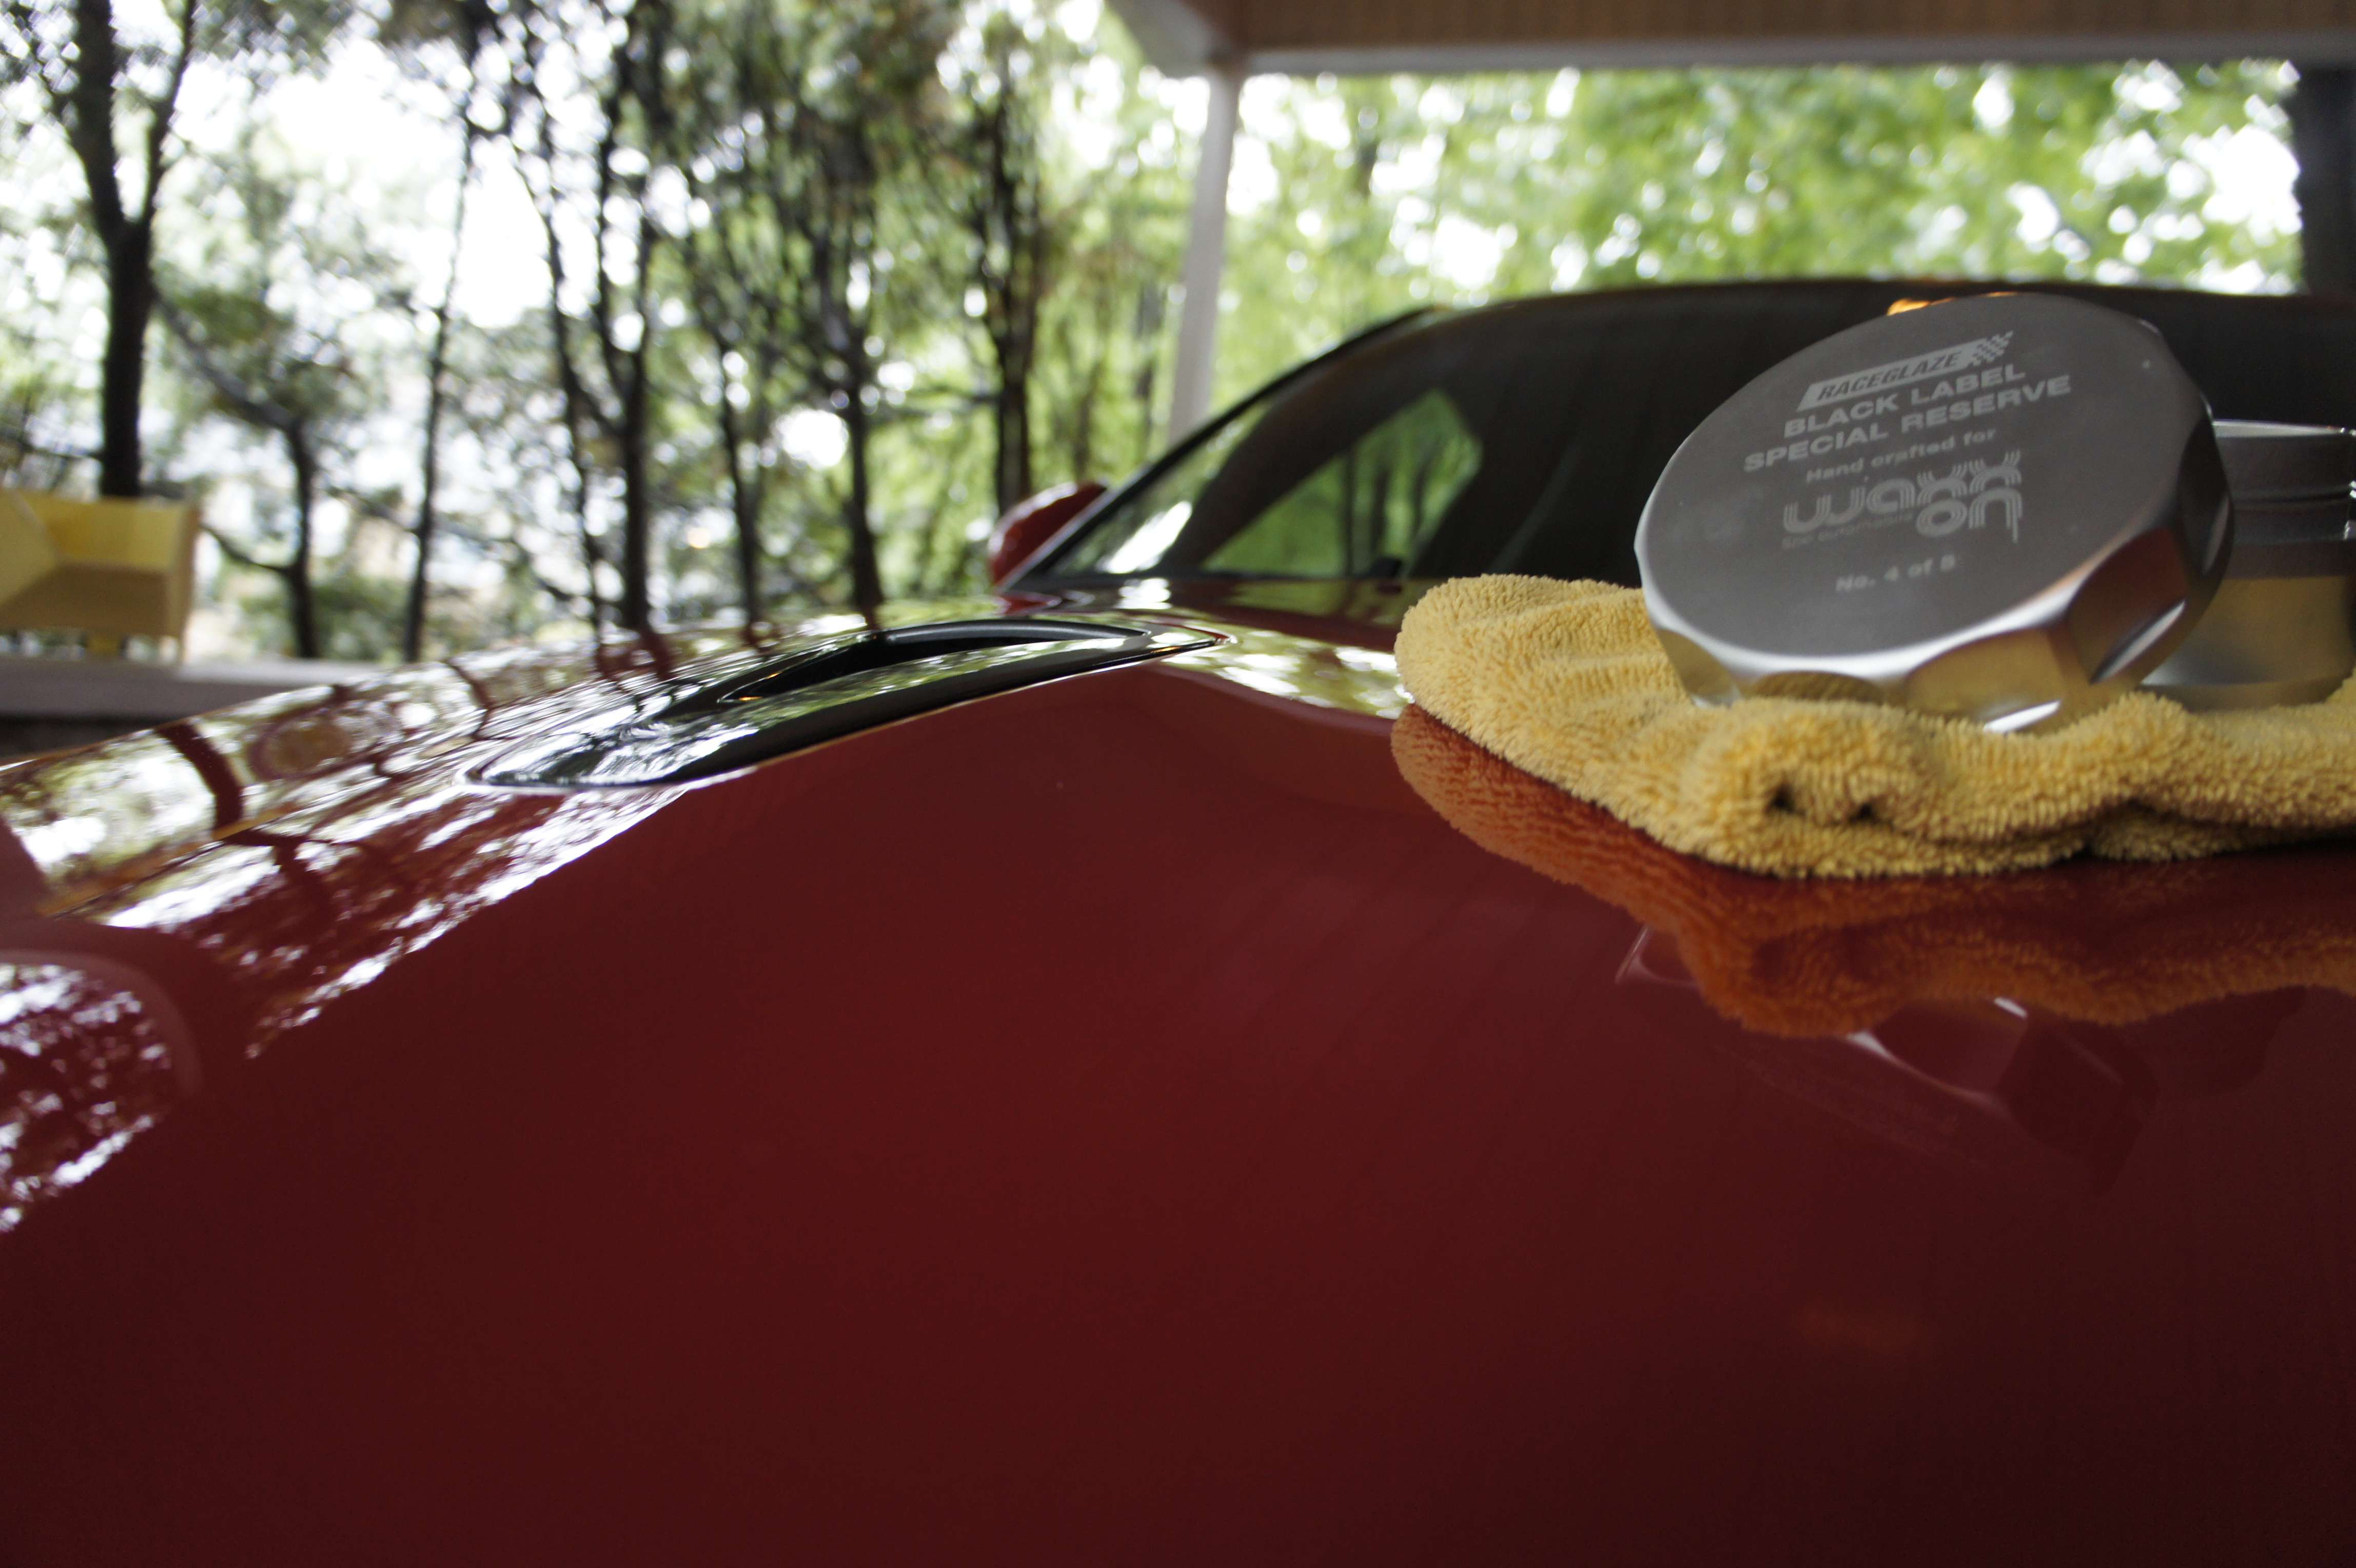
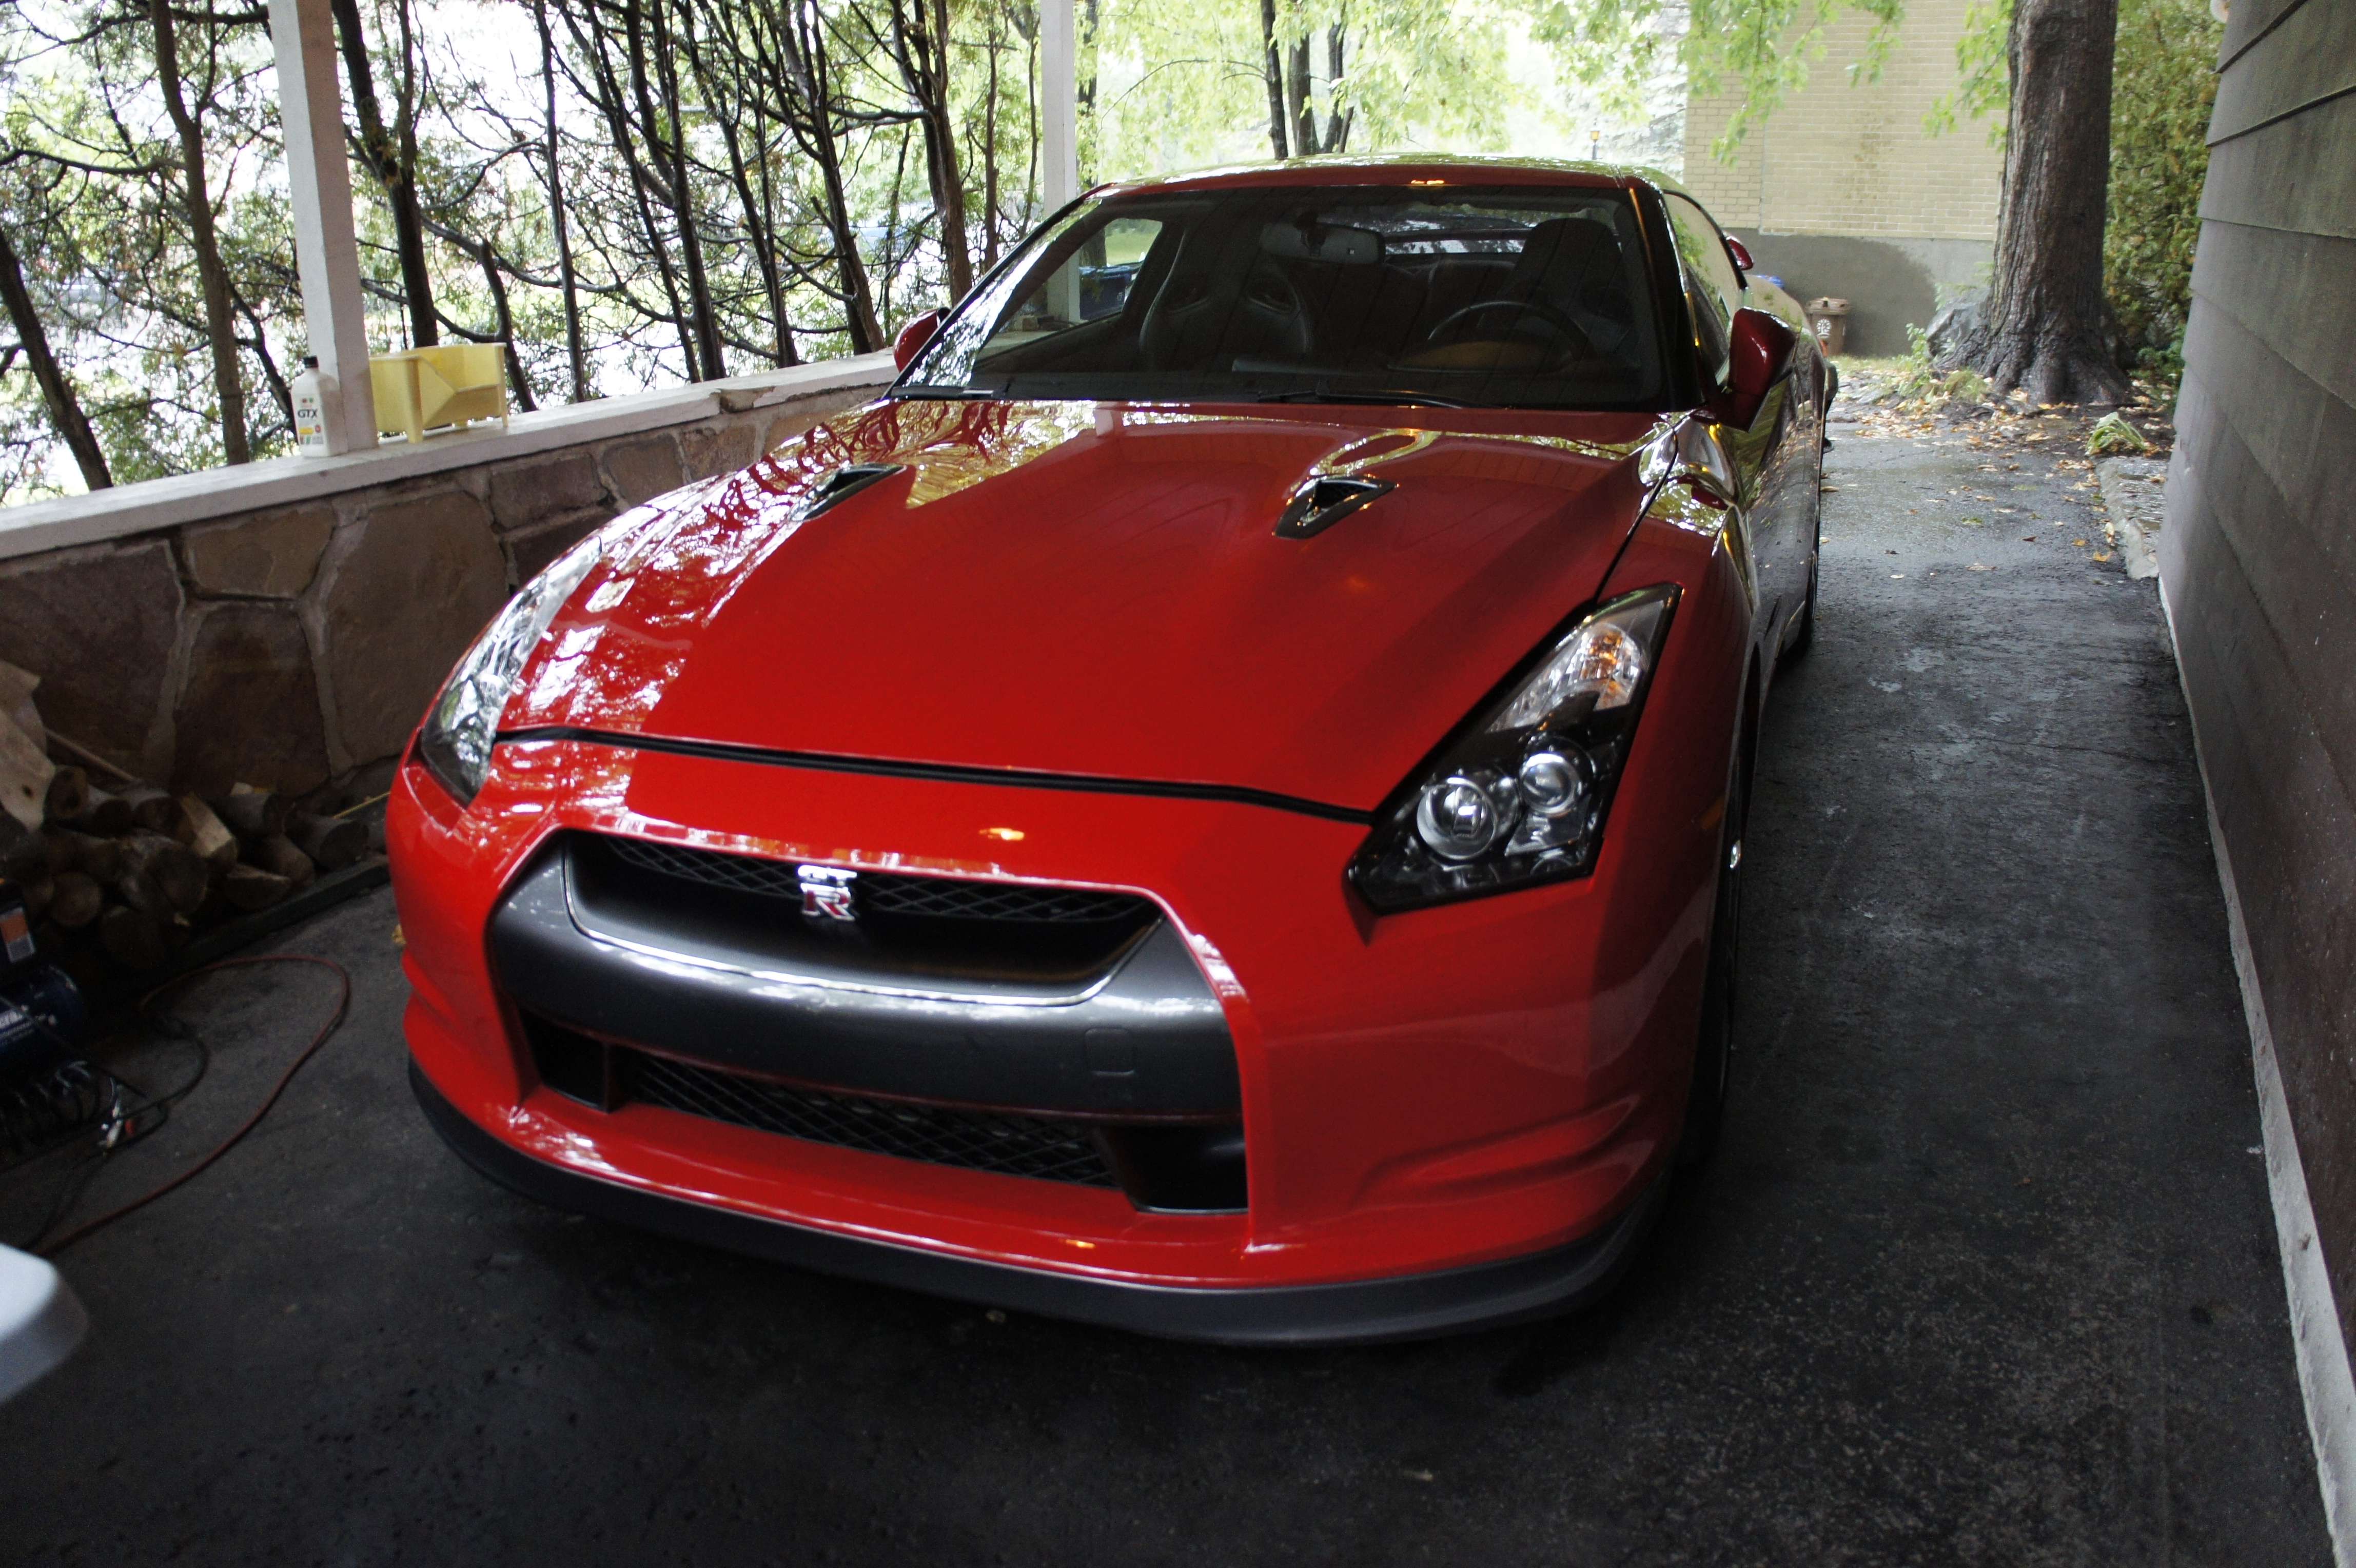
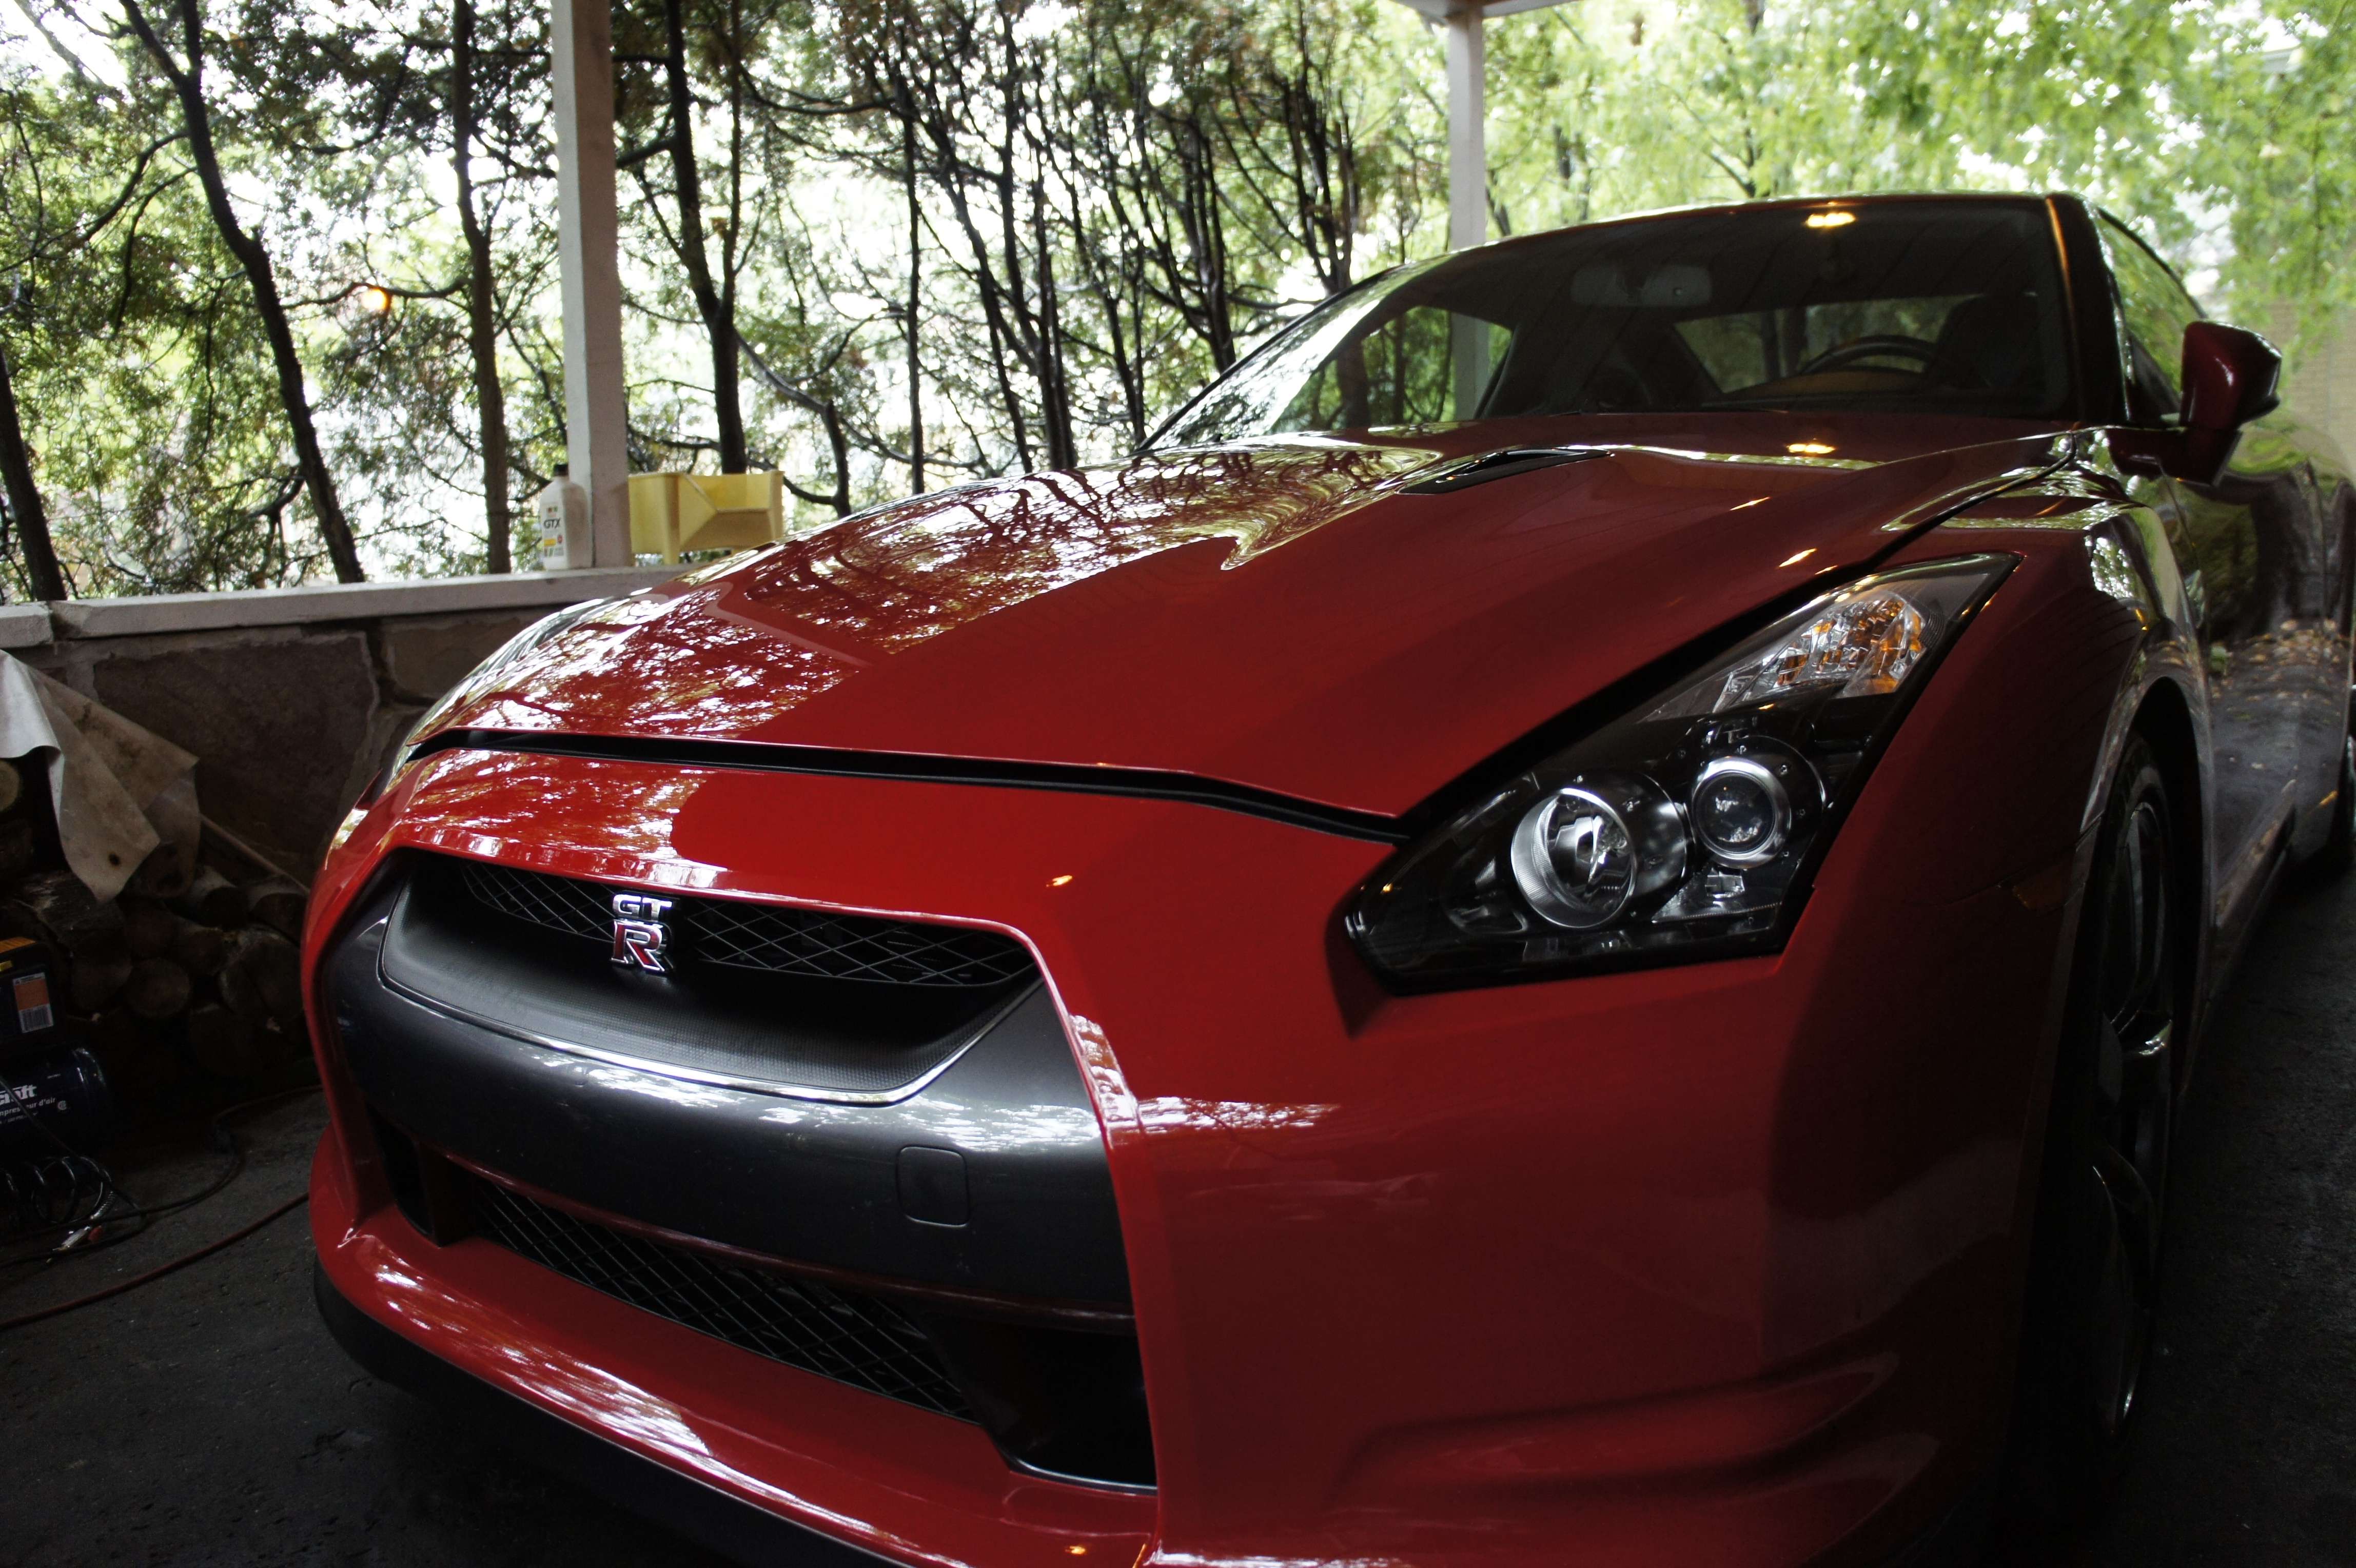
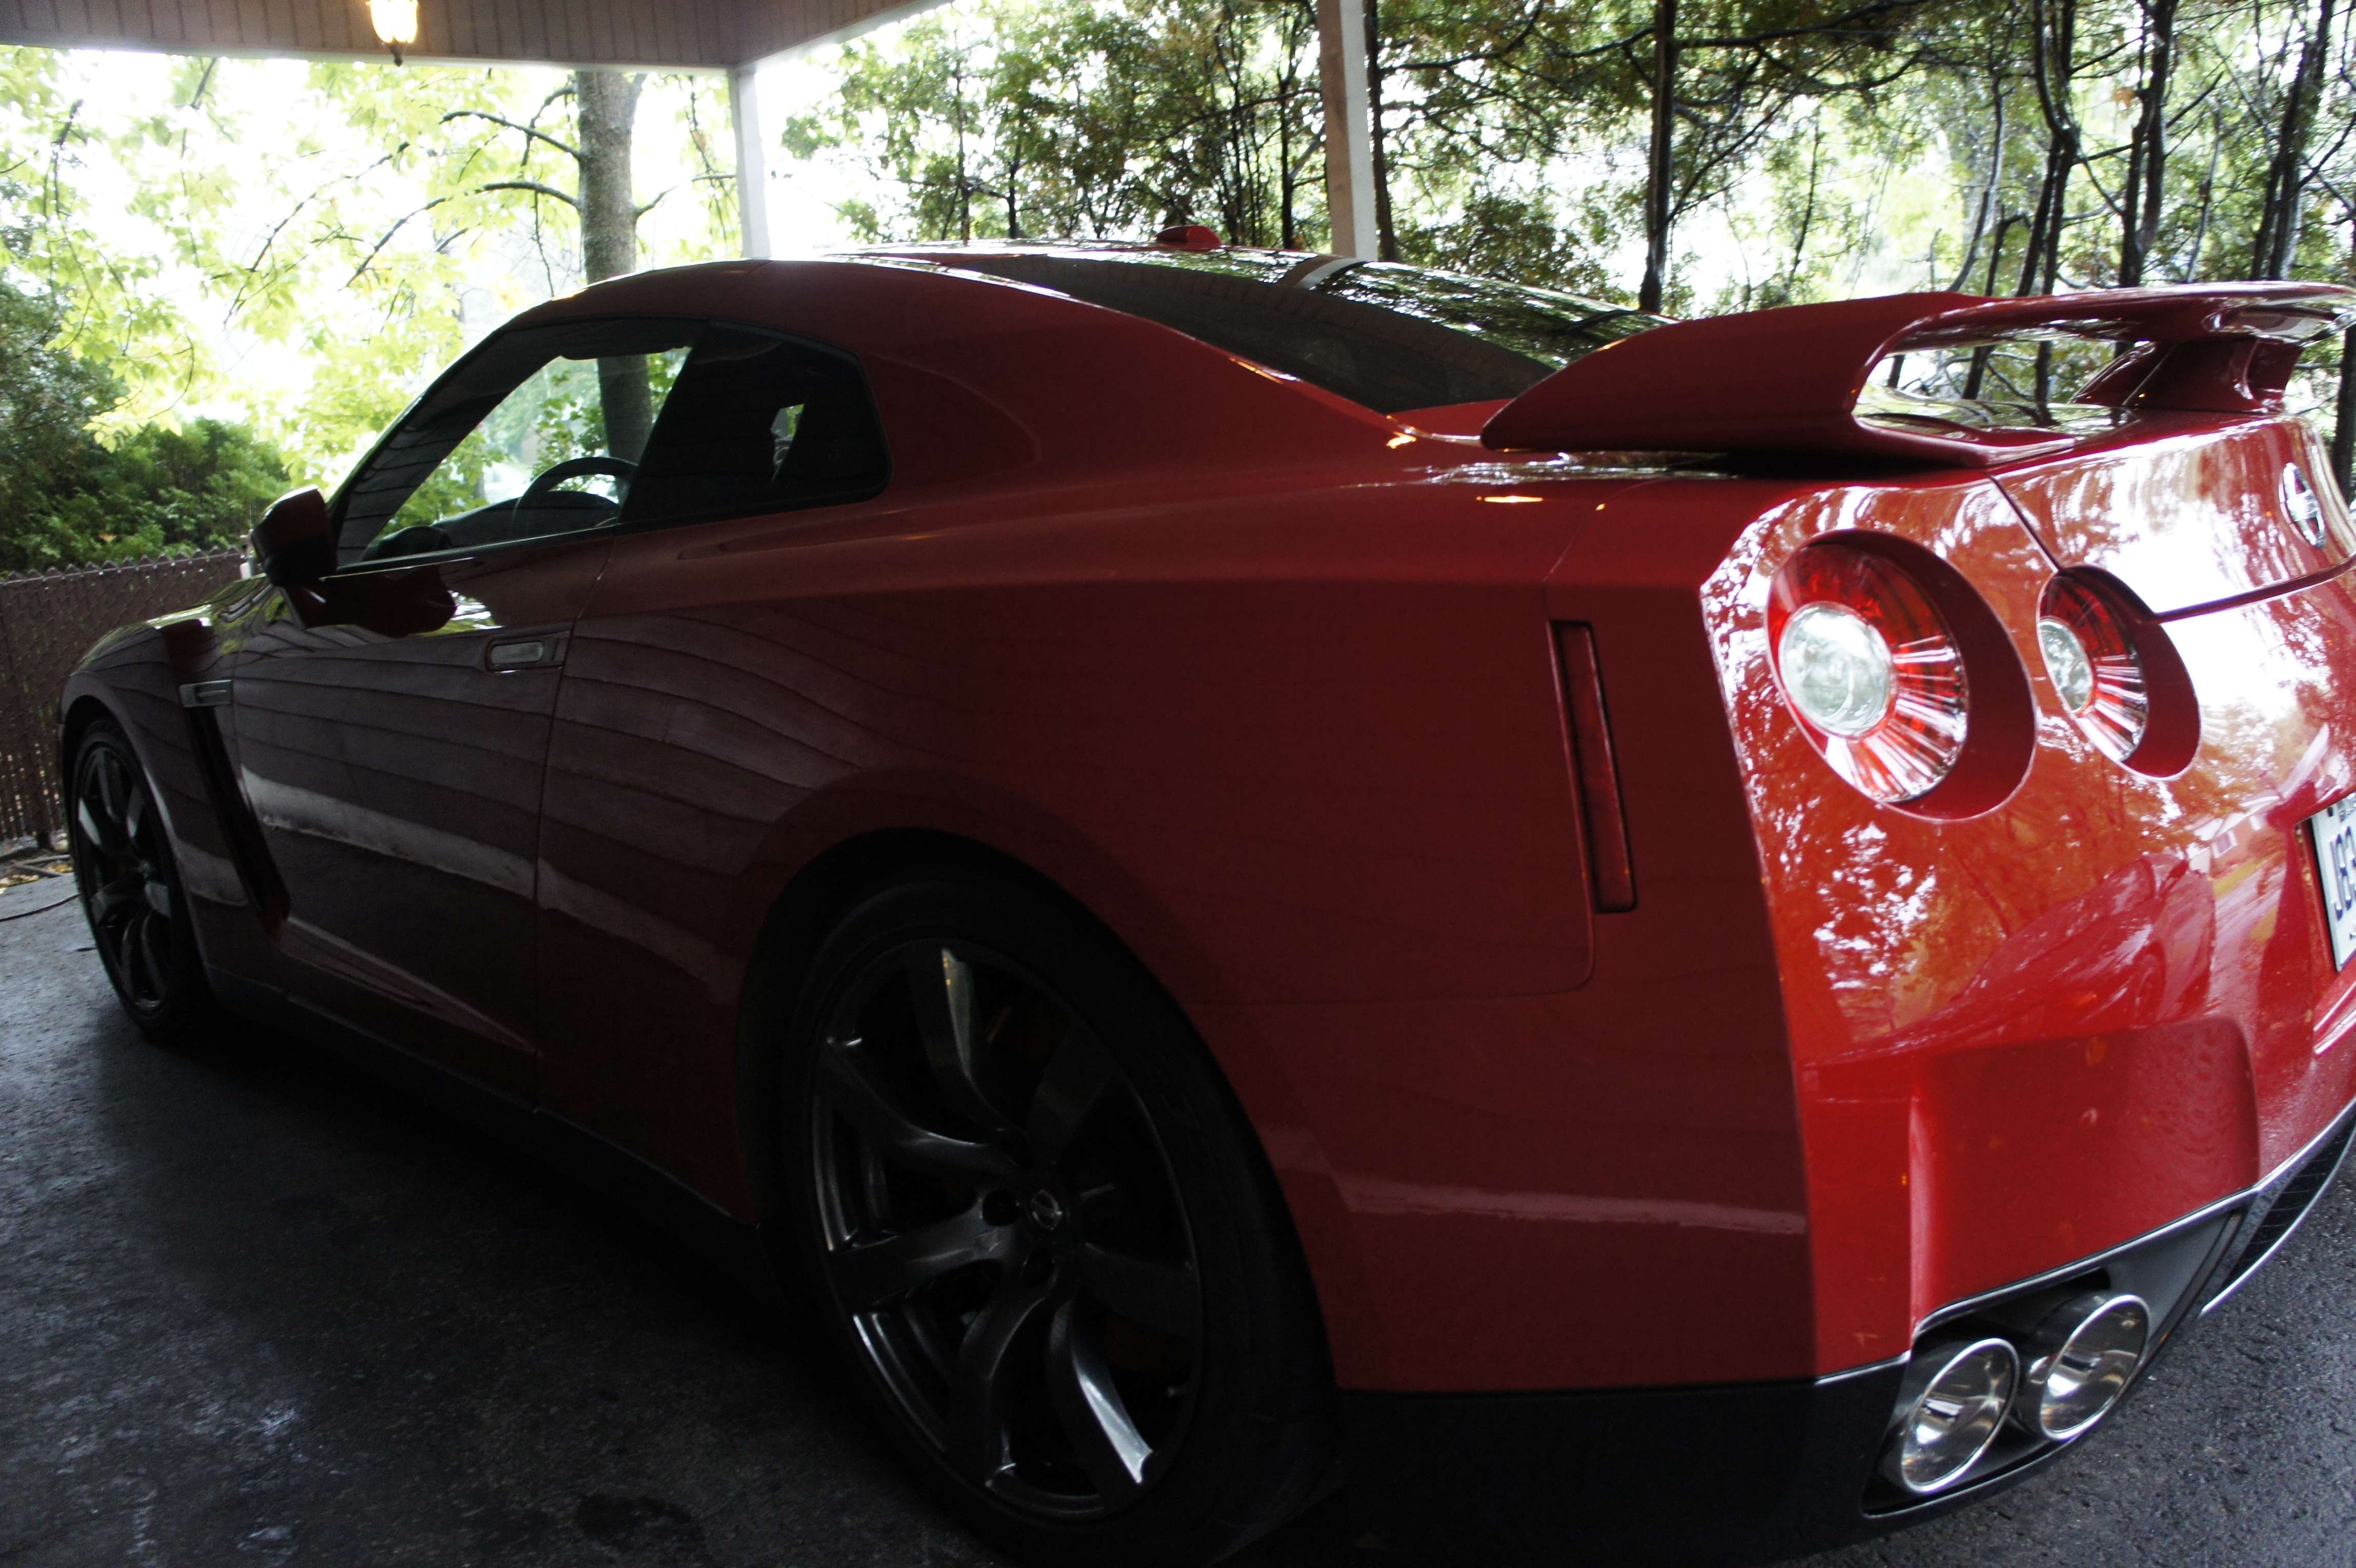
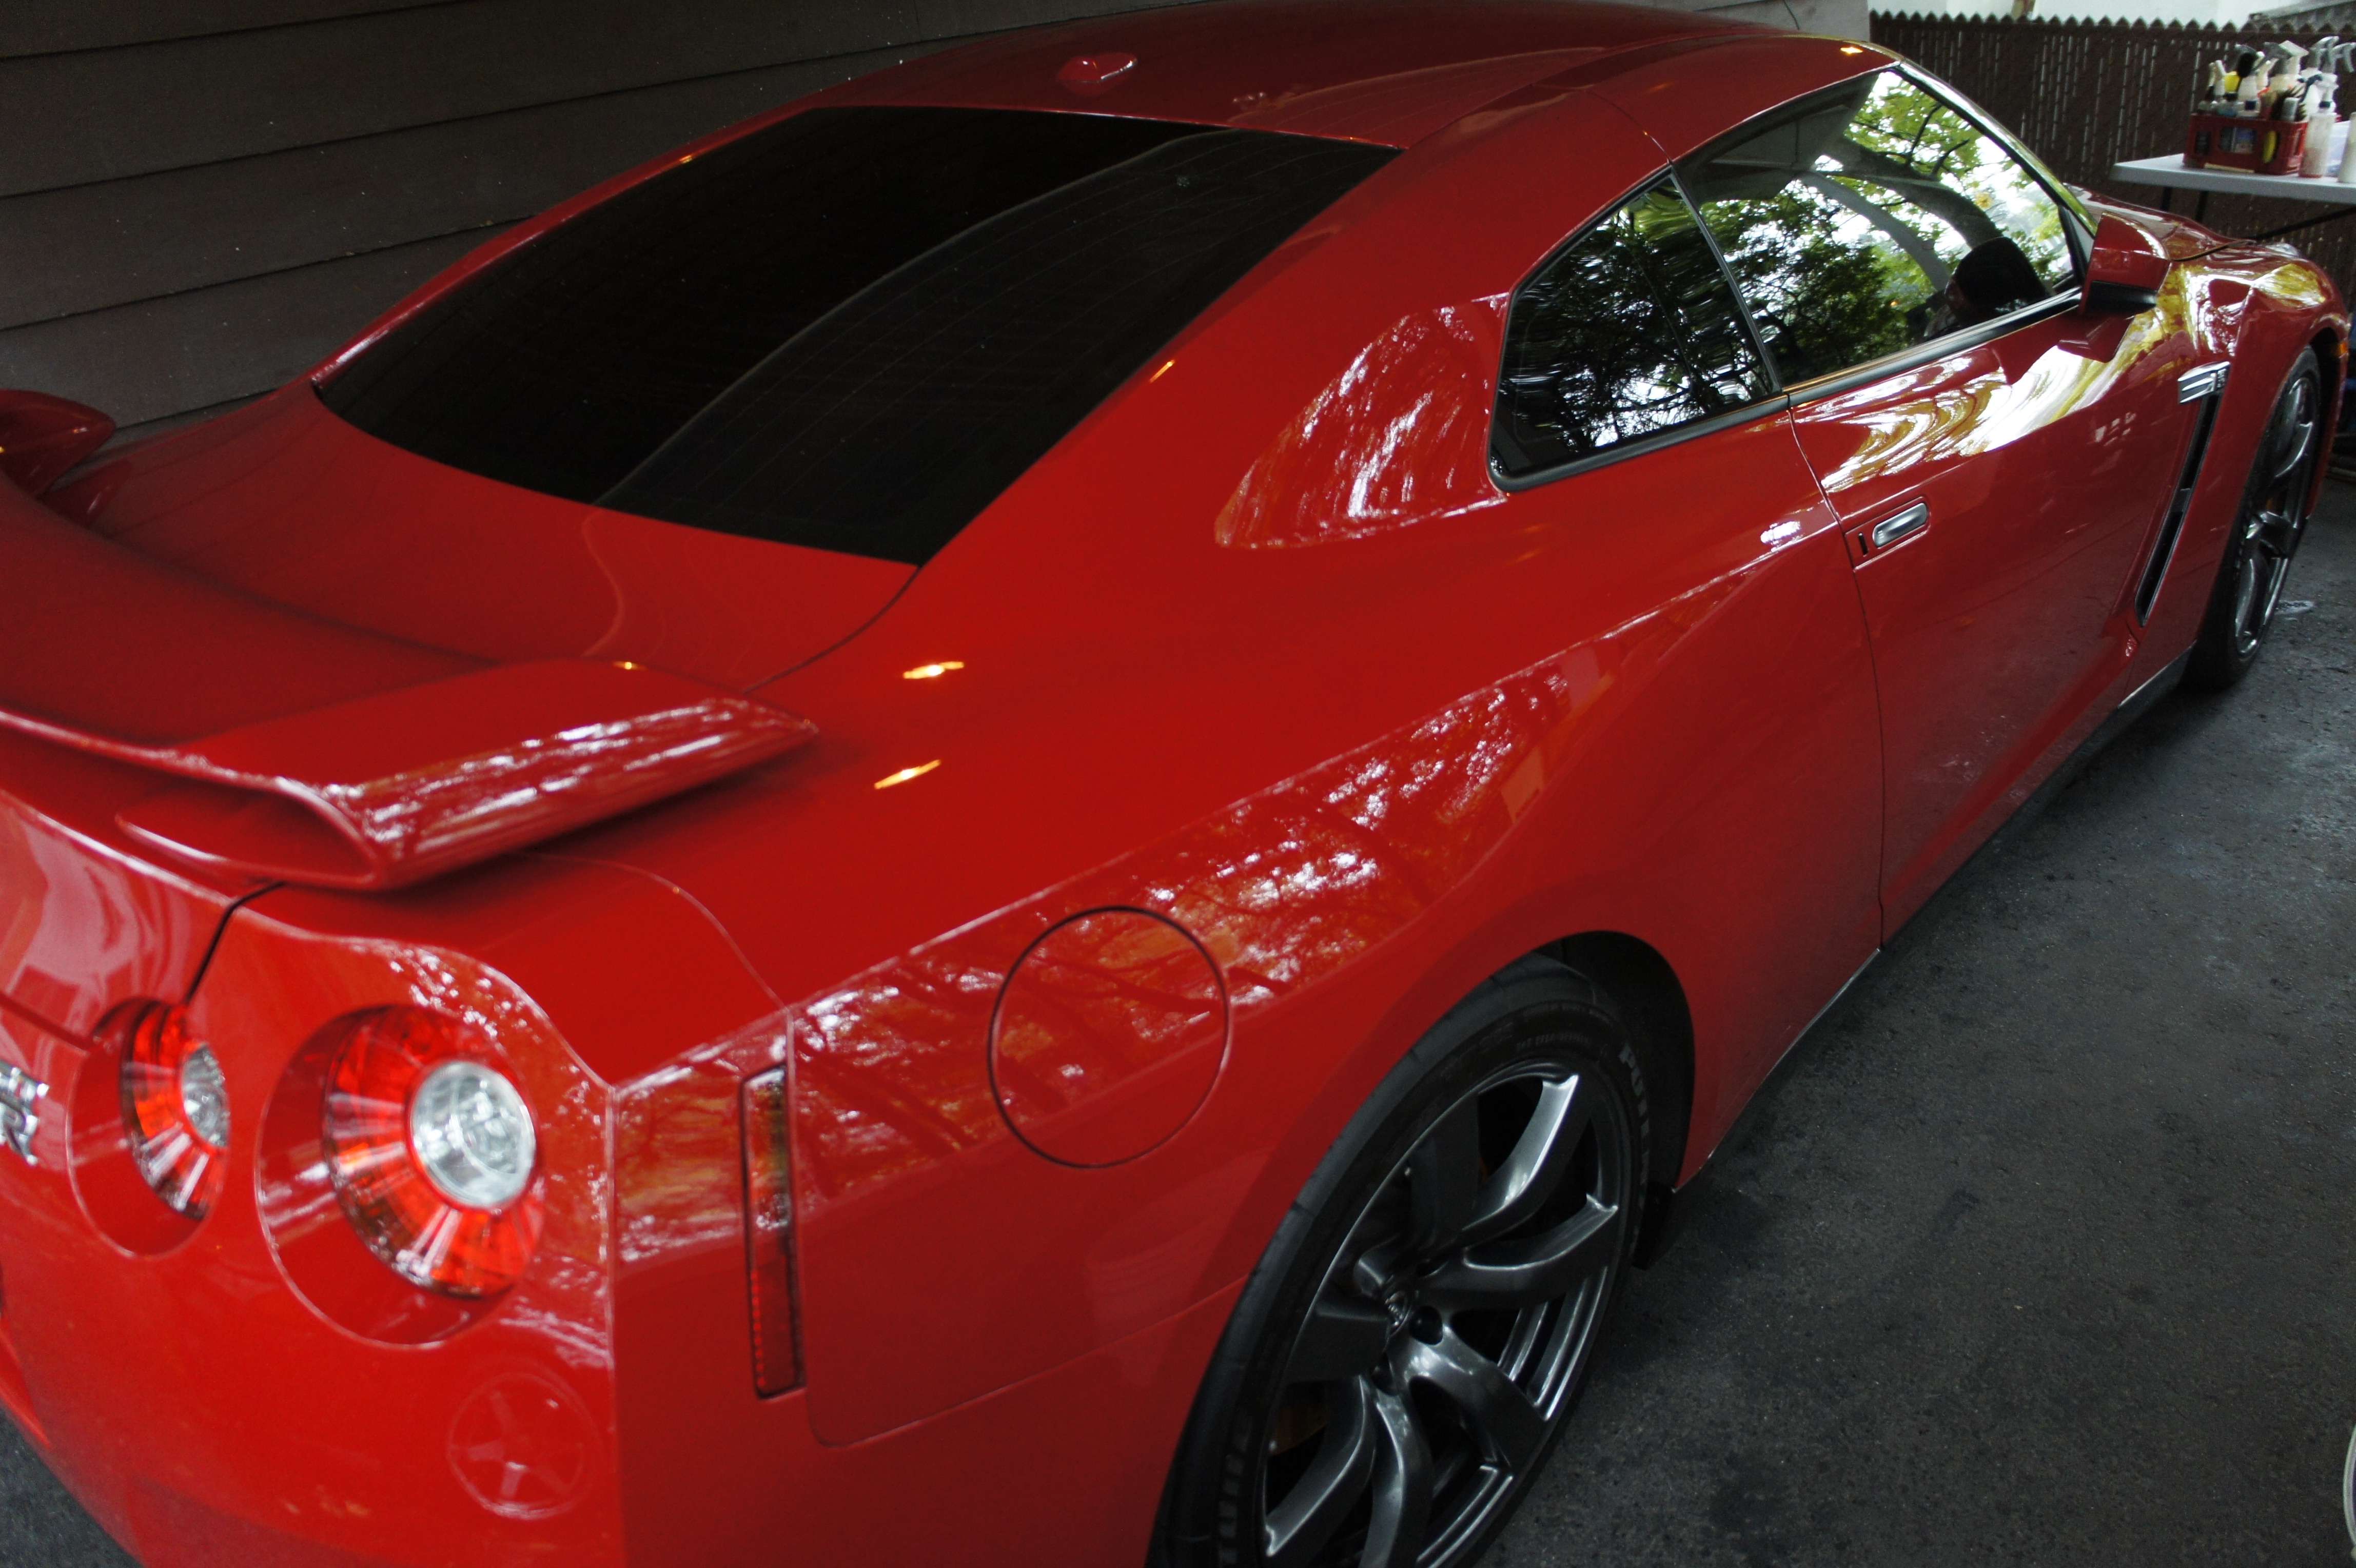
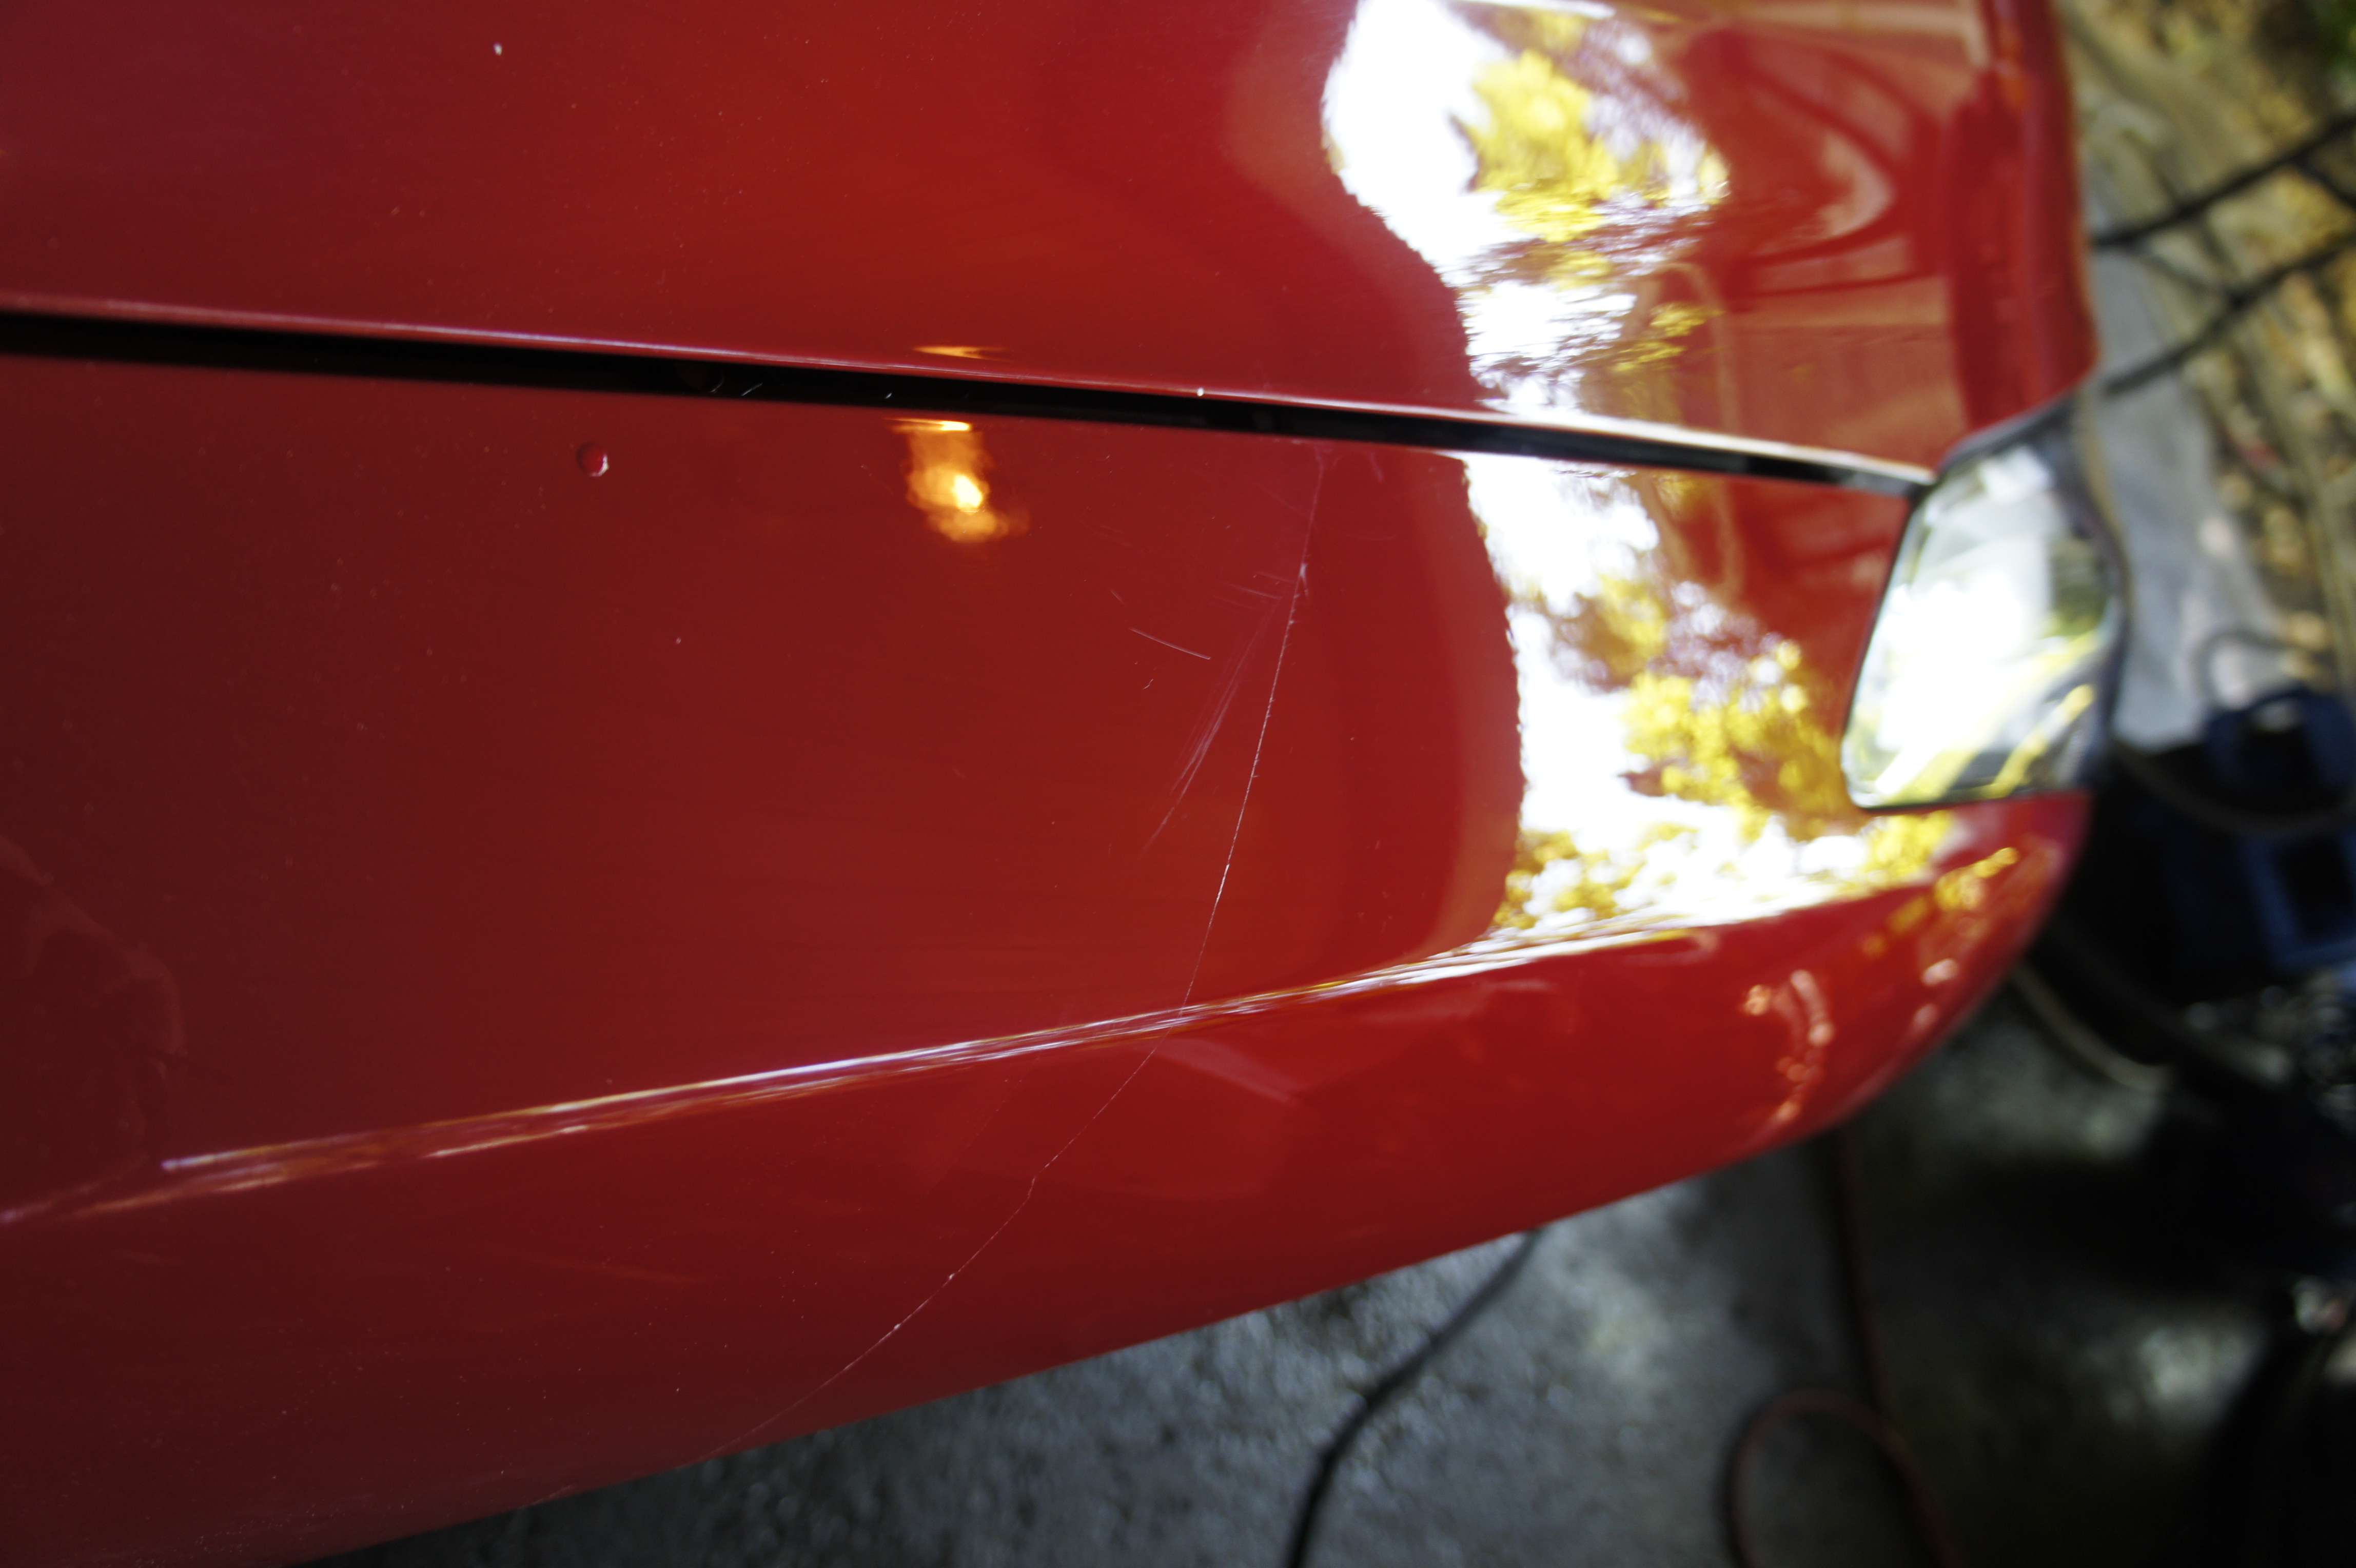
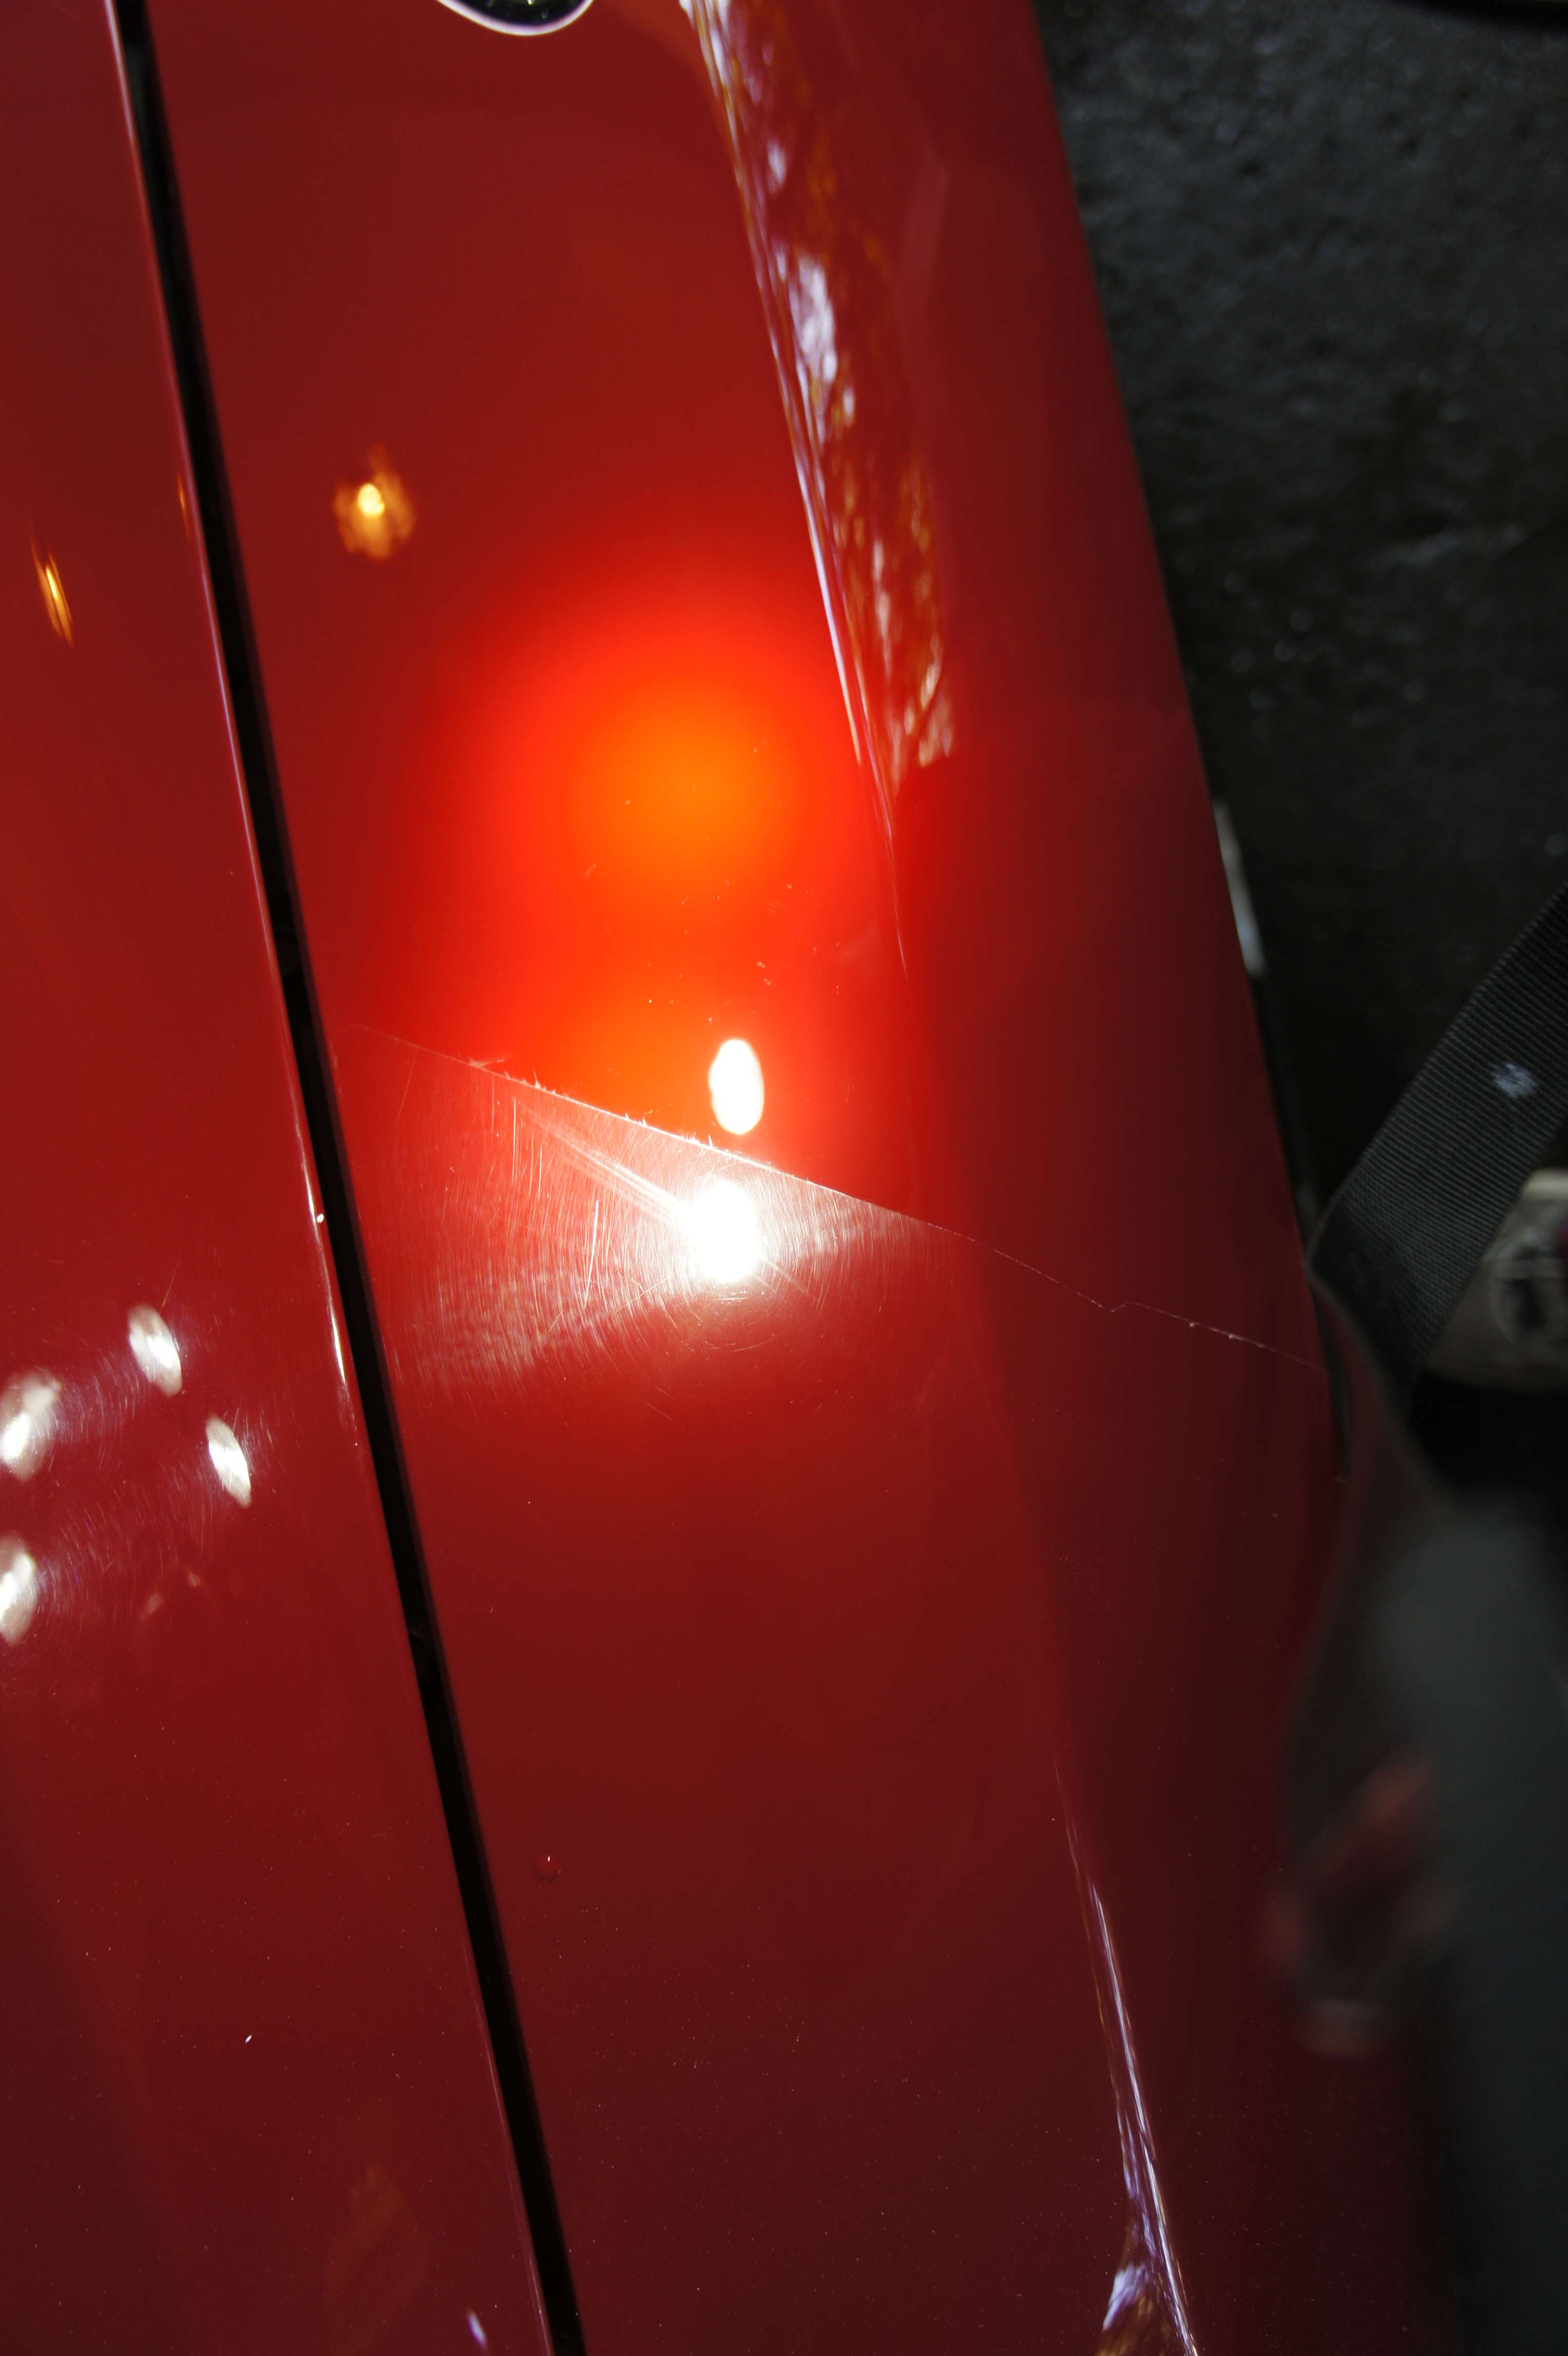
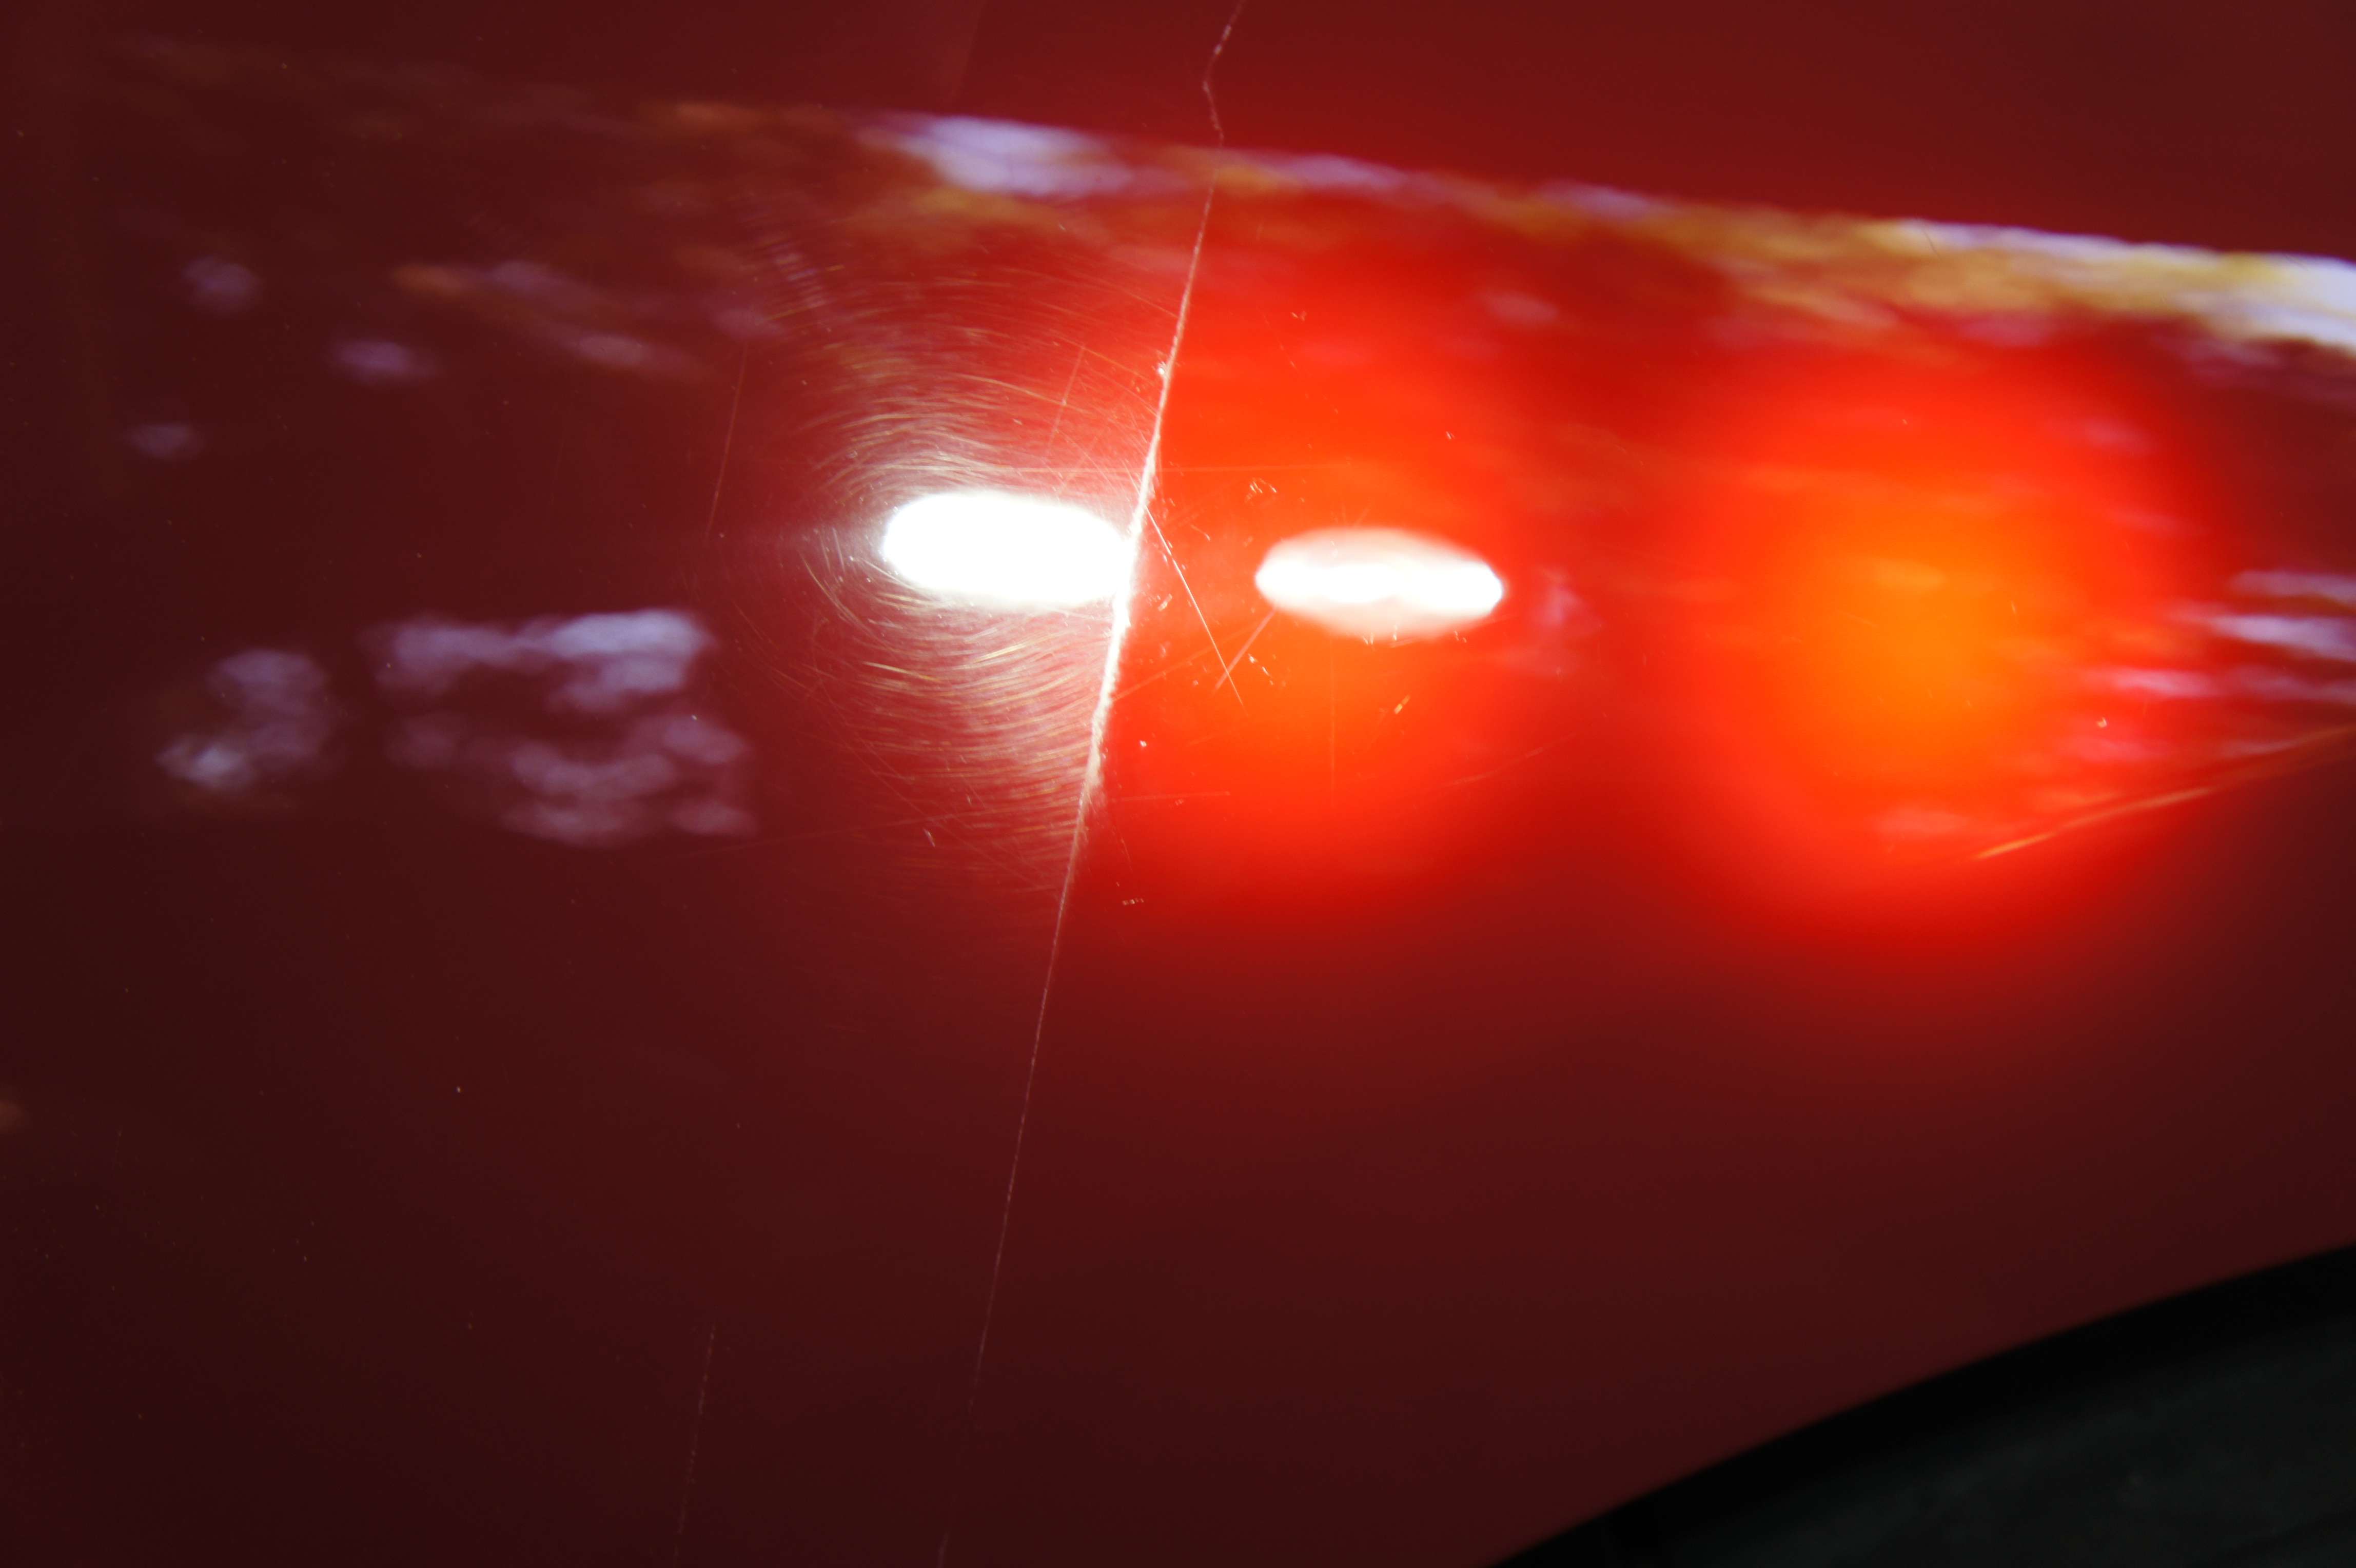
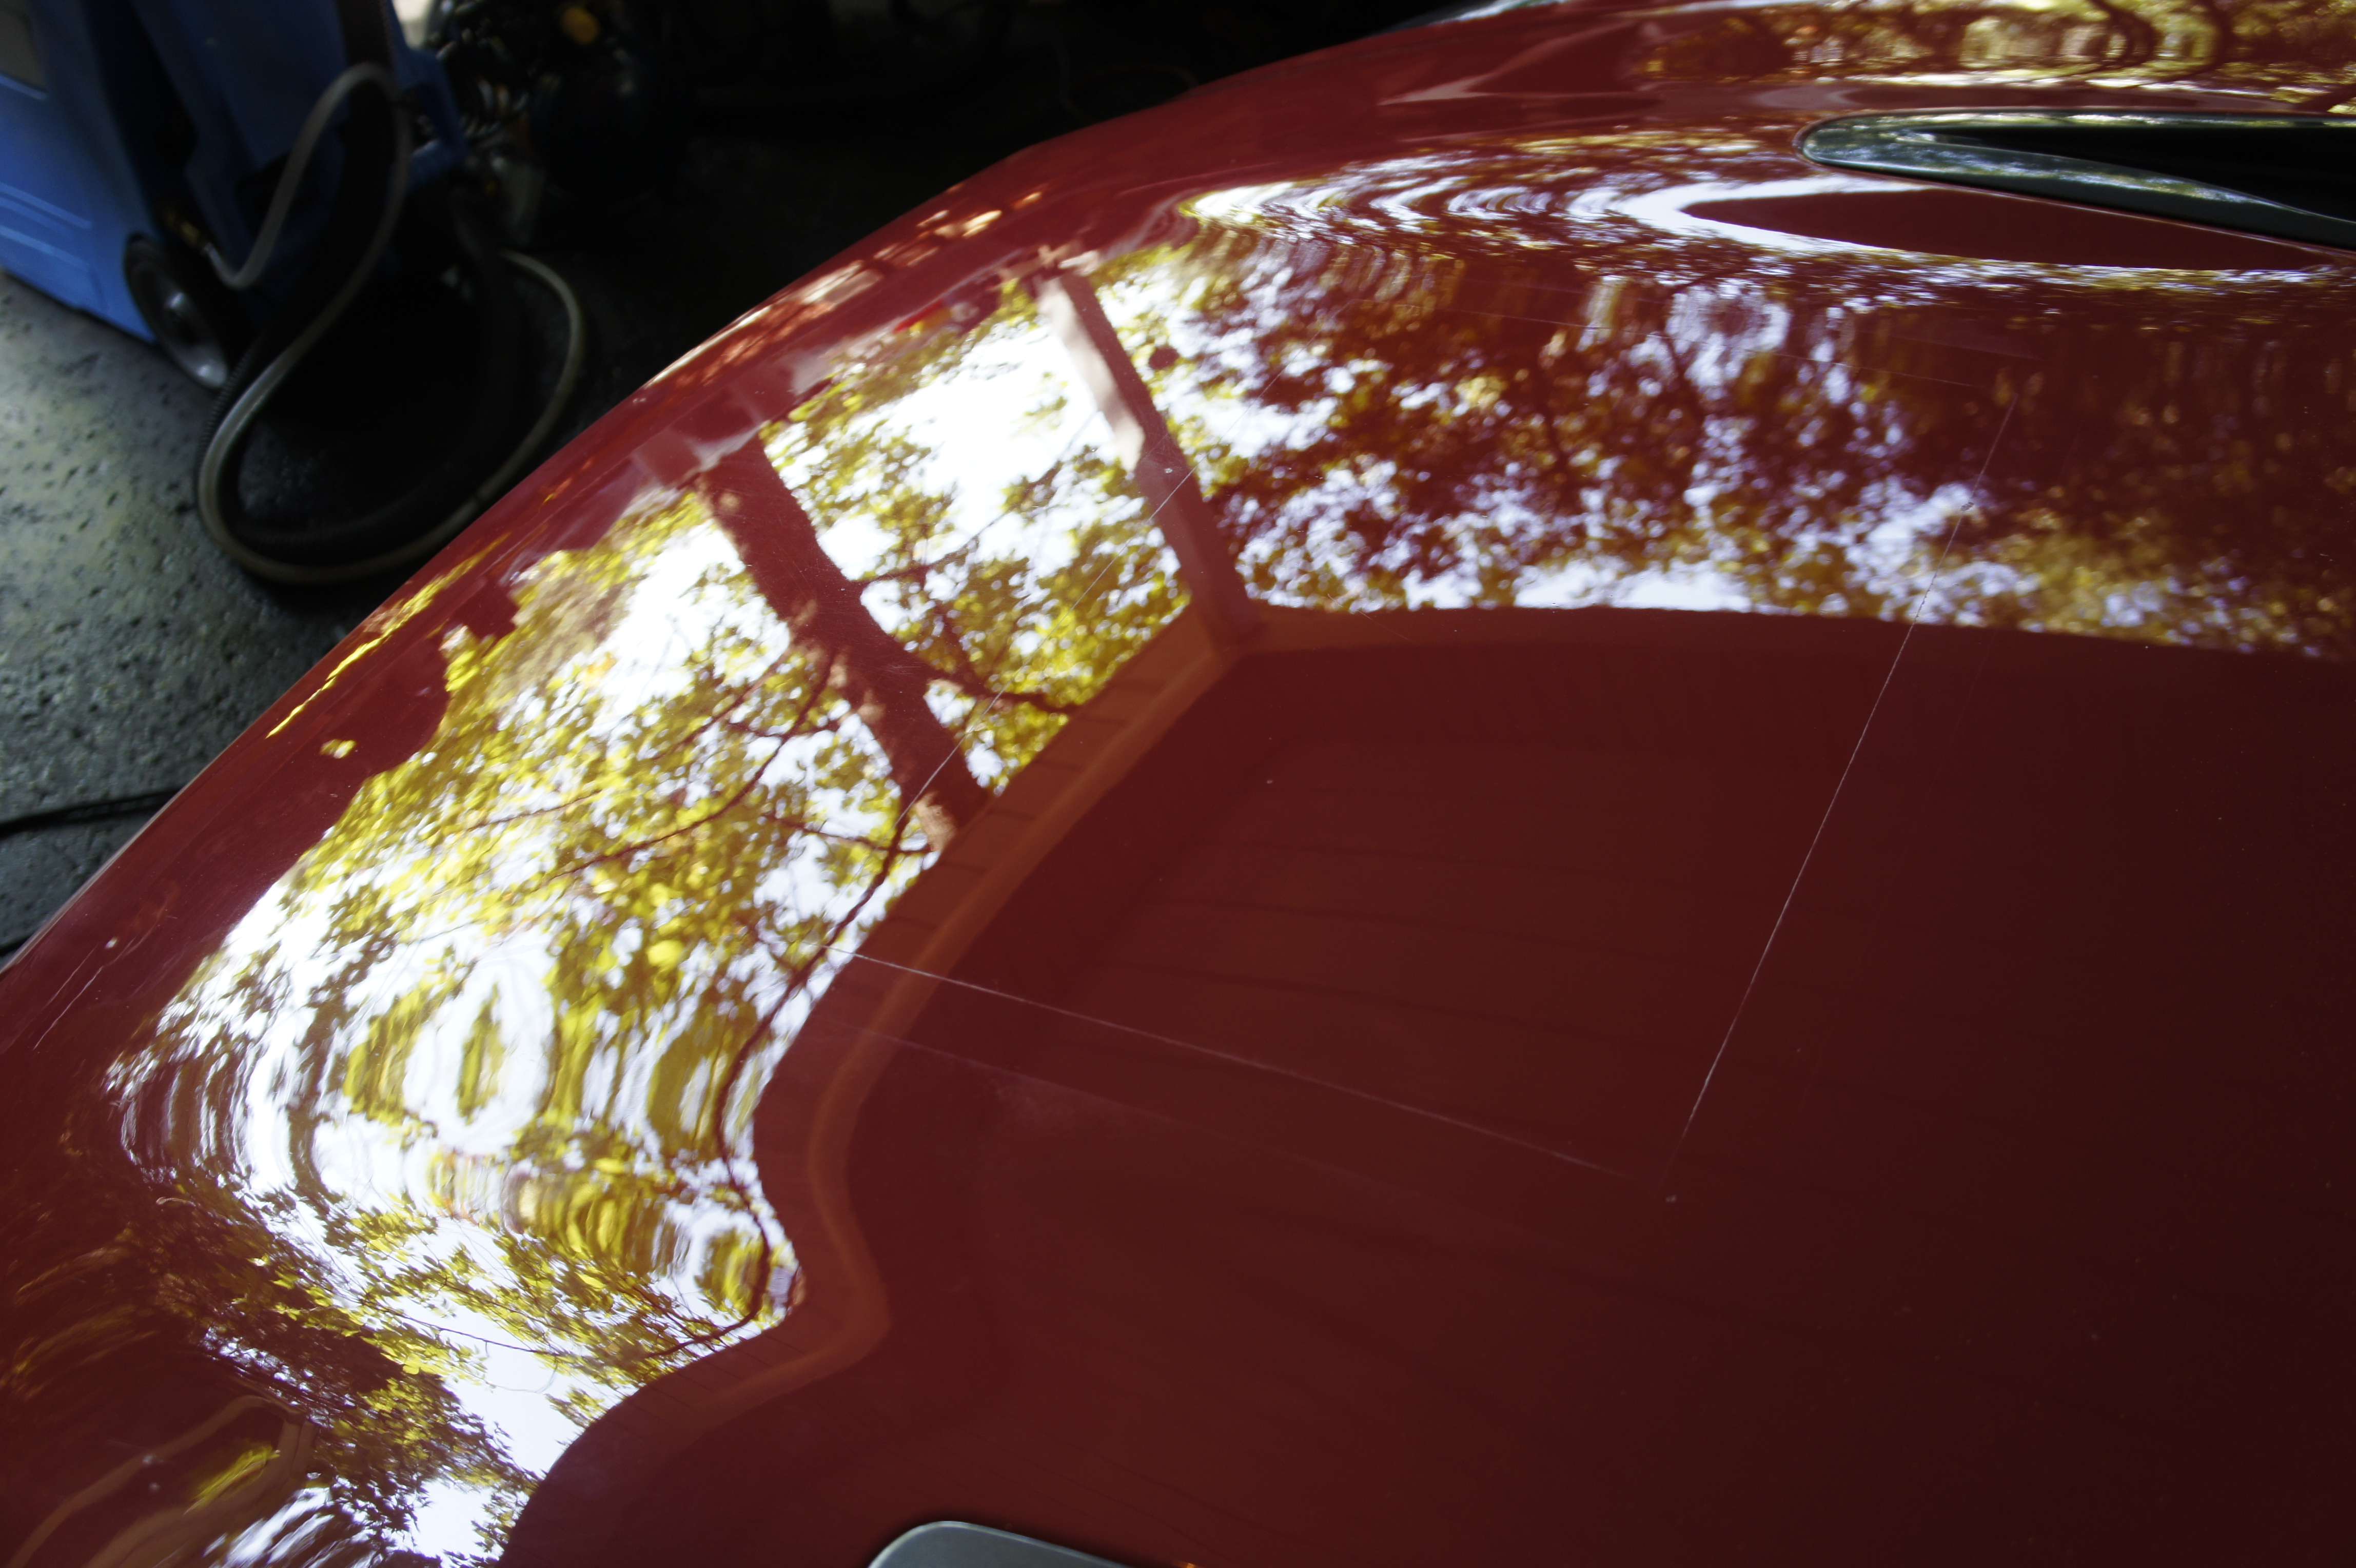
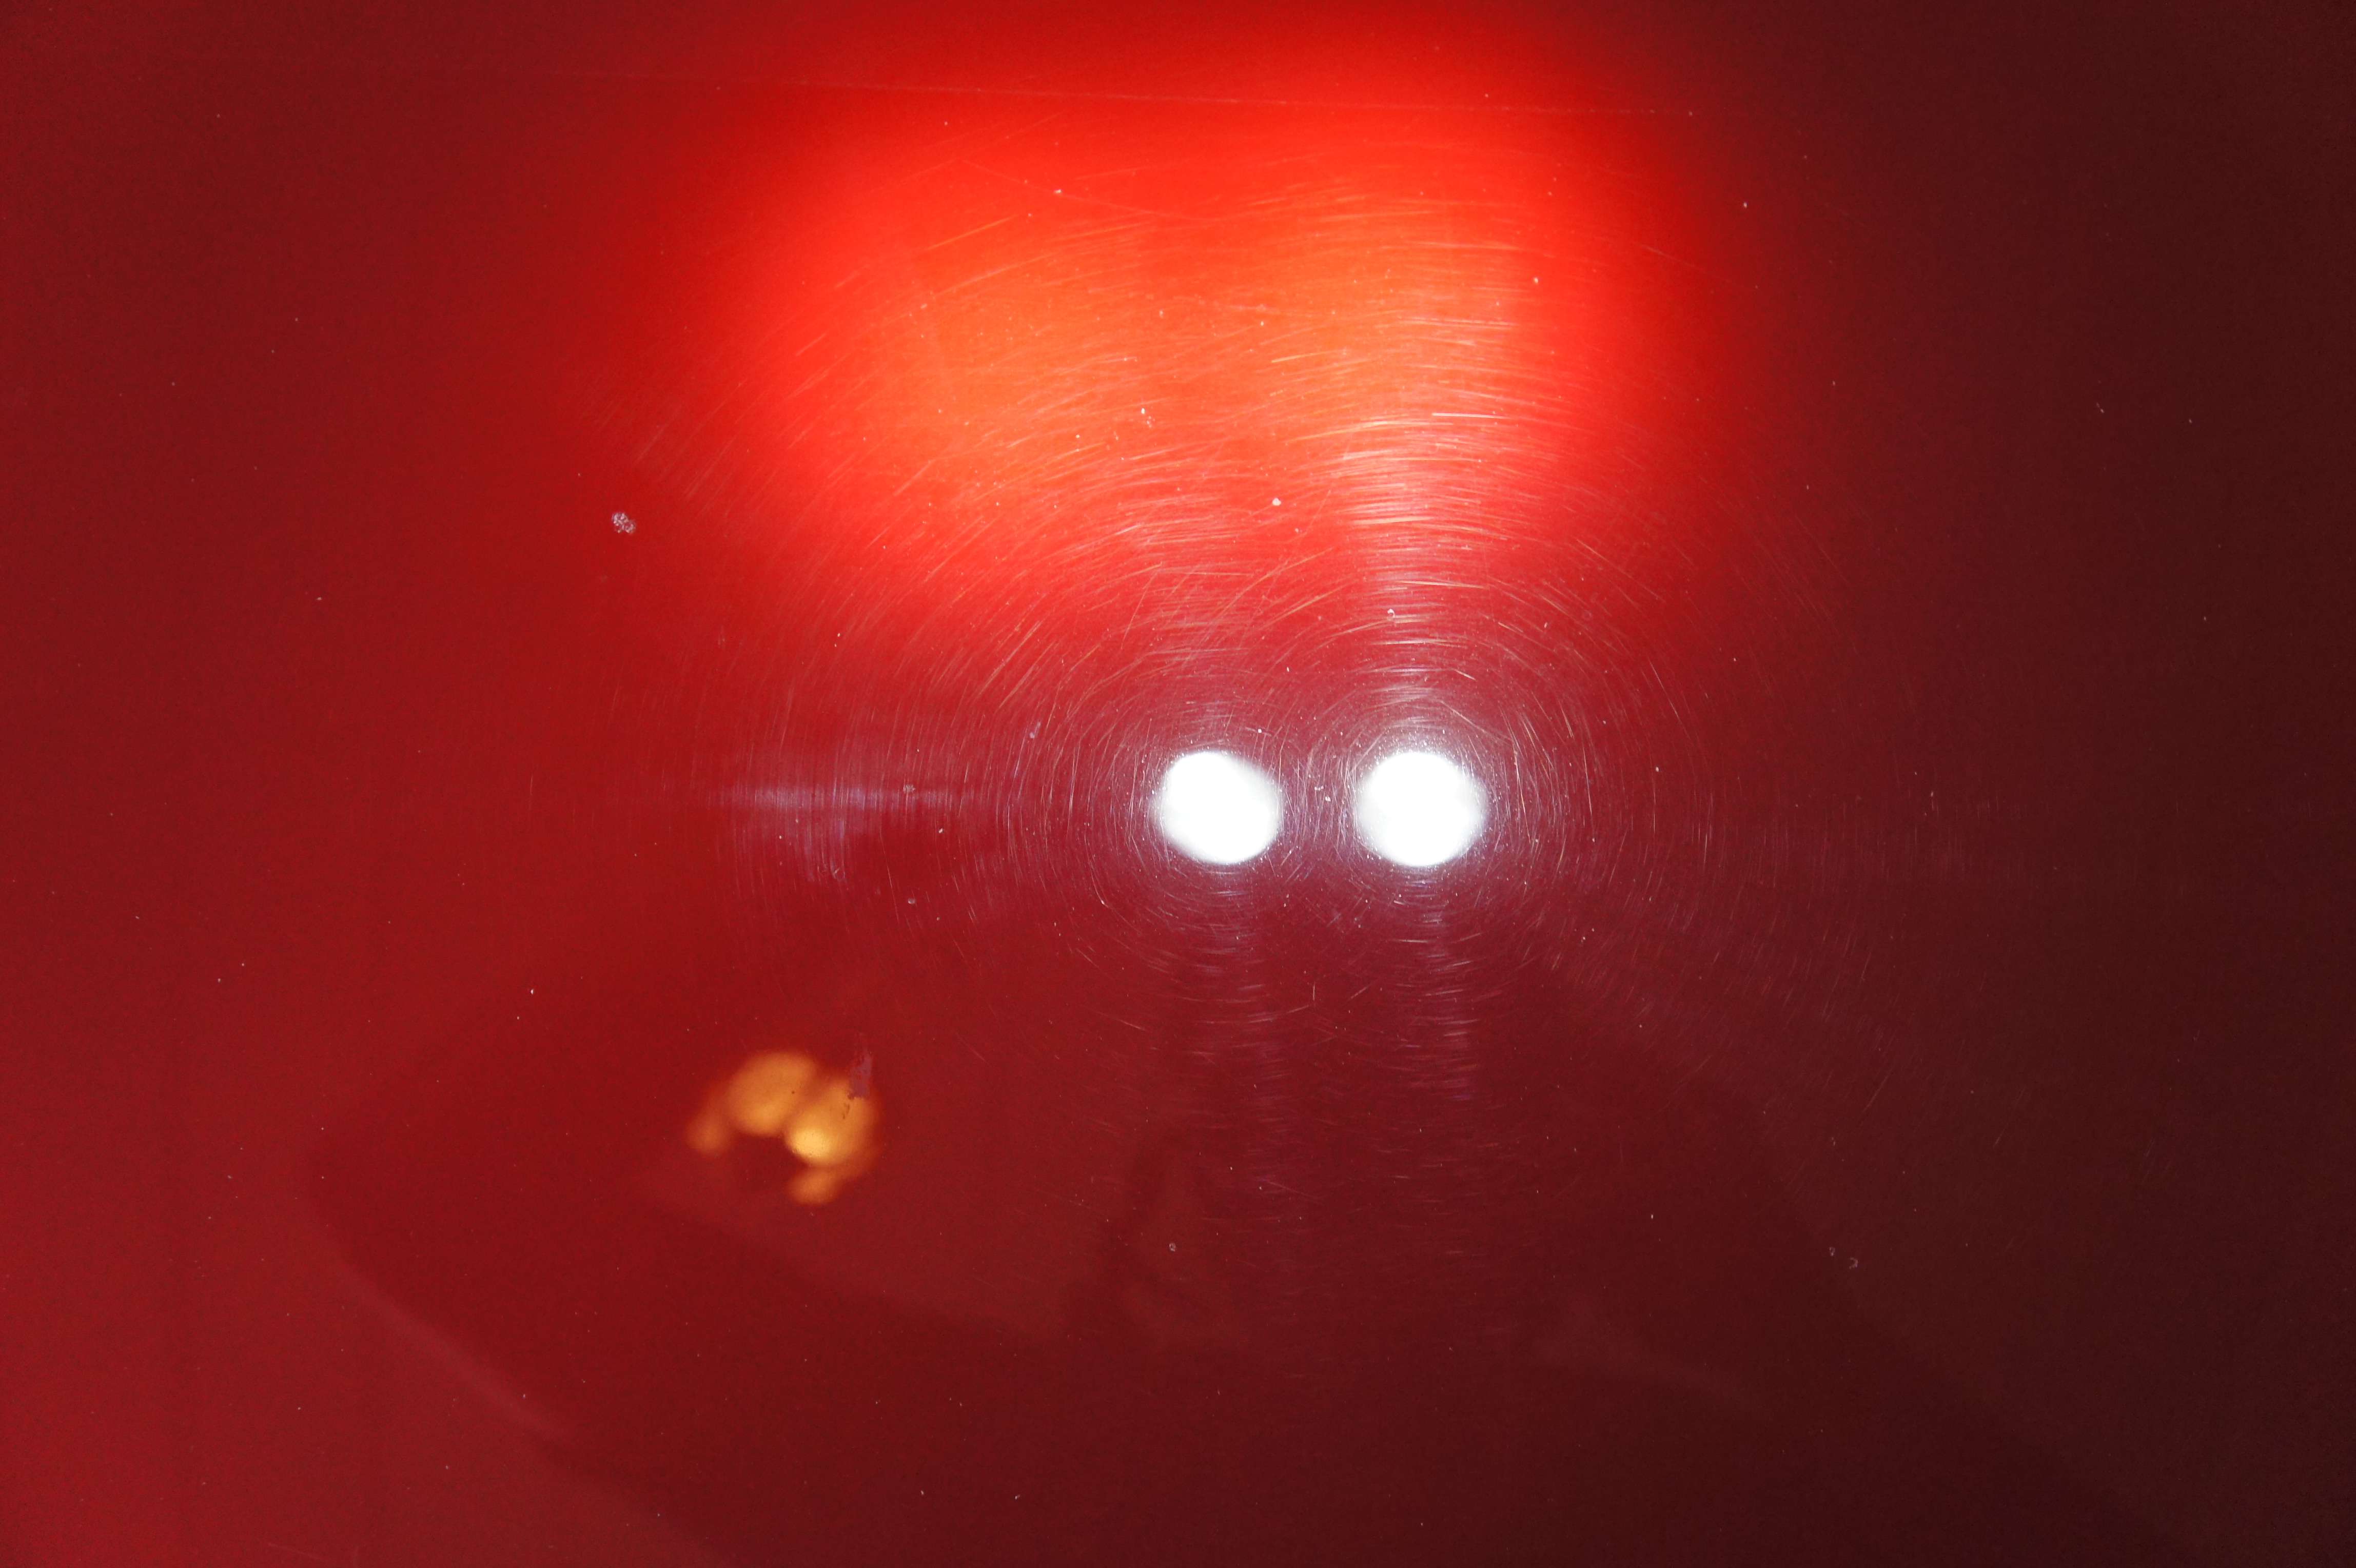
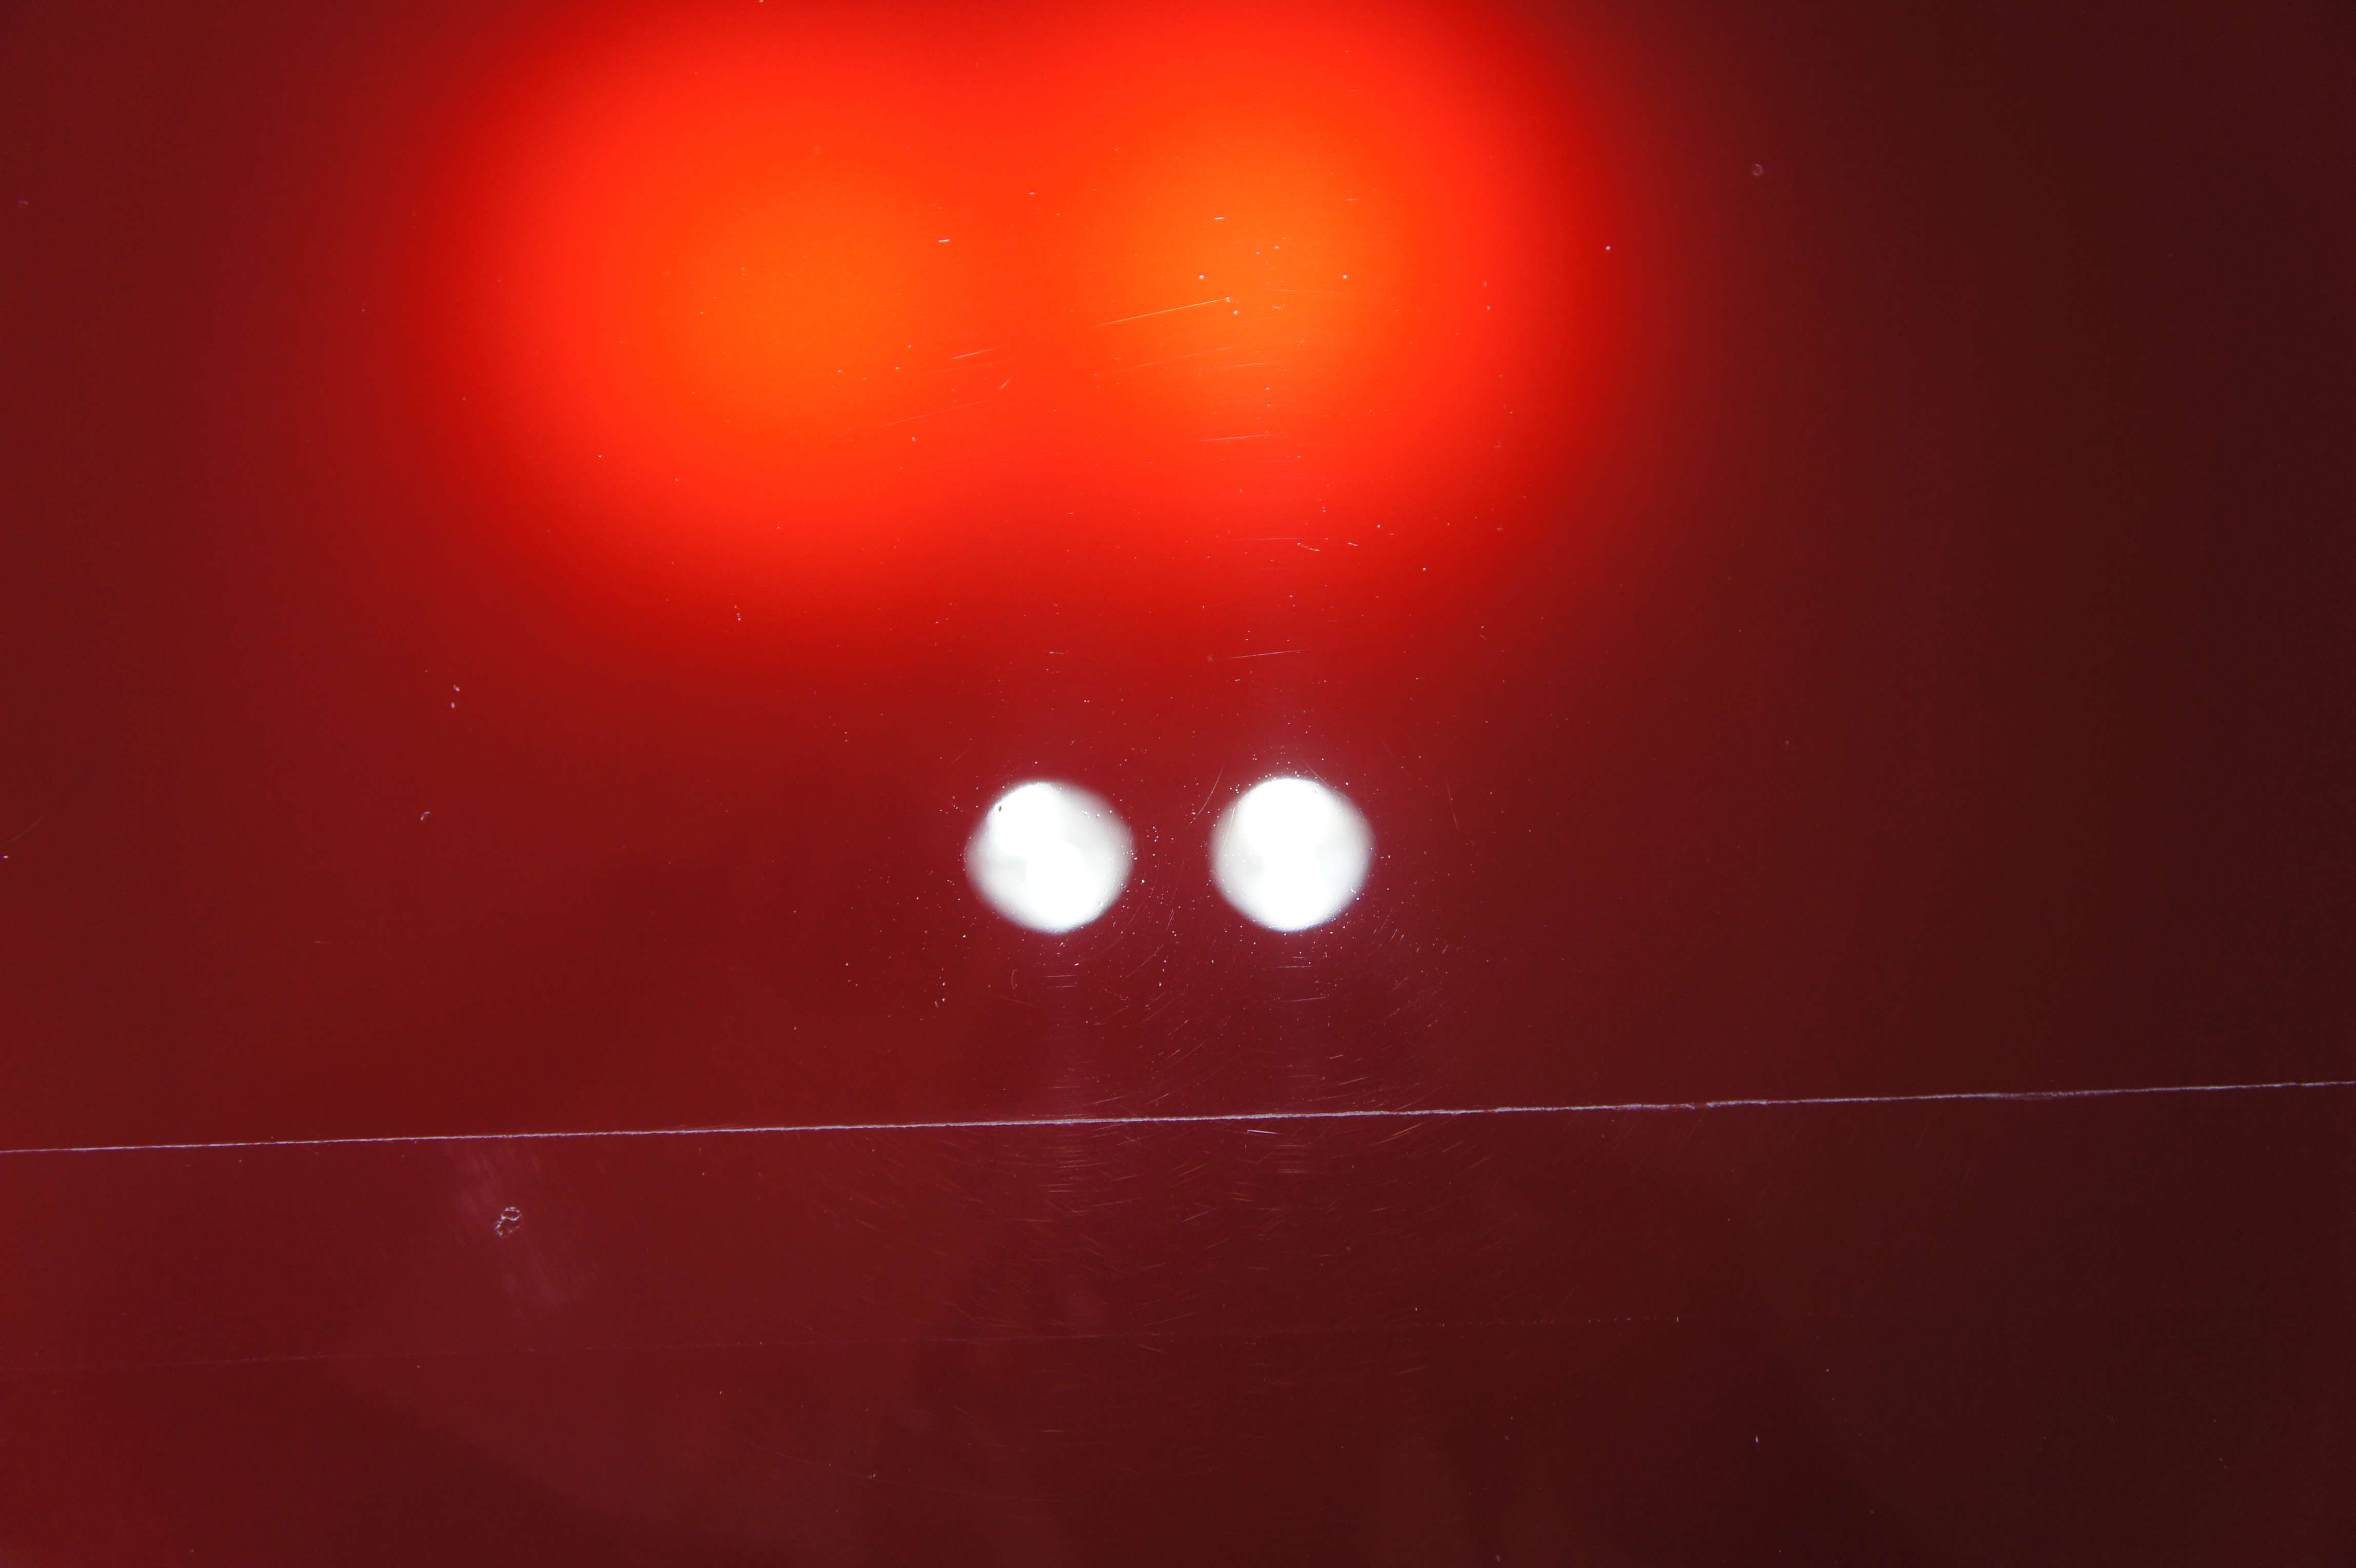
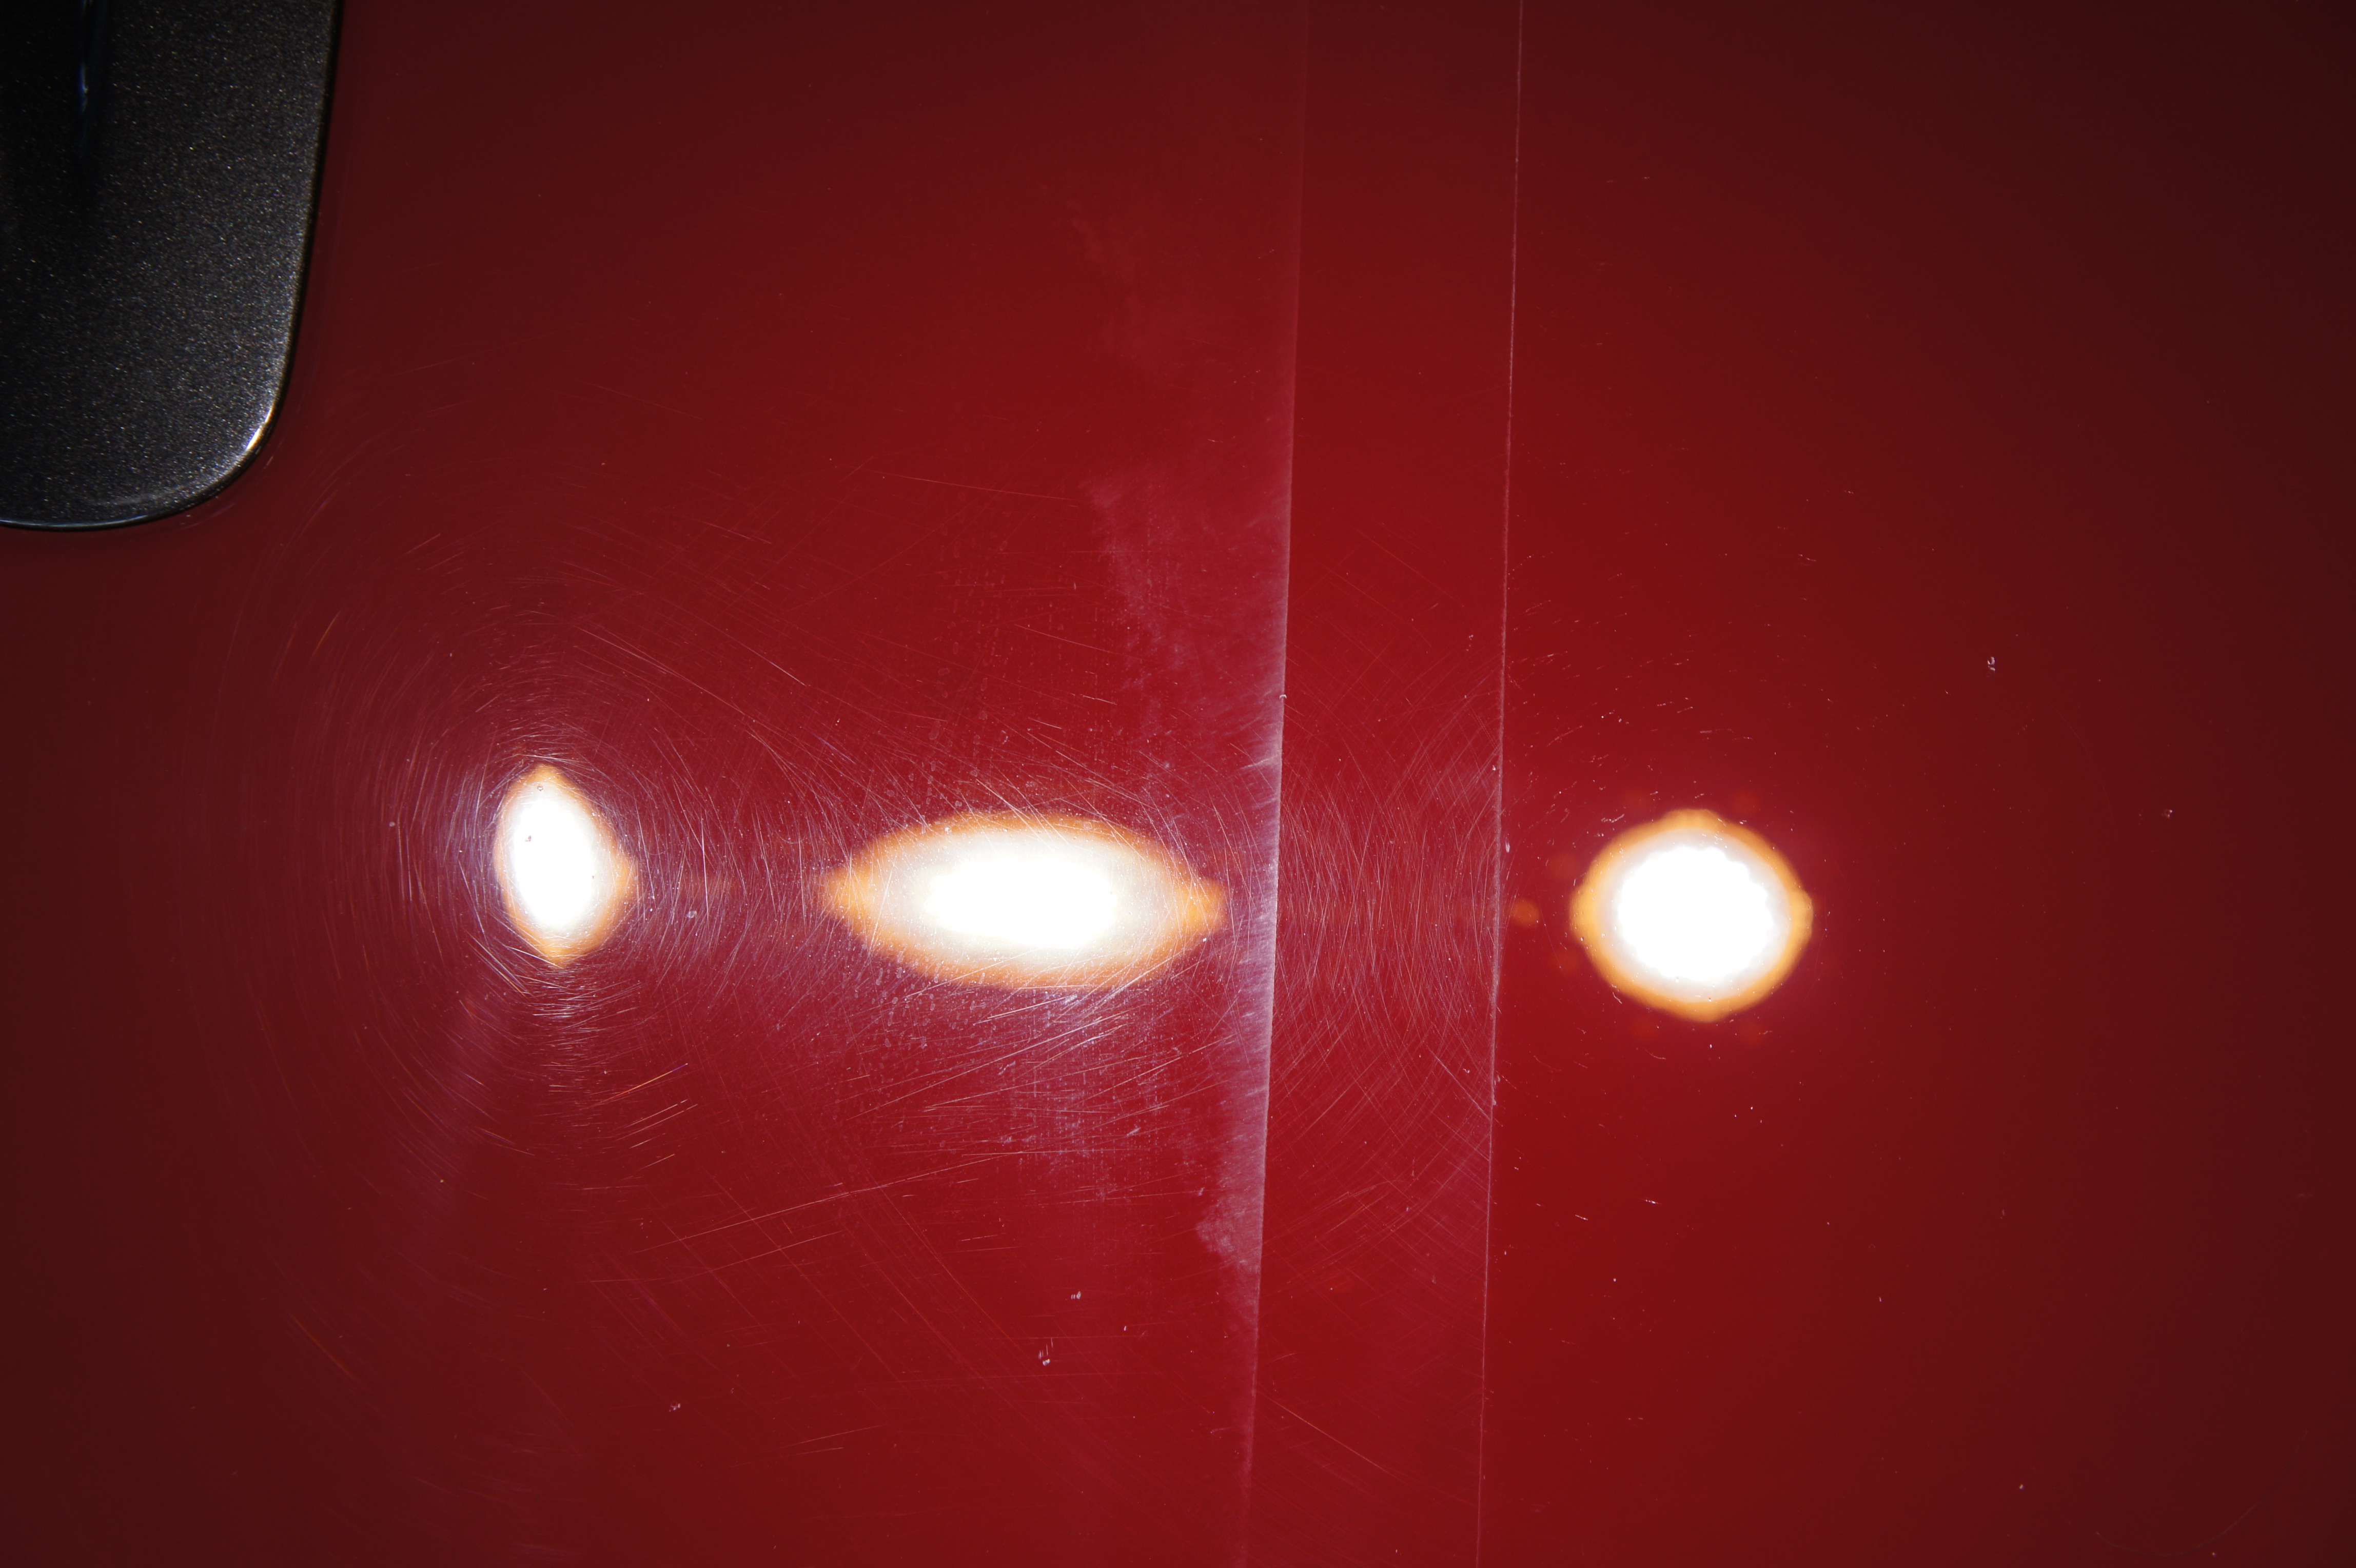
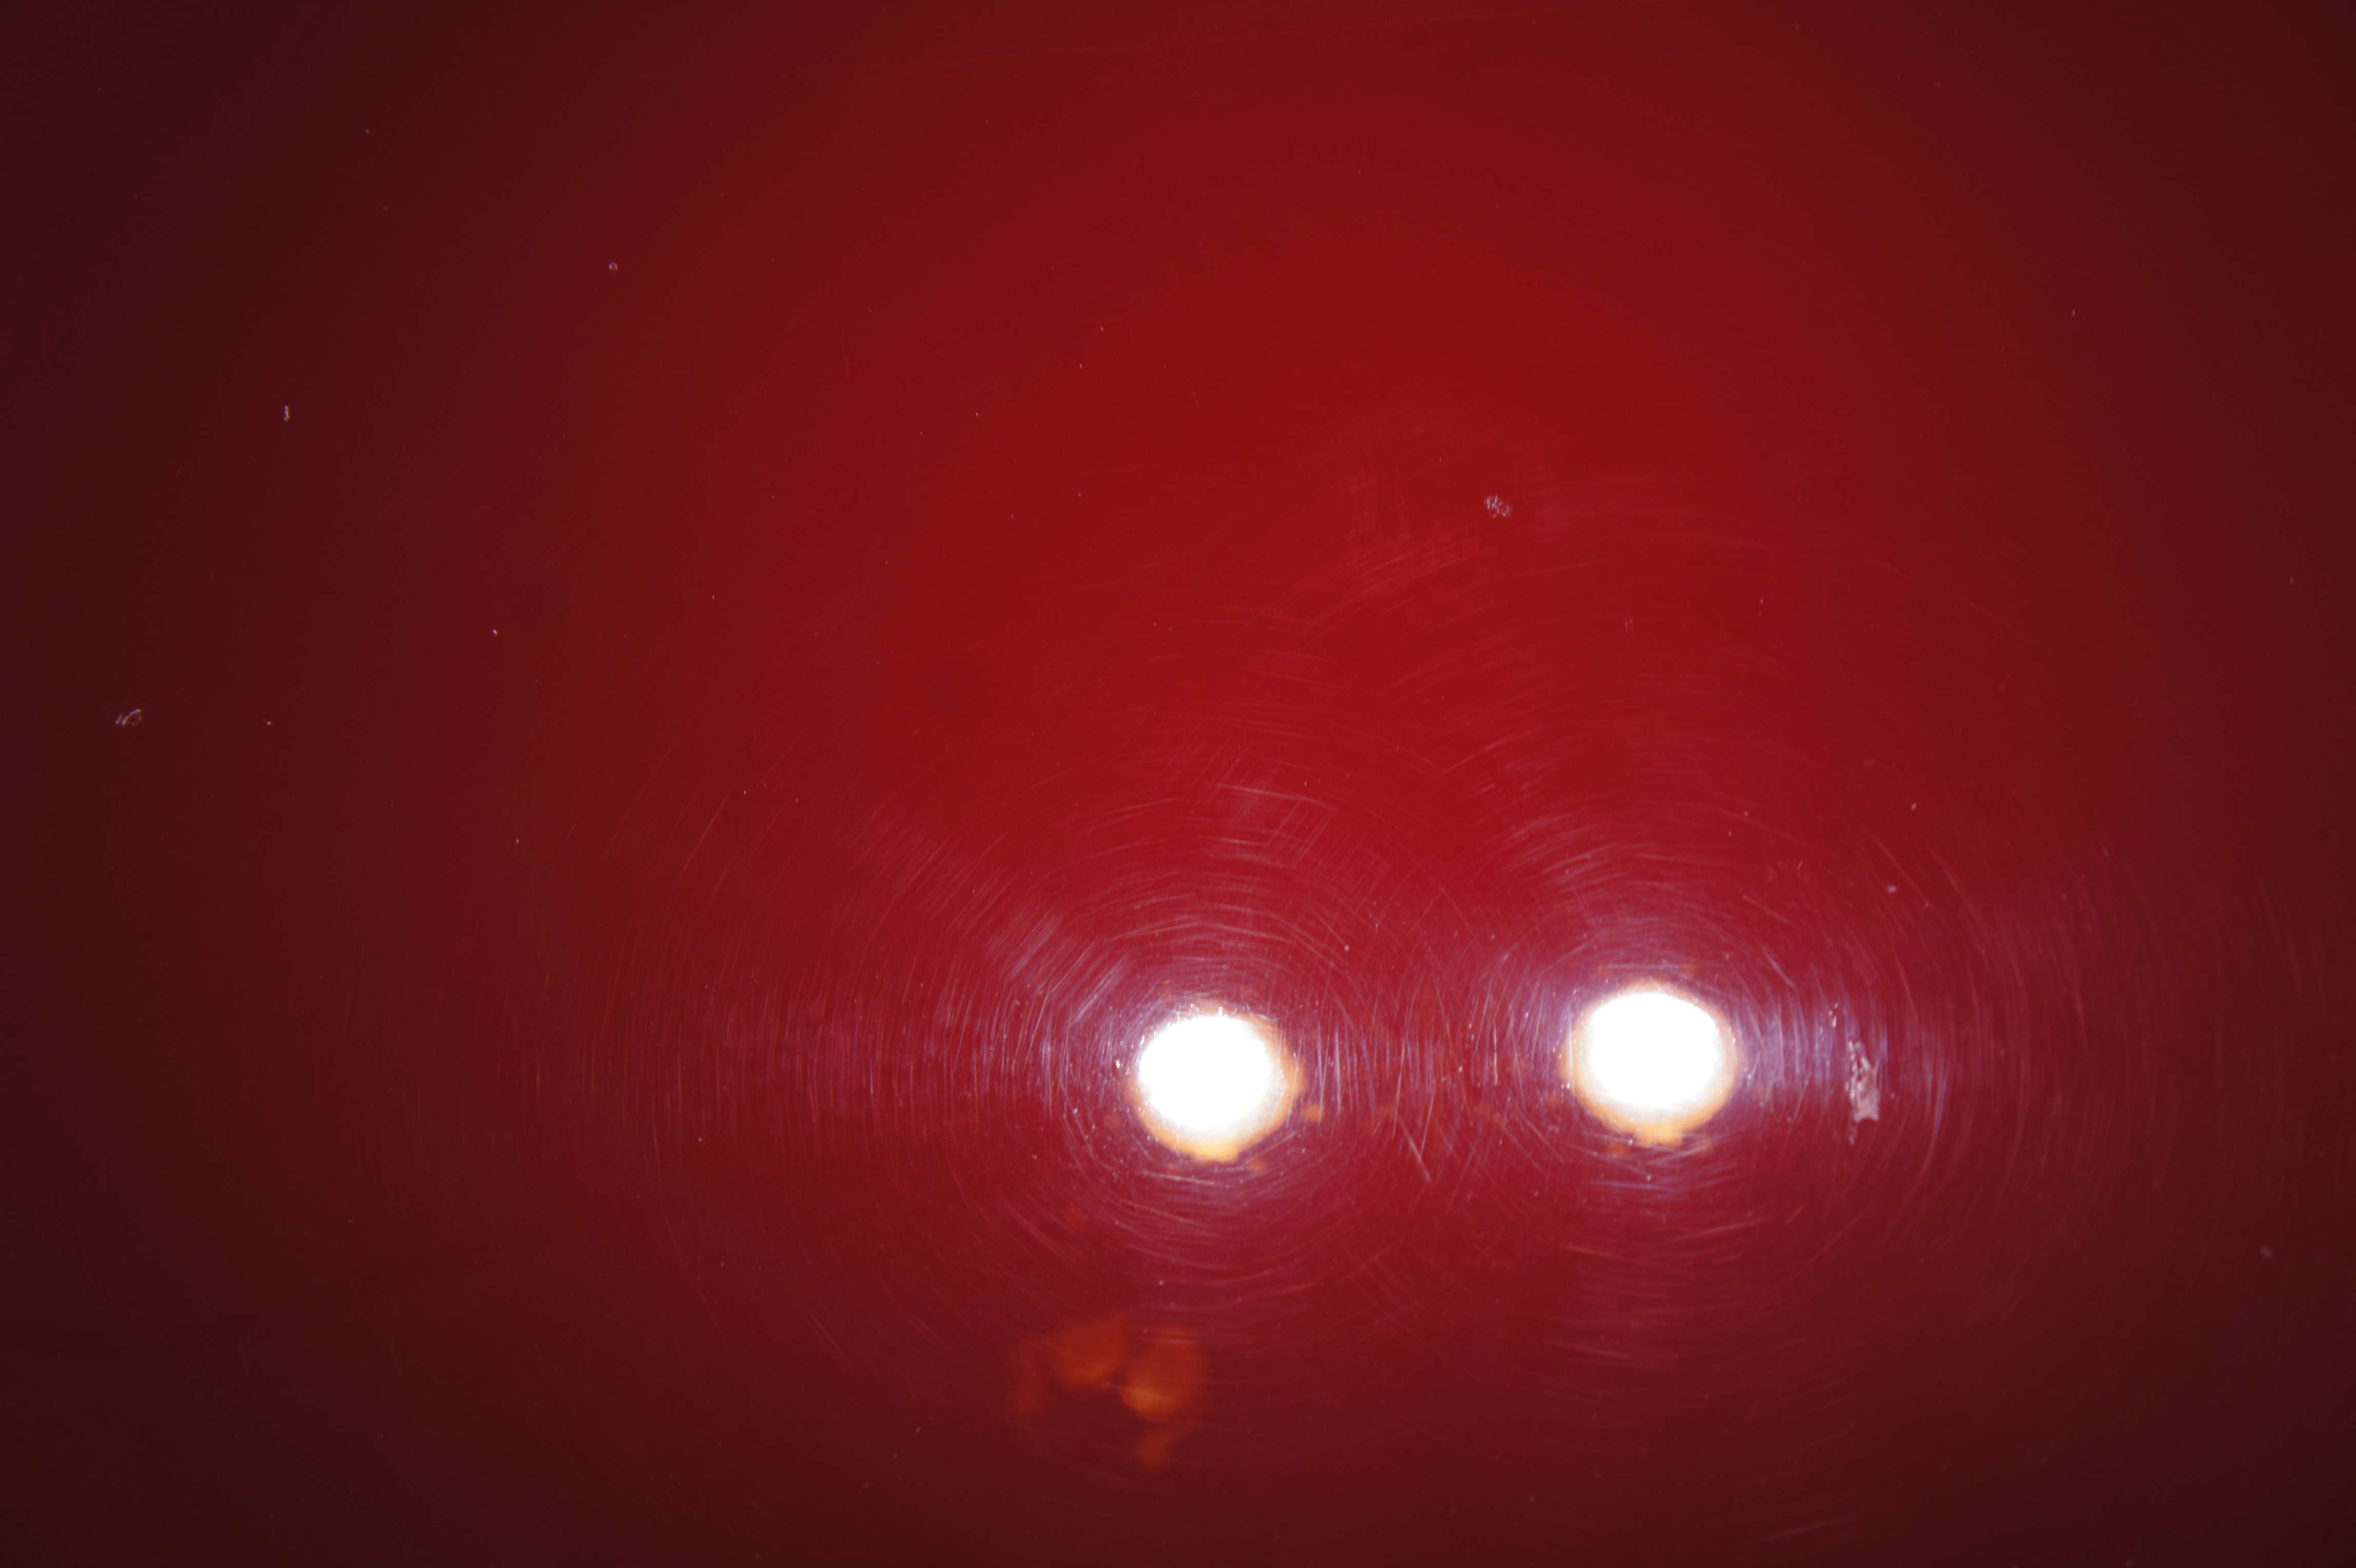
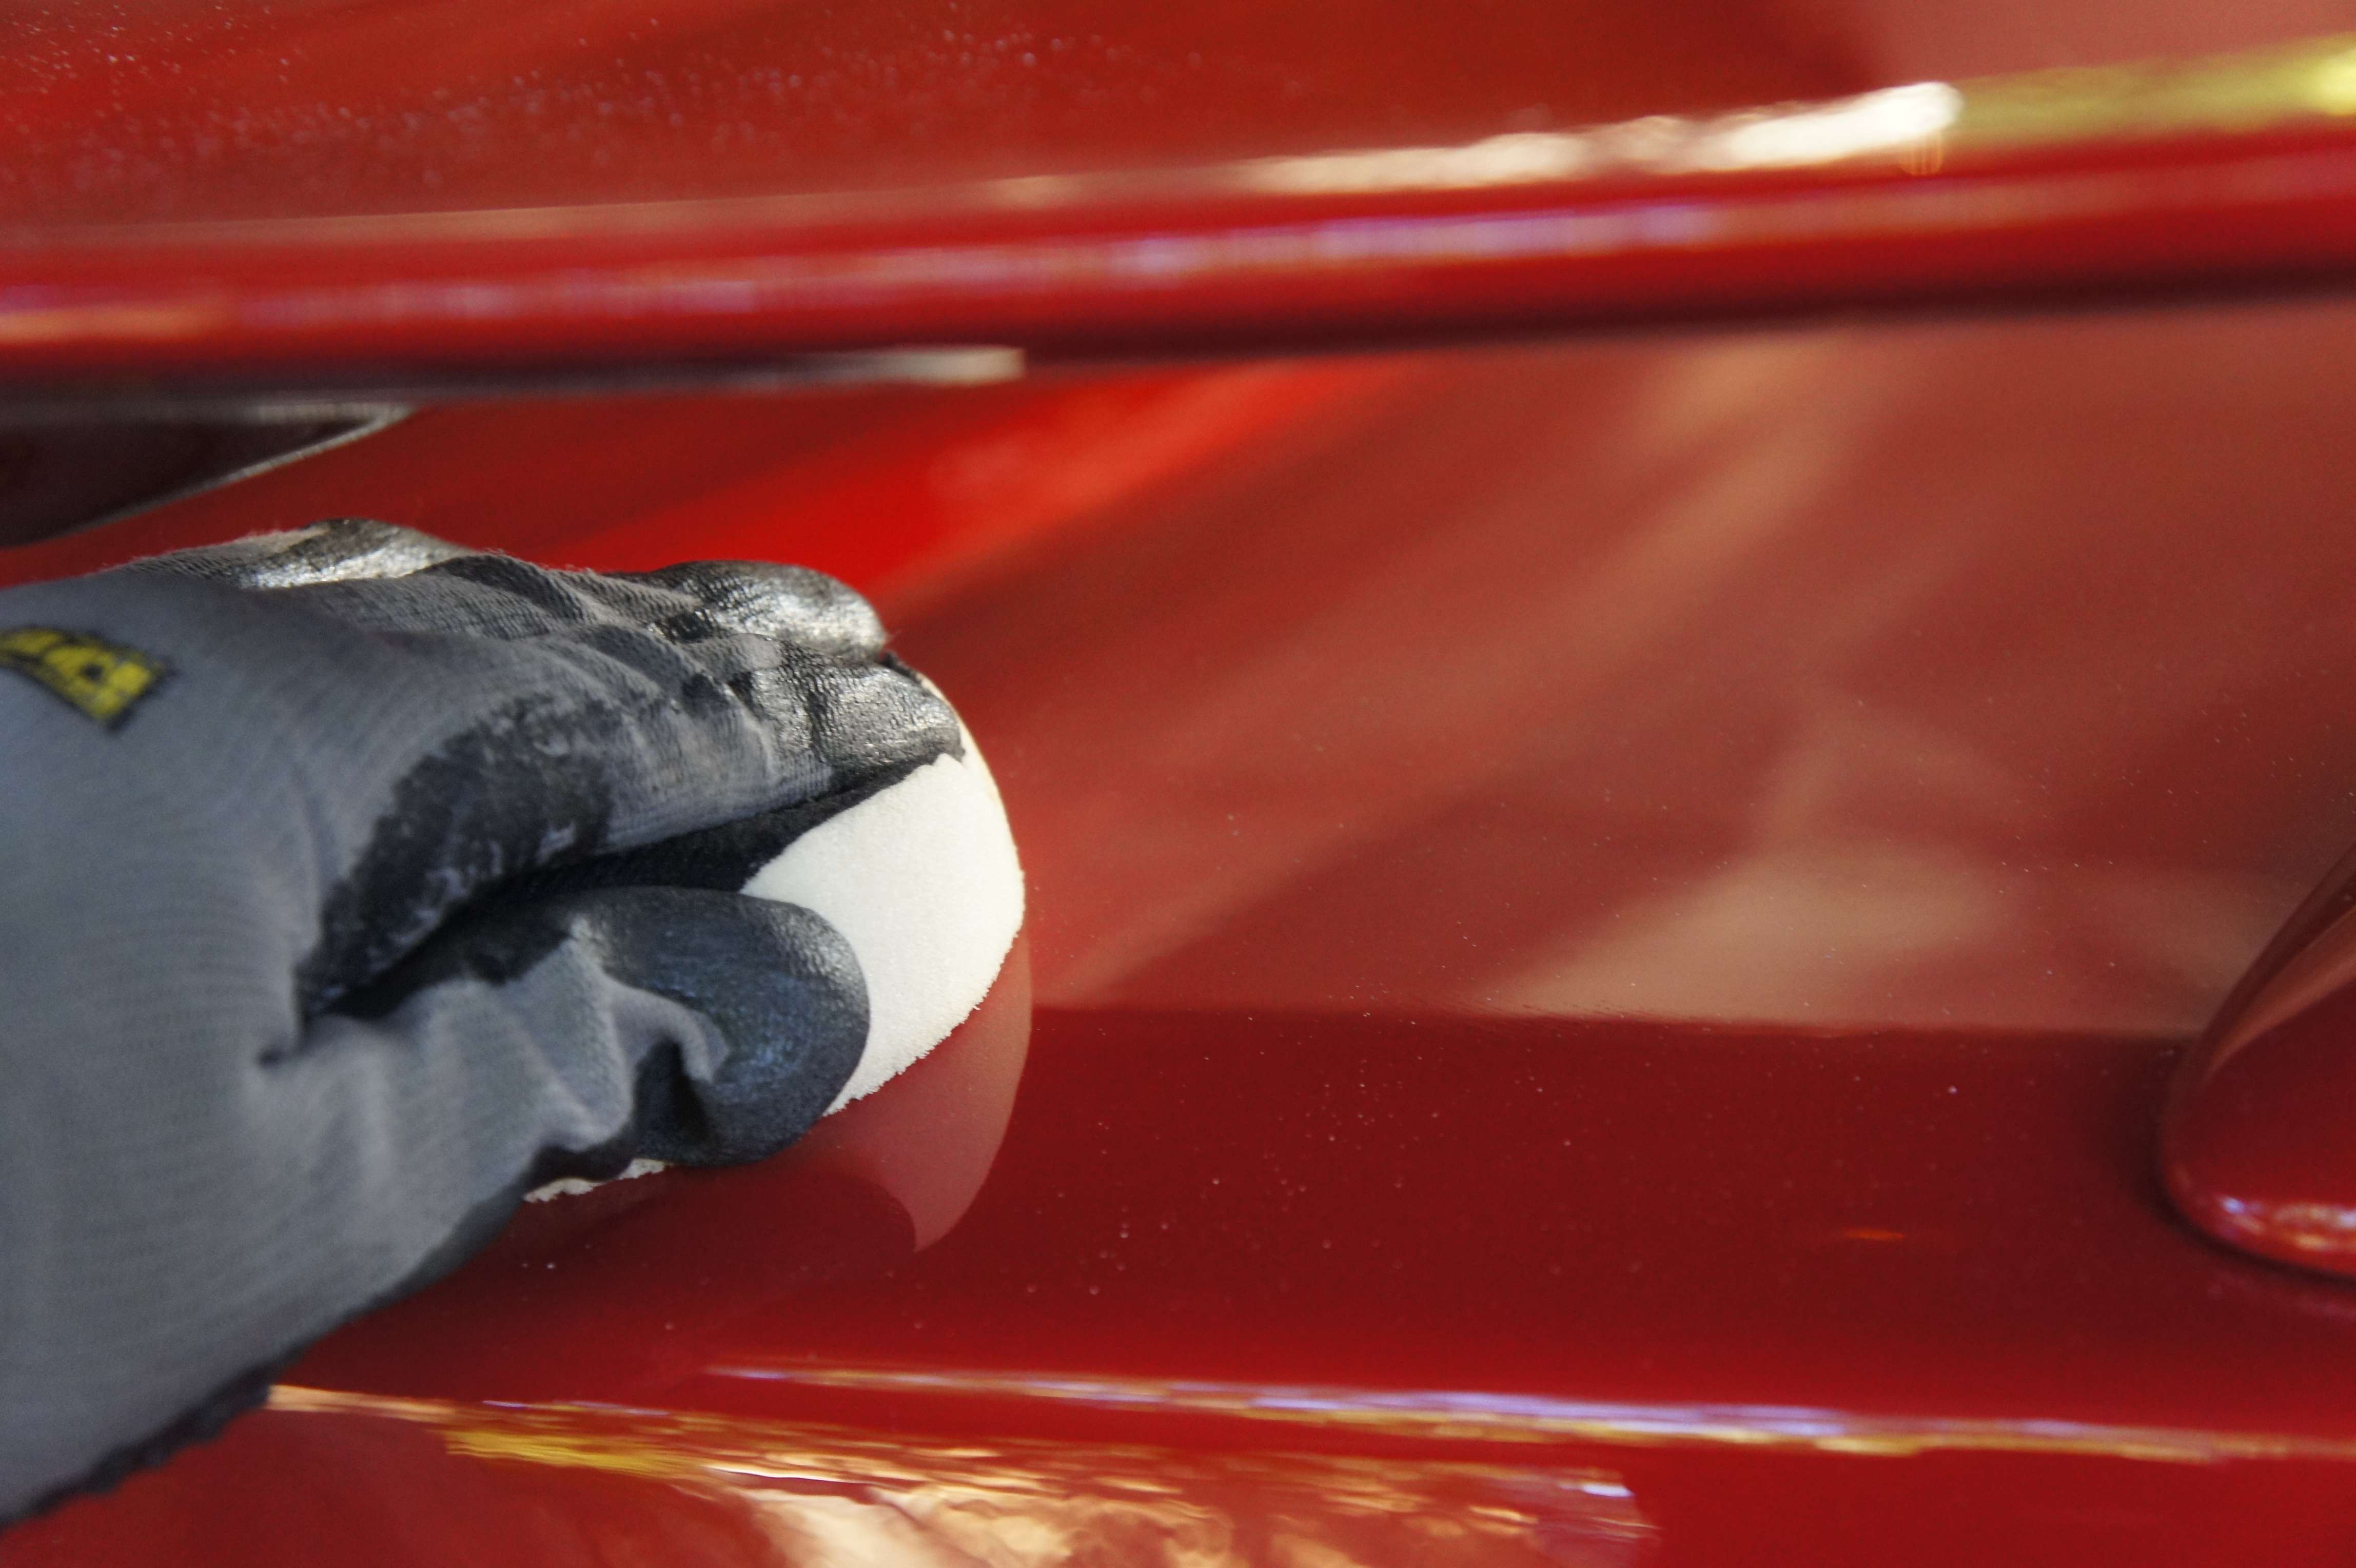
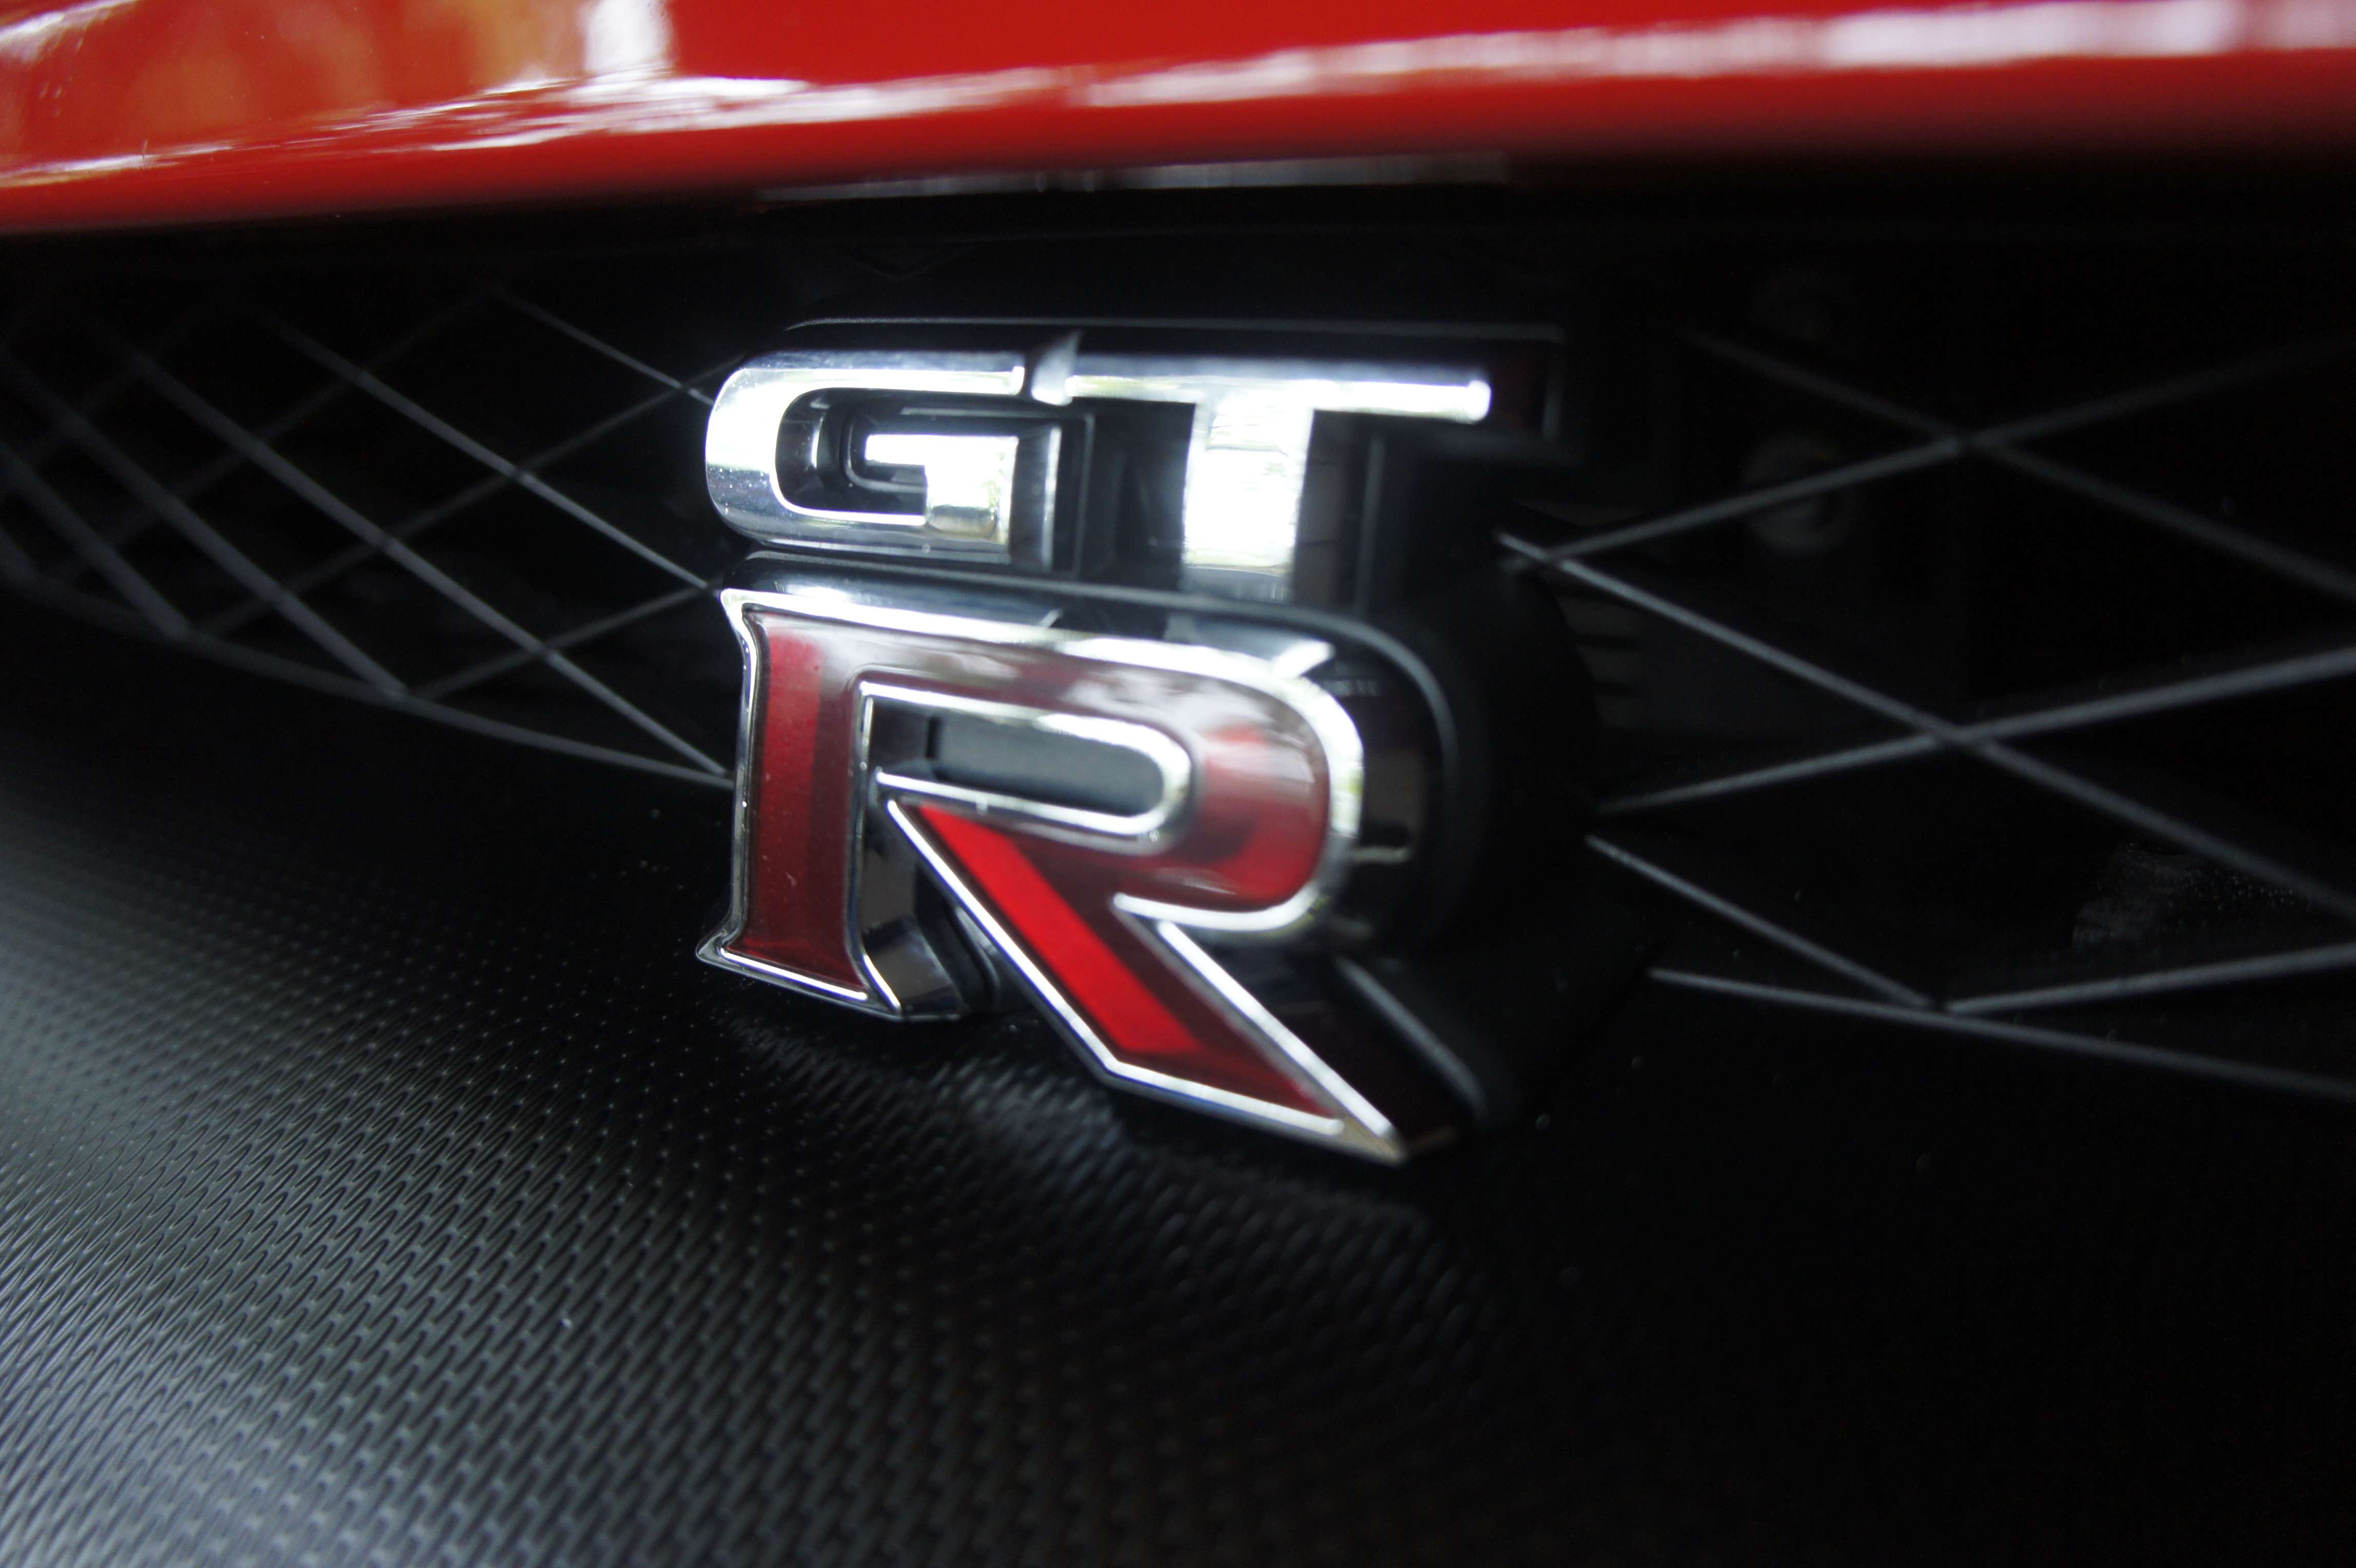
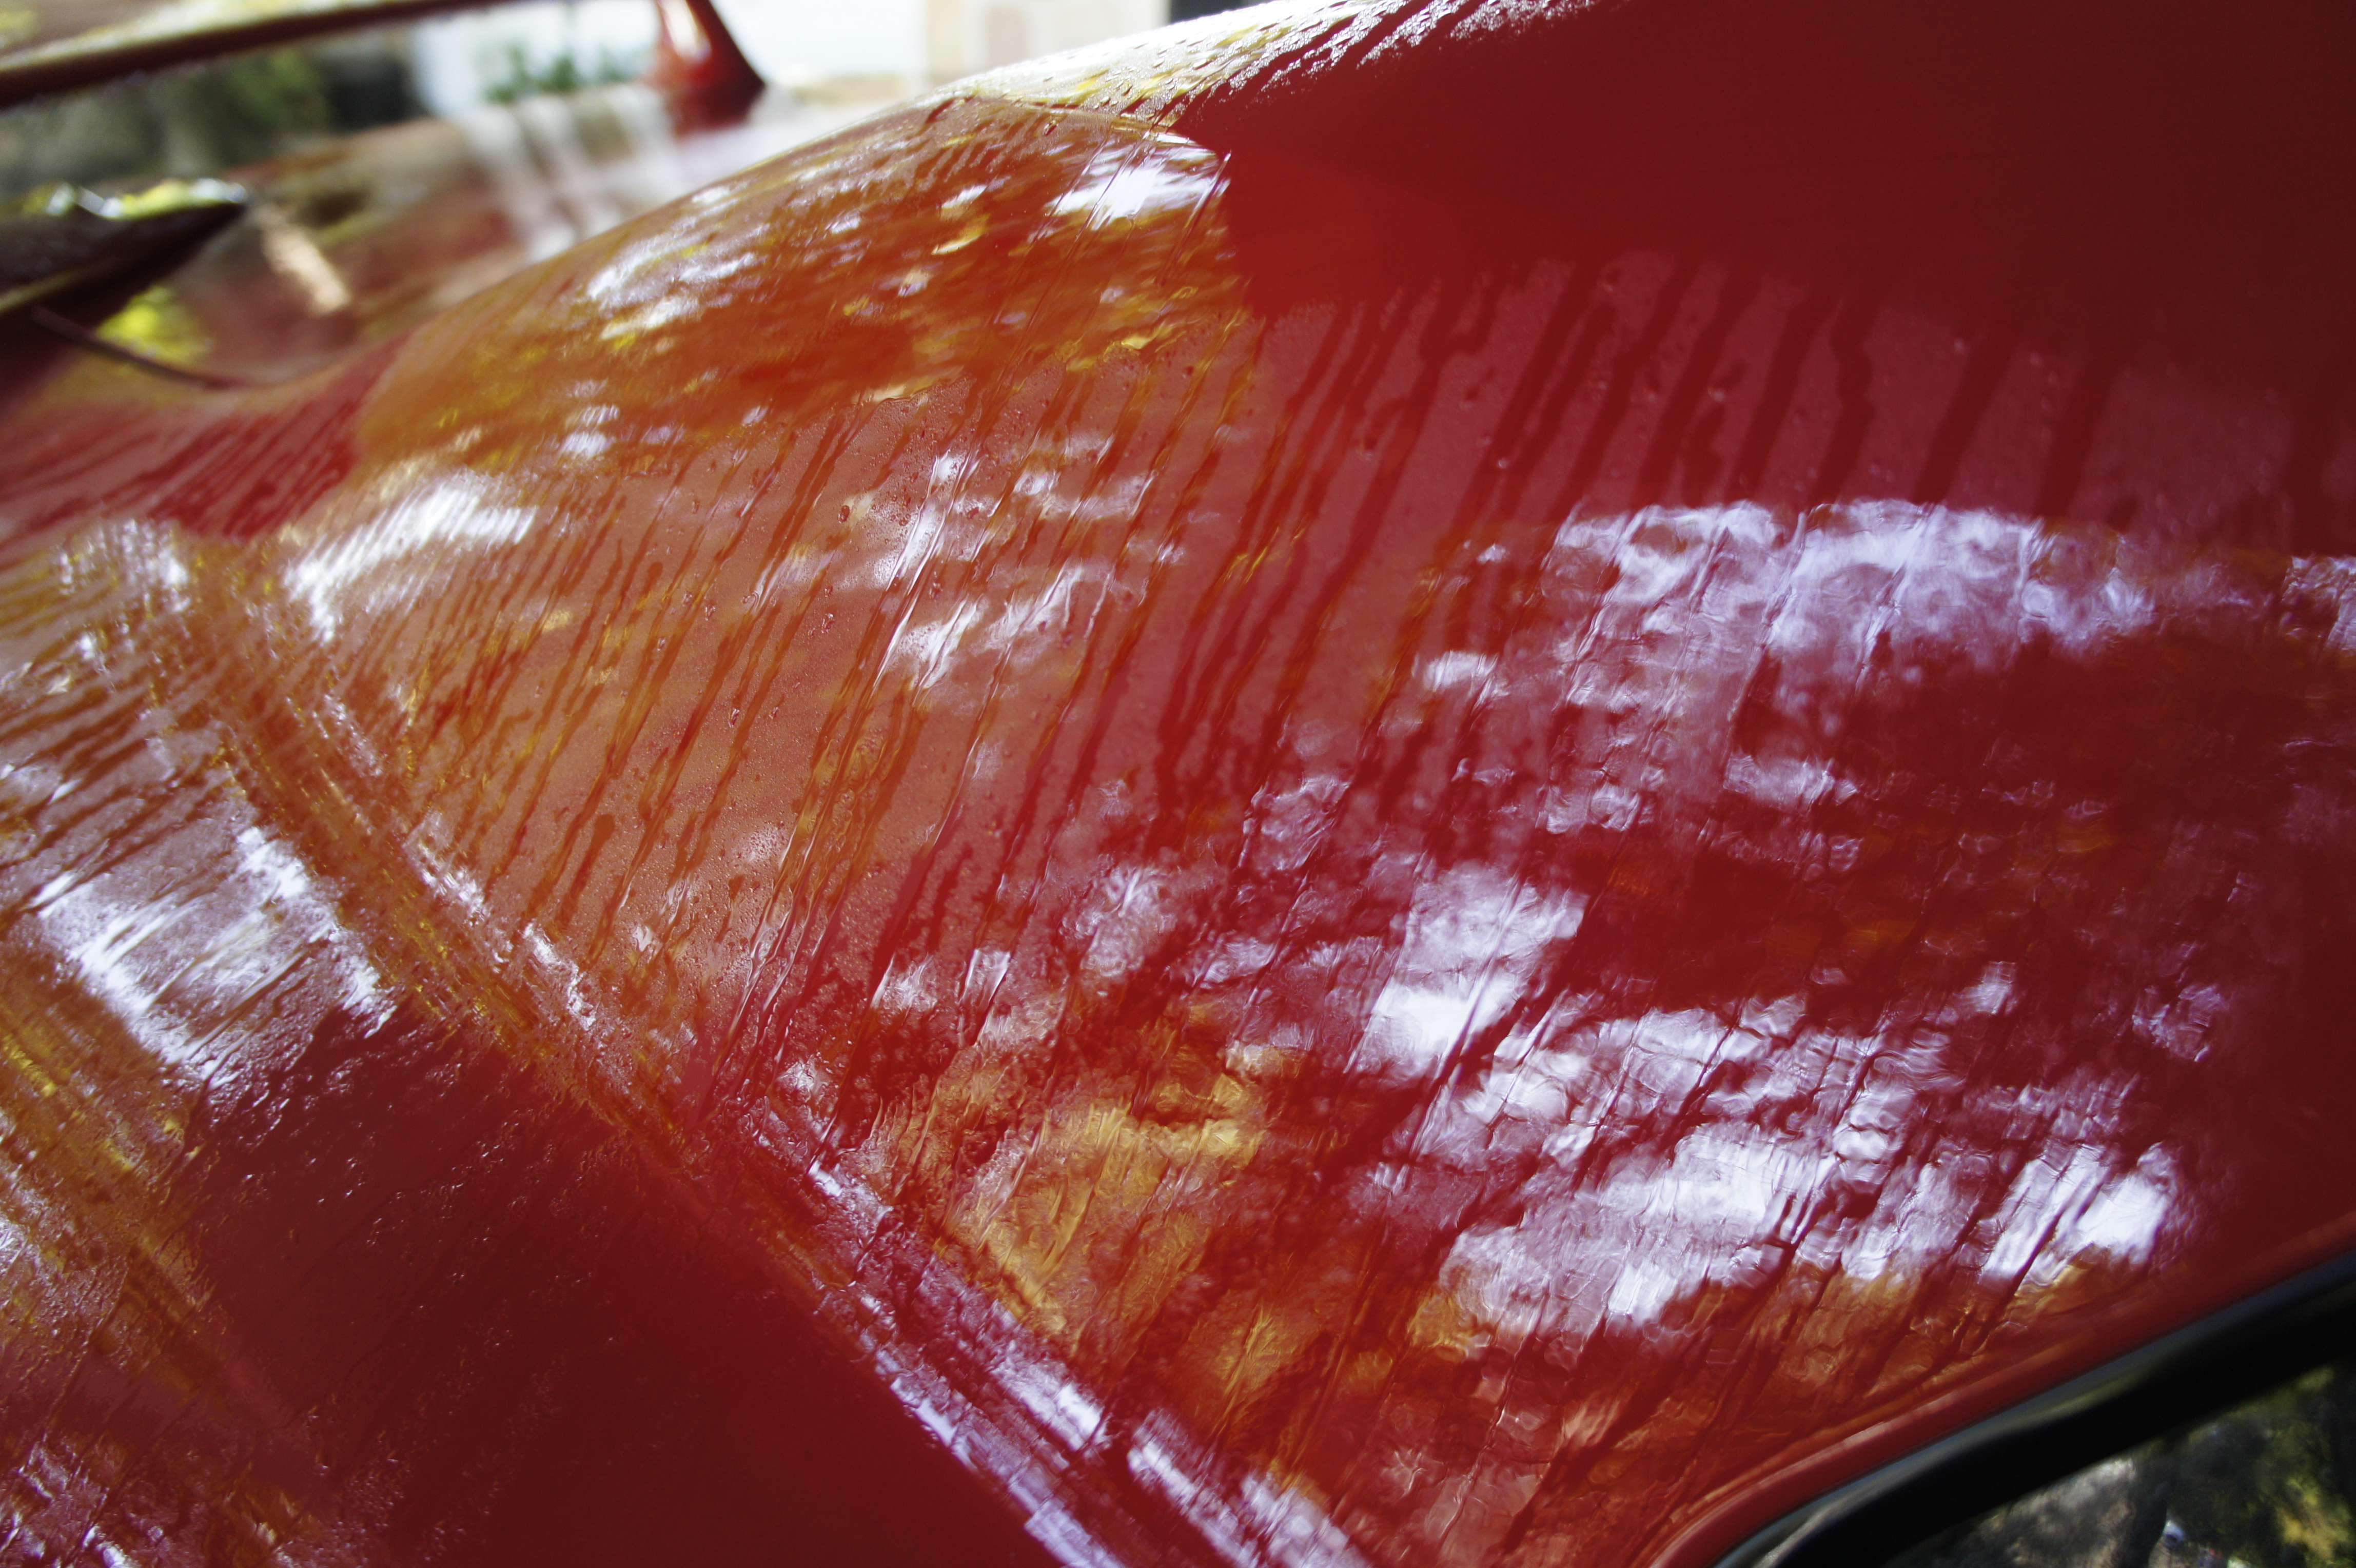
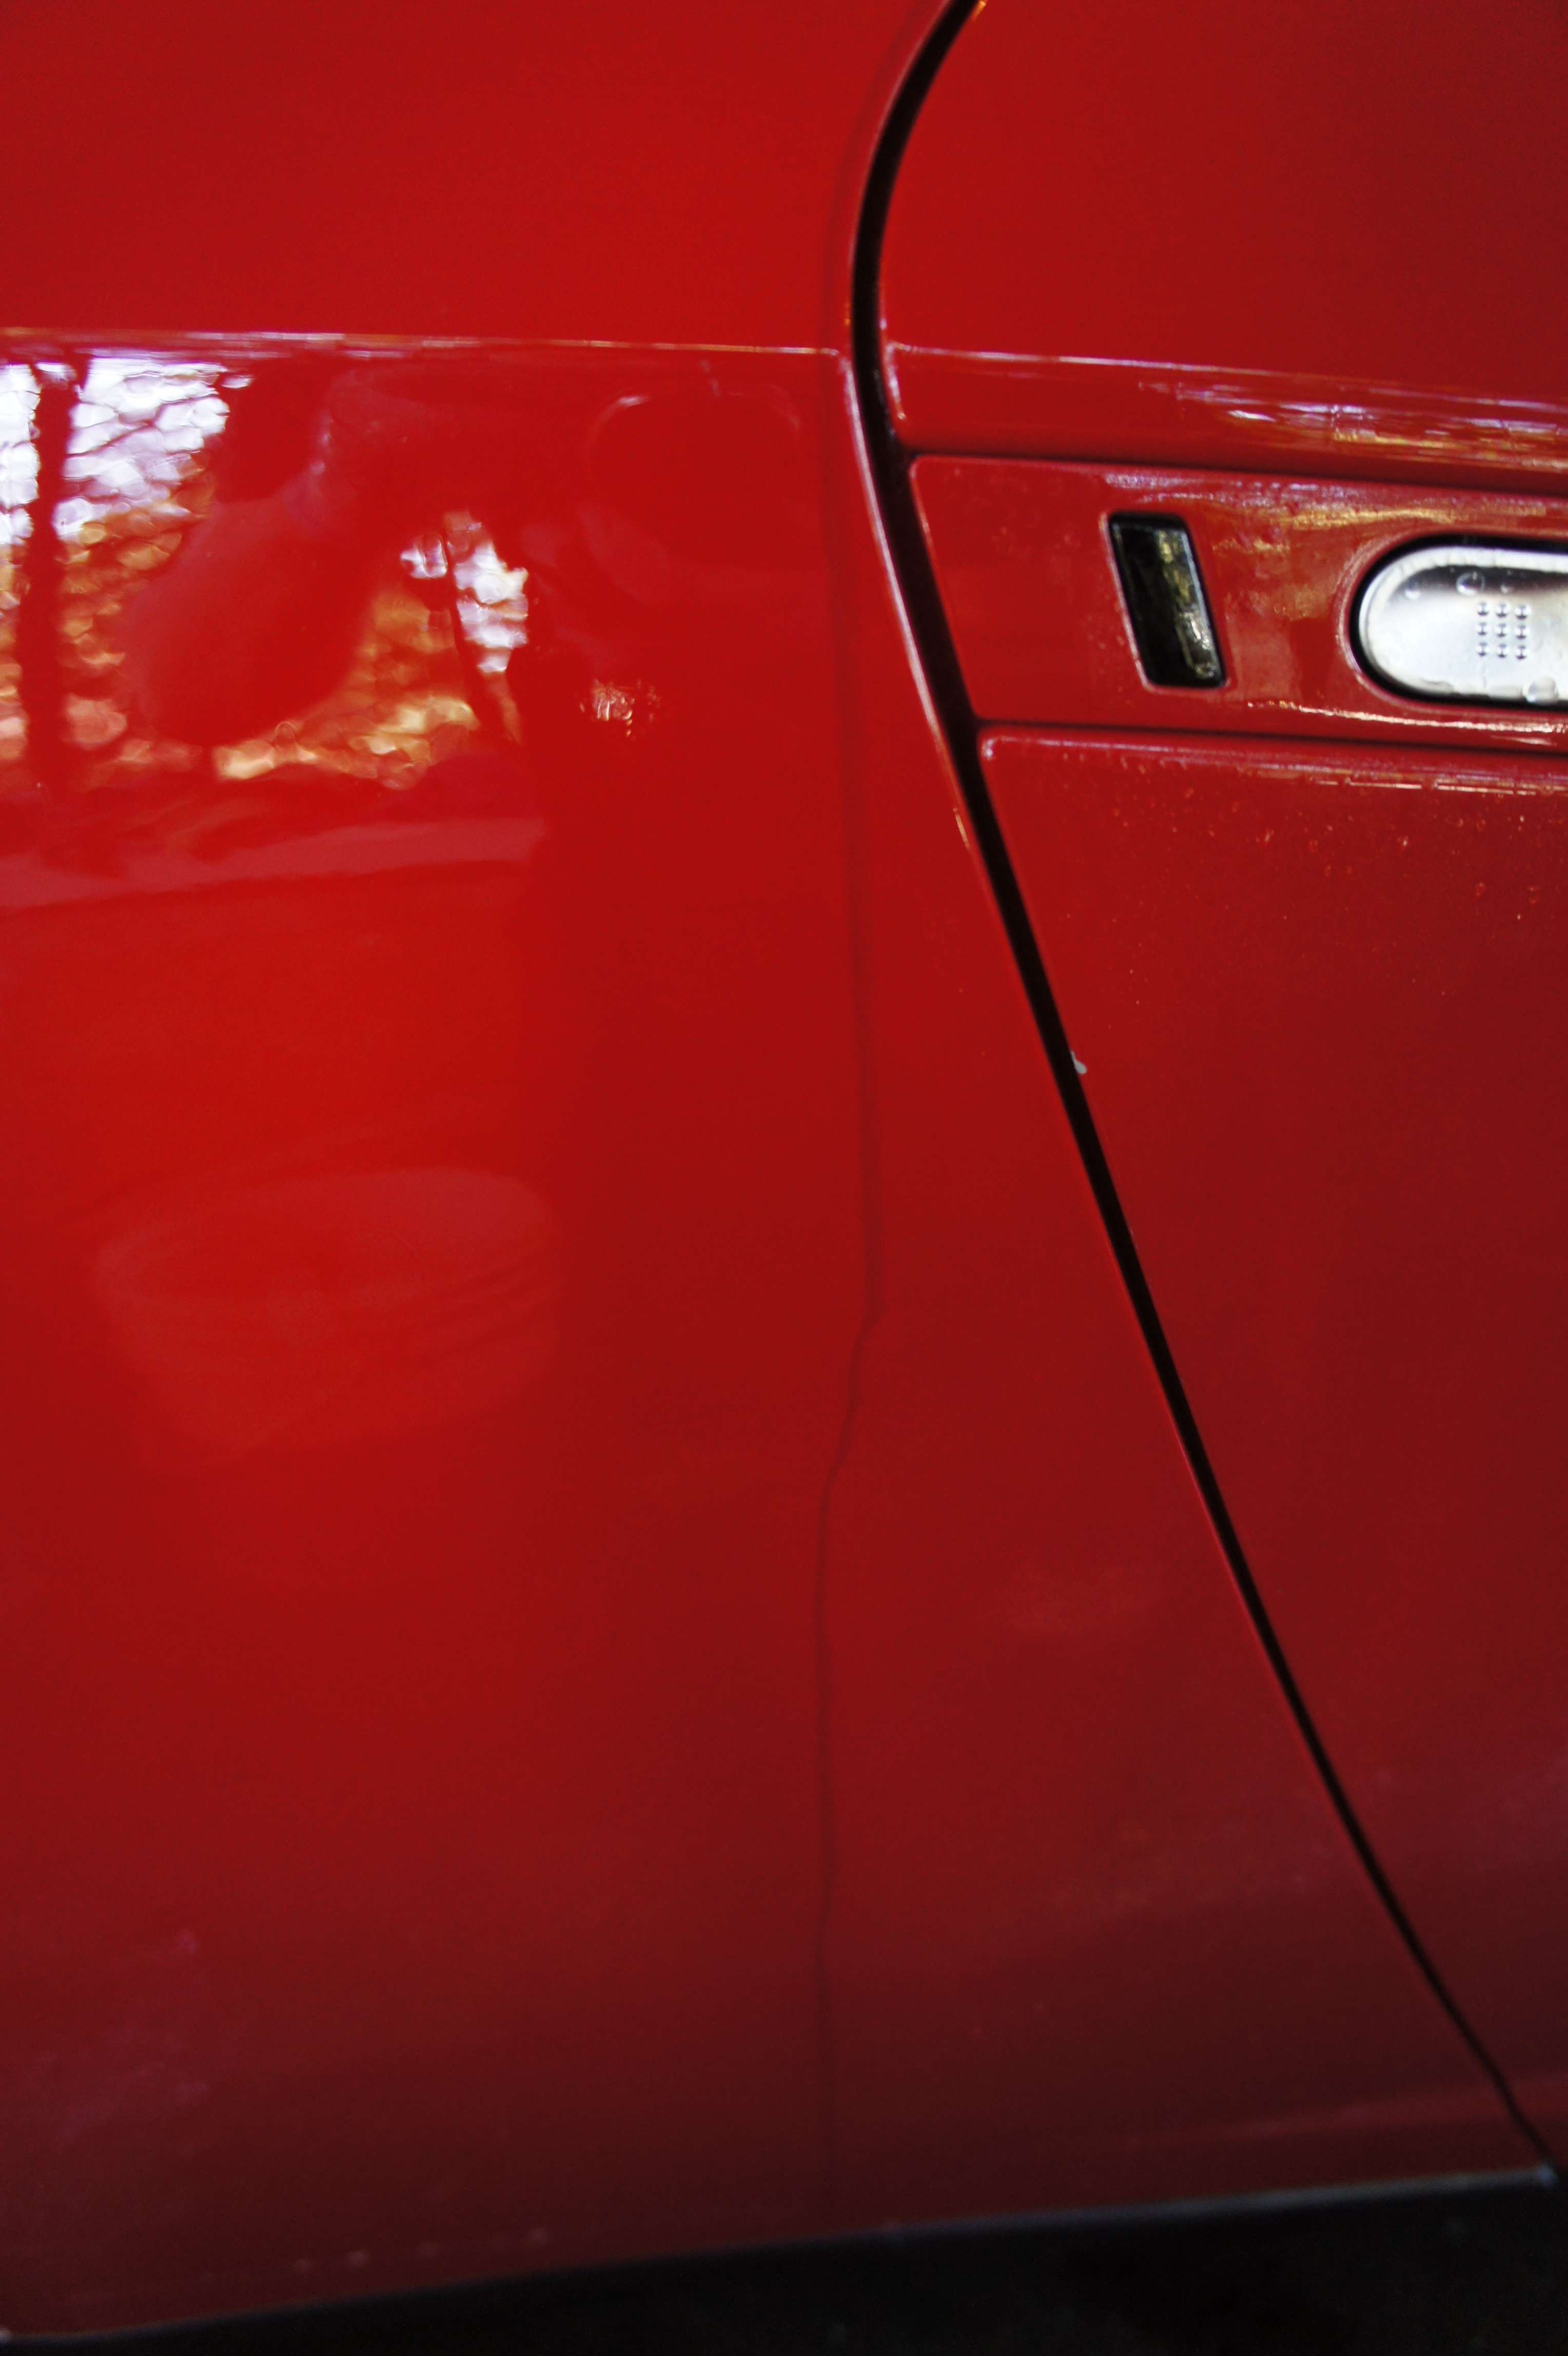
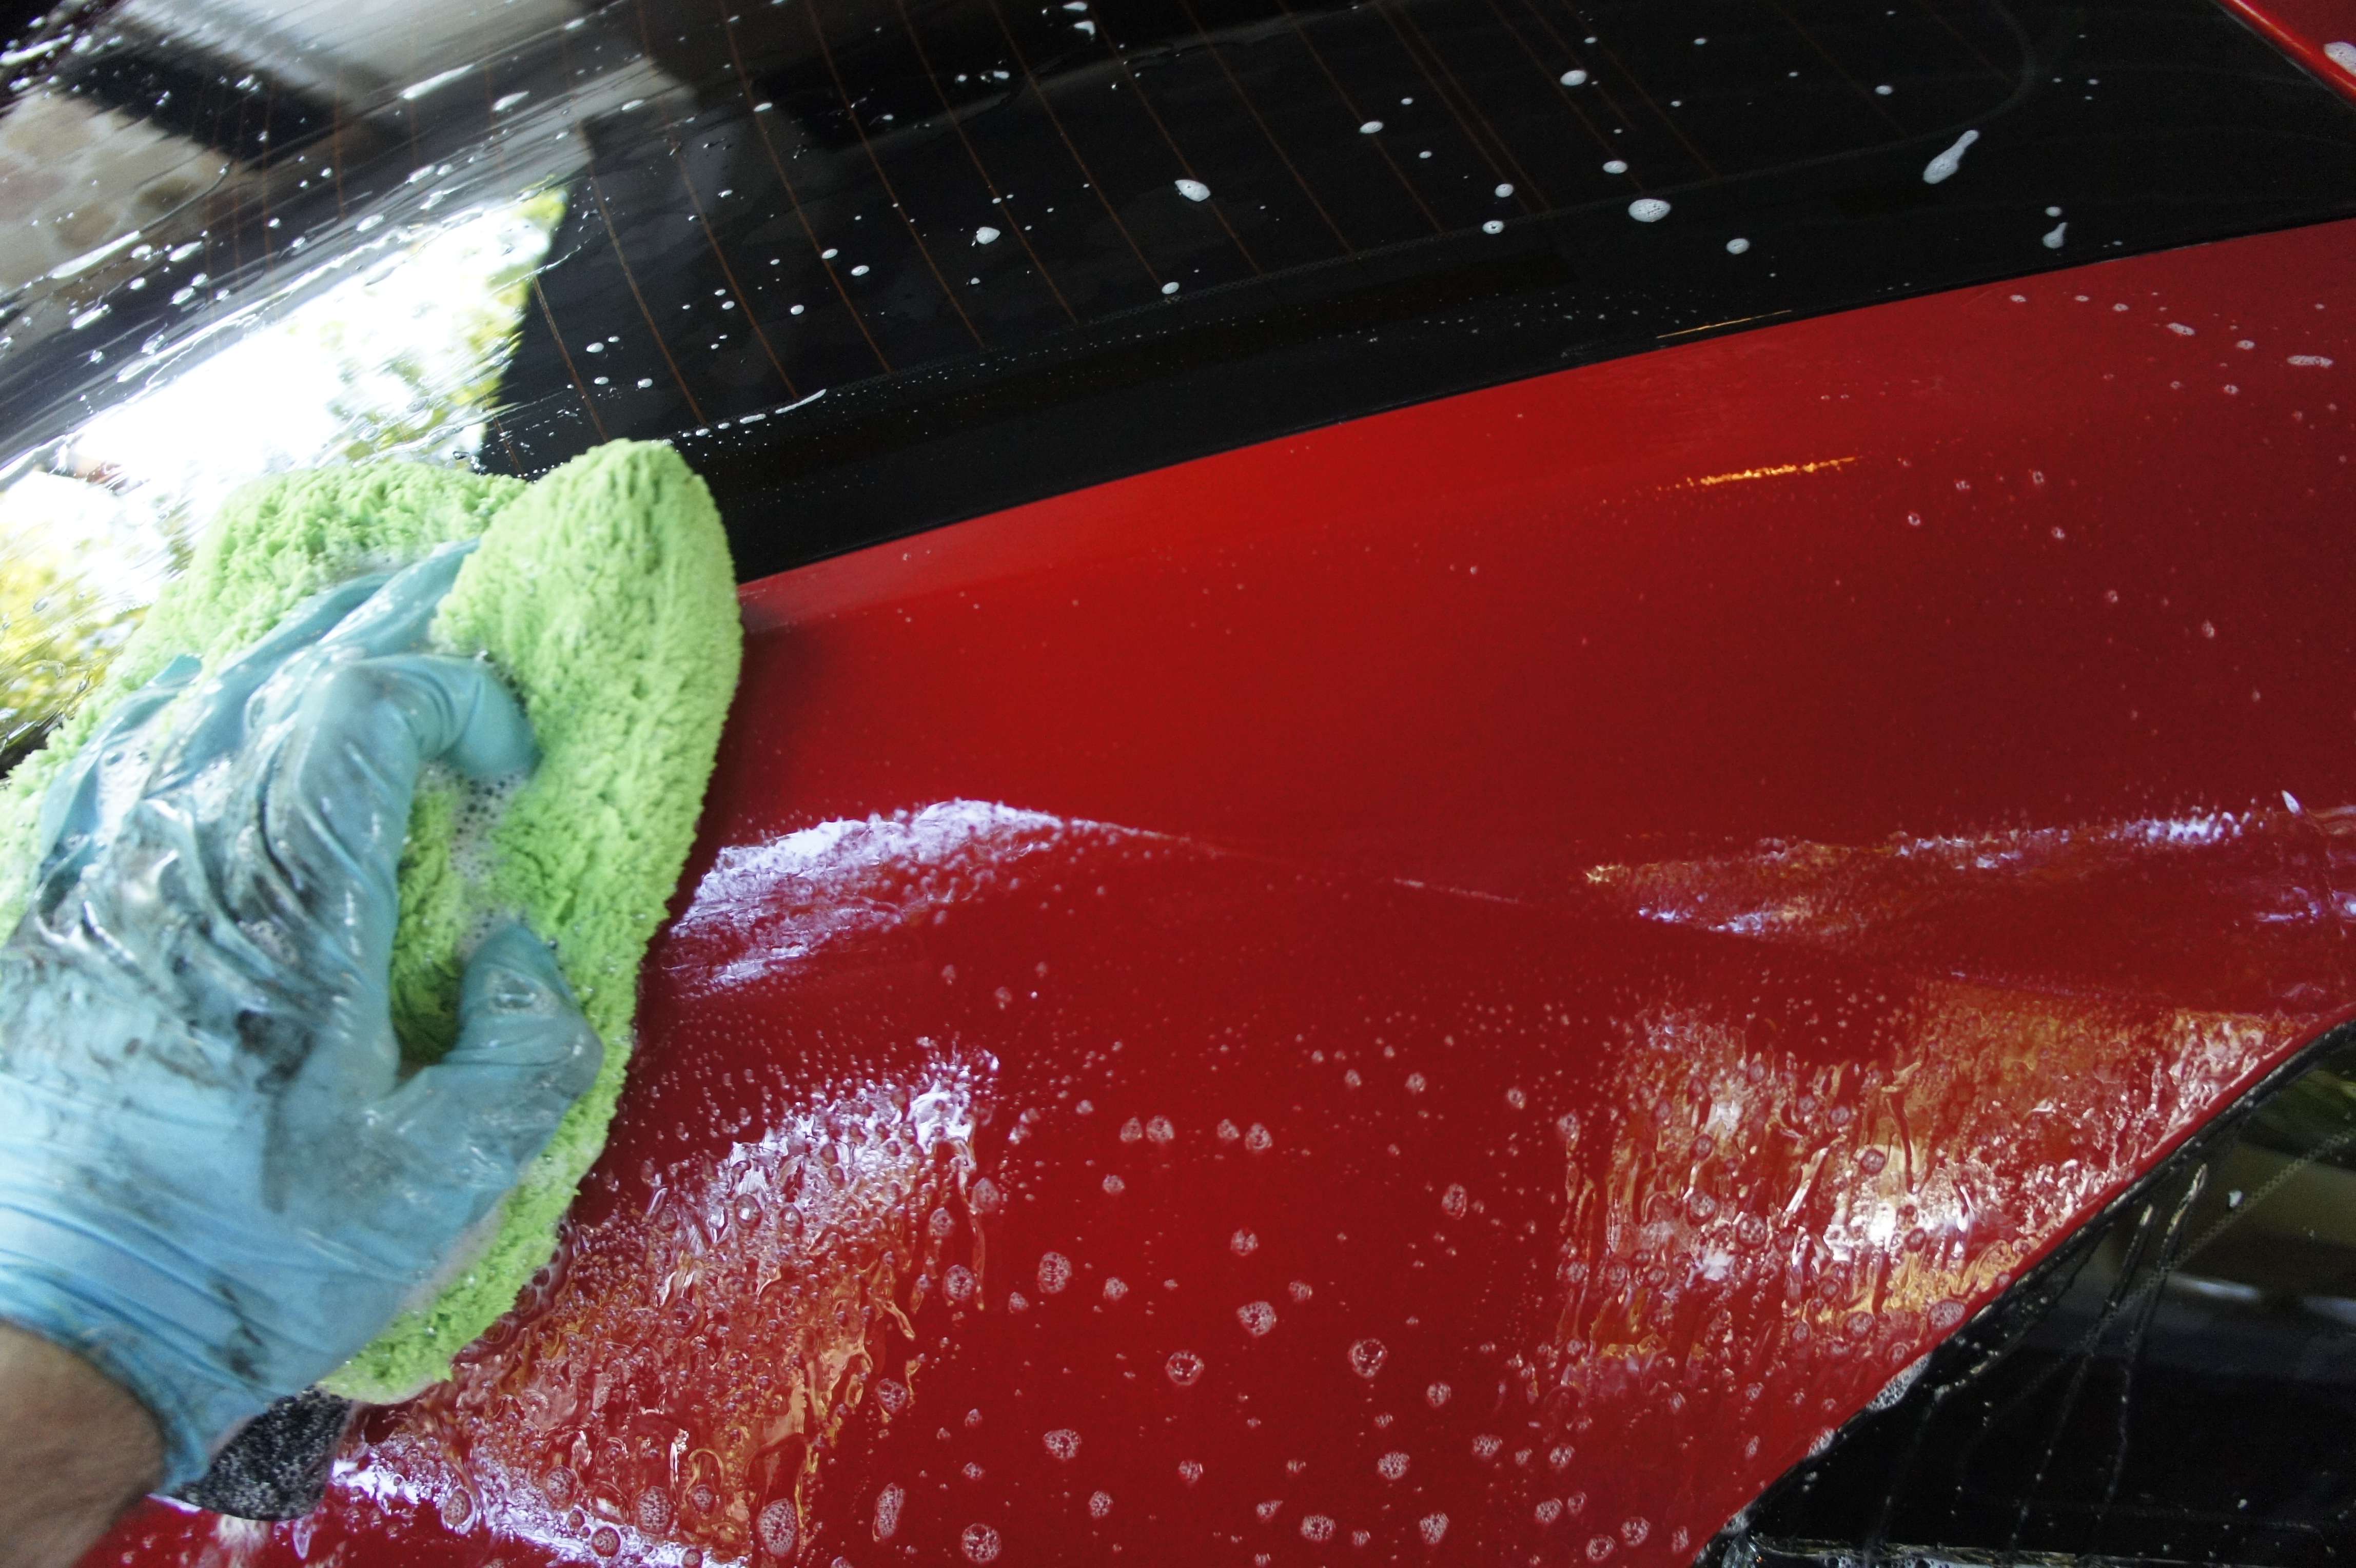
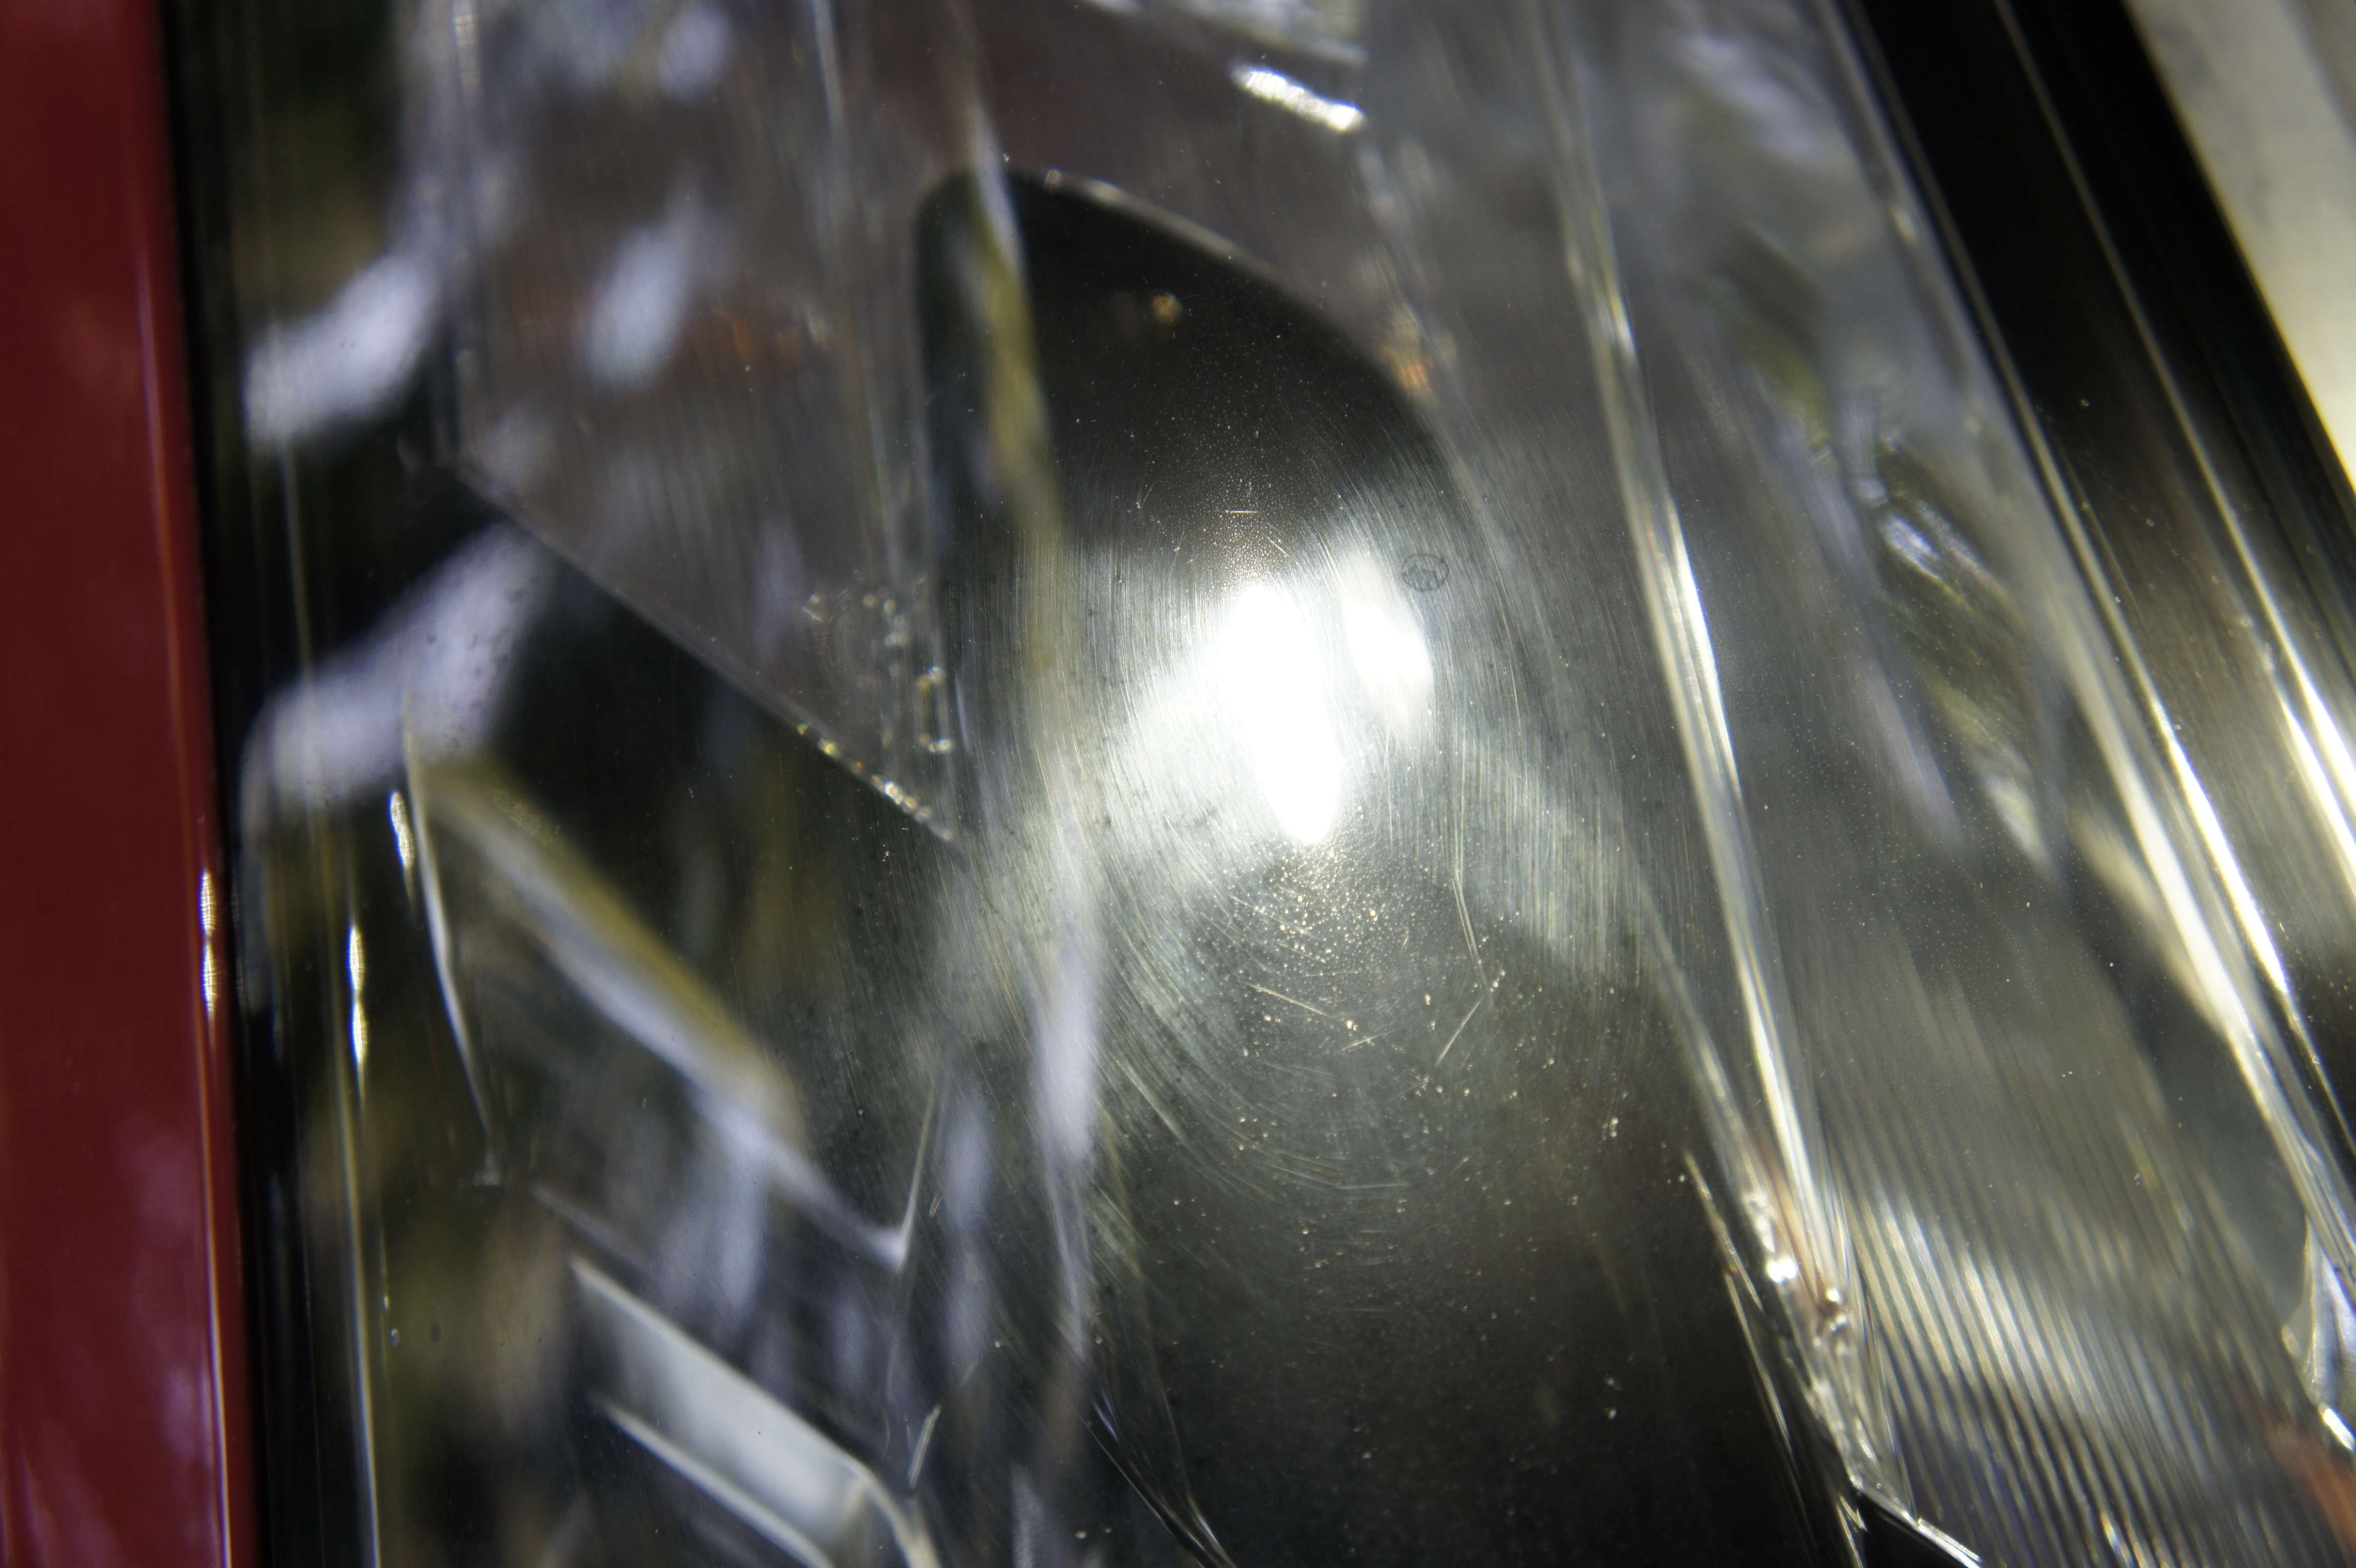
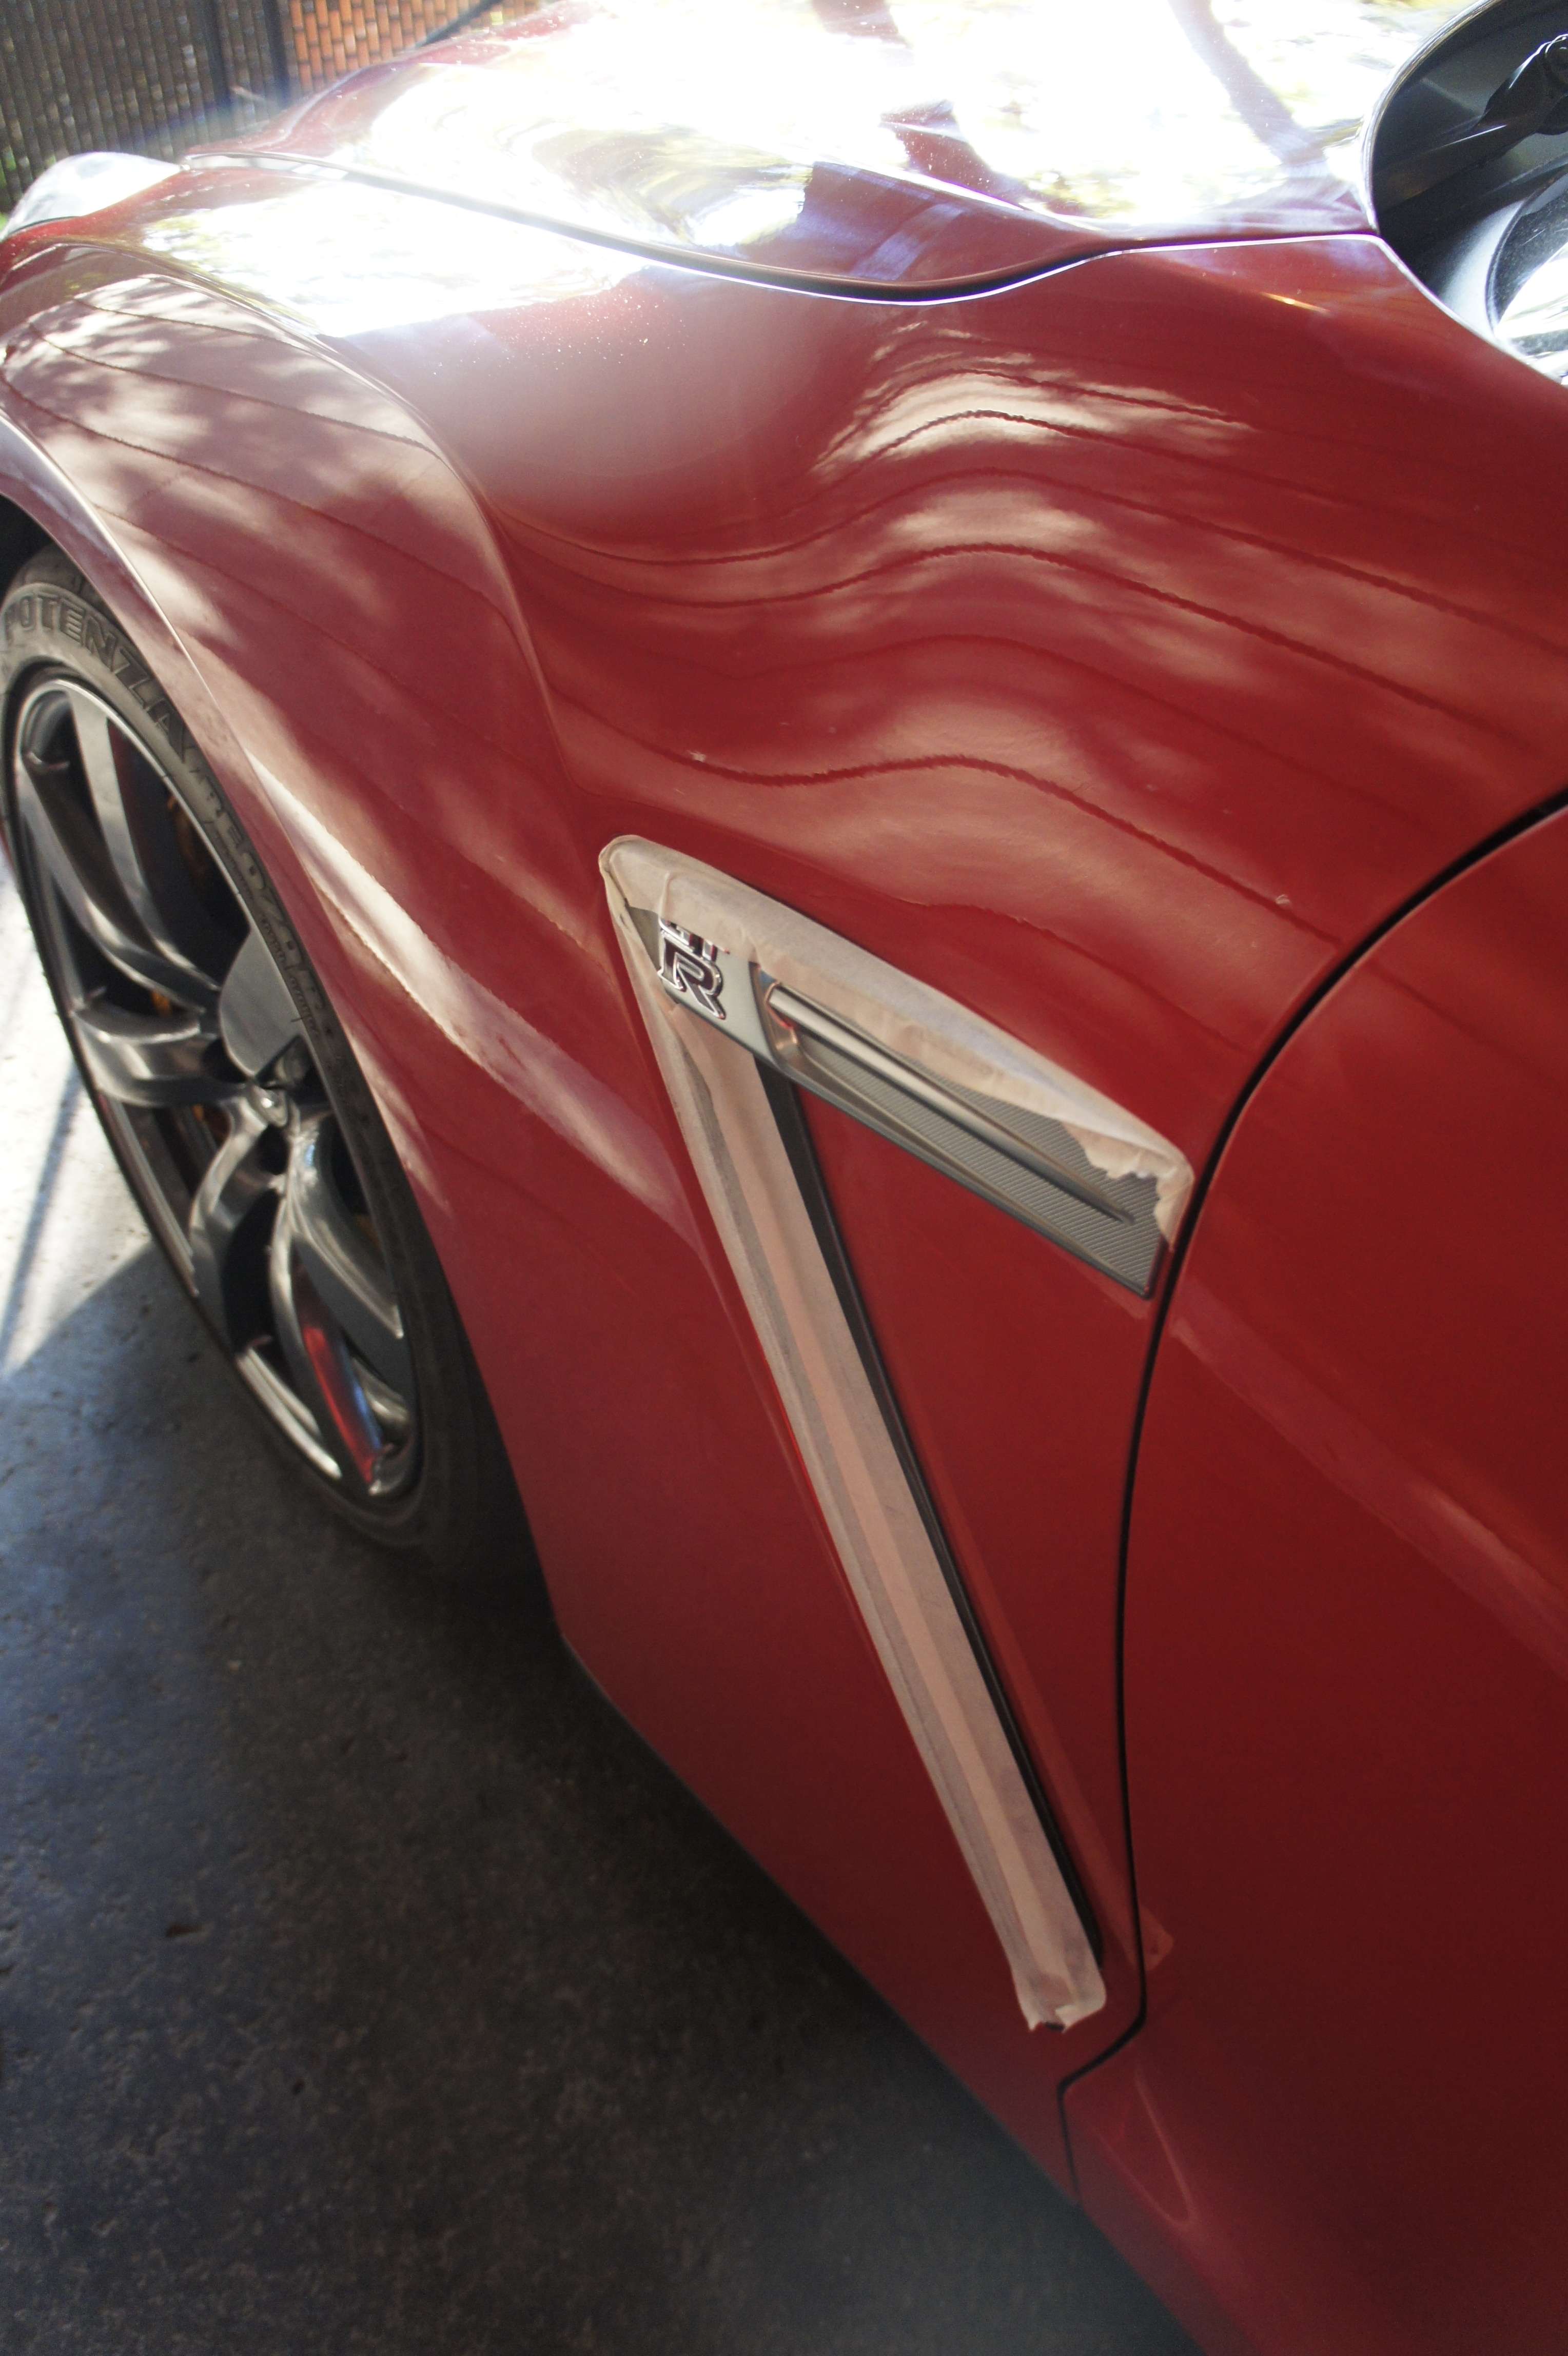
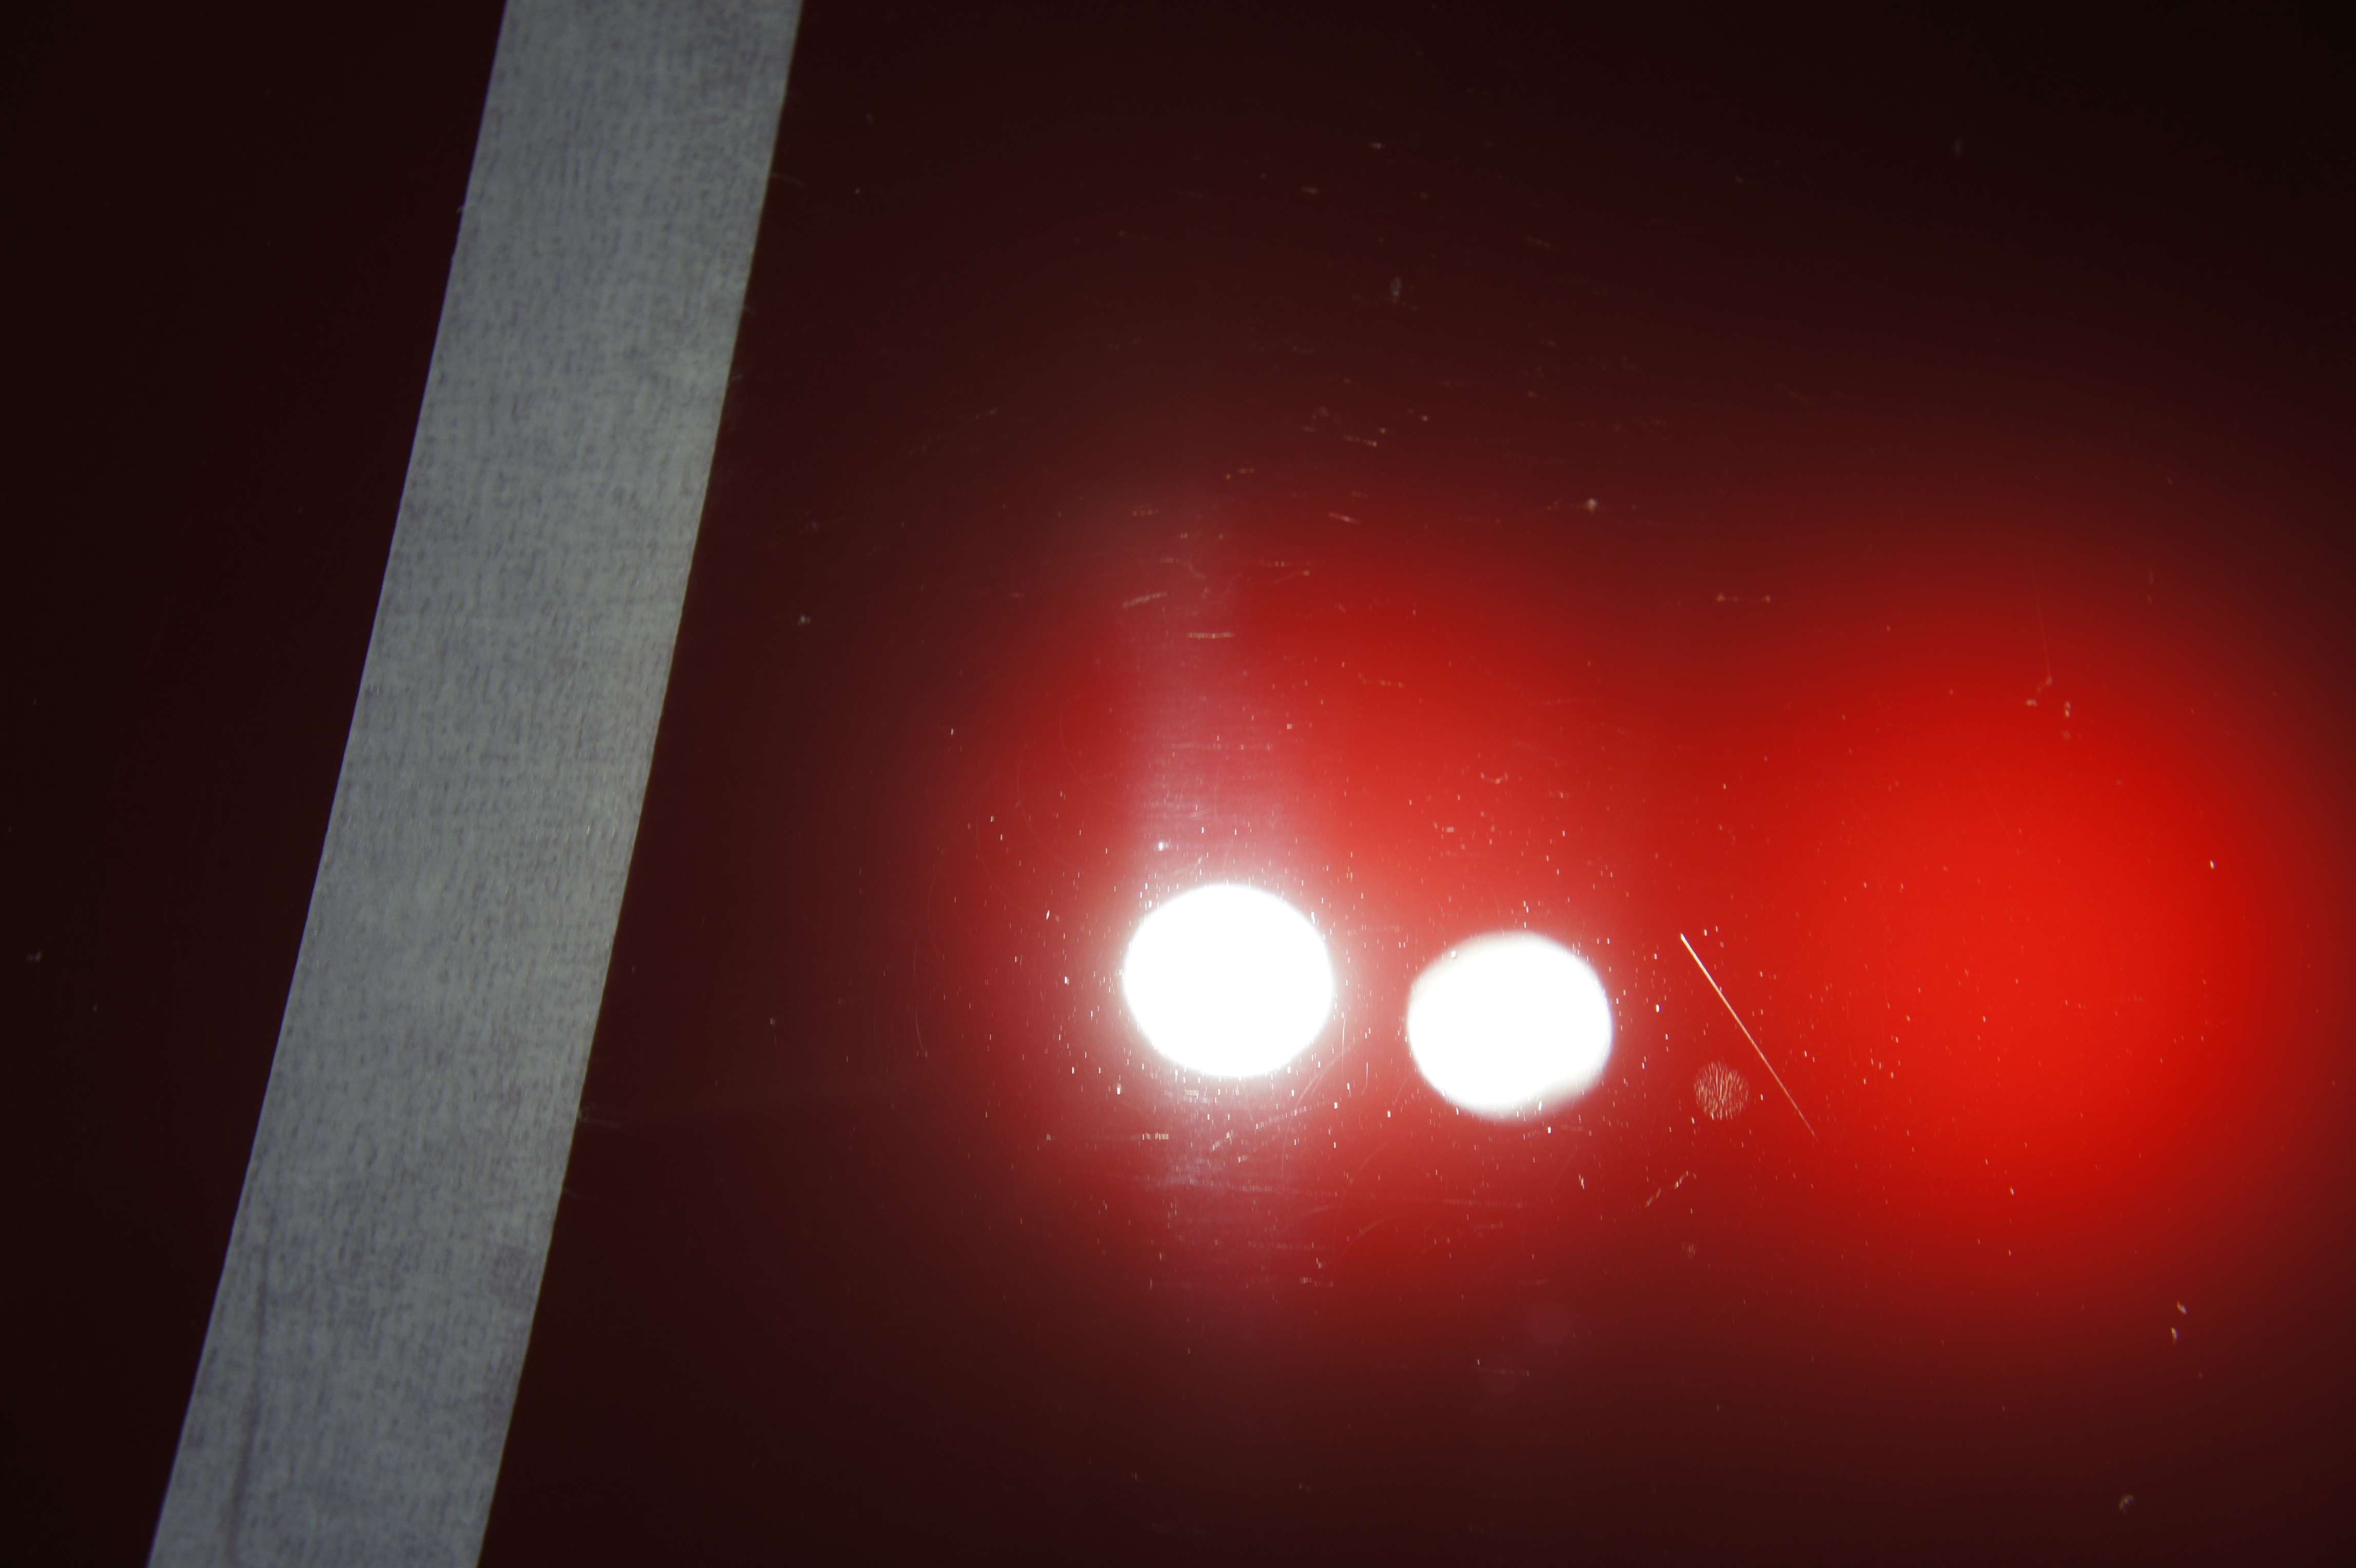
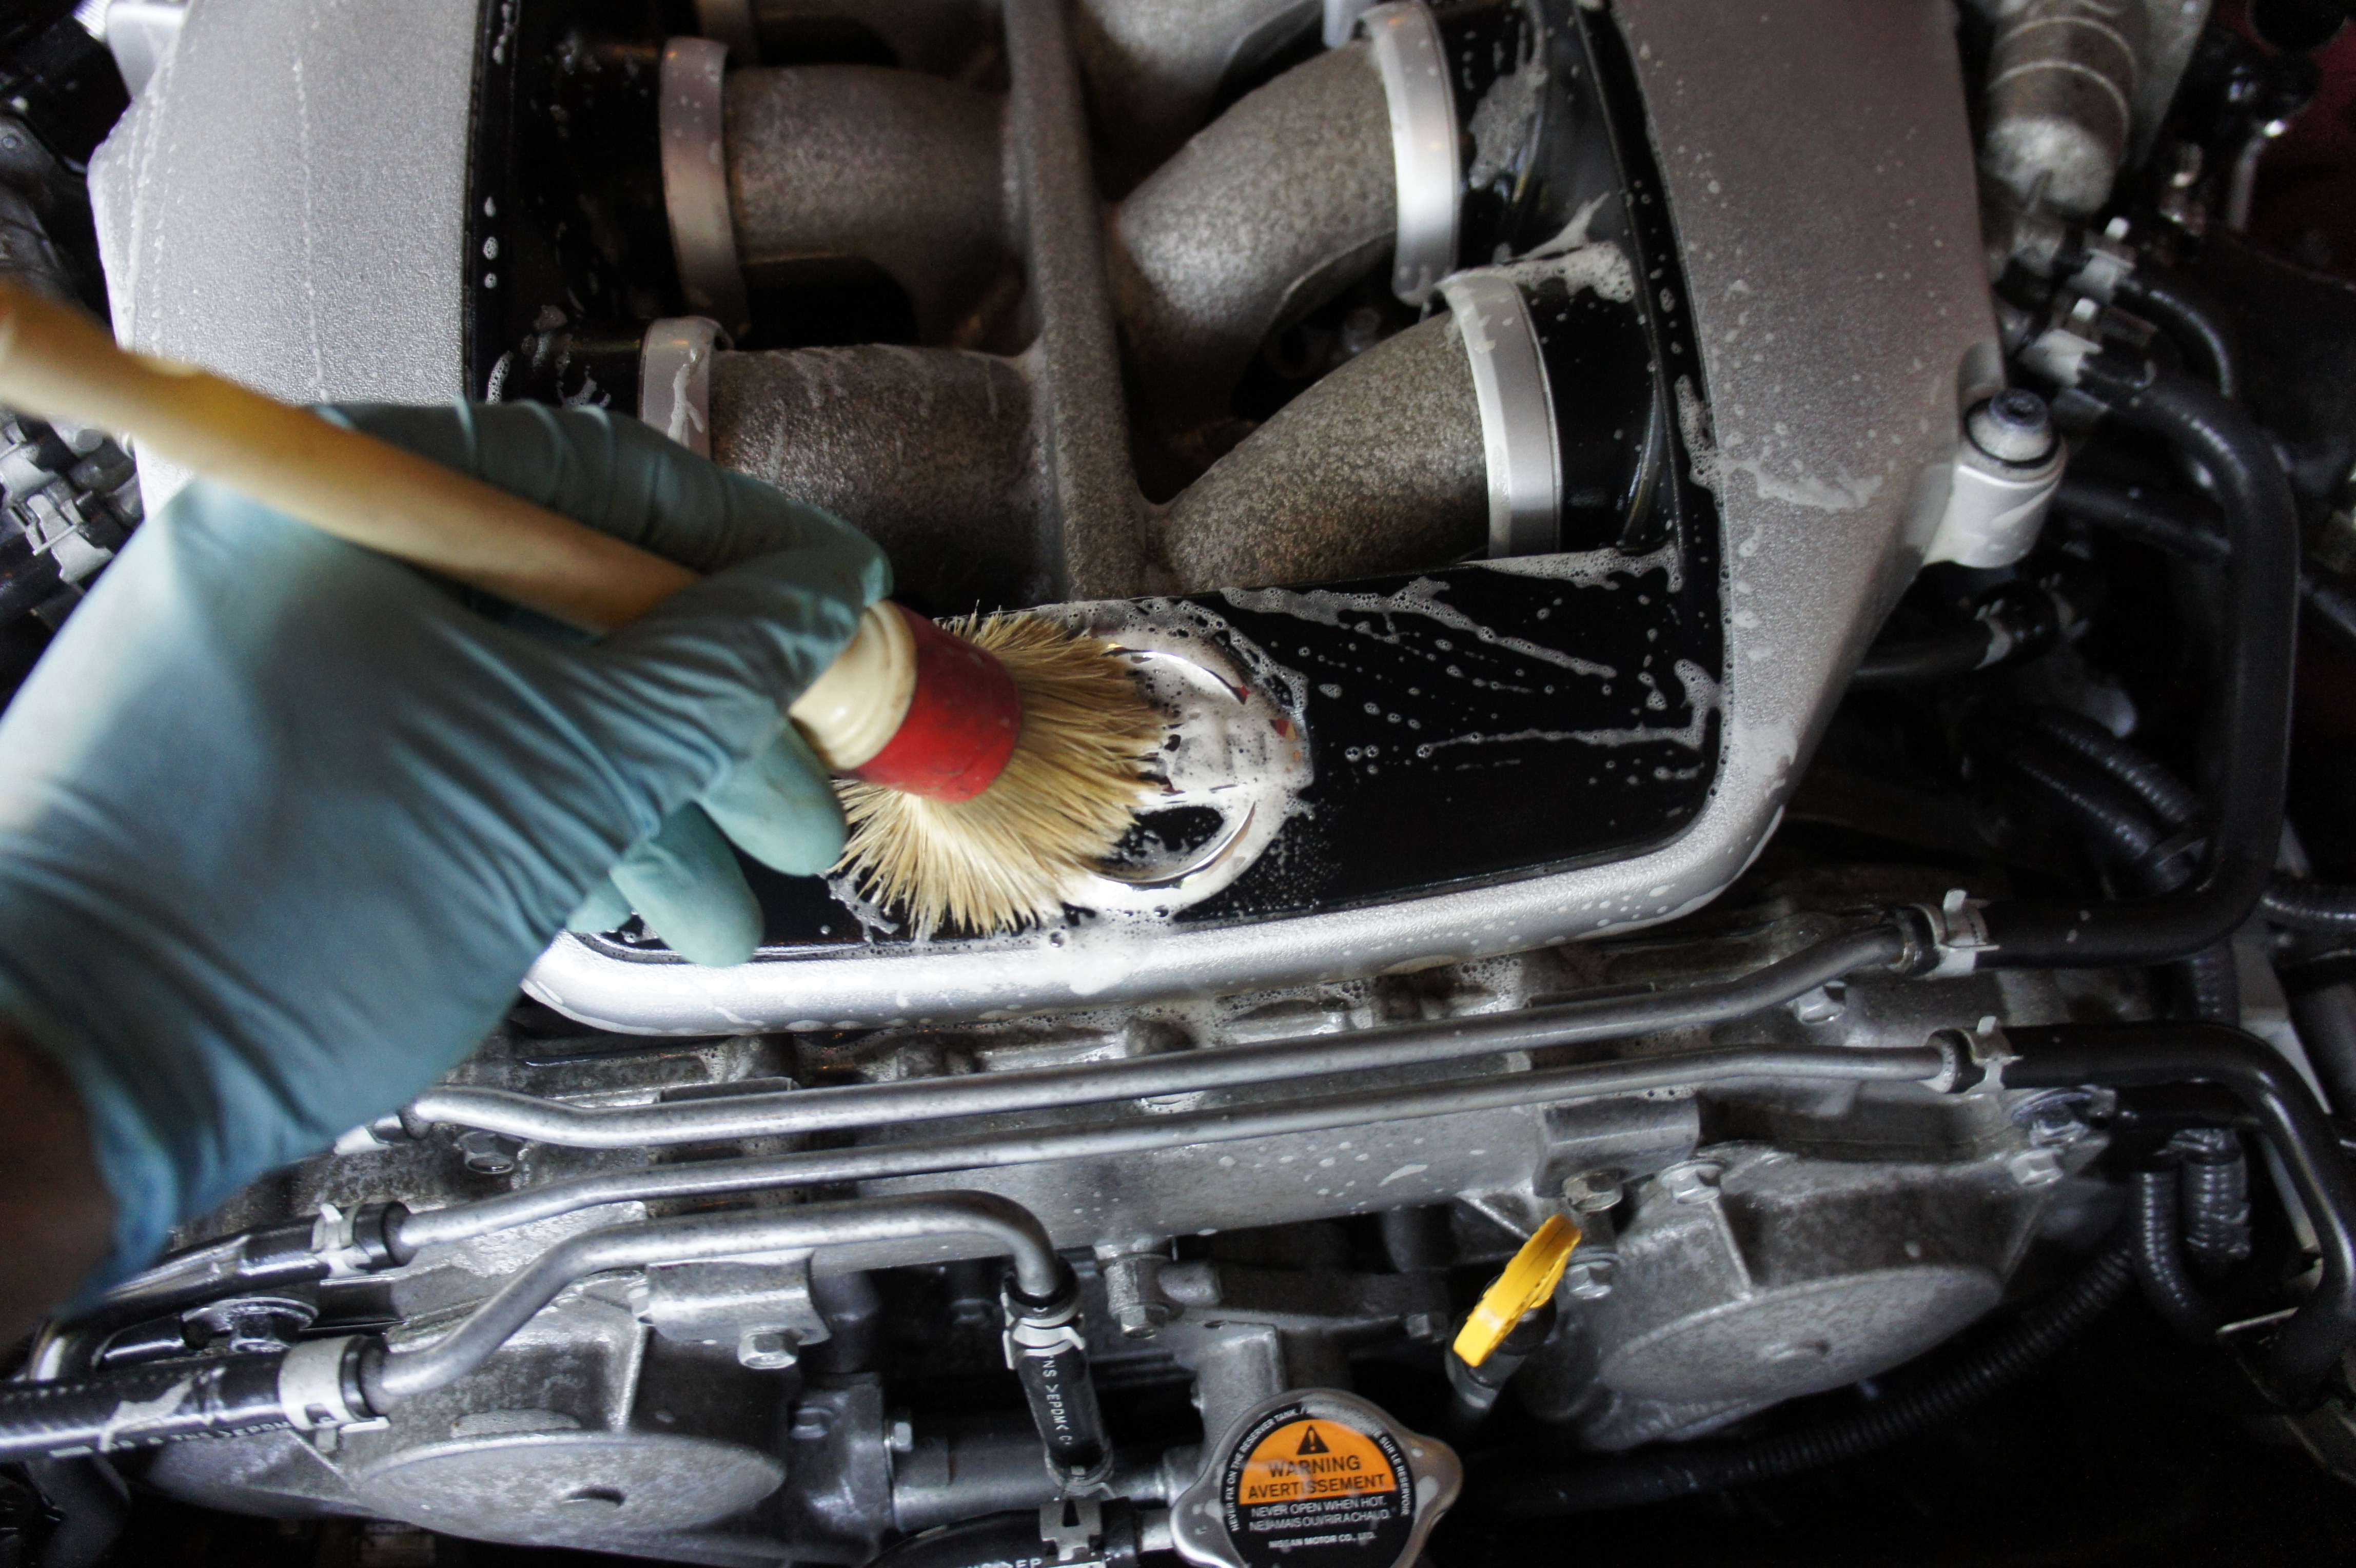
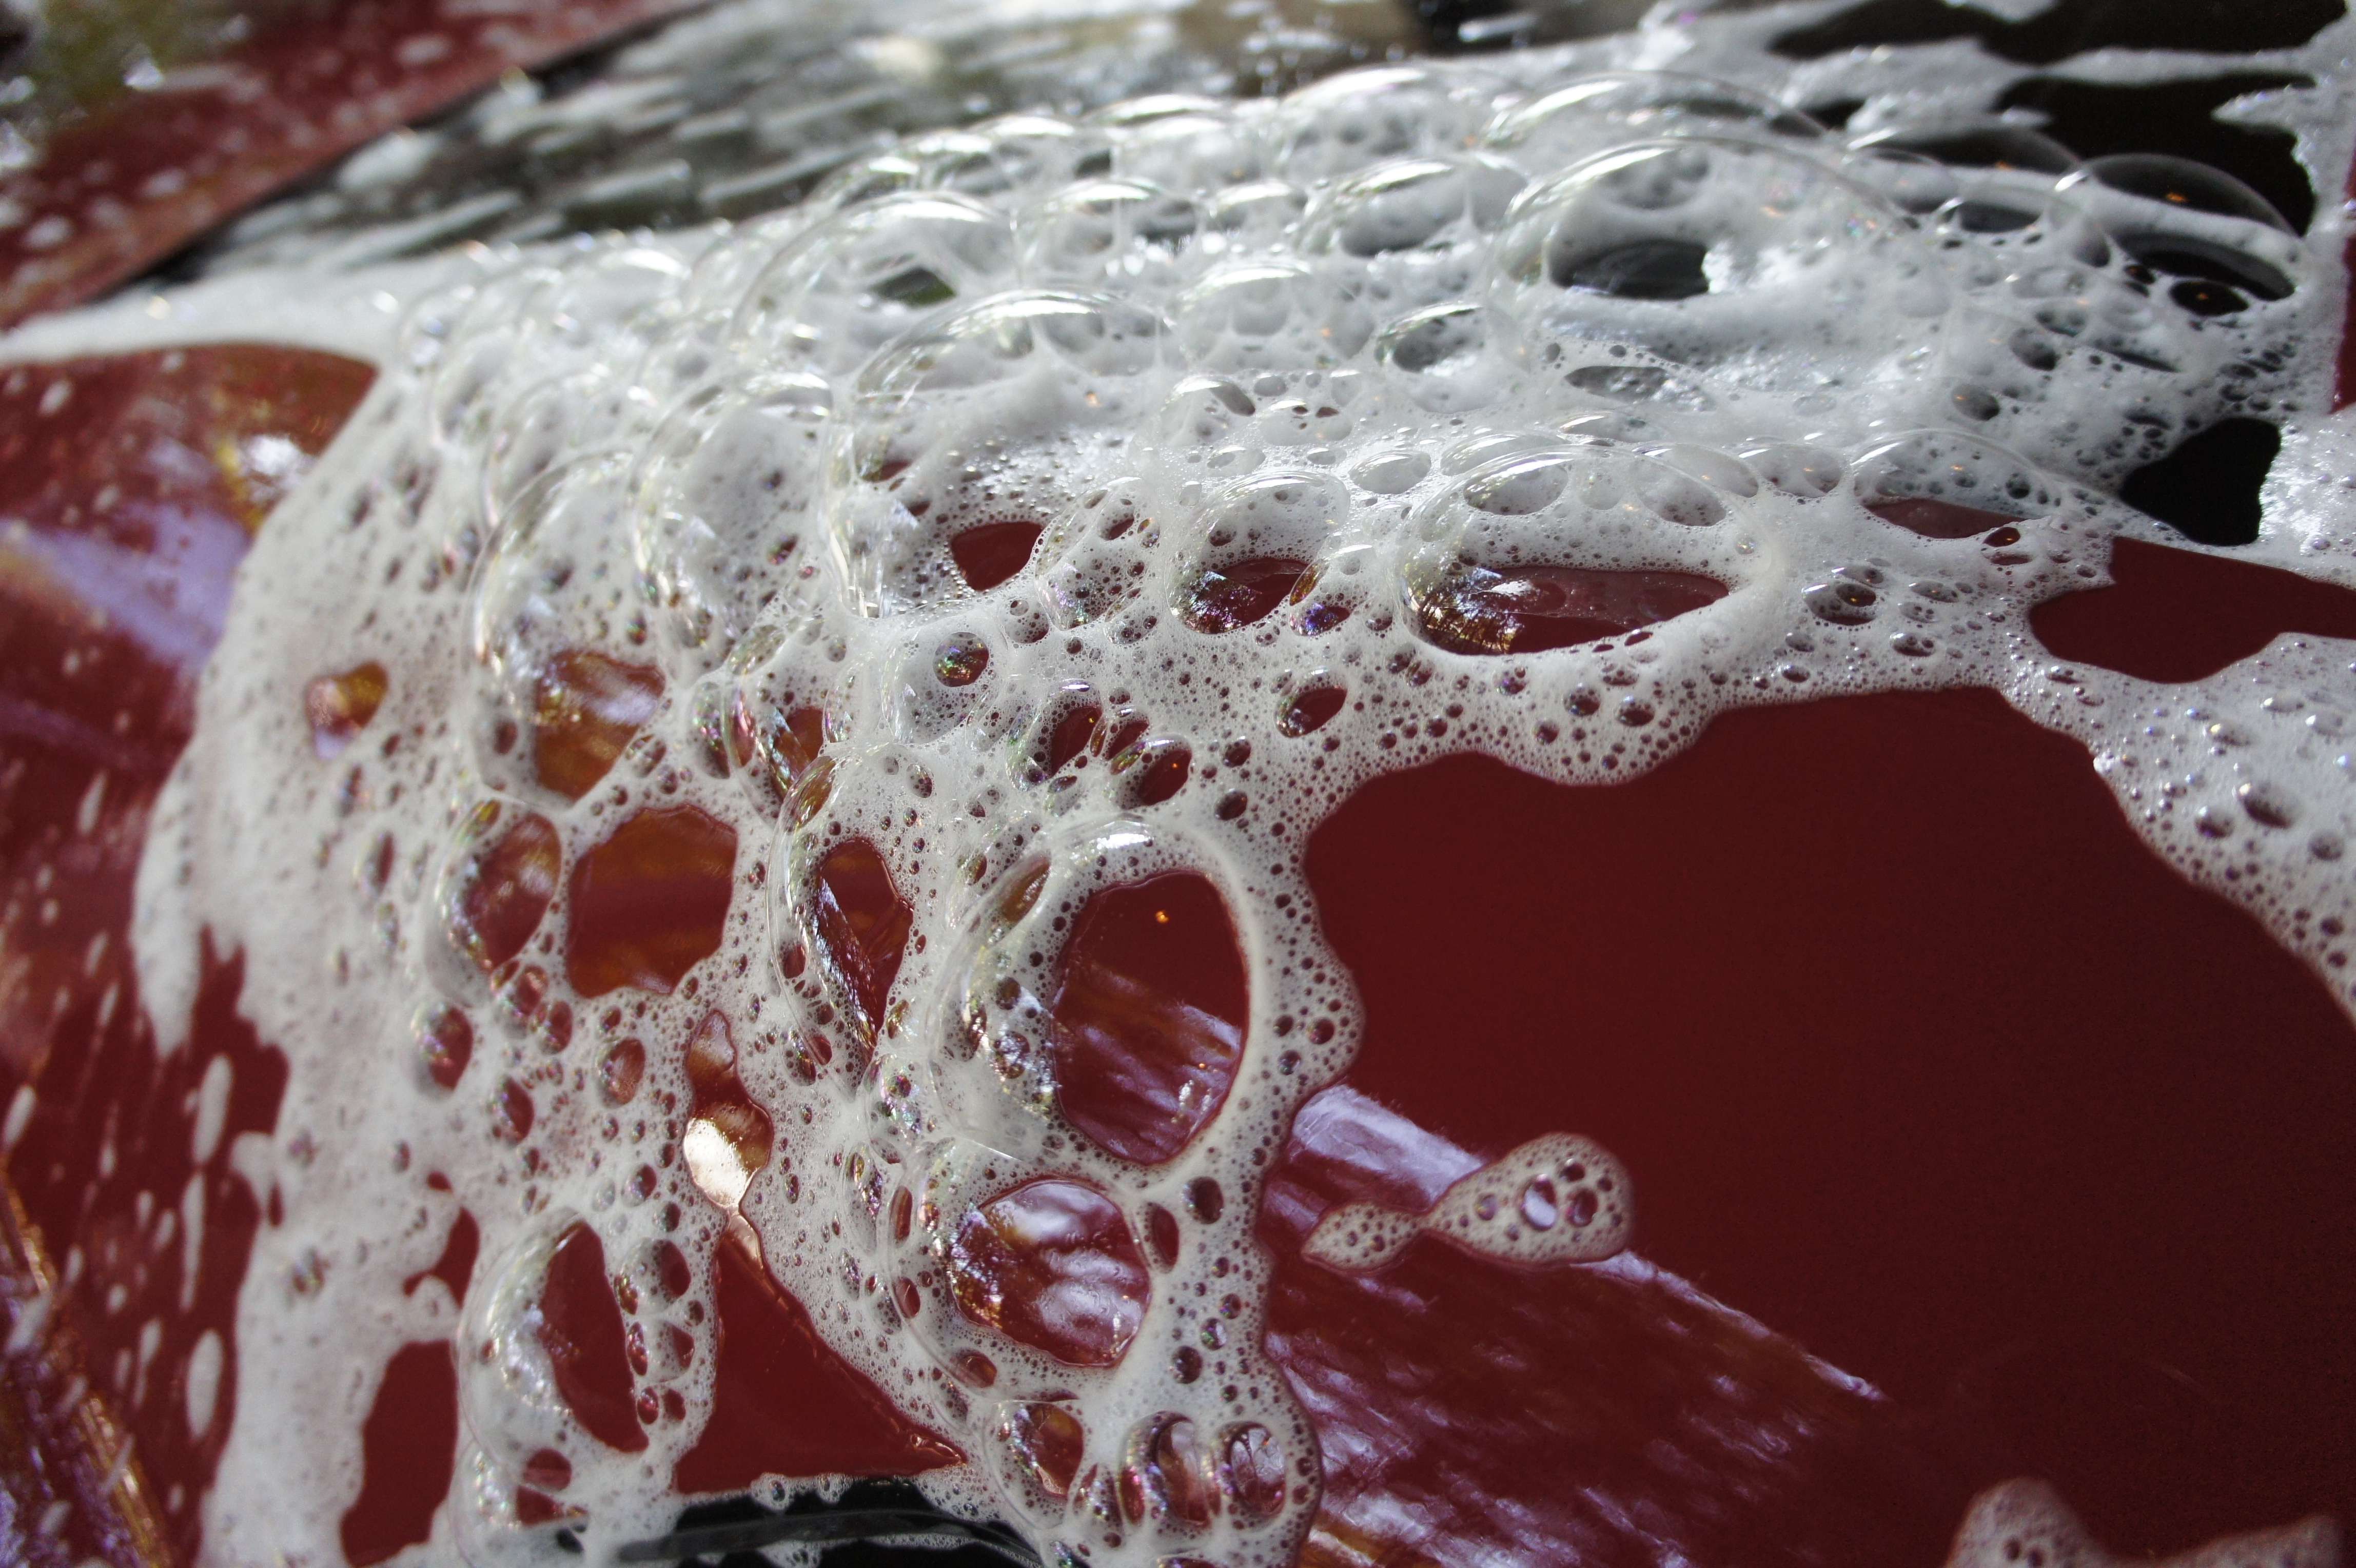
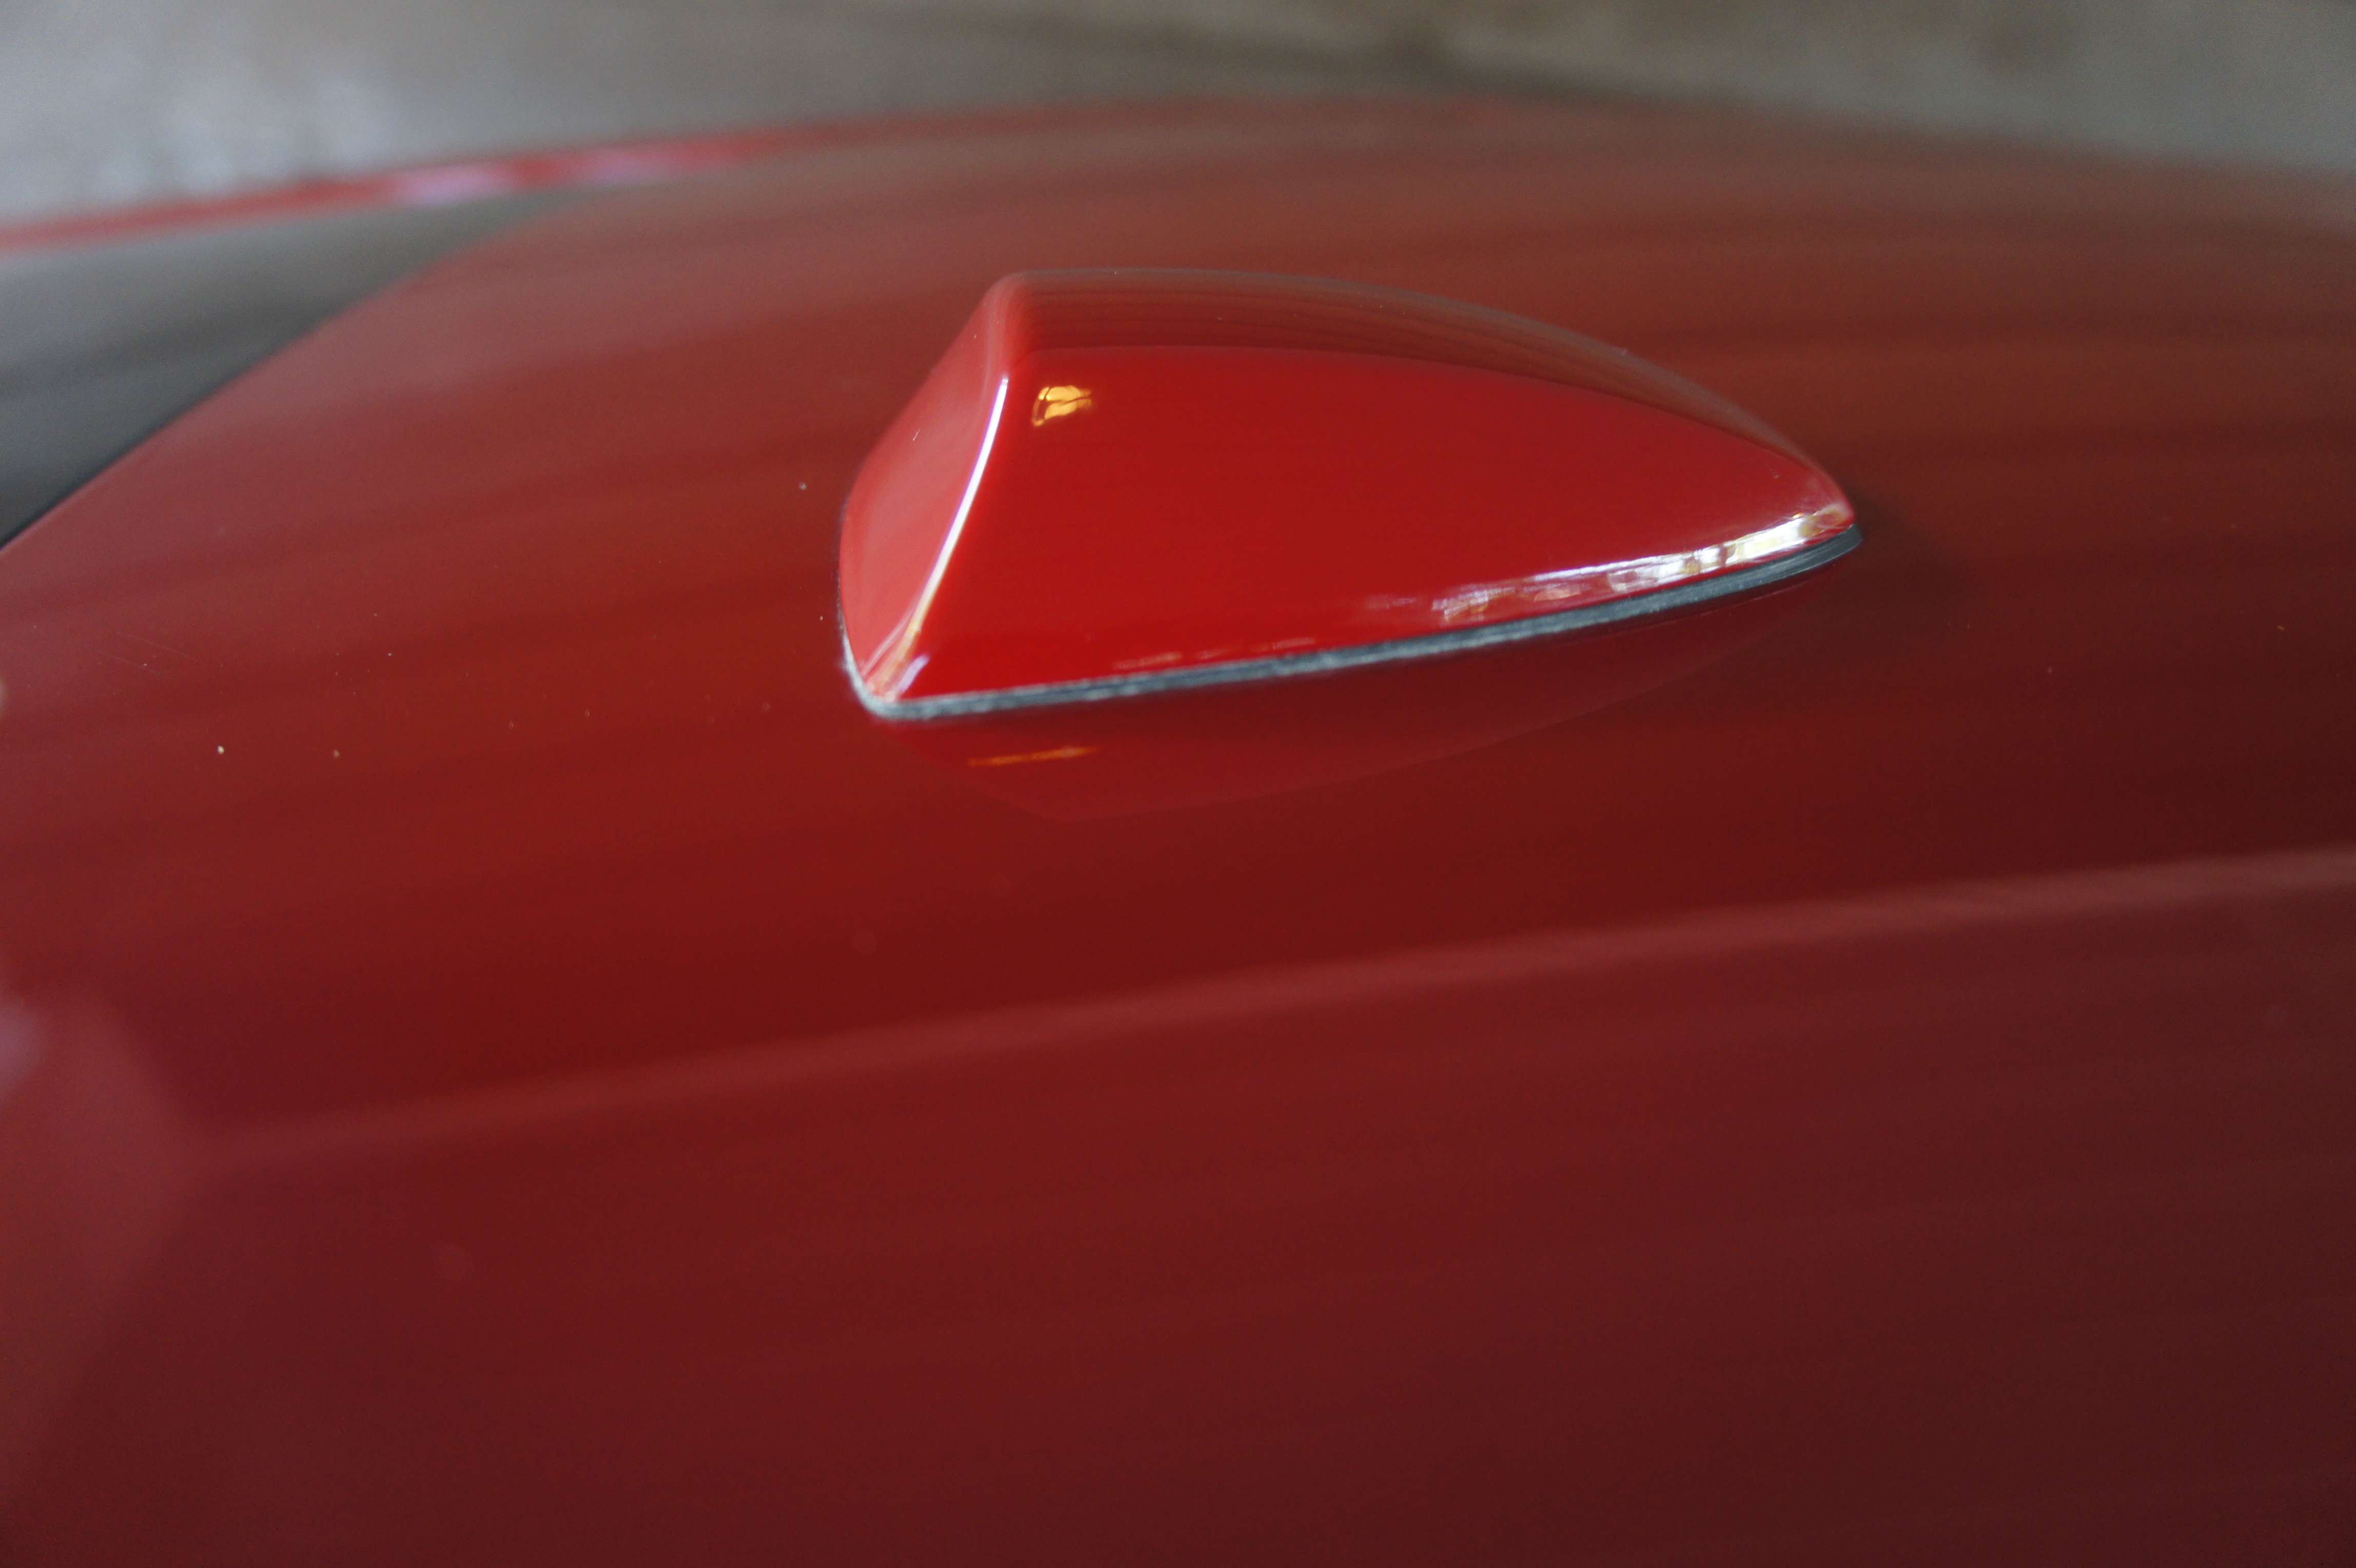
Finished work.. let’s look under different light:


Merci � toi, pour ta confiance!! Je crois que le r�sultat est l� et tr�s convaincant!
� la prochaine,
Alex
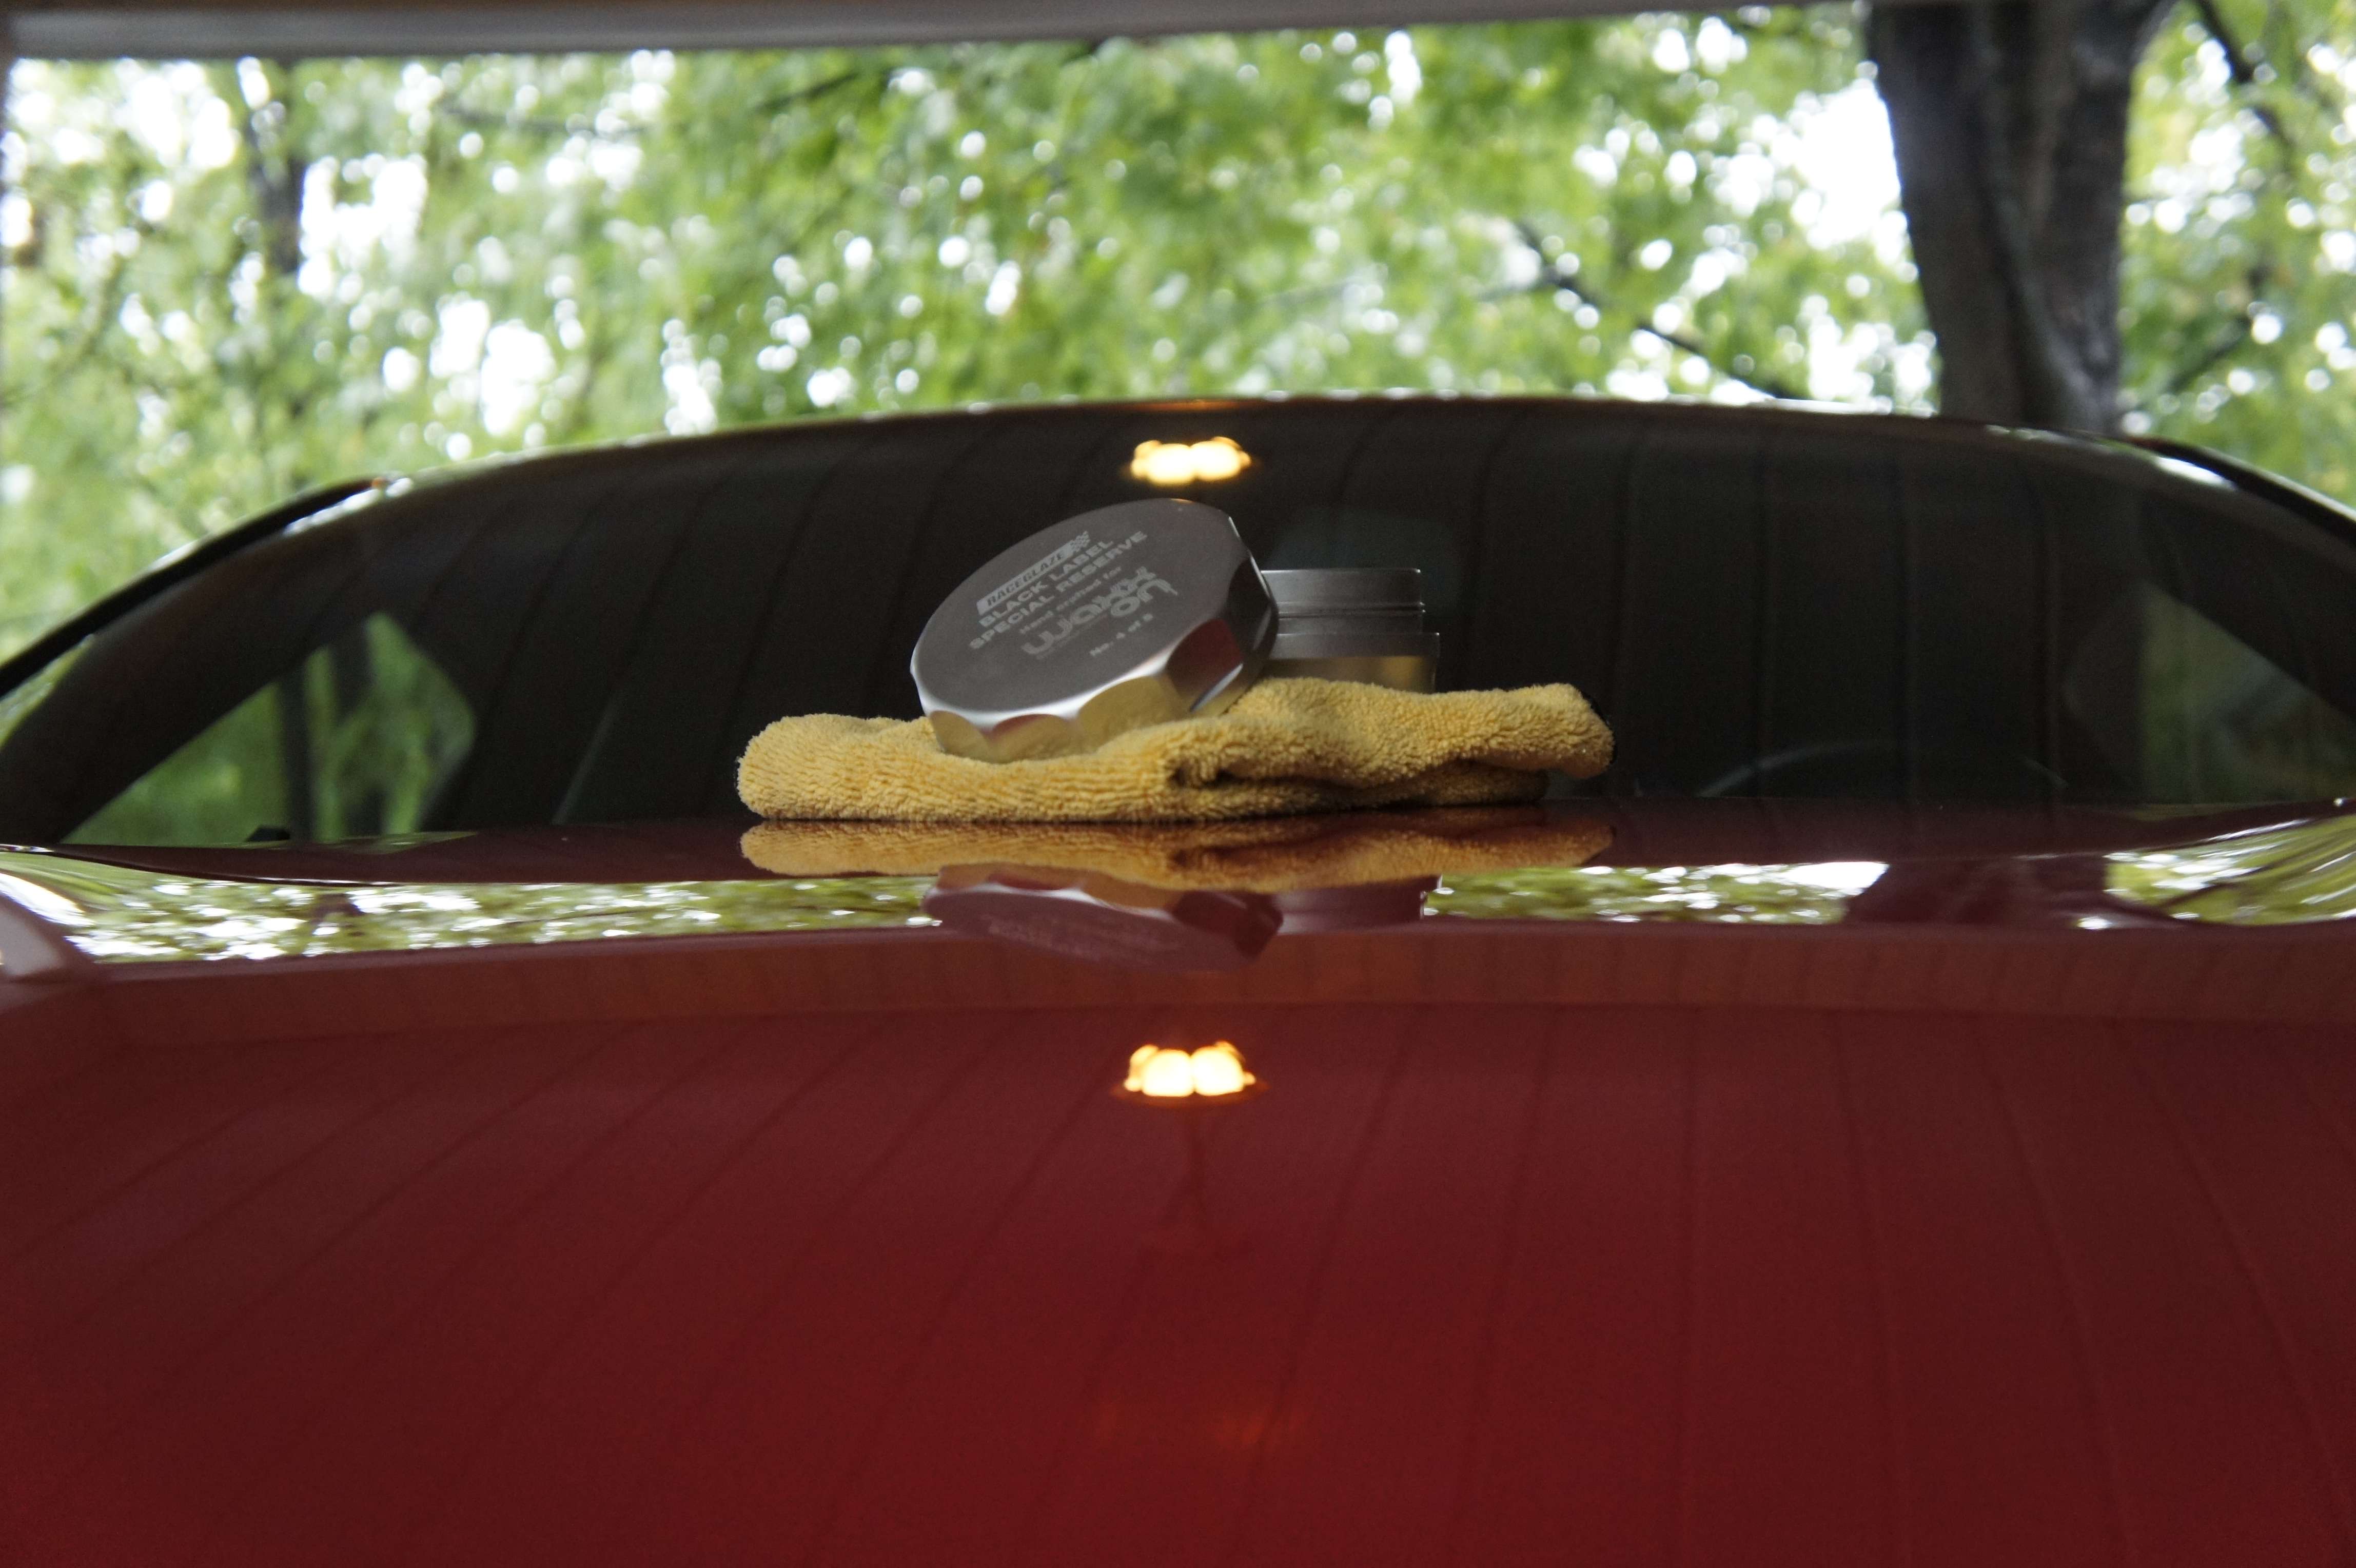
Pour une question de polissage r�alis� � montreal.. alexandre.lemay @ hec . ca
For more info regarding this polishing job, detailing , done in the greater Montreal , please contact me at alexandre.lemay @ hec . ca


 !
!


Leave a comment: