Announcement

Collapse
No announcement yet.

CobrAA's Eastern detailing pic

Collapse
X
 
  • Filter
  • Time
  • Show
Clear All
new posts

  • cobrAA
    replied
    After this is done, I pass the extractor everywhere I can in order to give the cleanest feeling possible. This machine is a must for professional interior cleaning. It’s not just about shopvacuuing but these machines are made to have as much water-lift as possible so the interior can be as dry as possible. Having a dry interior is not just a cool-thing but I’ve seen lots of seat getting destroyed because the foam got too humid and the clue can delaminated also. It also spray a hot water solution using a high pressure pump that does a way better job at cleaning than a simple spray-bottle water jet.


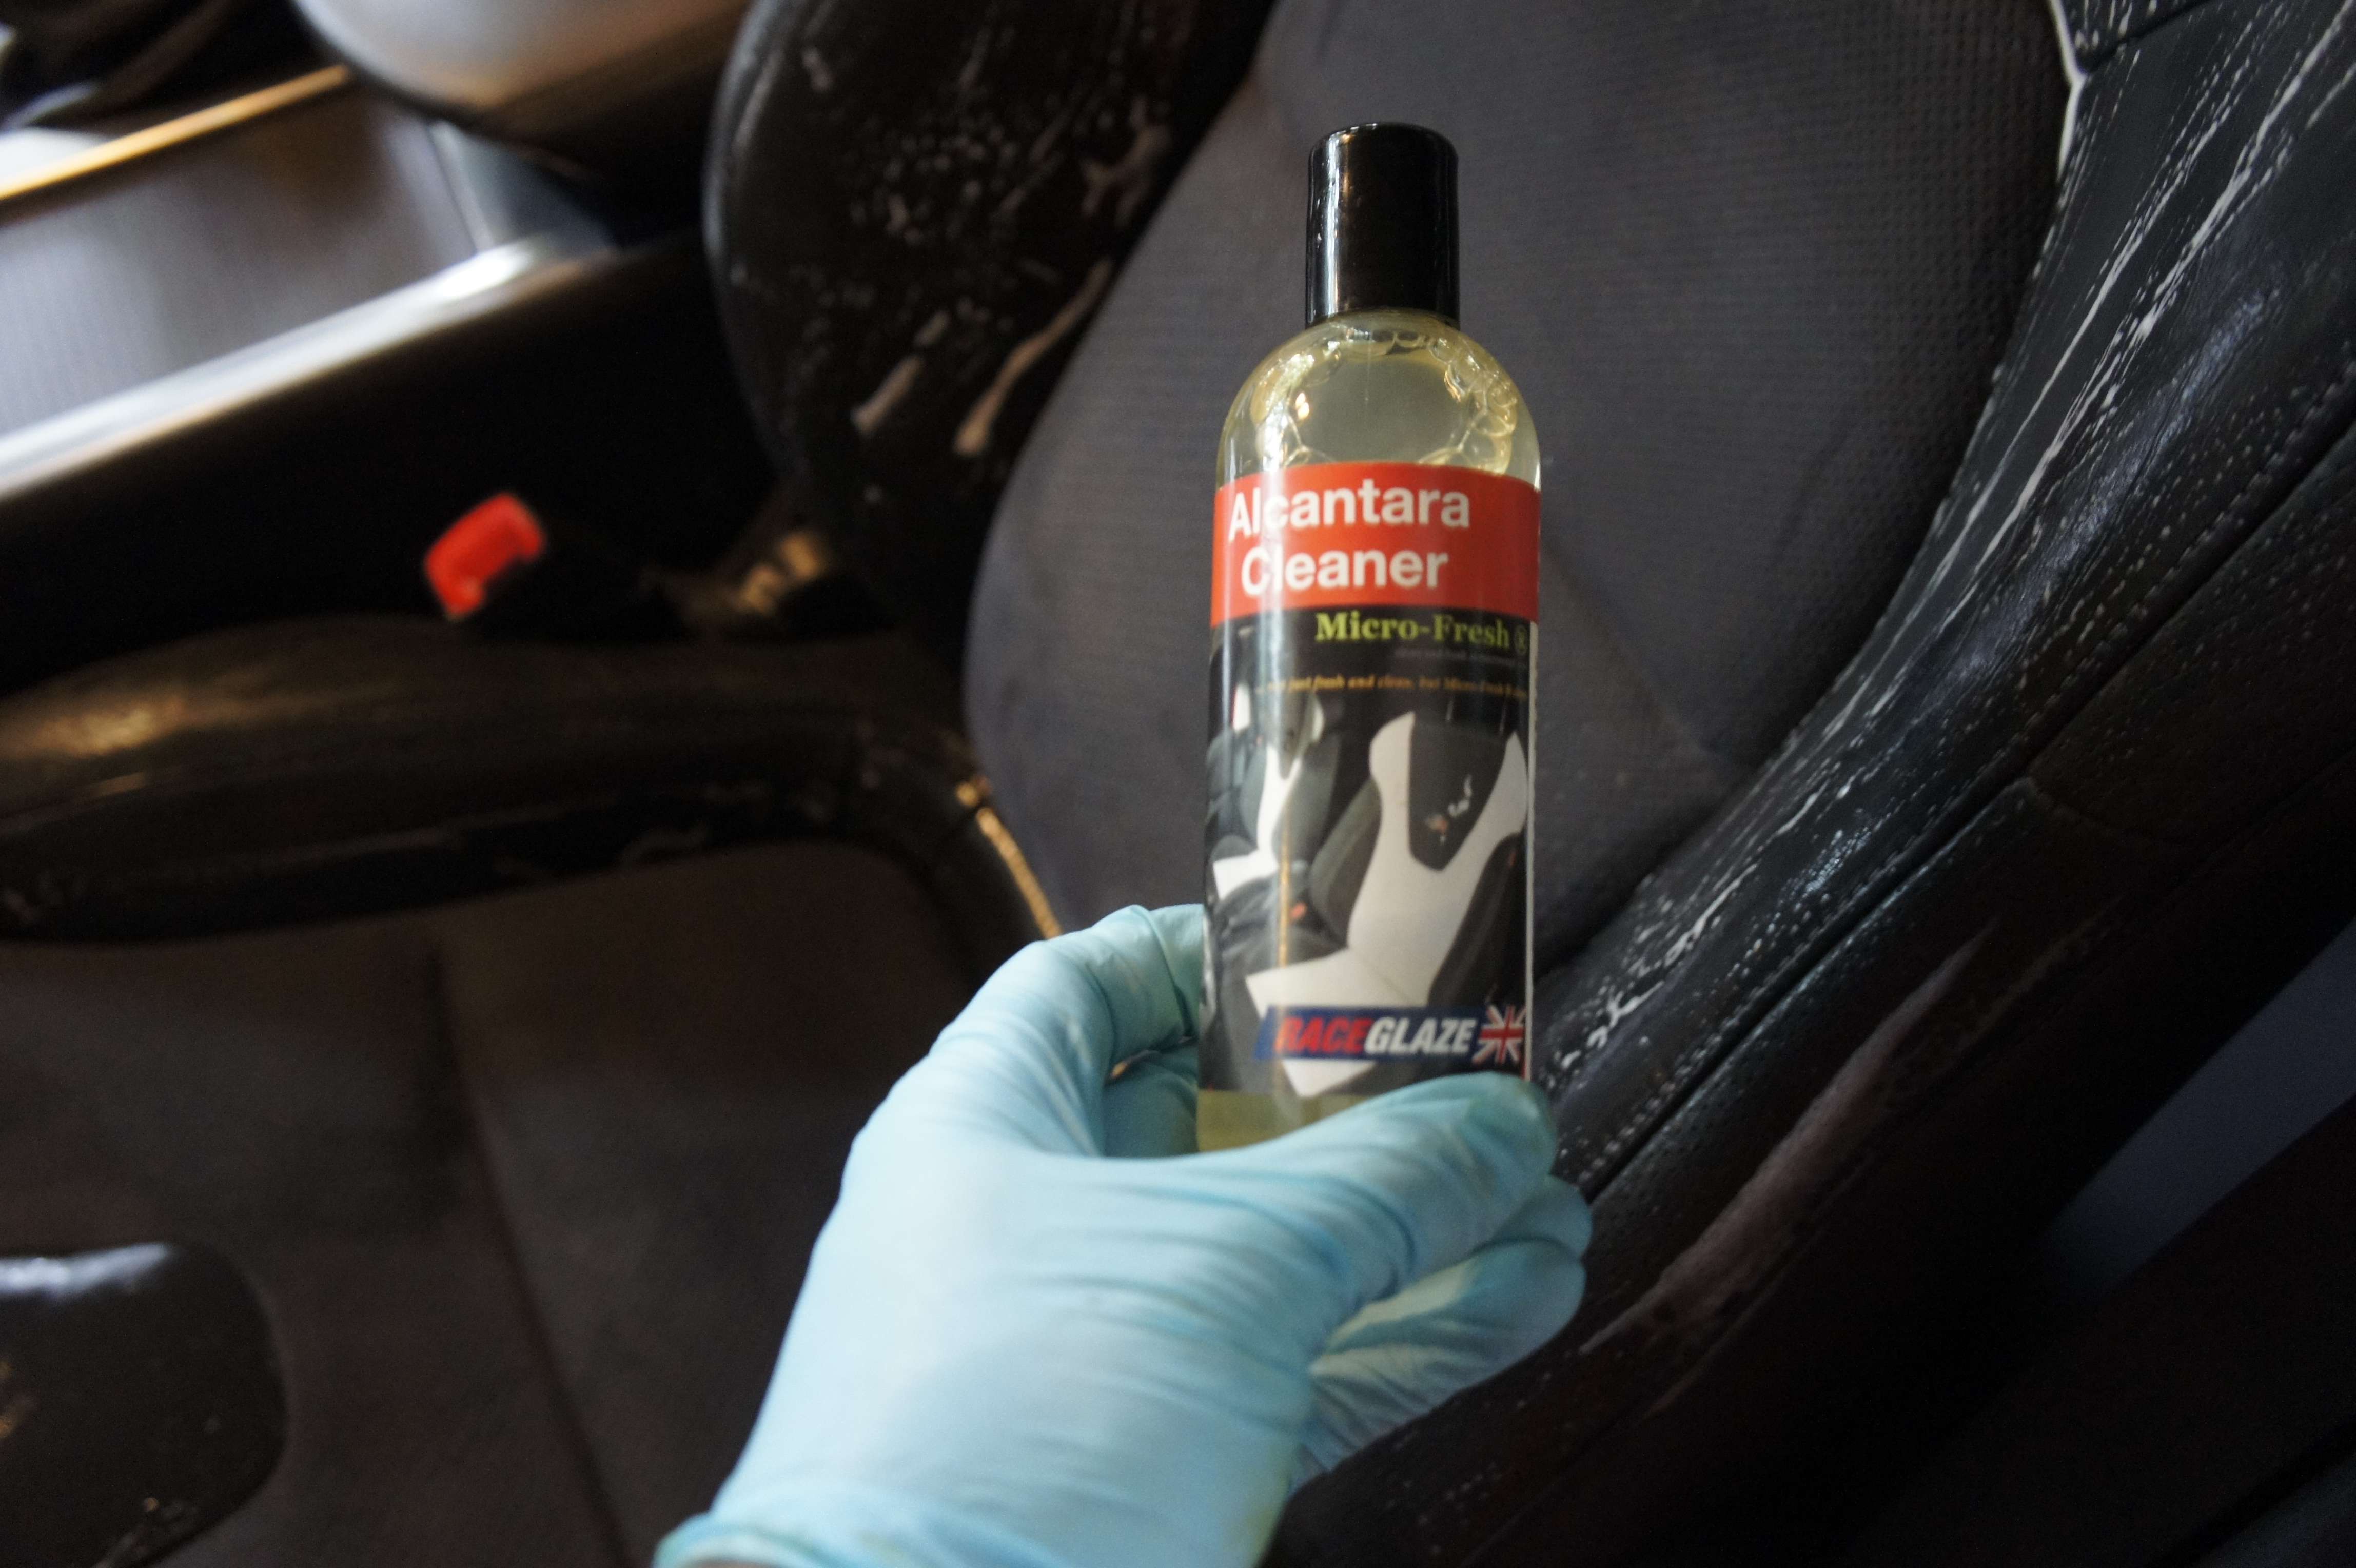
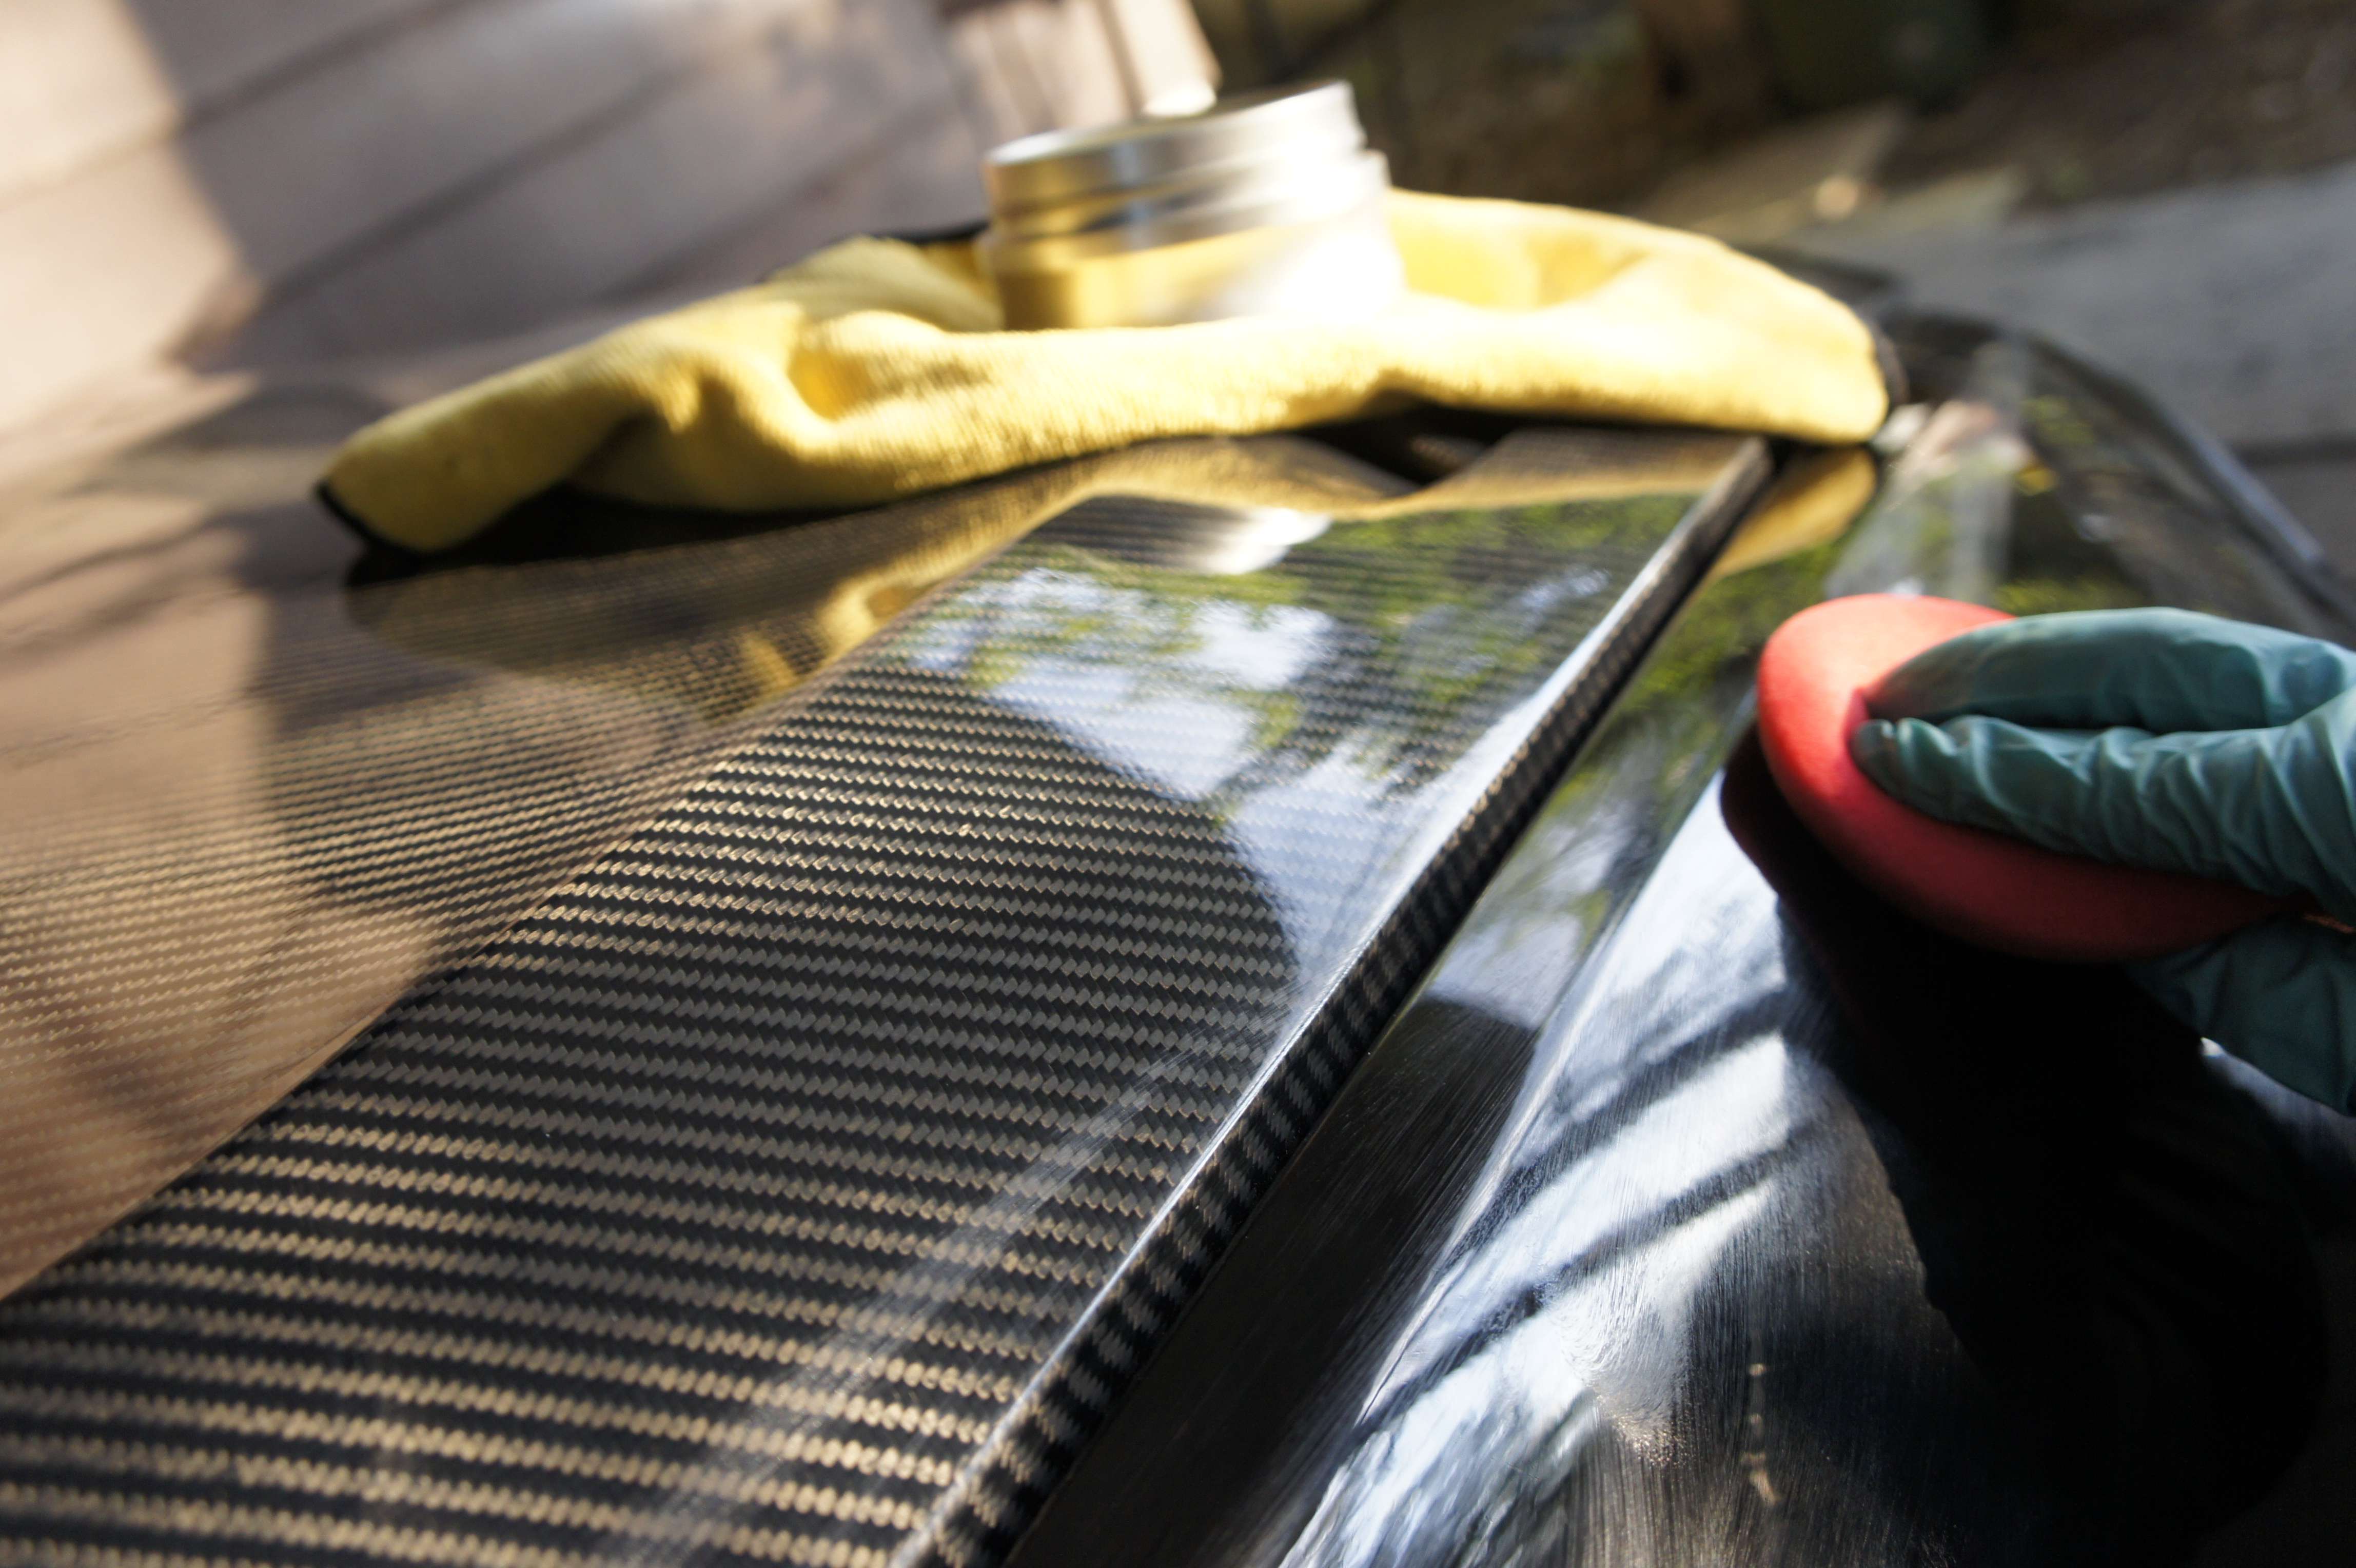
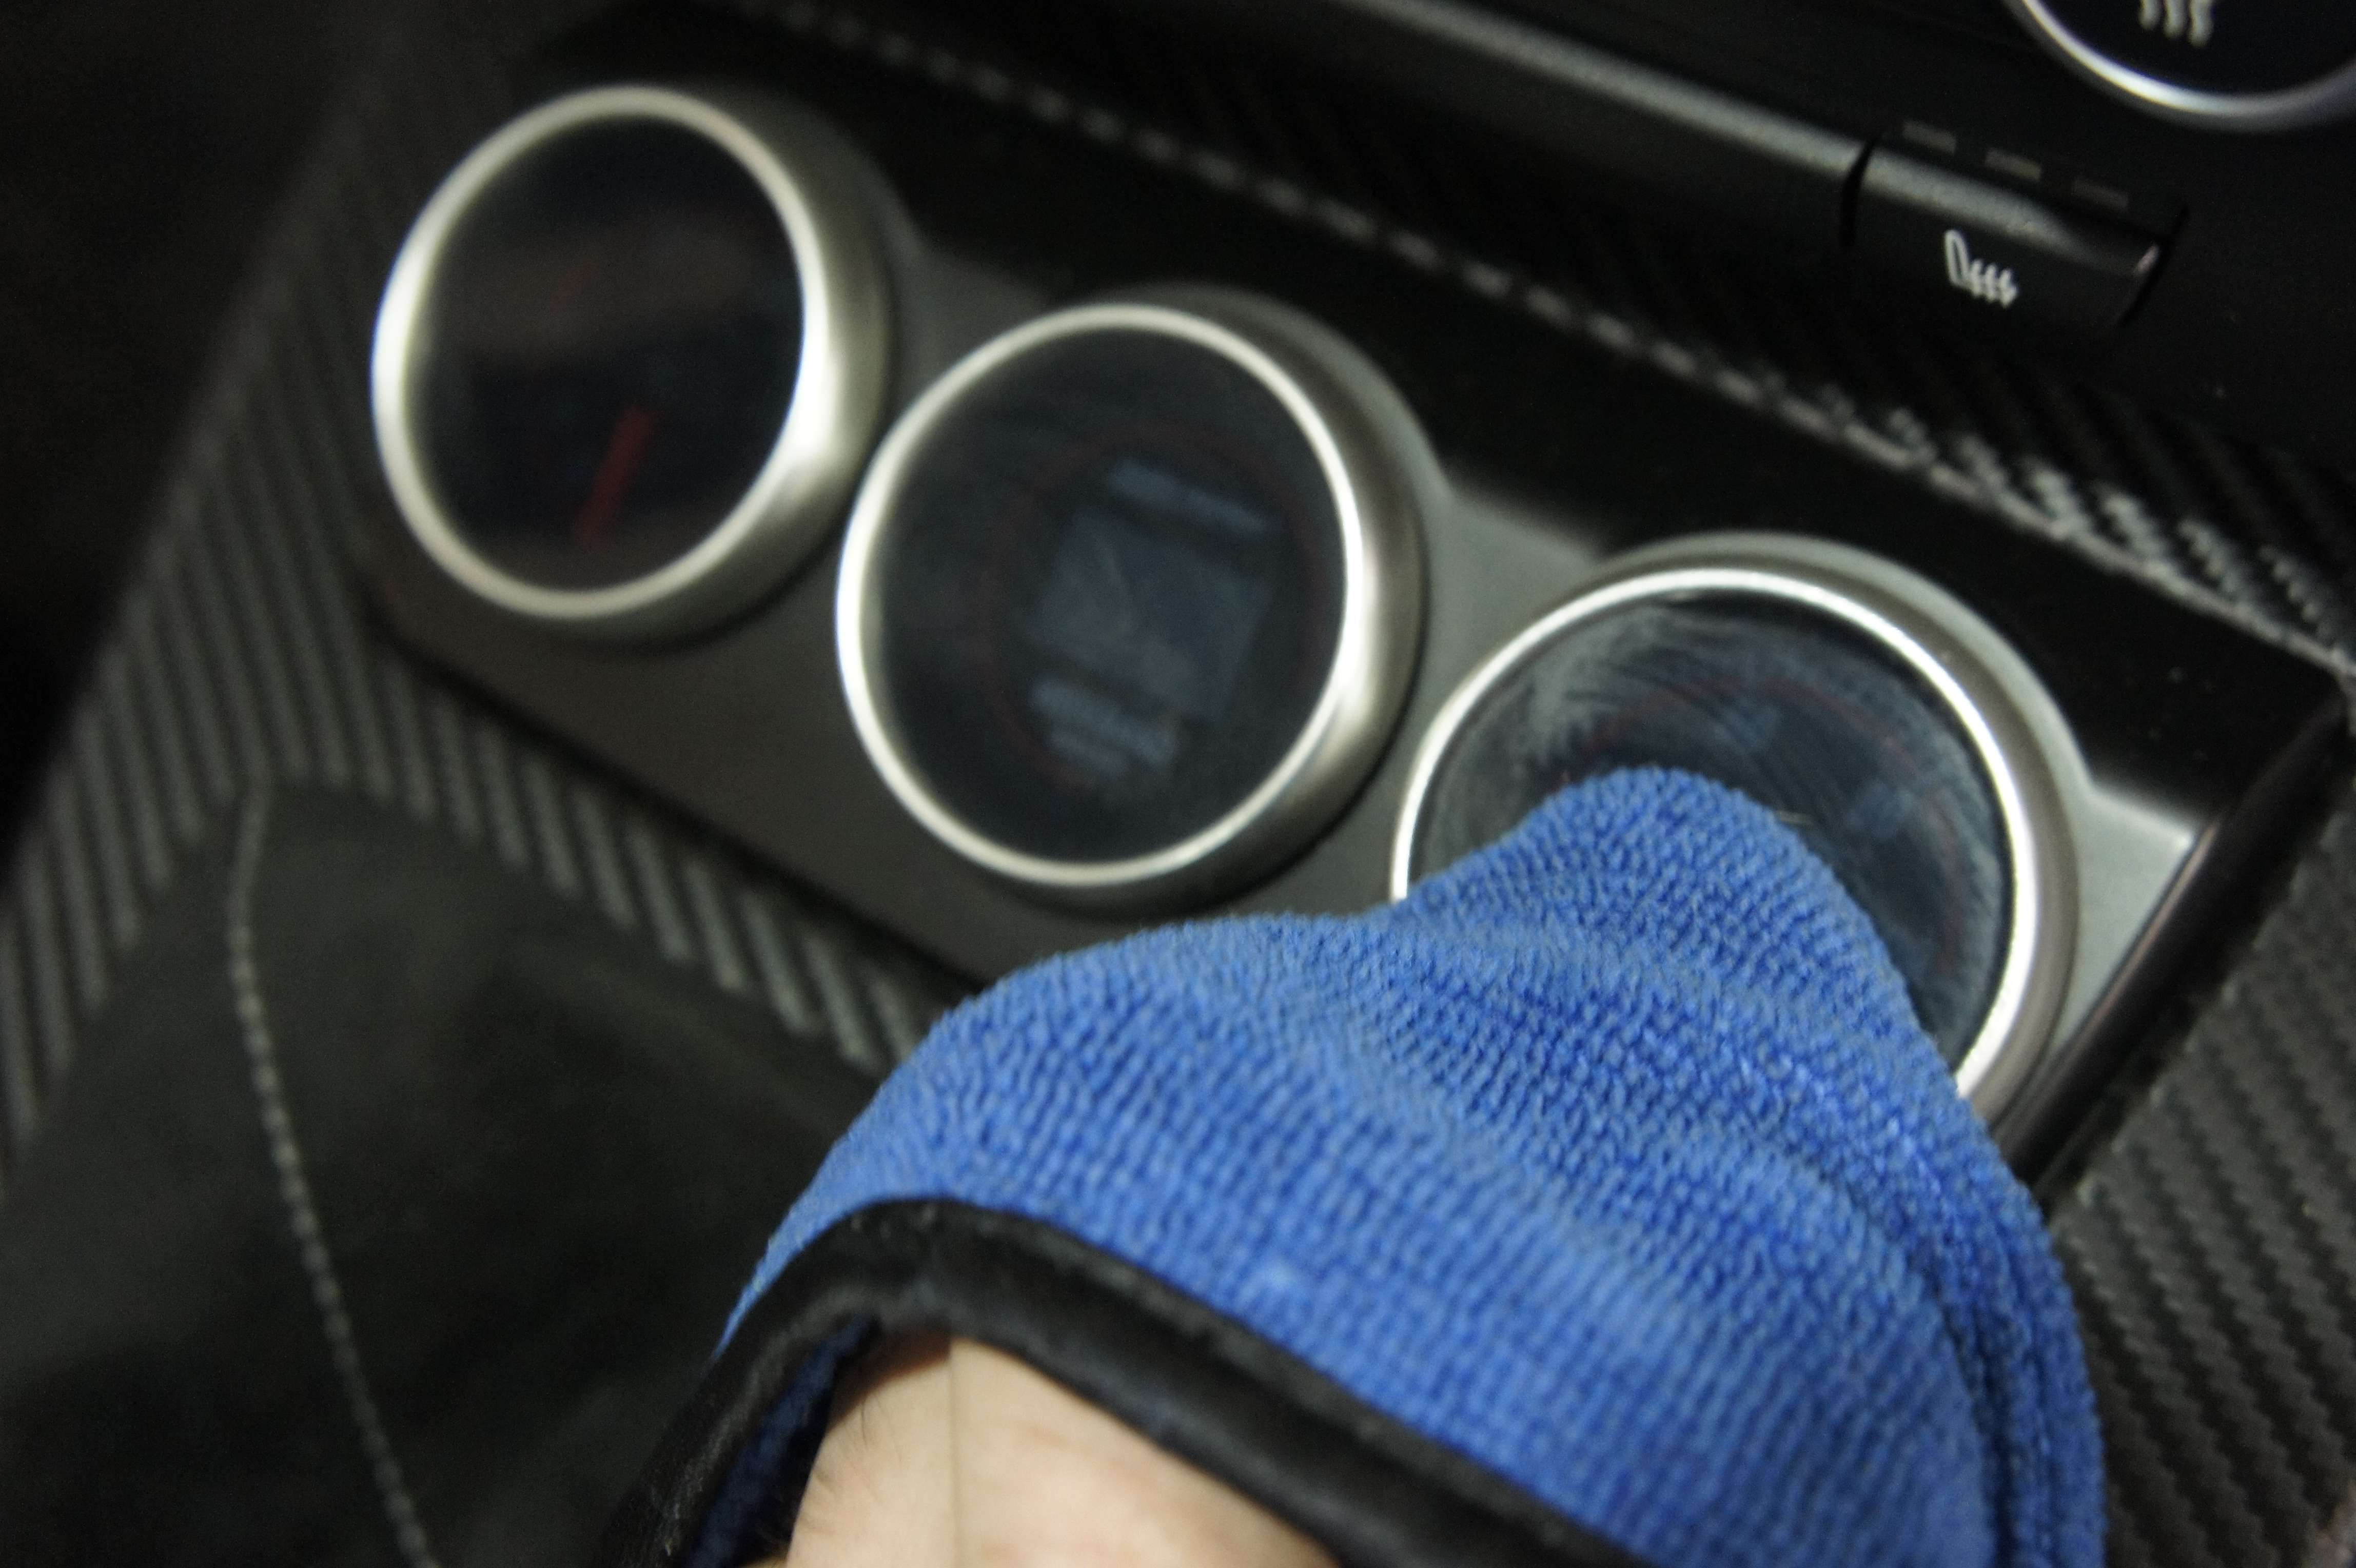
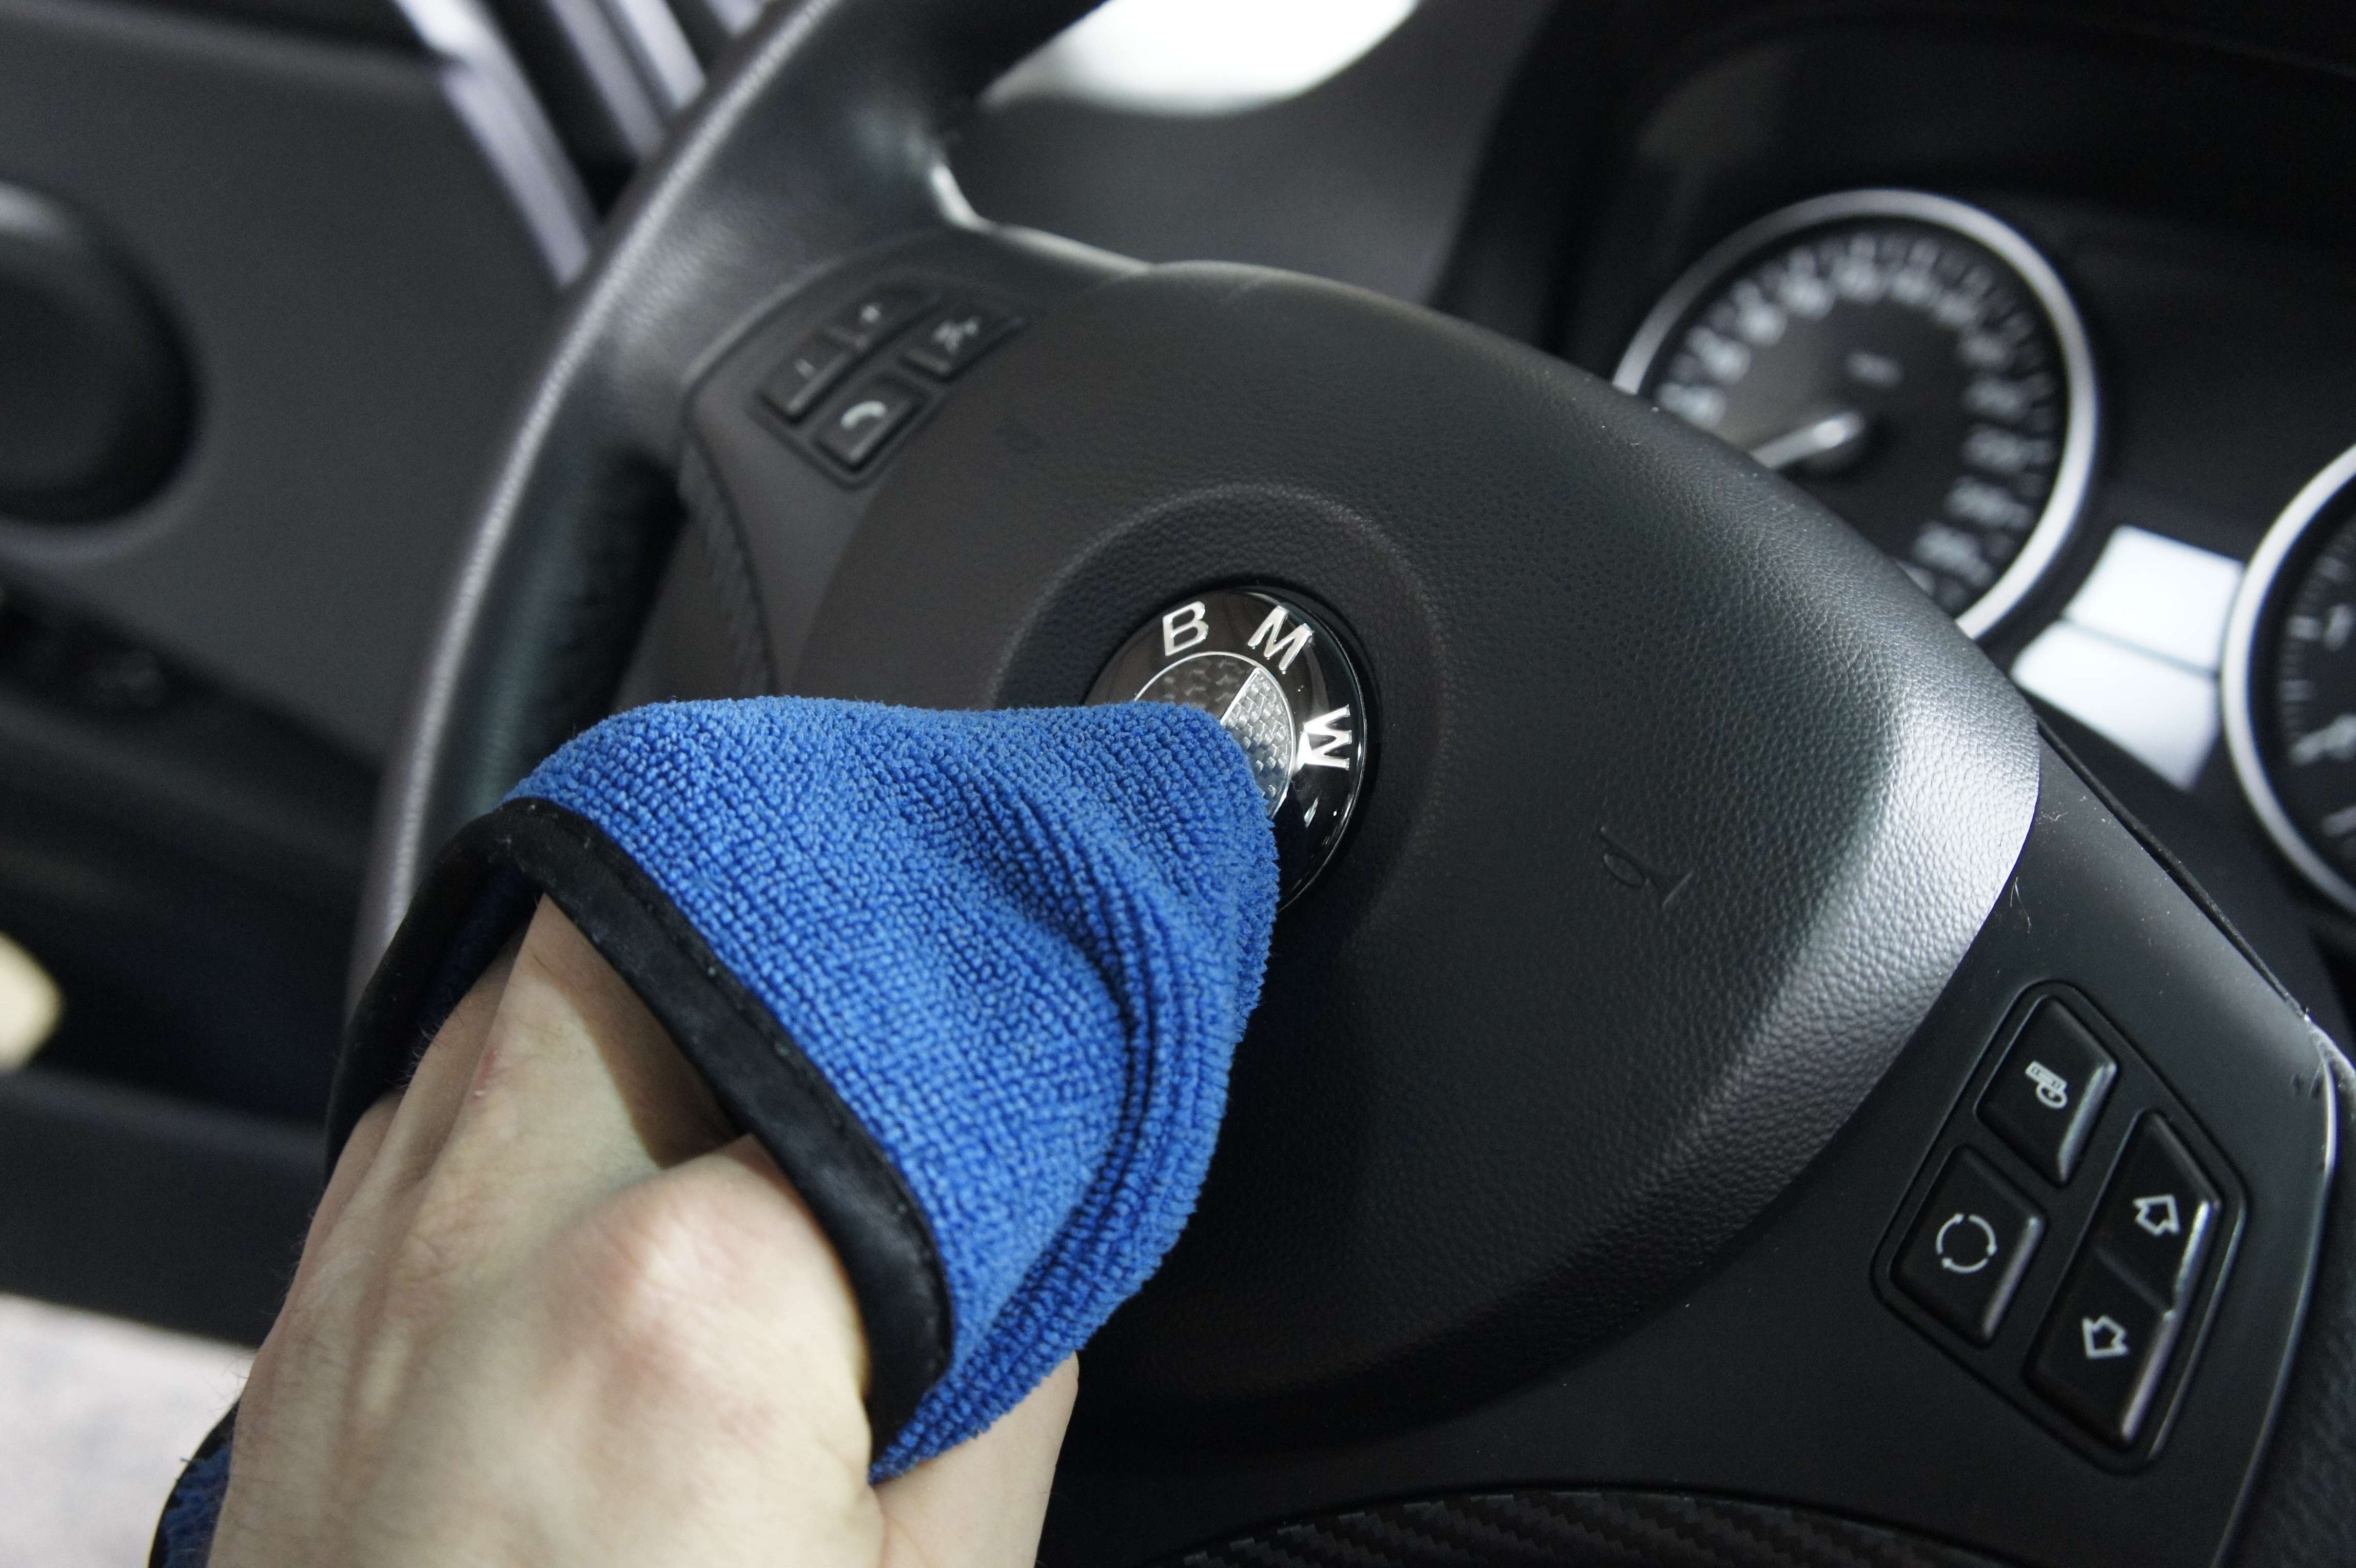
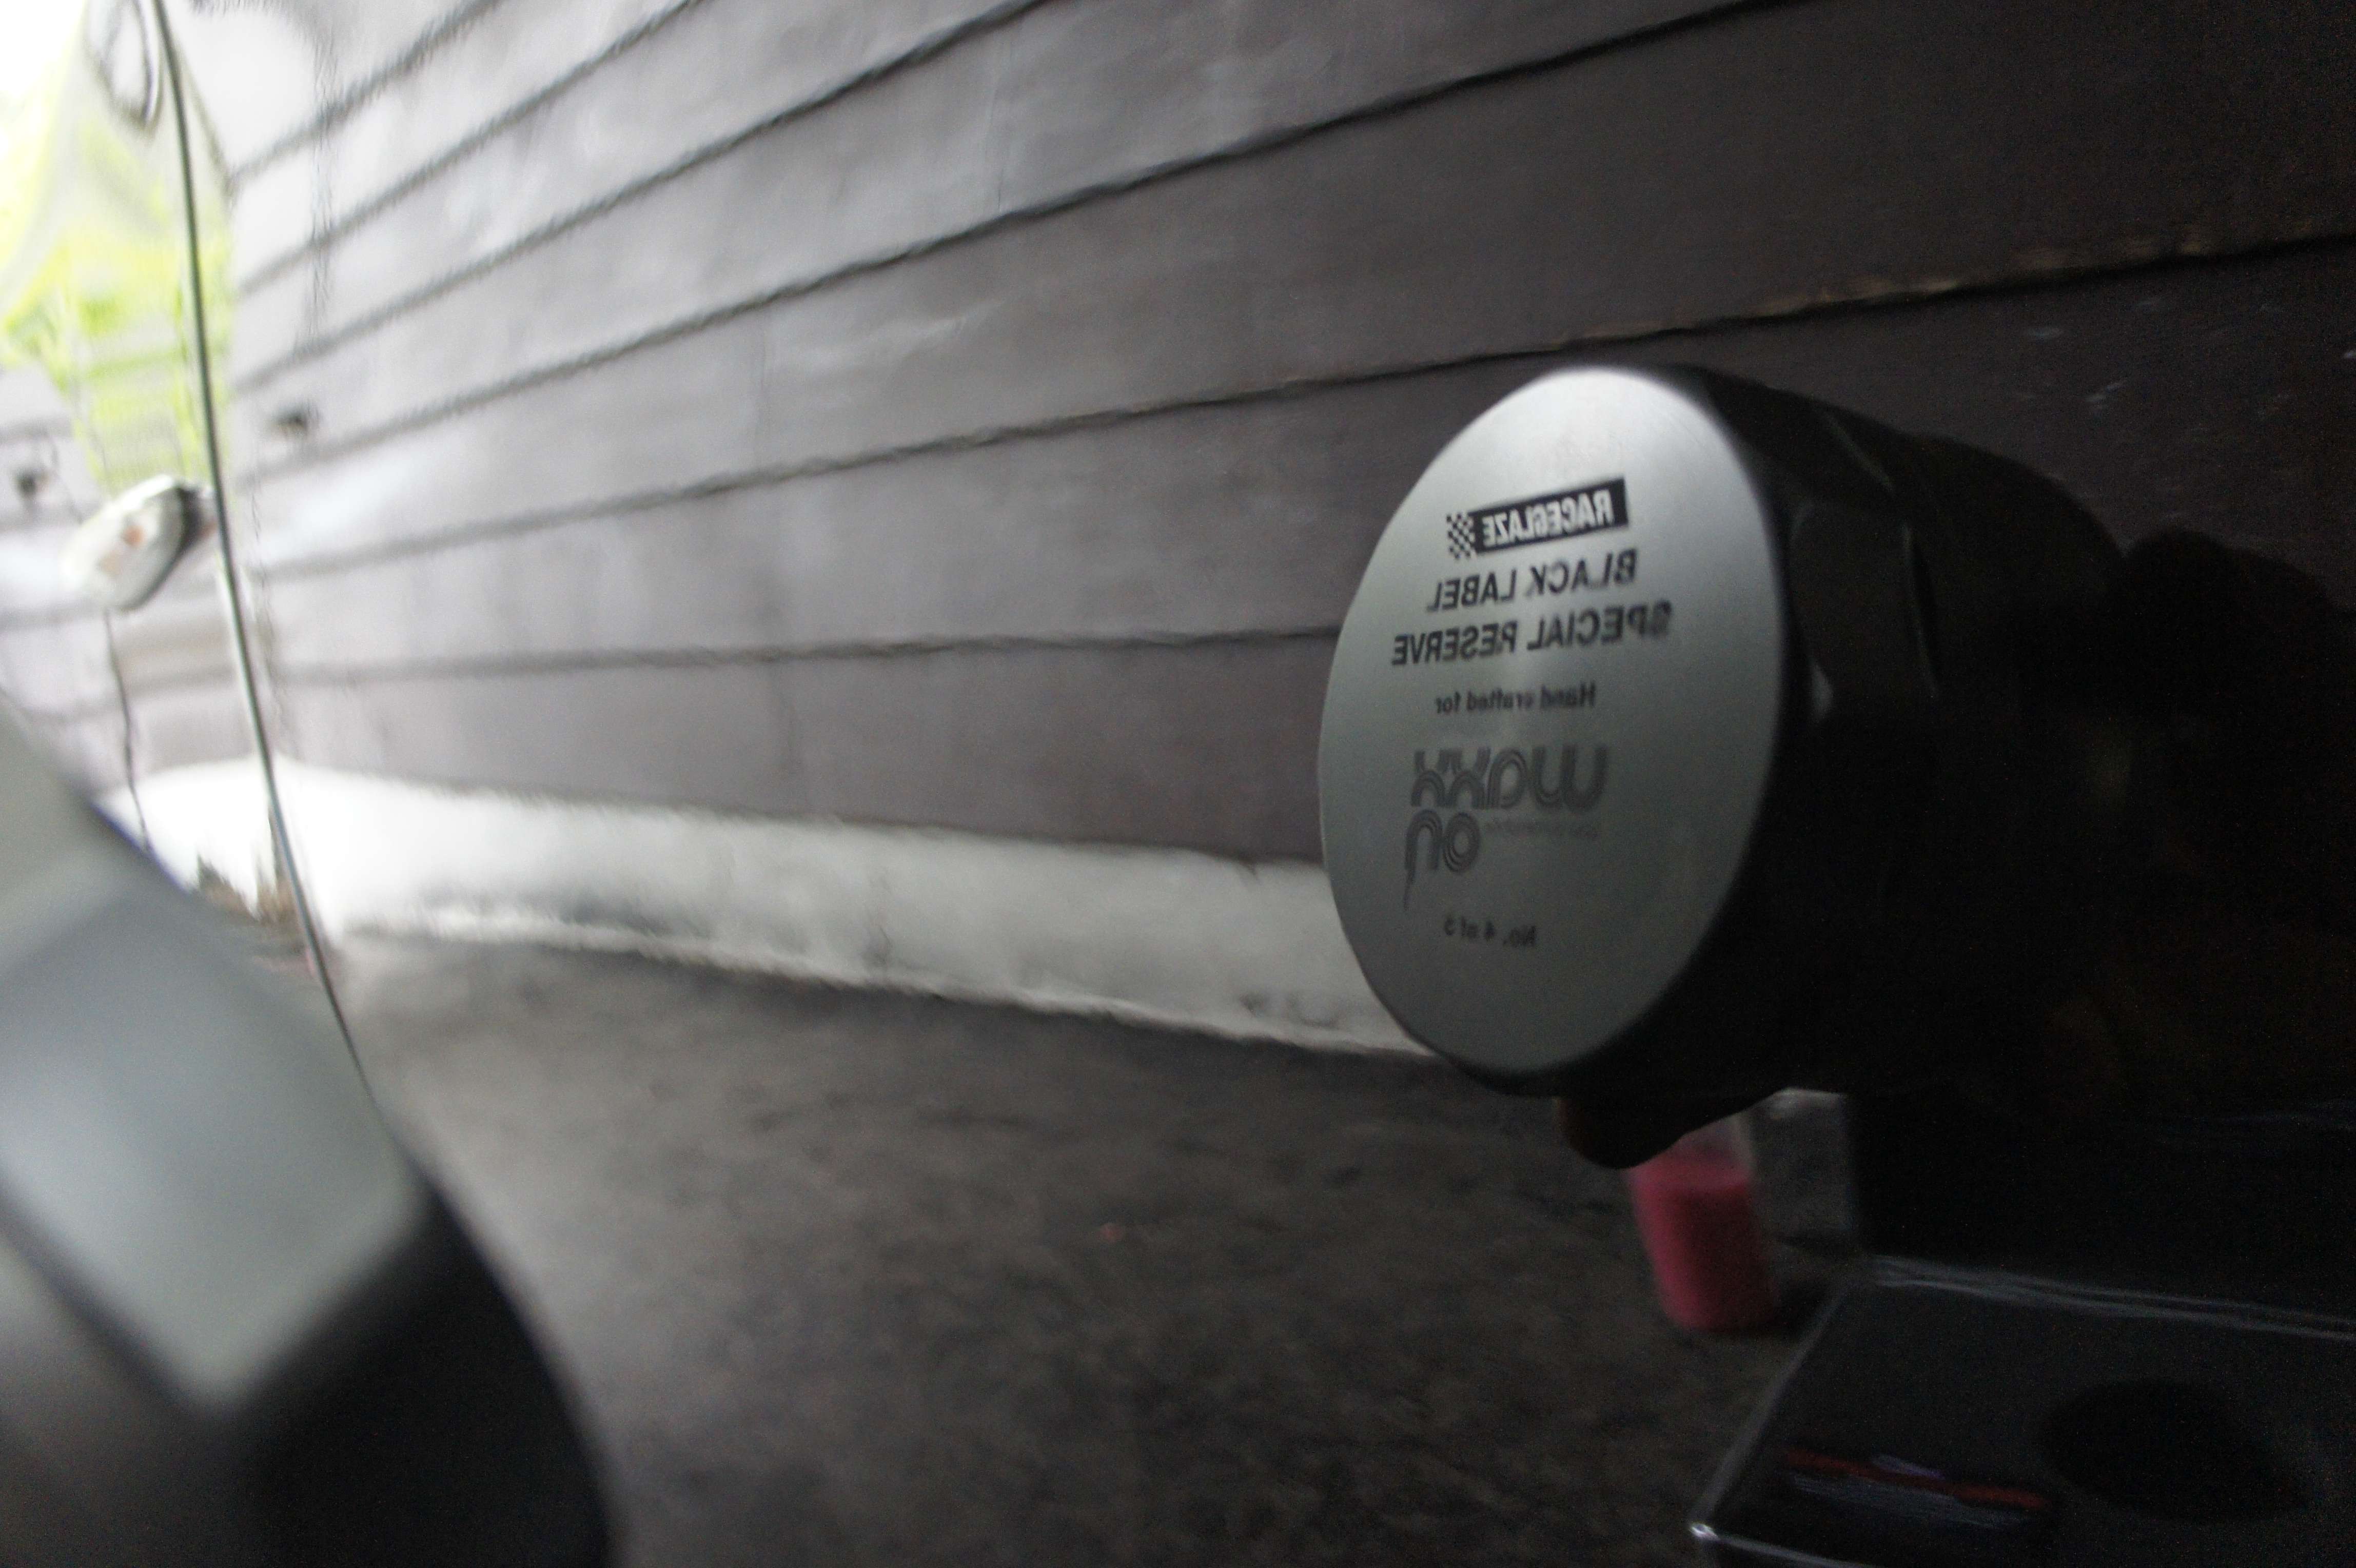
    Once this is done, it’s time to clean the carpet and let them dry. I then use RACEGLAZE Color enhance on all trims and seal because this stuff will last for months not just weeks. I’m highly impress with this stuff. IMO, this is one of the best 3 products raceglaze do!

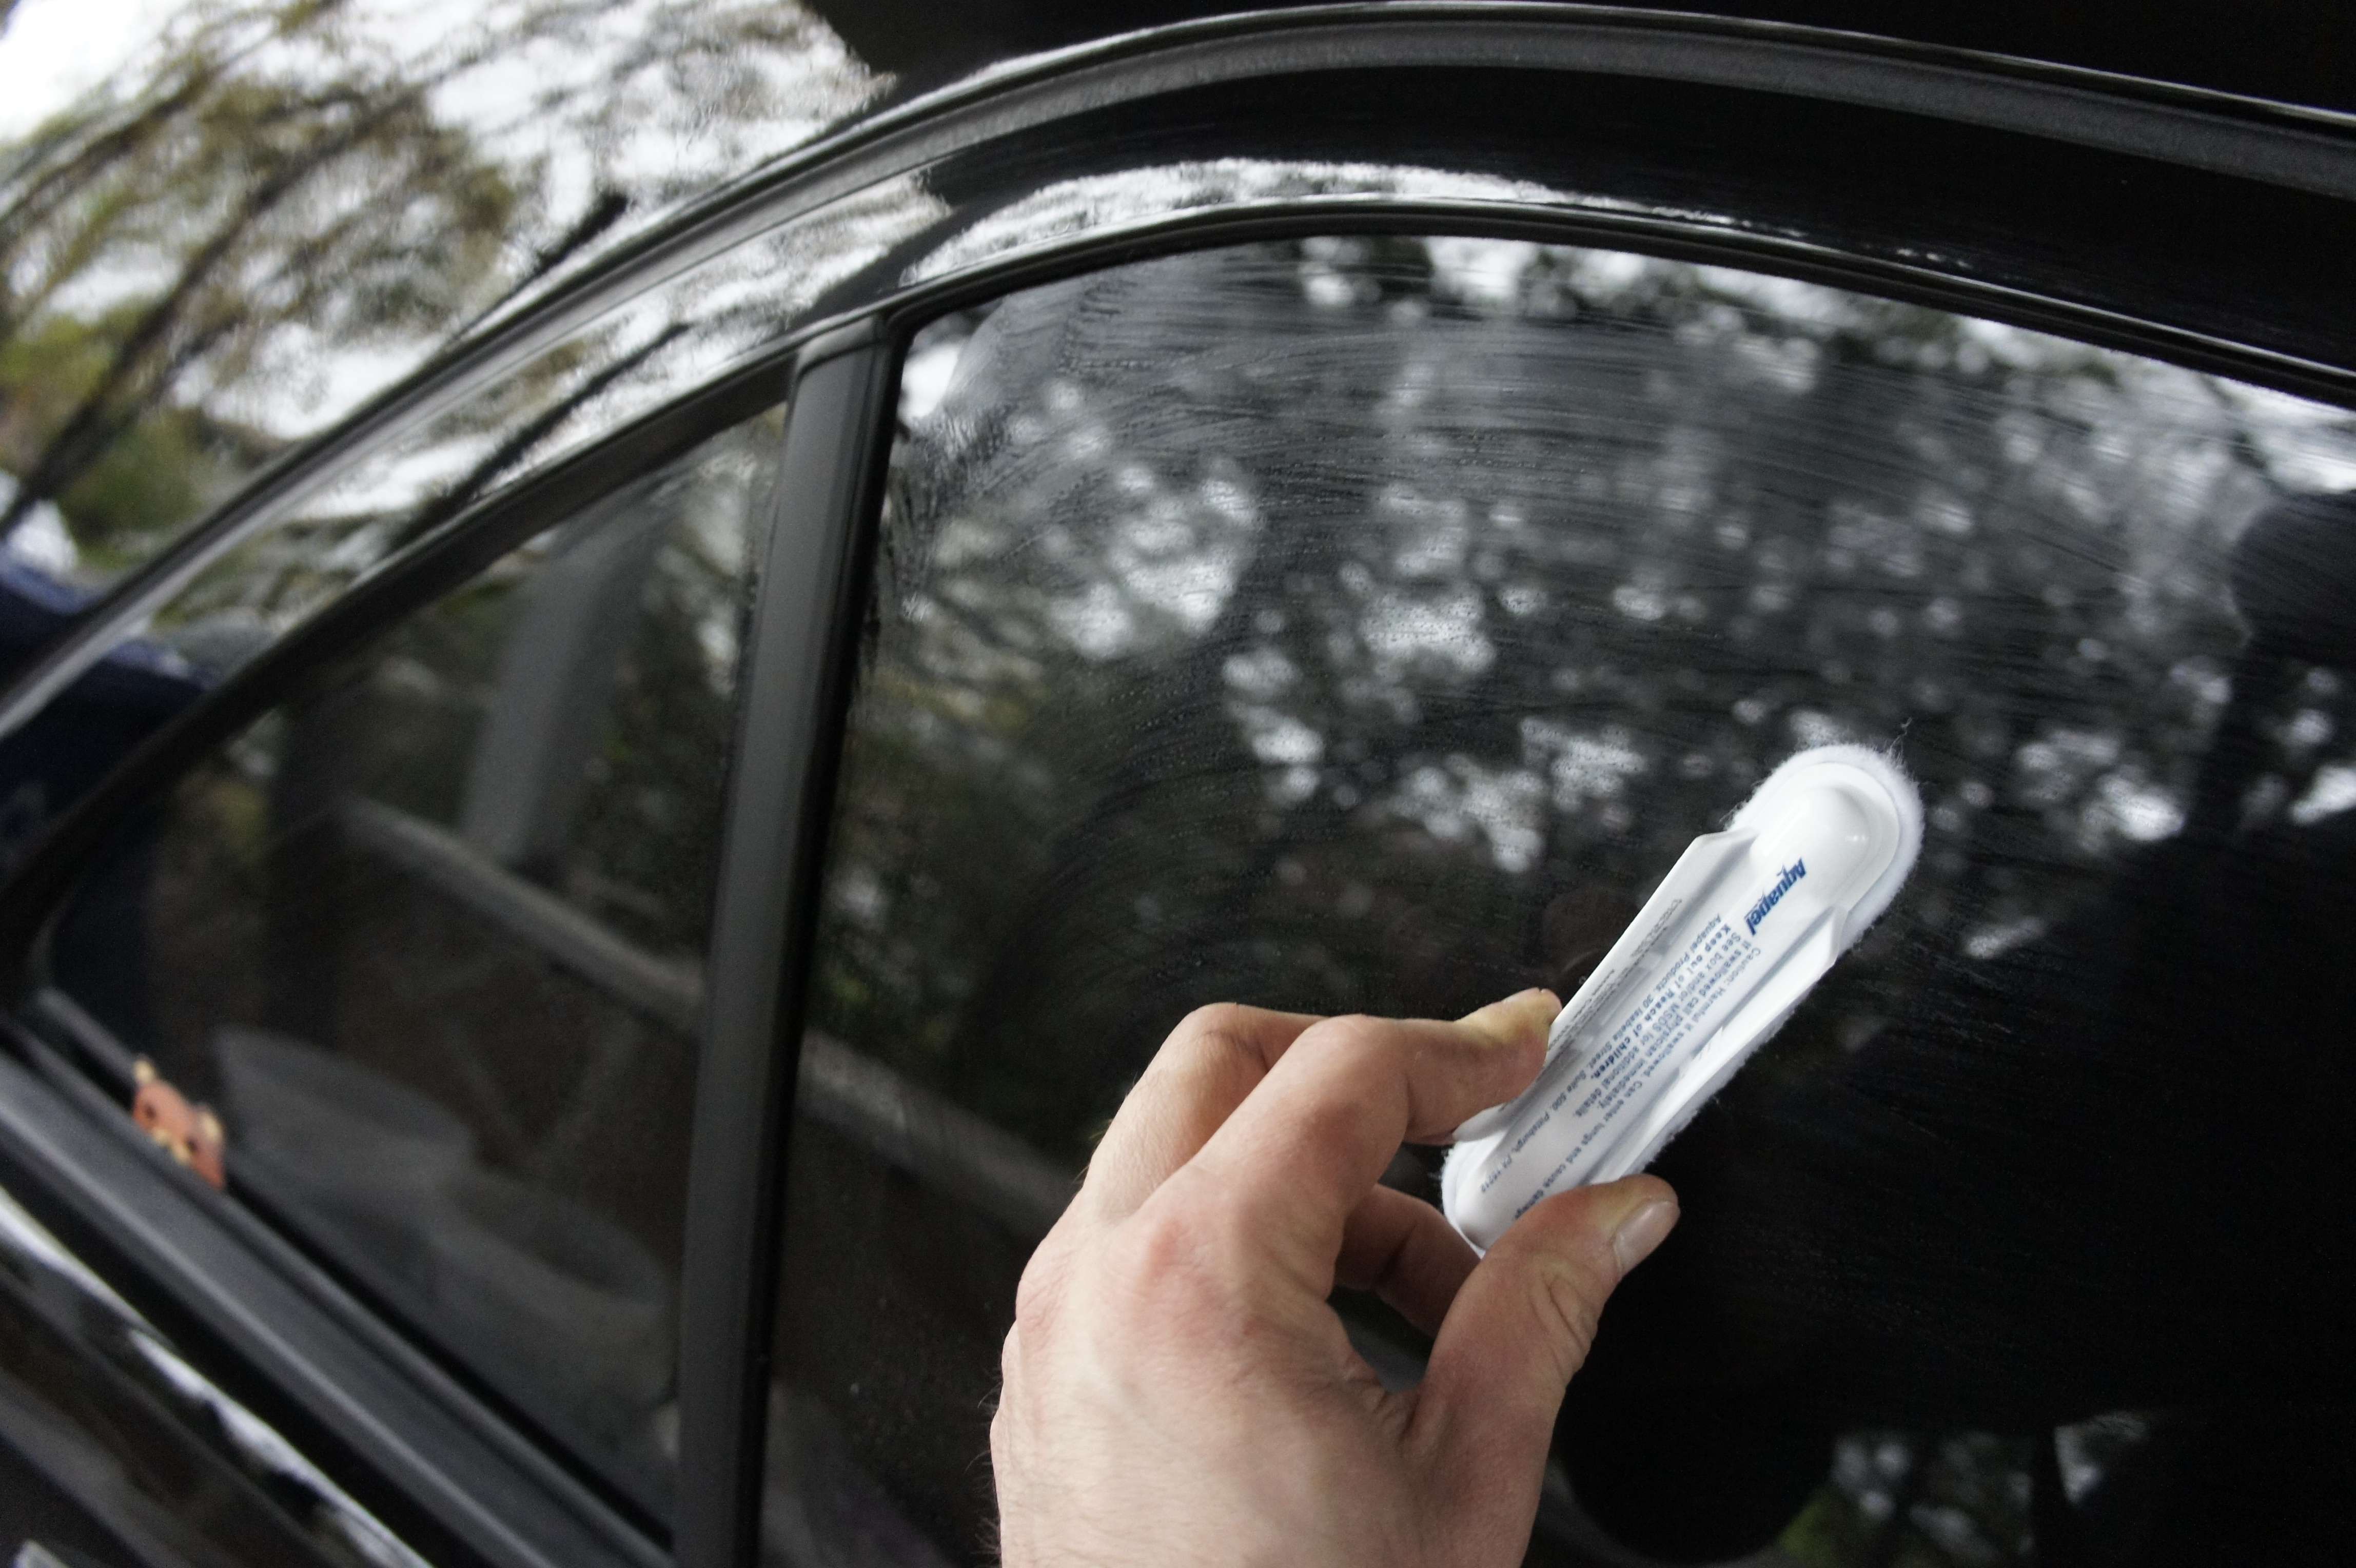
    After, I live to use a water-based dressing with uv protector to protect dash and card board to try out and discolour. When all this is done, its time to wipe down windows and finally spray a bacteria-killer spray that will eliminate odors and not just mask them with cheap fresh odor spray. Sure, it doesn’t smell as pretty as the fresh odor deodorant spray but at least it really works!

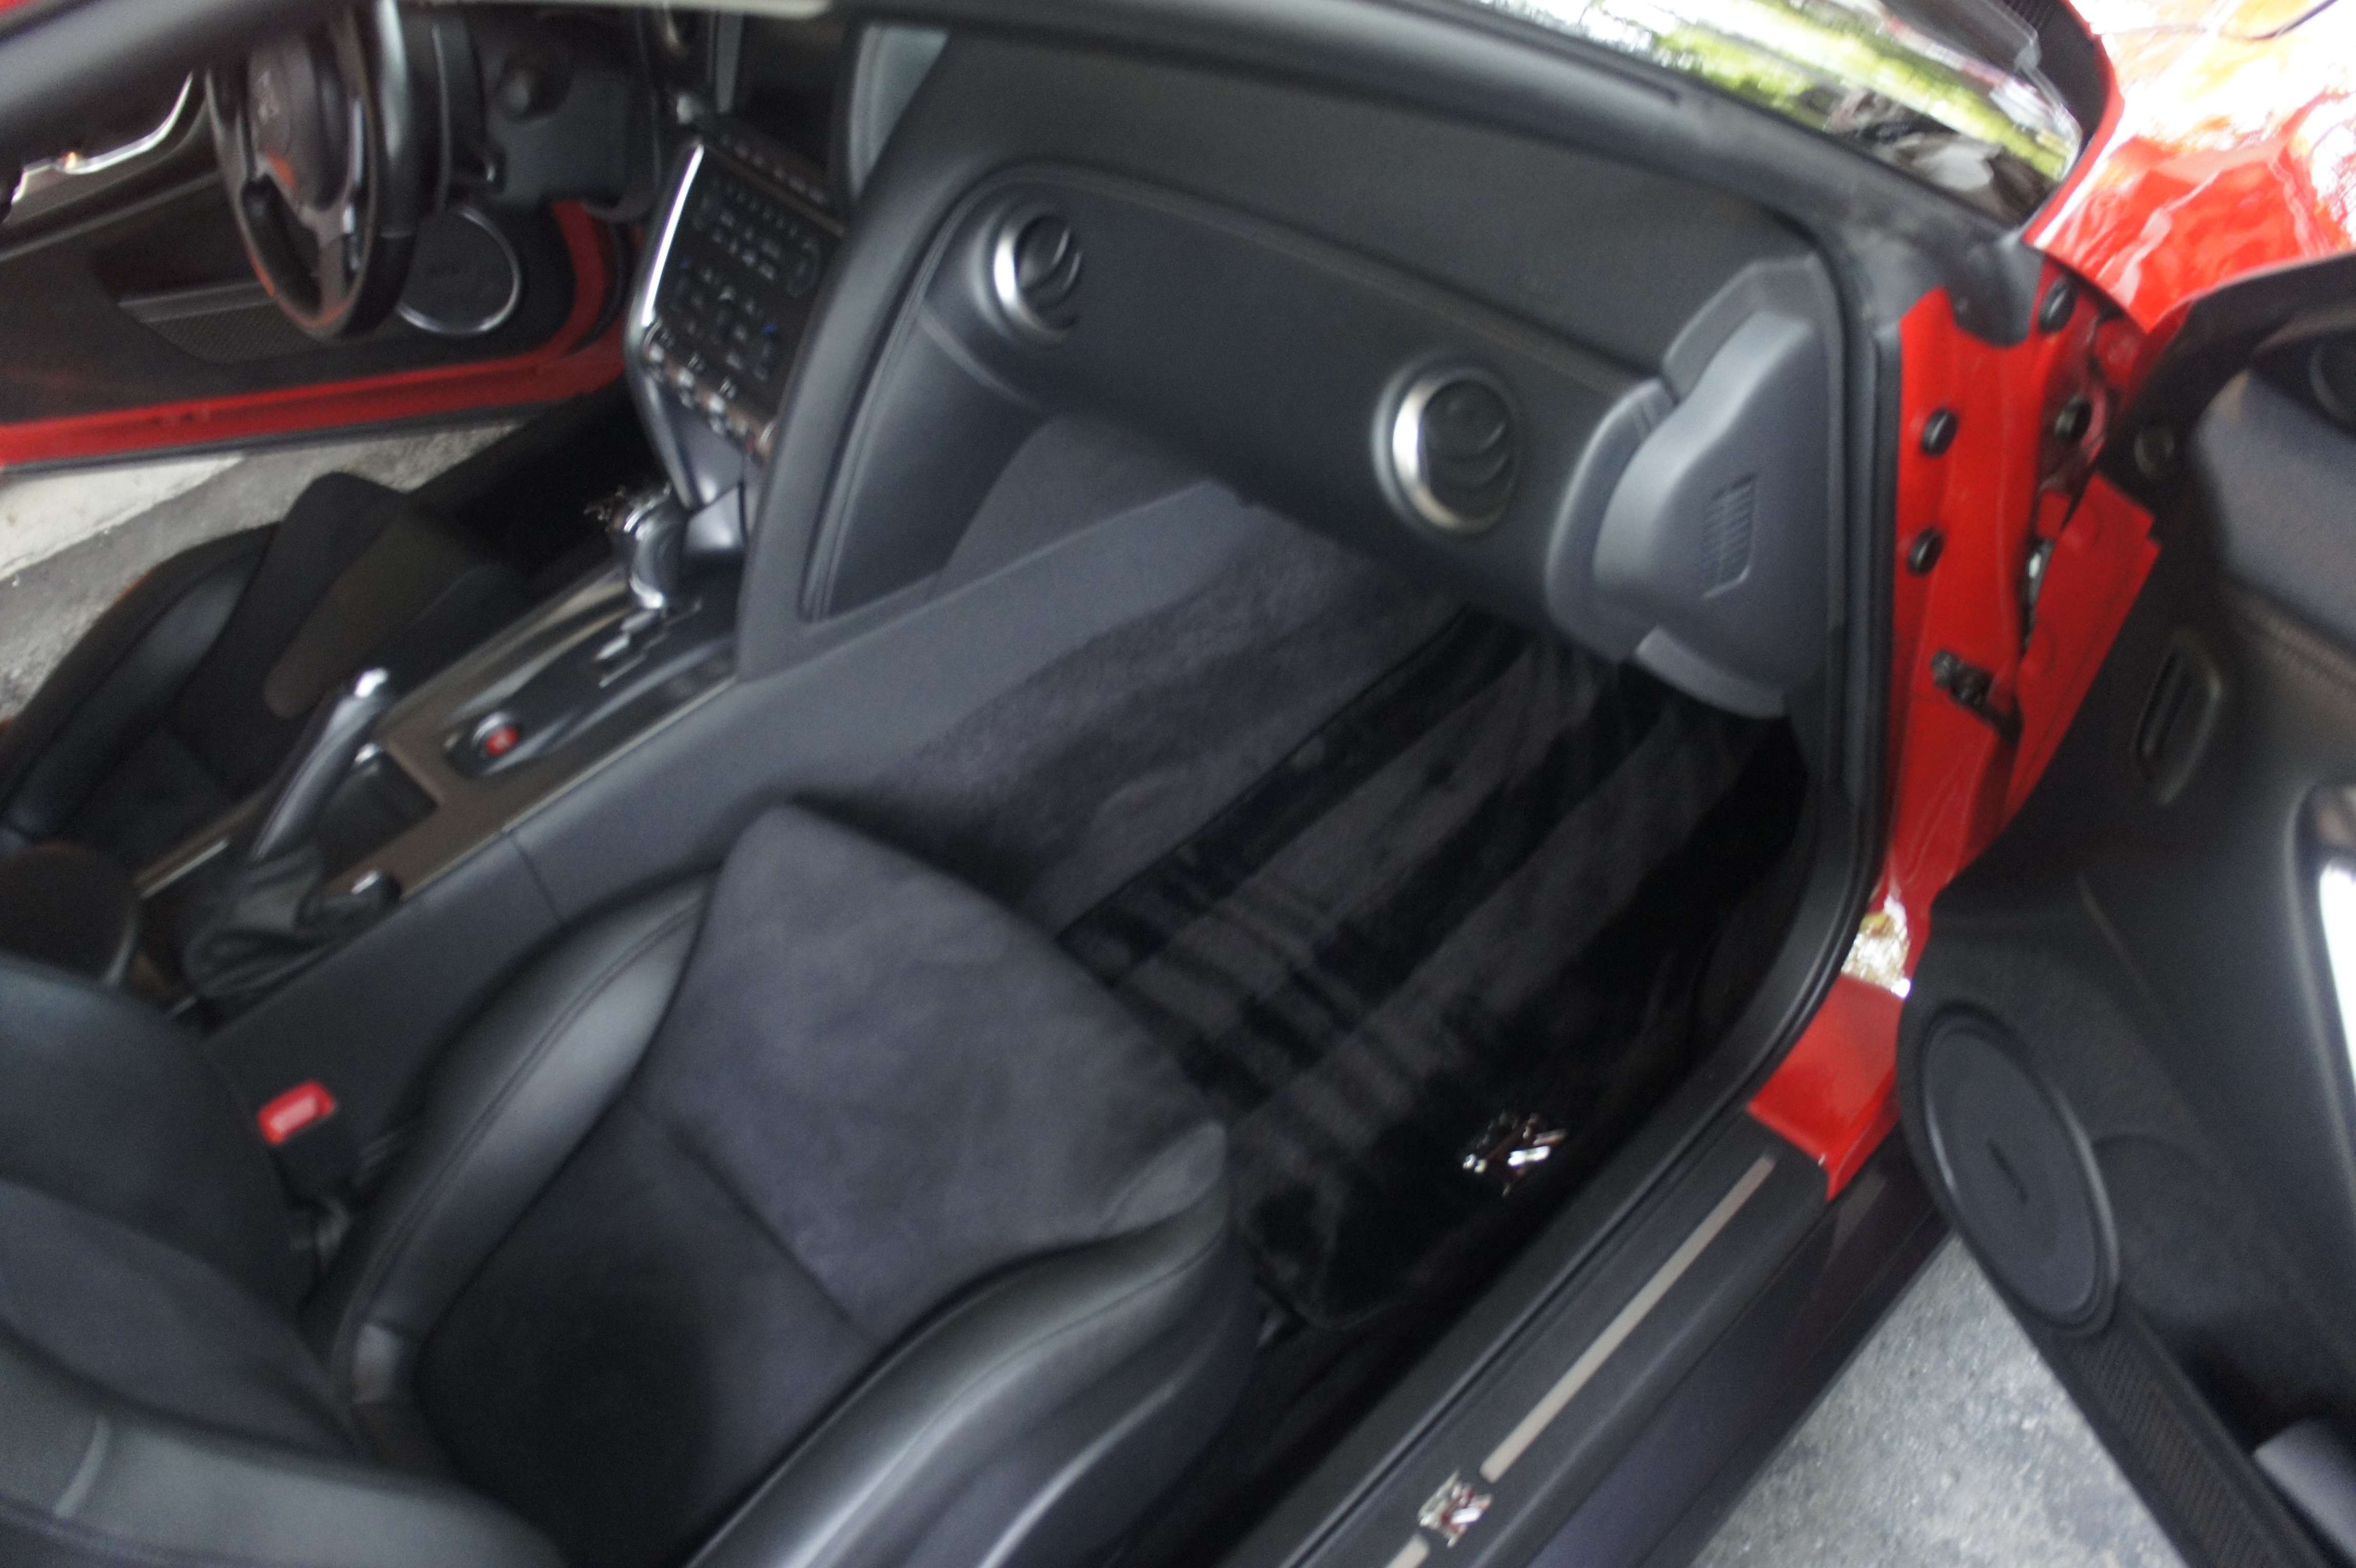
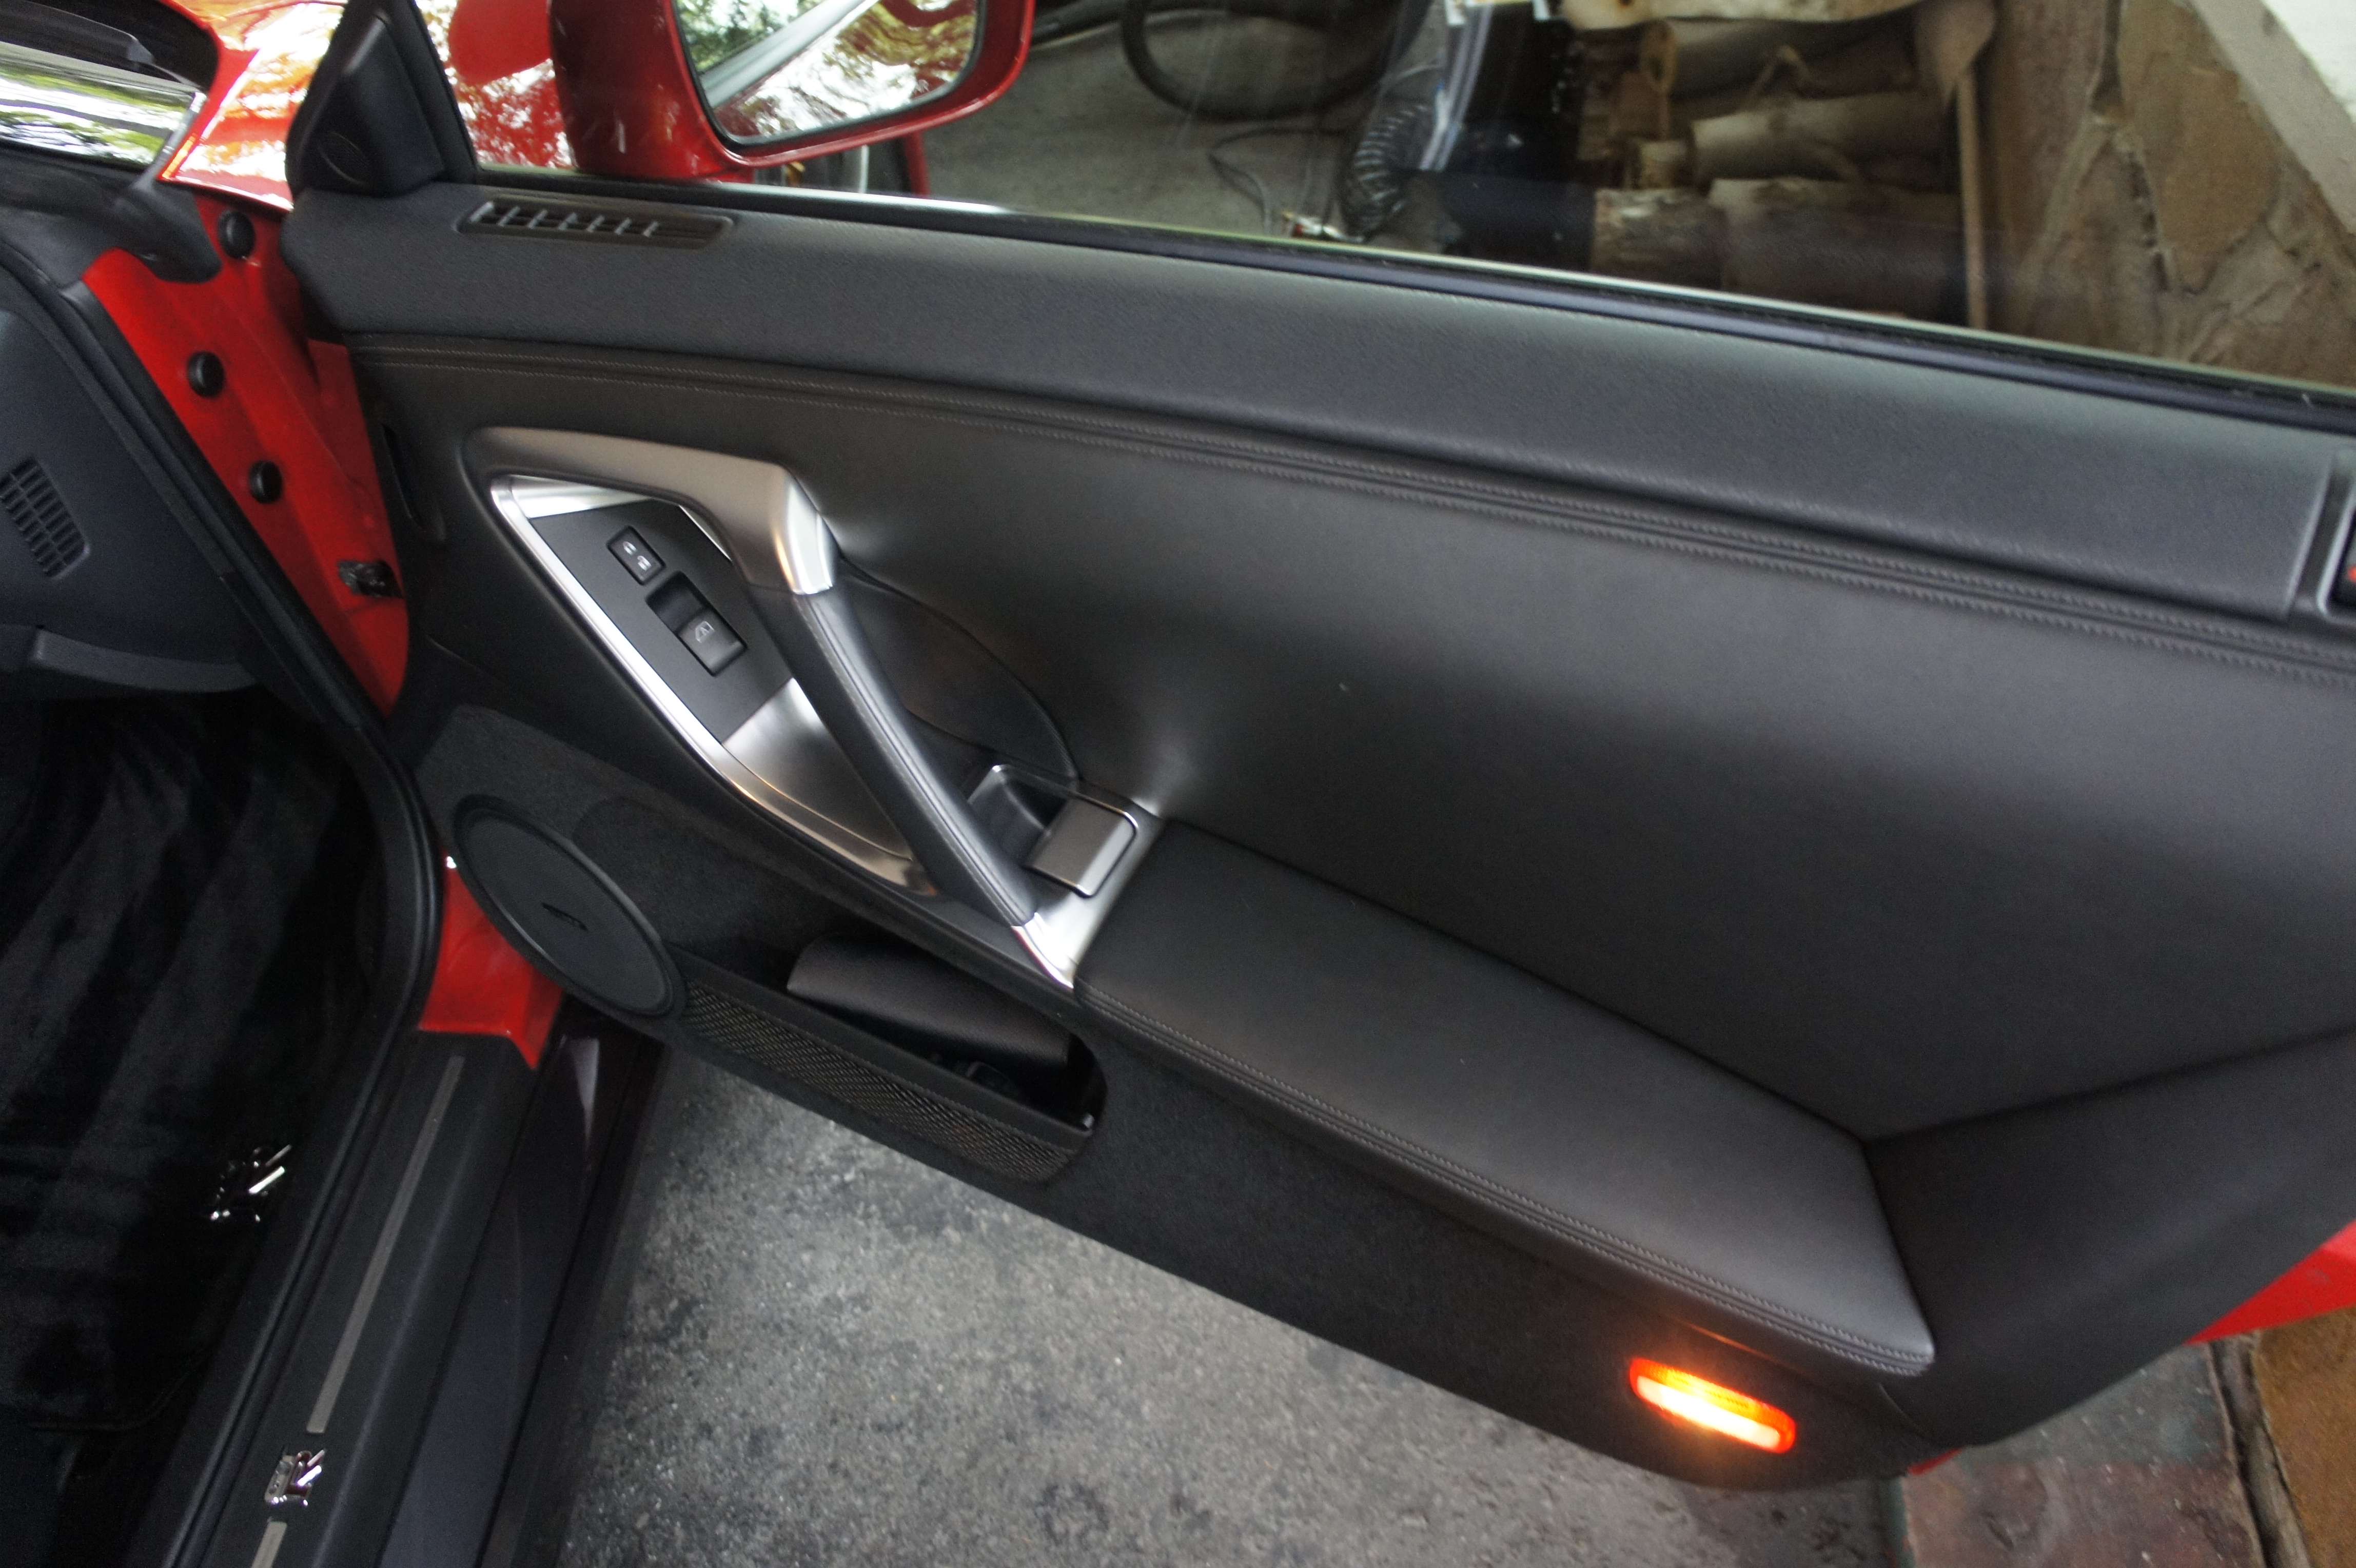
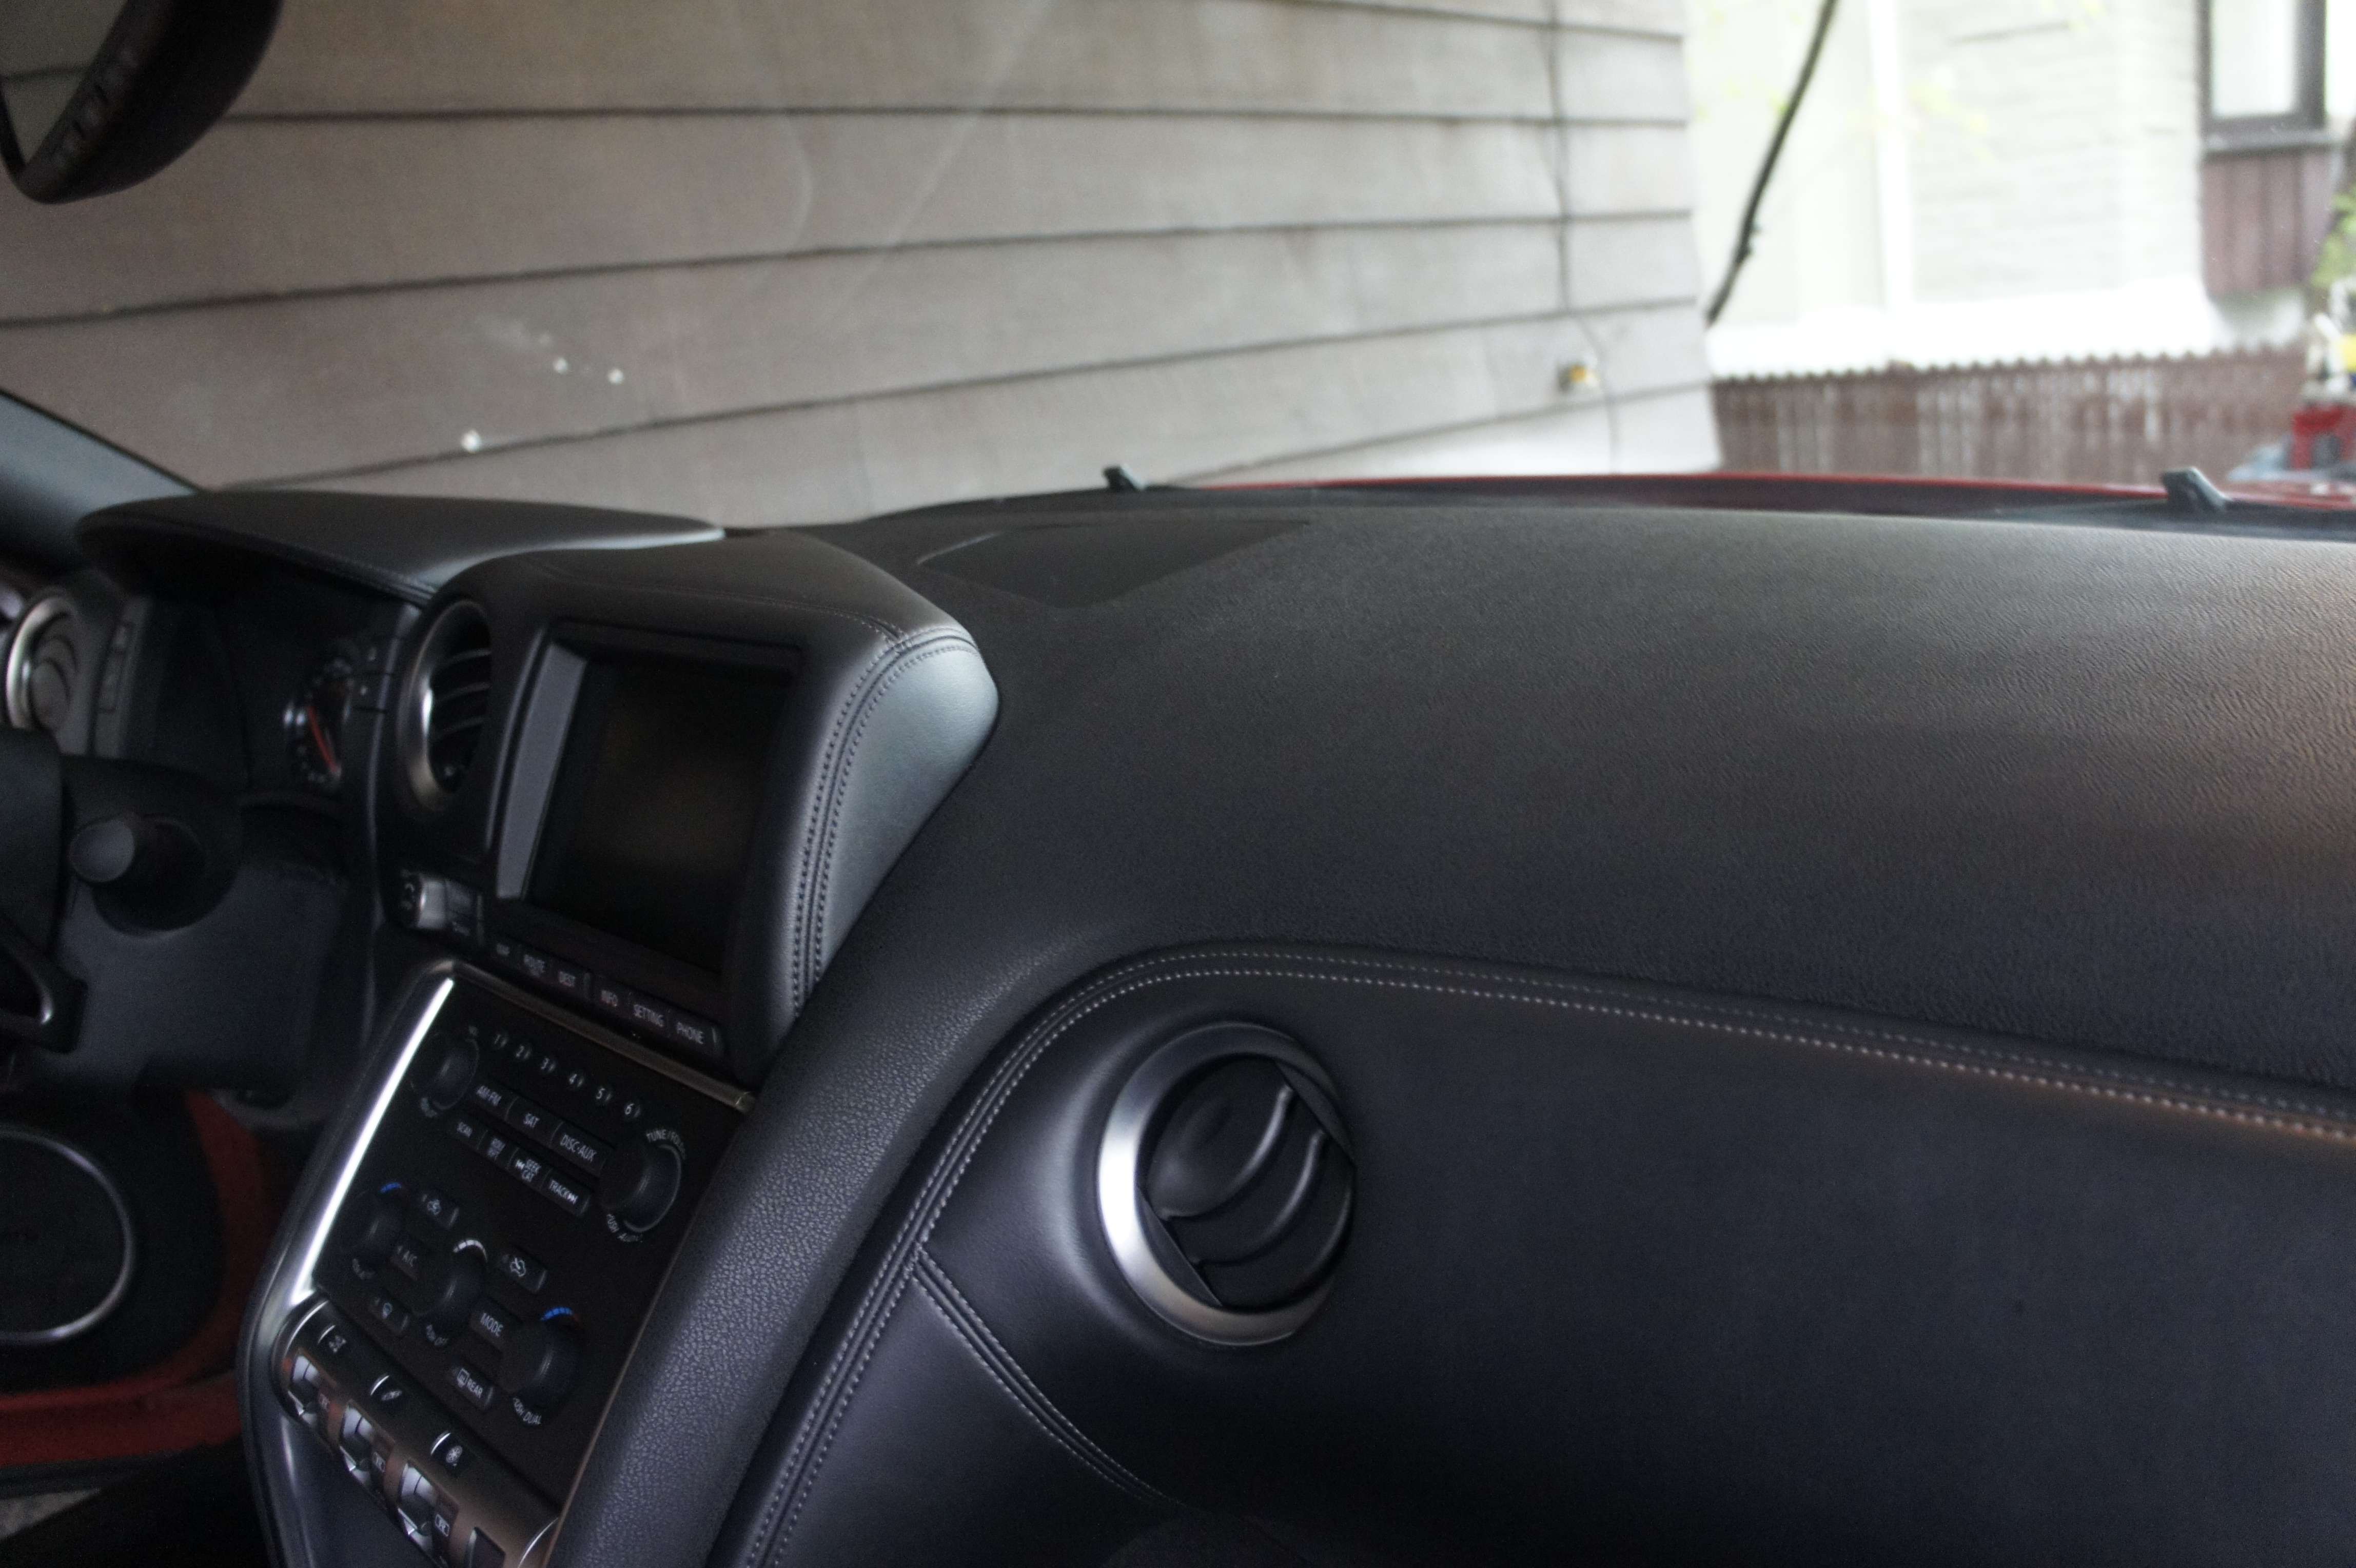
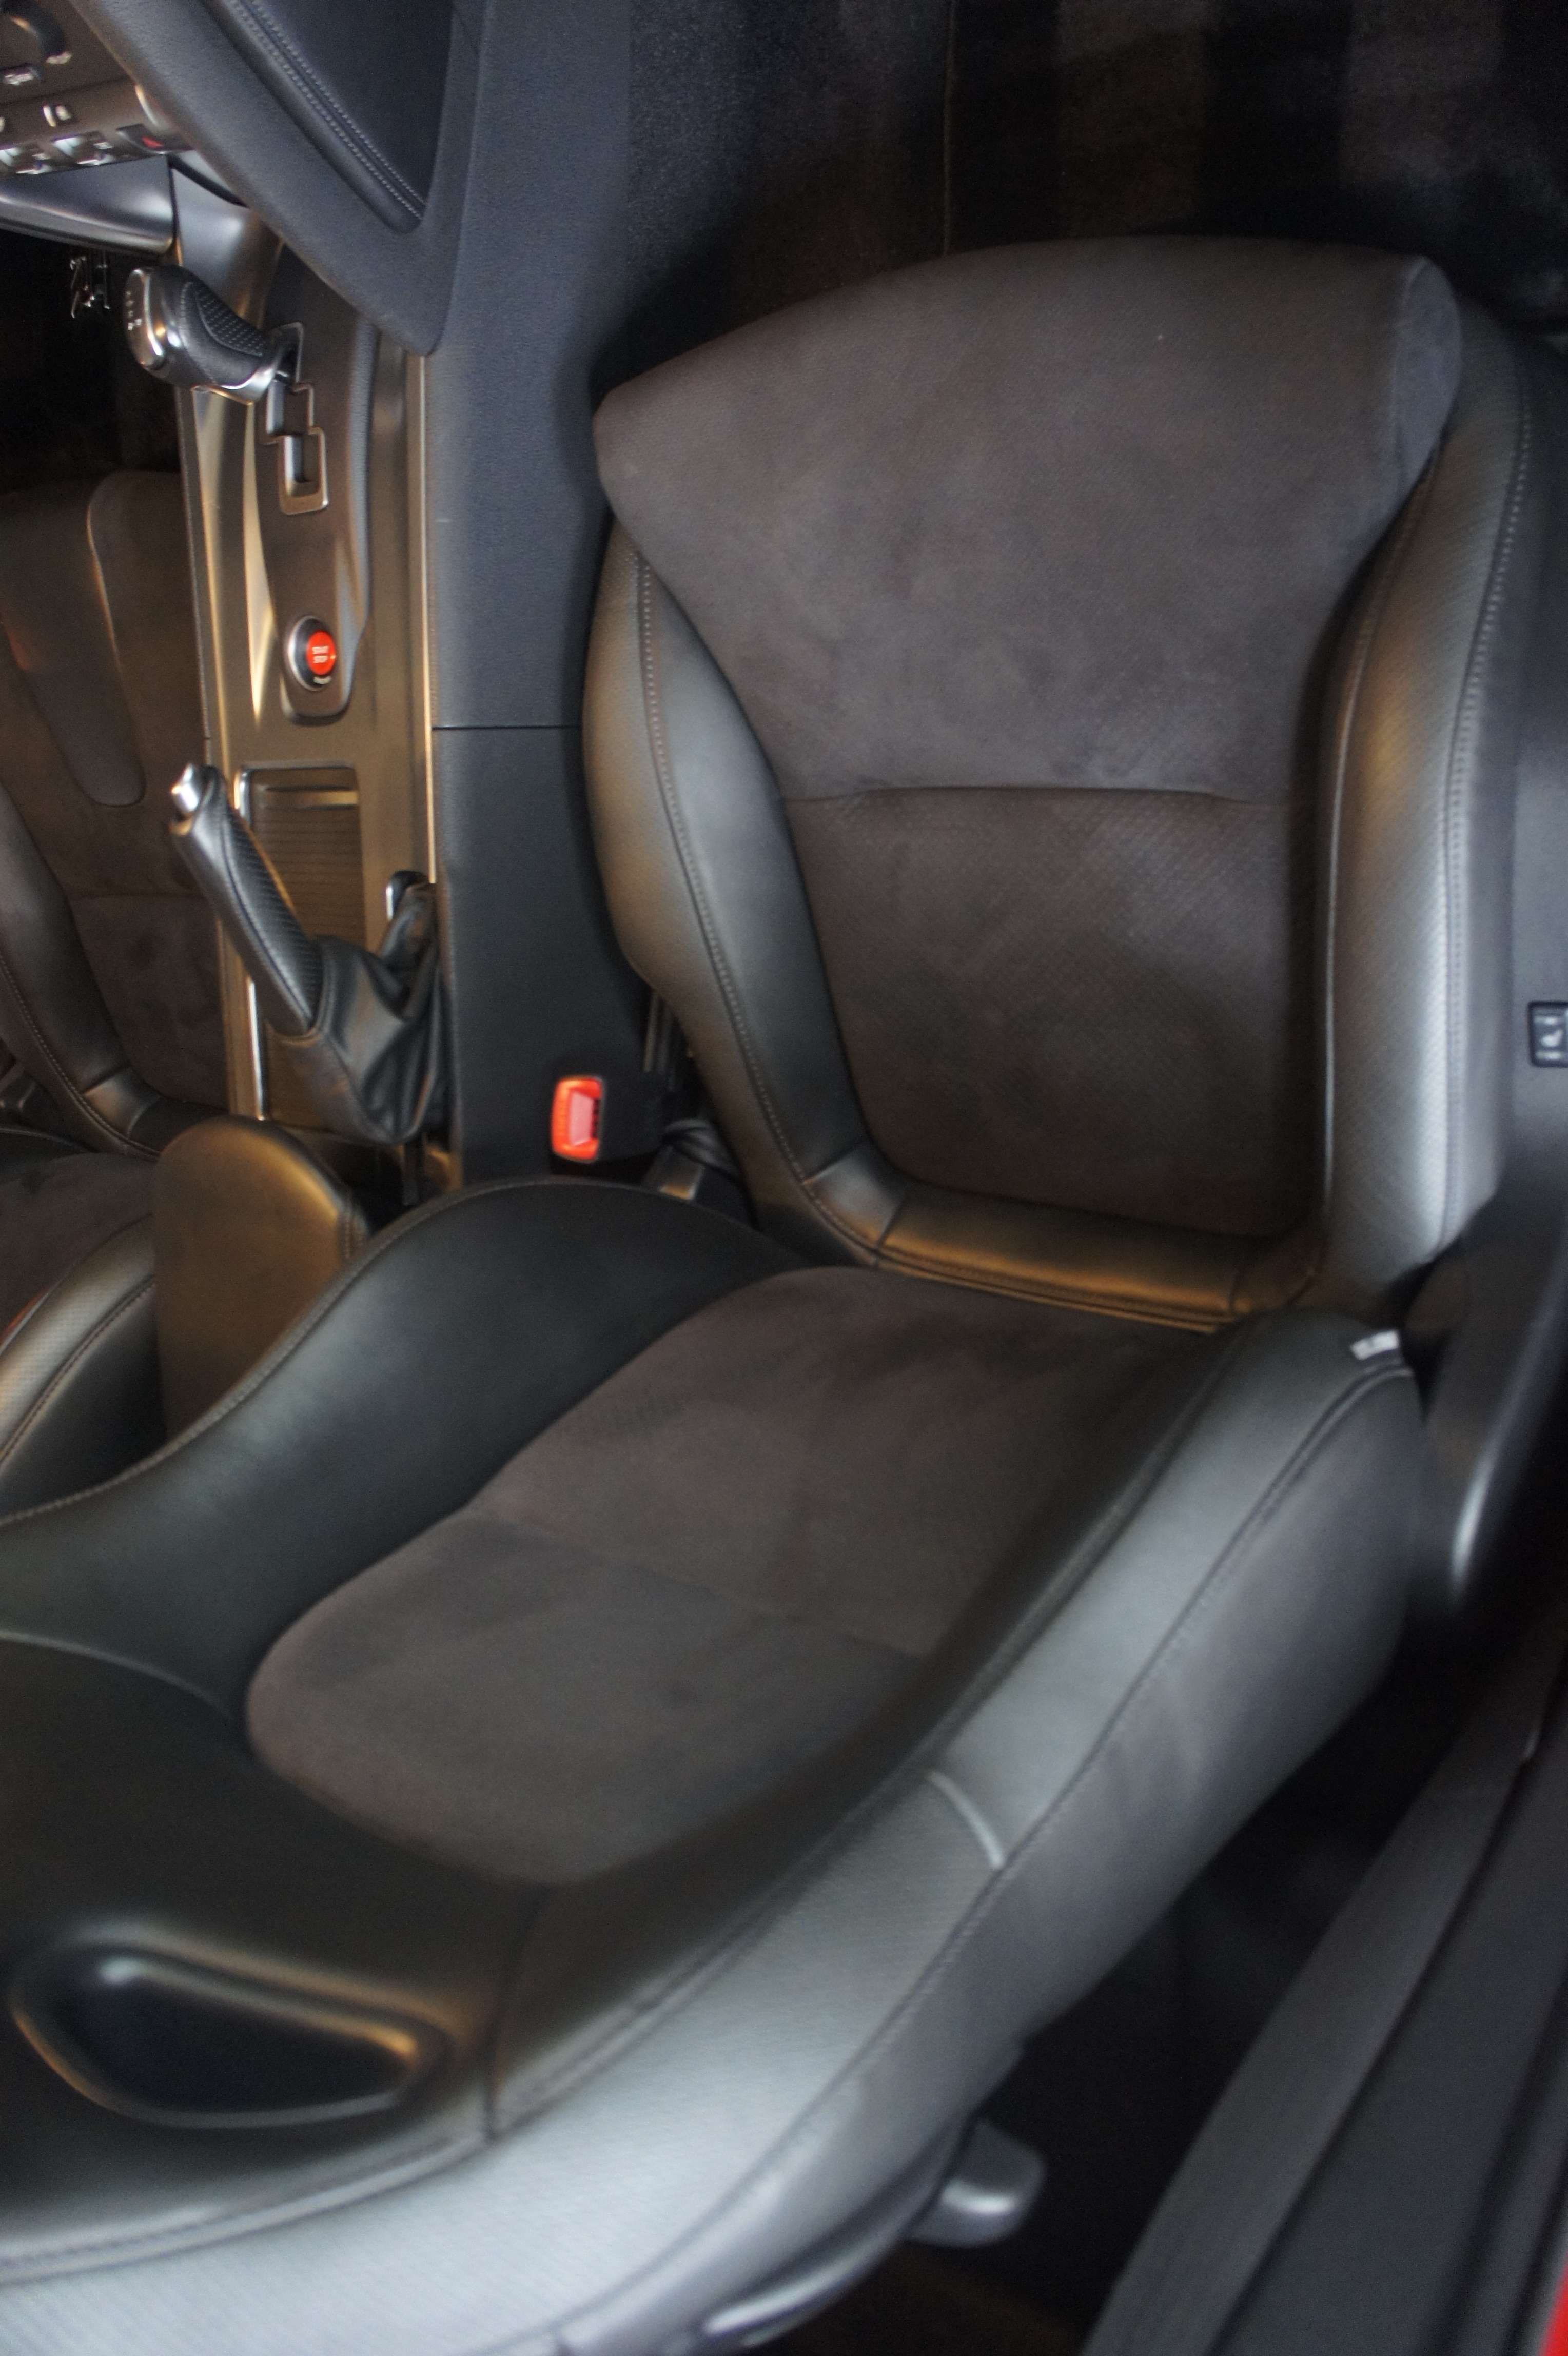
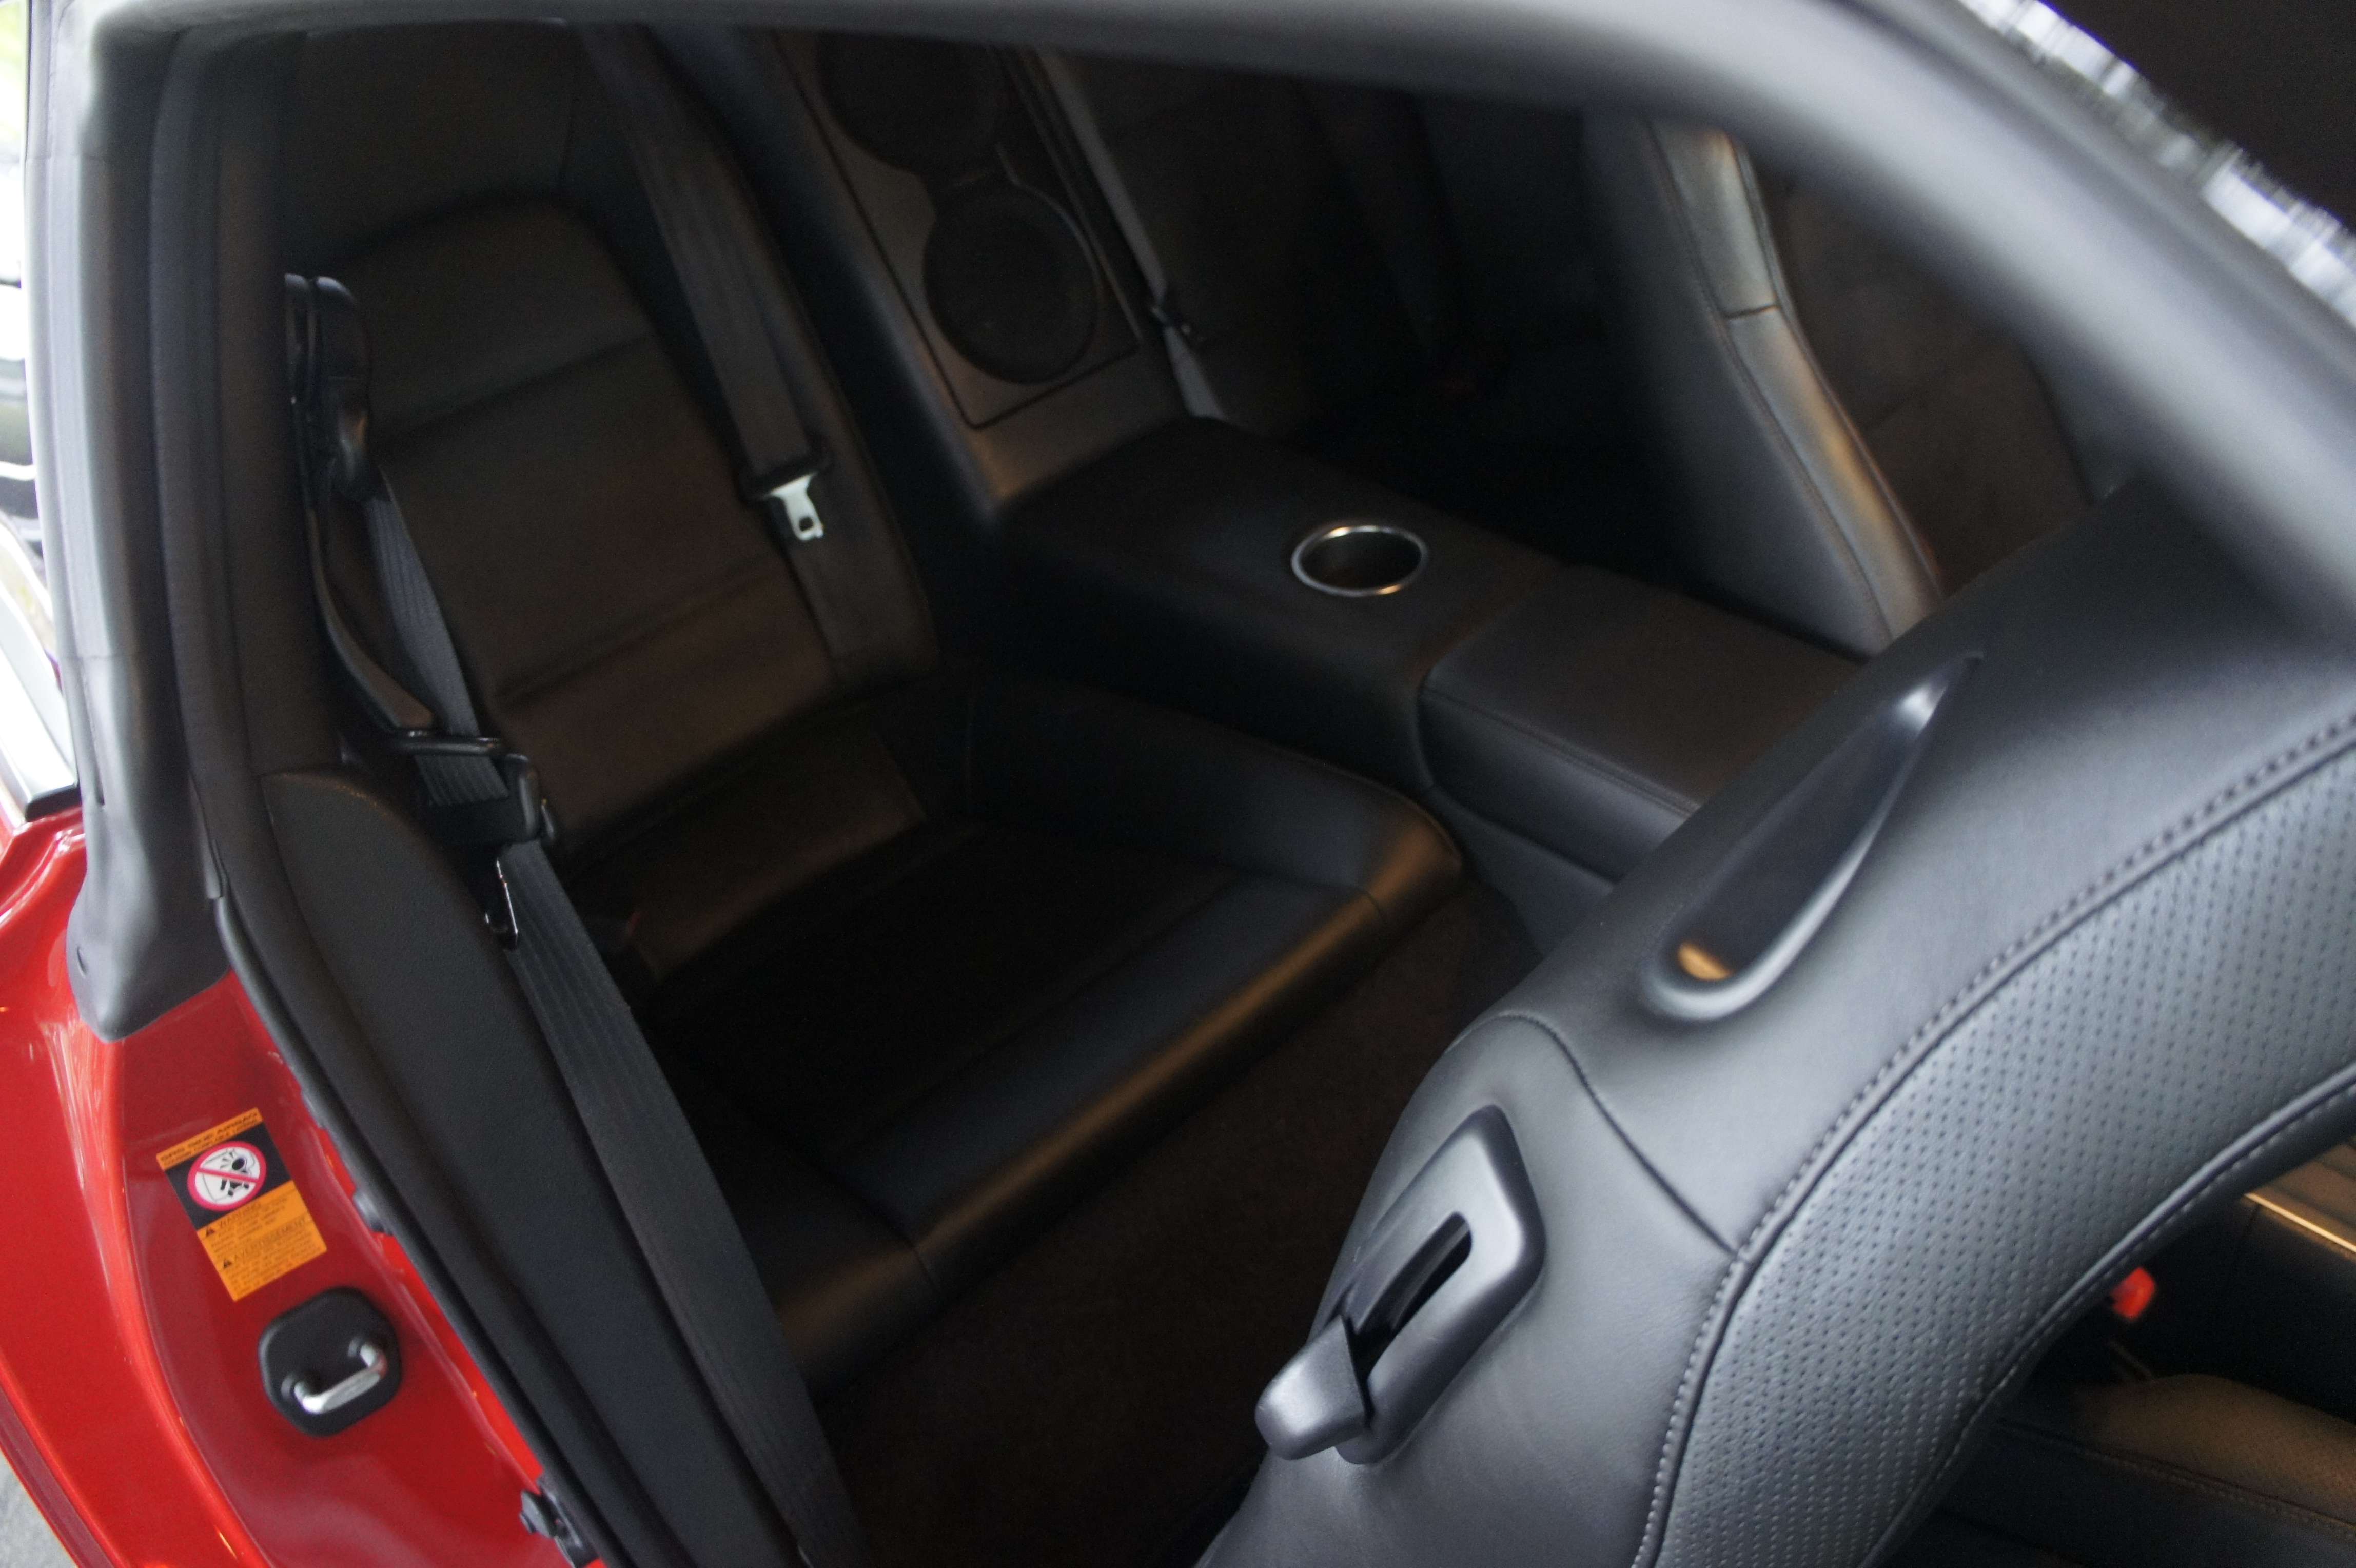
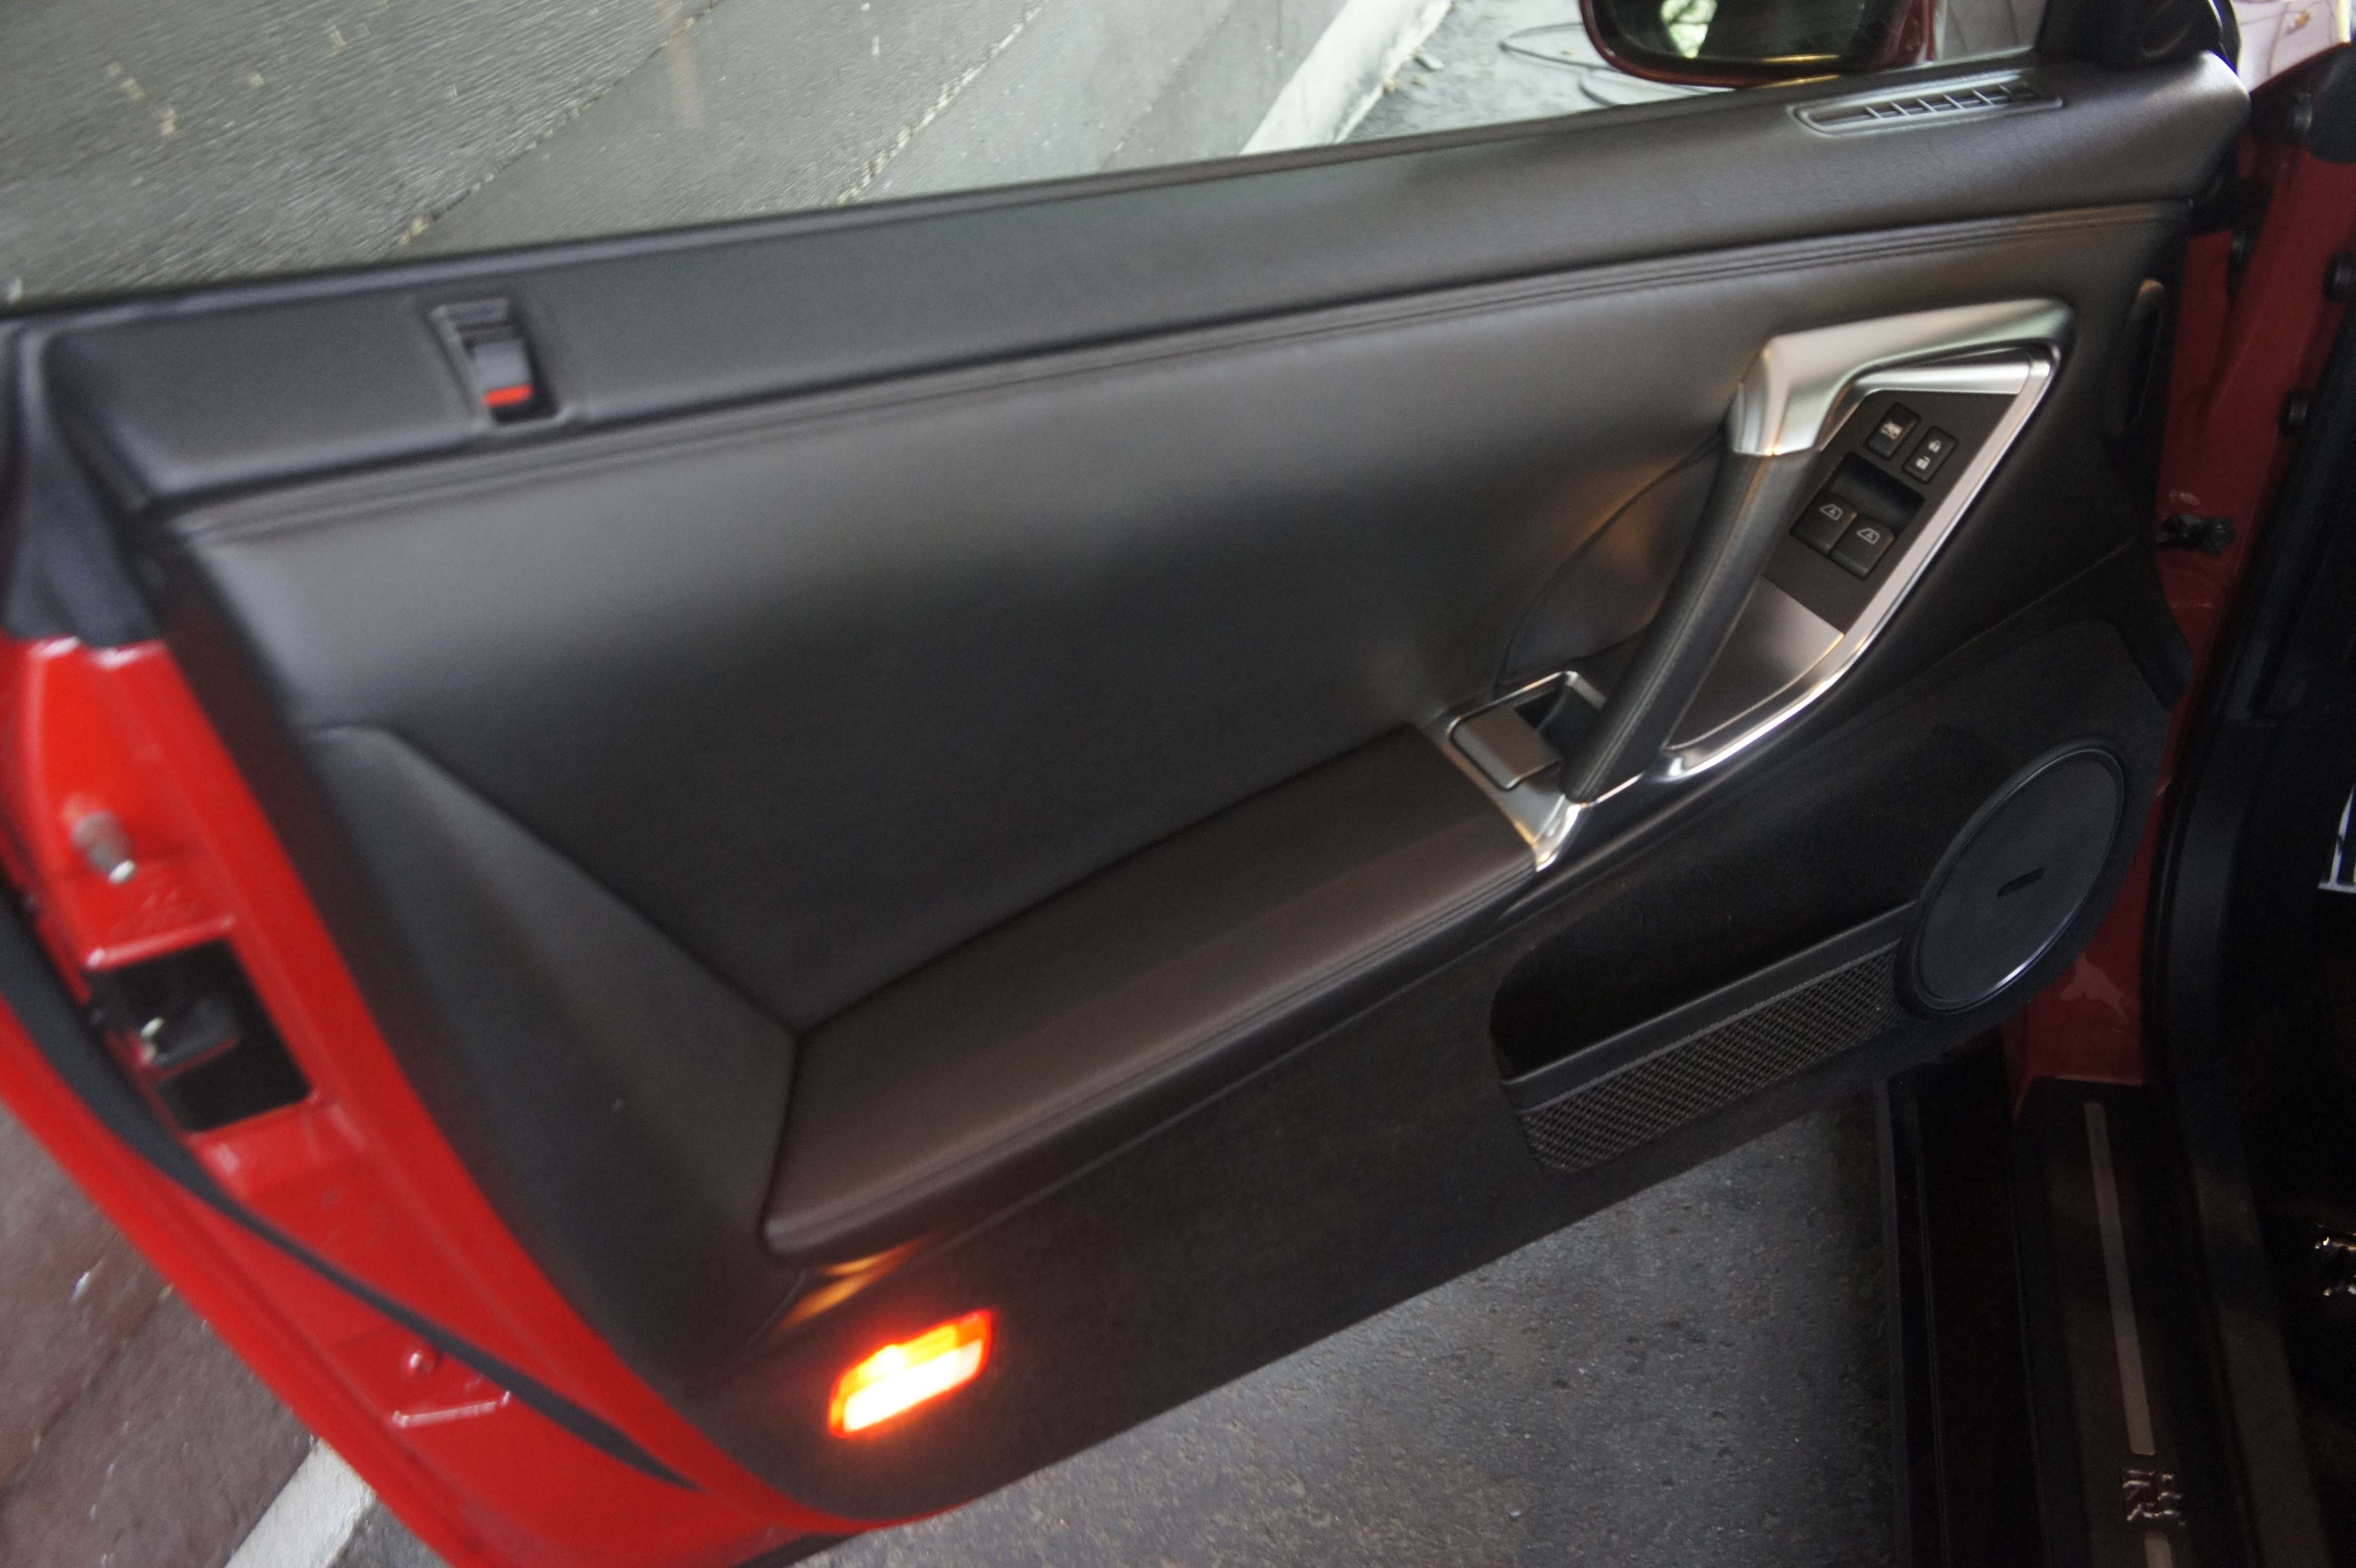
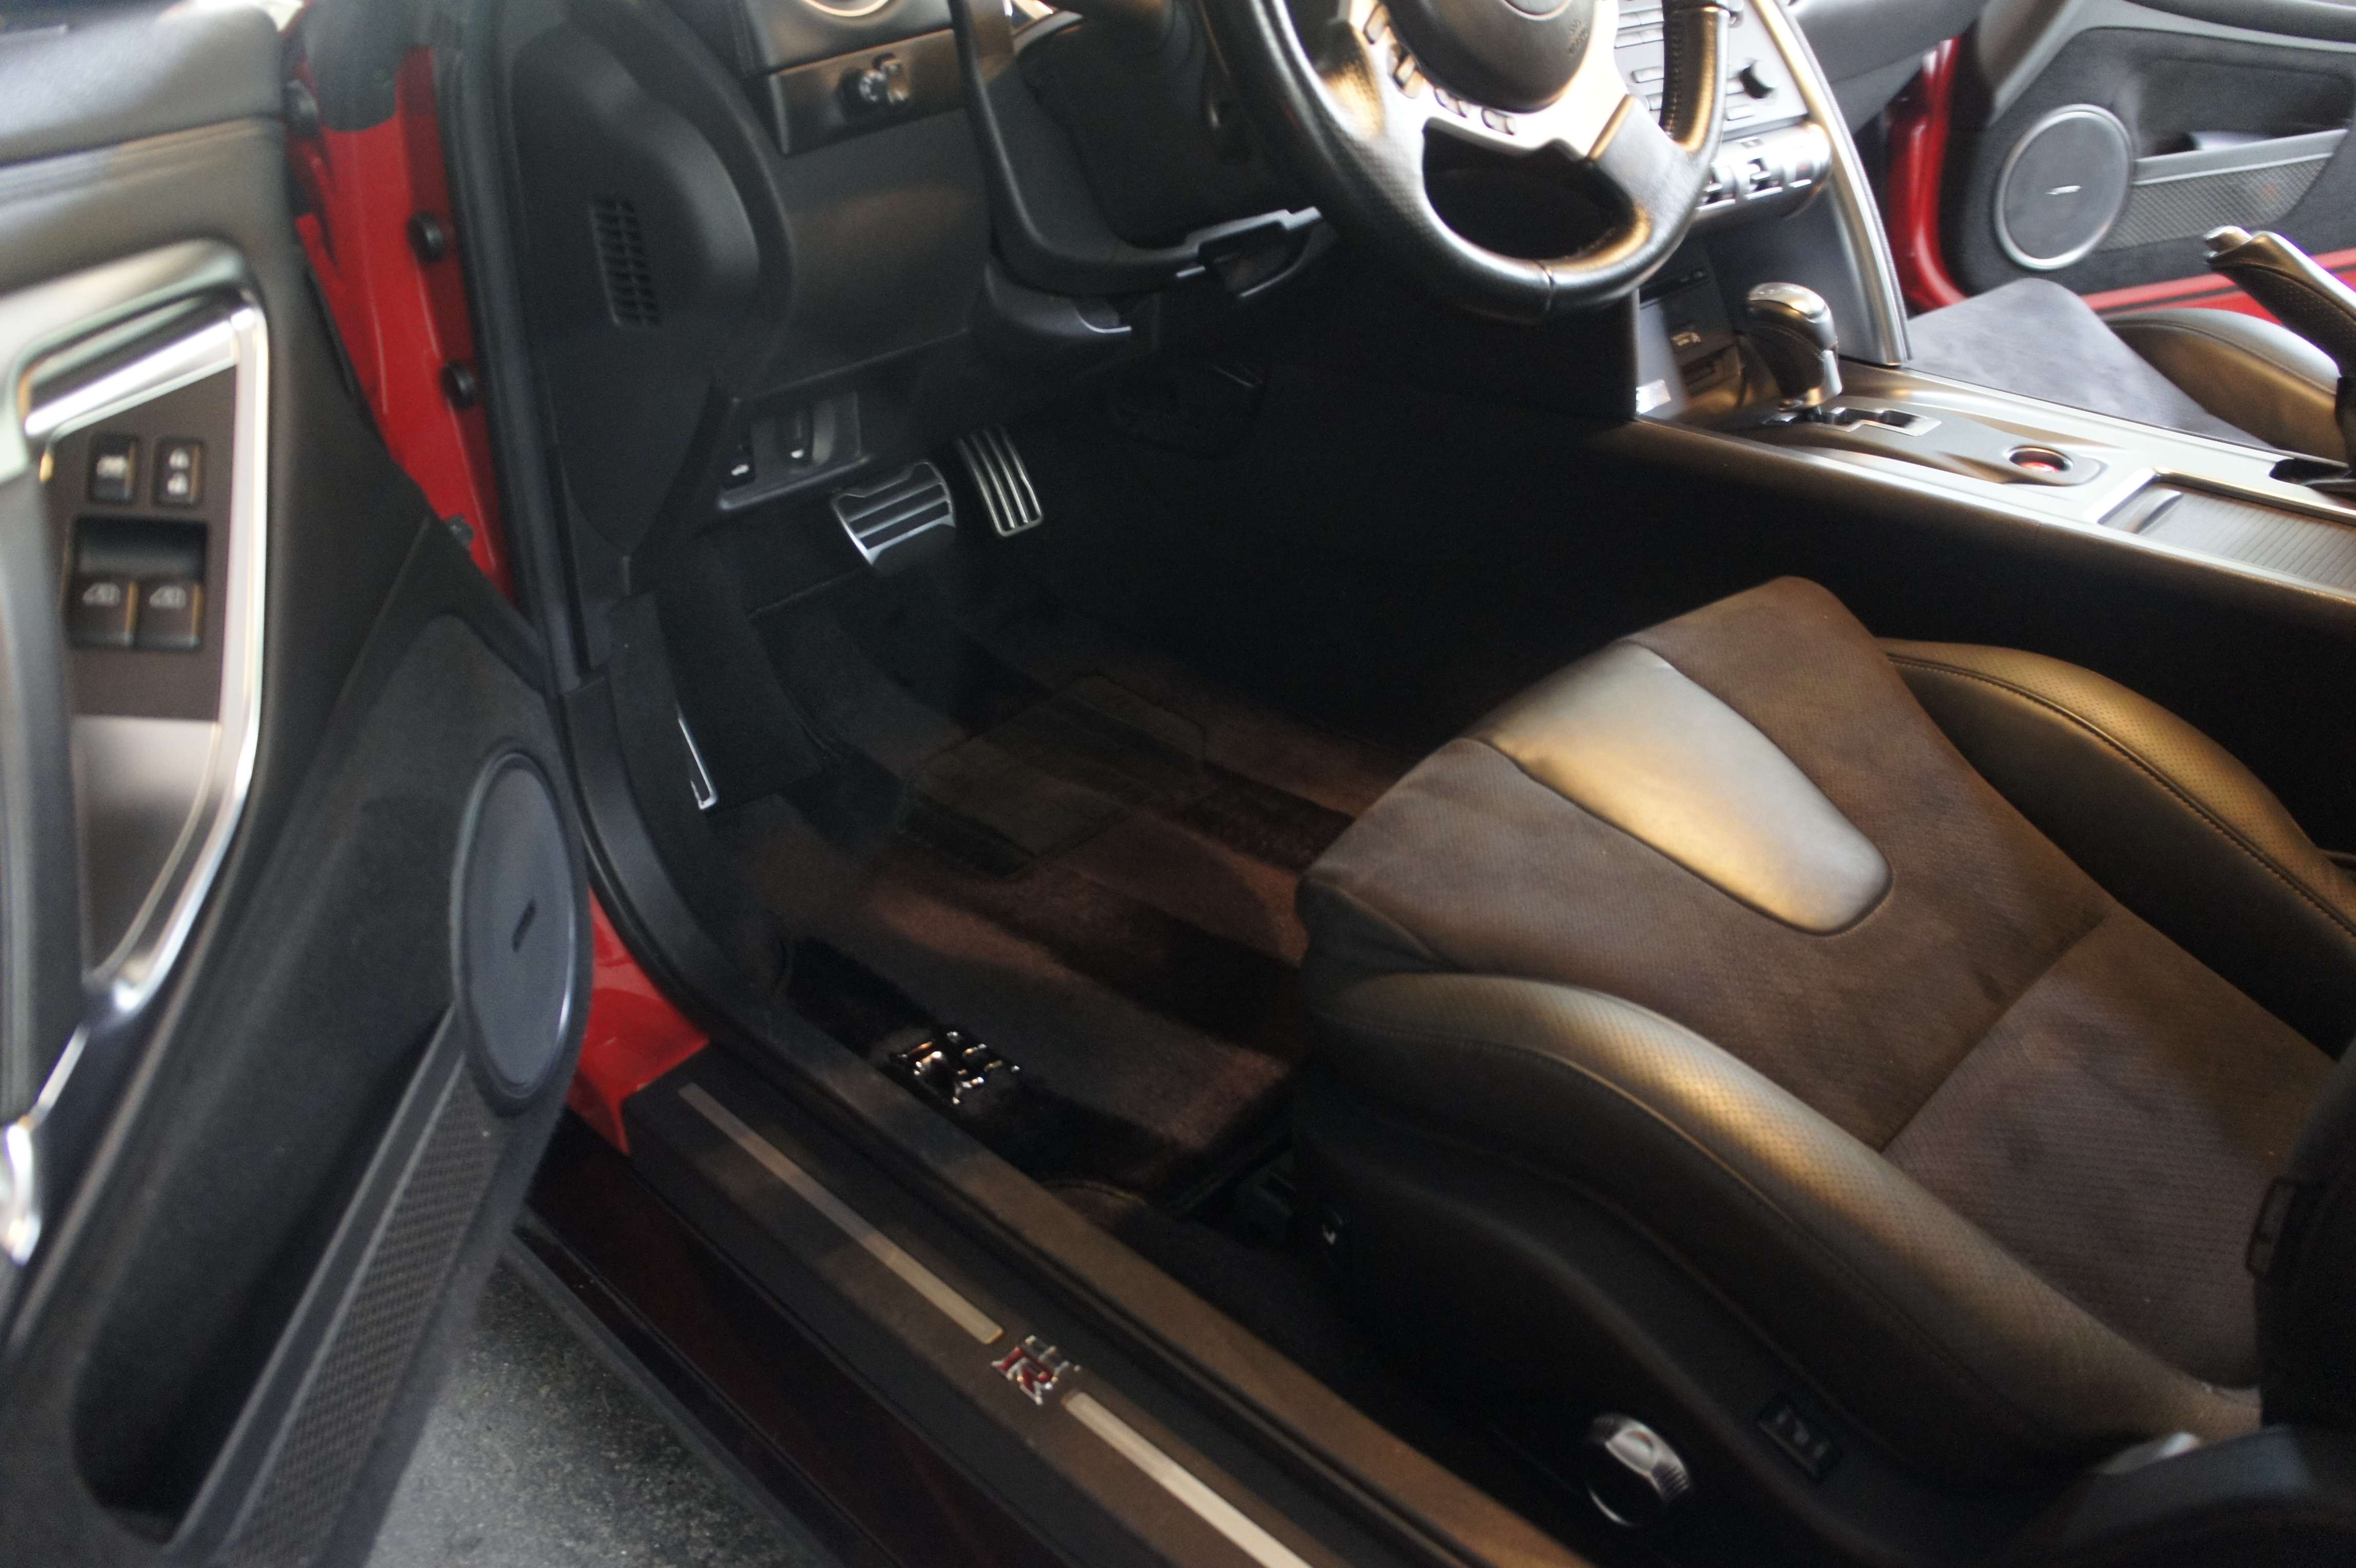
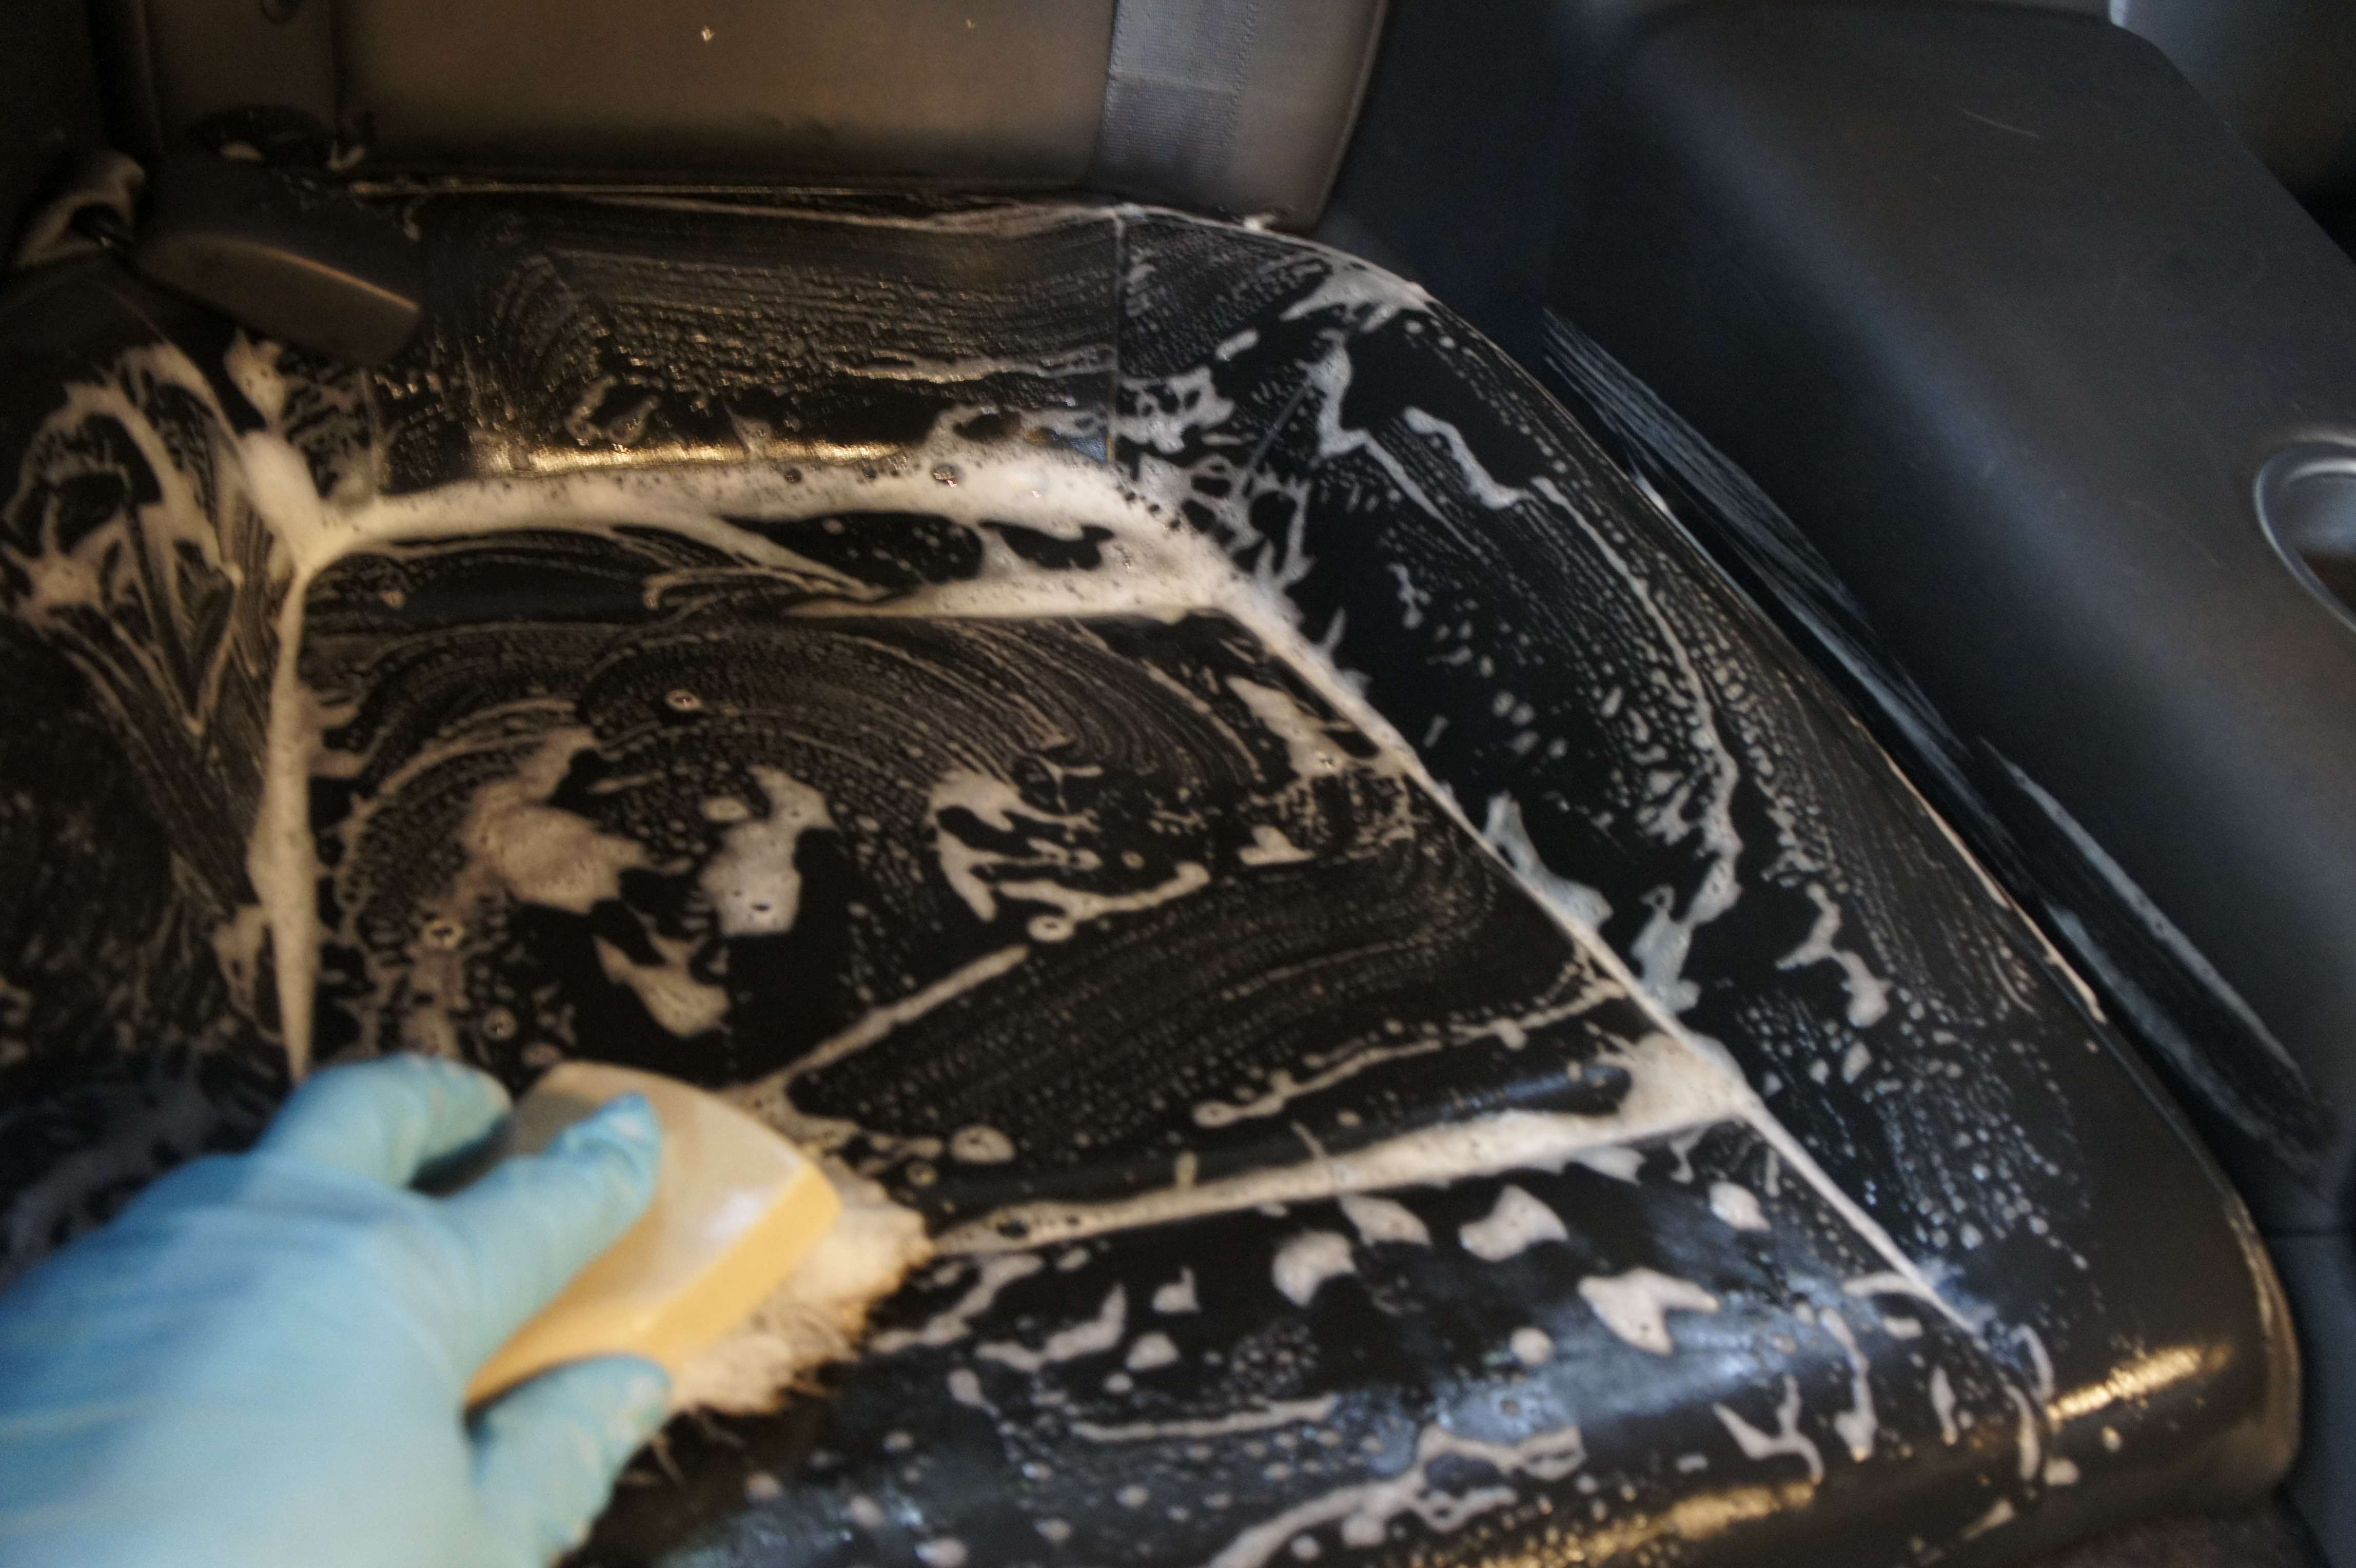
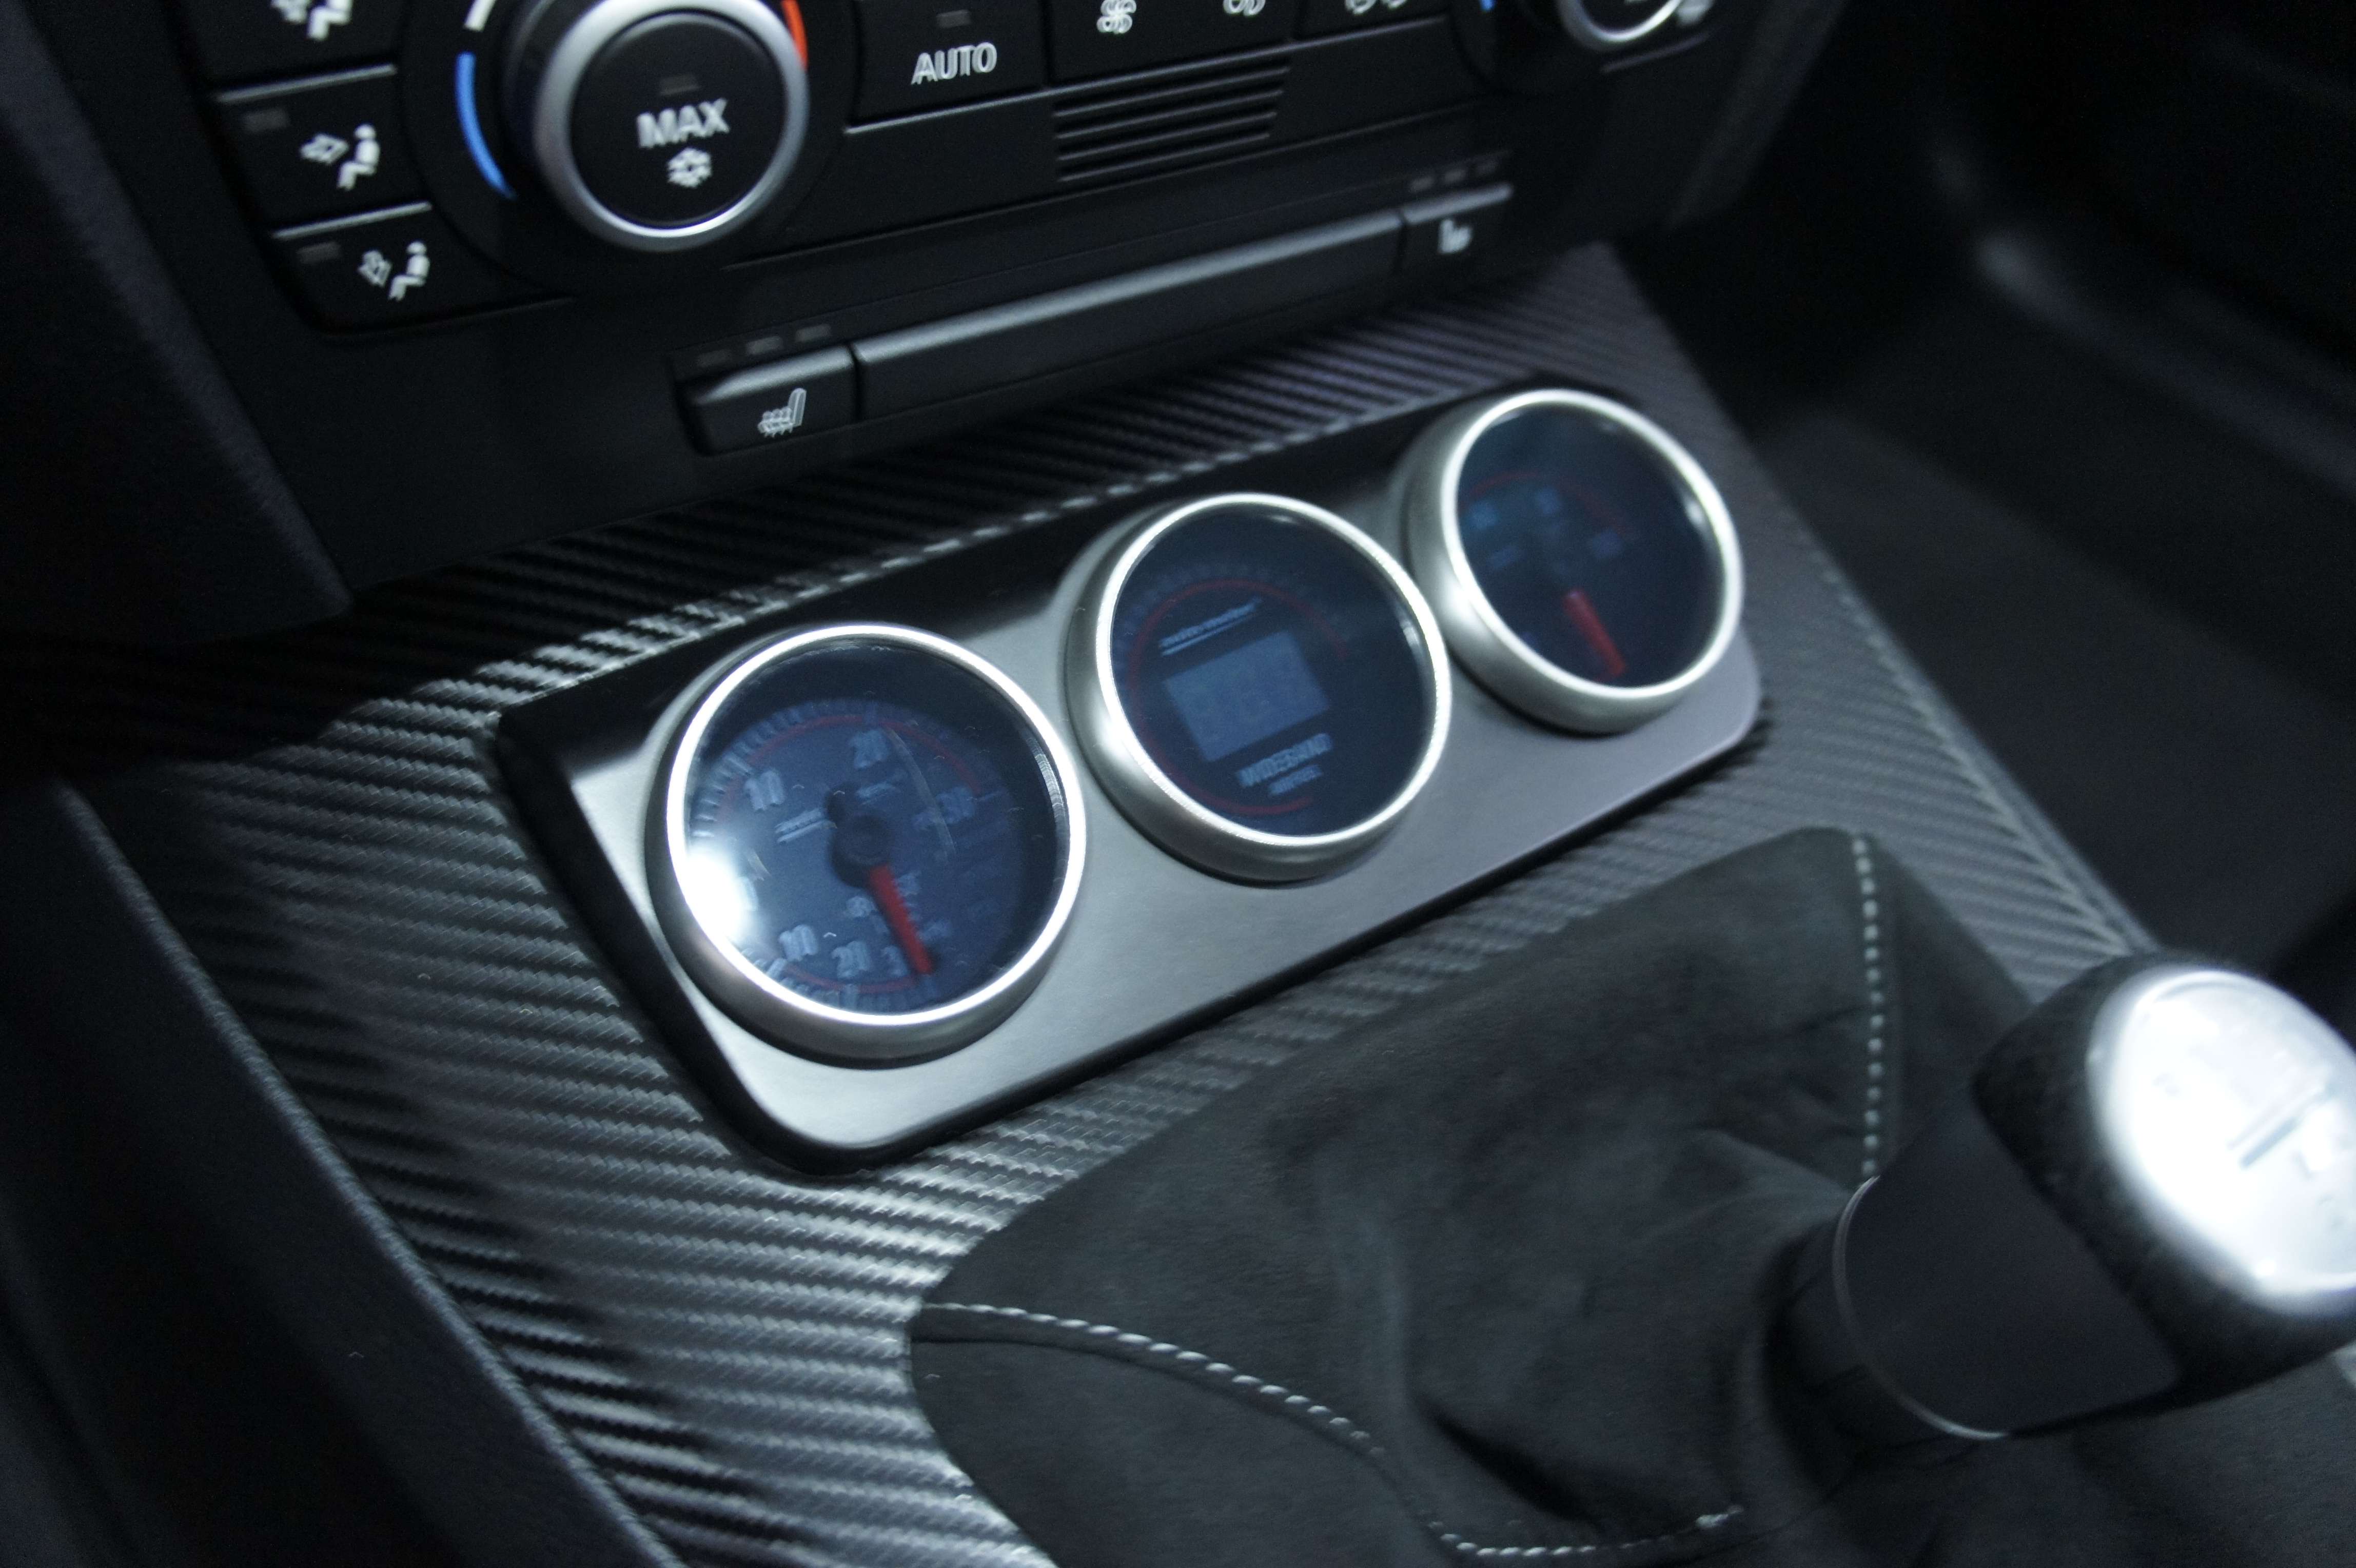
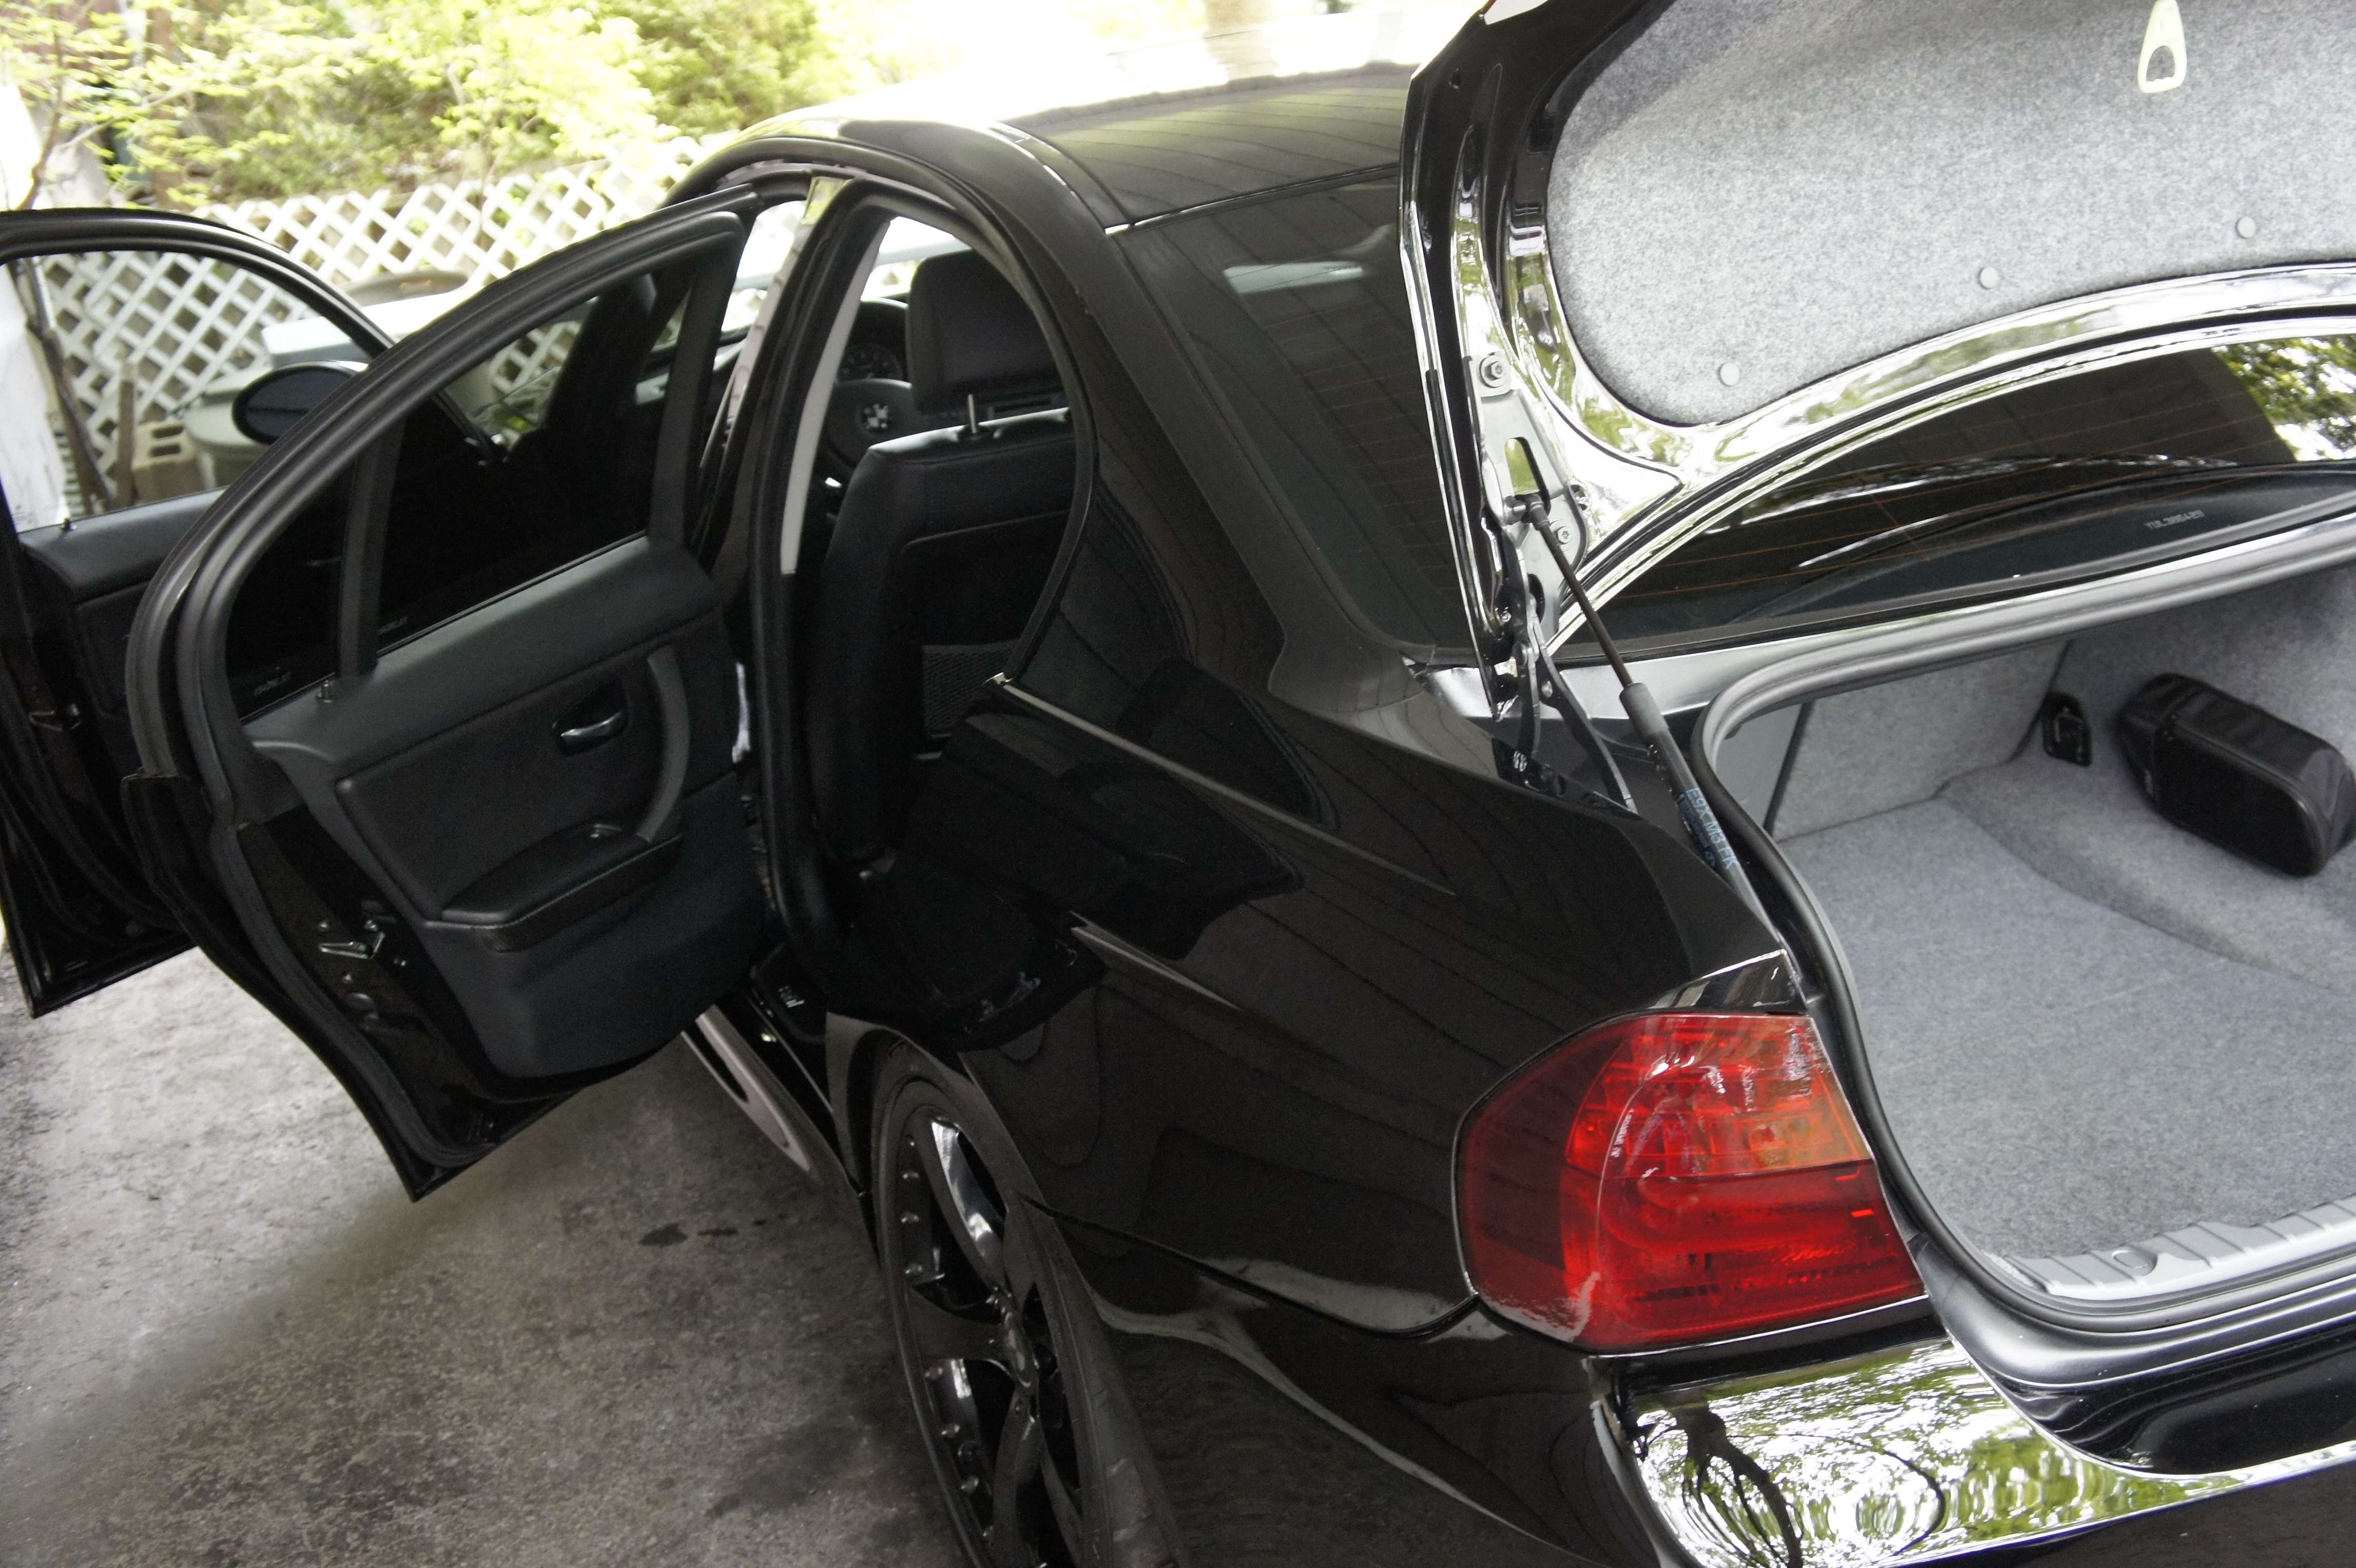
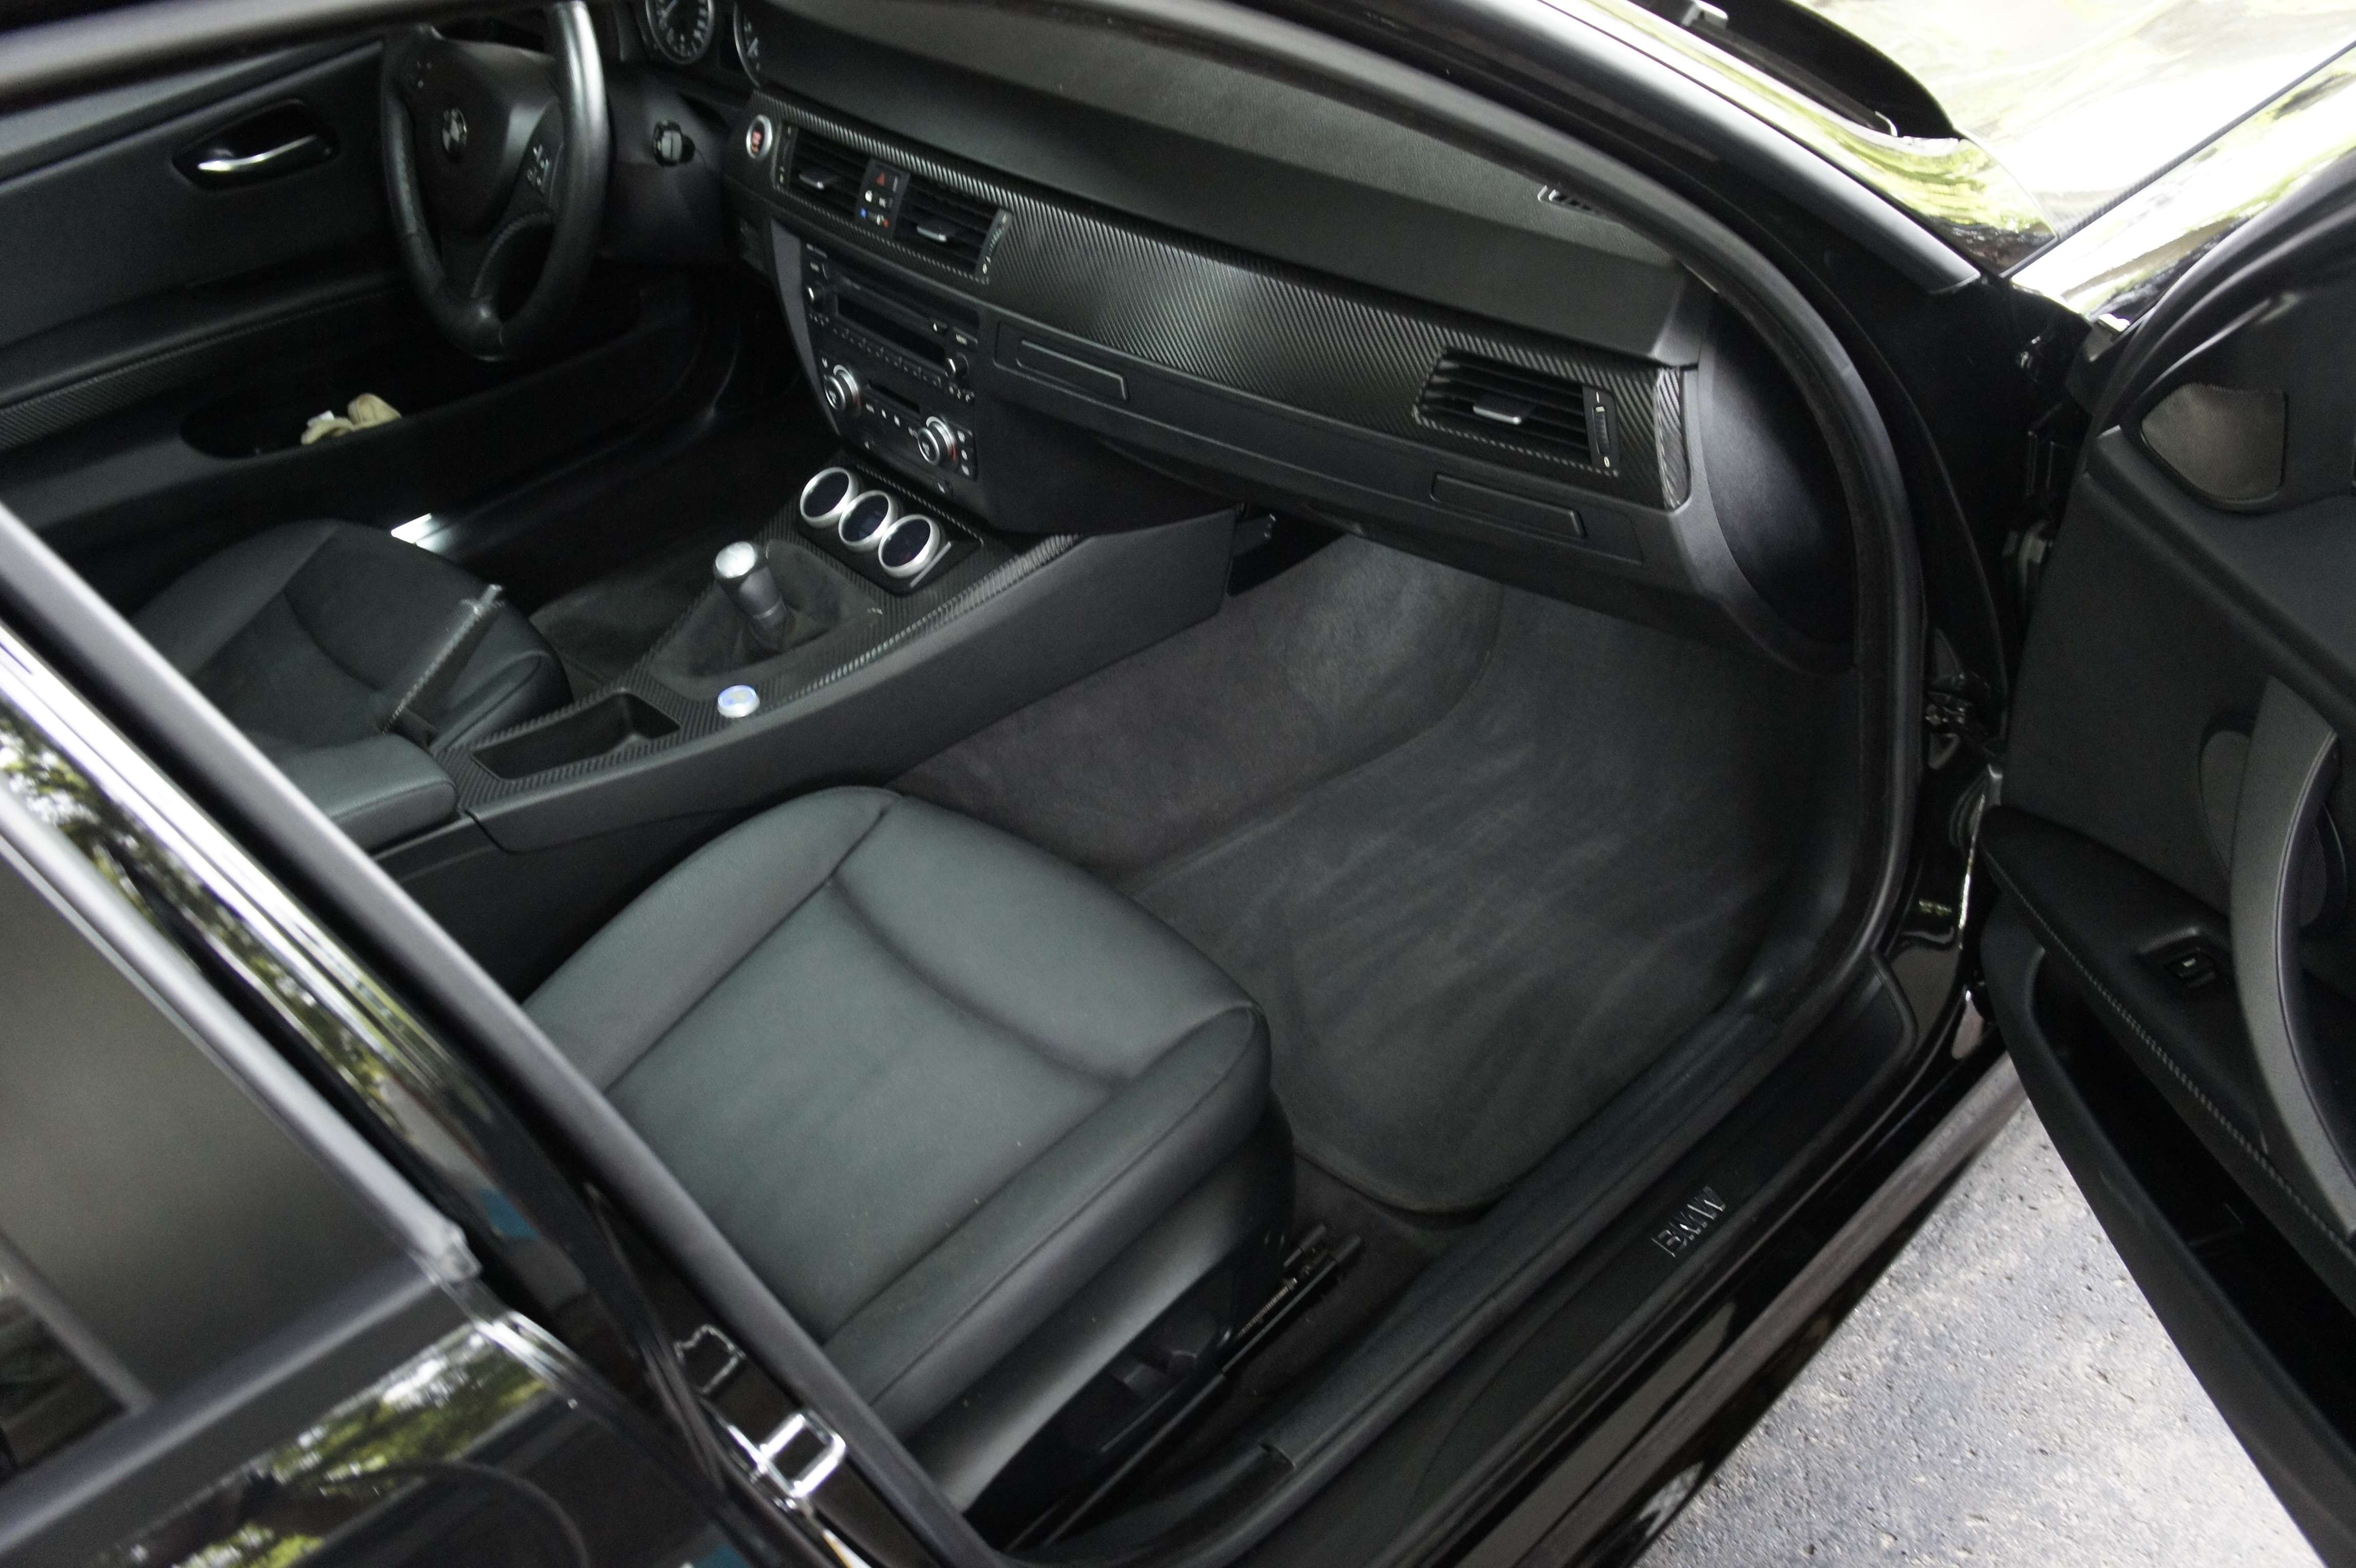
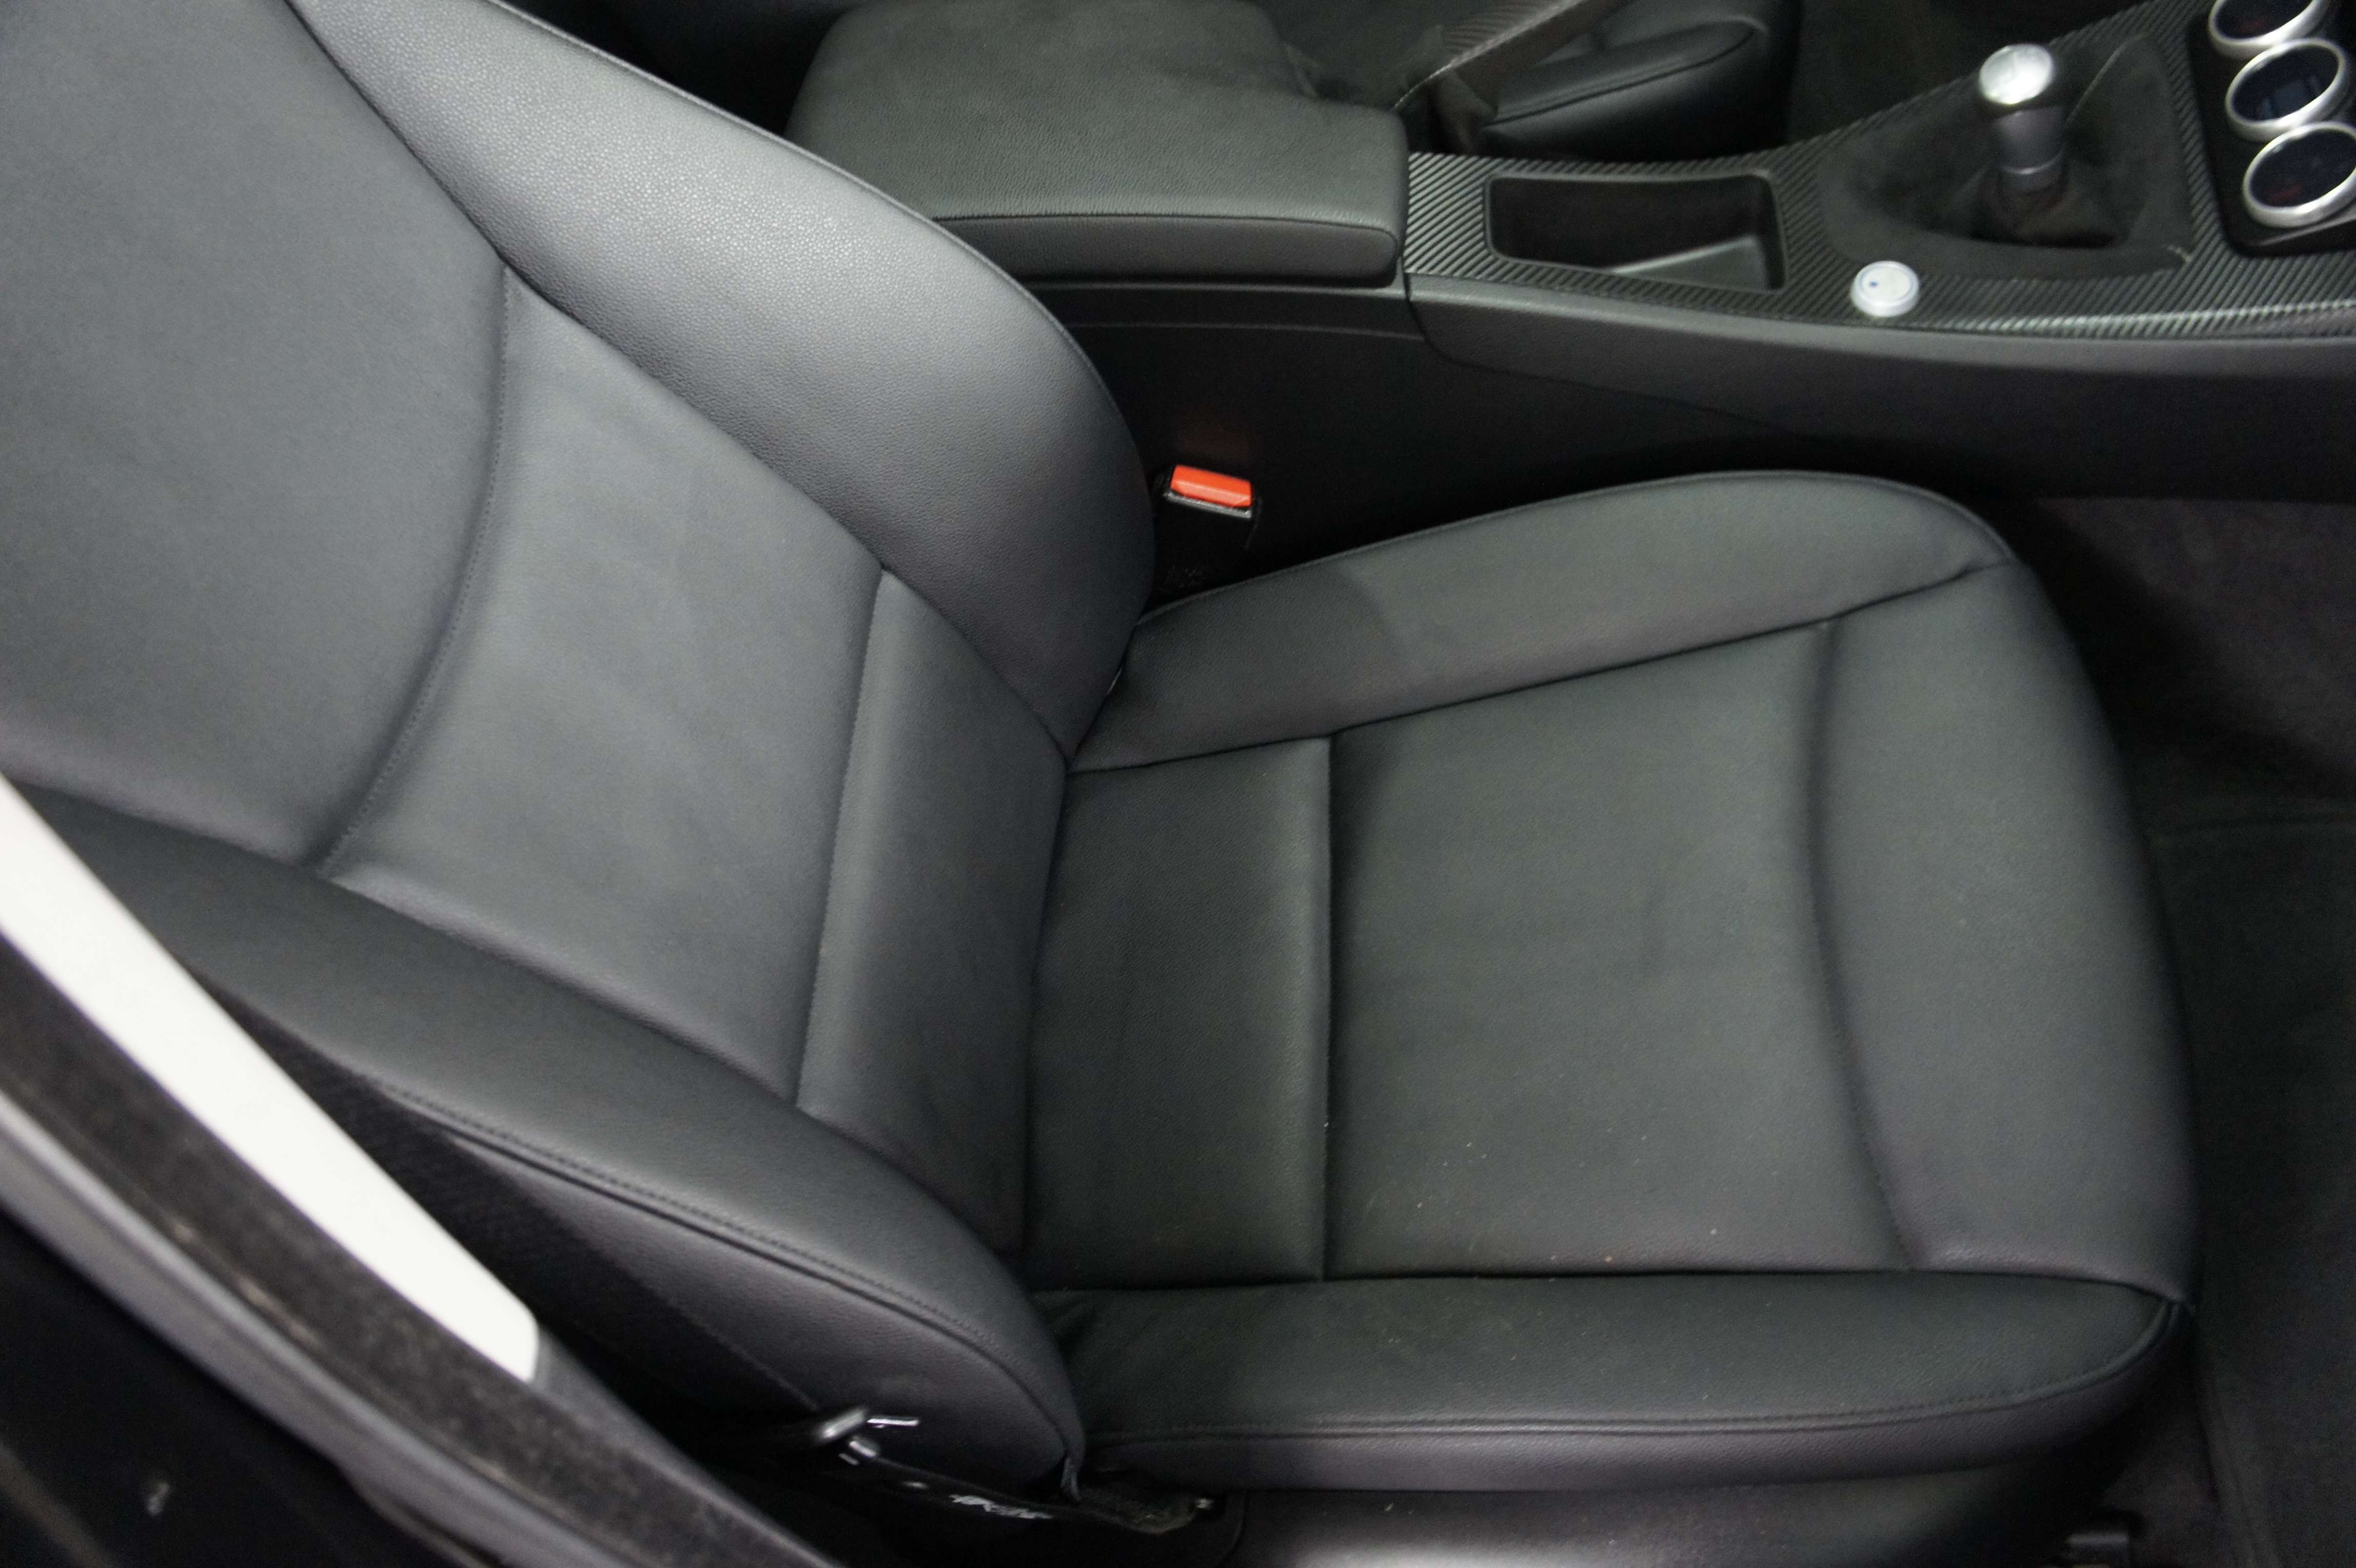
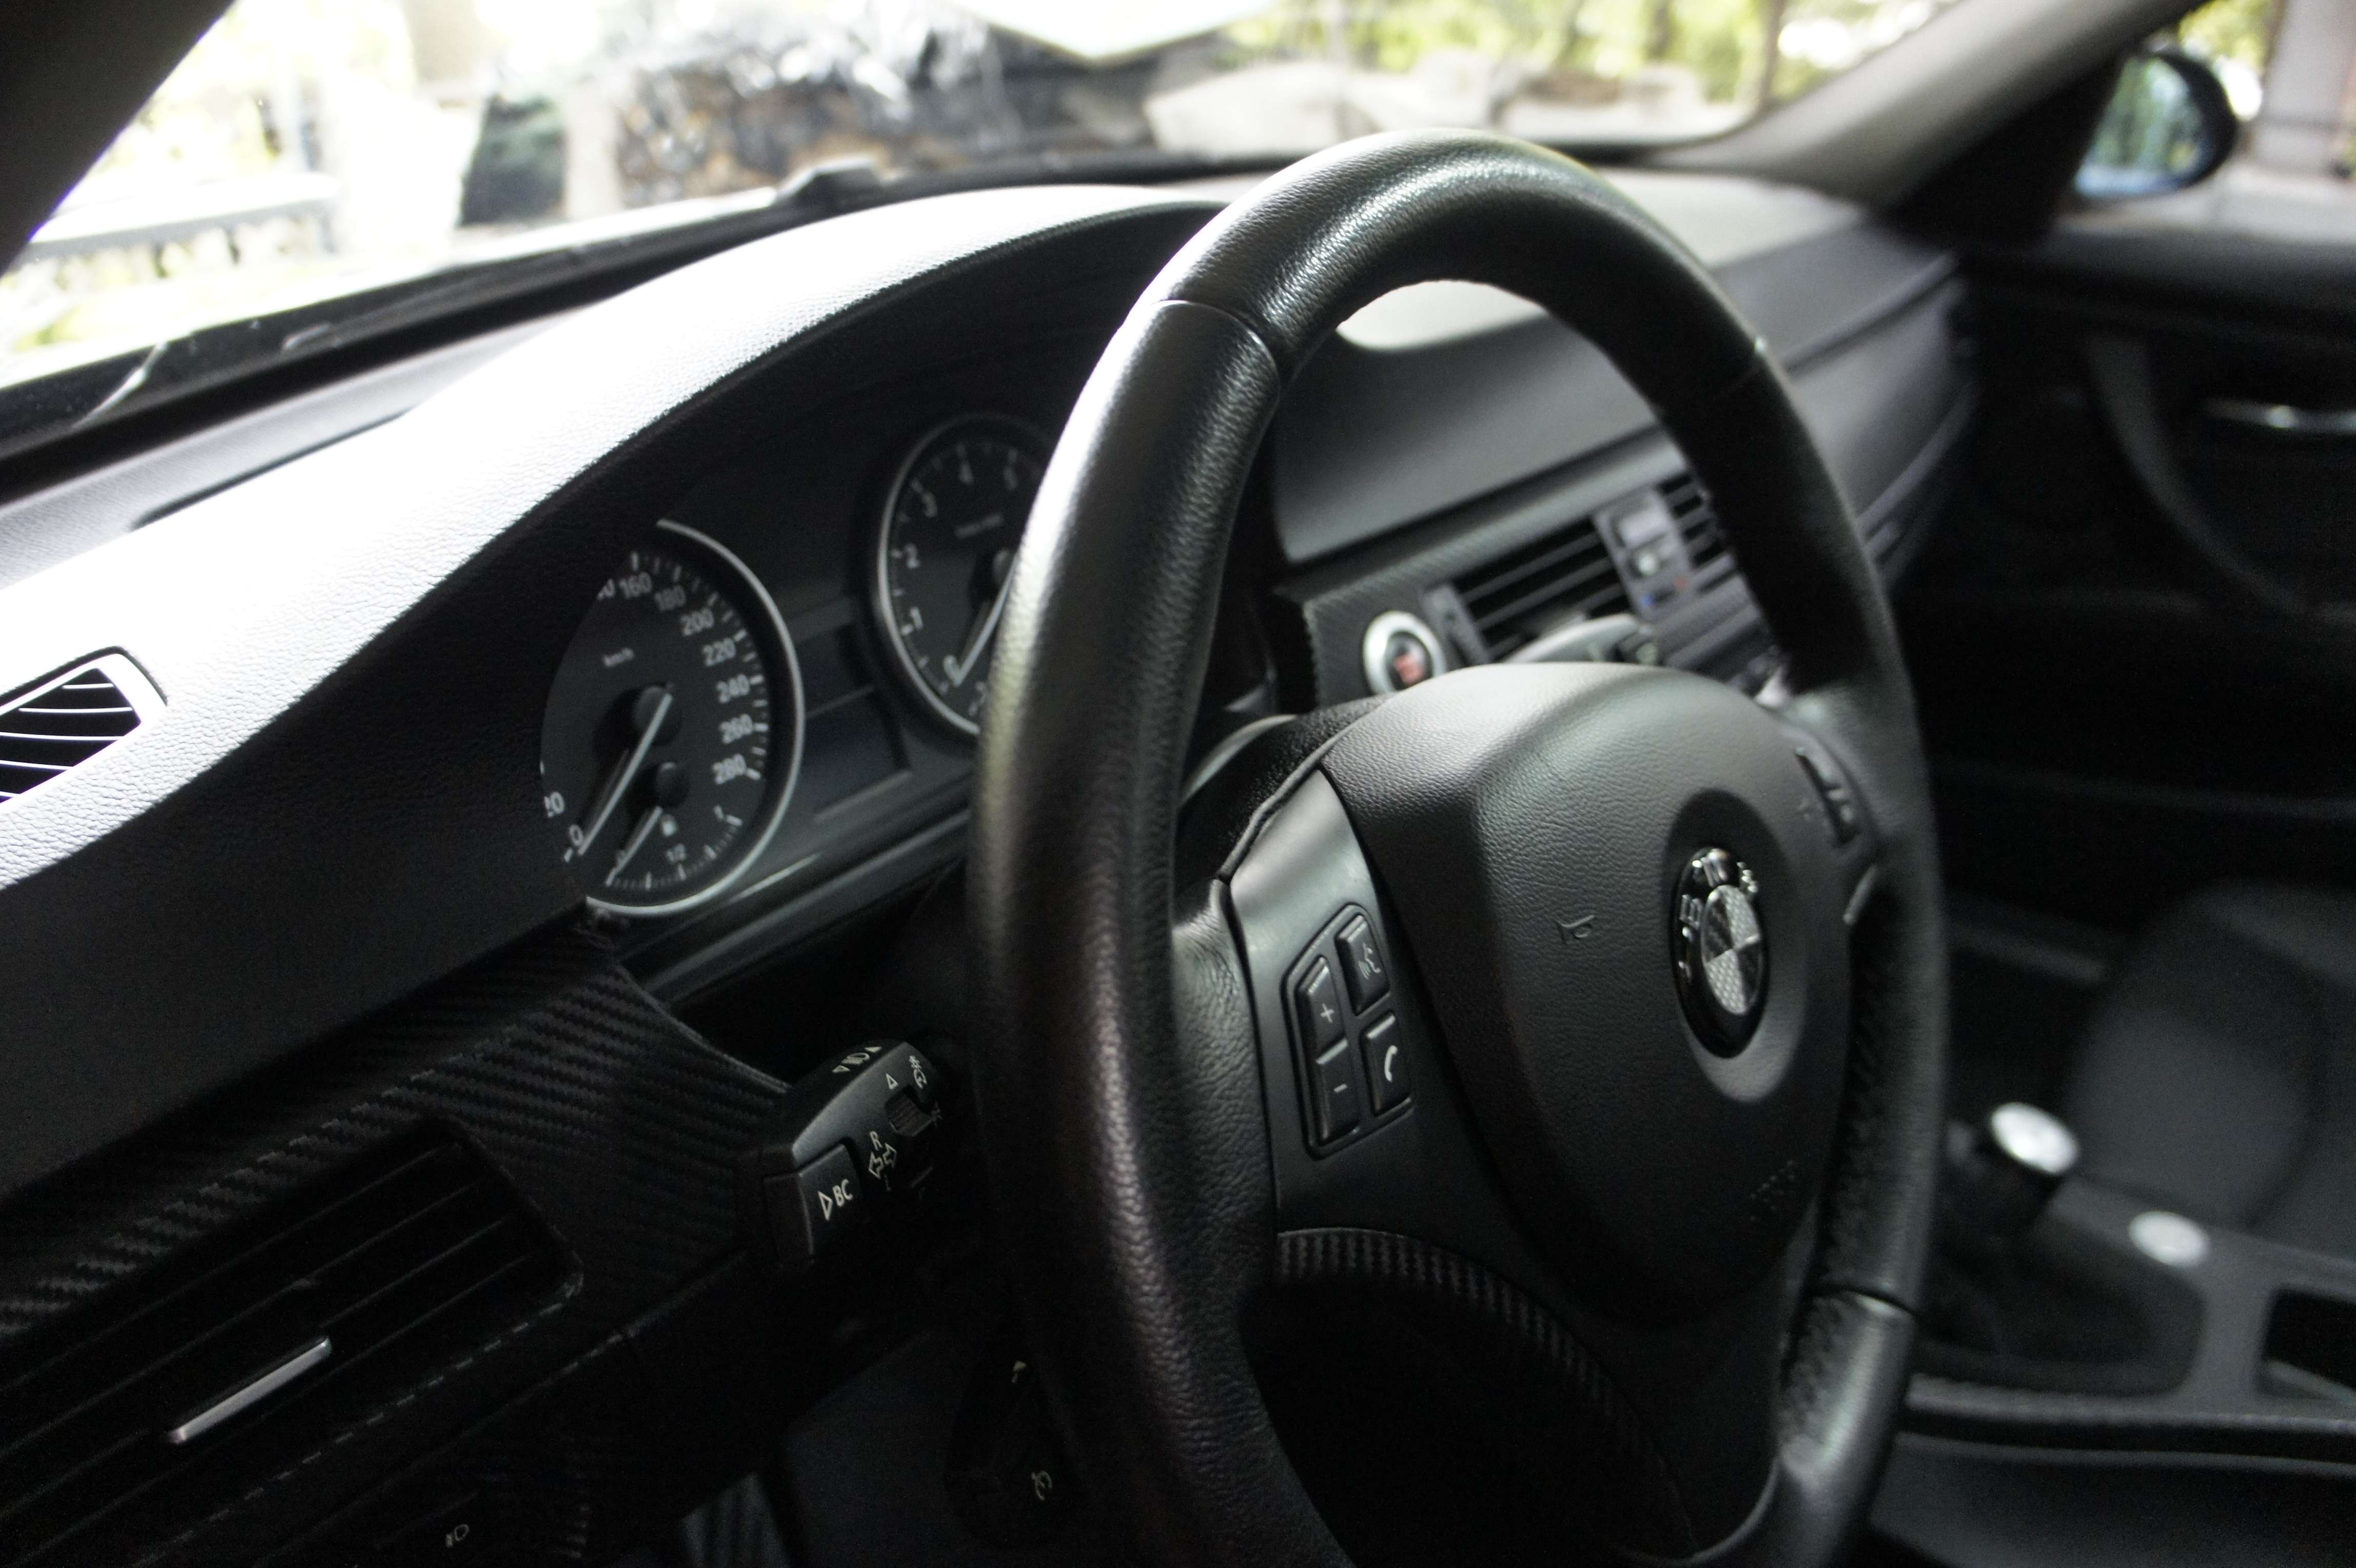
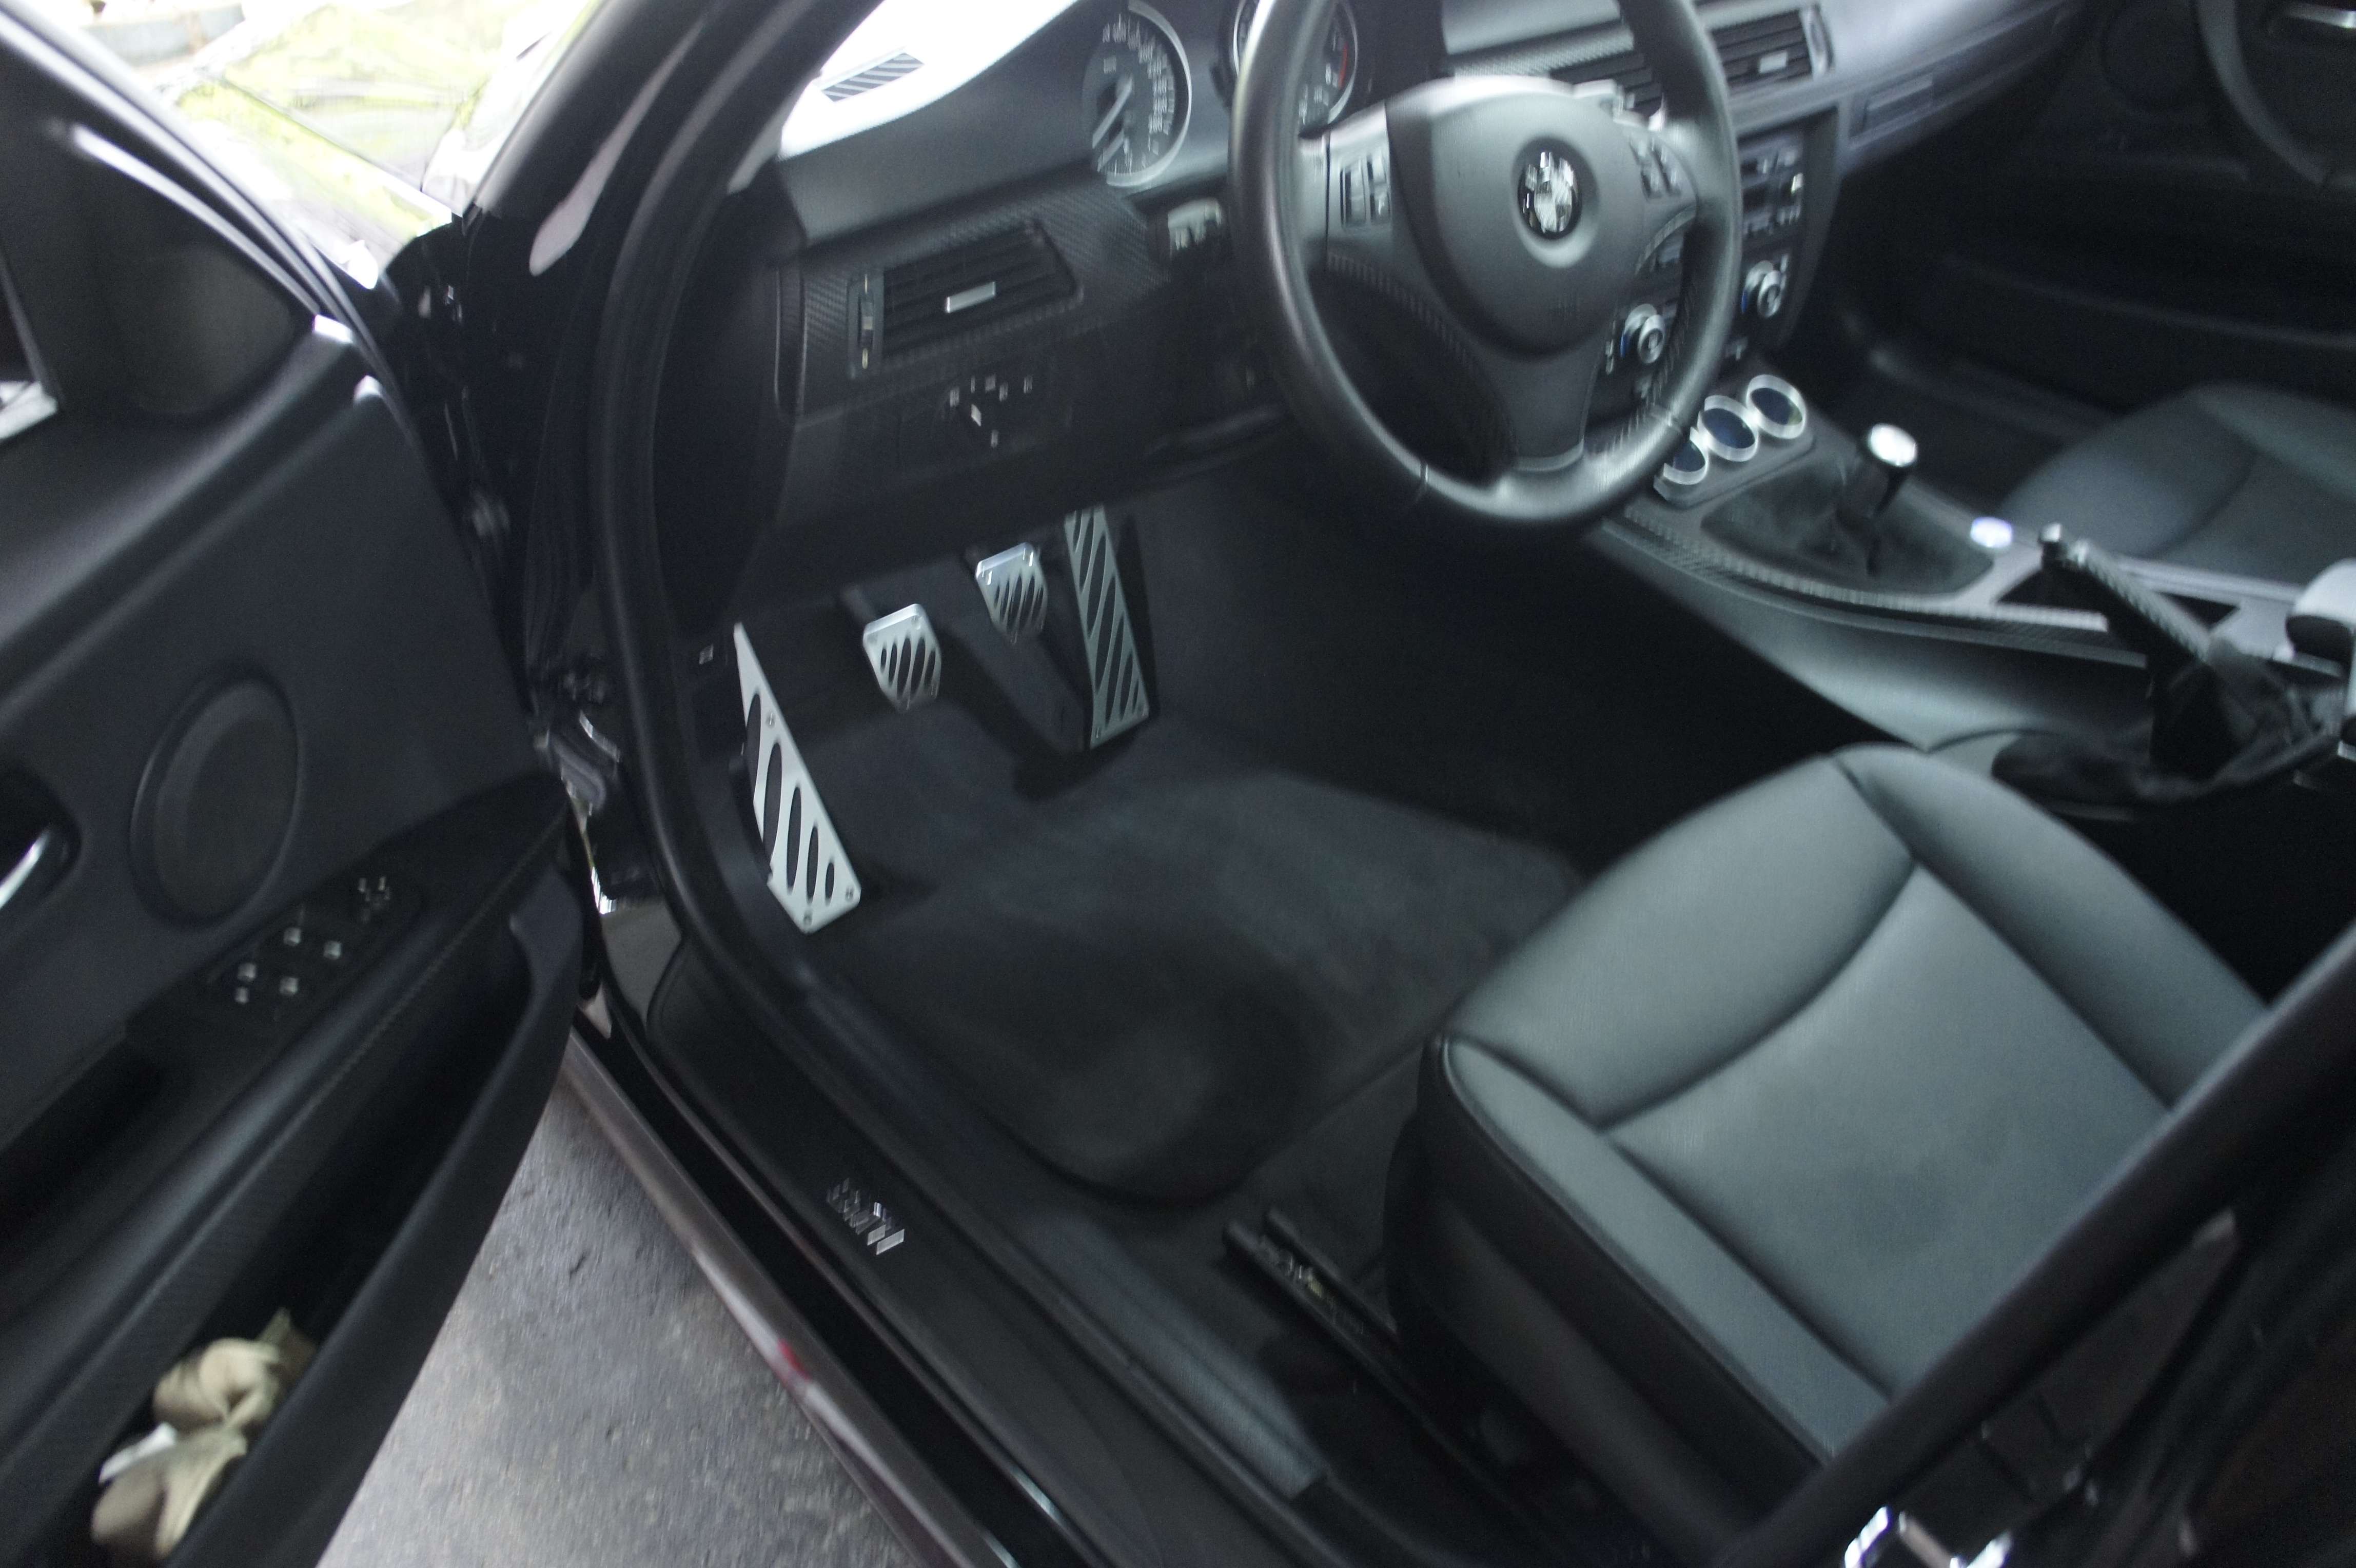
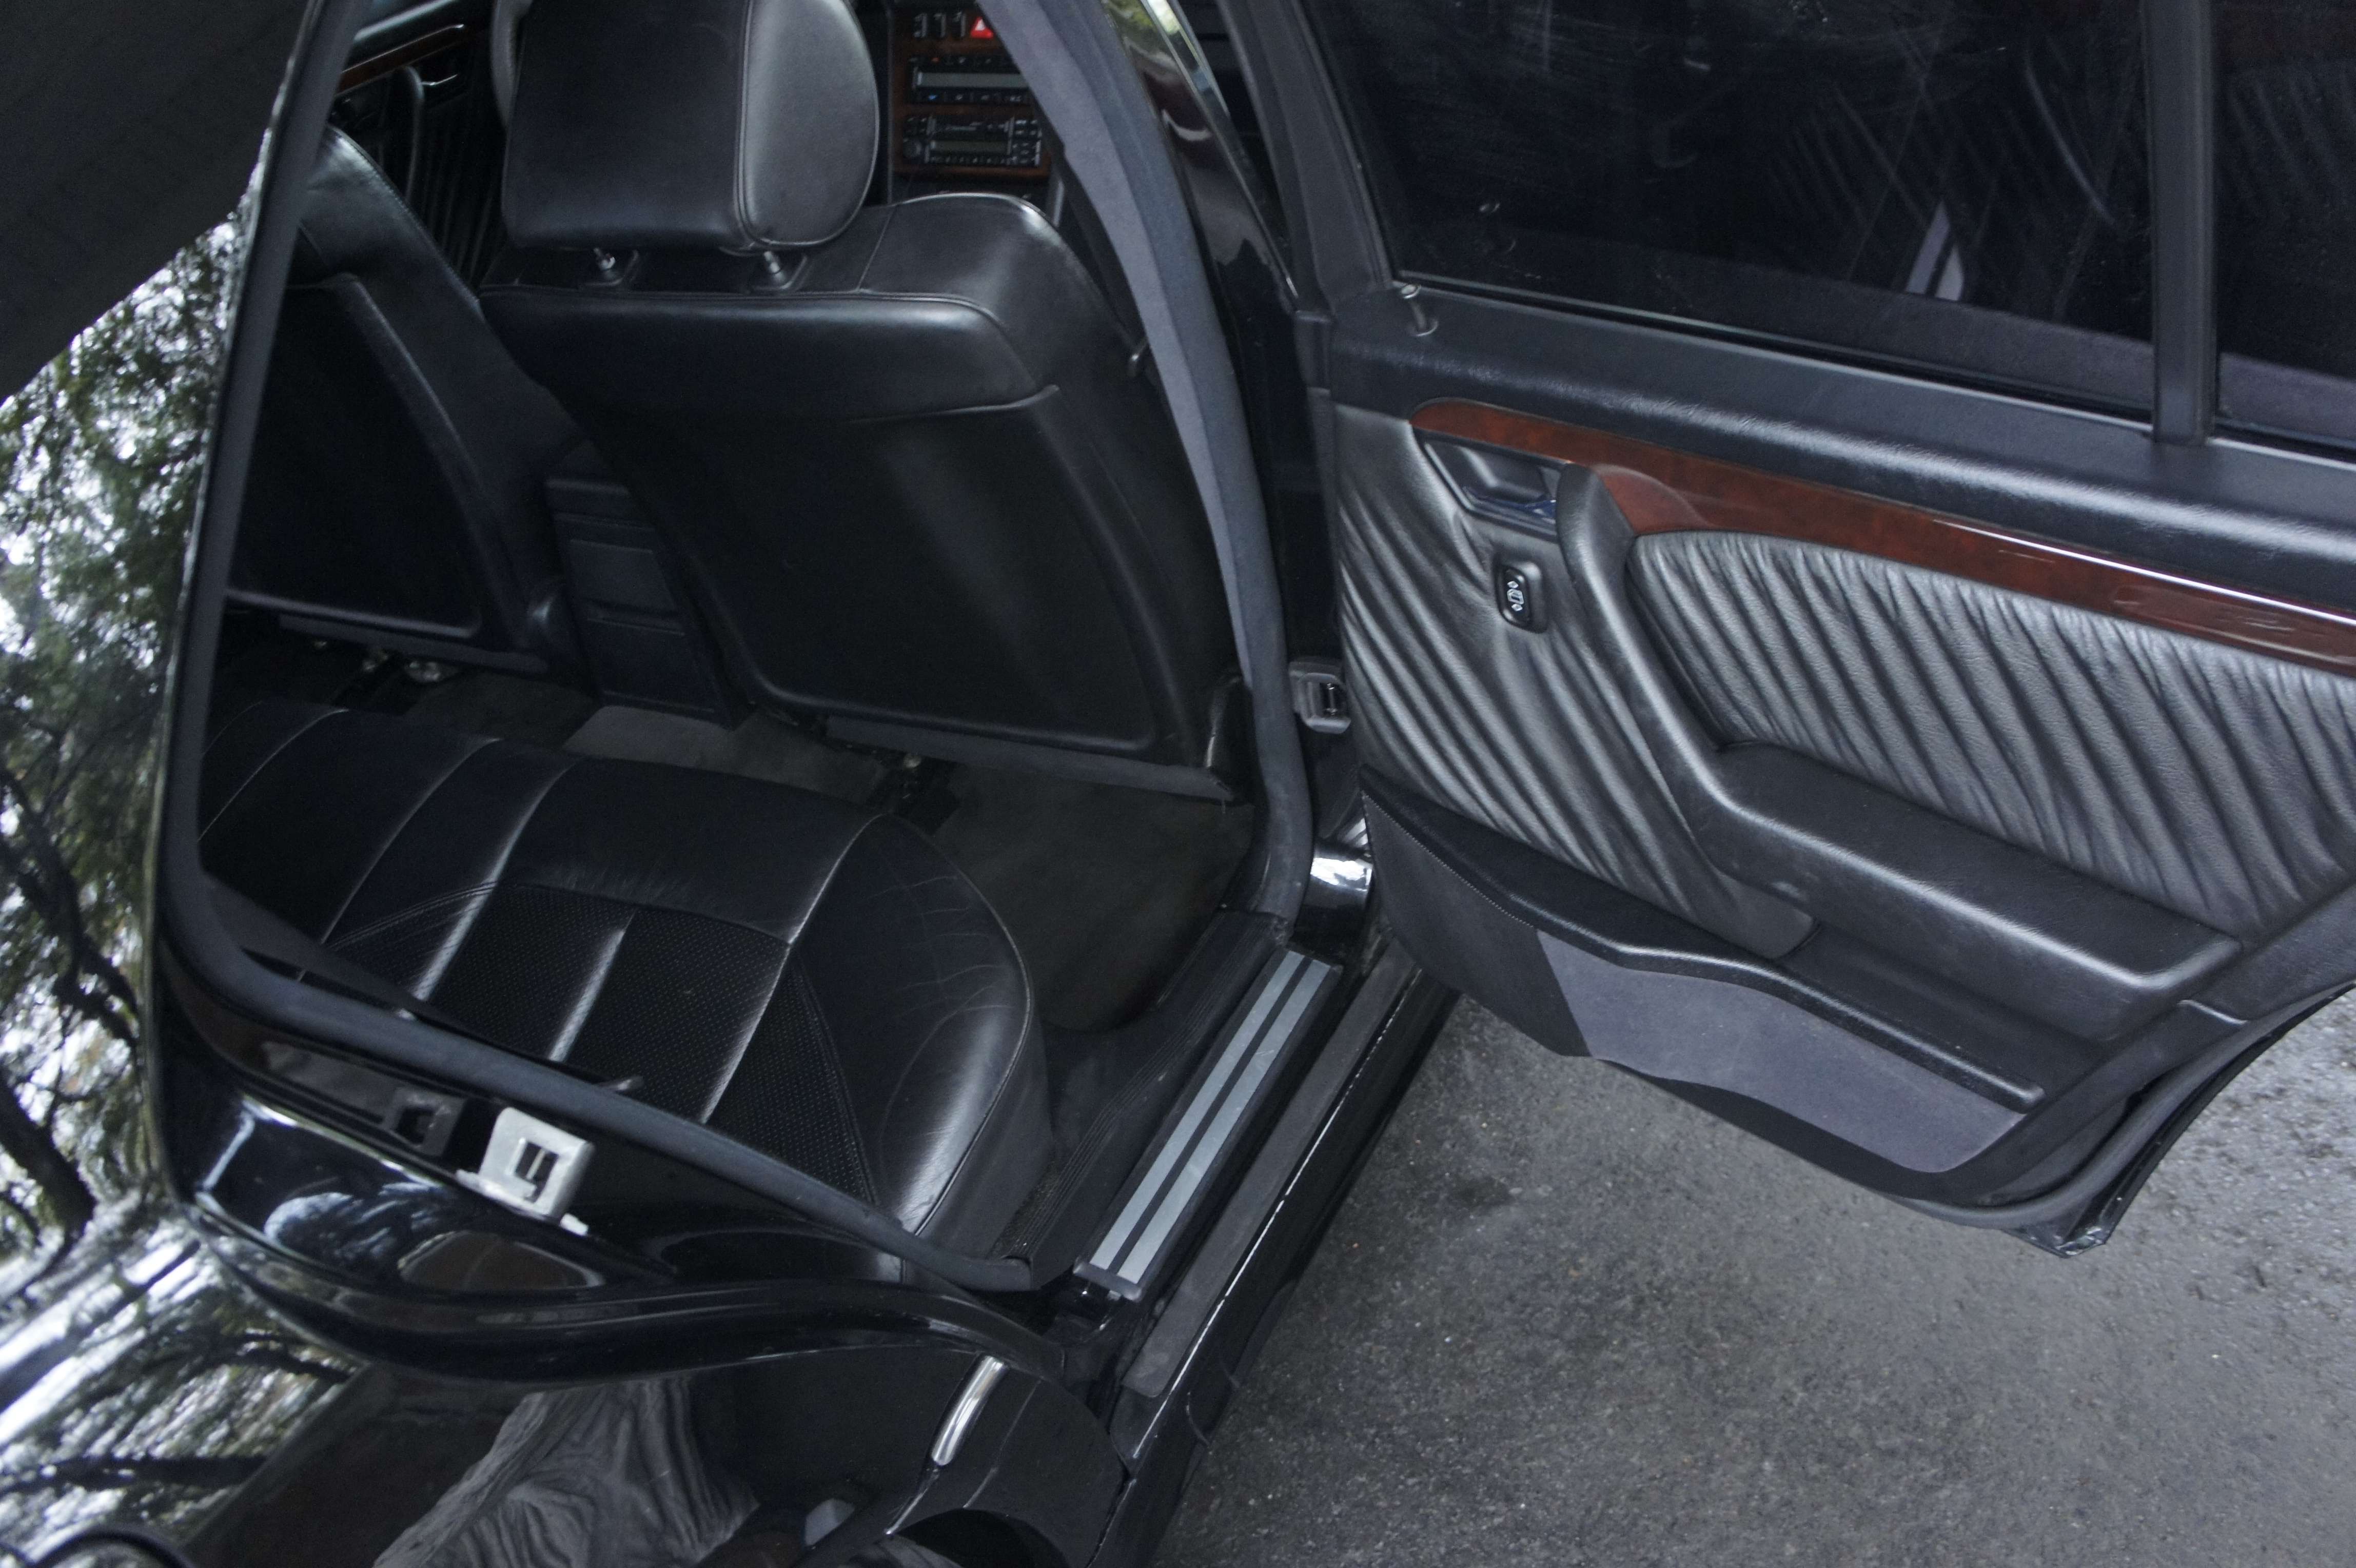
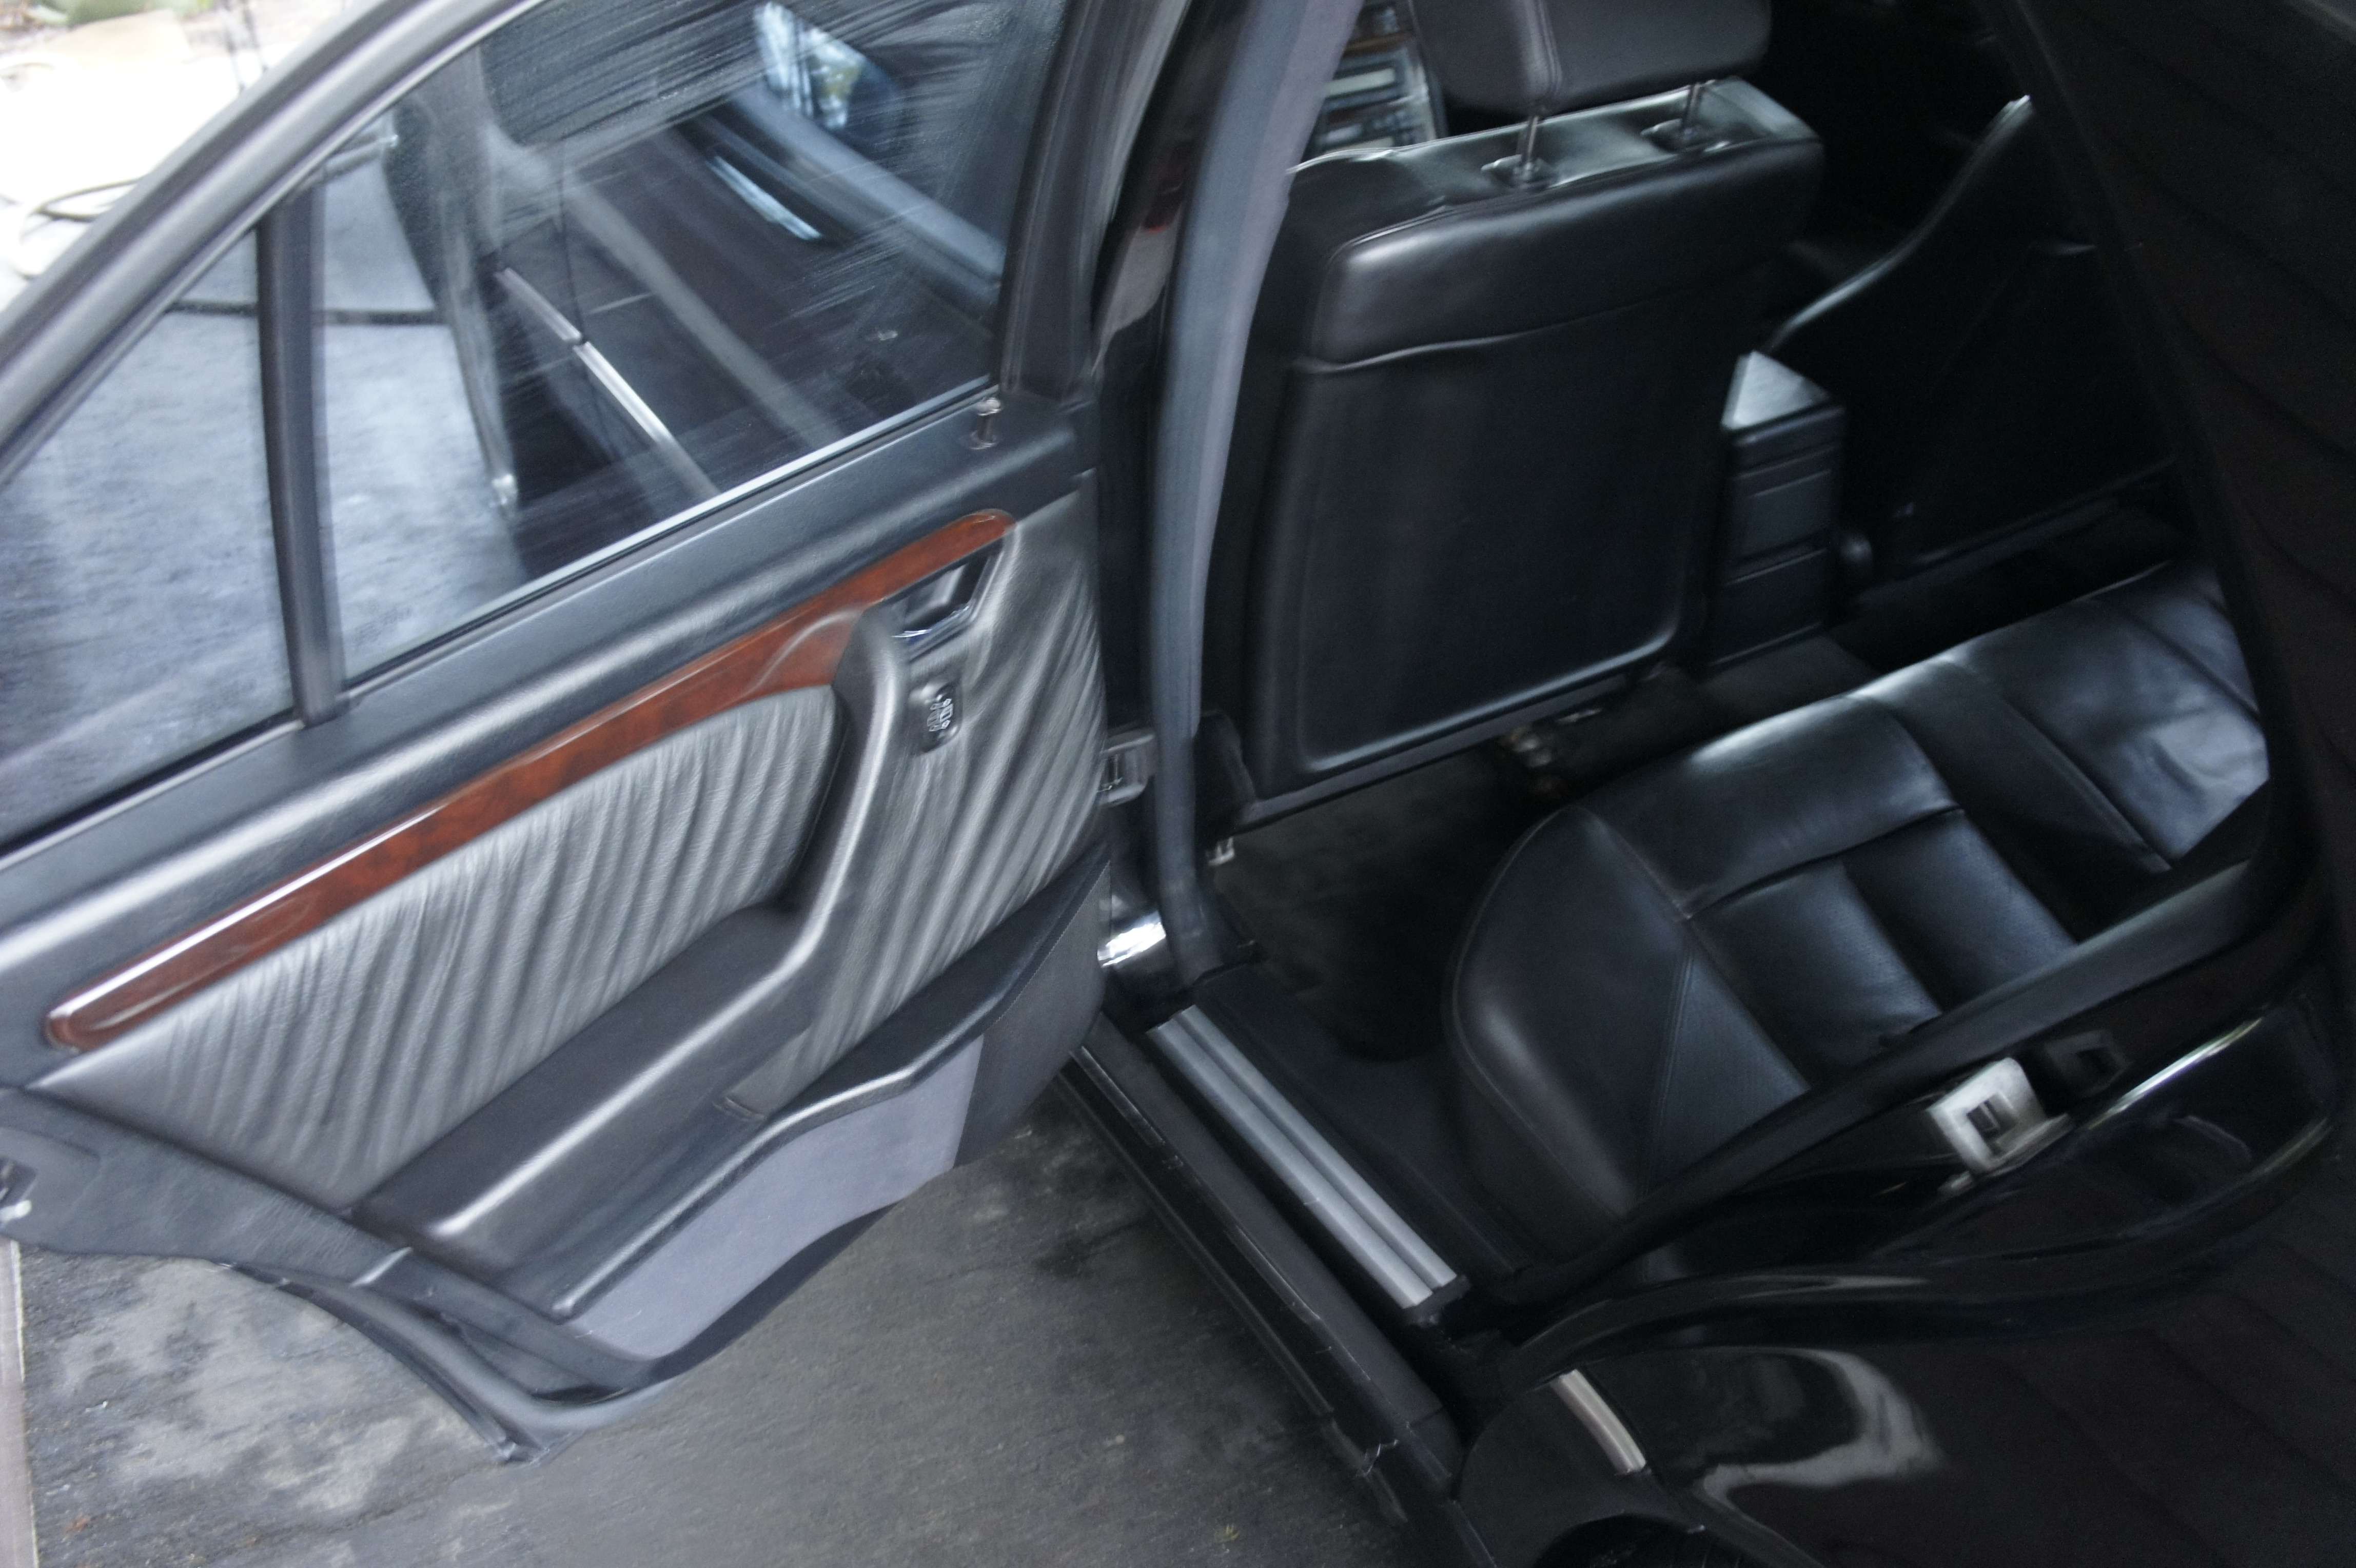
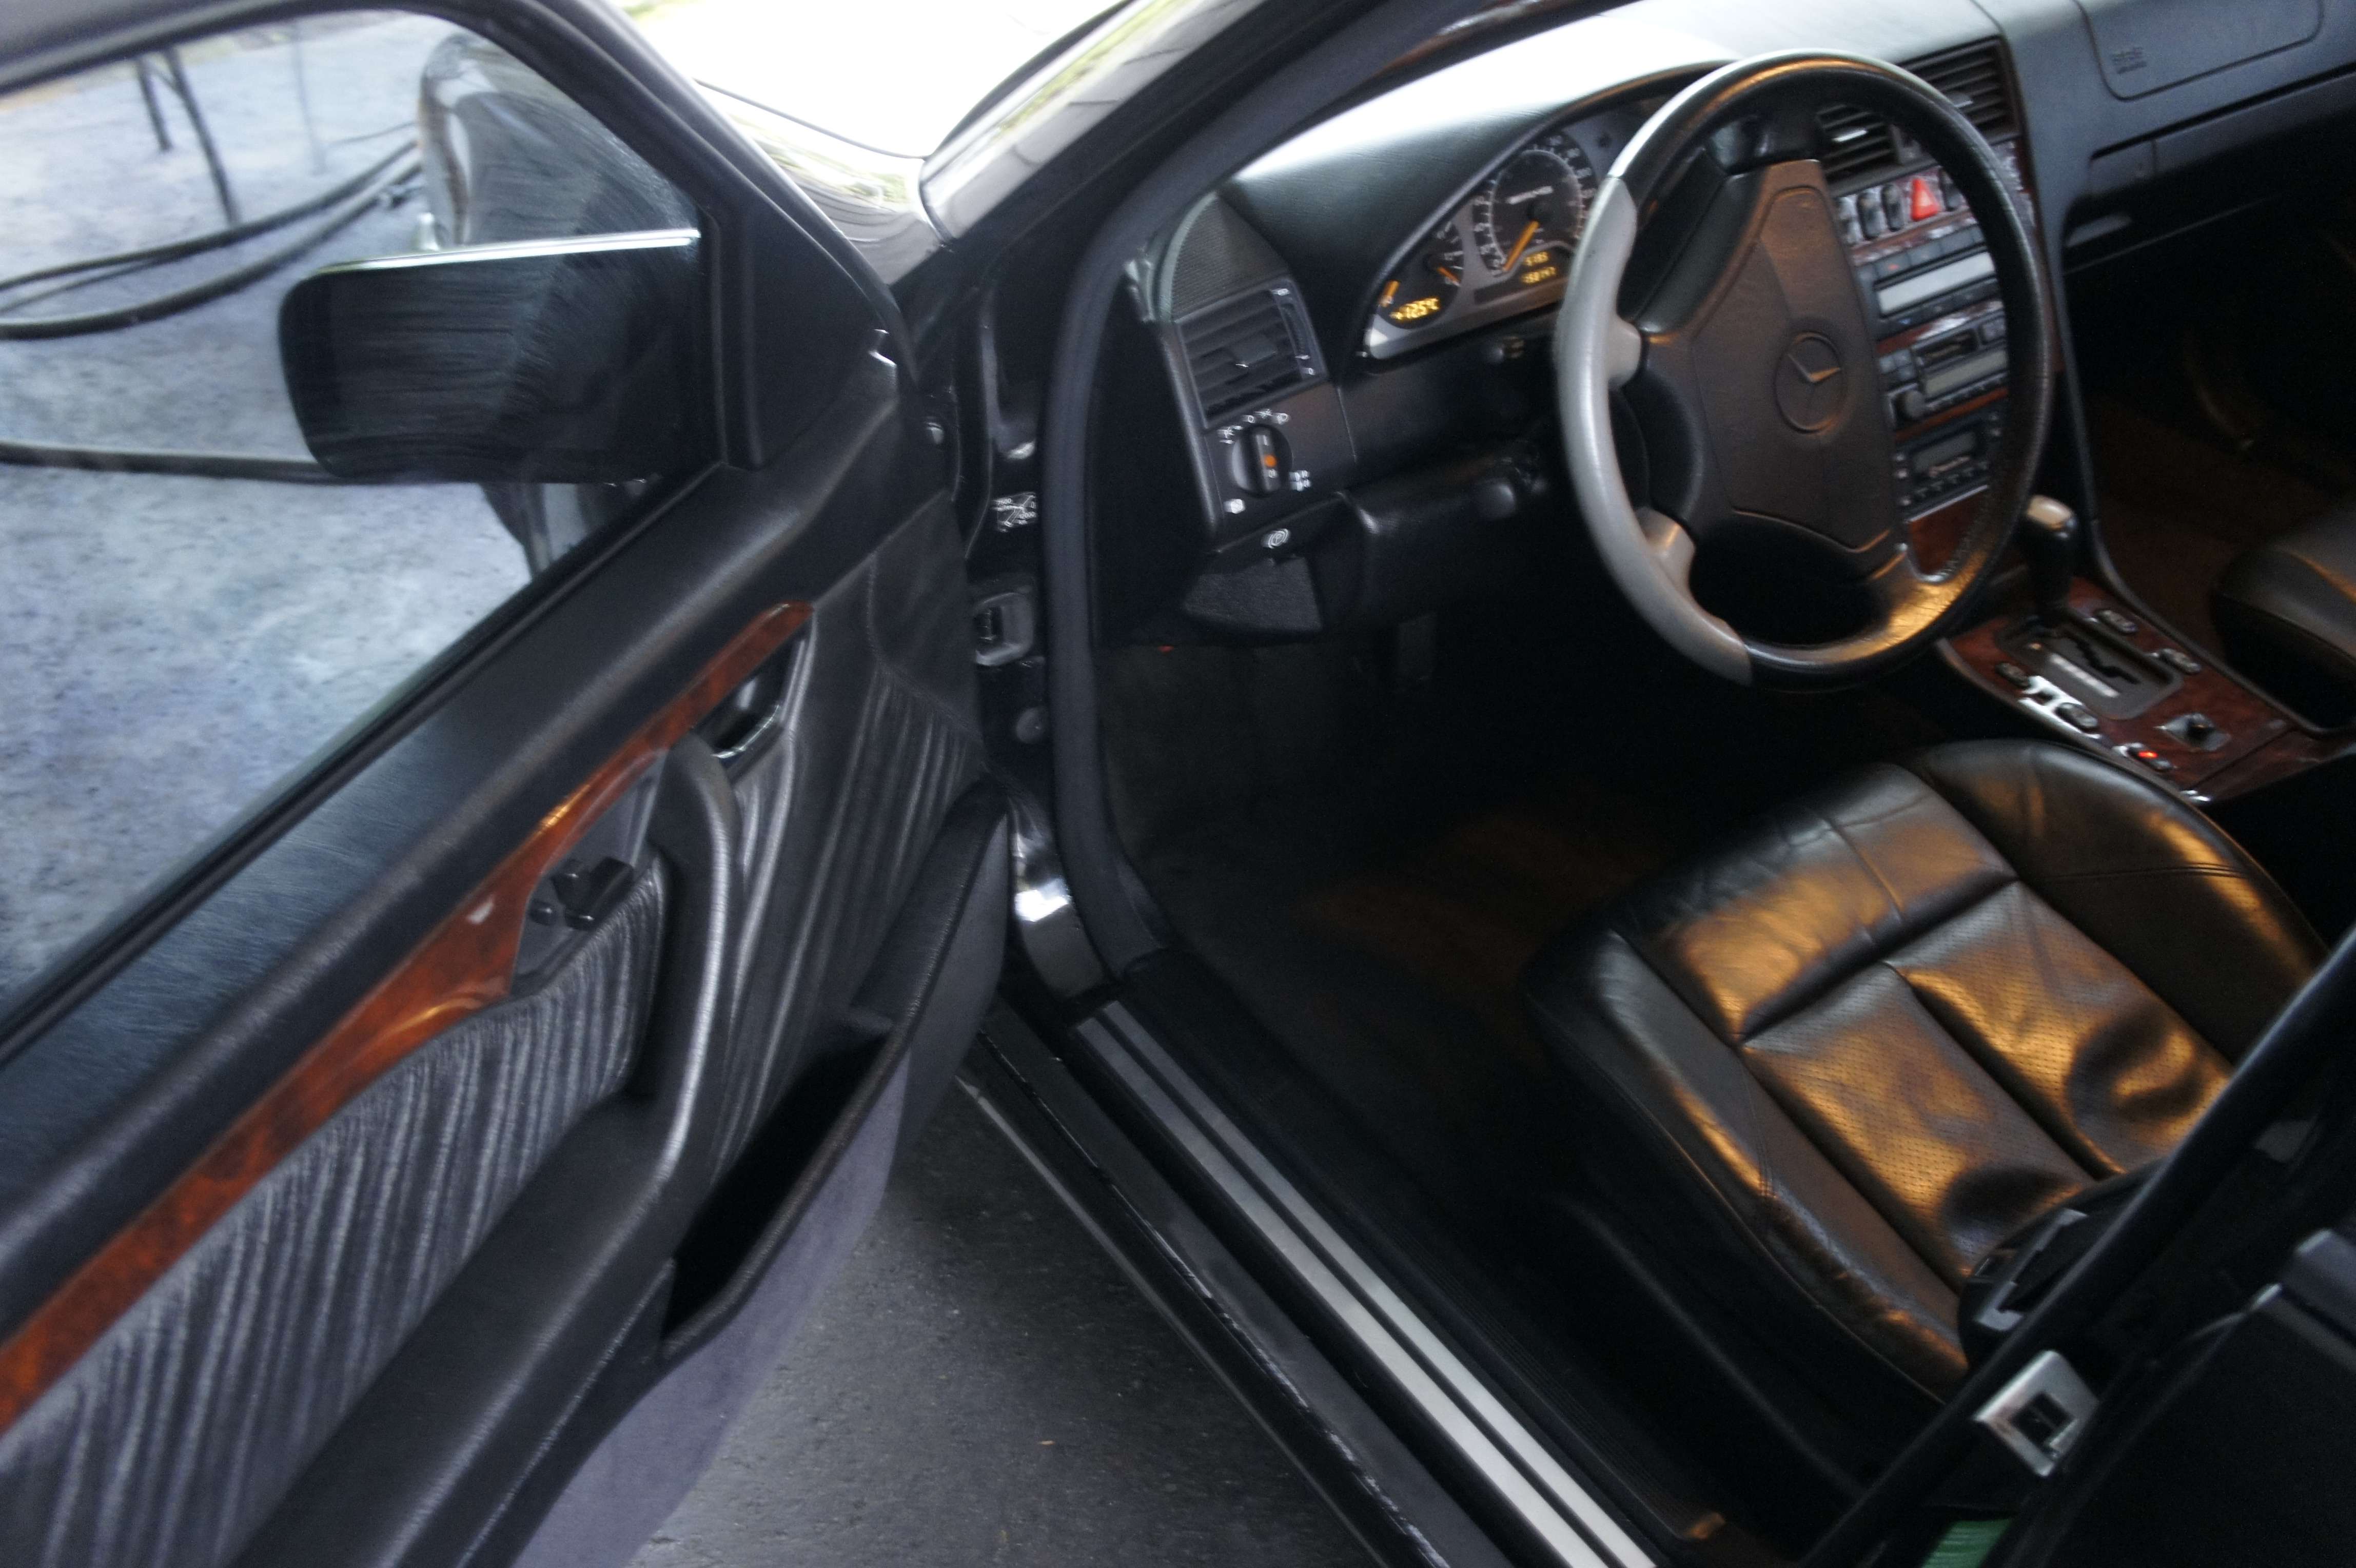
    And there ya go; the end result: a clean interior:


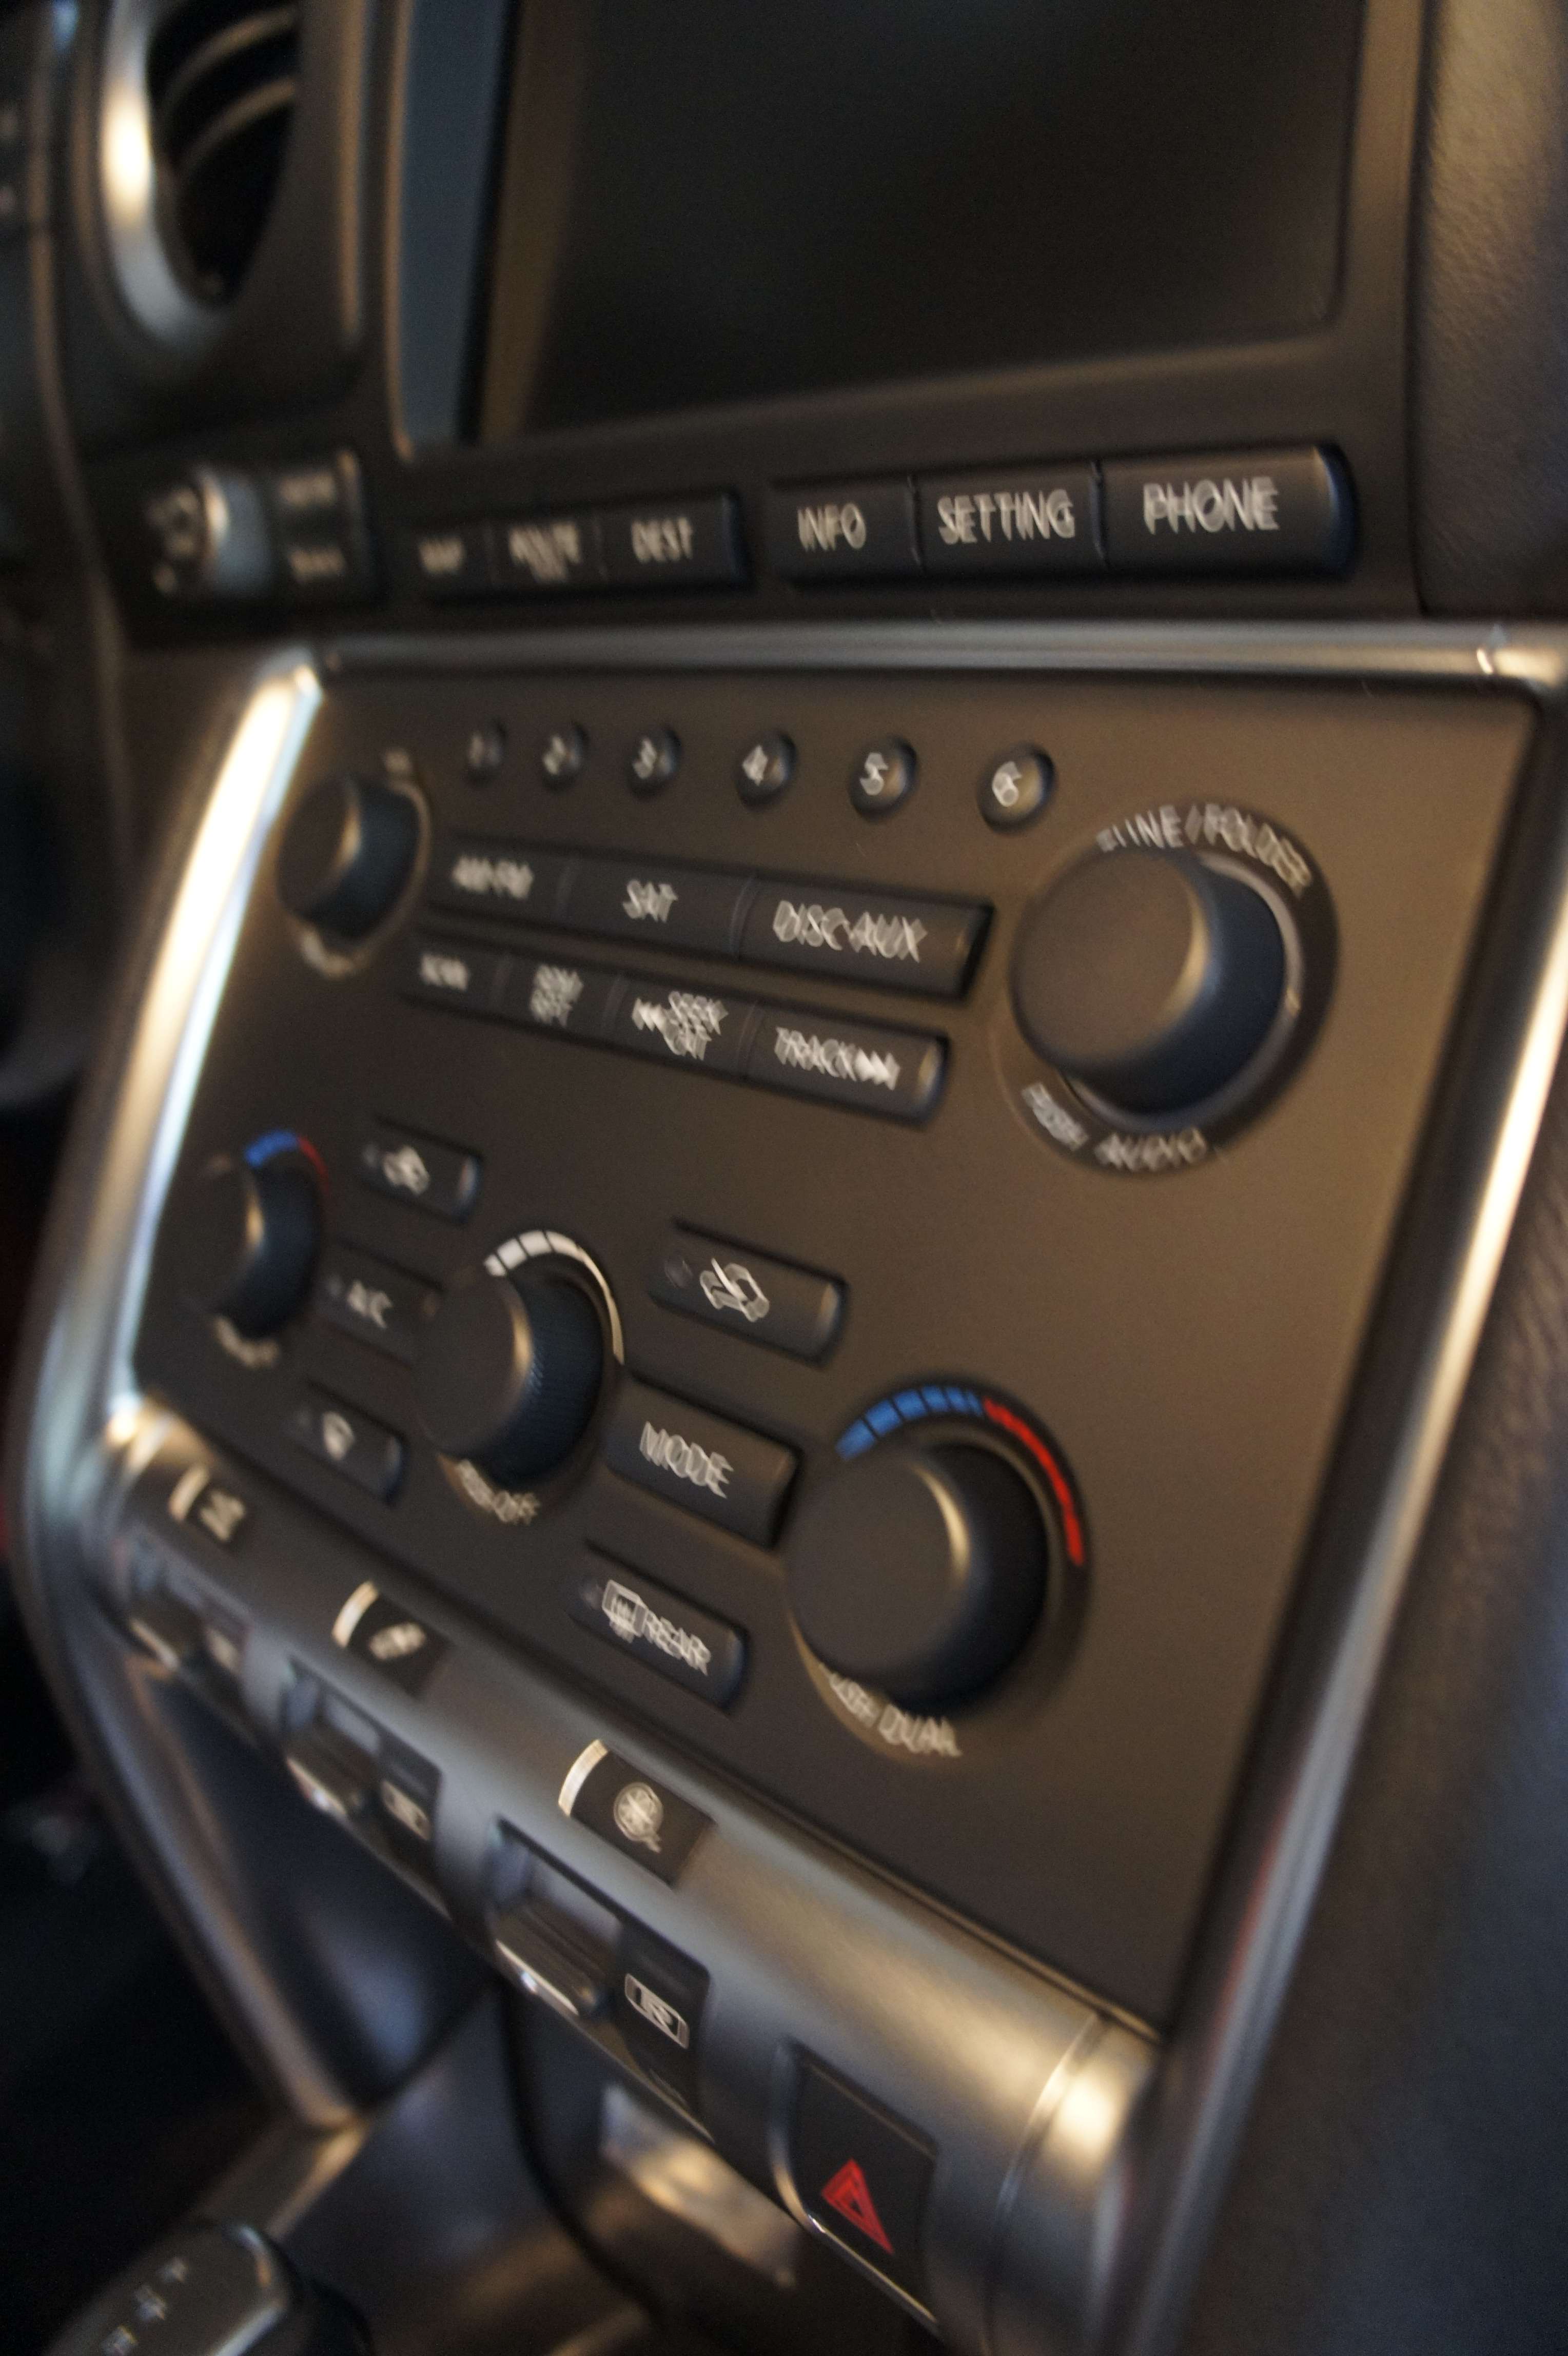
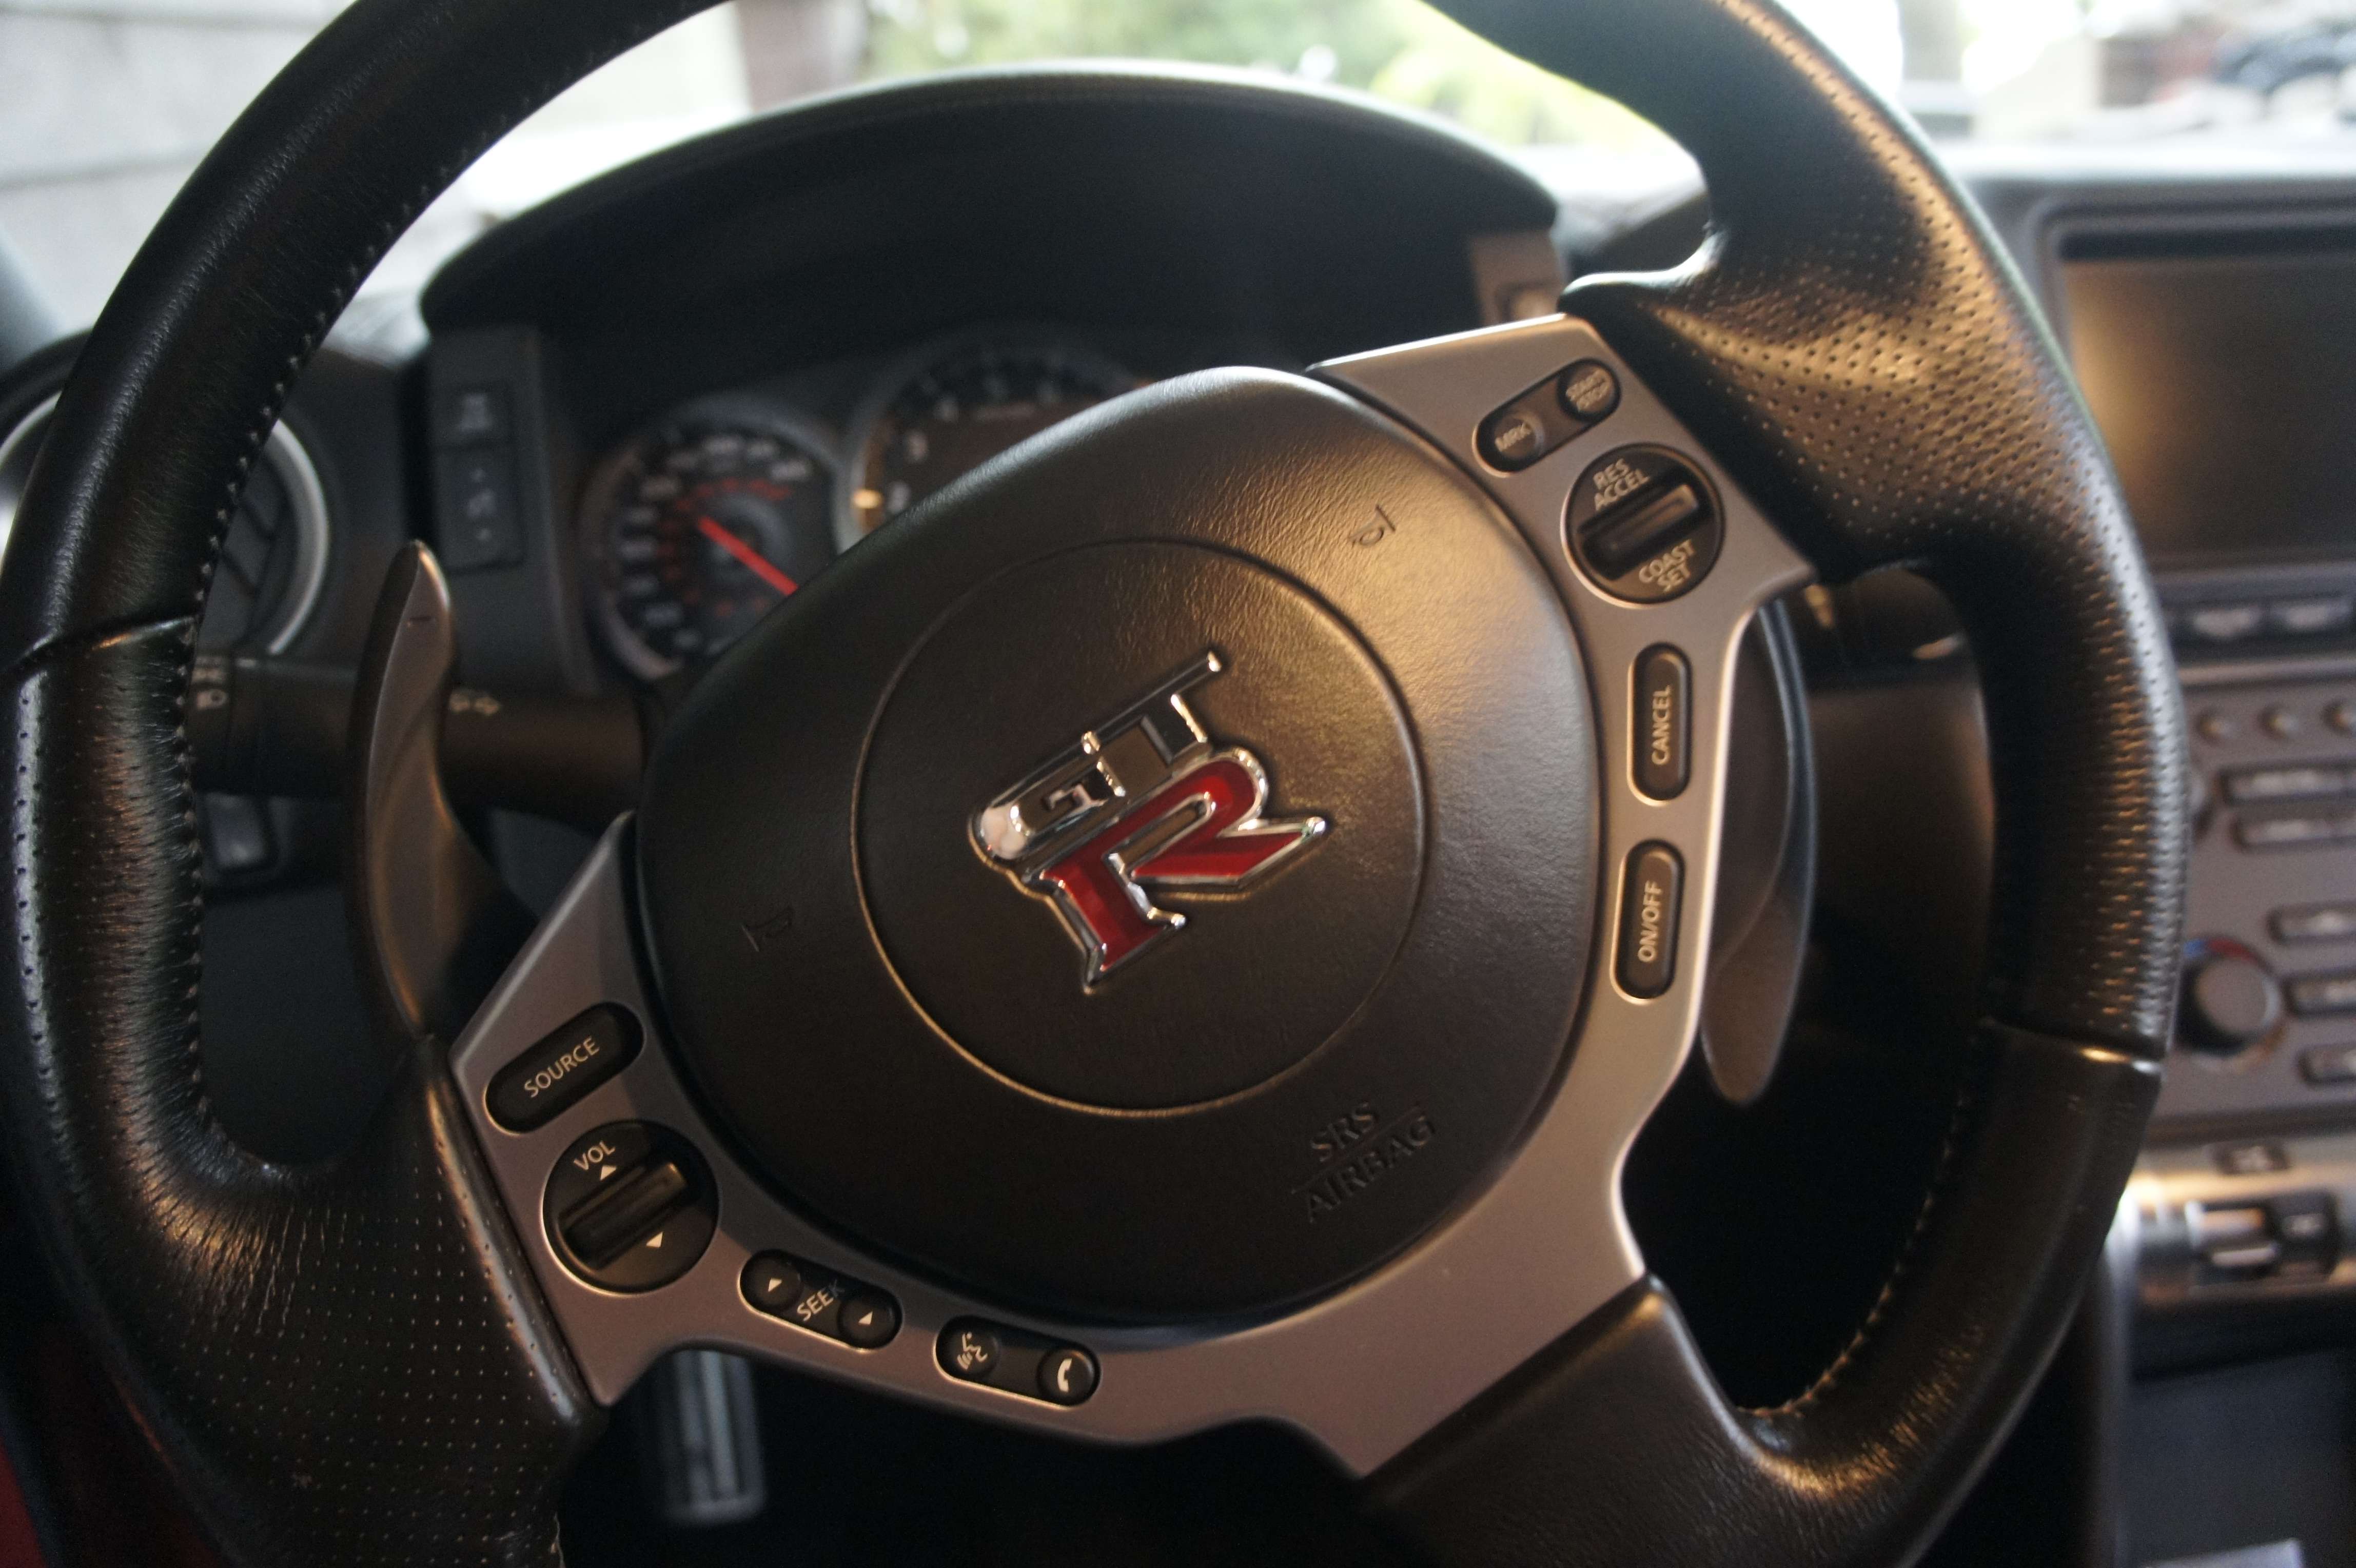
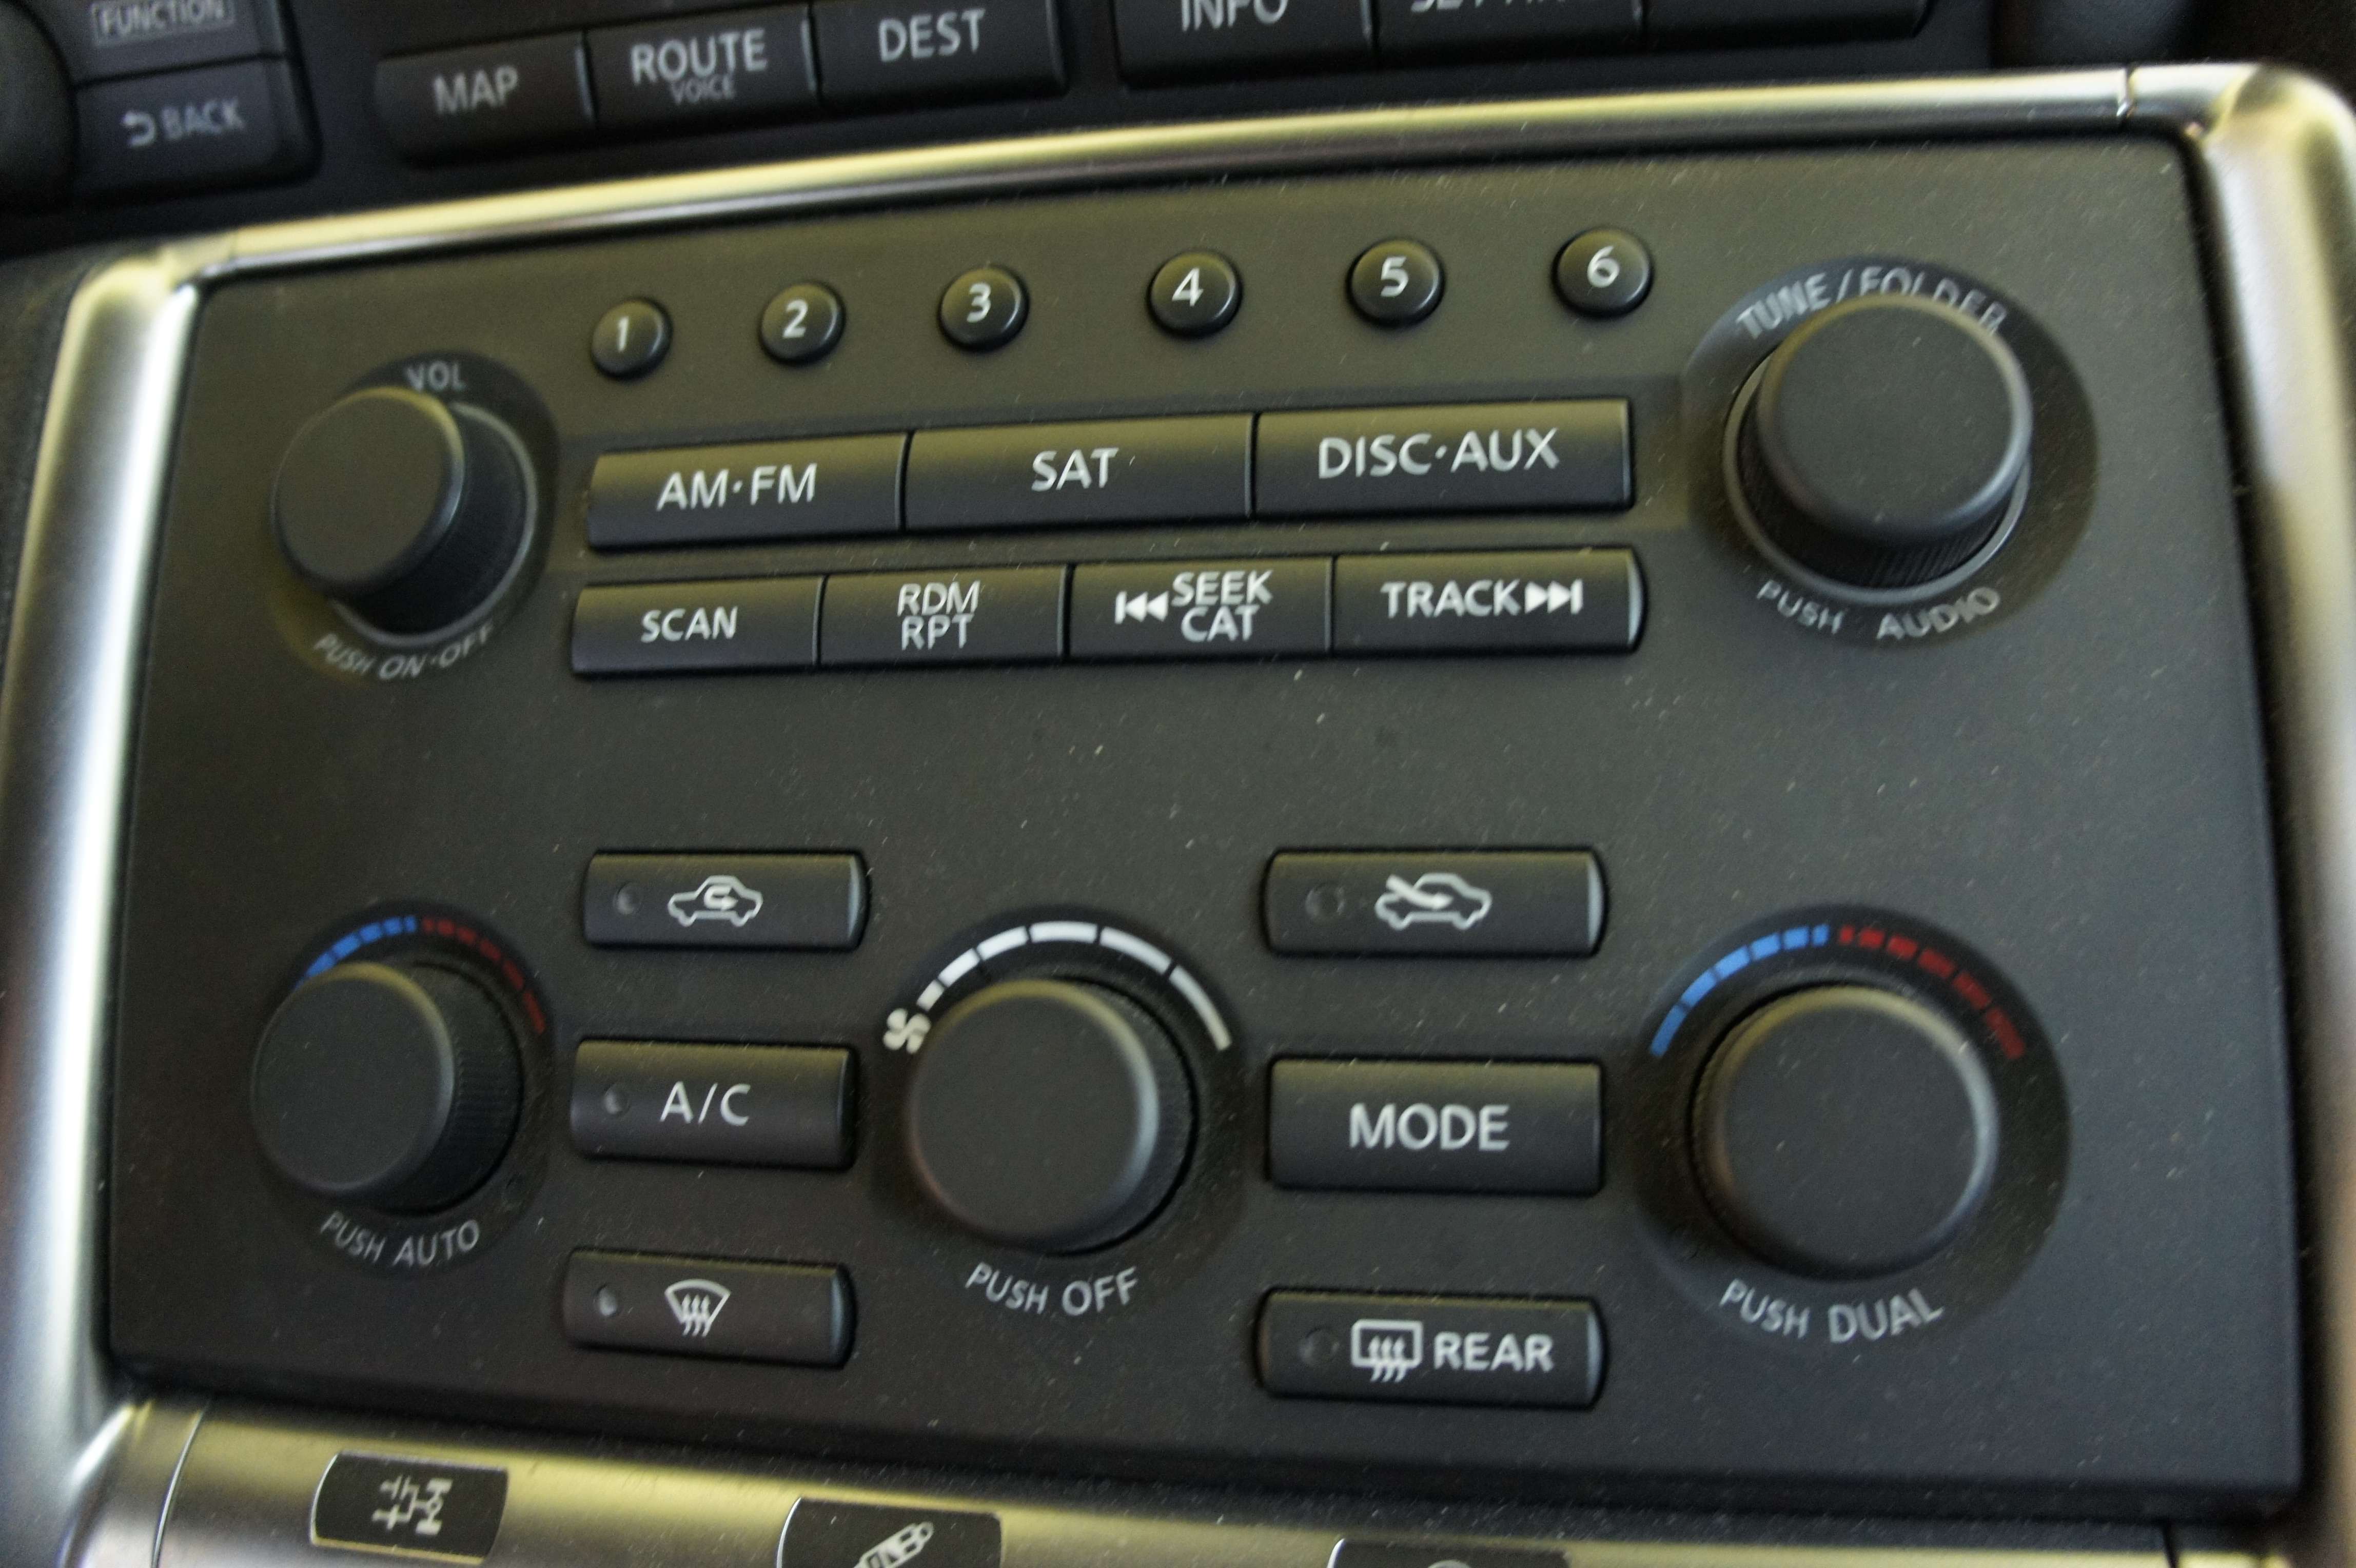
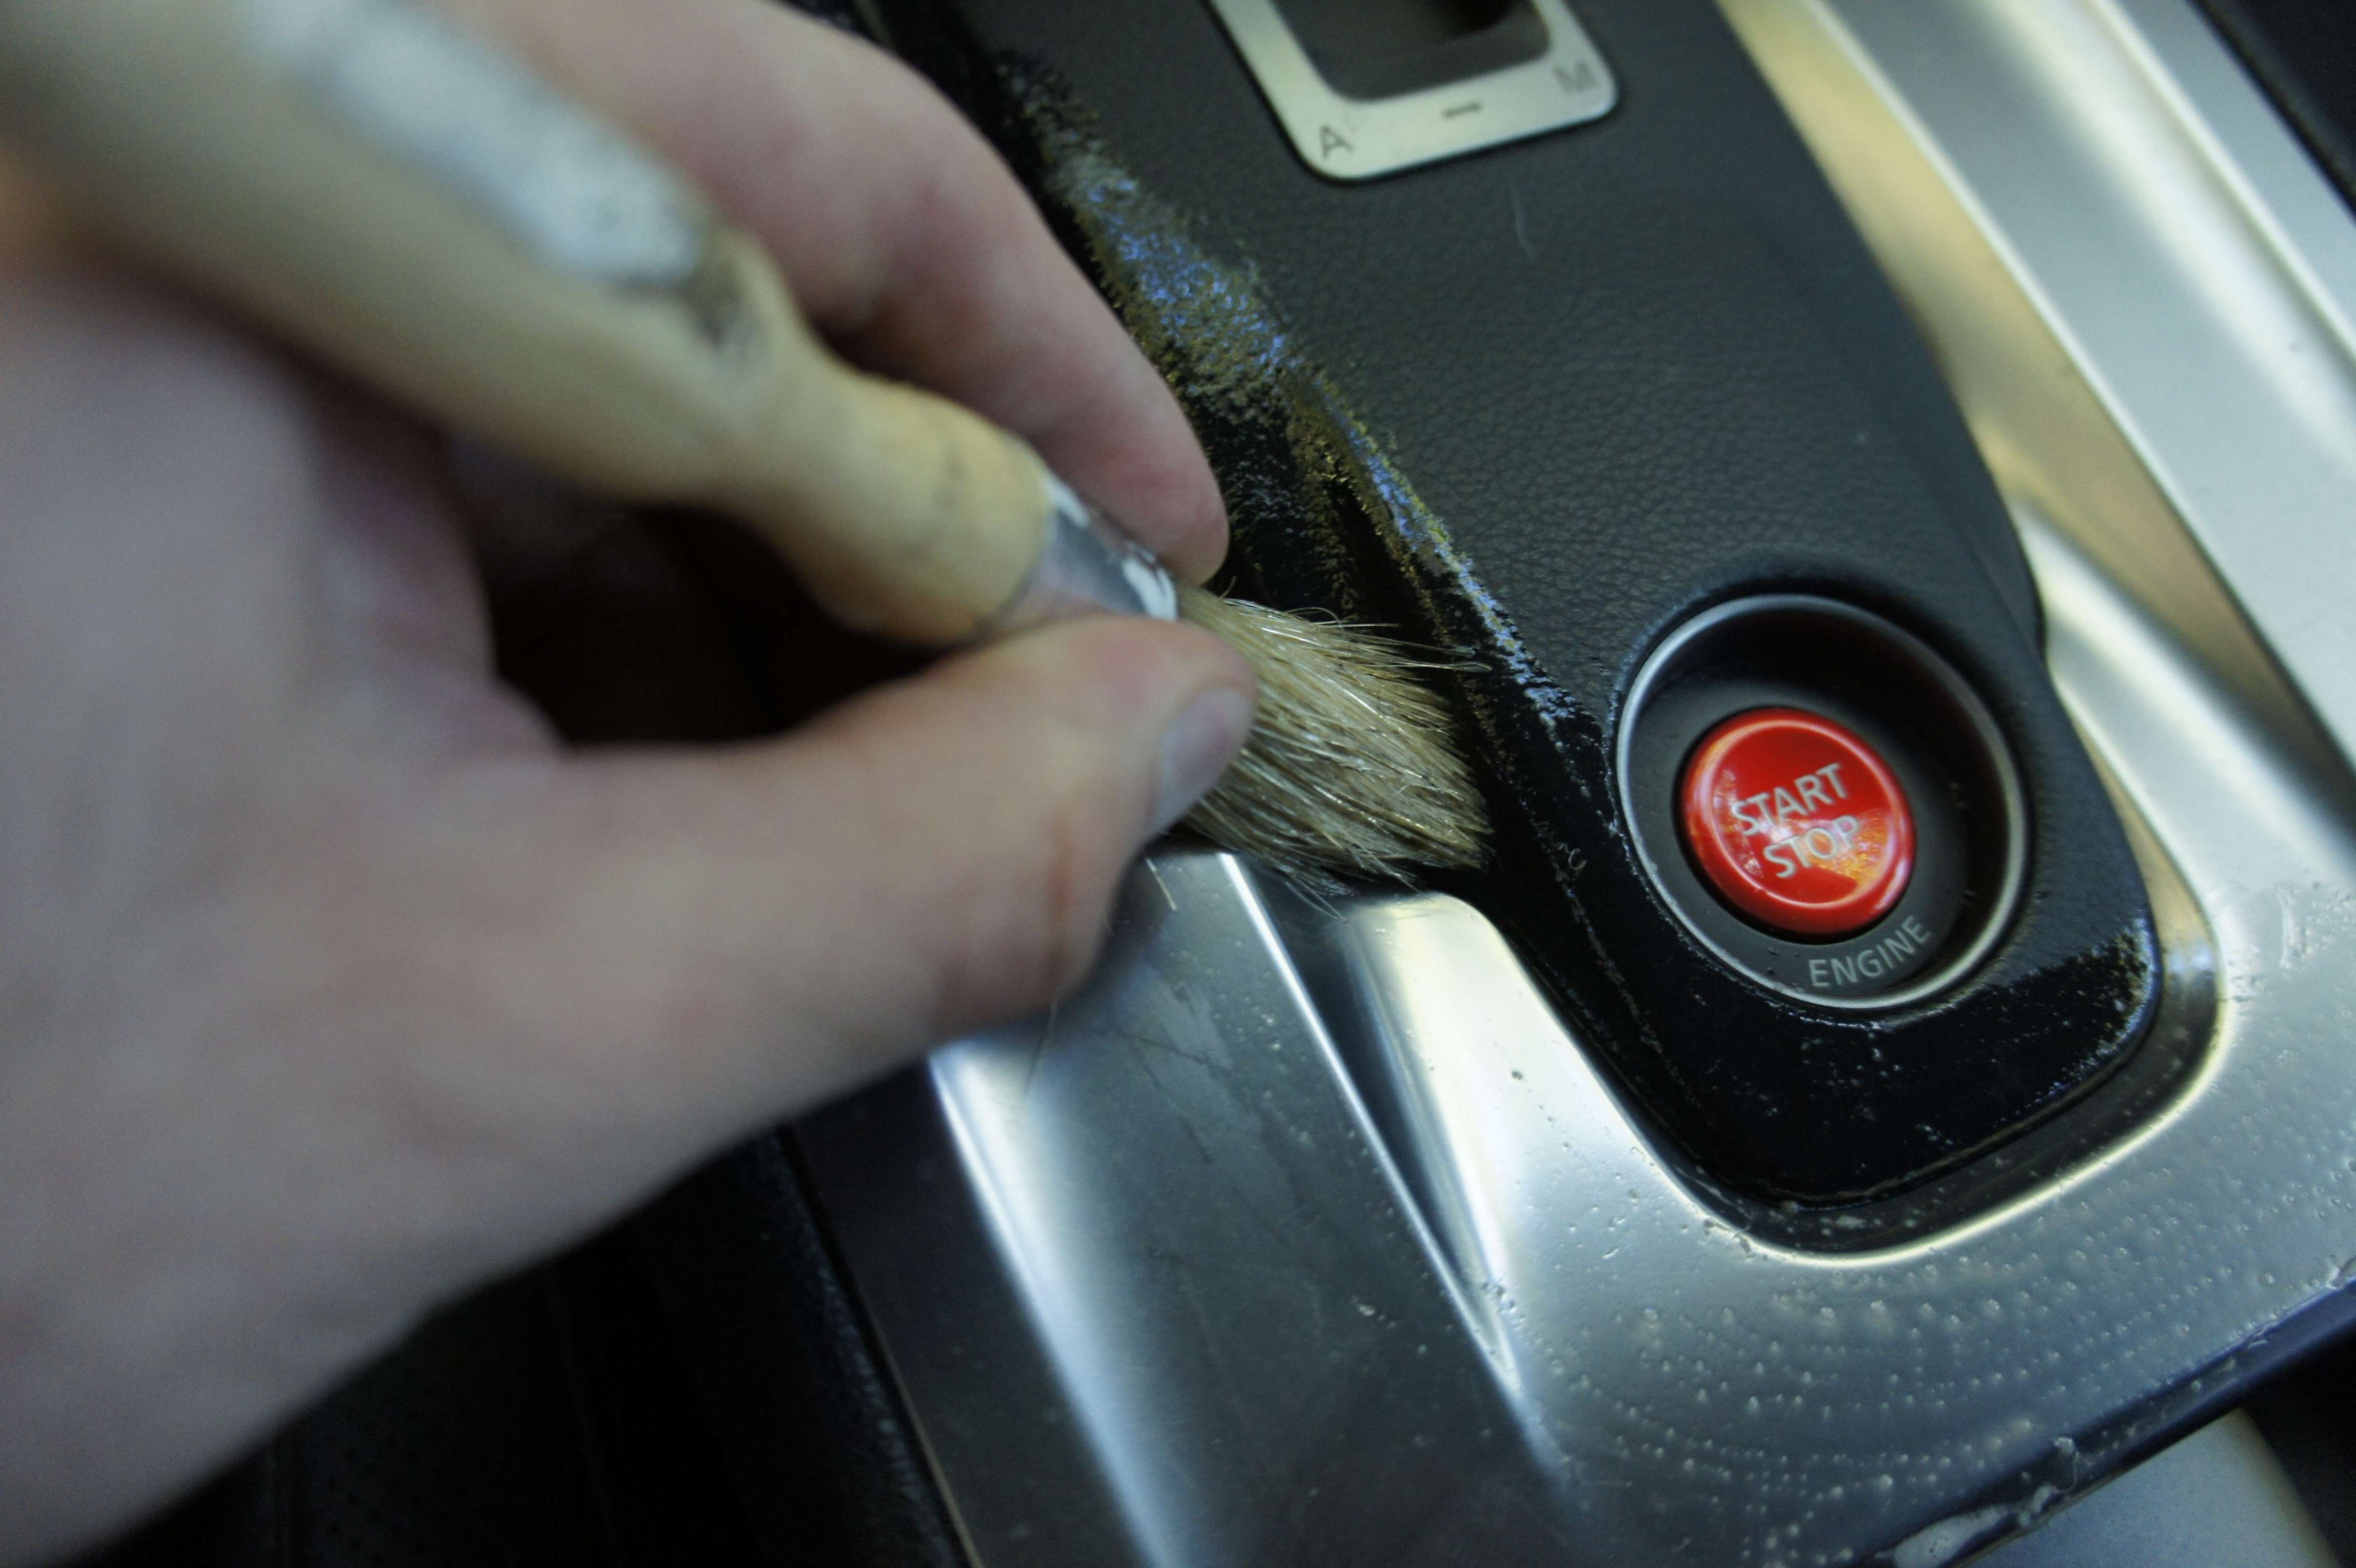
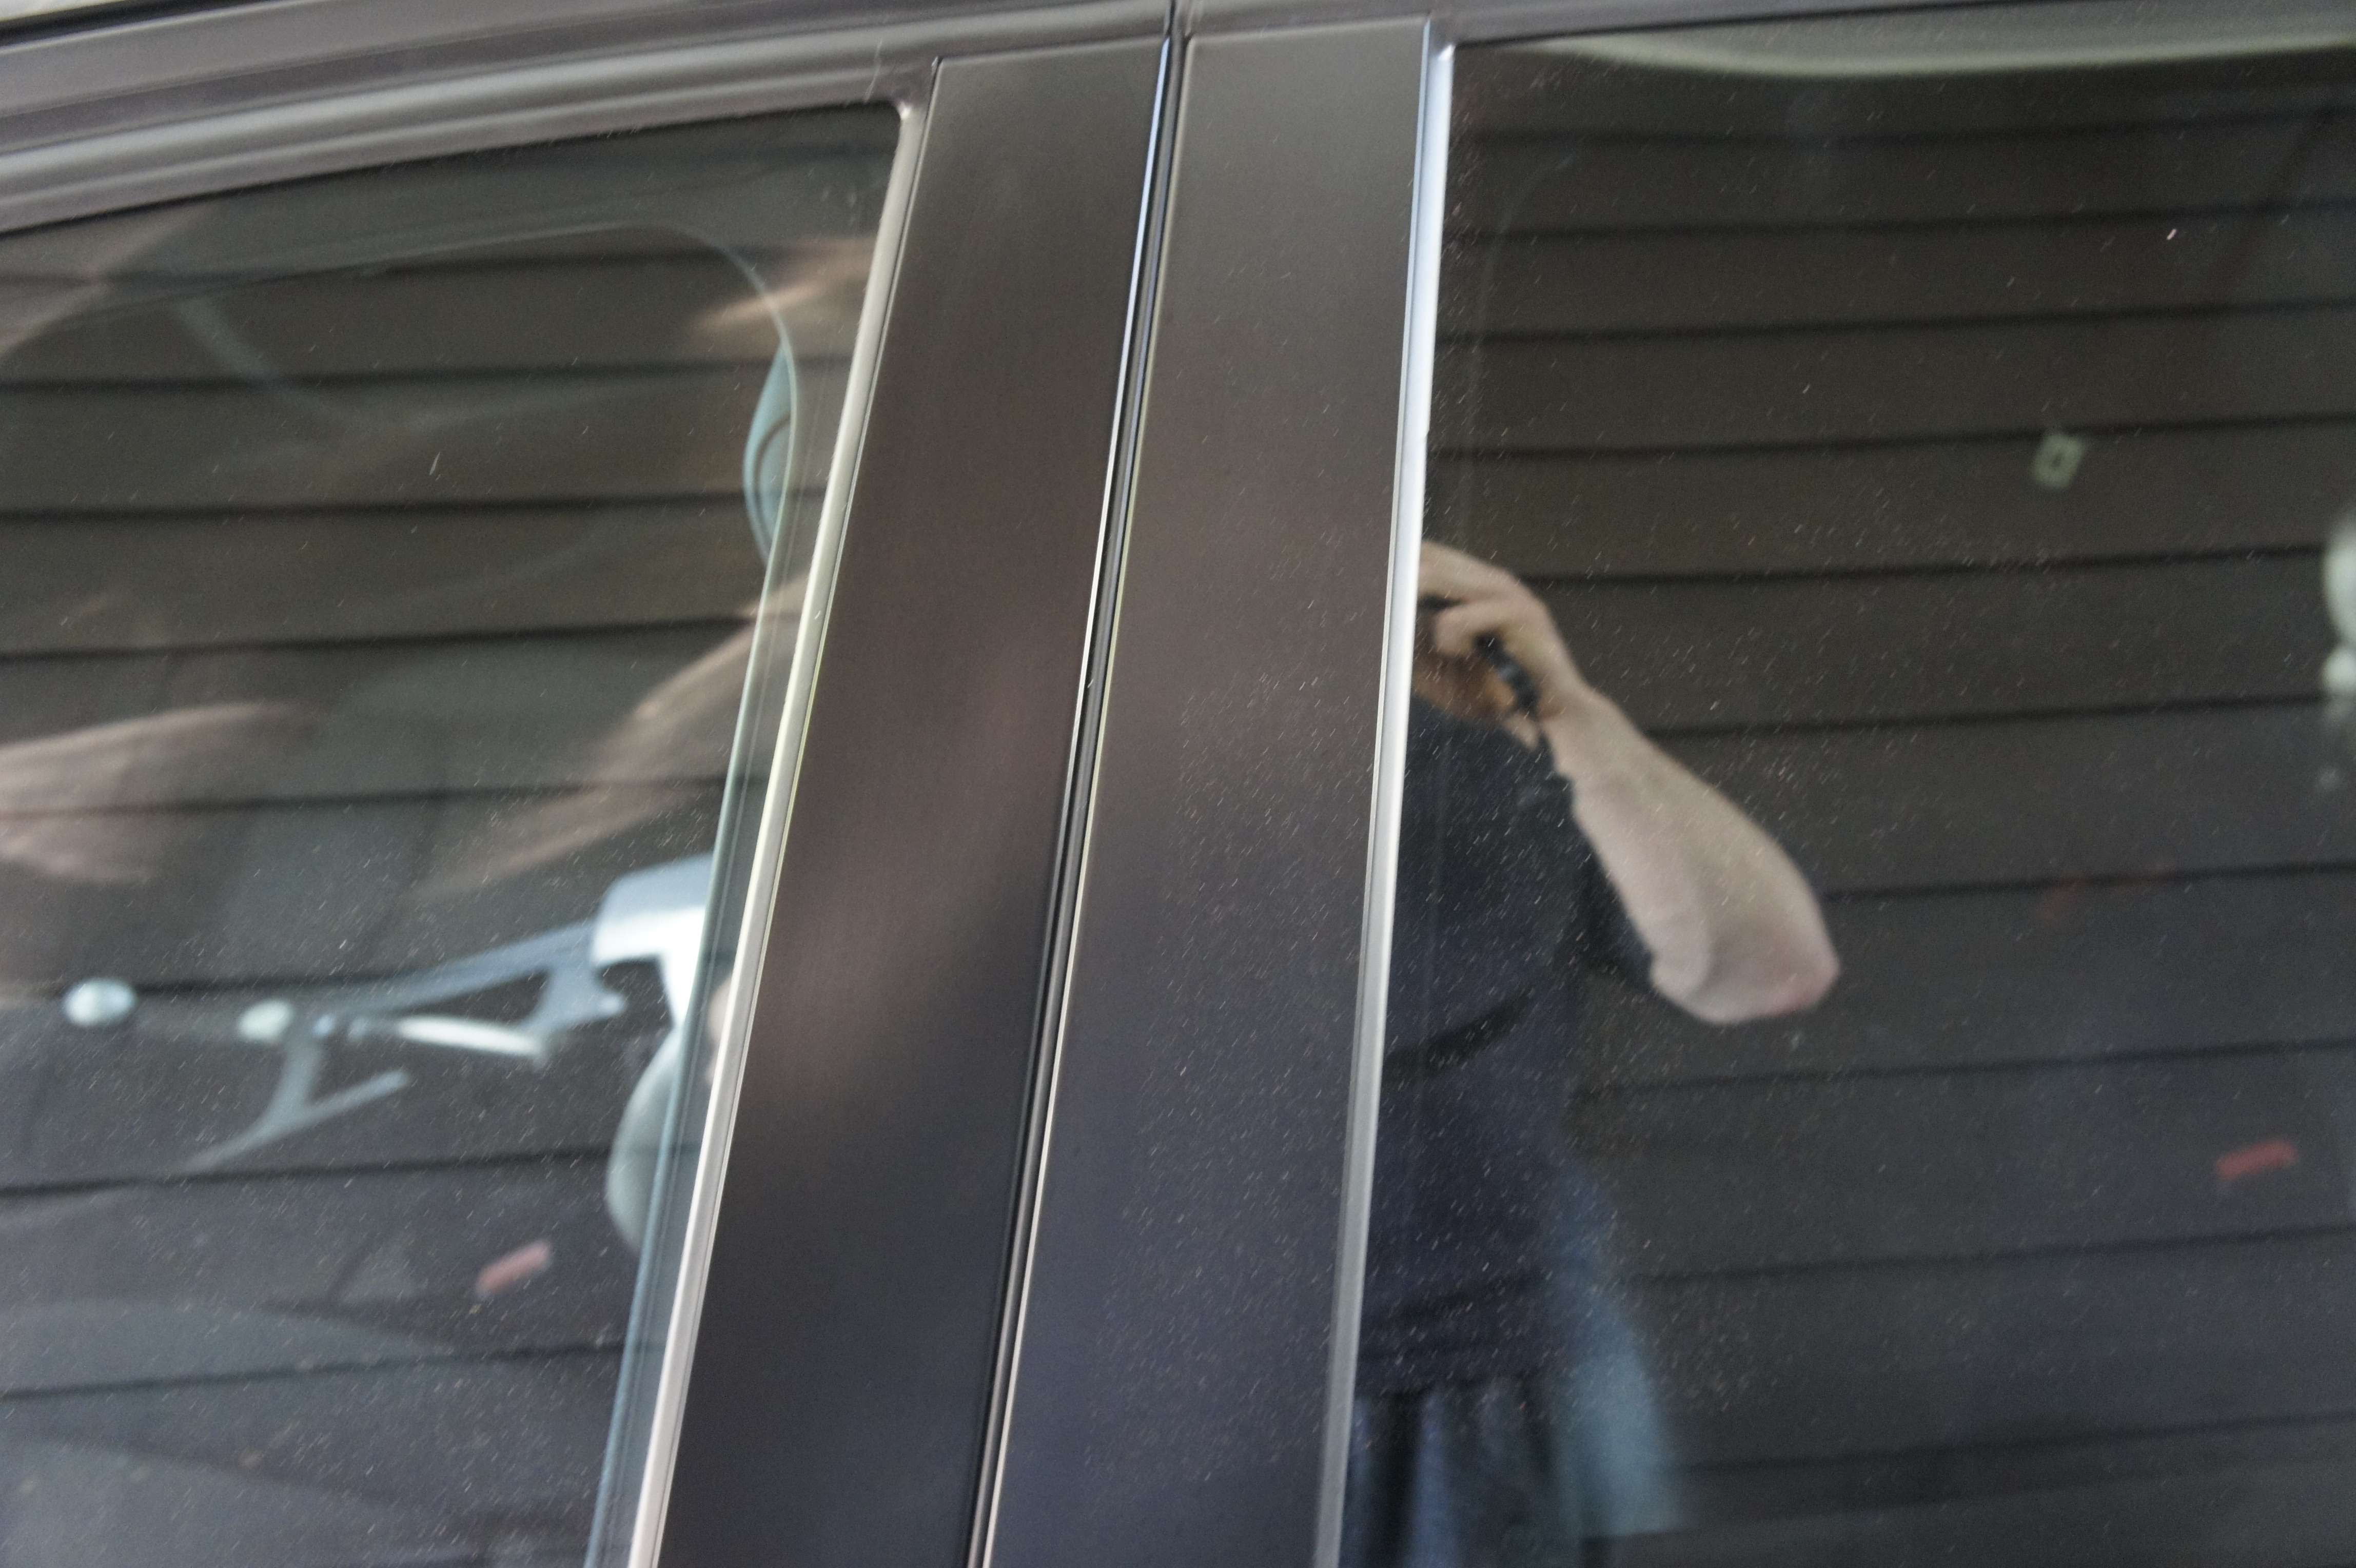
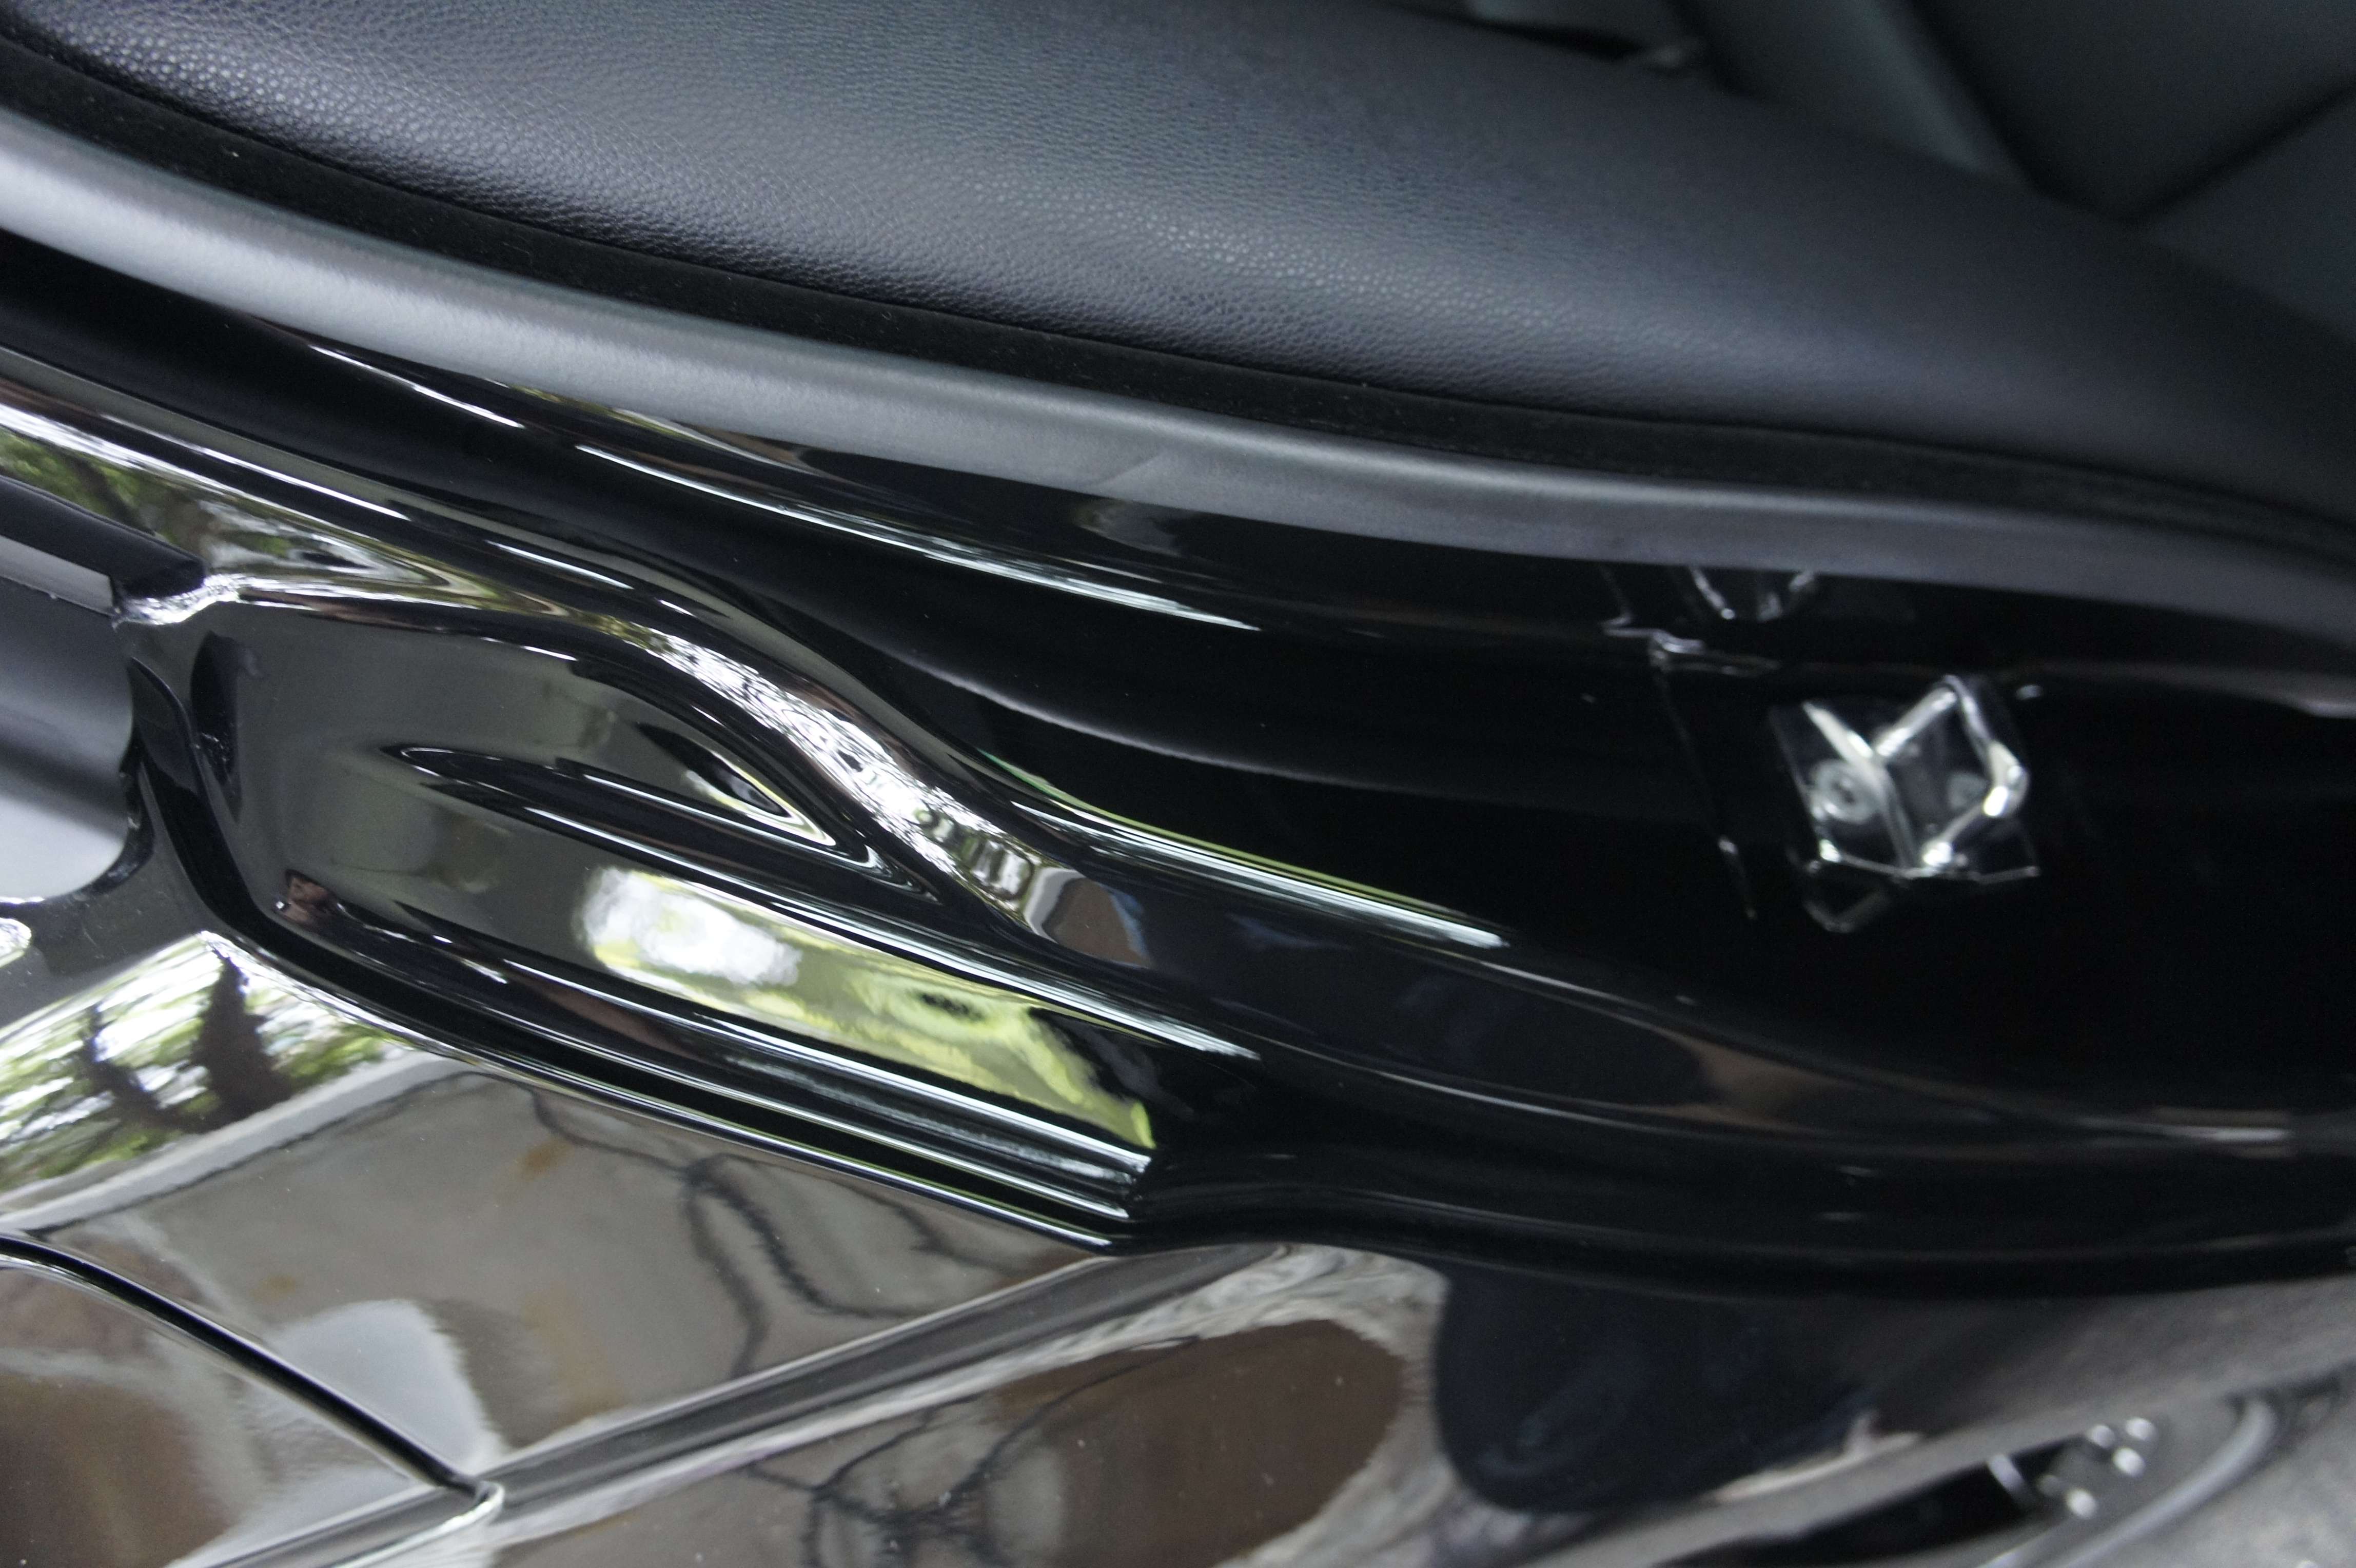
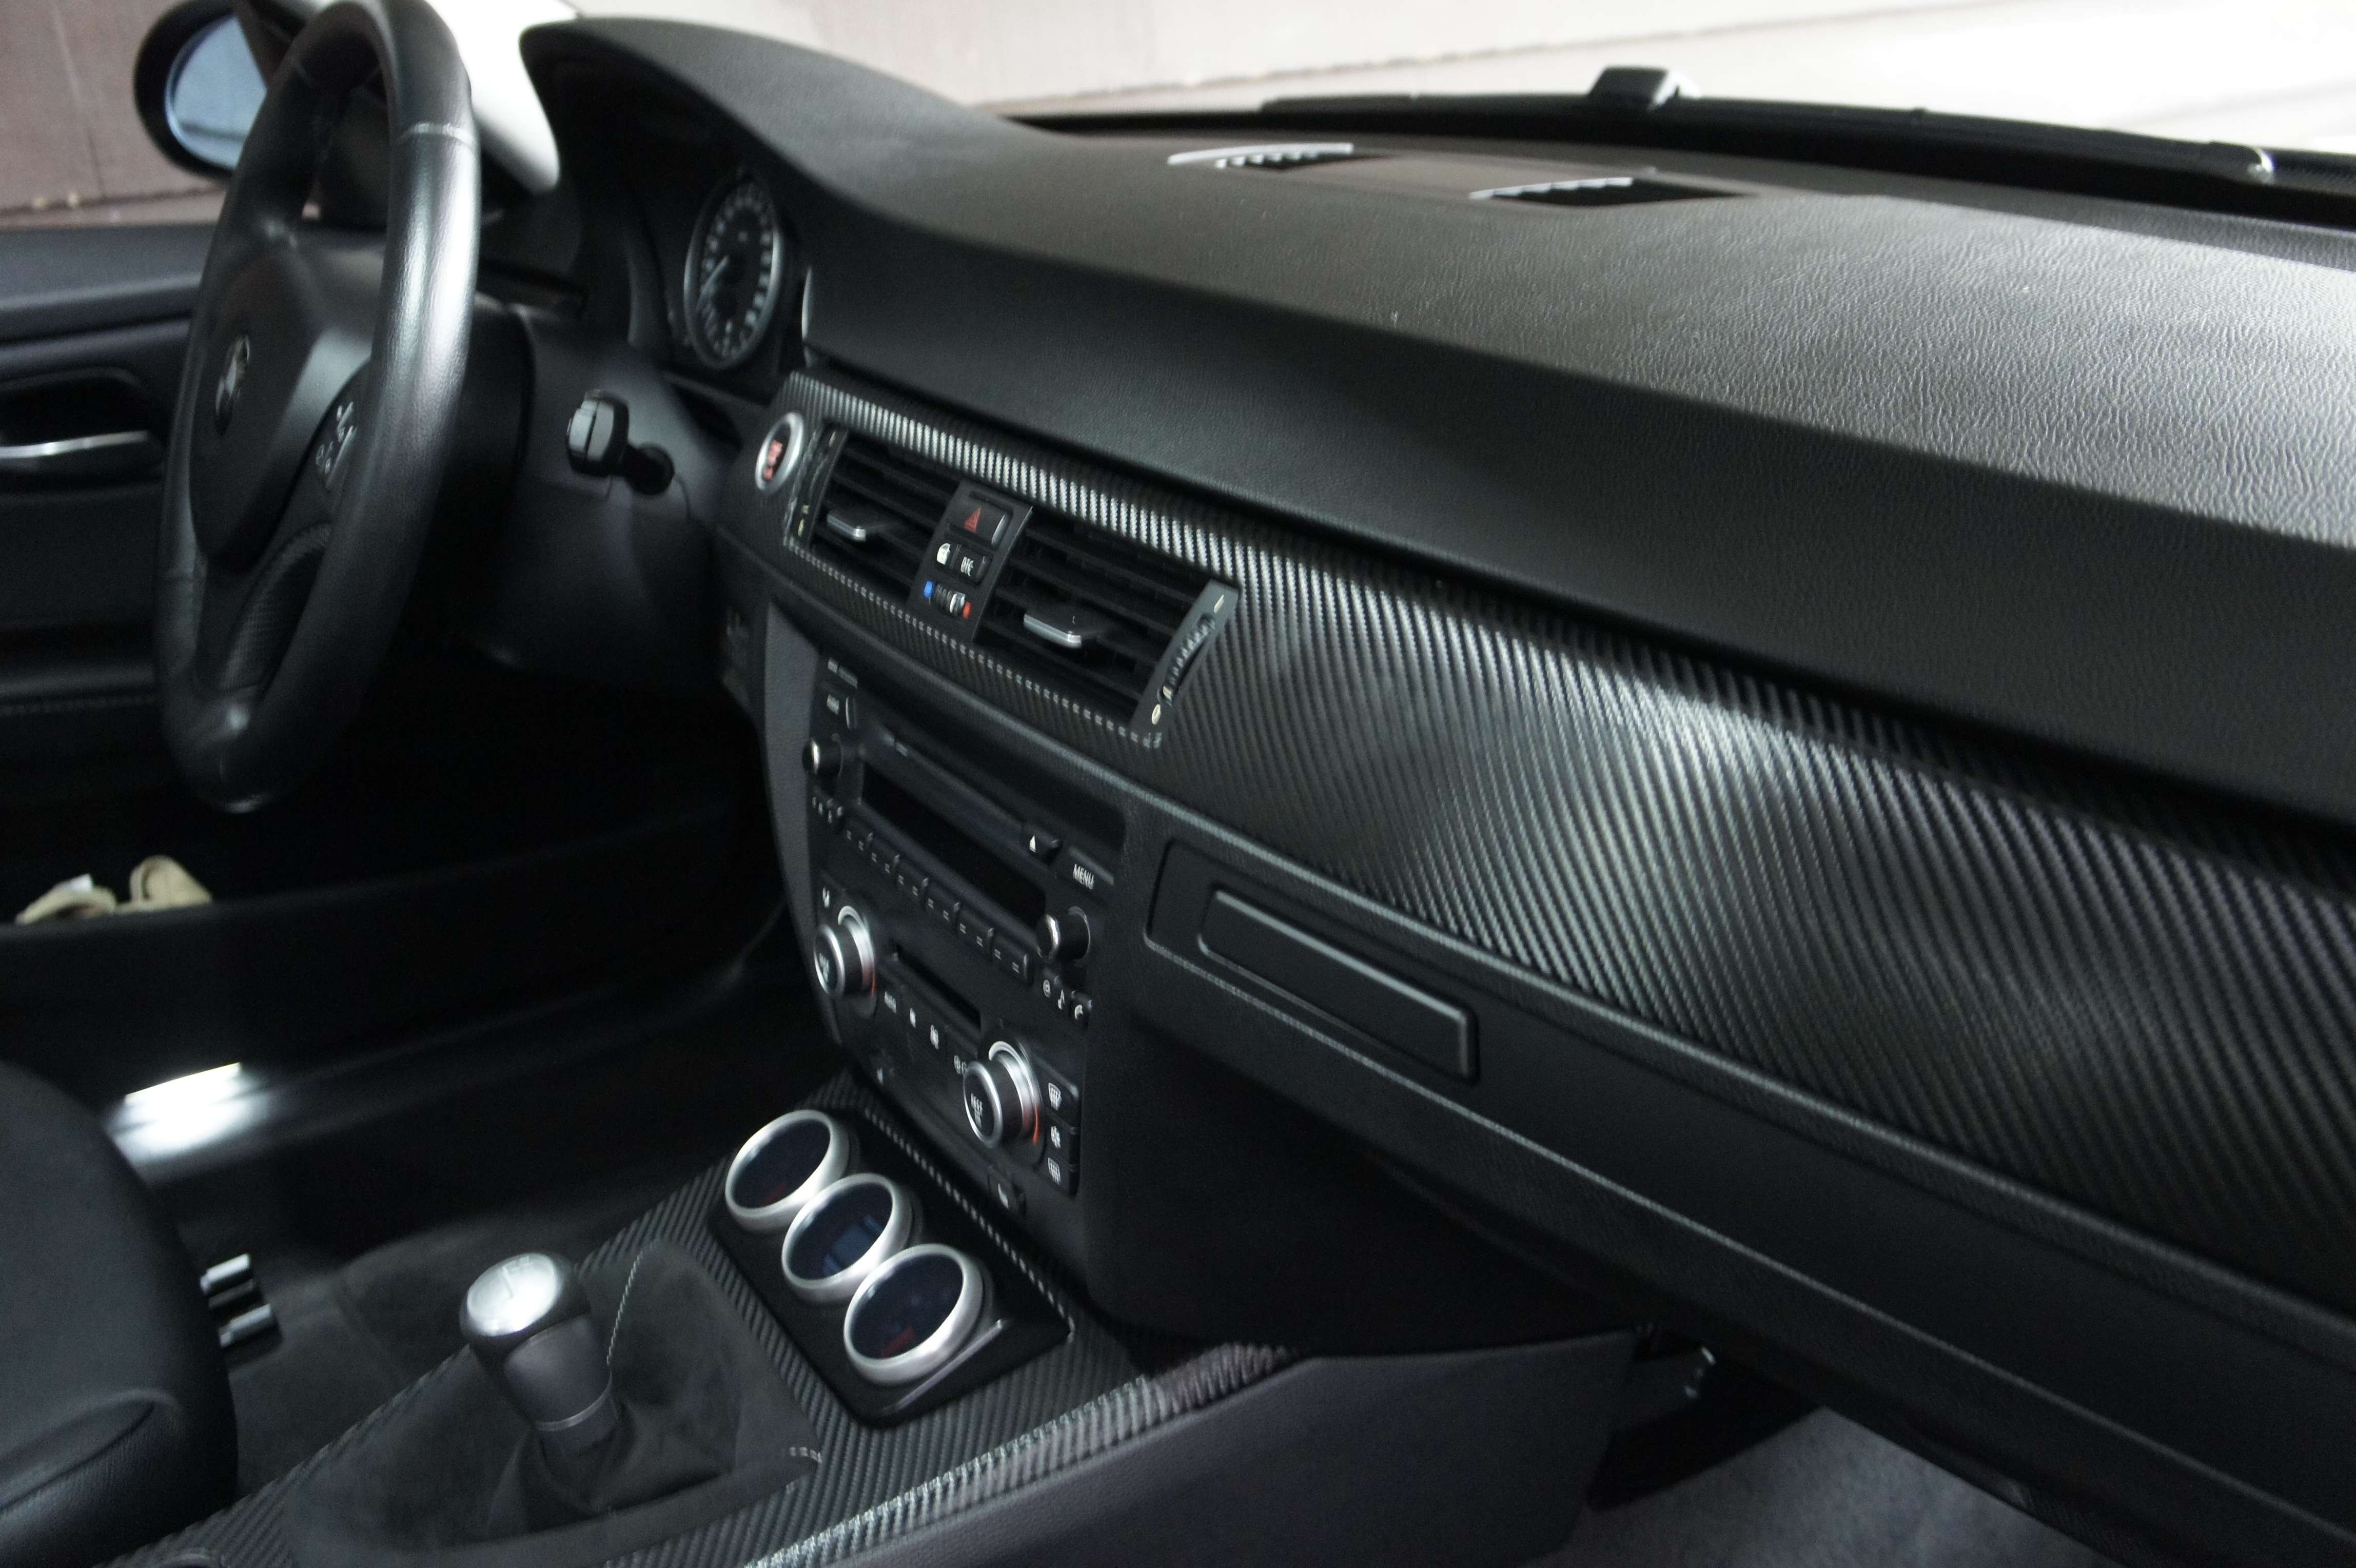
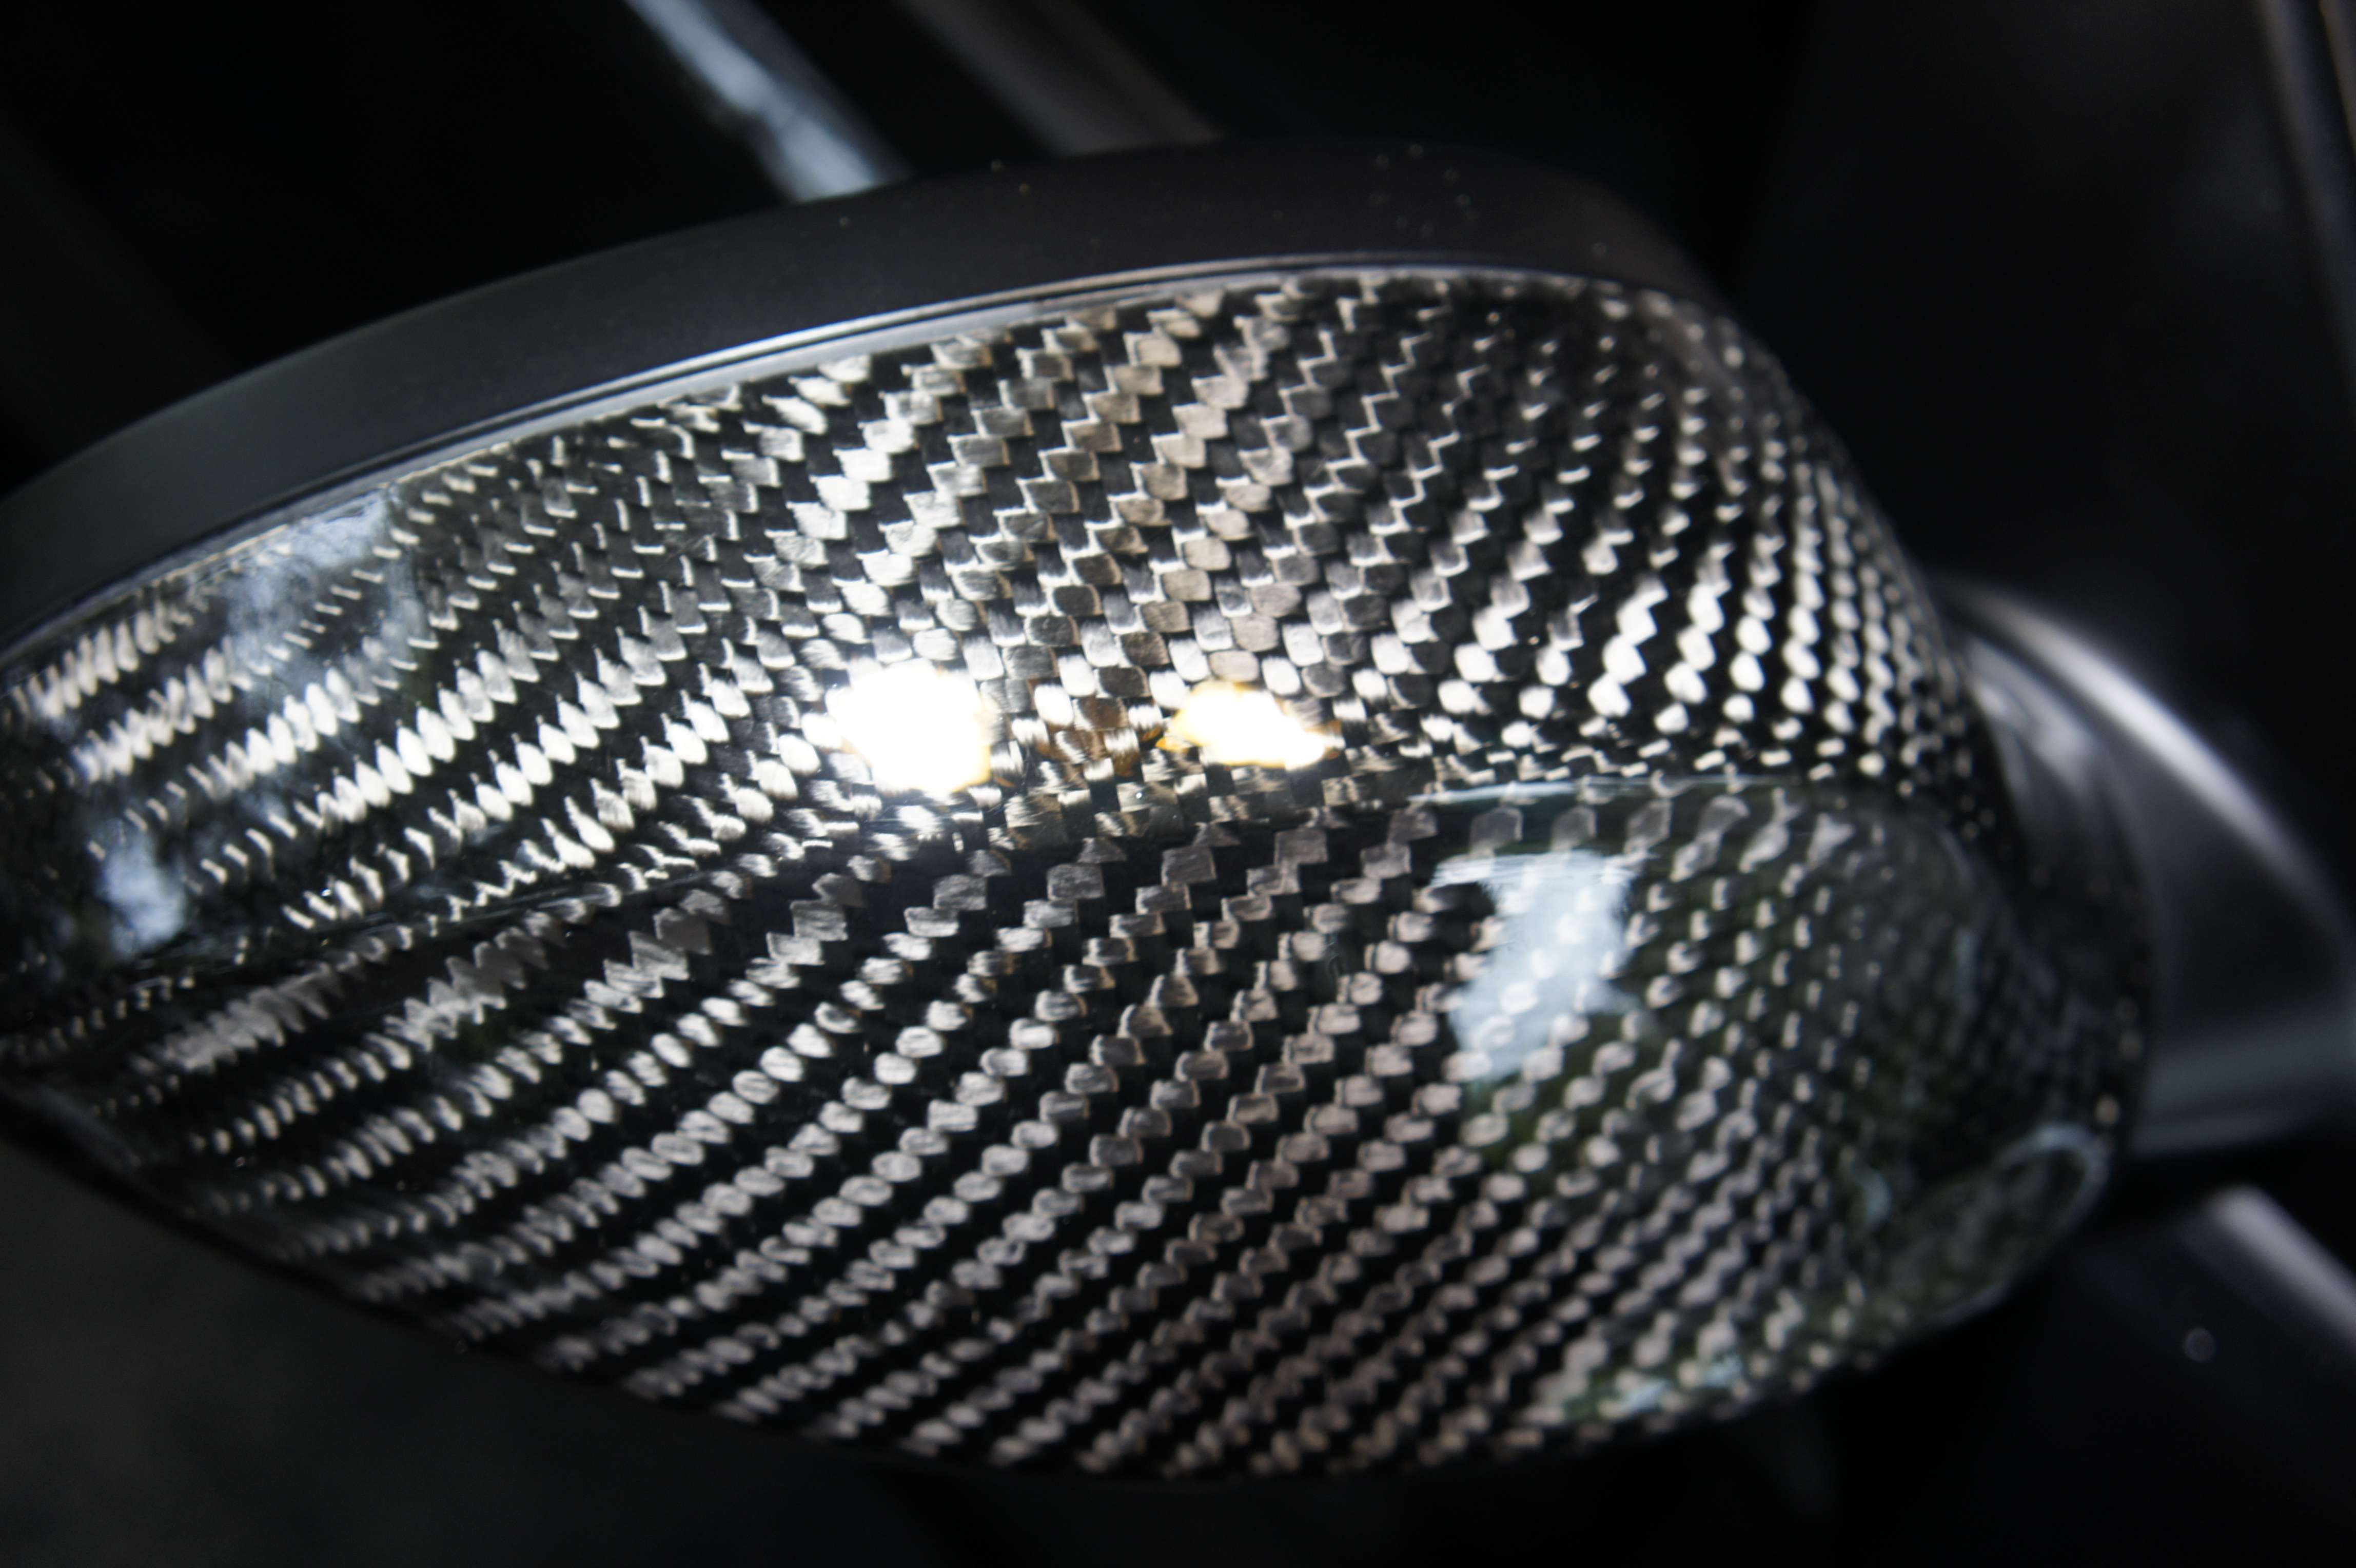
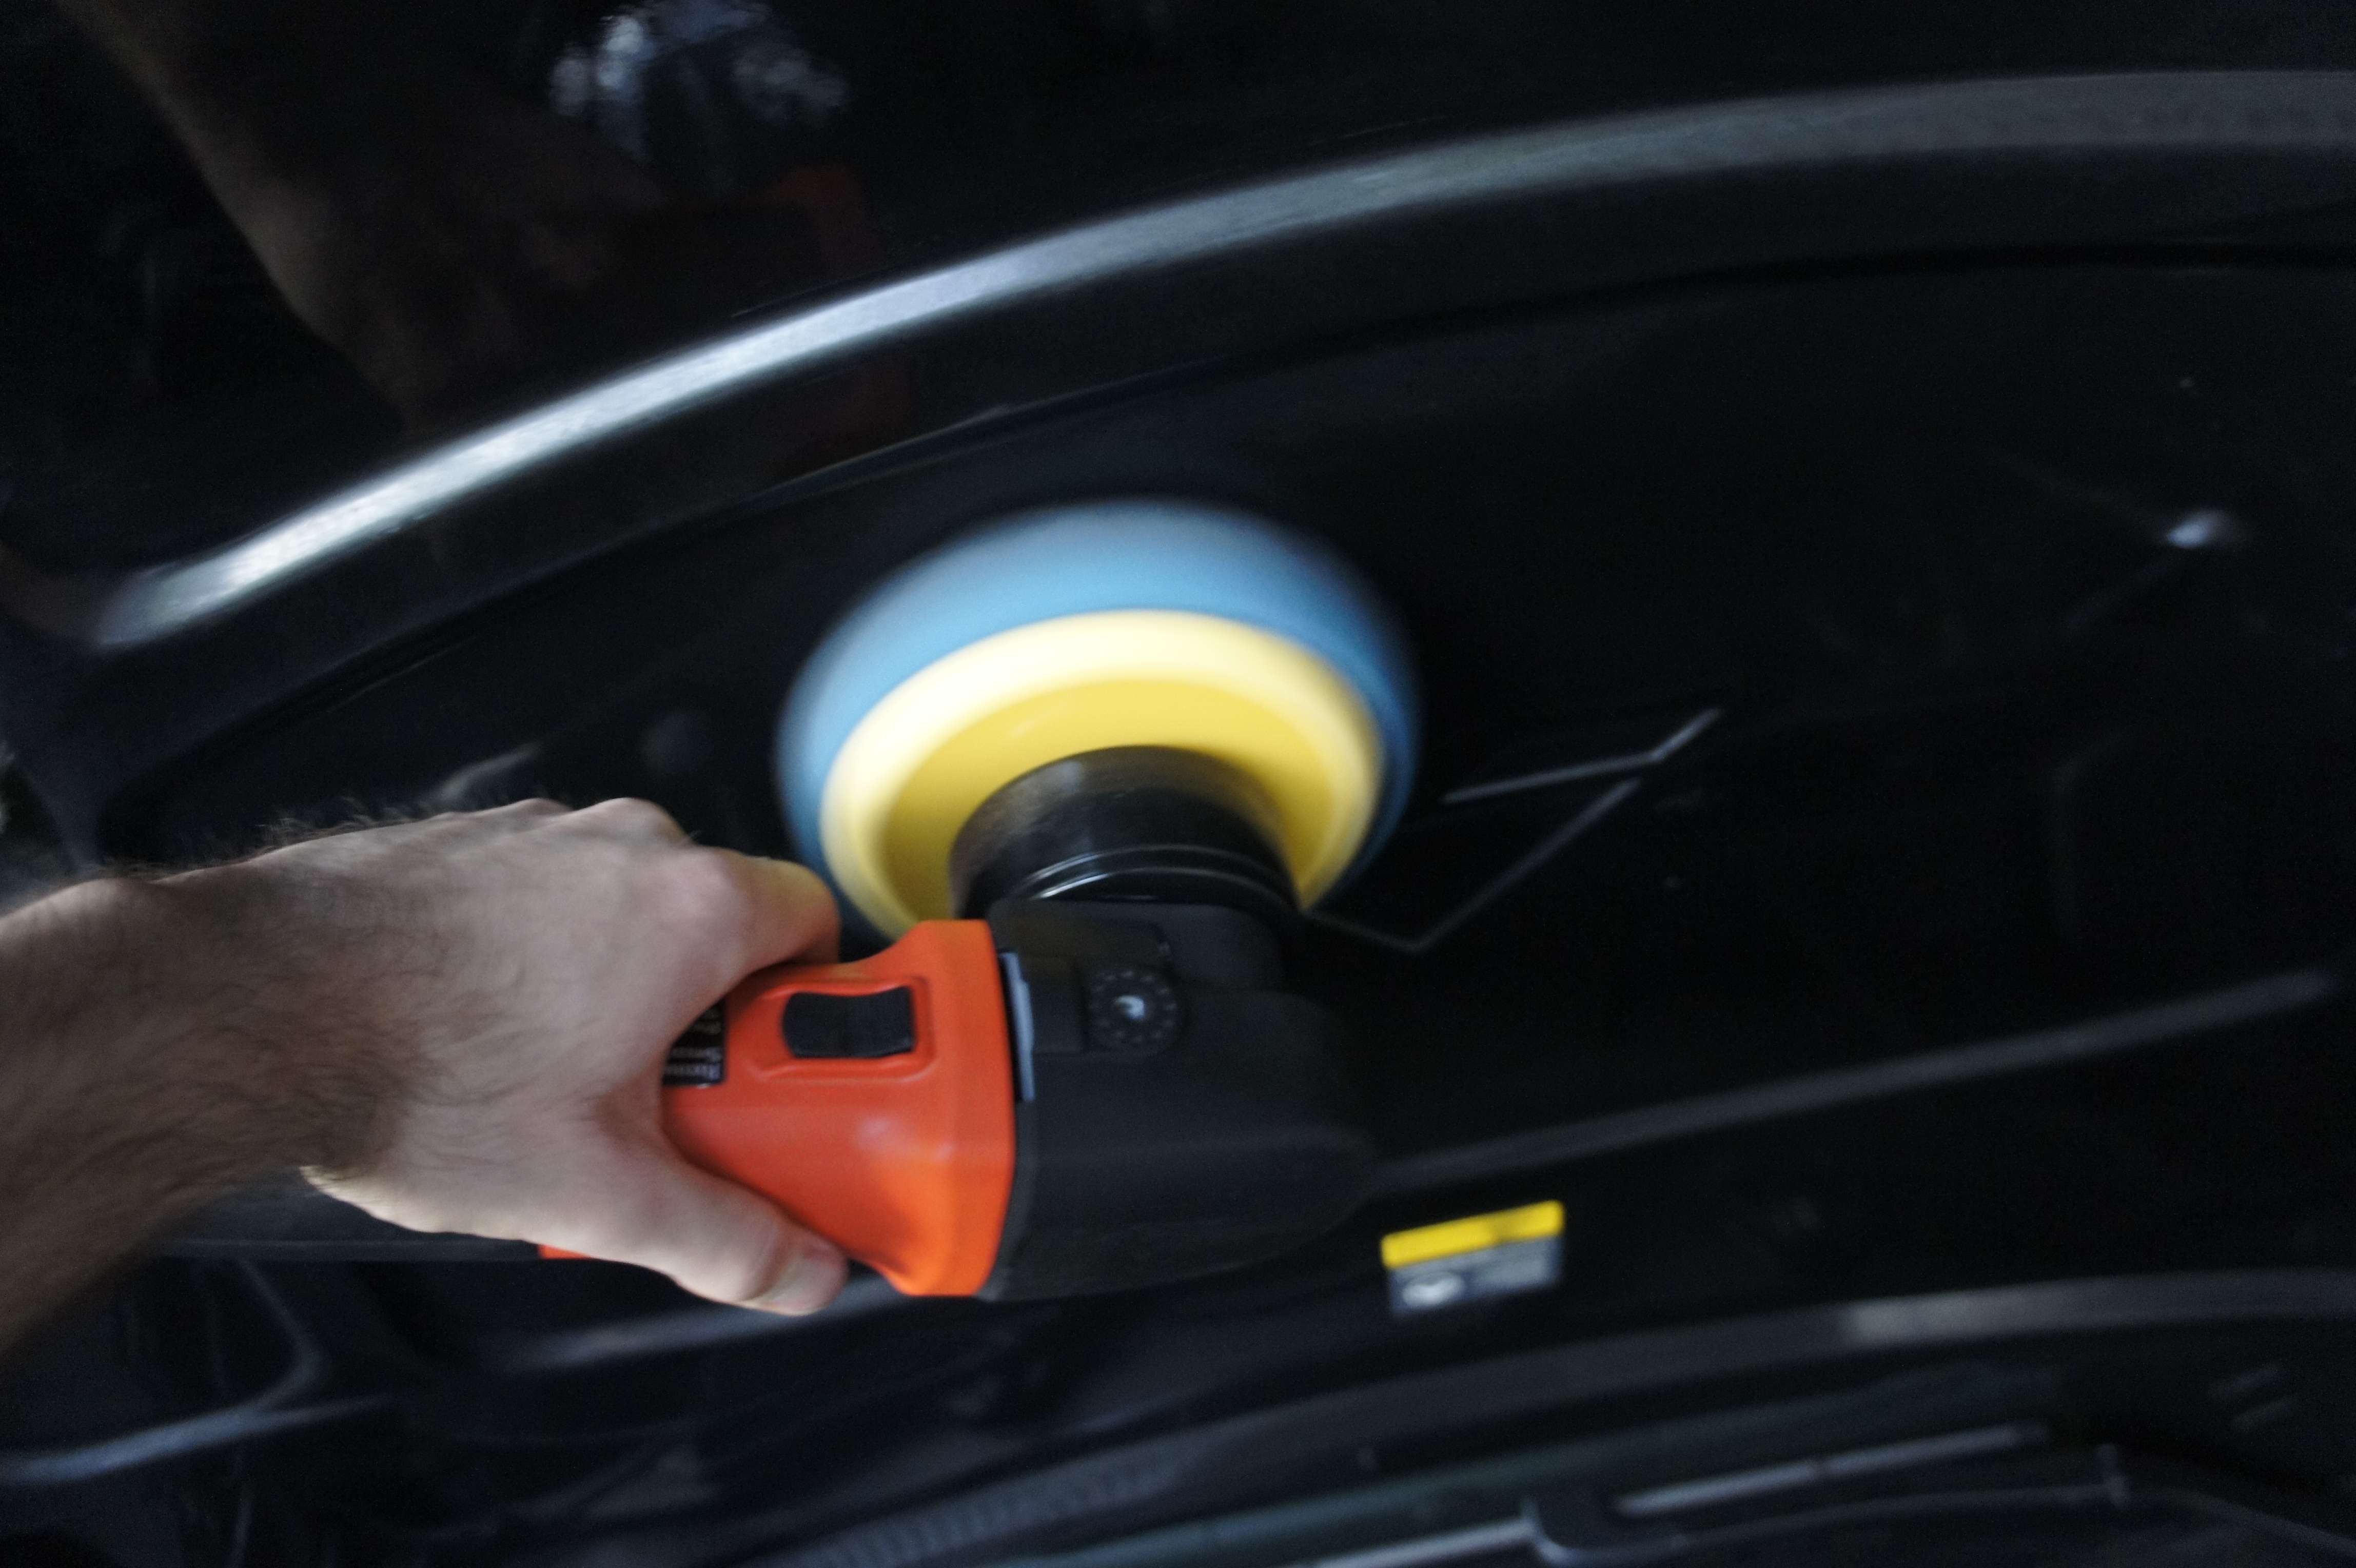
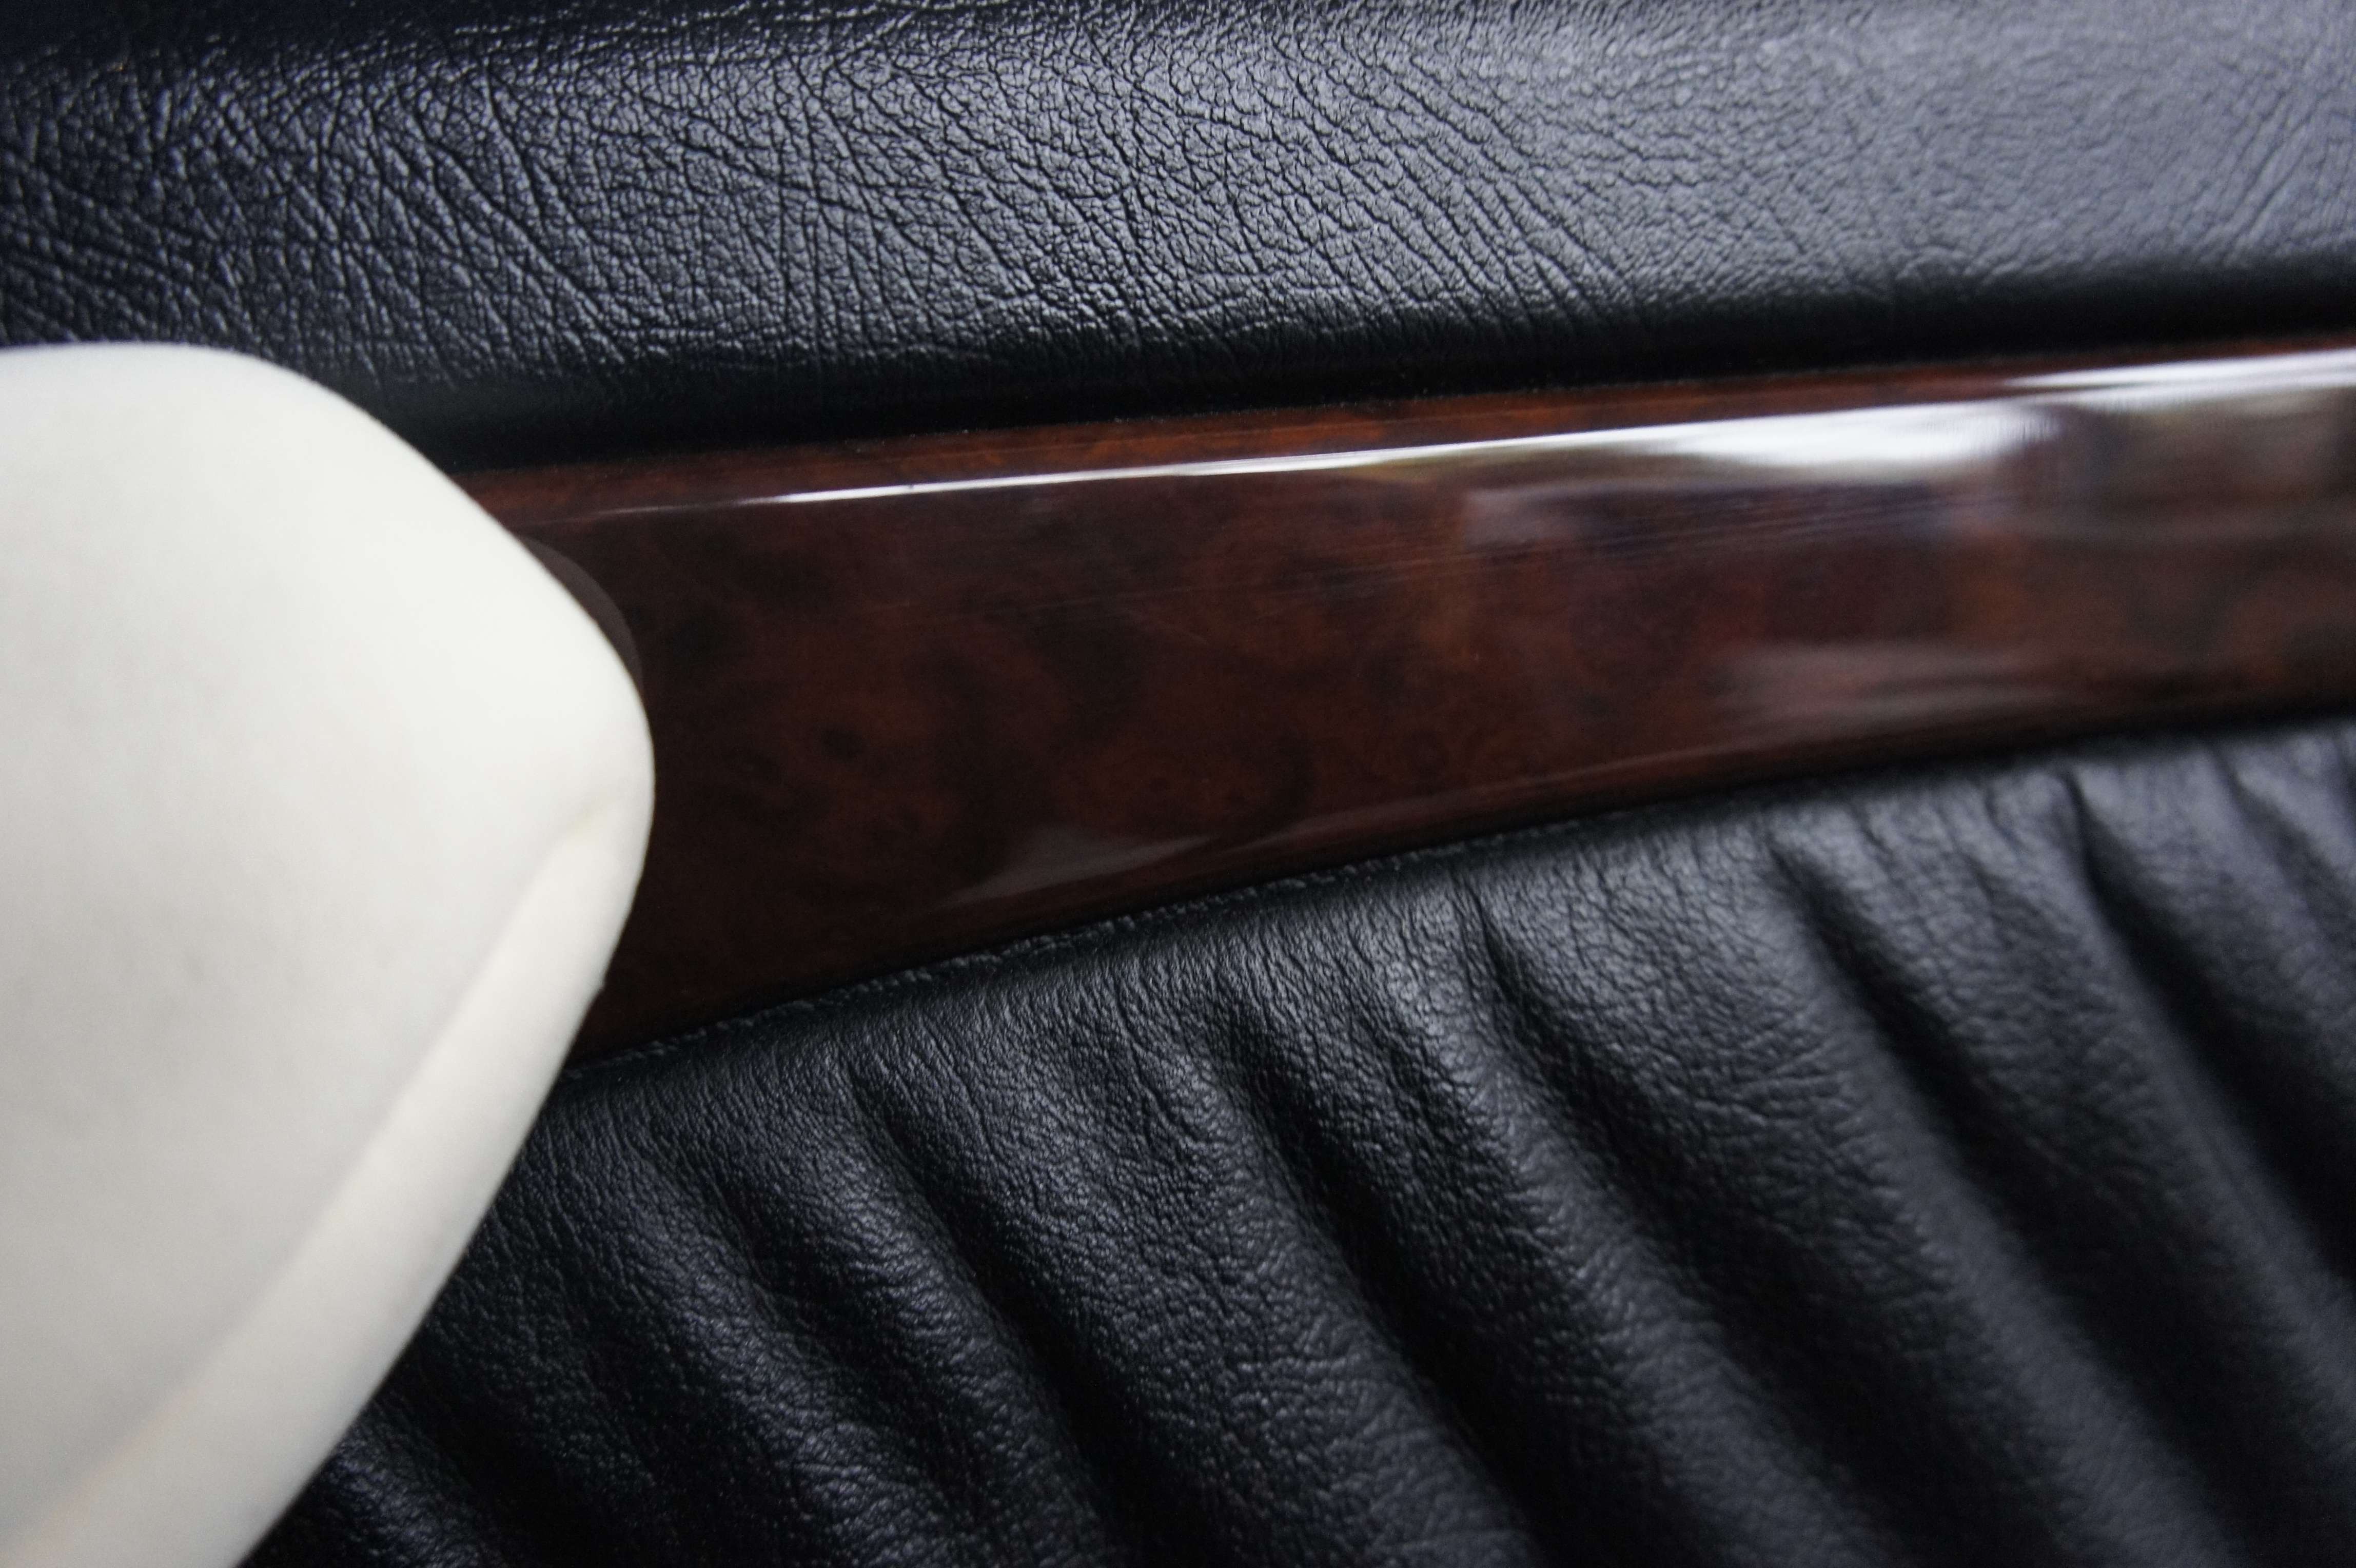
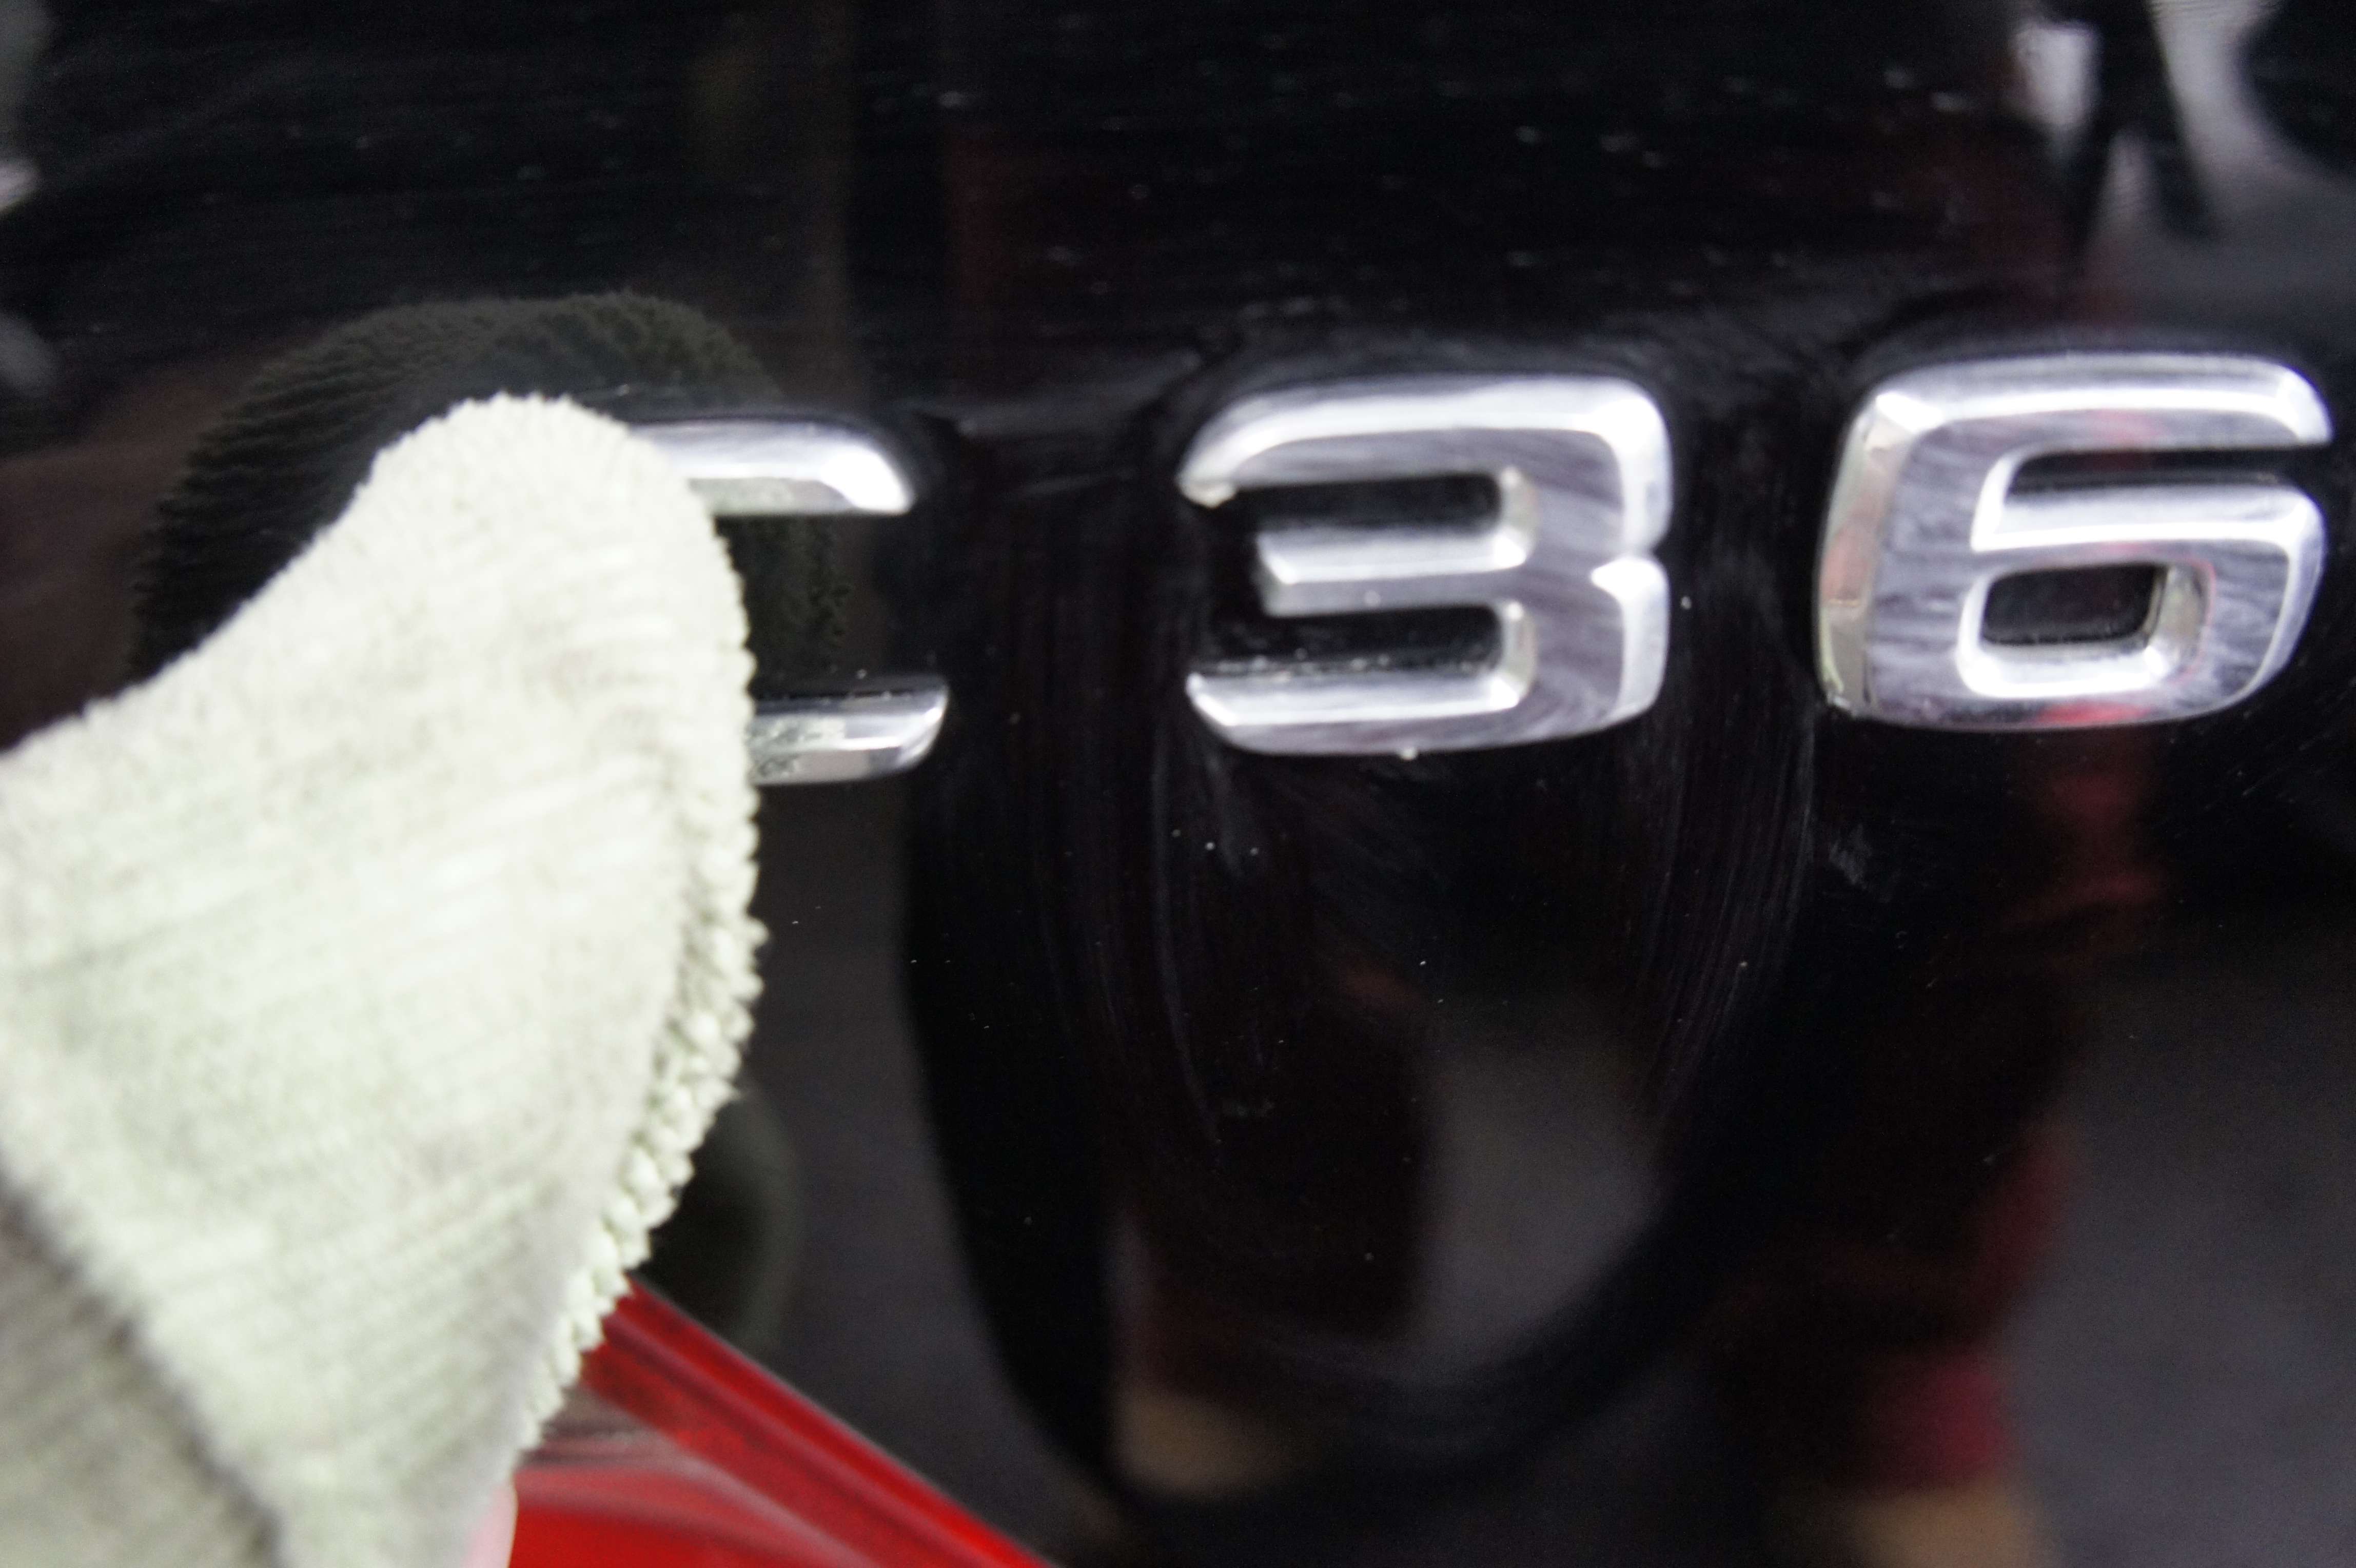
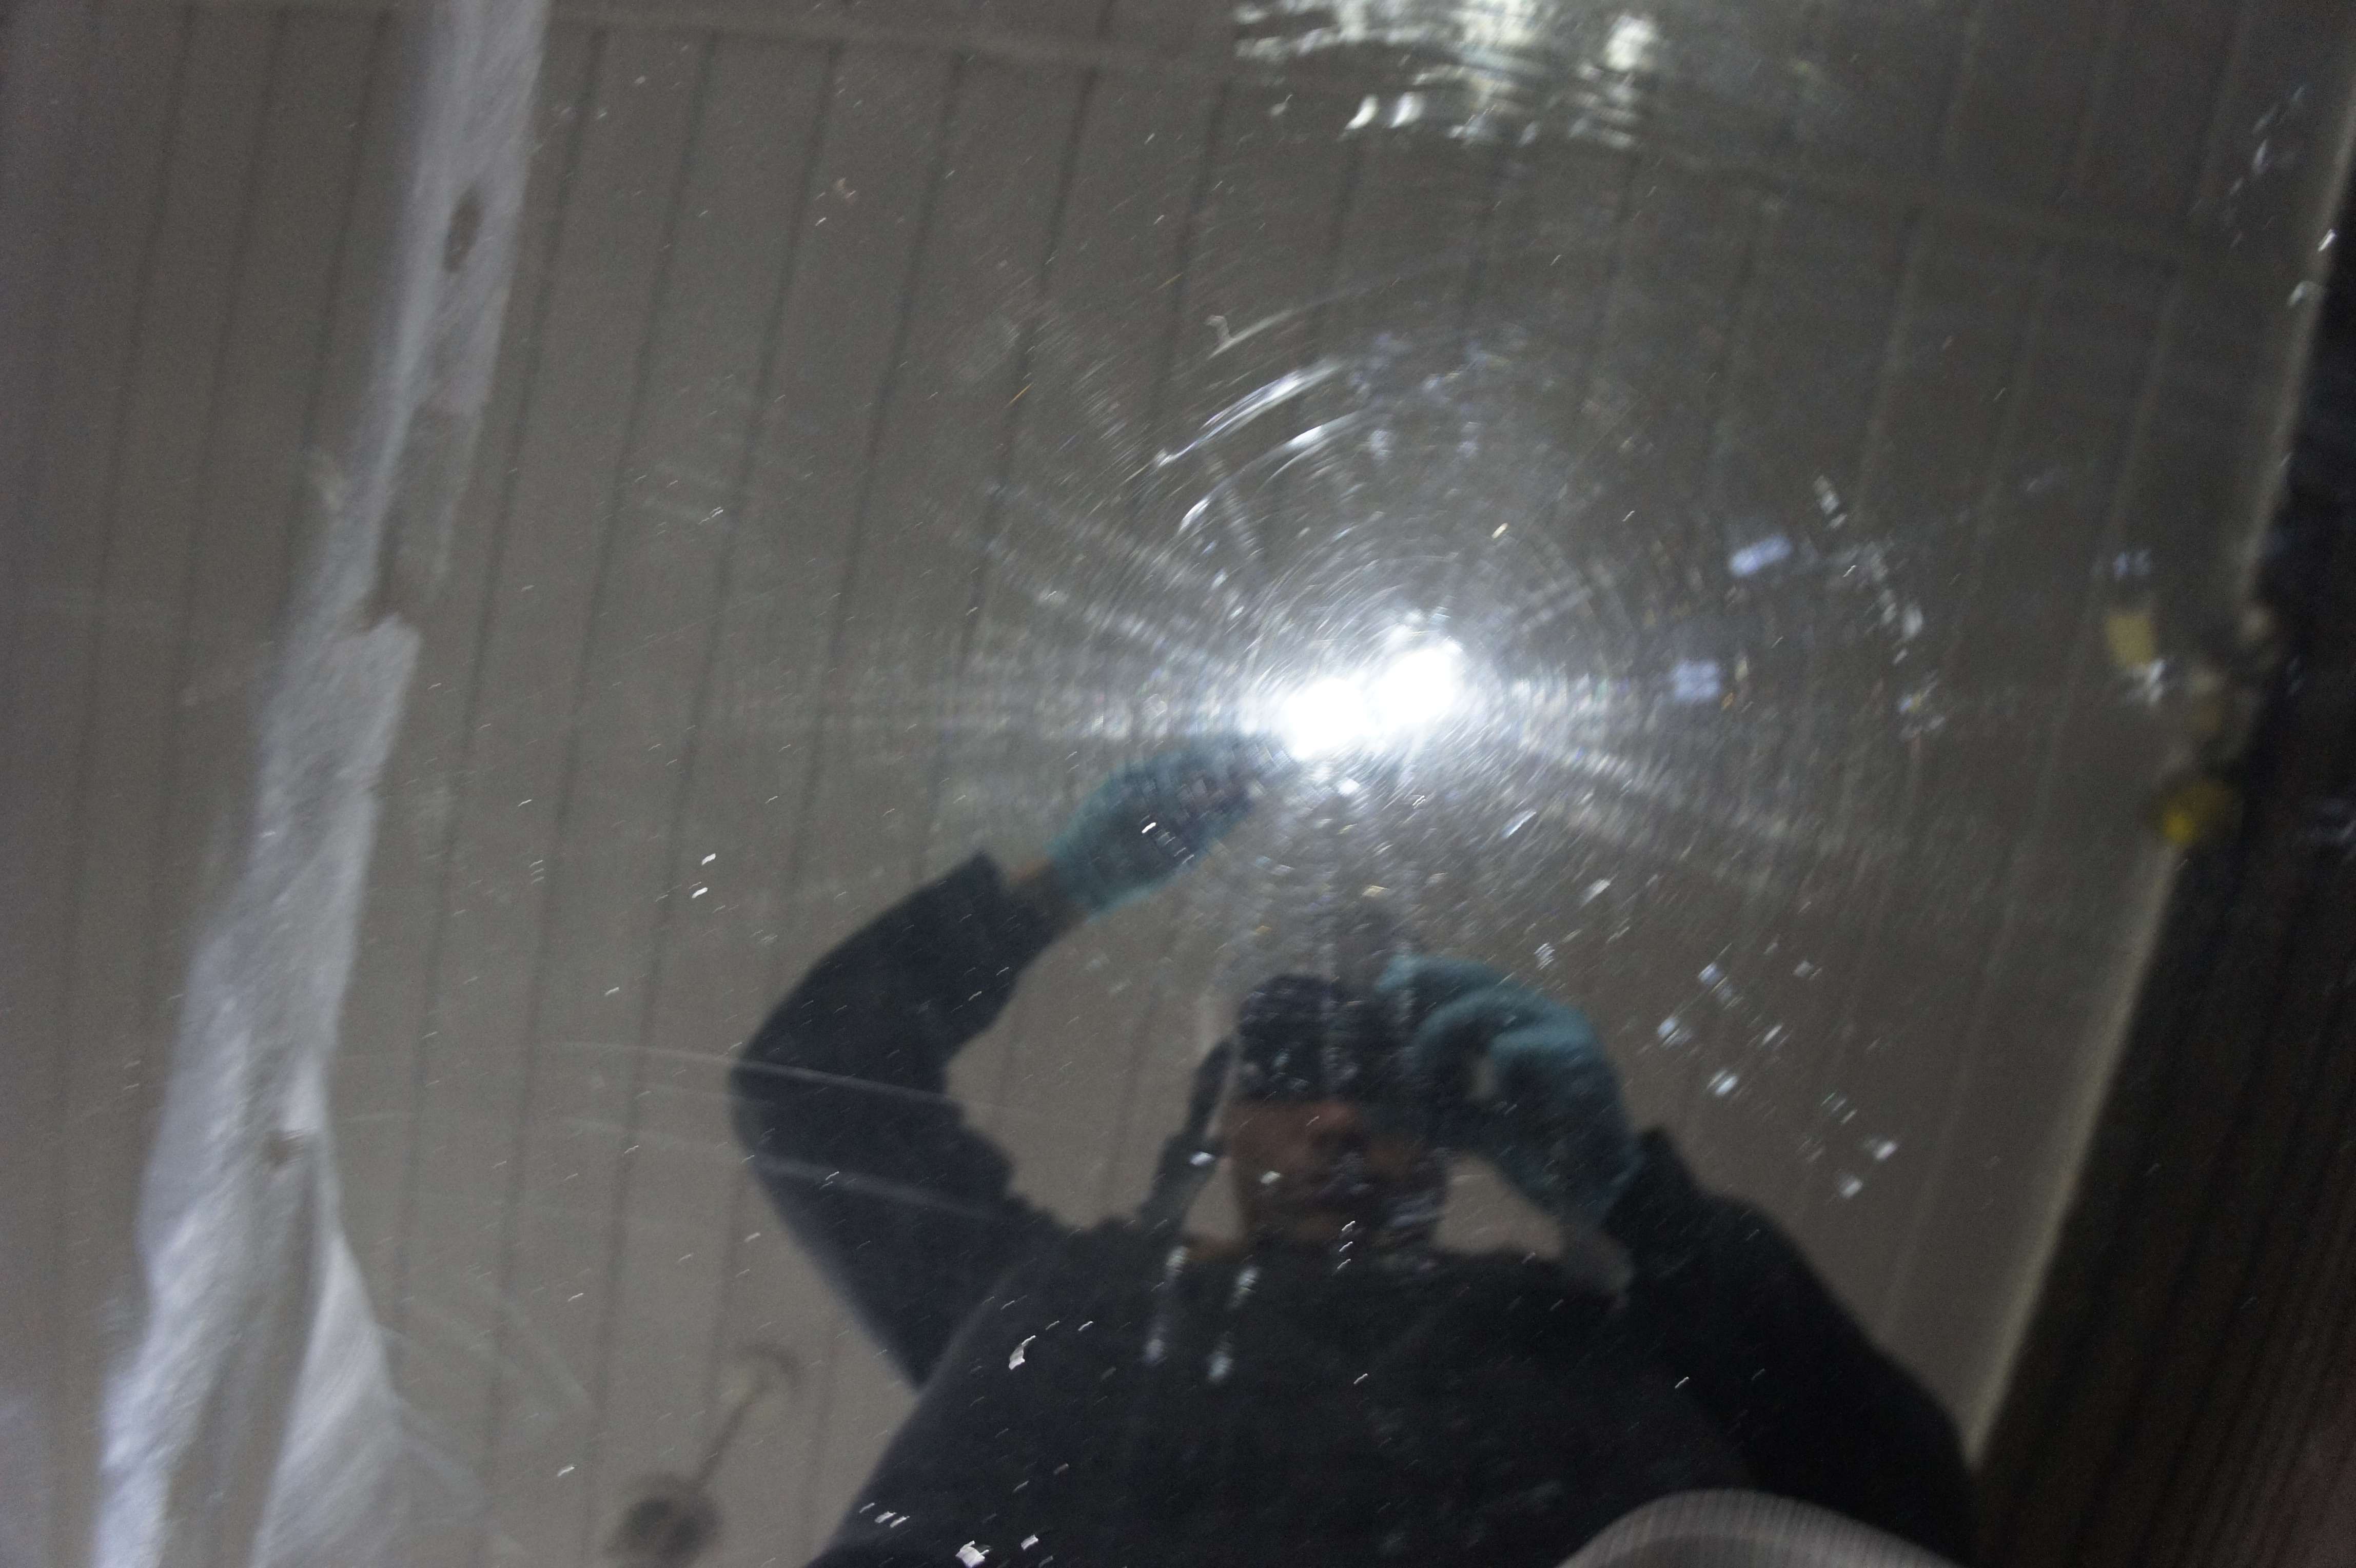
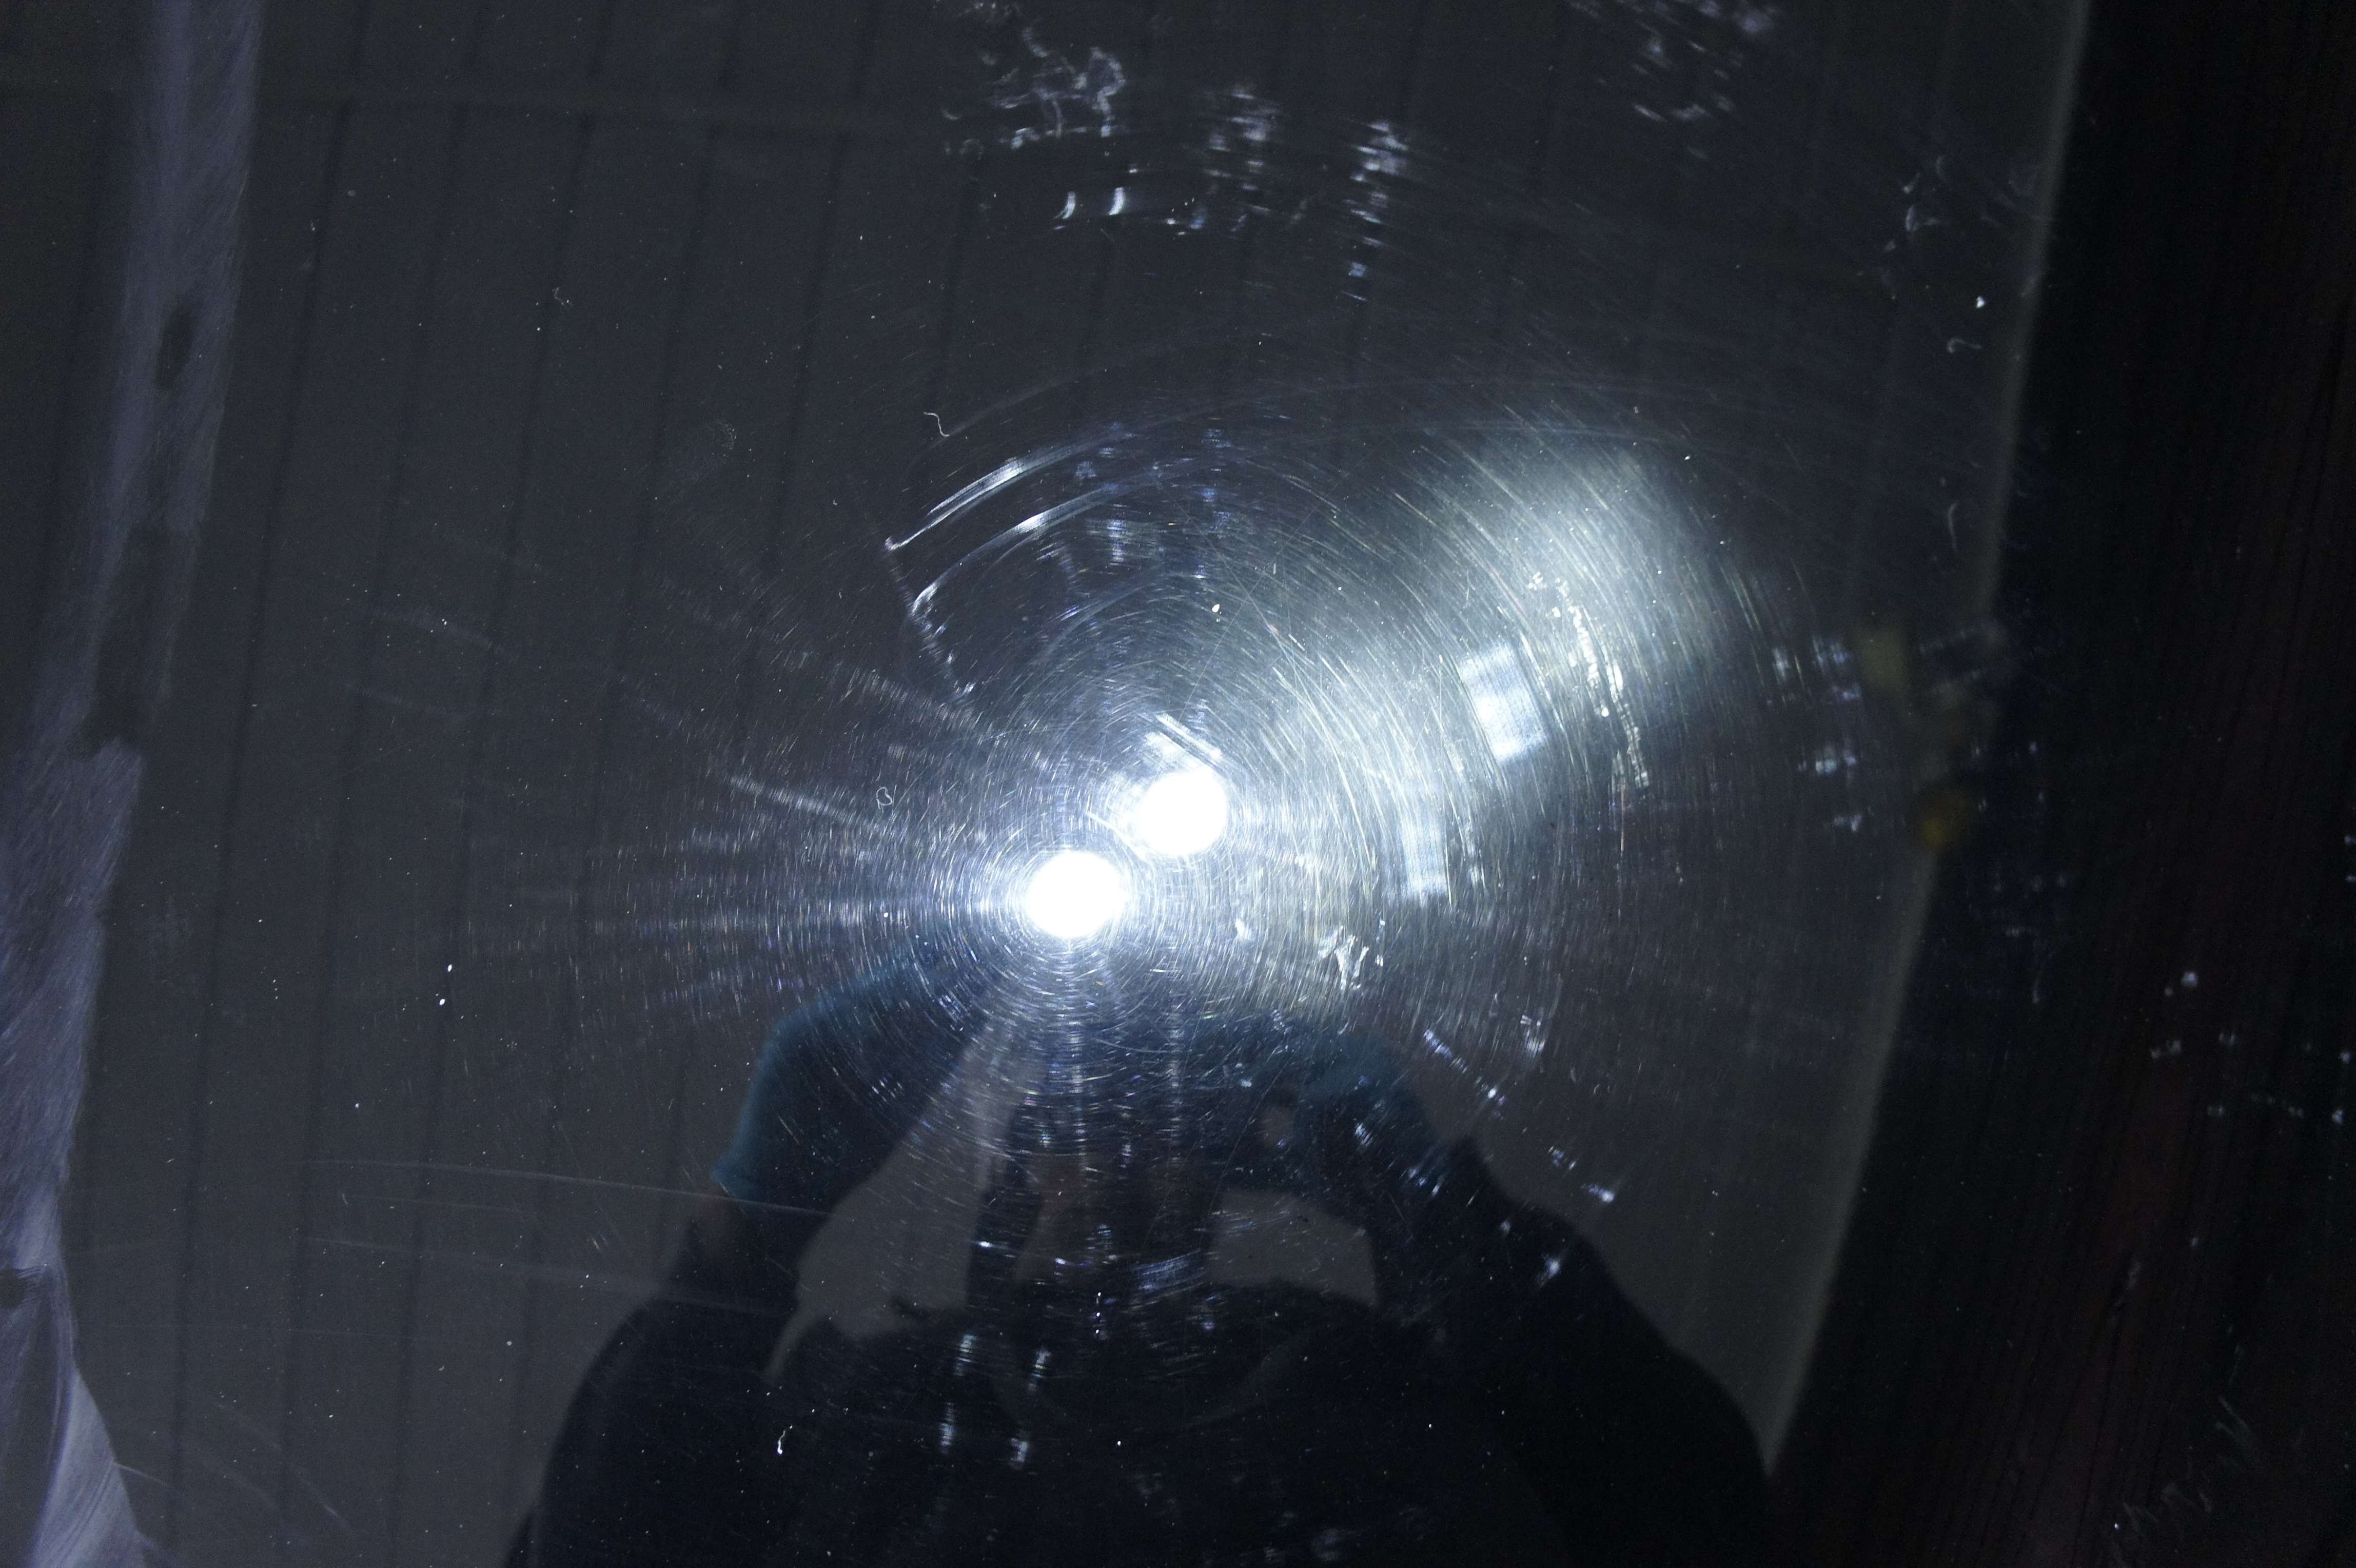
    I always try to polish as much as I can the plastic screen to give a more finished touch:


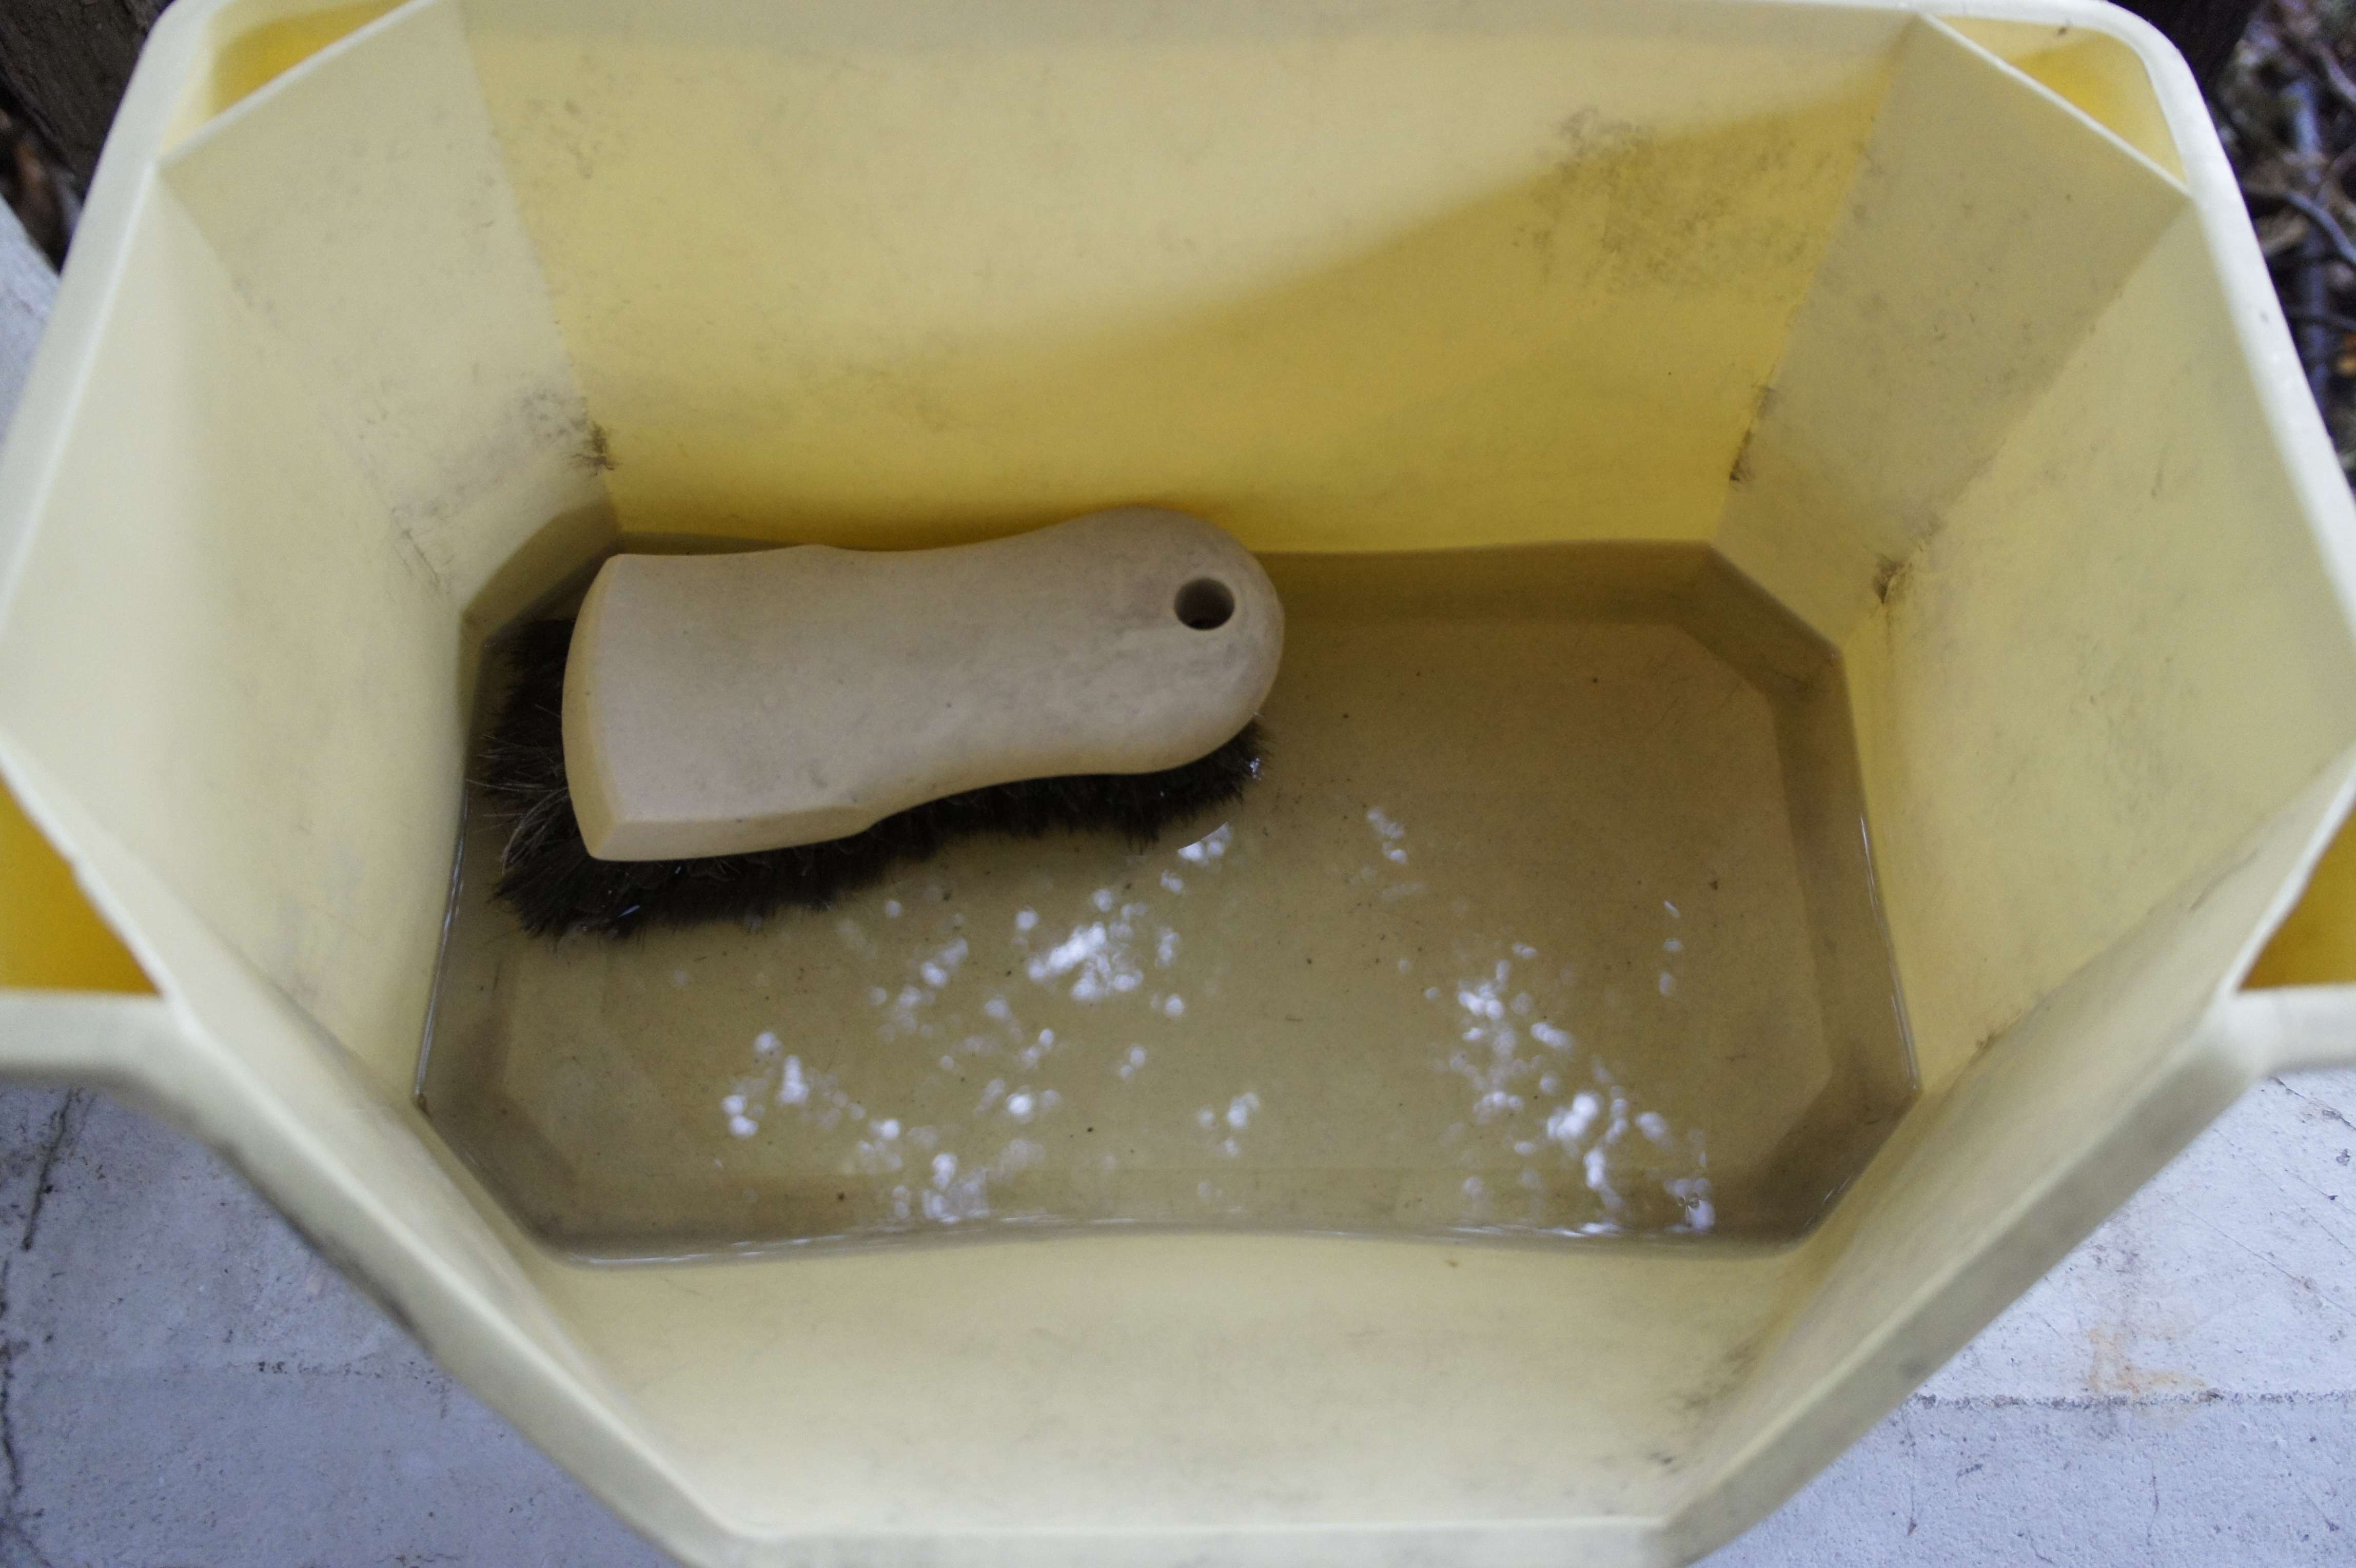
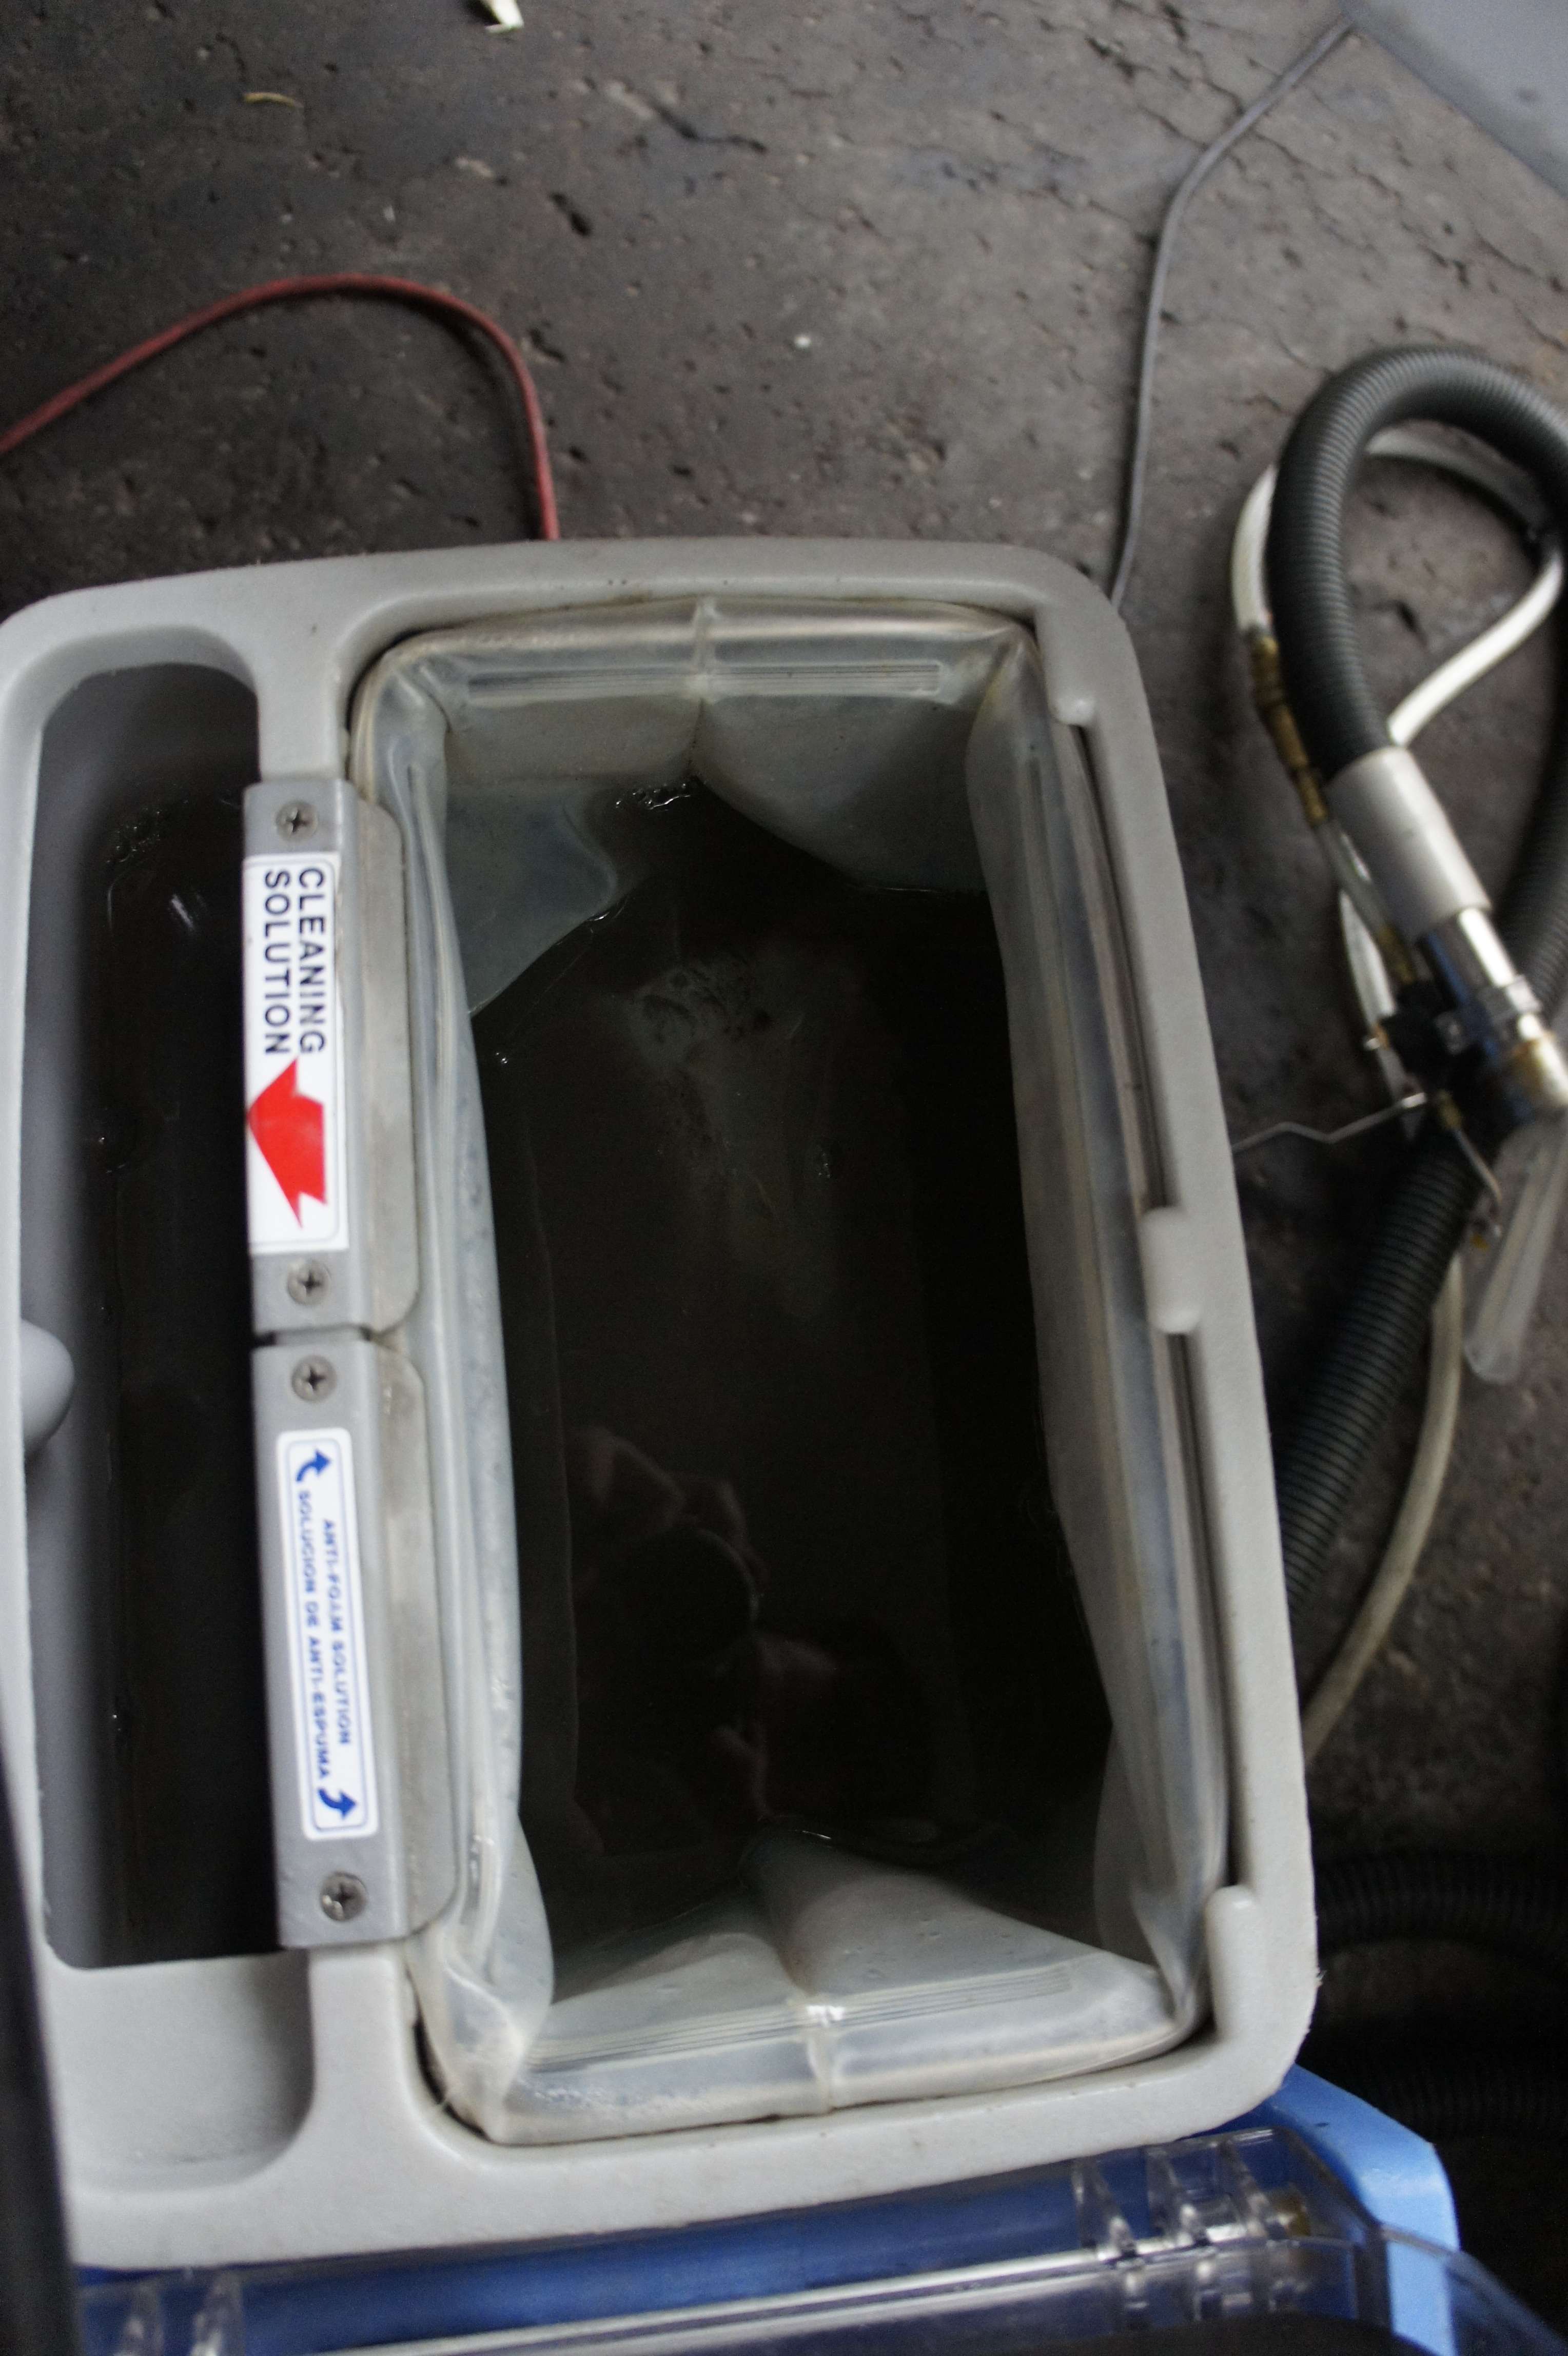
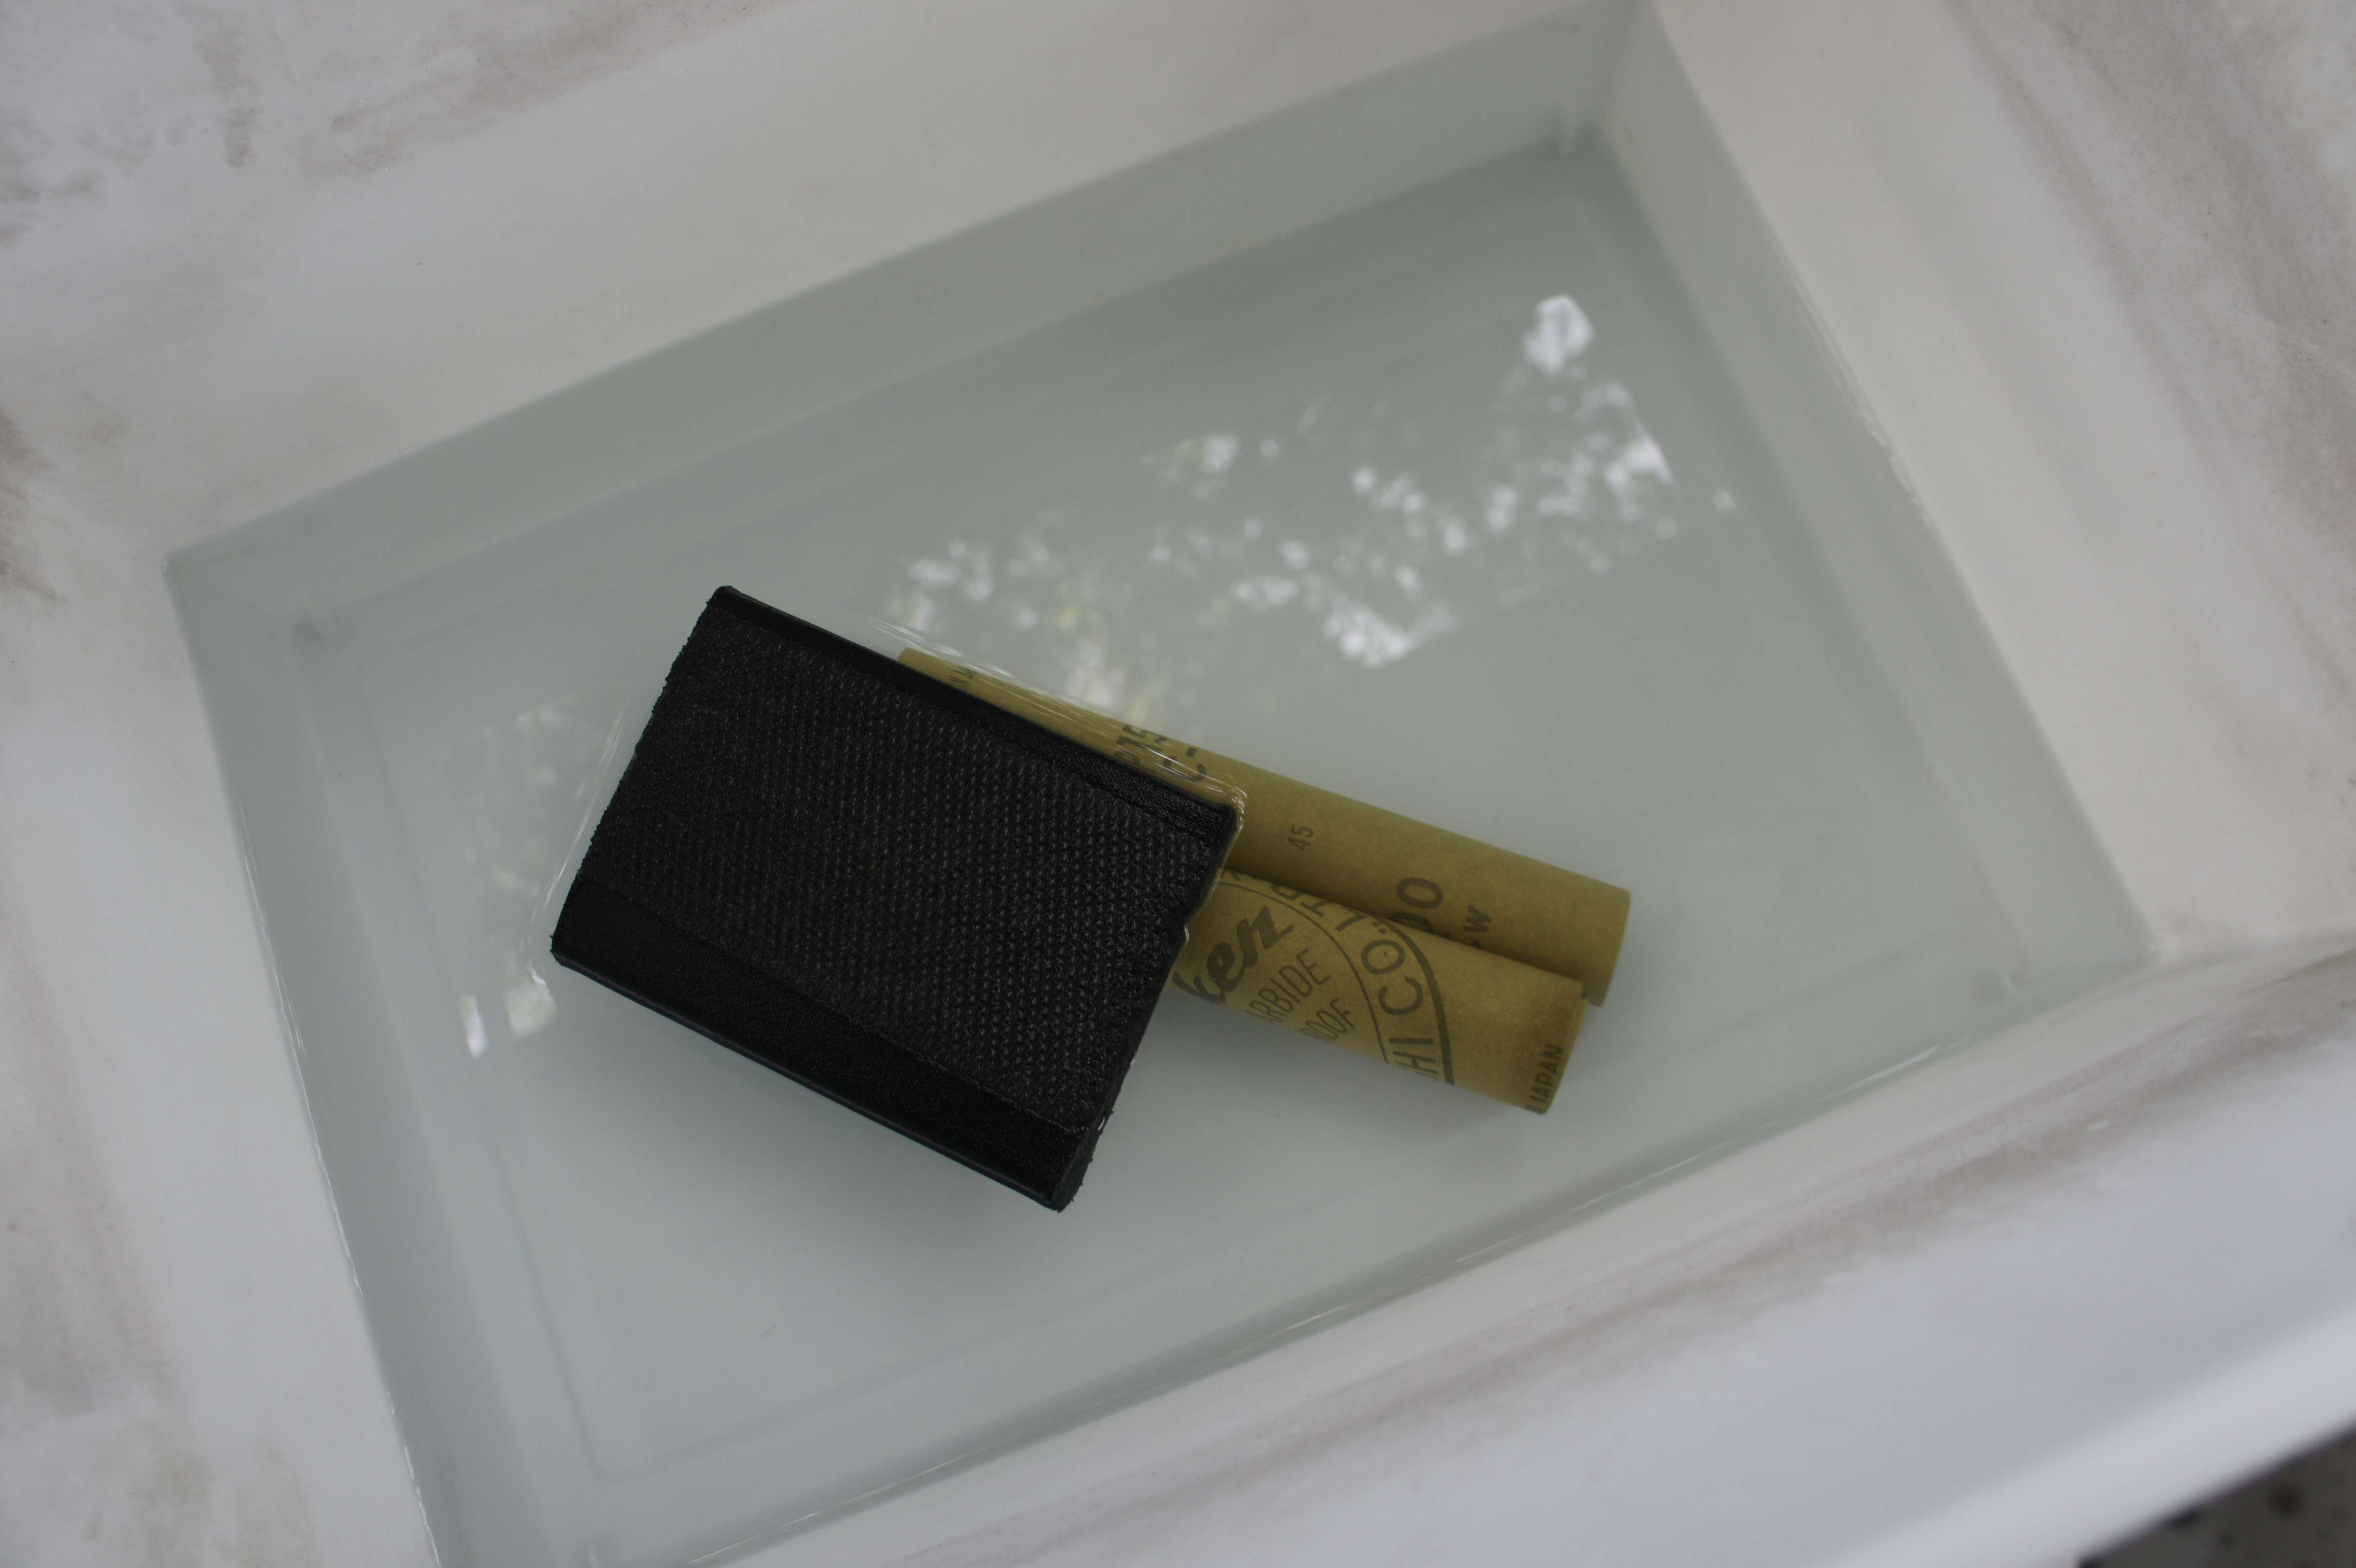
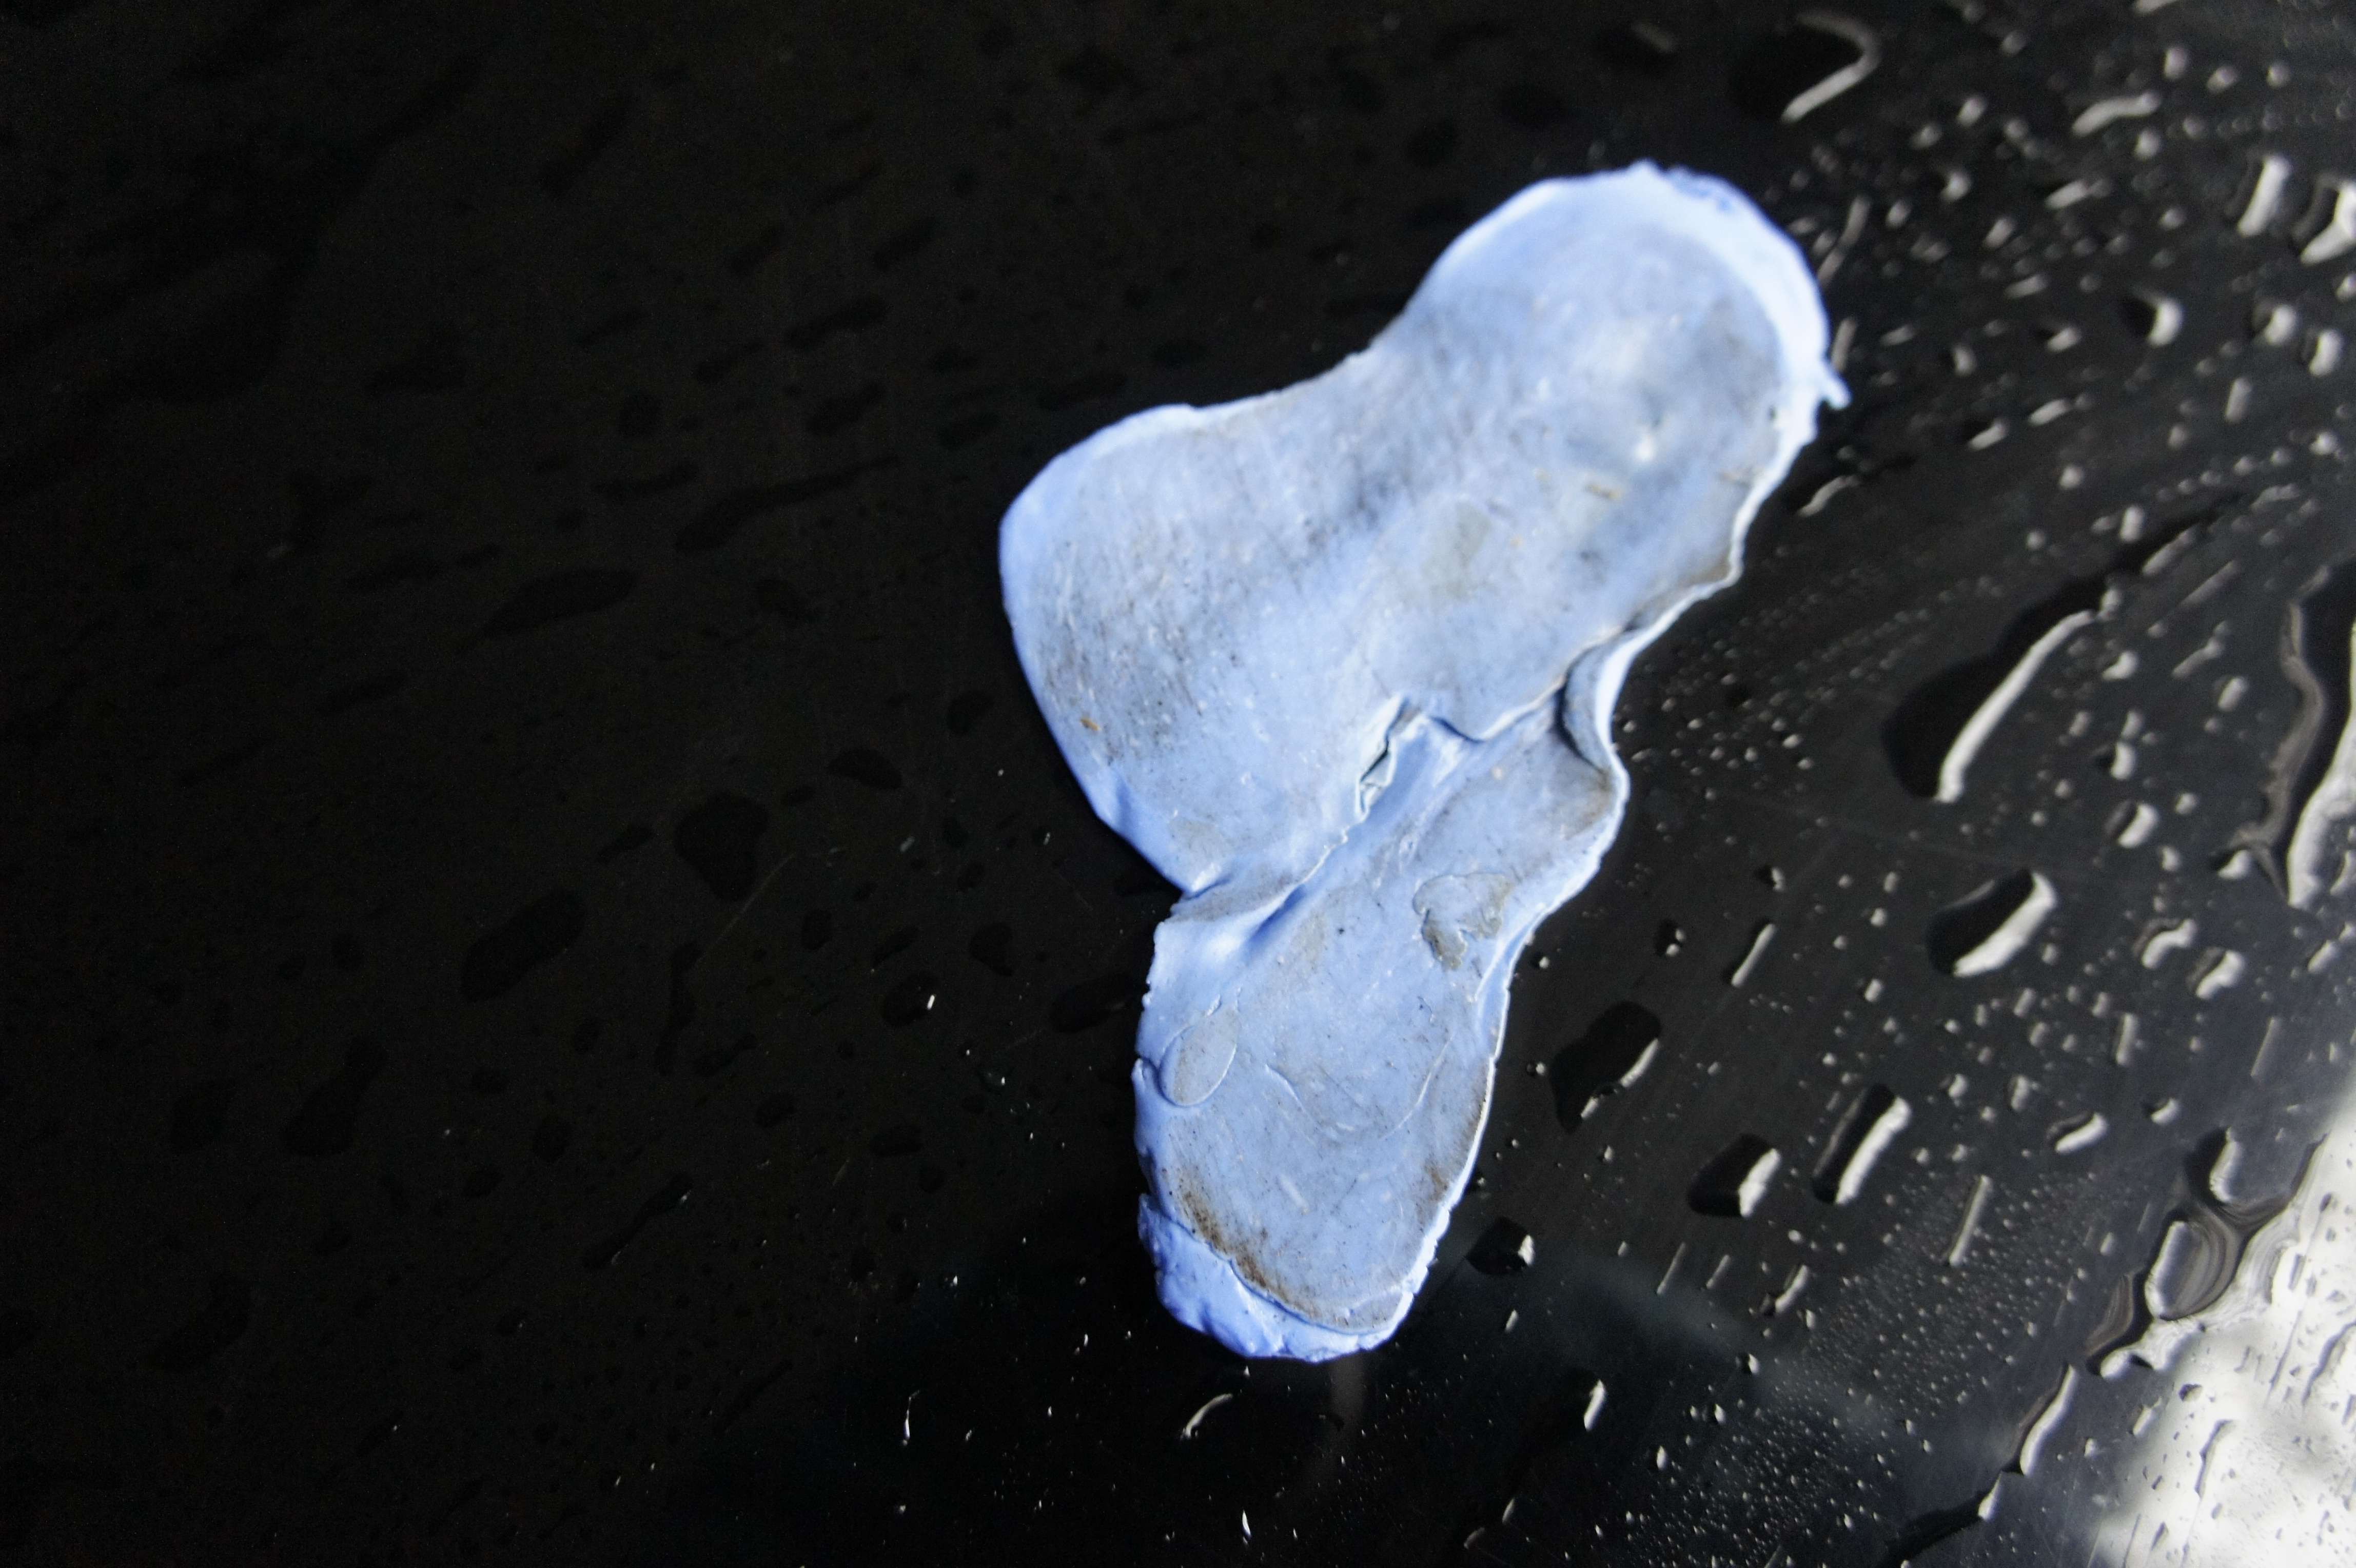
    And heres the leftover water after the leather cleaning and extractor:


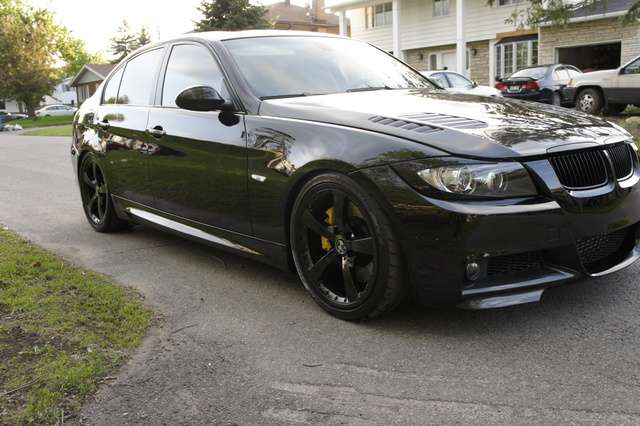
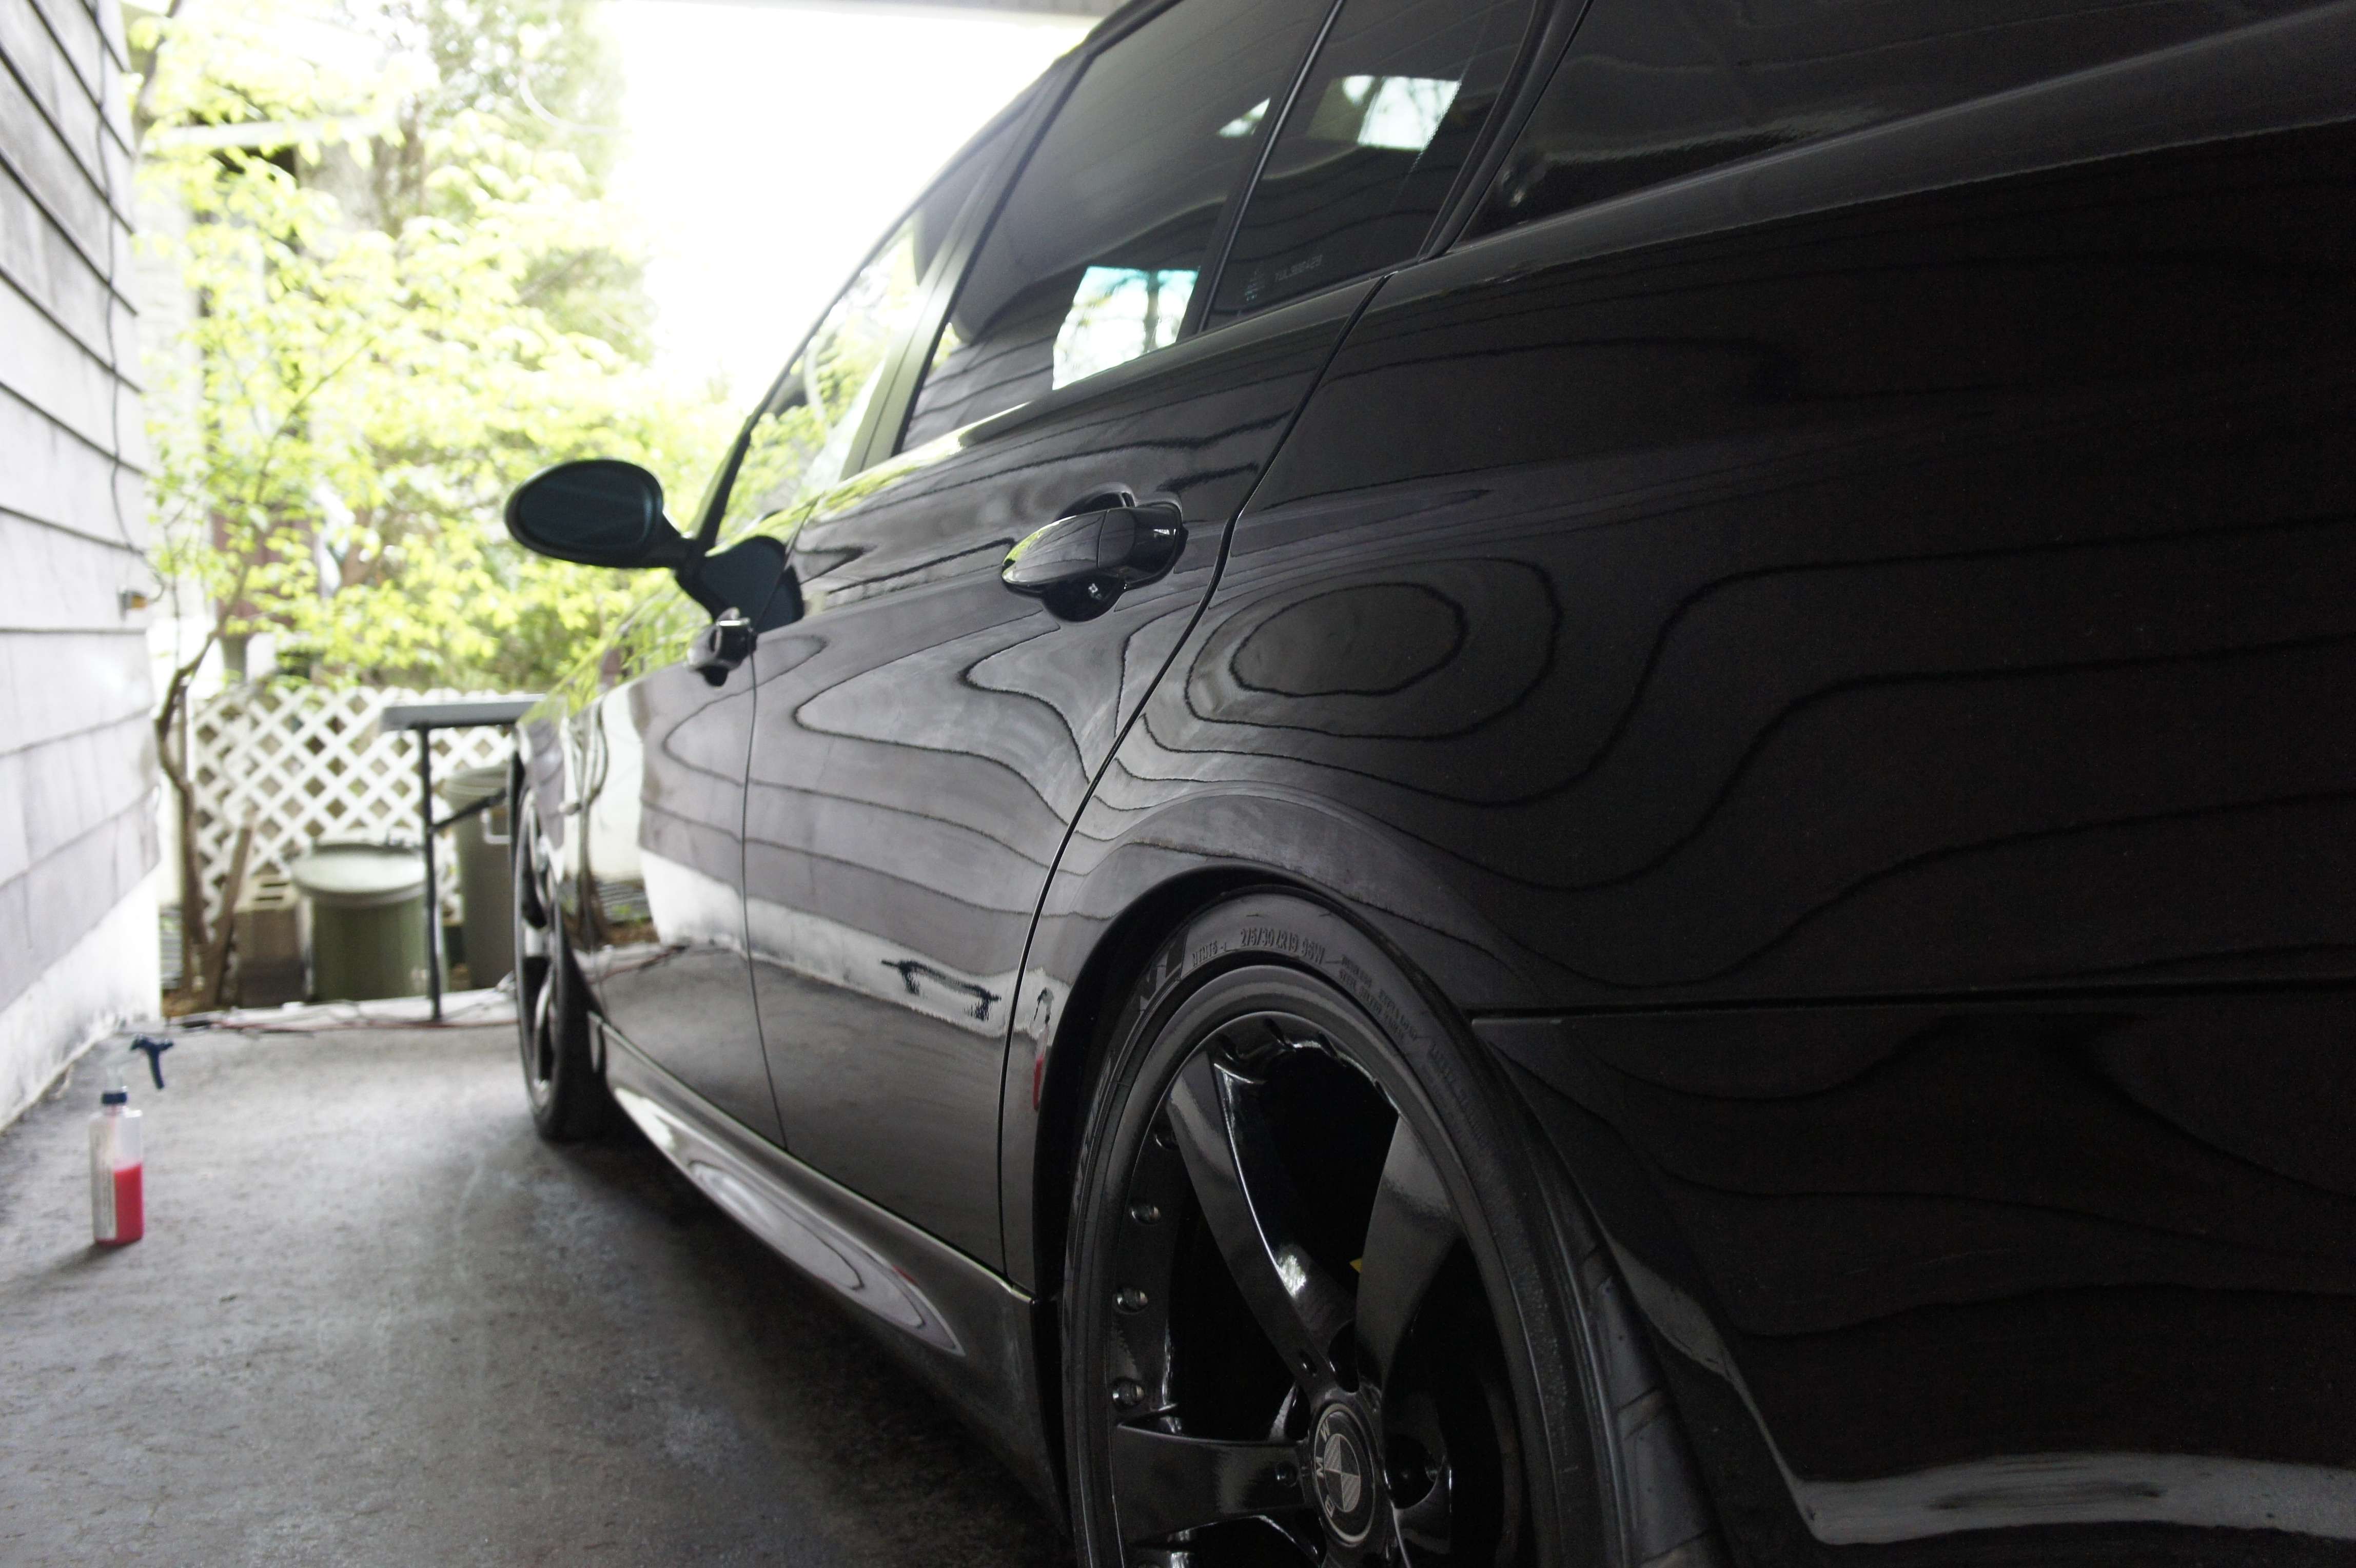
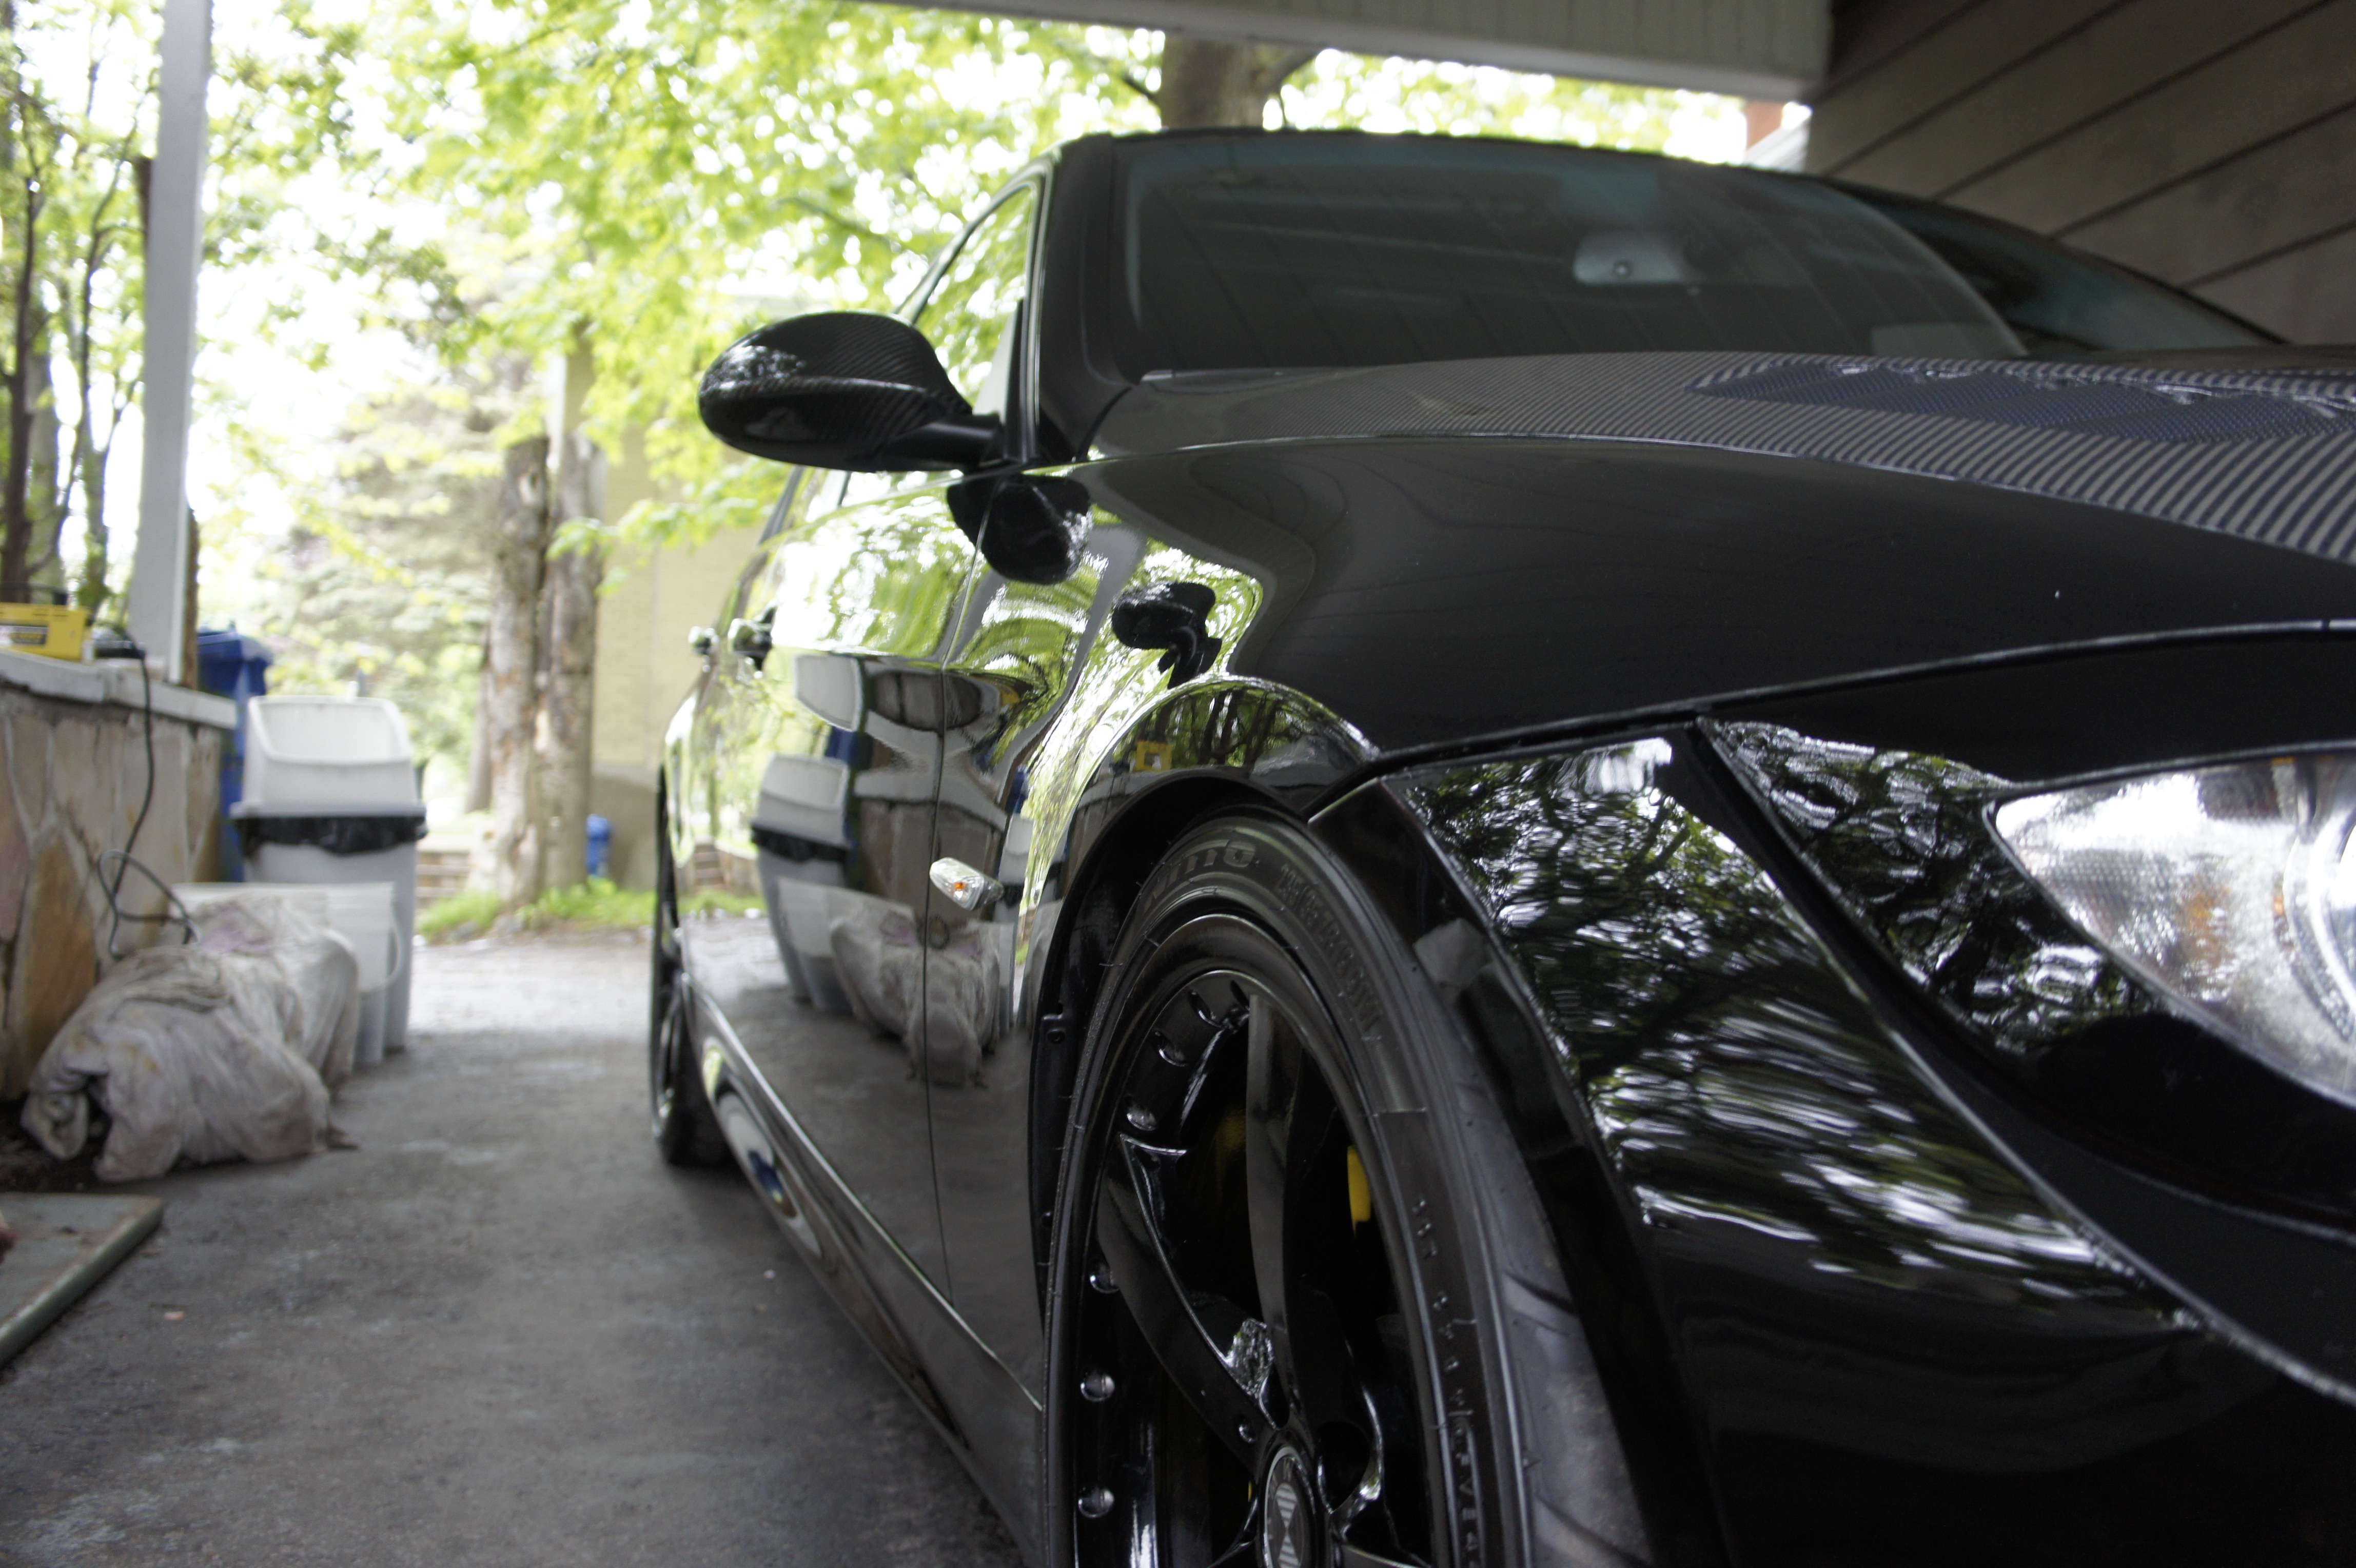
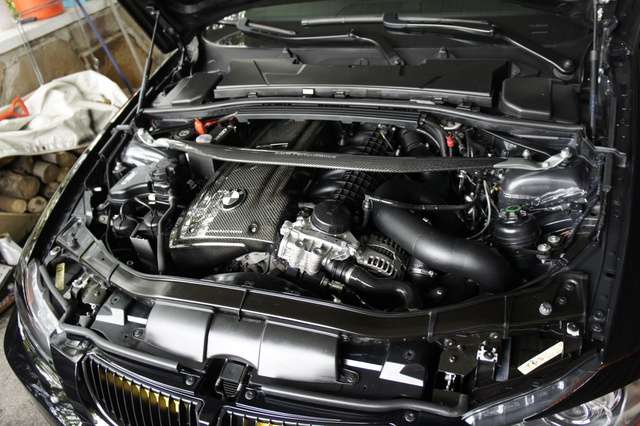
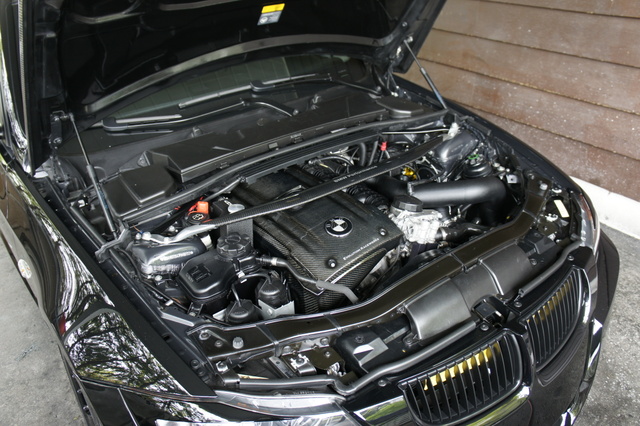
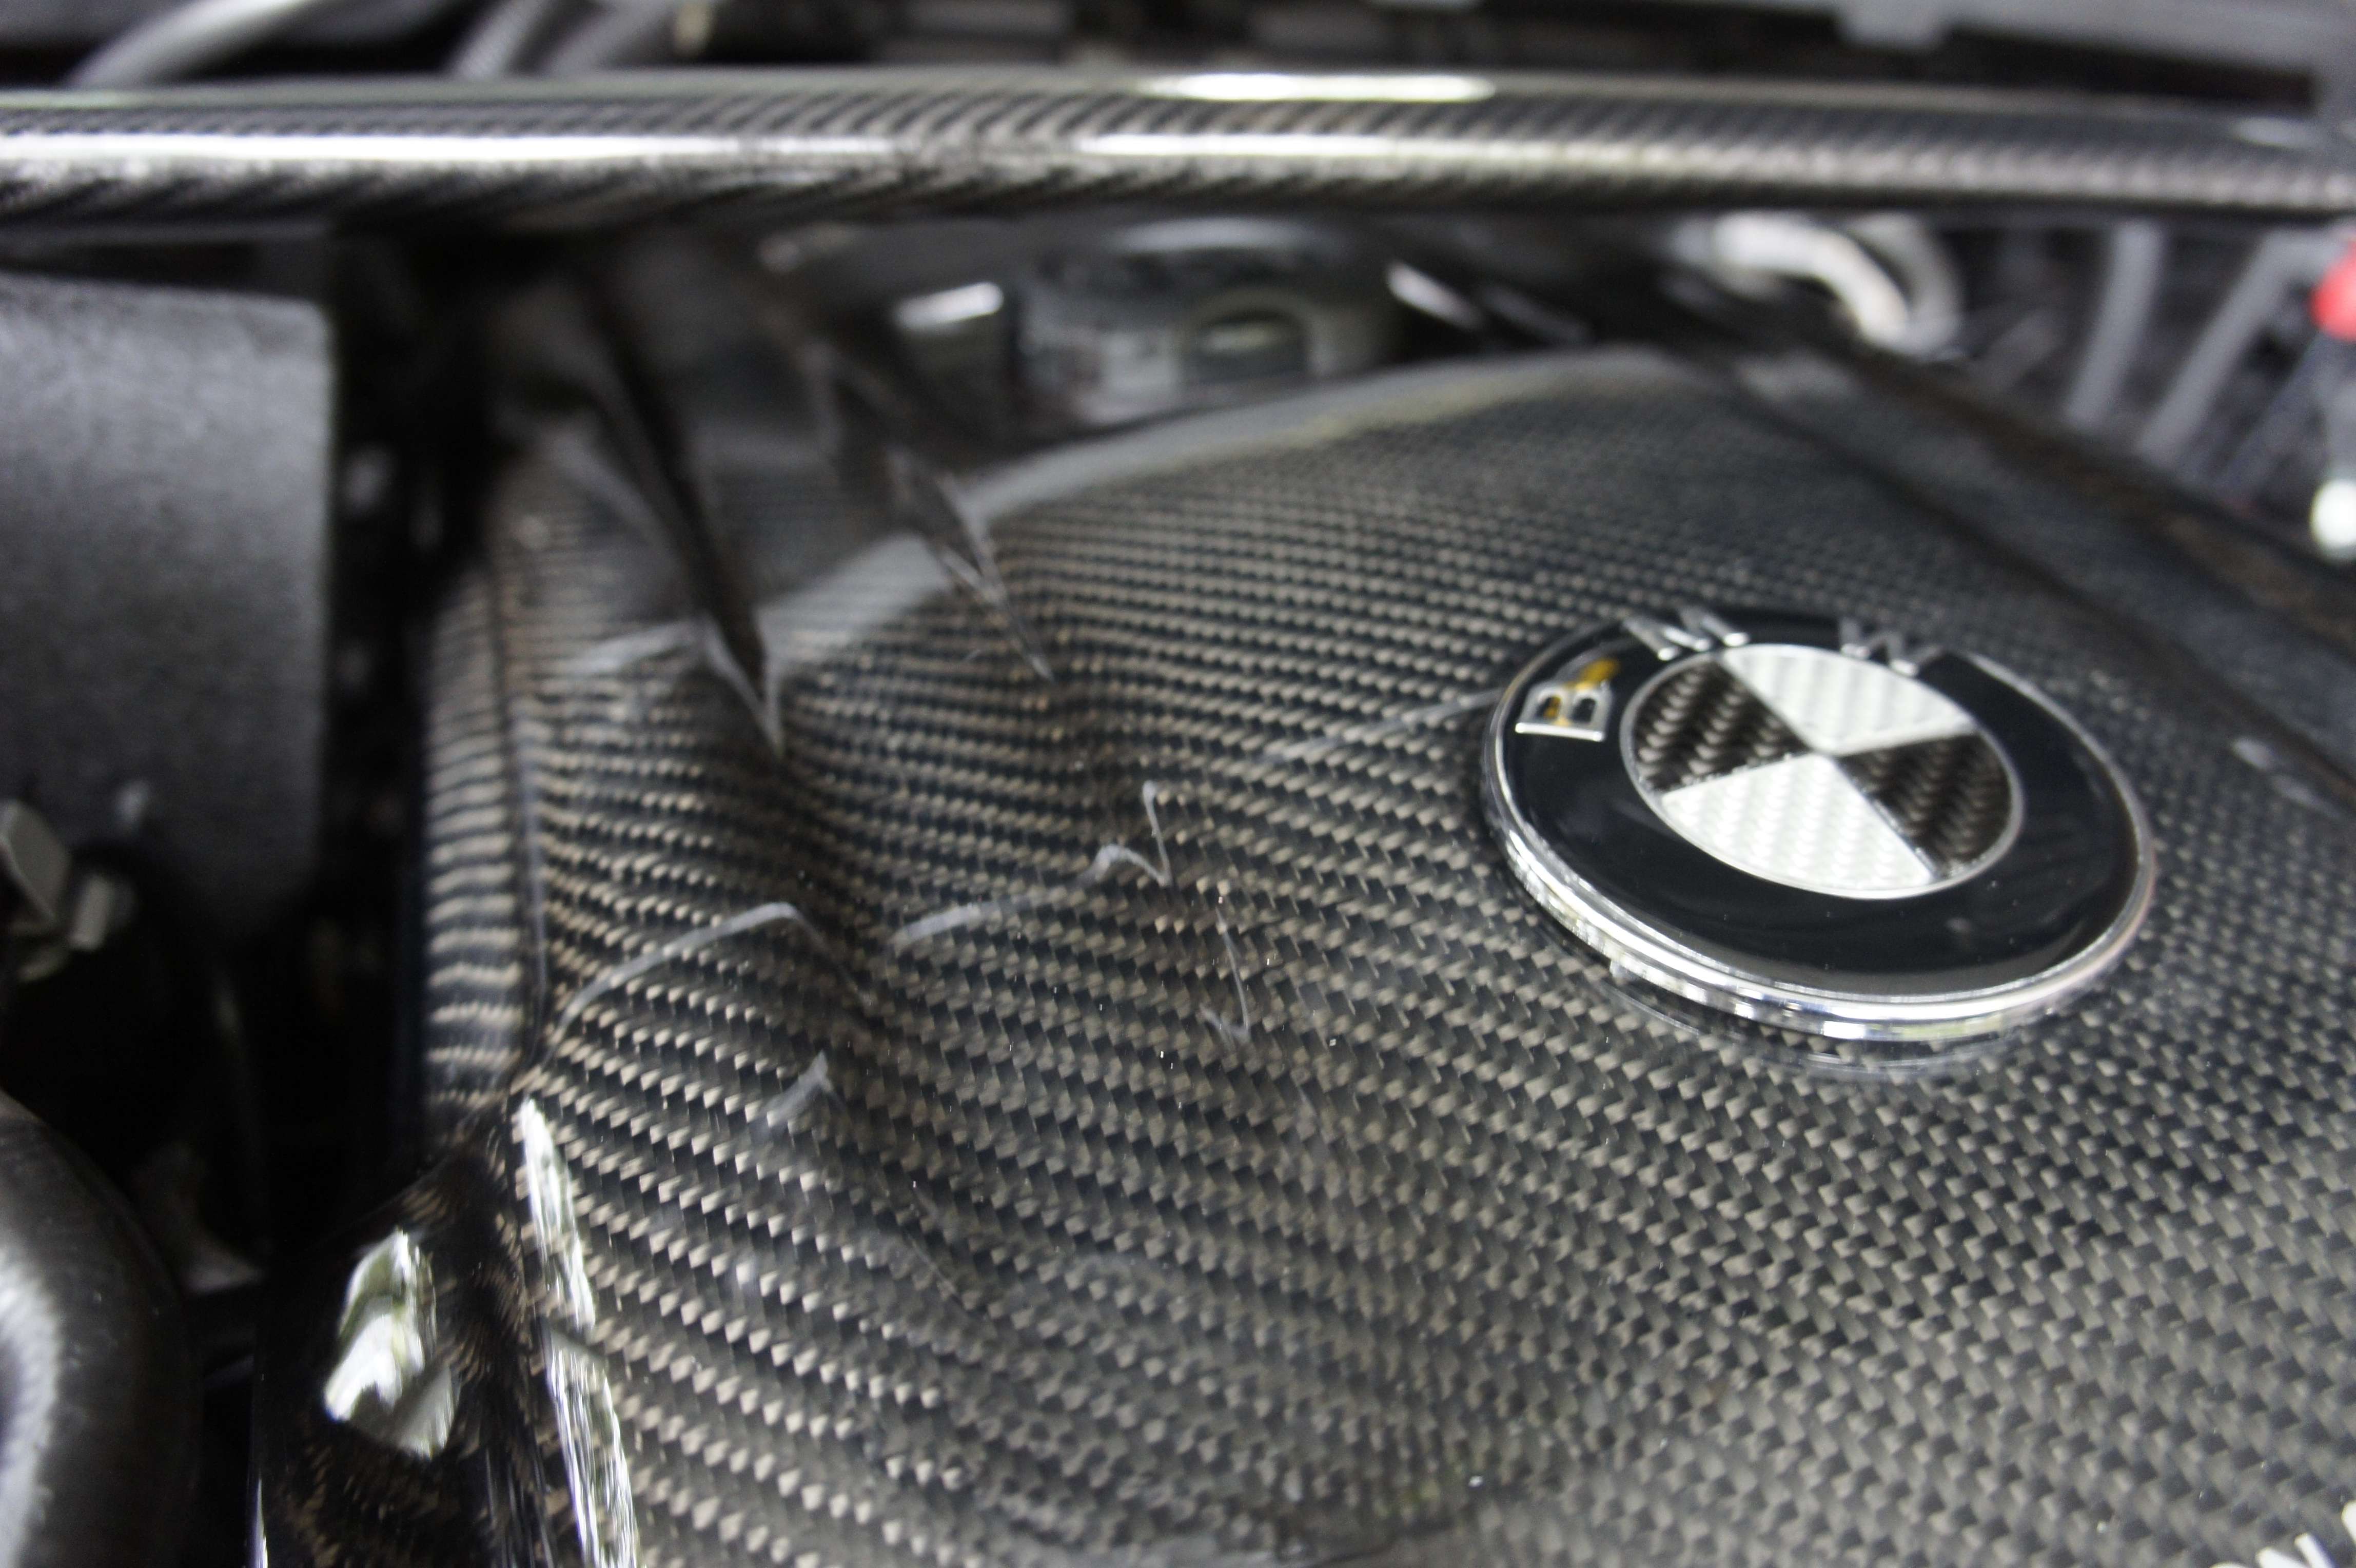
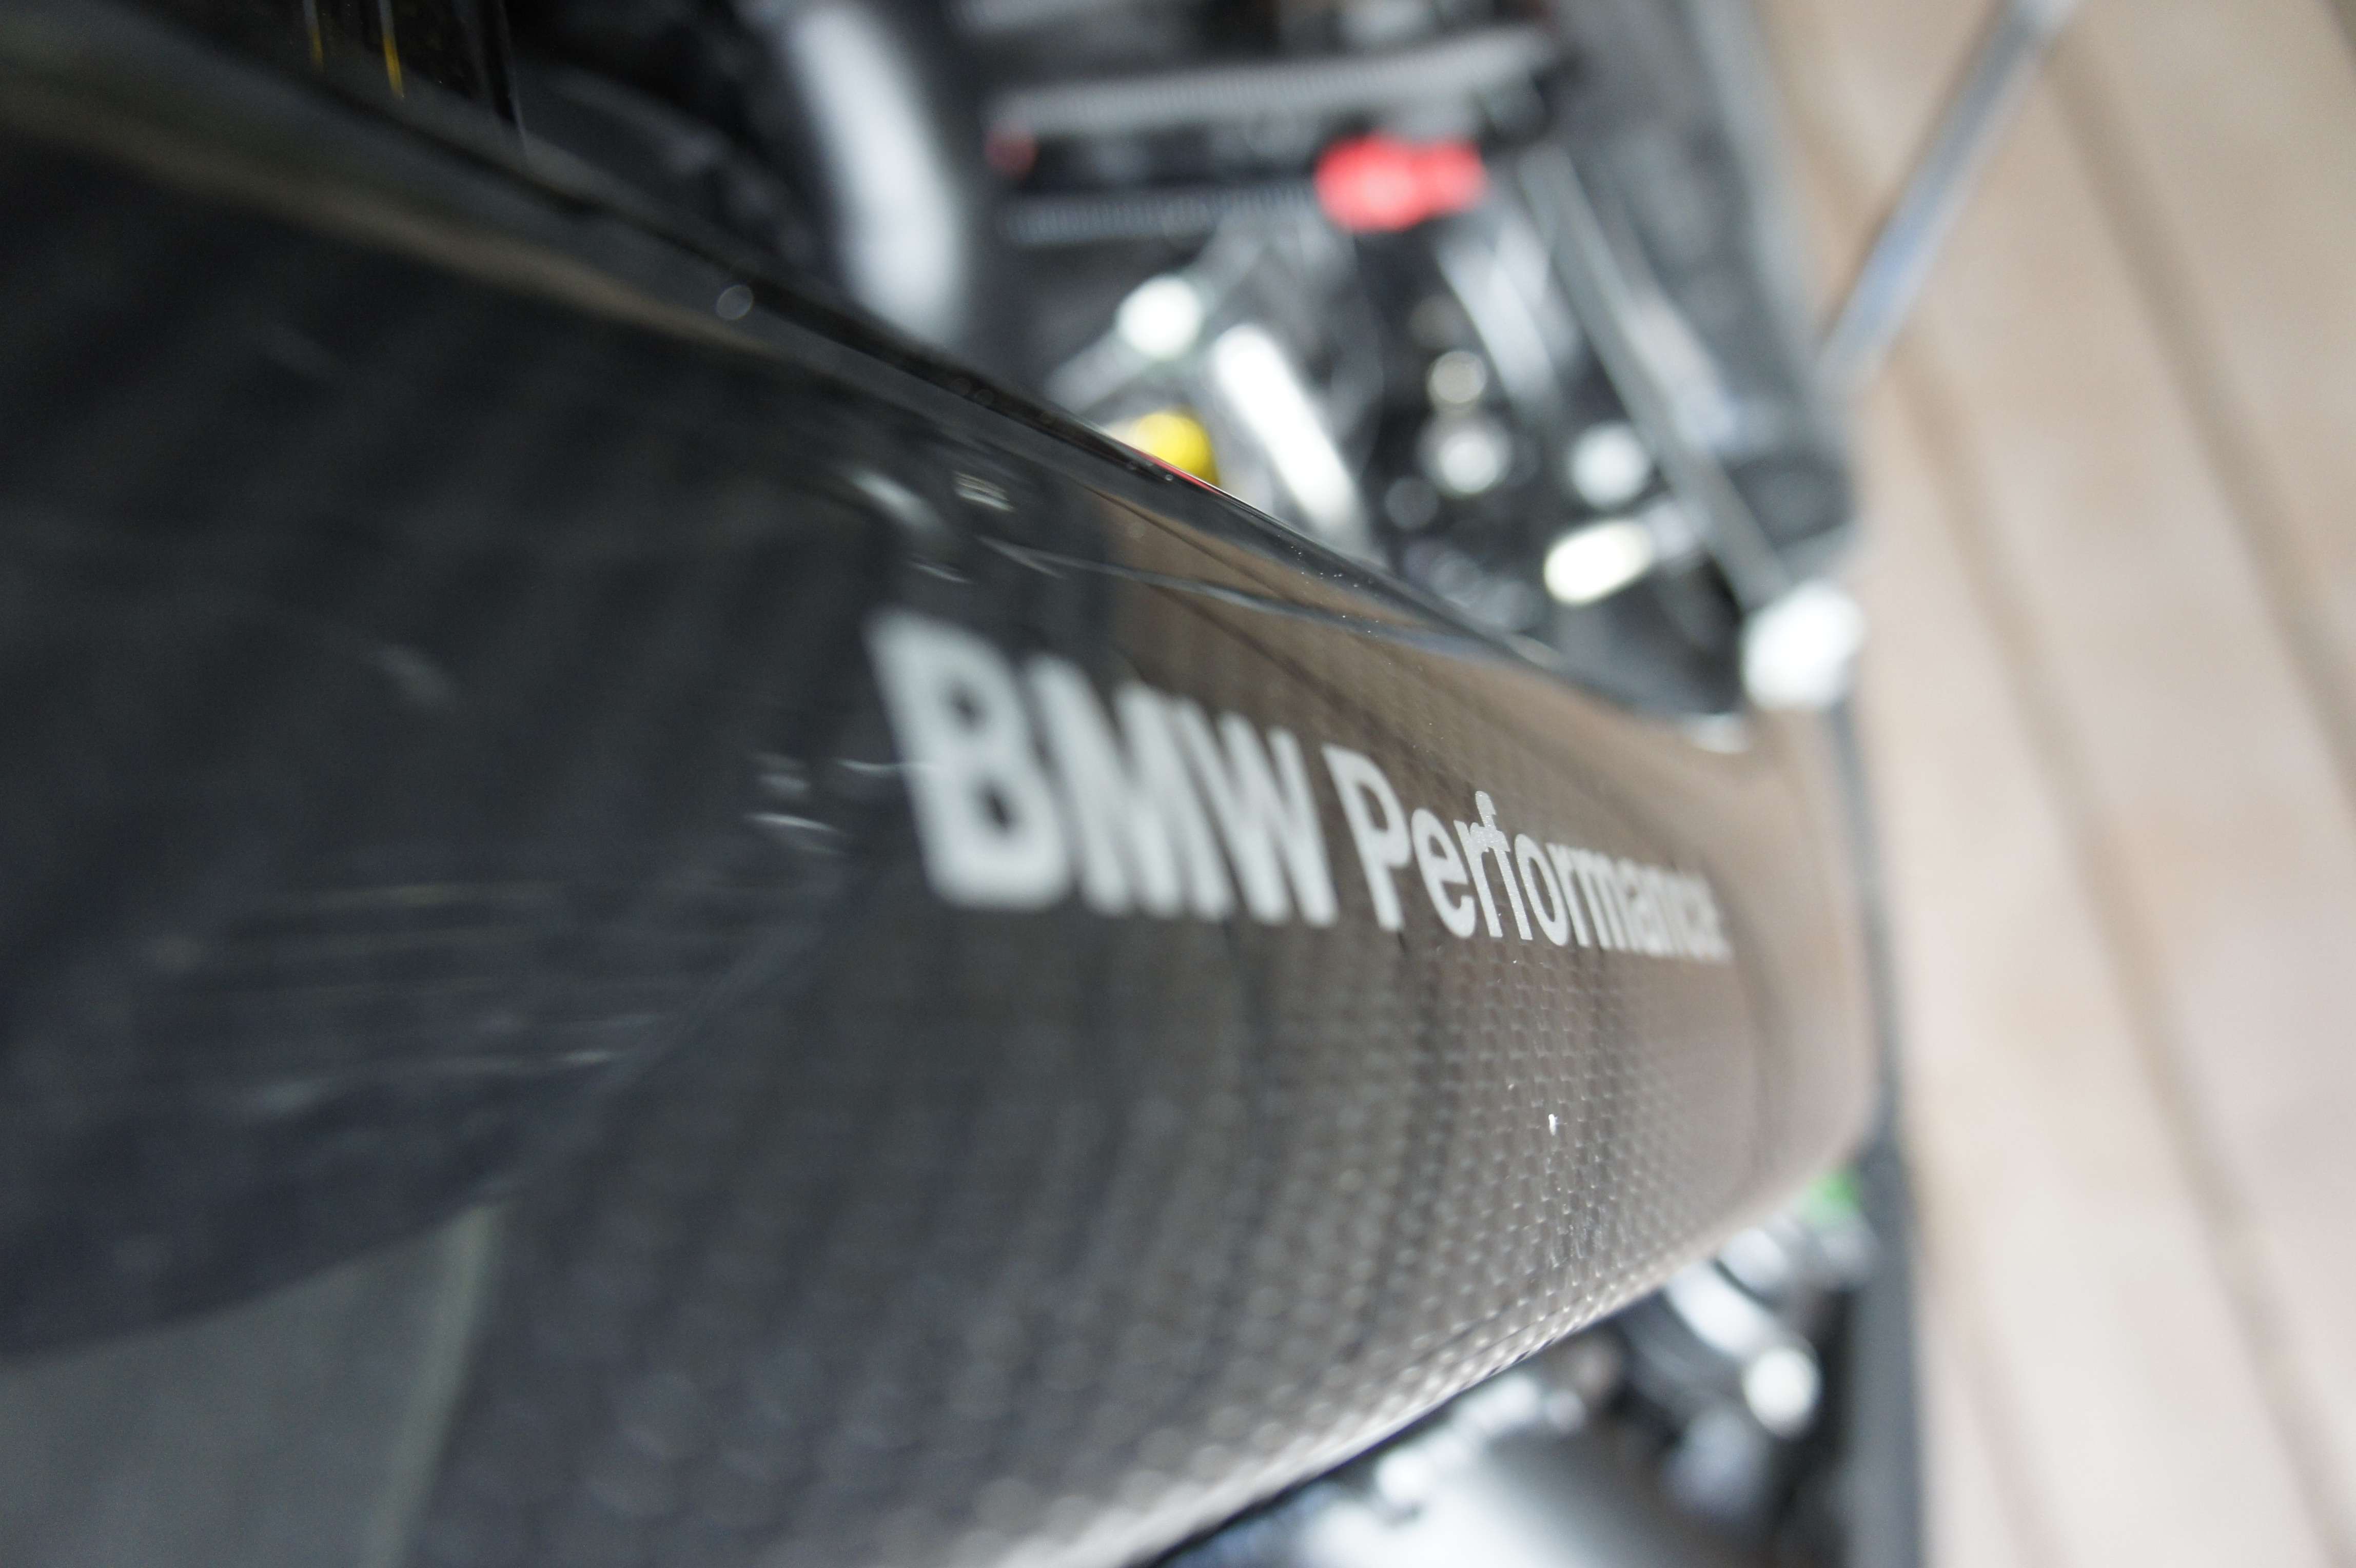
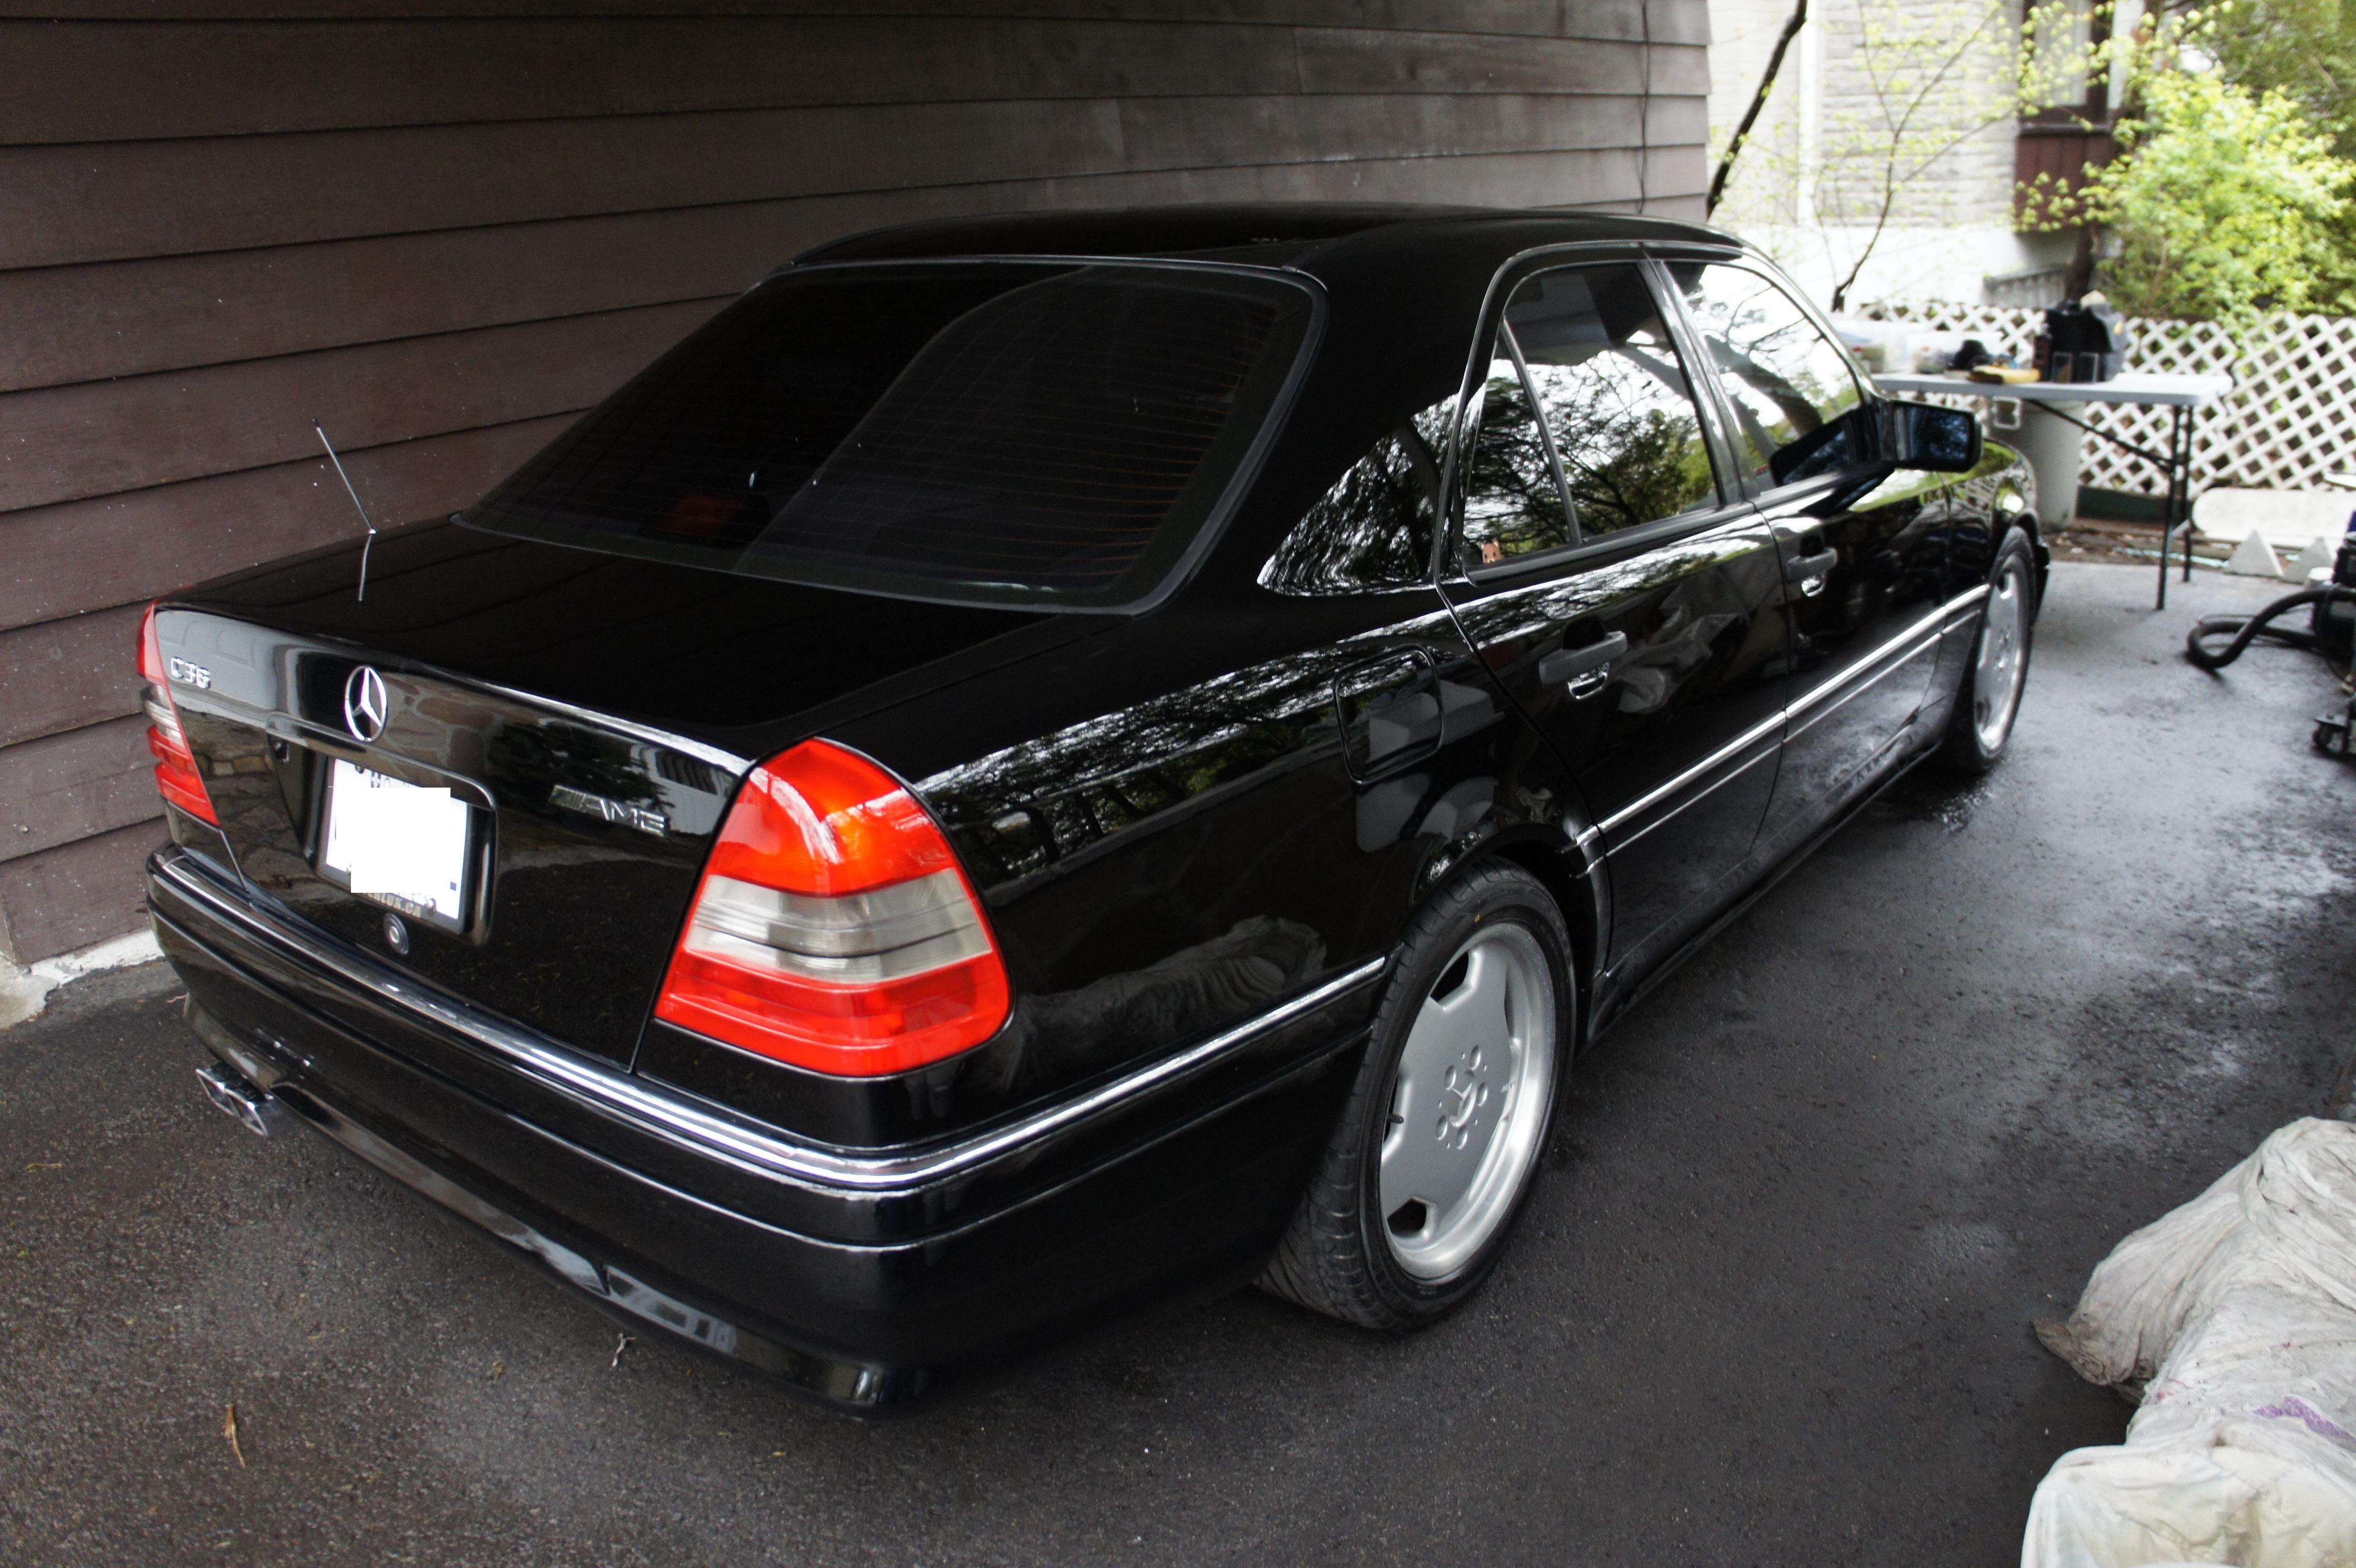
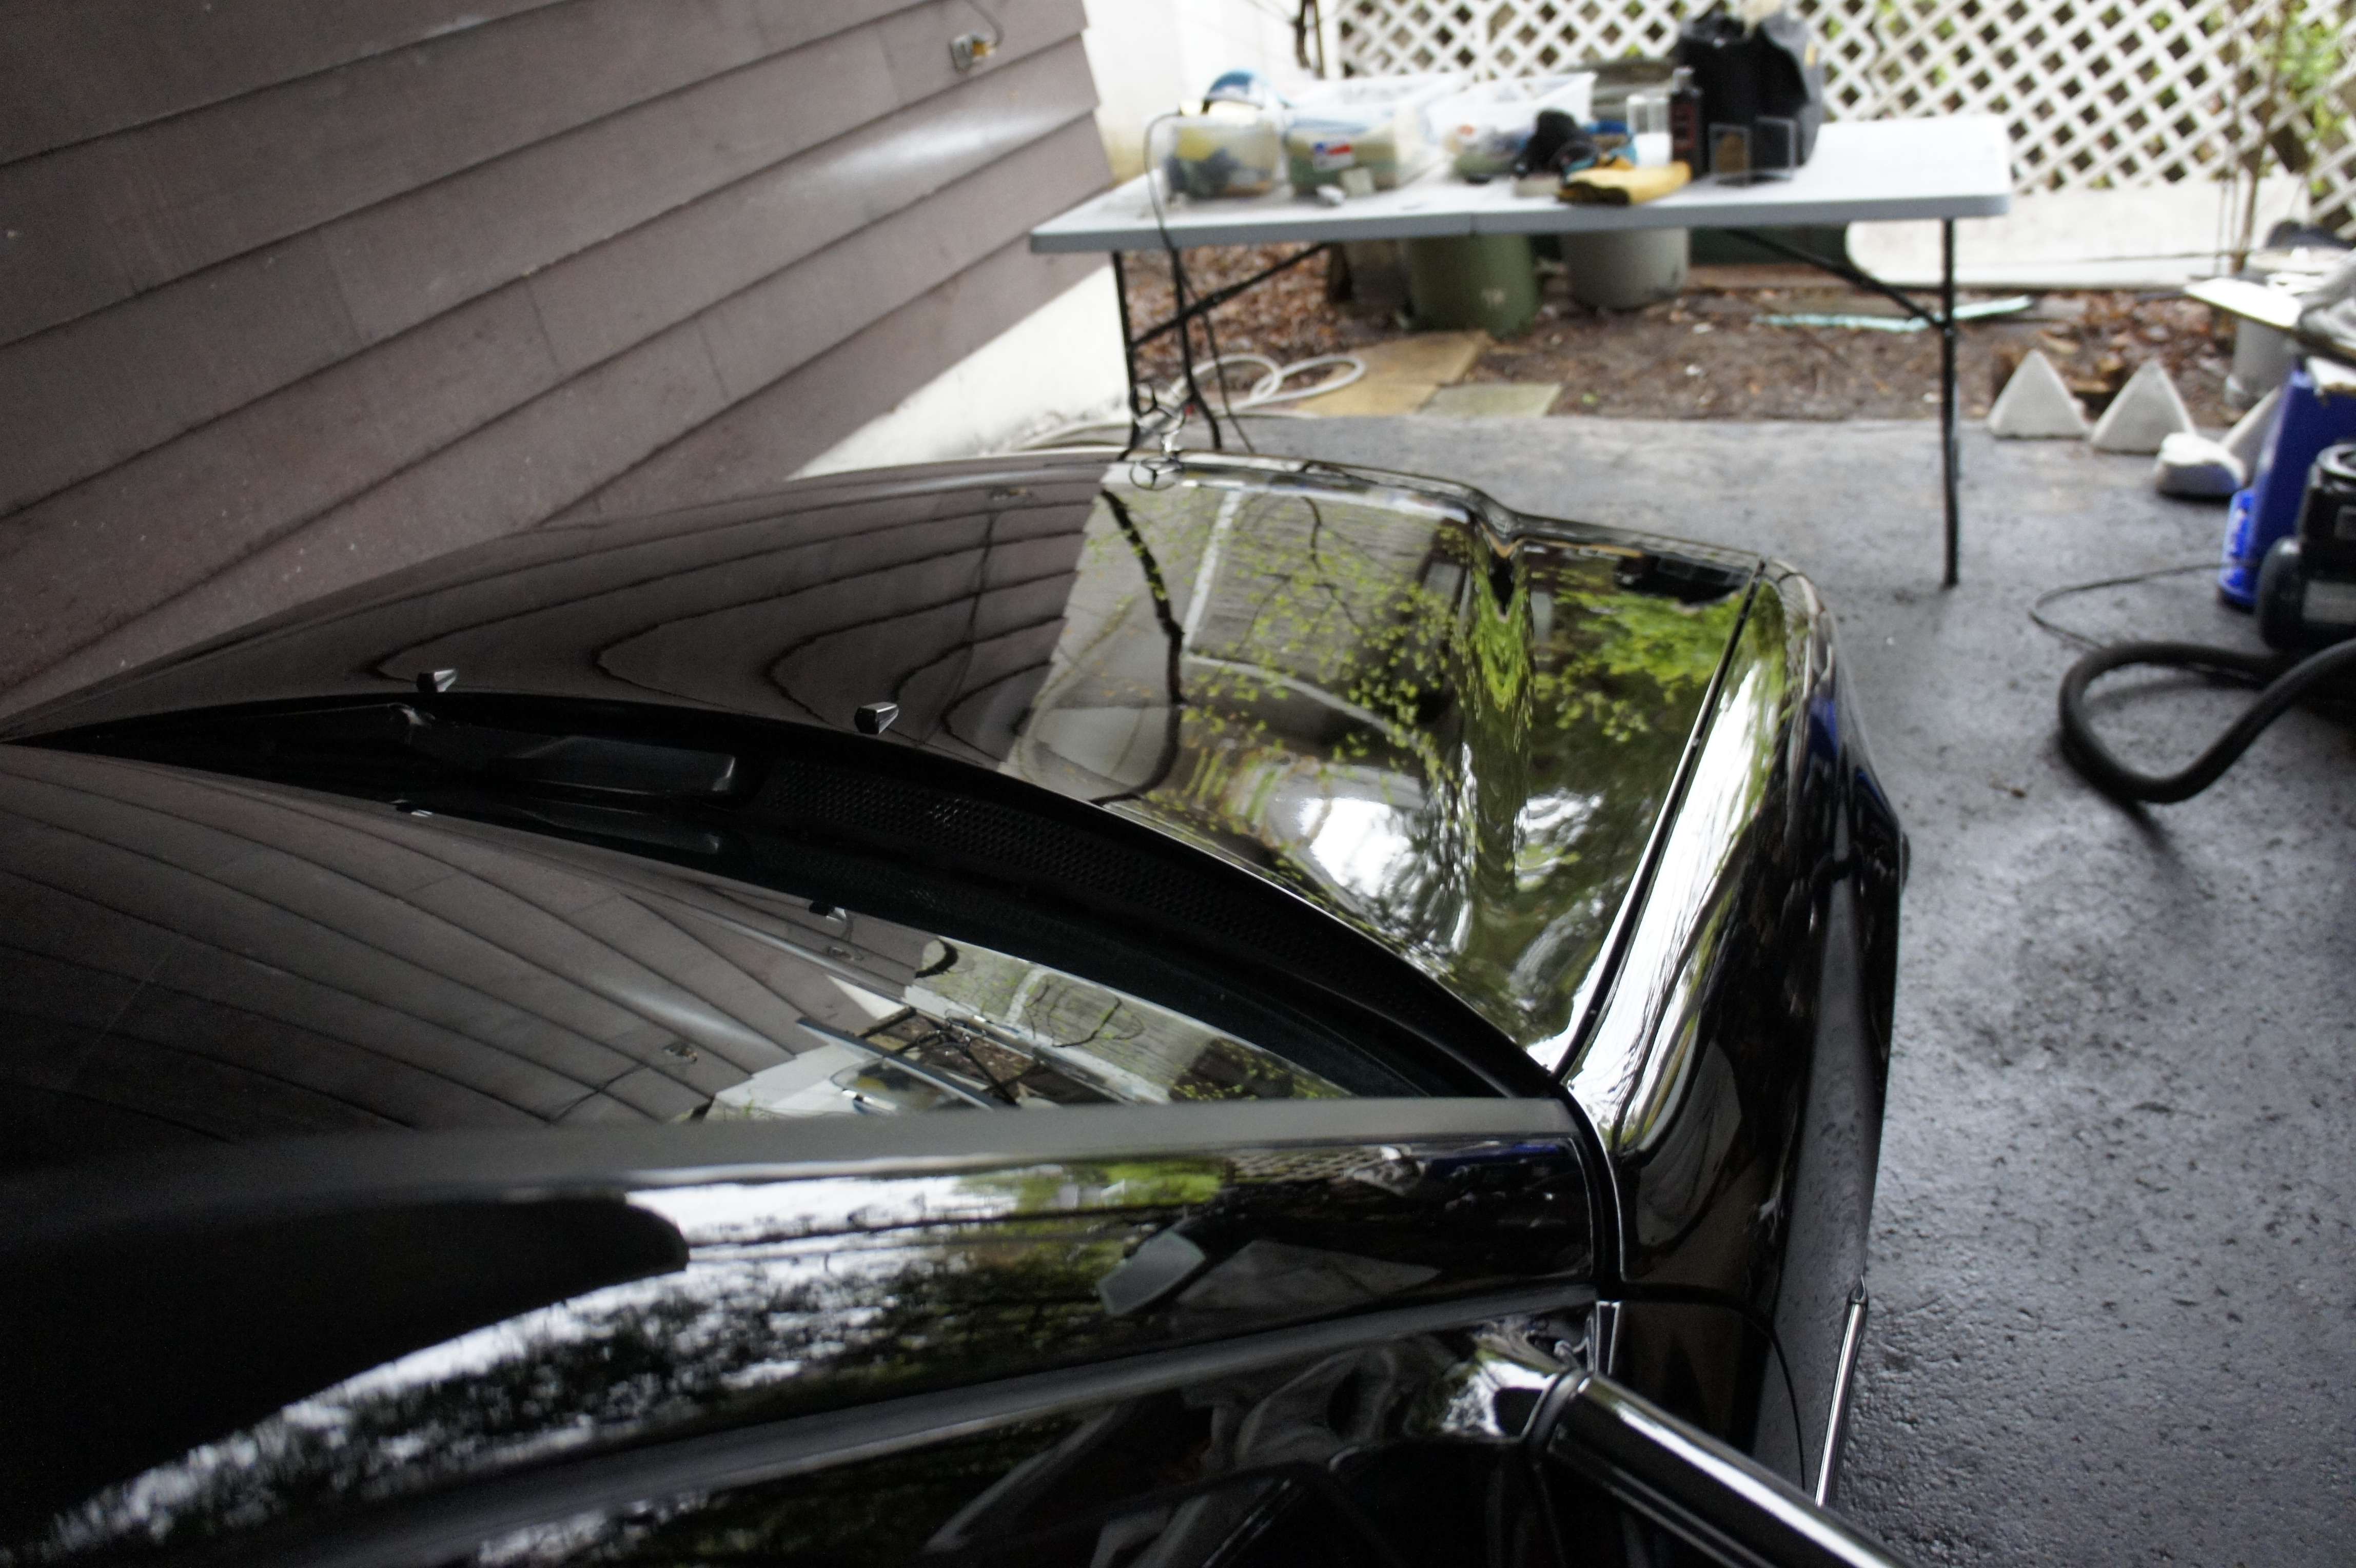
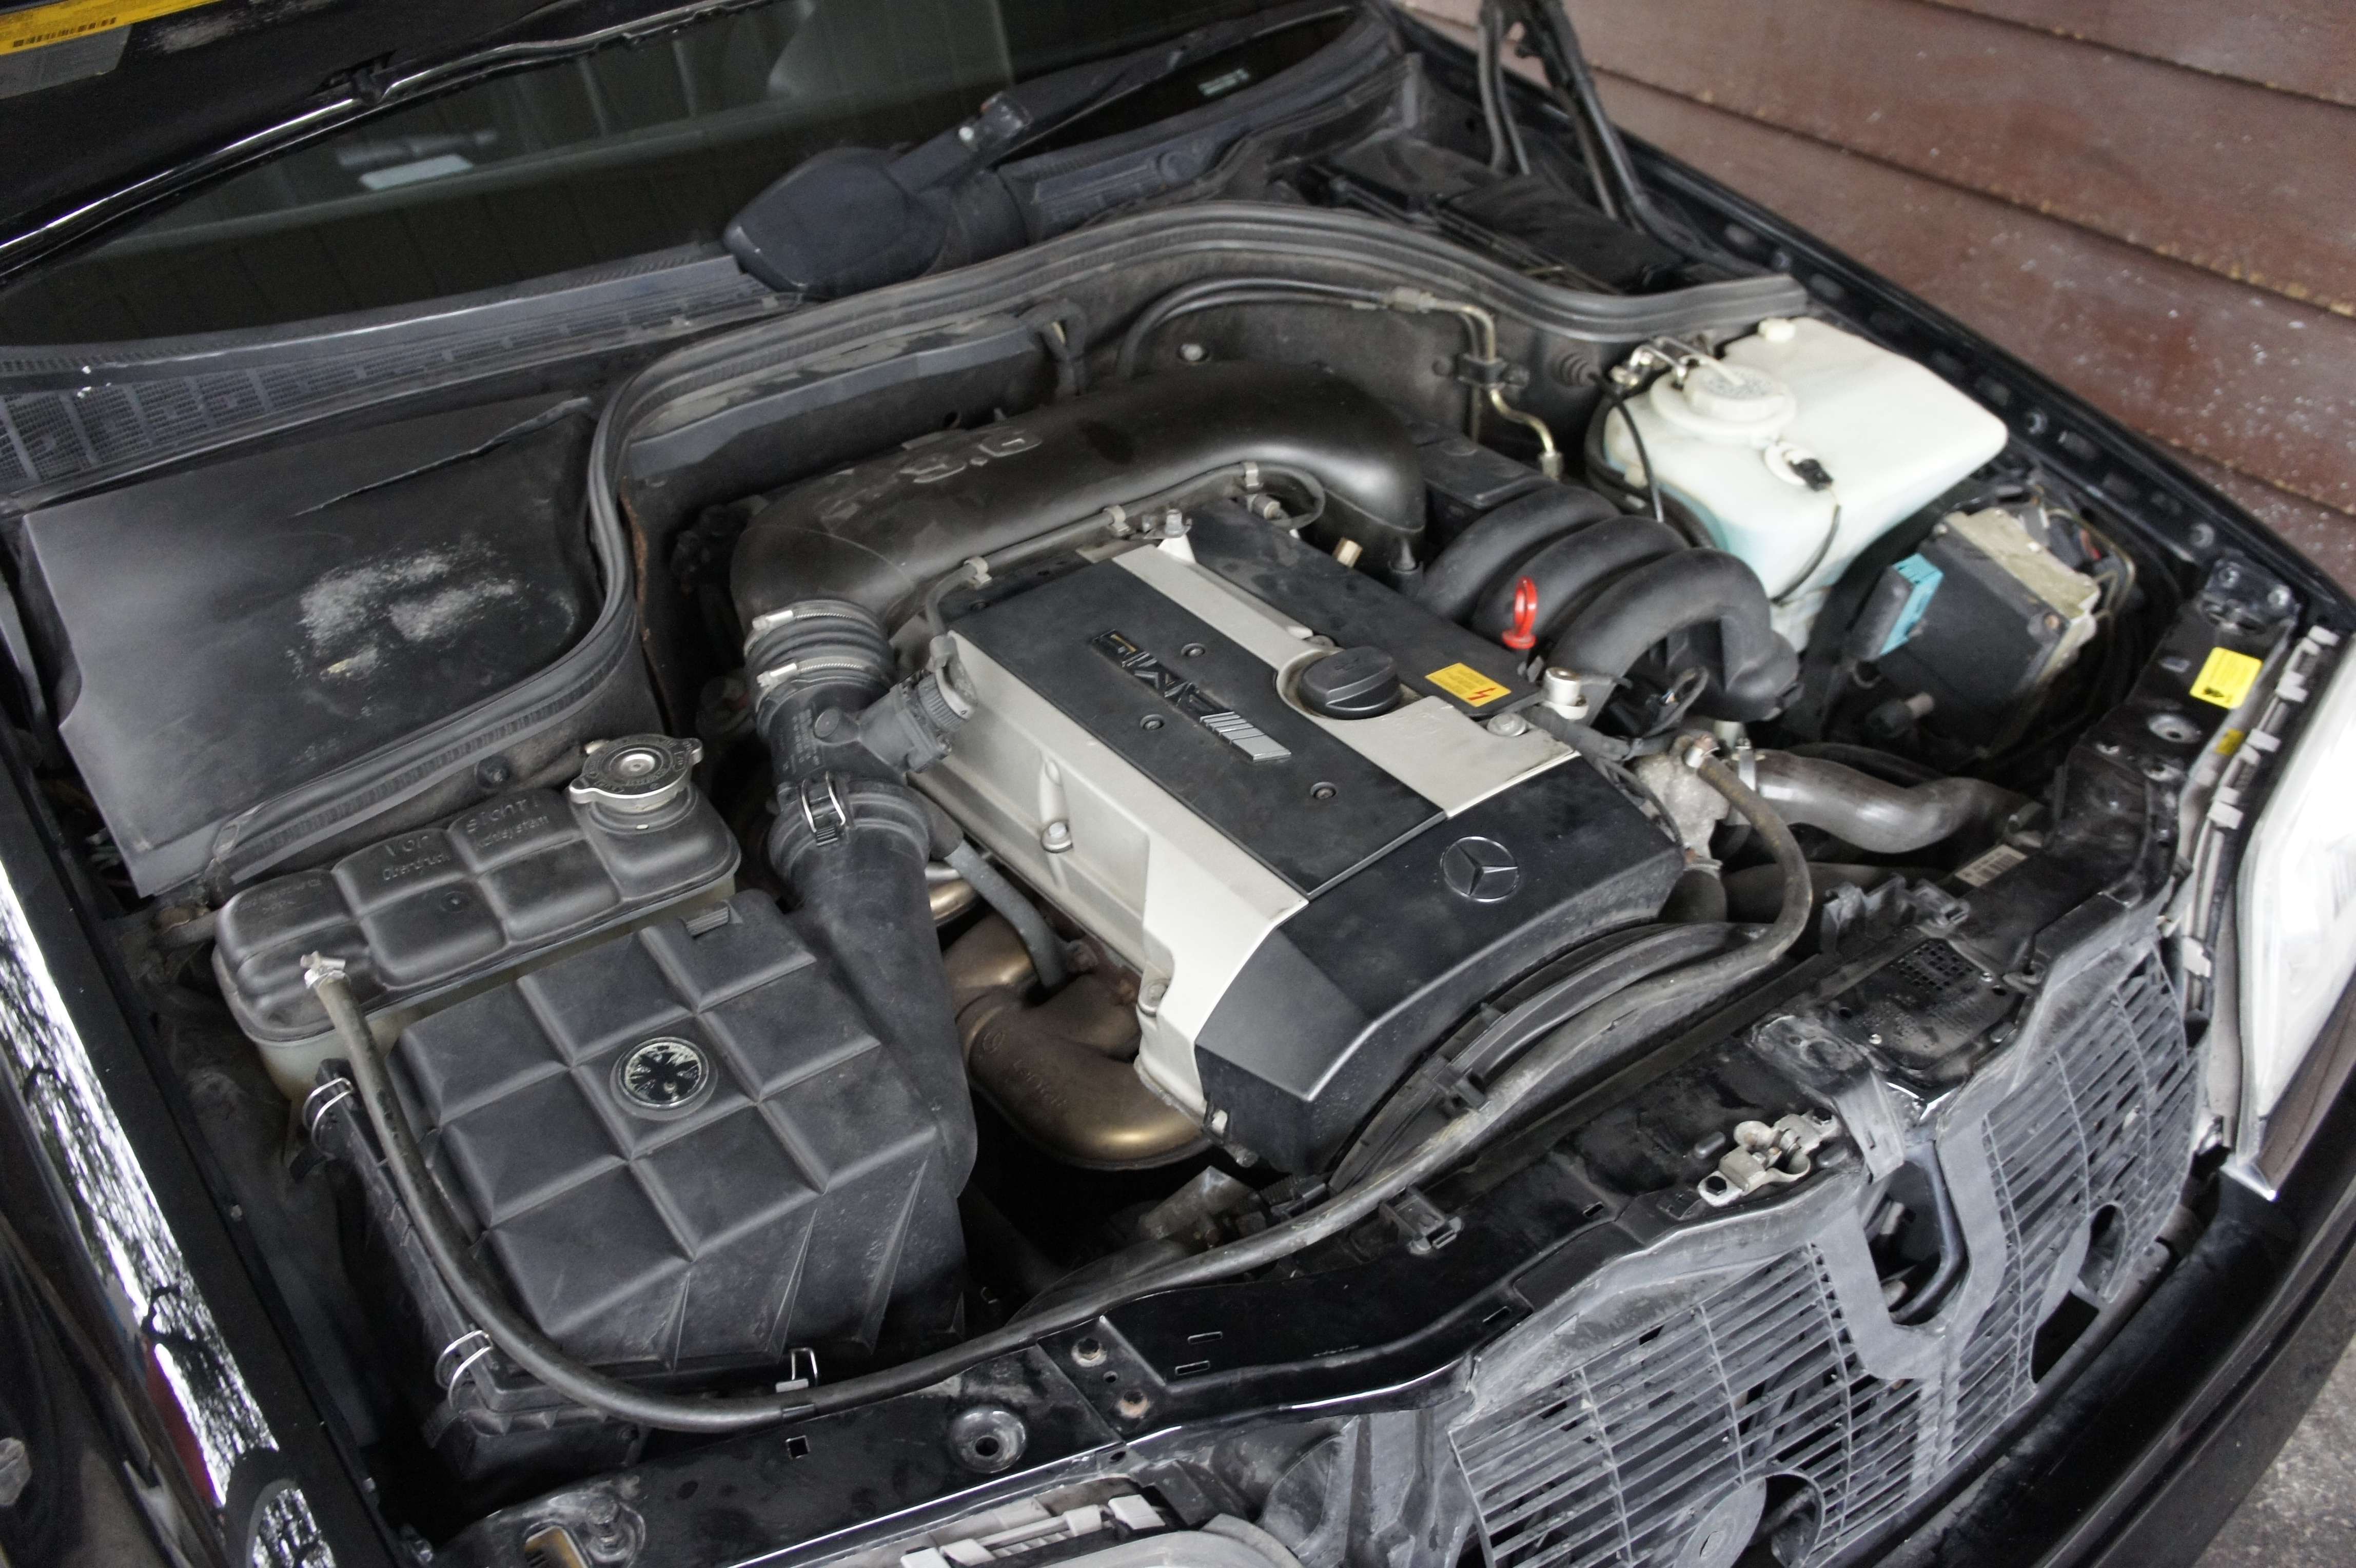
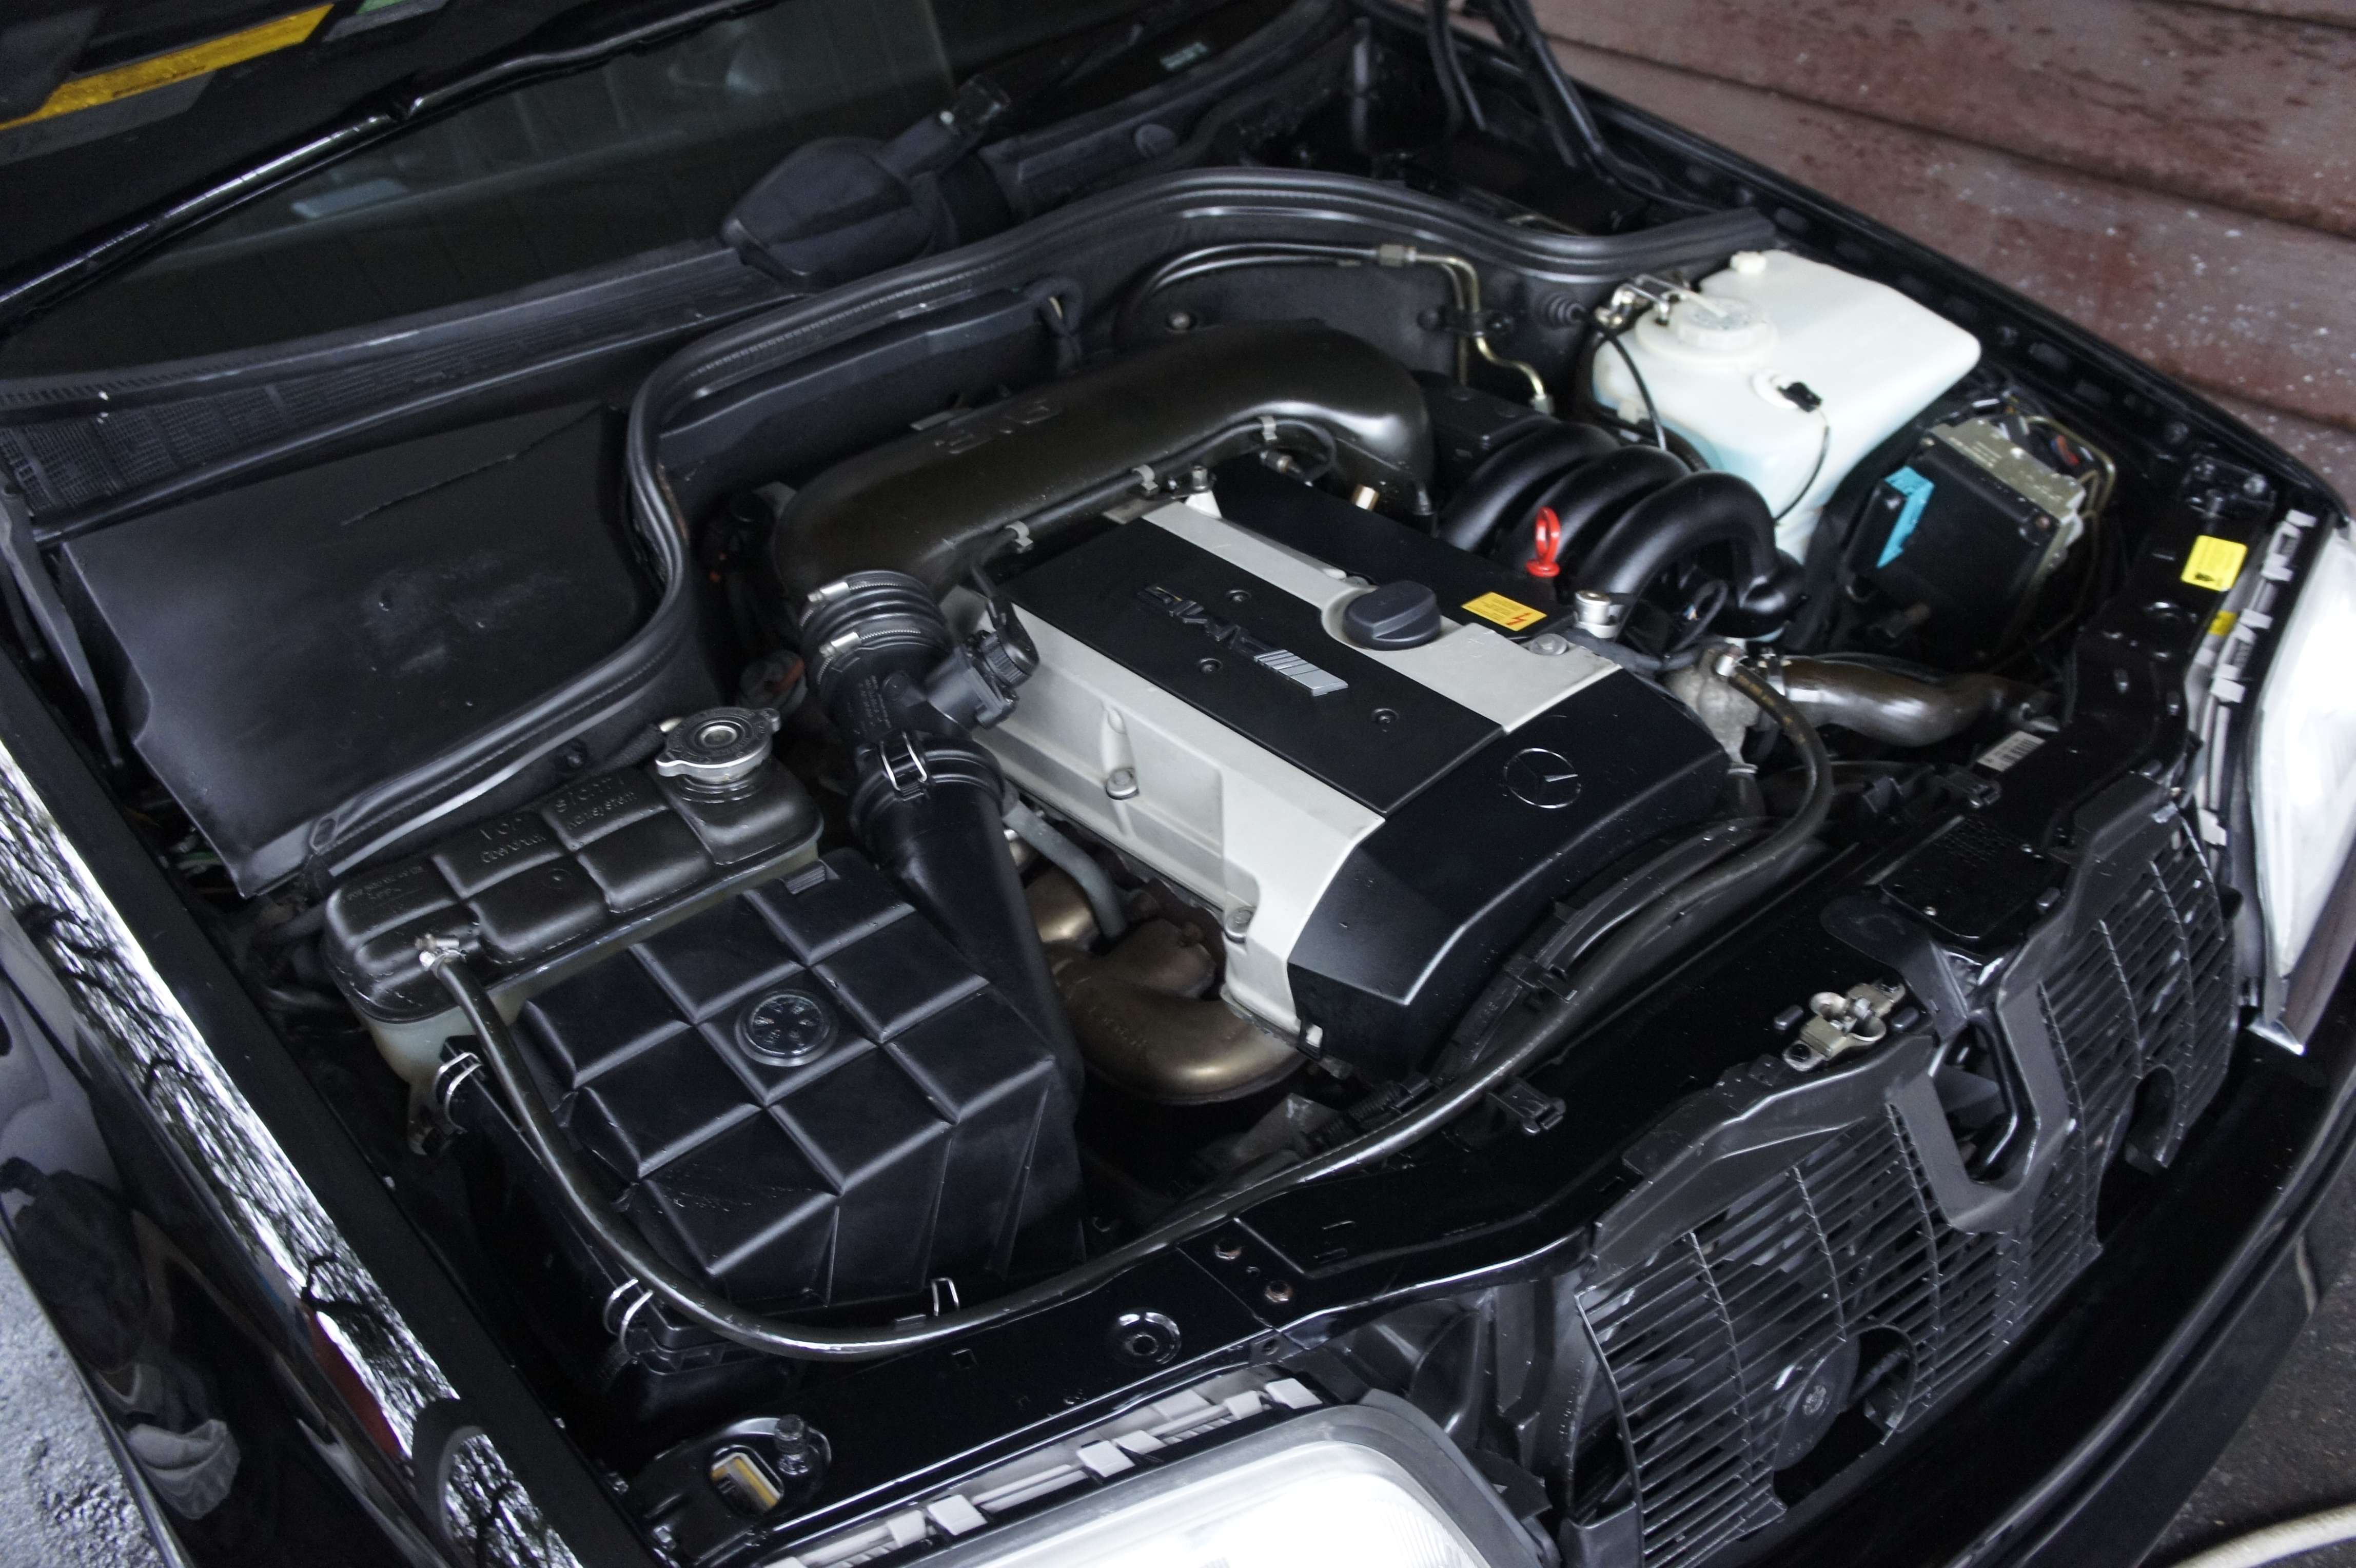
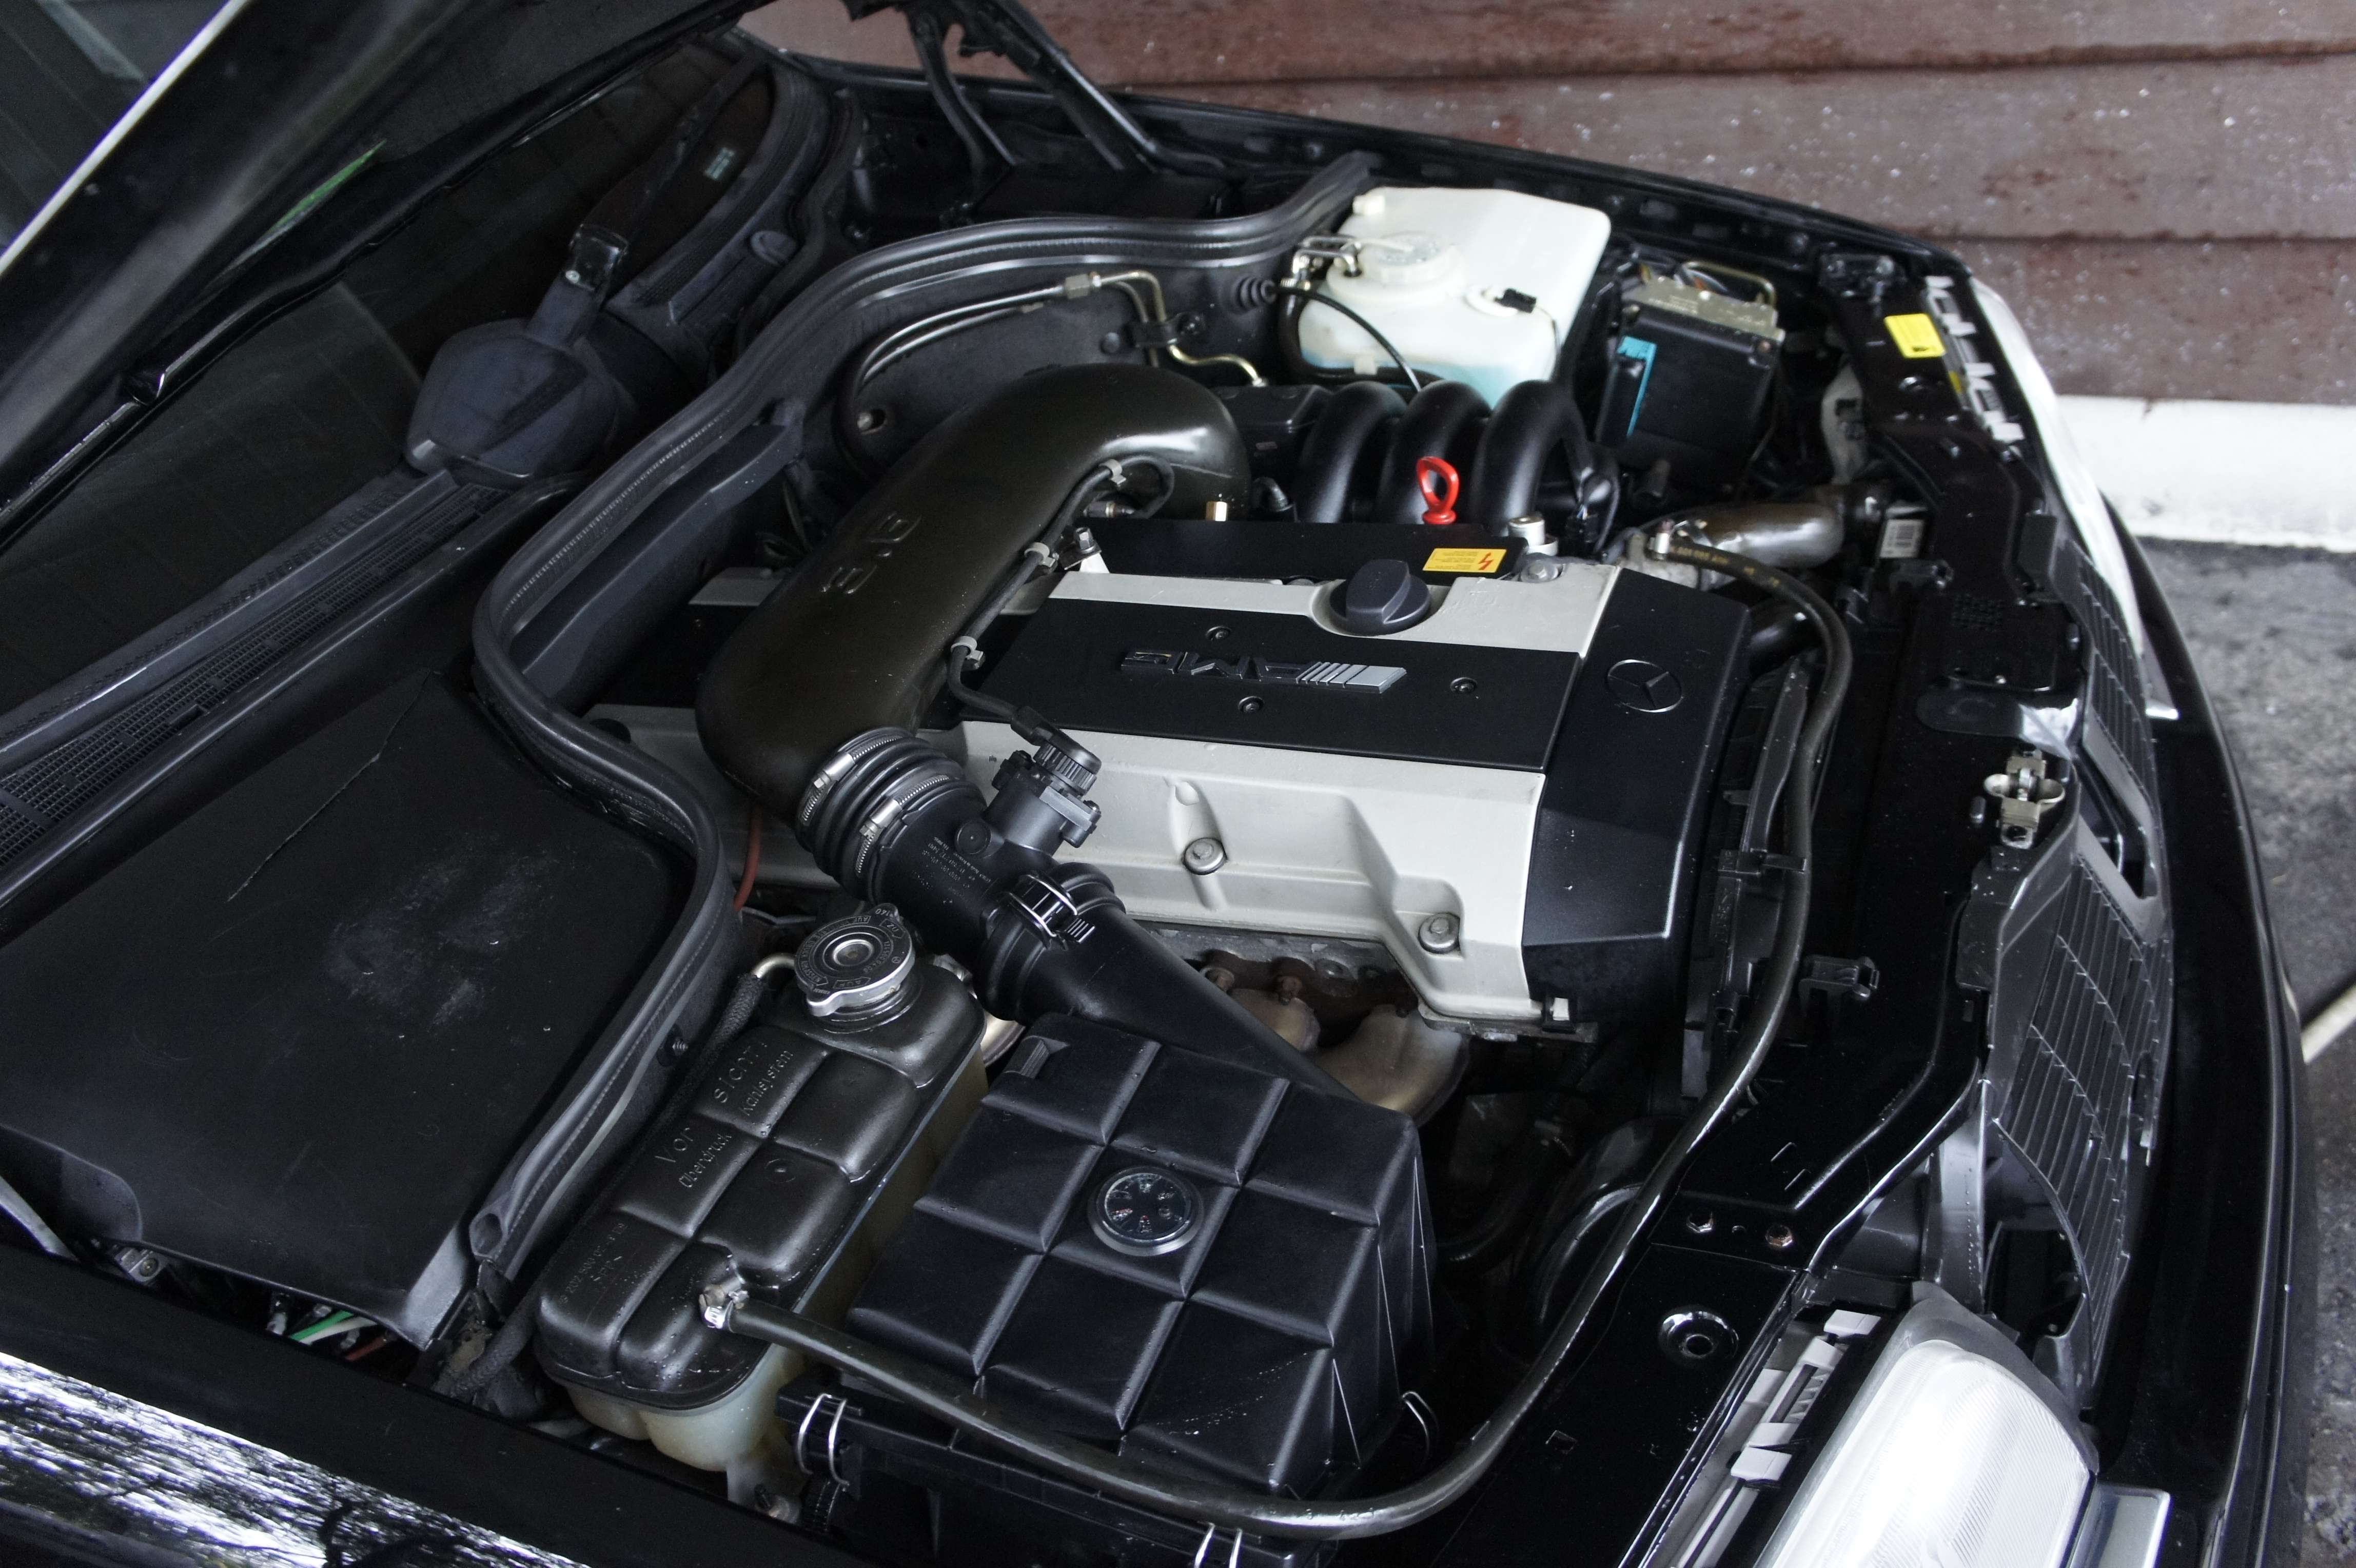
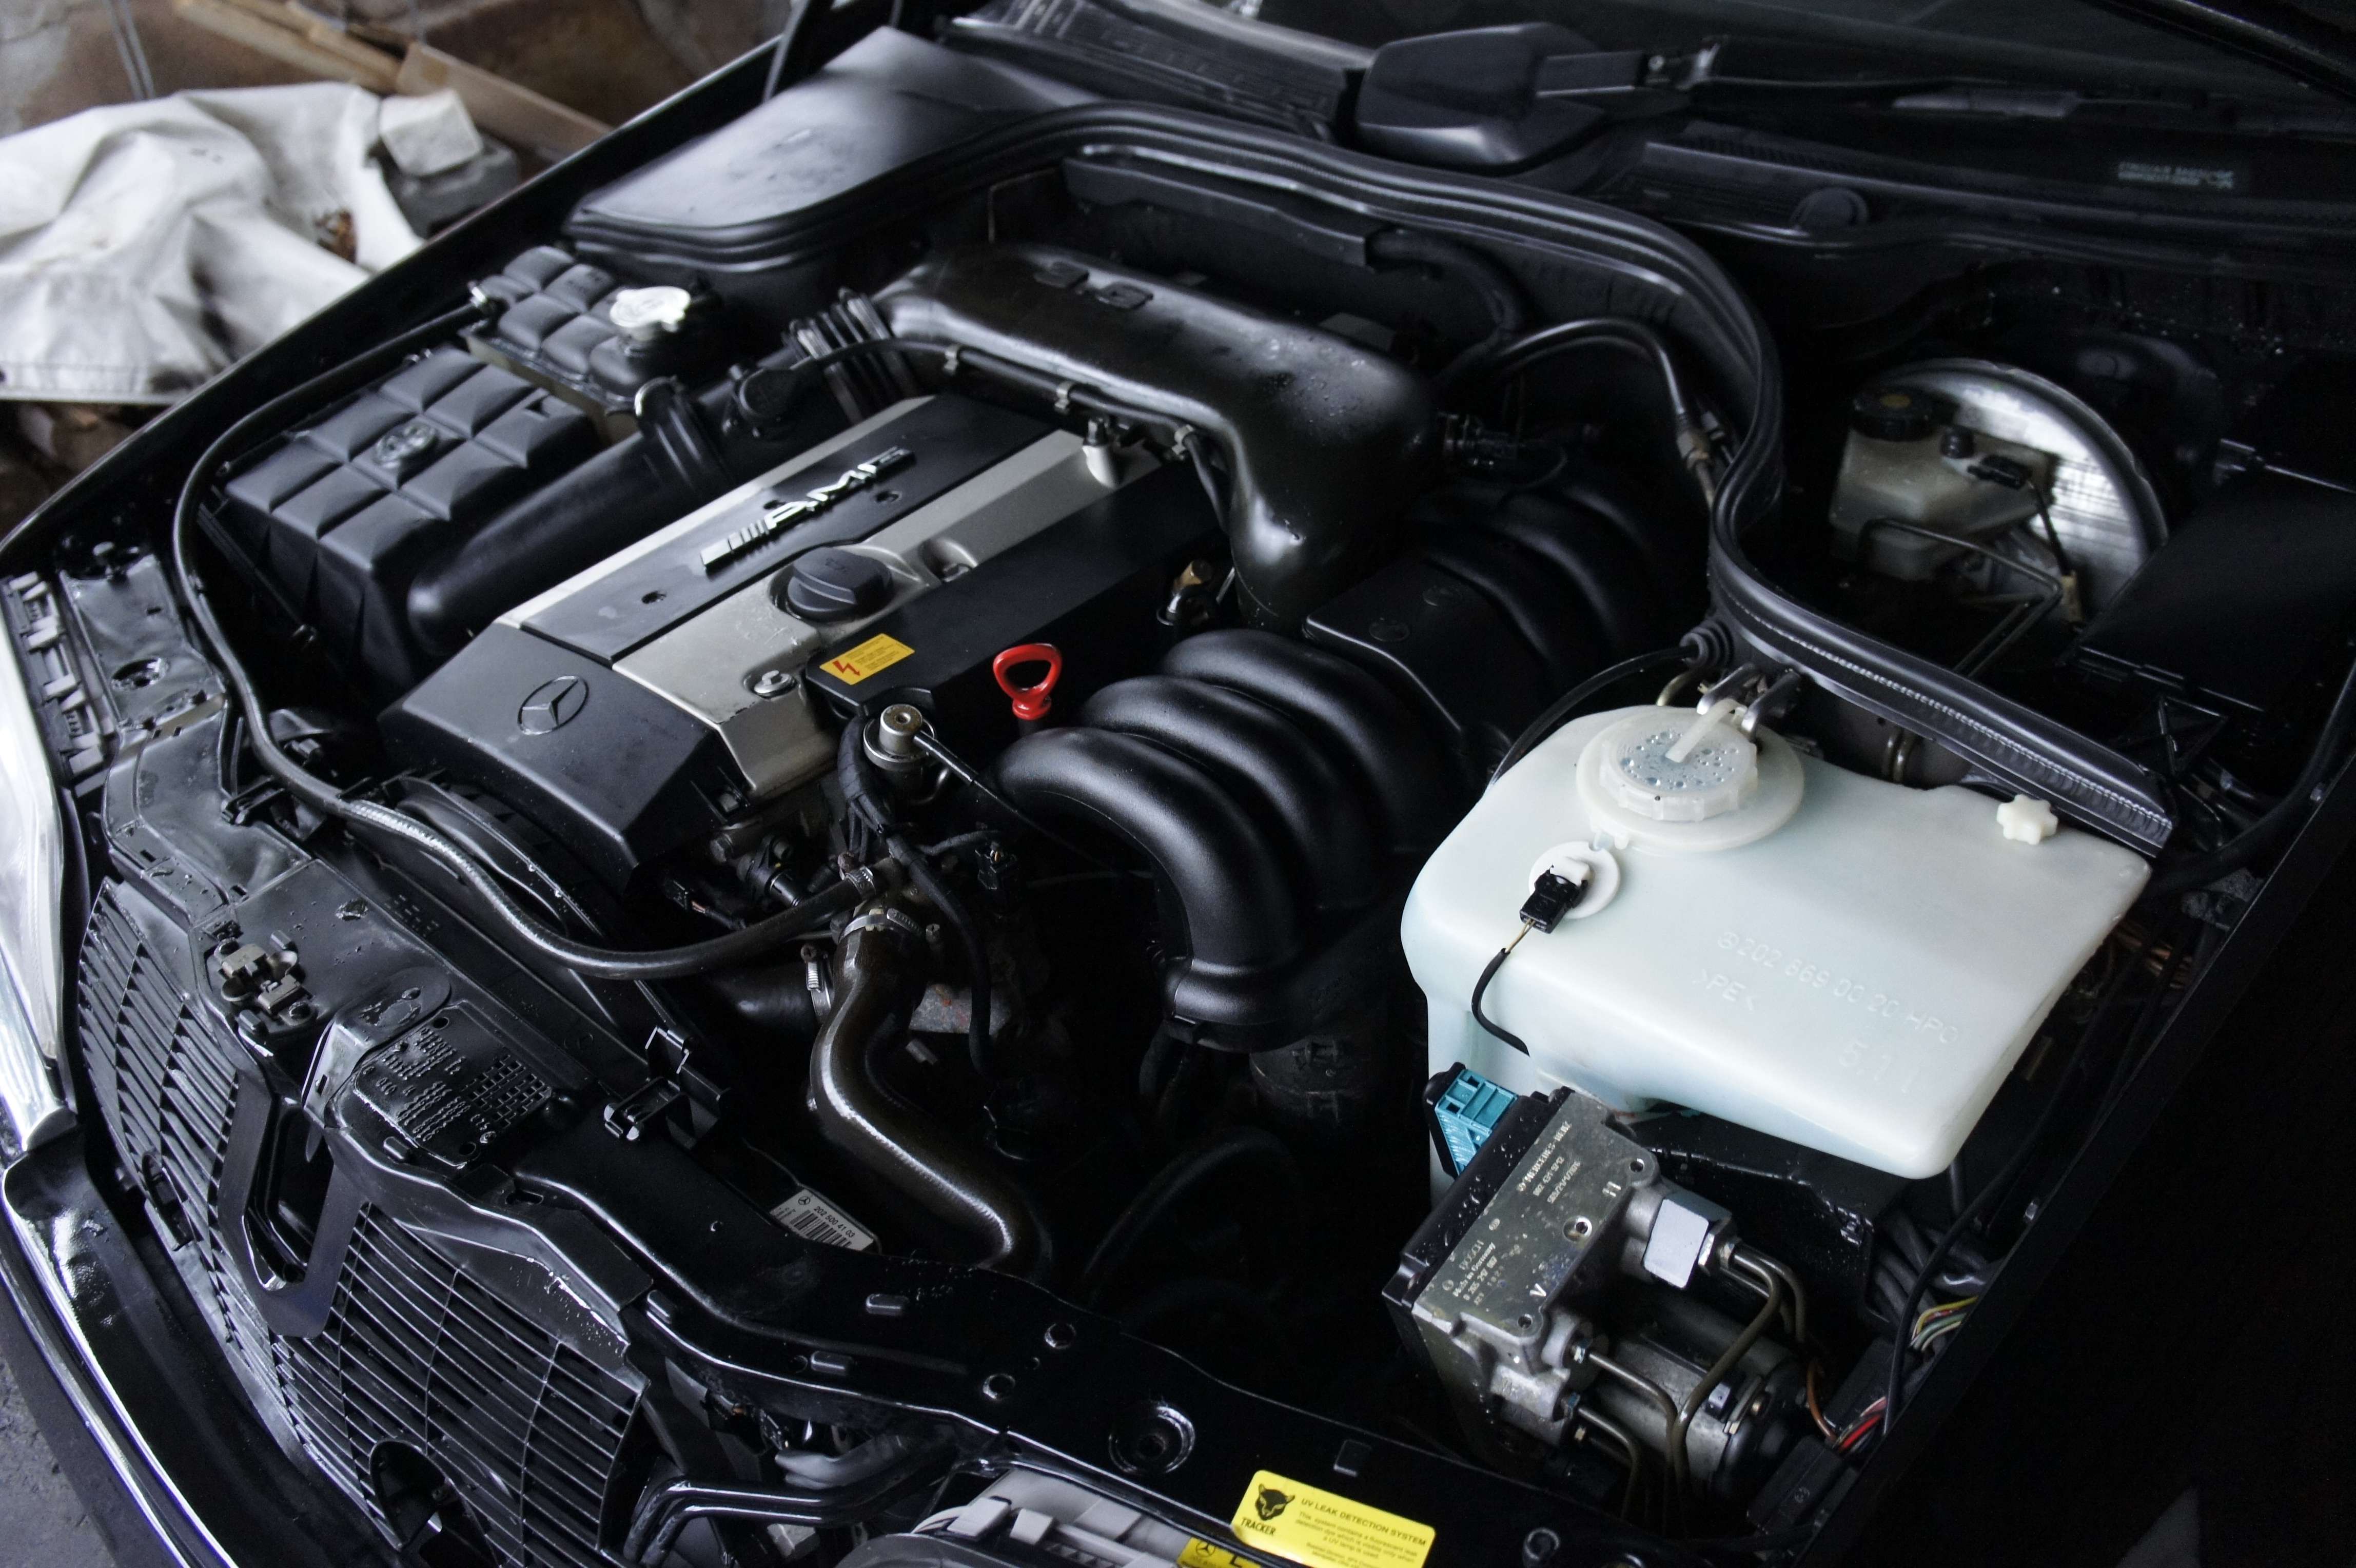
    The exterior and engine bay portion is to be followed later on!

    See ya,
    Alex

    Leave a comment:


  • cobrAA
    replied
    Bonjour,

    Par manque de temps terrible, je ferais une première version de ce detail en anglais. Aussi, par respect pour le propriétaire qui est anglophone, je vais utiliser la langue anglaise, n’hésitez pas par contre à poser des questions.

    Sur ce,
    Bon visionnement

    So here it is, my first GTR detailed. We all love a Ferrari, a TT Gallardo or wish to detail a veyron right? But when it comes to sub 100k car, I think the GTR was clearly my #1 most wanted car to detail! I already had to chance to touch and have a close look at other GTRs in the past but nothing like having one in your workplace for 2 days doing your thing haha. I’m already taking appointment for 2 others GTRs so thing are doing well and just hope to see more and more popping.

    The owner picked up this car used. It’s red so scratches show up easily. He looked at other REDG GTR getting detailed and told me he was looking for showroom result. We spoke in august. Time past ( he go to meet and get offered by tons of others detailers to have a spin on his car, I really appreciated his solidarity to me) and we can’t fix an appointment (either me or him can’t work the car for 2 days). So he come up and tell me since winter is approaching that he would prefer a normal 2-step detail job. I told him, I rather leave him my car for 2 days than having to ‘’rush’’ one of my most anticipating detail of the year. And as you will know later on, I should’ve of kept the car for 3 days! Hint: the clear coat is VERY HARD.

    What more to say? I think its time to present you the car and my work!

    Process:

    Please refer to my intro thread under my signature to understand what the ‘’showroom’’ package include but basicly you leave me the car for 20-30 hours and I do whatever is needed with whatever products I feel is best for the job. In this package, nothing is more important than the end-result. I ask for your trust in return I give you showroom result.

    At arrival:


    Dusty, scuff this and there, little stain, nothing too major!


    Car is dirty but not in bad shape either. Just need a very good cleaning. So I start up with an air compressor. This will remove as much debris as I could where it would be impossible to vacuum and have access. Also, by removing these debris, you also reduce the chance of scratching the leather and other fragile fabric inside while scrubbing with brush.


    Time to take out the set of RACEGLAZE brushes. These brush are made of boar hair and are very soft and when agited, they can foam up pretty well which help a lot to get debris stuck under crevice.


    I then realised the sticky residu in the back-windows. A good glue remover will take care of this in a breeze:


    Just need a good windows cleaning now.


    Here come RACEGLAZE Alcantara cleaner; I chosed this cleaner because it’s a very soft cleaner that I know won’t warm the fabric. Also, since it’s the first gtr I’m detailing, I wanted to play safe with the material of the seat. This cleaner also contains bacterie-killer which sanitize the fabric and at the same time can kill bad odors.


    I also used Raceglaze Leather cleaner to clean the leather insert. Still using a horse hair brush in order to not warm the soft material. This brush do little miracles

    Leave a comment:


  • cobrAA
    replied
    So I was asked to polish this charge pipe. The metal was very dull but I had the feeling I could turn this boring pipe into something more interesting.

    So I did a light wet-sanding, quite quick actually. Took me about 10 minutes for the whole pipe.

    Then I took the various wool pad and special compound for metal and gave it a good spin on my table-saw. I end up using 2 differents wool and 2 compound. I then took my rotary and used a metal polish as a finishing step. Finally, I used g-technic coating as a metal sealant.


    50/50


    And close-up of the scratch:


    Done!


    I let the sealant cure for the night:


    The next day:


    See ya guys

    Leave a comment:


  • cobrAA
    replied
    So last week I had 1 day free time because of a cancellation, so I decided to do a little test between two Zymol wax ; Ital and Glasur.

    The car needed a quick refresh anyways so I wanted to play with lime prime who contains micro-abrasive and see how the correction would be. I really liked it. But I have a shipment of raceglaze products coming up soon also hahaha, more stuff to play with.

    Reflection before:


    Reflection after:


    Ital appeared to make thing a little wetter but I will see later on after a couple rain like we had recently, it will be a good test!

    Leave a comment:


  • cobrAA
    replied
    Hello,

    I've been quiet recently but that's because I've been working on some stuff + I had the funeral to deal with. More details to be followed*tu*

    I will be sponsoring a car event in Montréal and would like to showcase my work as much as possible at the event so I'm thinking about making windows decal to put on the wuarter glass just for the show and I would remove it as soon as you leave. It's a win-win situation. You get a super deal and showroom detail for dirt cheap and I get extra explosure

    Since this is my first show, I'm working on the detail but I spoke with Mark @ Raceglaze.UK and he is sending me some bottle of pre-wax cleanser and a good load of RG55 sample so I will be able to do free demonstration on the spot.

    I'm also looking for someone to help me out at the show. Someone who is billingual would be more suited for the occasion.

    Wow, i'm pretty excited! Any Italian cars or bikes, please drop me a PM!

    Leave a comment:


  • cobrAA
    replied
    Umm lovely, if you ask me


    MEAN!


    Rims didn’t had a treatment, just focus on the paint héhé


    And these shot were 2 hours before he came to pick up his car:


    Thanks for looking, hope you enjoyed it because it’s not everyday I write for that long!

    P.S: Talentless,******** someone said ? yeah.. yeah.. I will leave it at that.

    Leave a comment:


  • cobrAA
    replied
    6) The D.E.T.A.I.L.I.N.G !

    Now, it’s where the fun really starts, IMO. Well, this paint was a real challenge by itself, but usually the difference between a good detailing and a great detailing is how the detailer tackles the small detail. So here we go,

    Applying Wolfgang ETS on all trim. This stuff works very well and has a durability of +4 months. On top it does have a matt look perfect for this matt black trim so it doesn’t alter the finish. This product isn’t cheap but heck when you only want the best right?


    I’m now waxing this baby with 76% carnauba by volume. This is an upgraded version of the regular Black Label wax by Raceglaze made especially for myself. You get pure wetness with the durability of Swissvax Crystal Rock. I actually gave 4 coats in a time span of 24 hours. (About 6 hours between each) Oh yessss, I waked up at night to wax the car, devotion anyone?


    Same goes for the carbon hood and trunk:


    Swissvax cleaner fluid on the rims:


    Then, I gave it 2 goof coat of wax to make it stand out and give it a slight darker look:


    On door jam + wax:


    Plastic polish on the lens of the gauge.


    Cleaner fluid again:


    little seal that got some polish and need to be cleaned with a QD:


    After the wax and cleaner fluid:


    7) Interior:

    I took the air compressor to really move all the dirt between crevasses:


    Making sure all door jam was taken care and making sure no residue were left:


    Interior was washed using my extractor and leather were treated using Leather cleaner + conditioner.

    Anecdote: when the owner took his car back, he pulled down his windows once inside the car and almost yelled; HEY!! You did the interior also, what you did to the leather!?? It’s so nice! (I just love when the customer find by himself what I did. It shows even more the detailing going through the detail)


    8) Final shot:

    This was after 1 coat of Black Label and Swissvax Cleaner fluid:

    Leave a comment:


  • cobrAA
    replied
    4) Wet-sanding:

    So we say the least aggressive, the better? I tried compounding the roof in order to remove the water spot and it didn’t do anything. At that moment, I knew I had to wet-sand the whole roof.. Not something I really like but I had to do it.

    Wait till the paper are fully soaken up and twisted:


    It is now easier to see the etching that occurred in the clear coat here:


    Obviously I took a lot of reading during the whole process:


    5) Importance of cleaning your paint after, IPA, Citrus wash, Cleaner fluid, it has to be done.

    Here you can see the water perfectly bead and sheet on the paint with the polish still on the paint. So a polish can act like a wax !? or is it only the fine oil from the fine polish that give this effect.


    To clean the paint..


    And now… the long awaited moment.. when you take out the car into the sun to make sure the correction is fine and then you can enjoy applying one of the most exclusive high-end wax on the market as we speak.


    Fuuuu!!! Isn’t that nice!? No wax or cleaner fluid now.. just the bare paint. I know the owner would be thrilled when I saw that .

    Leave a comment:


  • cobrAA
    replied
    2) Some random pictures of me cleaning the car, see how important theses brushes are for a complete clean-up.


    3) Paint before: here’s how the paint looked before

    Paint reading was pretty uniform on all panels. Considering most bmw reads from 120 to 160 from factory, I’m wondering what the 3 other details looked like ? only a glaze or a light polish ? Because the reading looked like a factory paint reading without correction whatsoever. I mean if a car get detailed third, I could expect maybe 110 microns panels but I didn’t.


    Taped the whole car:


    So here I wanted to showcase what a compound is.. Unfortunately, most people use the term ‘’Compound’’ to say they want a polish or a wax applied to their car. I would like to be clear once for all, a compound is VERY abrasive and leave an ugly finish to the car! Every week I get asked, how much for a compound? 99% of the time, the person meant a polish or sometimes it was only a wash and wax.

    So I took this car to demonstrate you what a compound really looked like: On the left, you have the actual condition of the car and on the right, you have the compound.


    Sure there’s no scratch or swirls but that’s because the whole panel is hazed and ugly haha! So the ugly look is somewhat more uniform on the panel, but look closely, you will clearly look that the left side has way more gloss and definition to it.

    So what happens is when the compounding step is done, we need to do more polishing step with lesser abrasive paste to get back the same level of gloss we had on the left side but WITHOUT the swirls and scratches.

    After a couple of polish step, I came down to this:


    Now, see the difference? A picture is worth 1000 words here.

    And at this stage, I still wasn’t 100% happy with the result:


    So I redid the step with another system and end up with that:


    Now, we’re talking guys!

    Here’s some after-after:


    Leave a comment:


  • cobrAA
    replied
    Okay here’s a very interesting story; Car got detailed twice at the dealership. It then went to a performance shop where, as you might imagine, got damaged, mostly on the front-end of the car but because of all the dust and stuff, you just need to touch the car to induce micro-swirls and stuff.

    Car finally got detailed and bumper got painted twice because the job wasn’t nice at a body shop that I won’t name not to get into the bashing sh*t we saw lately. The owner said I was his last resort, if I can’t do it right, he’s repainting the whole car! So here I come.. to finally show him that a good detailer can actually give a second life to his 23k km bmw.


    Process:

    This is a showroom correction. This means that cost is not a factor, we simply do the best we can, no matter what times it takes and cost.

    I started by doing a 5-step polishing (from compound to jewelling) and I put the car in the sun and…. Welllllll I wasn’t happy! Boys! So many RIDS! I had to redo a 3-step polishing but this time I tried the MF system and it did well to really remove another couples of microns to level these deep scratches to show a nice finish.

    So basically, I did a 8-step polishing whatsoever. I also had to wet-sand the roof.

    1 coat of Swissvax Cleaner fluid

    And 4 coat of Raceglaze Special reserve made for me, Waxxon Spa automobile.


    1) Engine bay:

    These items are suppose to be brand new but for some reasons, I guess they were left on the floor without microfiber to protect the finish:


    Polishing the scratch on both the strut bar, engine cover and under the hood:


    Waxing with Hi-temp wax + black label


    Trim were treated for a darker look:


    Also waxed:

    Leave a comment:


  • cobrAA
    replied


    Thanks all! See ya

    Leave a comment:


  • cobrAA
    replied
    Nice smell! I can’t get over it.


    And the interior wood panel were crystal rocked also!


    Wheel sealant applied to the wheel while the Crystal Rock cure on the paint:


    On the metal trim also:


    …and lettering also:


    Polishing the glass for the aquapel:


    I always do the whole car, not just the windshield like most retailer do:


    Je ne vais pas mentir, l’intérieur était en bonne condition, alors seulement un quick refresh + traitement cuir:


    I really liked the door card, nice little luxury feel!


    Enjoy the last set of picture! Right after the Swissvax treat..

    Leave a comment:


  • cobrAA
    replied
    Before:


    After:


    Now inspecting with the sun gun:


    God!!! Have you seen the trunk !? 
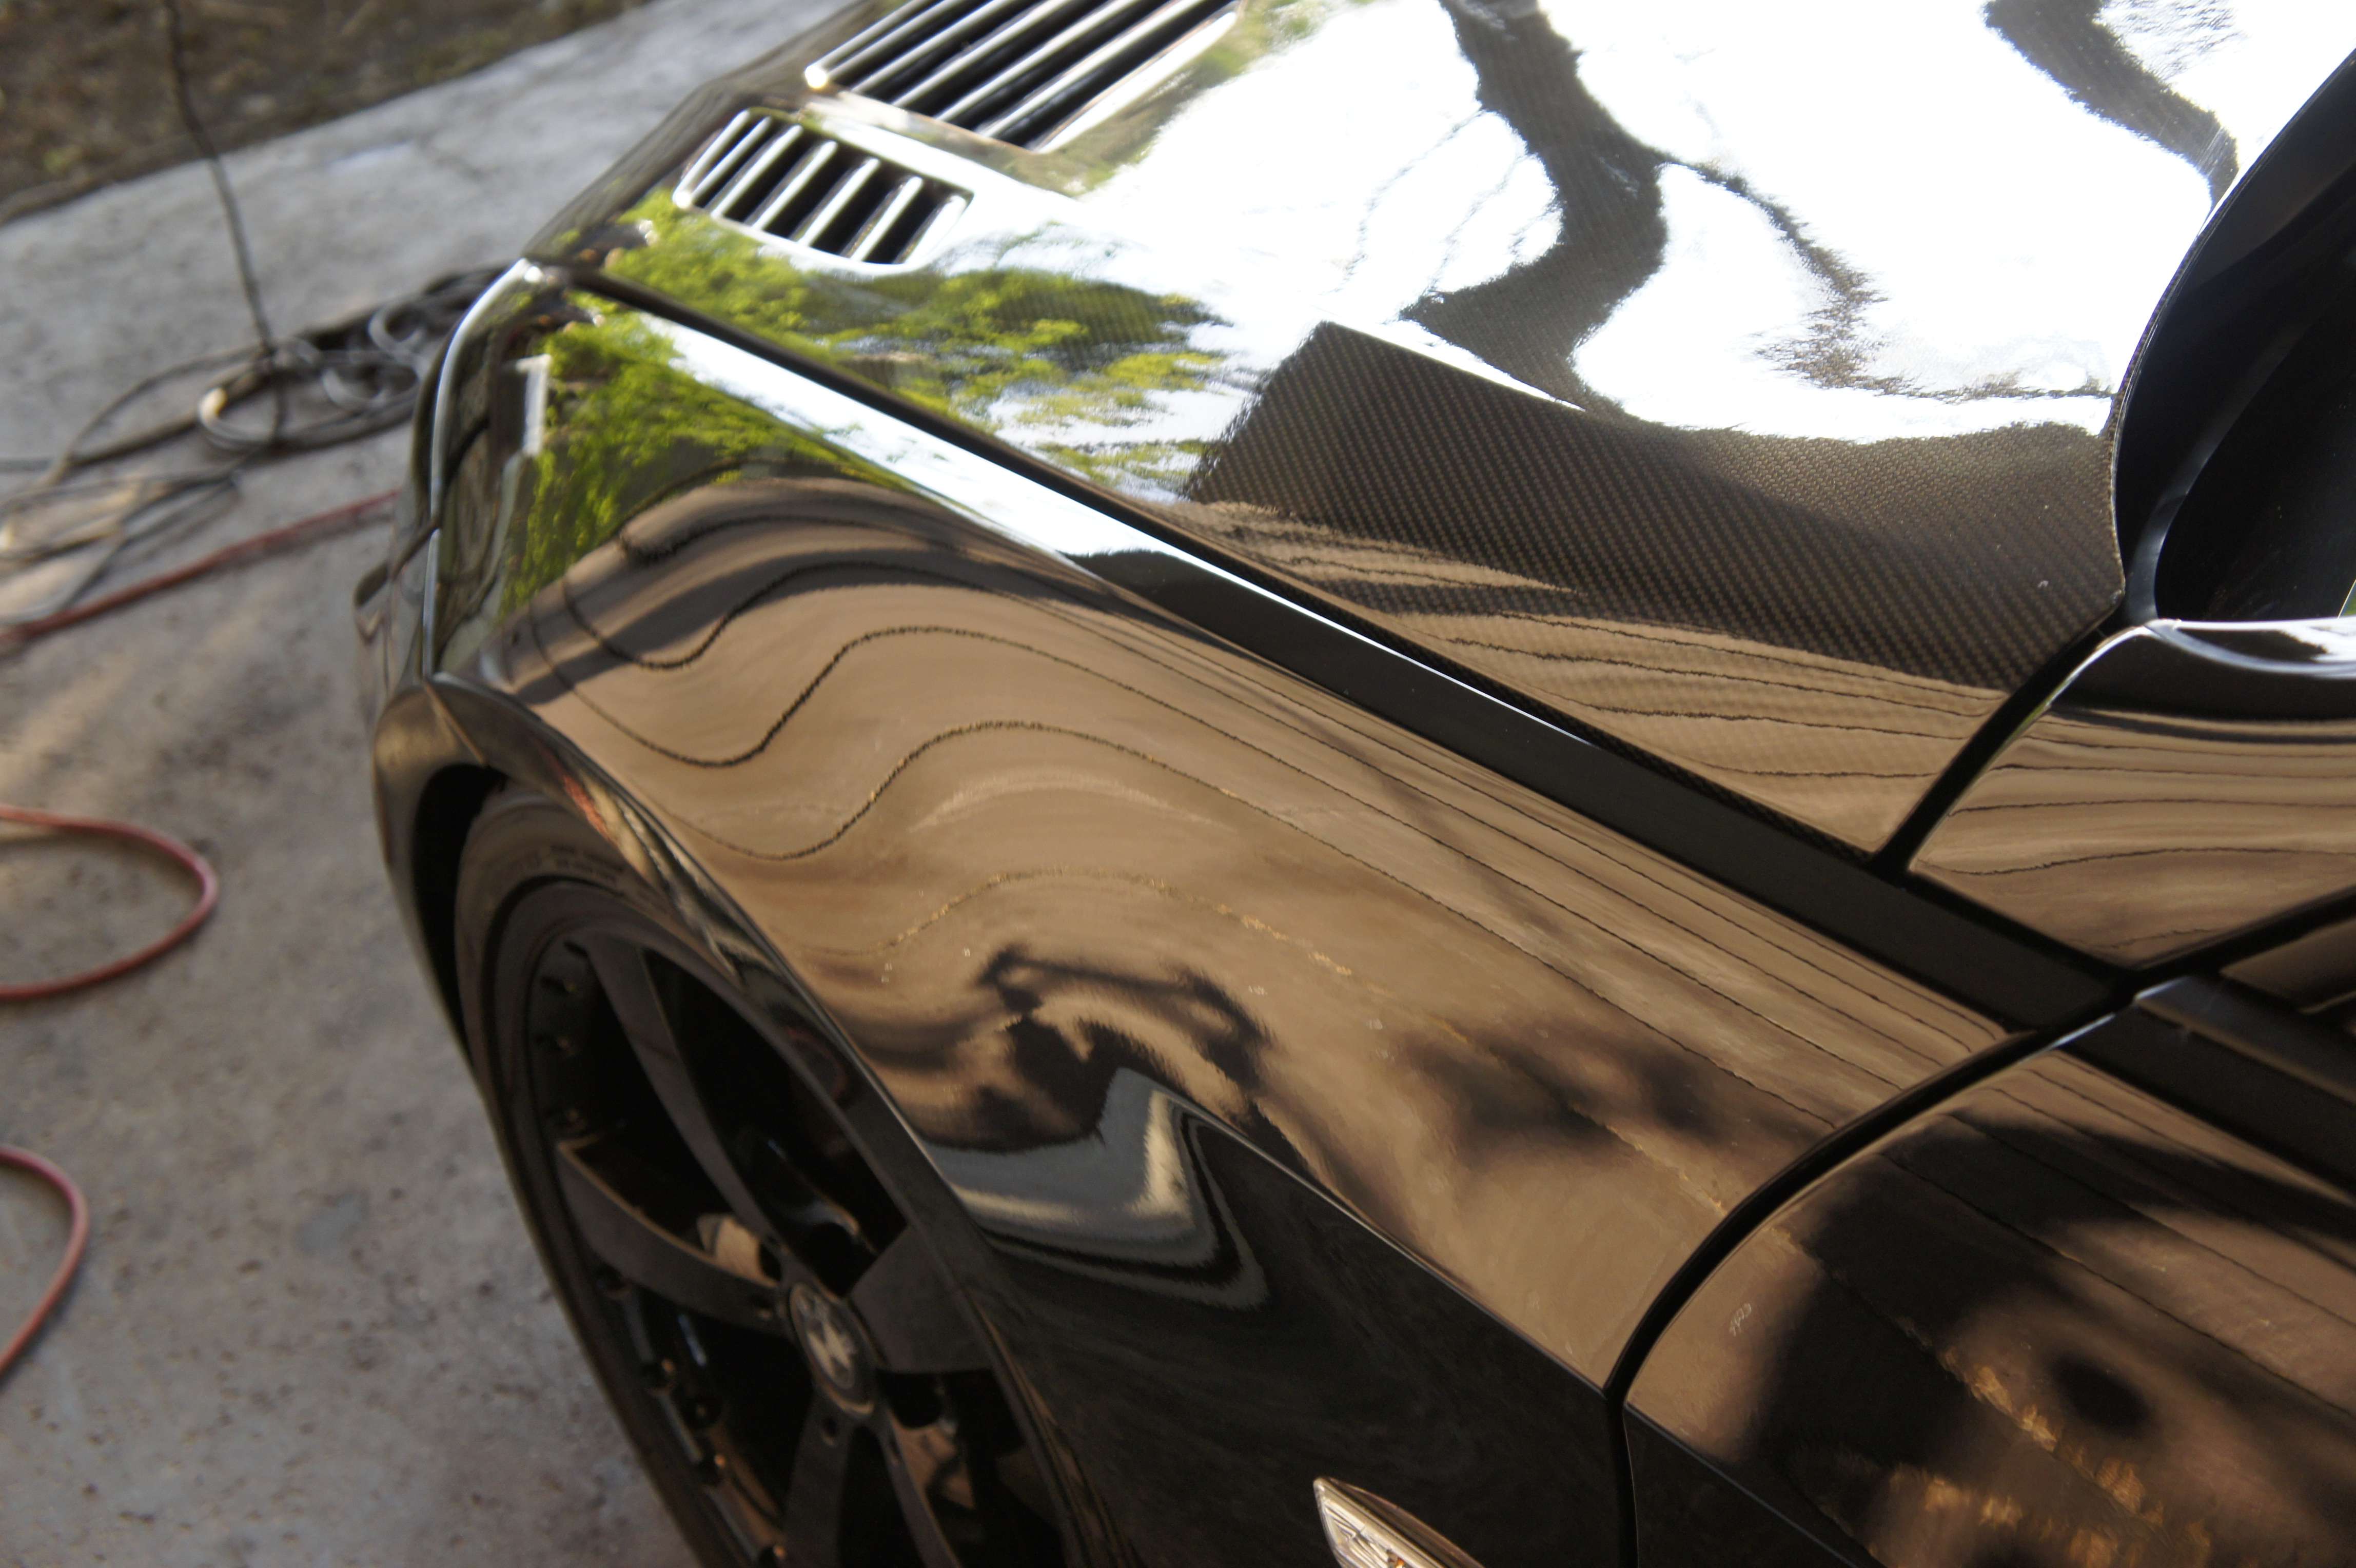
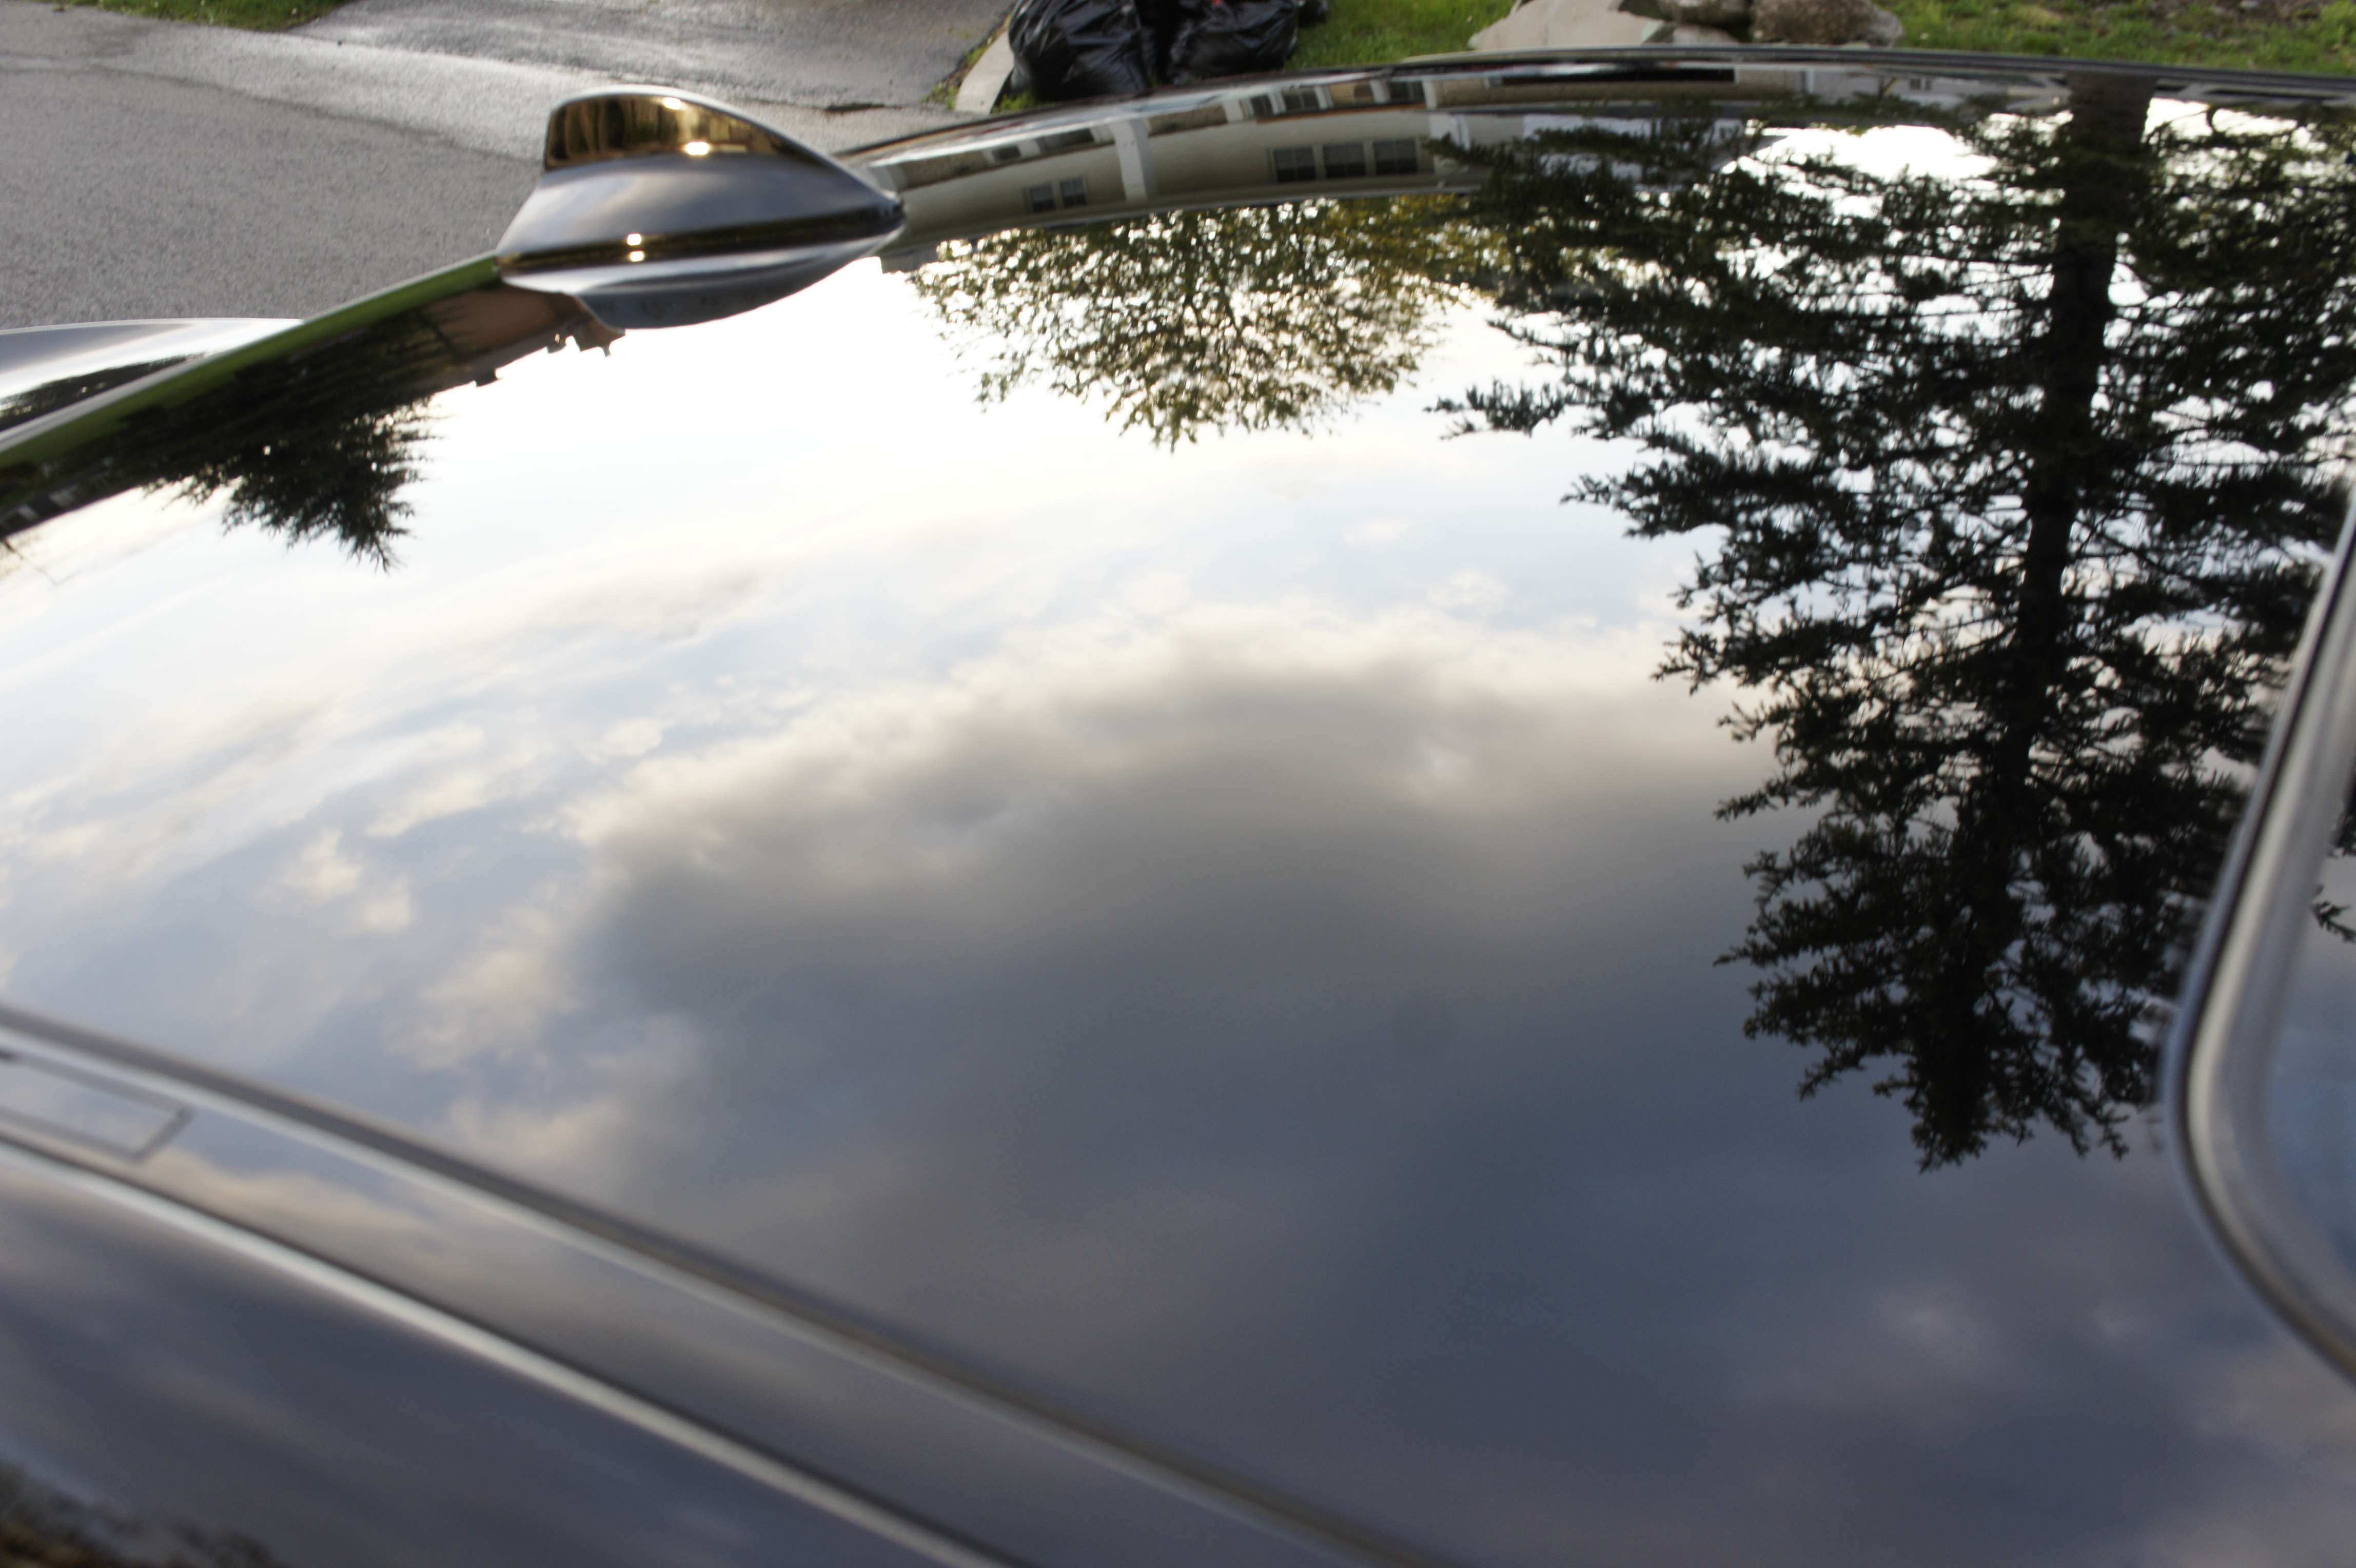
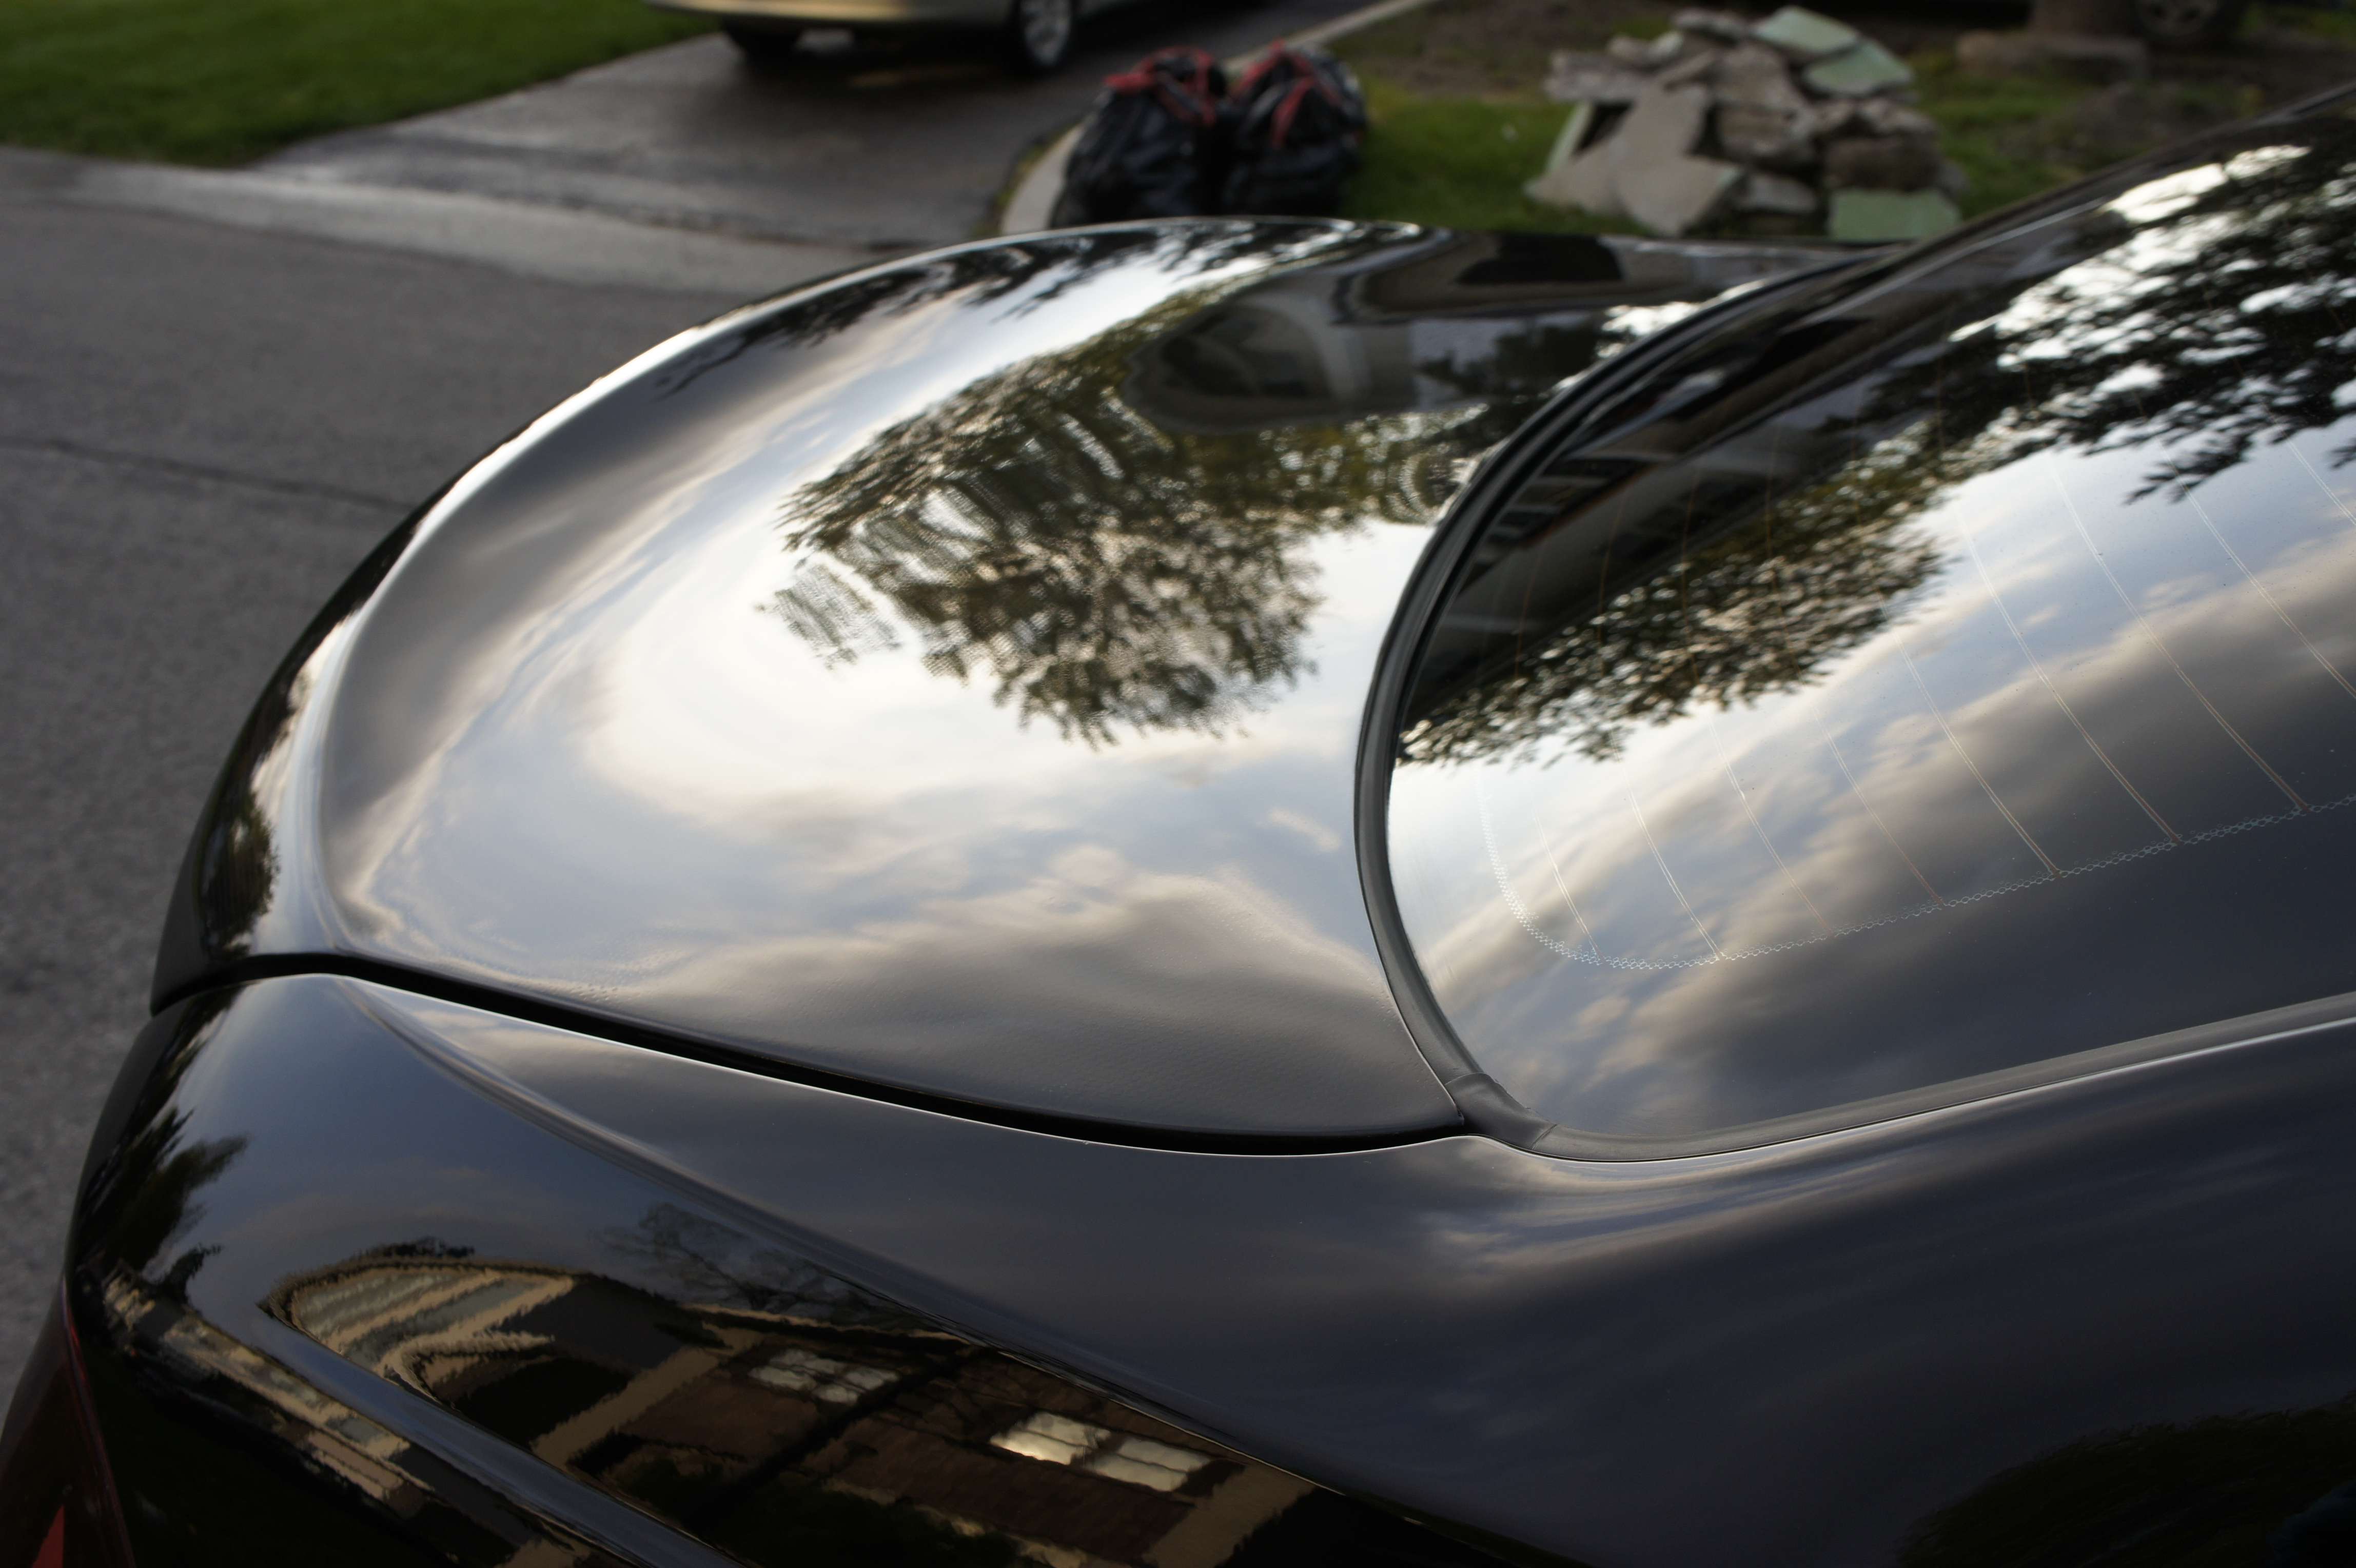
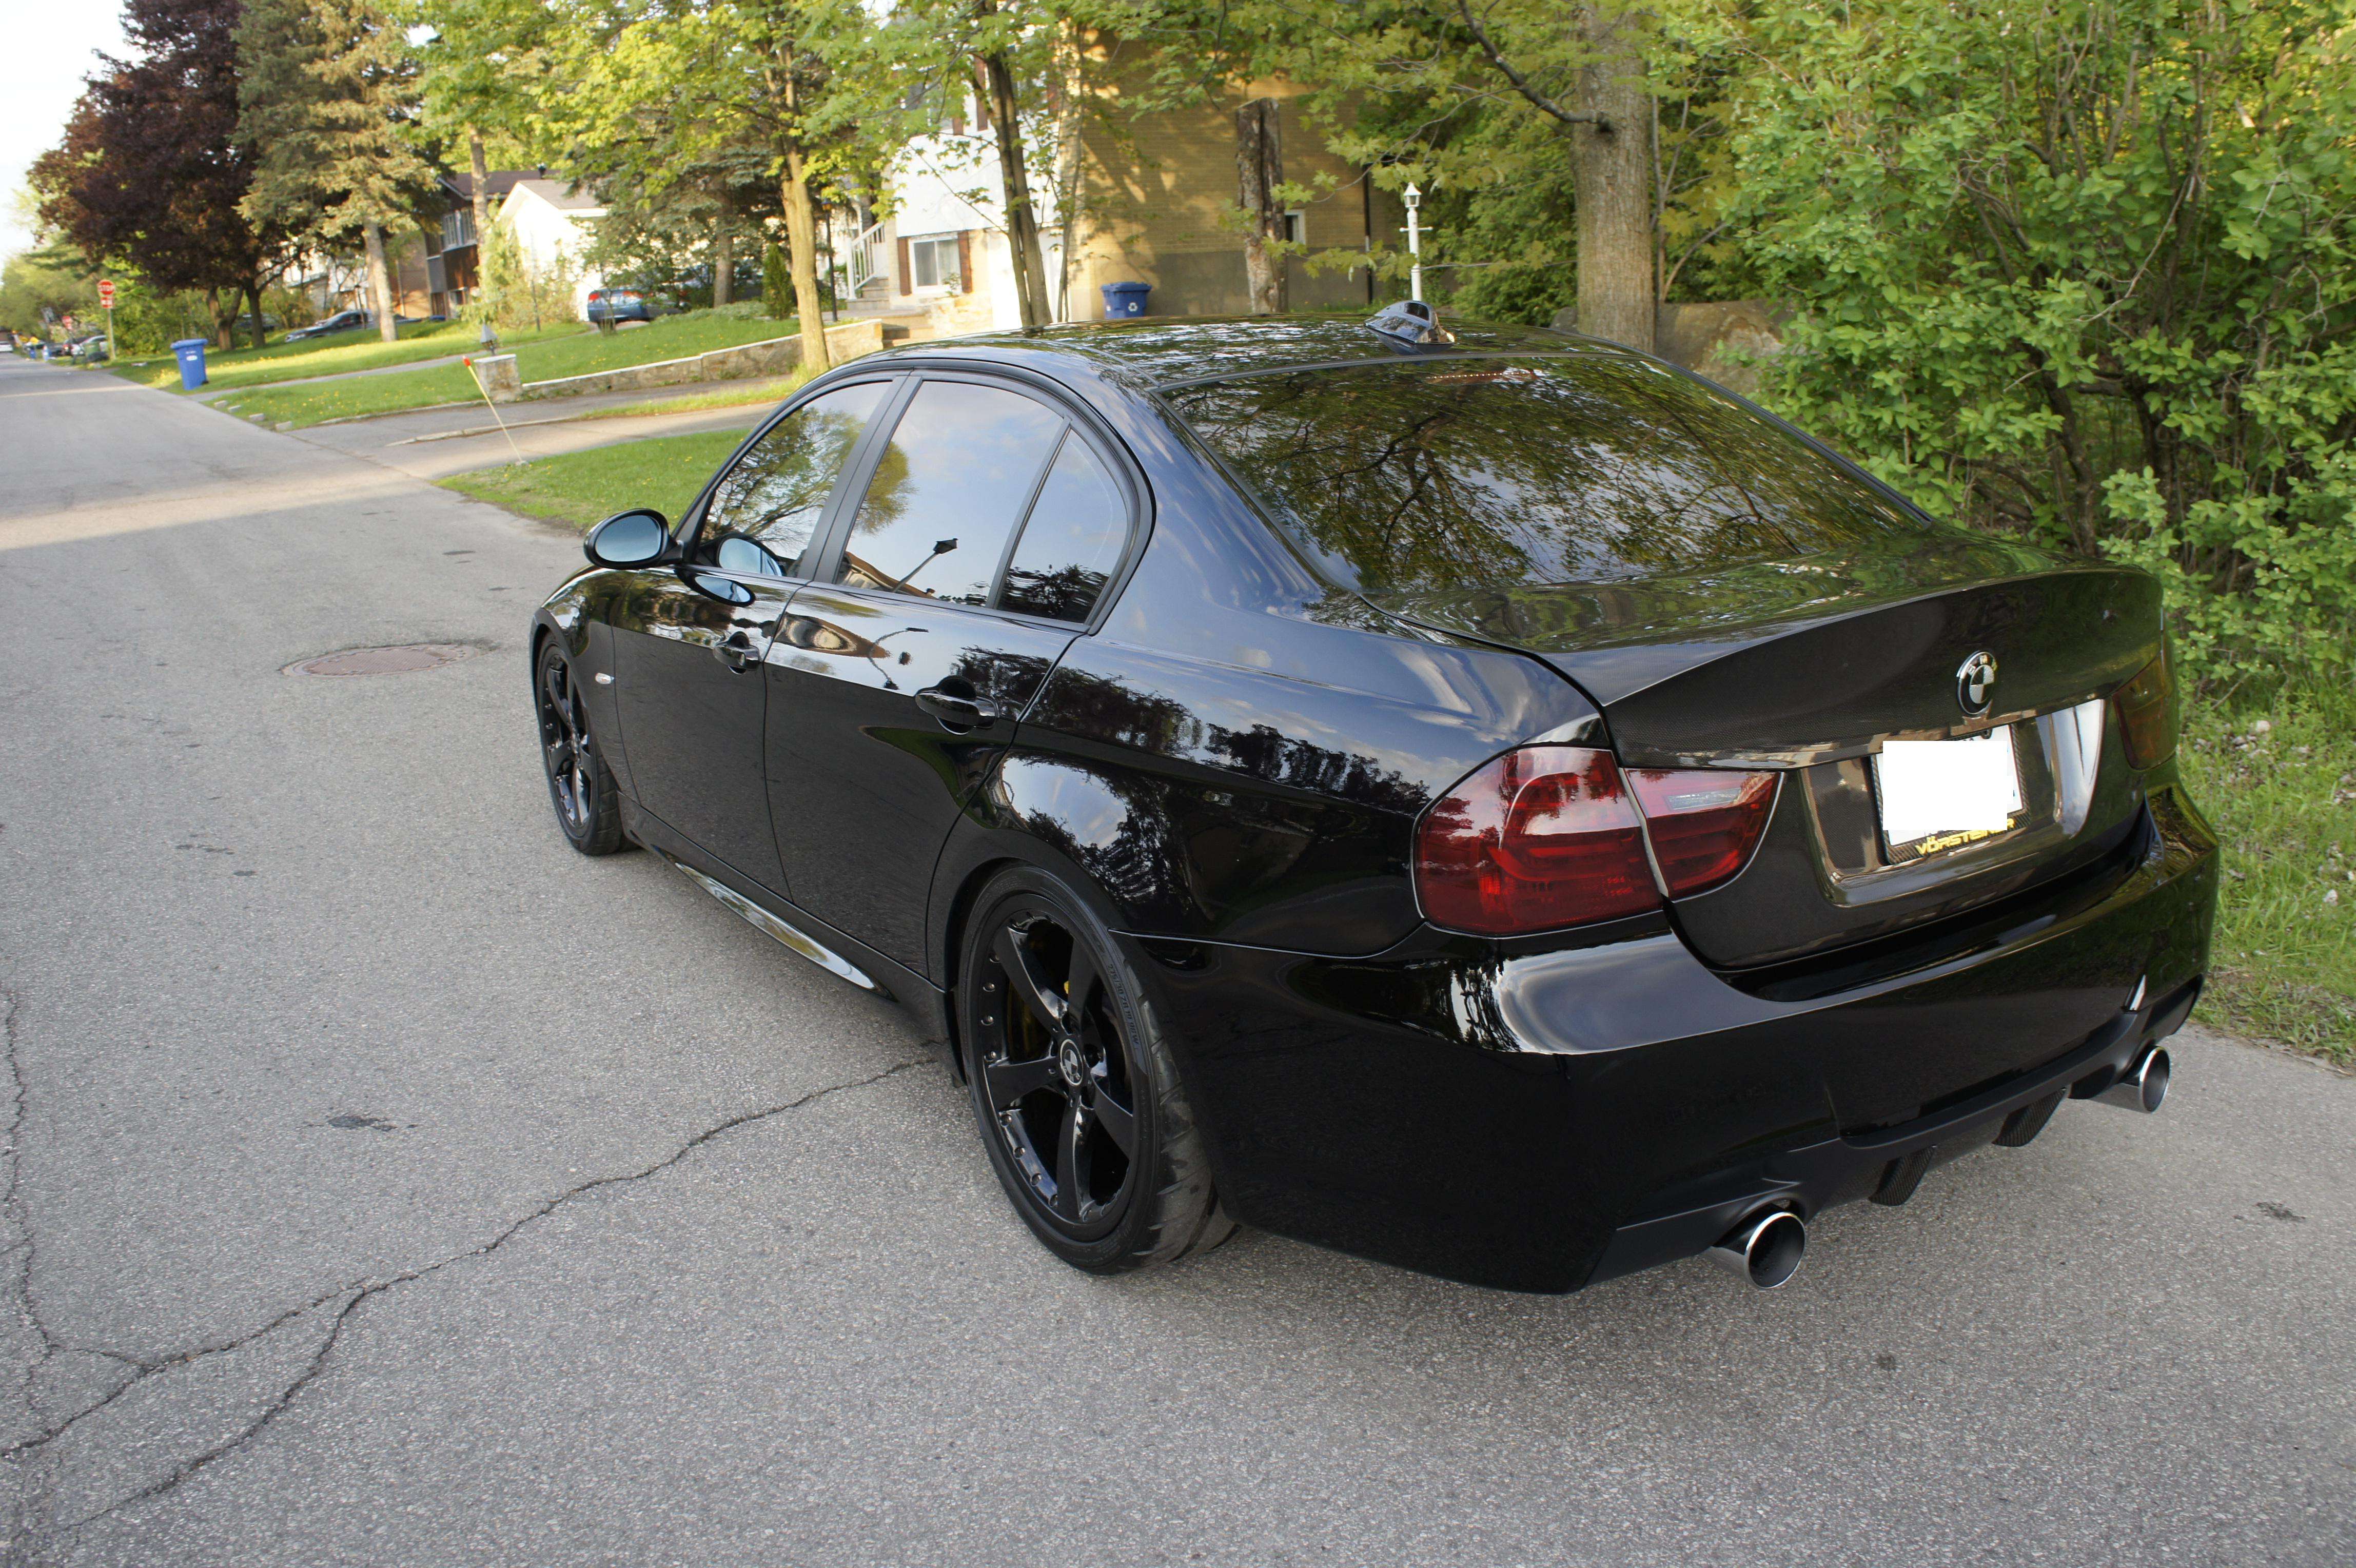
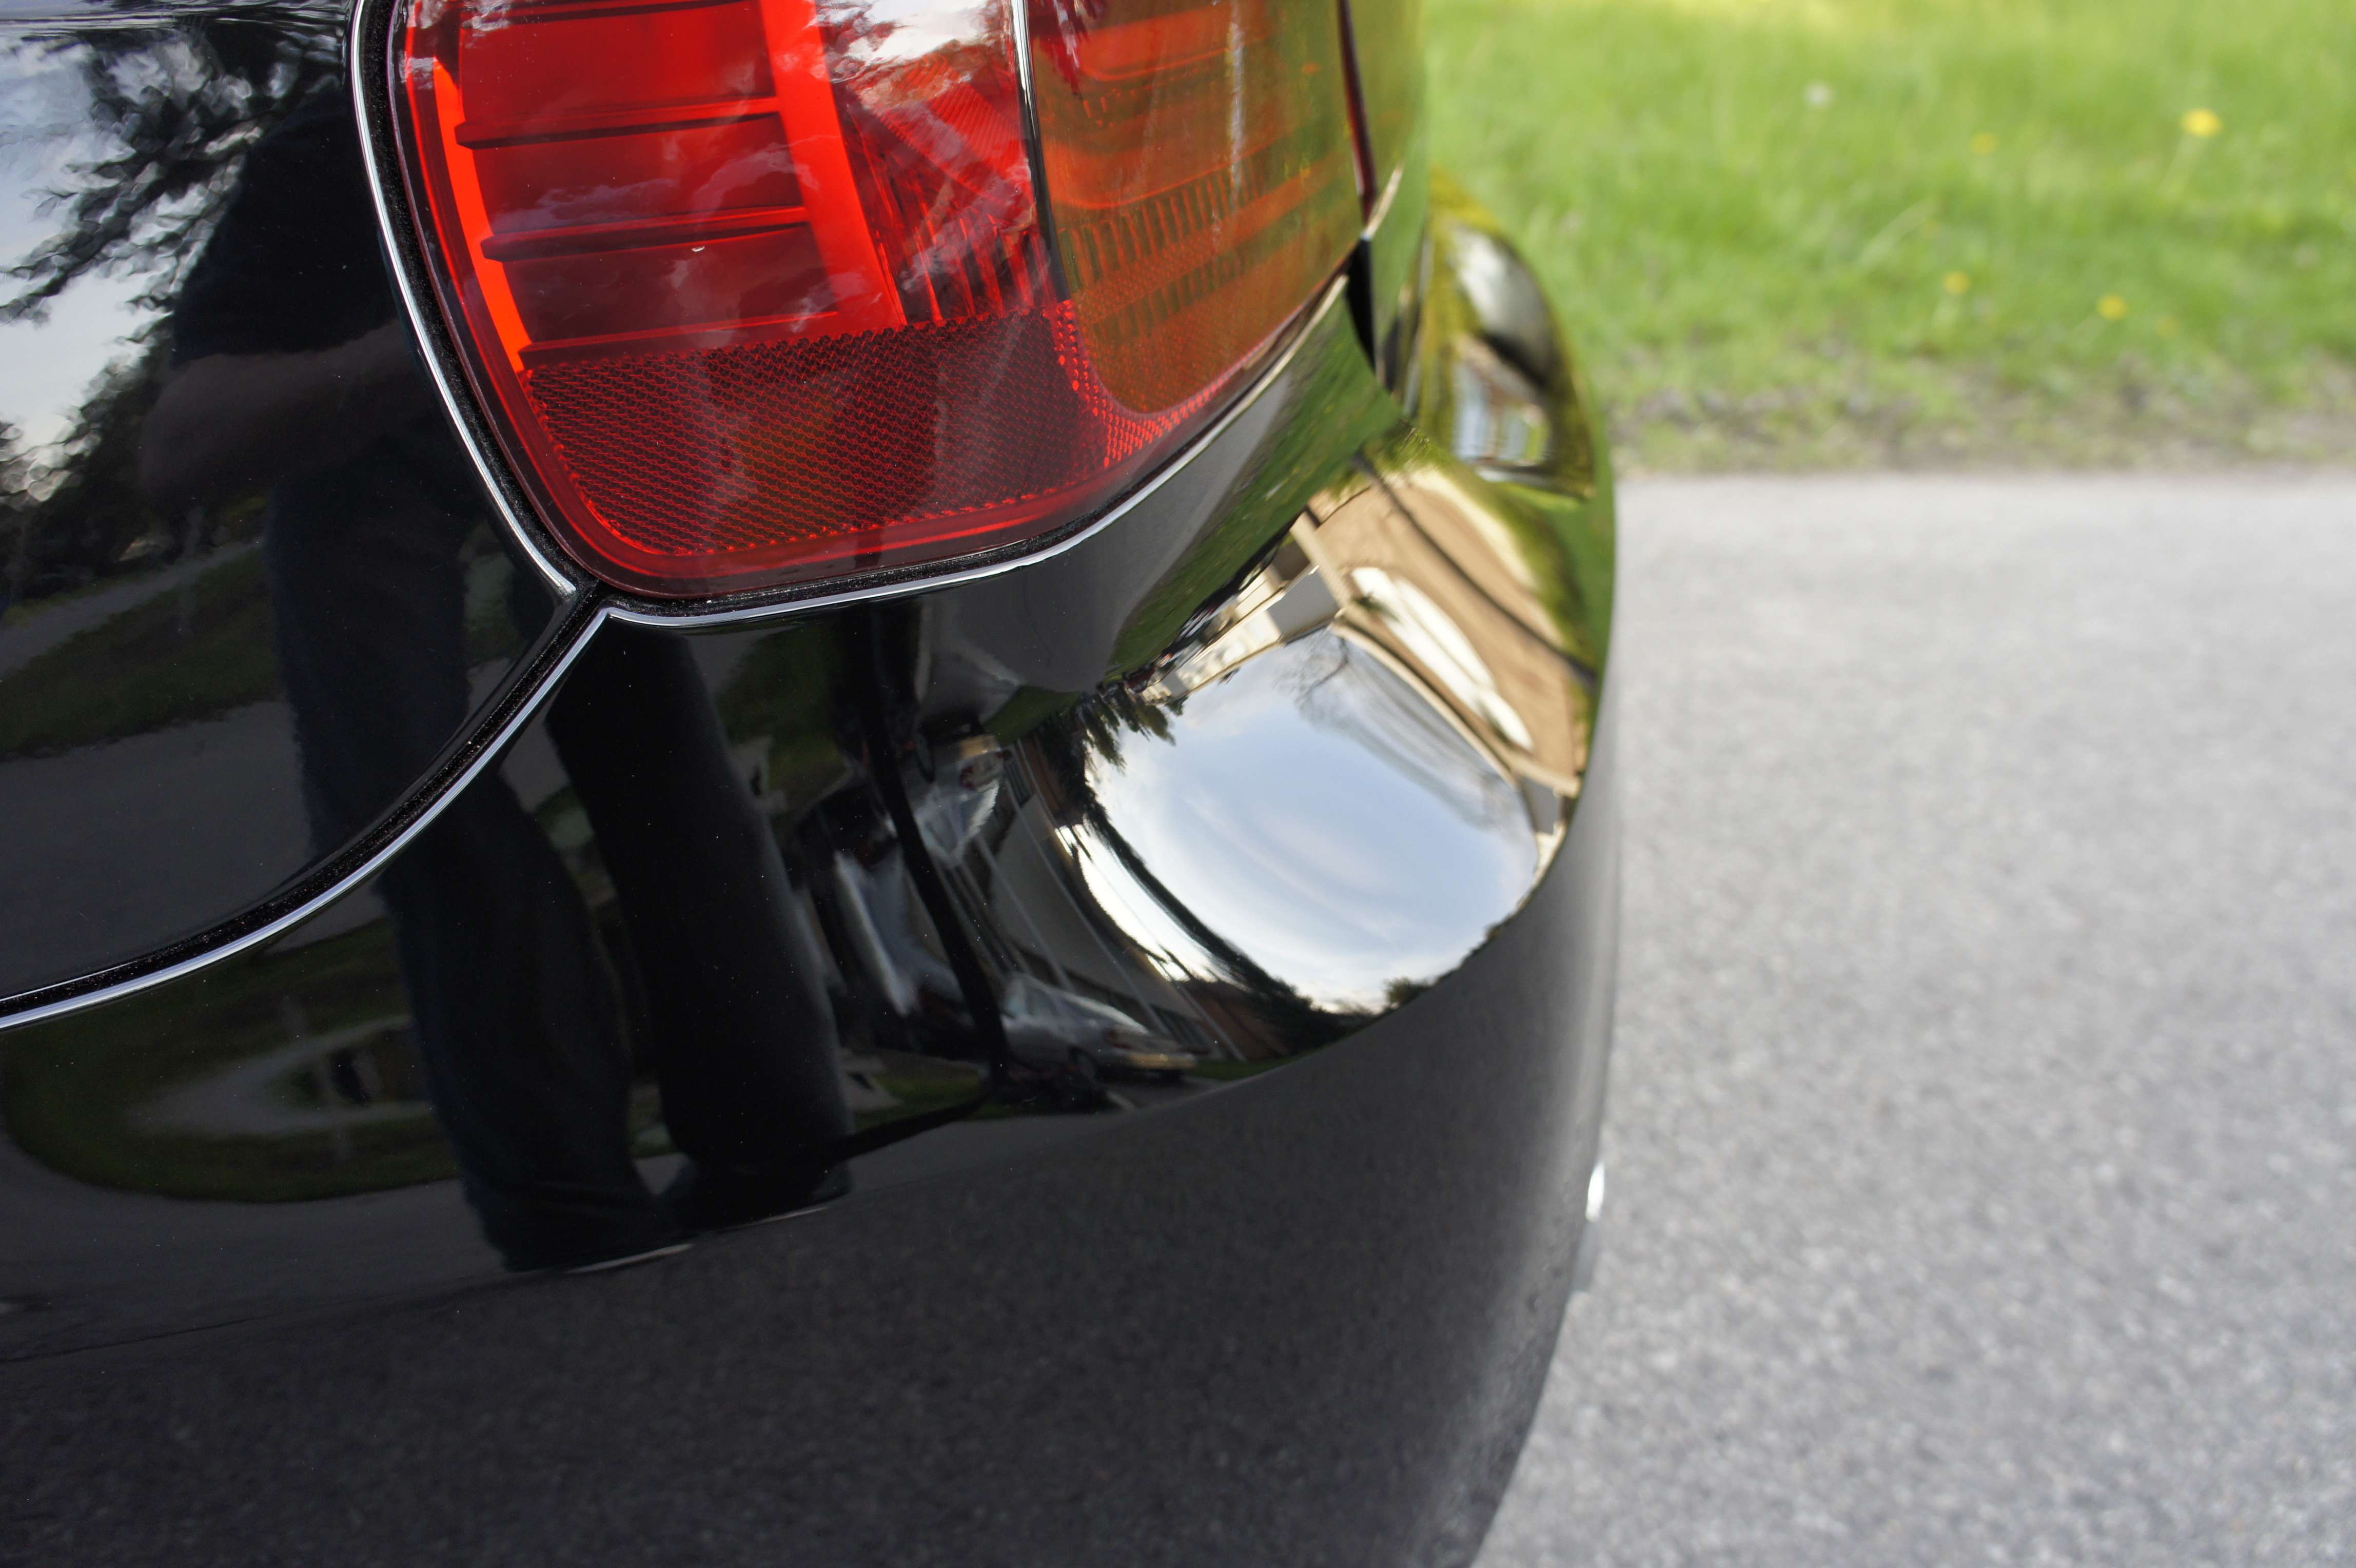
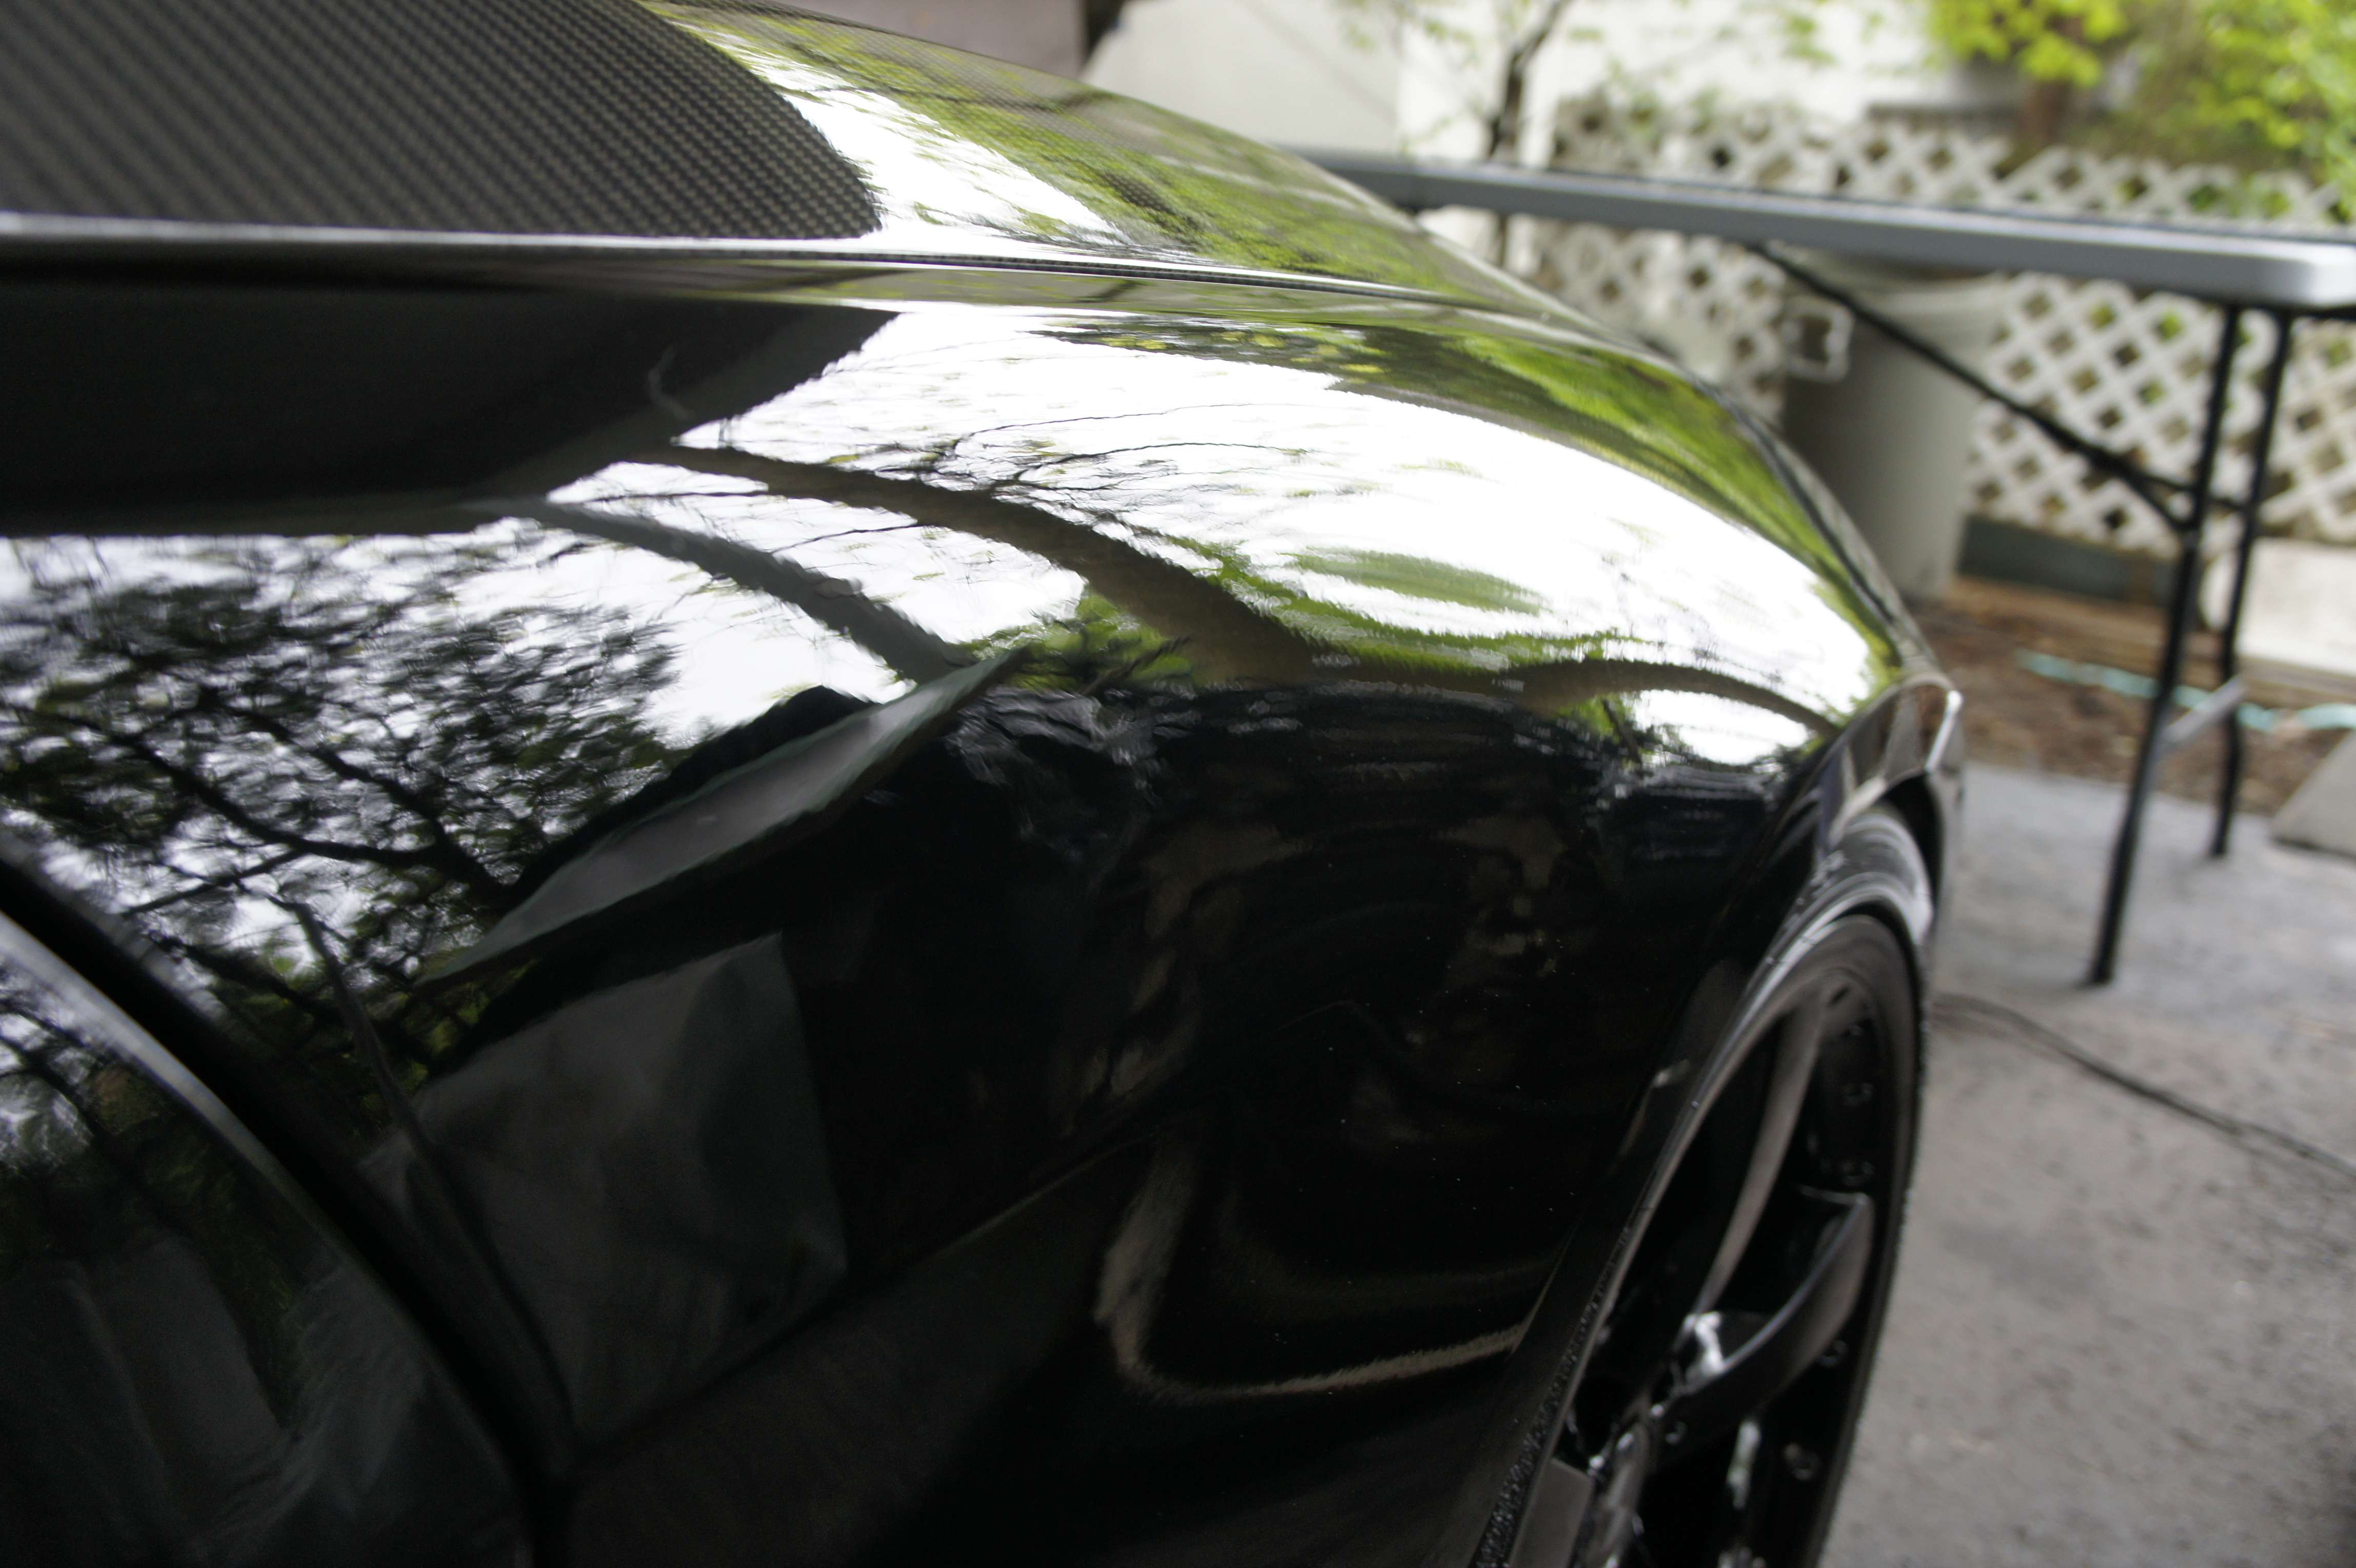
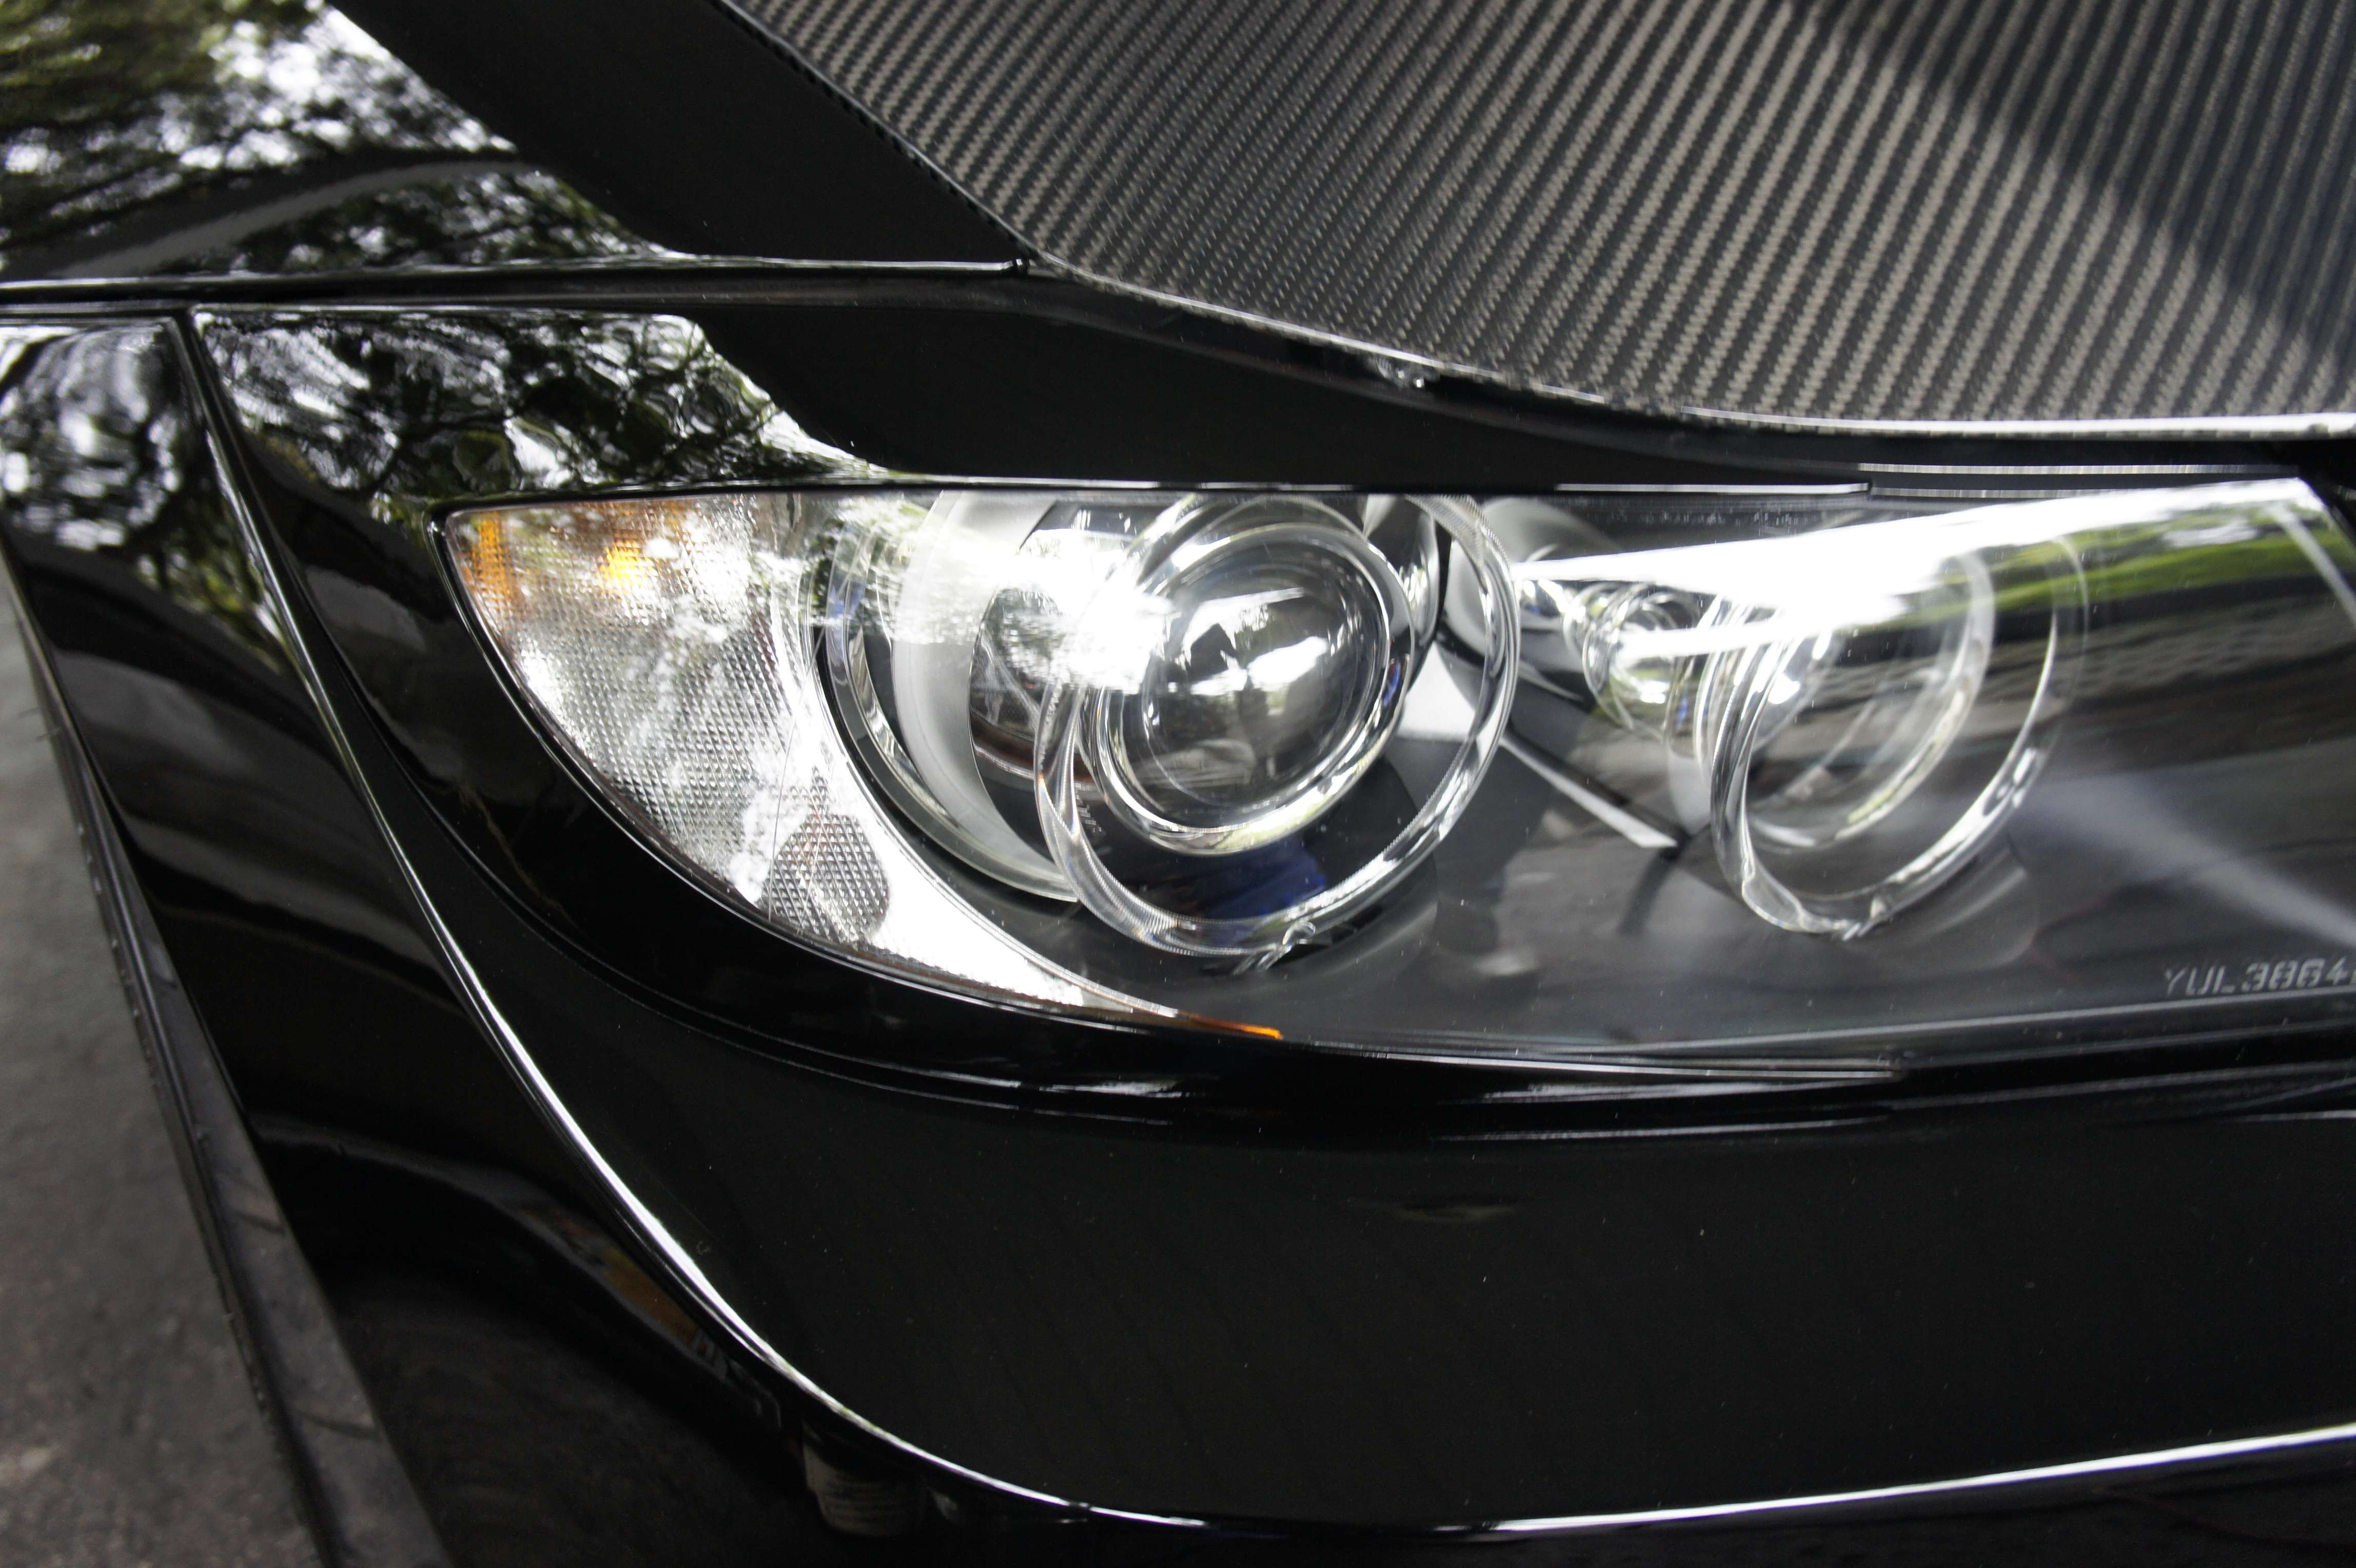
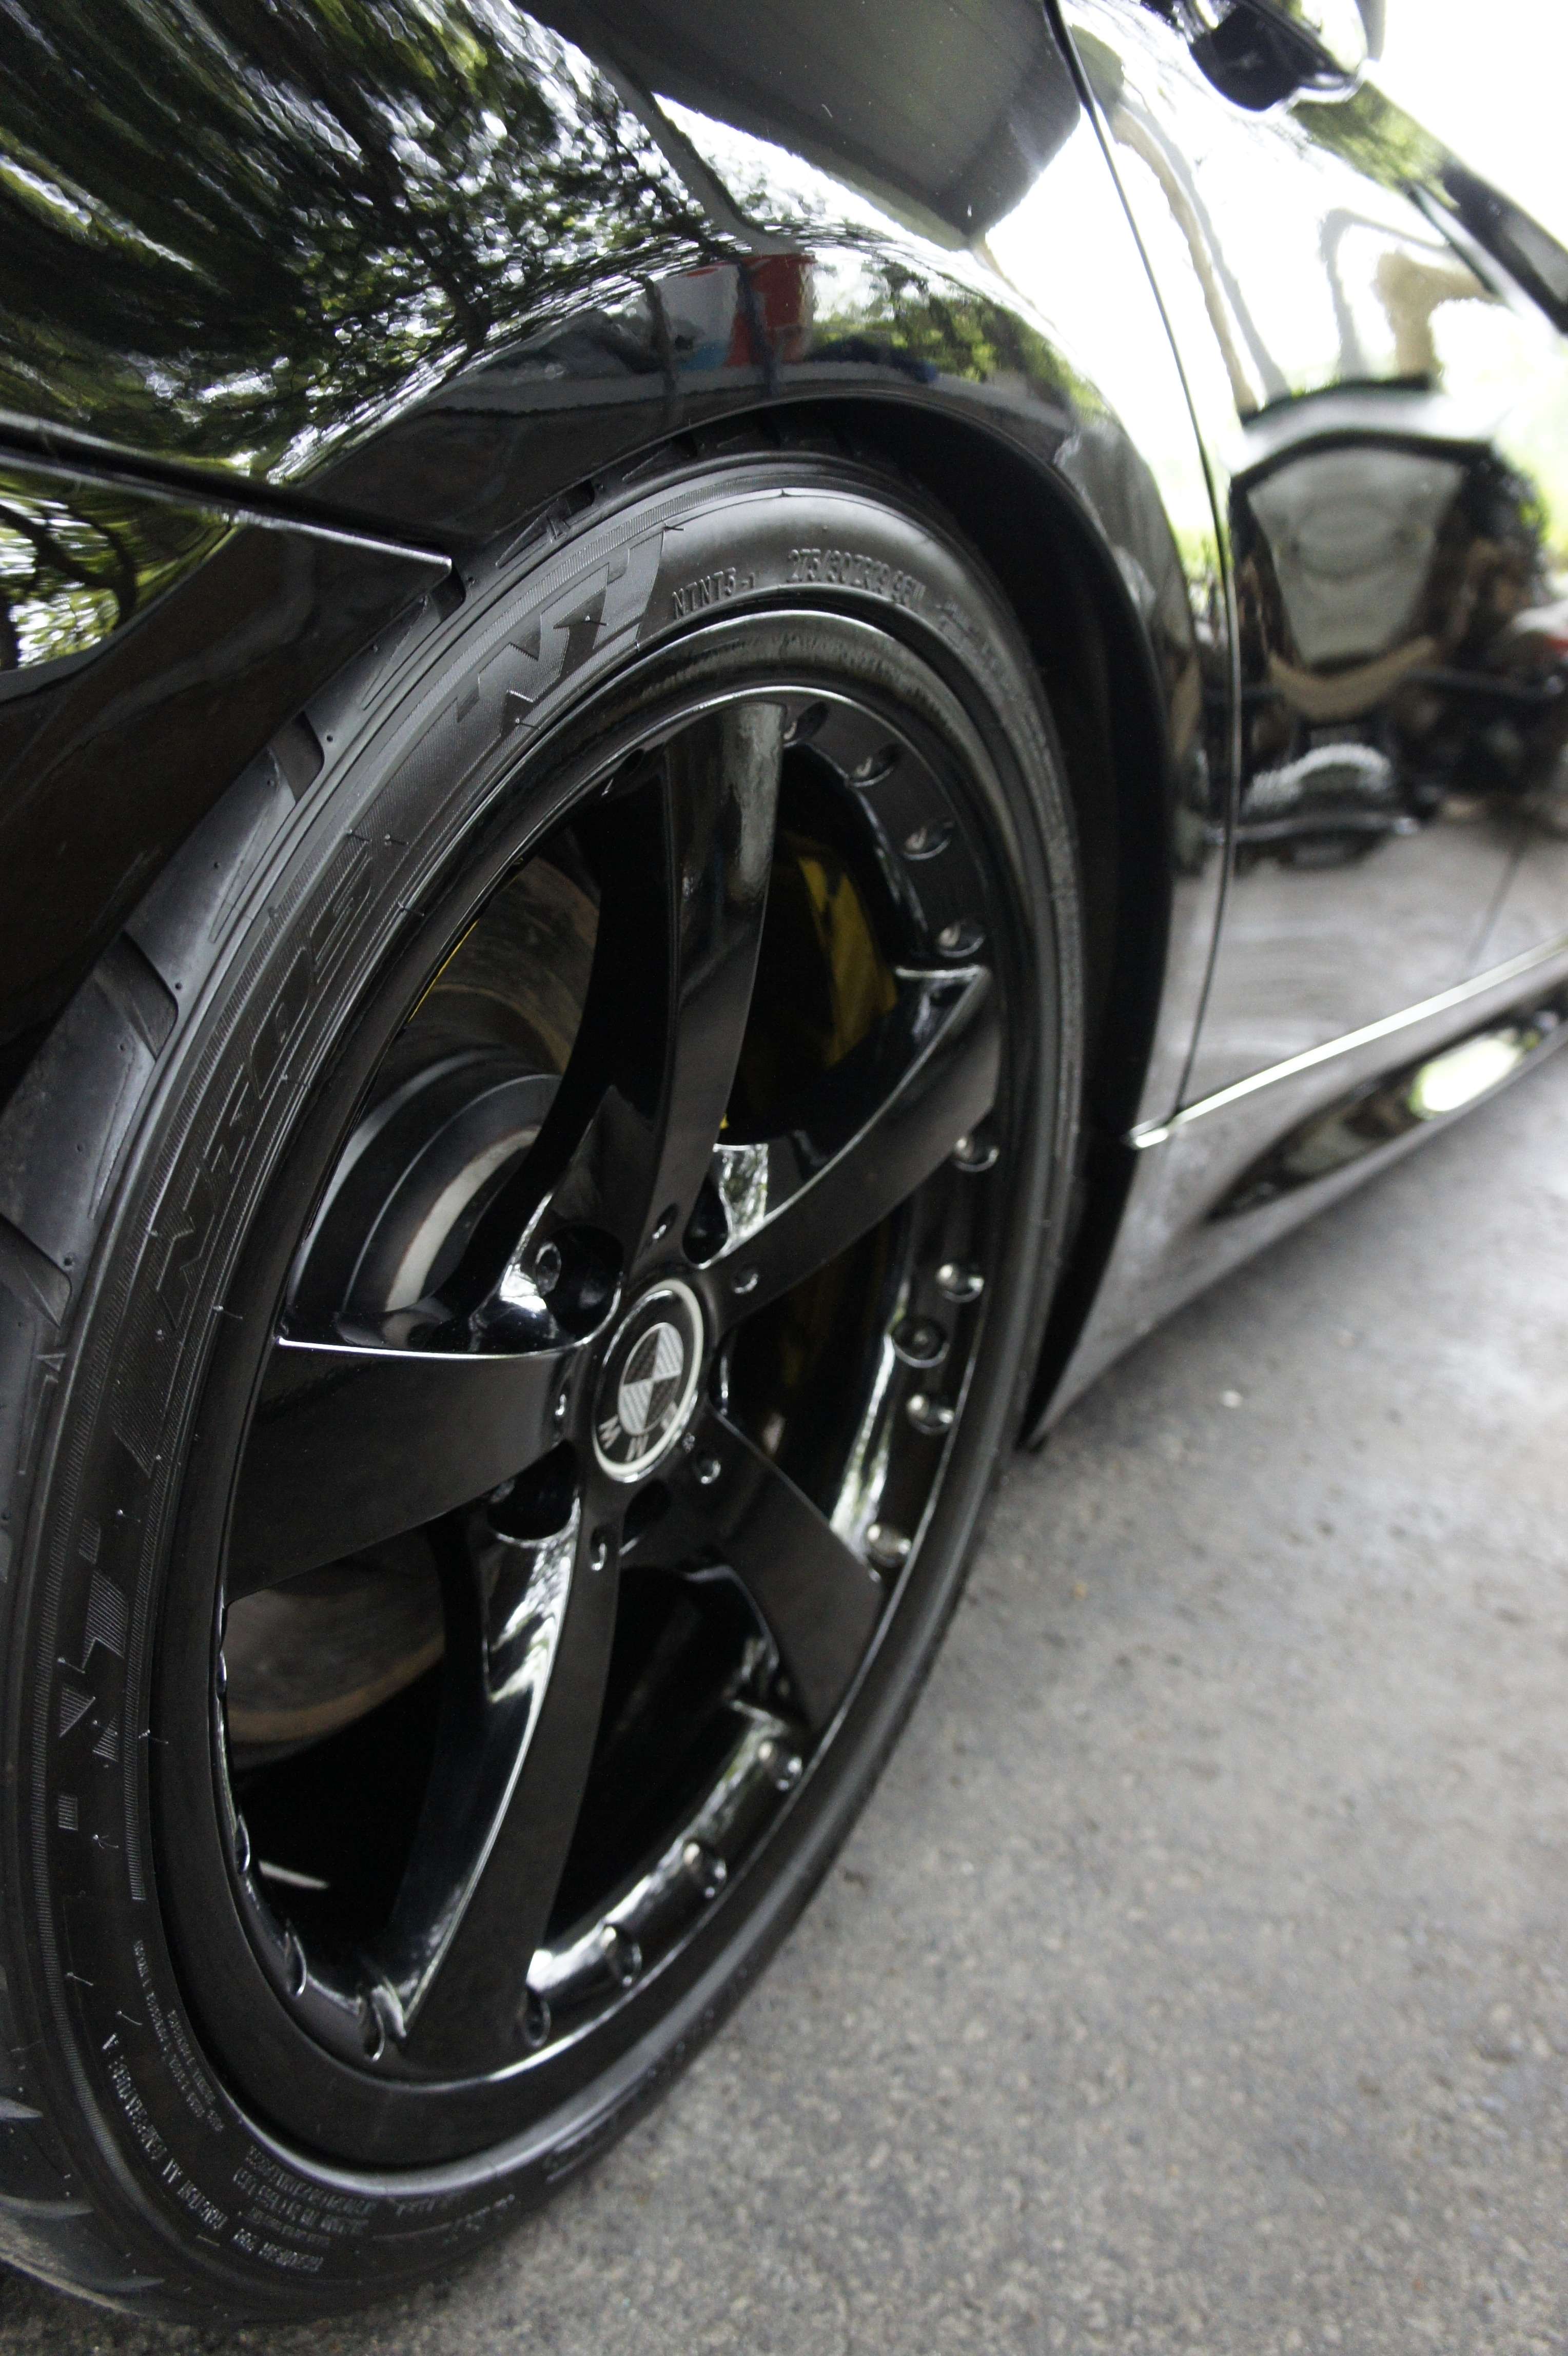
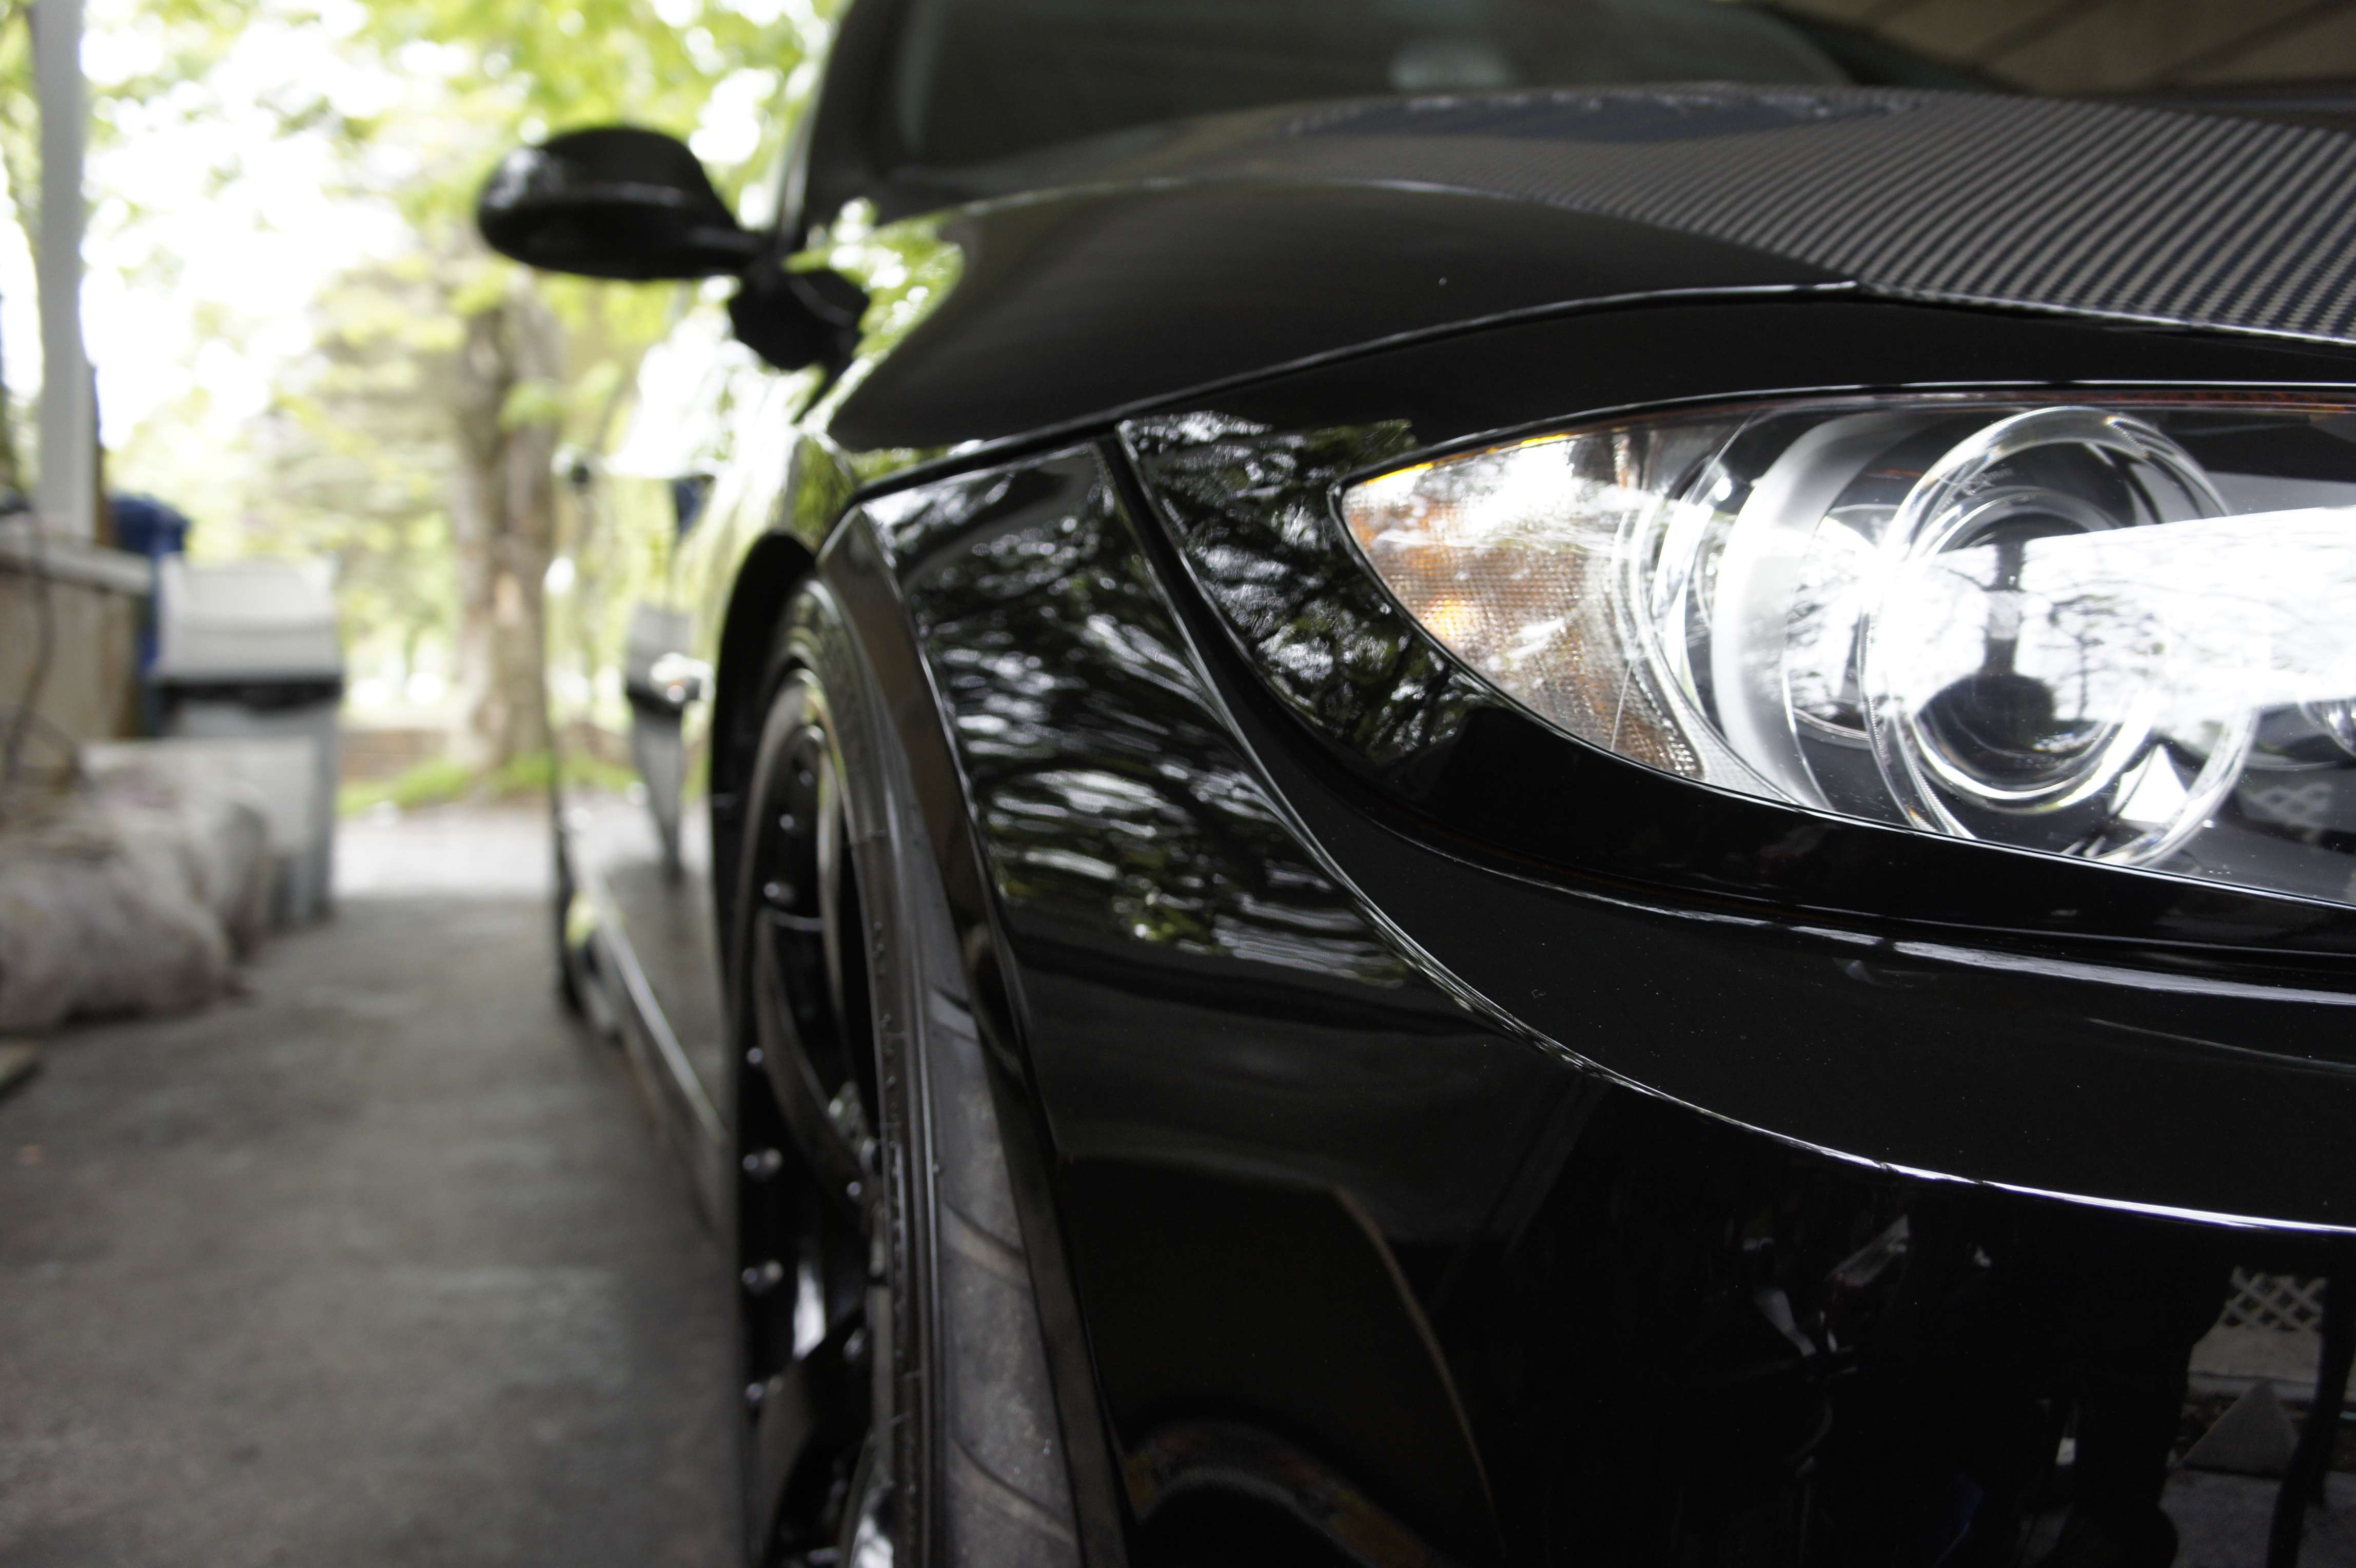
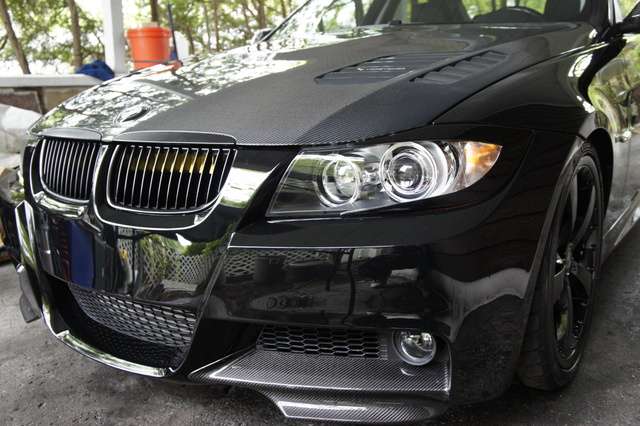
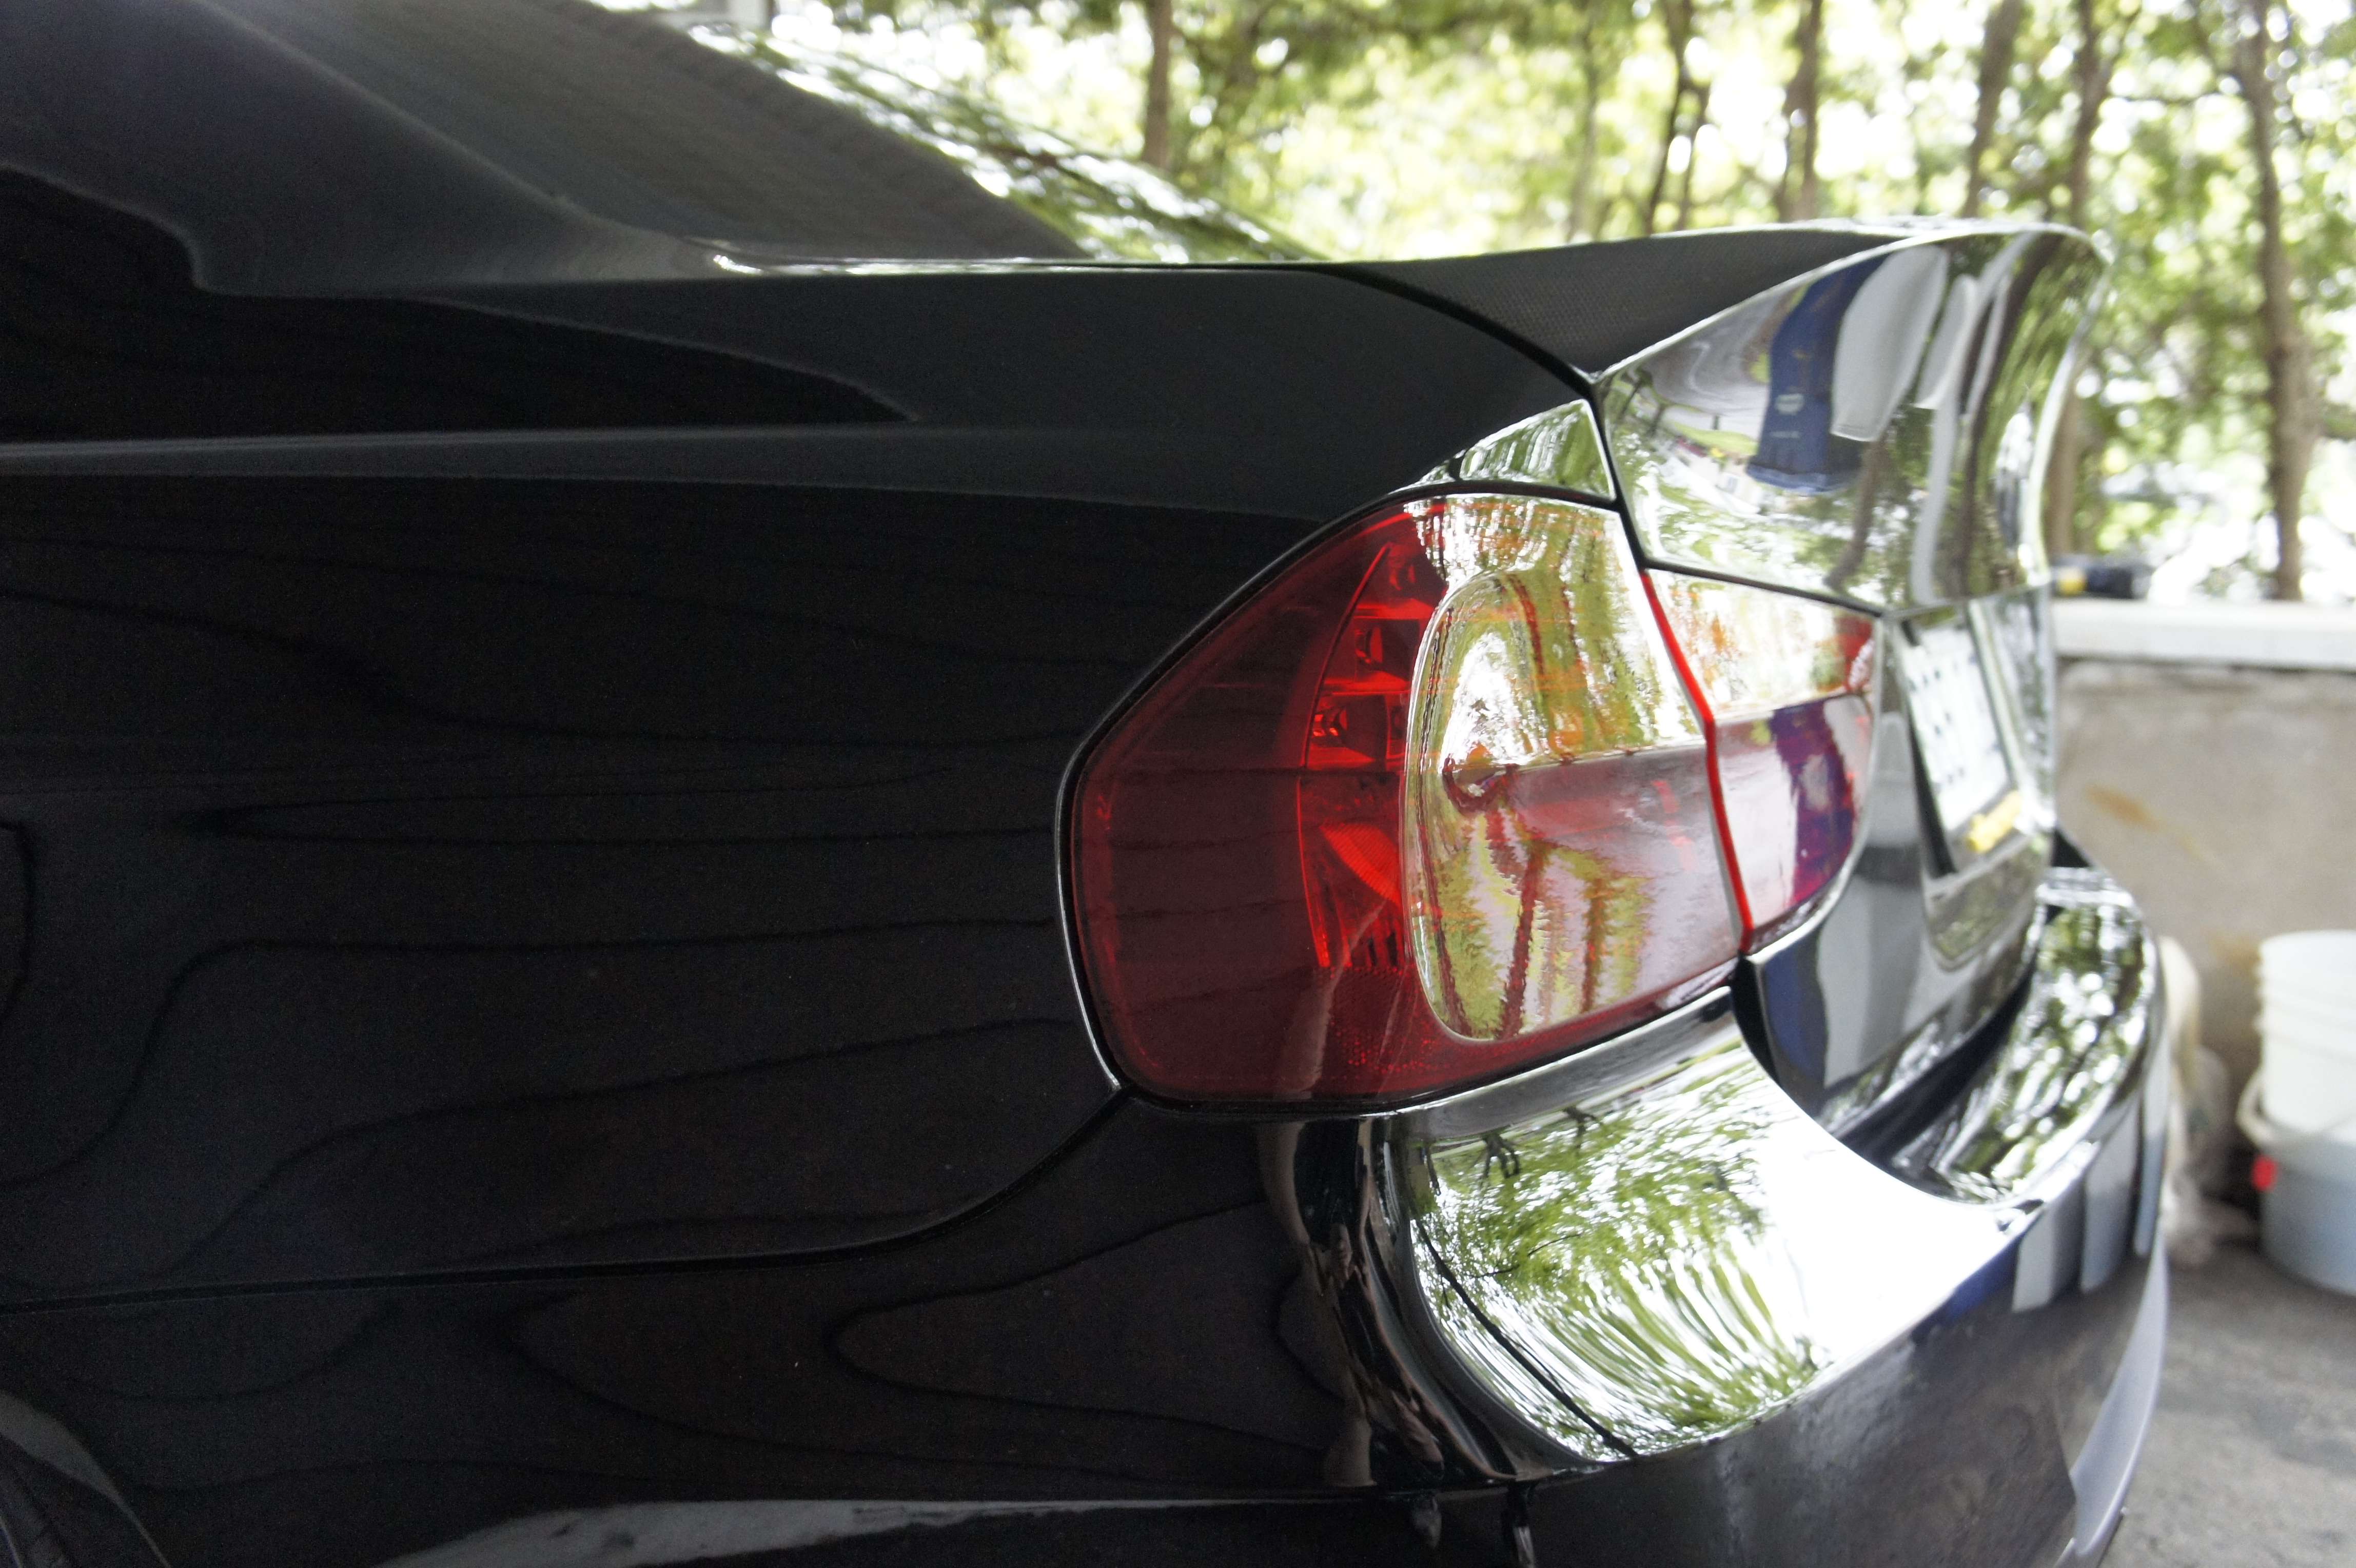
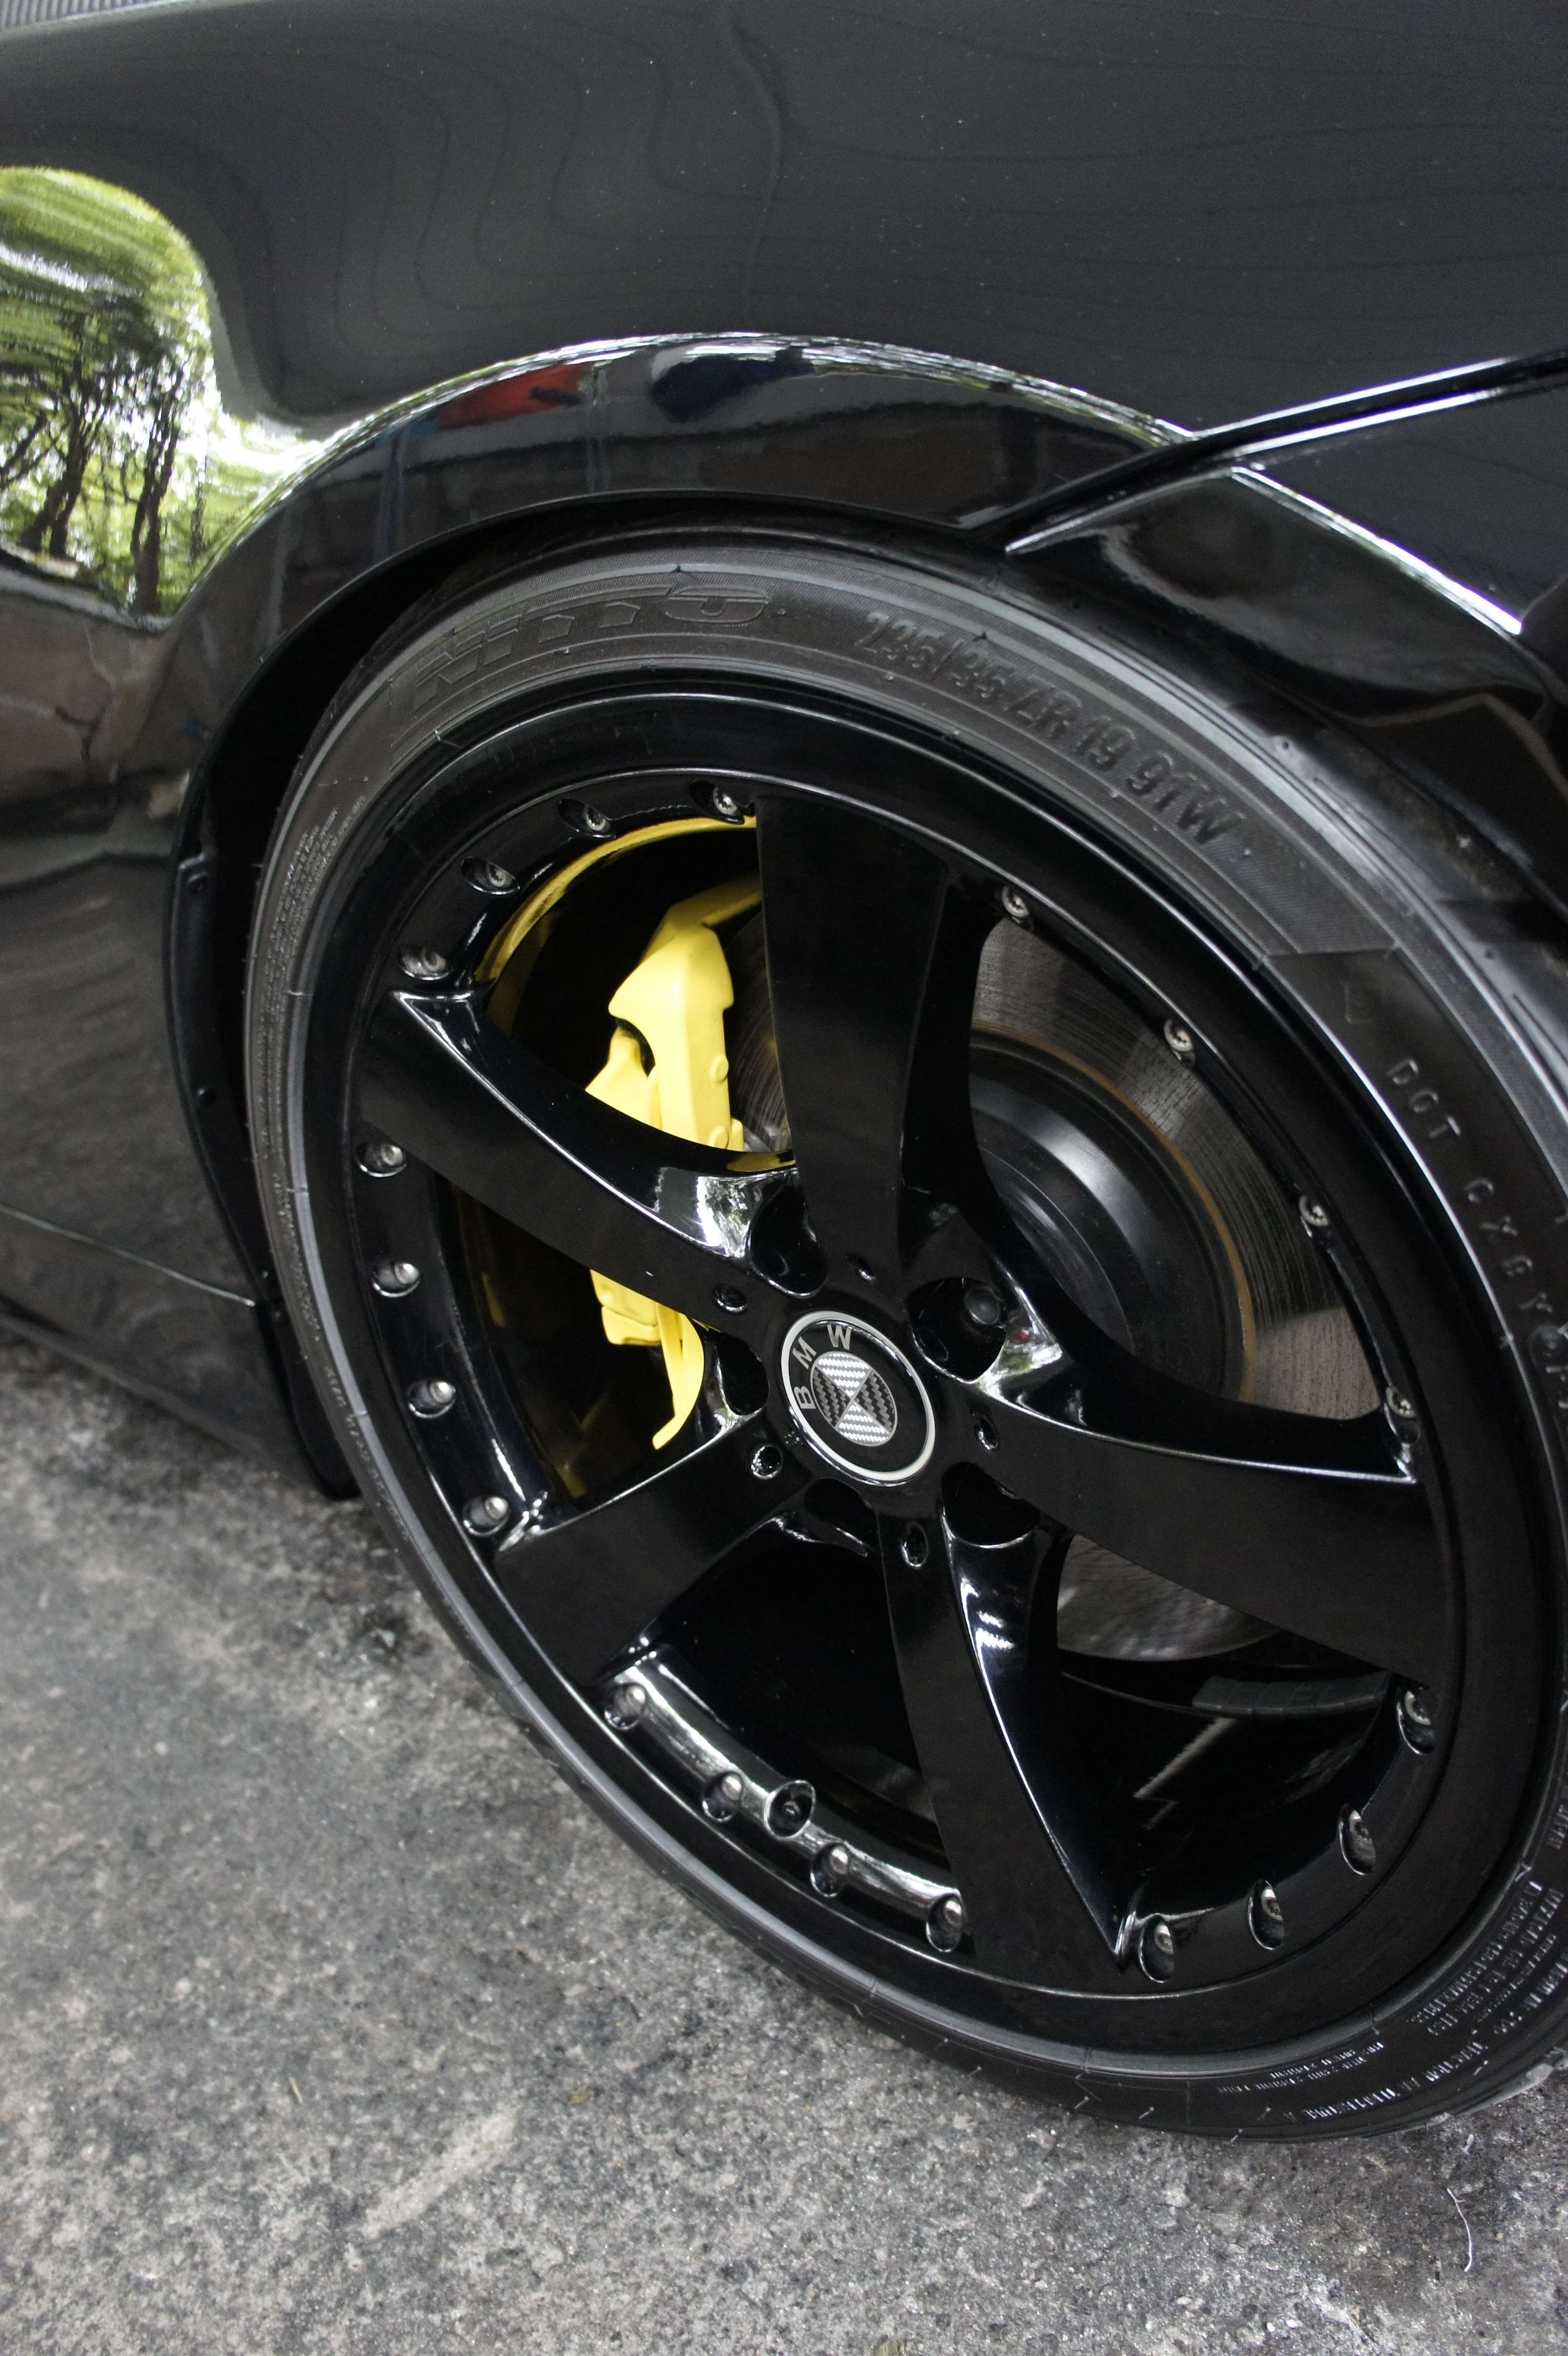
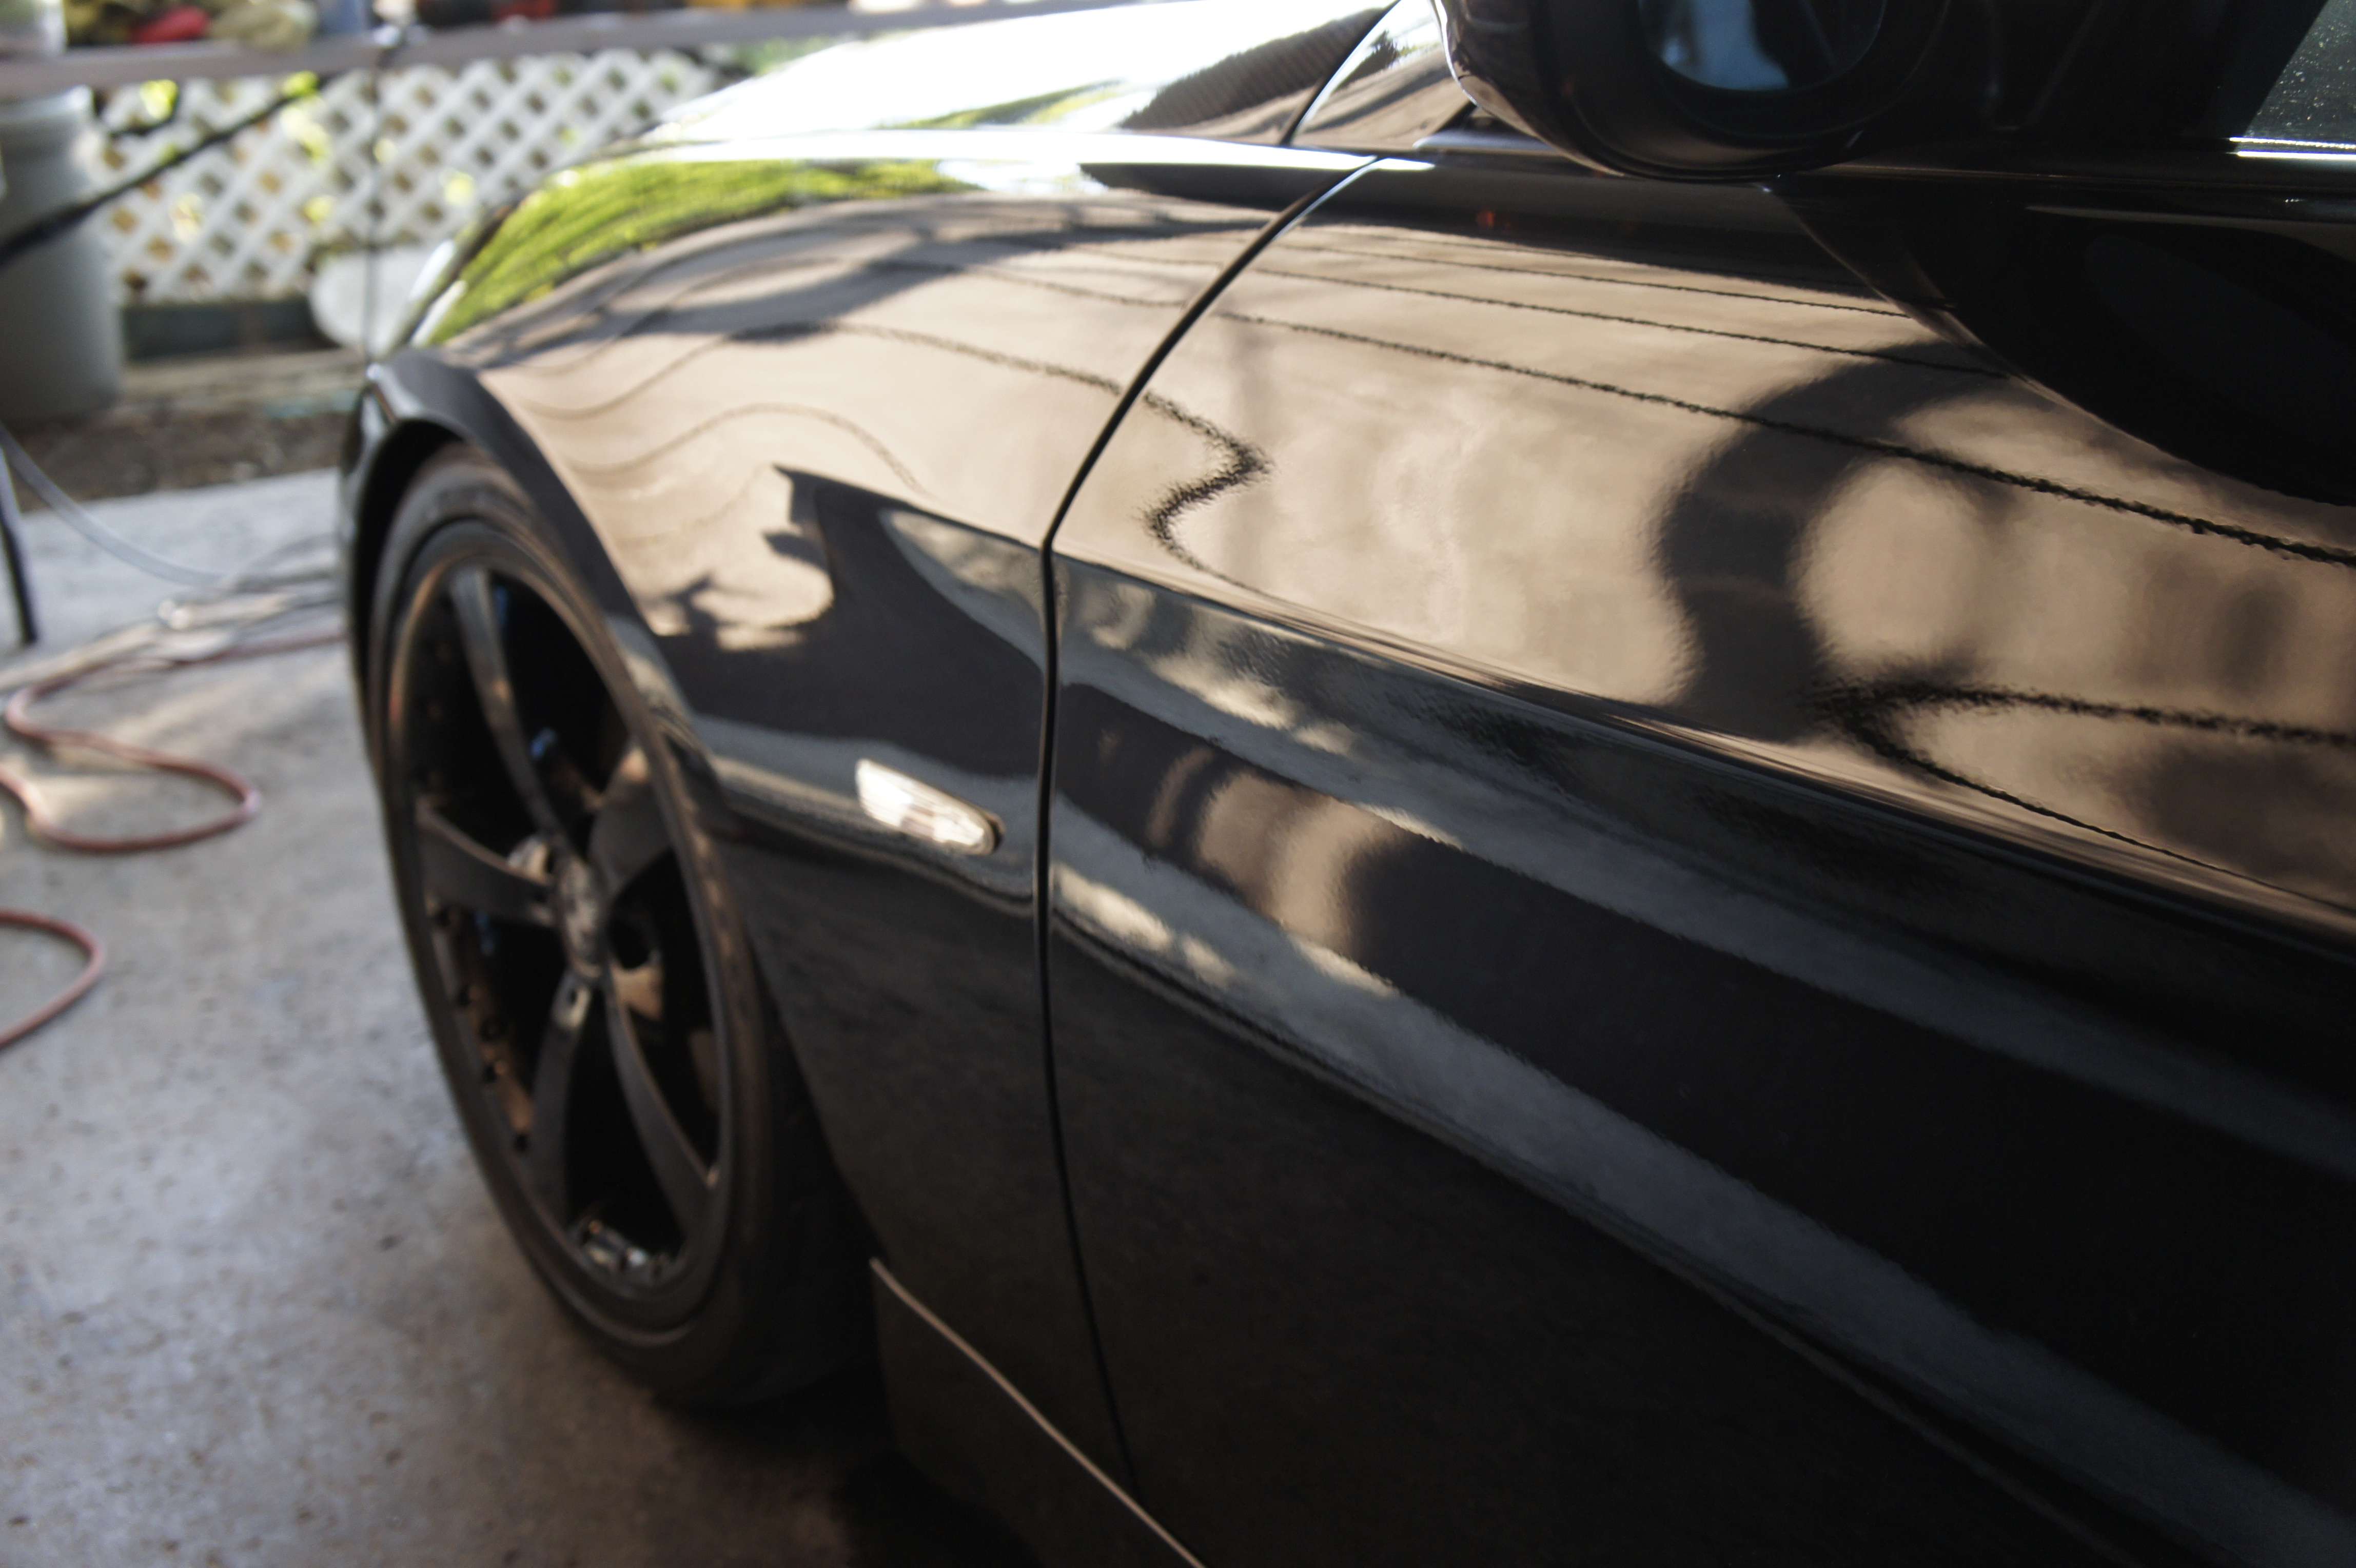
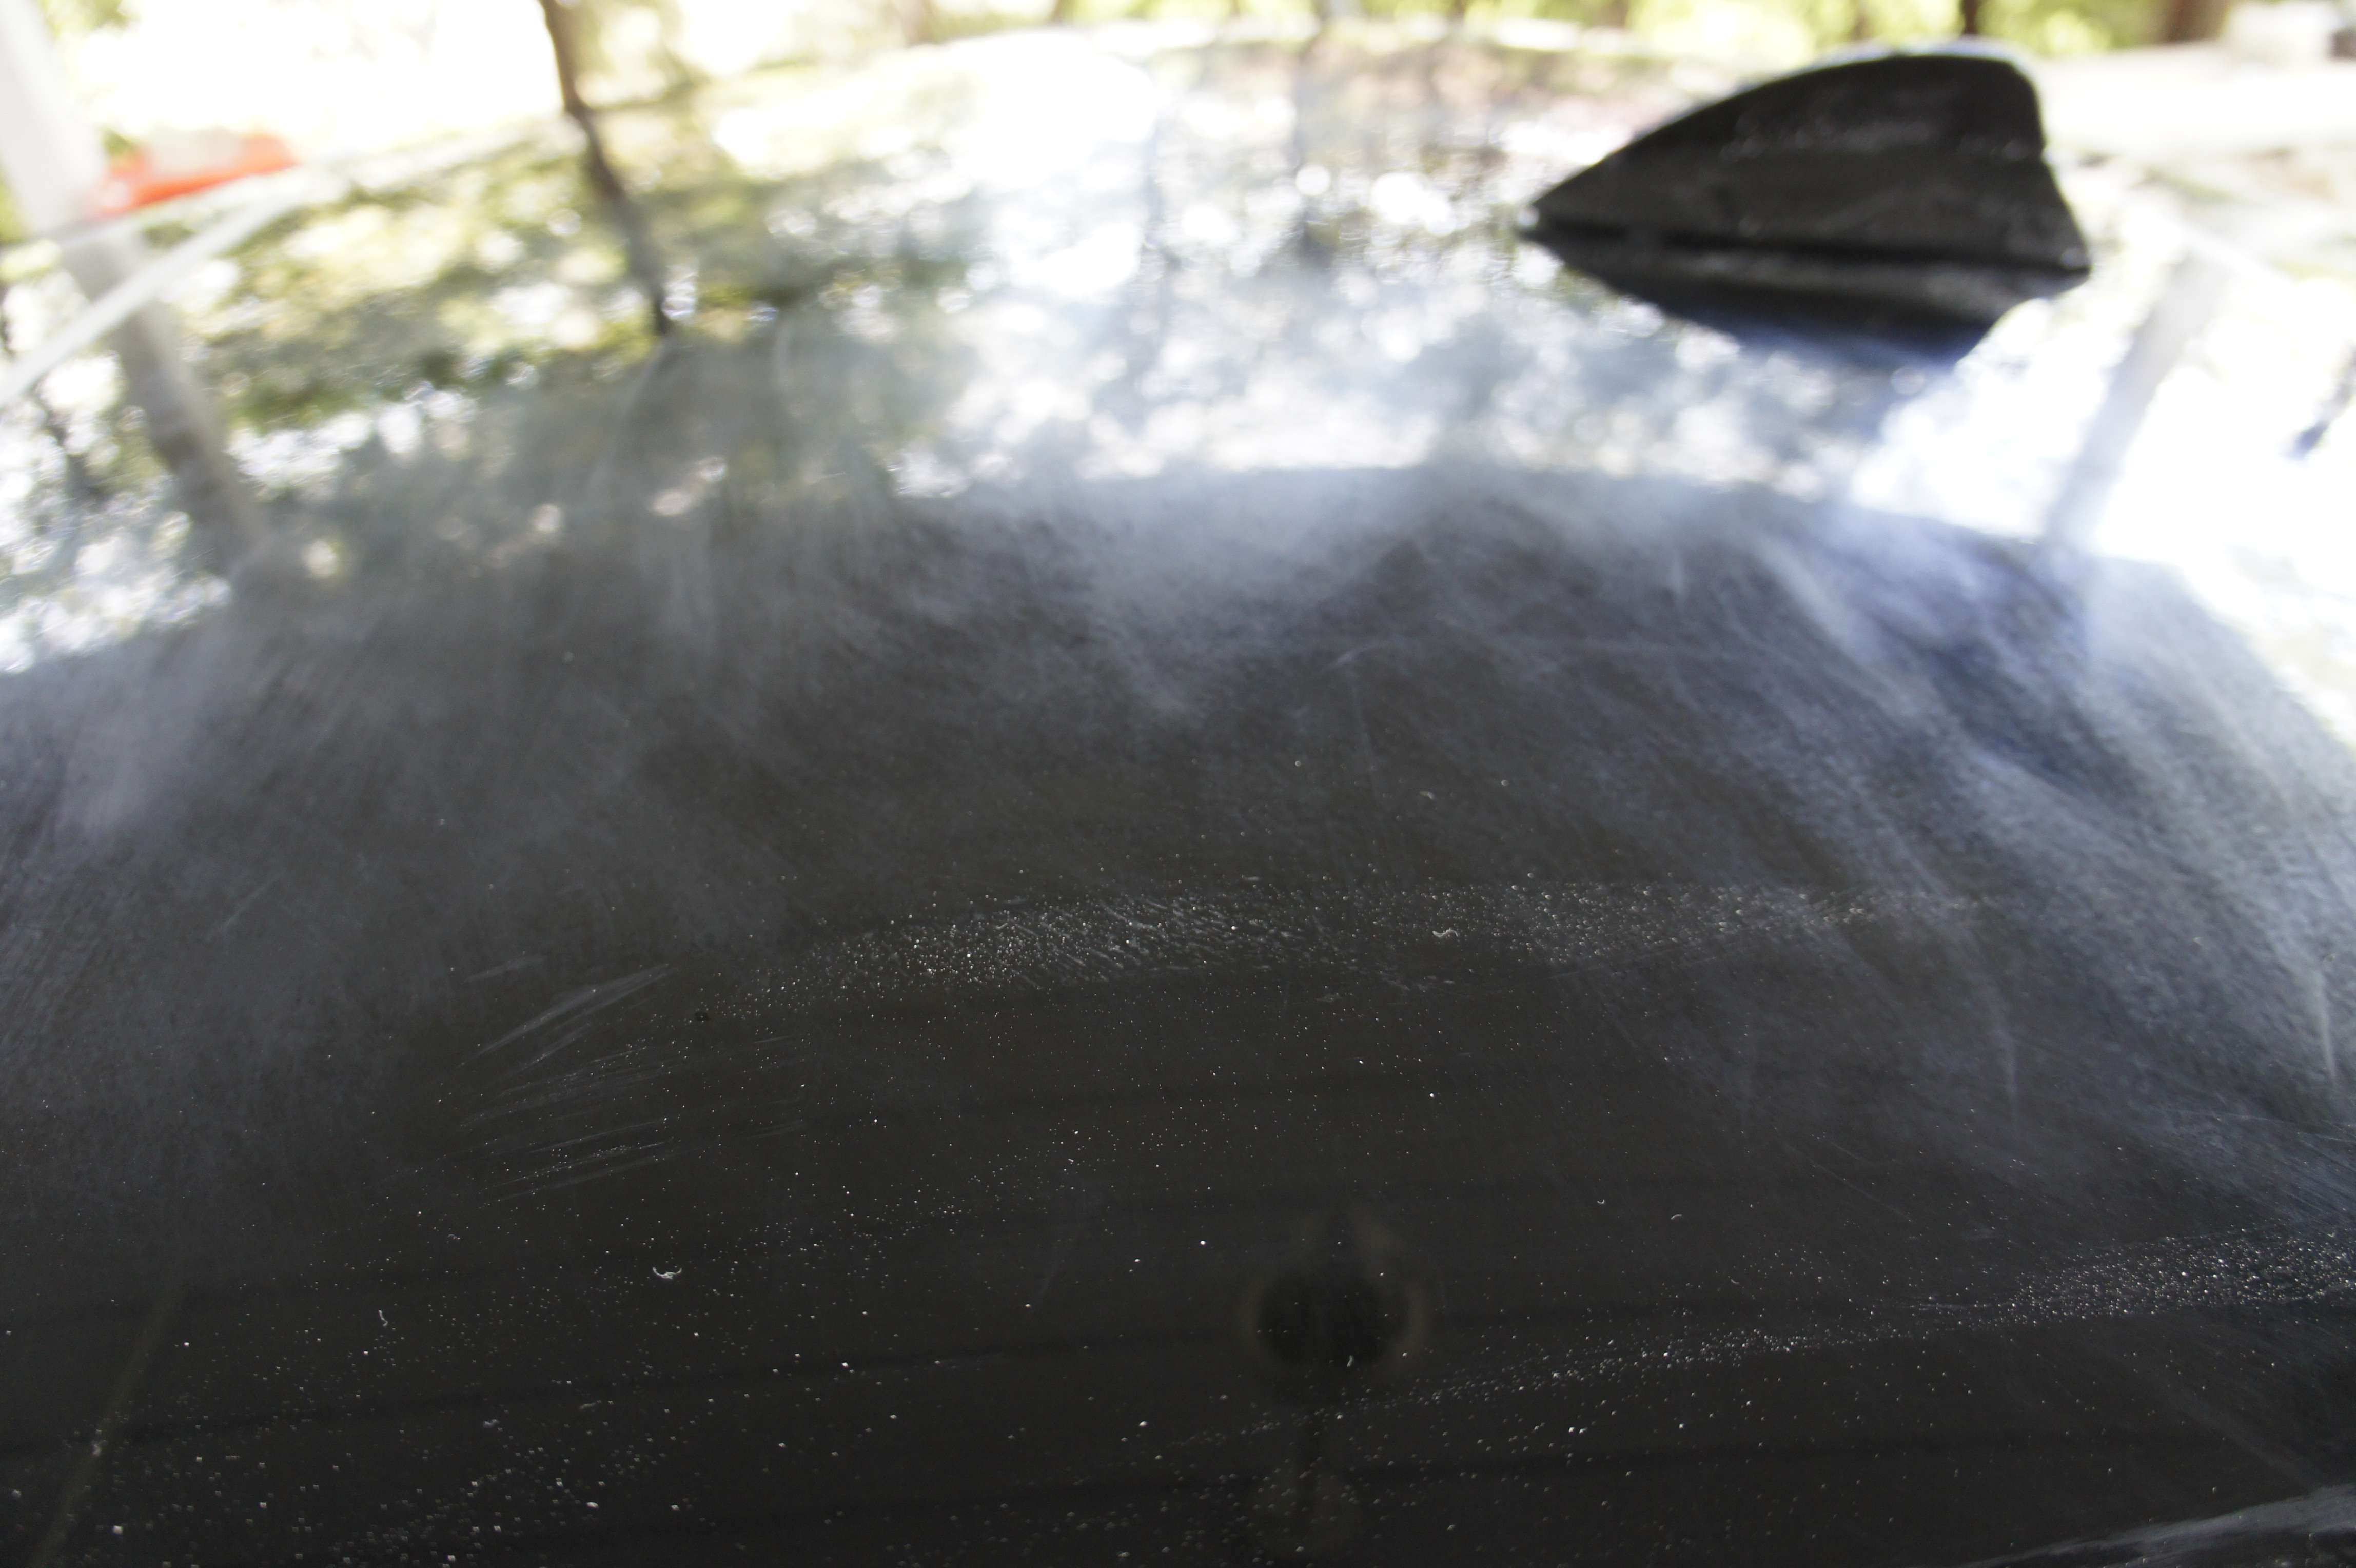
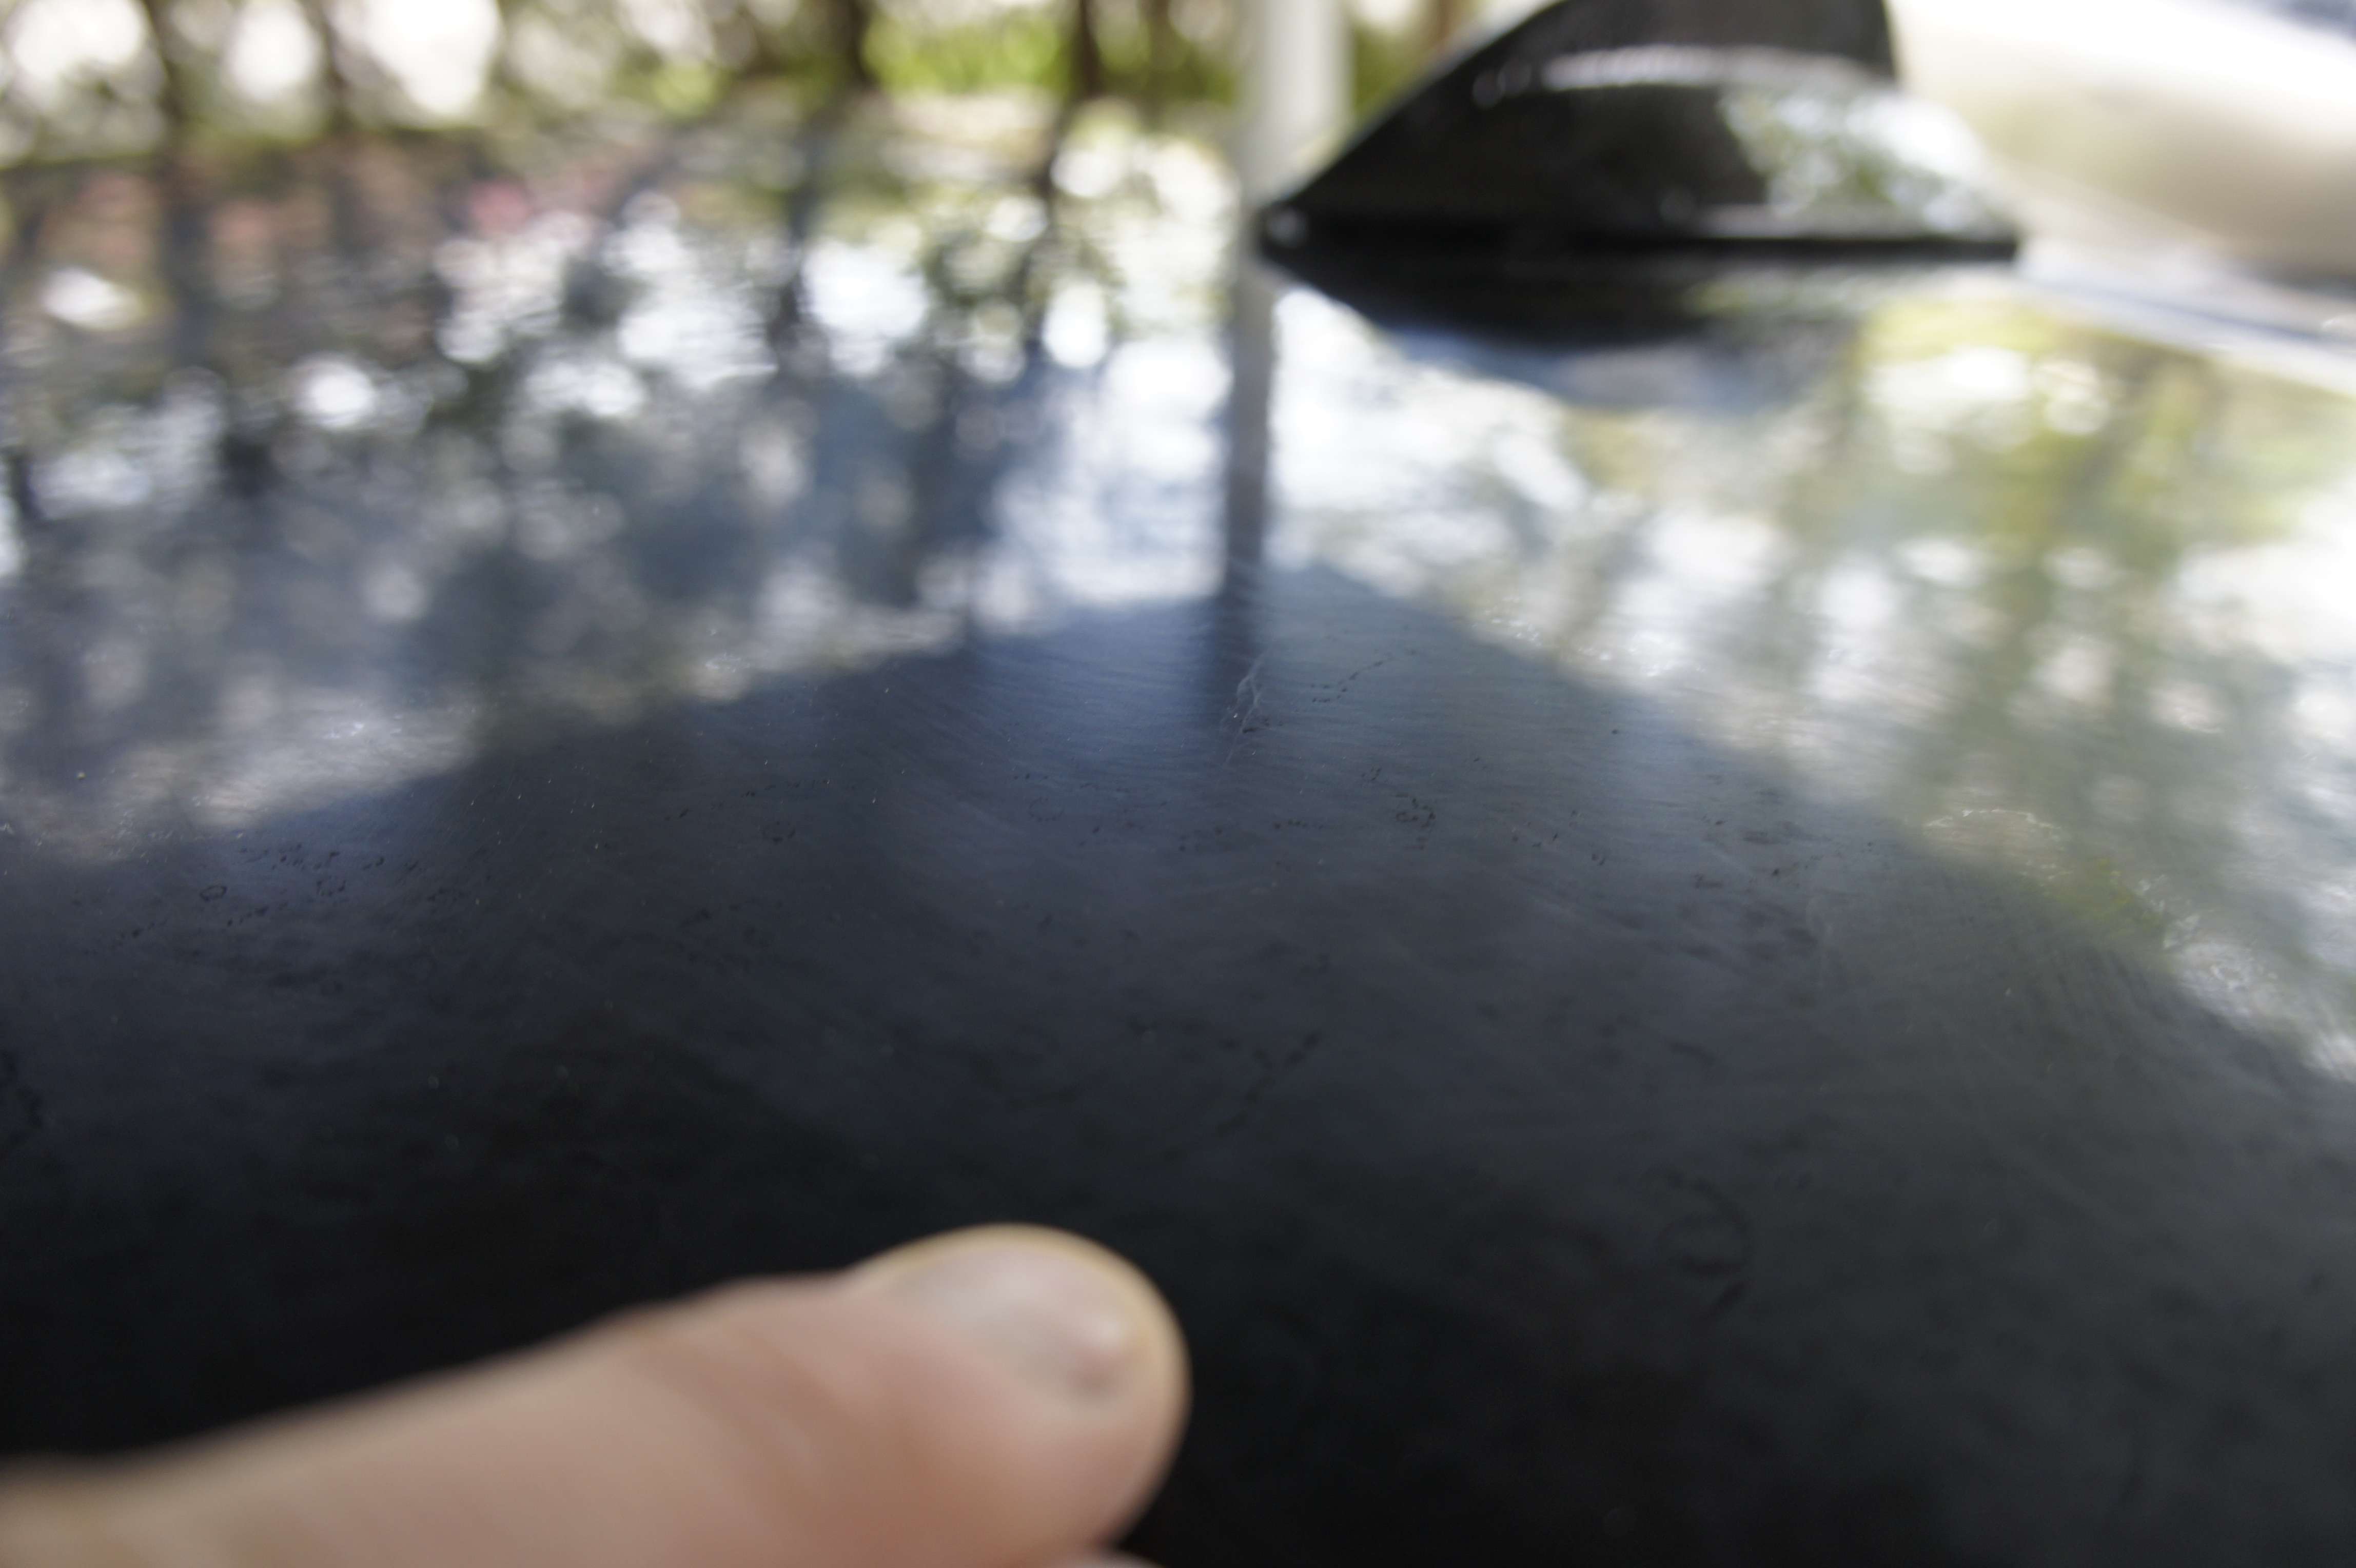
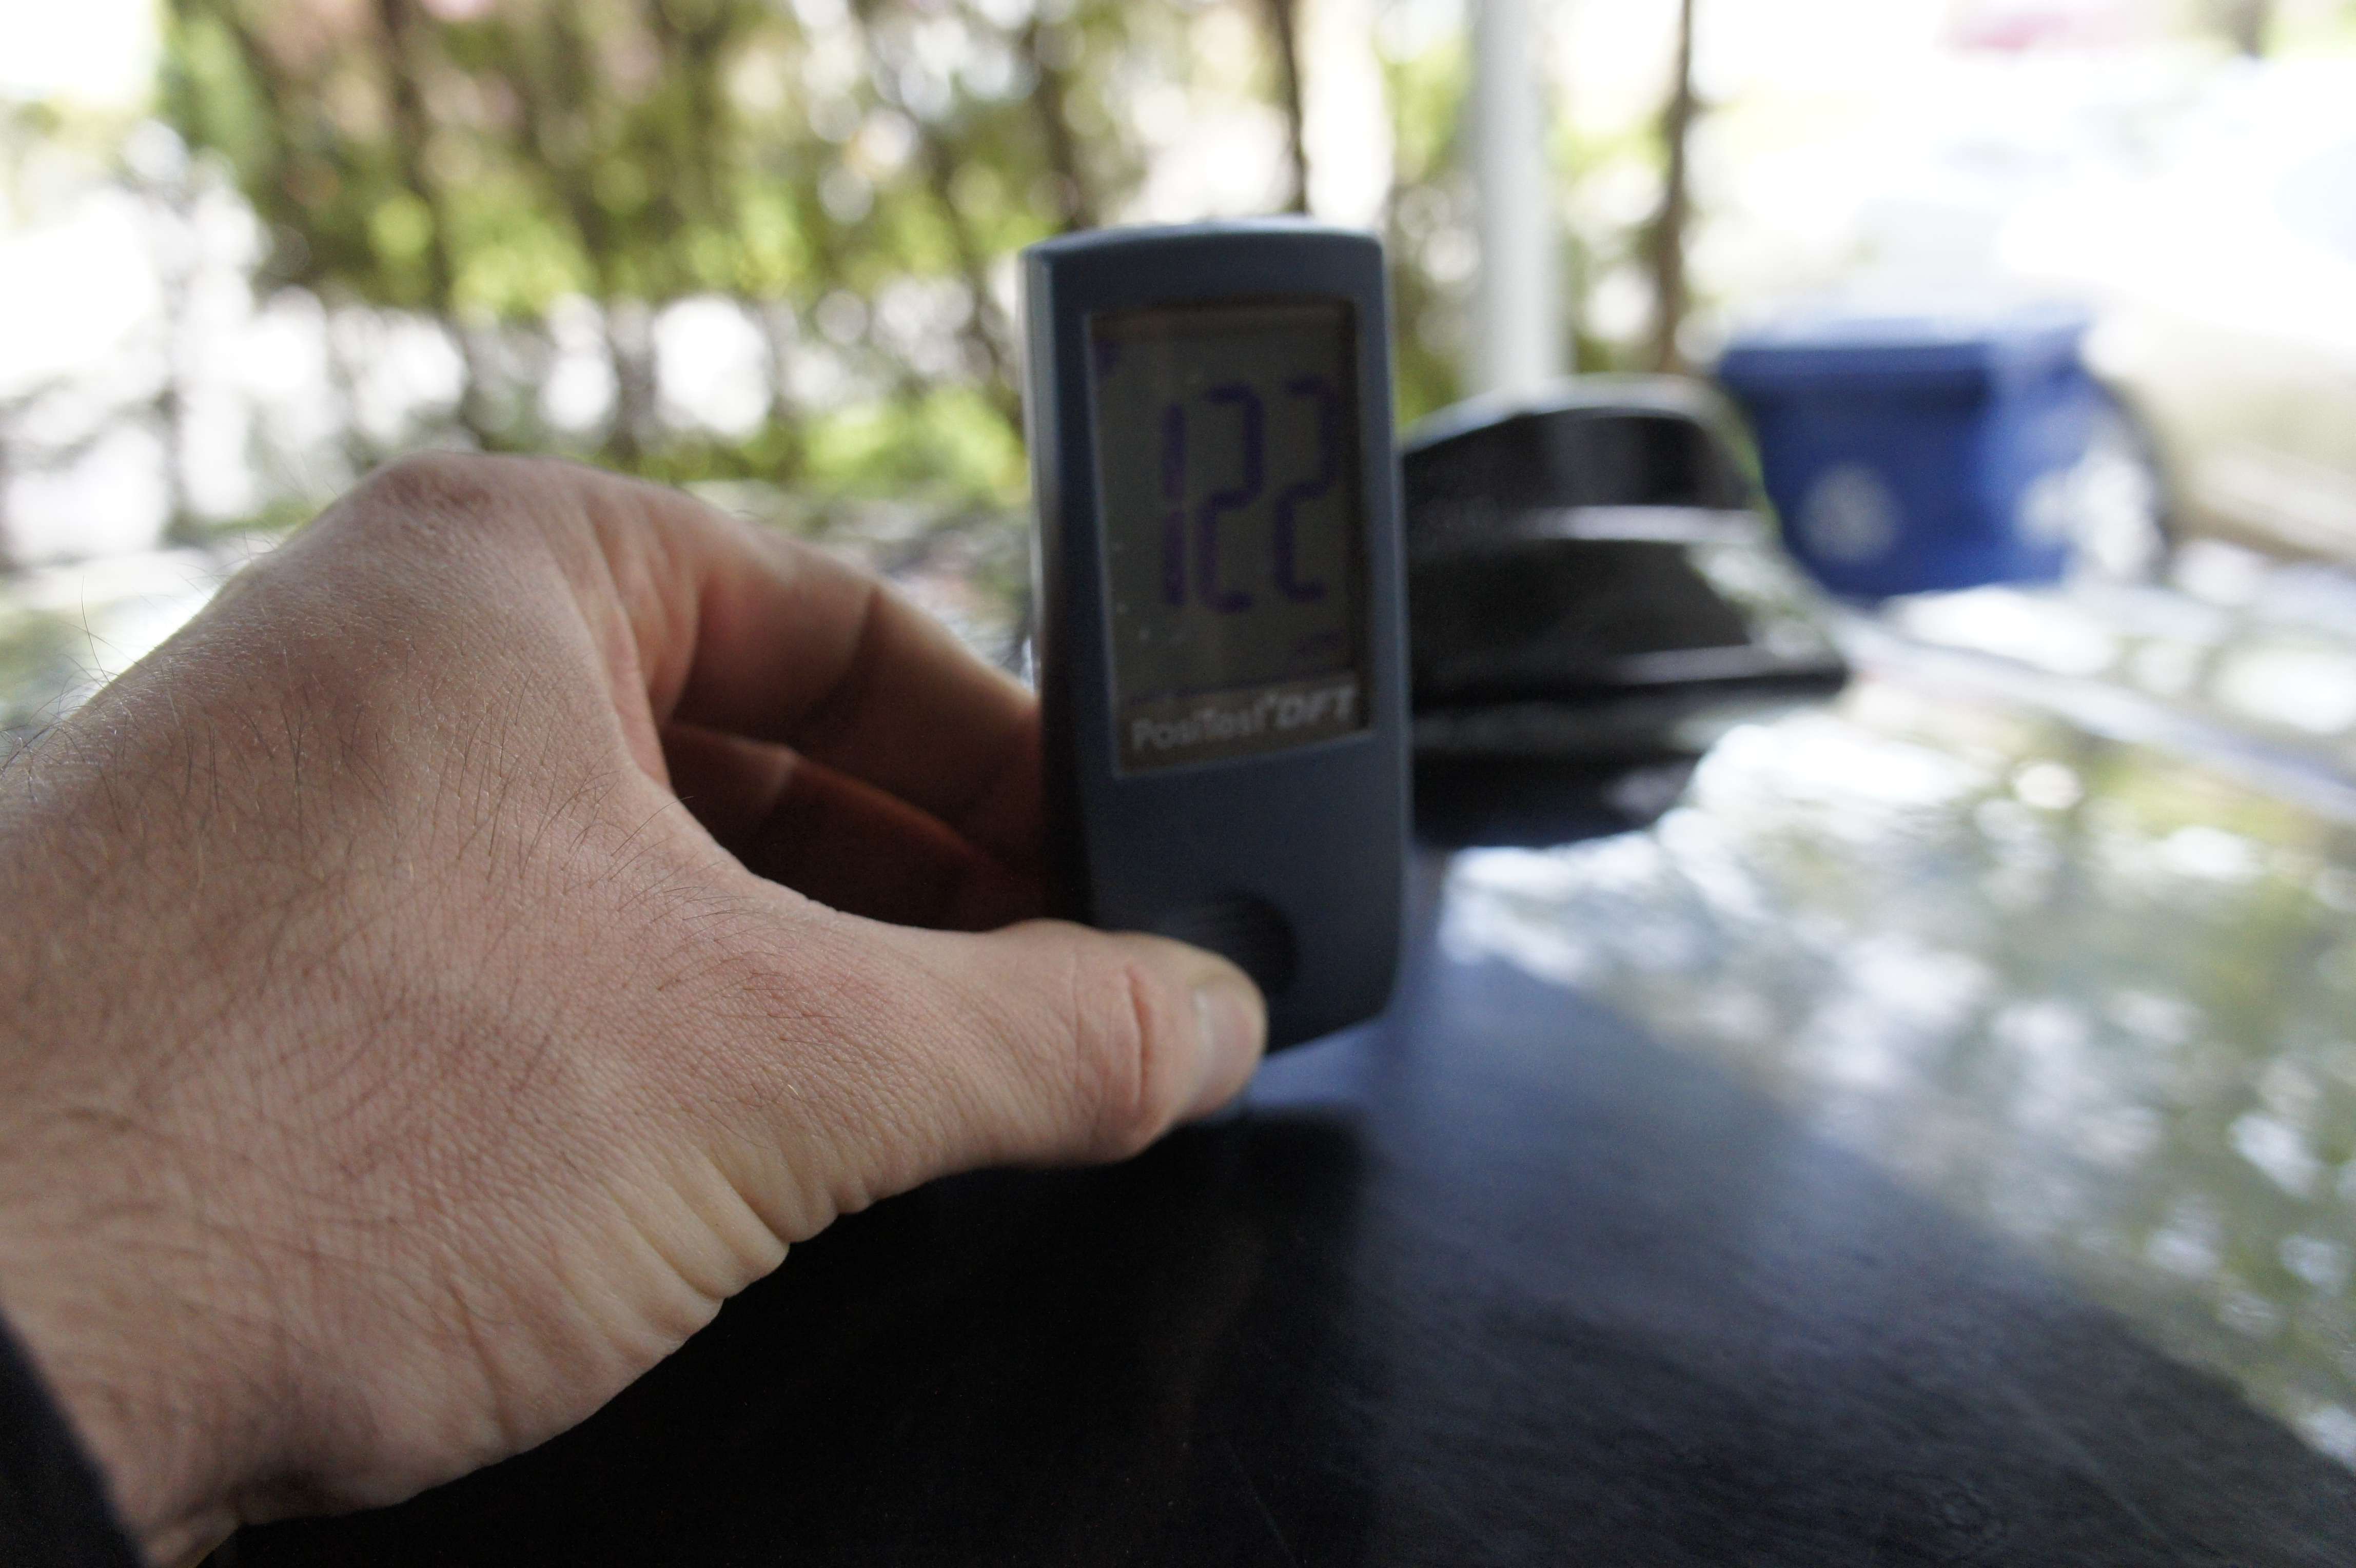
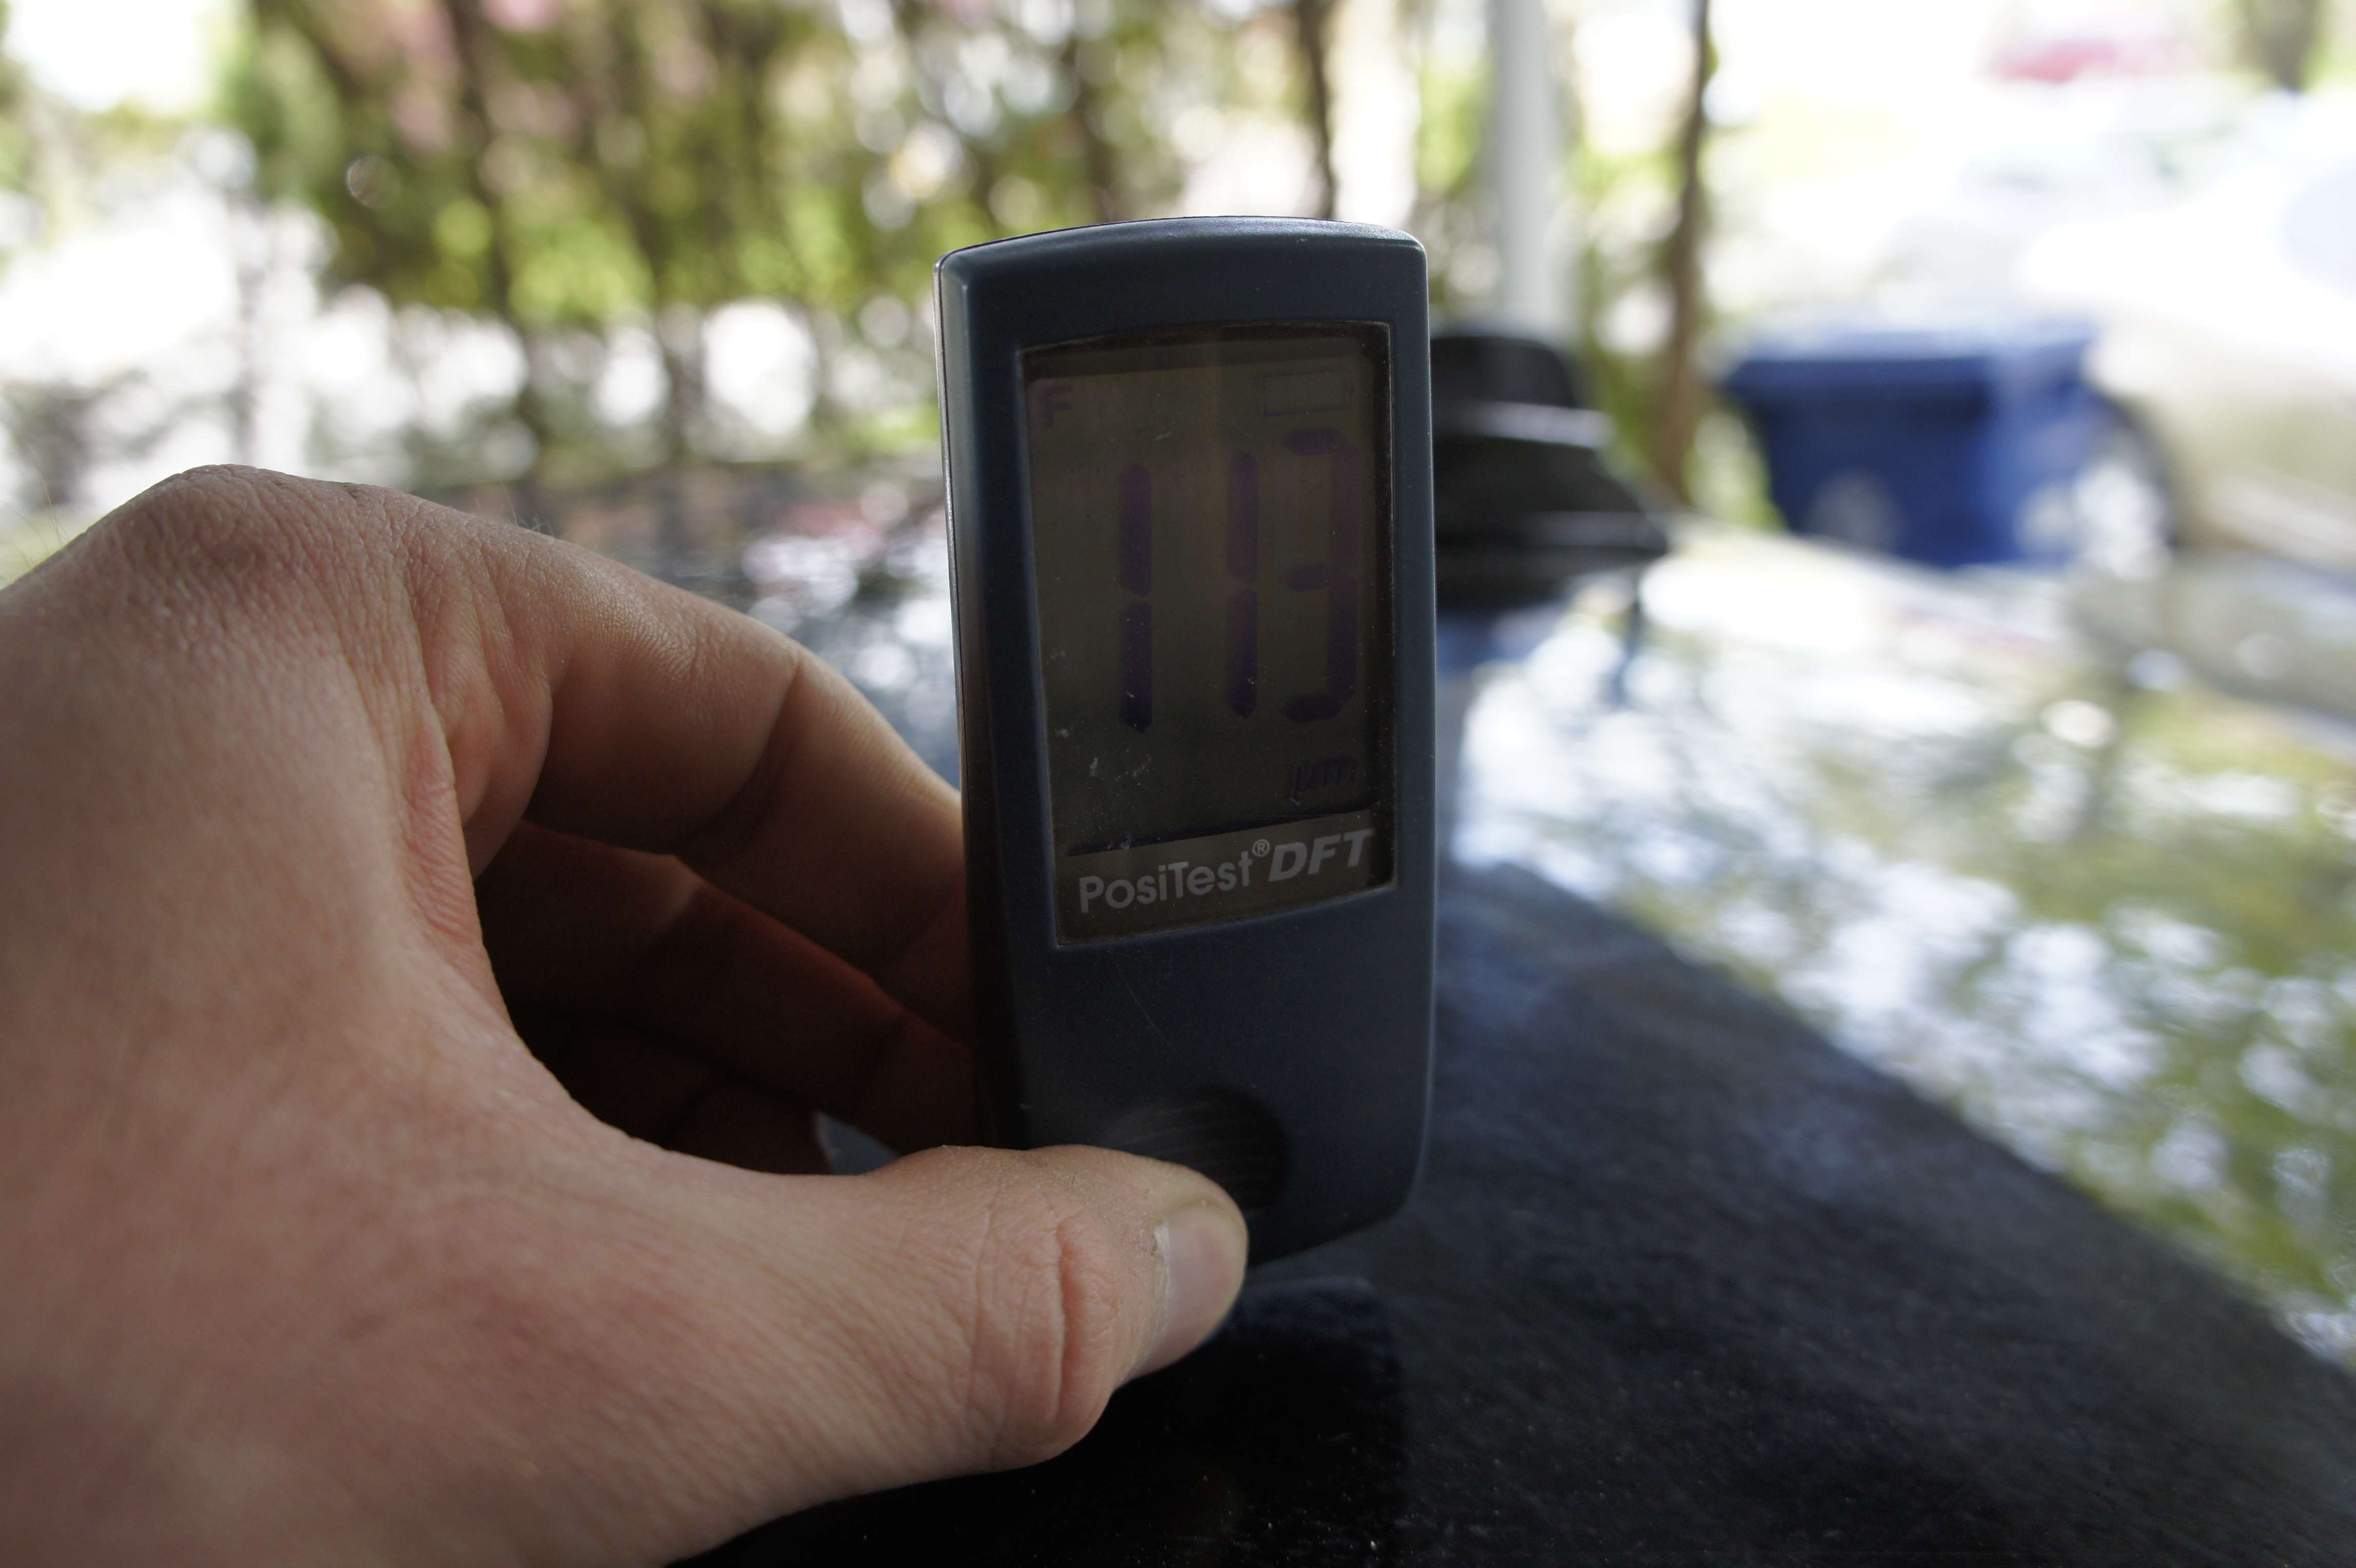
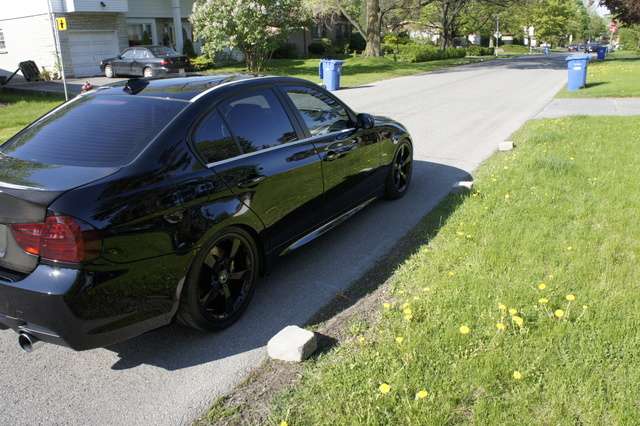
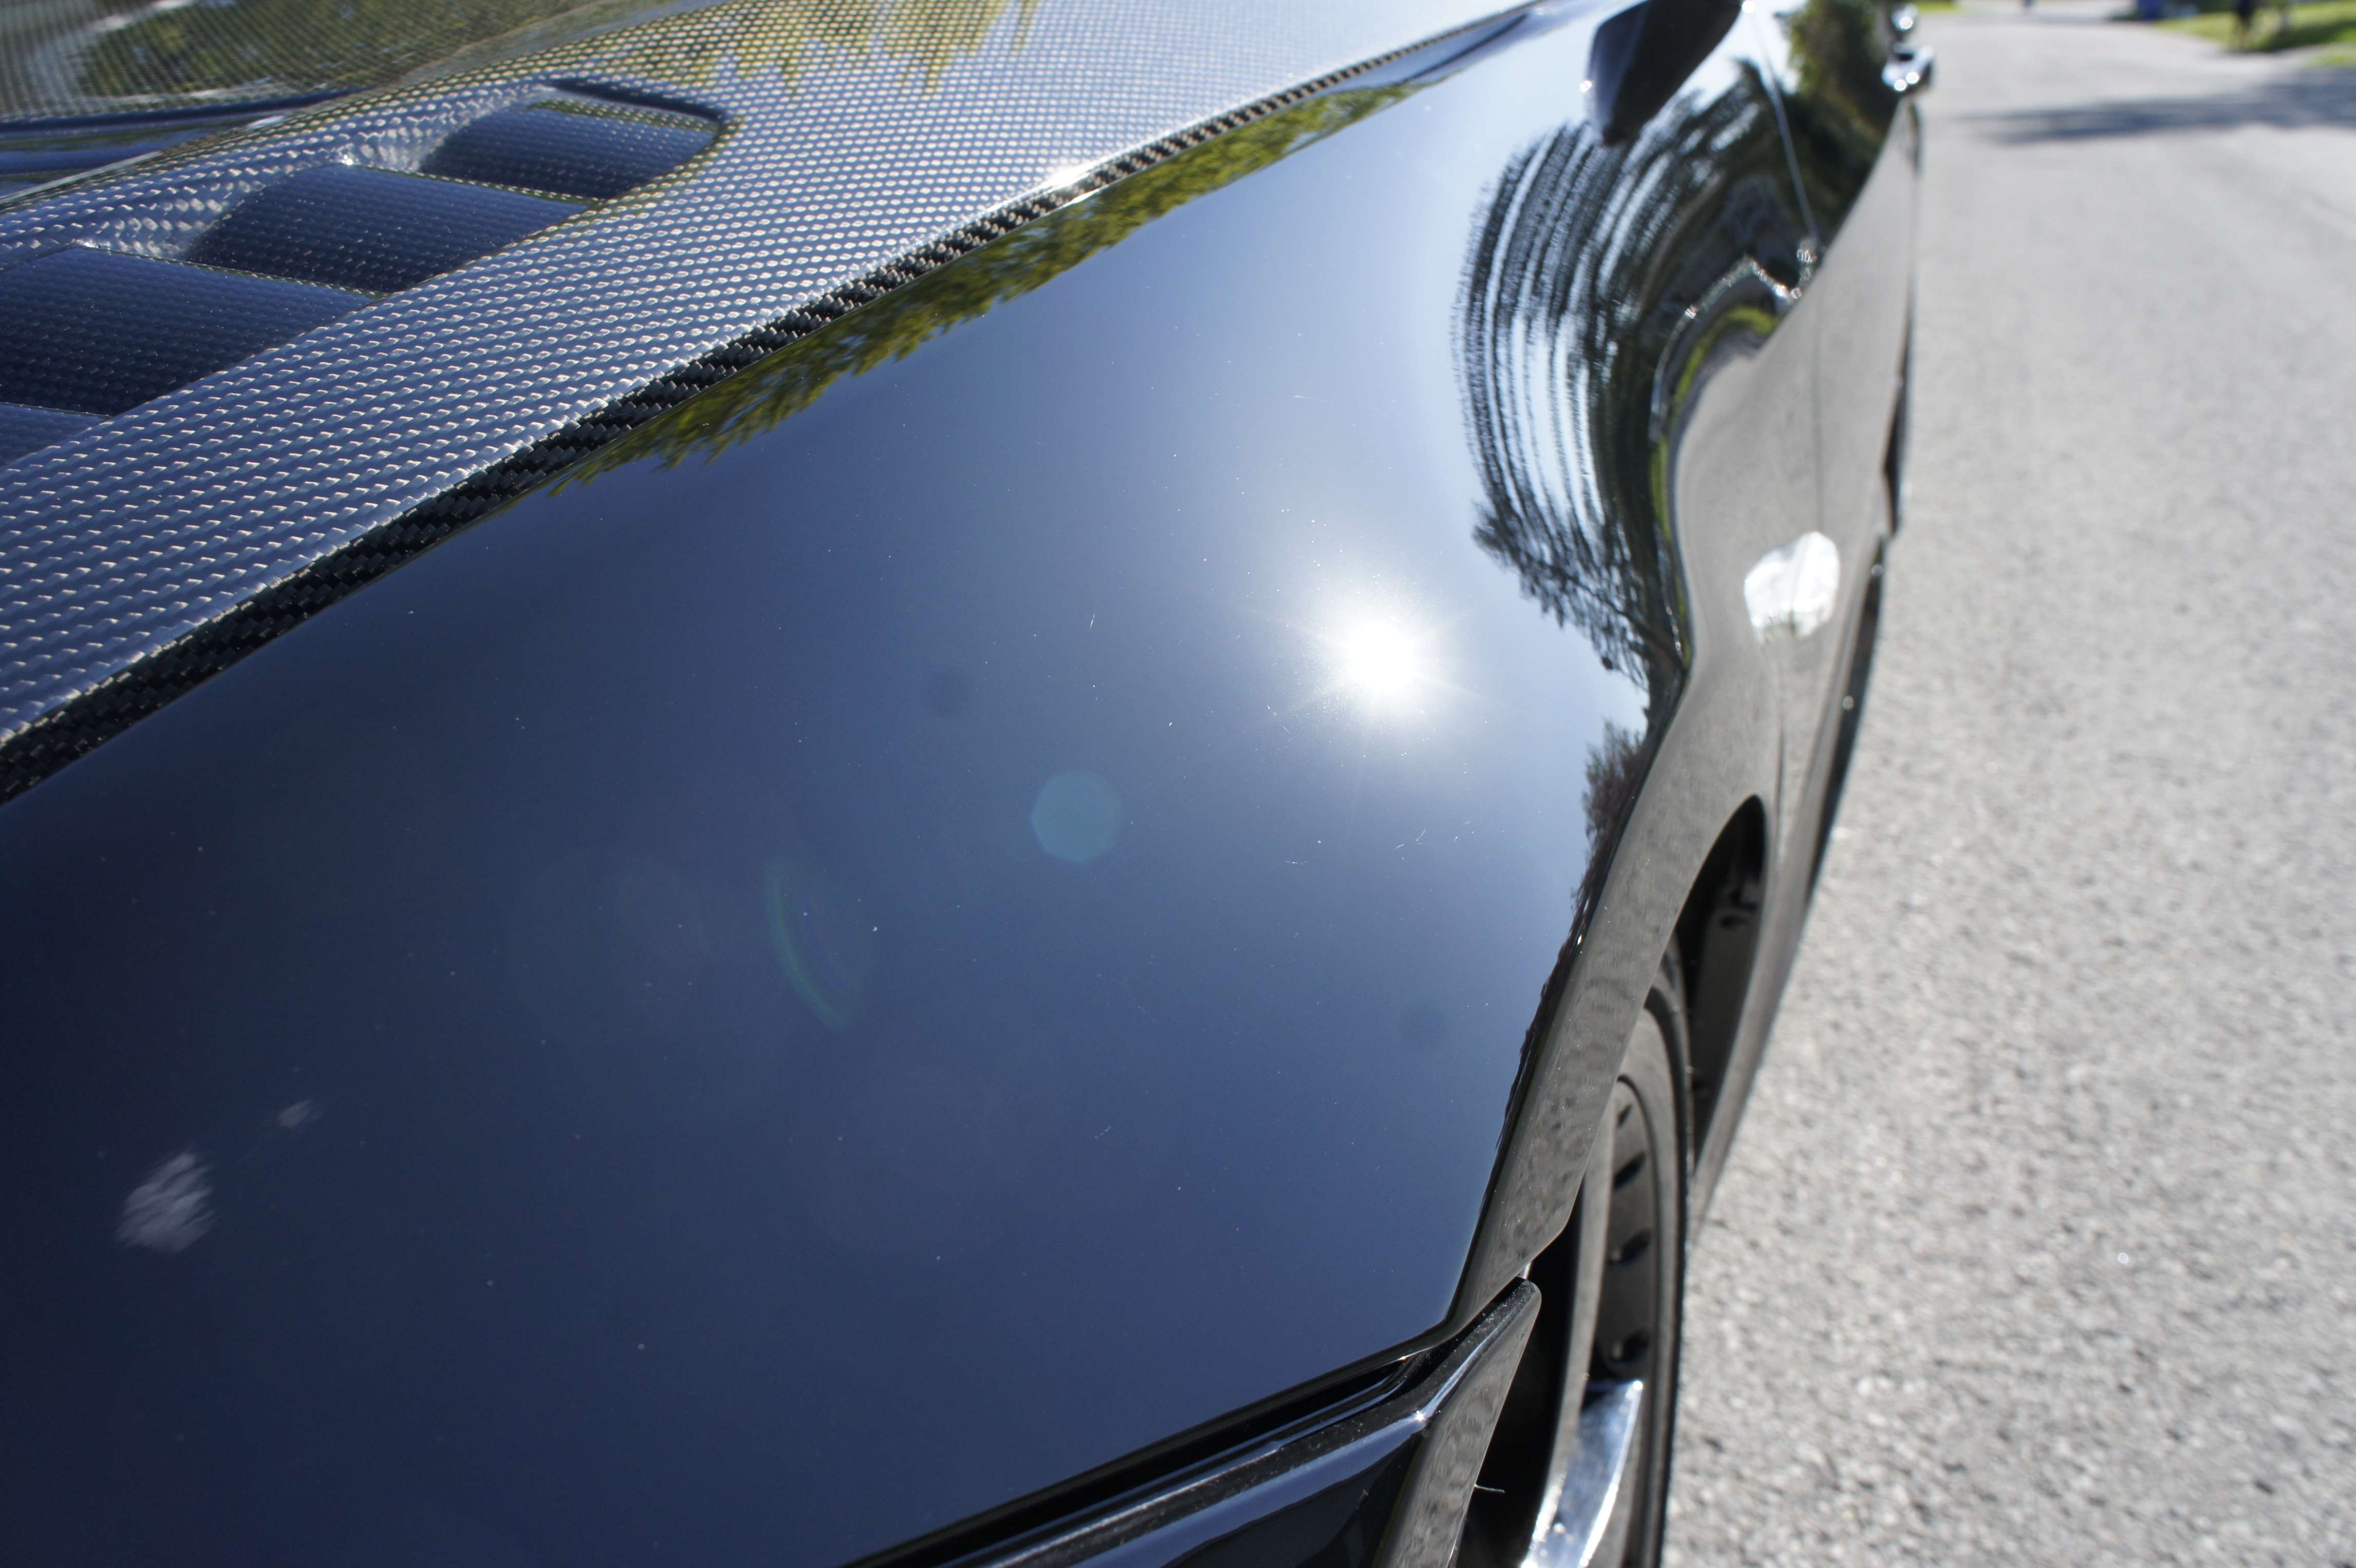
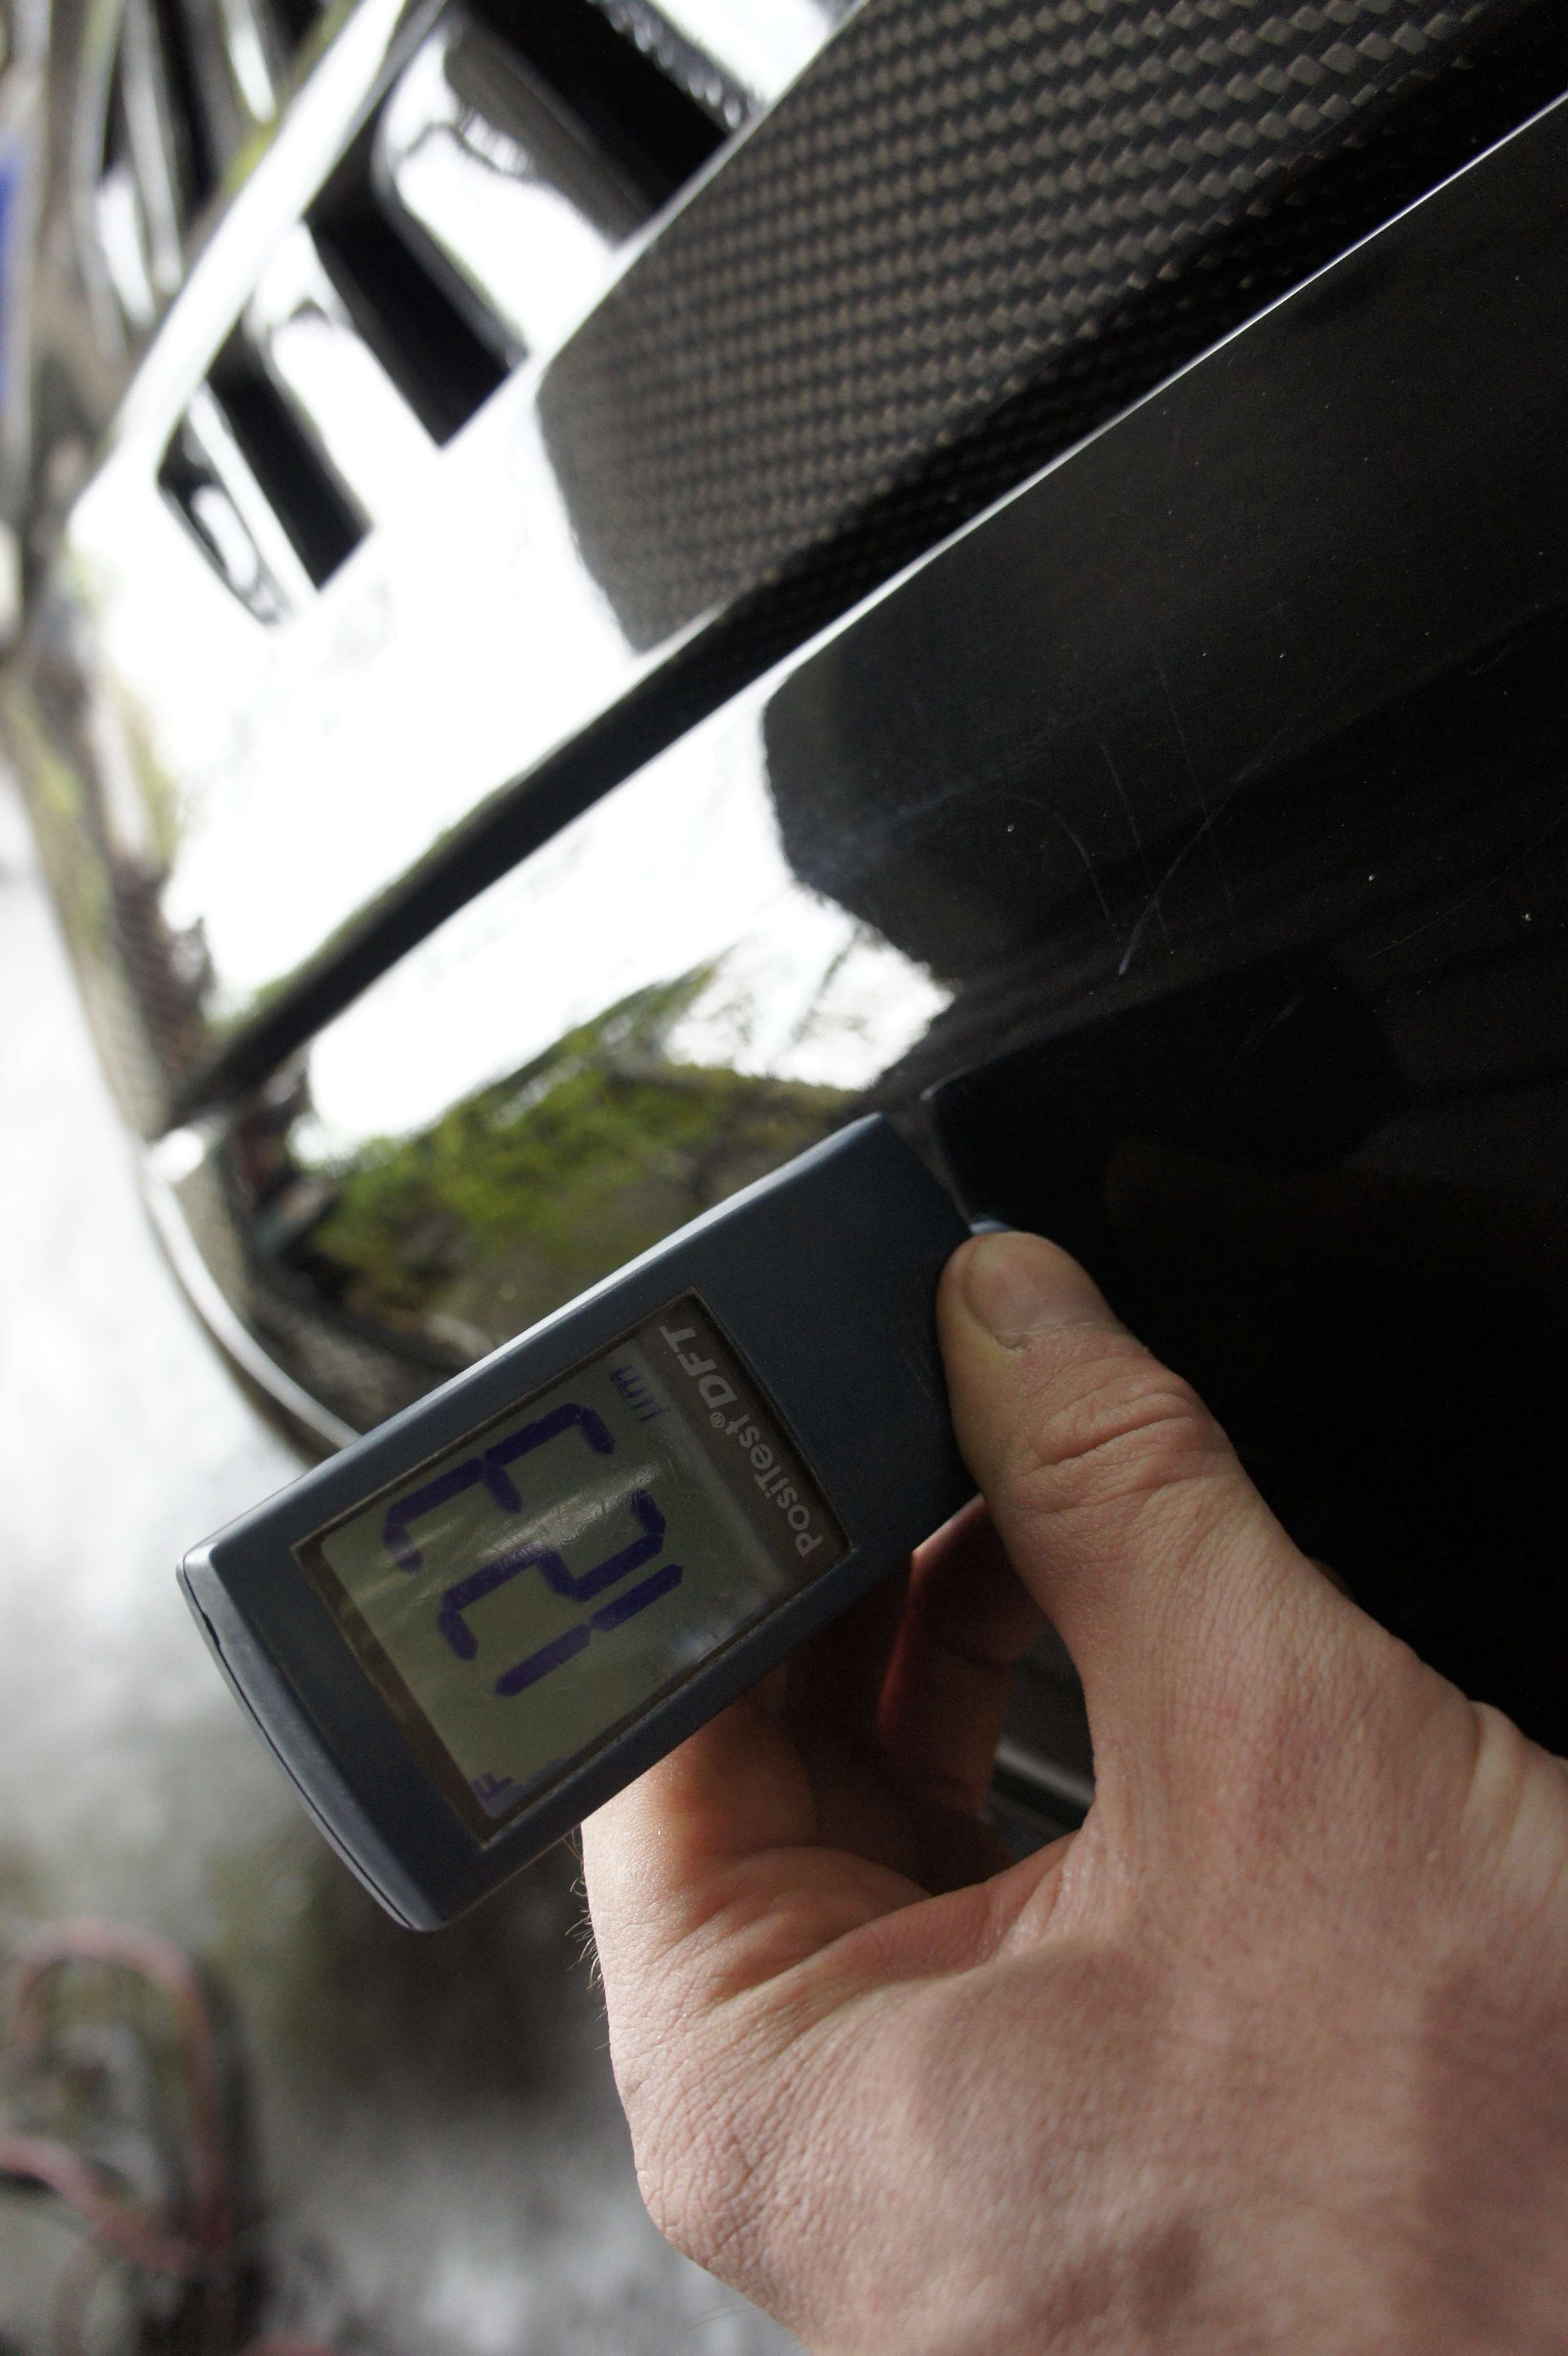
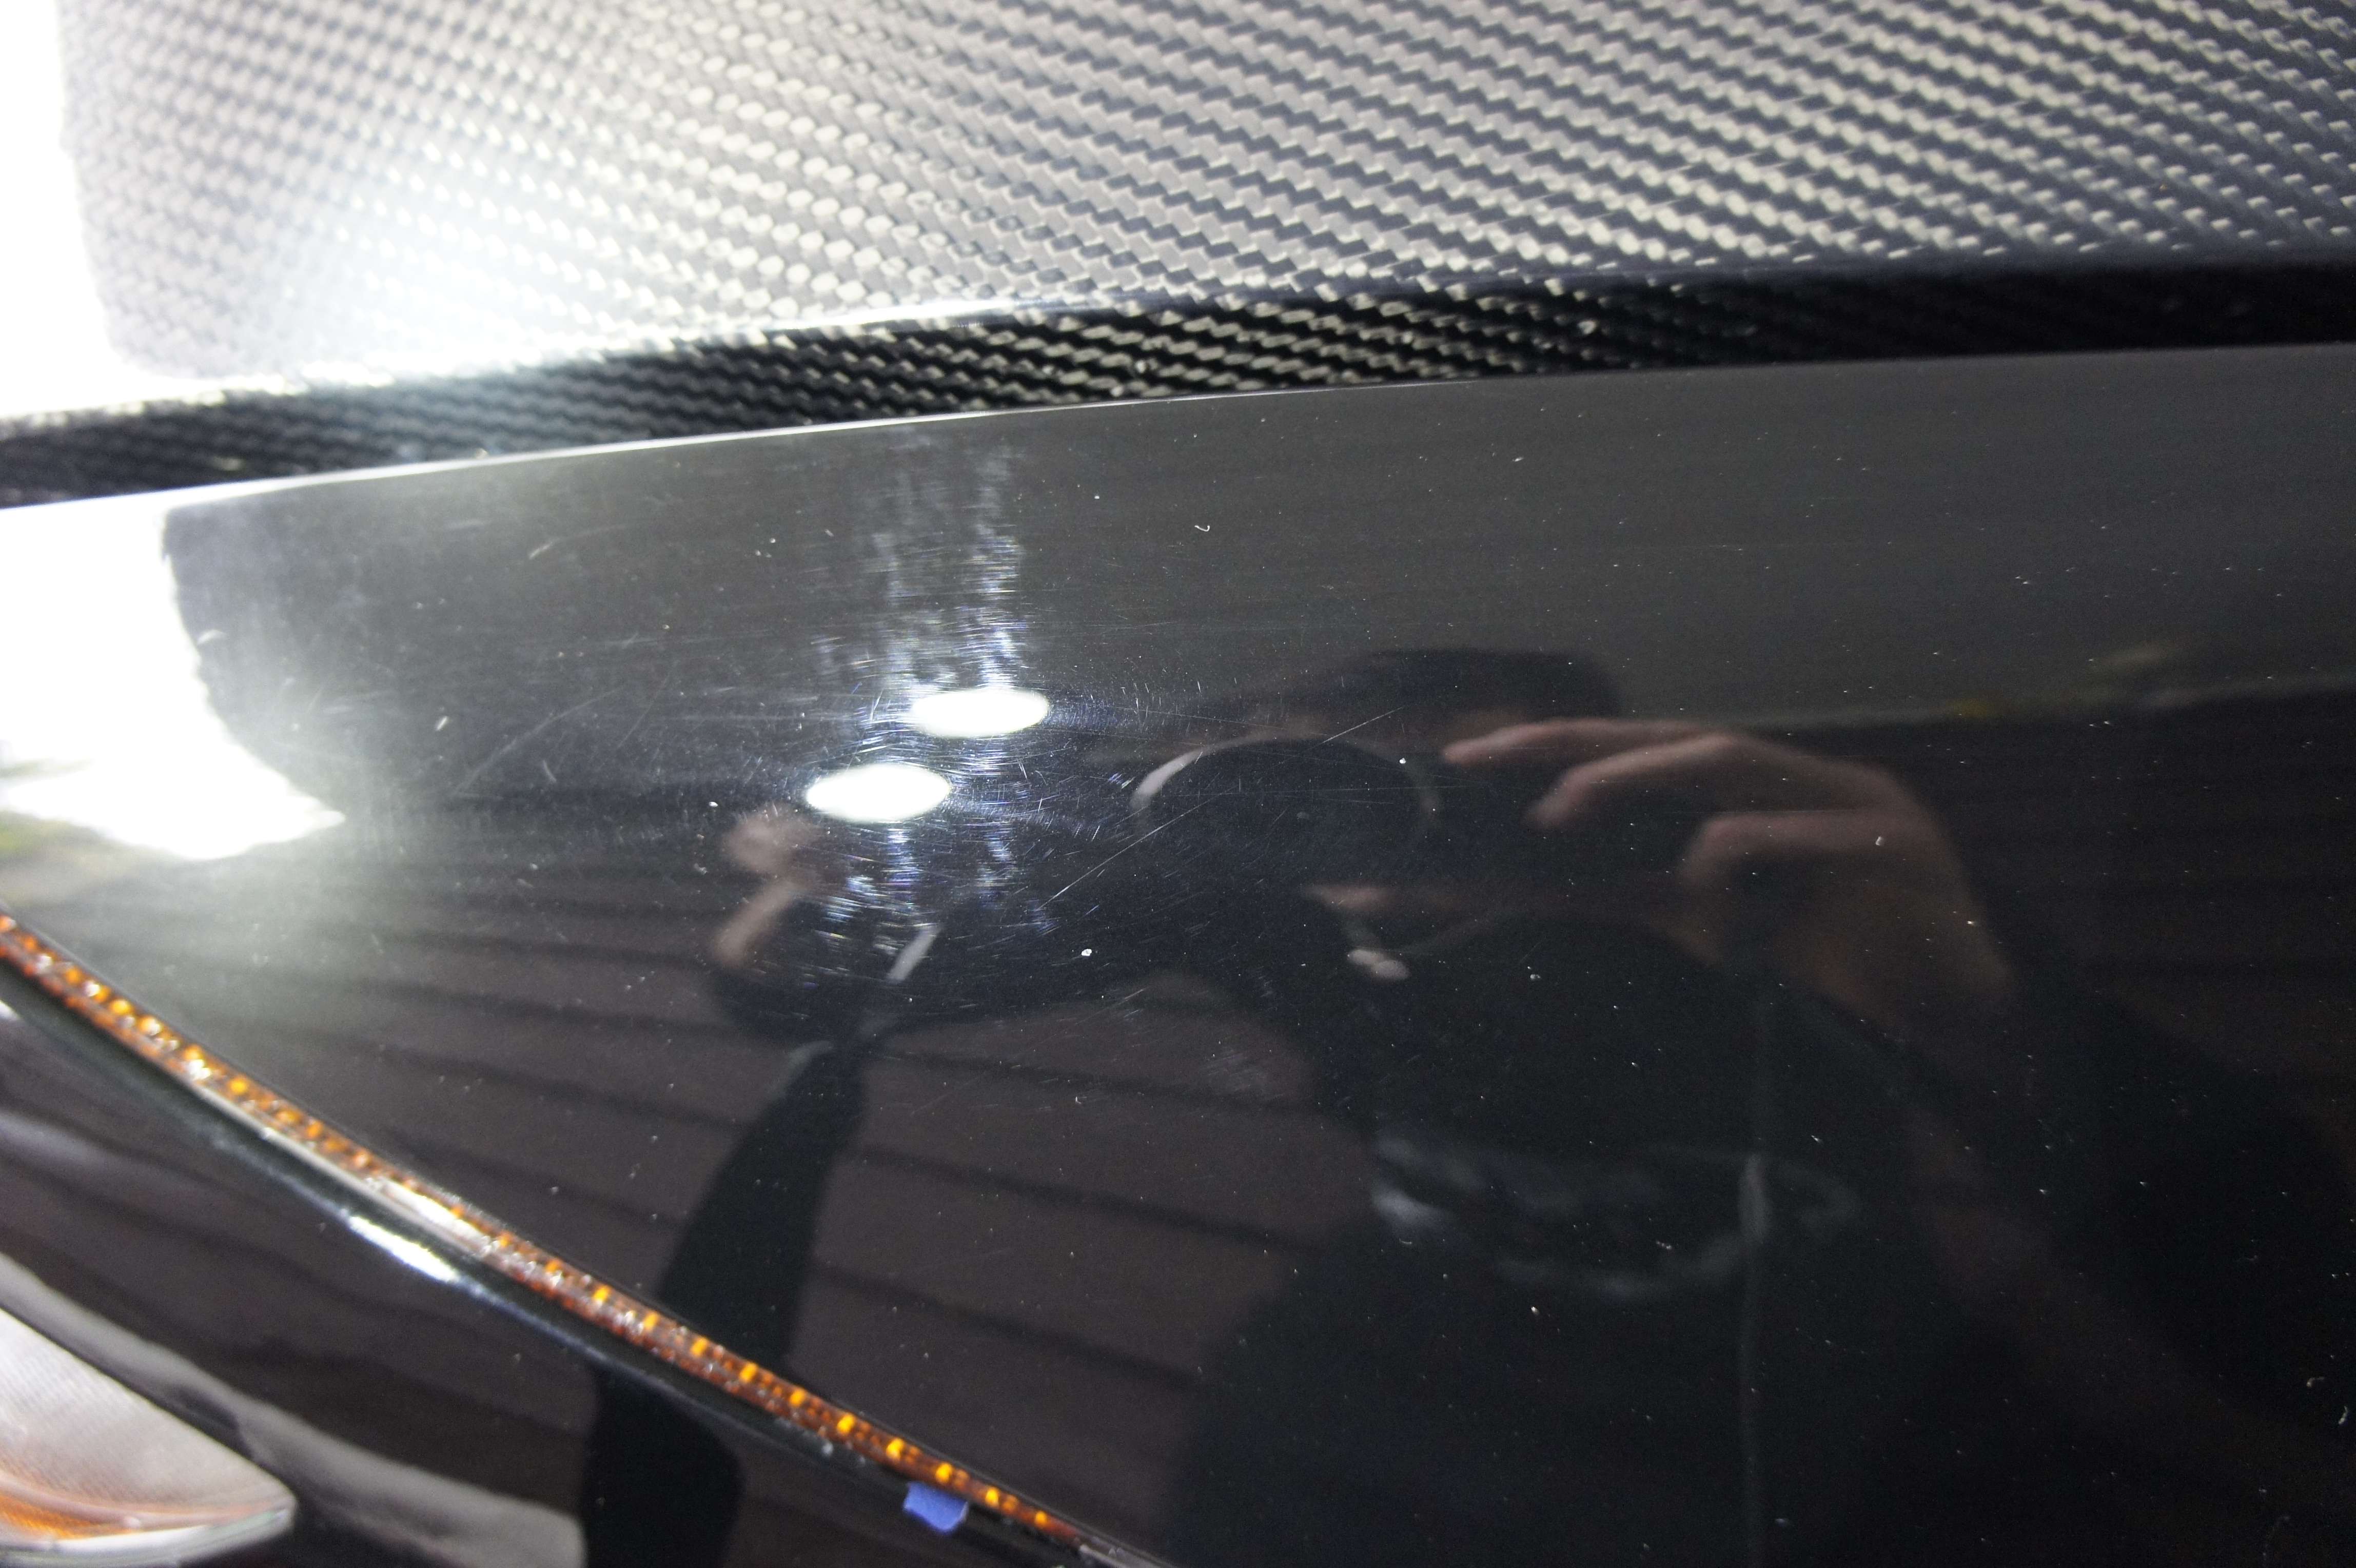
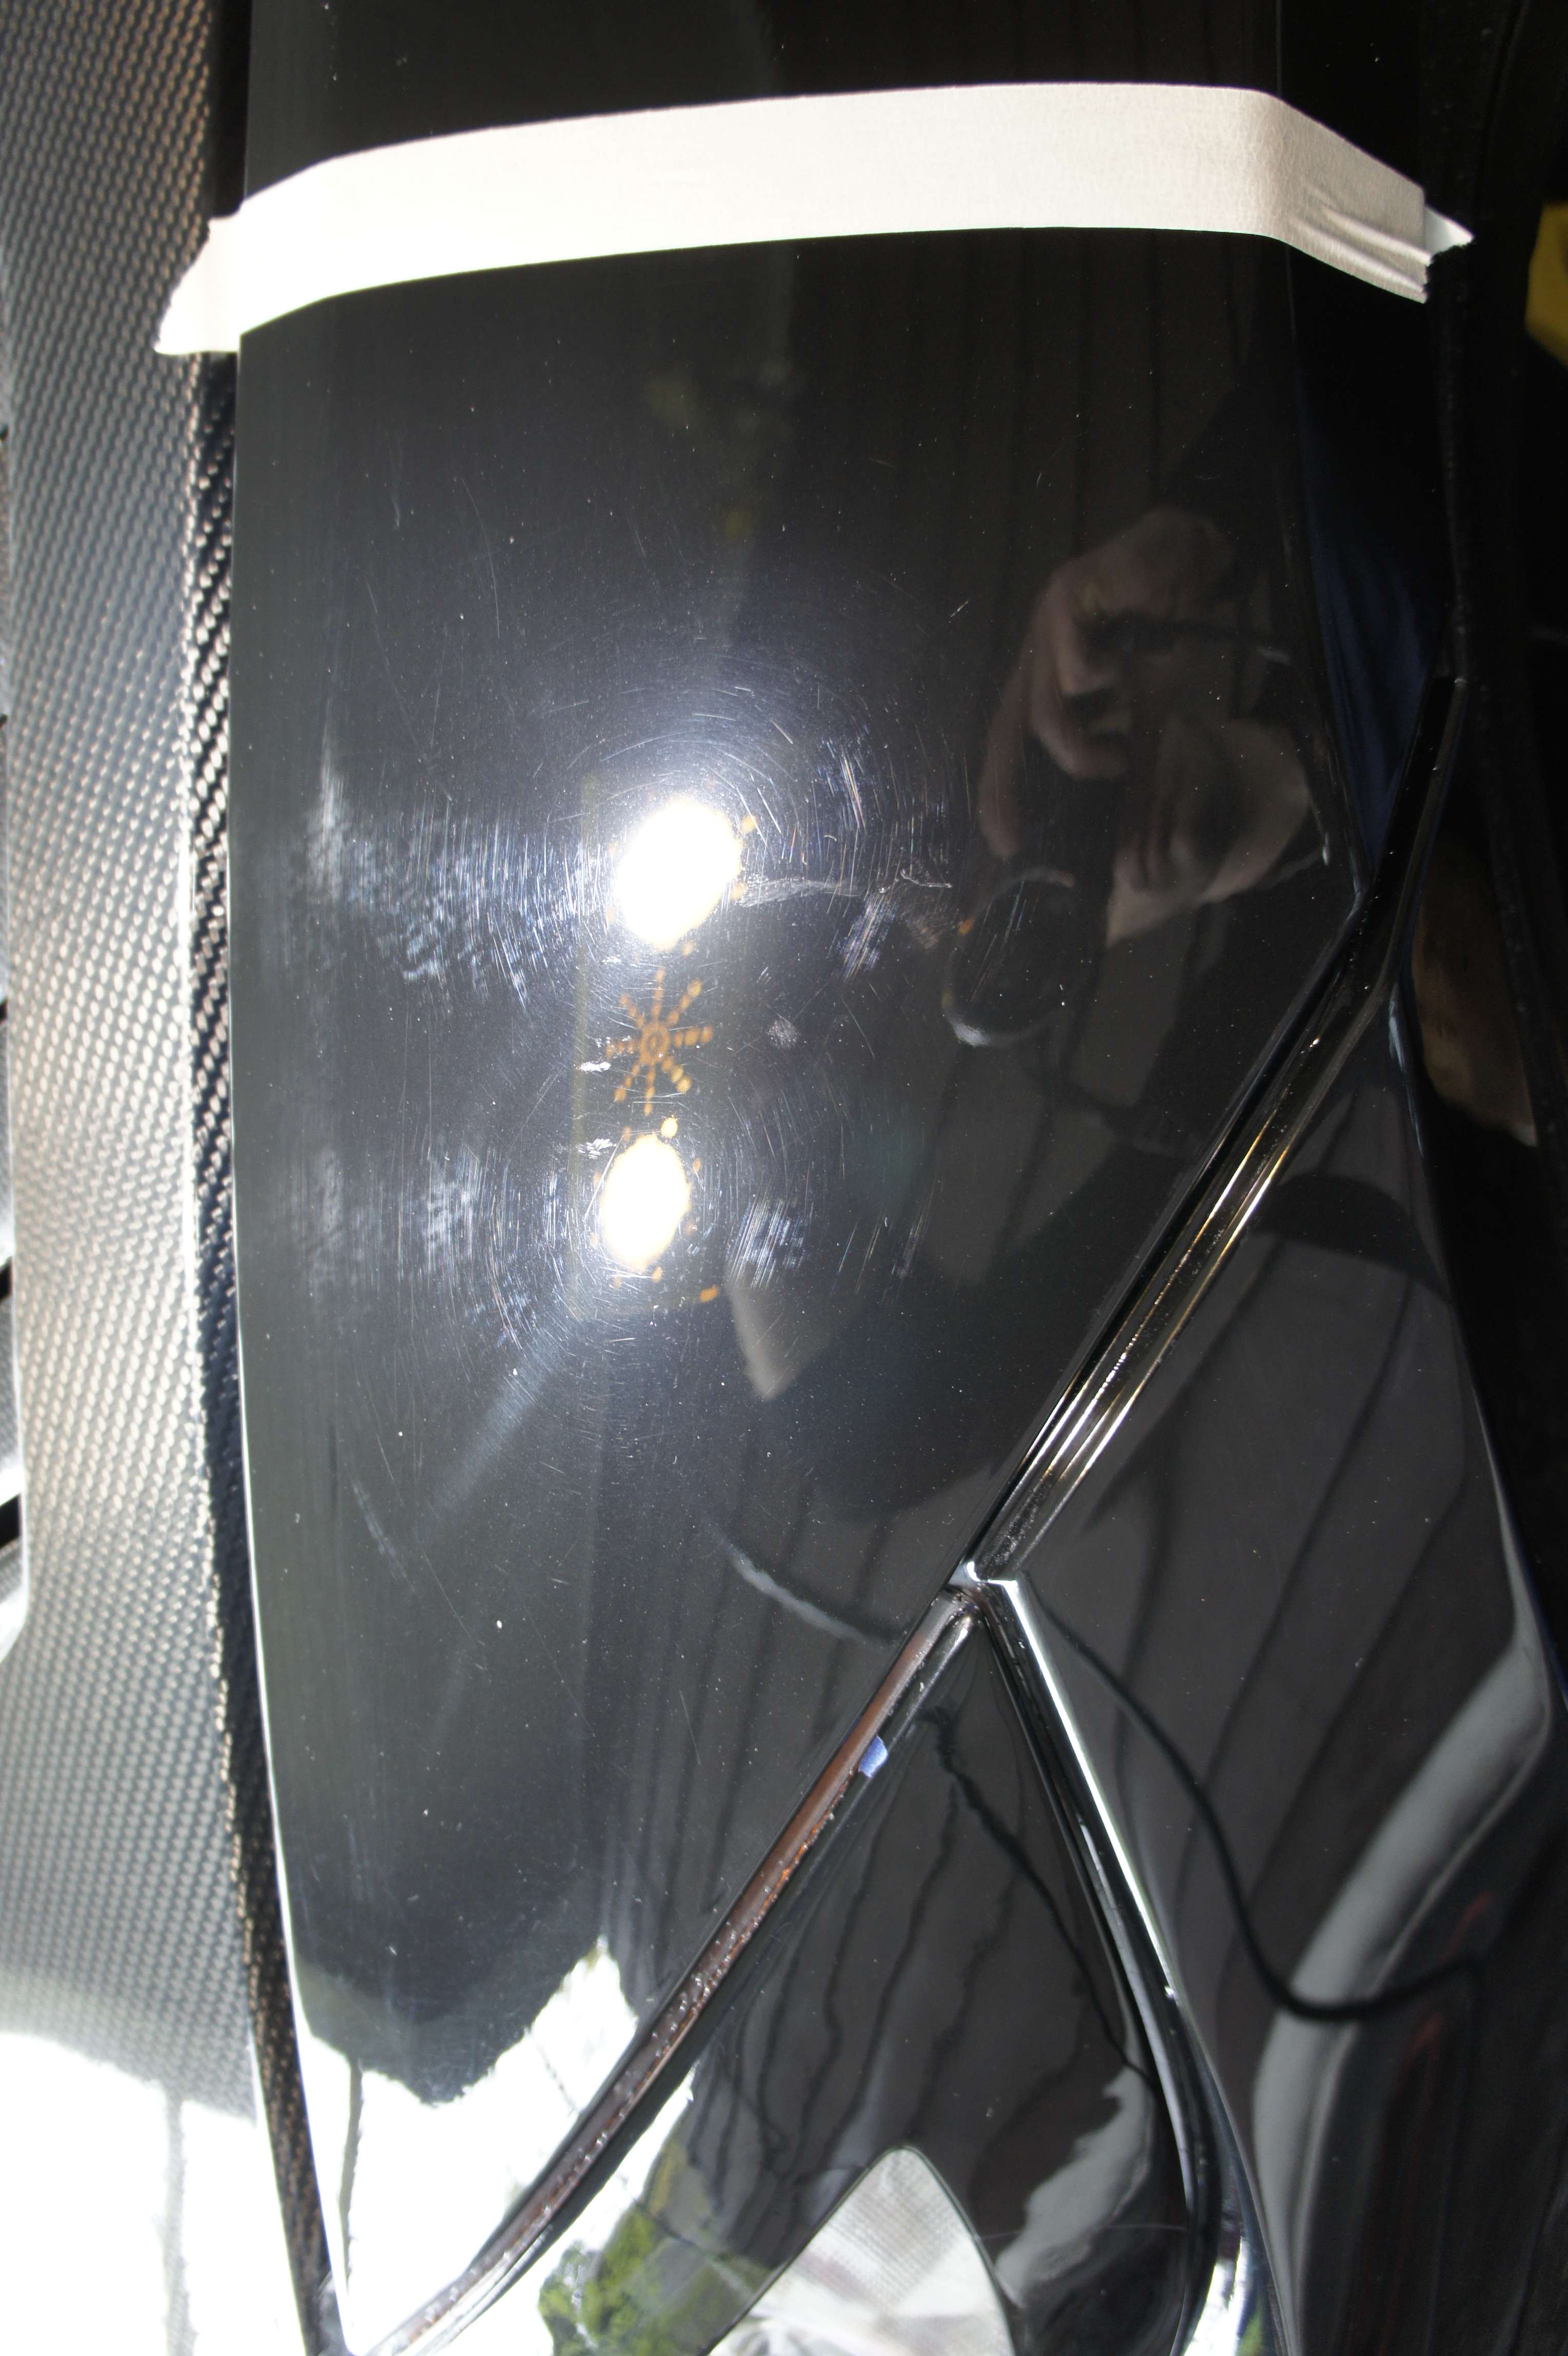
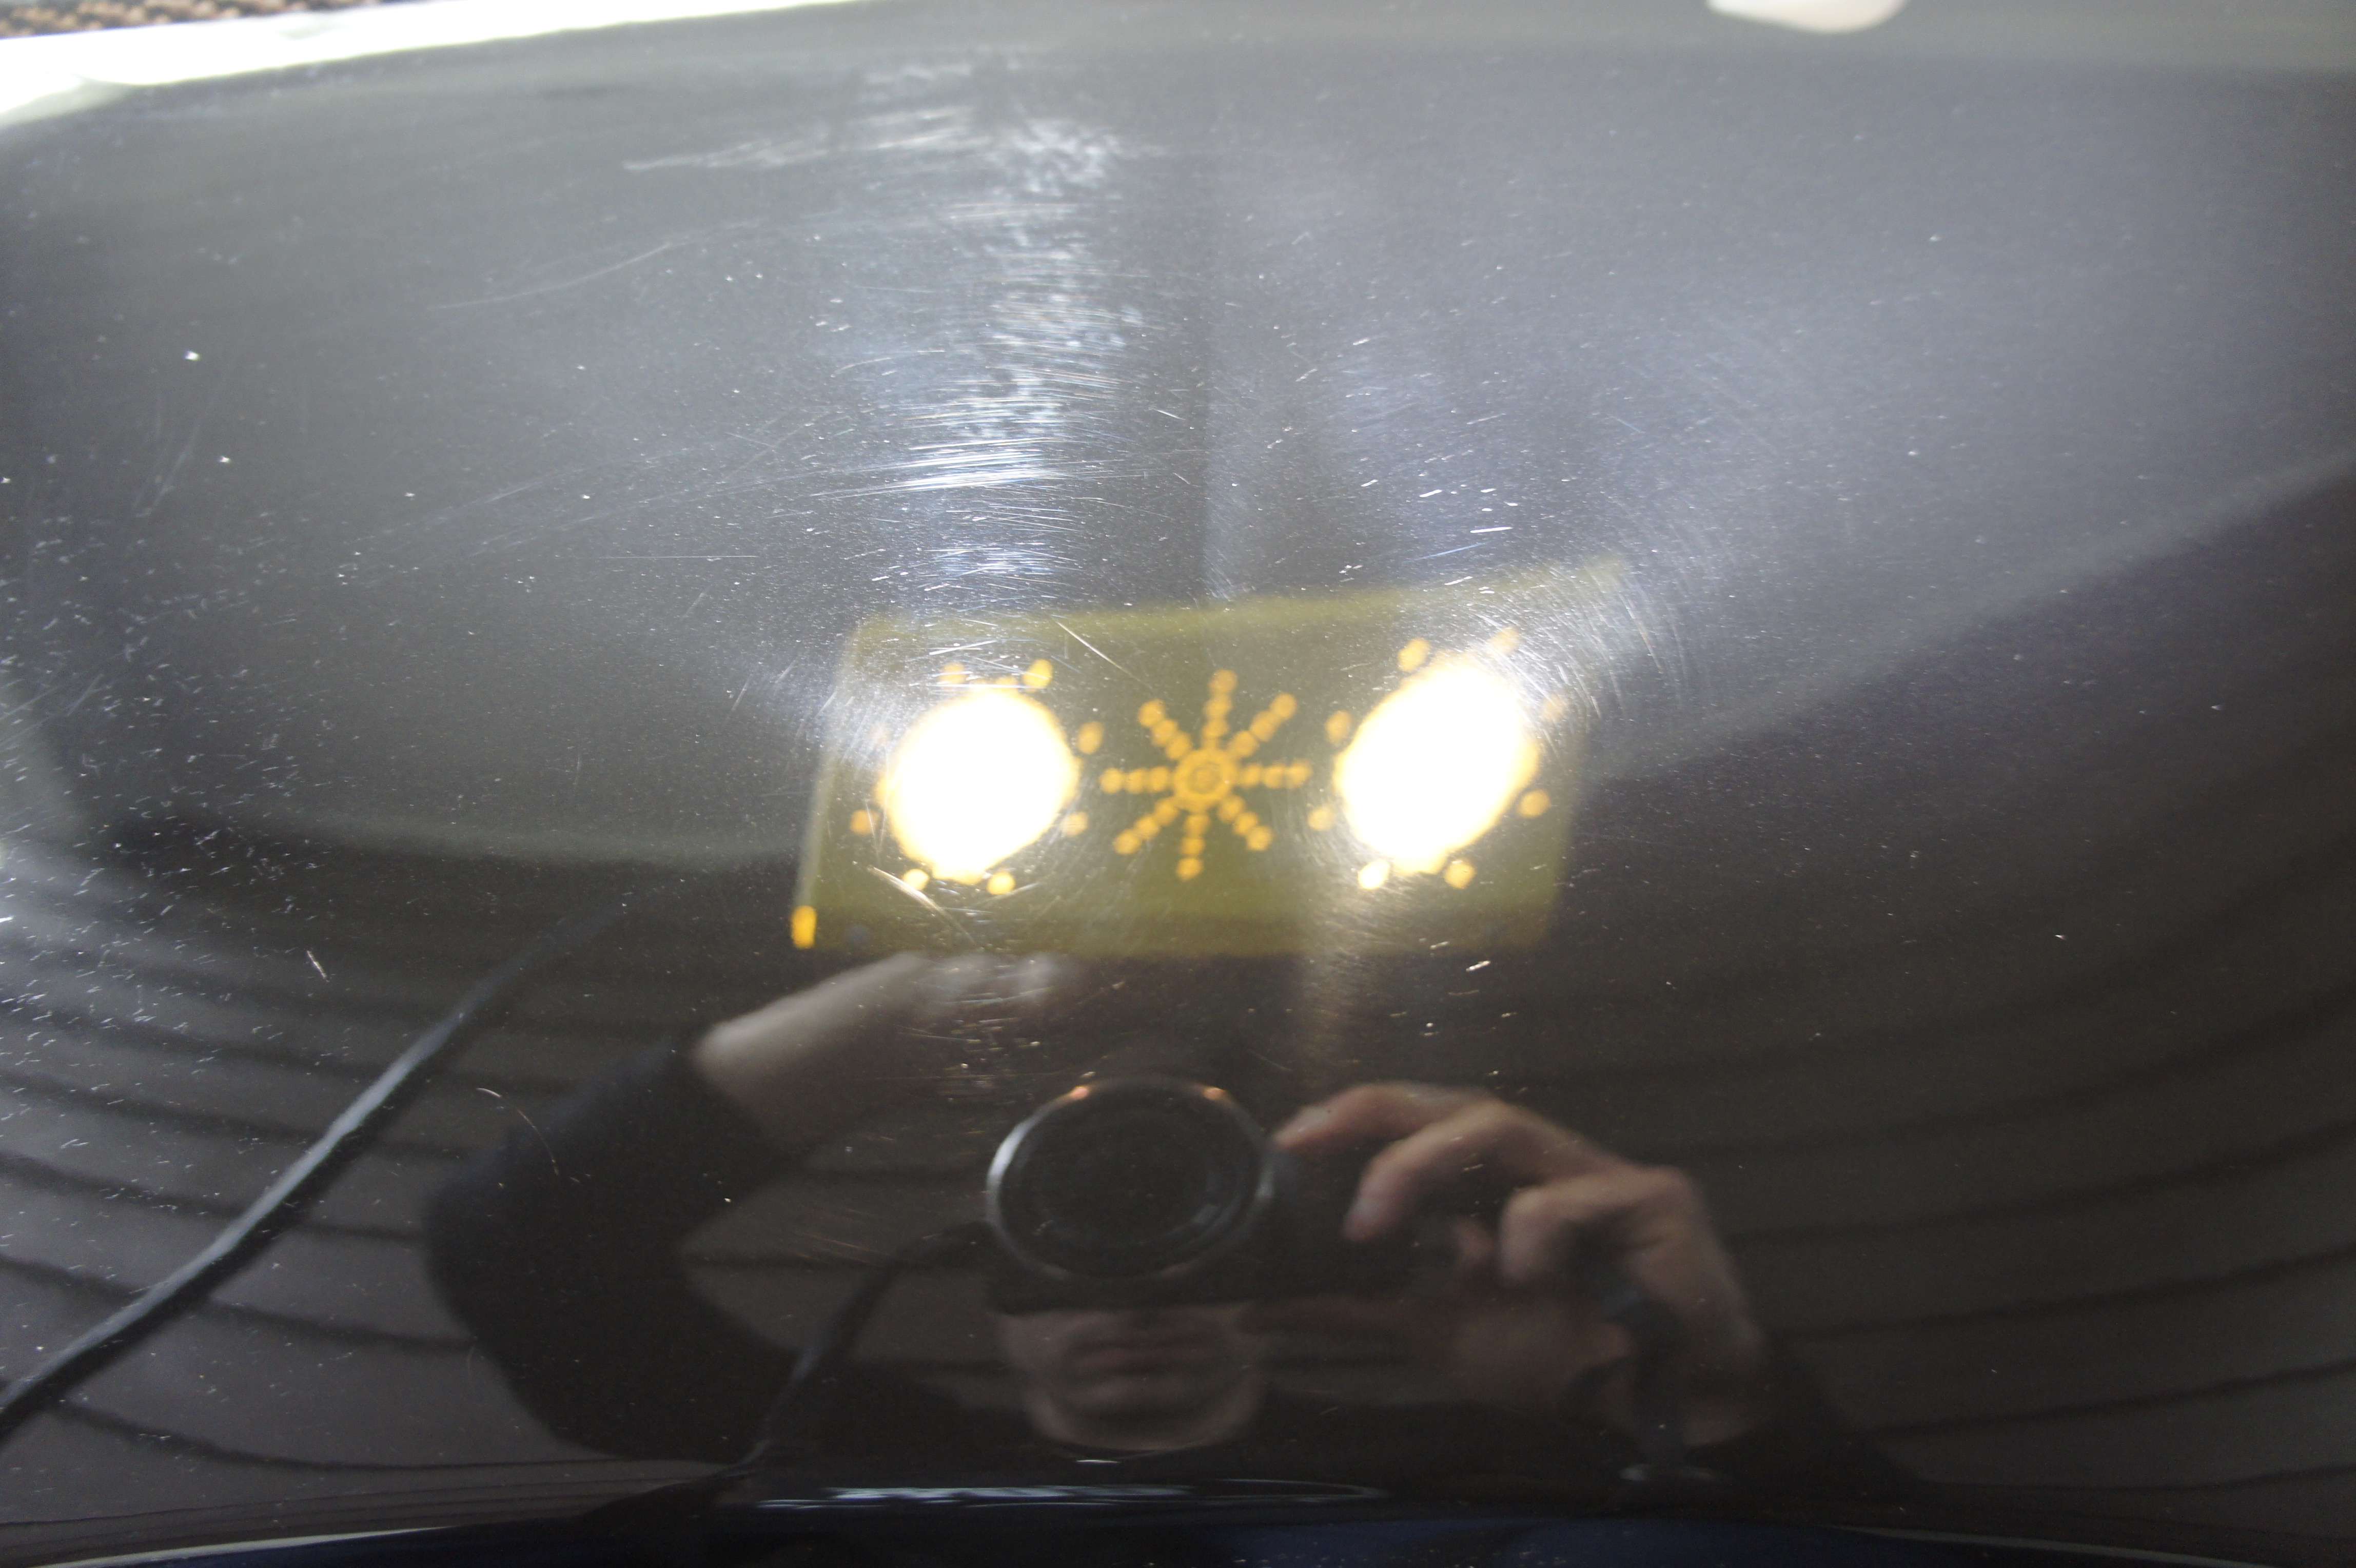
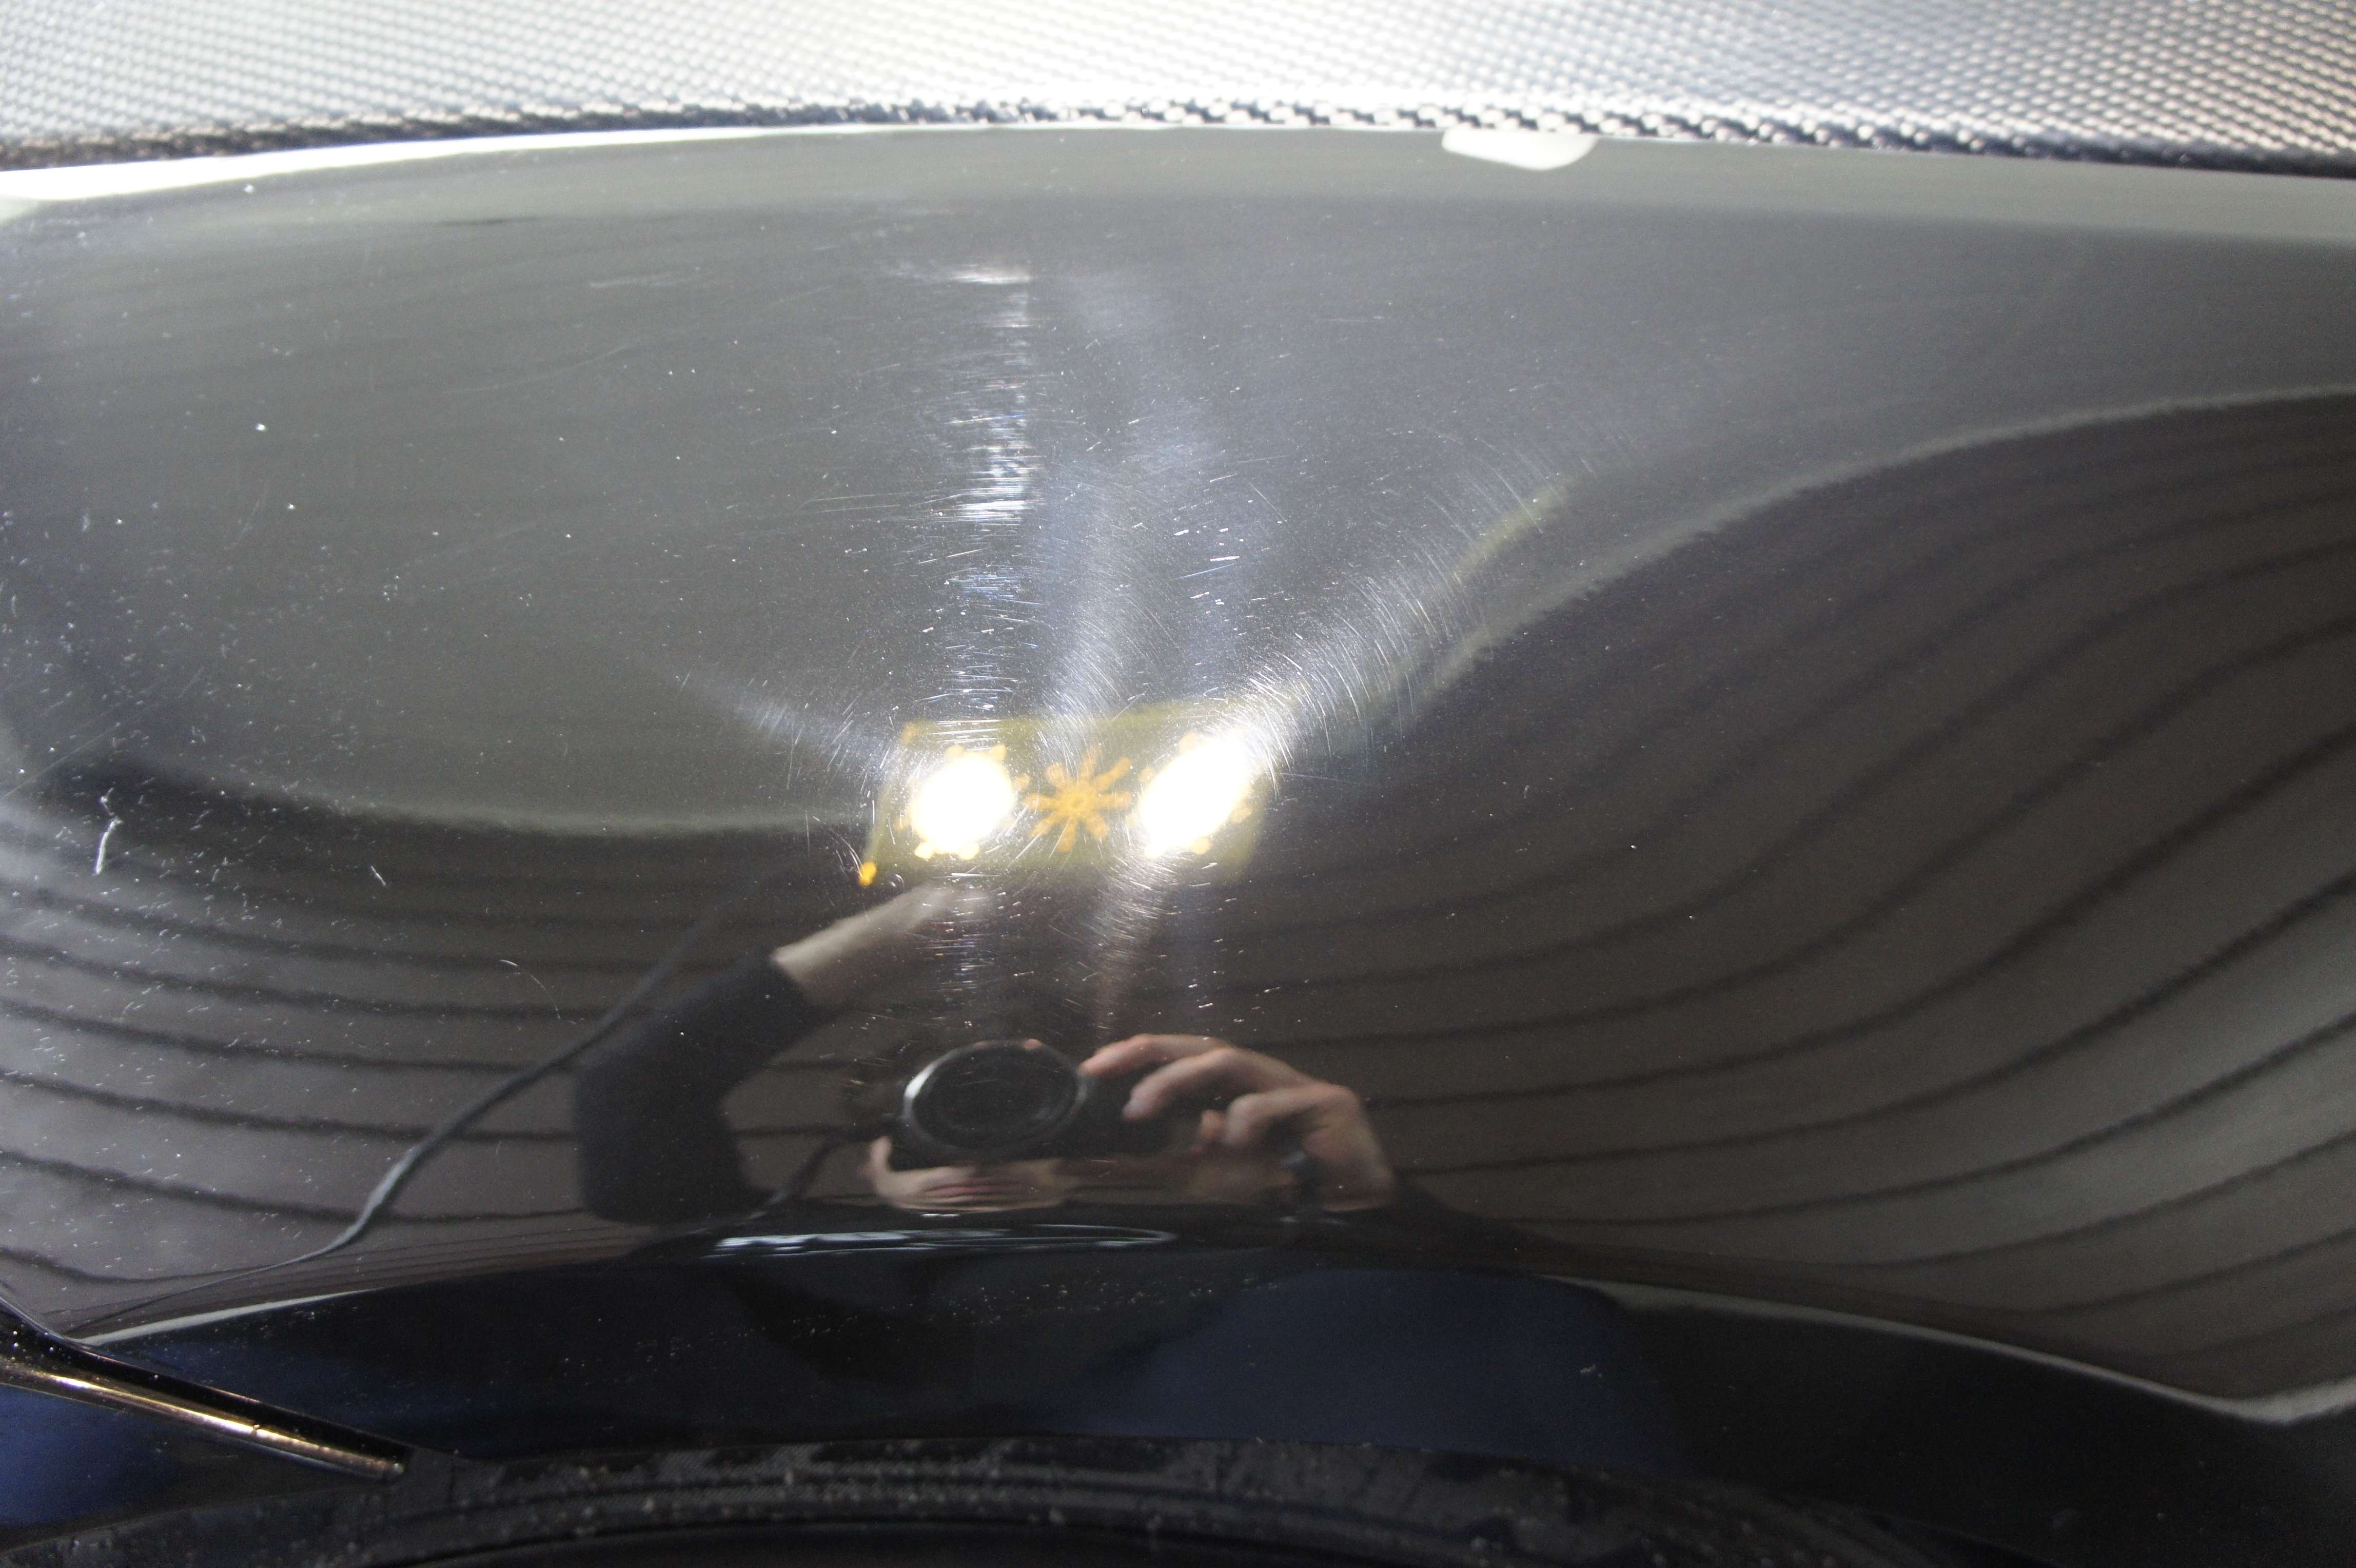
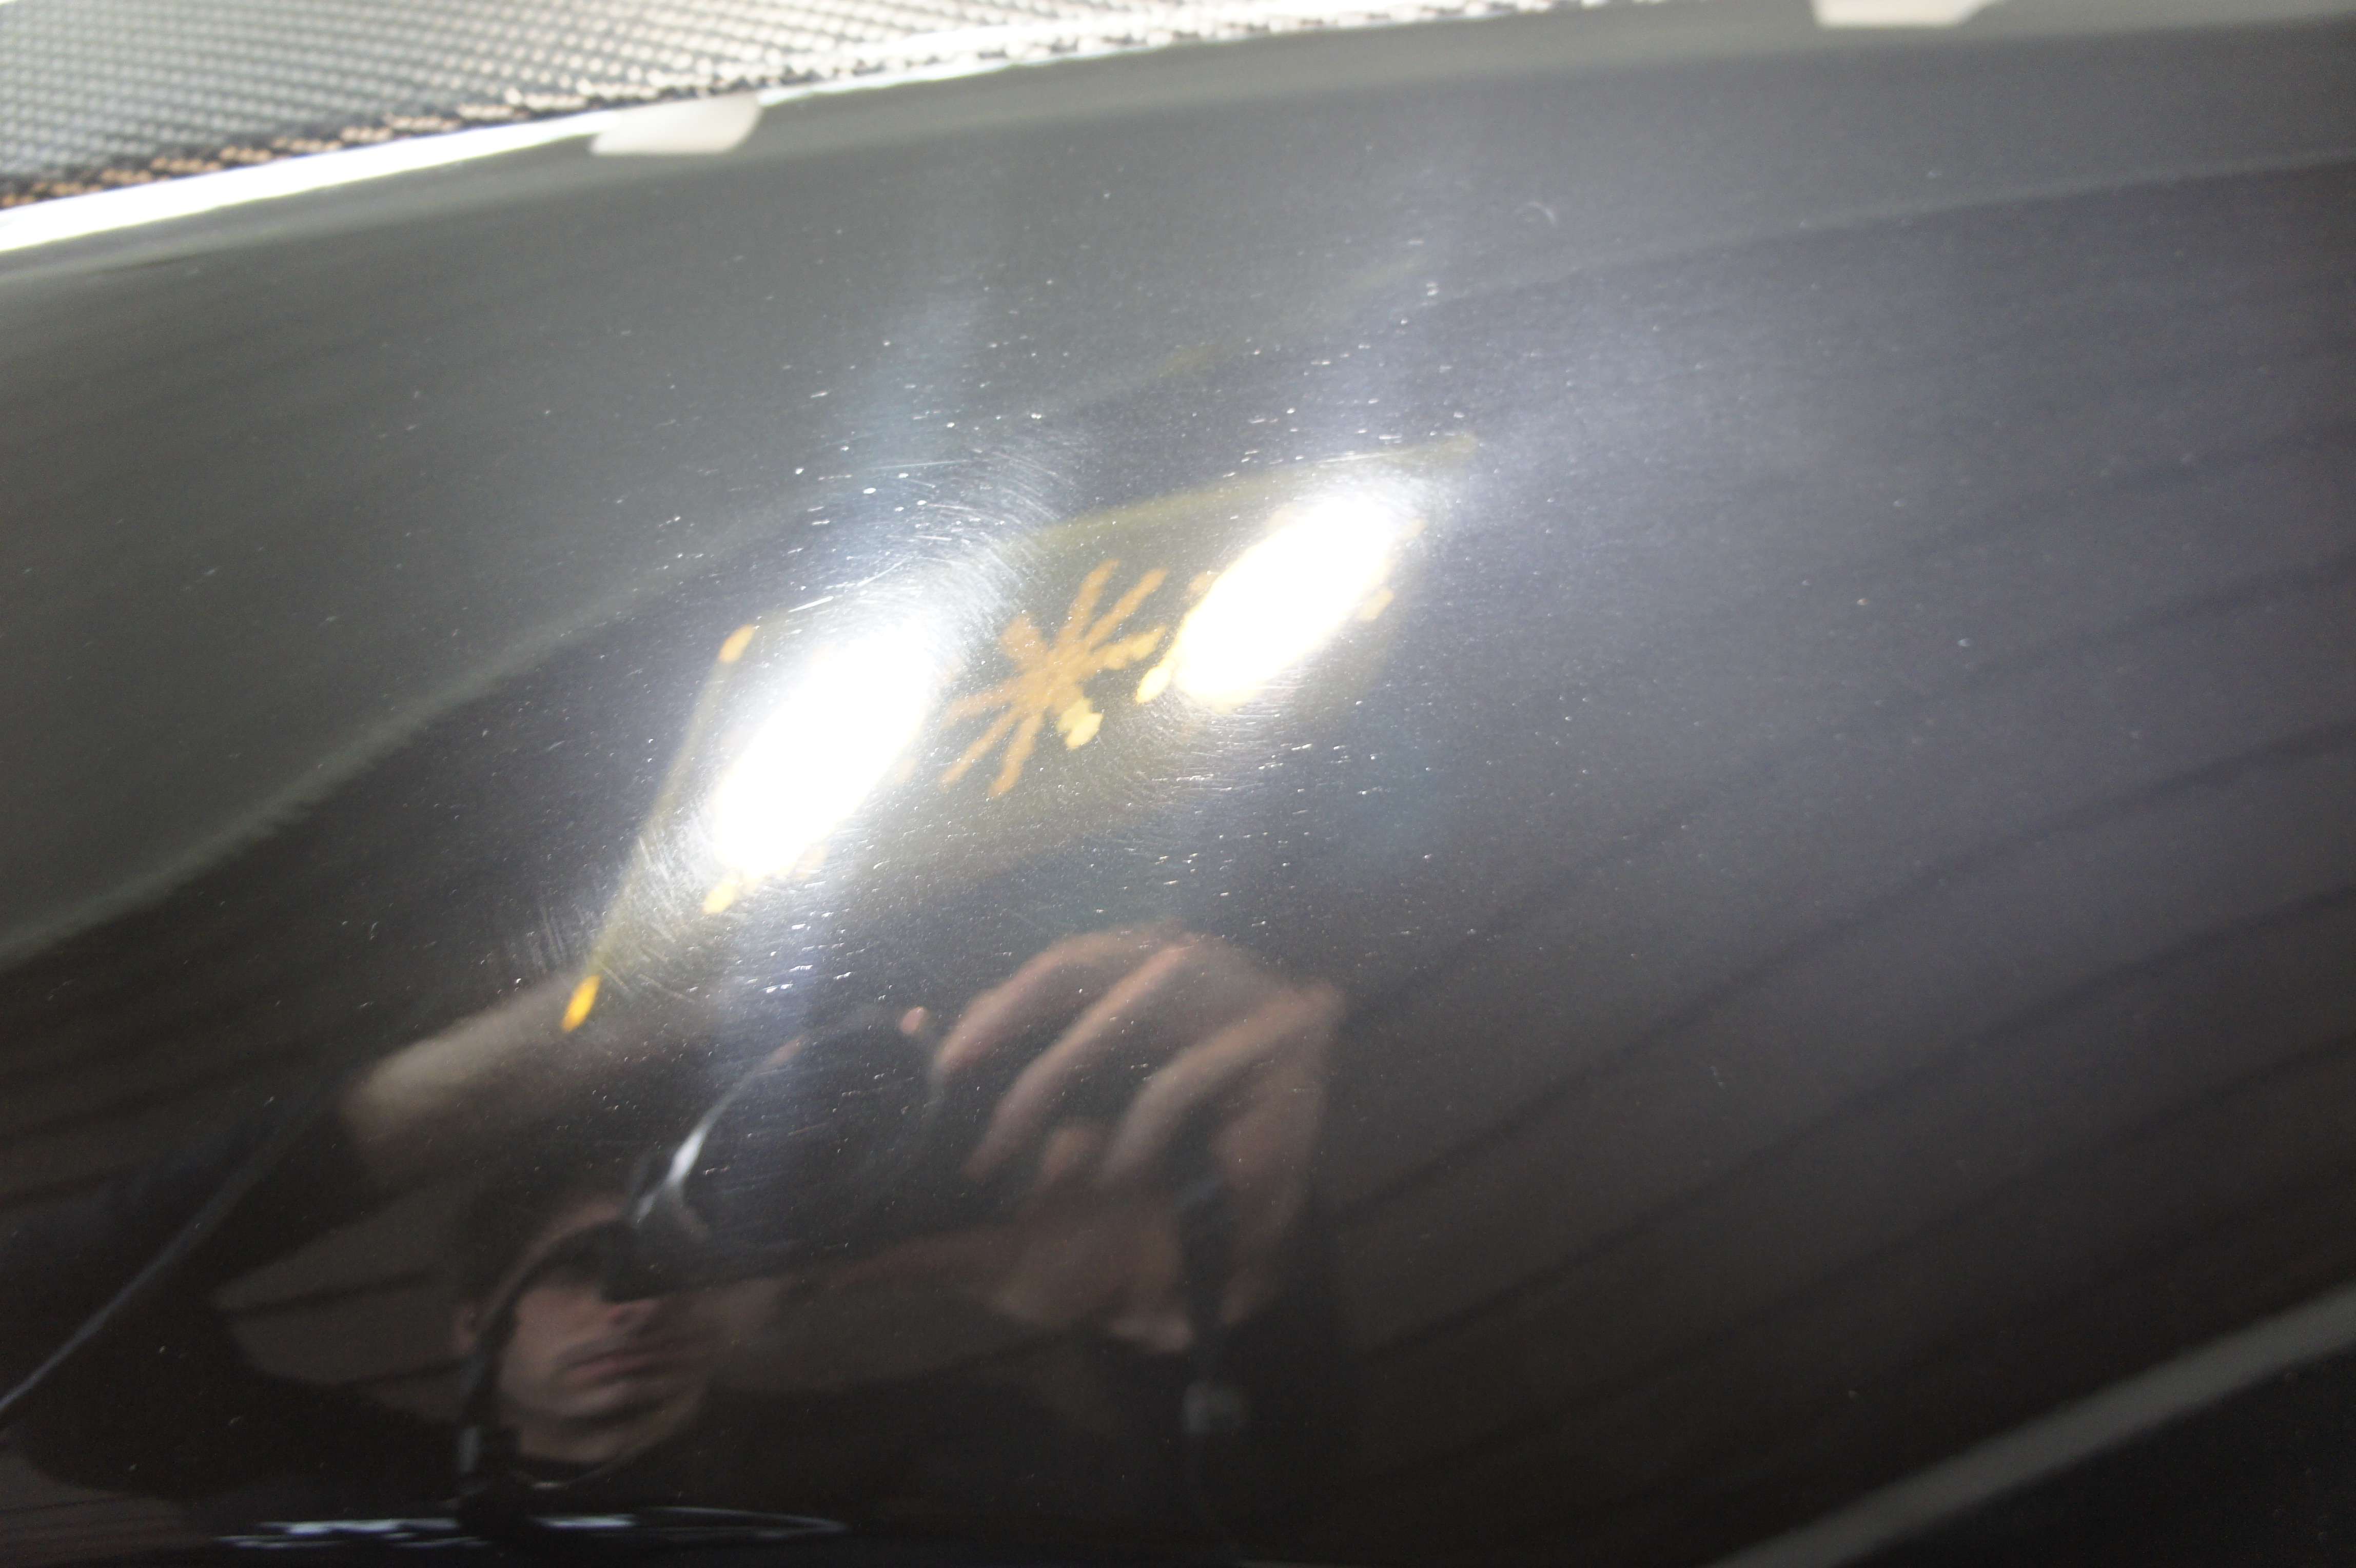
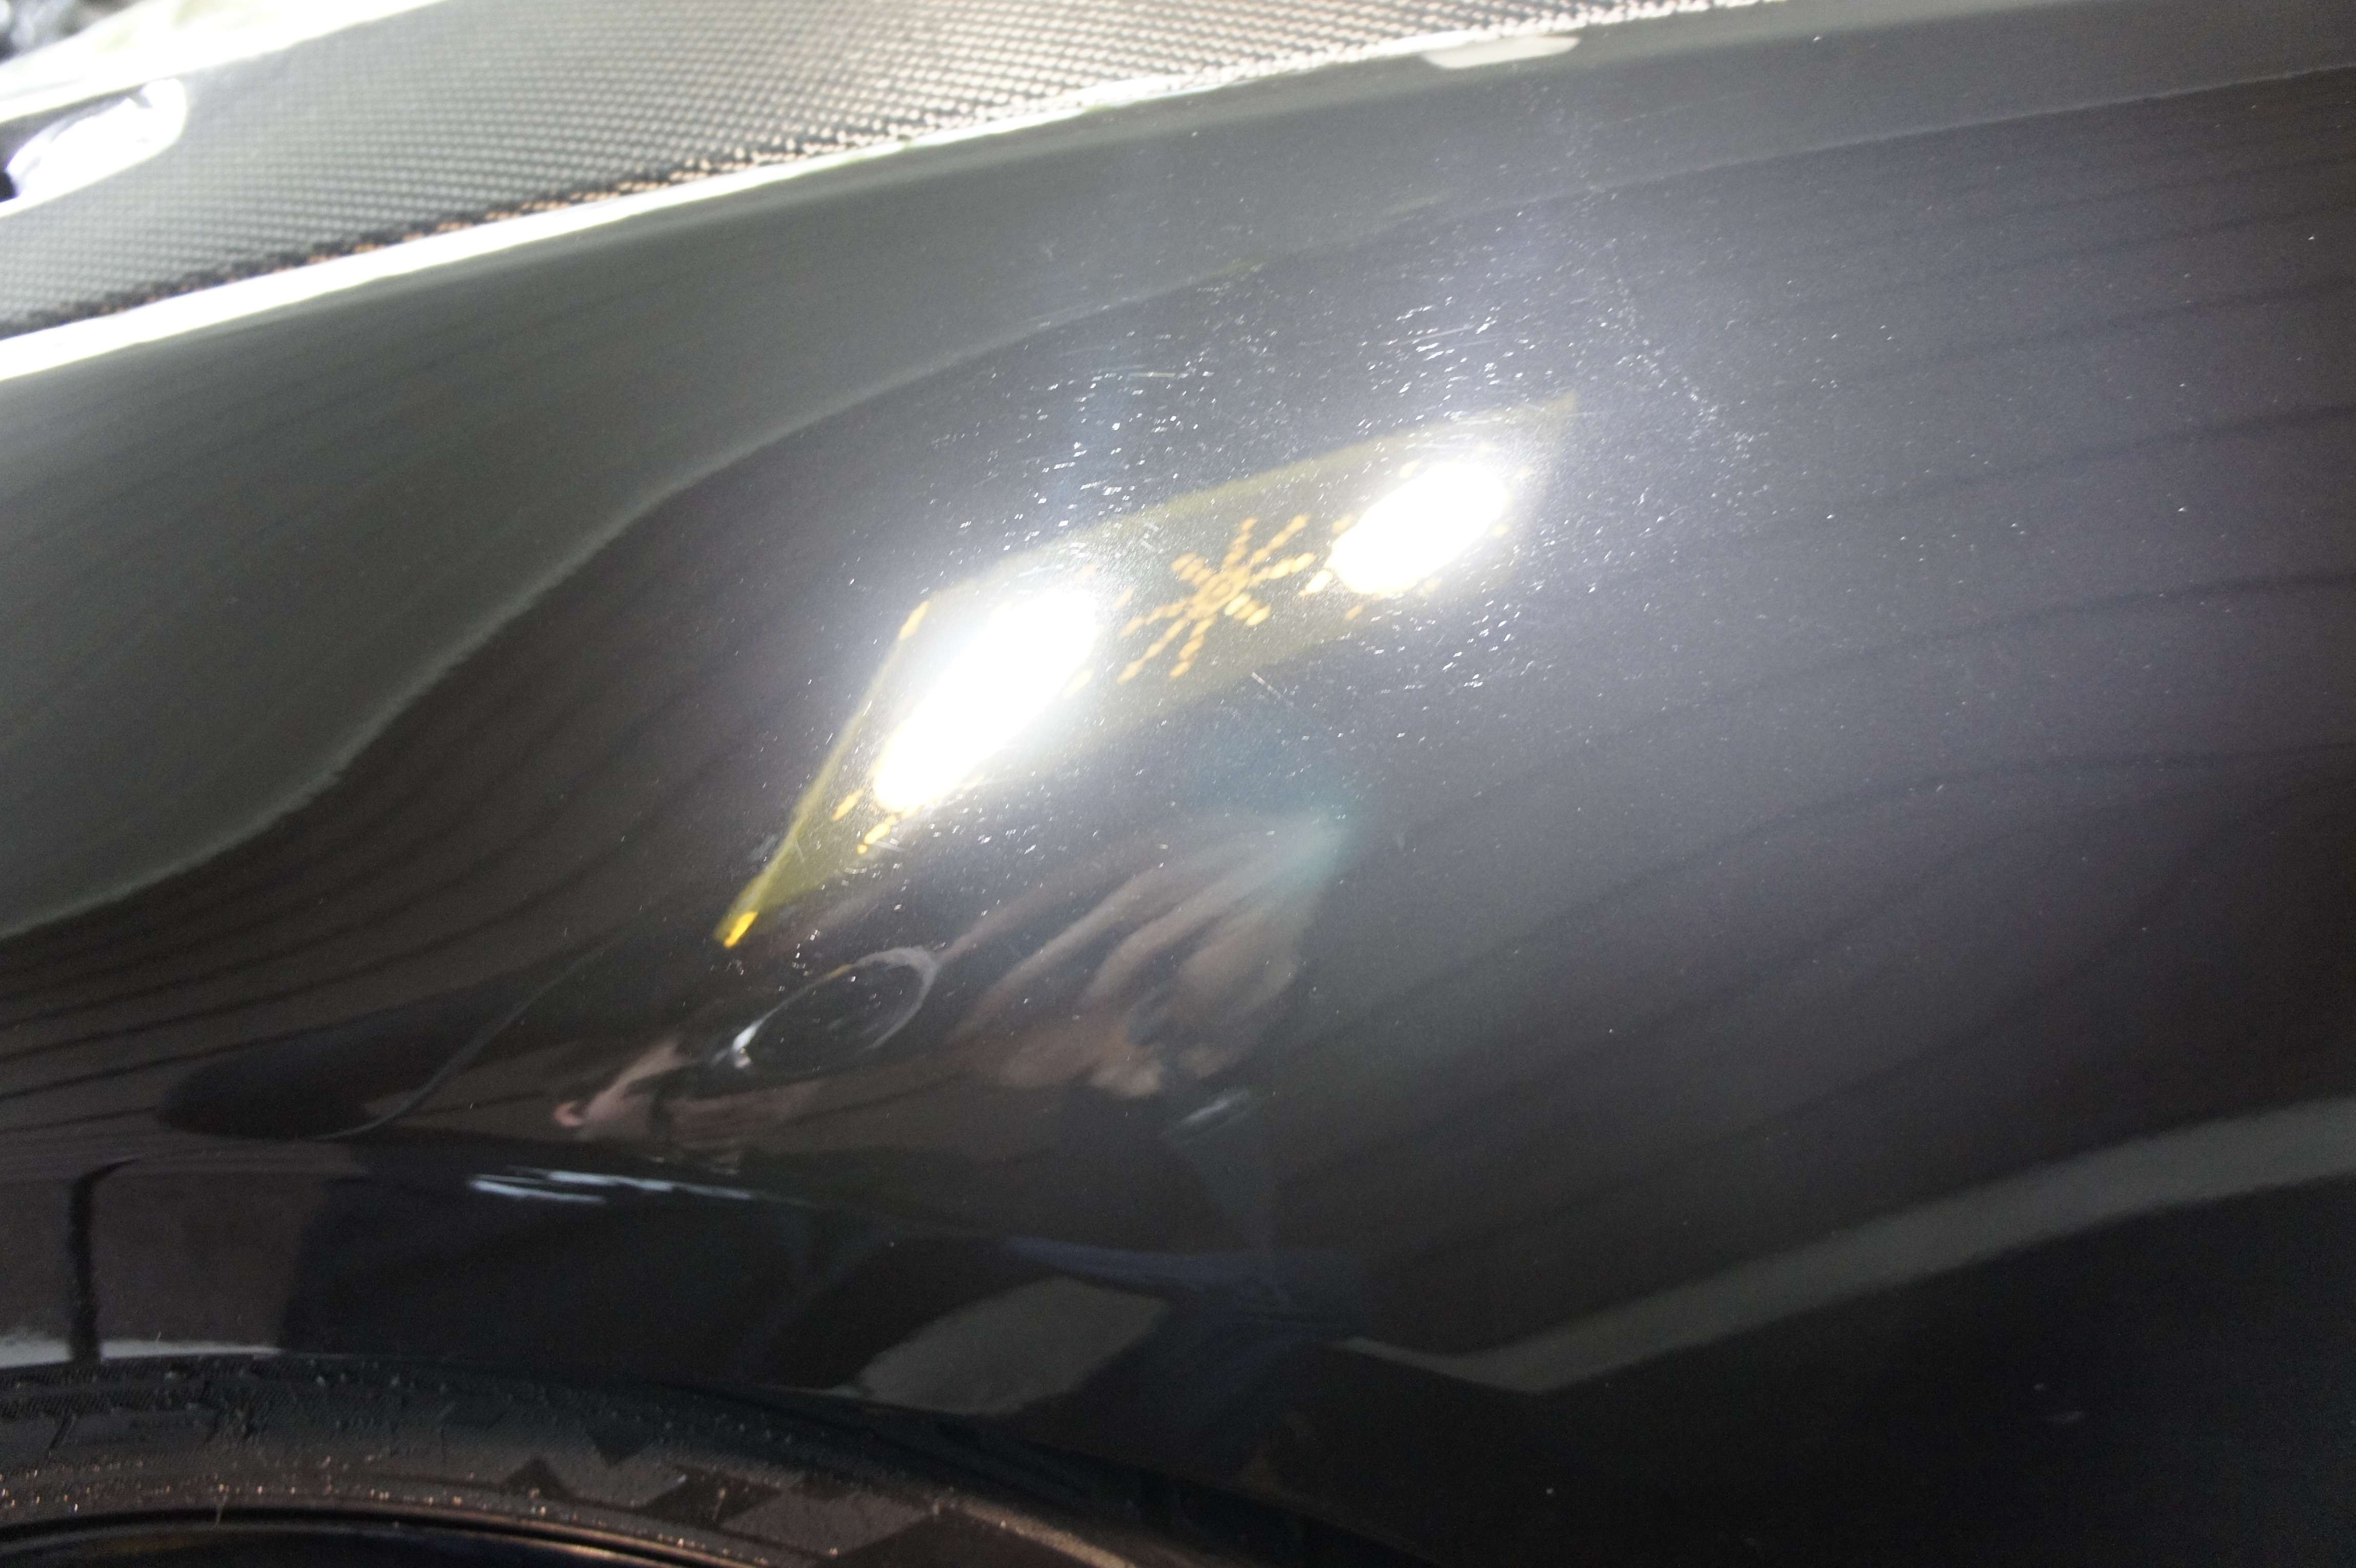
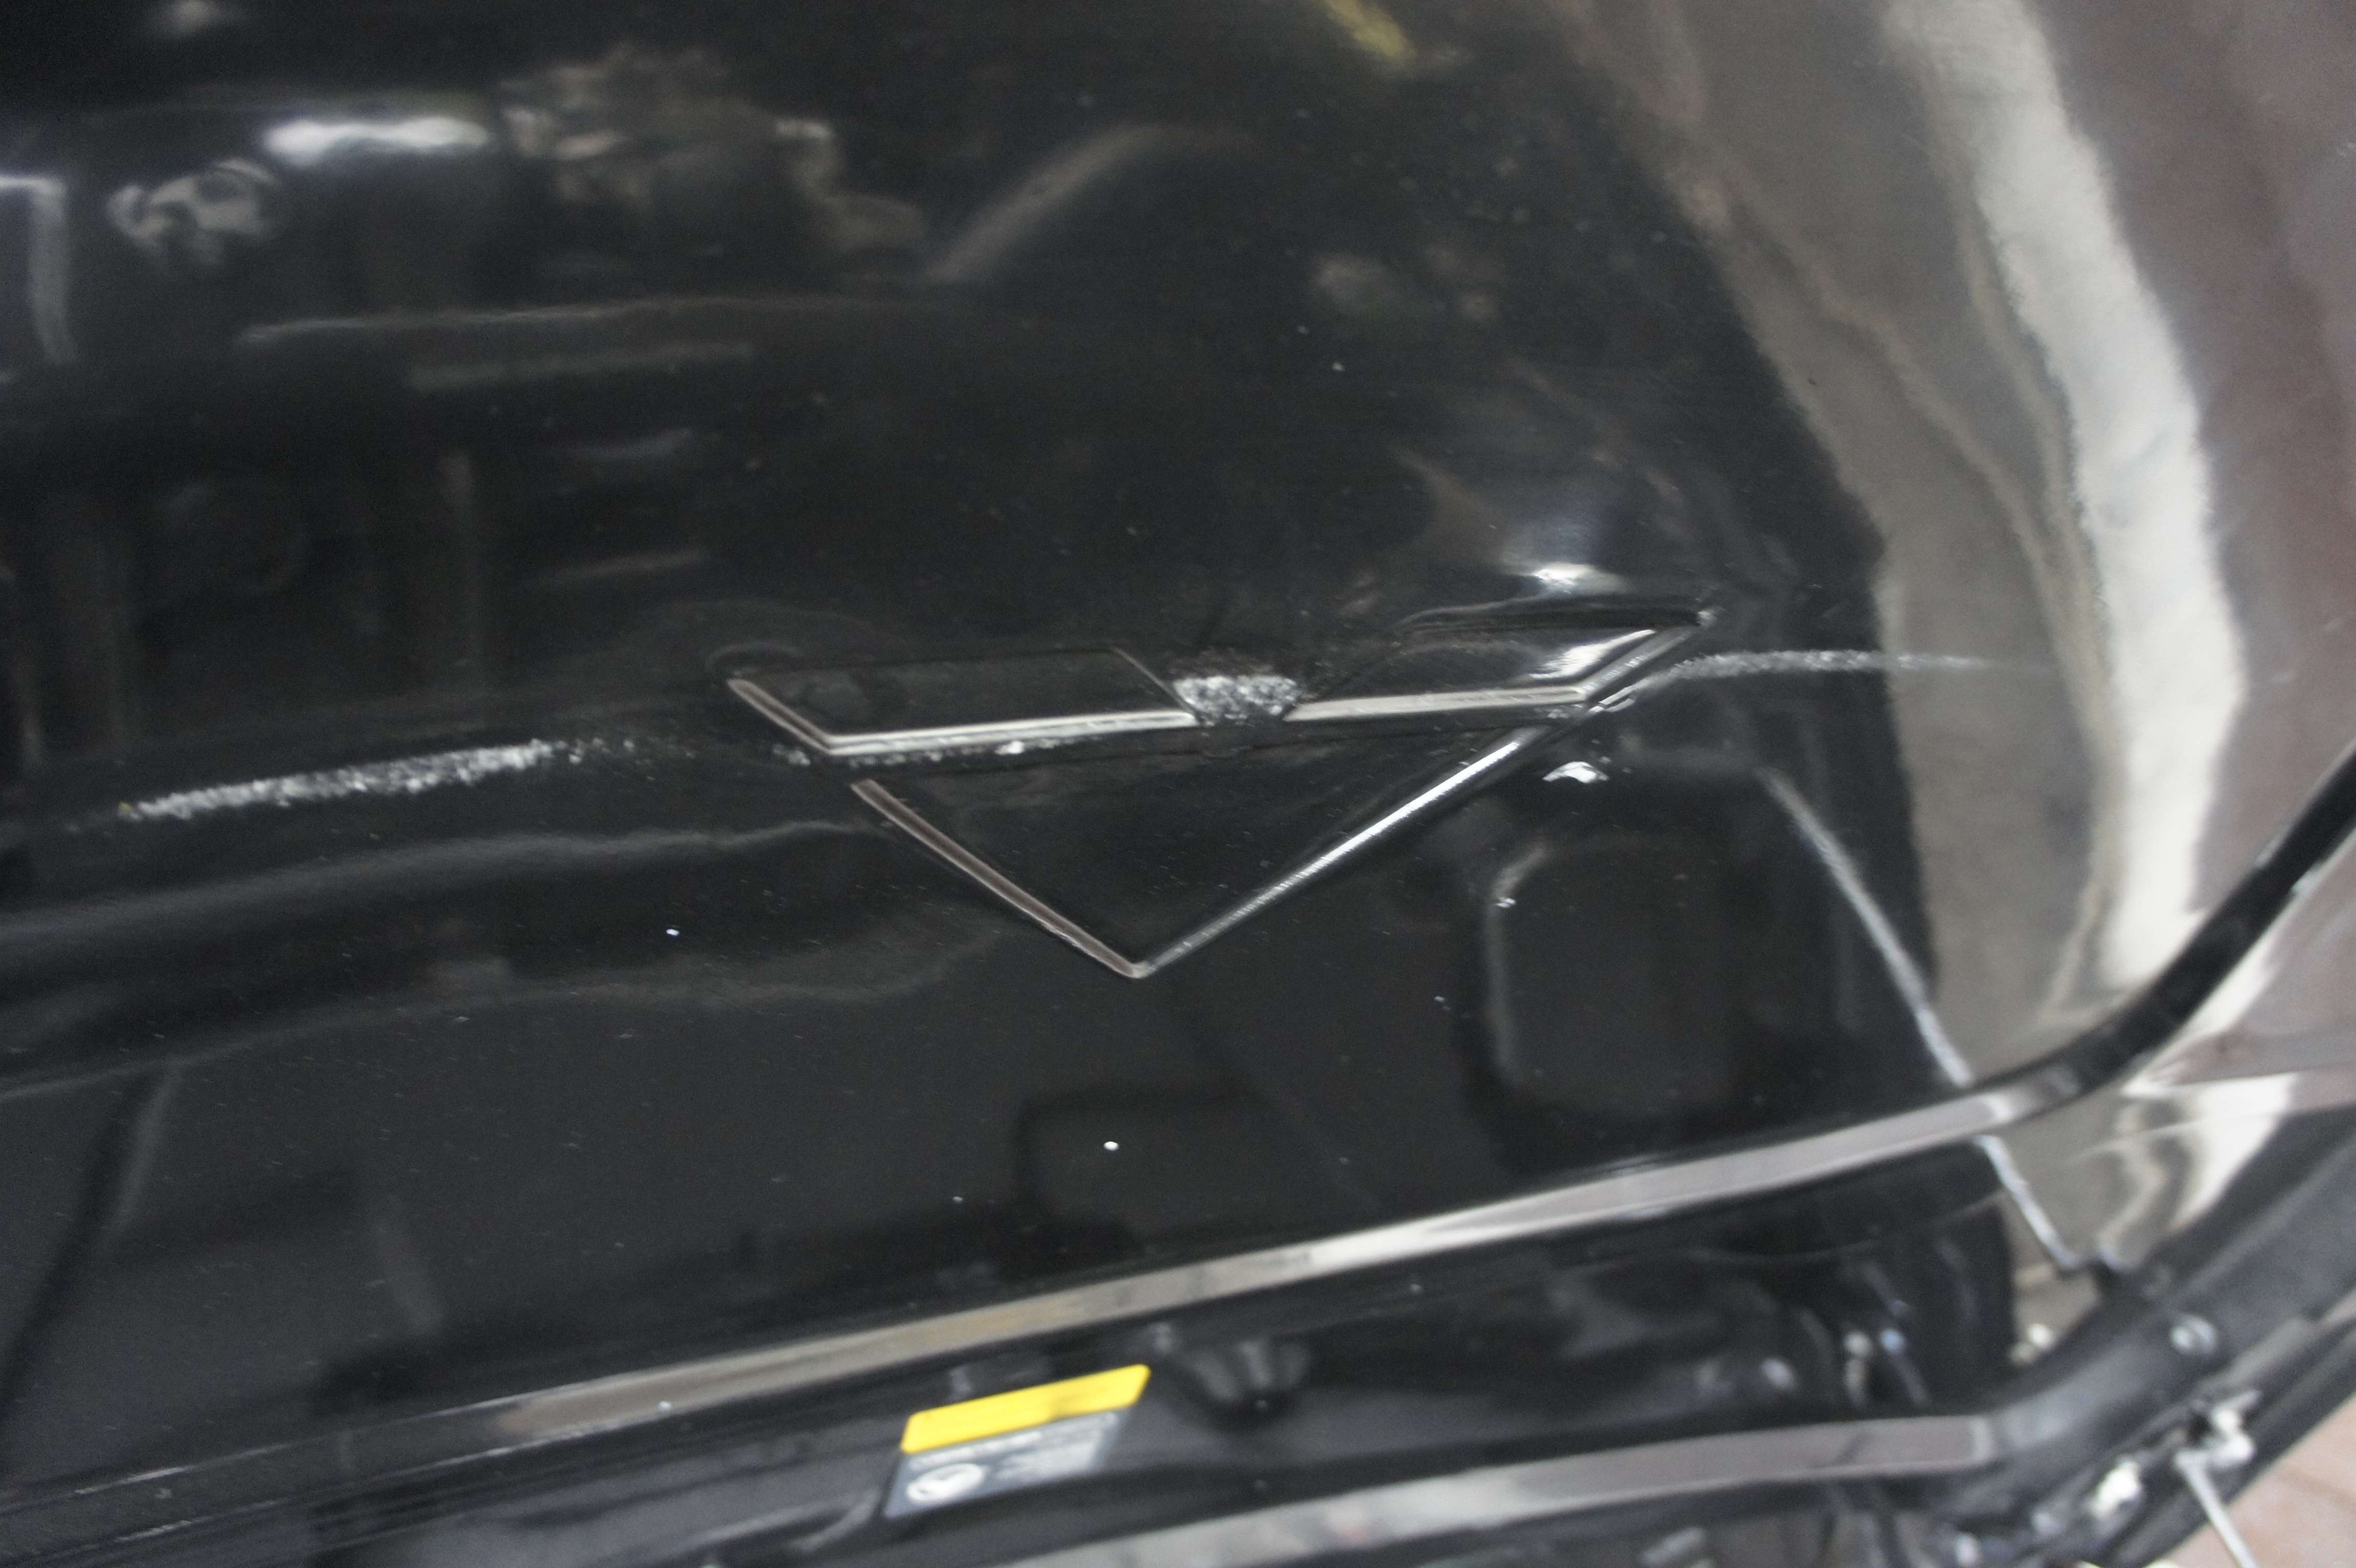
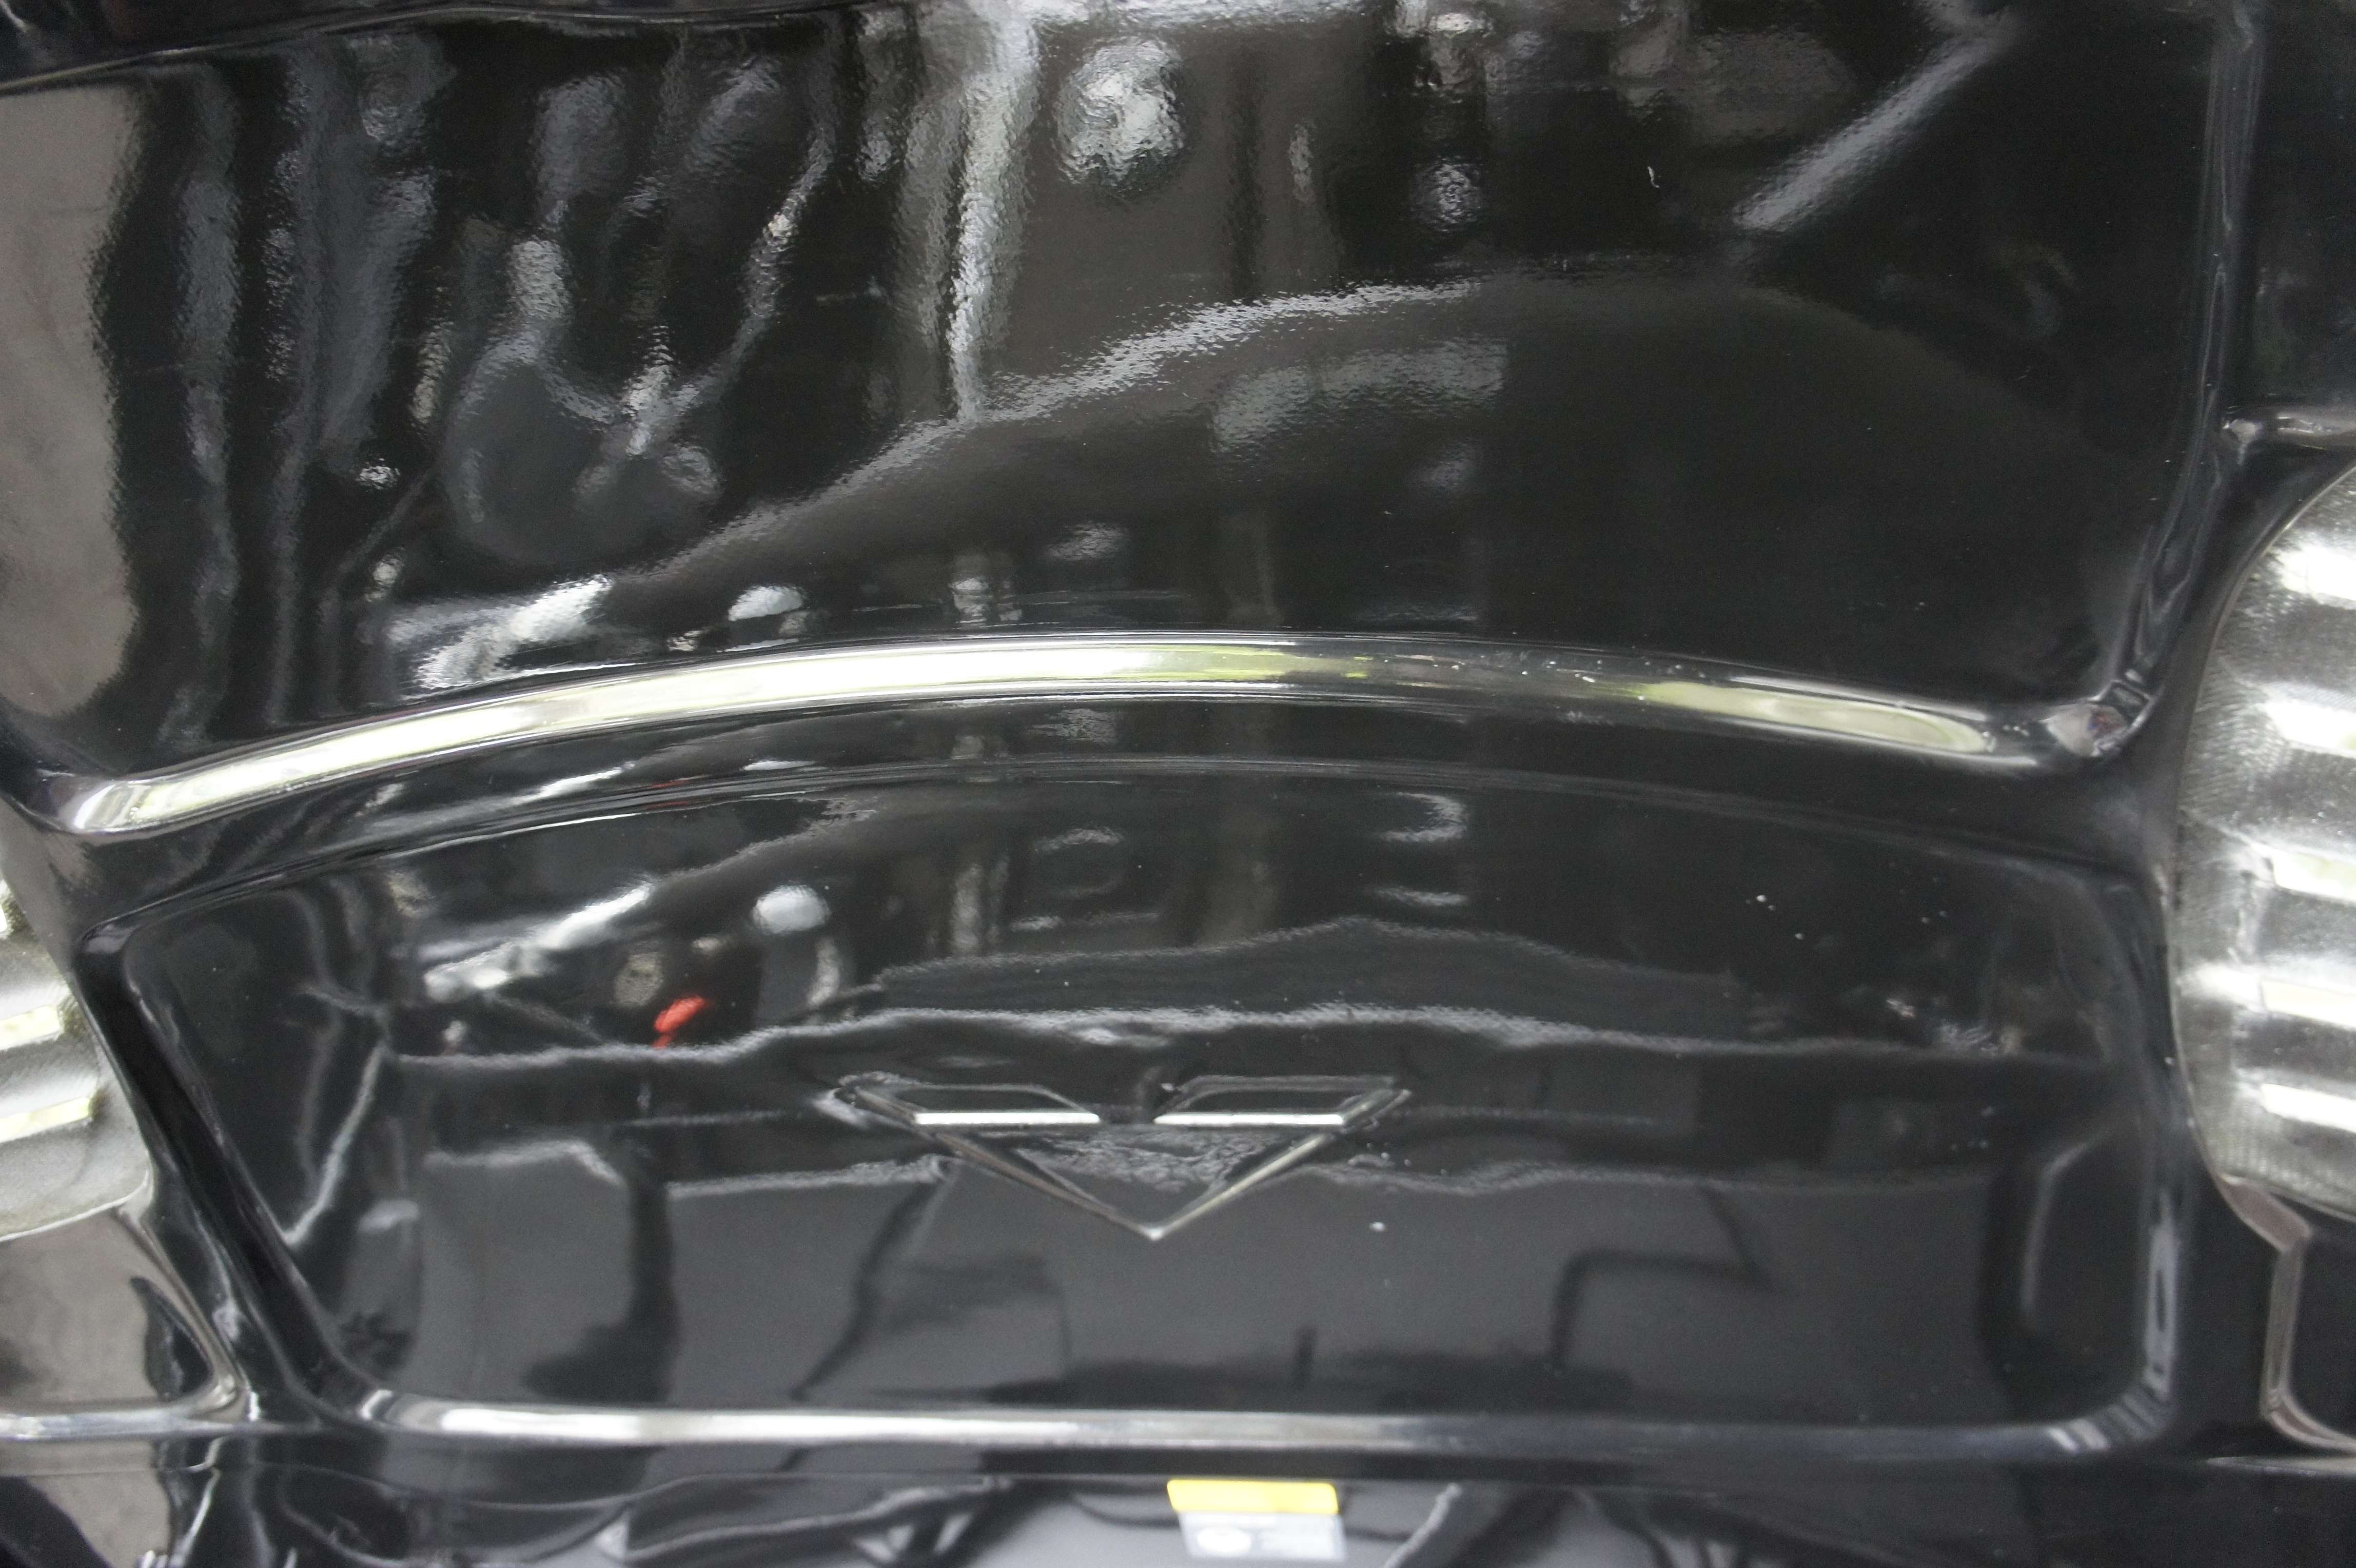
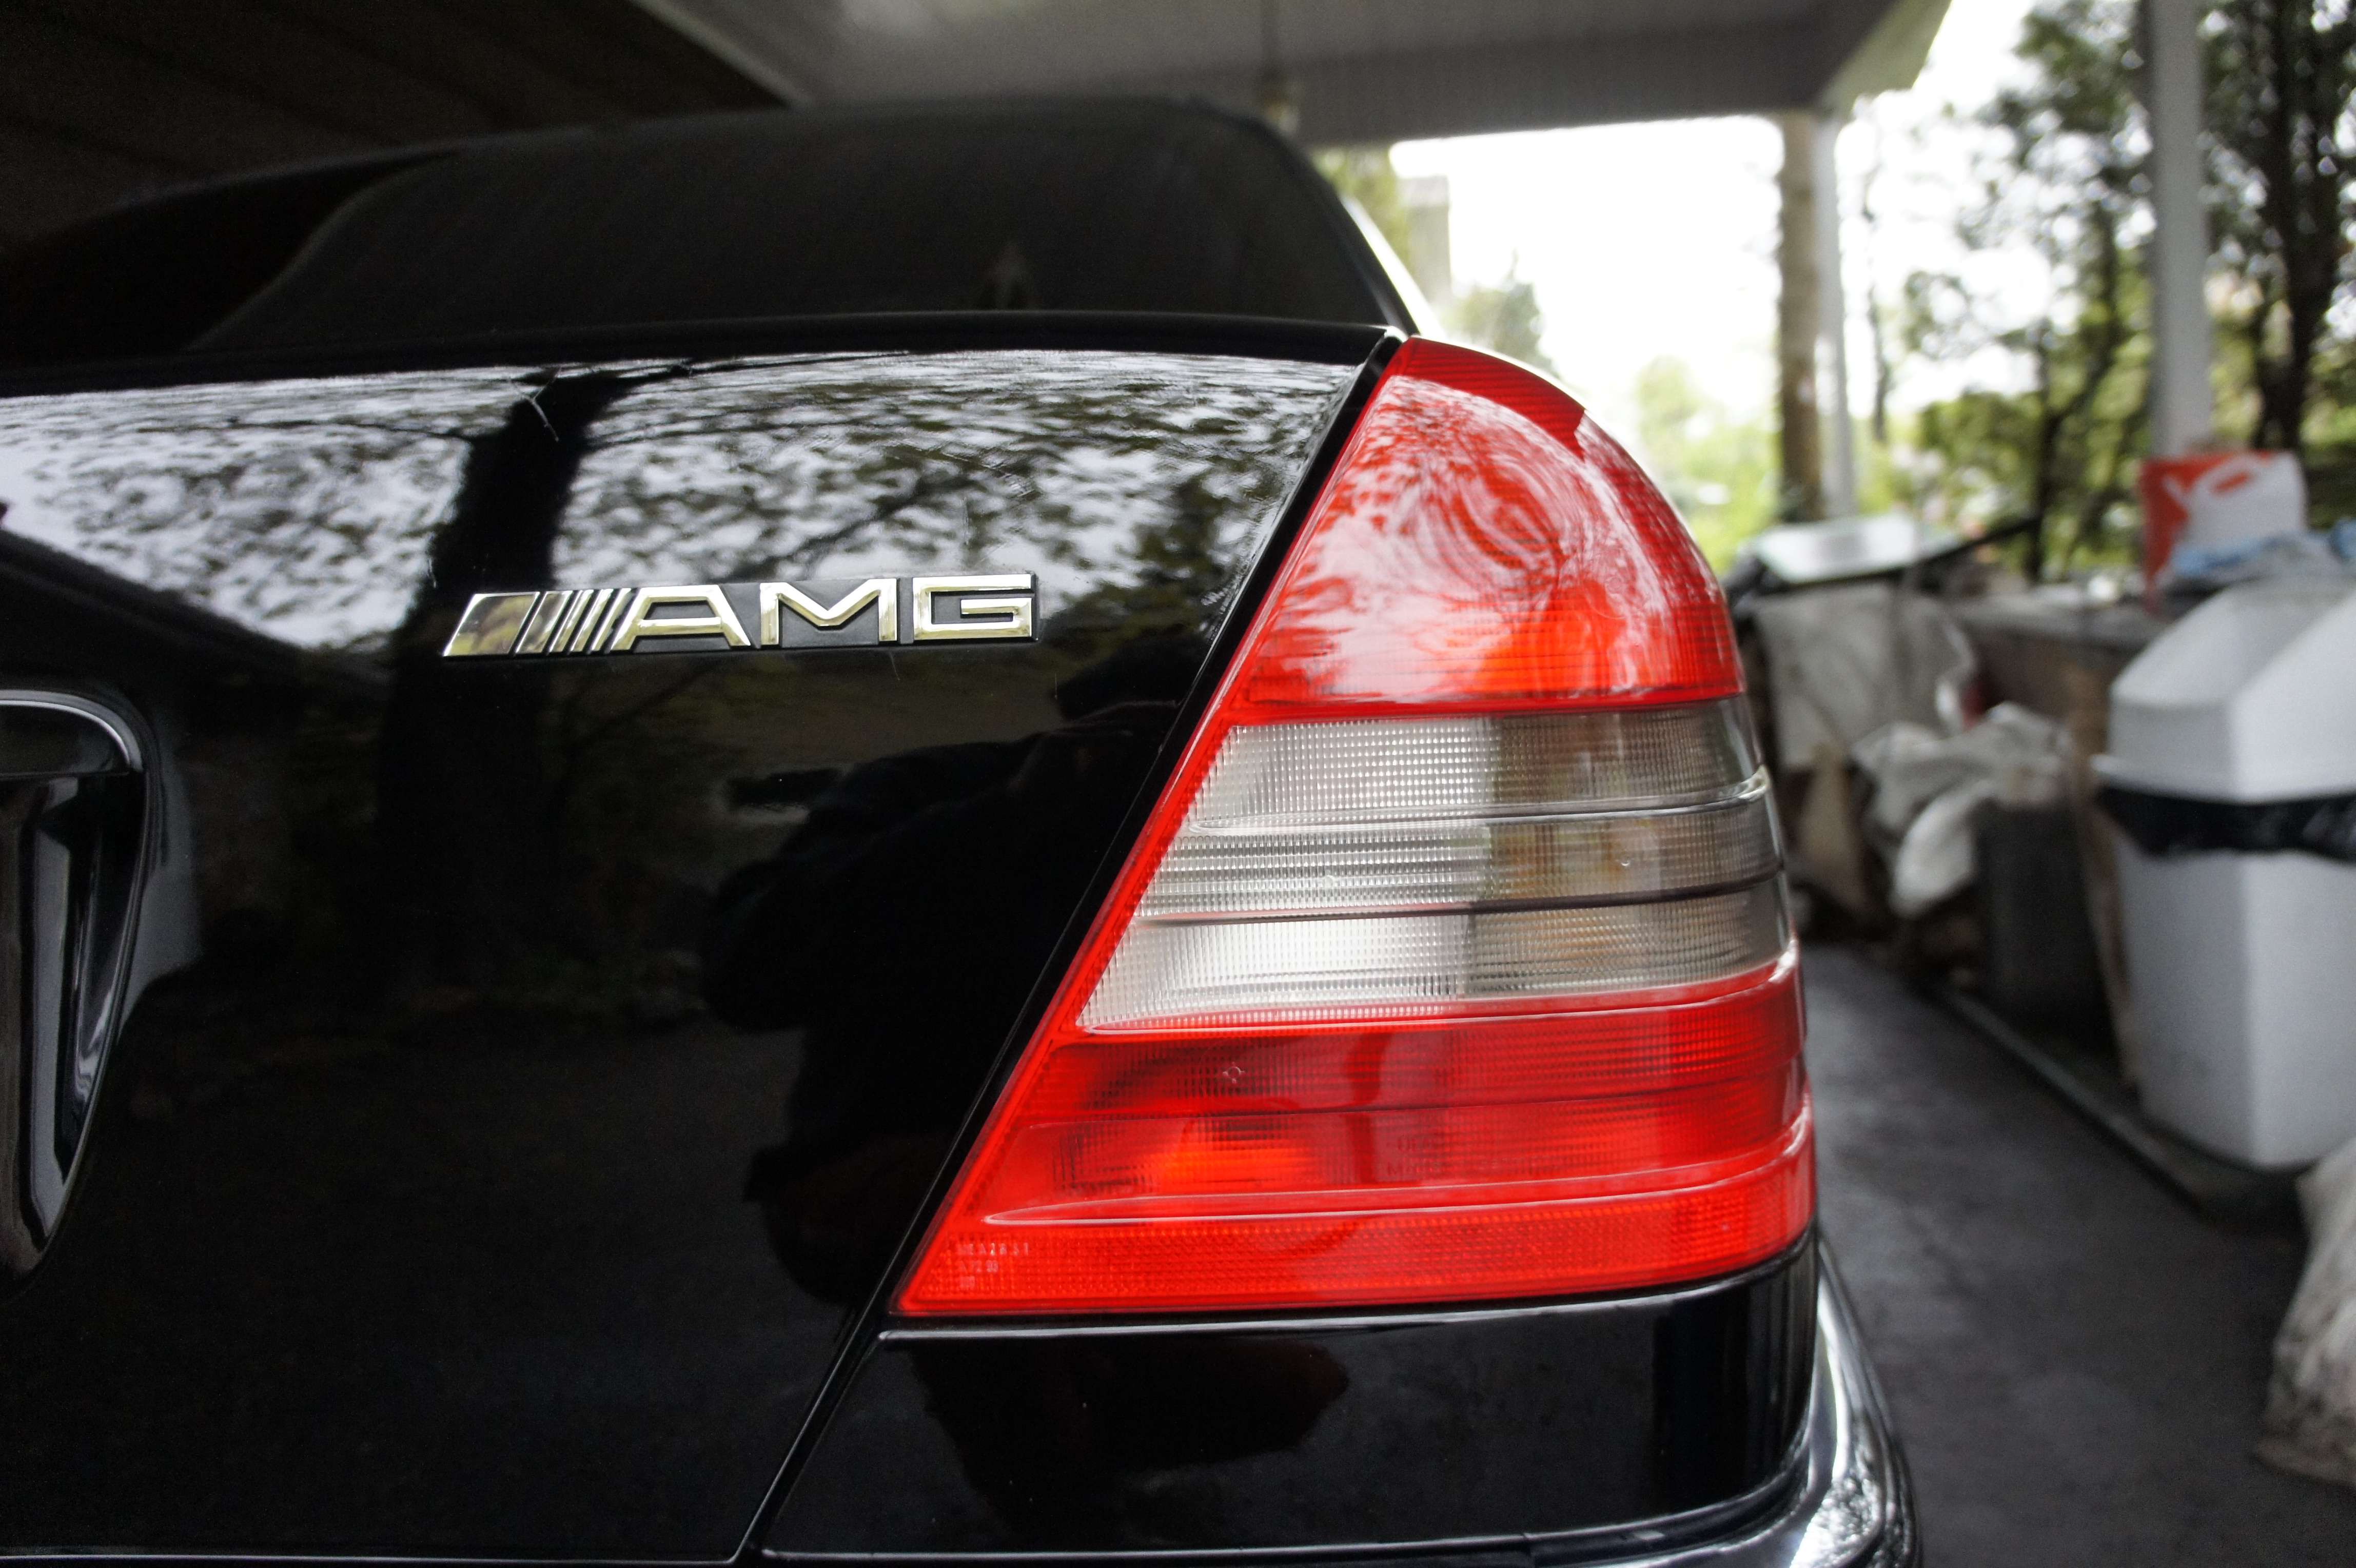
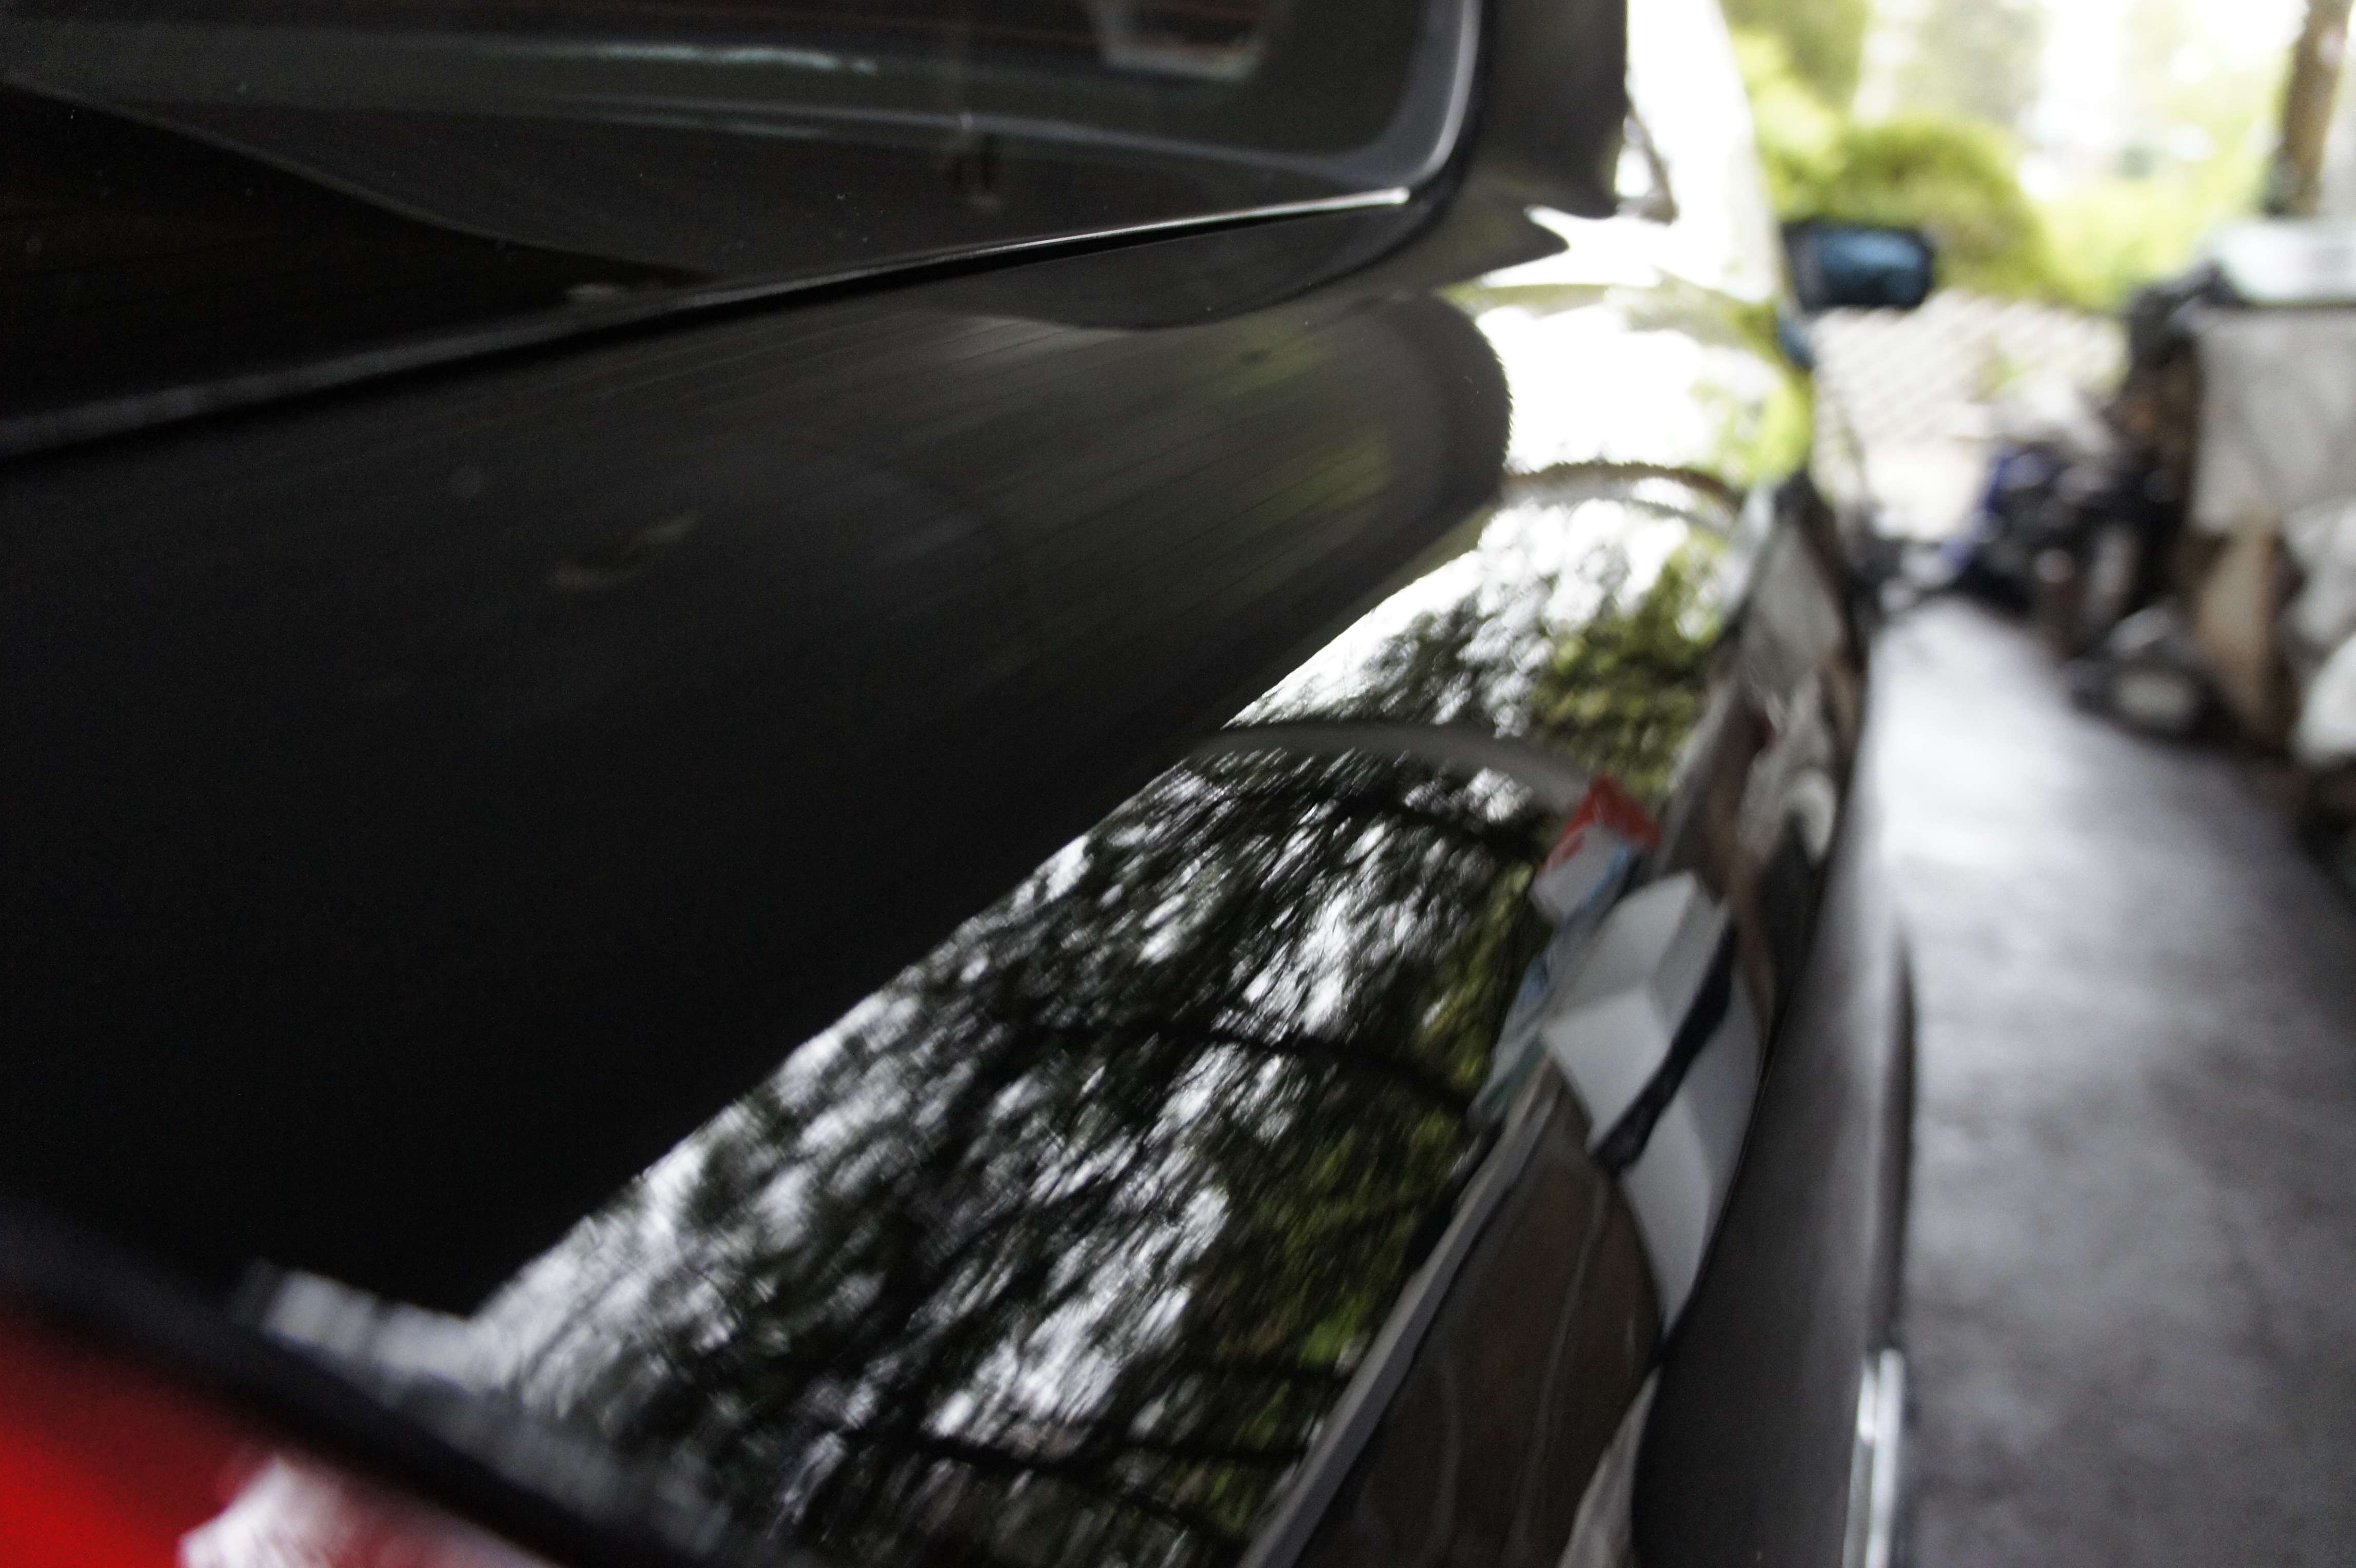
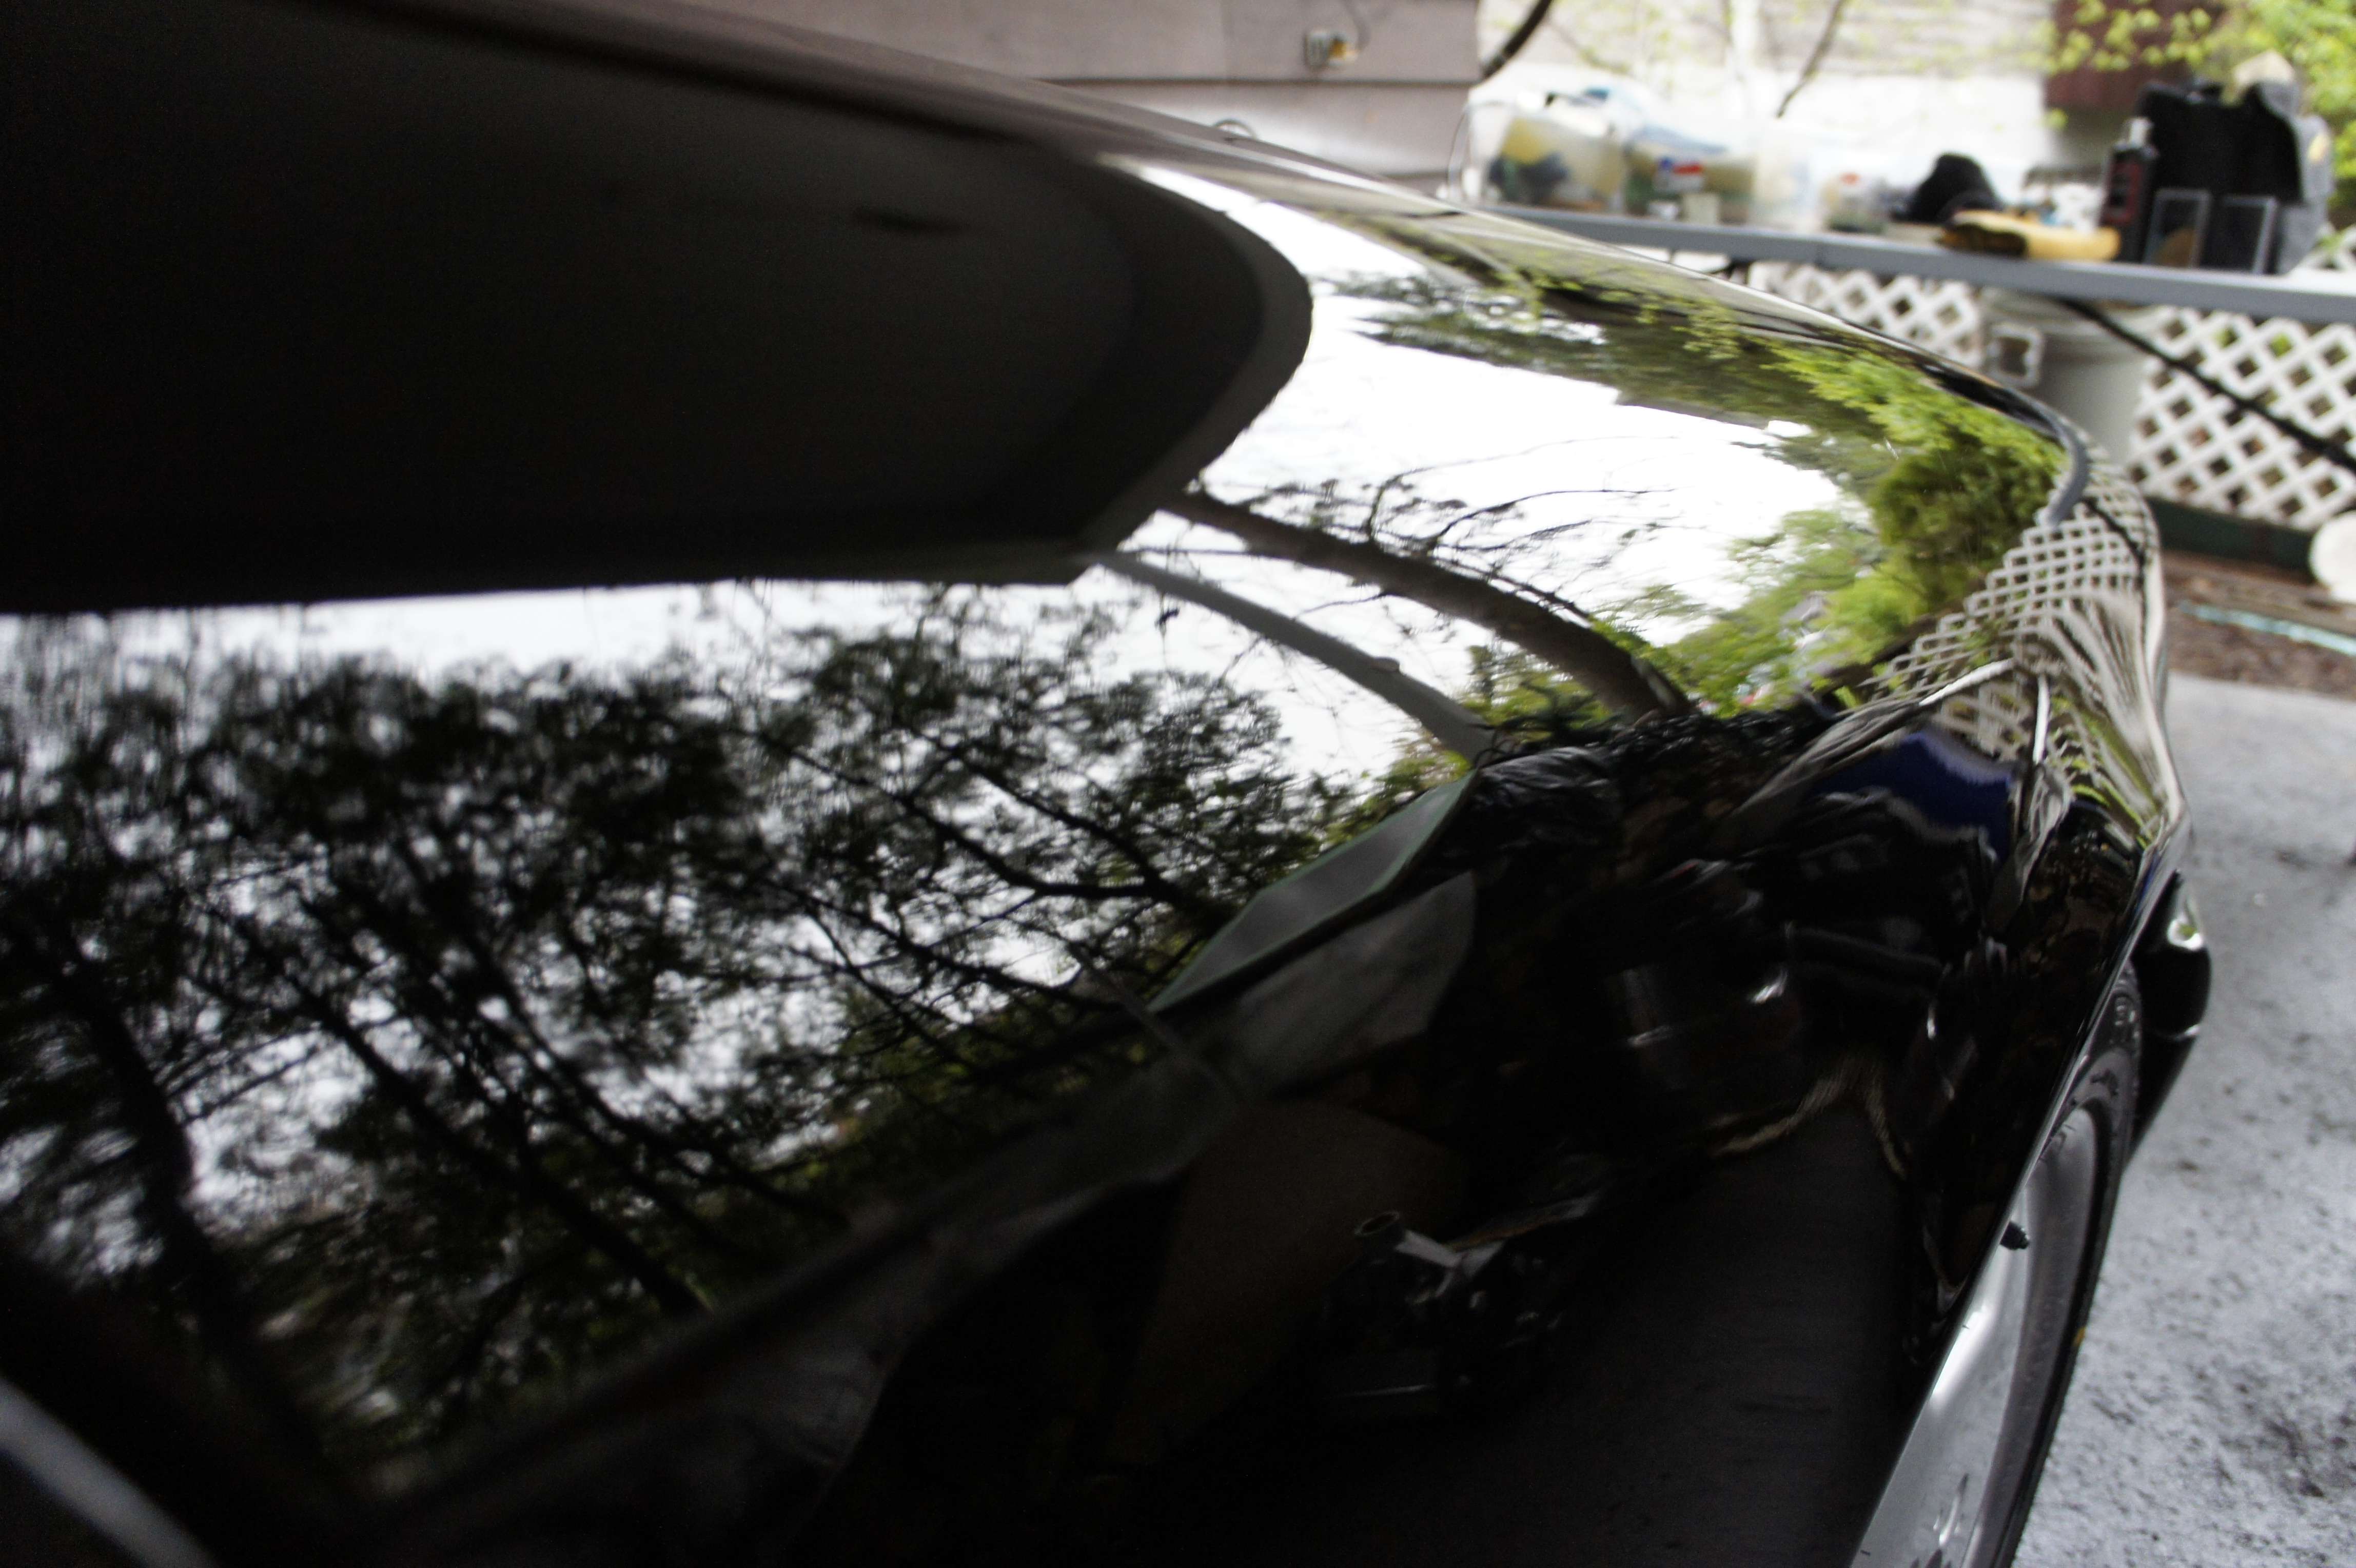
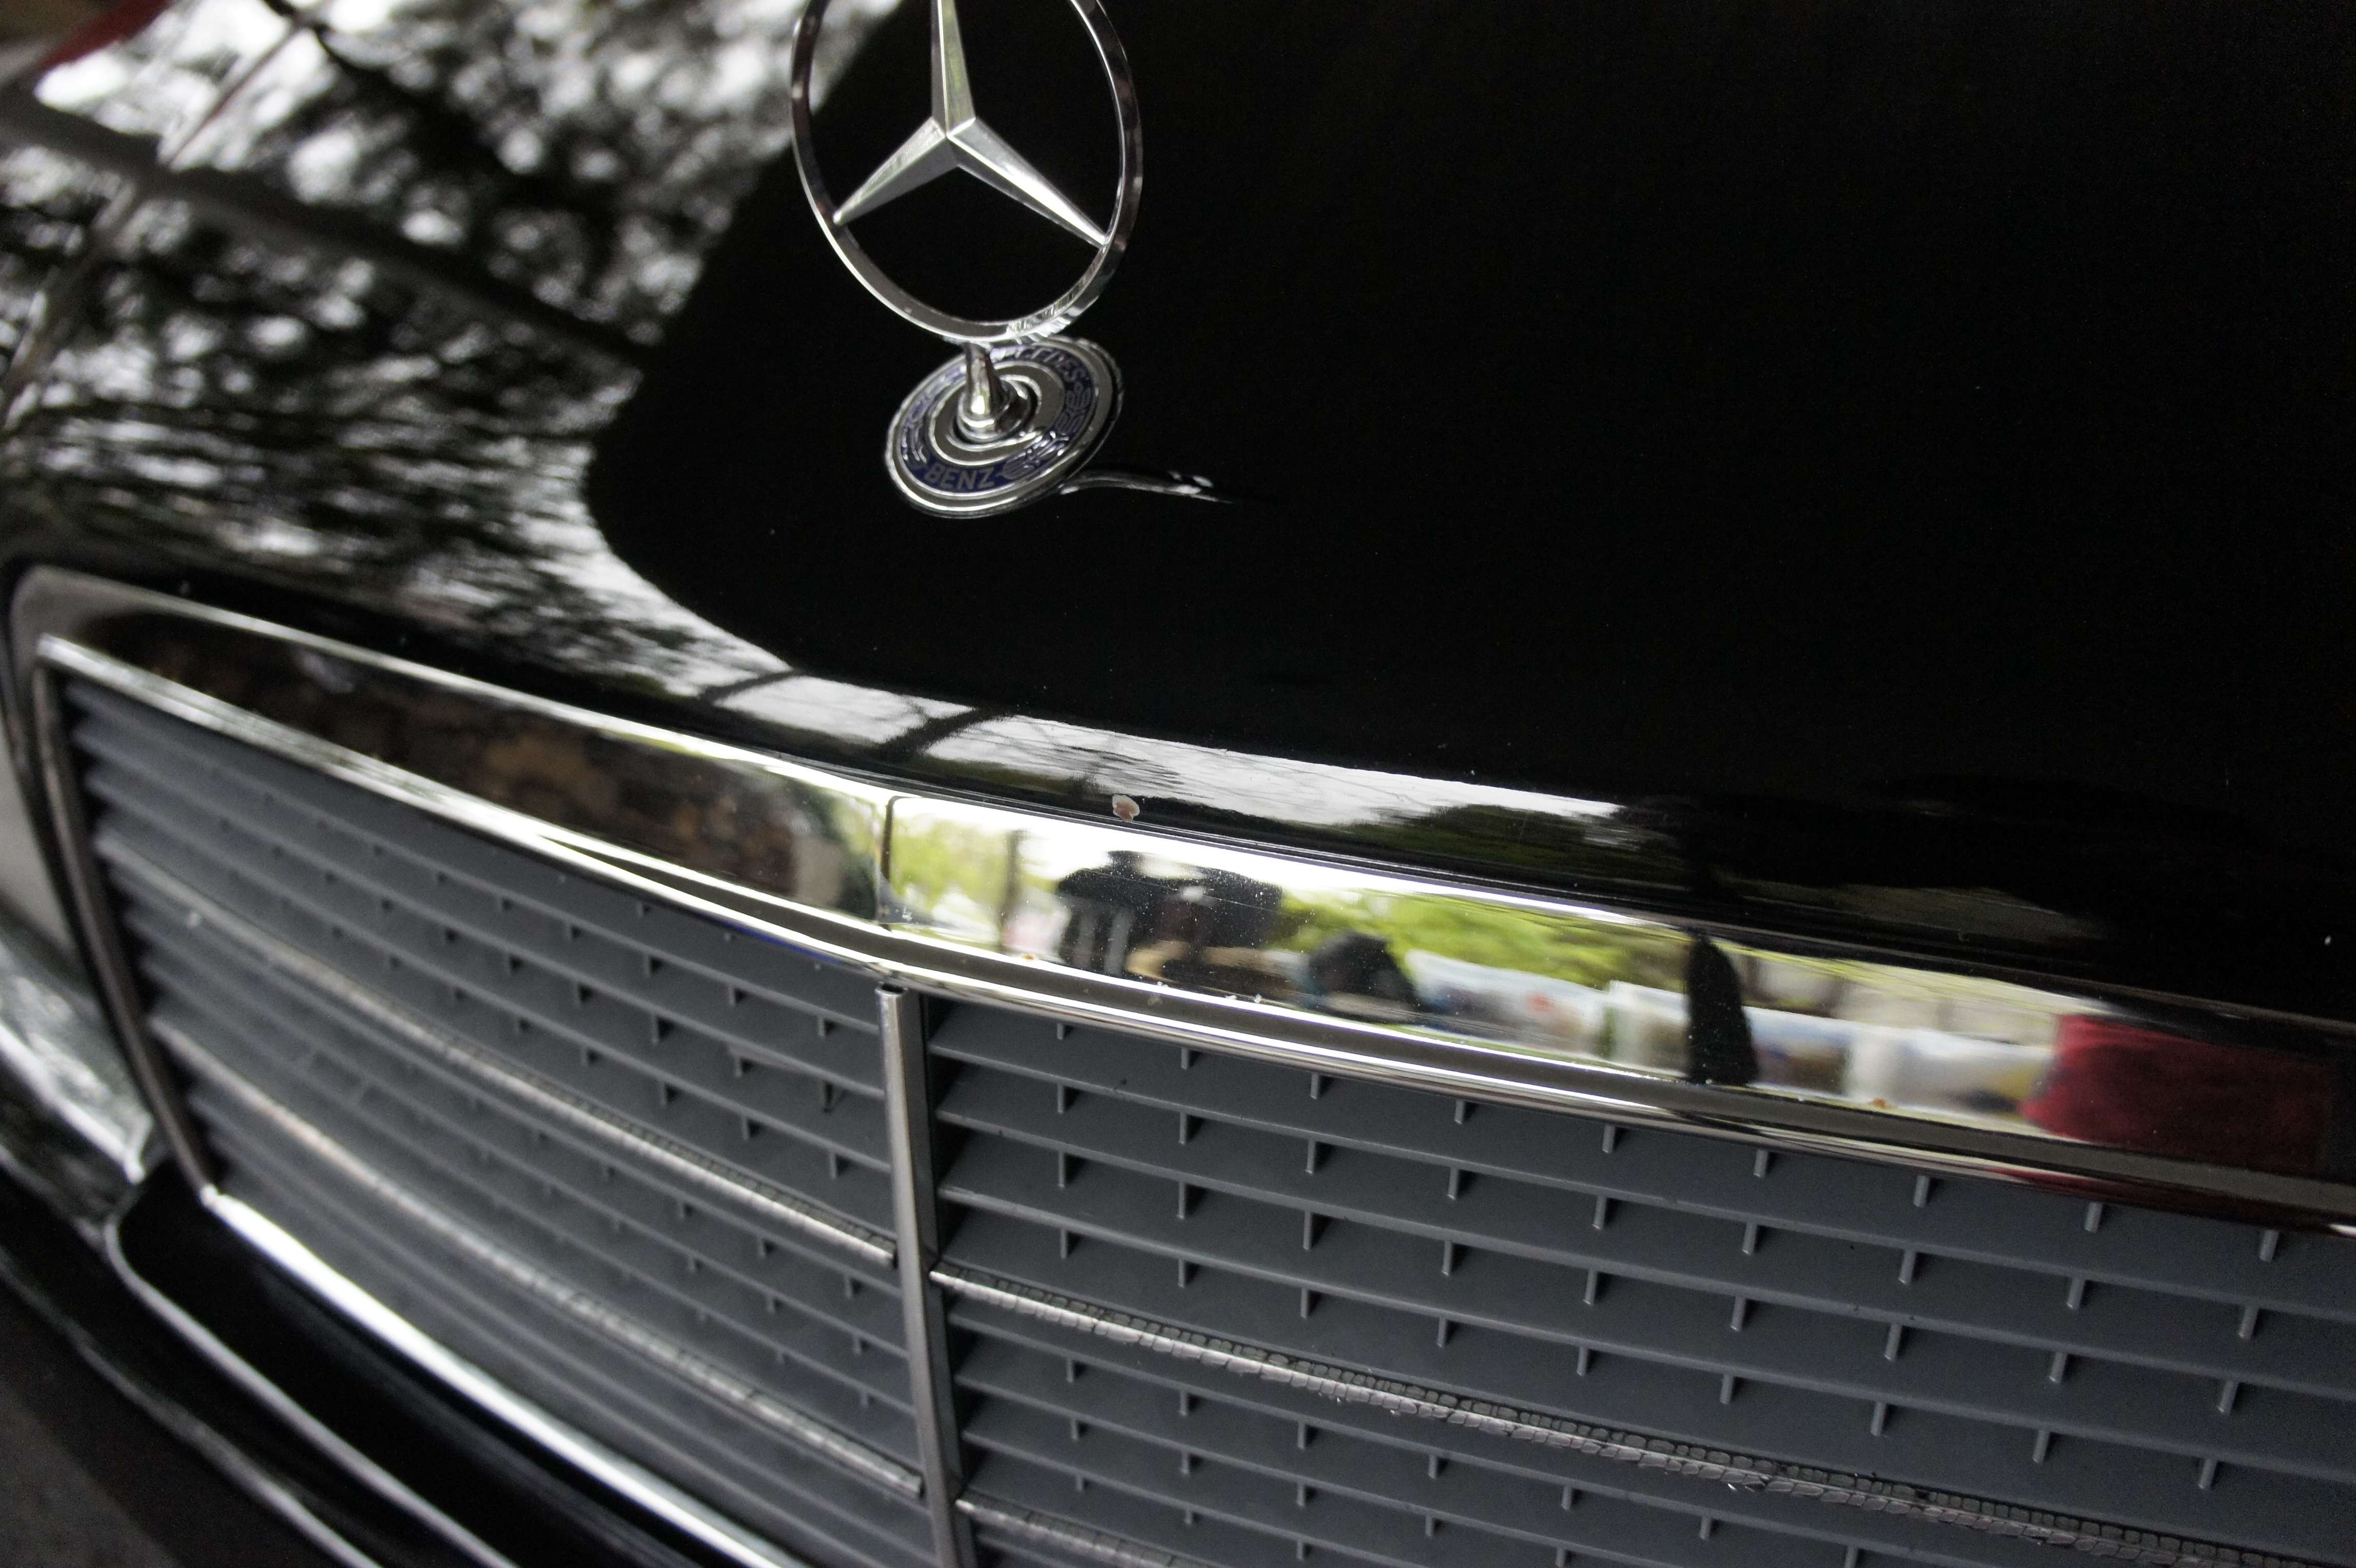
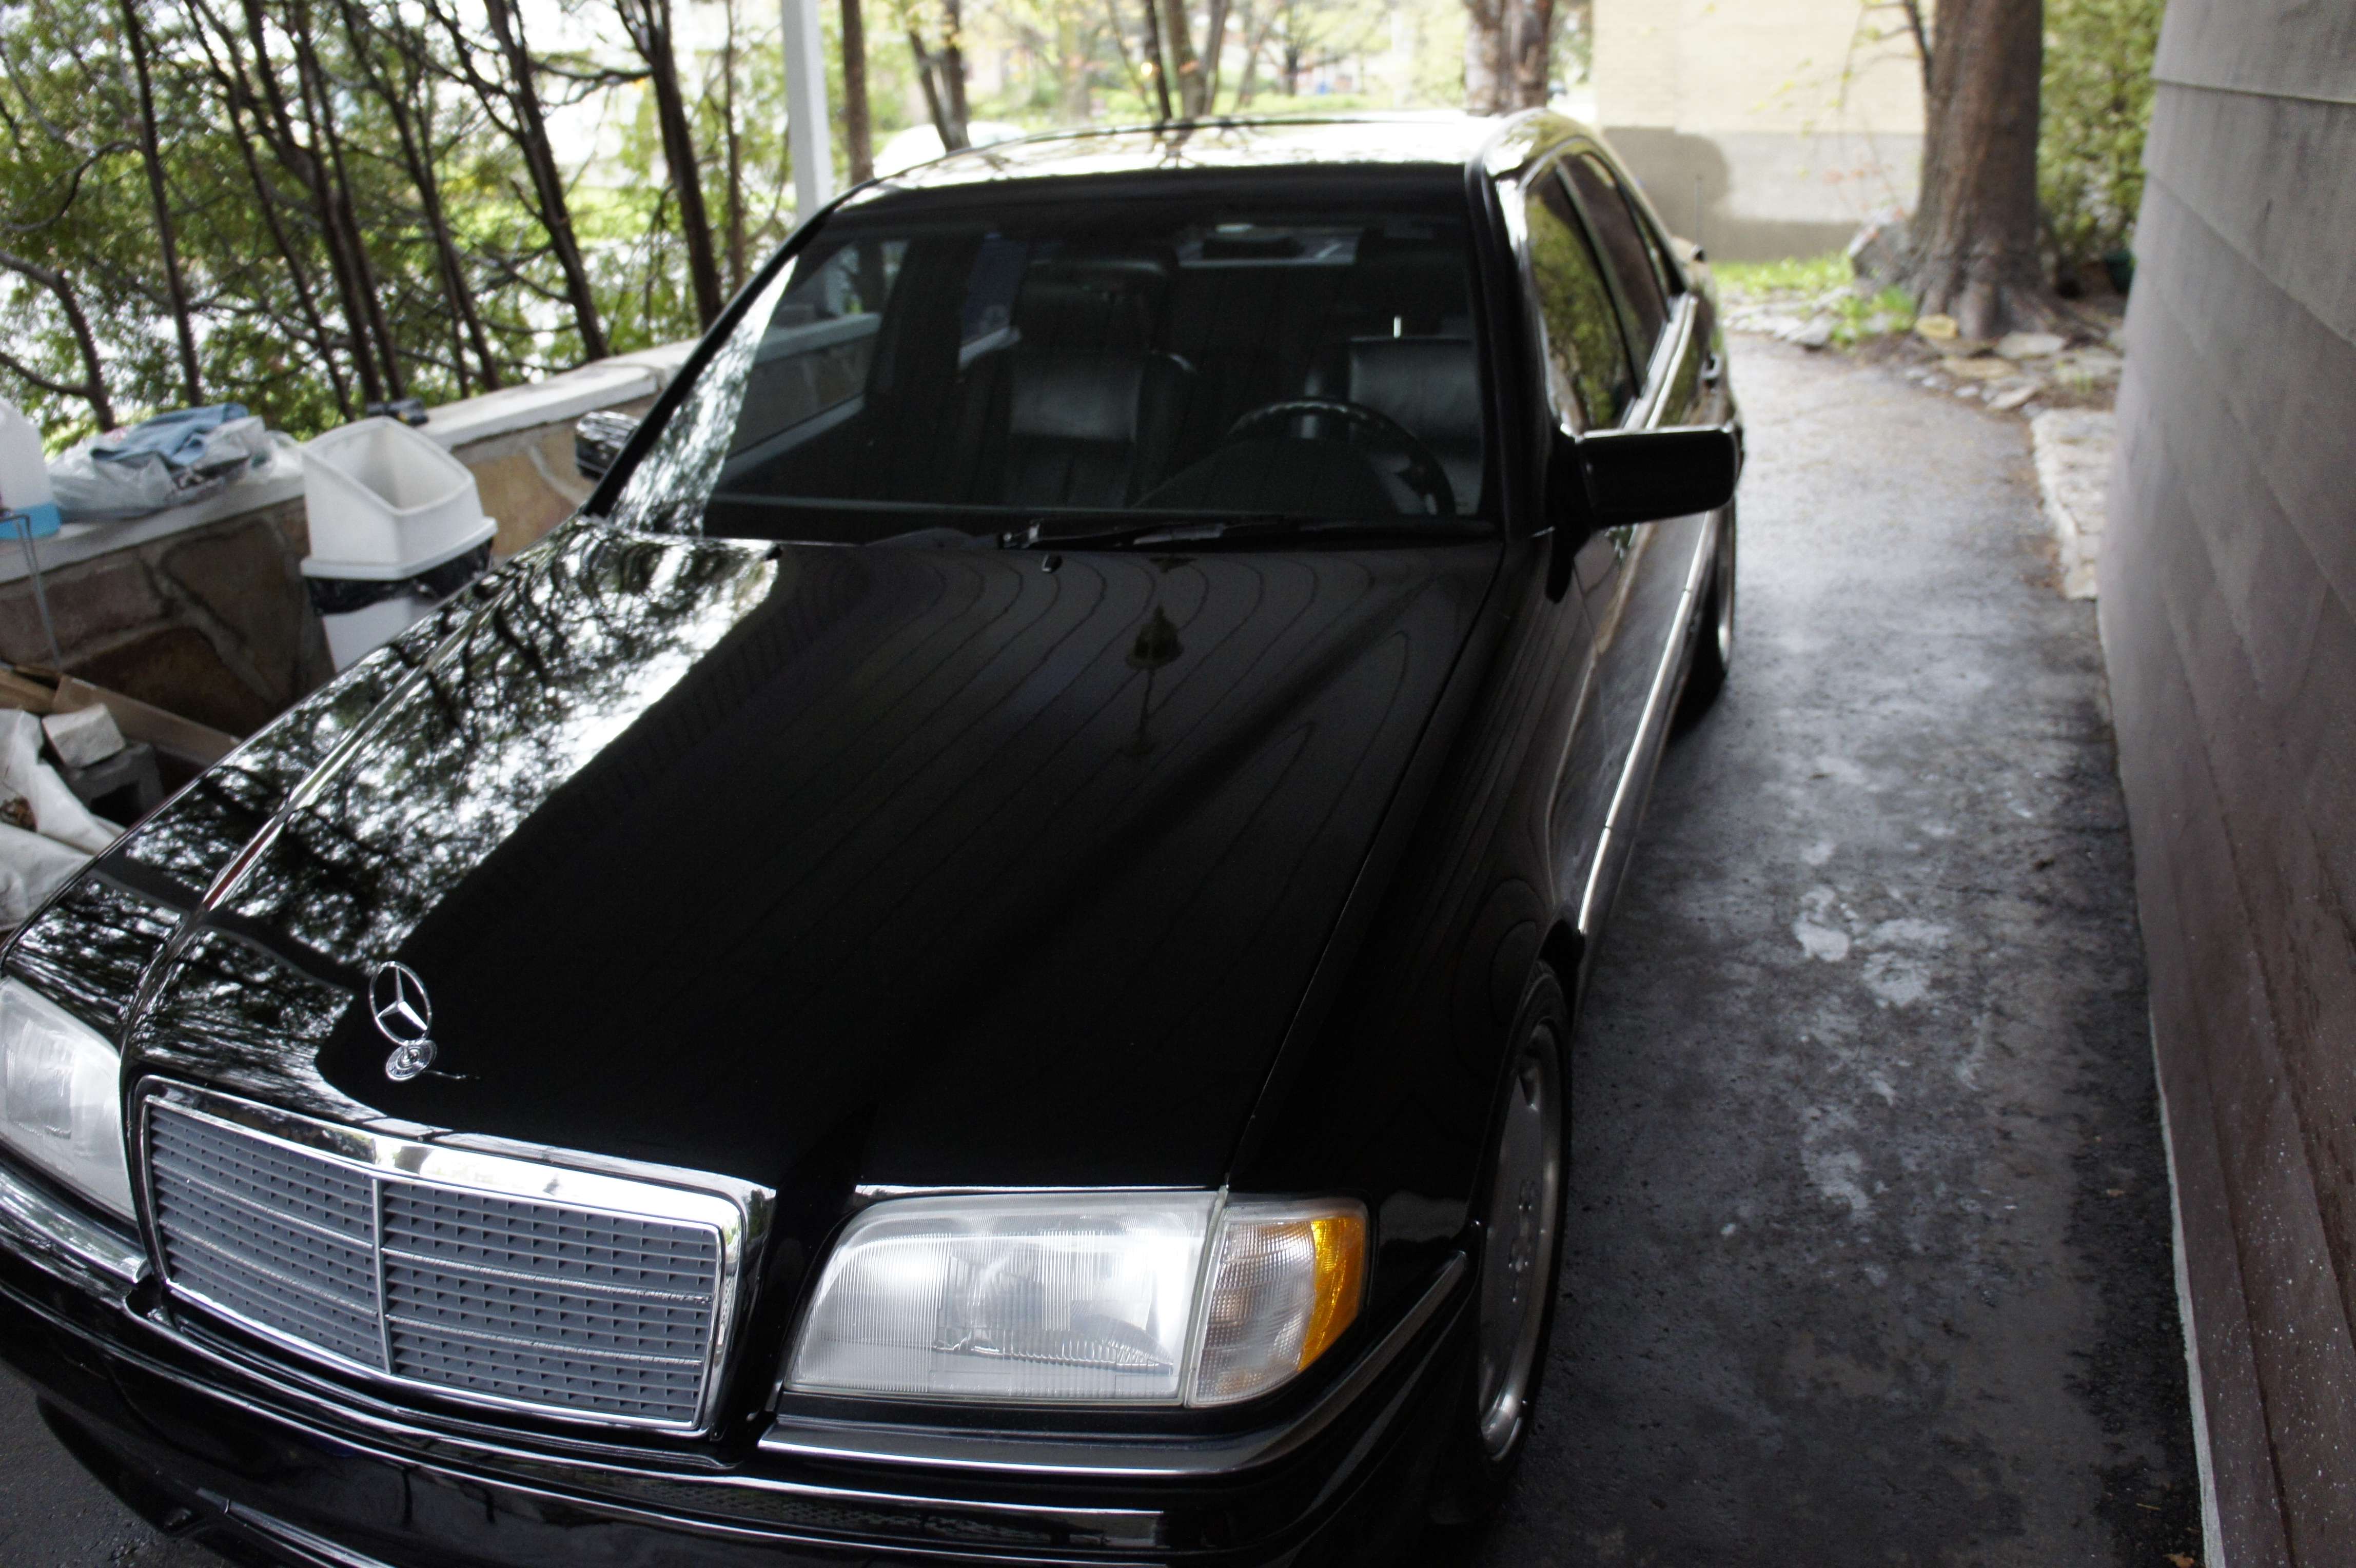
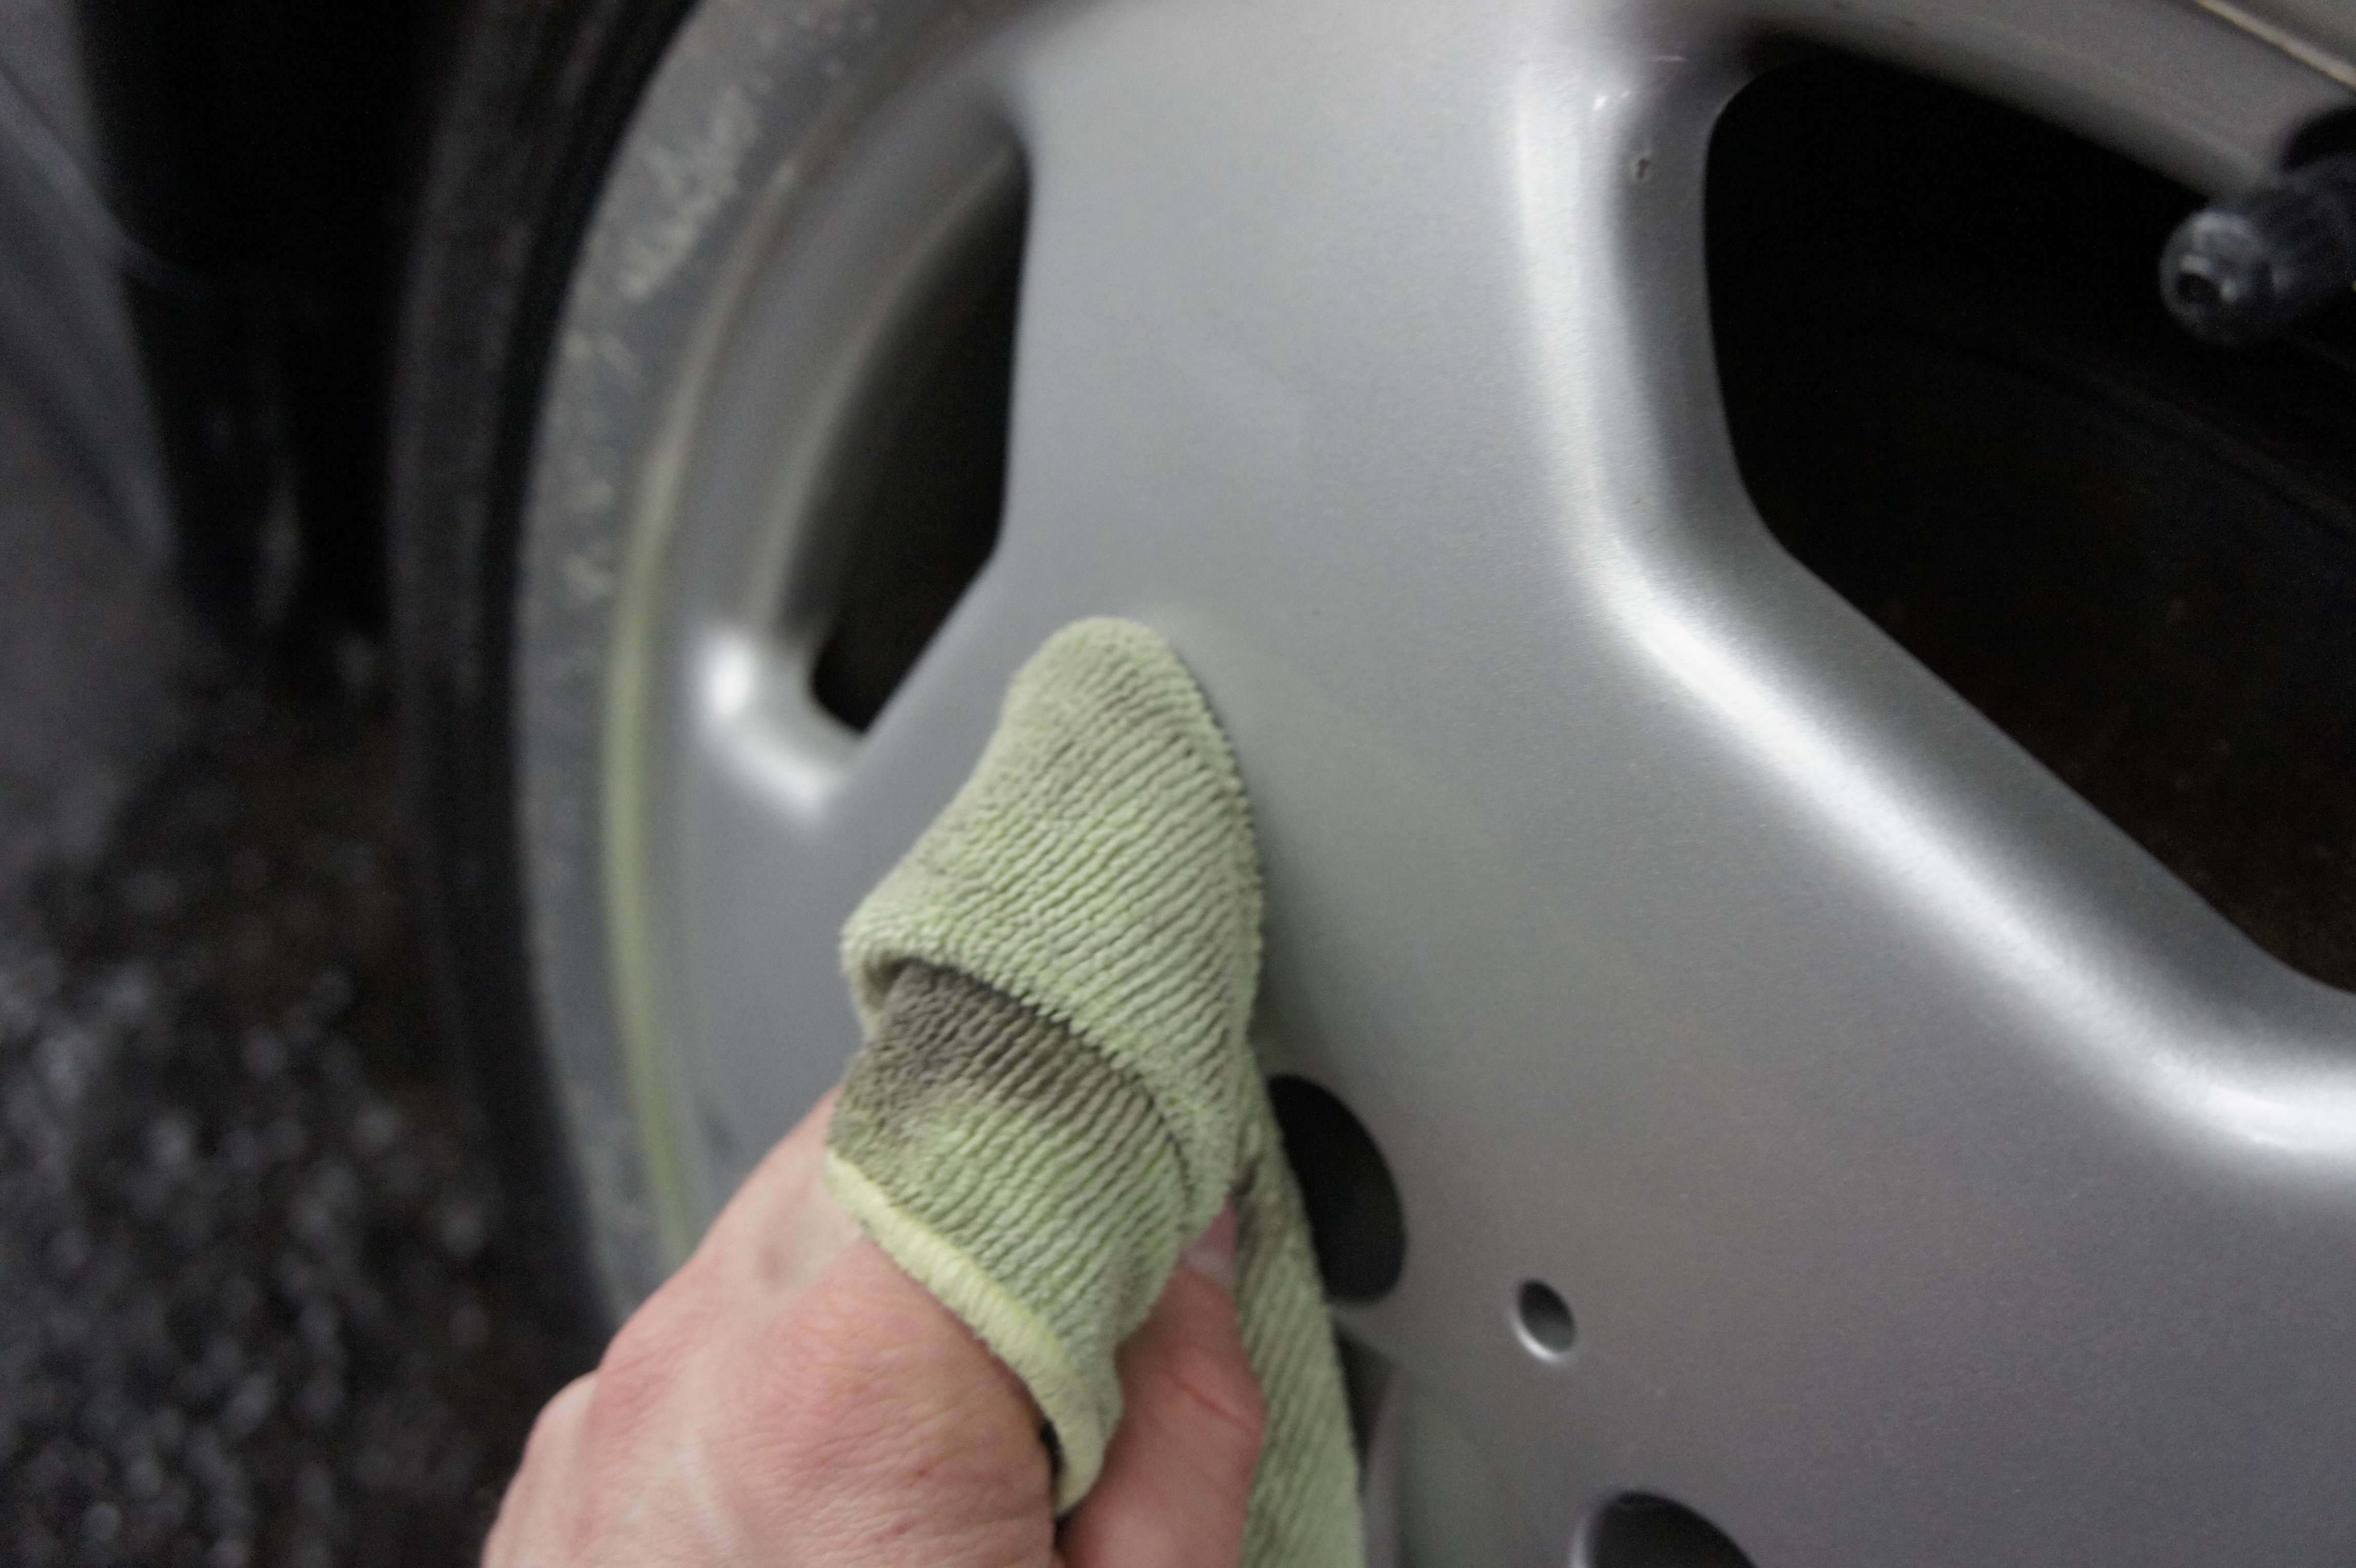
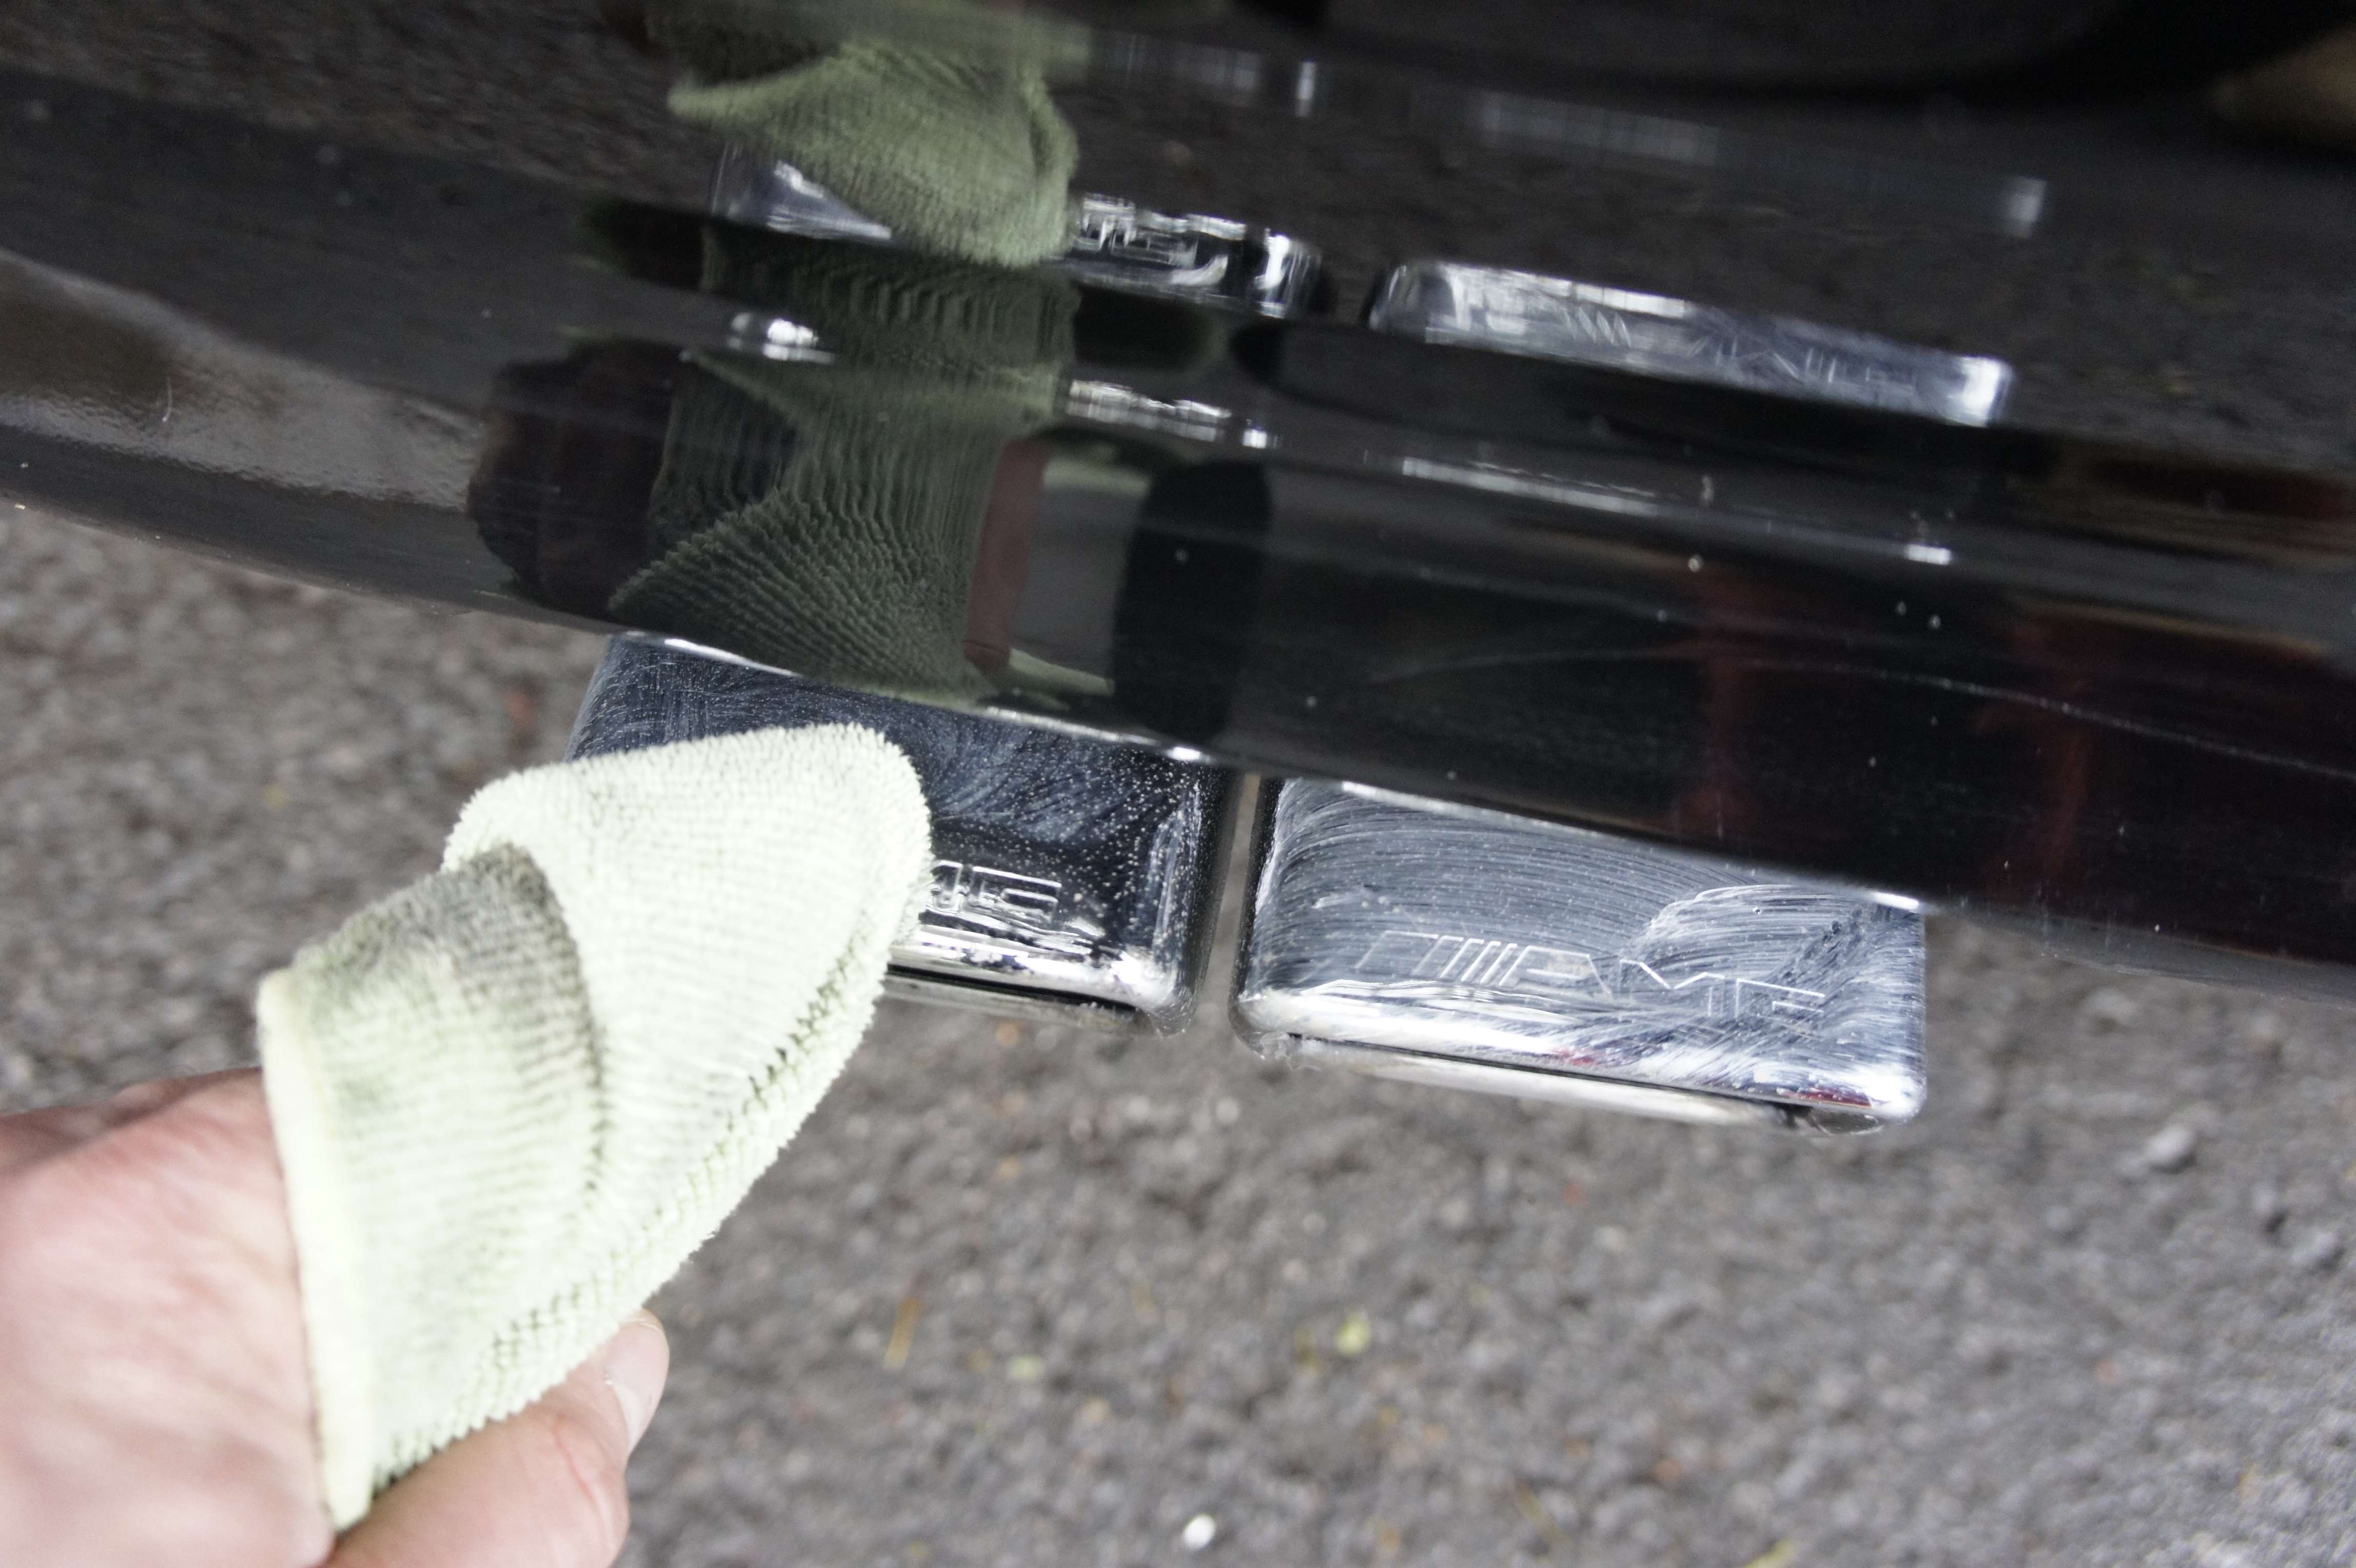
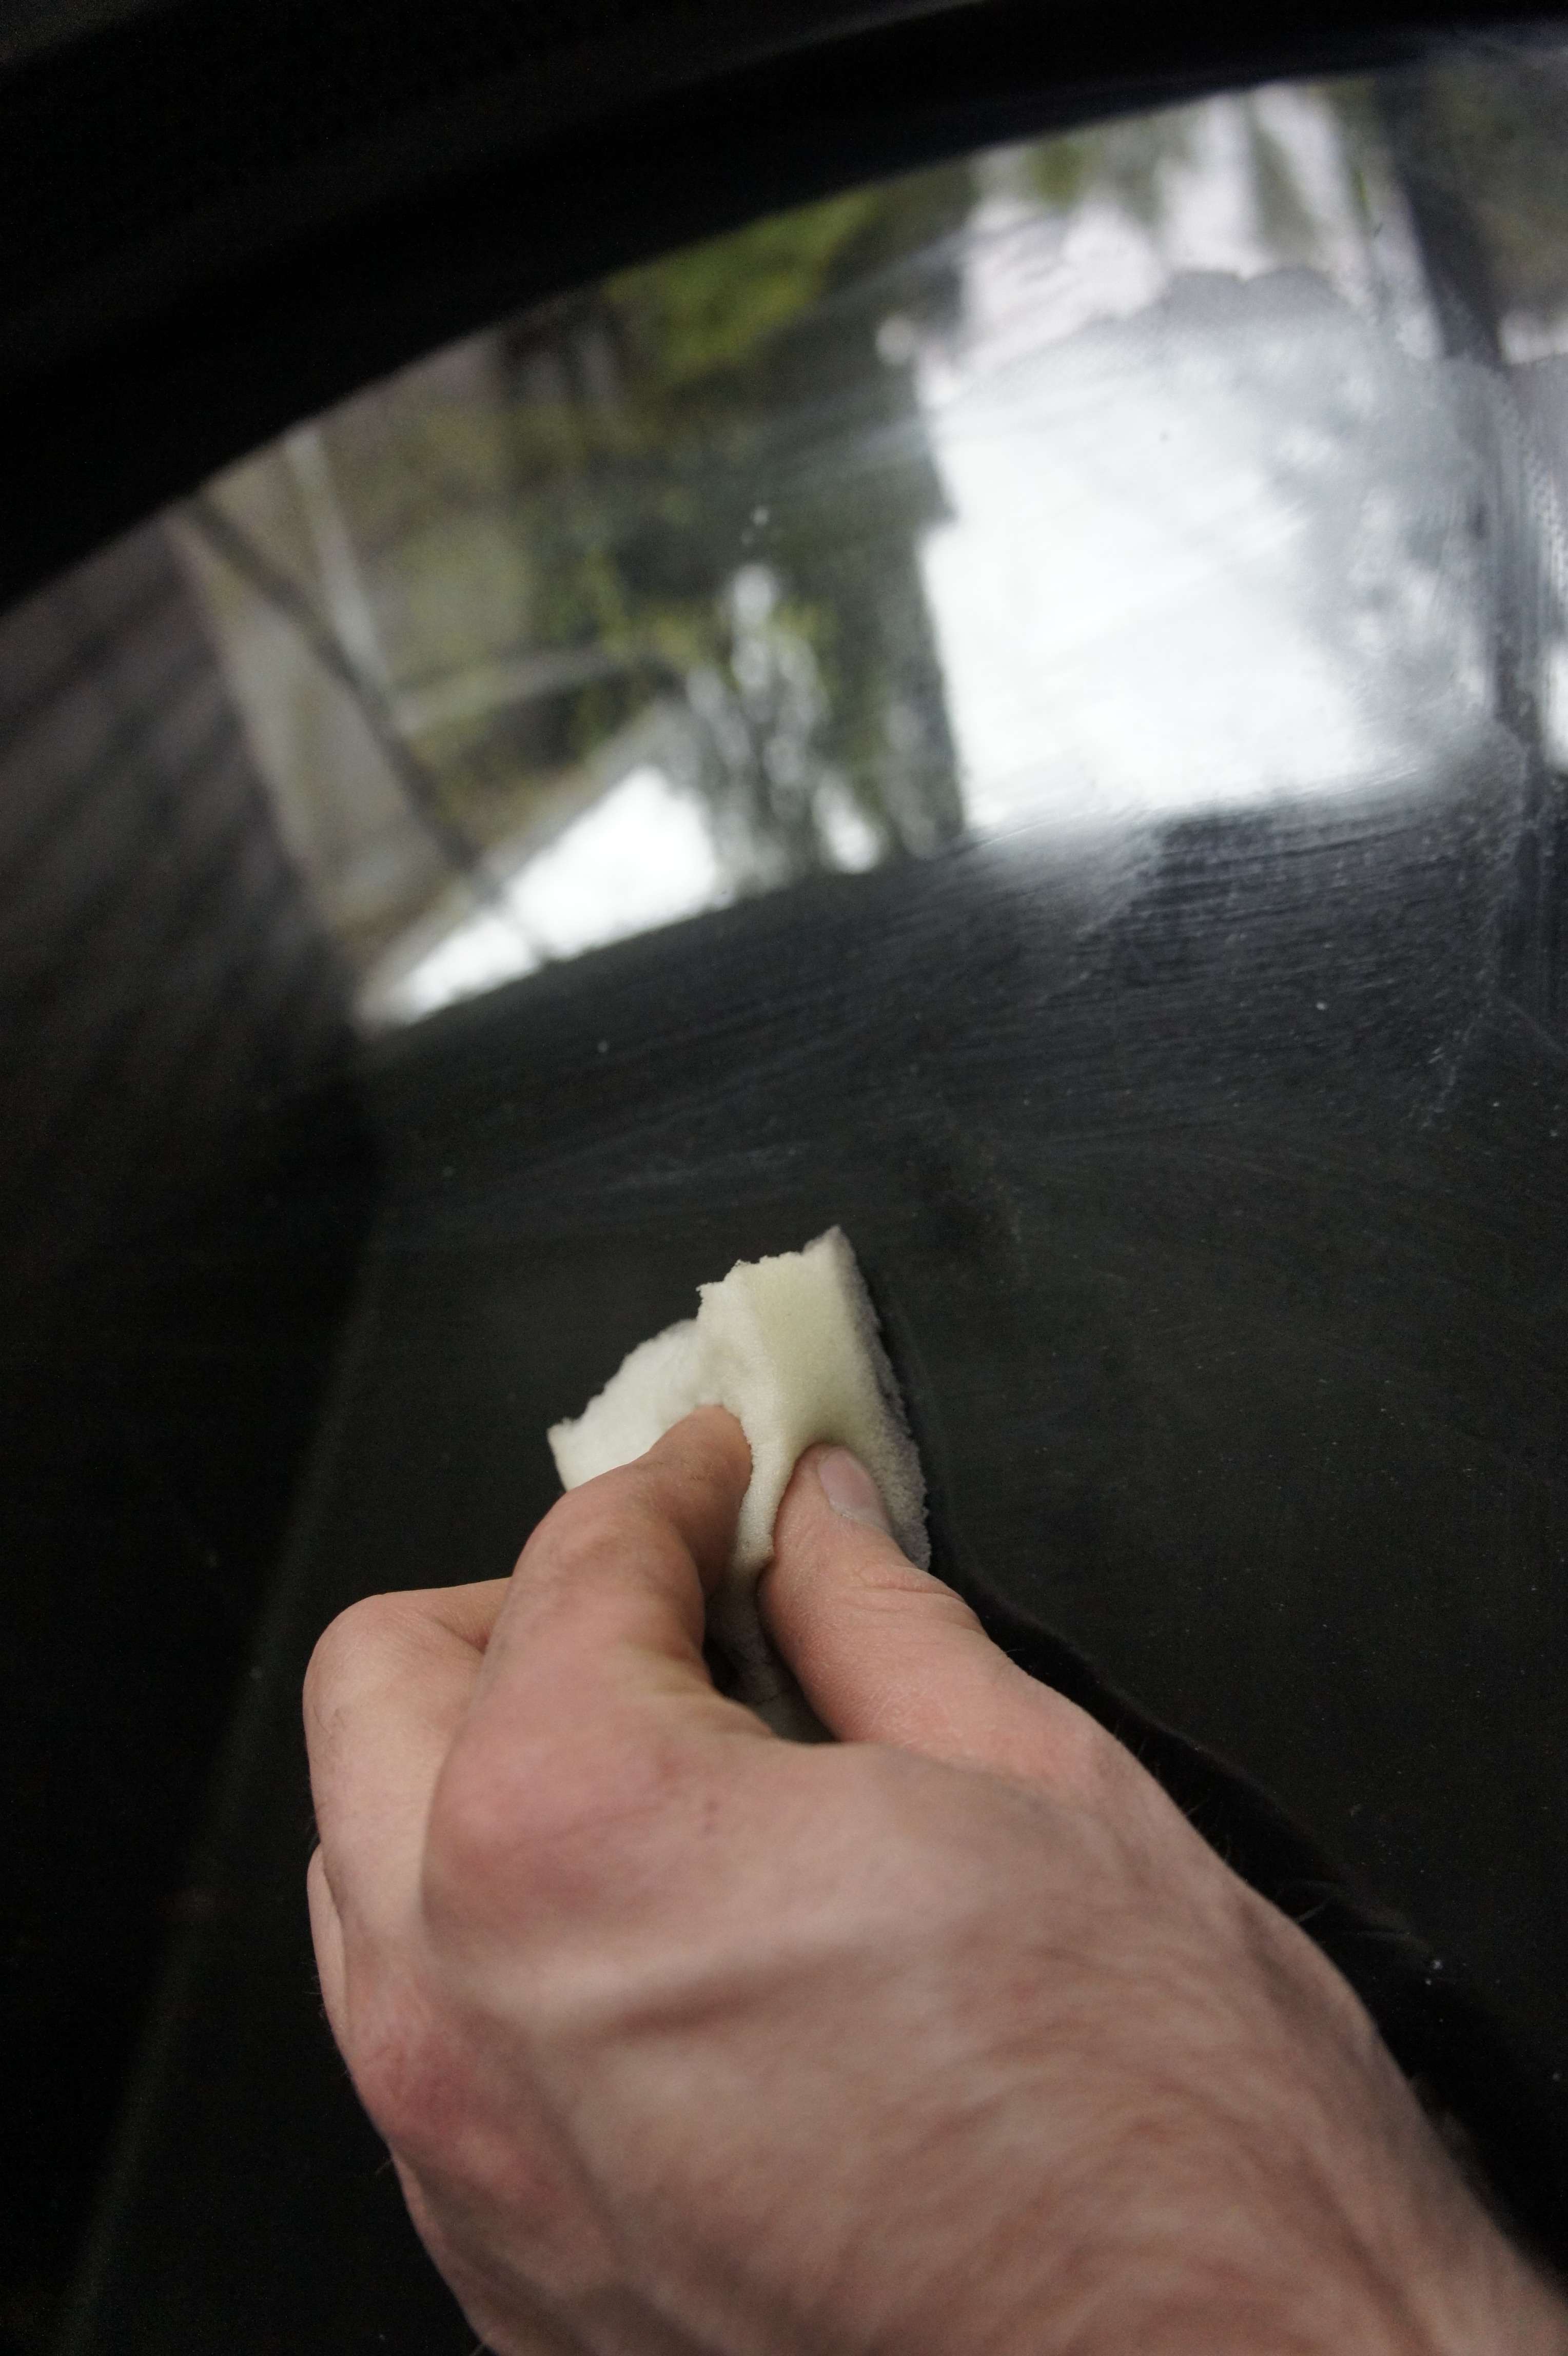
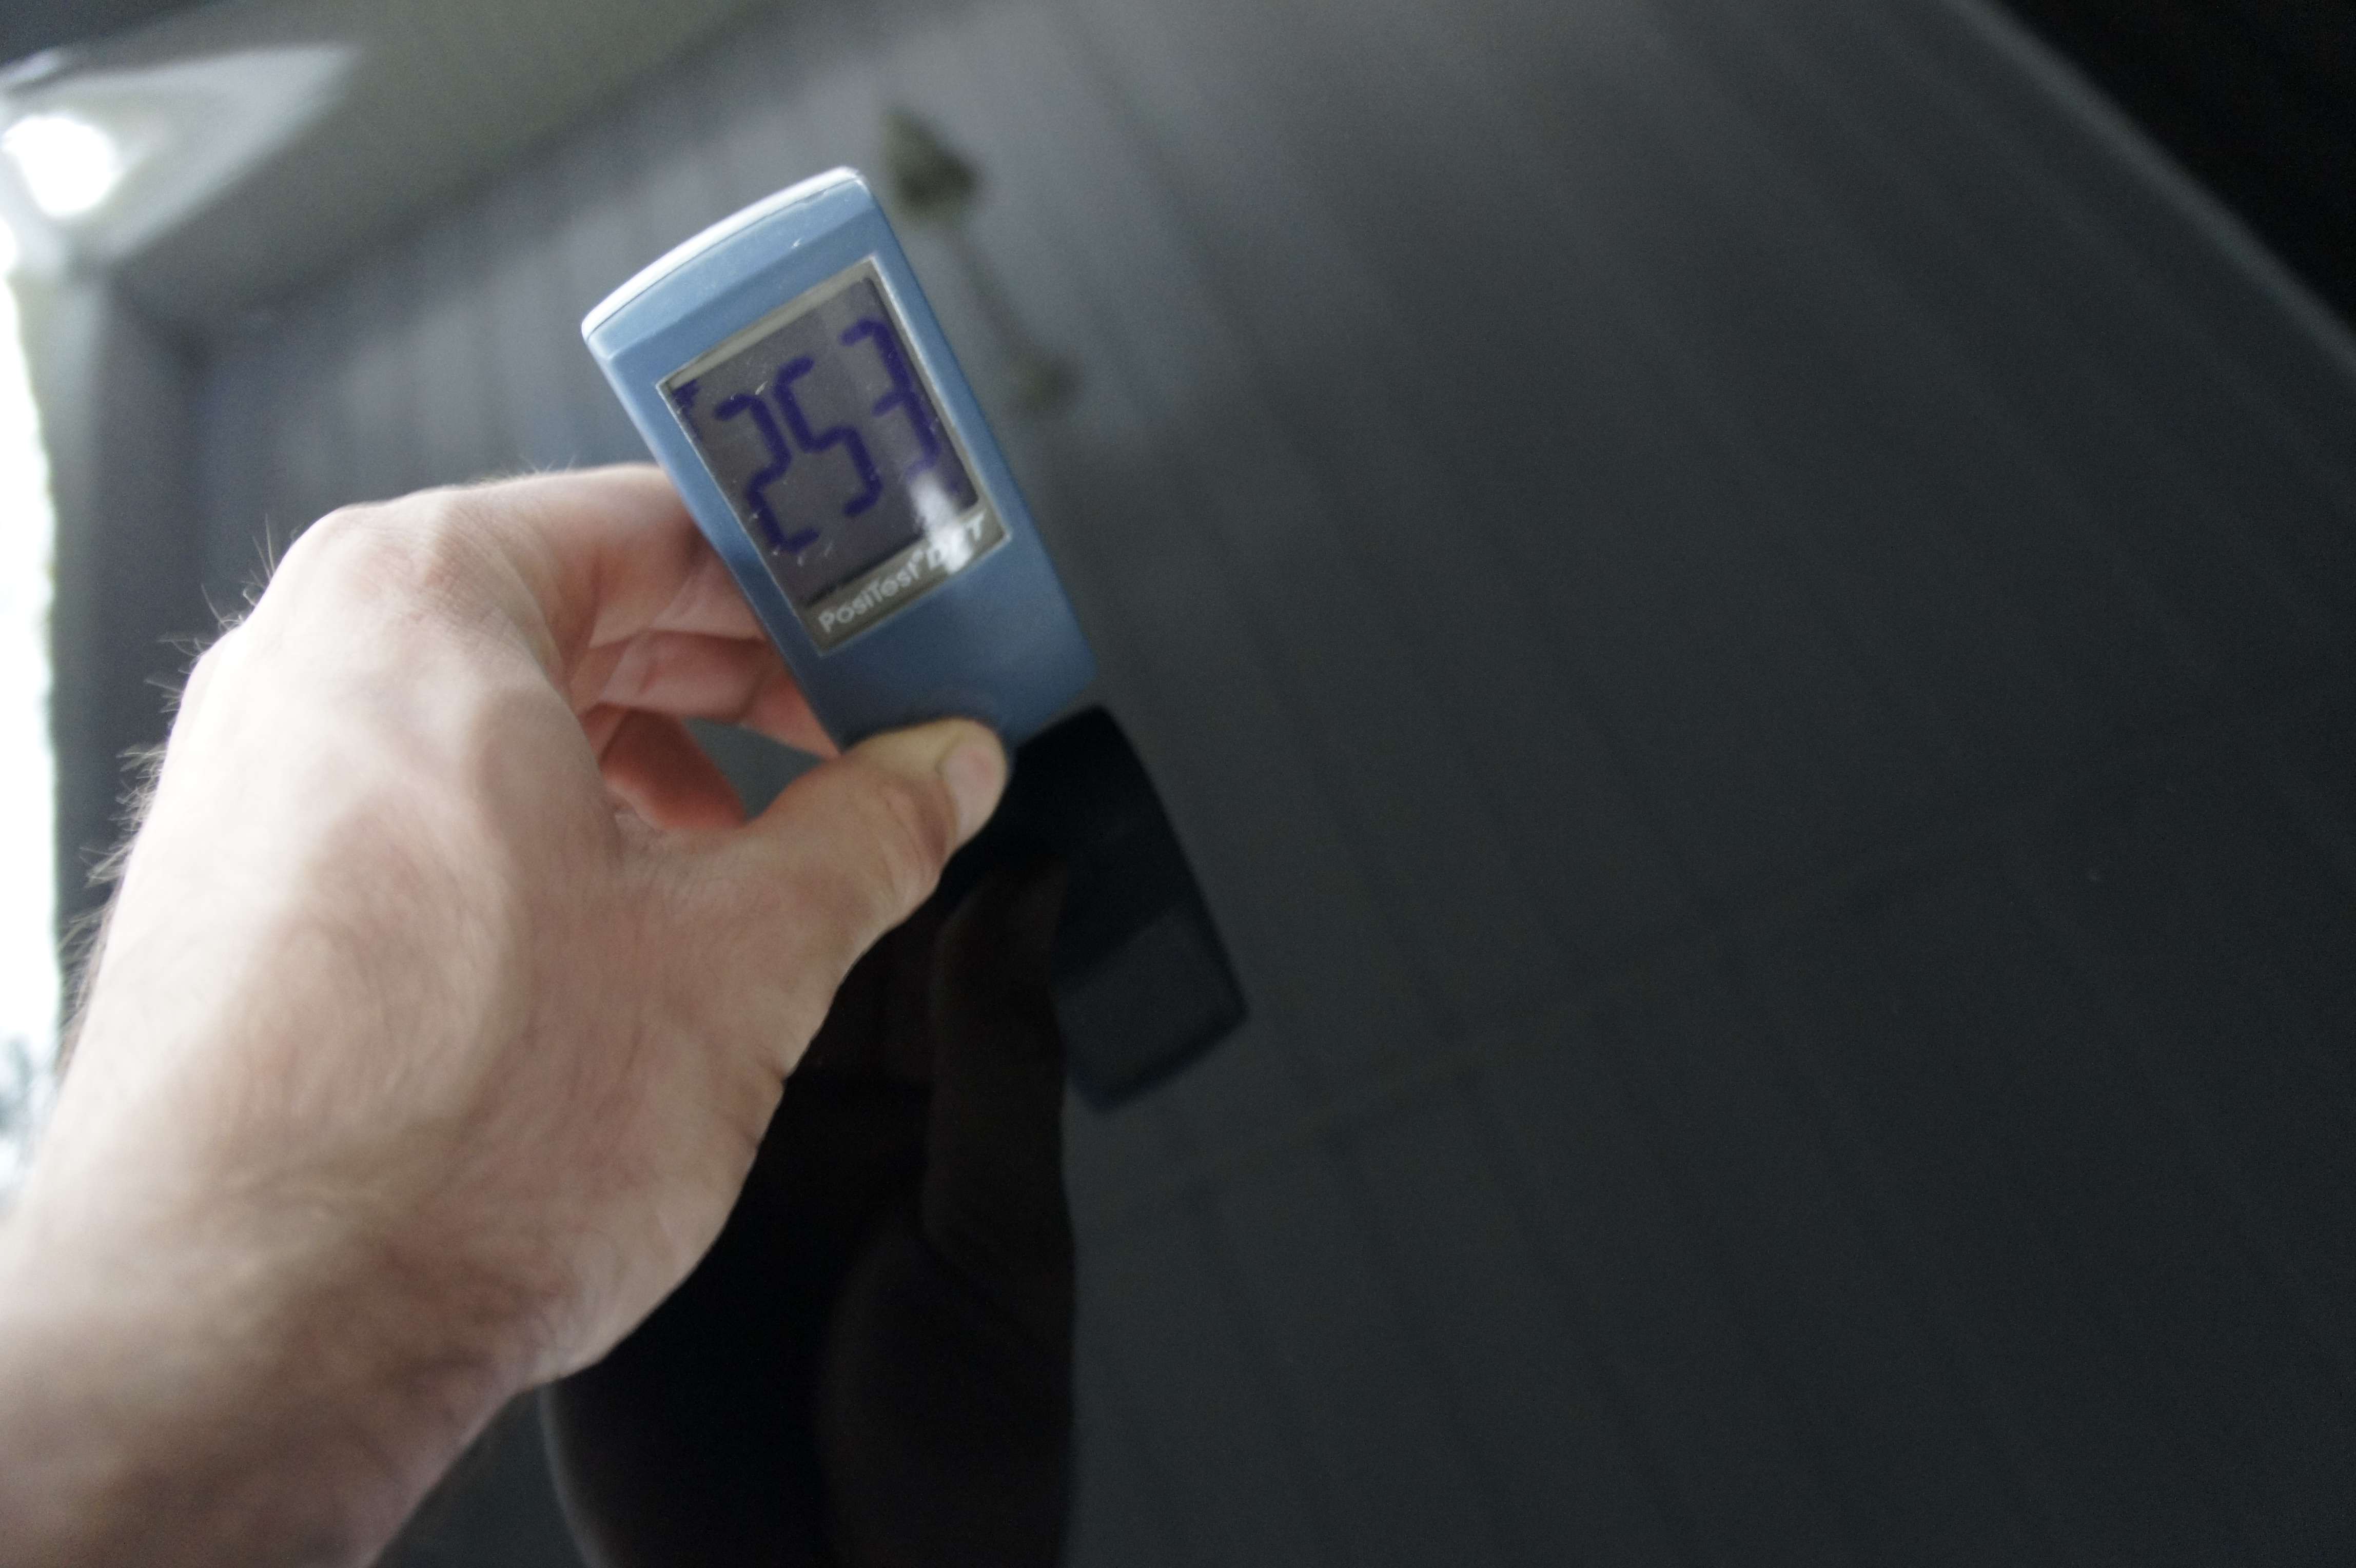
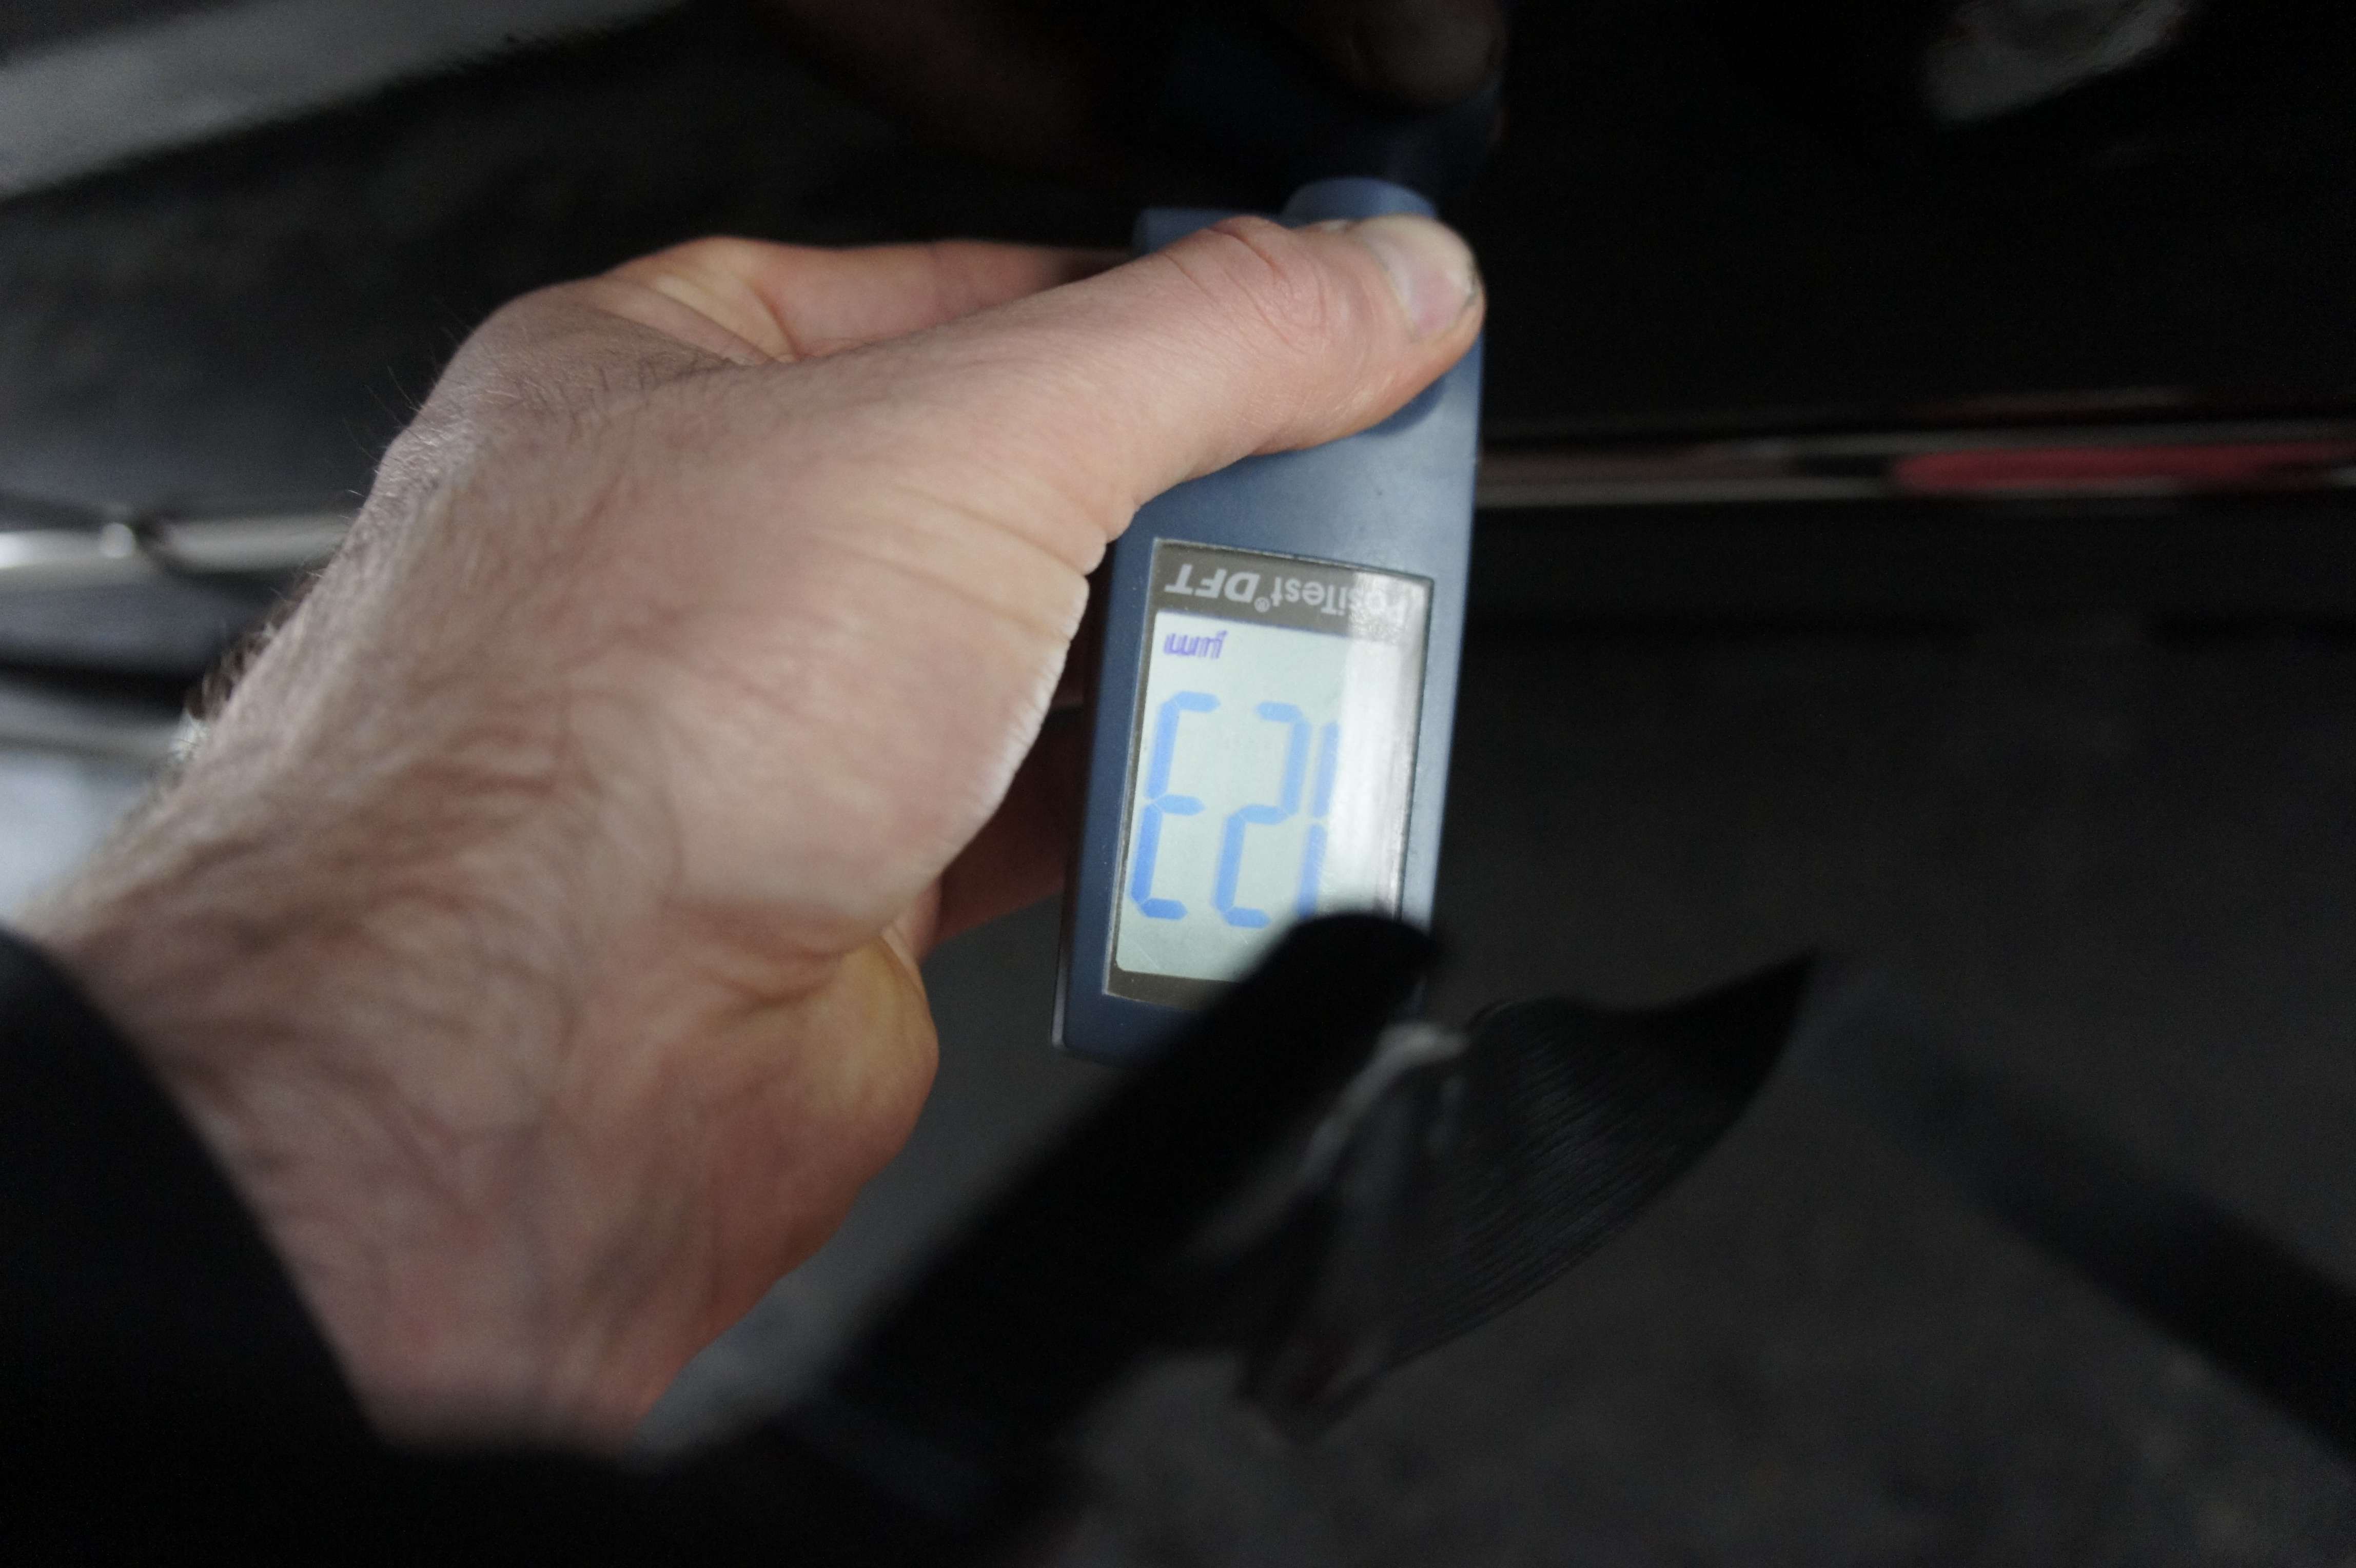
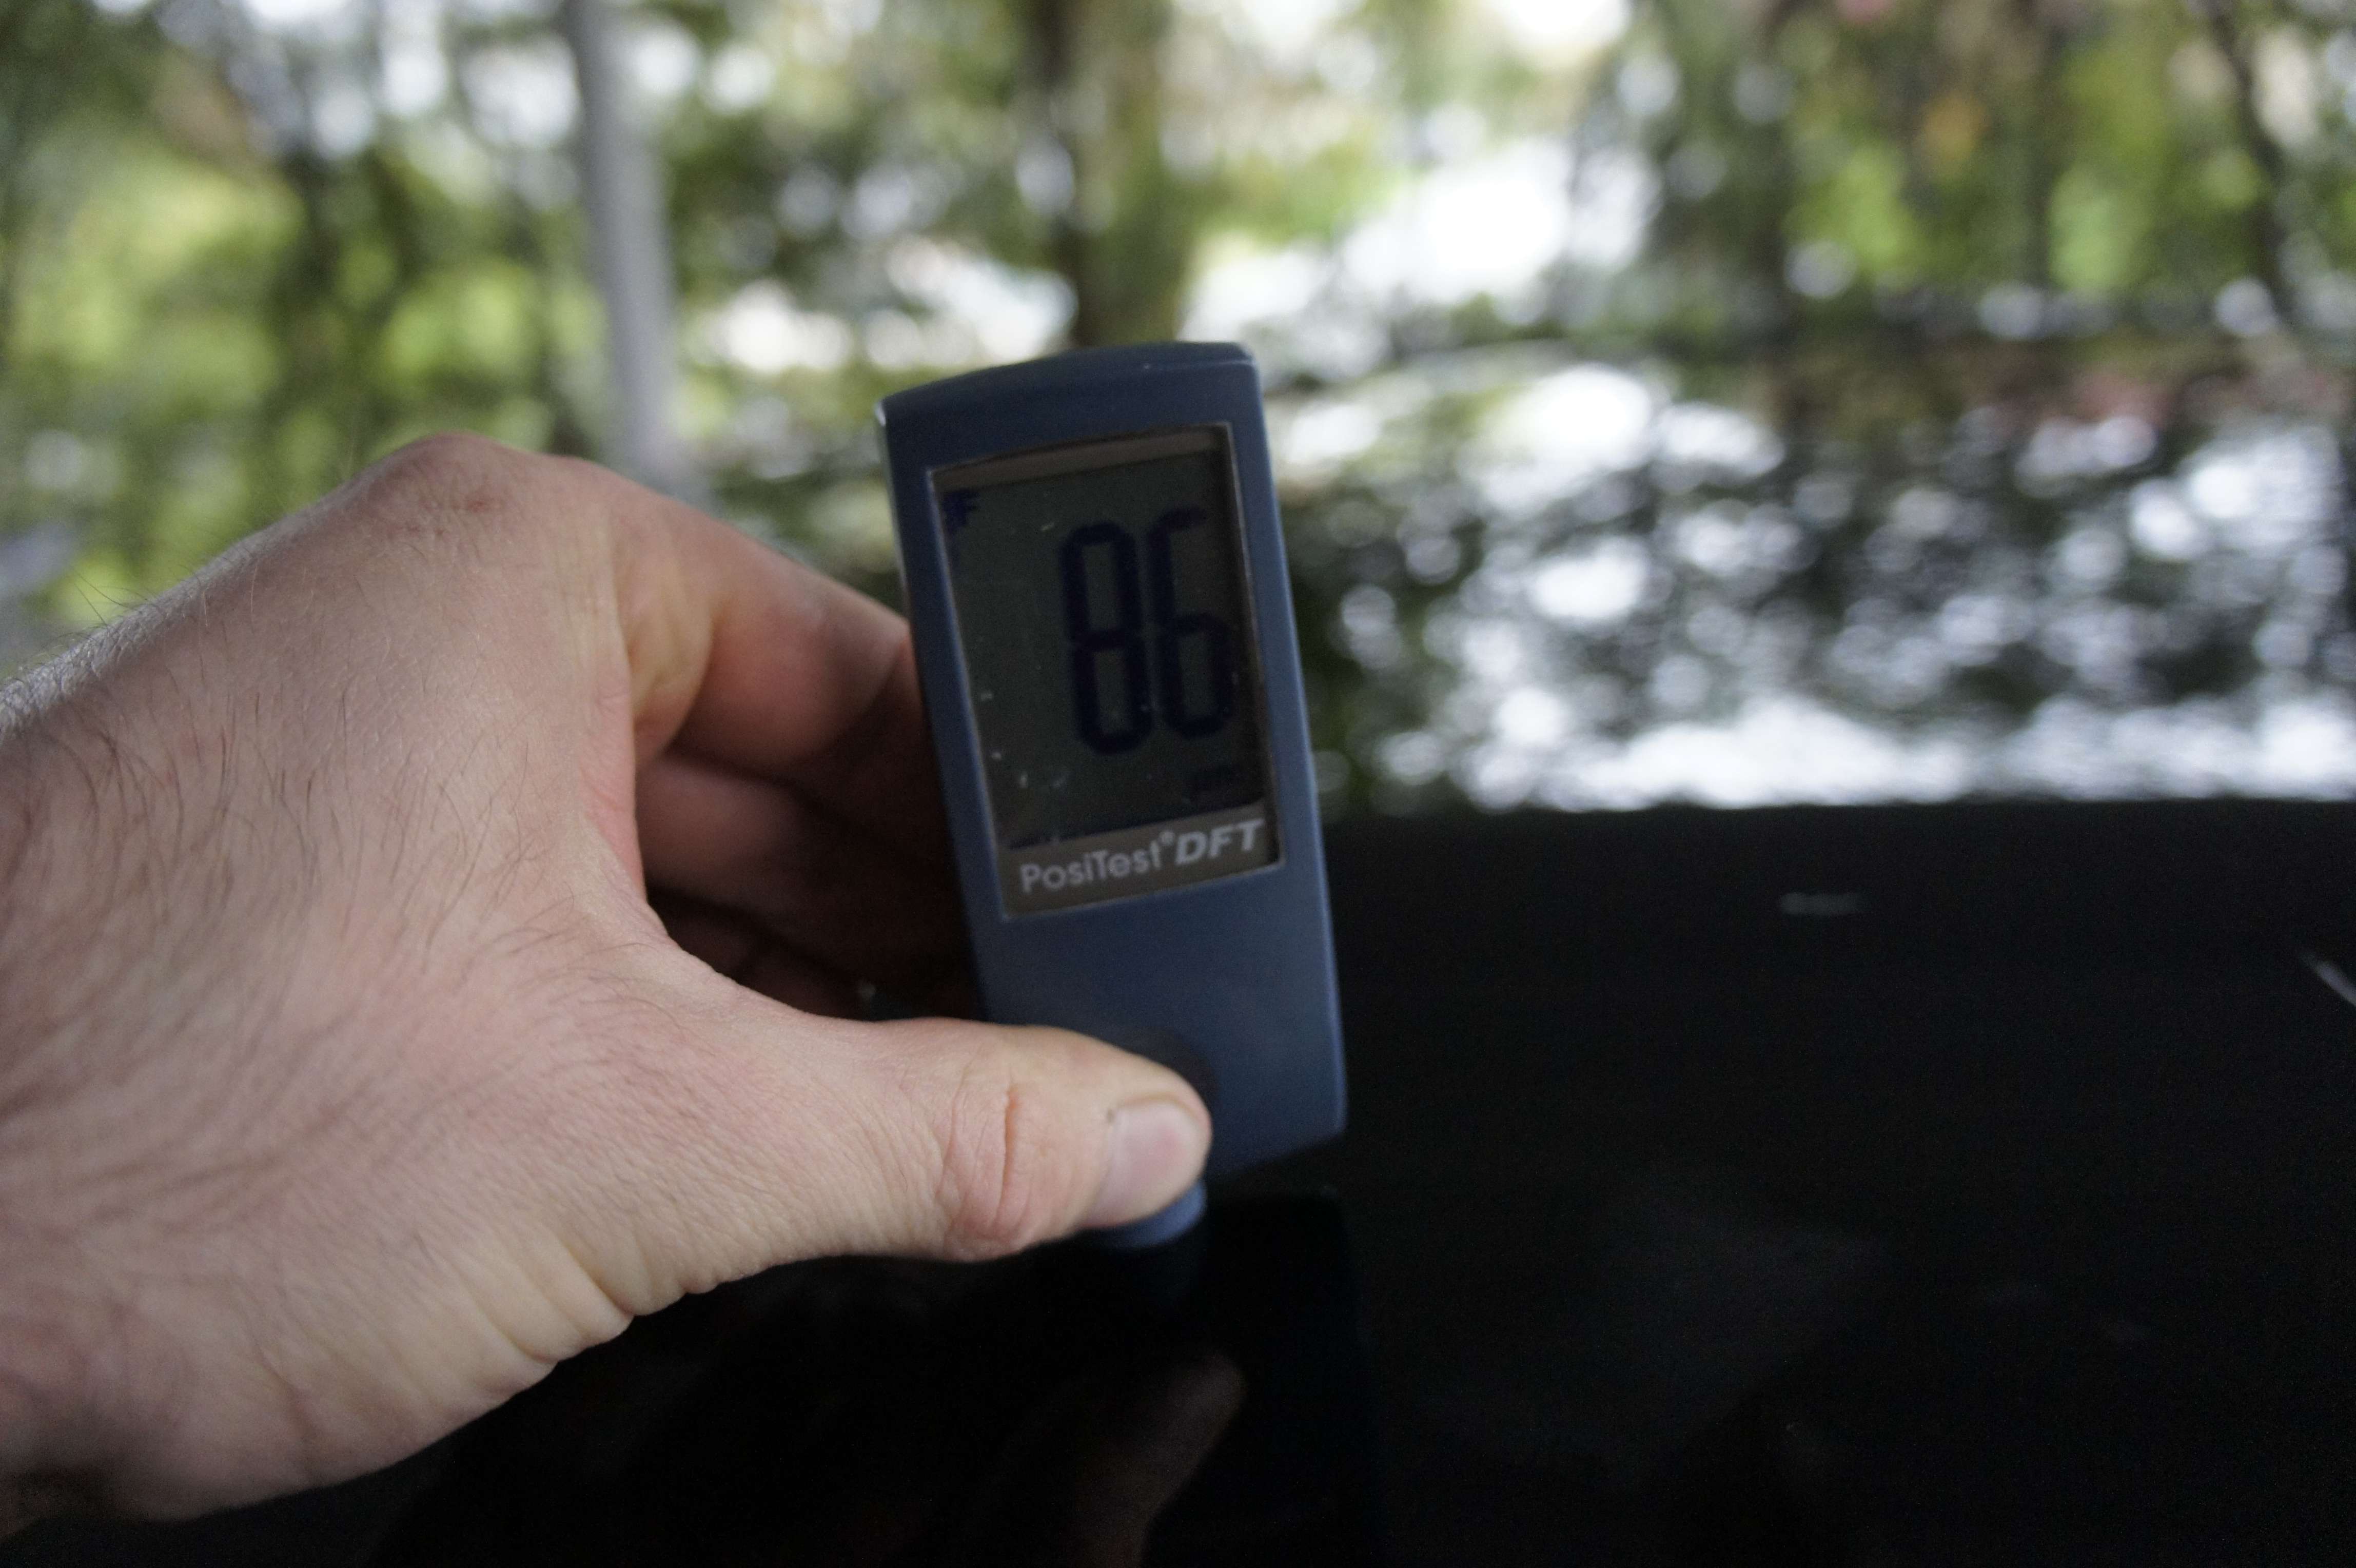
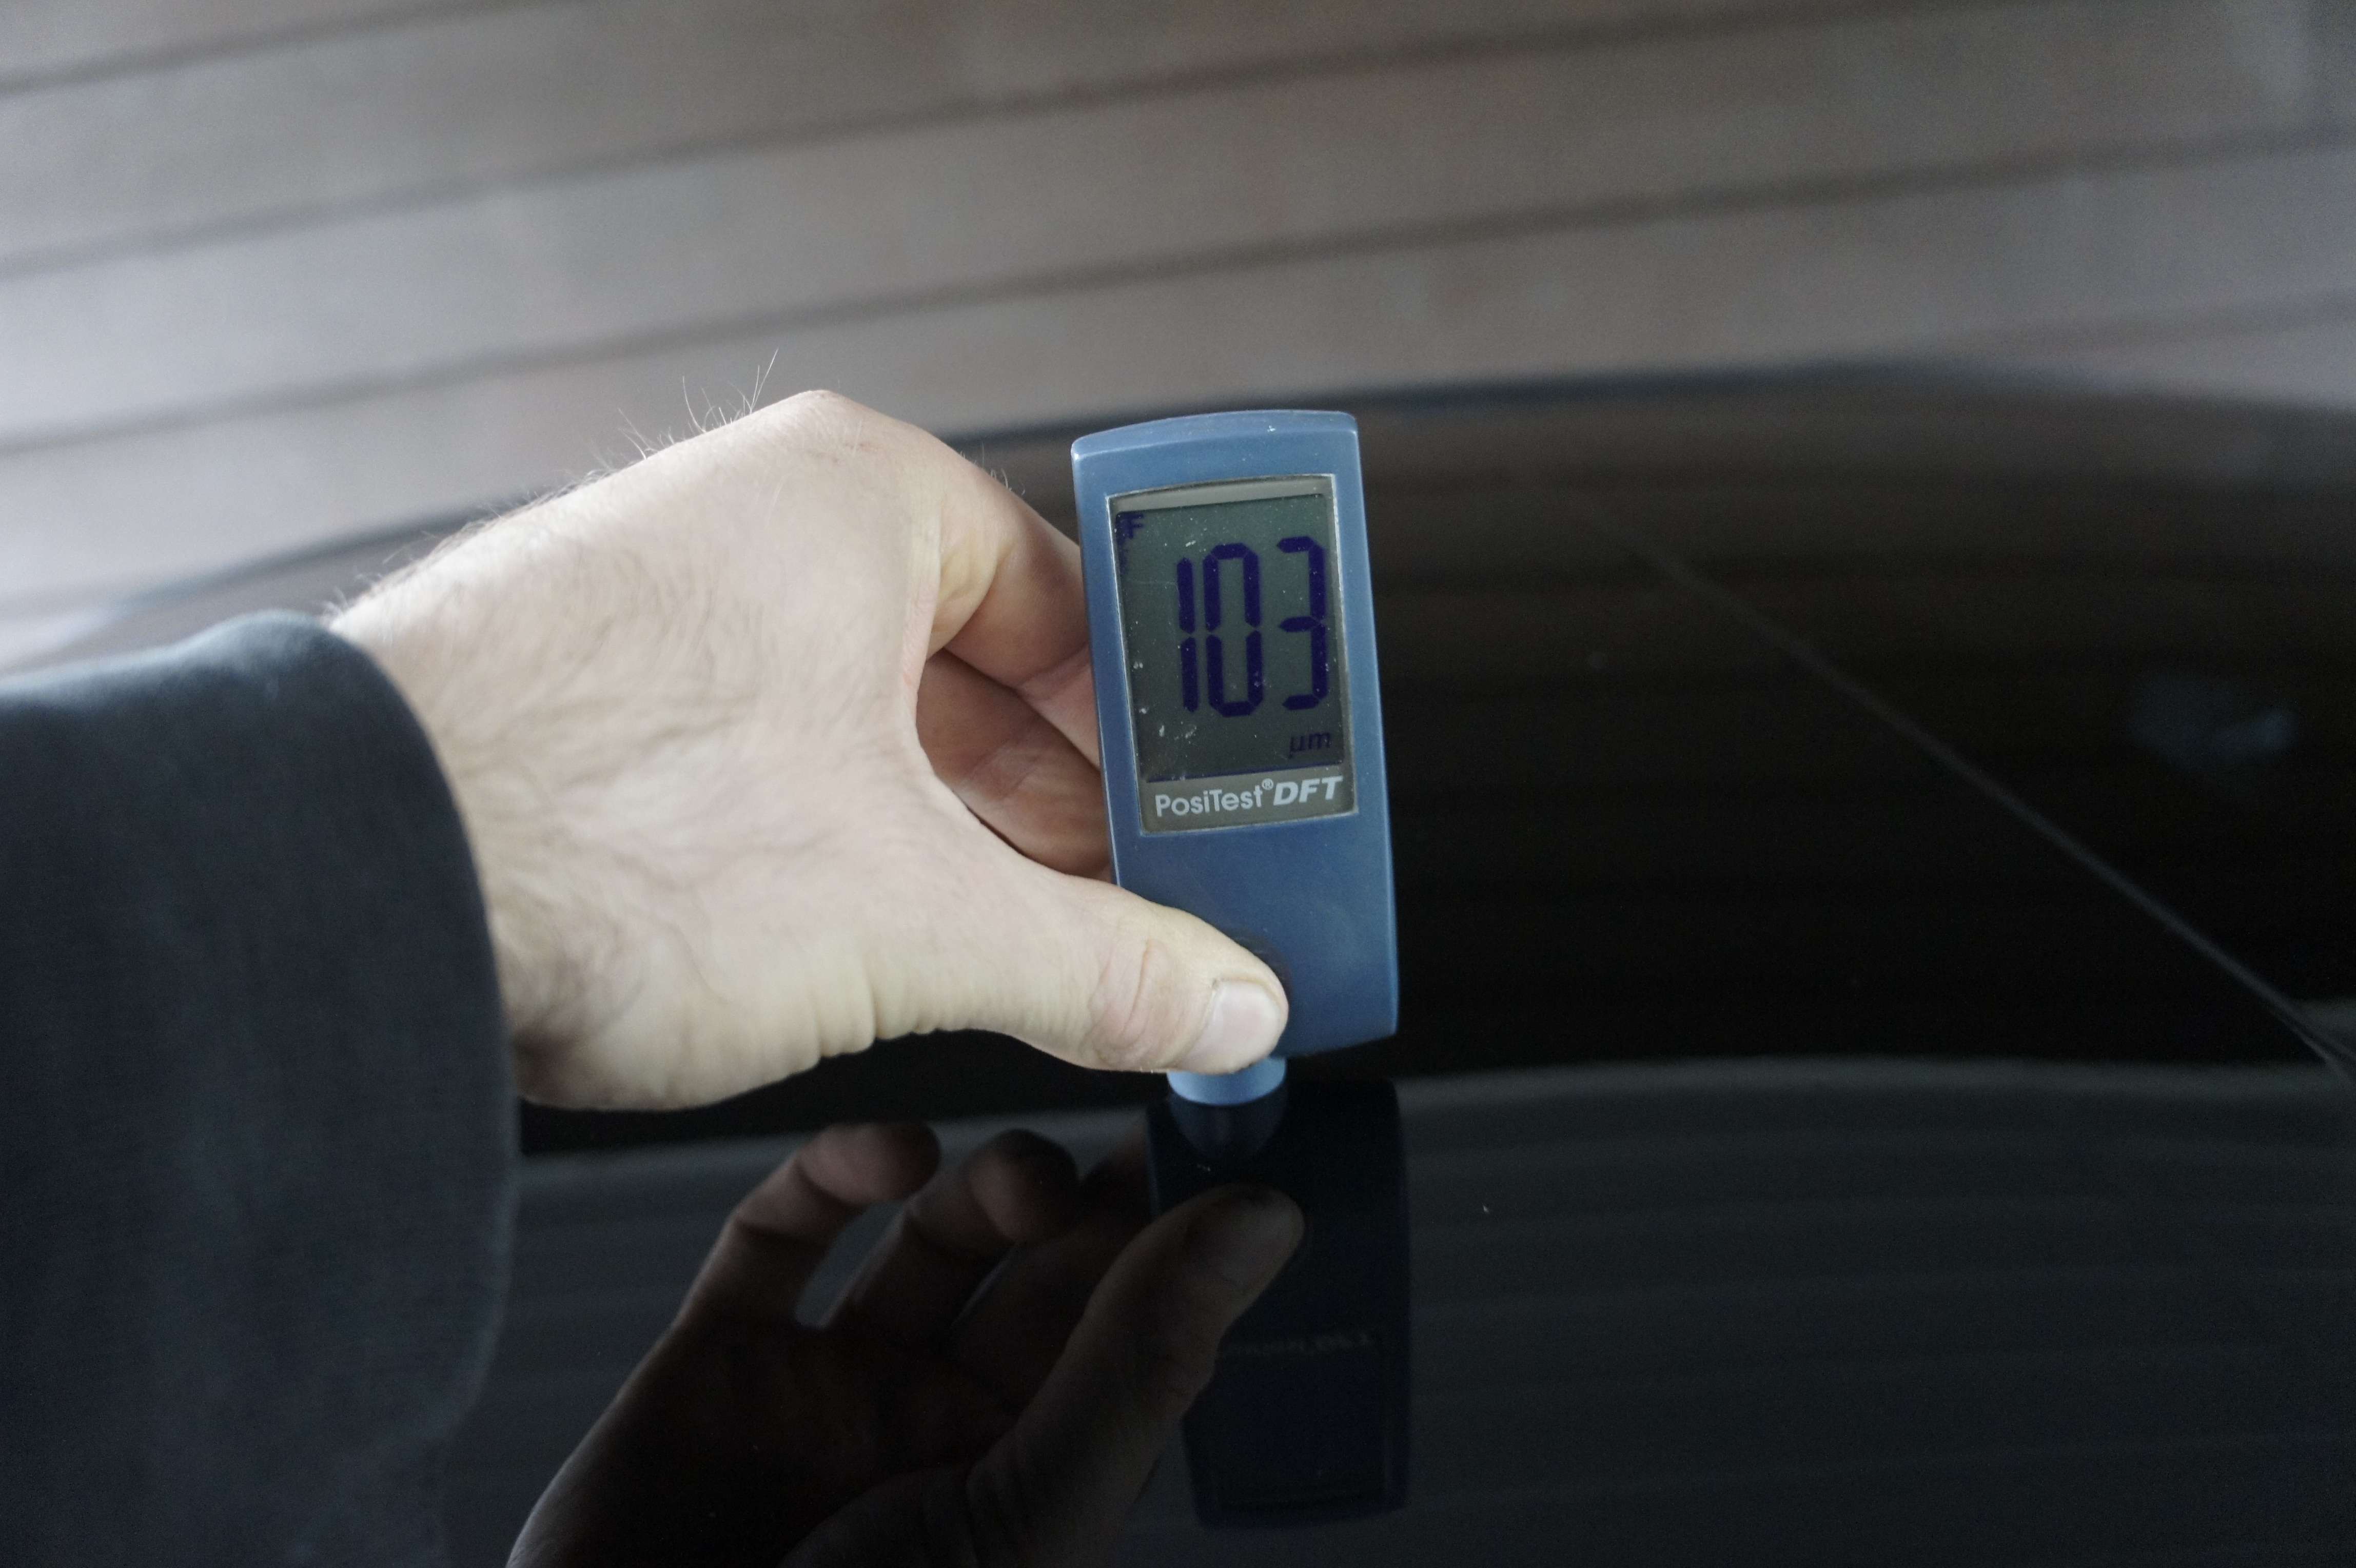
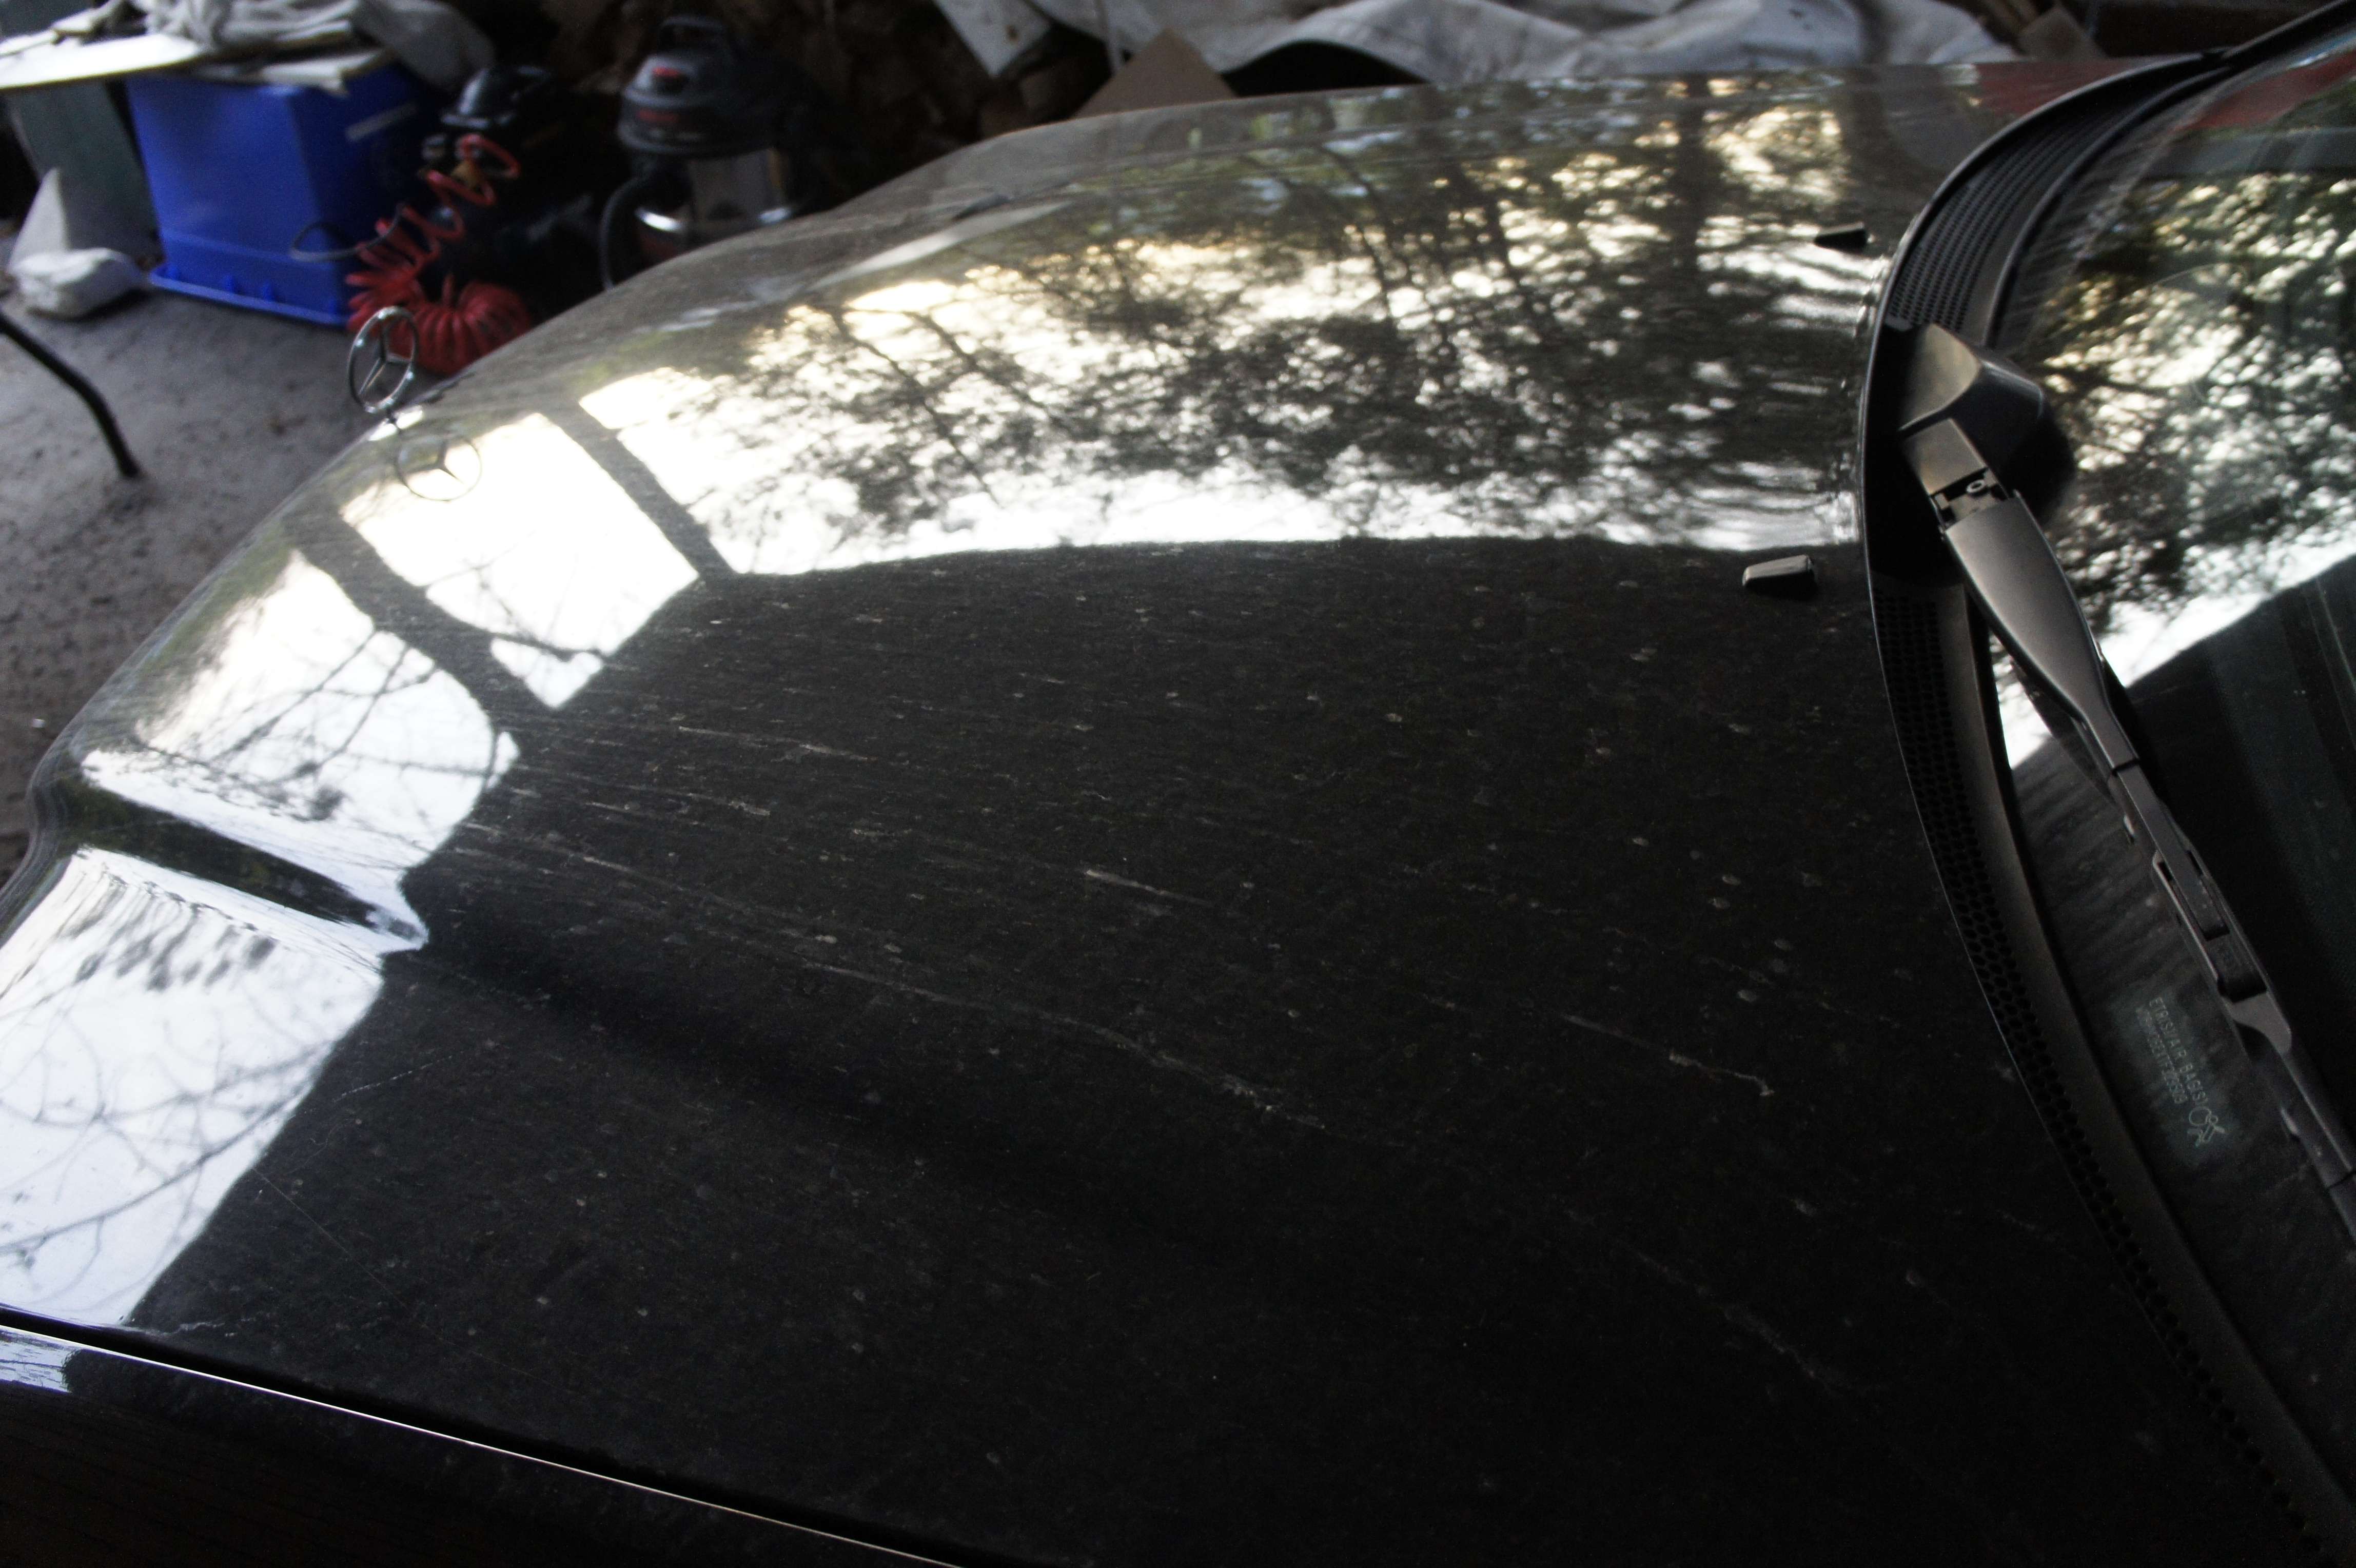
I tried my best to make it pop but I couldn’t do magic with thin paint..
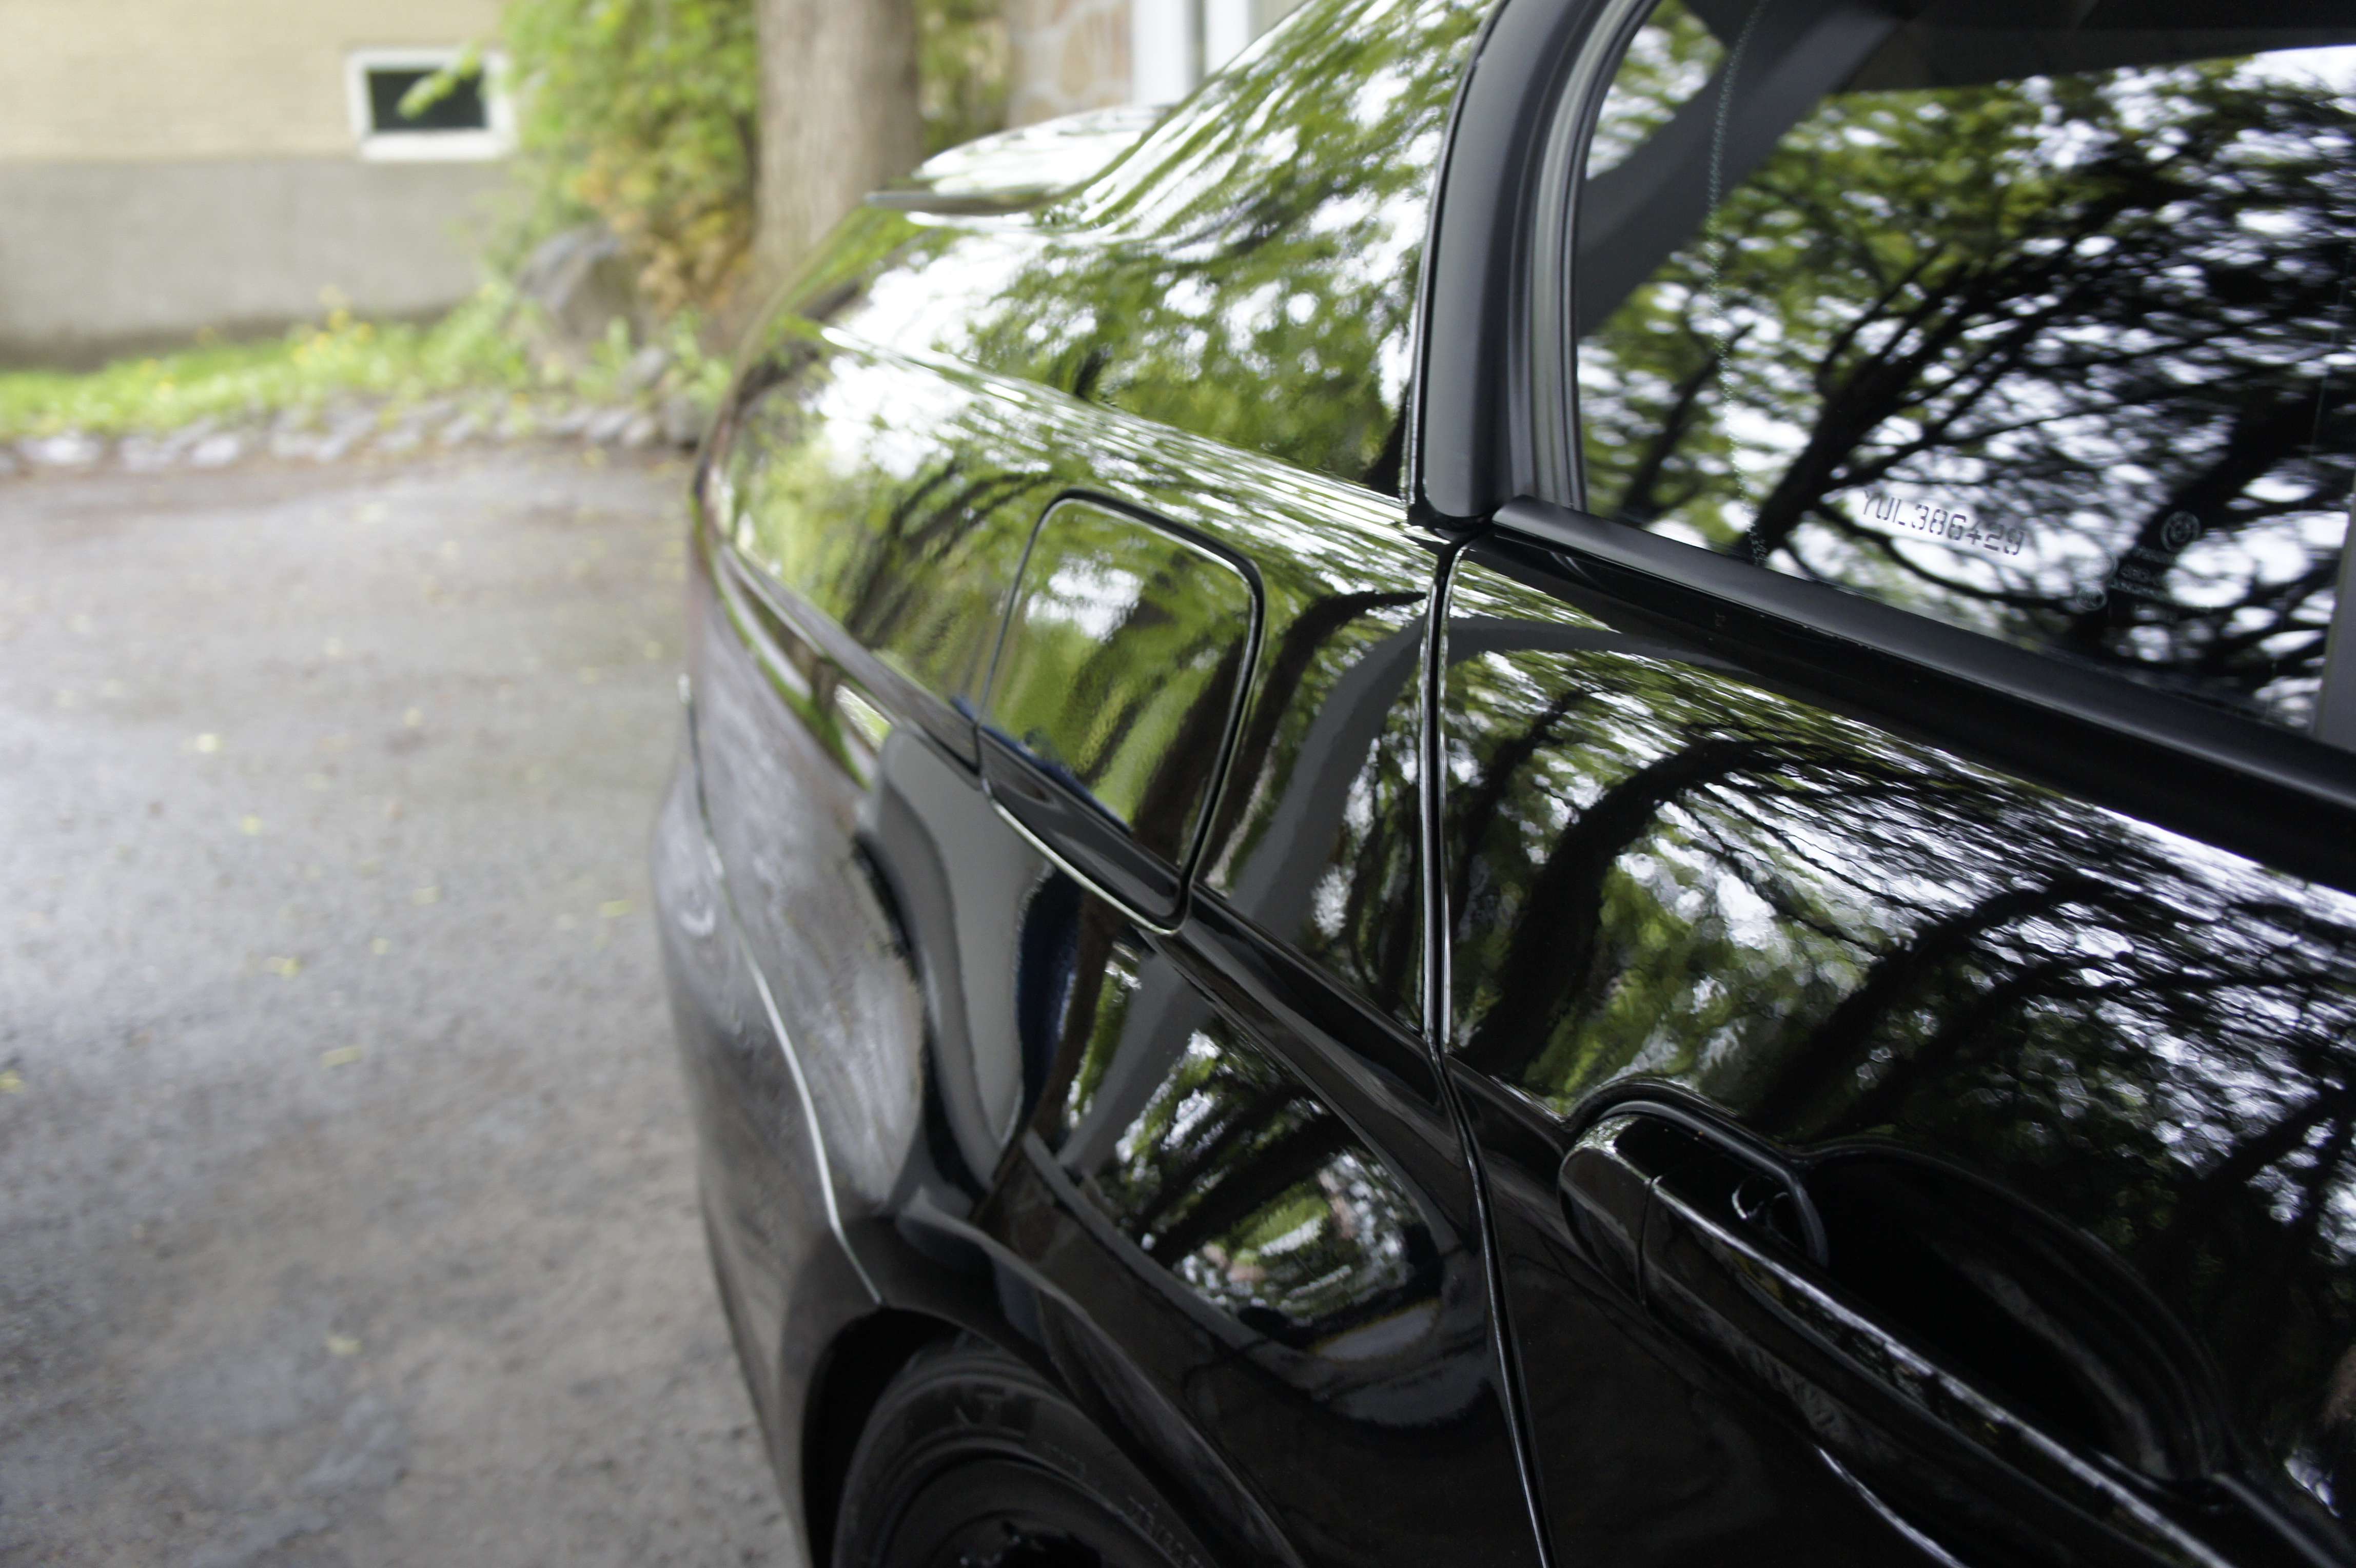
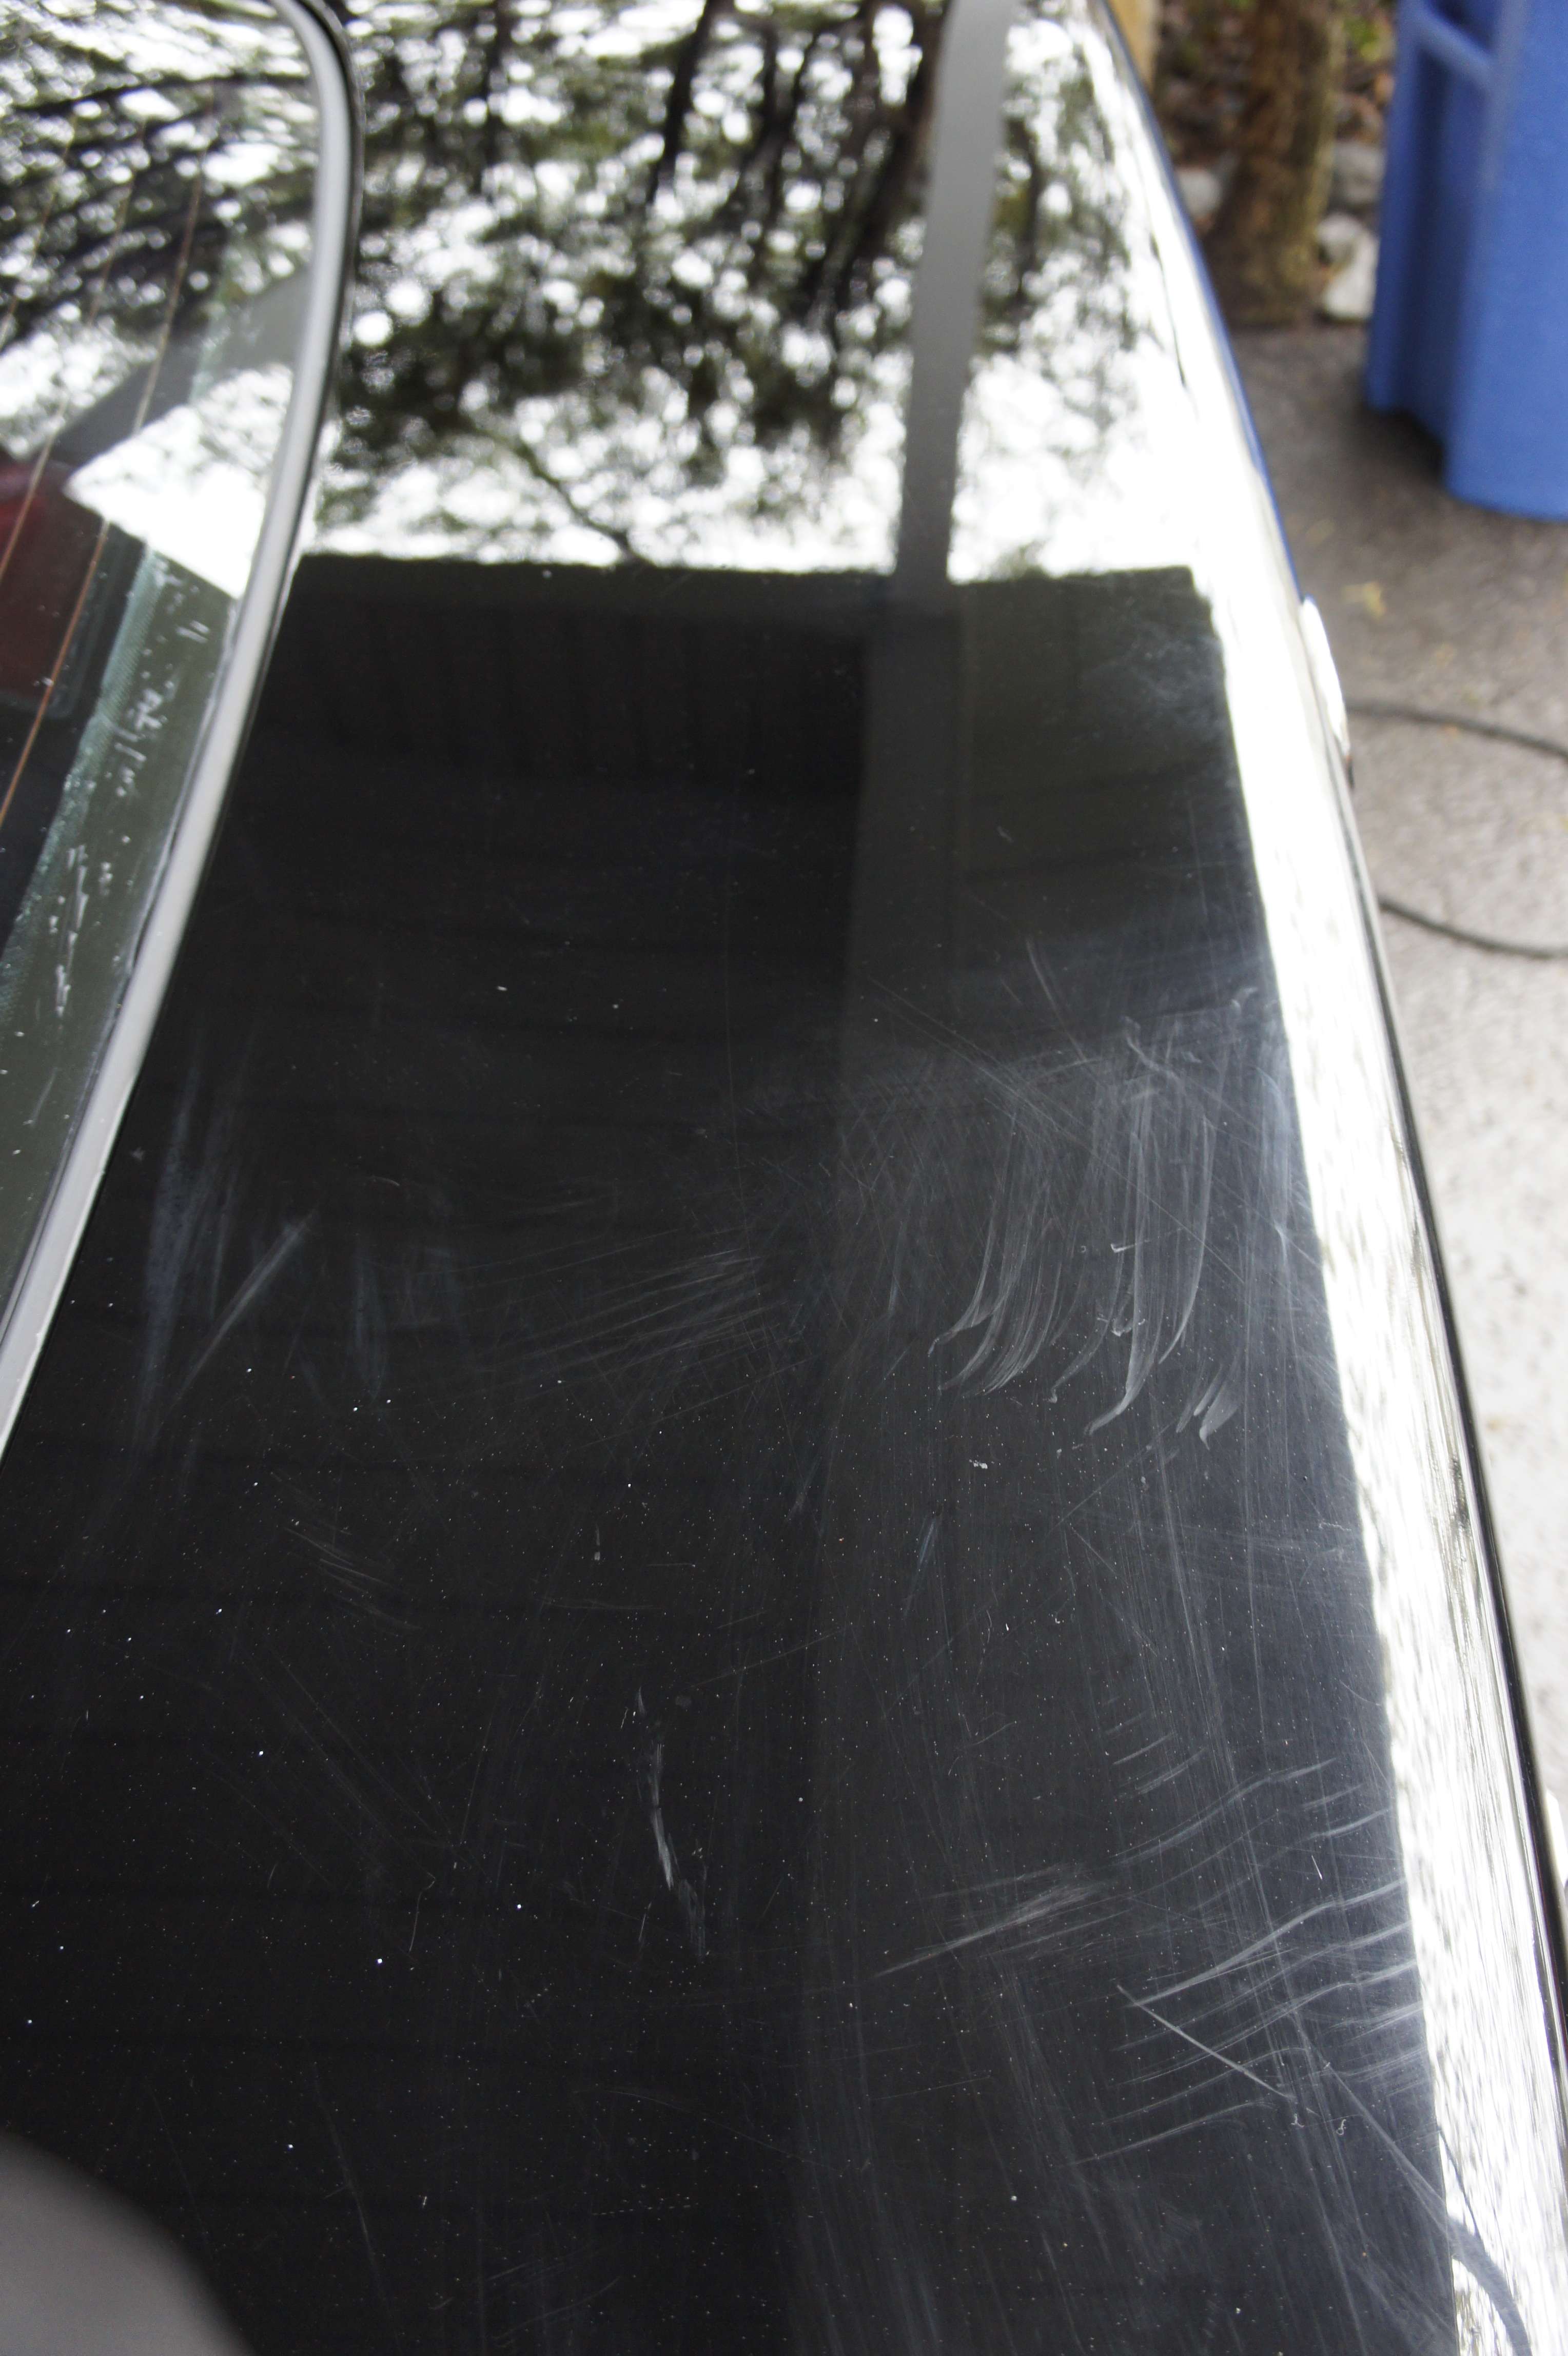
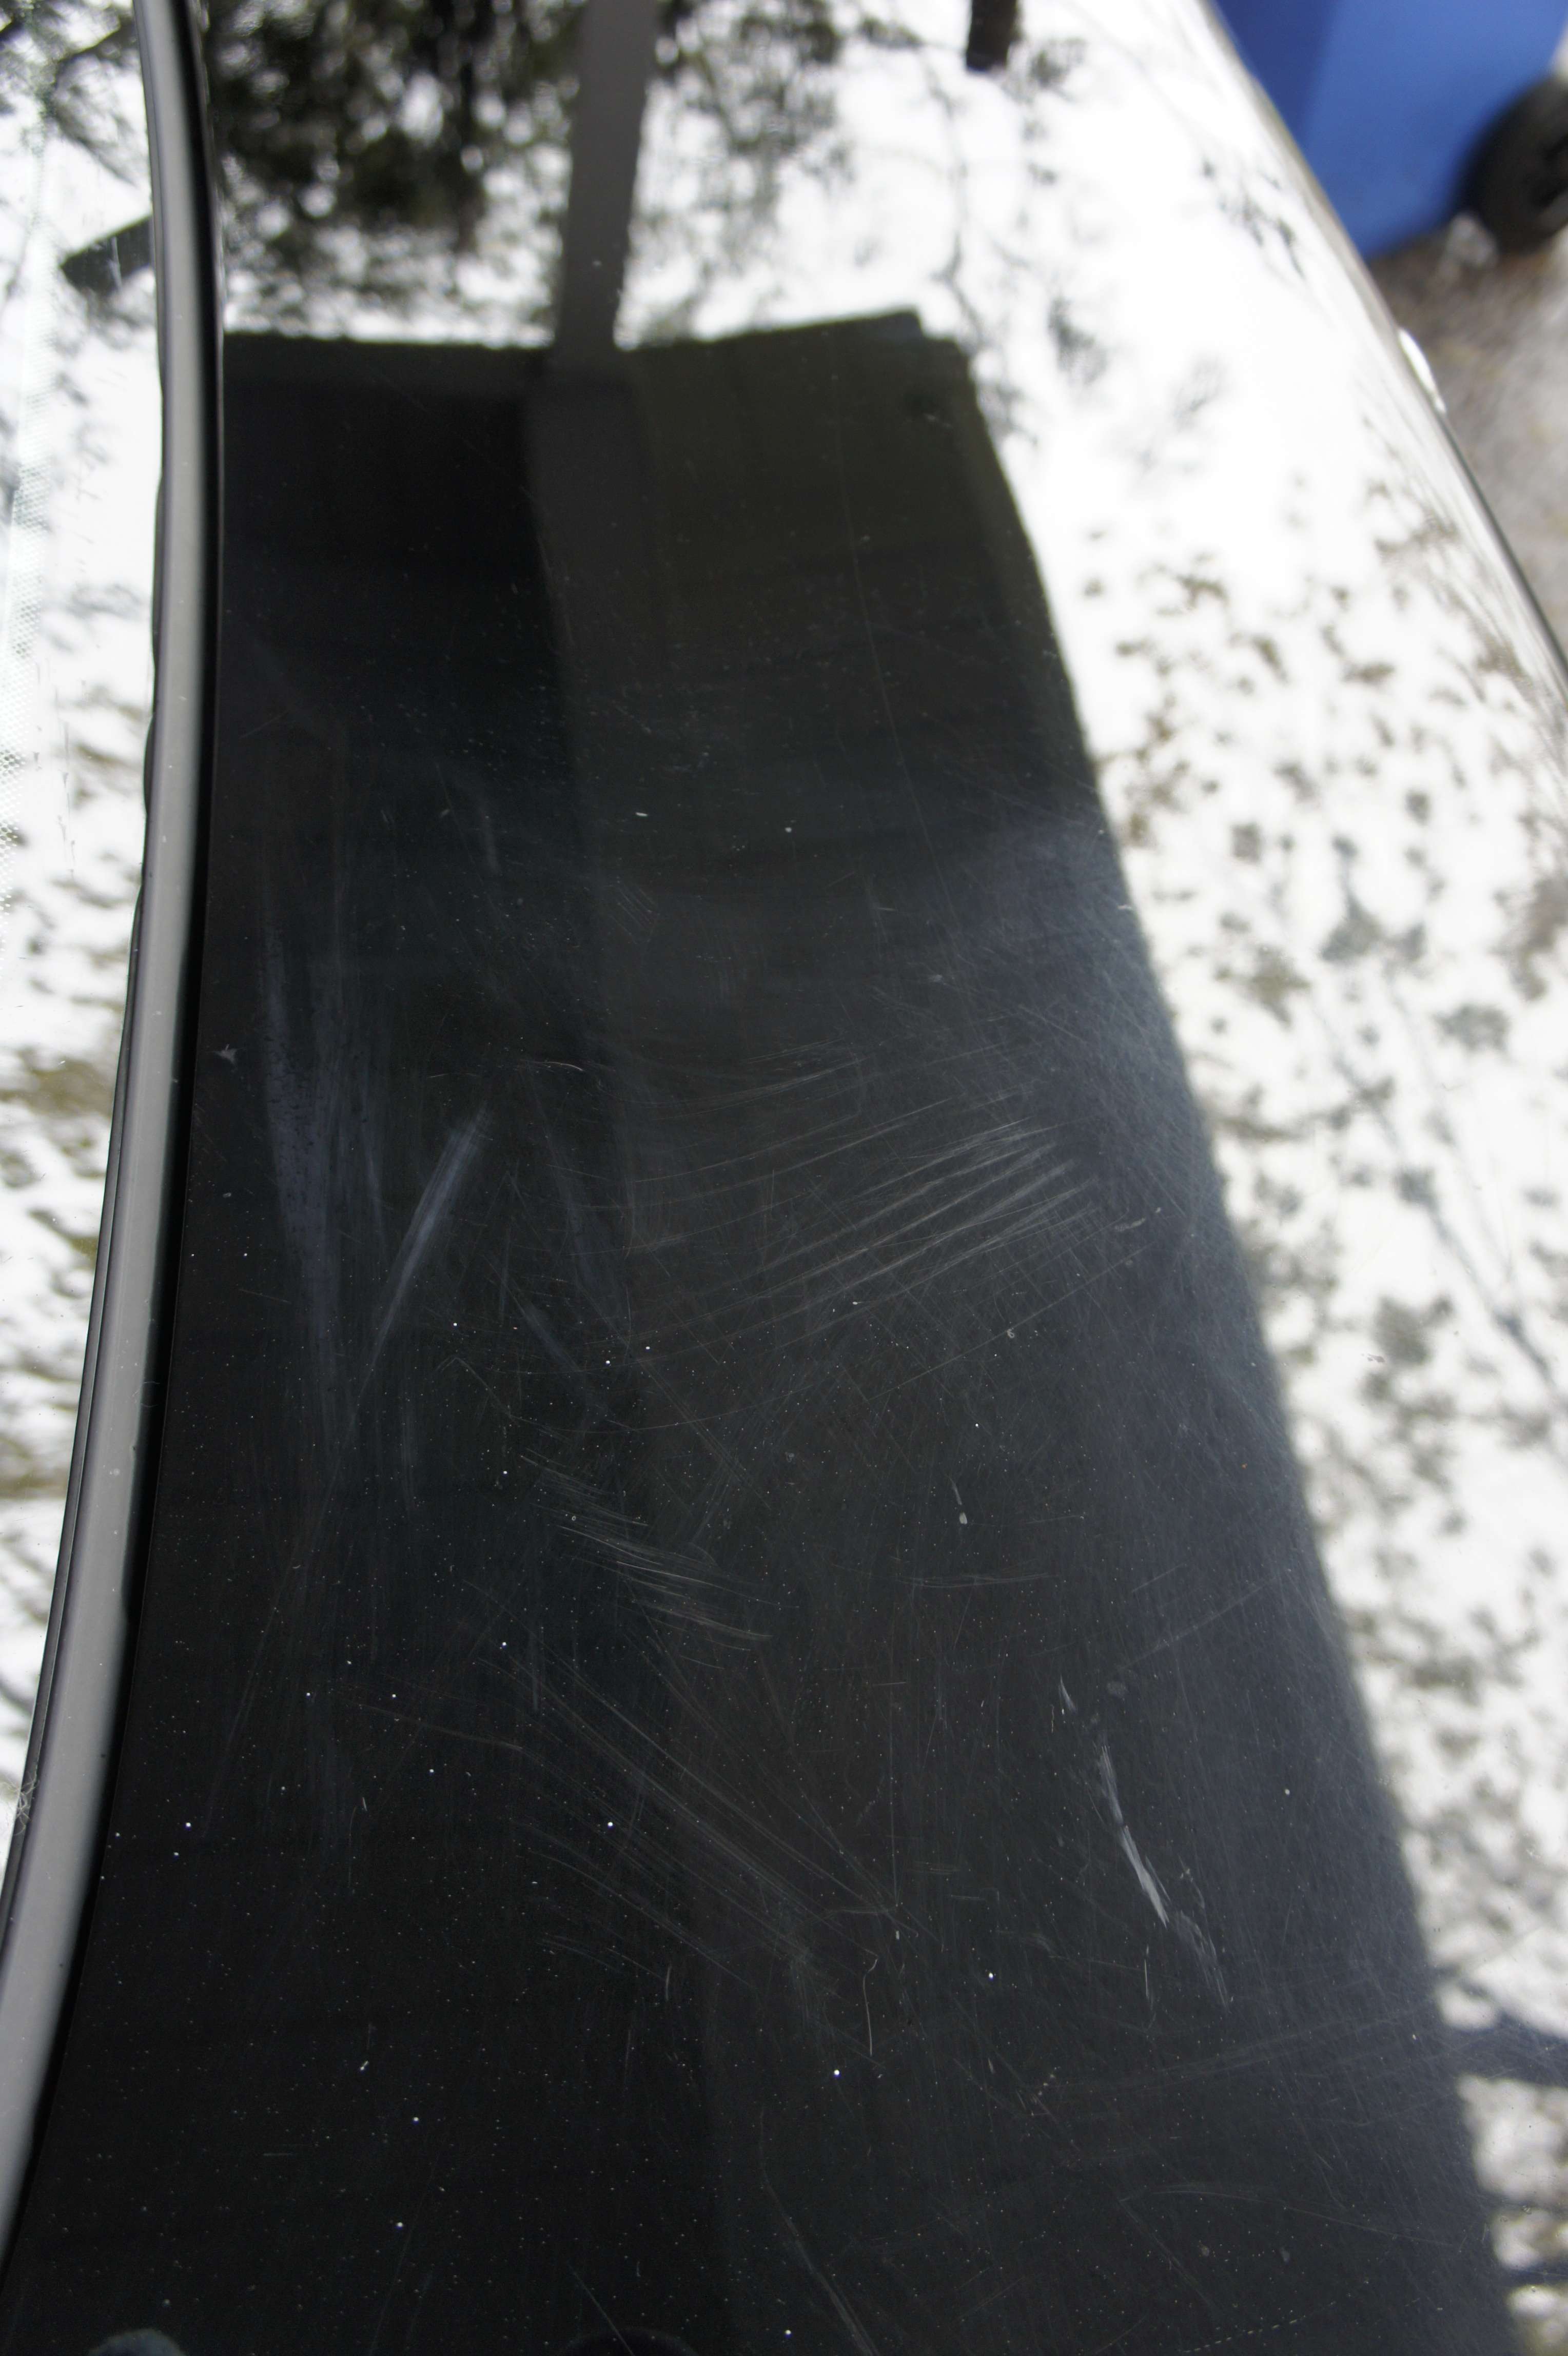


    Remarquez la peinture qui craque sur le coffre, c’est impossible pour moi de faire une correction débile quand je vois ce genre de défaut:


    Taping the whole car :


    I then took some reading everywhere and I told the owner, I never ever detailed a car with that low of a thin paint, it kinda scared me to be really honest with you. With such variation + cracked paint on the trunk + repainted panel, I wasn’t nervous but I knew it would not be a walk in the park!


    Vous avez déjà pu voir le résultat final lors des 50/50. Donc passons aux choses sérieuses ; le propriétaire voulait ce payer le luxe et le shine d’une des meilleurs cires sur le marché. Alors, il a reçu le traitement Swissvax :

    Leave a comment:


  • cobrAA
    replied
    This special C36 AMG is quite rare considering there’s only 500 imported to Canada and god know how much is left on the road now. However, the paint and body wasn’t new for me so I had a better idea how to polish the paint. However, a surprise was waiting me..

    Process:
    2 wash bucket
    Clay bar
    Chemical decon
    Engine bay
    Interior
    3-step polish
    Swissvax Cleaner fluid
    Swissvax Crystal Rock.

    Car at arrival, quite dirty but that is part of my detailing job to clean the paint ( too many peoples ask me if they should clean the car before, don’t worry I will take care of that task :P)


    Missing some clarity and depth!


    Theses wheels were in way better shape than the one on the C280. props to the owner for keeping them clean!


    Un bon polissage sera nécessaire!


    Décontaminant chimique qui coule sur le plancher. Sur une peinture noir, c’est impossible à photographié, mais vous voyez bien que ça travail.


    Engine bay before :


    And after being protected with rubber protector:


    Correction 50/50. This step is to test my correction process on a certain panel ( usually the hood) to make sure I like my result. As you can see the major RIDS remains but all the swirls are gone:

    Leave a comment:


  • cobrAA
    replied


    I think the 2-step really improved the reflection on the paintwork, as you can see by yourself. The swissvax wax darken the paint for a wetter look.


    I always polish the taillight:


    Not bad not bad ( considering the amount of orange peel)


    Merci à tous! À la prochaine.


    Ma collection de cire as it sit..


    Leave a comment:

Working...
X