If this is your first visit, be sure to
check out the FAQ by clicking the
link above. You may have to register
before you can post: click the register link above to proceed. To start viewing messages,
select the forum that you want to visit from the selection below.
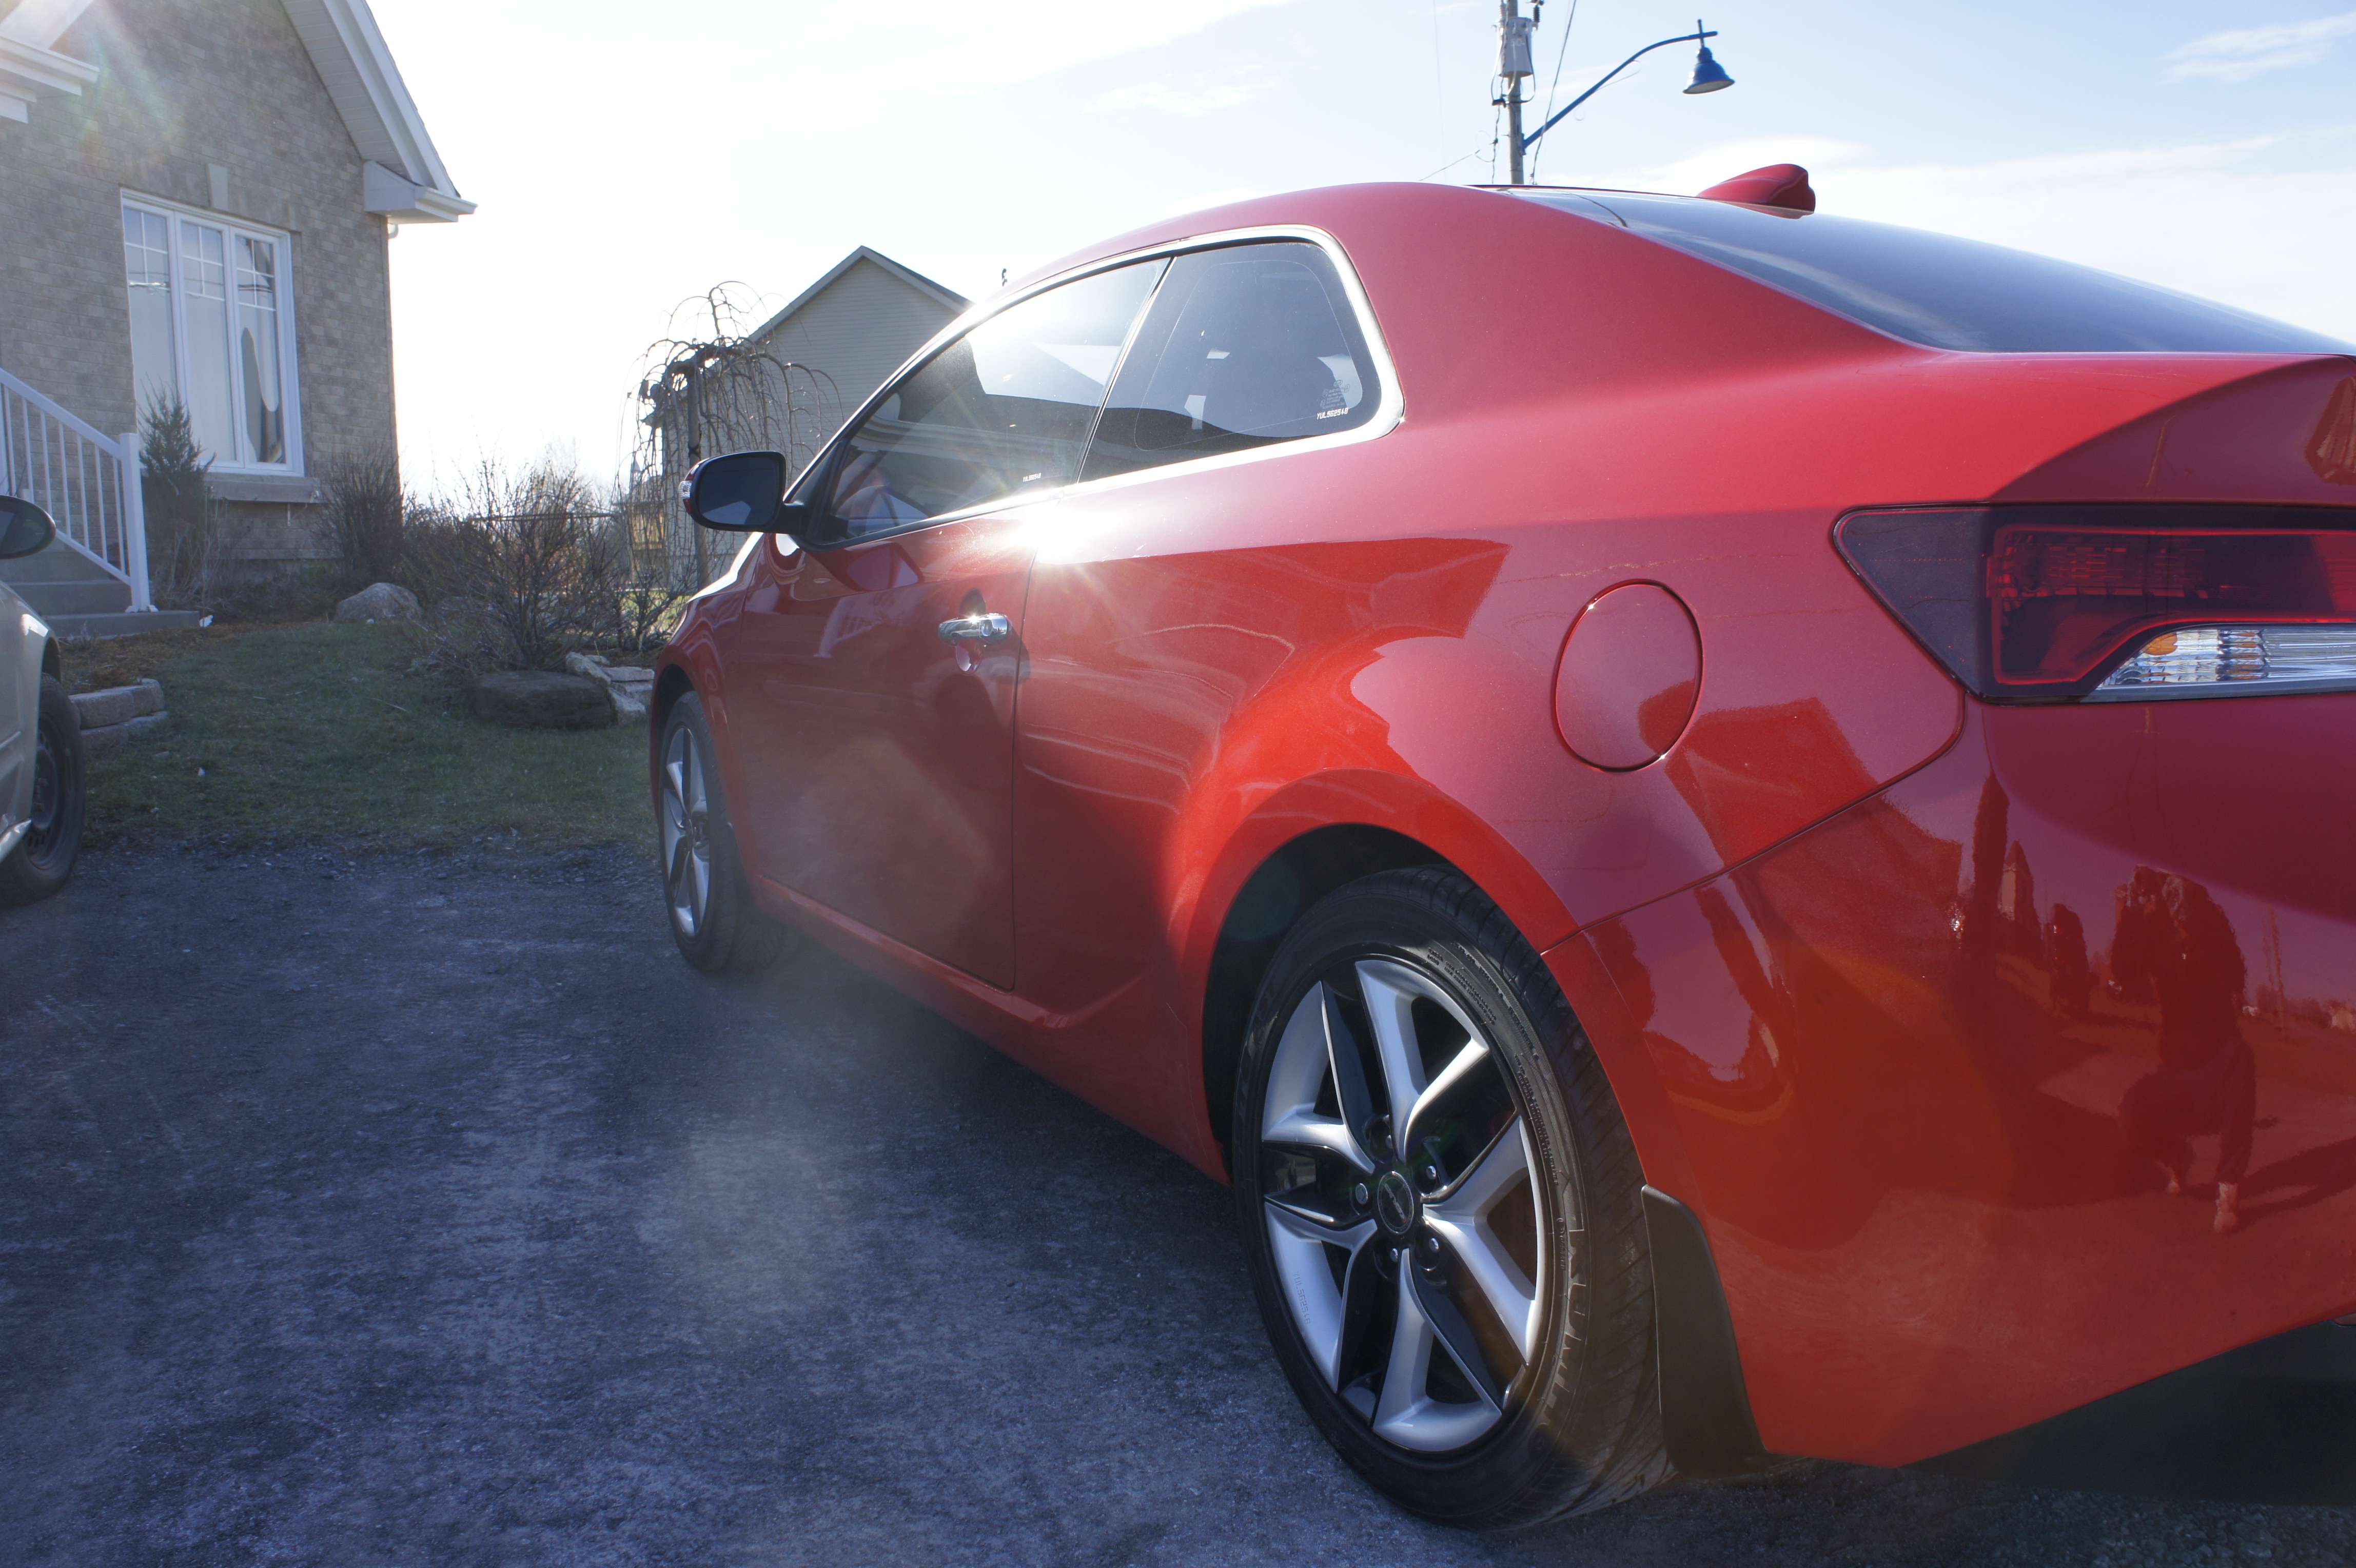
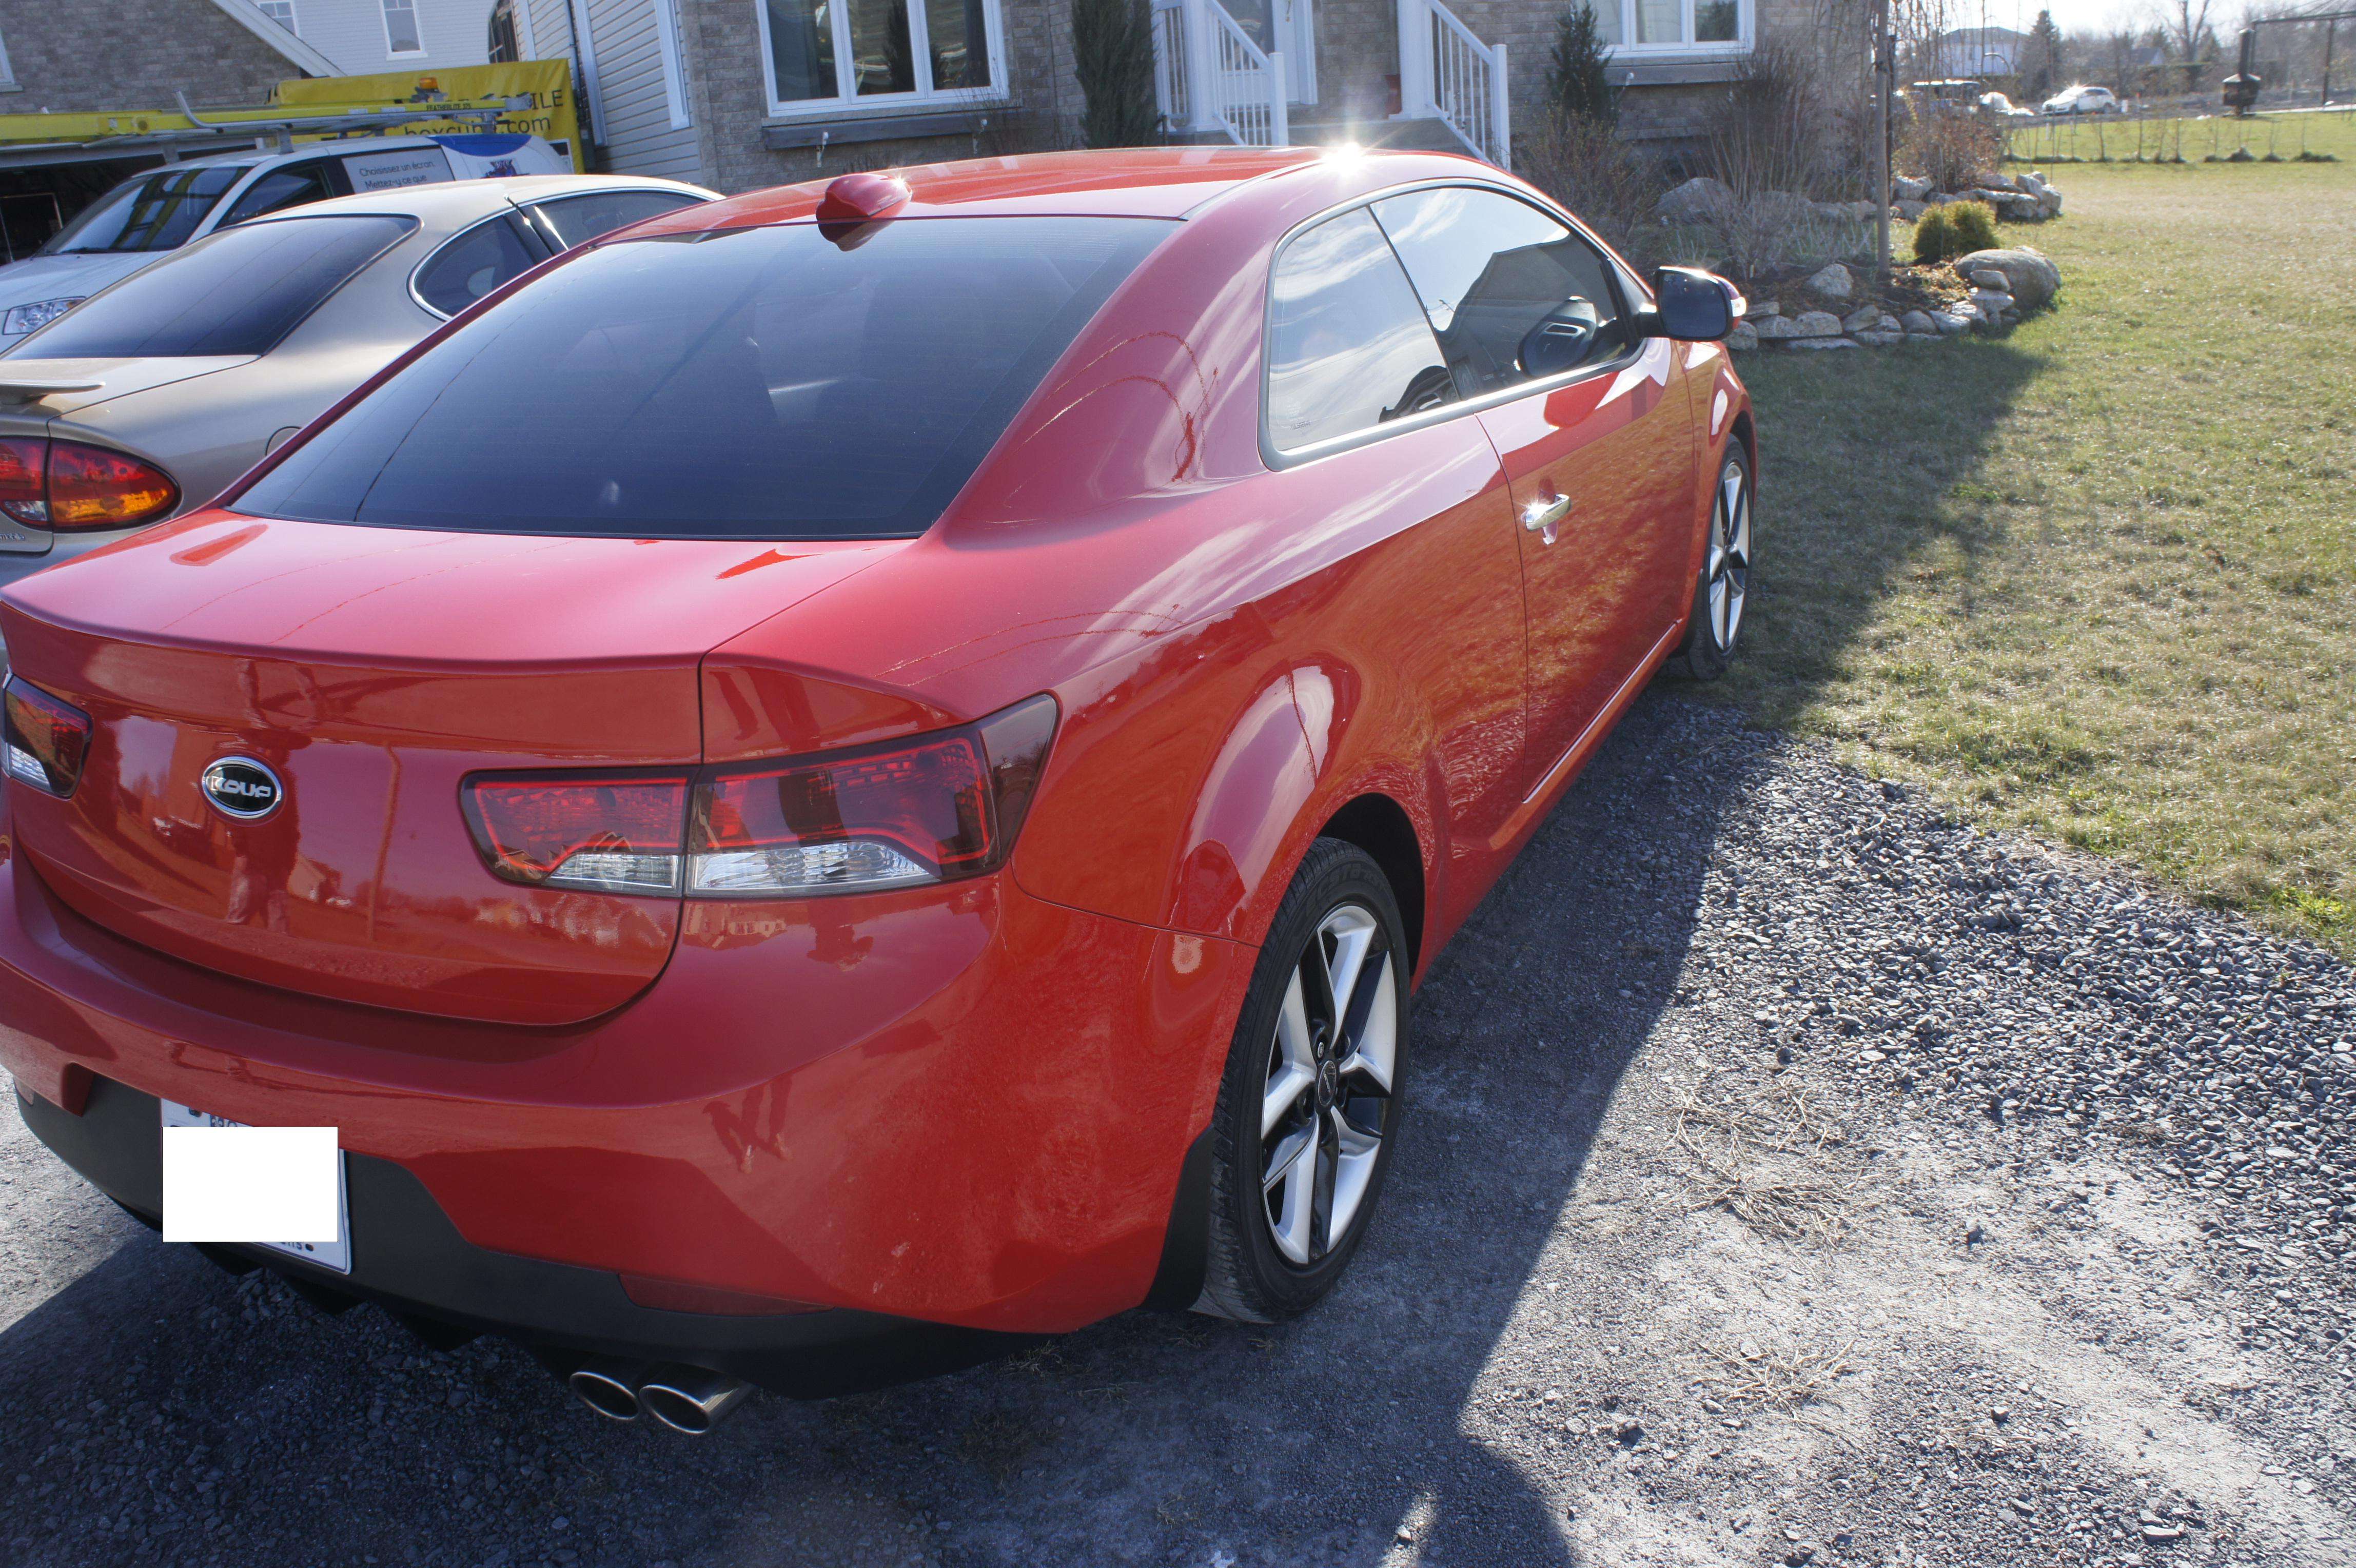
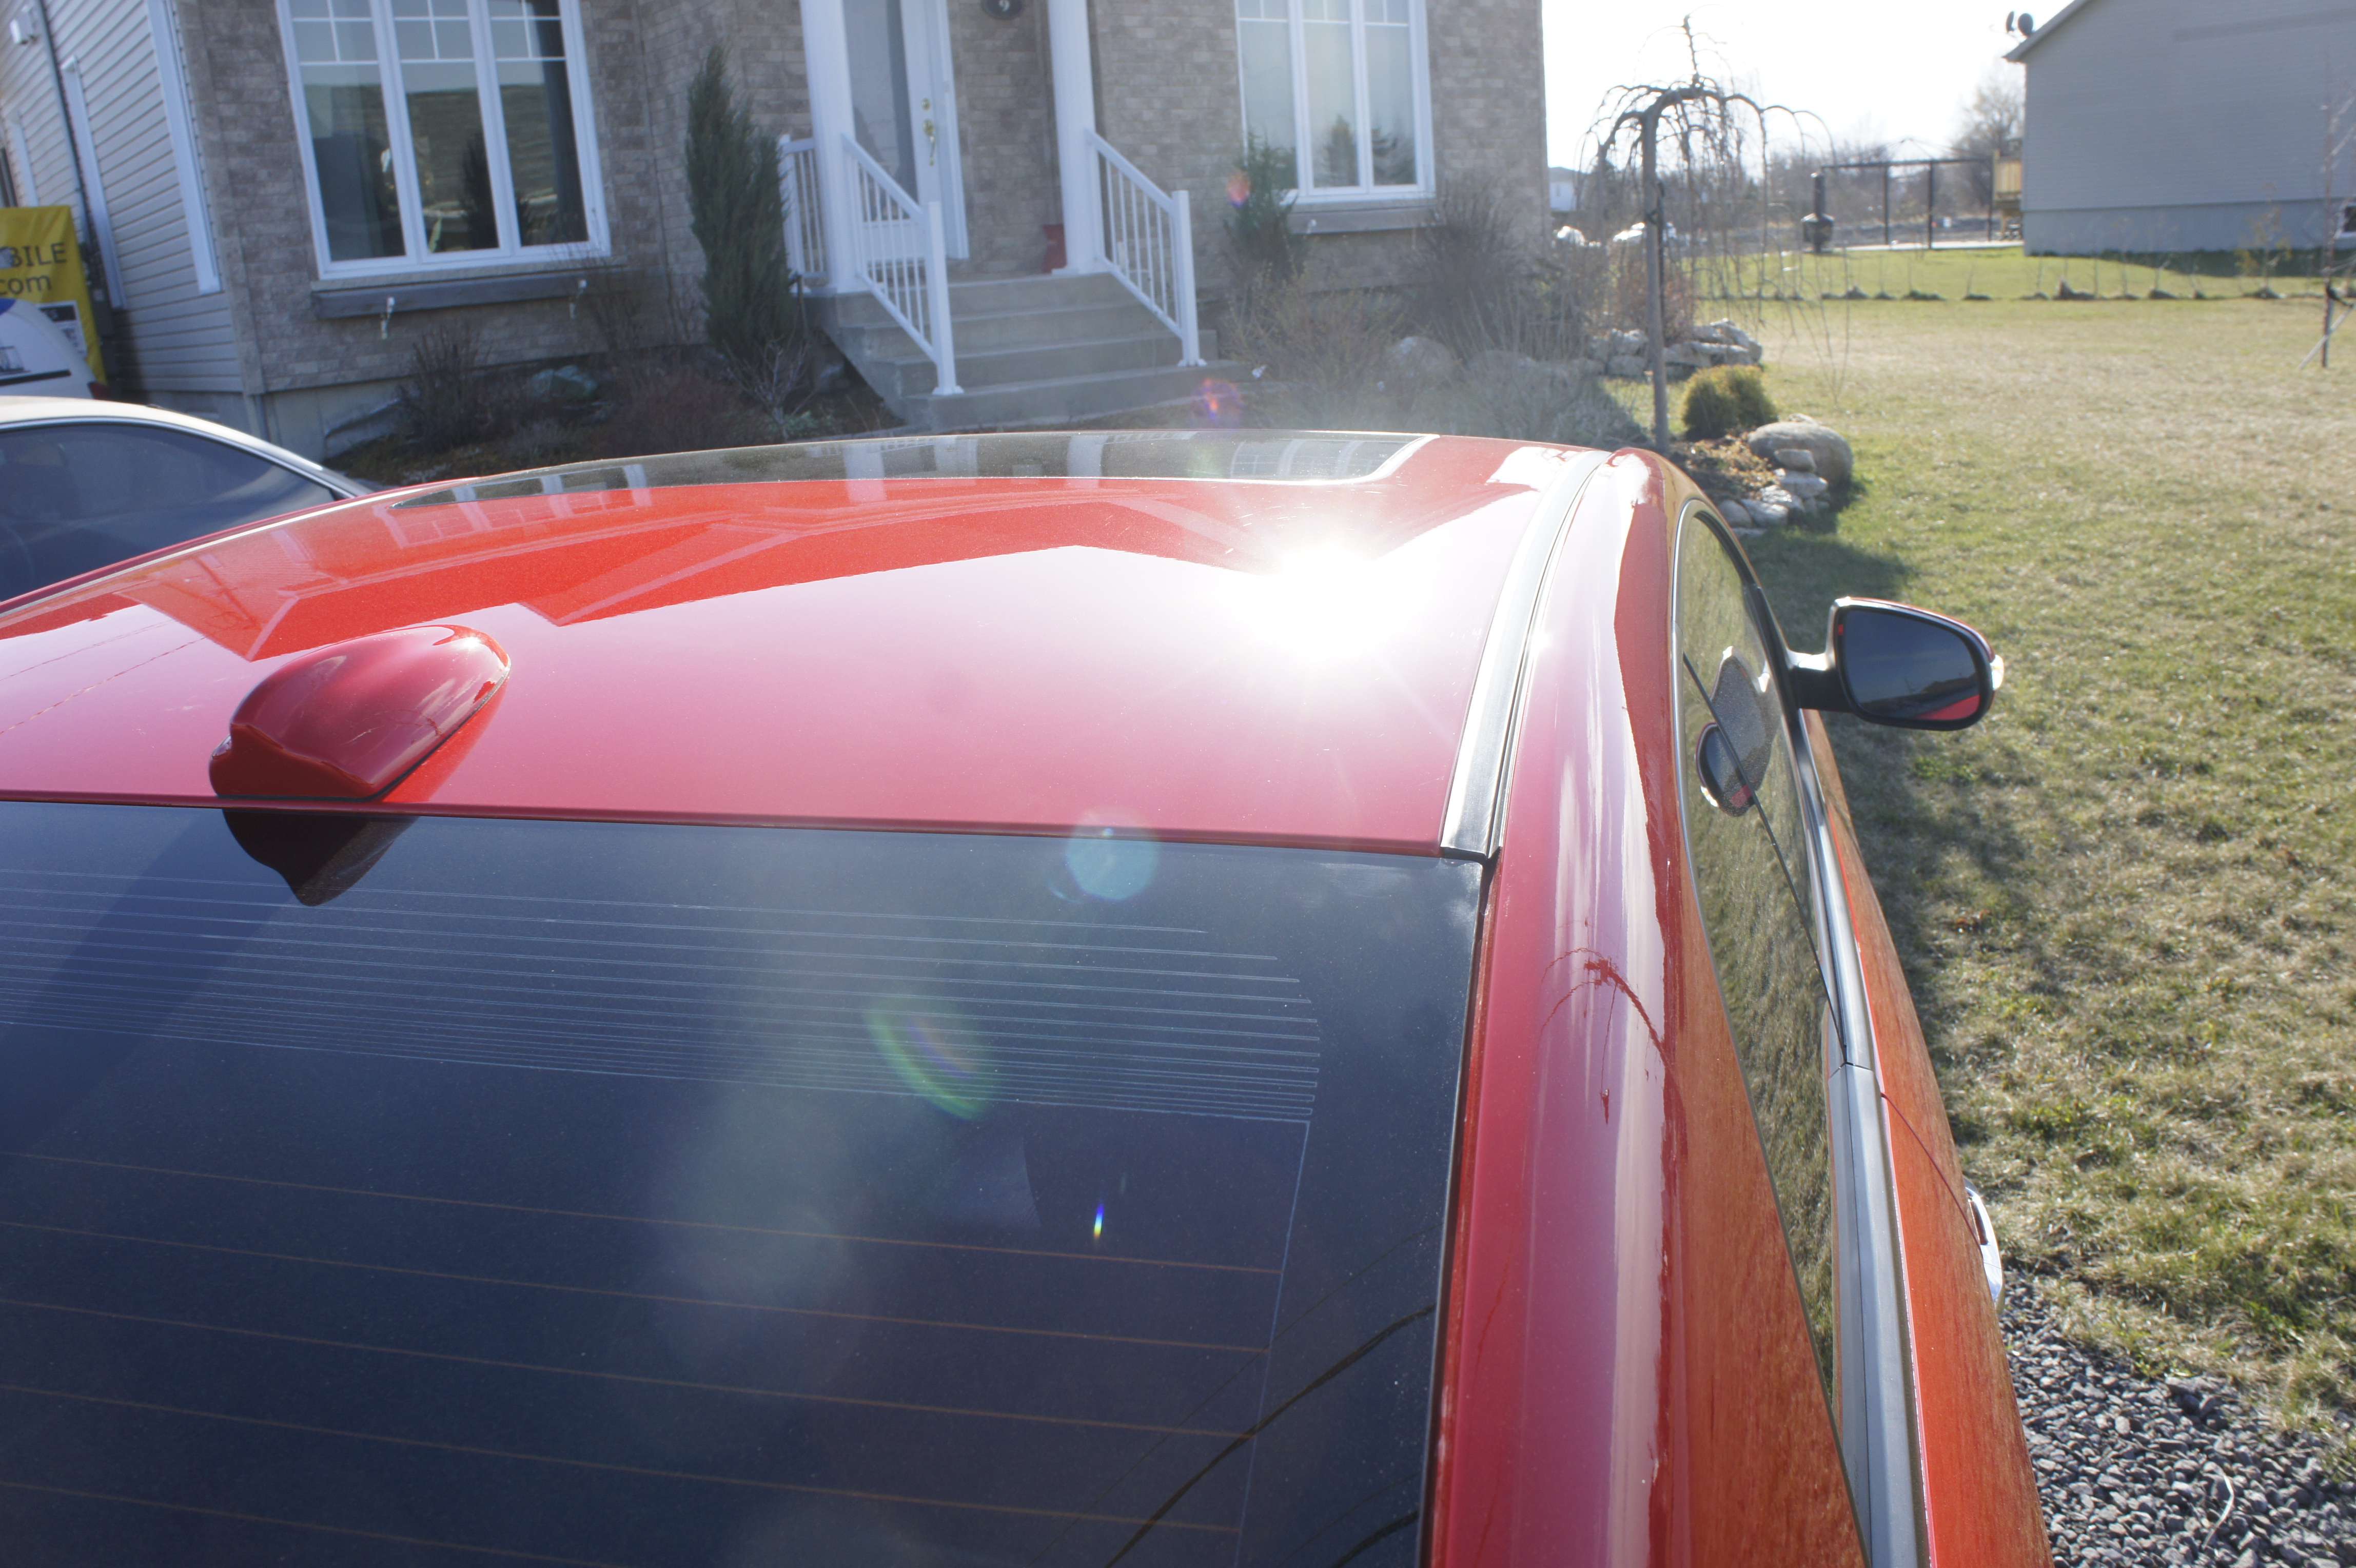
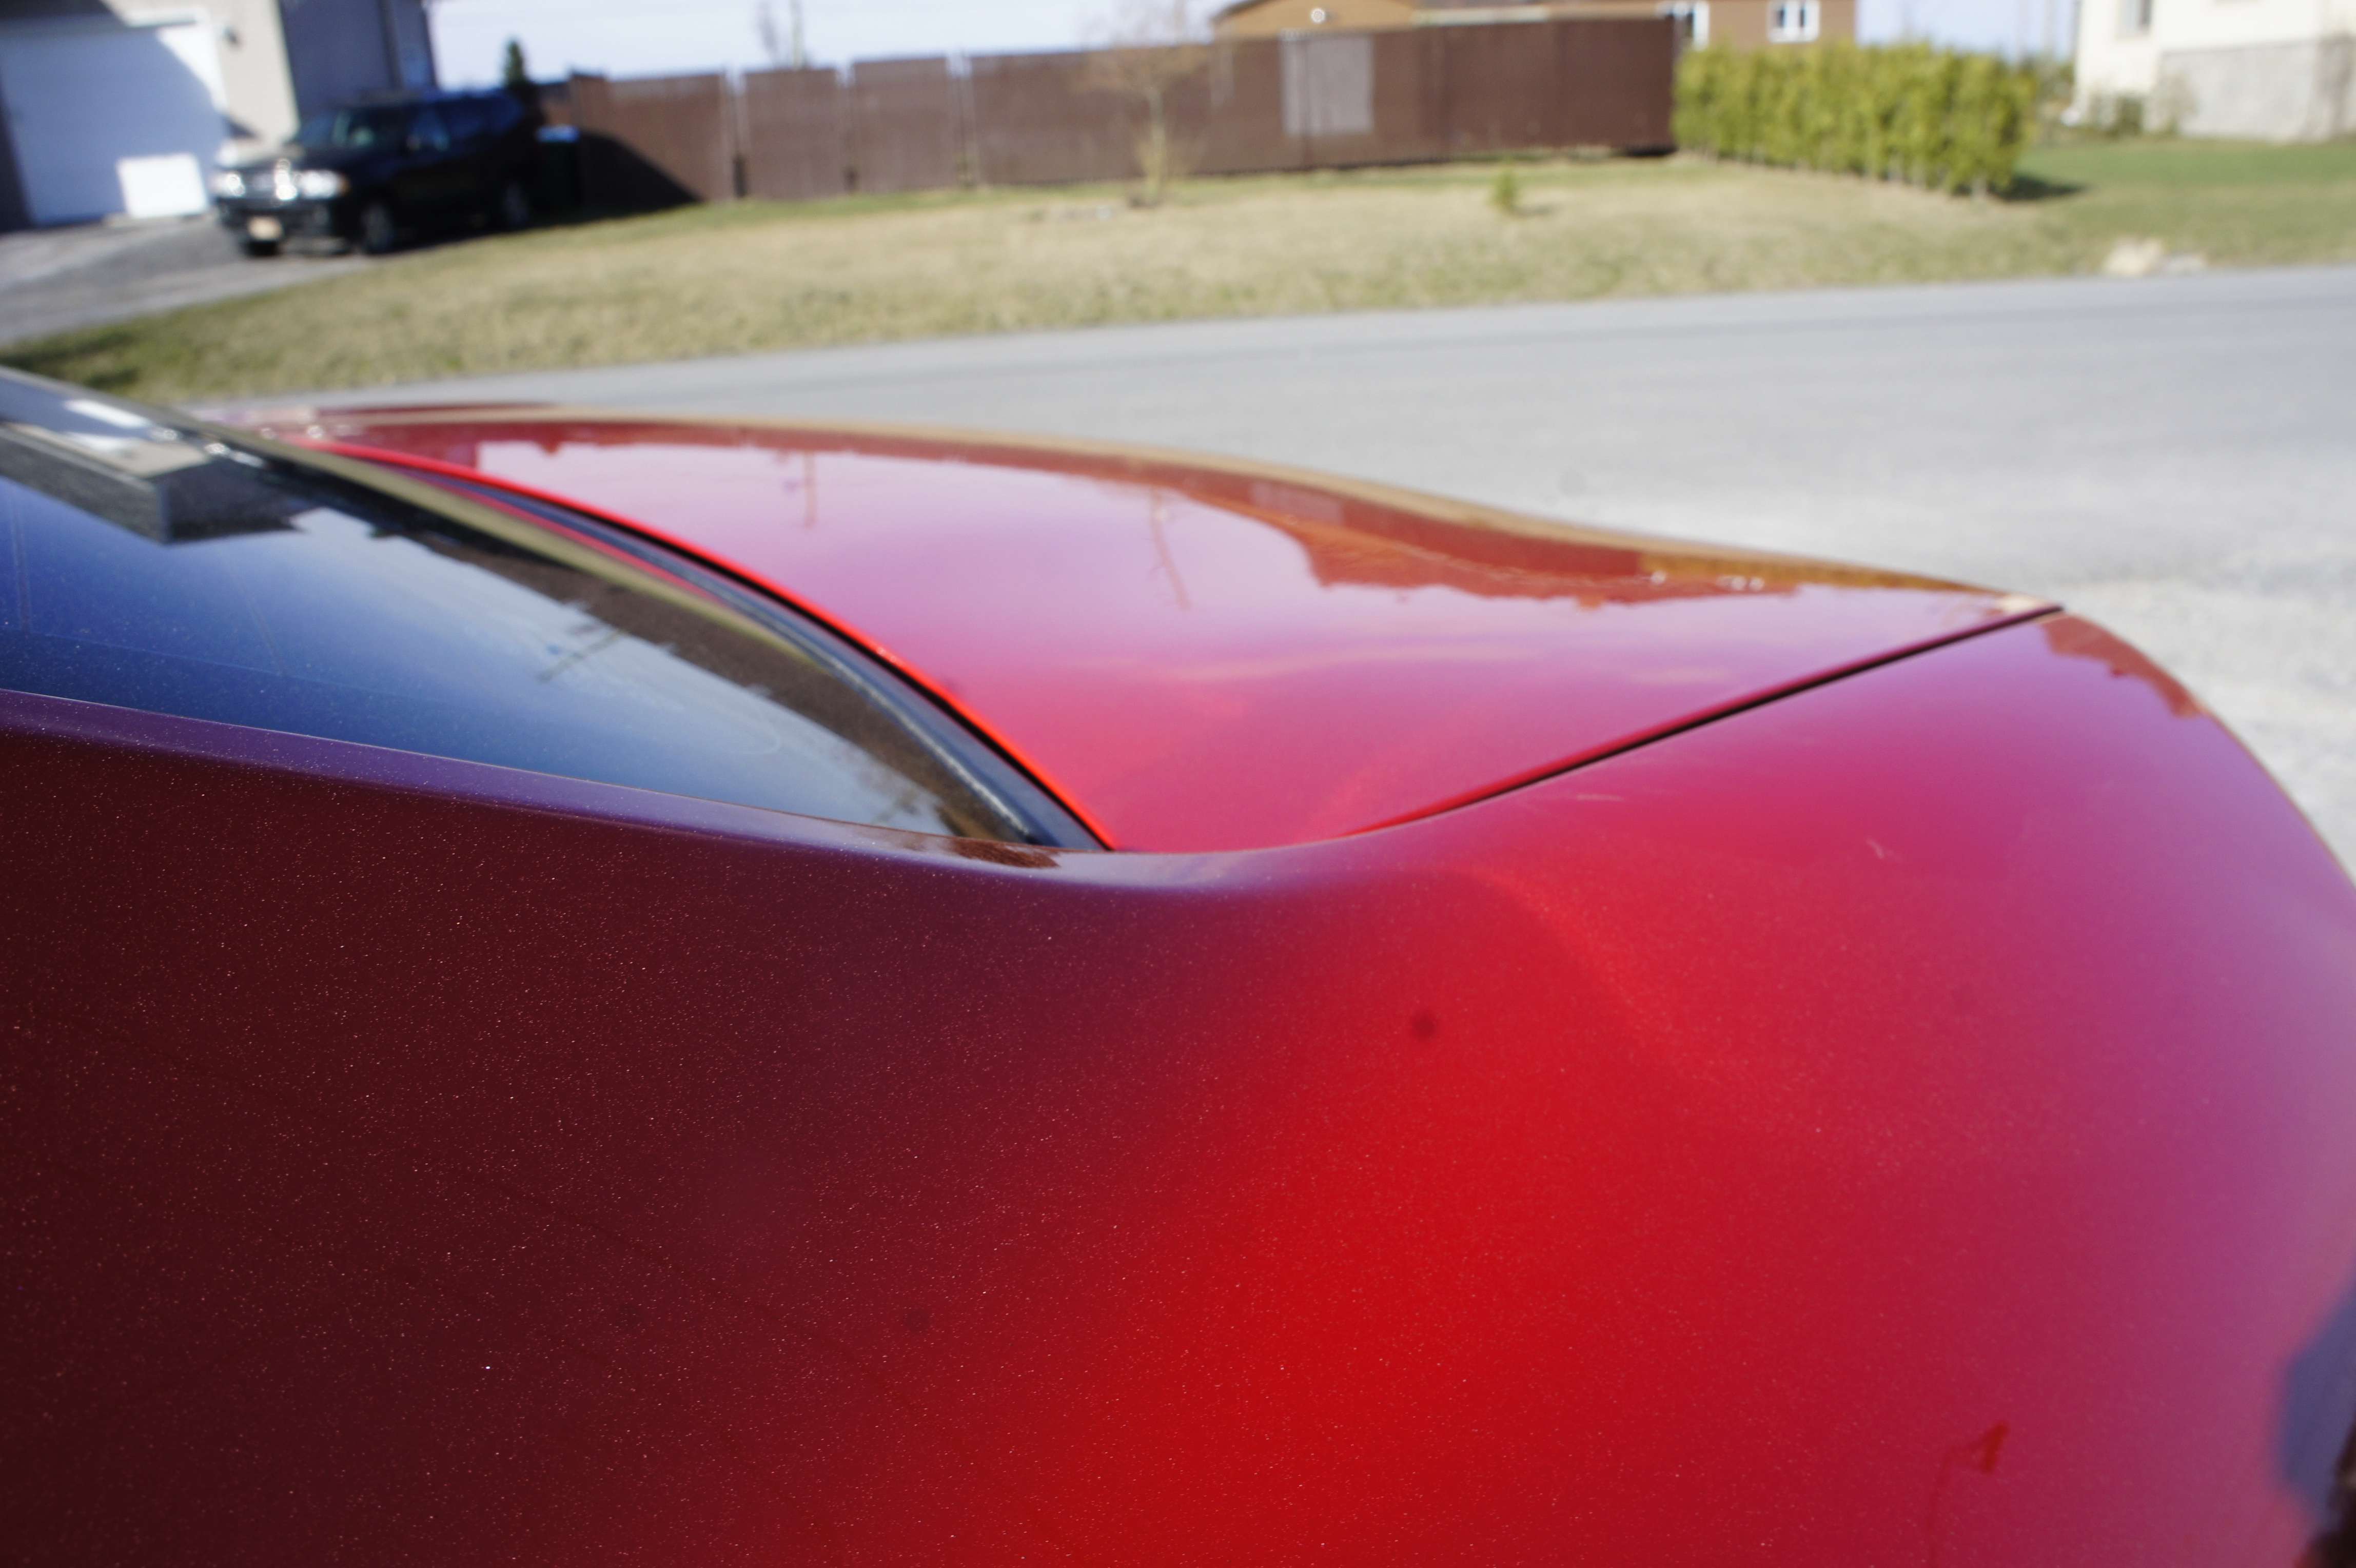
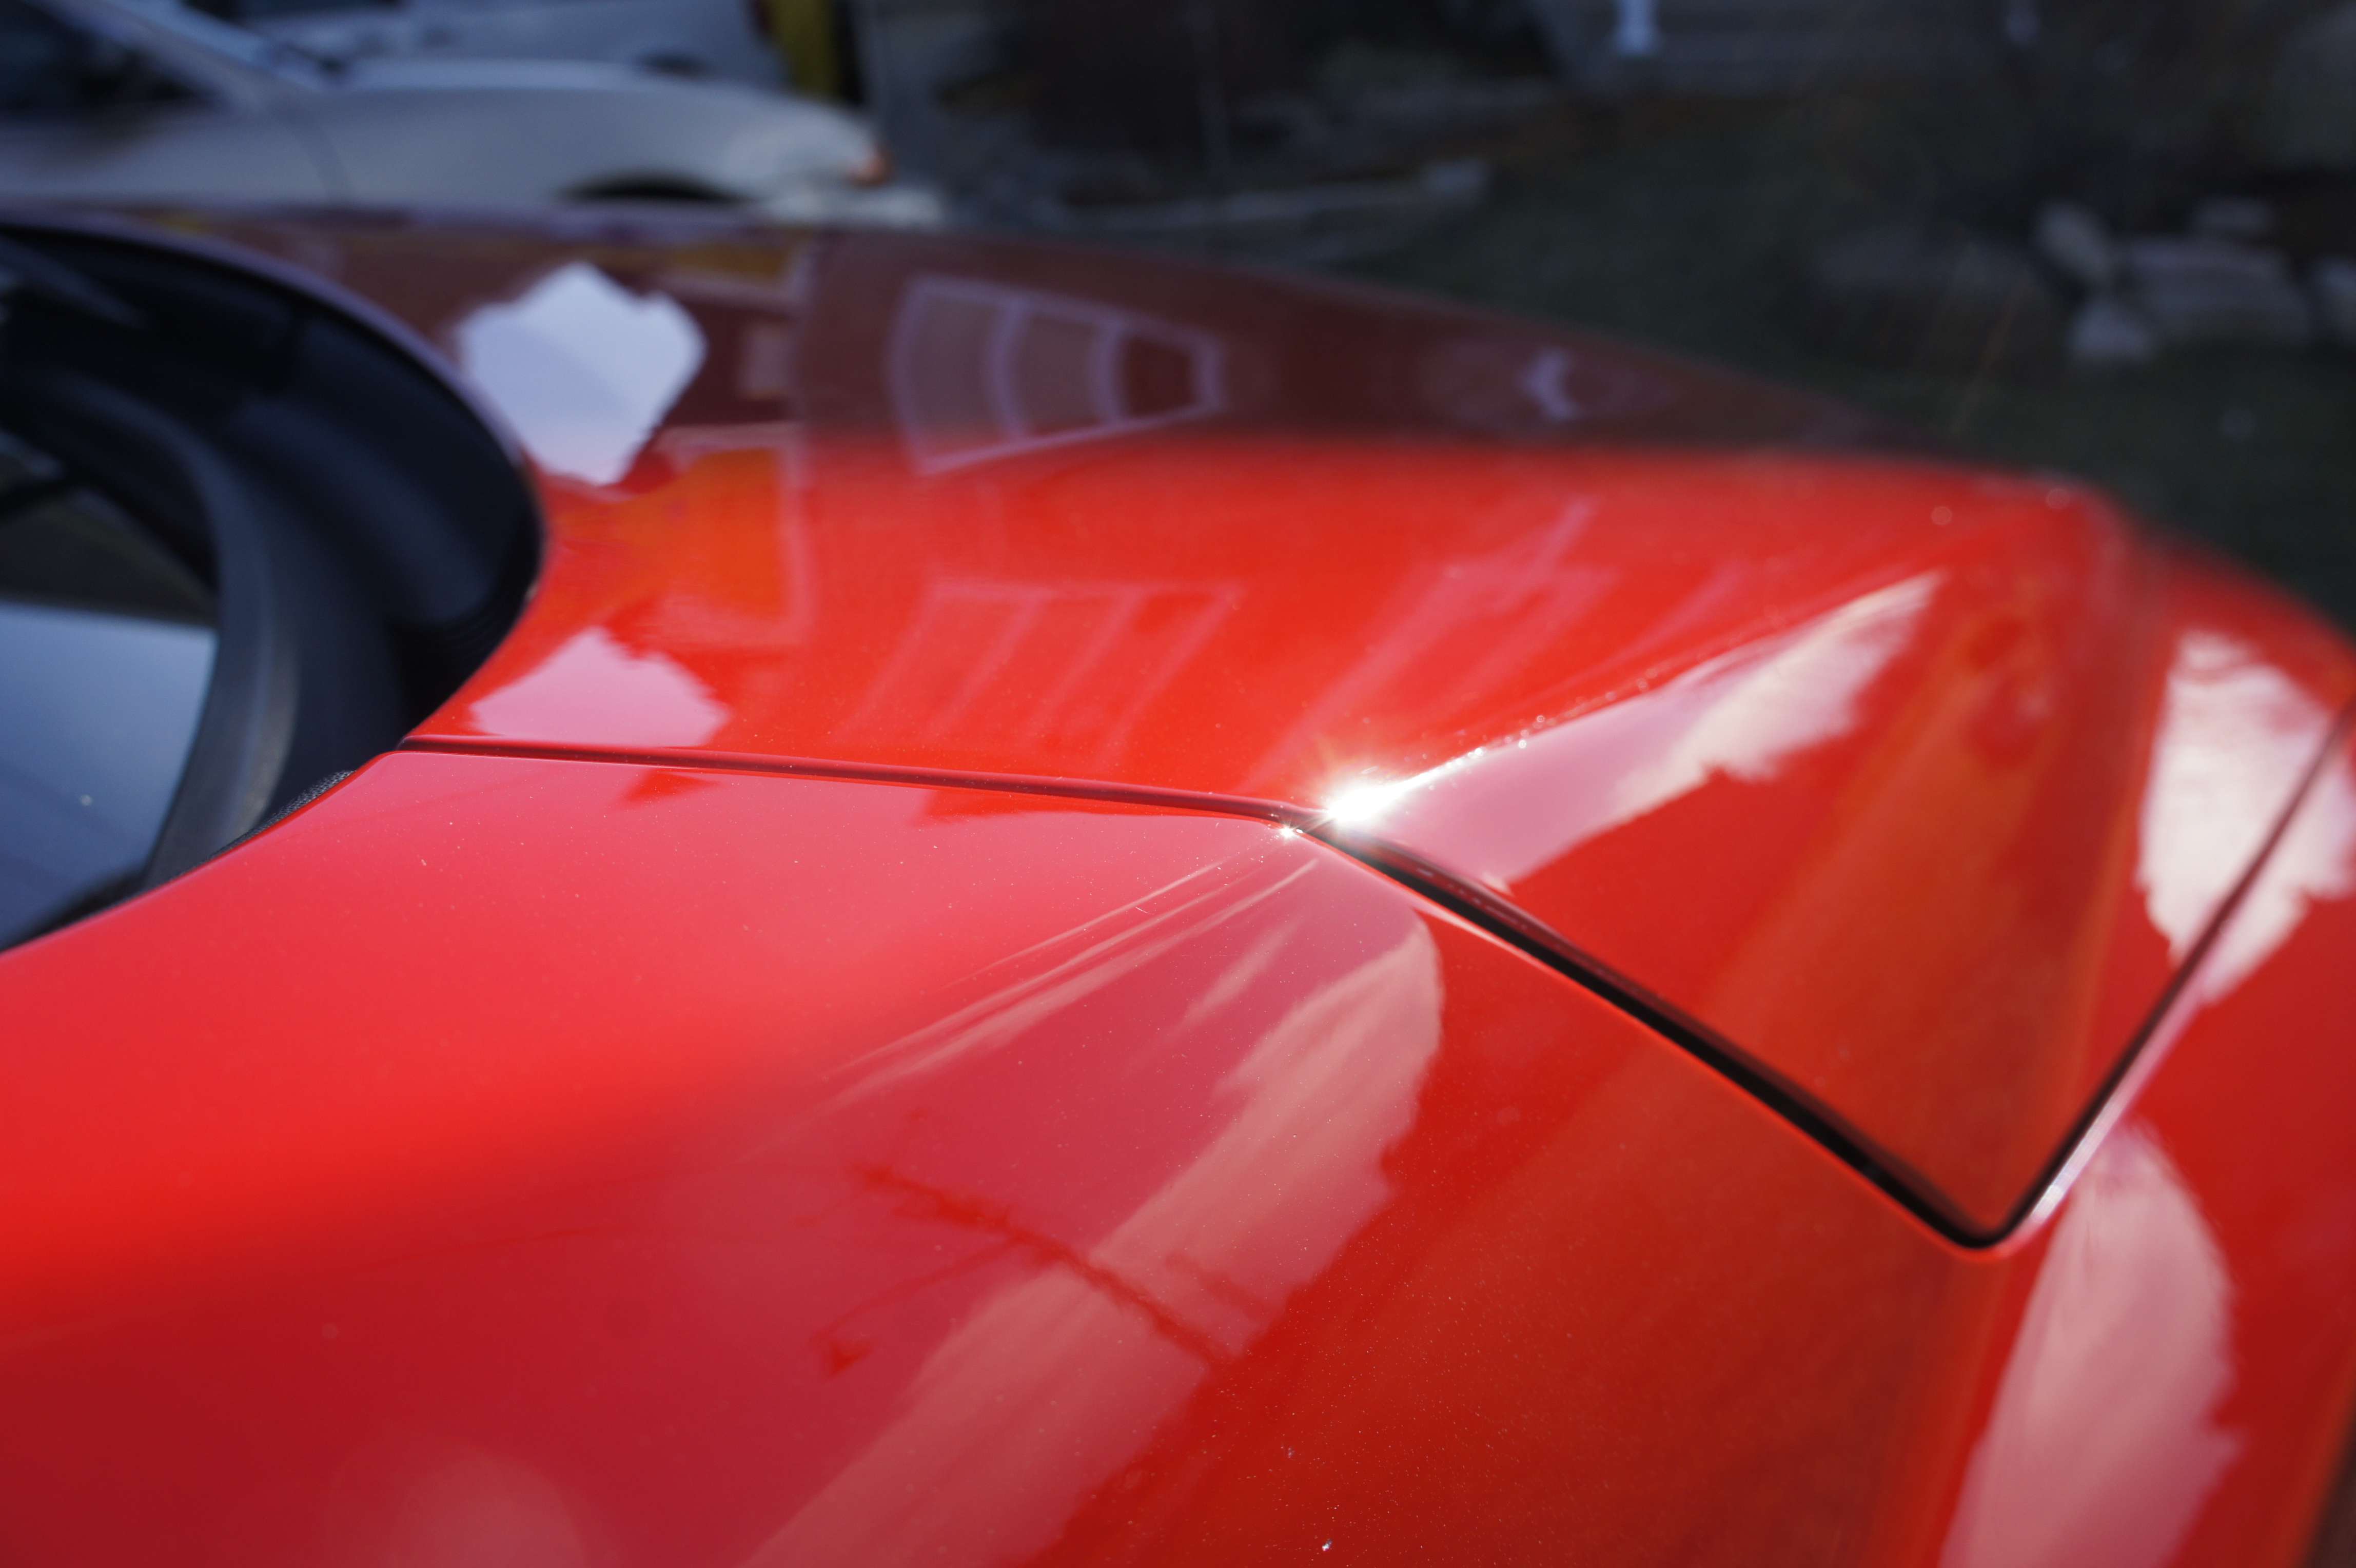
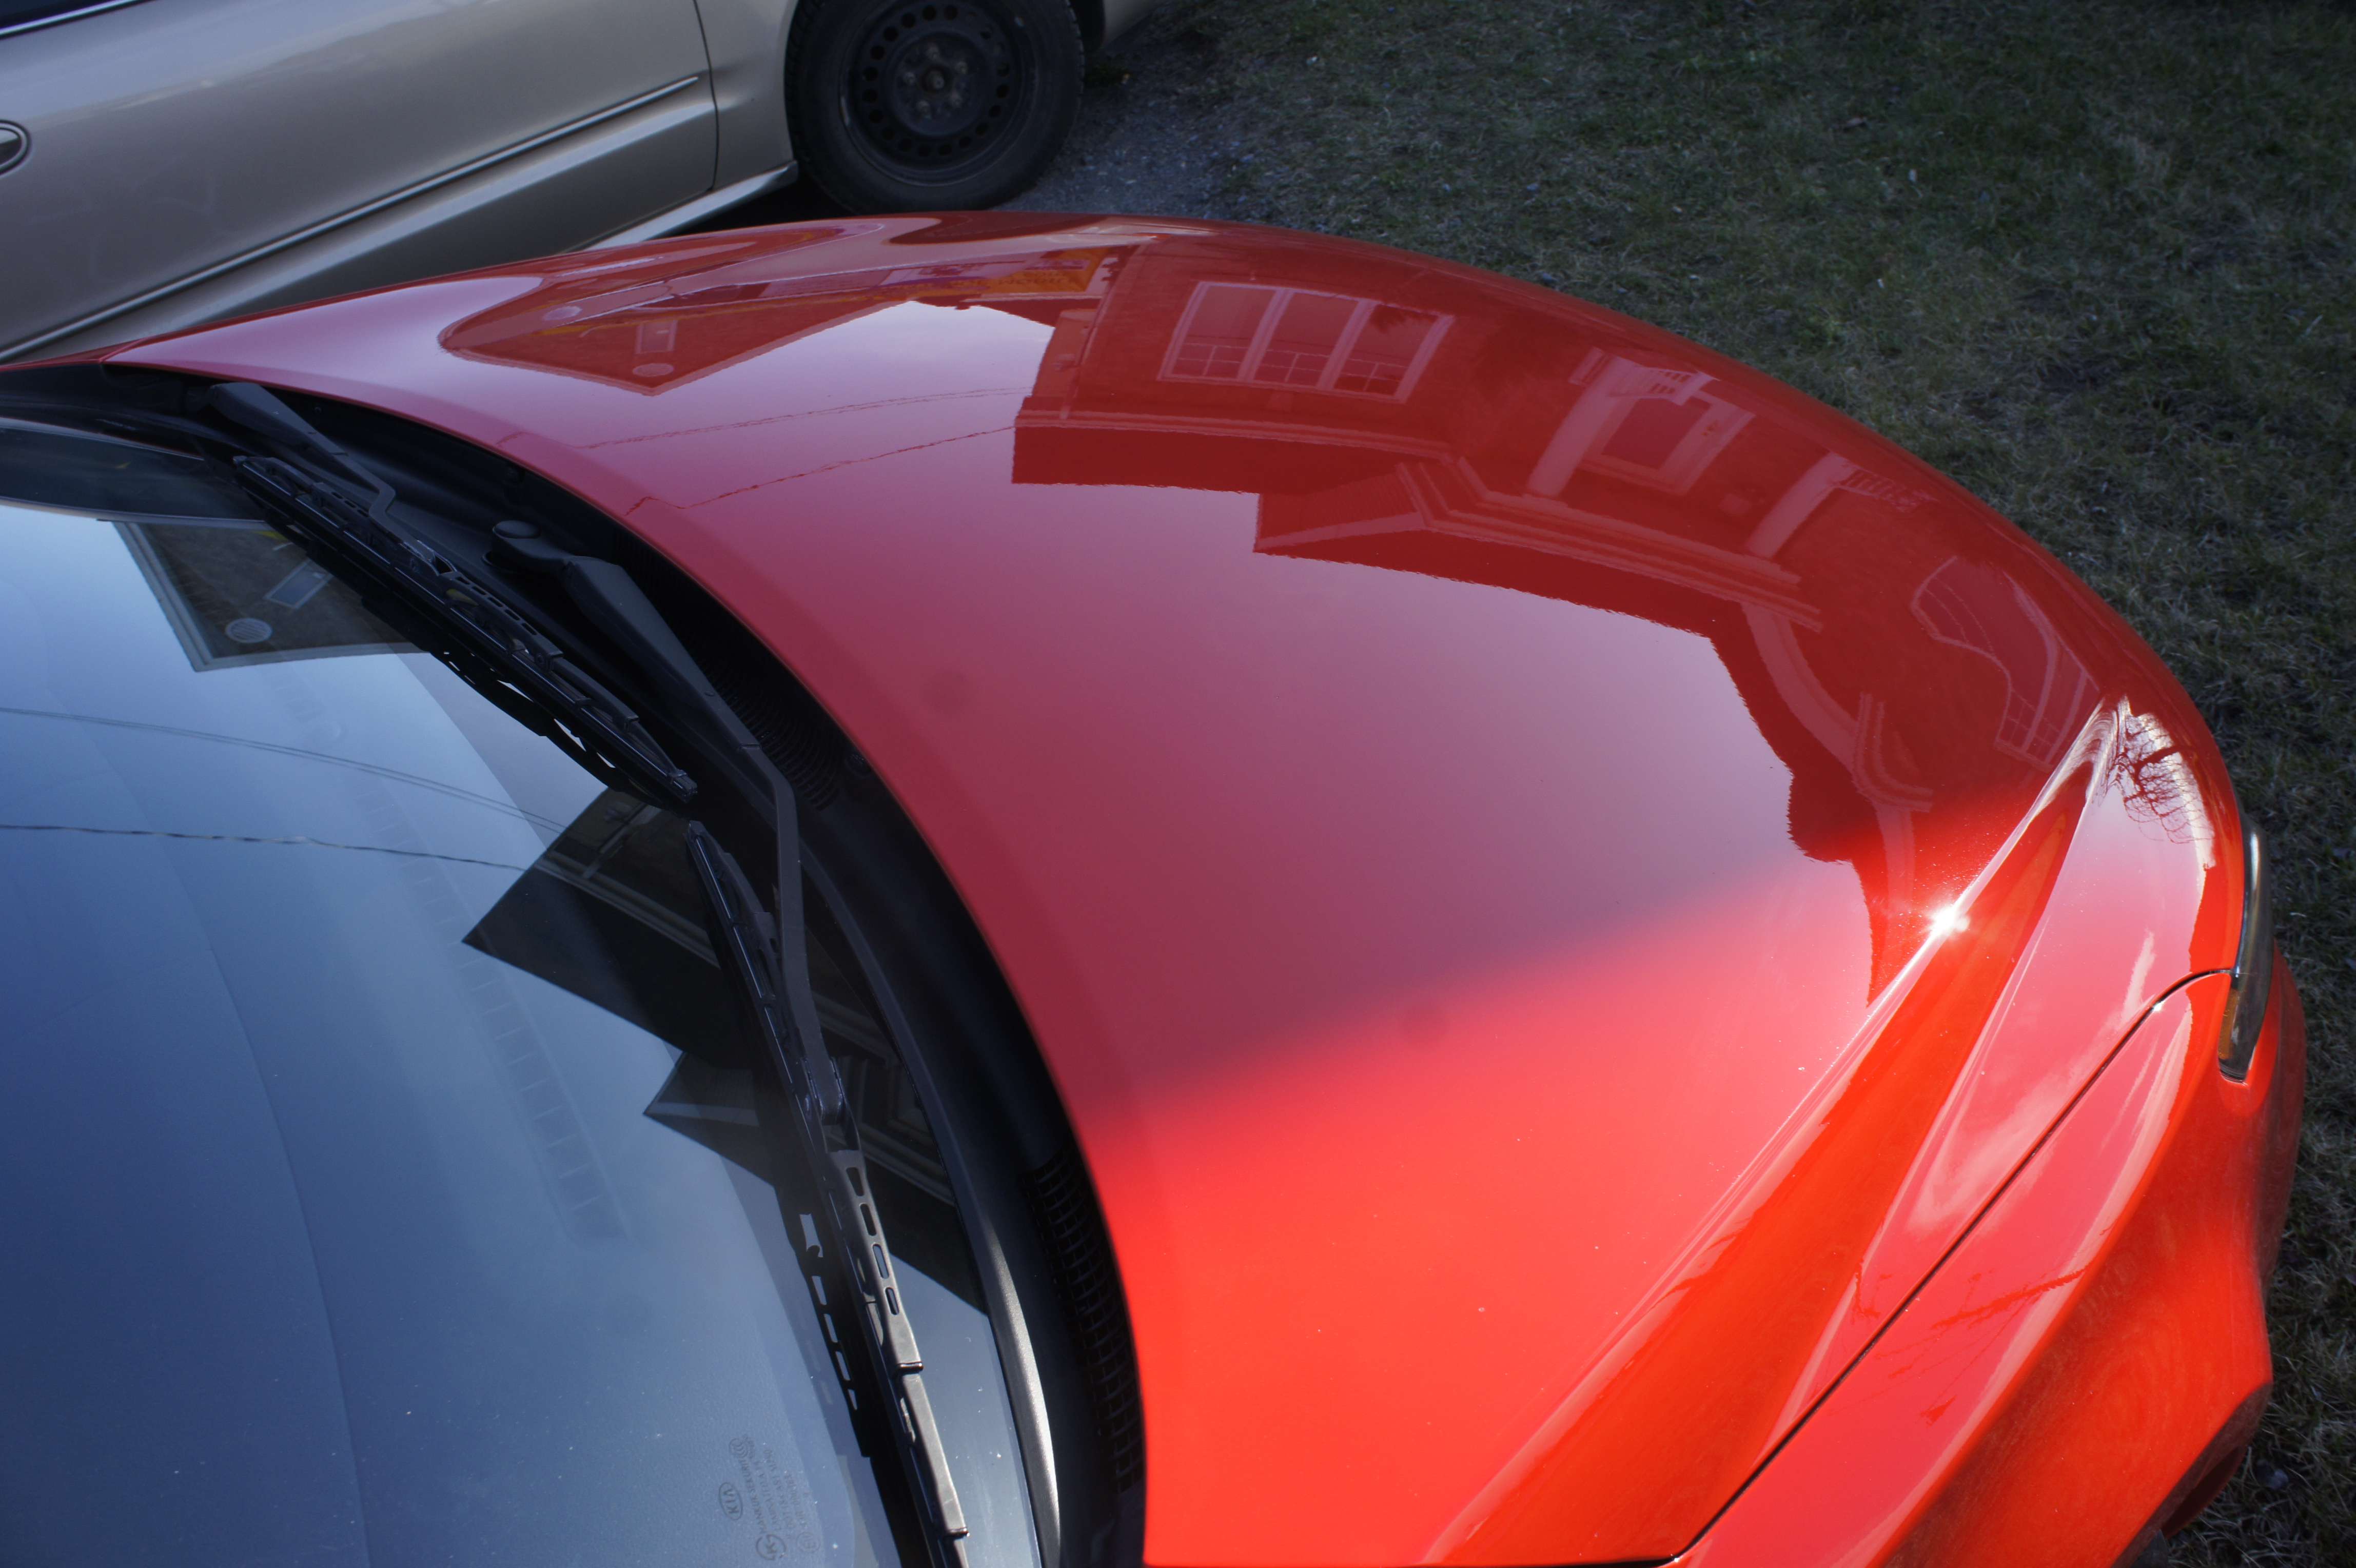
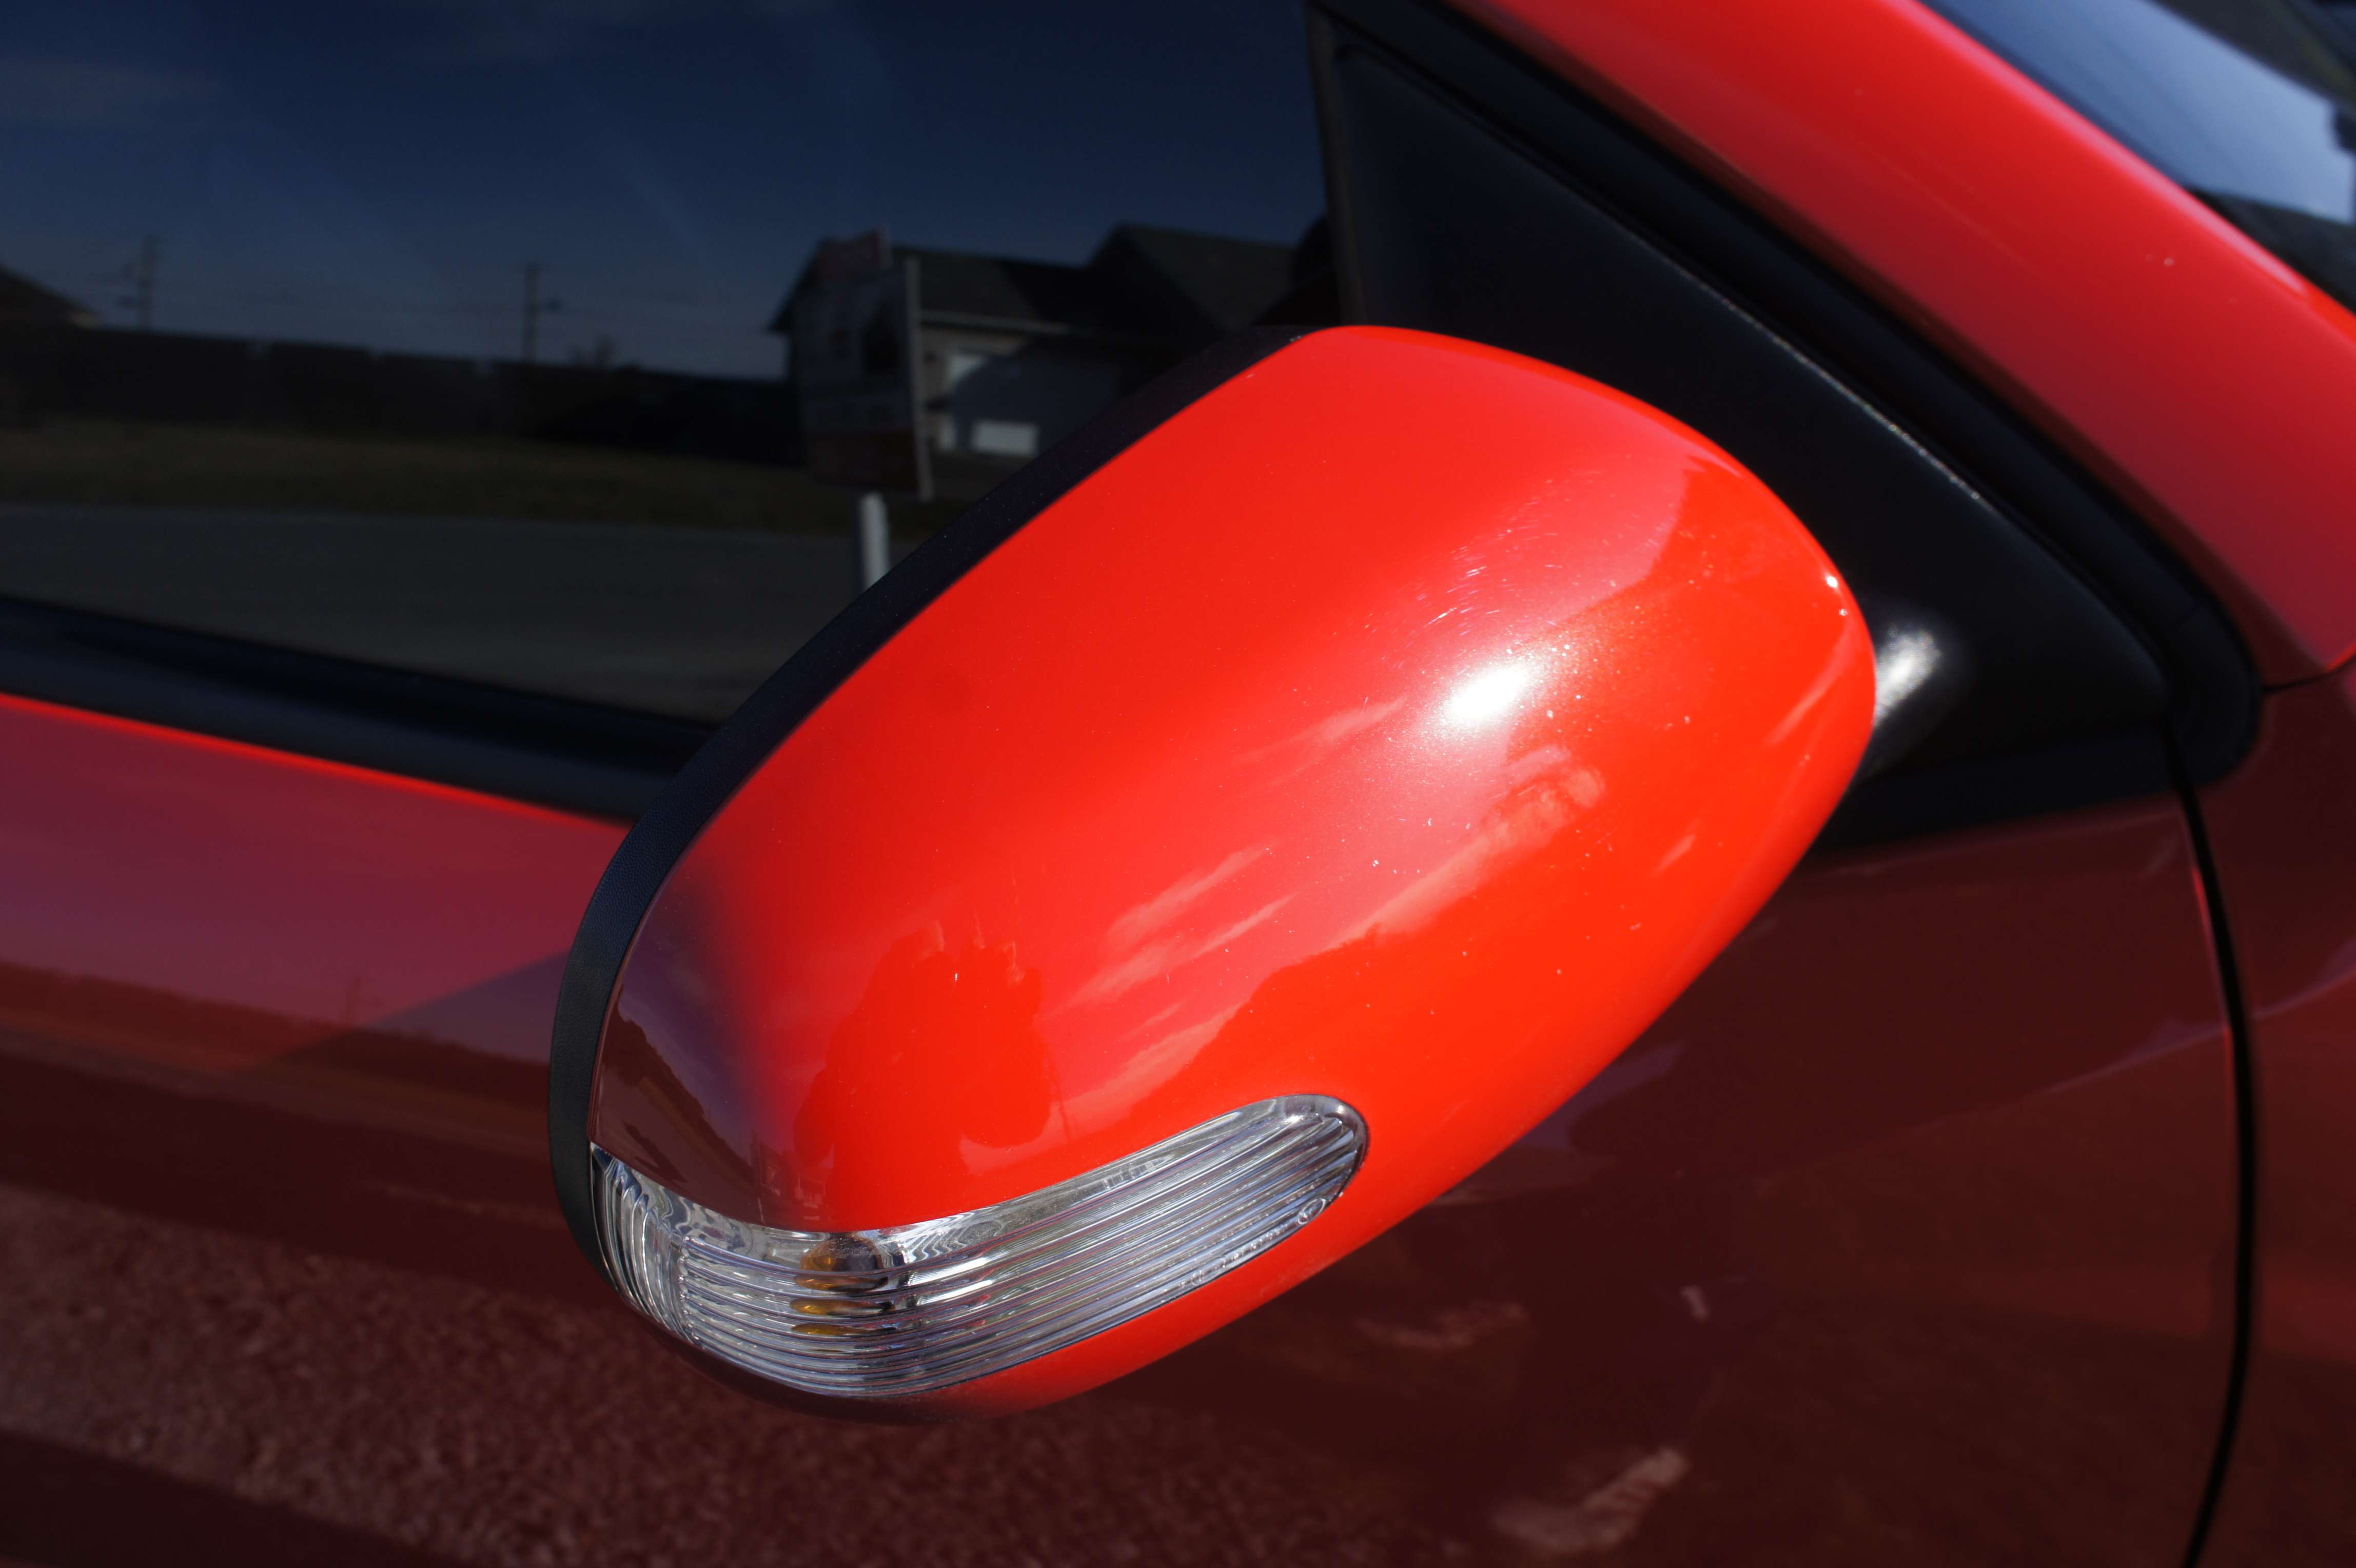
Pas de soleil, malheureusement, mais quand m�me, la peinture a une belle profondeur qu’on voit rarement chez les peintures japonaises de couleurs p�les.
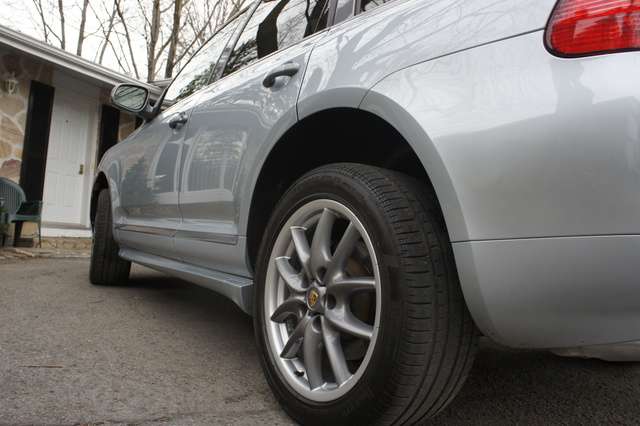
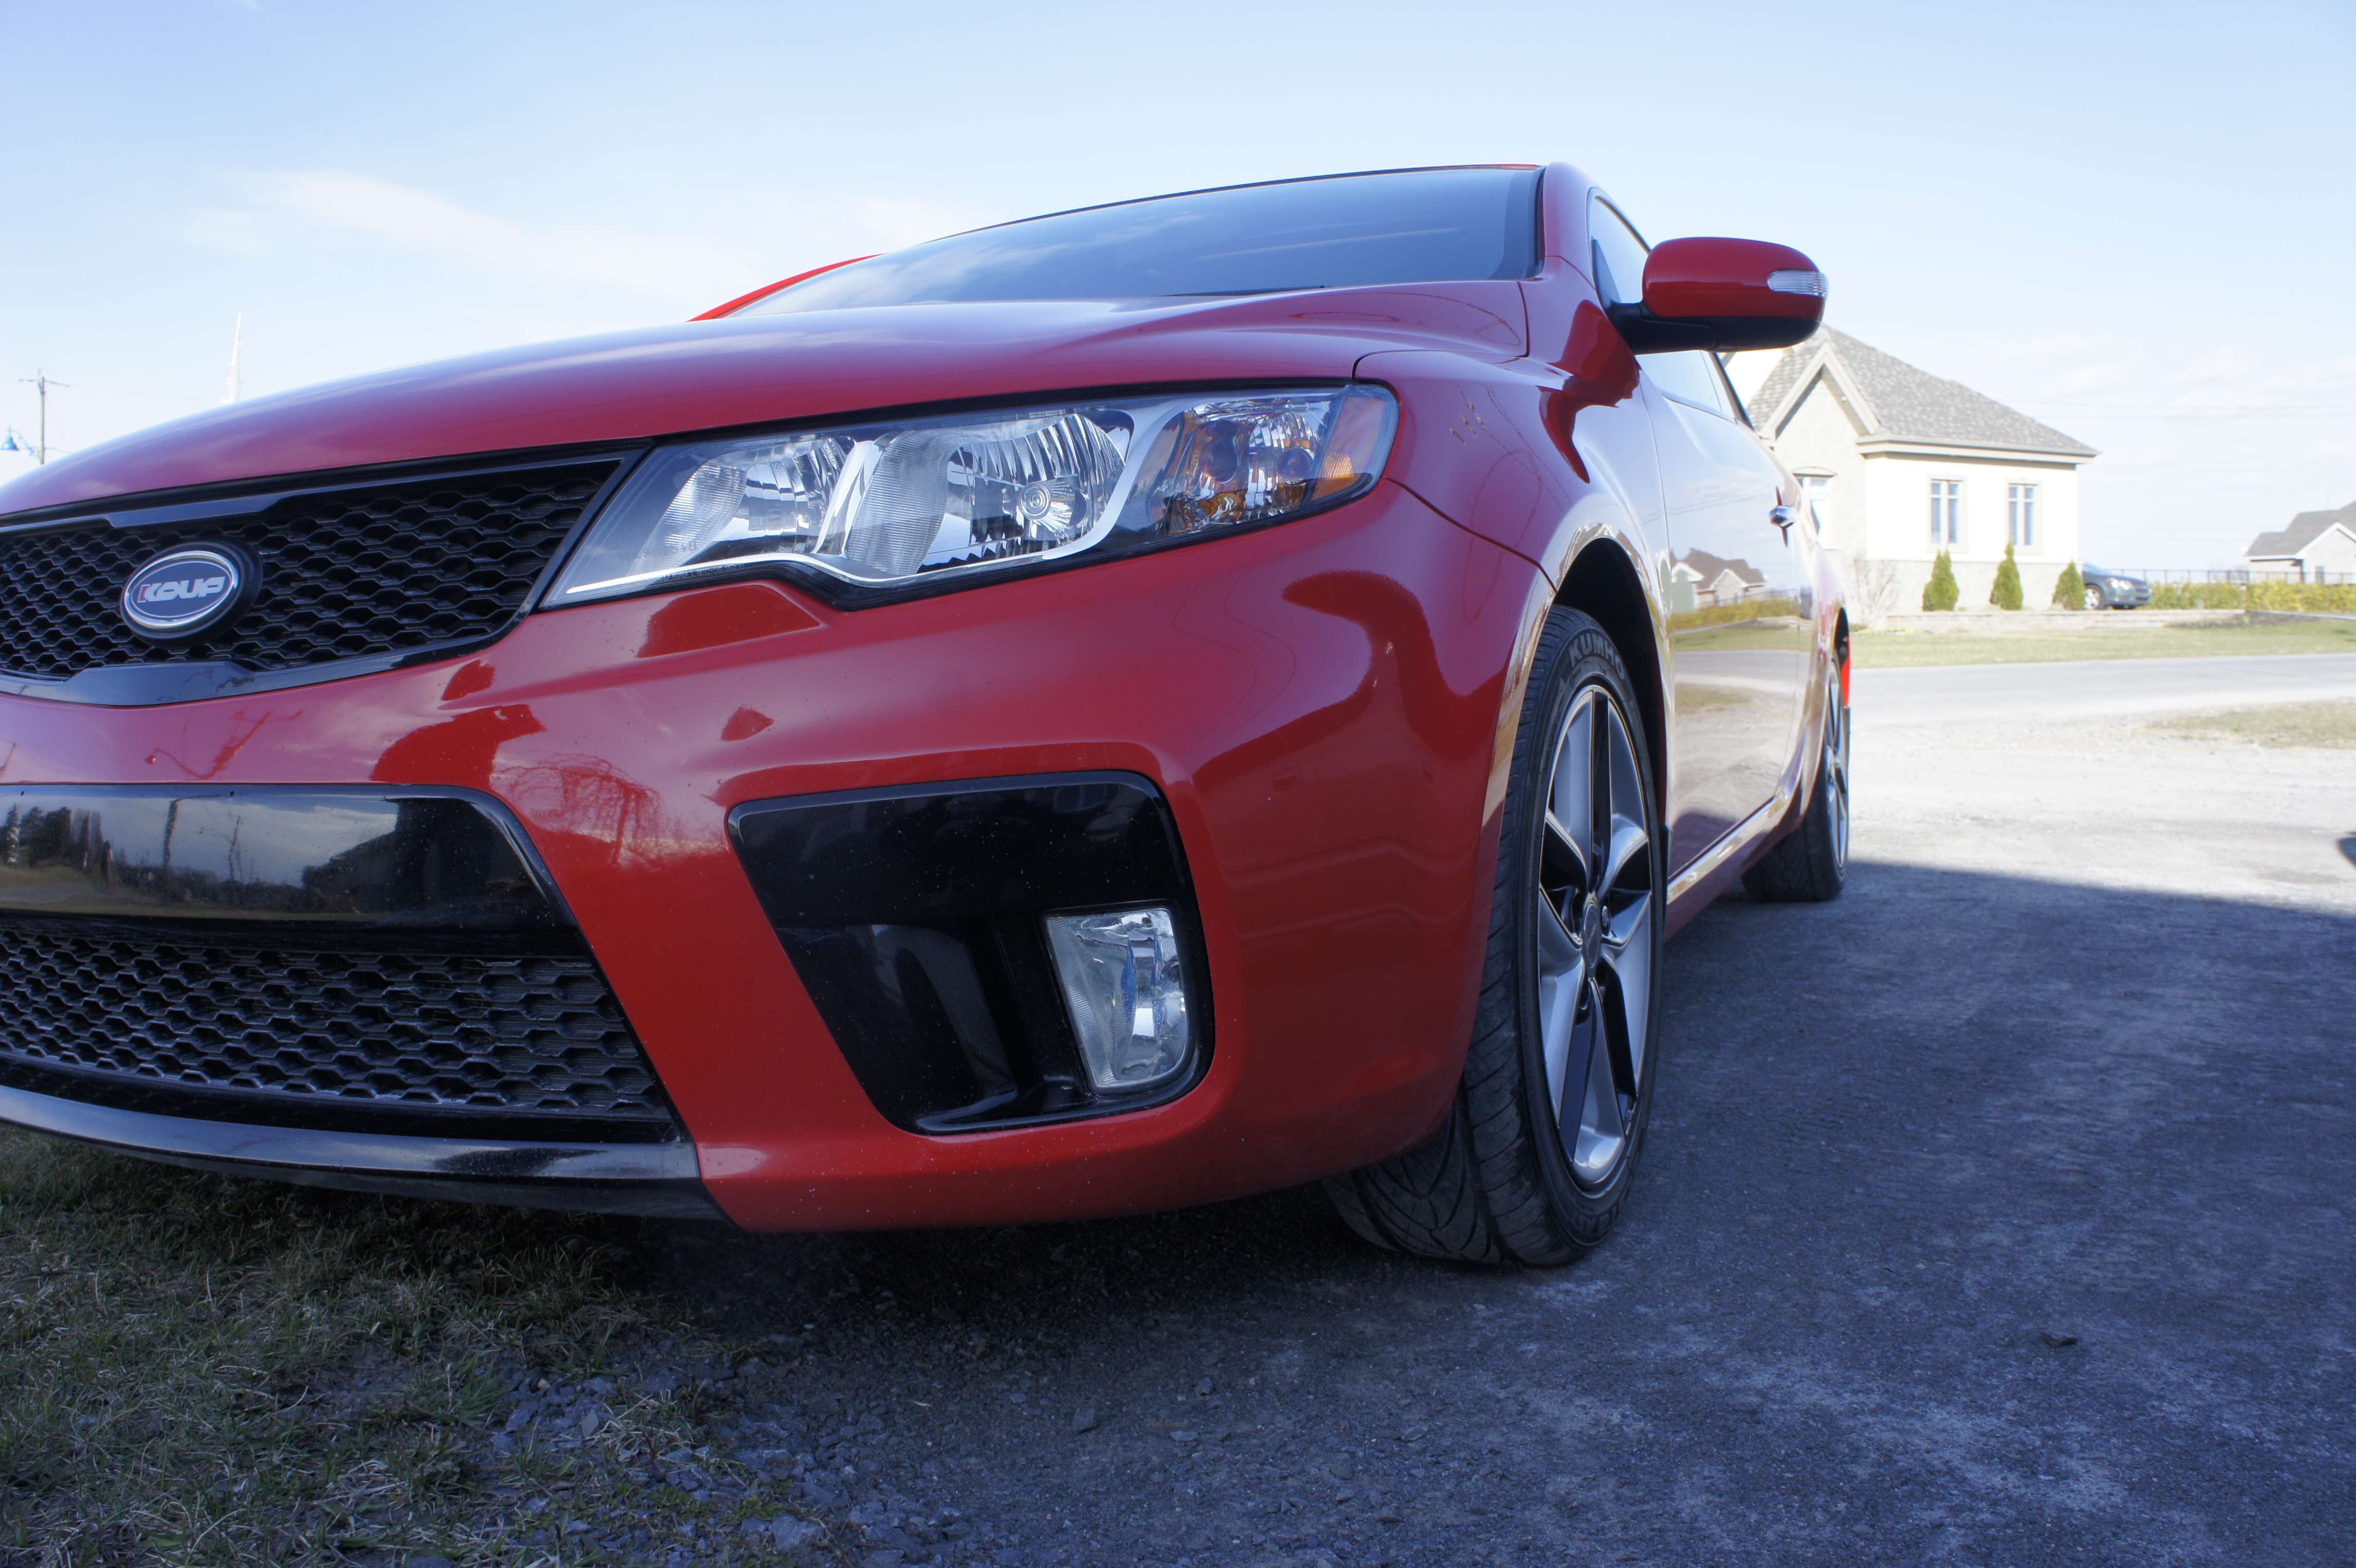
Here we have today a sweet Cayenne. The car was in good shape. A couple of light scratches there and there but overall it was well kept! And it’s always easier/ more fun to work on a car that is already well kept! Lots of pics so I will skip the bla-bla!
Process:
2-bucket washing method
Foam gun
Clay bar
Chemic. Decon
1-step polish
Zymol HD-Cleanse pre-wax treatment
Zymol Glasur which is specially formulated for Porsche’s paint ( so says Zymol!)
Engine bay cleaned
Interior done by extractor
Leather conditioner
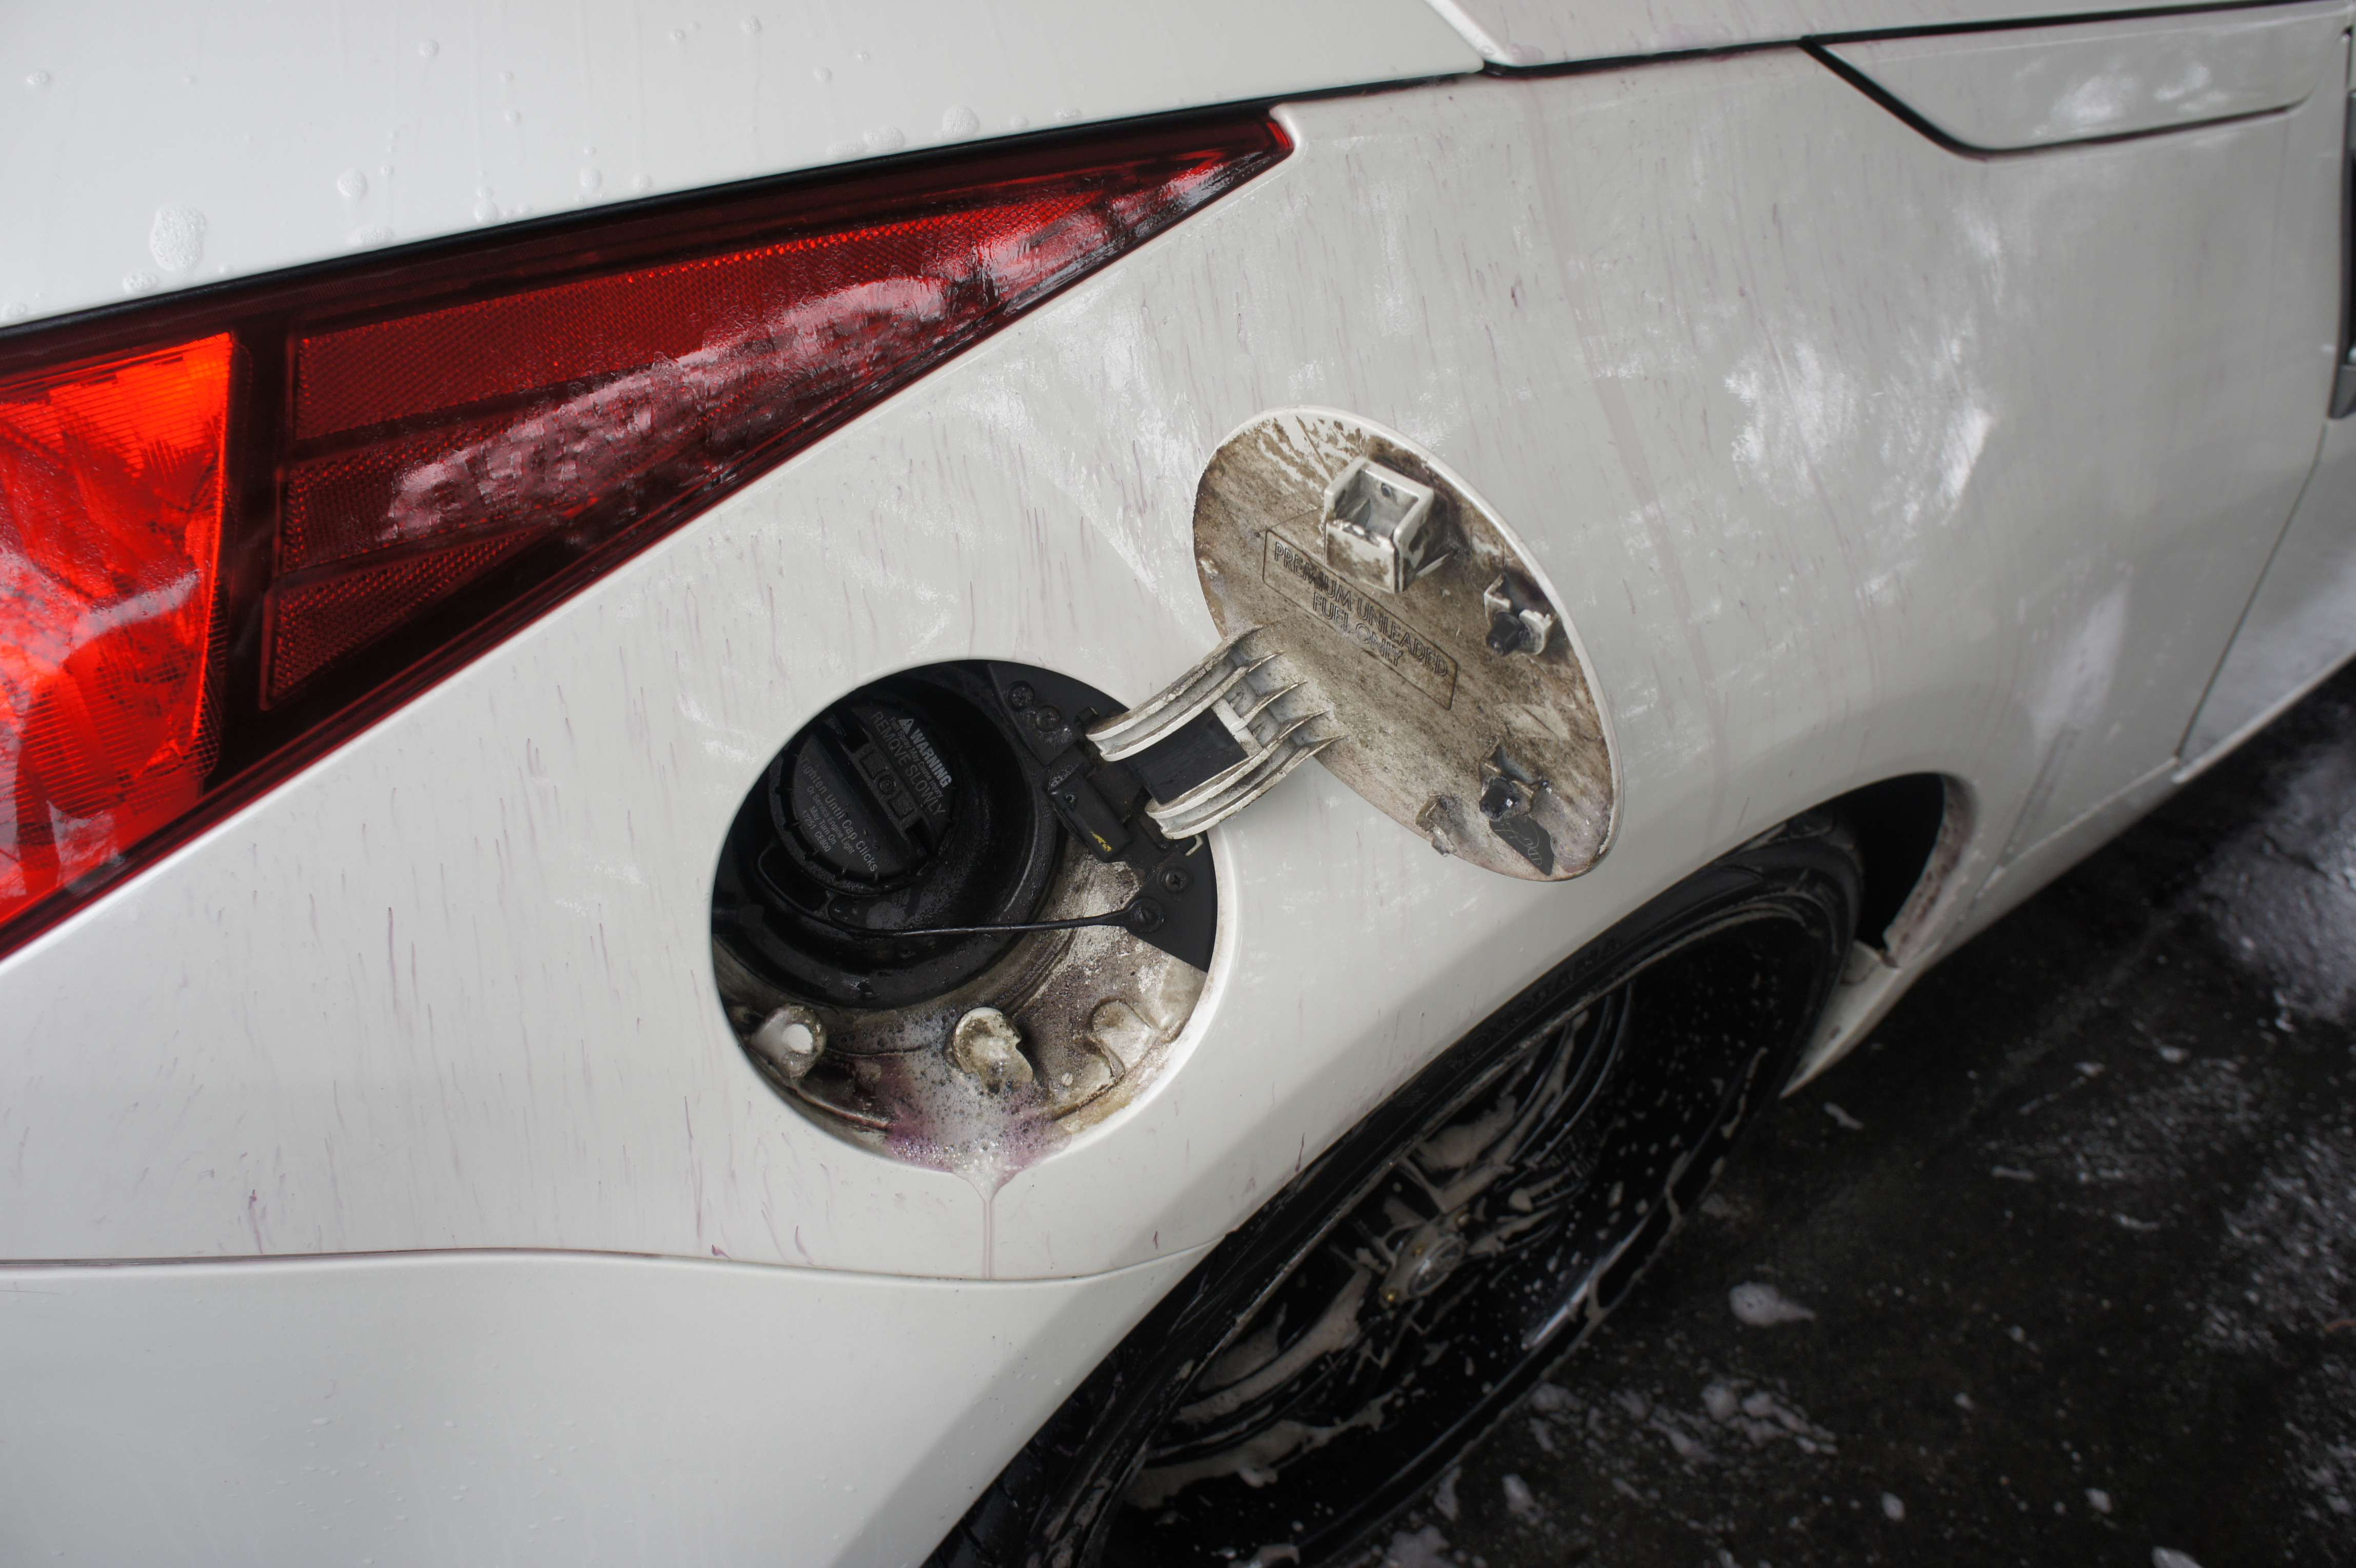
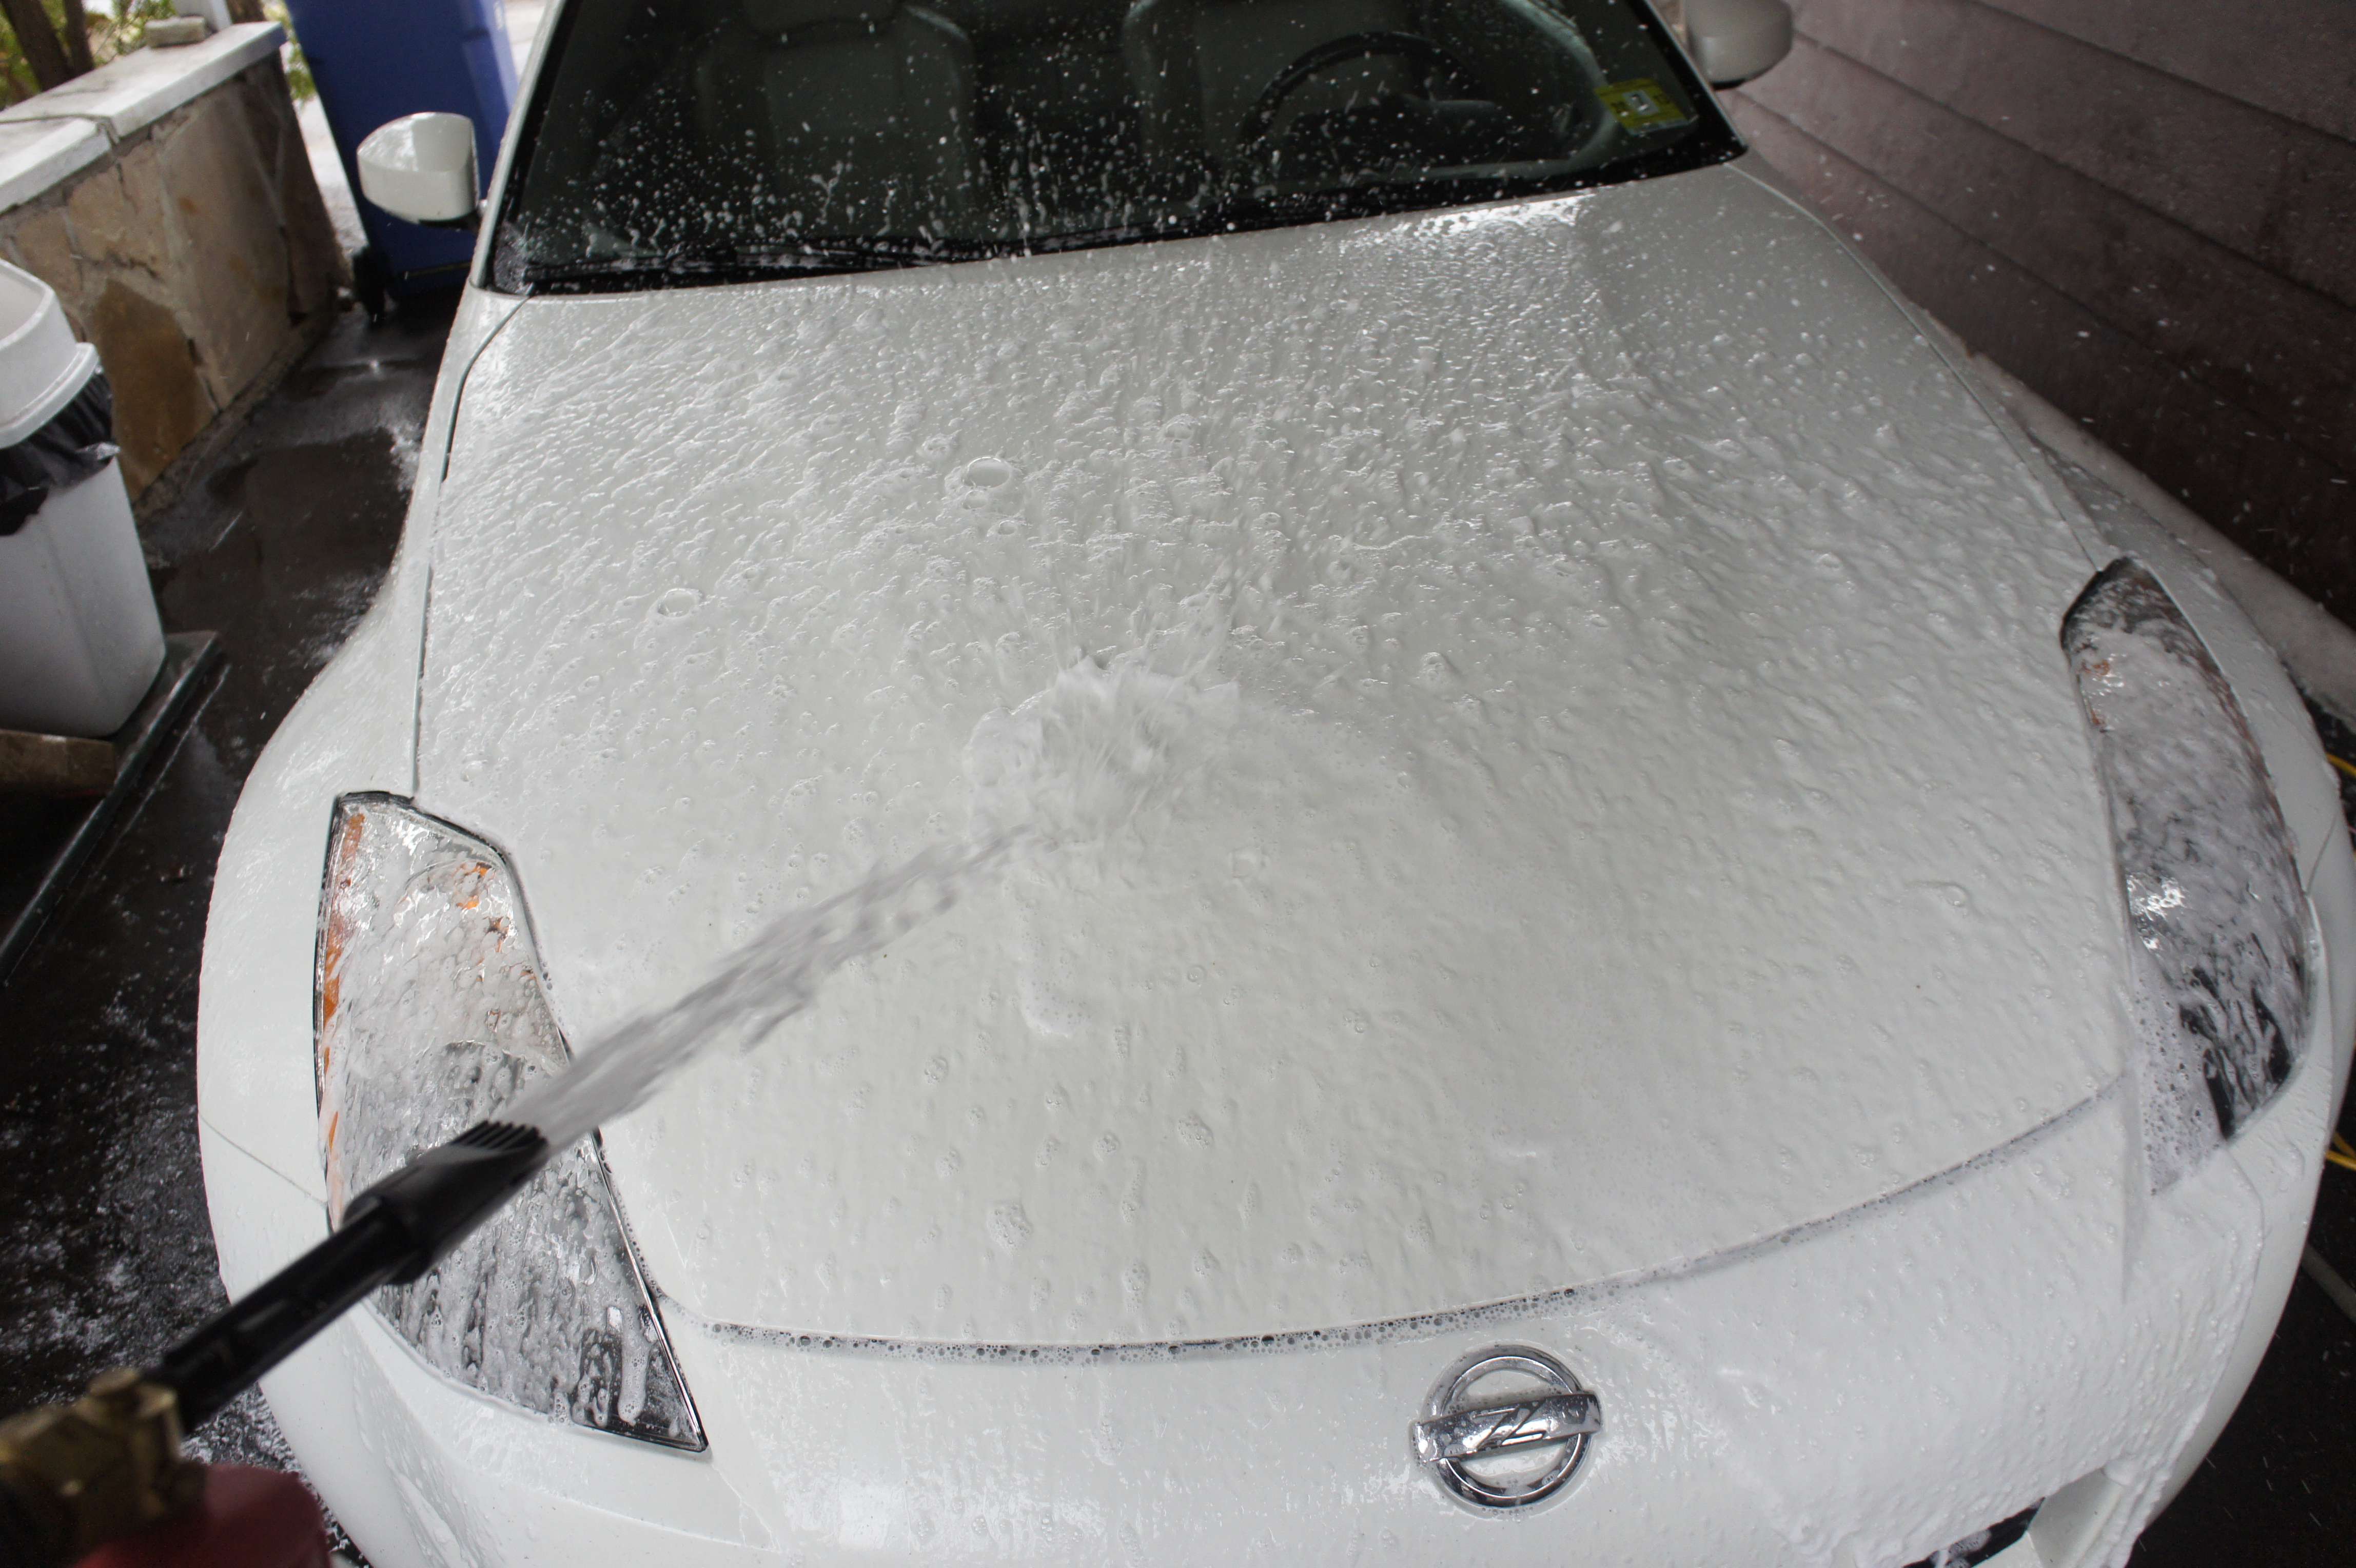
Foaming.
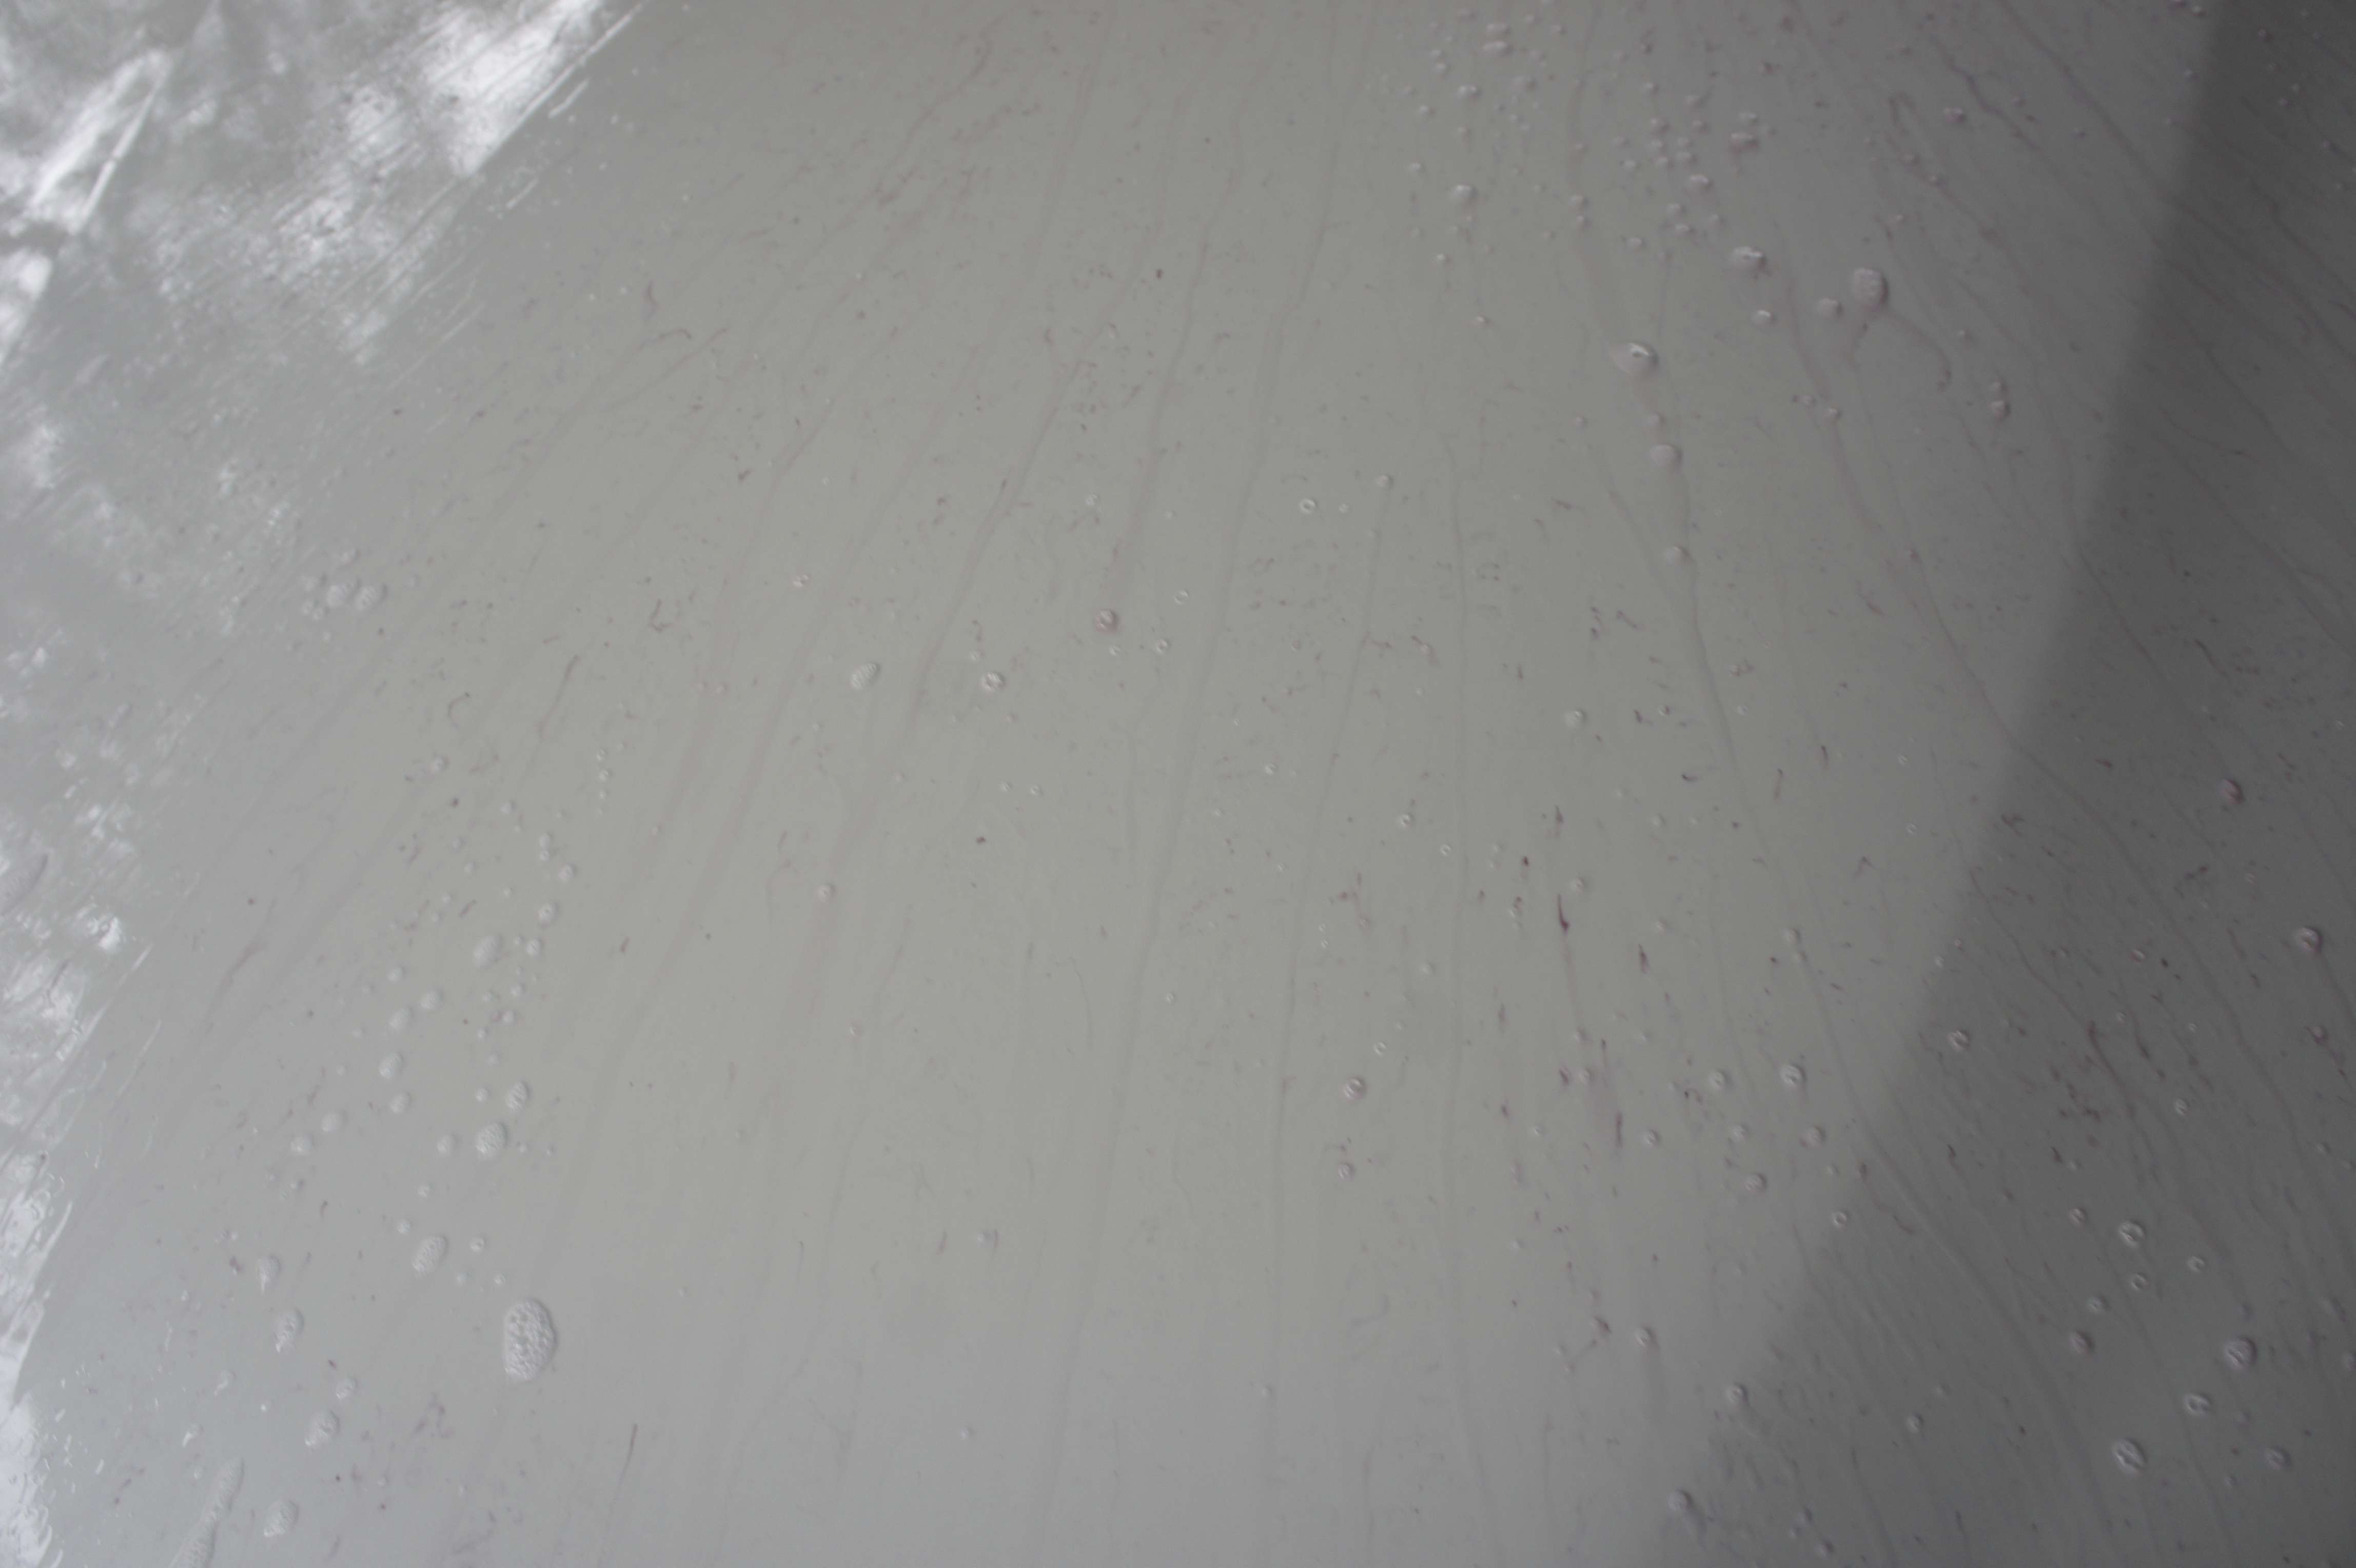
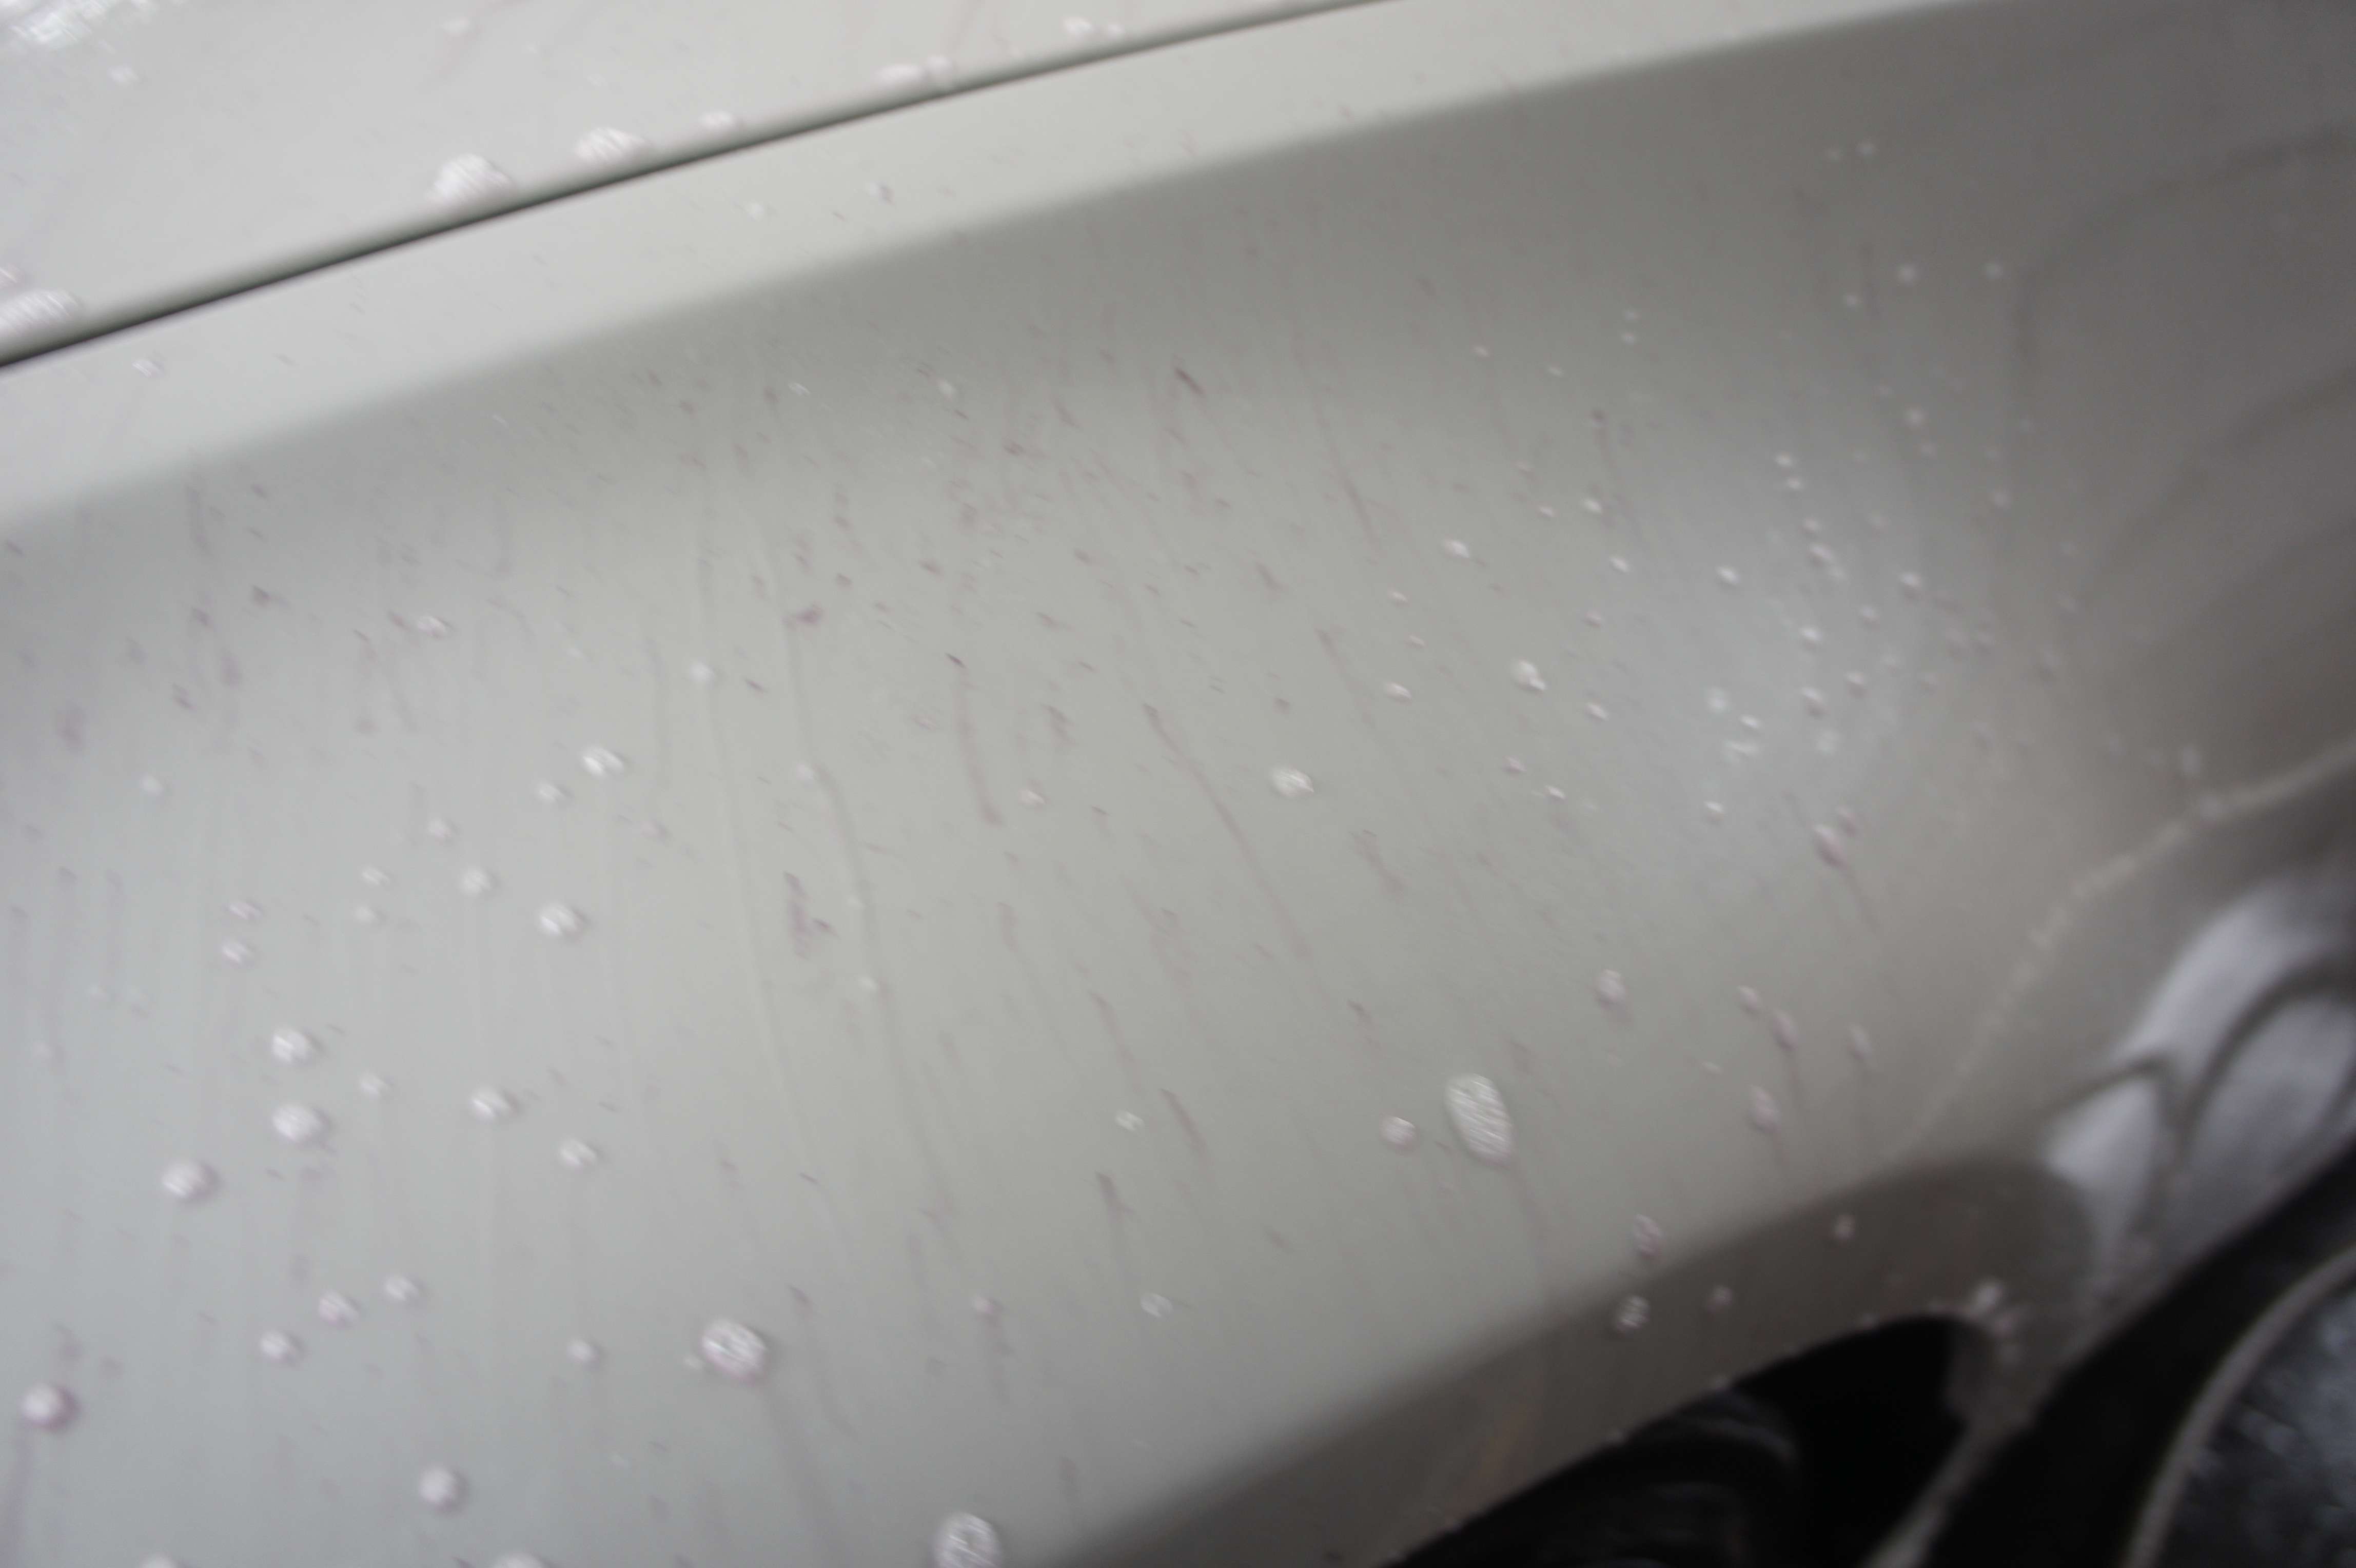
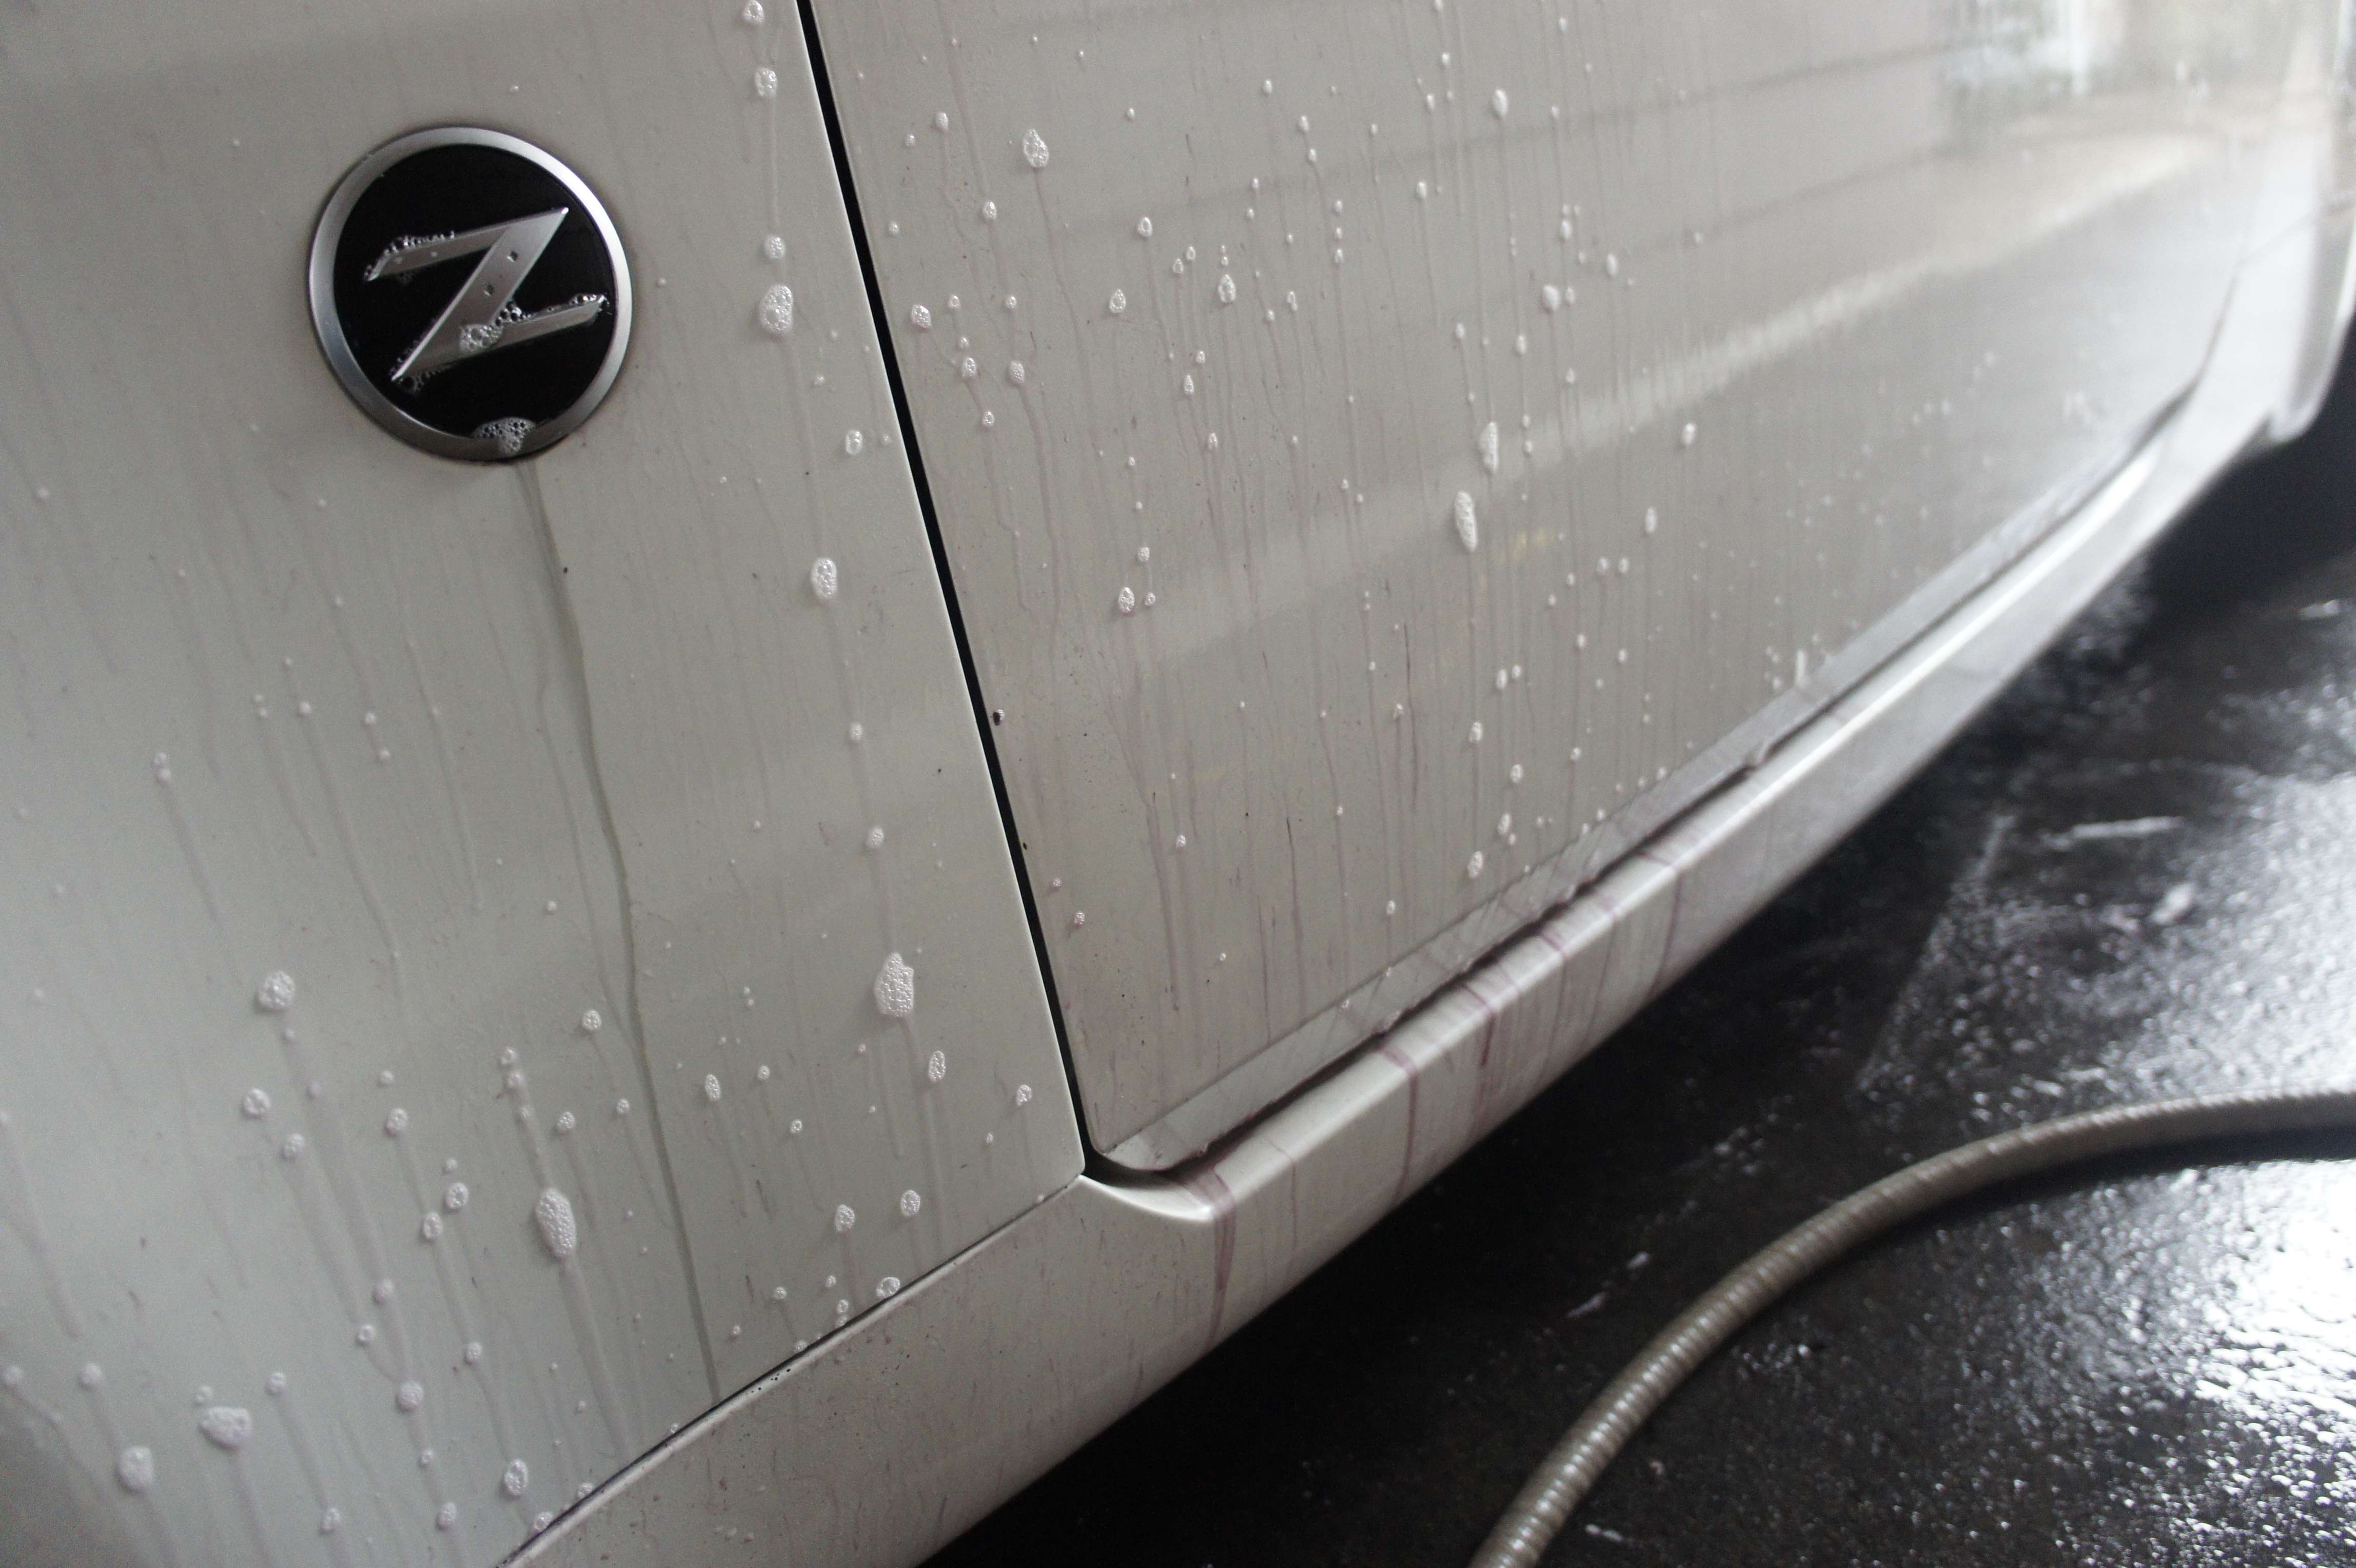
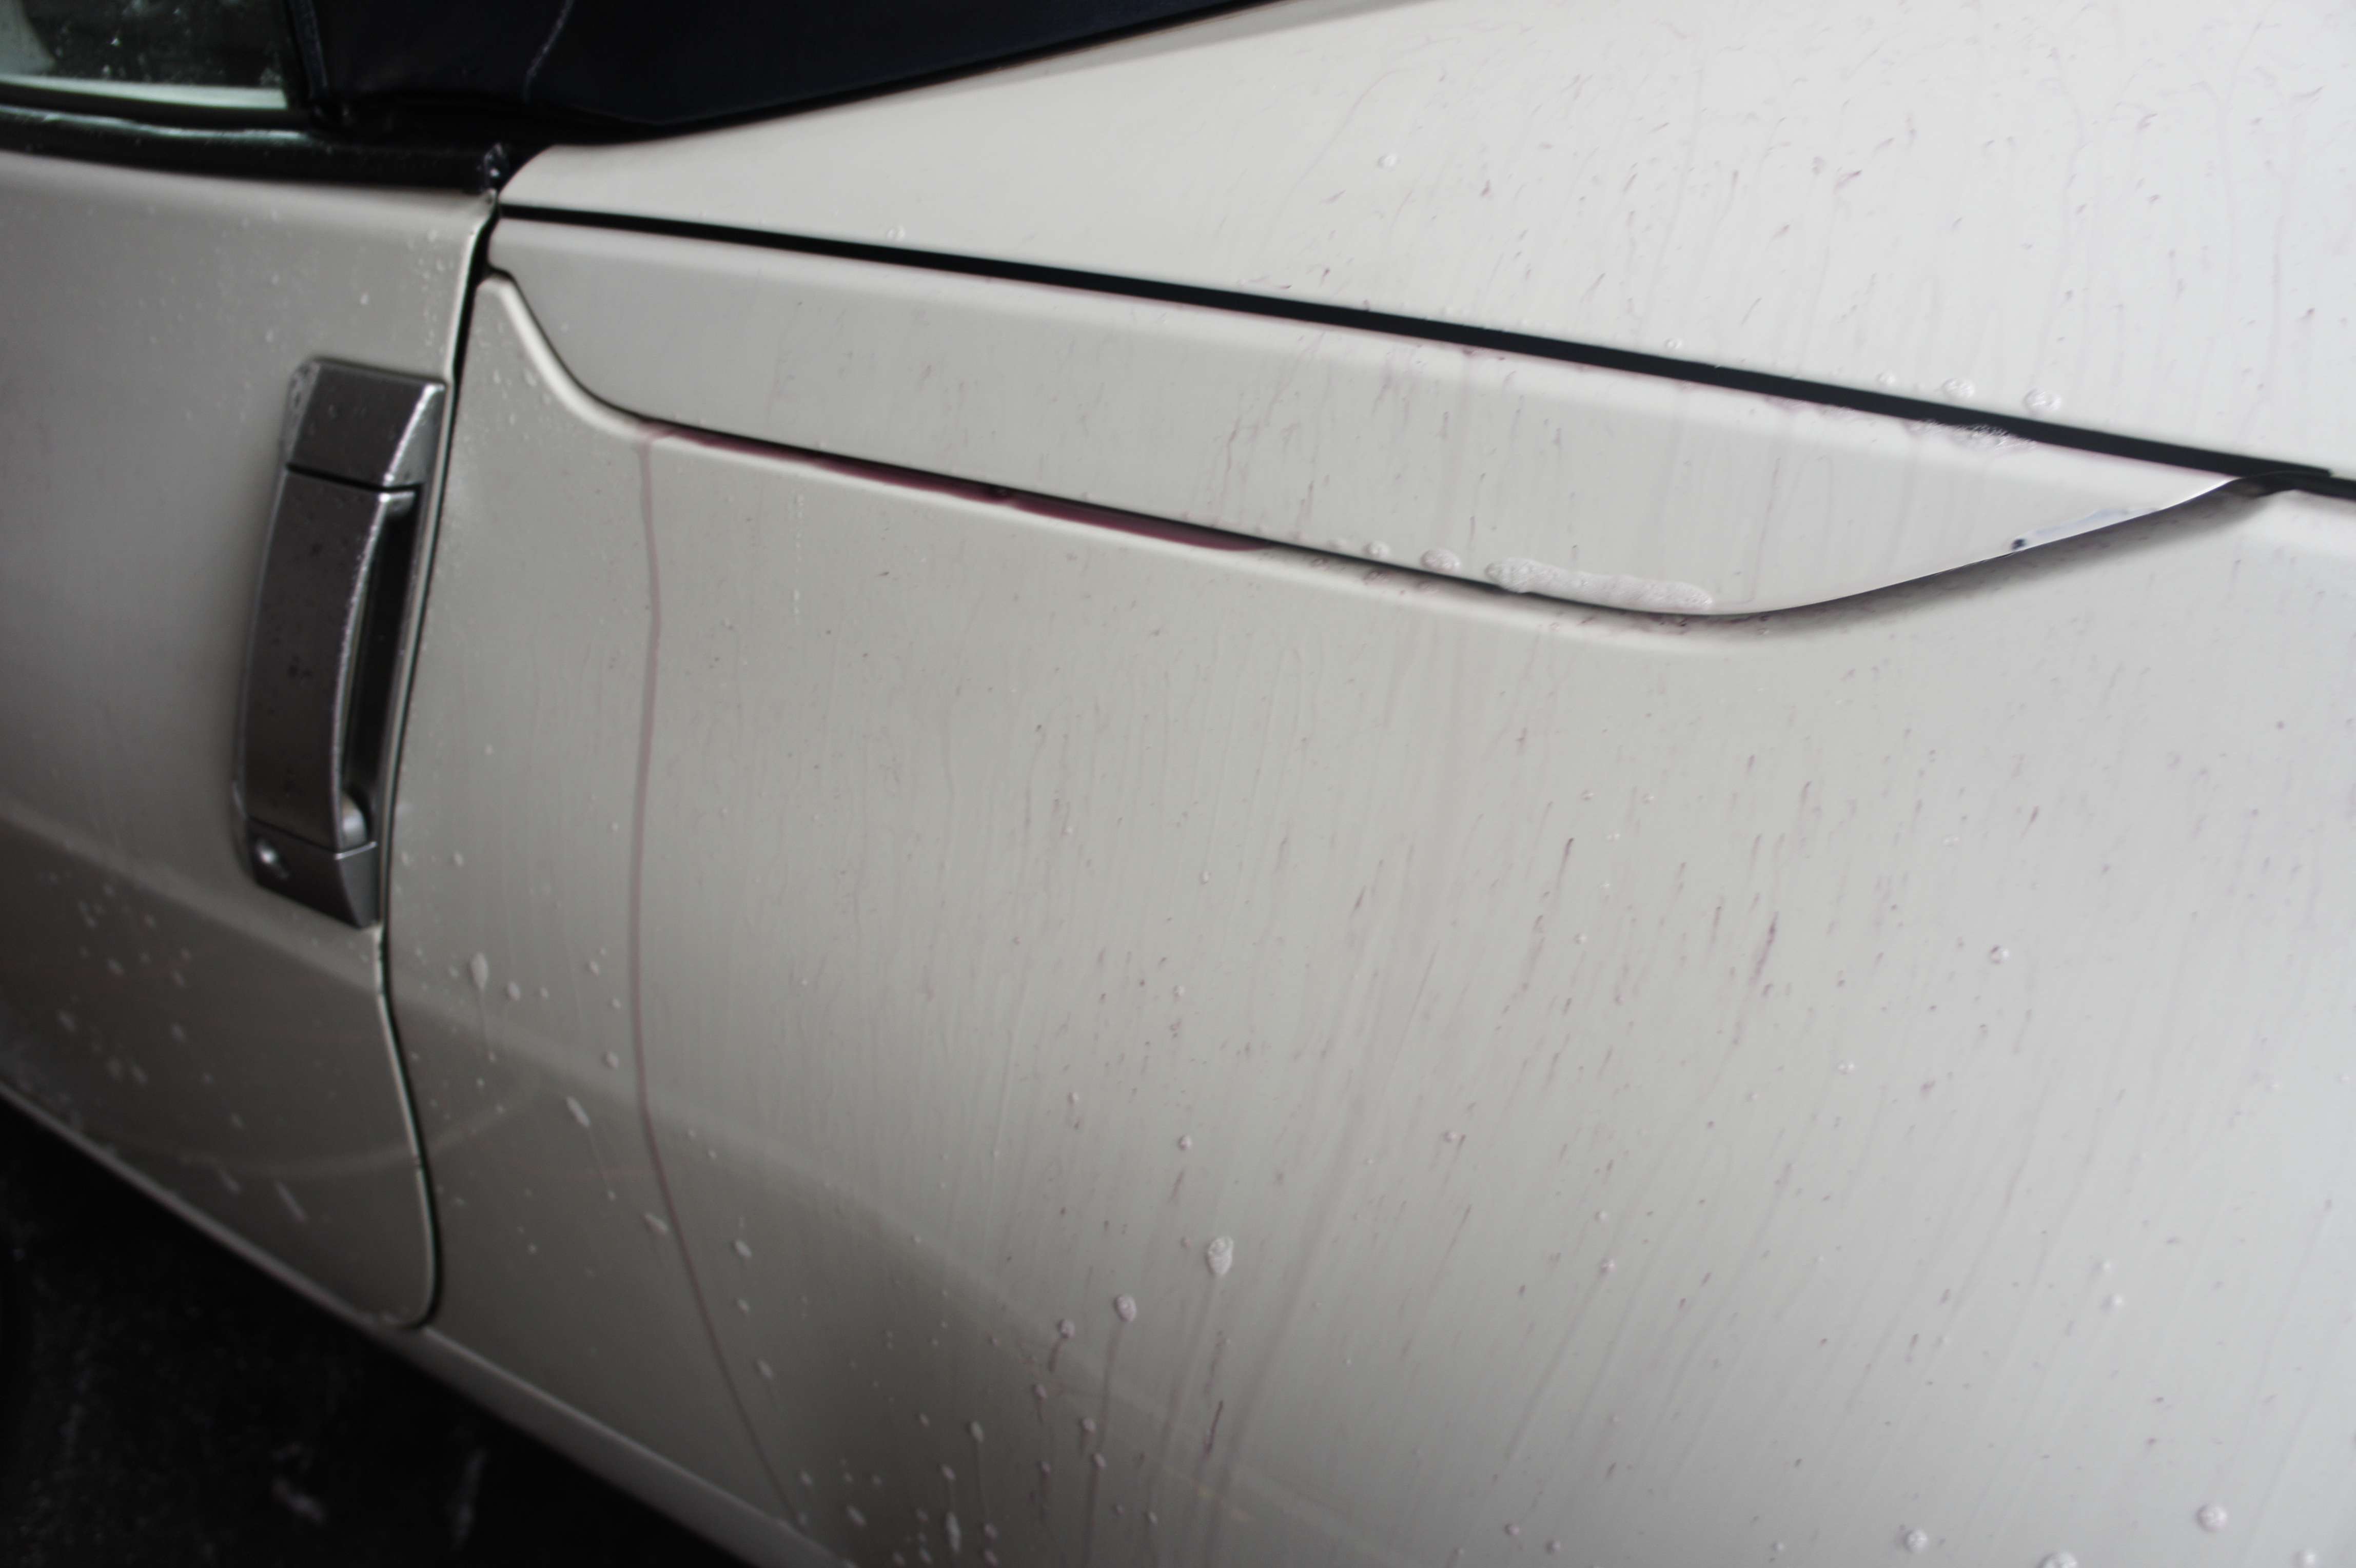
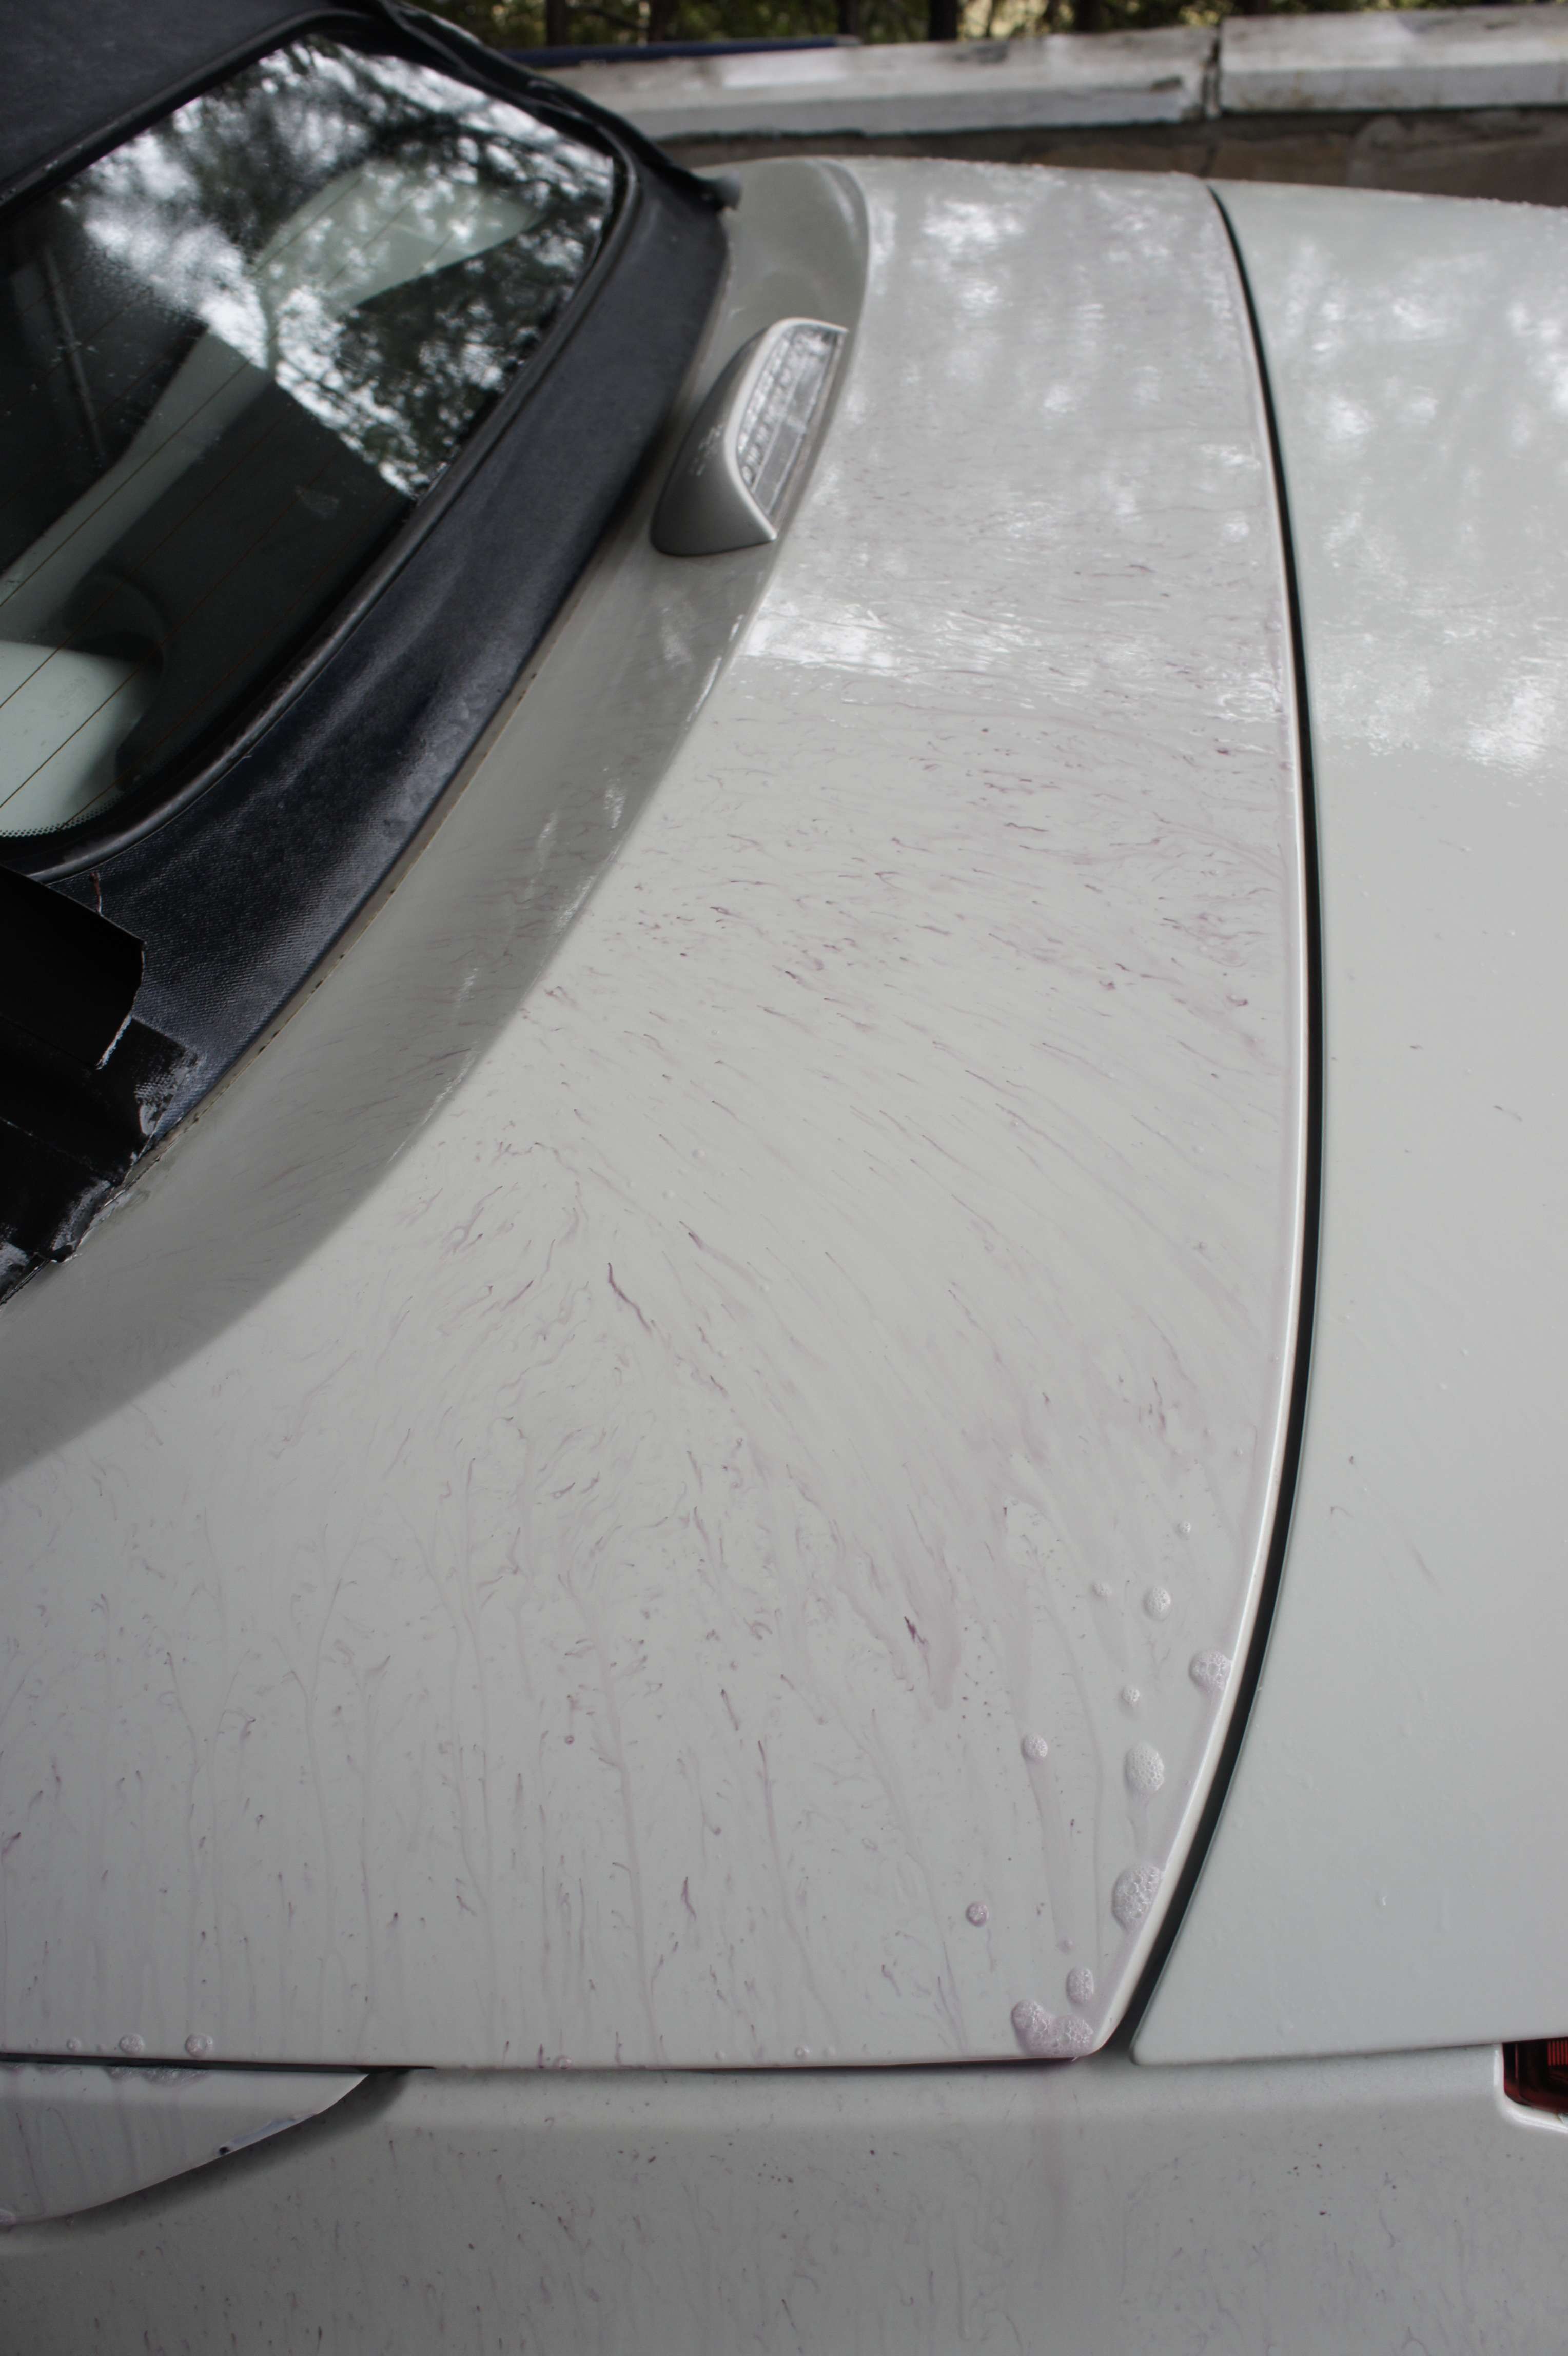
�a, c’est le decontaminant chimique qui travaille:
On contact with brake dust and metallic contaminant that can rust your paint, the decon turns purple and remove those bad particles.
I still need to do the clay bar after it:
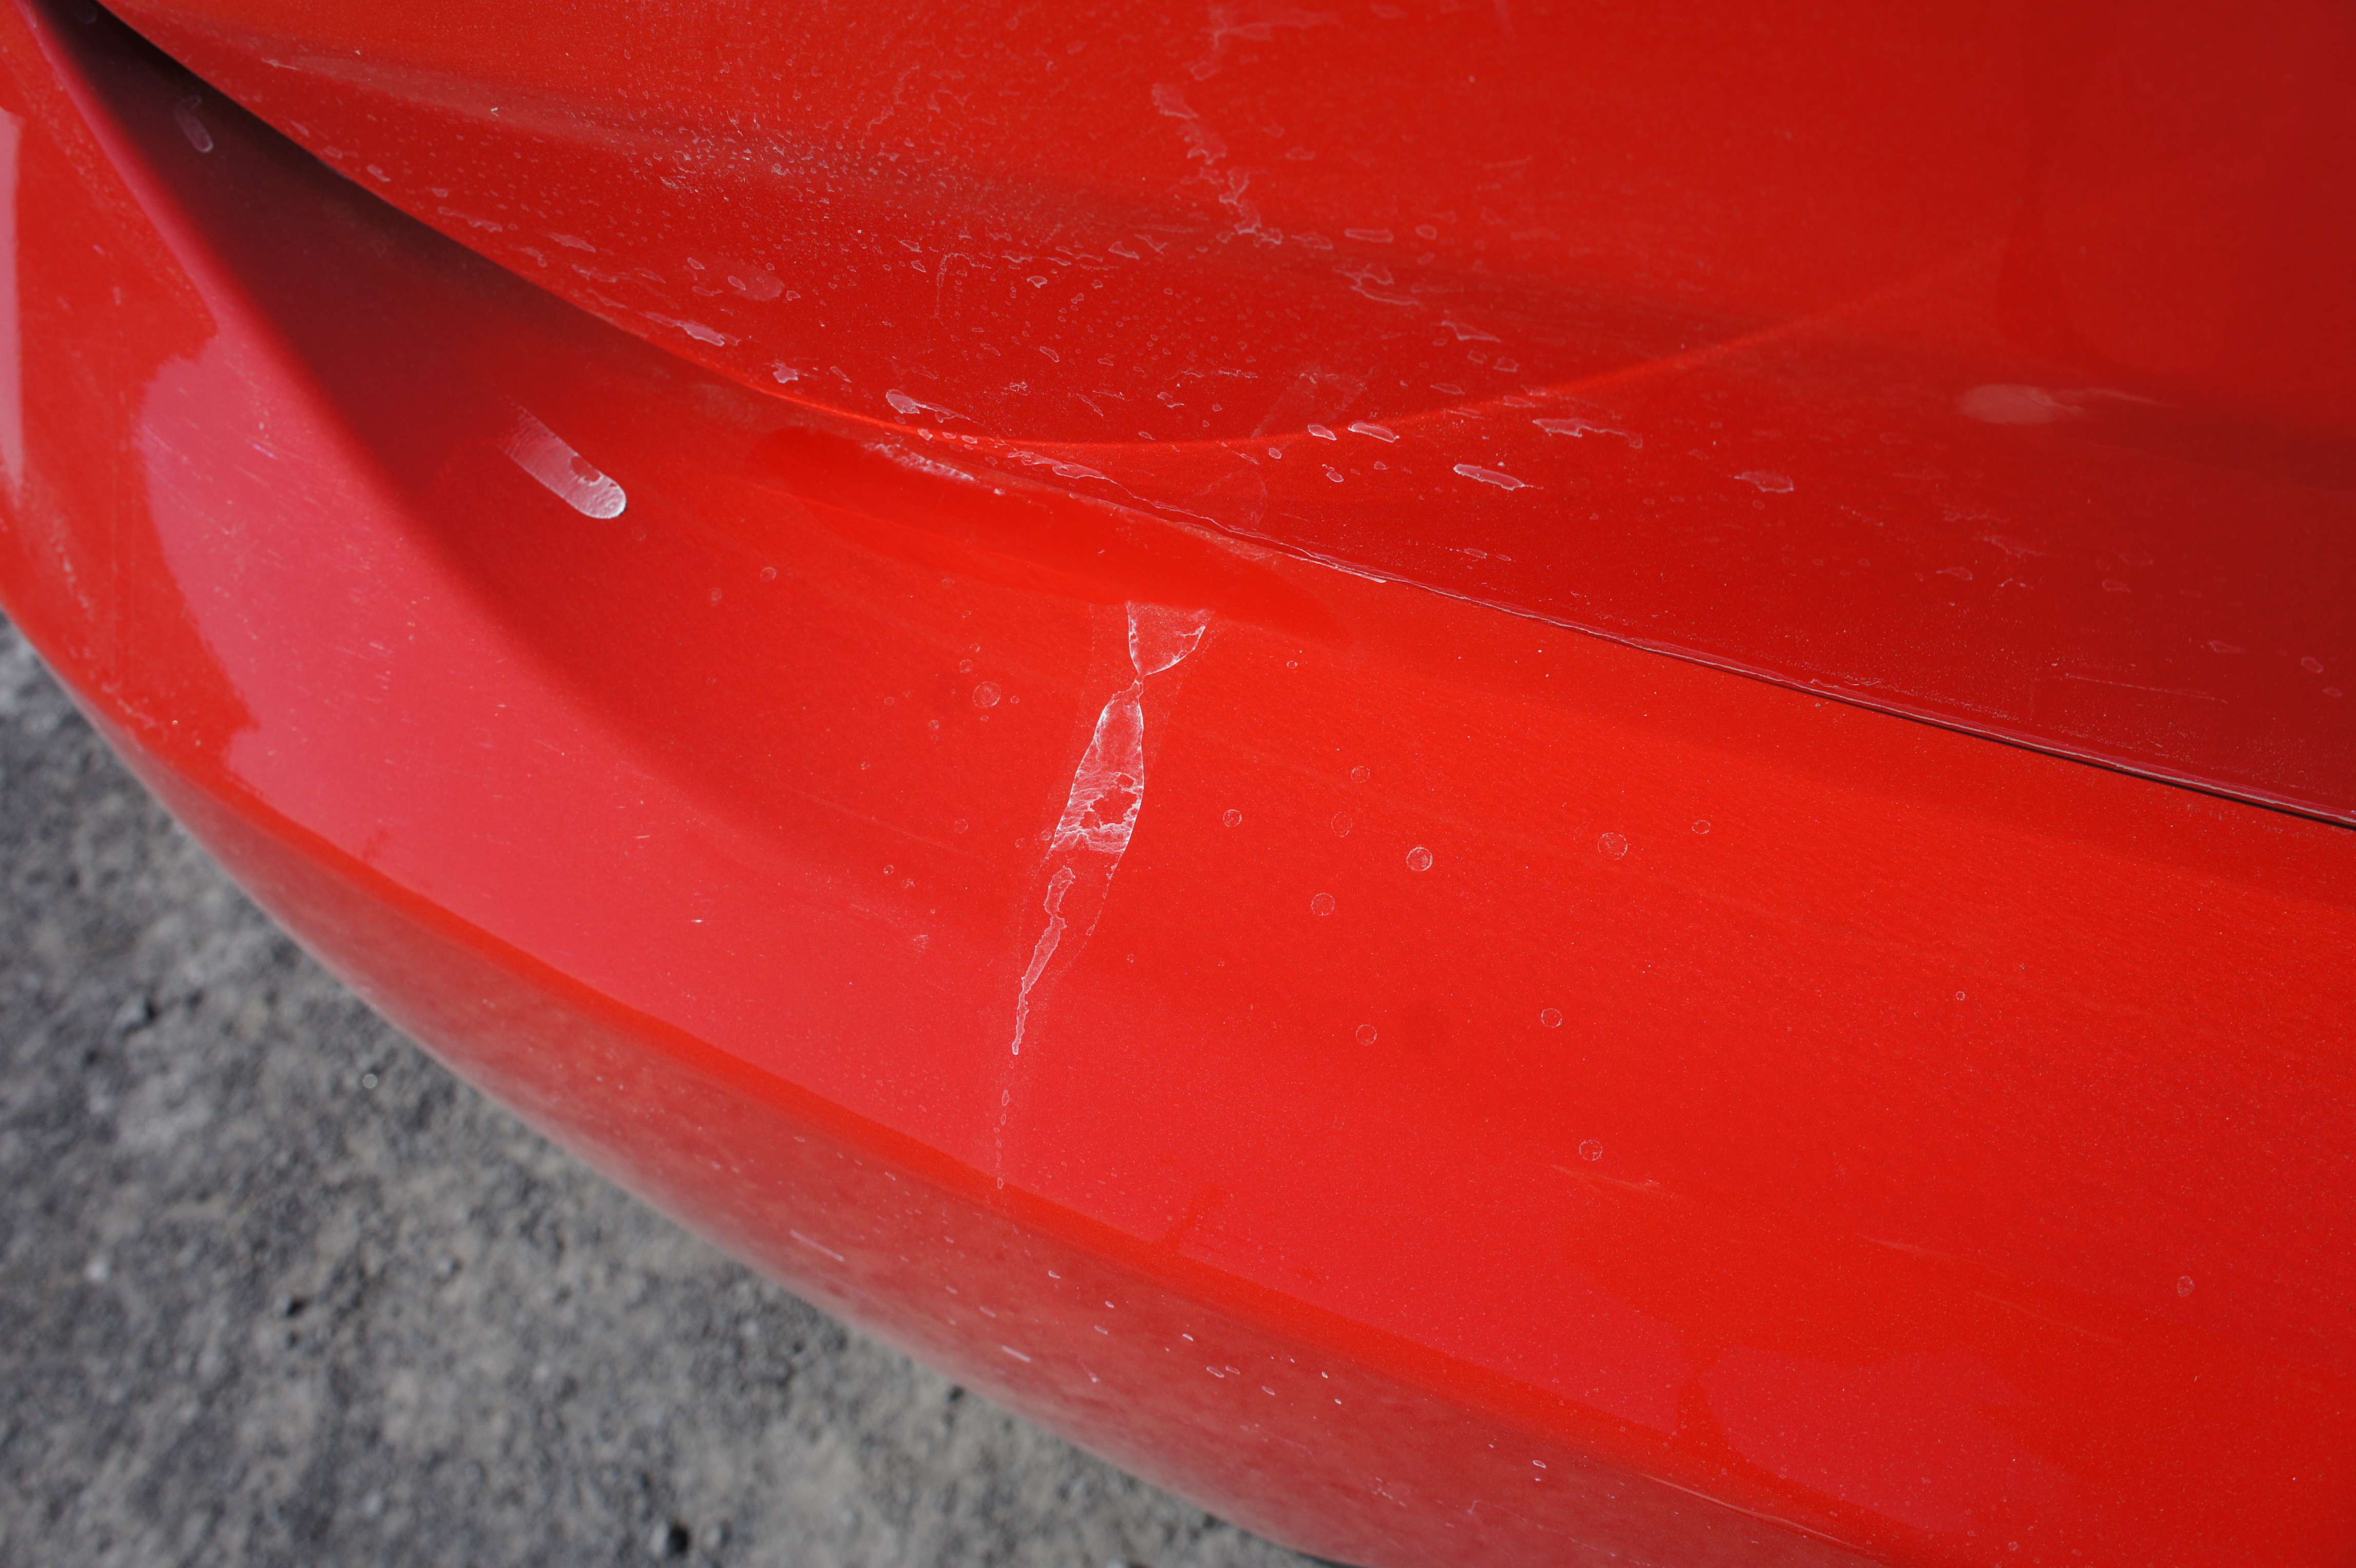
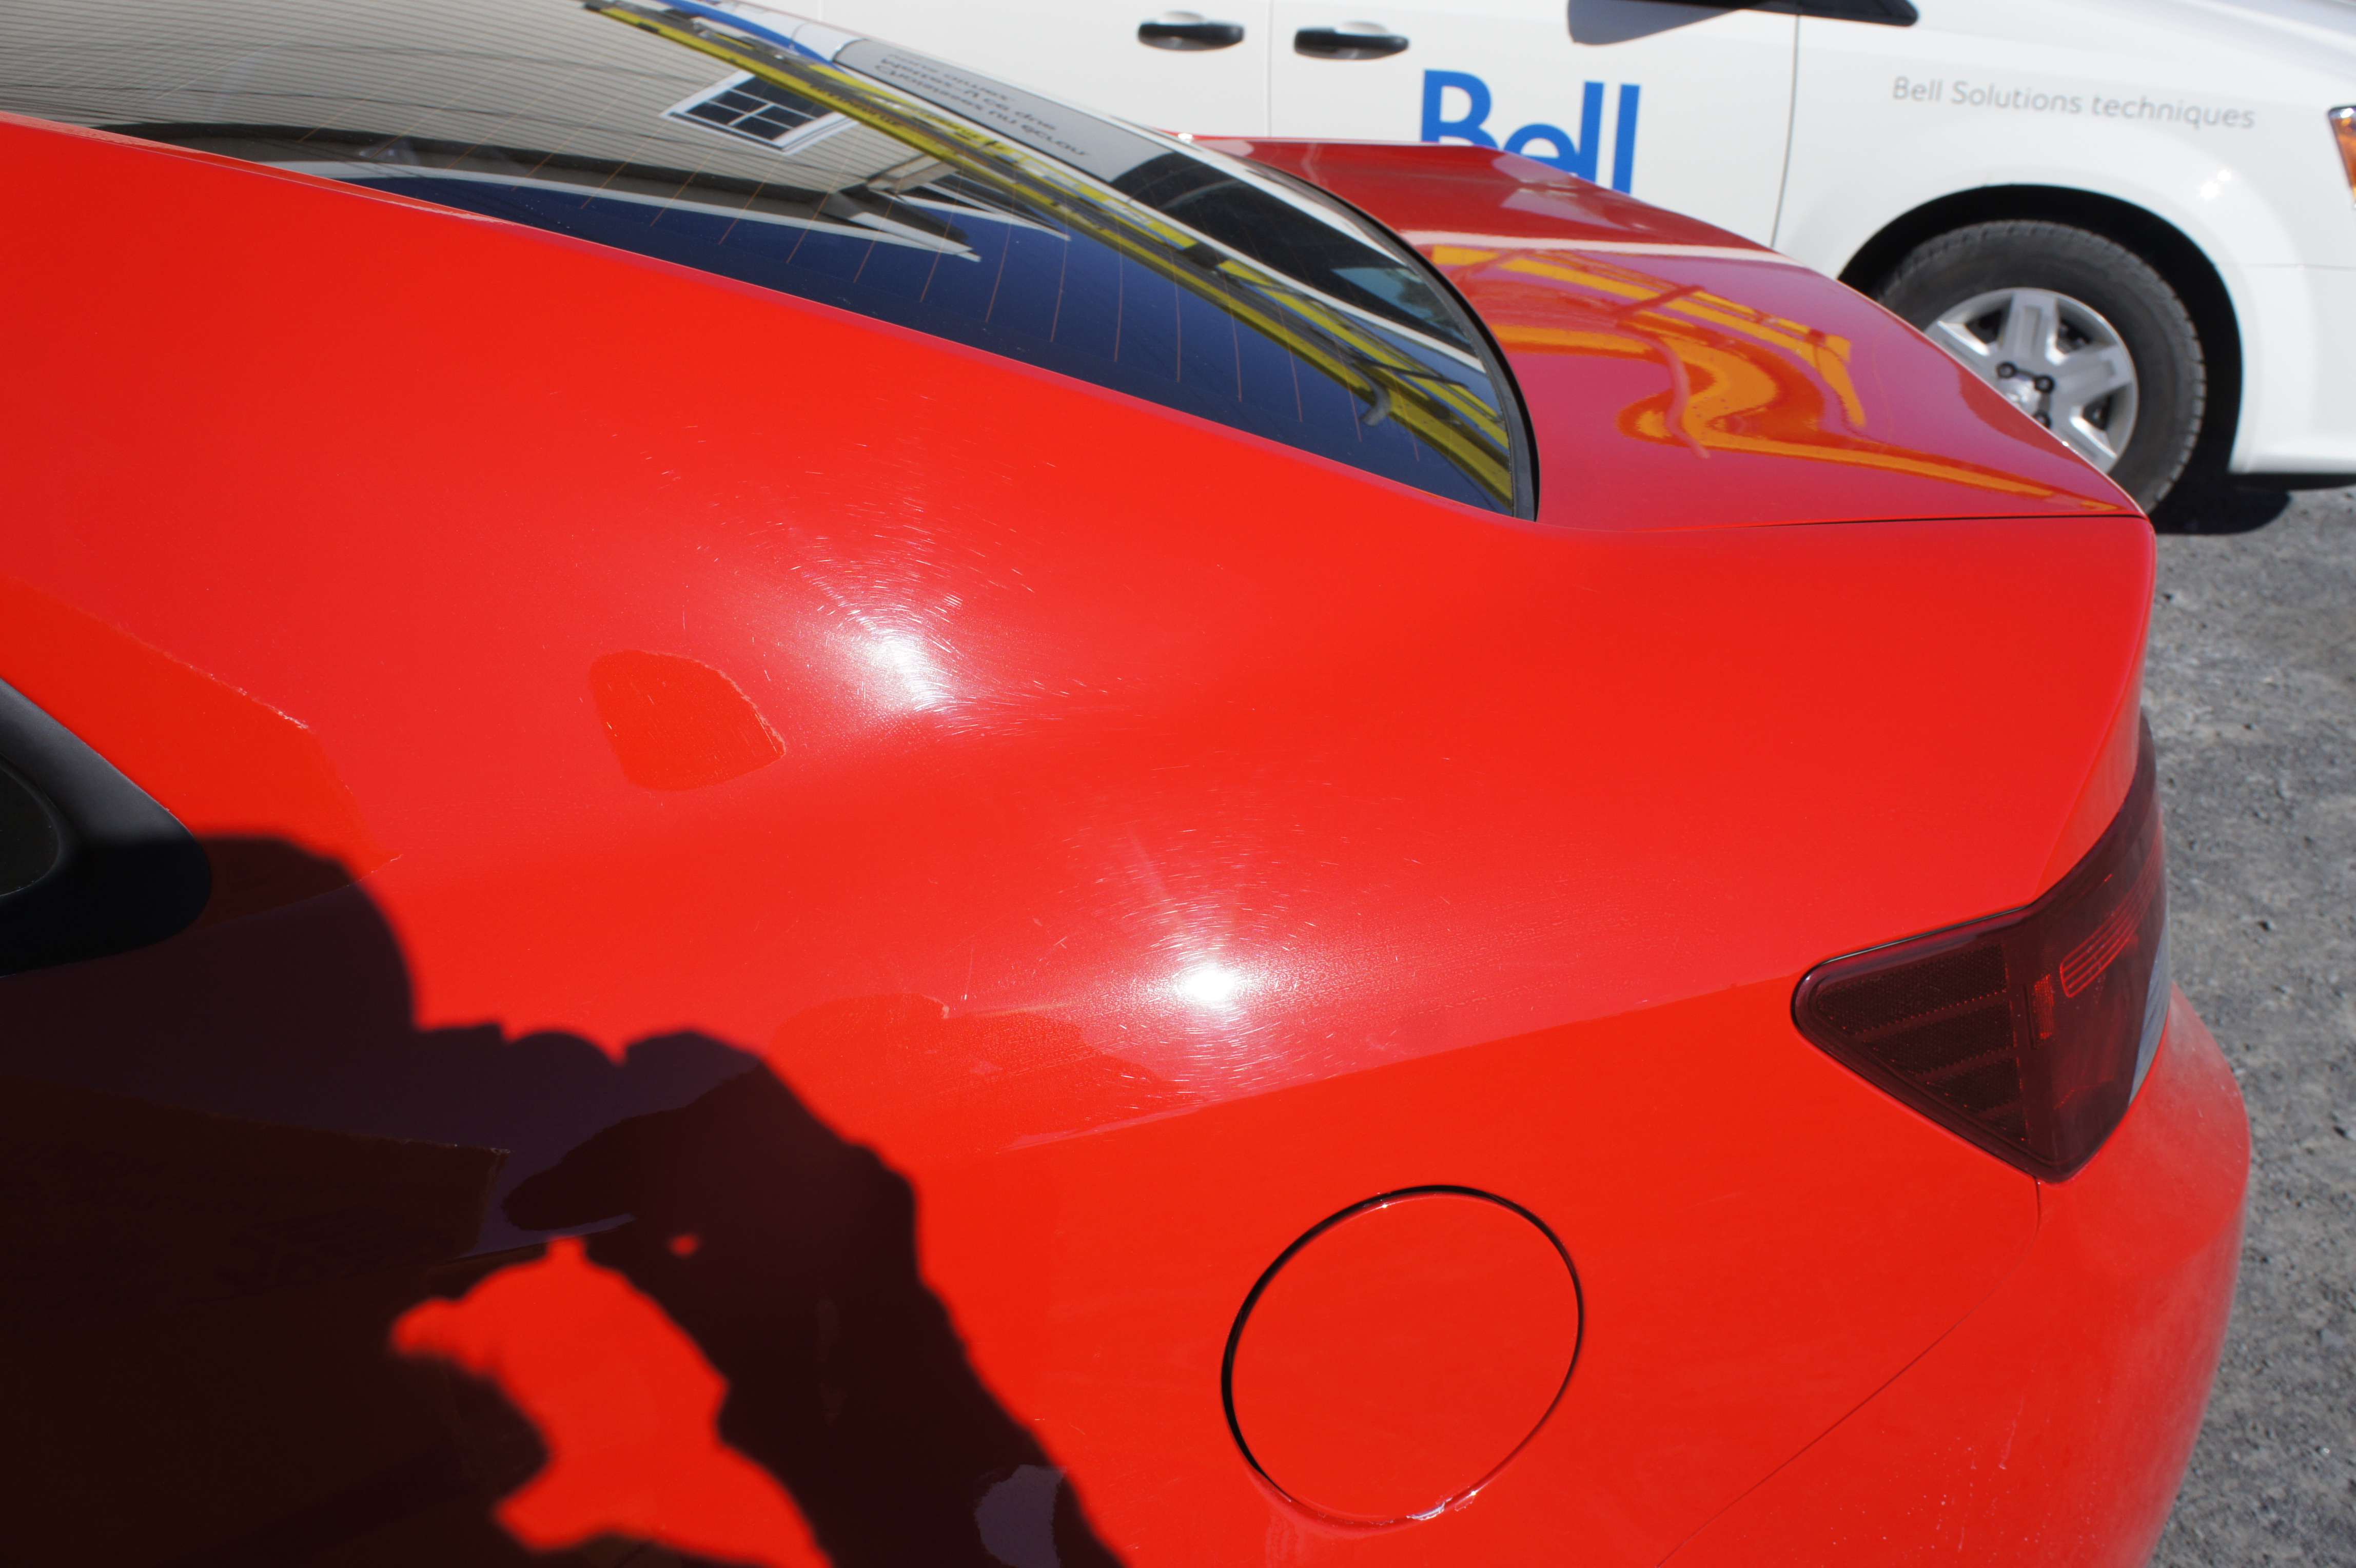
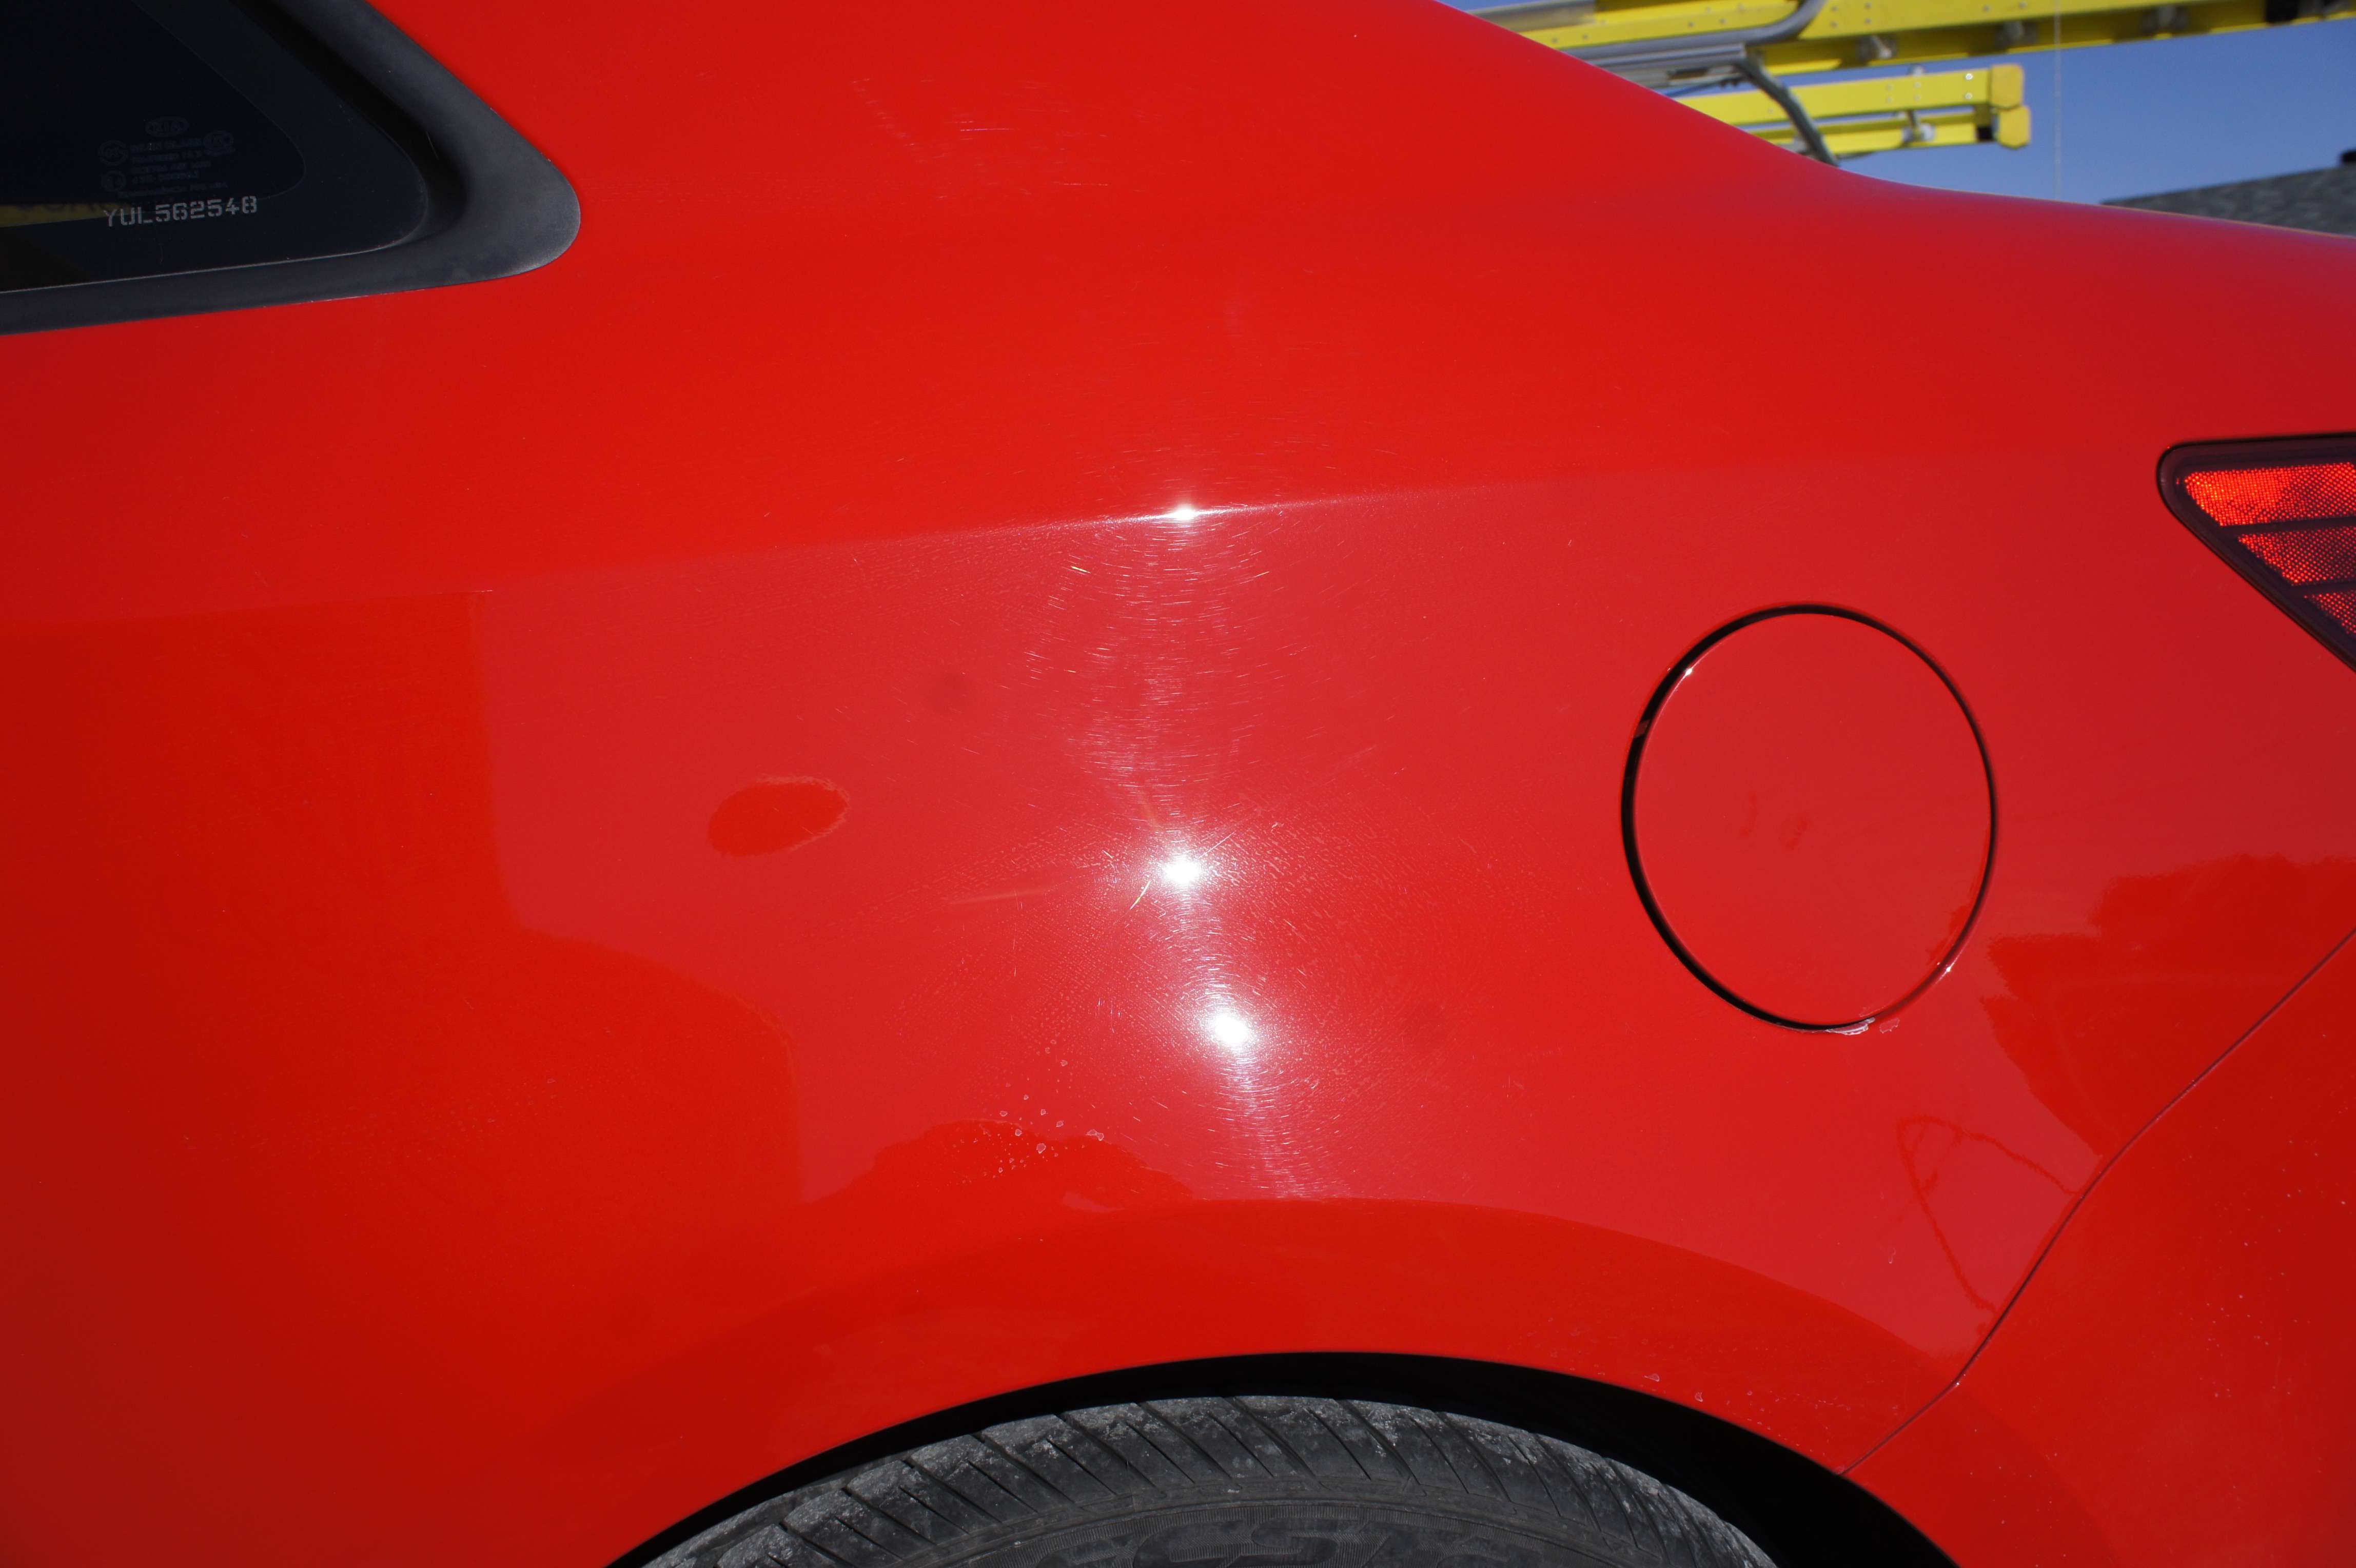
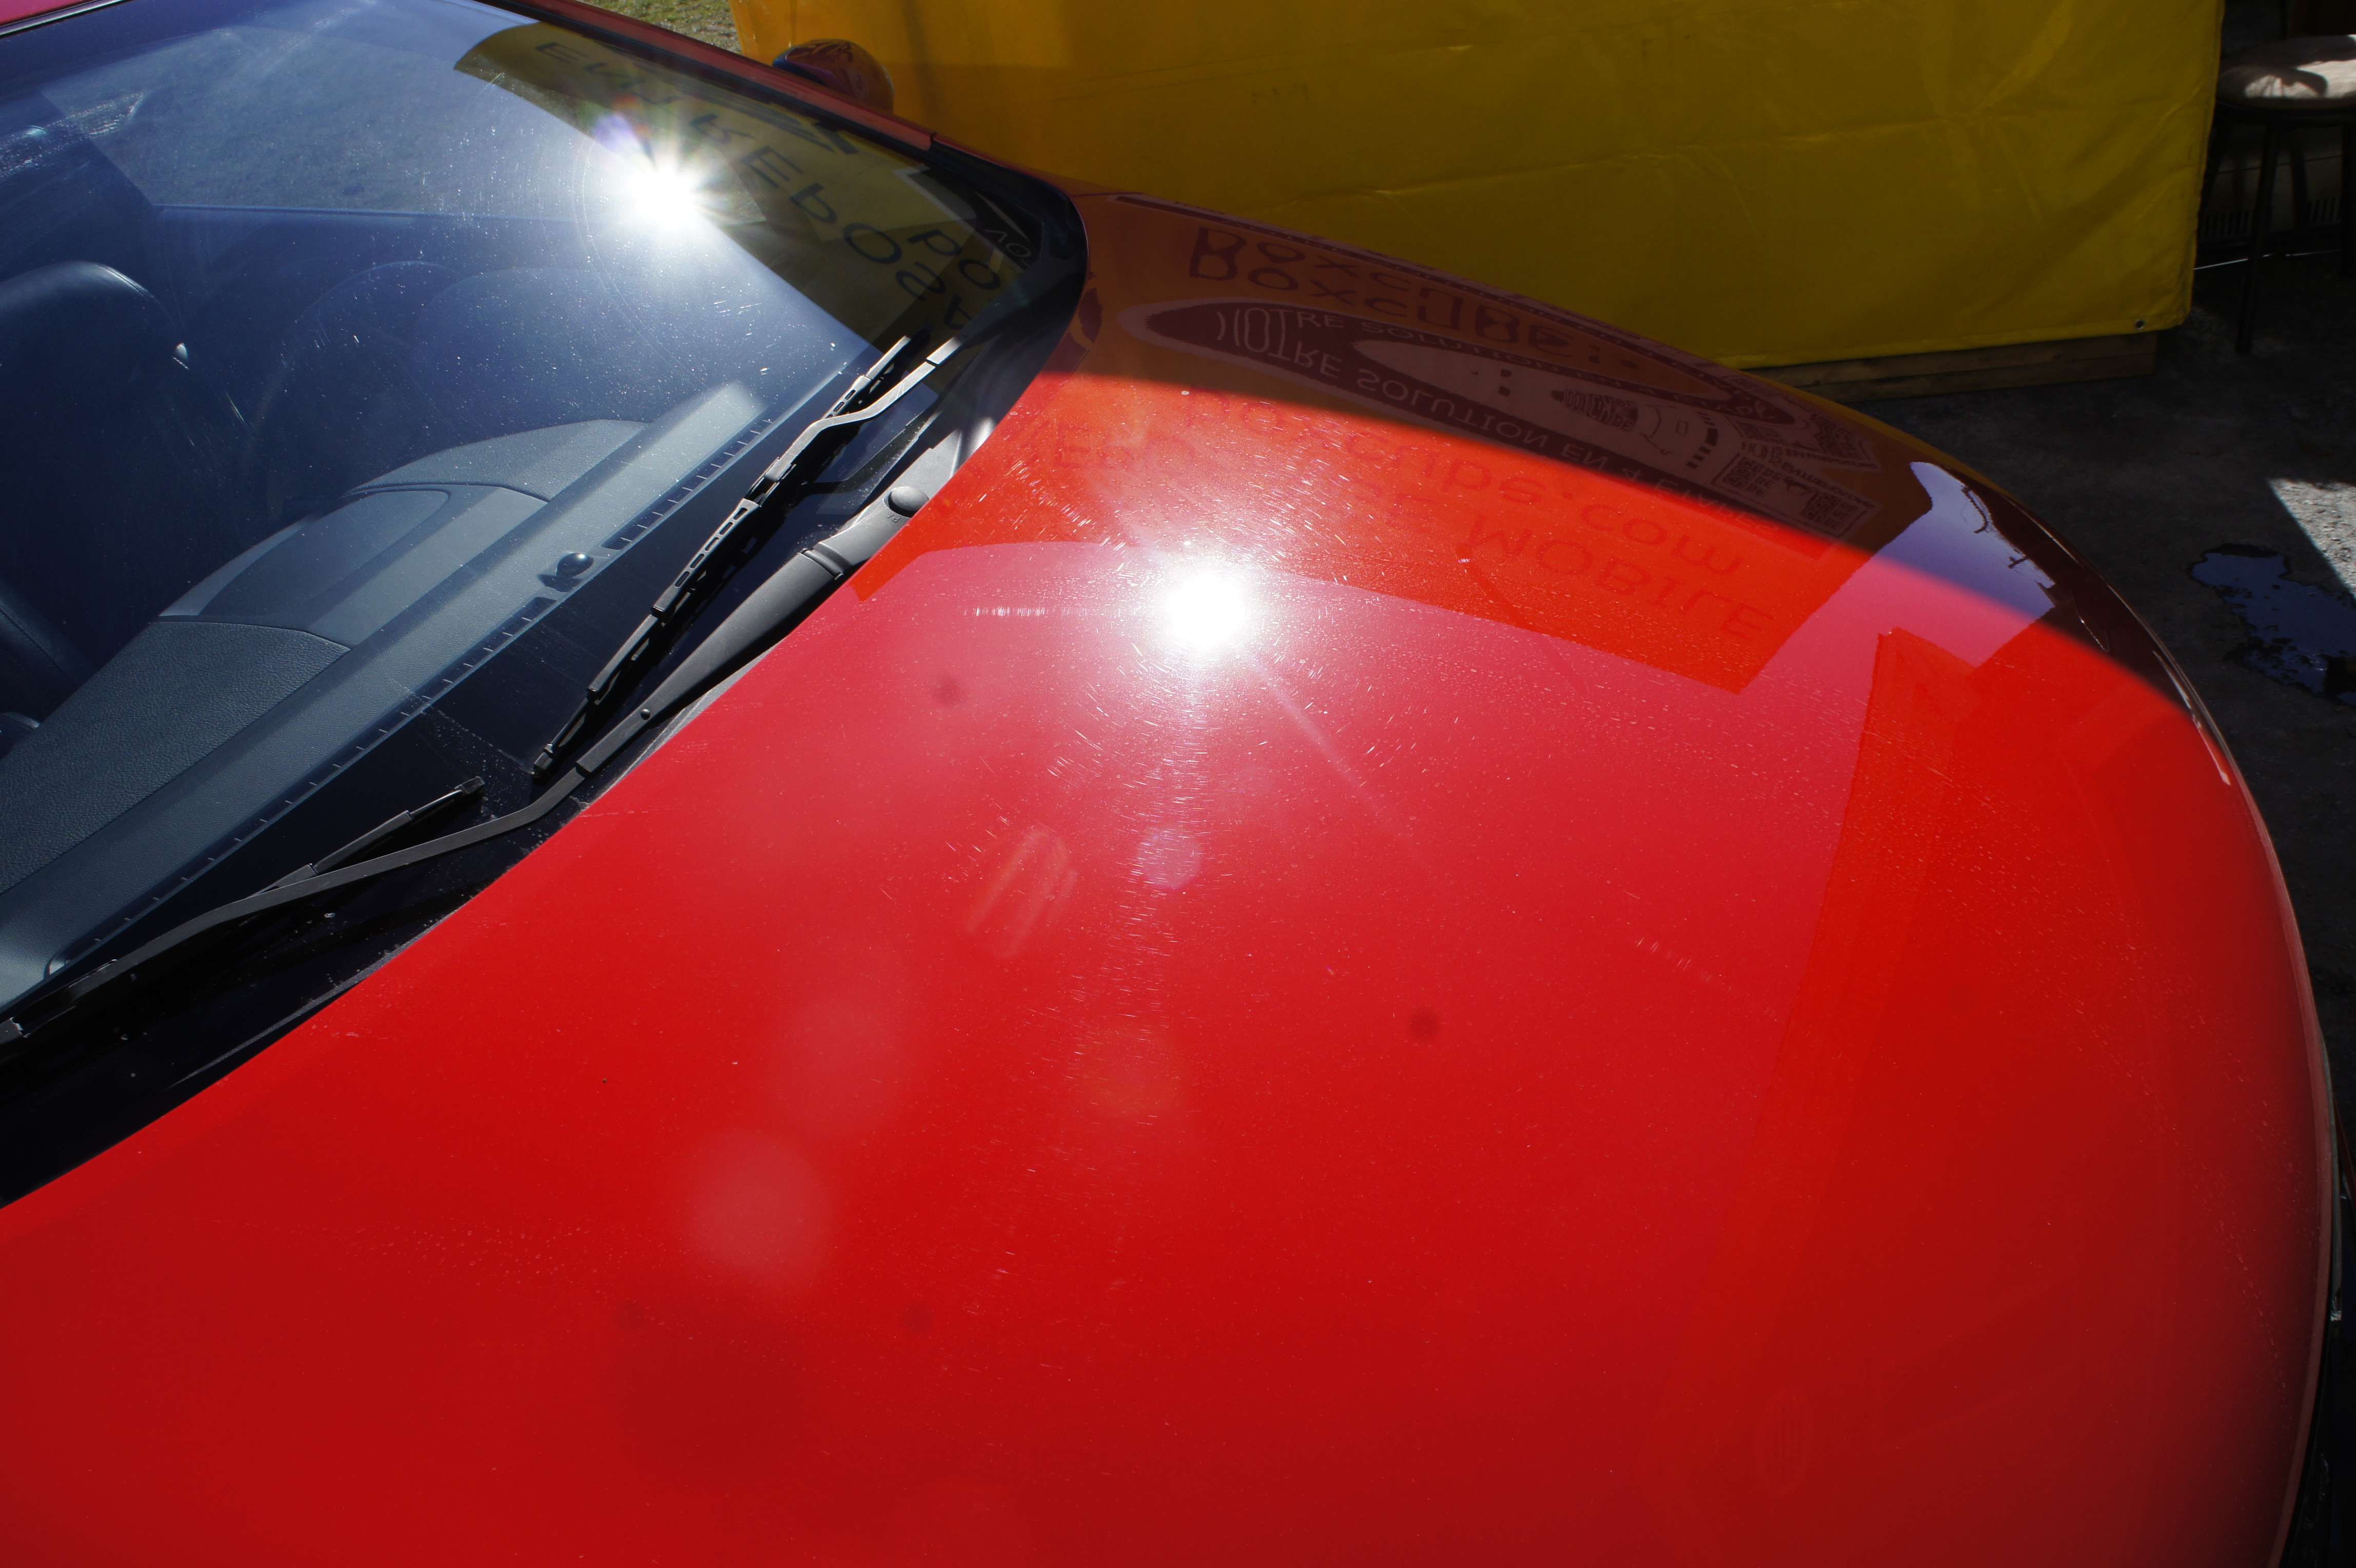
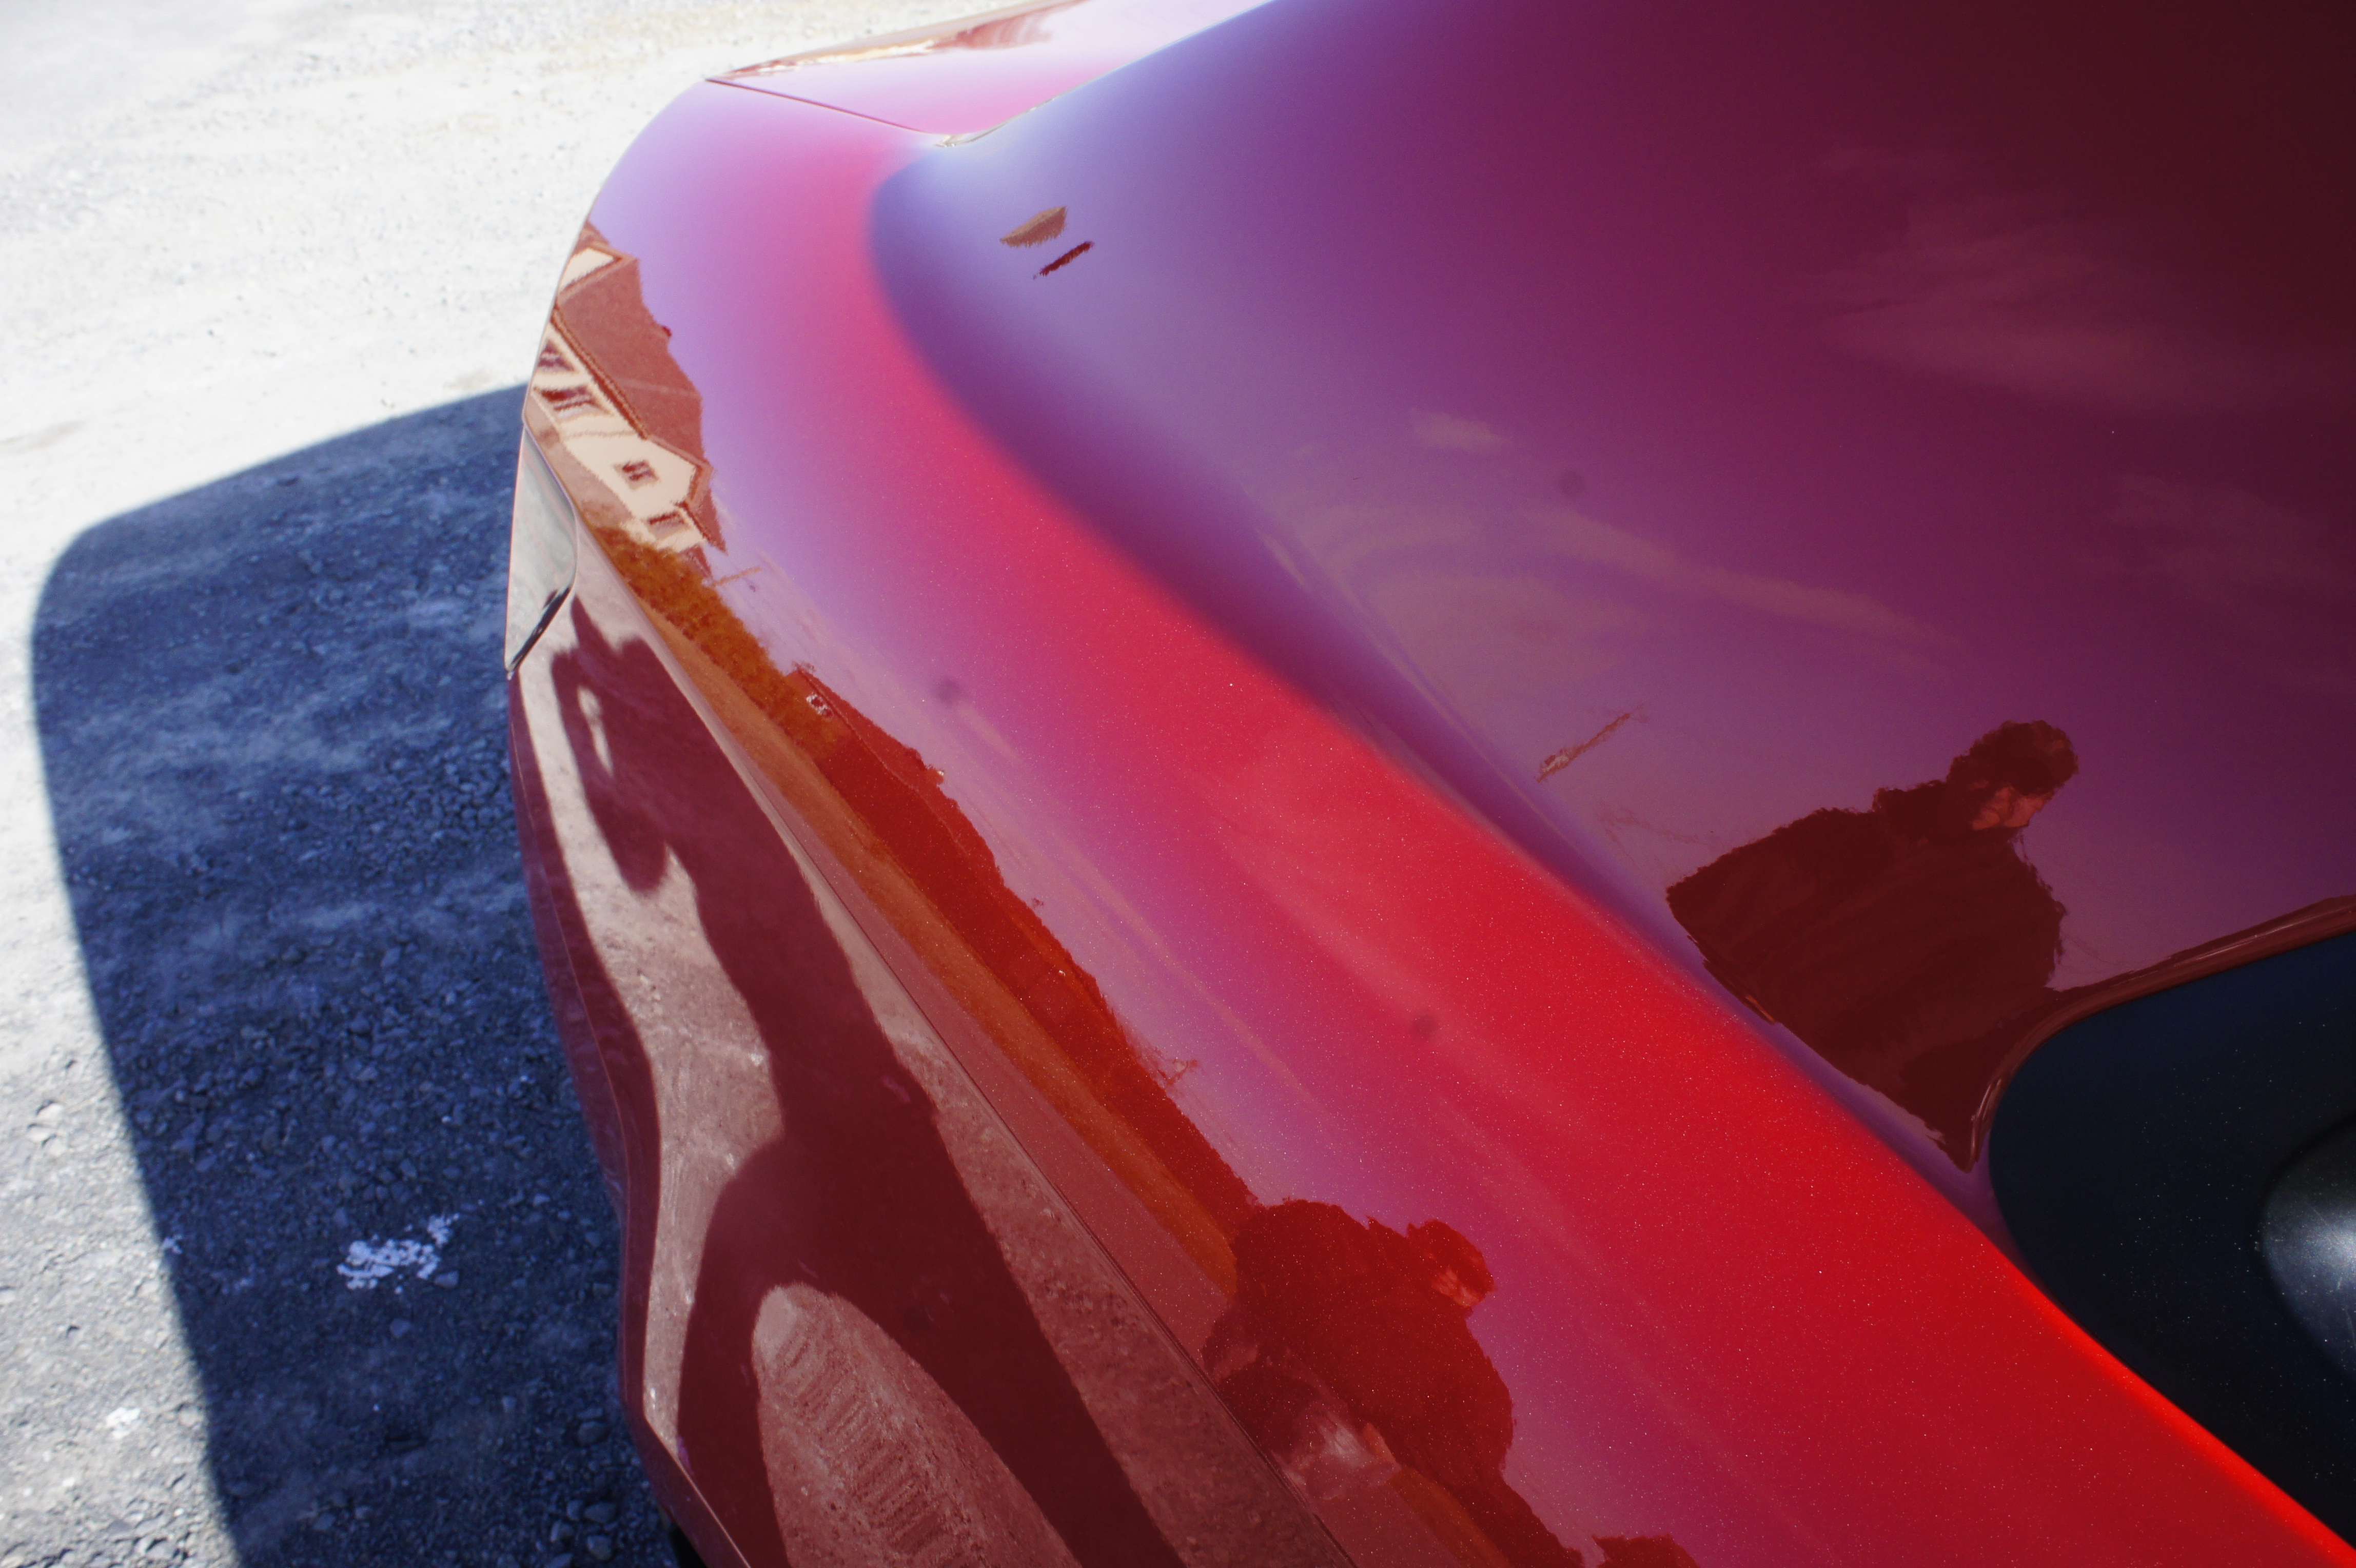
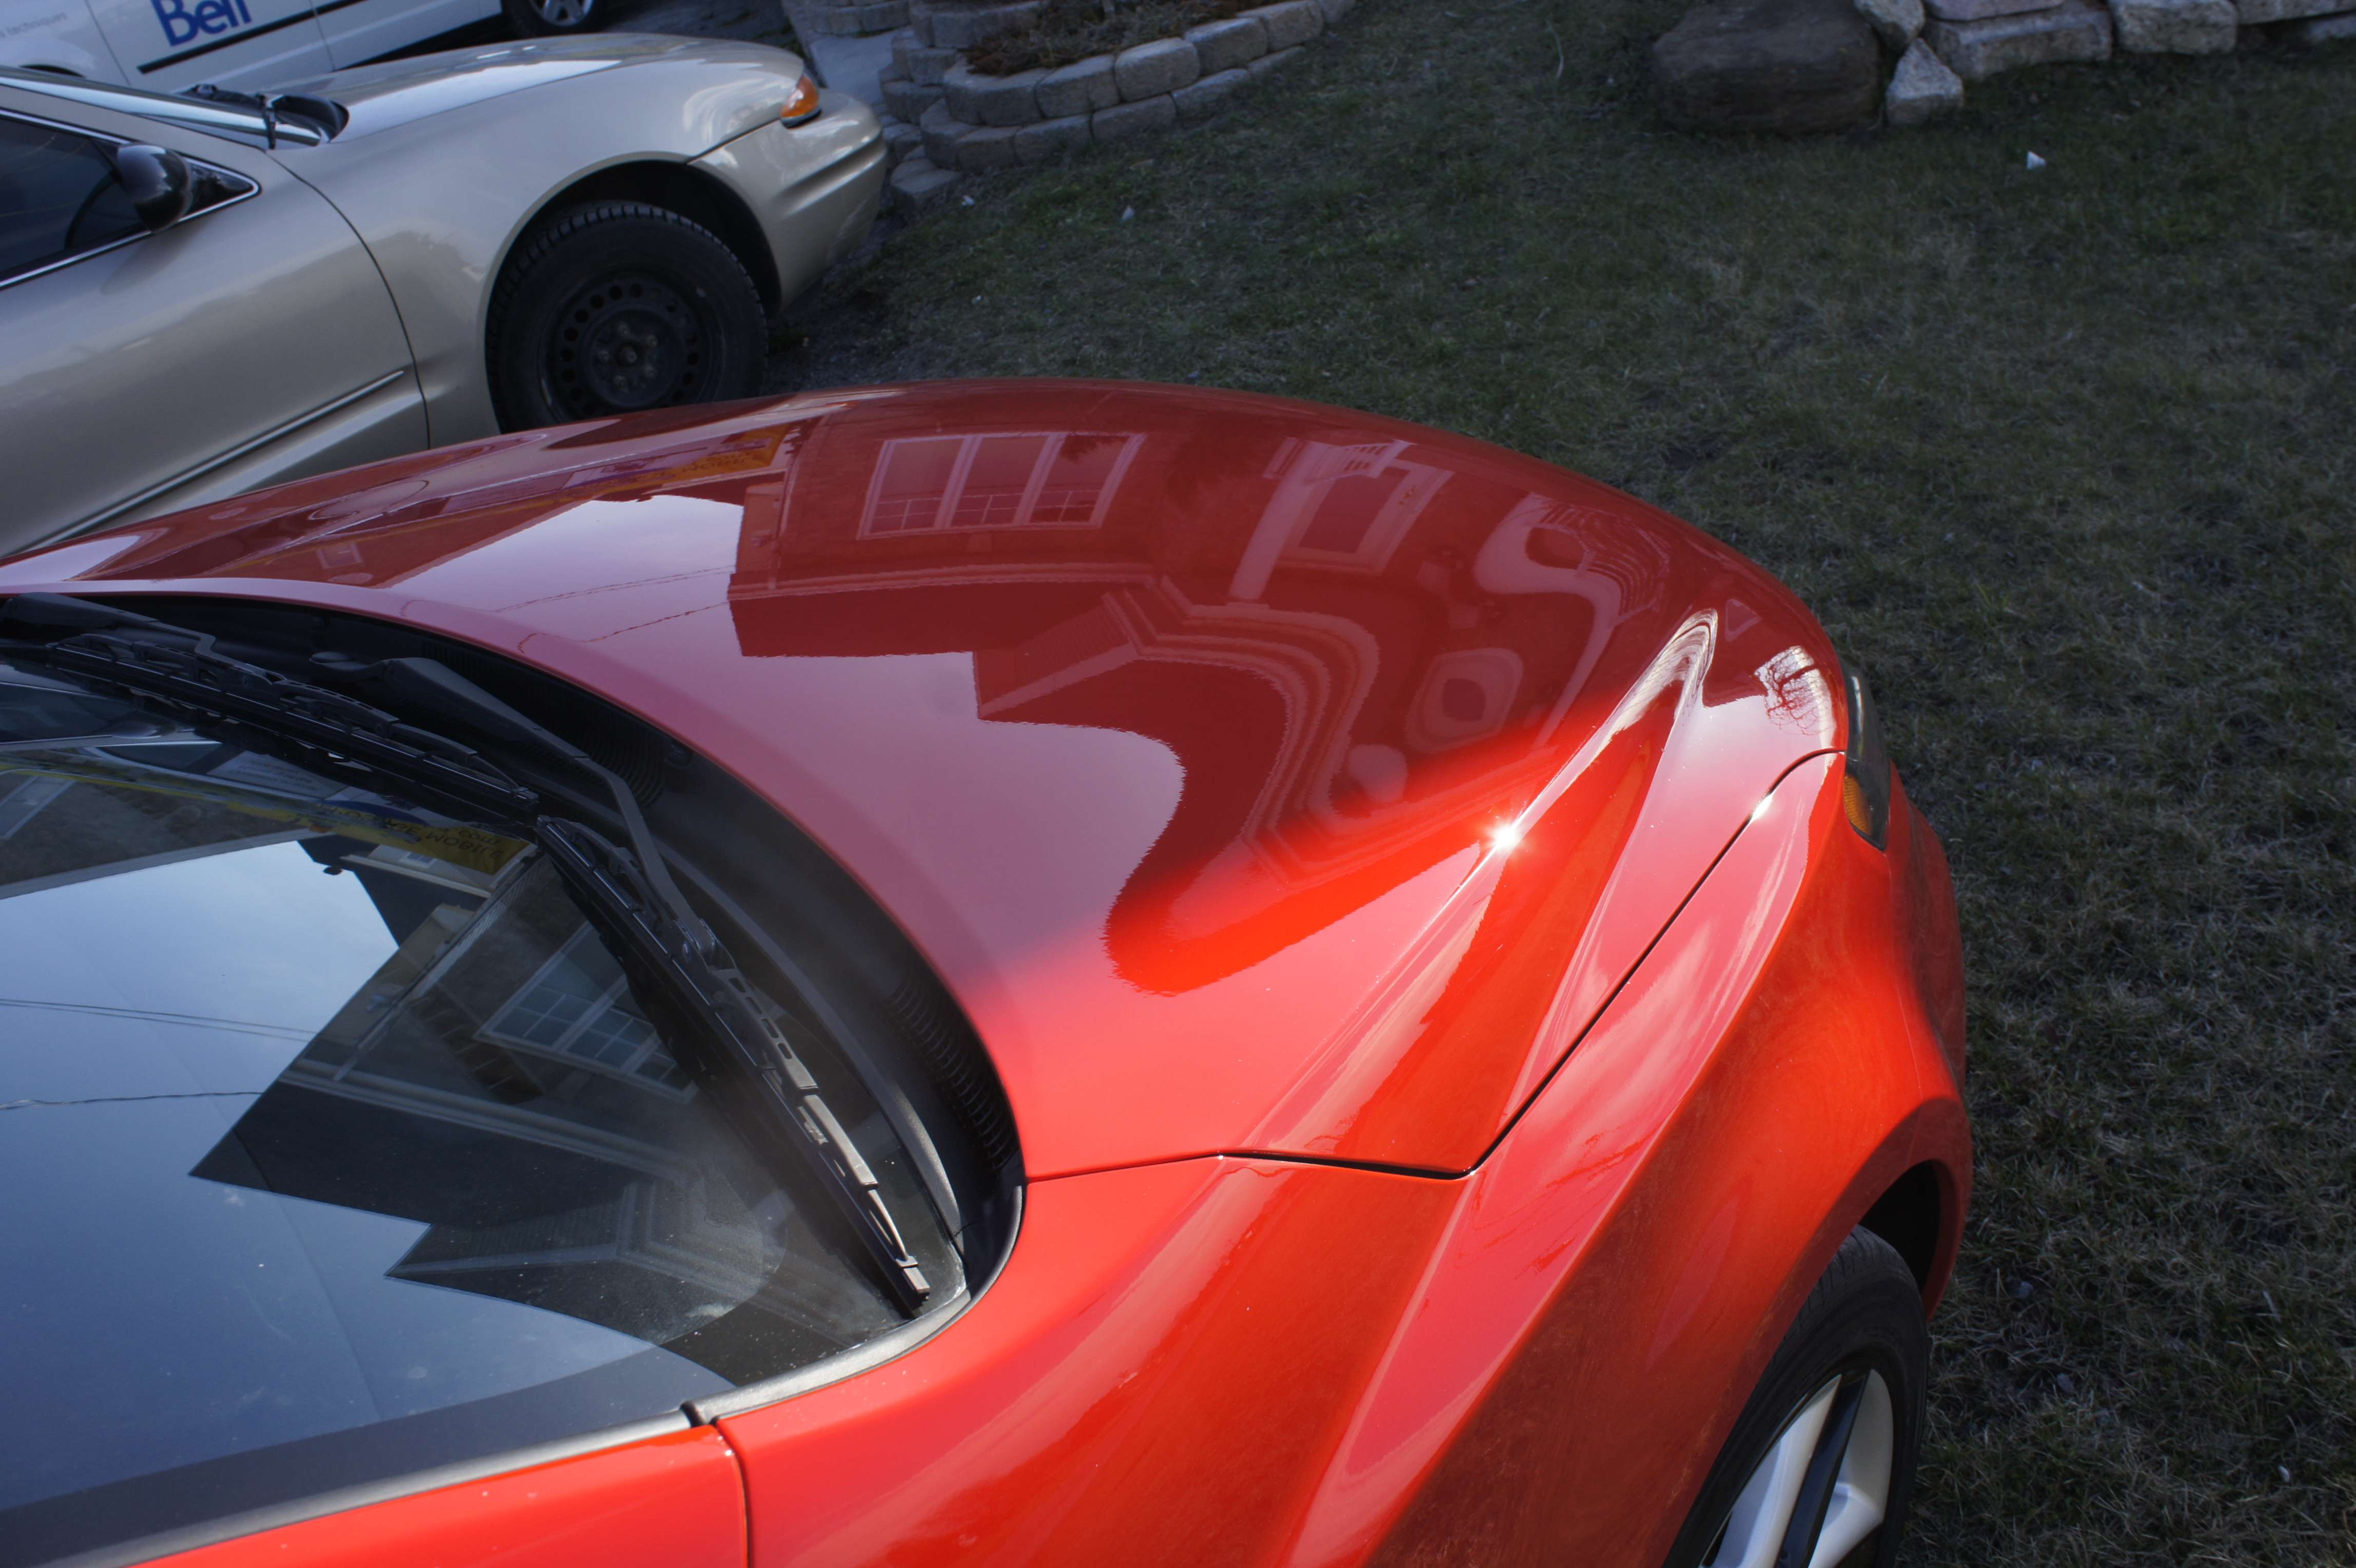
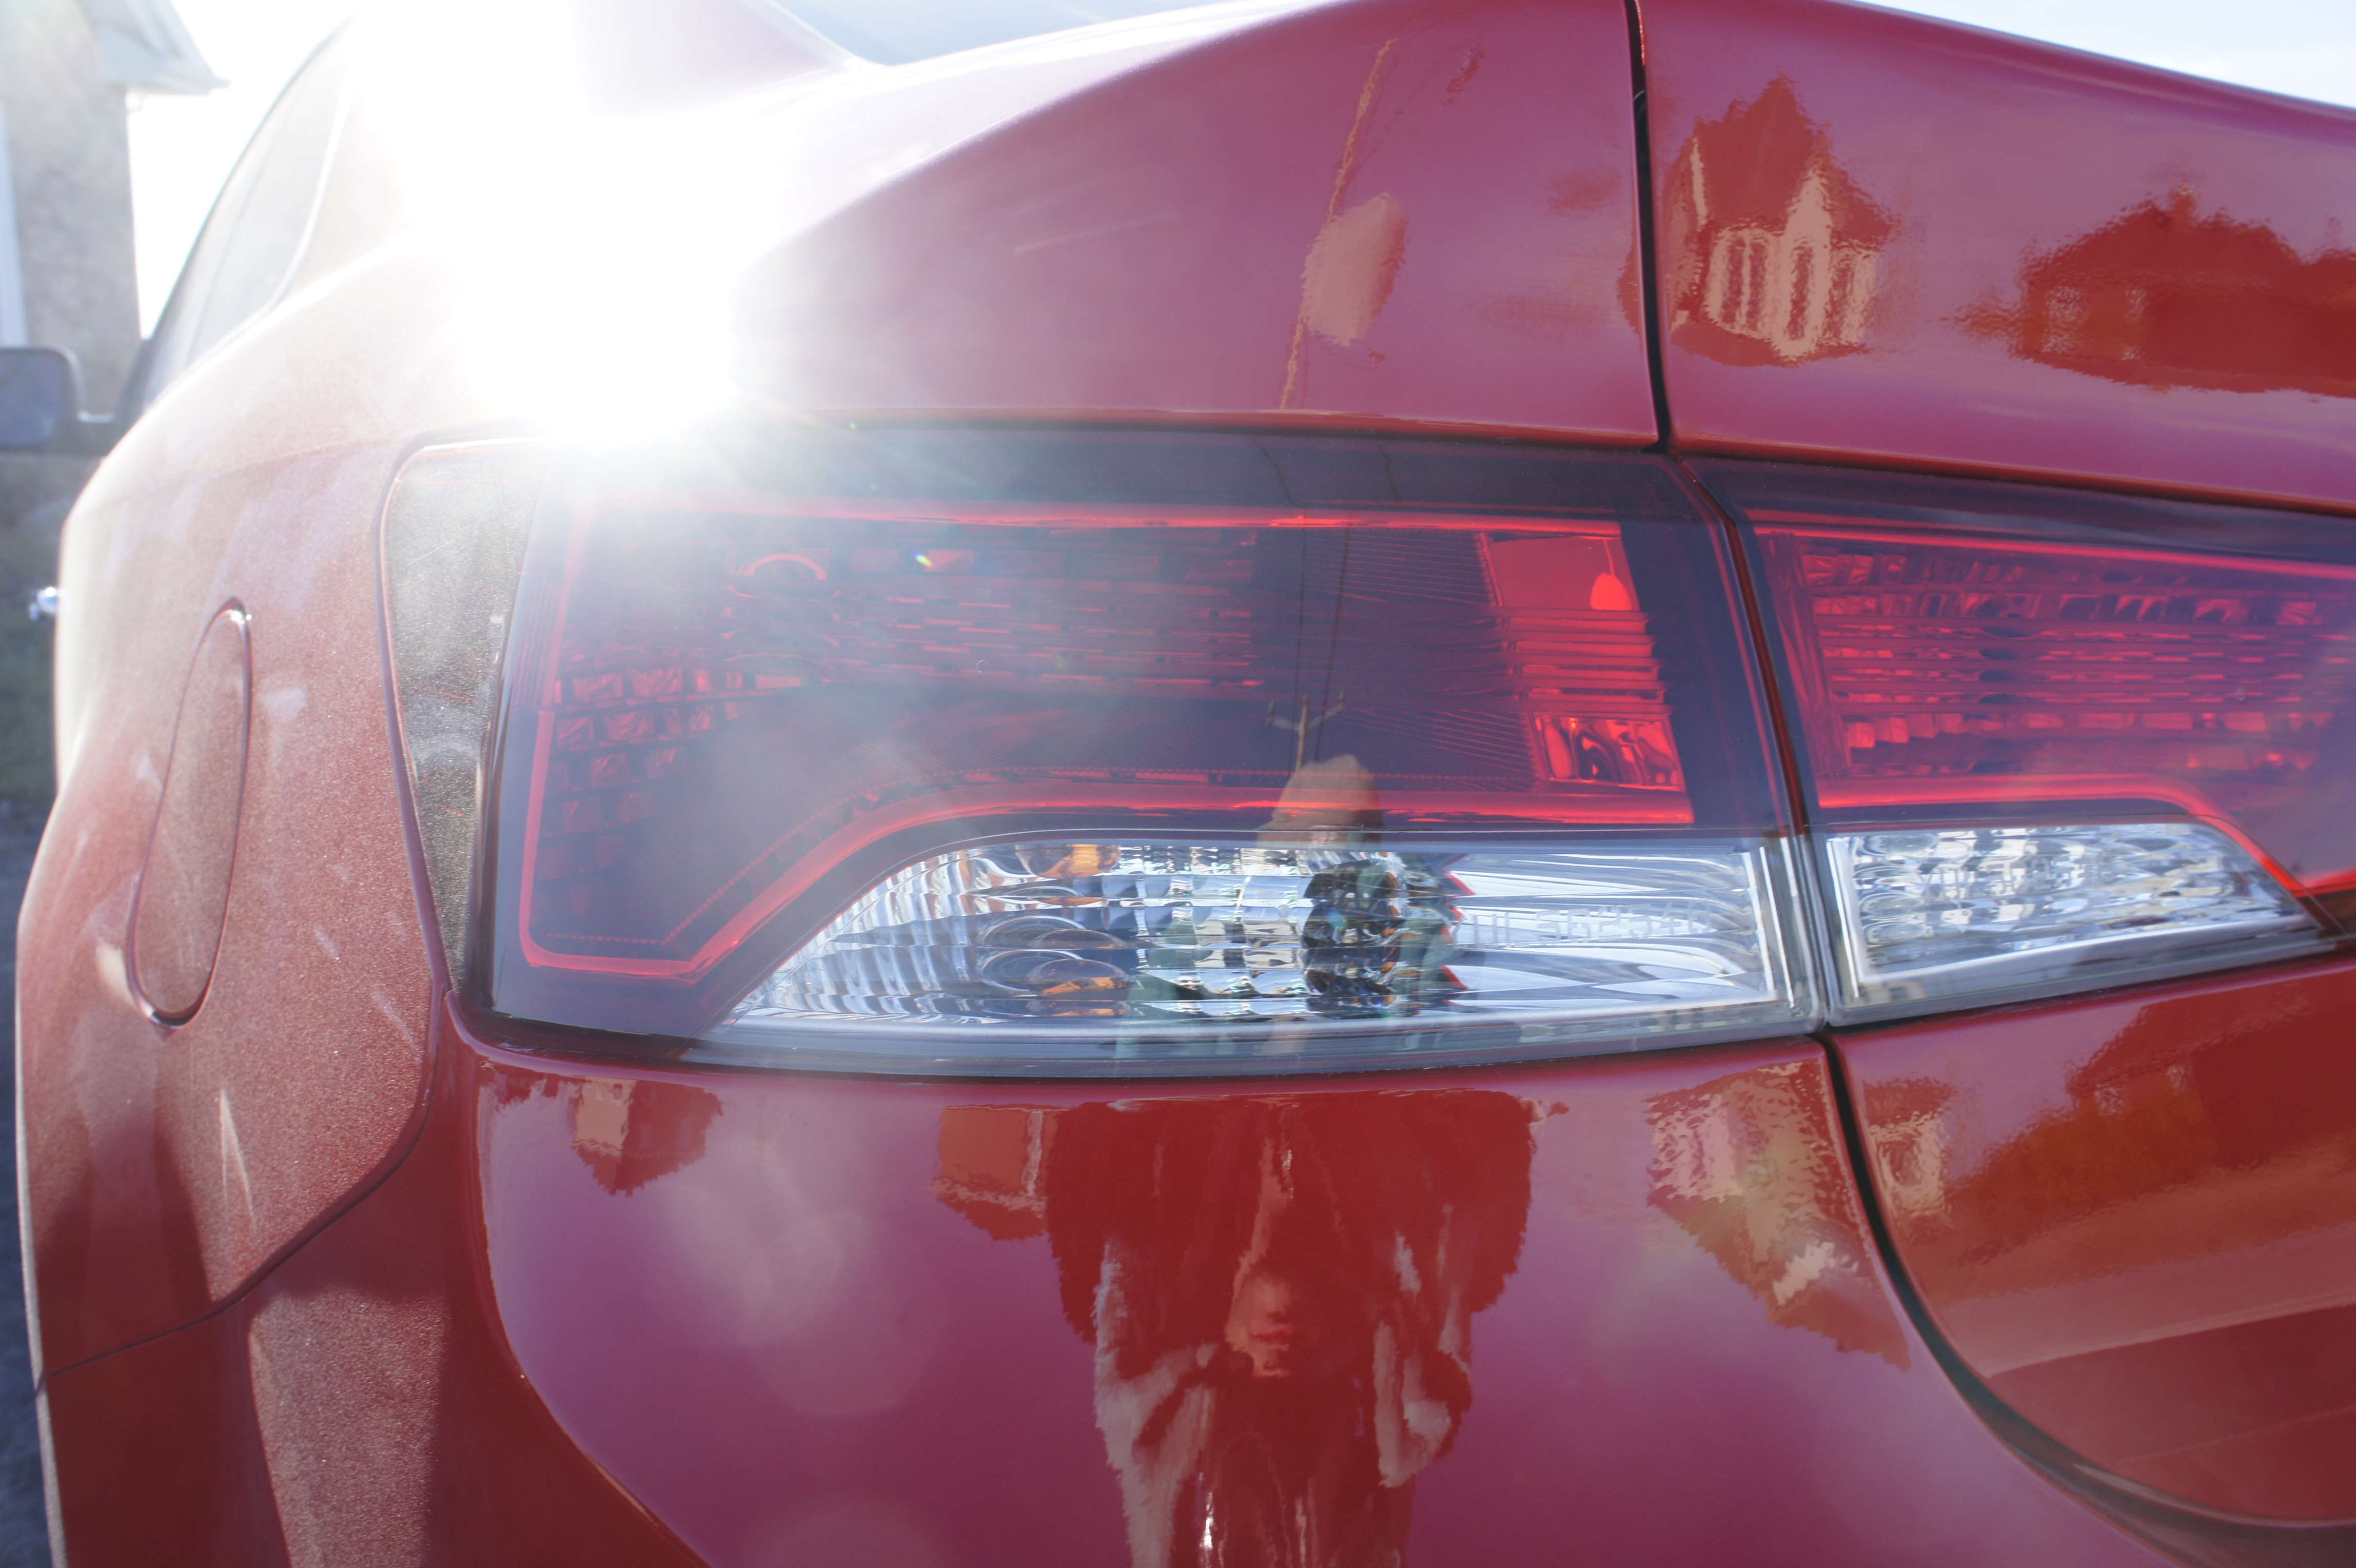
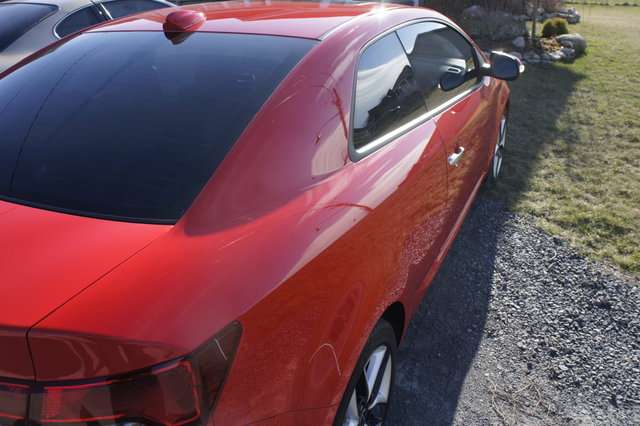
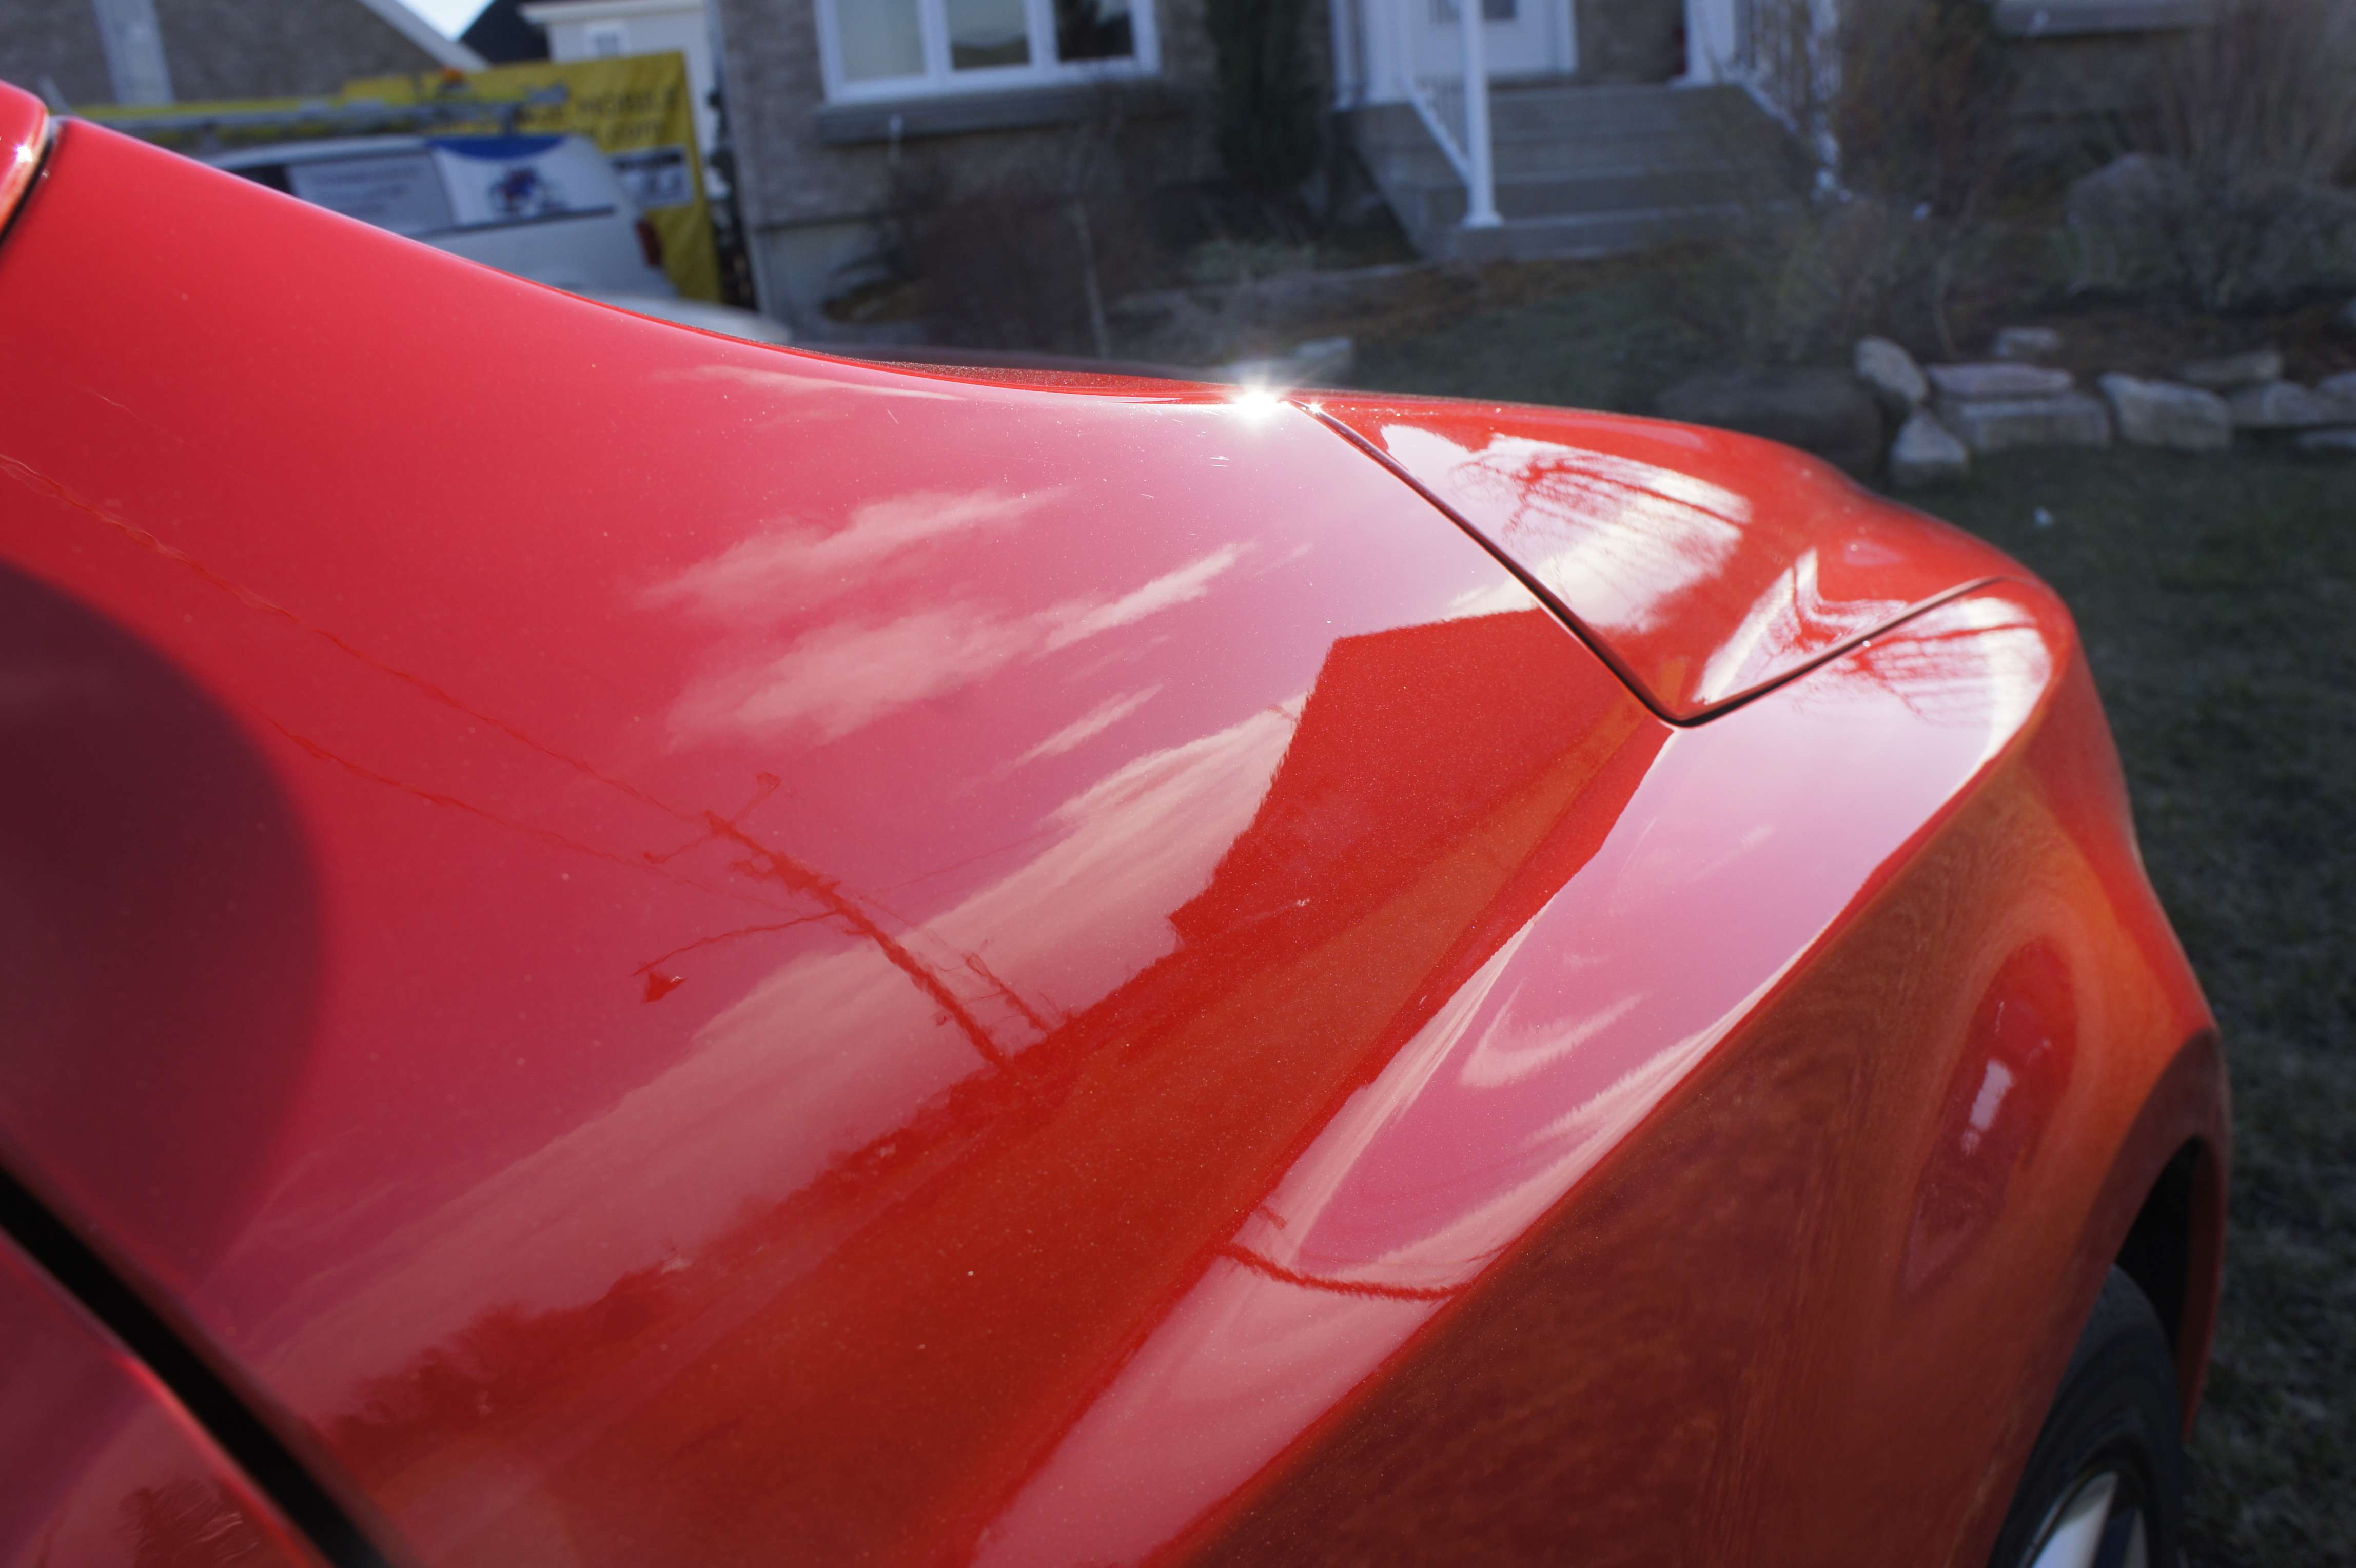
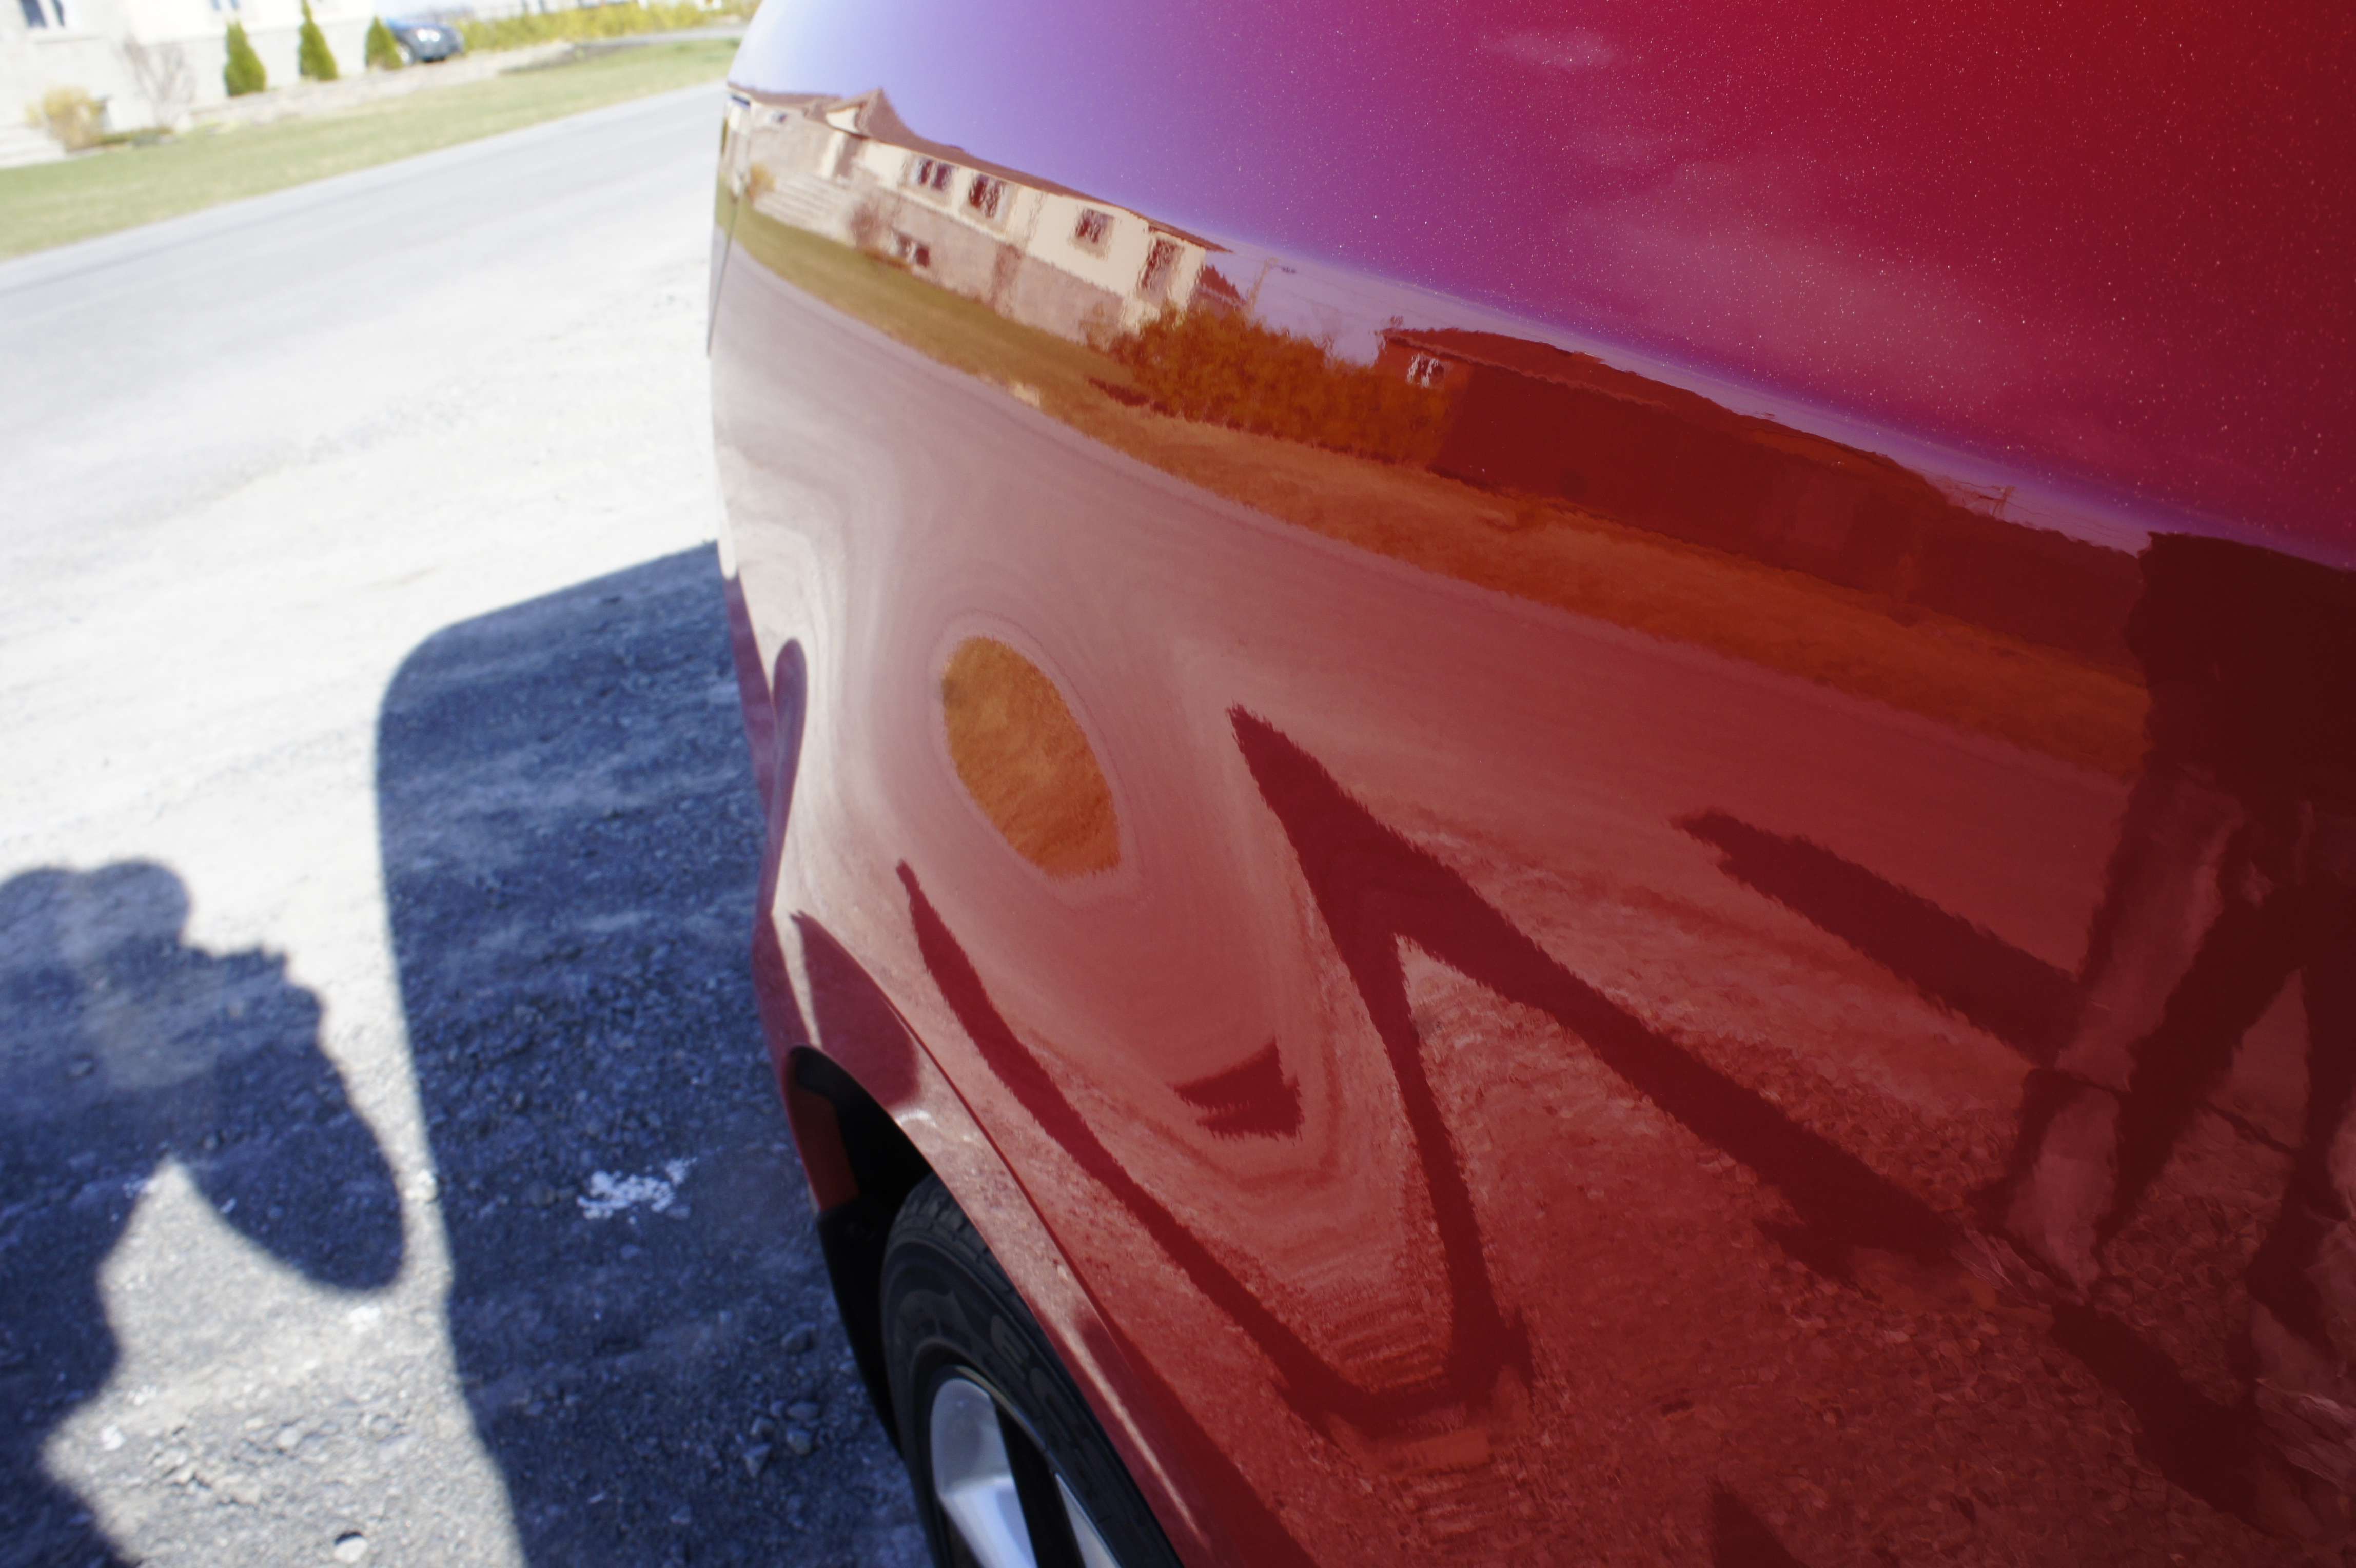
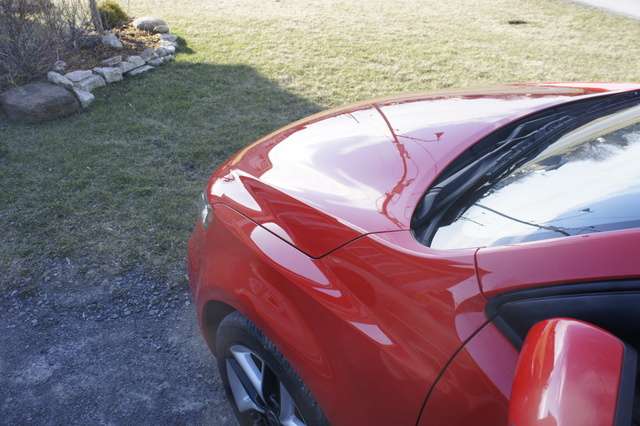
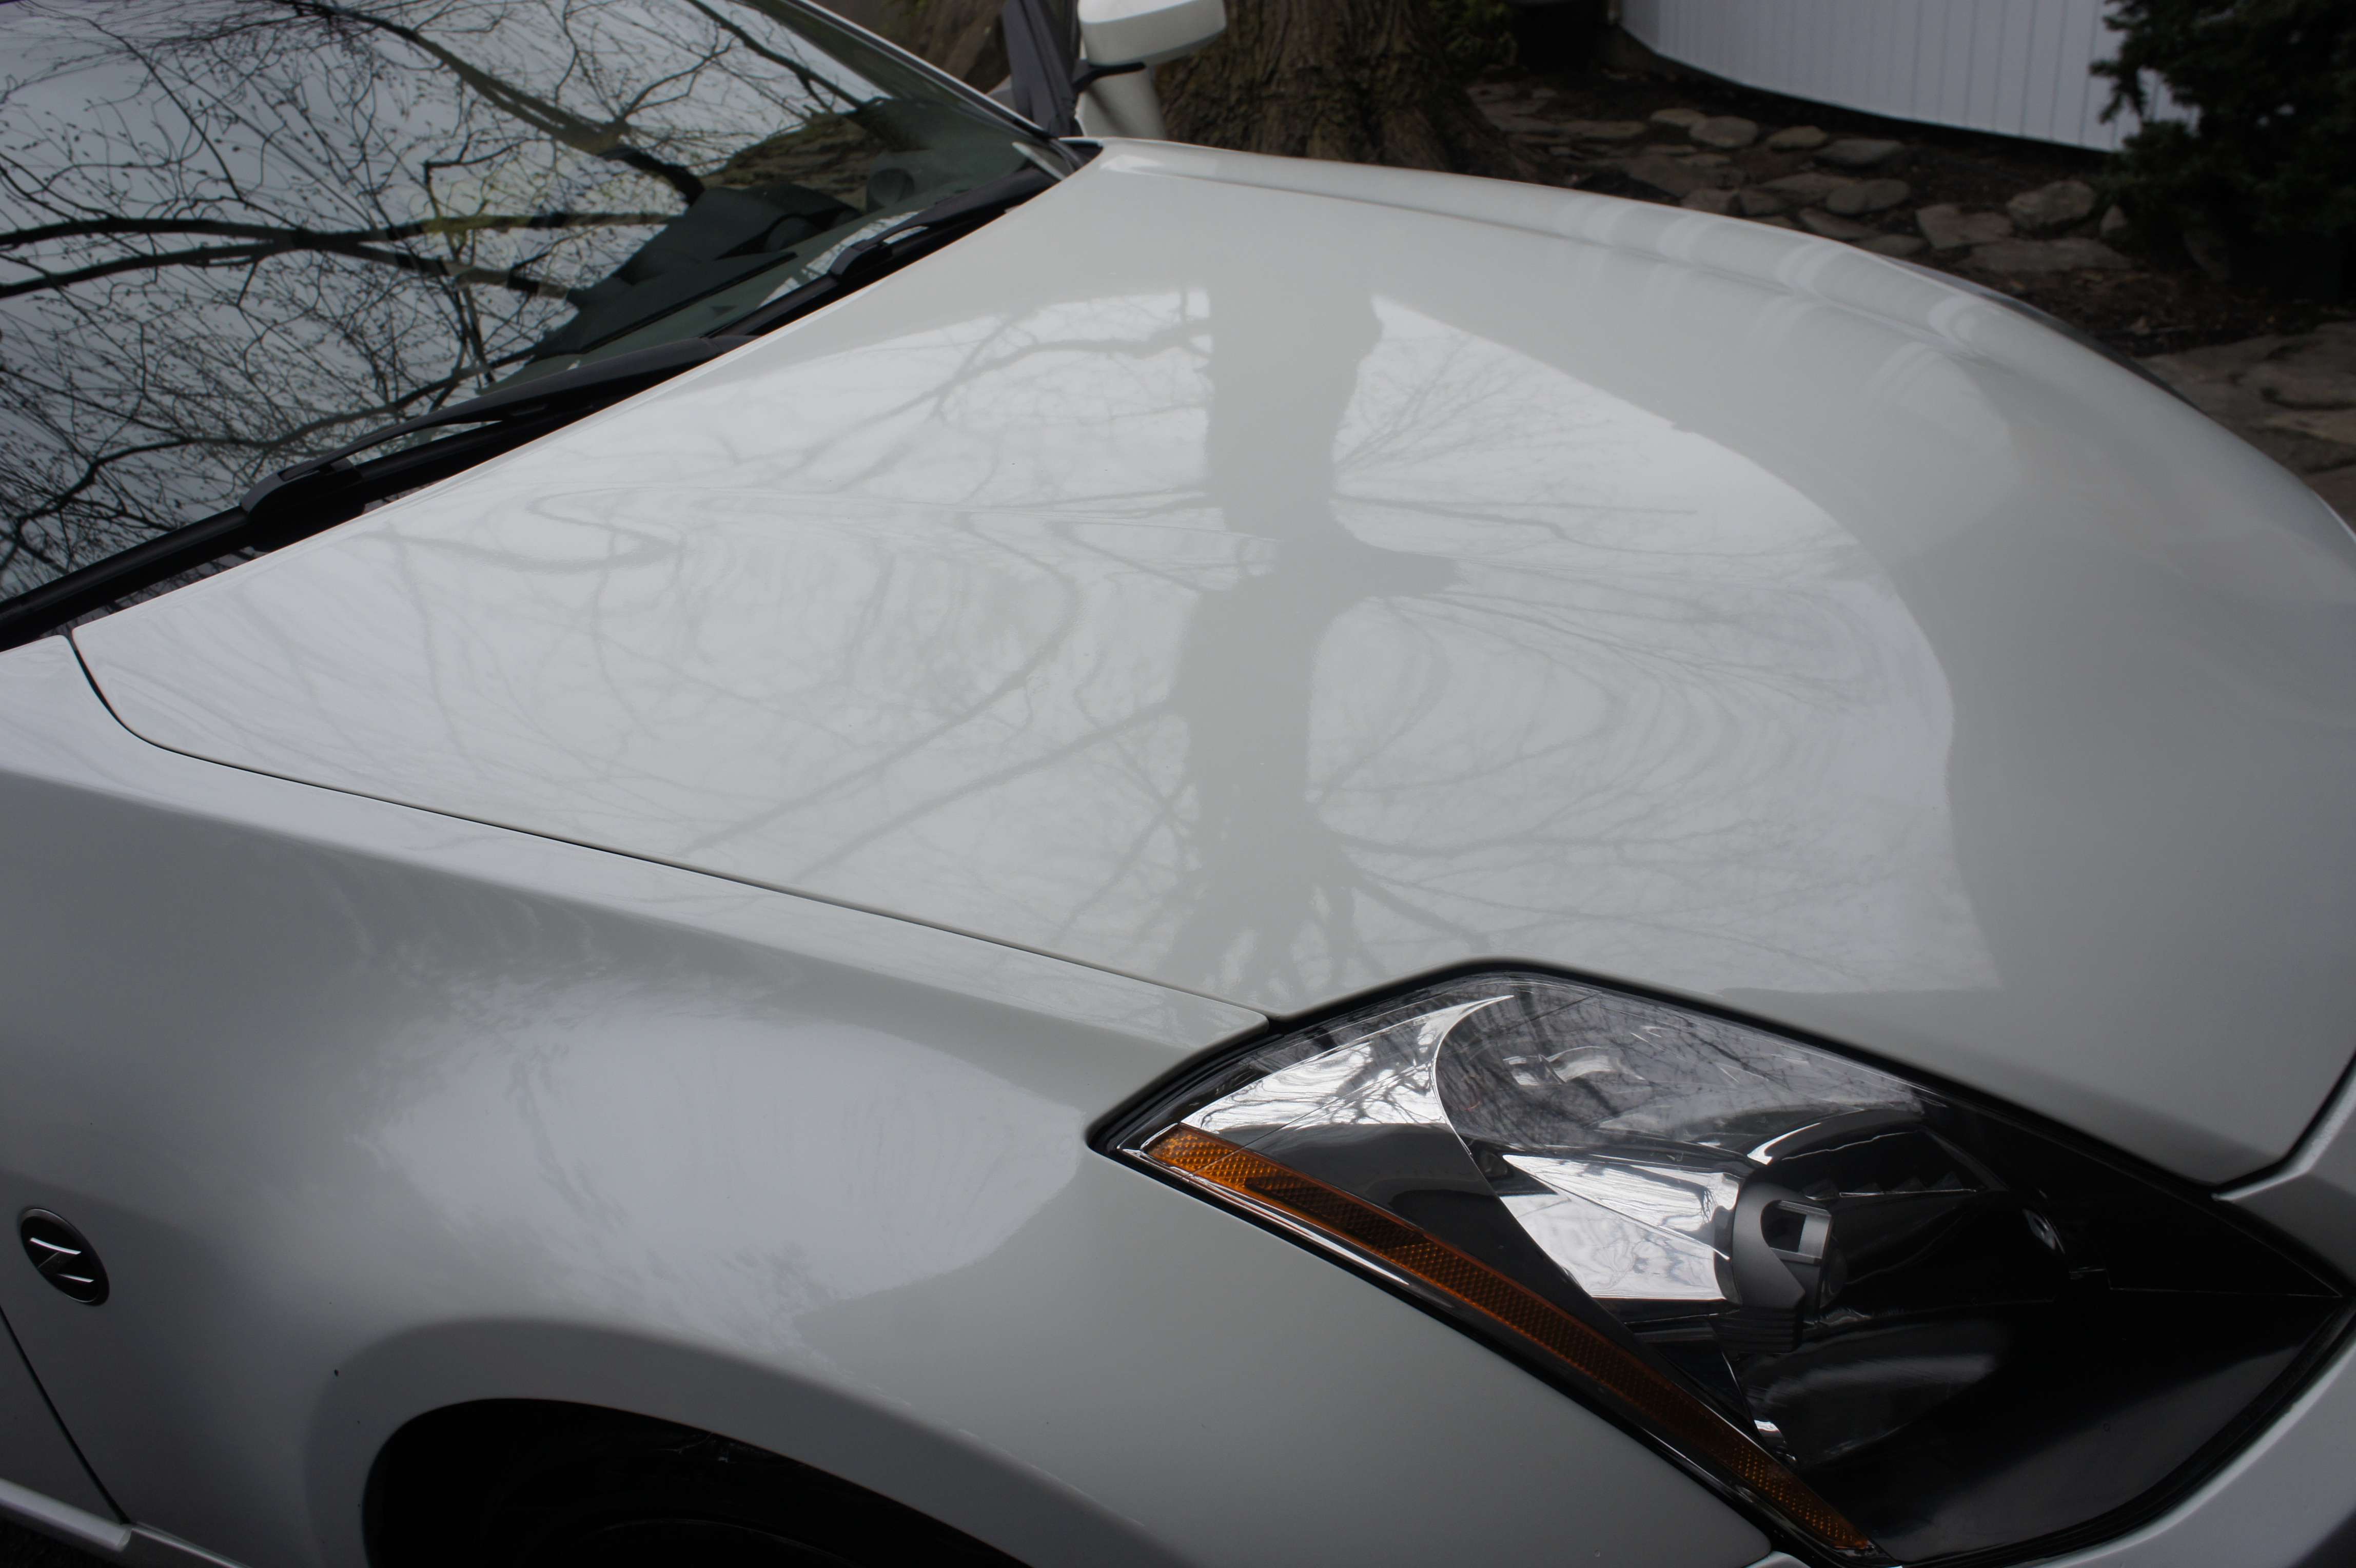
J’ai essay� de prendre en photo la condition de la peinture, mais c’�tait plutot difficile:
Ici, c’�tait assez ardu du fait que j’�tais direct dans le edge du panneau, tr�s facile � brul�, mais �a la tr�s bien sortie!
Just because I’m crazy.. that’s me polishing the little panel with paint the engine bay had!!
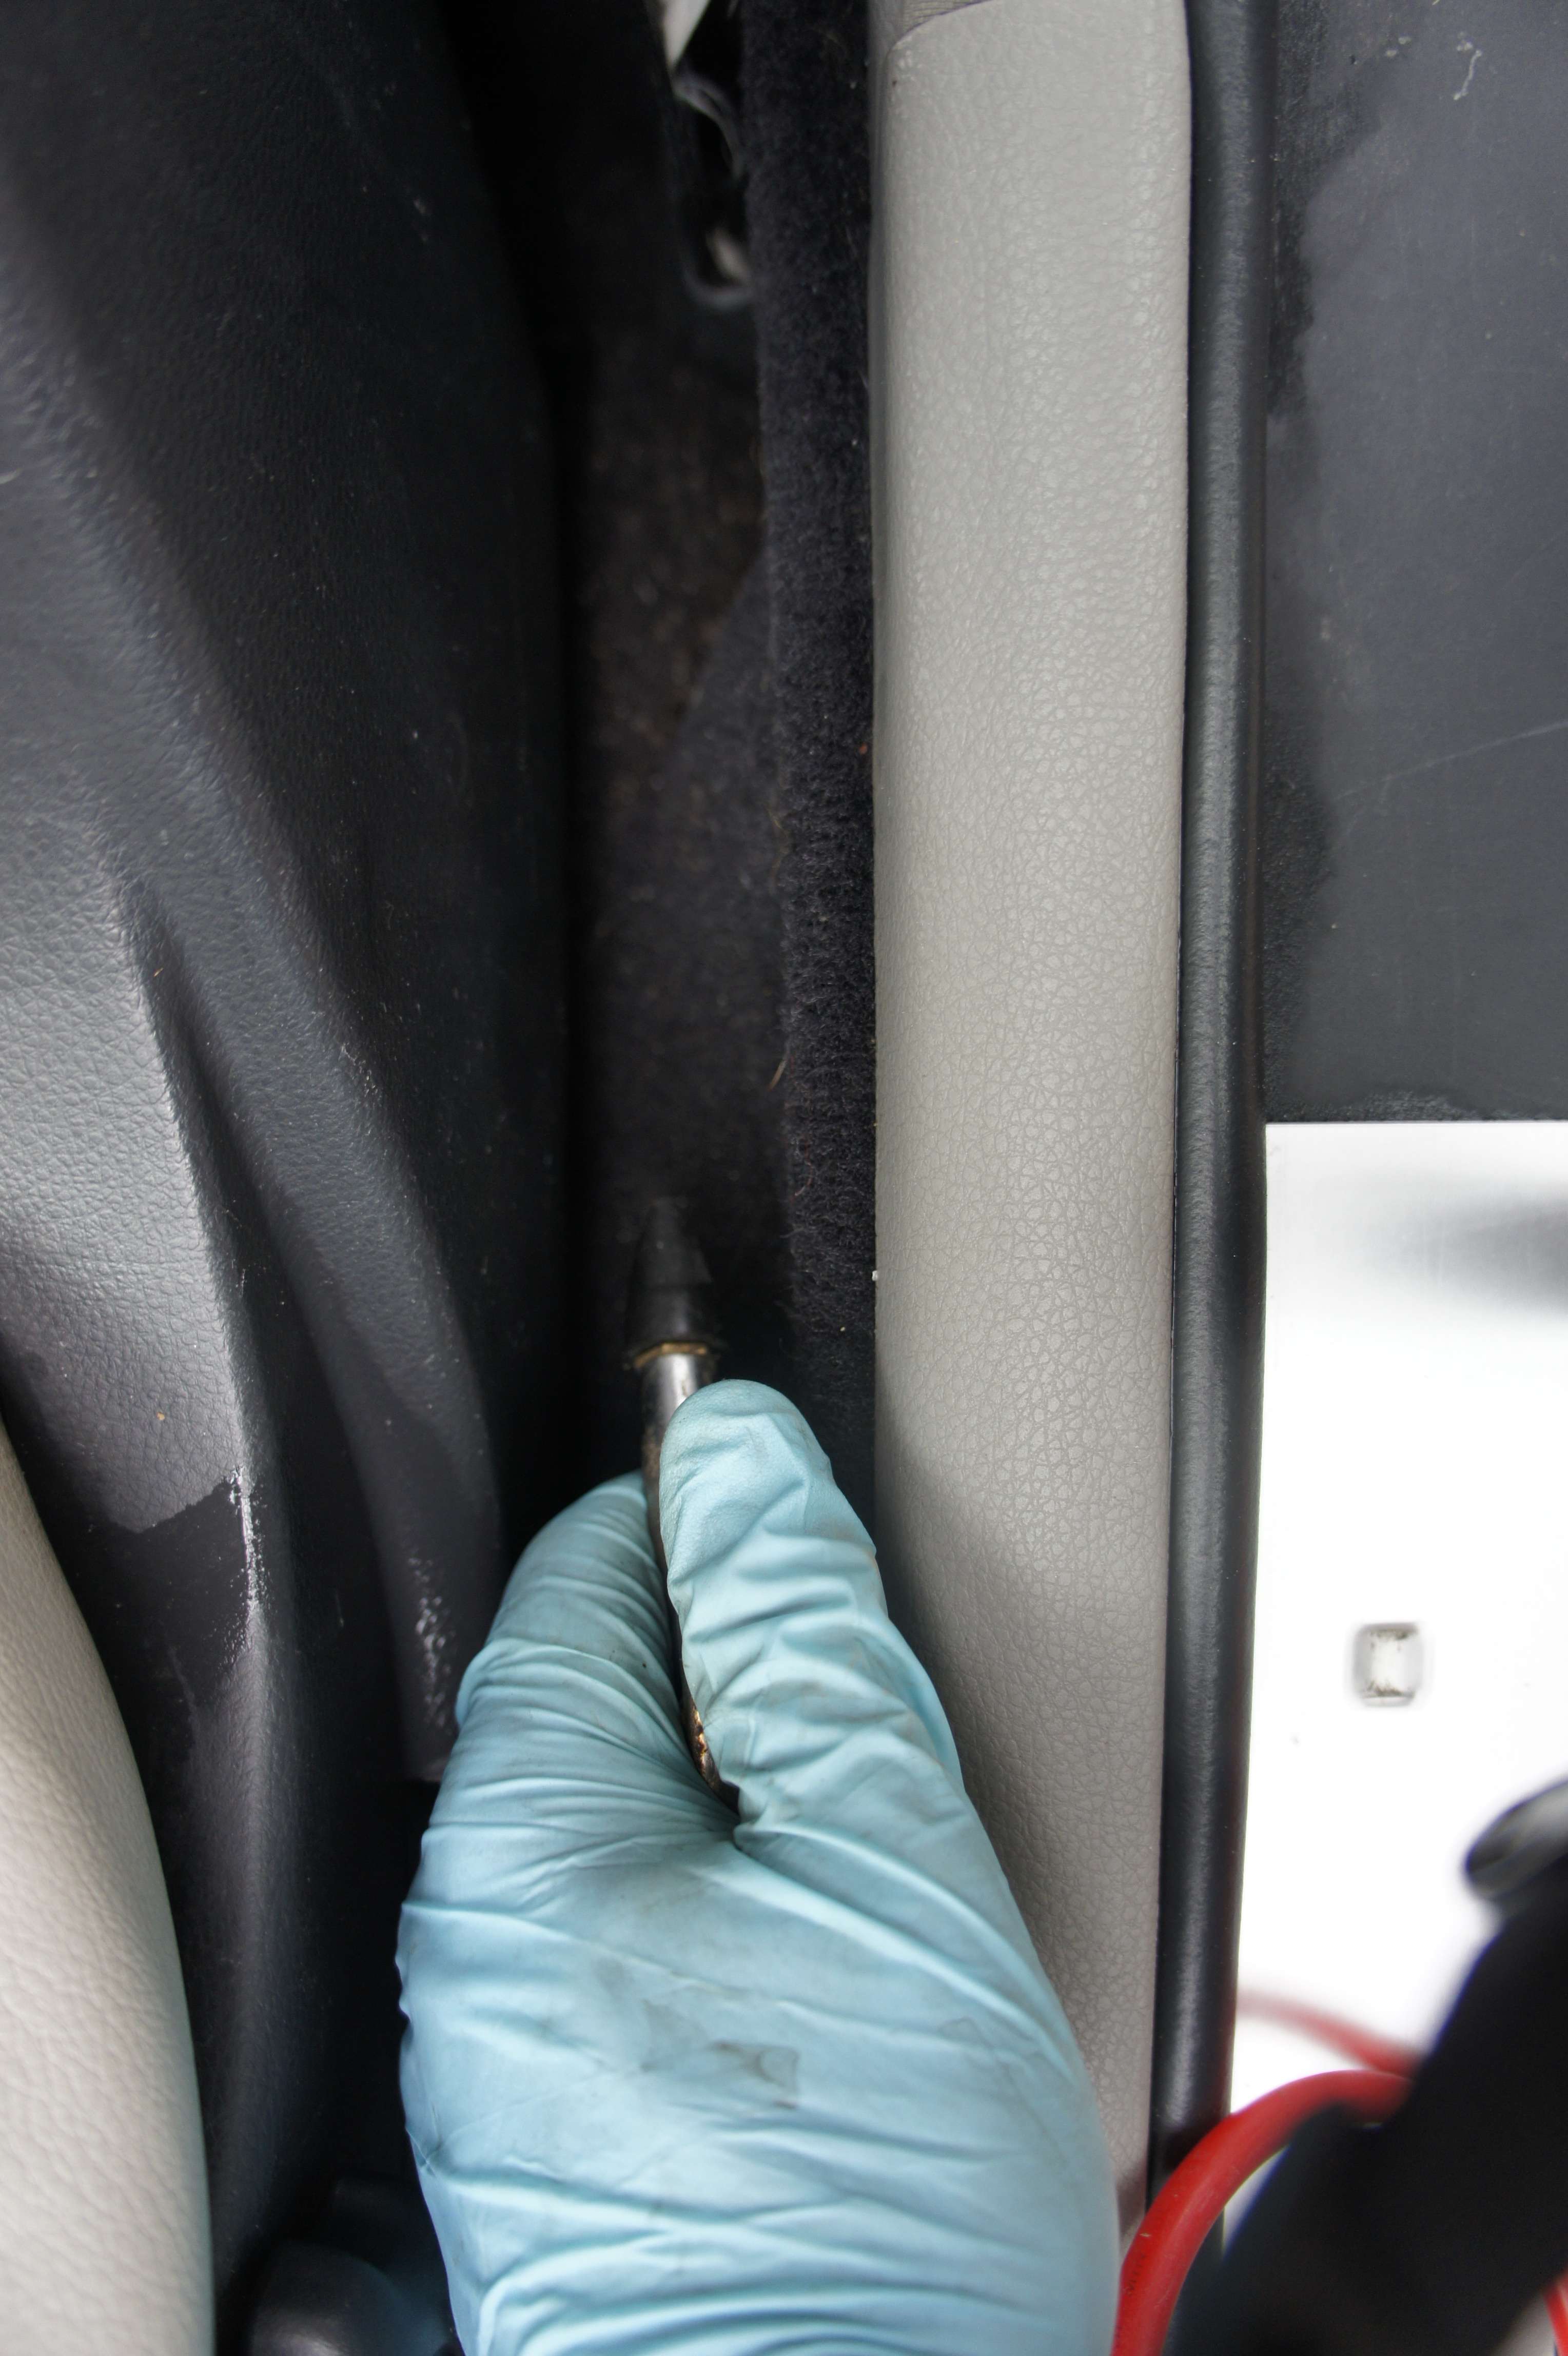
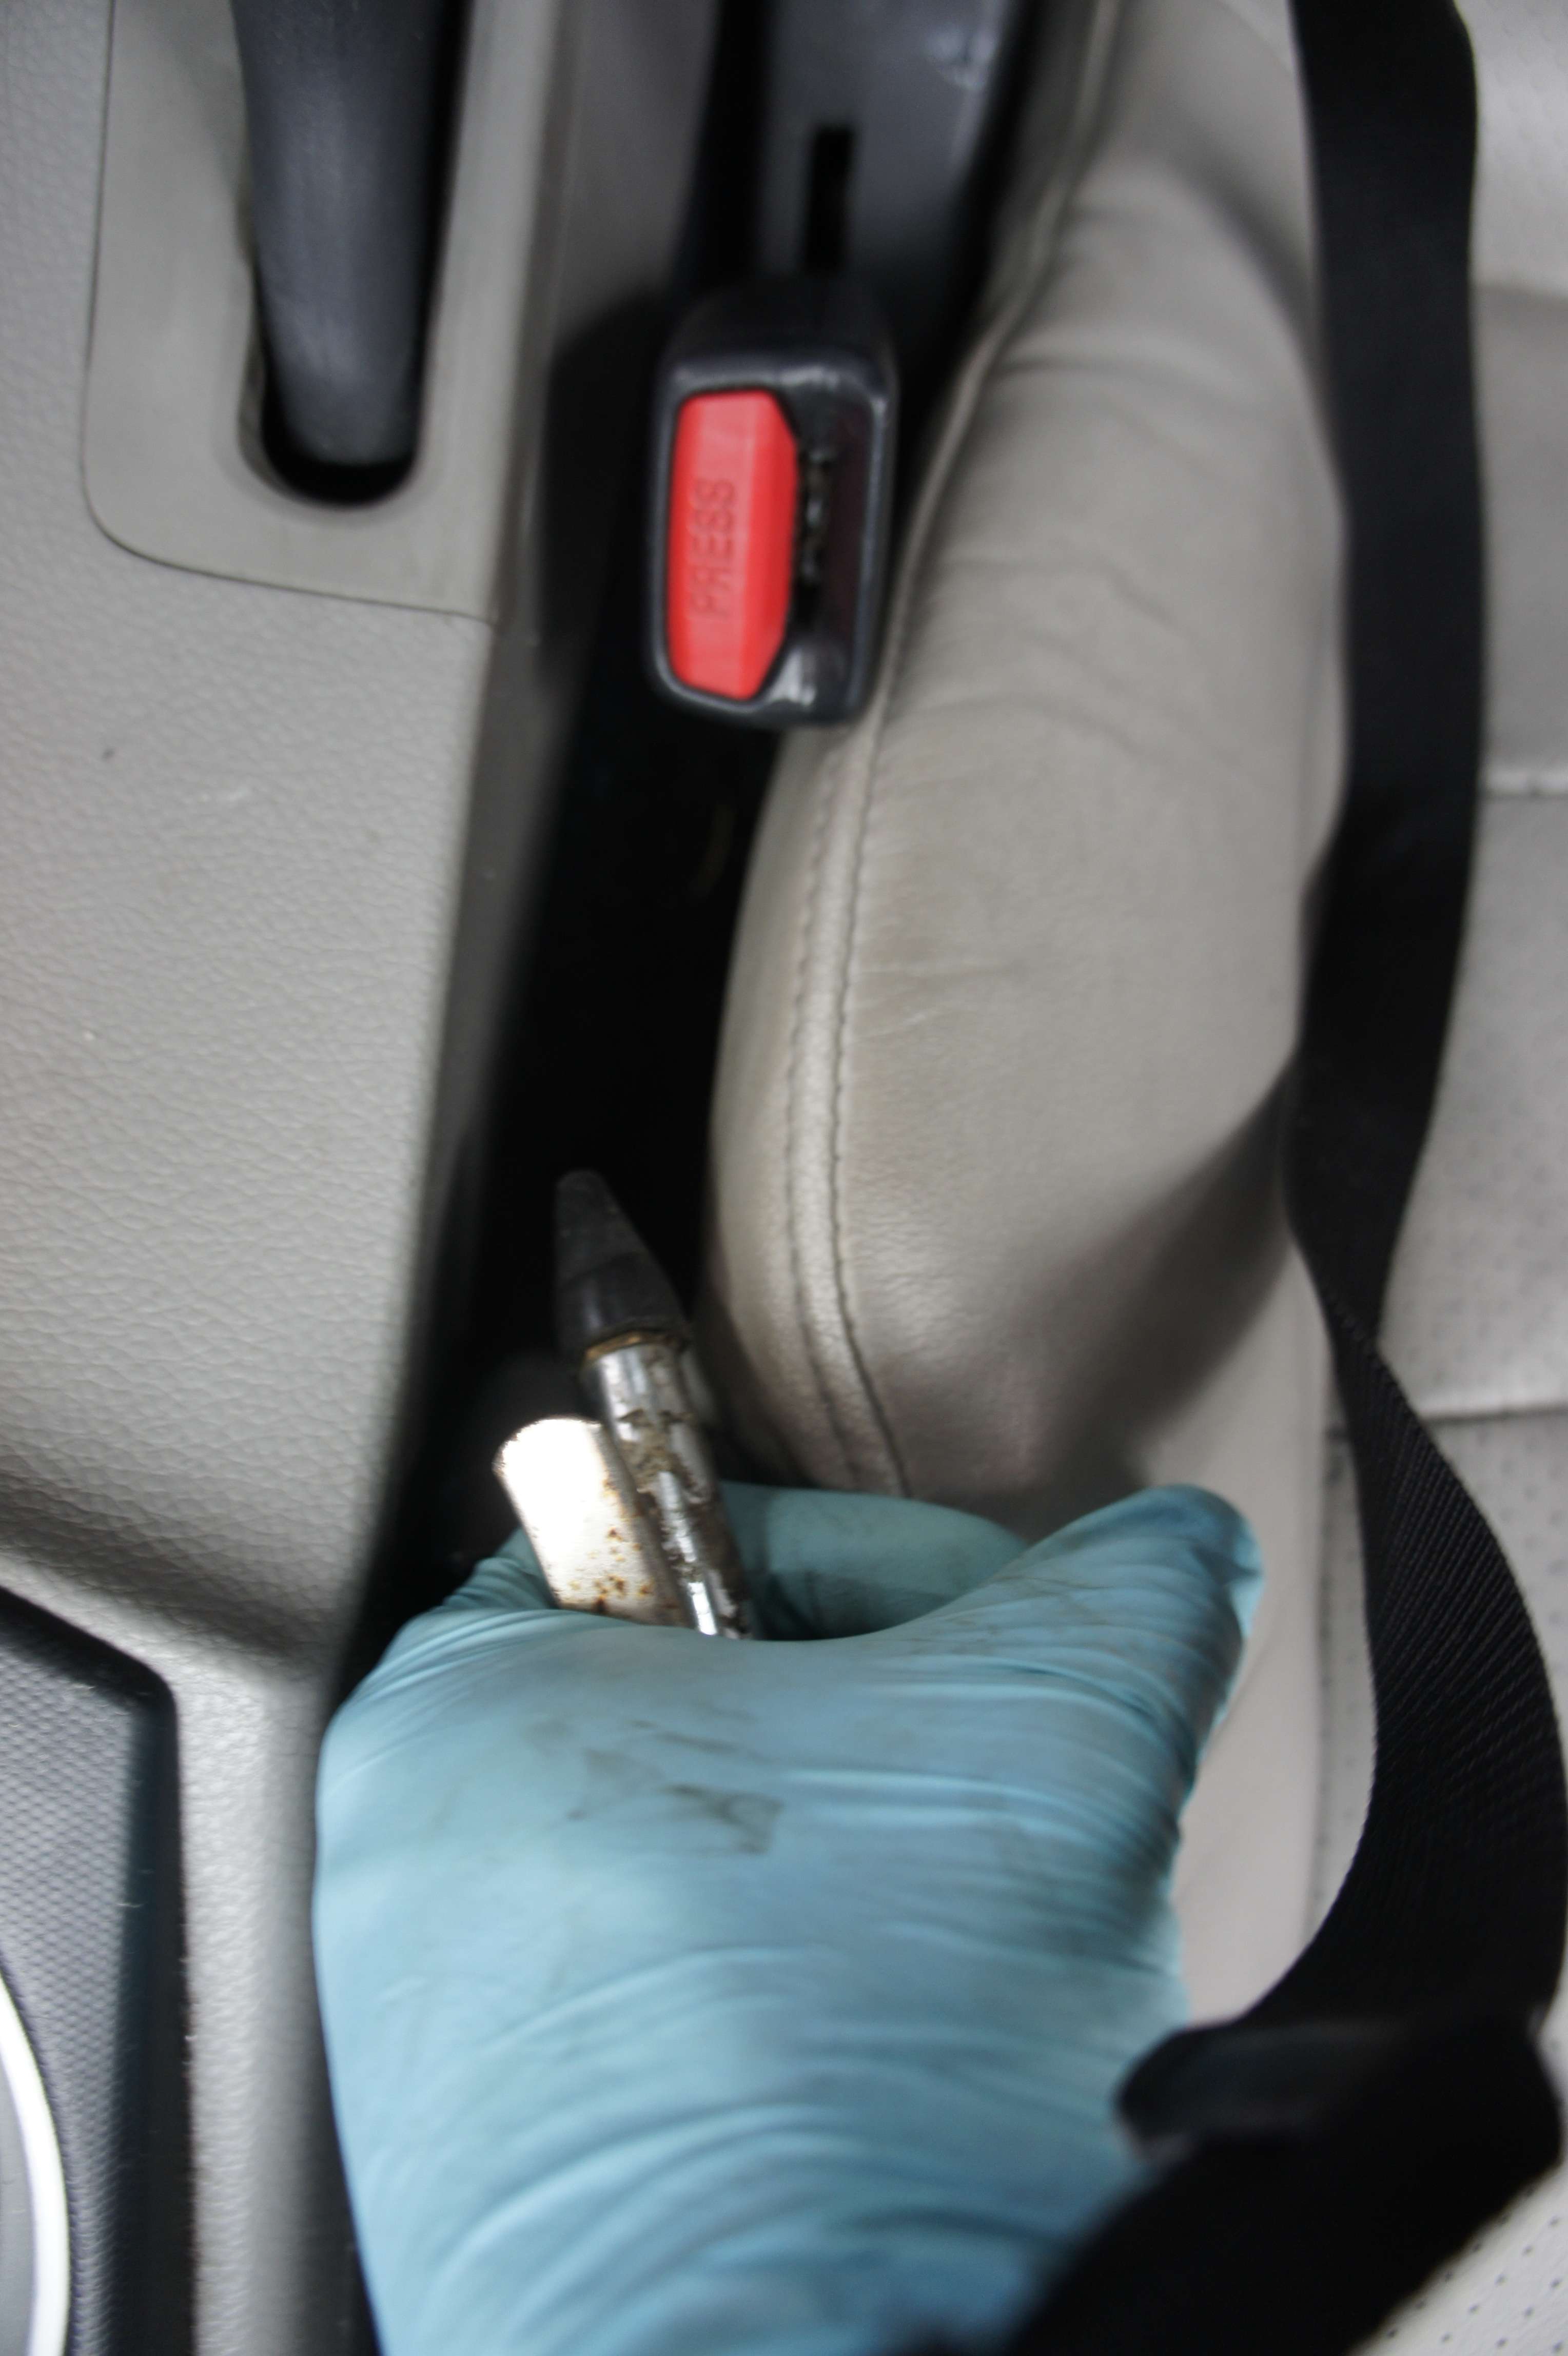
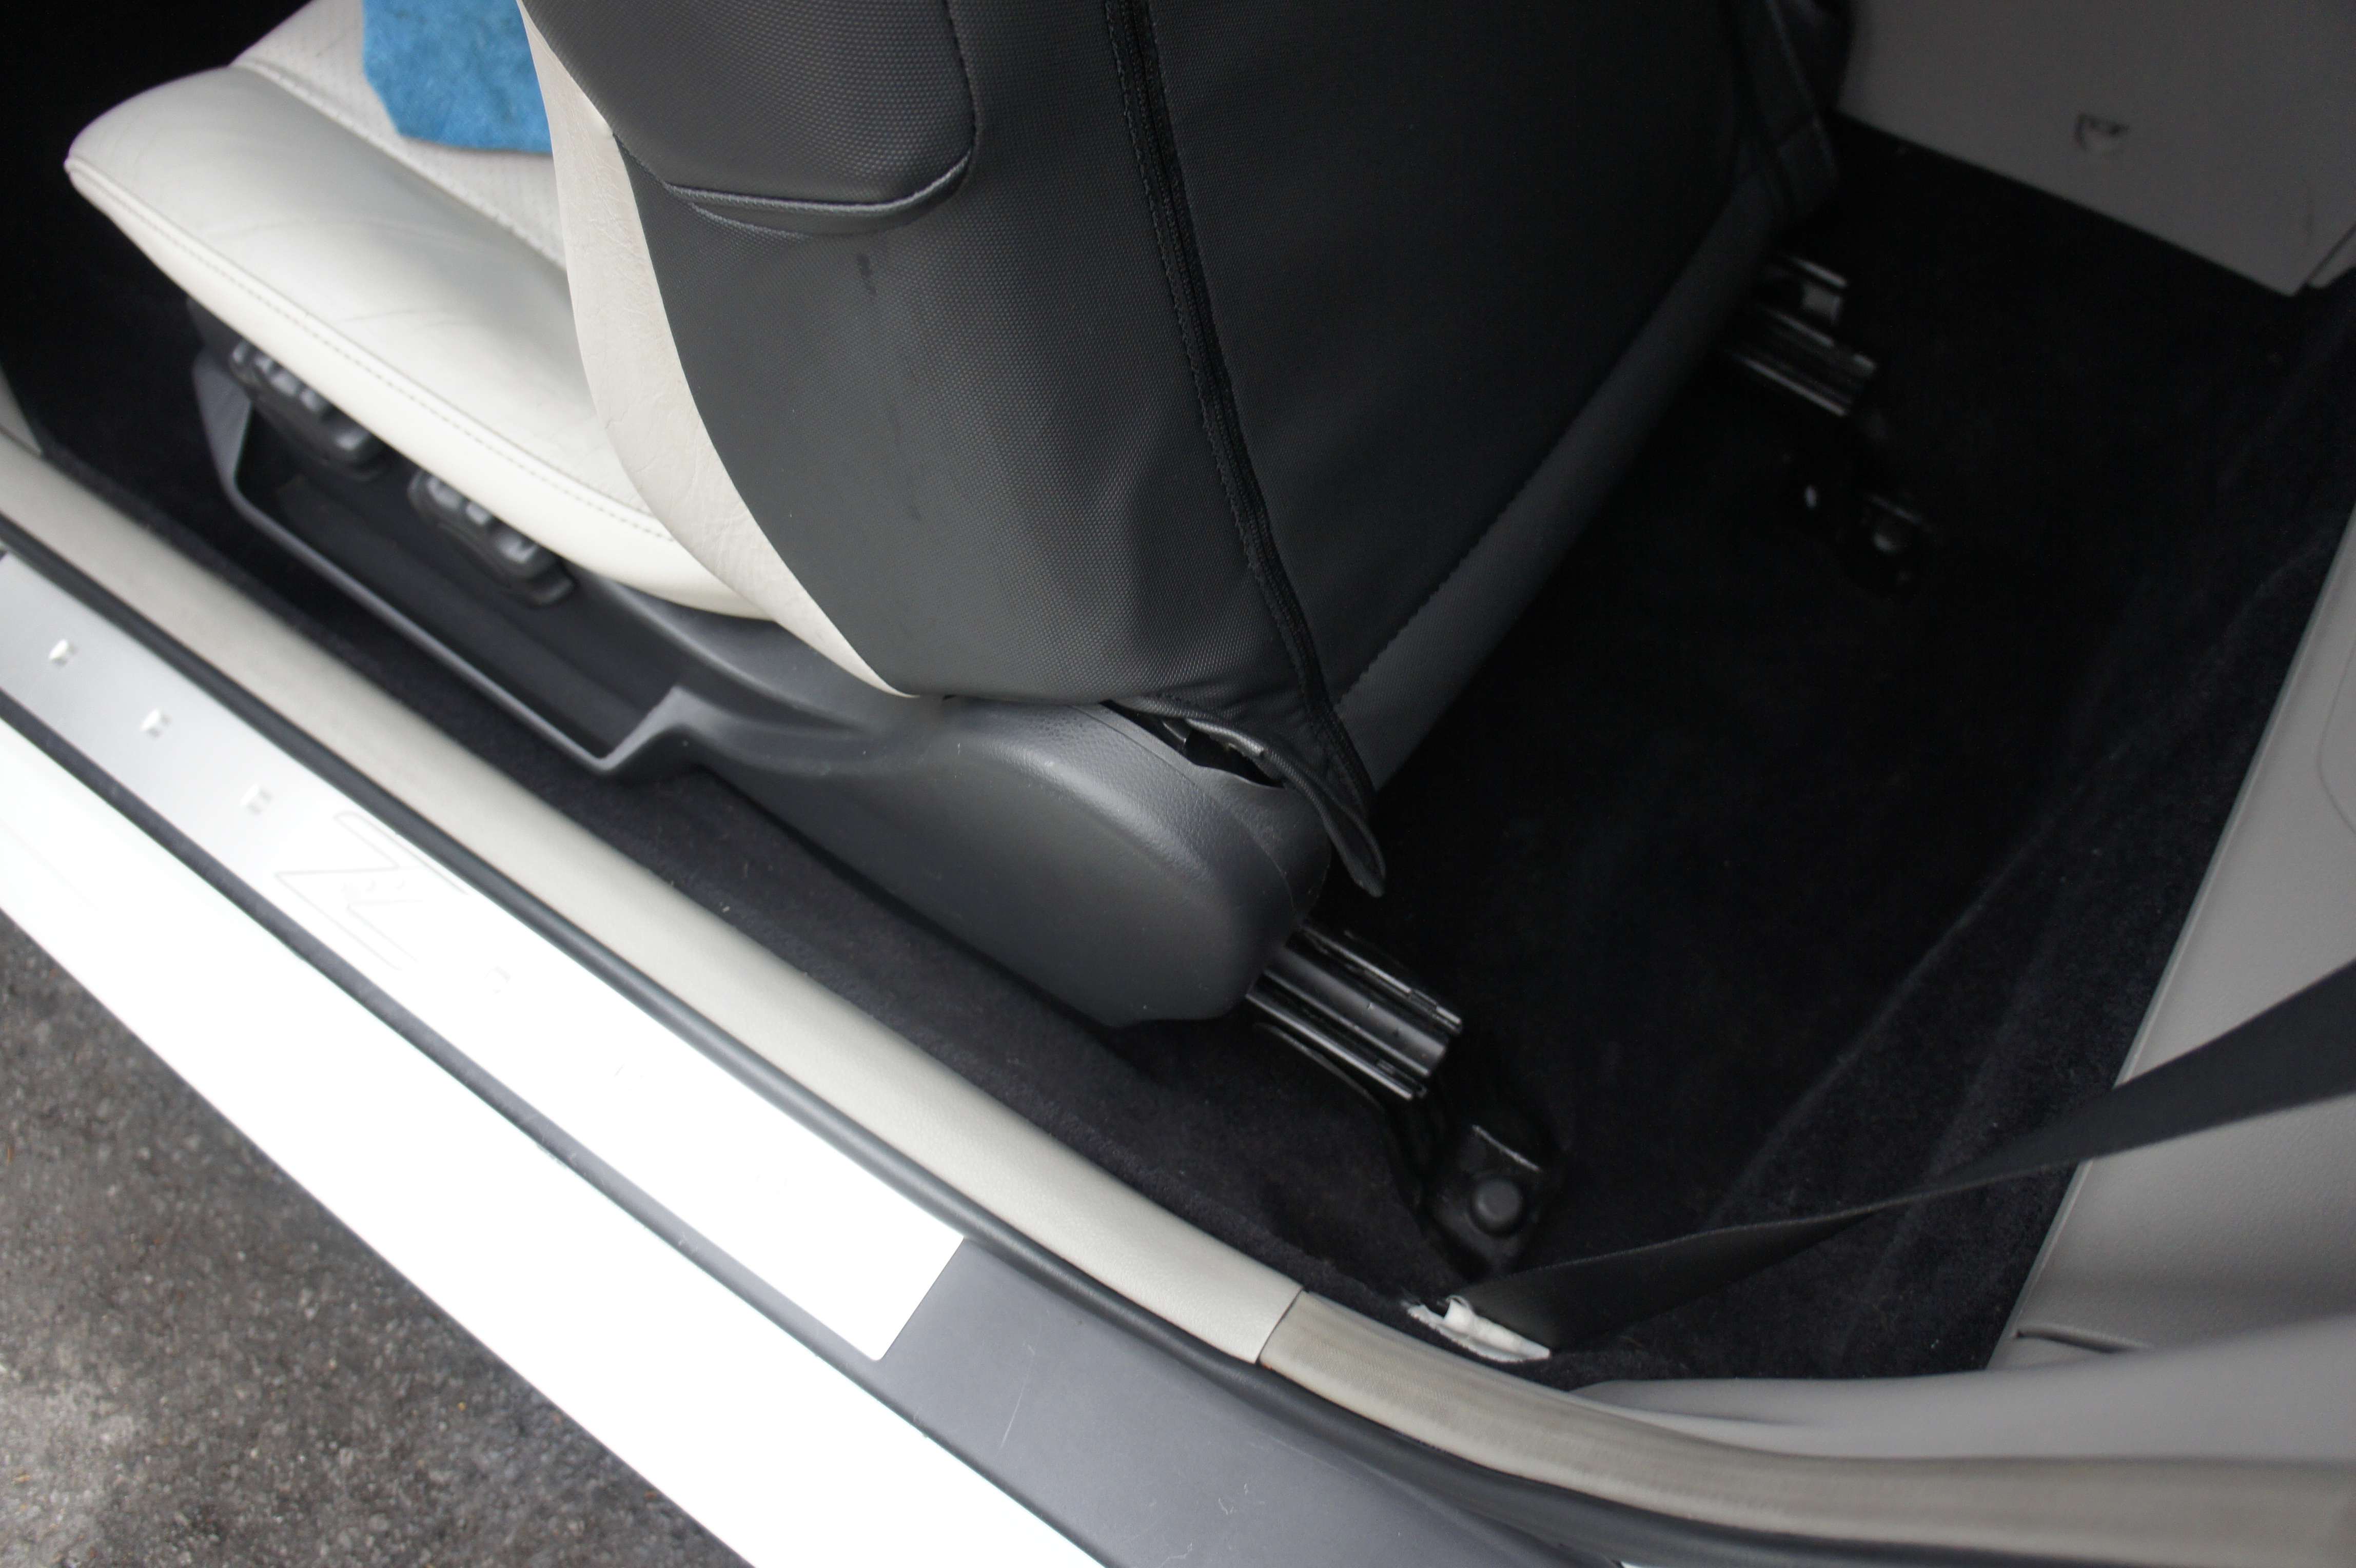
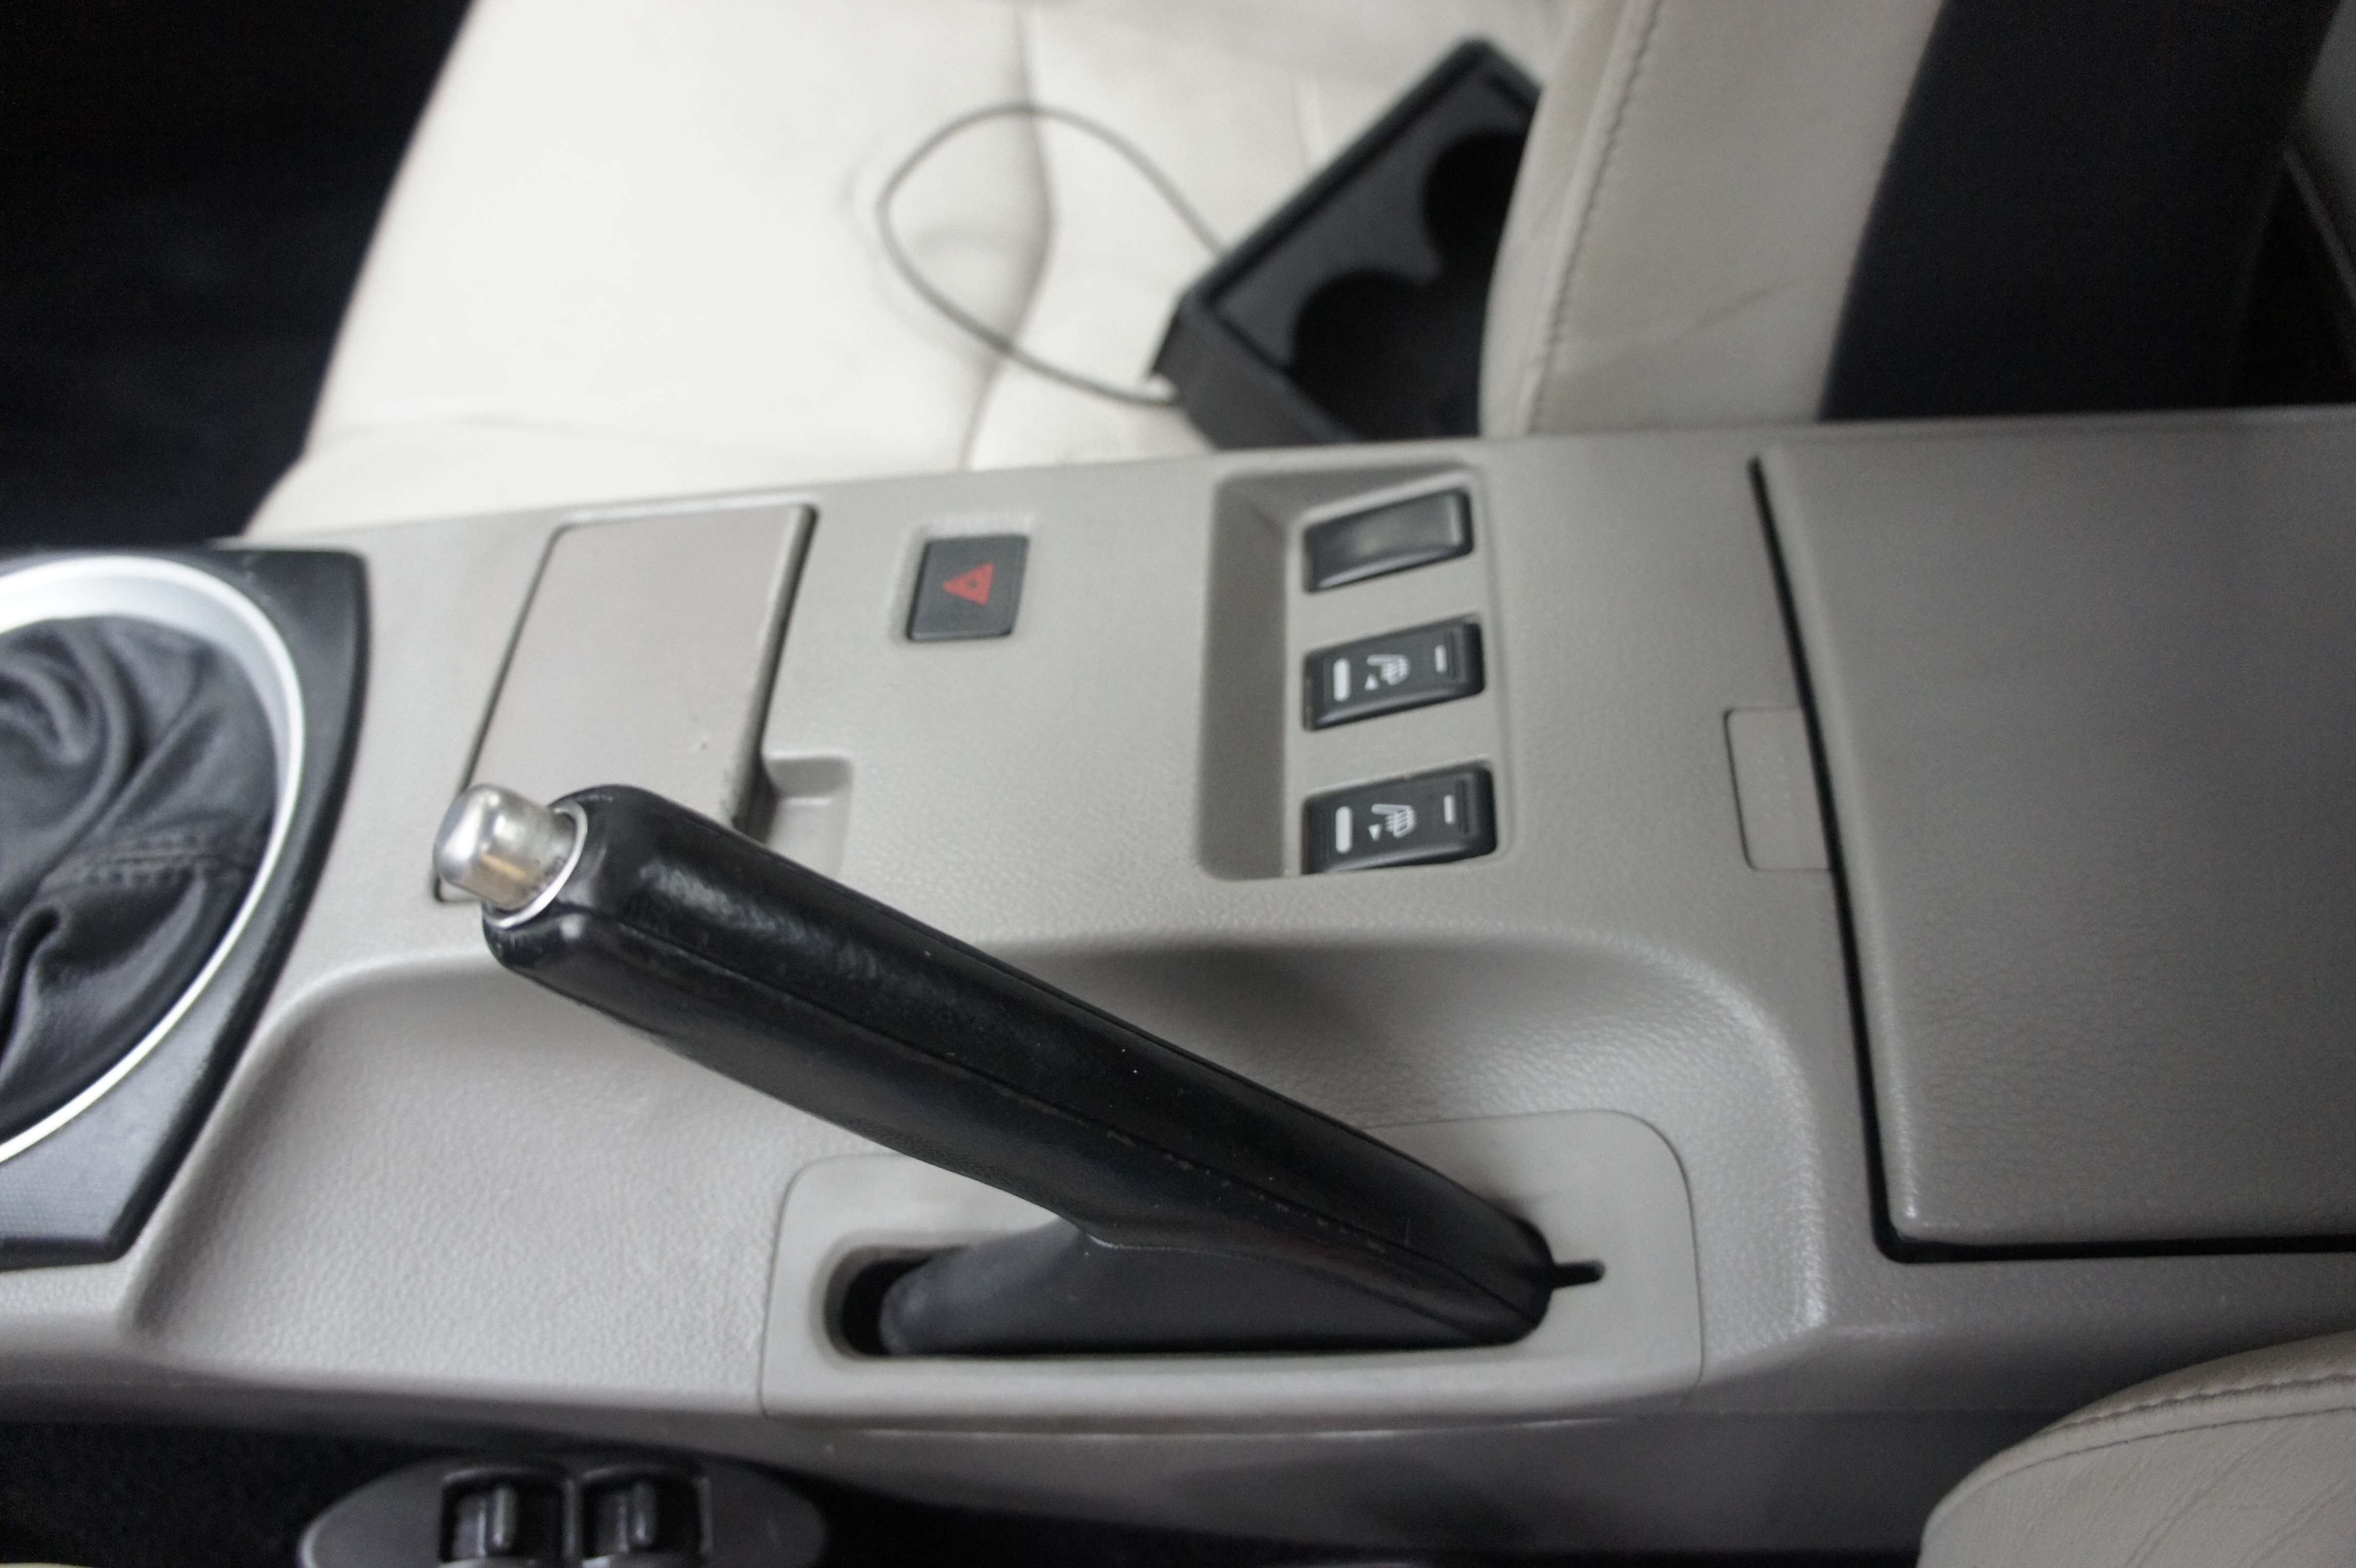
Just some tool to clean under the seat.
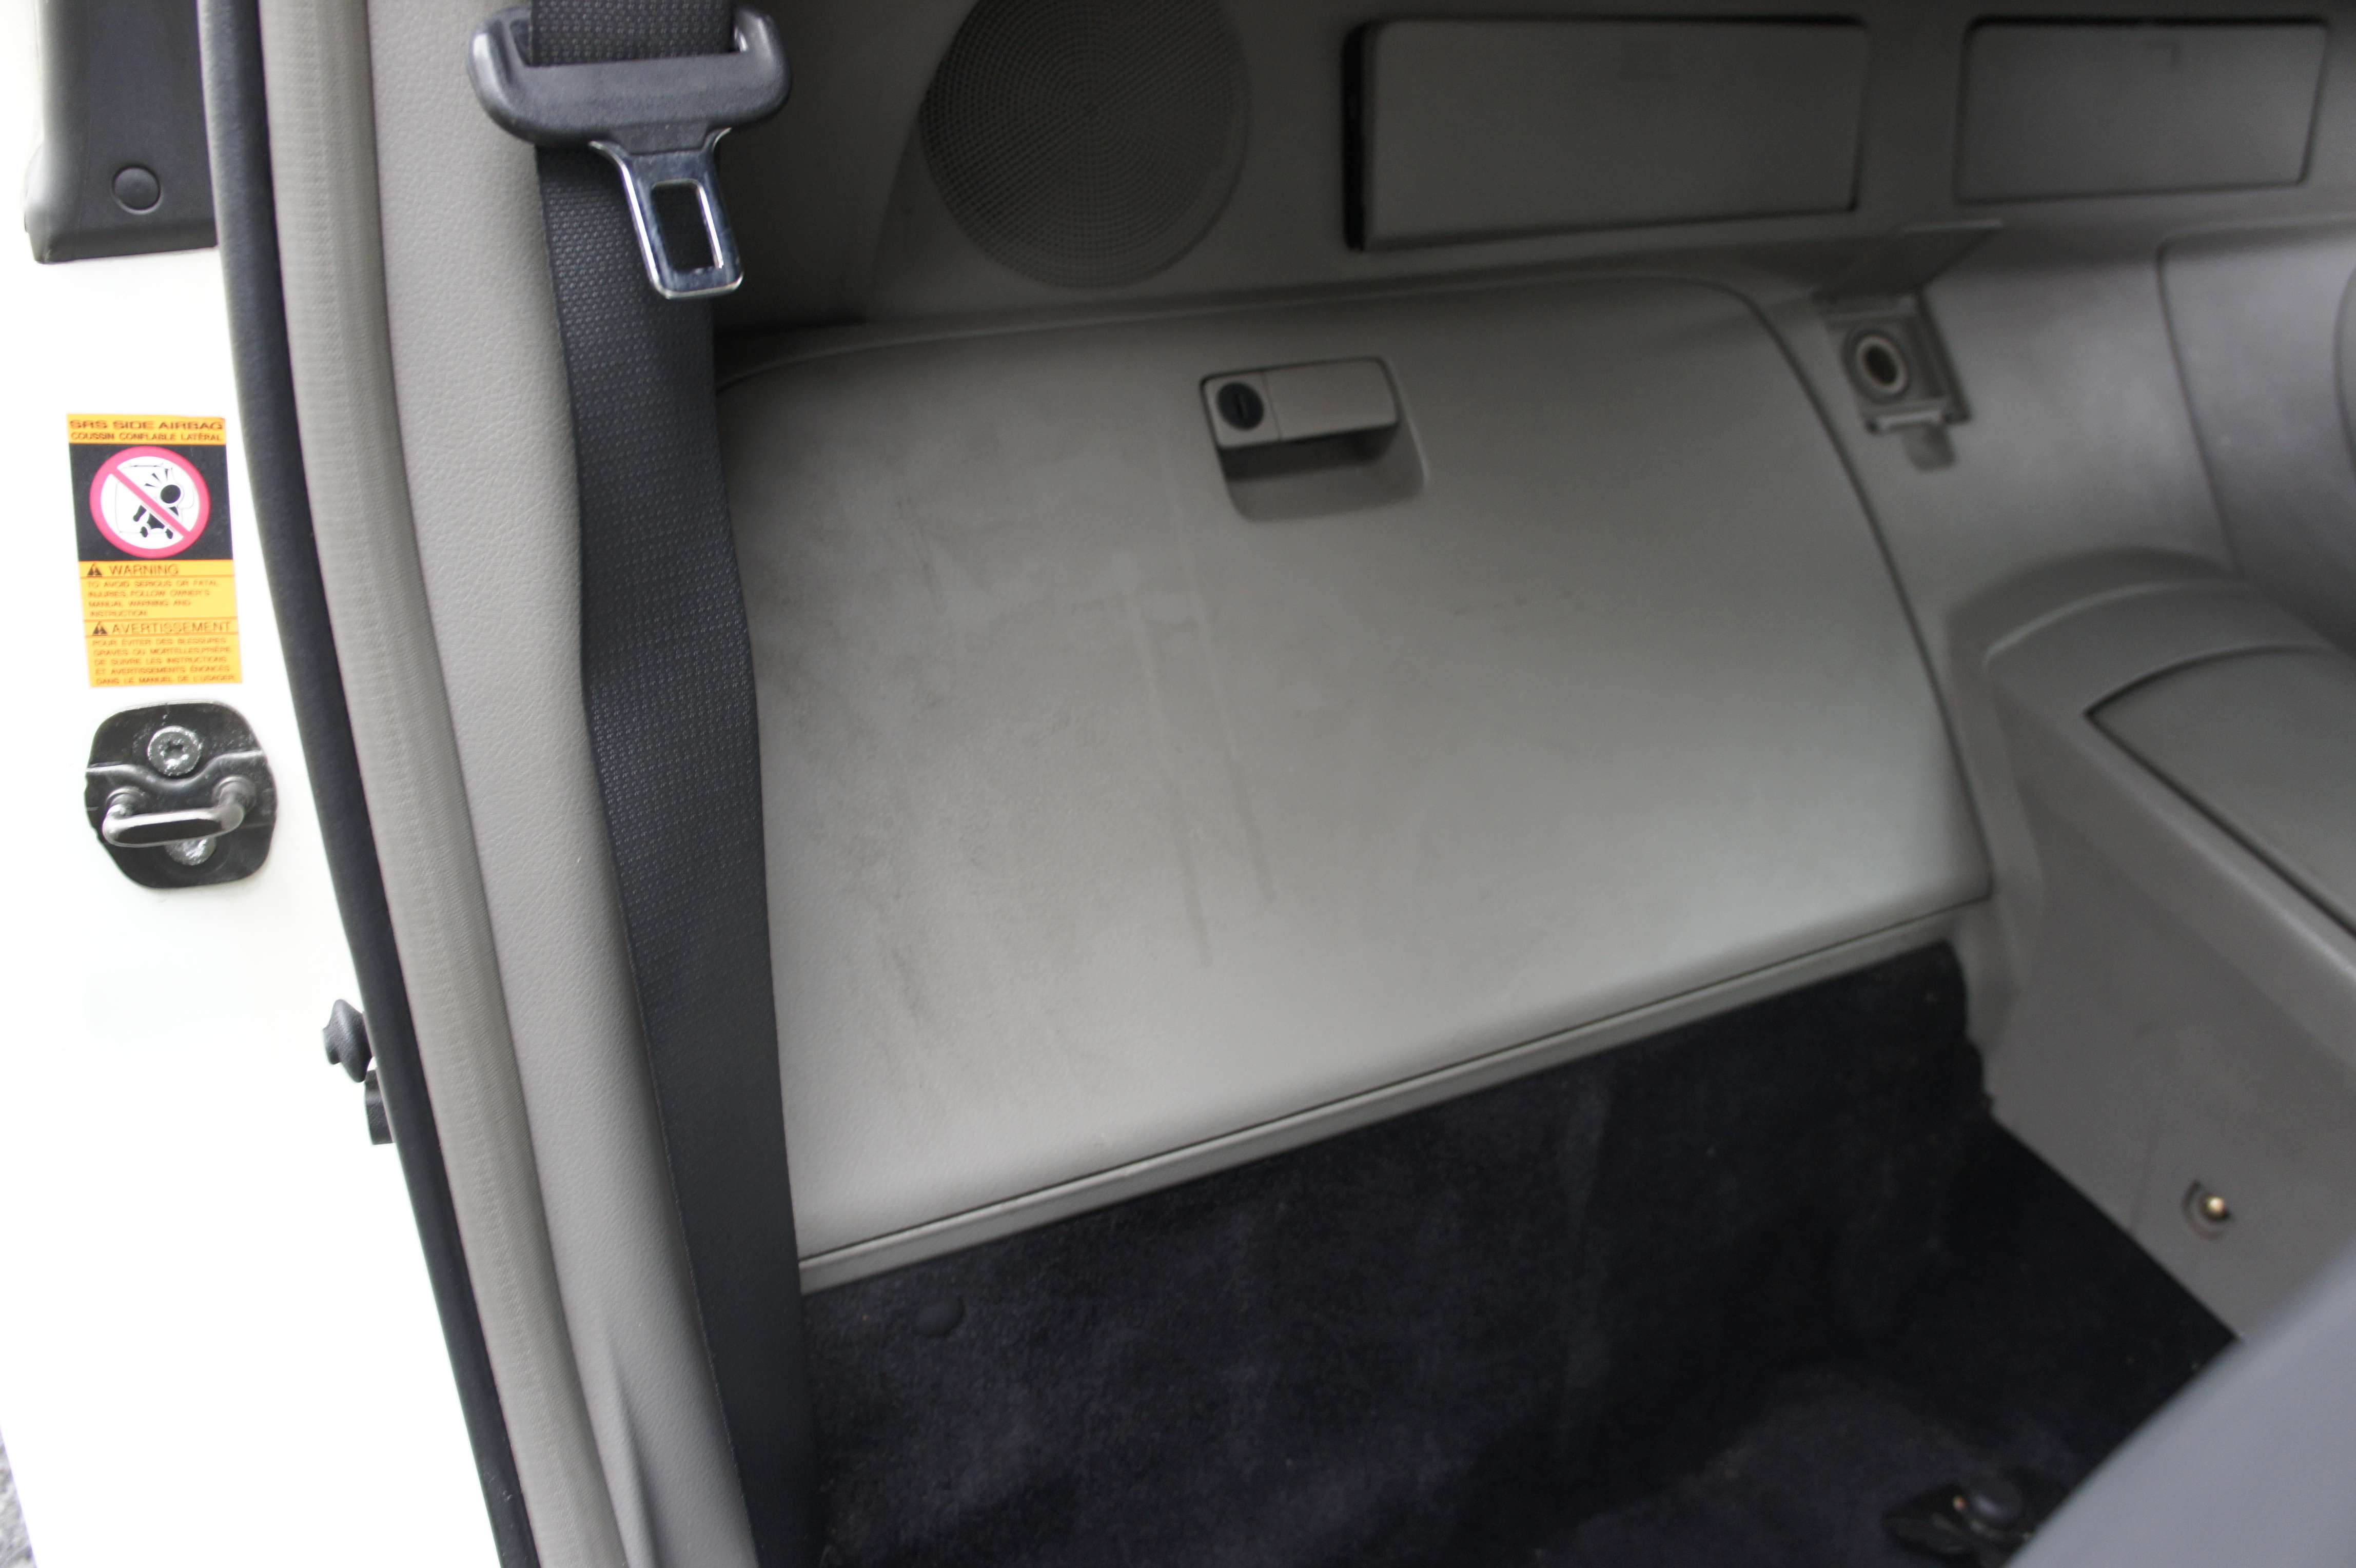
L’int�rieur �tait en meilleur condition que l’ext�rieur, je mentirais pas. Donc, j’ai surtout prot�ger et rajeunis l’int�rieur, plut�t qu’un full clean-up.
I did a little trip to the US this PM to get some of my orders placed in the last 3-4 weeks.
1) Have you noticed the increase of 30 cents of the gaz over the last 6-12 months ? I bet all shipping carrier now charges more and thus the company have to charges more to suck up the increased price. Well, for me, it sure cost me more to go to the US.
2) Every trip takes me about 3-4 hours. Time is money!
3) You propably know or maybe not, Freeport have changed their way of doing thing now. It's now 5$/box and it can cost even 7$ if it's too heavy. I remember not long ago, it was 3$/no matter the size/weight. Well today. I paid 50$ for my stuff. Also, they make you sign/fill a paper when you leave with your boxes, but the thing is.. you know how it is there ? It's quite small or imagine 2-3 peoples filling paper for 10 boxes each ( name, shipper name, carrier, 4 digit tracking) Took me an extra 30 minutes today.
Also, to all of you who order from Autogeek, didn't you notice the increase of DP's line pricing ? Since they changed the label last year, pricing have gone up by 20%.. Have you noticed the price increase in Blackfire's line too ? Funny they had new label too LOL
Optimum ONR.. 39.99 to 49.99 !
Menzerna Polish!! ( from 129.99 to 179.99$)
Zymol.... Glasur.. 109$ to 129( or is it 139$ now?) Not long ago.. Vintage was selling for 1600$ its not 2400$
Samething for Swissvax. When they changed swissmol to swissvax = price increase and not long ago ( I think 1 or 2 years) they announced a price increase of 20% to all their retailer.
It's an industry trend and it seems like almost all manufactures are following the 20% increase rules.
Am I the only one who noticed ?
But with the new changes freeport have made. I think I will start buying more from canadian retailer. When you consider, I loose 3 hours + 25$ in box + 7.5% of tax + gaz.. really http://www.autoobsessed.com/ doesn't seems anymore expensive than any of ther US retailer.
P.S: Please write down Alex - MR.com in the comments box if you ever place an order from Autoob.
A month ago, I wrote an article about the proper way to clean your pads. Well now it’s time to talk about the proper way to clean your Microfiber!
Just like pad, you should use a soap that doesn’t leave anything behind to just have a clean towel that won’t streak after-all.
Do not mix your interior/wheels towel with the exterior! Do 2 loads! You don’t want APC/ harsh cleaner mixed with your clean exterior towel.
Suite � mon article sur le nettoyage des pads � machine, je vous explique comment nettoyer des microfibres. On suit le m�me principe, c'est � dire on doit utiliser un savon � microfibre qui ne laissera pas de strie comme d'autre d�tergeant pourrait en laisser. Il est aussi important de toujours faire deux brass�es, une pour les roues/int�rieur et l'autre pour la peinture.
1) Always wash with hot water. fill the Microfiber soap first and then add the towel. WHY ? because you don’t want 2-3 towels to absorb all your soap. Mix it first in the water then add the towel.
Toujours nettoyer � l'eau chaude, �a nettoie beaucoup mieux et ajouter la solution avant d'ajouter les microfibres, de sorte que le m�lange soit uniforme dans l'eau.
2) Adding the solution (usually I add 2oz for a full load = 20-25 towels).
3) Since my wash machine is quite old, I need to manually stop the machine and restart it or else it will do a whole cycle in like 20 minutes which I think is too short.. So what I do.. is let the machine on for 5 minutes, let mix it thoroughly and then let it sit for a hour.. then you do the full wash or even do mega-cycle if your machine has it.
D�pendant de votre machine, je vous recommande de faire un cycle, laisser mijoter 1 heures et faire un autre cycle.
4) Once it’s clean, don’t heat the towel, let it dry naturally. However, if you dry it outside.. chances are debris will stick to your towel.. sometimes to a point who wont be able to use your towel on painted surface ( true story!)
See, washing your microfiber is not a banal thing. There’s precaution to it and not a lot of people talk about it even tho, you use a microfiber every single time you touch your car, no !? Or, if it’s too complicated or your rich, then you can go buy fresh towel at 3$/16x16 each for every single job !
Hope you enjoyed it. I have more idea in my mind haha.
Trouvez un moyen de les faire s�cher � l'int�rieur pour �viter que des d�bris de toutes sortes se colle � vos microfibres lors du s�chages et �viter aussi la s�cheuses.
Please look at my thread in the gorup-buy section for more info about my services. you can also PM me.
And don't be shy, I'm looking to expend a little bit, I like challenge, if you have a locla show, a magazine, website, I dunno etc.! Give me your thought maybe we could work something out.
Thanks for looking, I apologize for the lack of description, I mean. I’m very hyper-busy at the moment. I’m trying to please everyone but it’s impossible, be patient if I didn’t get you back
Pour les autres, �a va me faire plaisir de recevoir vos PM pour plus tard ! Il me reste encore quelques places pour le mois de mai.
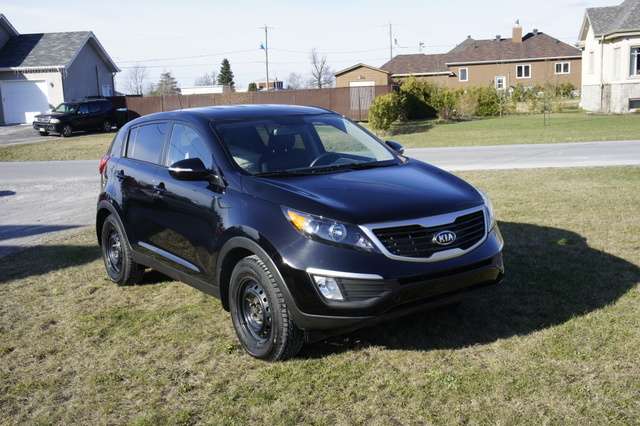
I must say I’m very pleased I met Sergei! Such a good guy, hope to deal with him again. Another thing, for a 100k kms car, I was very impress how good the car looked.
So because I thought the car looked pretty nice and Sergei have been a nice guy with me, I upgraded his wax for my uber premium Waxxon wax. Just a way to say I was happy to do business with him.
Pour une voiture de 100k km, j’ai �t� franchement impressionn� par l’�tat de la voiture. En plus, j’ai trouv� tr�s rigolo Sergei, vraiment un gars down to earth et il a grandement appr�ci� mon travail. J’ai donc d�cid� de le remercier en lui offran ma cire exclusive 76% carnauba au lieu d’une autre cire du style Wolfgang Fuzion.
2 bucket washing technique
Clay bar
Chemical decon
1-step paint polish
Interior done by extractor.
Aquapel
Before:
Chemical decon doing it’s thang!
Clay bar.. not so bad! Could been worse
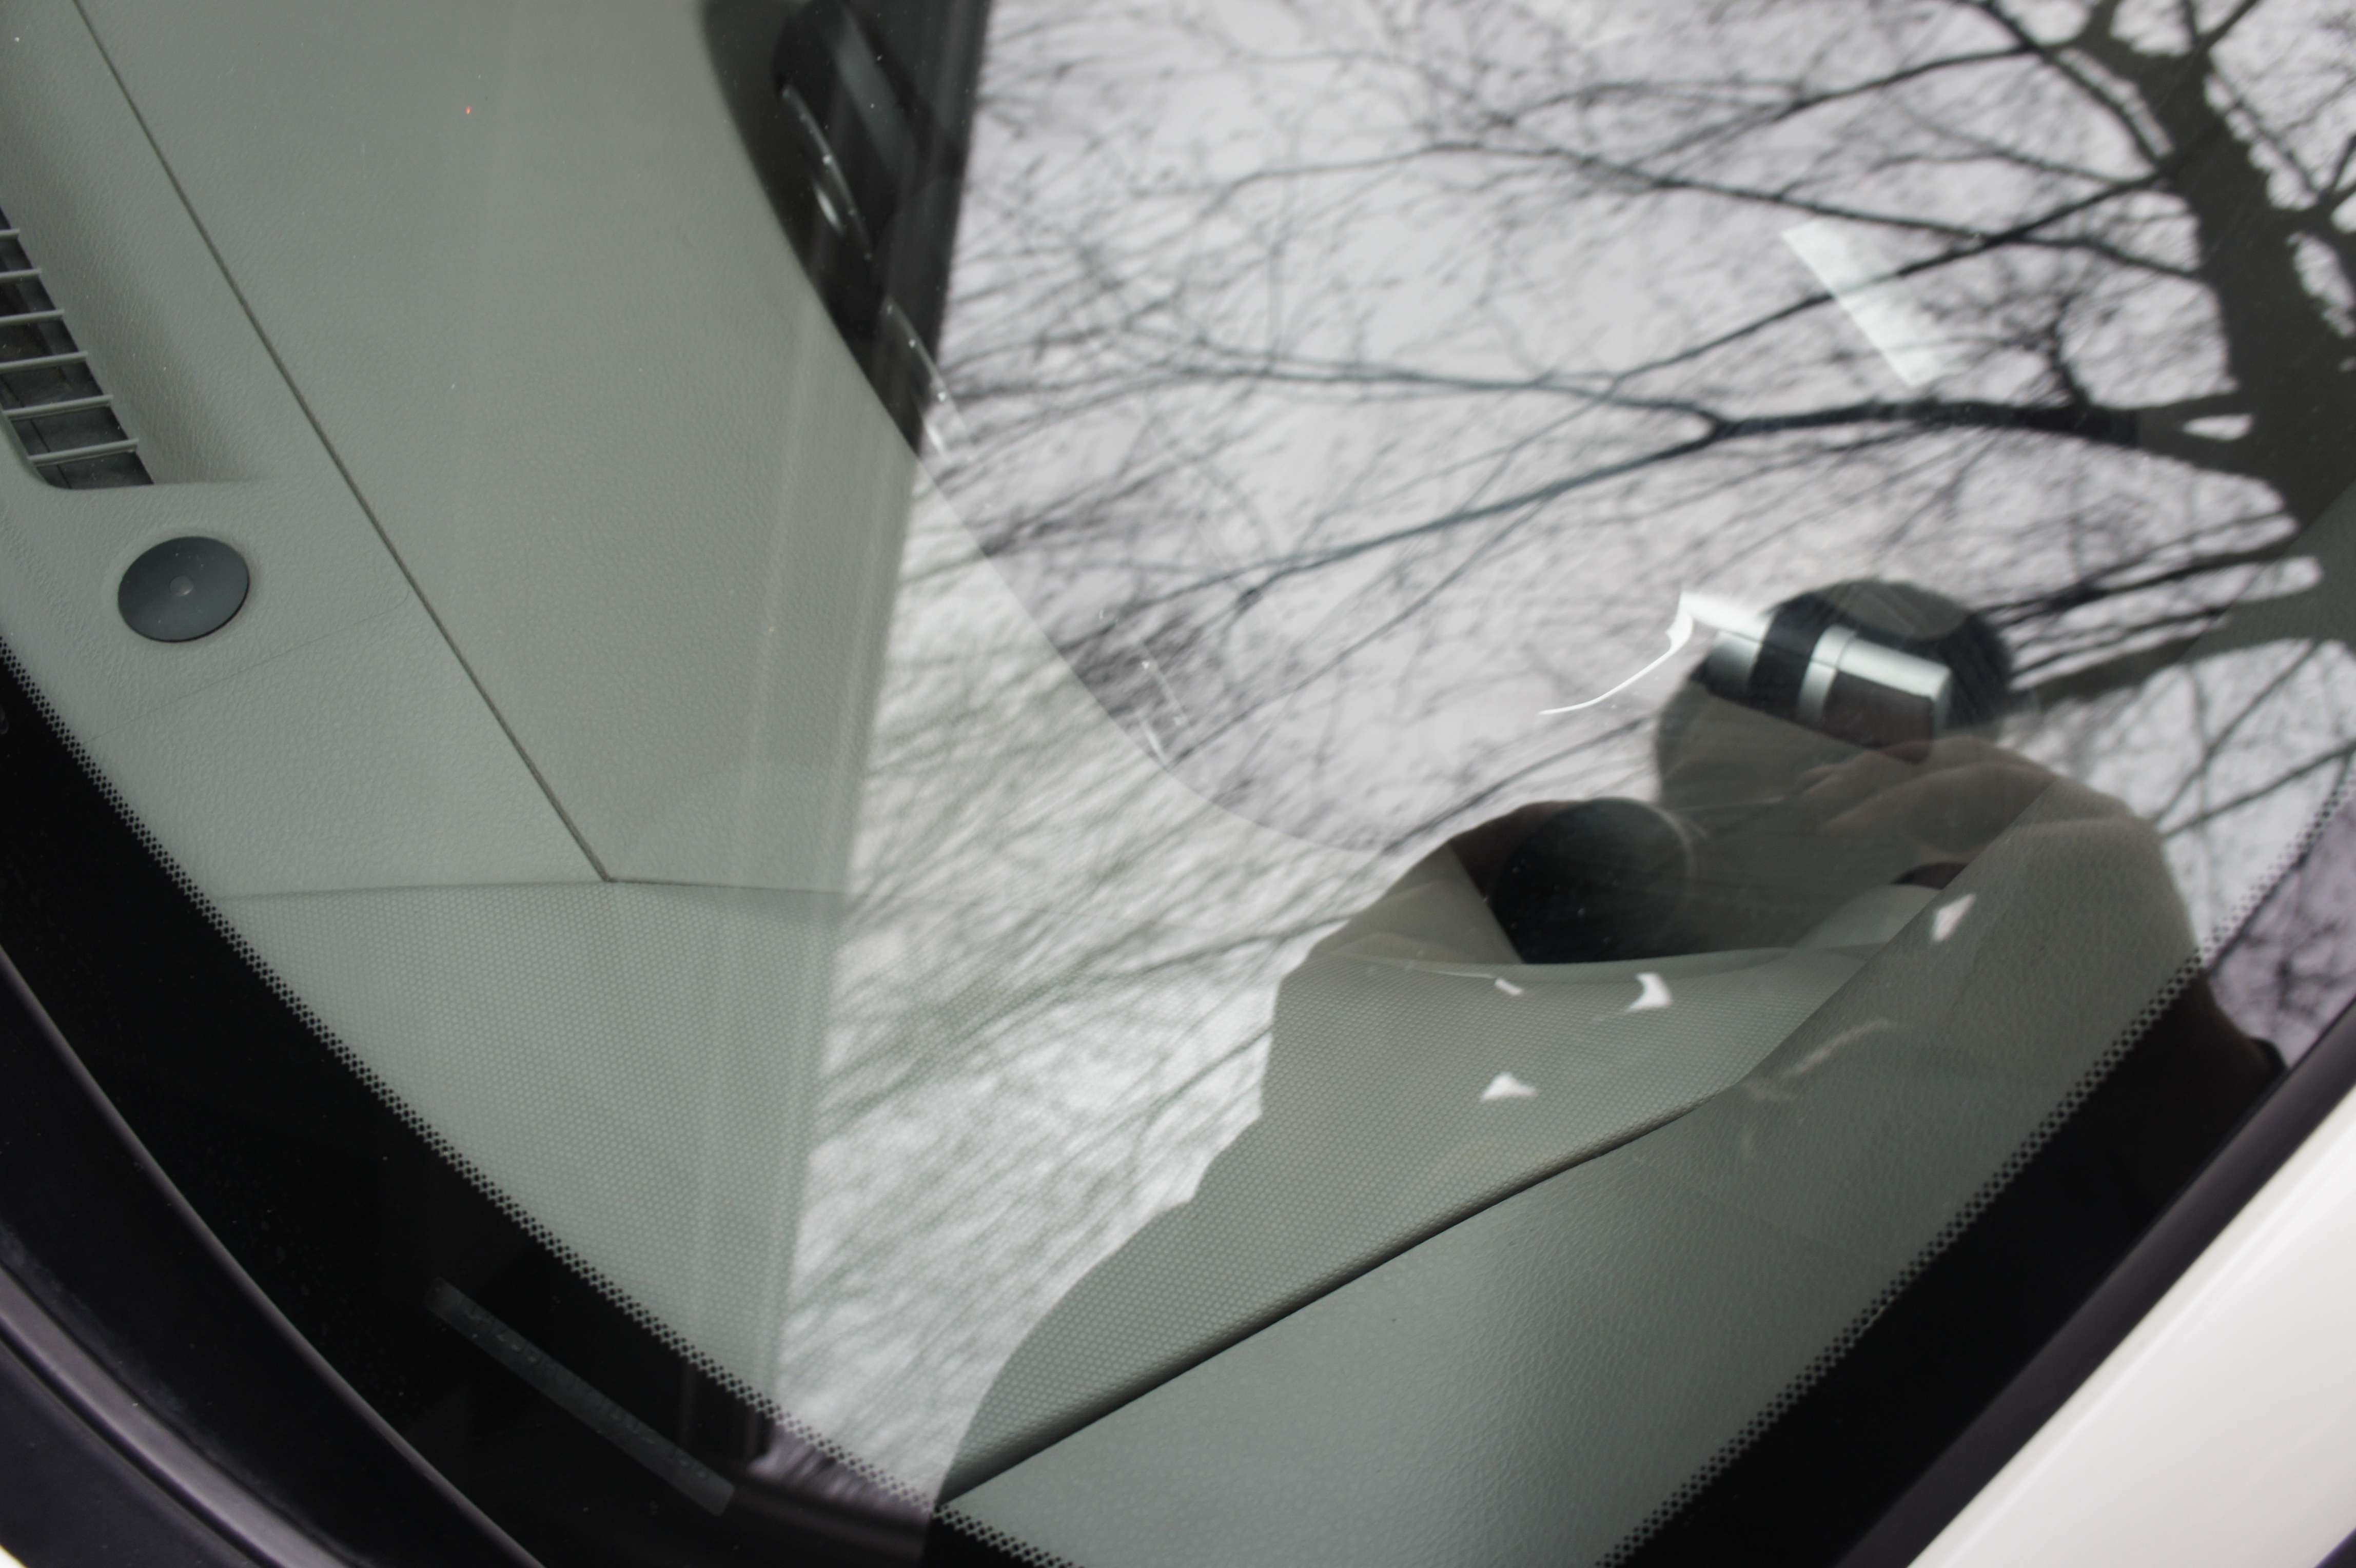
I always polish the glass before applying aquapel:
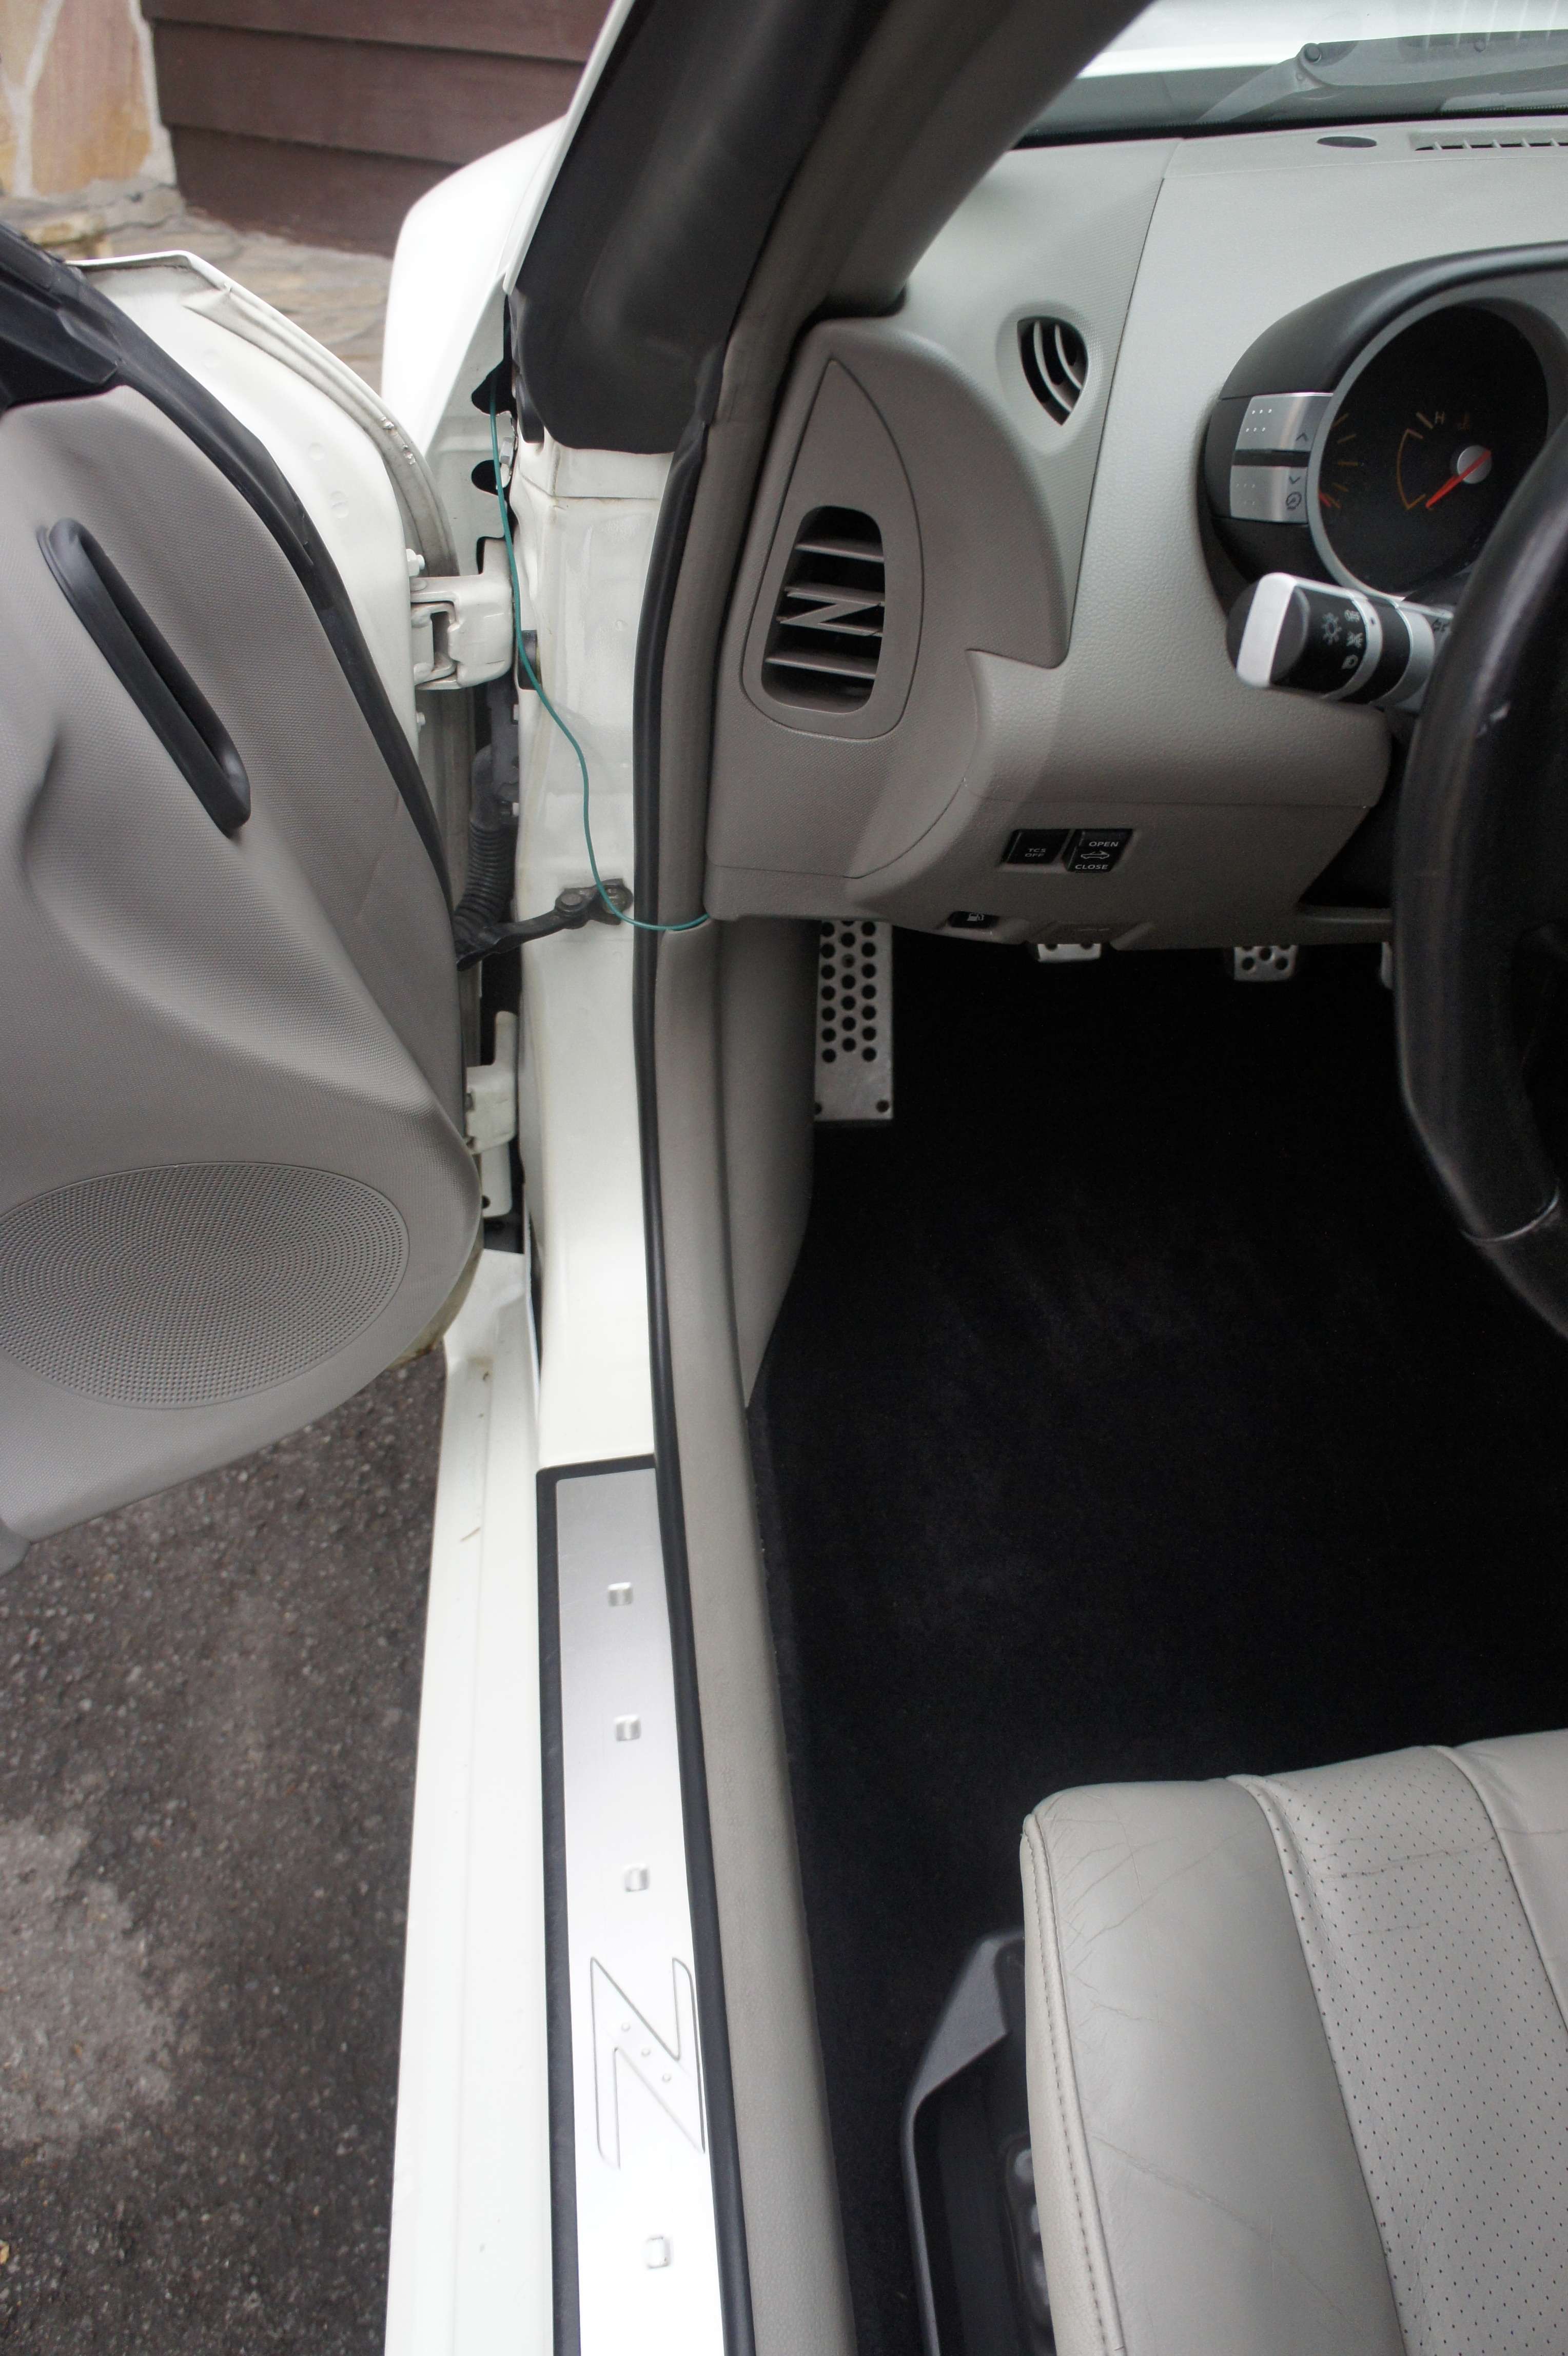
Using the air compressor to push hard to reach debris to ‘’easy to reach’’ haha :P
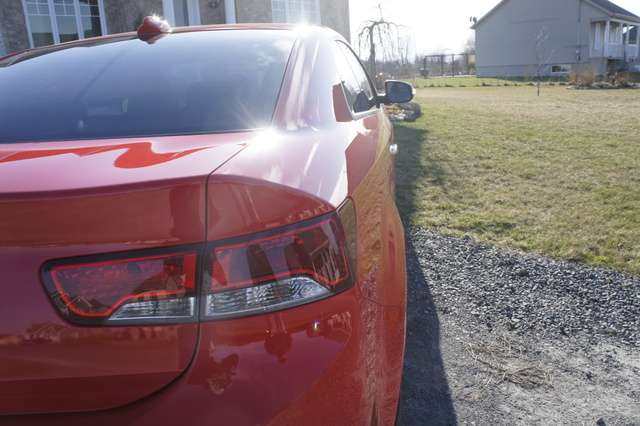
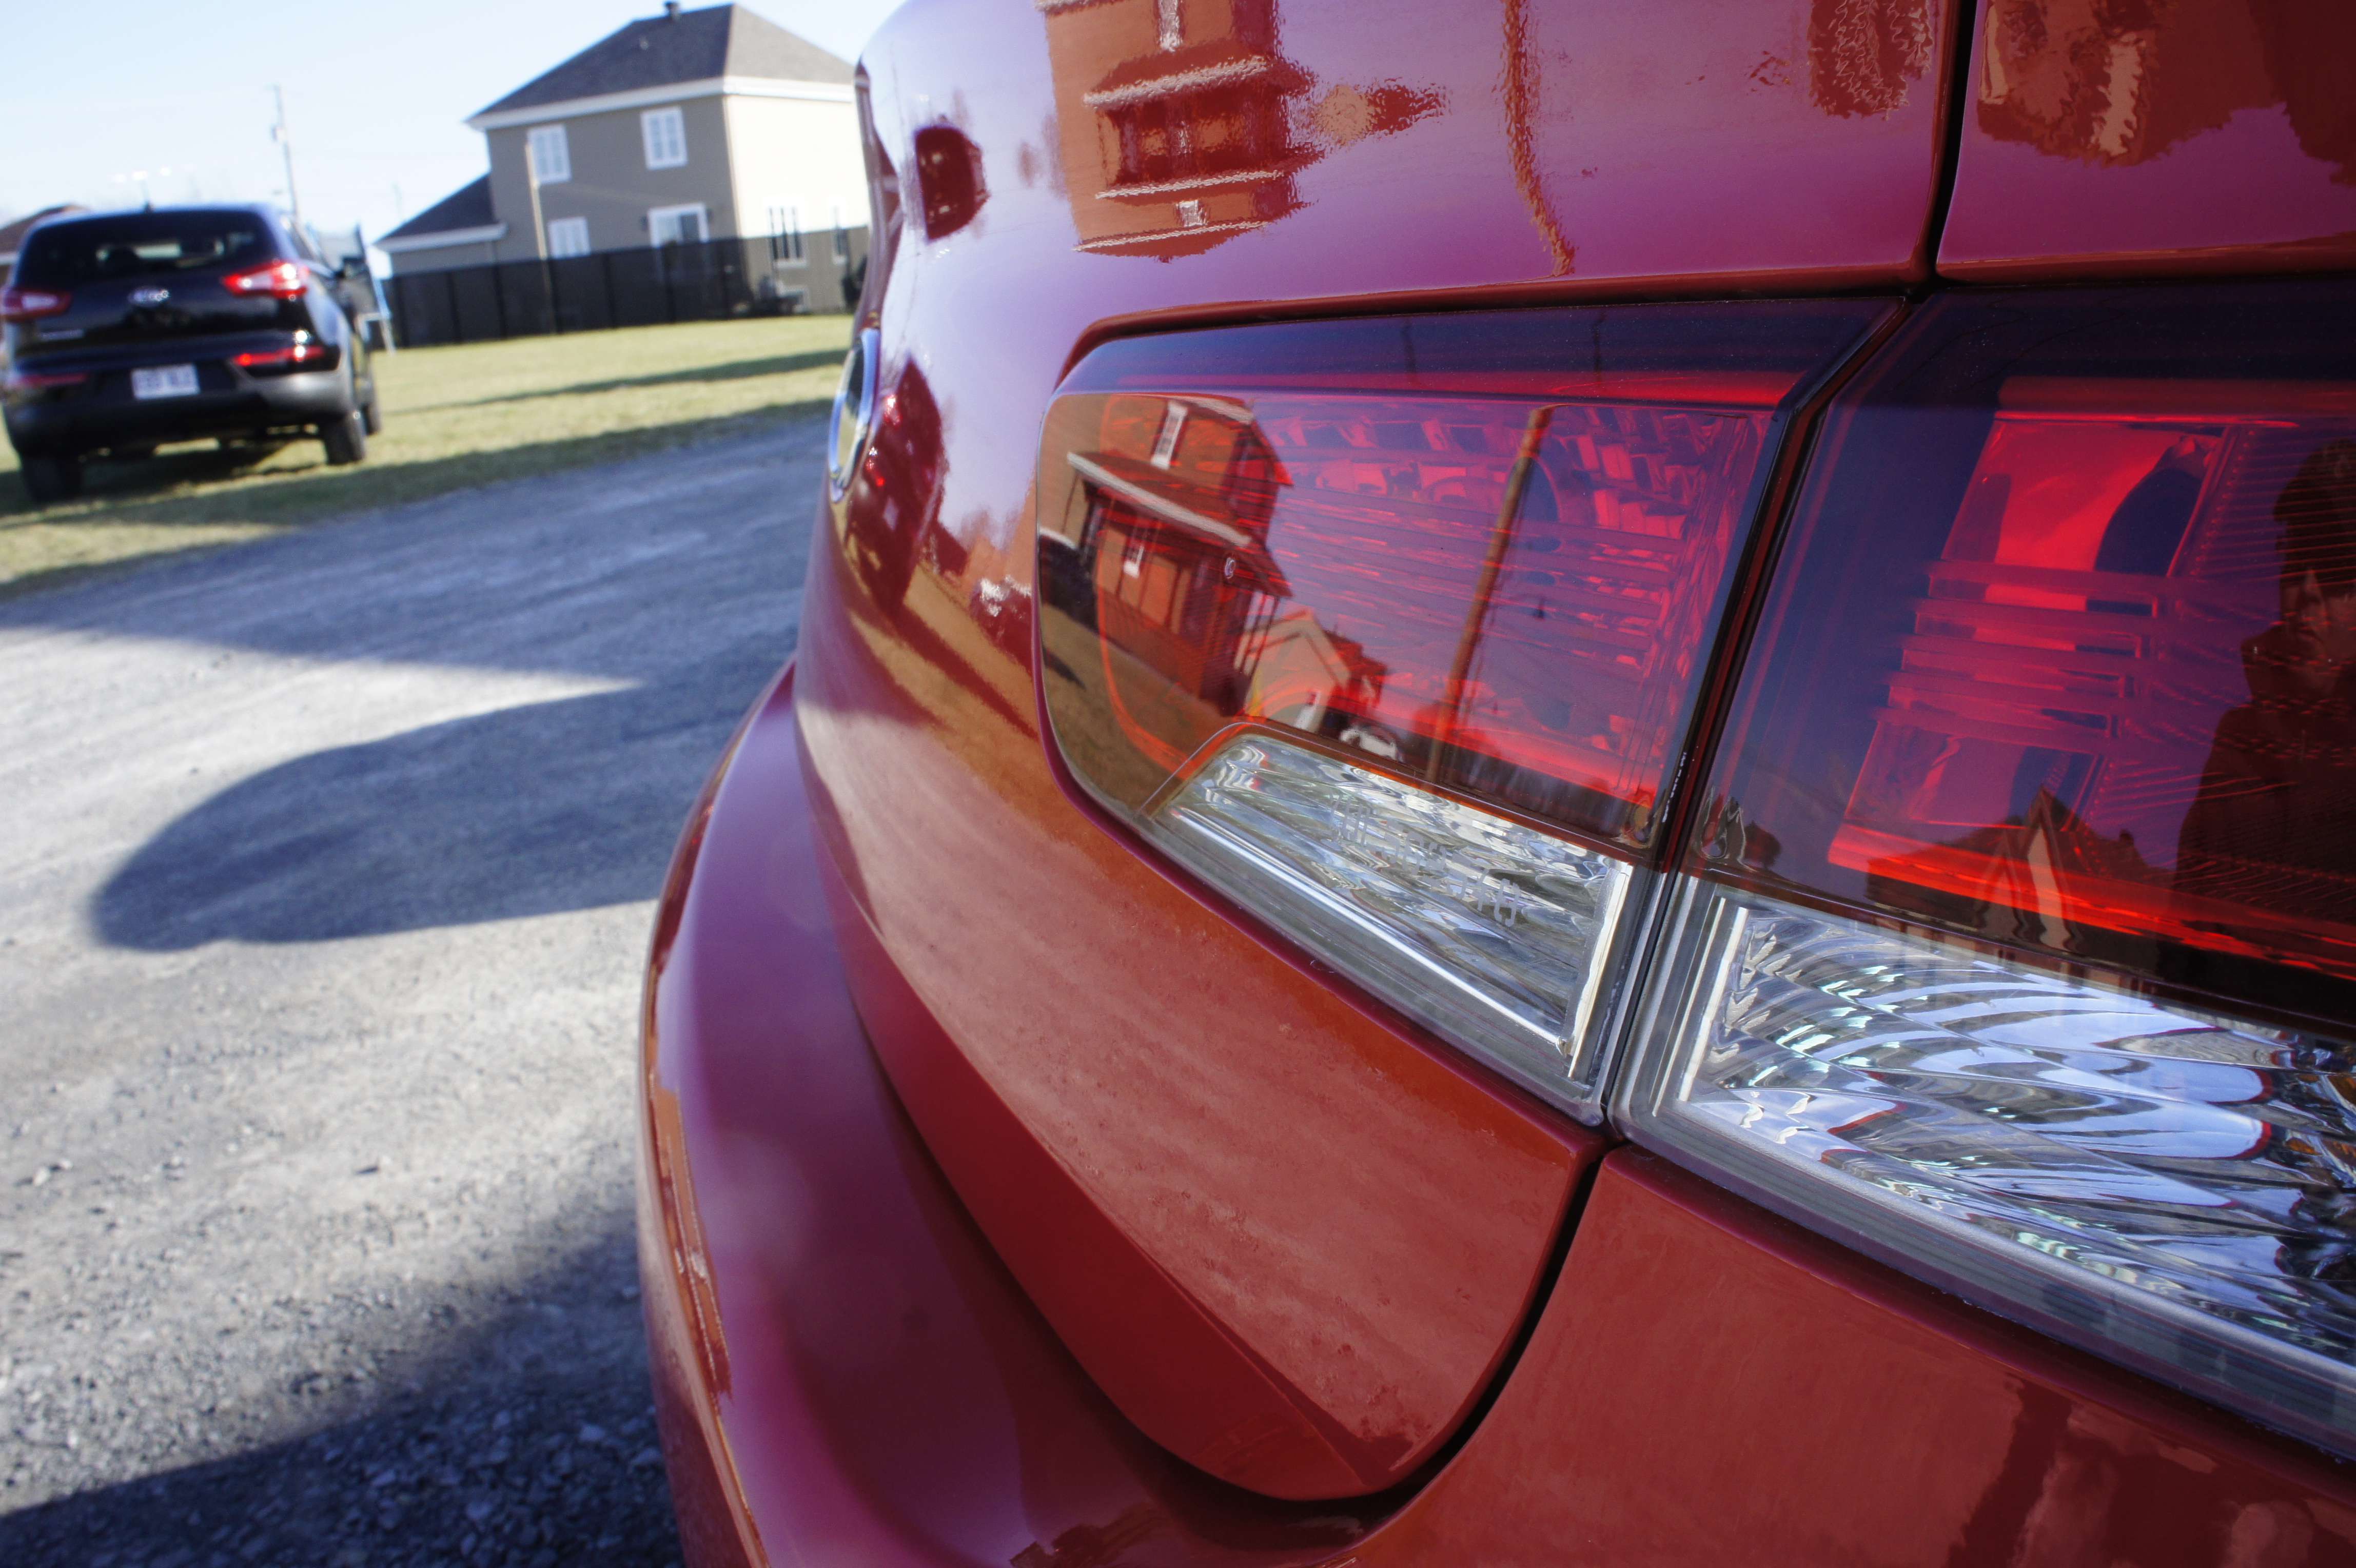
Some misc after pic:
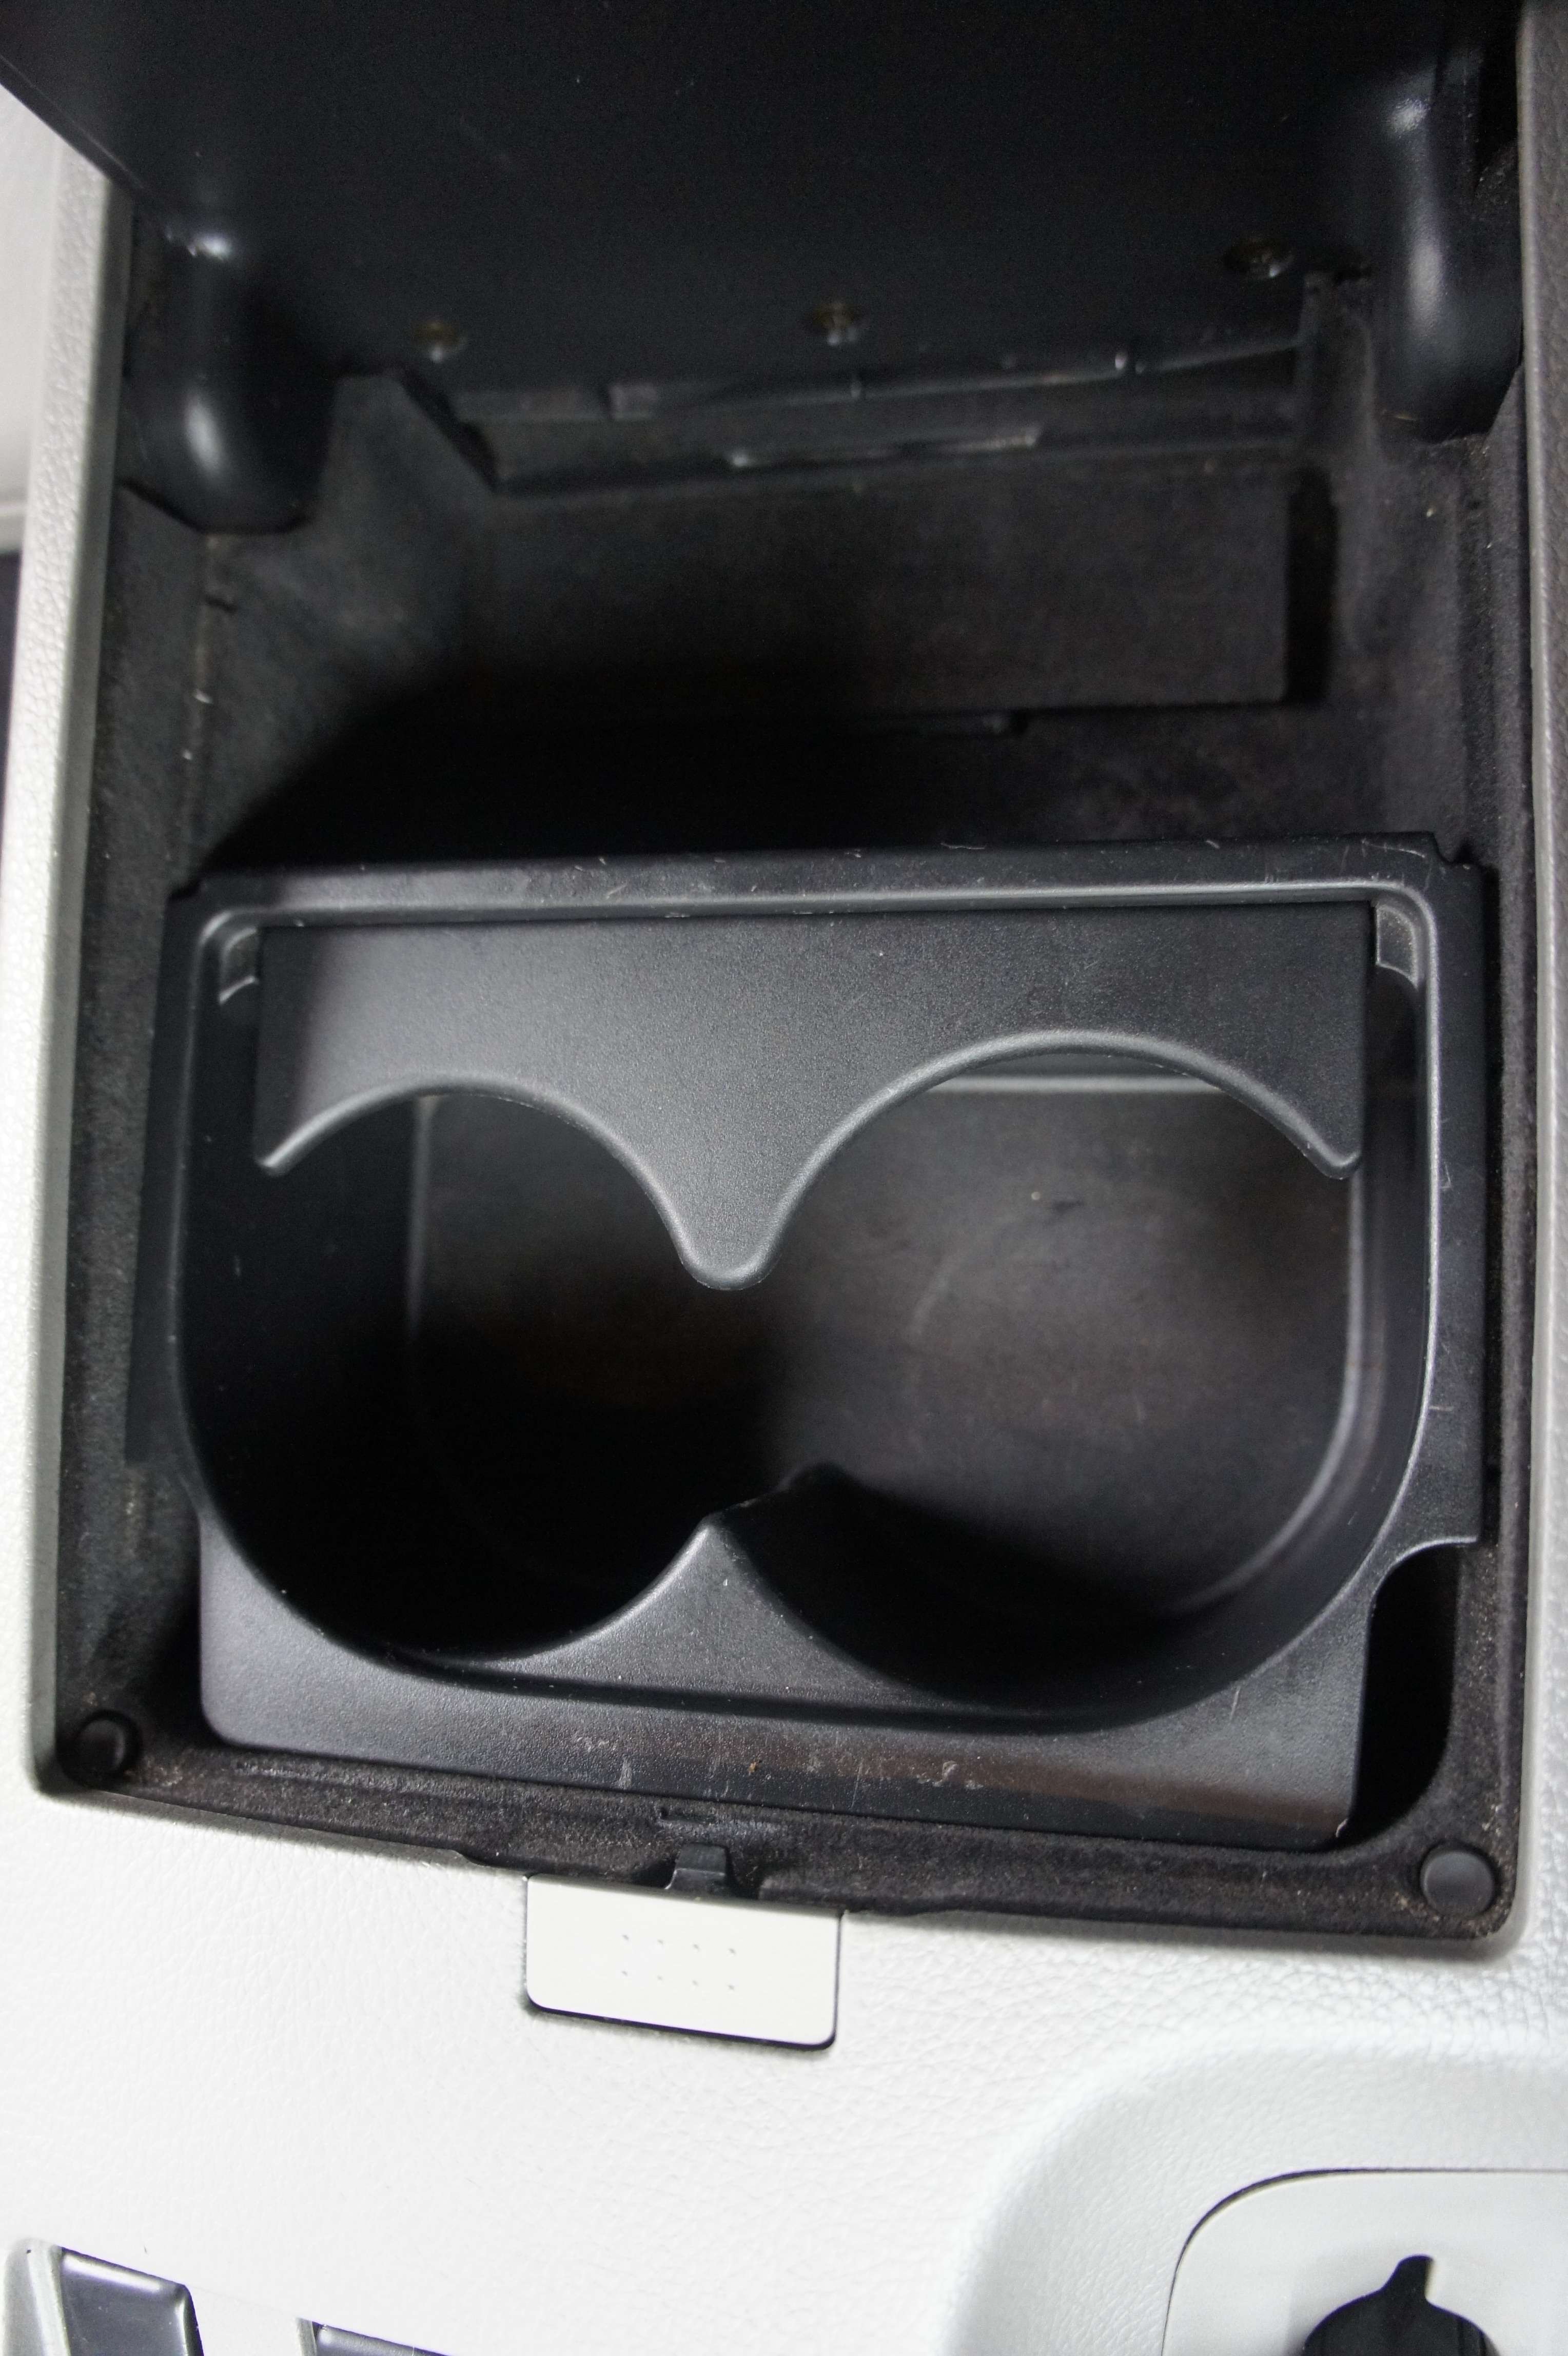
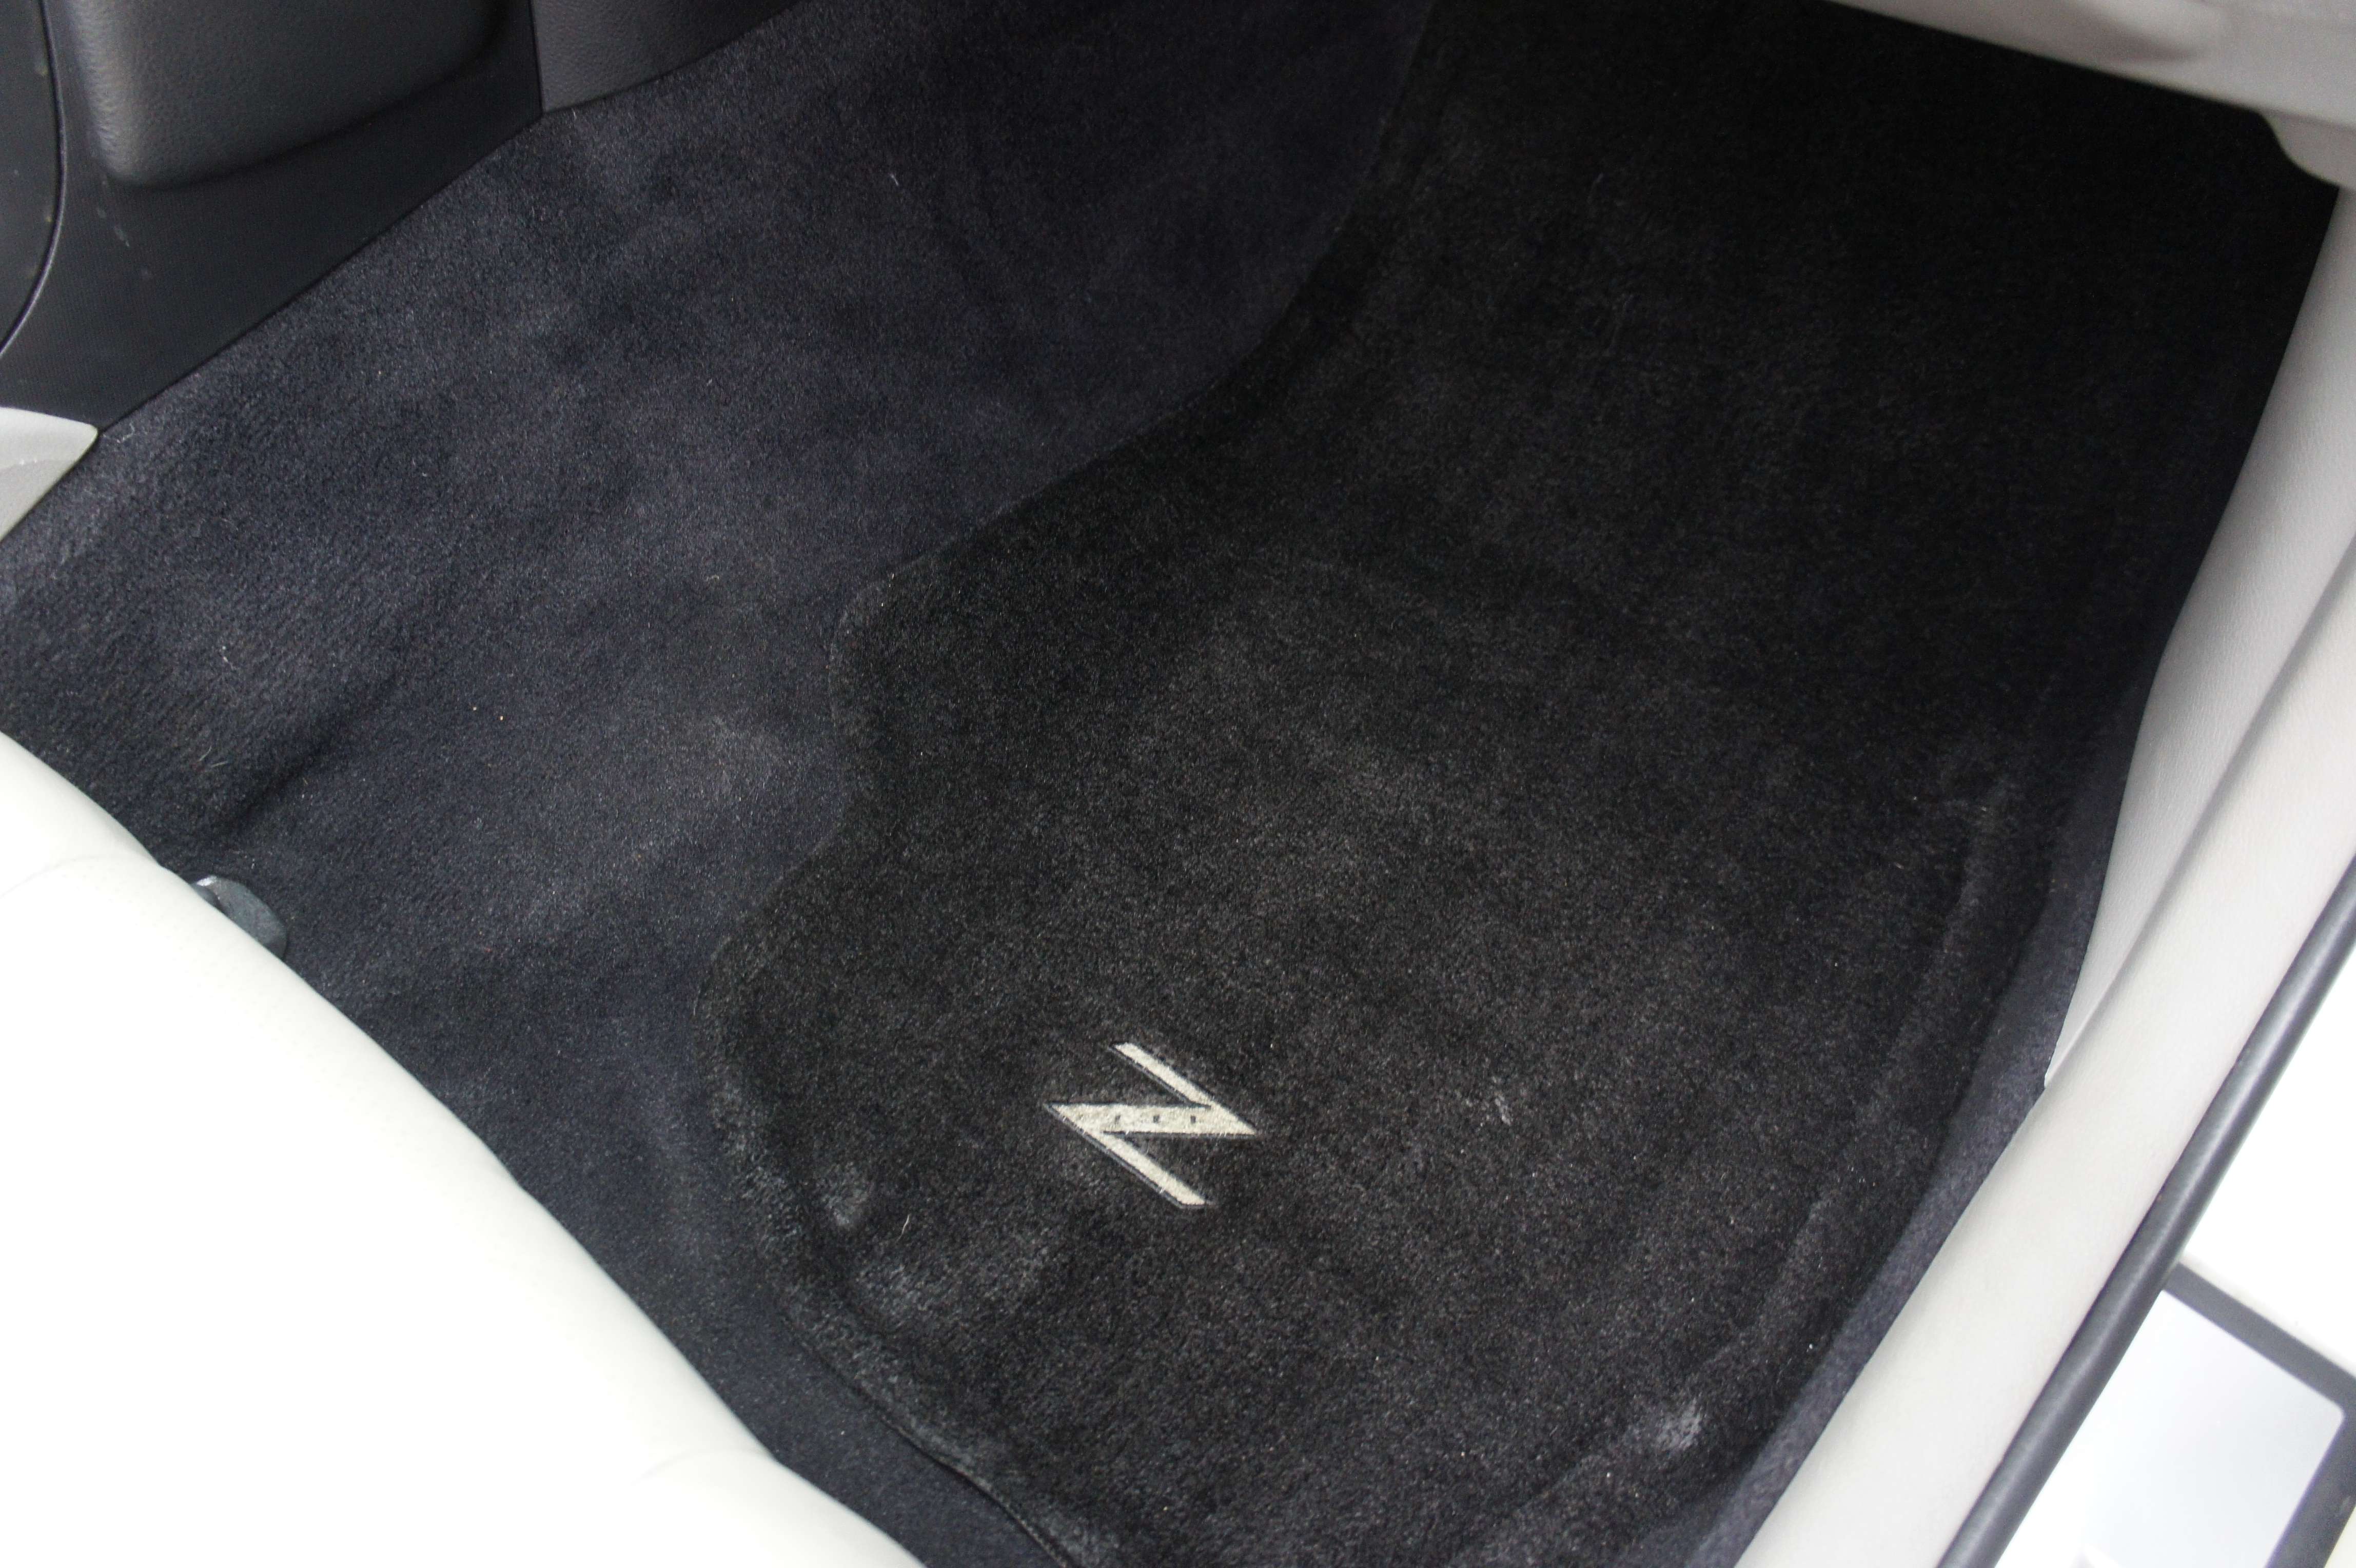
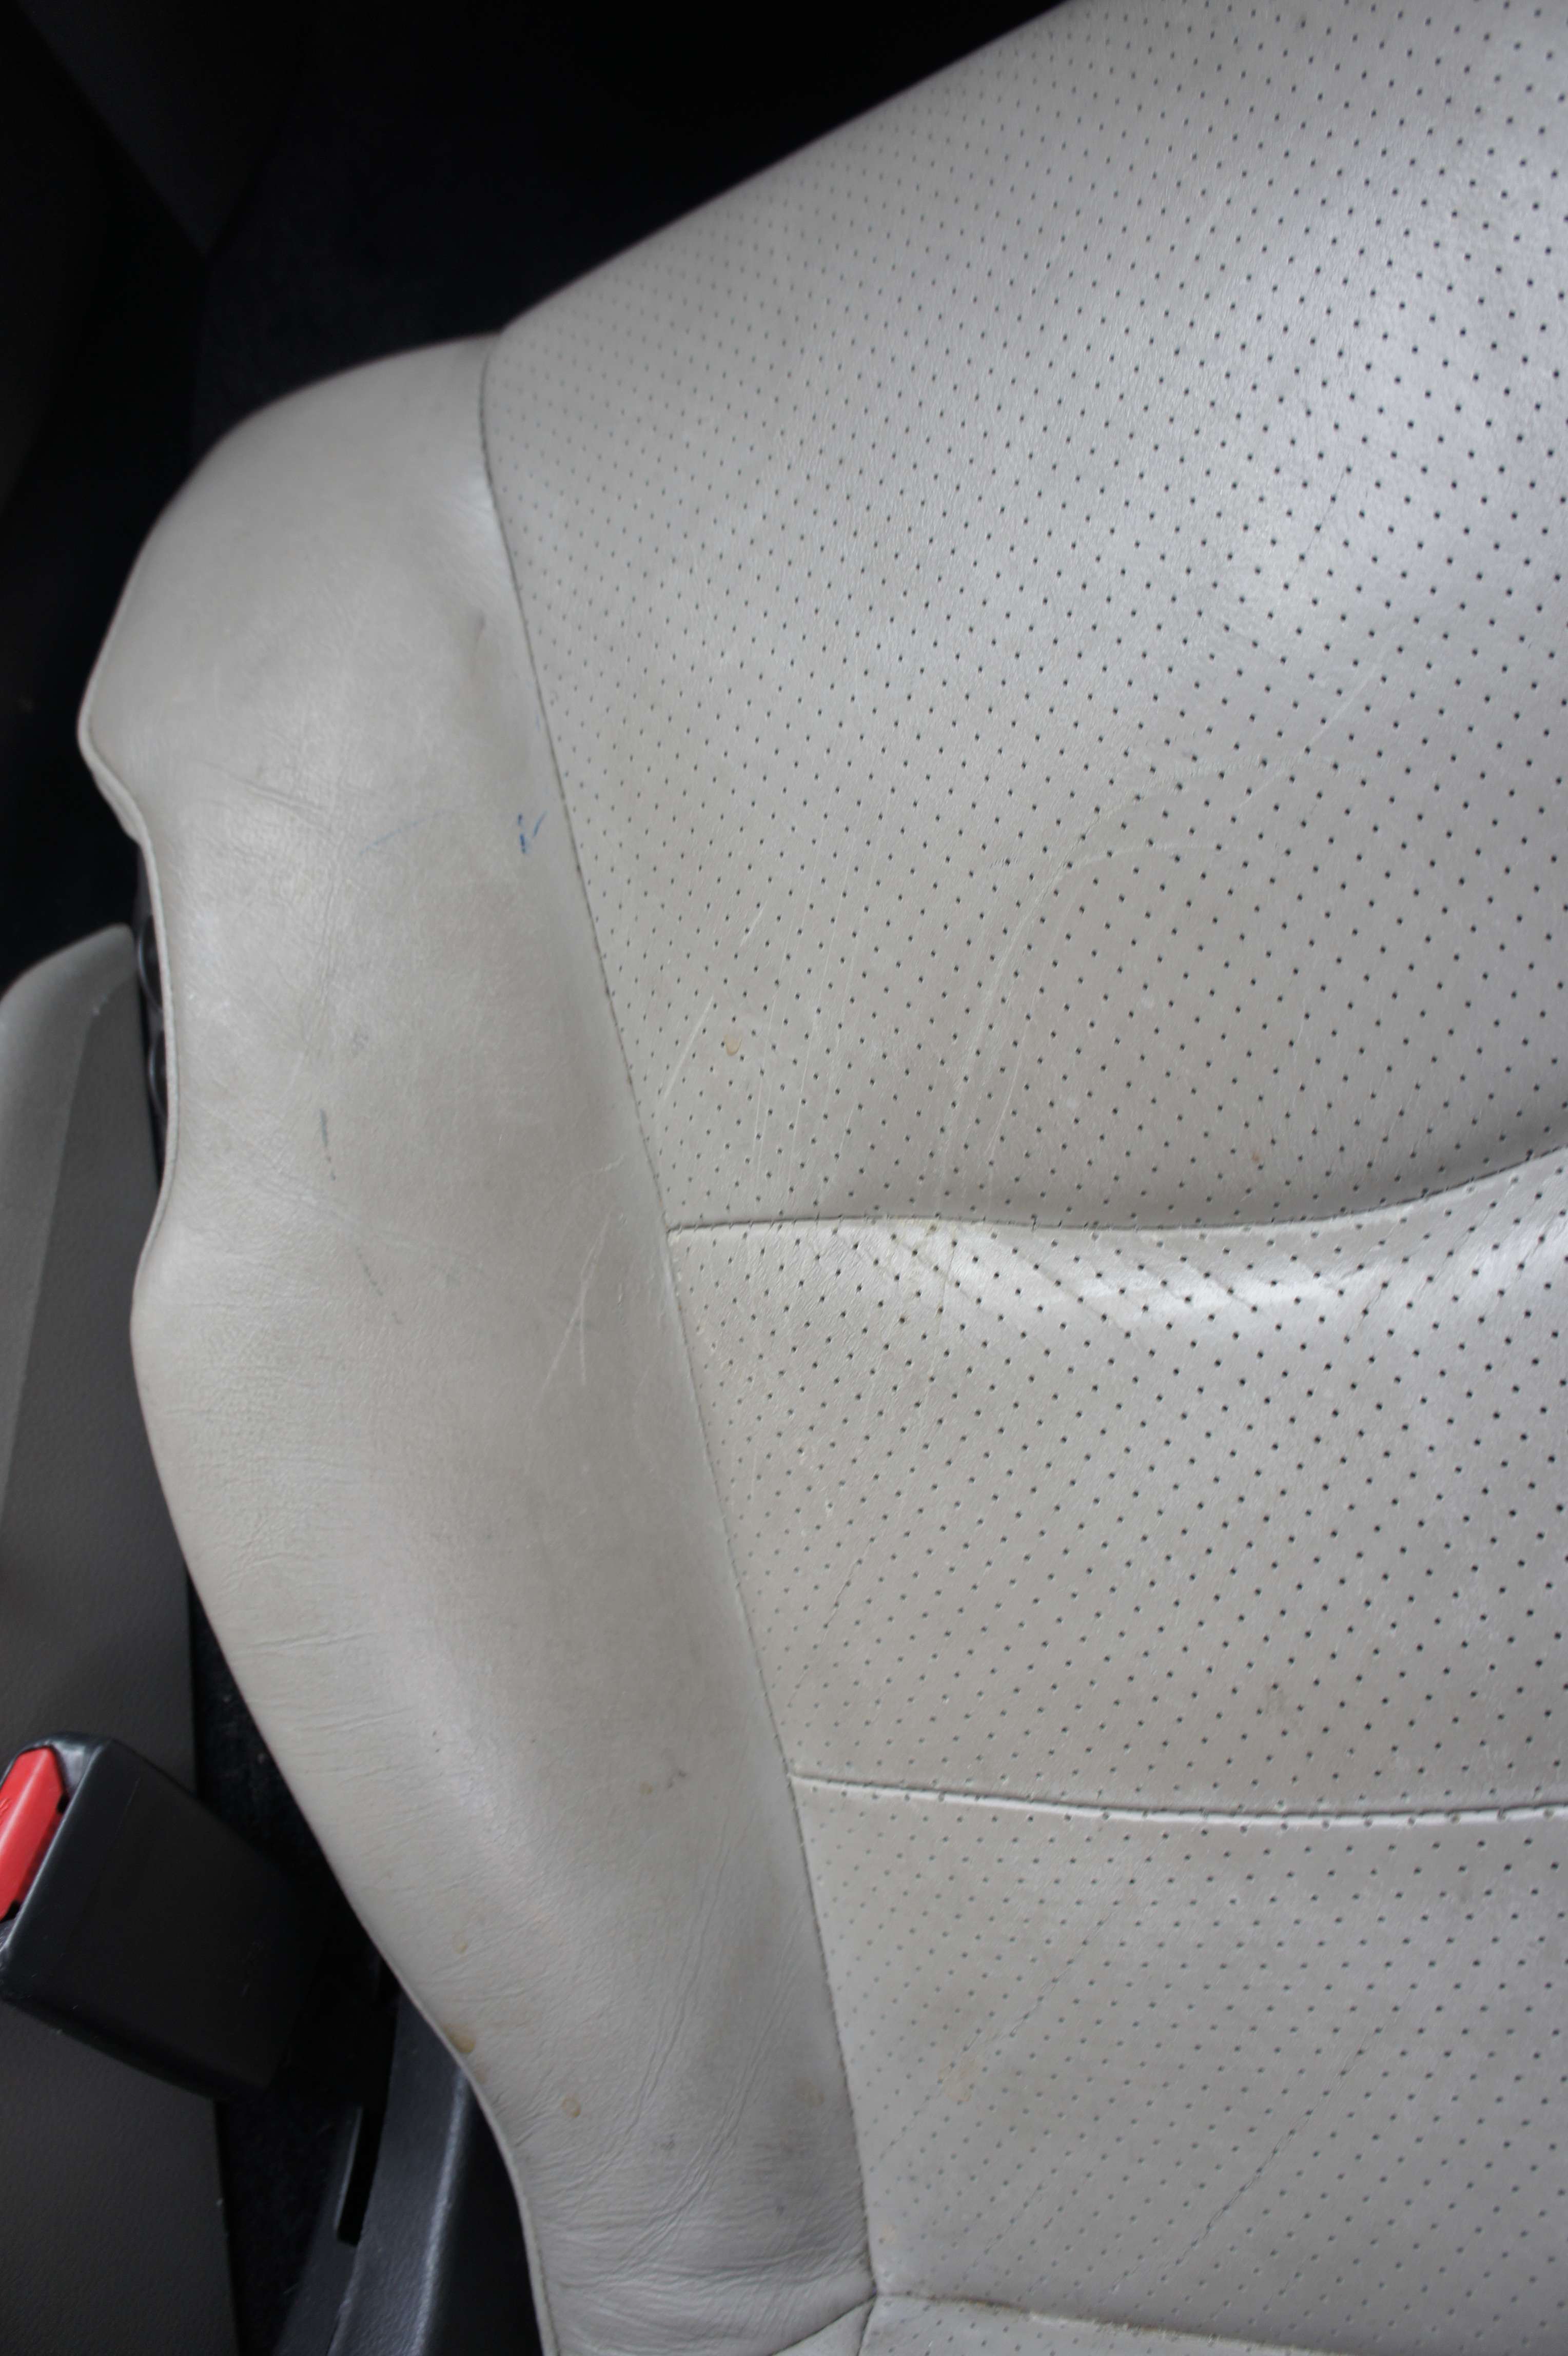
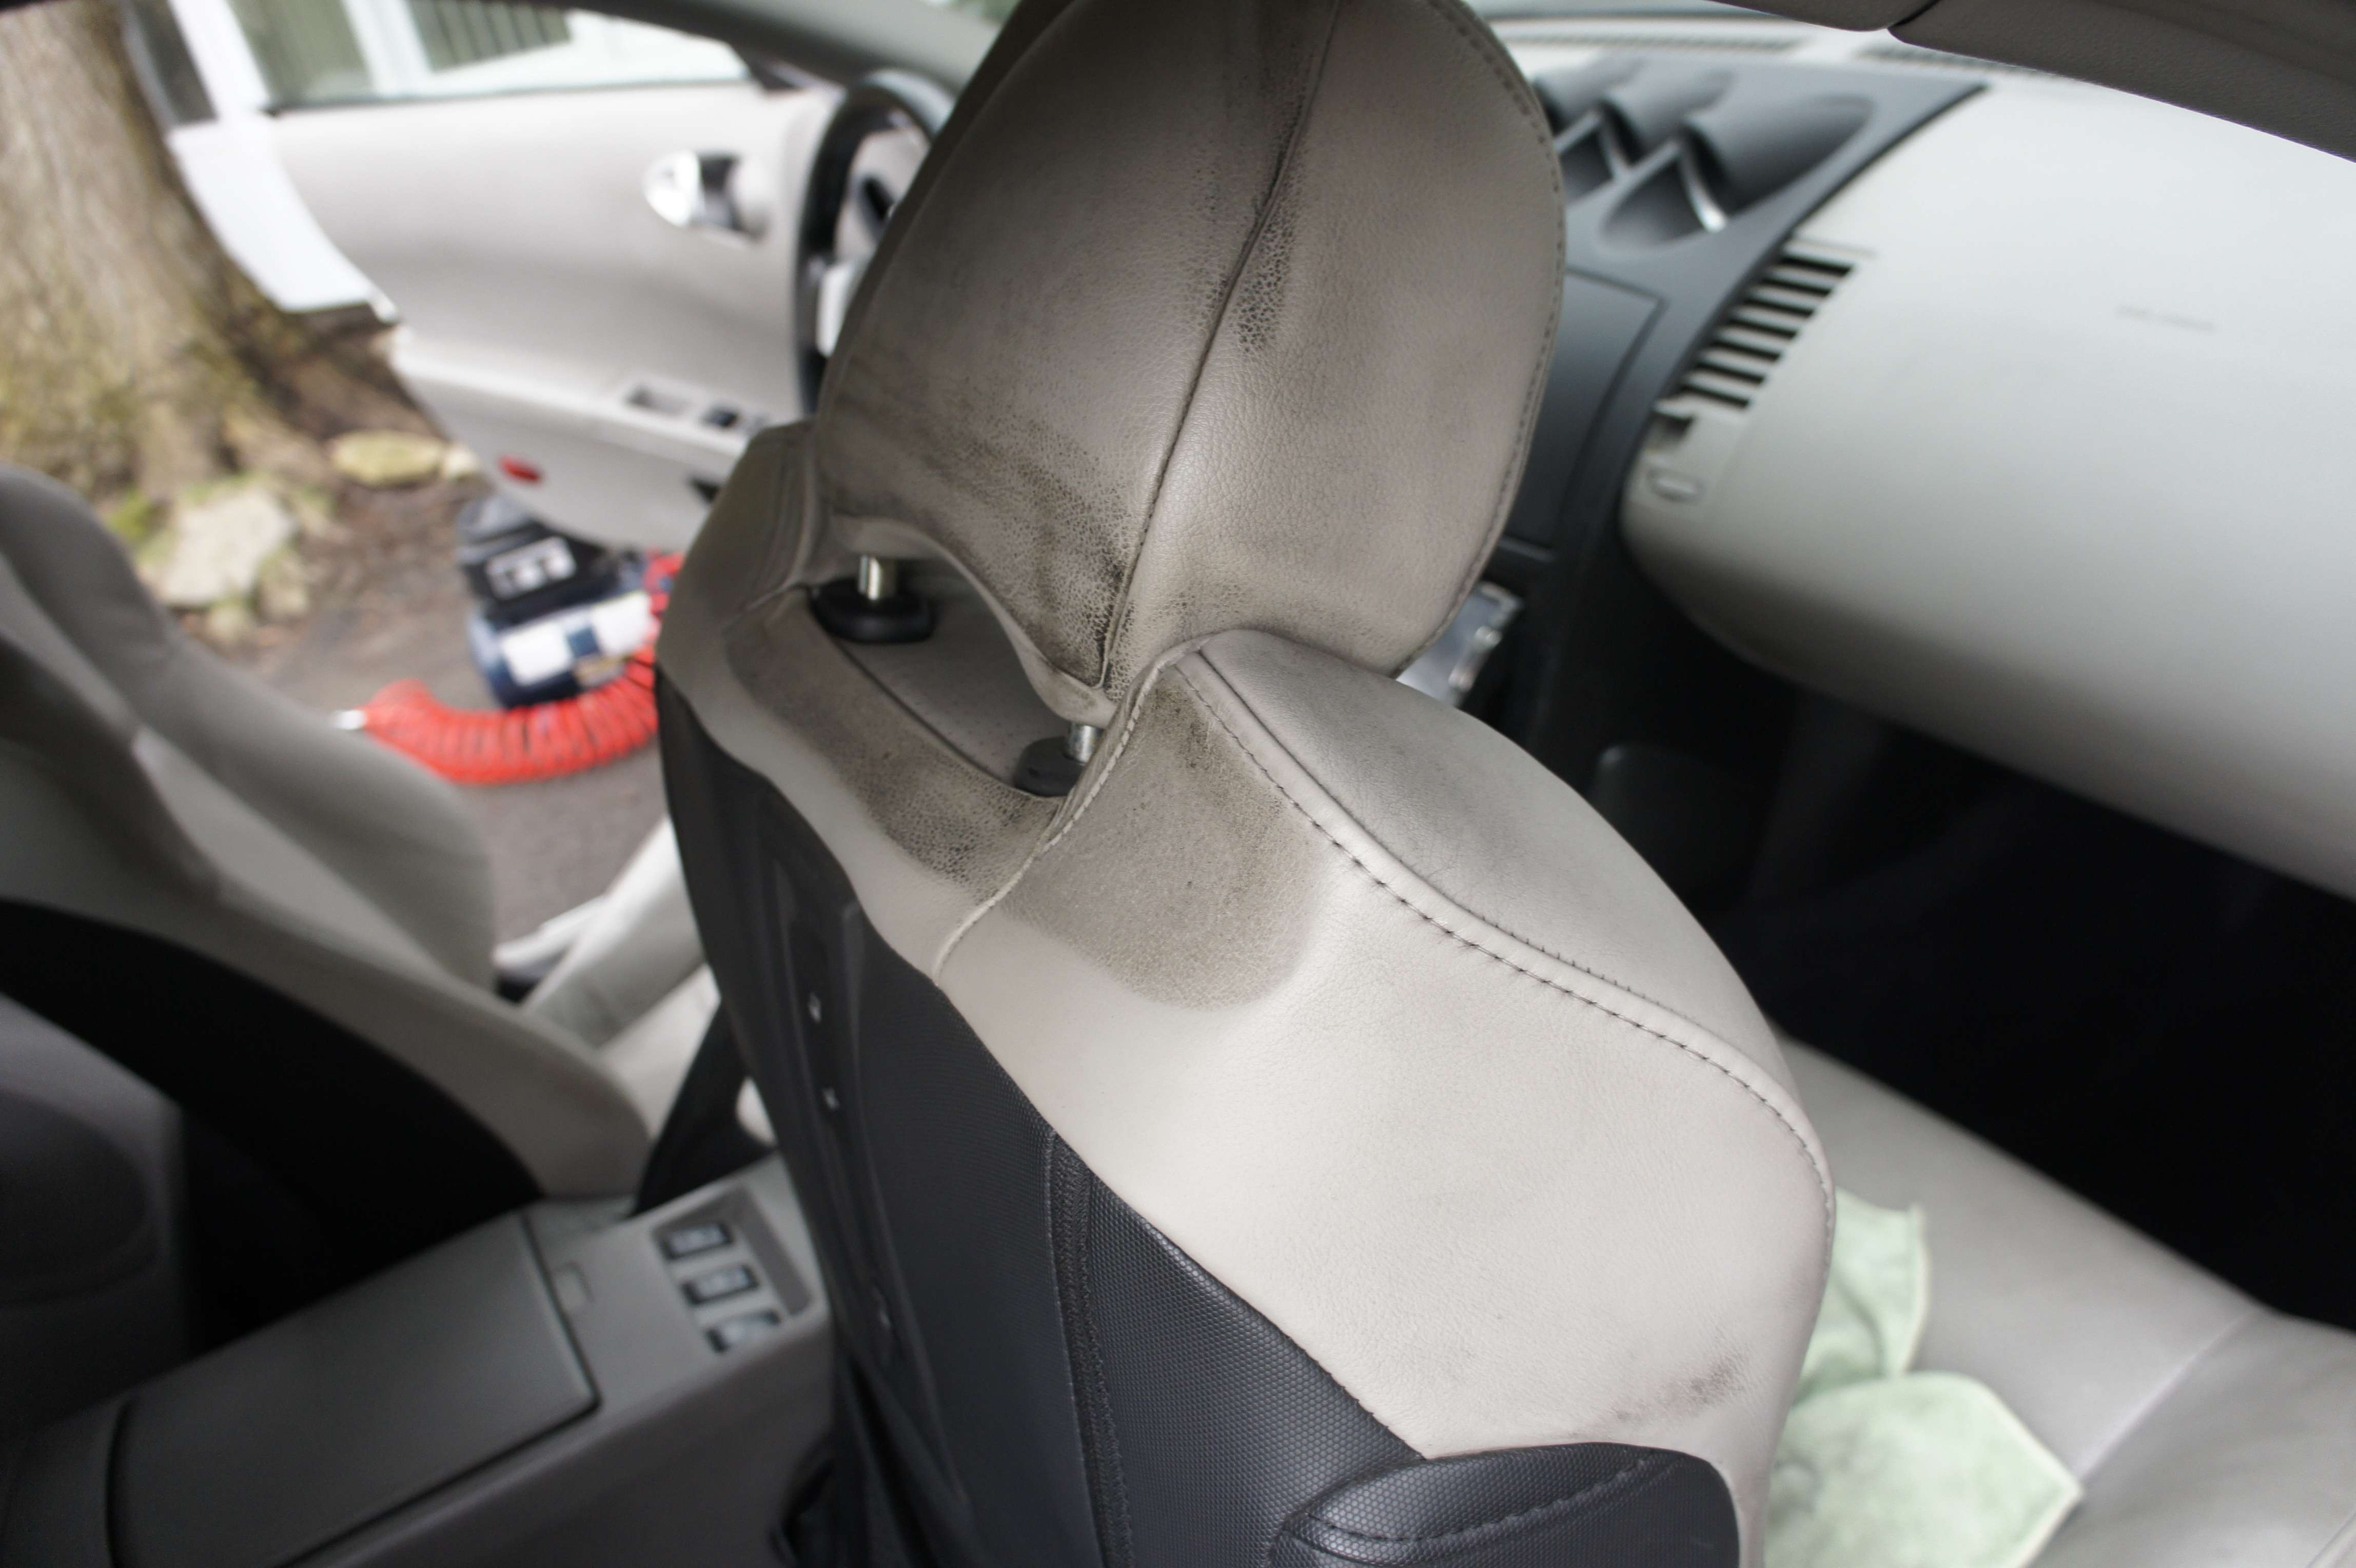
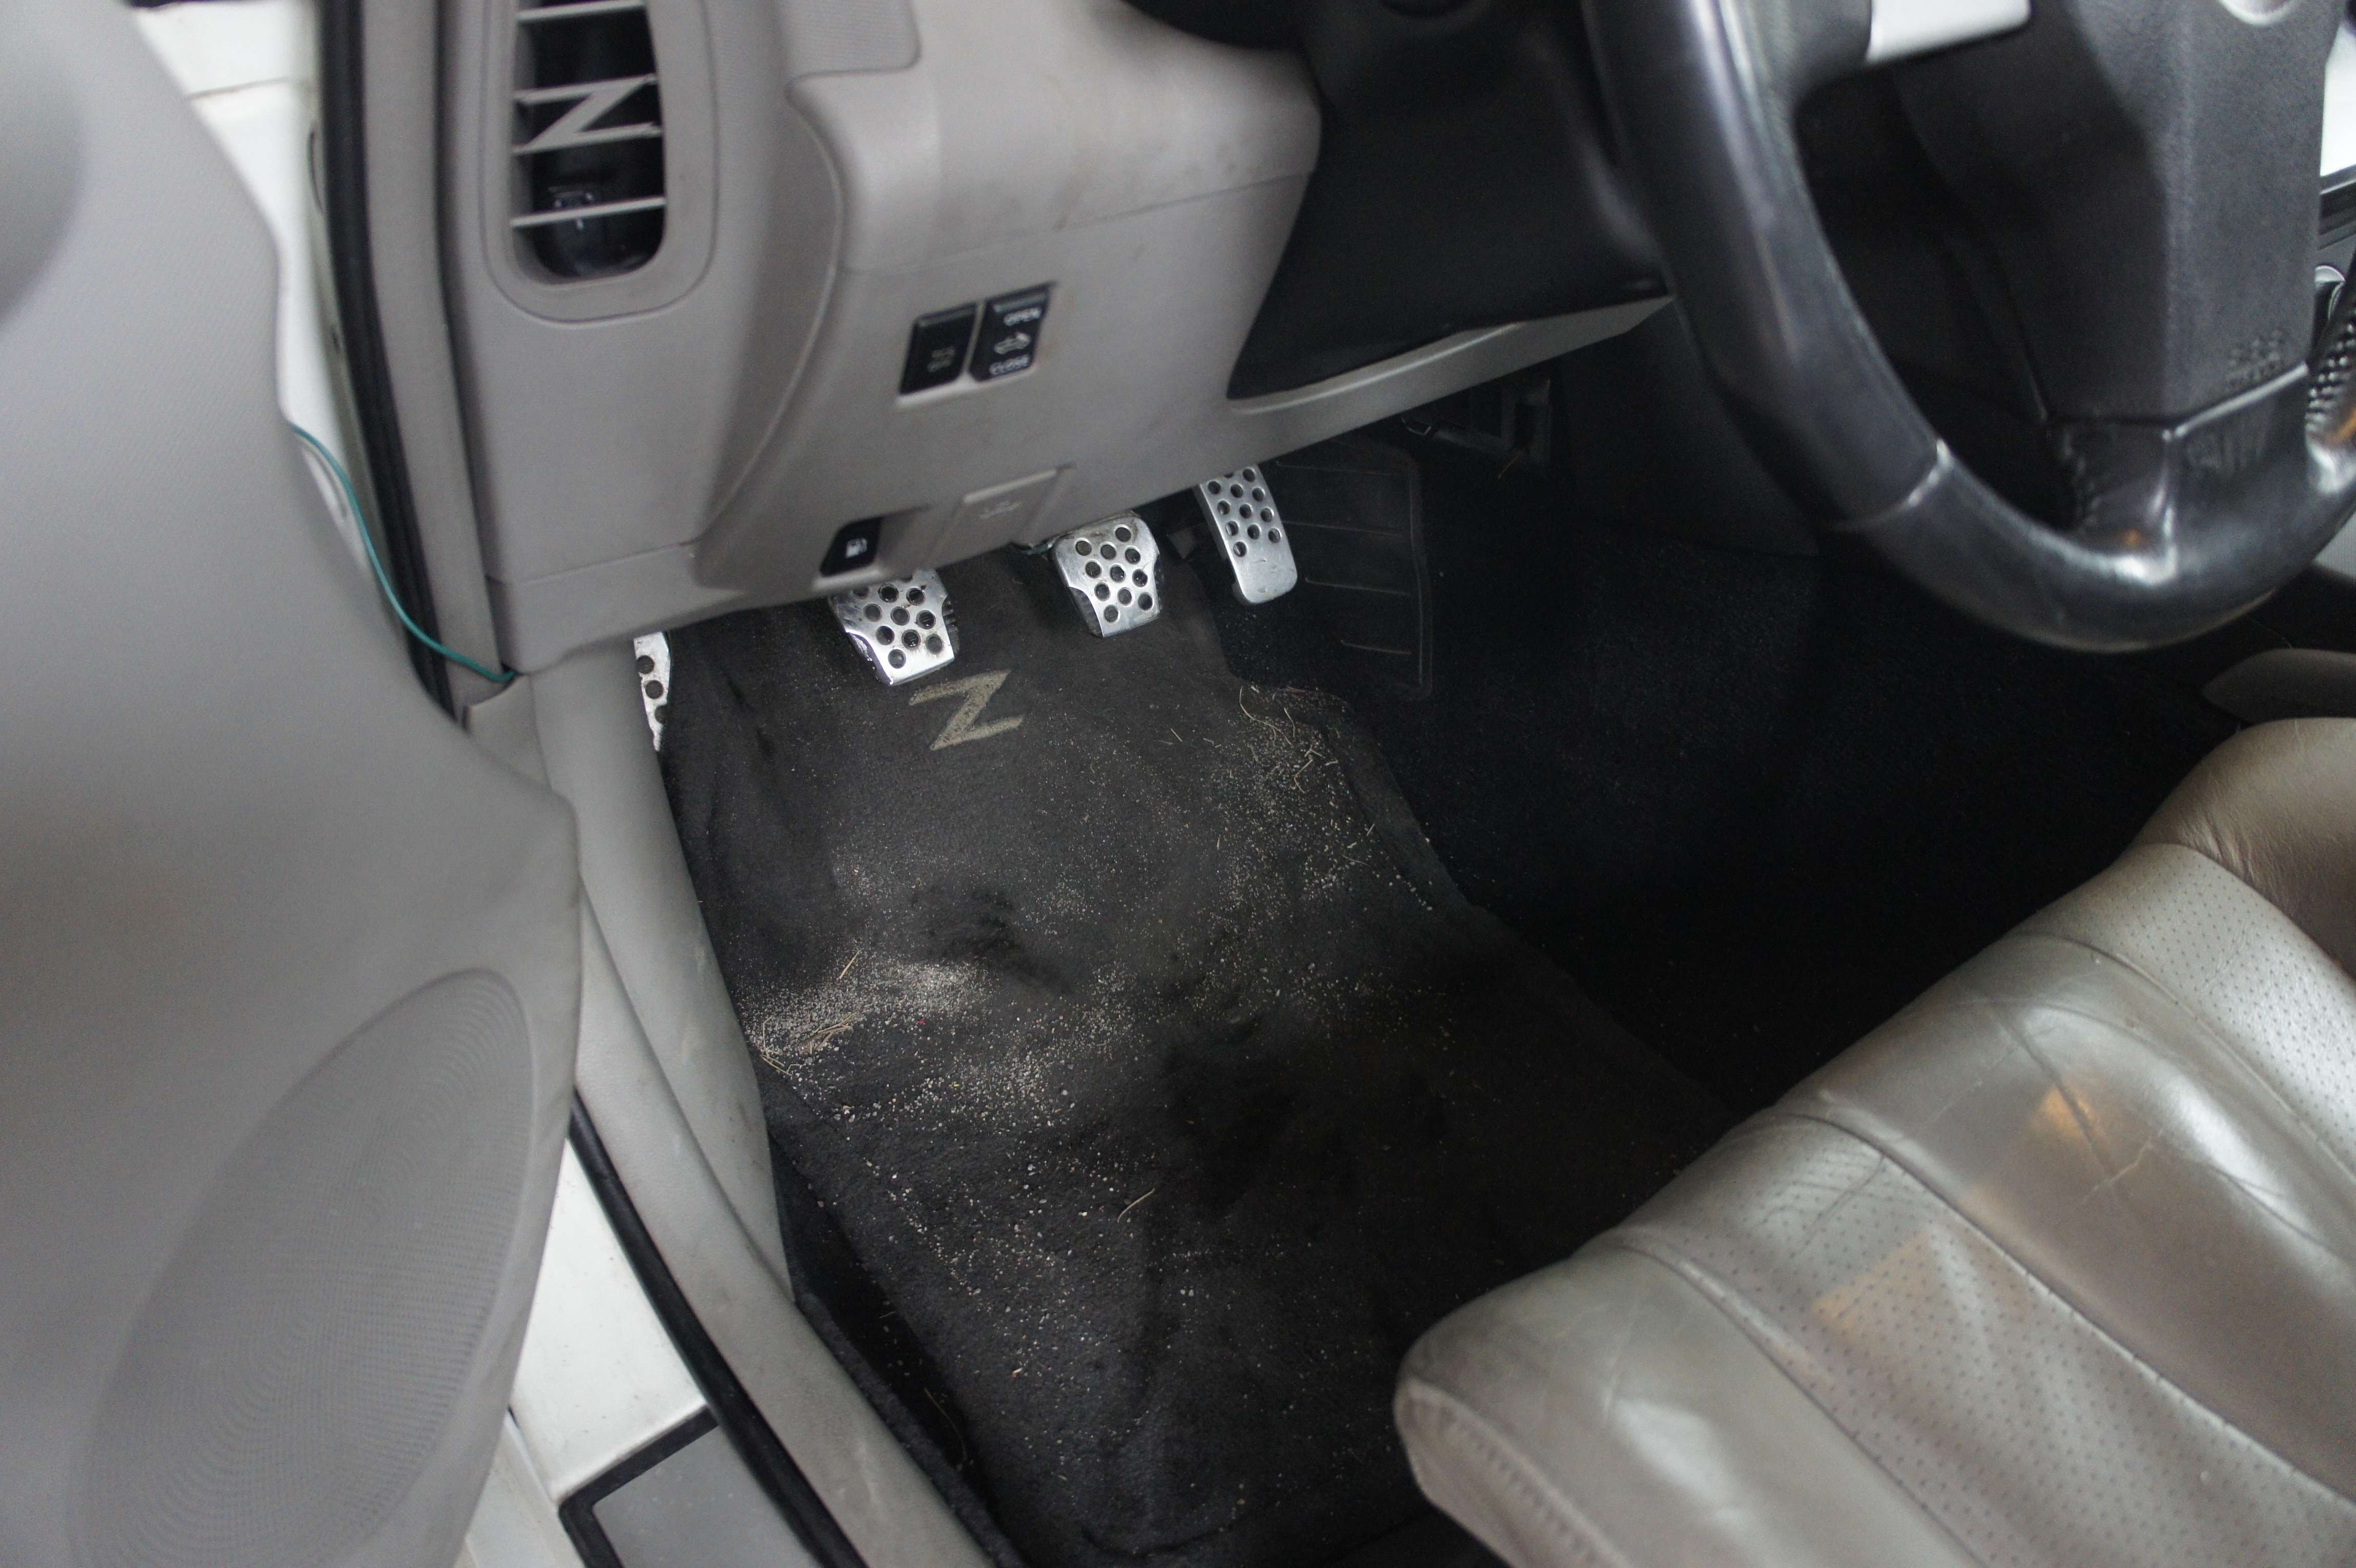
Tell me how please, there was a nasty stain and gummy texture right there:
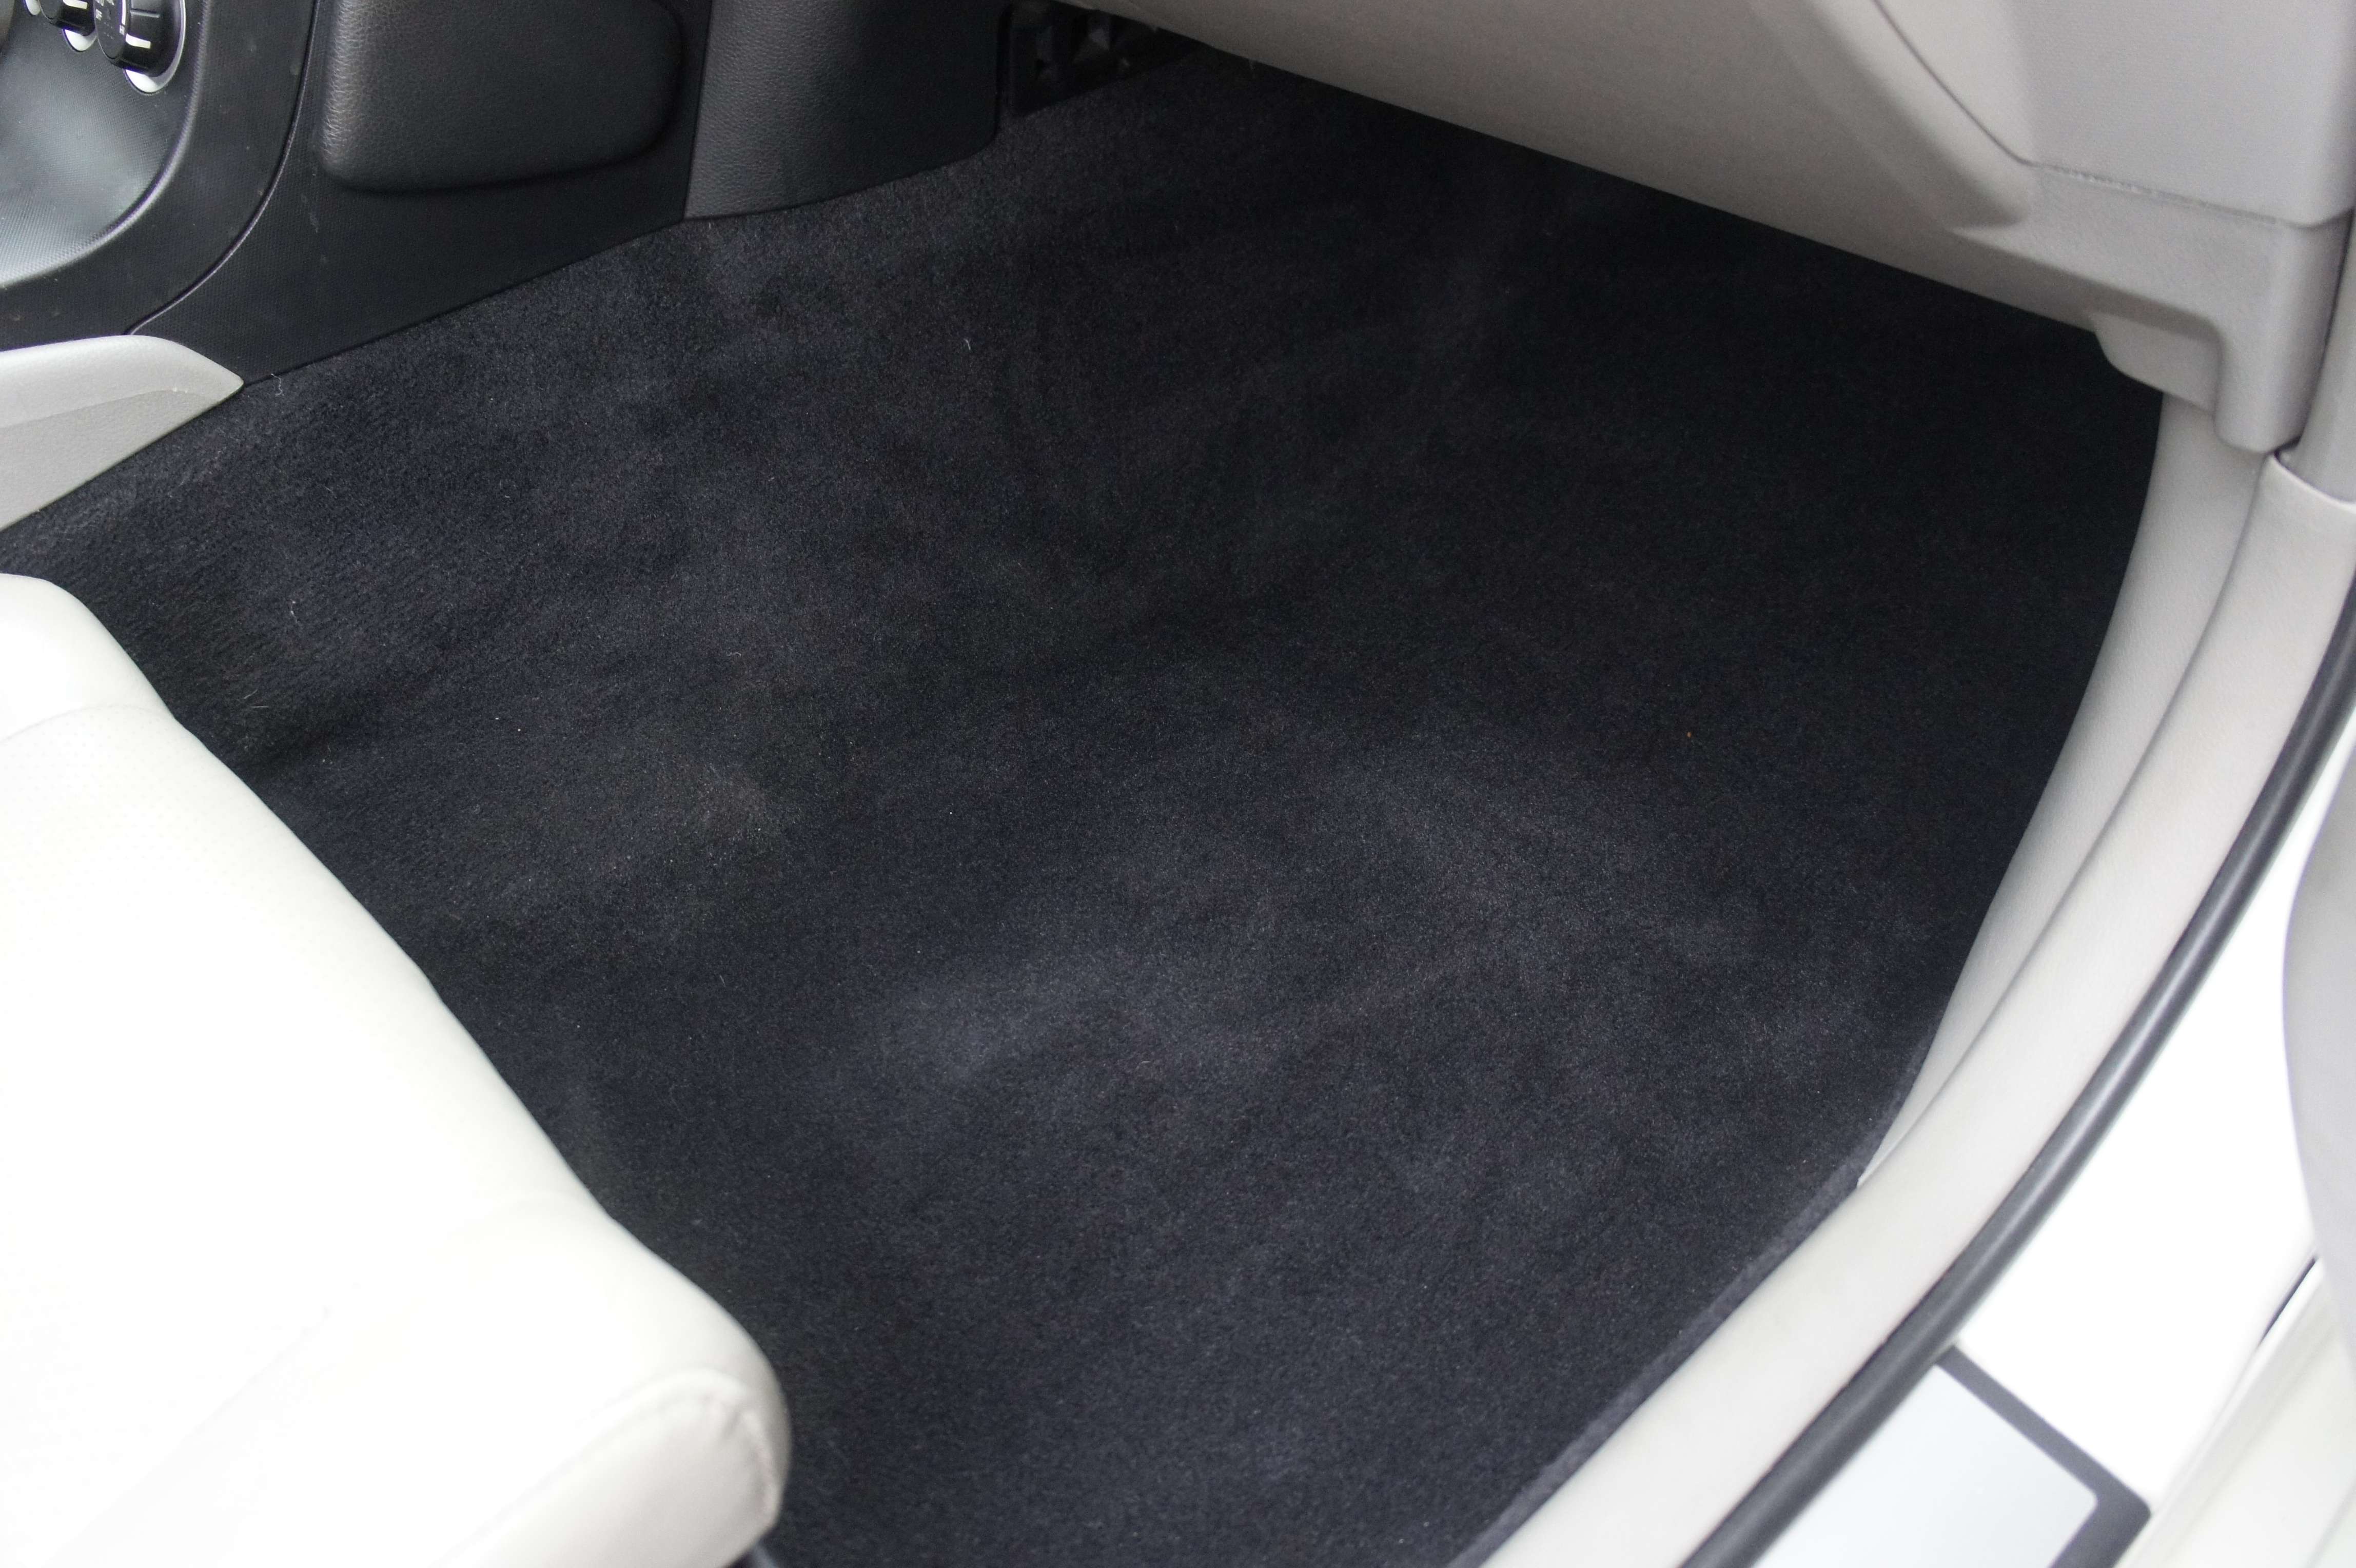
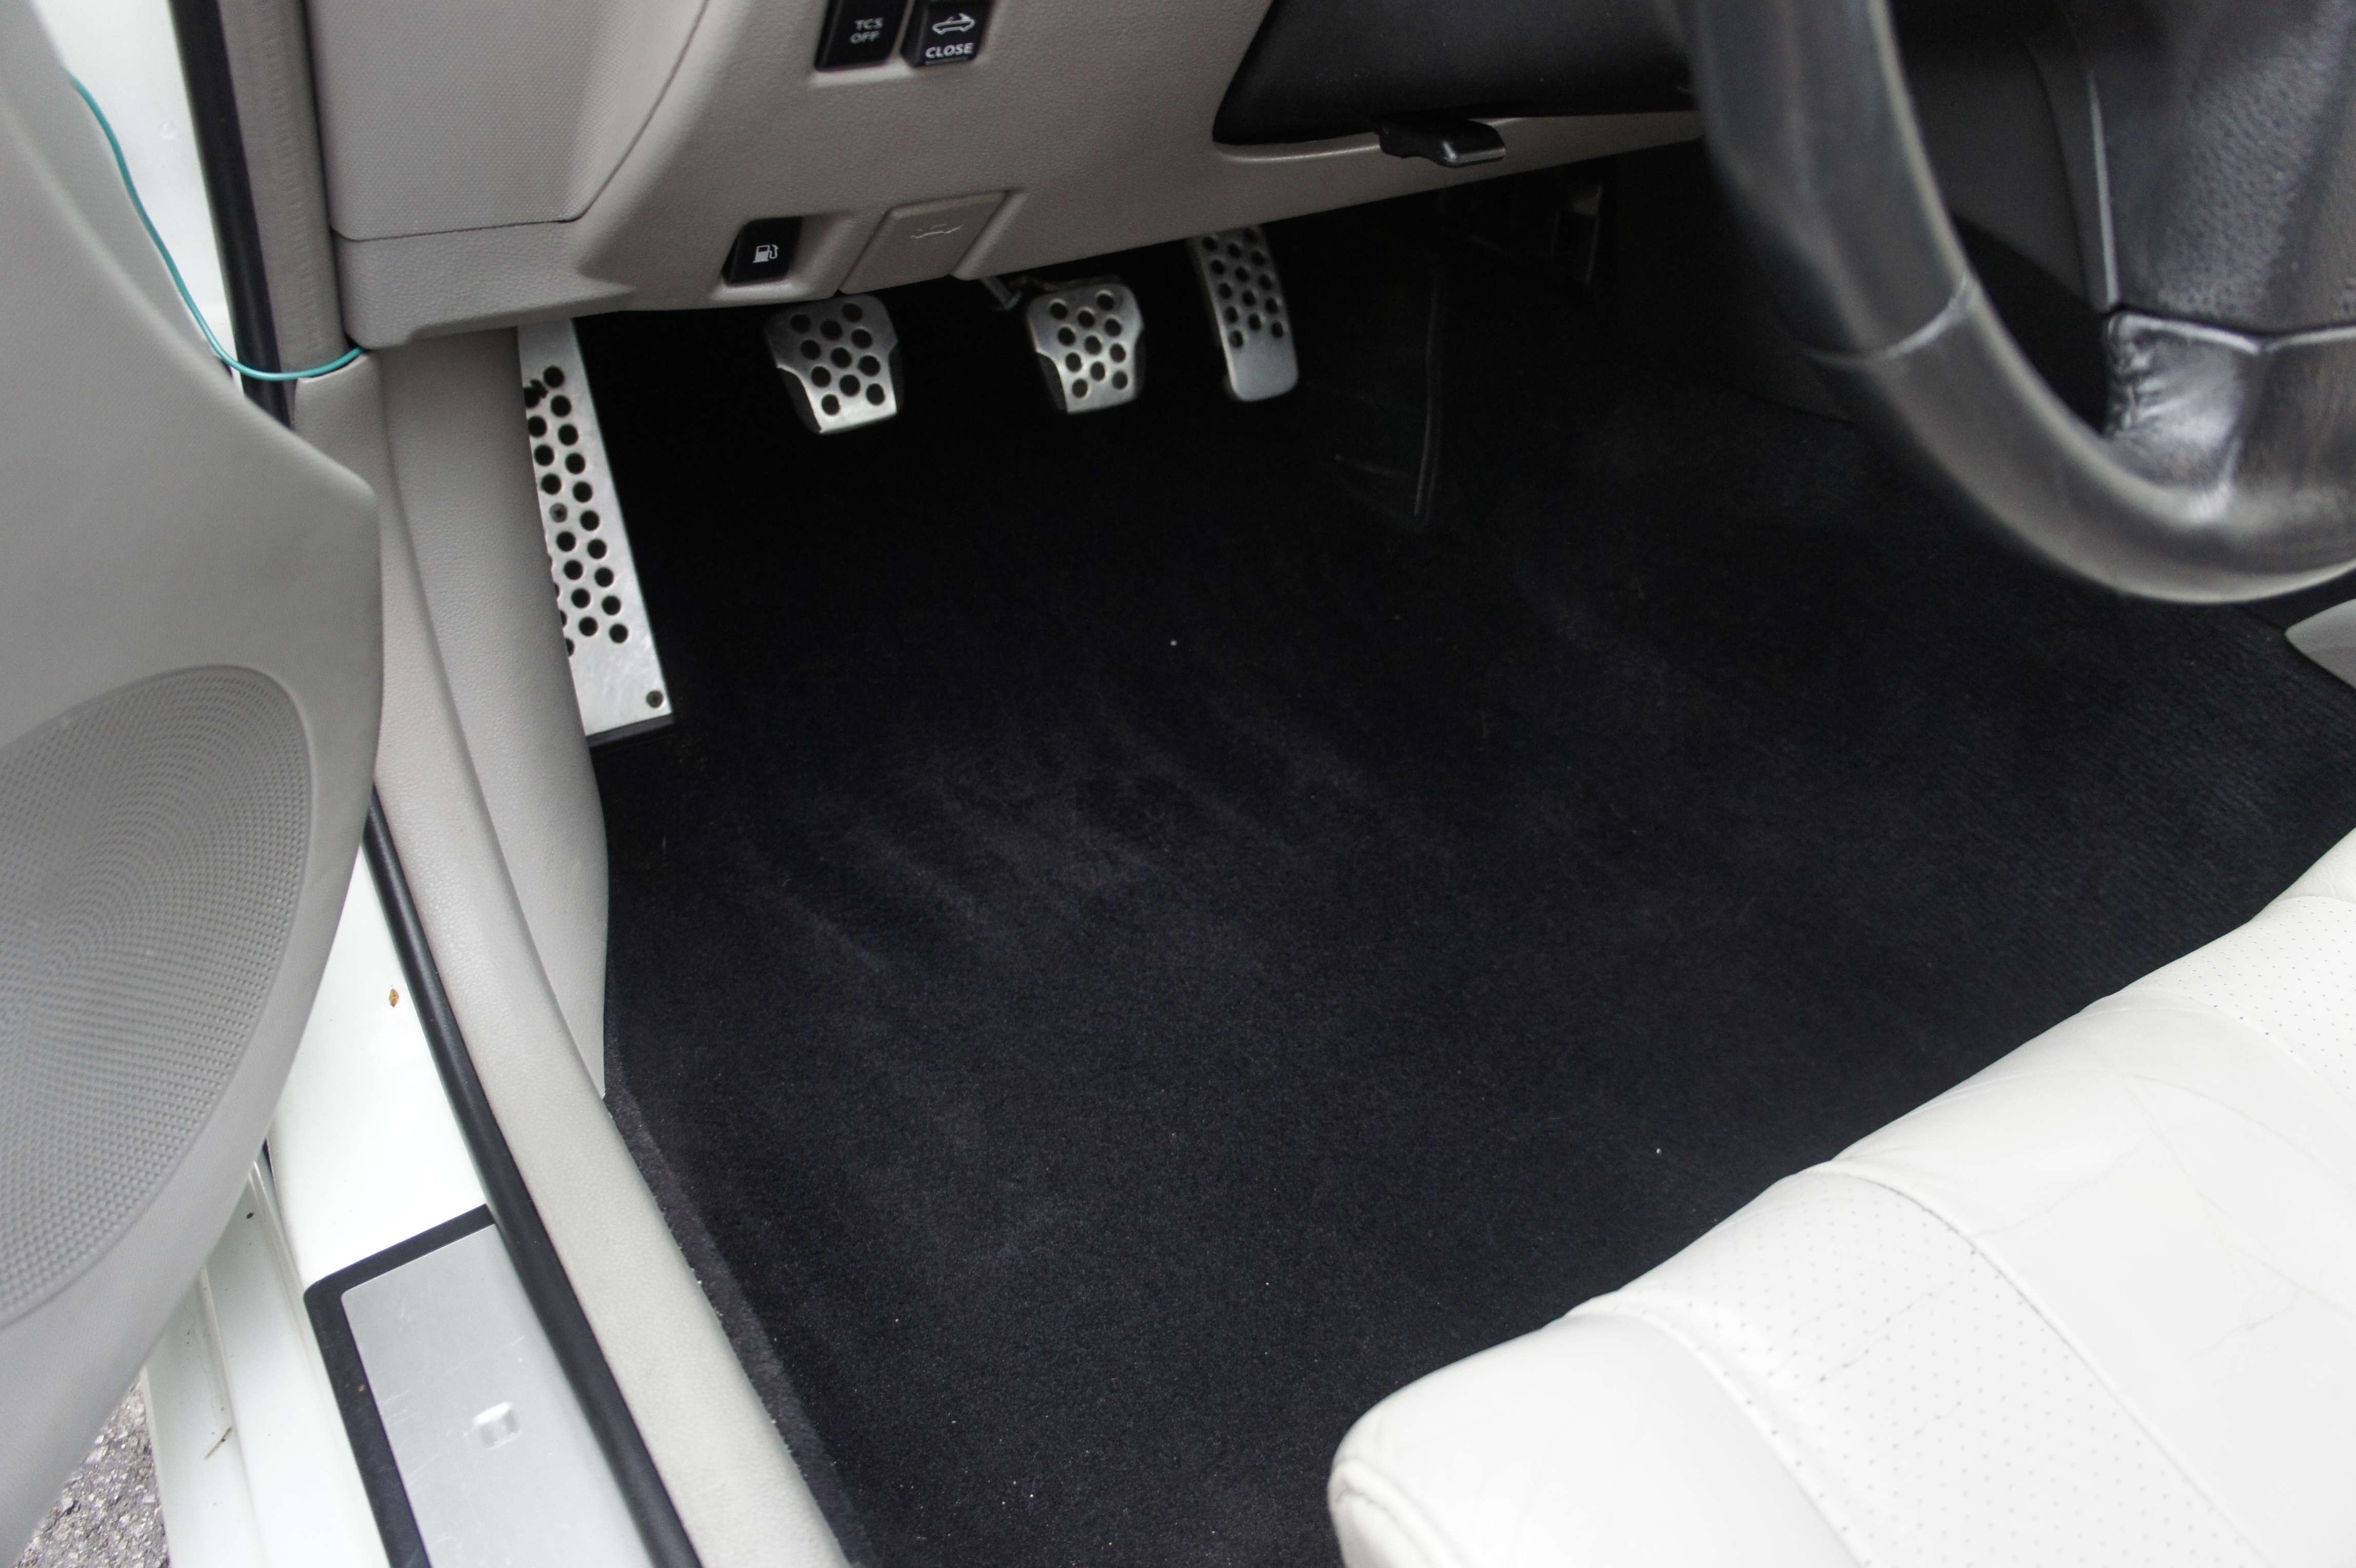
This one took me like double times of what I usually take to do an interior! At the end, I’m still happy with the result. It look a lot more clean than it was before!
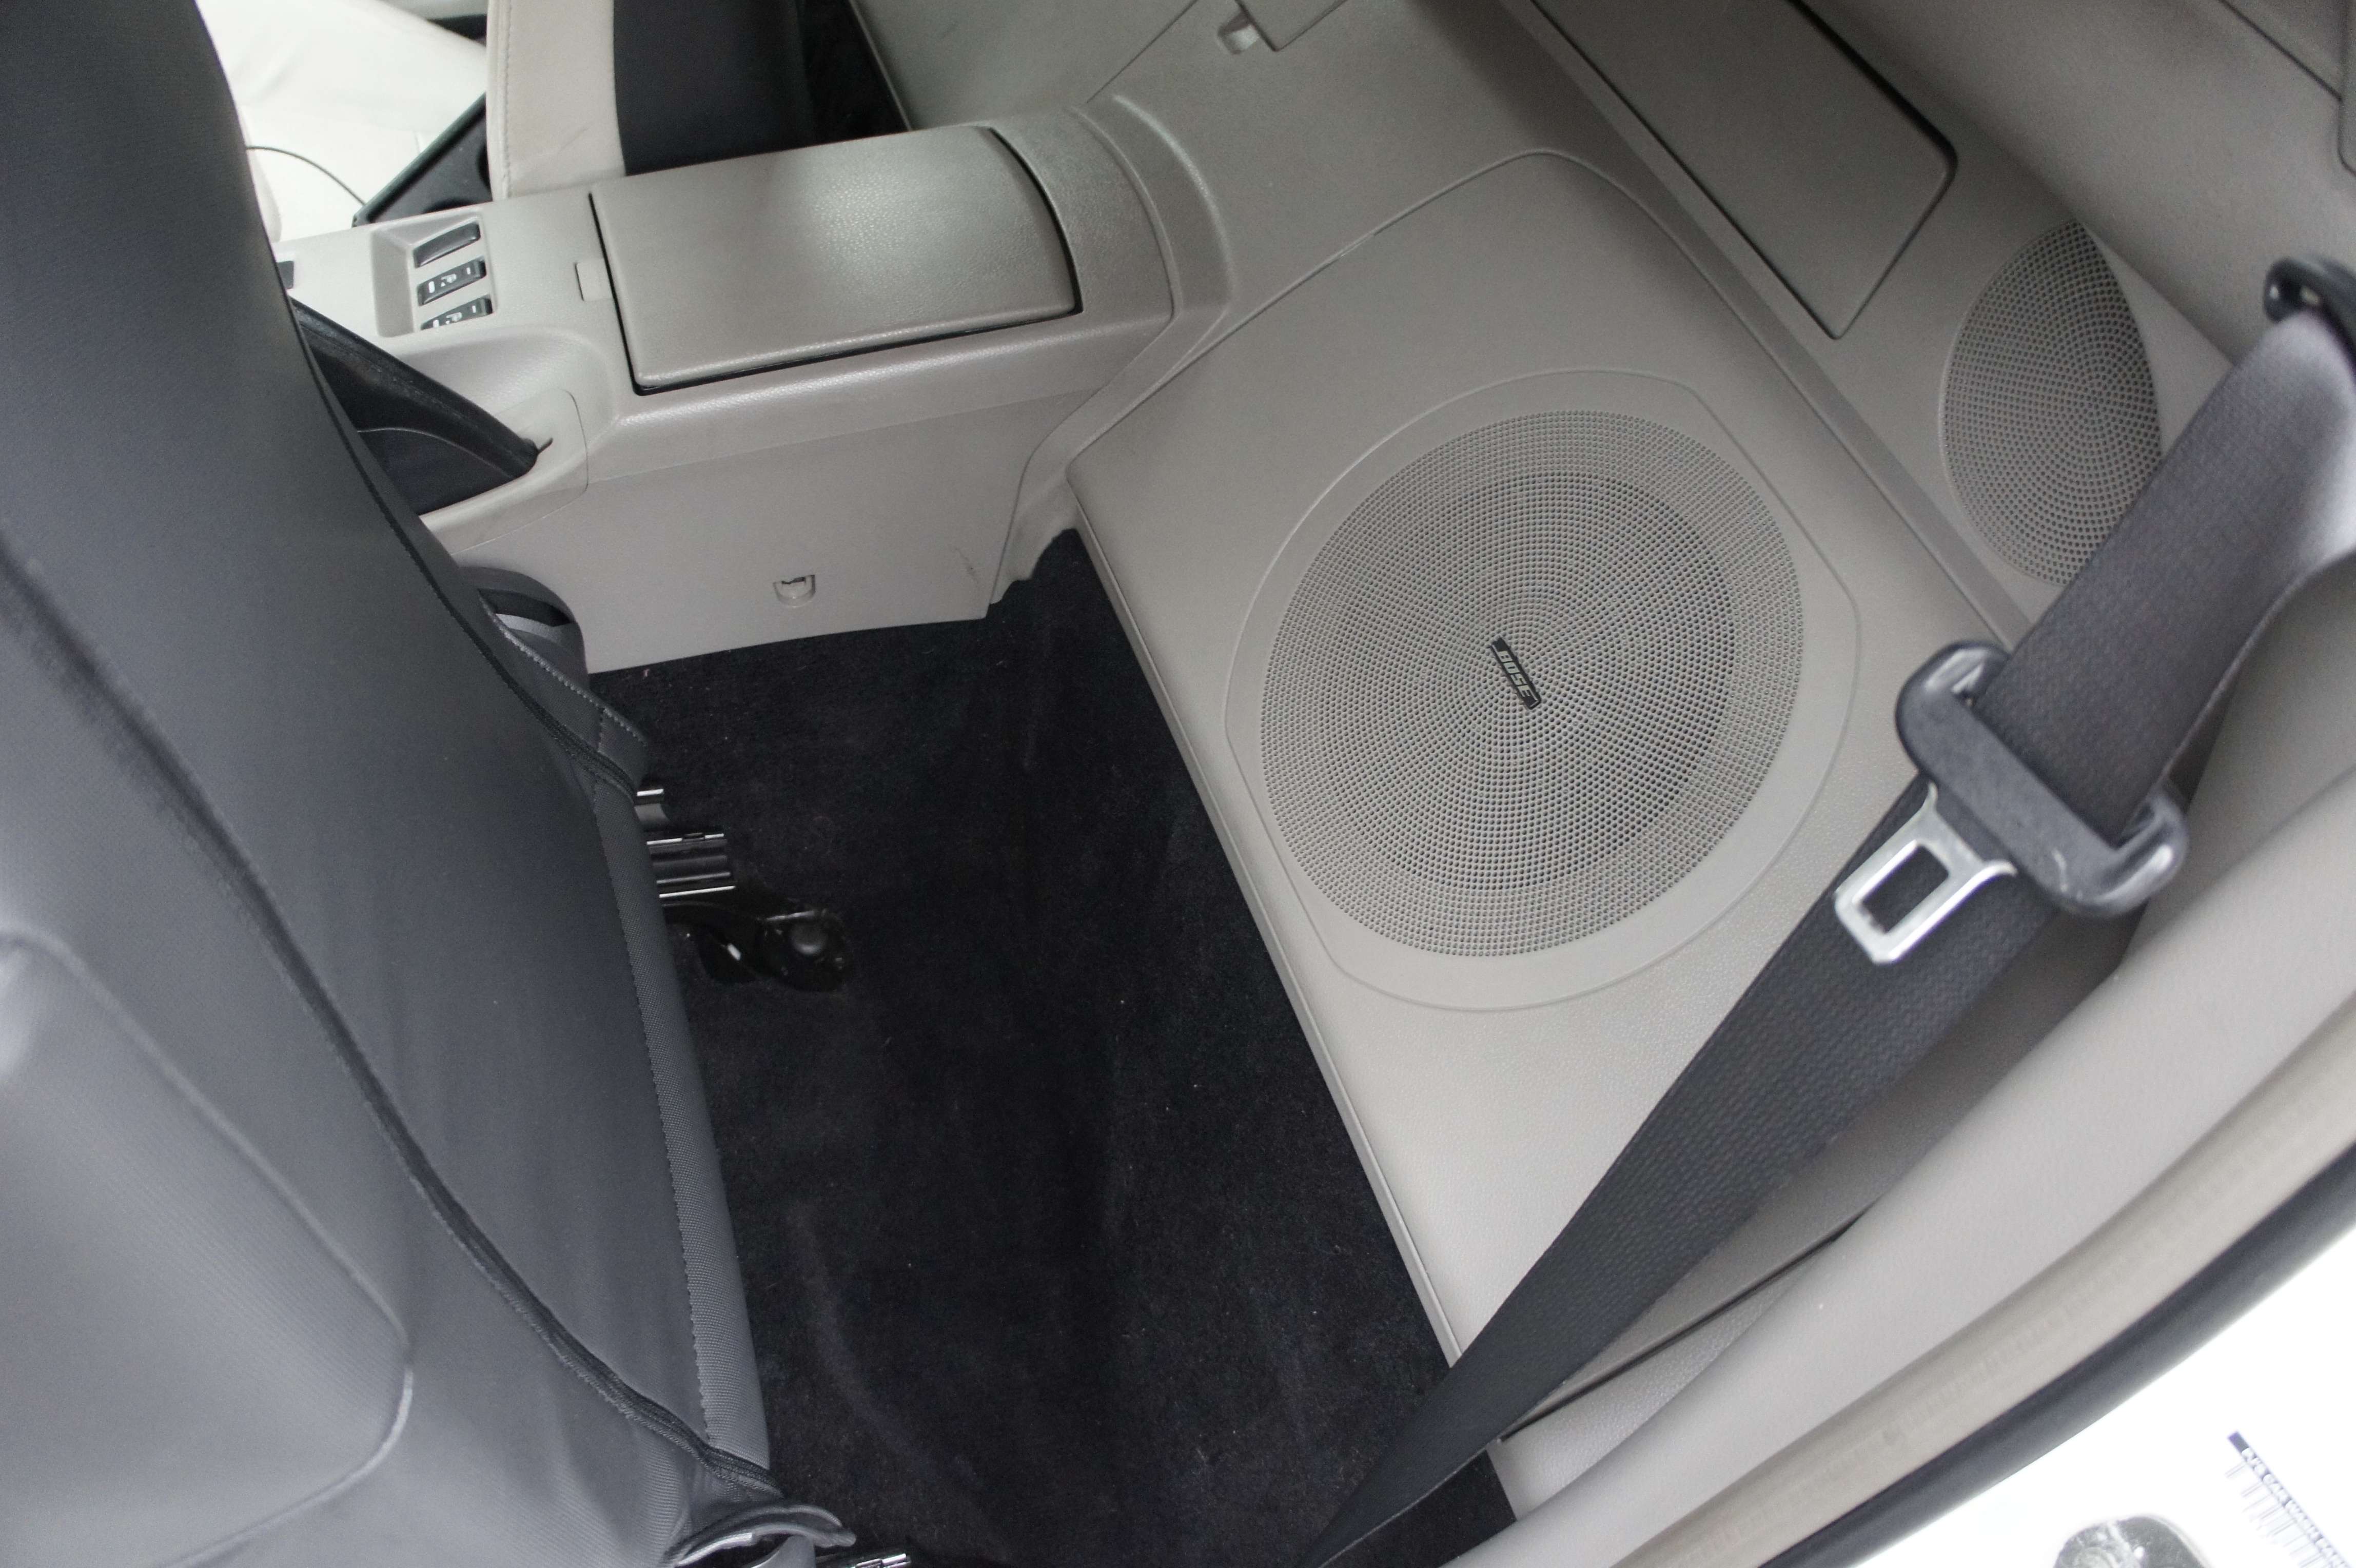
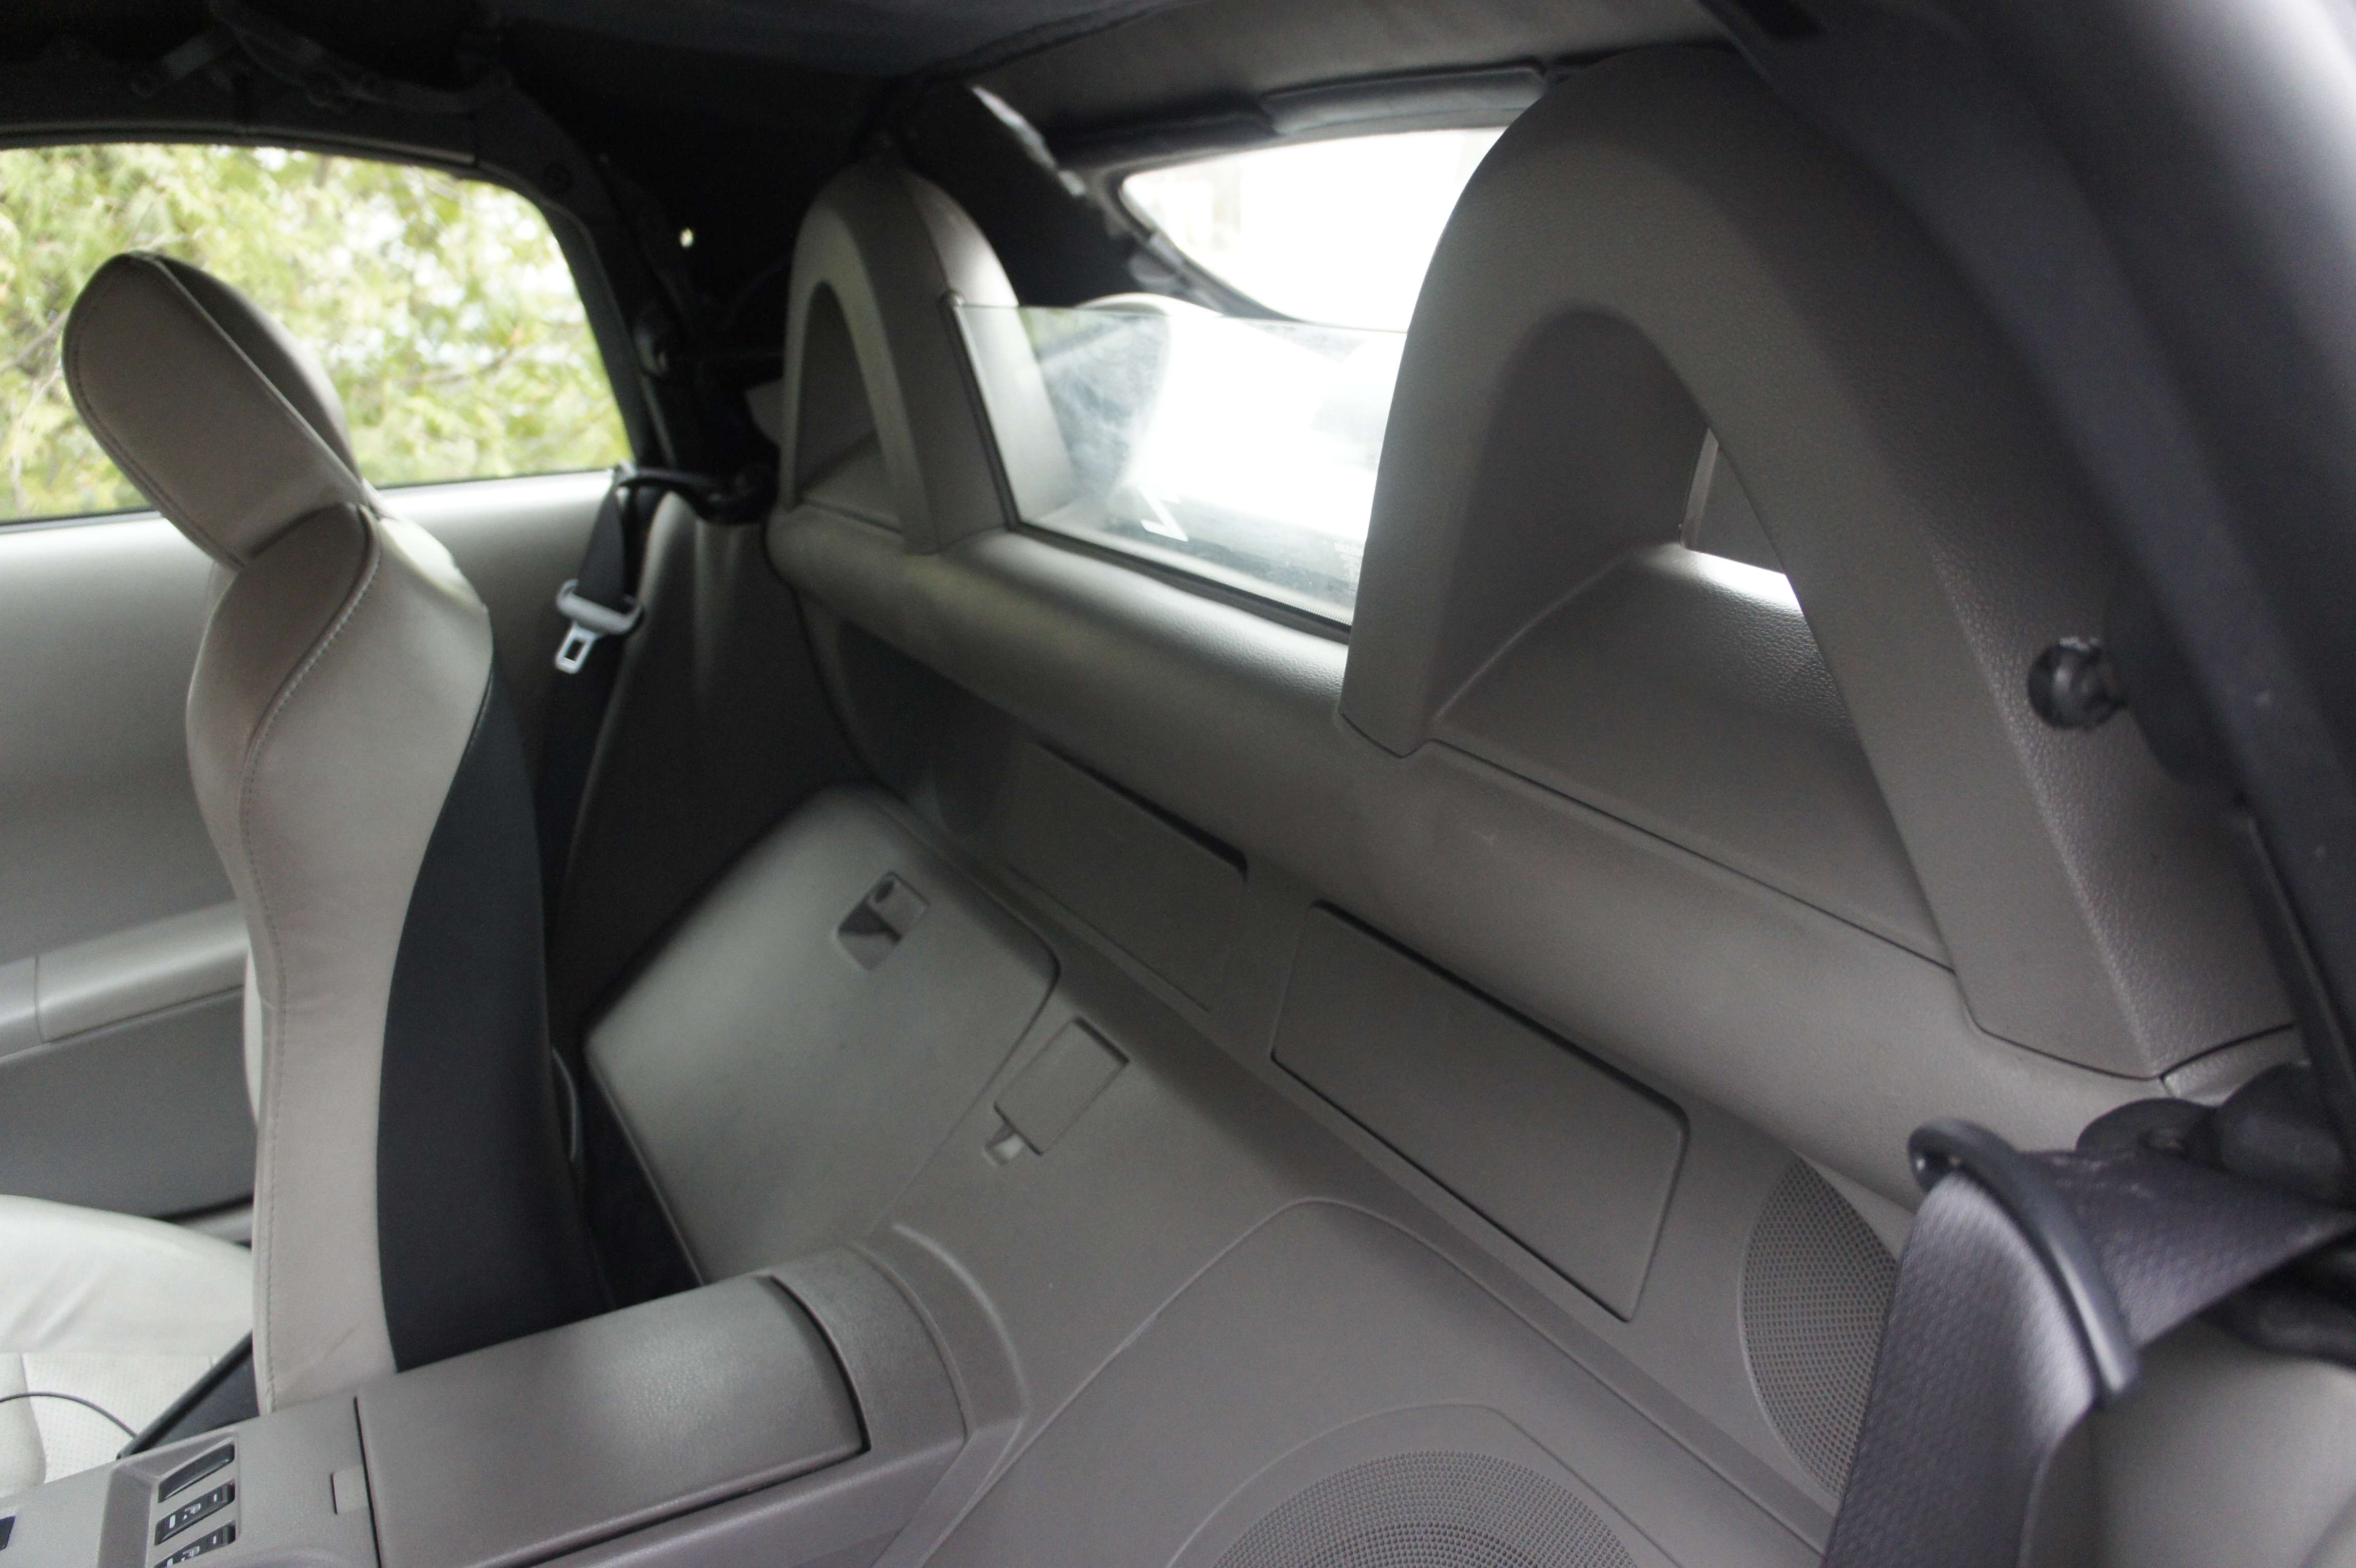
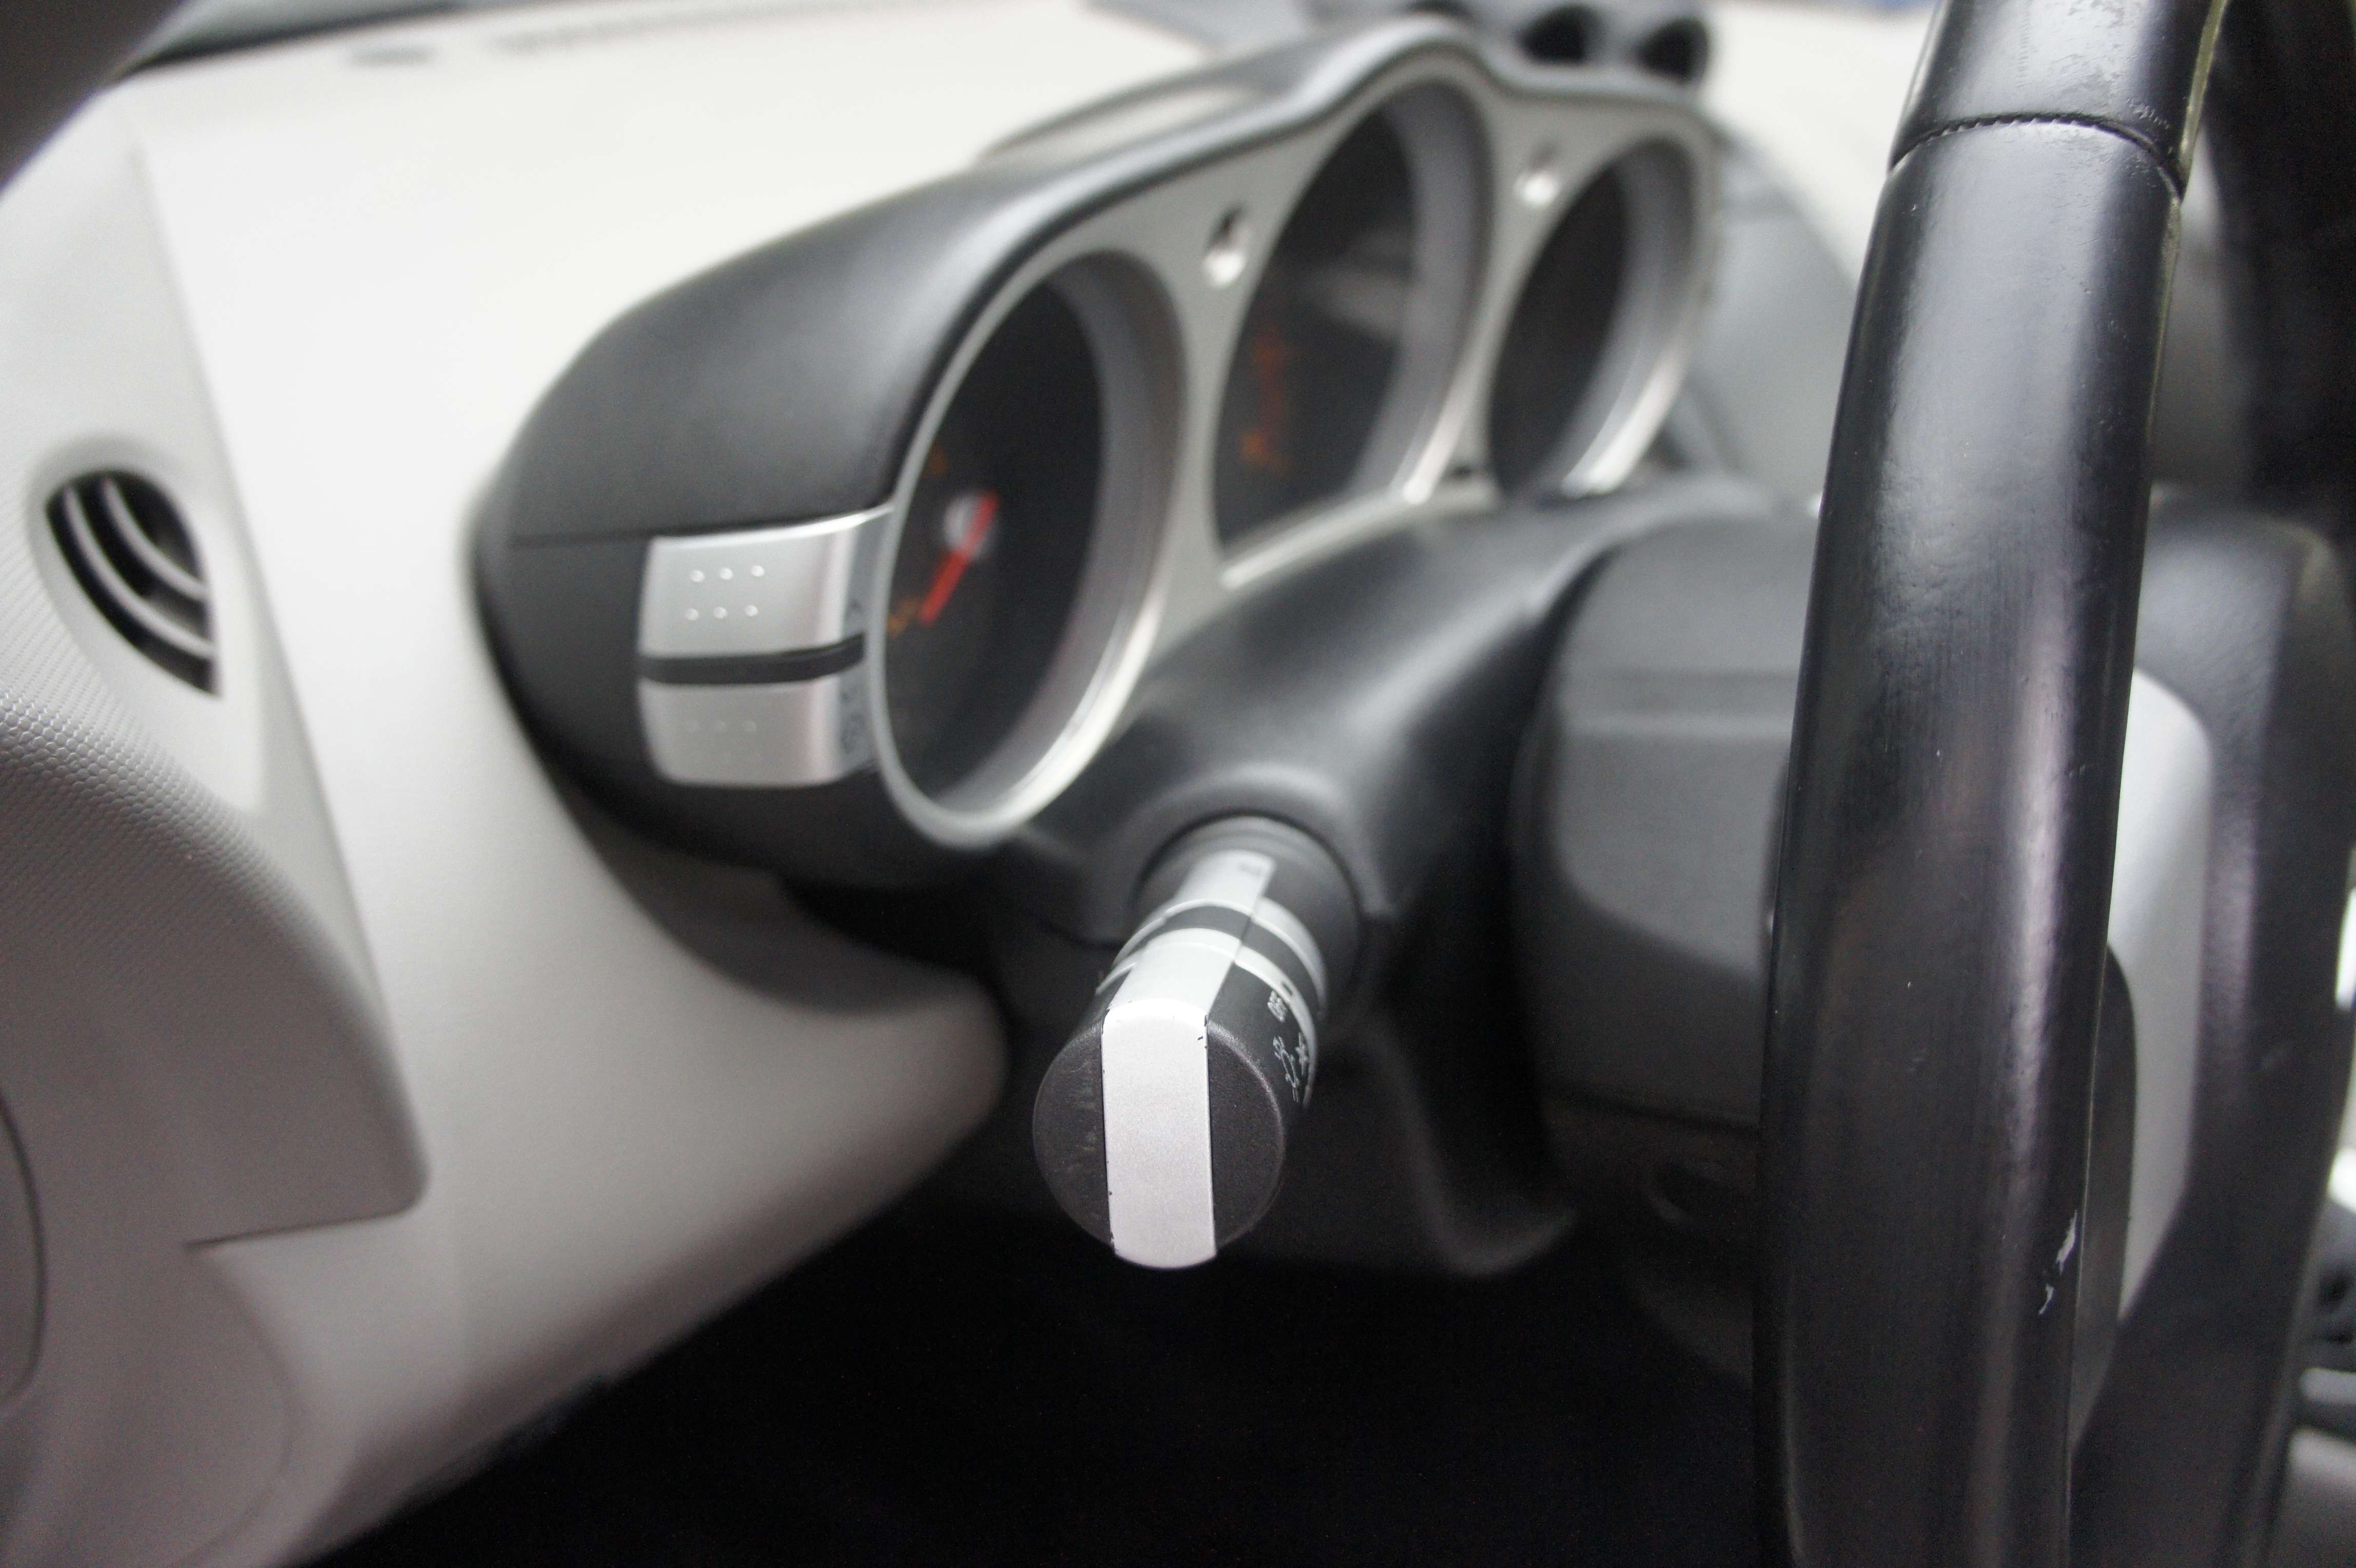
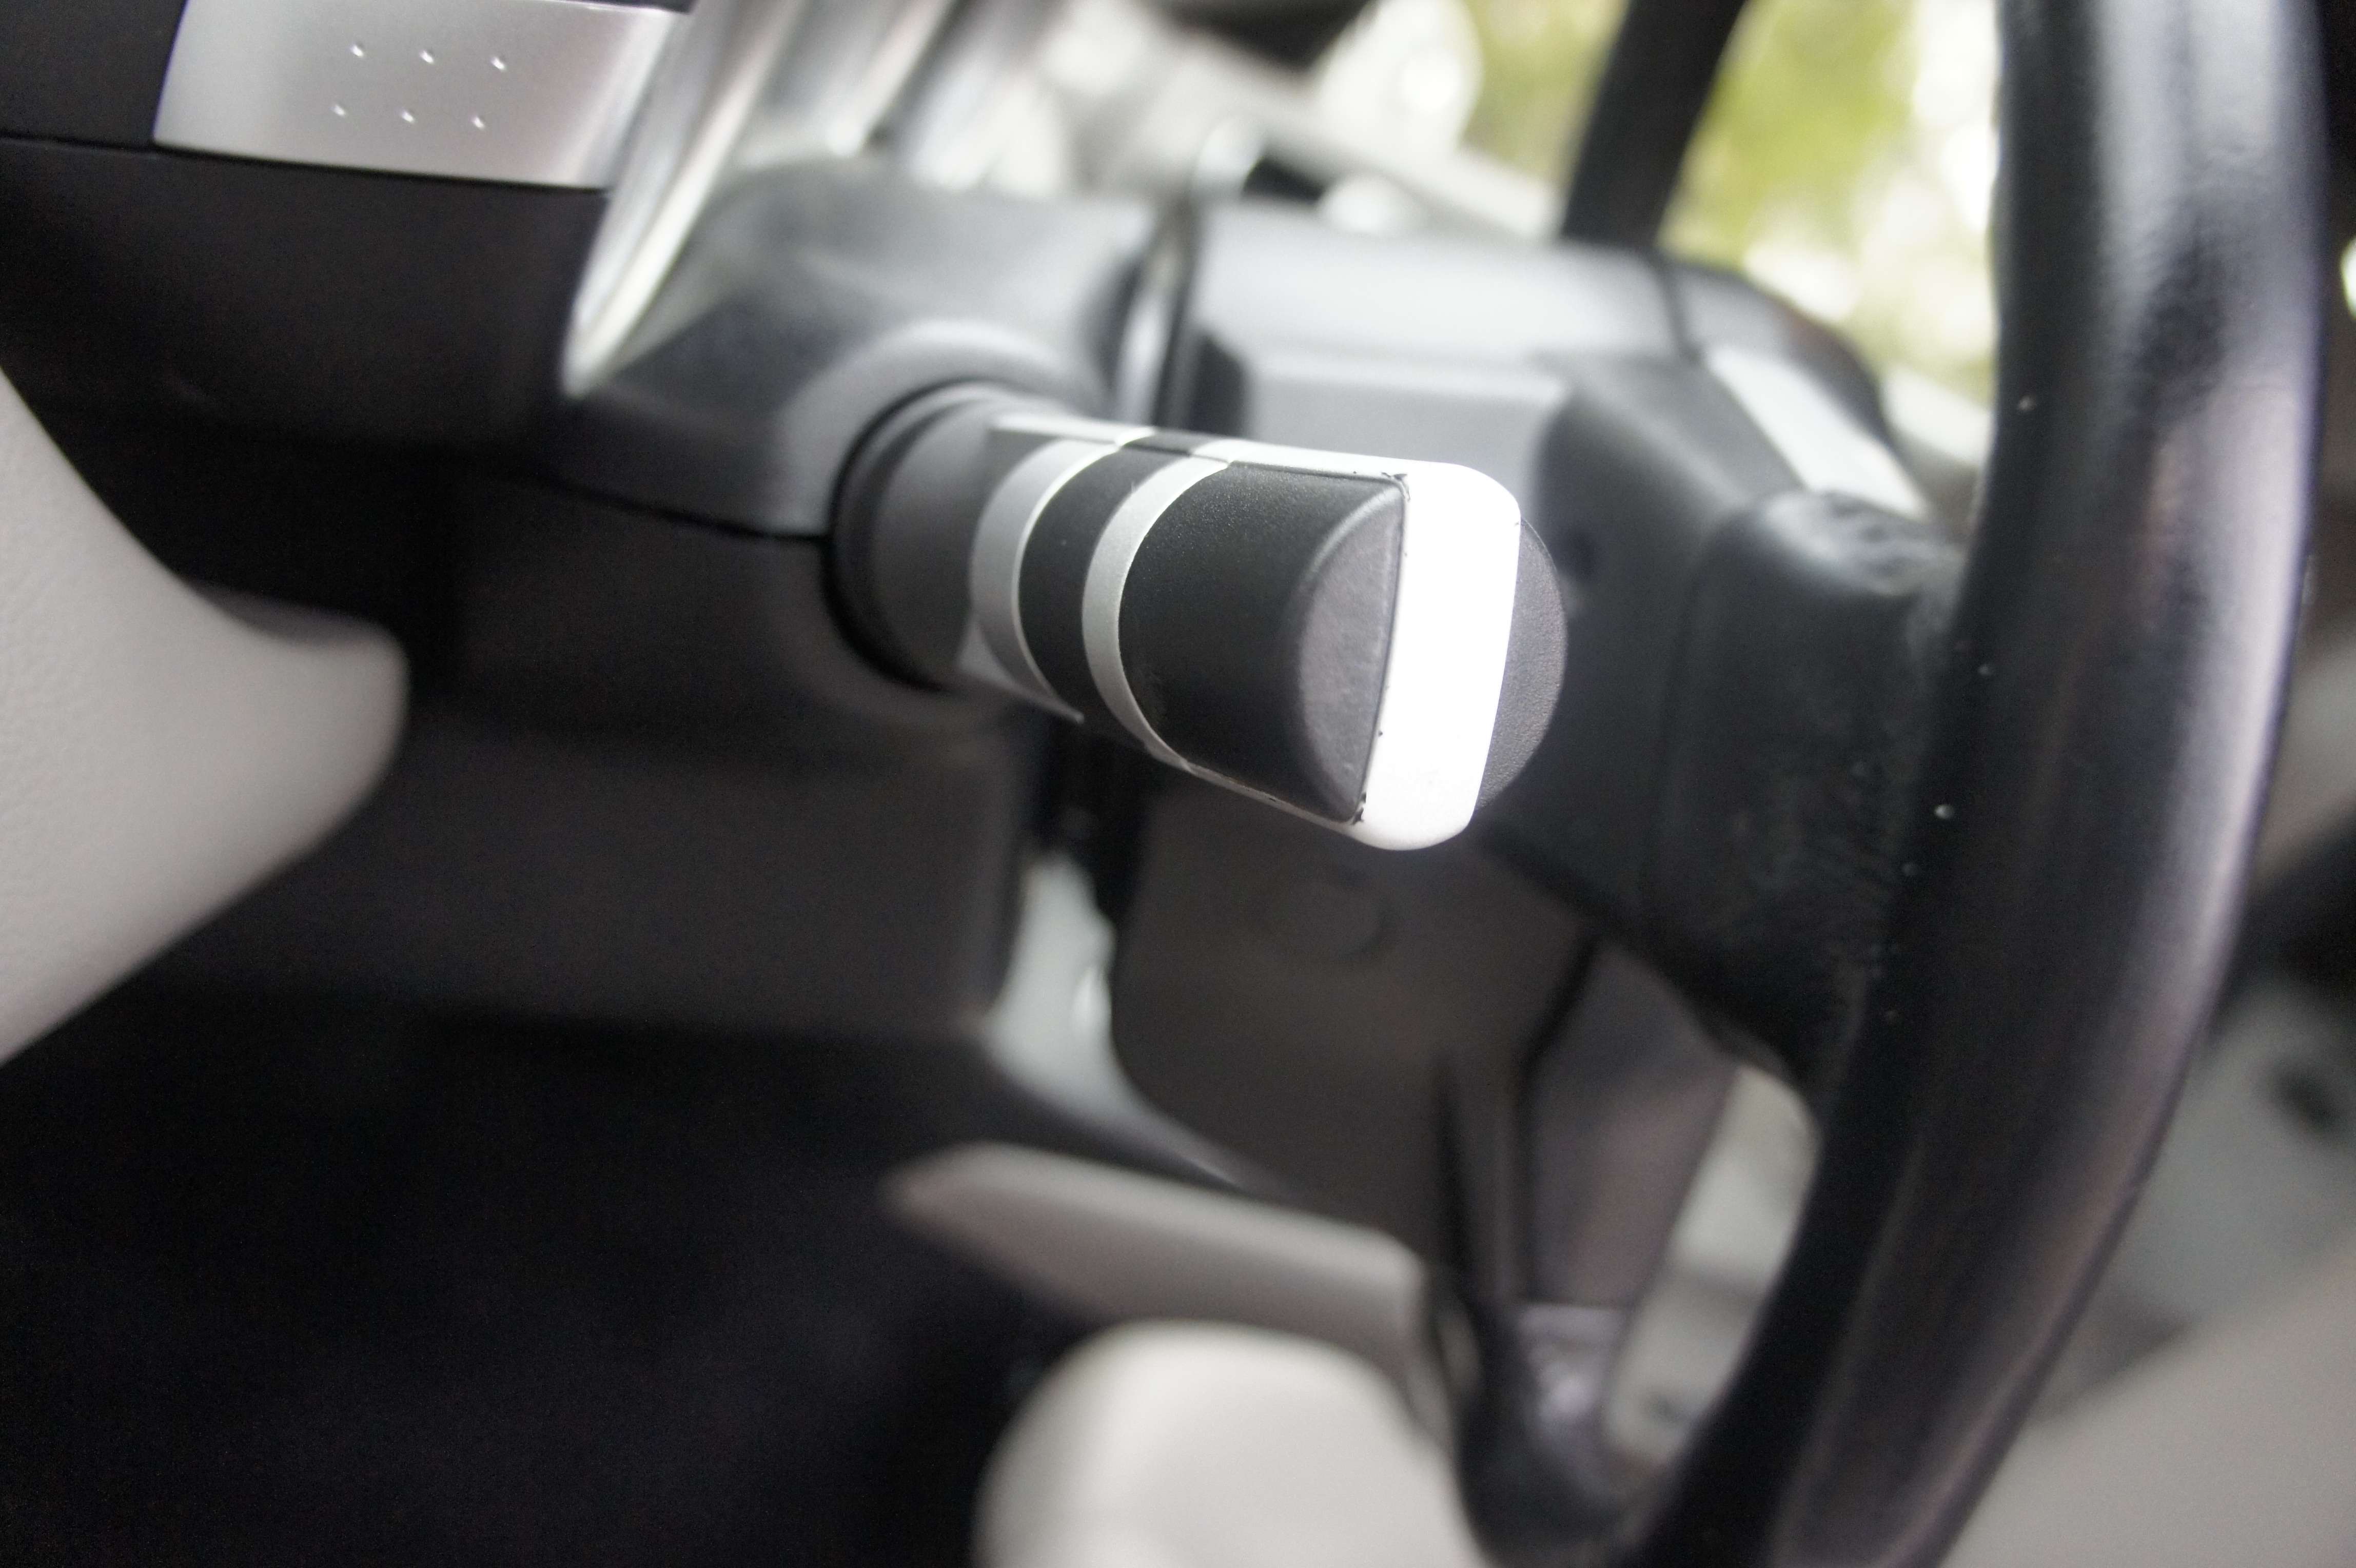
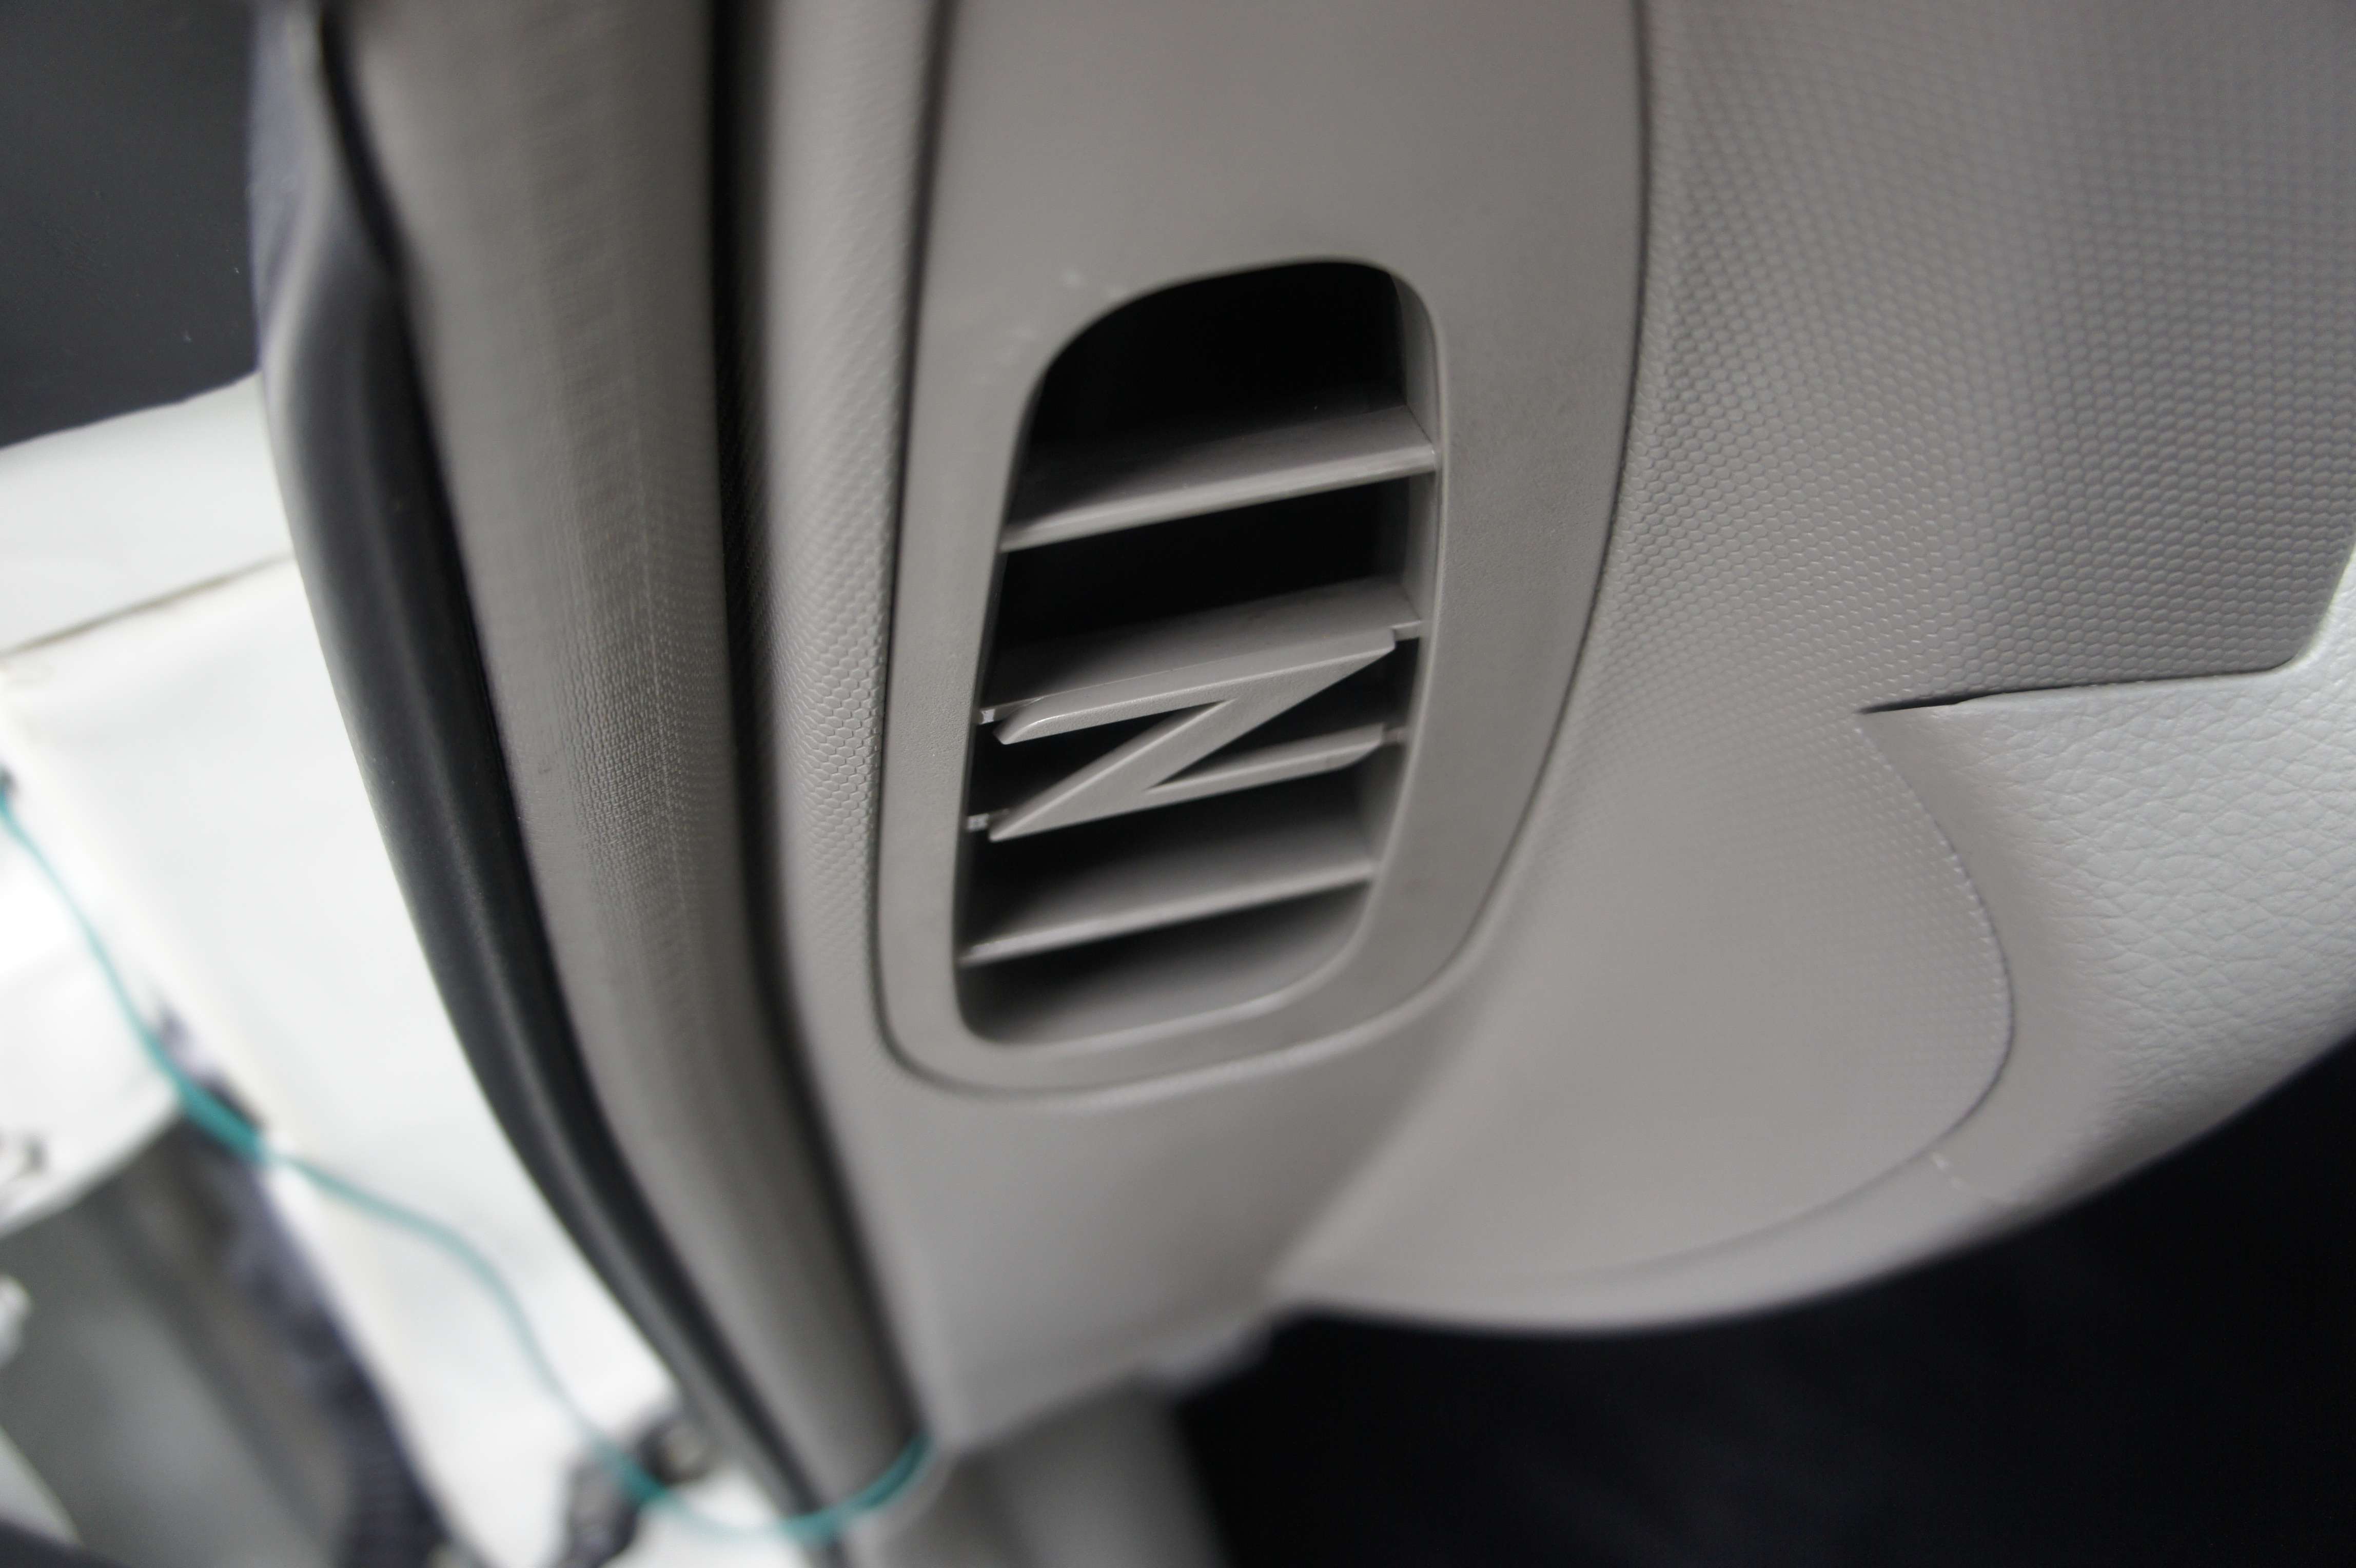
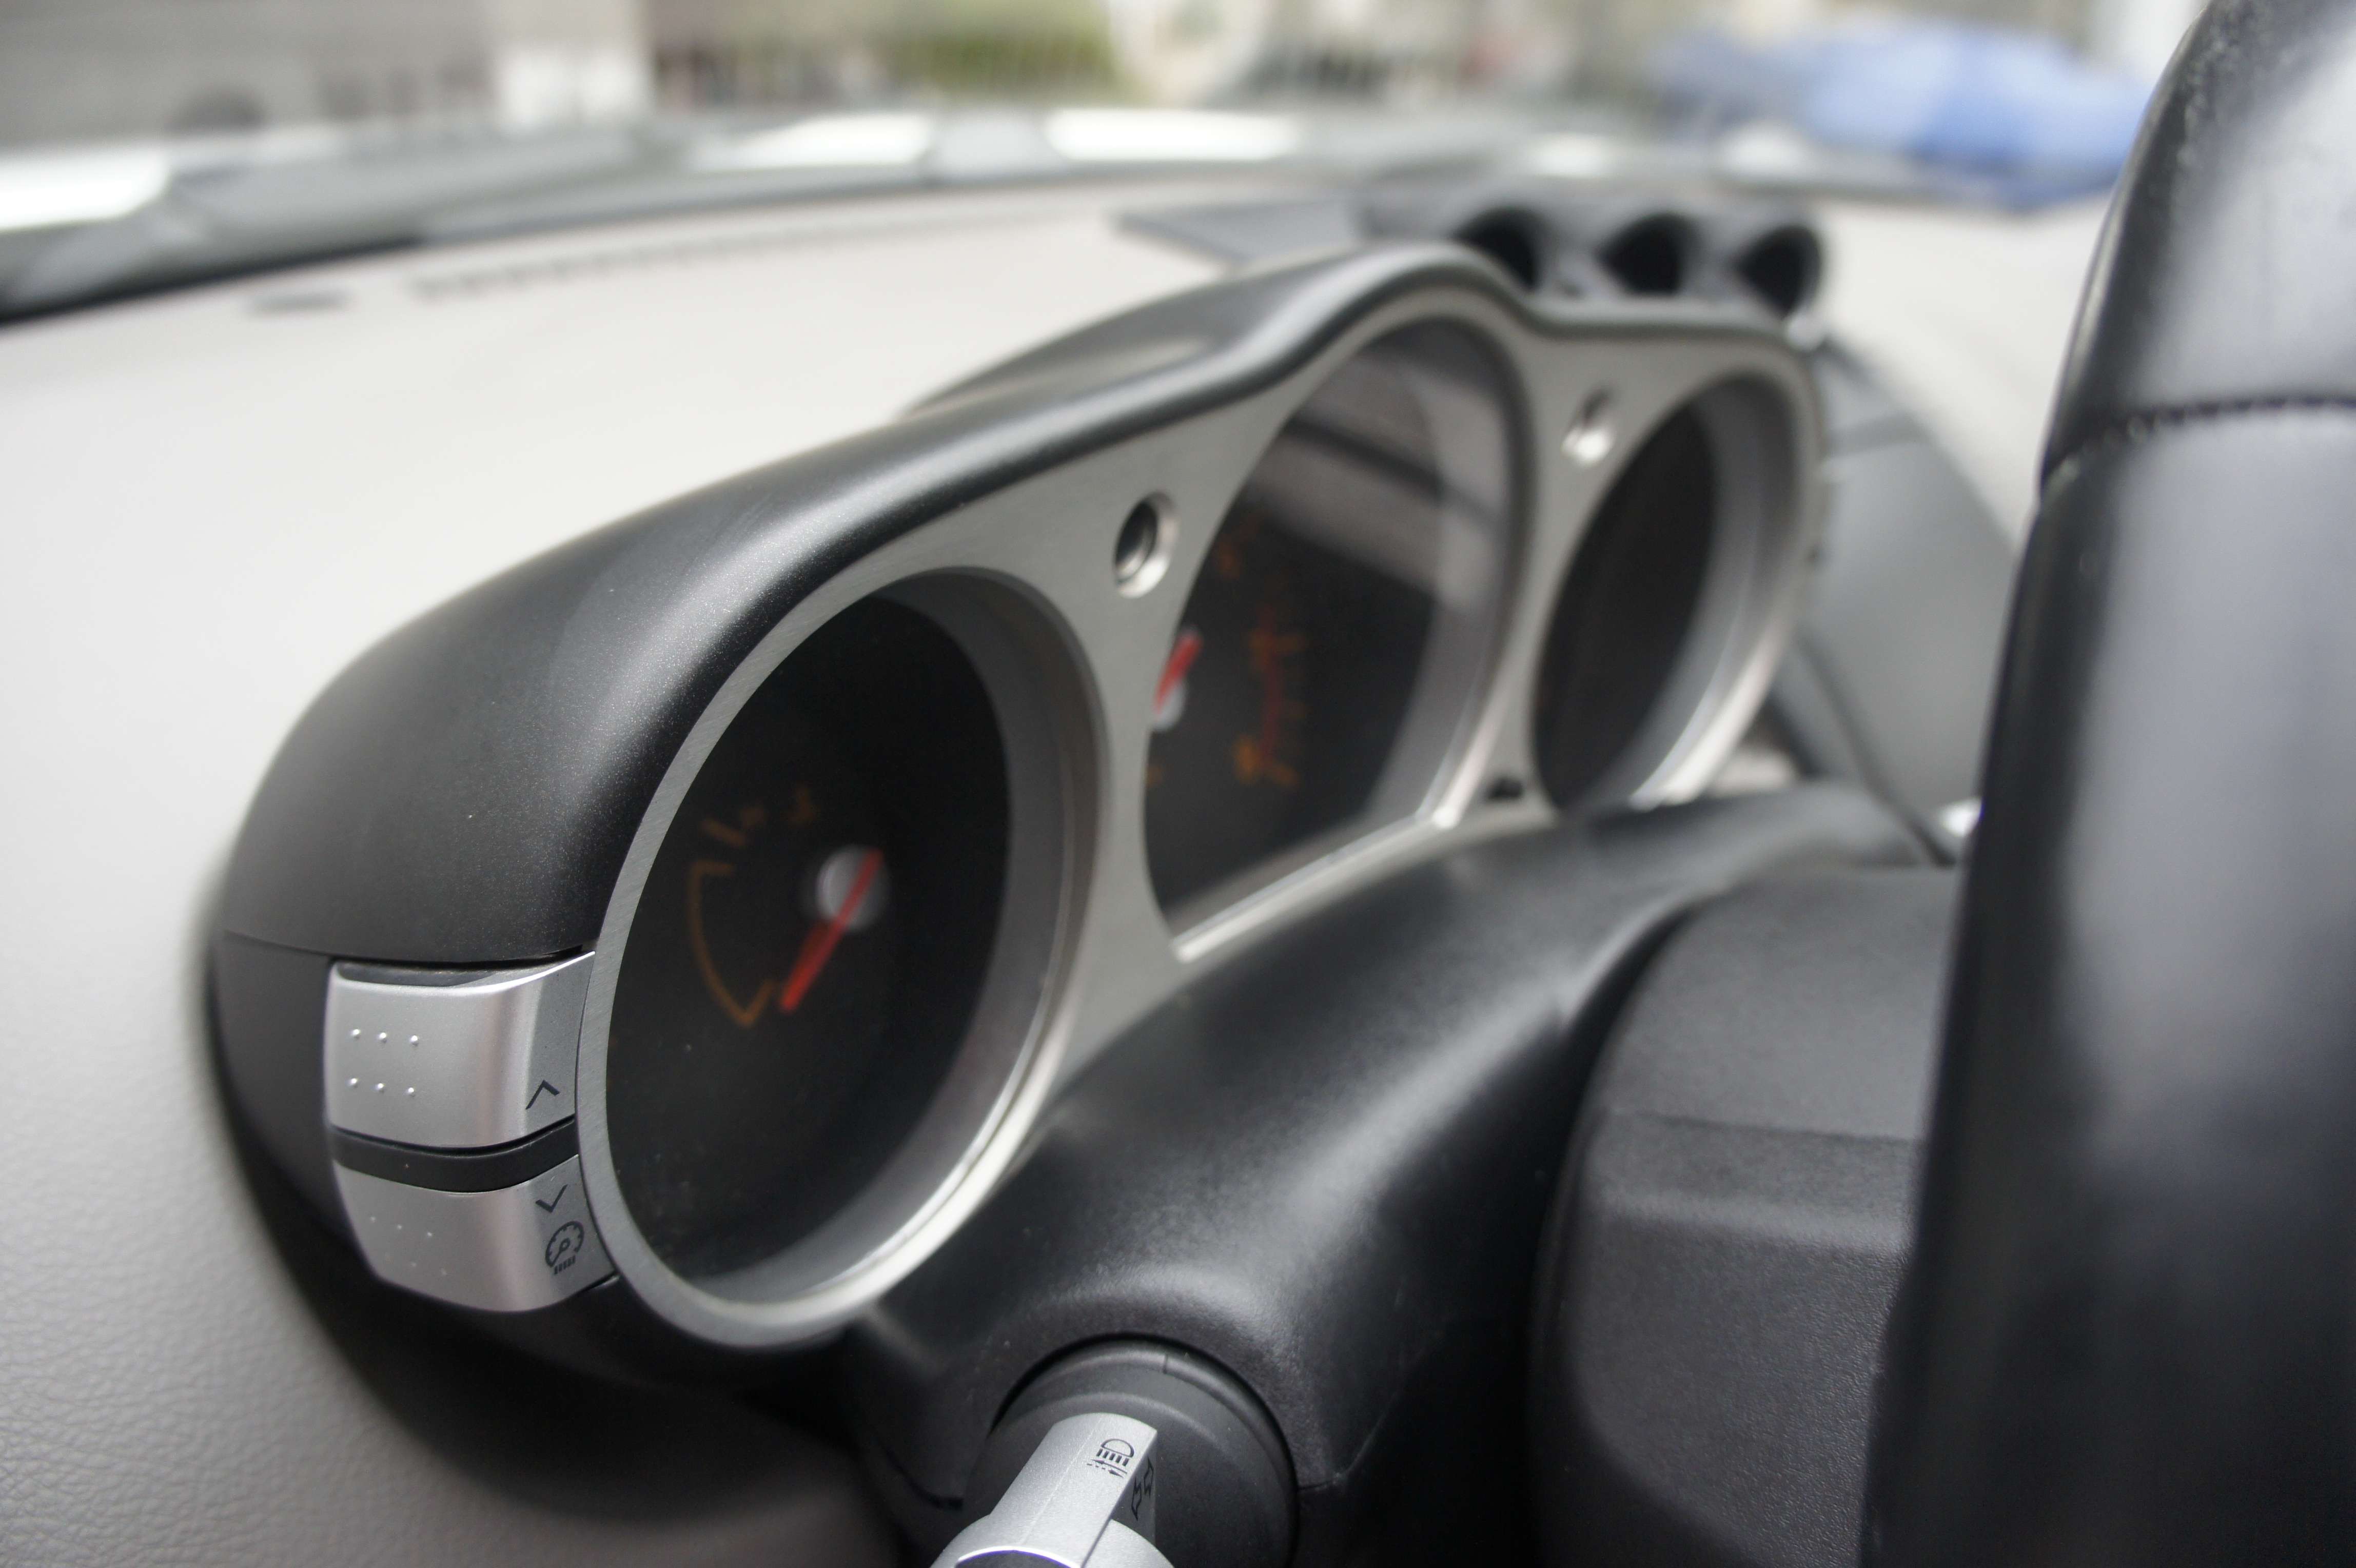
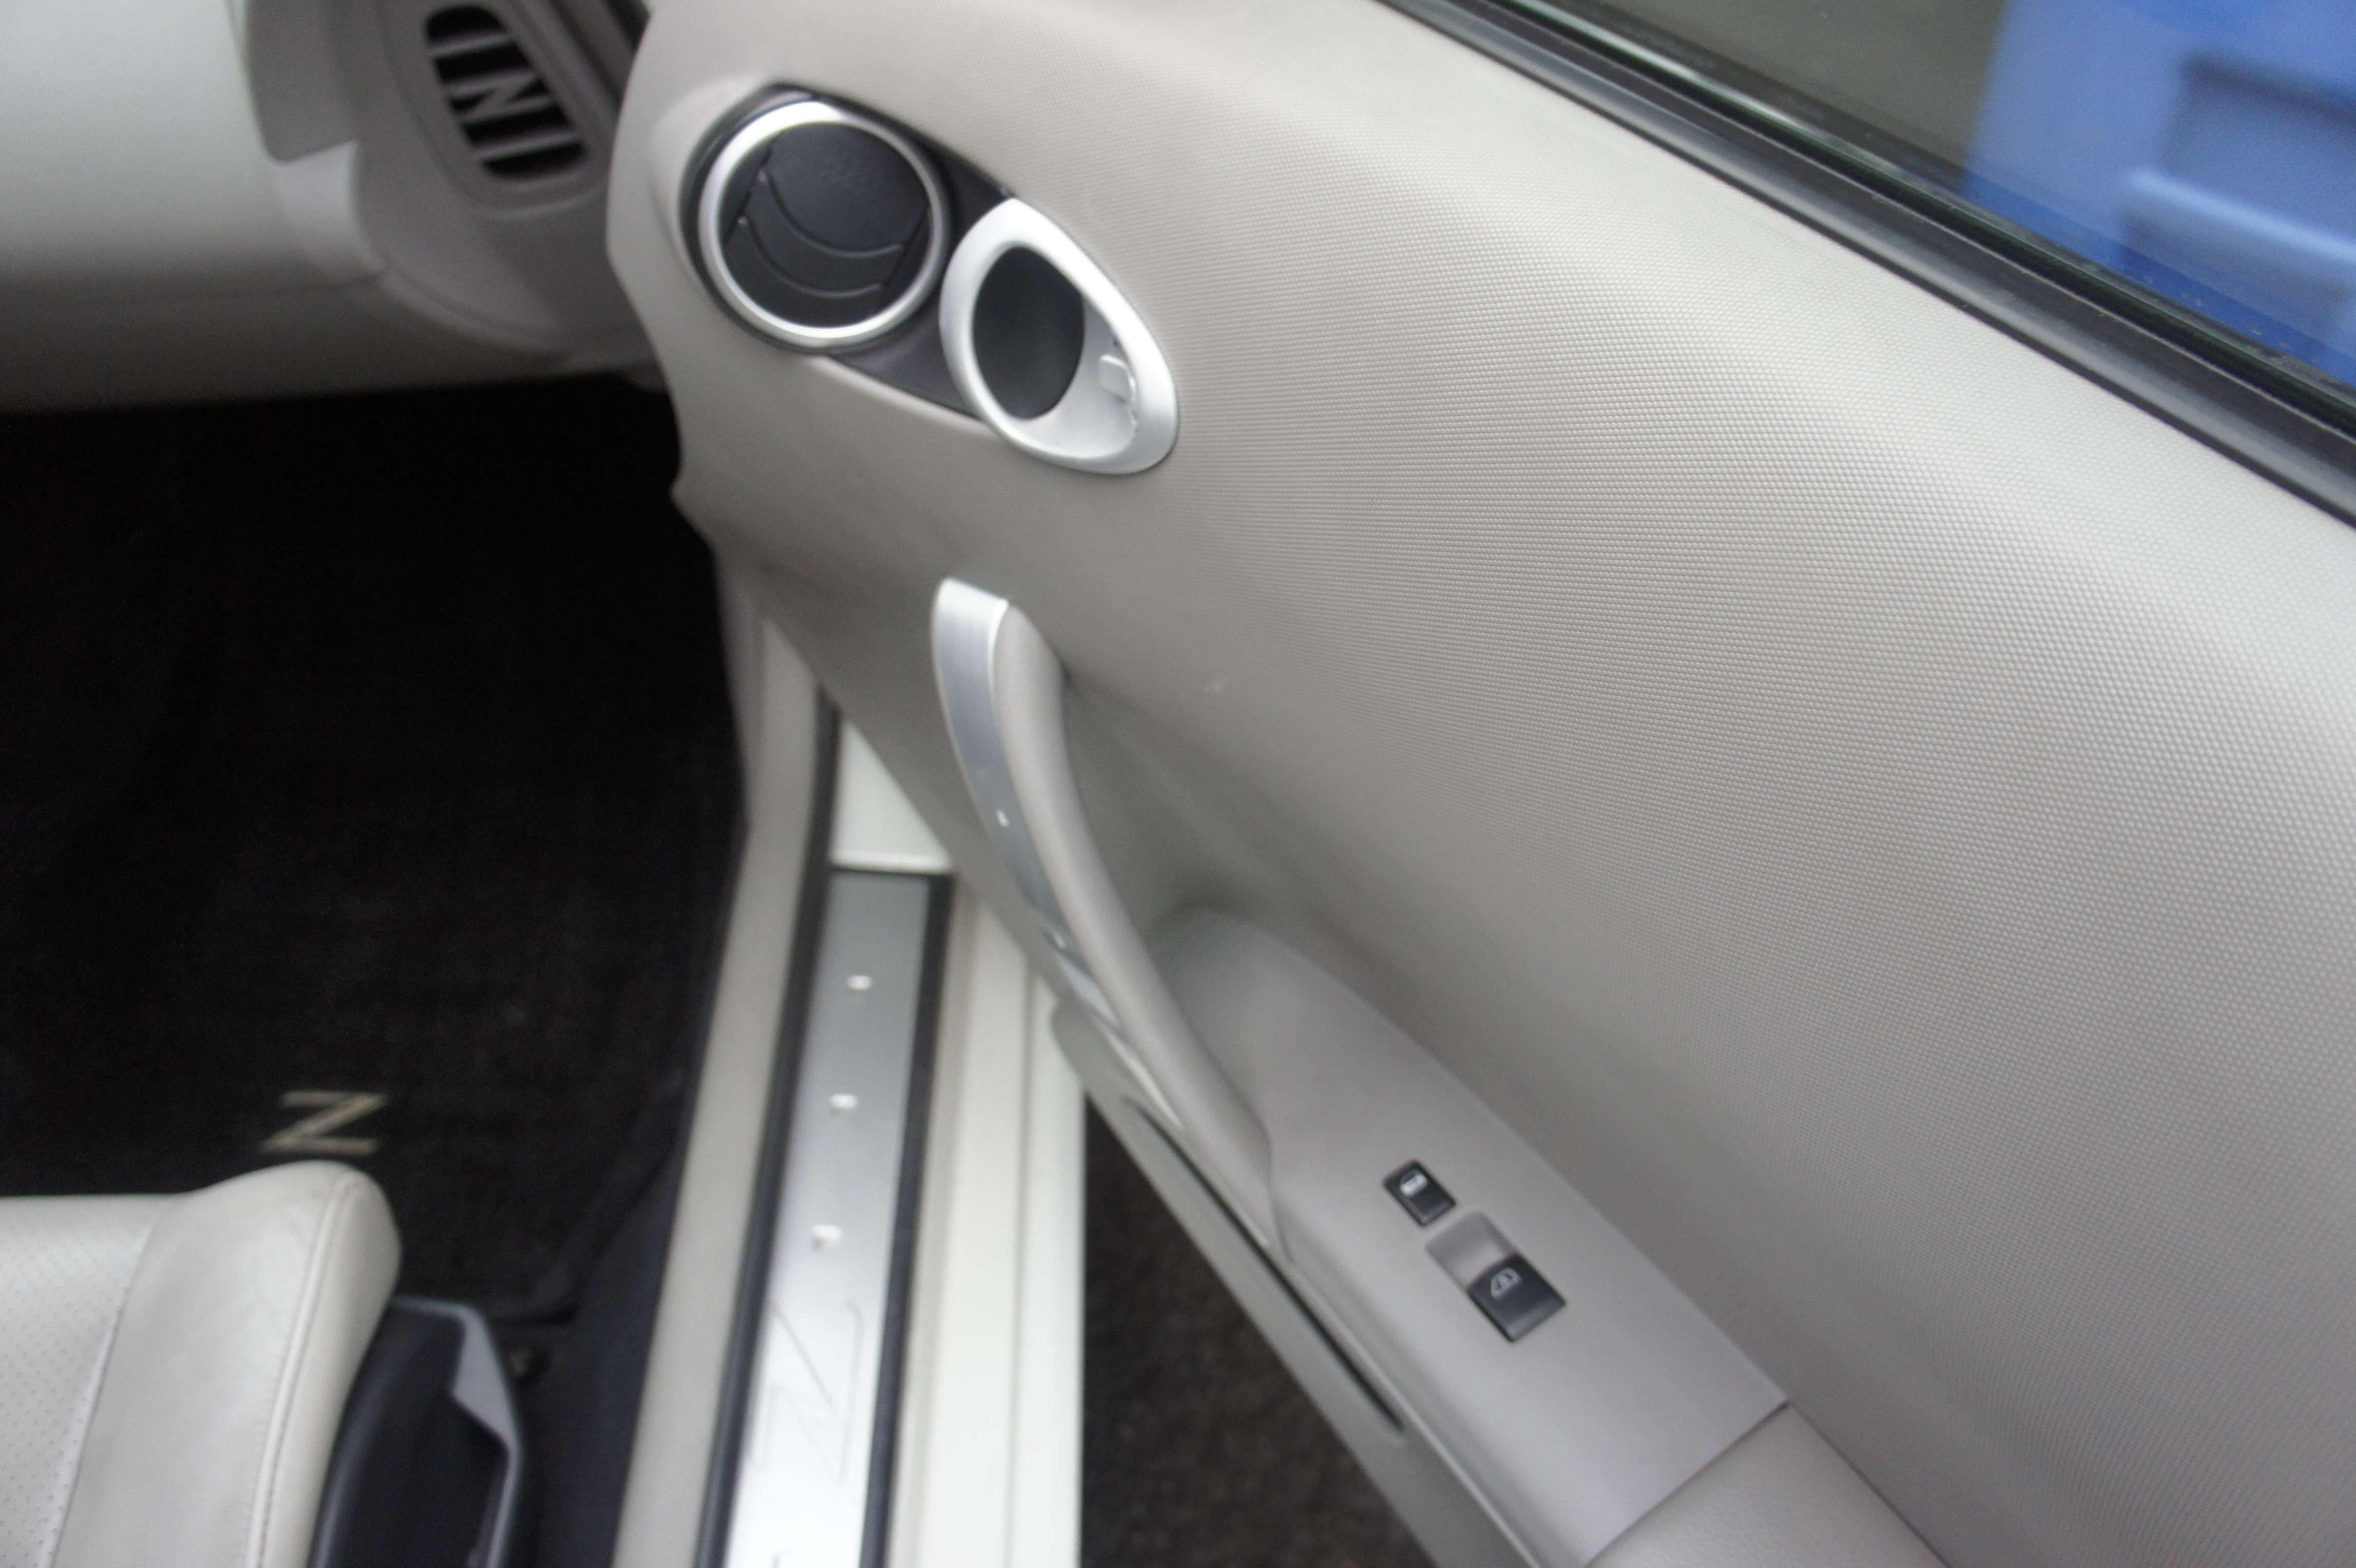
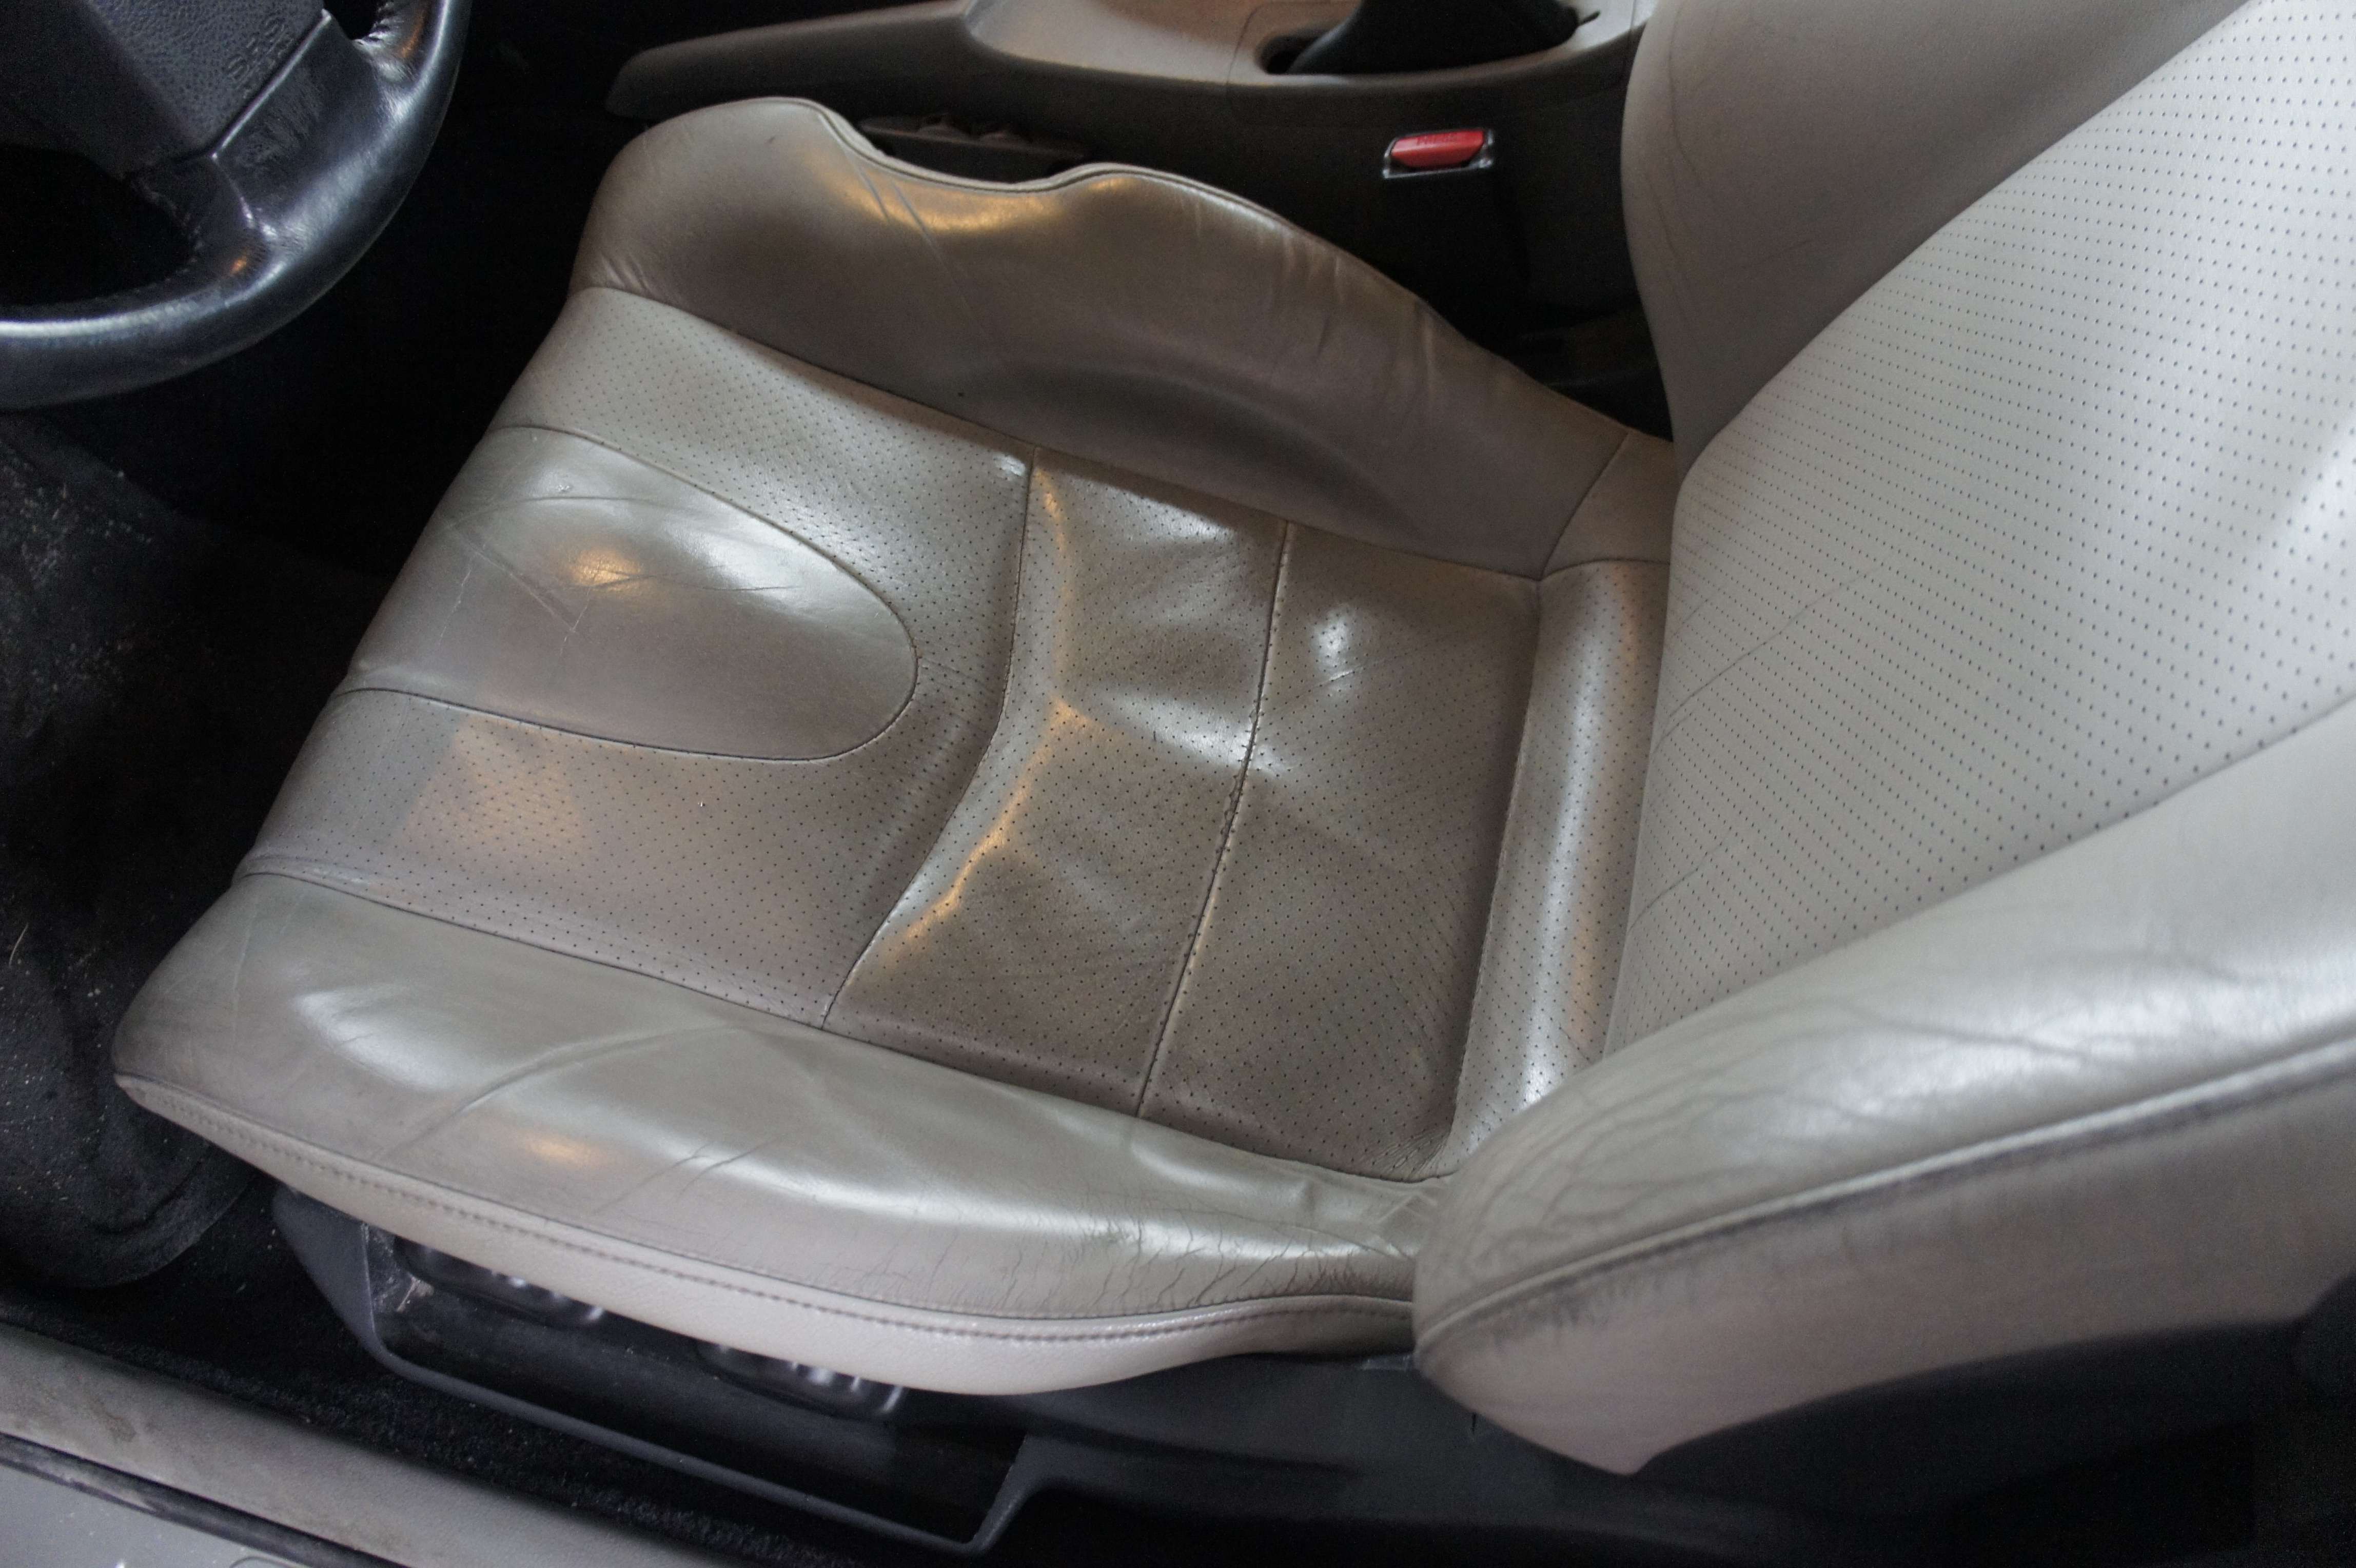
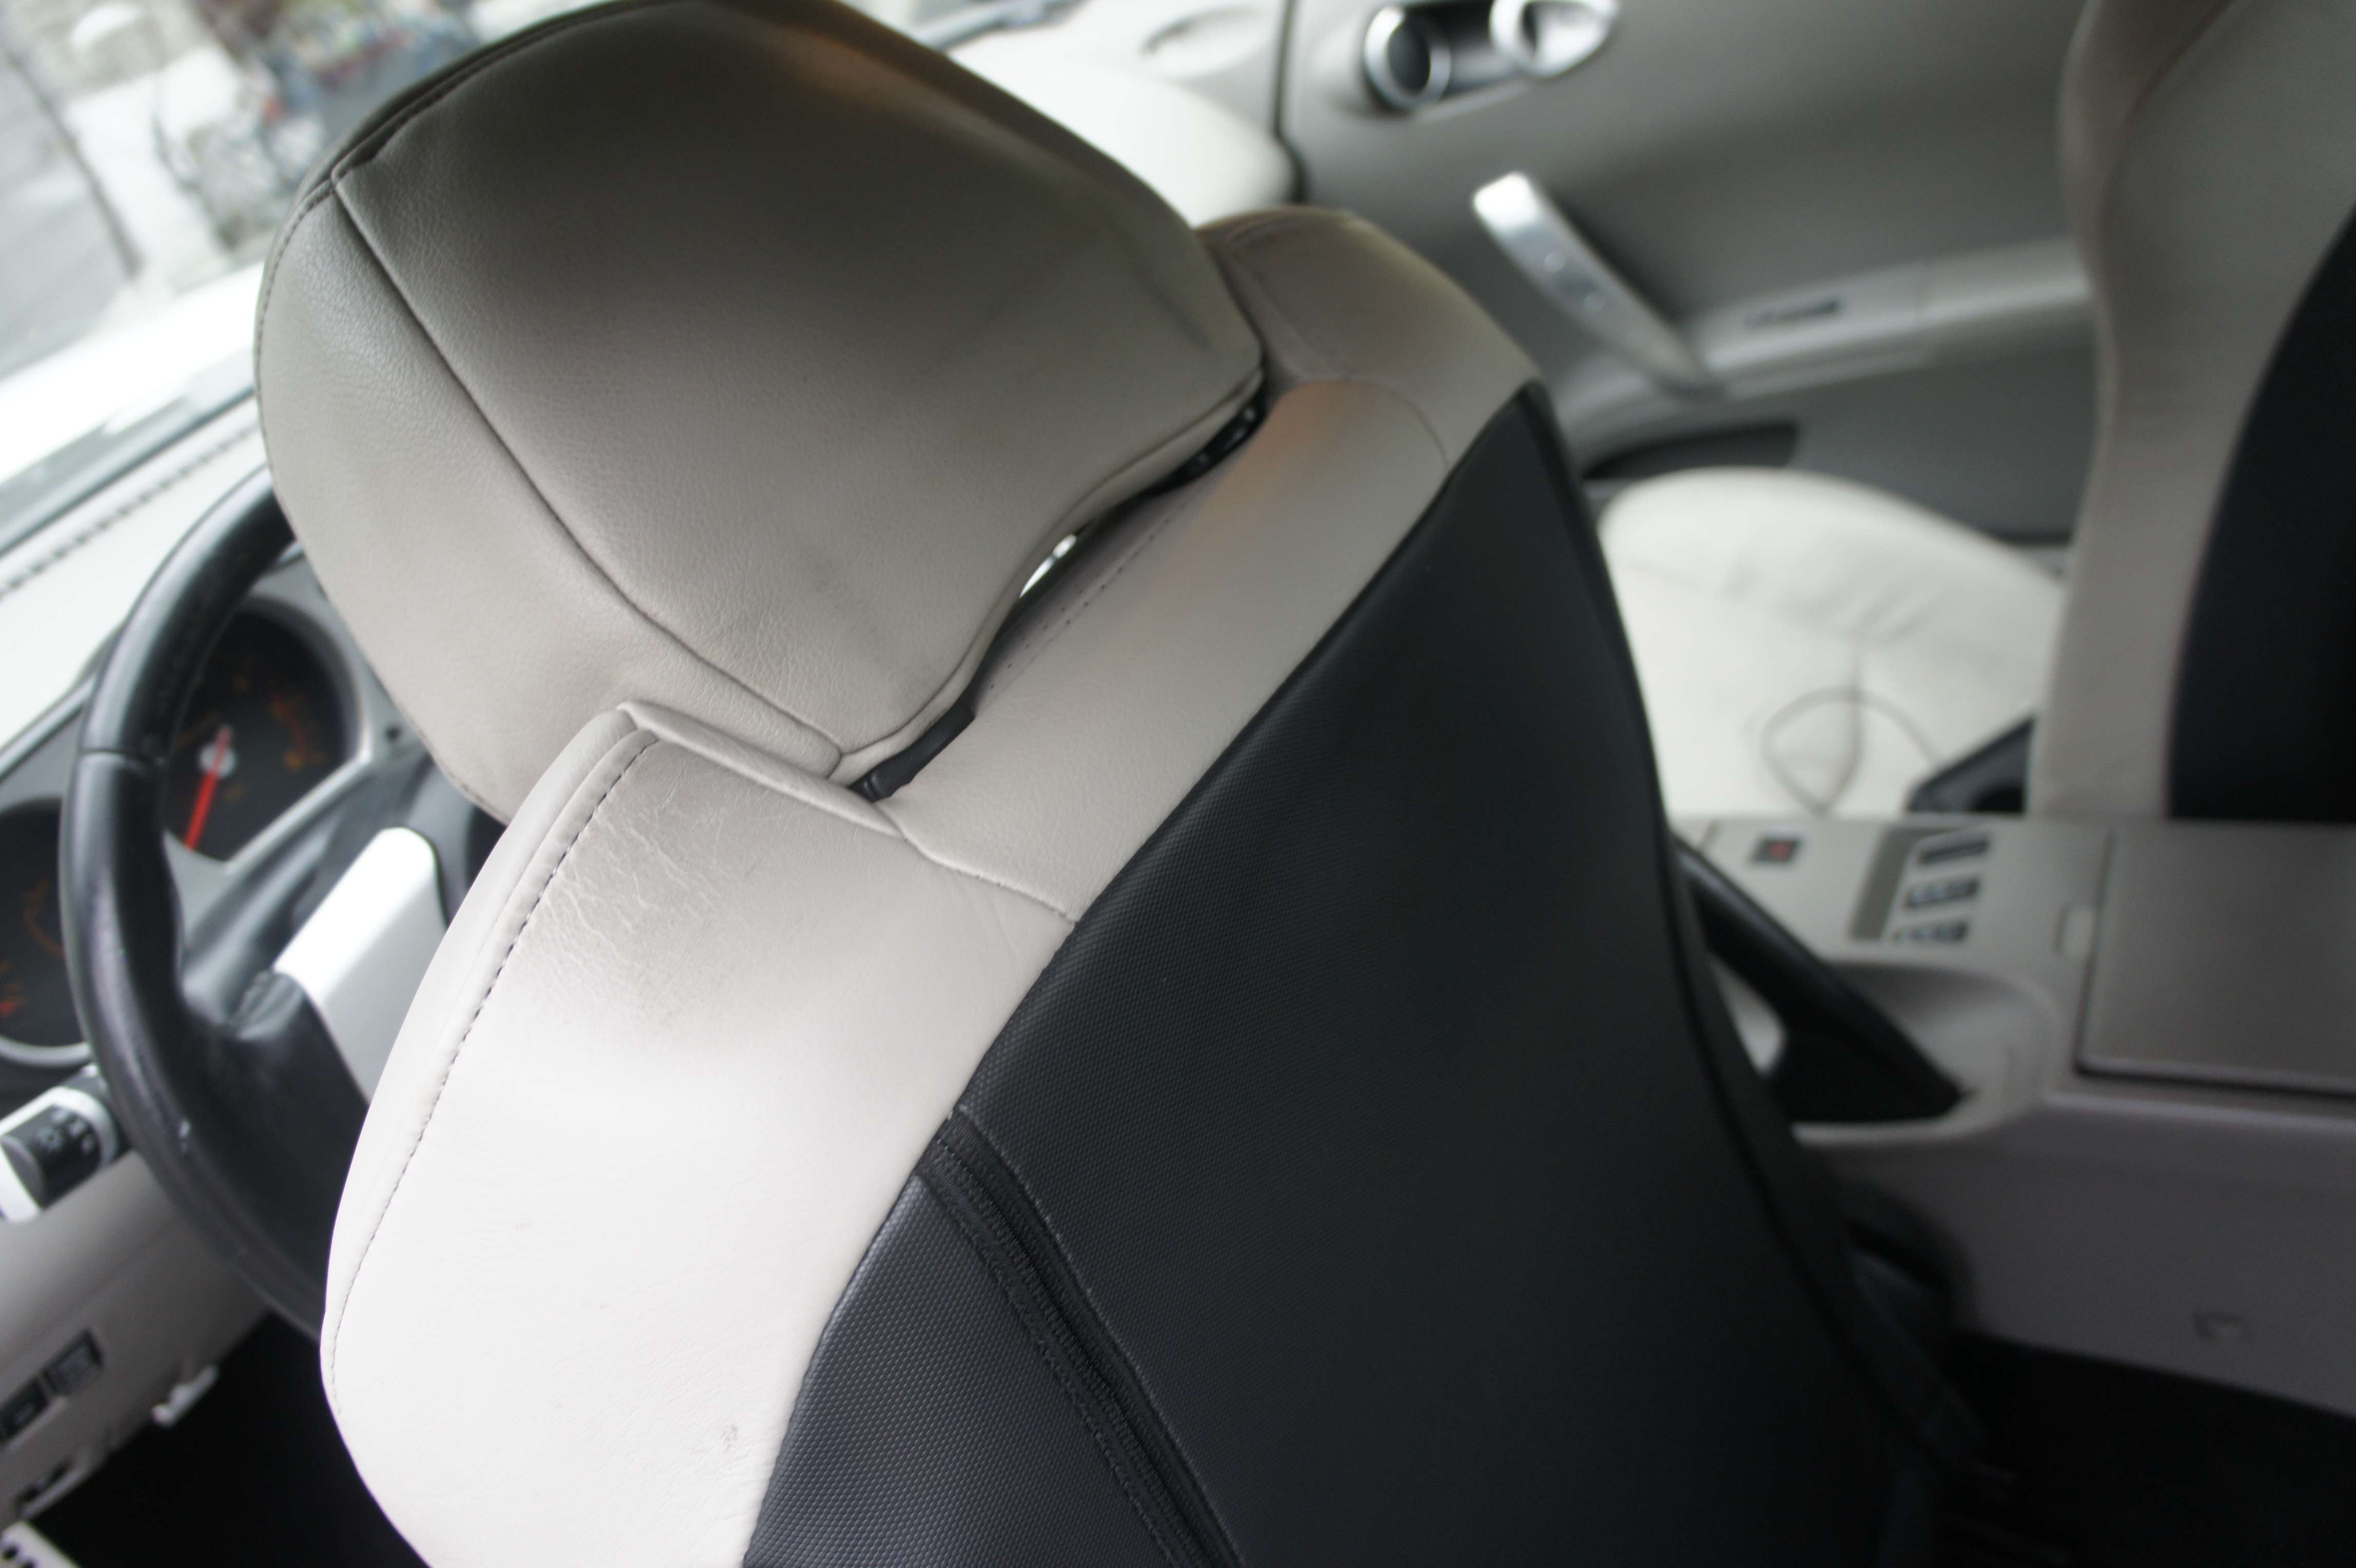
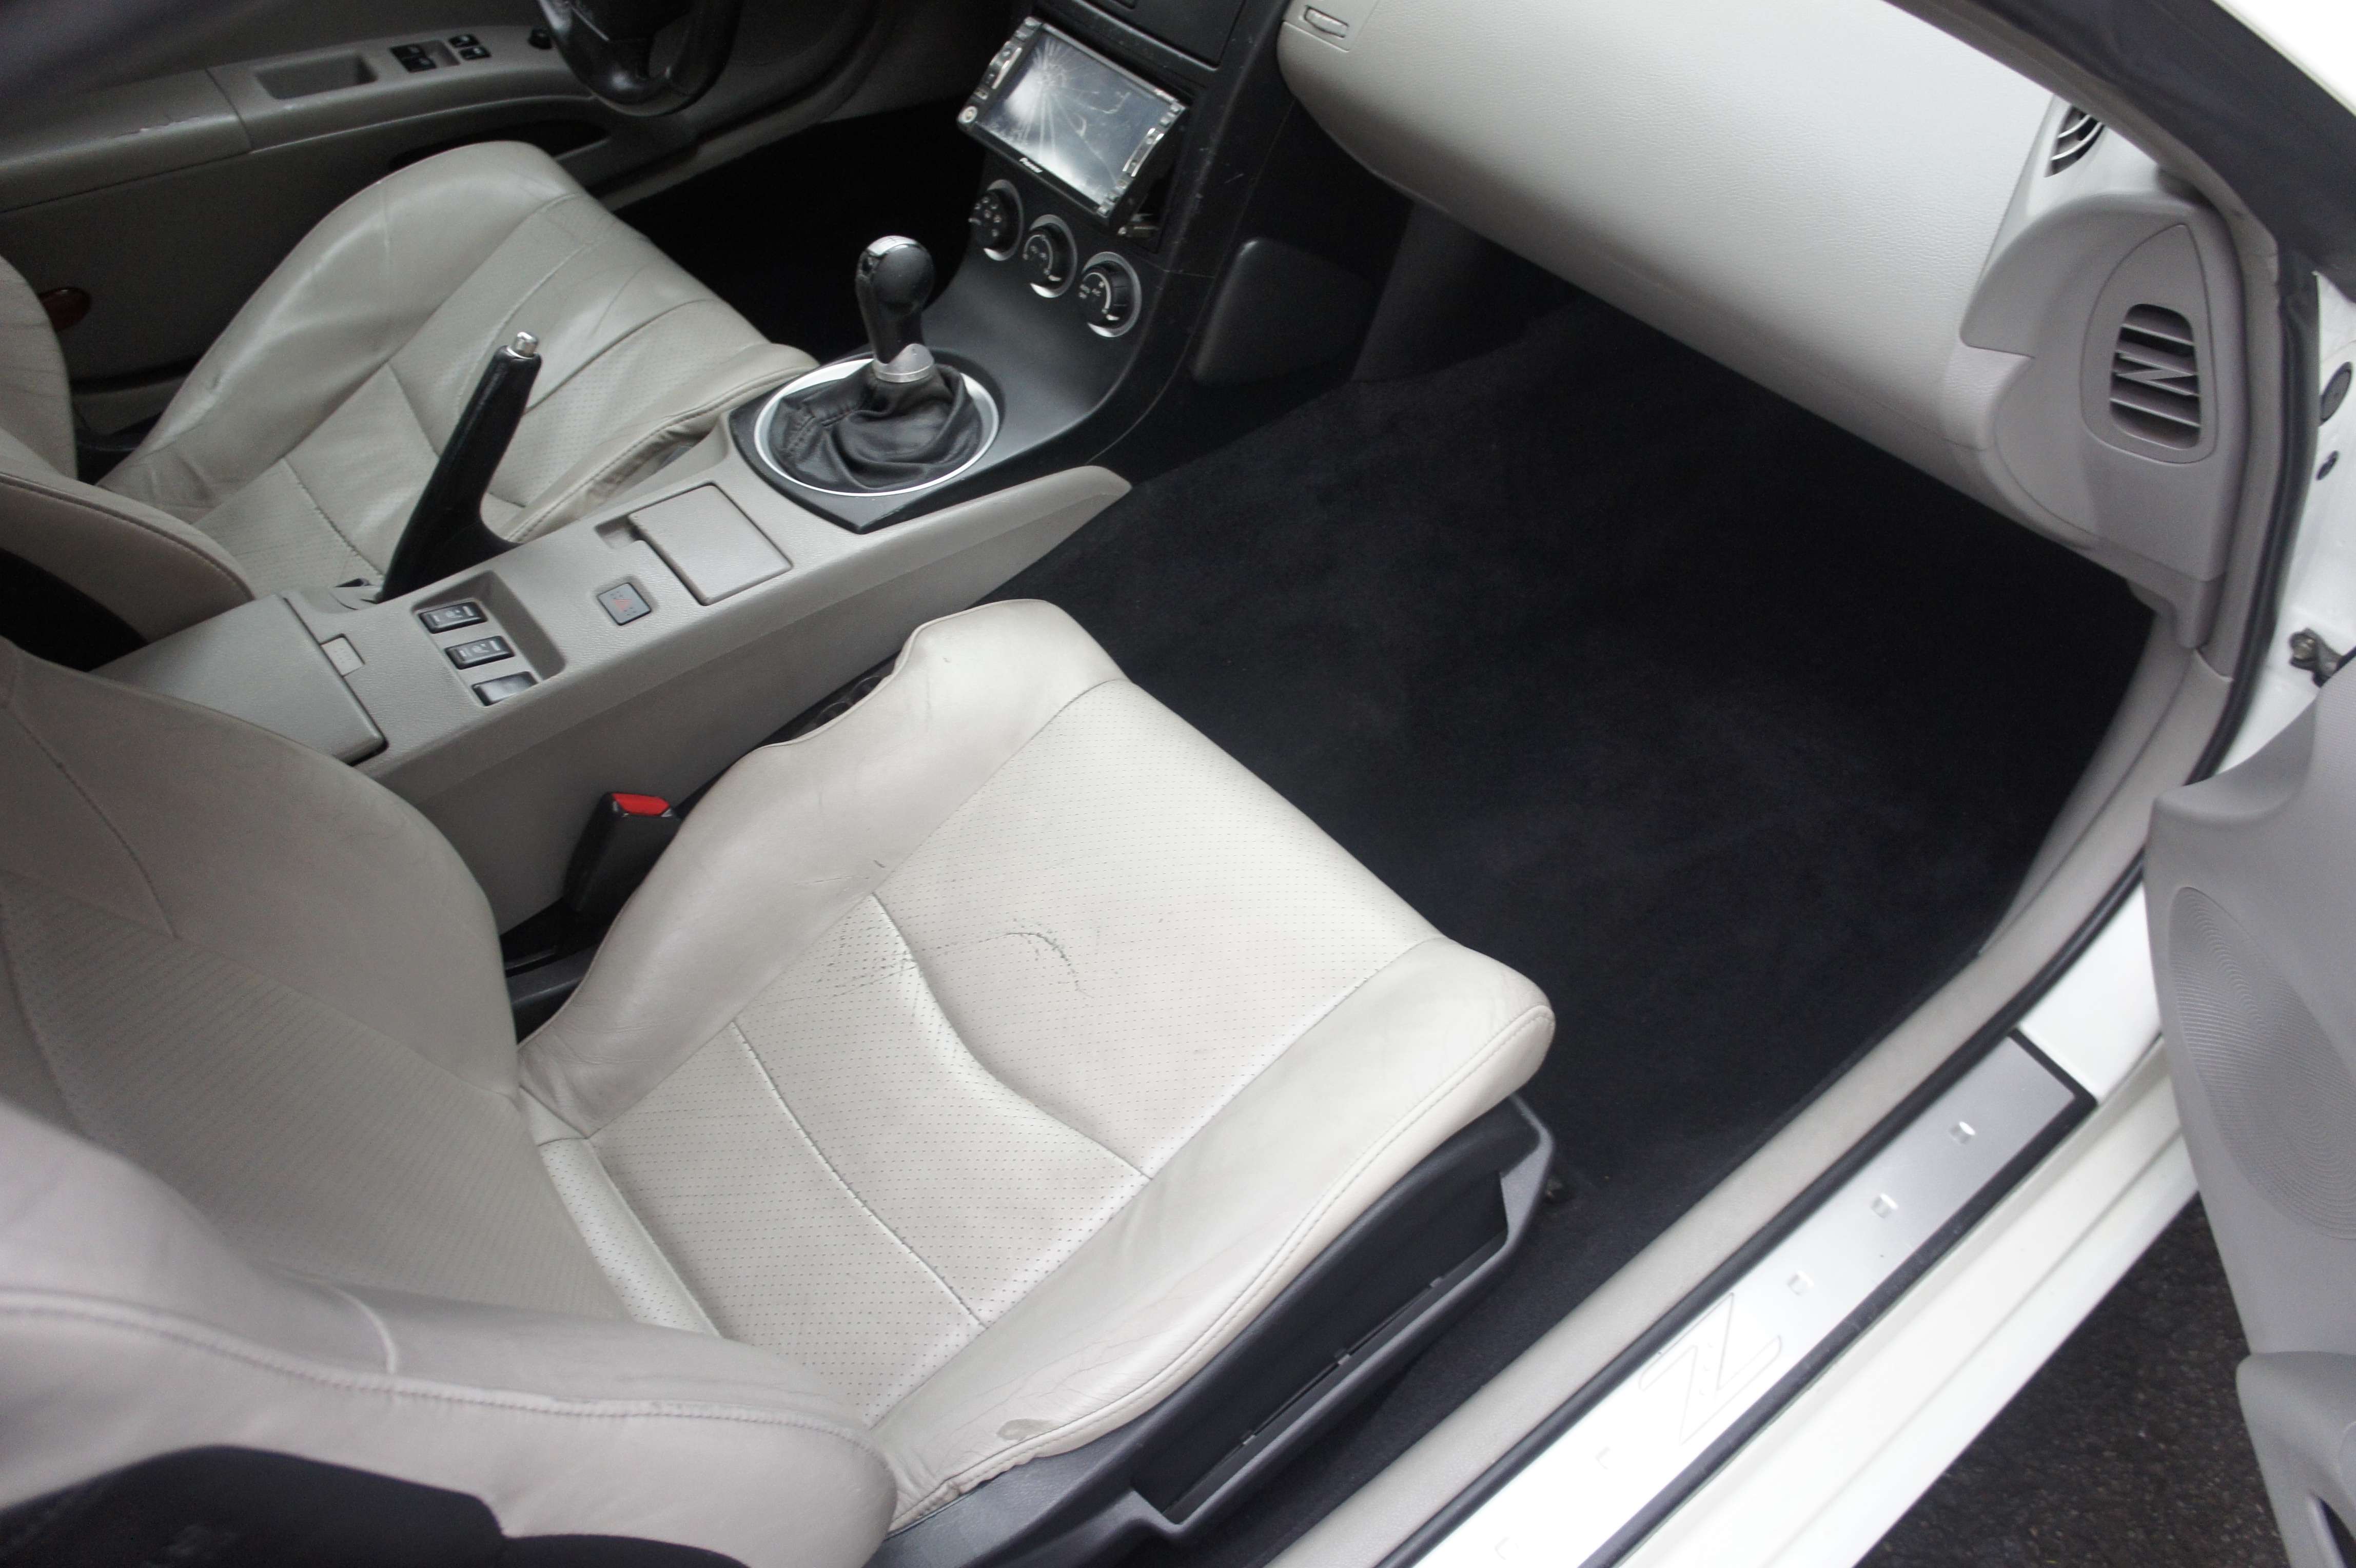
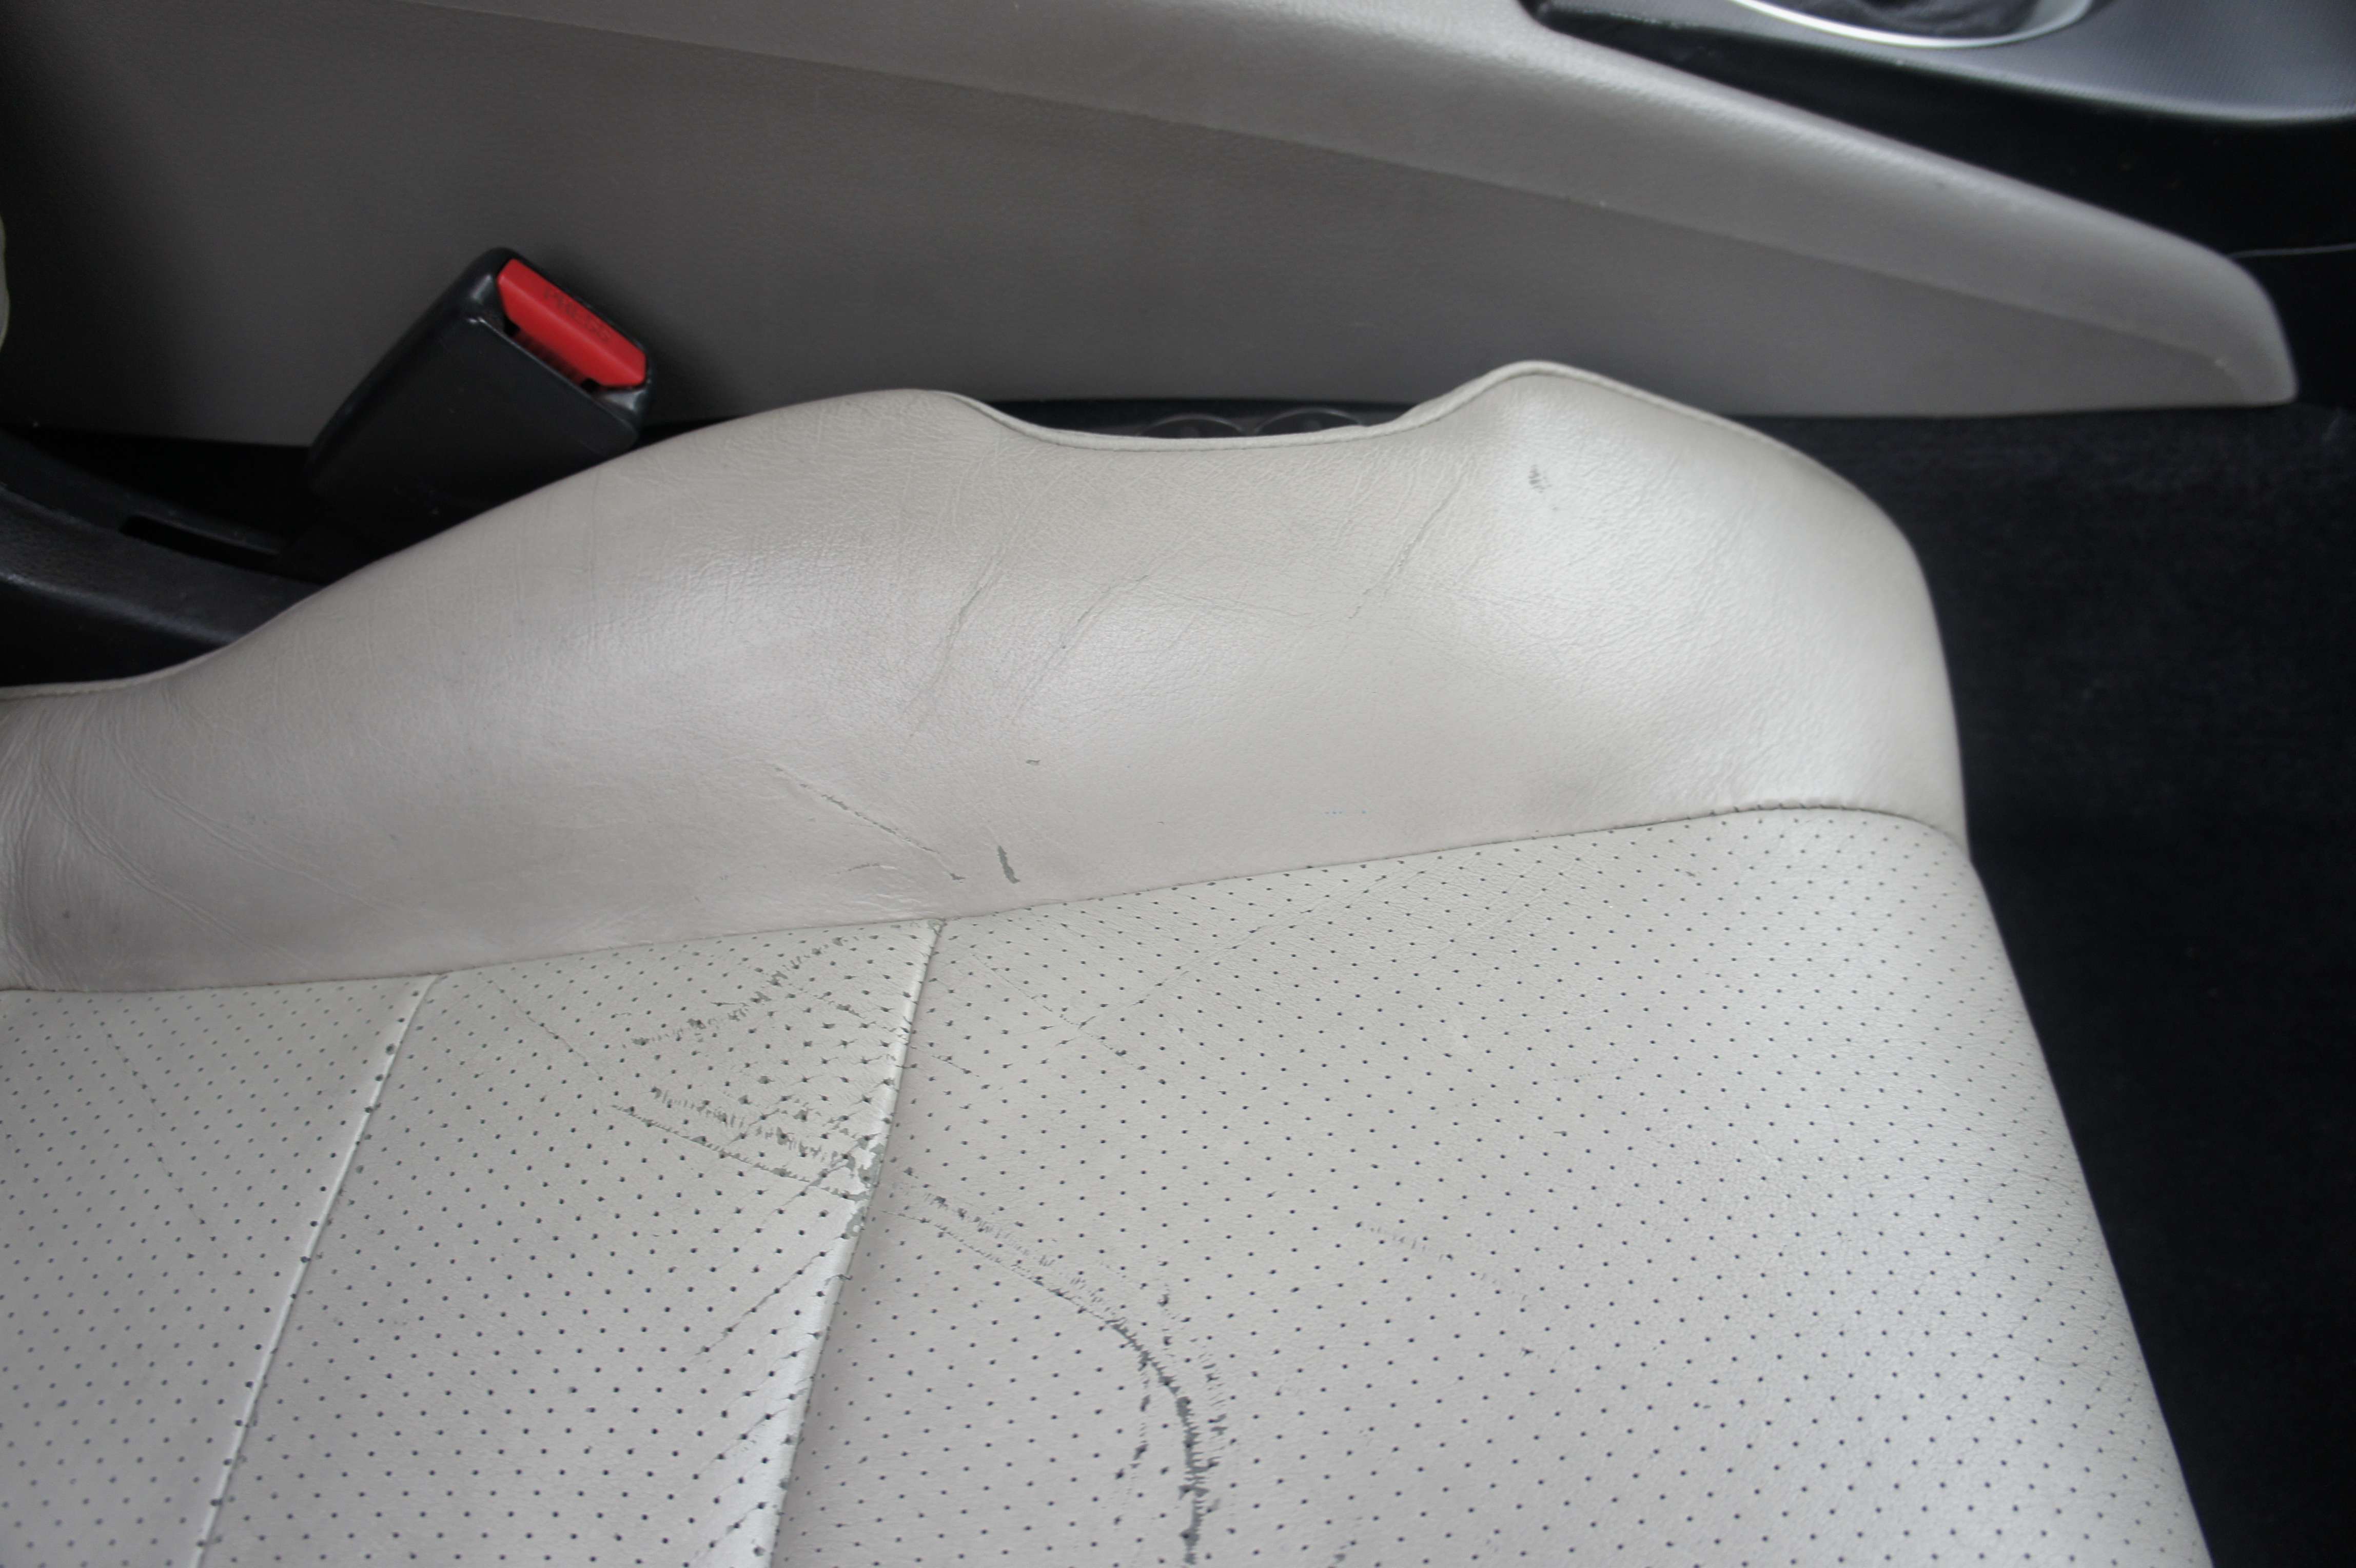
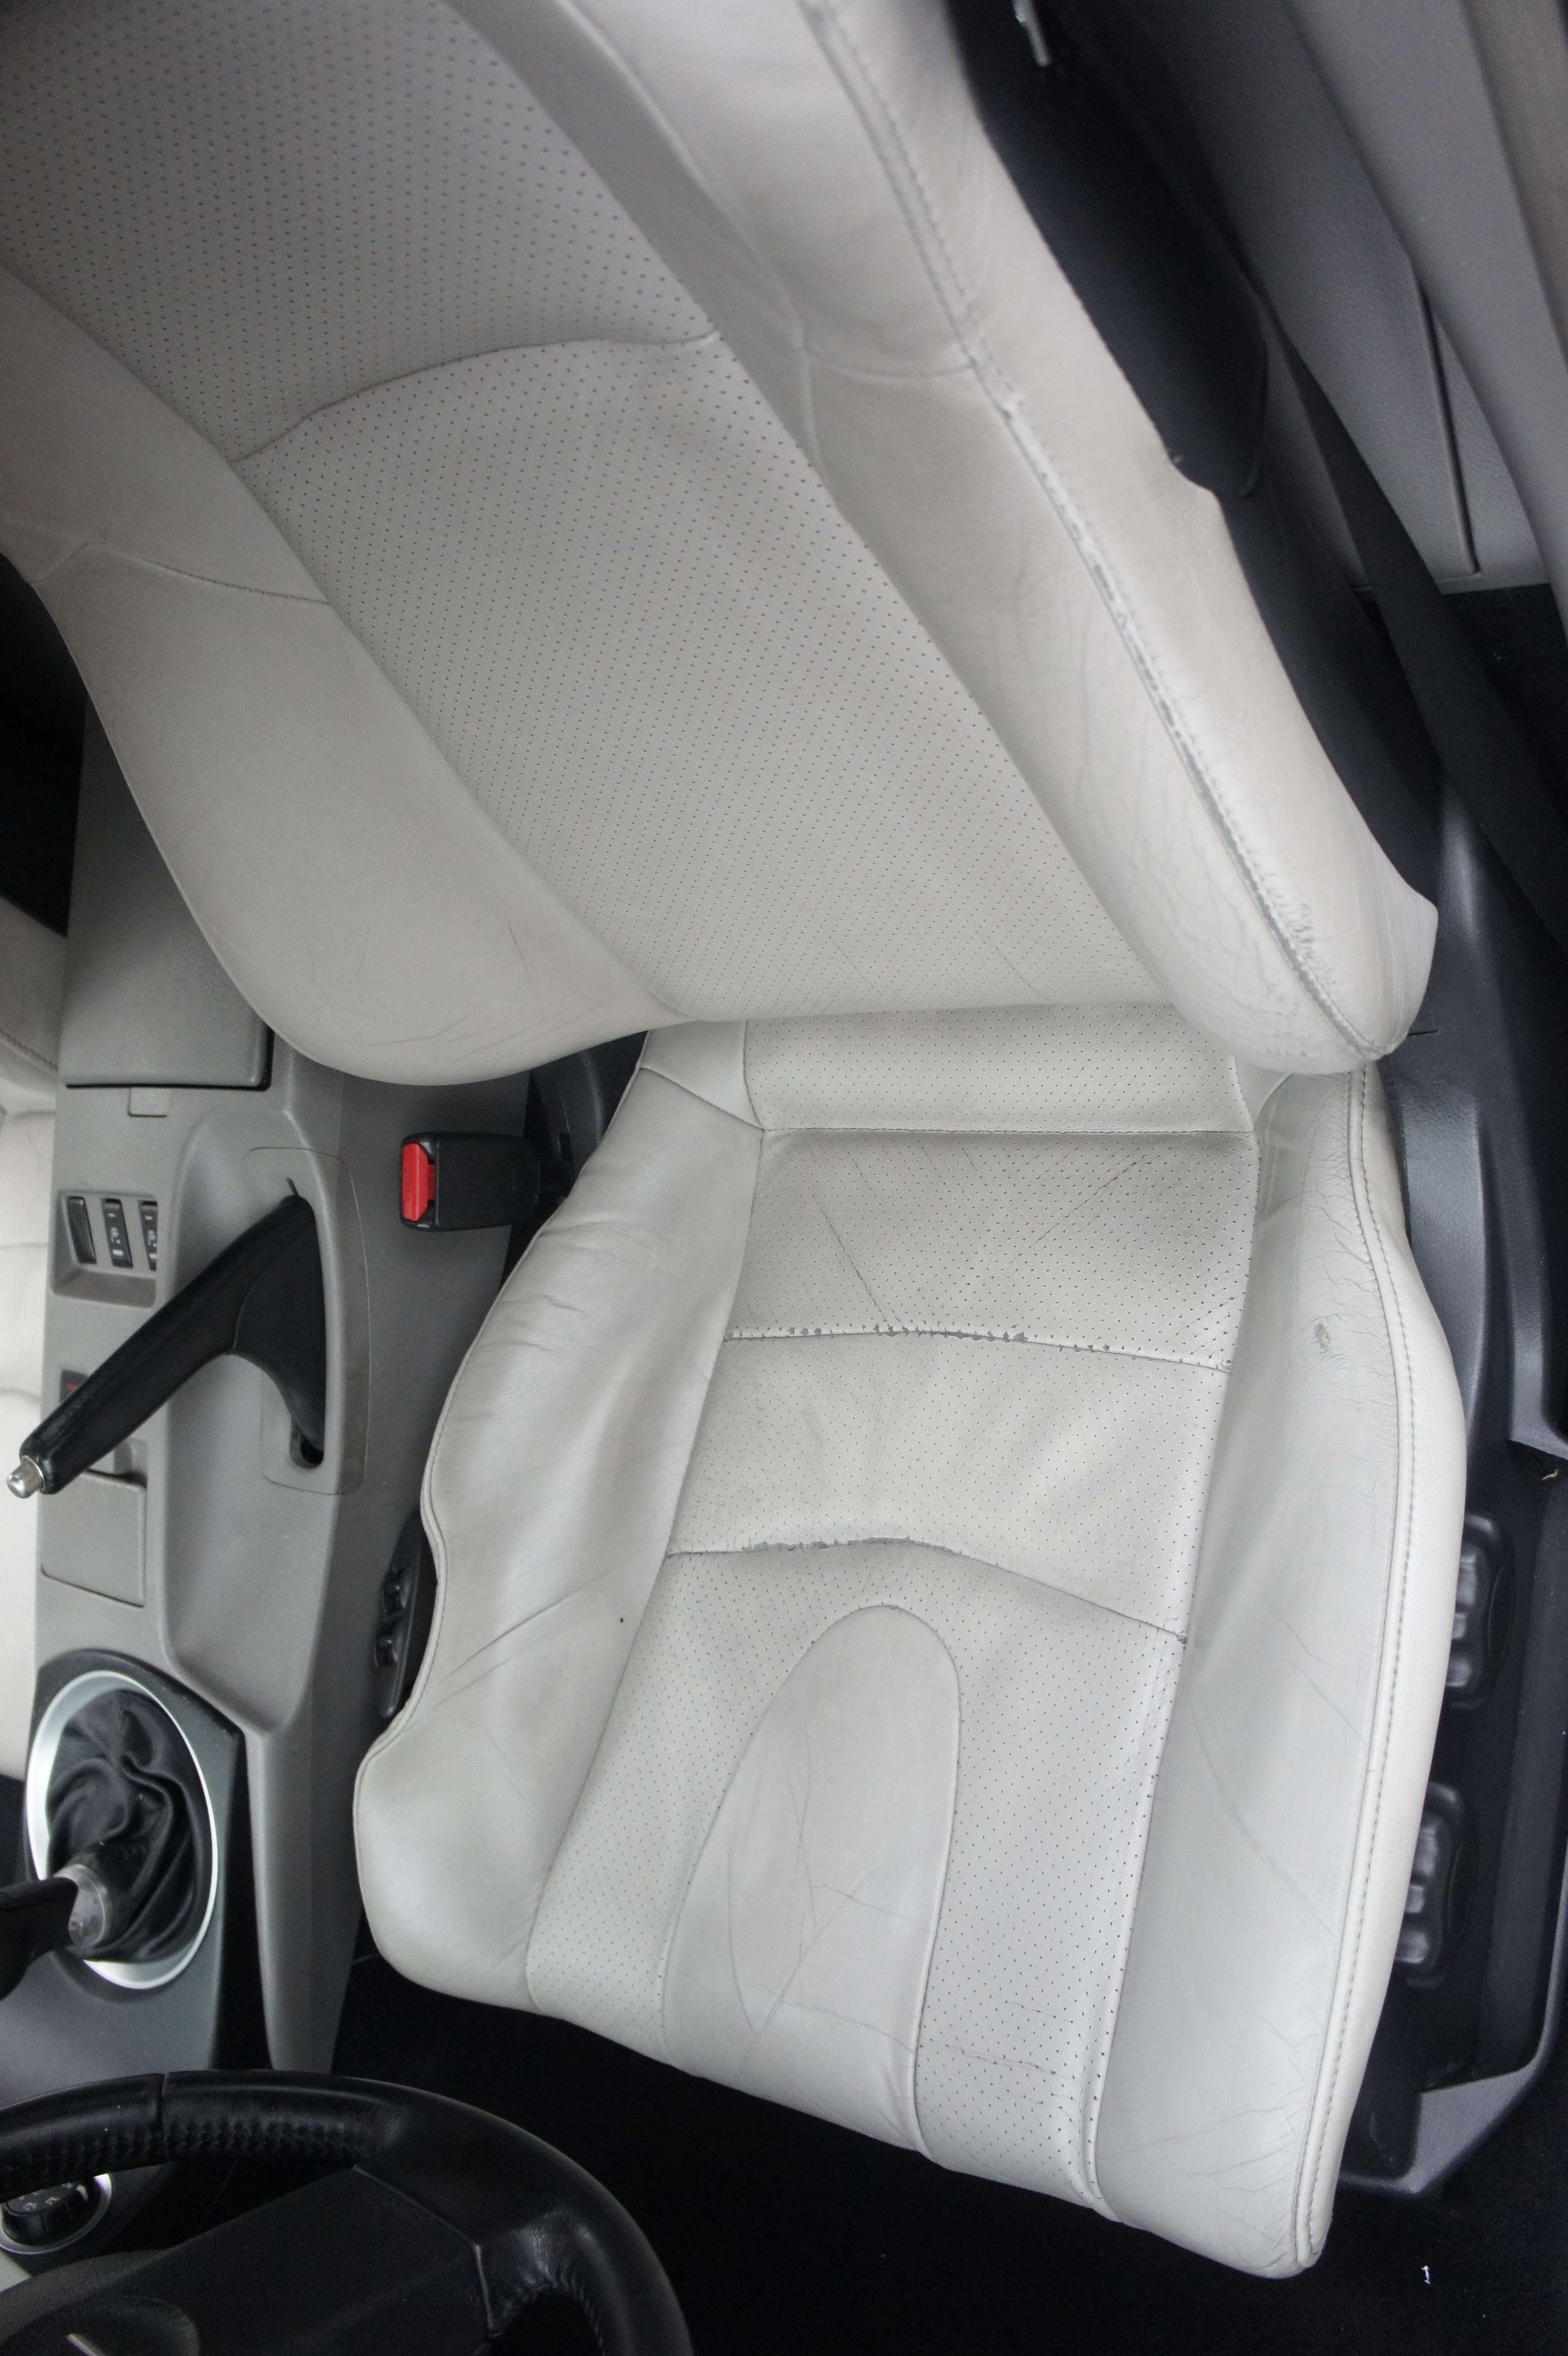
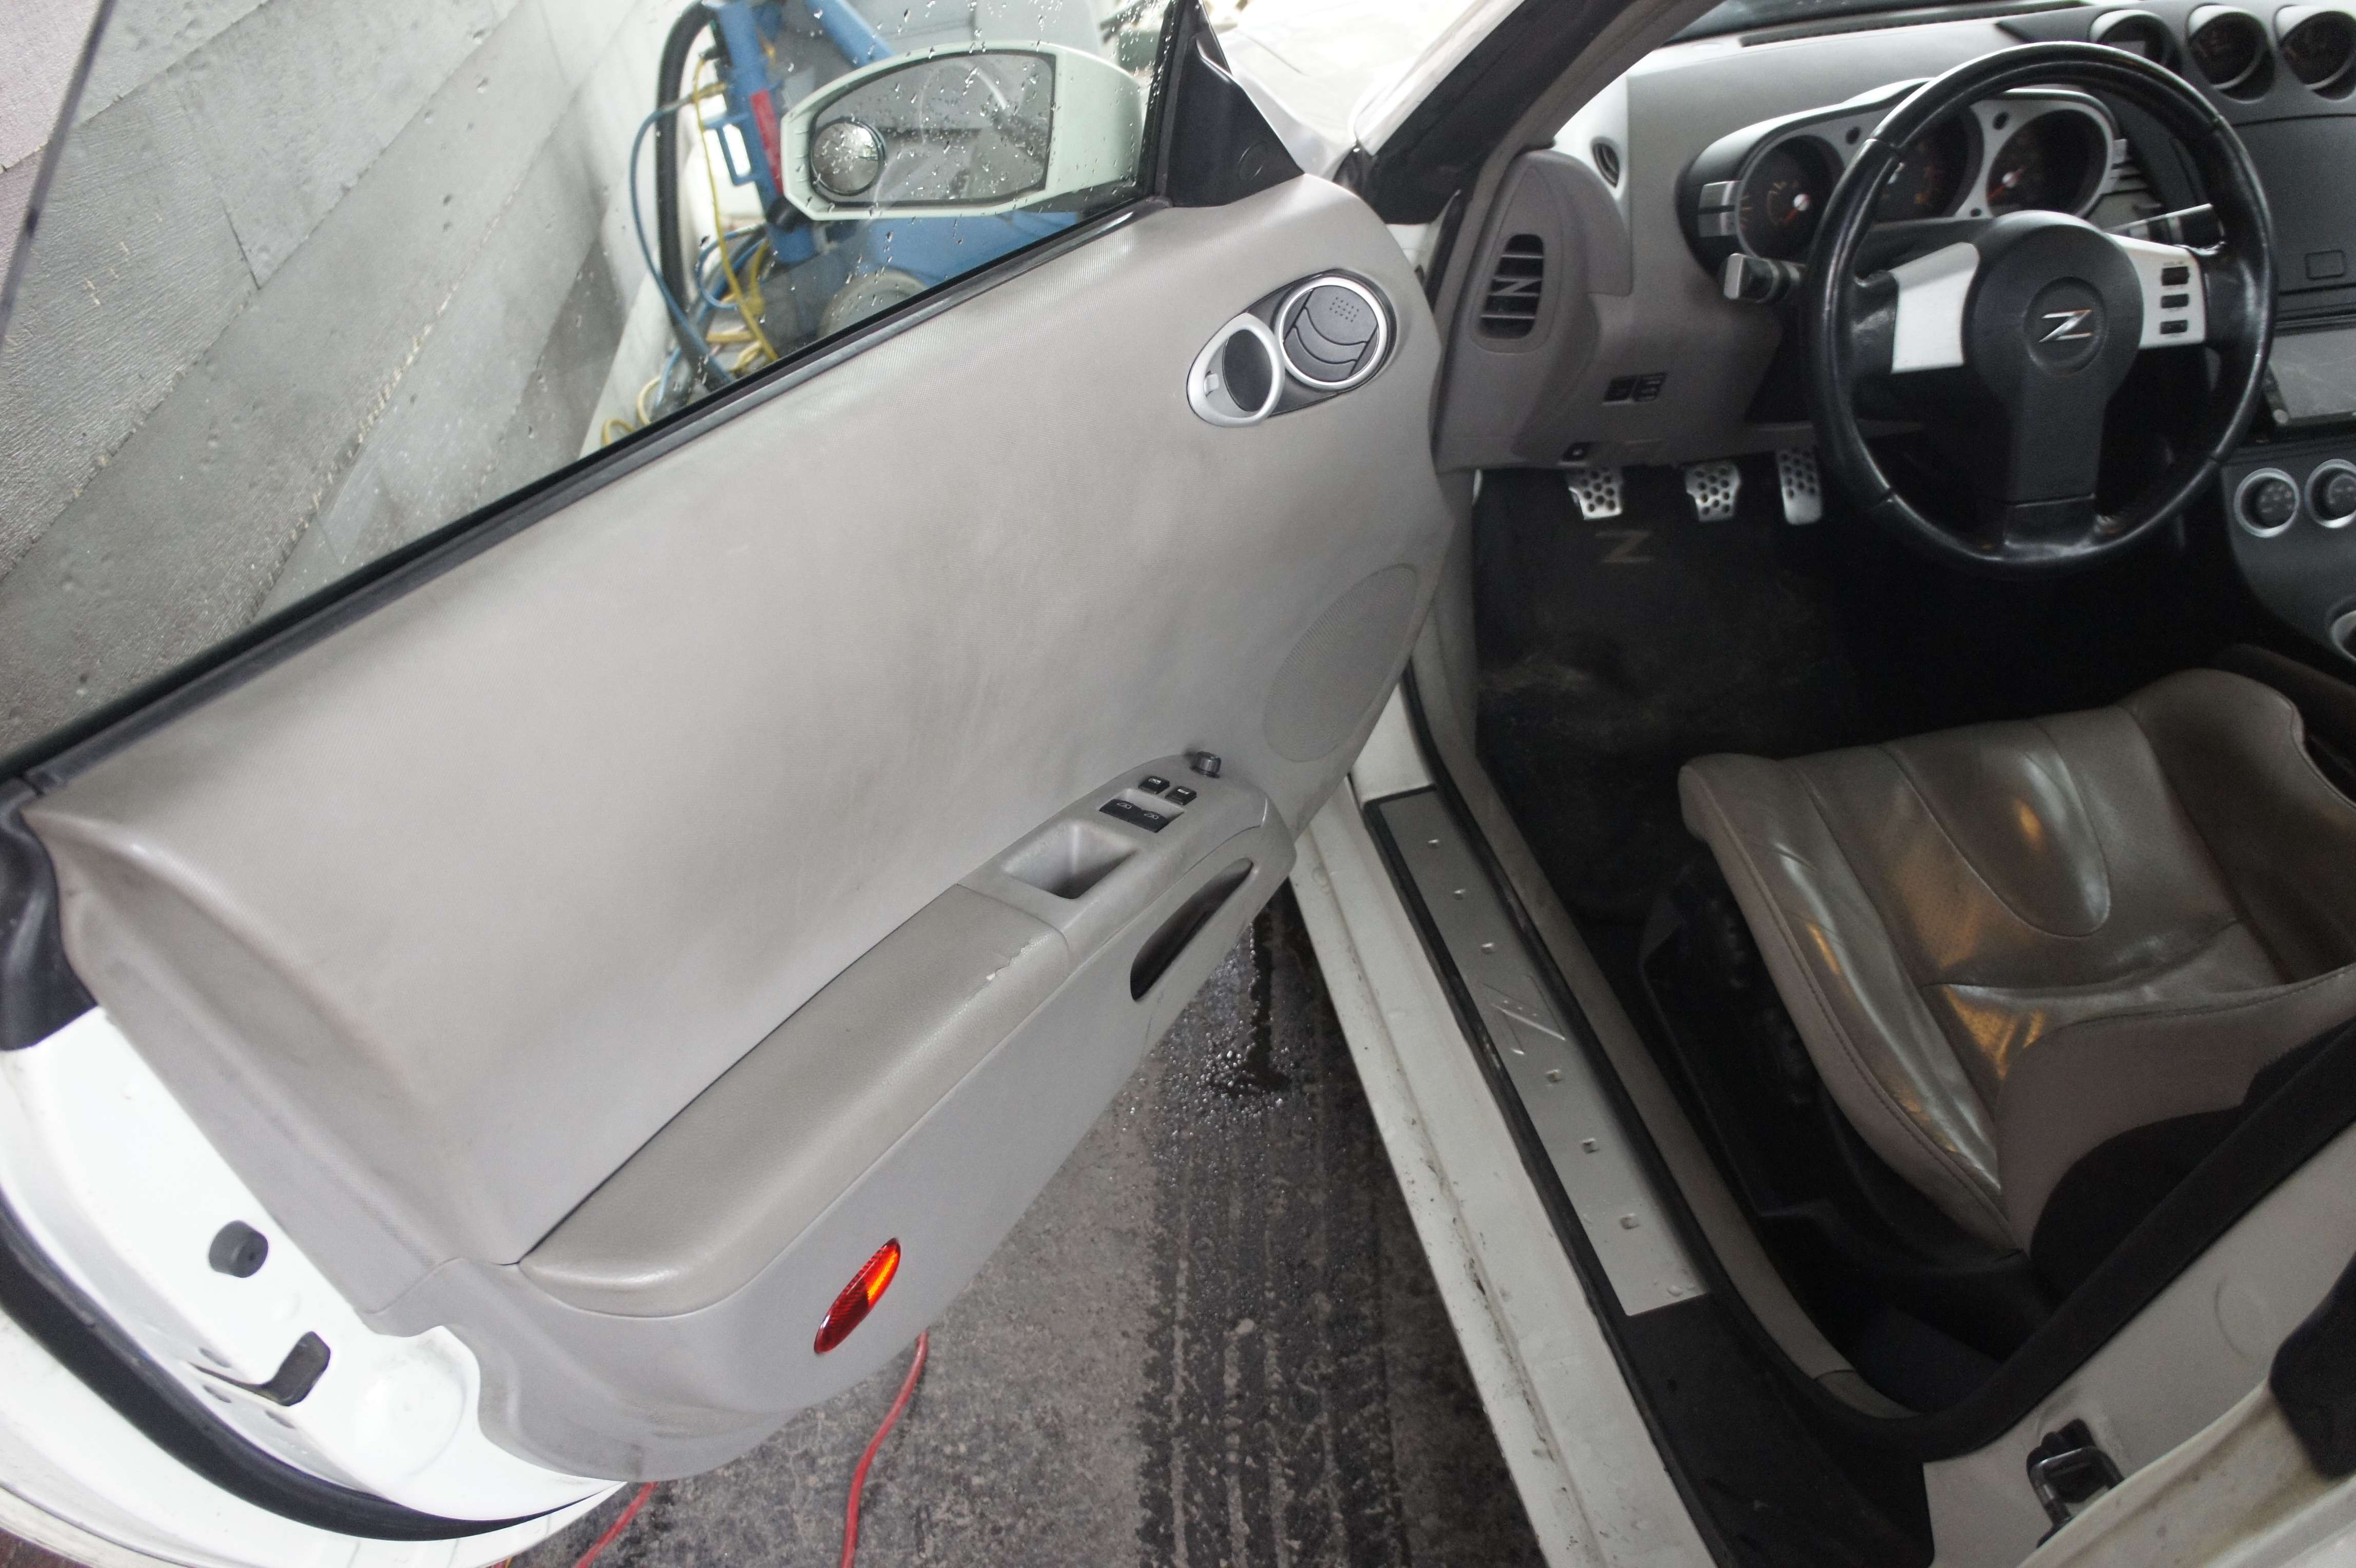
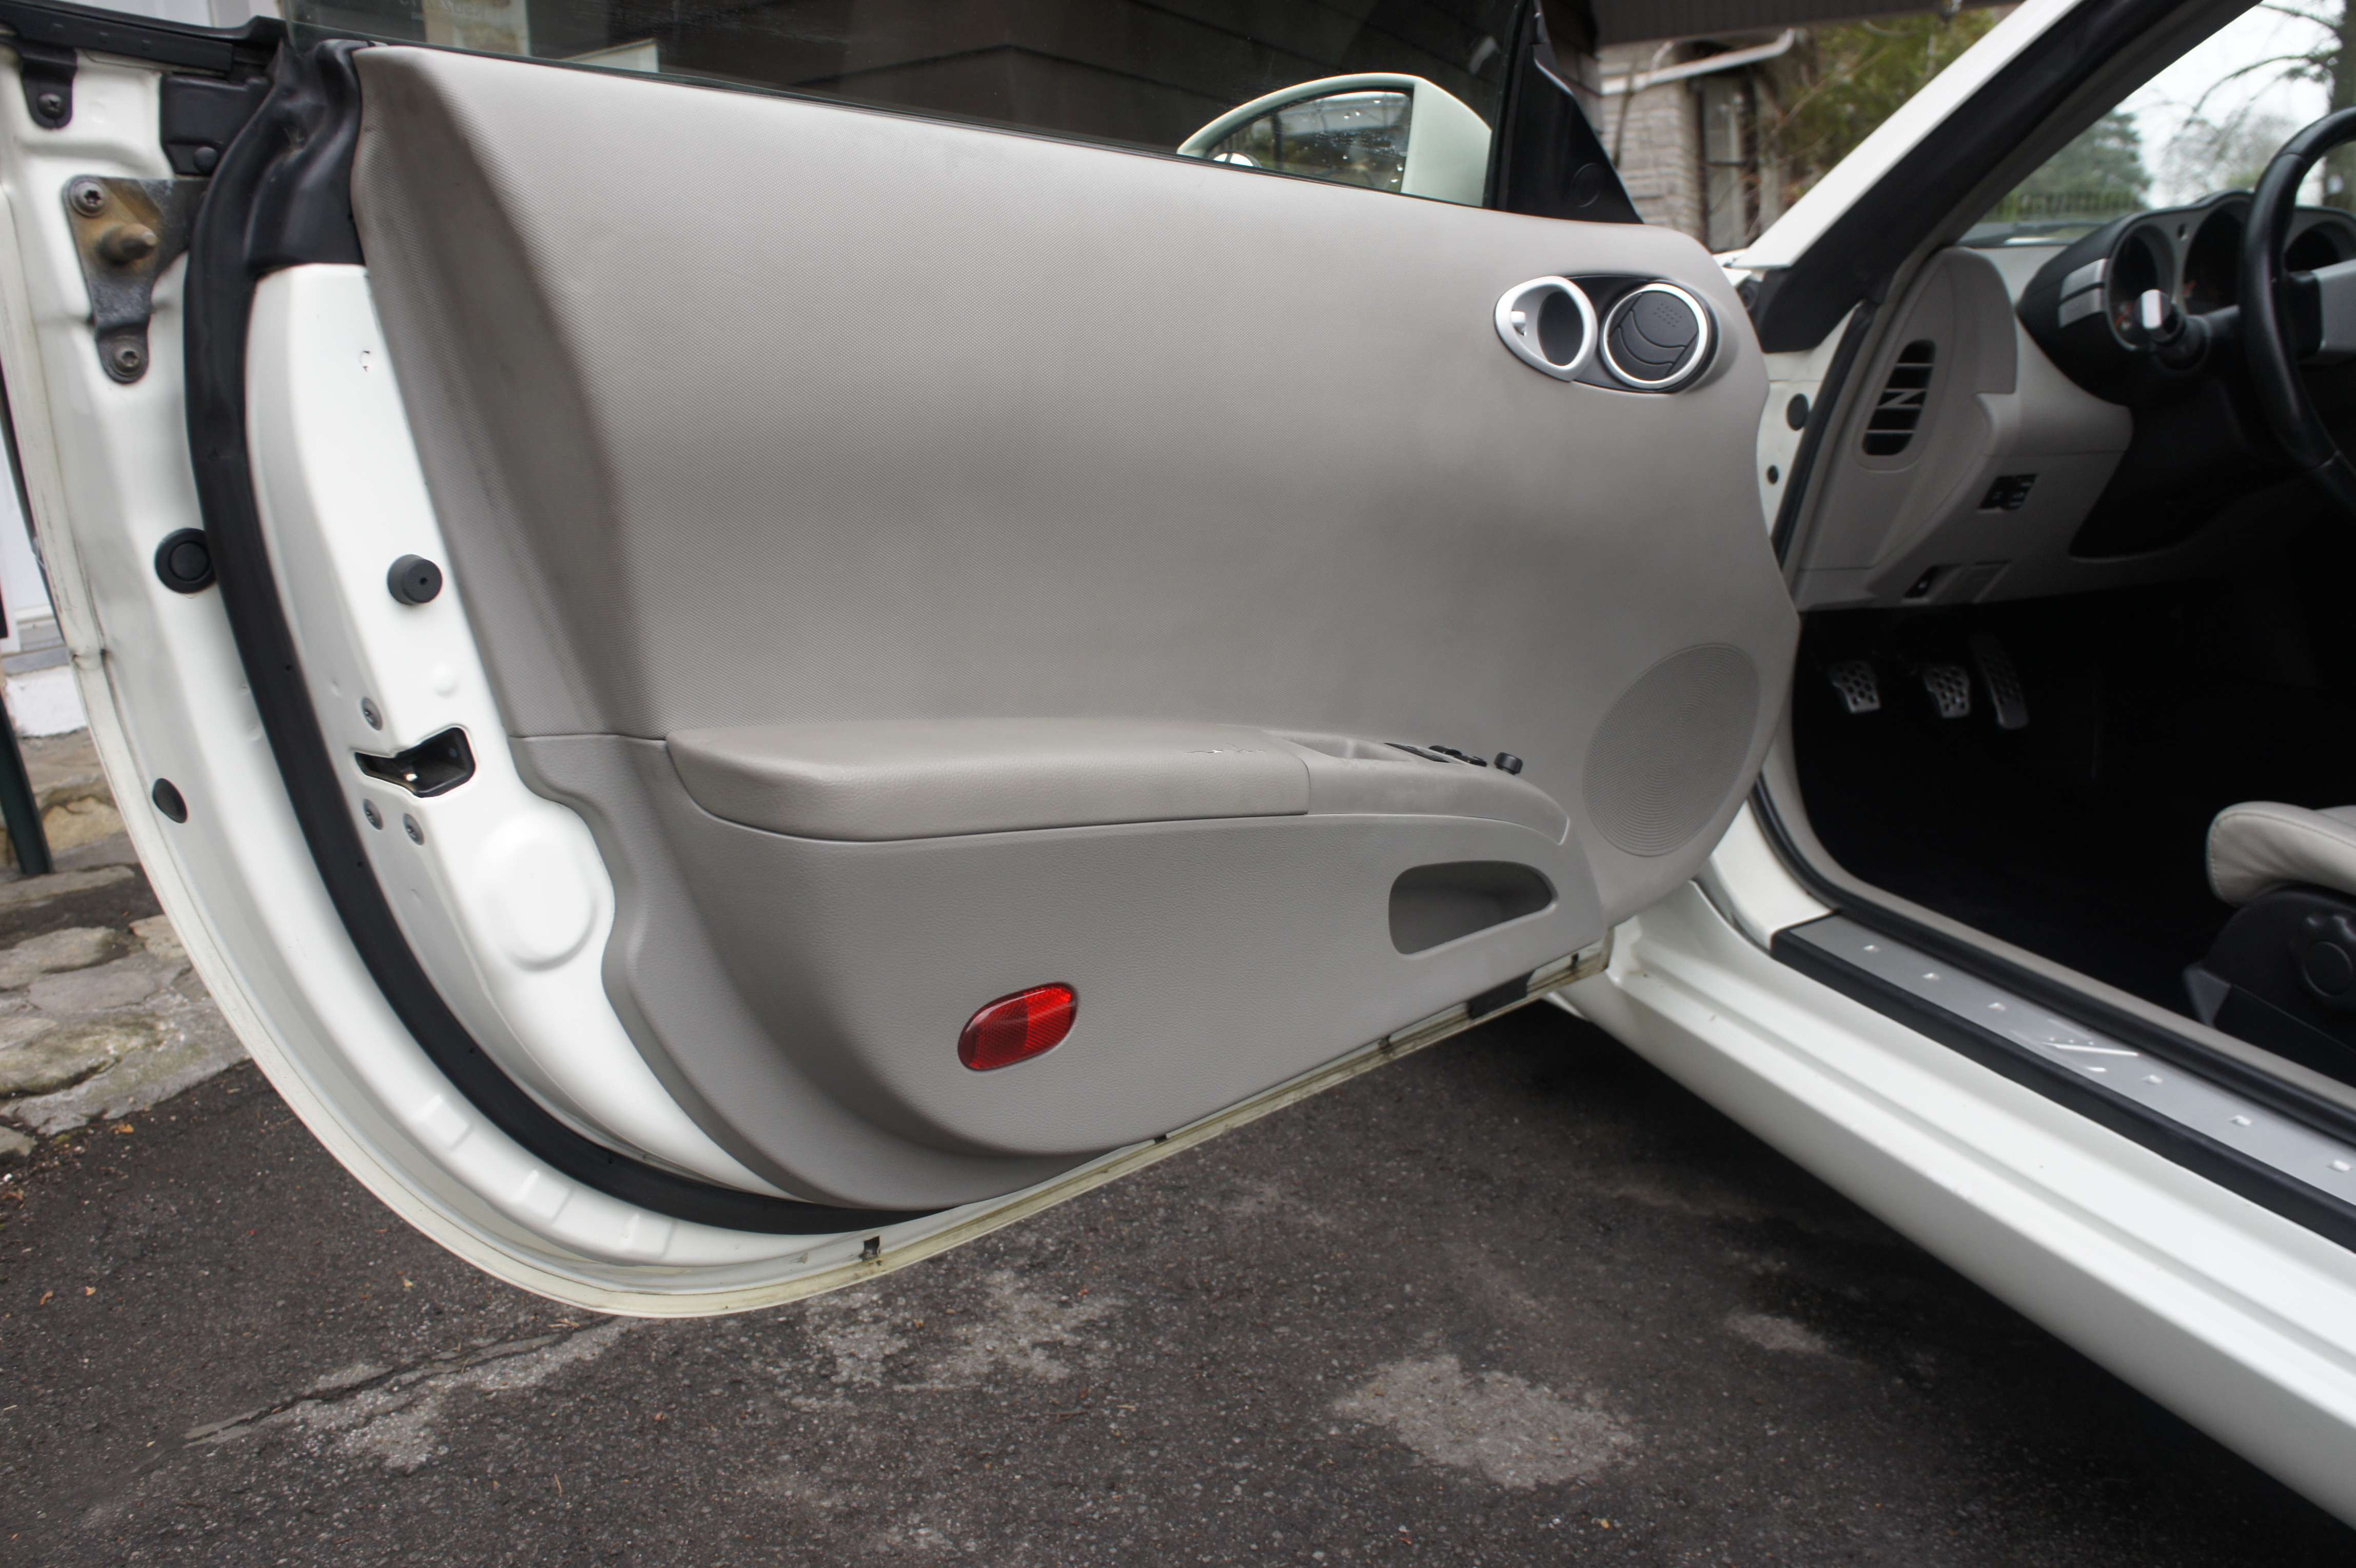
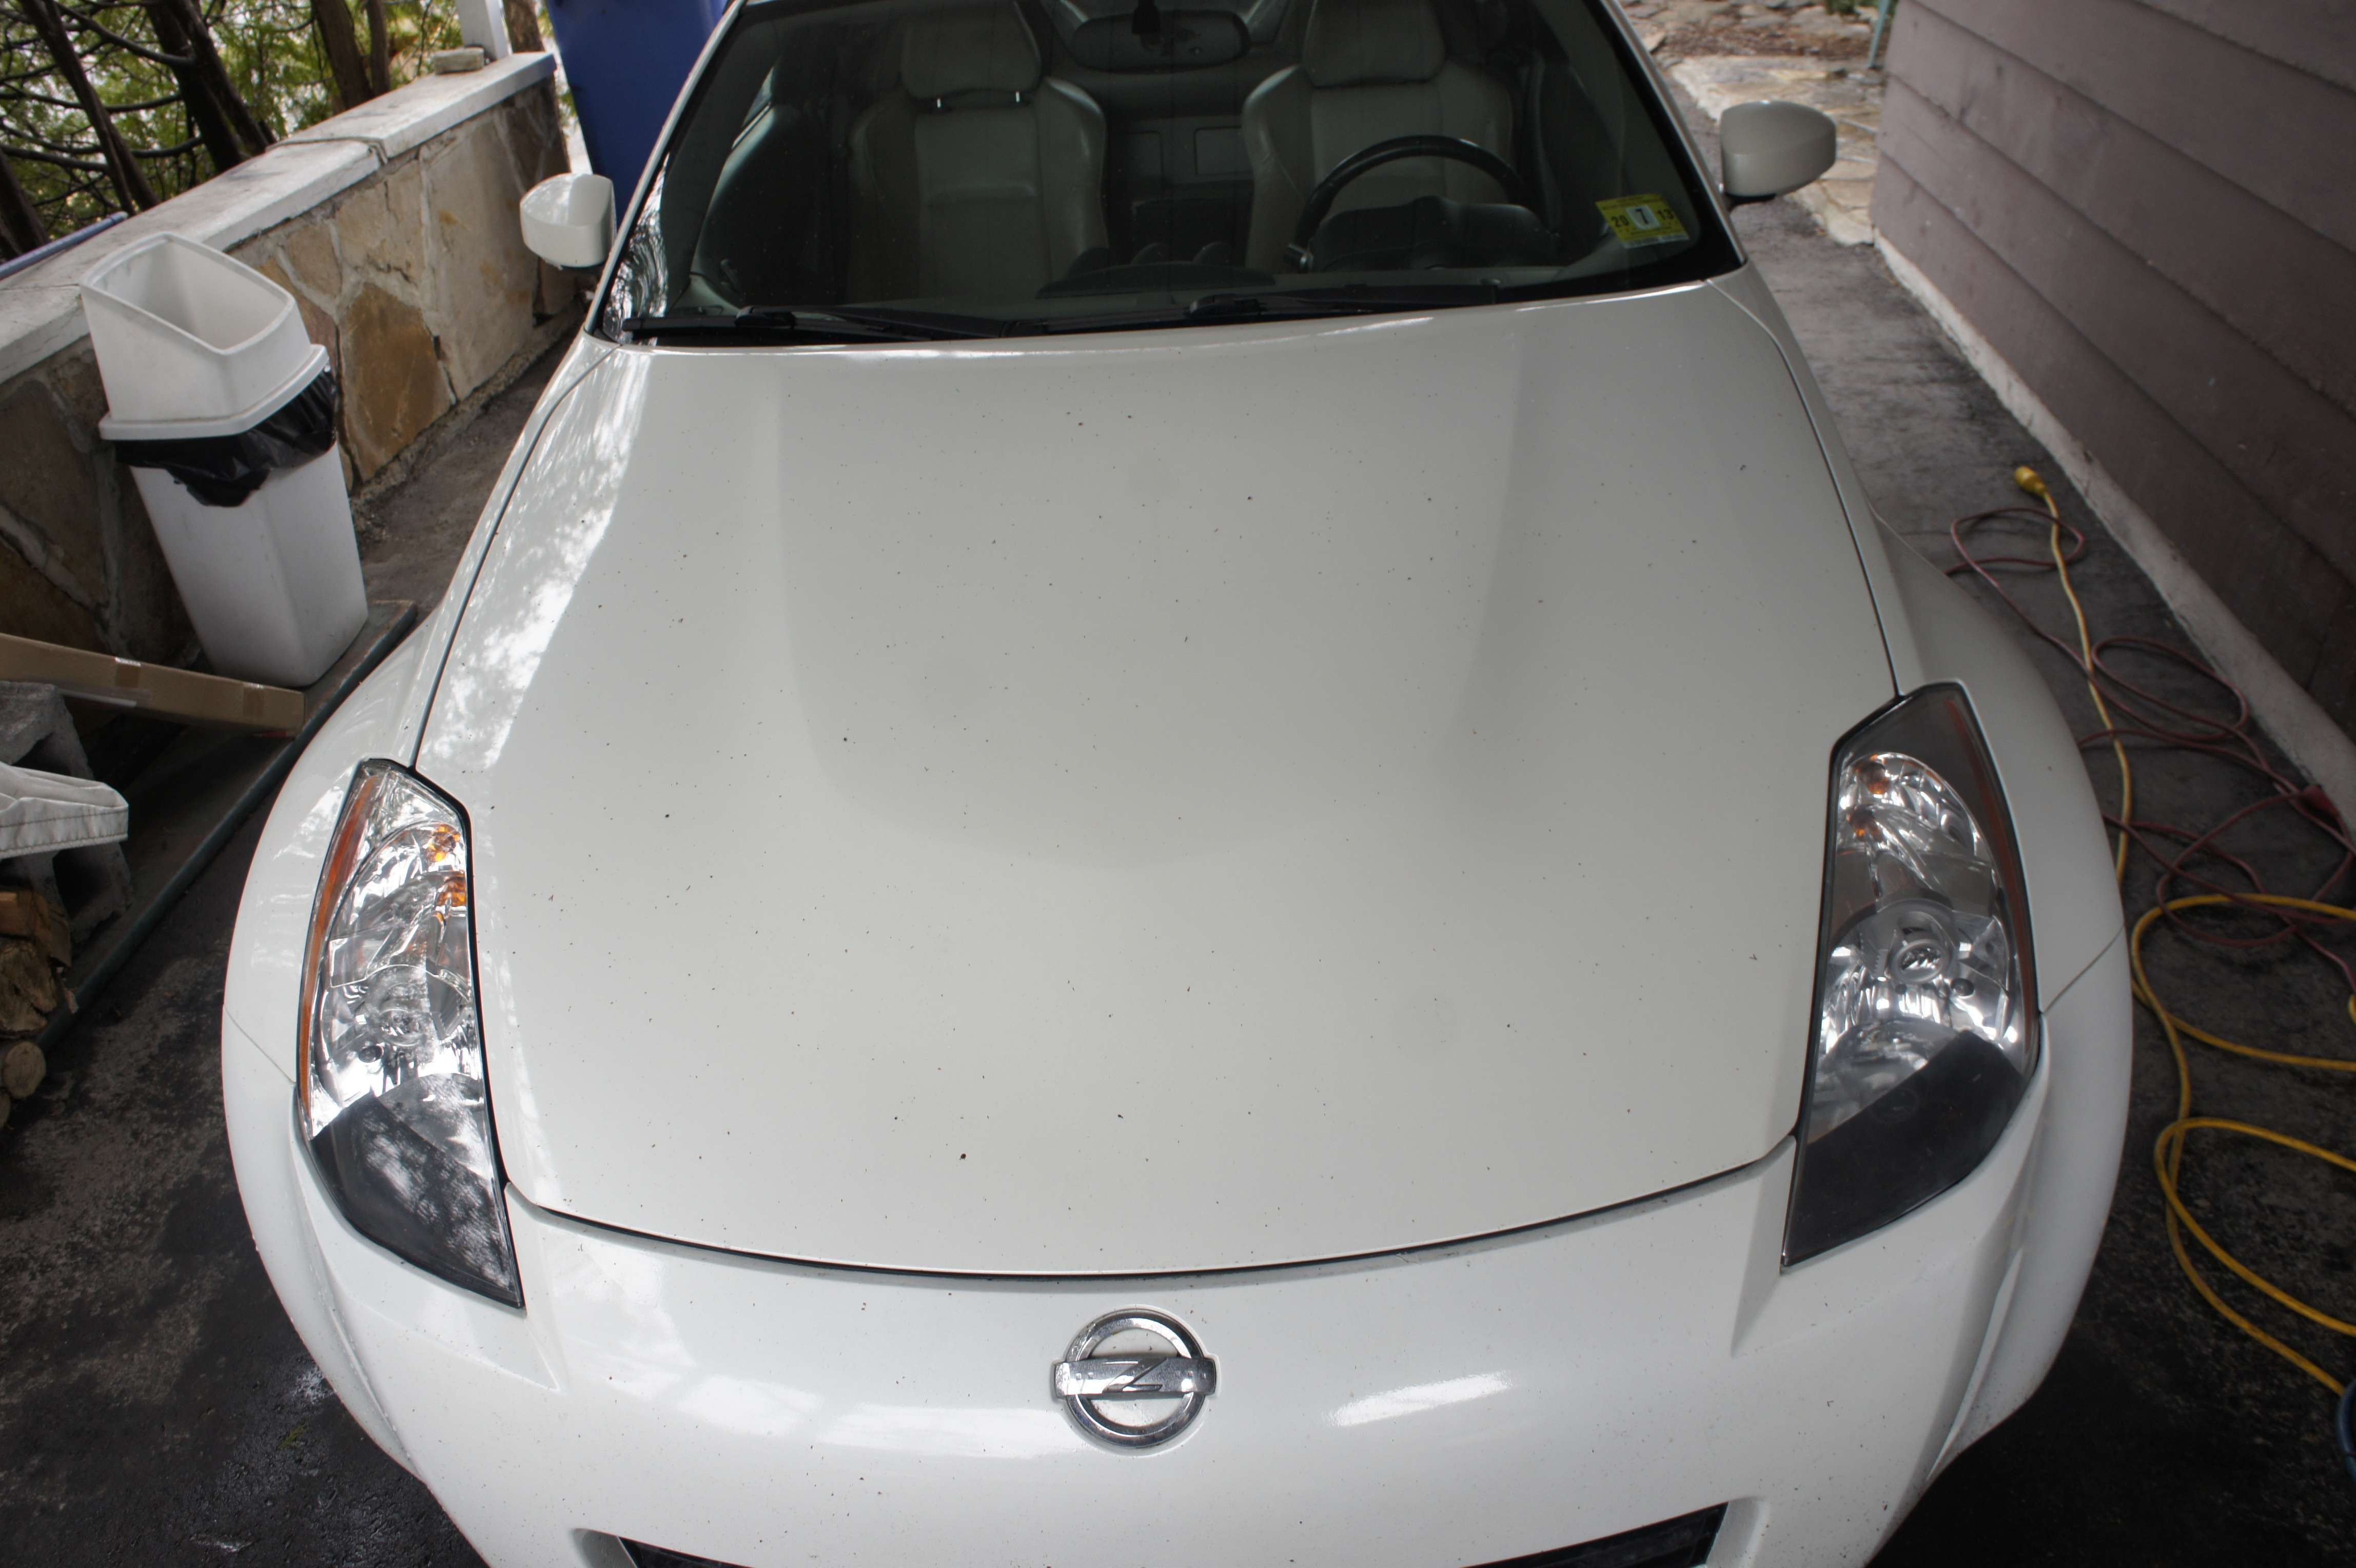
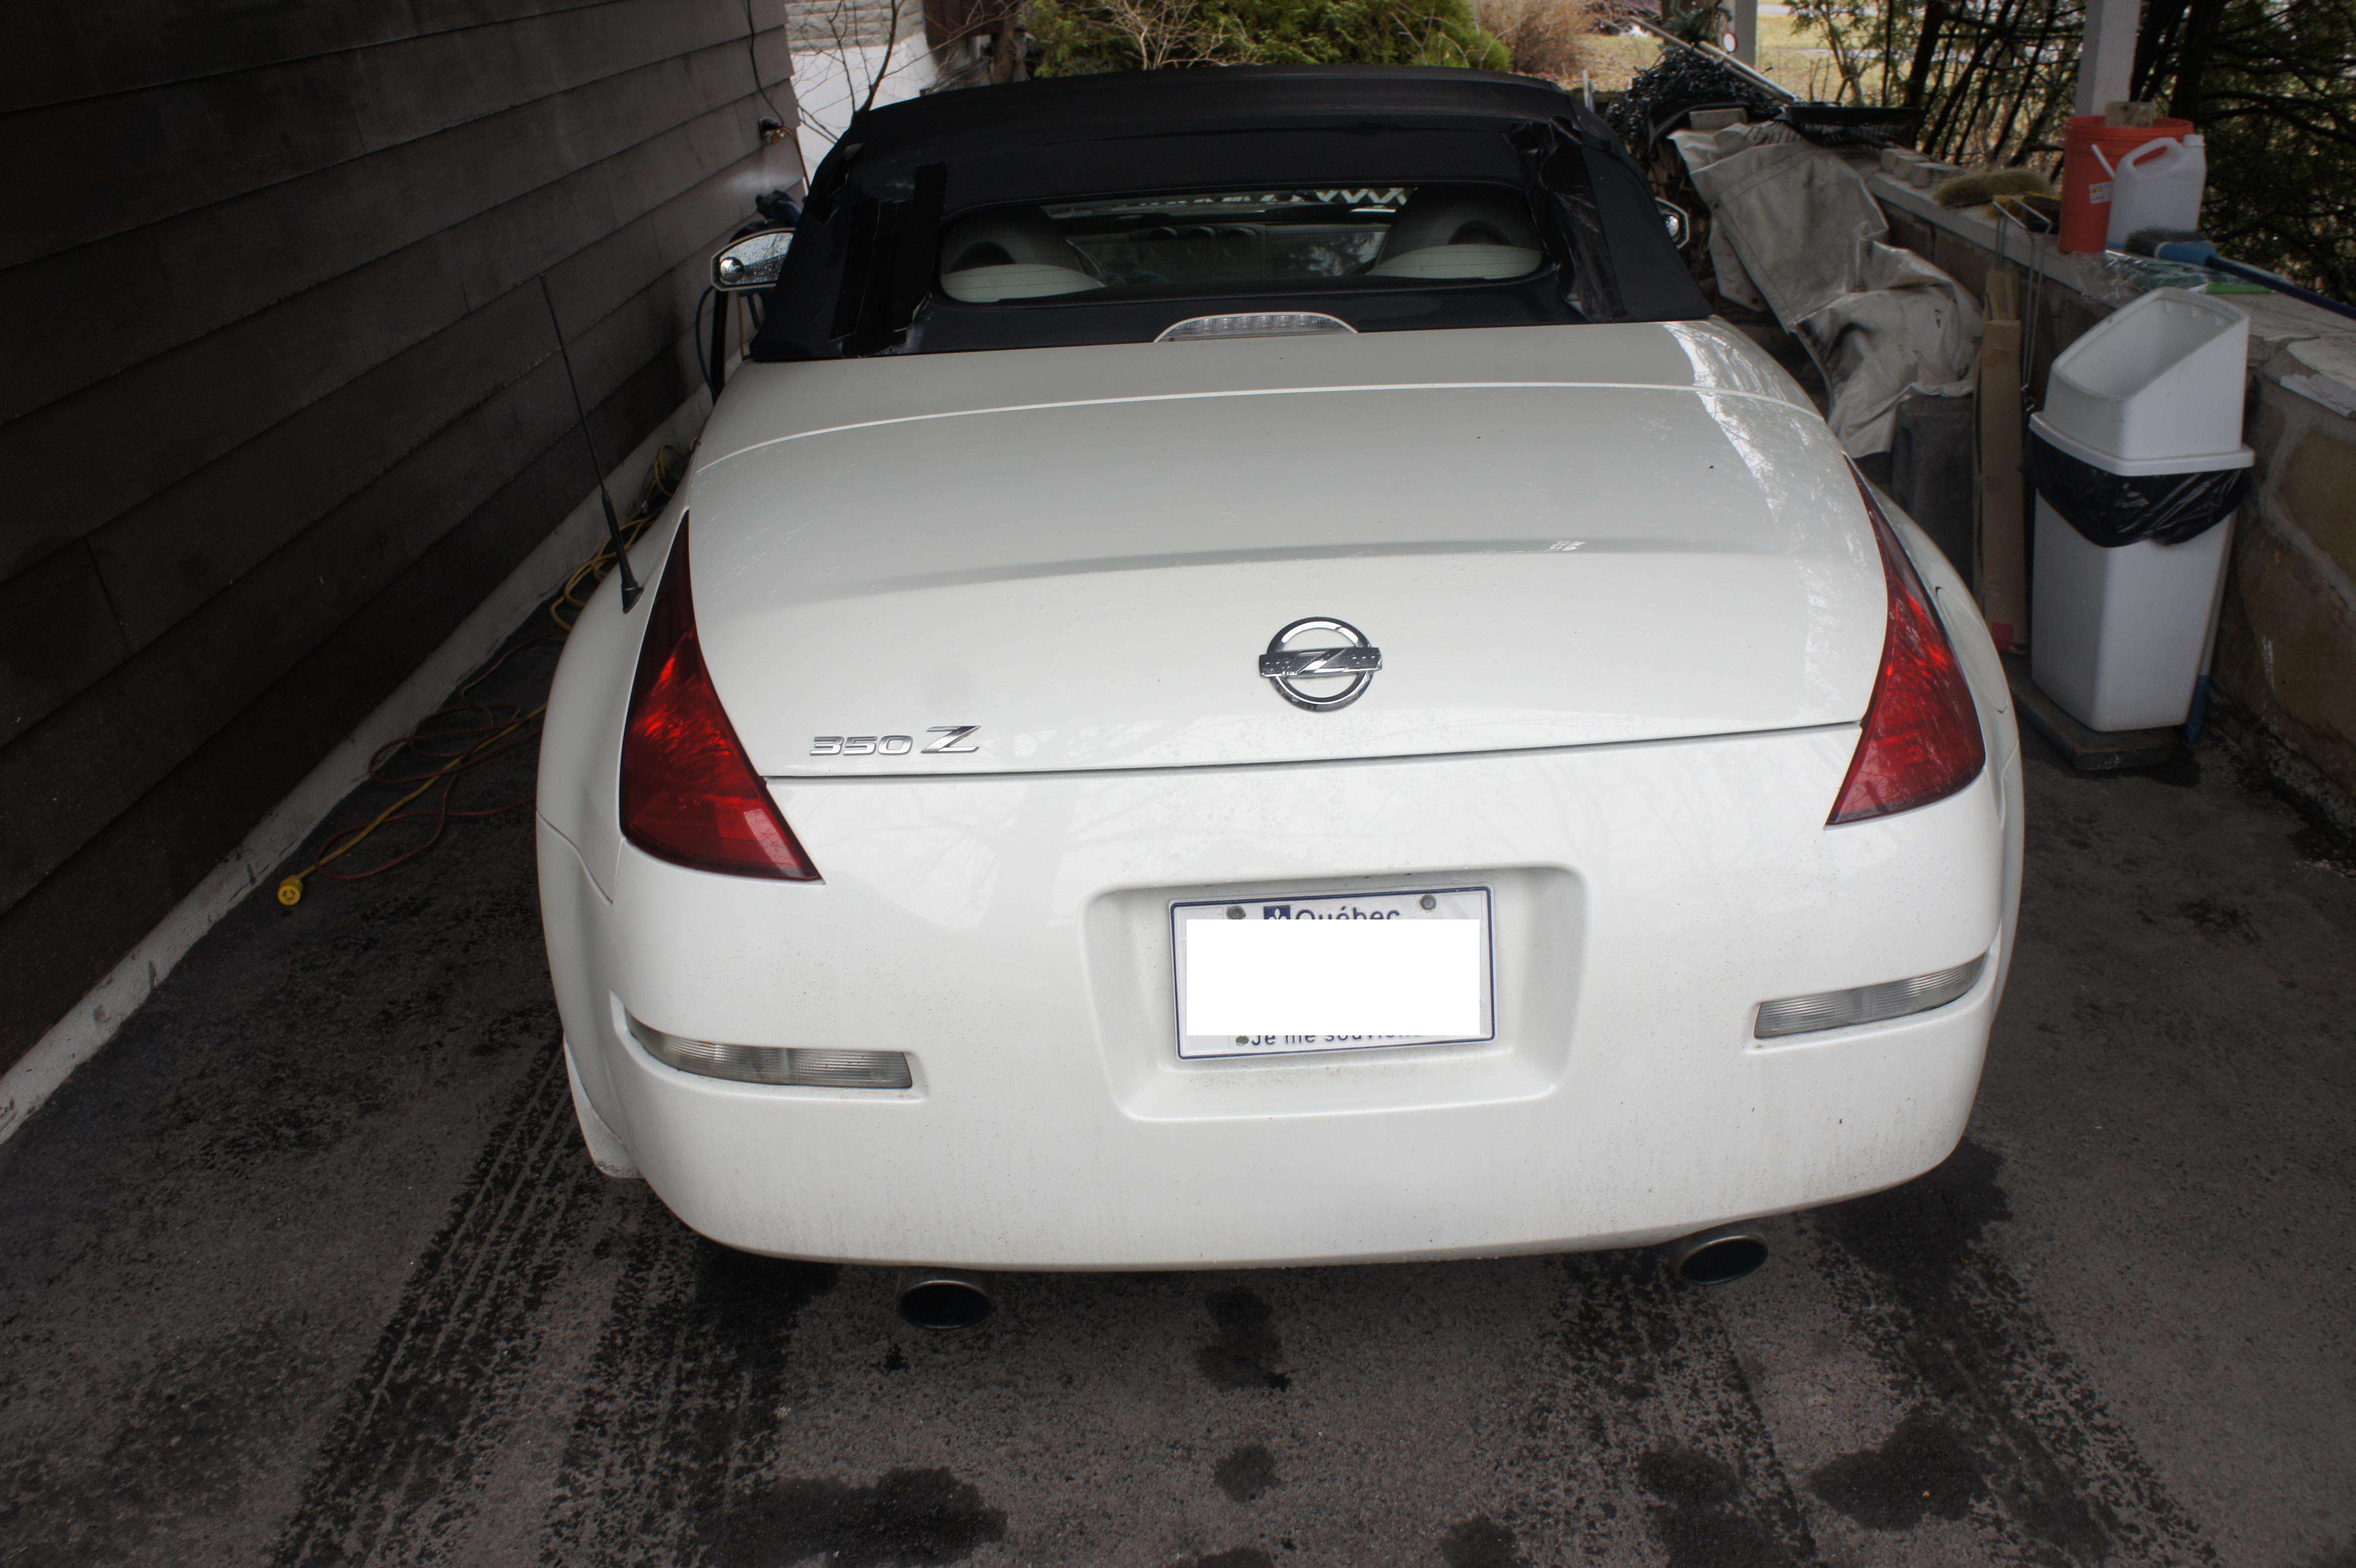
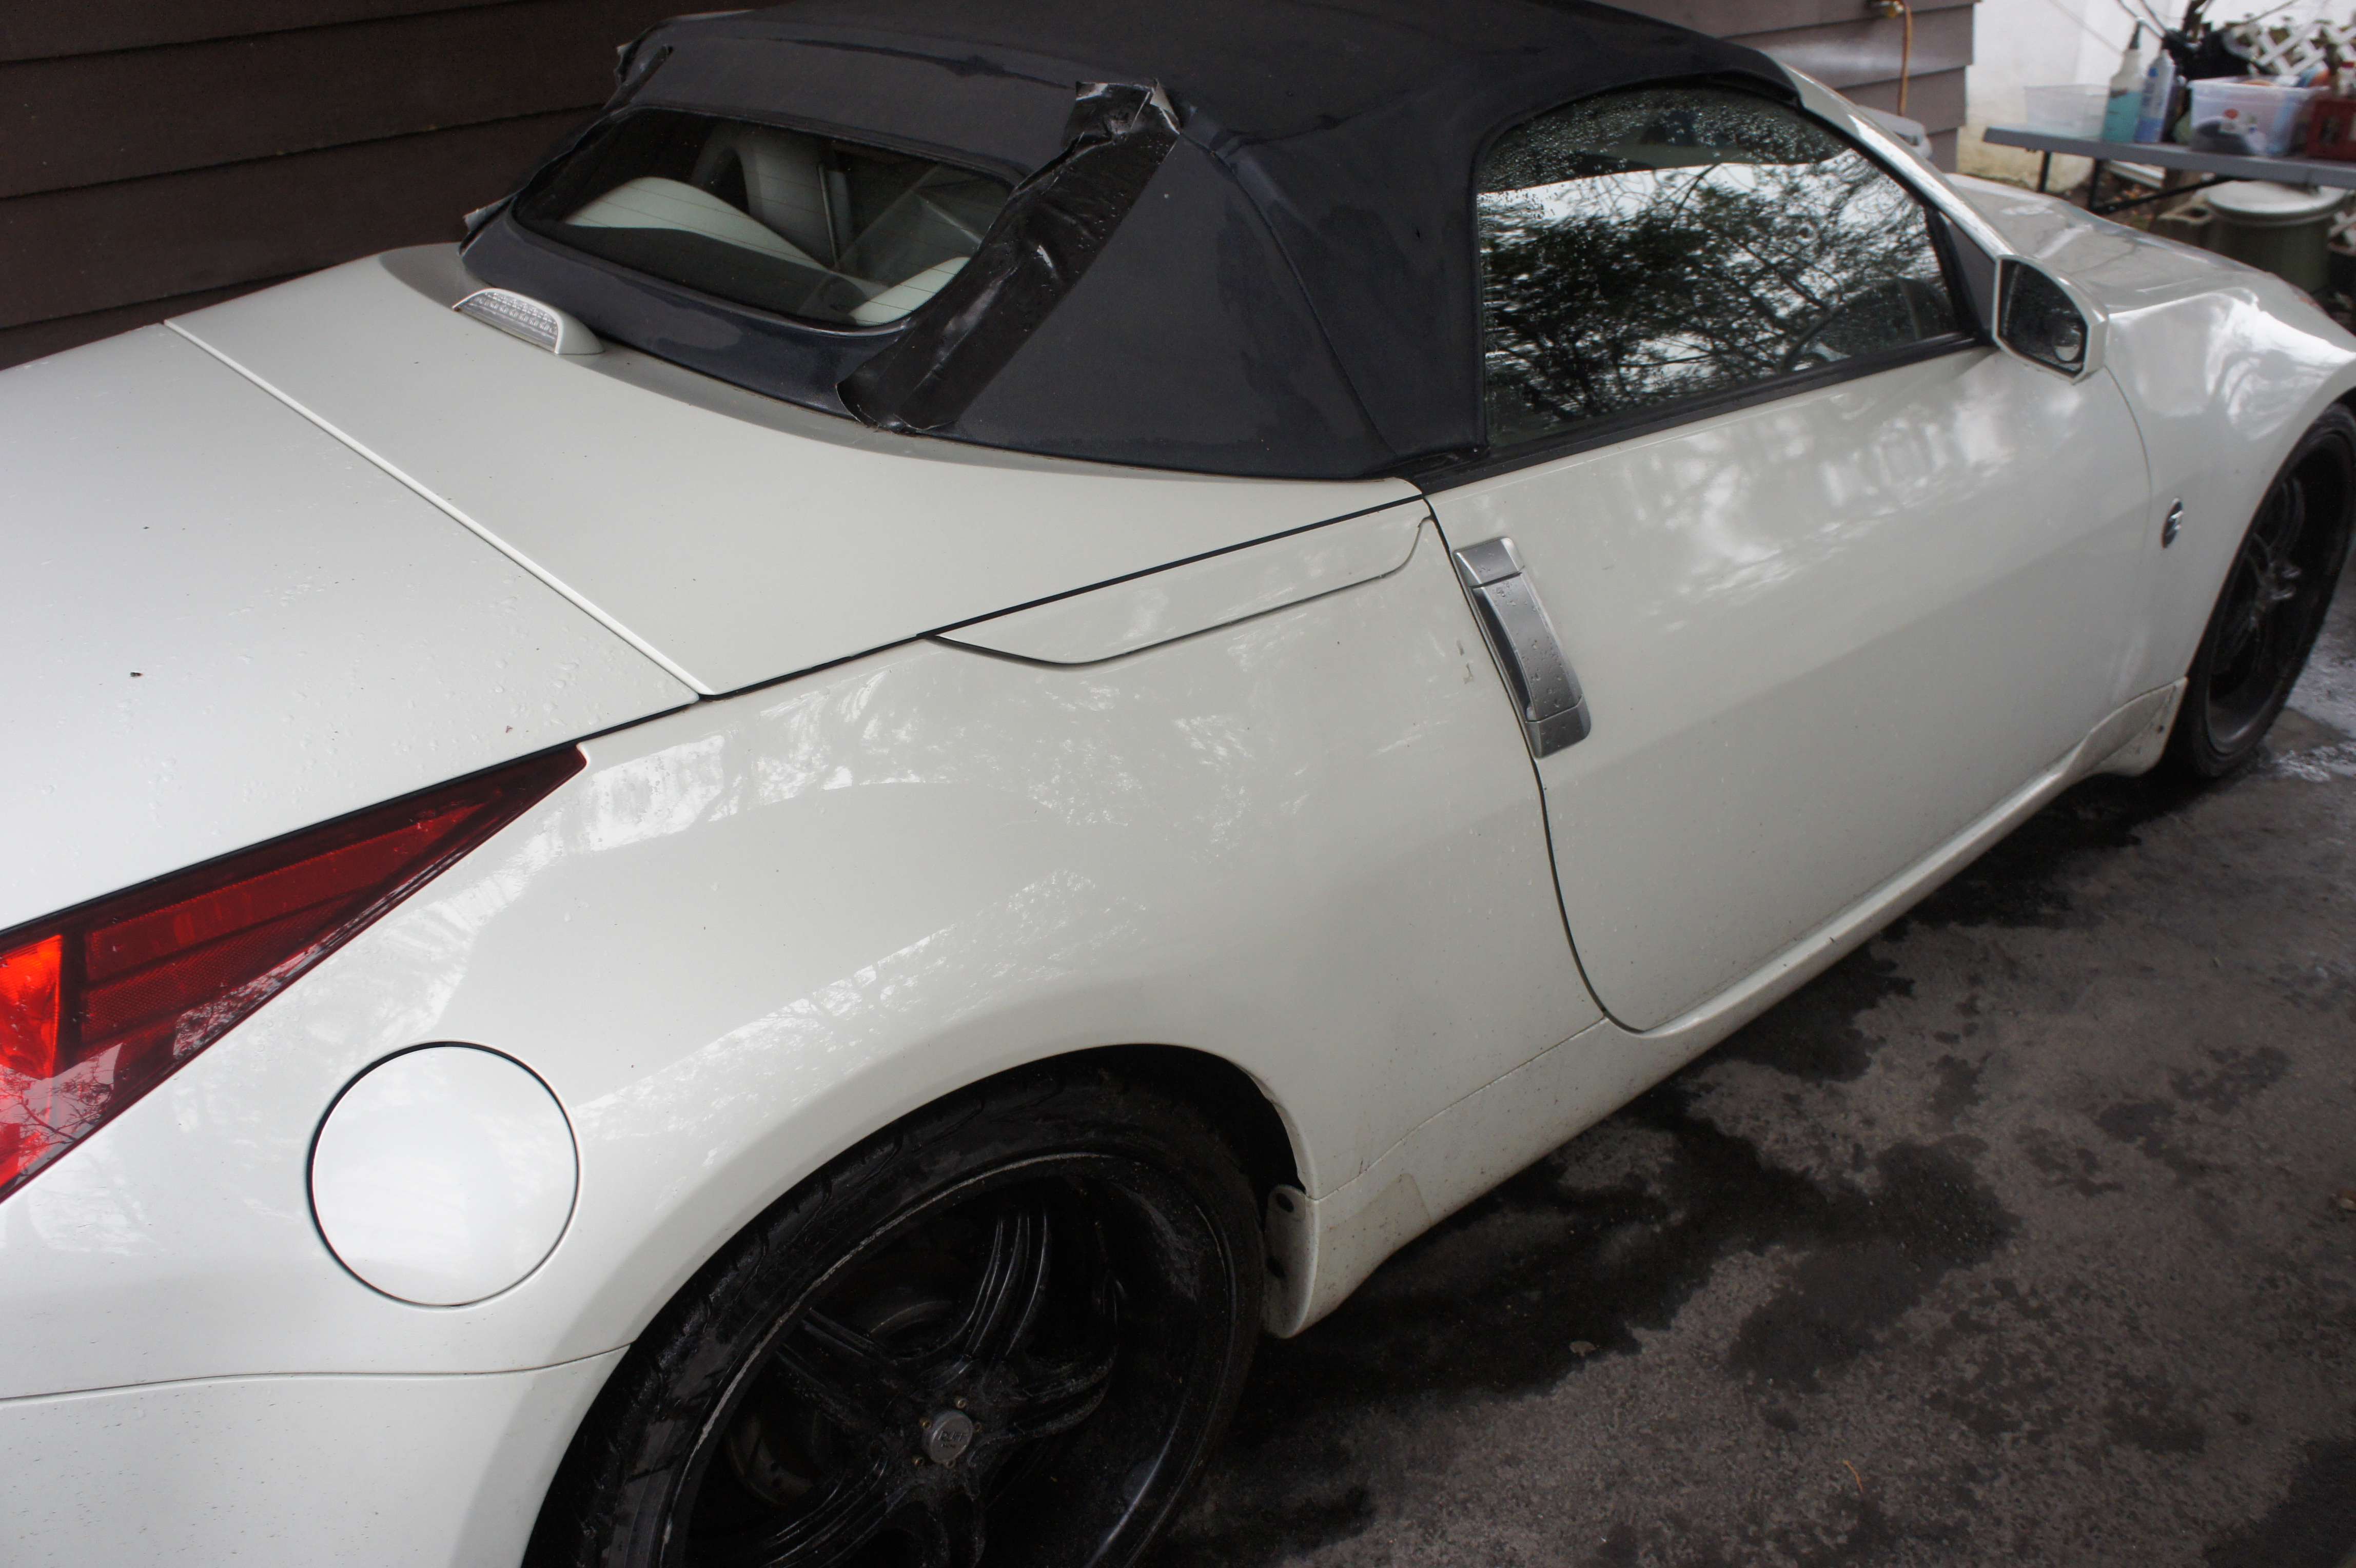
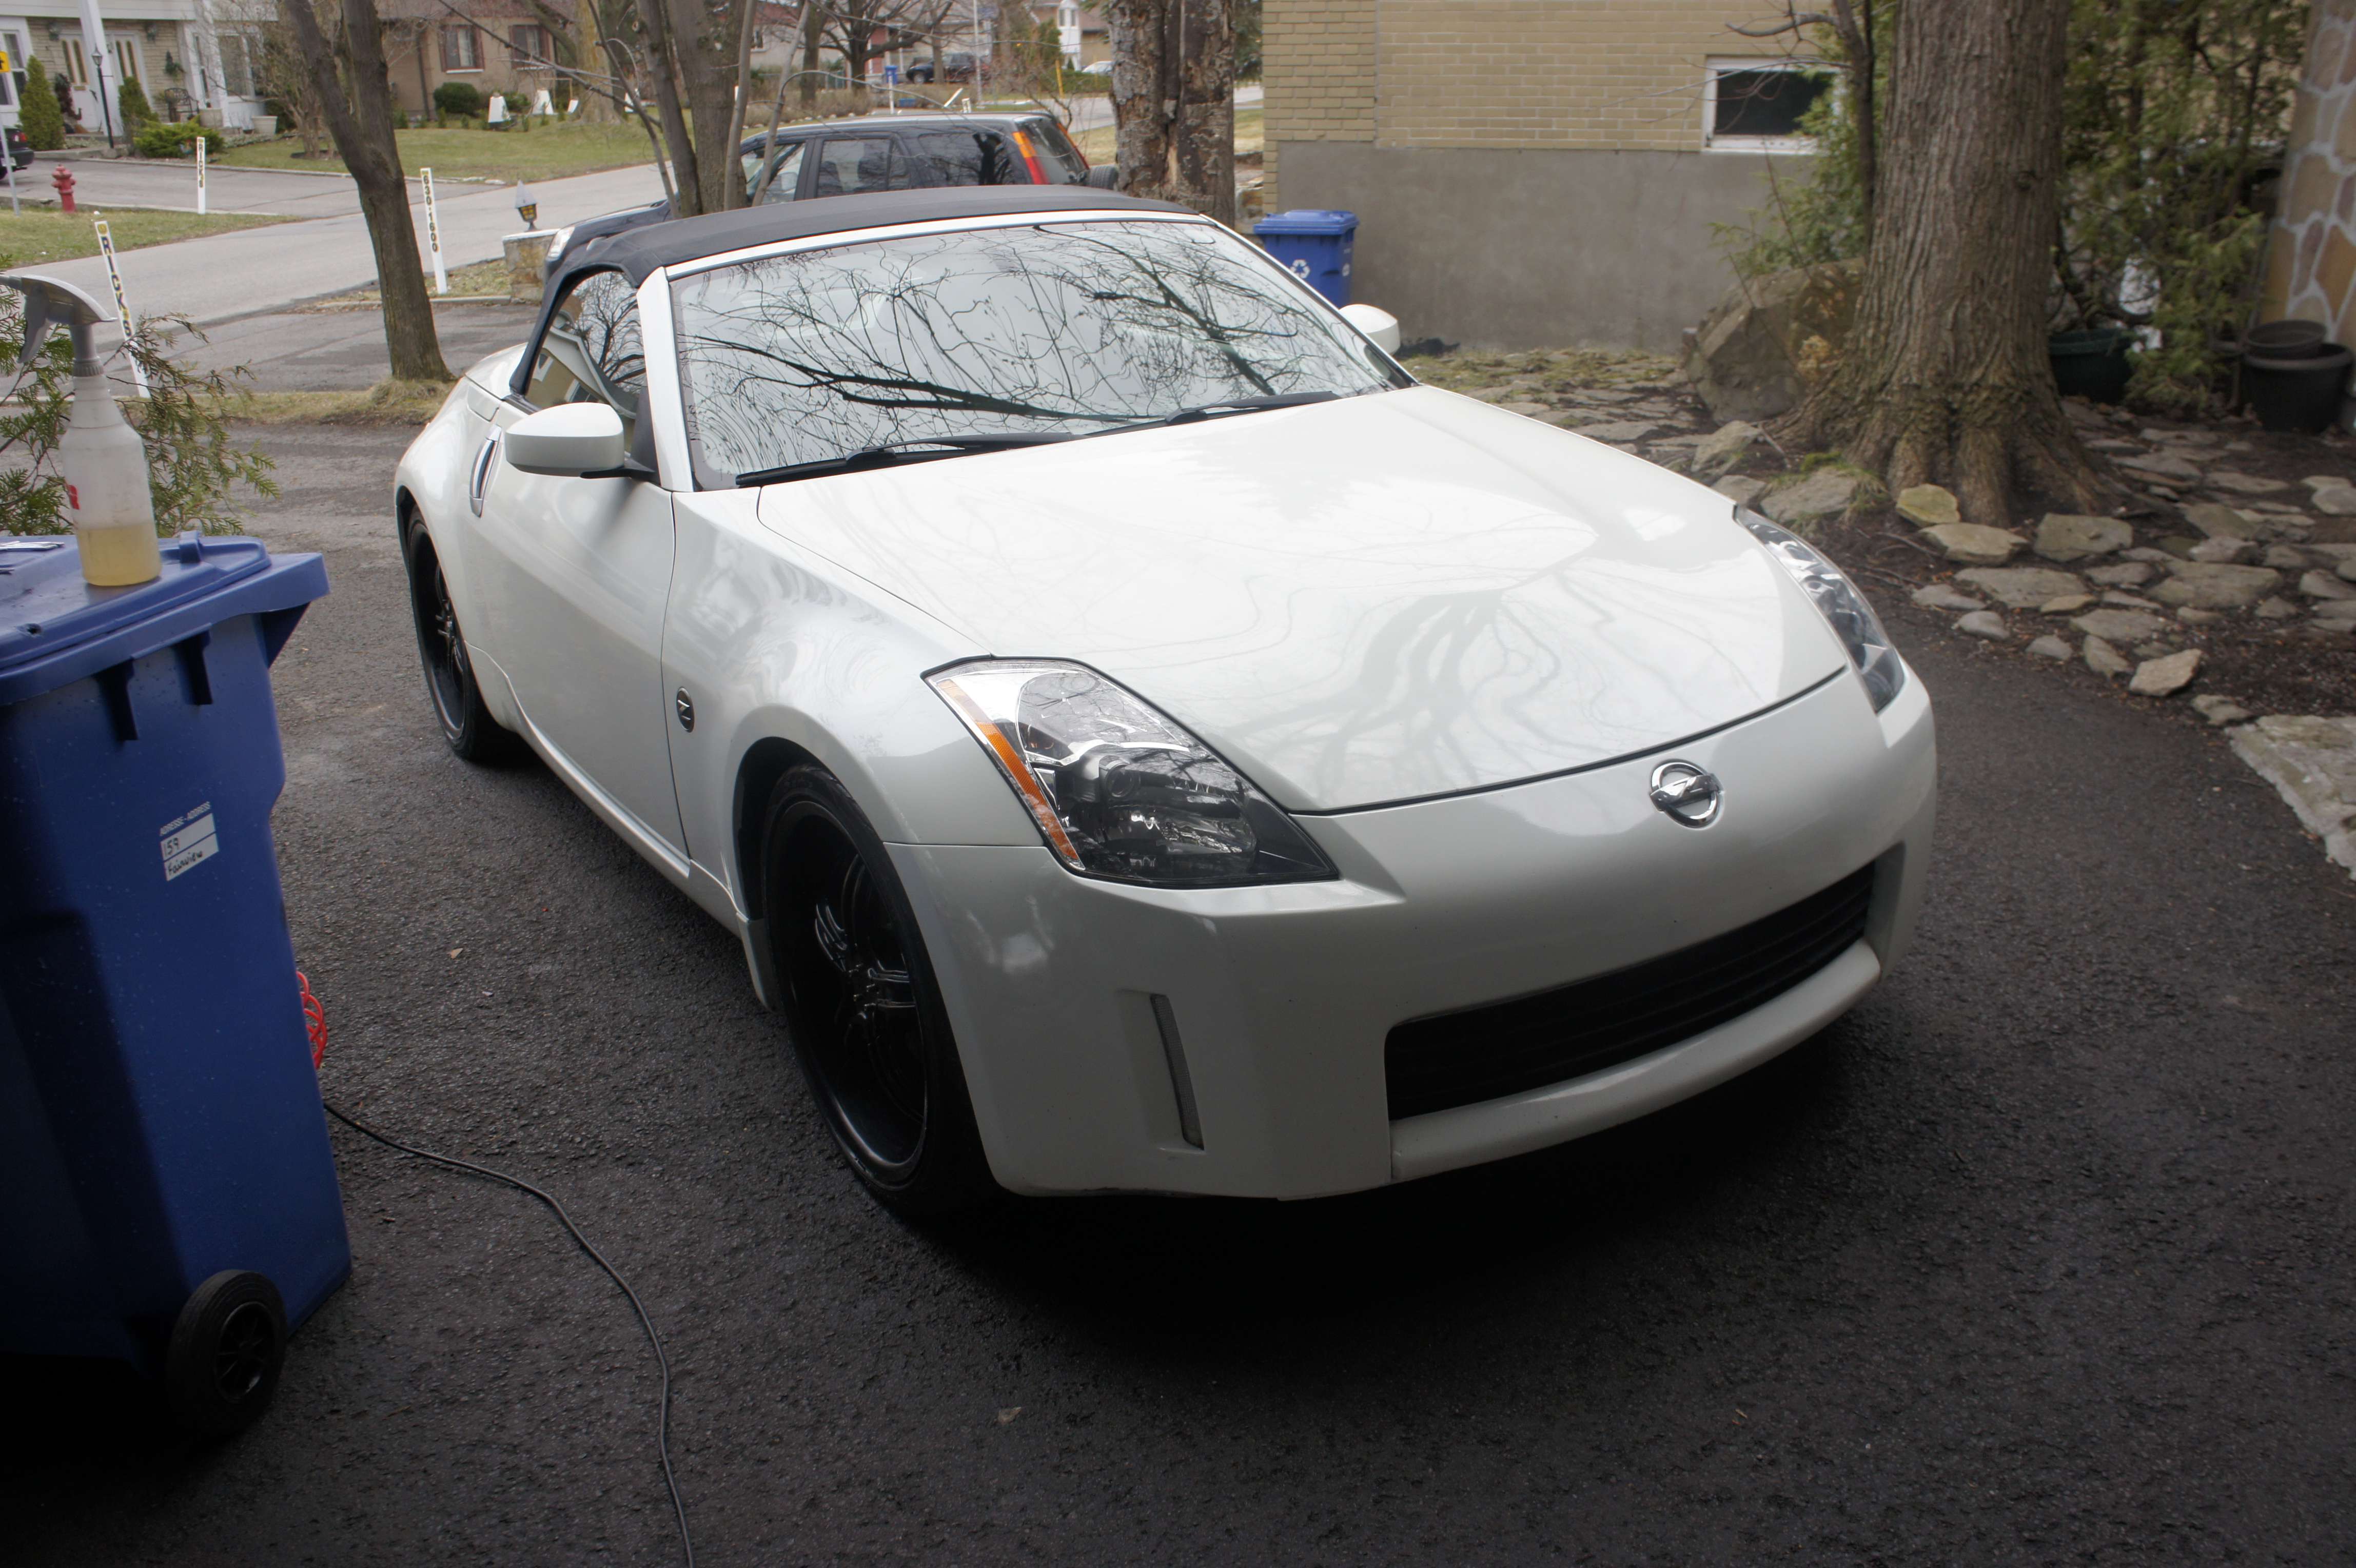
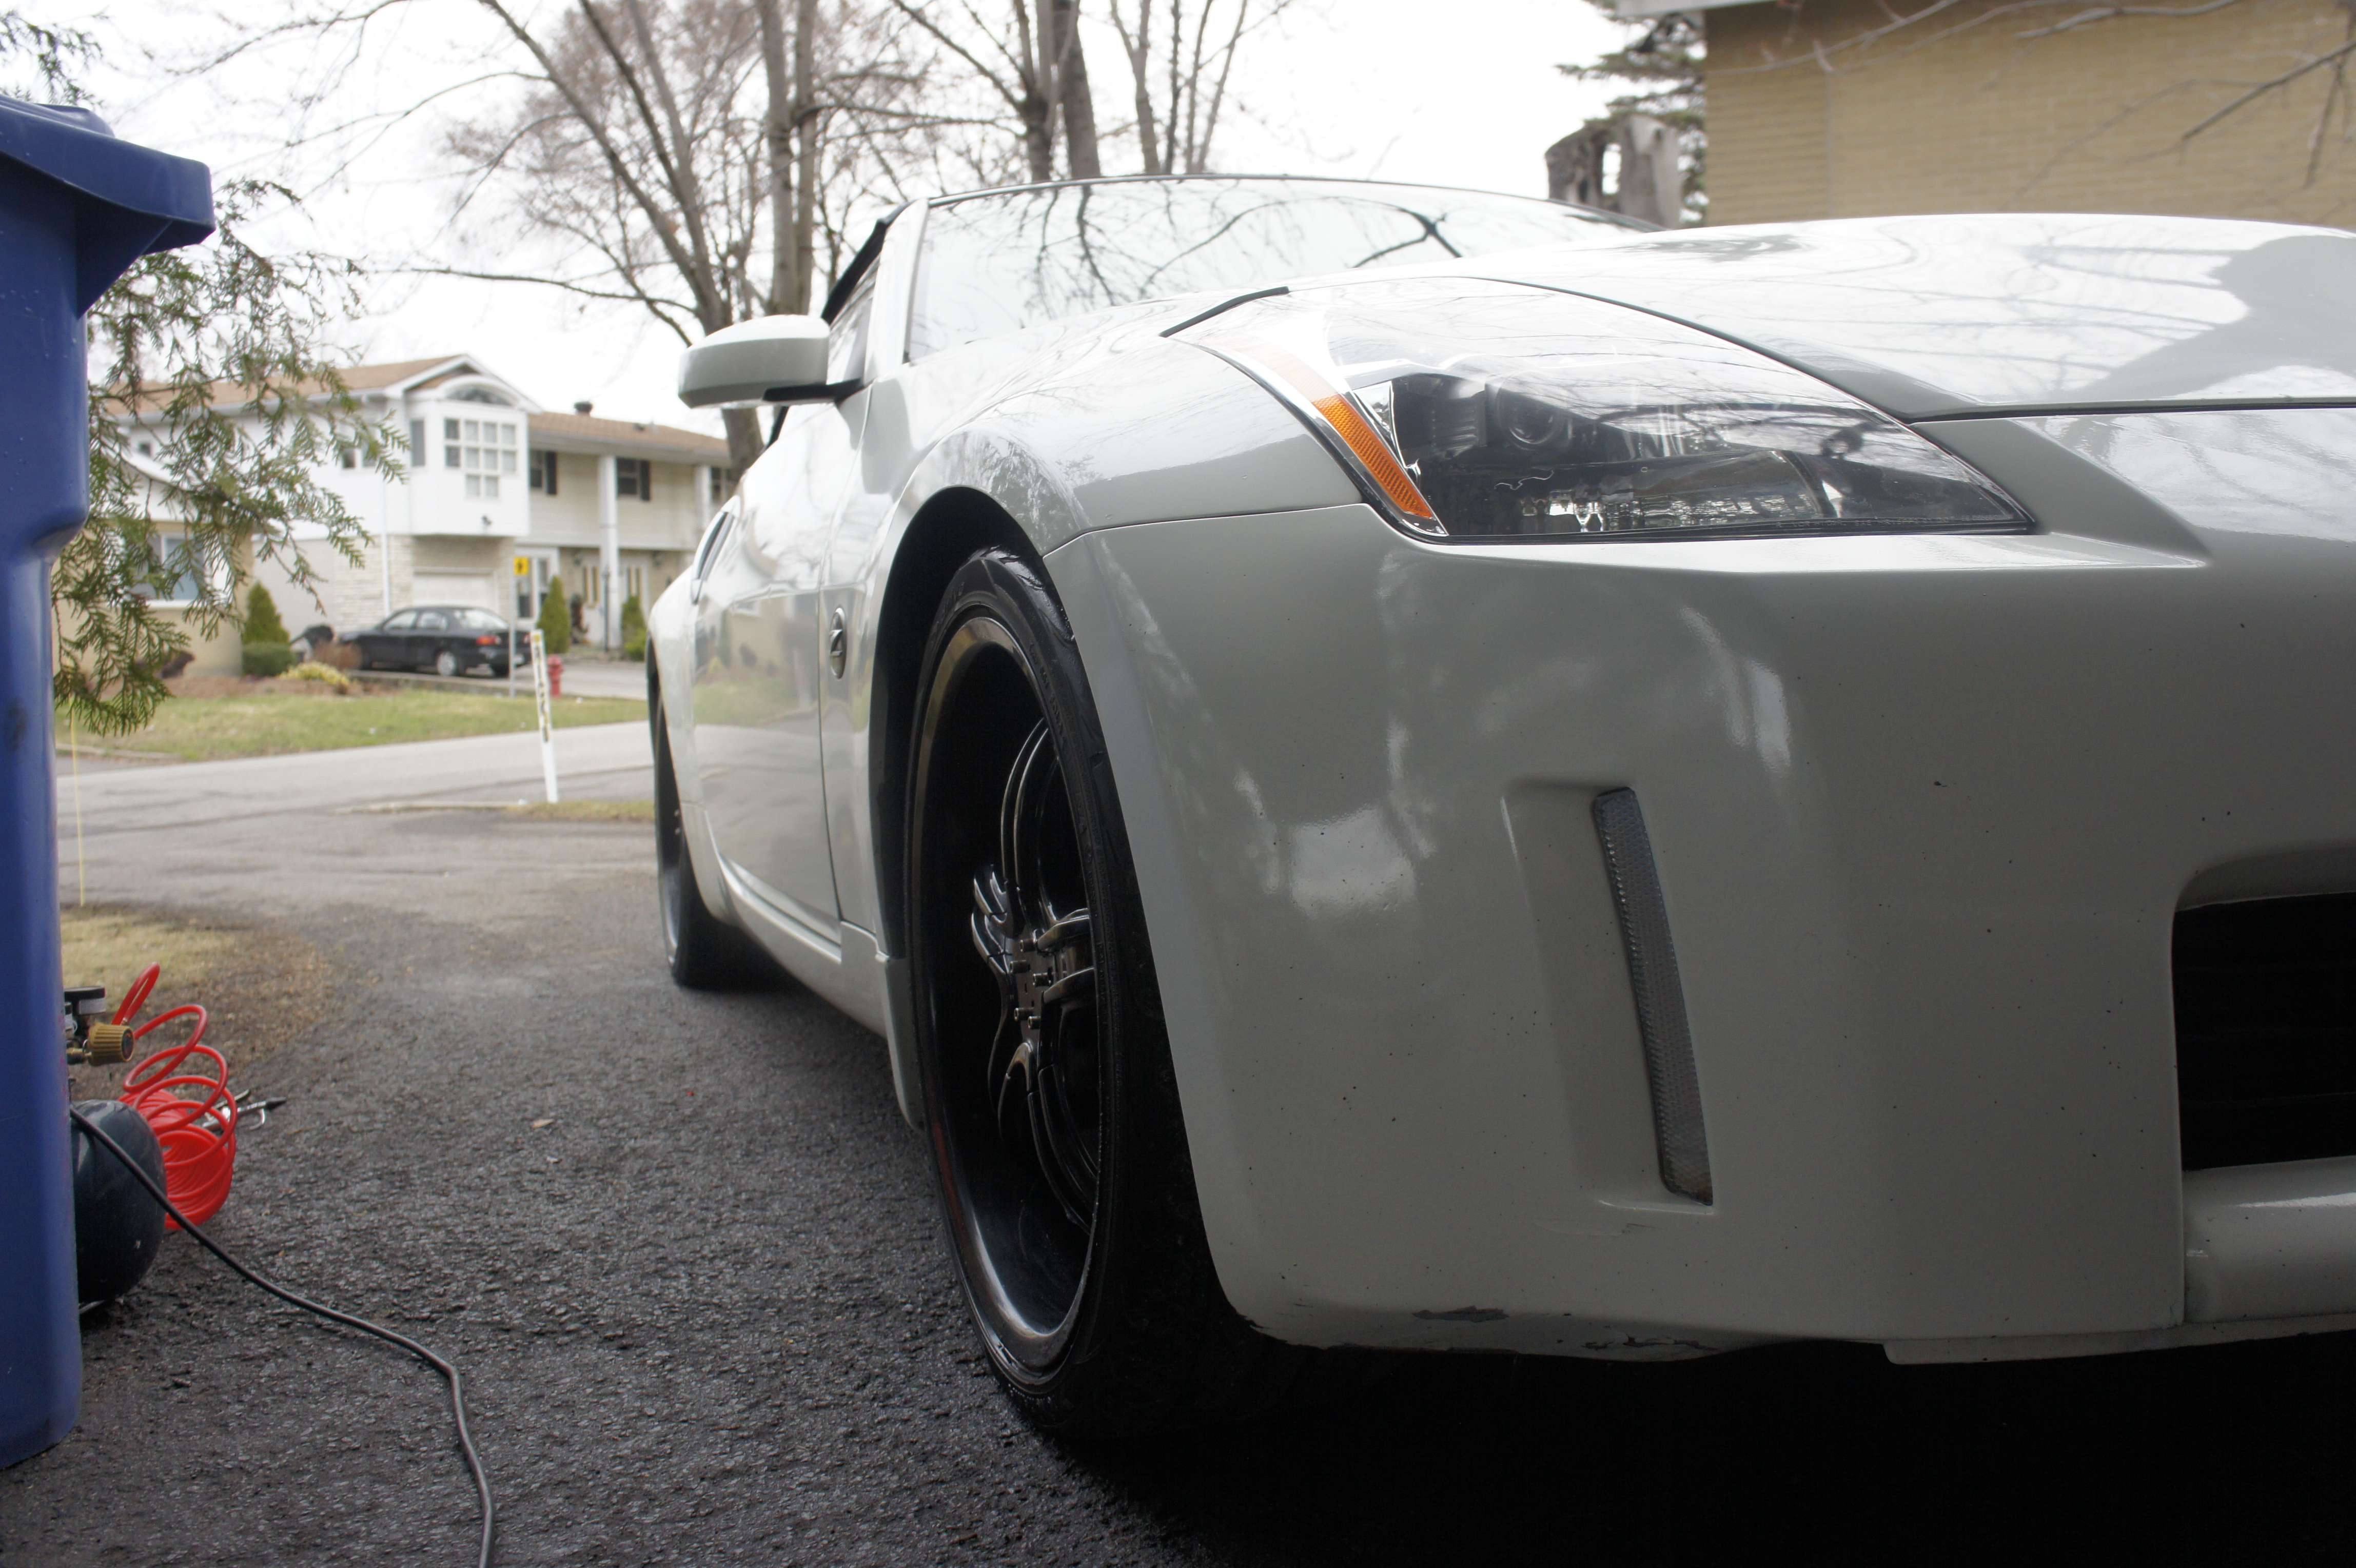
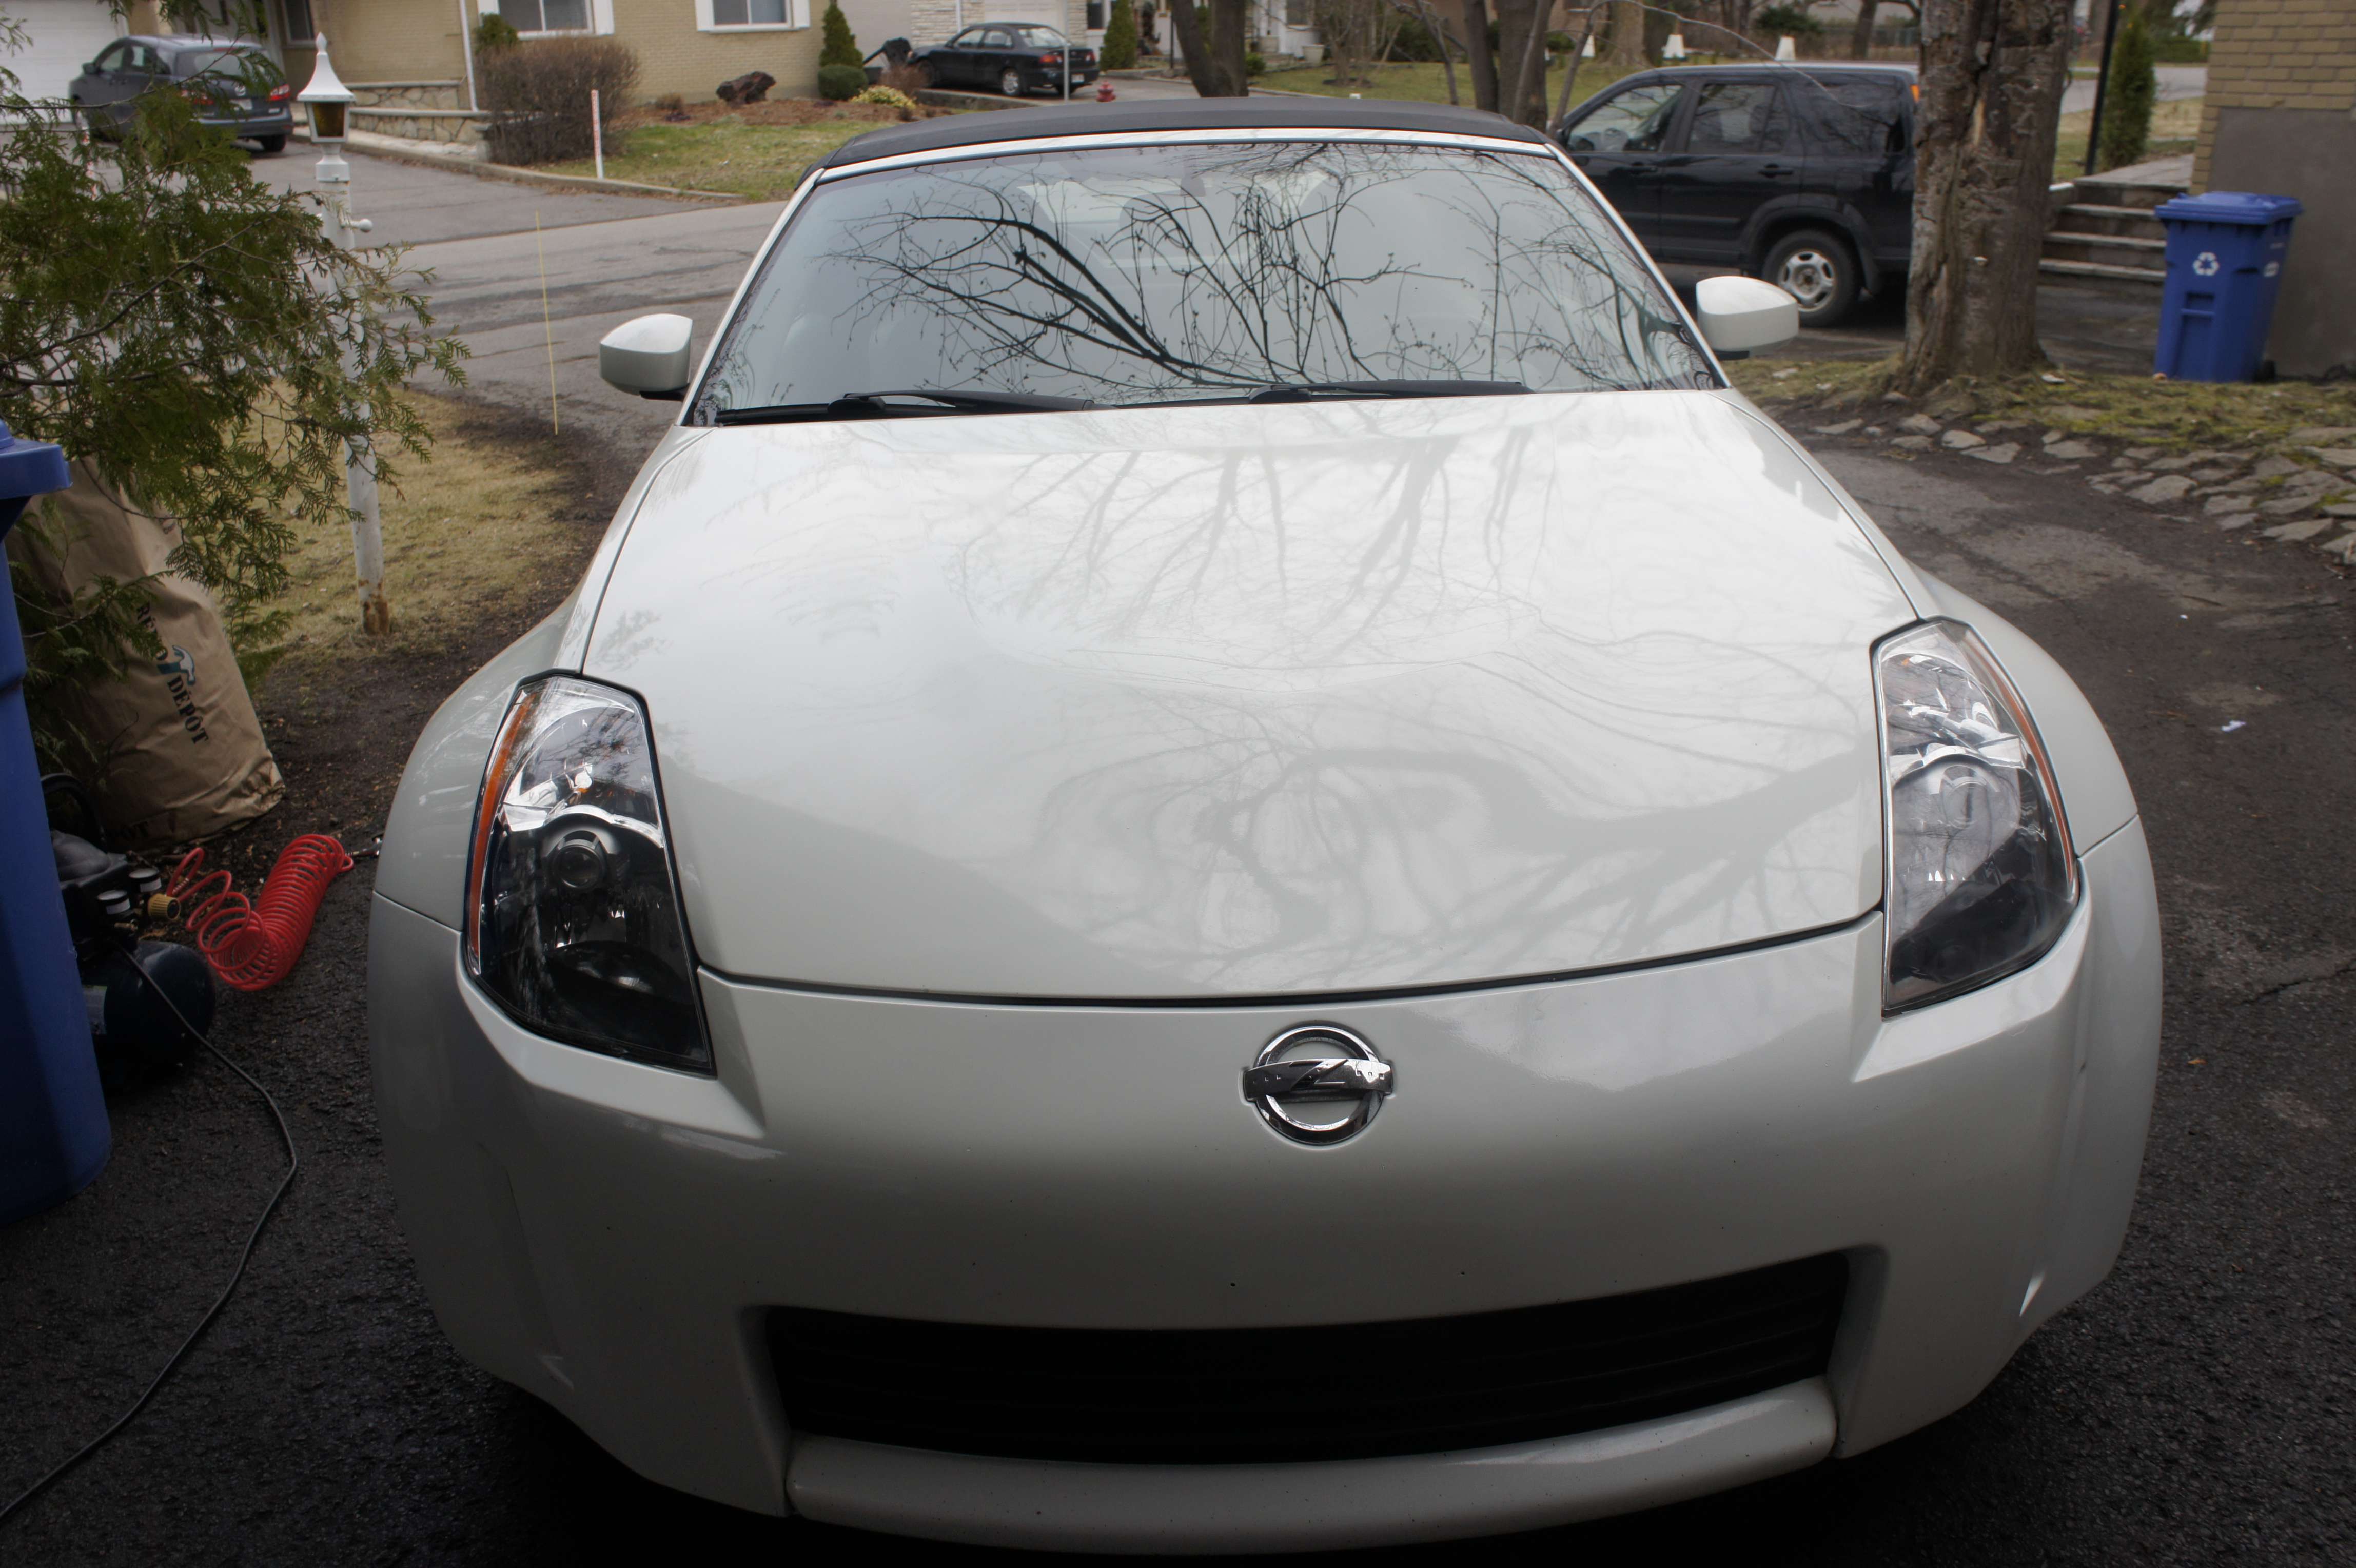
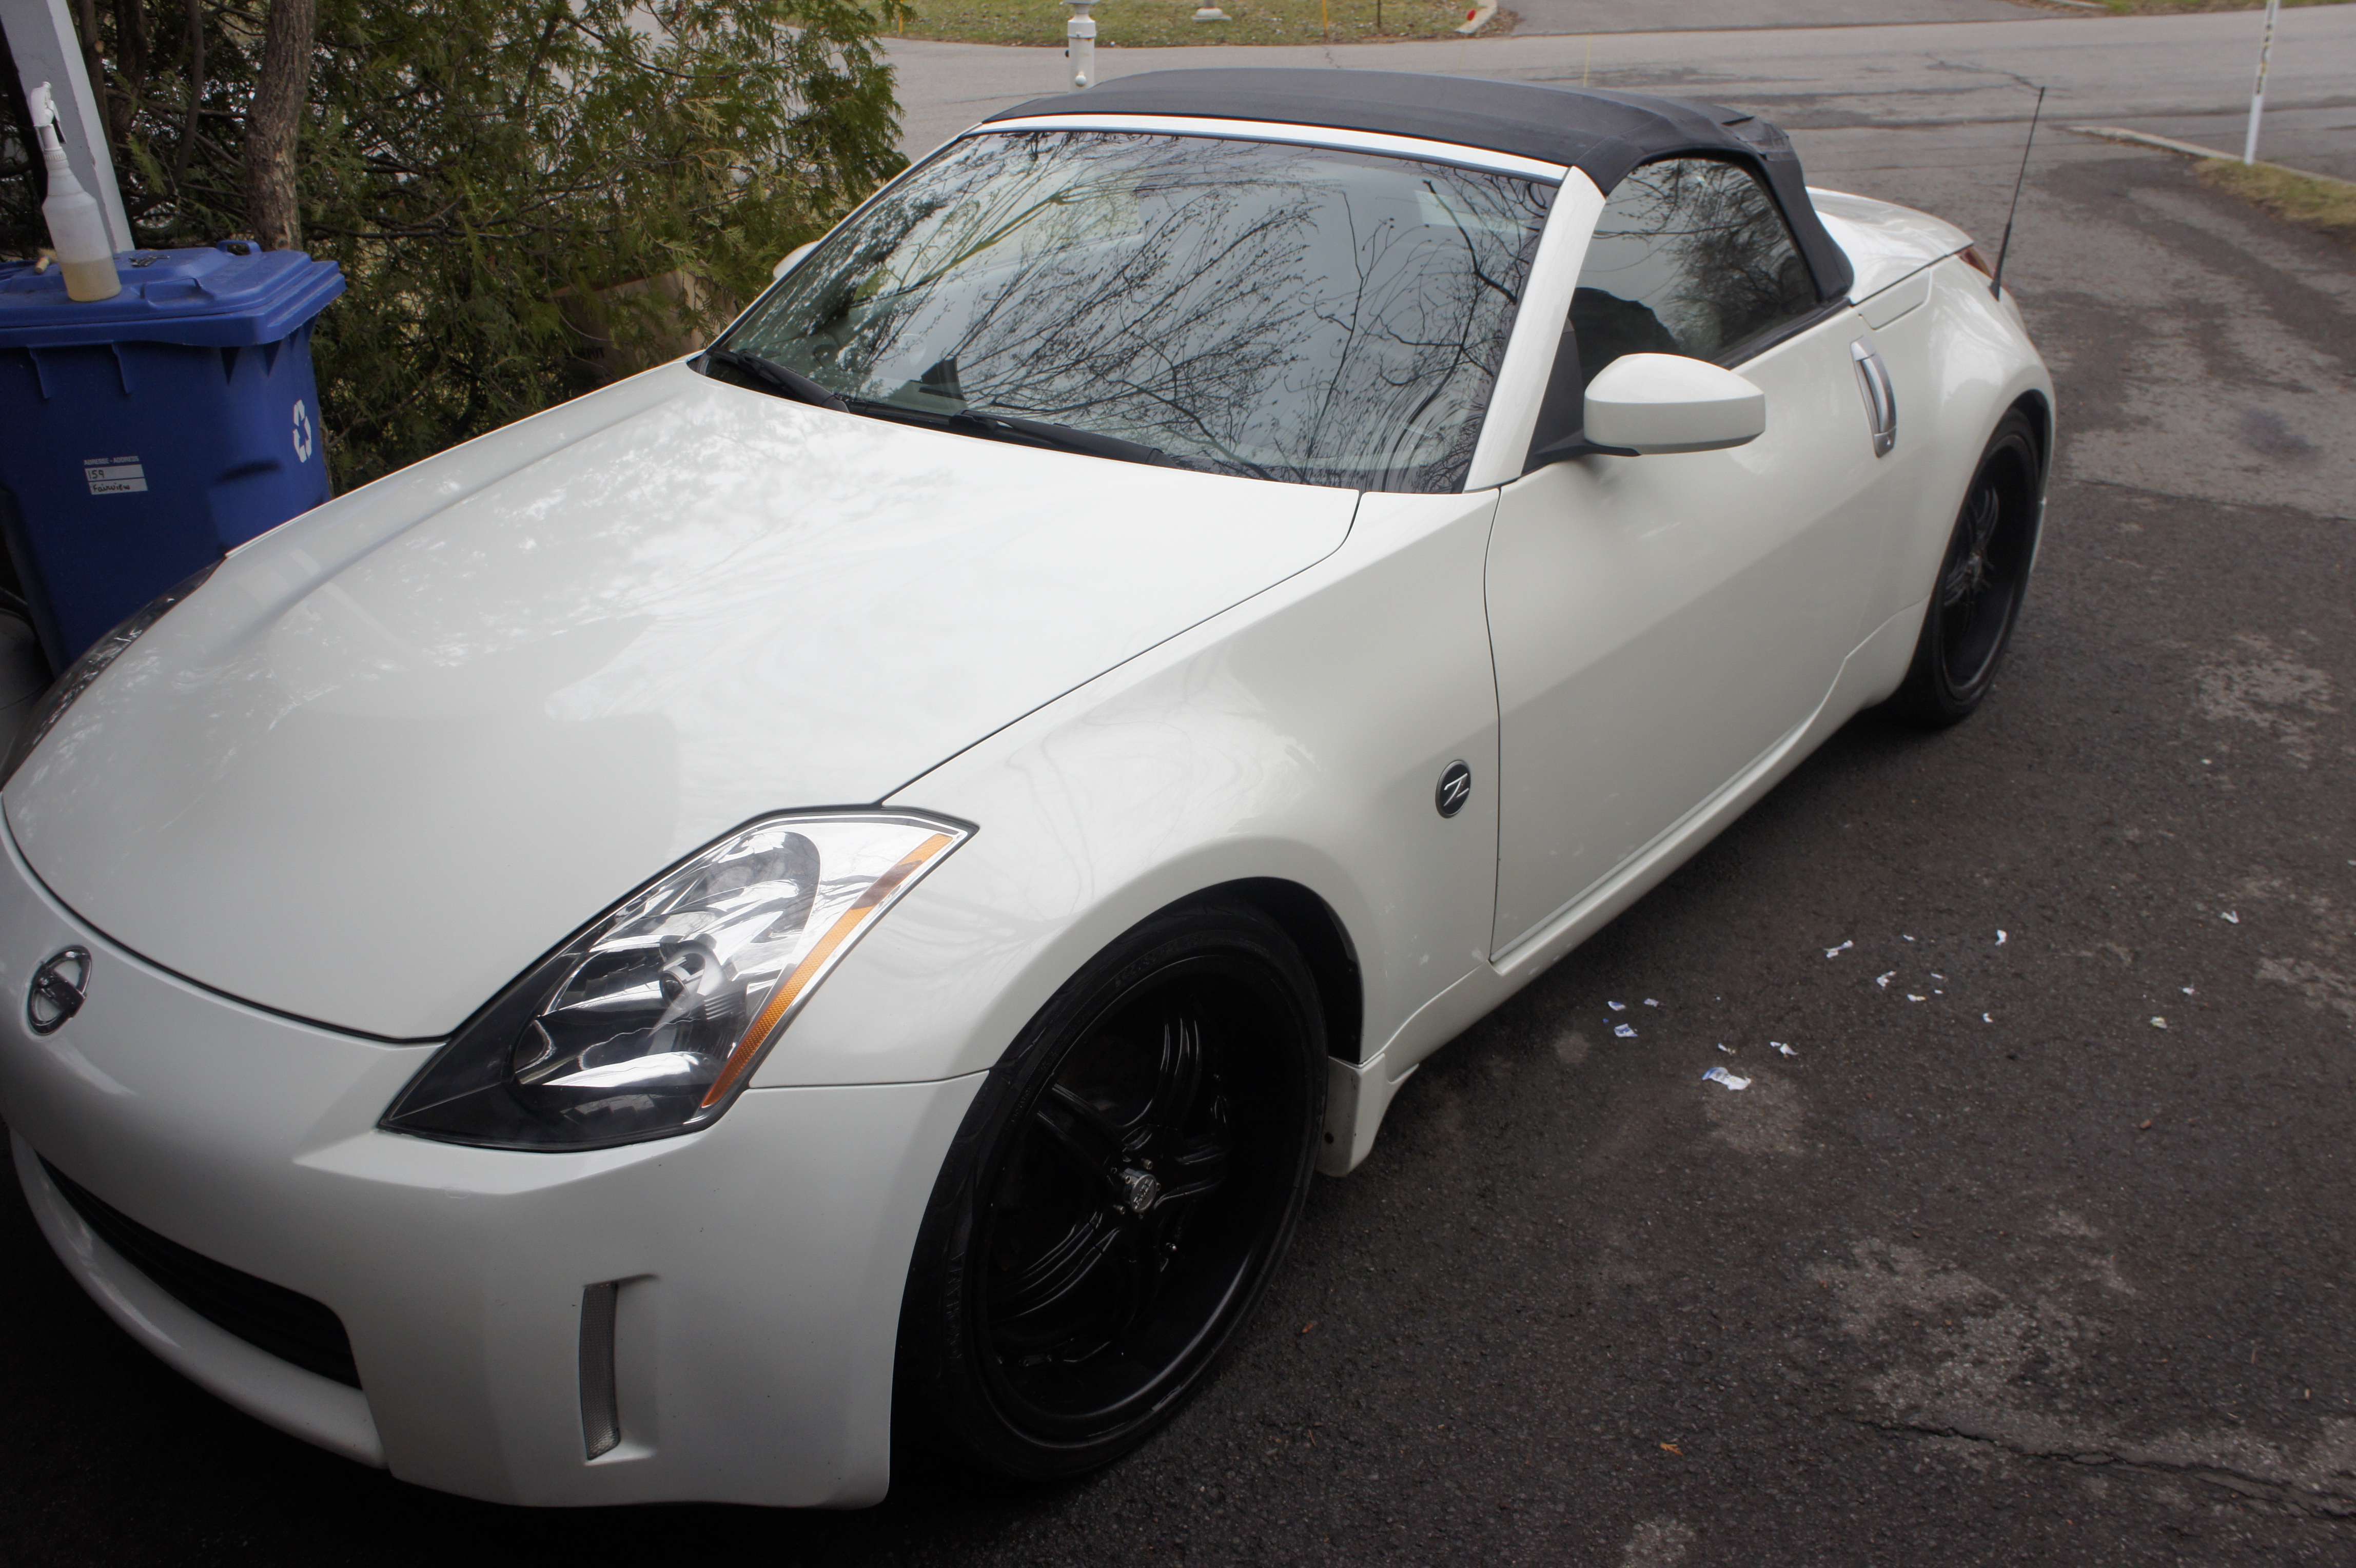
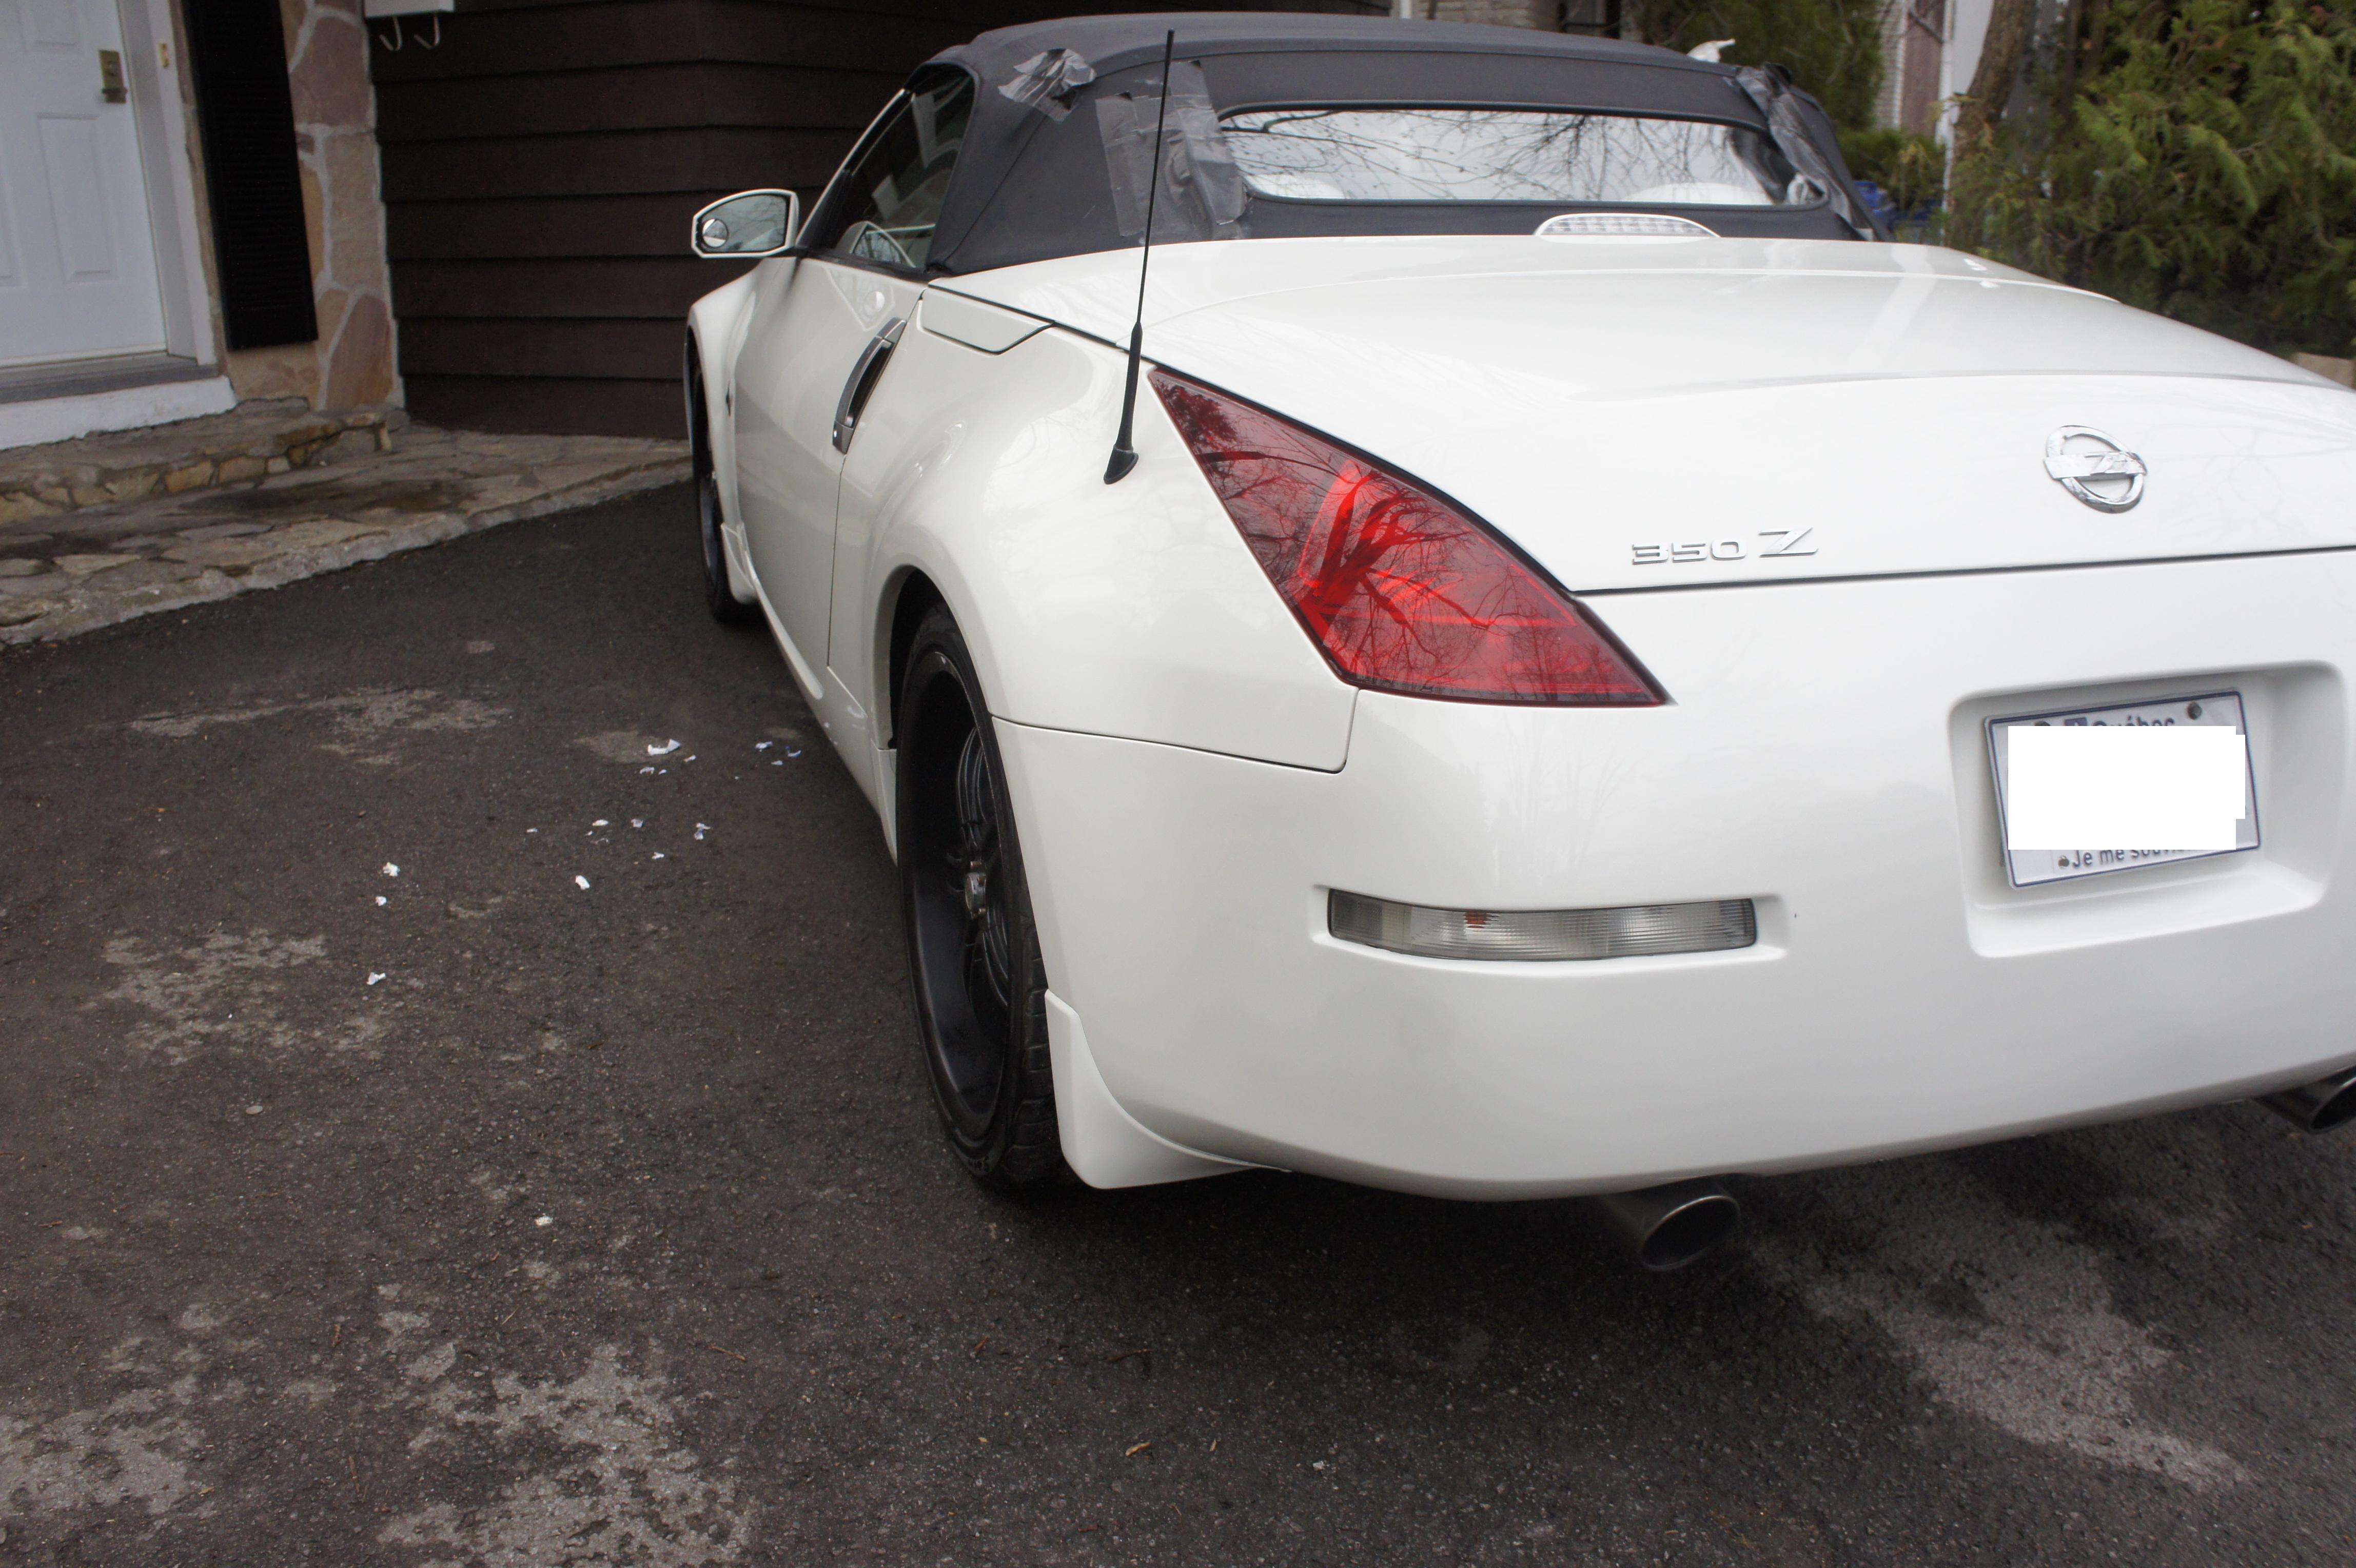
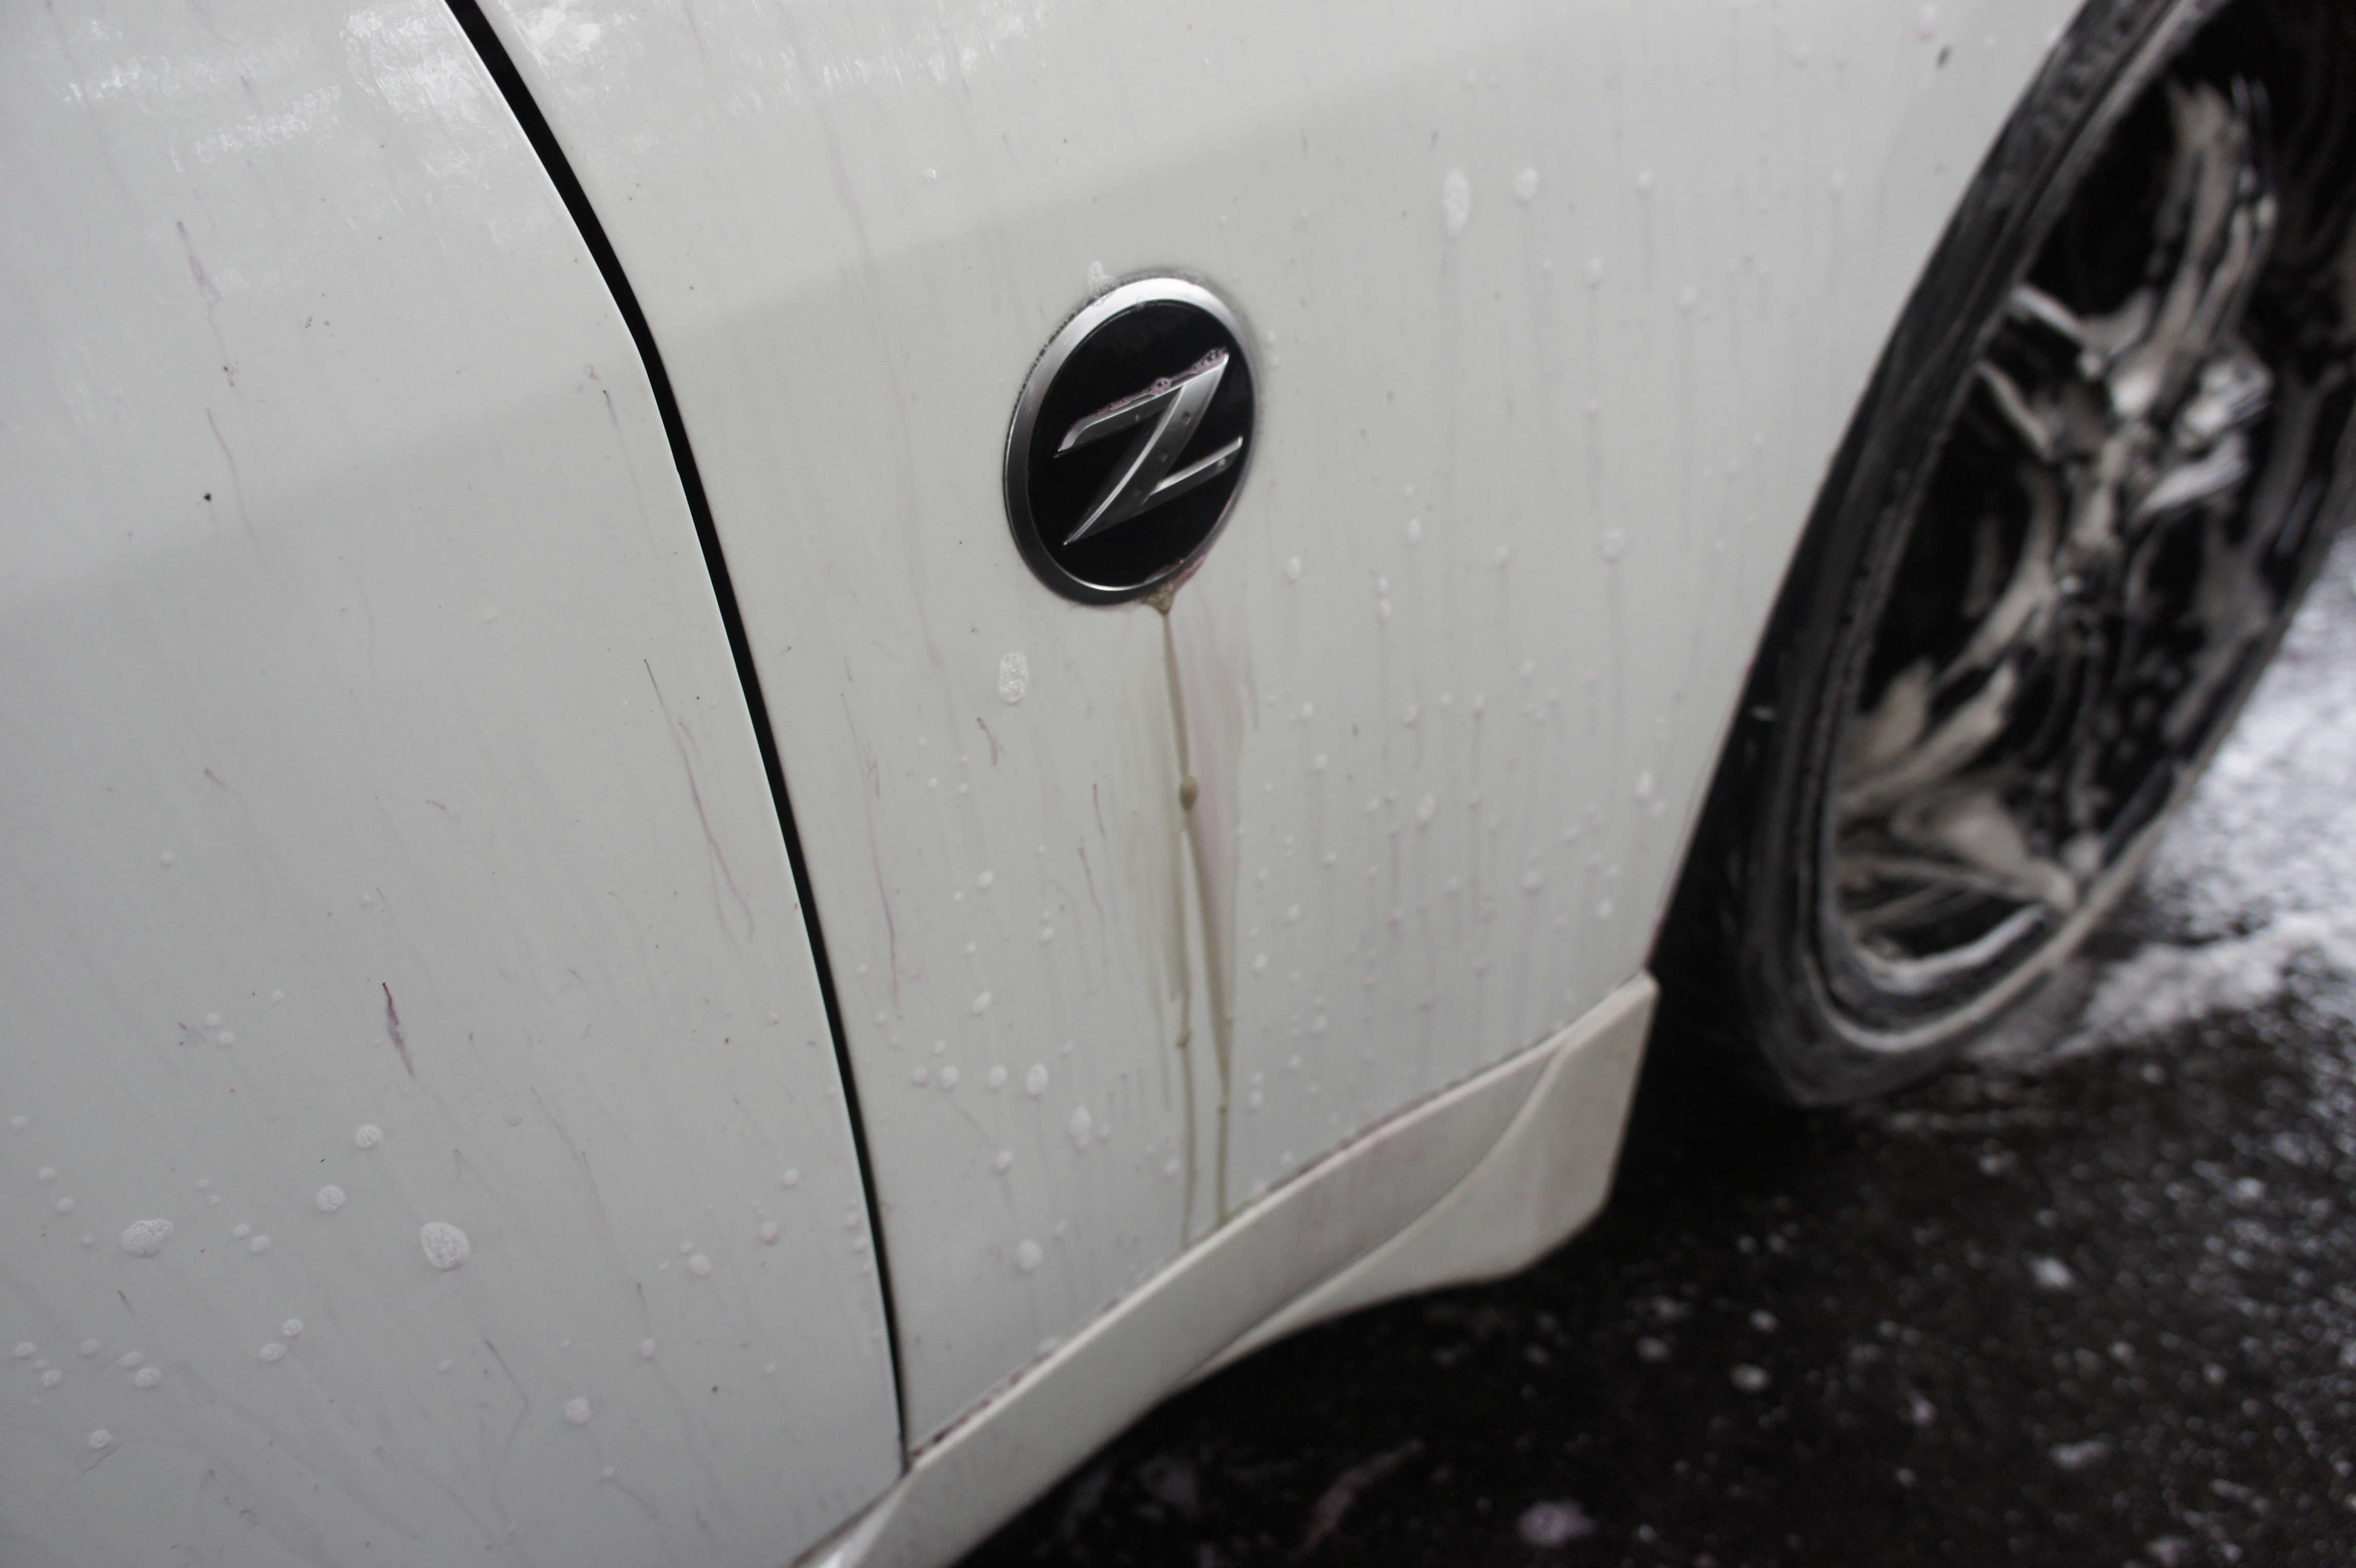
Voici une 350z que j’ai attaqu� la semaine pass�. J’ai pas l’habitude de dire �a car je ne veux pas insulter personne, mais l’int�rieur de cette voiture �tait un vrai cauchemar! Vous verrez pourquoi..
Pour l’int�rieur, j’ai opt� pour un wash/Paint cleaner ‘n wax.
� partir de maintenant, pour simplifier les choses, j’appelerais �a le Deluxe 2-bucket washing technique :
1) Je rinse la voiture
2) Ensuite, je mousse la voiture avec une solution concentr� pour nettoyer plus intensivement :
3- Ensuite, je laisse la mousse faire son travail et je remplis mes 2x 5 gallons avec les 4 grit guards pour garder le plus de poussi�re dans le fond.
J’ai plusieurs savons, donc n’importe quel savon pour auto, en particulier, peut faire le travail, mais j’aime bien le Wolfgang shampoo.
4- Je rince encore.
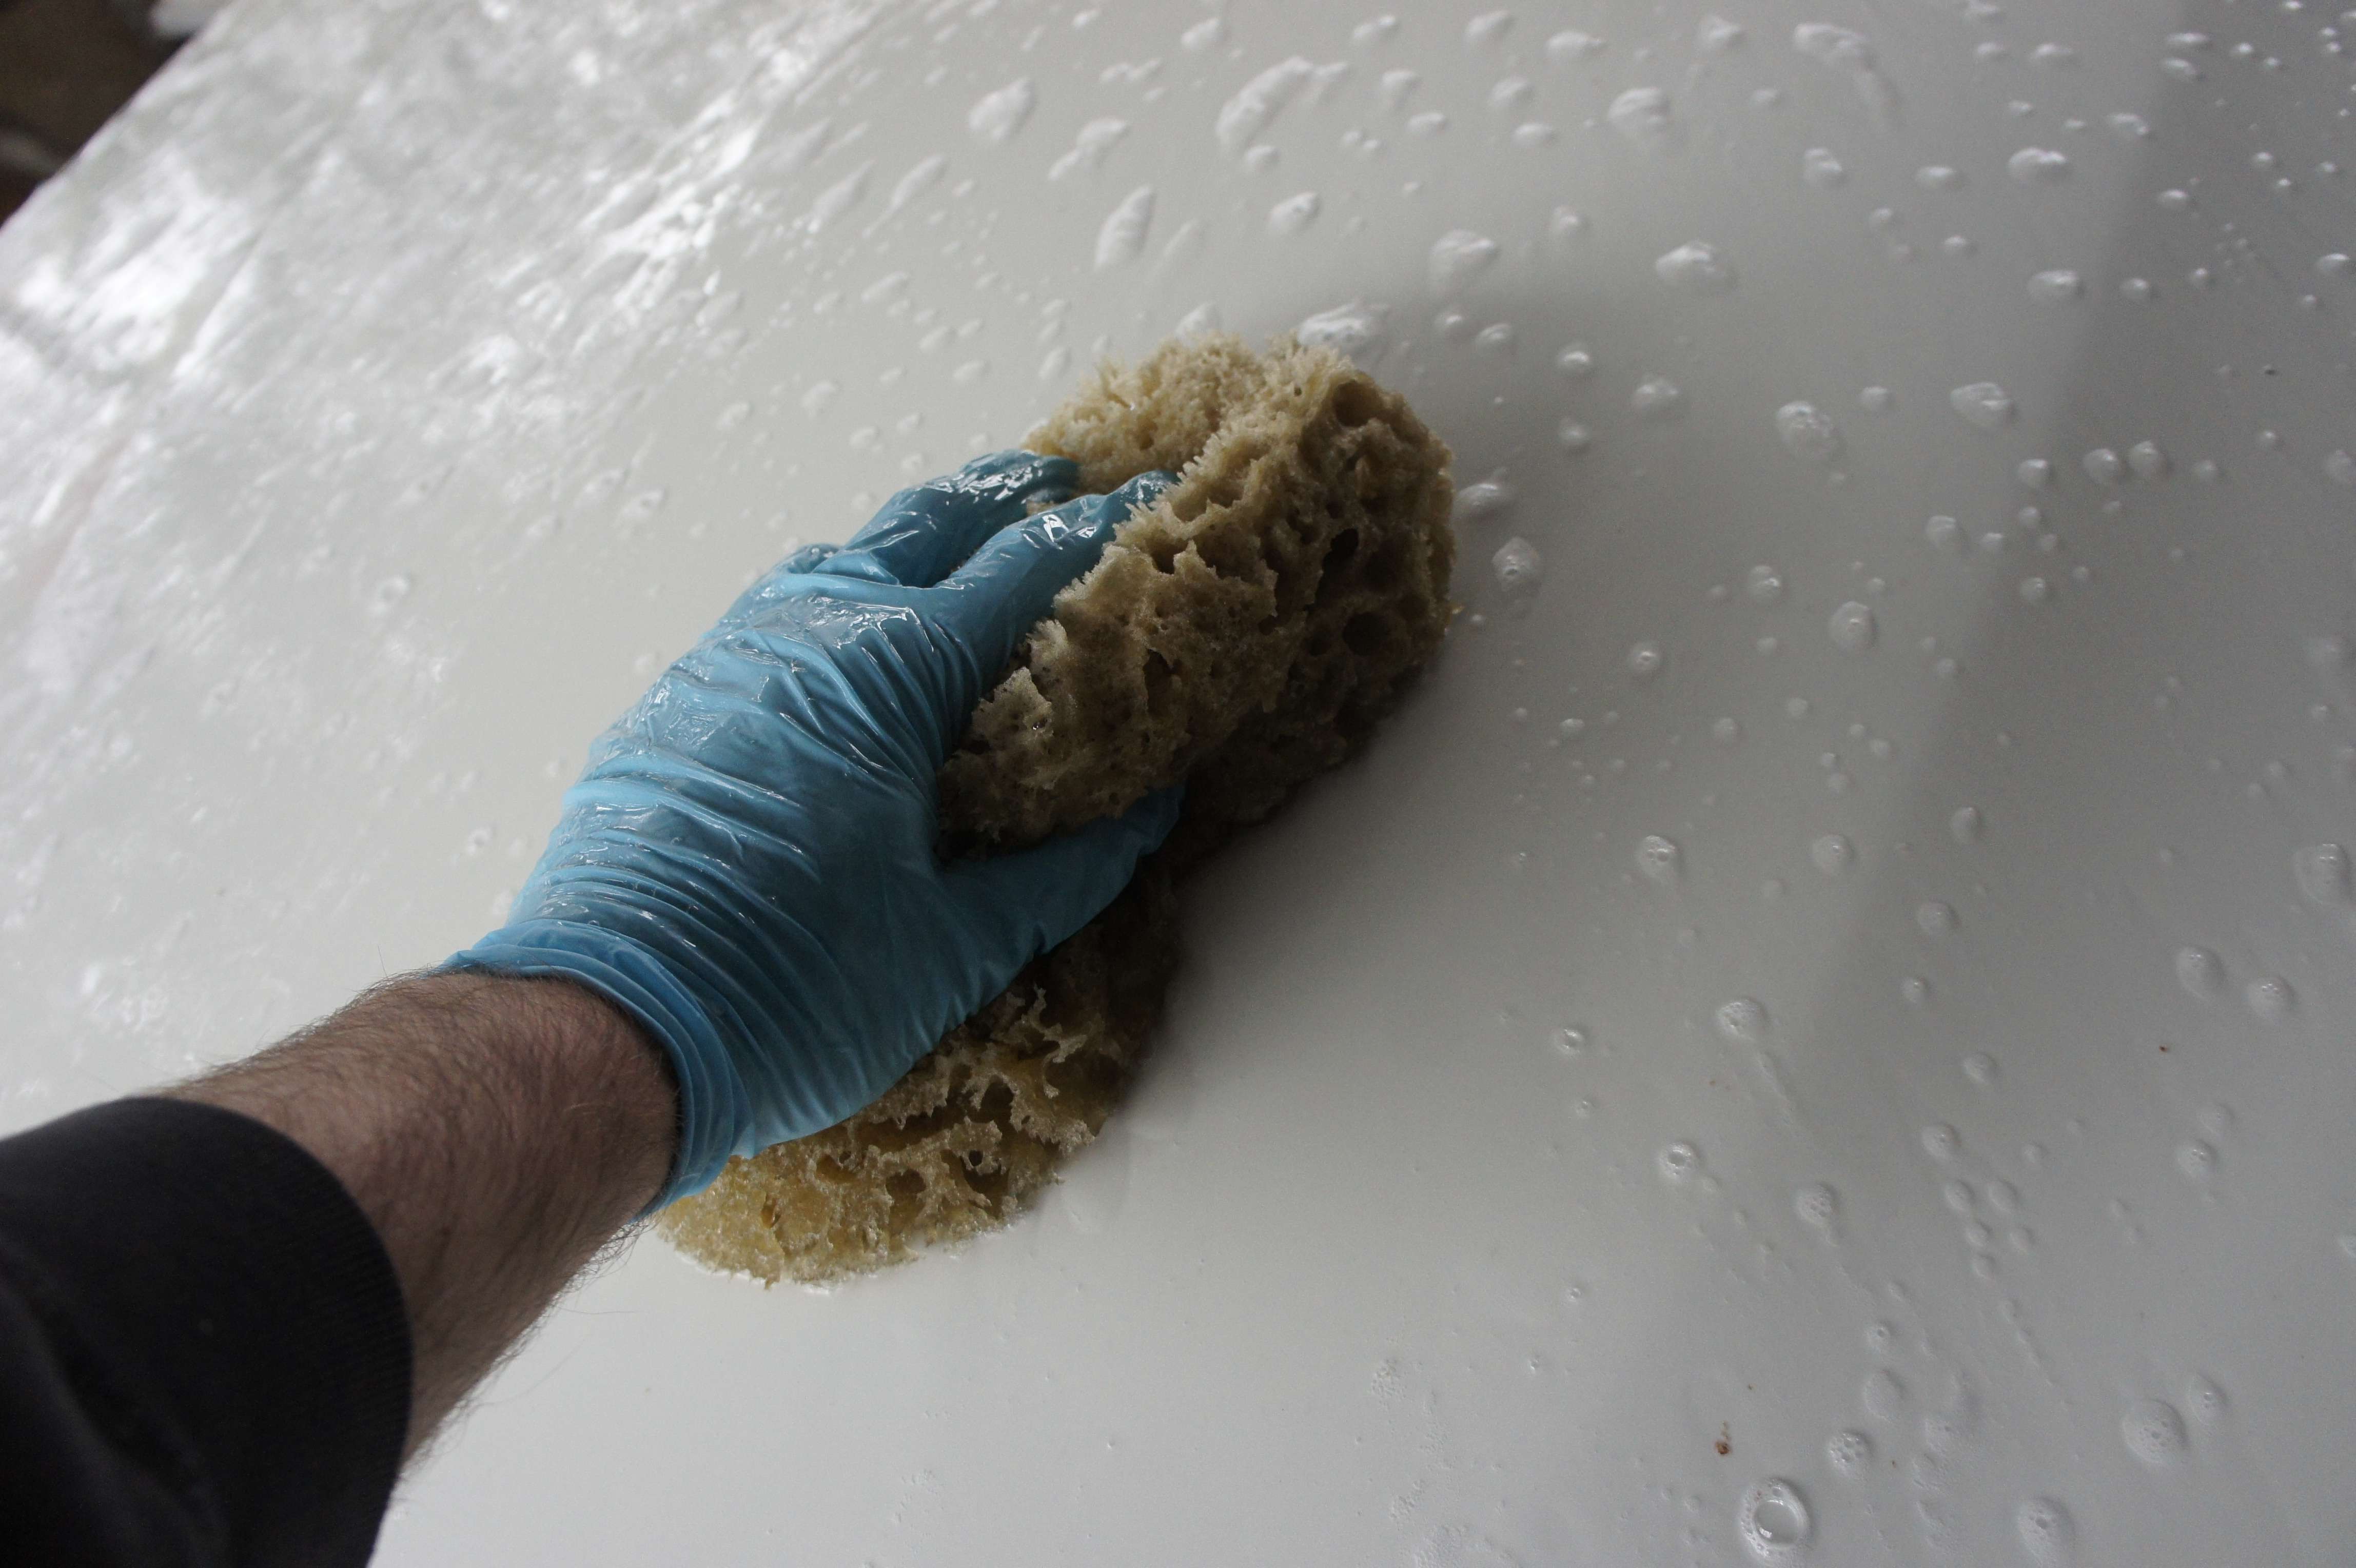
5- Je lave la voiture avec une �ponge de mer naturel :
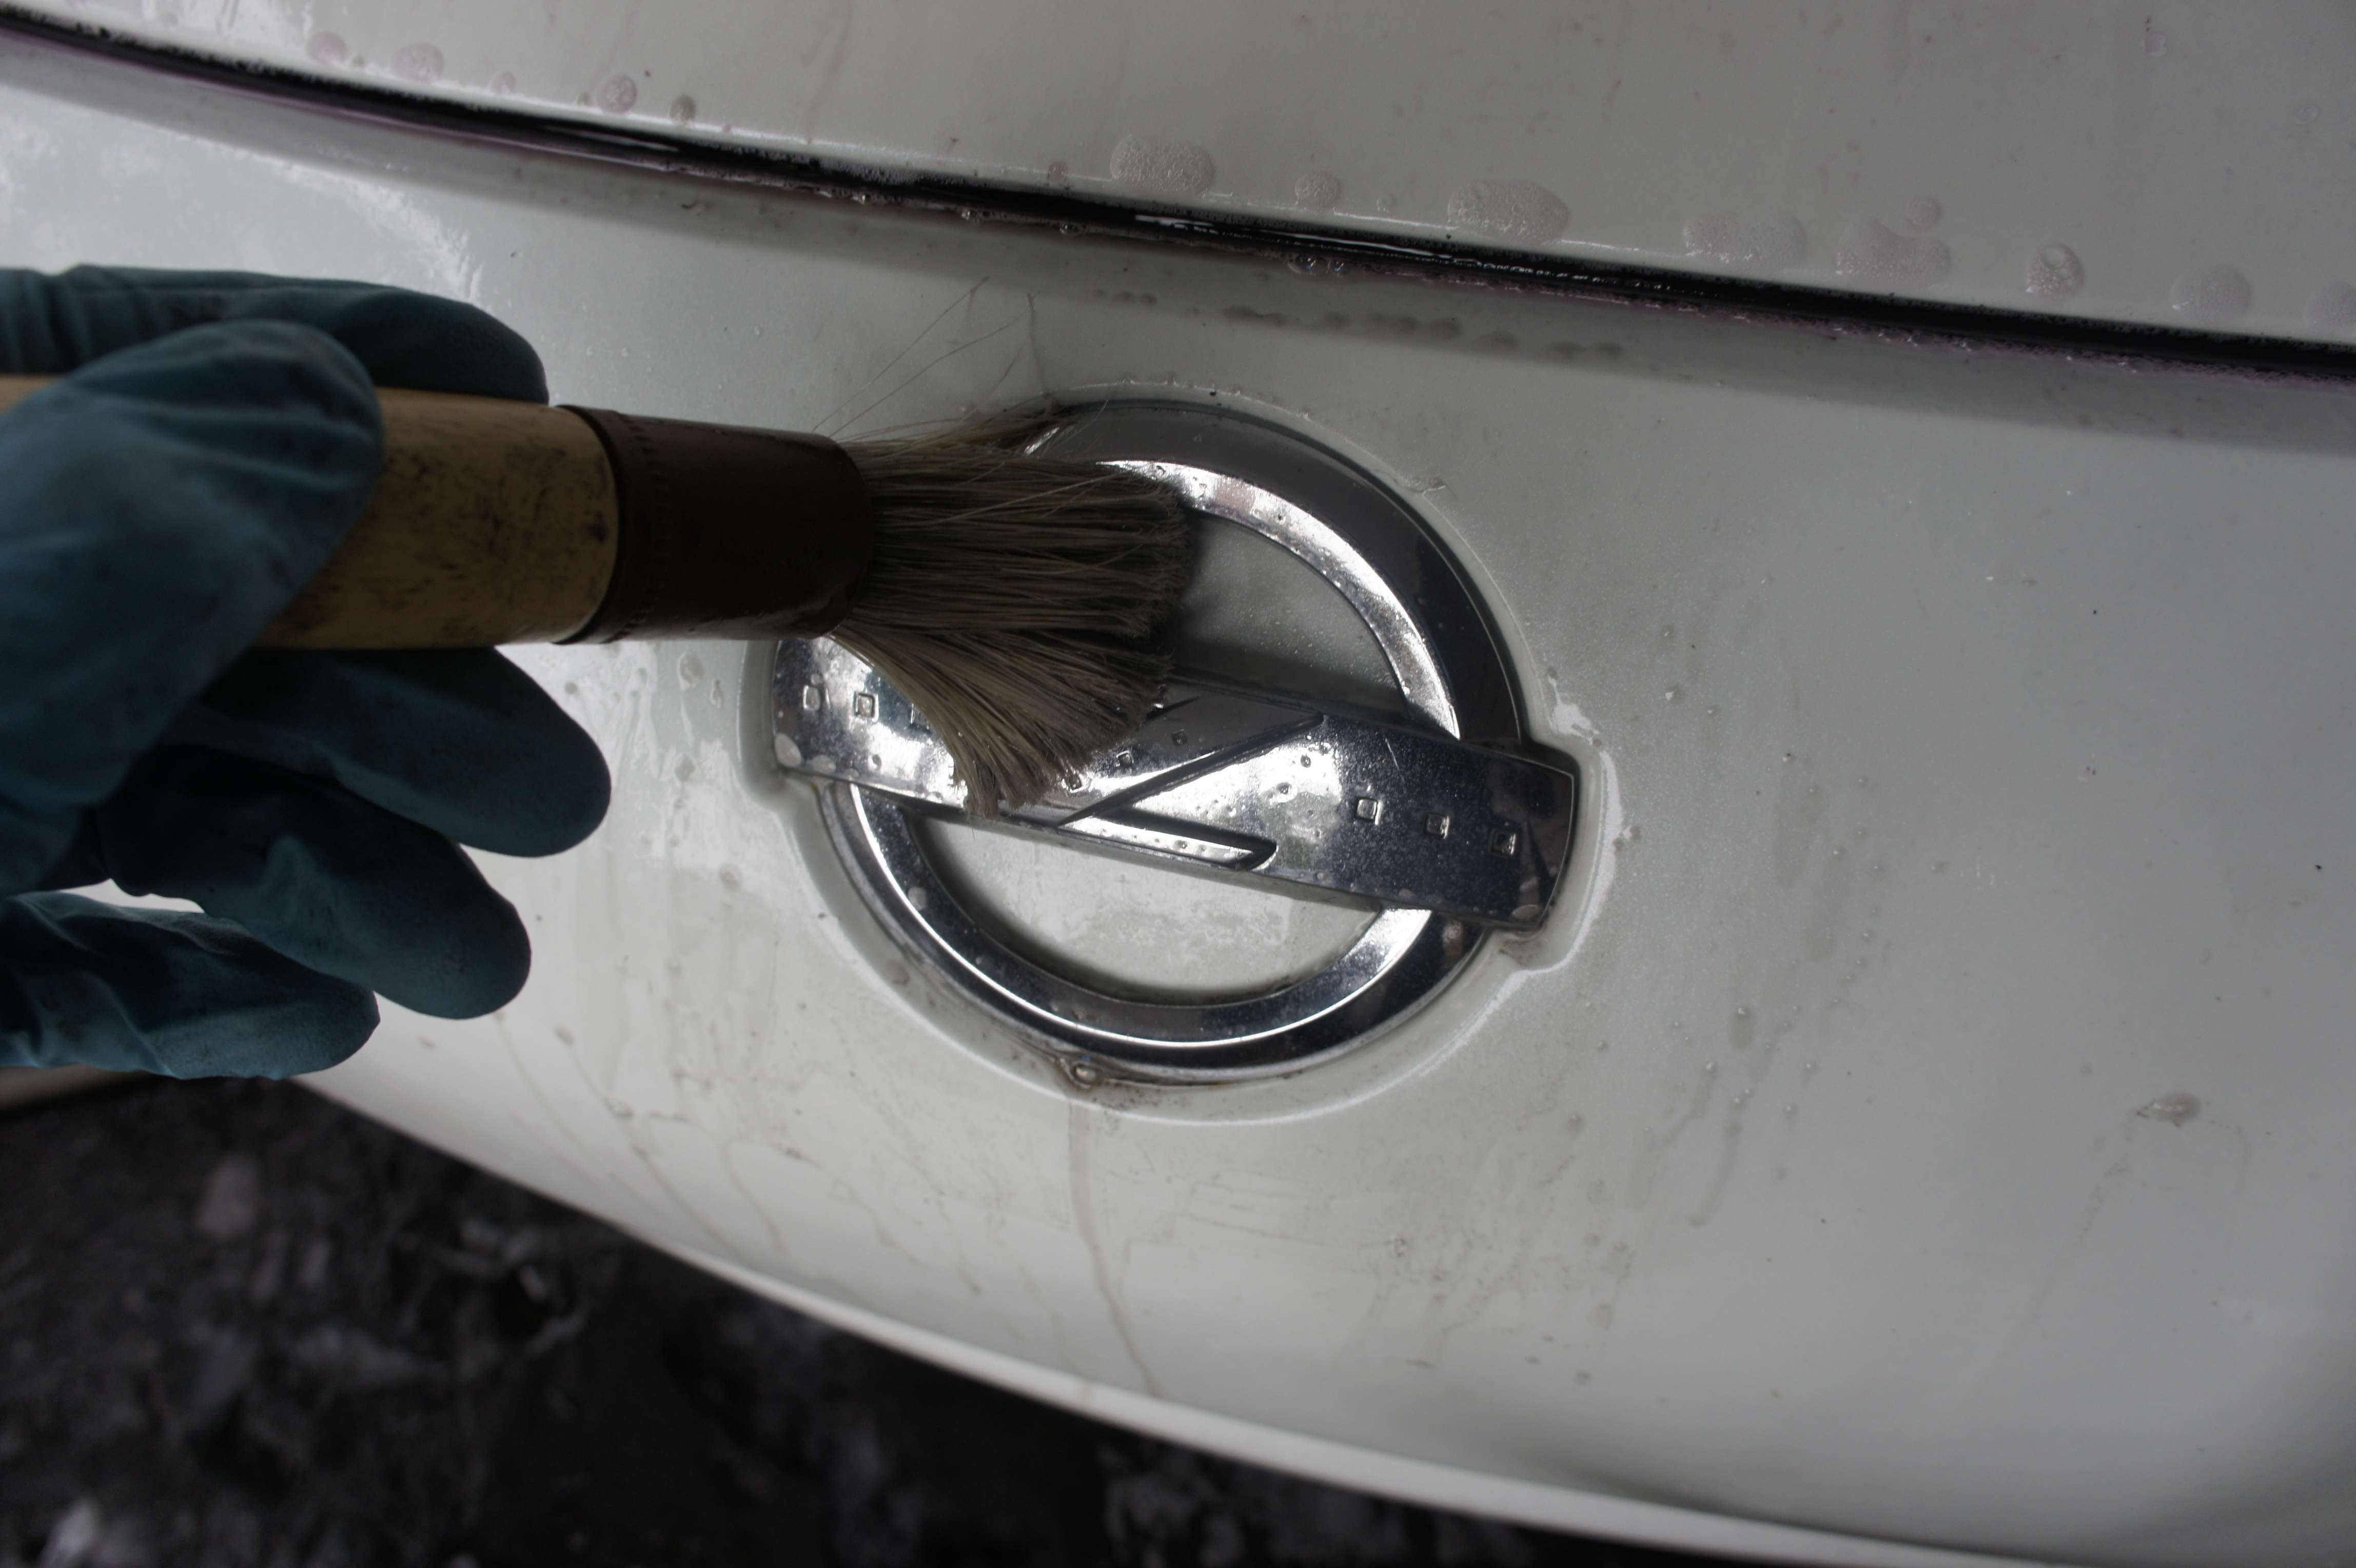
6- Je nettoie les trims avec un APC et une brosse :
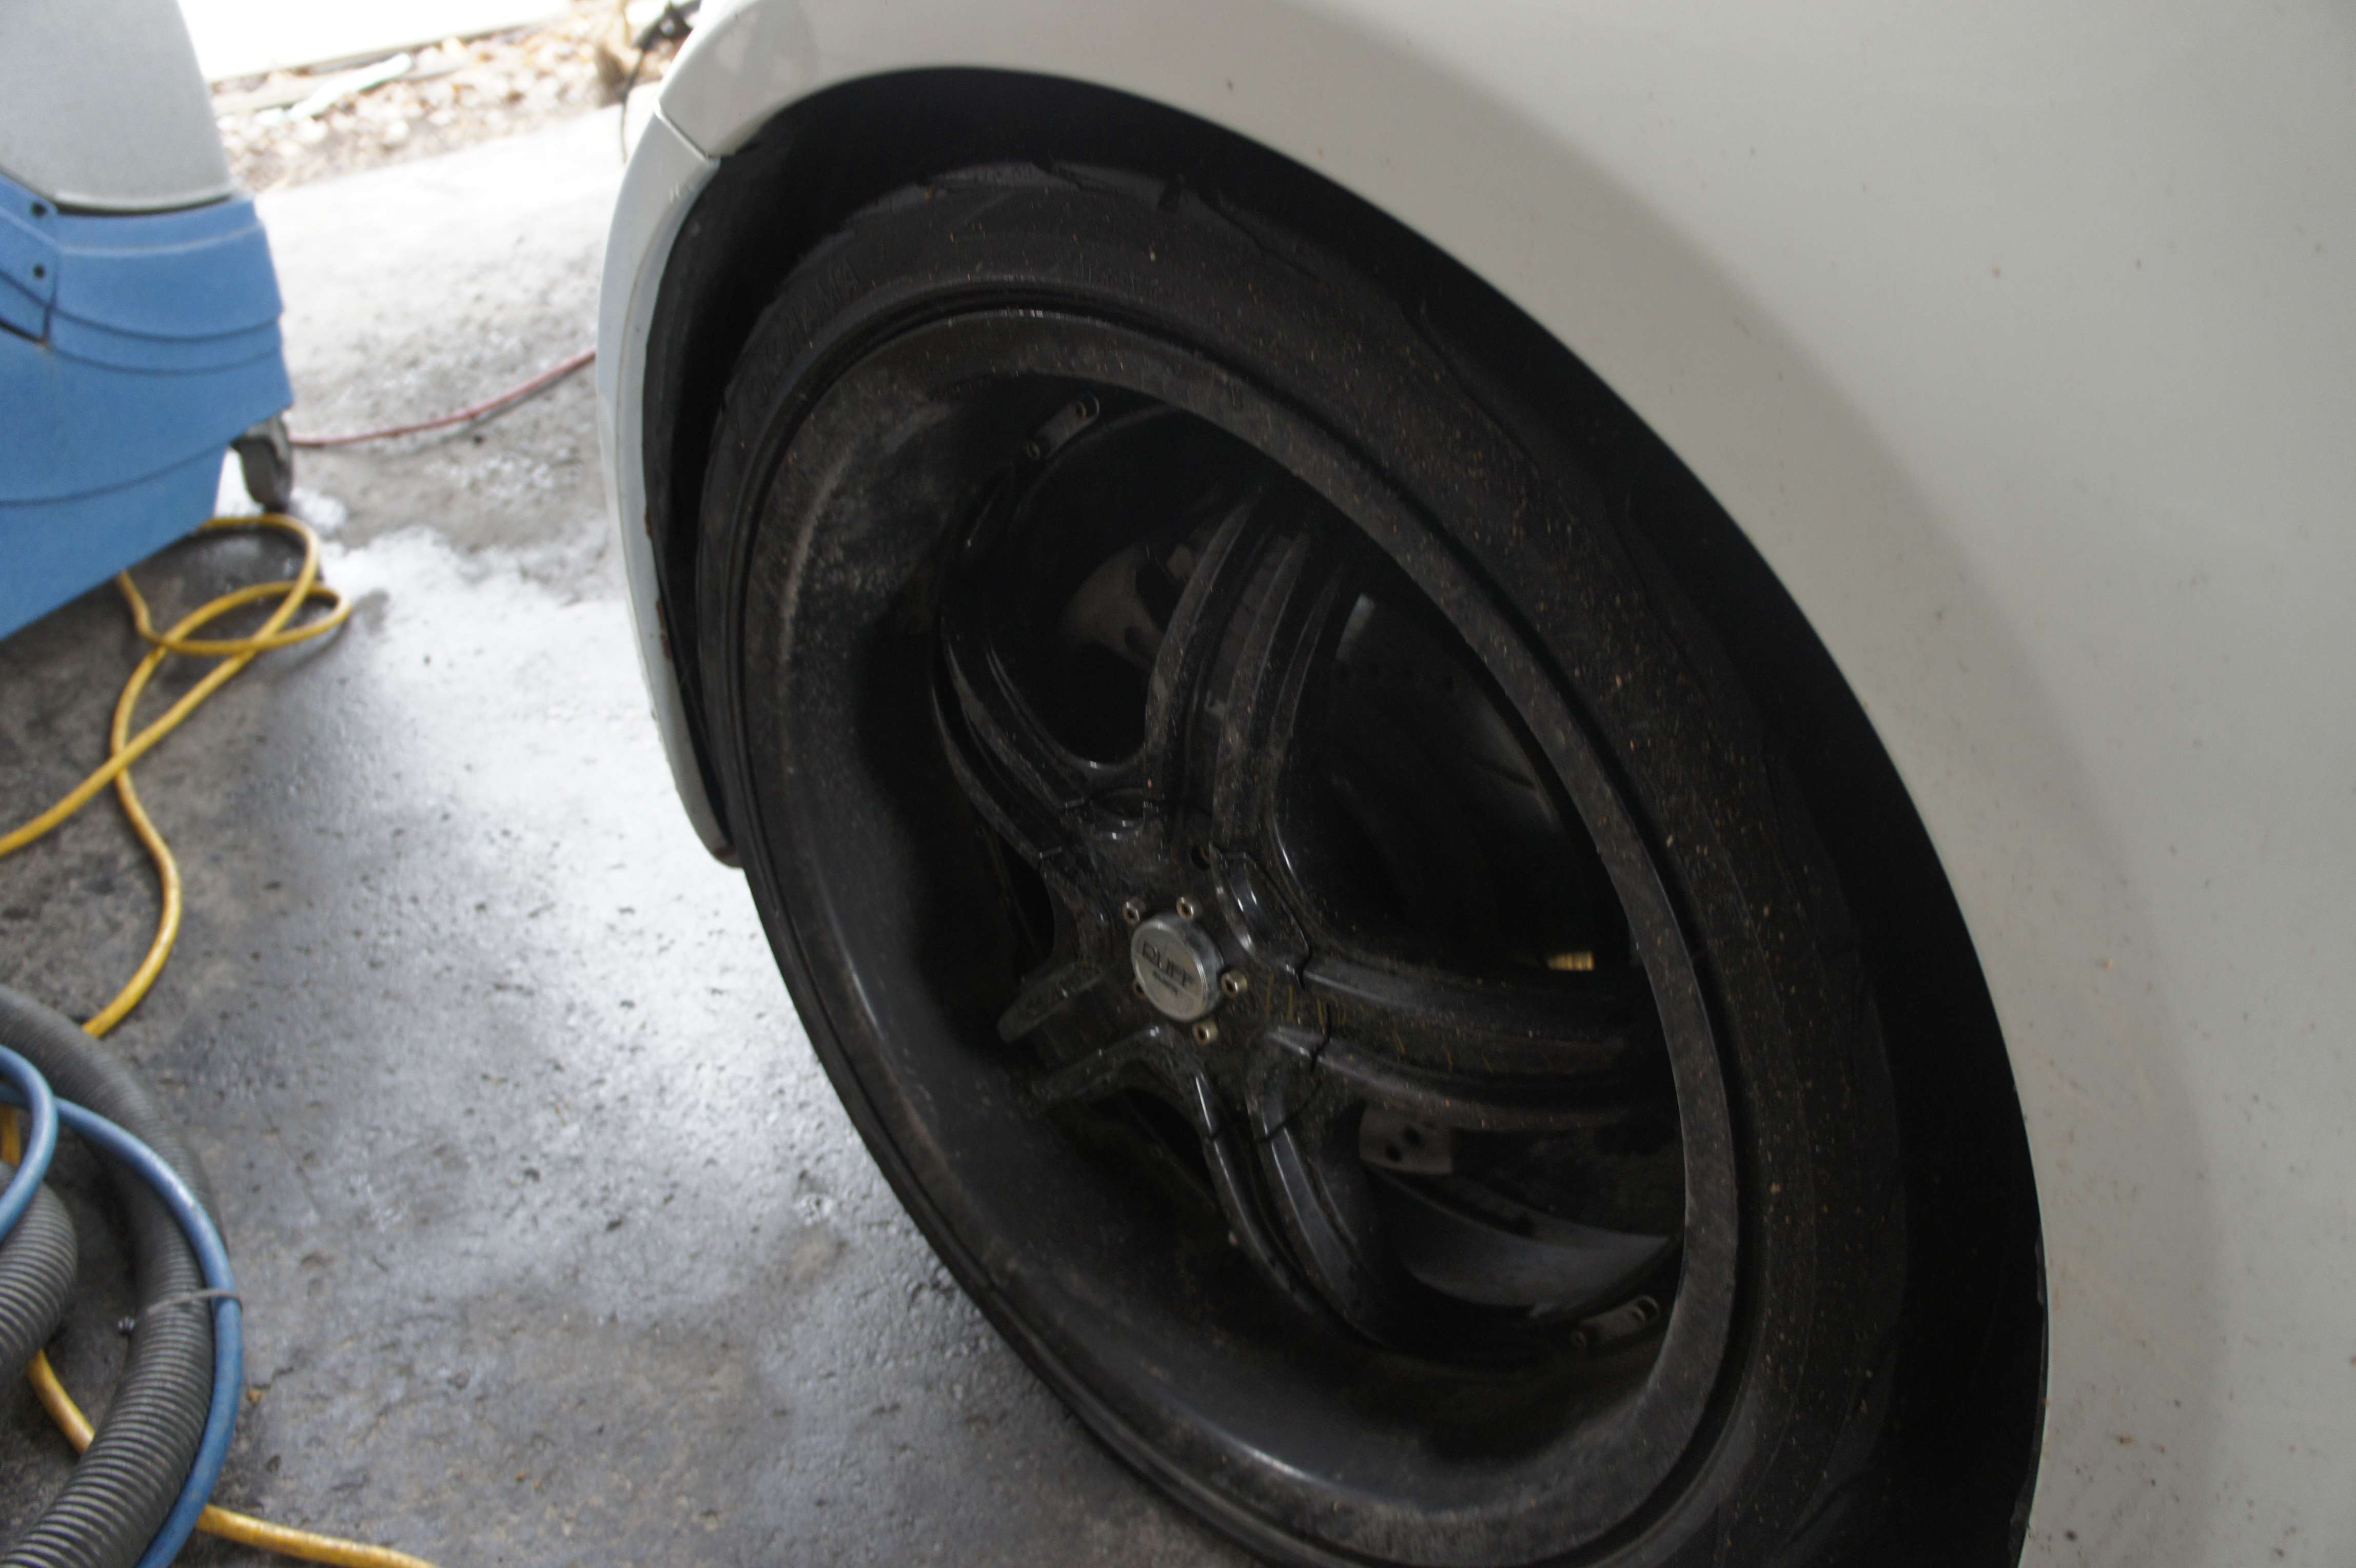
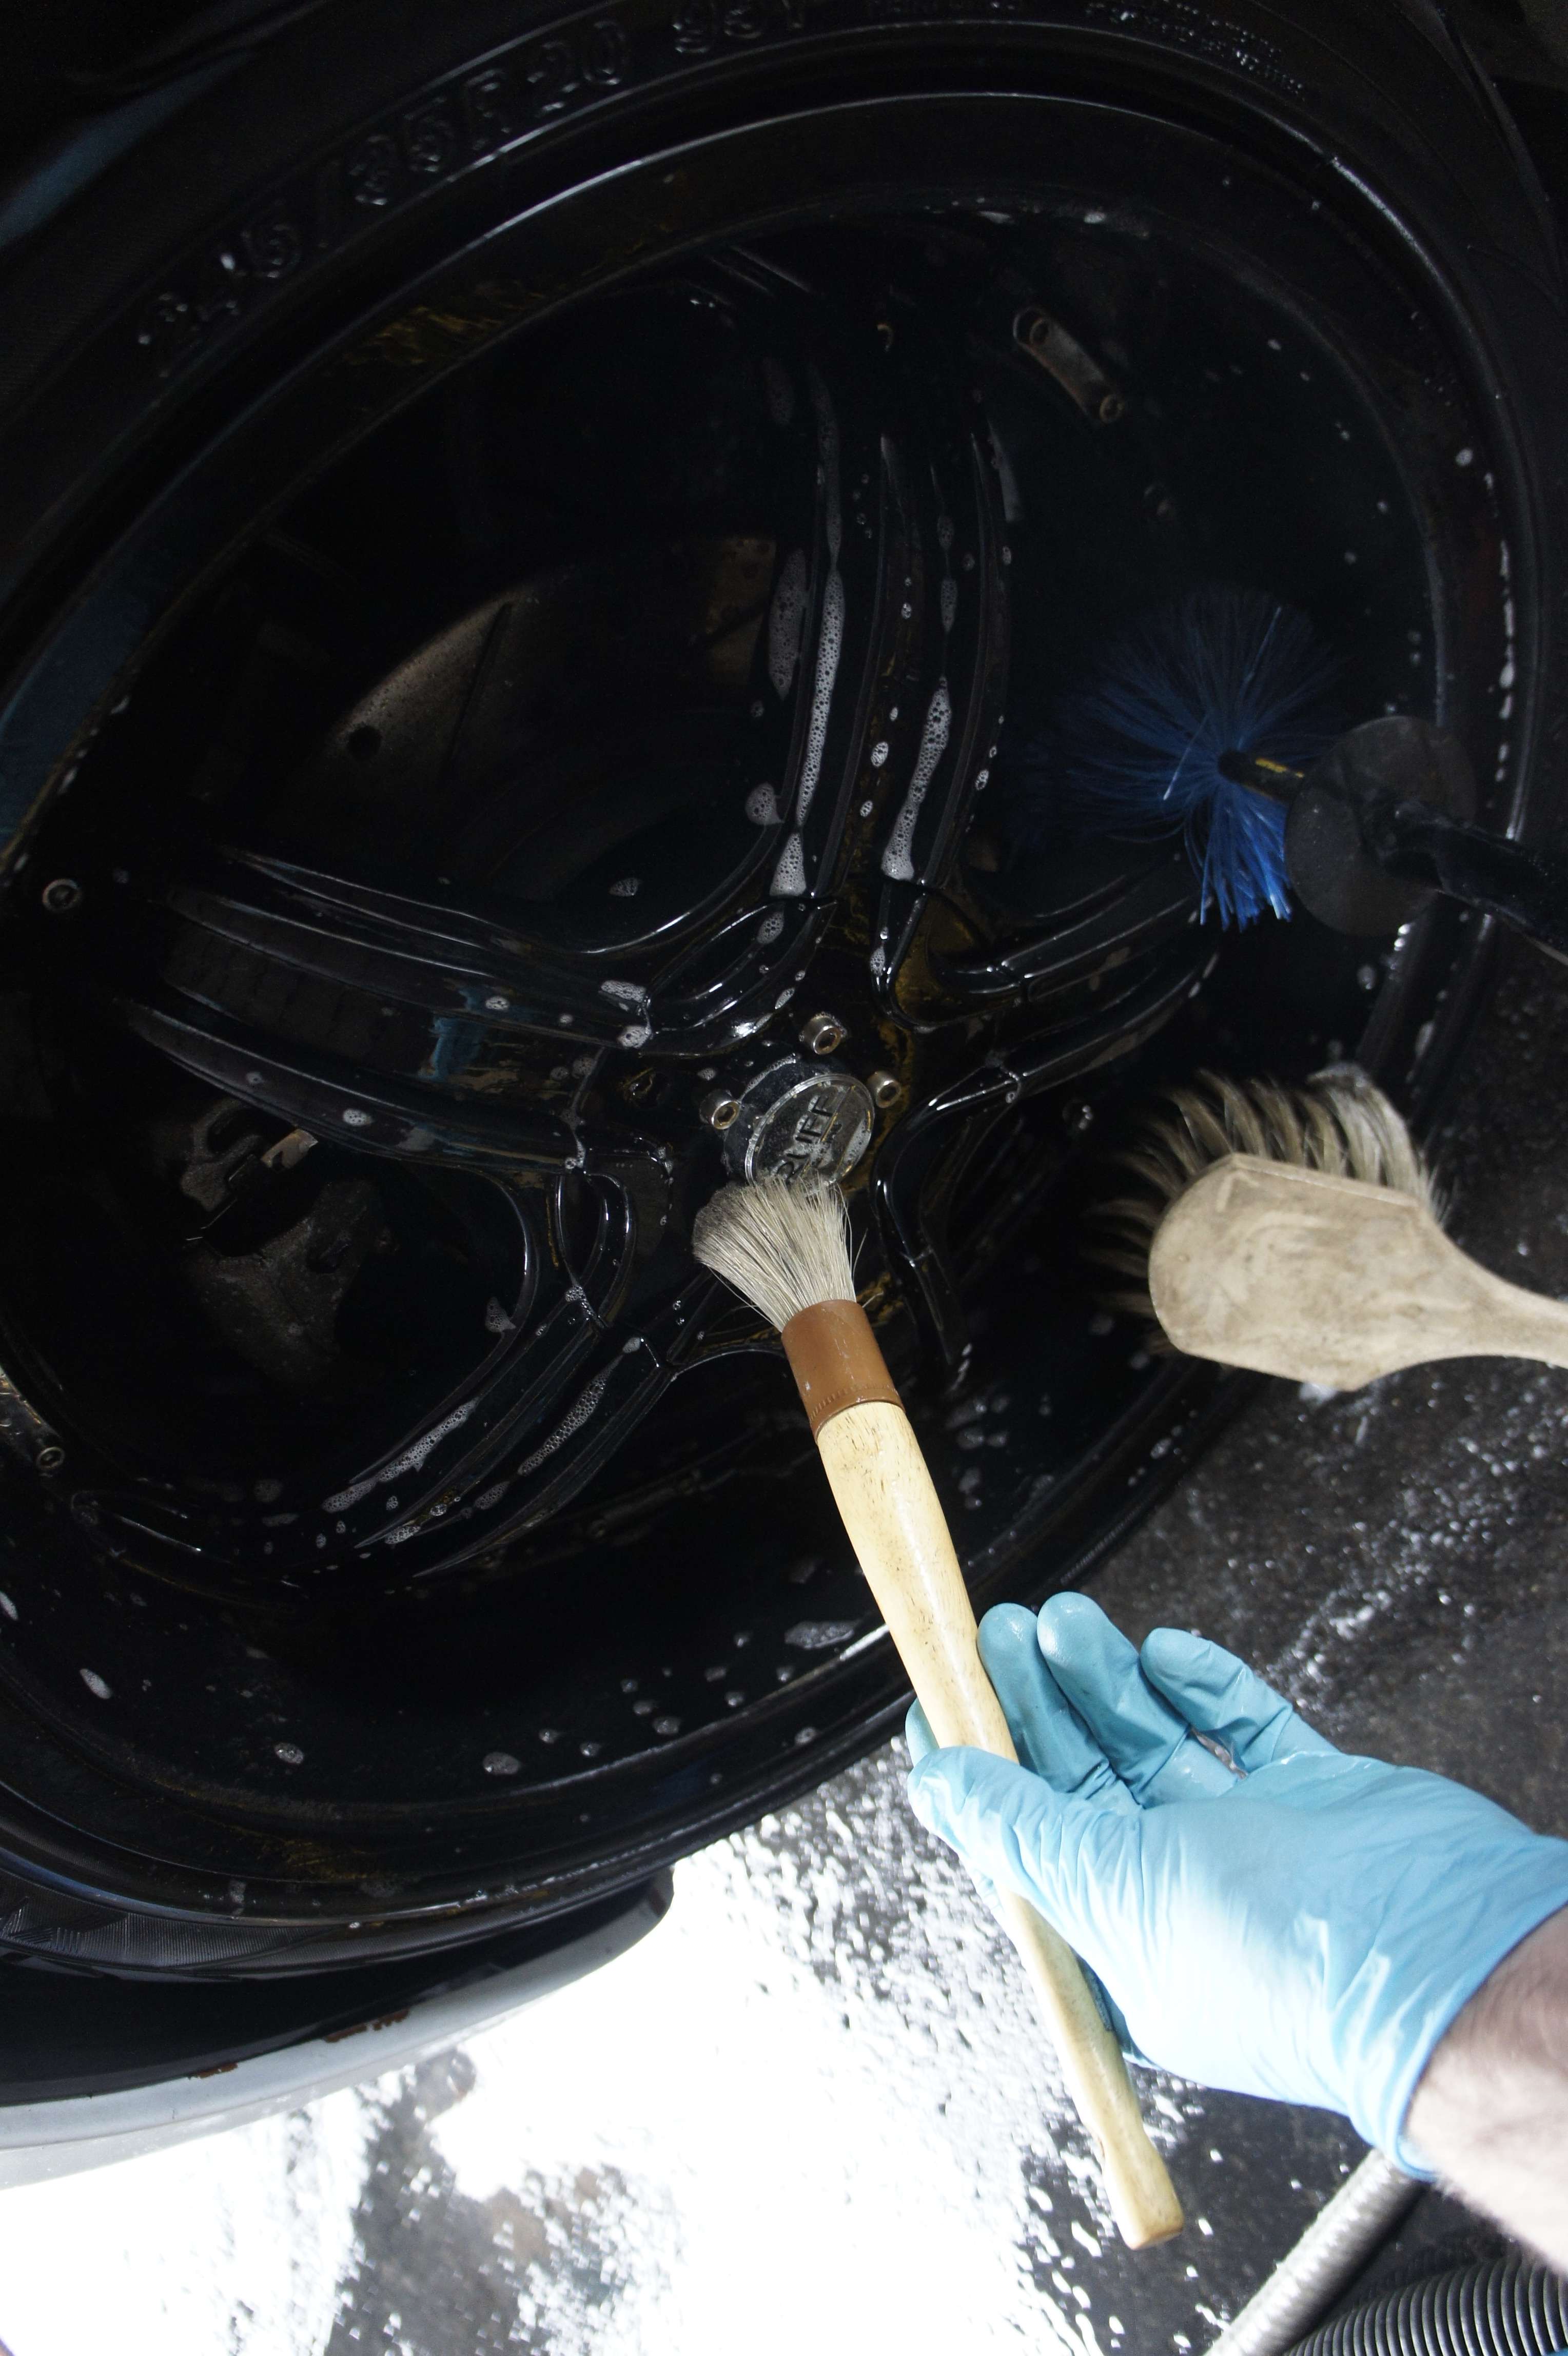
7- Pour les roues, j’utilise une brosse boar hair, une ez-brush et une autre brosse boar hair pour les lug nut, comme savon j’utilise le Sonax Wheel cleaner
8- On rinse
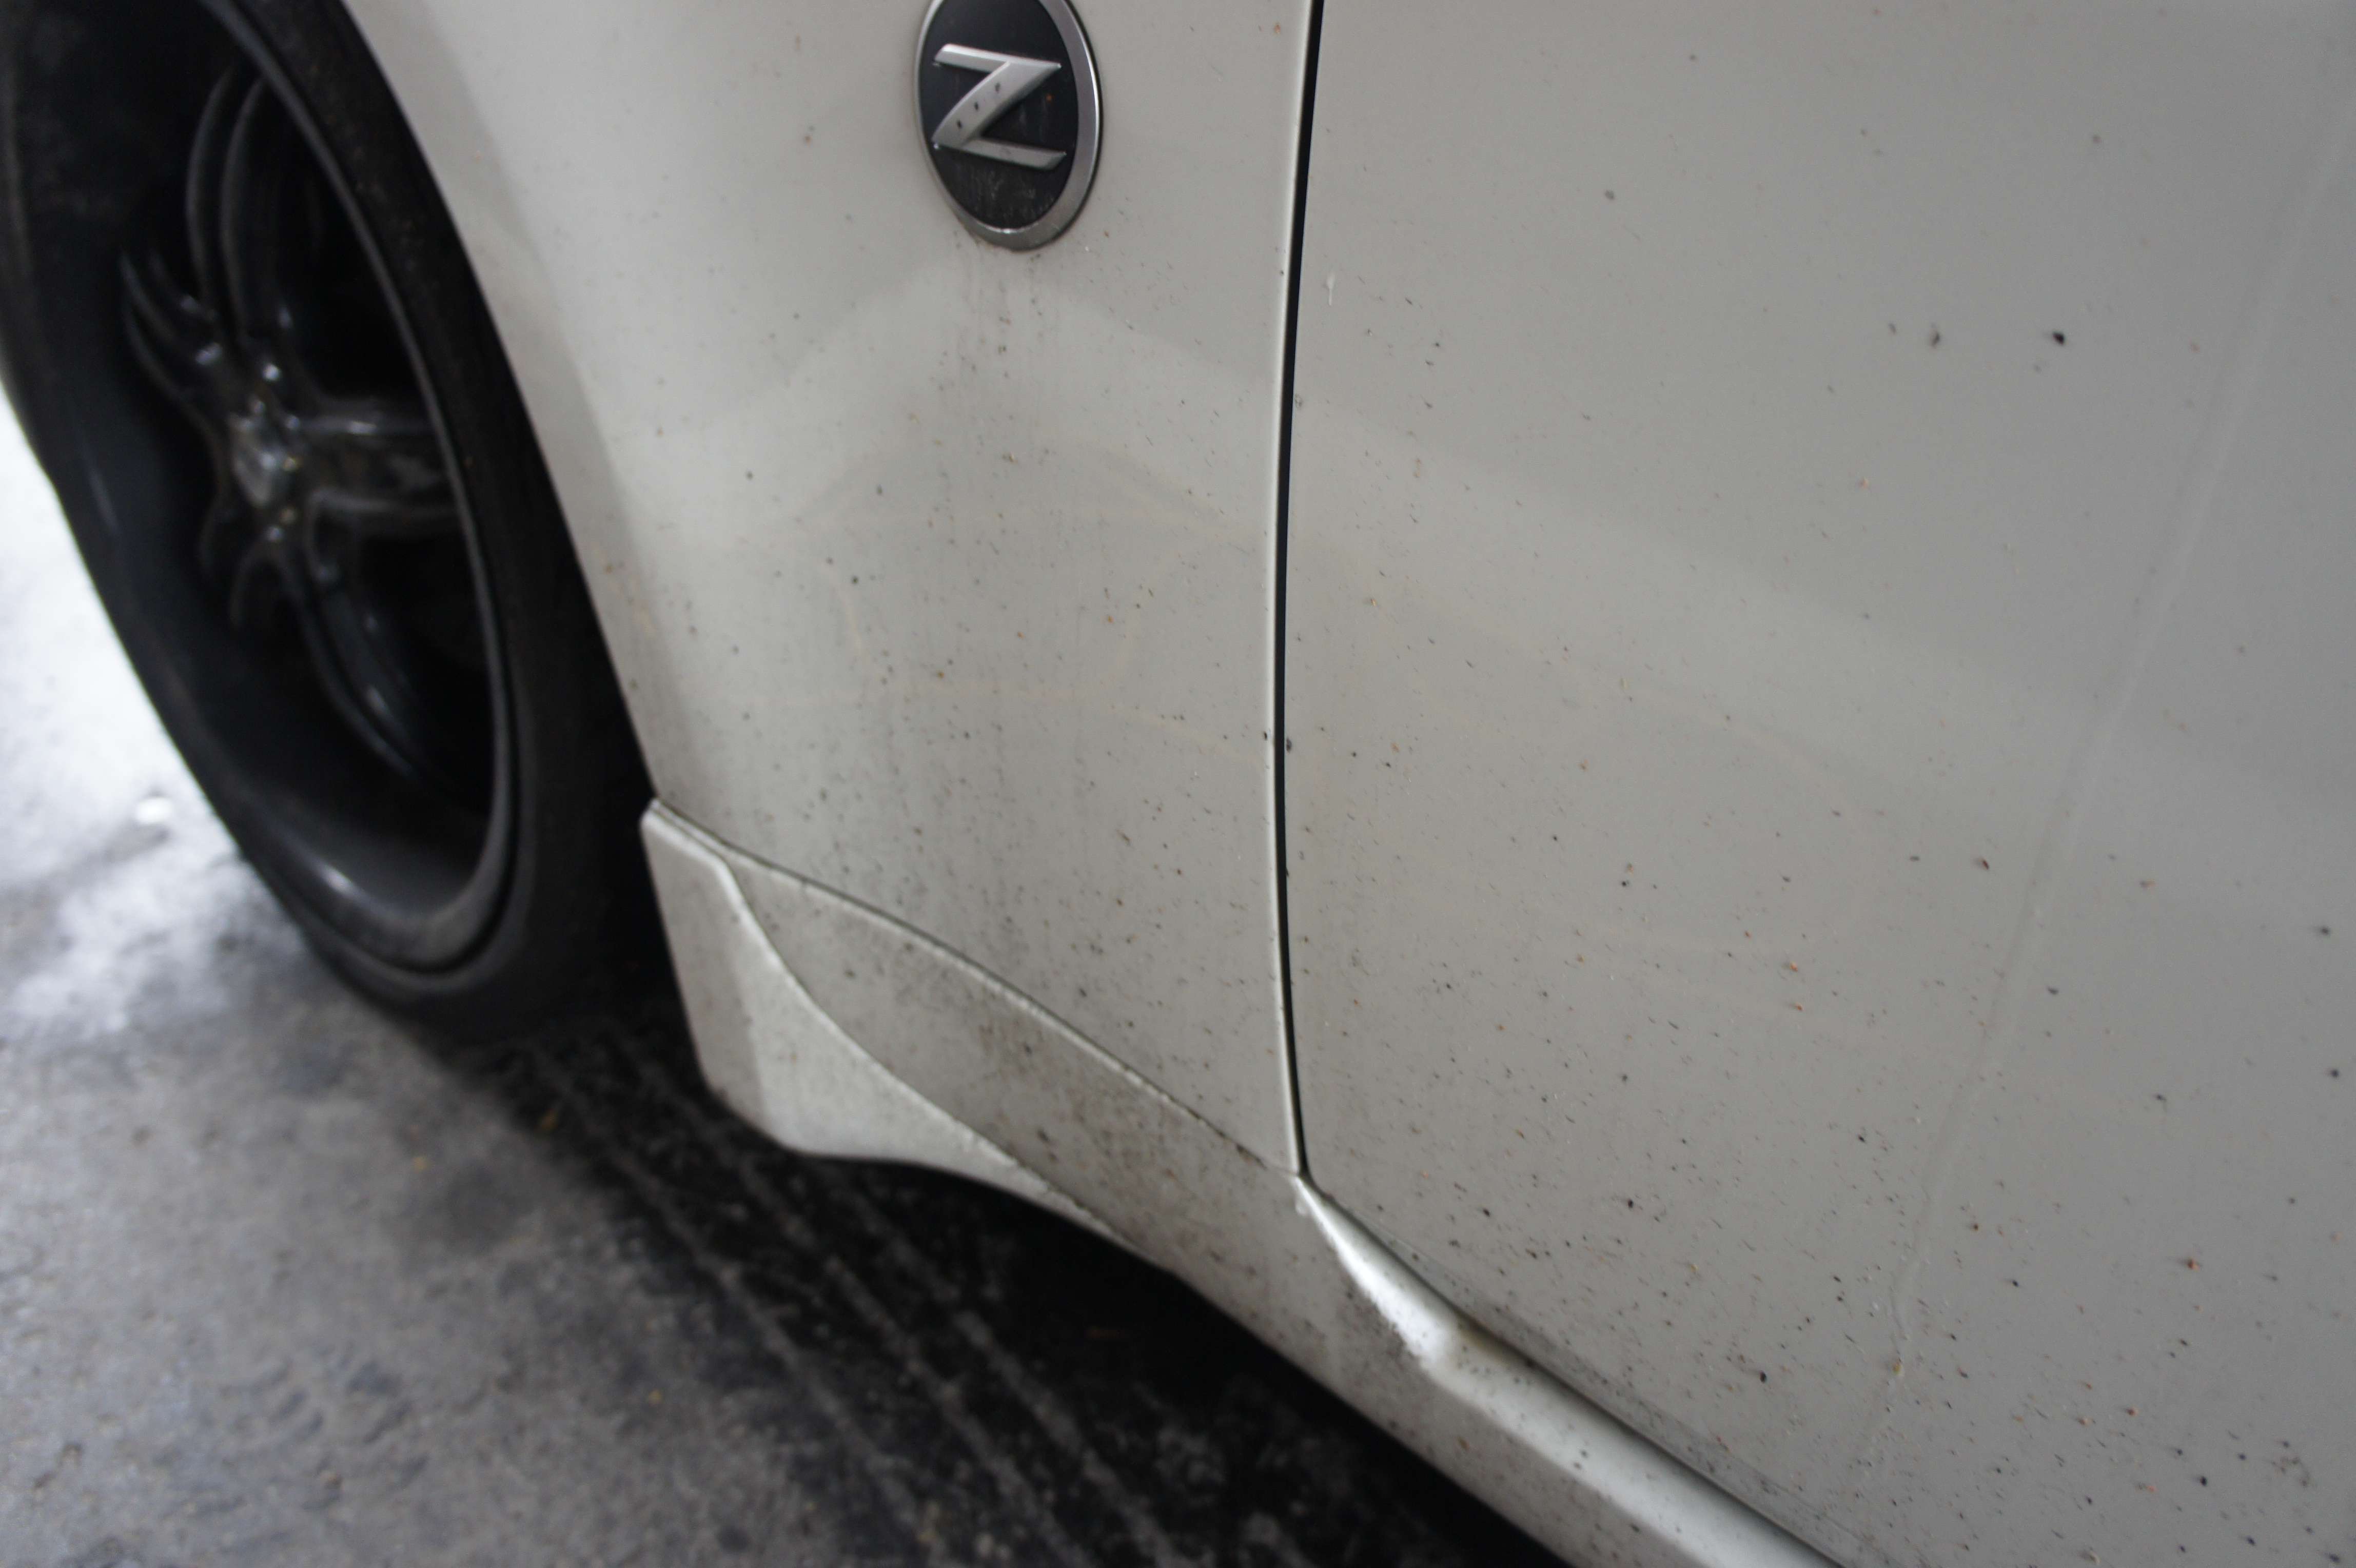
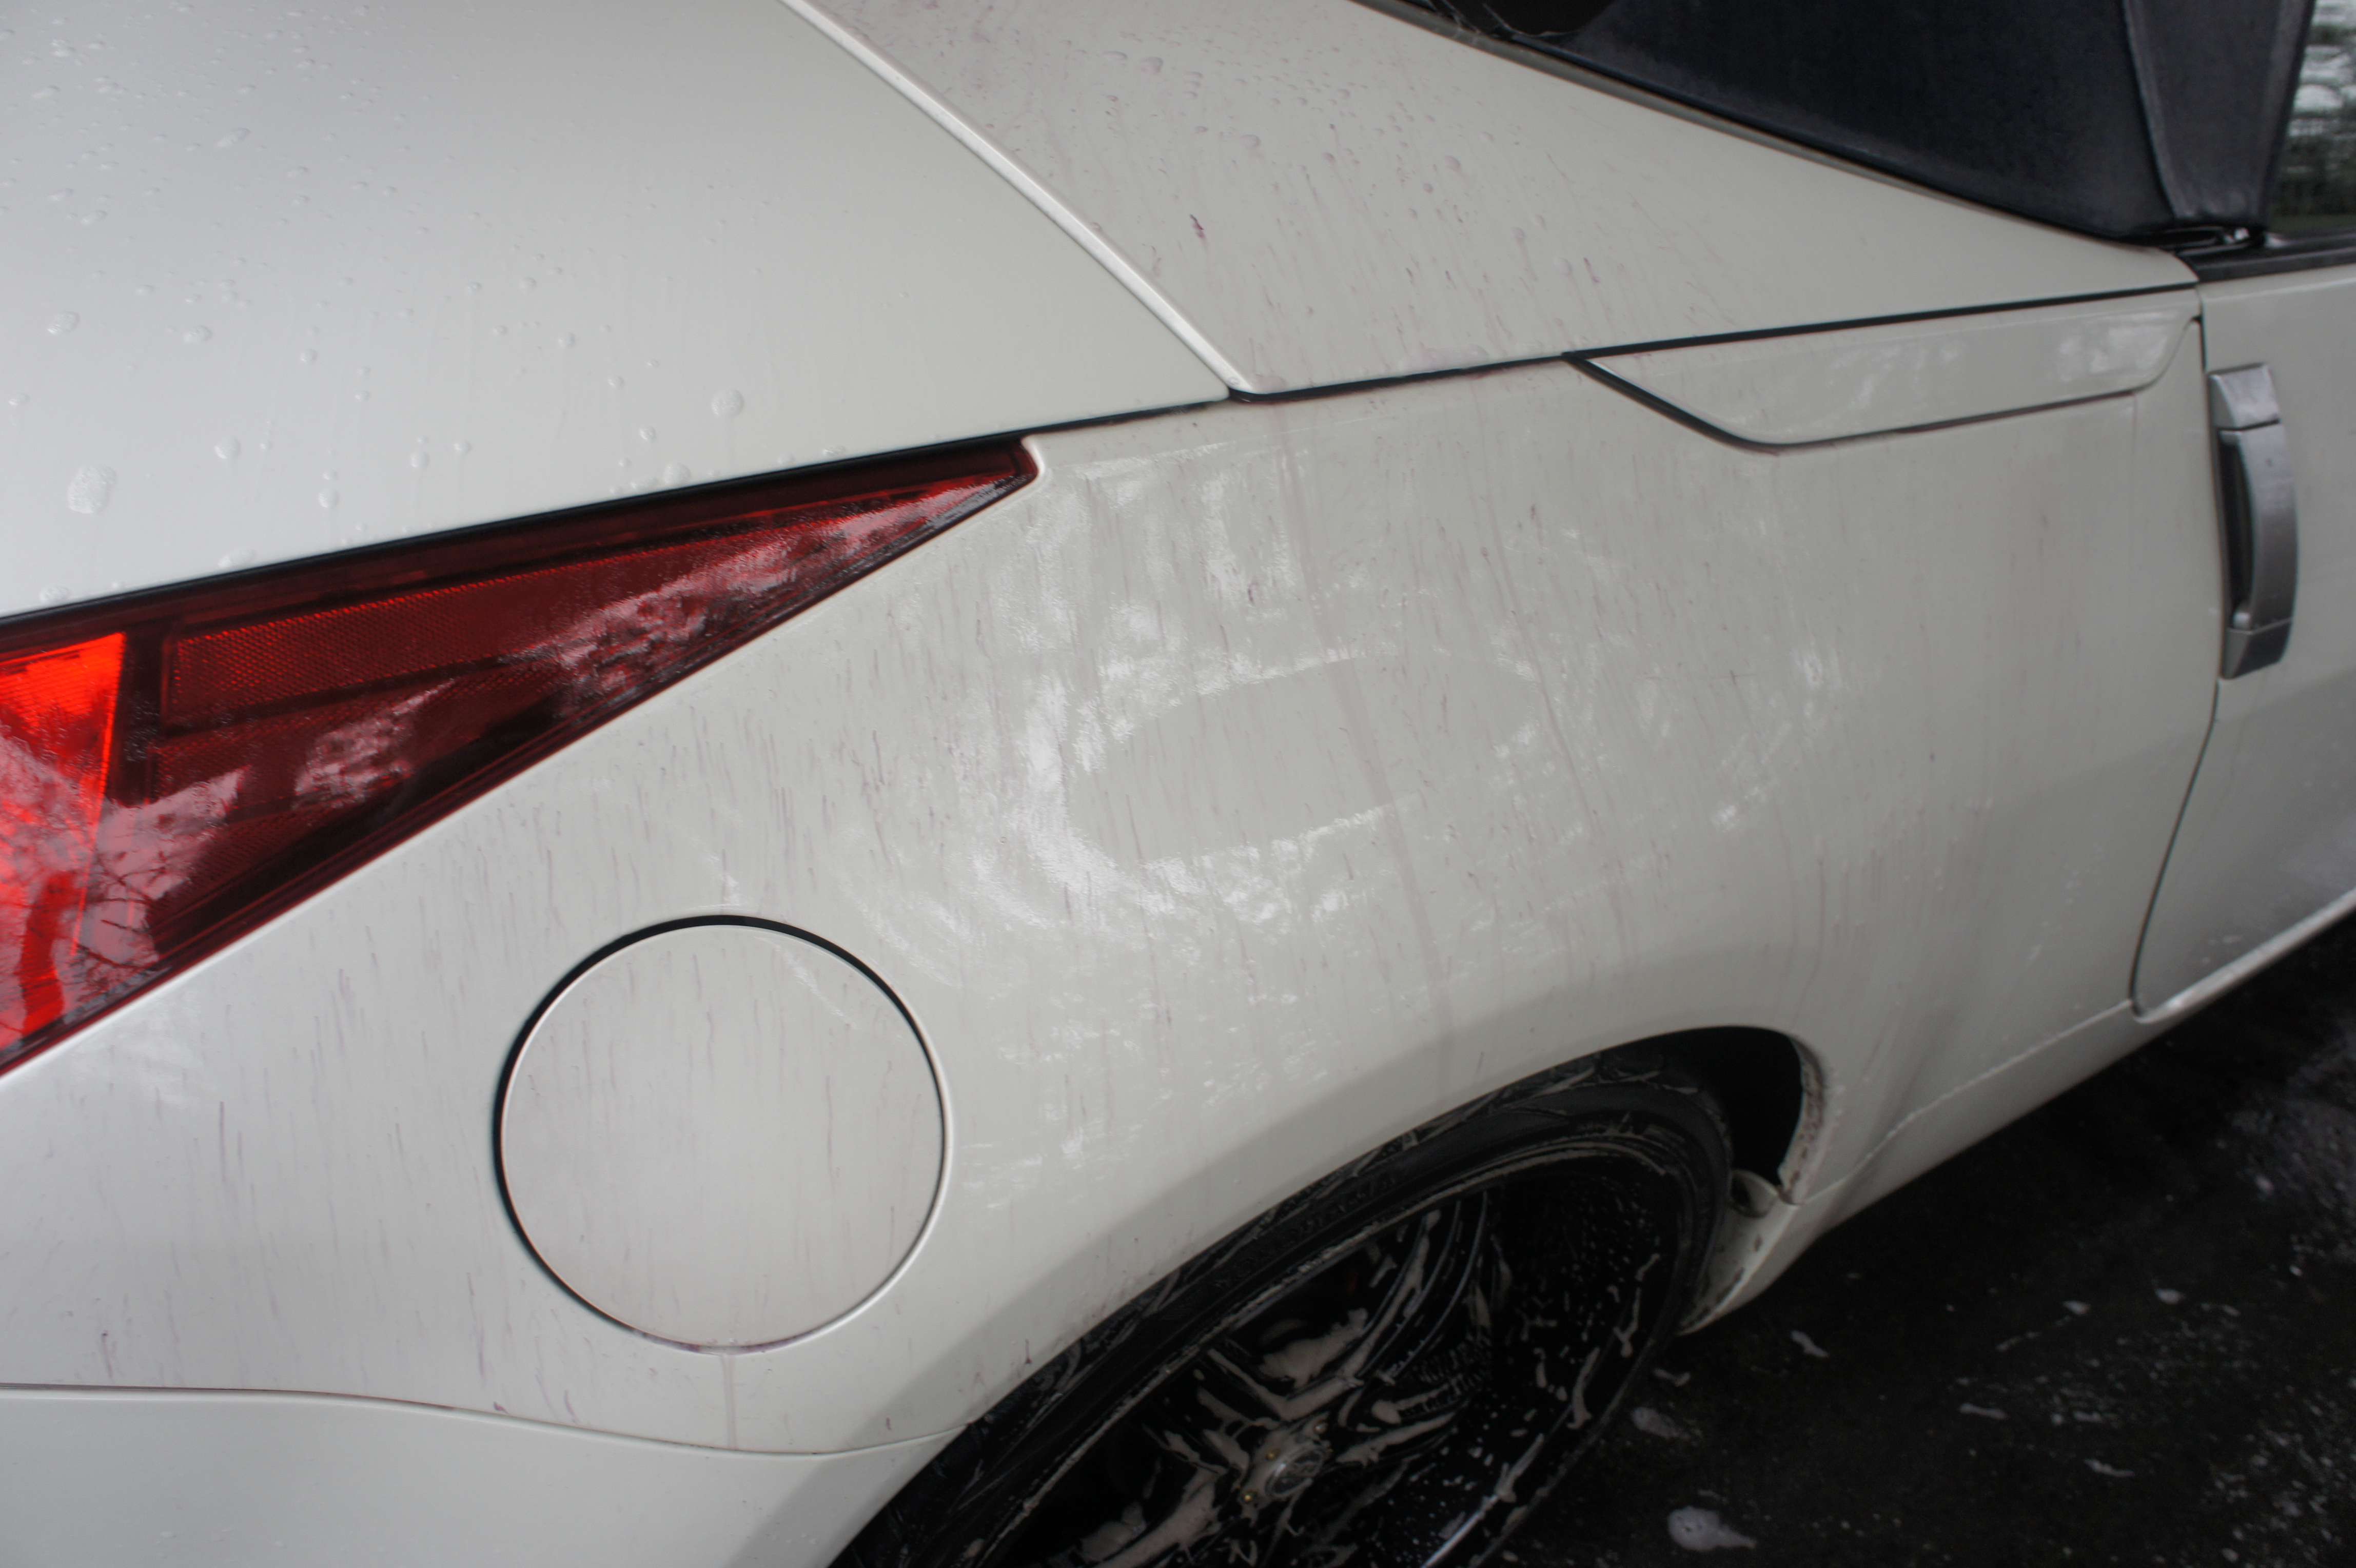
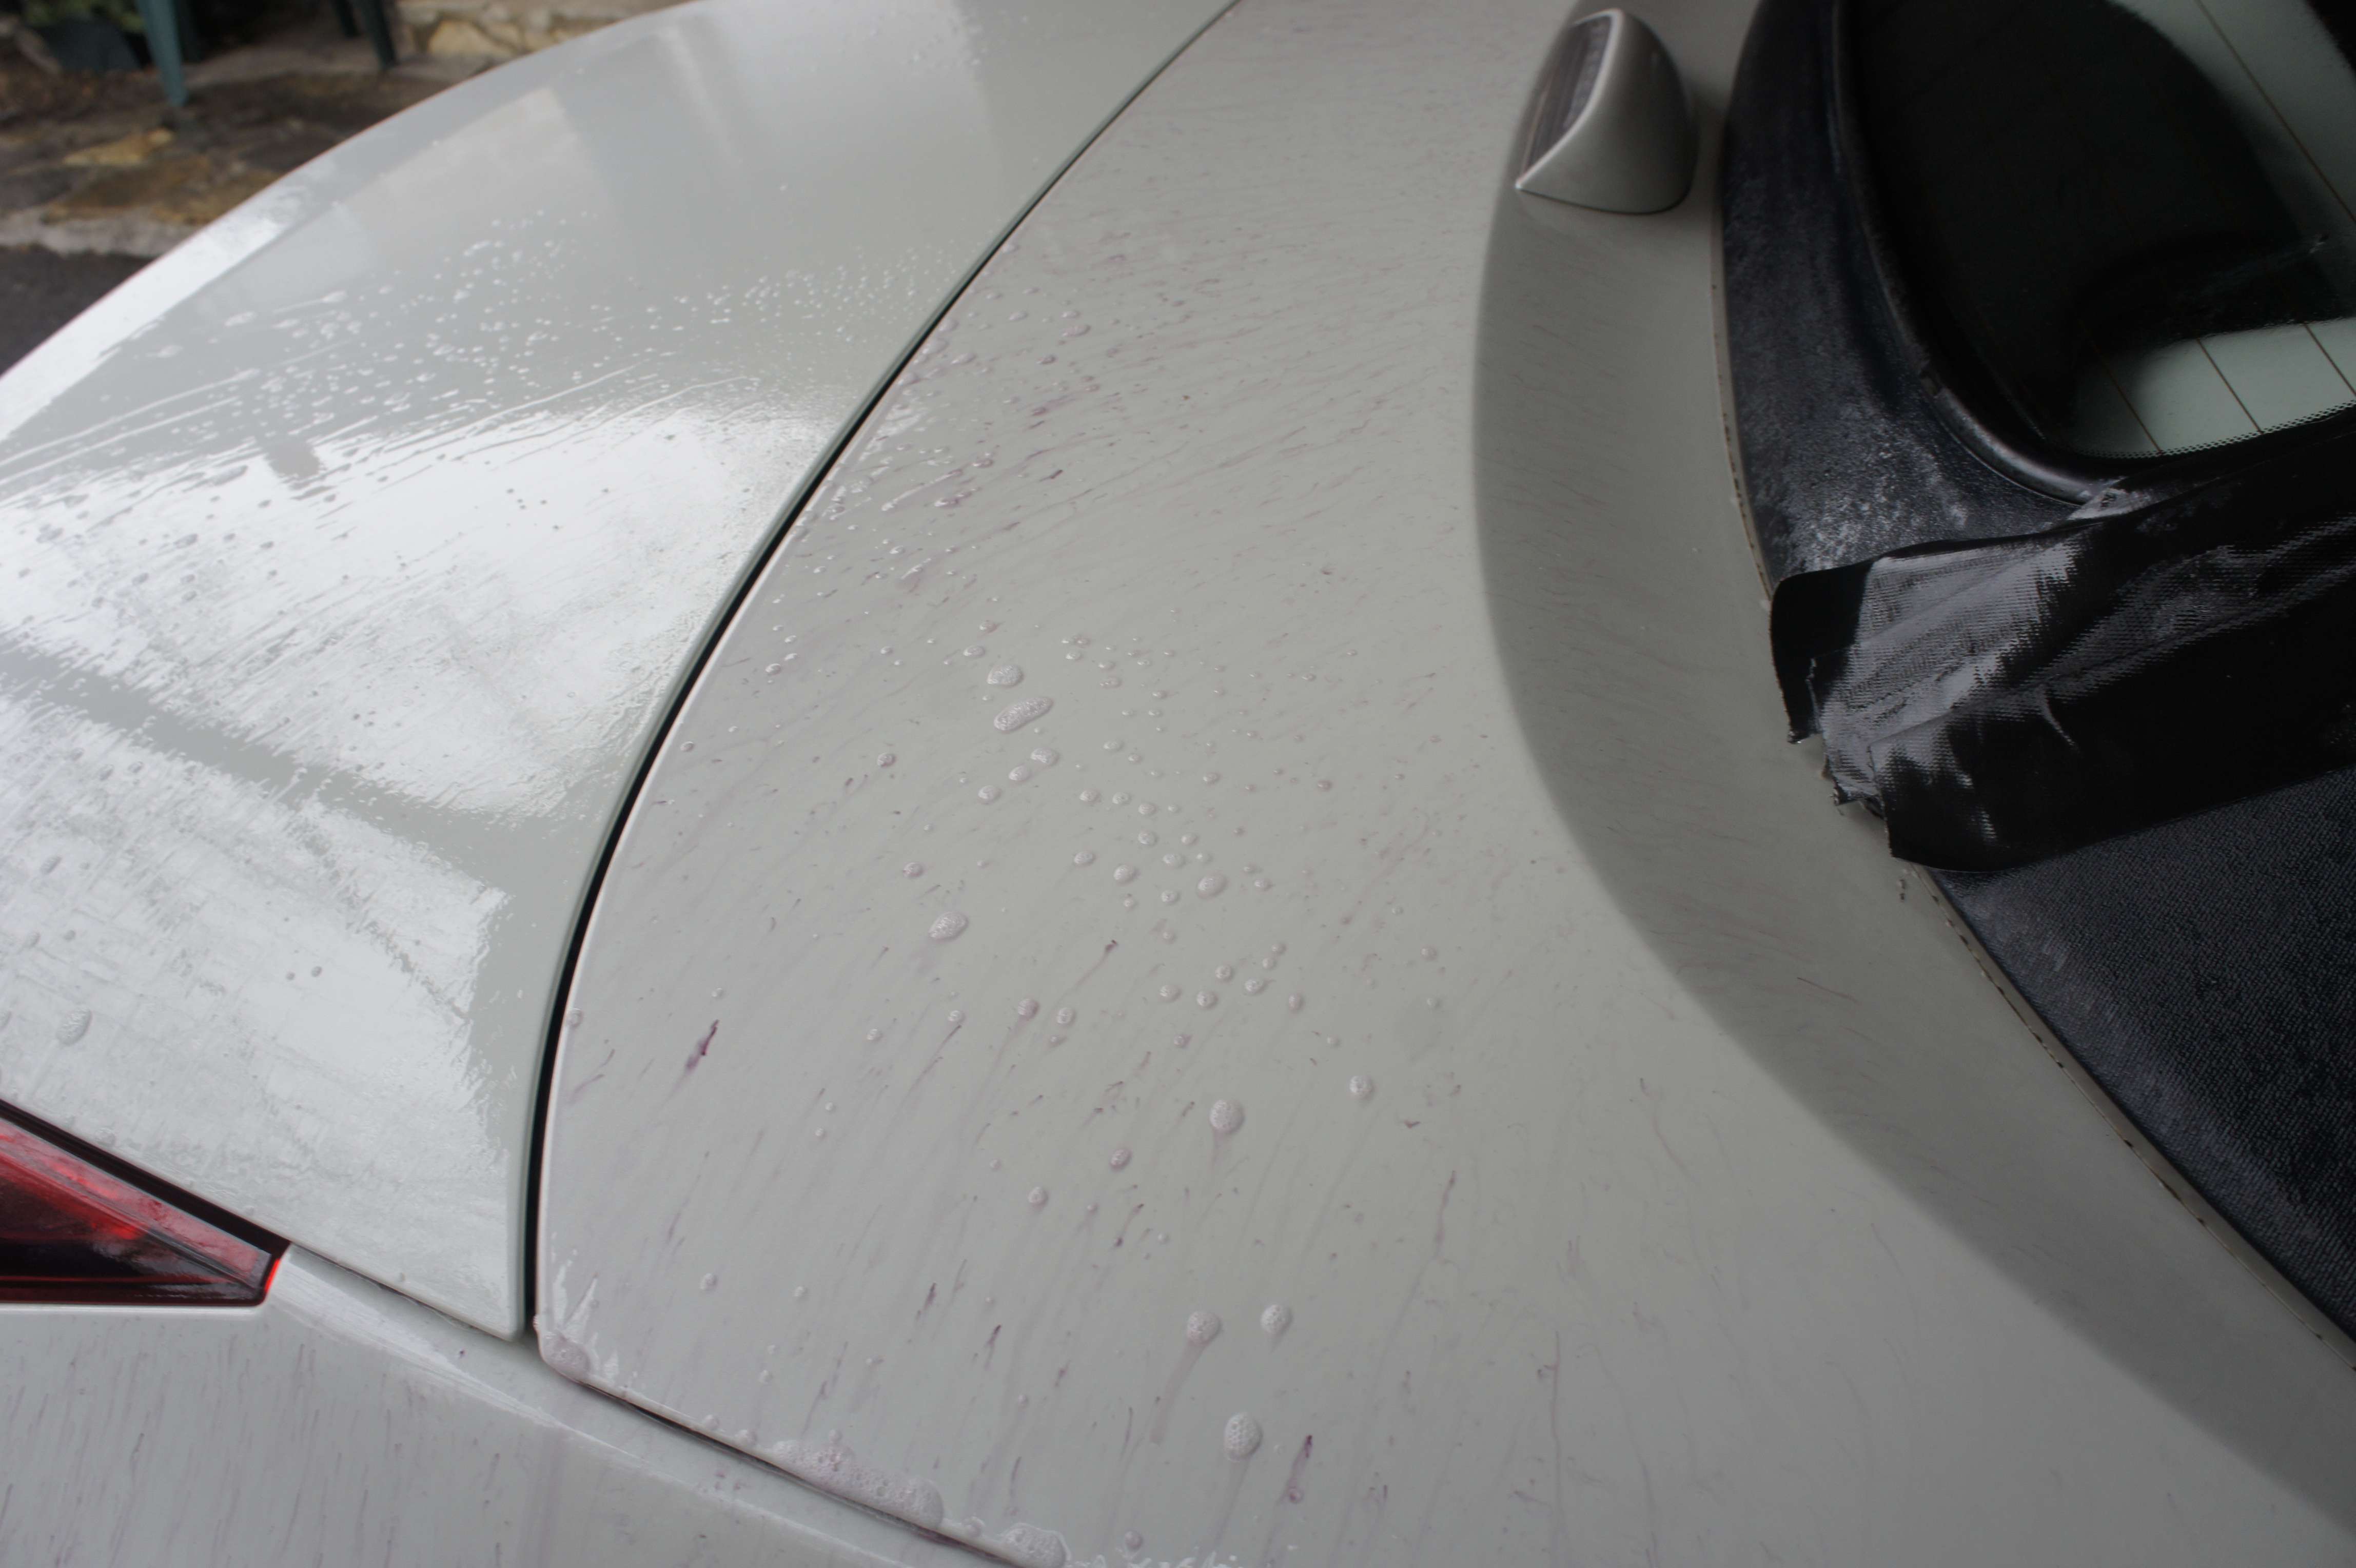
9- J’applique un d�contaminant chimique. Tr�s peu de gens font cette �tape car elle est tr�s dispendieuse, mais vous allez voir, elle est tr�s efficace. Elle nettoie la peinture en profondeur et permet d’�liminer des particules de m�tal qui pourrait rouiller avec le temps et nuire au look de la peinture et la durabilit� de la peinture :


Leave a comment: