The car was detailed last year by a bodyshop but he didn’t really like the income so when he heard about me, he decide to give me a go.
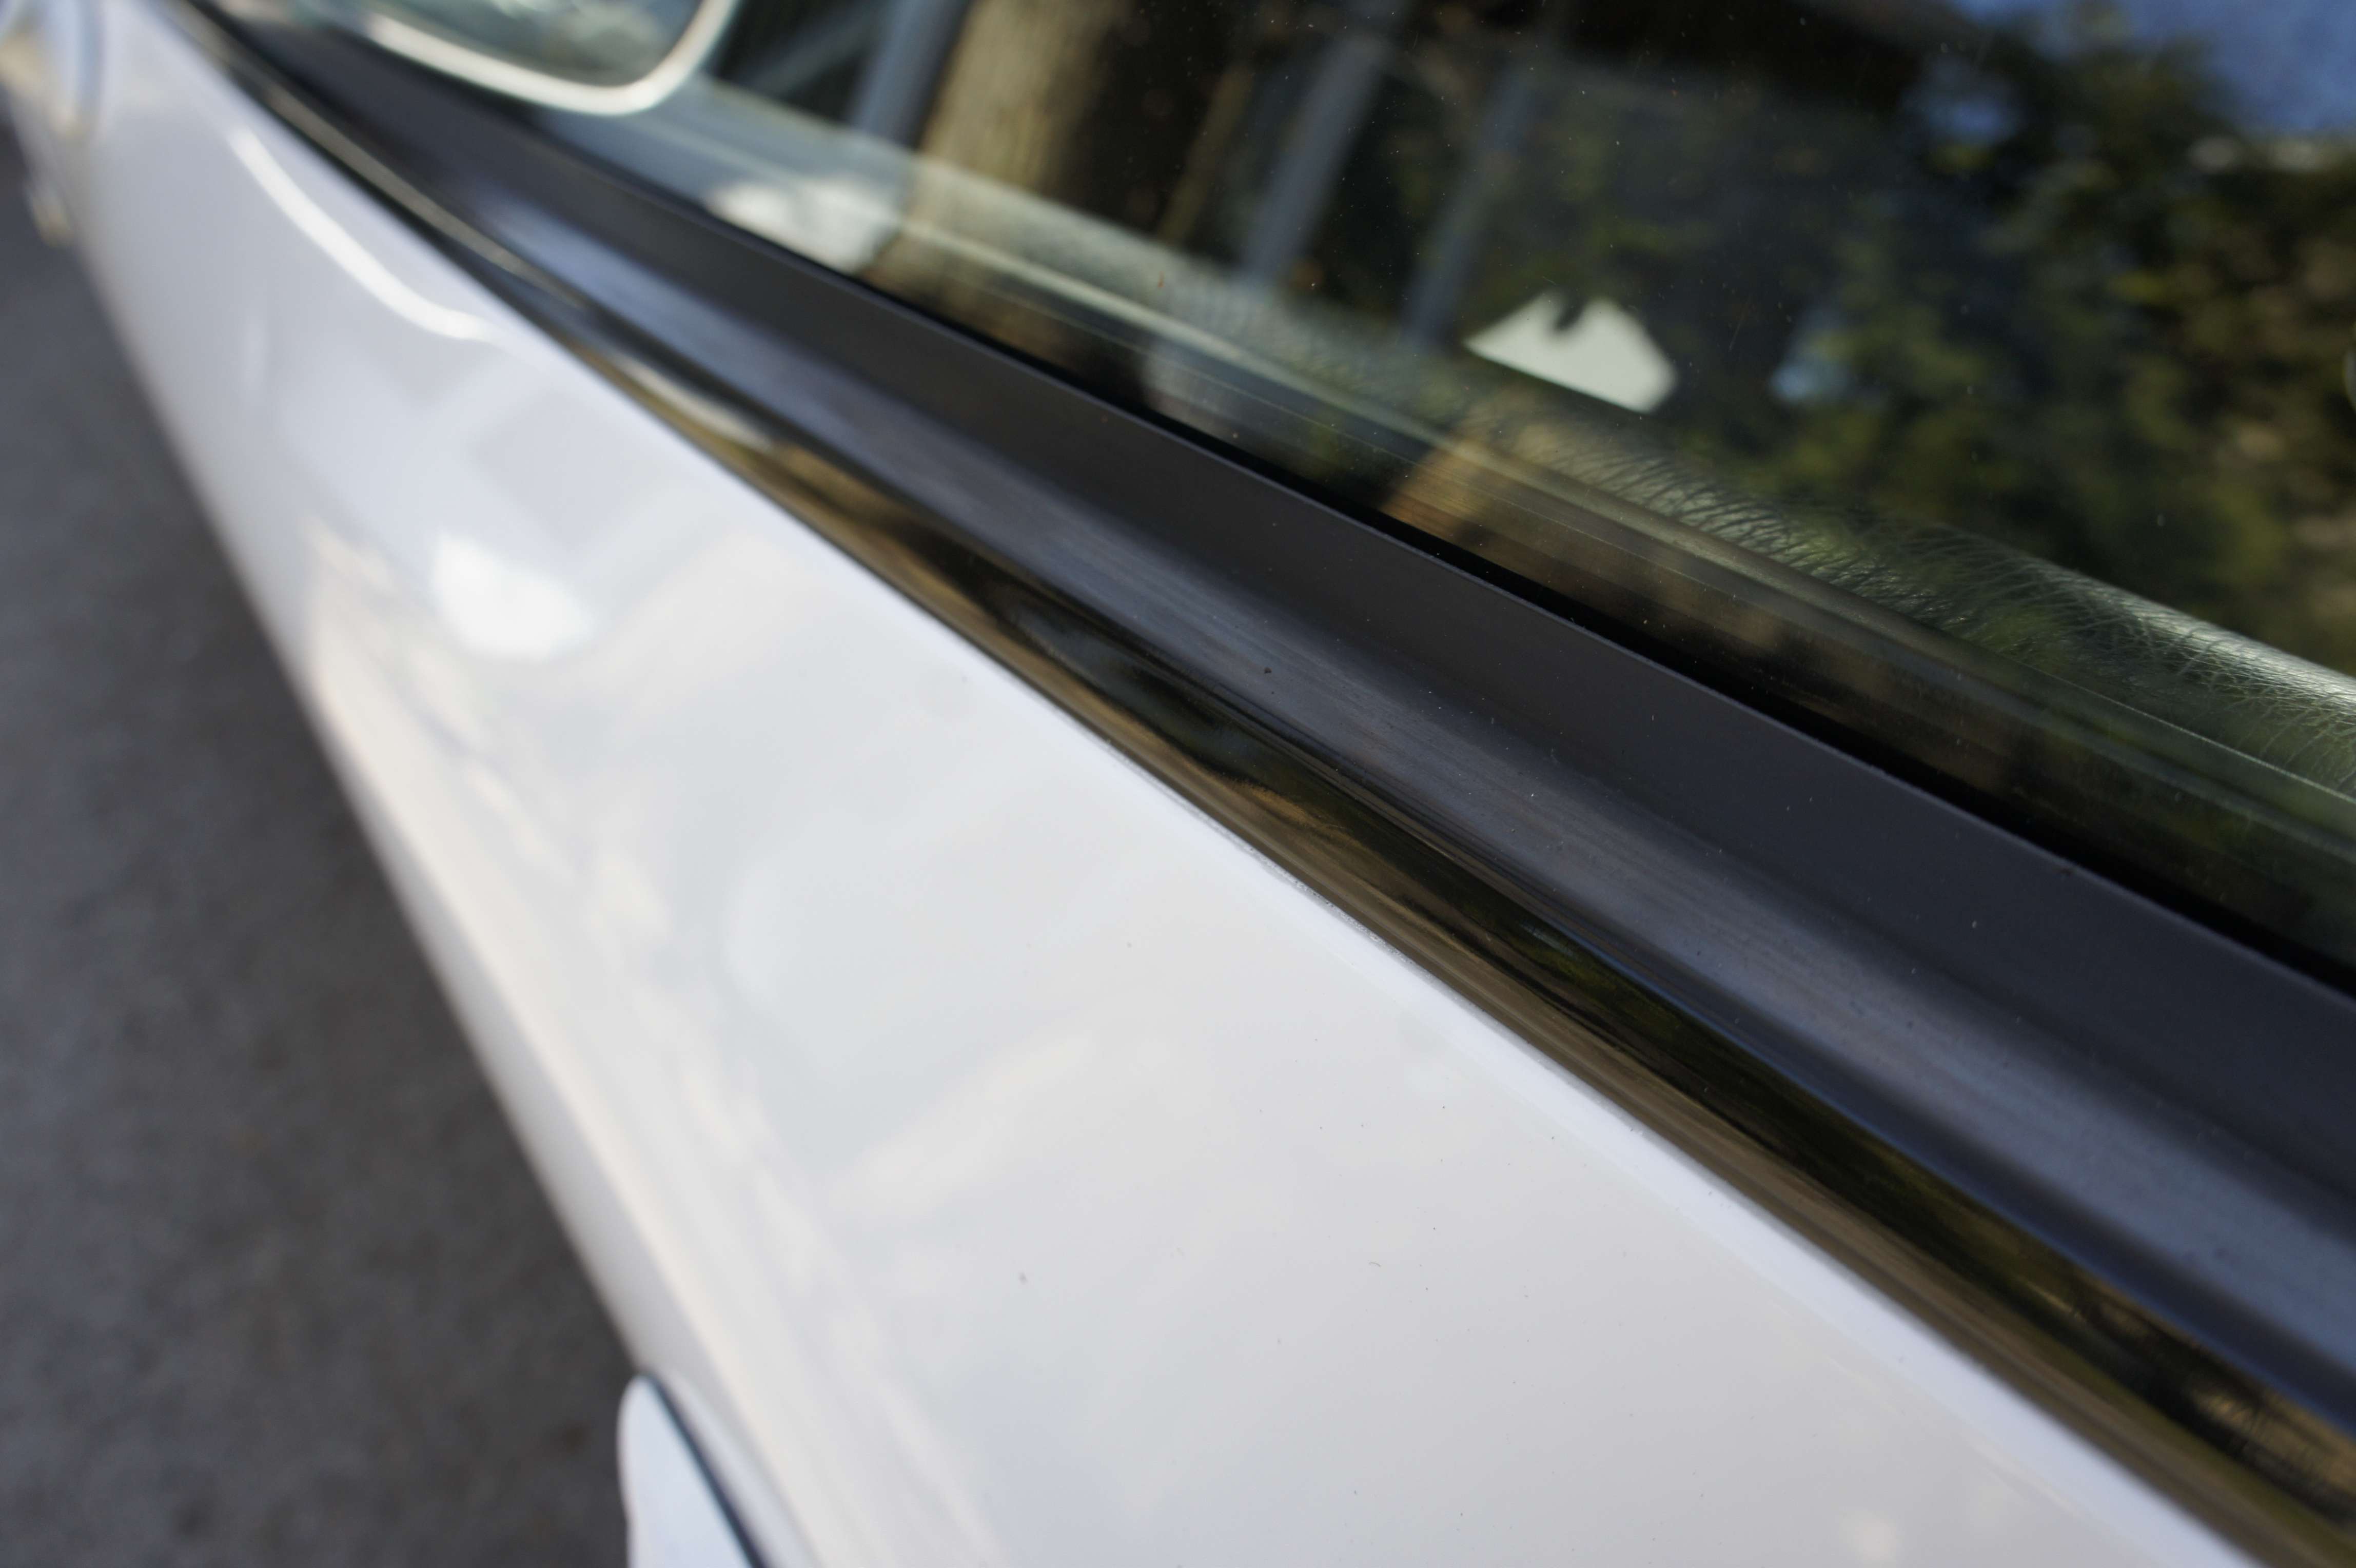
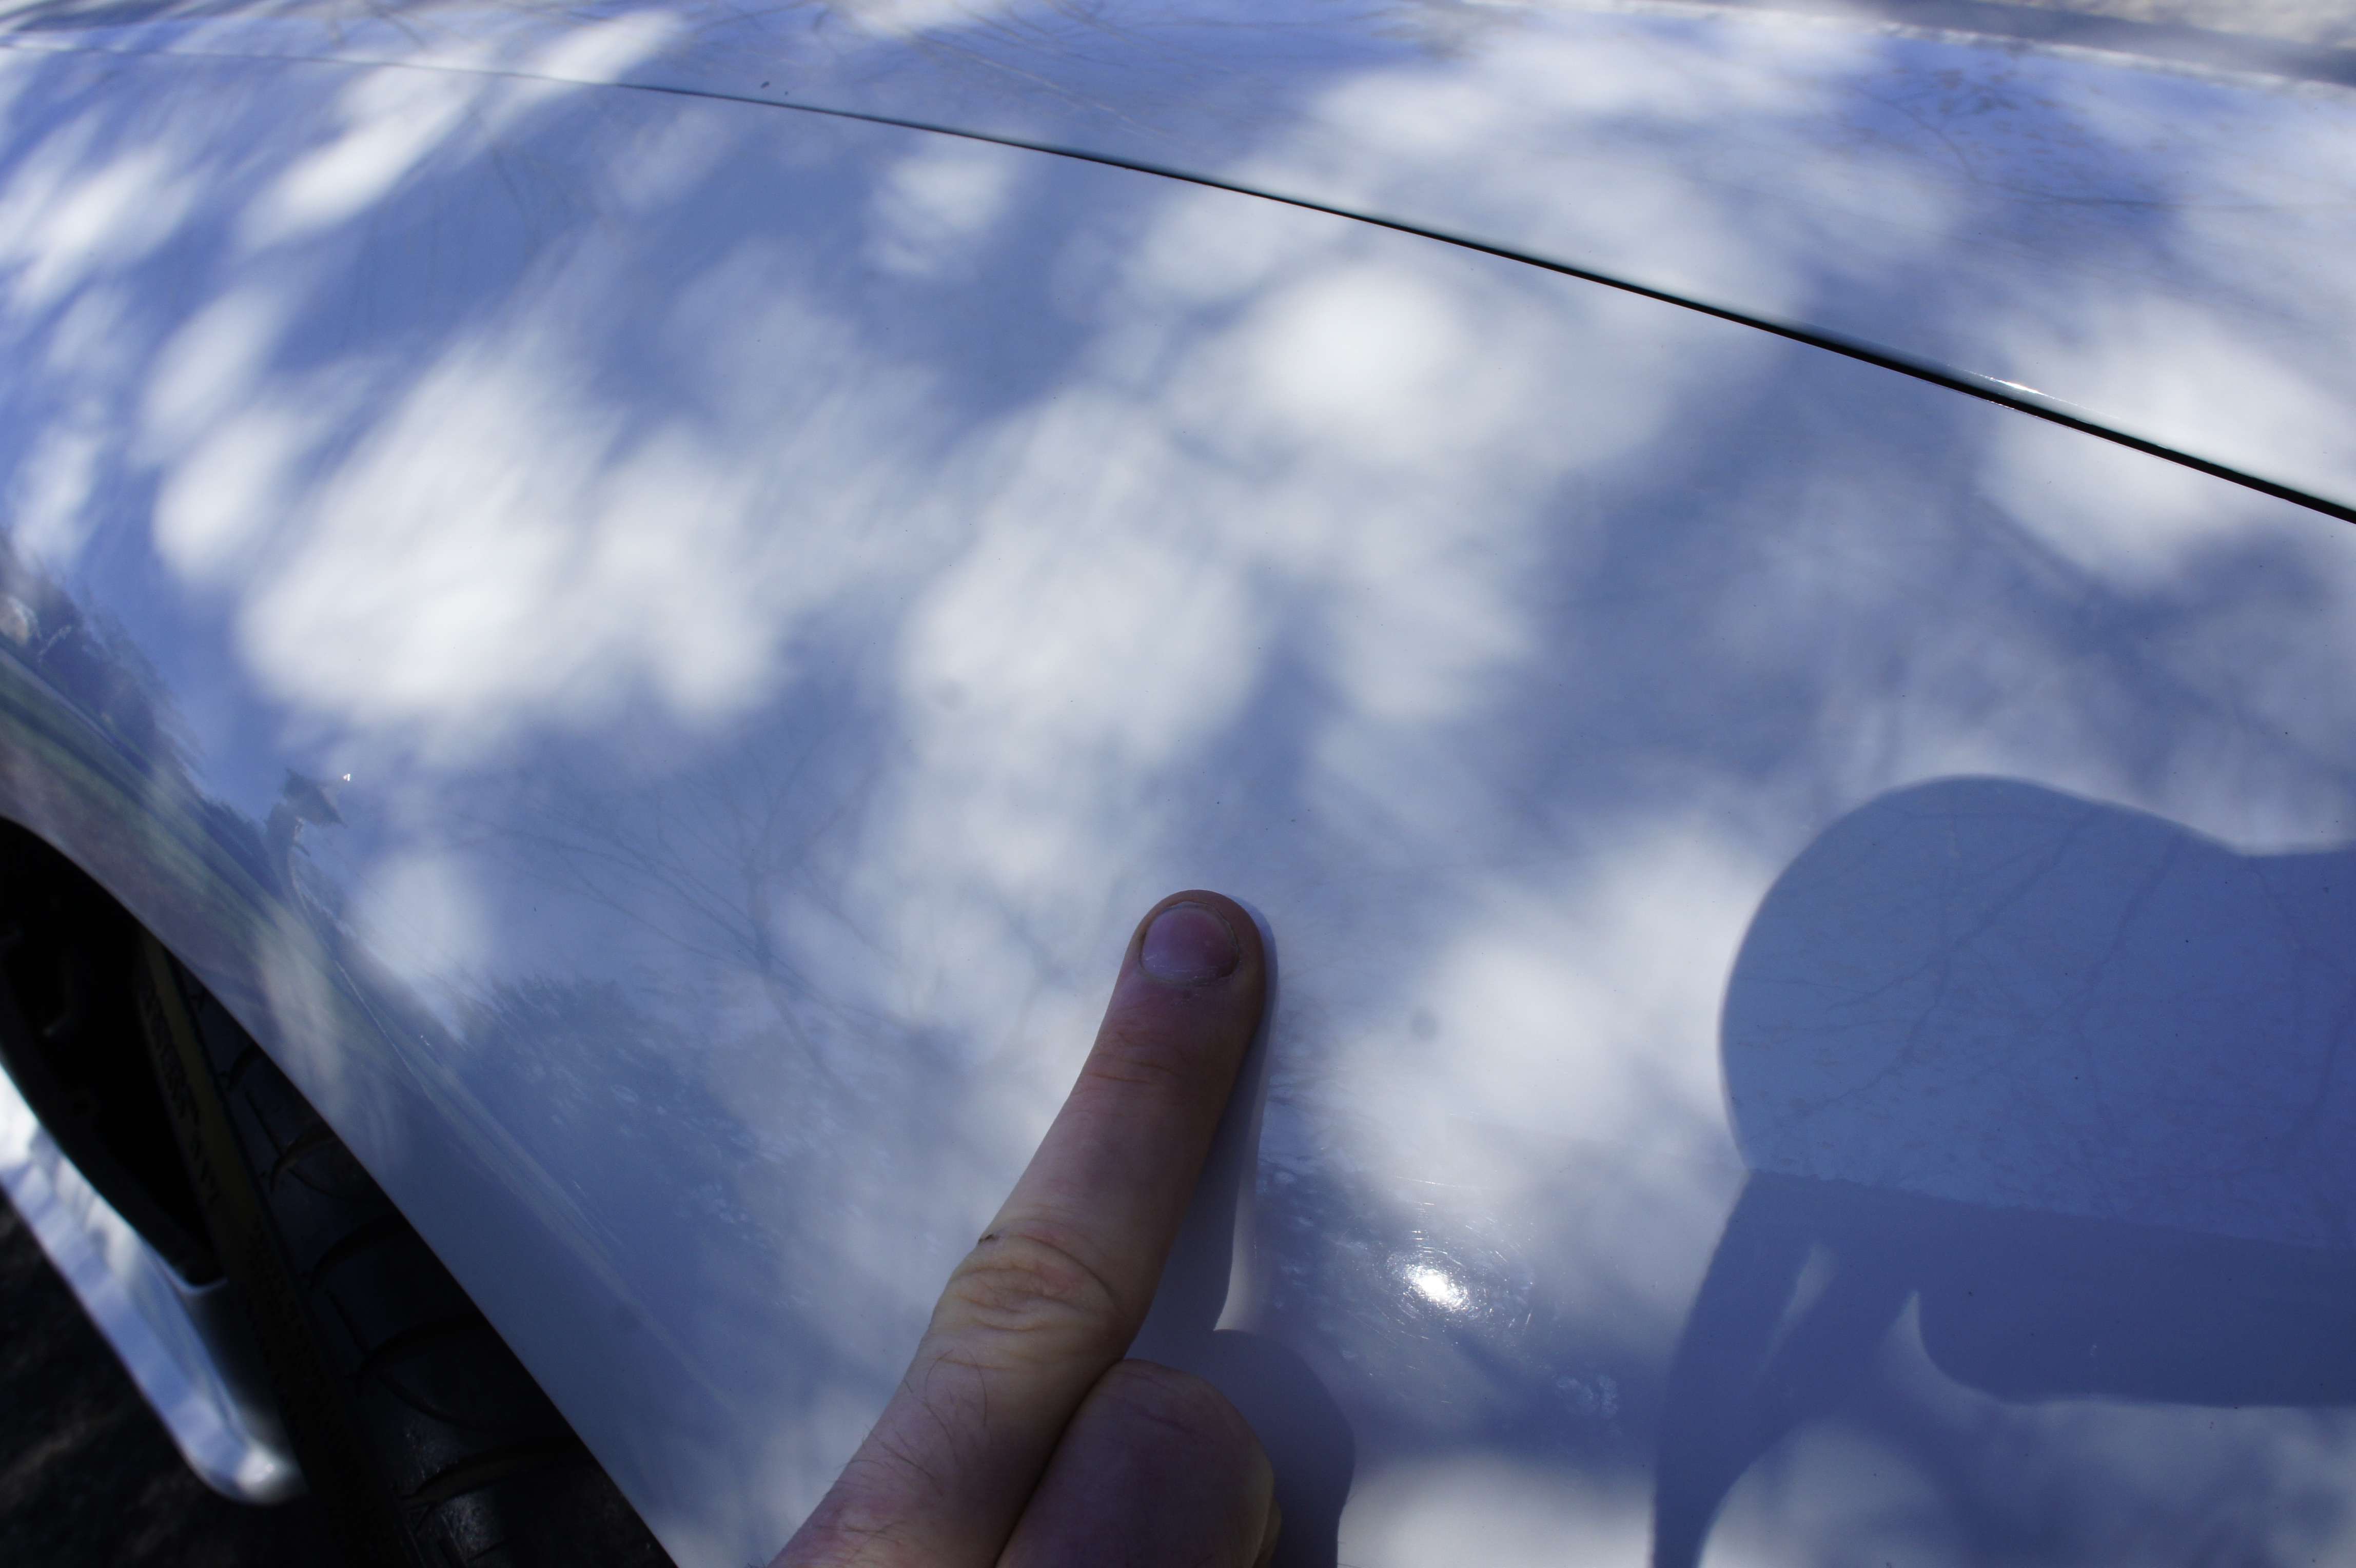
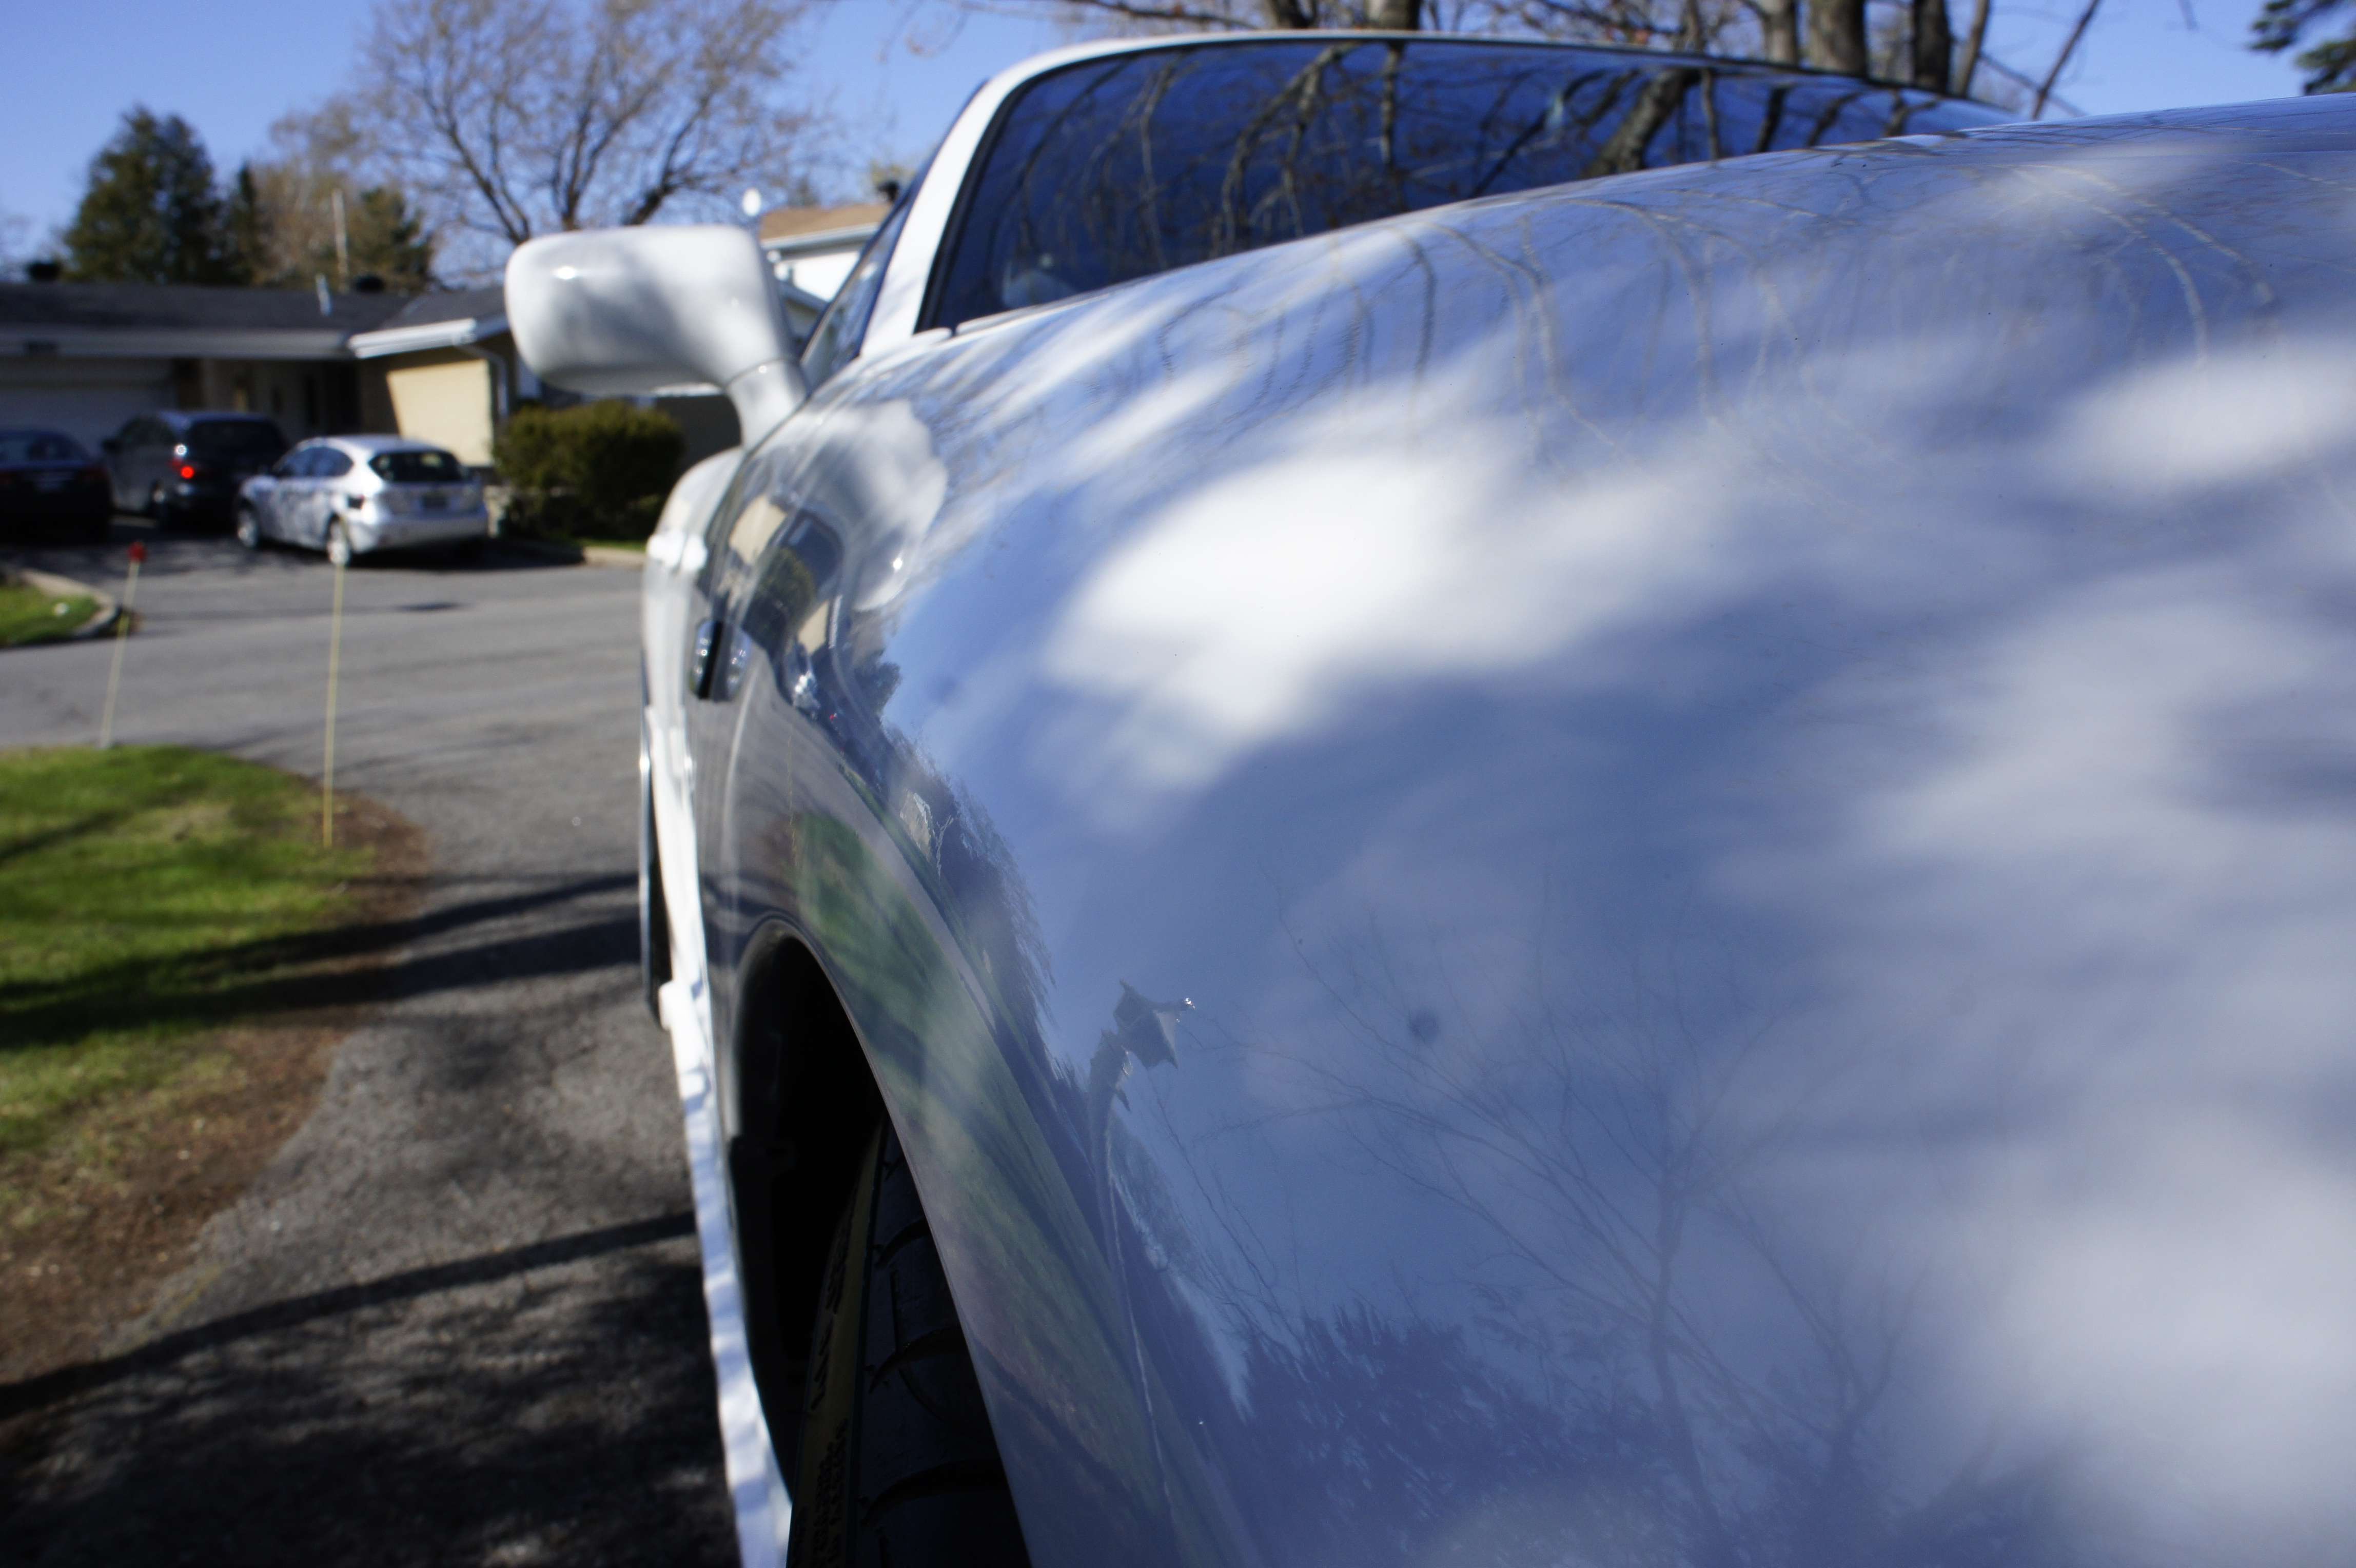
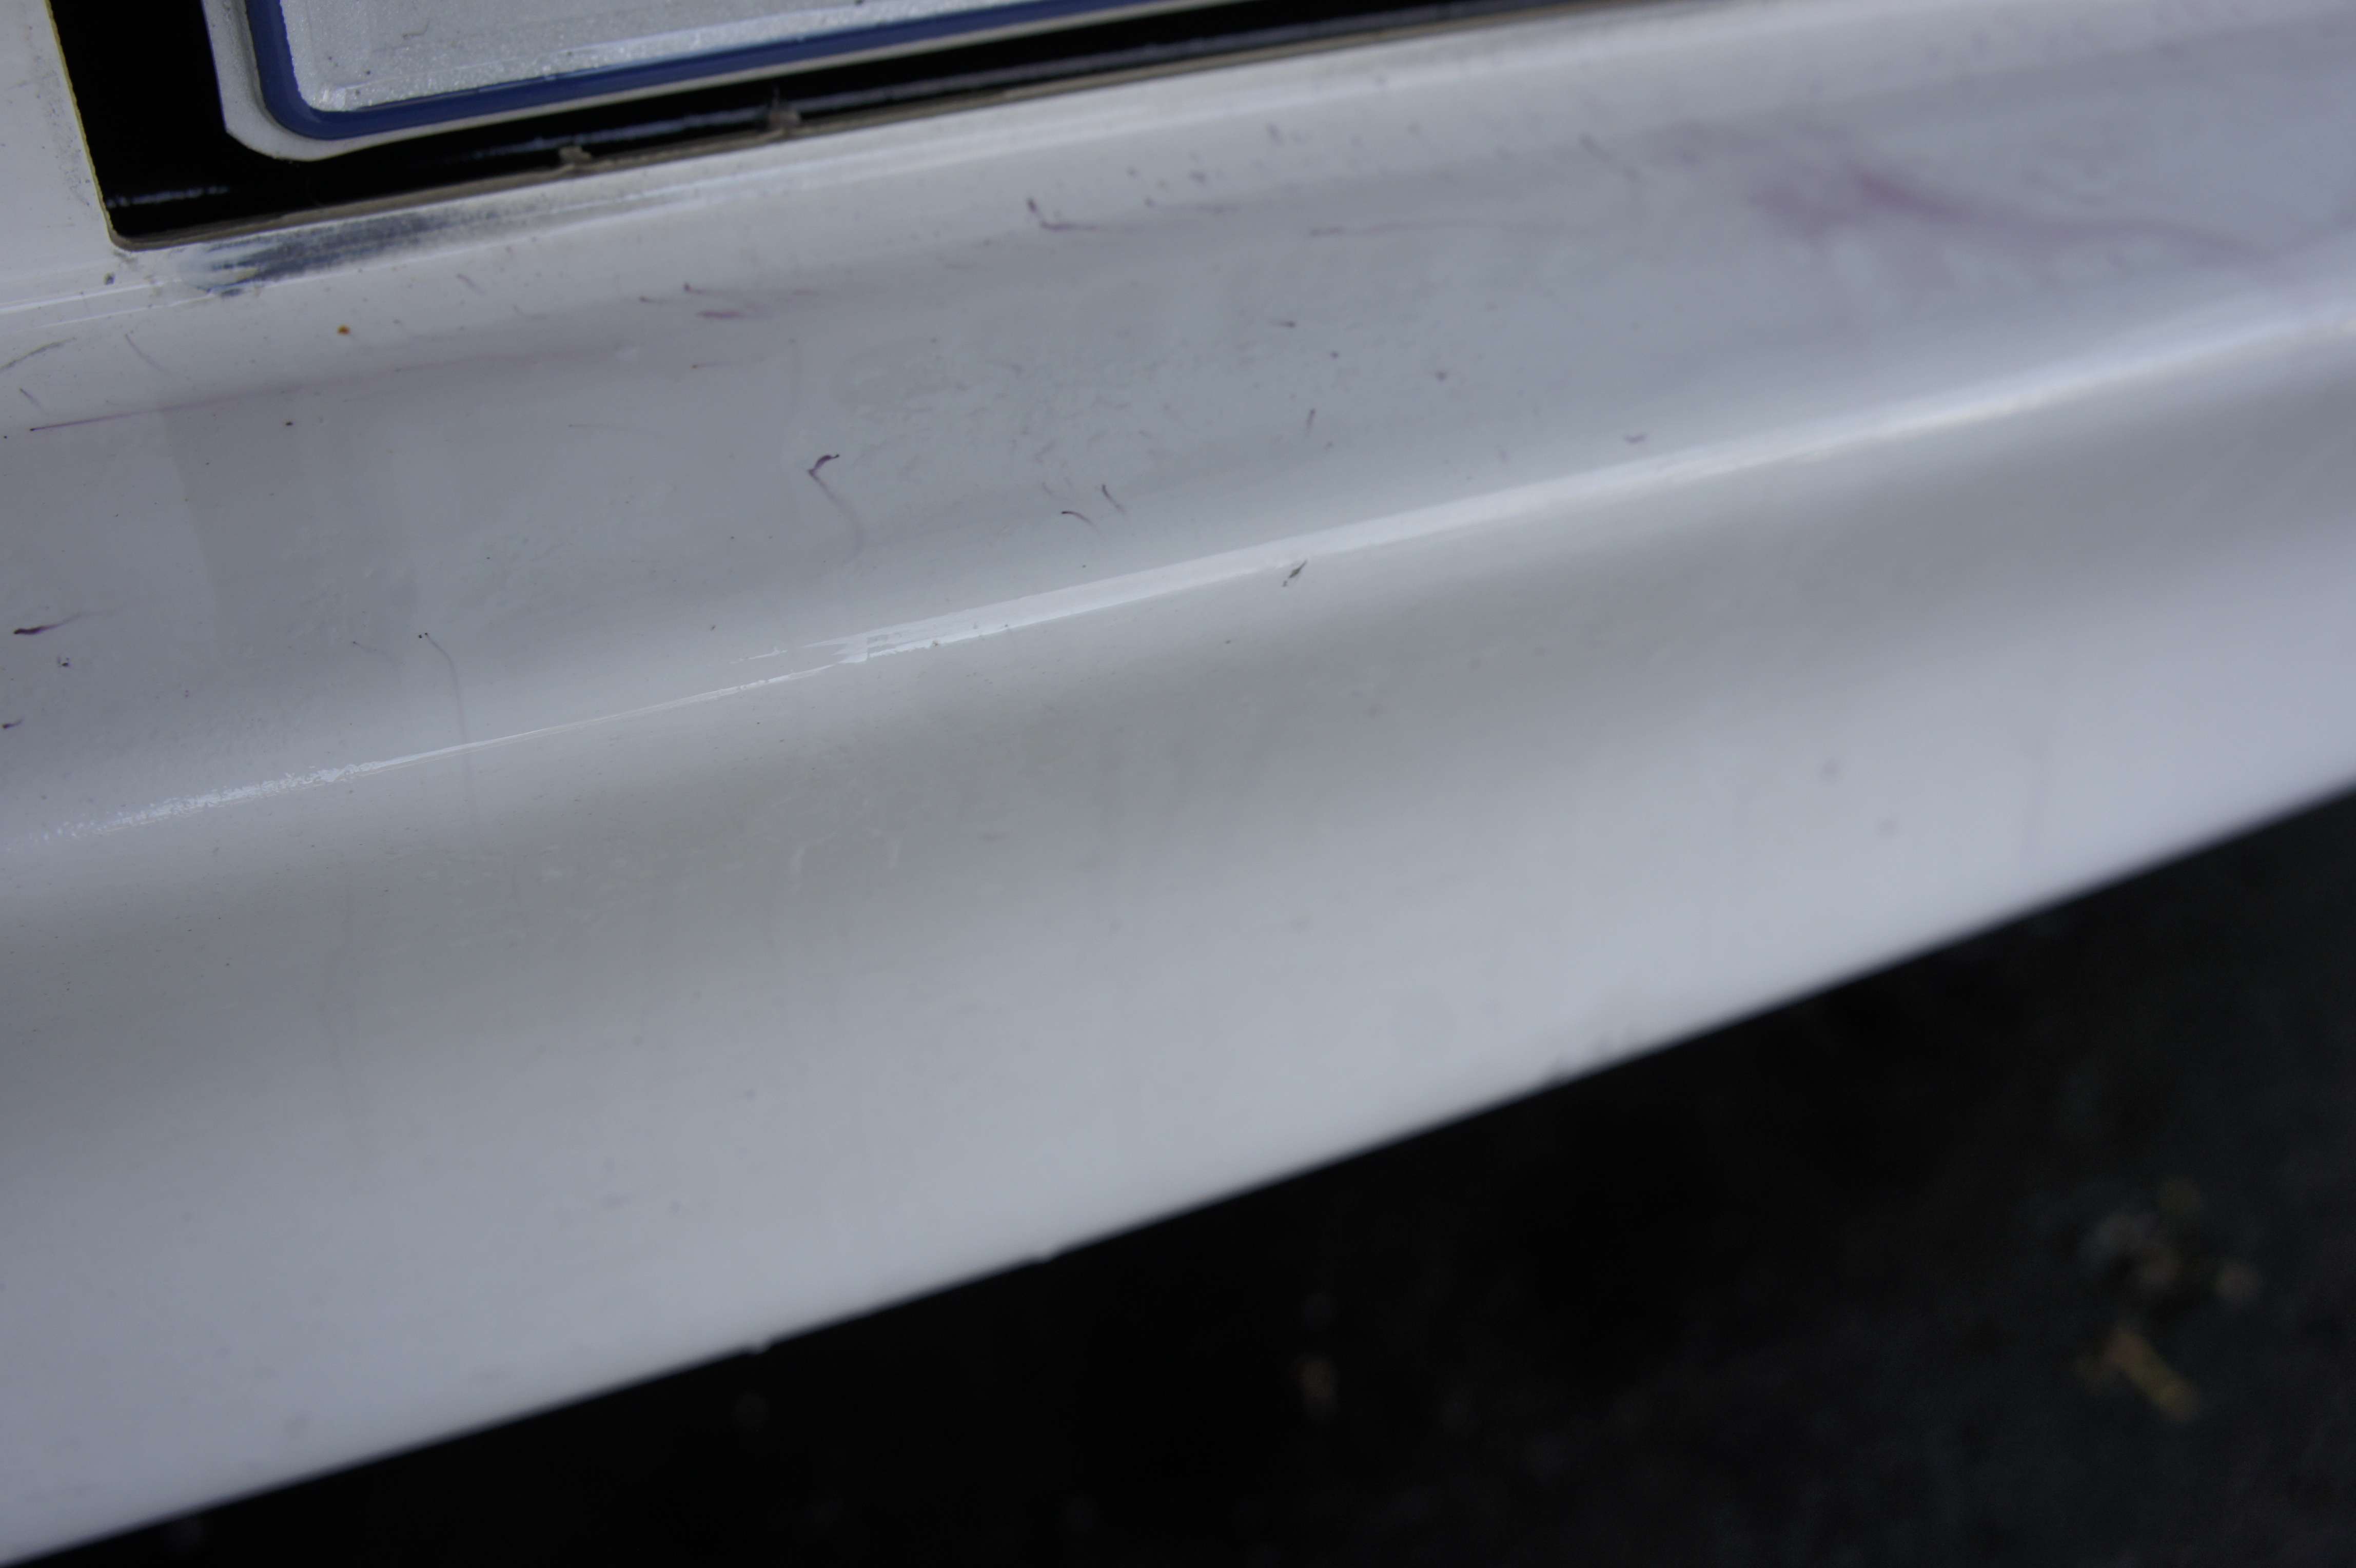
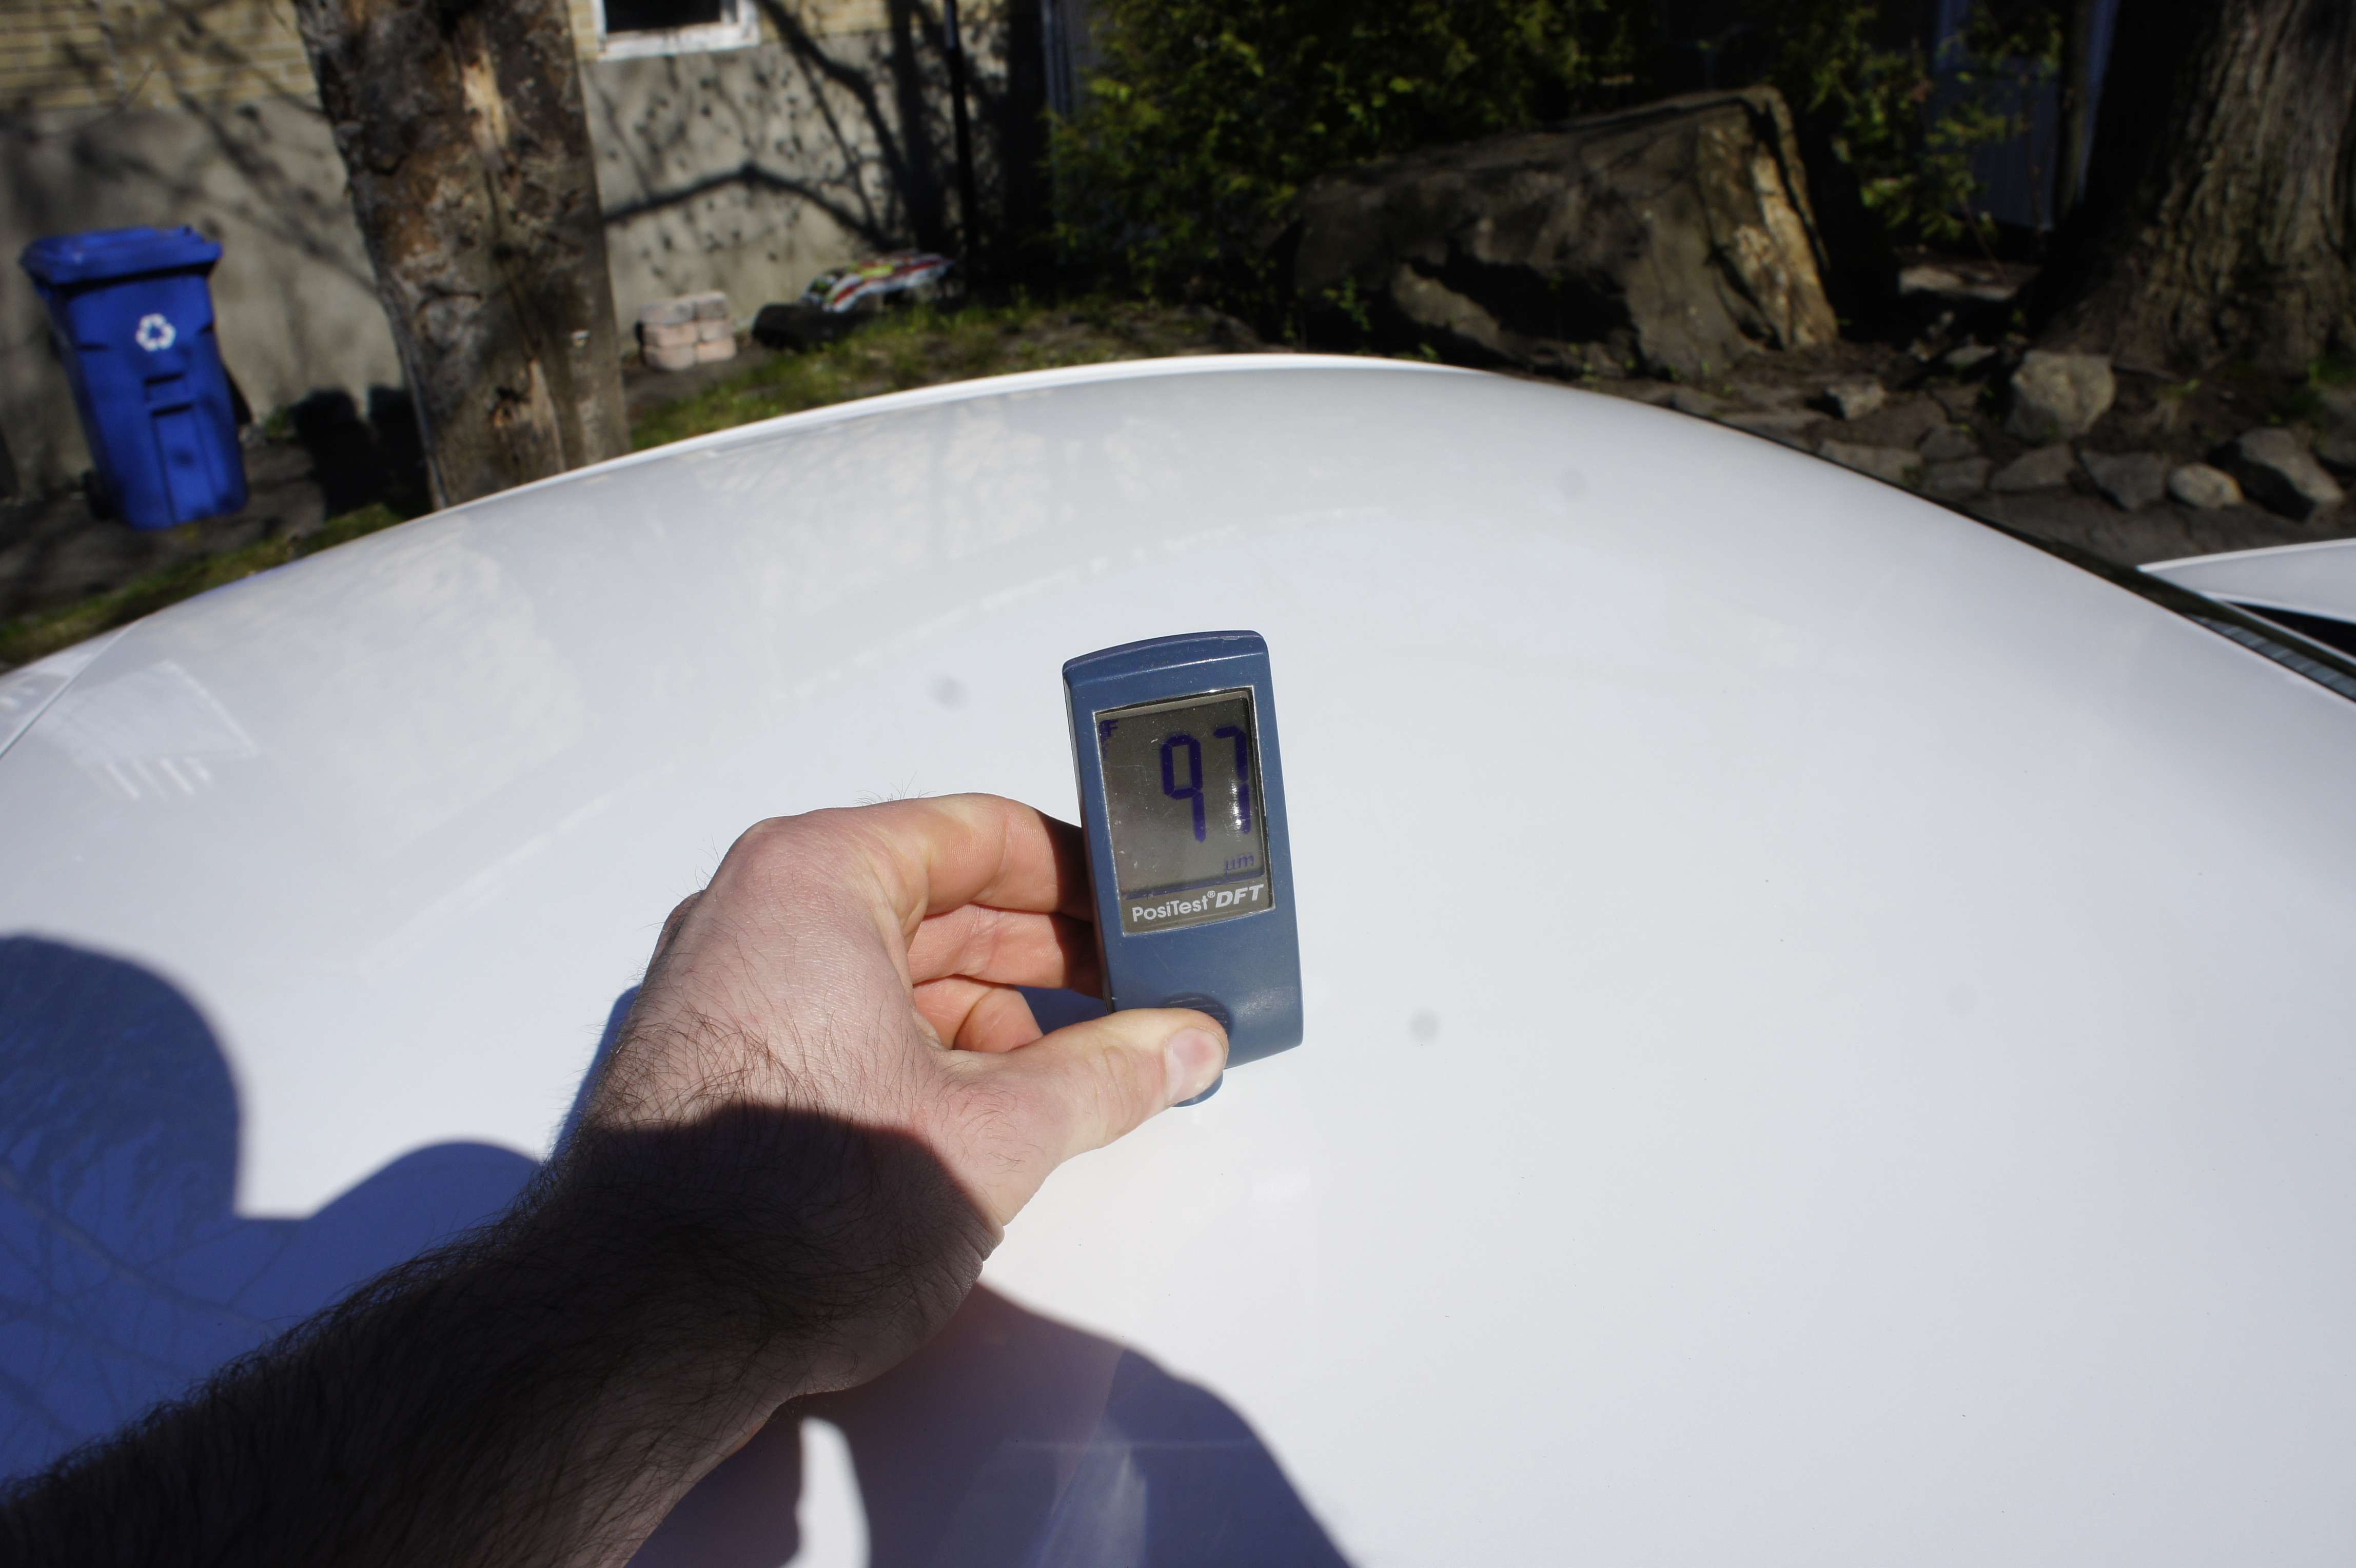
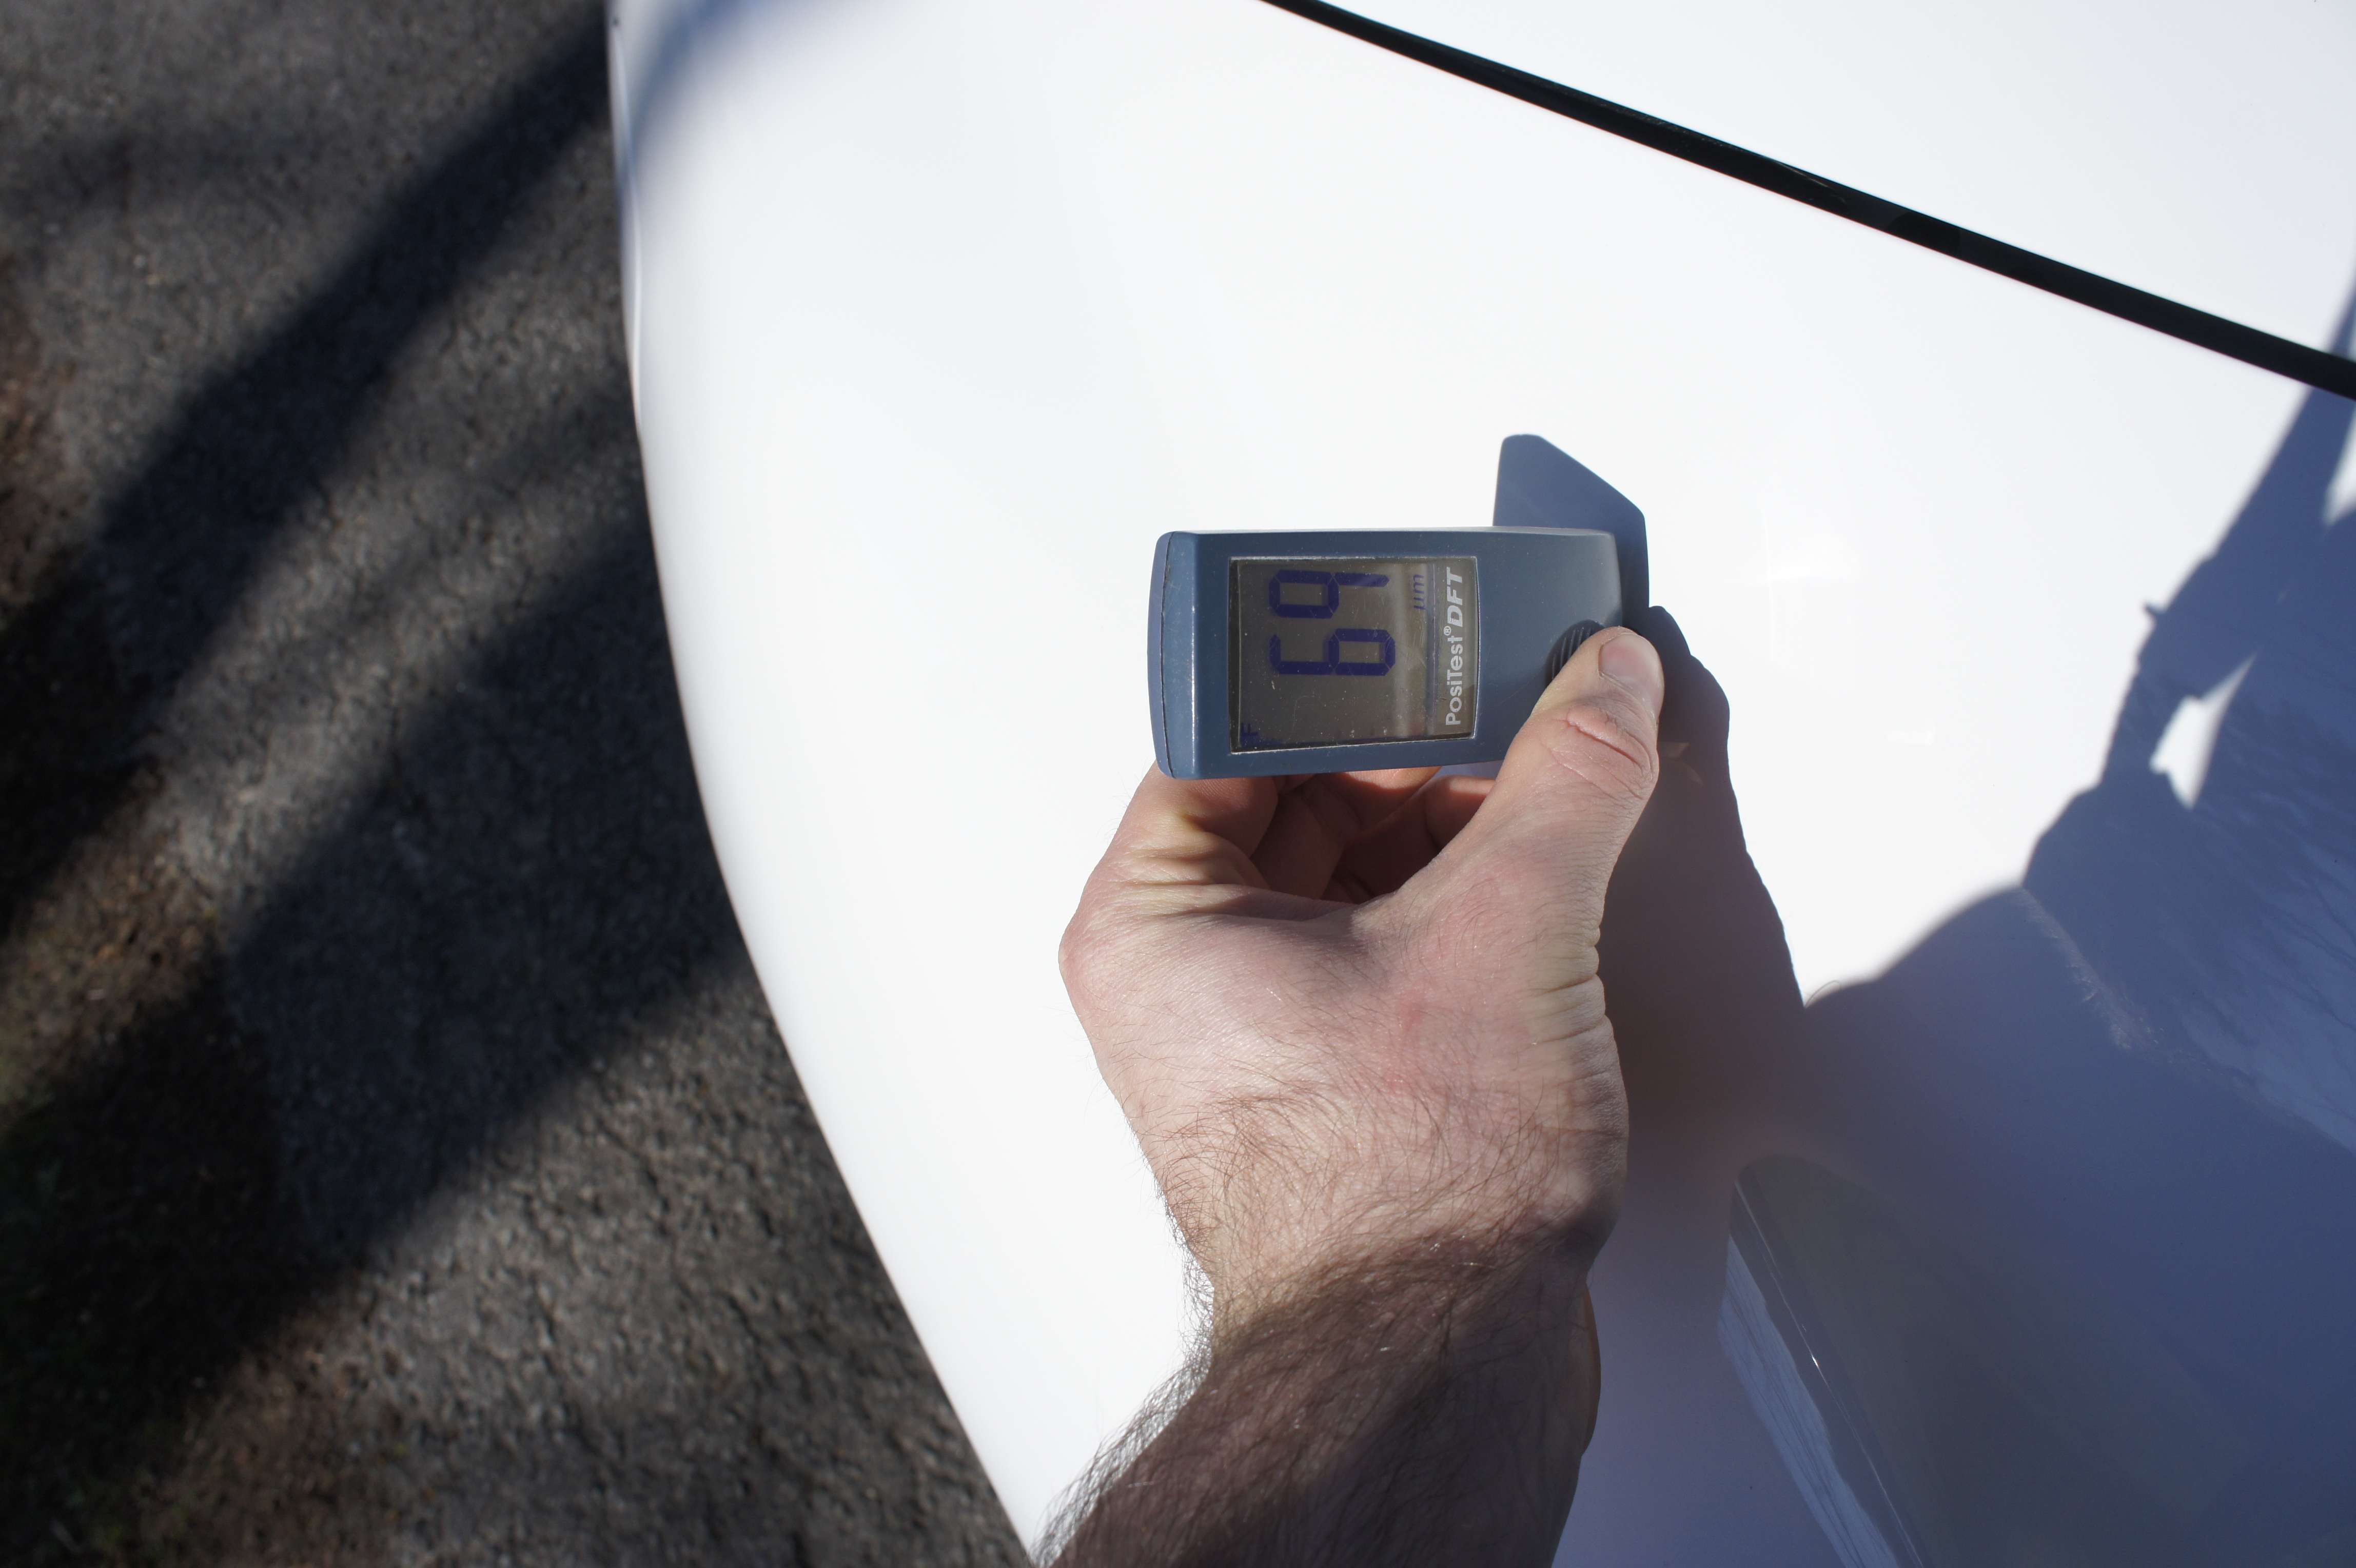
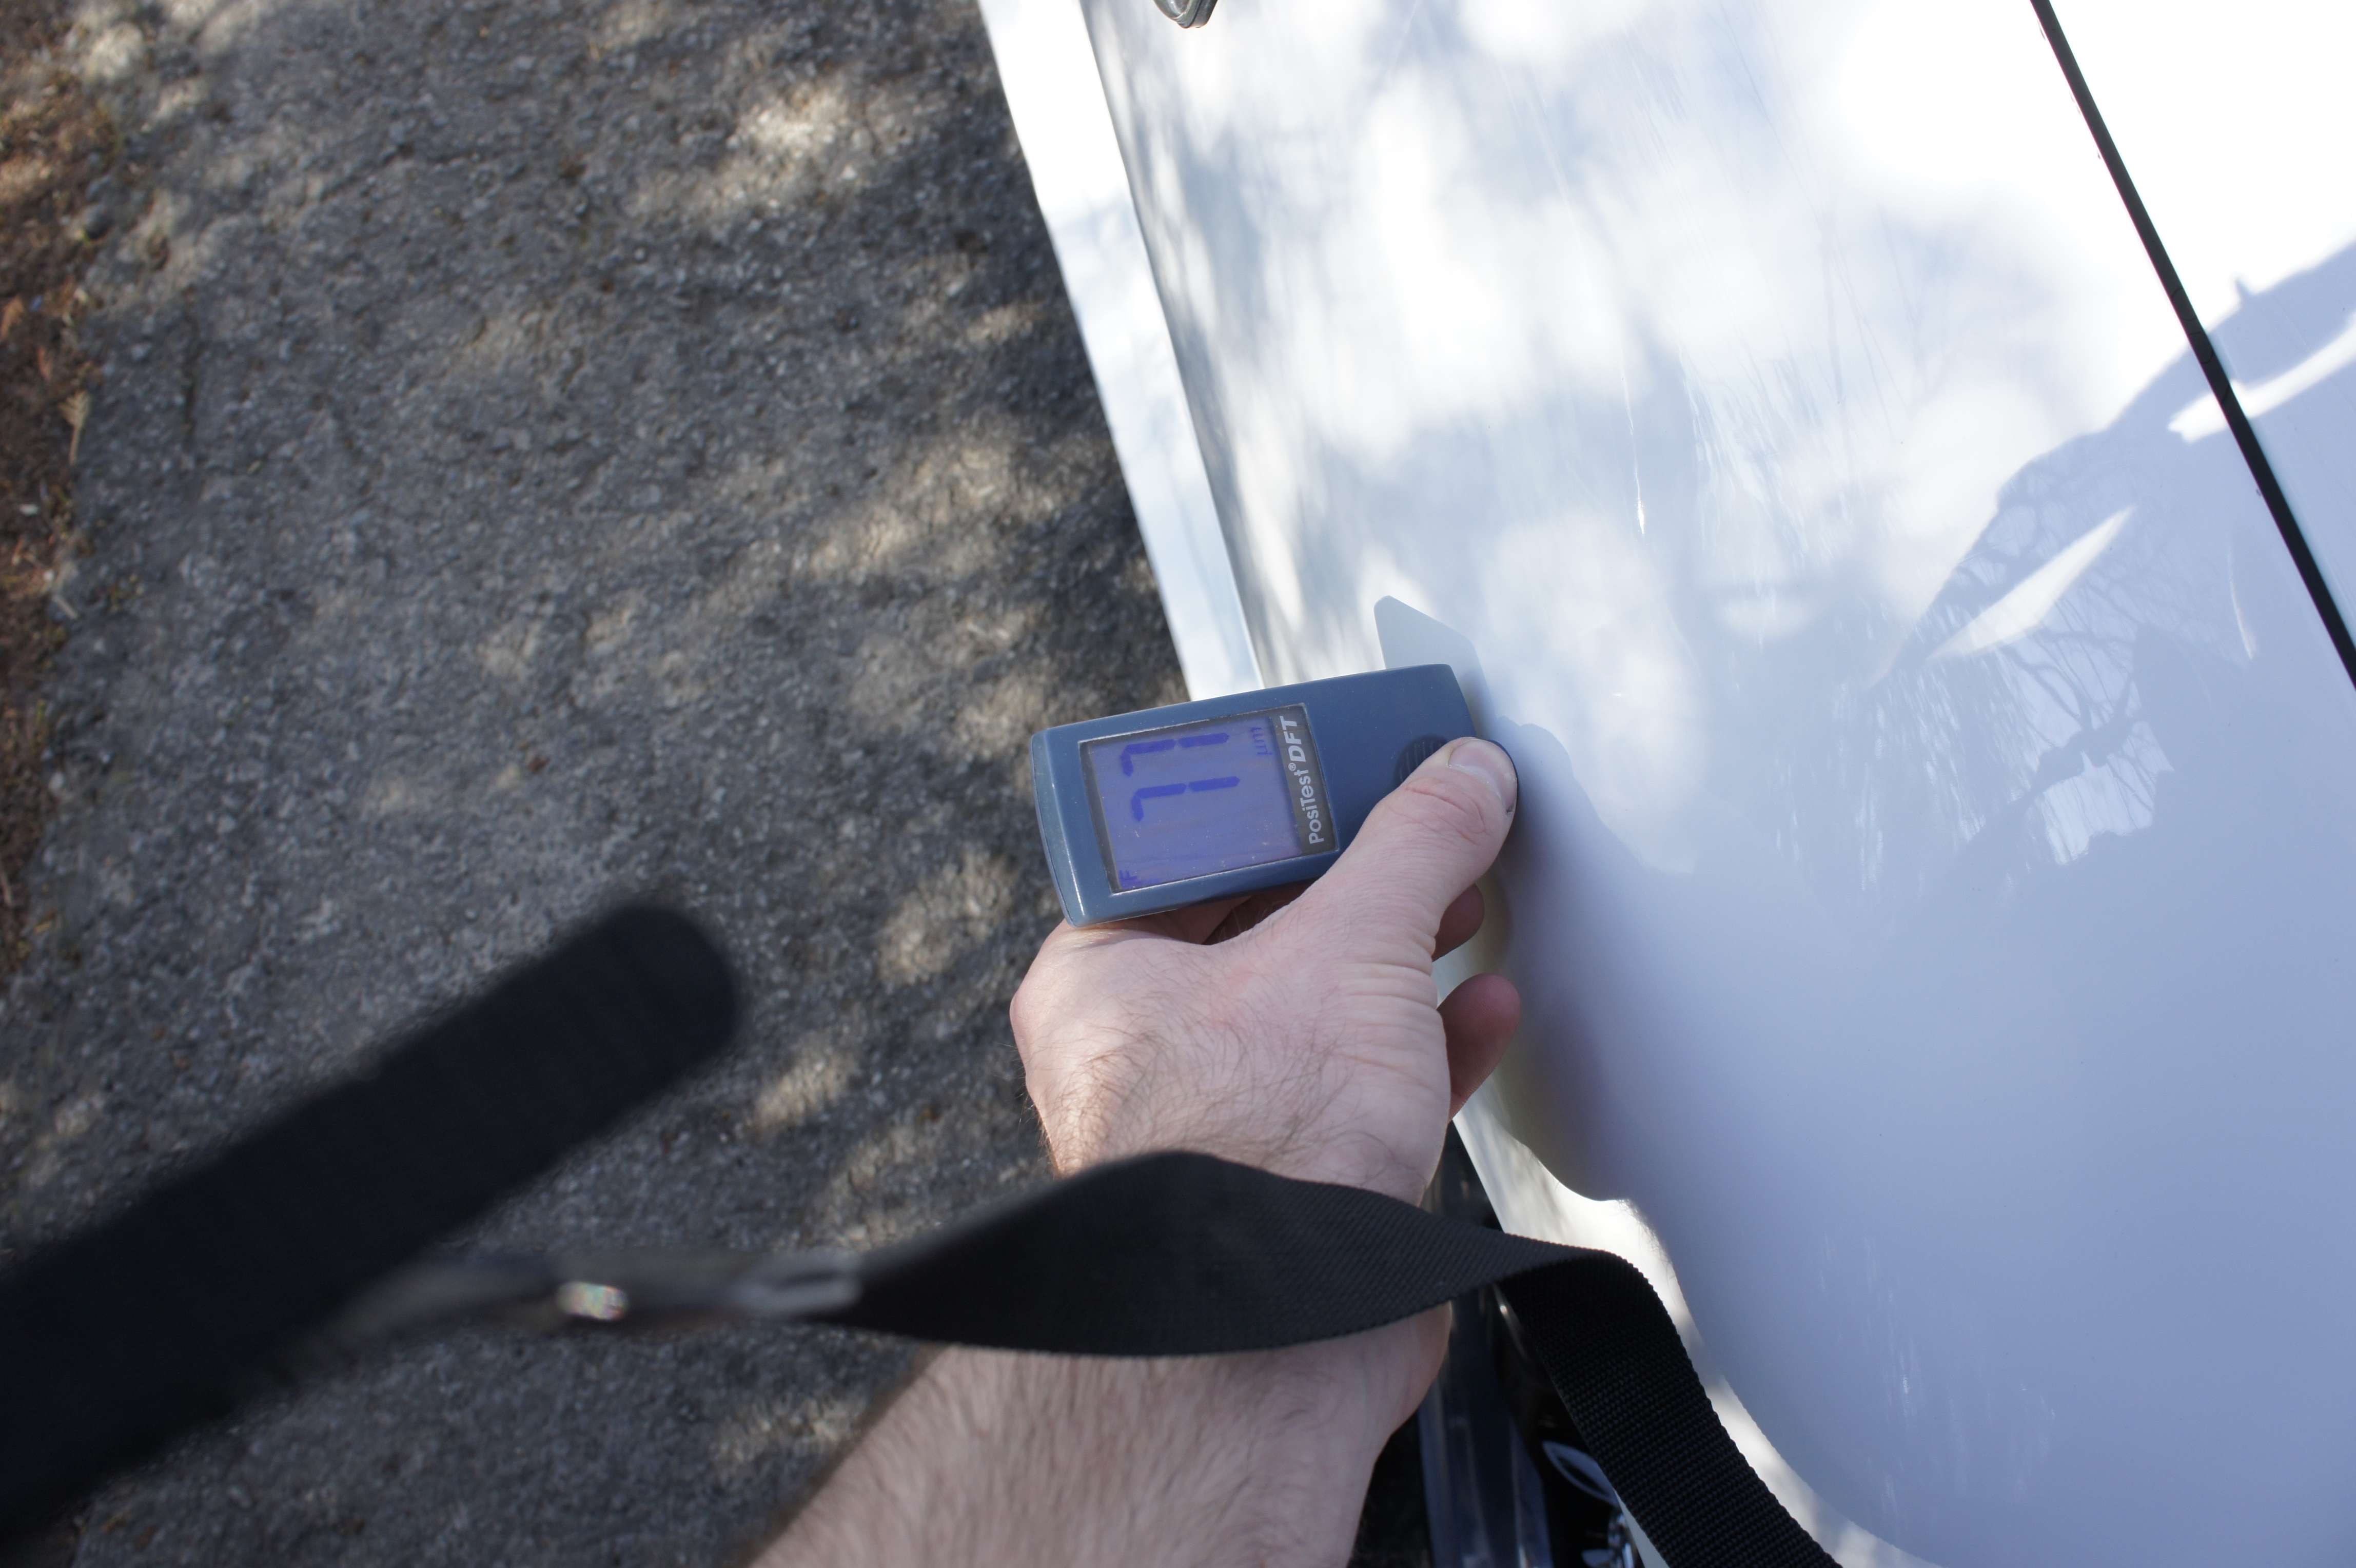
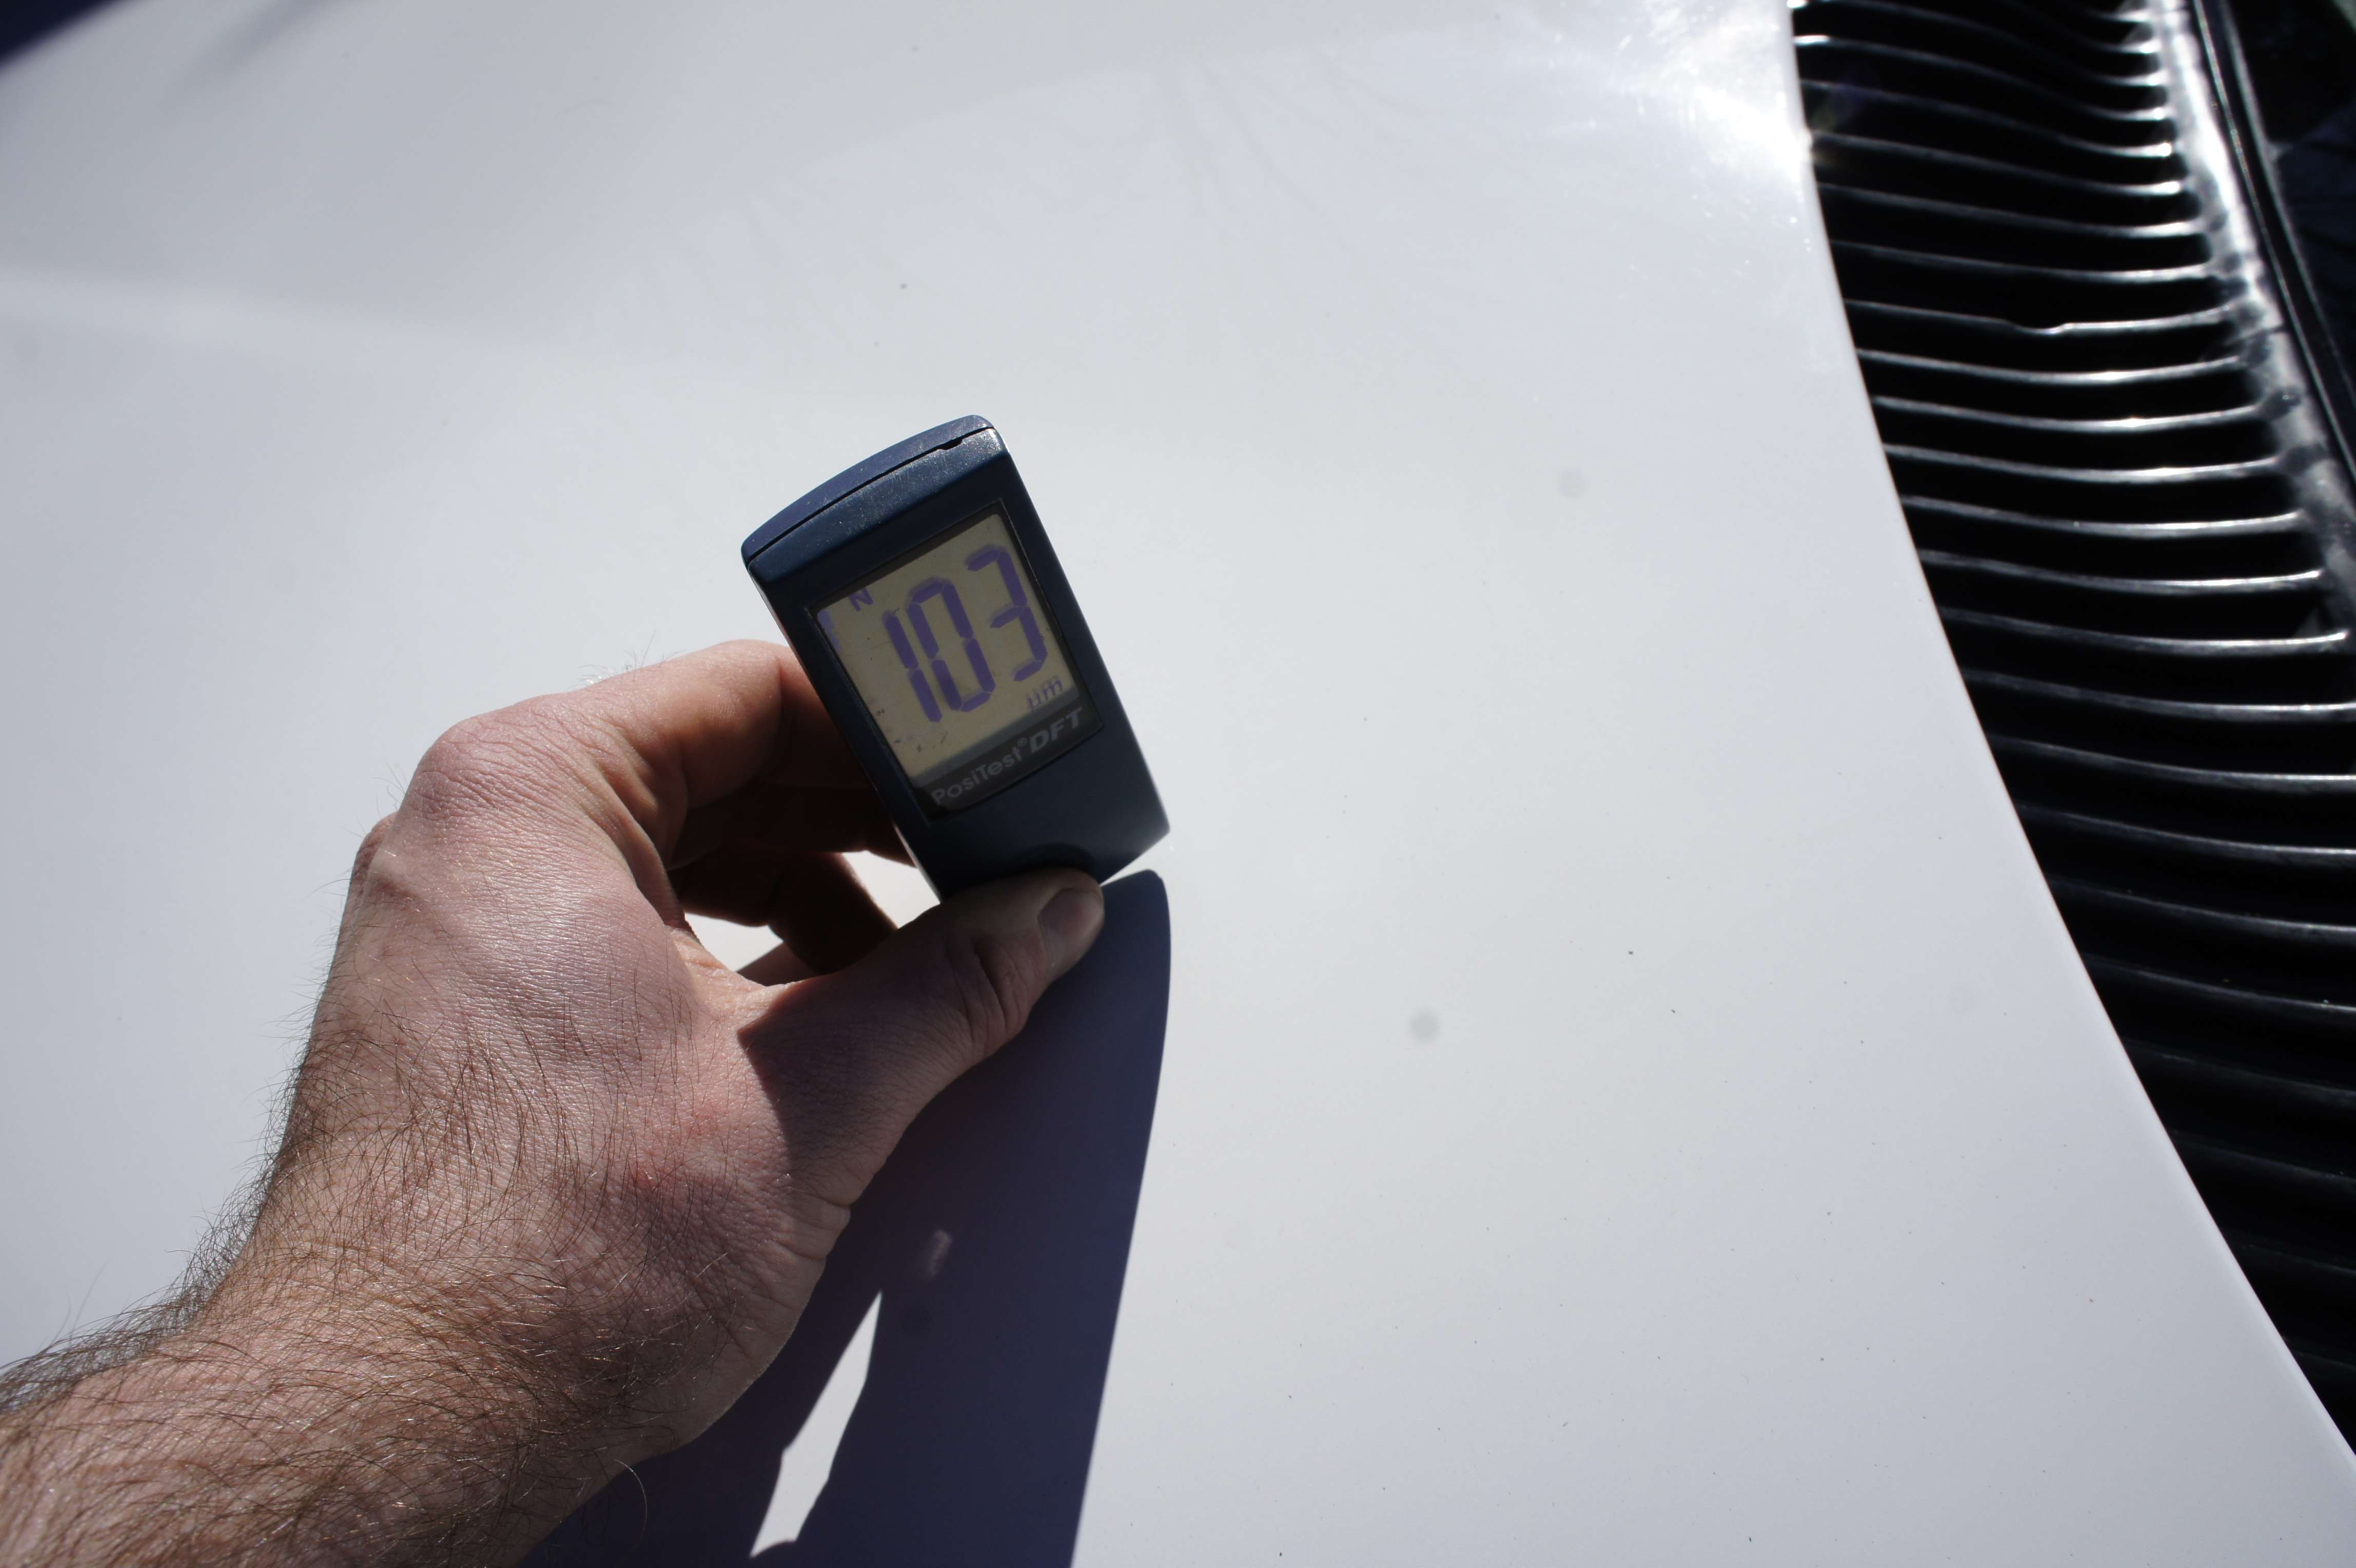
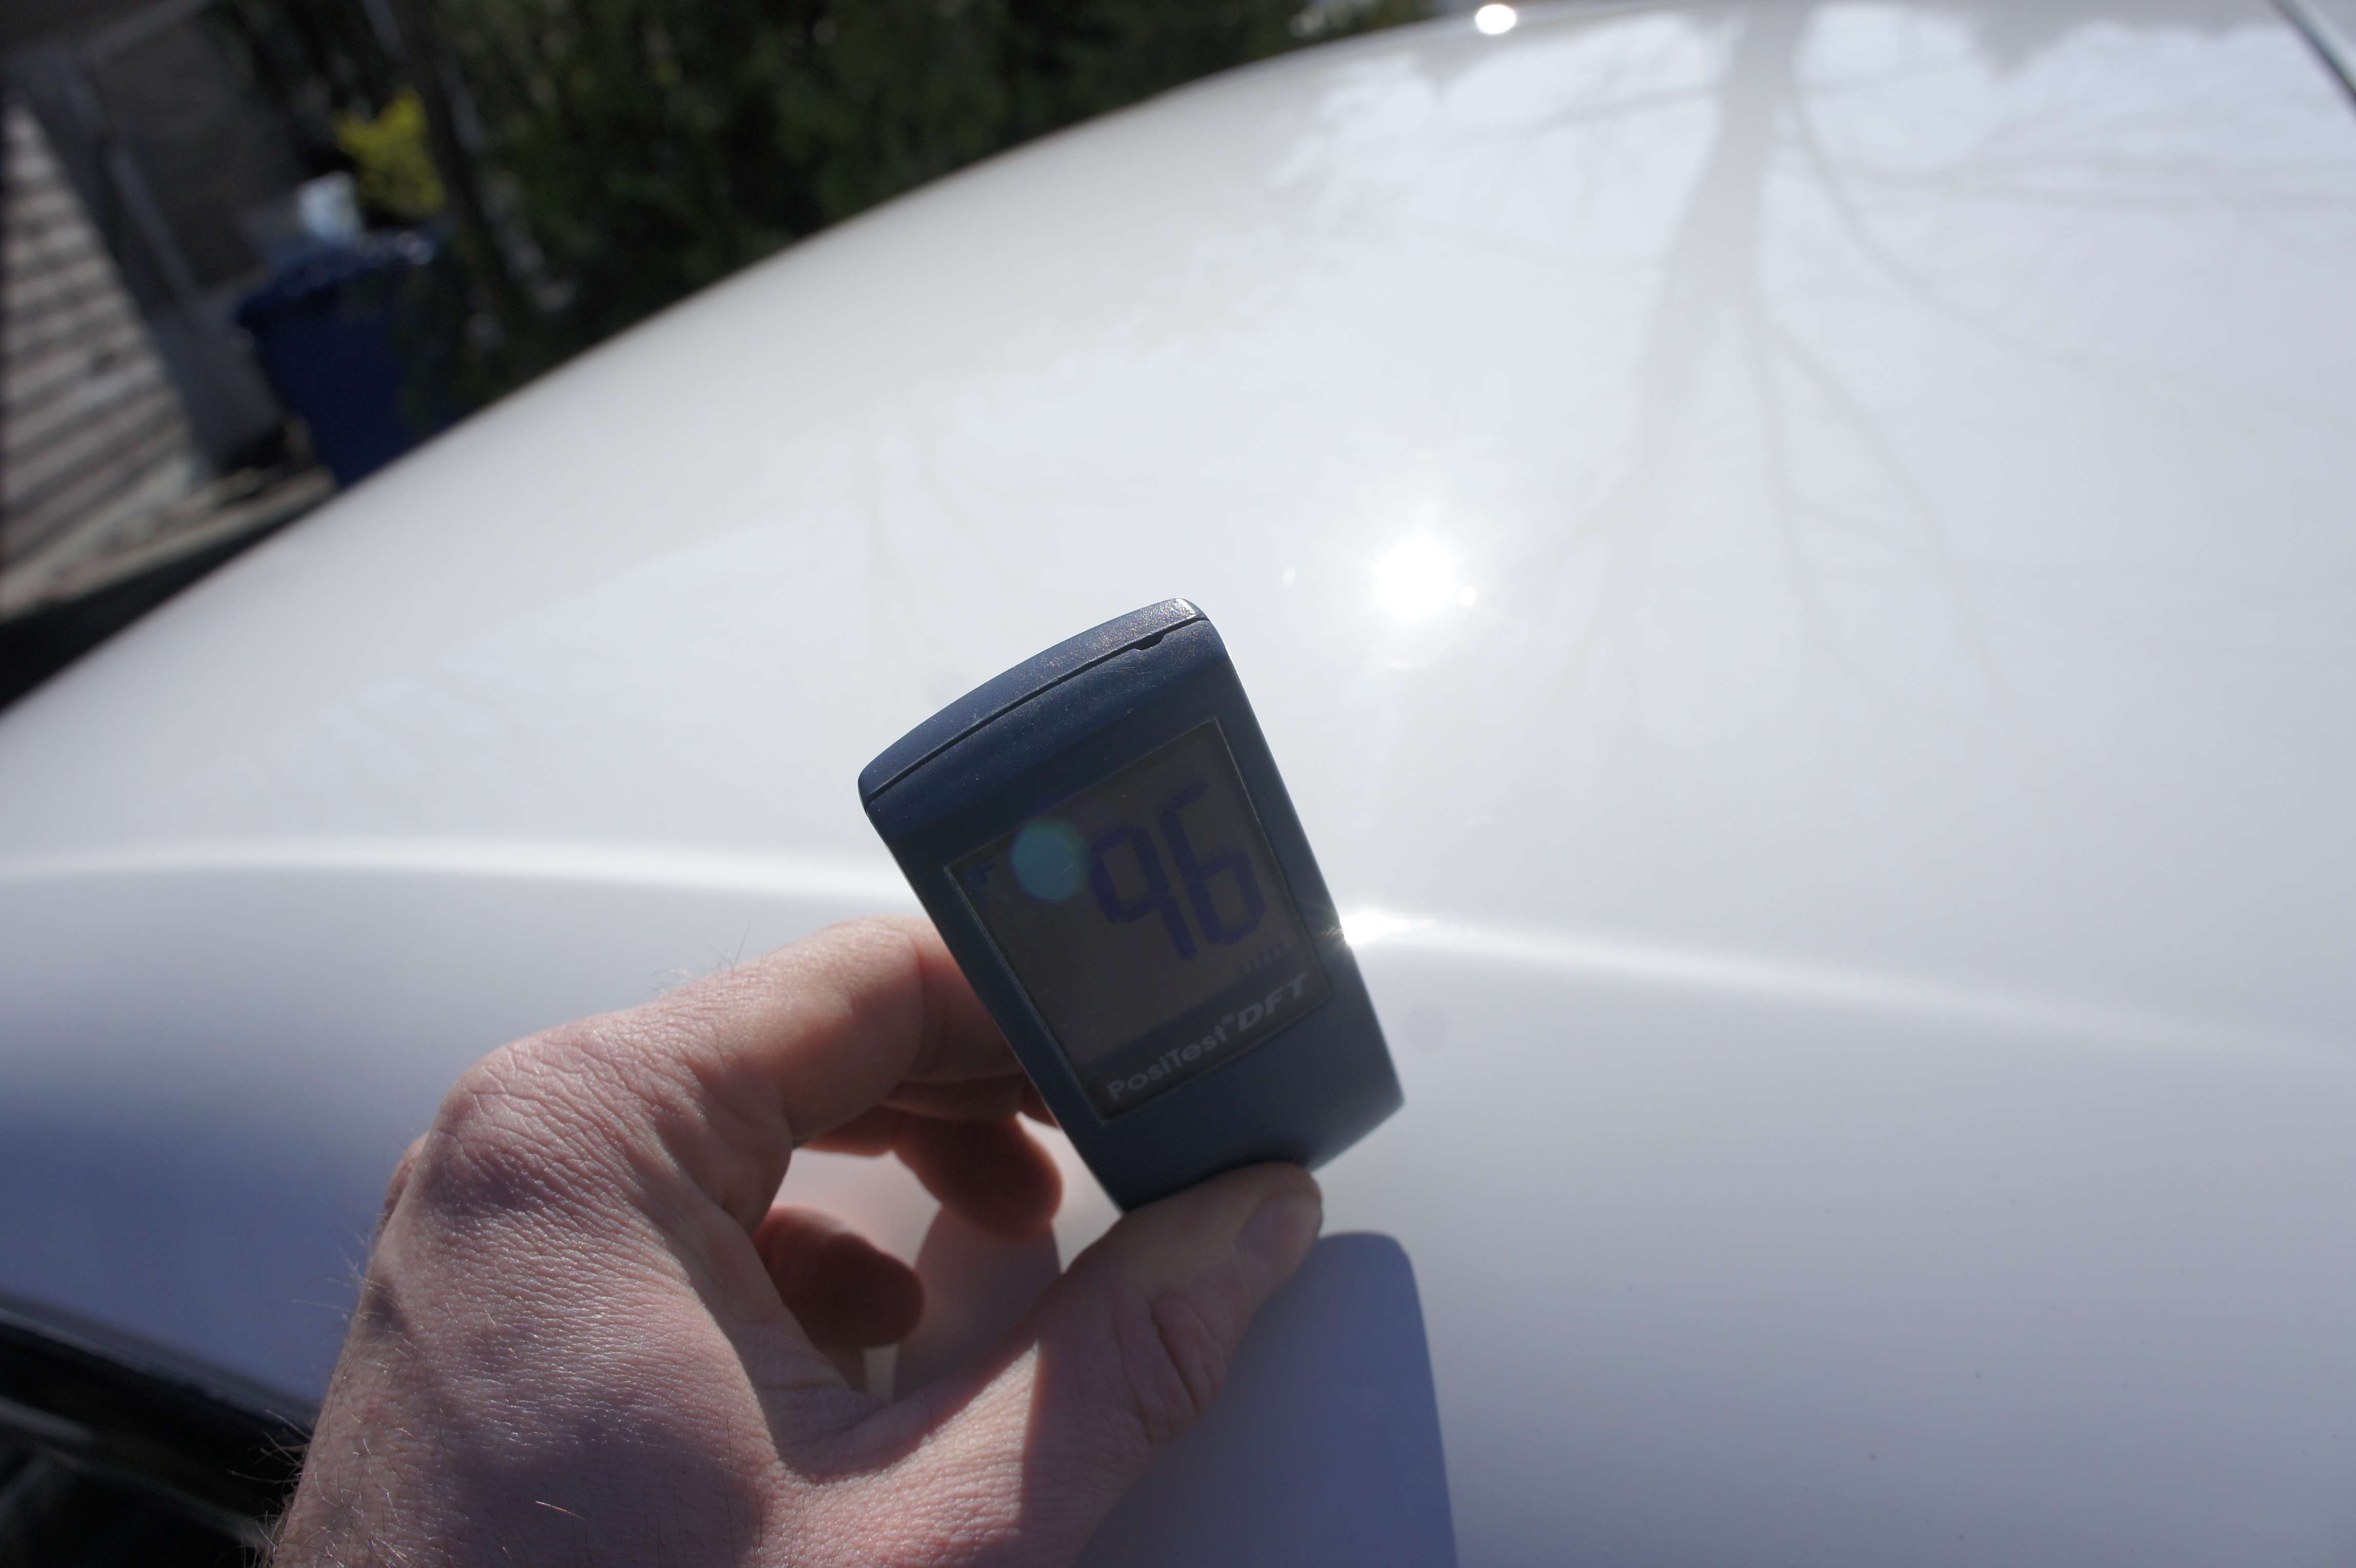
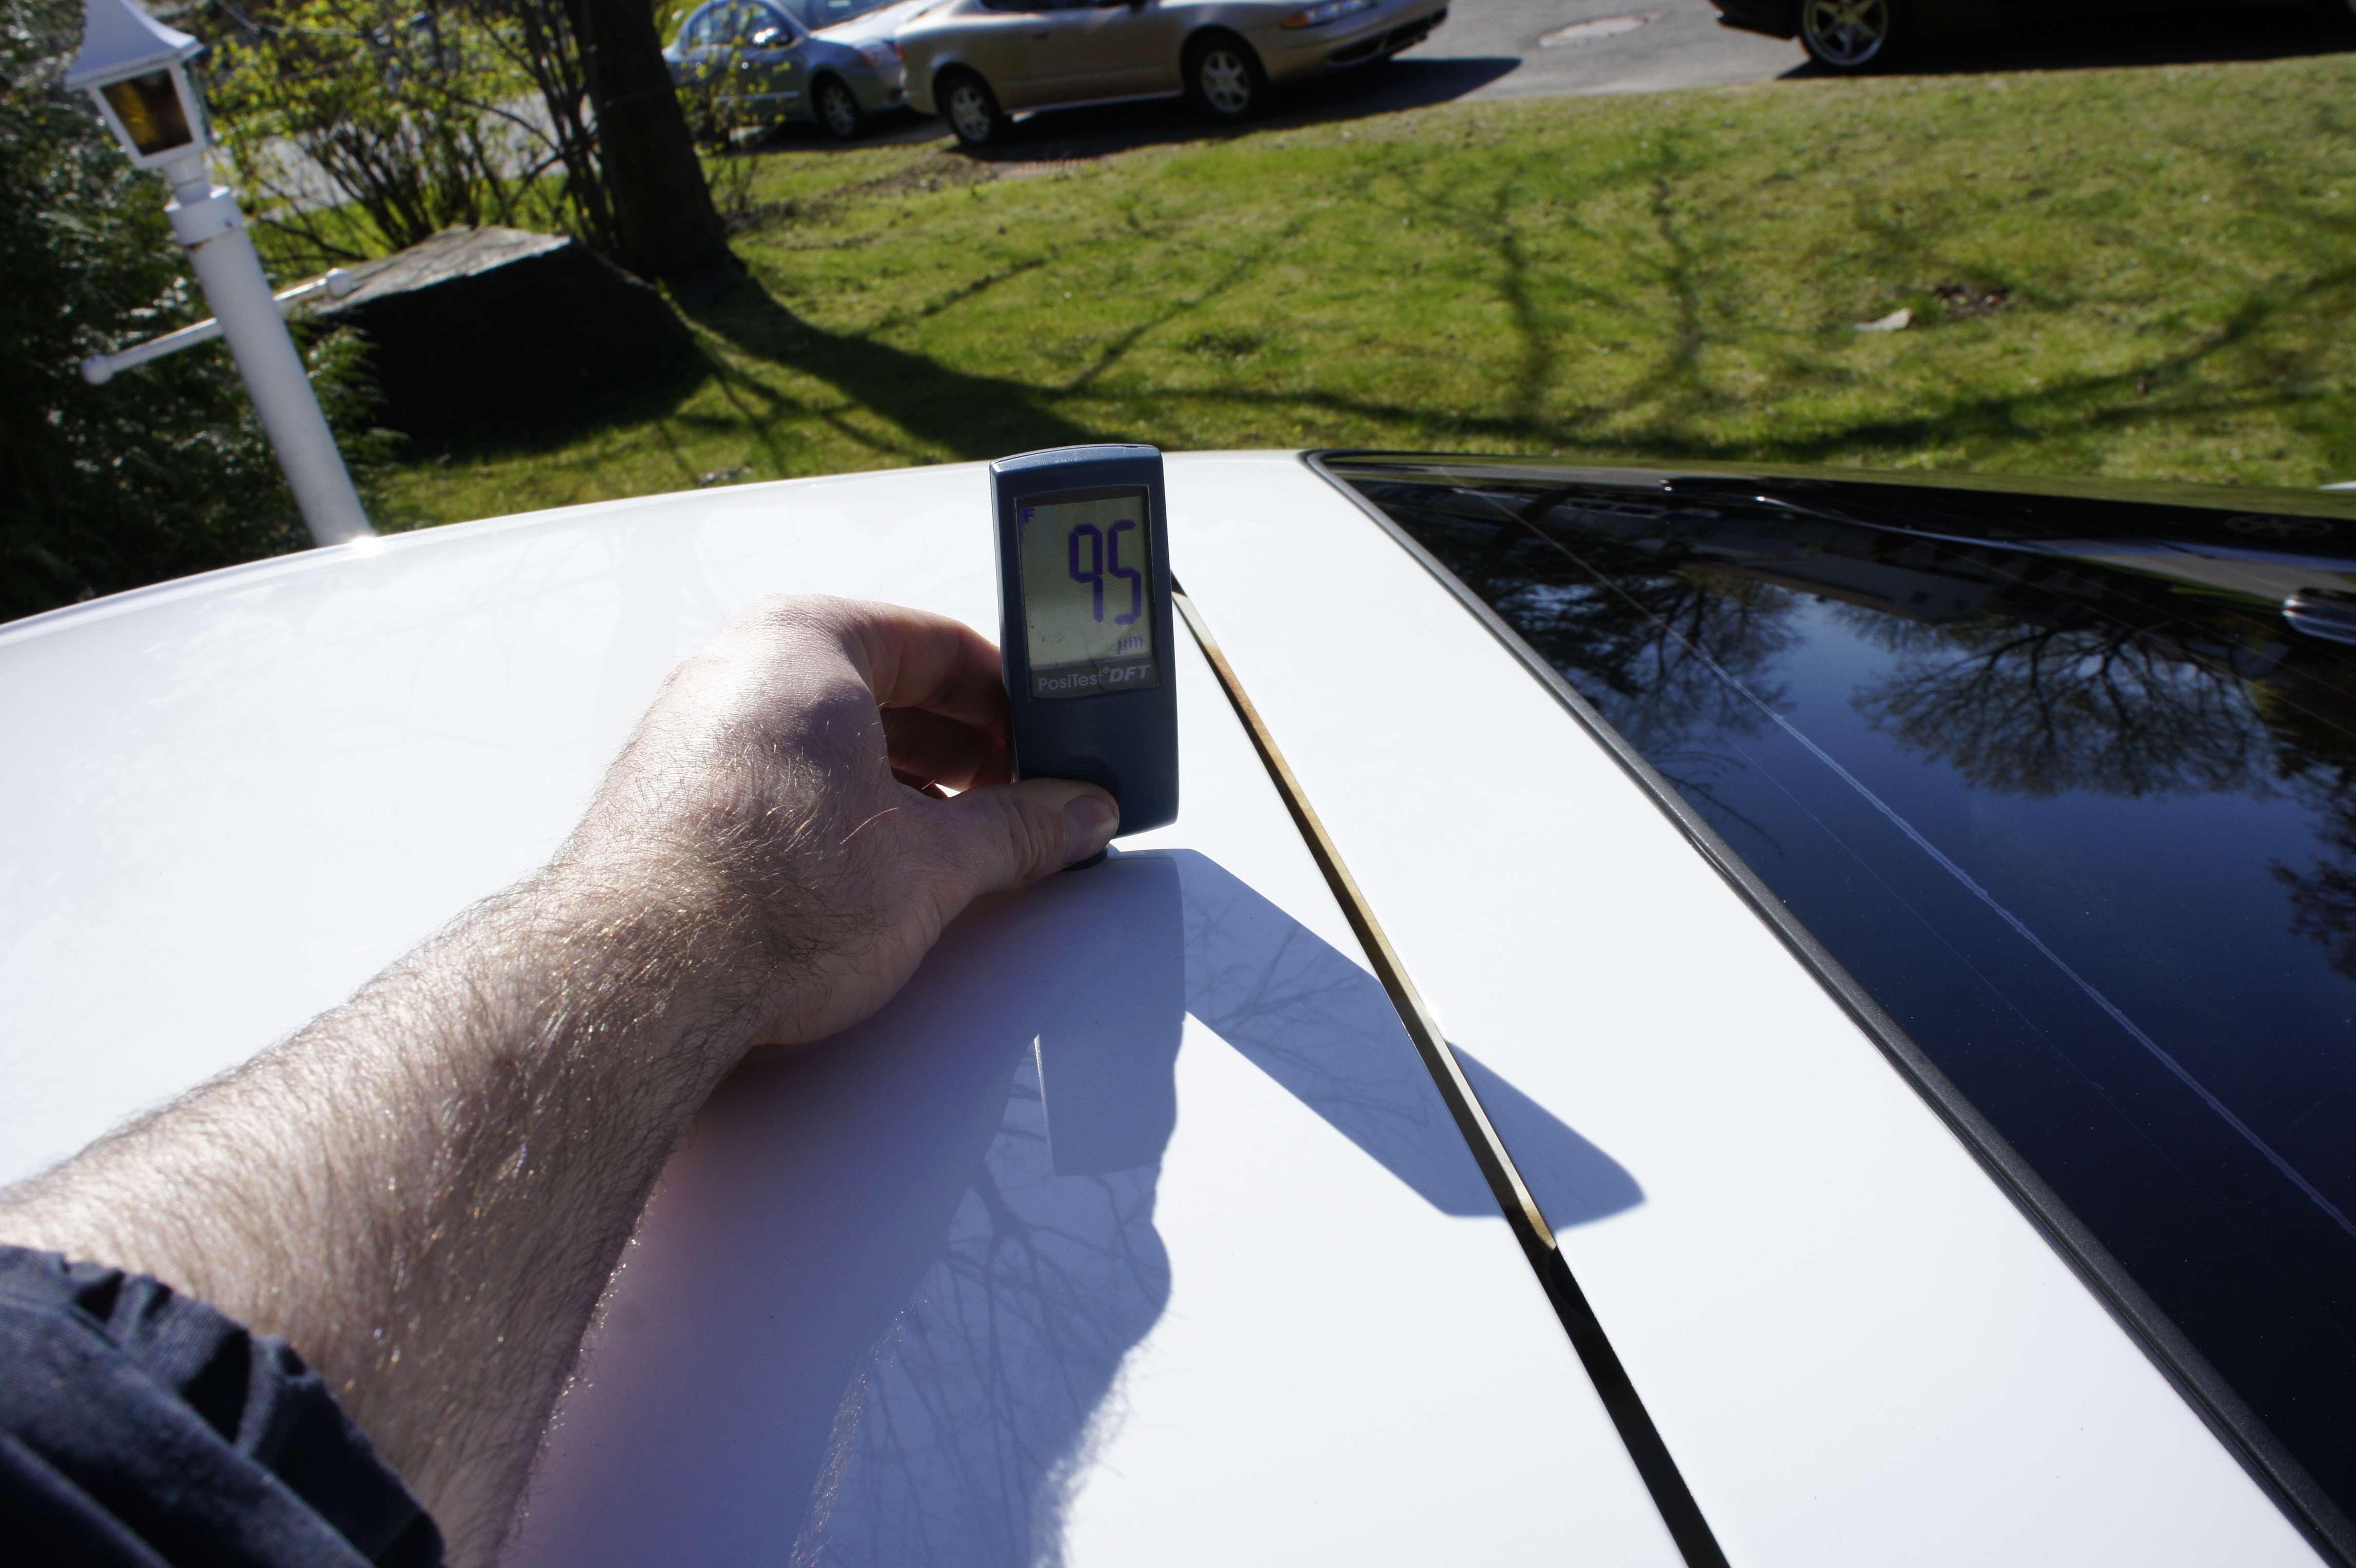
One thing to notice, 2 panel has been resprayed but the job seemed OK so it was not a major issue with my polishing.
Process:
Remove some decal
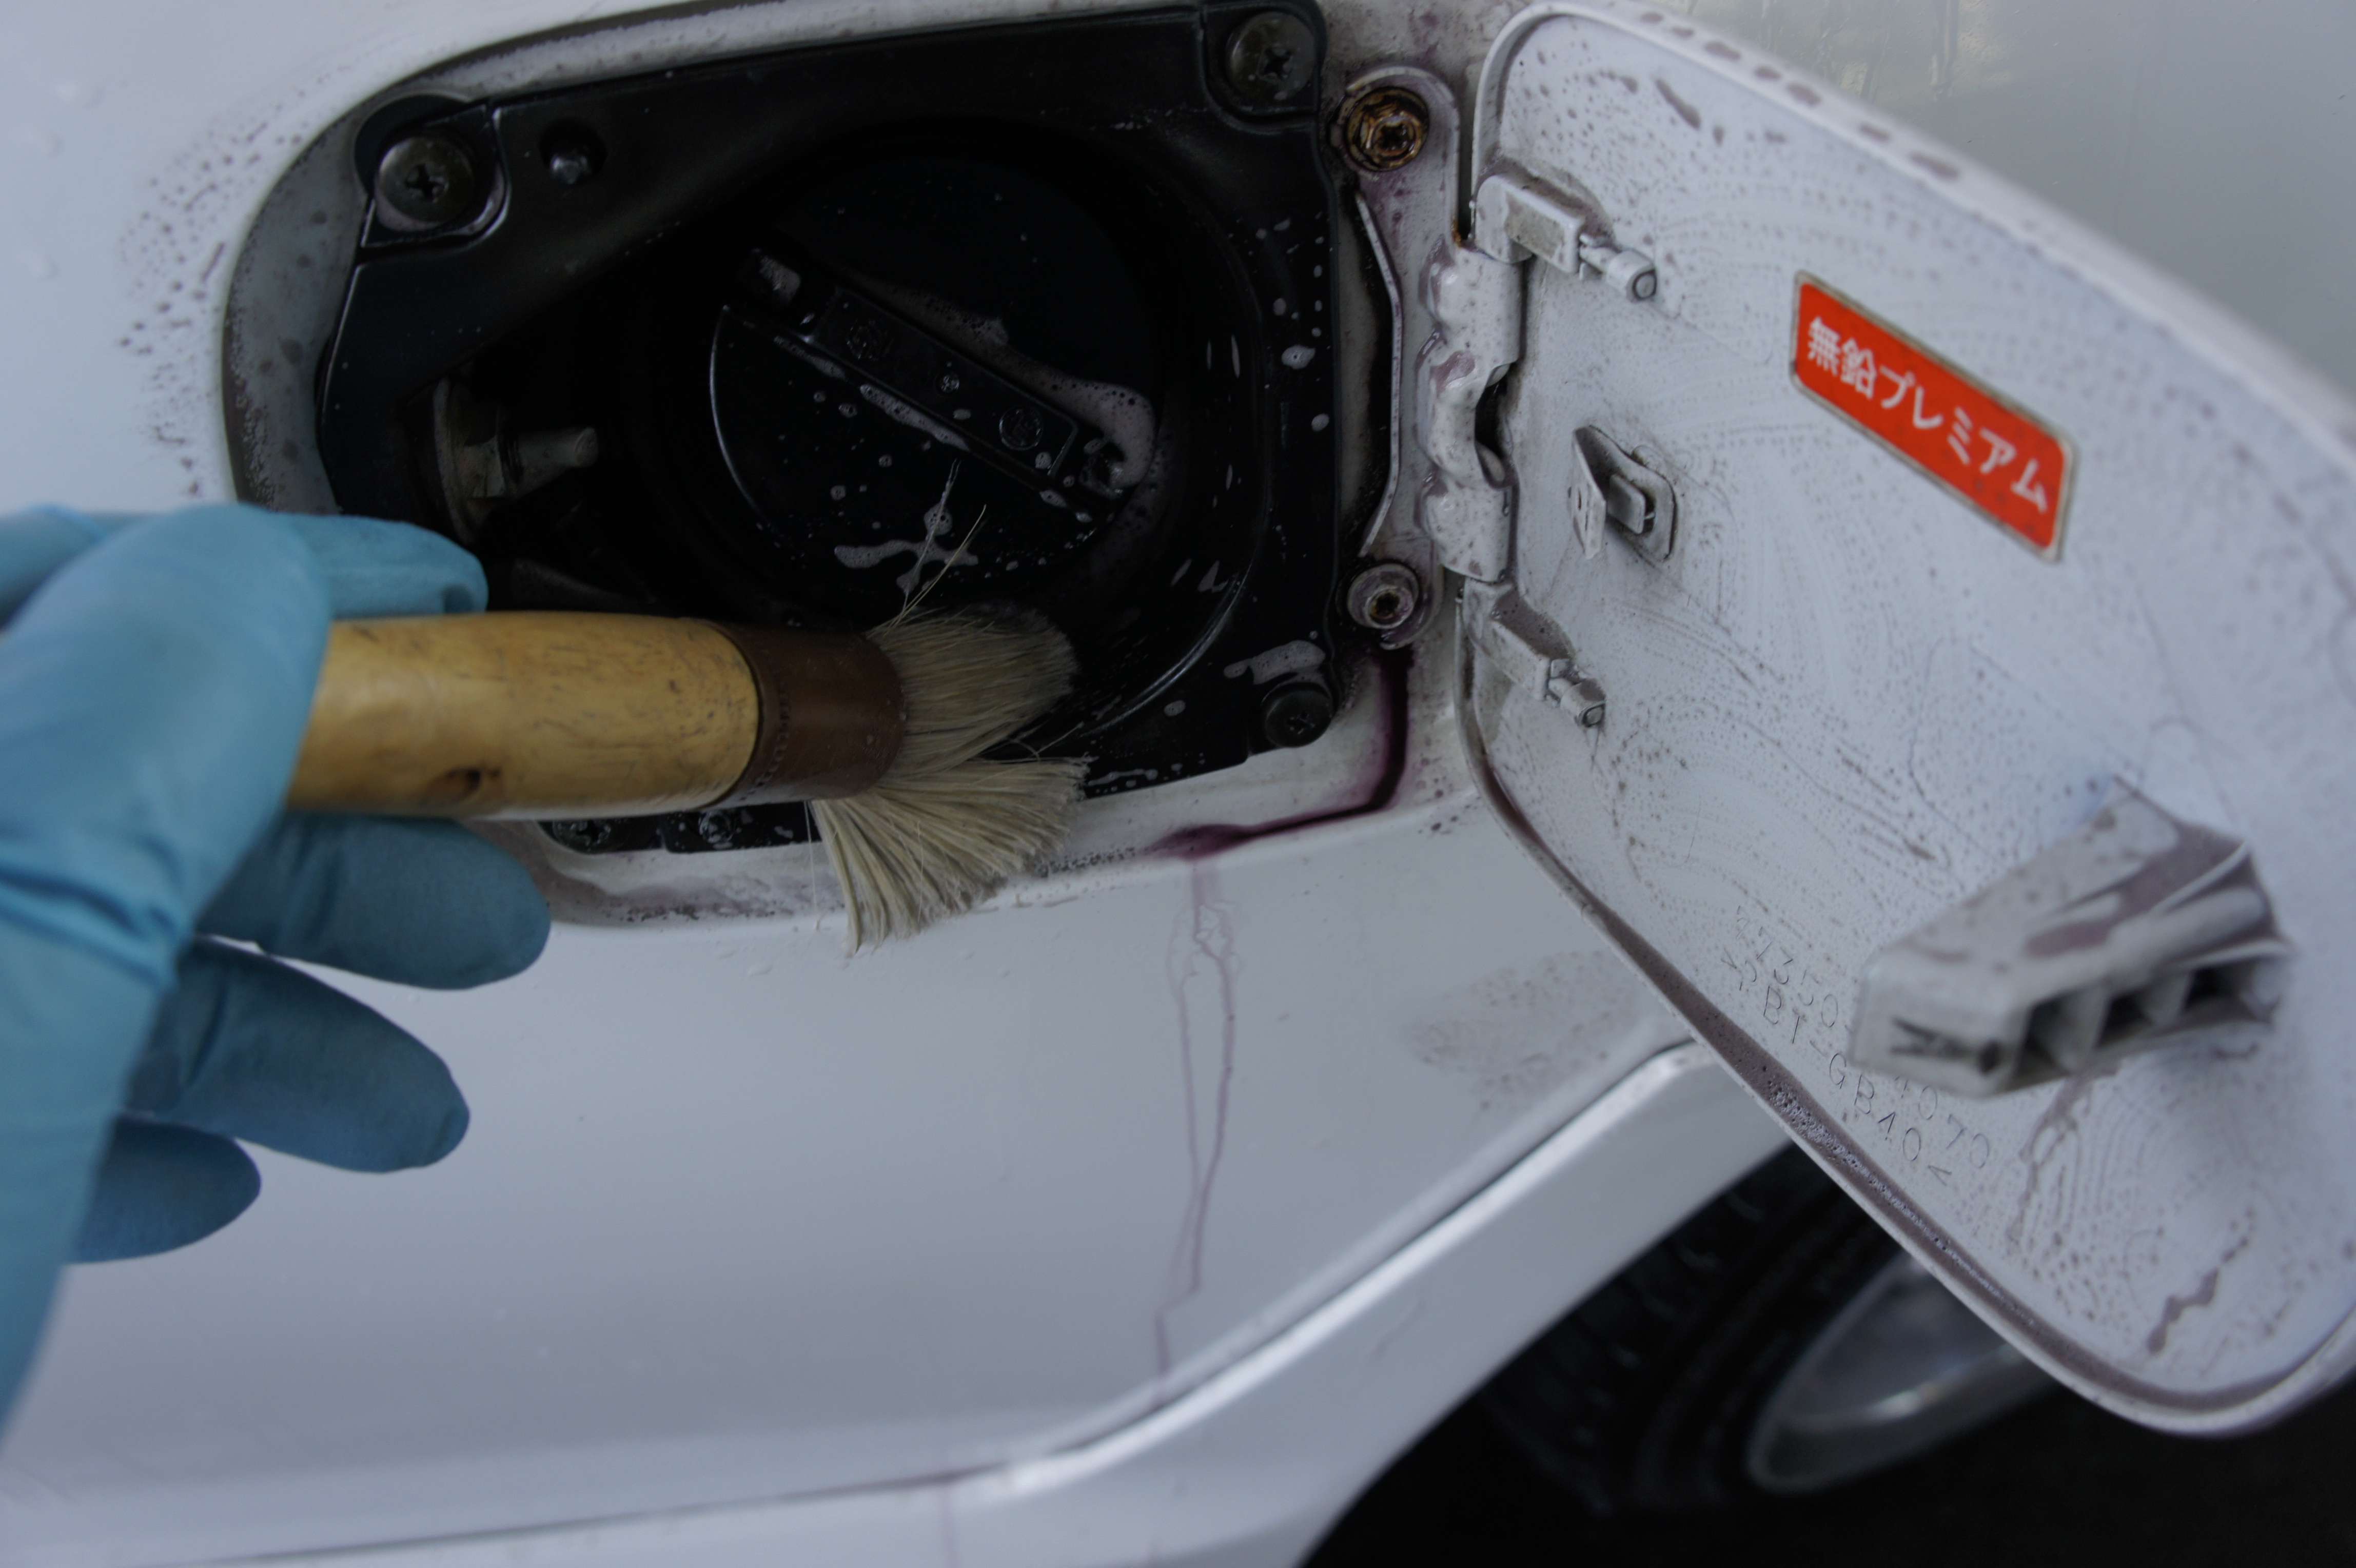
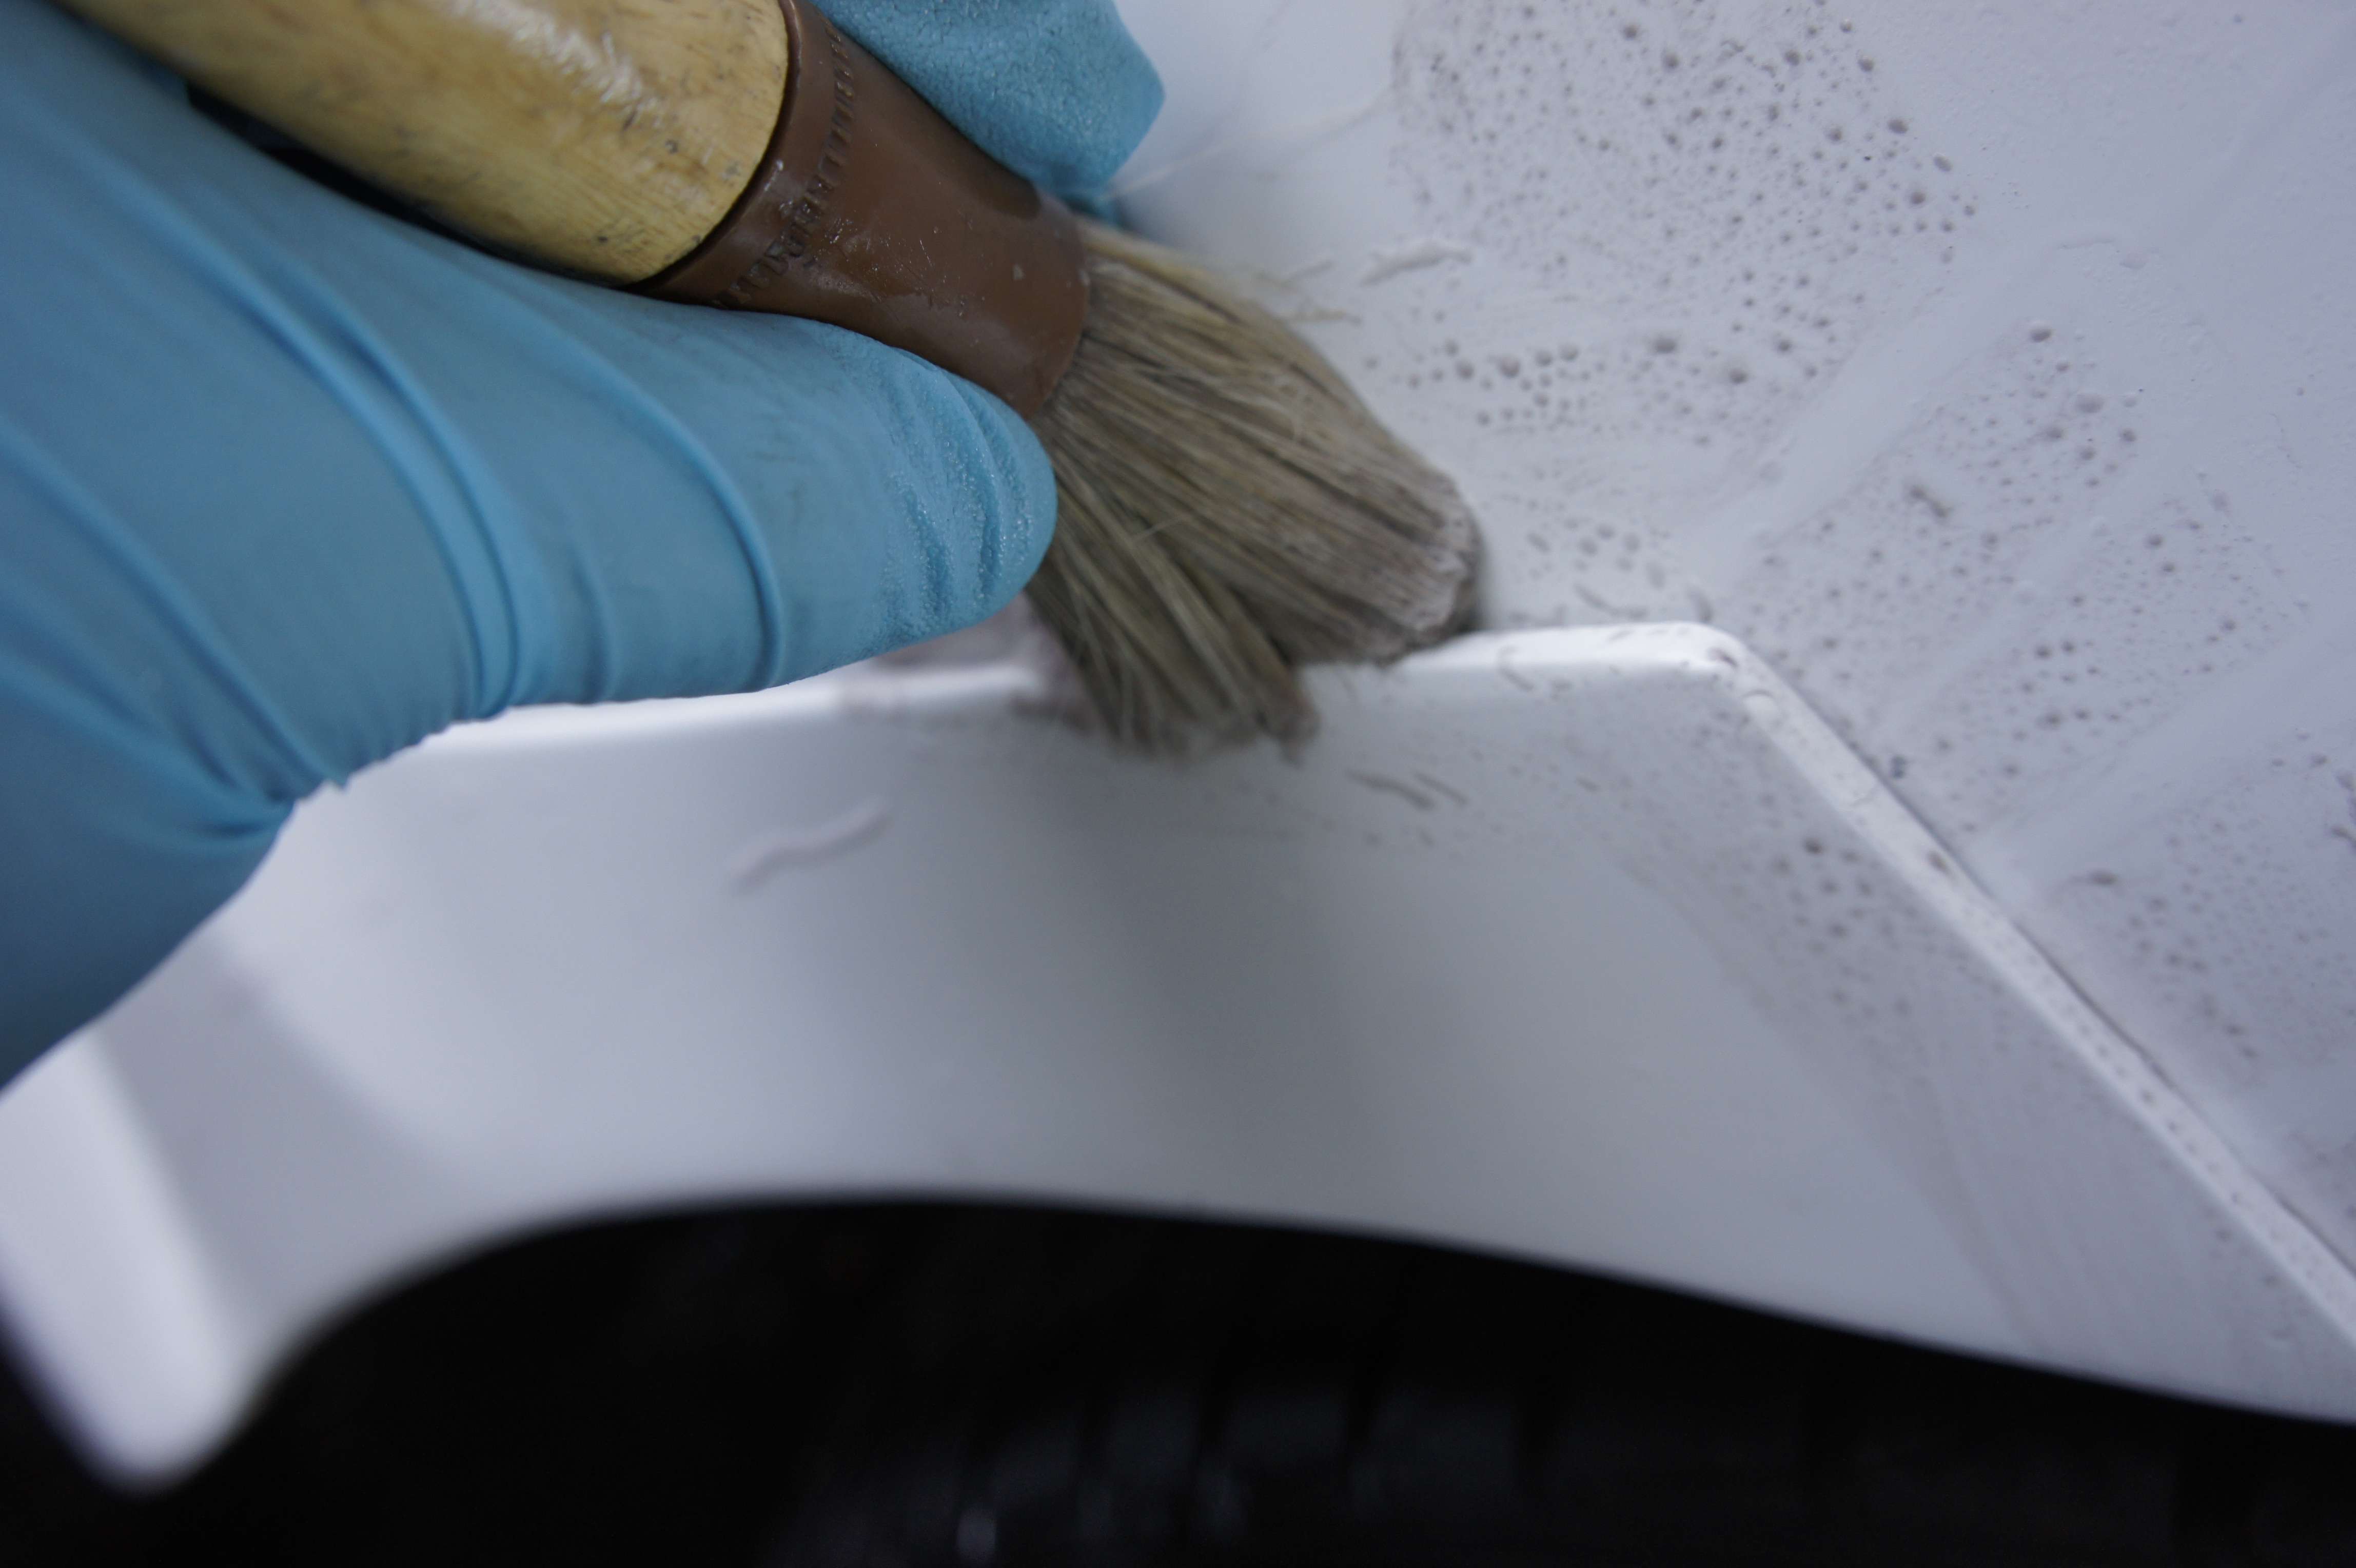
Clay bar/ chemical decon
2 bucket washing method
3-step polish
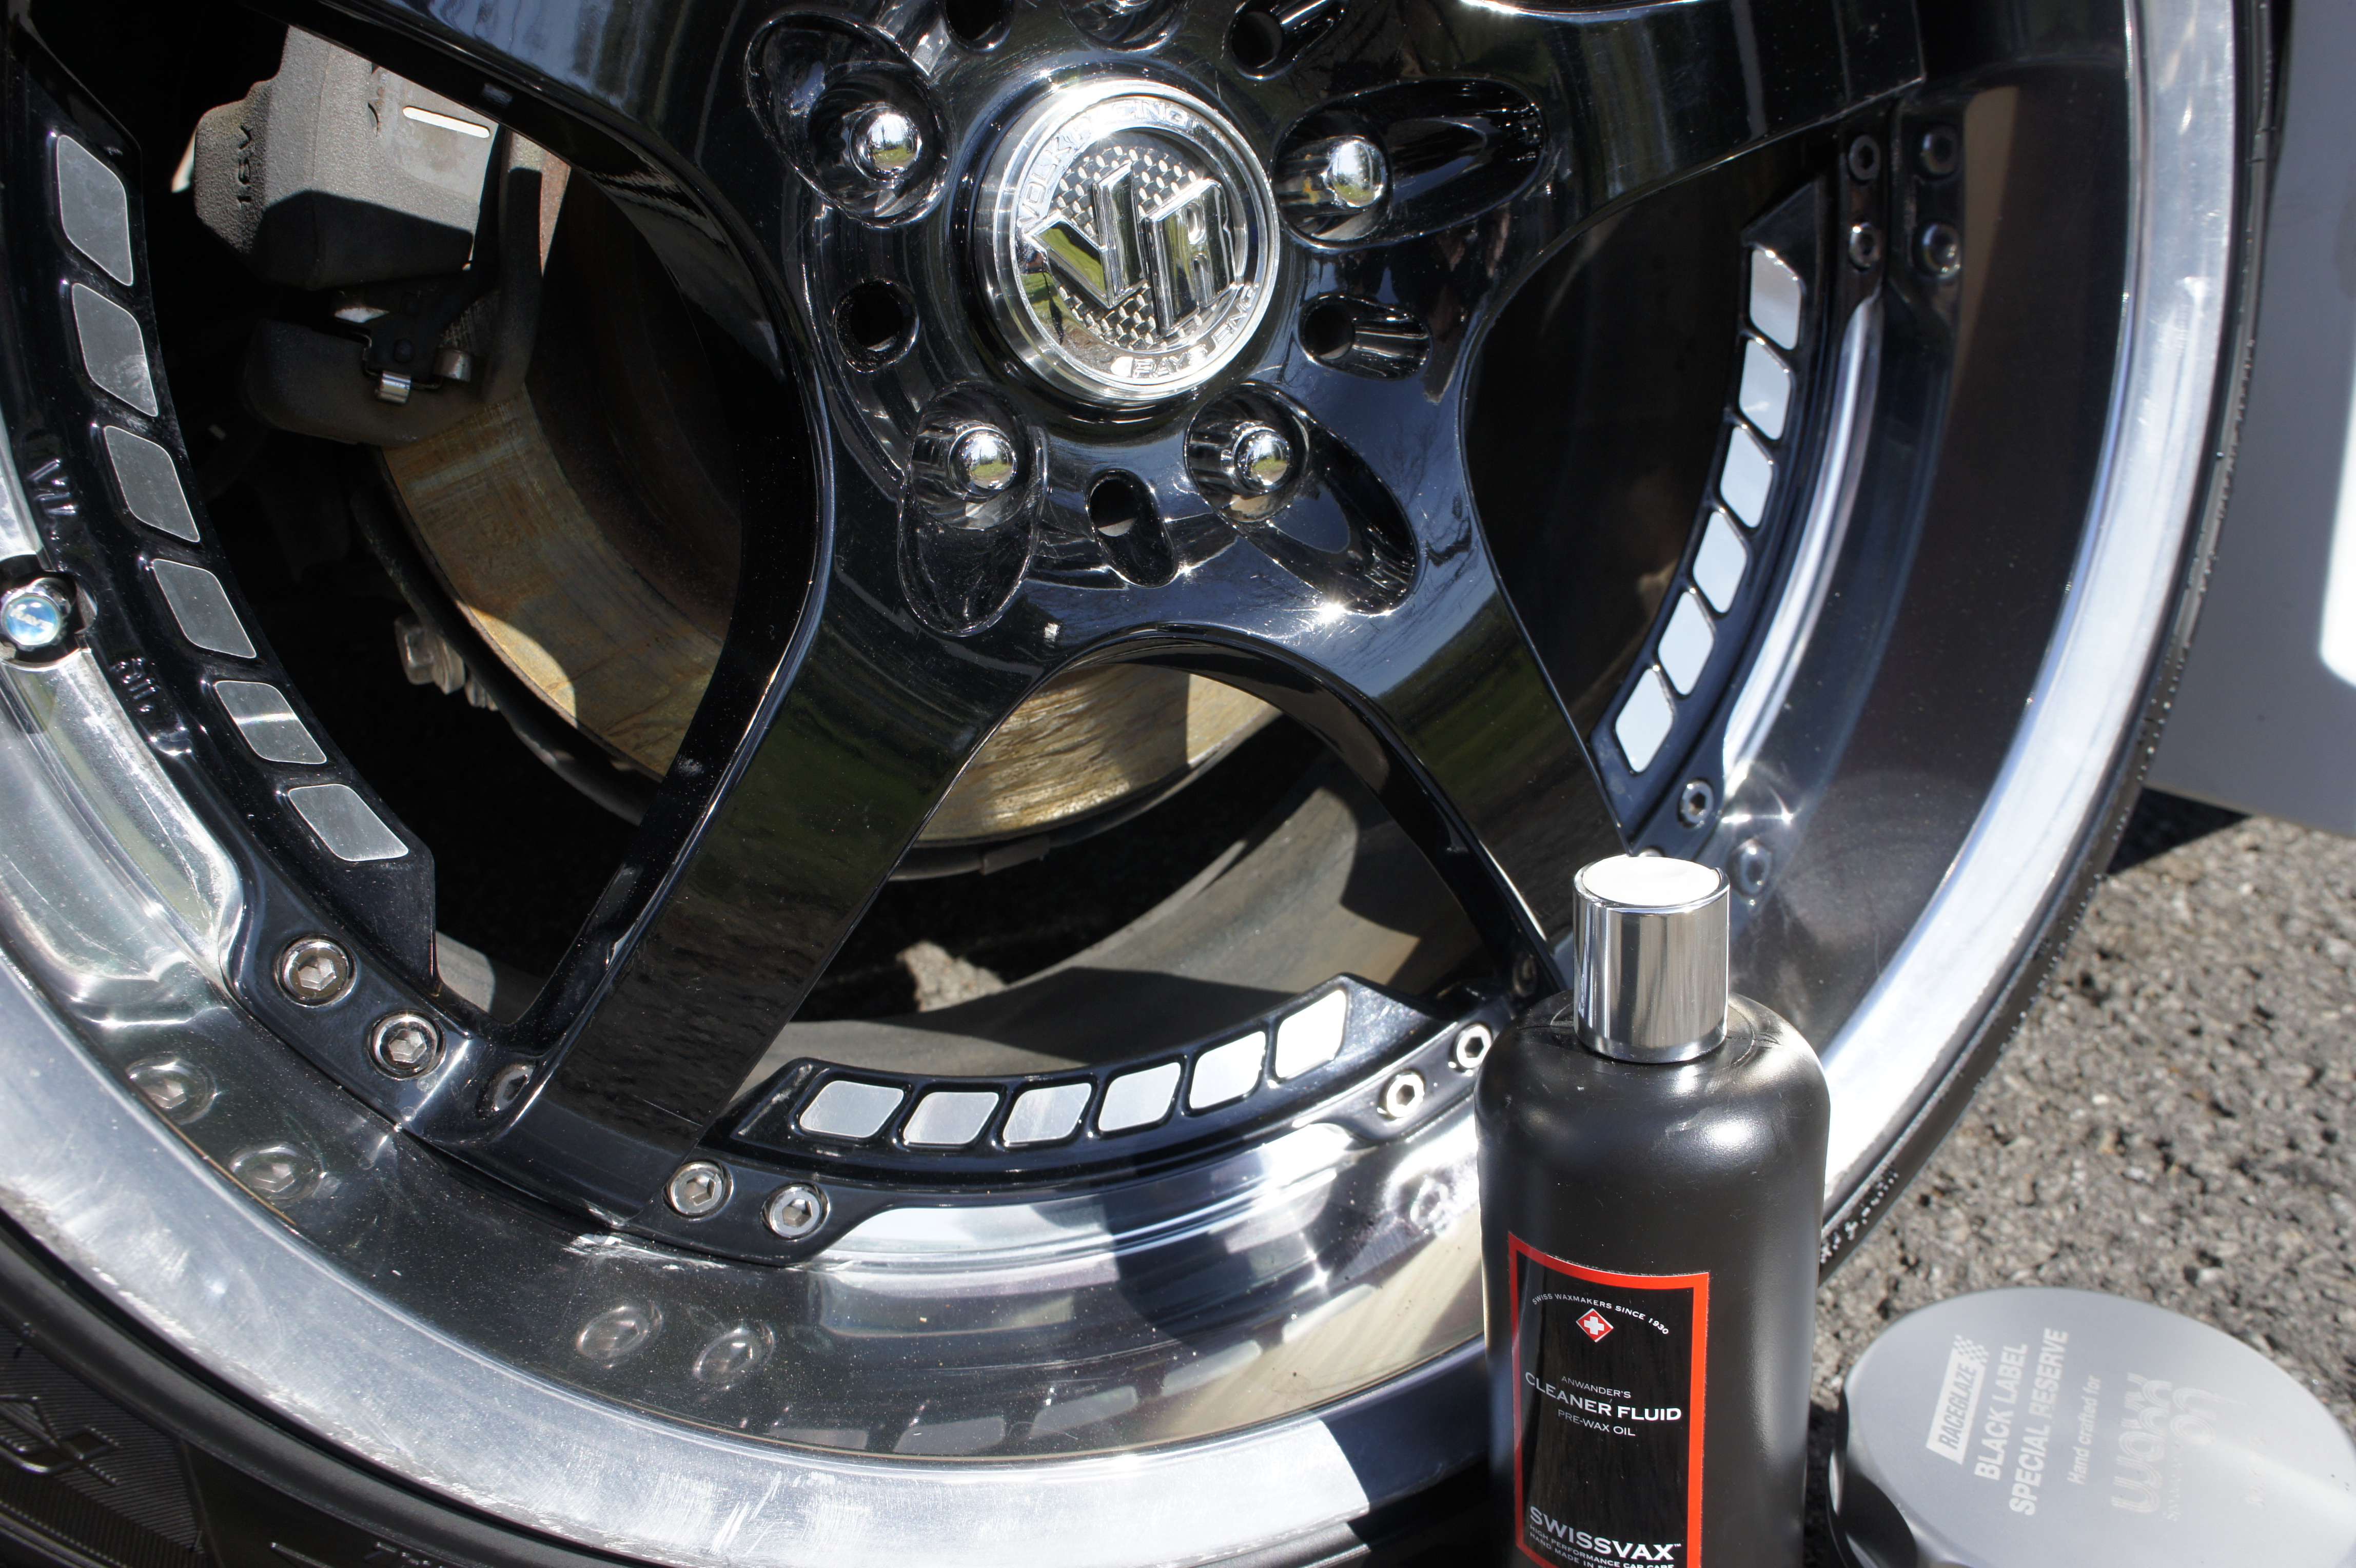
Paint cleanser
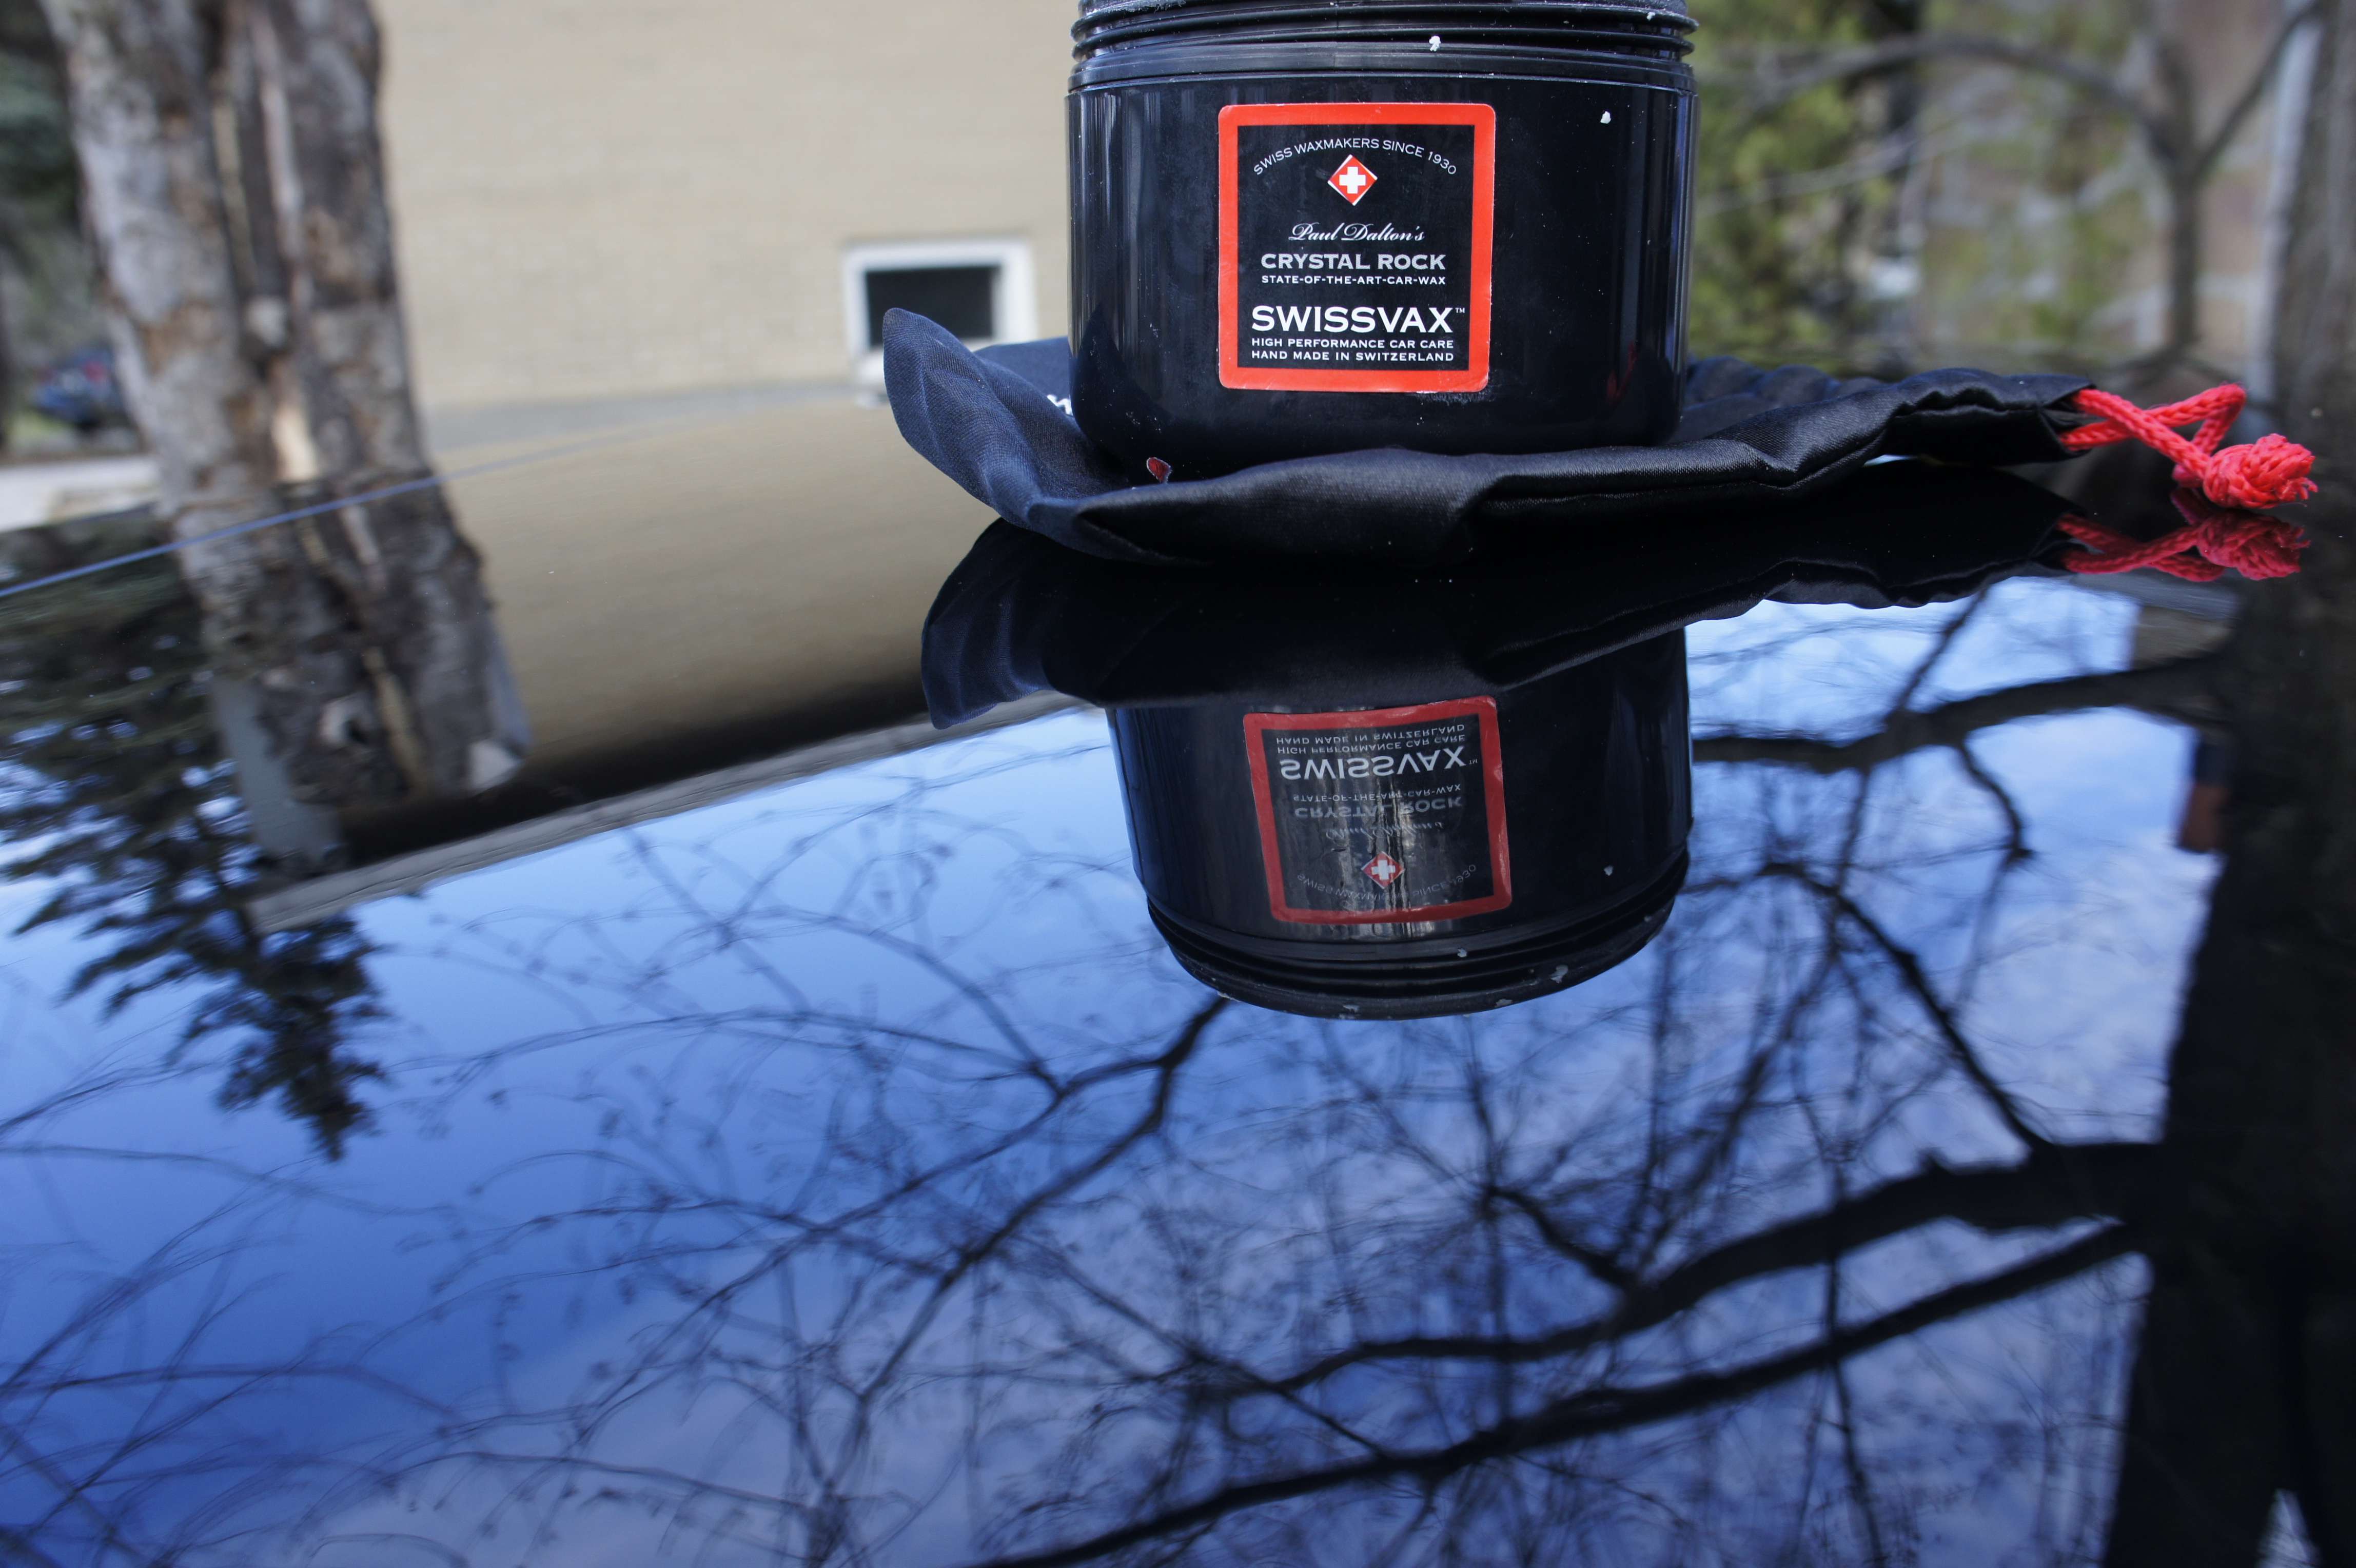
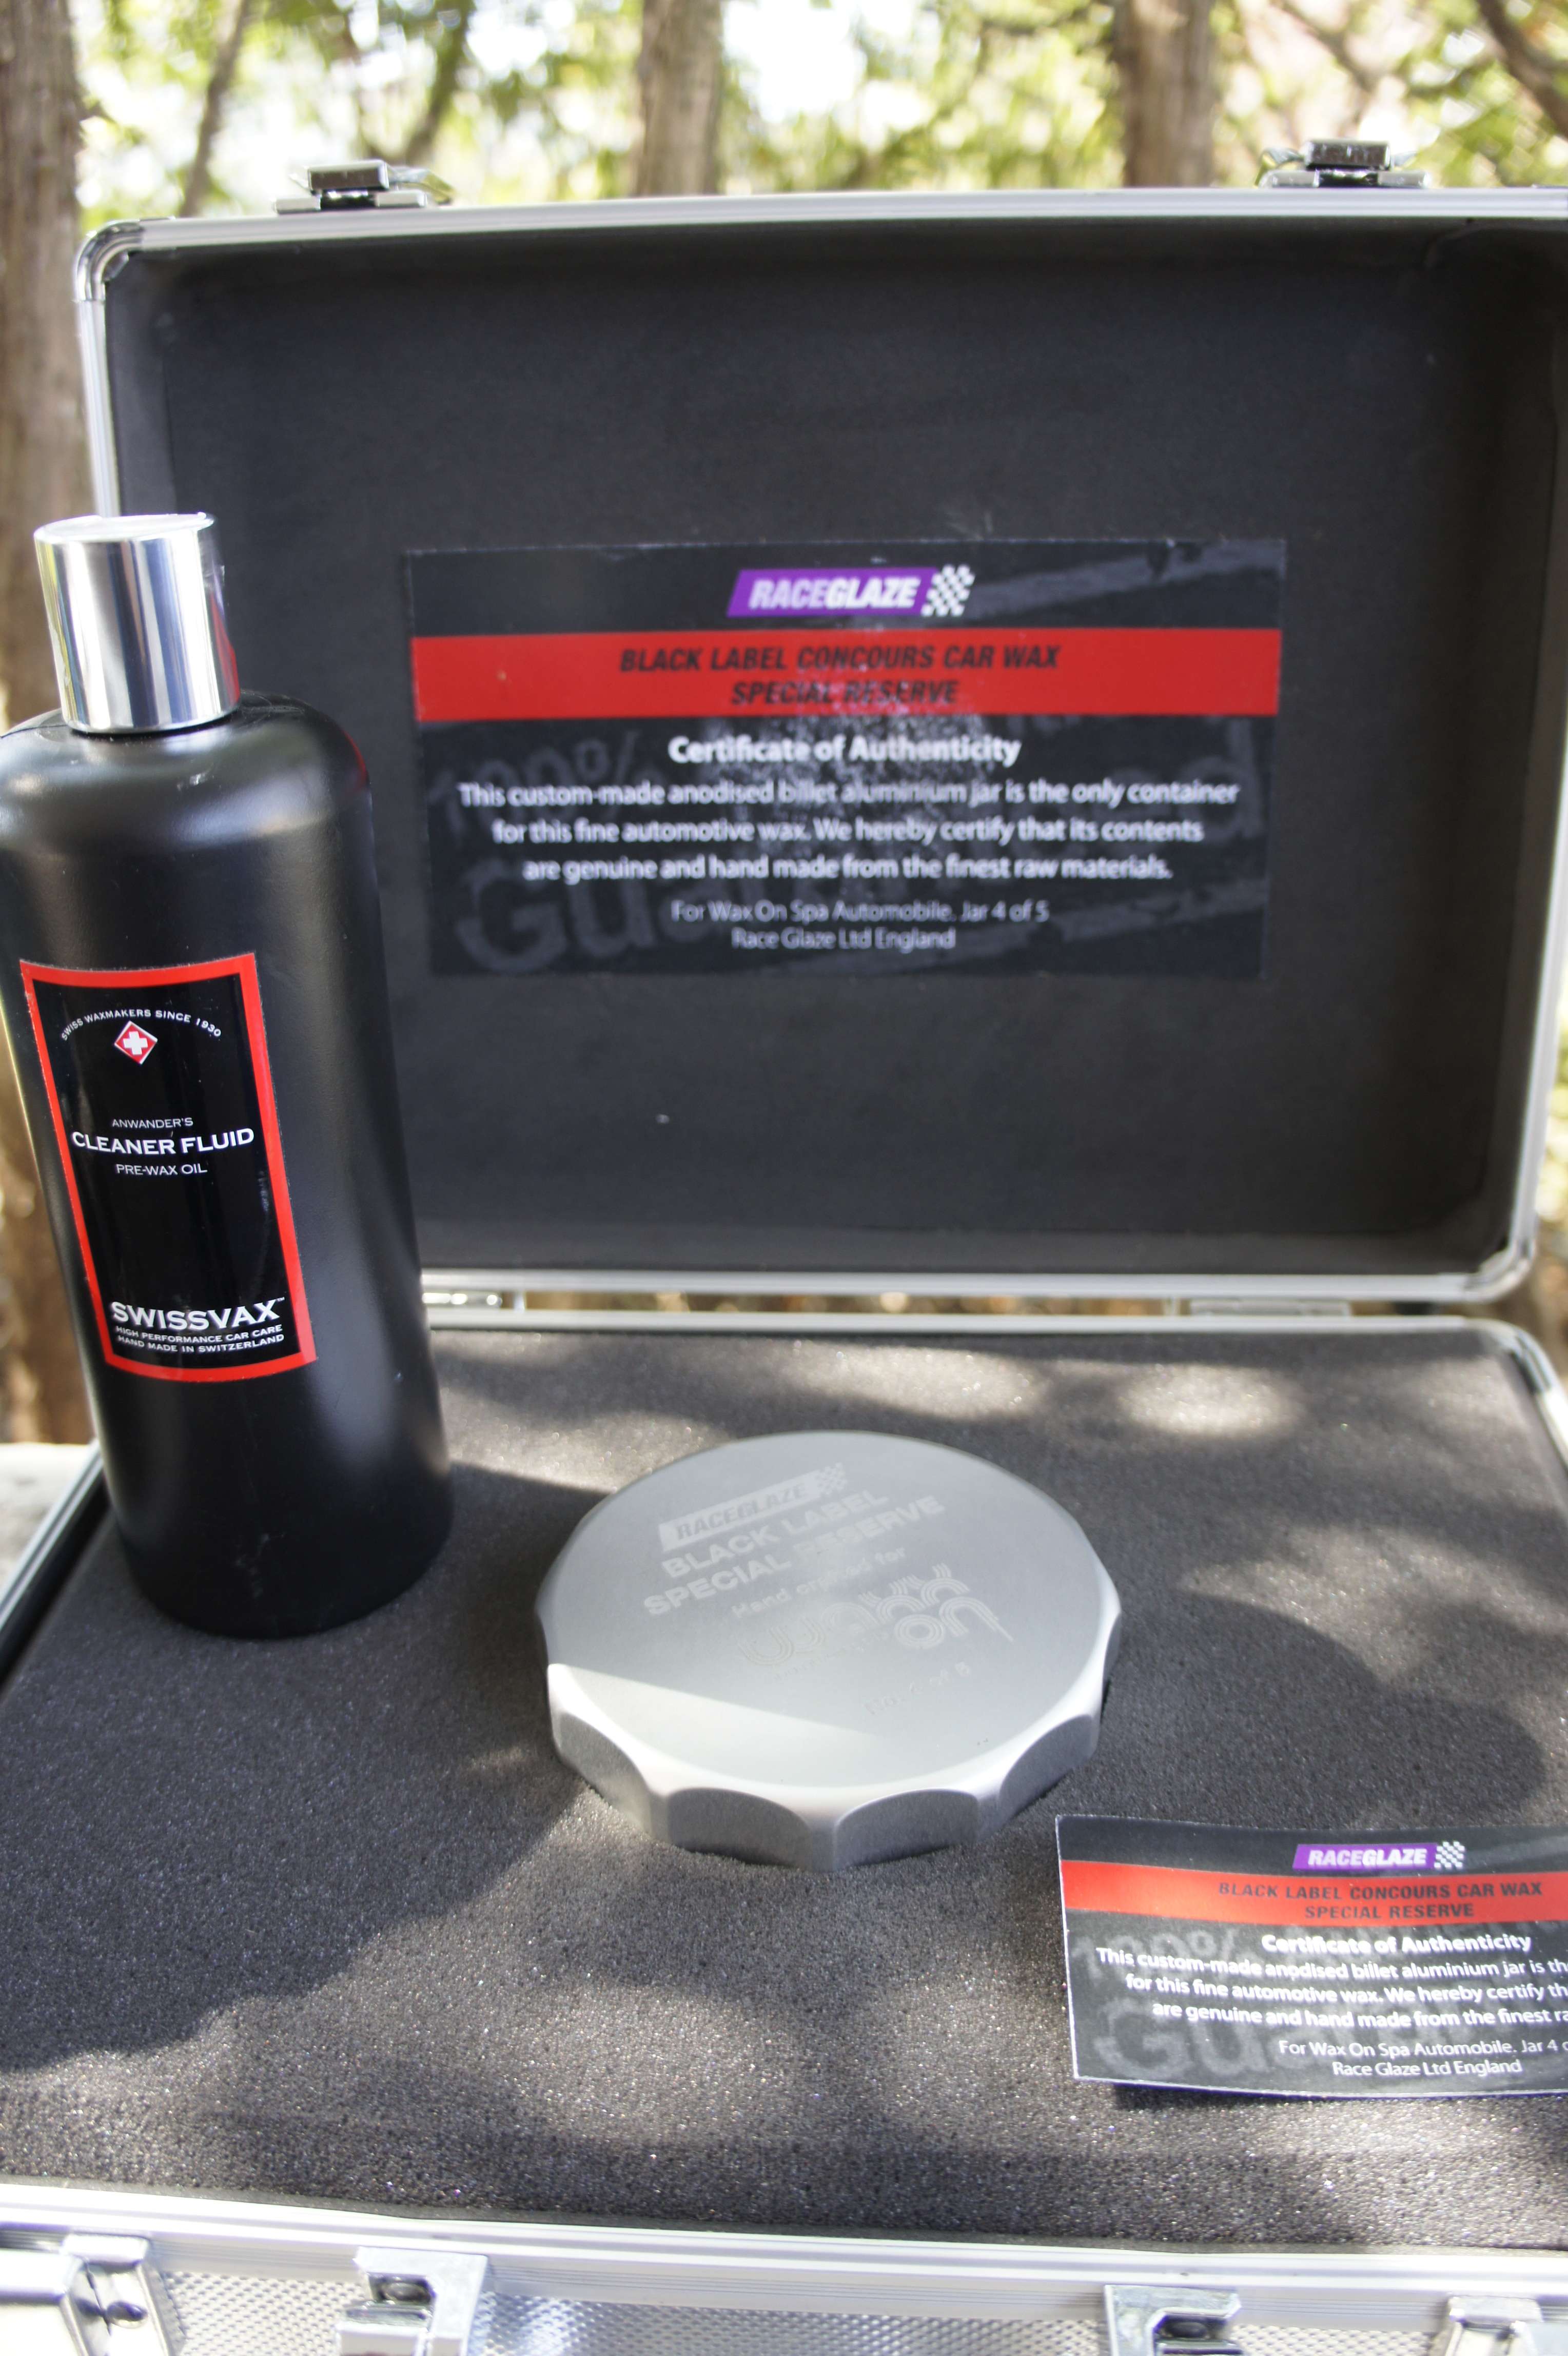
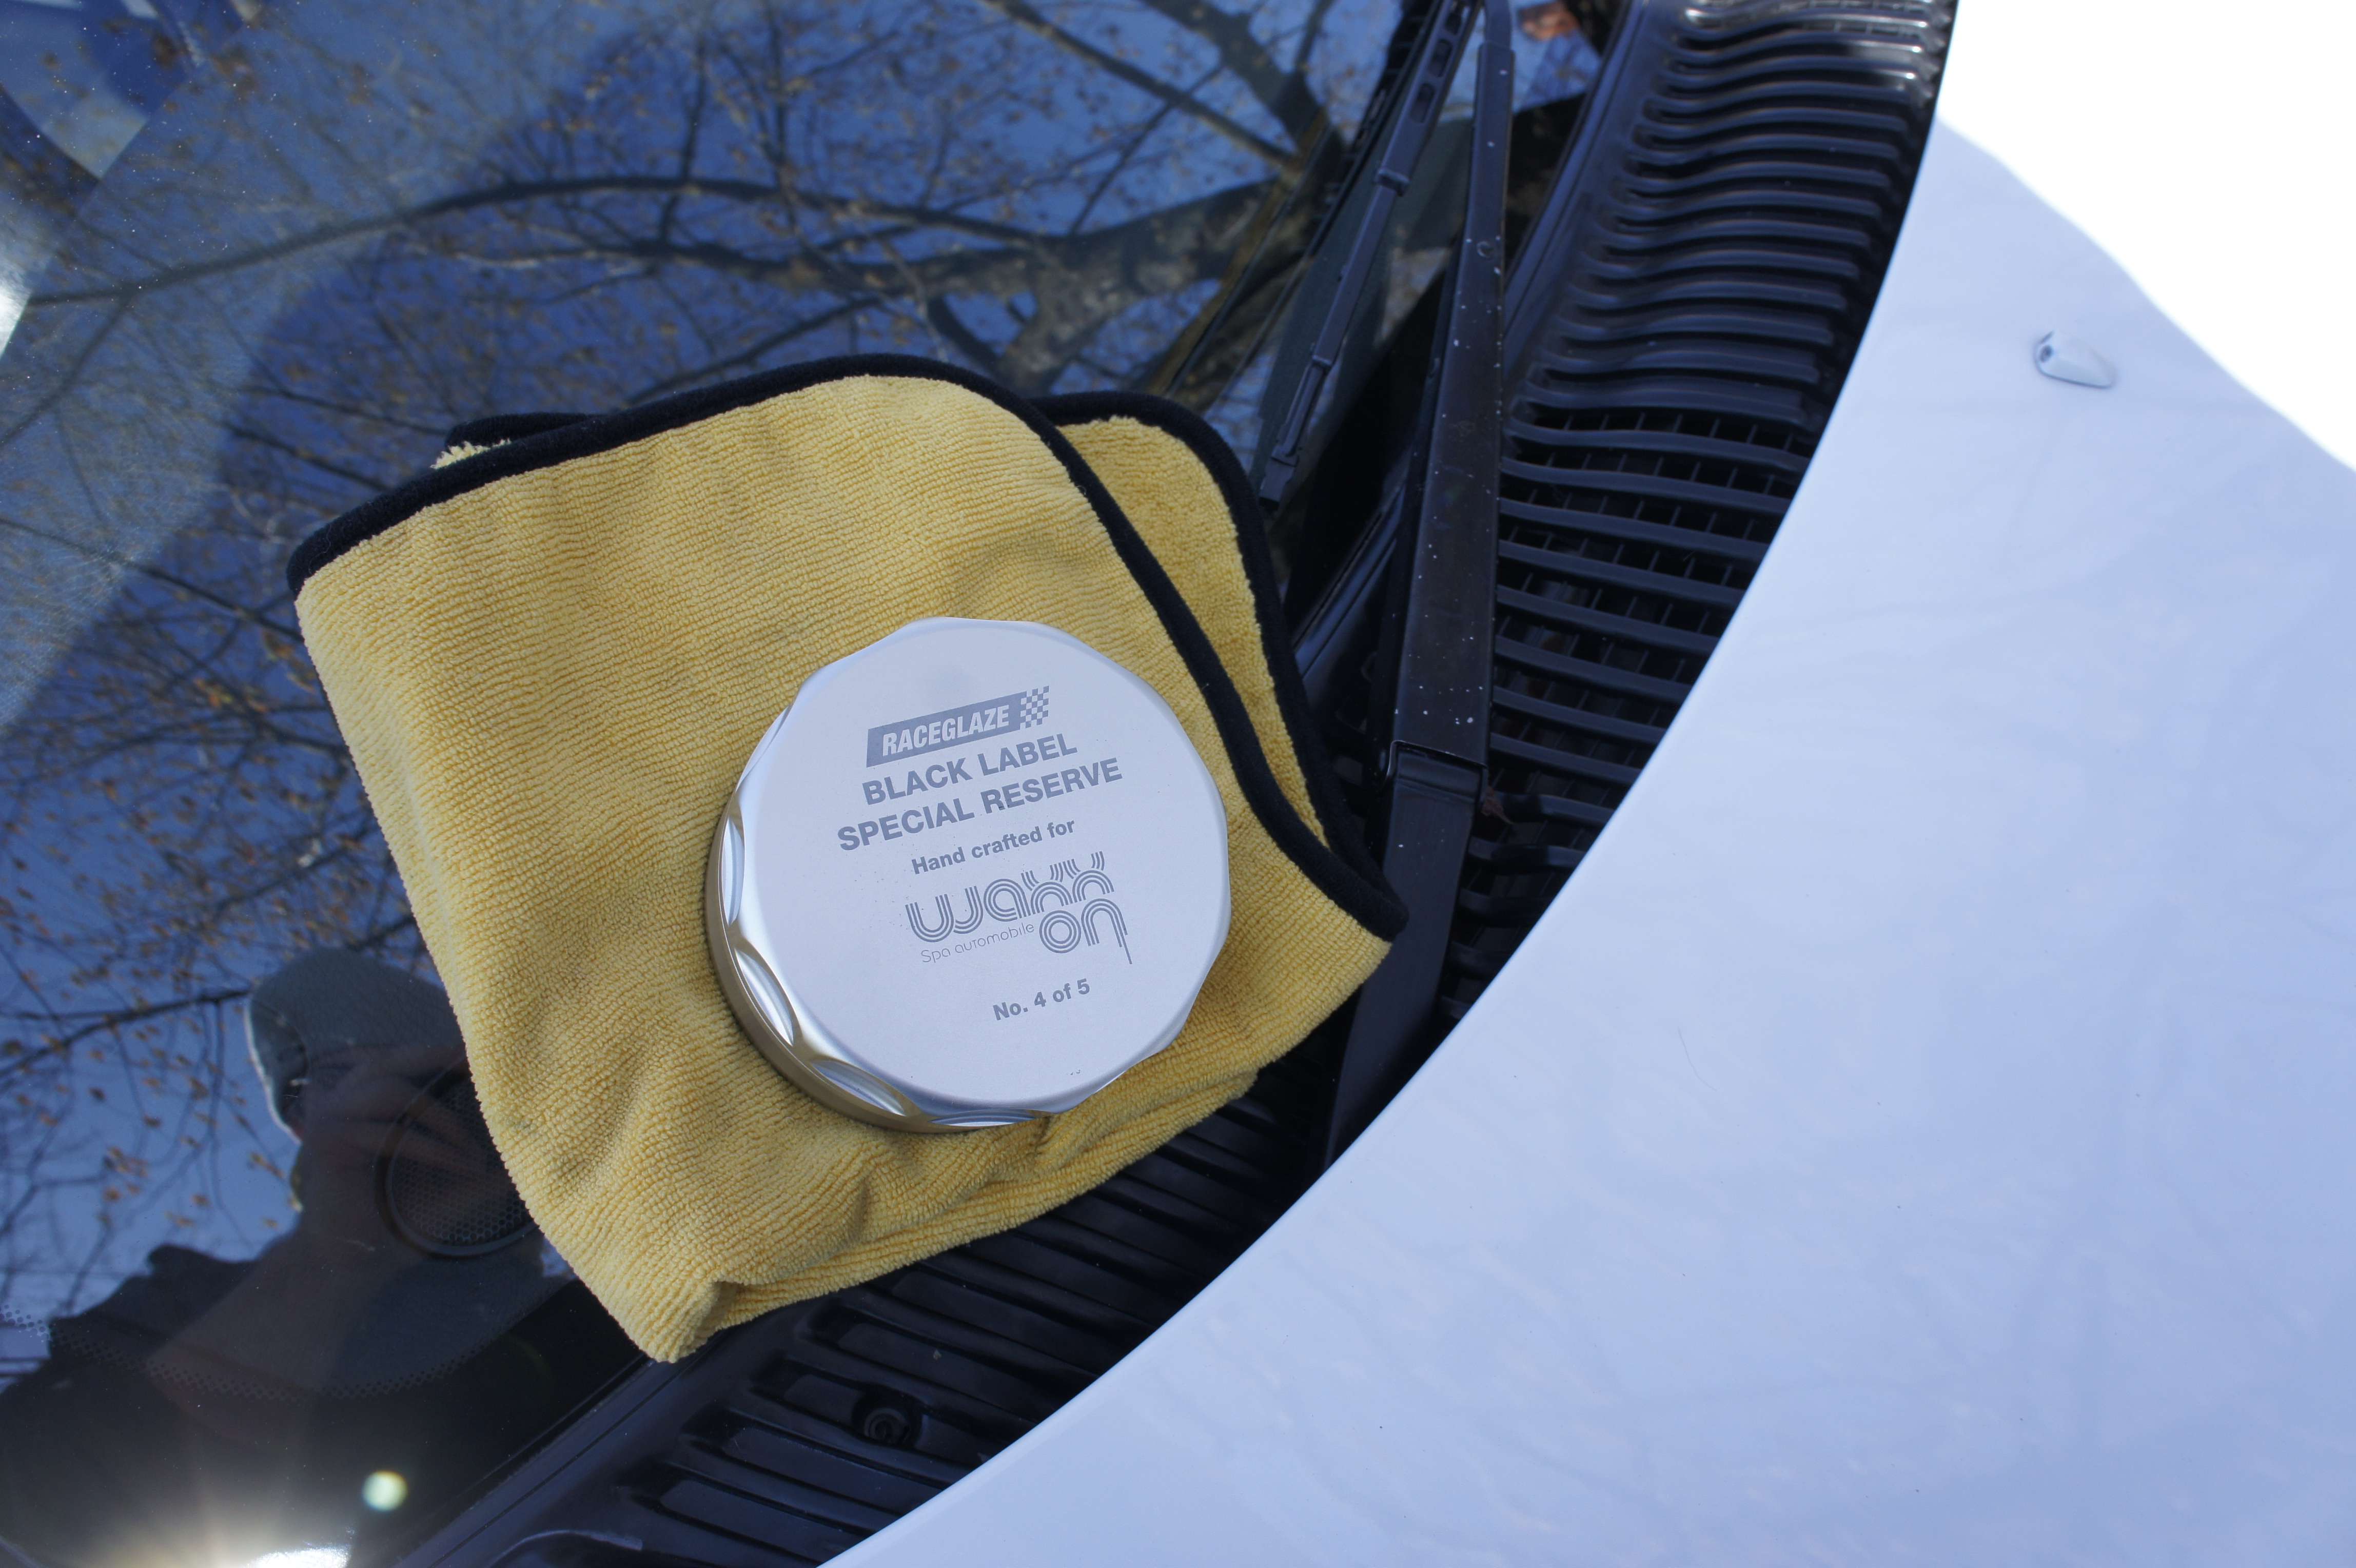
RaceGlaze Waxxon’s 76% carnauba wax.
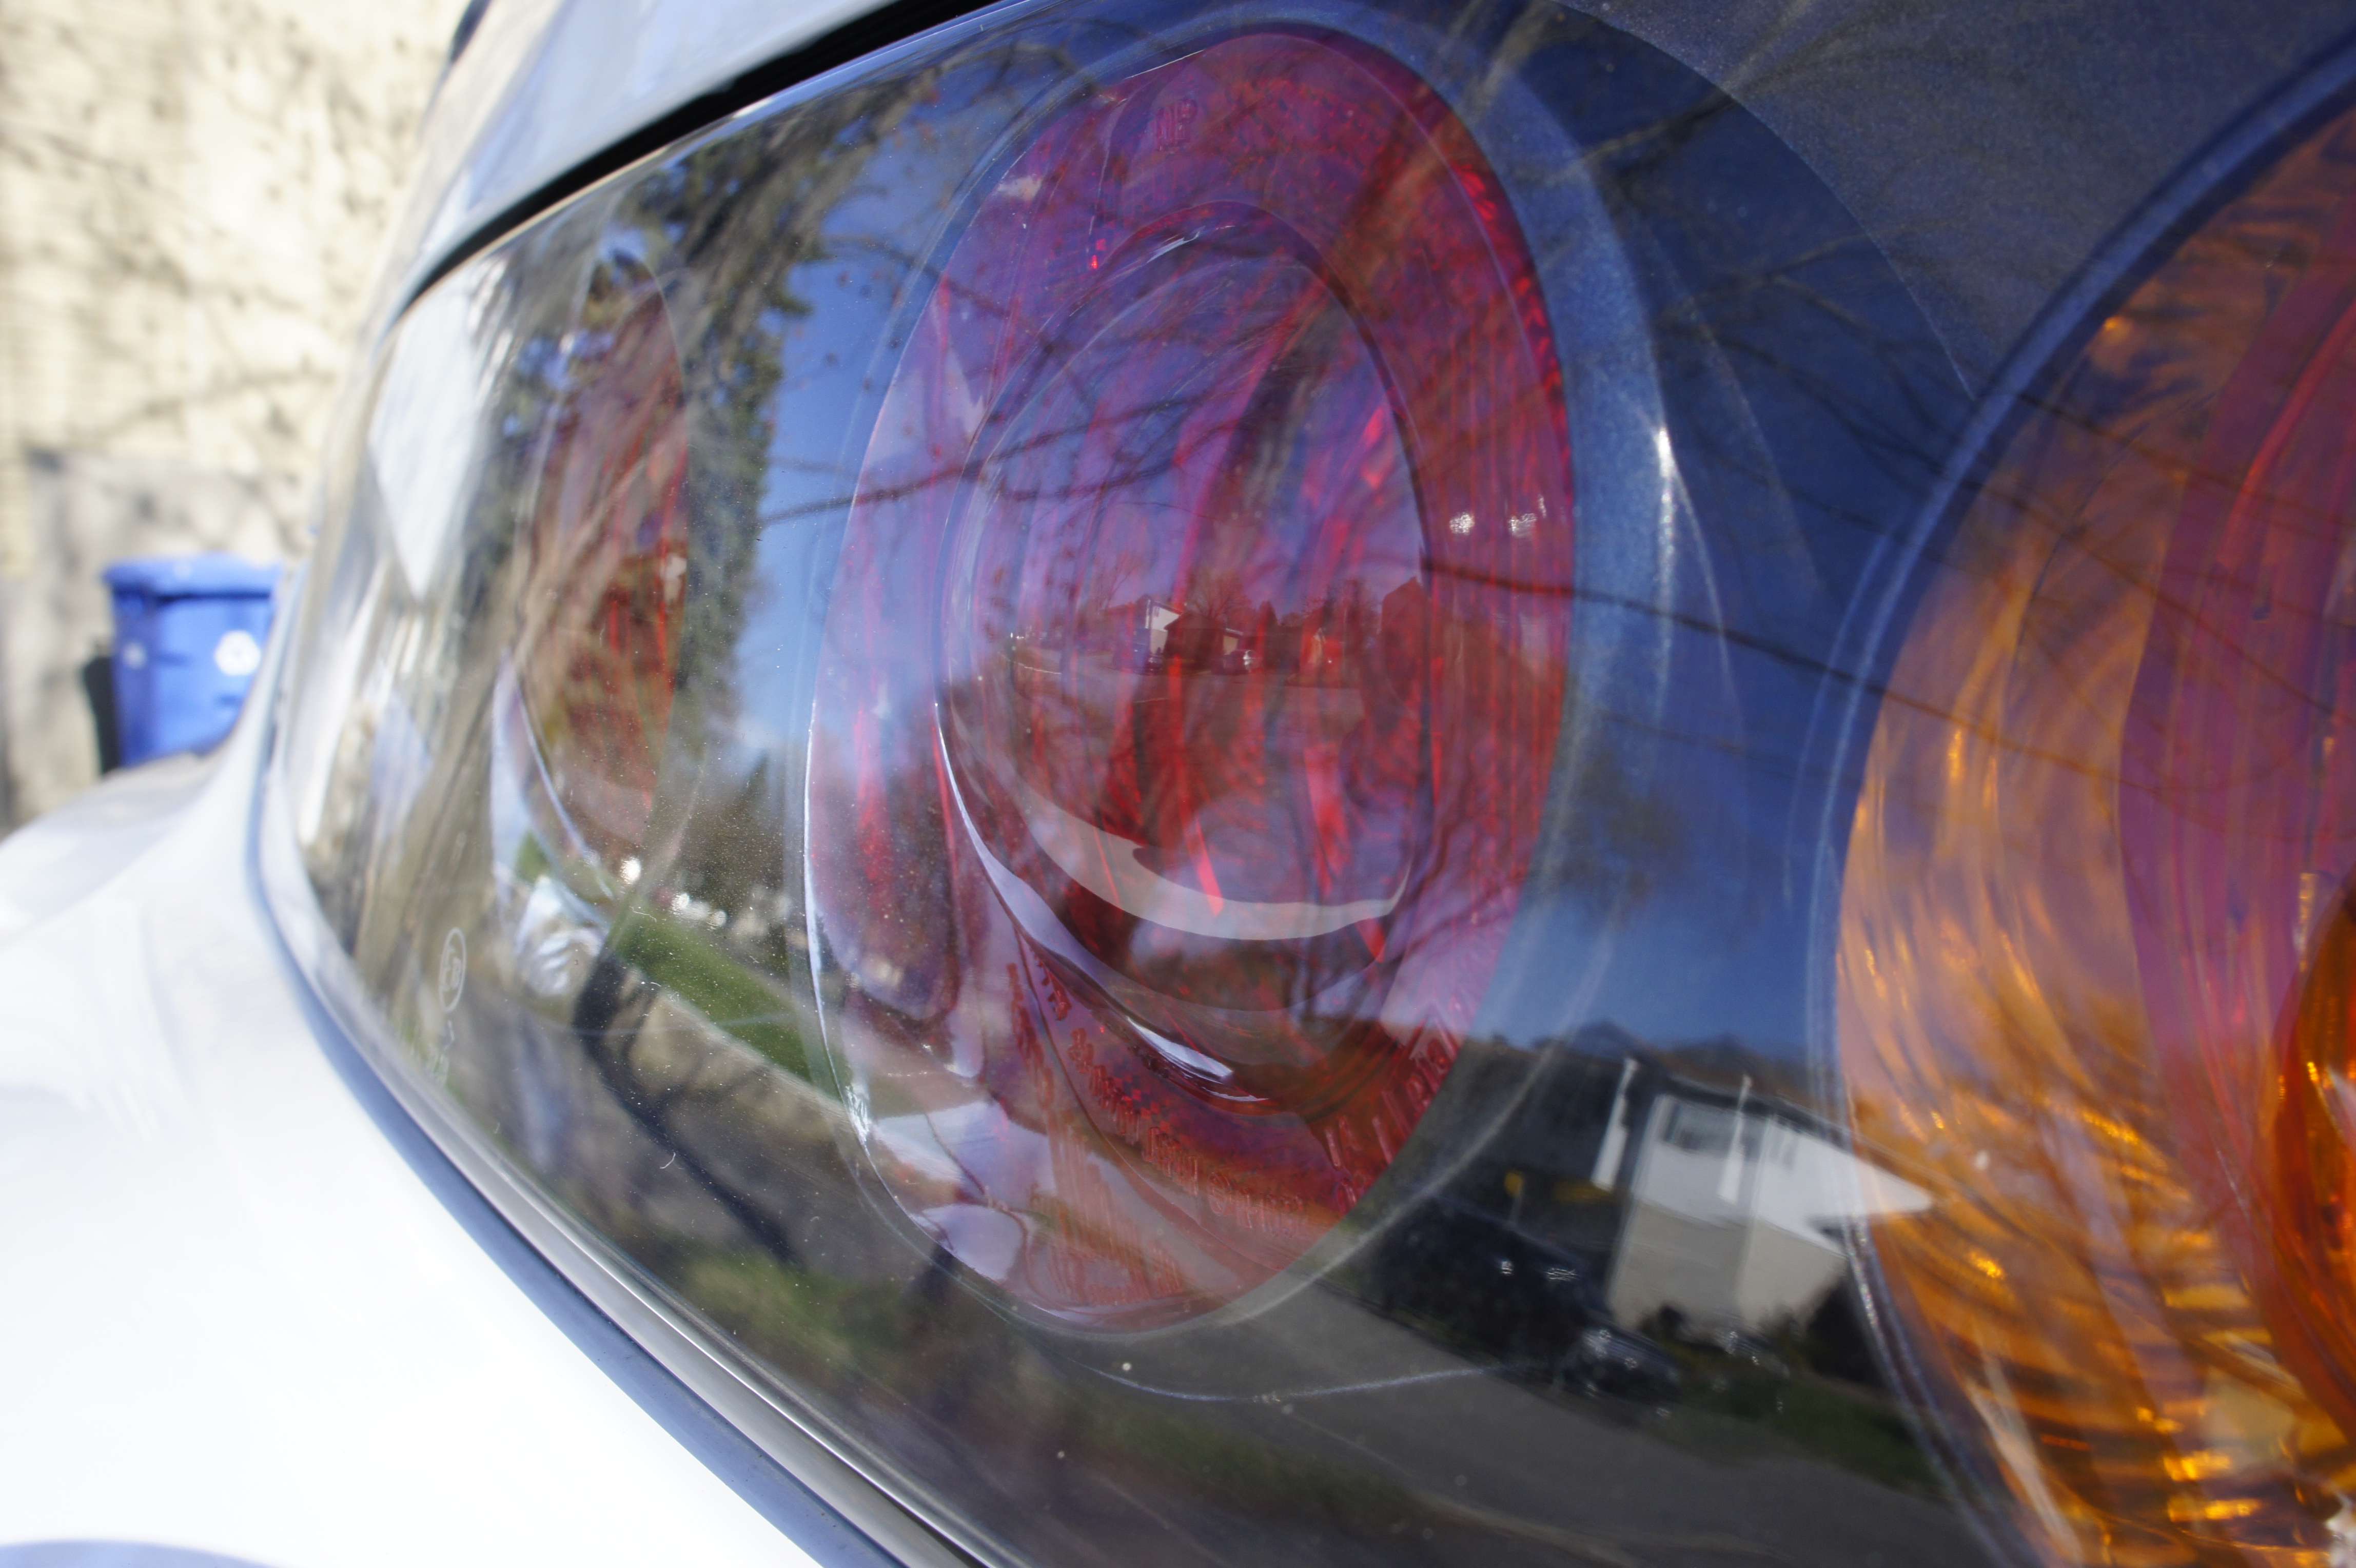
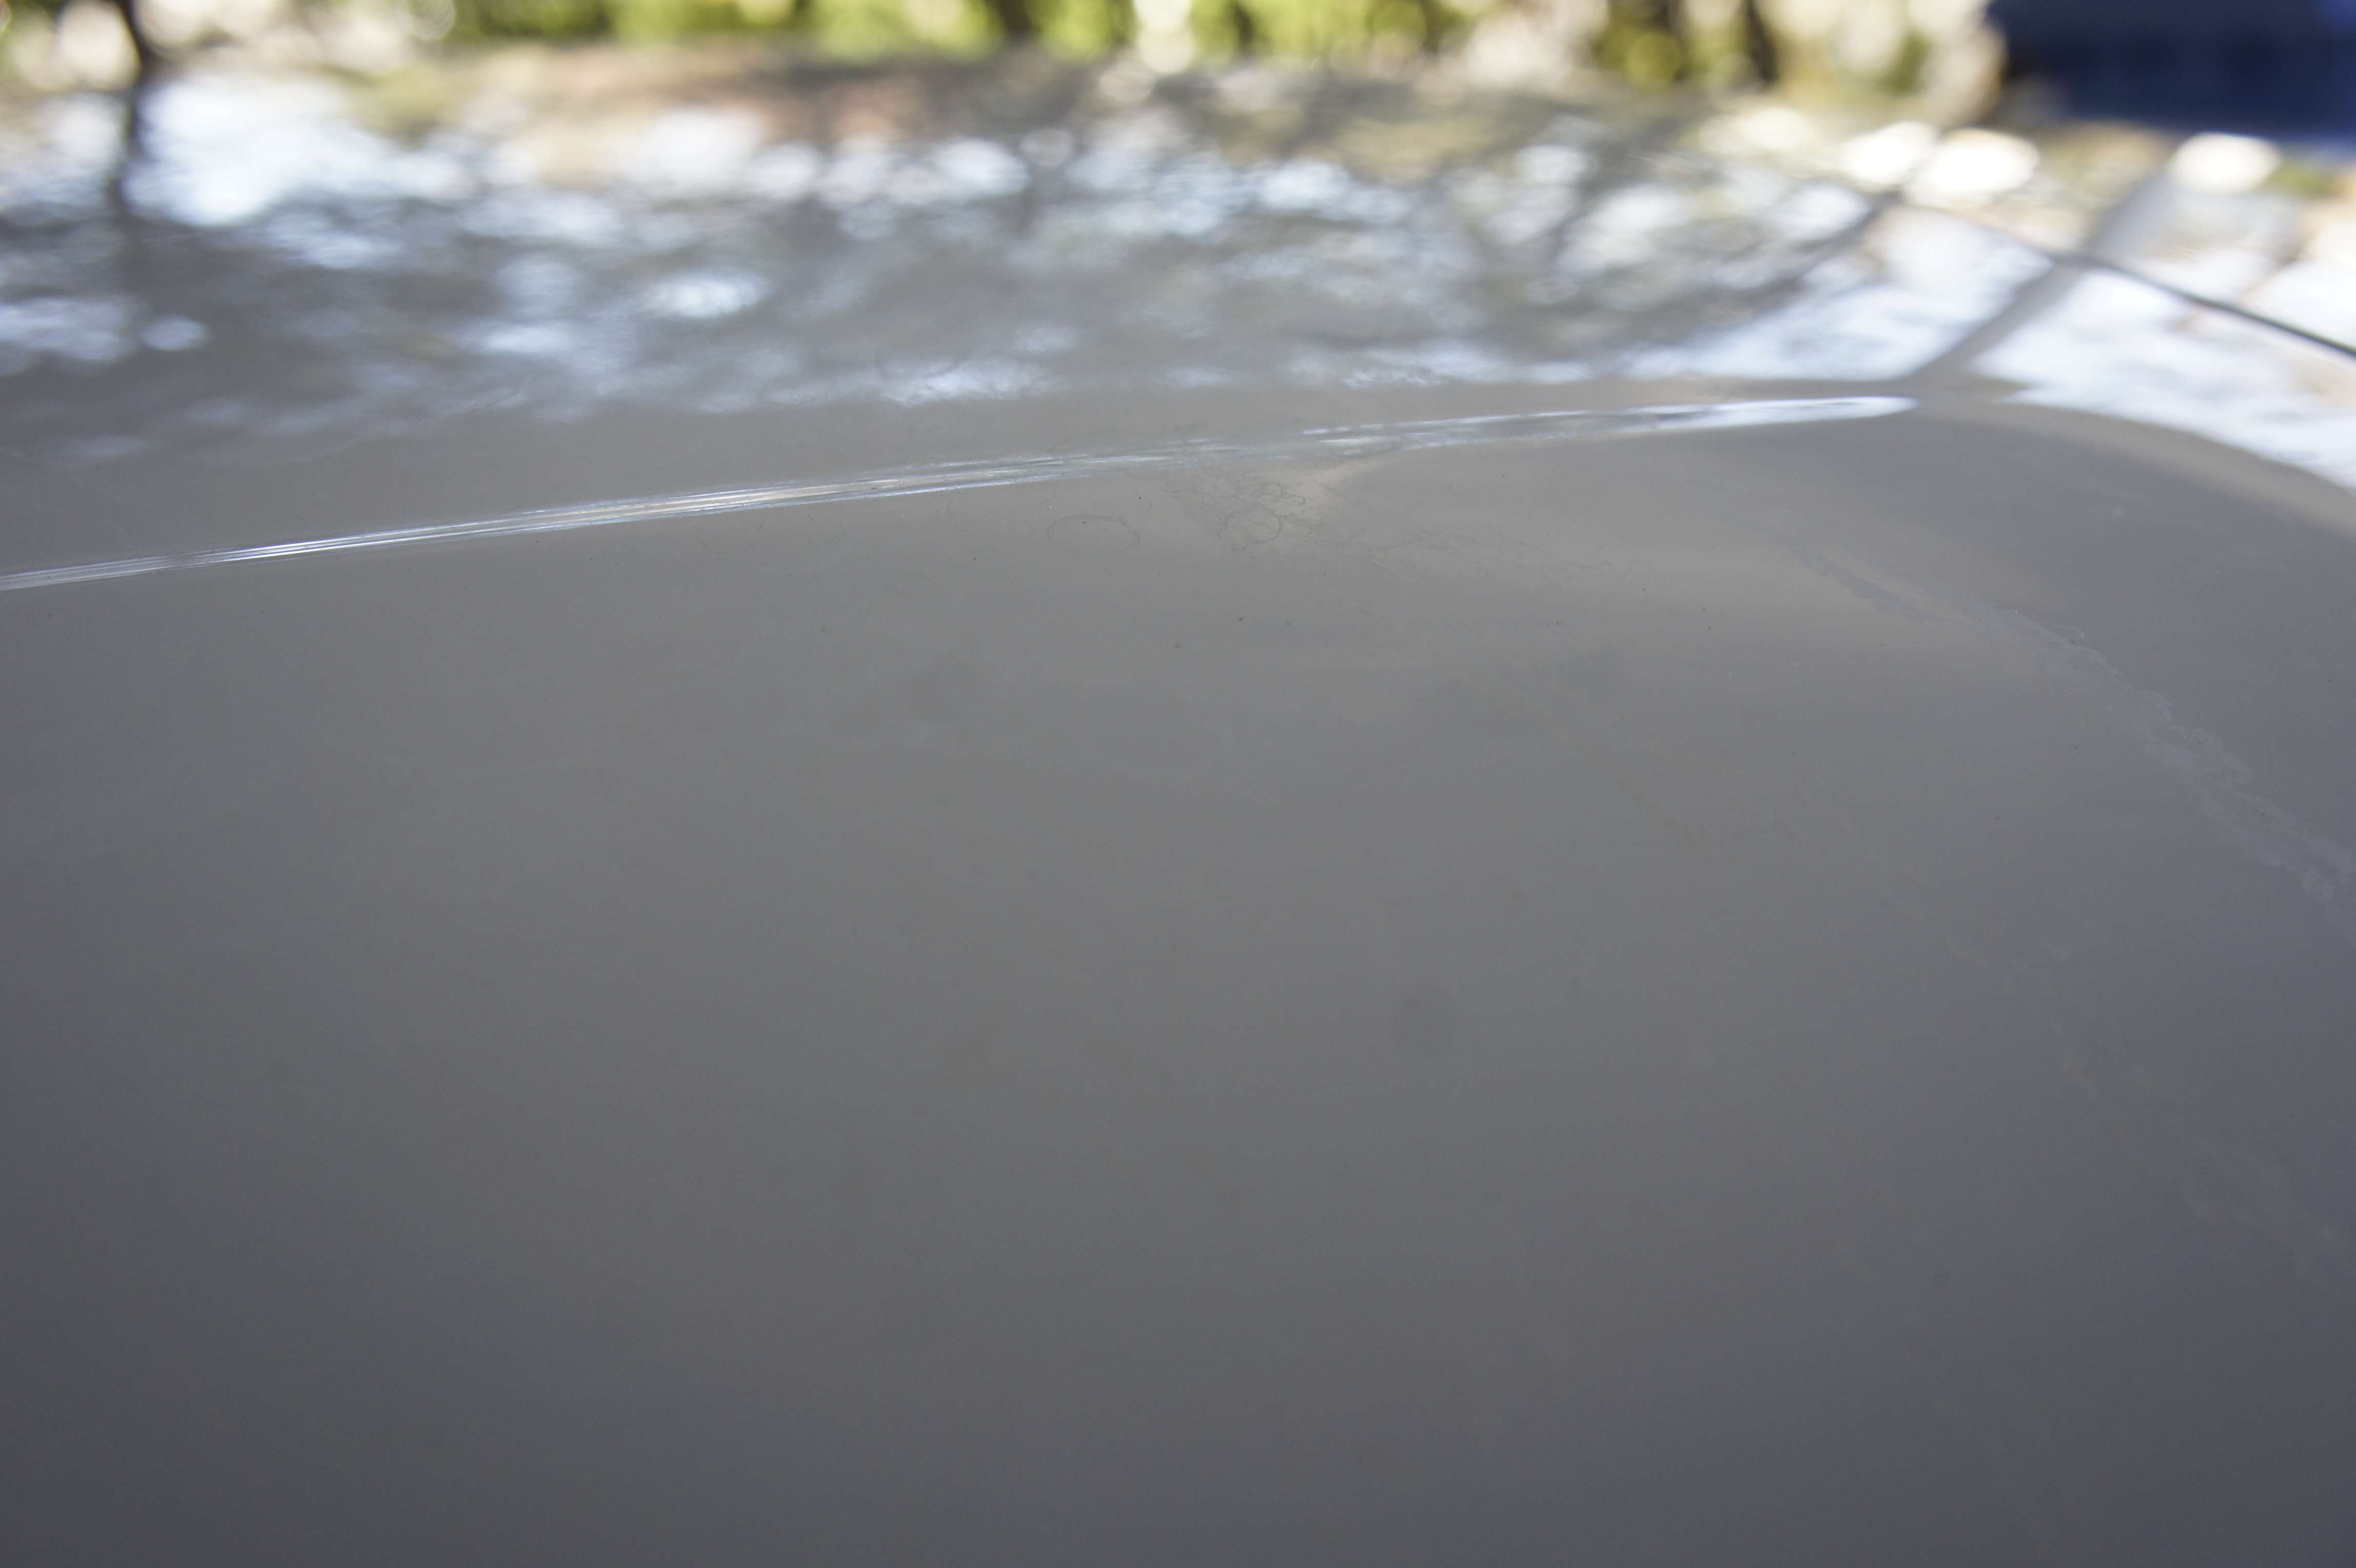
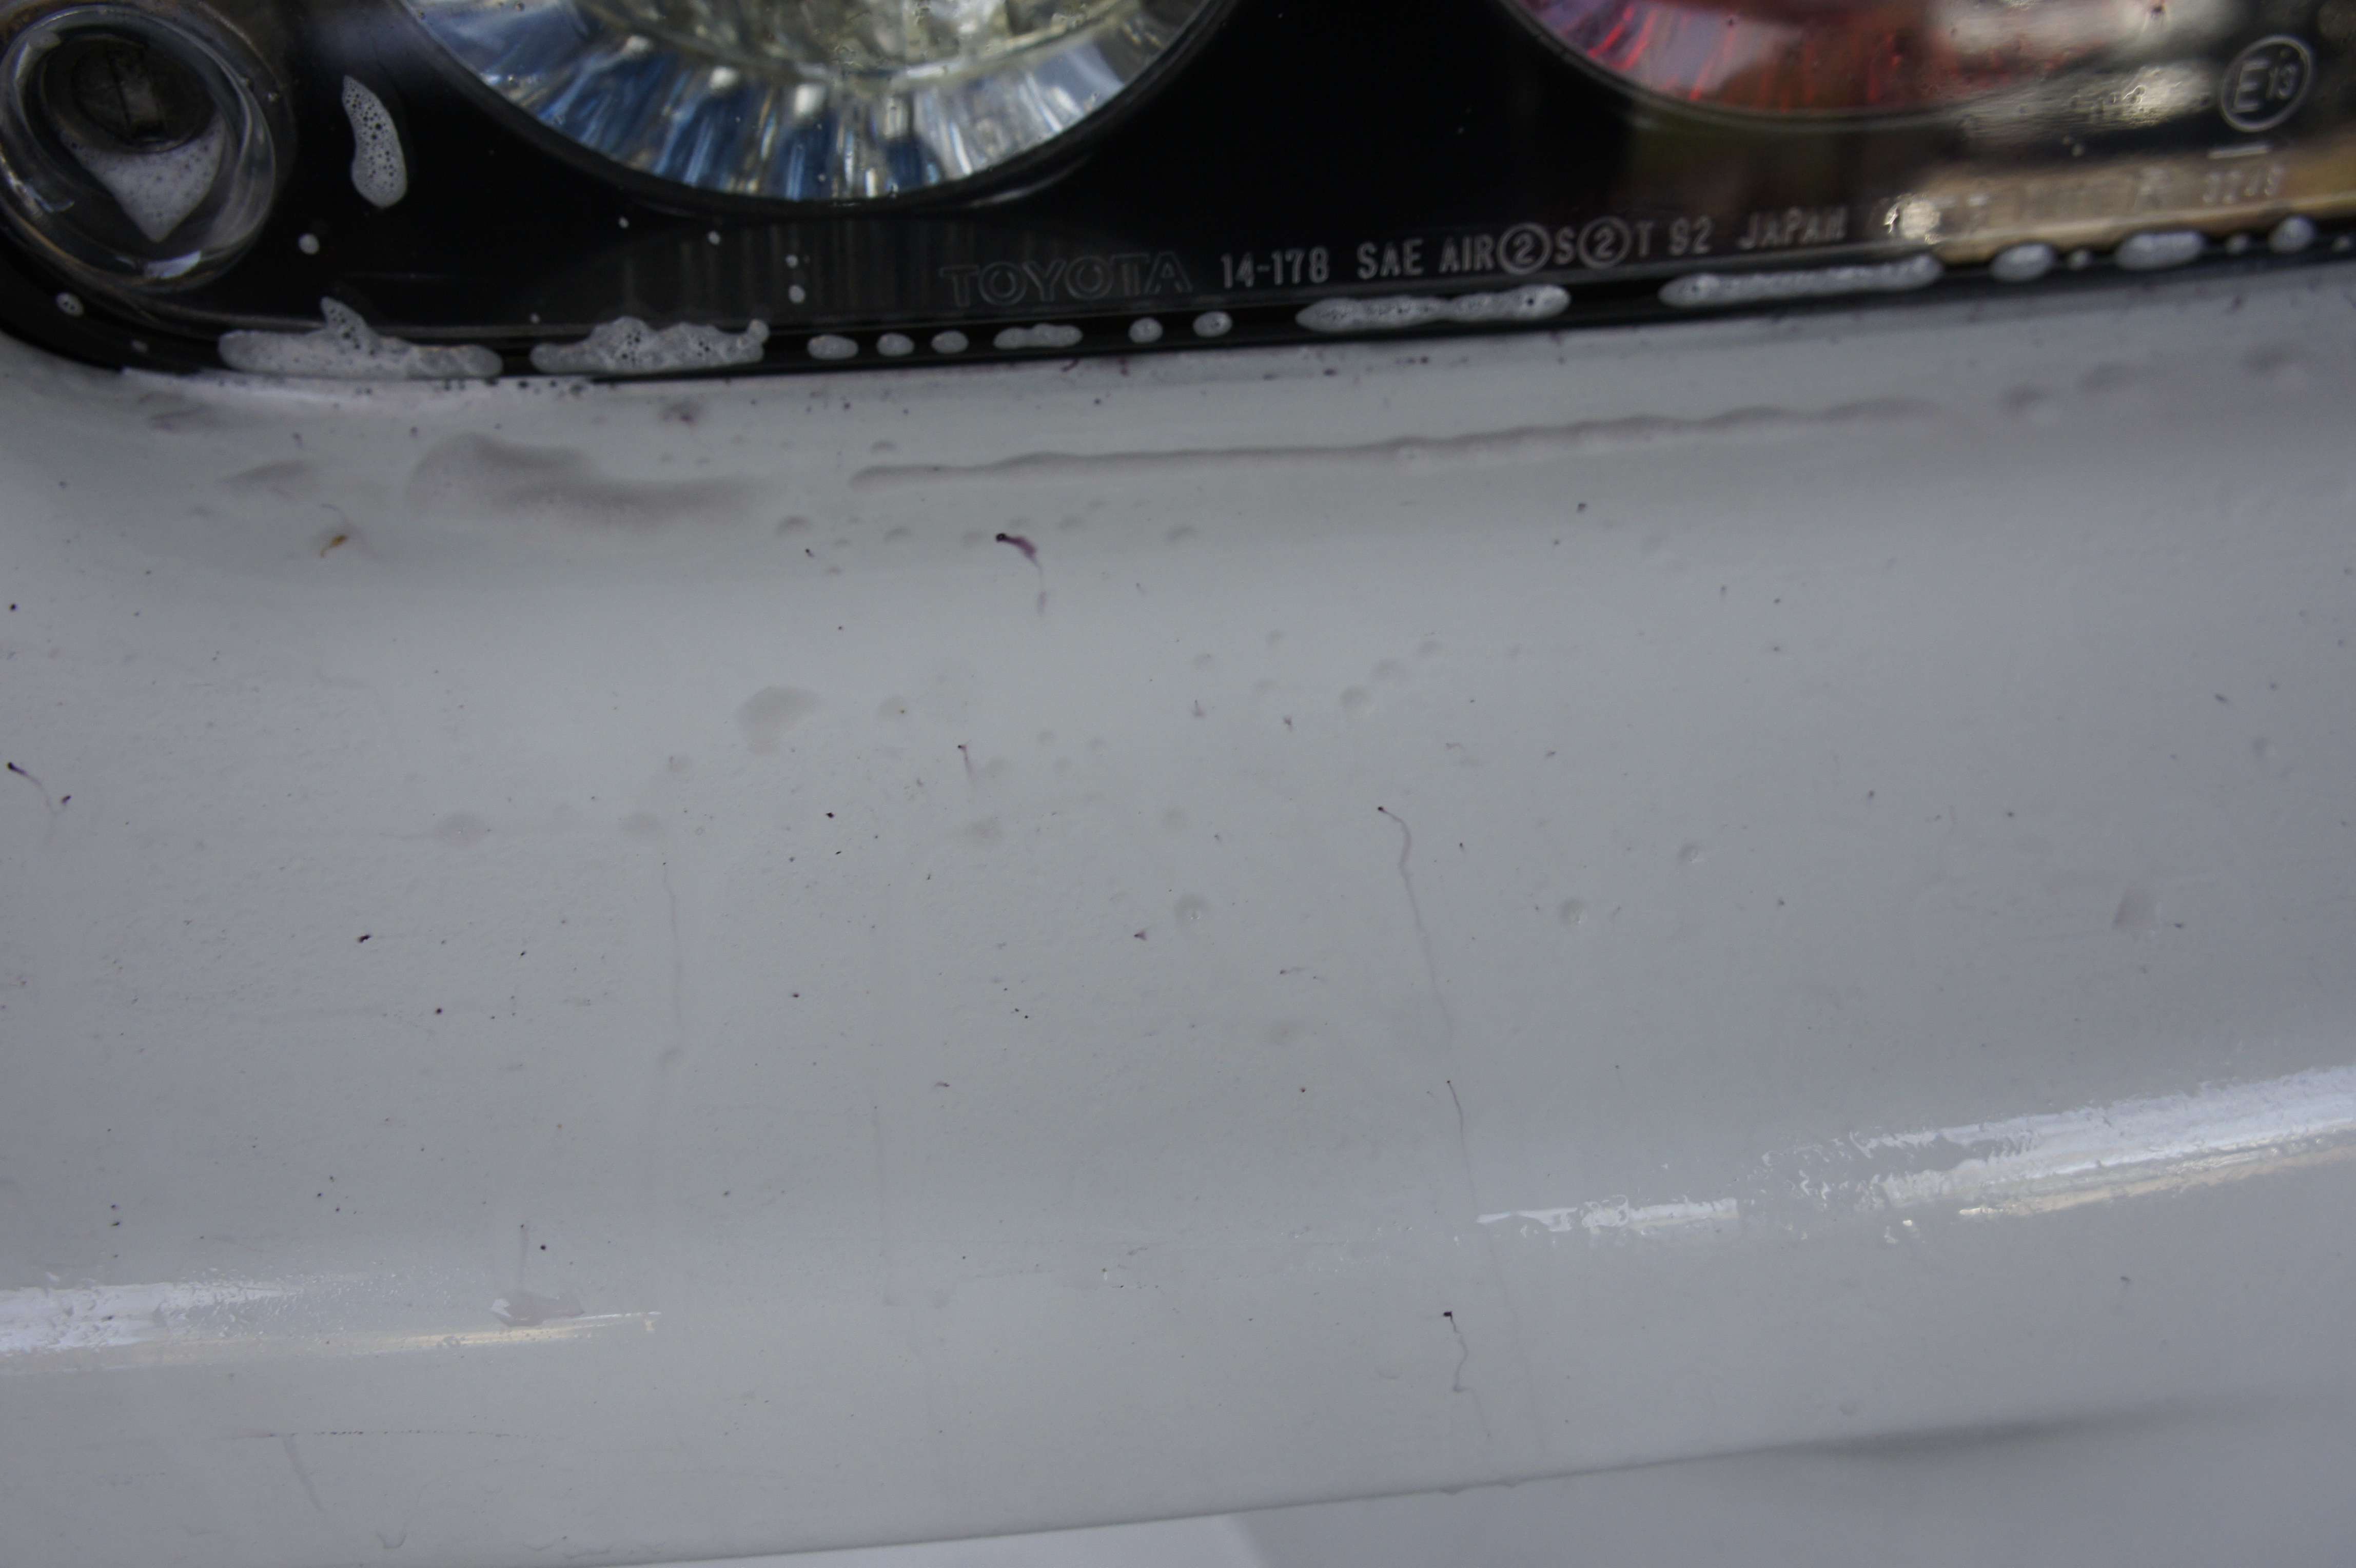
Removing the decal. Then, I had to use a glue remover to remove the residu. Last step is to polish to remove the outline of the decal.


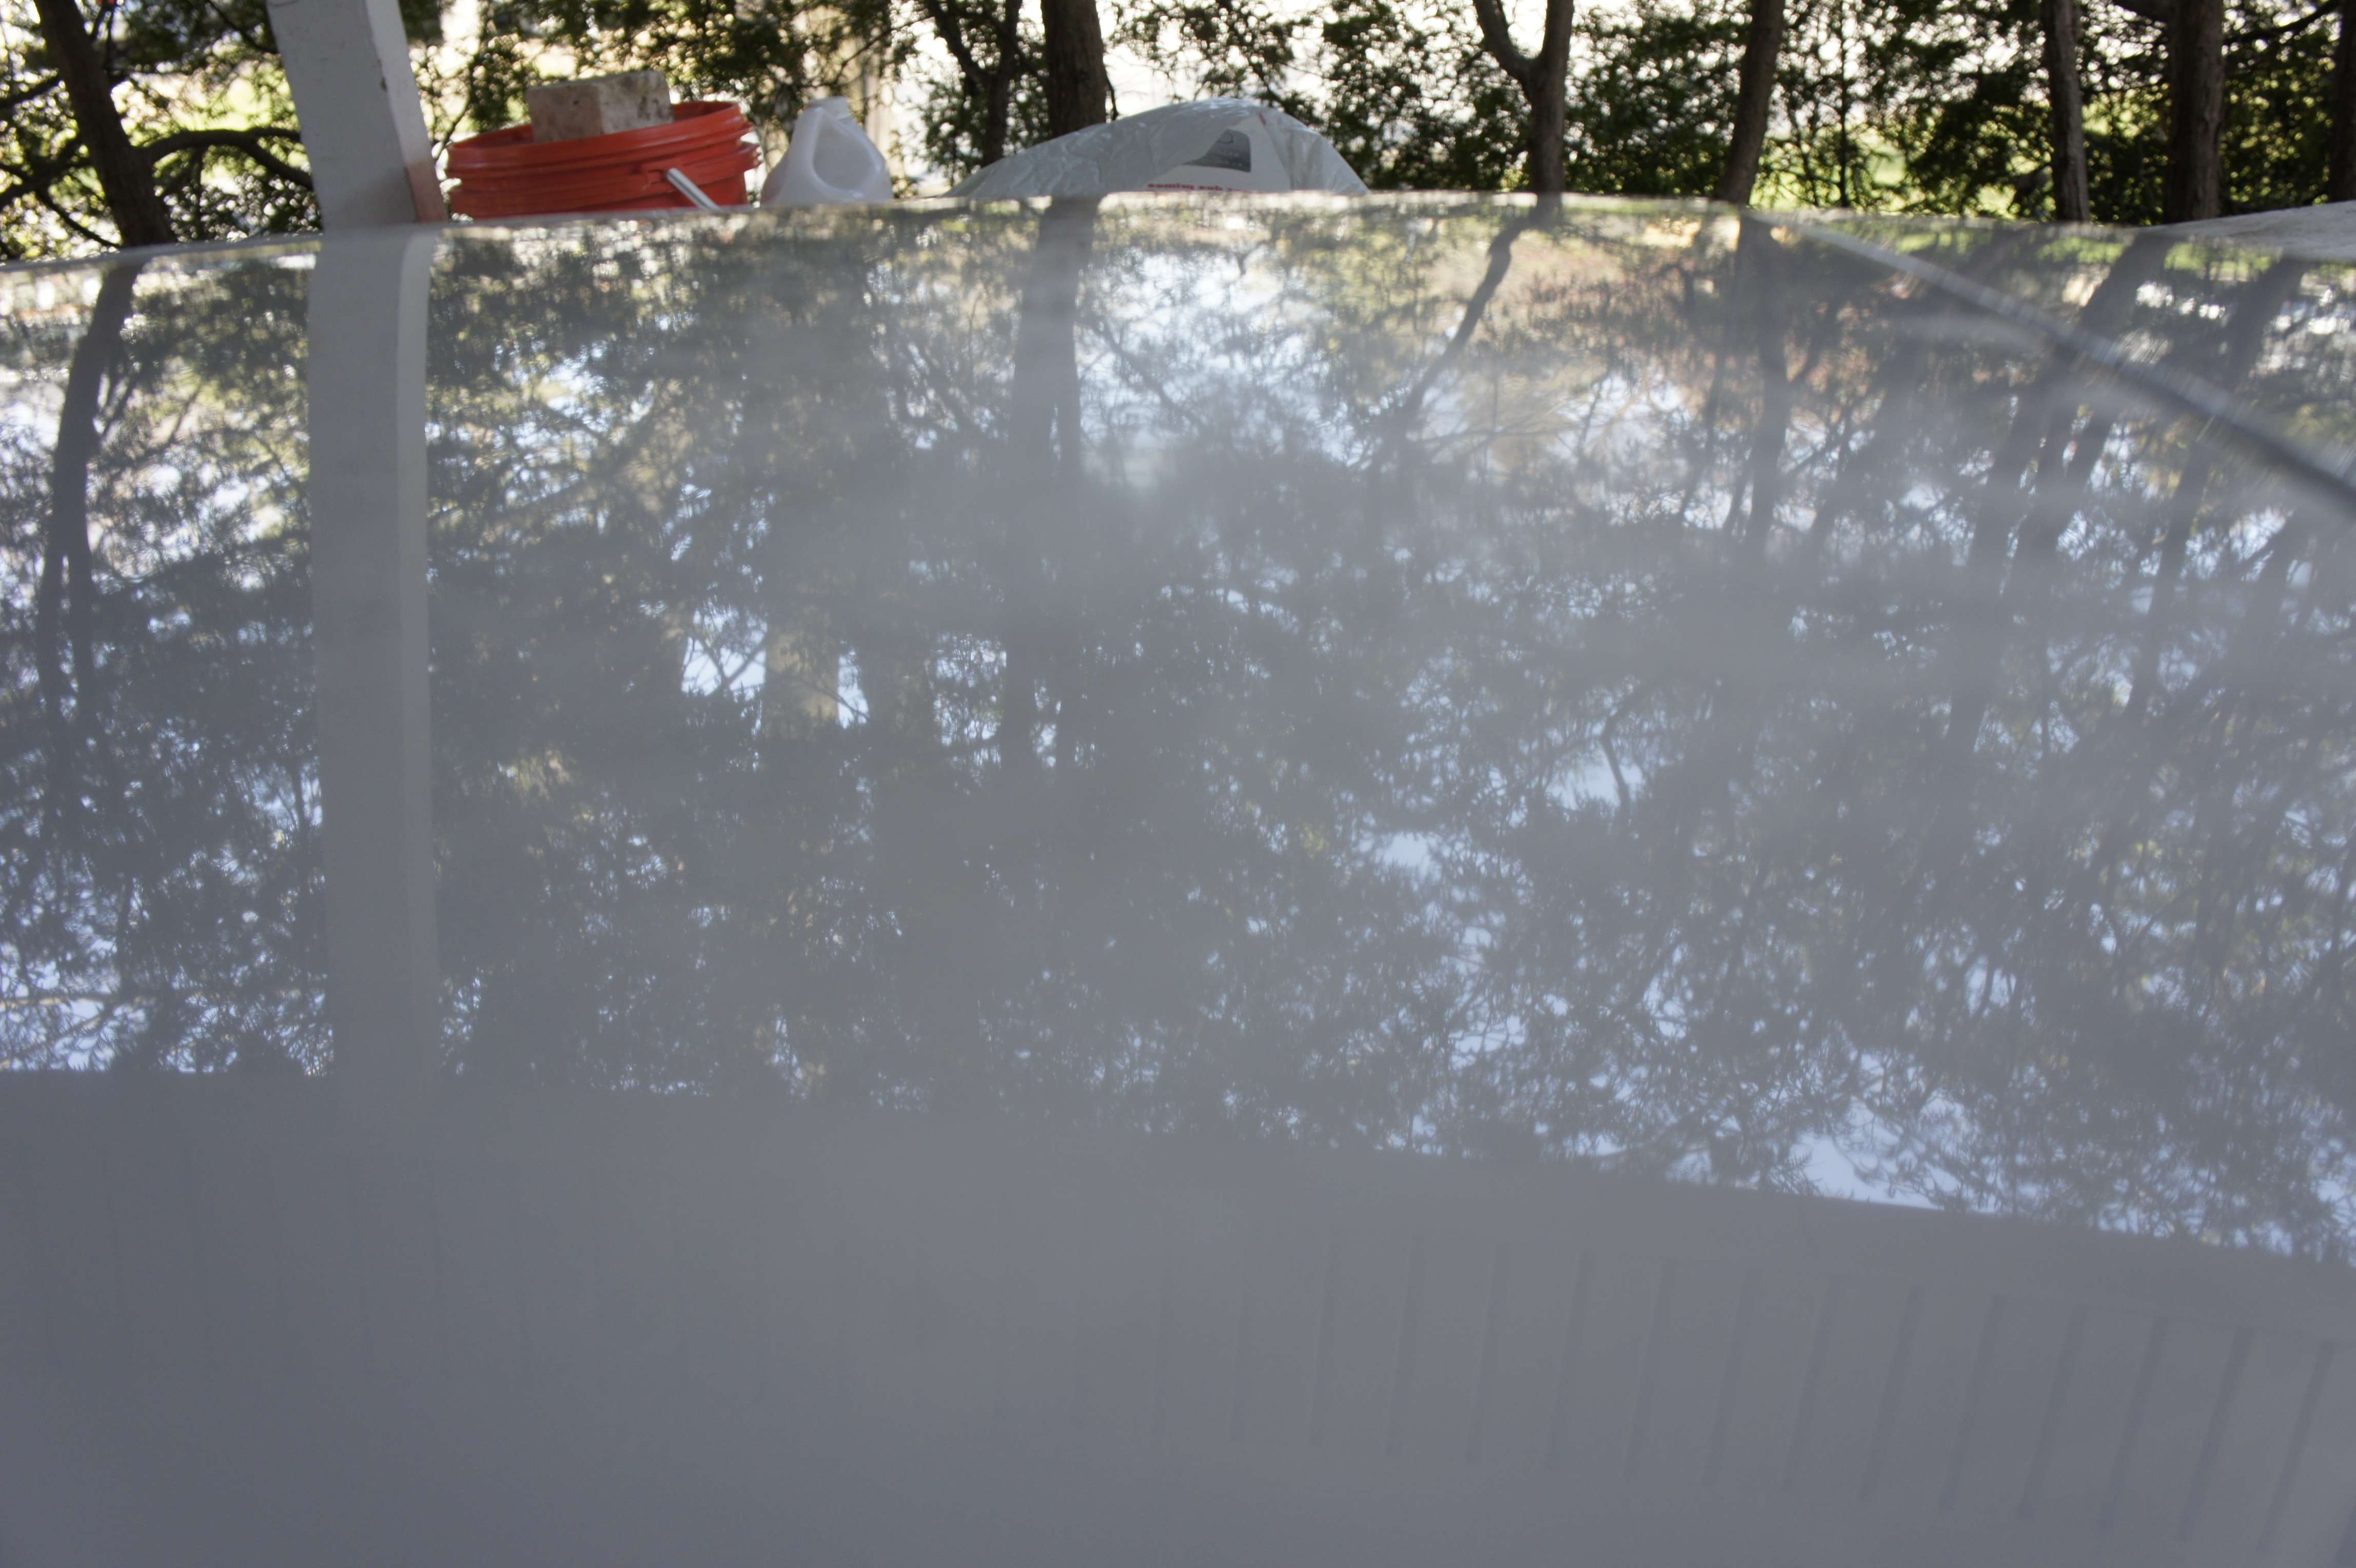
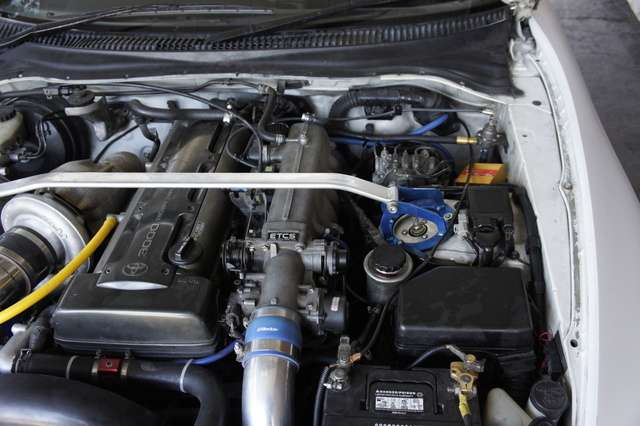
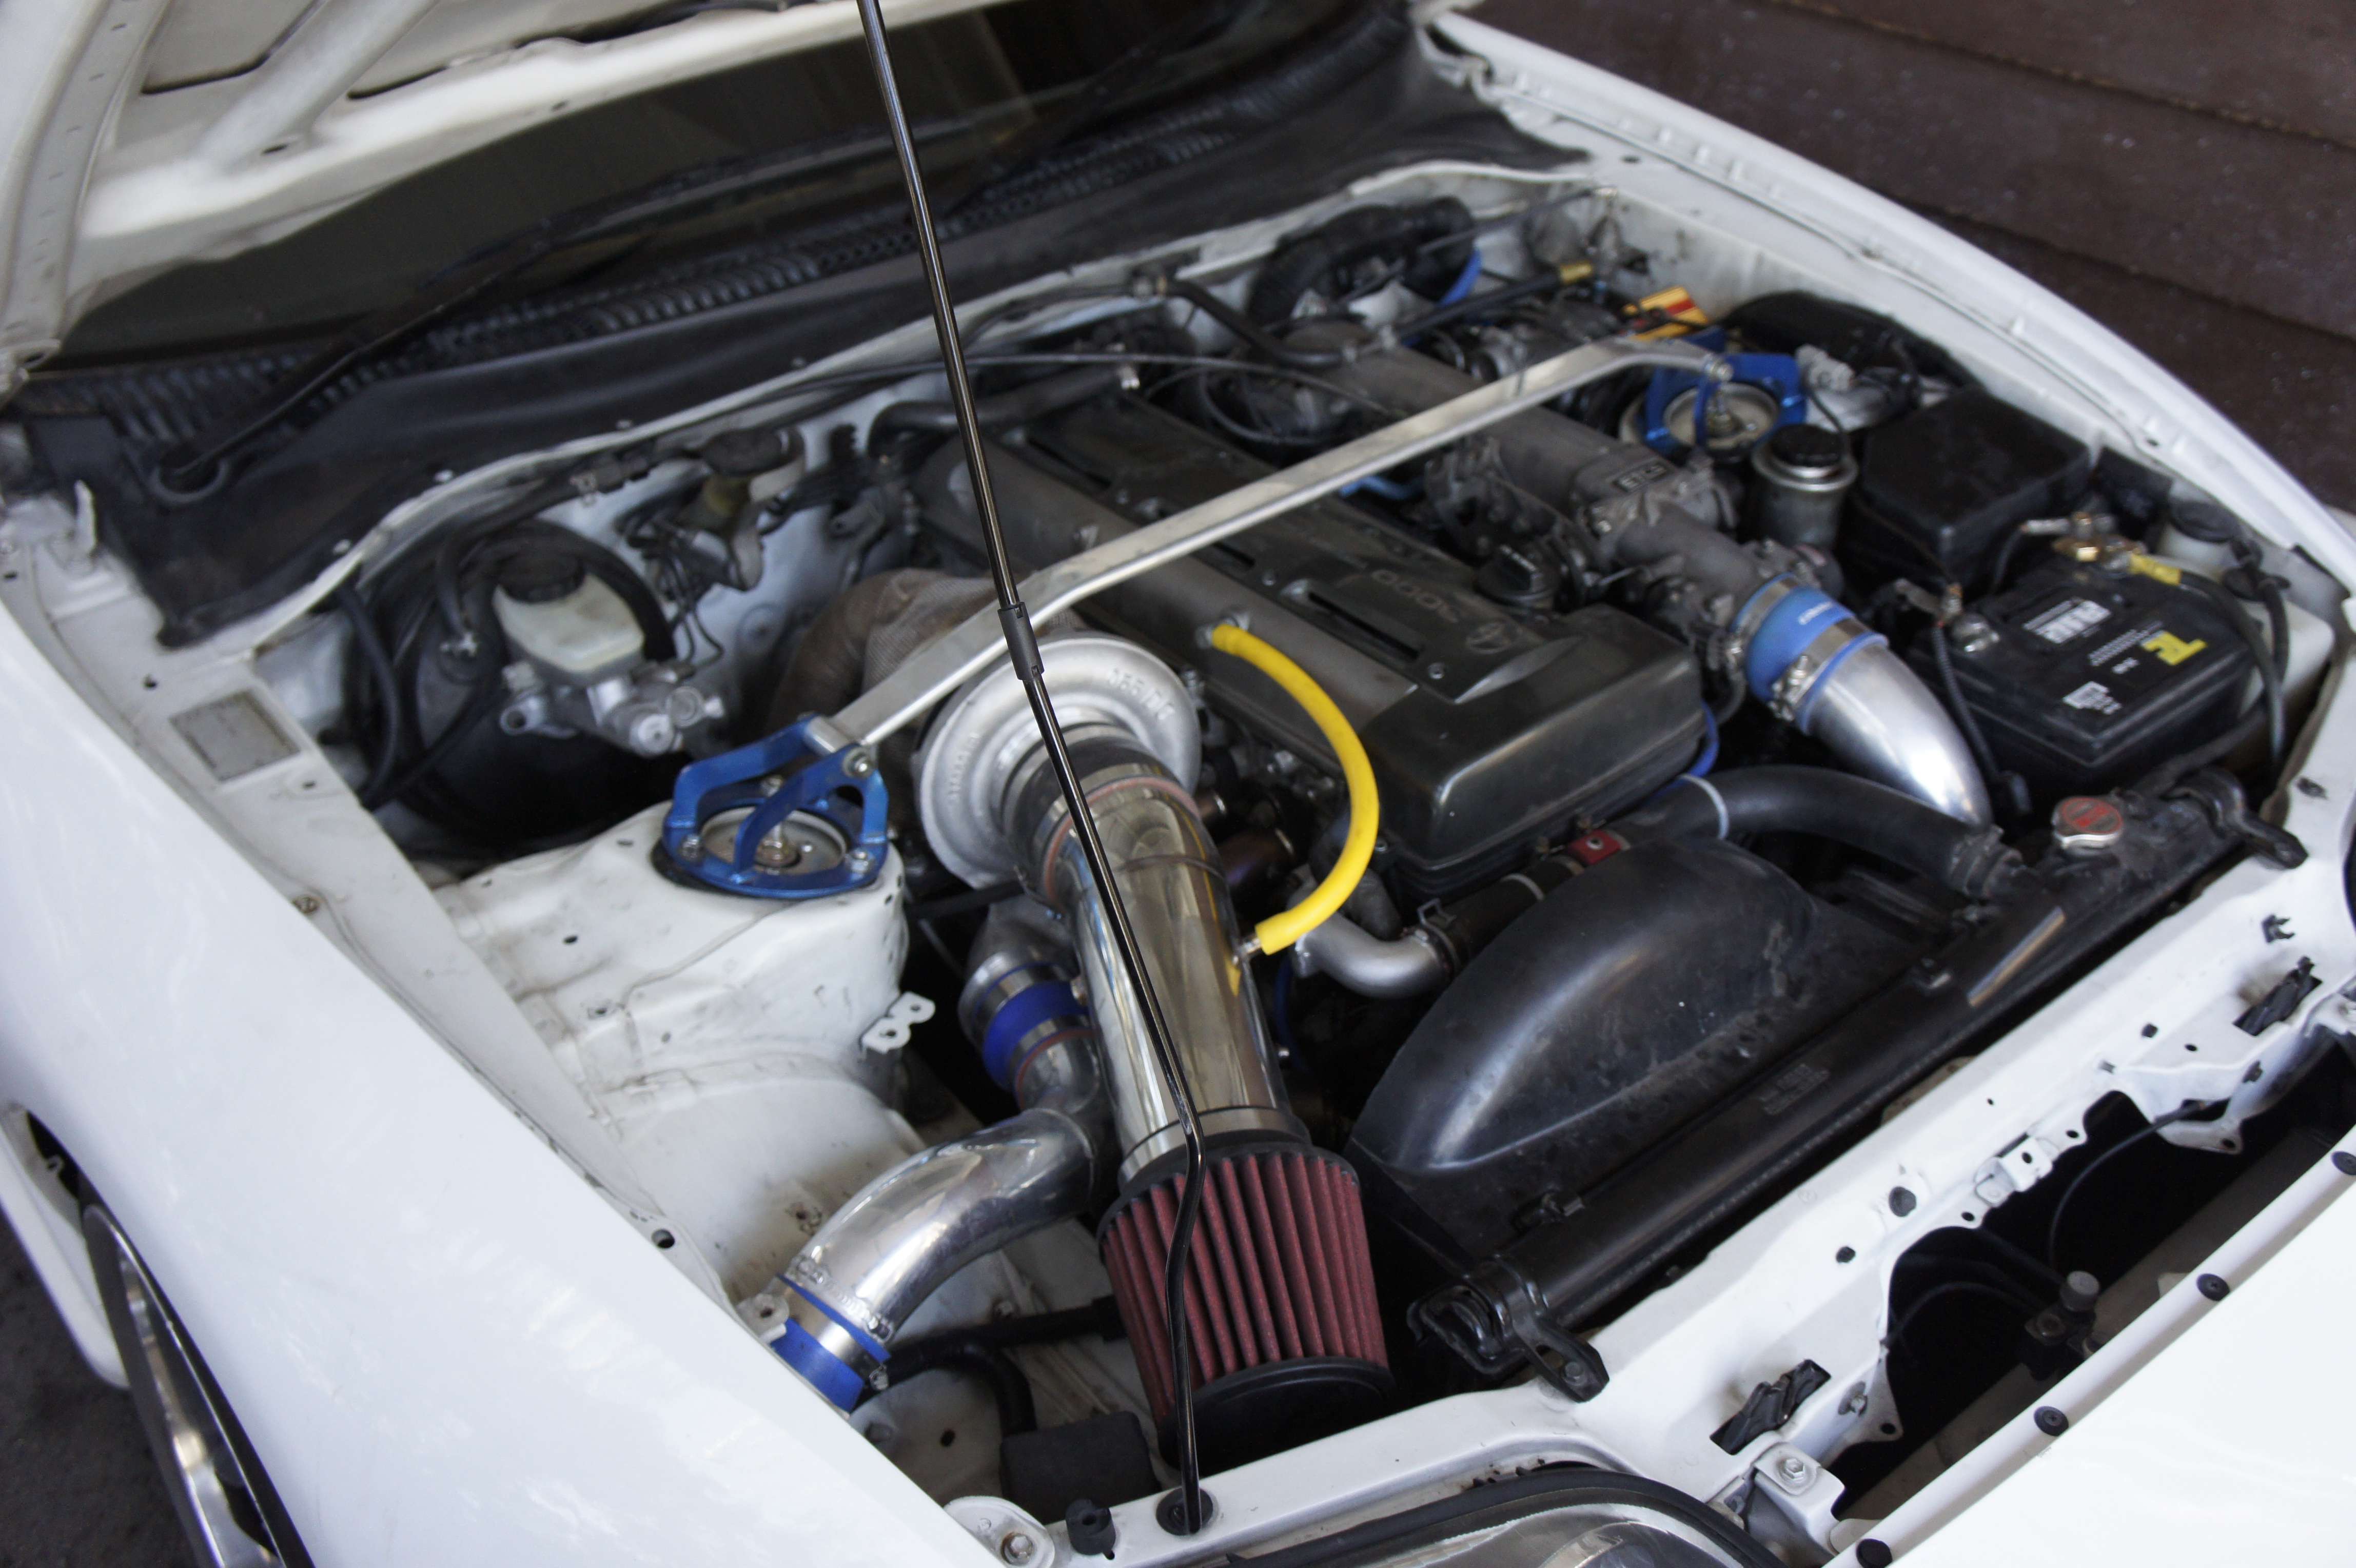
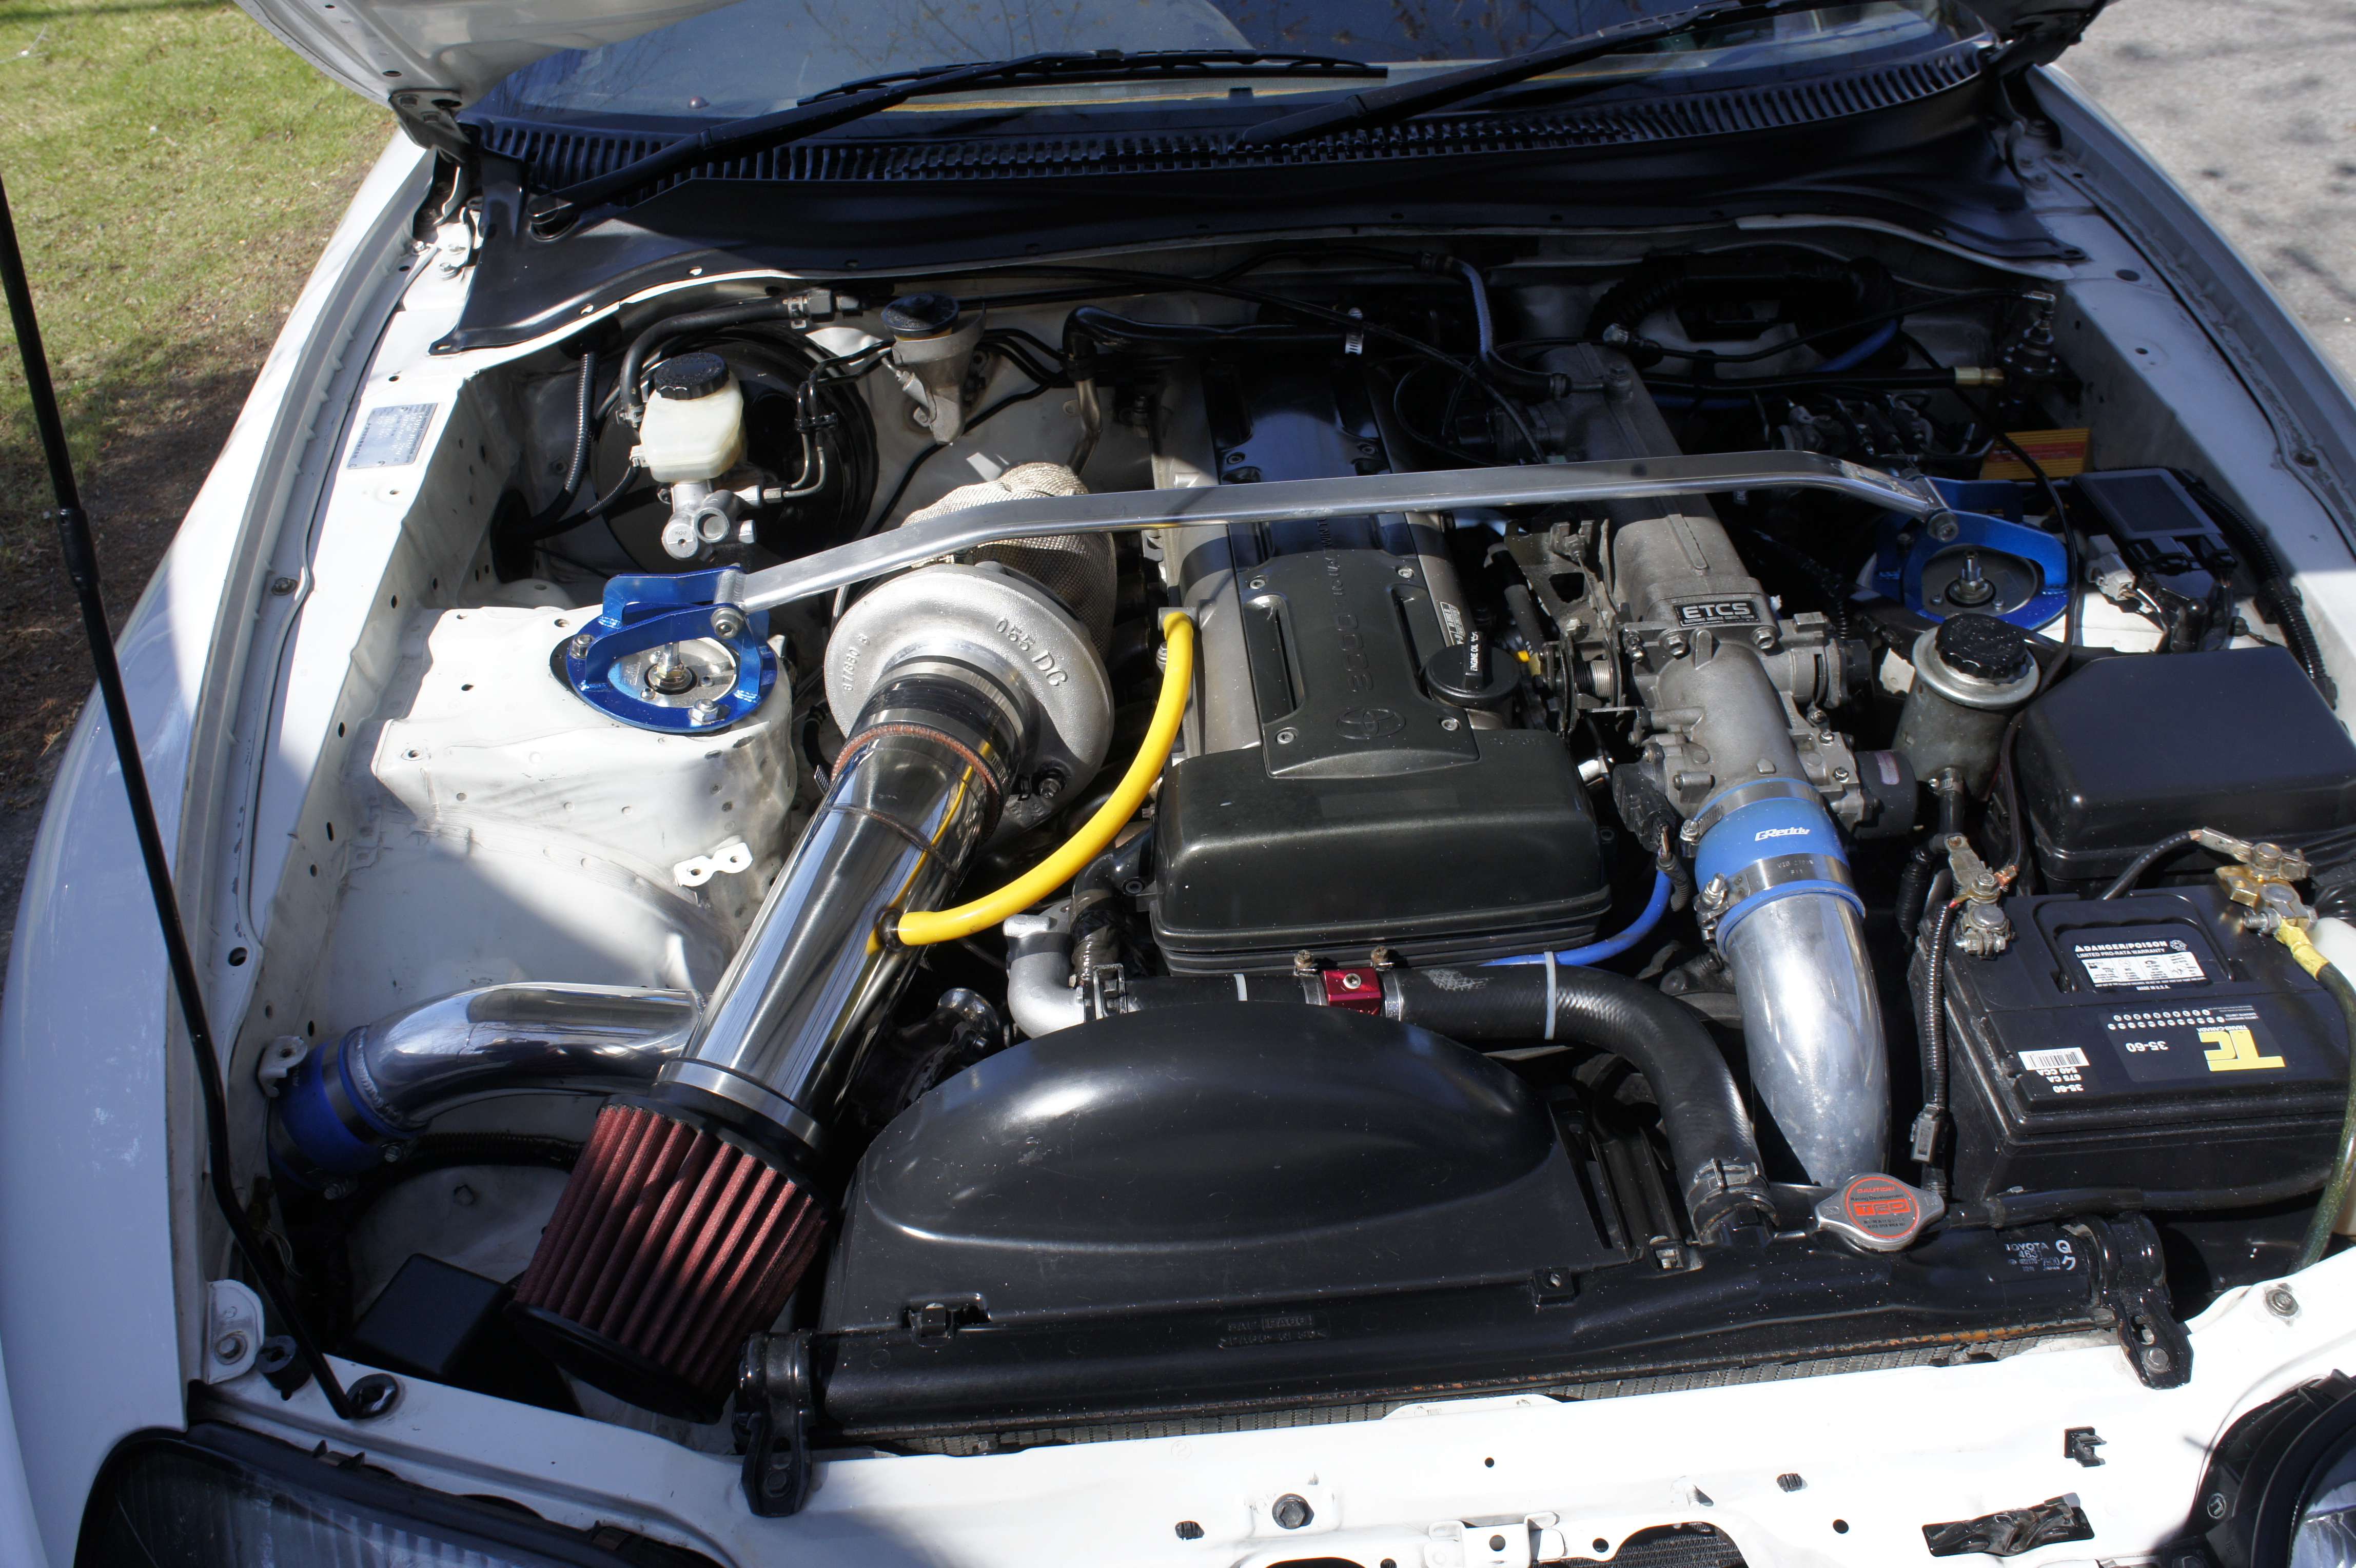
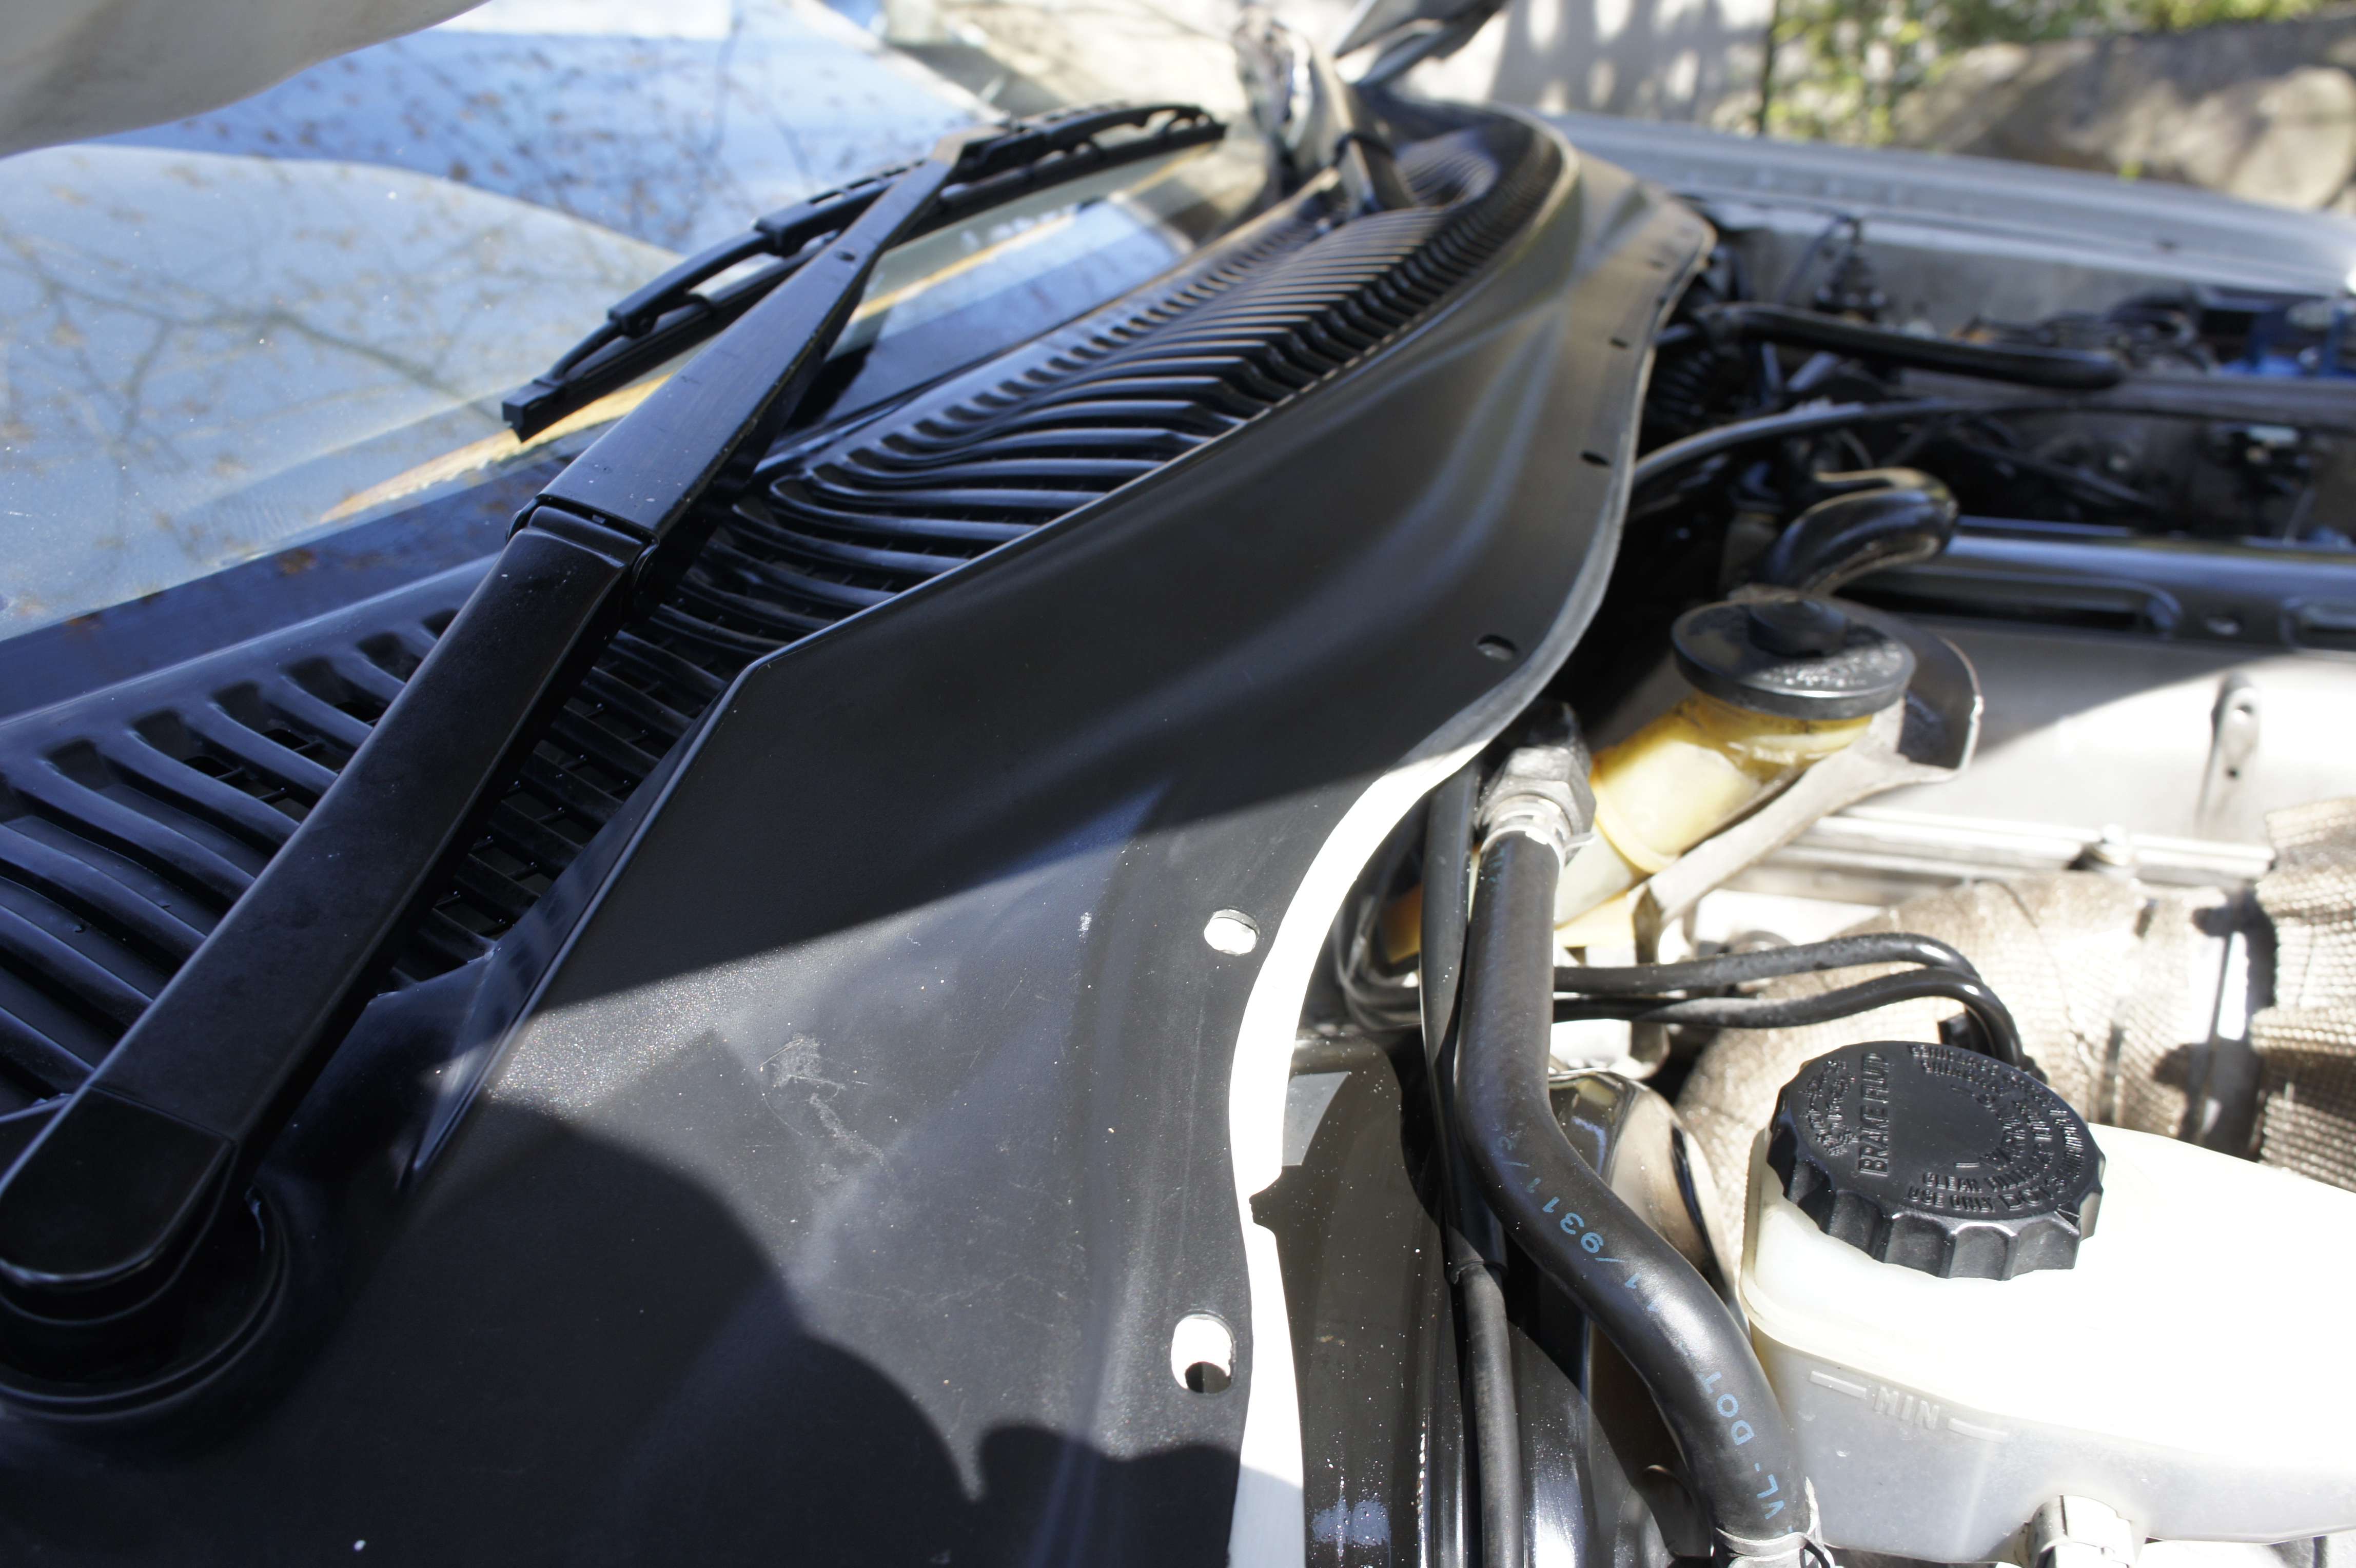
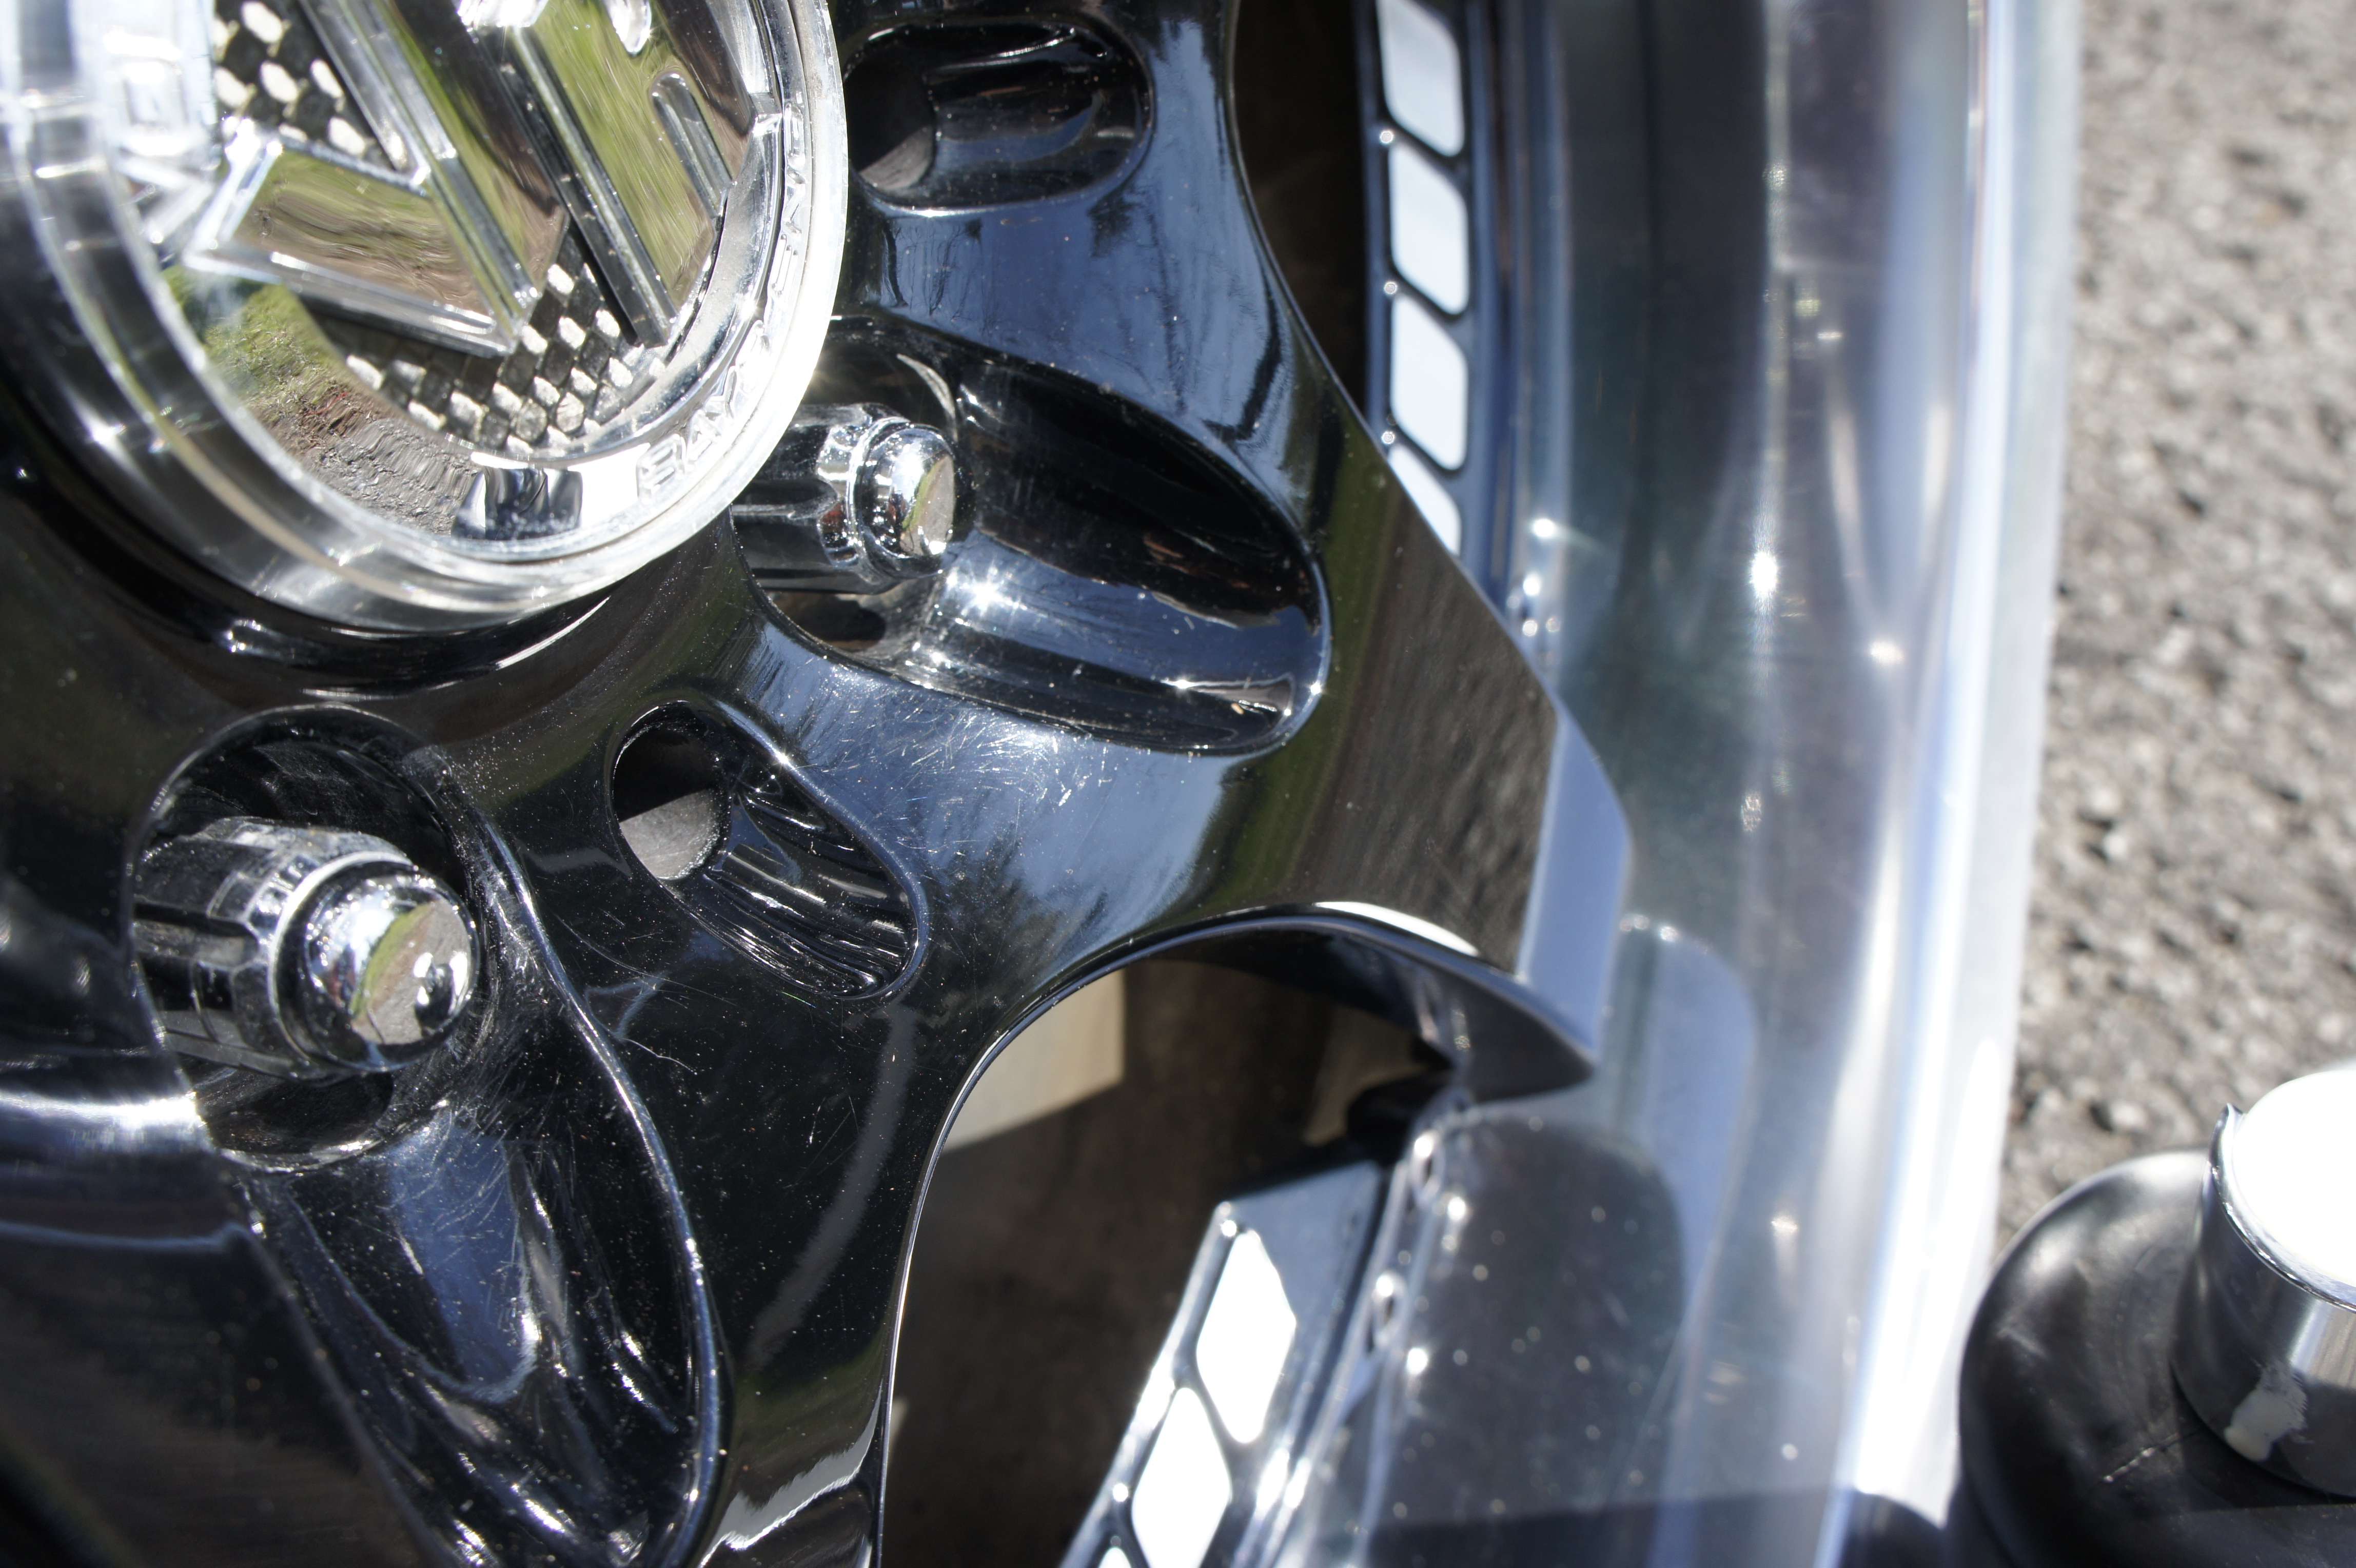
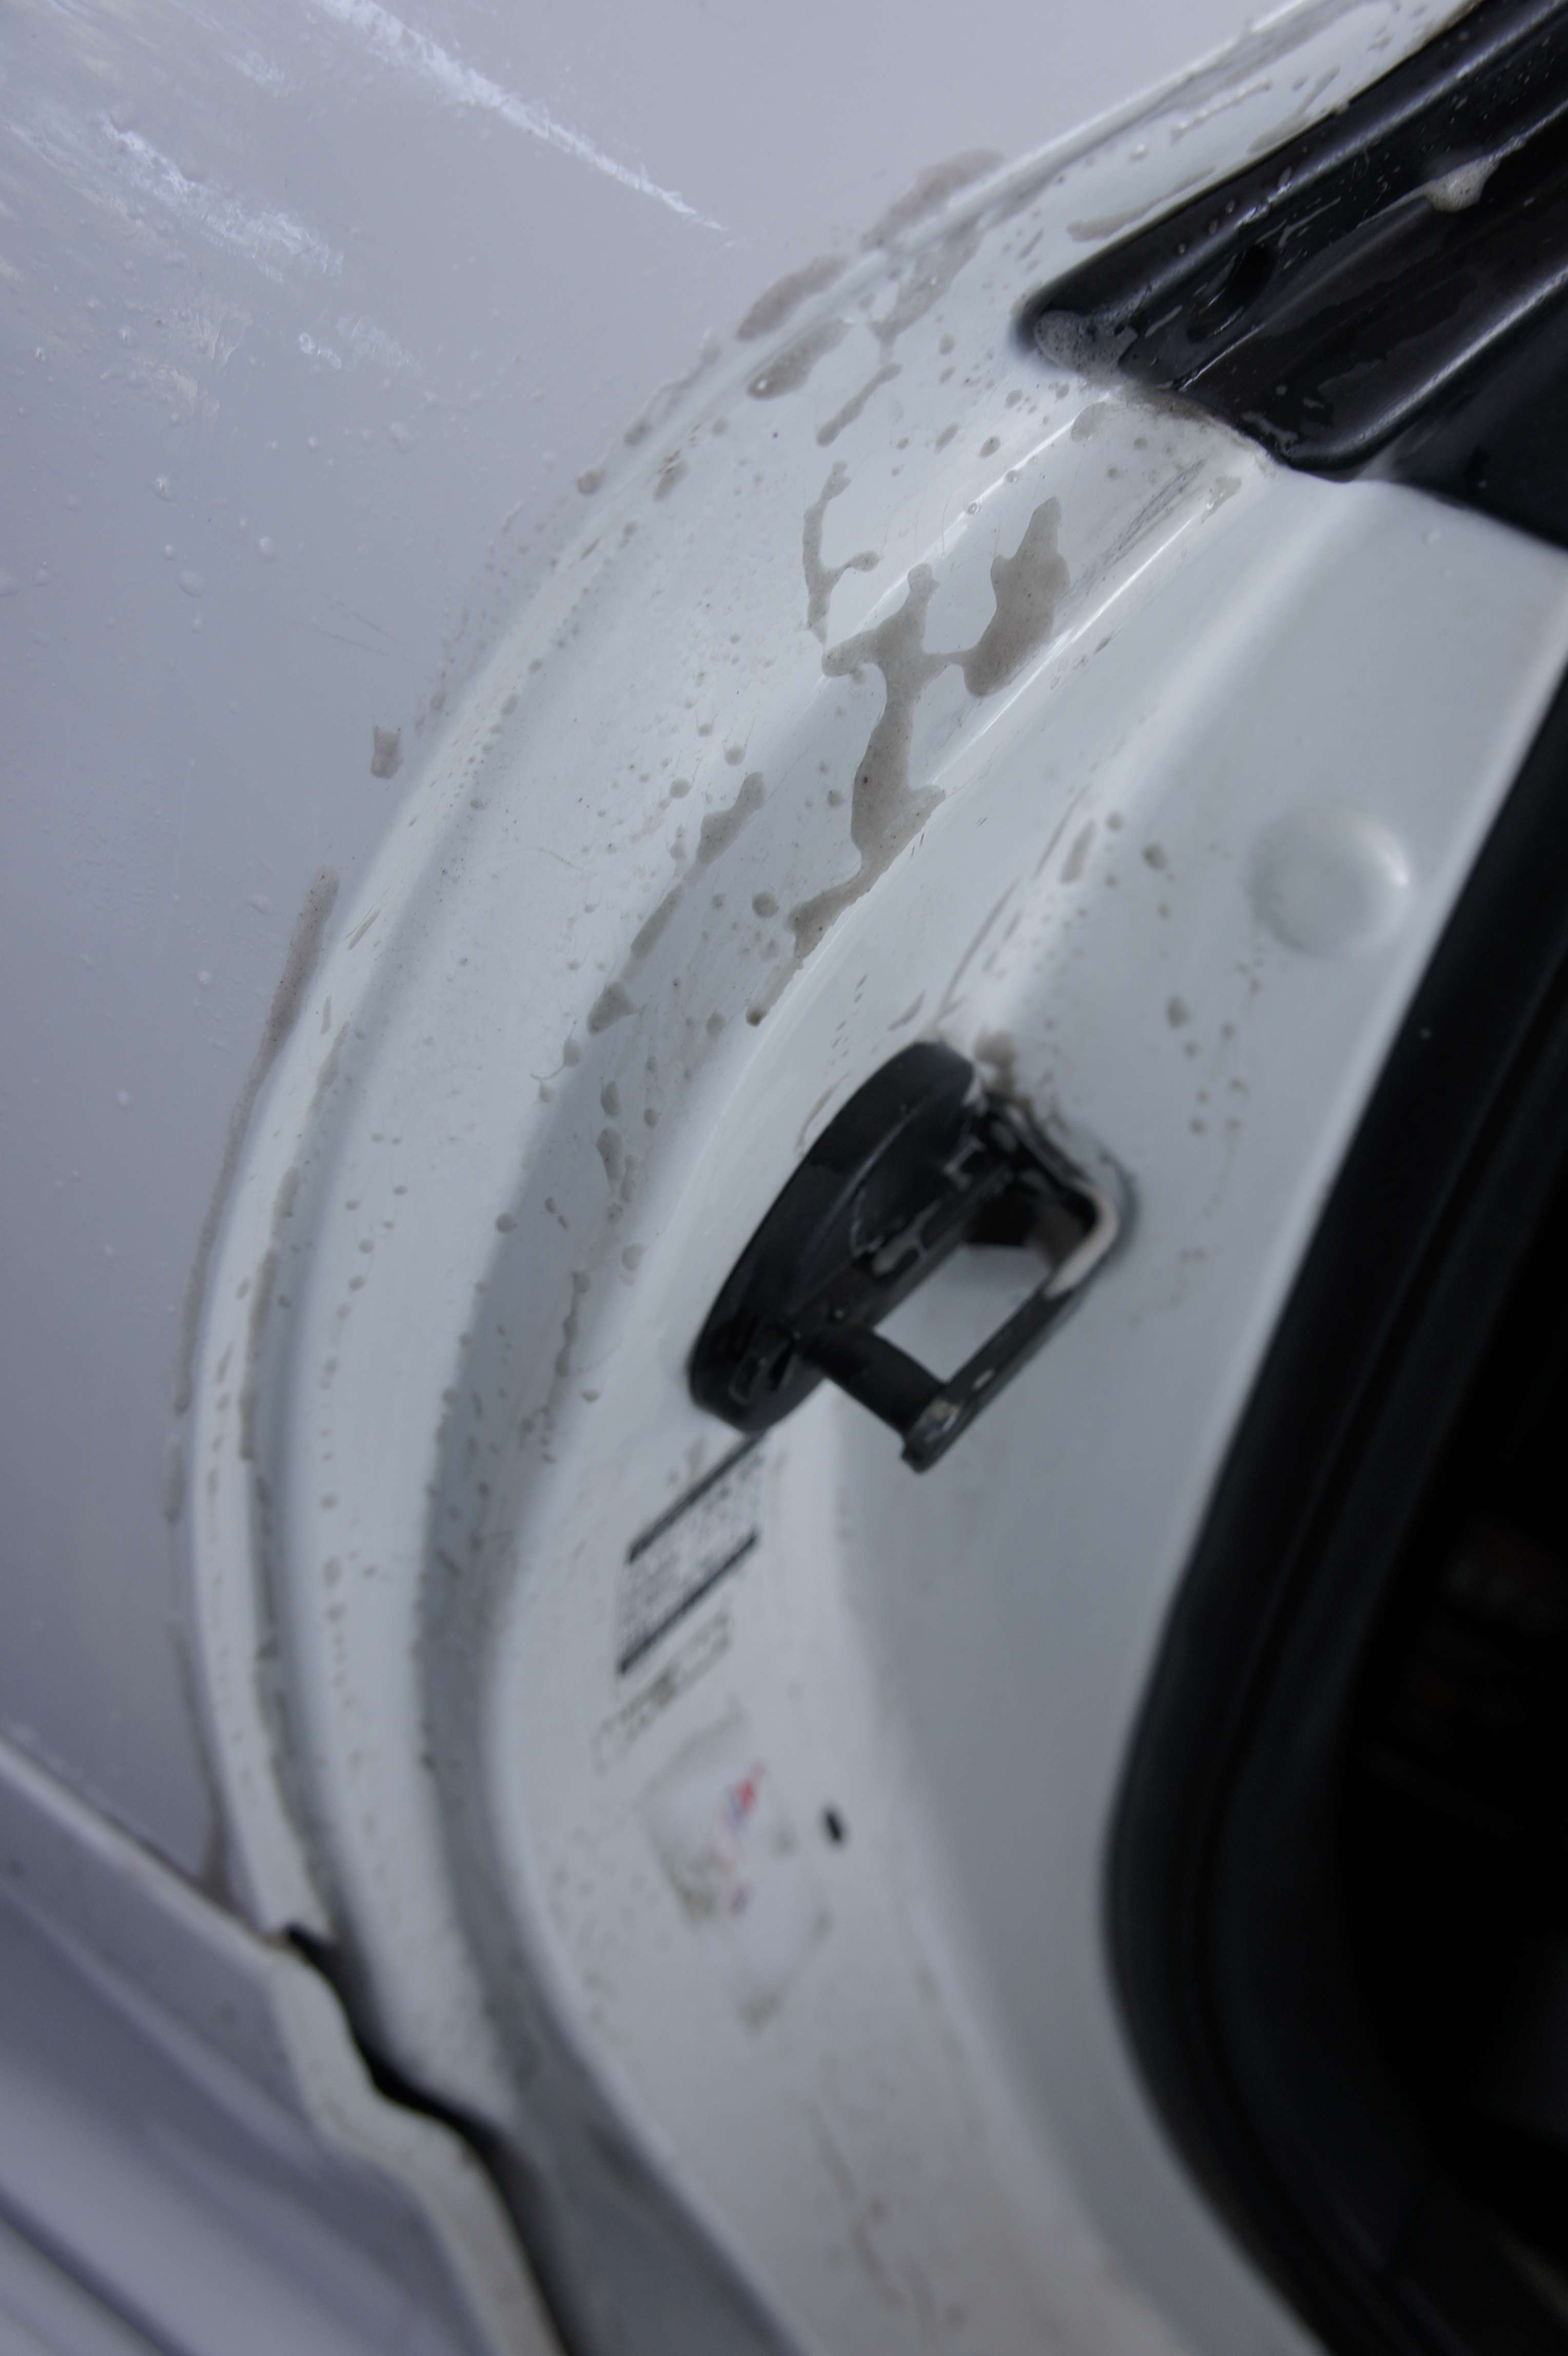
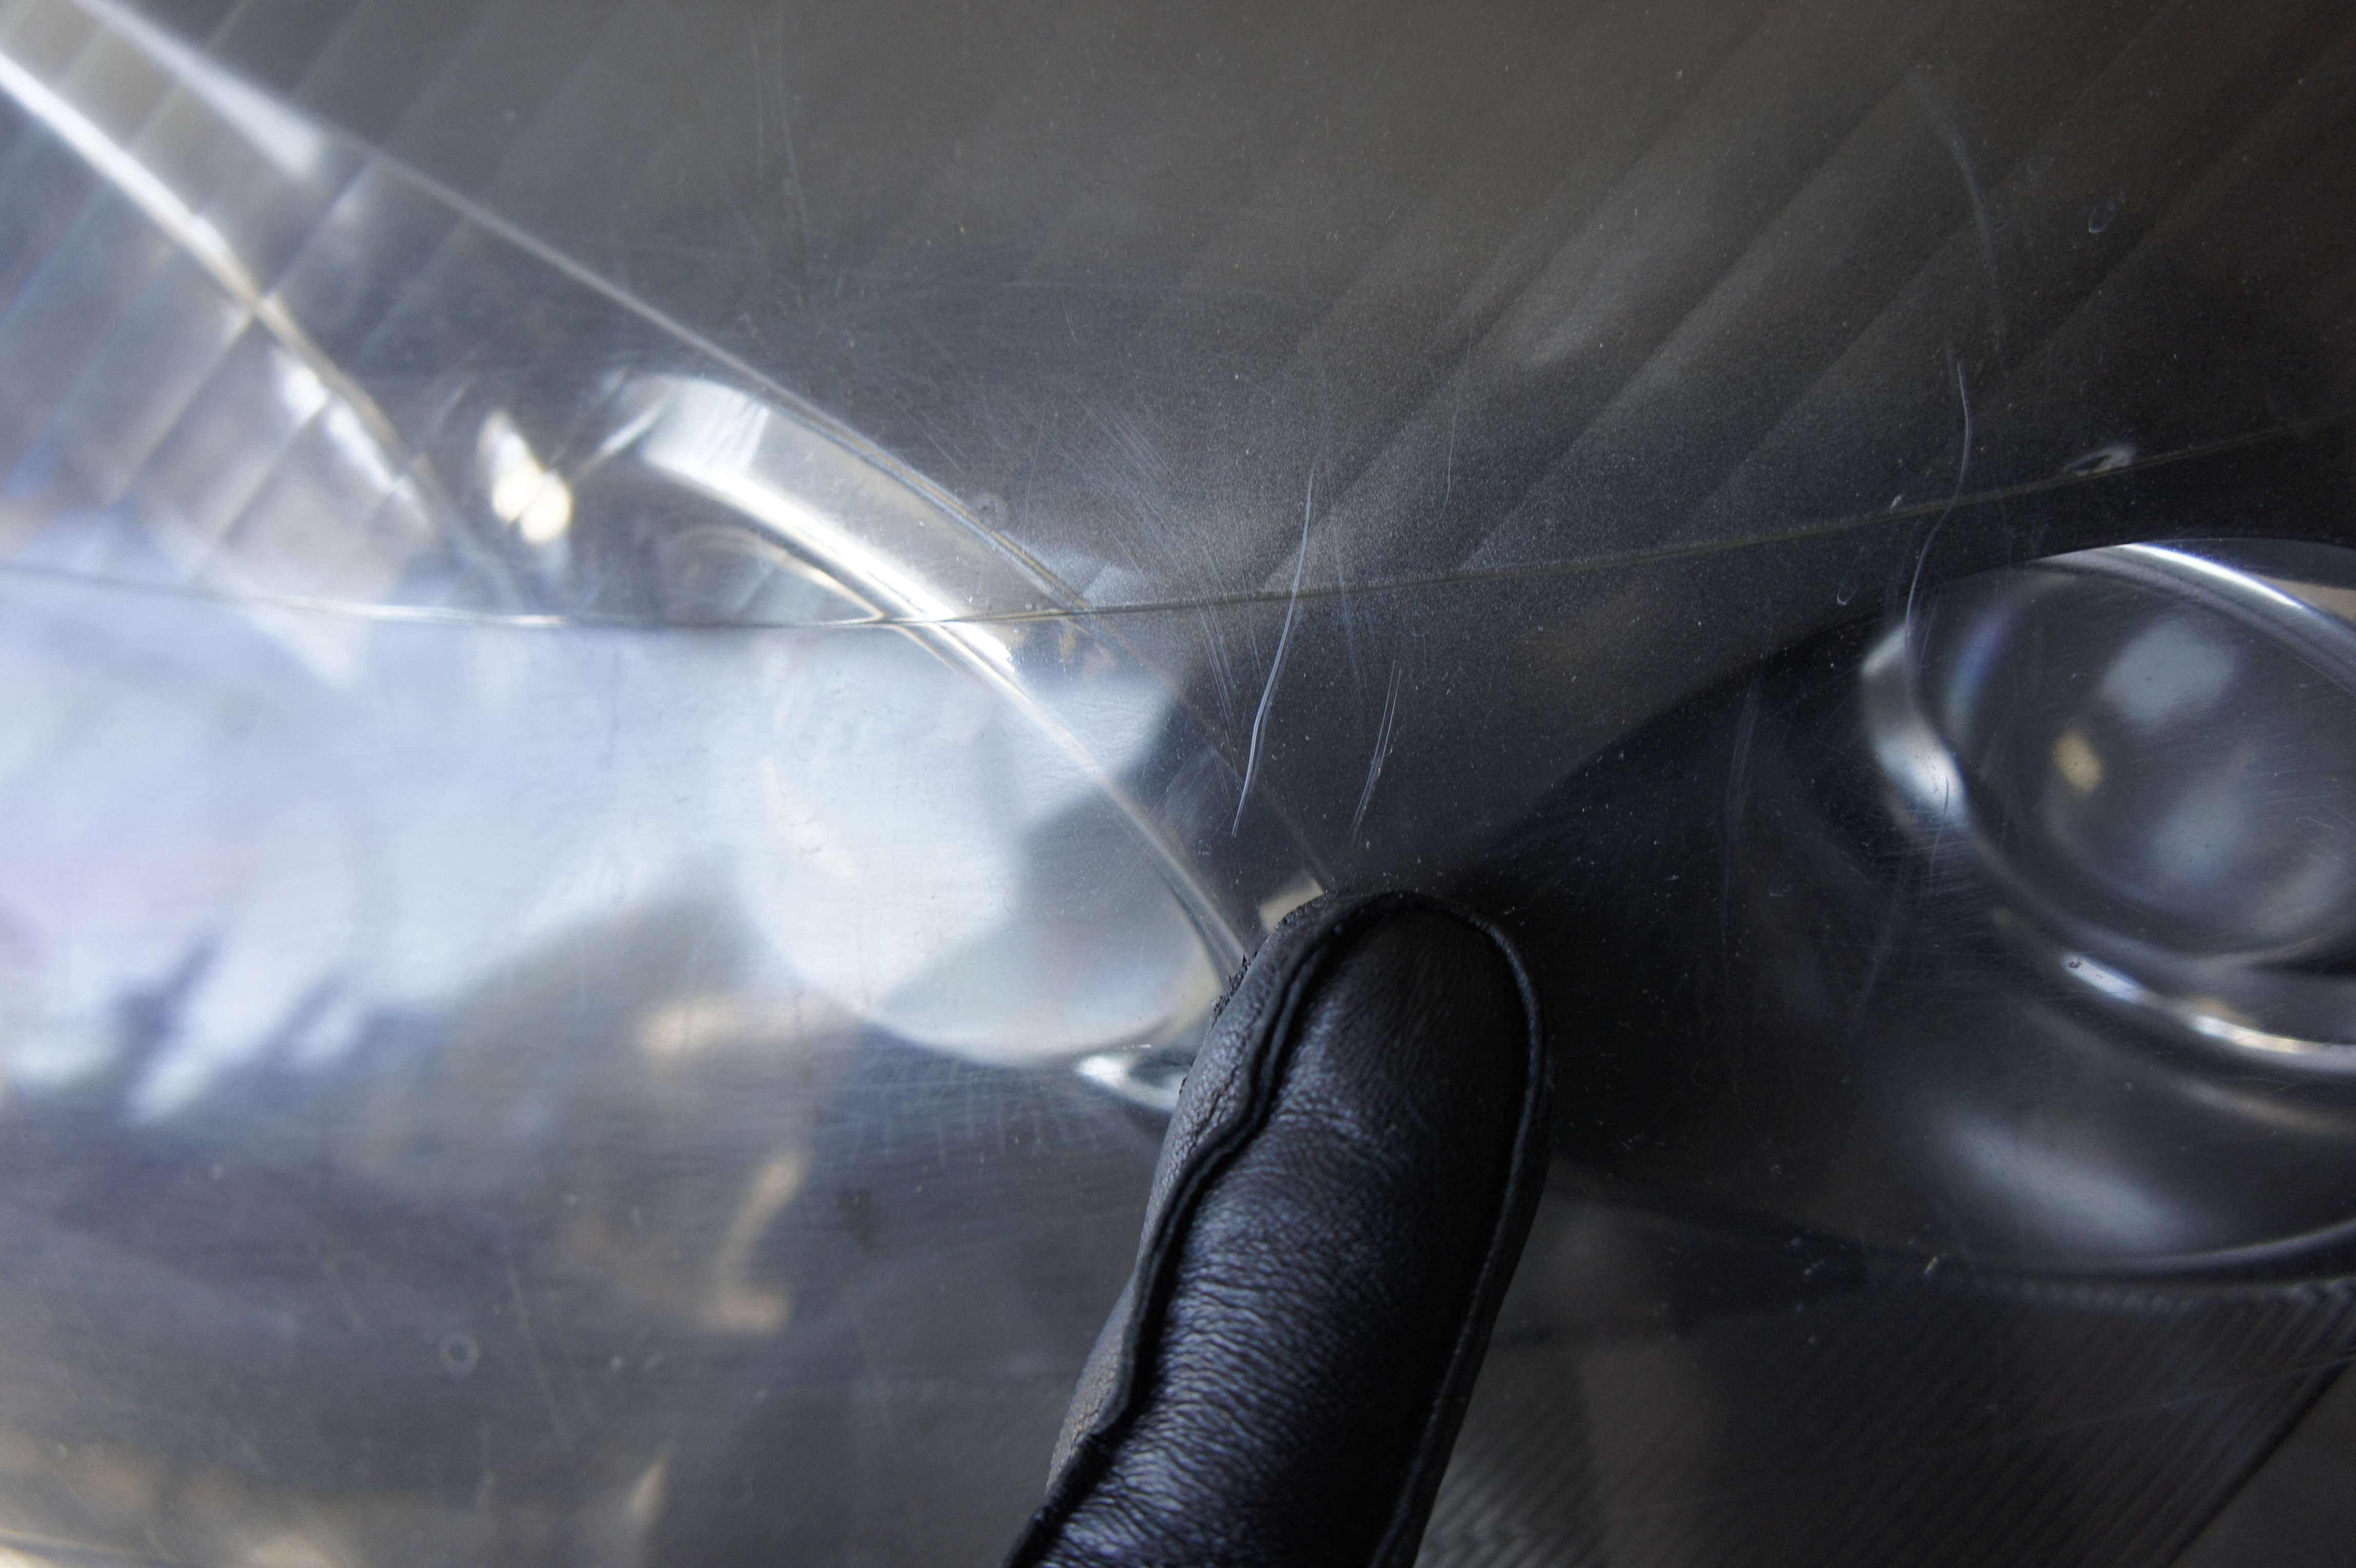
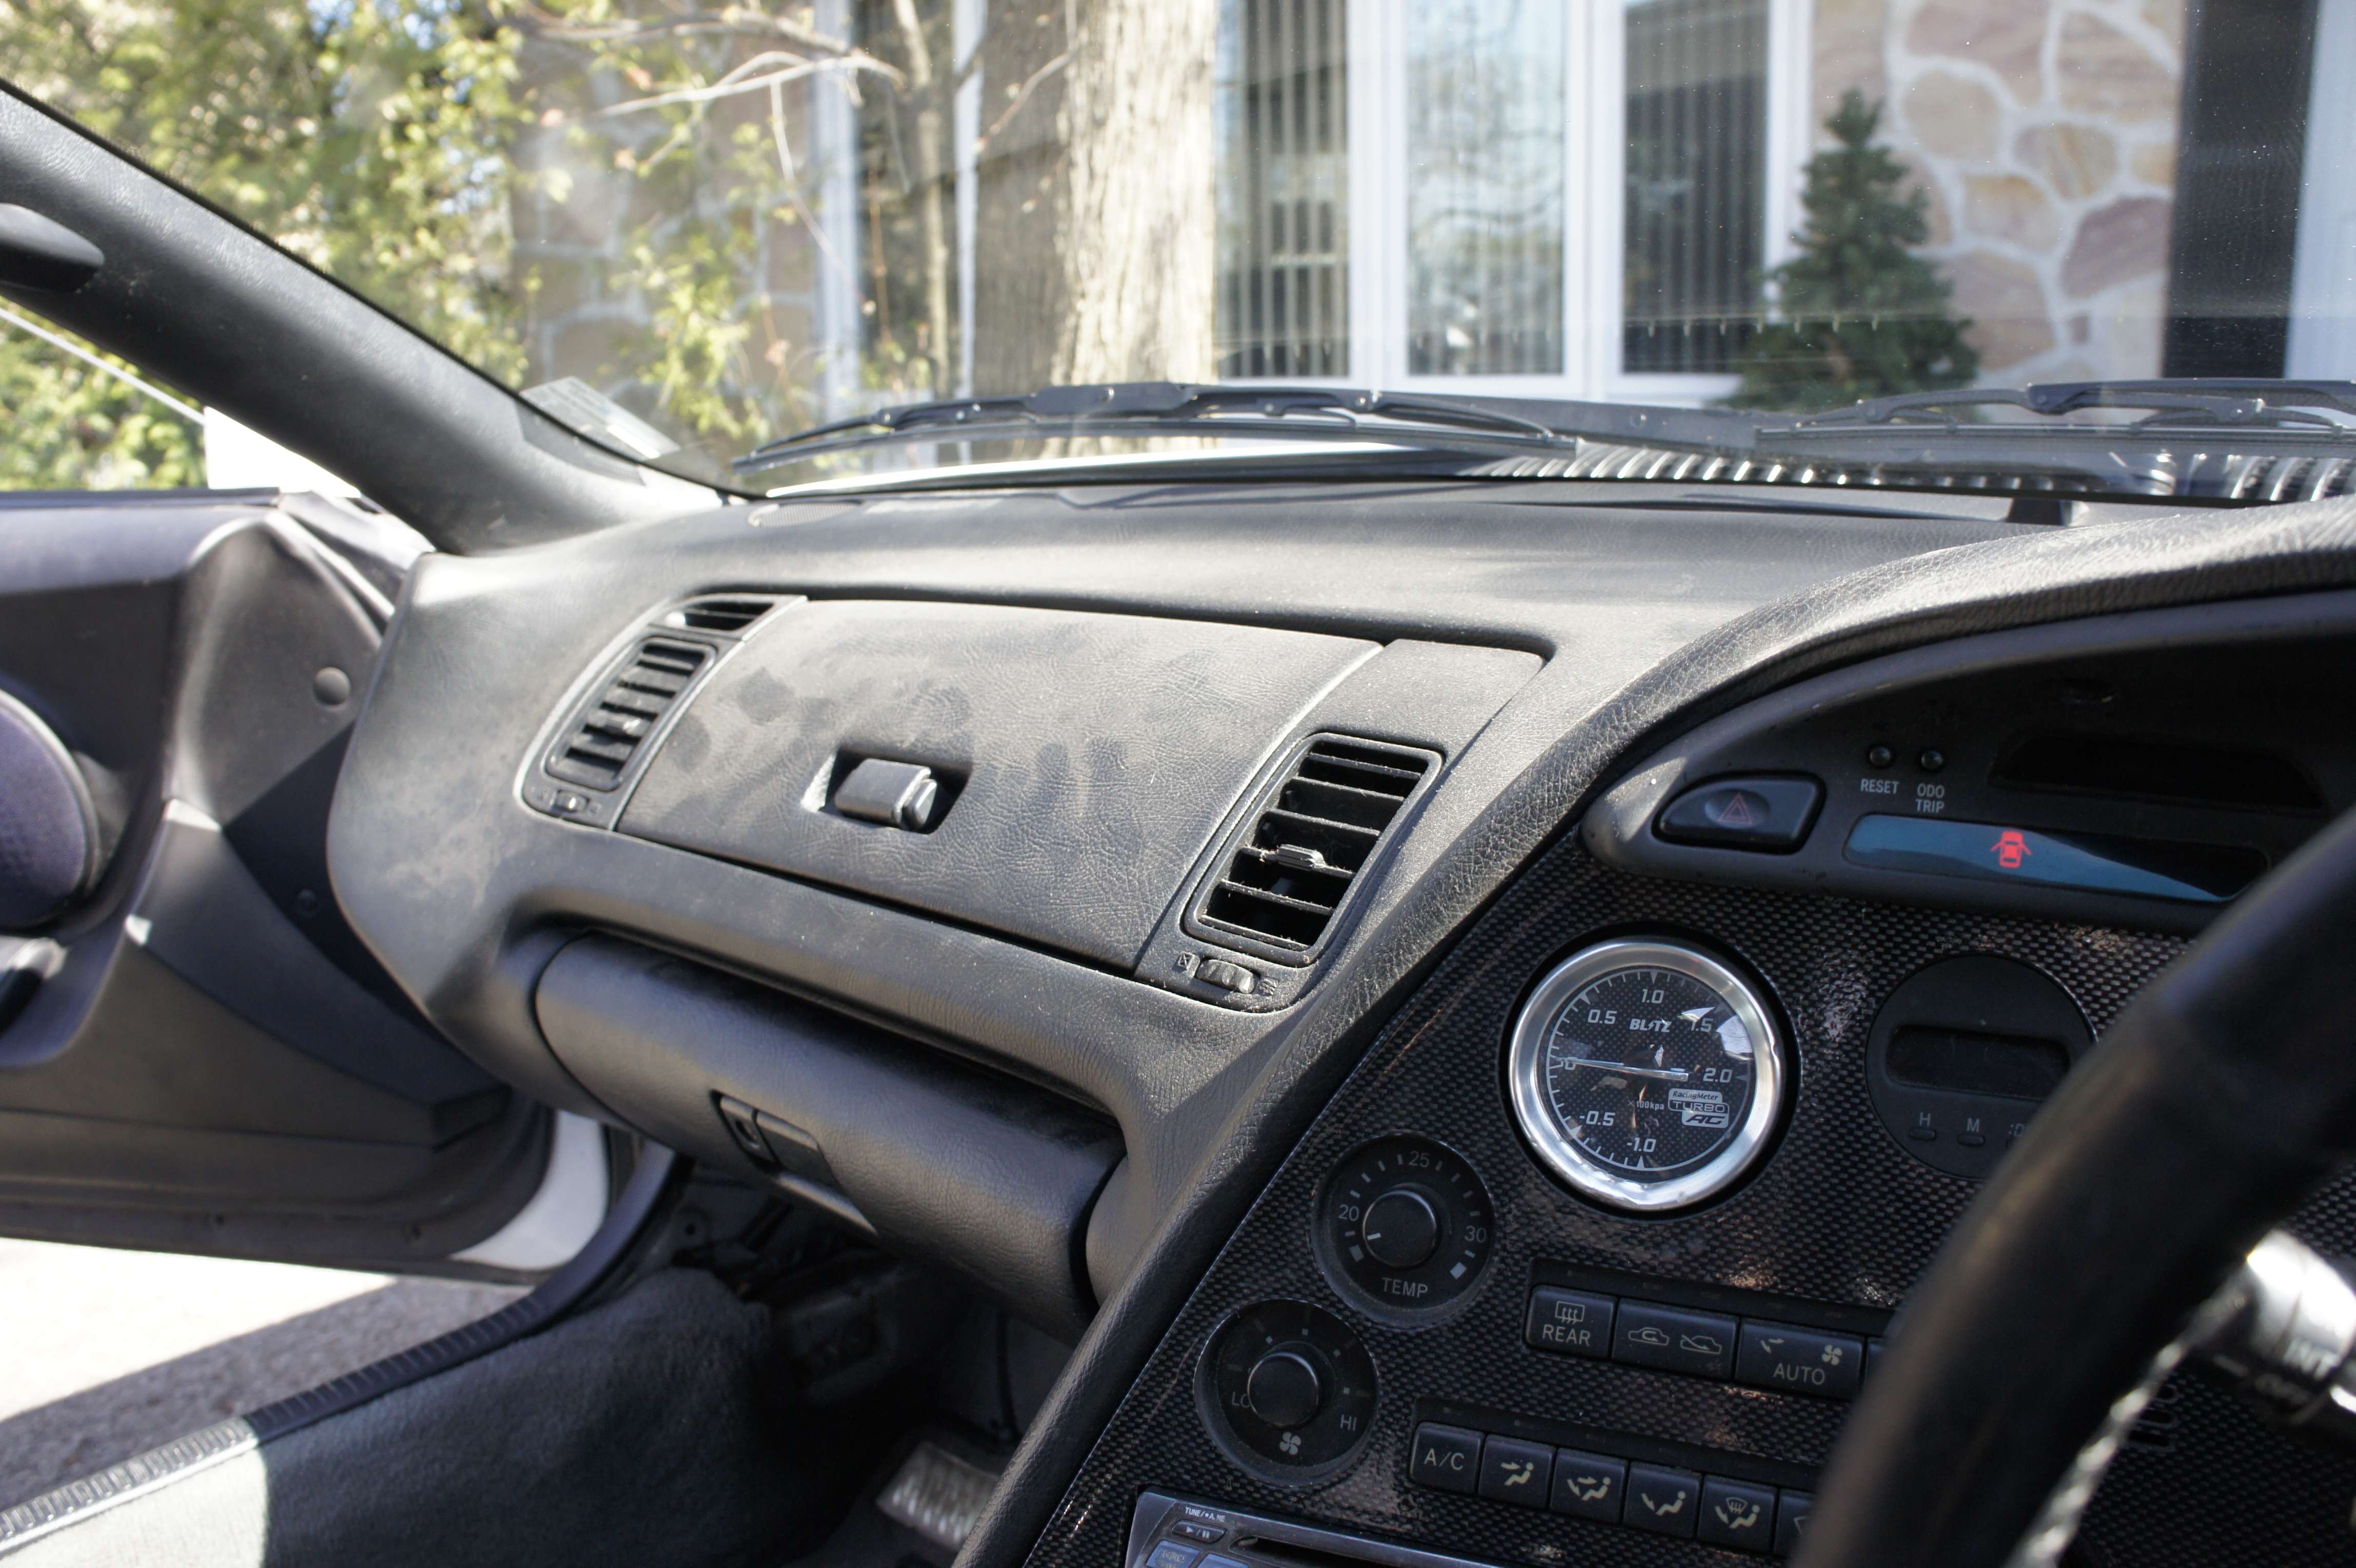
Lots of molding on this car.

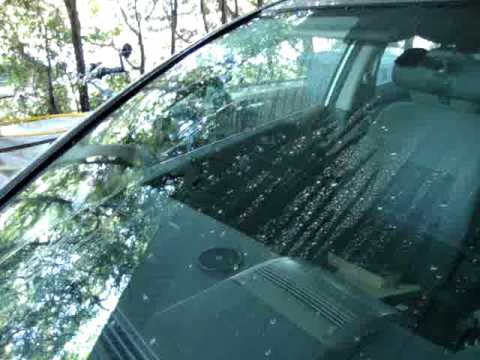
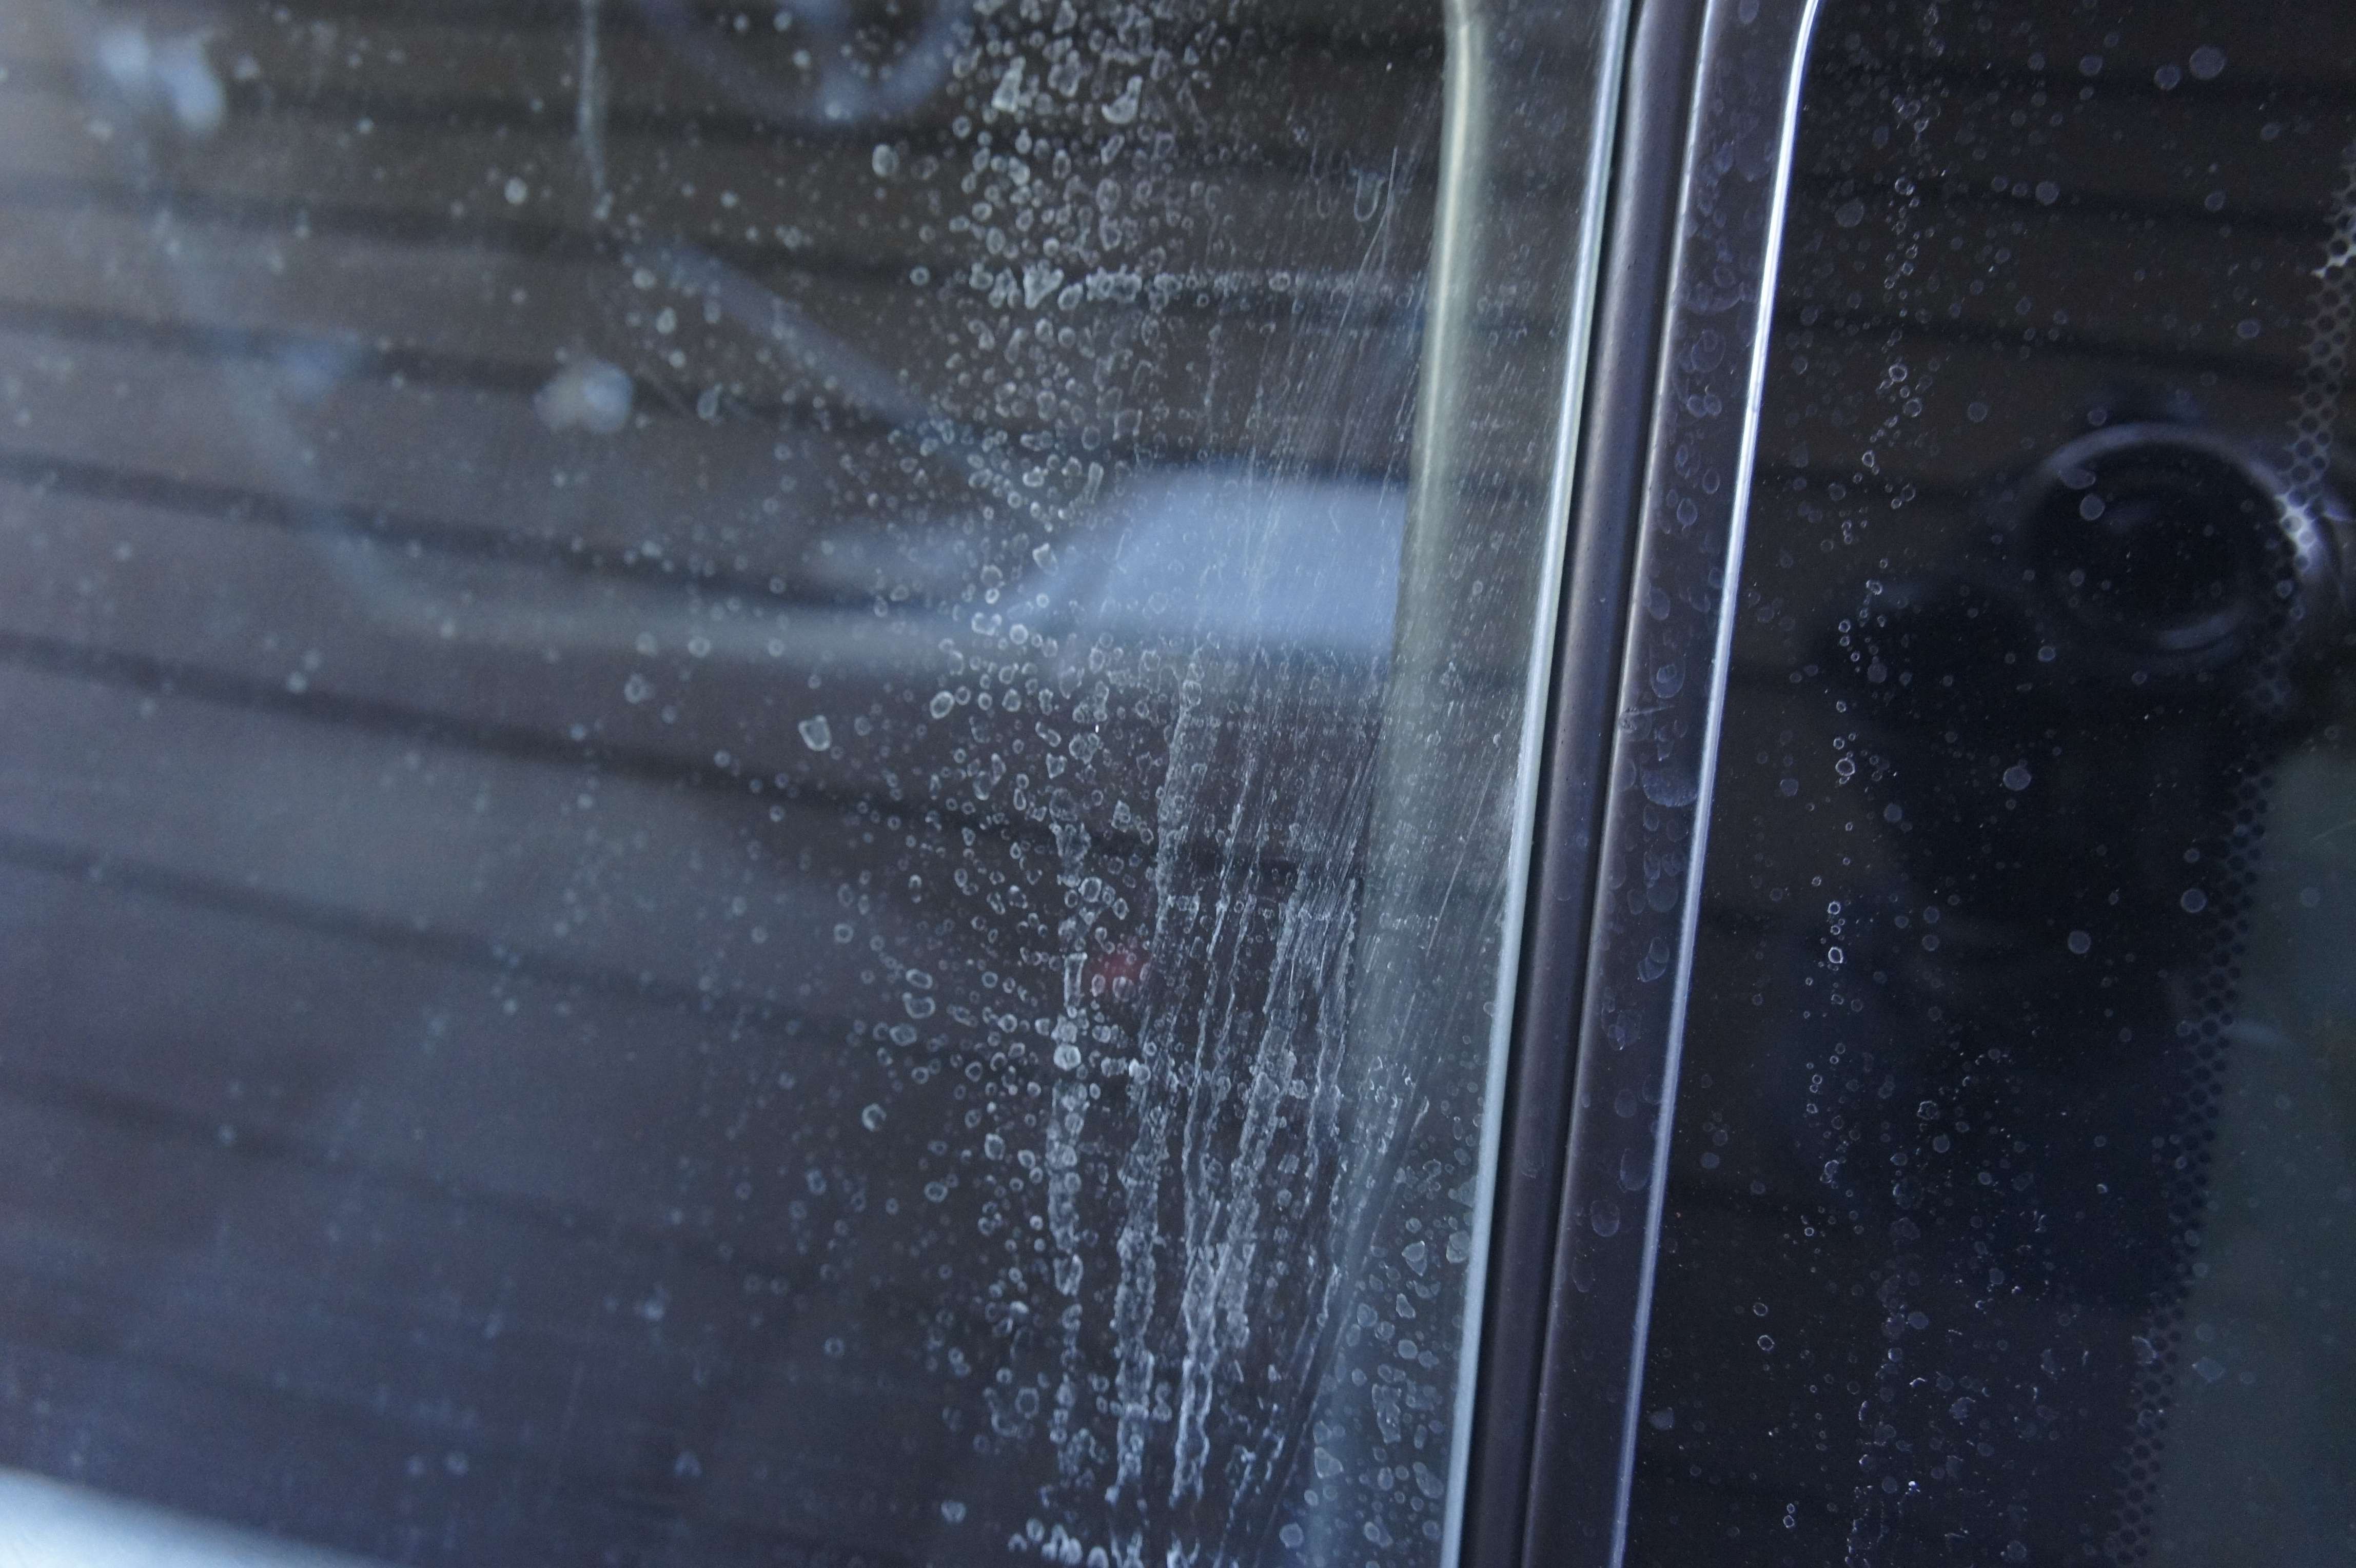
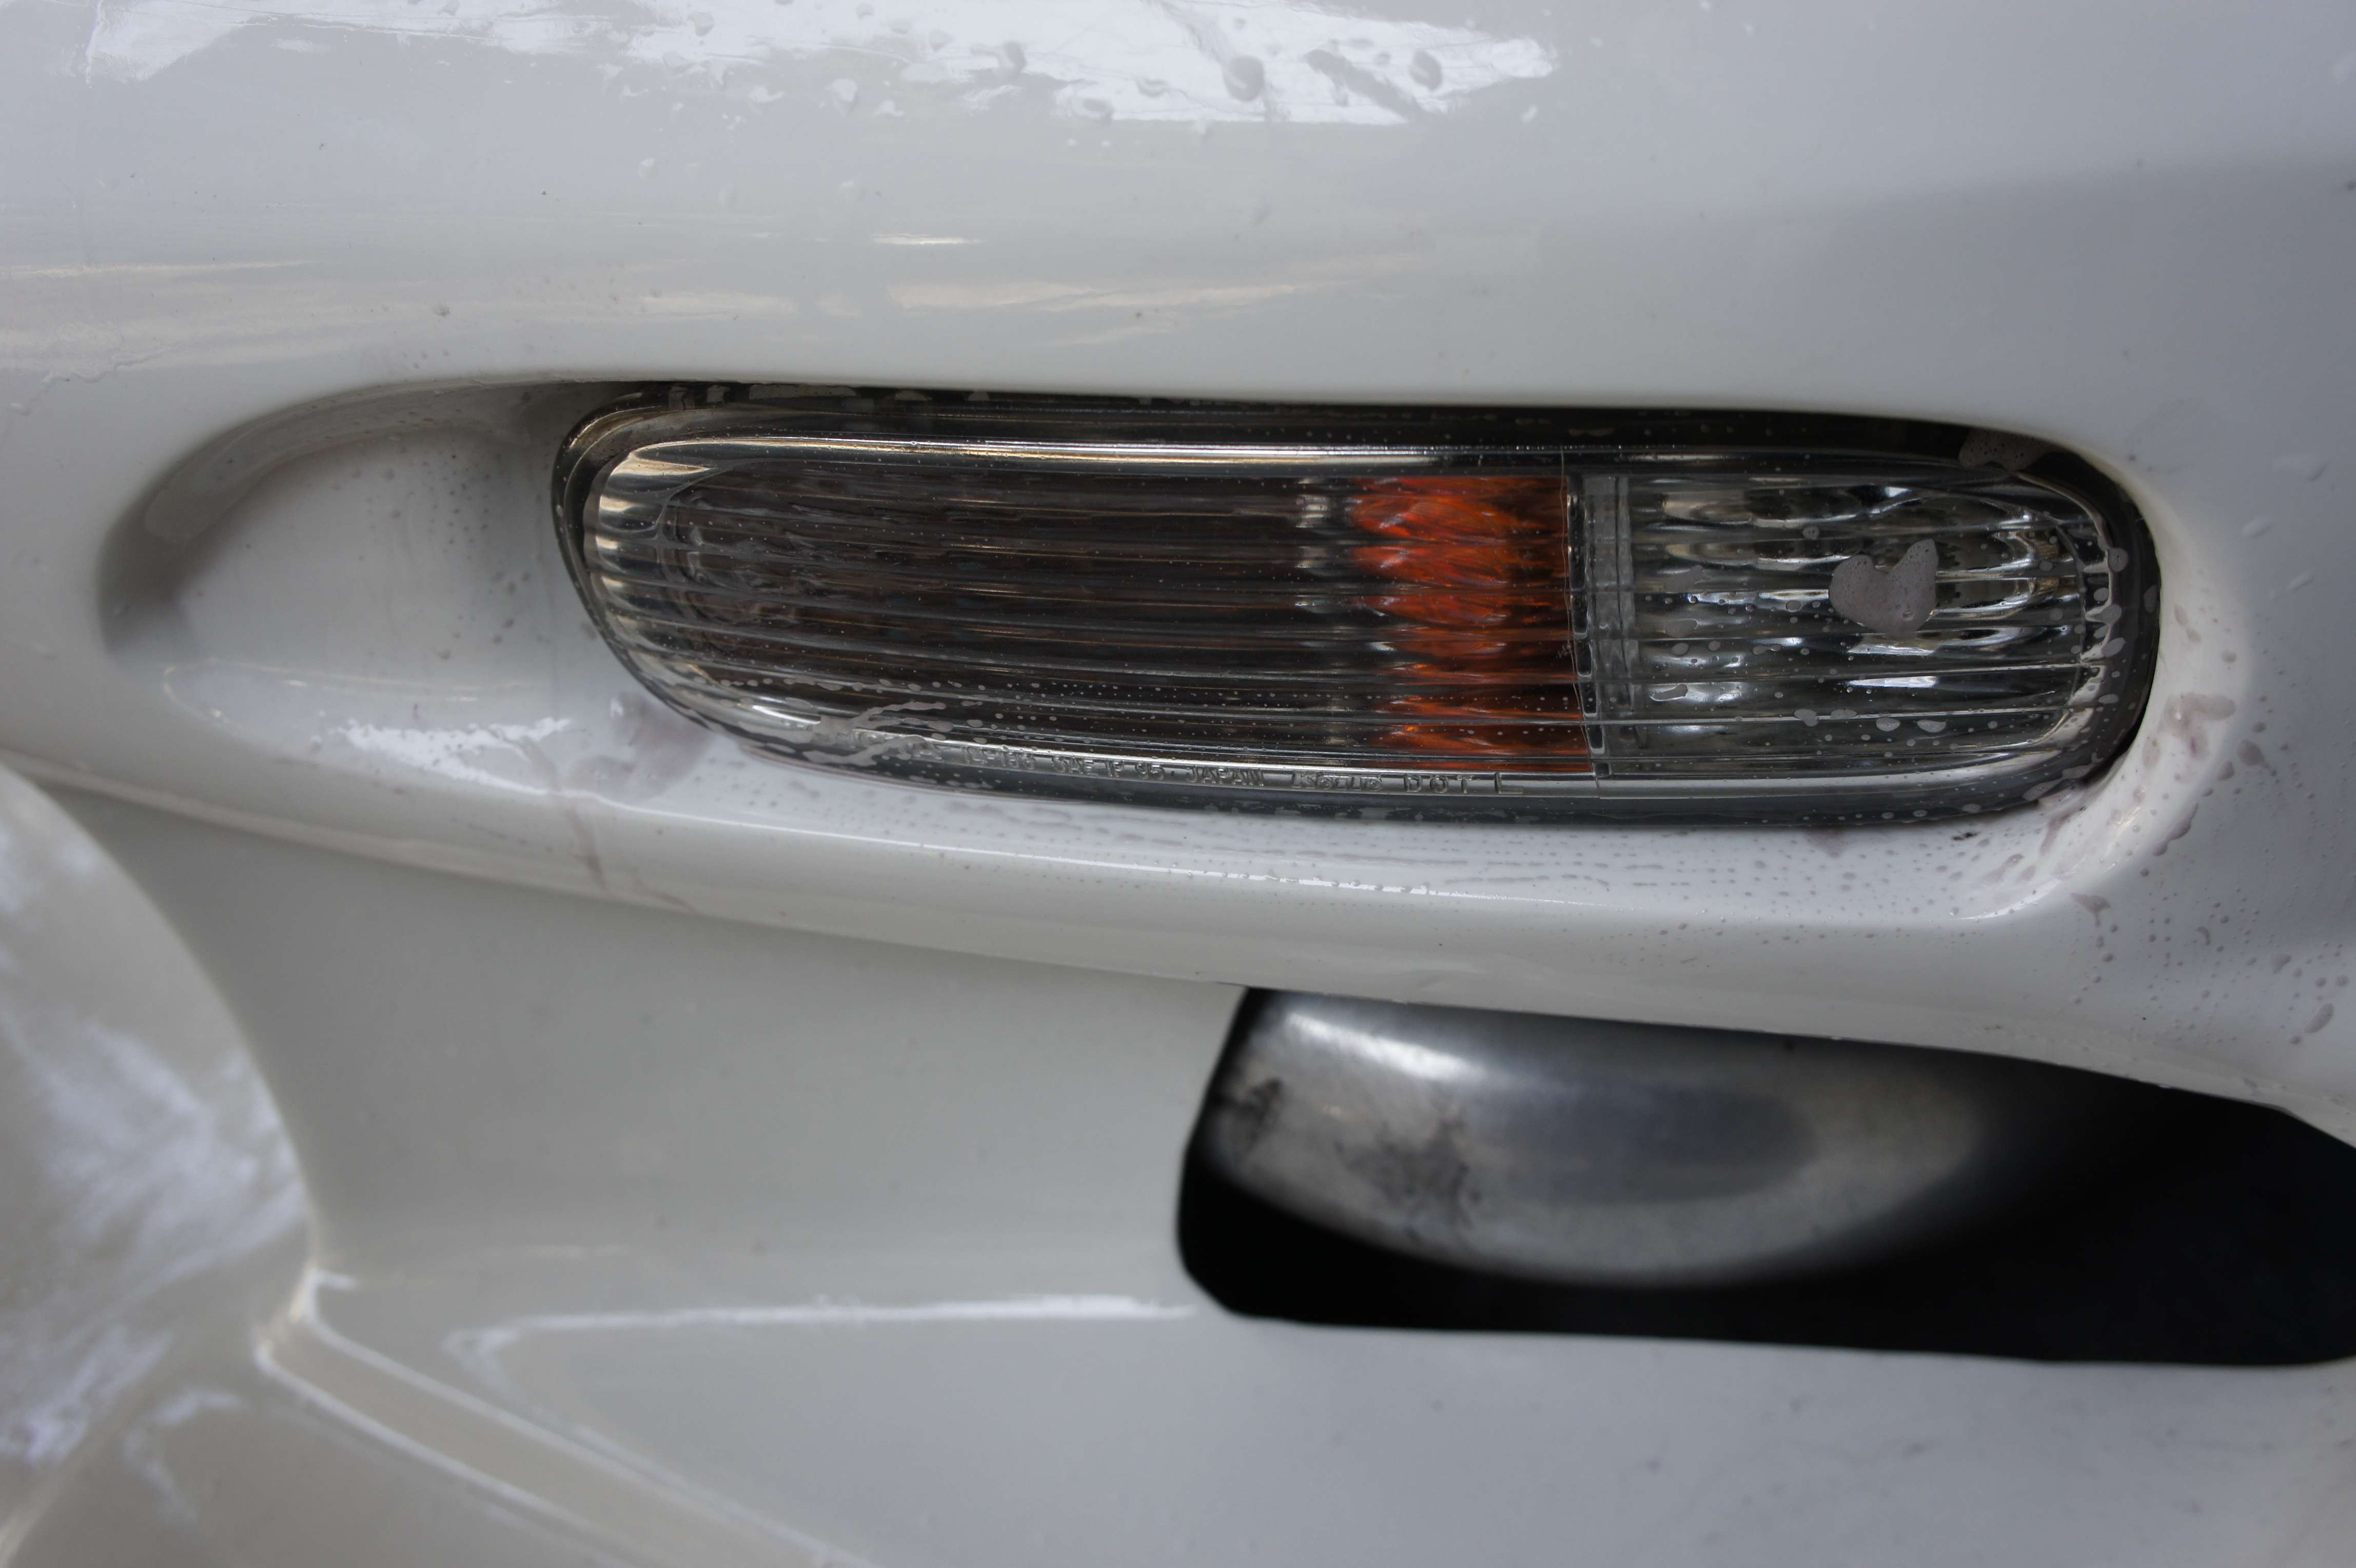
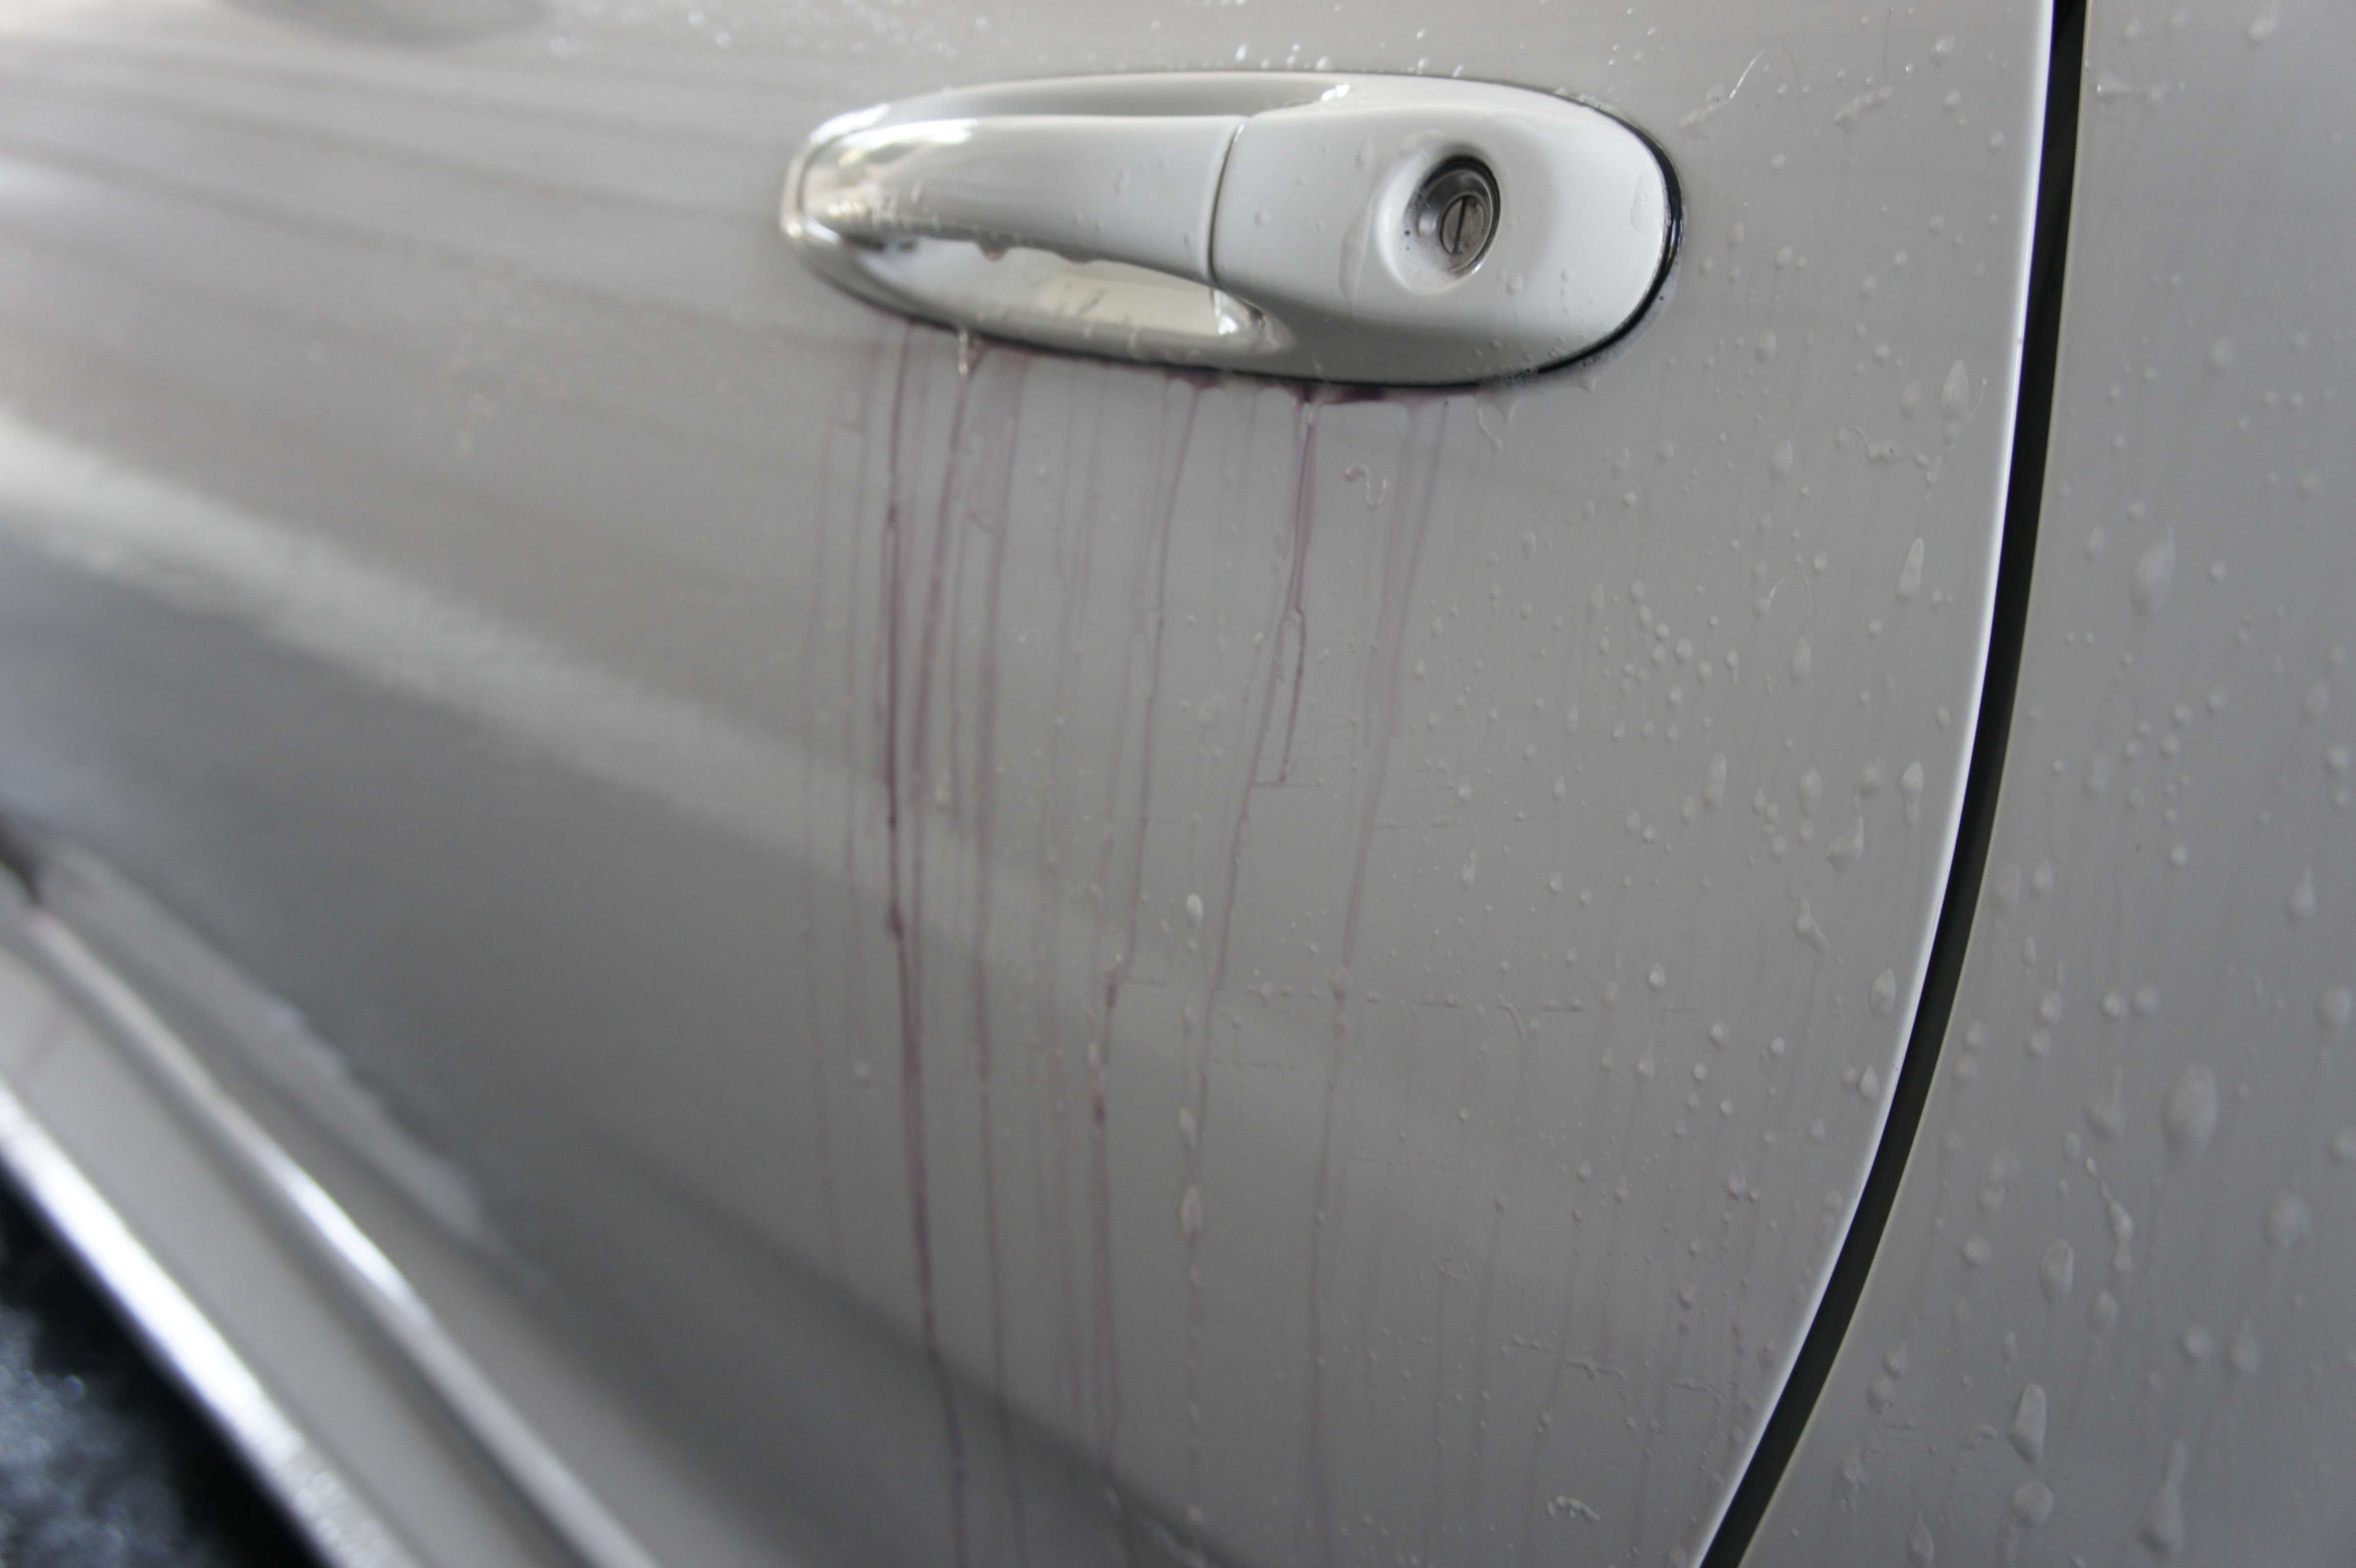
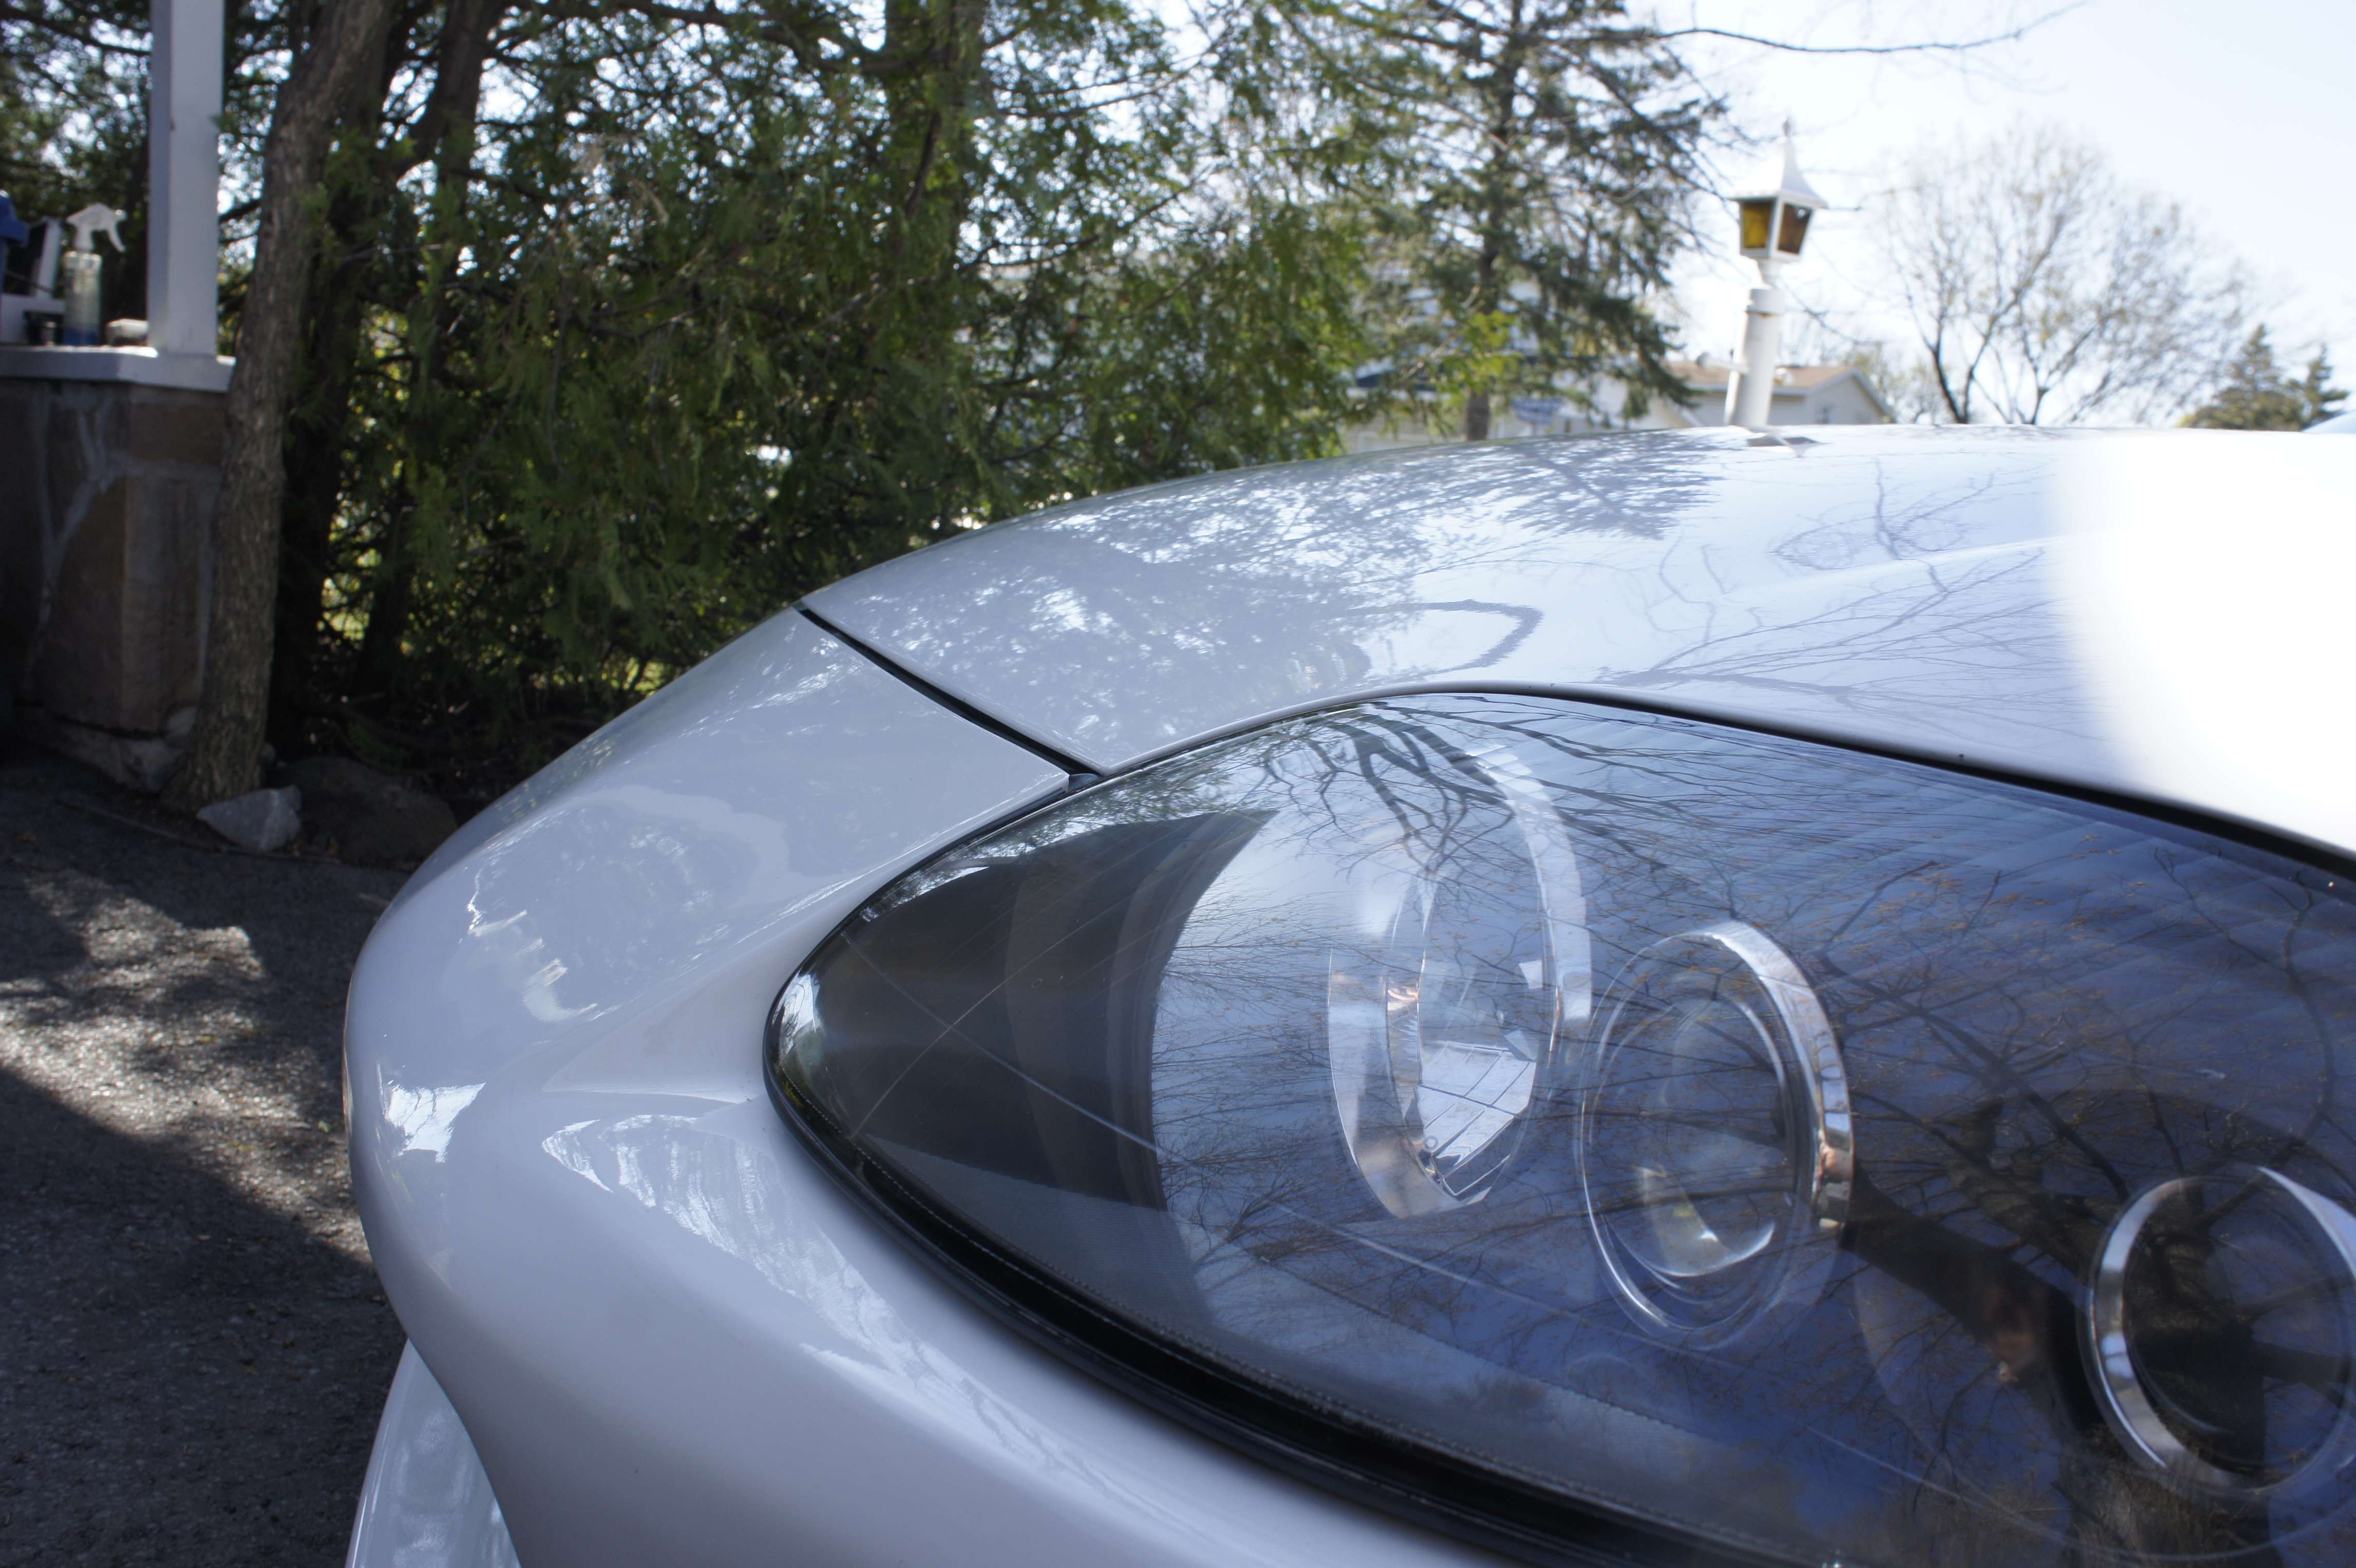
Minimal contamination on this car:


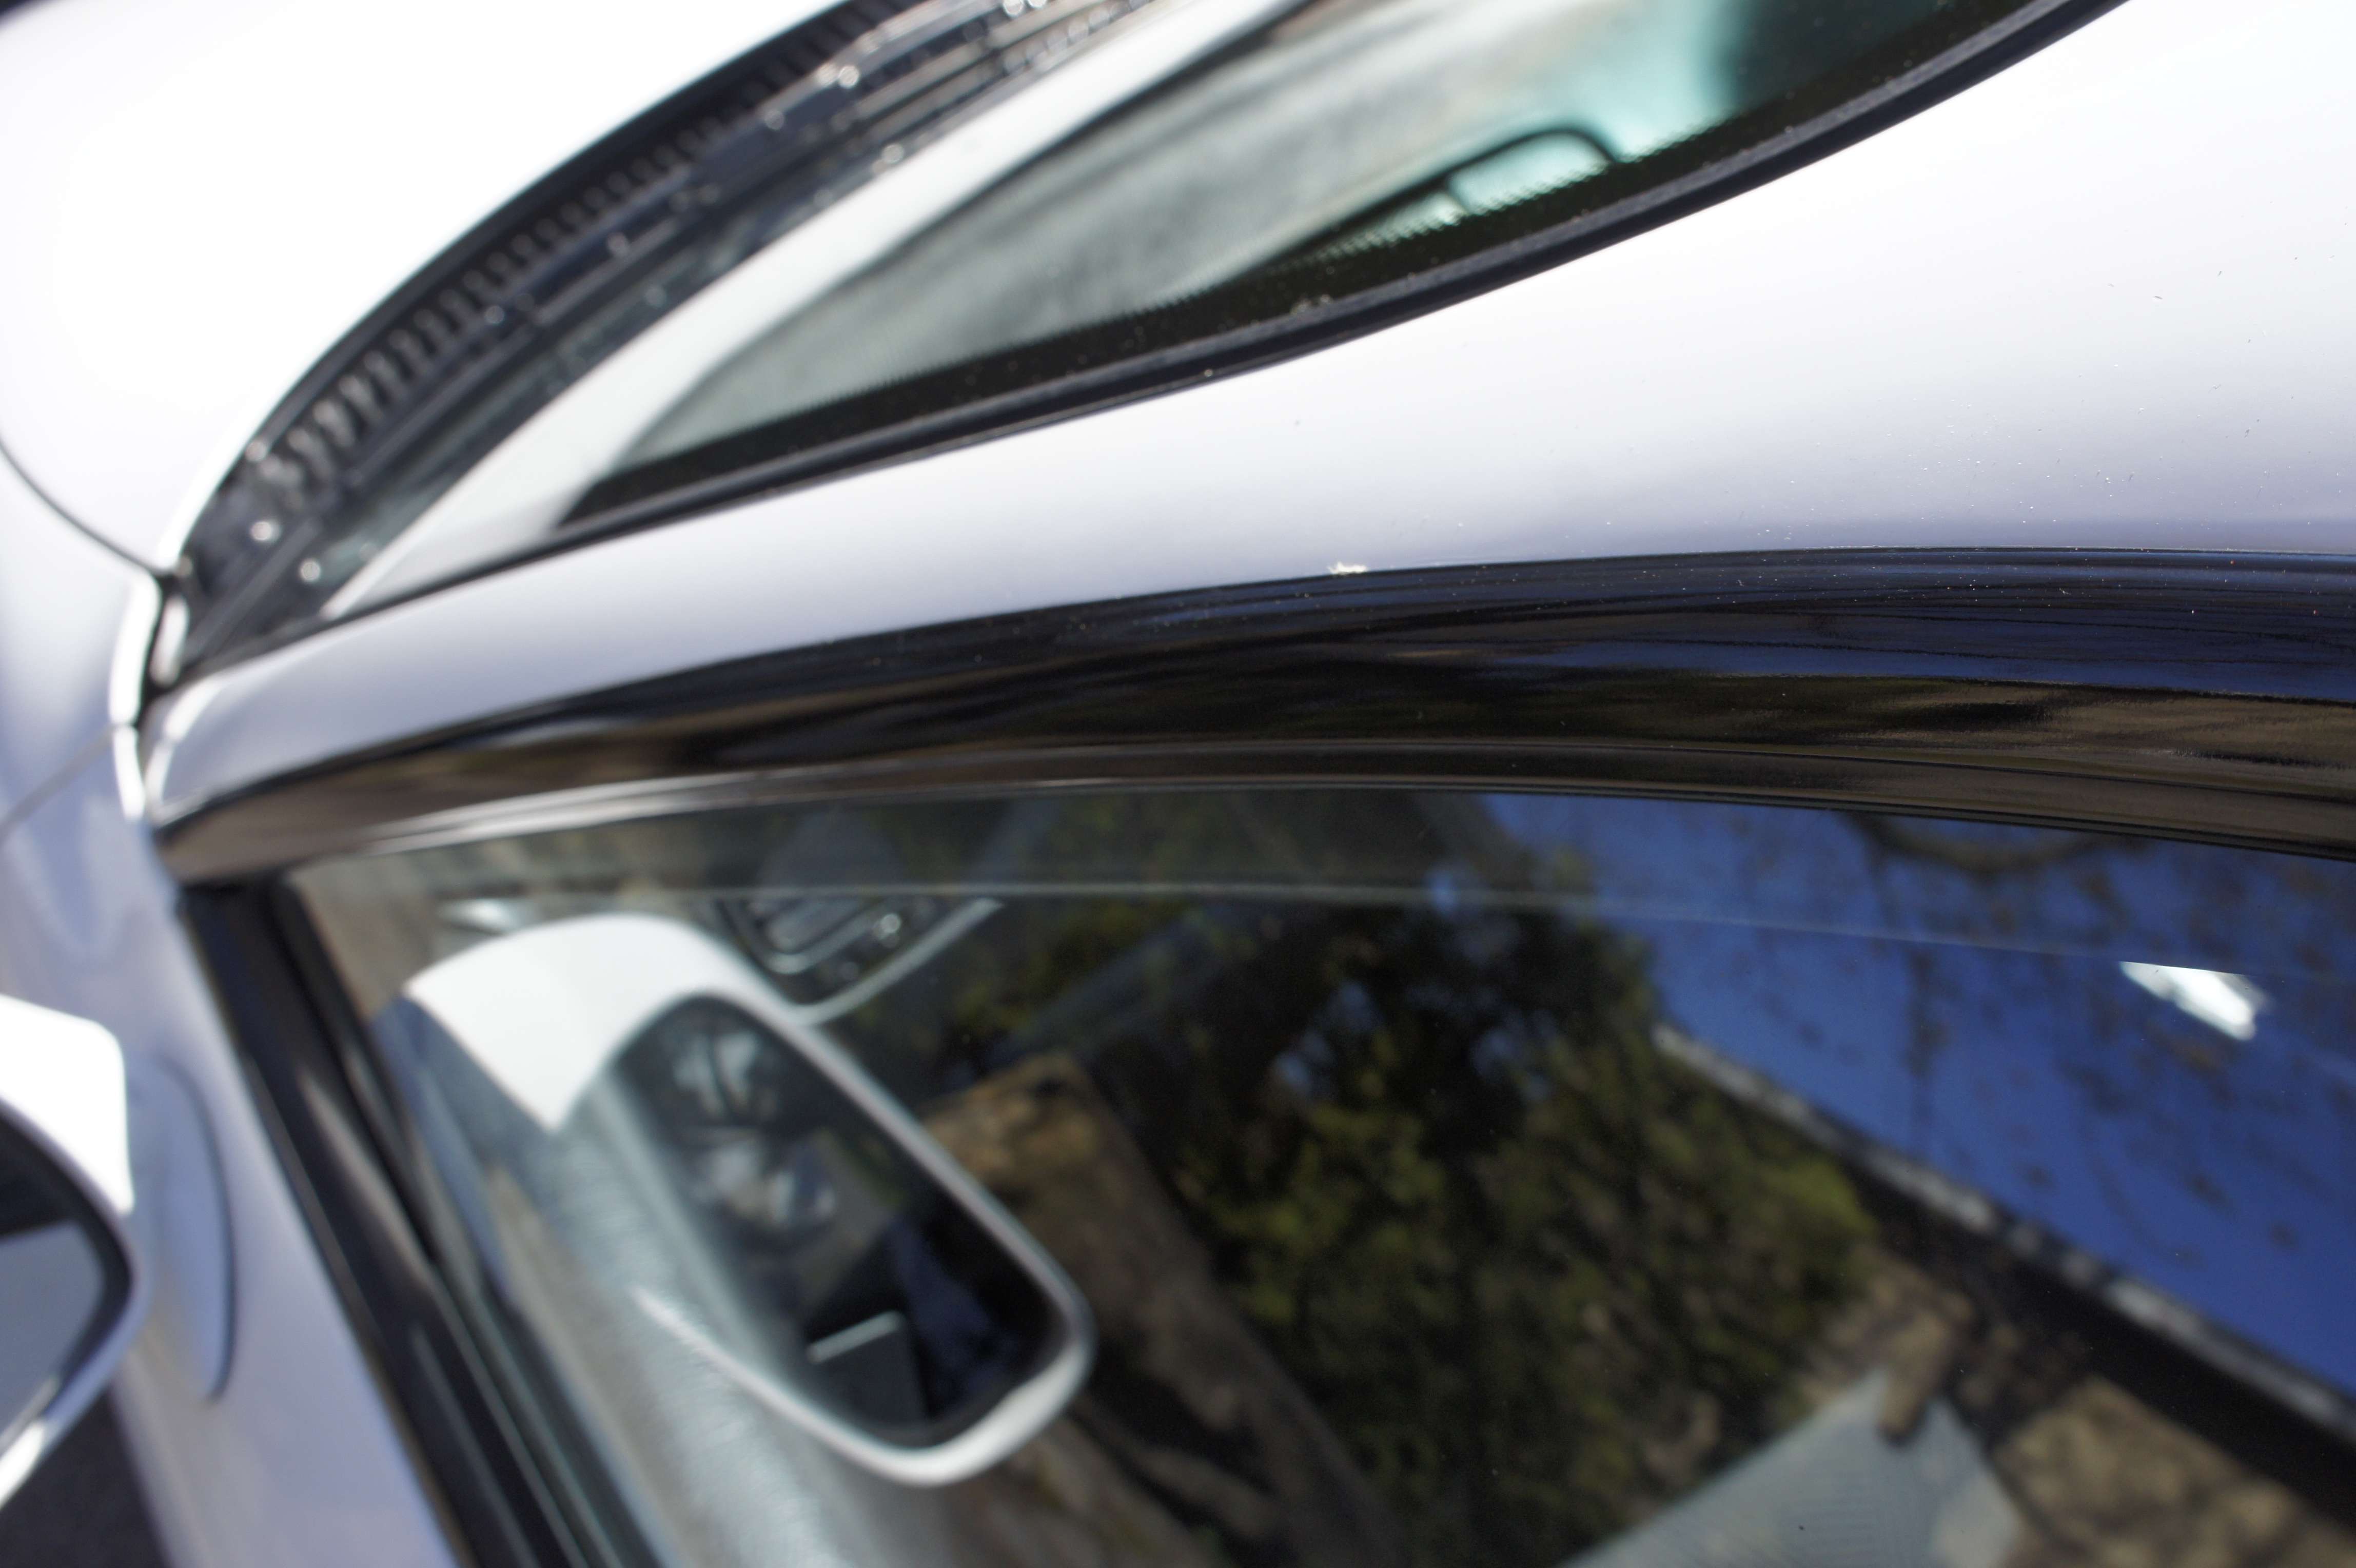
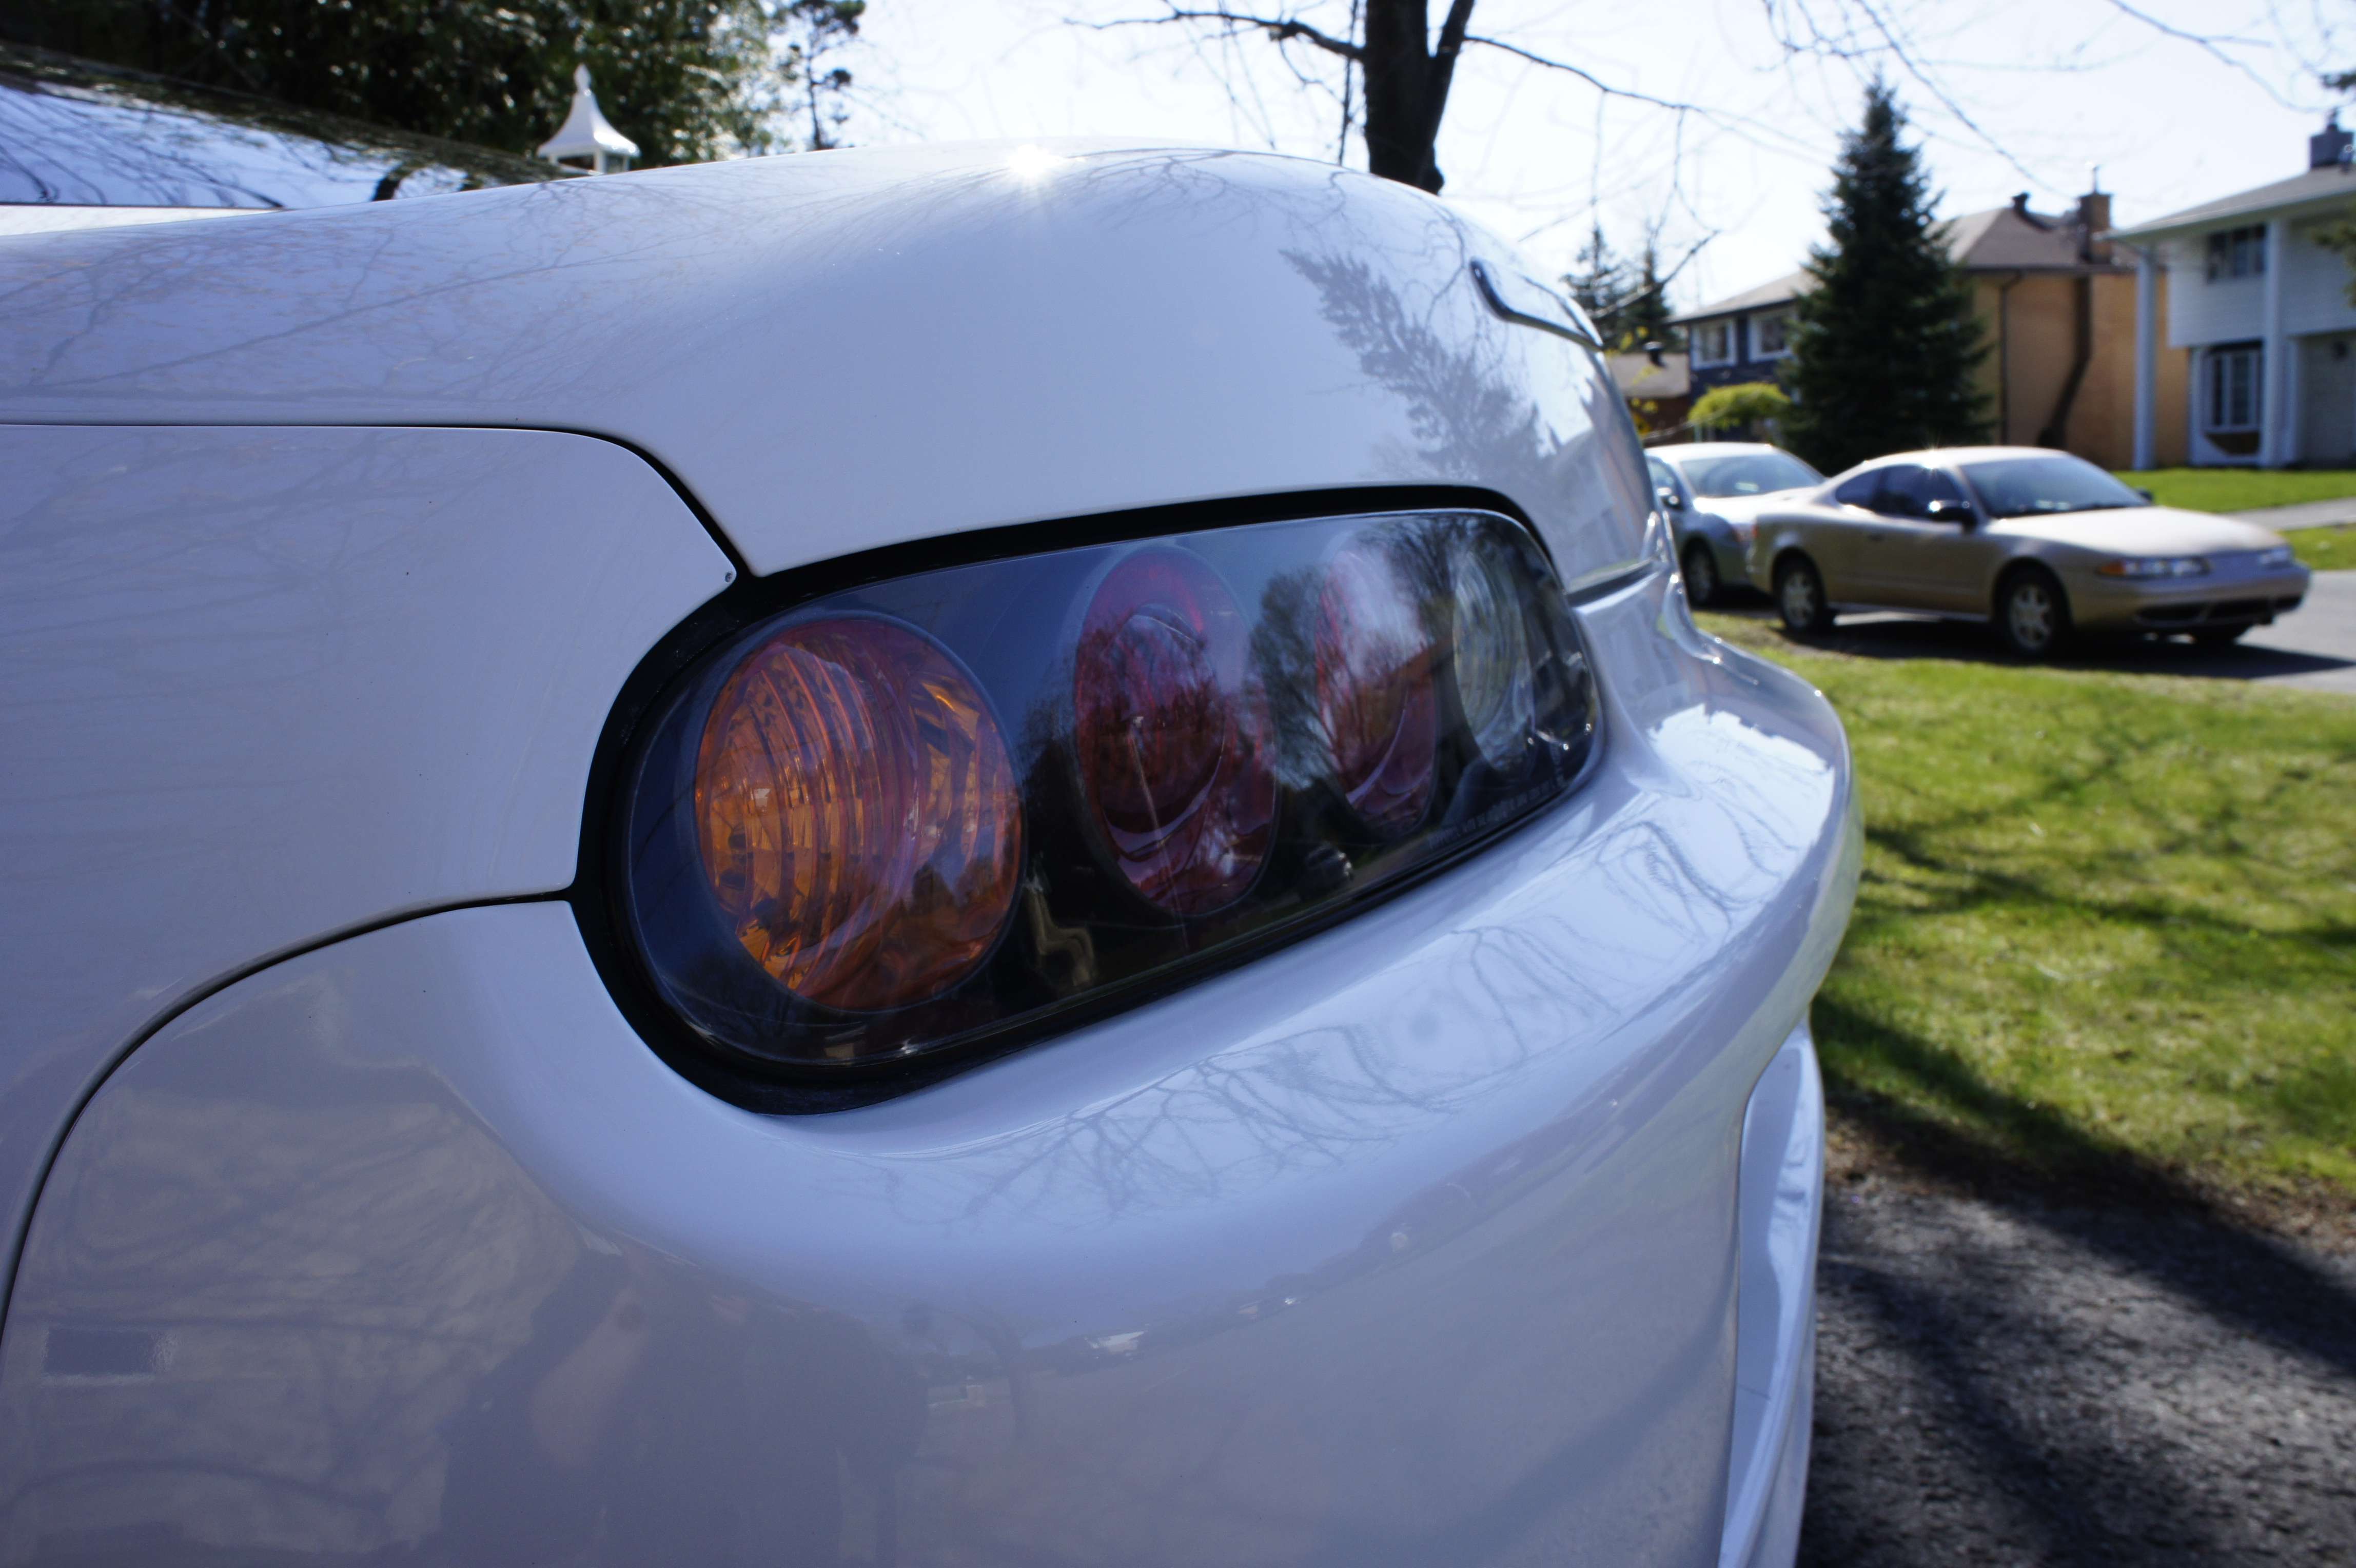
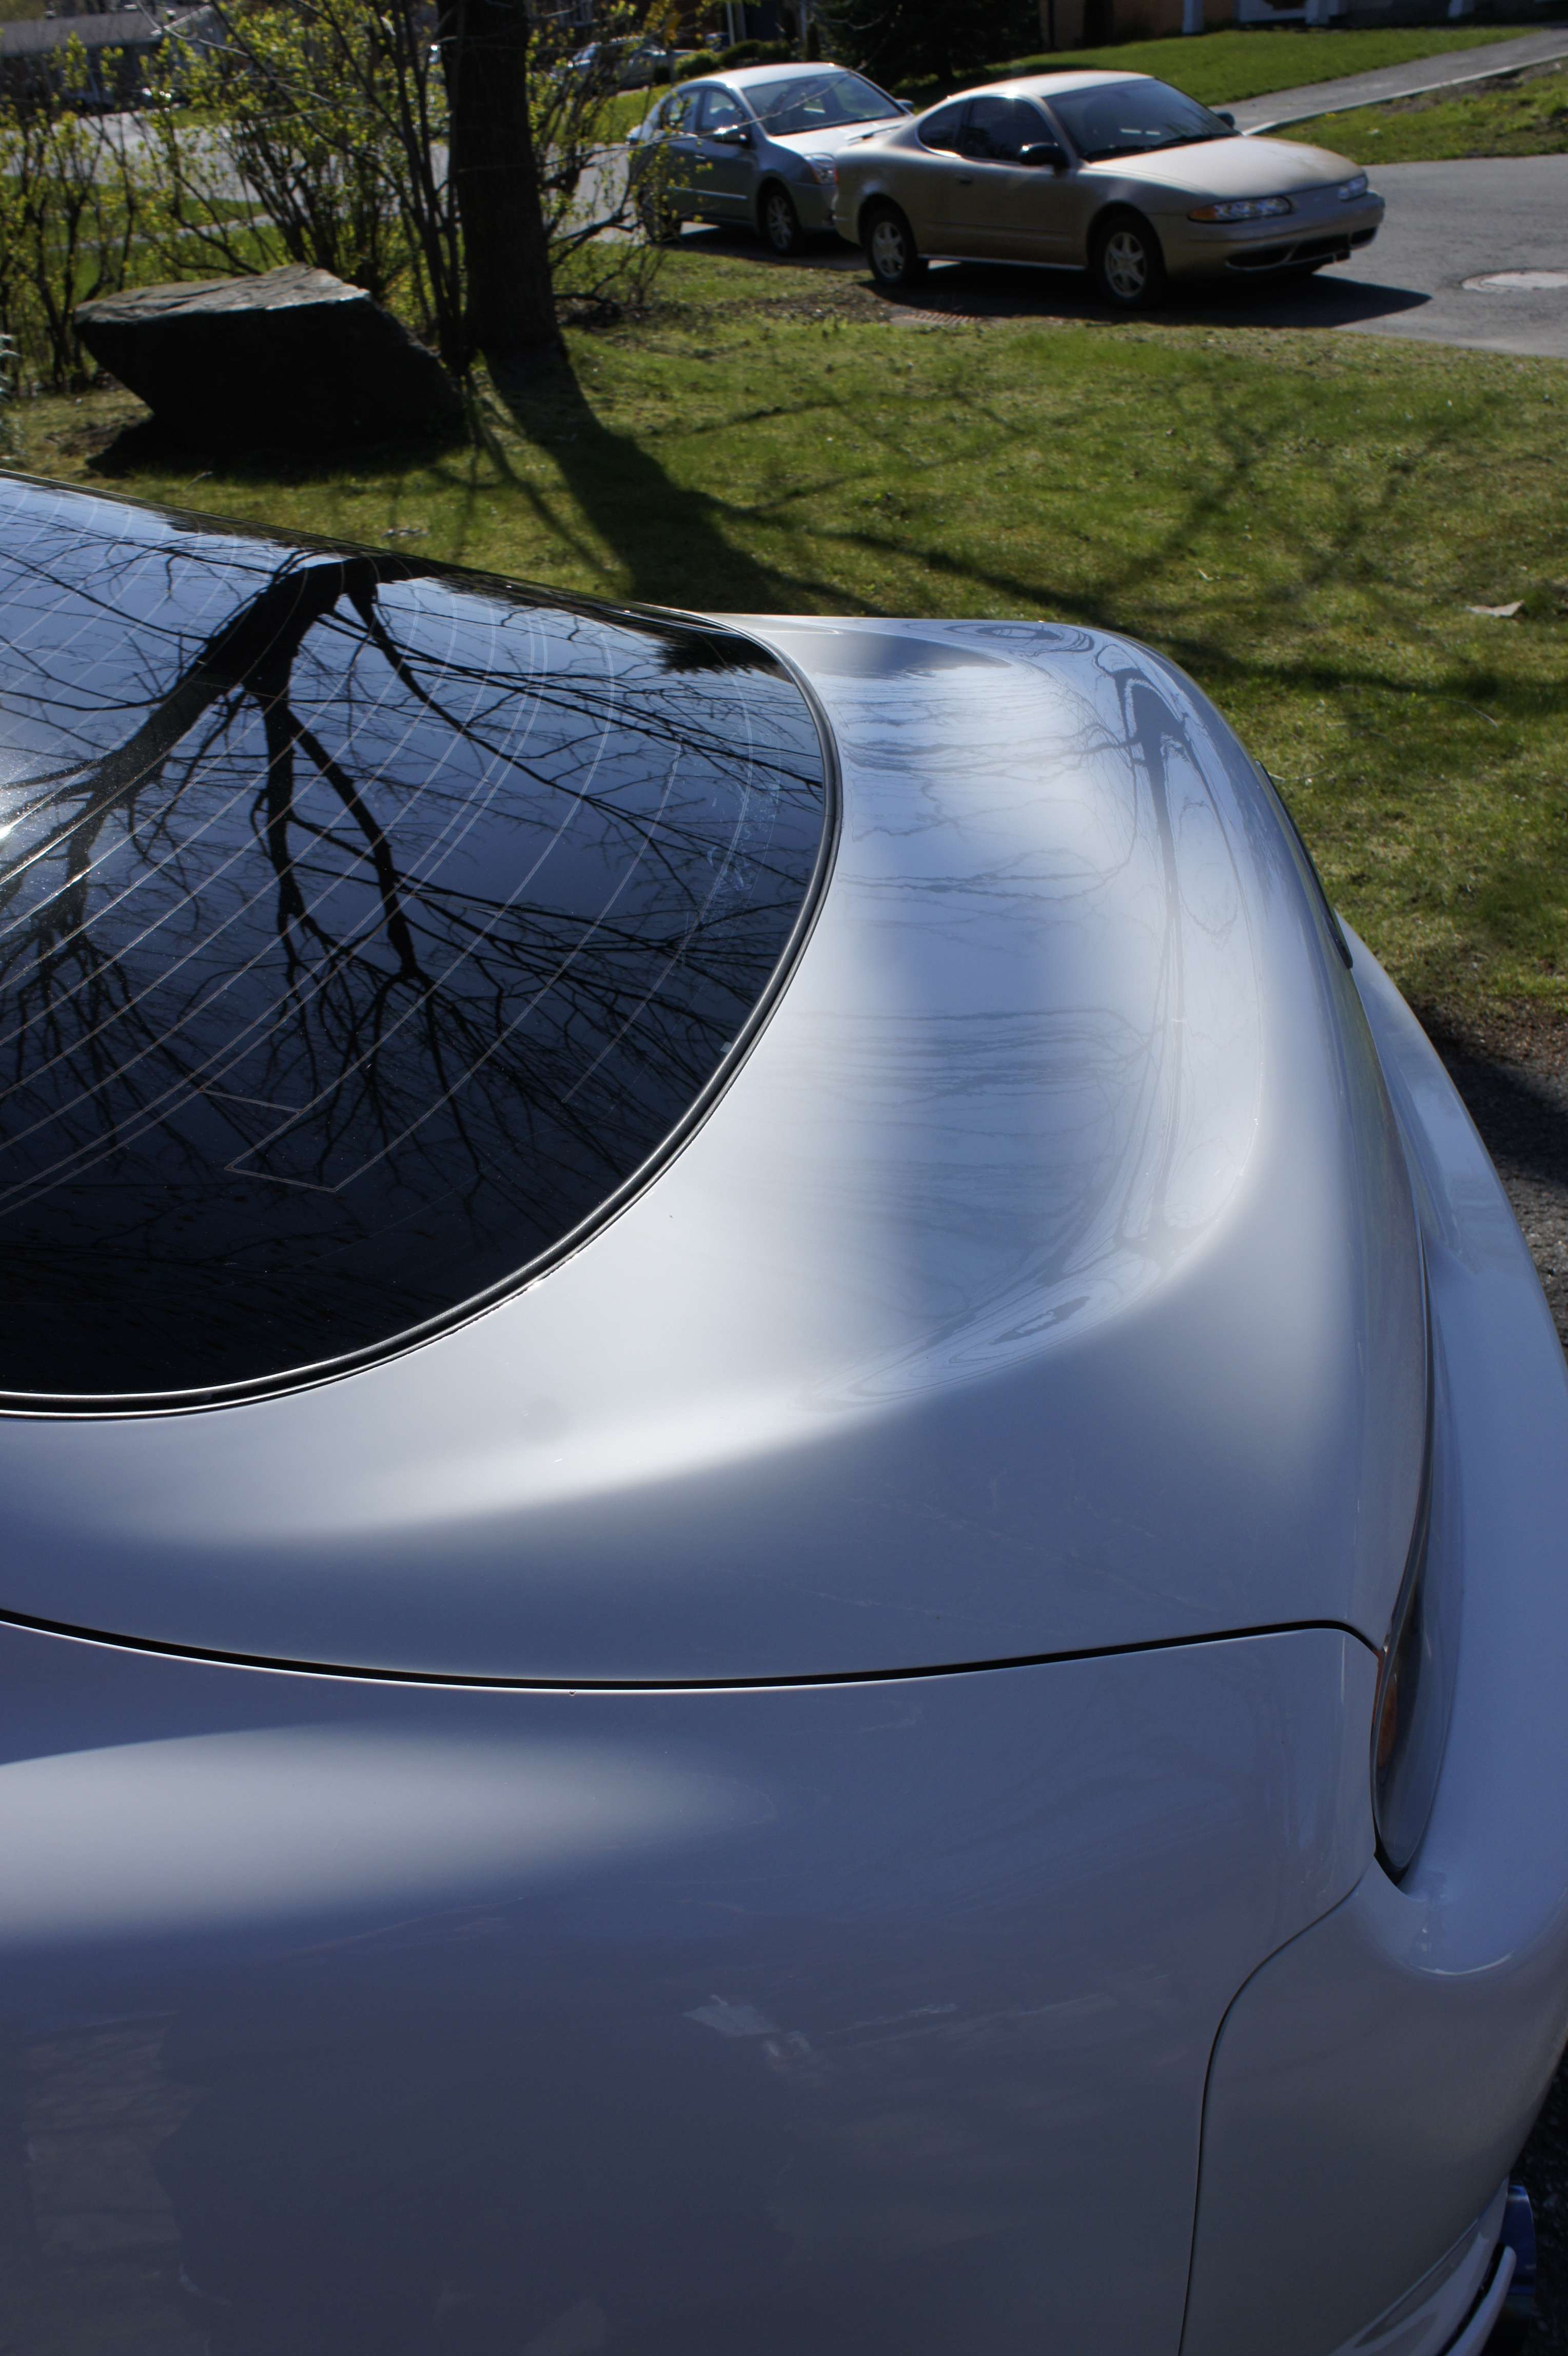
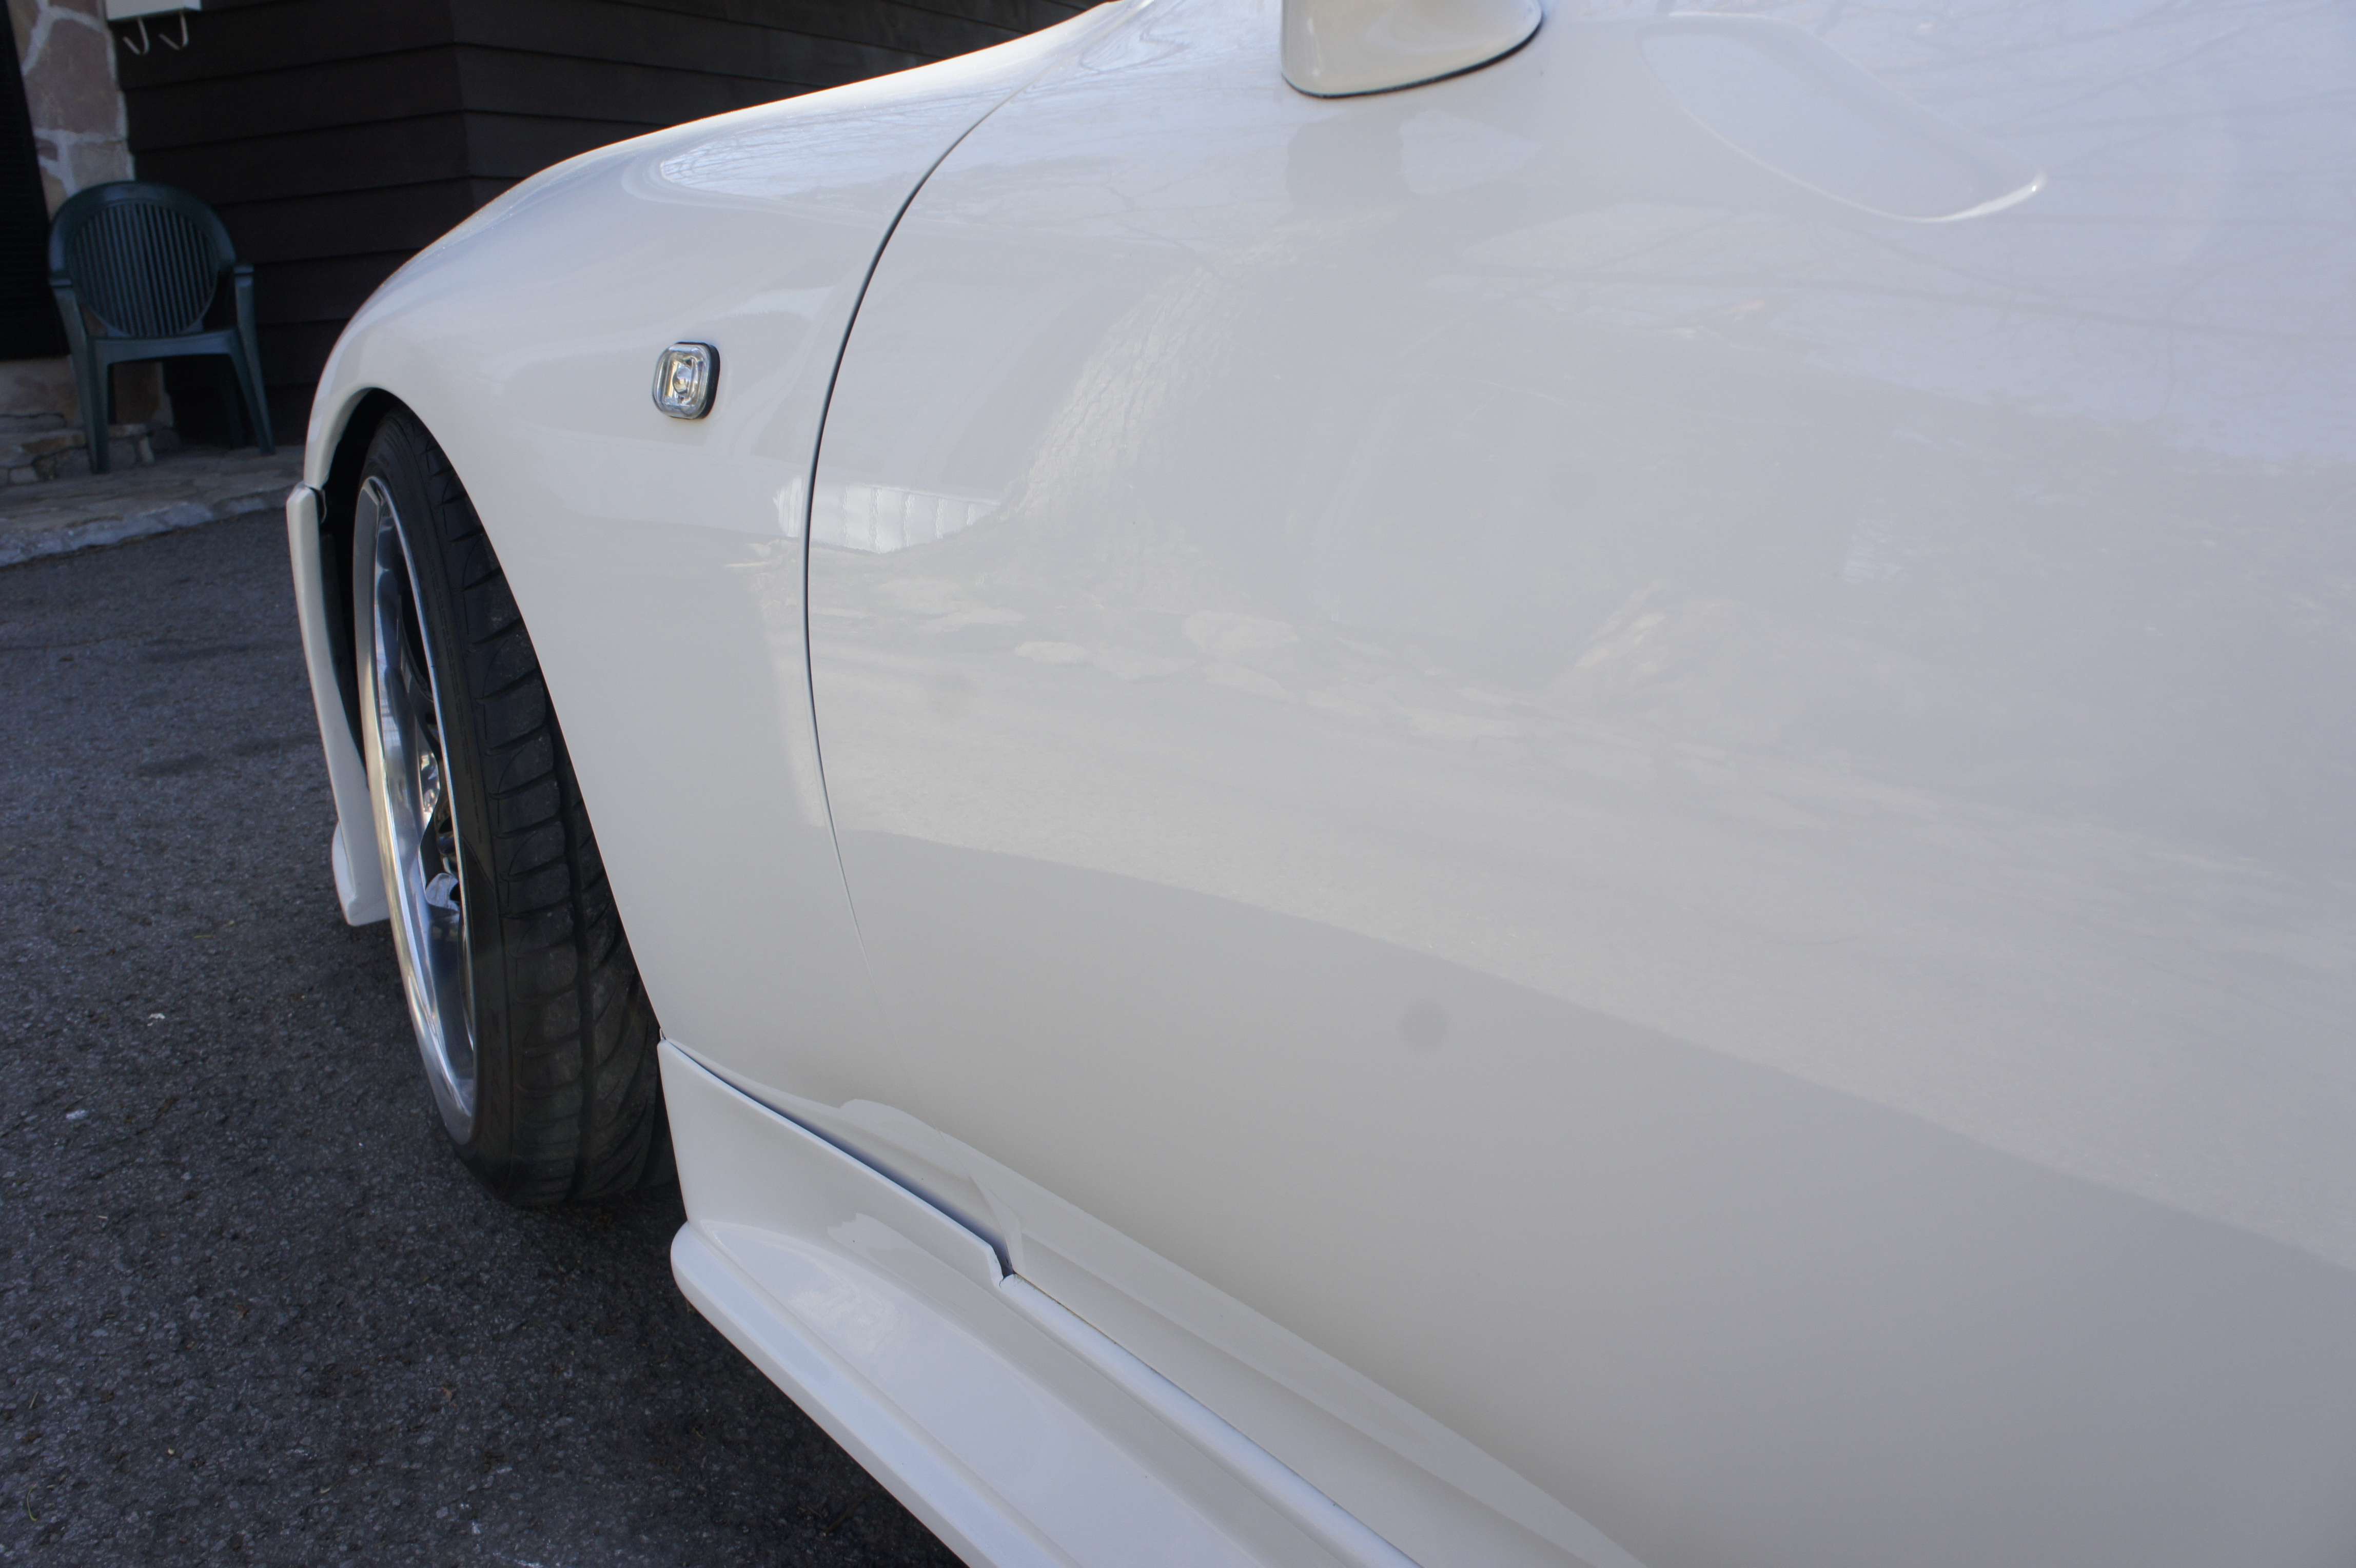
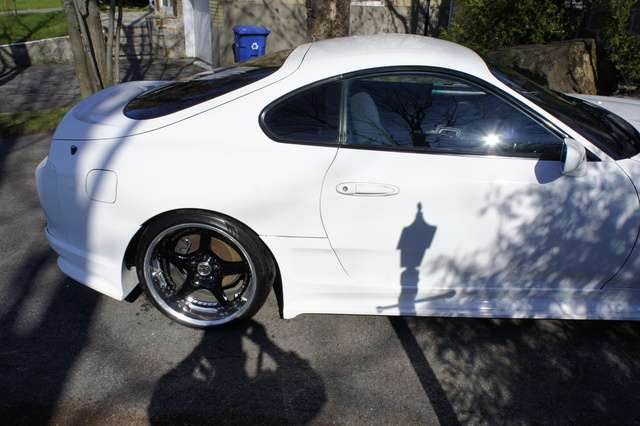
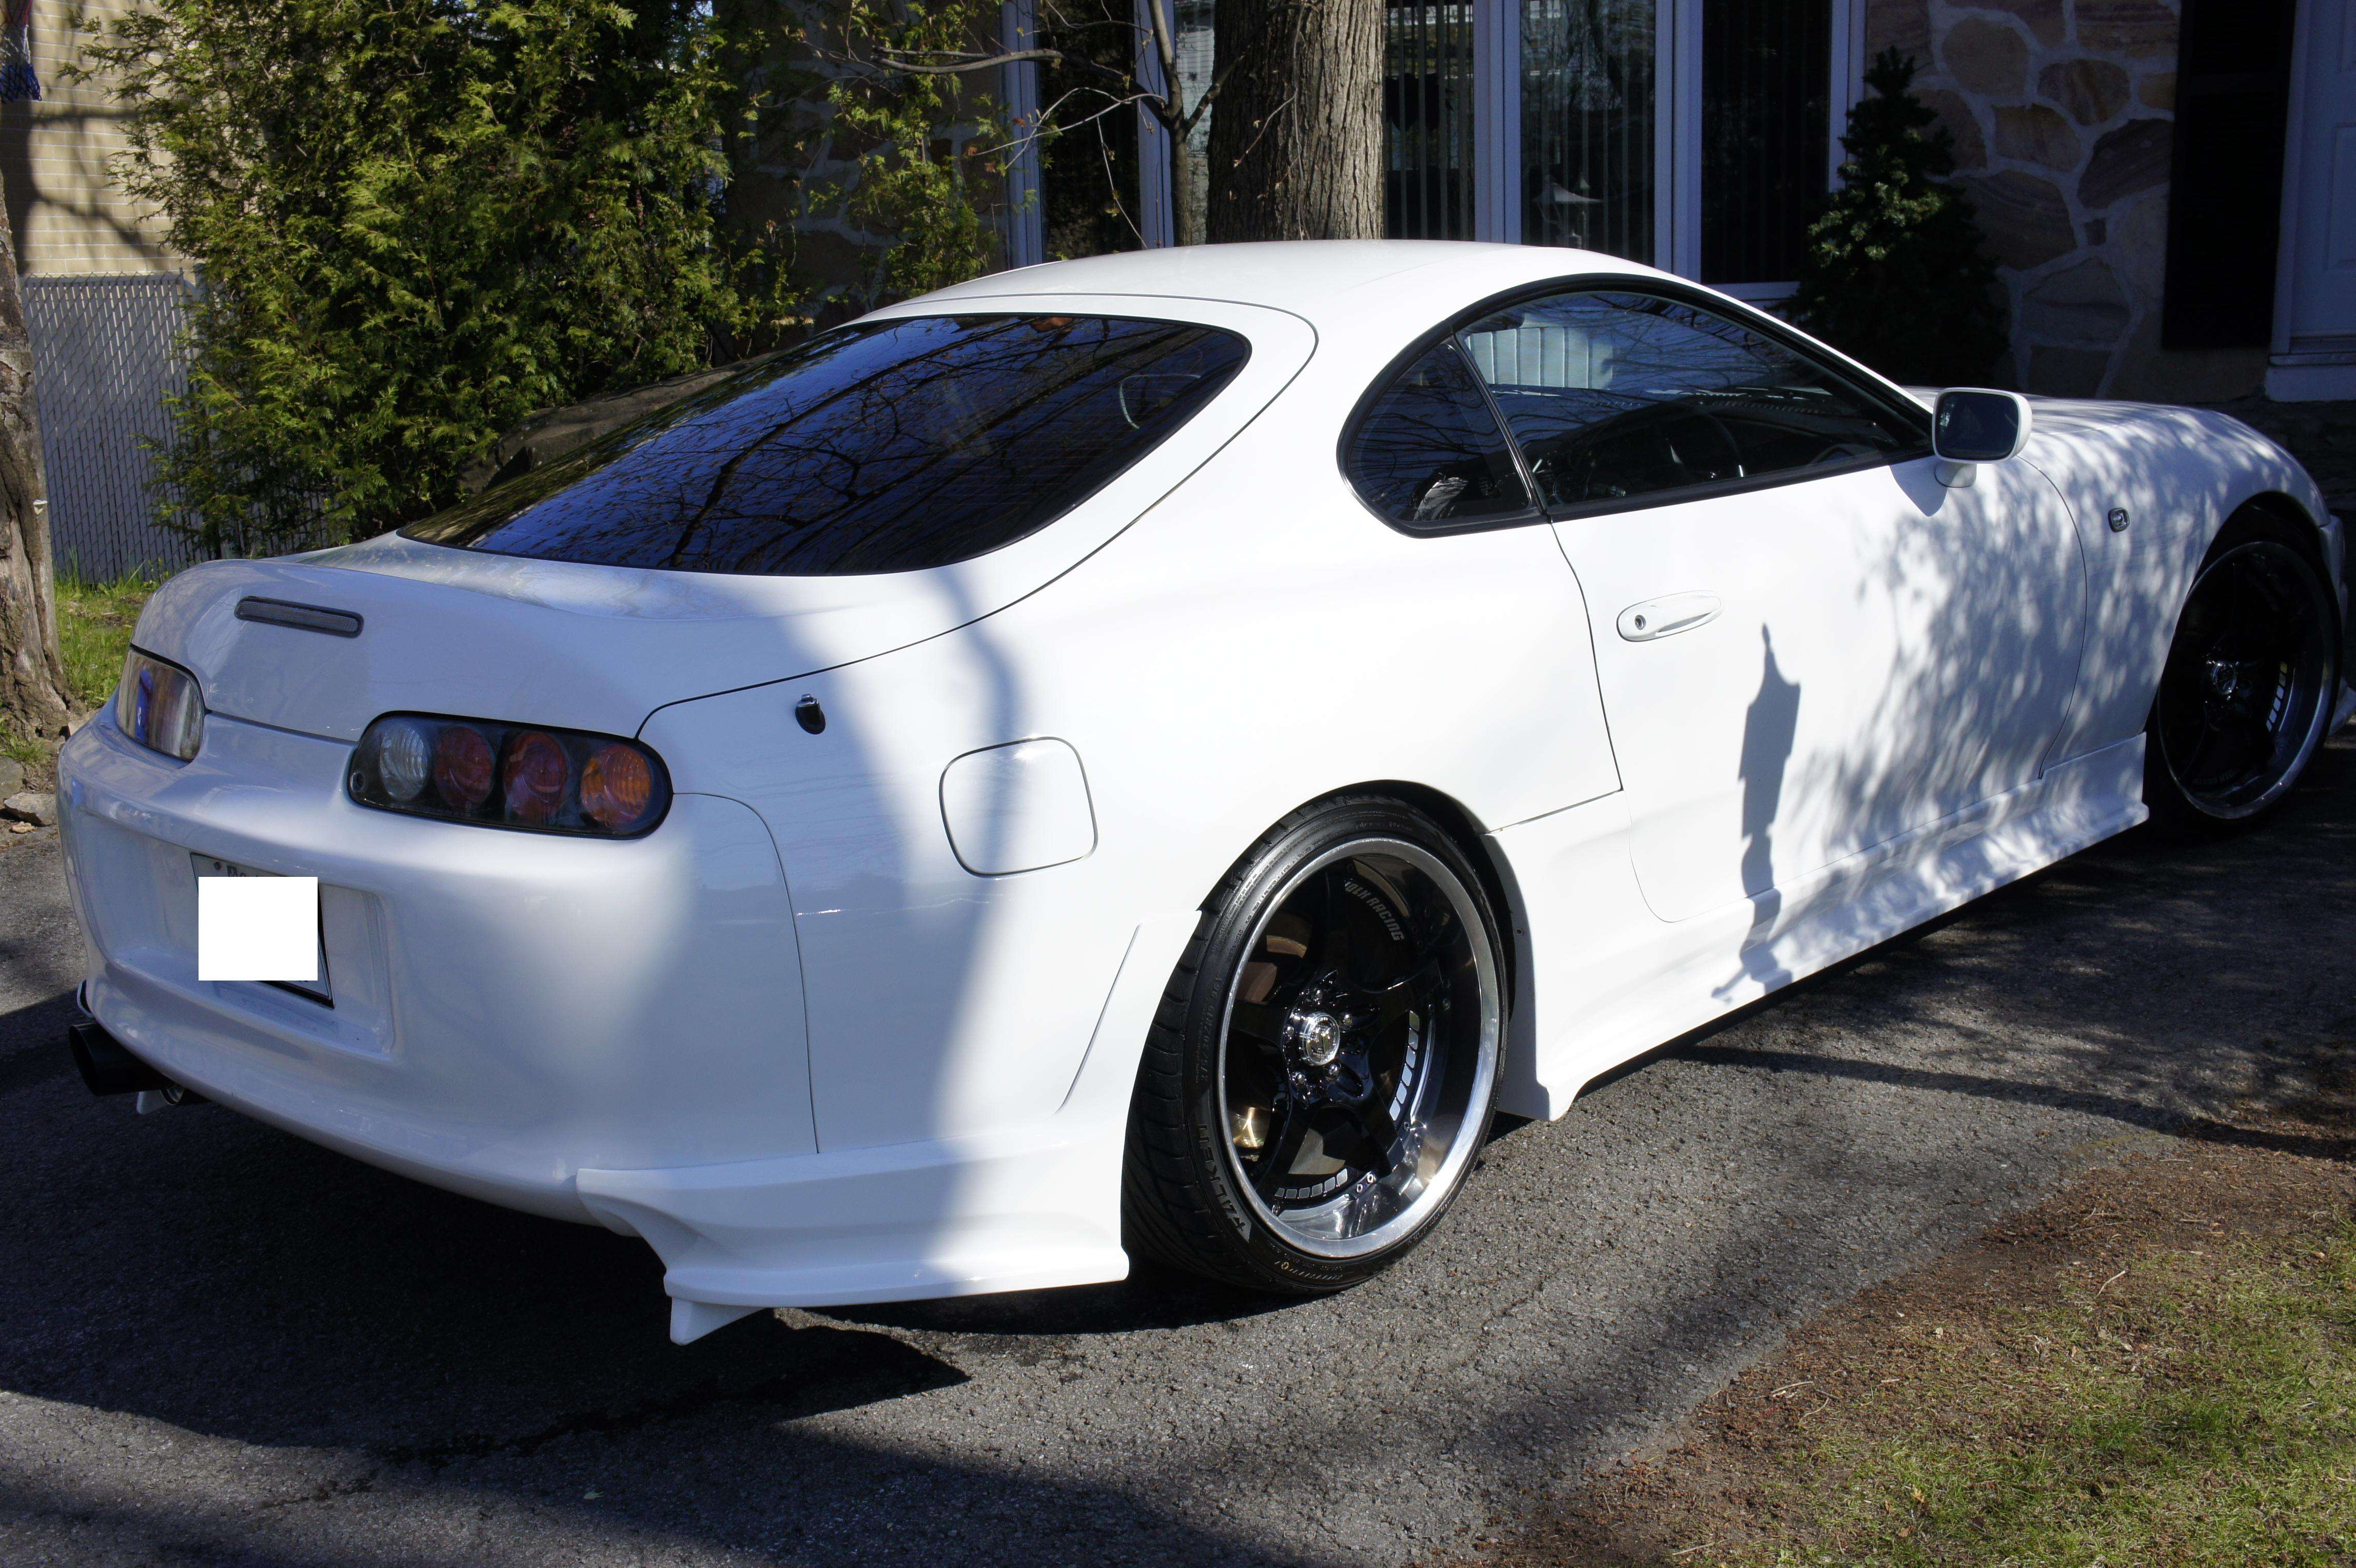
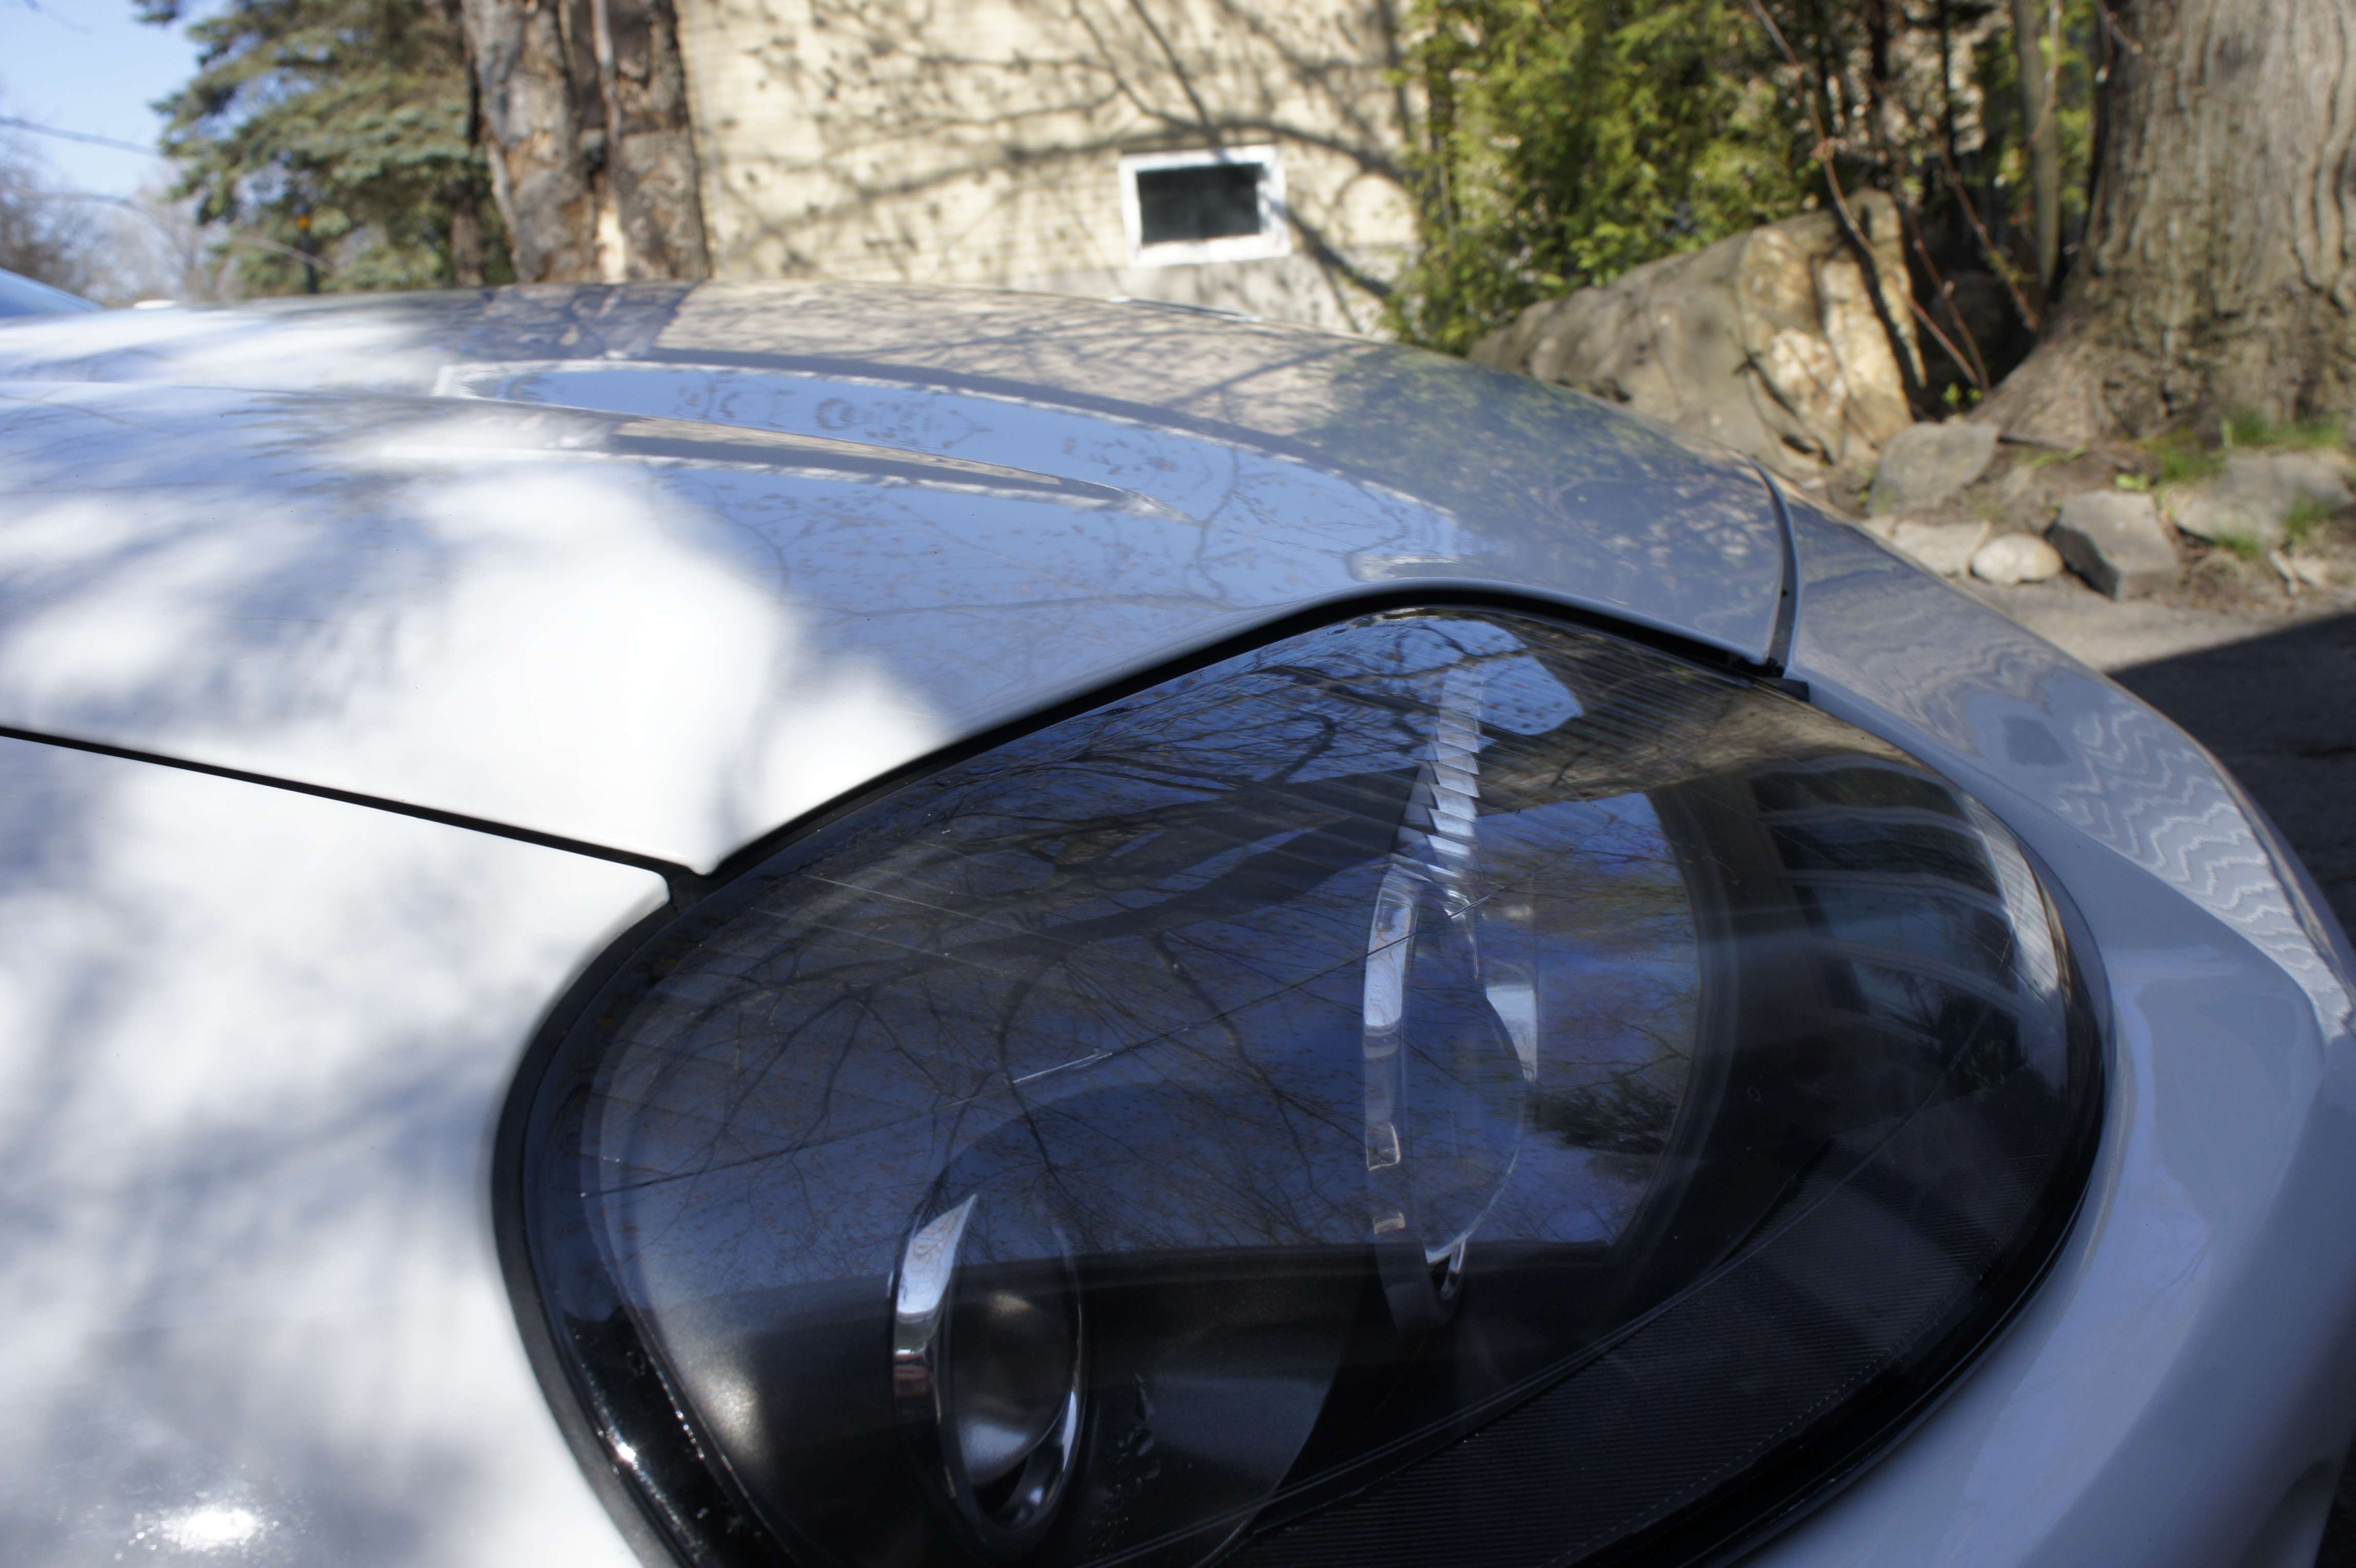
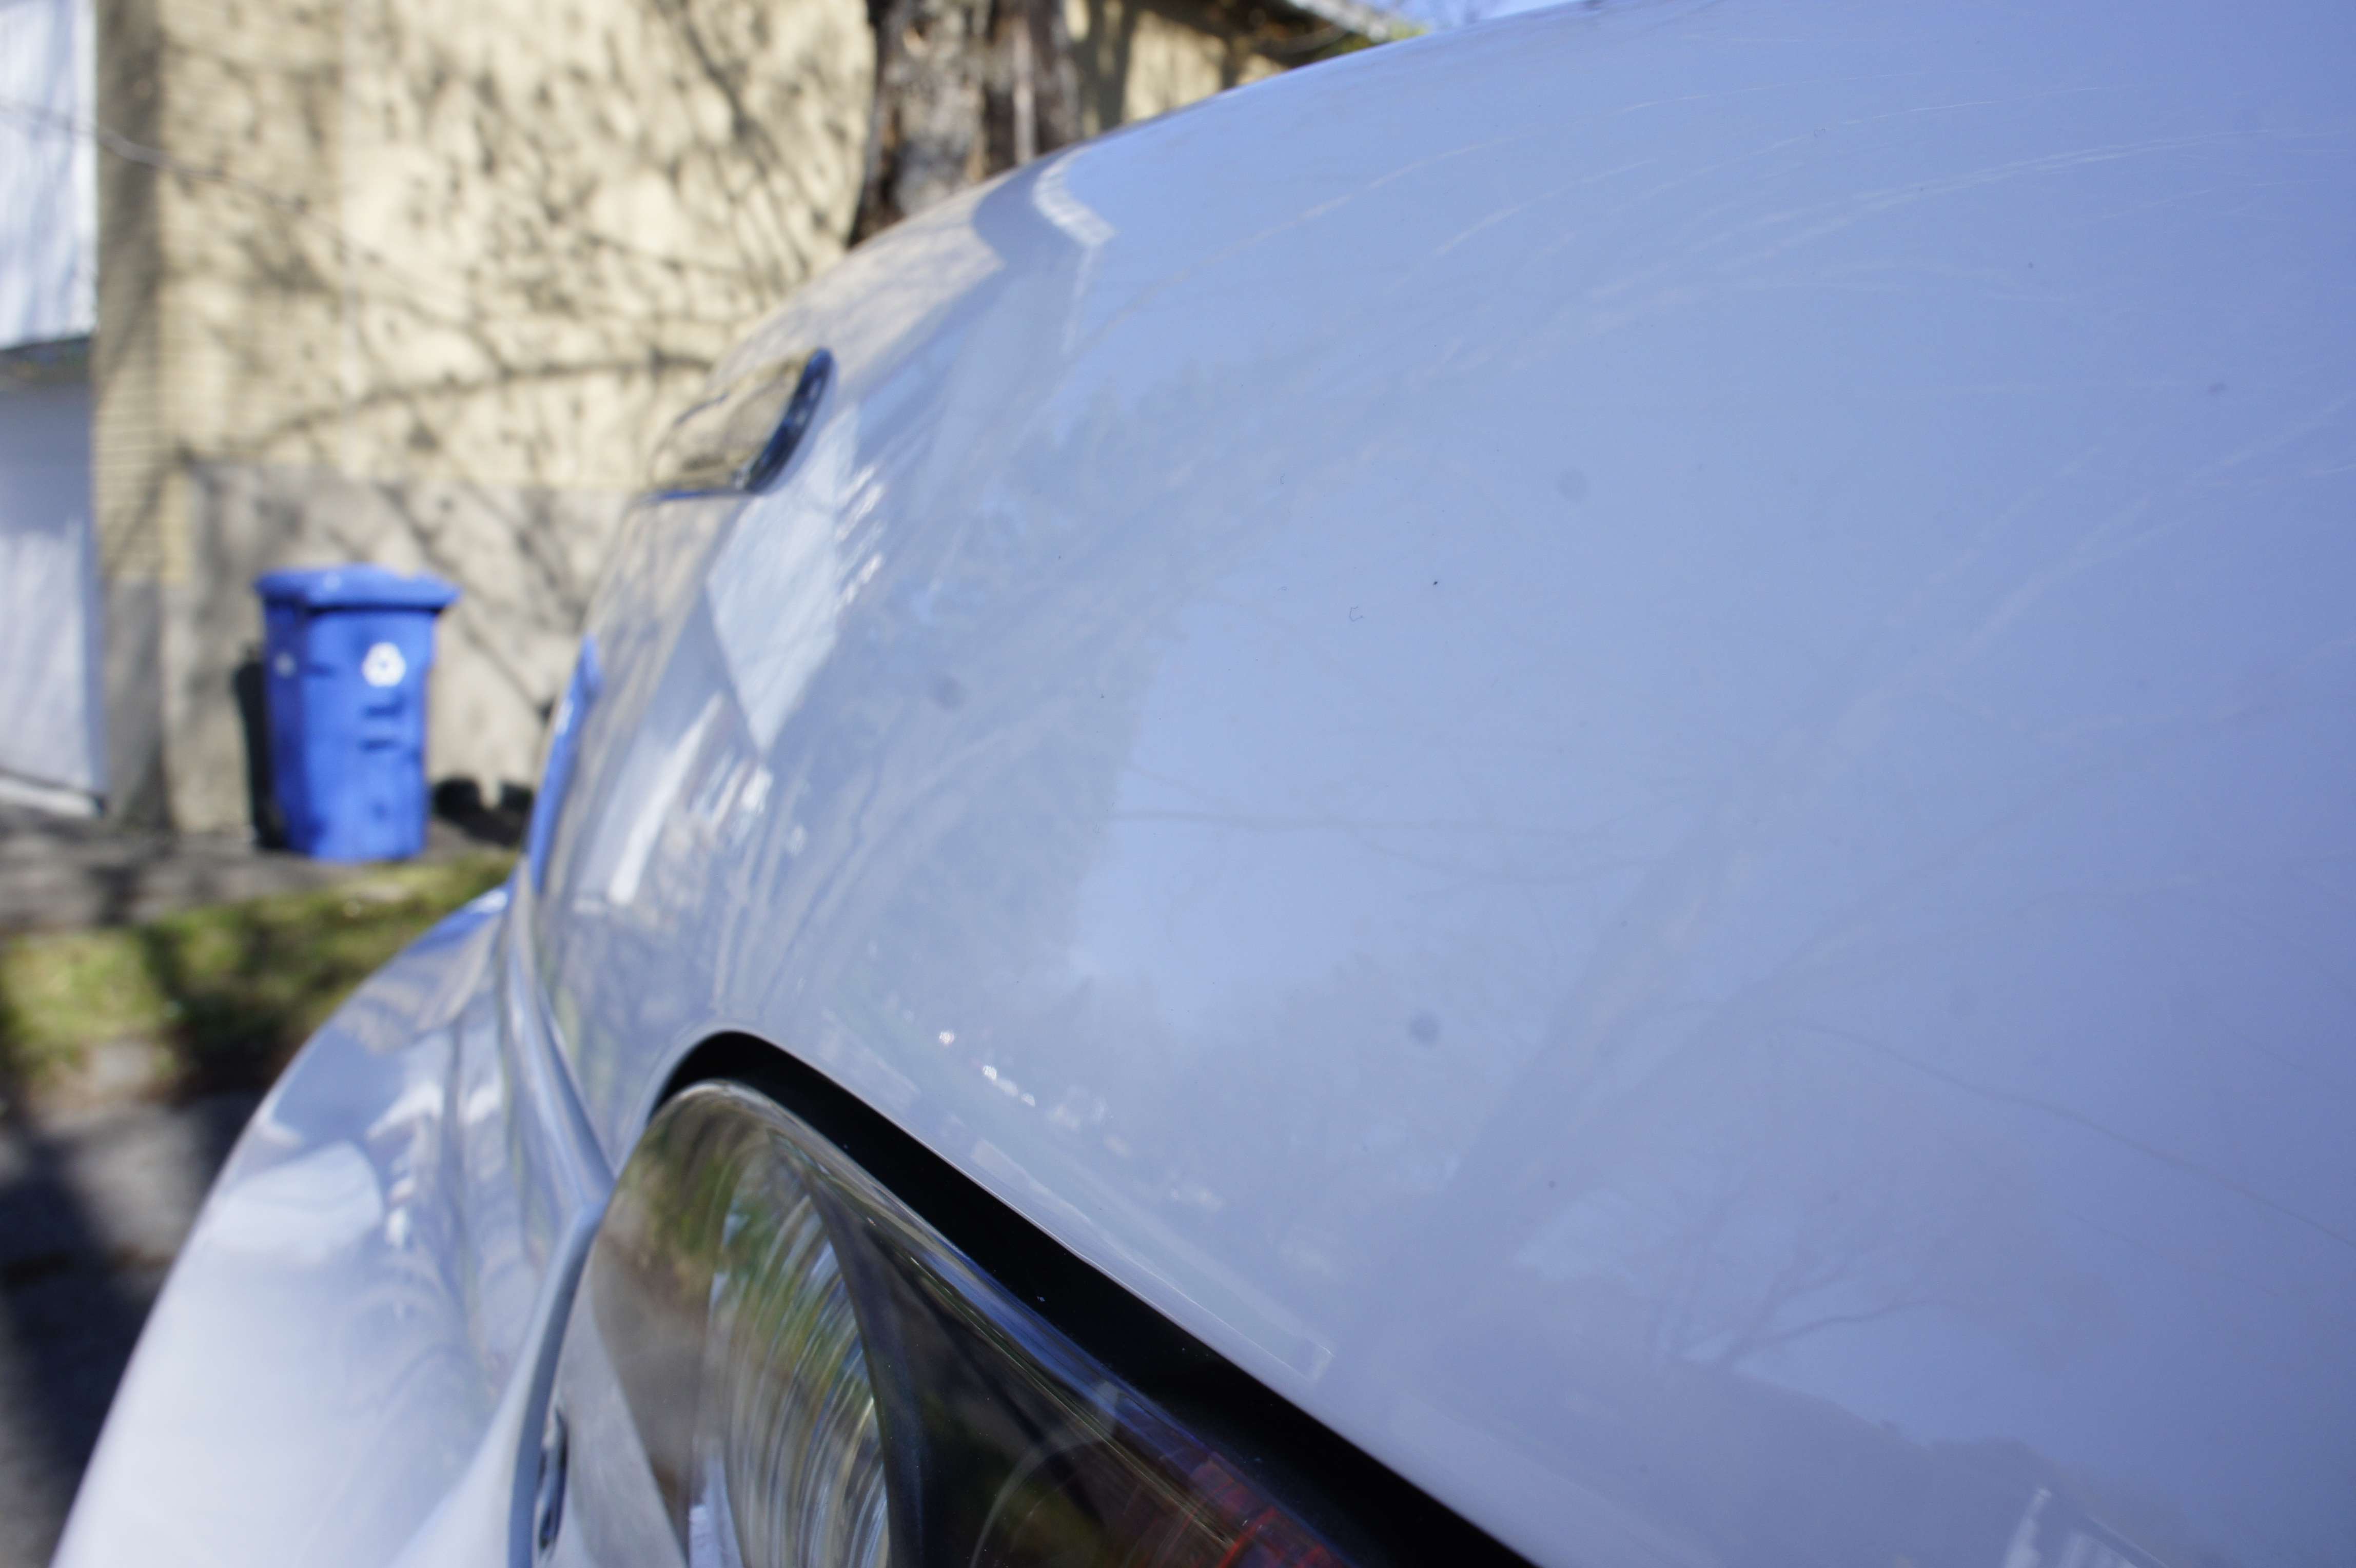
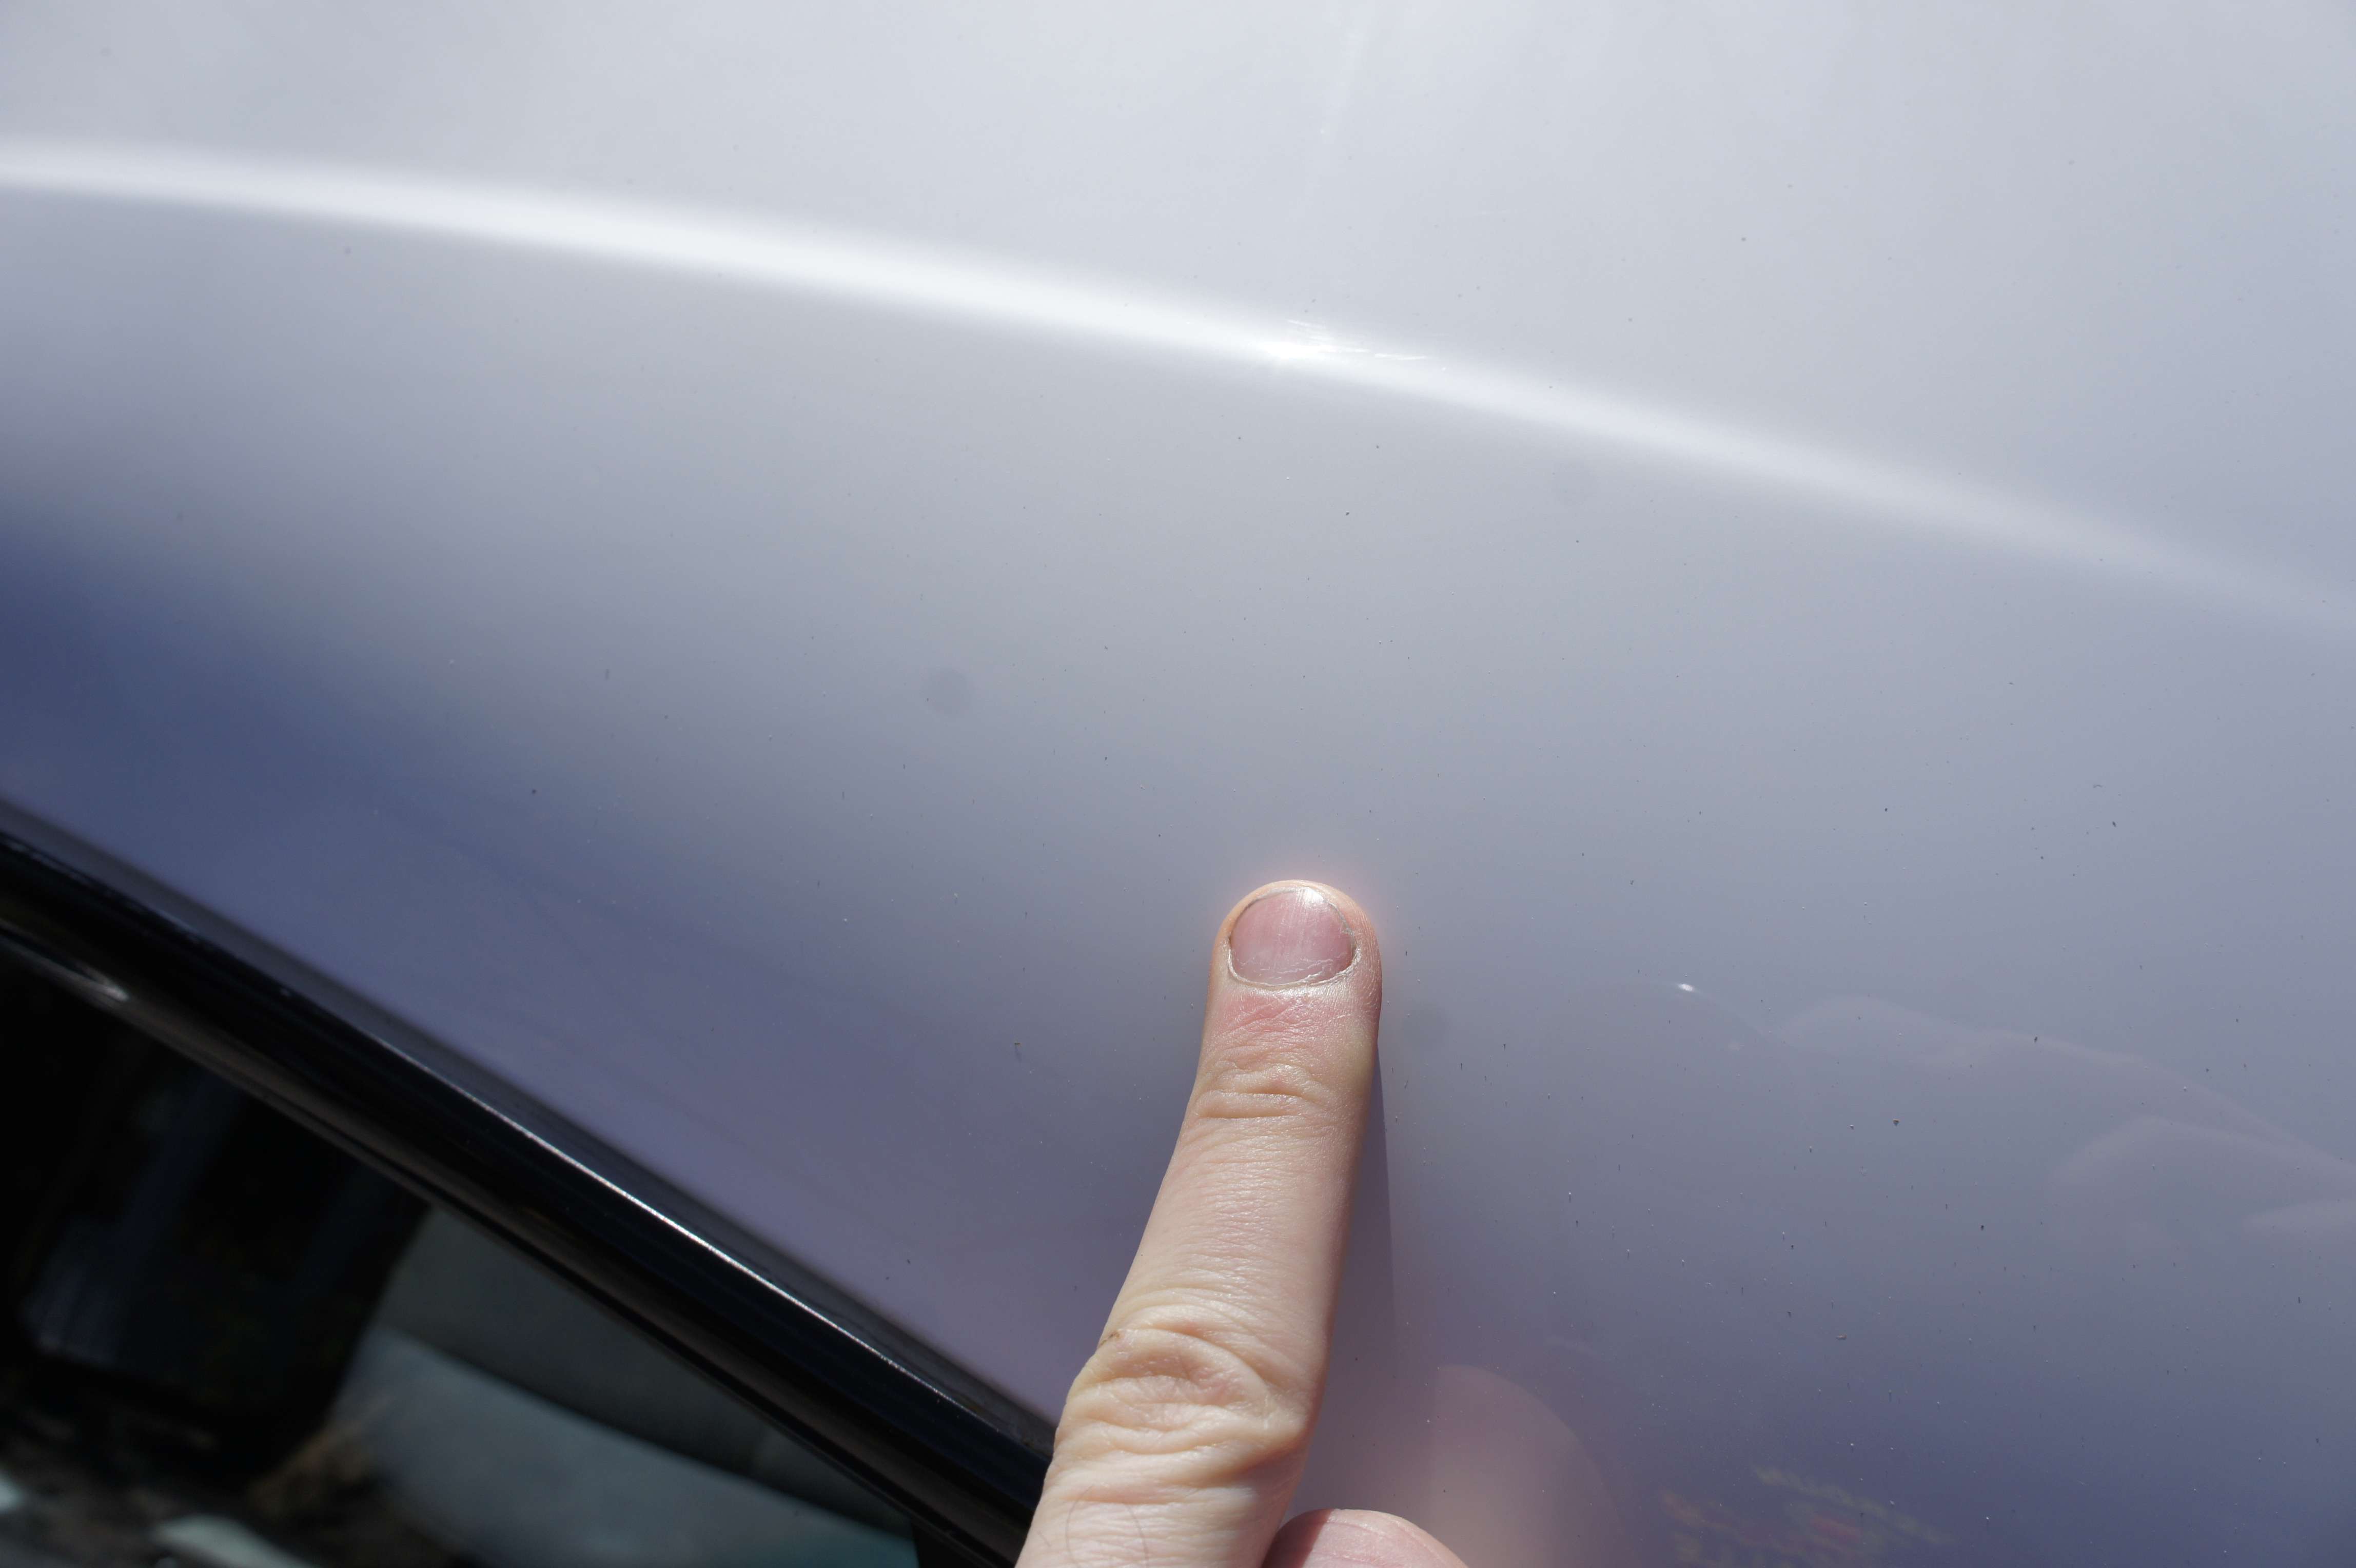
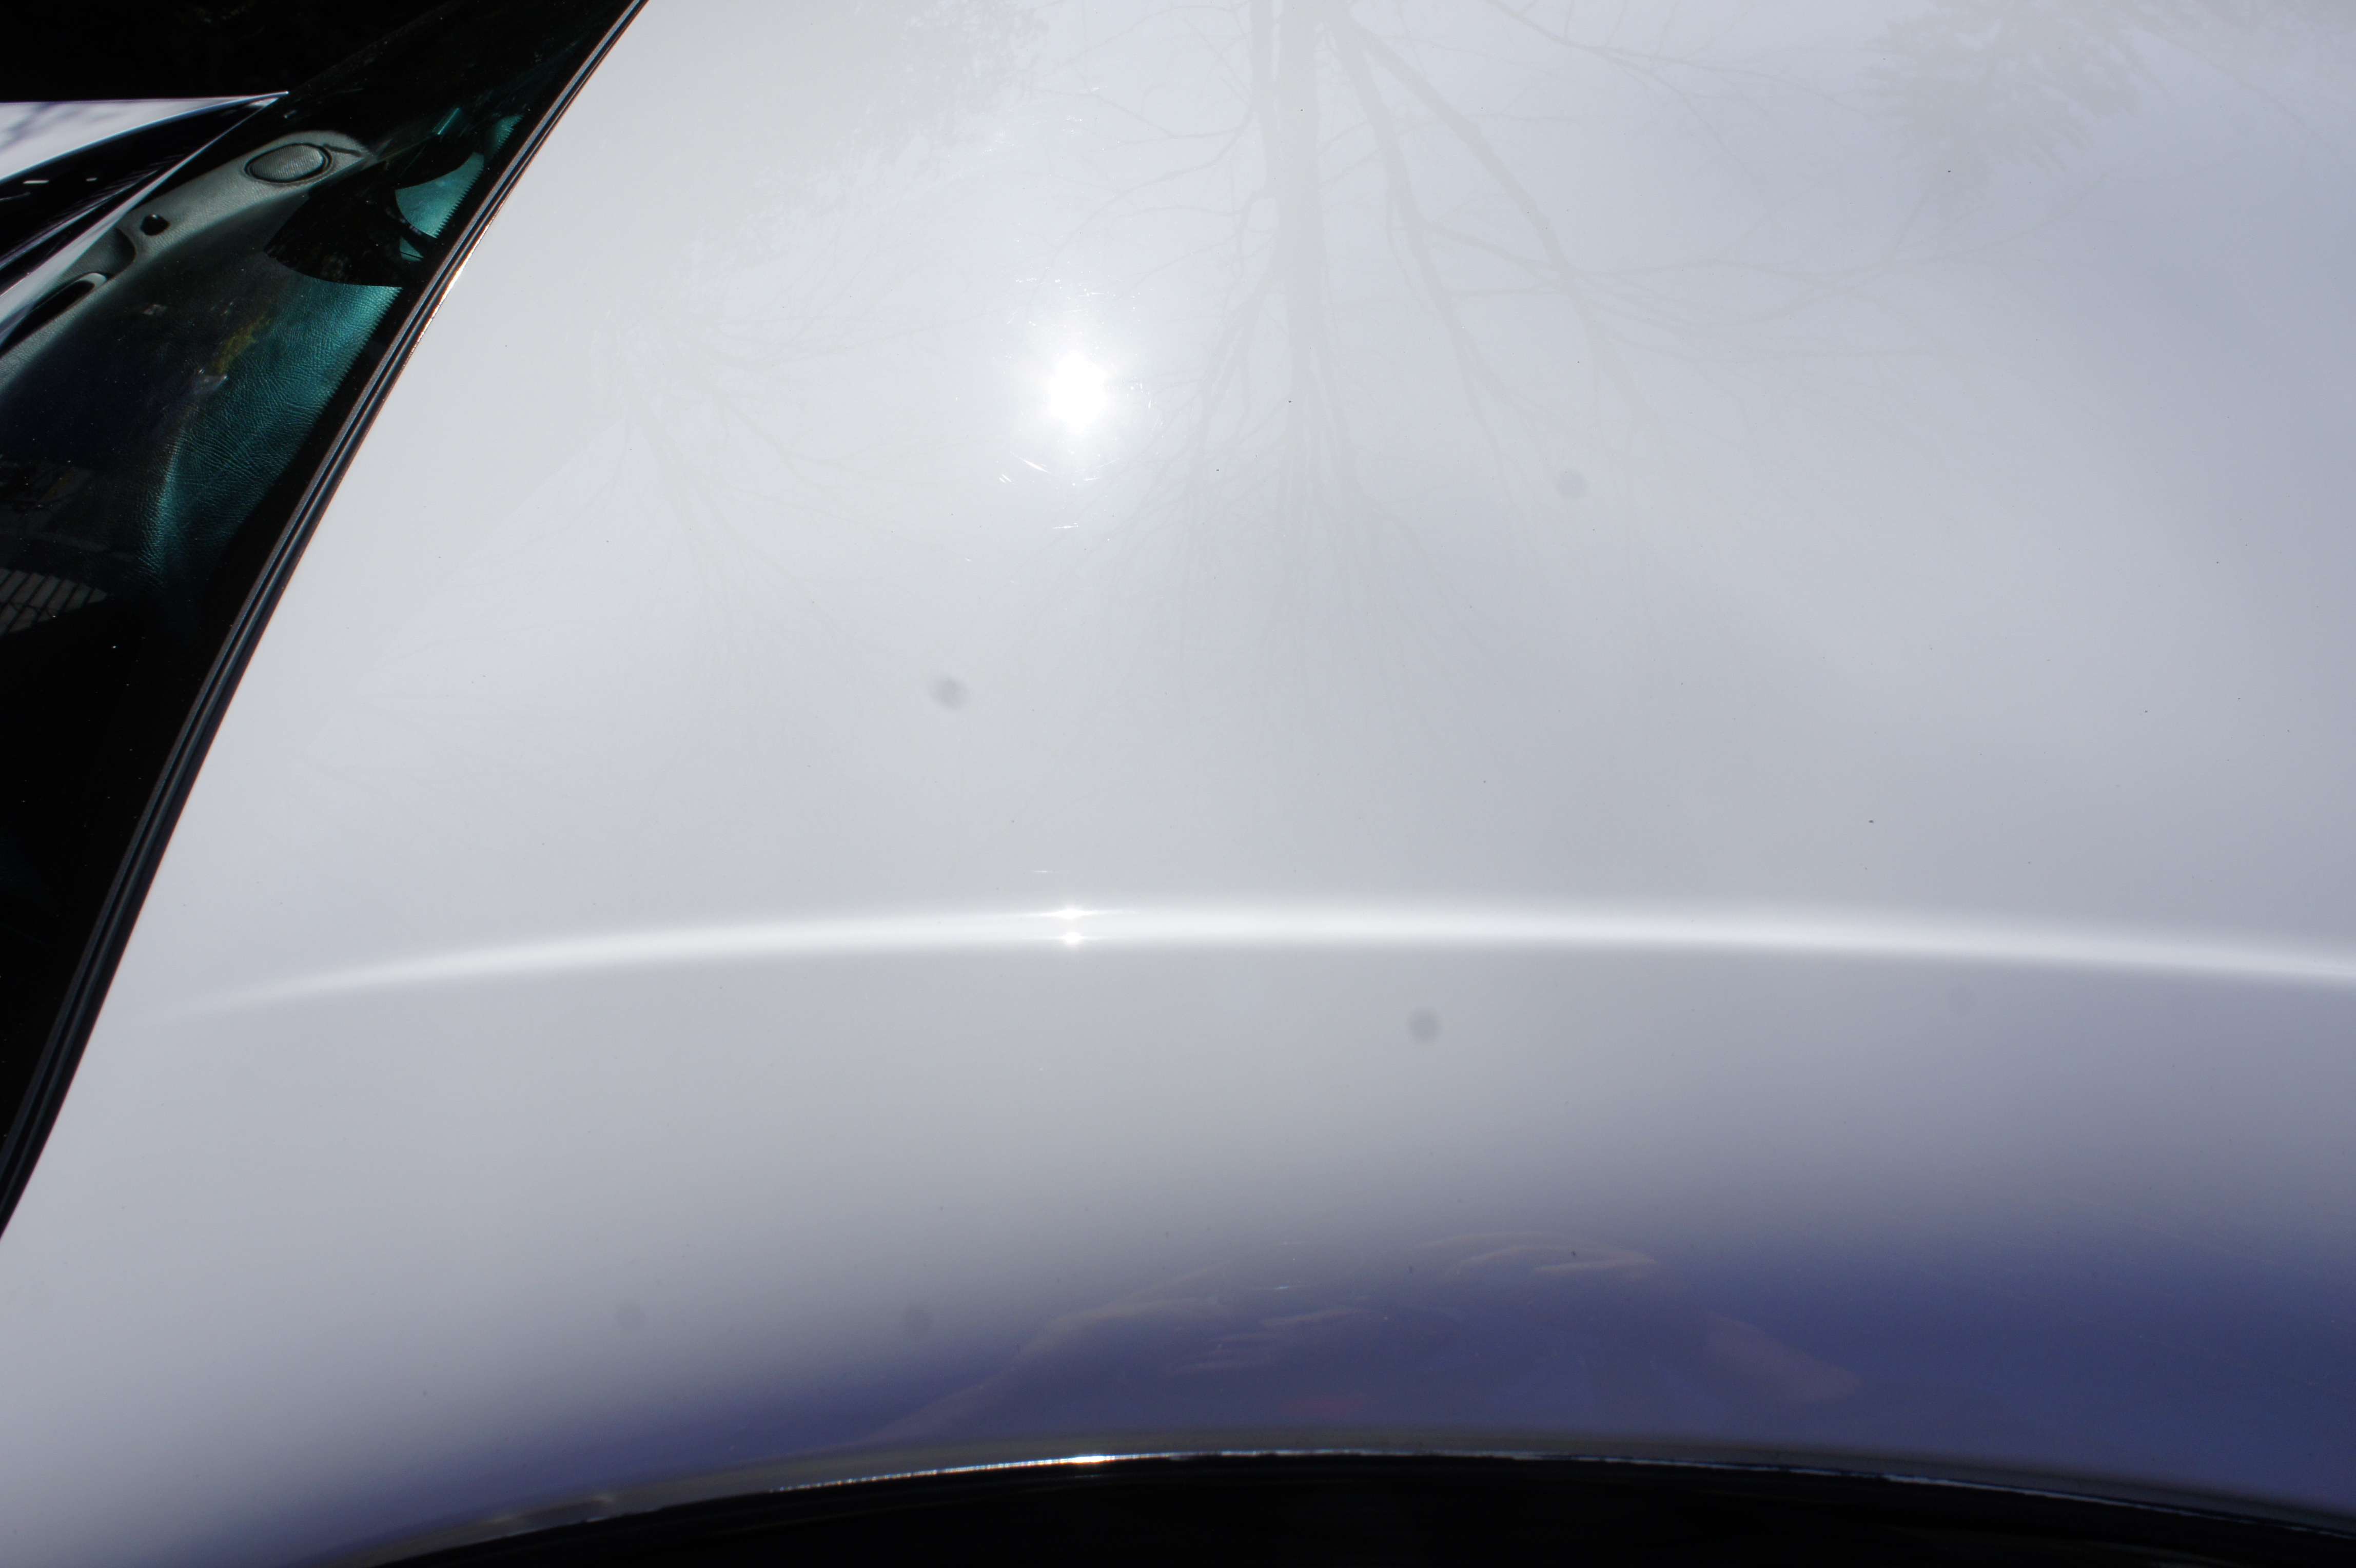
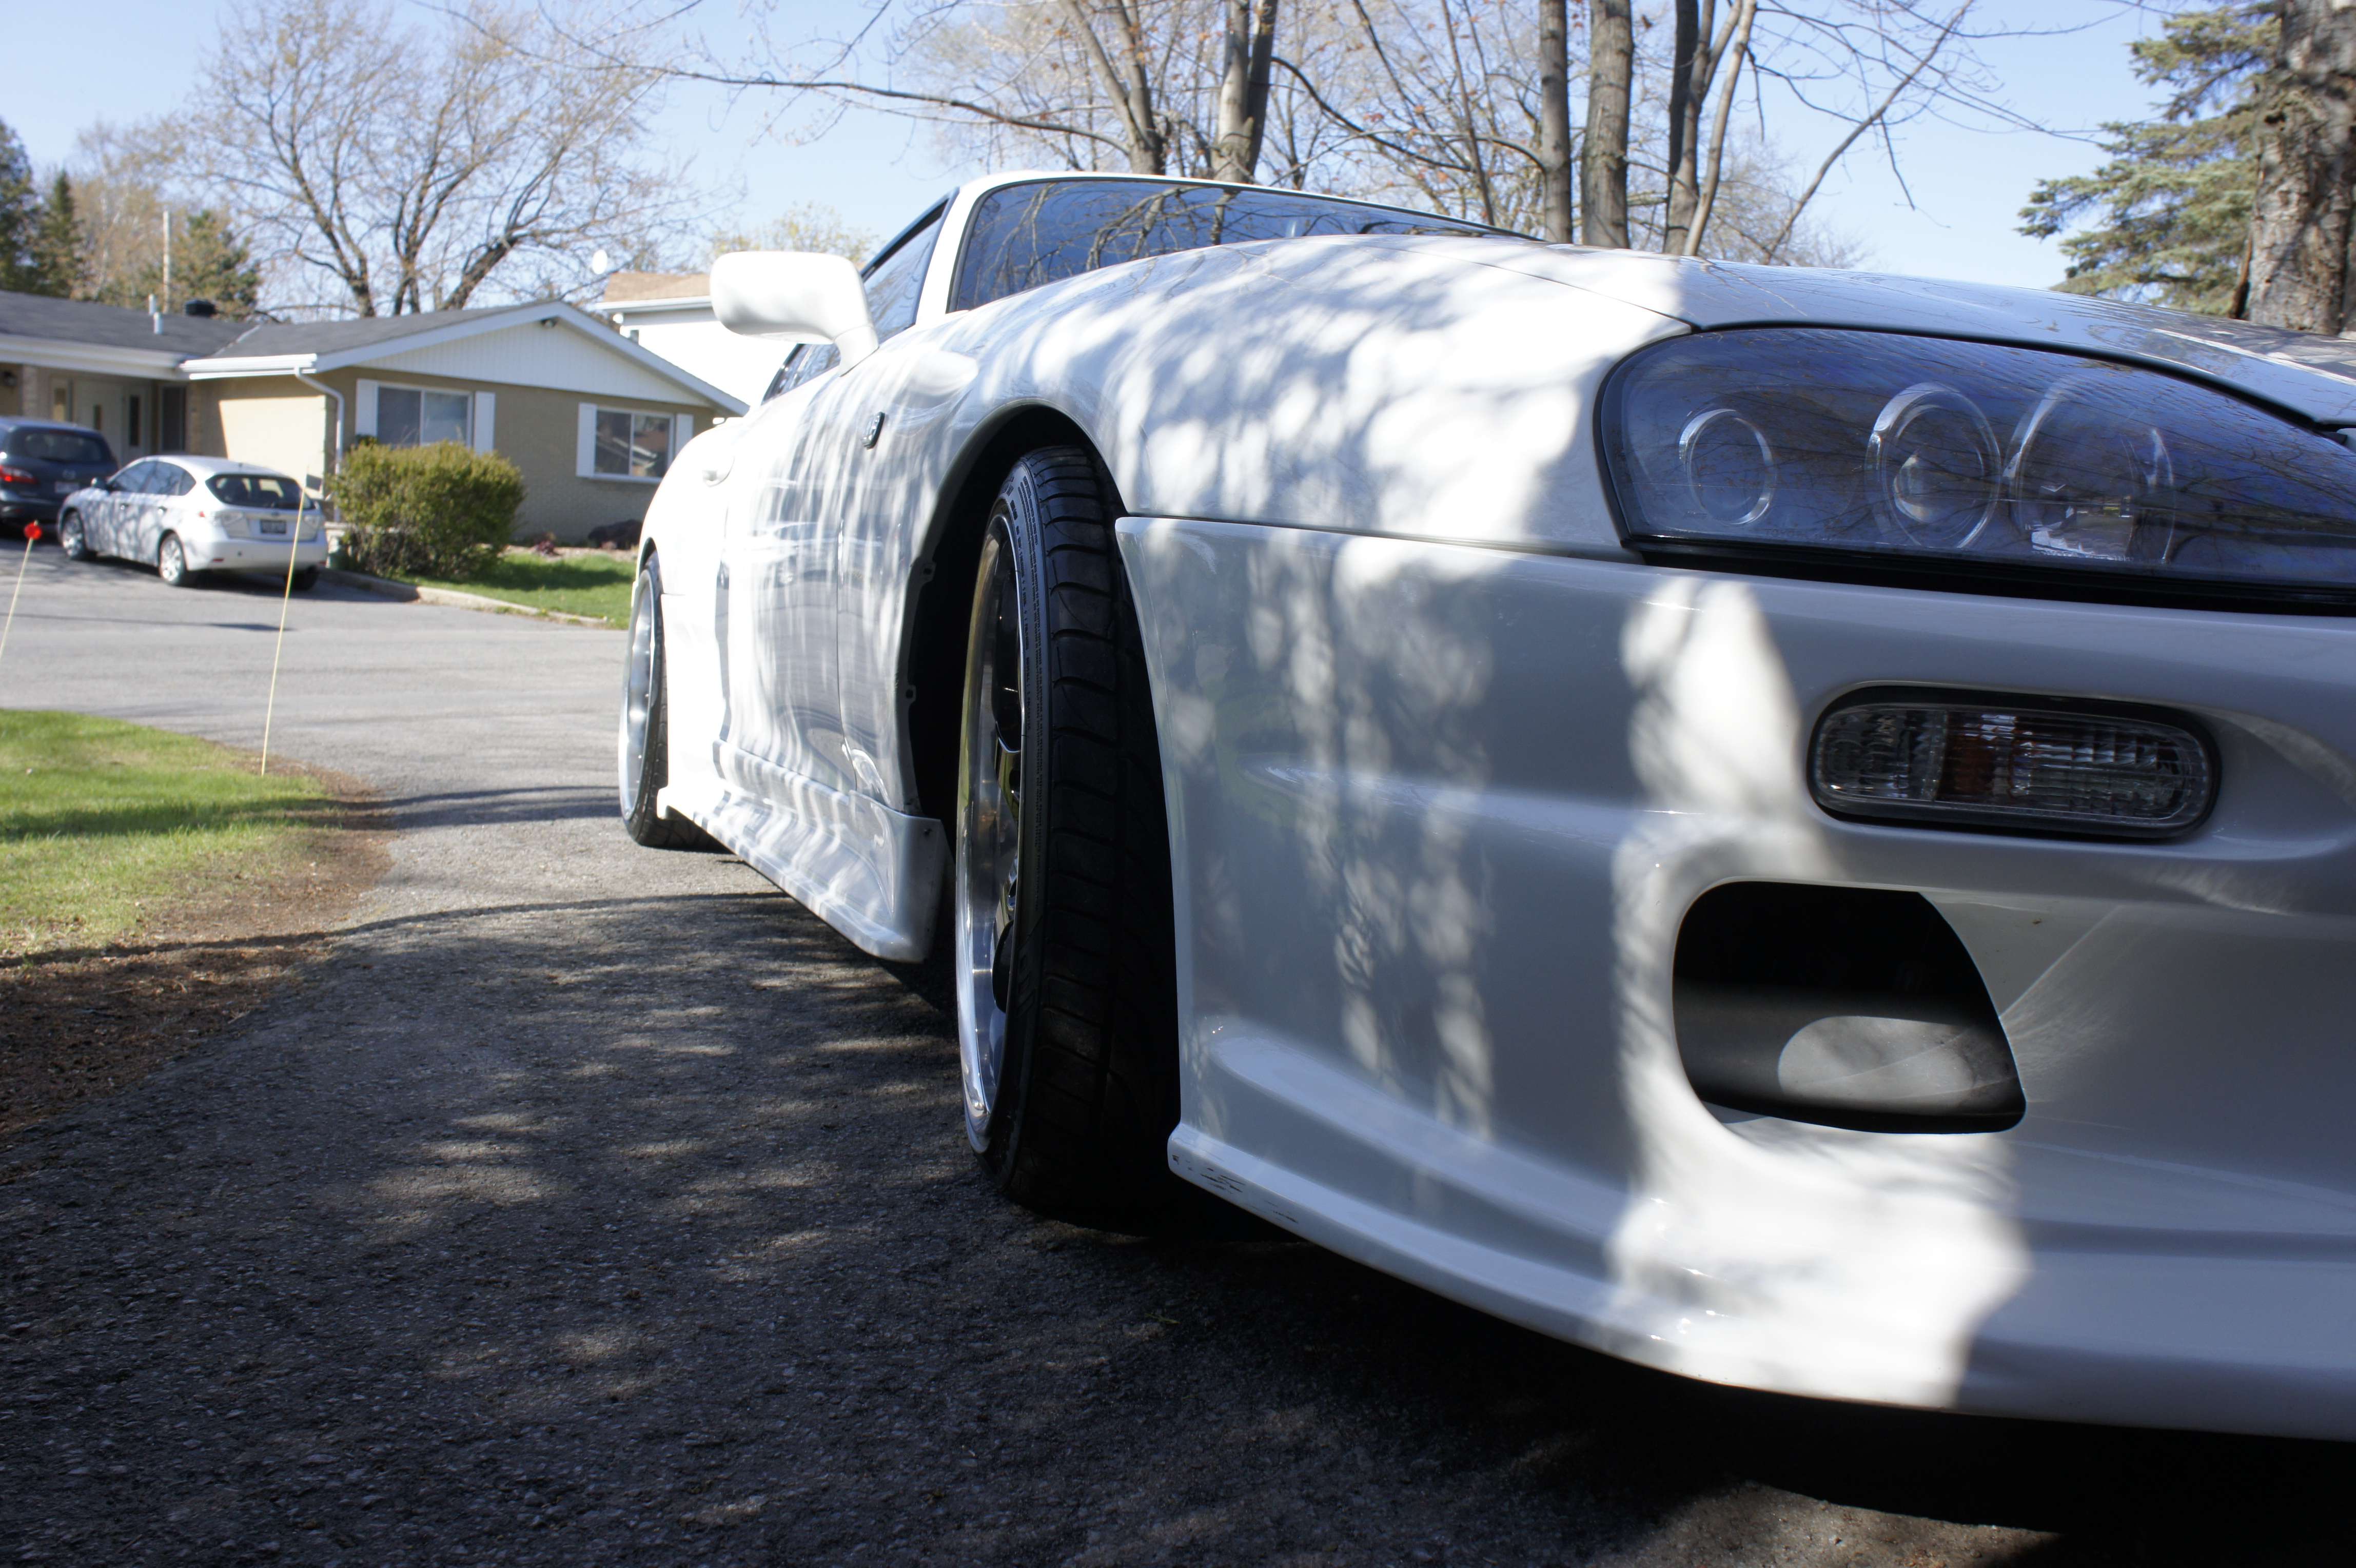
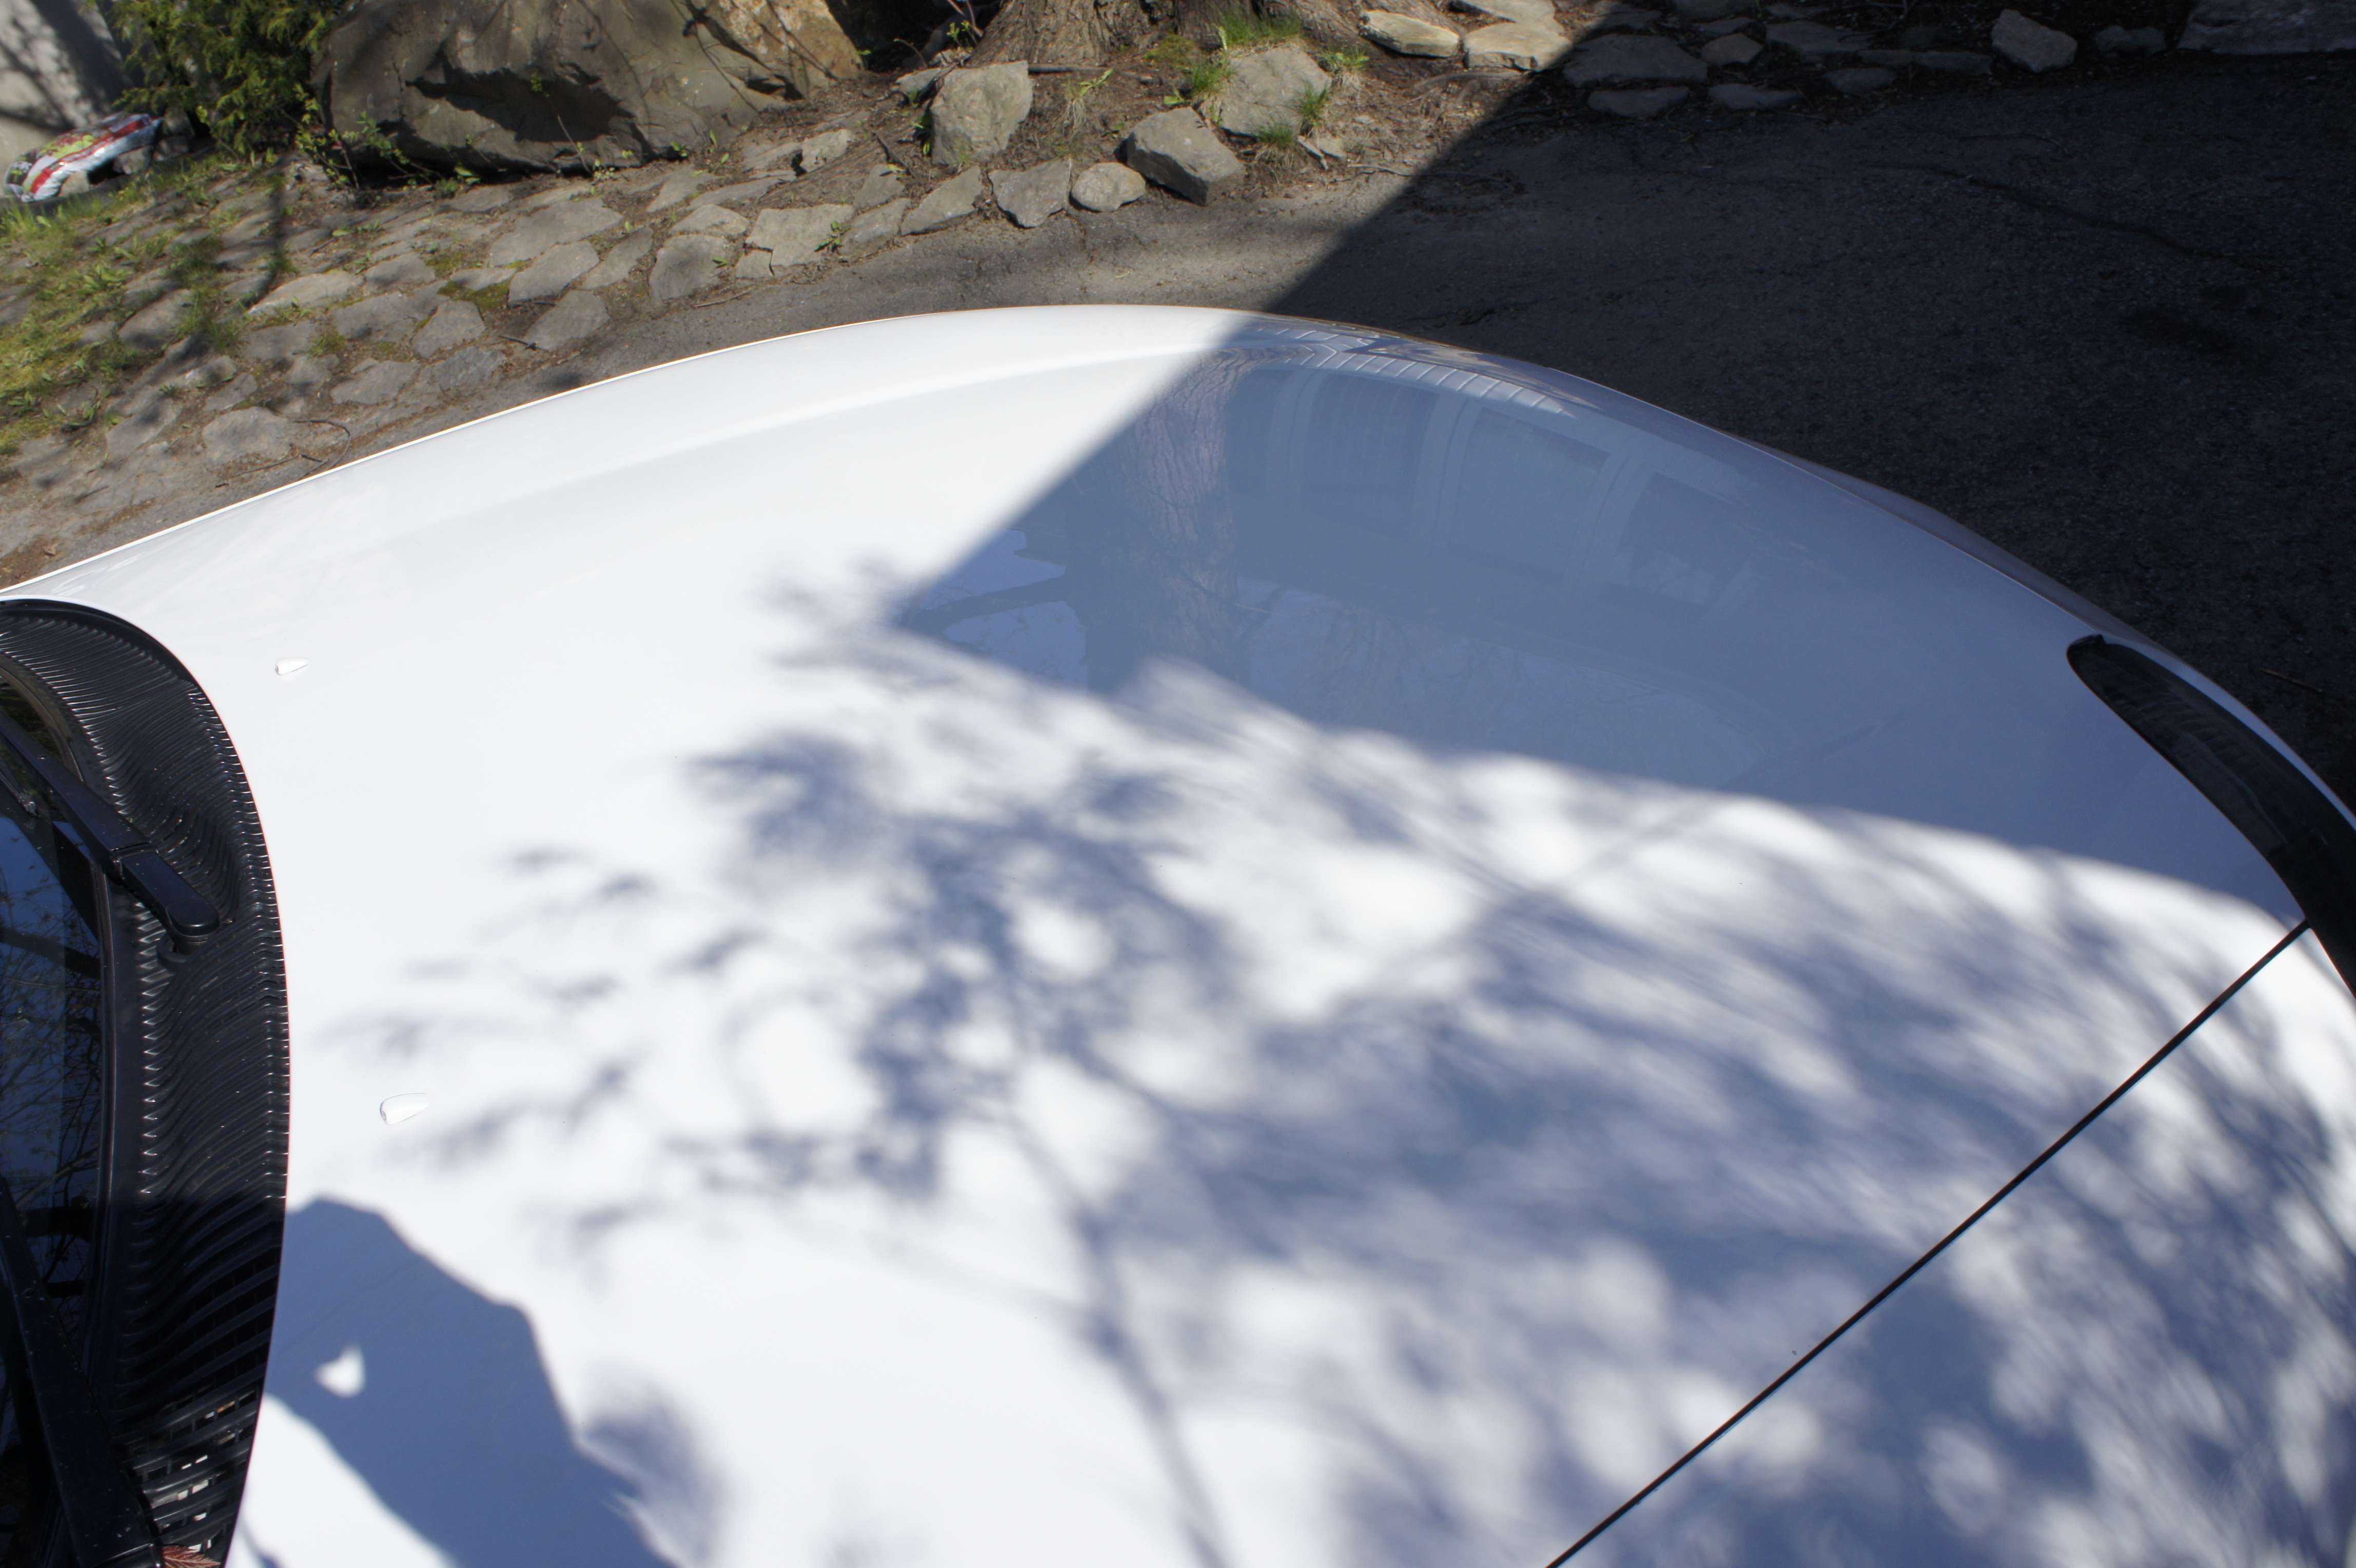
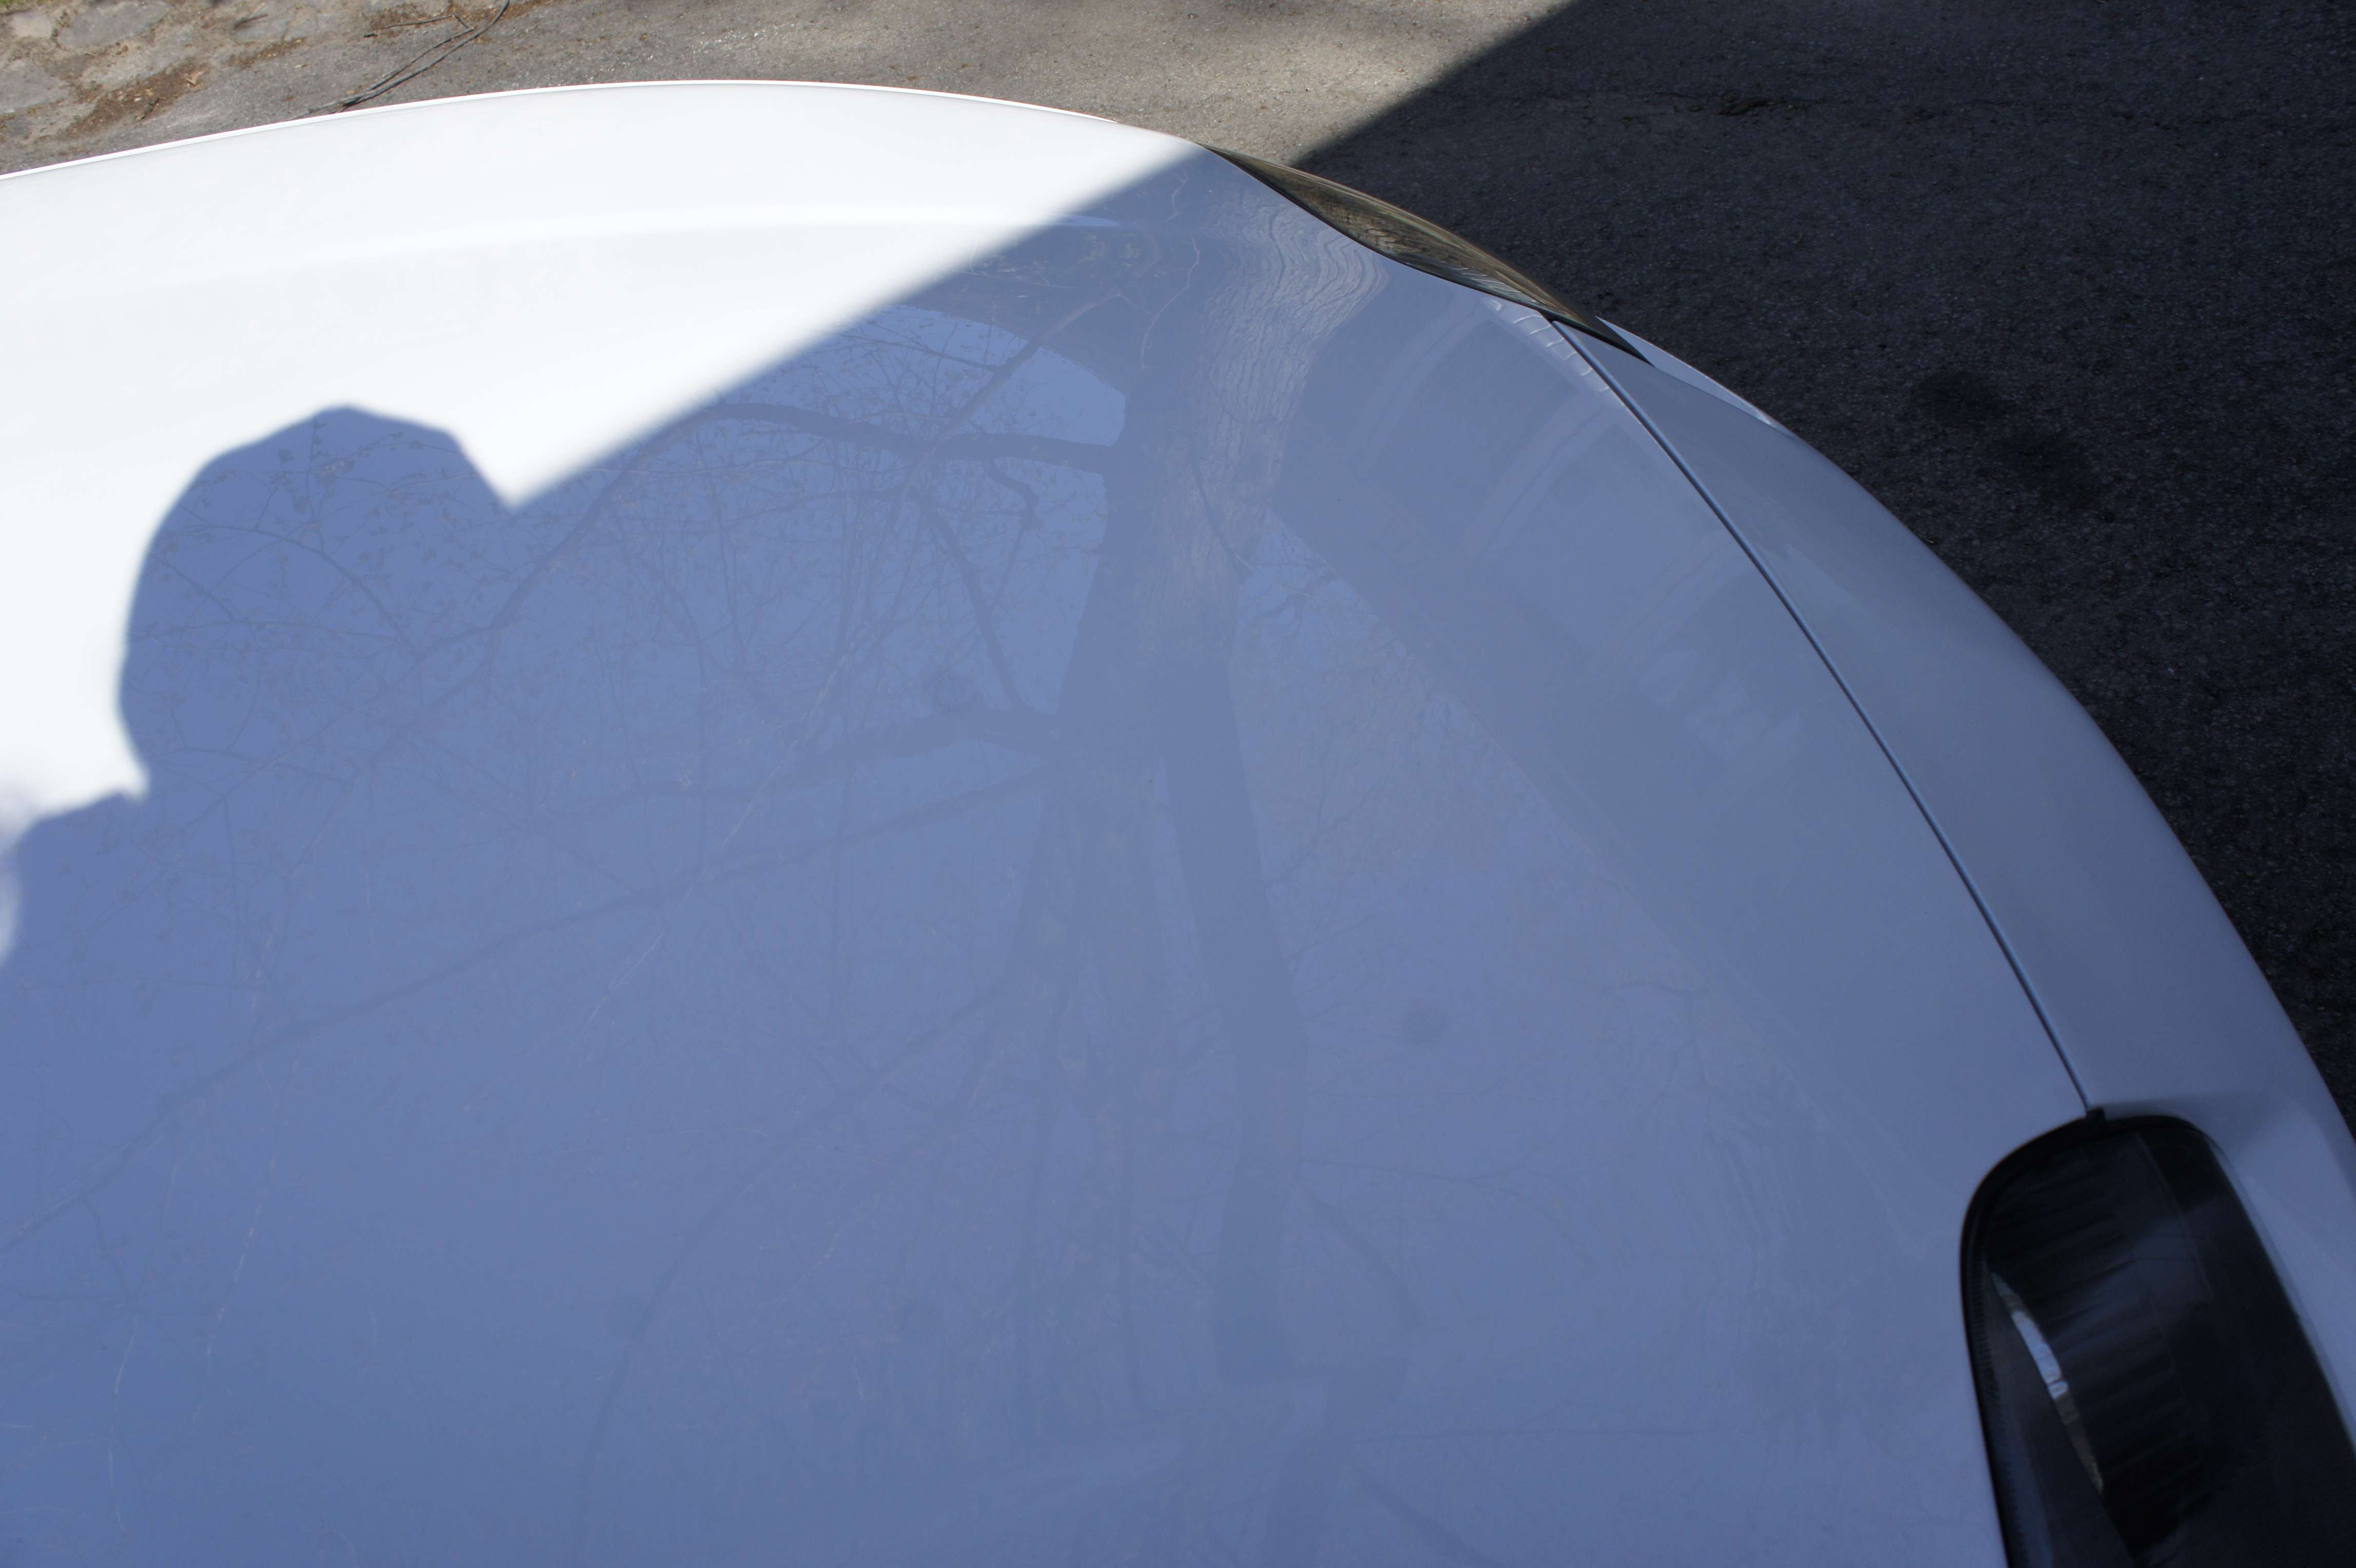
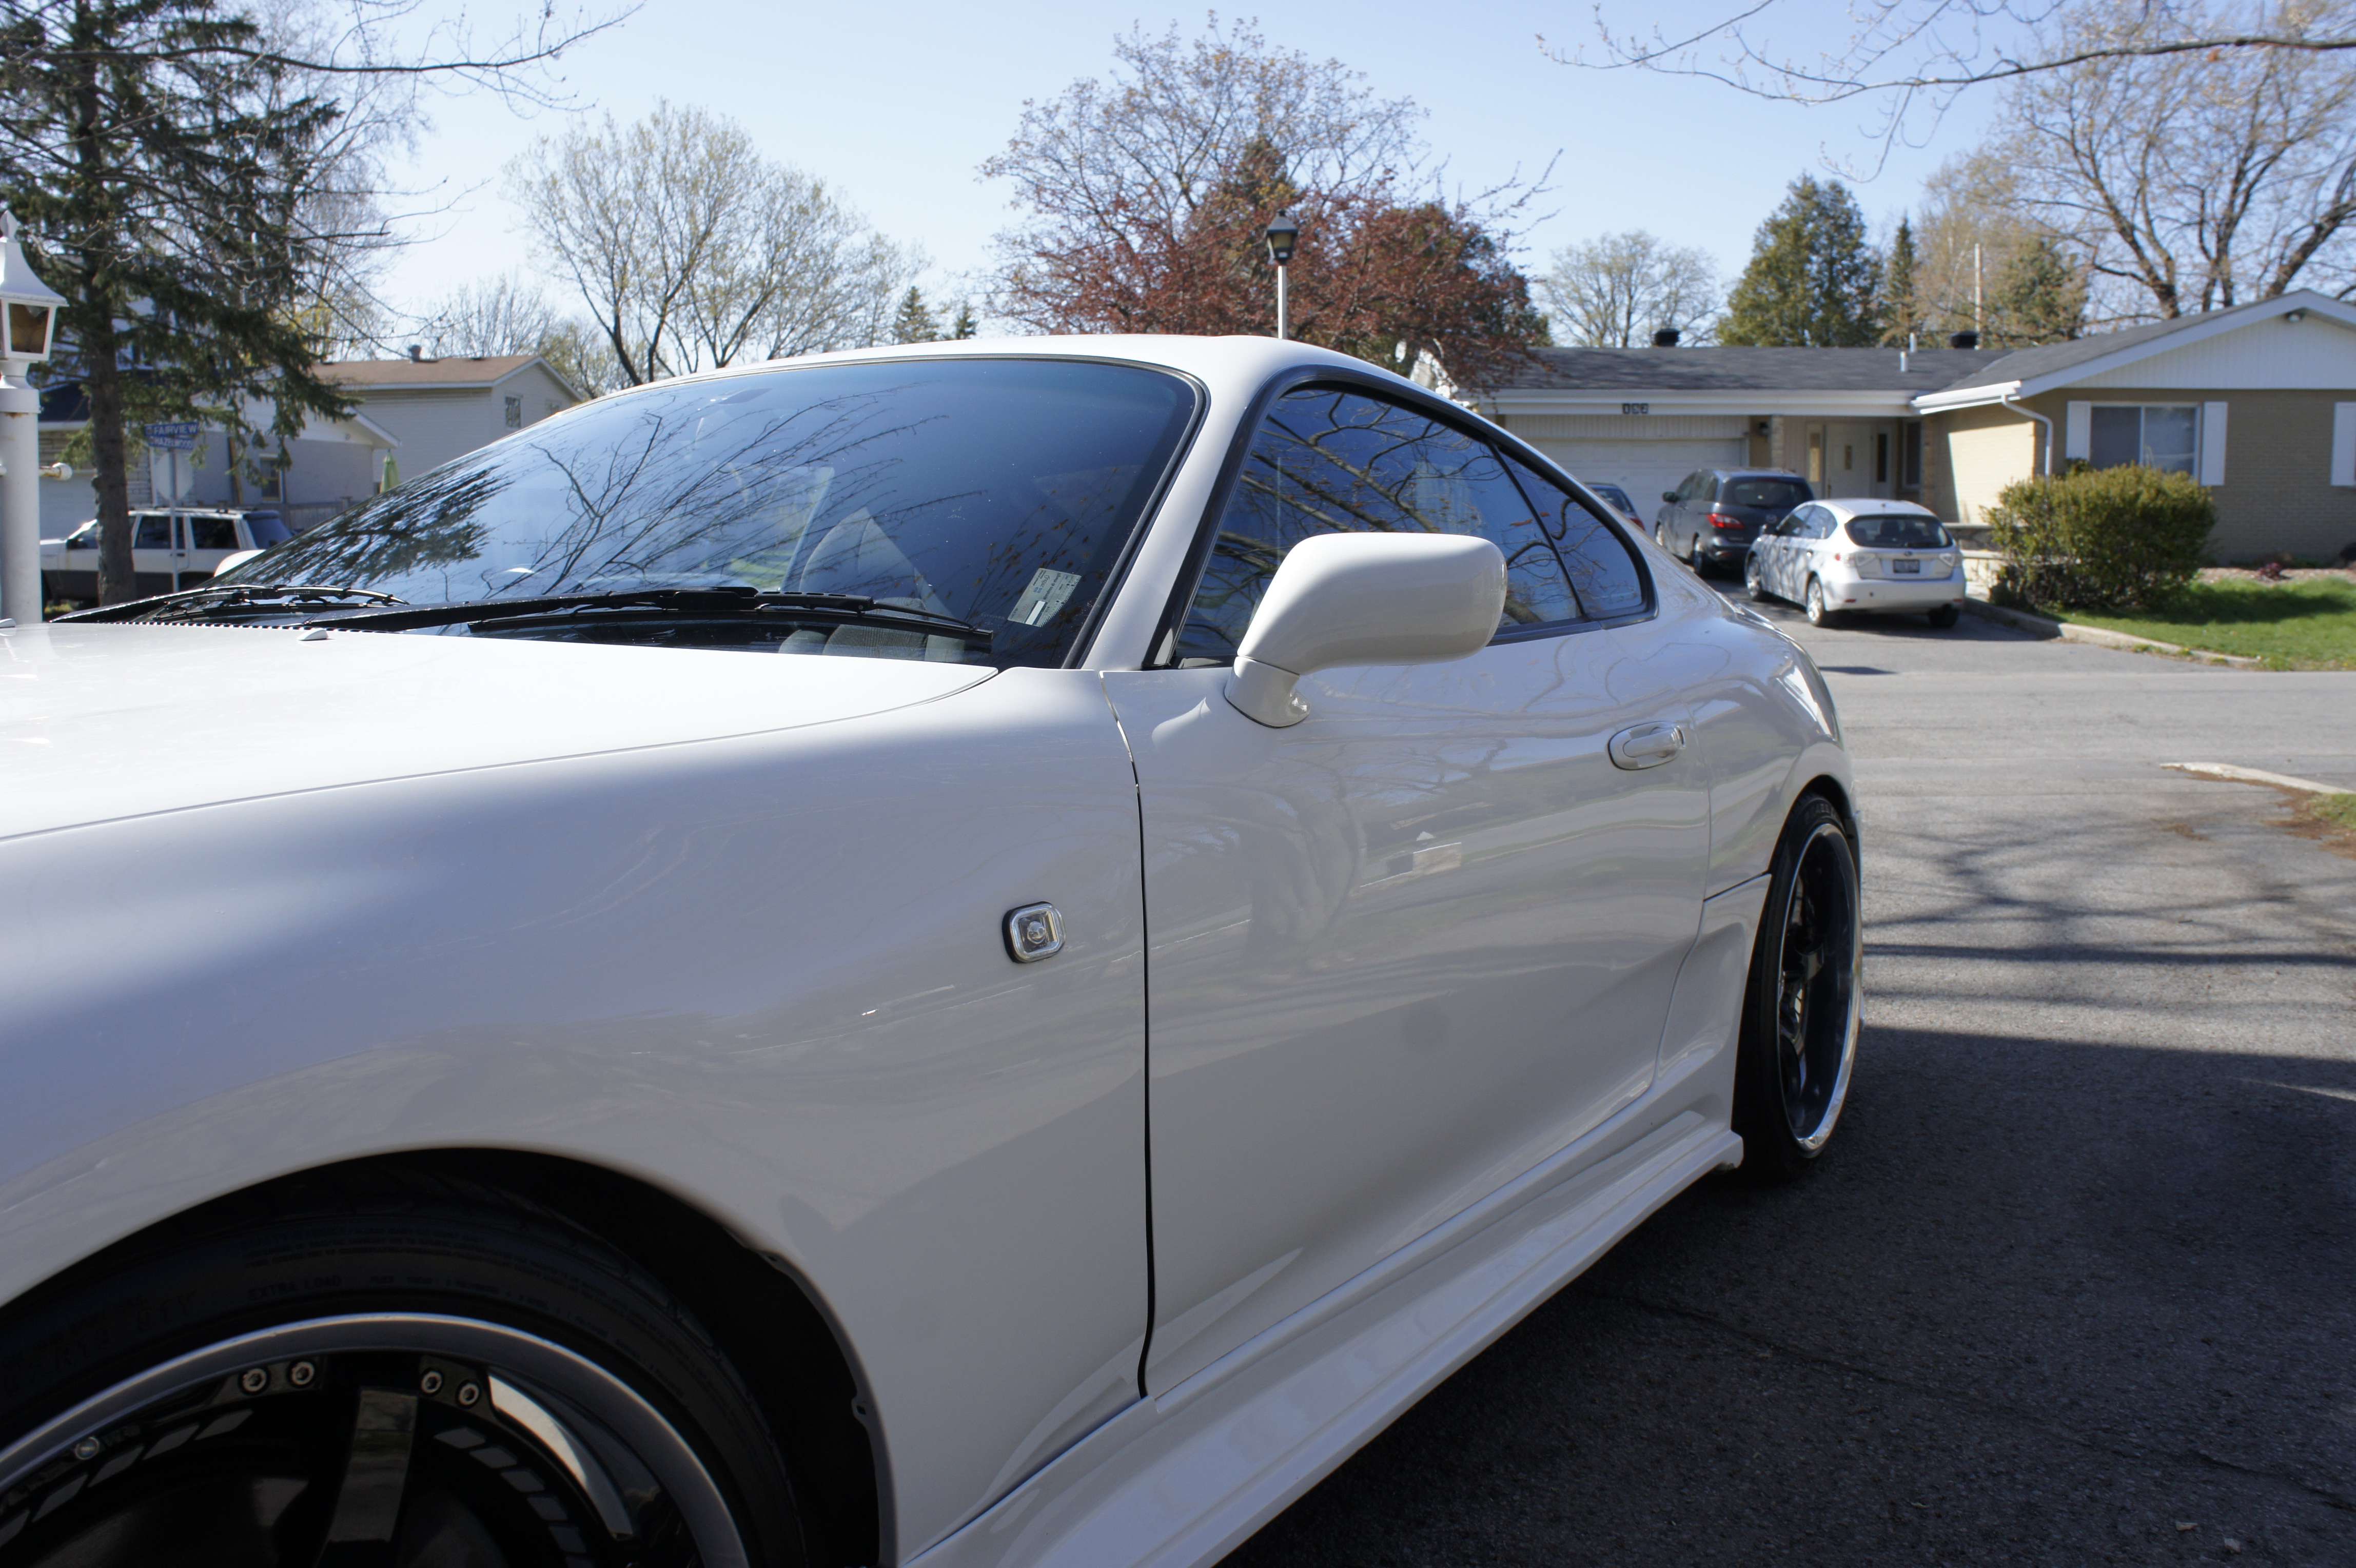
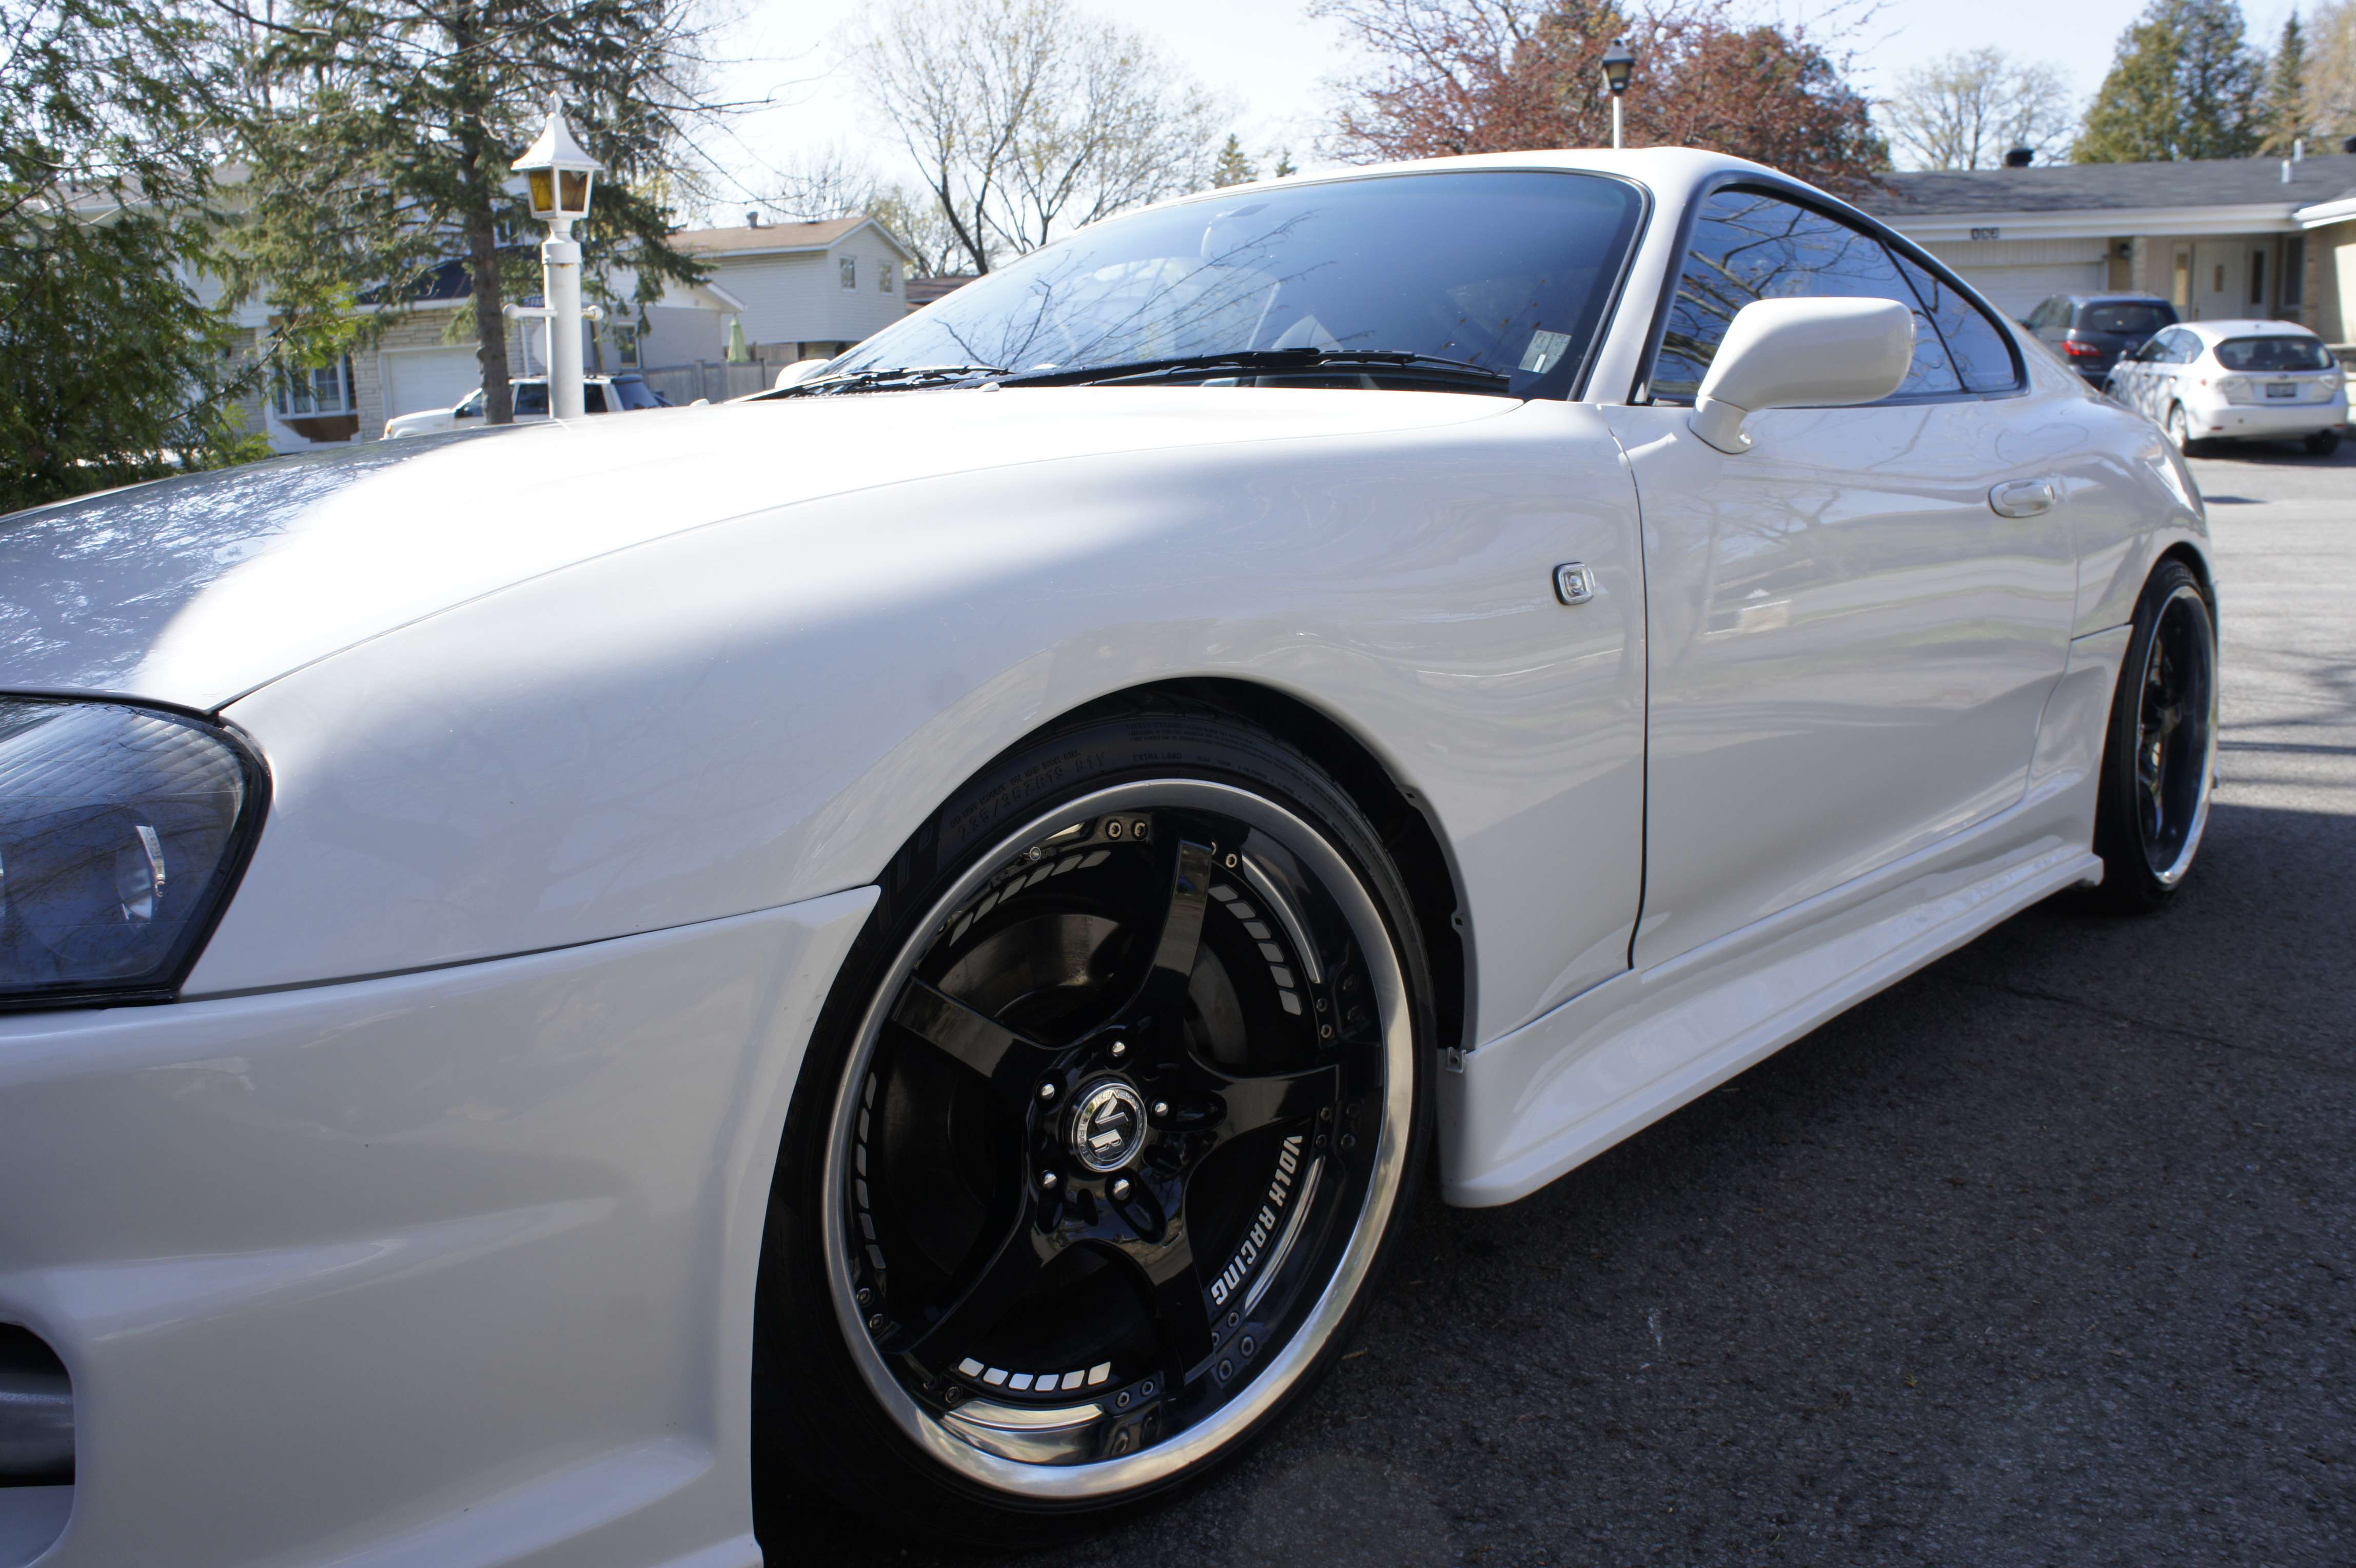
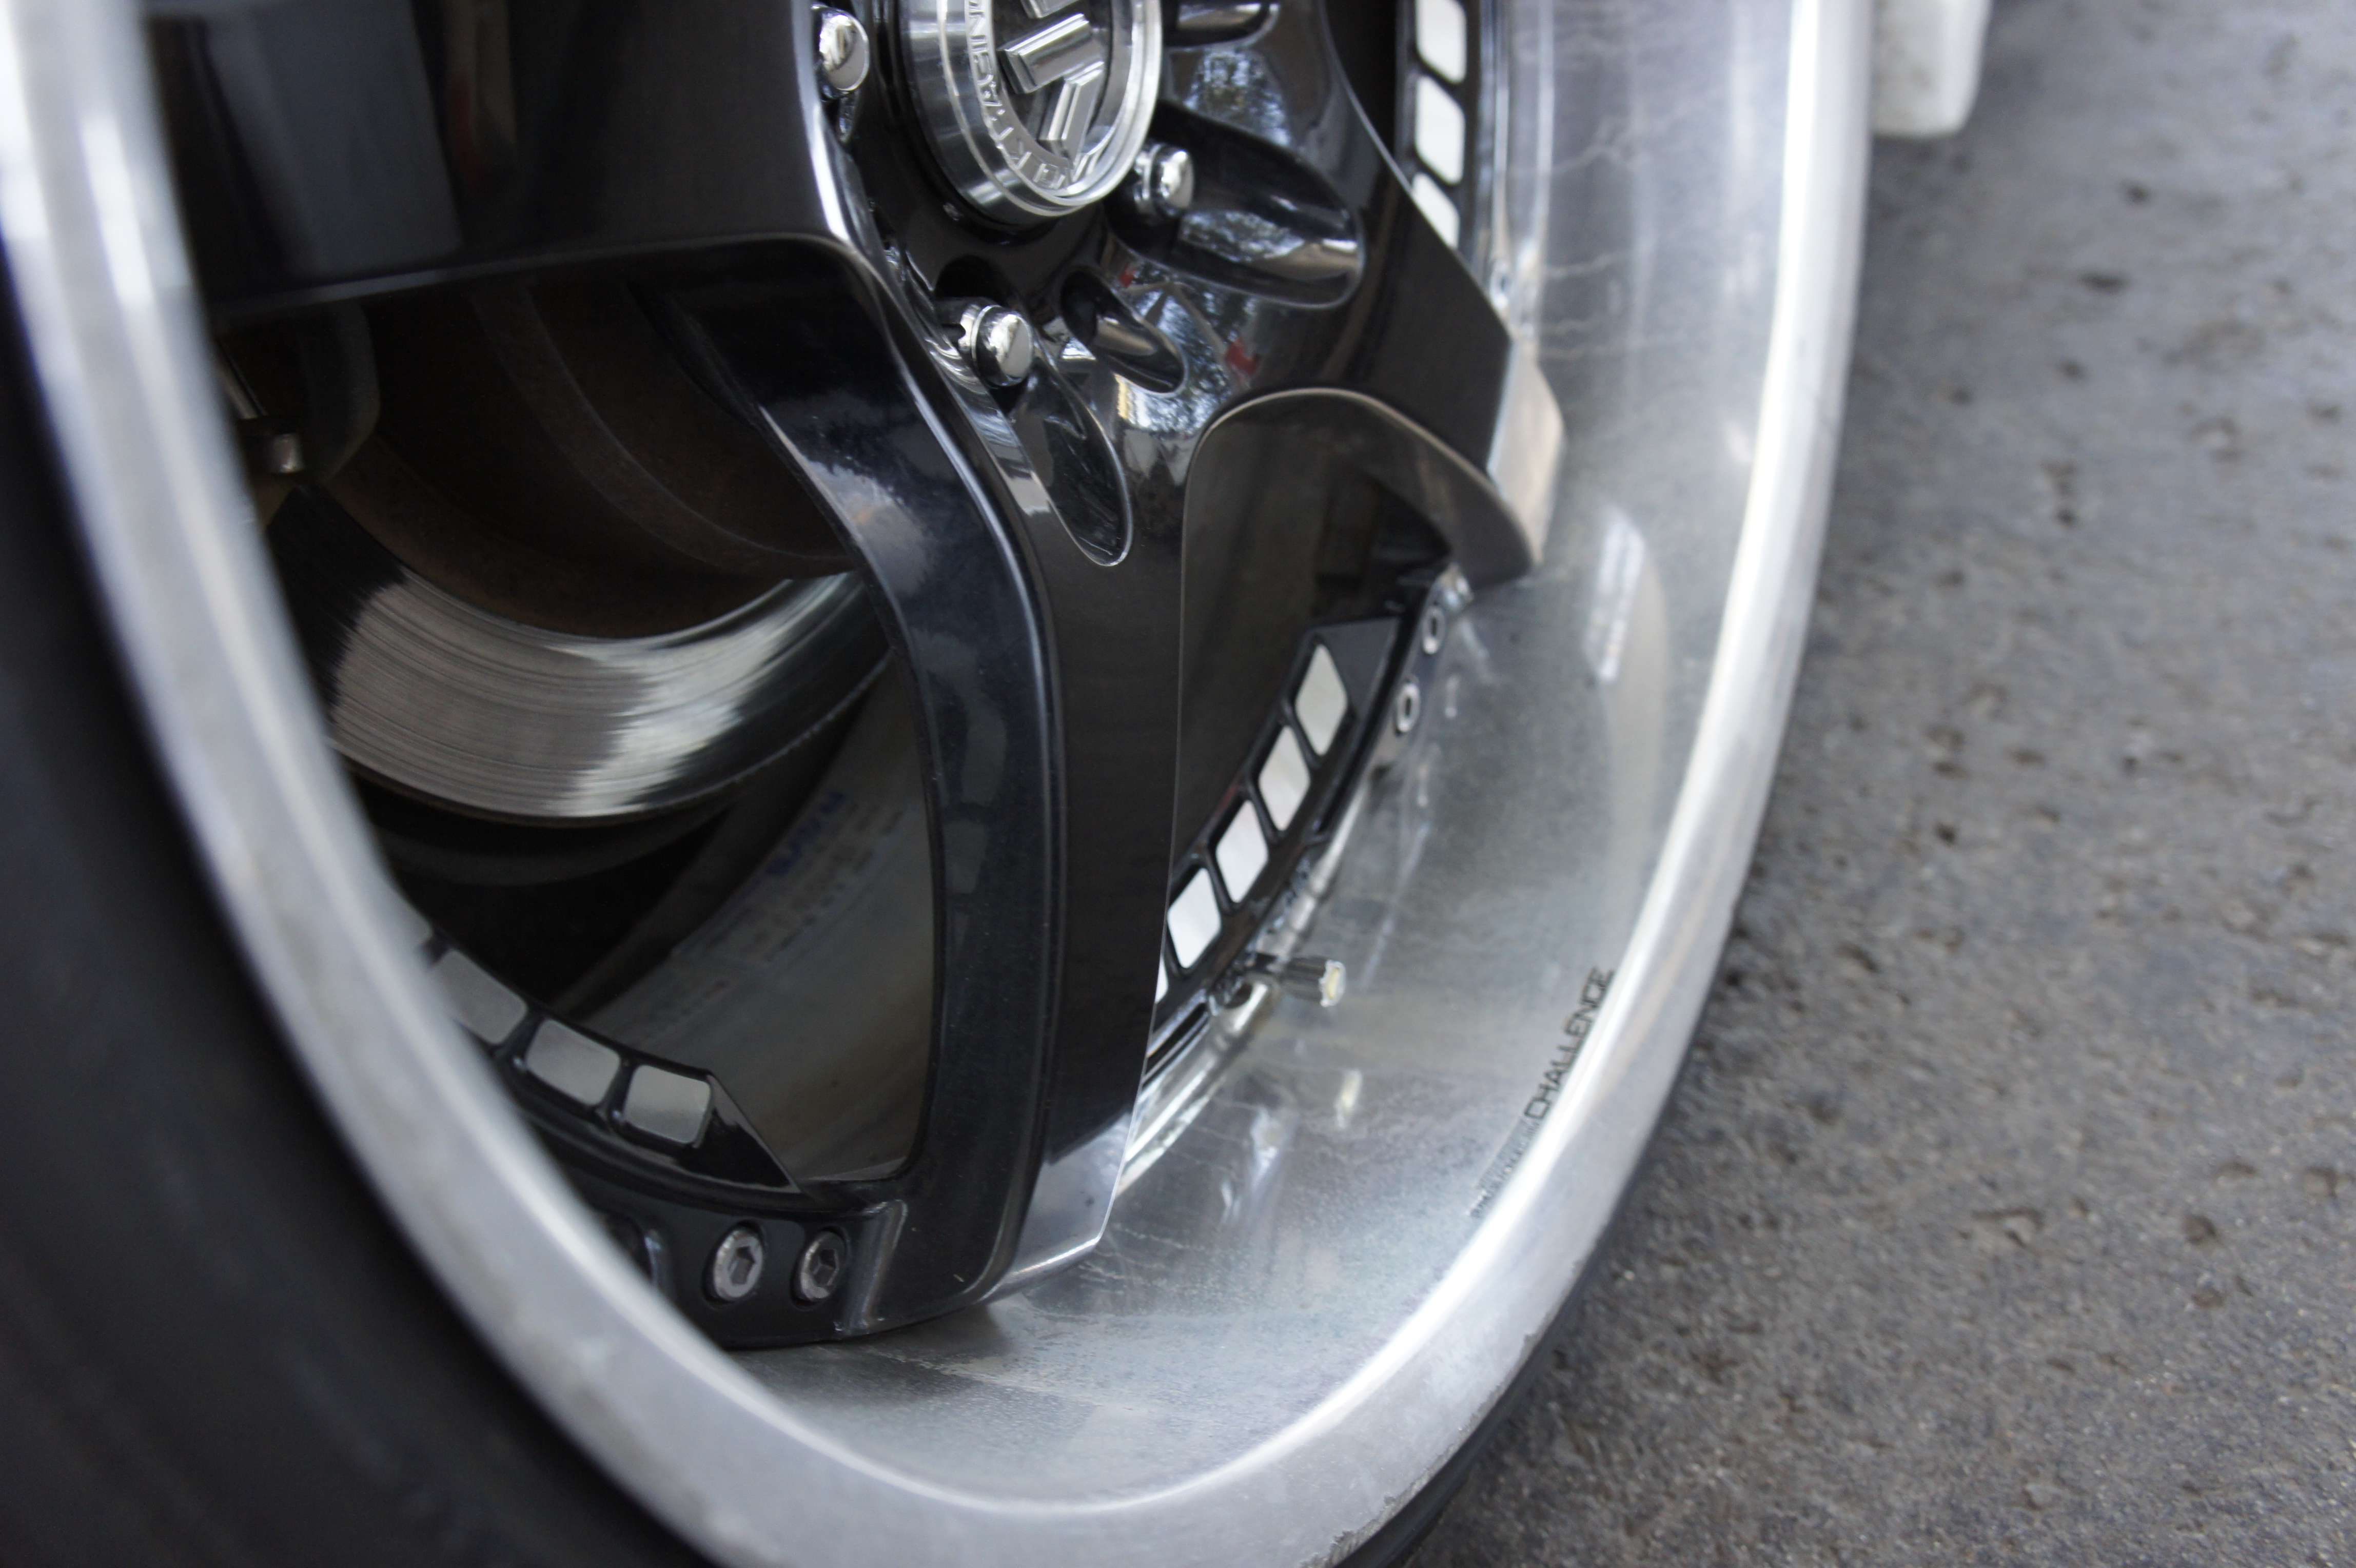
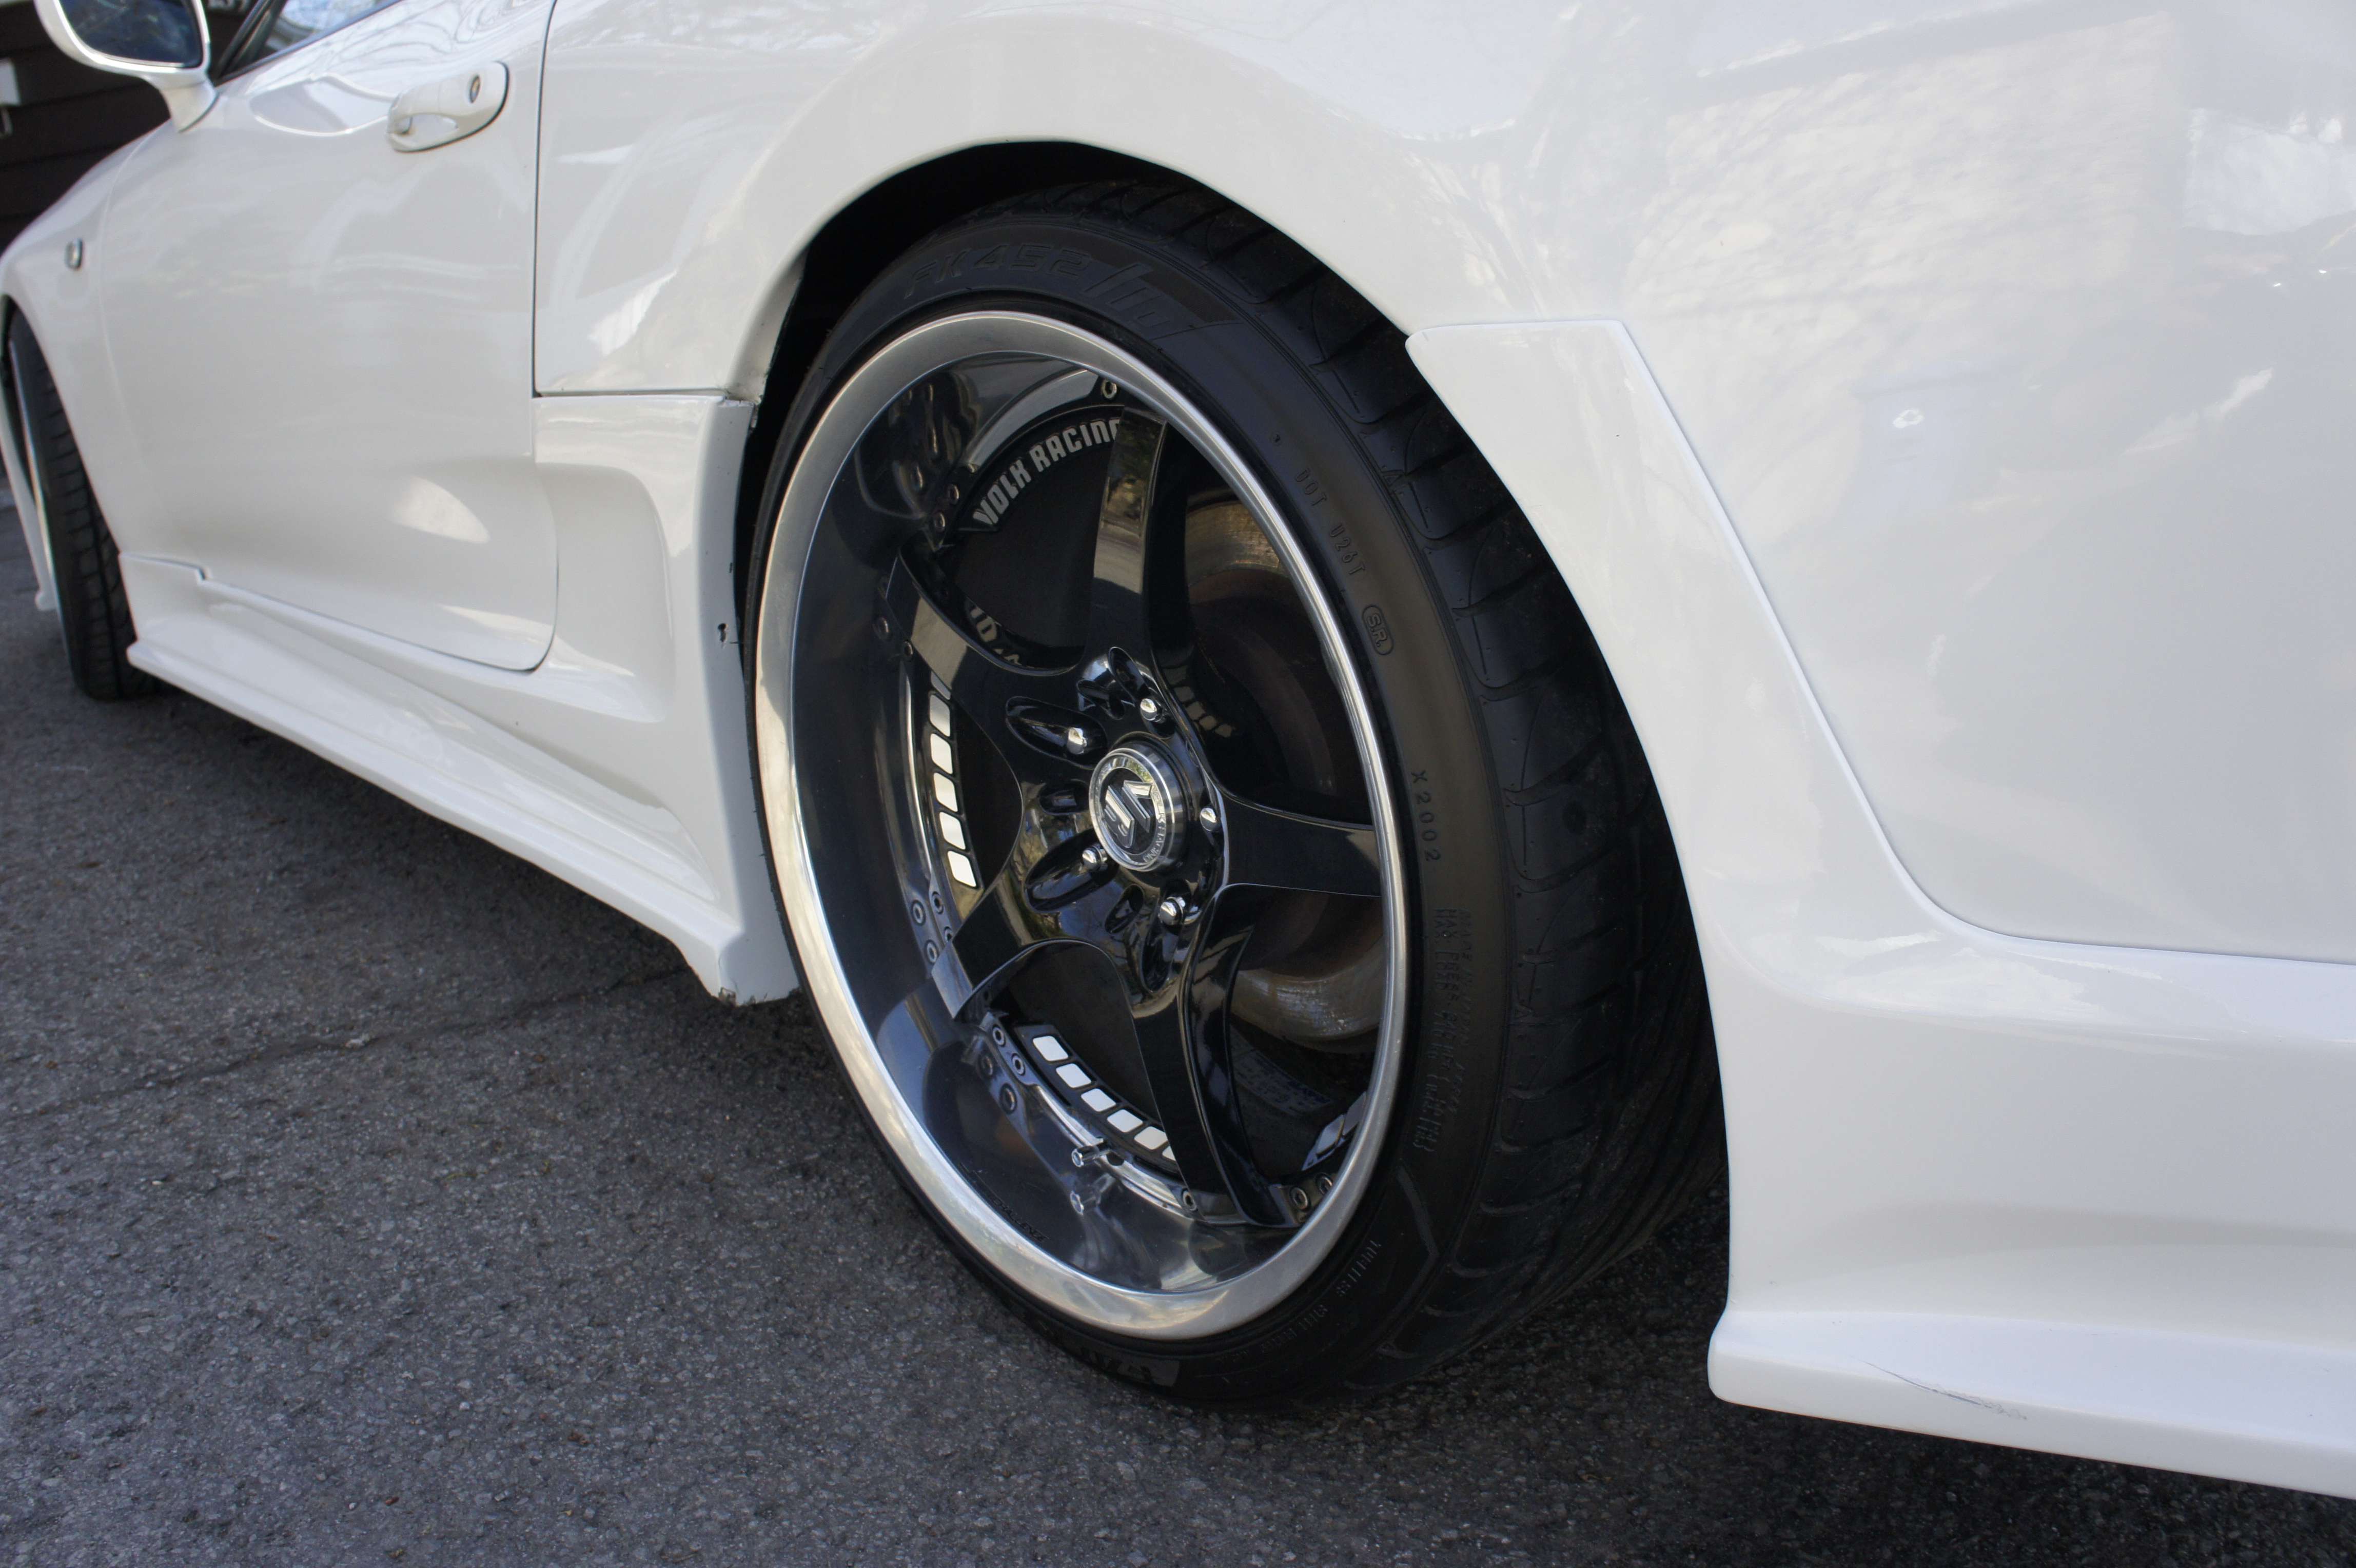
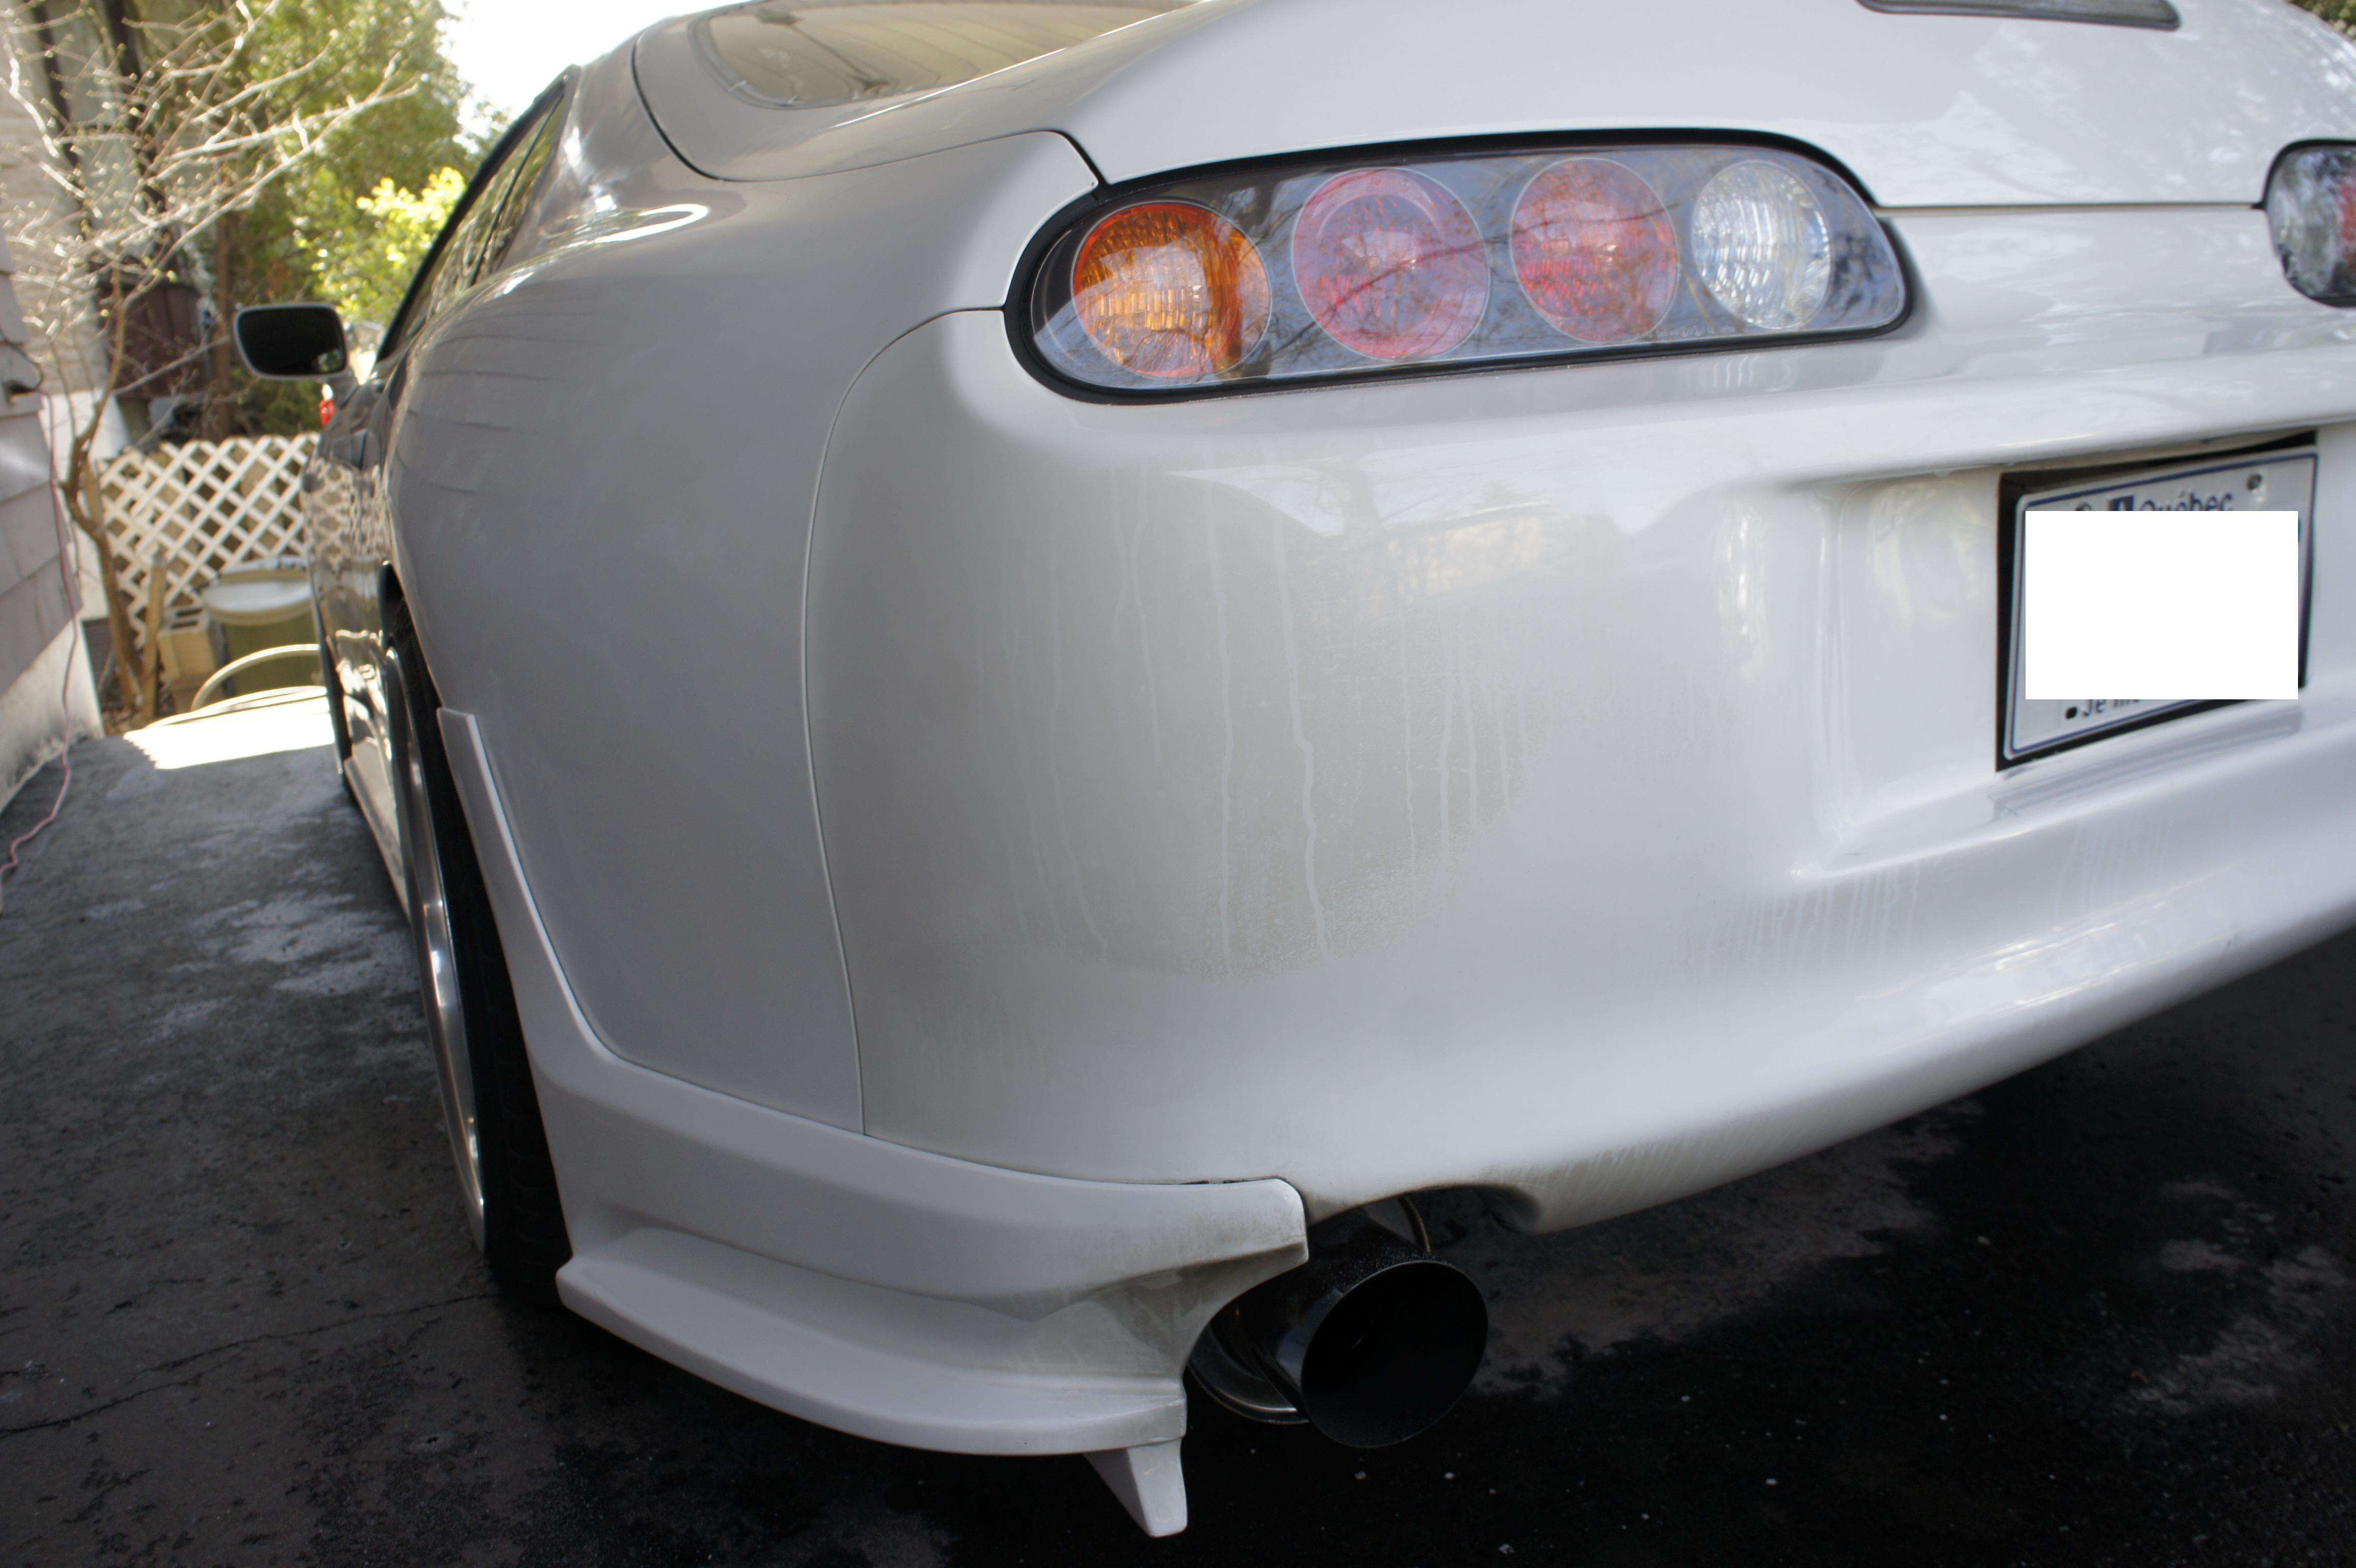
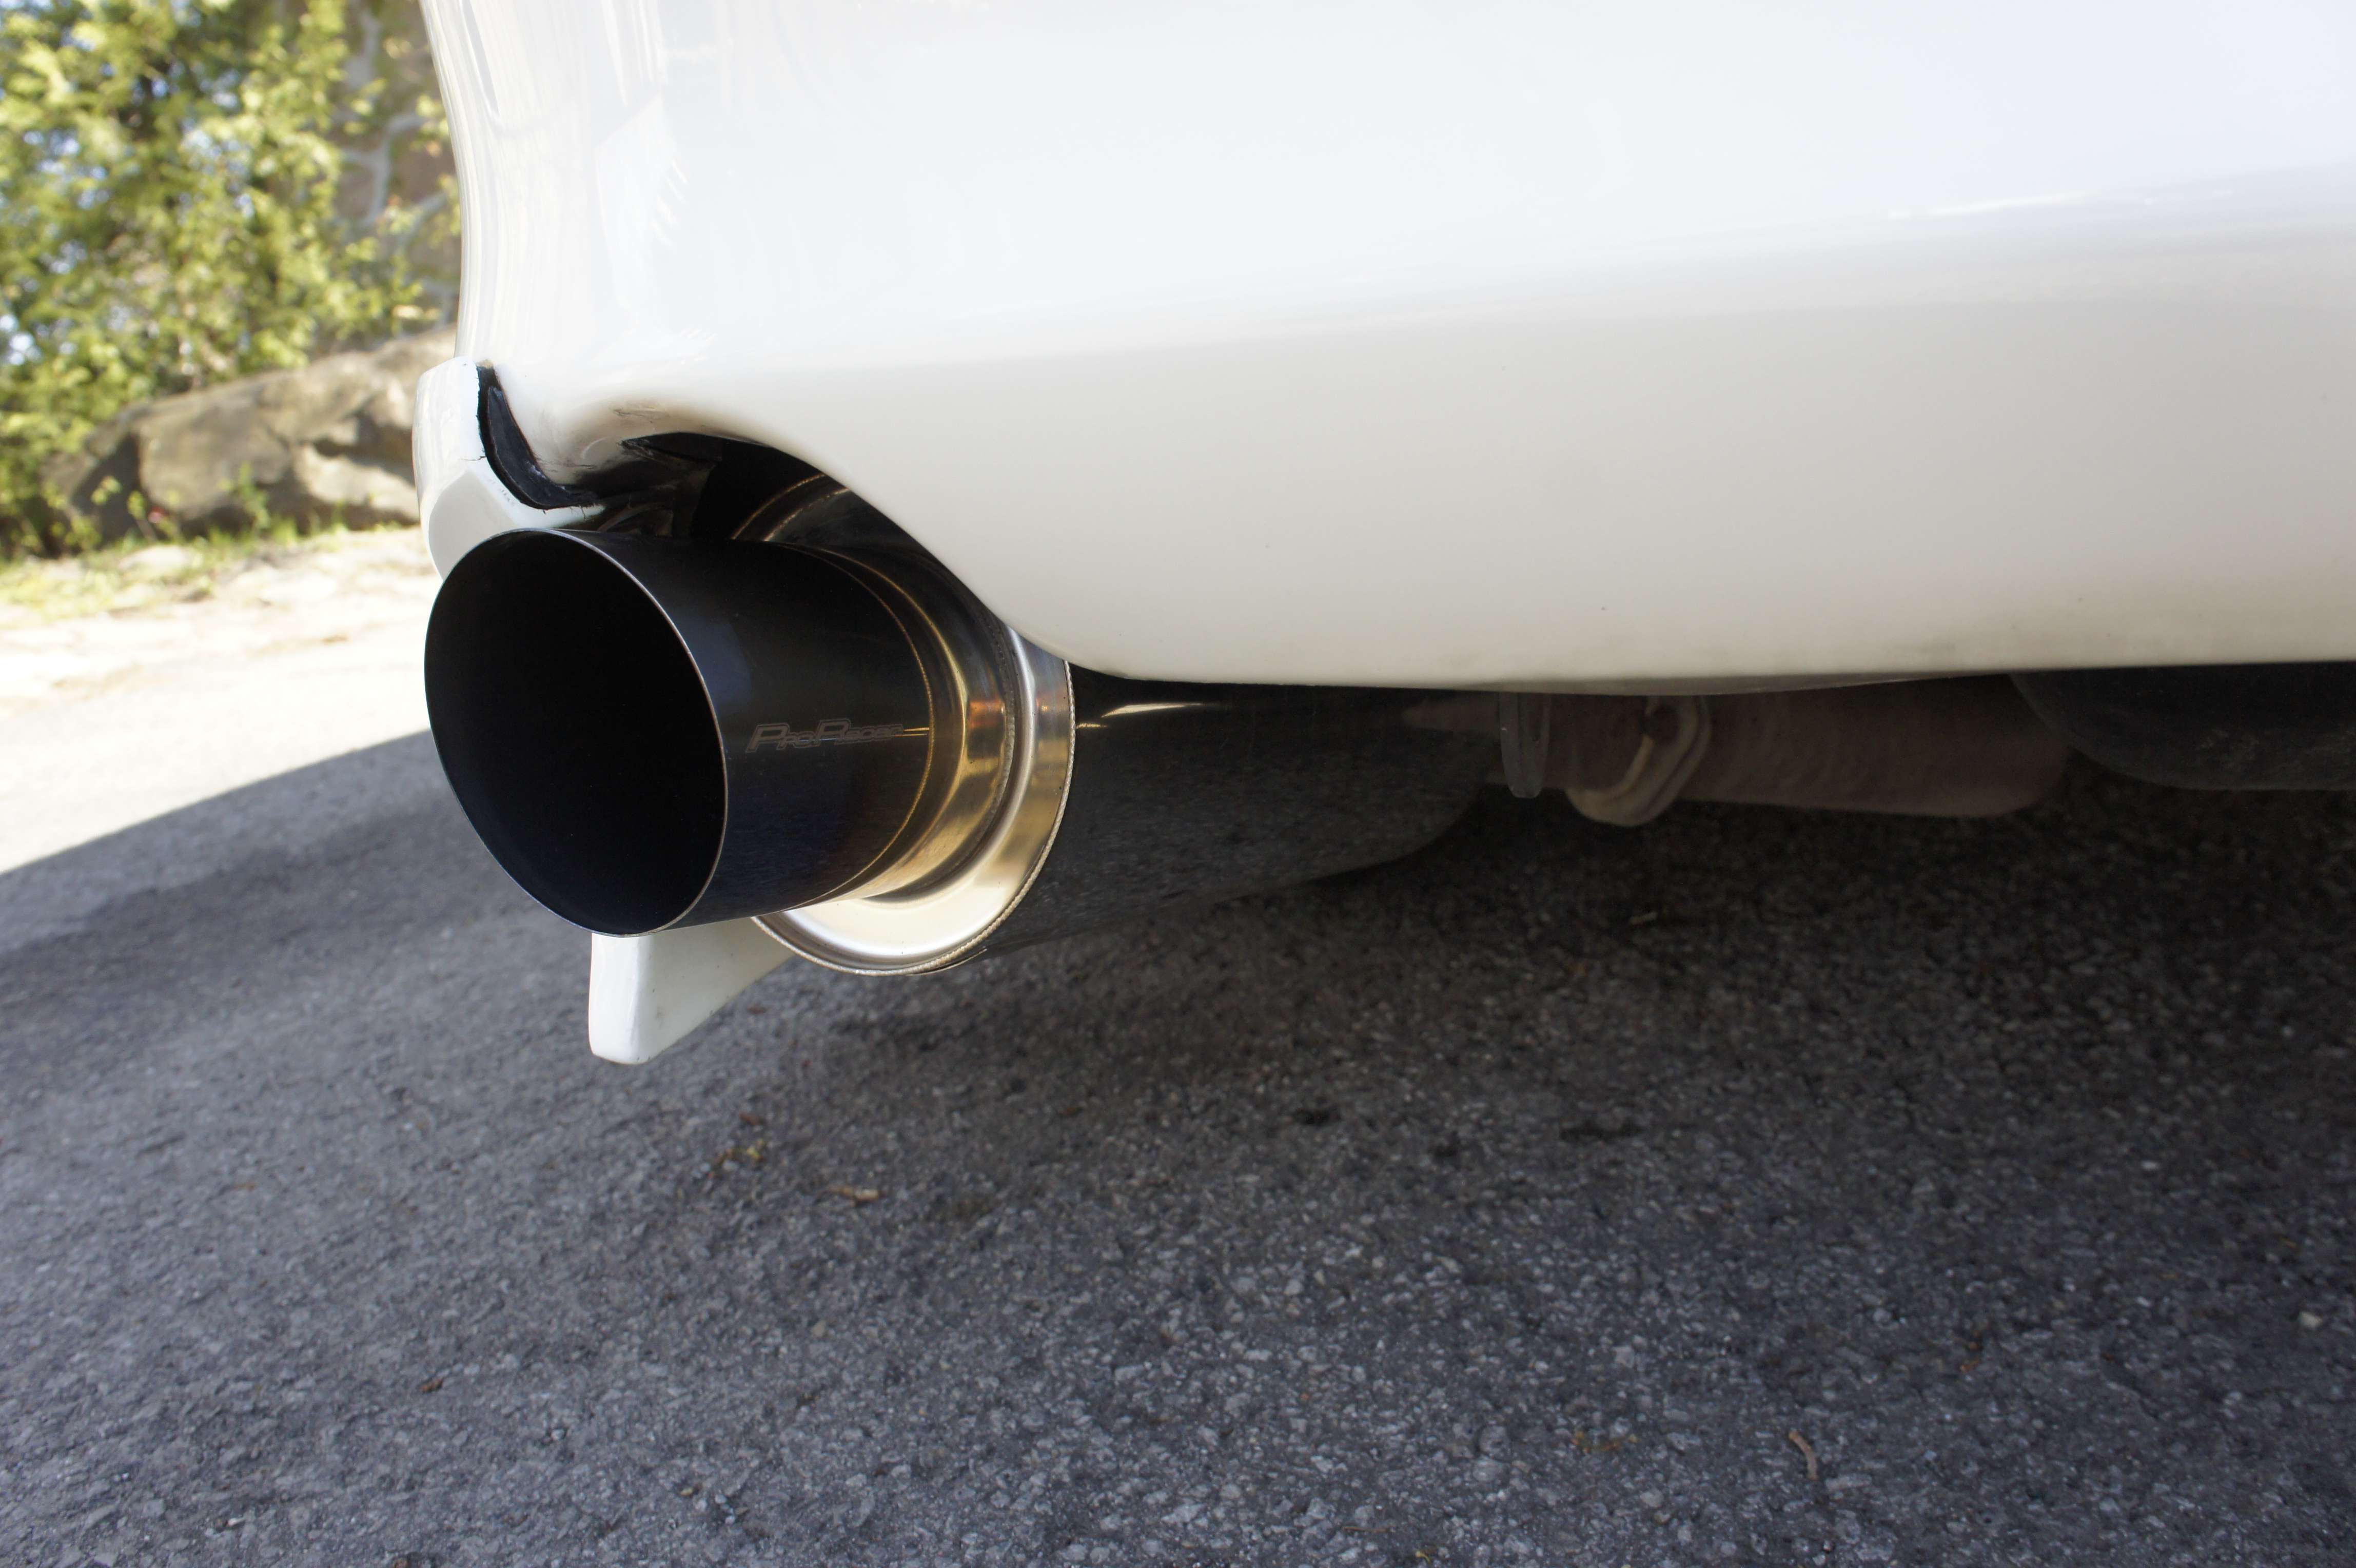
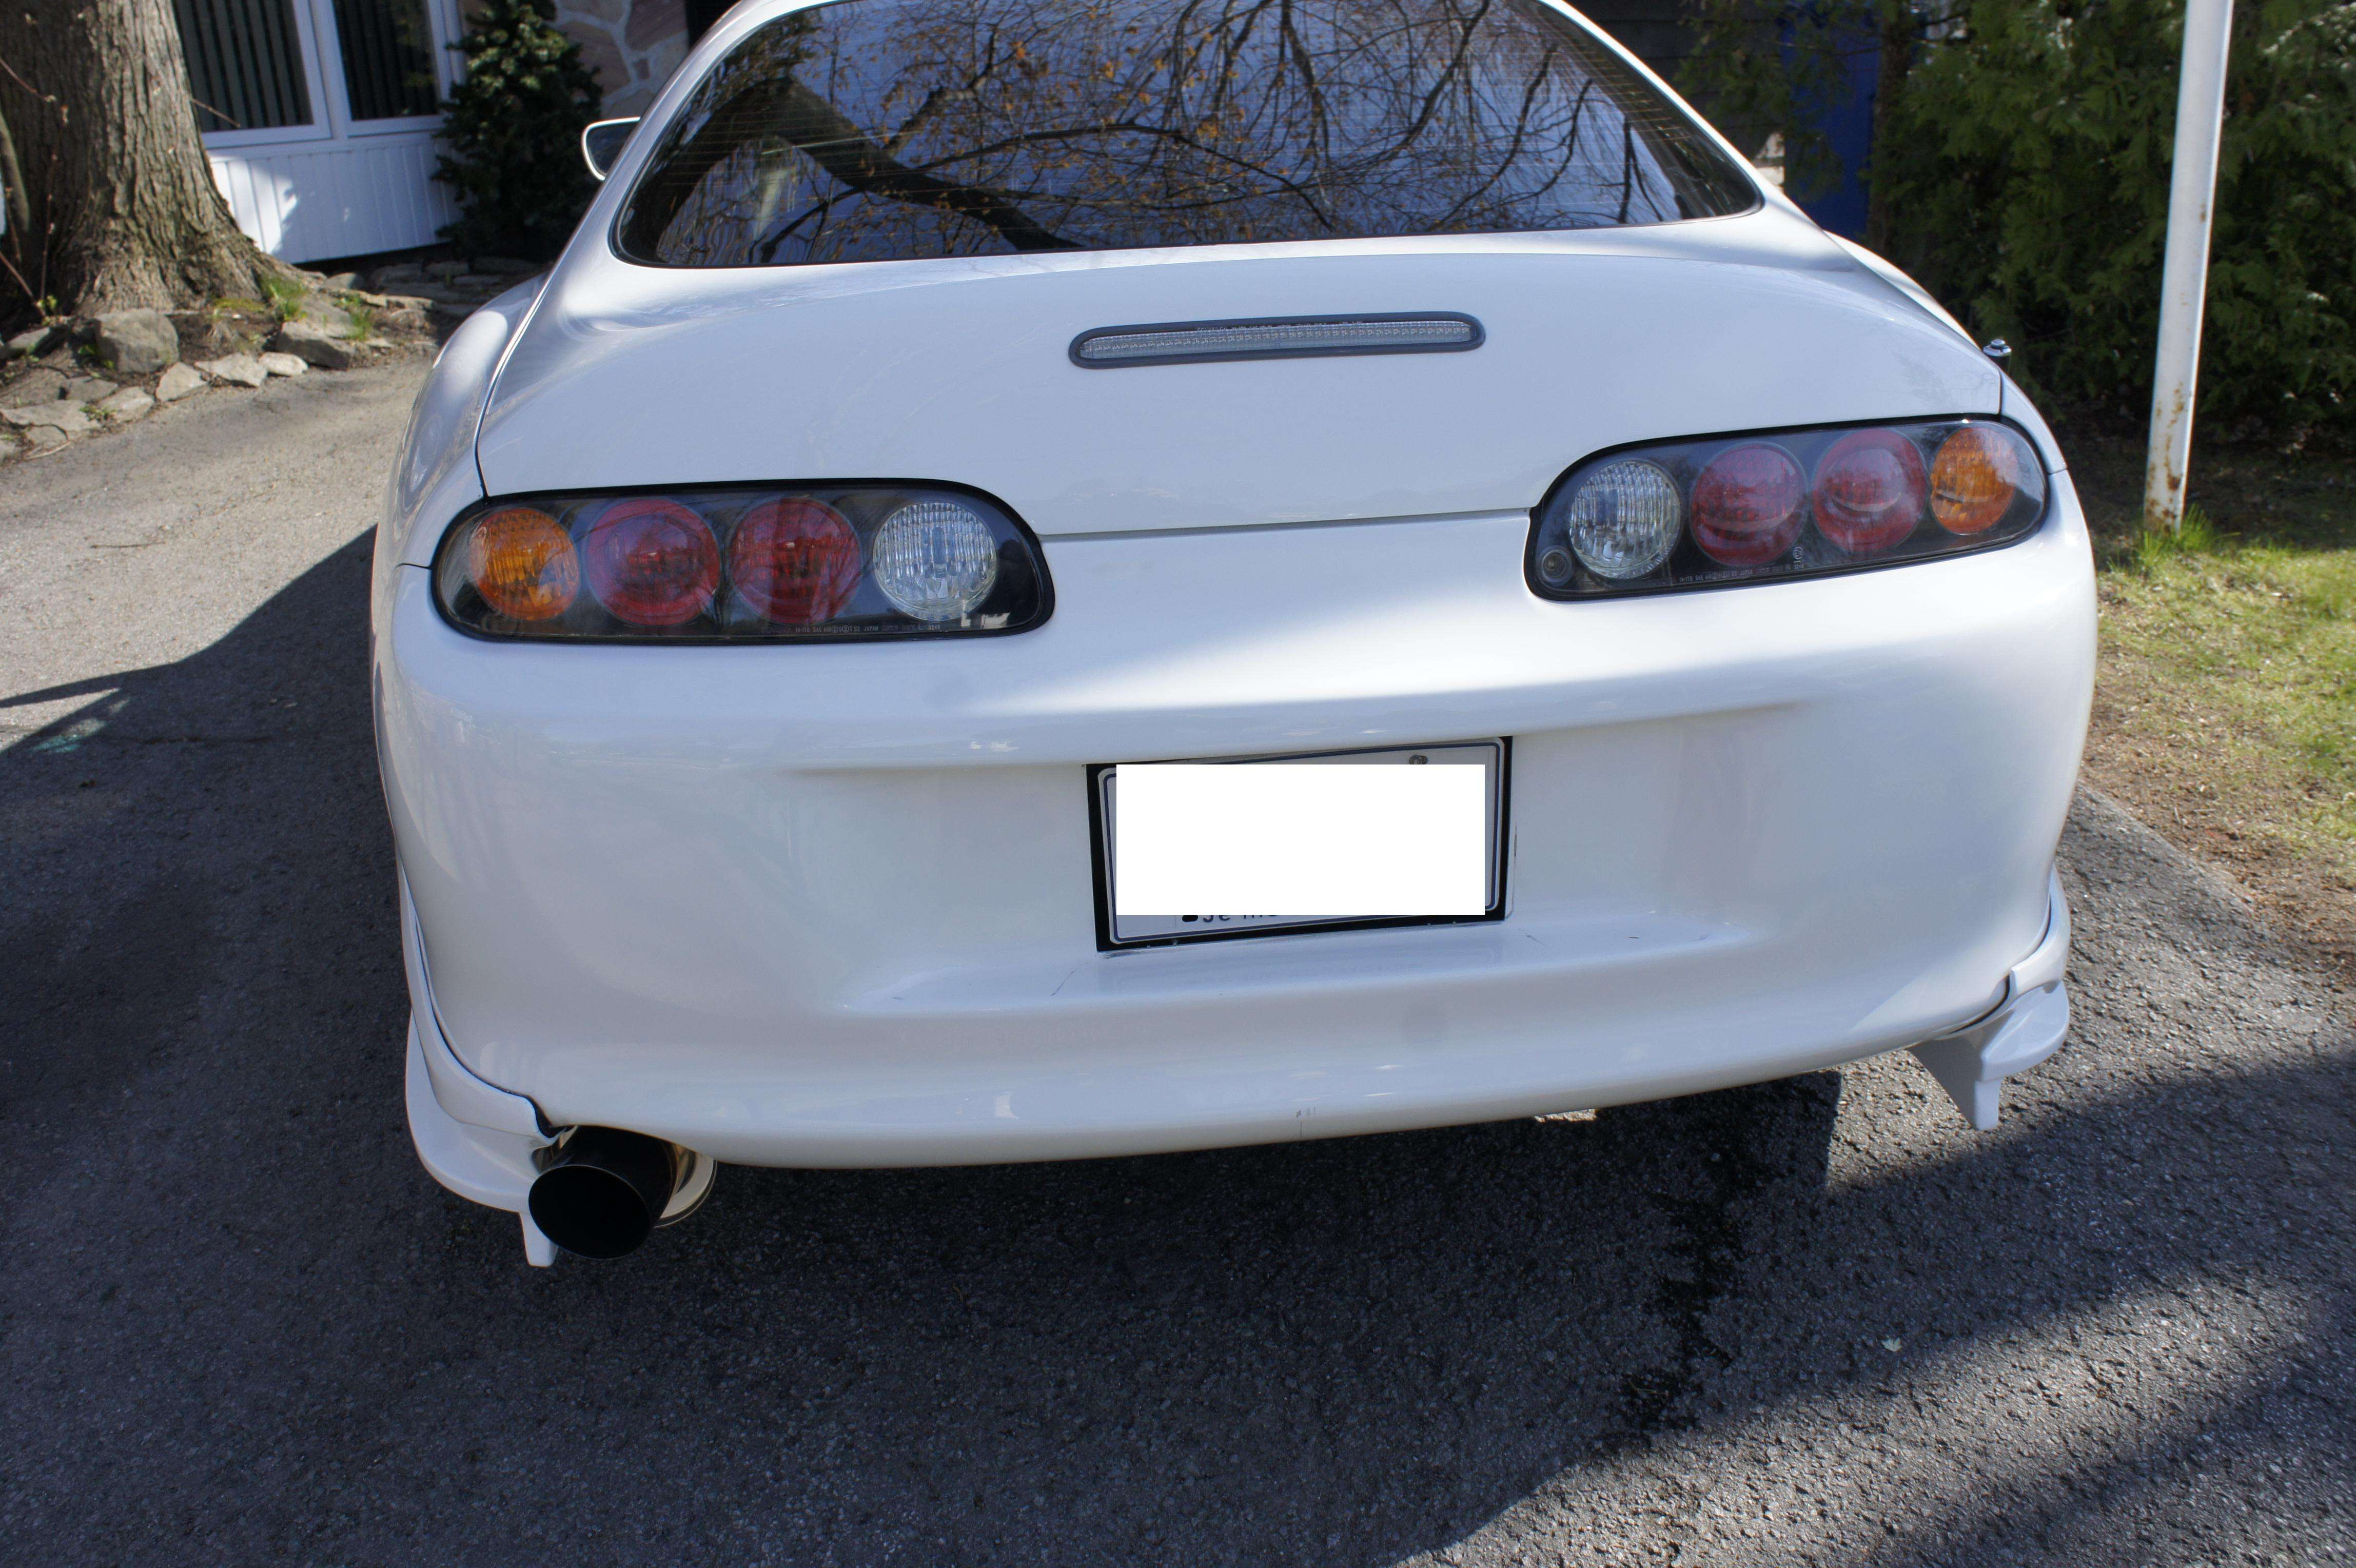
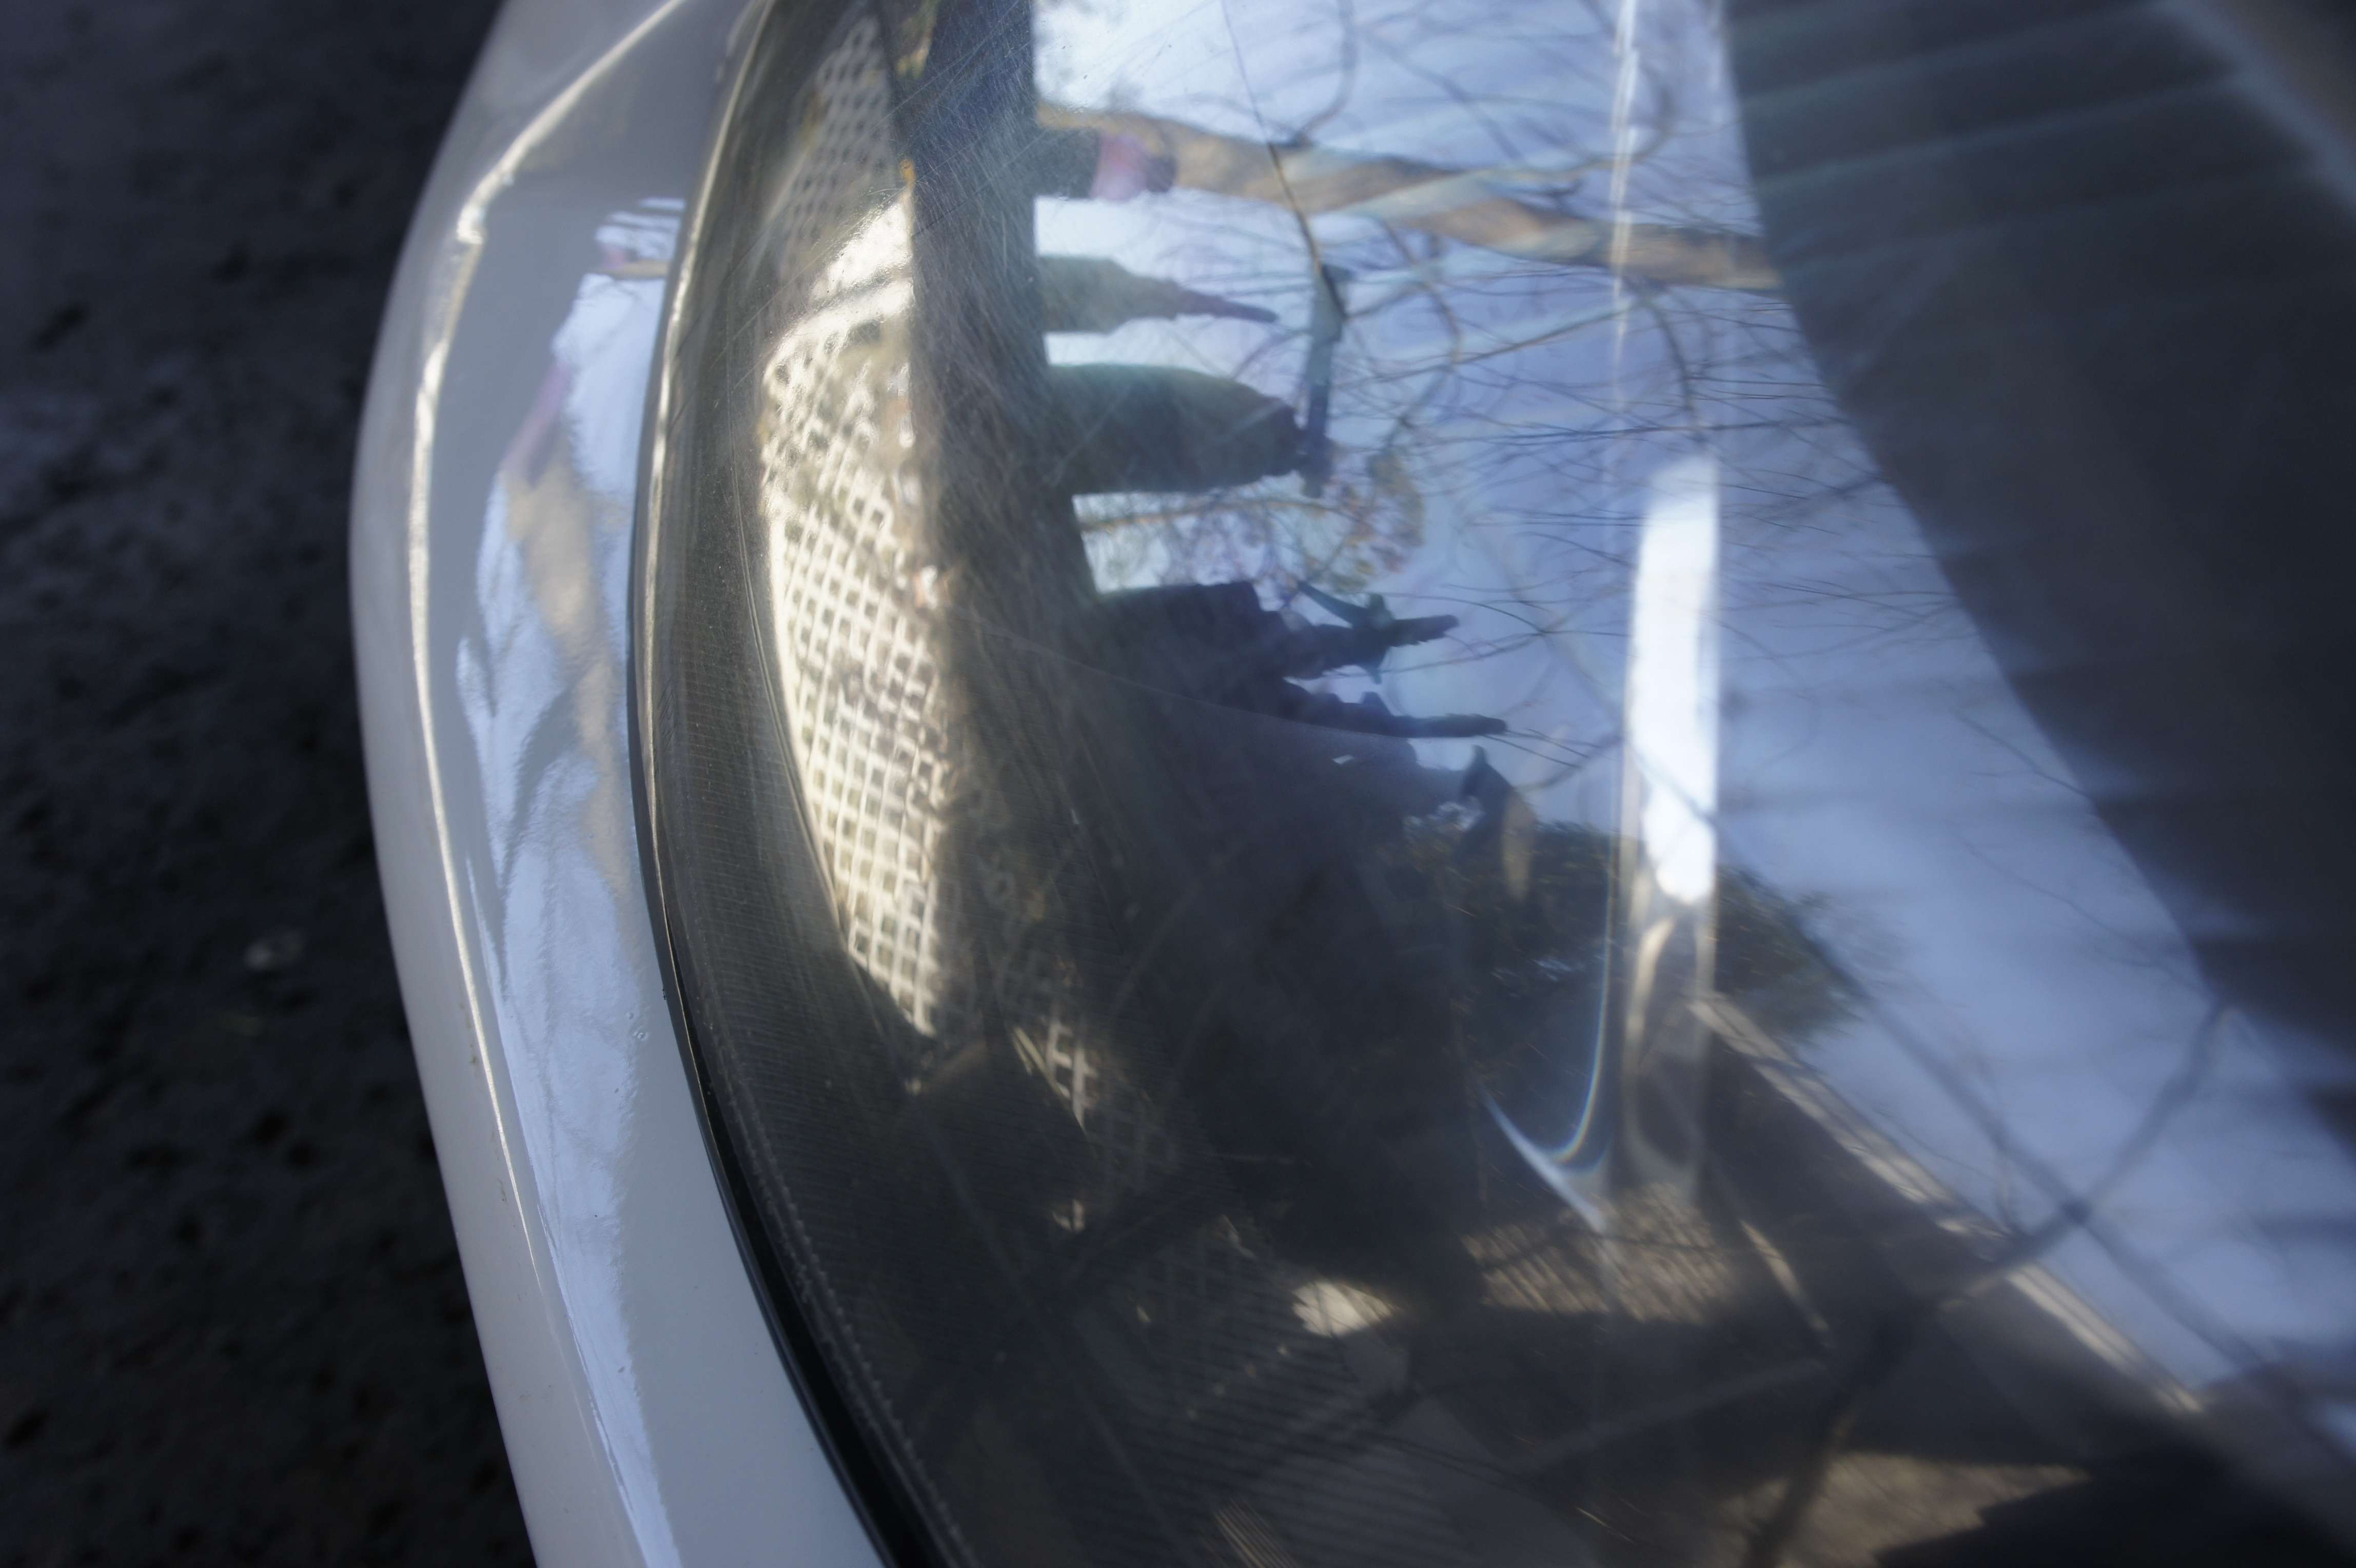
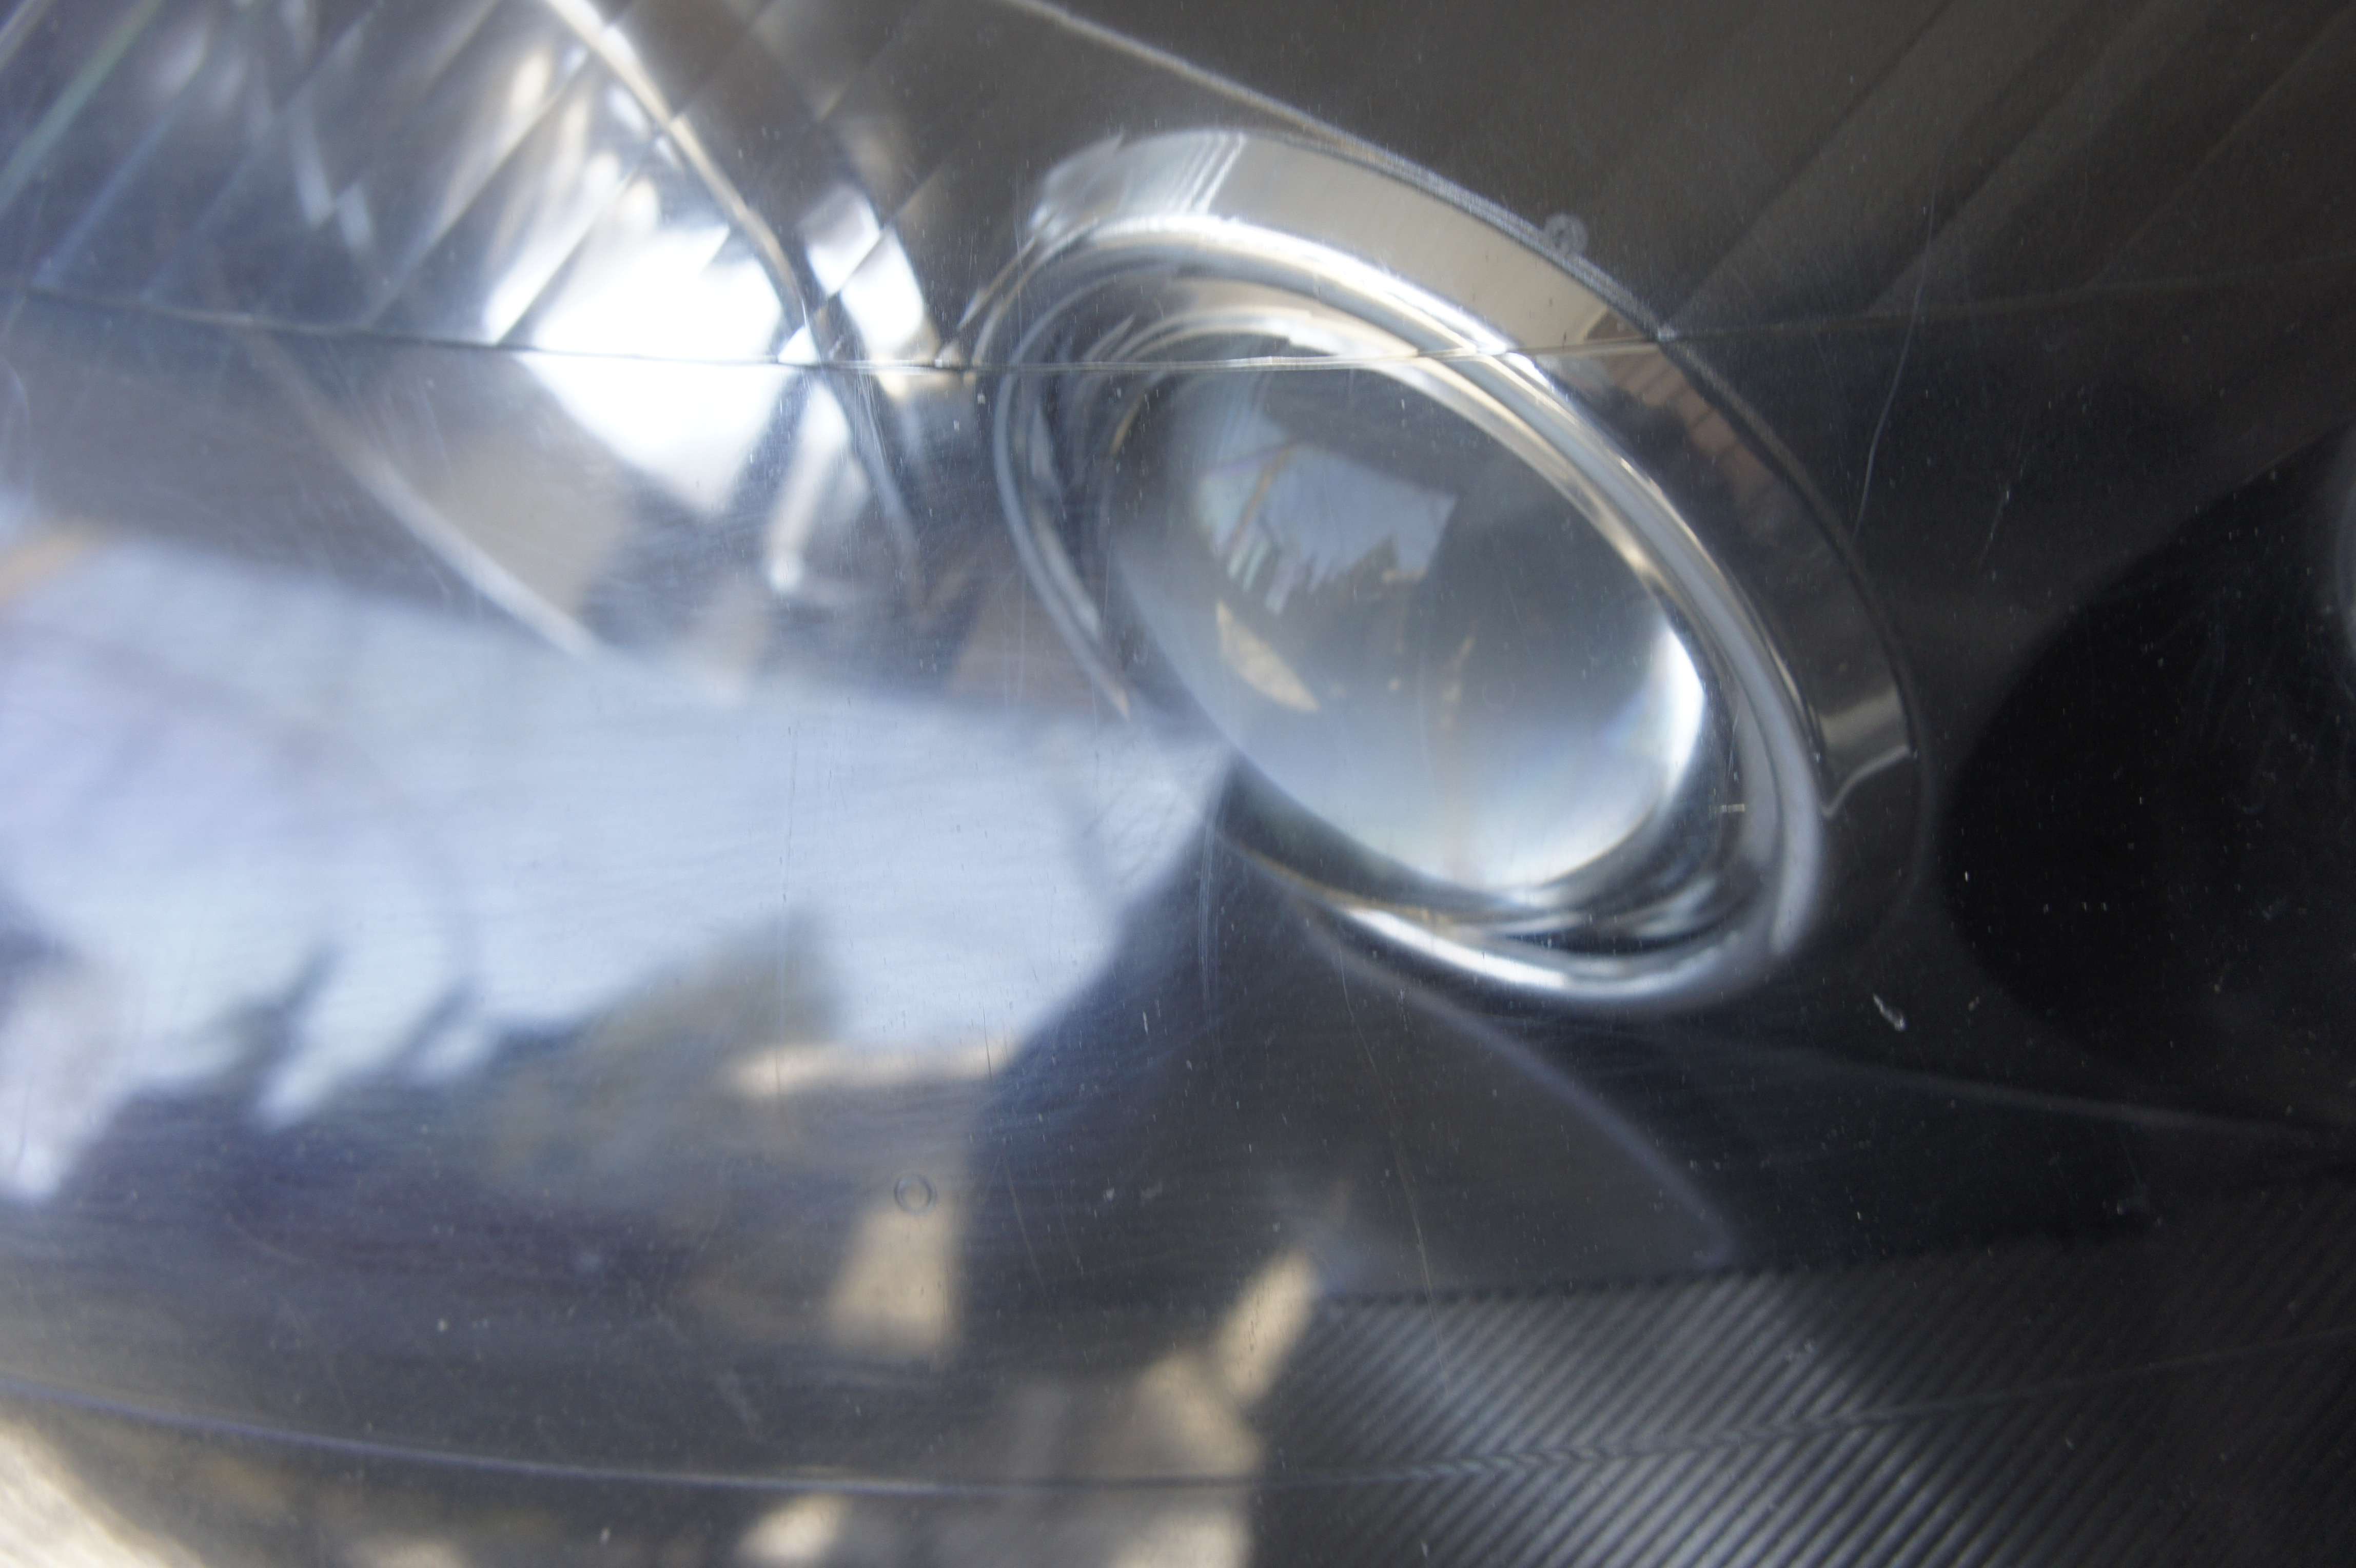
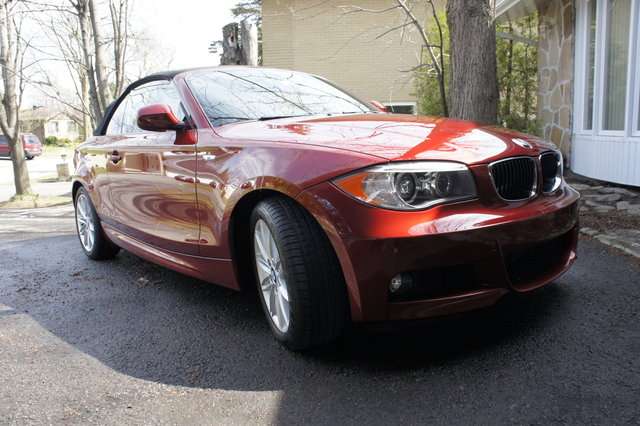
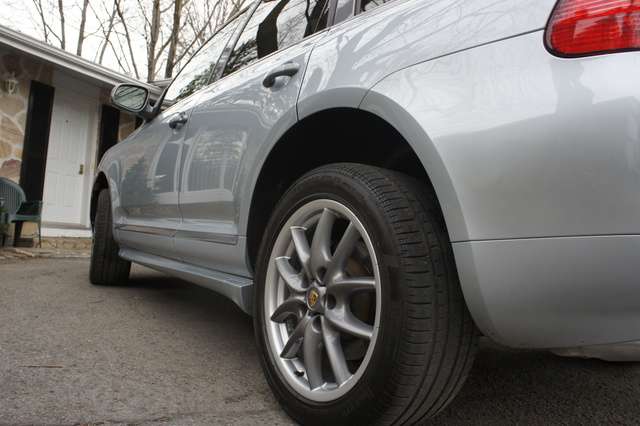
Let’s jump directly on the after-shot if you don’t mind.

What’s the buzz with this wax ? Well, first of all, it’s a truly exclusive formula that Mark from Raceglaze UK made for 5 person in the world, I was choosen to represent the NA and I’m very honored of that. Beside that, this wax boost 76% carnauba by volume which make it the highest ratio in the industry (ex-aco with Swissvax Crystal Rock) which means that wax leave a solid protection that will last a lot longer than your average wax. It will also sheet/bead water like no other wax. Finally, I personally find that Raceglaze leave a bit more of a wet-look ( perfect look for darker paint) than Crystal Rock.
Enough talking Alex.. show us the pictures!! Ok. Ok. There ya go


Enjoy!


Leave a comment: