If this is your first visit, be sure to
check out the FAQ by clicking the
link above. You may have to register
before you can post: click the register link above to proceed. To start viewing messages,
select the forum that you want to visit from the selection below.
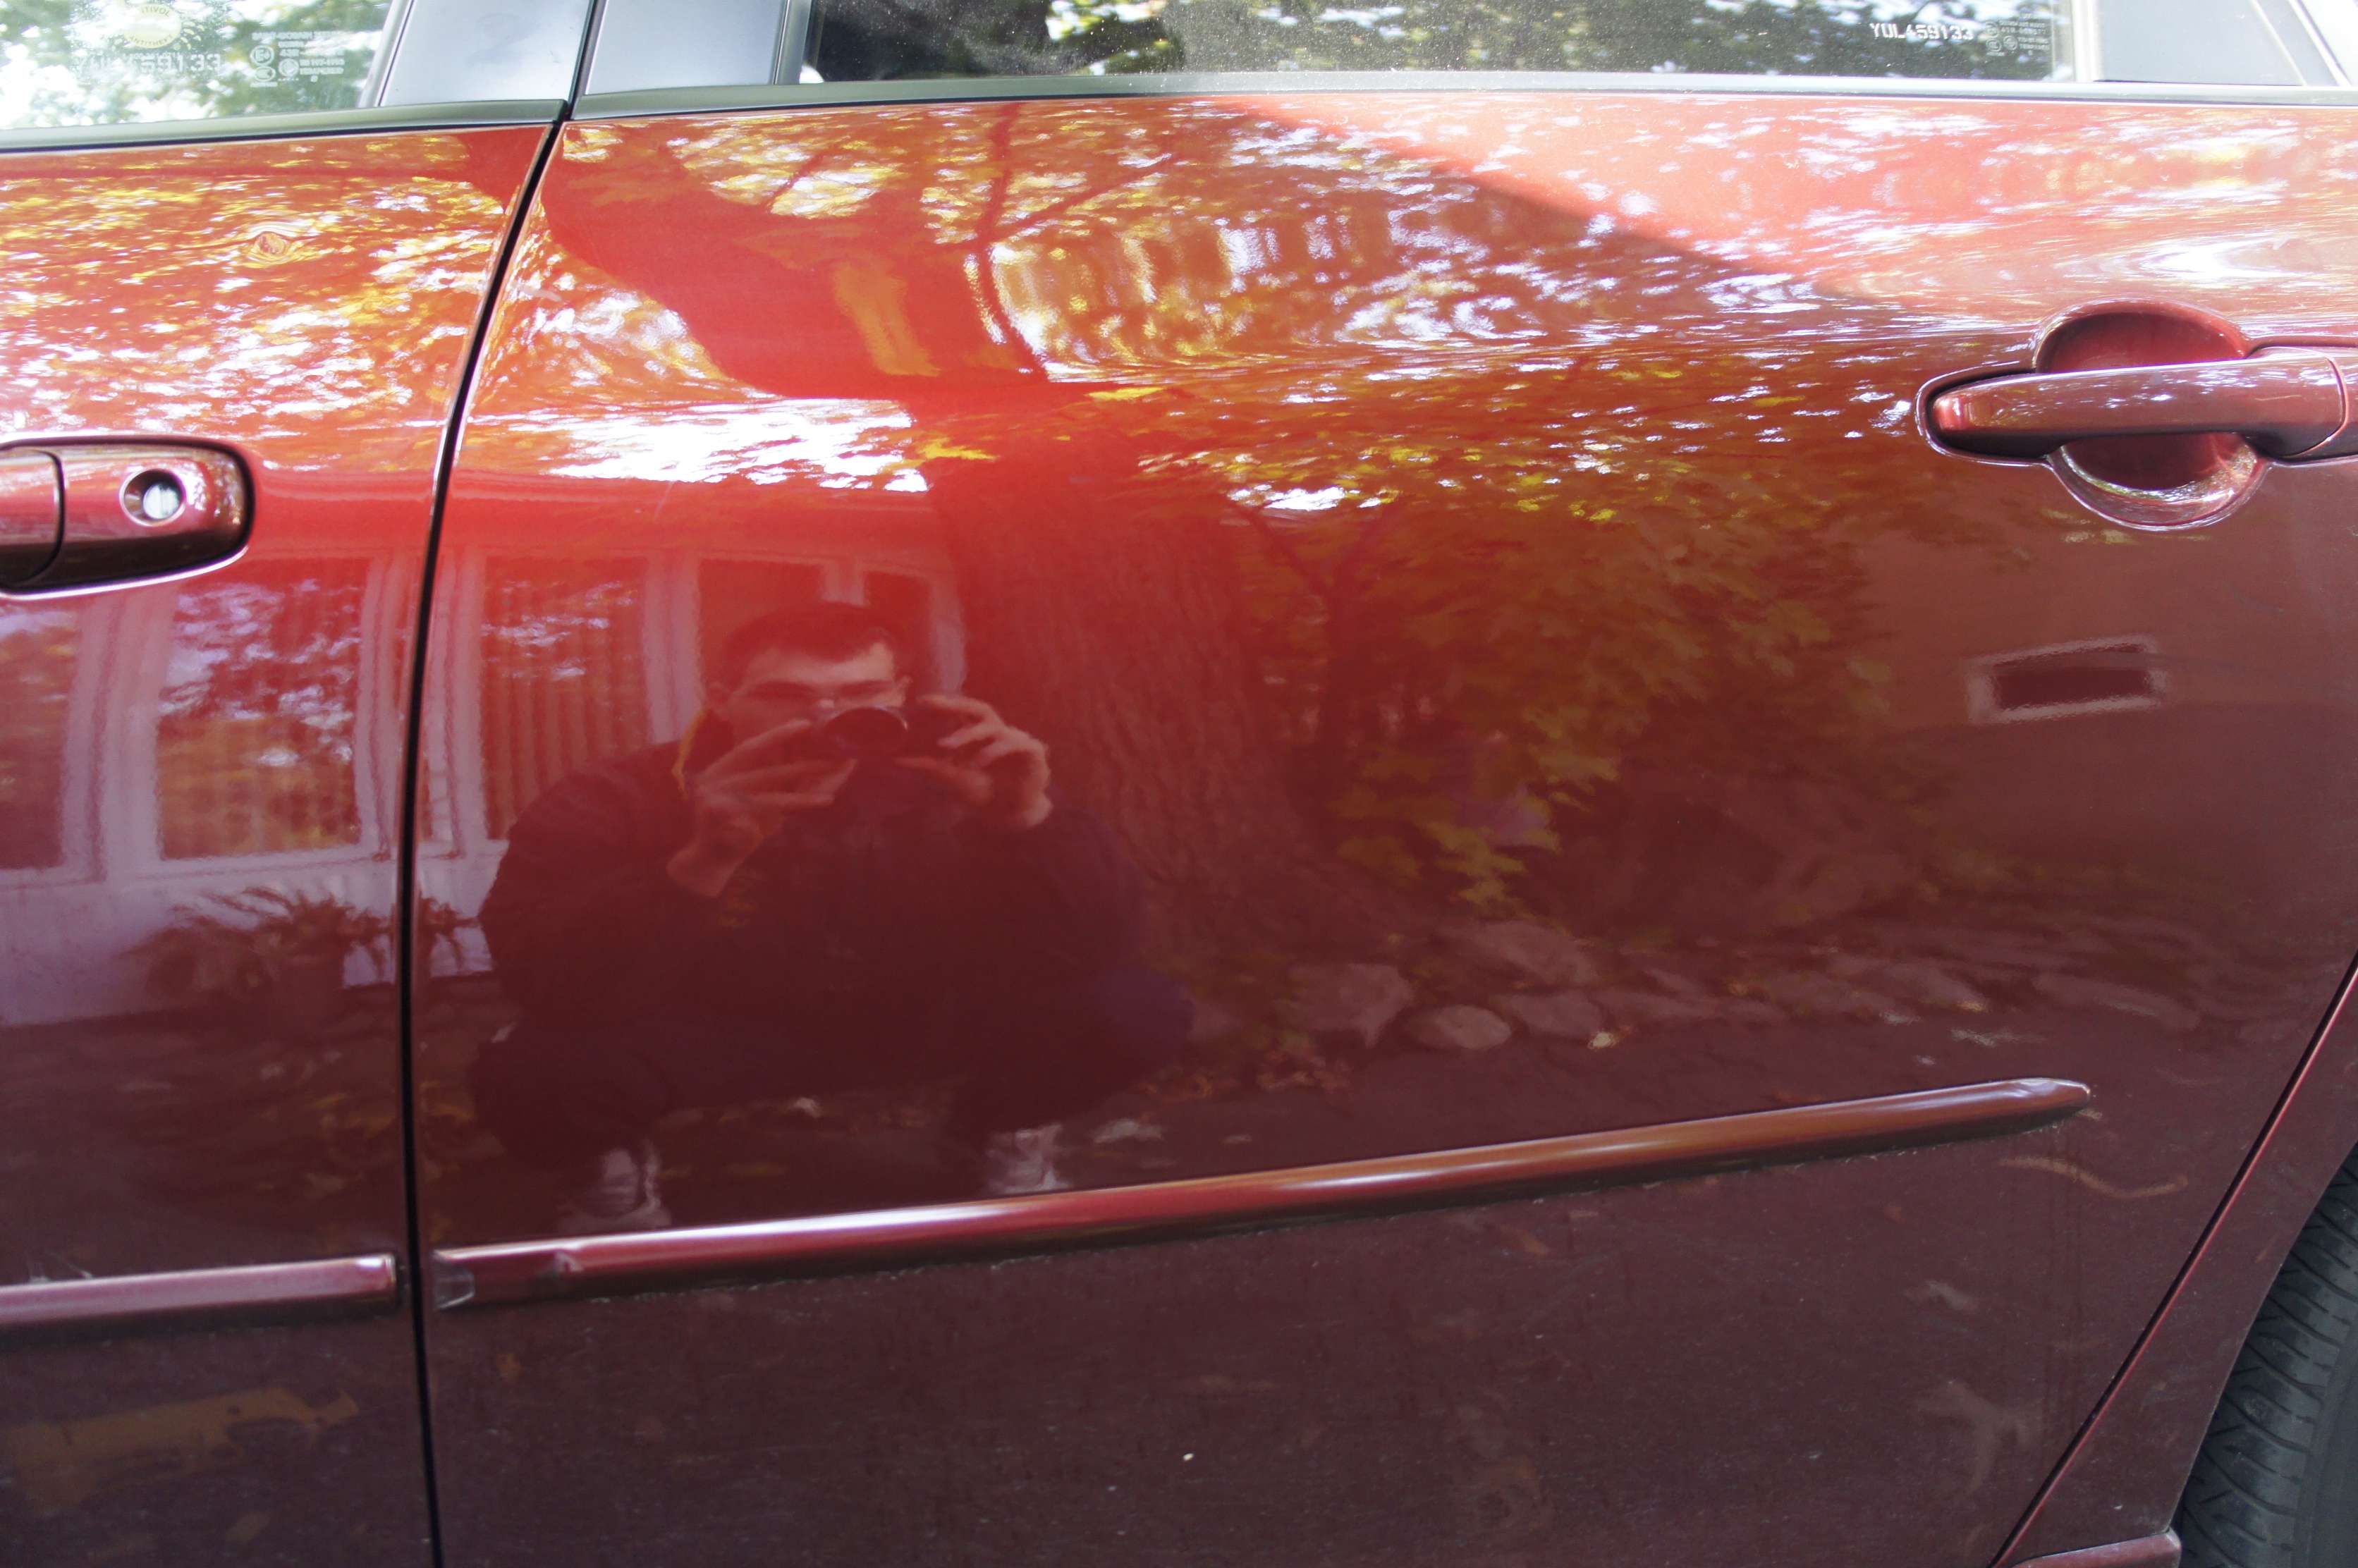
Voici une autre correction; je ne suis pas 100% satisfait du r�sultat, donc on va aller se procurer du touch-up et on verra avec du sablage � l'eau. ce traitement �tait fait seulement au polissage, sans sablage � l'eau.
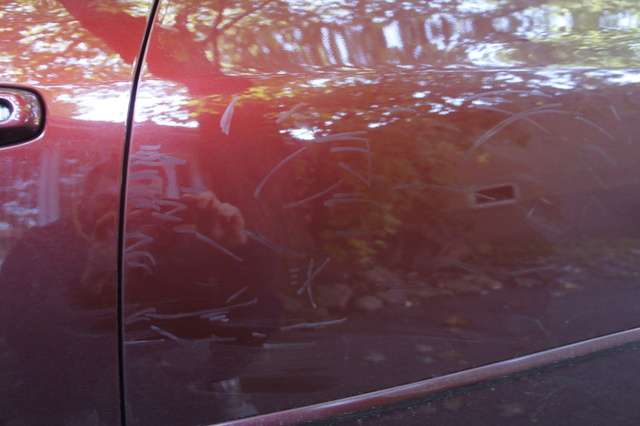
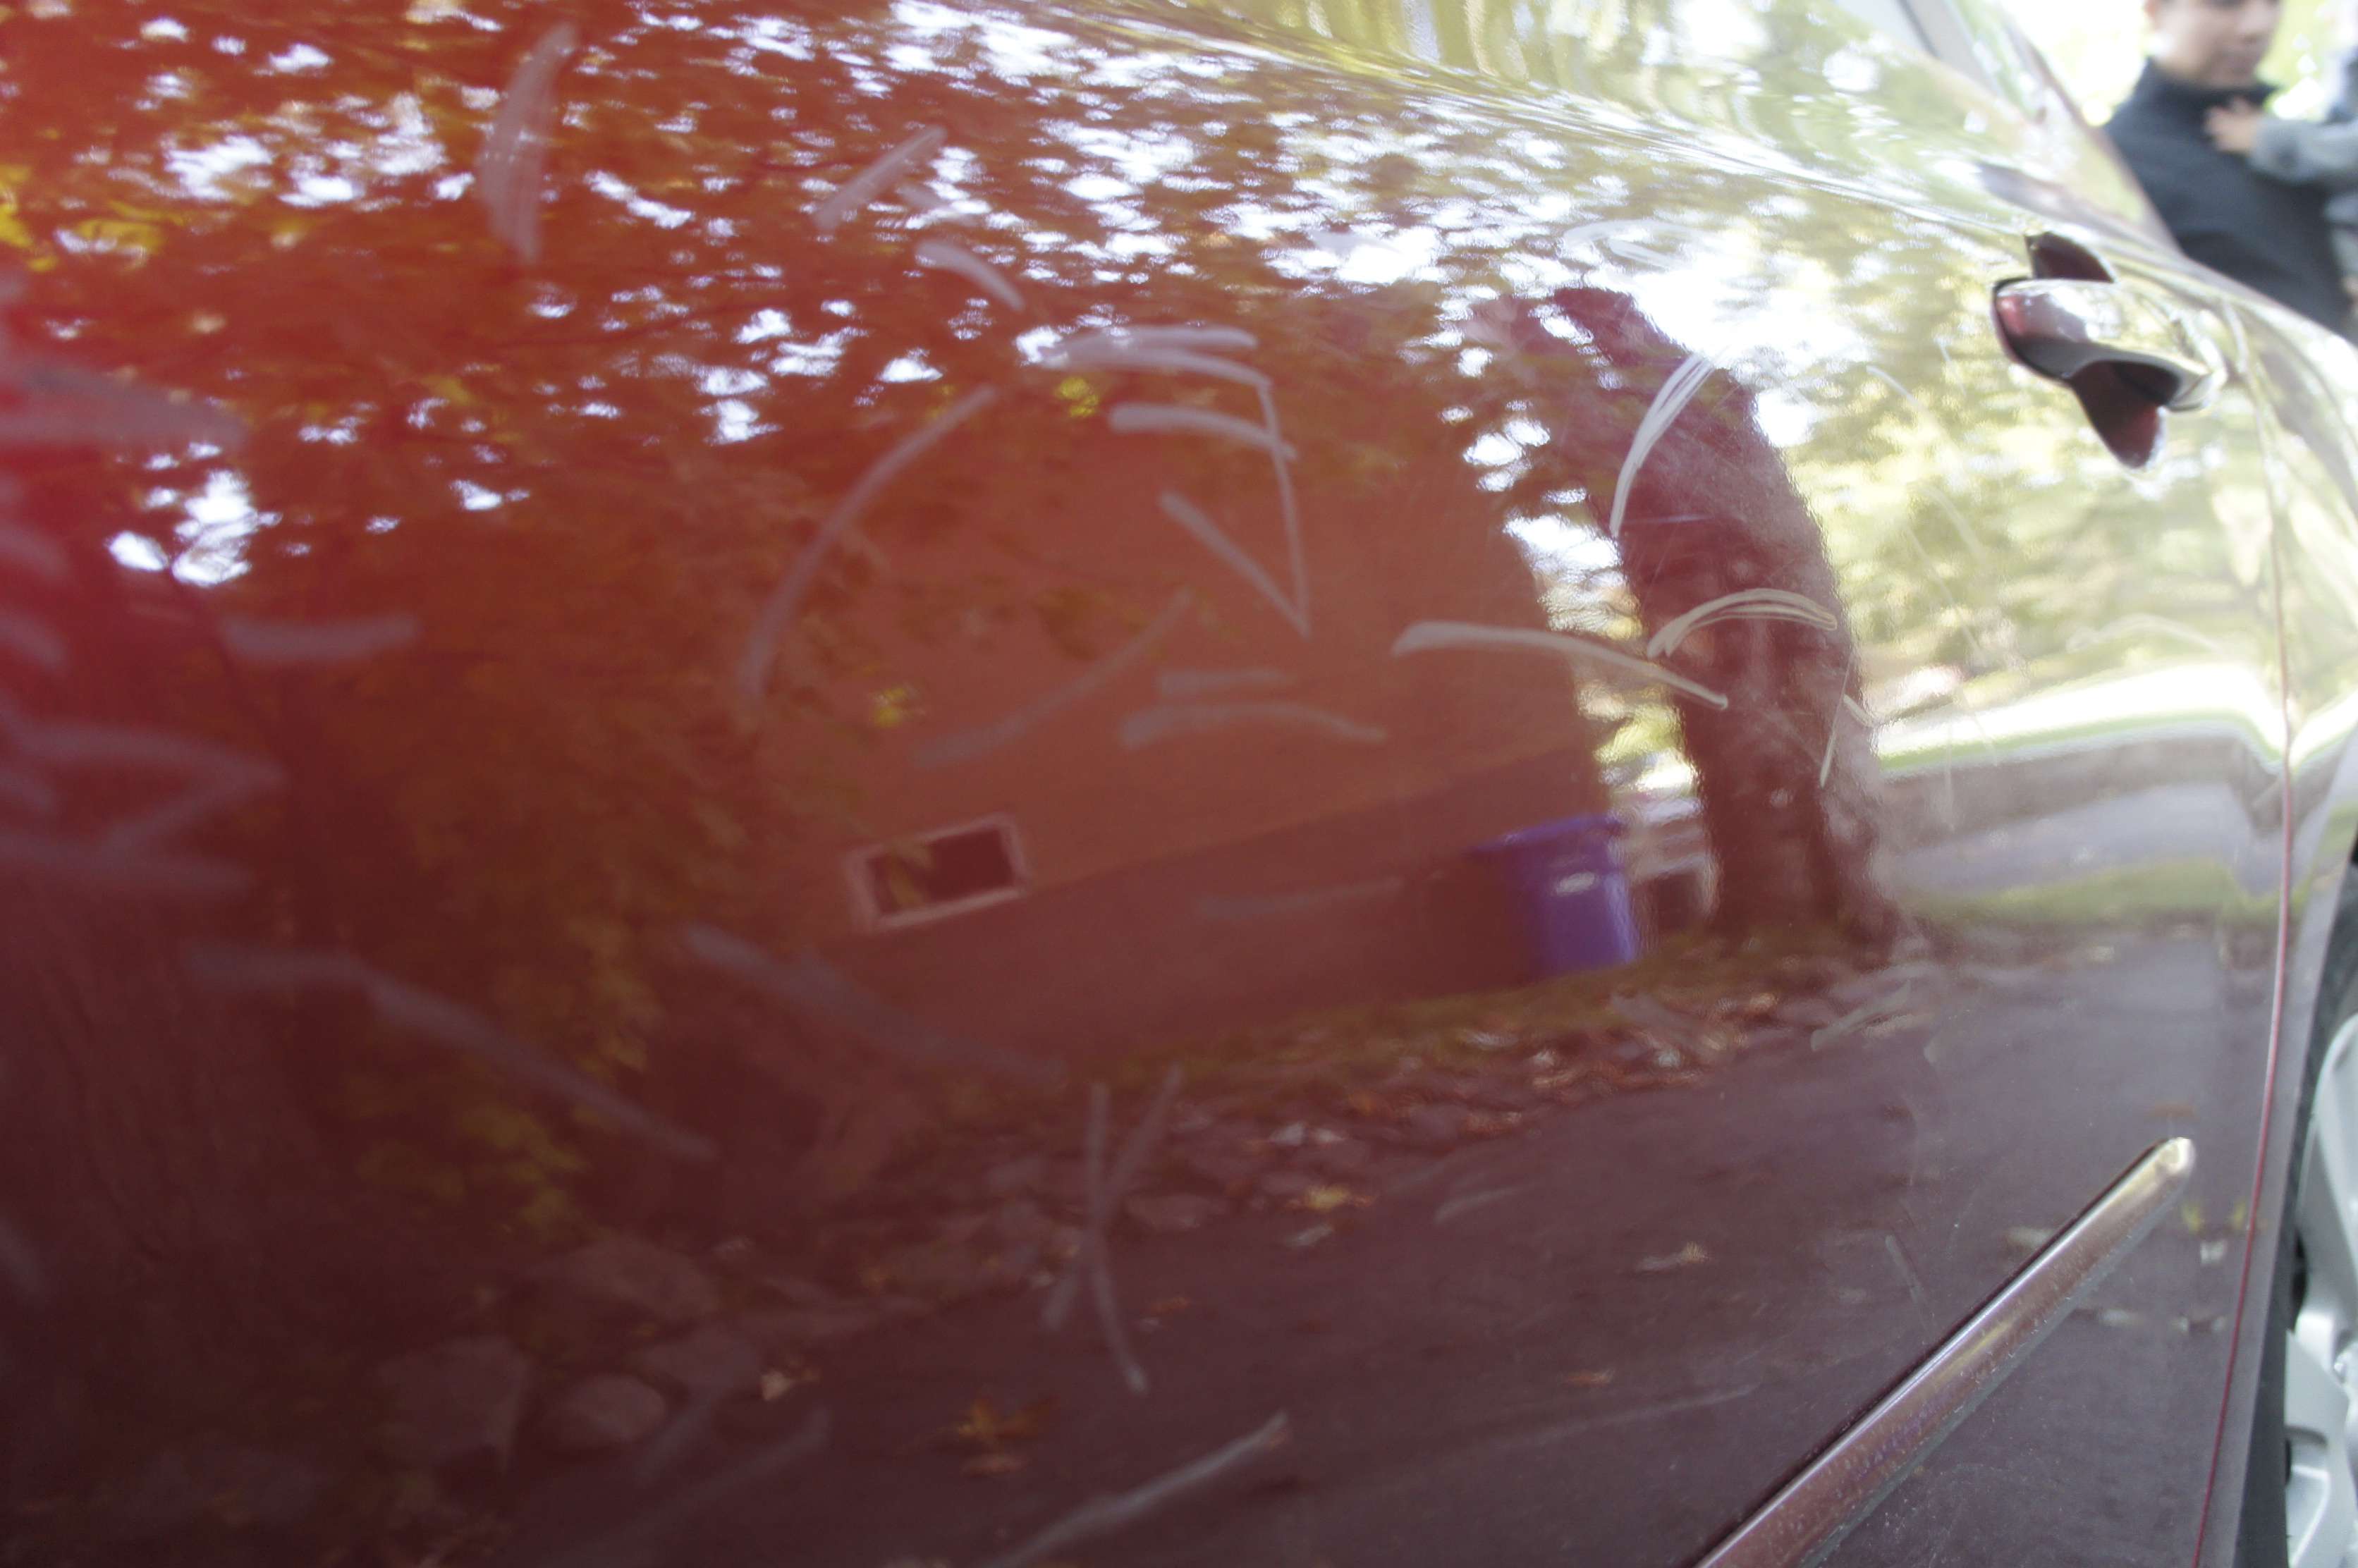
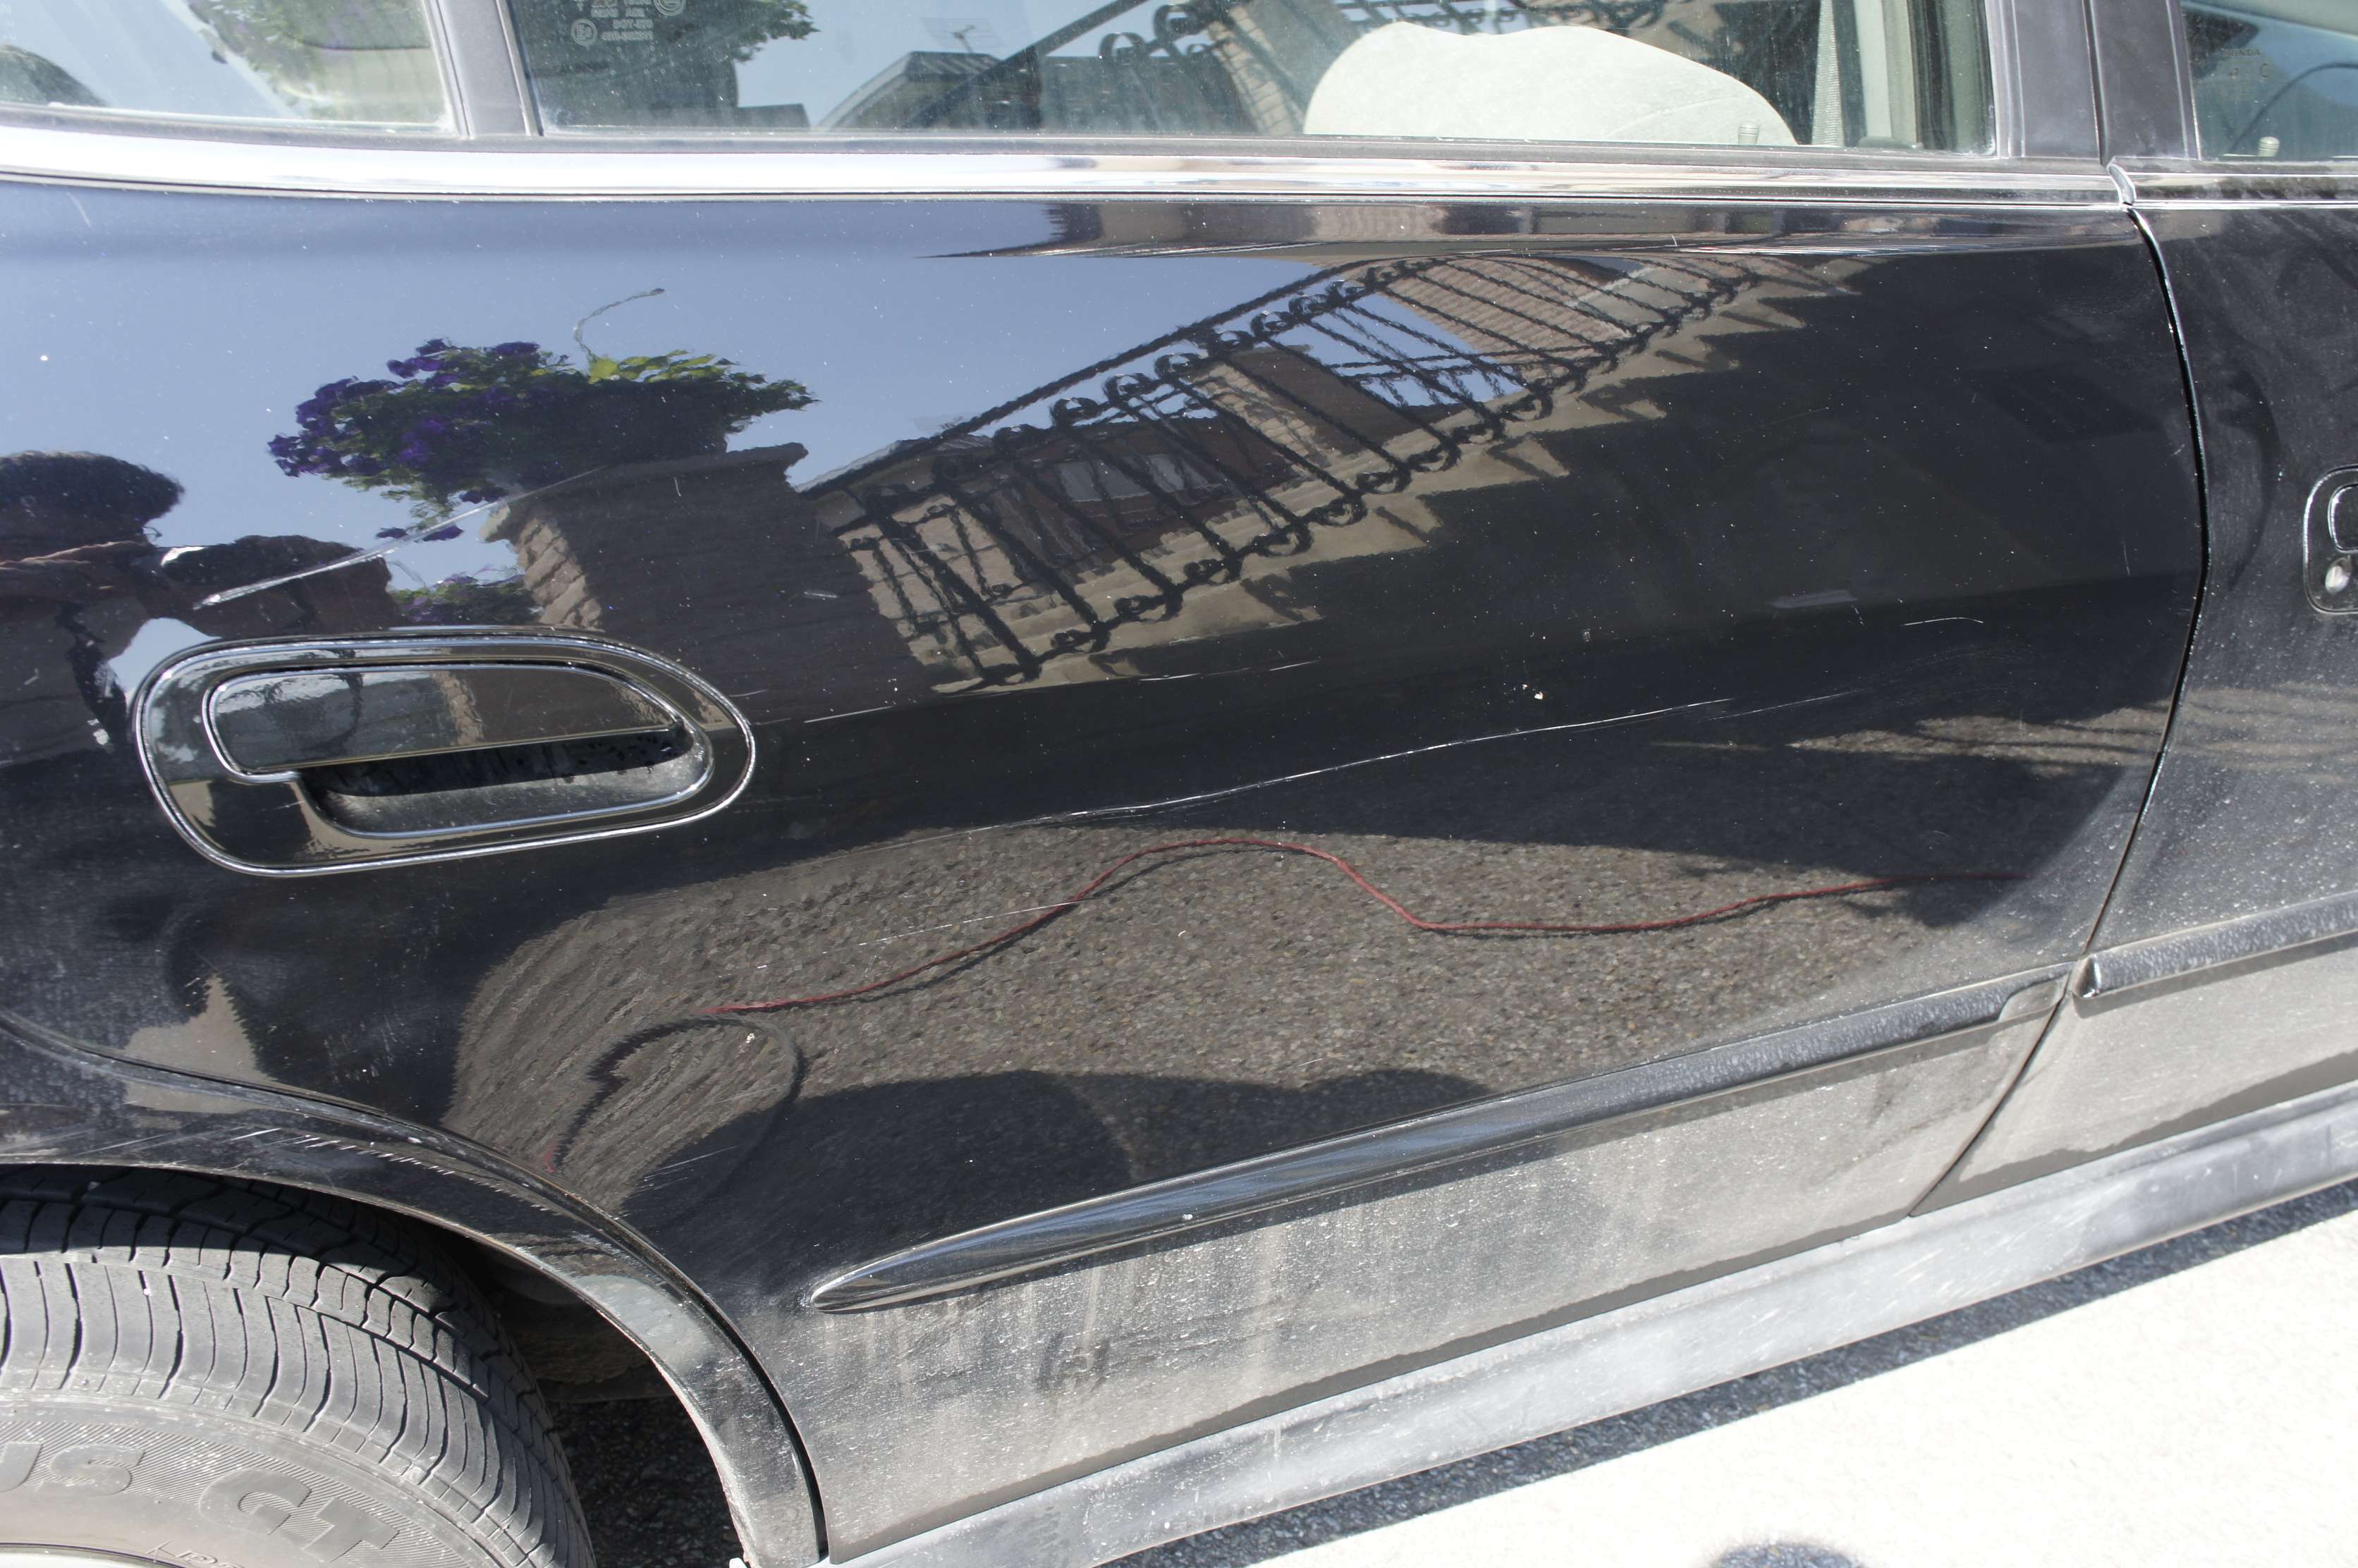
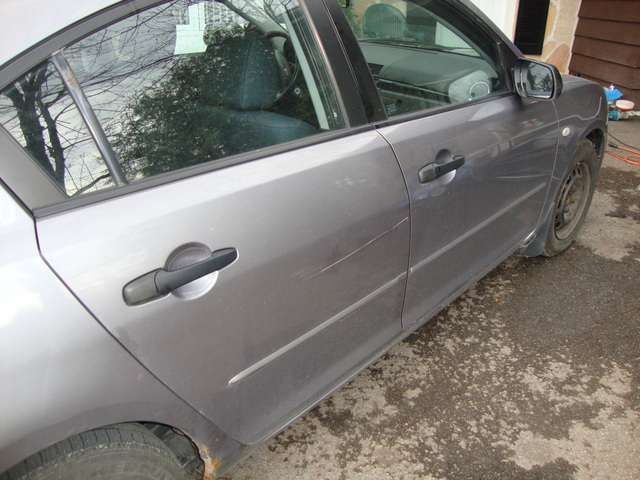
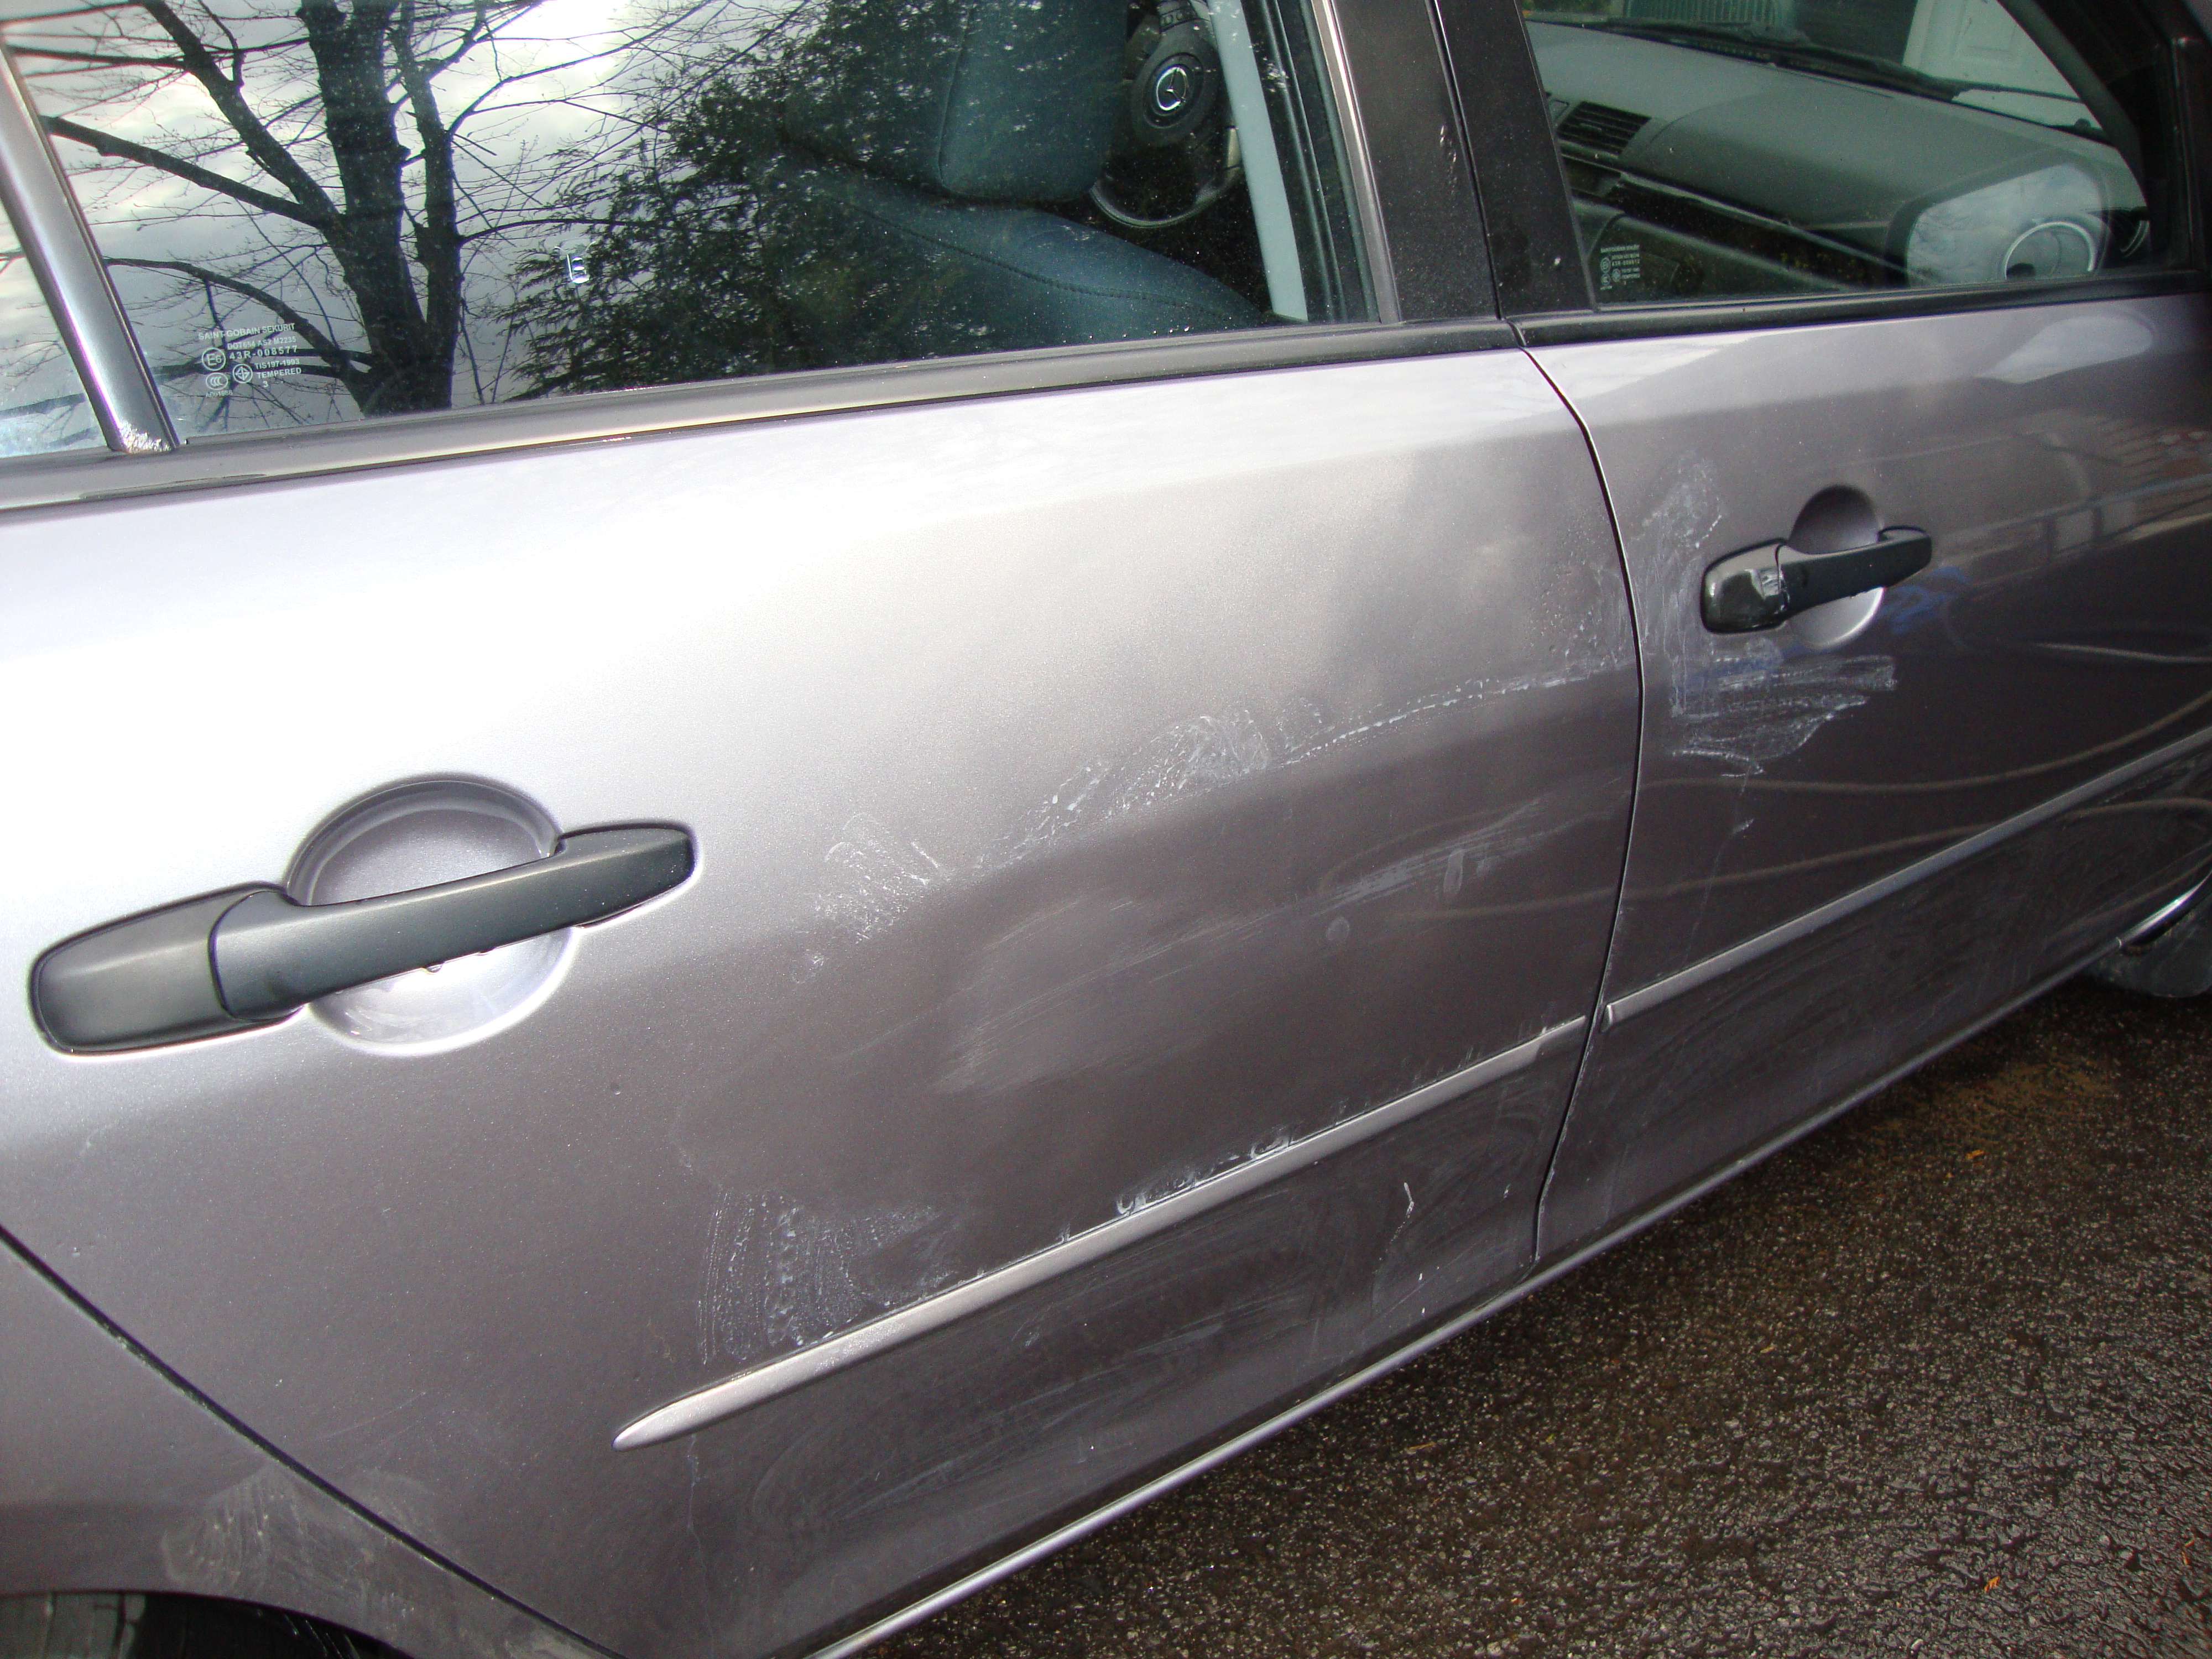
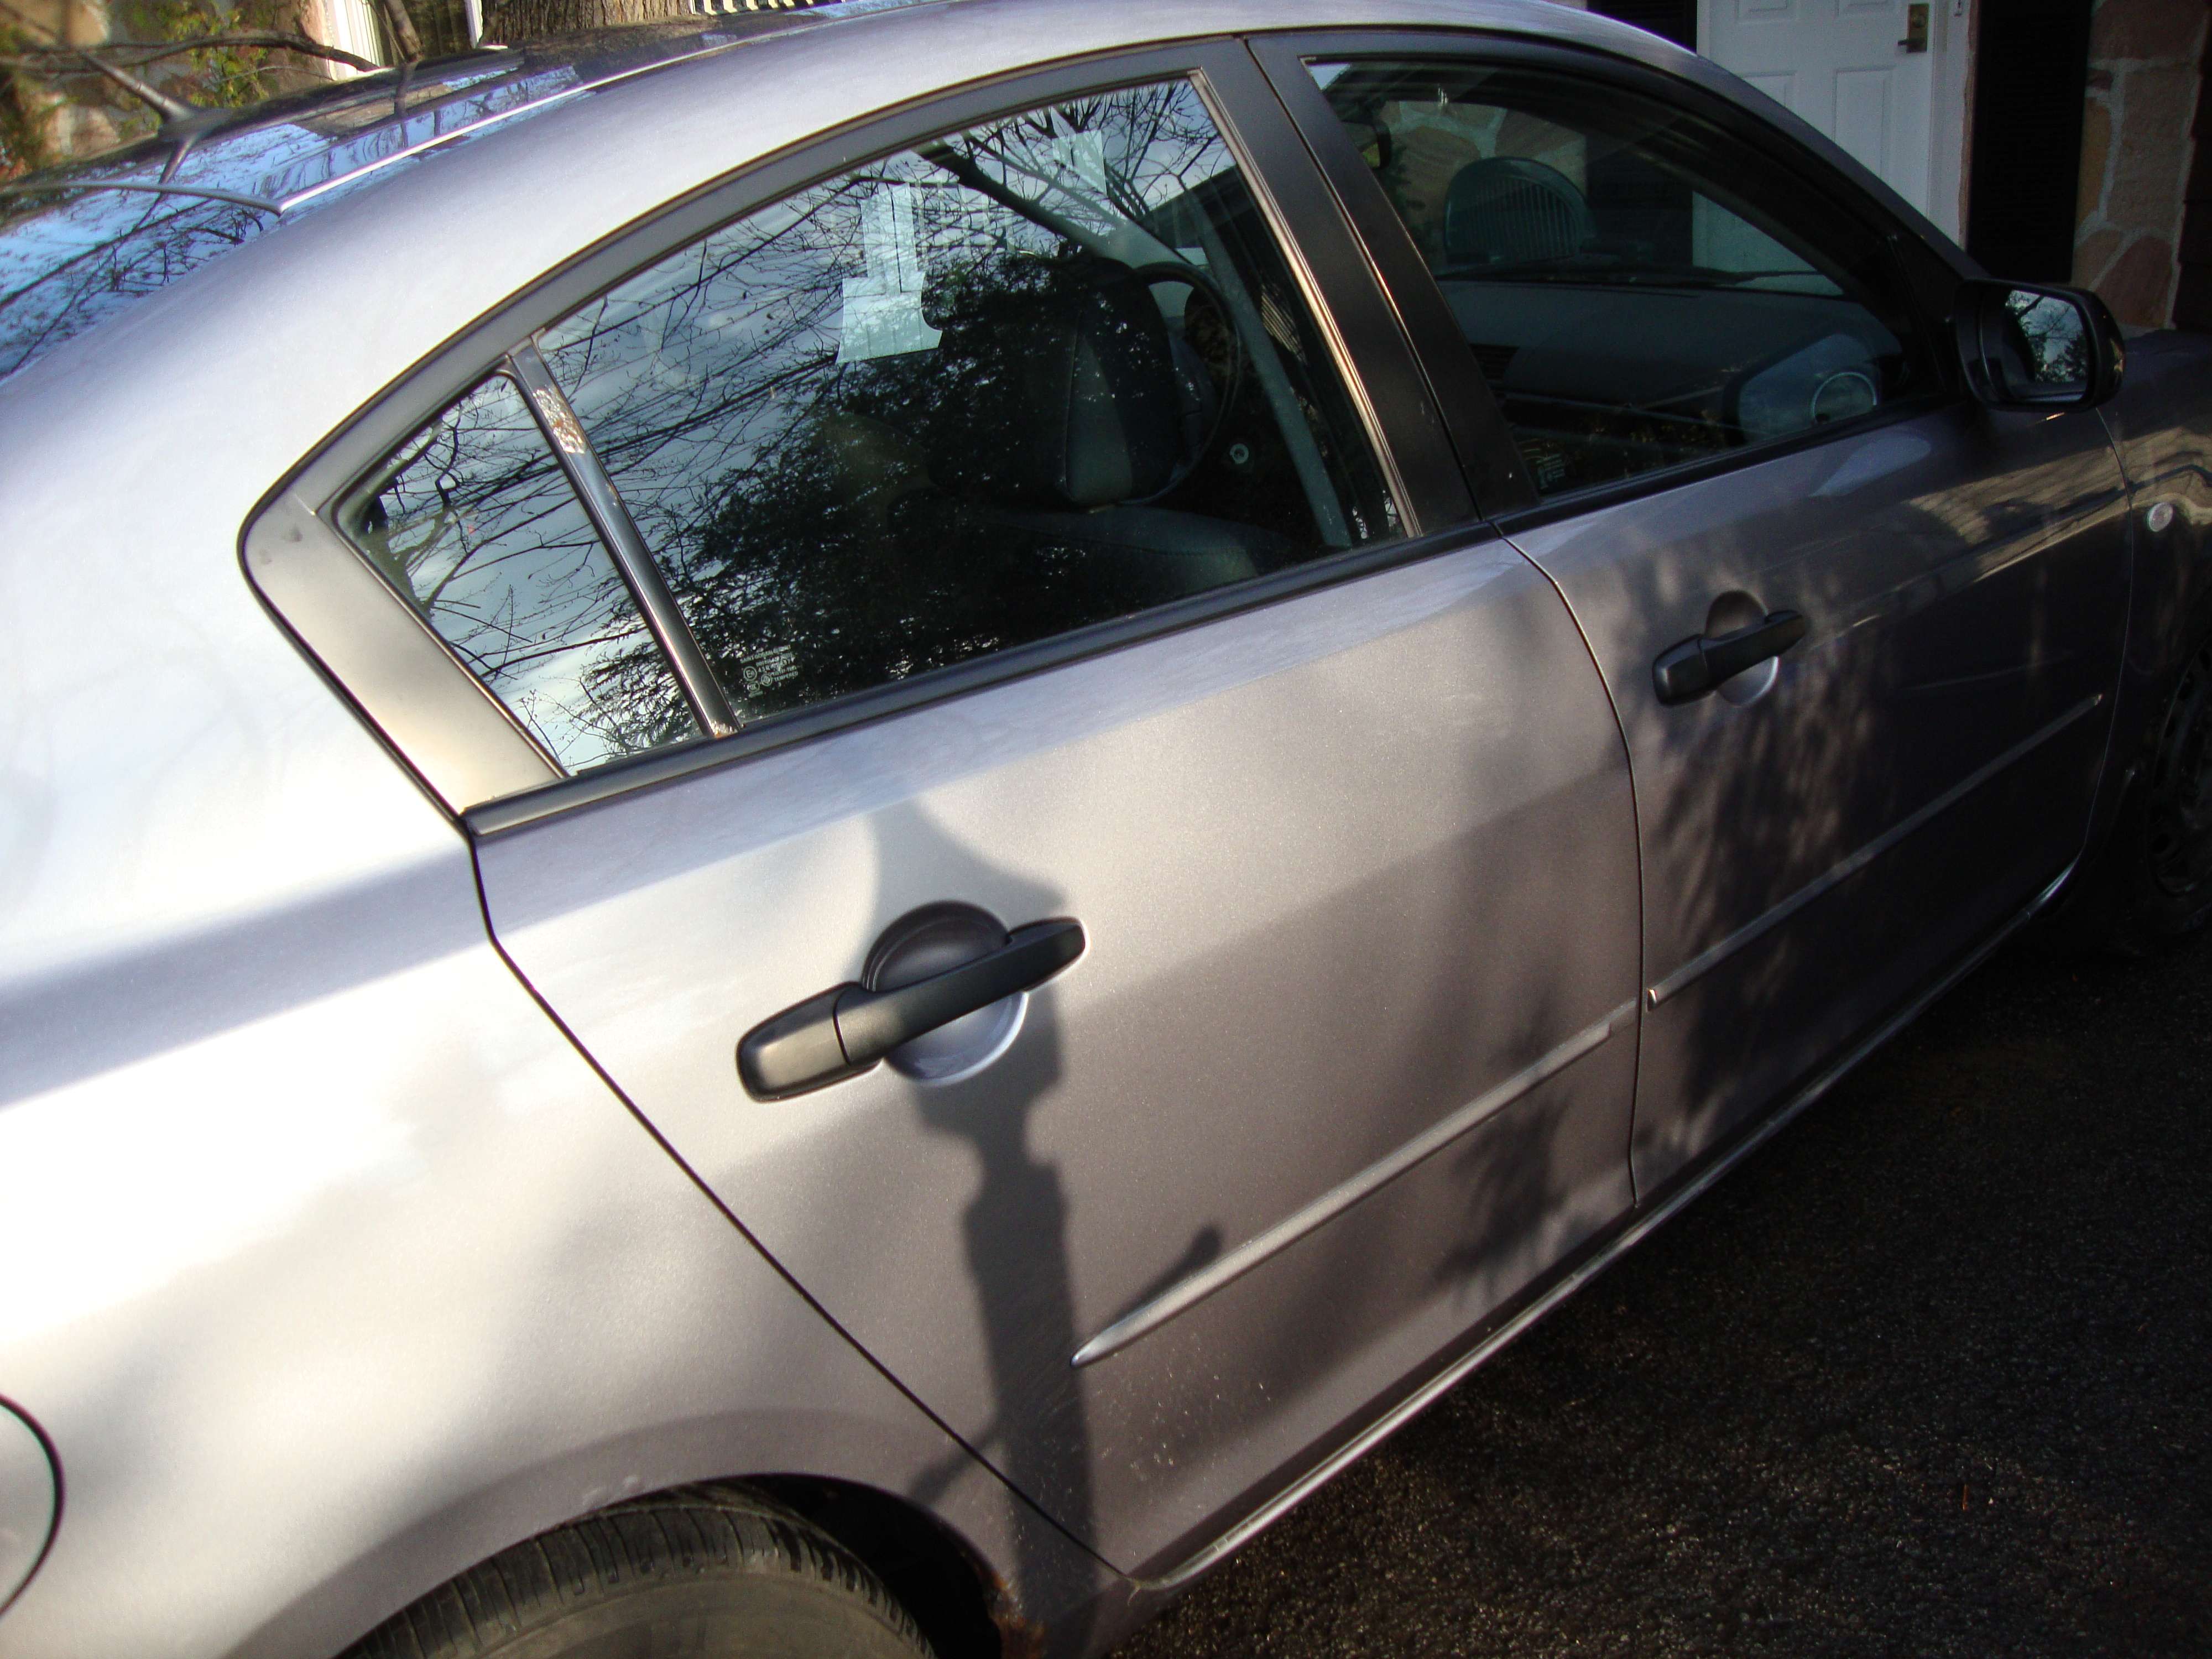
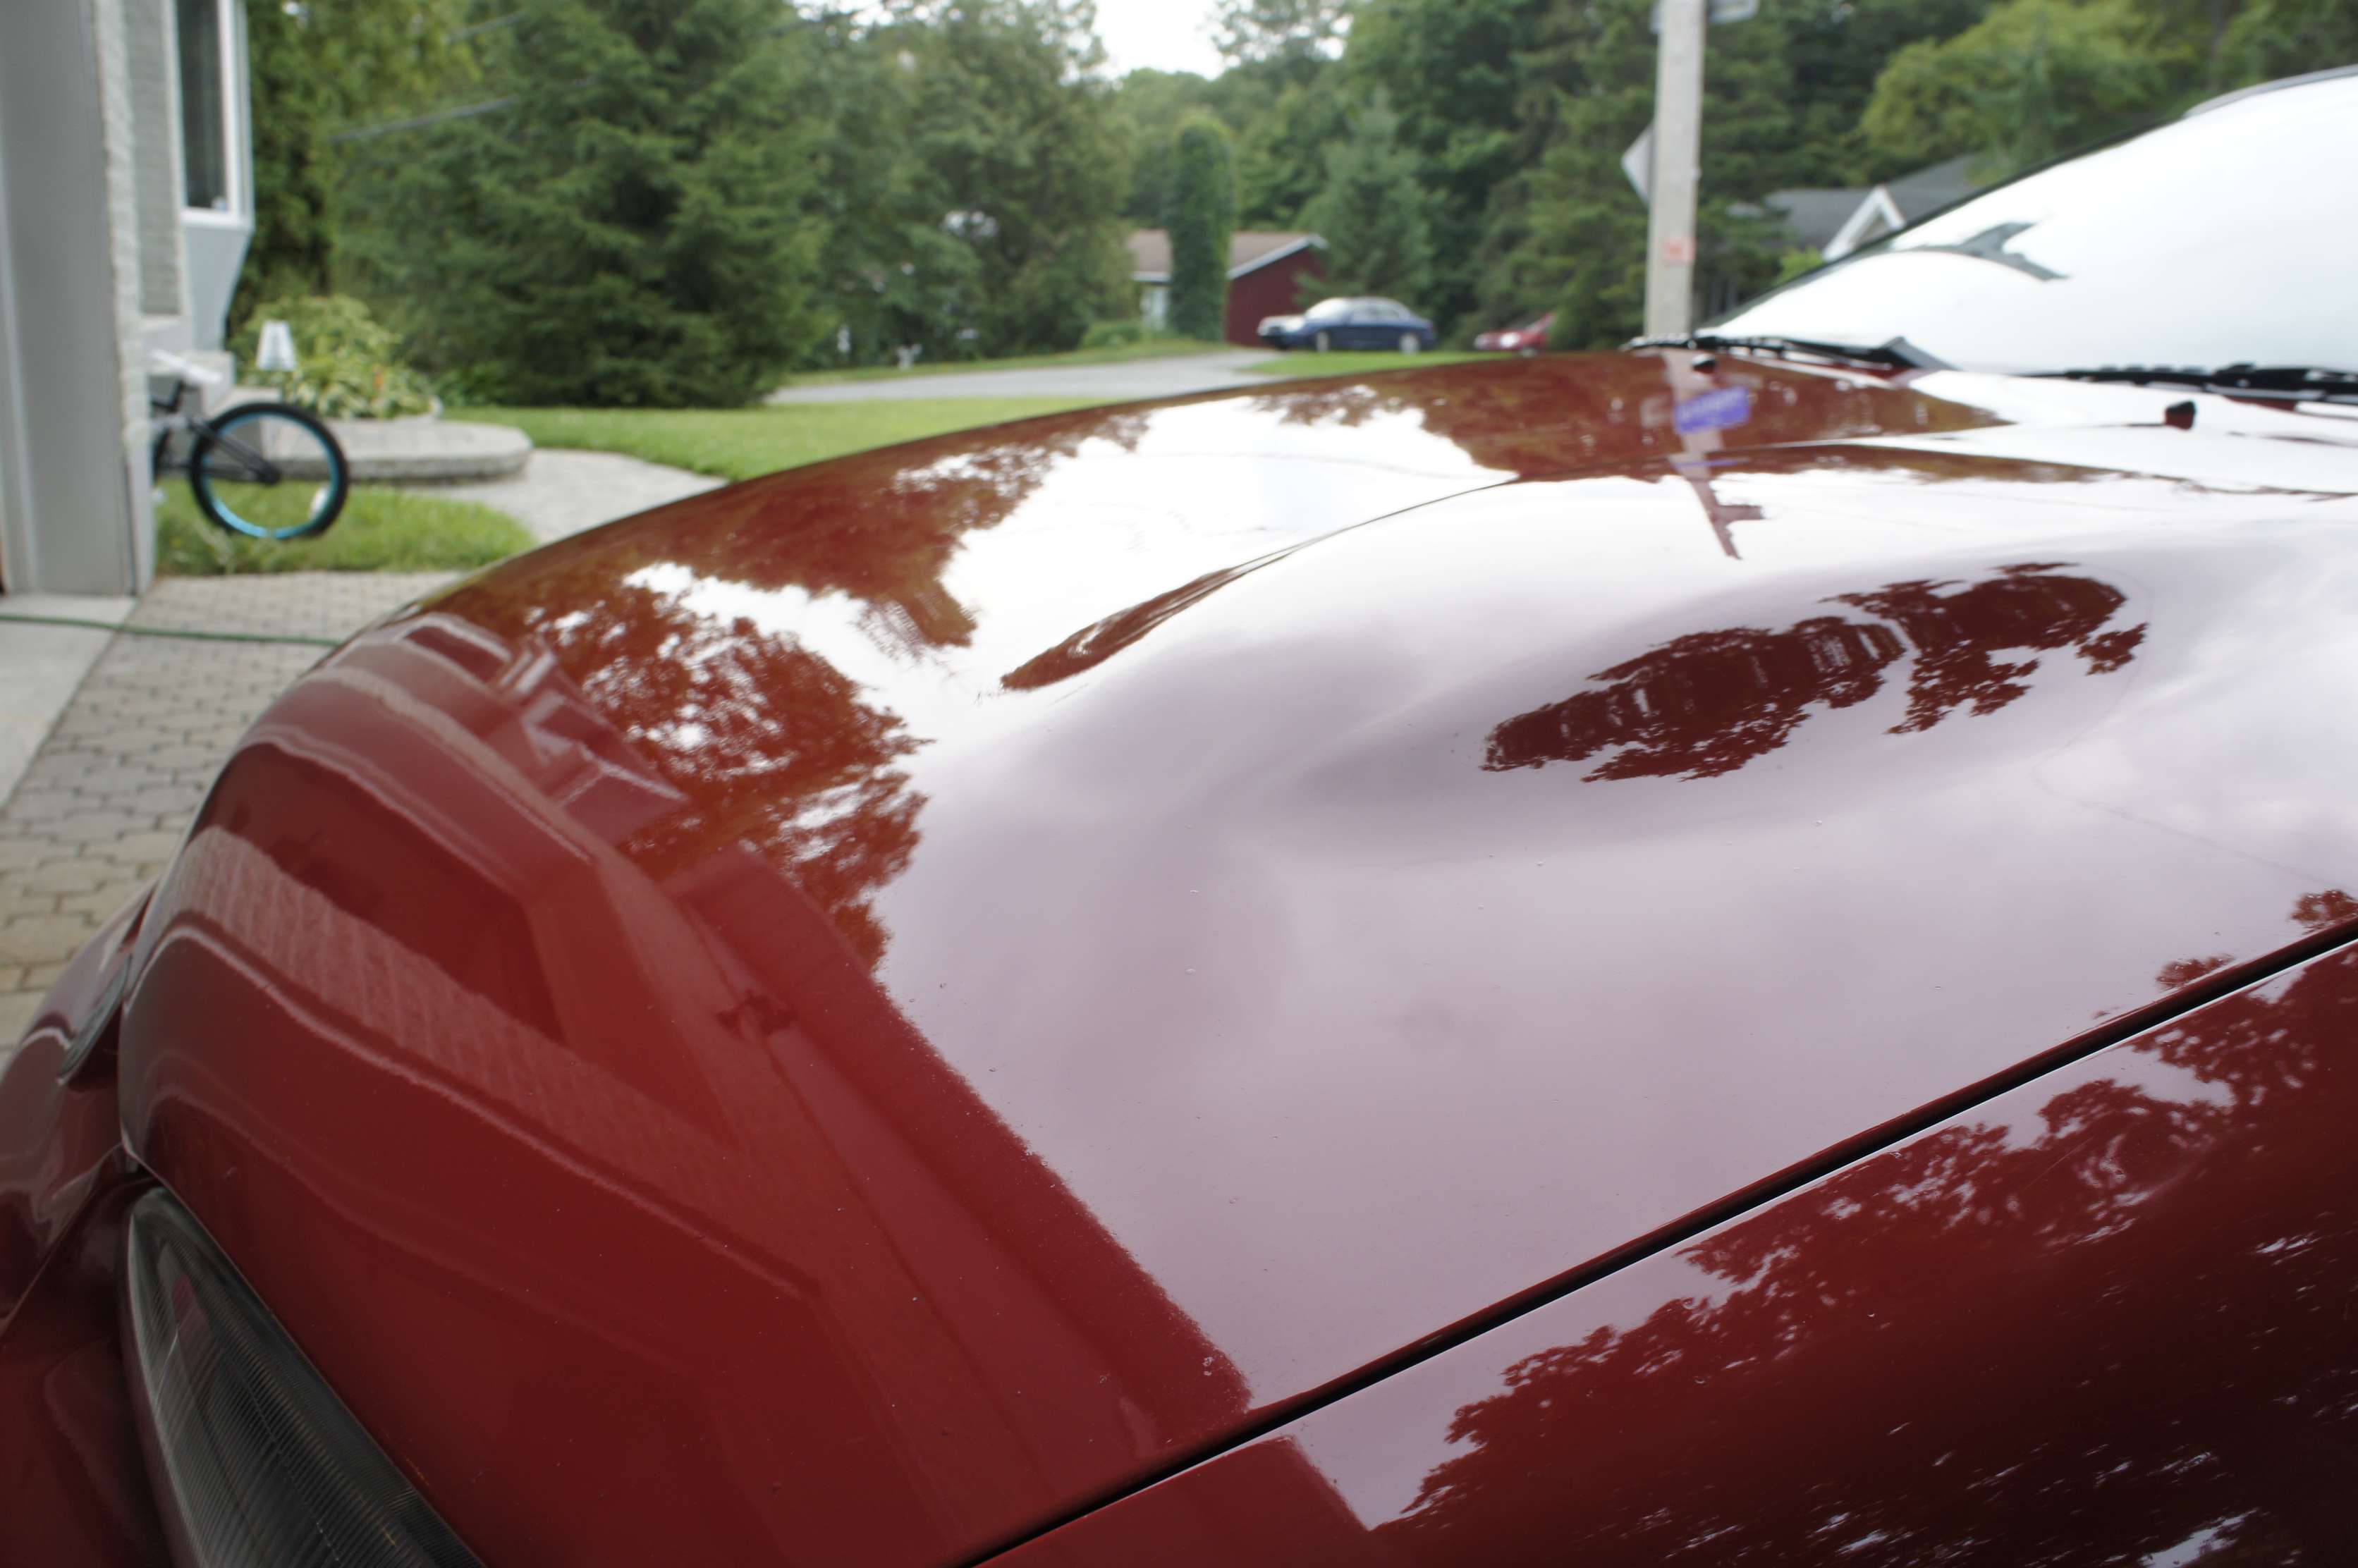
Mon ami vien de s'acheter une voiture usag� et le seul d�faut majeur sur la peinture �tait le hood.. Par chance, nous nous sommes rencontr�s dans la chambre de hockey un lundi soir et il s'est rappel� que je fesais ce genre de correction.
Le hood �tait vraiment en mauvaise shape, certains water spot avait rentr� dans la peinture, il aurais fallu un wet-sand ( et encore!) pour corriger cela, par contre, � 2 pieds de la peintures, la peinture a dl'air maintenant super et match le reste de l'auto ( ce que mon ami voulait):
At first, she wanted me to simply fix that ''scratch'' then I told her it would loook better if I do the whole car .
Sablage � l’eau.,, �a dl’air beau hen!?
This is how it look after a wet-sanding.. It's better when the person is not here watching over you because usually she always ask way too much question lol
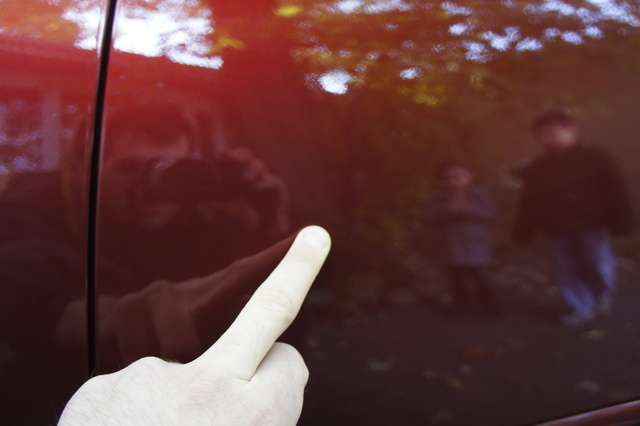
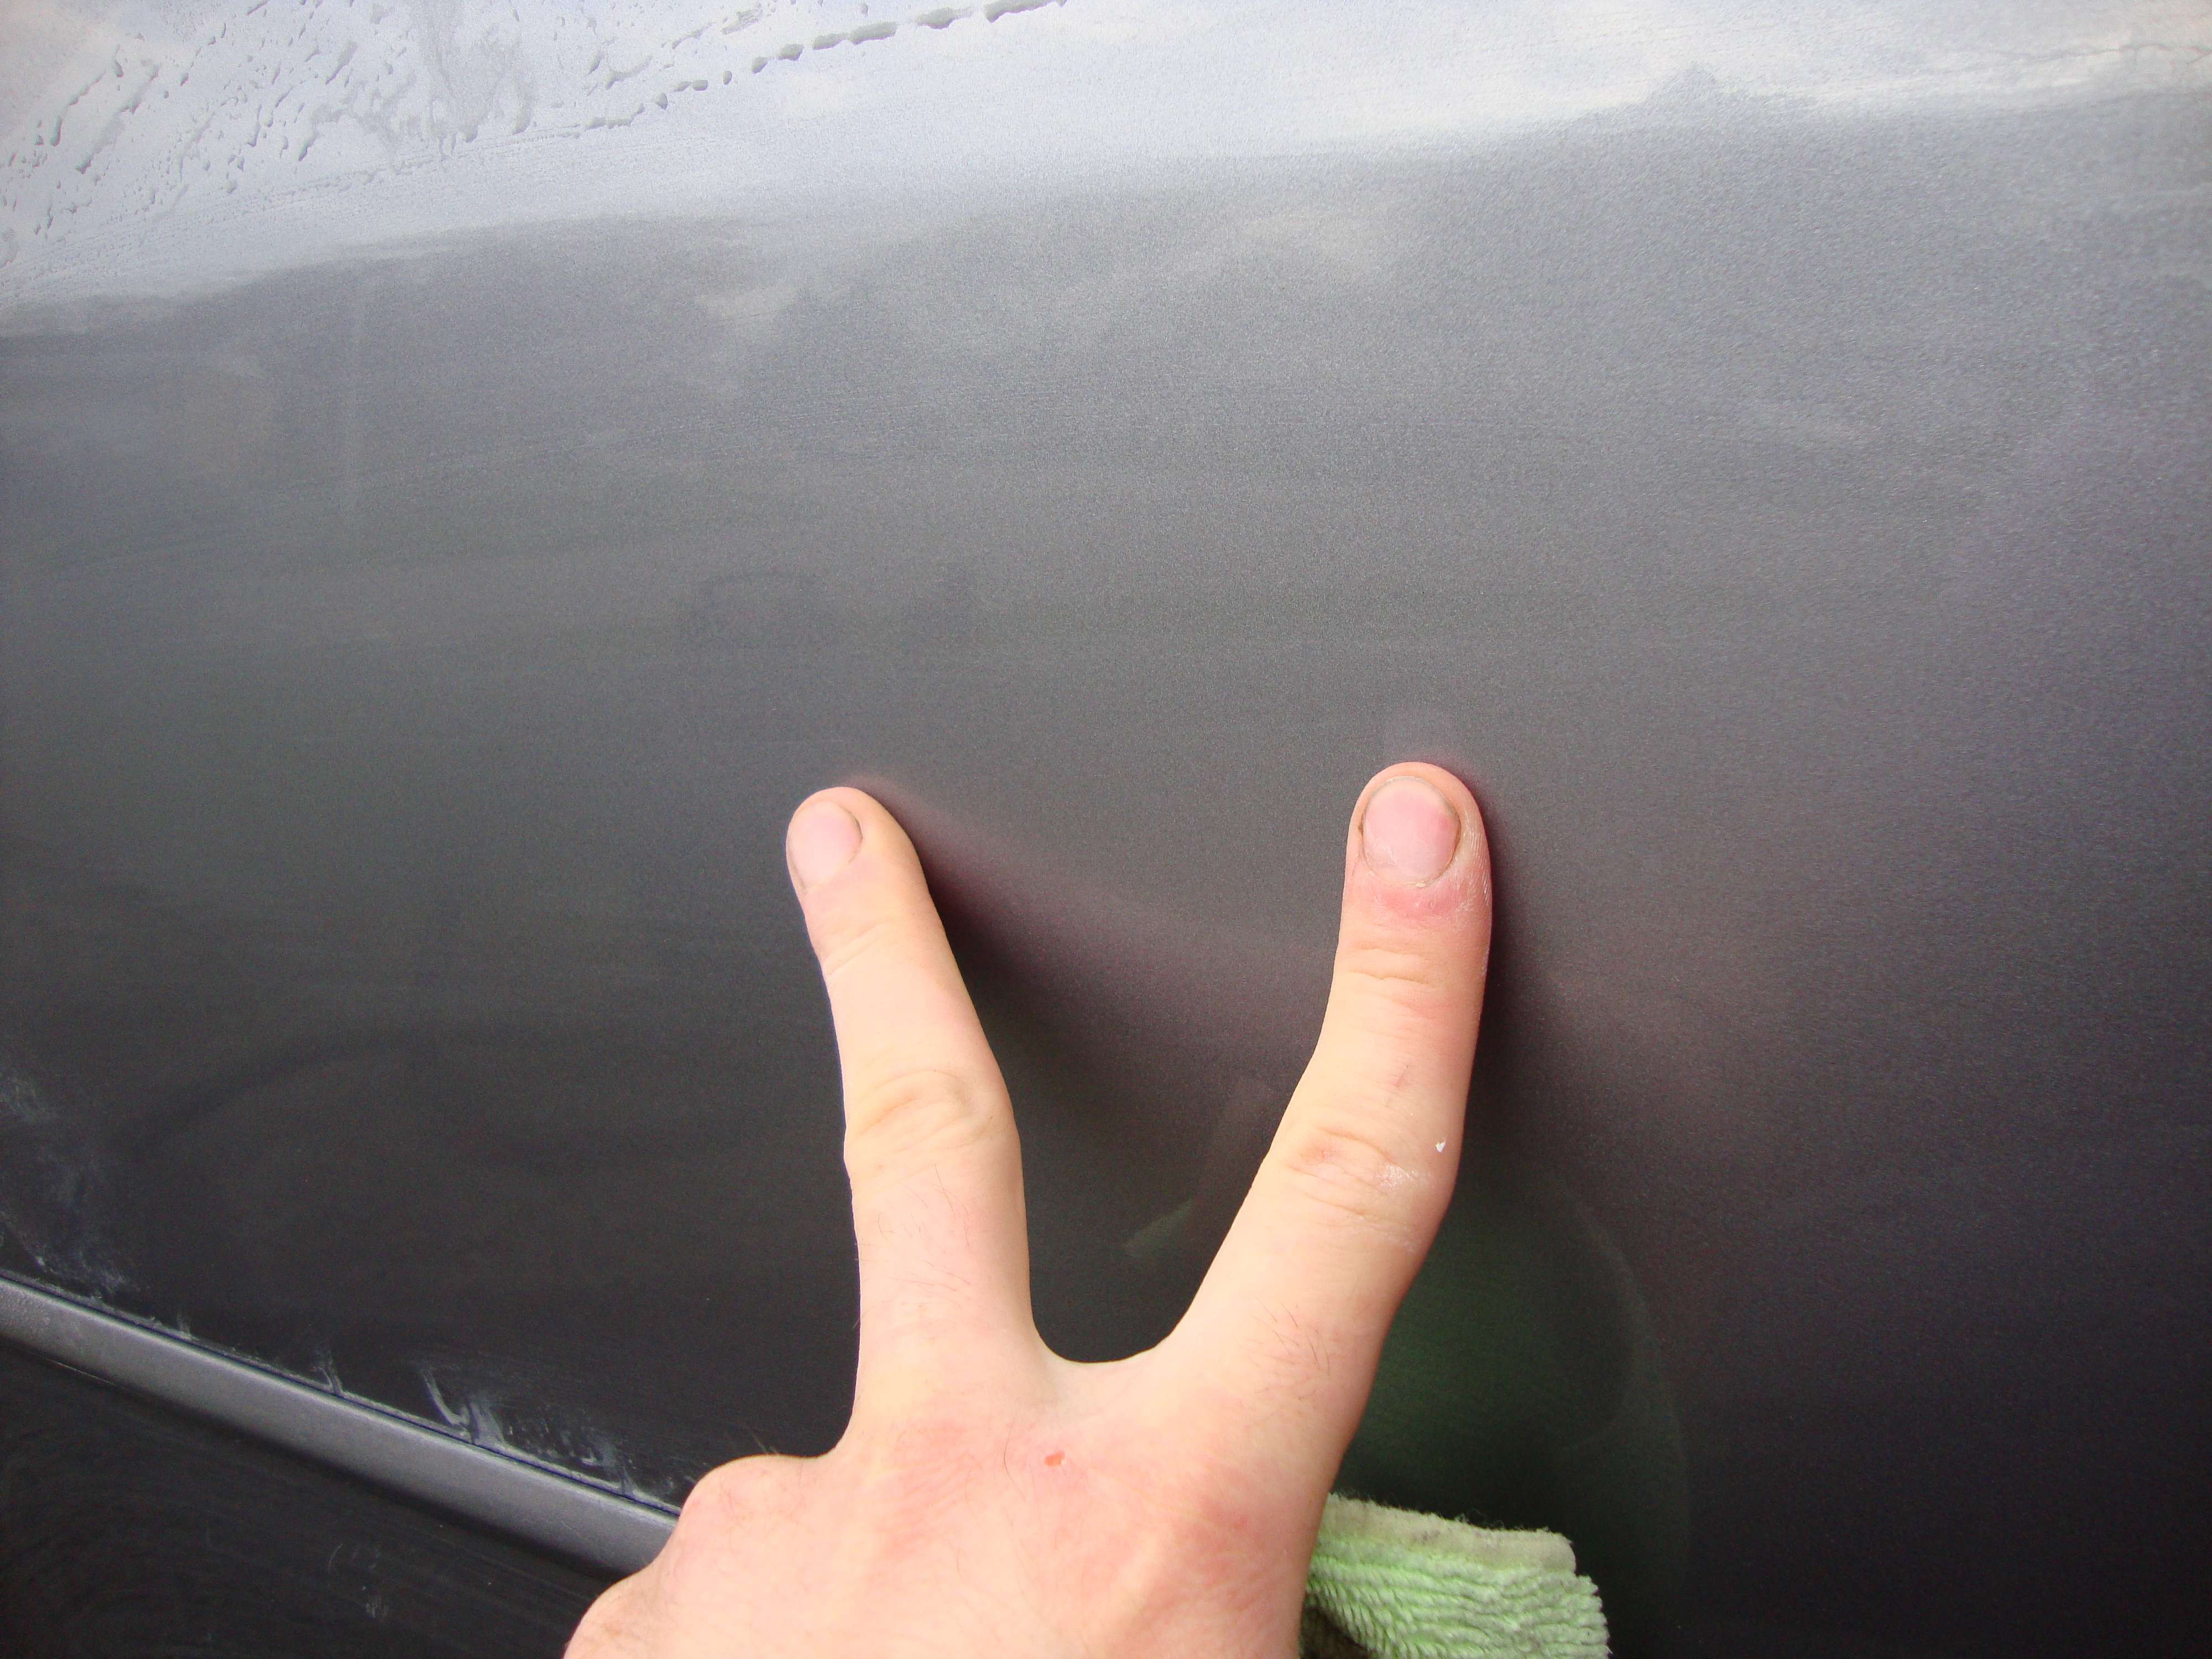
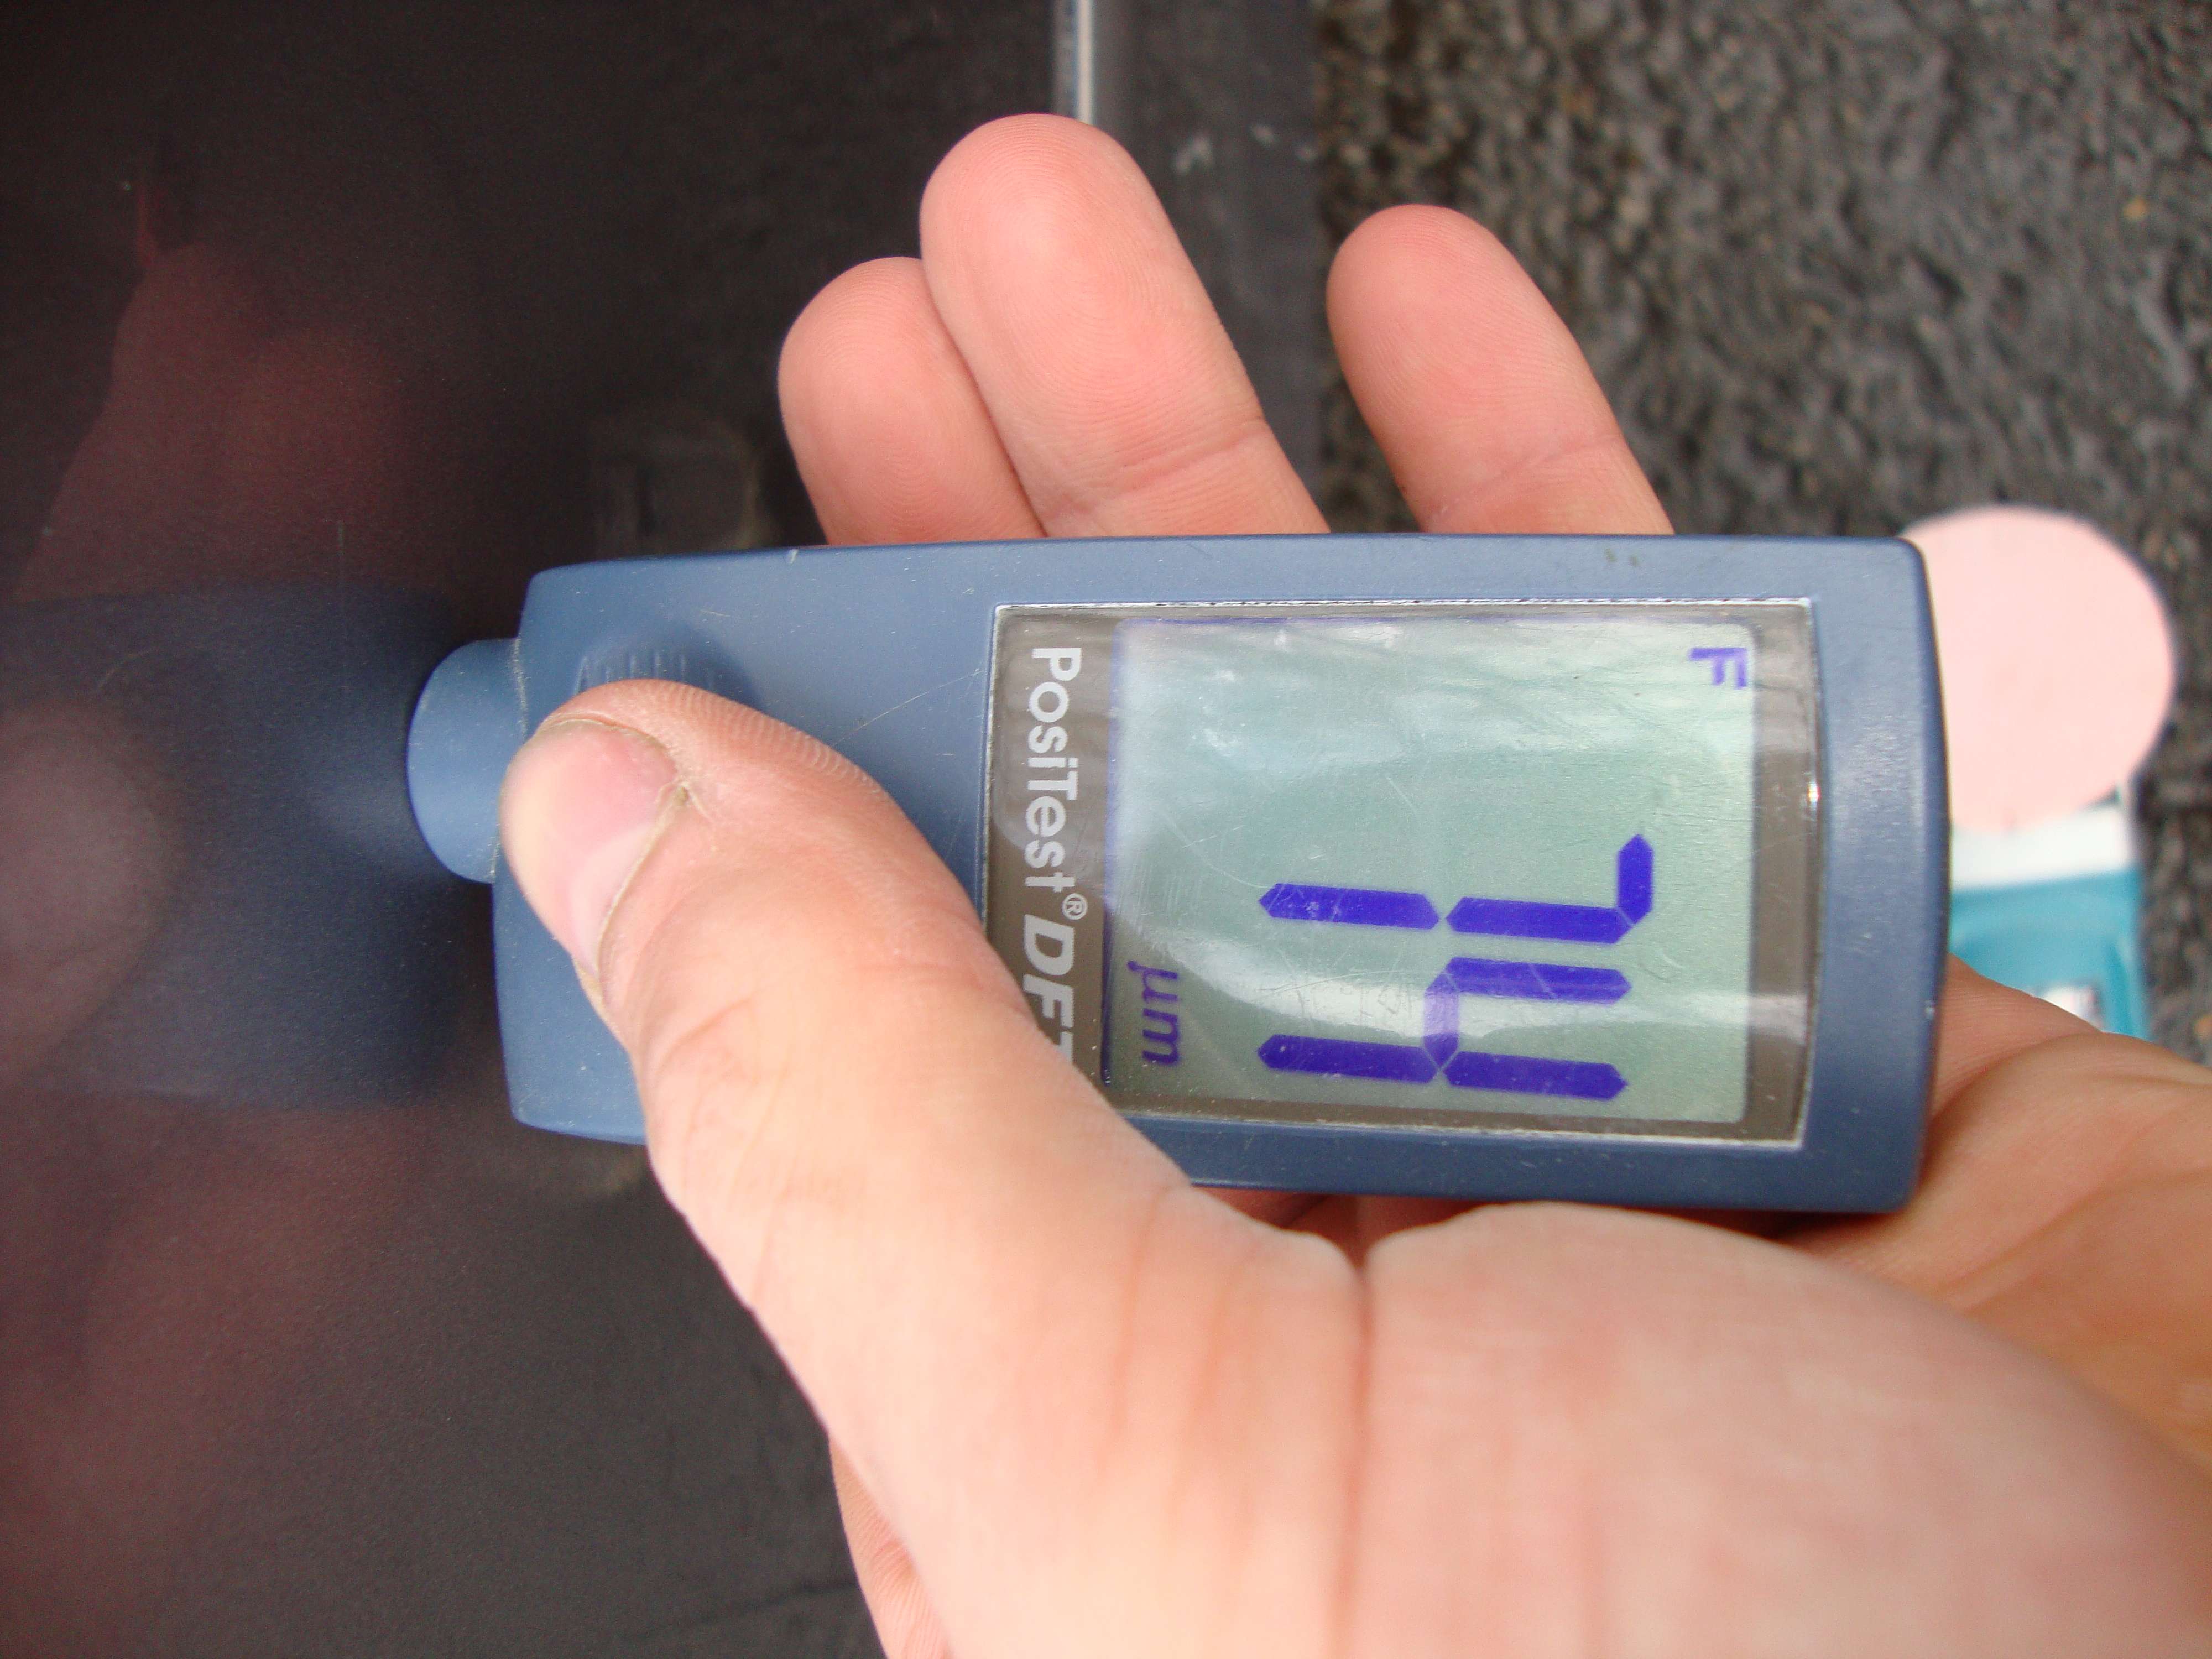
Une chance j’avais mon paint gauge, j’en avait d�j� trop enlev�, *IMPOSSIBLE* de faire mieux que �a.
See, how thin I'm at.. I couldn't do any better.
Apr�s le polissage :
Vous voyez quelques chose vous autres!? ( Alors, je r�sume, j’ai fait disparaitre une marque de cl� sur une peinture de Mazda Ultra-mince) Dans ces situations, je crois que le paint gauge est une obligation.
See something? So just to remind you, I almost completely removed to a point where you can't see it on the thinnest paint on the market, the famous mzada 3. The paint gauge in this situation is mandatory.
C'est aussi une d�monstration � tout ceux qui croit qu'il y a rien � faire pour une marque de cl�.
I hope with this demonstration, I will be getting a bit more respect from some peoples.
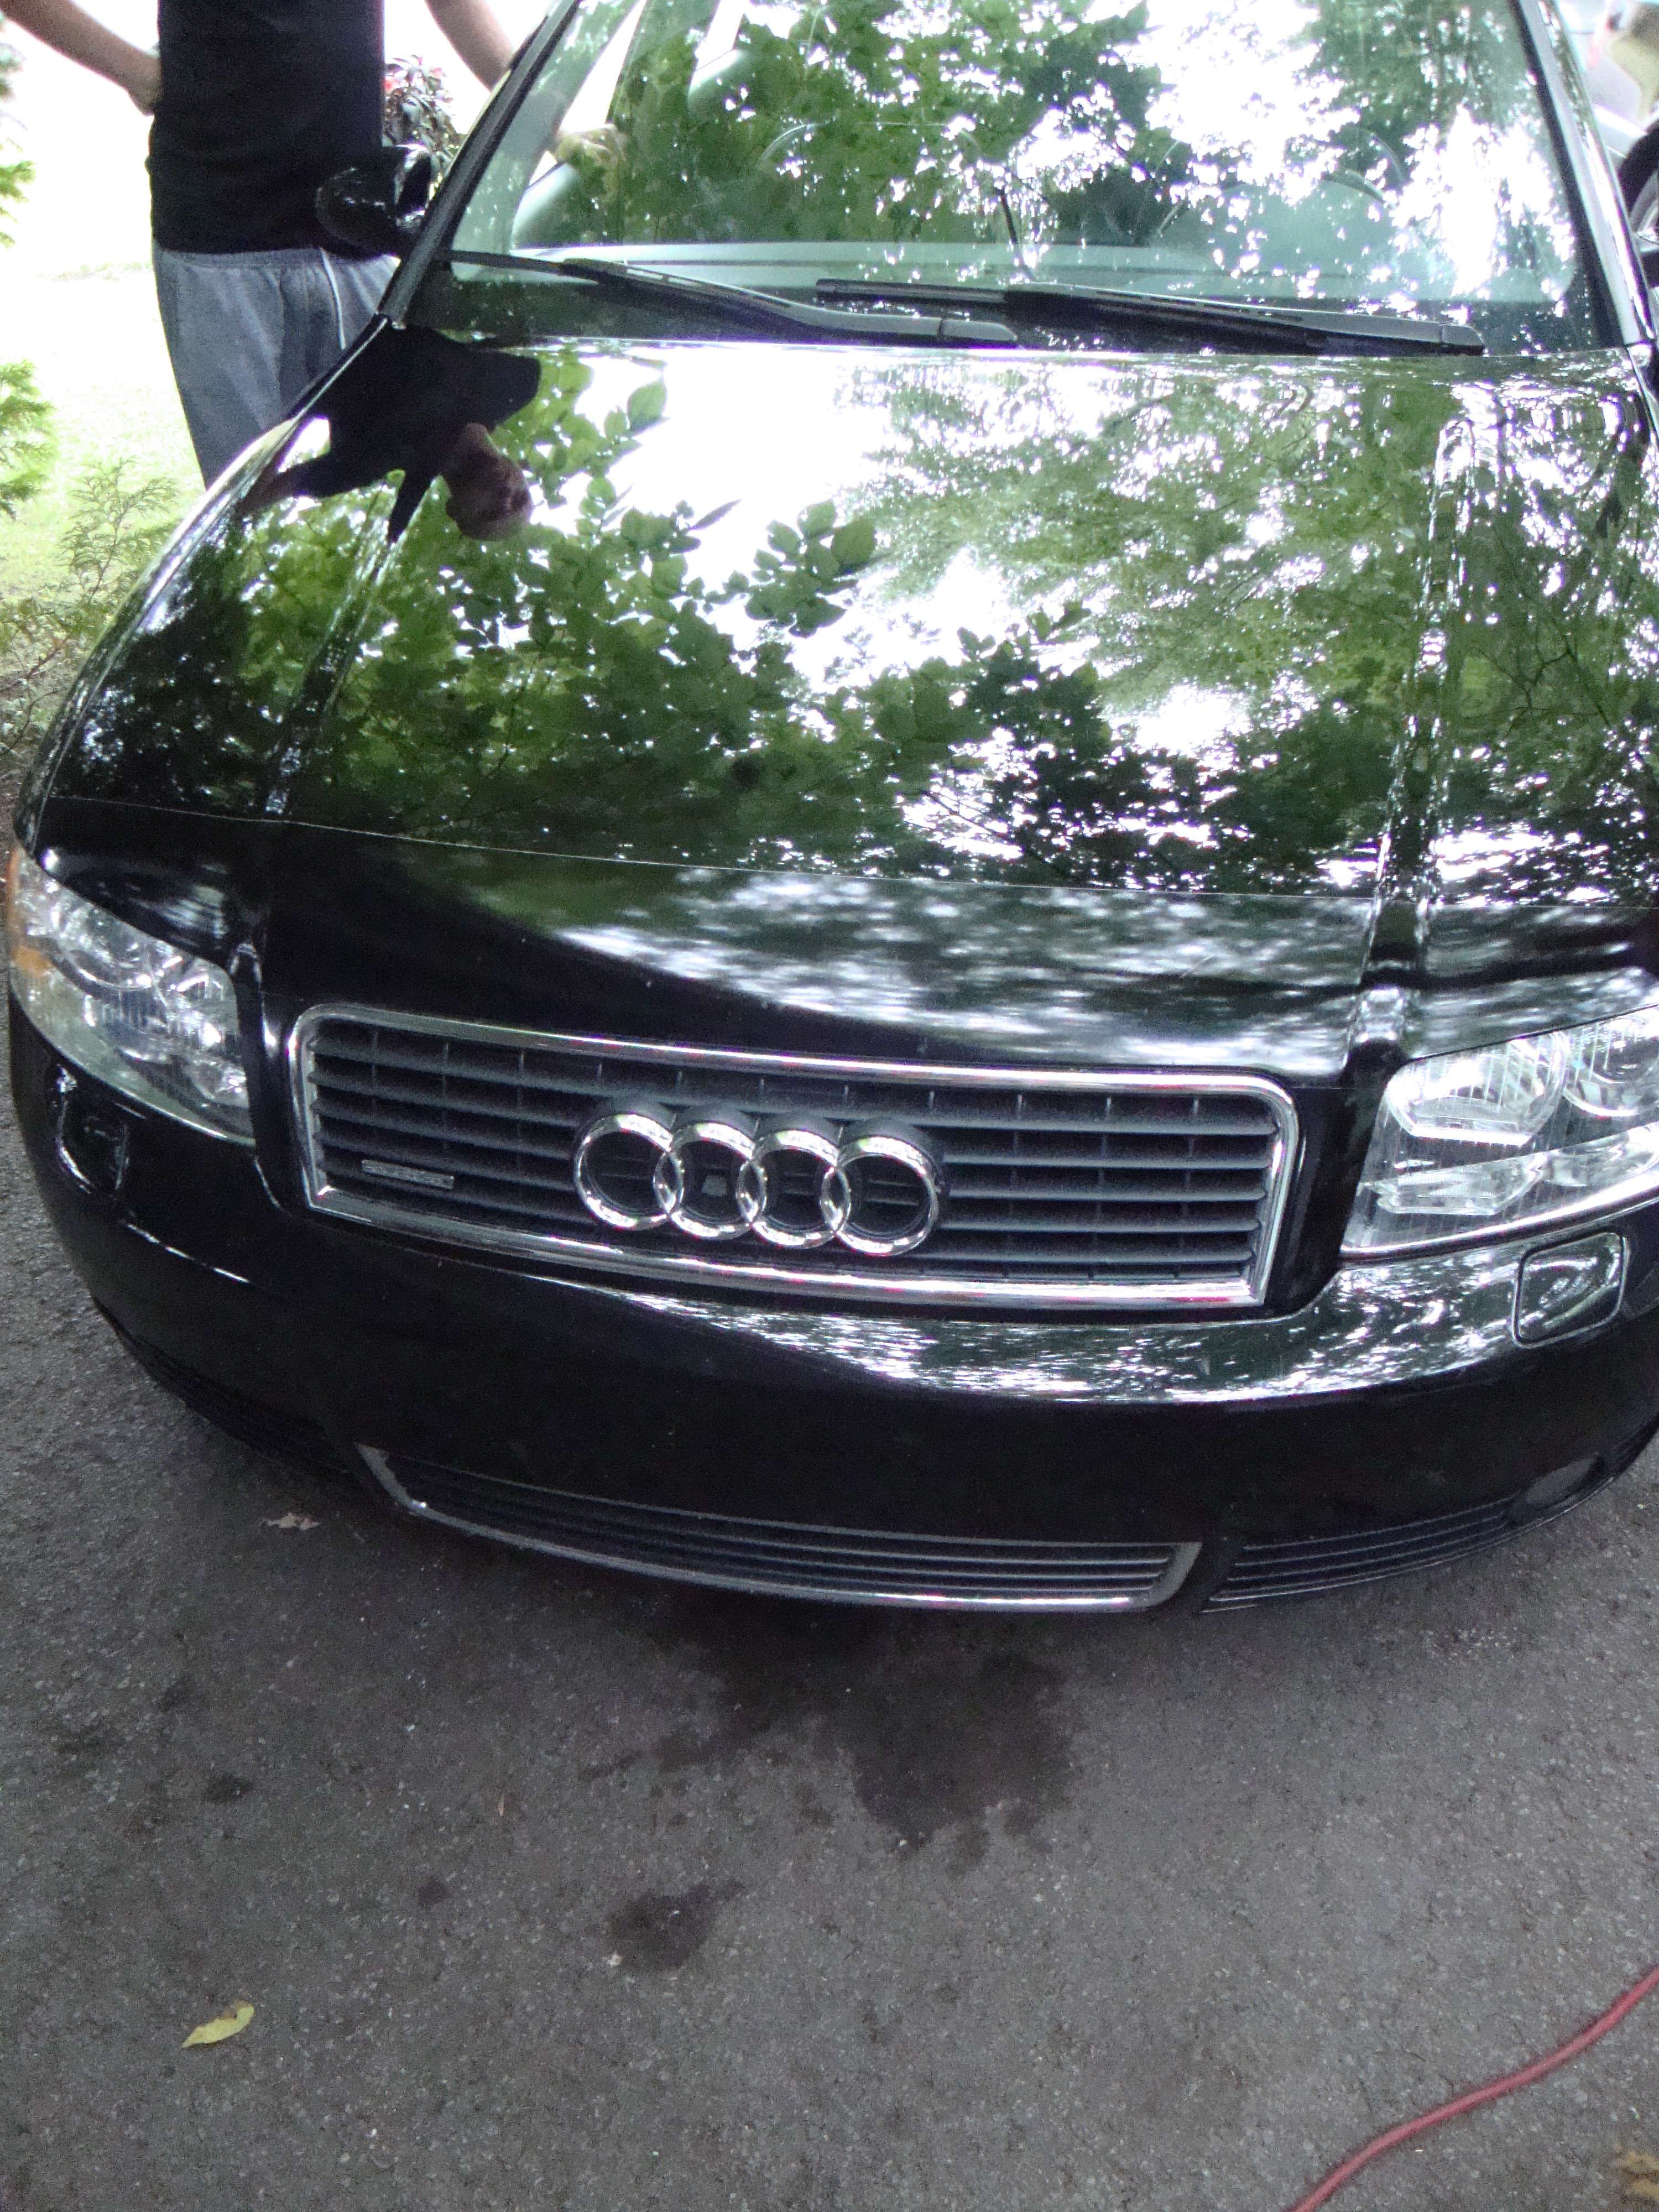
Here's my section for very major correction, usually these corrections are only on one single panel so instead of doing a thread for only 1 panel of a car, i rather just put every single major detail in one thread.
The story behind this integra's hood is that my step-father wanted to move the recycle bin and what he did was lifting the bin over the car but instead of that, he put the bin on the hood and drag it completely to the other side, you can see the damage by yourself!
Avant:
Apr�s:
Update: Voici une autre petite correction.
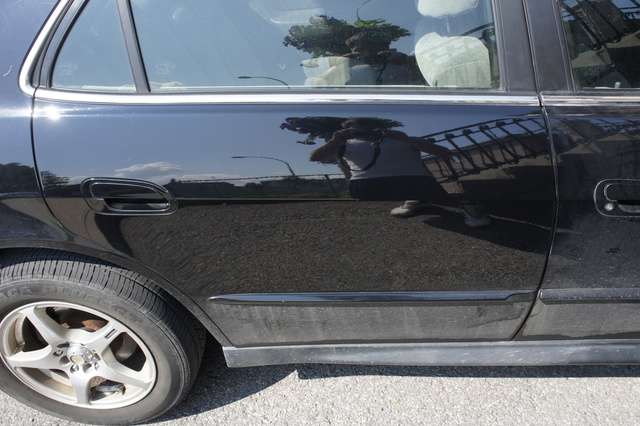
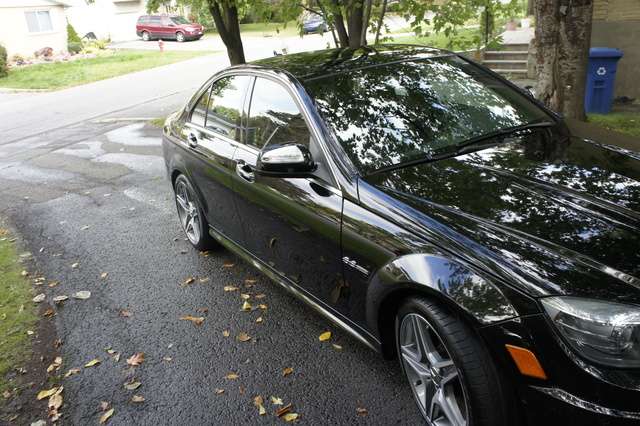
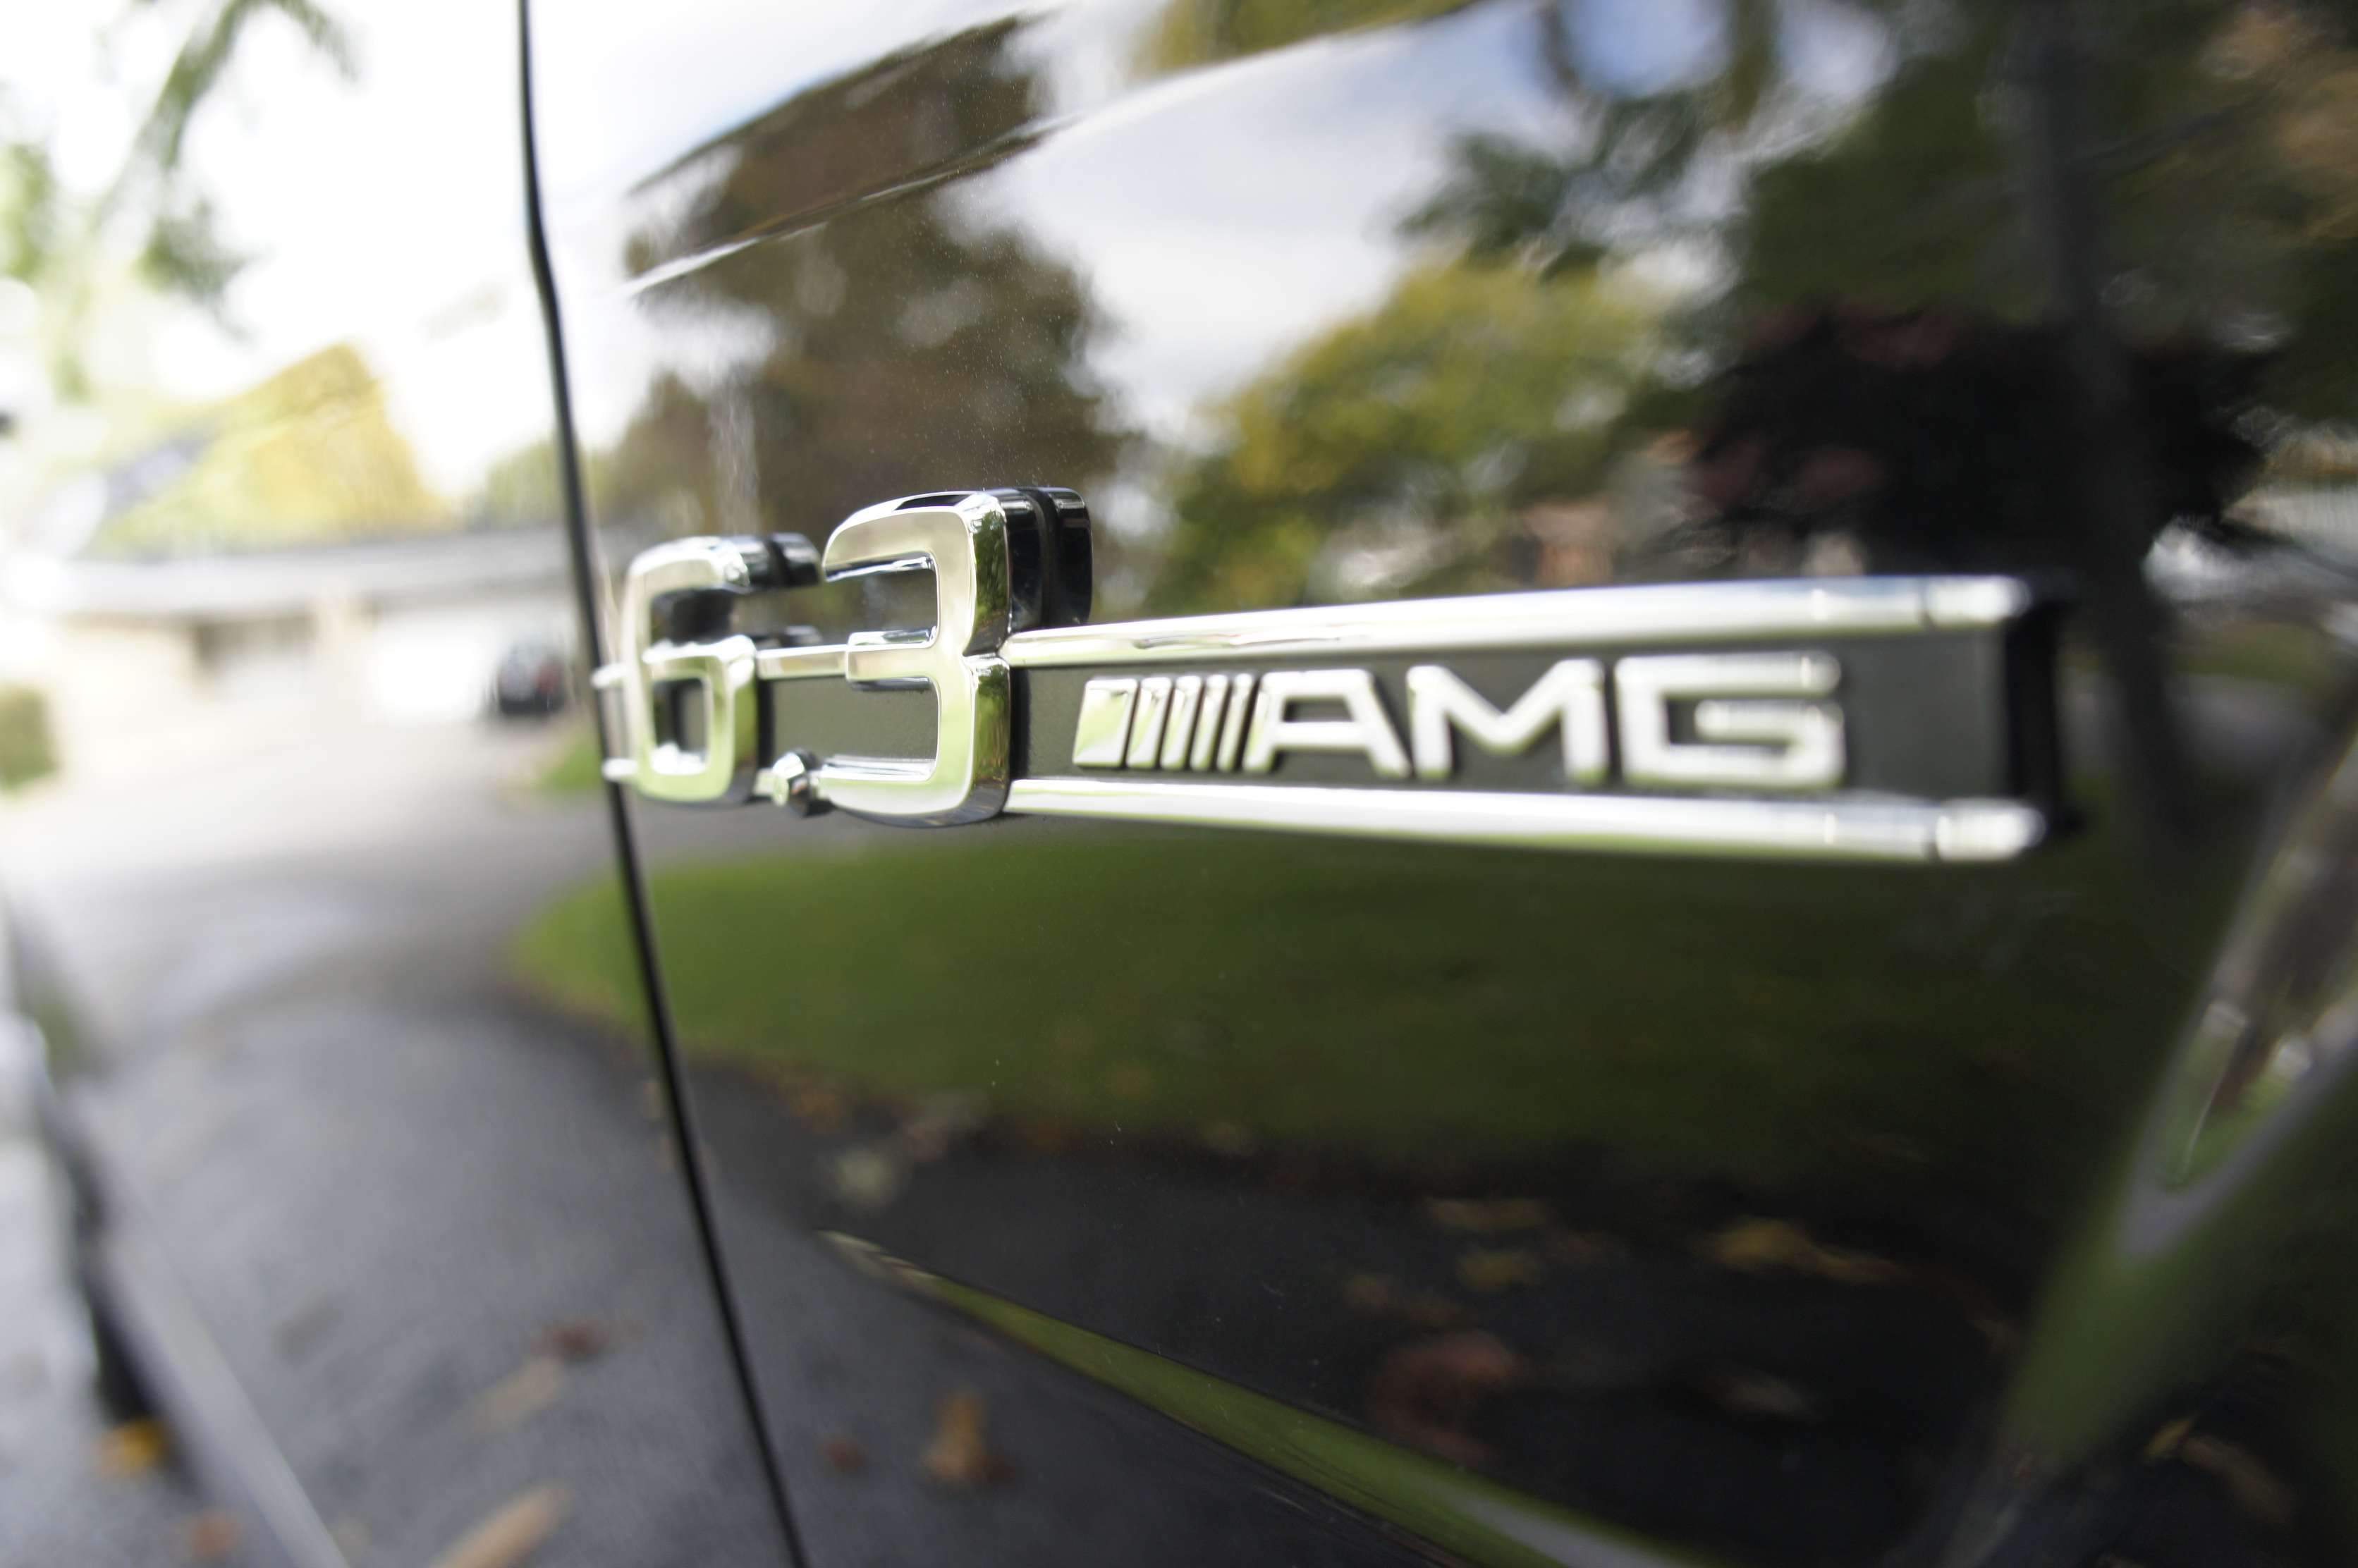
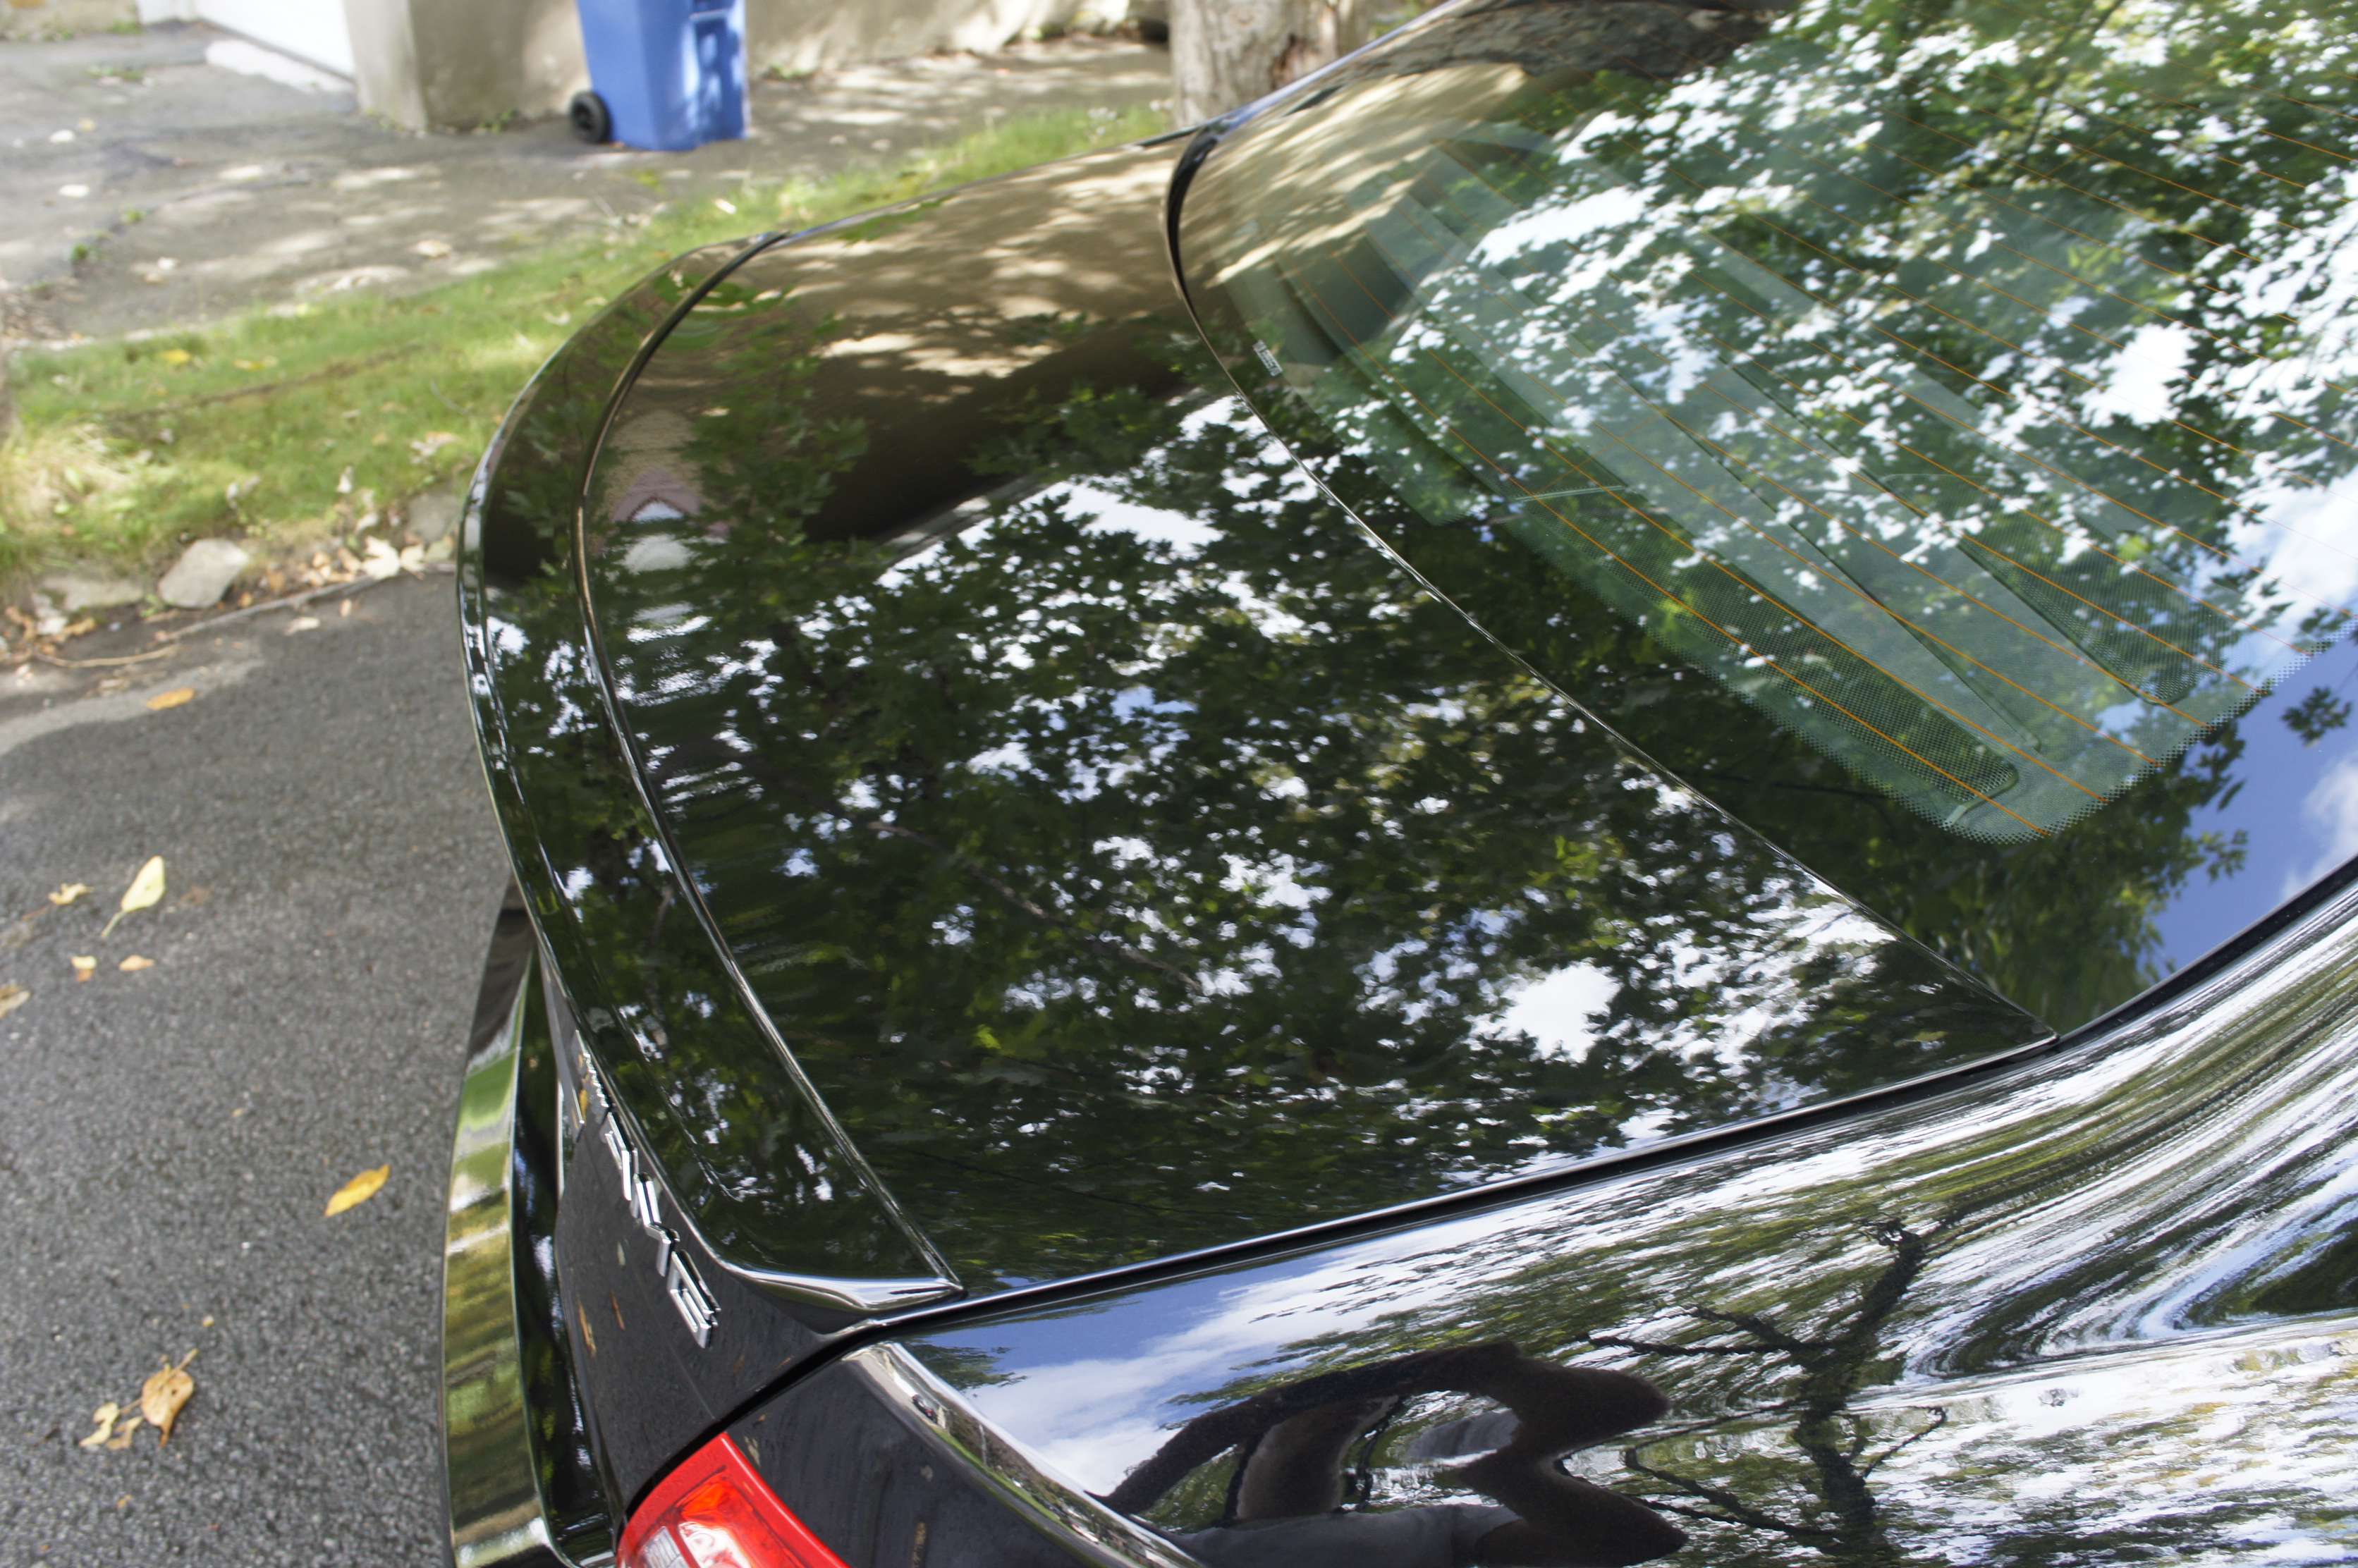
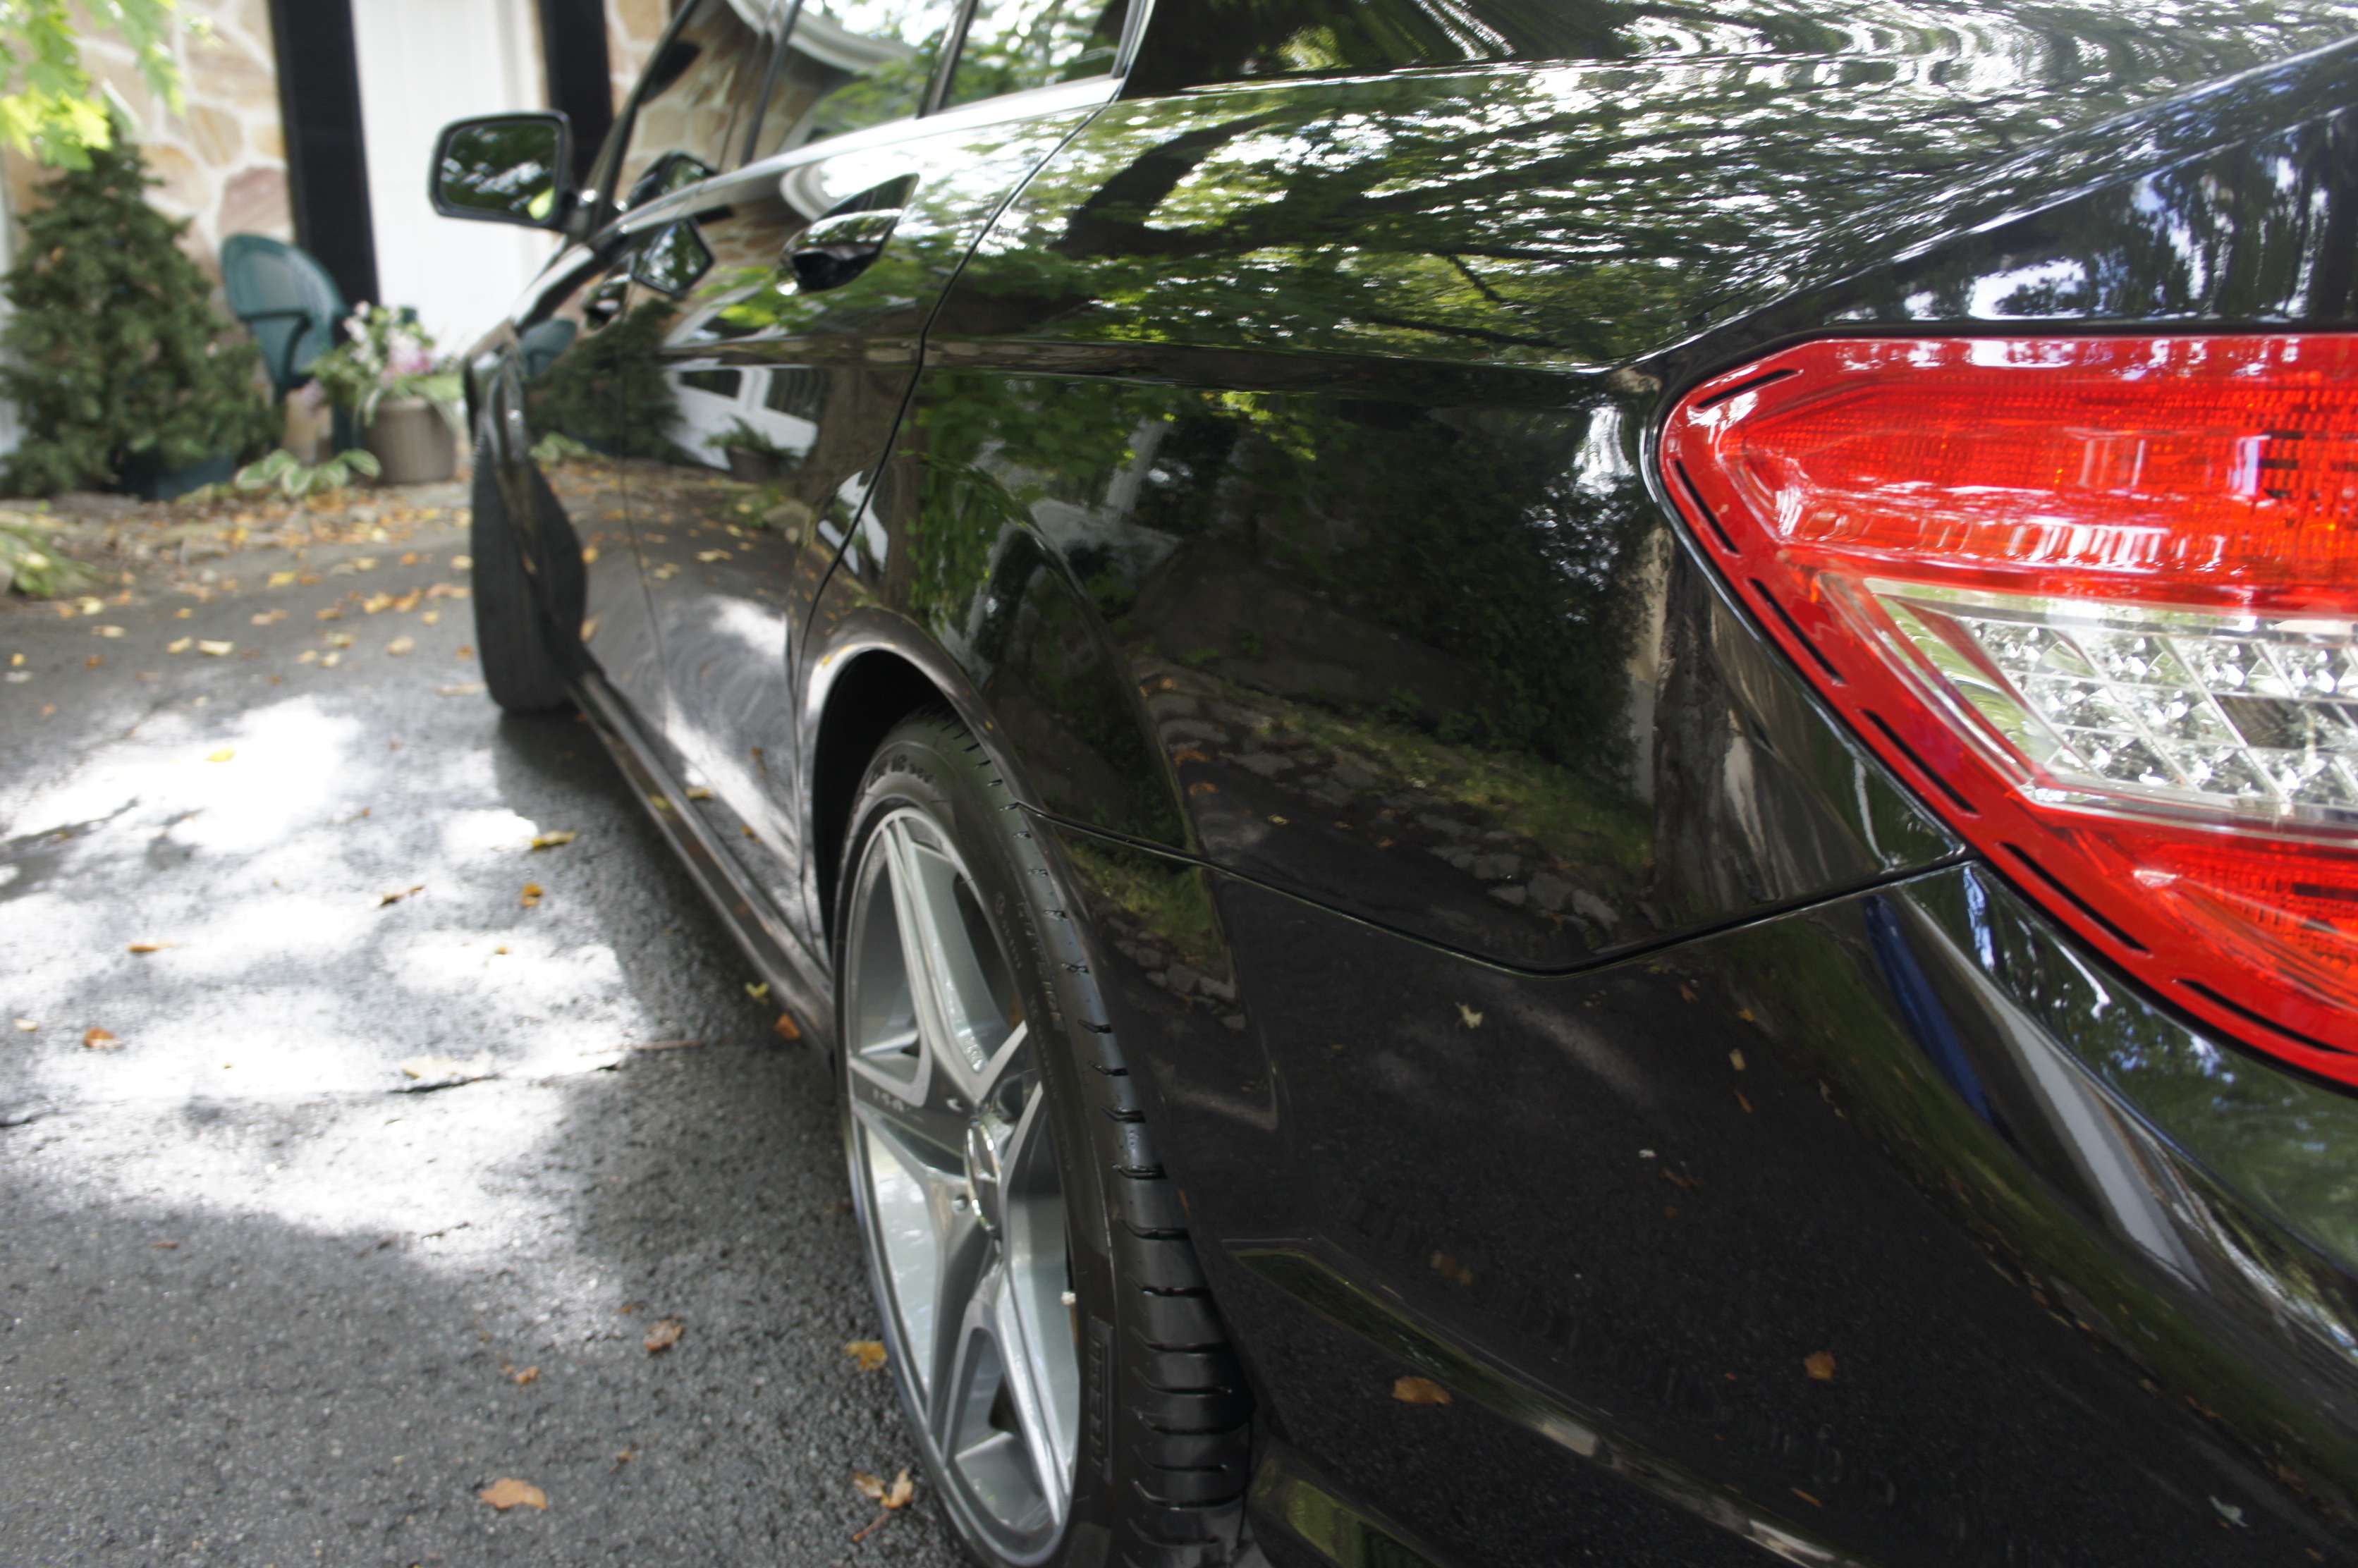
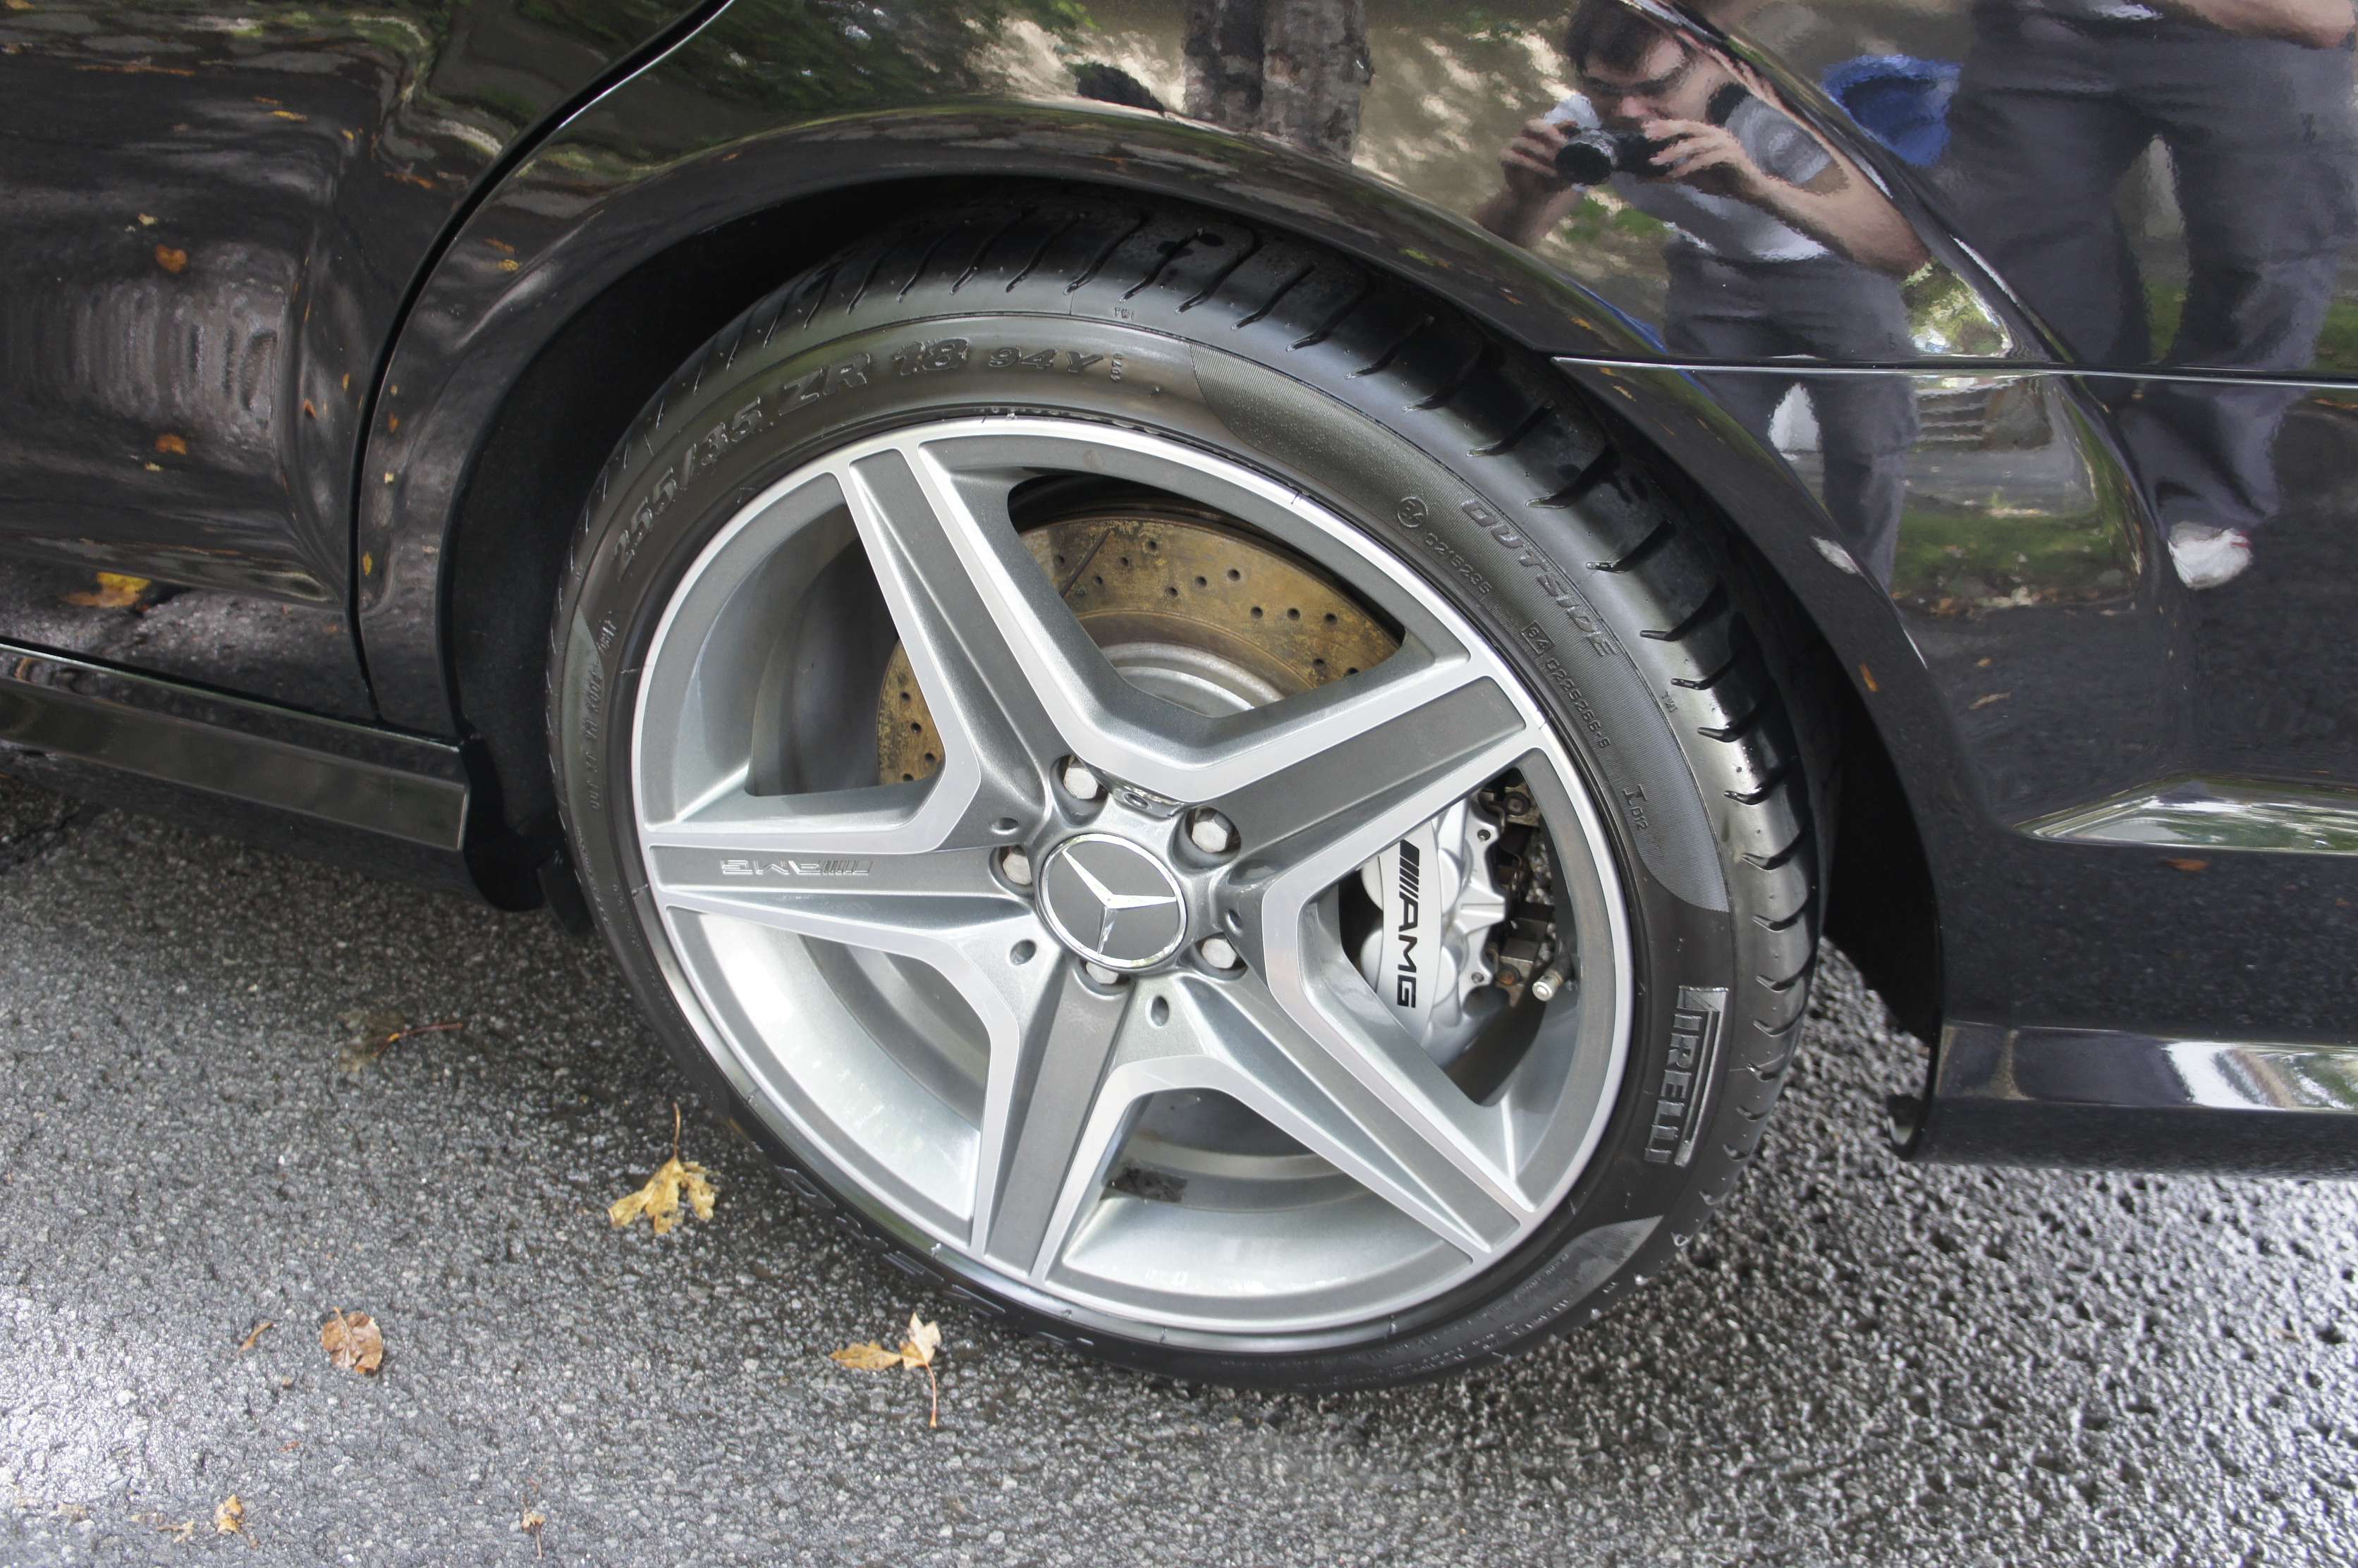
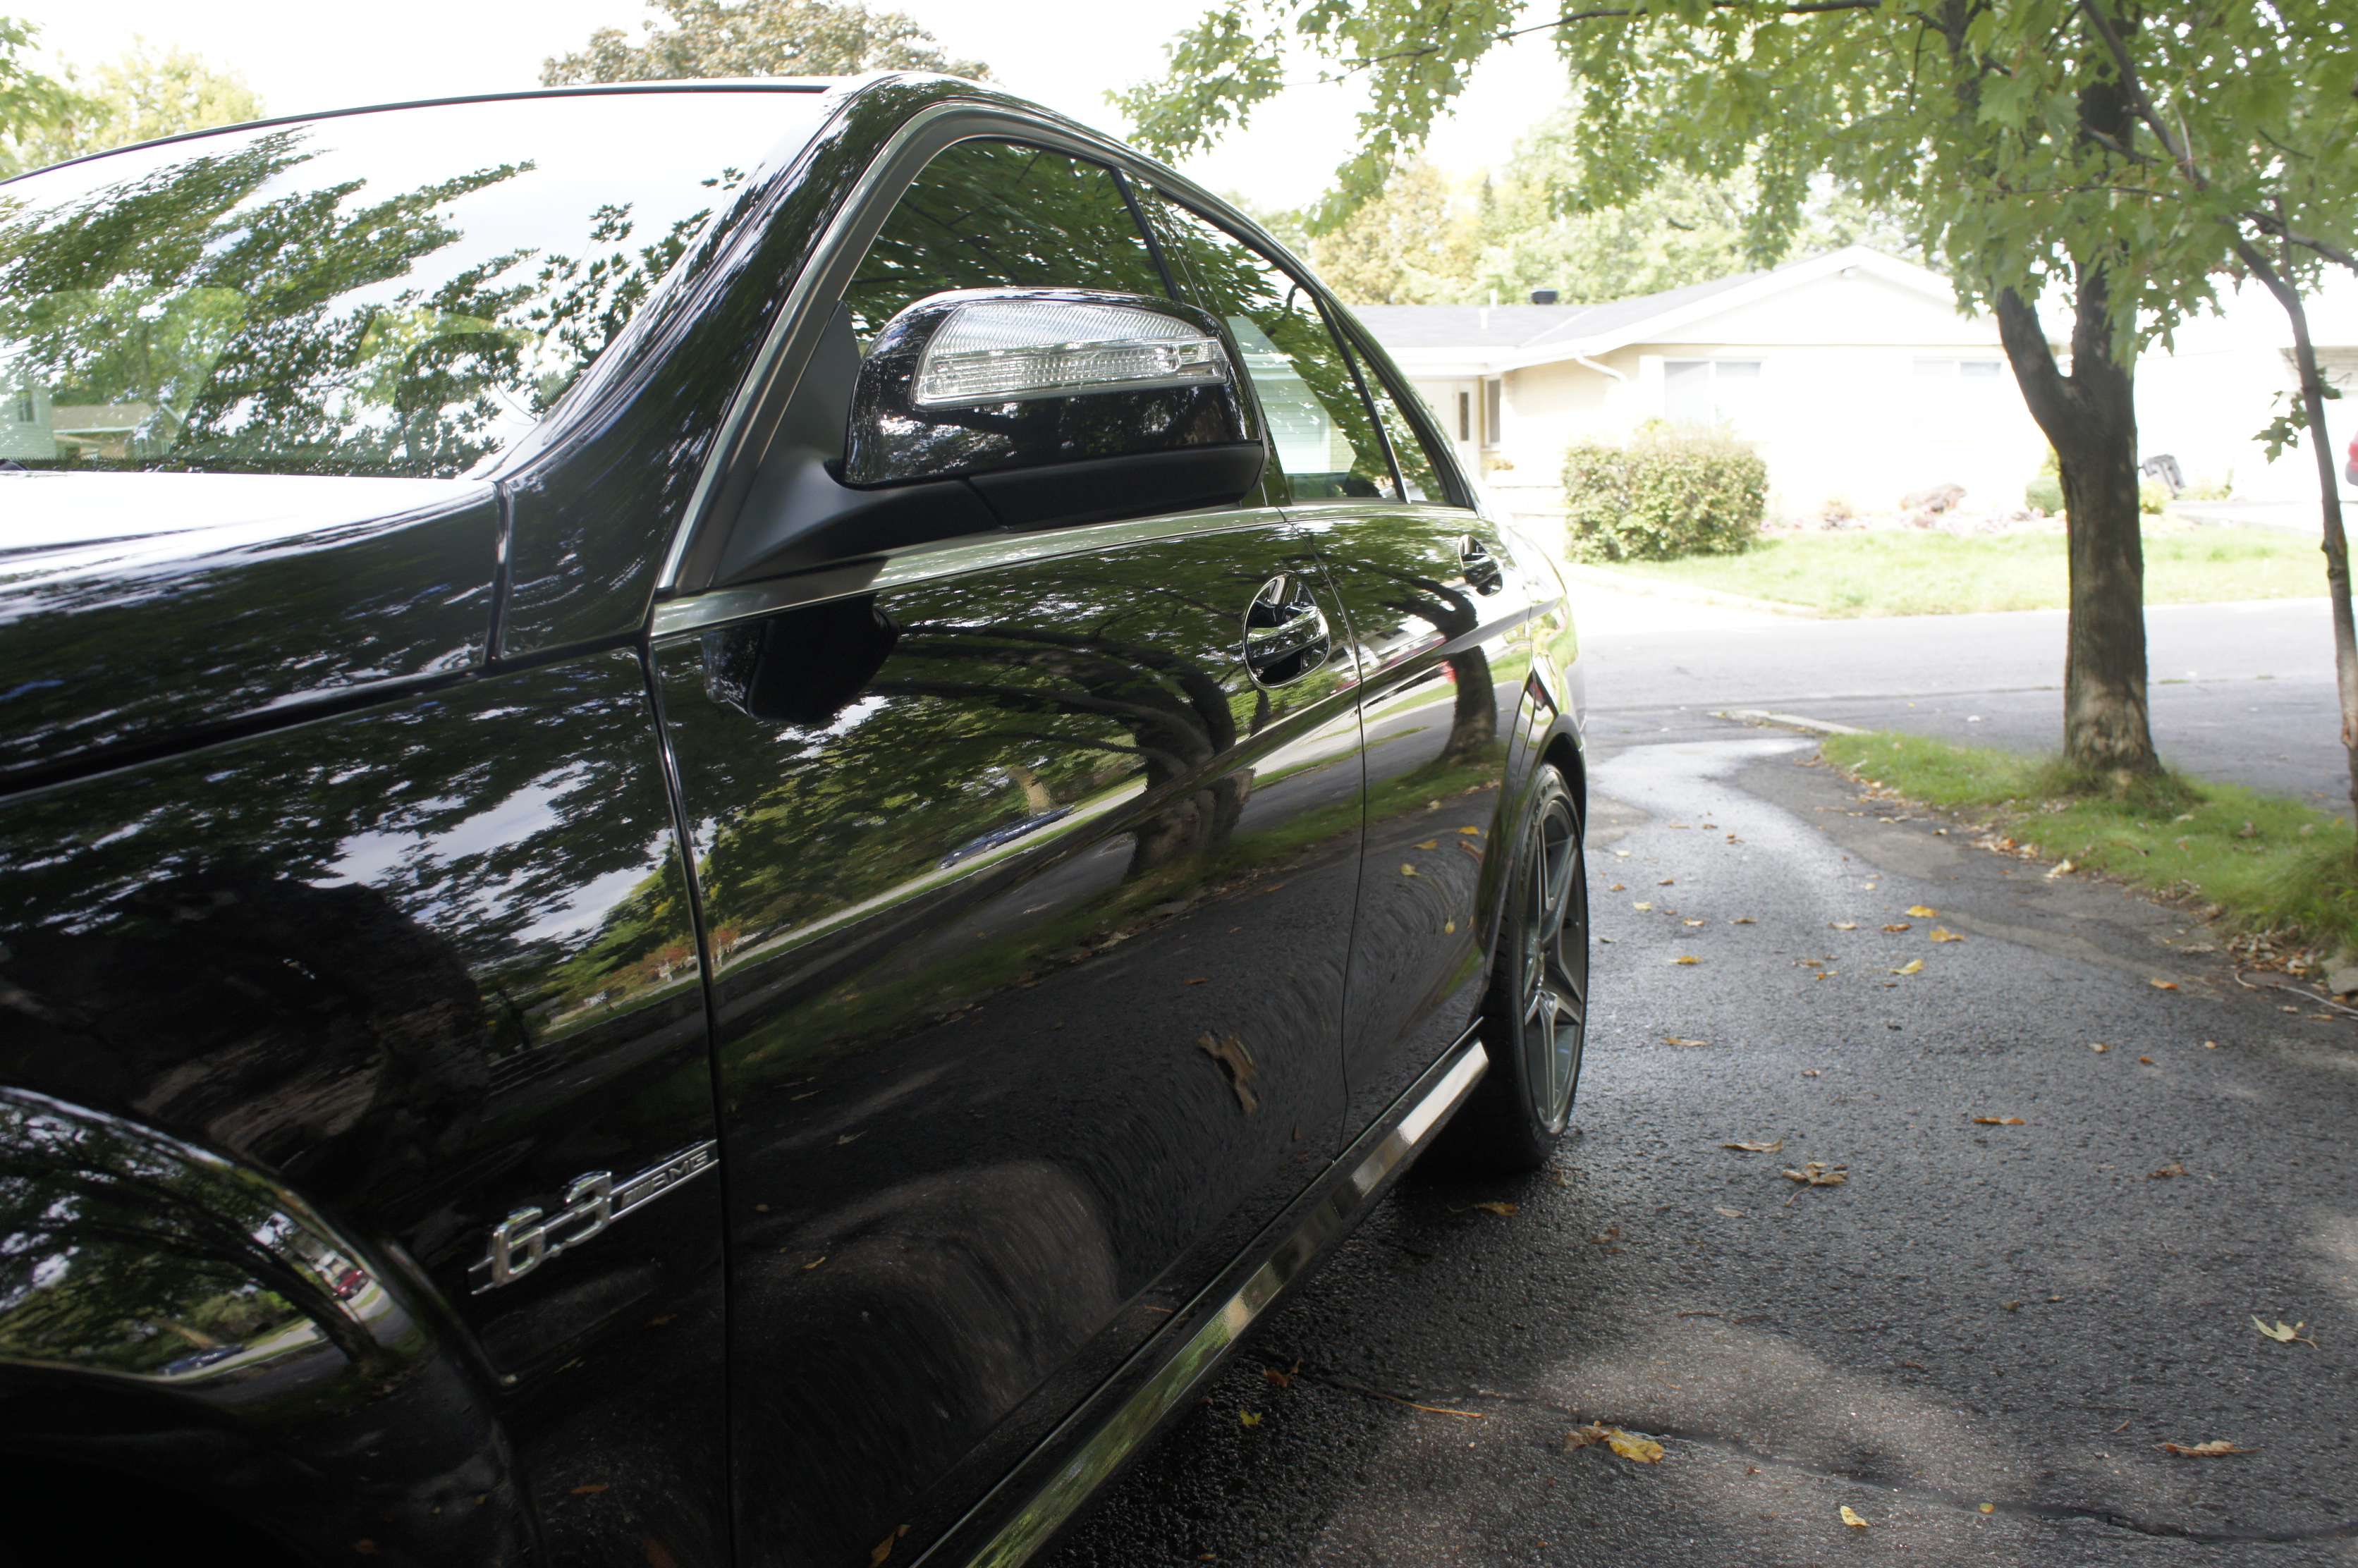
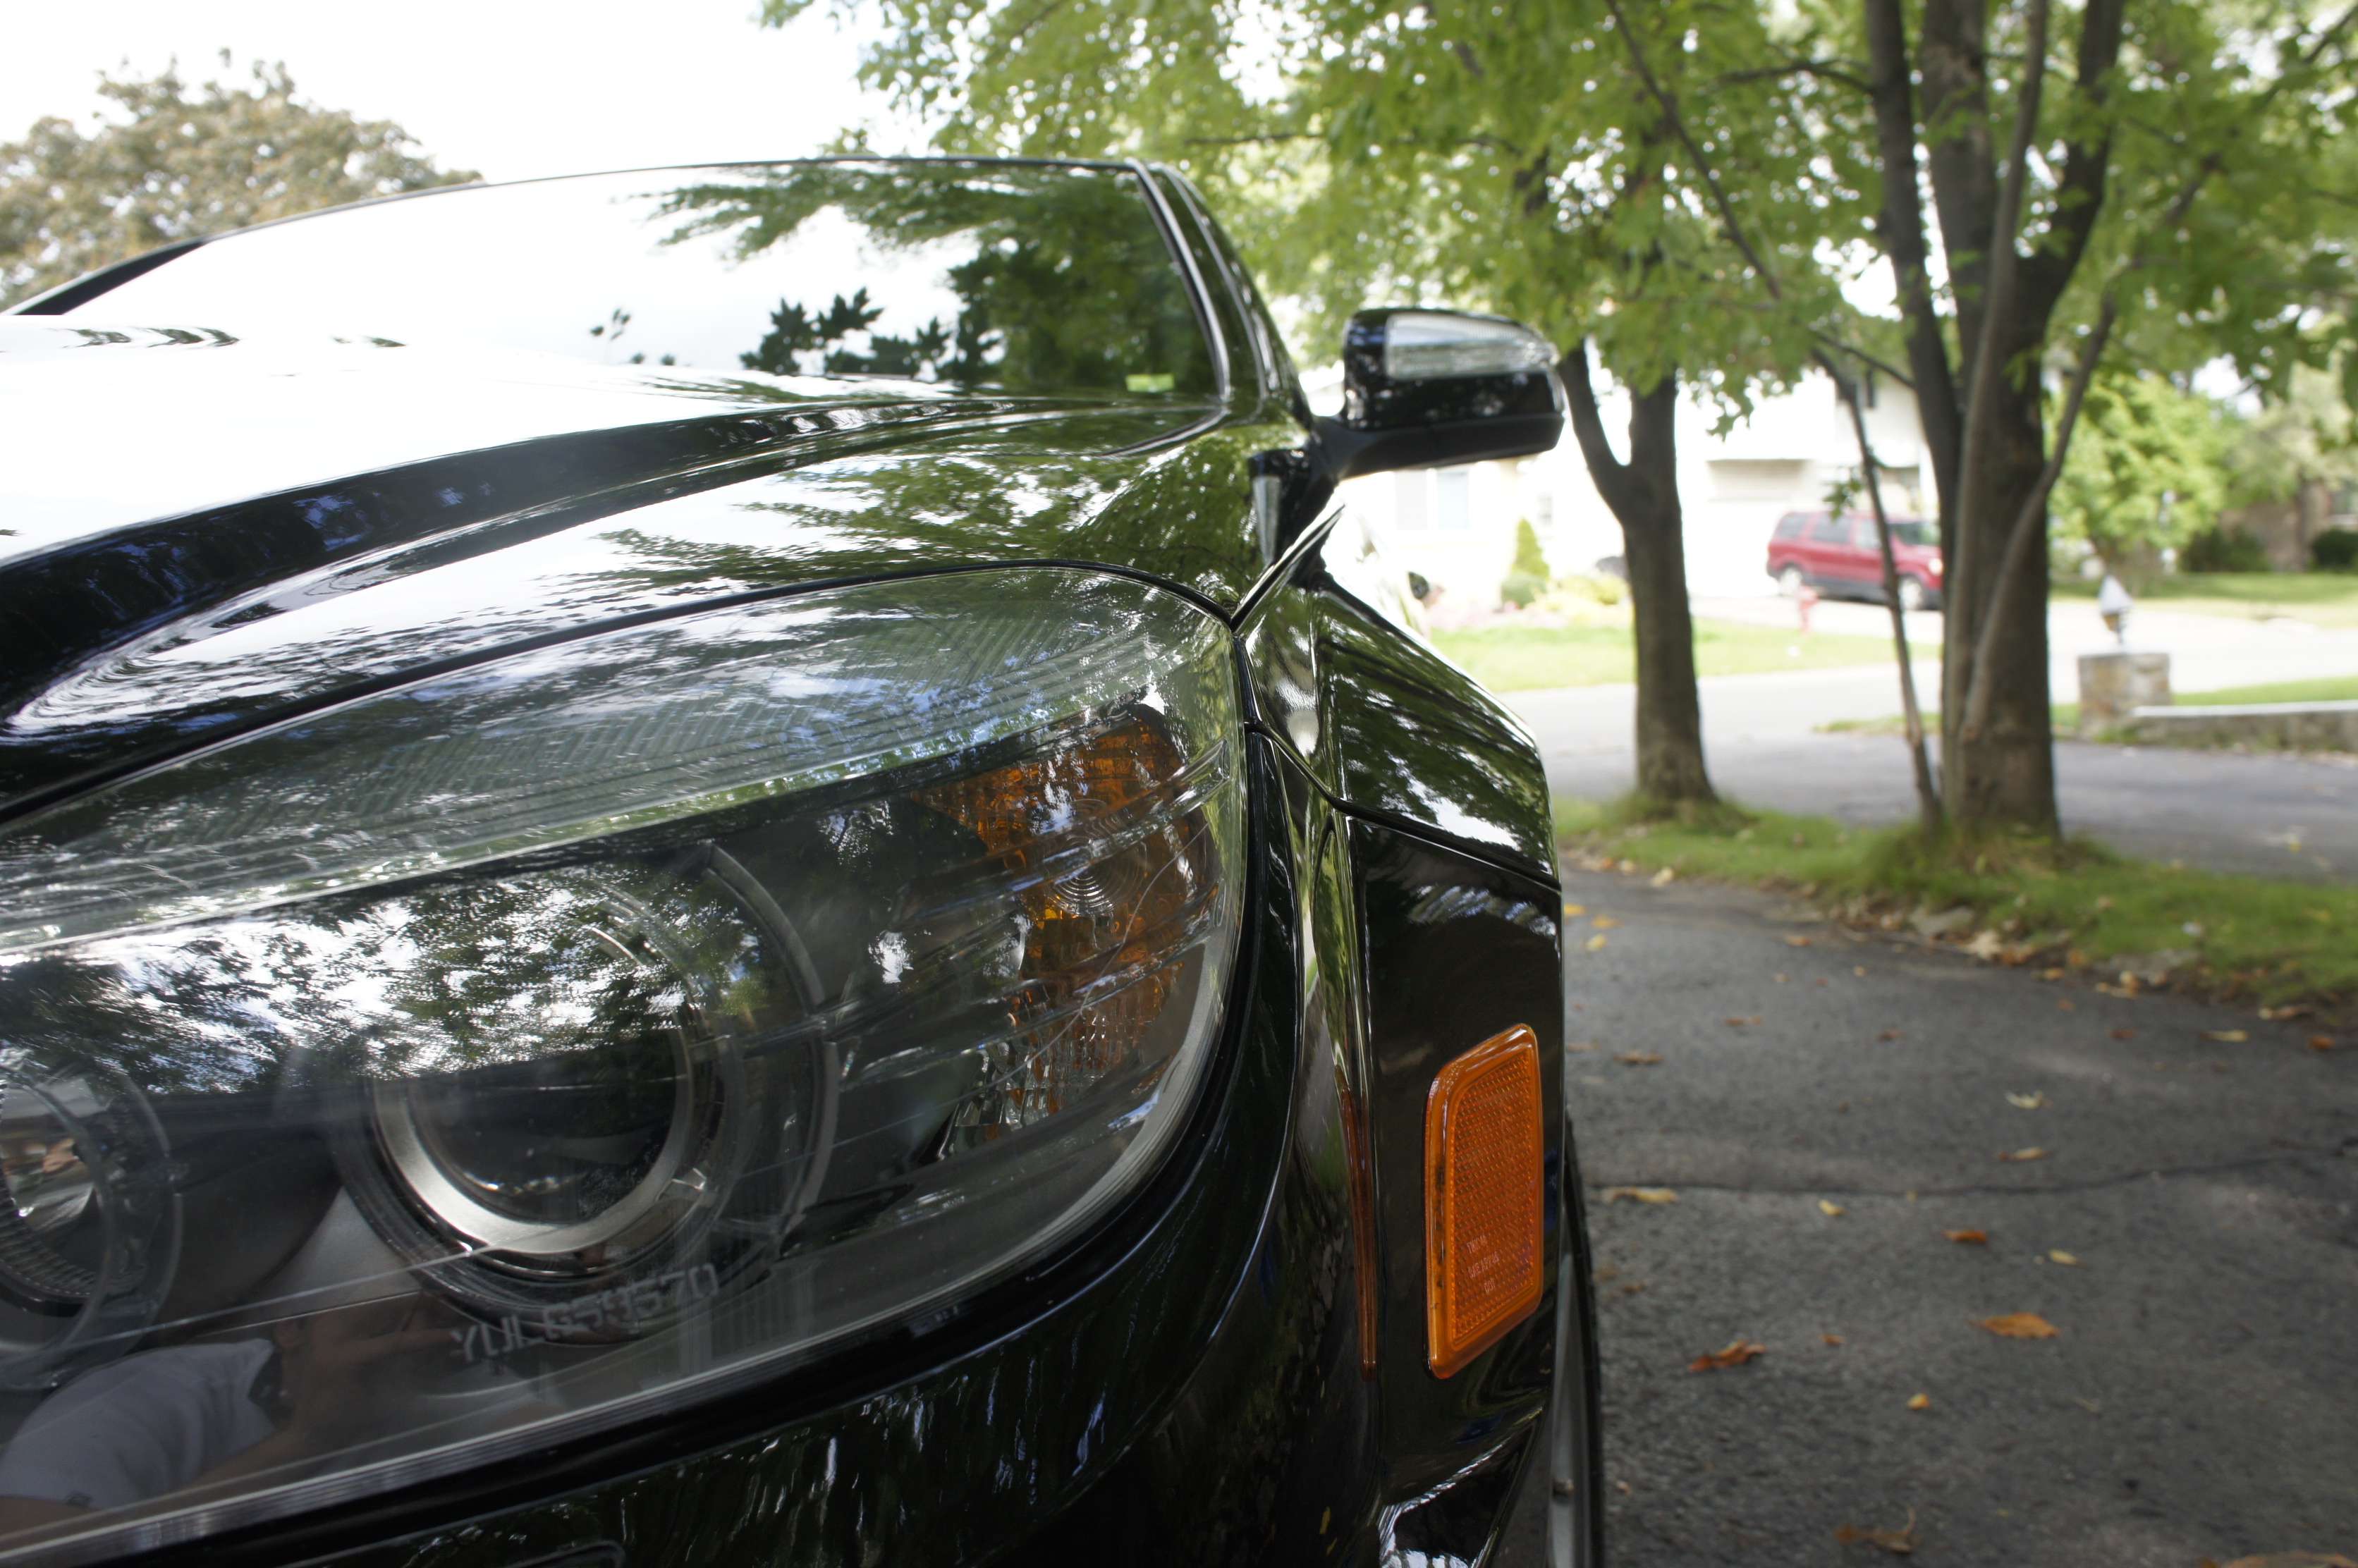
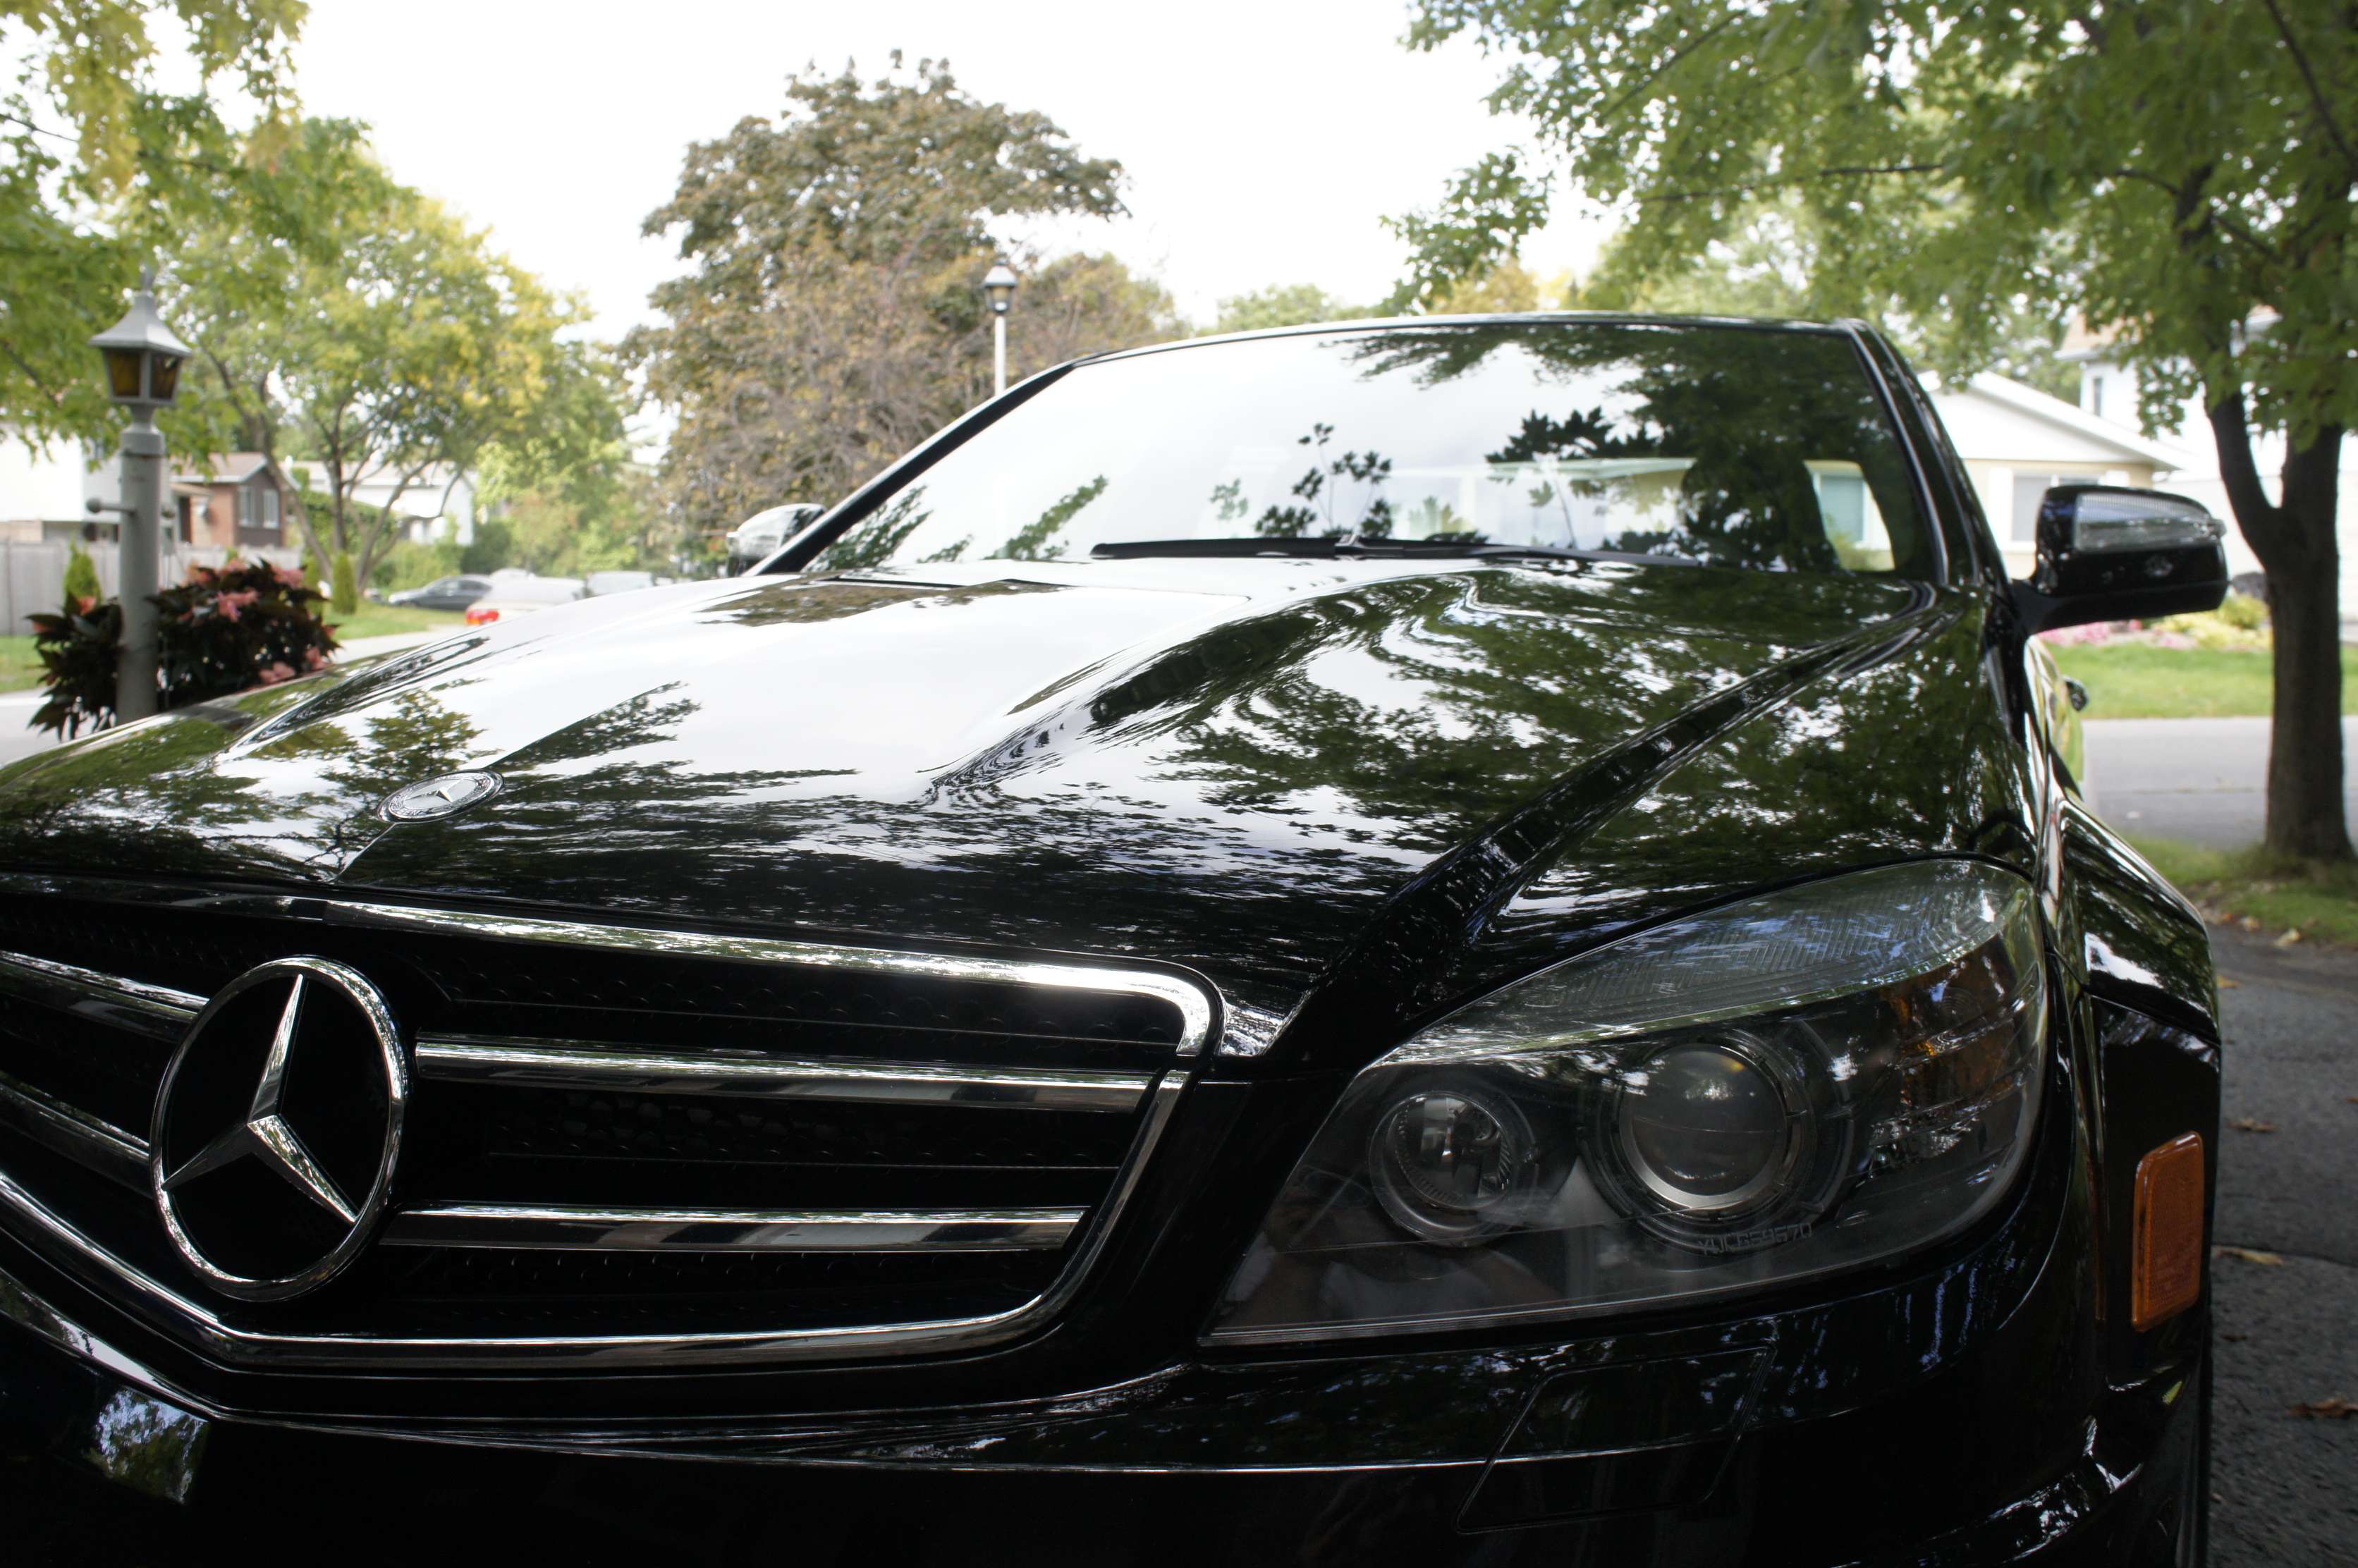
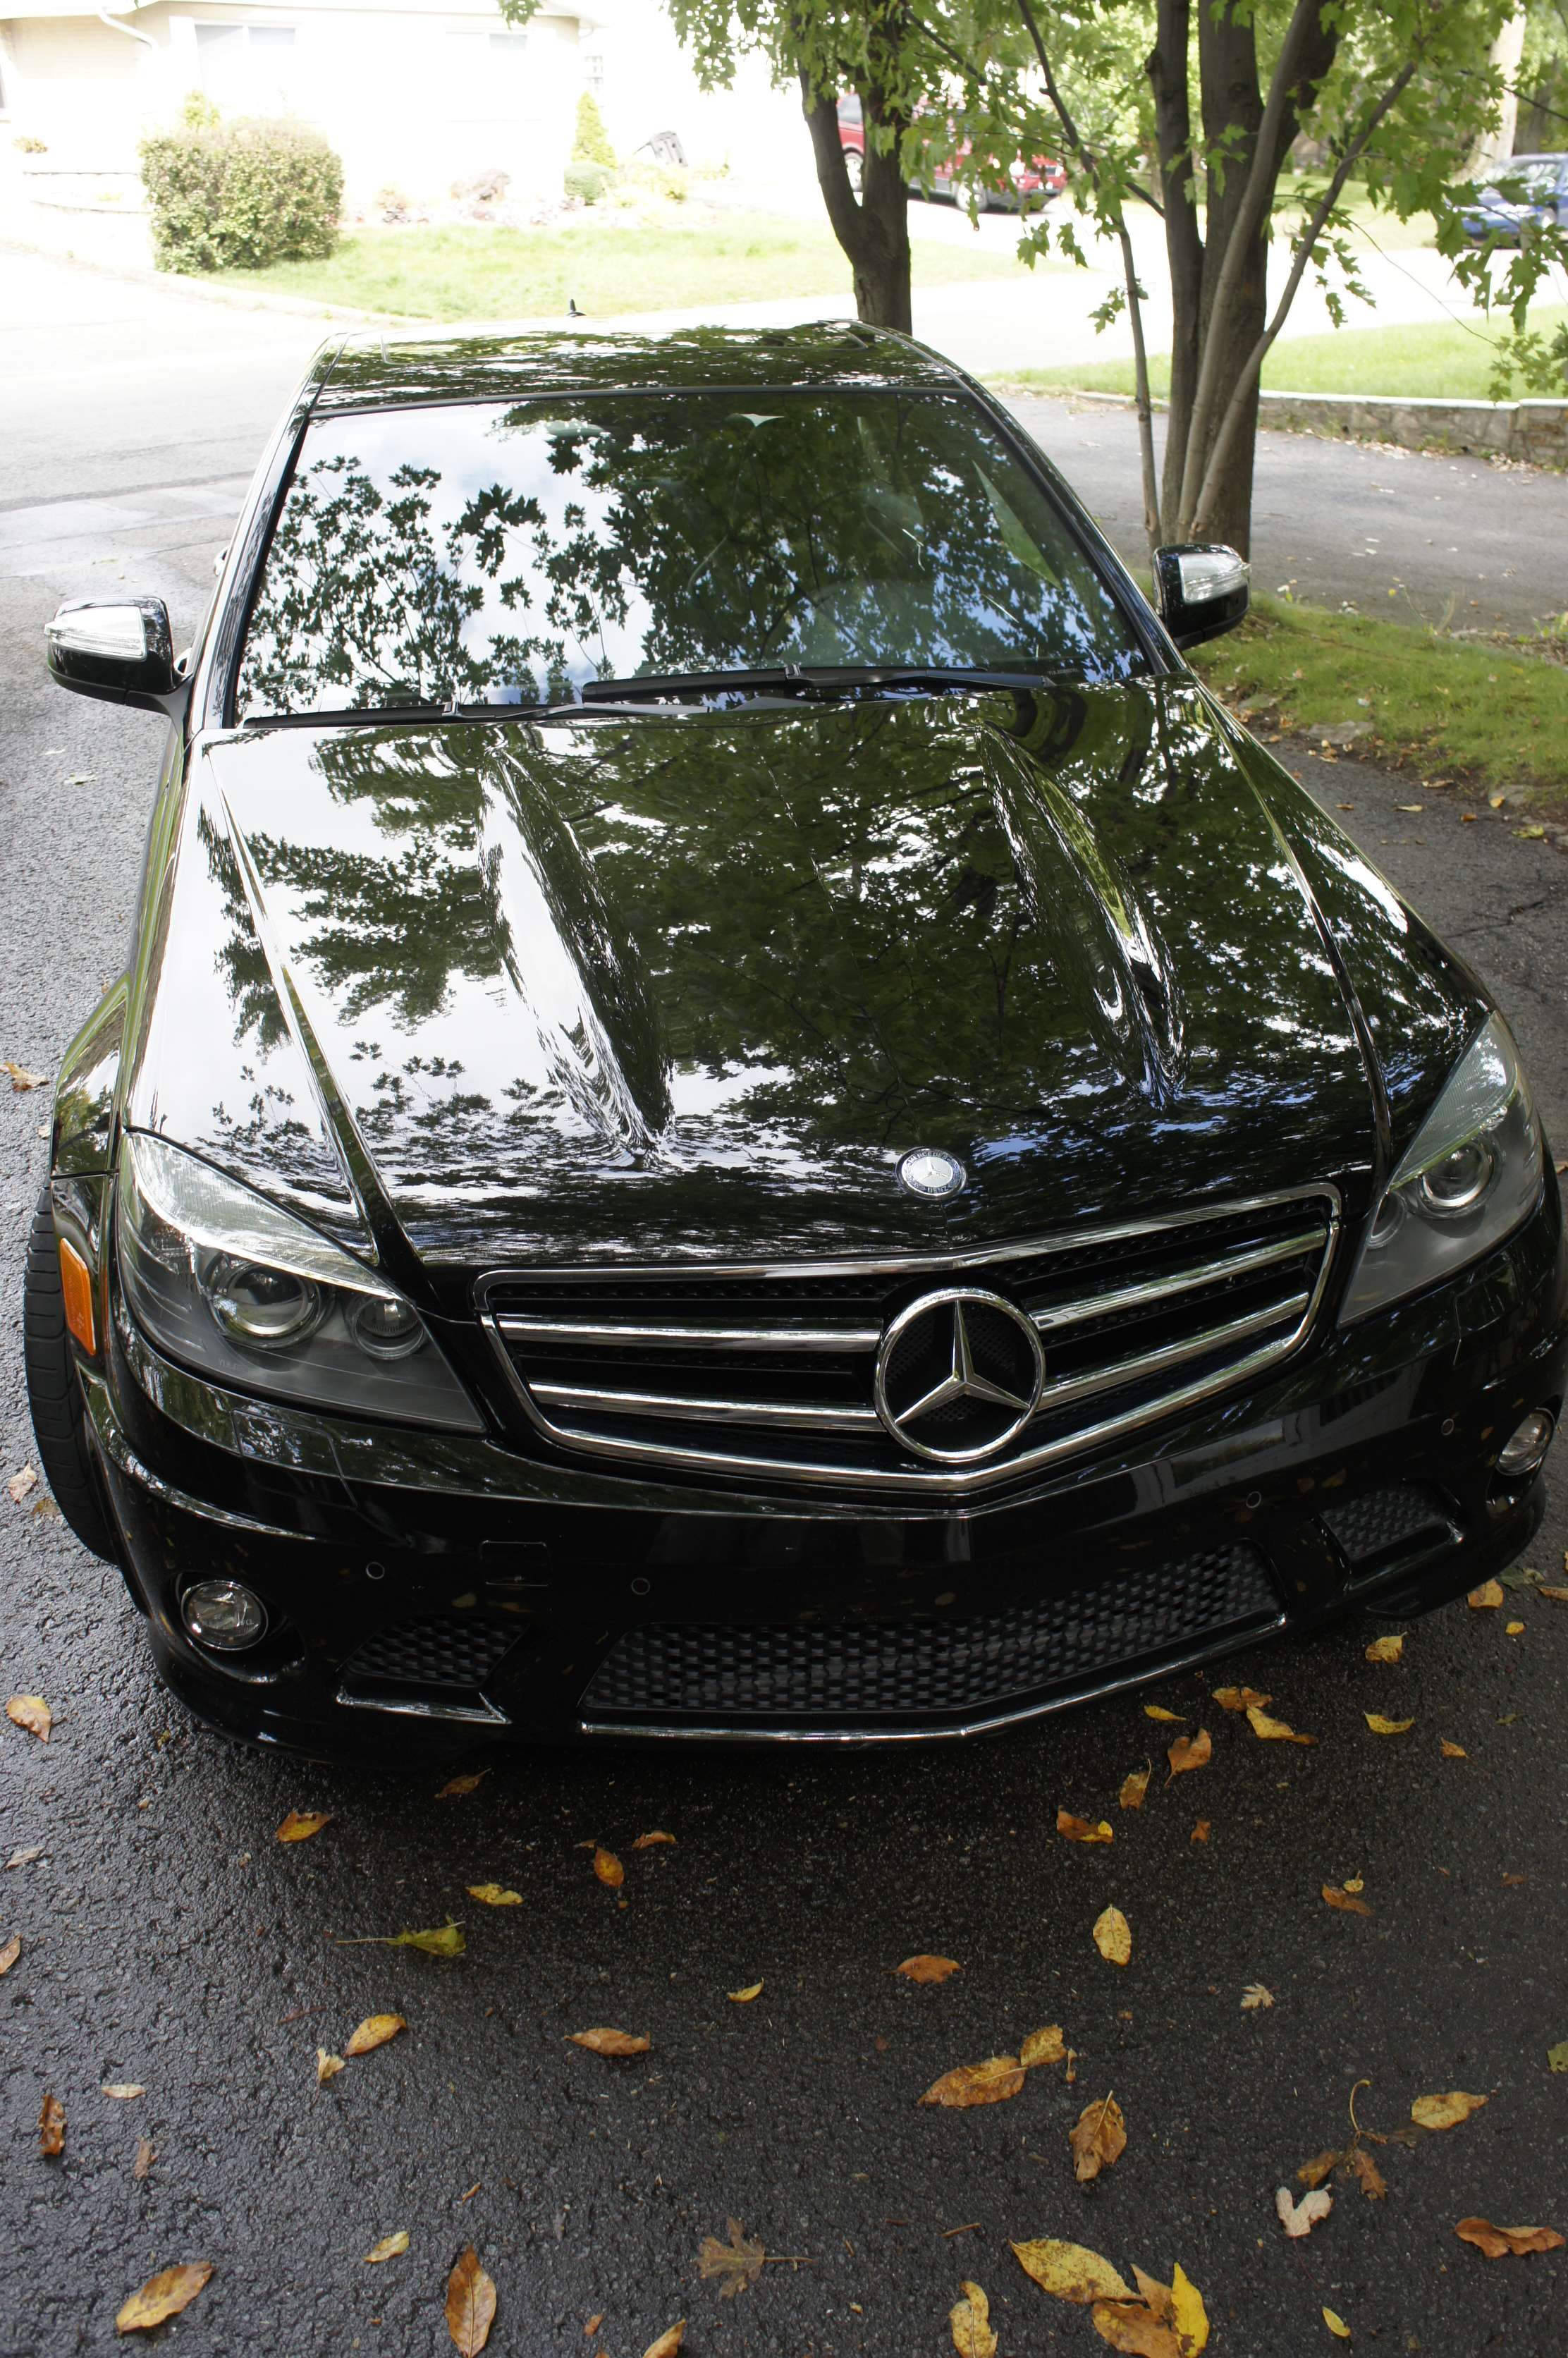
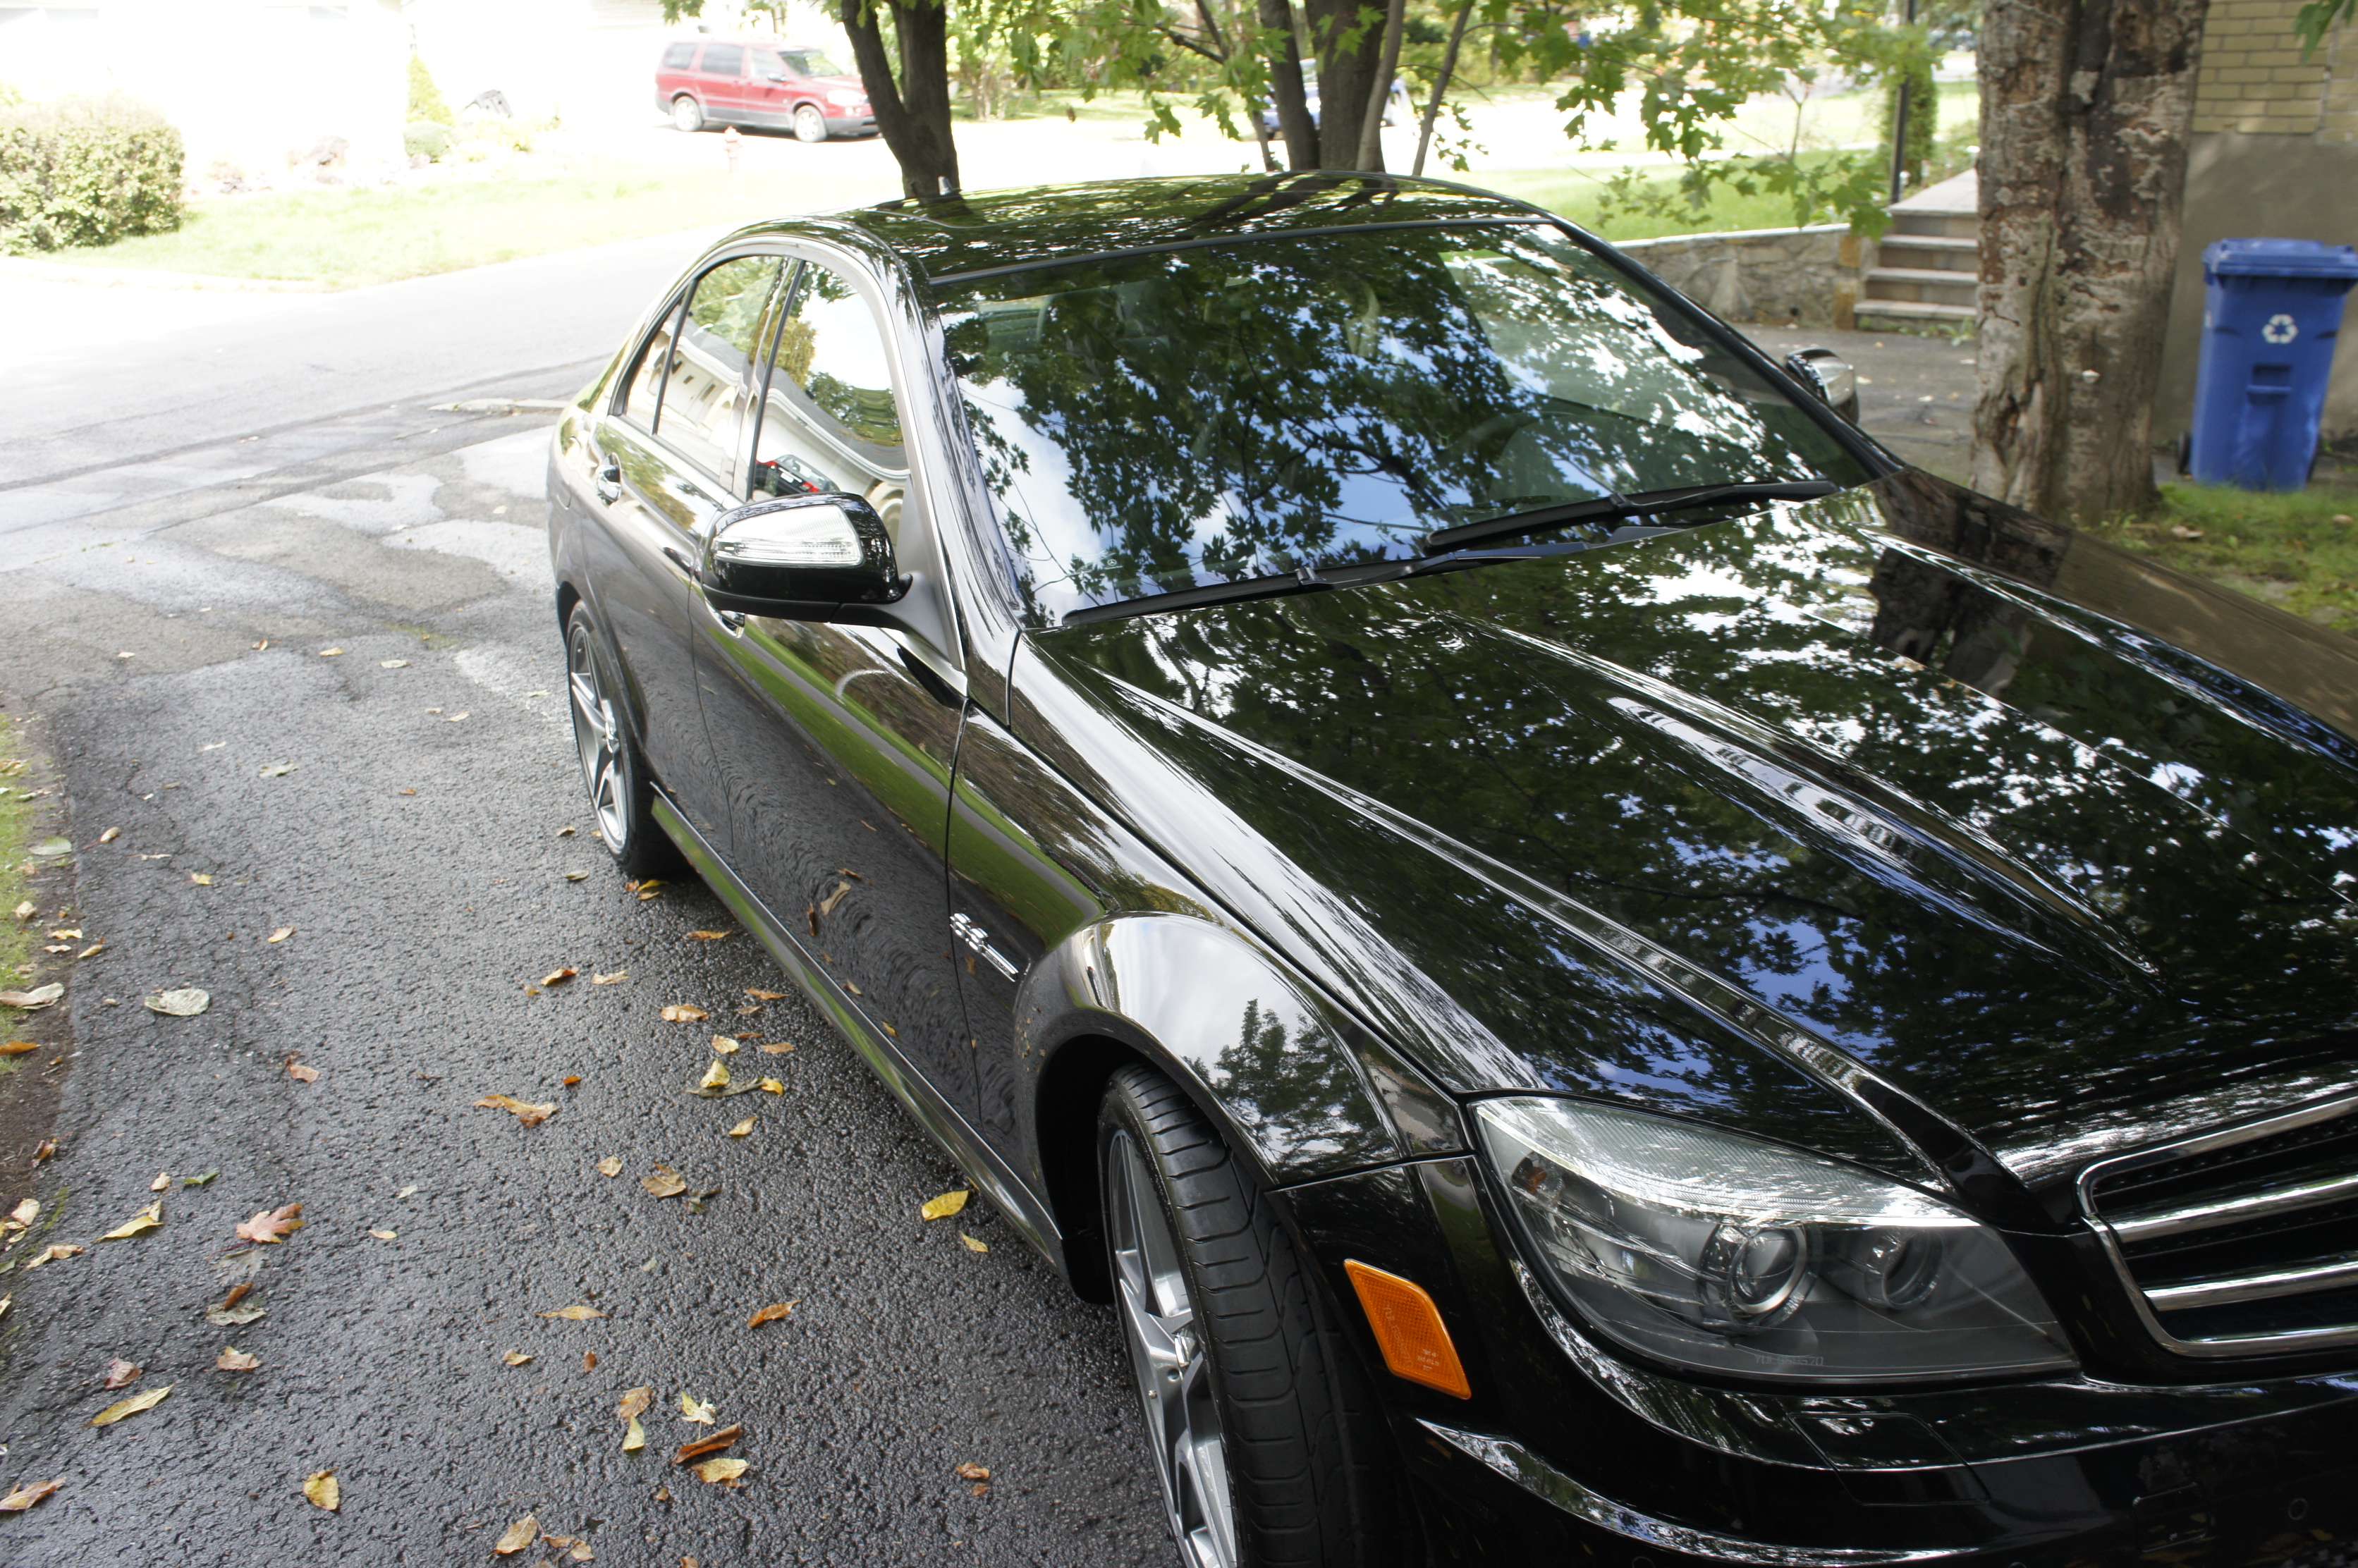
Voici une correction apport� sur une BMW M3 noir.
Le d�fi pour moi �tait de minimiser la correction pour pas que le quarter soit vraiment plus beau que le reste de l’auto. On le sait tous, une voiture noir, les swirls parraissent plus. Alors, je pouvais pas aller wild et faire une correction 100%
Le but : Blender le mieux possible les d�fauts!
This is a BMW M3 in JET BLACK. ( this paint is a REAL B*TCH to work with) The owner scratched one panel badly. However he didn't want to have his car detailed but the thing is that if my correction is too agressive, one panel will look better than the rest of the car and you don't want this. so I had to blend the finsh with the rest of the car while still correcting the scratches haha! here's the pictures!
Avant :
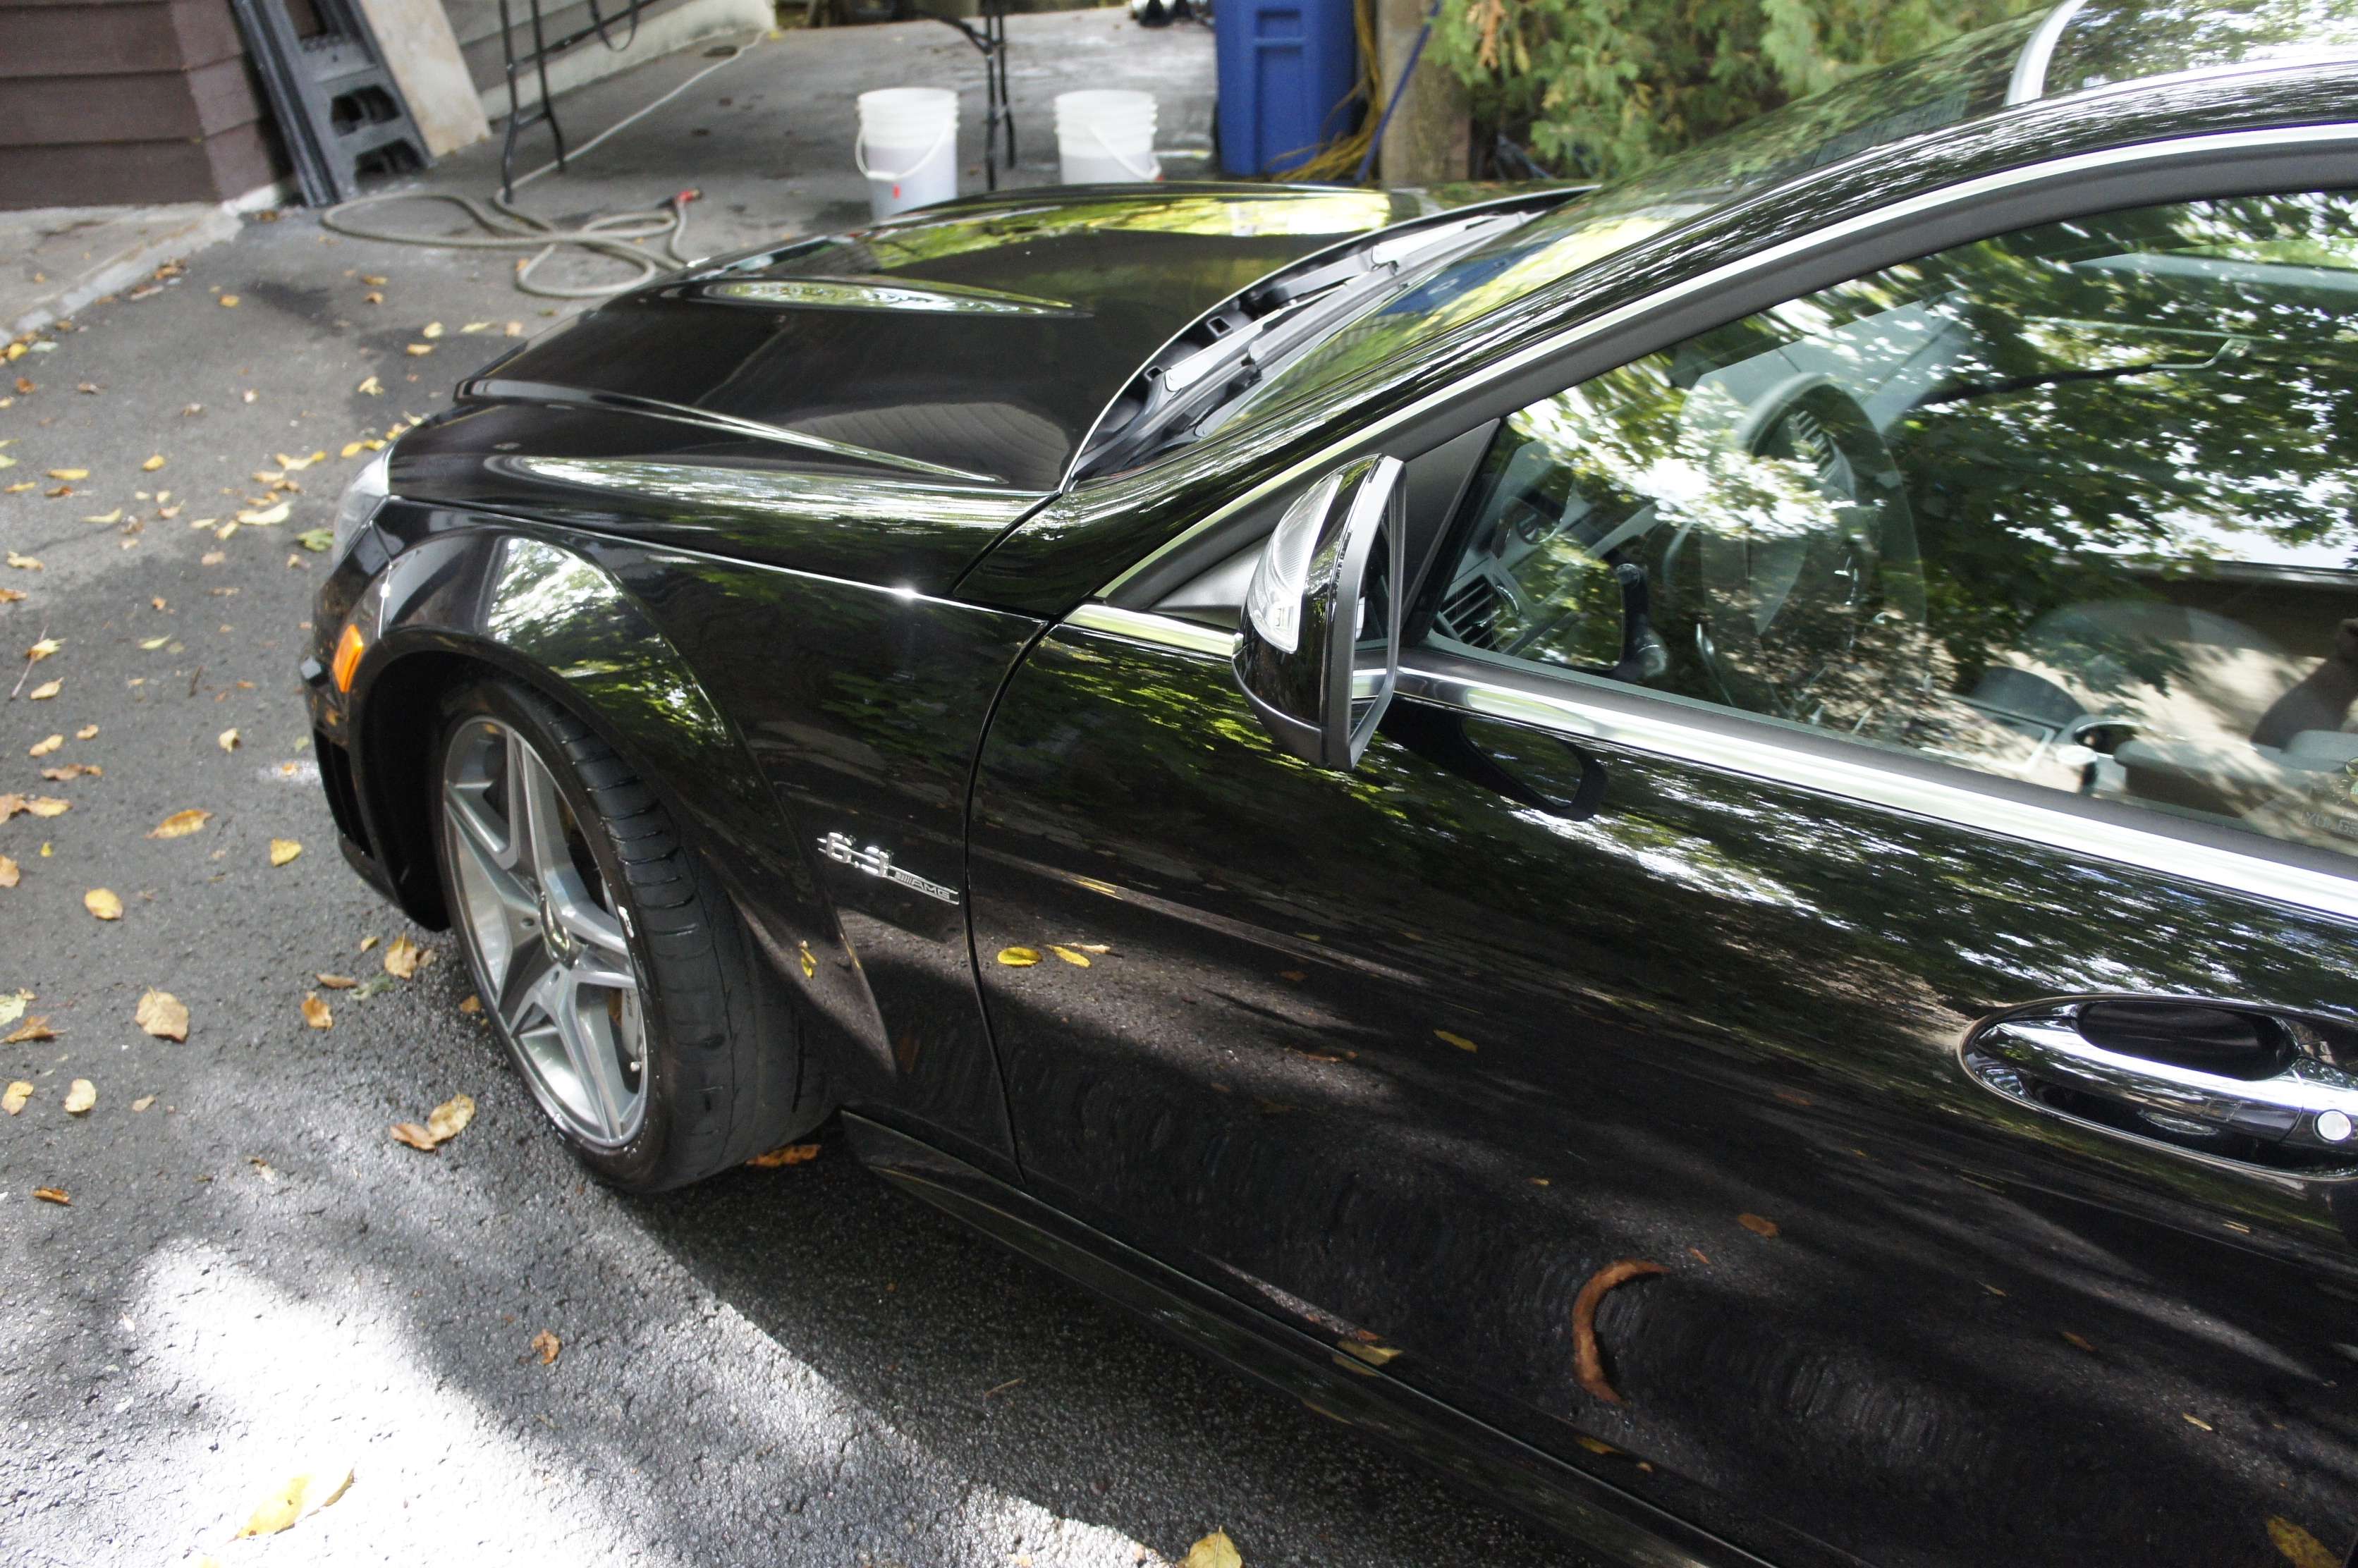
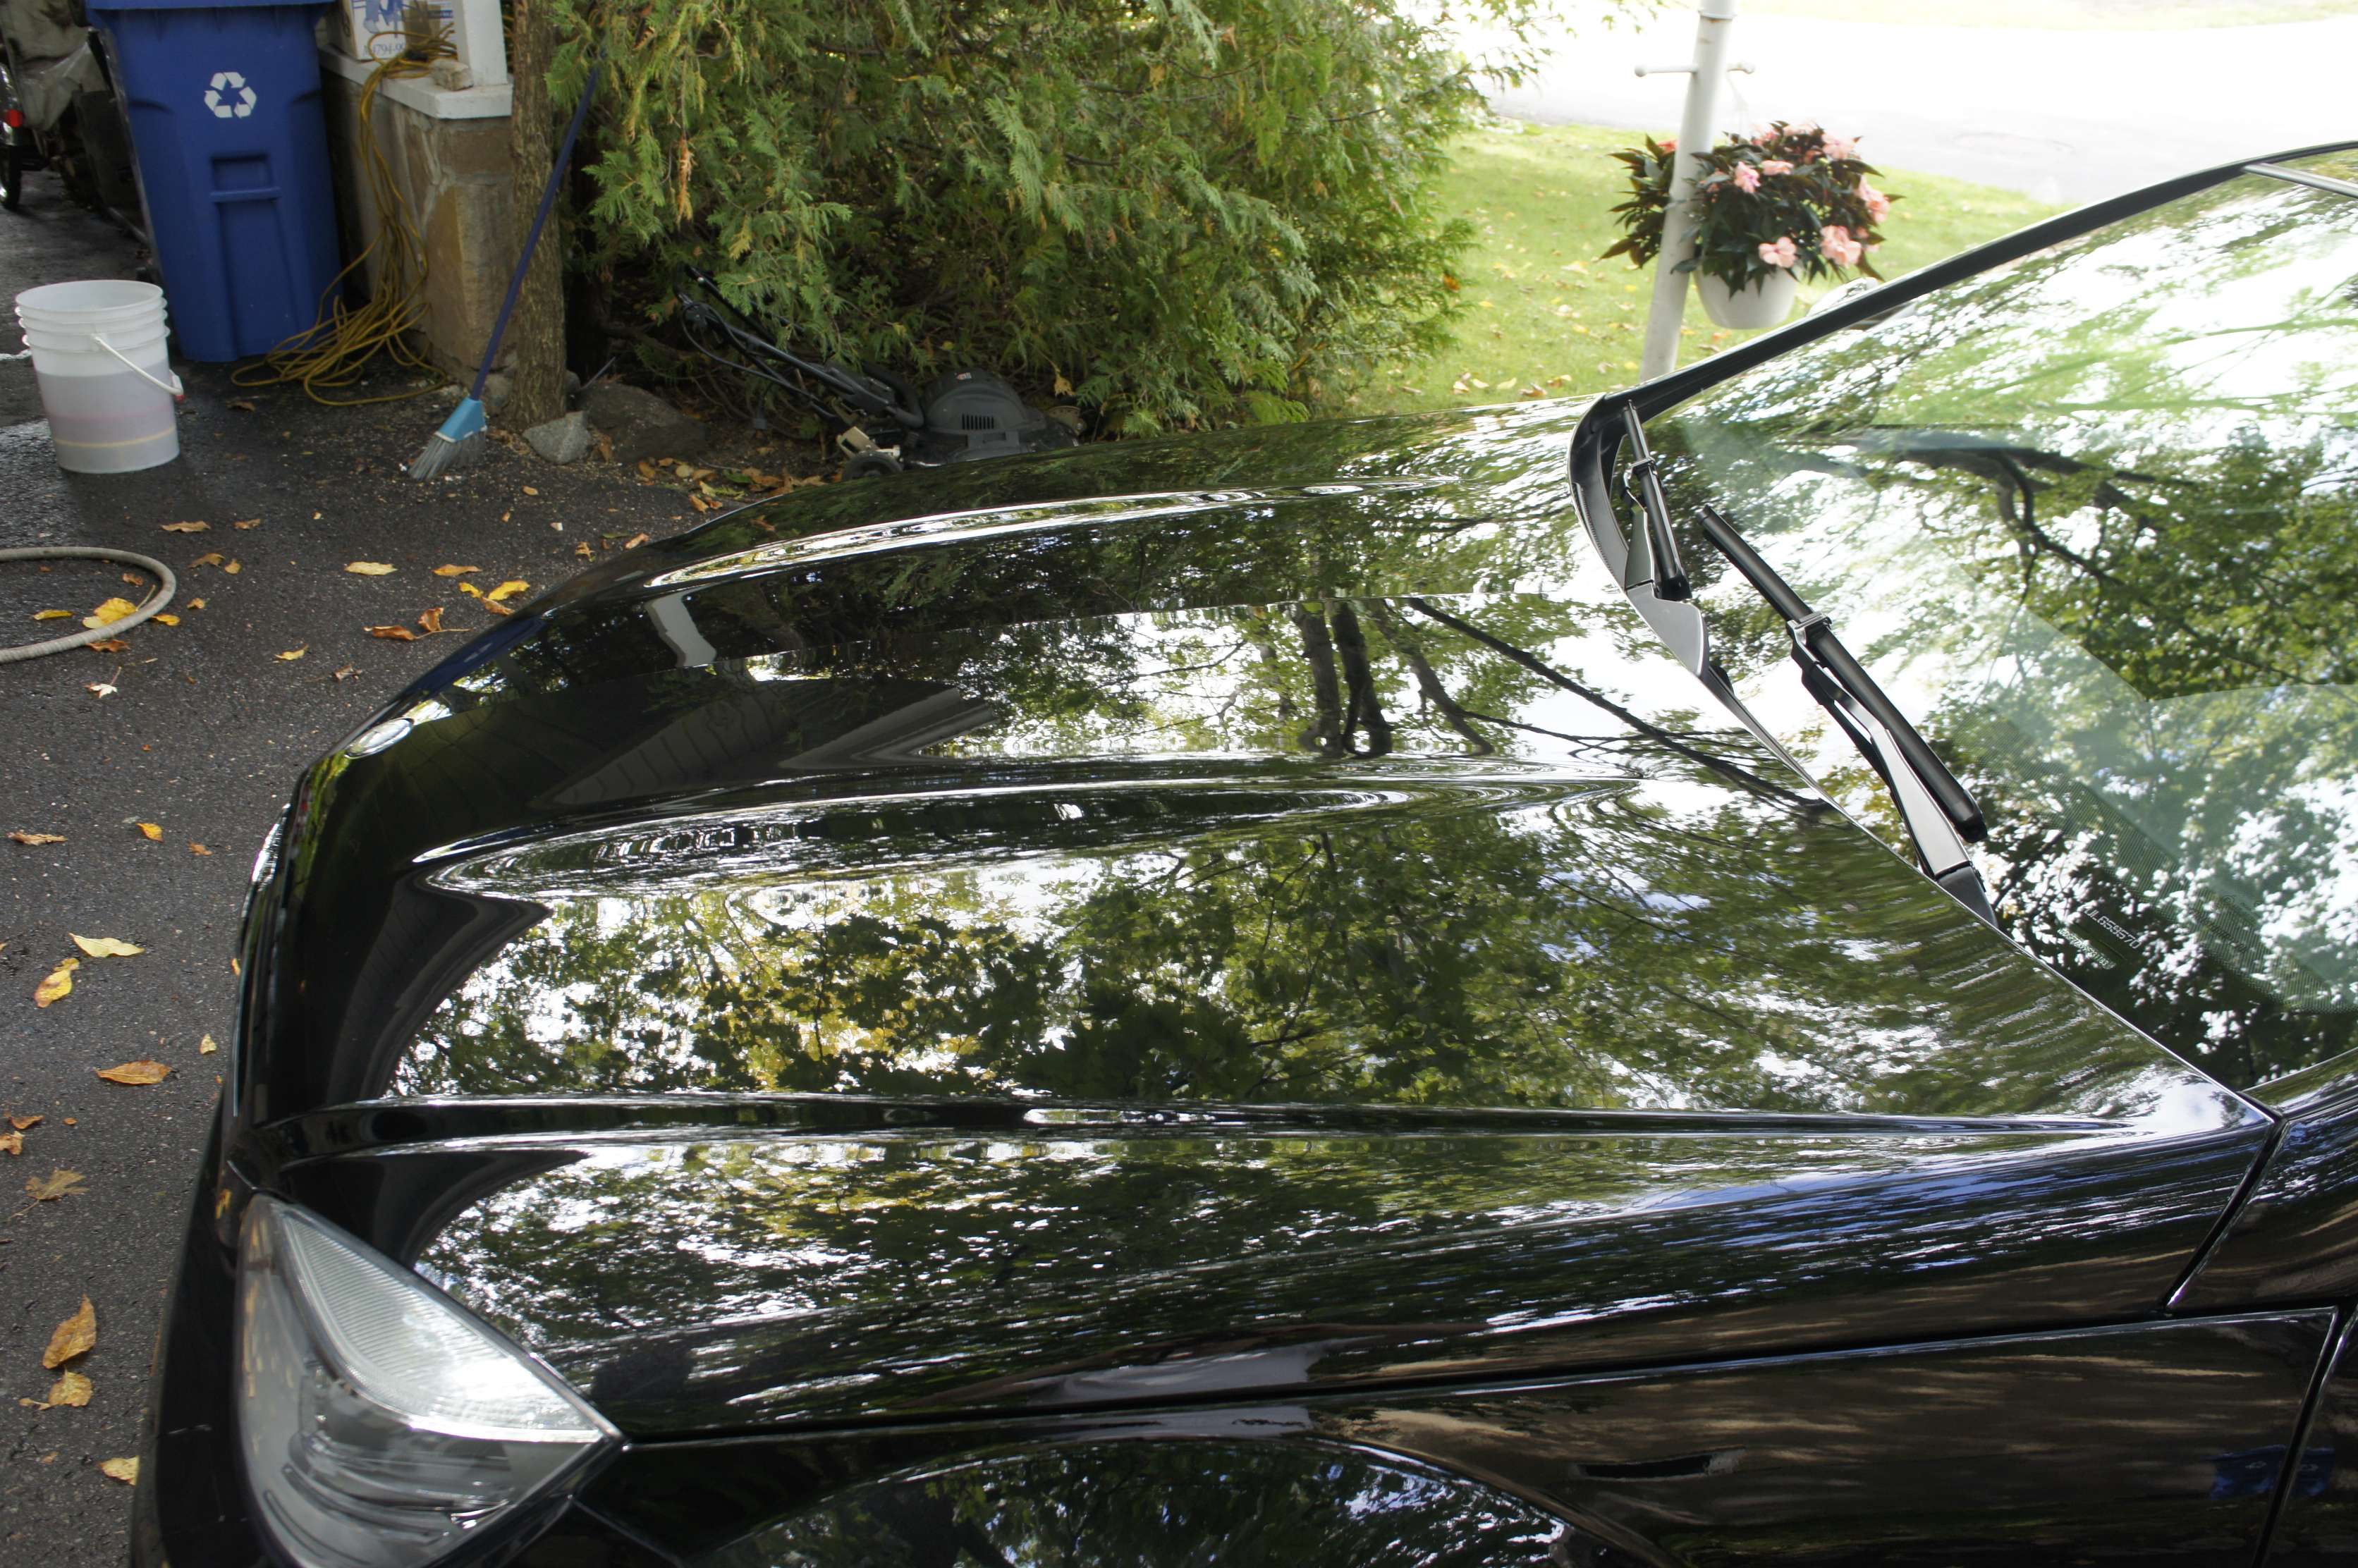
Et puis maintenant! Quand m�me mieux! Je crois avoir r�ussi ma mission :
Here’s another Mazda 3. Basically the guy saw me working on another car and came across and asked if I could the same on his white Mazda 3. He said the orange rust spot is killing him. I then explained him that it’s with a clay bar you correct that kind of stuff but a polish would be a good thing to do also. See by yourself.
Condition of the car:
The white is not white it’s more like a yellowish white.
See the clay bar ahha!?
And here’s a 50/50 showing how the white on the left is a lot more white than the one on the right side. Hard to capture on a picture but the owner saw it and had to bring his friend have a look at it! It was funny. I was like a magician.
Darng! I forgot to take after-pic but all those scratches were gone after!
After pic:
I went with liquid souveran.. a wax that give a great warm carnauba look but to light-colored paint;
See that little wet-looking factor here?
Polished the headlight but the damage was mostly inside the lens:
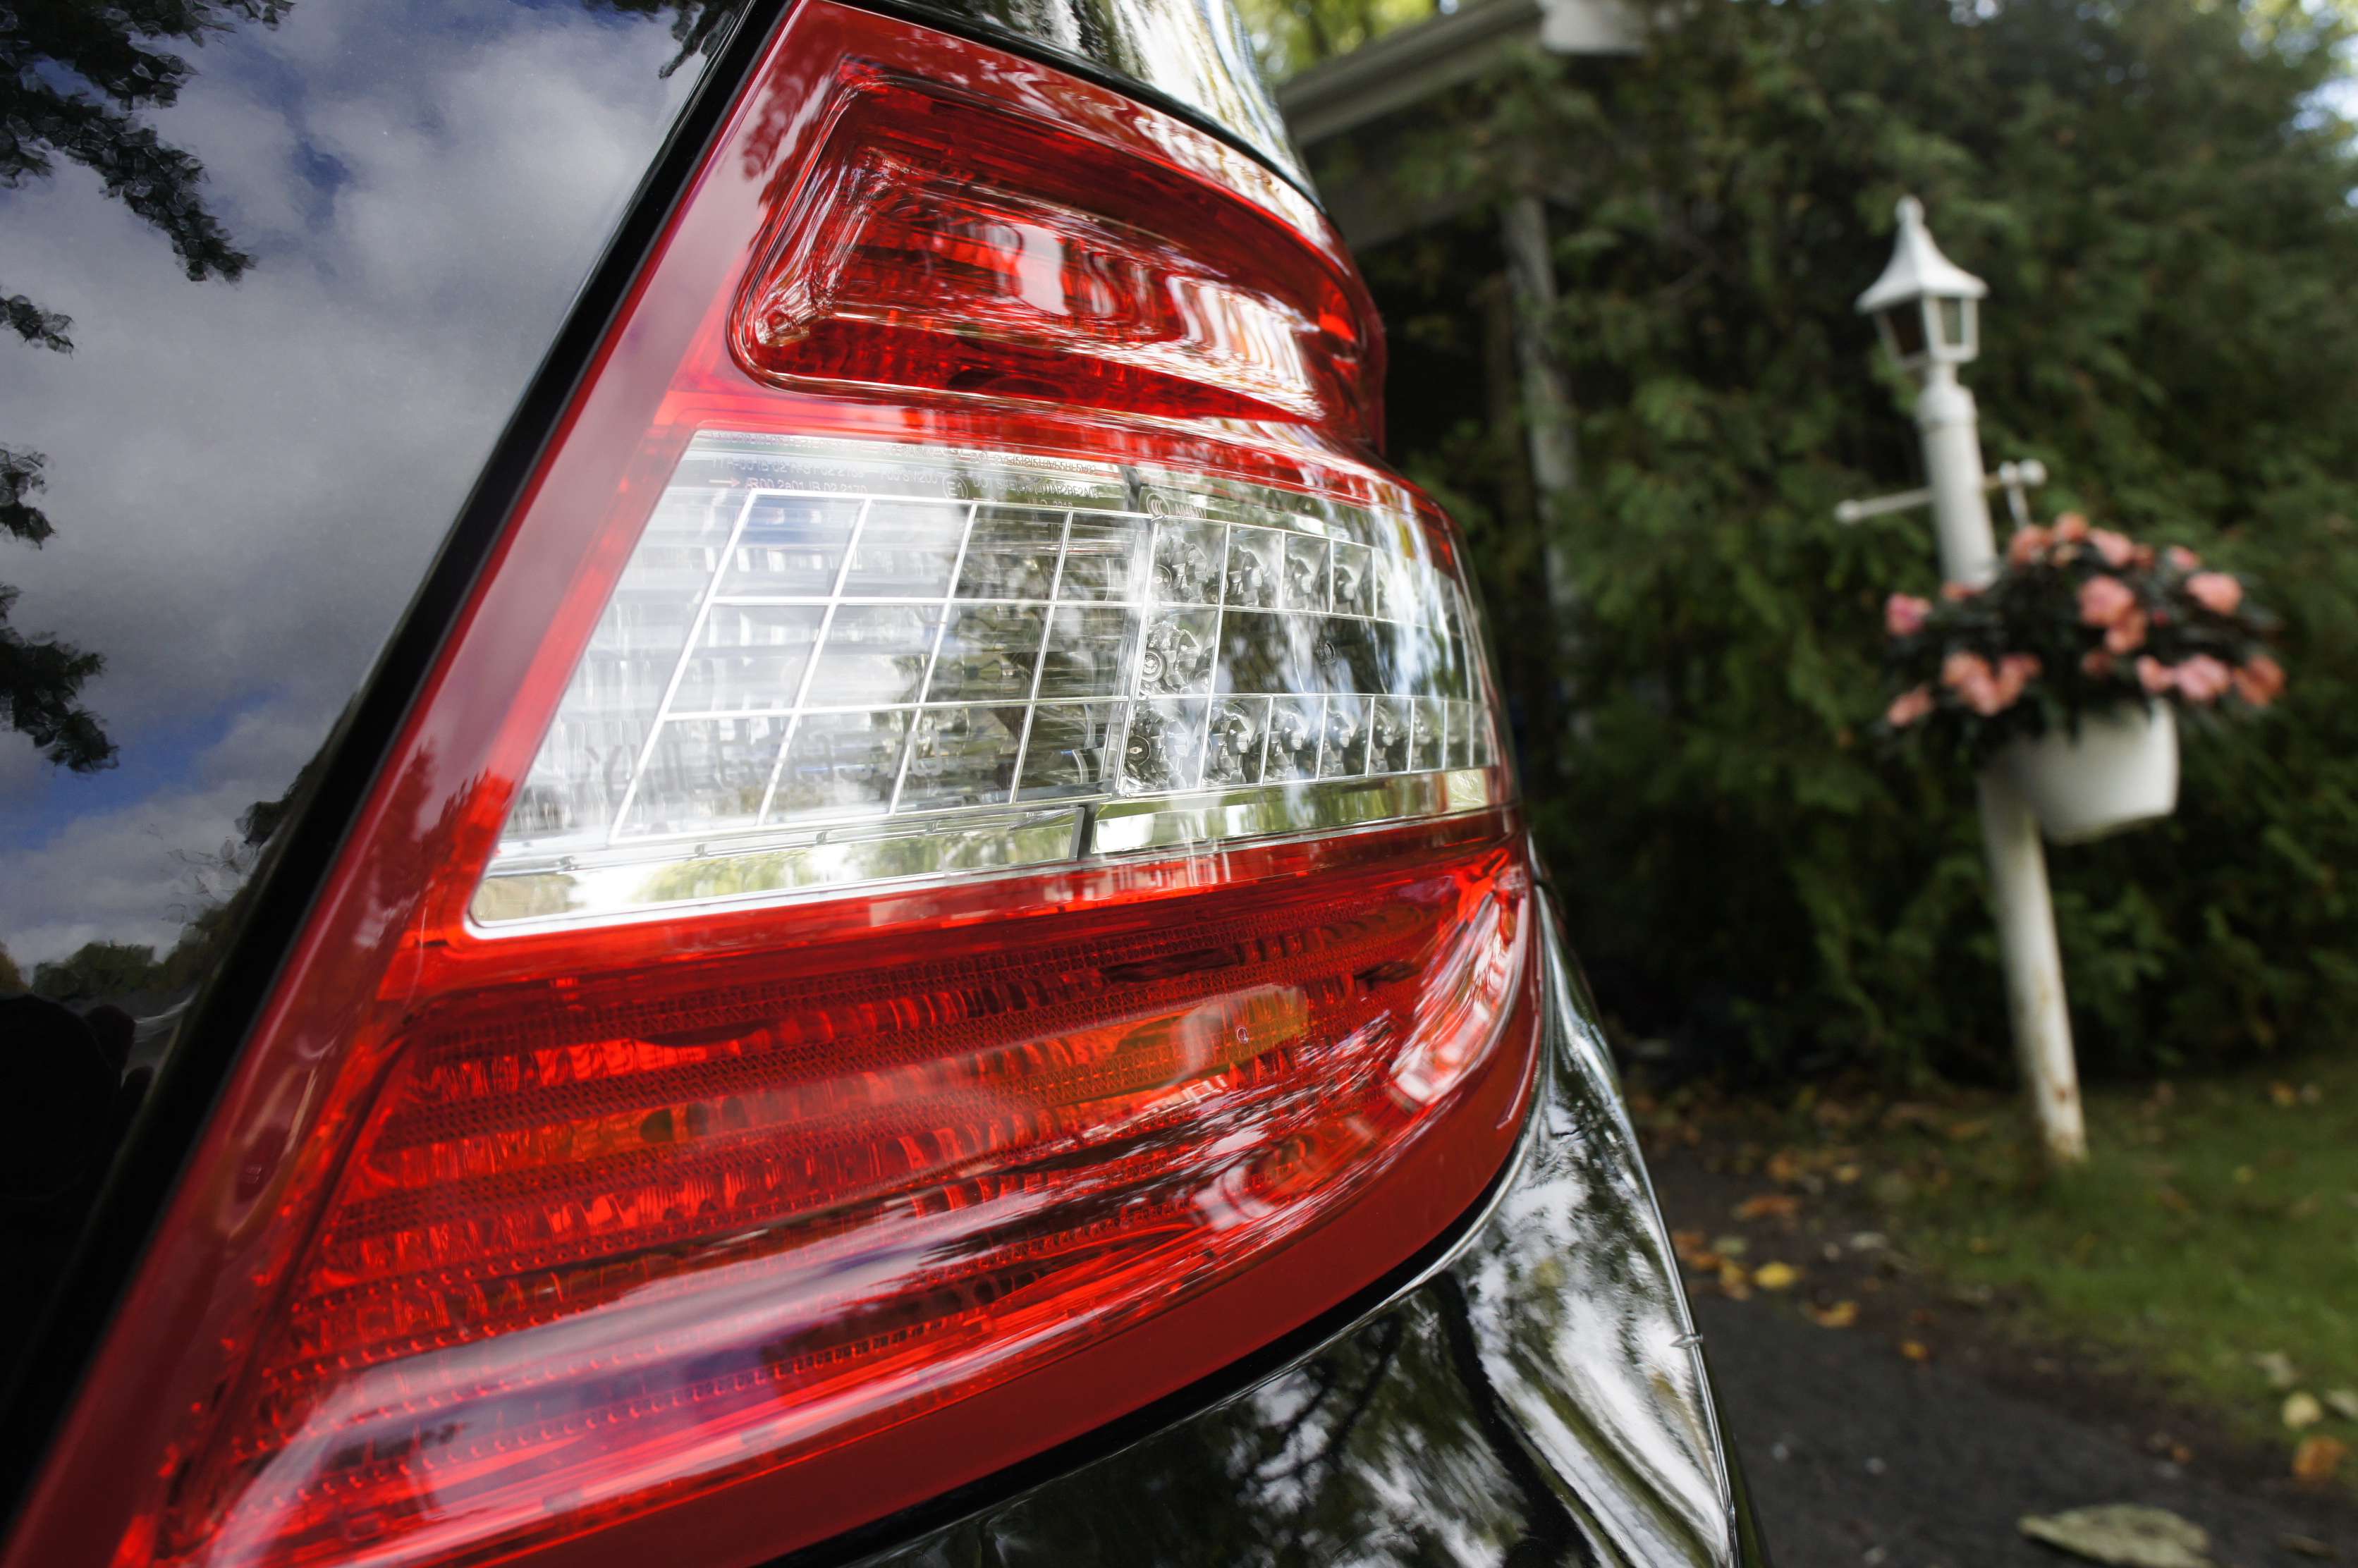
Polished the taillight:
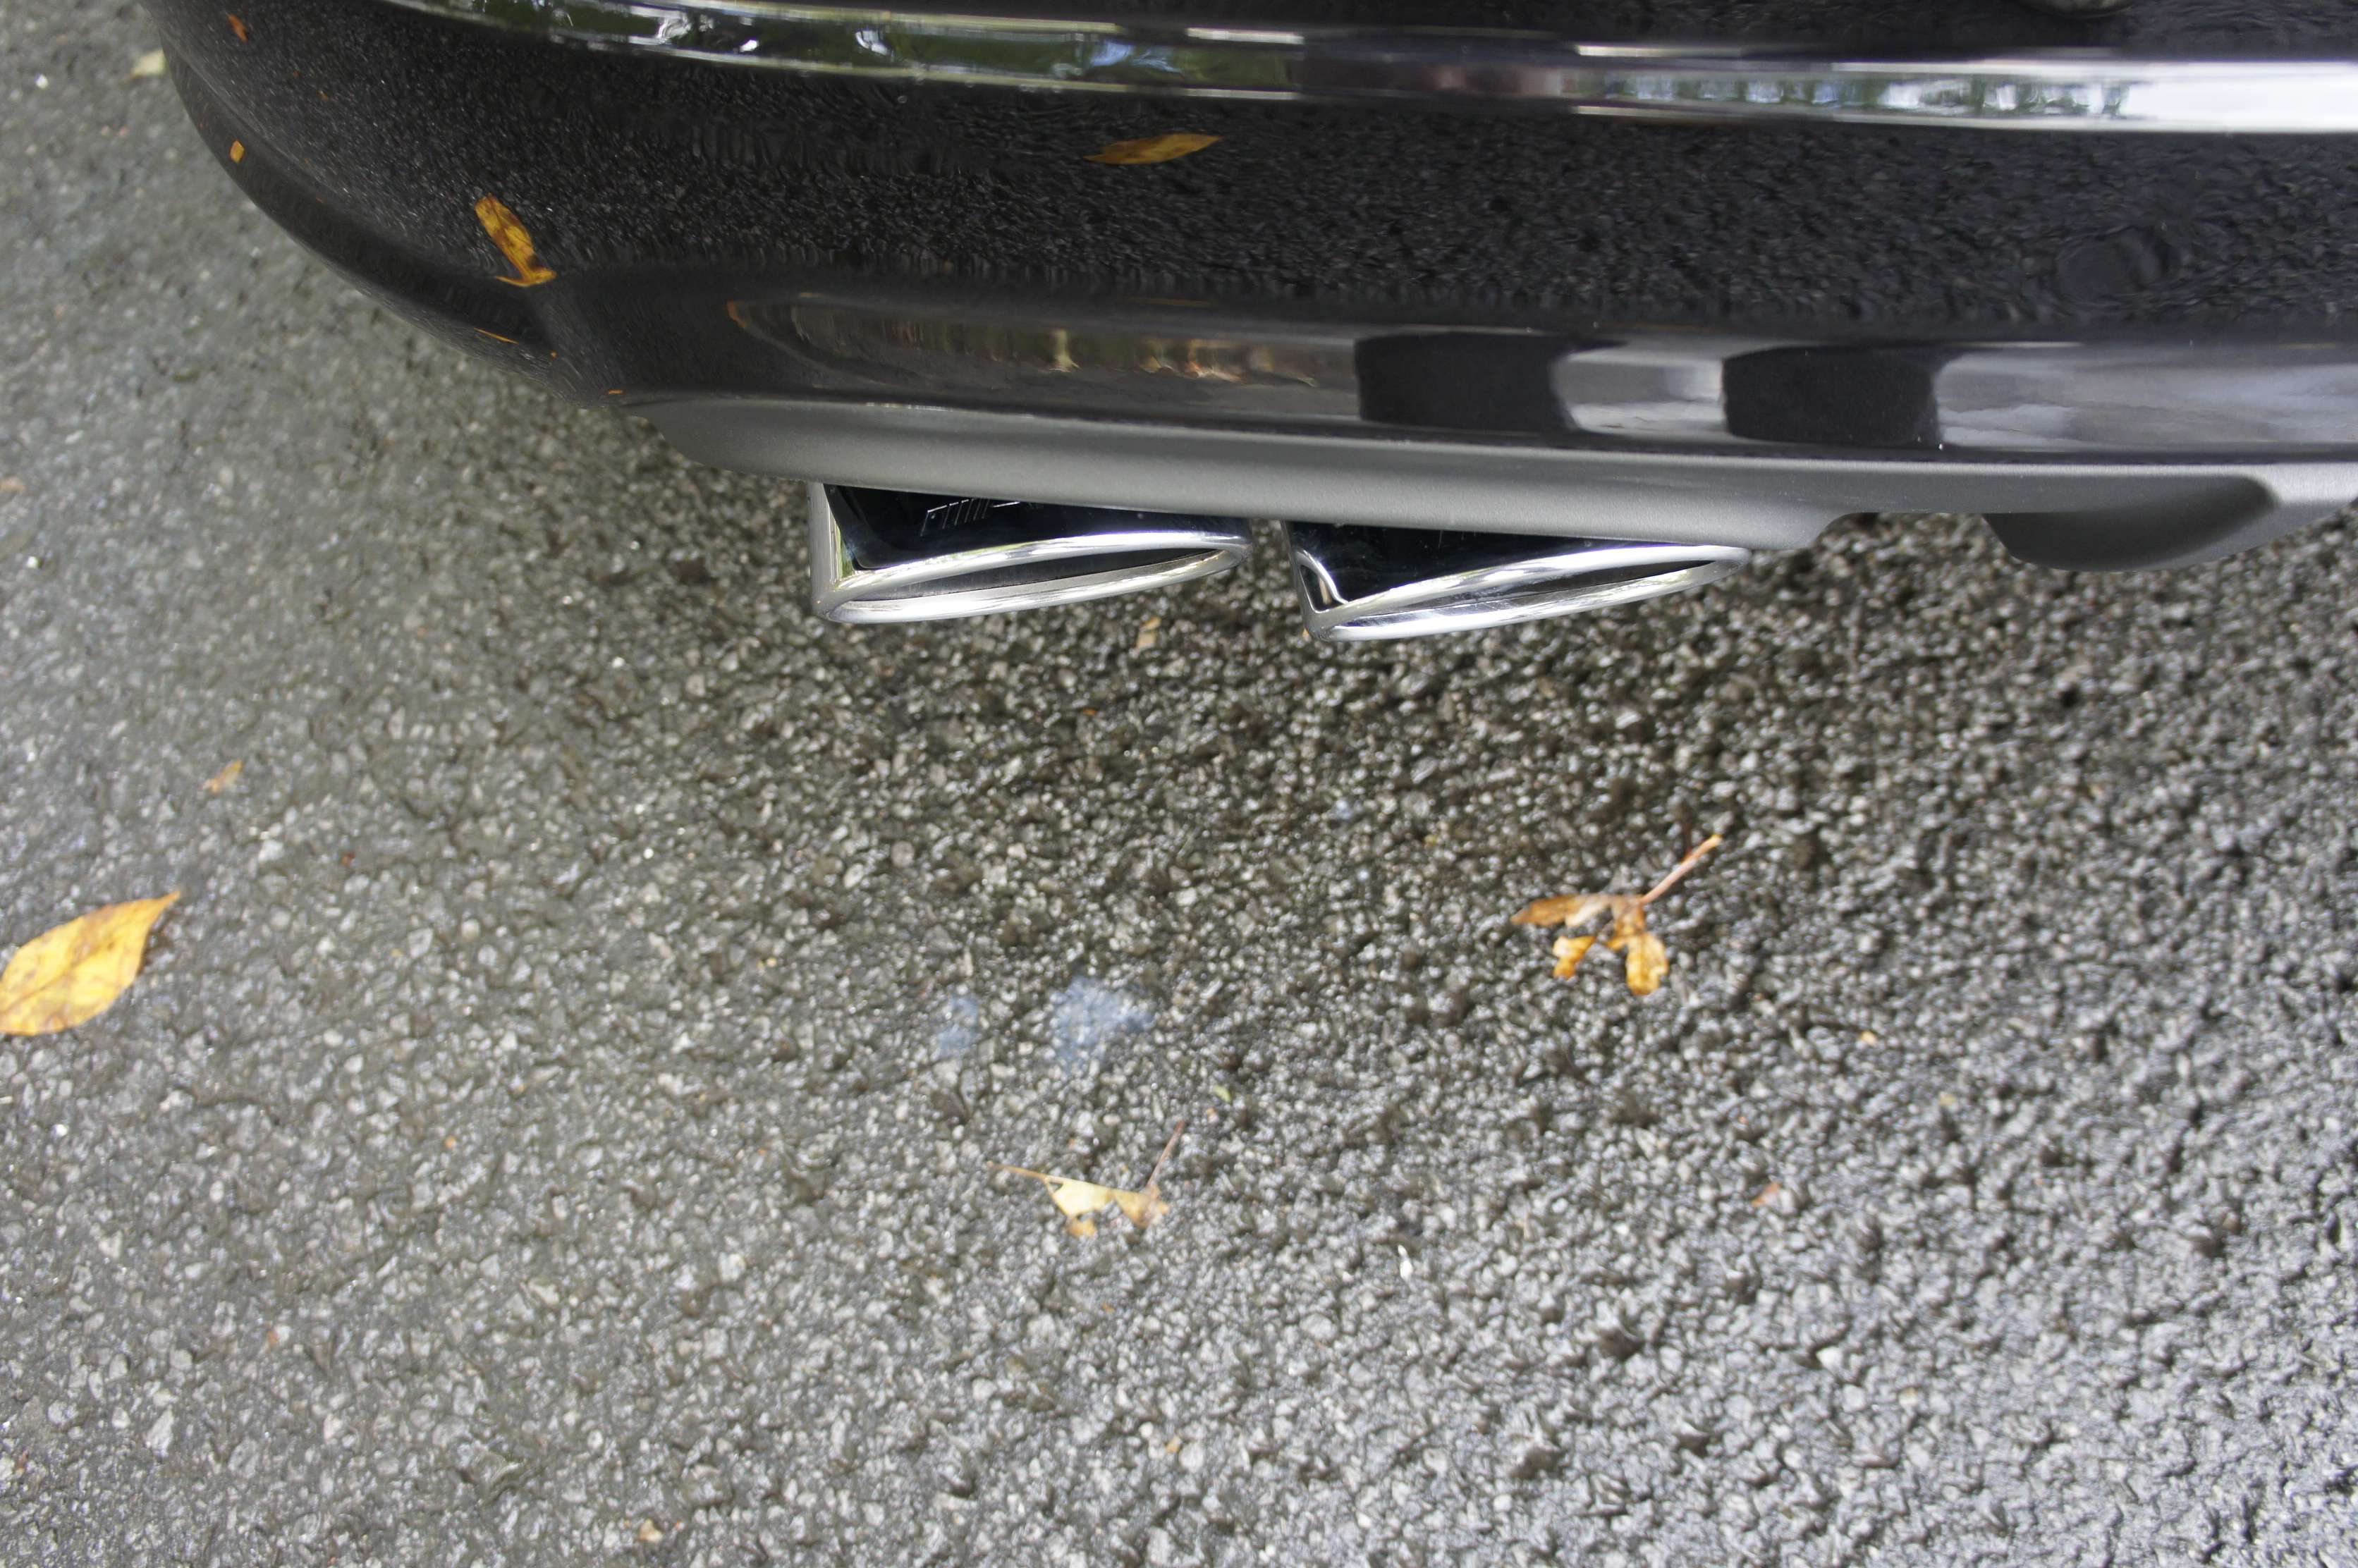
Enjoy!!
This day was one of the last warm day we had this summer
If you can read inside the lens, I think it means that my camera skill and material improved over the times haha
Merci � vous, je crois que ce detail fut un des plus int�ressant cette �t� car j’avais une pression de satisfaire la personne apr�s avoir �t� d��u 3x. En plus, j’appliquai mon special coating. Le r�sultat est magnifique.
En passant, sachez que la pr�paration est 90-95% du fini, la cire est seulement 5% du r�sultat!
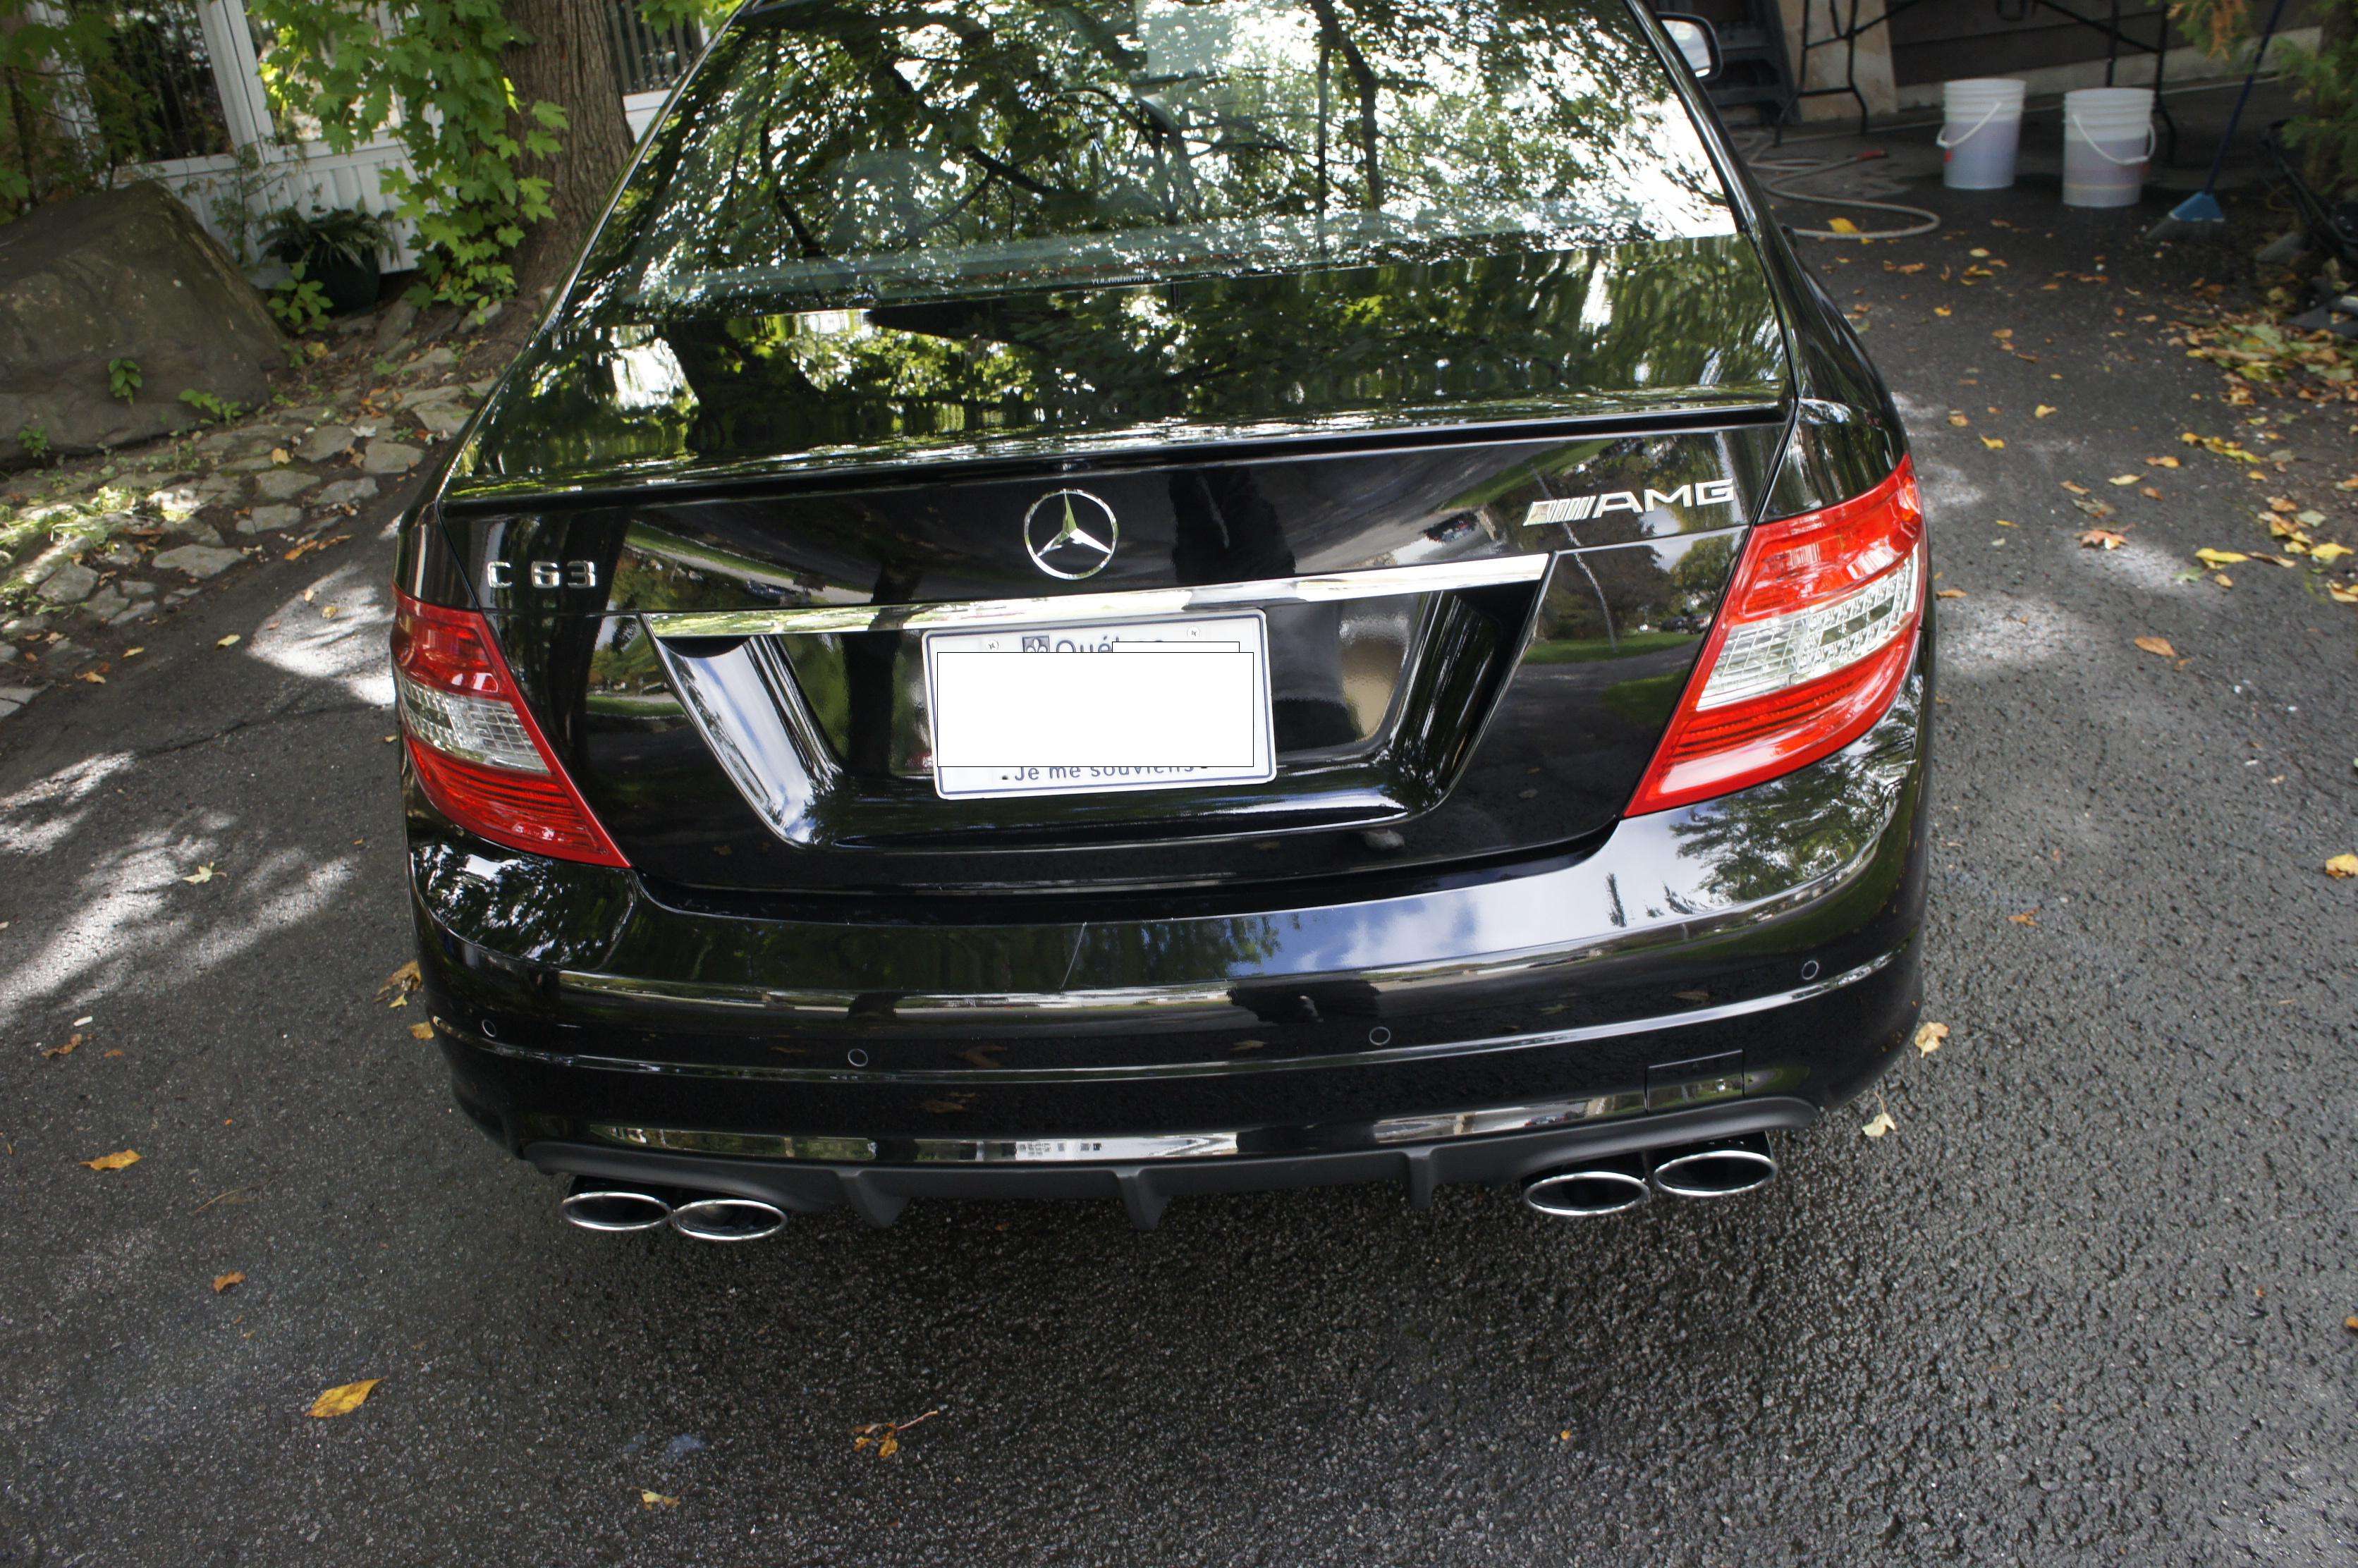
To sum up my french introduction, the owner wasnt impress with the finish on his brna dnew 2011 bmw, so he went to 2 different bodyshop/detail shop *cough * cough* lol, the finish was simply horrible, he then found me and the rest of the story is already written in the sky ; the result is up to his expectation
I then applied my special nano-coating who reduce swirls and scratches by 50% and last up to 24 months. Impressive result!
Before:
Hologram:
As always, I�m foaming the car with my special solution to deeply cleans the car but also to reduce the chance of scratching the paint:
I then proceed to do a 3-step polish, why? Well.. after a 2-step process, I inspected my job with different tlight and I still found hologram ici et l�. So I had to do another exta step with a ultra-soft pad and a light polish to really correct them.
I then need to prep the paint for the nano-coating:
Cleaning again the paint:
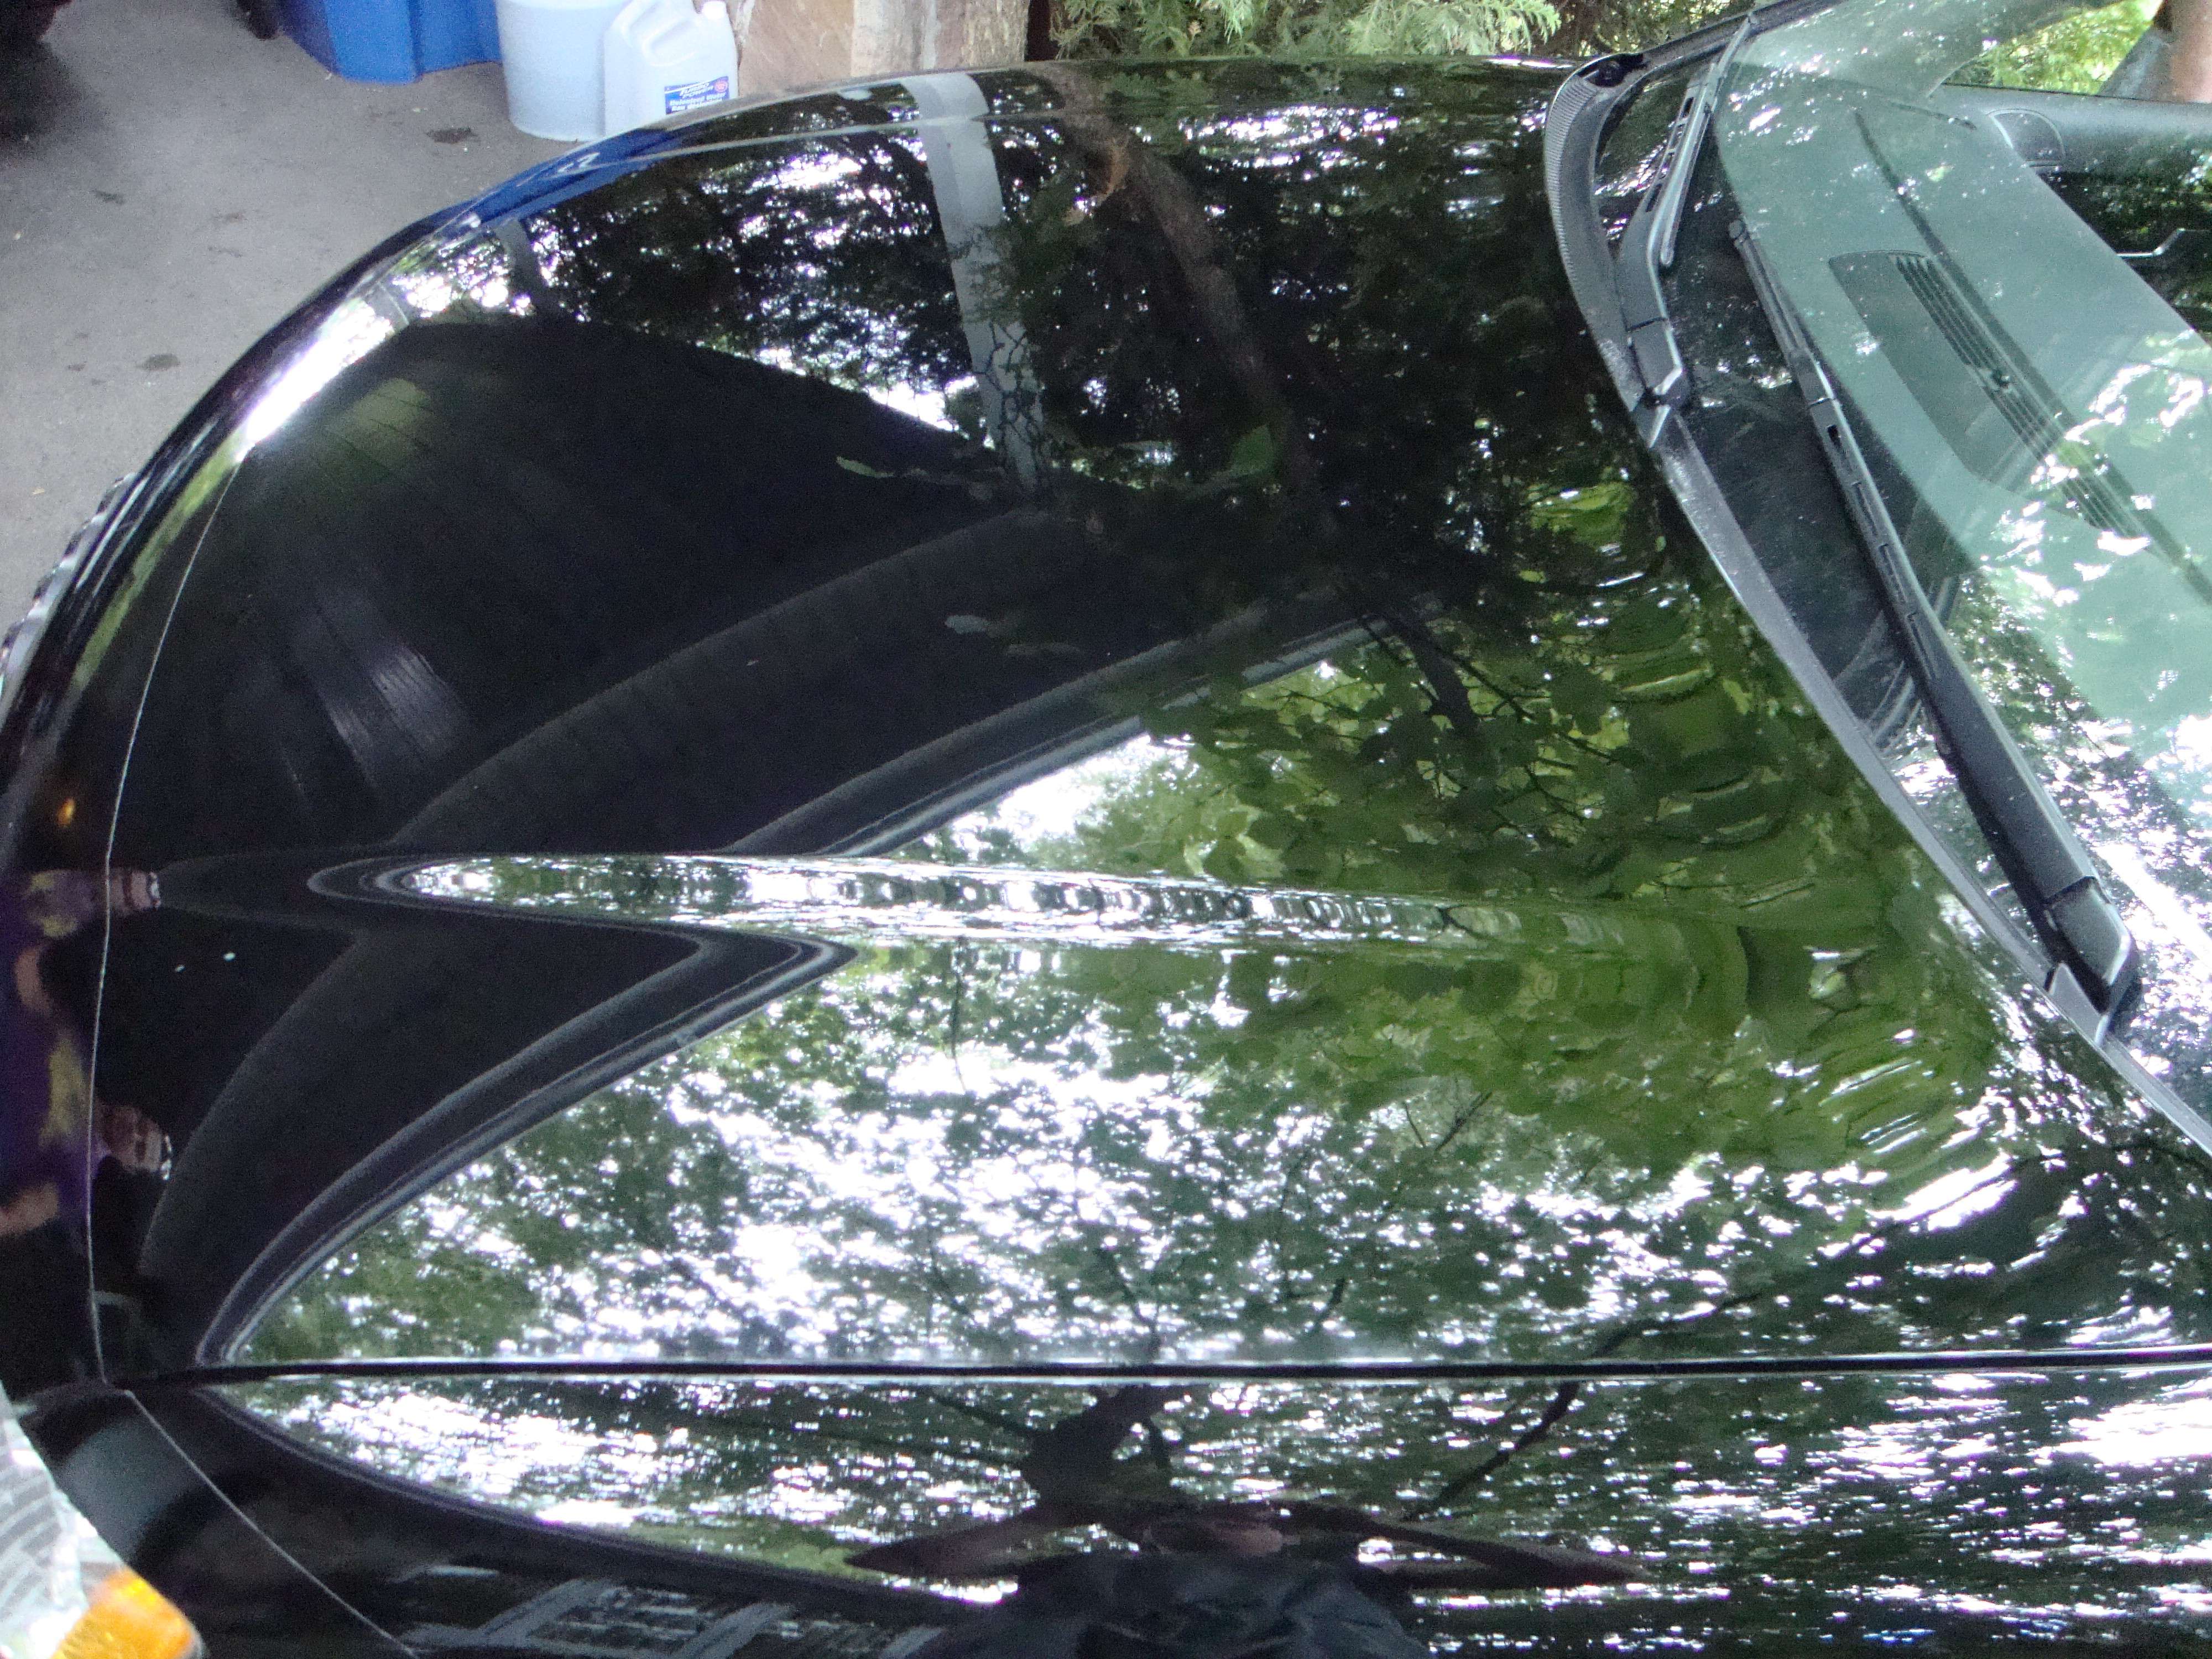
Applying a cleaner that open up the pores of the paint to deeply clean it. Since paint is black , it�s very hard to see the stuff but you can see it on the floor haha.
Une vraie sc�ne de meurtre
No beading at all.. just a clean paint.
Inspecting my work one final time before applying the coating.


Leave a comment: