-
I just used some gloss black outdoor spraypaint and a sealer over top.Originally posted by frankiman View Post
But id do it the same as your cooling panel / piping.
Make sure you give the surface a nice sanding to give the paint a texture it will adhere to for better results.Leave a comment:
-
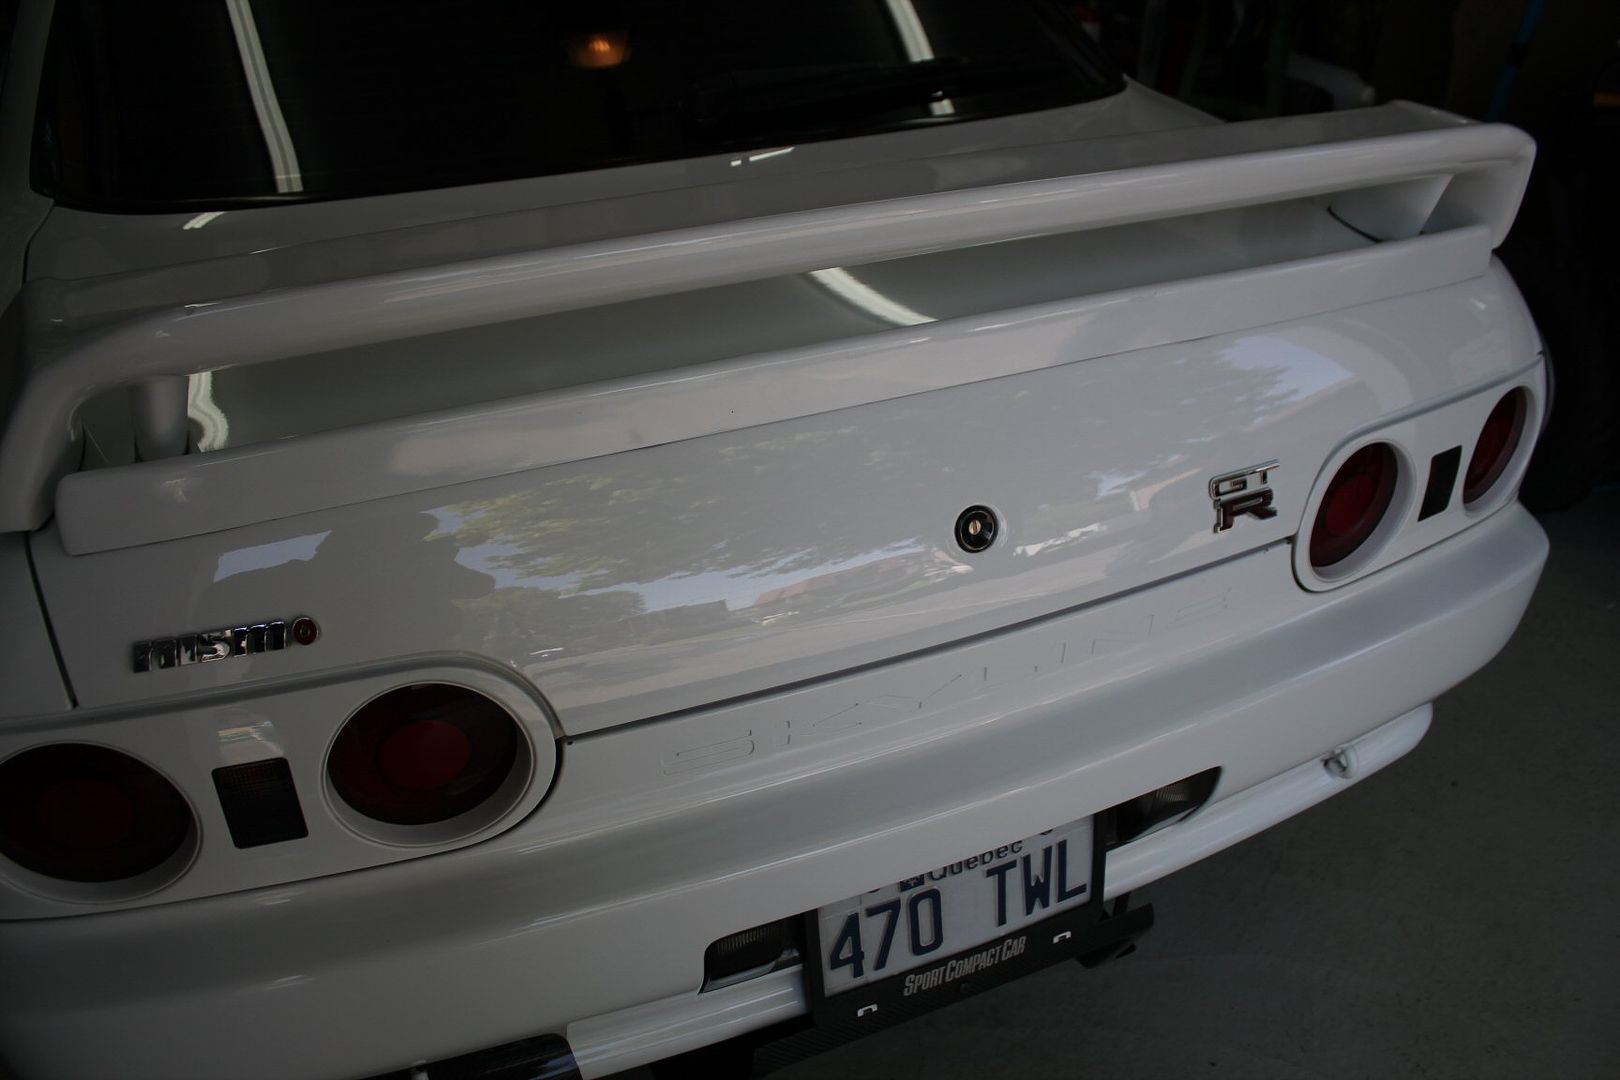
RE aint head lights
Originally posted by frankiman View Post
See how the light is shining through the top? its supposed to be blacked out im pretty sure , you can see on yours how there used to be some black paint there.Originally posted by frankiman View Post
I just suggested it cause it made my car look better and the less light that escapes the more it will be concentrated.Last edited by RABBIT; 04-26-2012, 09:51 PM.Leave a comment:
-
Those centre caps look good!
you also could have done this.

Also wondering what type/code of paint you used on the valve covers.
Looking good though!Leave a comment:
-
Chapter 46 - So fresh and So clean
week9 - 2011, part 2/2
disclaimer :
the following story depicts actions that occured between June 29 and july 5 2011
information is recalled purely from memory, give me a chance
later i repainted the aluminium ARC radiator plate, with semi-gloss paint this time since flat black wasn't working out;
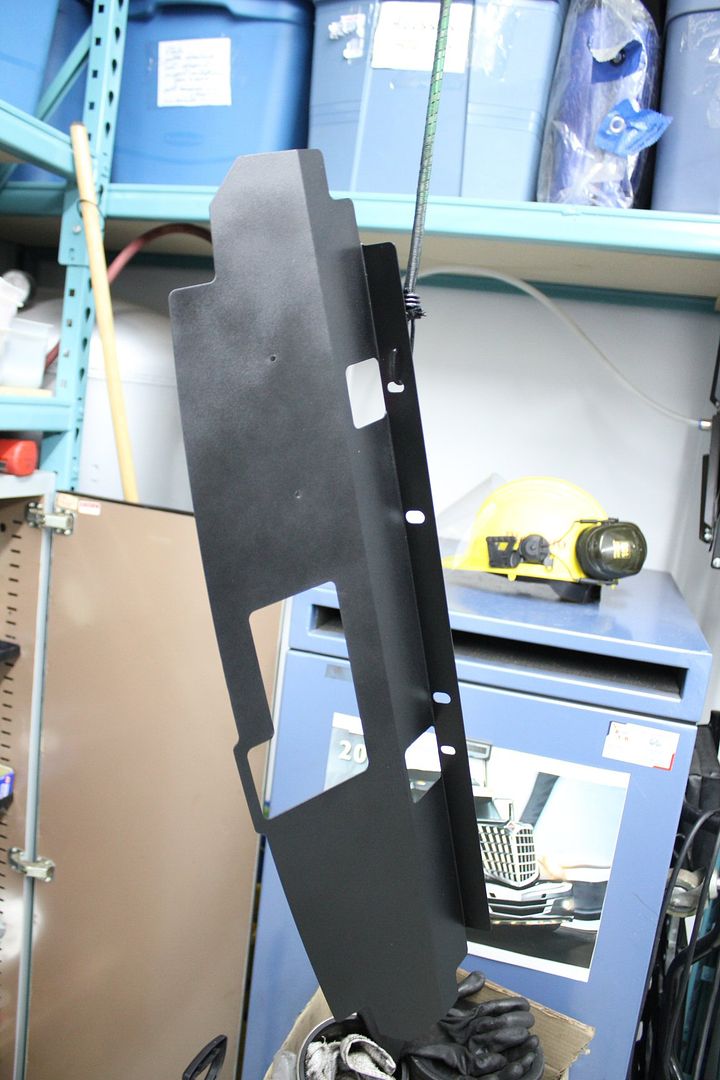
then i put another HKS sticker like i did on my previous radiator plate (that was sold to the man pictured a bit below, hehe)
and also added another mystery sticker, an RB front view, from the TunerLab.jp sticker that Daryl used to send;

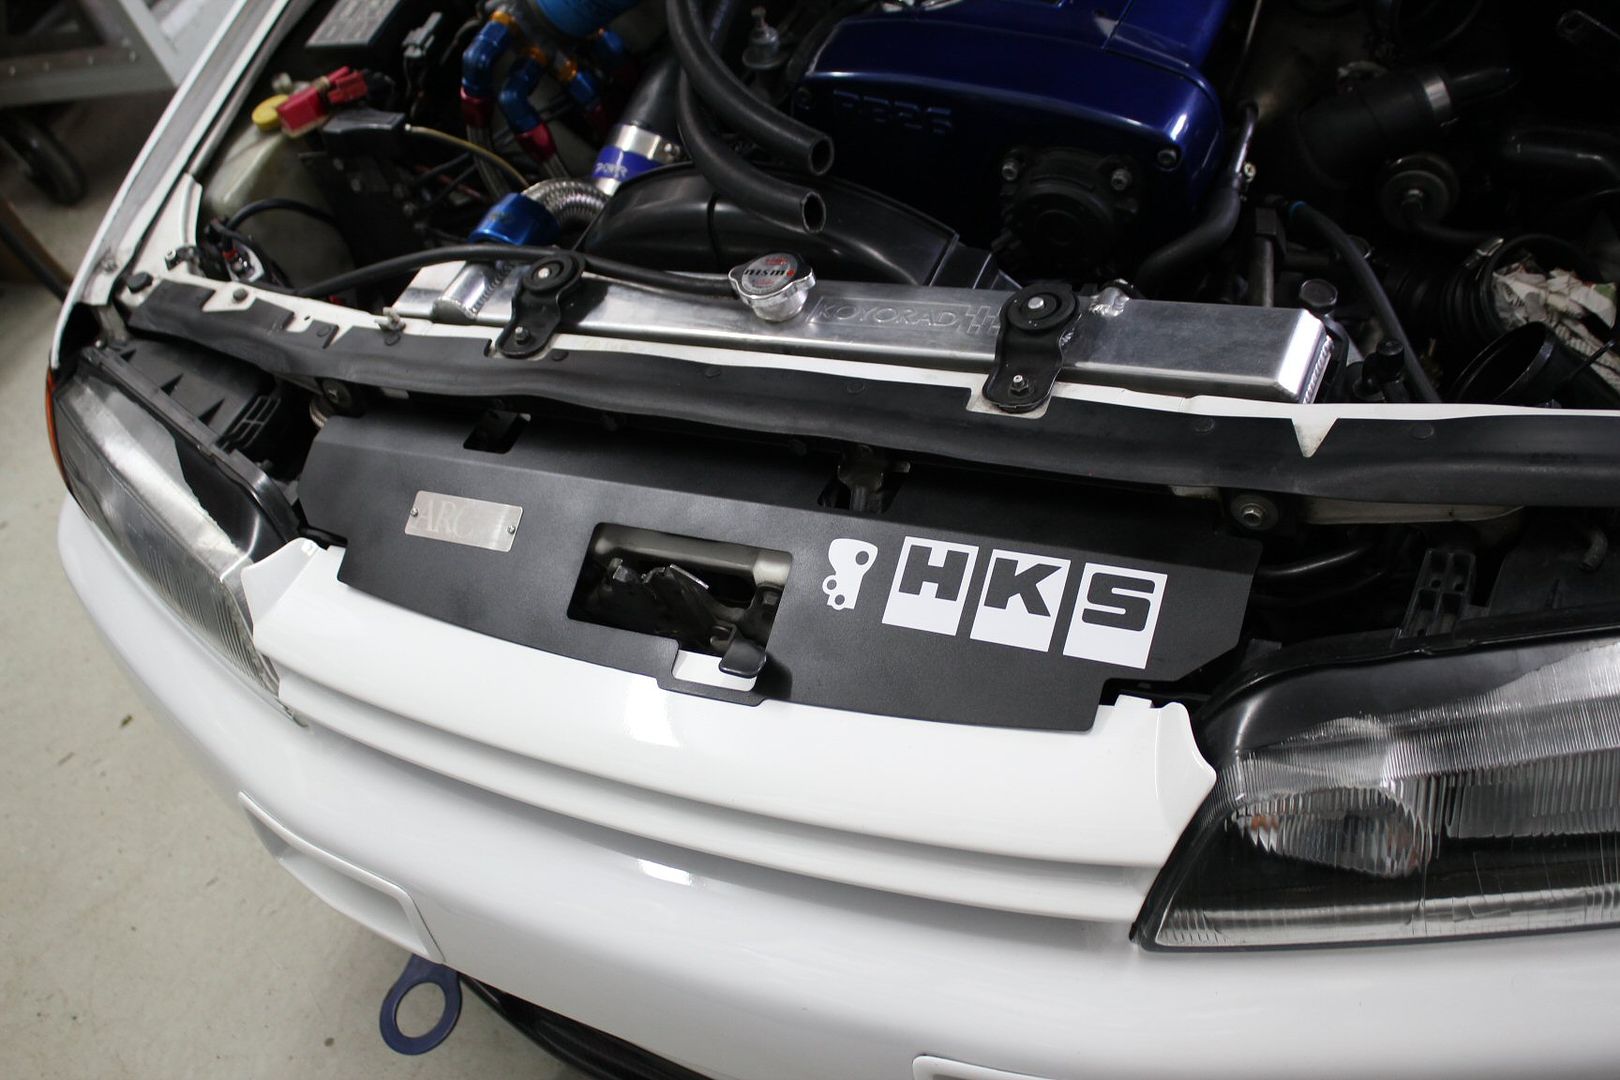
and how it looked on the car,
i know some people have it fitter under the top portin of the grill, but i like better sitting right on it like this, you see it much more;
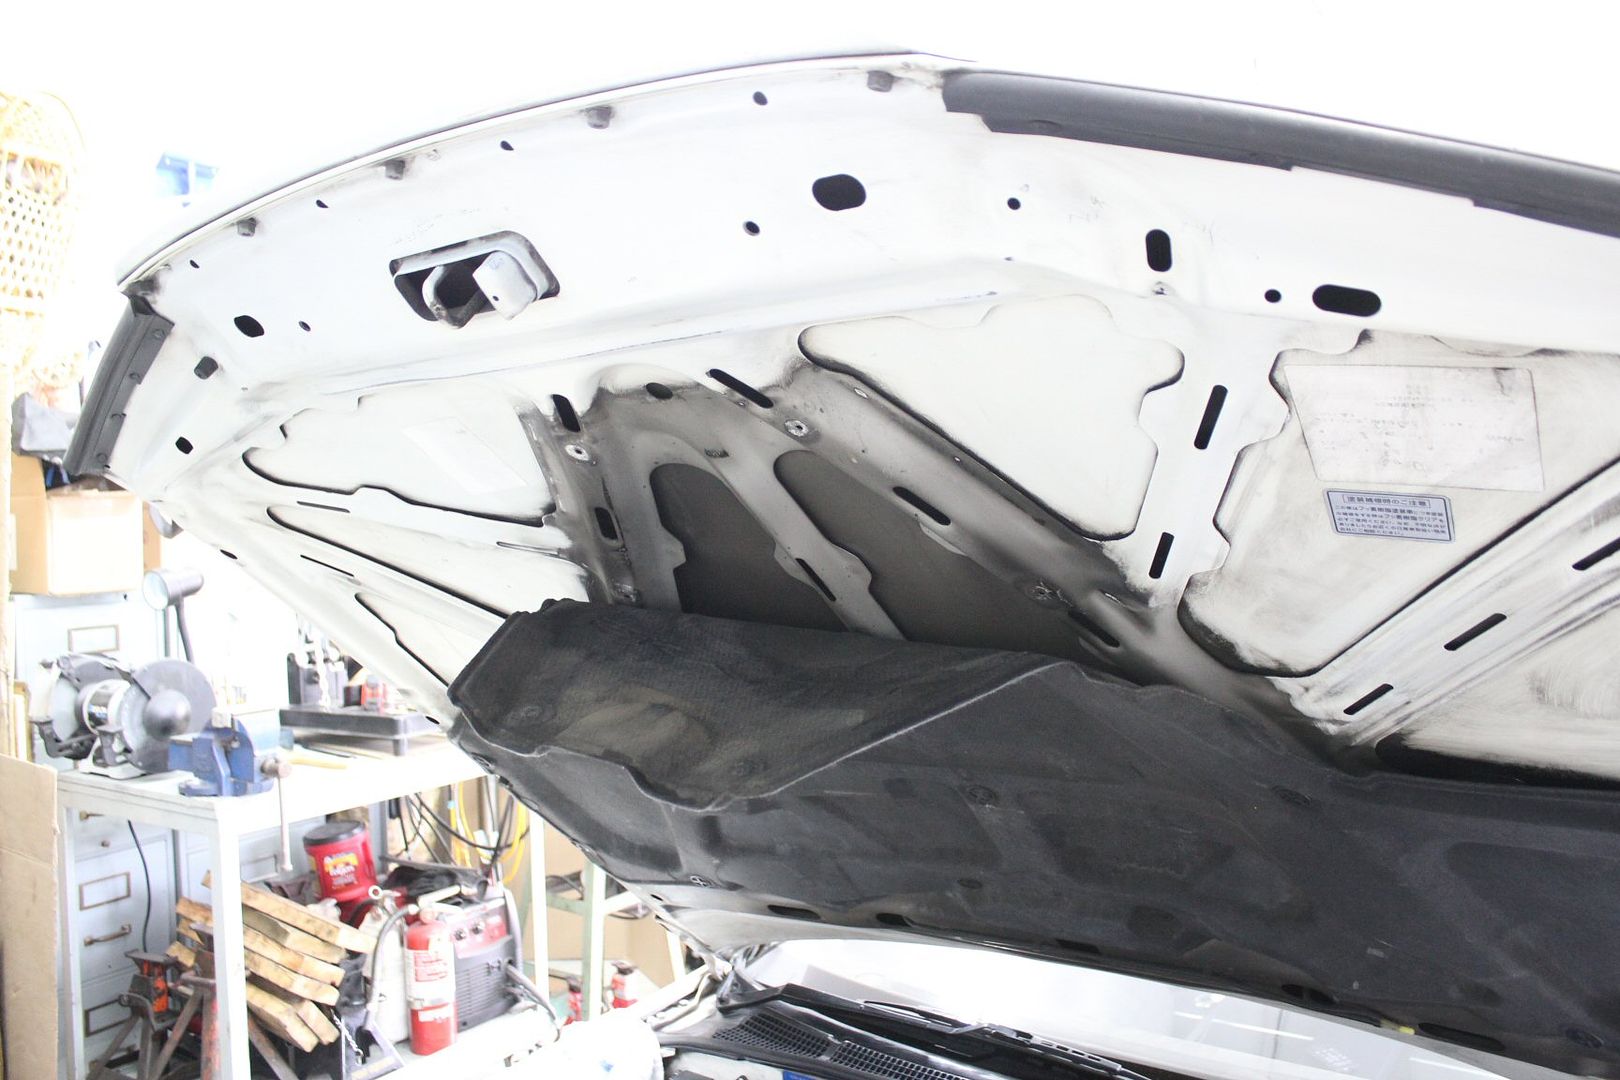
while i was putting the radiator plate back on, i realized just how dirty the uderside of my hood was,
i'm one of those crazy mofos that still have the OEM fire blanket pinned to the hood, which makes it very difficult to clean;
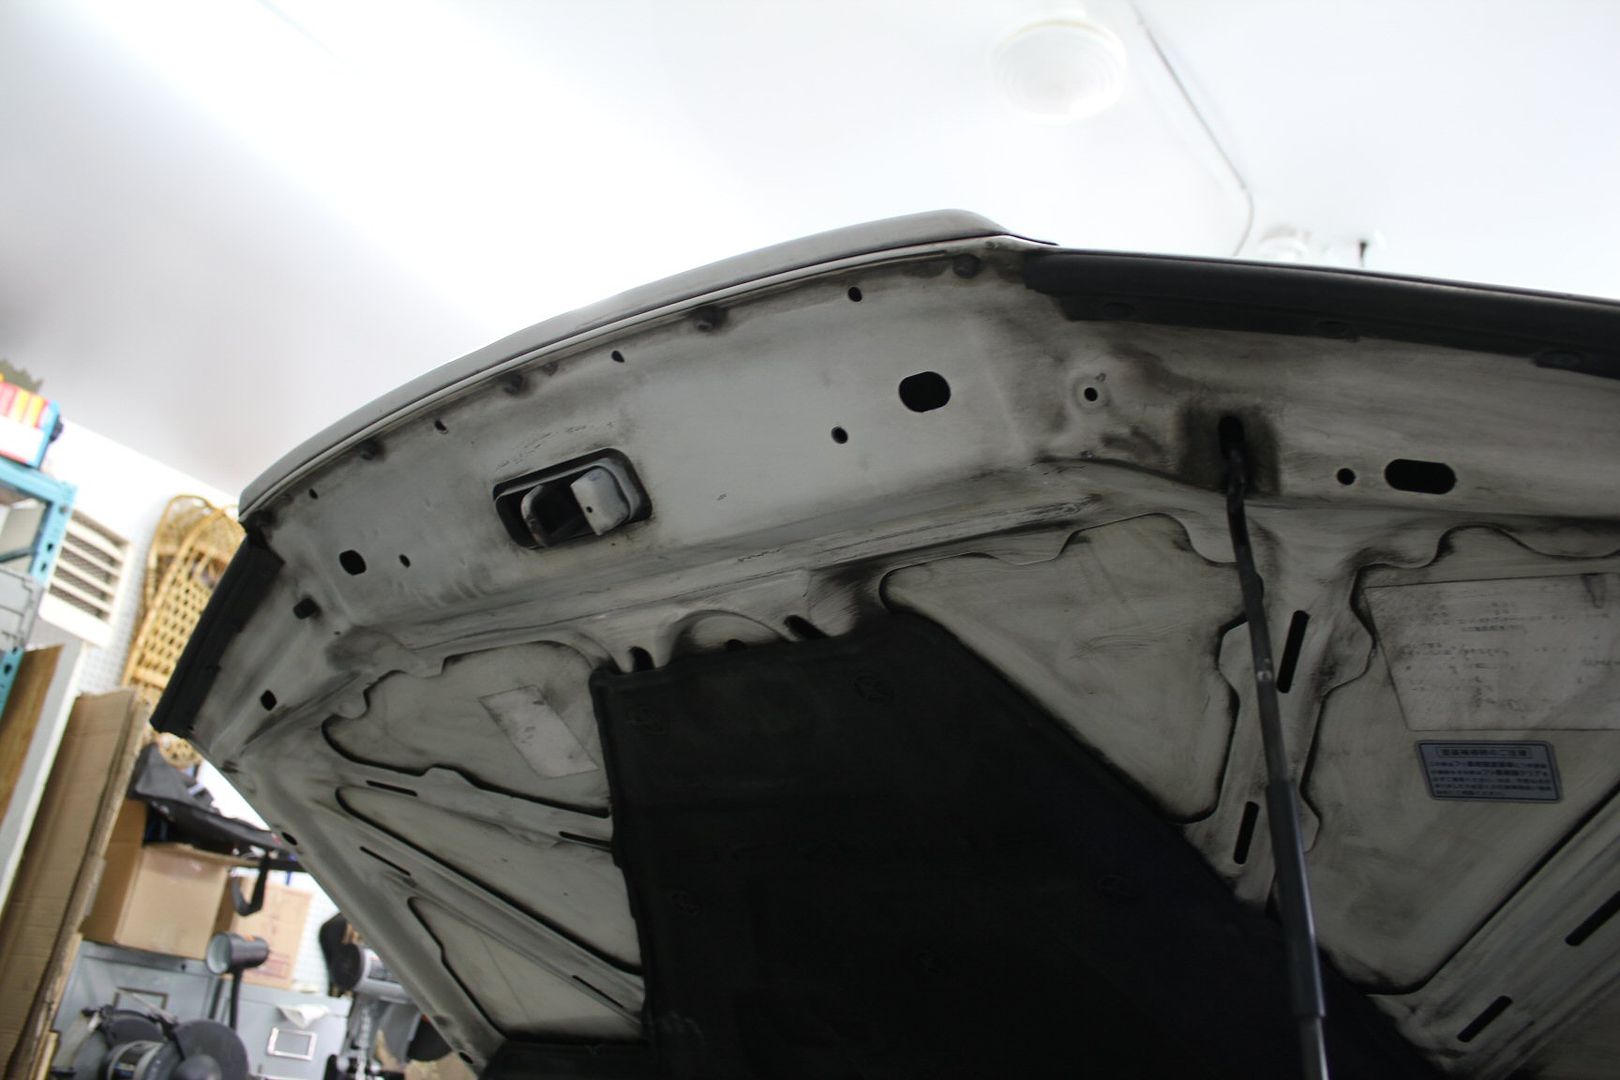
so, armed with a brush, mutiple rags and a bottle of Simple Green degreaser and cleaner, I spent about an full hour making the underside look spiffy again;
---------------------------------------------------
later that day I had the pleasure of having CobraA come at my place and detail my car;

as usual he brings about a trunkful of products and tools of the trade;
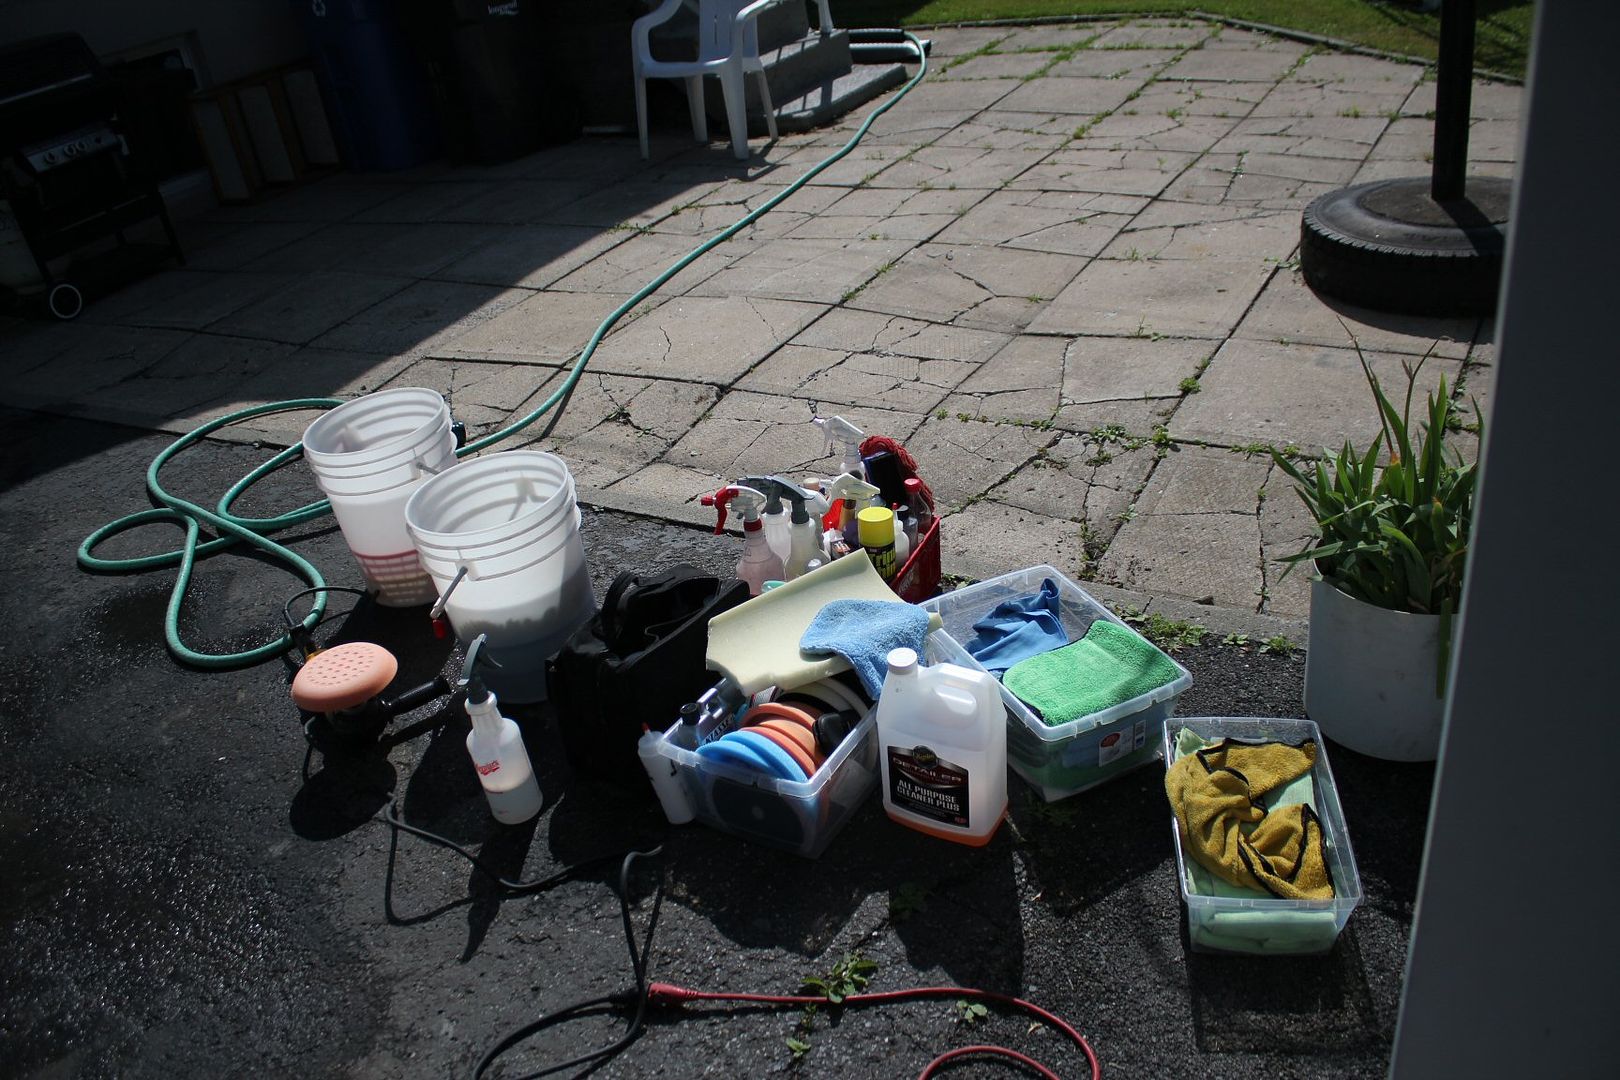
to wash the car, we had to push it outside the garage because i didn't want to start it yet;
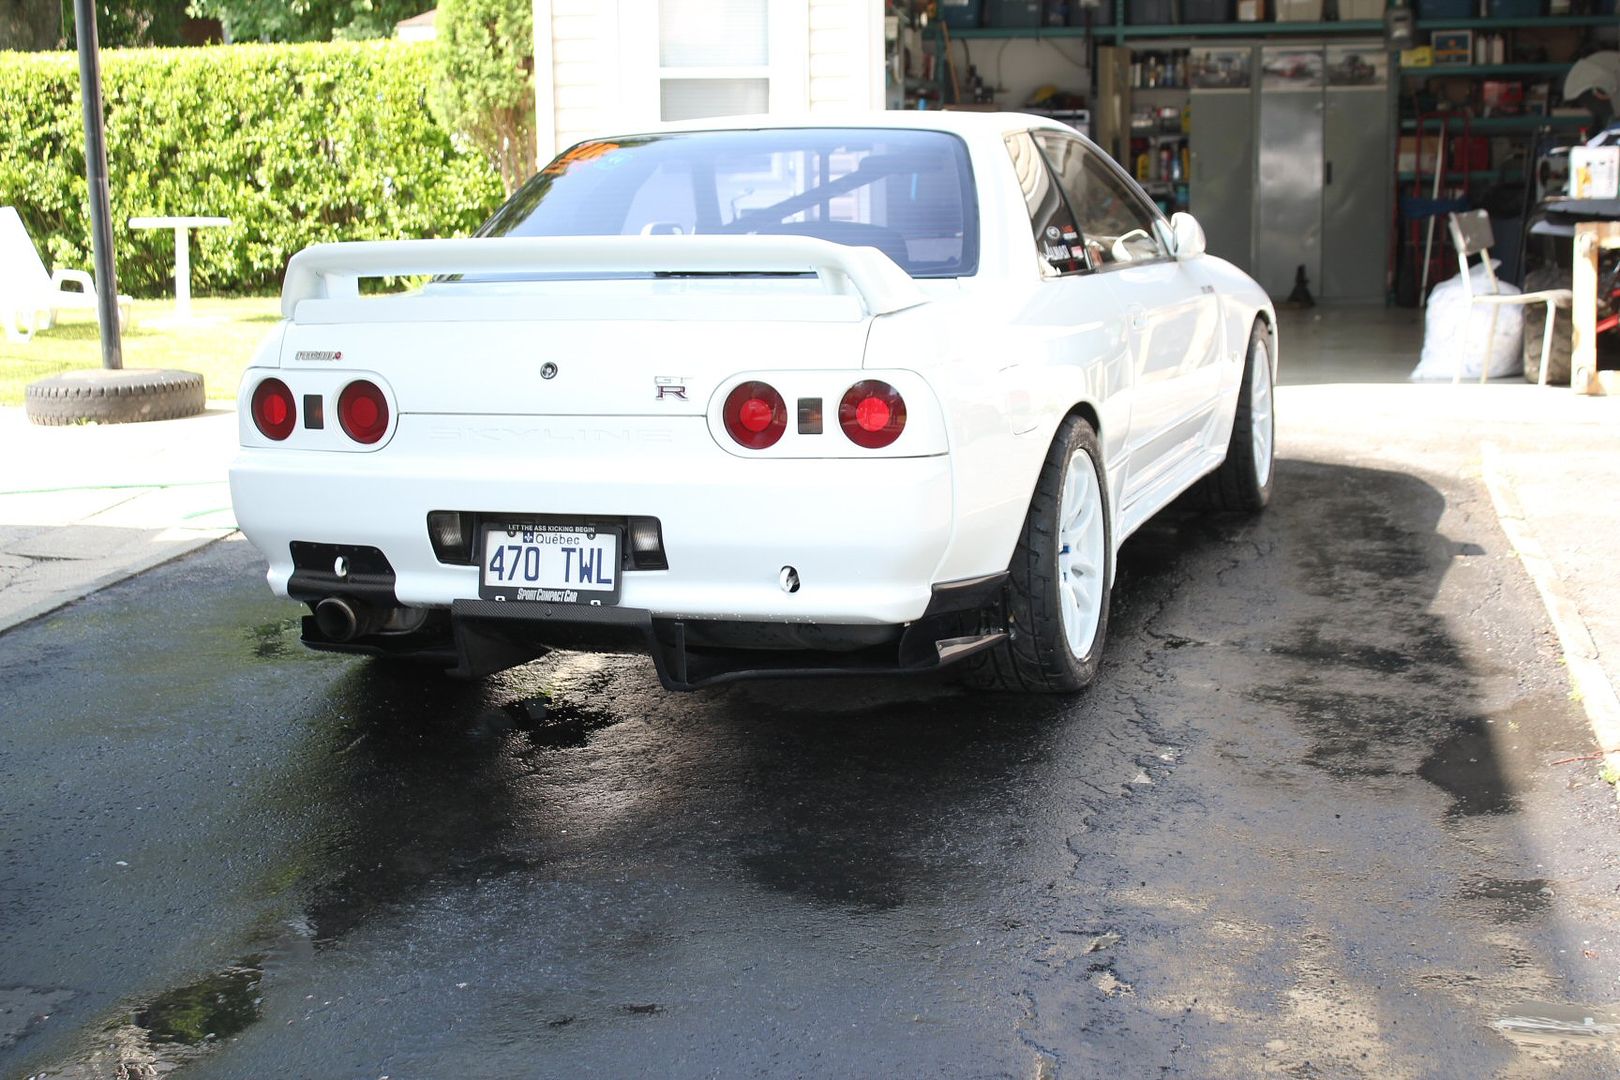
why can't detaillers wear belts...
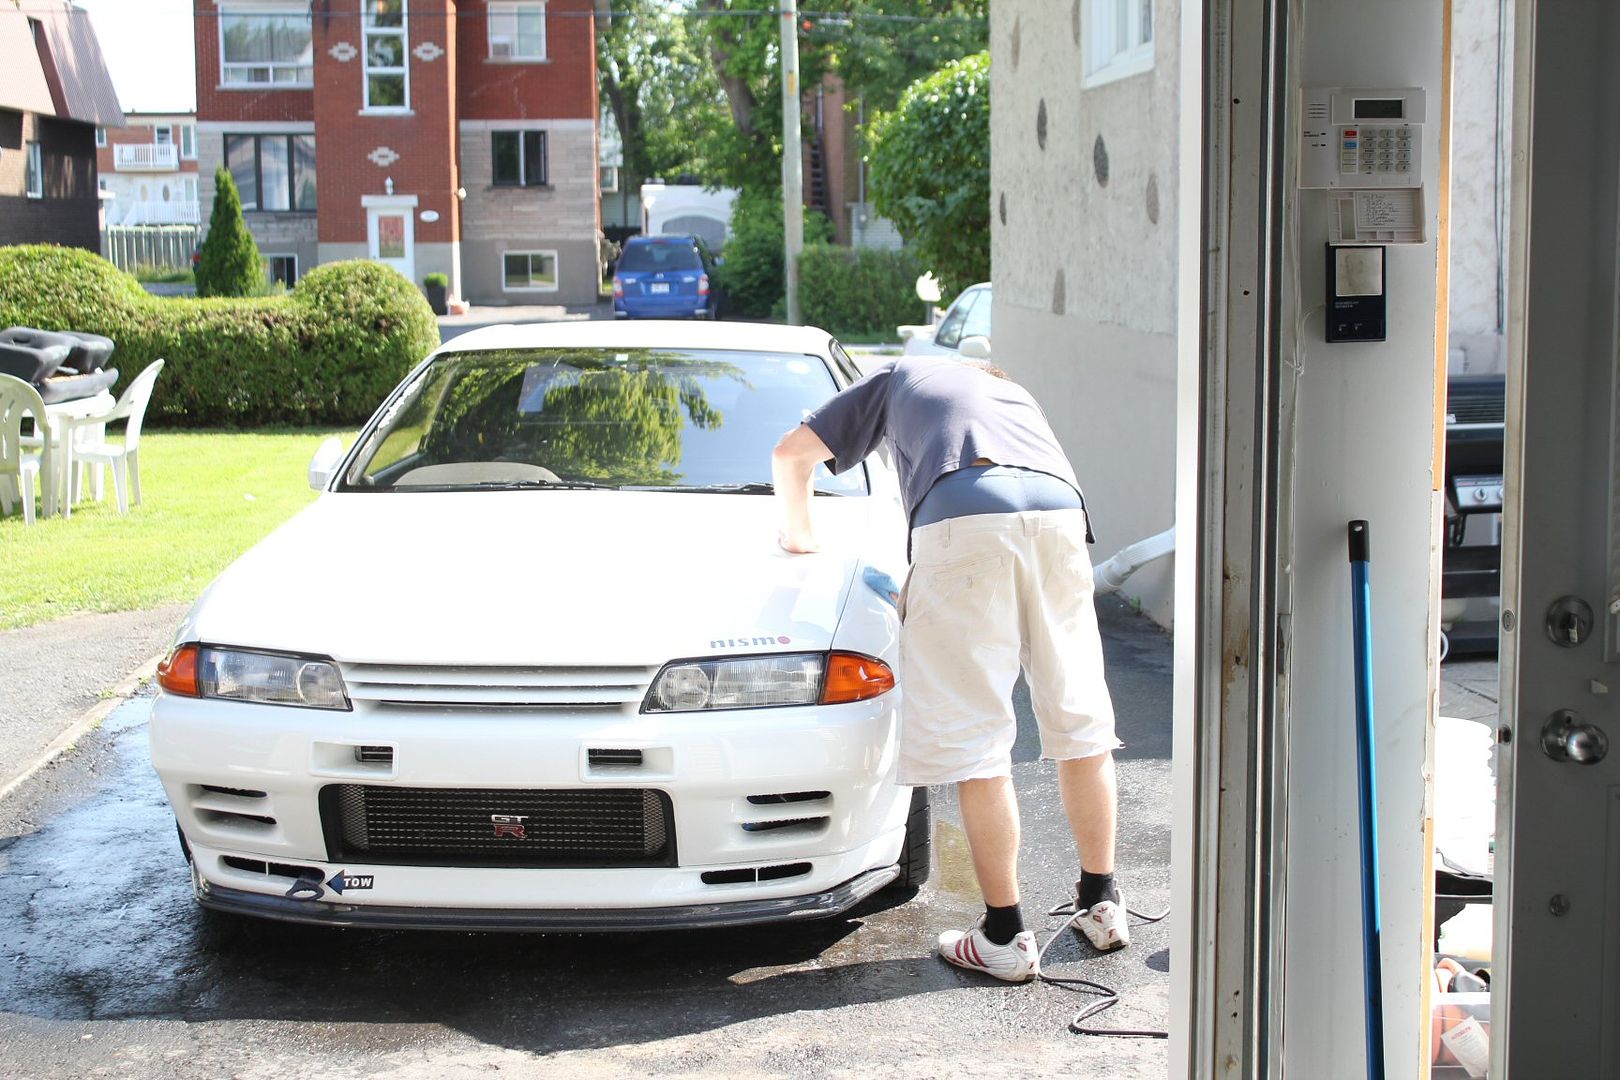
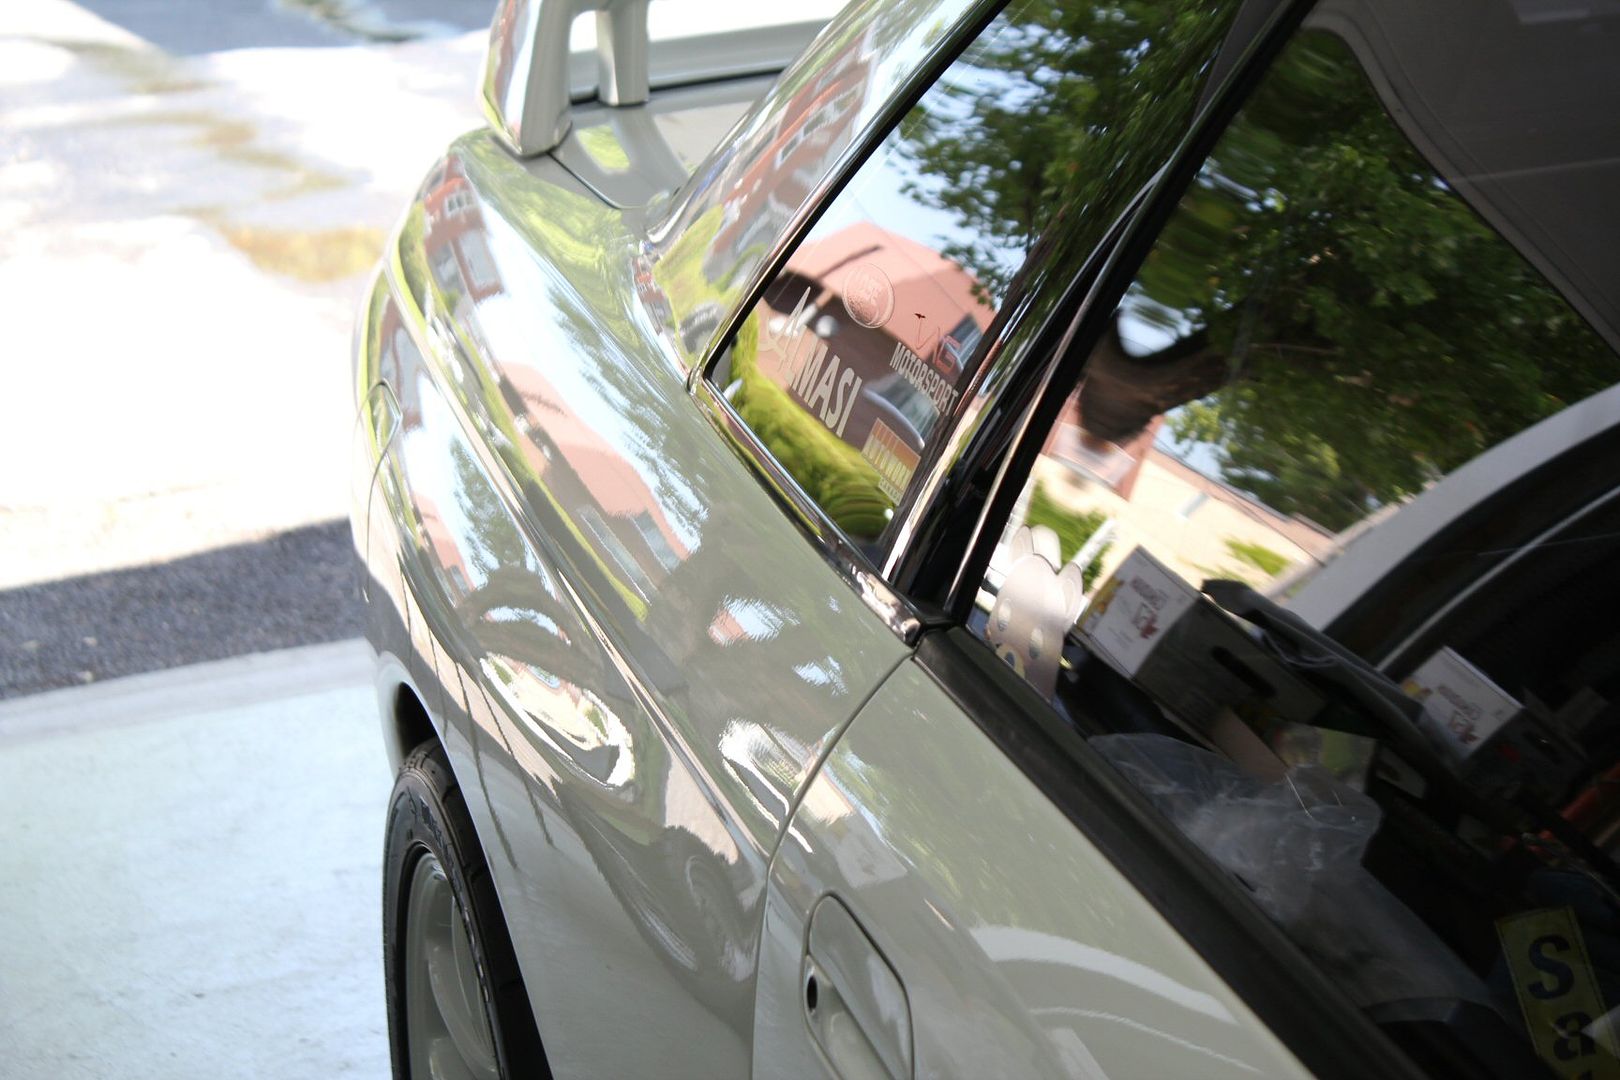
after a couple hours of work, the car was looking oh So fresh and So clean;
-----------------------------------------------
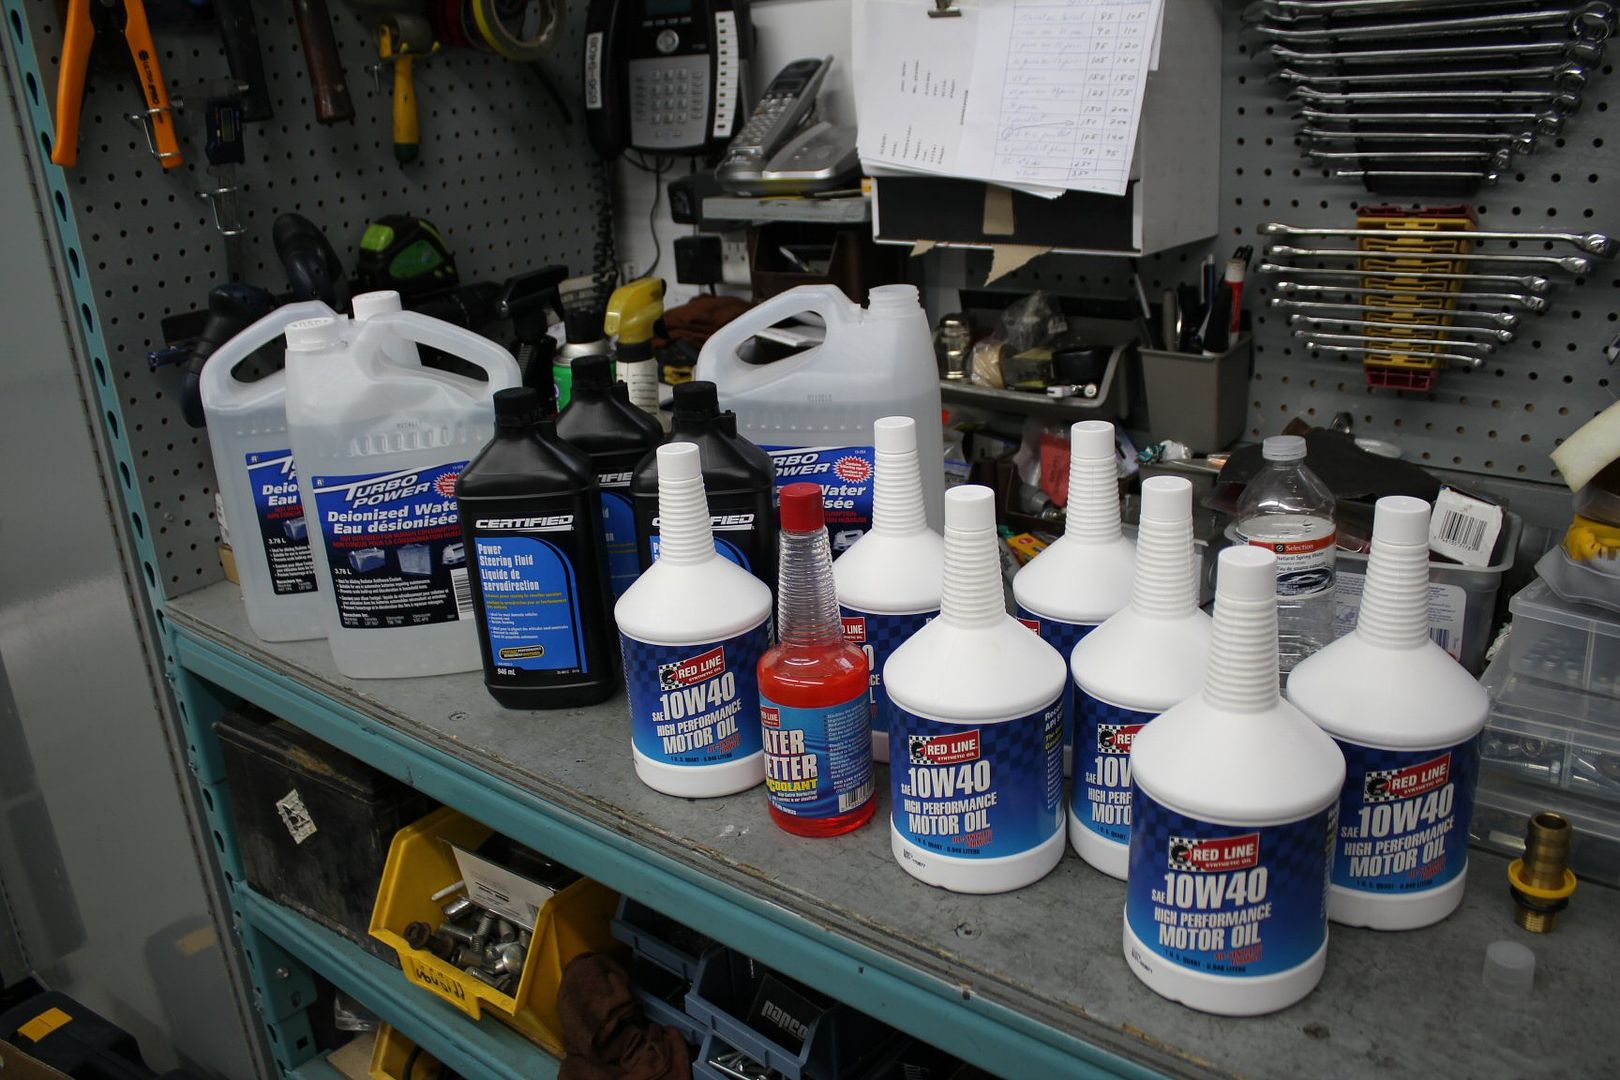
the next day i filled the car with all the manditory fluids;
-Redline 10w40 full synthetic engine oil
-Ionized water for the radiator
-Redline WaterWetter for the radiator
-random power steering fluid
then i could finally get to drive the car around for the first time in 2011;
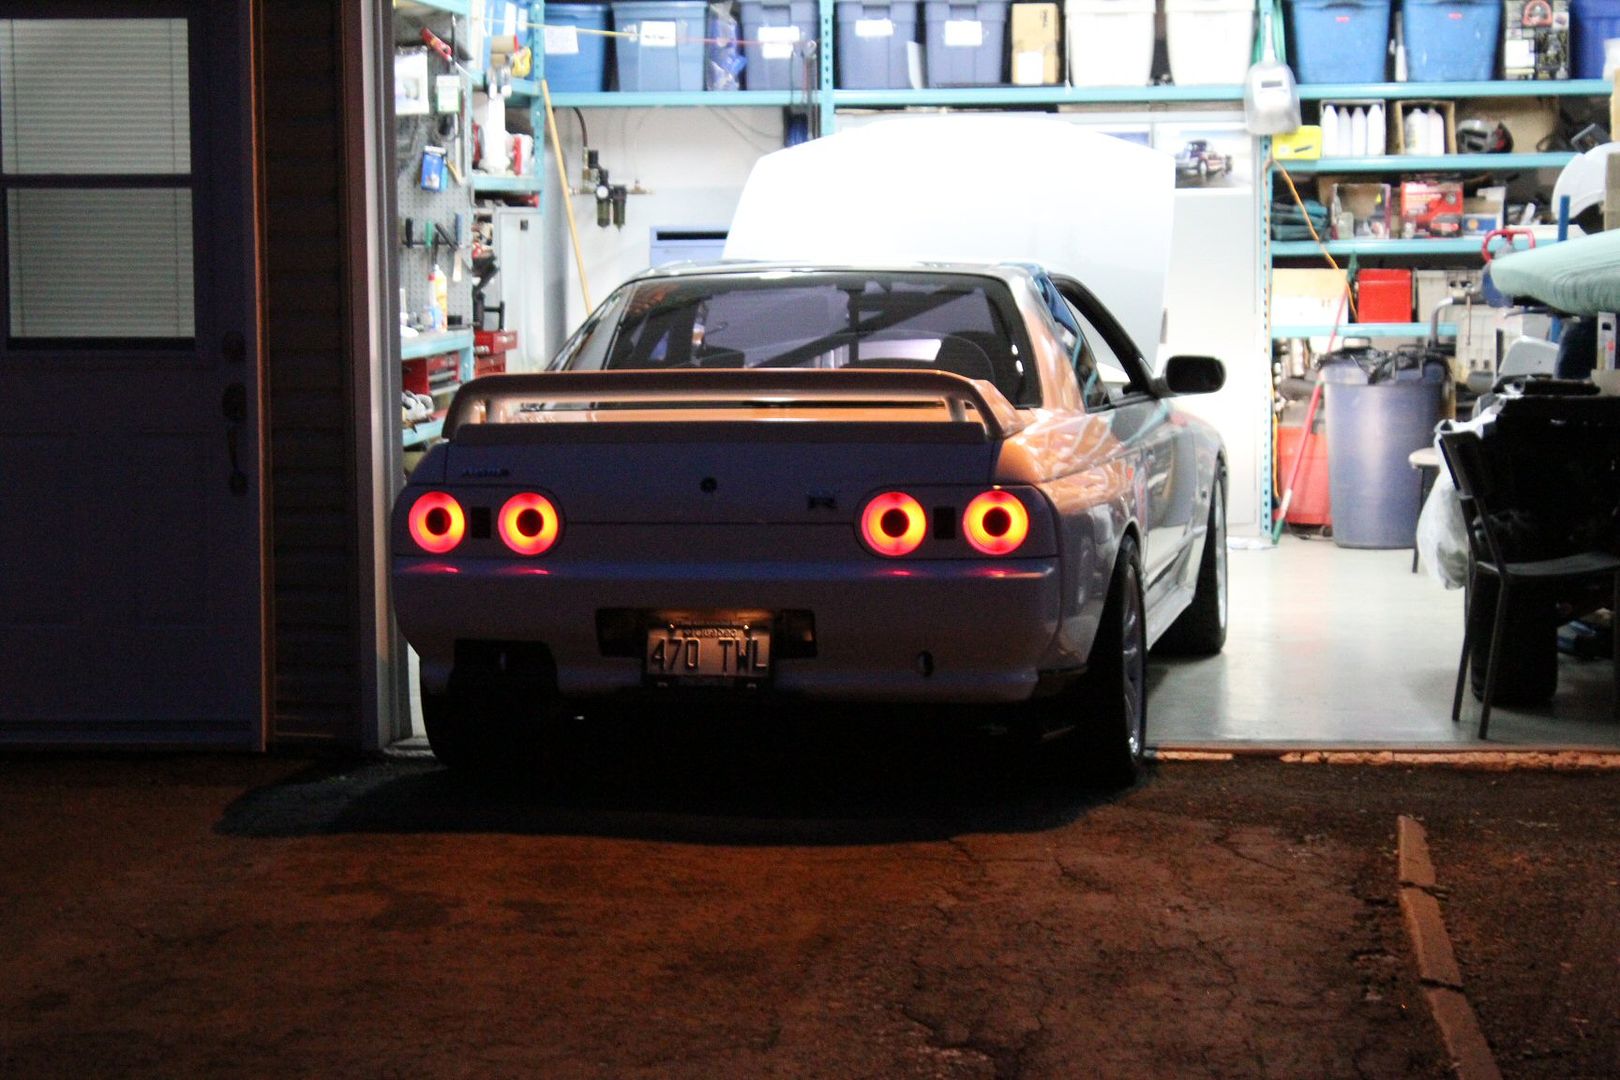
did a couple laps around the block, then let it idle for 30 minutes to check for leaks, and quickly found one,
i had alot of water dripping from the front diffuser, i had to remove it to check what it was;
it was simply the clamp on the lower rad hose that wasn't tight enough, ouff
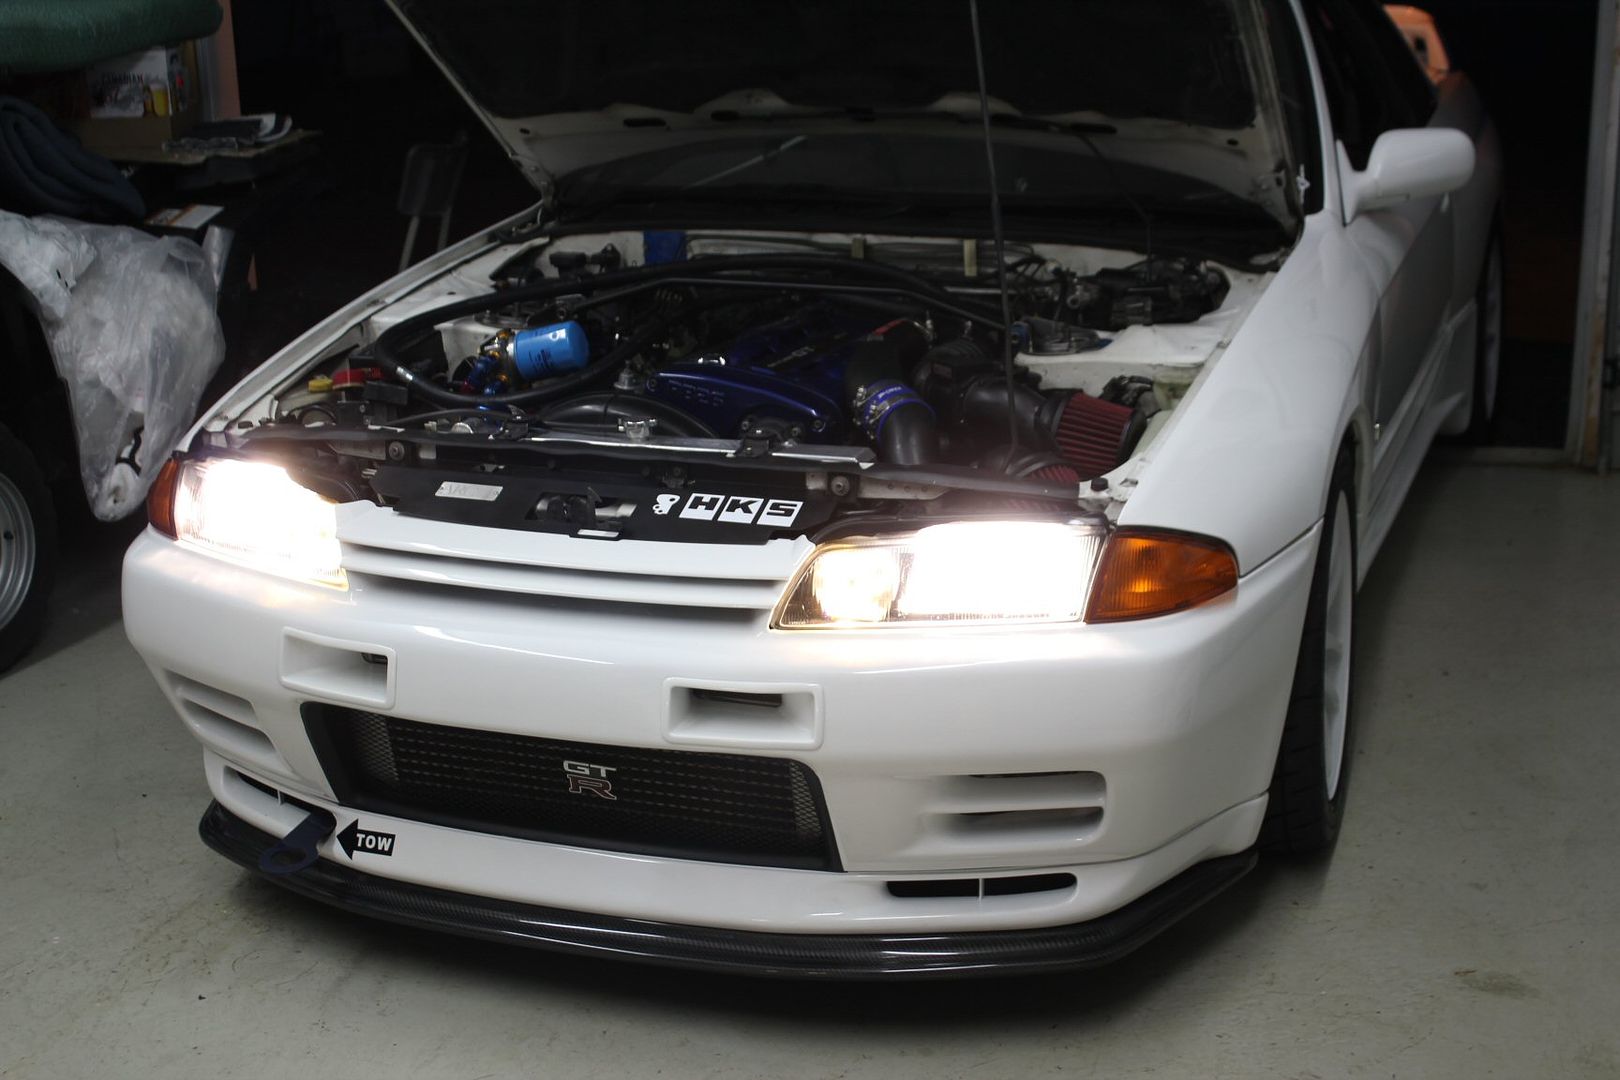
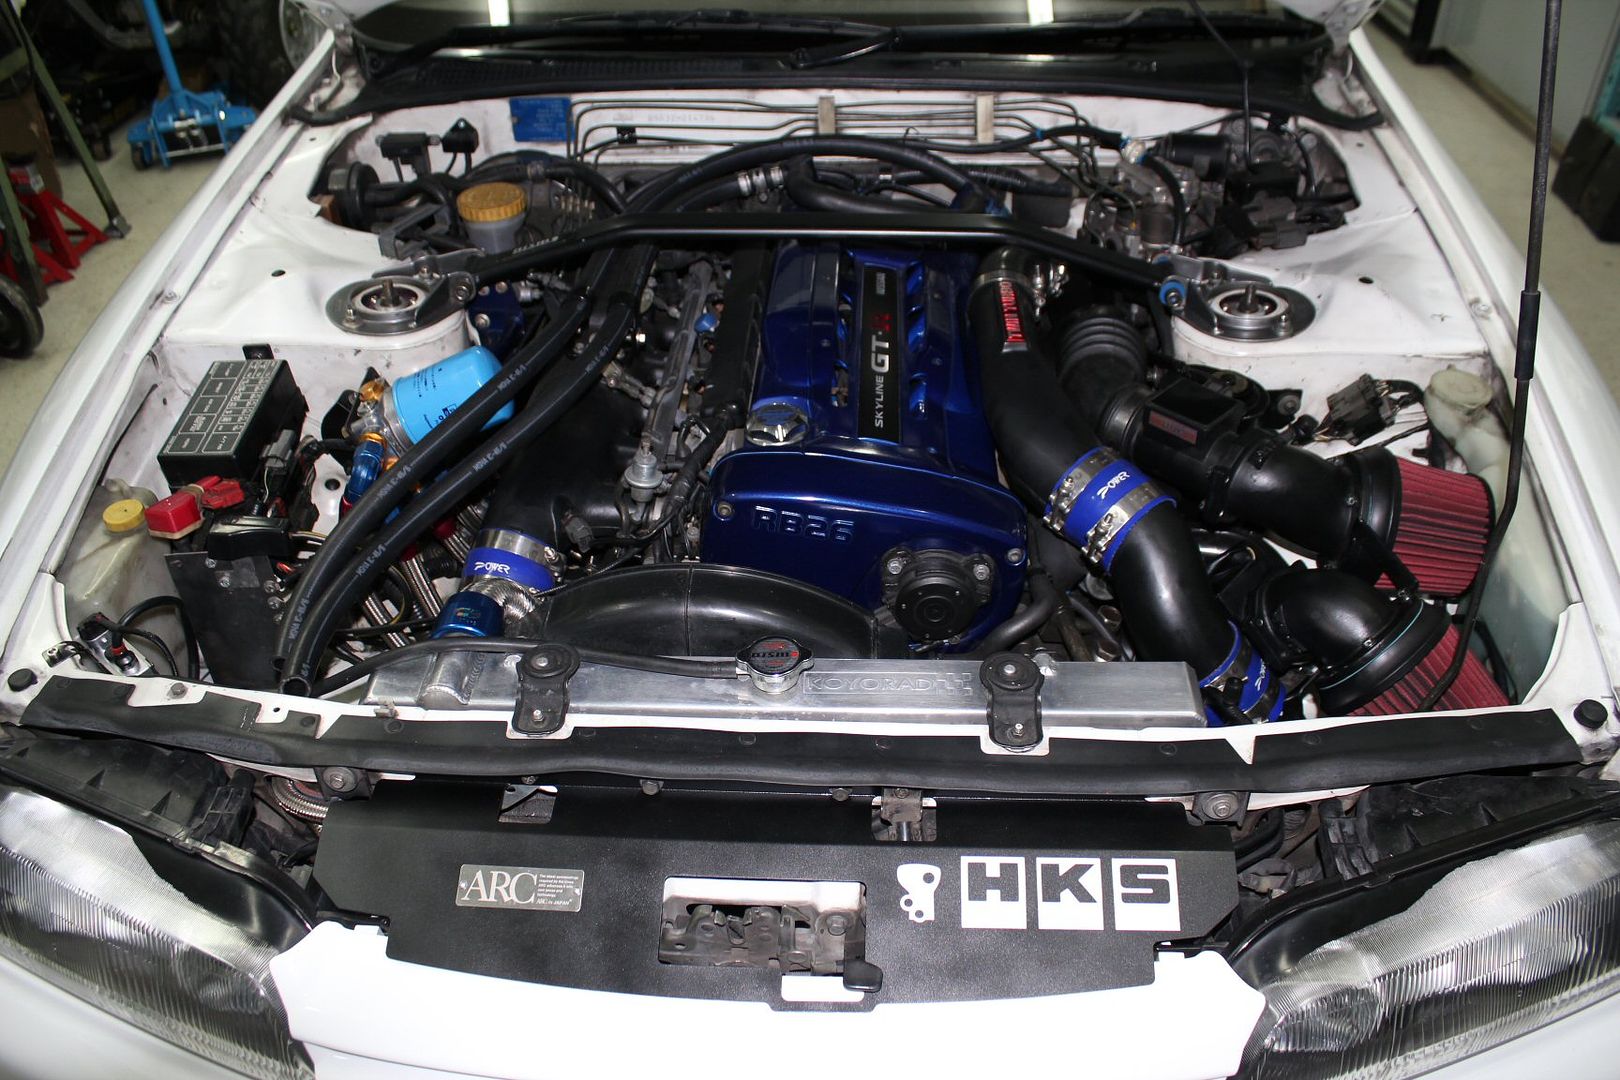
a nice shot of the engine bay at that point in time;
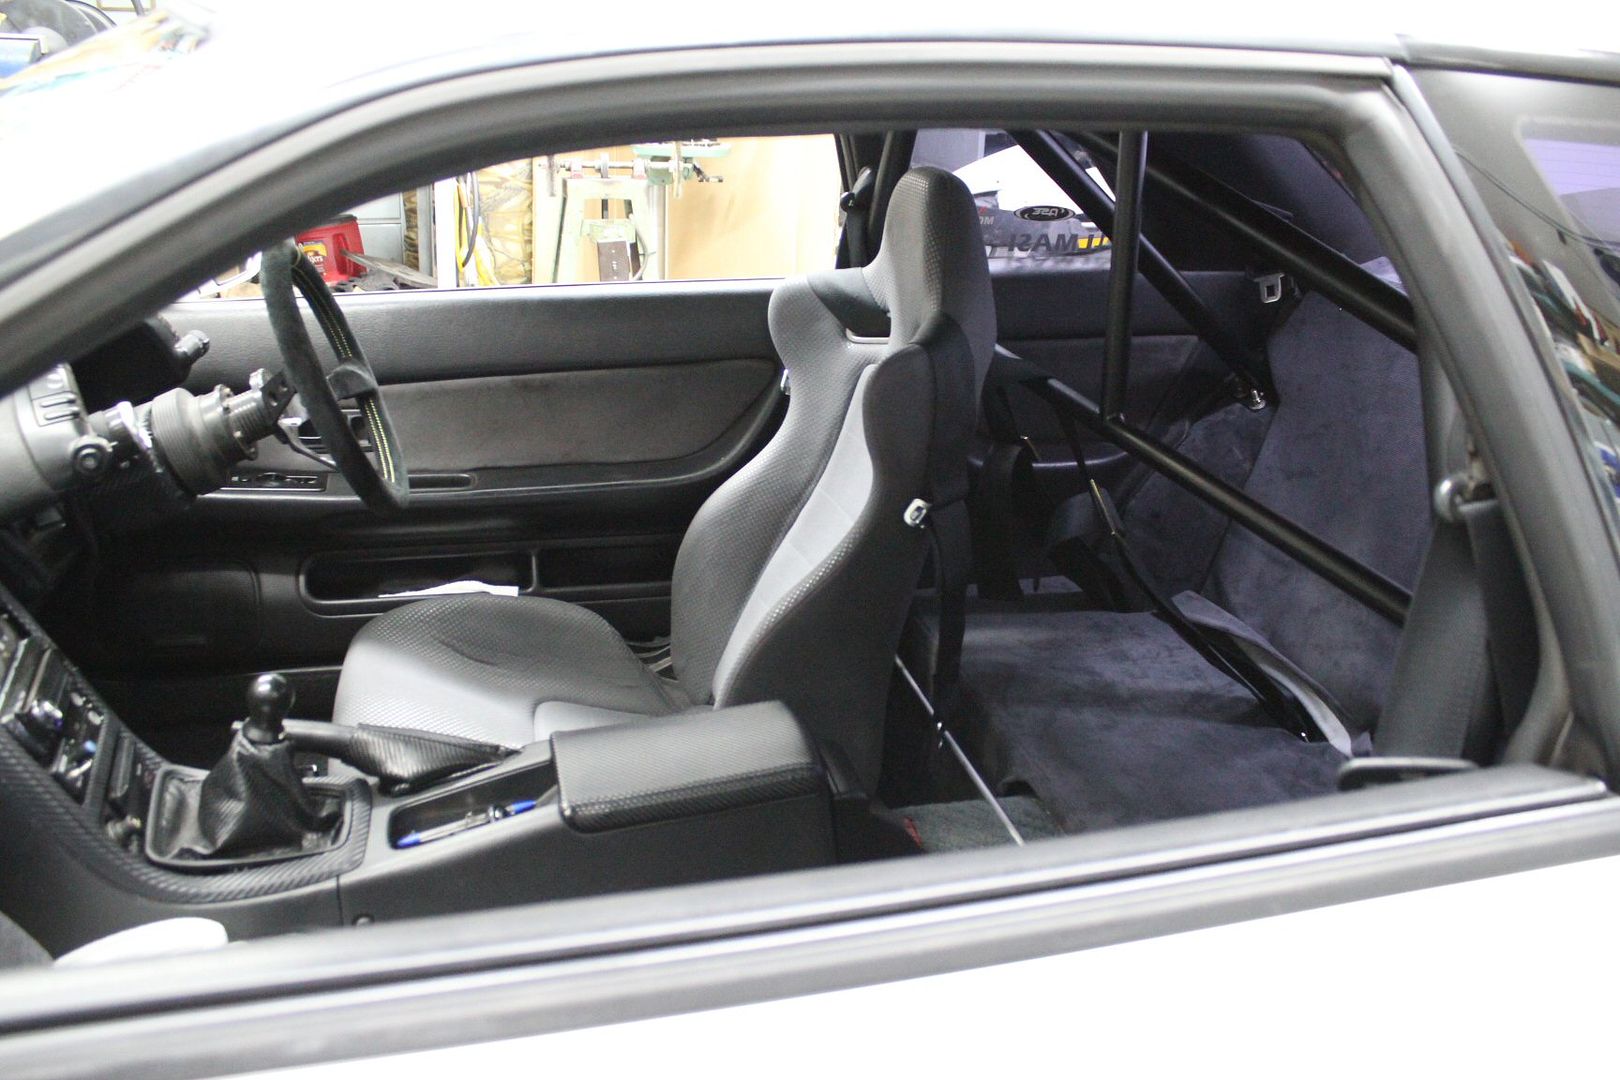
the interior;
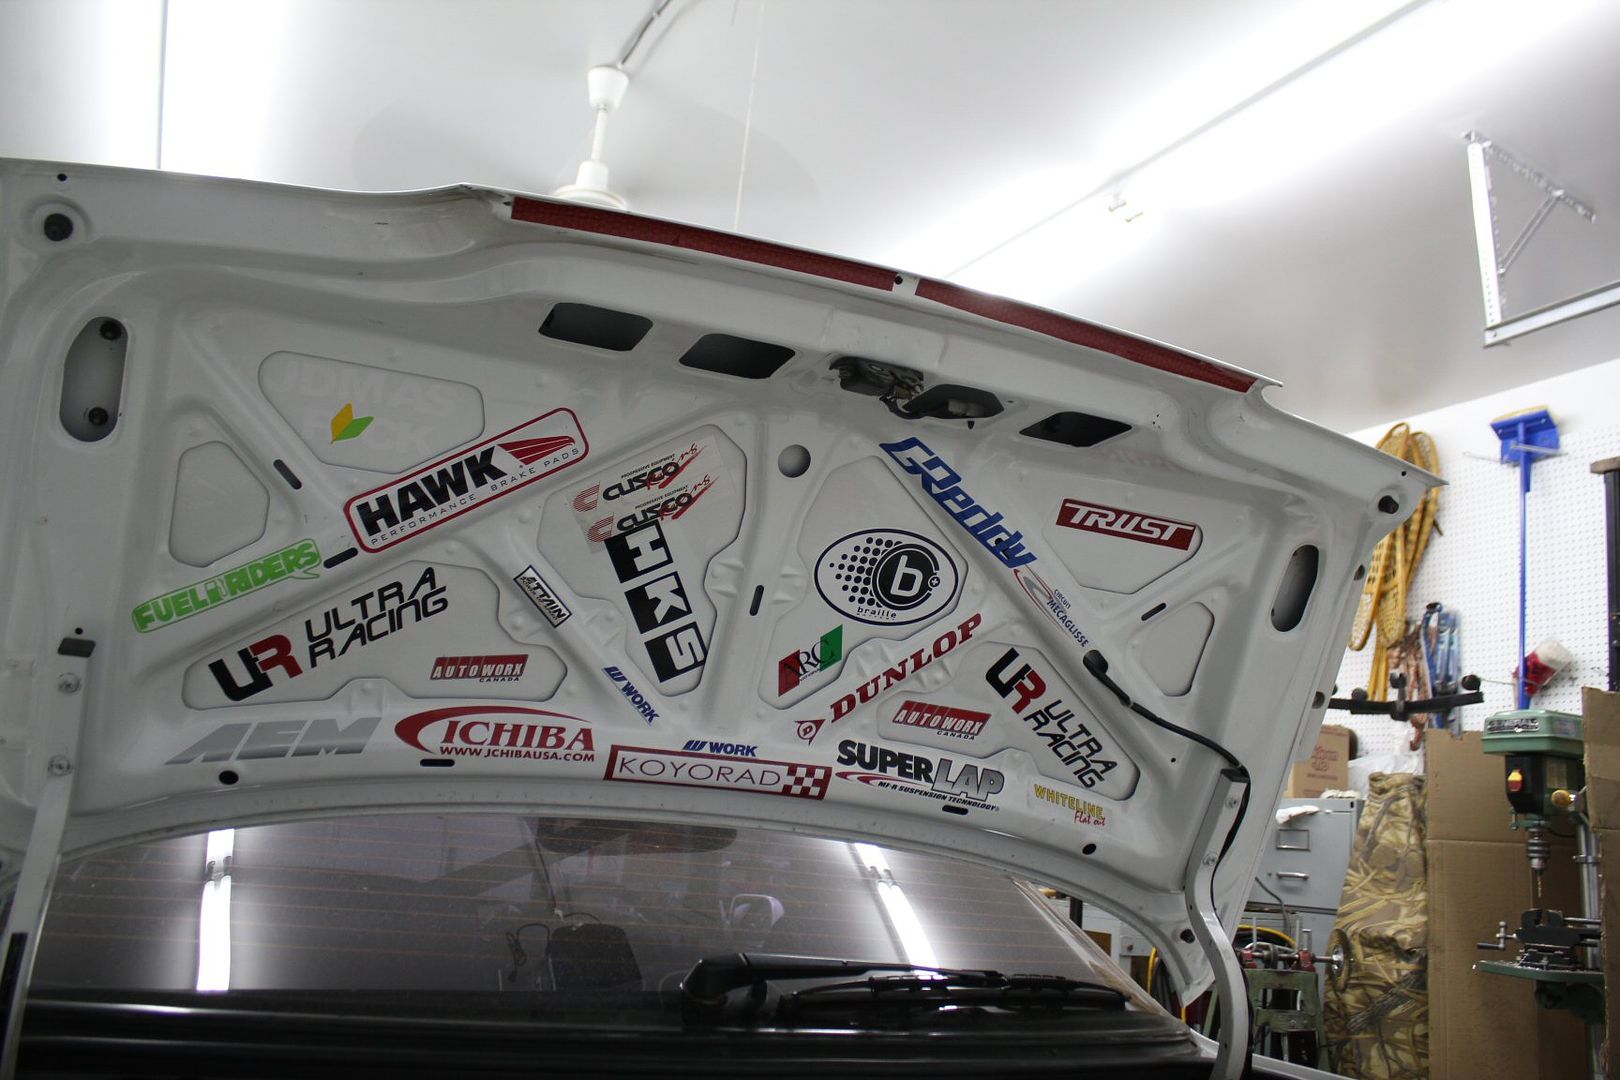
the trunk;
well thats it for the 9th week of work in 2011,
i'll try to speed up the 2011 recap since i've already started working on the car 3 days ago, ishh
anyway, as always thanks for reading !
stay tuned for more updatesLeave a comment:
-
Chapter 46 - So fresh and So clean
week9 � 2011, part 1/2
disclaimer :
the following story depicts actions that occured between June 29 and july 5 2011
information is recalled purely from memory, give me a chance
if you've read the last chapter, you know i had taken off all 4 wheels for no apparent reason..
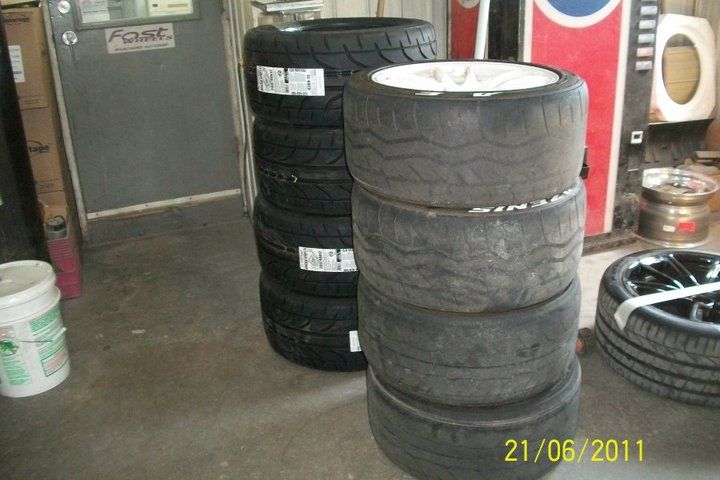
well no, i took them off to get them re-painted (3rd time) and mount the new tires on,
so one night i packed my dad's 4x4 with 8 tires total;


the place where i was getting them painted was a 40 min drive from home, but in summer 2011 i had an engineering internship 60 minutes away, in the same direction
and that place closed as early as 5pm
so i took the 4x4 and stopped there on my way home after work, just before 5pm,
explained them which tires to put where and what type of paint job i wanted, this time
my phone was dead so i asked the secretary to take a picture and send it by email
this was to see the difference in total height (width) of the new and old tires;
meanwhile, i got something else done...
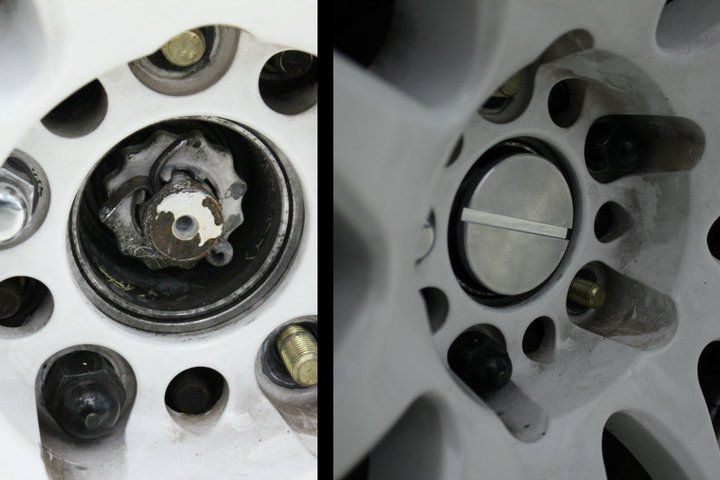
i really wanted center caps for my wheels because the axle nut was ugly as fawk,
but Work doesn't make any center caps for the Emotion CR Kai wheel, every other emotion yes, but not the CR Kai
and after mucho searching on the web, i didn't find anything anyone had done to make some for those wheels
and.. i didn't want to modifiy the wheel to be able to receive center caps and hold them on tight,
so since the GTR is AWD, it has 4 axles, thus 4 axles nuts/threaded shafts, each identical
why not just make something that would screw over the axle nut heh?
so using high tech measuring tools, i found the thread to be M24x2 (i think, only going from memory here...)
so using a wheel, i decided on the best dimensions for the center cap to come flush with the wheel and cover most of the wheel bore without affecting the removal/install of wheel spacers
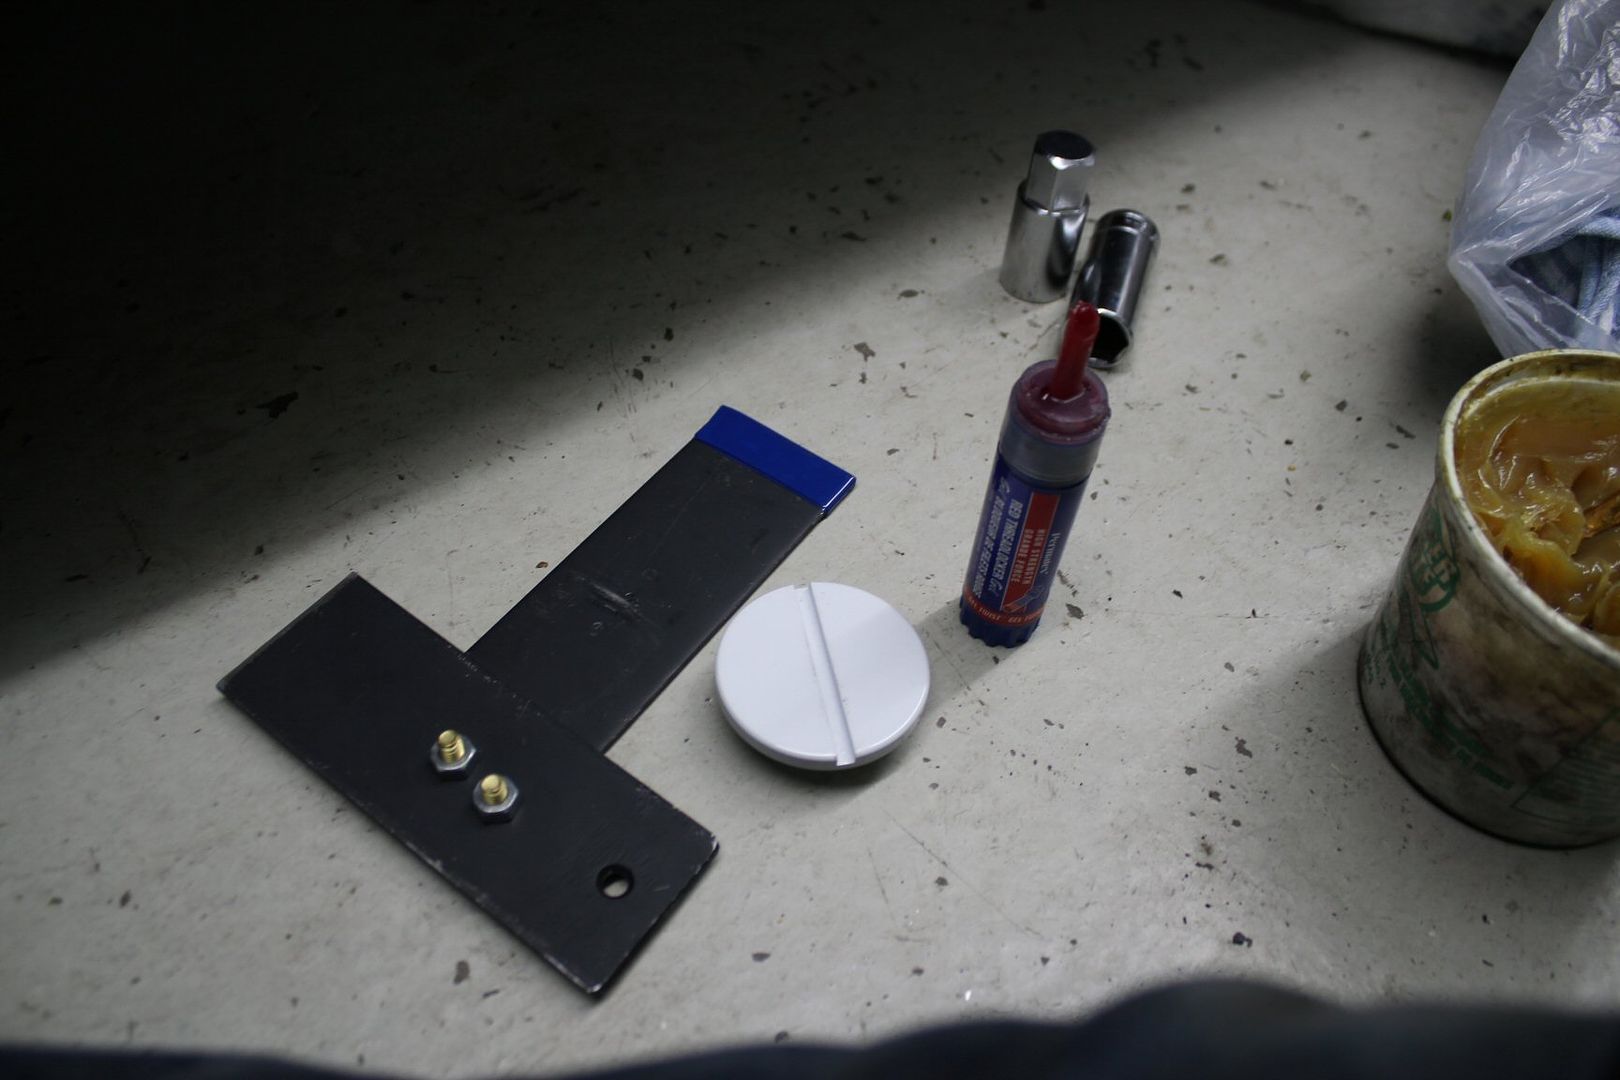
this was the first prototype;
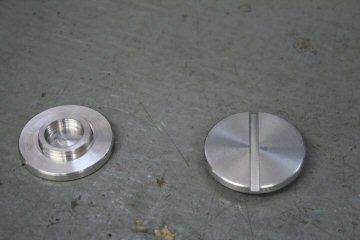
the slot in there to be able to screw on/off the caps with a tool (a 1/8" x 2" steel plate)
the caps are made of aluminium, CNC machined the exact specs of my drawings
p.s. i no longer have the drawings for the caps since my computer pooped itself not long after, mid summer 2011, and i lost everything
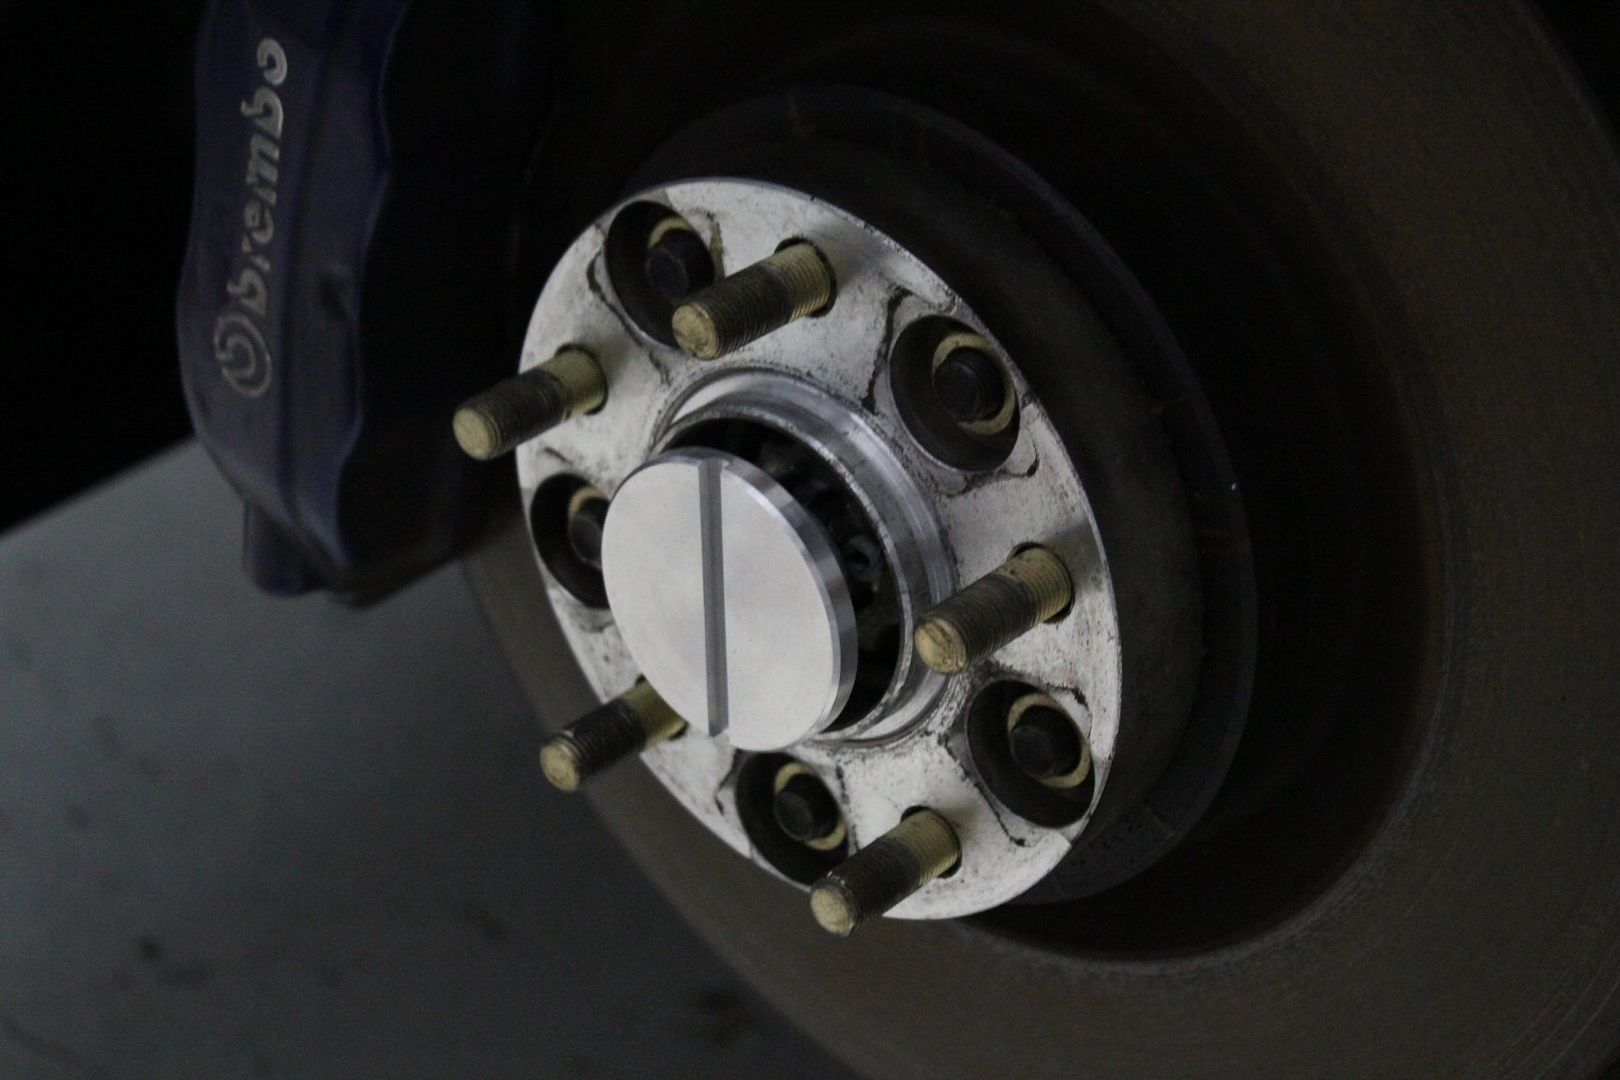
this is how it would be mounted,
screwed directly onto the axles, with a diamter smaller than the hub, not to interfere with the spacers;
and how it looked with a wheel on;
but since i have different offset wheels and width spacers front / rear, the dimensions would be a bit different for the rear wheels to fit properly
and i had them all painted at the same time as my wheels, the same color;
(2 front + 2 rear + 1 spare front)

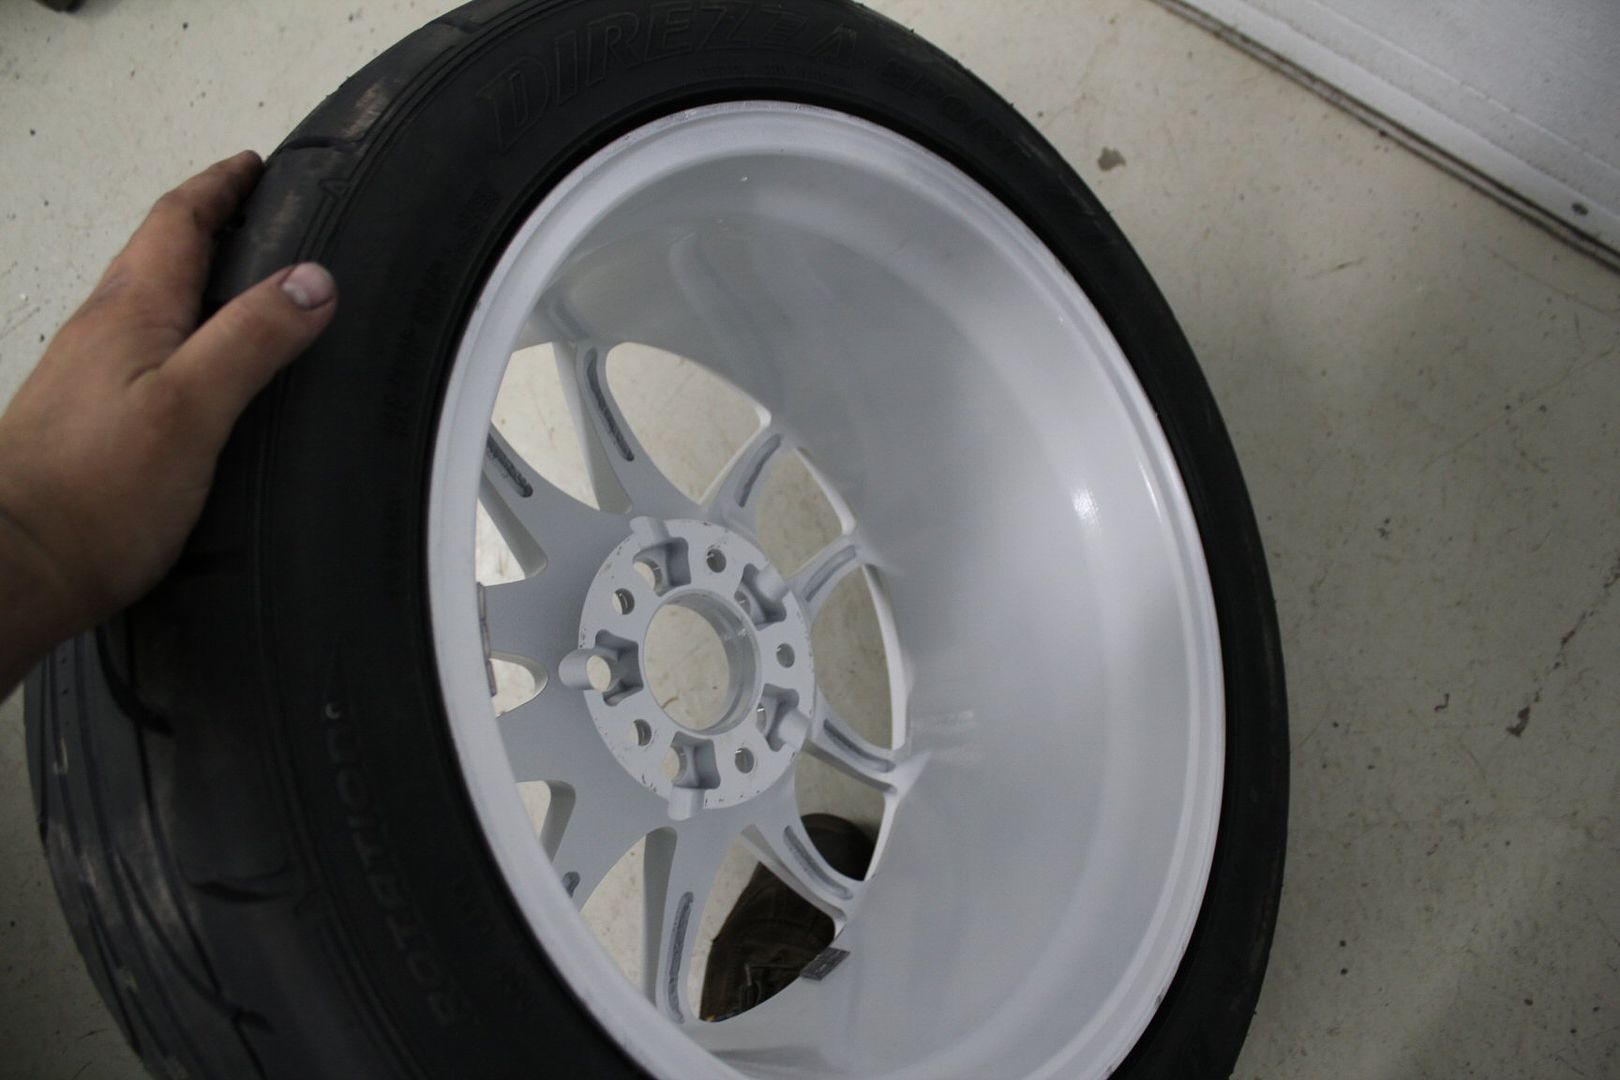
and picked up my freshly painted awesome looking wheels;
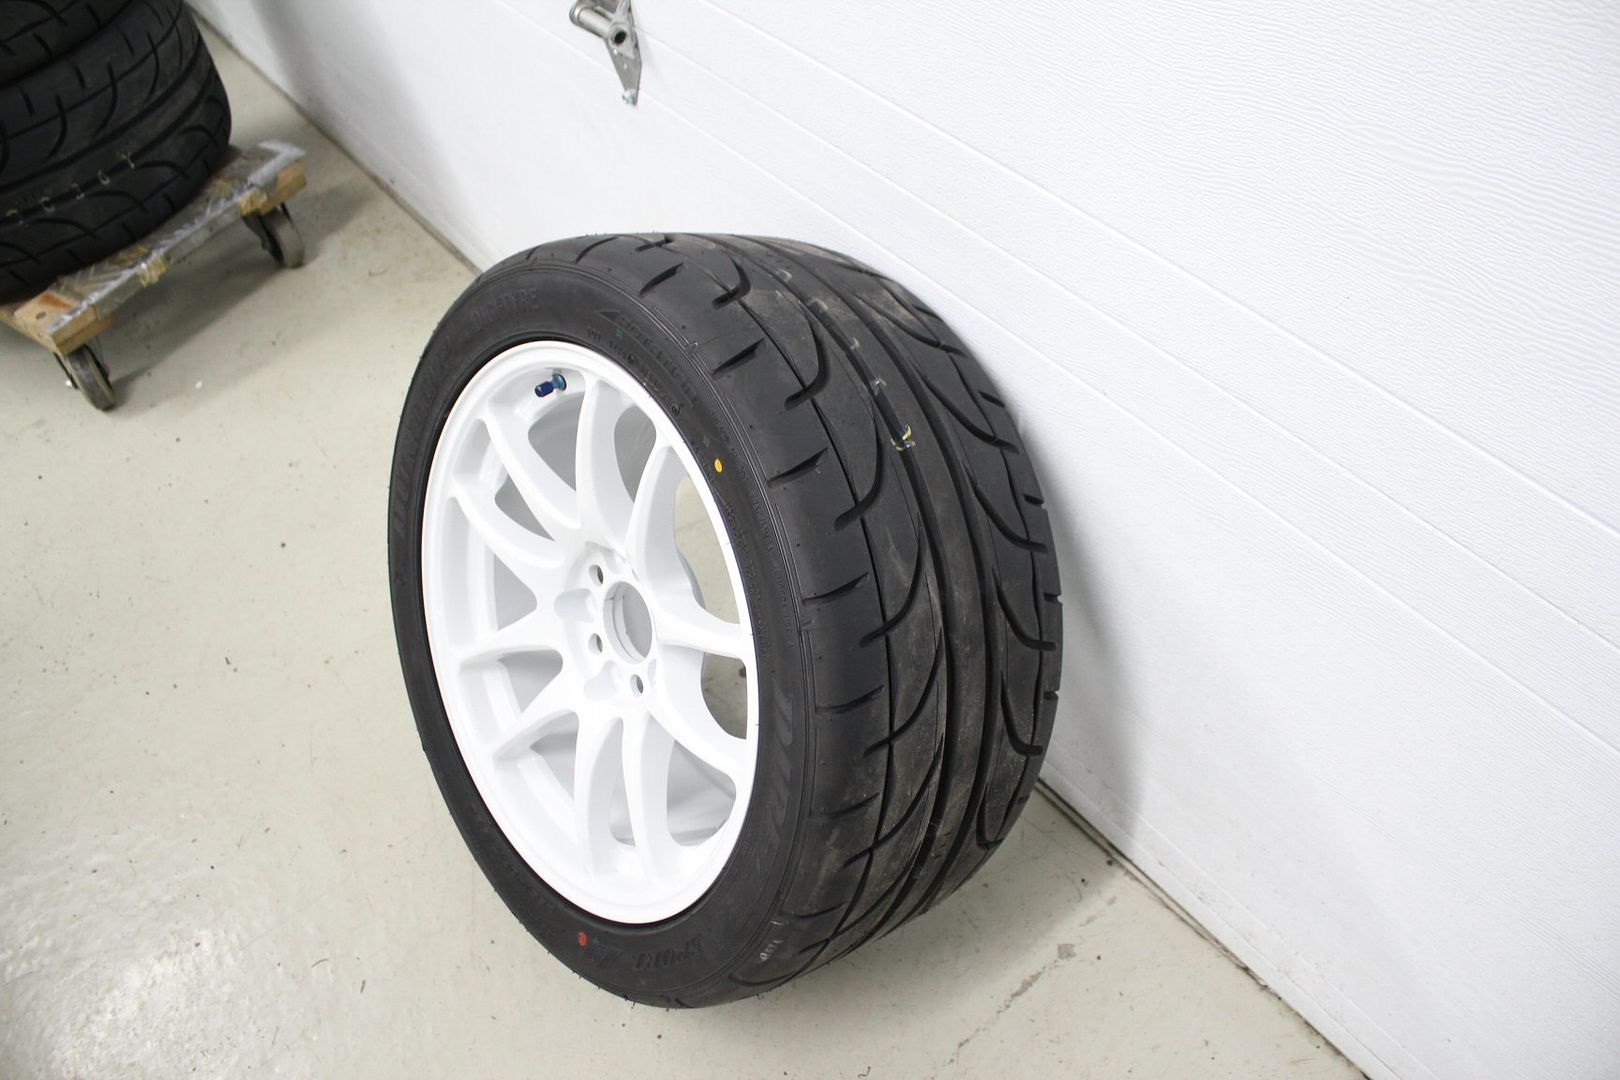
one thing i was really anal about was the inside finish, because they usually left the insides on the wheels in a rough finish, even powder coated wheels,
but with all brake dust the wheels saw from track time and street driving, it got into the paint and was impossible to clean off
so i asked for a special 'as smooth inside as outside' paint job
which i got for a certain extra, but i'm REALLY glad to have it;
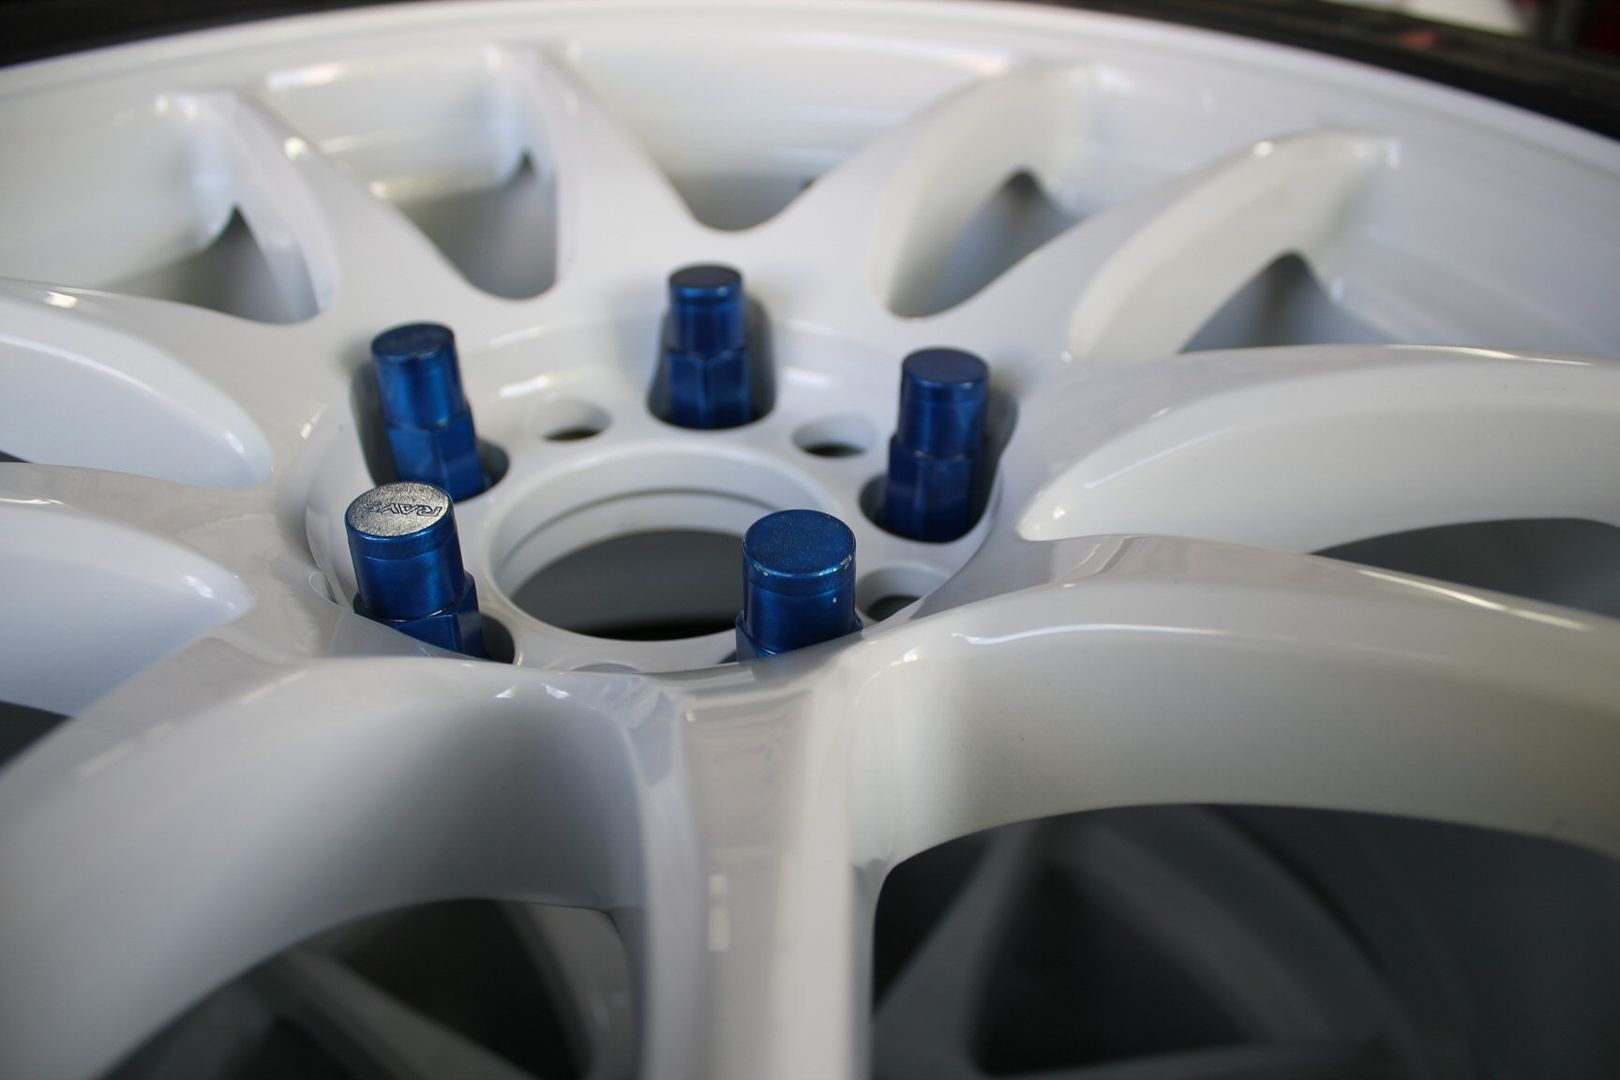
tested the look with the as-well-freshly painted nuts;
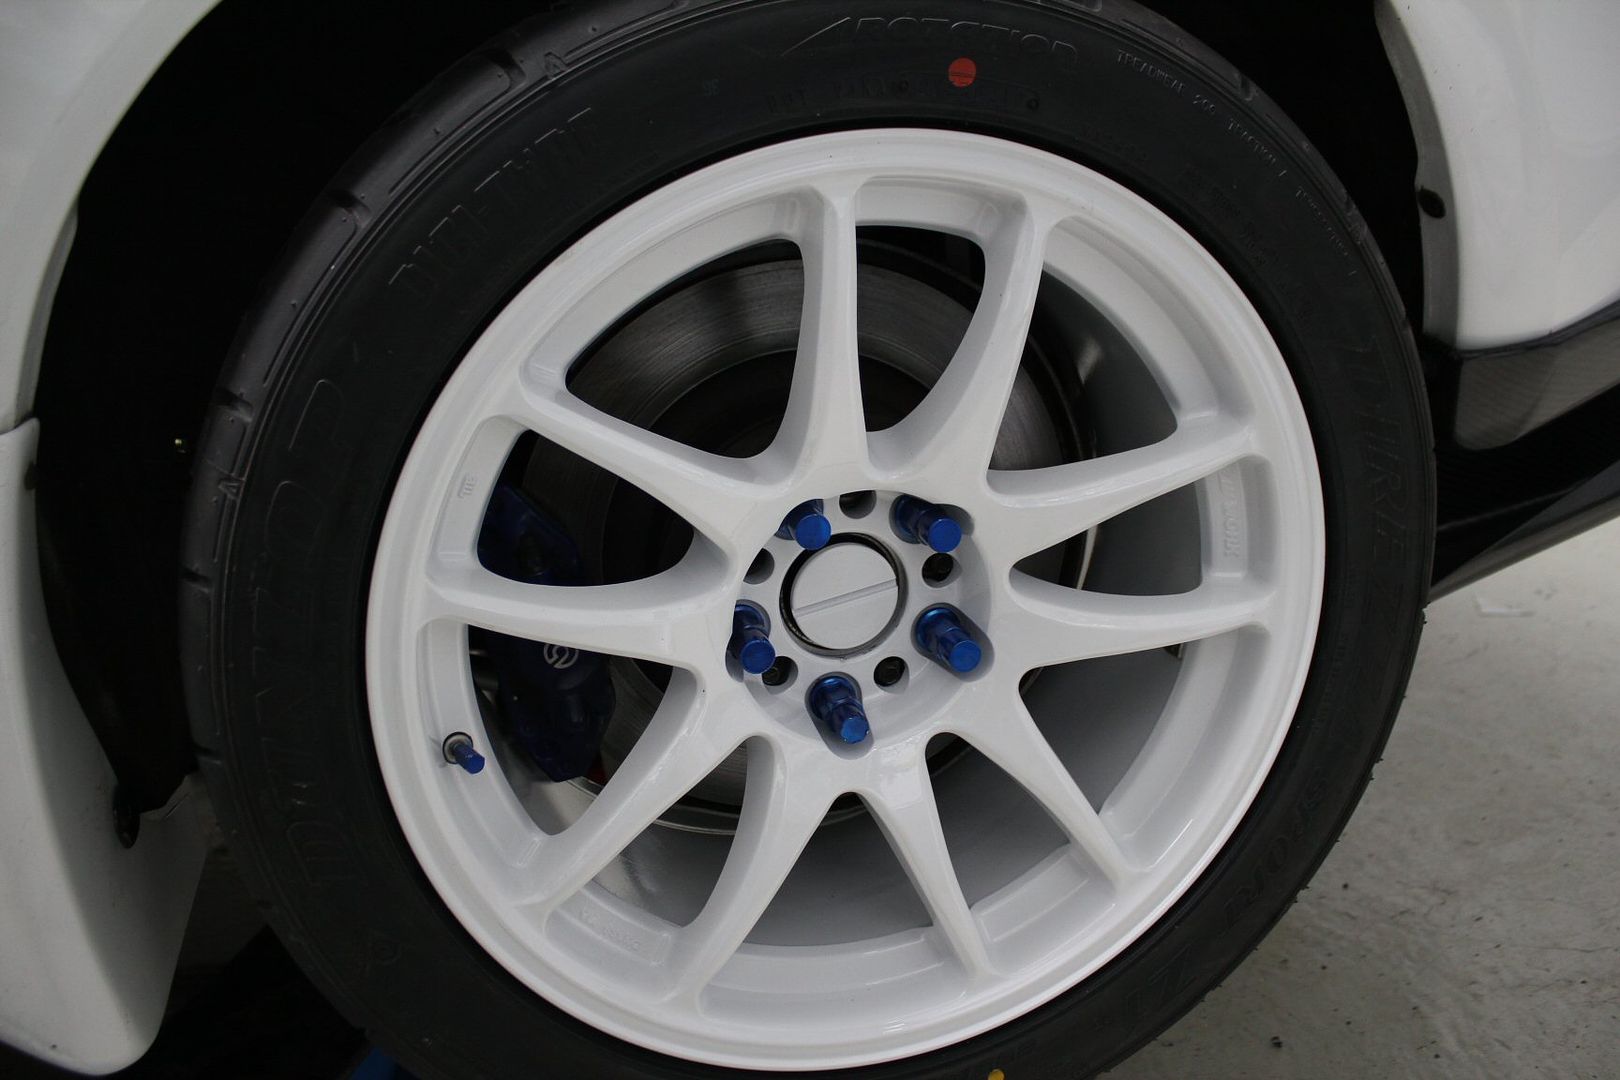
all of it on the car;
and the aforementionned tool;
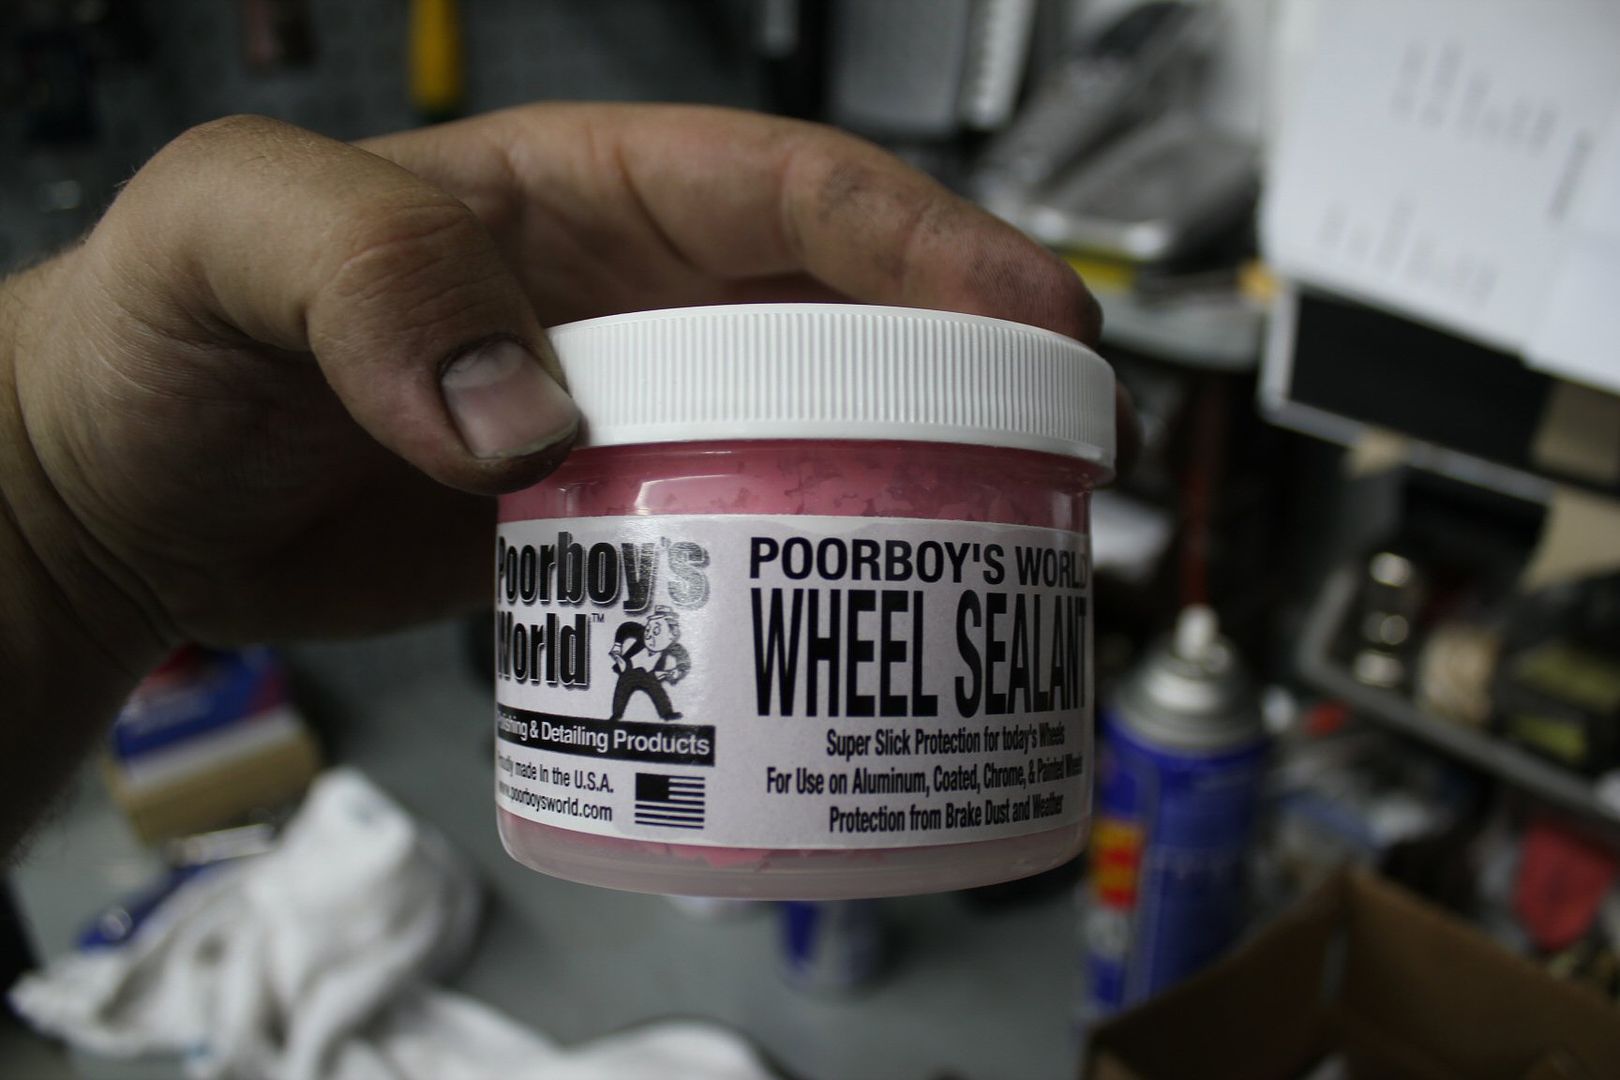
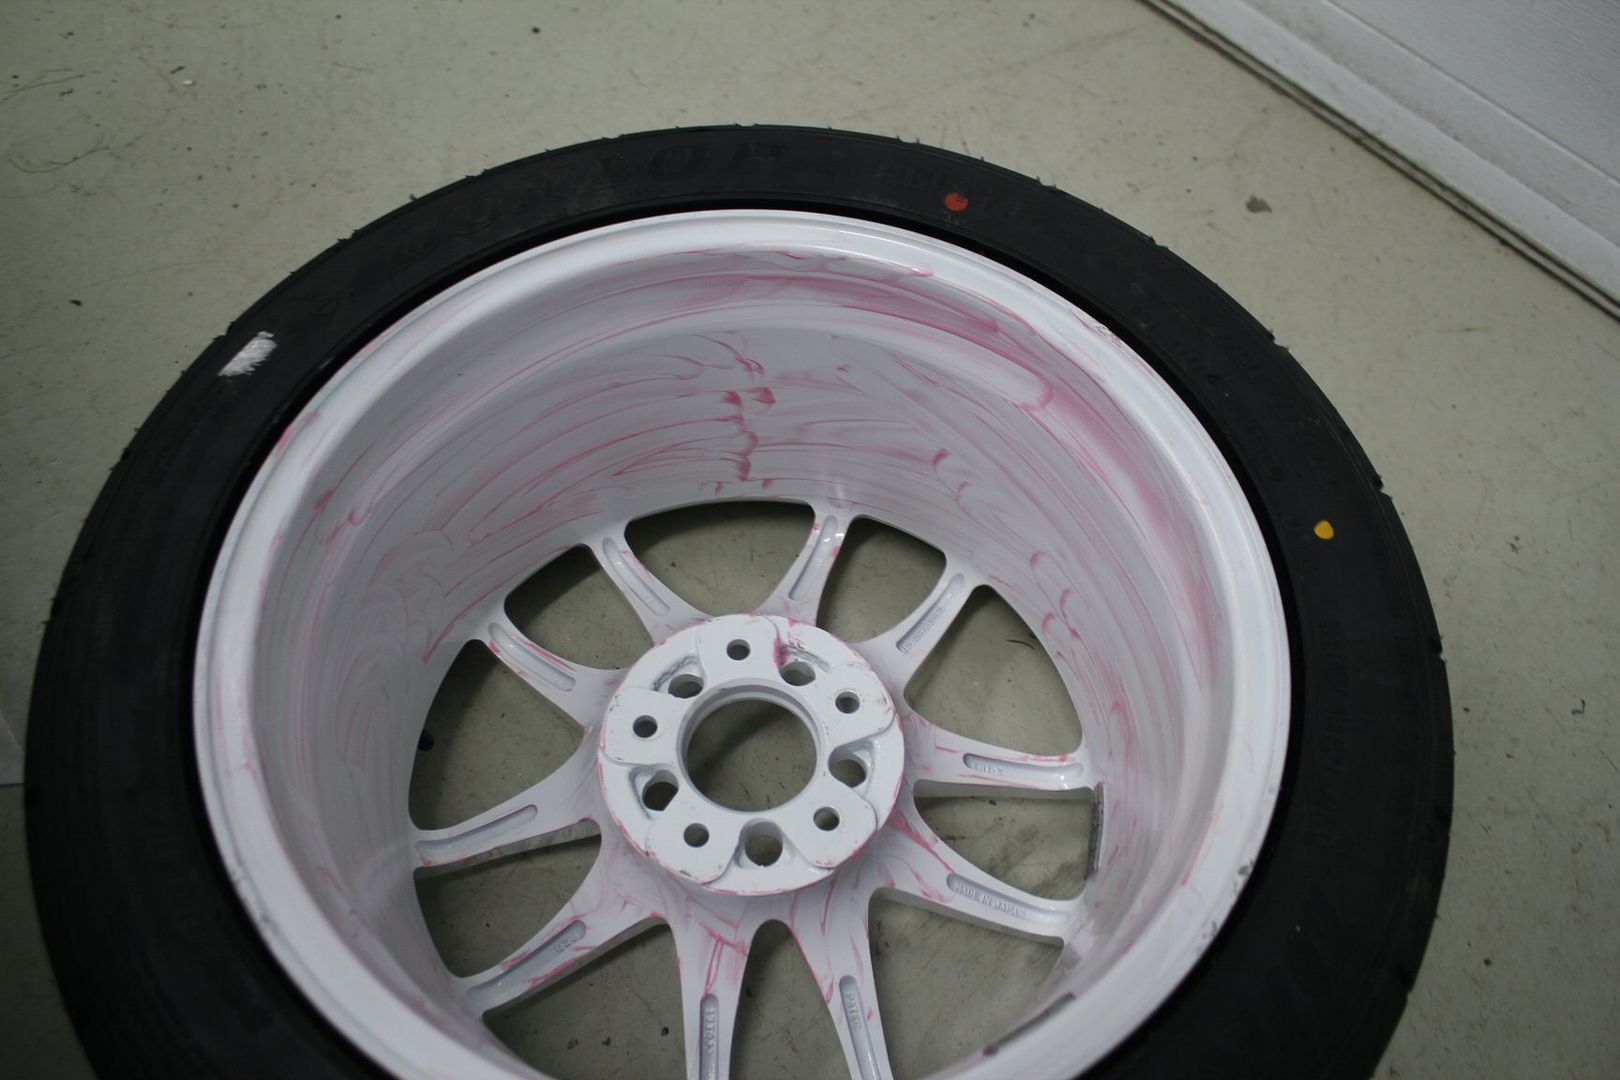
then i put a coat of PoorBoy's wheel scealant inside the wheels, to keep the brake dust from sticking,
those with some detailling knowledge will certainly cringe from seeing the following picture, since i was later told i had used about 10000% too much;
then i fooled around with an industrial paint marker that i got from work, to fill the lettering on the tires,
i did it only on the inside too see how it would look, but for importantly if it would hold;
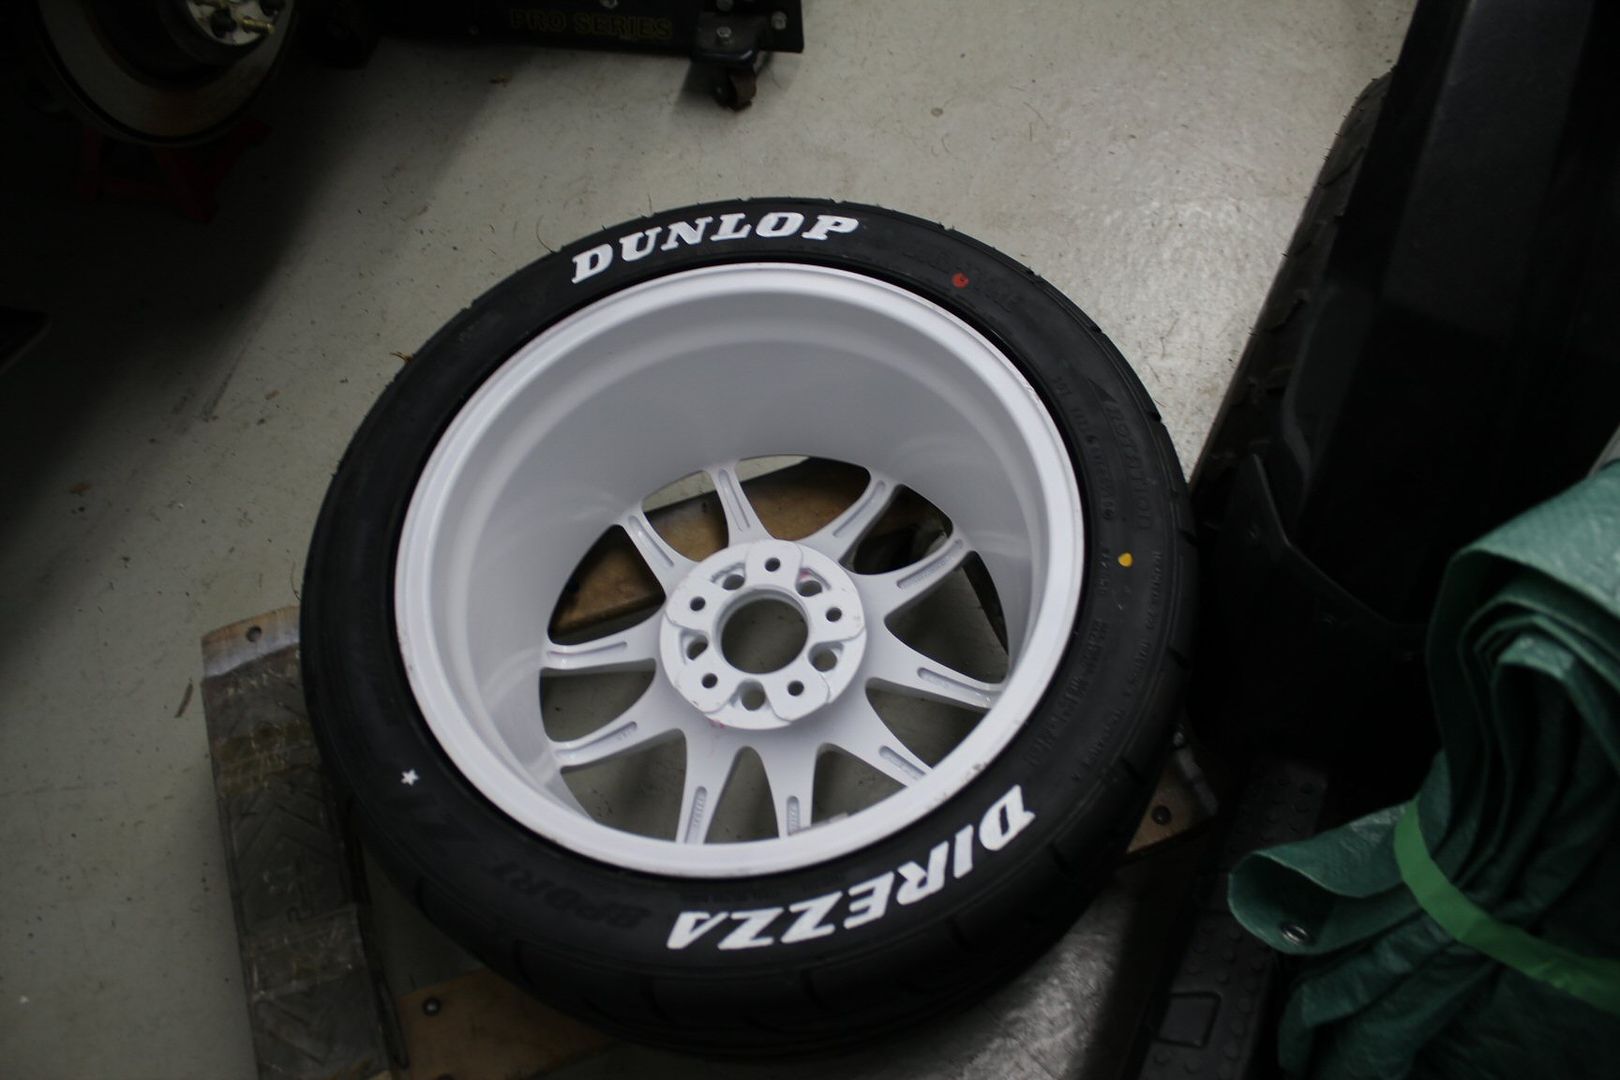
the then stance...
lets just say that putting 265 tires of a 9" wide rims, makes it look like balllloooons;

but the flushness is perfectly perfect;
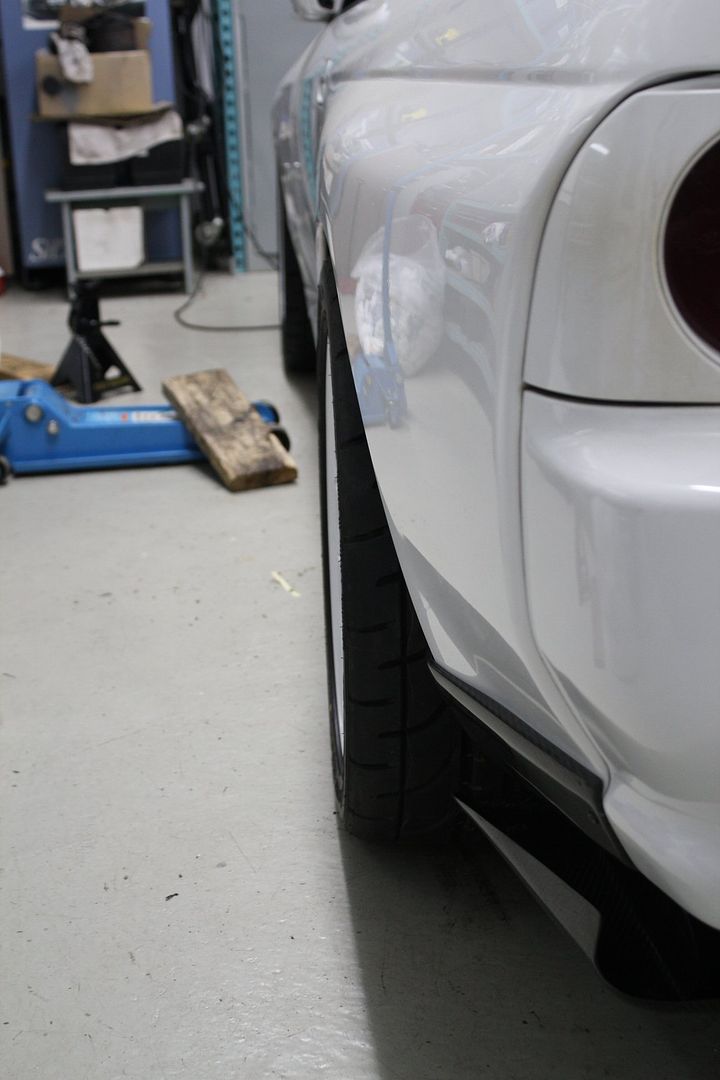

but now the tires had a bit bigger diameter, and with a messed up still aligment (my mistake) i was having issues clearing the wheel wells;

--------------------------------
then i moved on to swapping my brakes back from the stock pads to finish the last season
lets just say i have alot of spare pads;
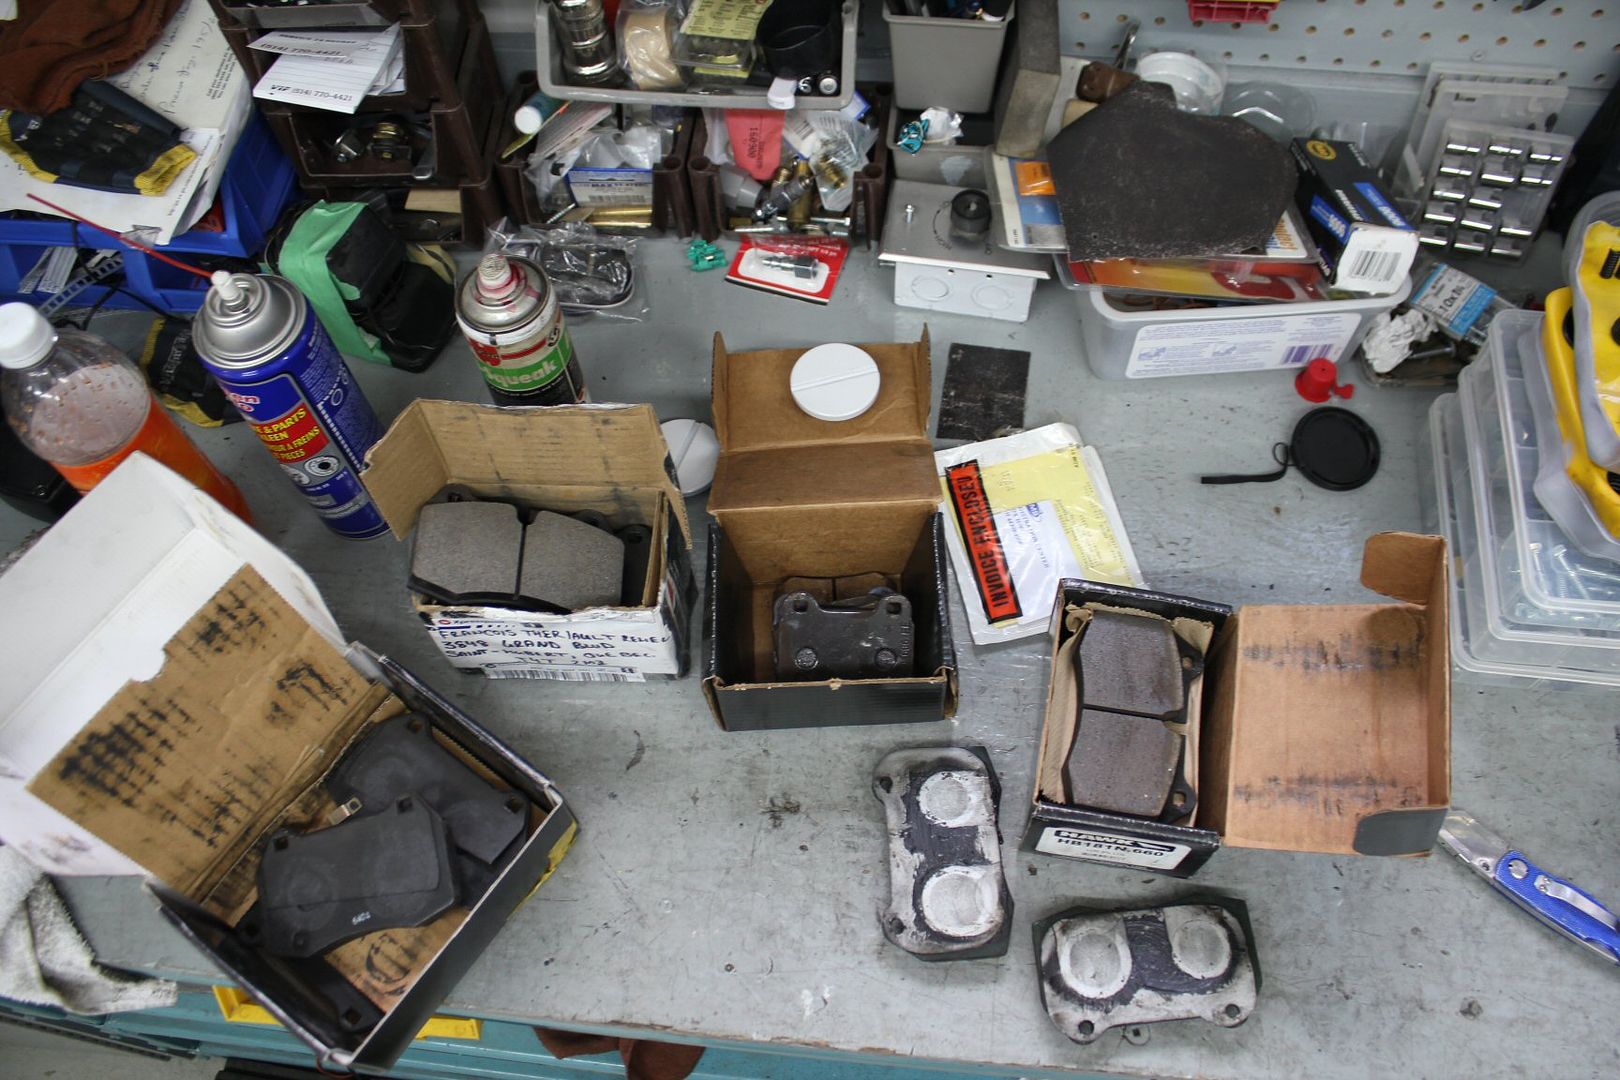
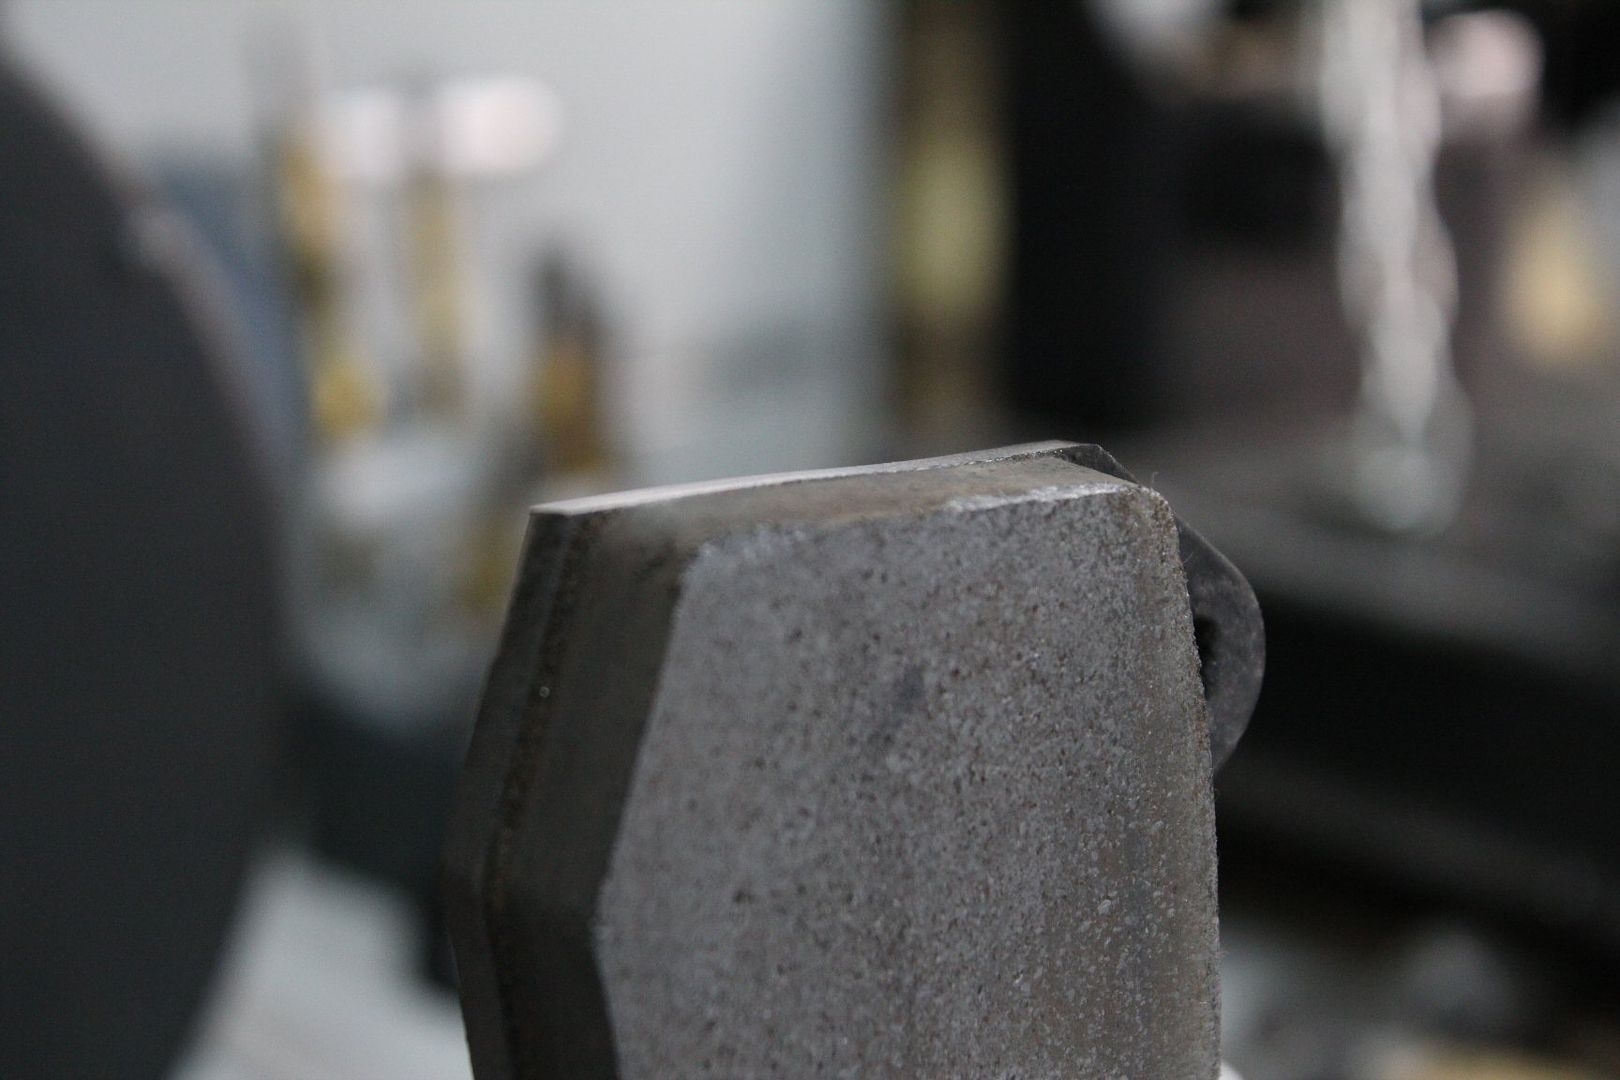
this is the stock BCNR33 pads i got from Daryl which i used at the end of the last season (2010)
i don't know exactly the reason why its beveled that way, but theres only about 2/3 of the surface beeing used ;
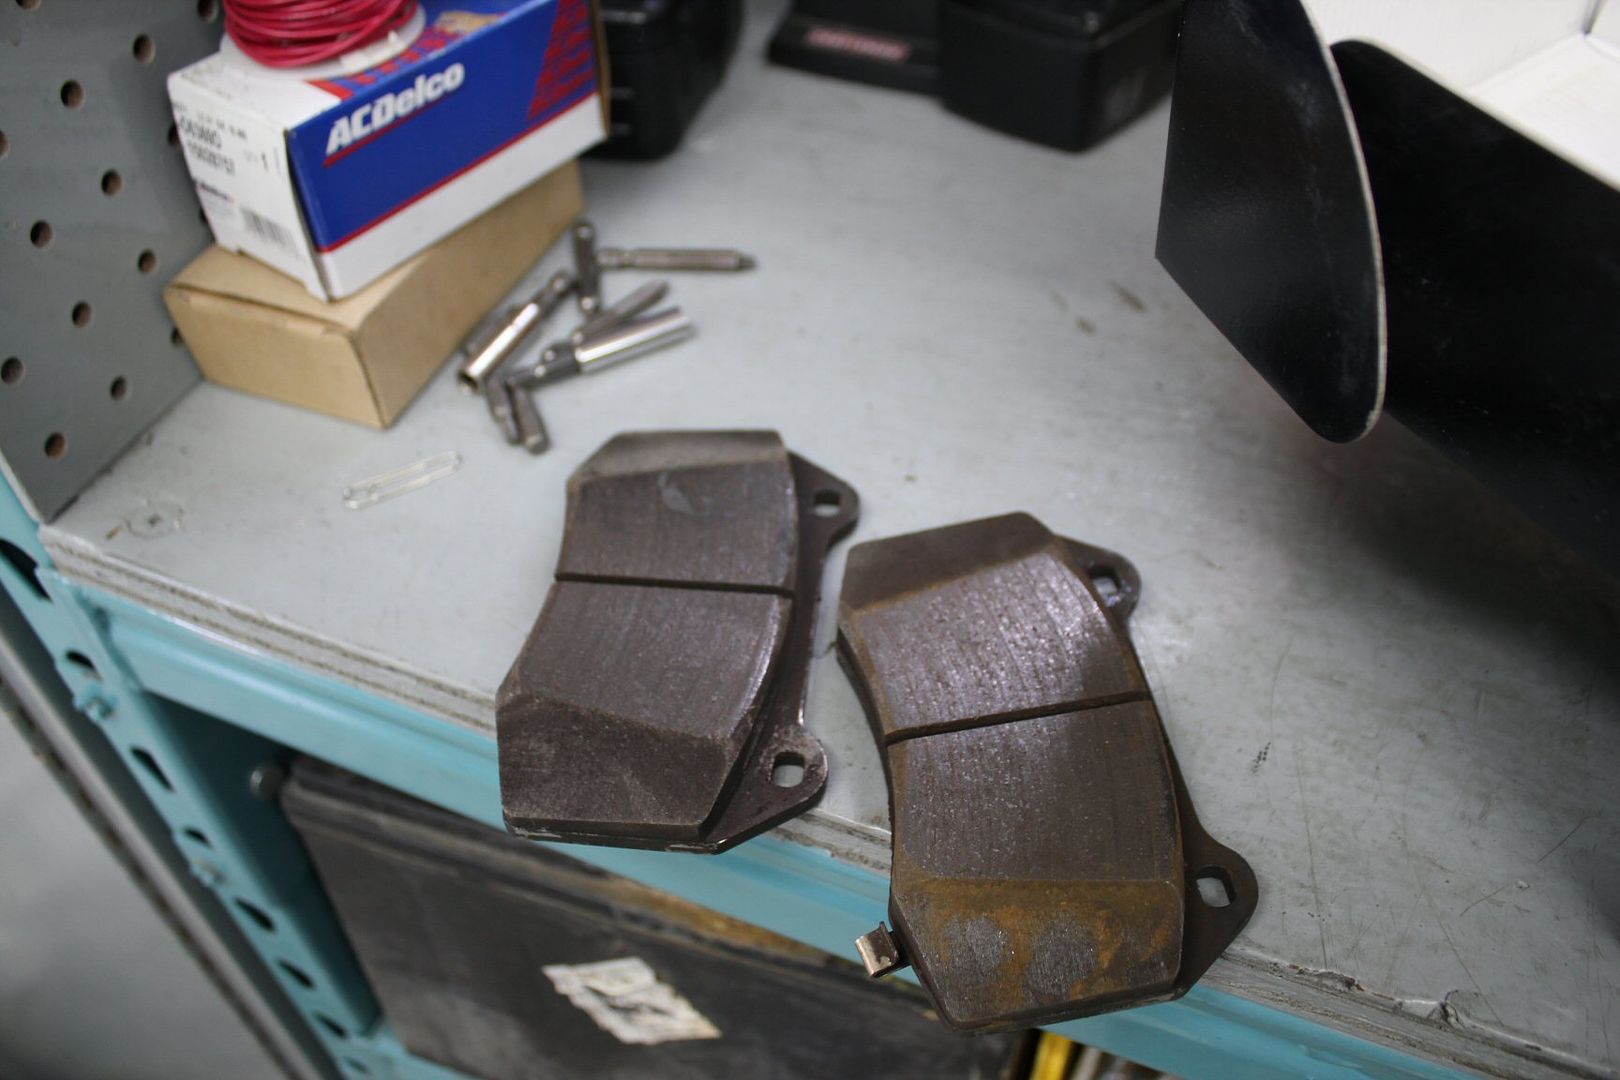
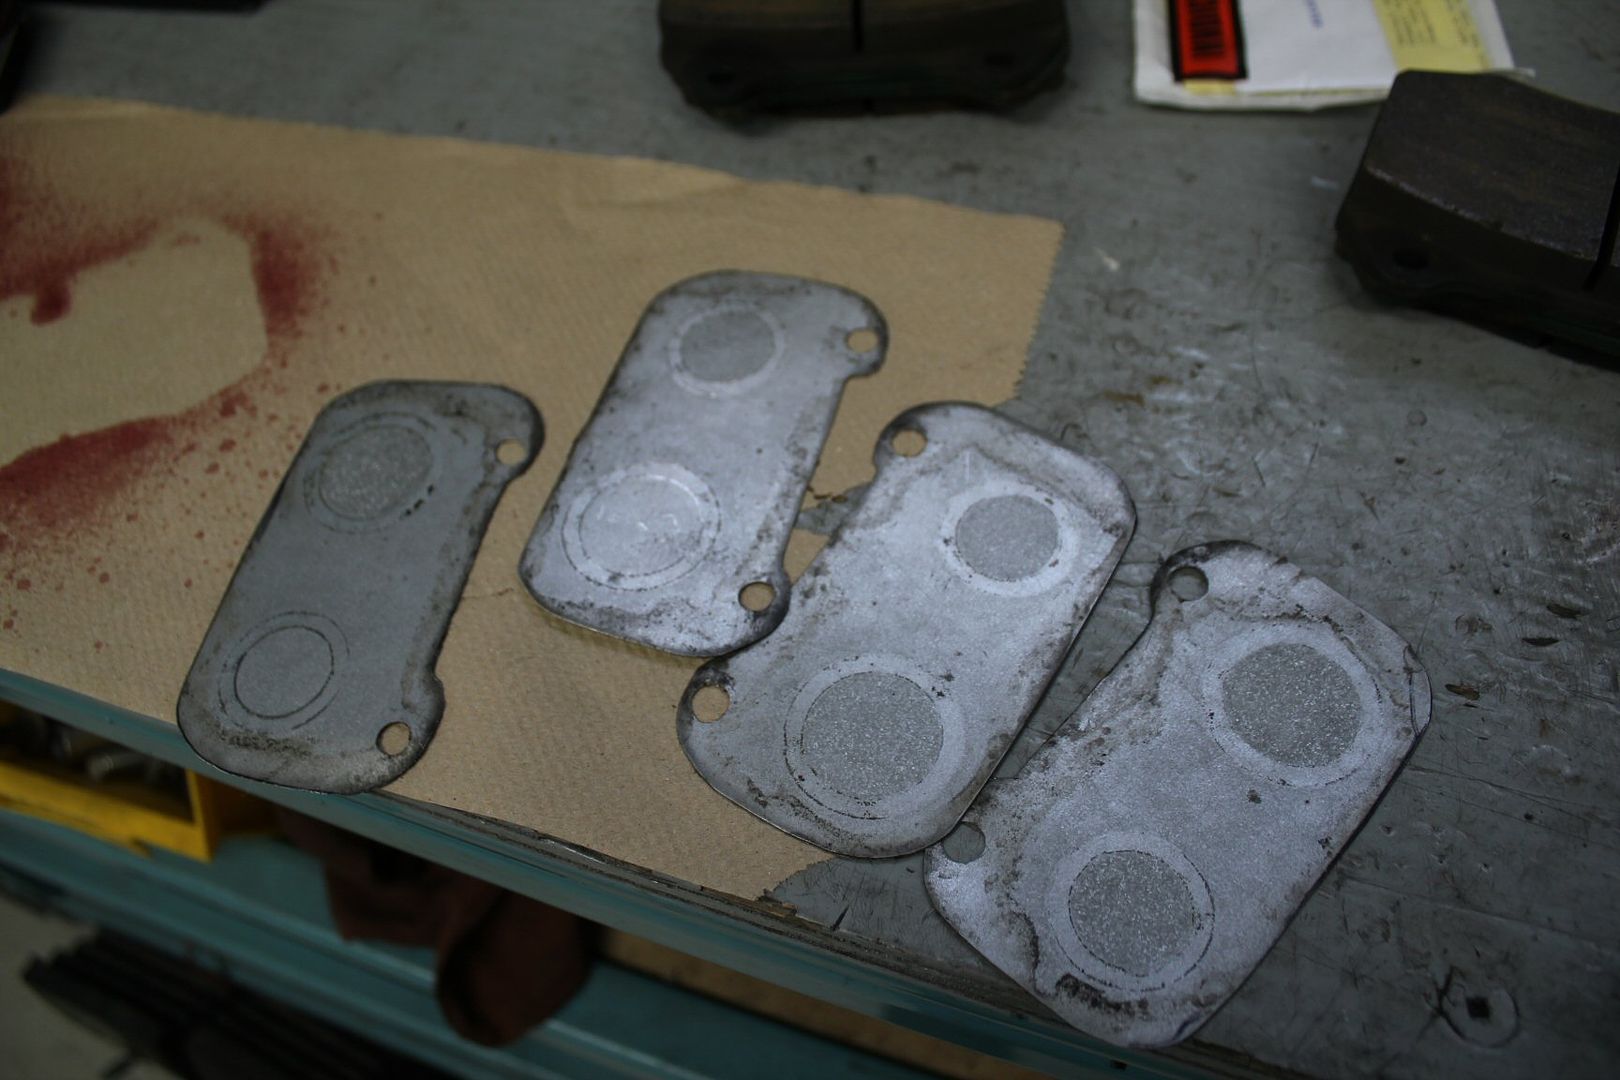
for some reason i was having interference issues between the new Hawk HP+ pads and the powdercoat inside the calipers,
i had to grind down the edges to make it slip in easily, from this;
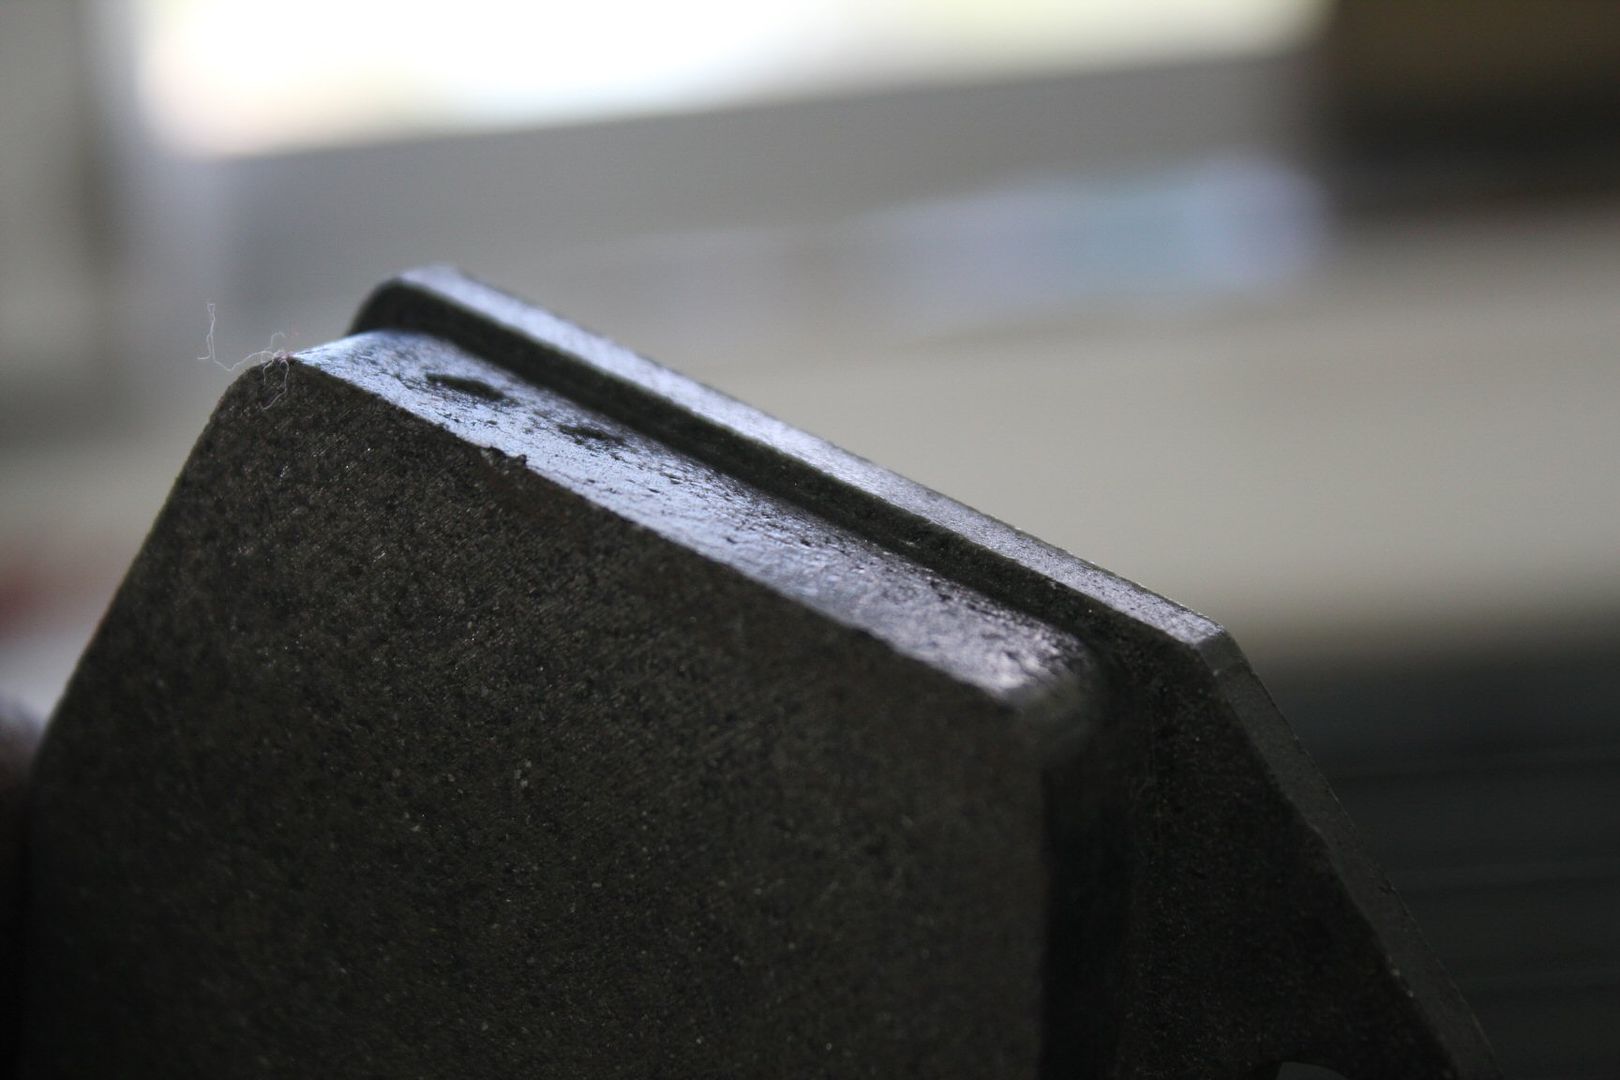
to this ;
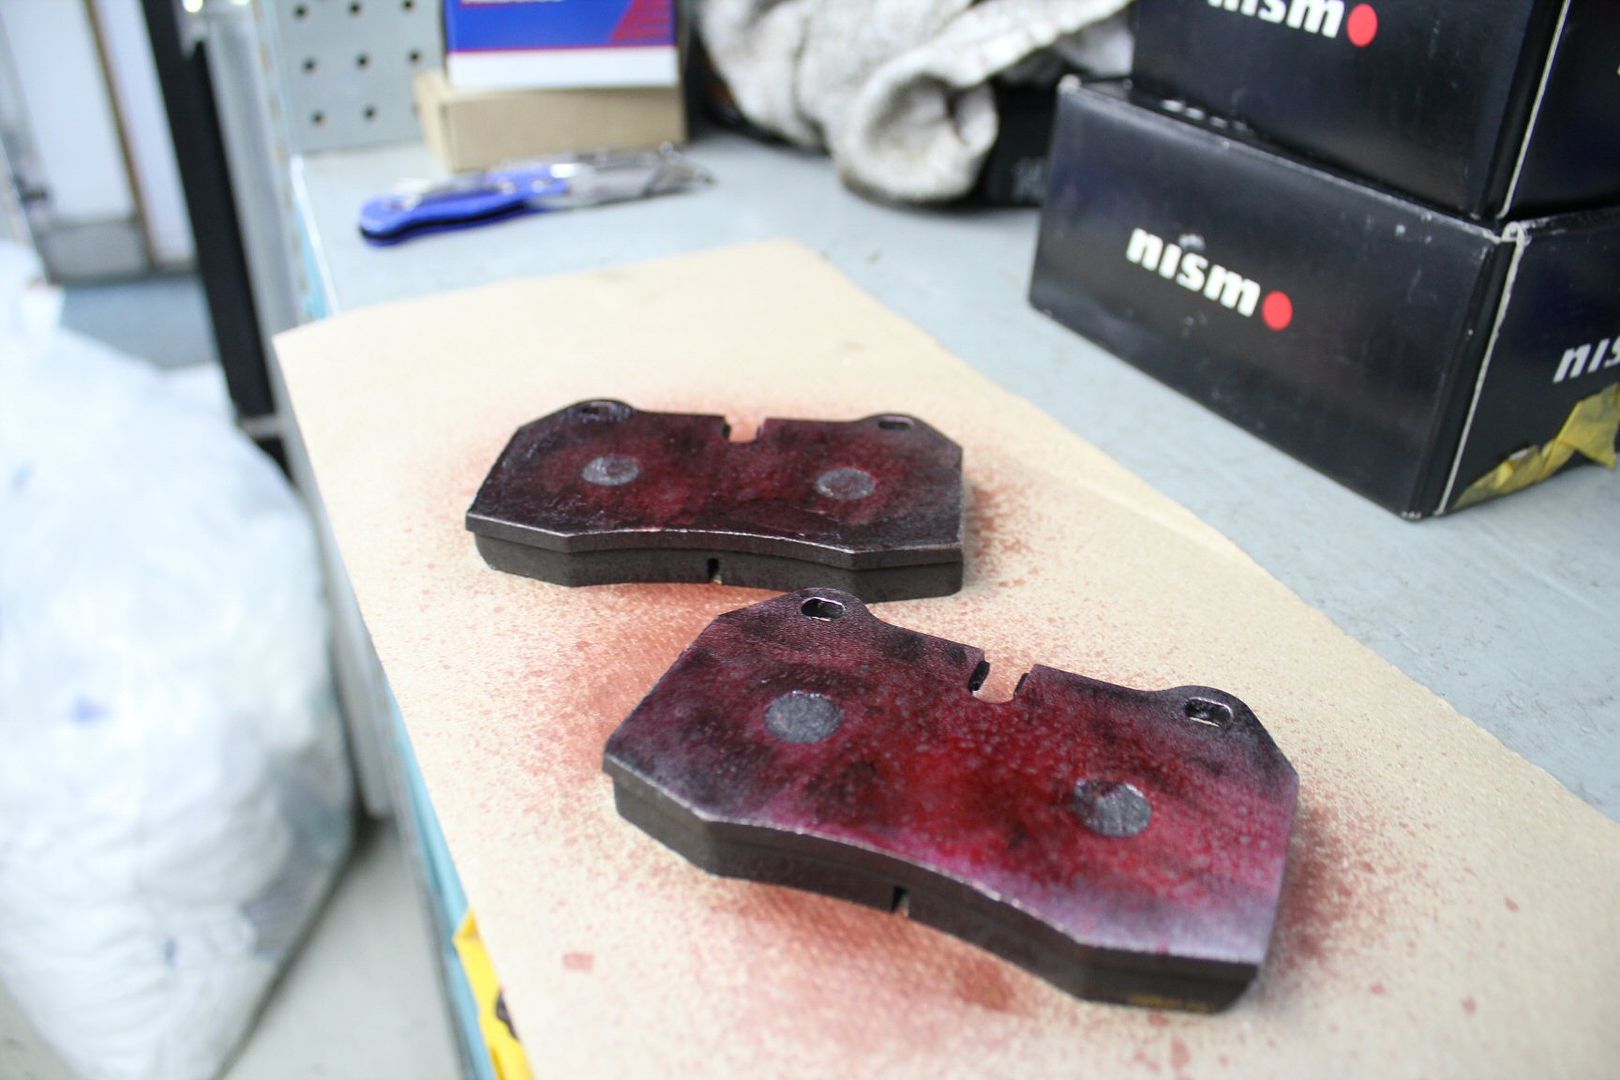
then i enlarged the holes on my custom pad shims to make it easier to work with them ;
and gave the new HP+ pads a nice coat of Anti-Squeak ;
part 2 follows...Leave a comment:
-
sweet, I got a track day that day as well. Think you gonna make it down to any Ontario events?Leave a comment:
Leave a comment: