-
What everyone else says! love the detailed photos. Helped me a few times to overcome problems. I have only had my GTR for 1 and a half years and learned sooooo much! Cheers man -
90 pages, unreal.
Frank, this is one of my favorite cars on GTRC. Keep up the good work.Leave a comment:
-
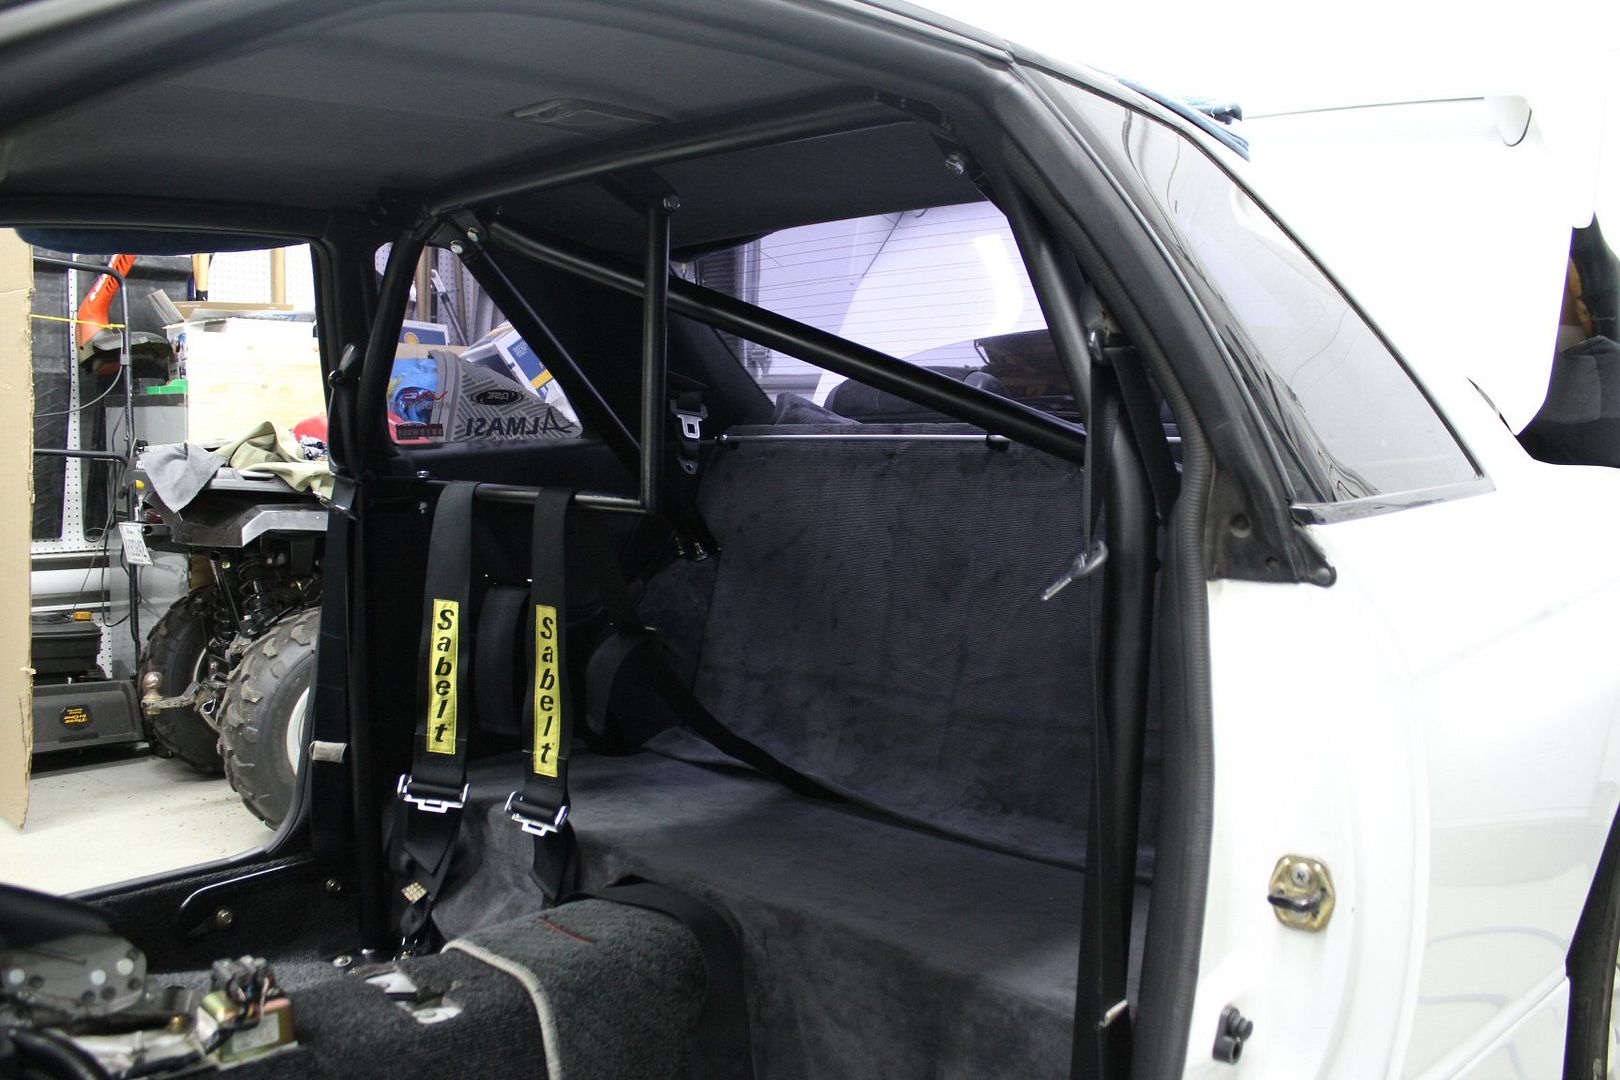
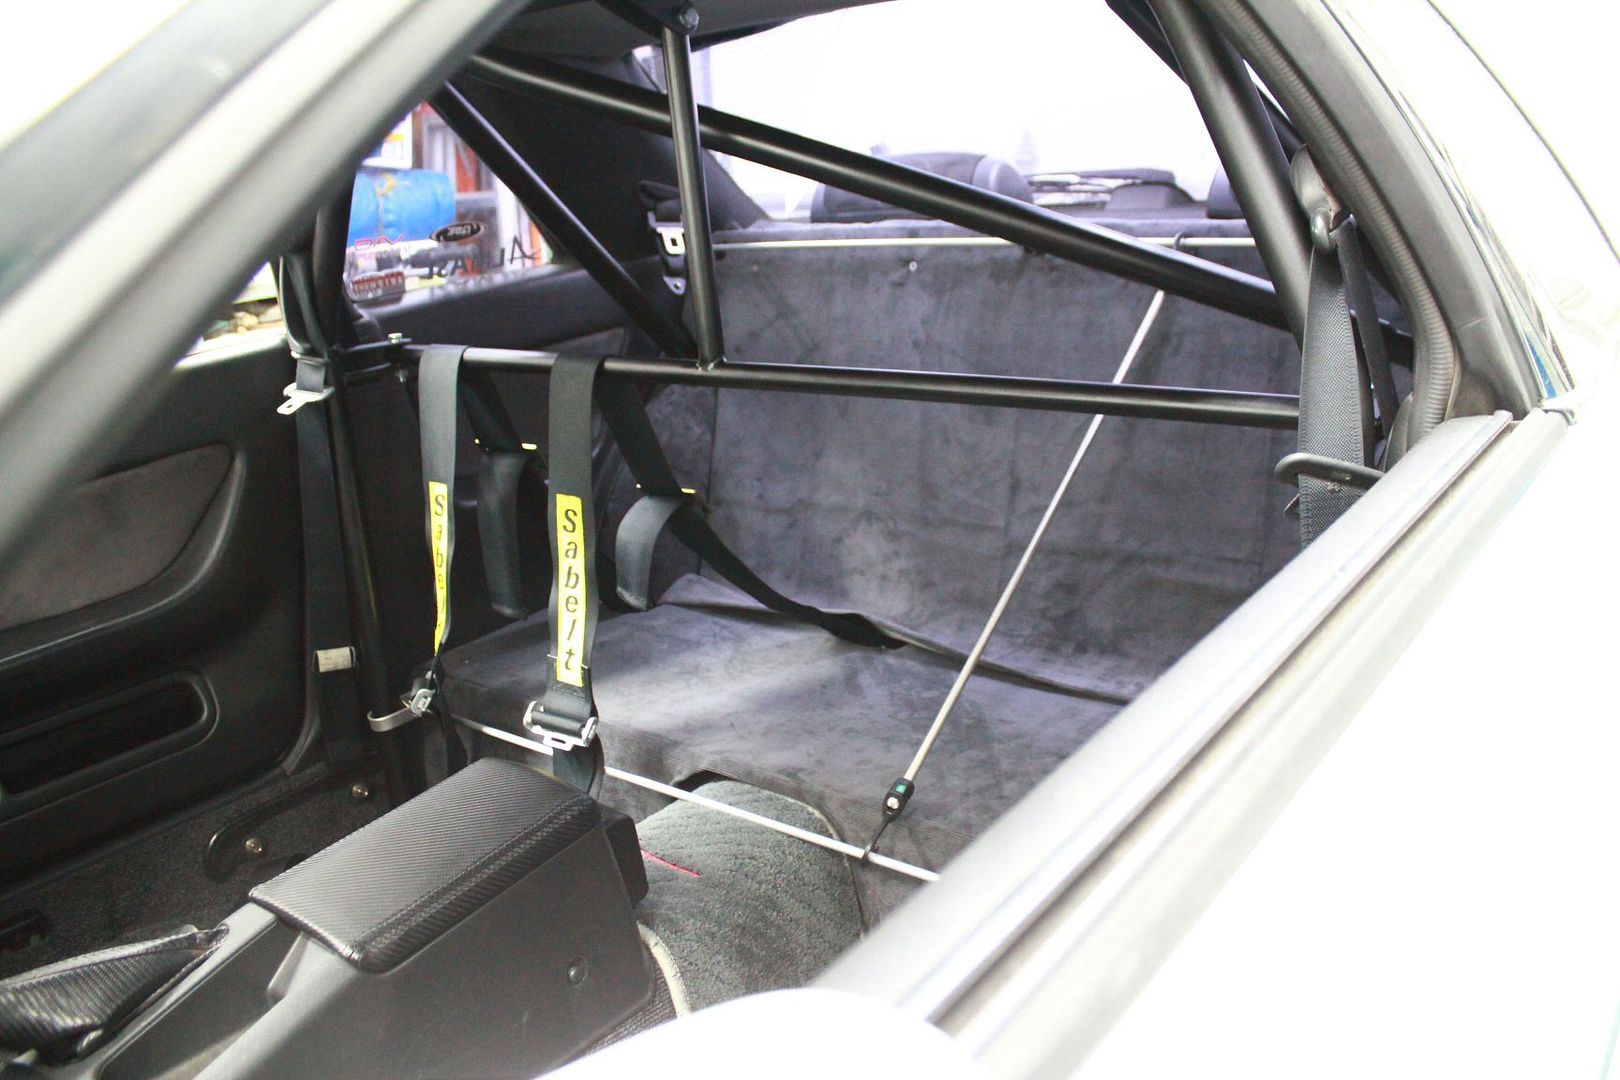
Any pics of the seats mounted with the seat belts in? Loving the beltsLeave a comment:
-
Chapter 44 - Carbolicious2
week7 - 2011, part 2/2
disclaimer :
the following story depicts actions that occured between June 12 and 18 2011
information is recalled purely from memory, give me a chance
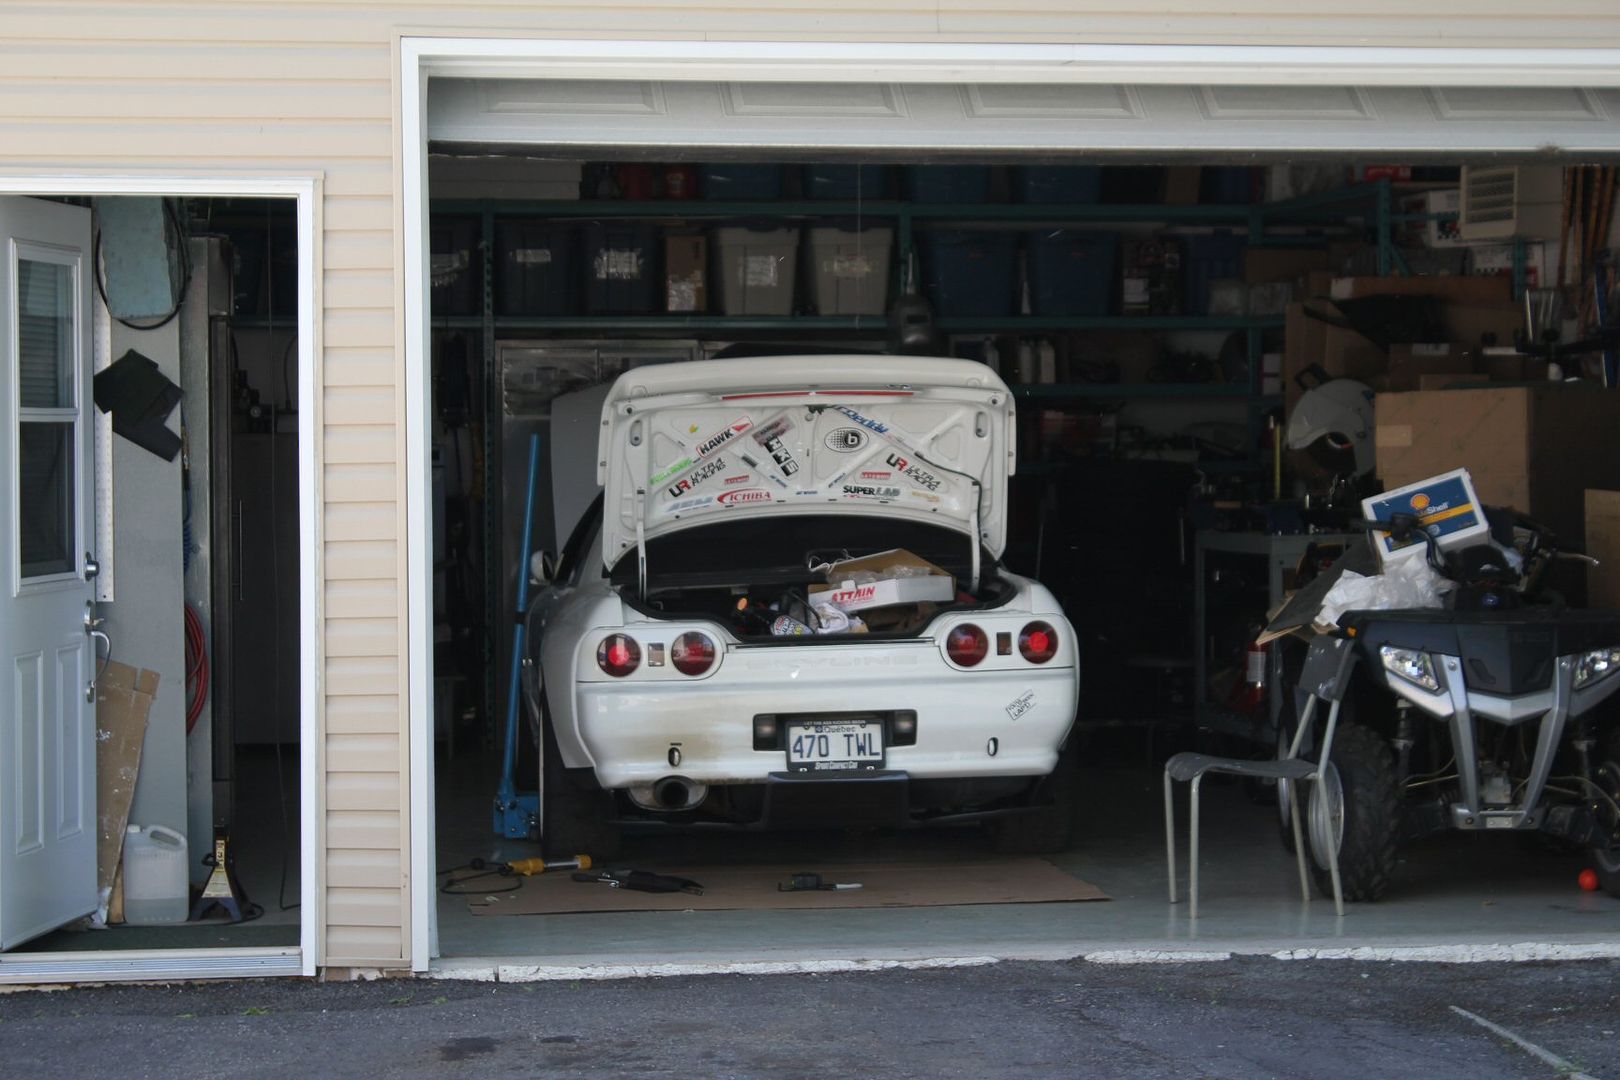
the weather outside was so beautiful i could work comfortably with the garage door open,
this meant that anyone walking in the street could see the car,
i heard a couple "oh **** man, look at that" from passing teenagers;
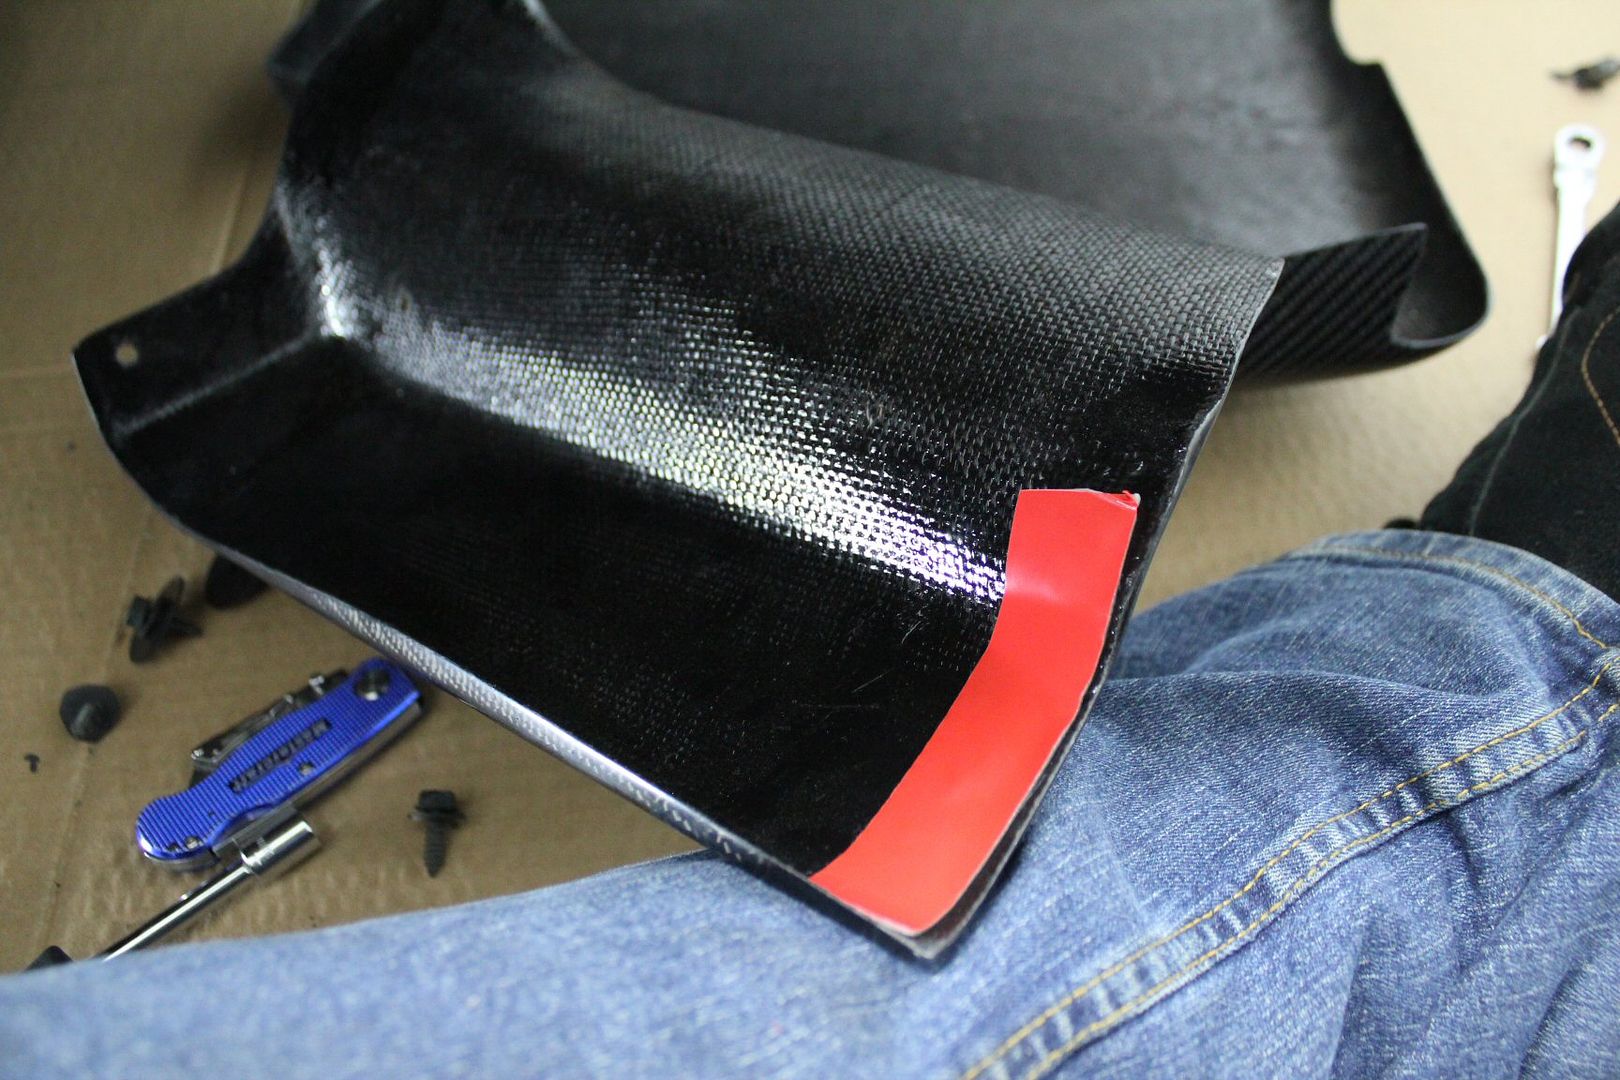
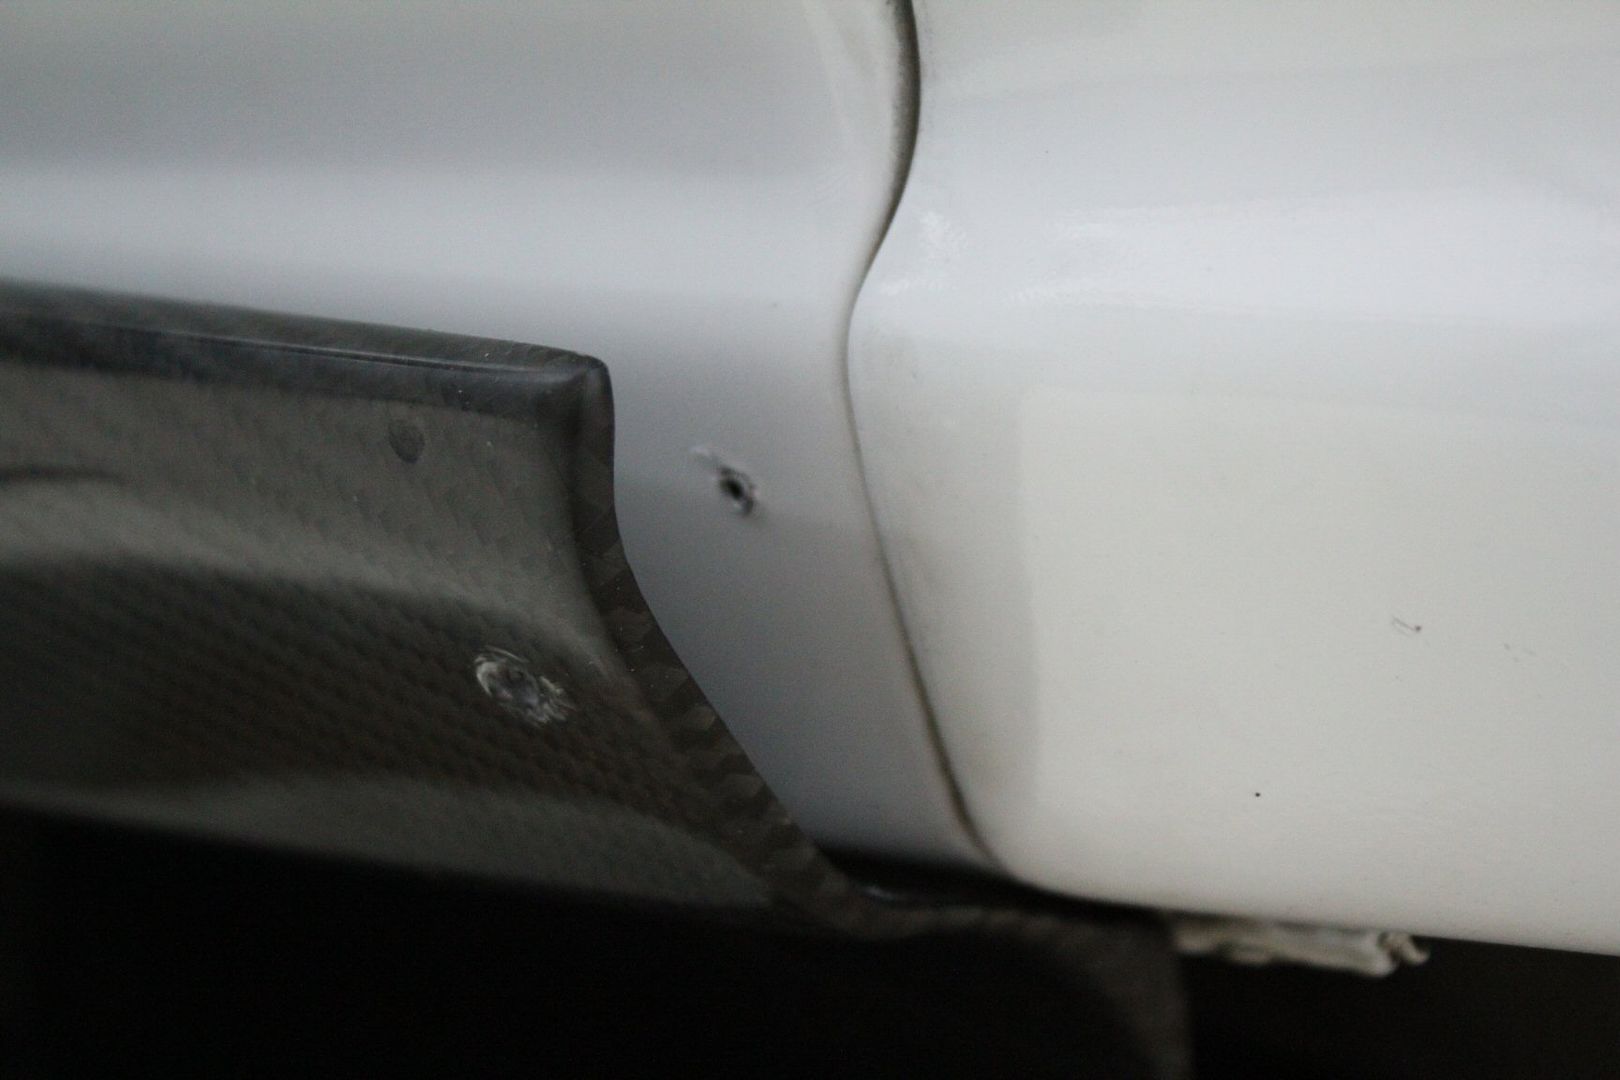
another carbon fiber part i had to install was, a genuine Attain carbon fiber bumper guard / exhaust shield,
it came with a roll of doulde sided tape, that i decided to try at first;
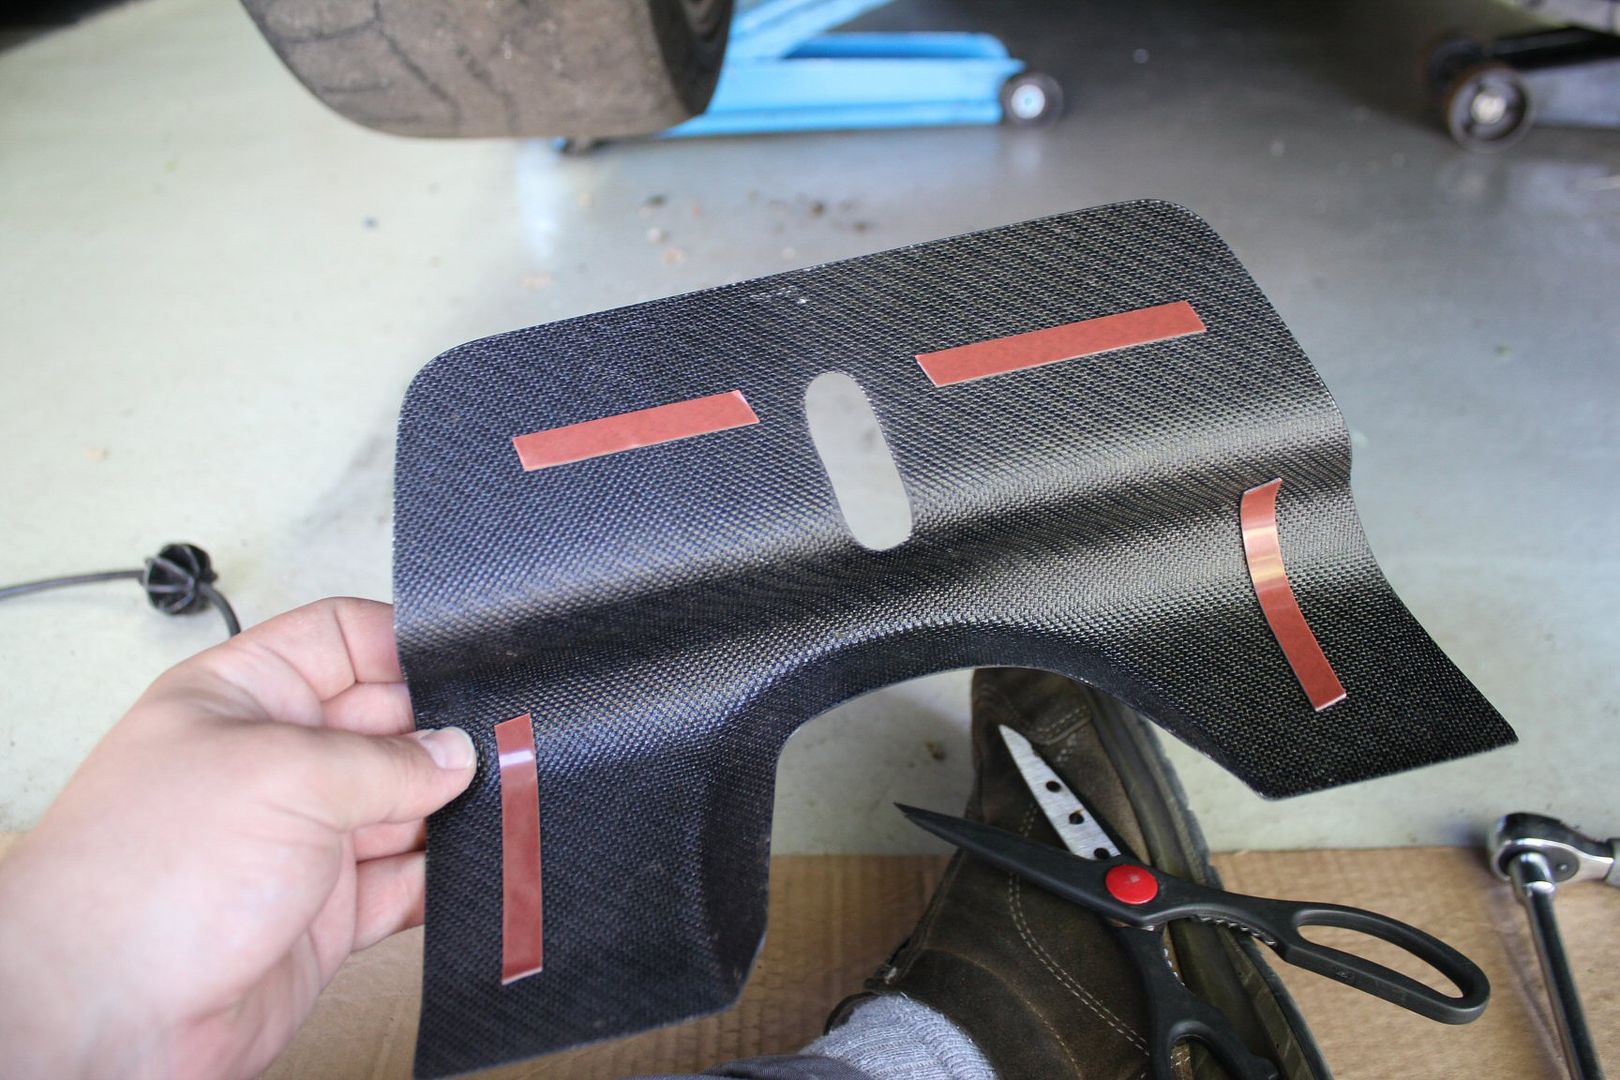
so i cleaned up the bumper the best i could so the tape would adhere properly;
but i didn't like the idea of something this valuable would only by held by tape, stting right above a hot hot exhaust,
hence why i drilled multiple holes in the CF guard and bumper to screw it,
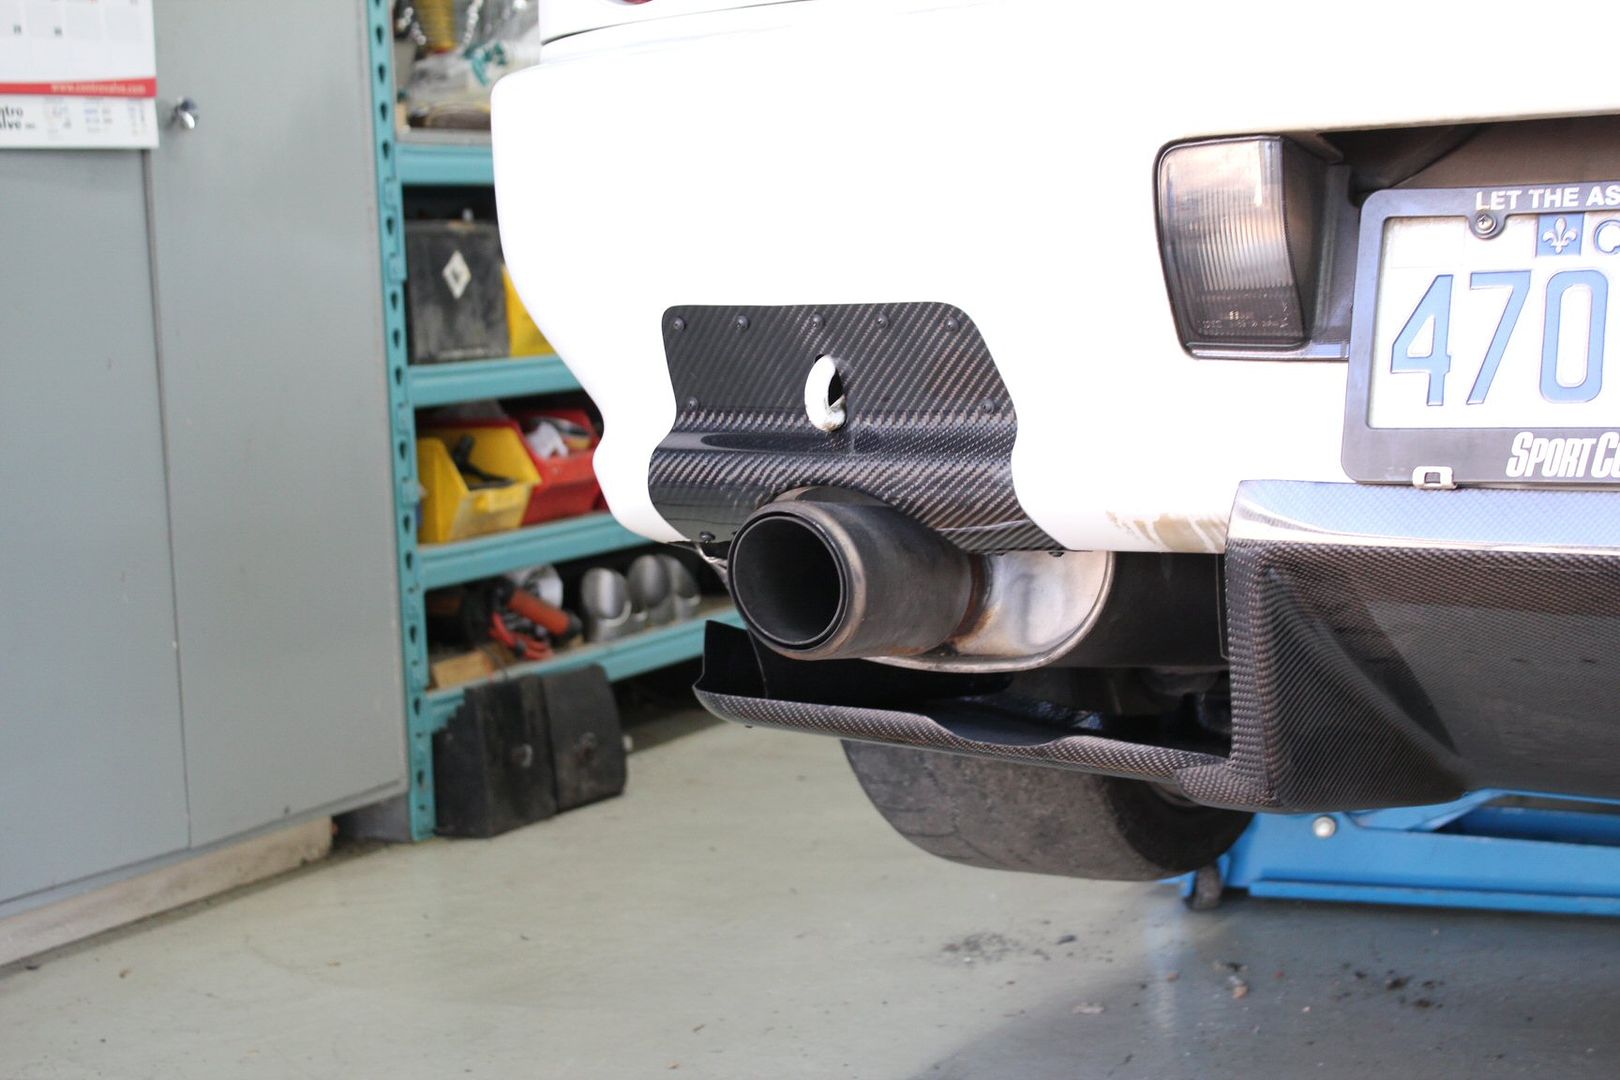
the plan was to achieve that "riveted on" look that most R34 have with this shield, but less conspicuous;
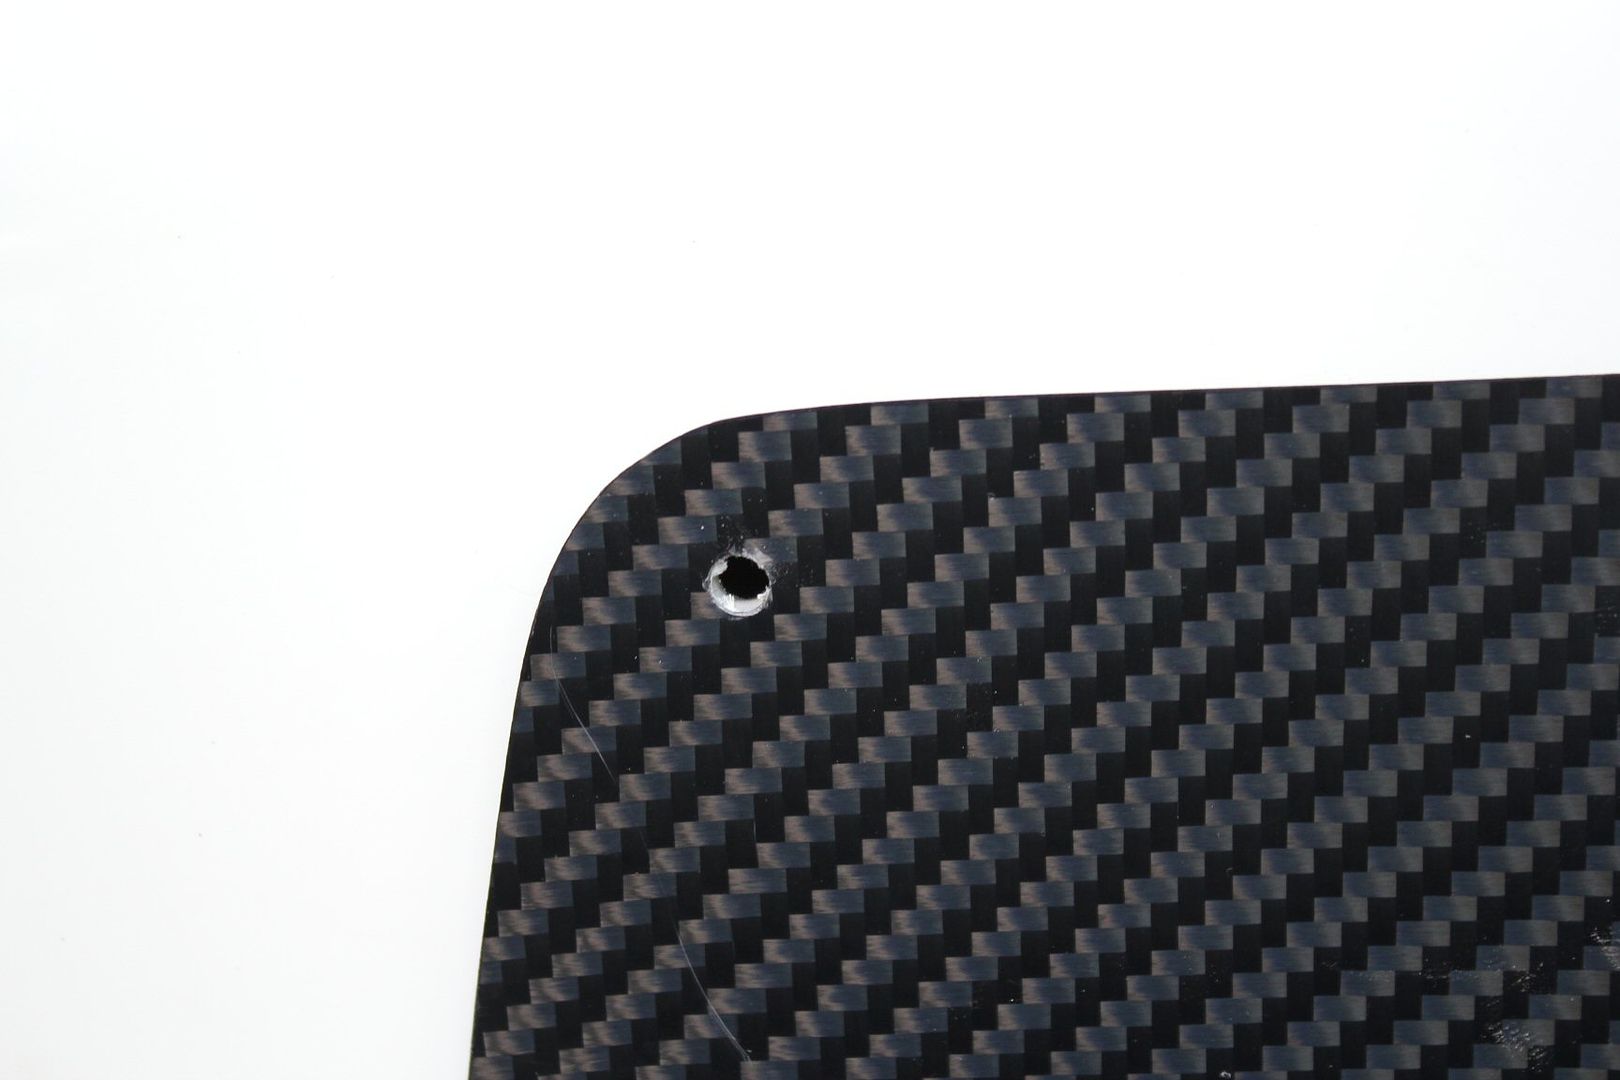
so i used many flat black body screws, screwed directly into the plastic of the bumper;
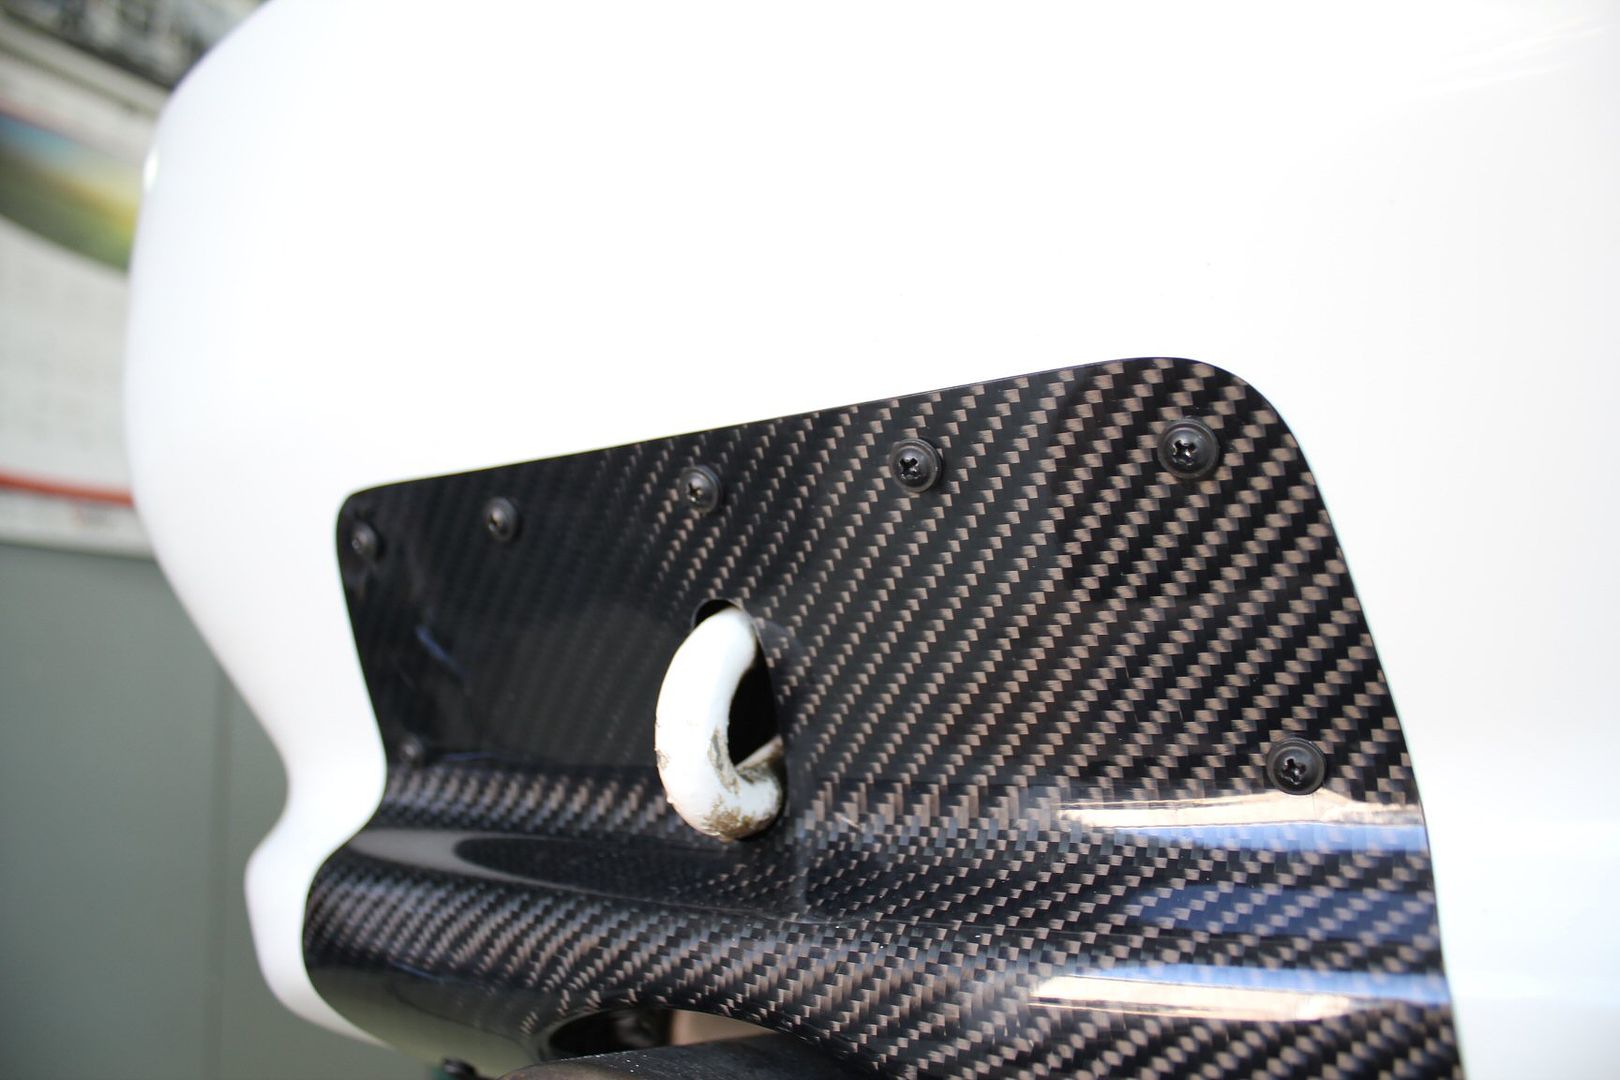
in reality i probably only need 1 screw at each corner, but i wanted it to look tougher,
overall i think i used 11 screws;
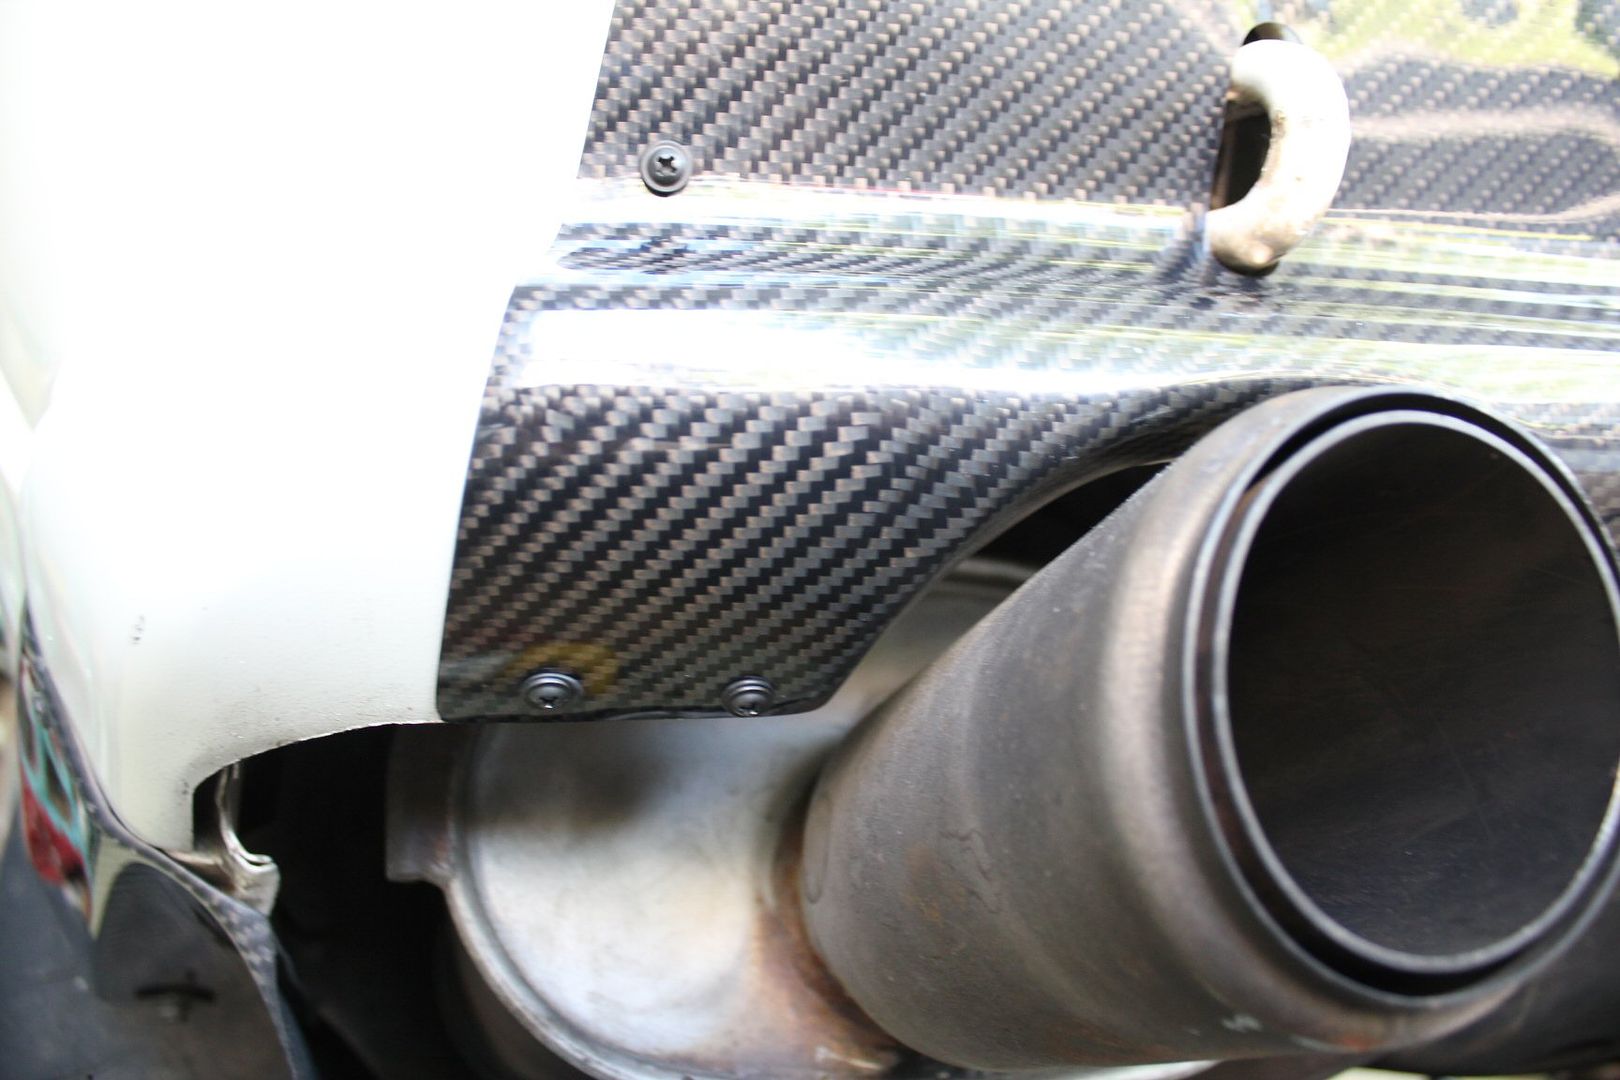
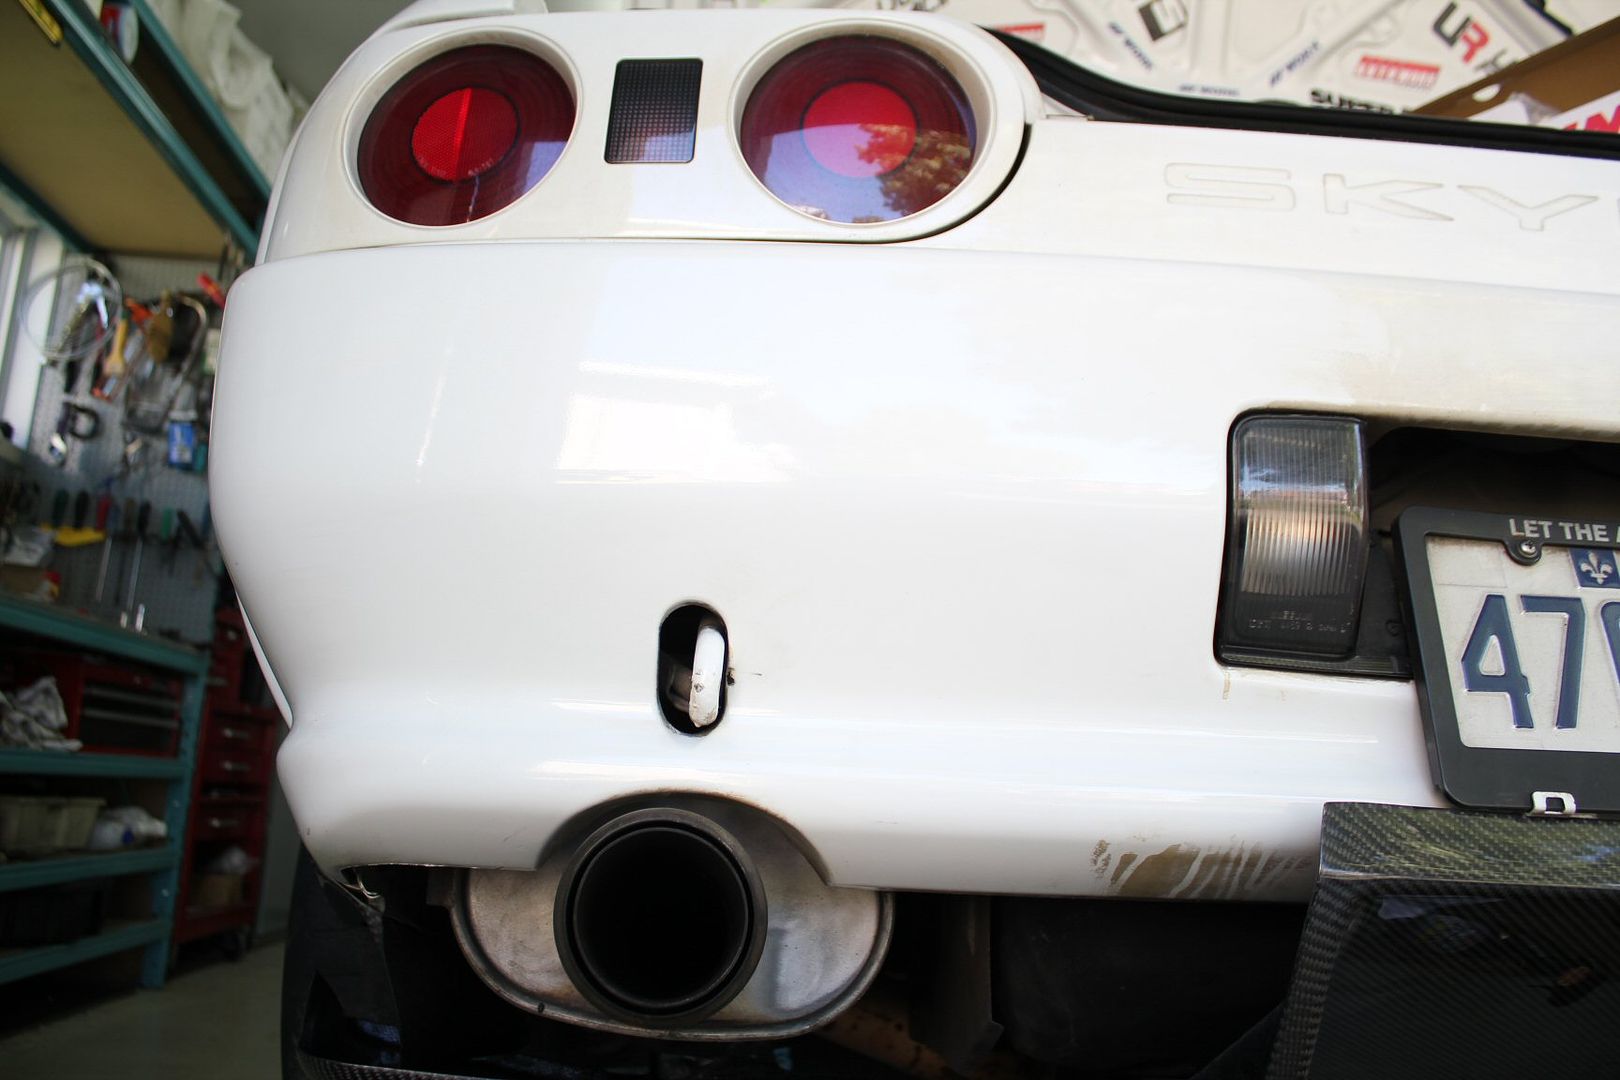
the final look was immensly badass,
but now i really had to change that aging HKS exhaust...
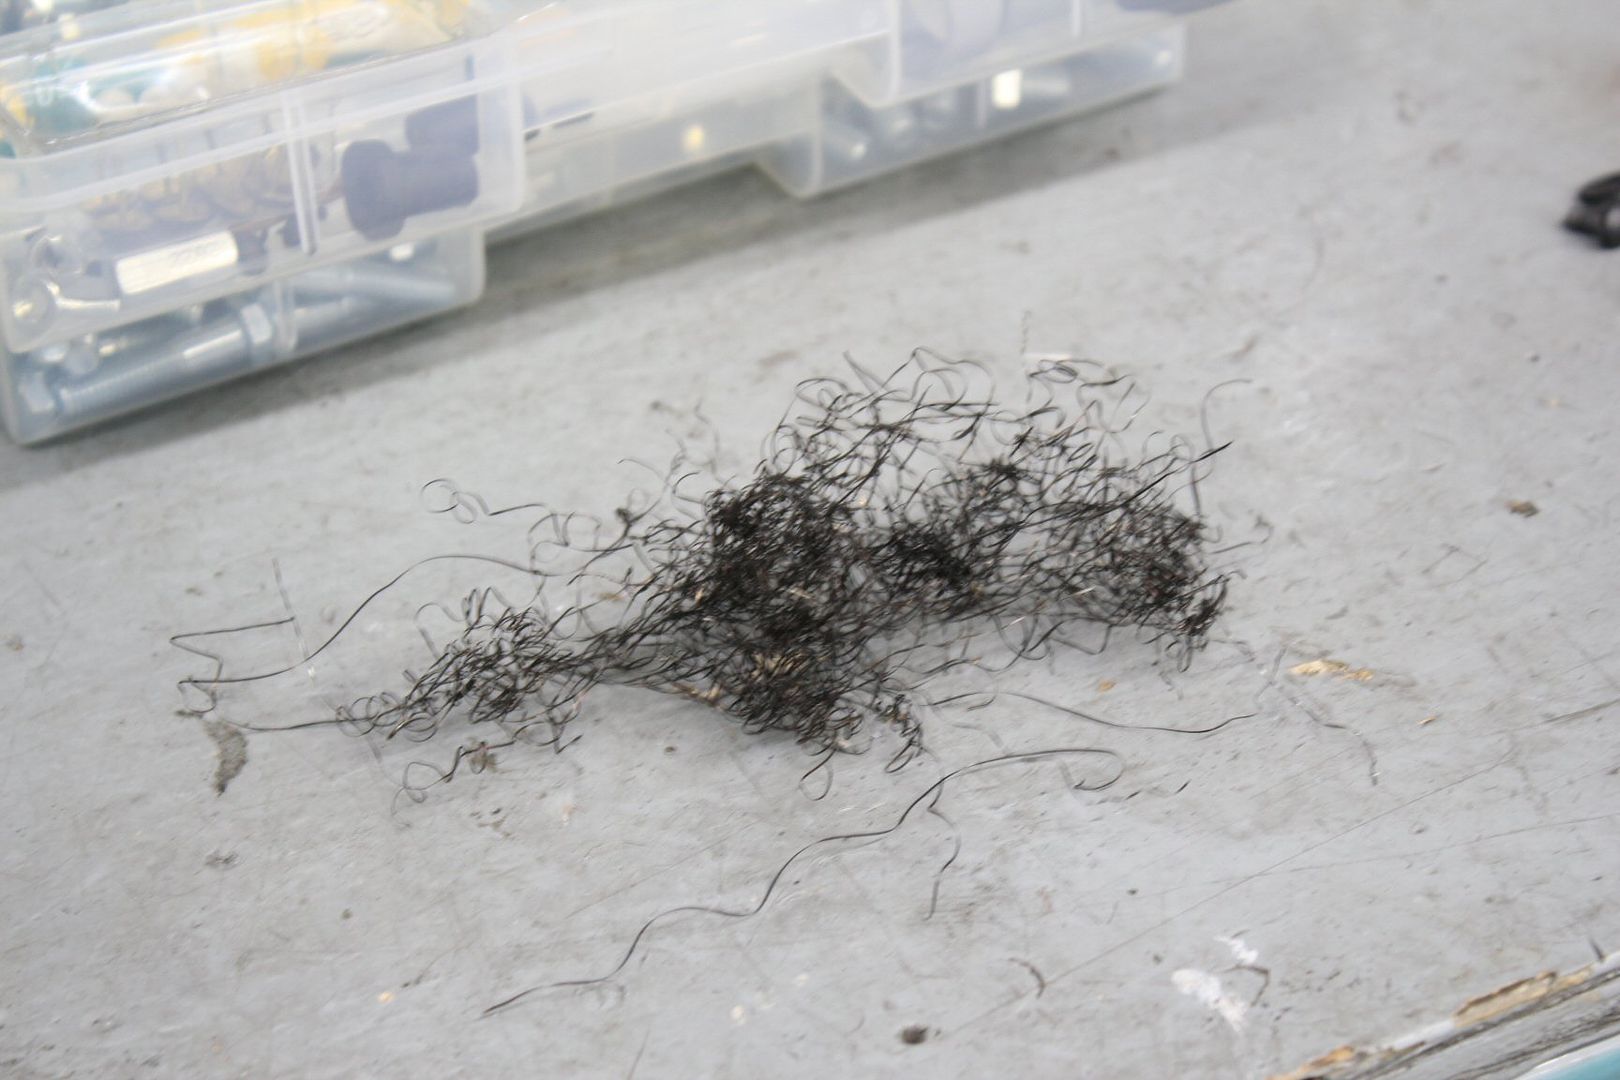
talking about that exhaust, while i was sitting right in front of it for while,
i shined a light in the muffler, only to see an incredible amount of crap;
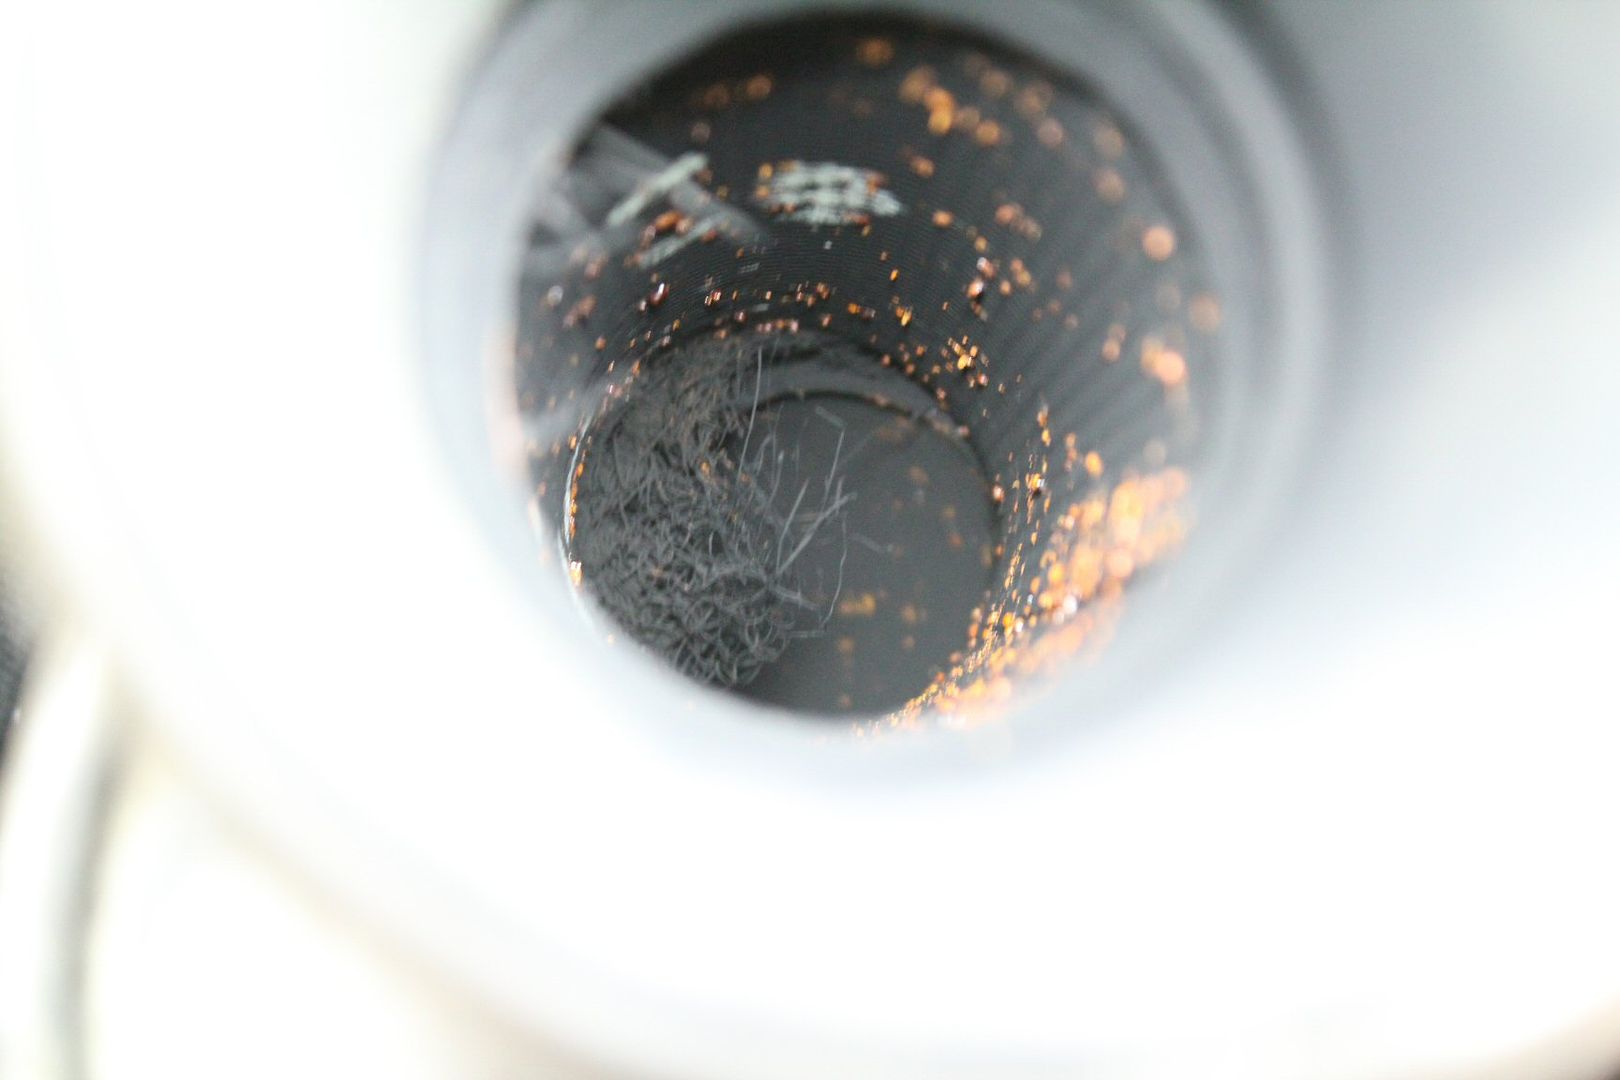
this muffler was tearing itself apart from the inside,
using very long pliers, i started ripping fibers out of it,
but after some time i realized that is was pointless, this muffler was doomed;
------------------------------
moving on to something else...
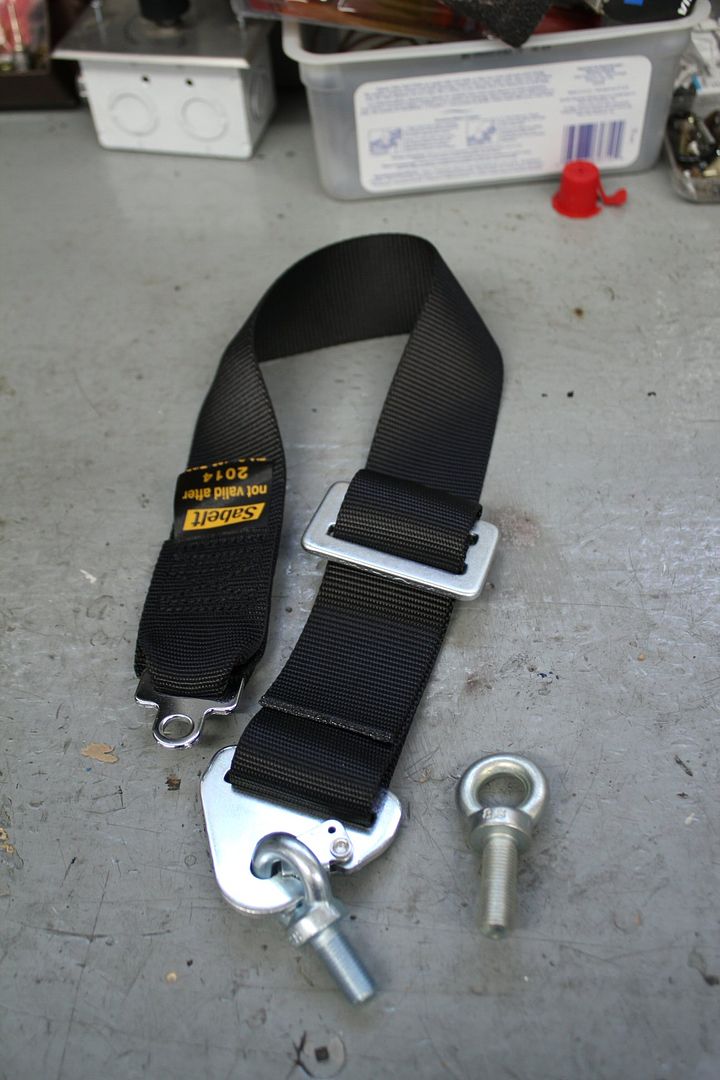
having used a 4 point harness the previous year and beeing a pretty large fellow,
i found it very uncomfortable, since everytime i tightened the should straps,
the buckle would go up to my belly button,
but since i had a Sabelt harness, only straps from the same manufacturer will fit in the cam lock,
i found an official North American dealer for Sabelt where i could easily get what i needed,
but there was another problem, the rear outer eye-bolt i had installed for the lower right strap couldn't be used anymore,
since i installed a cage, the feet of the cage covered the hole where the eye-bolt was bolted,
the solution was to swap one of the bolts from the cage to an eye-bolt,
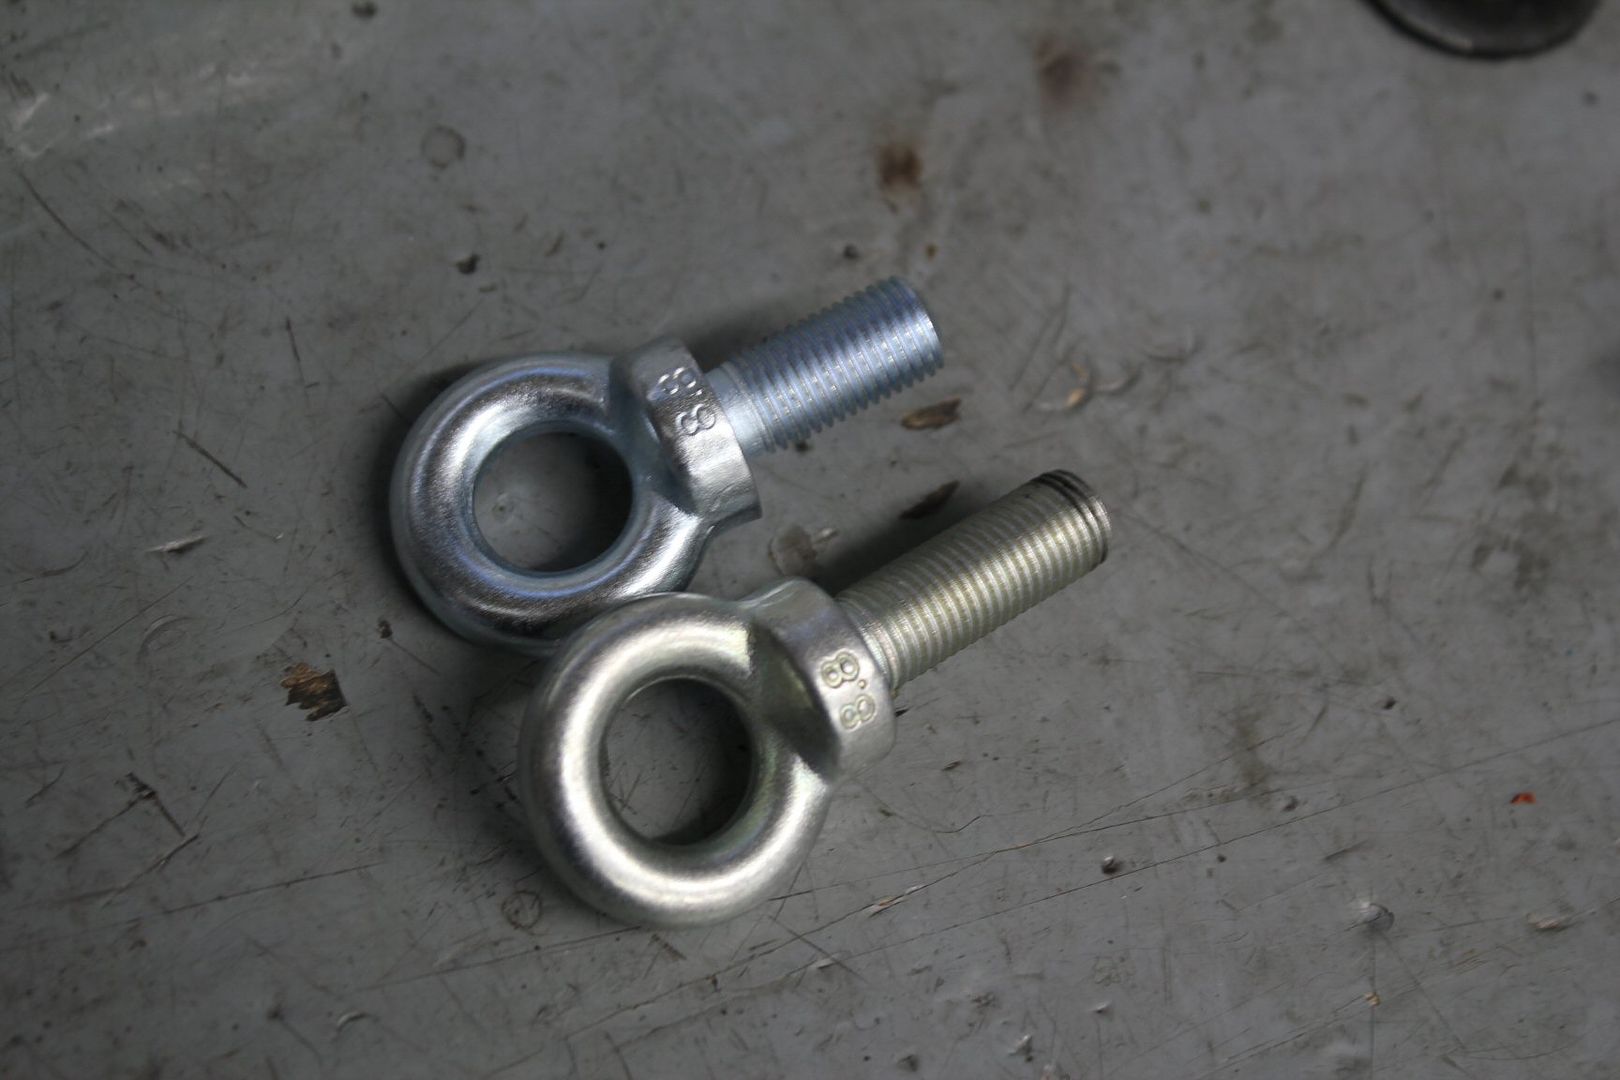
but again another problem, those eye-bolts are very short,
before it was under the carpet, but now had to go through the added thickness of the cage's feet and the carpet,
happily, the same dealer also had an optionnal length eye-bolt with the same thread and grade,
and supprisingly, it was all pretty cheap considering the quality of Sabelt equipment,
so in the end, i ordered the optional 5th point strap, of the same color, and the optional eye-bolt,
i got it within 2 weeks for a total of about 60$ incl ship;
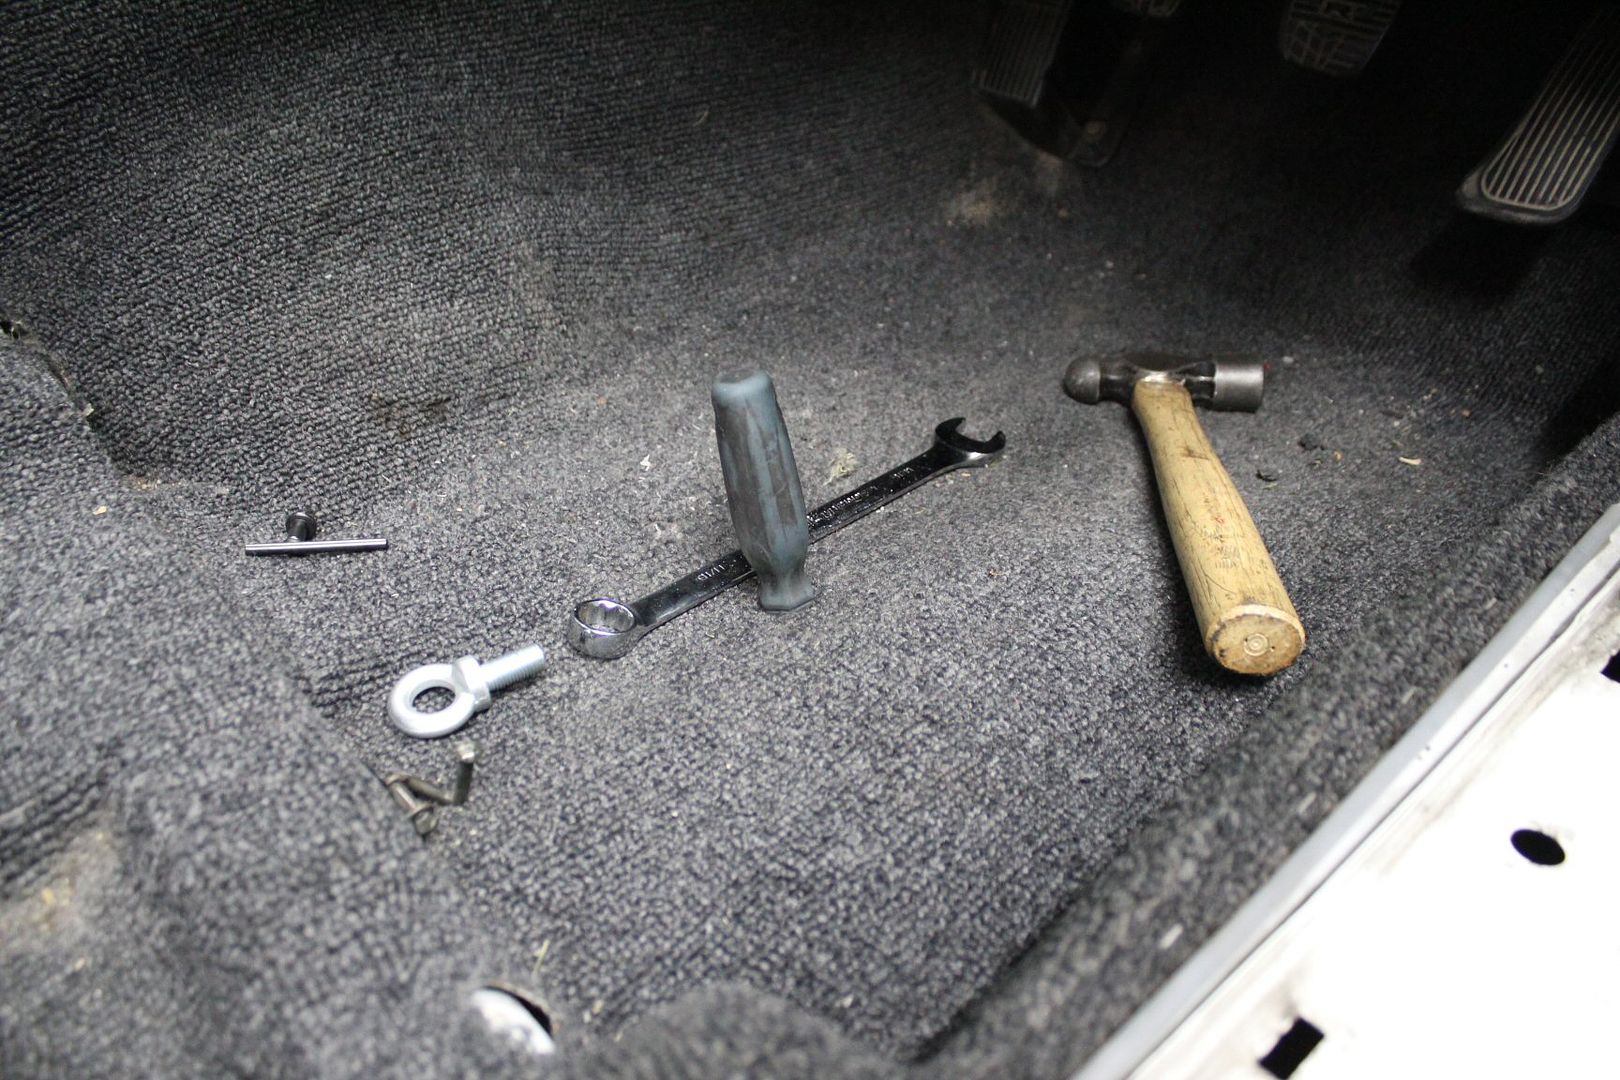
the standard 24mm eye-bolt vs the optional 32mm;
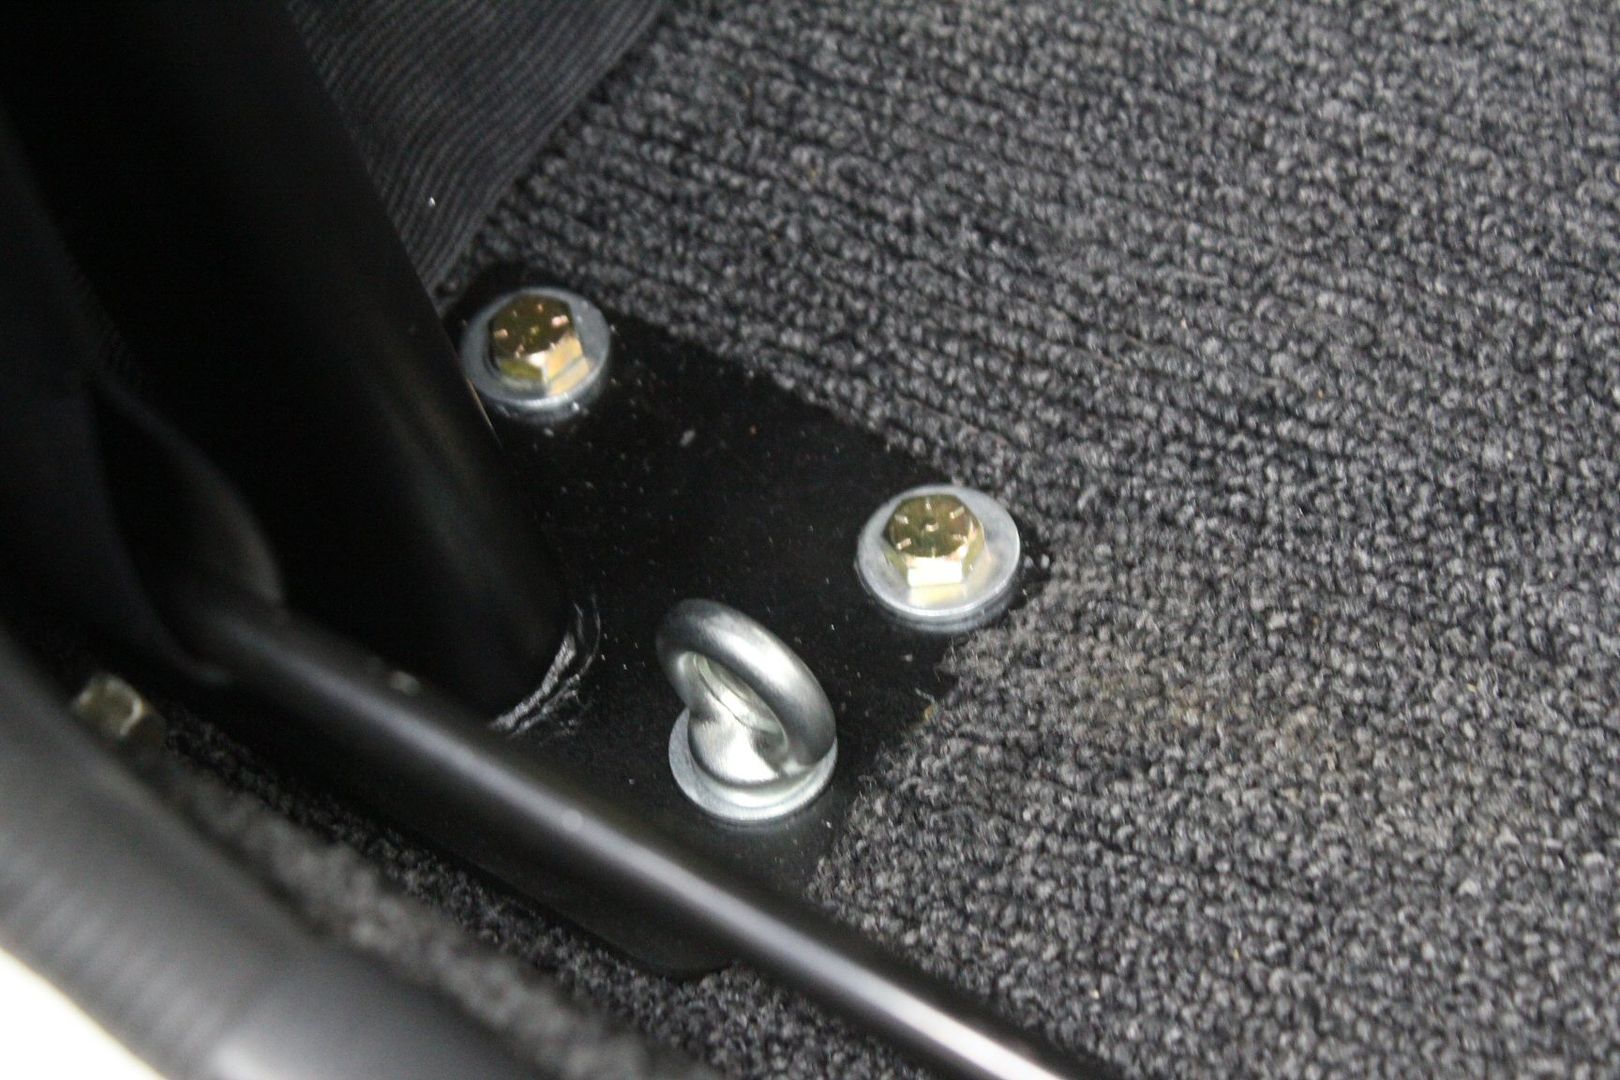
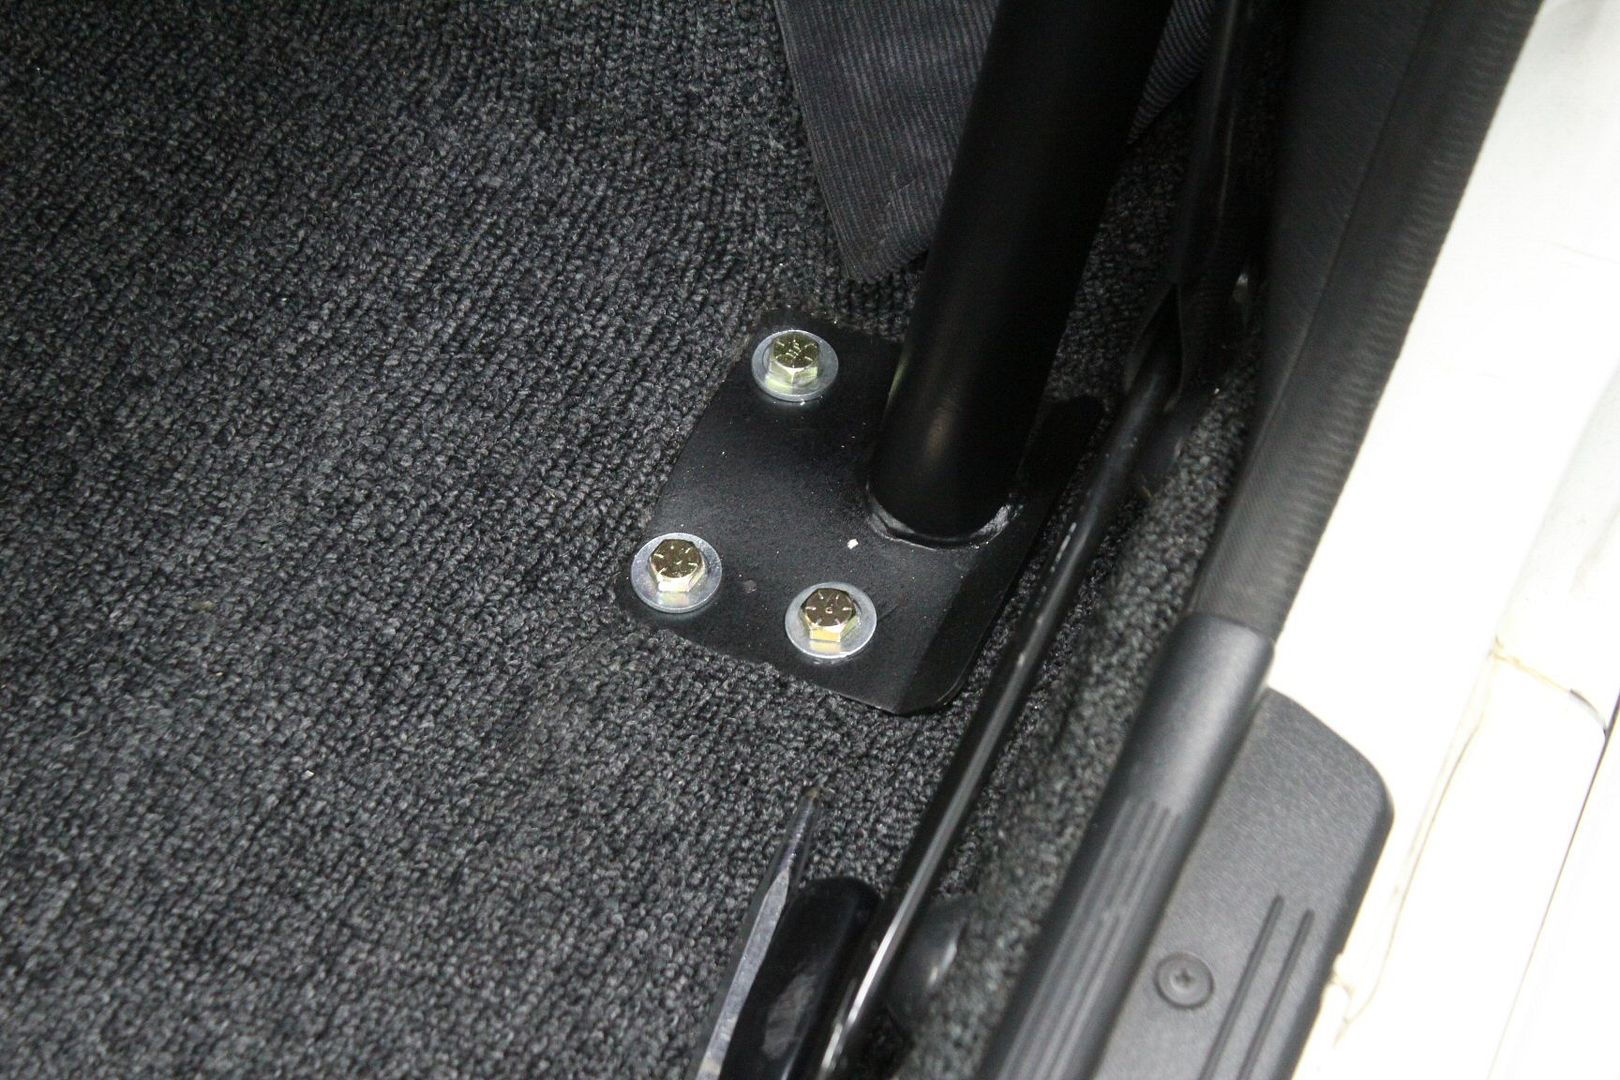
and this is where that longer eye-bolt was installed;
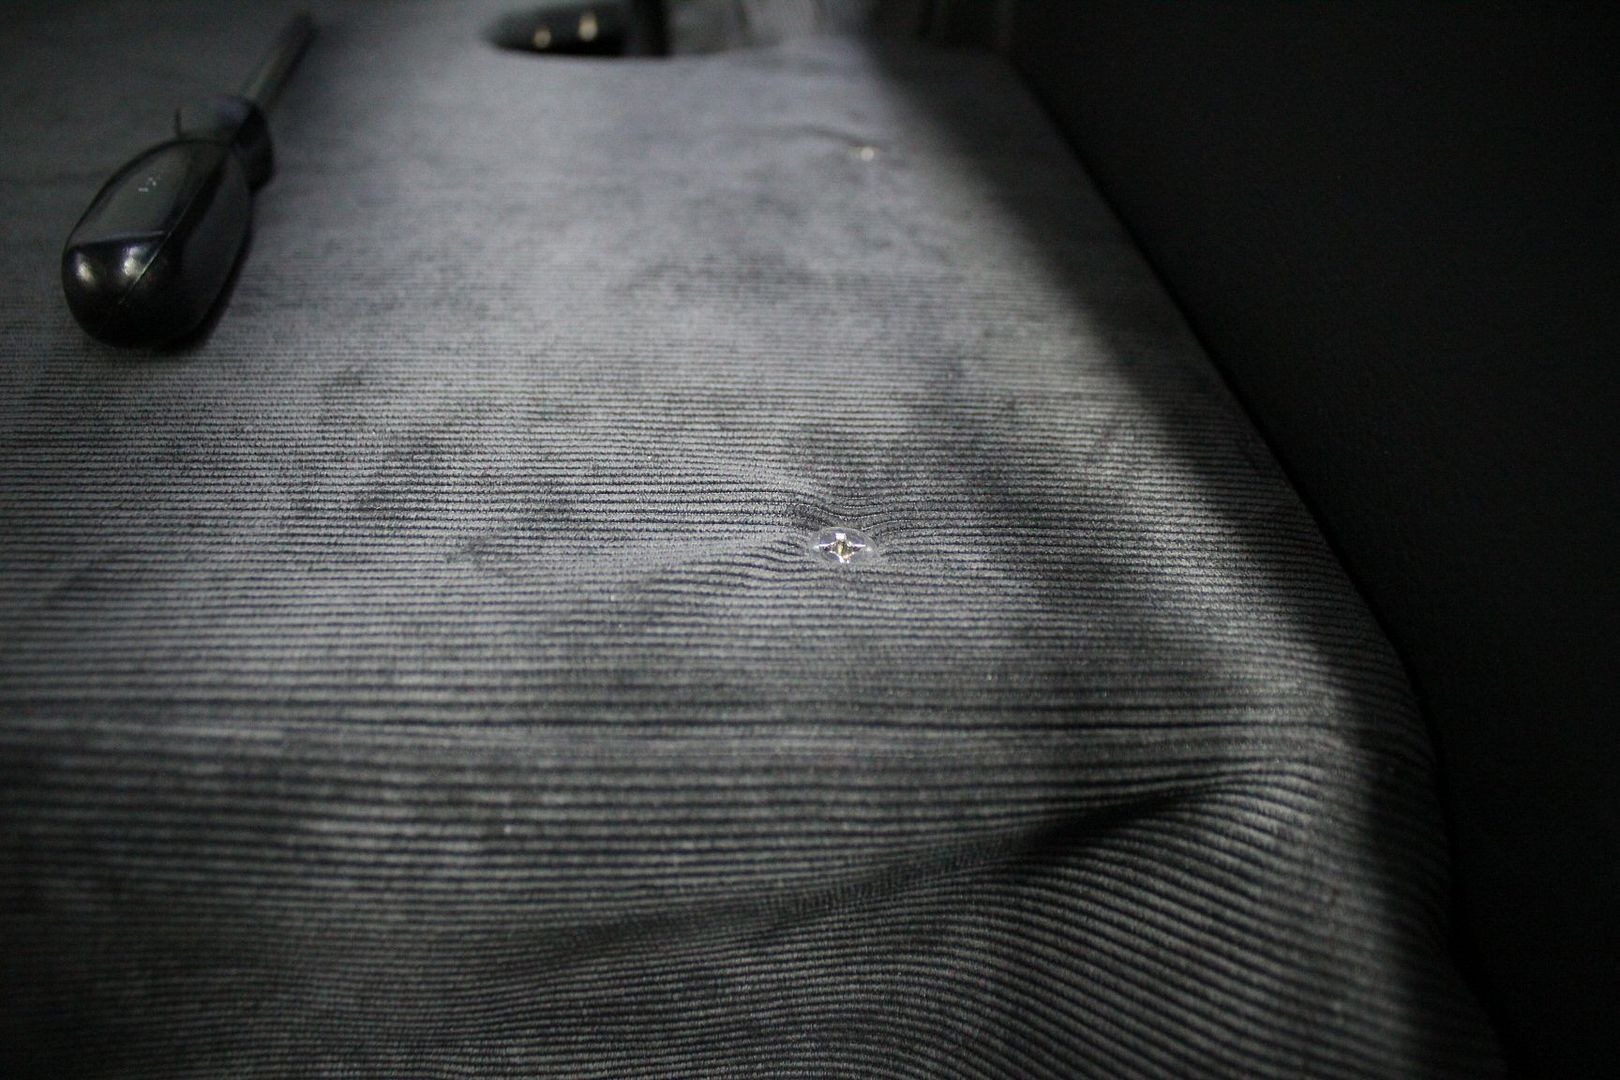
to install the 5th strap, i first had to find a spot for its eye-bolt,
problem is, that on skylines the frame rail is perfectly centered with the driving axis (axis of the steering column),
this means that there would be no way to have the strap centered with the seat,
it would have to be somewhat offset,
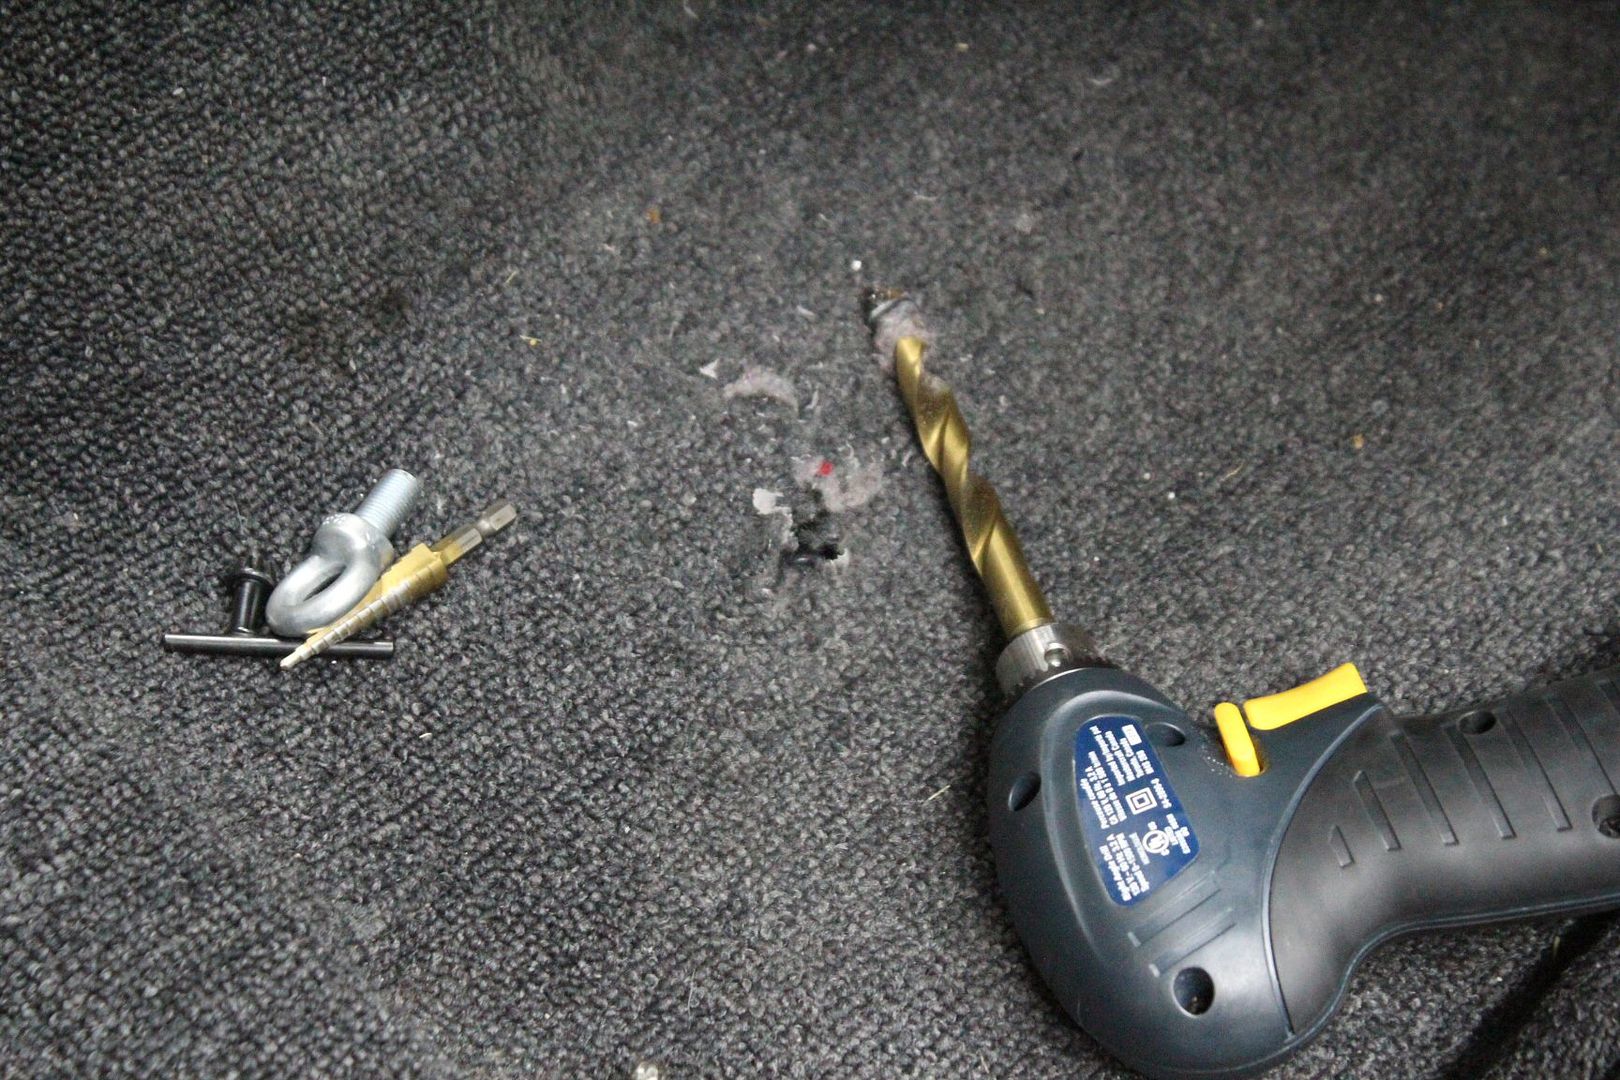
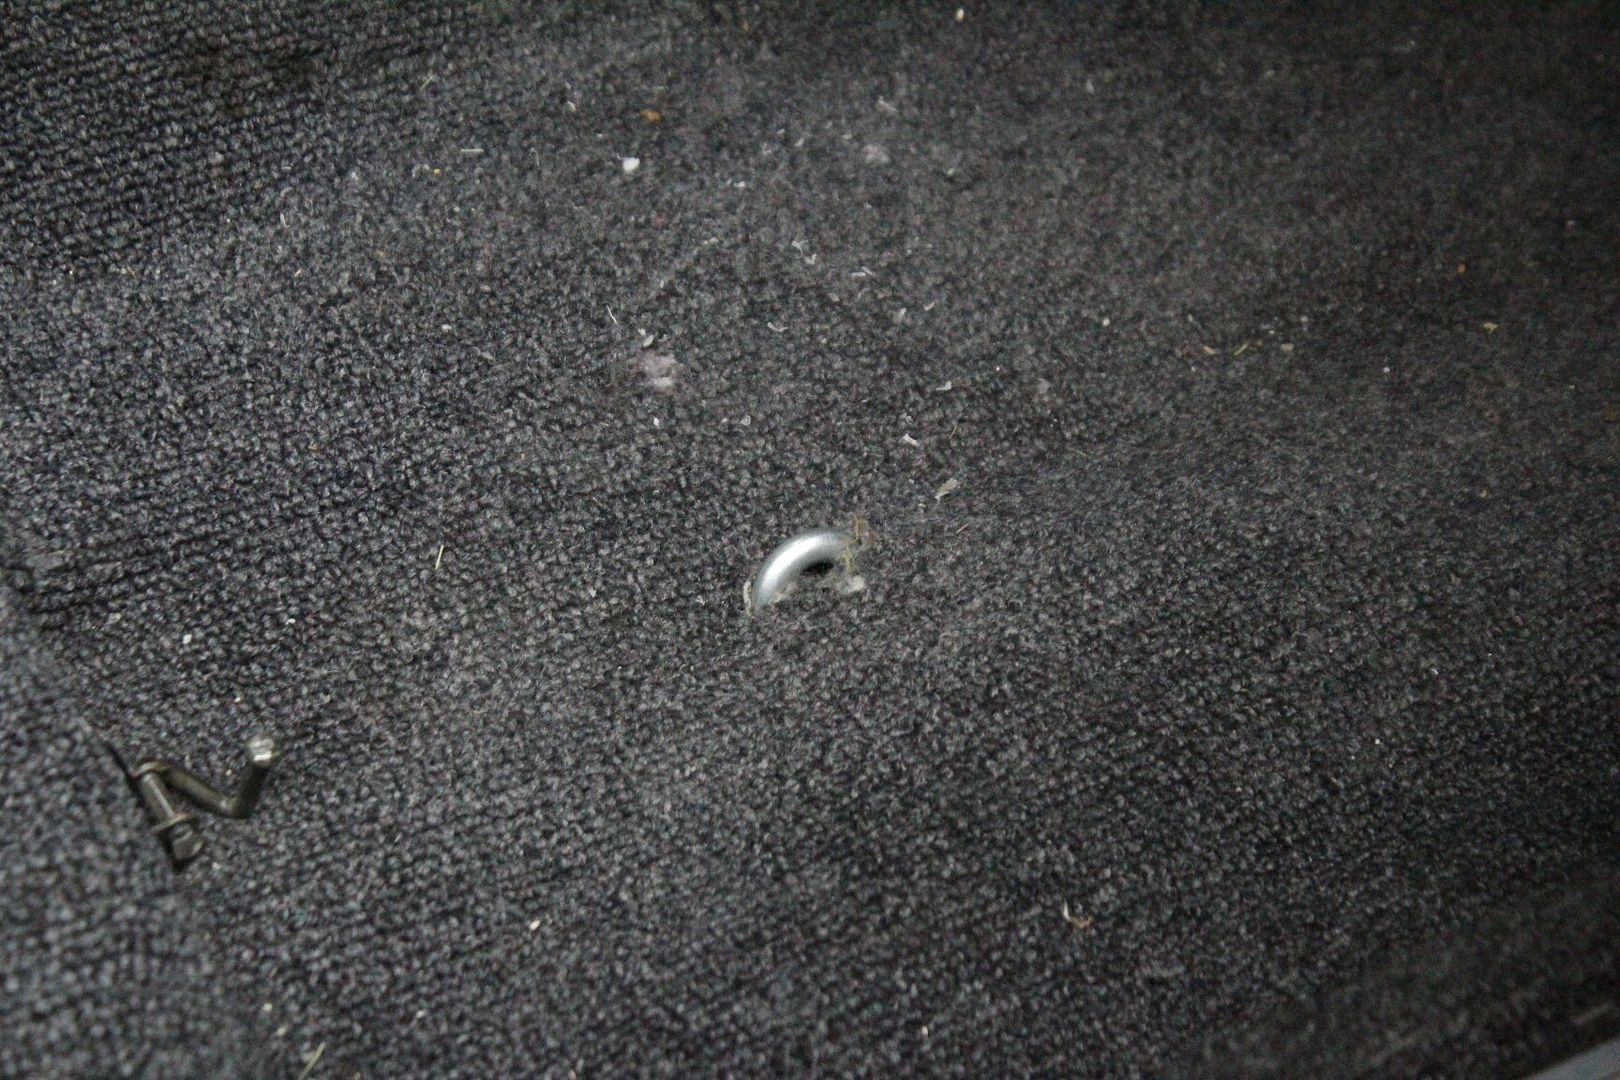
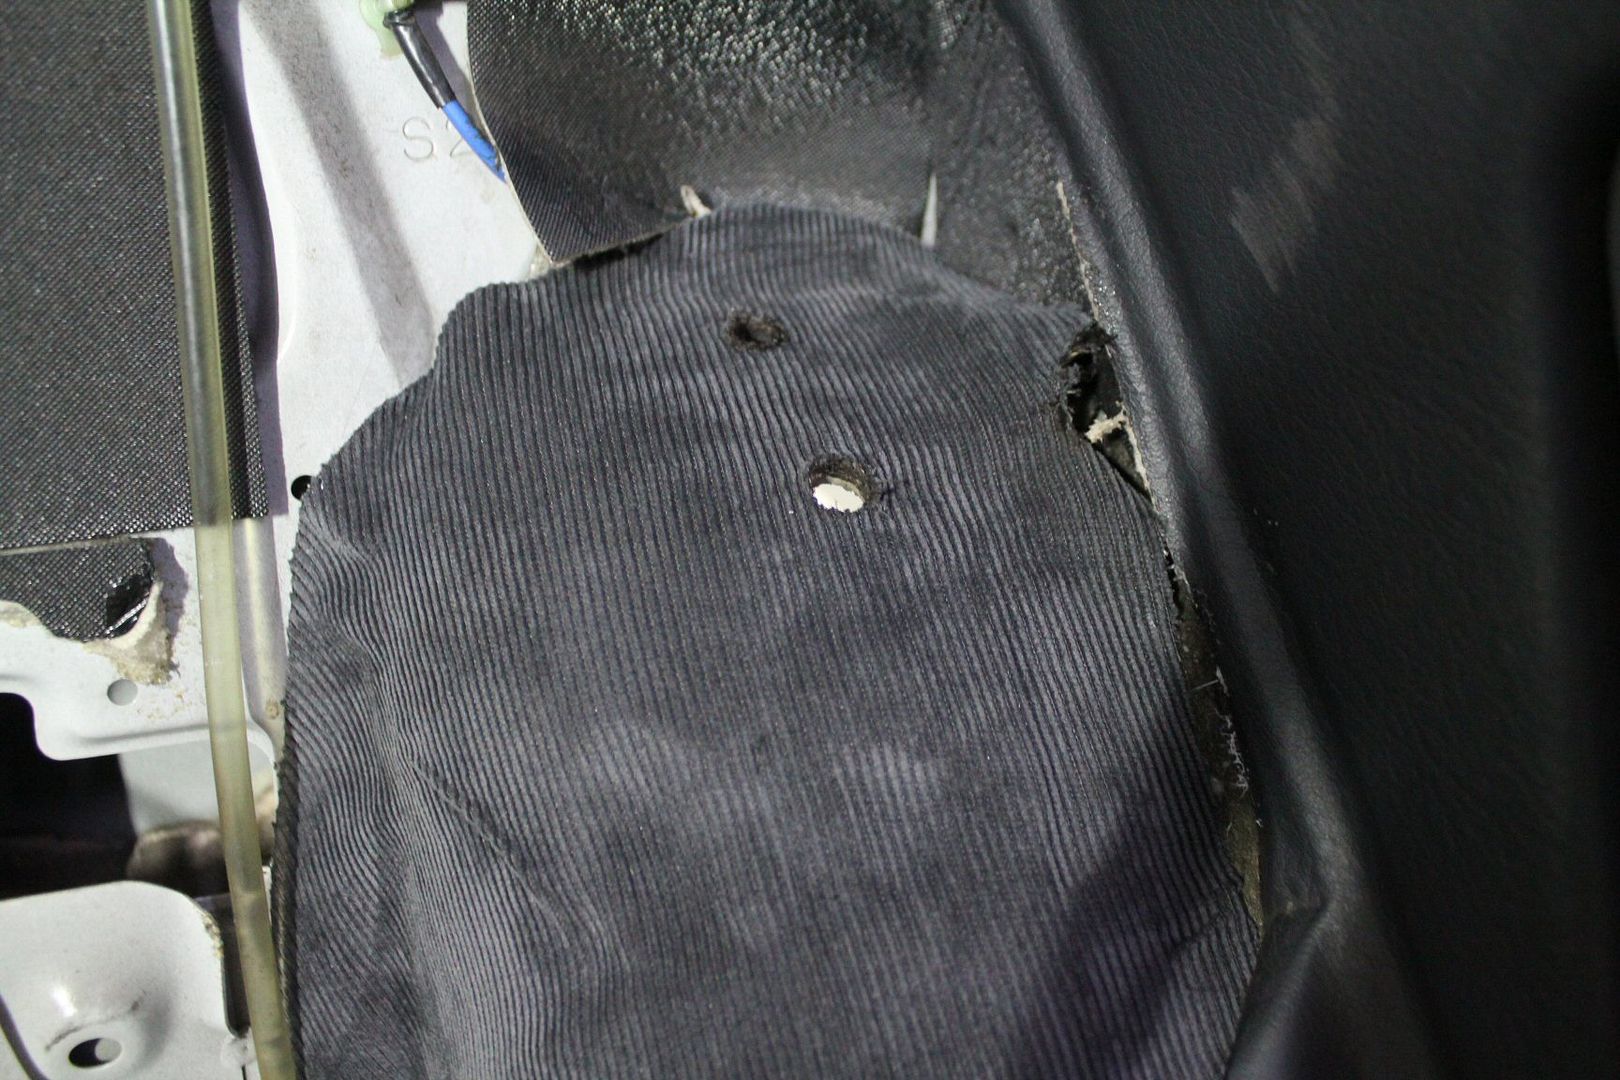
so i drilled my hole a bit crooked for minimum offset as close as possible to the frame rail,
but since i didn't want to remove the carpet, i would have to drill through it, which is borderline idiotic,
right in the middle of the carpet its pretty loose, meaning all the sound insulation underit will move about,
and it will catch on the drill bit jamming everything,
in retrospective, i should have pressed a socket in that spot in drilled through it, keeping the carpet firmly pressed down;
really as close to the frame rail as possible
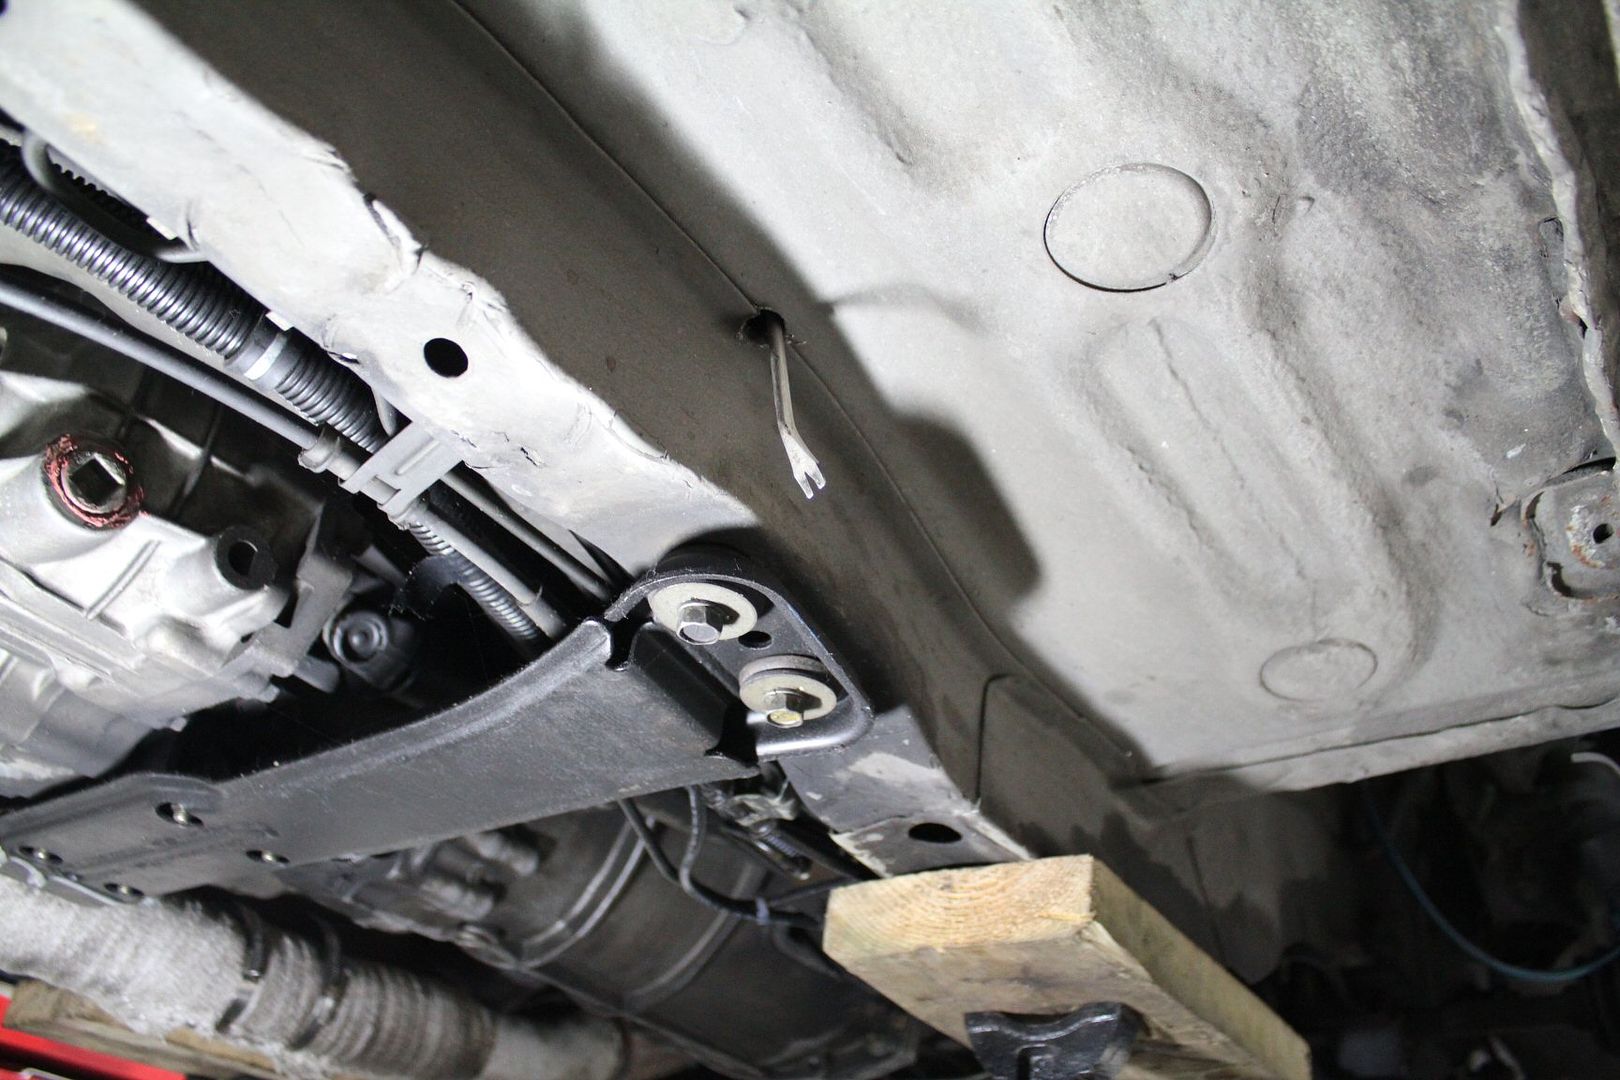
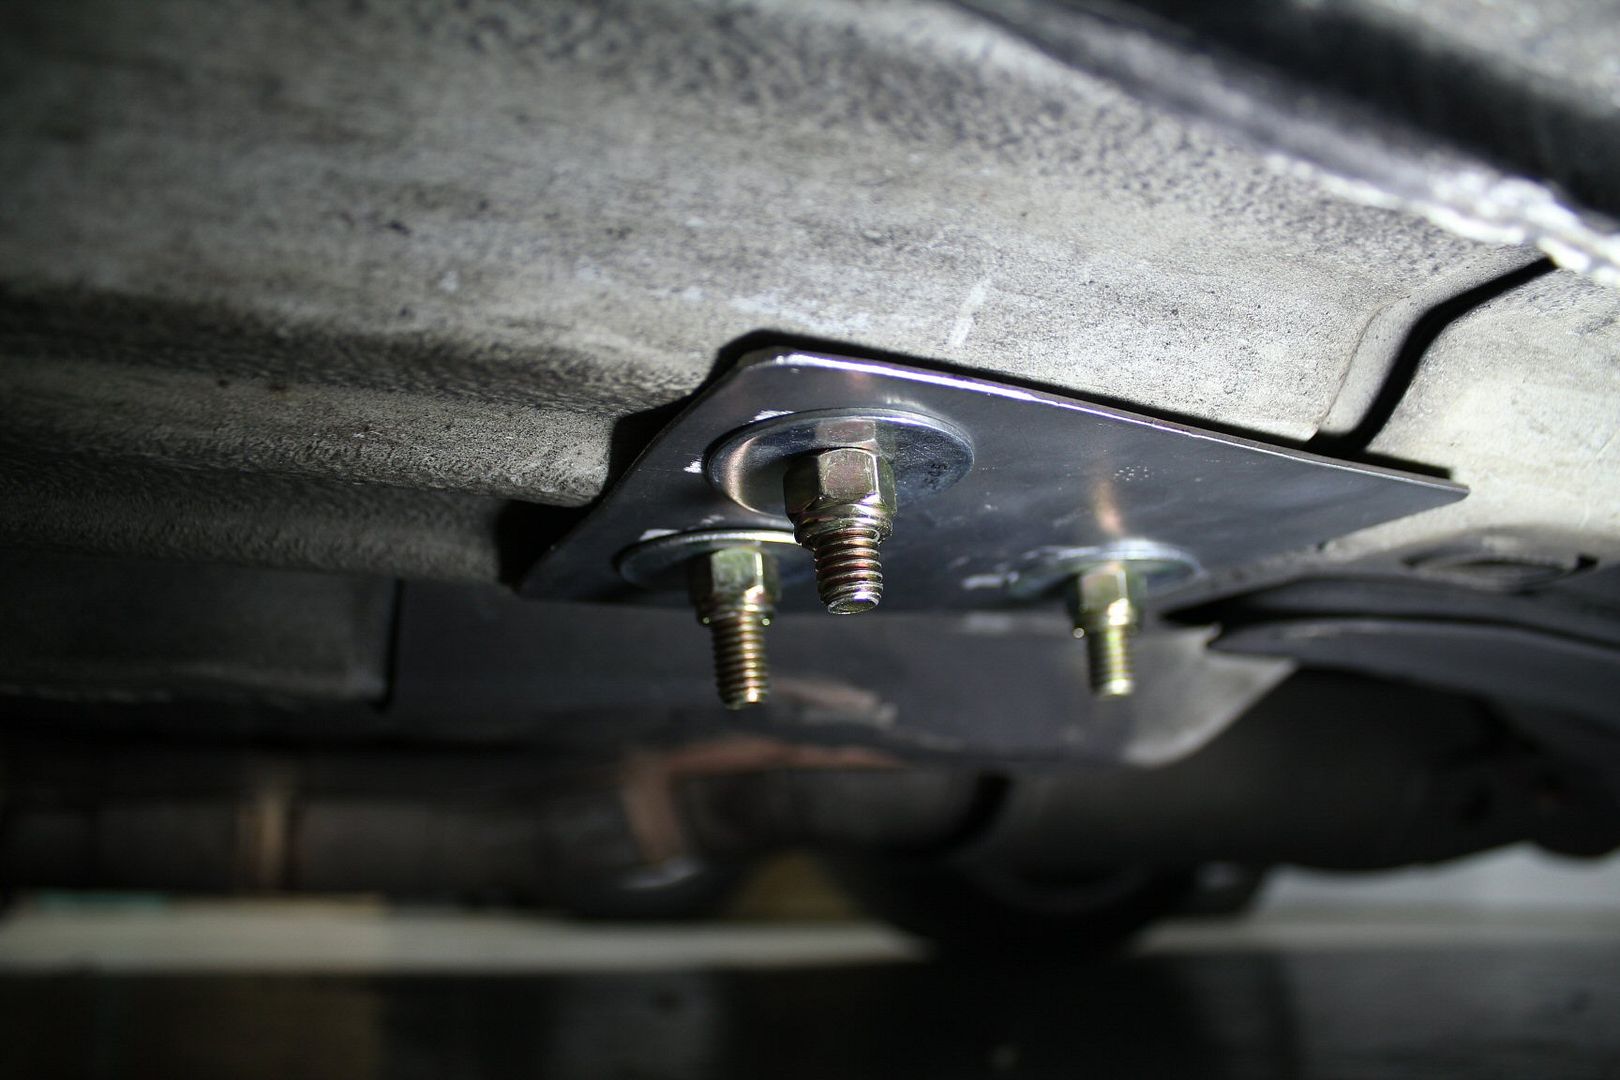
again i made a 3x4 1/8" thick back plate, but it wouldn't fit,
so i bent it to match the frame rail;
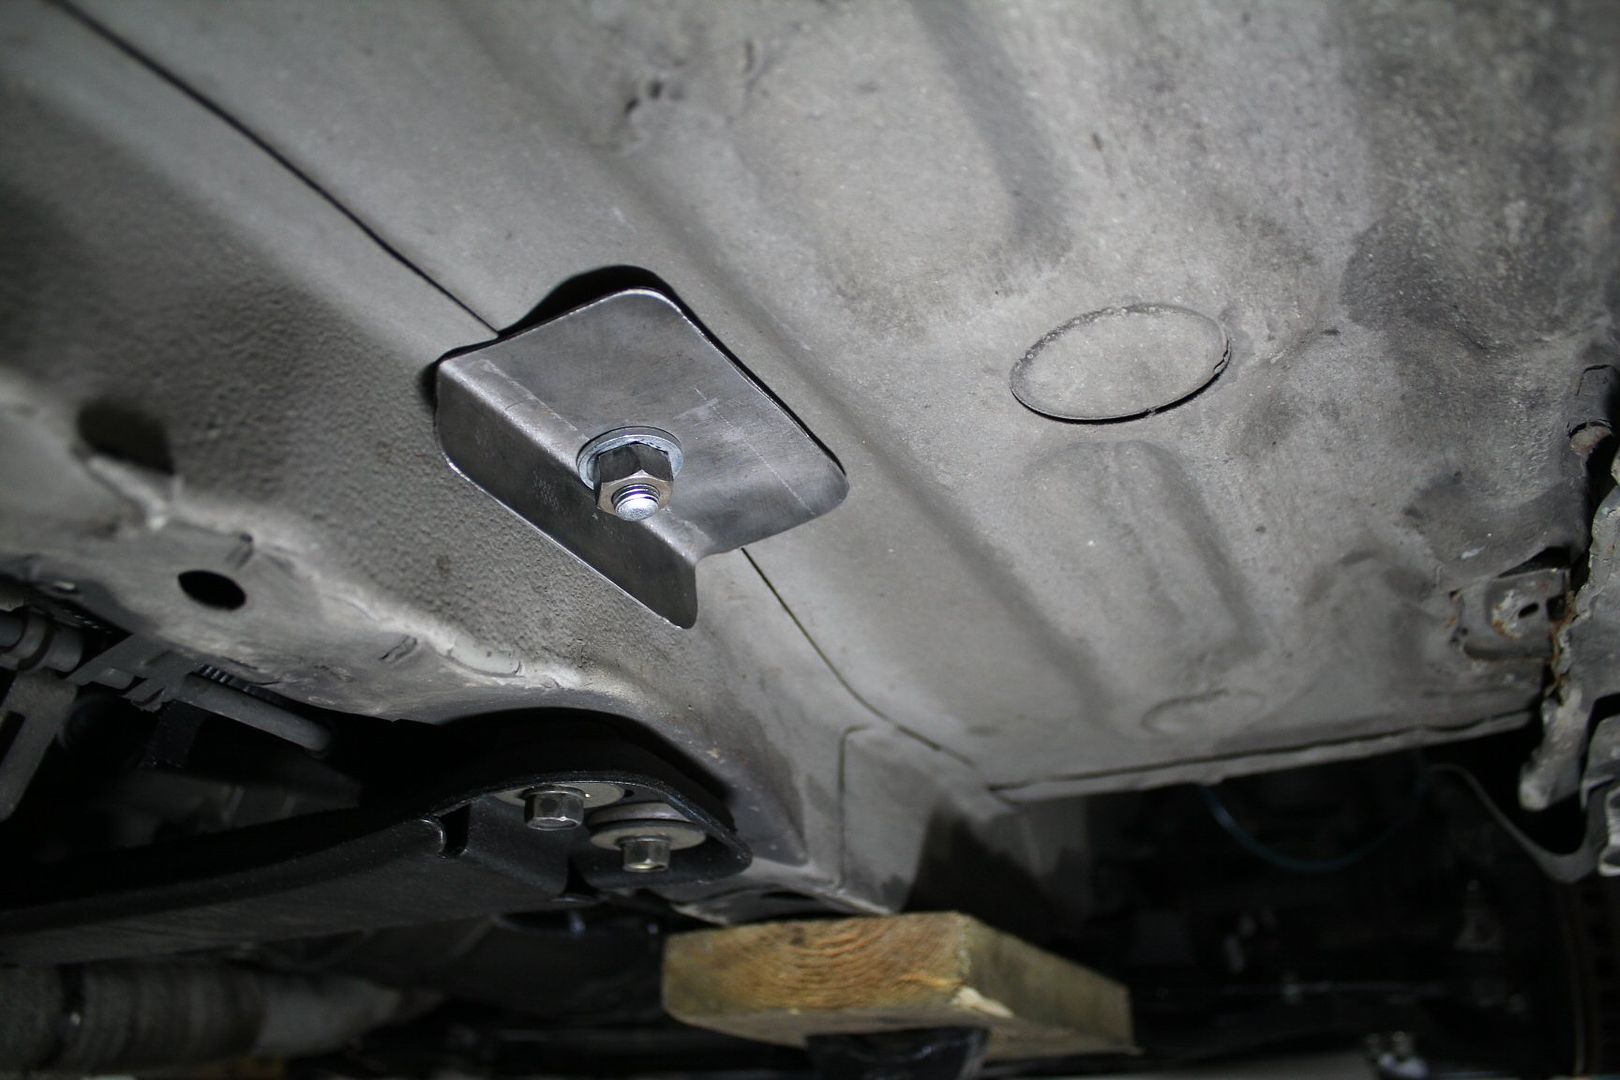
then using a knife, i cut the carpet around the hole to make it just a bit bigger so i could insert the eye-bolt under it,
with the thickness of the carpet, the eyebolt is barely visible;
and finally, i had my 5 point harness ready !
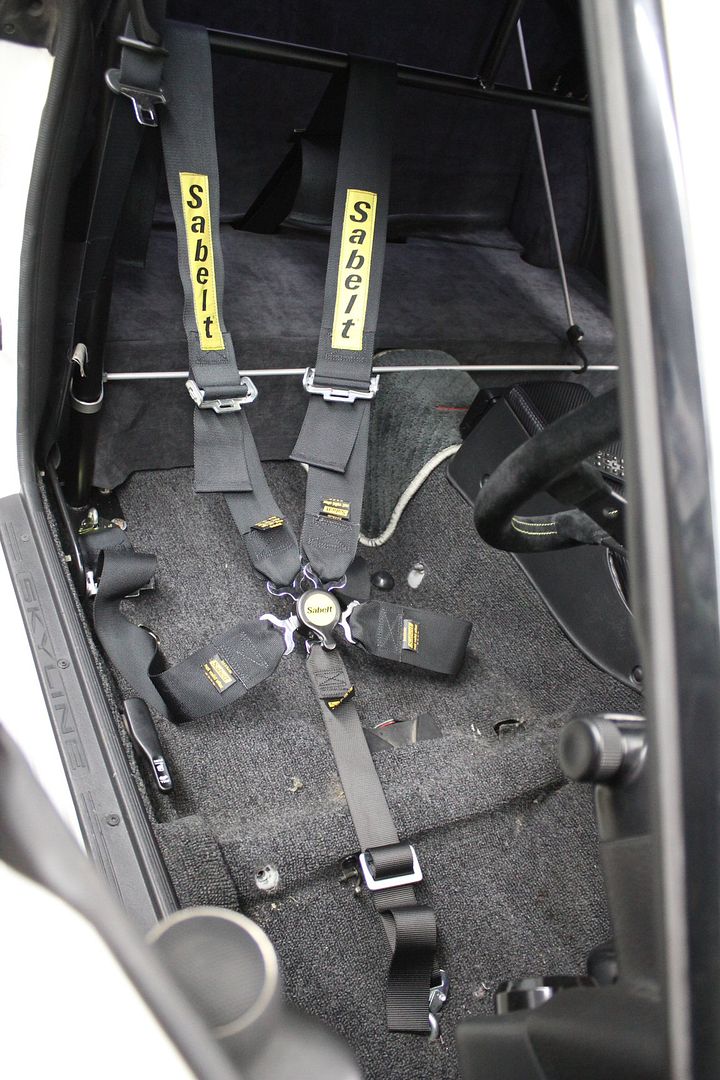
a job well done
thats all for week7
thanks for reading
more soon!
stay tunedLast edited by frankiman; 03-23-2012, 09:28 PM.Leave a comment:
-
Chapter 44 - Carbolicious2
week7 - 2011, part 1/2
disclaimer :
the following story depicts actions that occured between June 12 and 18 2011
information is recalled purely from memory, give me a chance
in the last weekly update, i finished most of the interior work i set out to do,
so i got back to installing some more exterior parts,
to go with the super sexy AB-Flug front diffuser, i also got this;
a Top Secret "replica" carbon fiber rear diffuser...........this is a budget build,
its looks amazing, comes with some brackets not all useful;
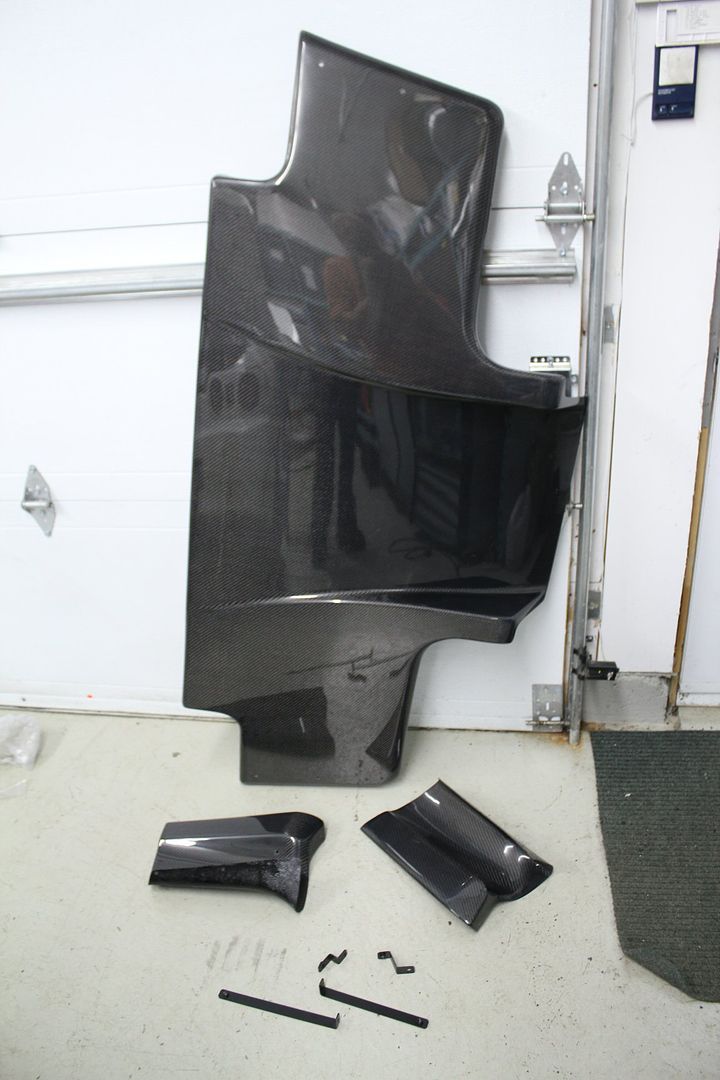
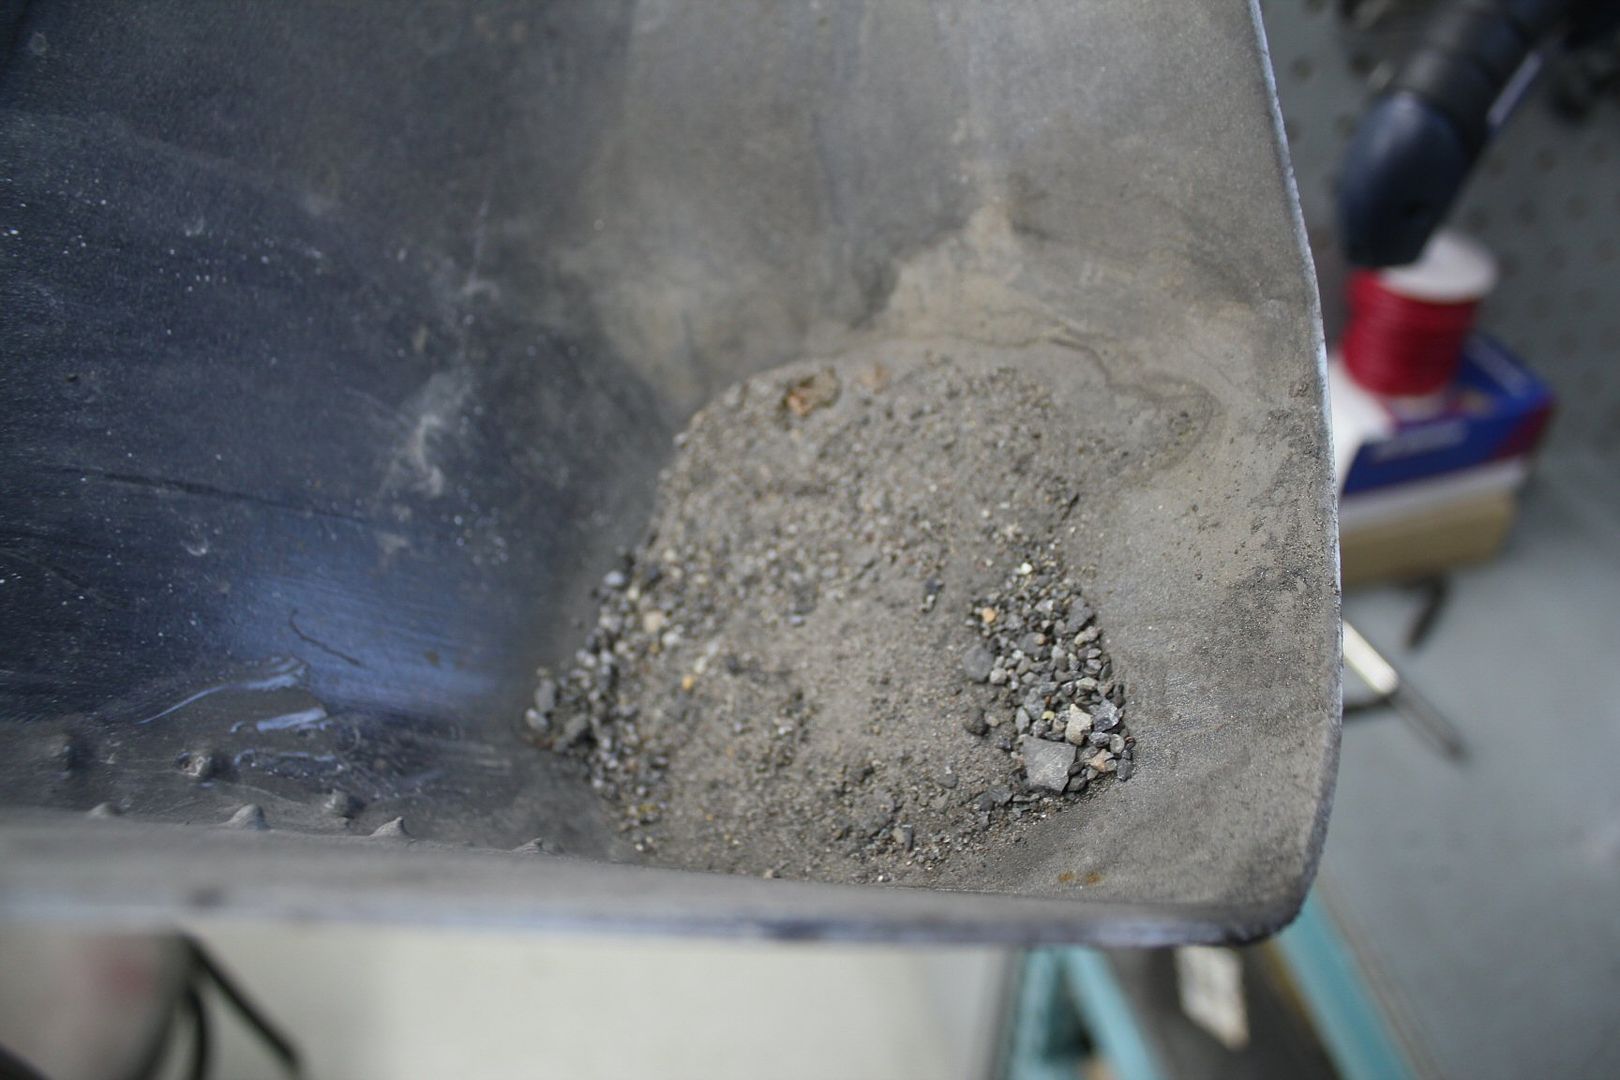
the first thing to do was to remove my Type-M mud guards i had installed the previous year;

these things had accumulated lots of debris over time;
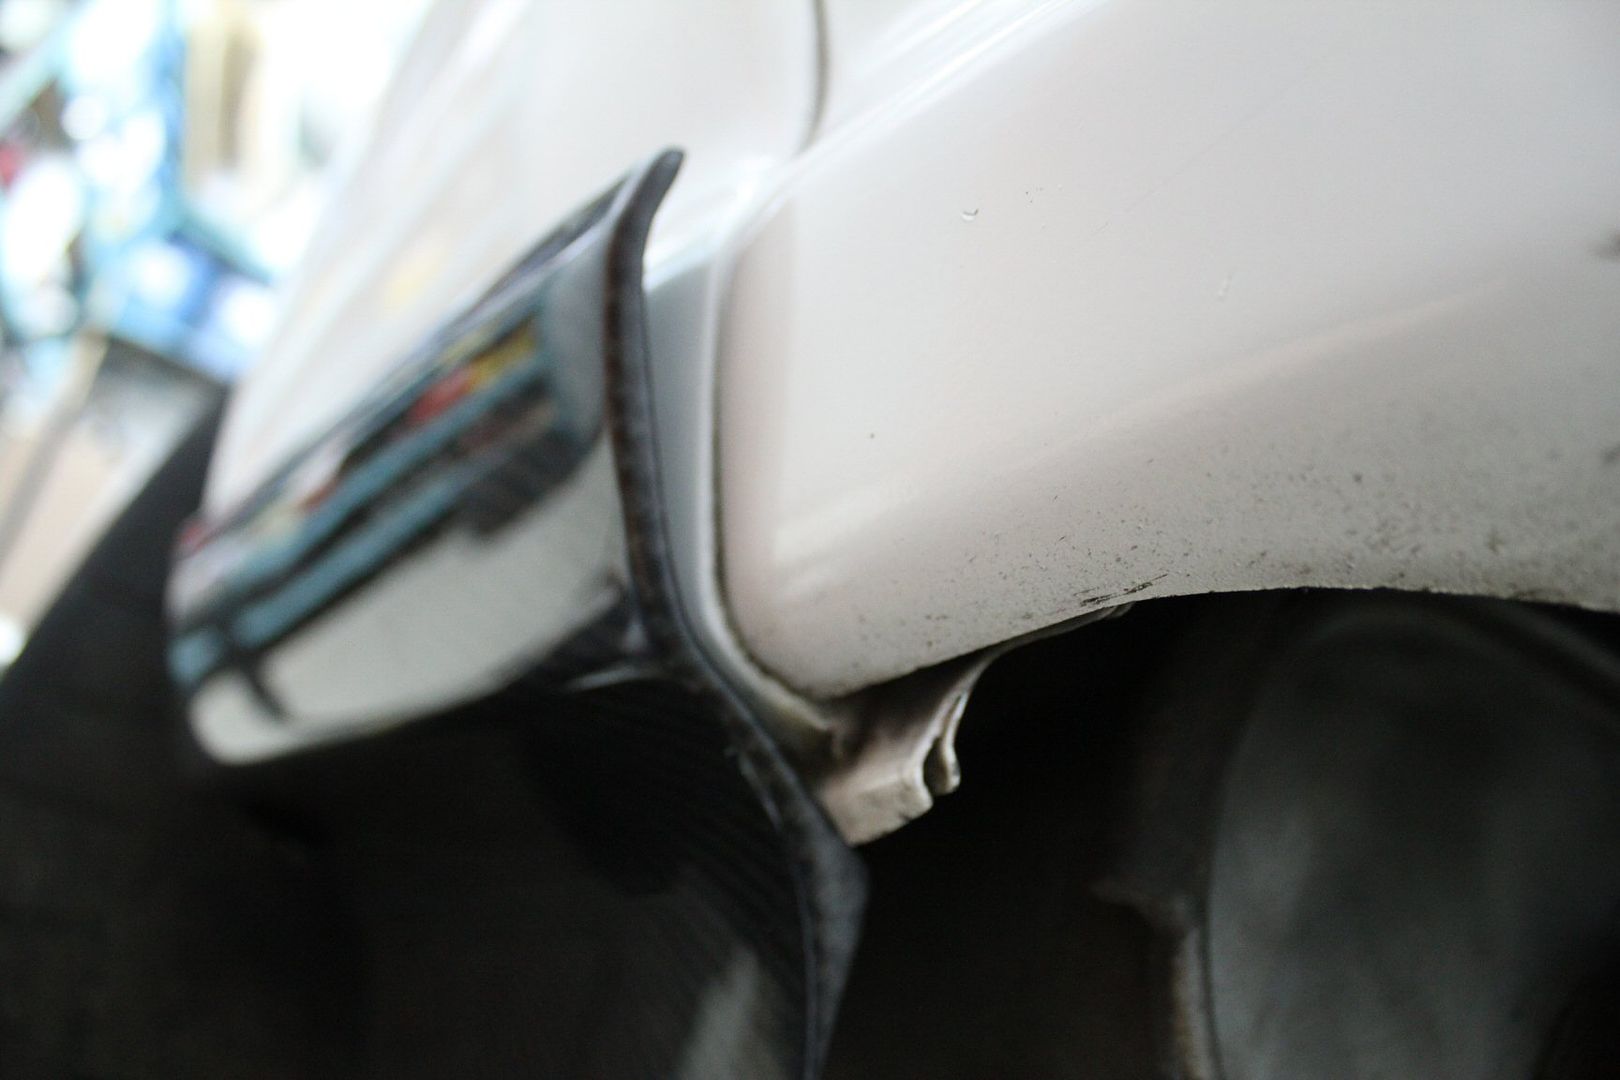
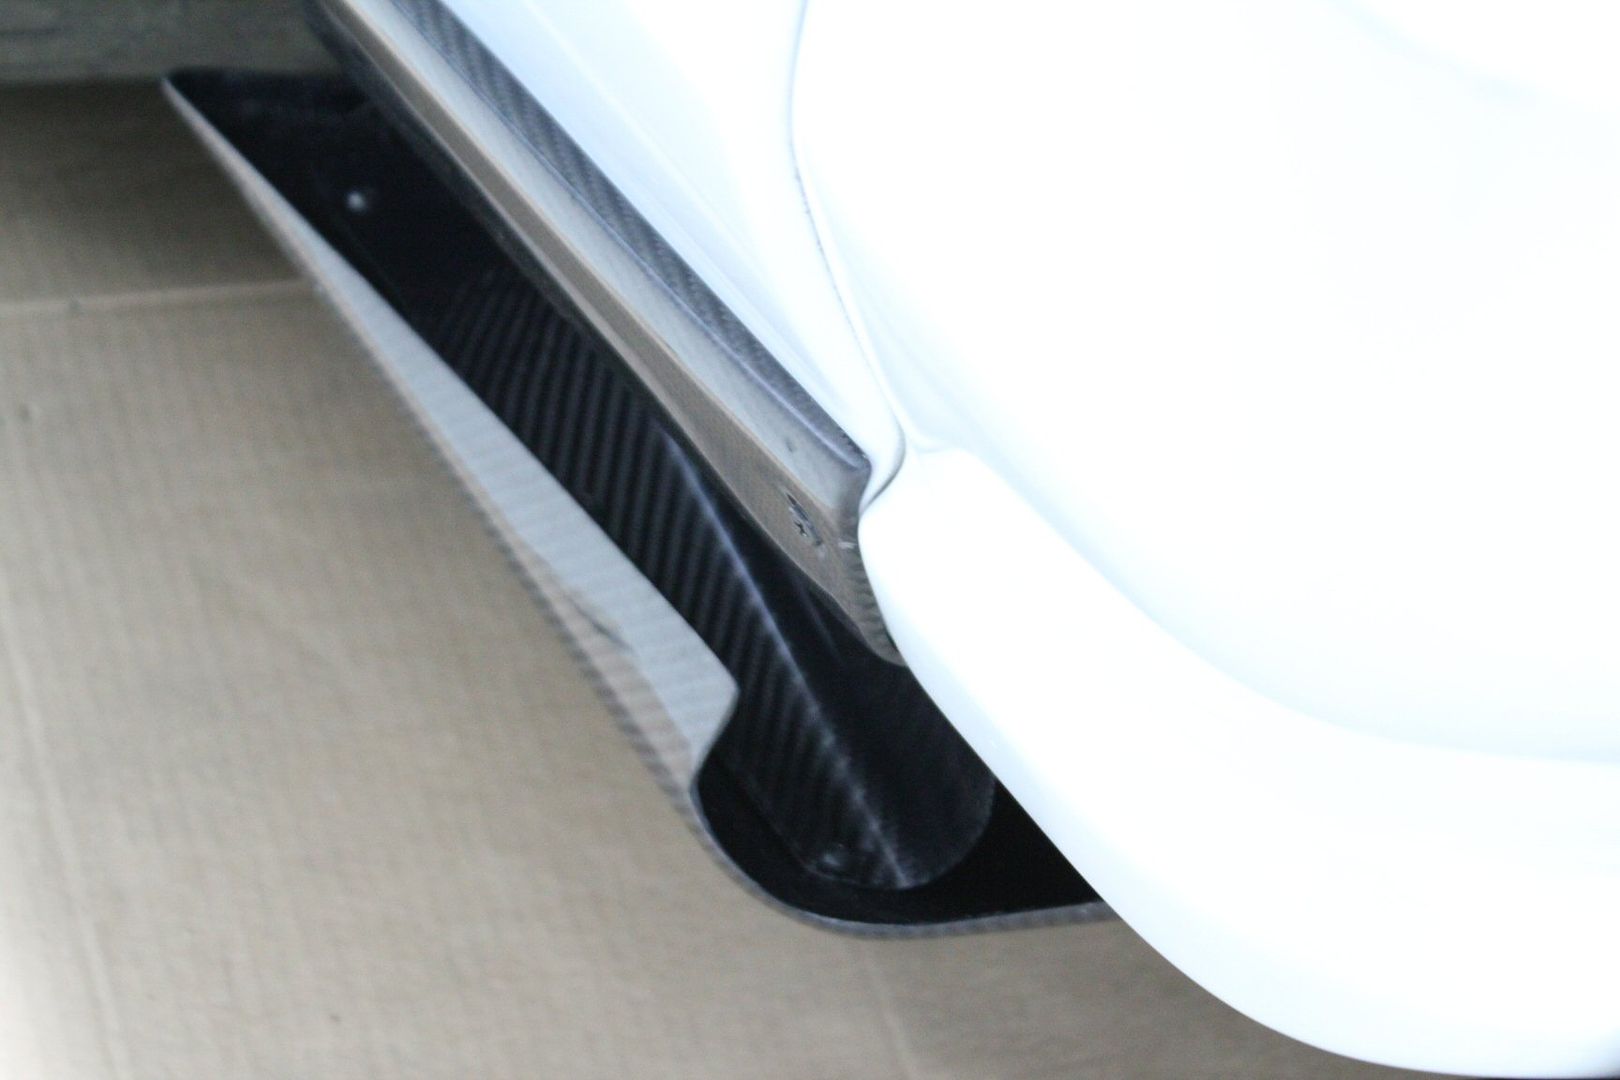
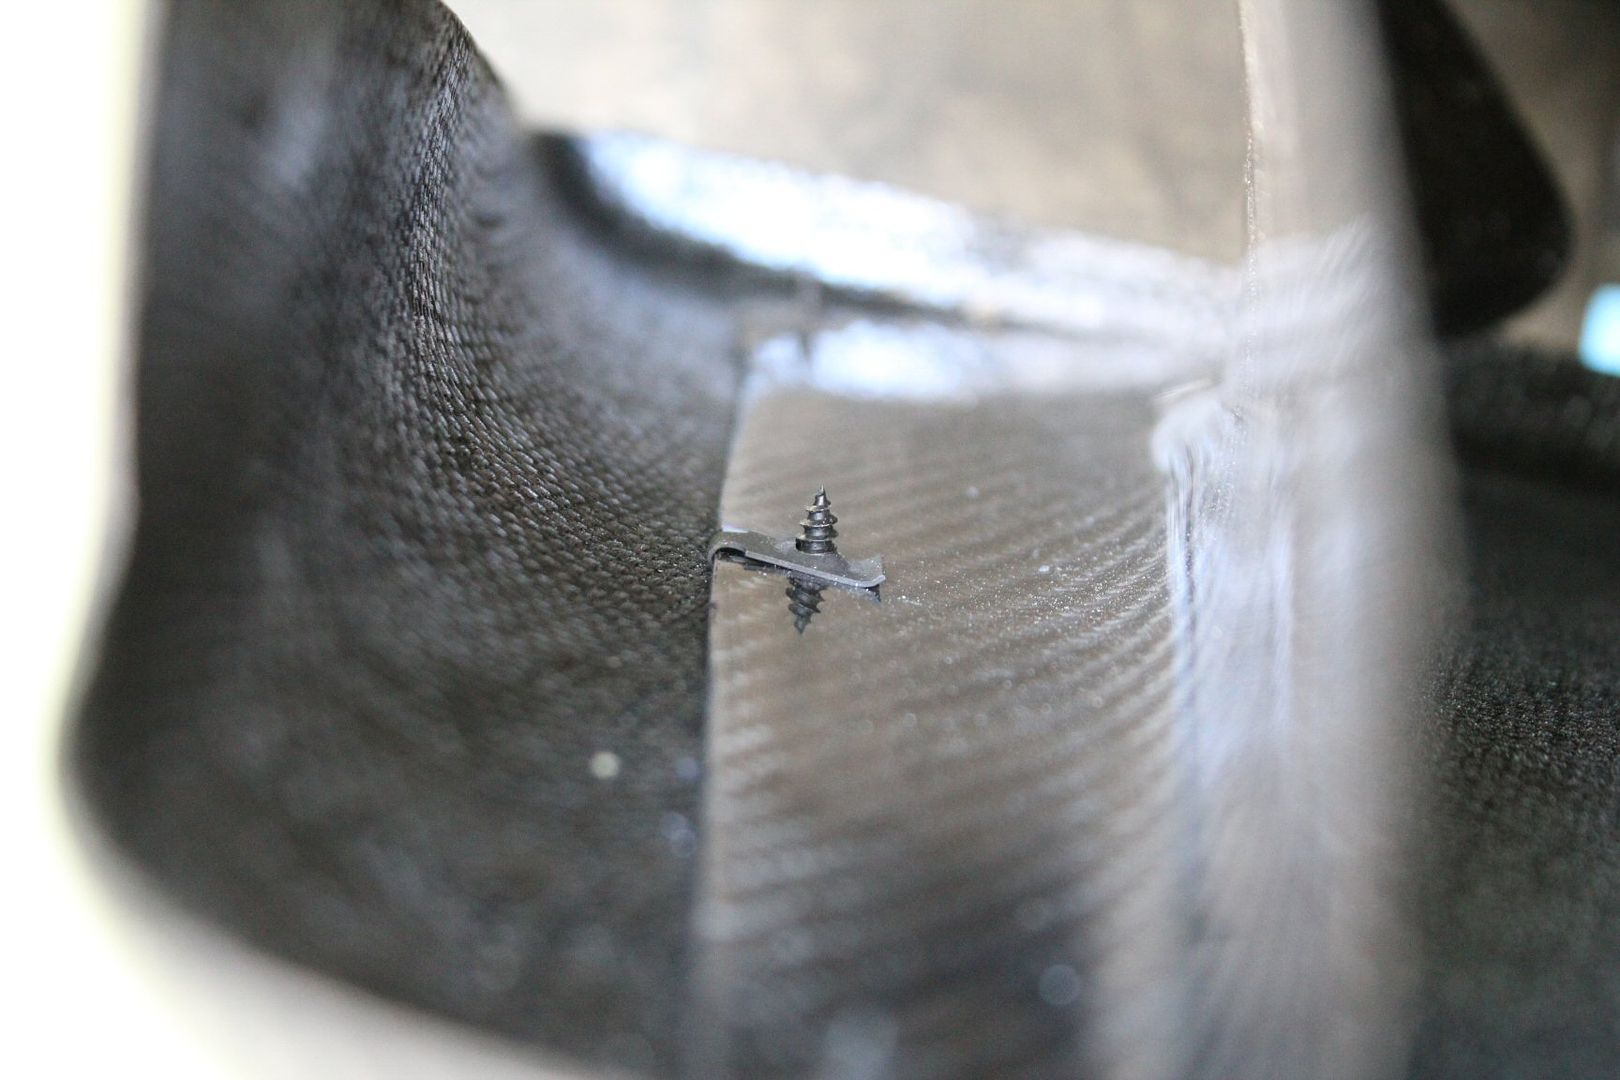
the side pods that come with the diffuser fit pretty well, they actually better contour the body than the Type-M mudguards;

the front of it is simply help with a body screw, but the back isn't held by anything,
so at first i tried double sided tape, since thats how the Type-M were installed;
but because its carbon fiber and not polyurethane, its much stiffer and kept pelling the tape off;
another approach had to be taken,
after thinking hard about it, i drilled a hole through the CF into the bodywork to screw it on;
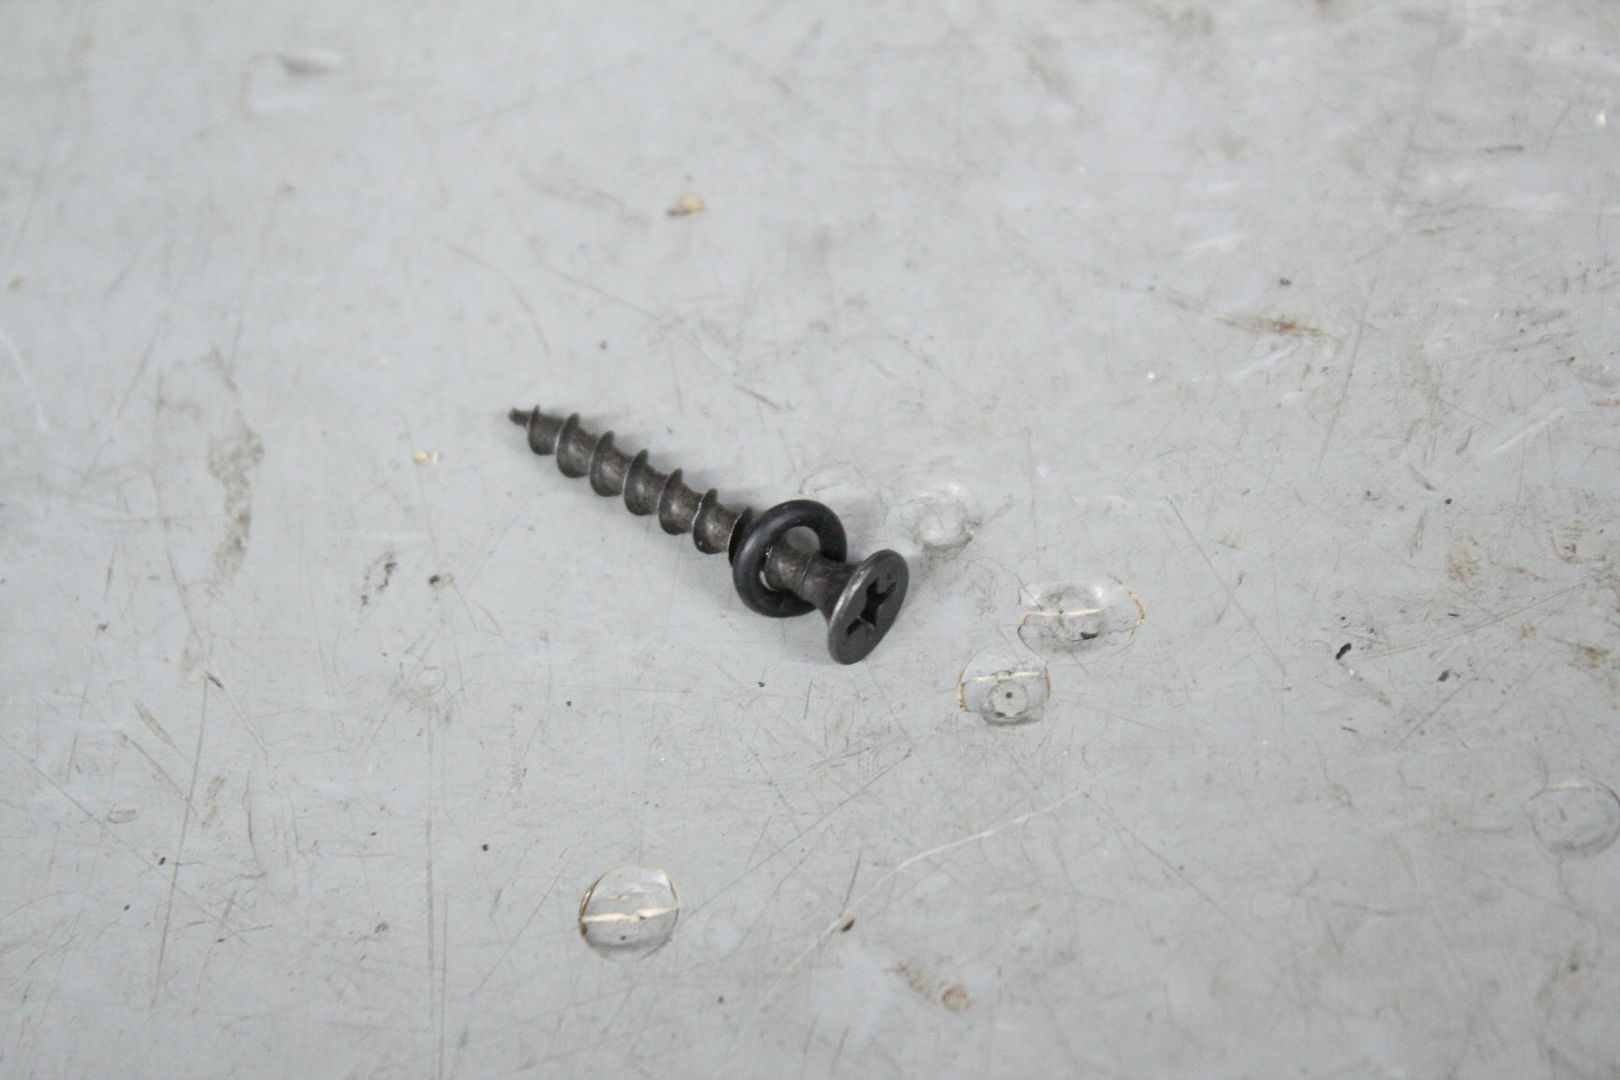
and at first i simply used a screw that i found, with a rubber washer (cut from a bigger one);
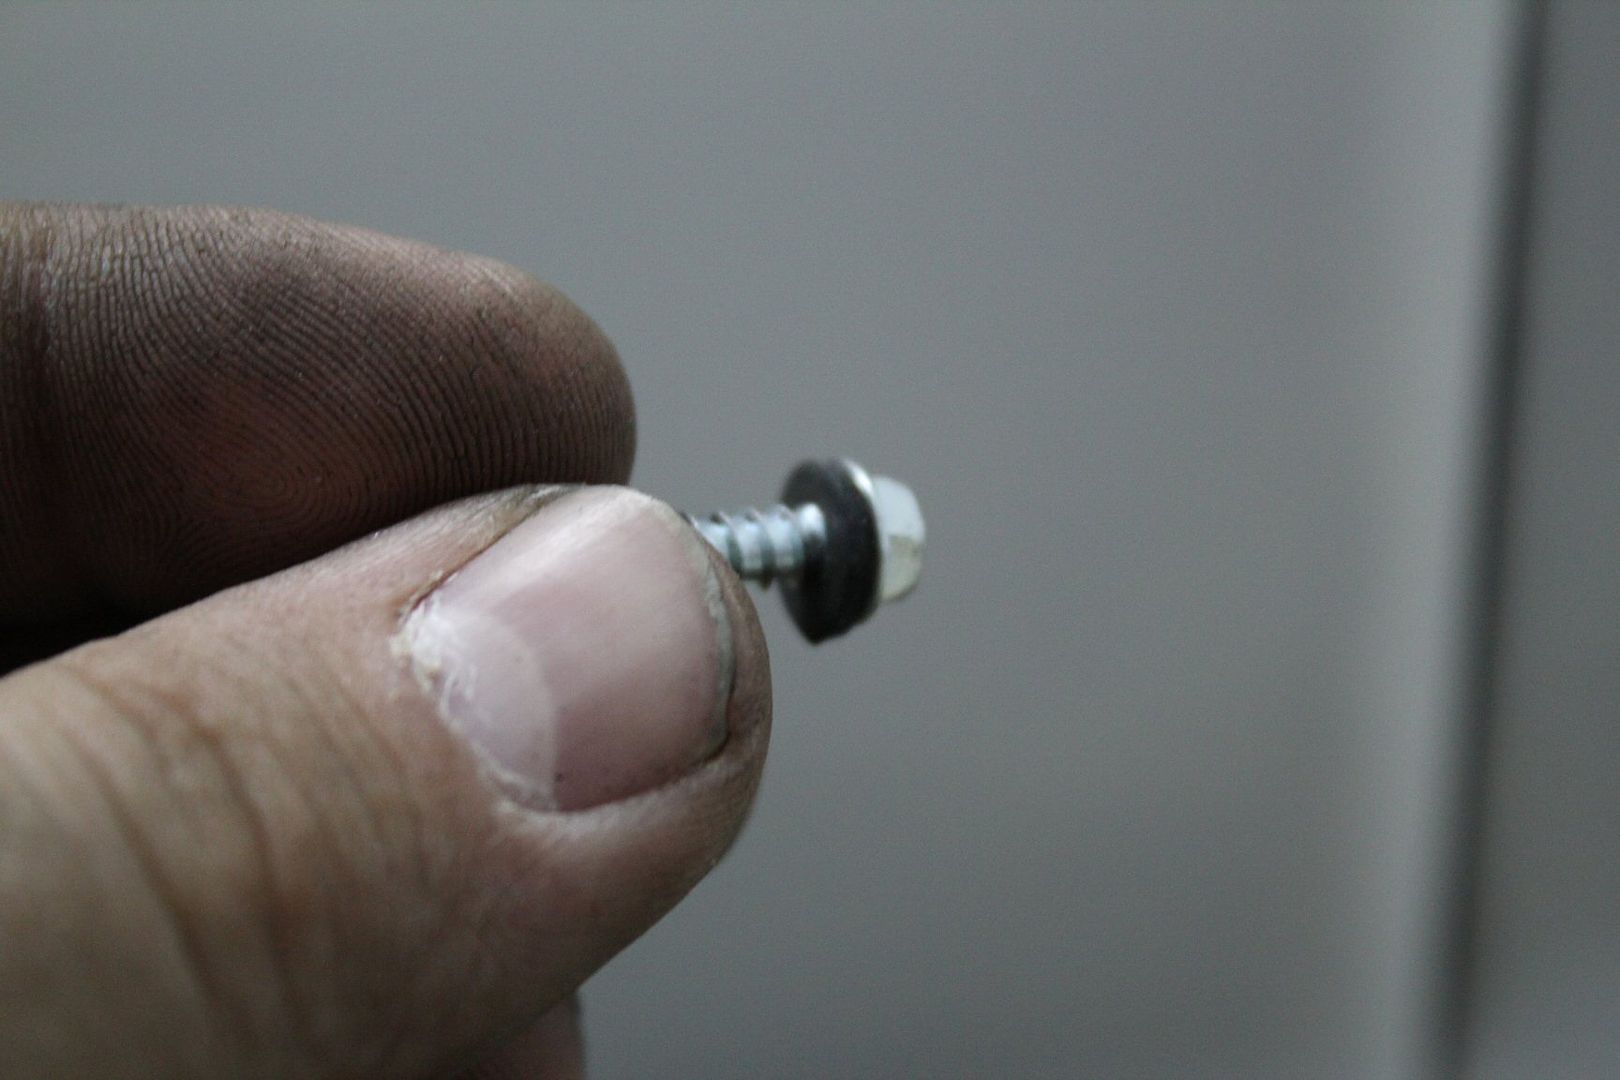
i painted the screw head black, but i didn't like it at all at first, and was regretting my doing;

later i found a set of hydraulic o-rings, and bought real body screws, countersunk and flat black, perfect;
the end result was much better, can't even see the screw if your not looking for it;
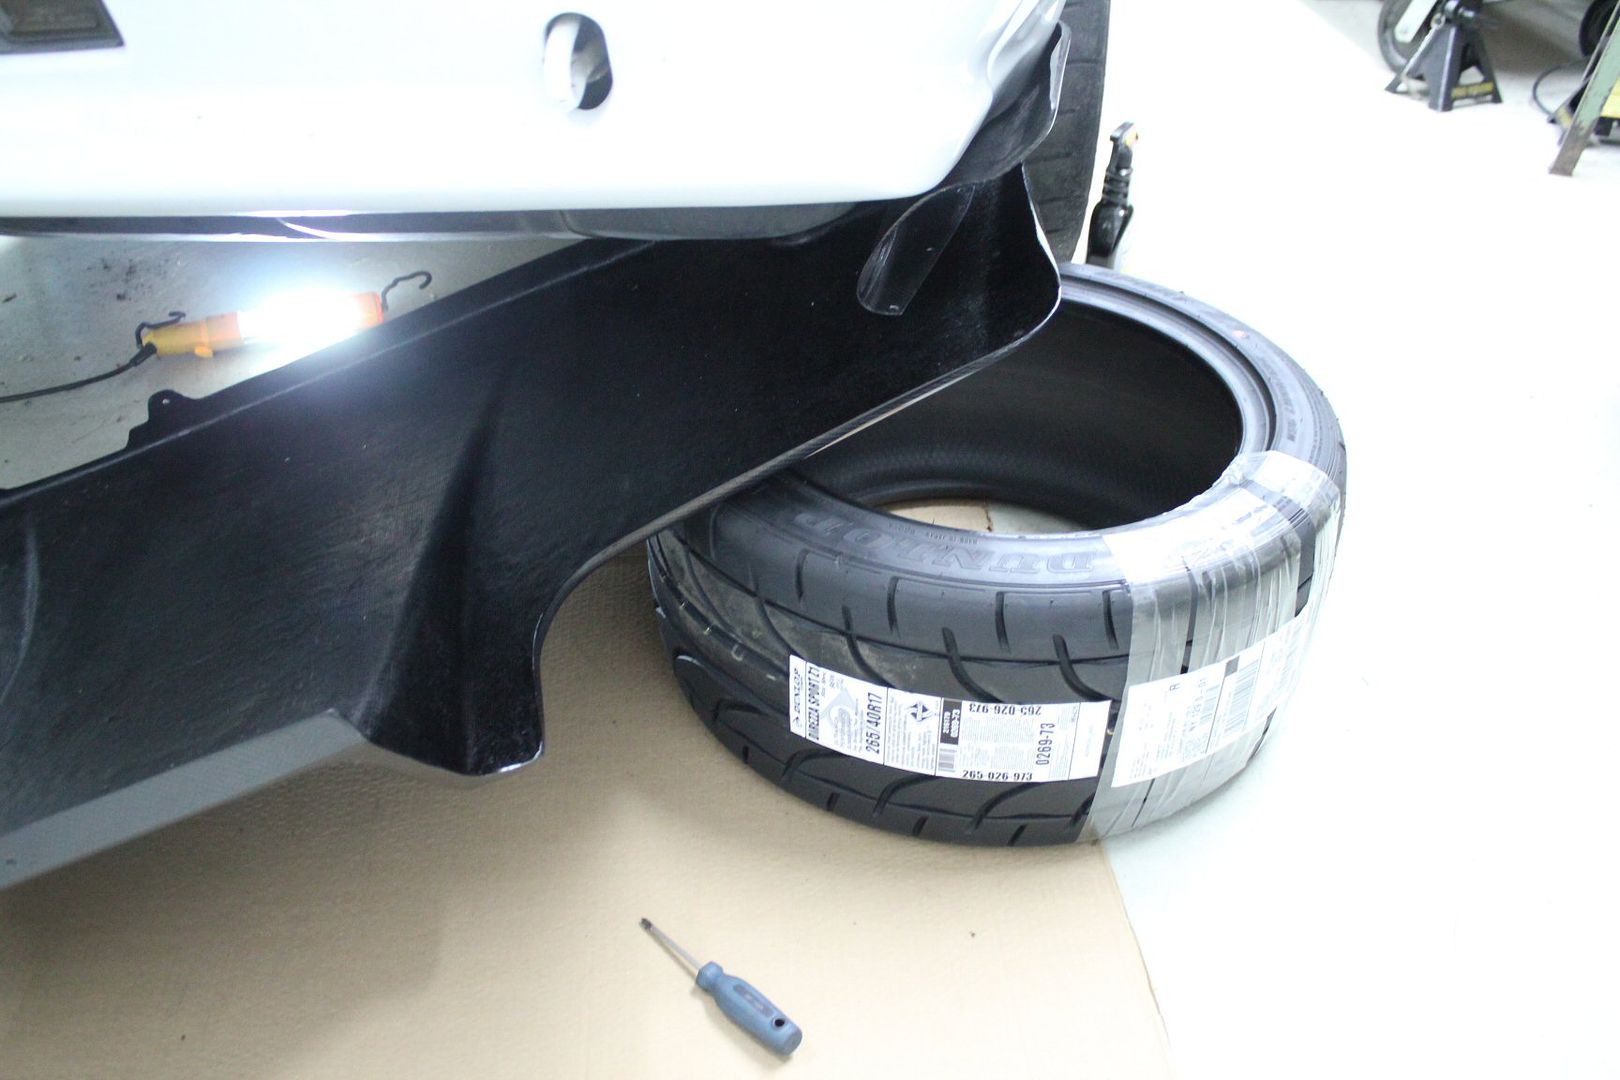
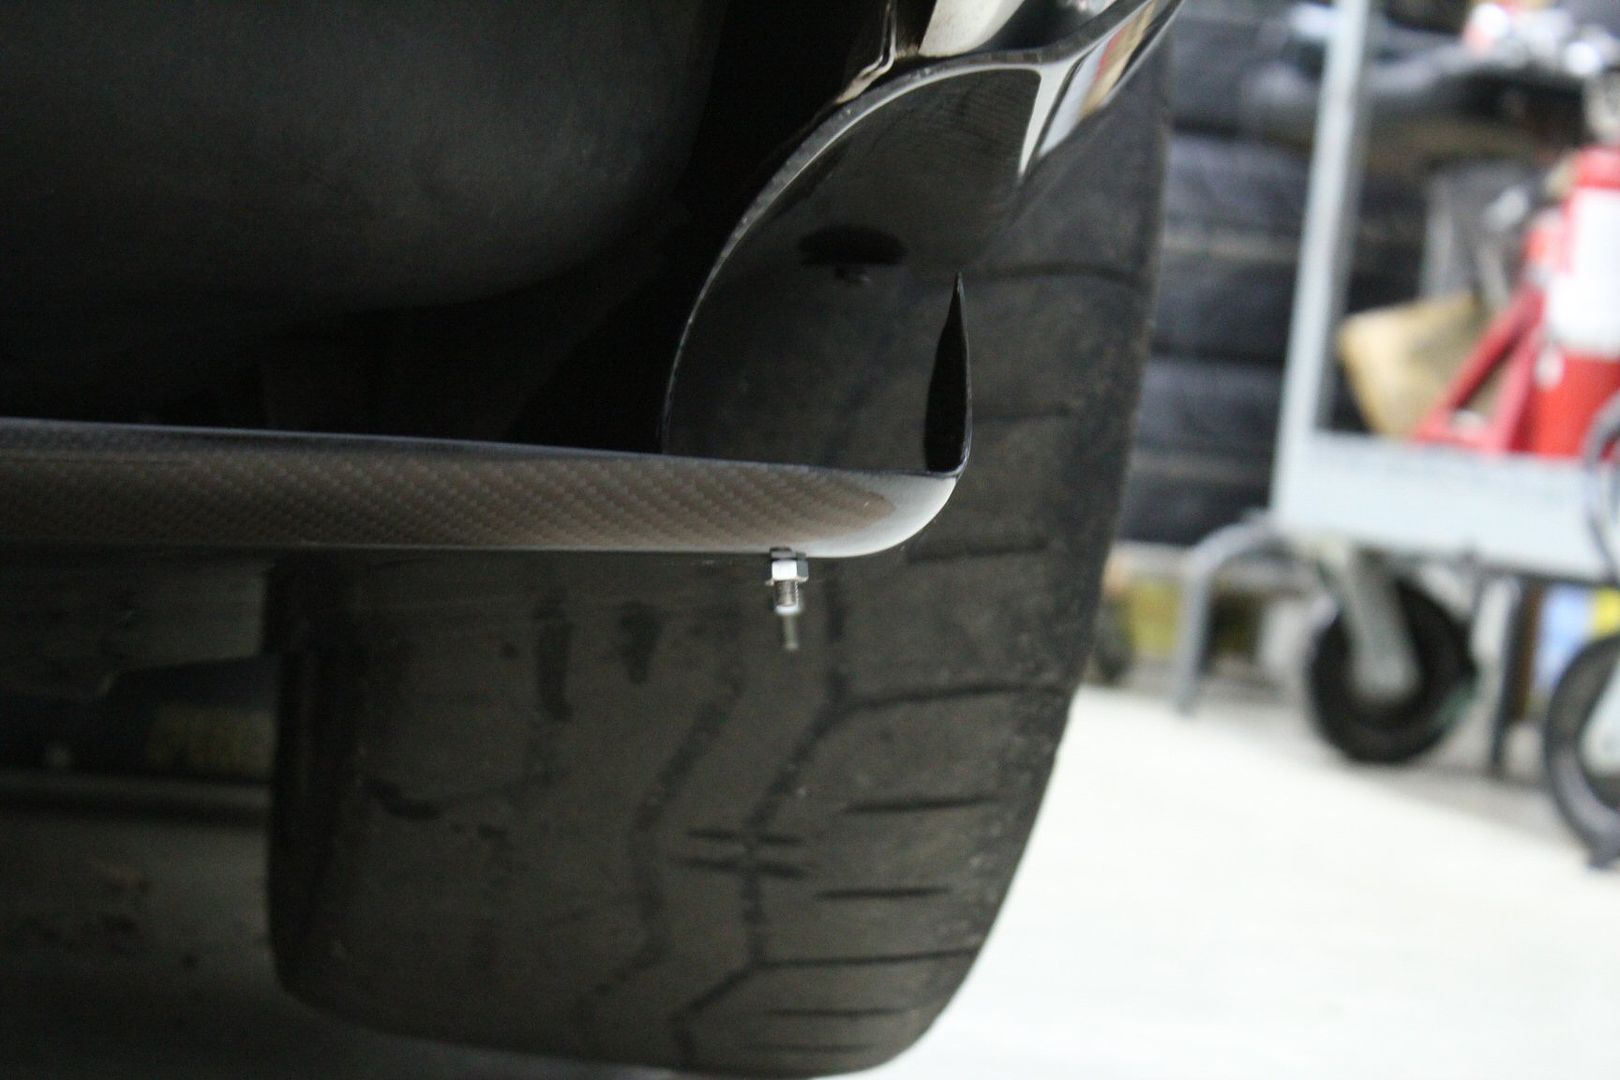
with the TS diffuser, its the side pods that partially hold the diffuser underneath the car,
but to screw it on i needed a bit of help, from my brand new tires;
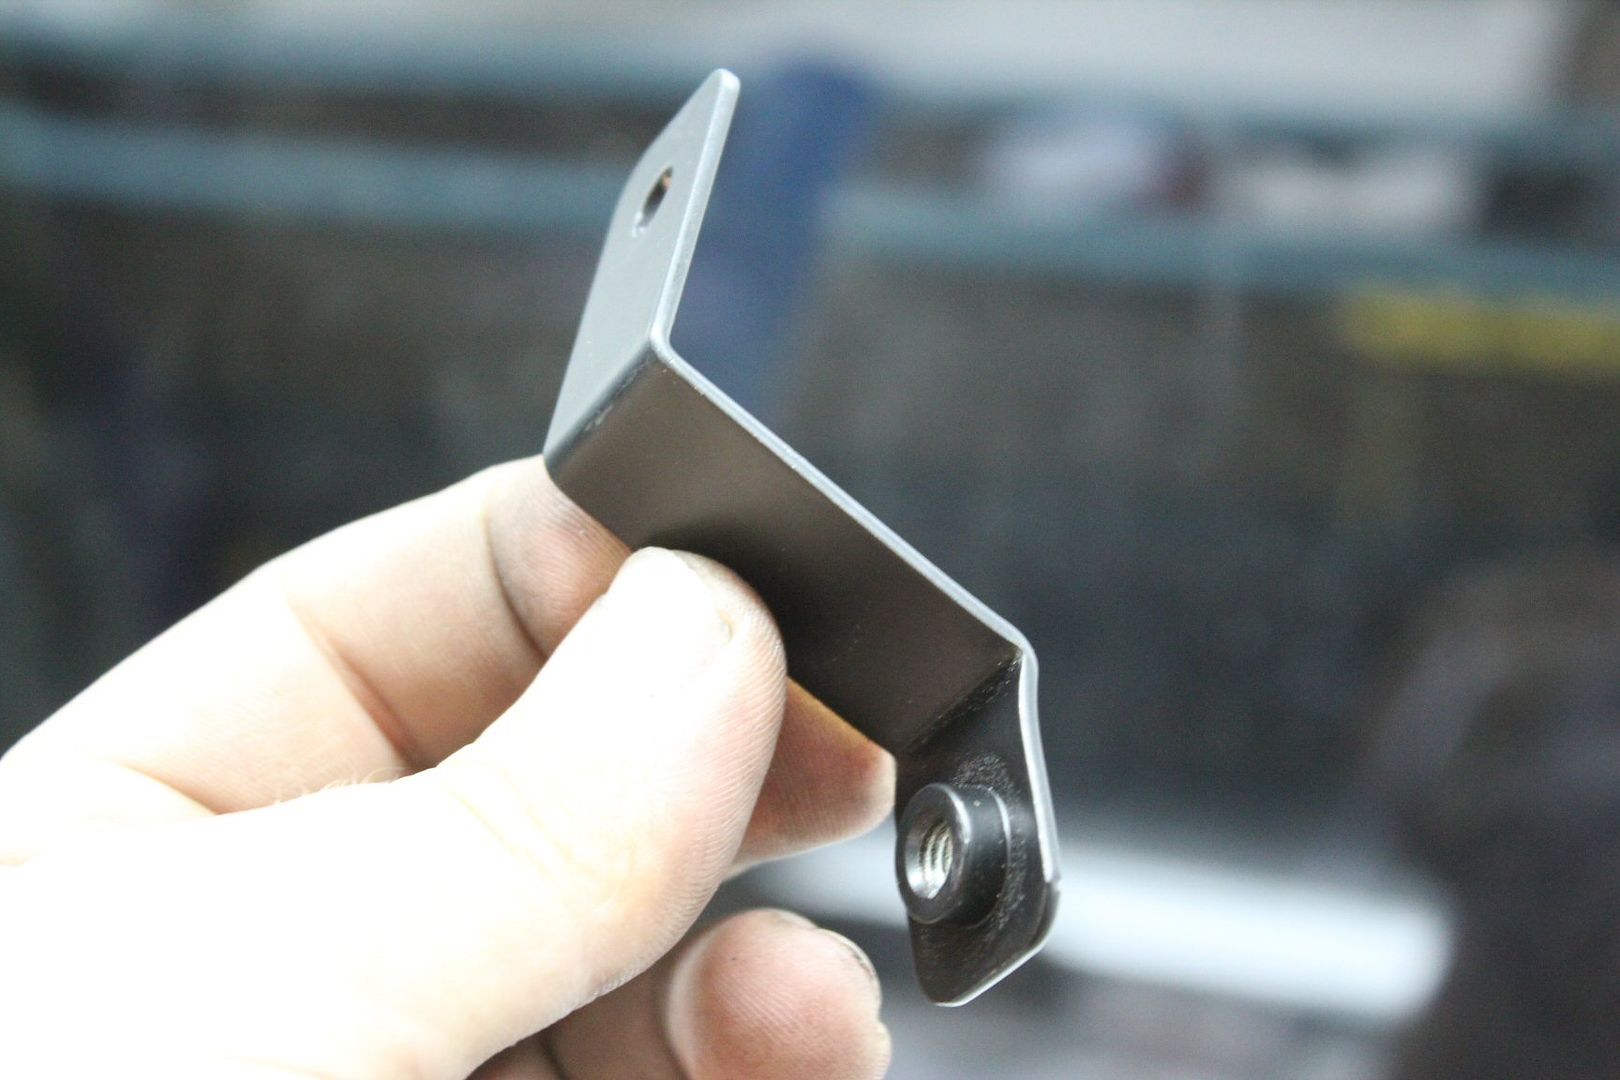
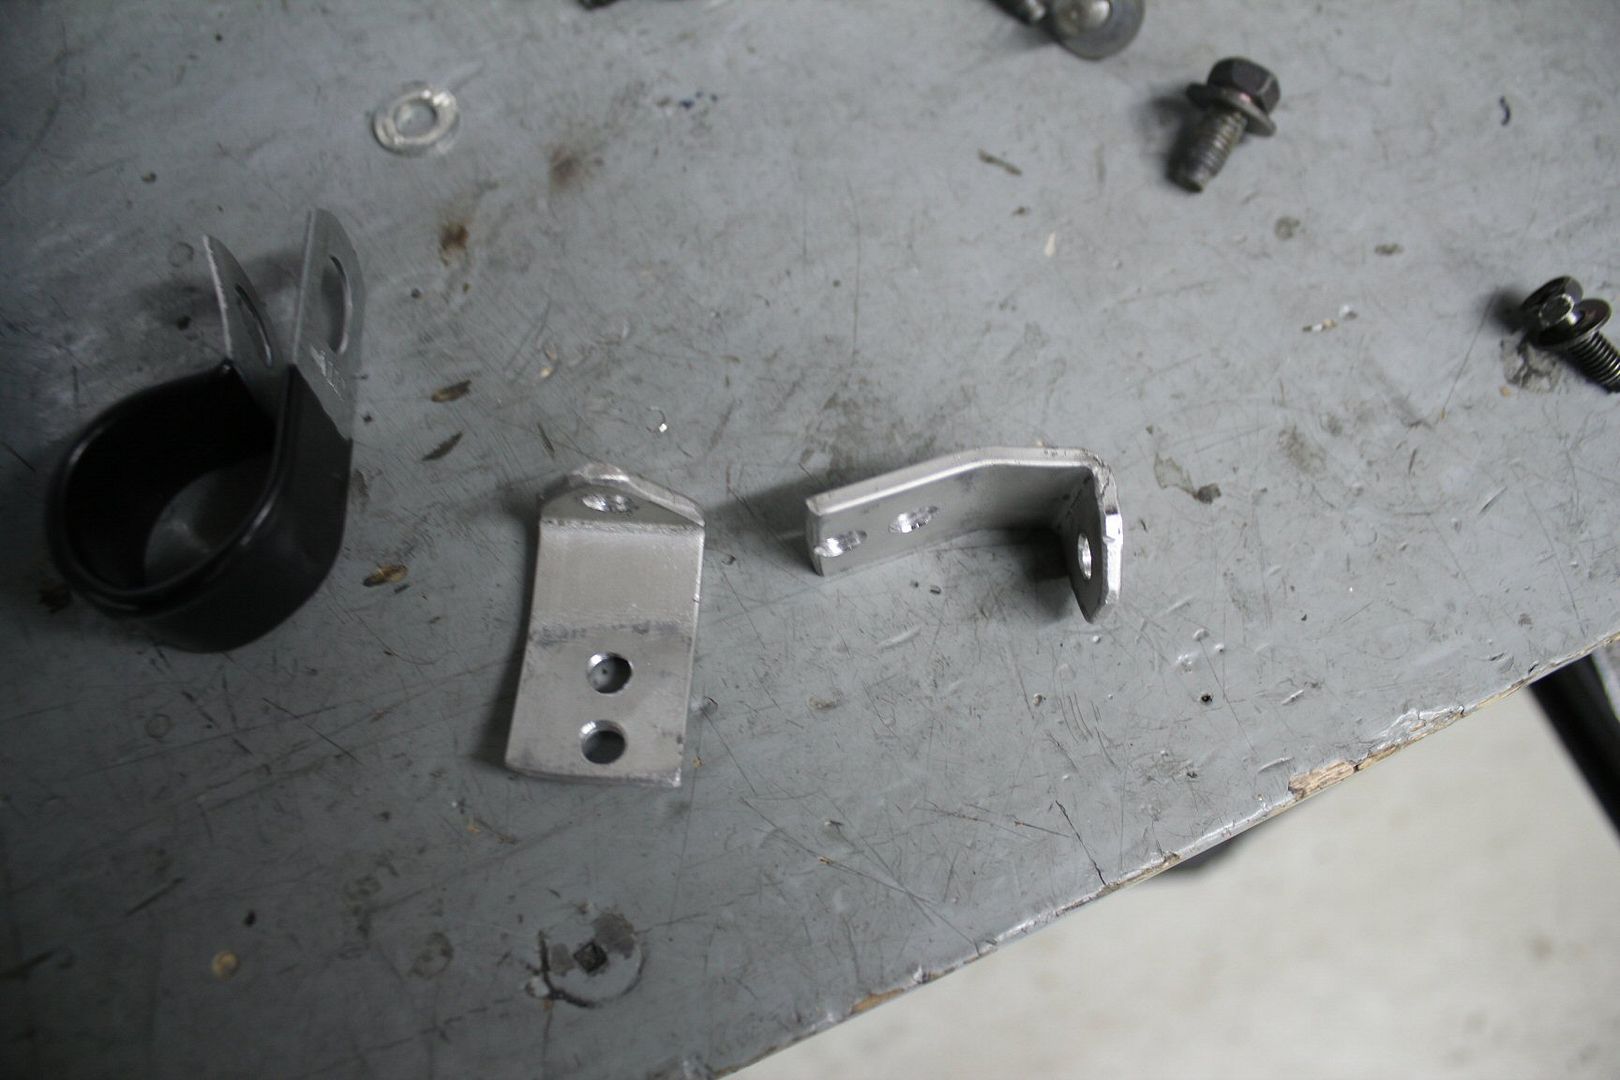
in the kit, there was many several different brackets, that at first i had no clue where they'd go,
i identified this one to hold the diffuser right under the license plate;
i took the plate off, unscrewed the support and flipped it up (its on hinges) then bolted the bracket in that spot;
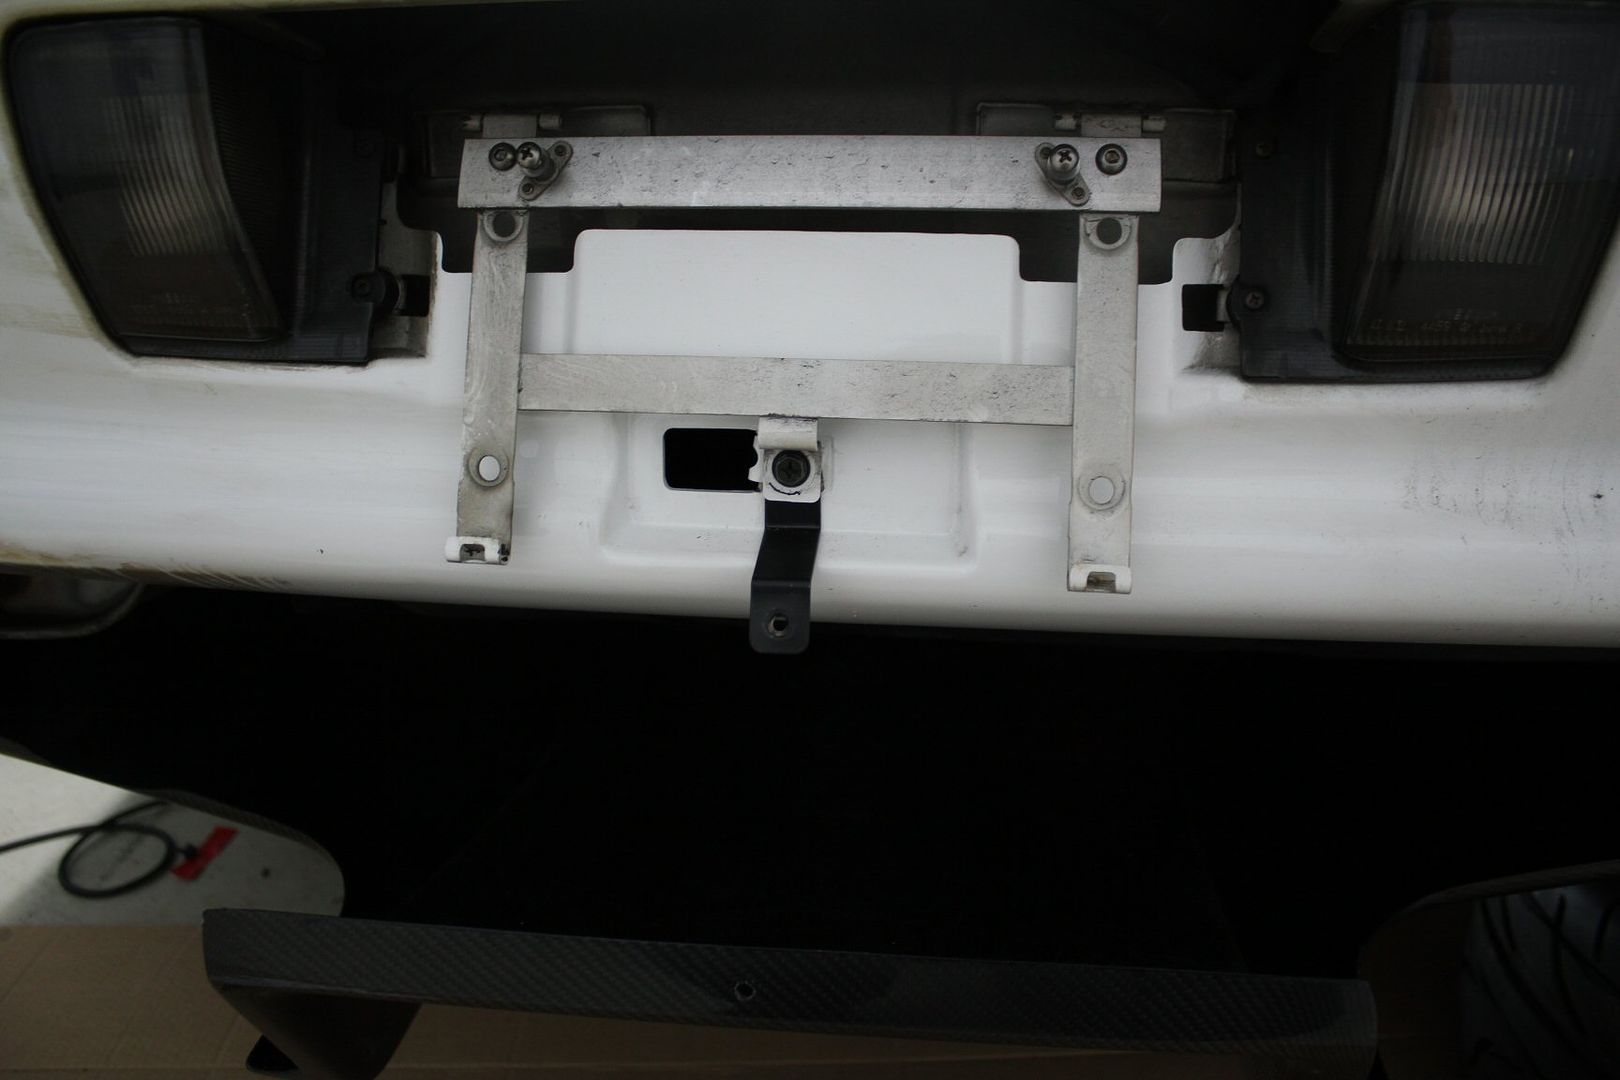
my first idea on how to screw it was hidious;
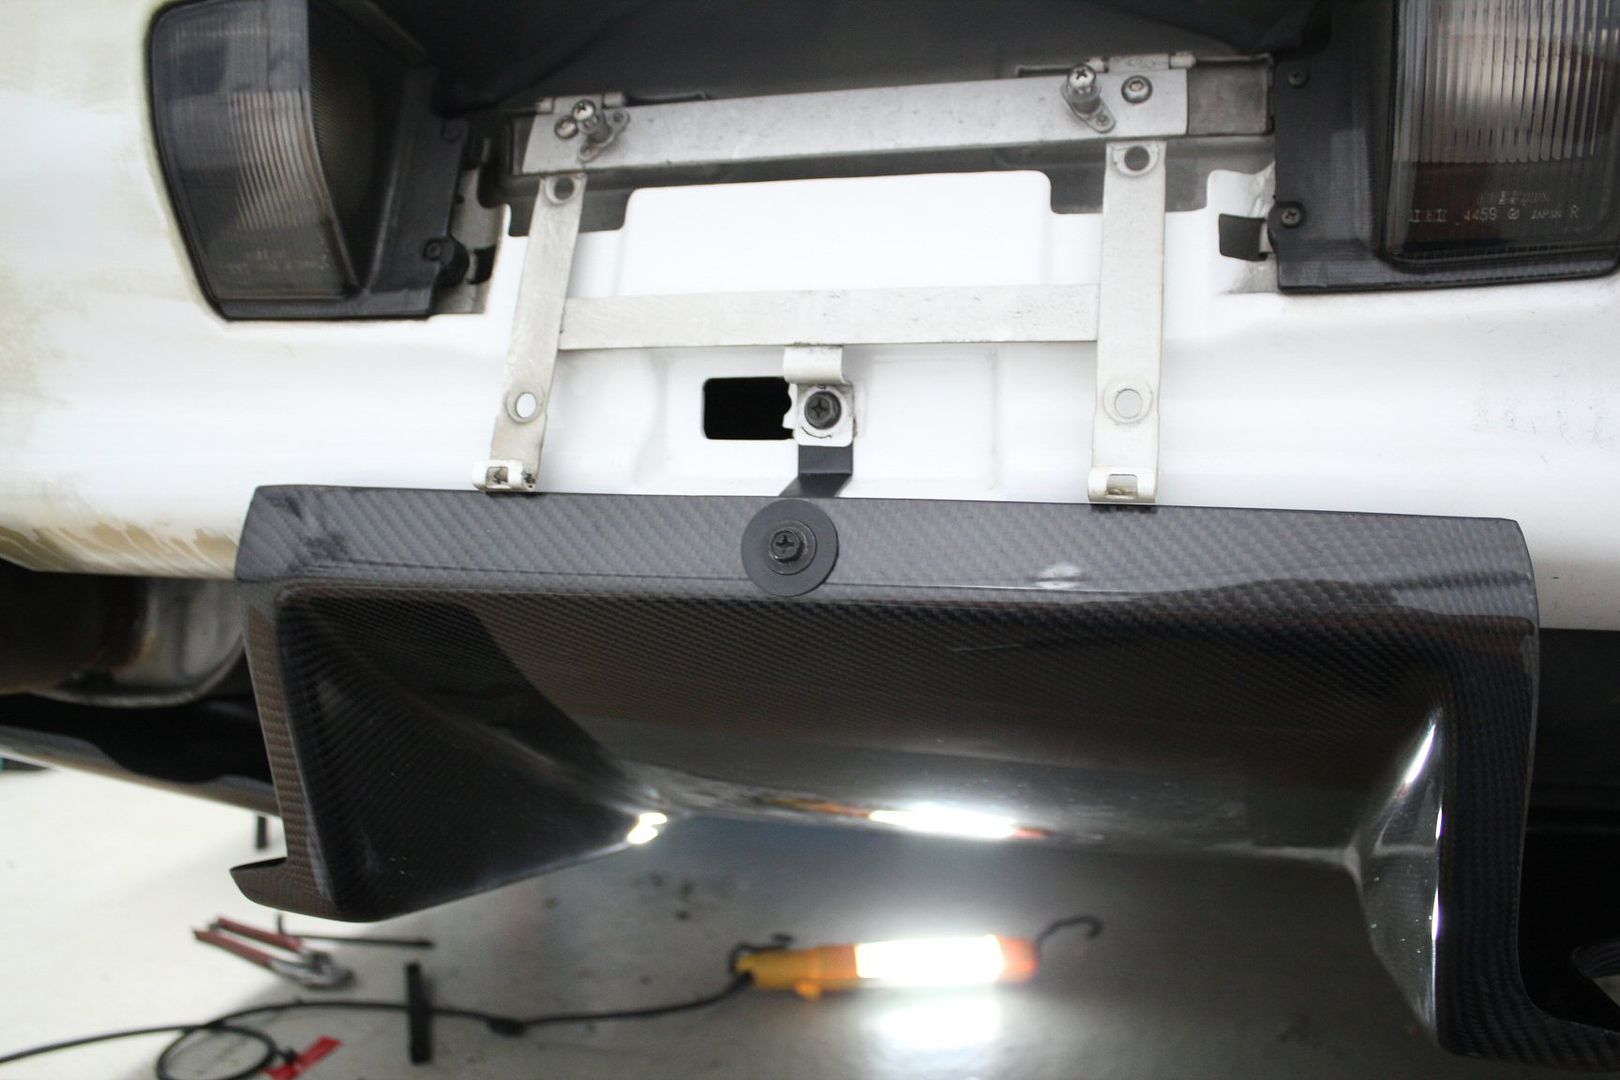
so i found a thin flat head screw and cut up a rubber washer, for a better look,
the rubber washer was later swapped for a real one of the right size for a seamless look;
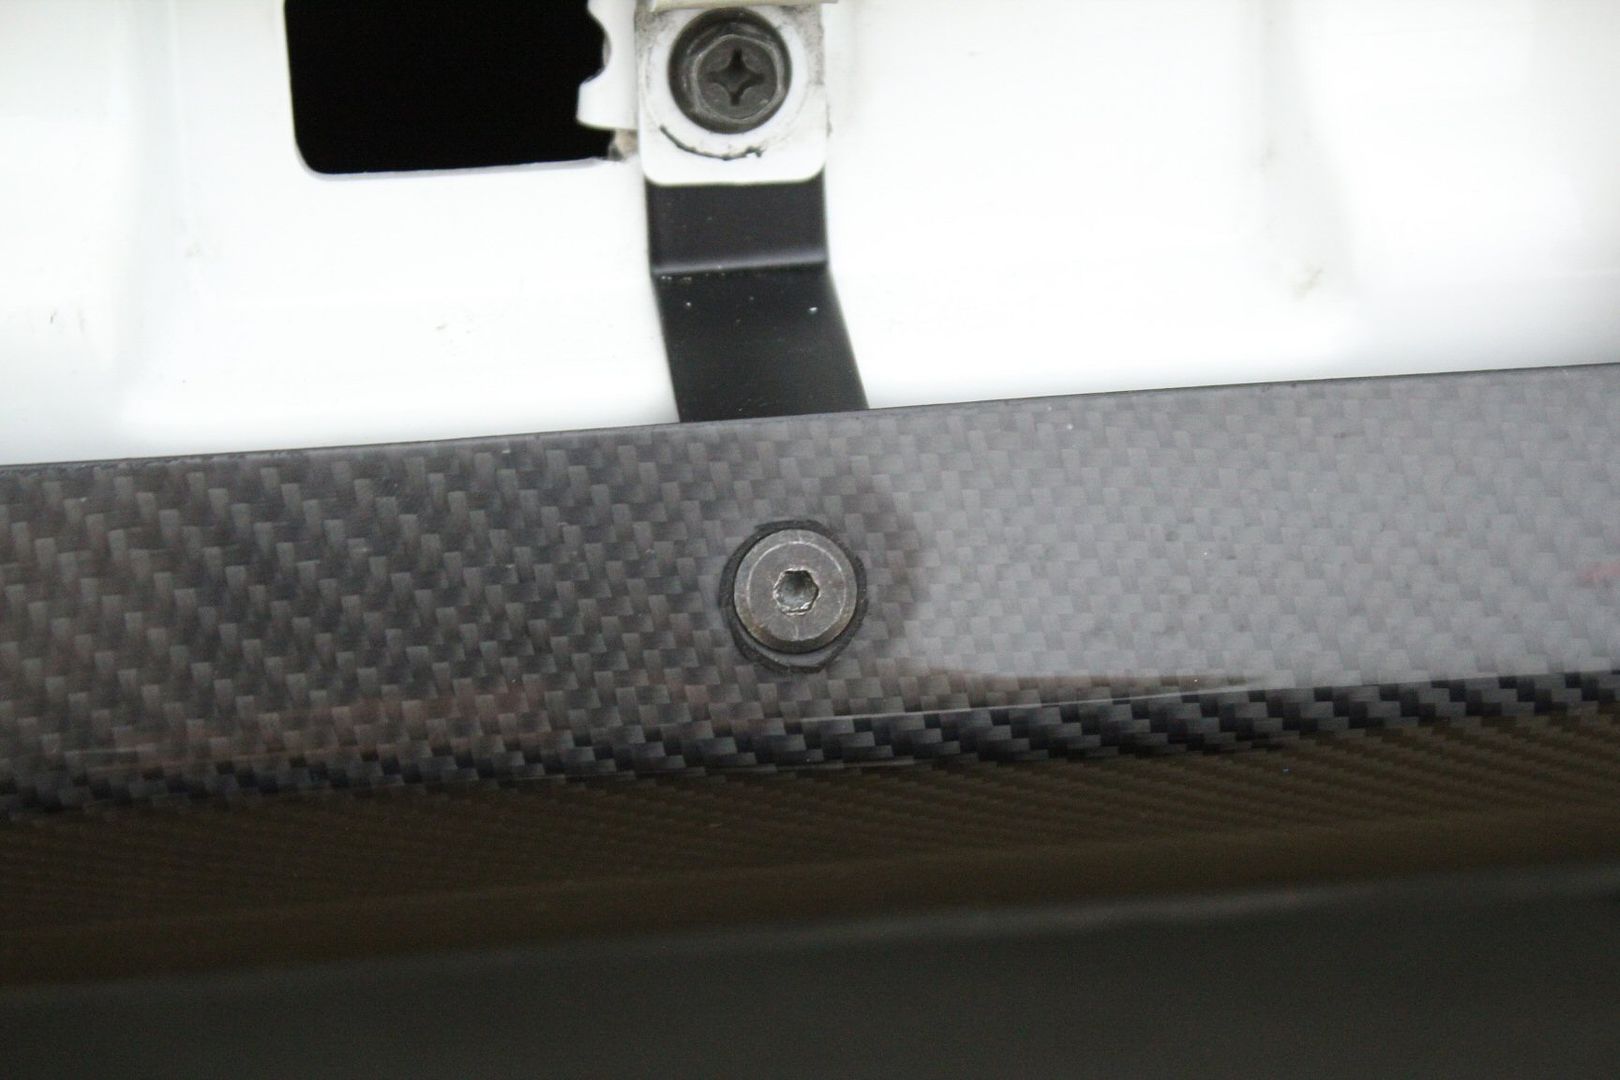
the holes in the diffuser and the side pods aligned perfectly,
and through the next fews days i experimented with differents fastening options,
some looked like crap;
some much much better;
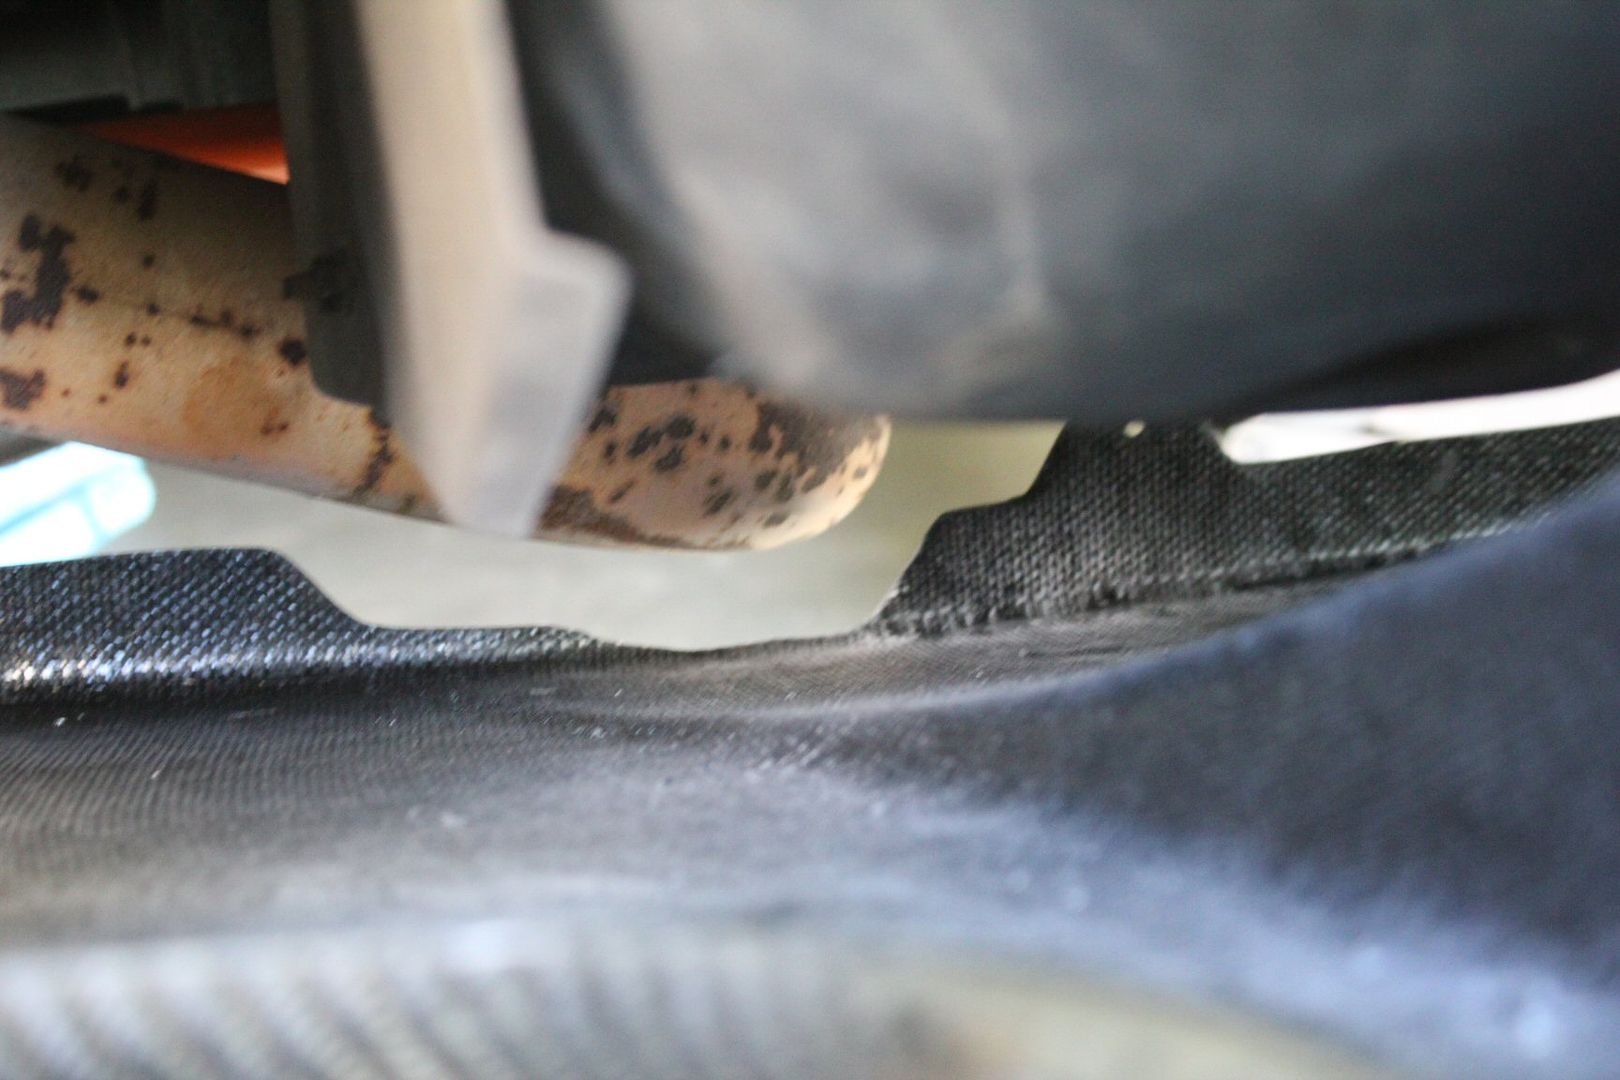
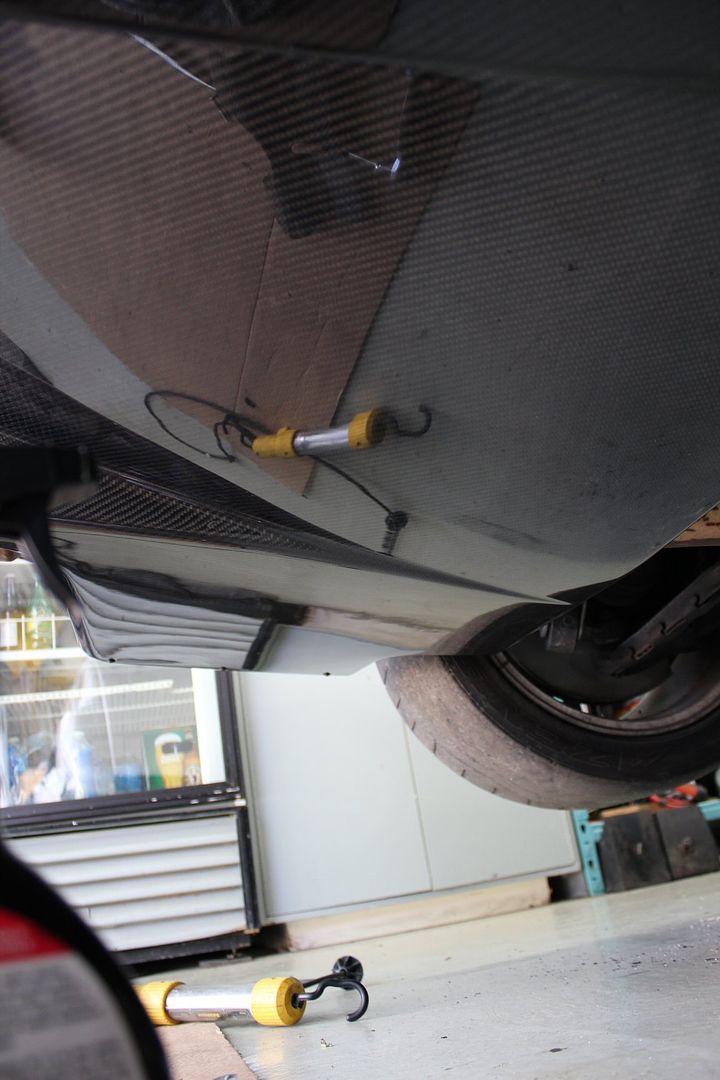
with the diffuser hanging pretty much in its final position, i had to trim a bit off the frontward rim,
i was scared it could touch the exhaust and cause problems,
p.s. don't breathe when sanding off carbon fiber, the resine particals smell like uther ****, but more importantly they are toxic;
the brand new high-gloss carbon fiber finish was super shiny;
since i didn't find the overall mounting of the diffuser solid enough and was scared that the bolt under the license plate would rip right through the CF,
i made extra brackets, from 3/4"x1/8" aluminium bars
the would be much stronger;
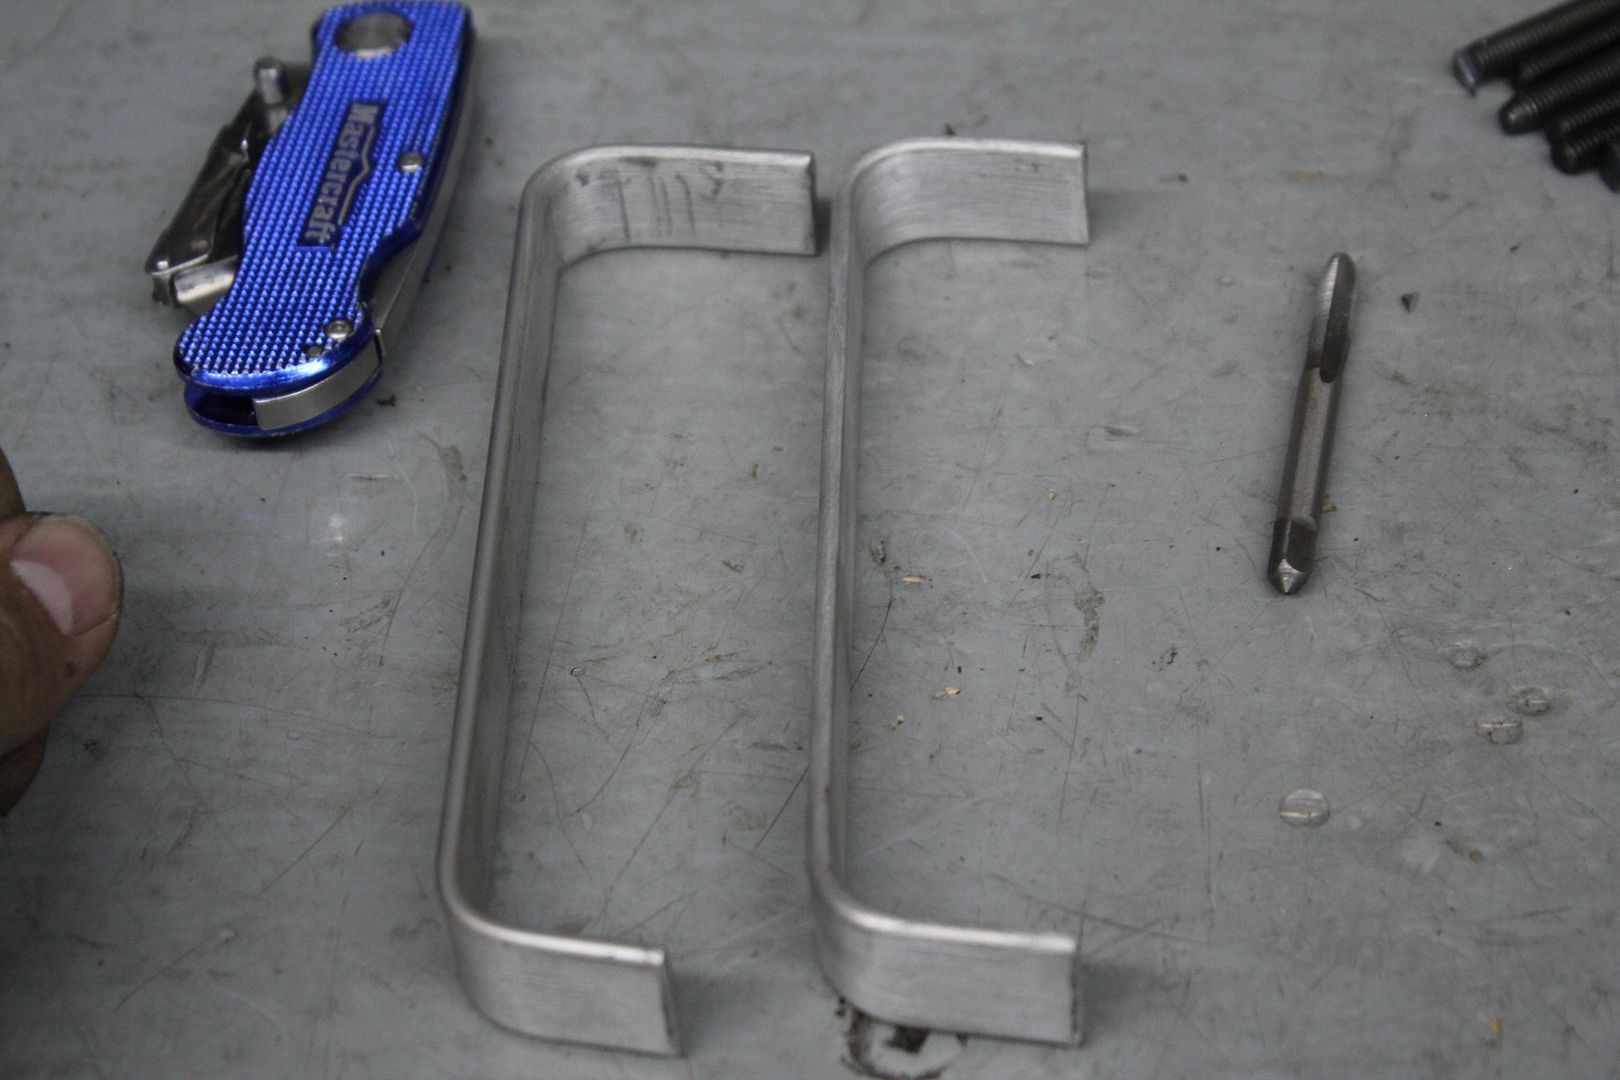
then i drilled through both the diffuser and the bumper to bolt it on;
and later i painted them with tough epoxy metal paint;
thats all about the diffuser for week7,
the installation was finished during week8
but i'm not done with week7, alot more was done !
keep reading -->Leave a comment:
-
great deal on the tires !
I have Azenis RT615 right now, and I will not buy that again.Leave a comment:
-
Chapter 43 - Interior Works continued
week6 - 2011, part 2/2
disclaimer :
the following story depicts actions that occured between June 6 and 11 2011
information is recalled purely from memory, give me a chance
if you've read the last chapter, you'll also know i was working on relocating the Climate control module to the armrest
by now, my buddy had all 36 wires extended,
it was now time to put the wiring harness back into the car, it got pretty caotic under the dash;

beeing a true pefectionnist, my buddy wanted to make the install as well as possible,
a little taped in and there cleaned it all up;
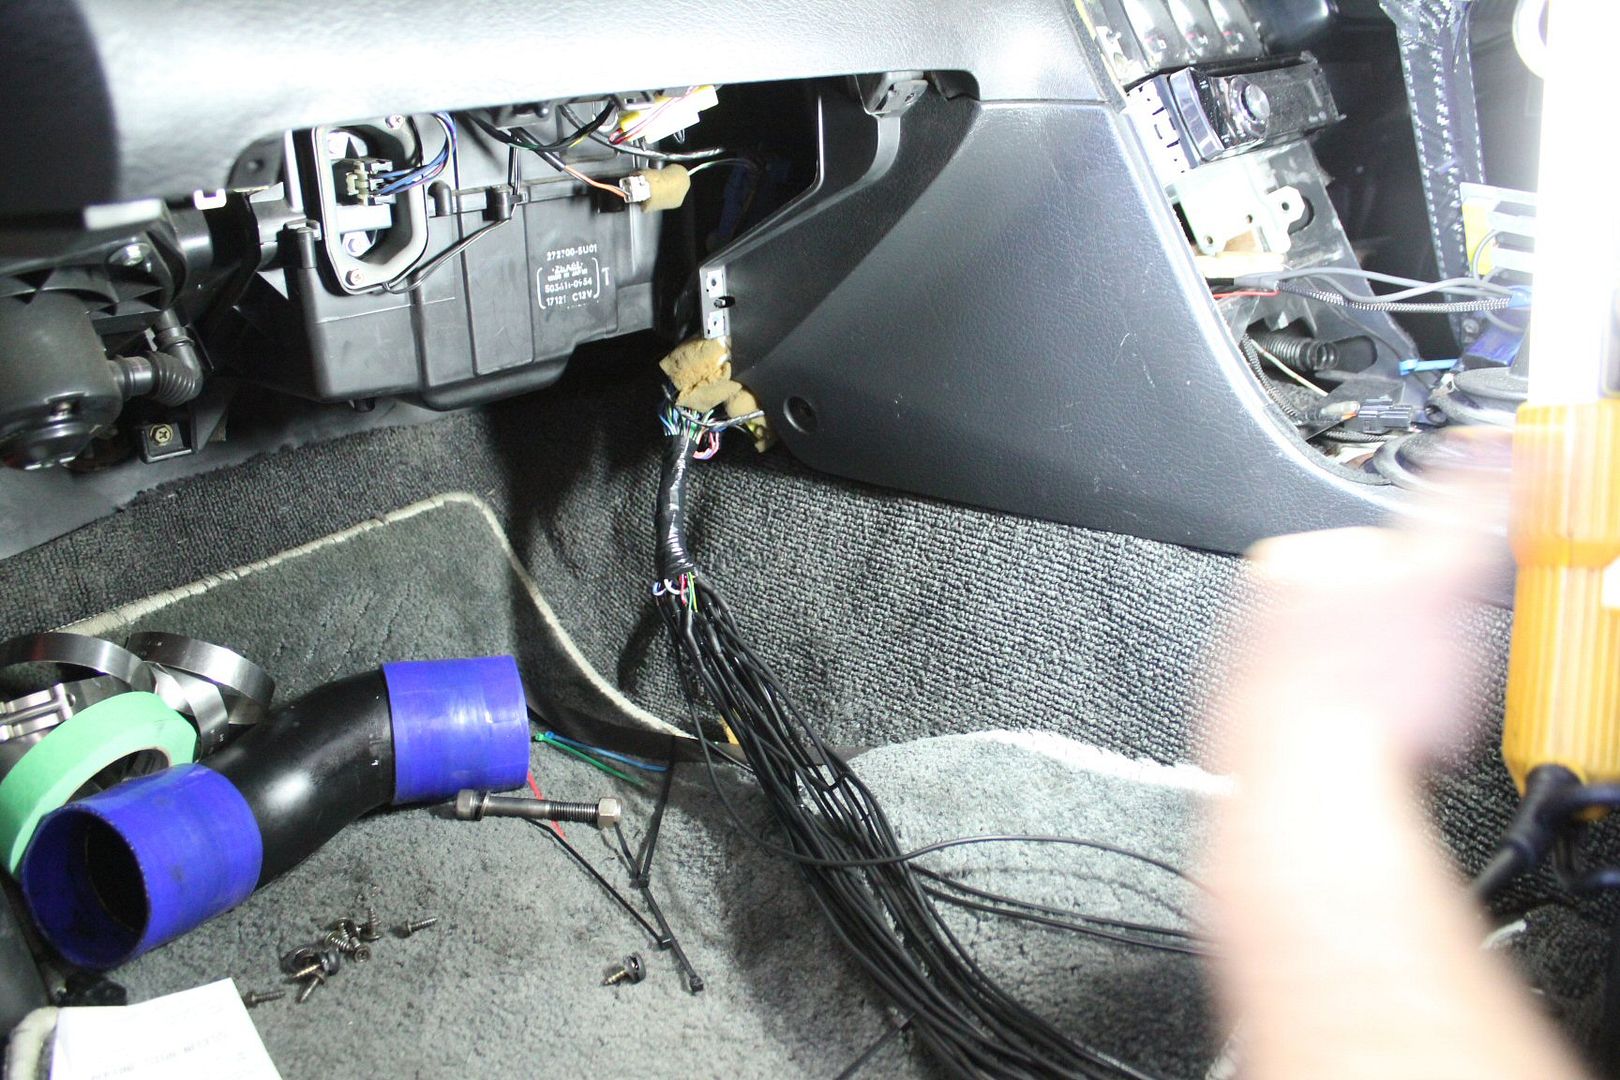
not easy to work under there;

the whole harness was passed behind and then through the instrument panel;
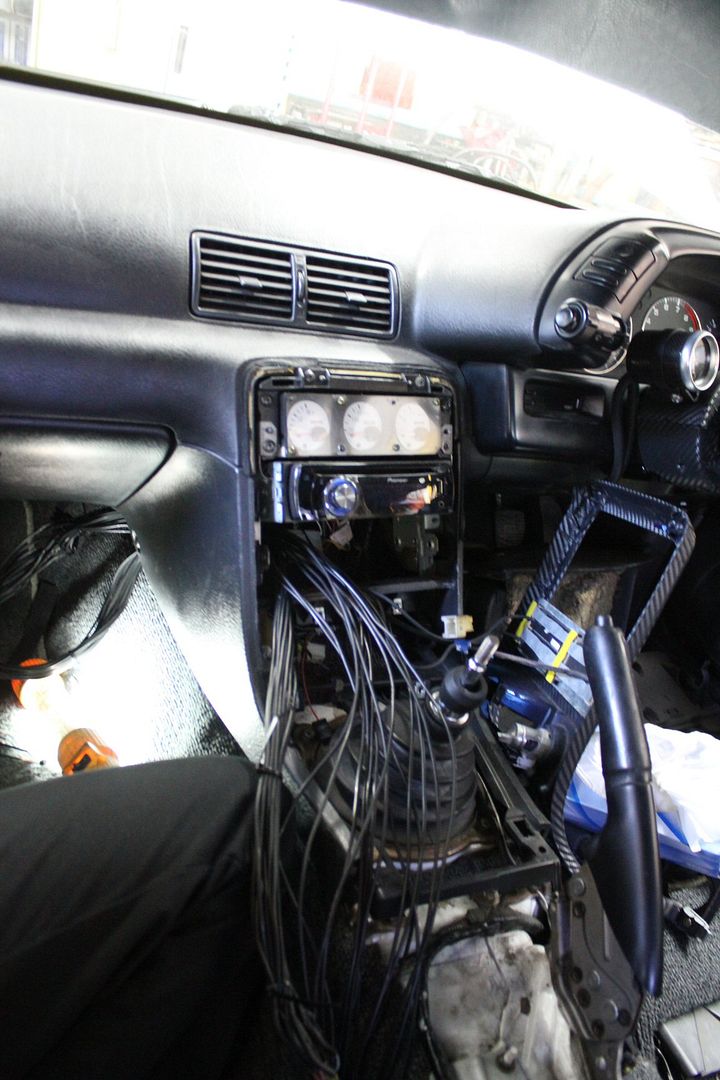
the two main sections of the harness were in a plastic loom, to make it cleaner (again),
we ran them around the shift lever to the armrest;

i cut a hole in the bottom of the armrest's storage compartment for the harness;

i shaved the mounts off the control module to make it fit inside the compartment;

and voila, the module fits tightly into the compartment, and it doesn't look bad at all,
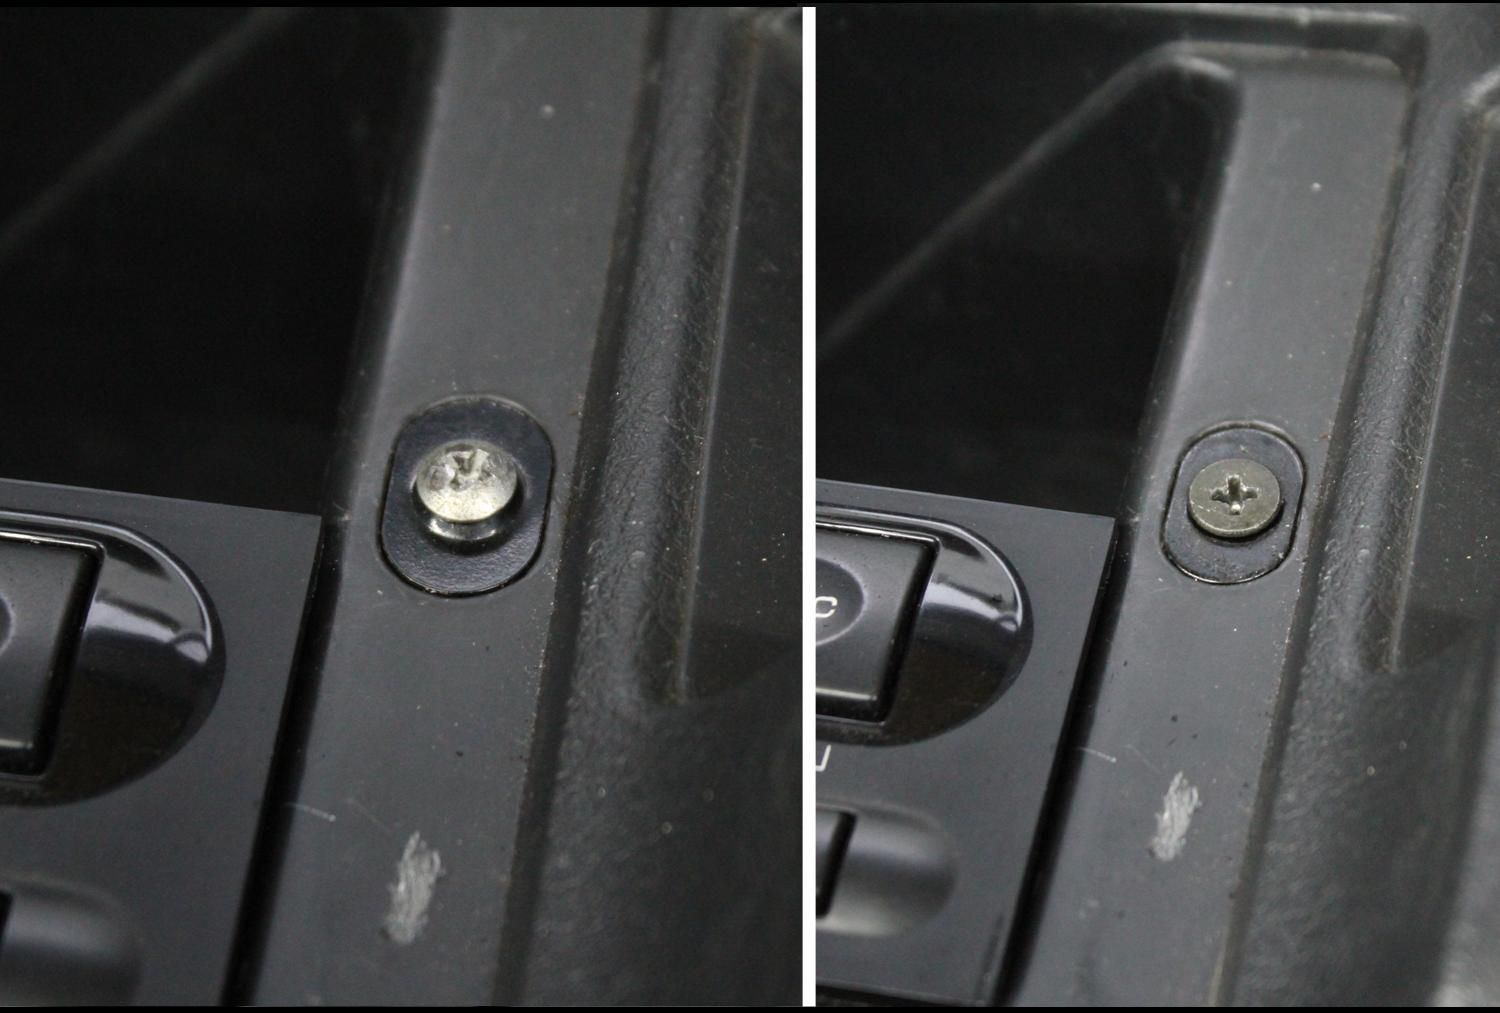
as simple as that, all i had to do was put the armrest back in place;
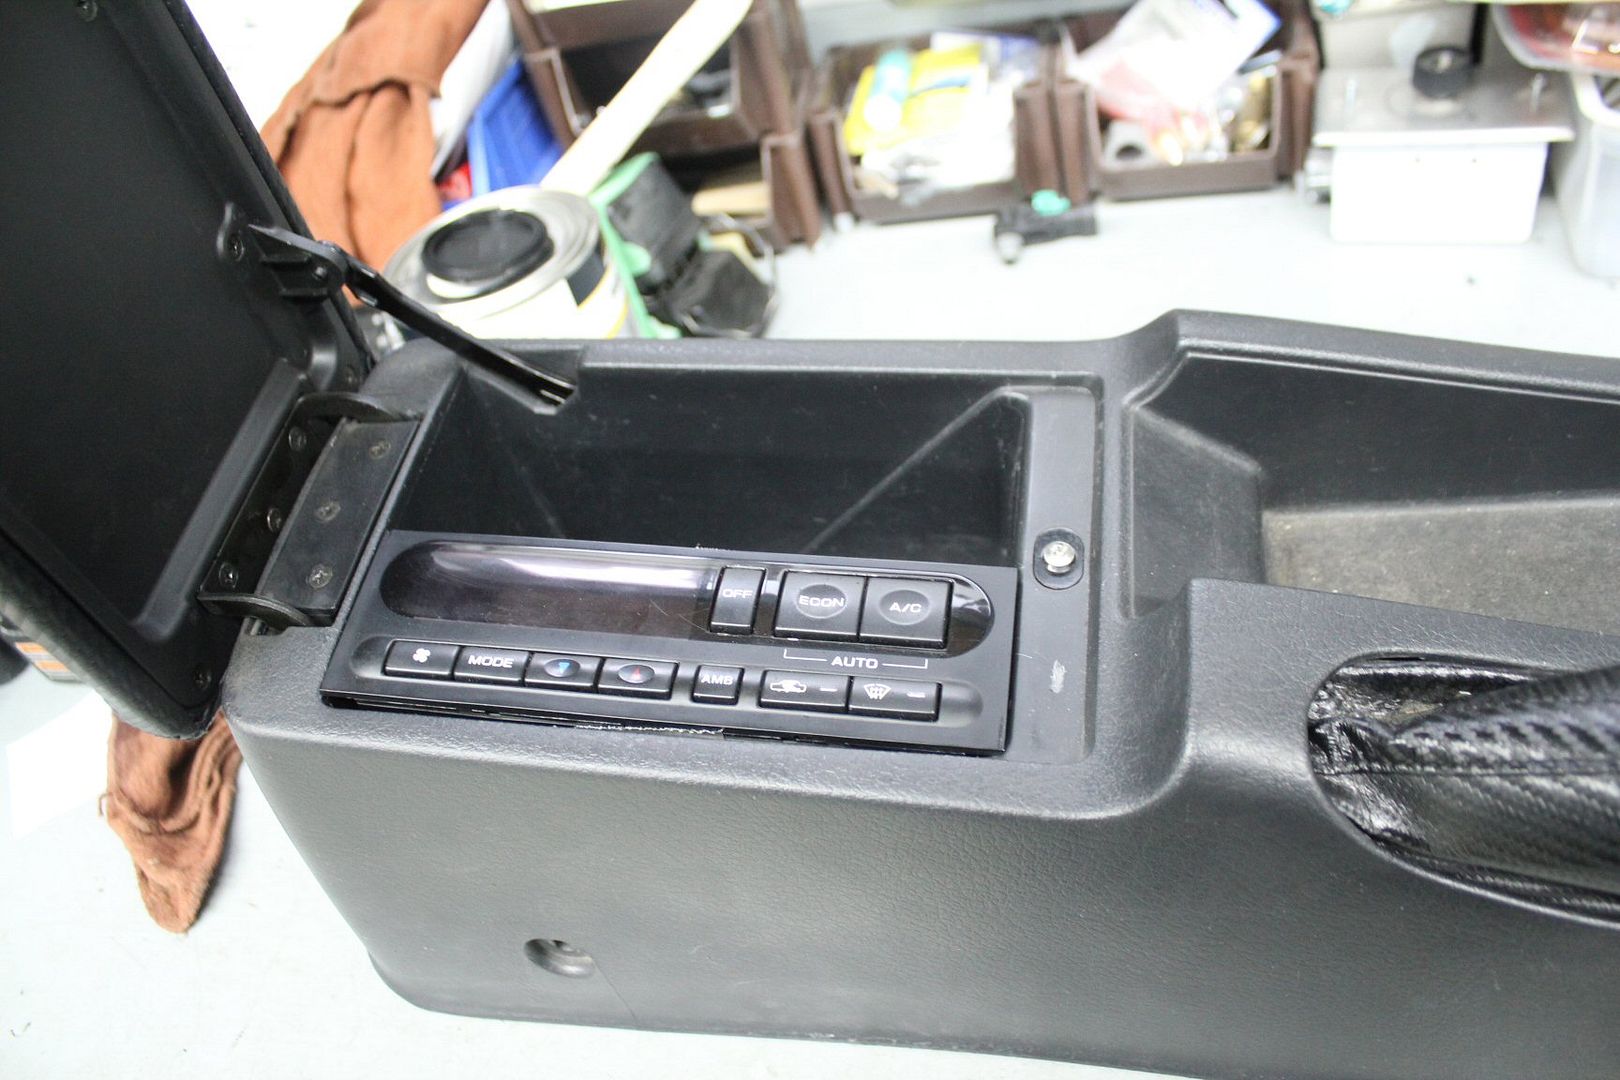
then i realized why the armrest always felt like wobbling, the screw it closes on was wrong, heh?
------------------------------
in other news,
i modified the brackets that were holding the catch can hose over the intake manifold,
i made holes that were threaded to avoid stupid nuts,
and cut them so the clamp would sit outside while beeing block from rotating,
the brackets were bent inward so that the hose would touch and be completely parallel,

------------------------------
and something much much more interesting,
i bought new tires for summer 2011,
i had used Falken Azenis and Yokohame Neovas in the past,
the Falken sucked in the rain and didn't stick enough, got greasy when really heated,
on the other hand the Neovas were incredibly grippy, but wore way too fast and cost a fortune
i was looking to get tires in the same "max" performance category, in the 275/40/r17 size
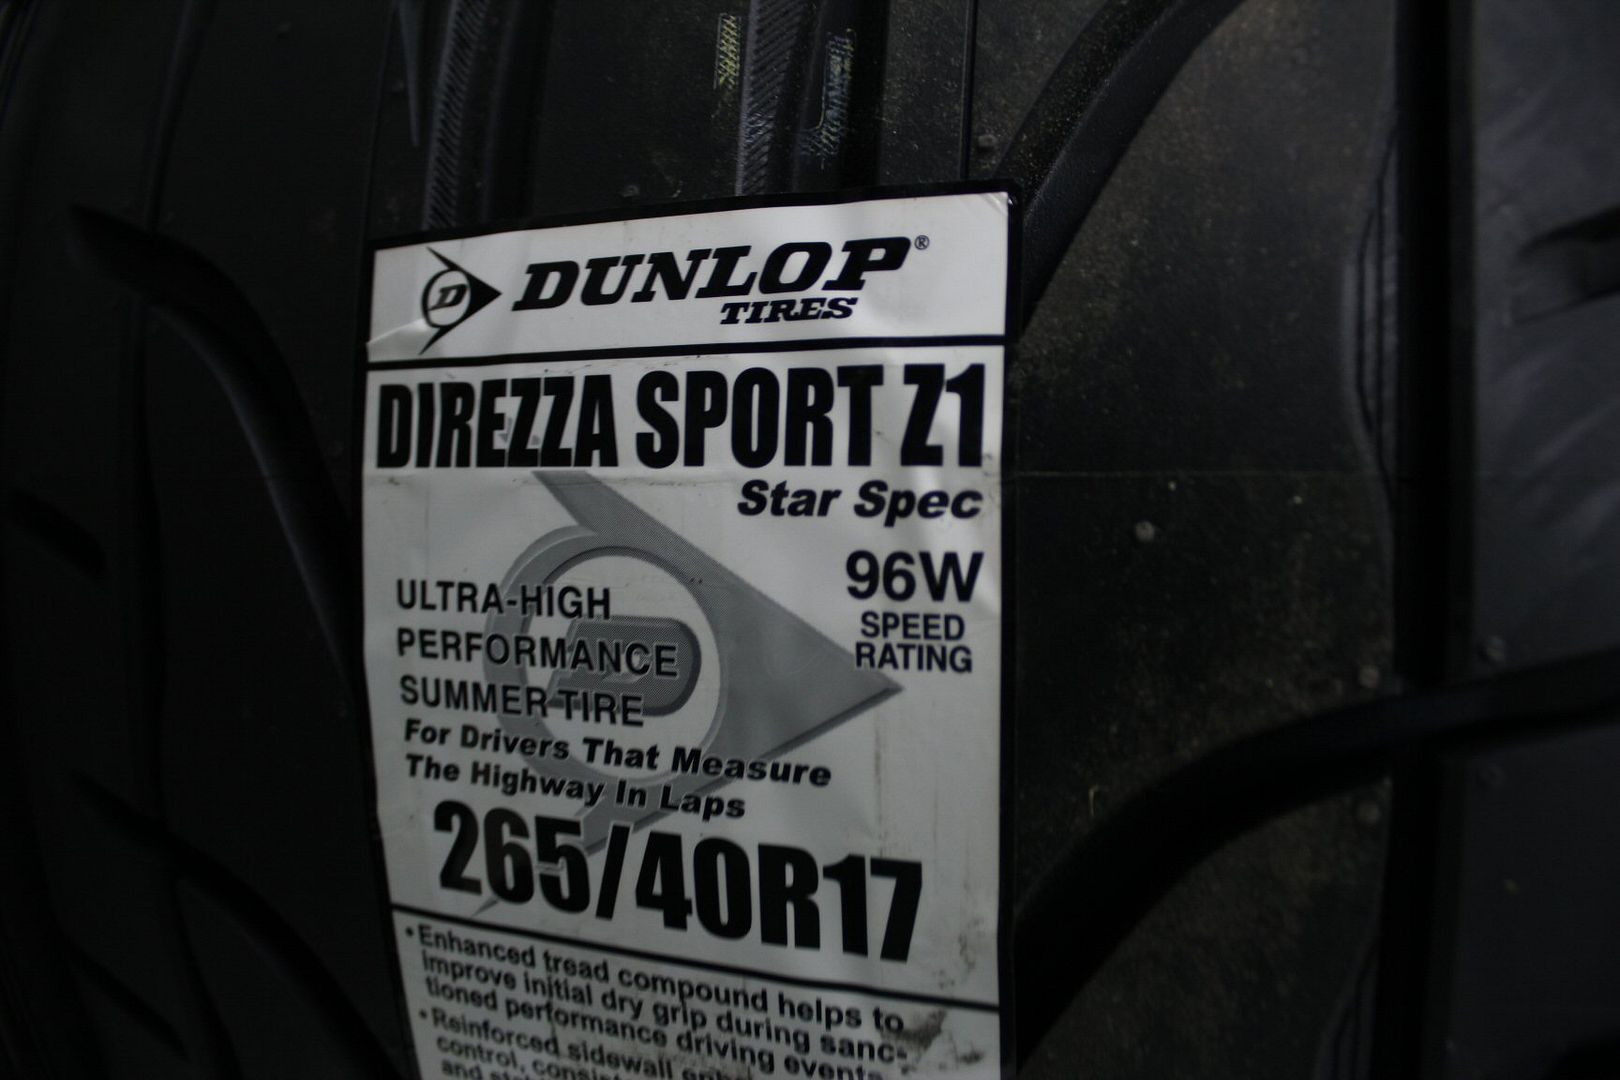
my choice would finally come between the Kuhmo XS and the Dunlop Star Spec
both had been proven great track tires and cost relatively the same thing (then),
but from what i heard from auto-x guys is that the Star Spec had really stiff sidewalls,
which would be great for setup where the tires would be stretched outward (narrower wheel like me)
and reading many many reviews online, i came to the conclusion that the Dunlop wore less and were better in the wet,
better road tires in general
on the downside, the Dunlops were only available in 265/40/r17
but i was ready to let it pass for good tires
the best quote i got in canada for a set of 4 tires was ~1400$ tax inc (friendly price too!)
i ended up buying them from the USA from Tirerack at half the price,
but to avoid the huge brokage/shipping costs,
i had them shipped to a warehouse just on the other side of the border in New York state,
all i had to do was drive down there, cross the border, go to the warehouse 1km away and pay a certain fee,
i think it was 8$ per package (then) and i had 2x2, so 16$
heres me picking them up..... yeah they do ALOT of tires for canadians;

then cross the border back into canada WITH the invoice,
go inside and manually pay the taxes and brokage fees (7% for japanese made)
and get back home
calculating the cost of the tires, shipping inside the states, warehouse fees, taxes, brokage fees, and even gas, it cost me 950$ in total, a 450$ saving
and... i got back home within 2 hours !
(the border gates were completely empty on a thursday evening, both ways)
Dunlop Direzza Z1 Star Spec 265/40/r17
my new tower of power
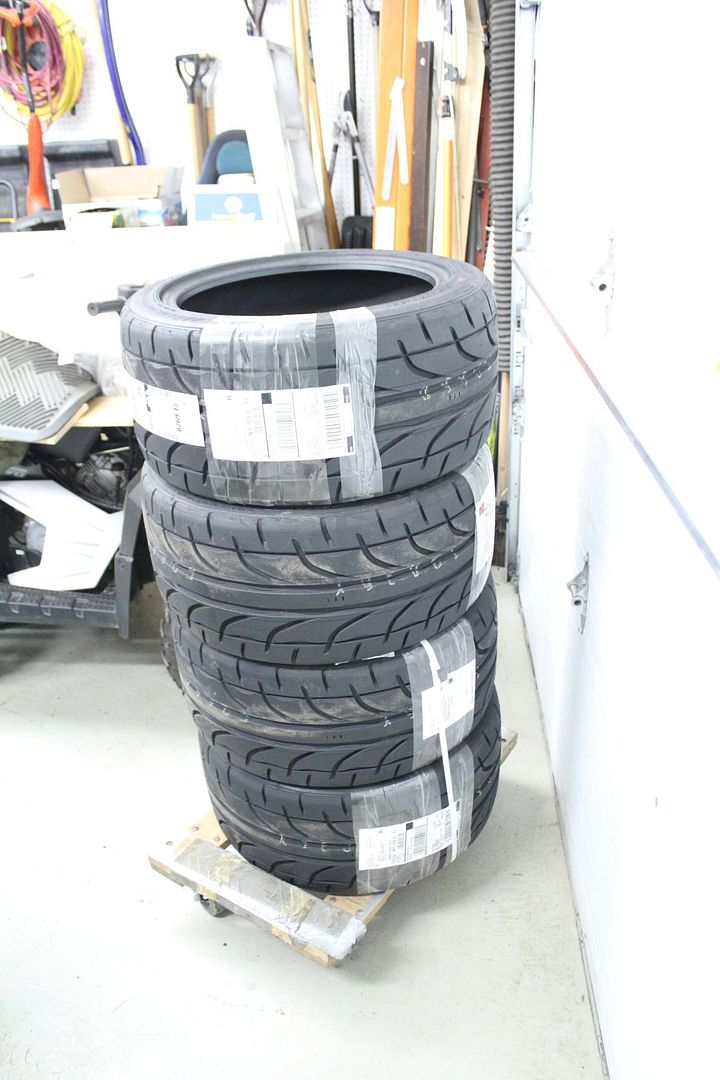
the threads are so agressive and deep, great for evacuating water !

so thats it for week no6
the interior is done, next up is some more exterior carbon mods
more info in the week 7 update
stay tuned !!
thanks for readingLast edited by frankiman; 03-19-2012, 11:19 PM.Leave a comment:
-
Chapter 43 - Interior Works continued
week6 - 2011, part 1/2
disclaimer :
the following story depicts actions that occured between June 6 and 11 2011
information is recalled purely from memory, give me a chance
if you've read the last chapter, you know i was hard at work making a custom rear seat section
you have to remember that this setup is not for seating people,
but since i knew my back seat couldn't be used anymore with my cage in place,
and i didn't want to simply remove the back seat and have to look at the ugly inner sheet metal,
so i decided to make something that looked oem, was much more practical but still lighter than stock
with the way the OEM GTR rear seats are its an assle to store anything on them,
but with the much thinner and flat panels, alot more stuff can be stored behing the front seats
last week i had actually finished the install of the new panels, but some bodywork could still be seen in some places,
so i cut up a couple more pieces of fabric that i glued in those spots,
the middle and the inner fenders (pictured later);

also, this is how the surface of the panels looked when screwed into their support;
------------------------------------
back to the cage,
the week prior, i had finished setting up the cage and was ready to paint it,
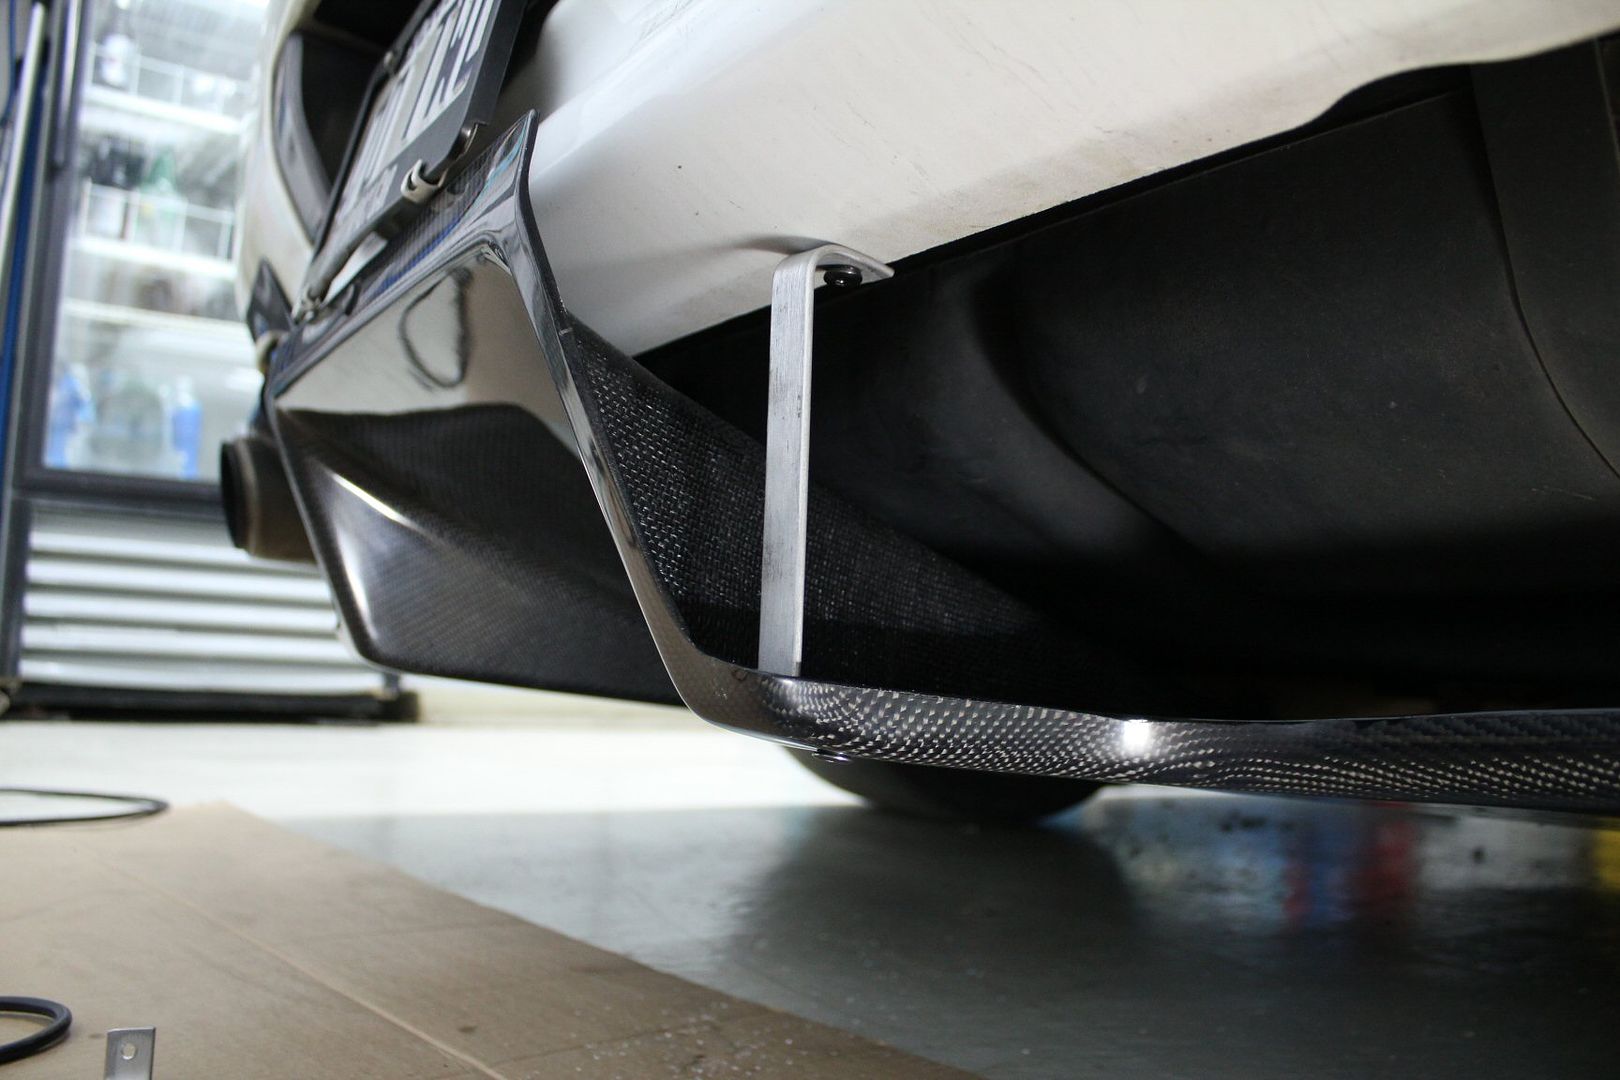
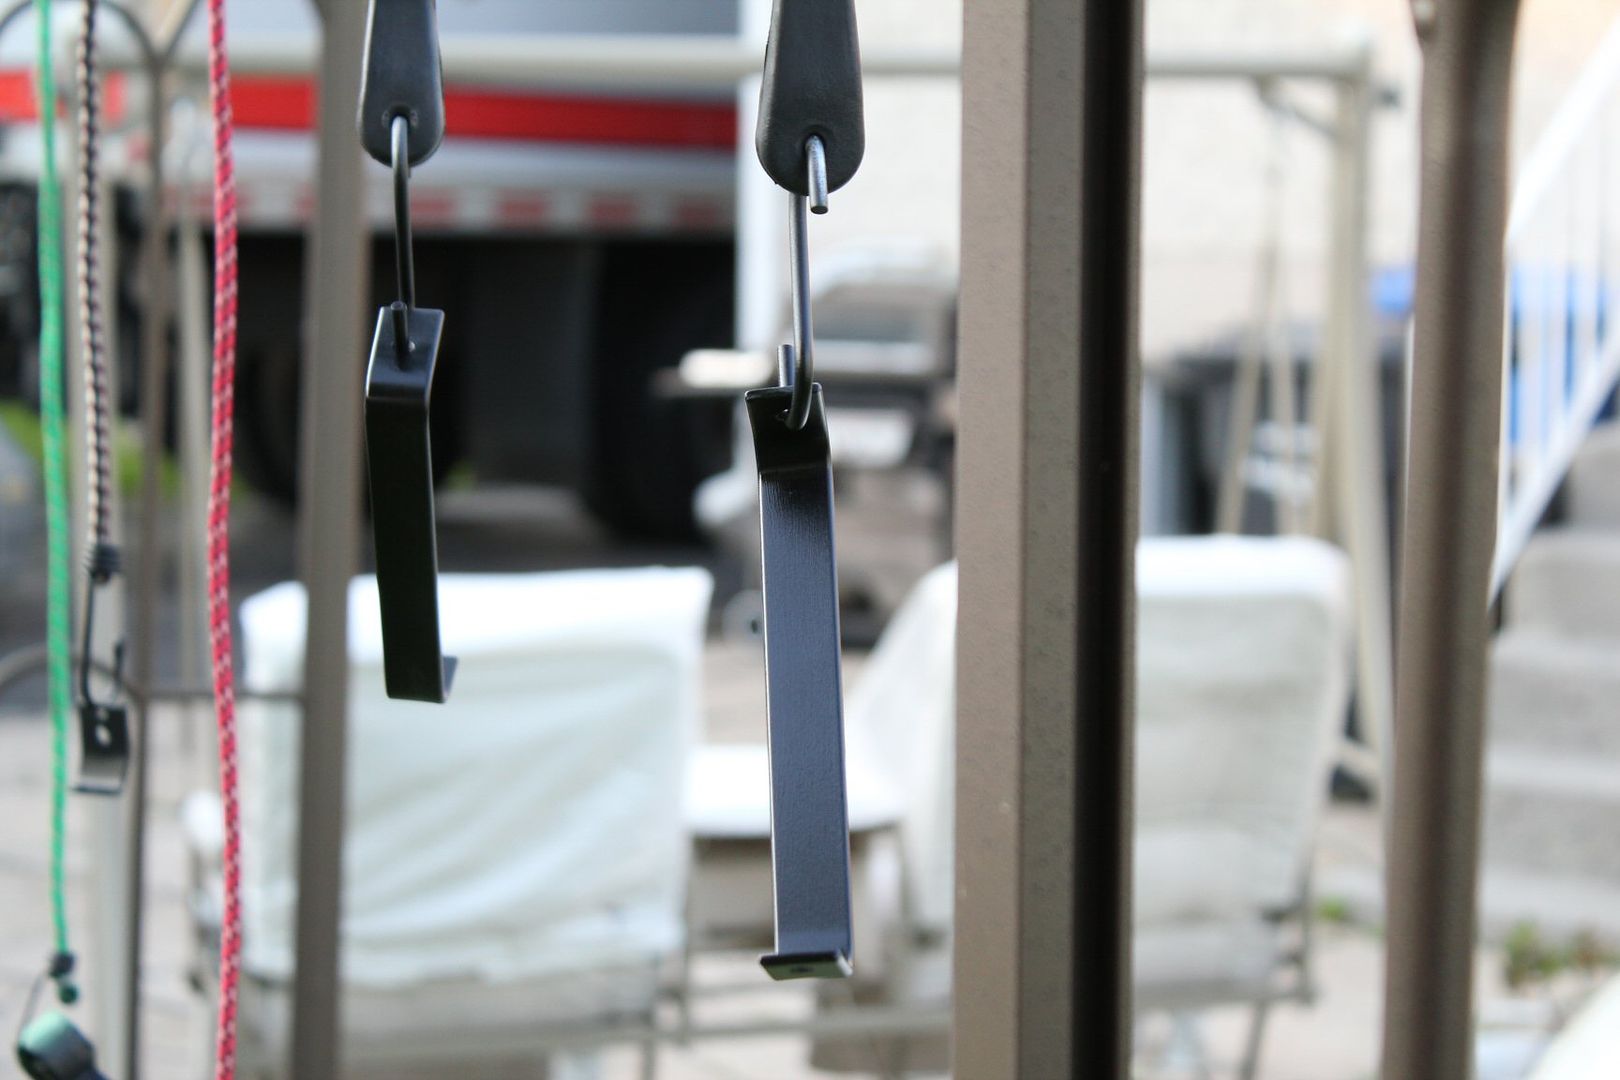
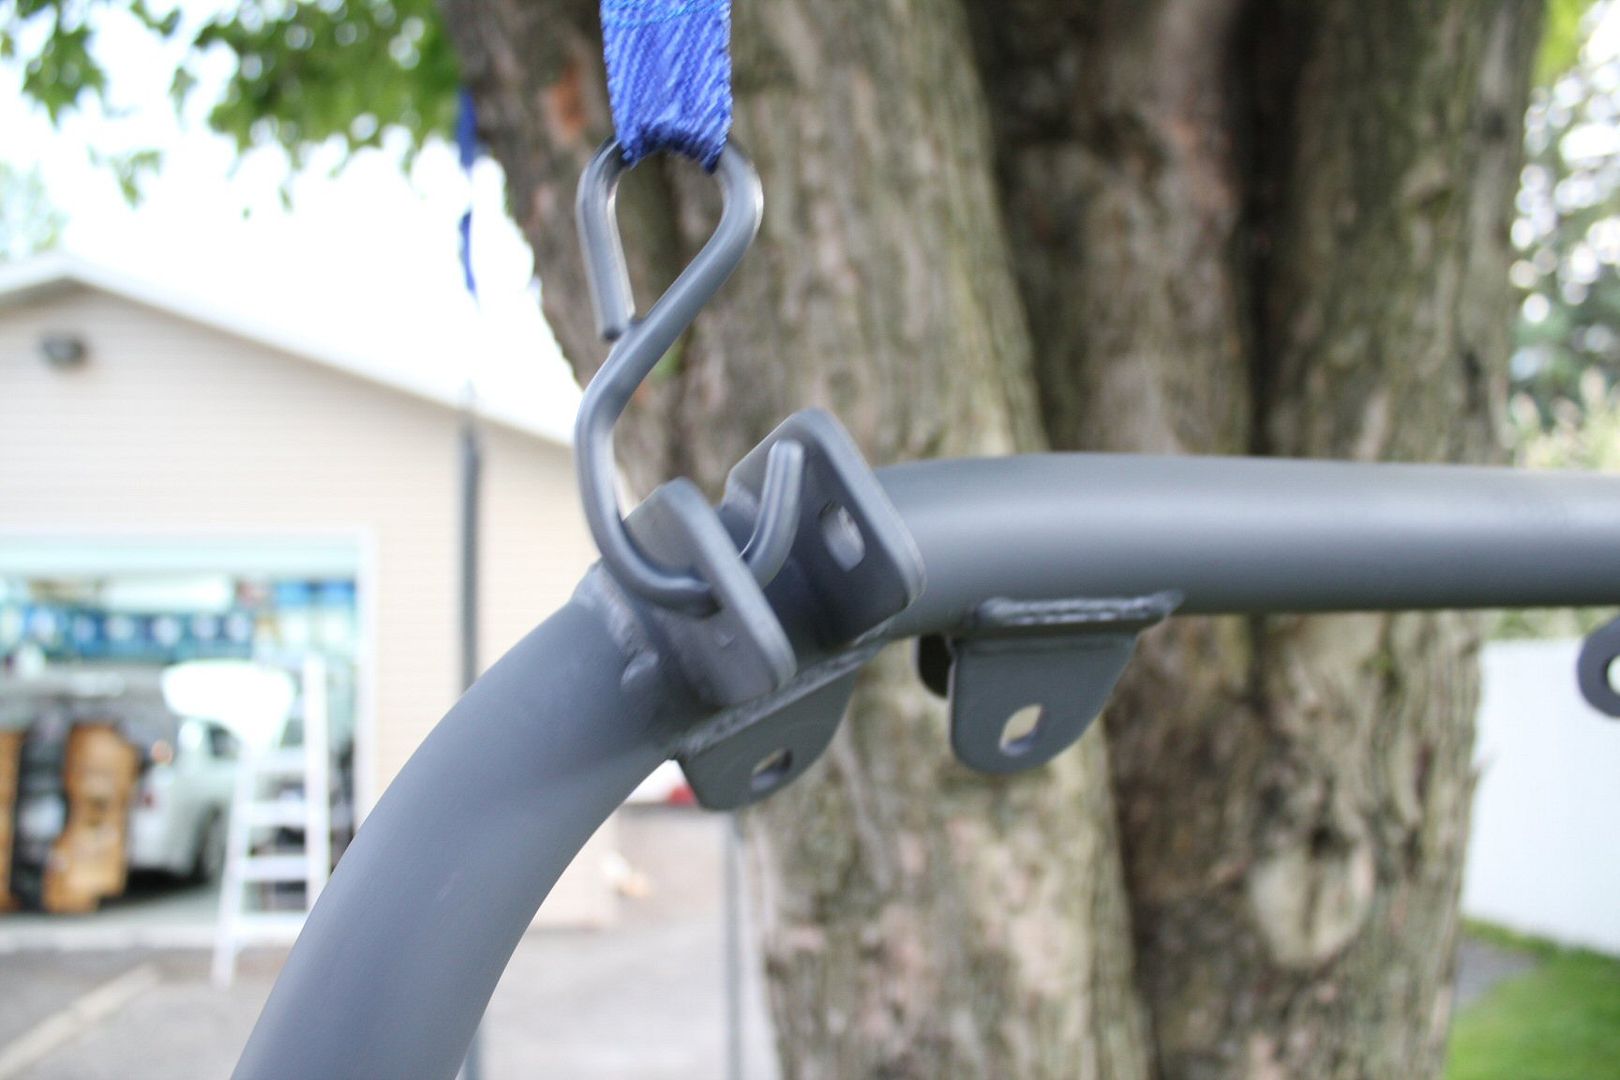
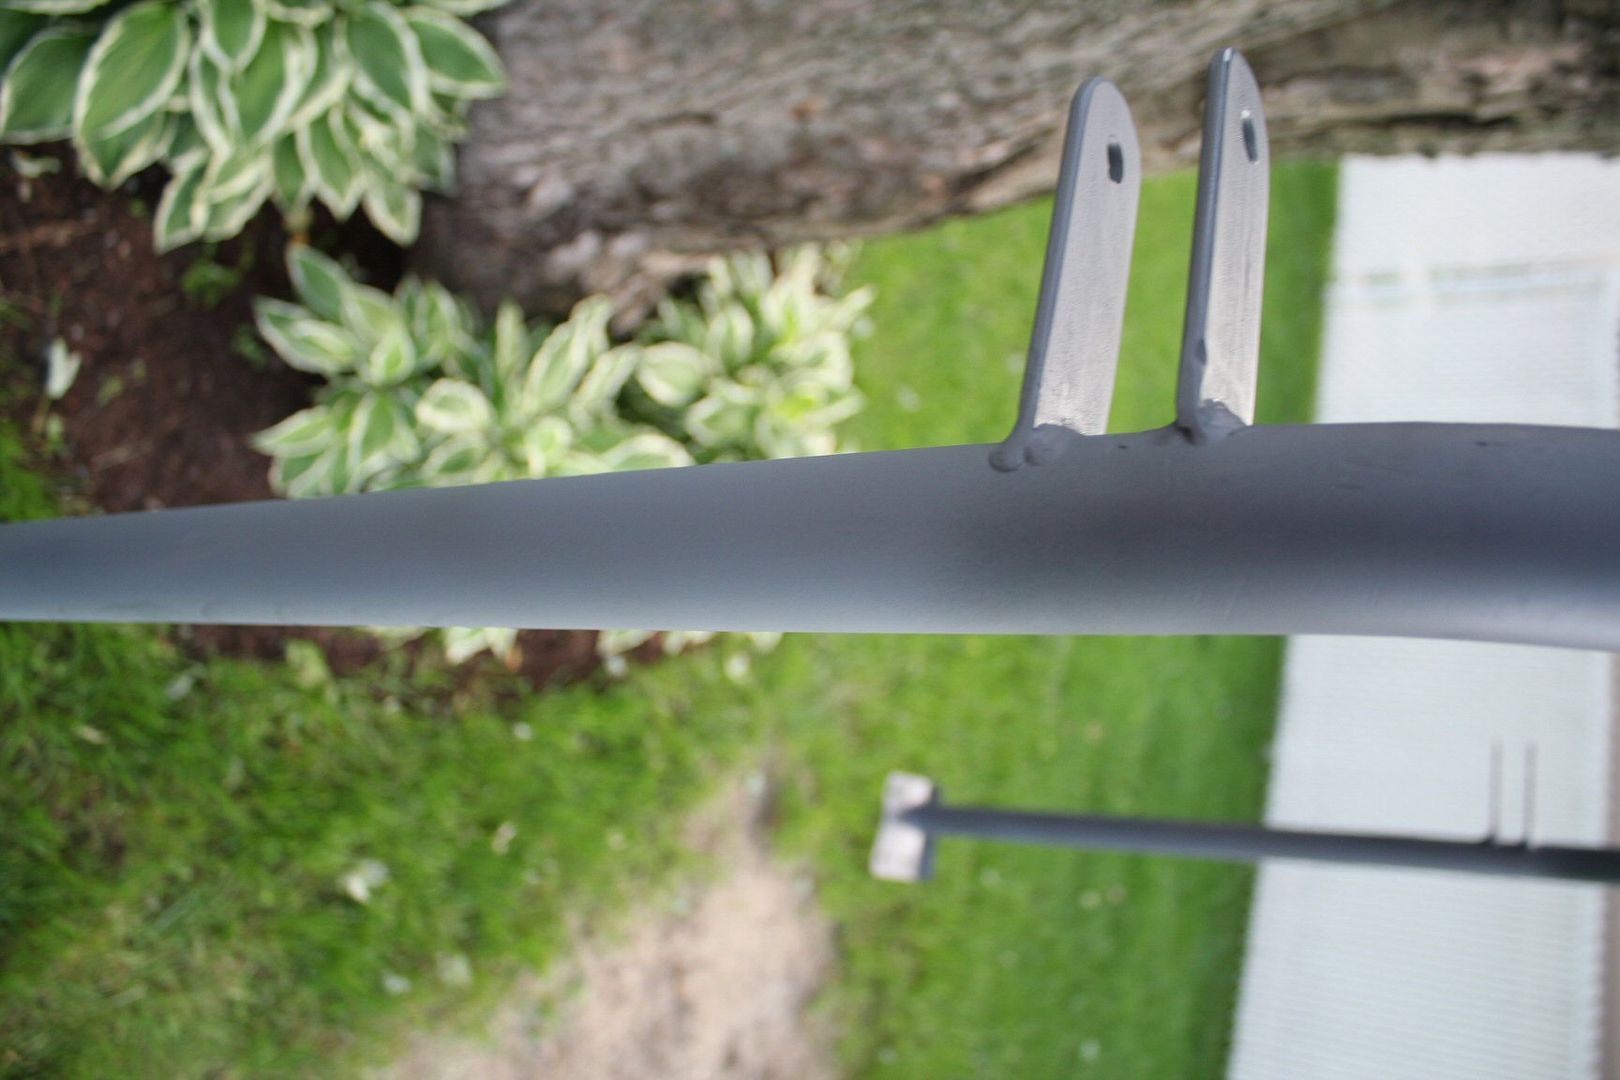
i sanded all of the parts down to a smooth matte surface,
then outside with a ladder and used a bunch of hook straps to hang all the cage parts in my good ol' maple tree;

i started with 2 coats of primer;

and tried to get the paint in every little spaces,
but doing this outside meant i had to work with a good amount of wind that day,
which made it all much more complicated;
after that i started spraying Tremclad industrial semi-gloss black paint;
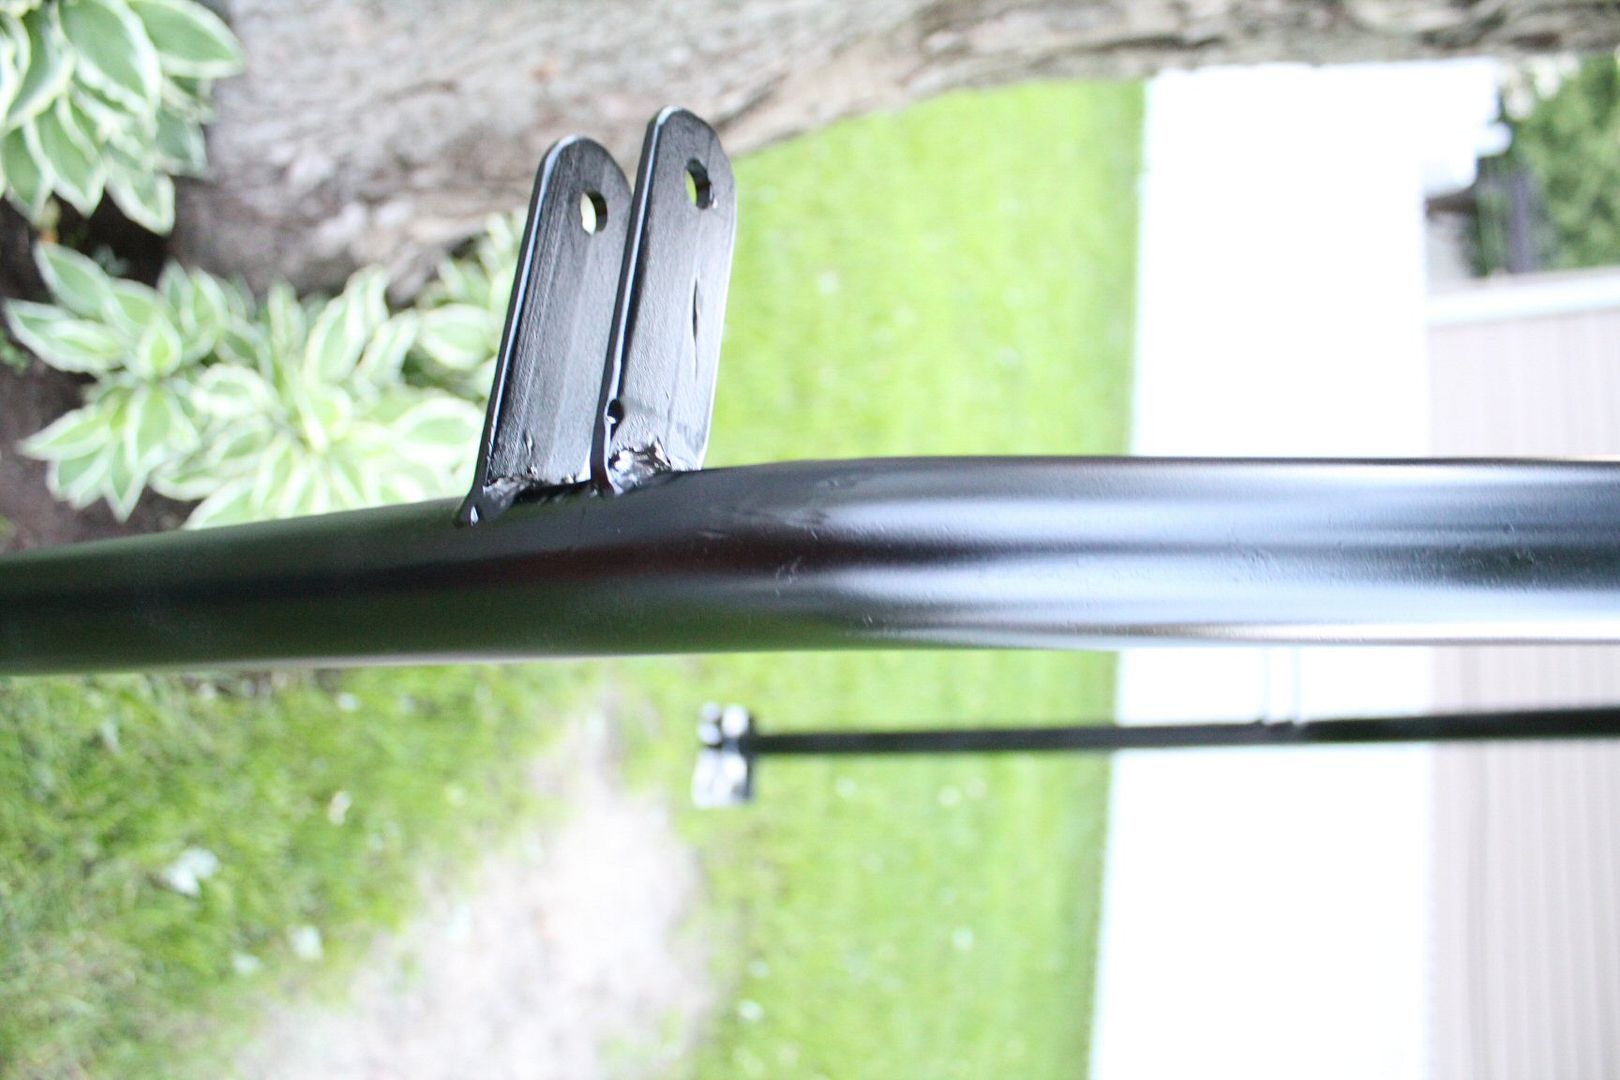
spraying all the parts in the wind took about 15 minutes for each coat,
for good durability i wanted to have at least 10 coats on there,
but with so many parts to paint and the day coming to an end,
i quickly realized i was going to run out of two things;
1- daylight
2- paint
so between two coats, i quickly drove to home depot (which is a blocks away) and got some more cans before it closed;

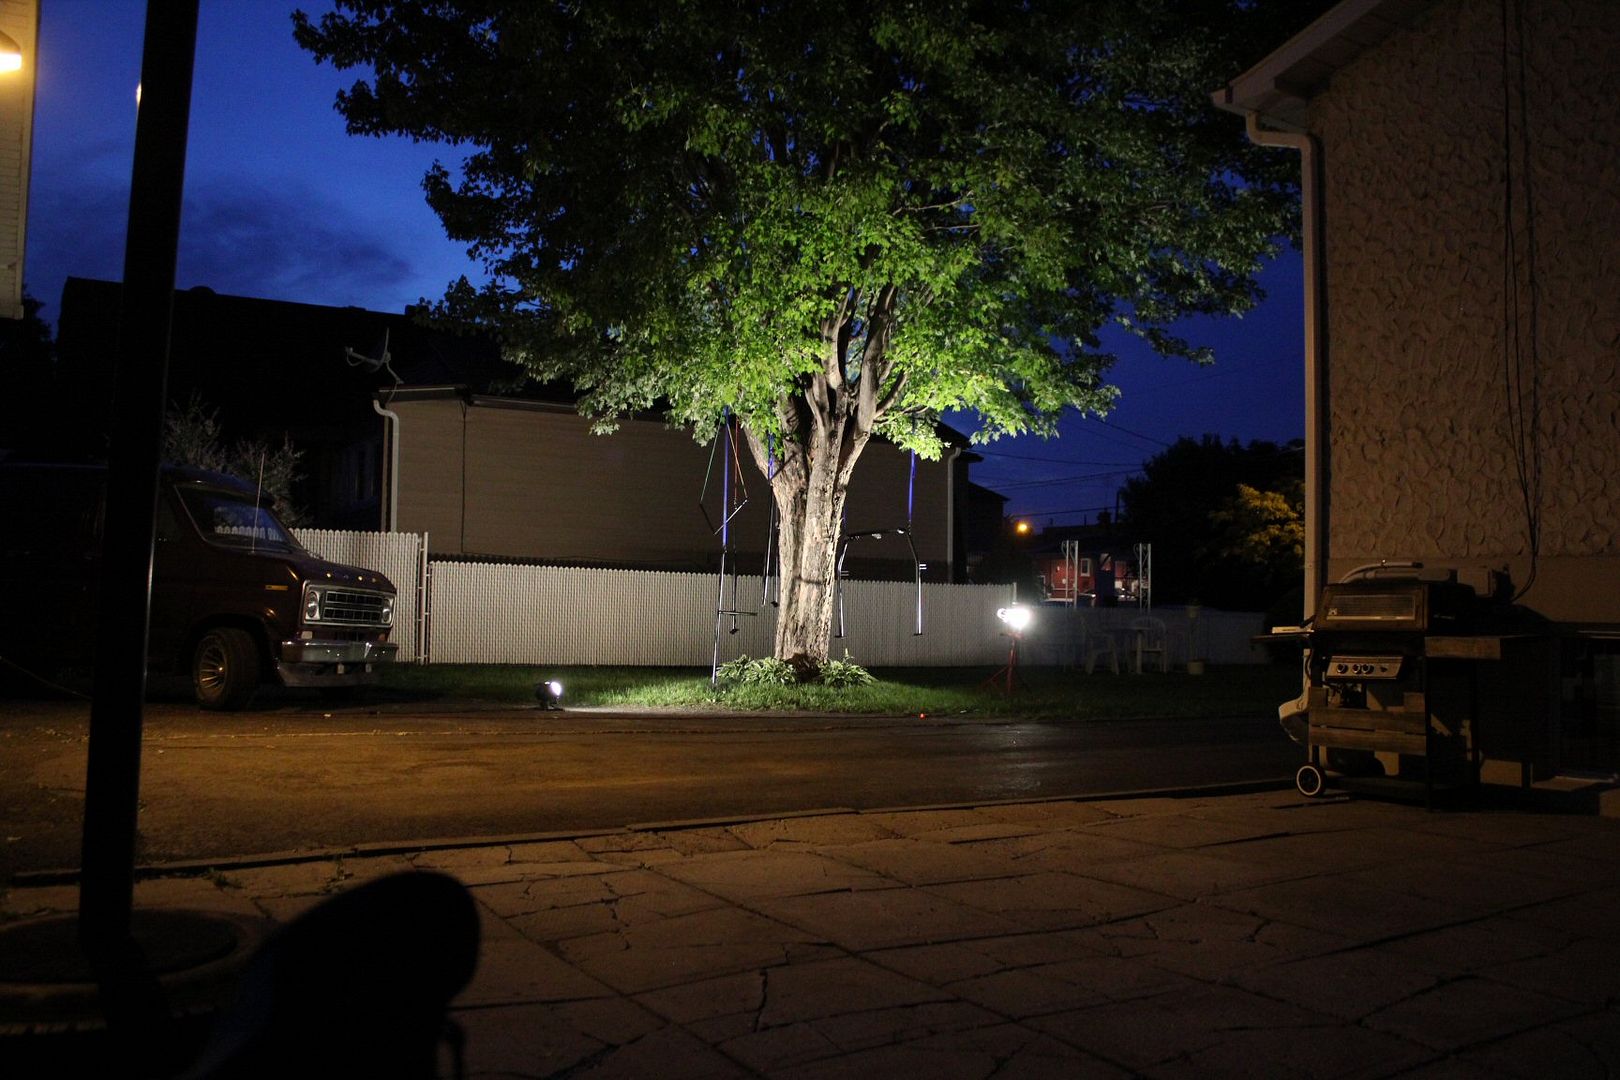
and since i didn't want the paint to dry up and start again the next day, i decided to just keep painting it in the dark,
again between two coats, i grabed a bunch of 300 watt lights with electrical cords and setup 3 lights around the tree;
(don't be fooled by the image, i ajusted the camera for more light but it was almost completely dark at the time)

i kept going well past 11pm, just sitting in a lawn chair drinking beer,
my neighboors were probably wonderiing wtf i was going that late lighting up my tree;
after it 10 or so coats, when it was dry to the touch, i took it back inside the garage to dry overnight,
i setup a clever type of clothes line to have all the pieces hanging away from the car, in front of the fan and unable to hit each other if something started to sway;
in total I used almost 5 cans of paint
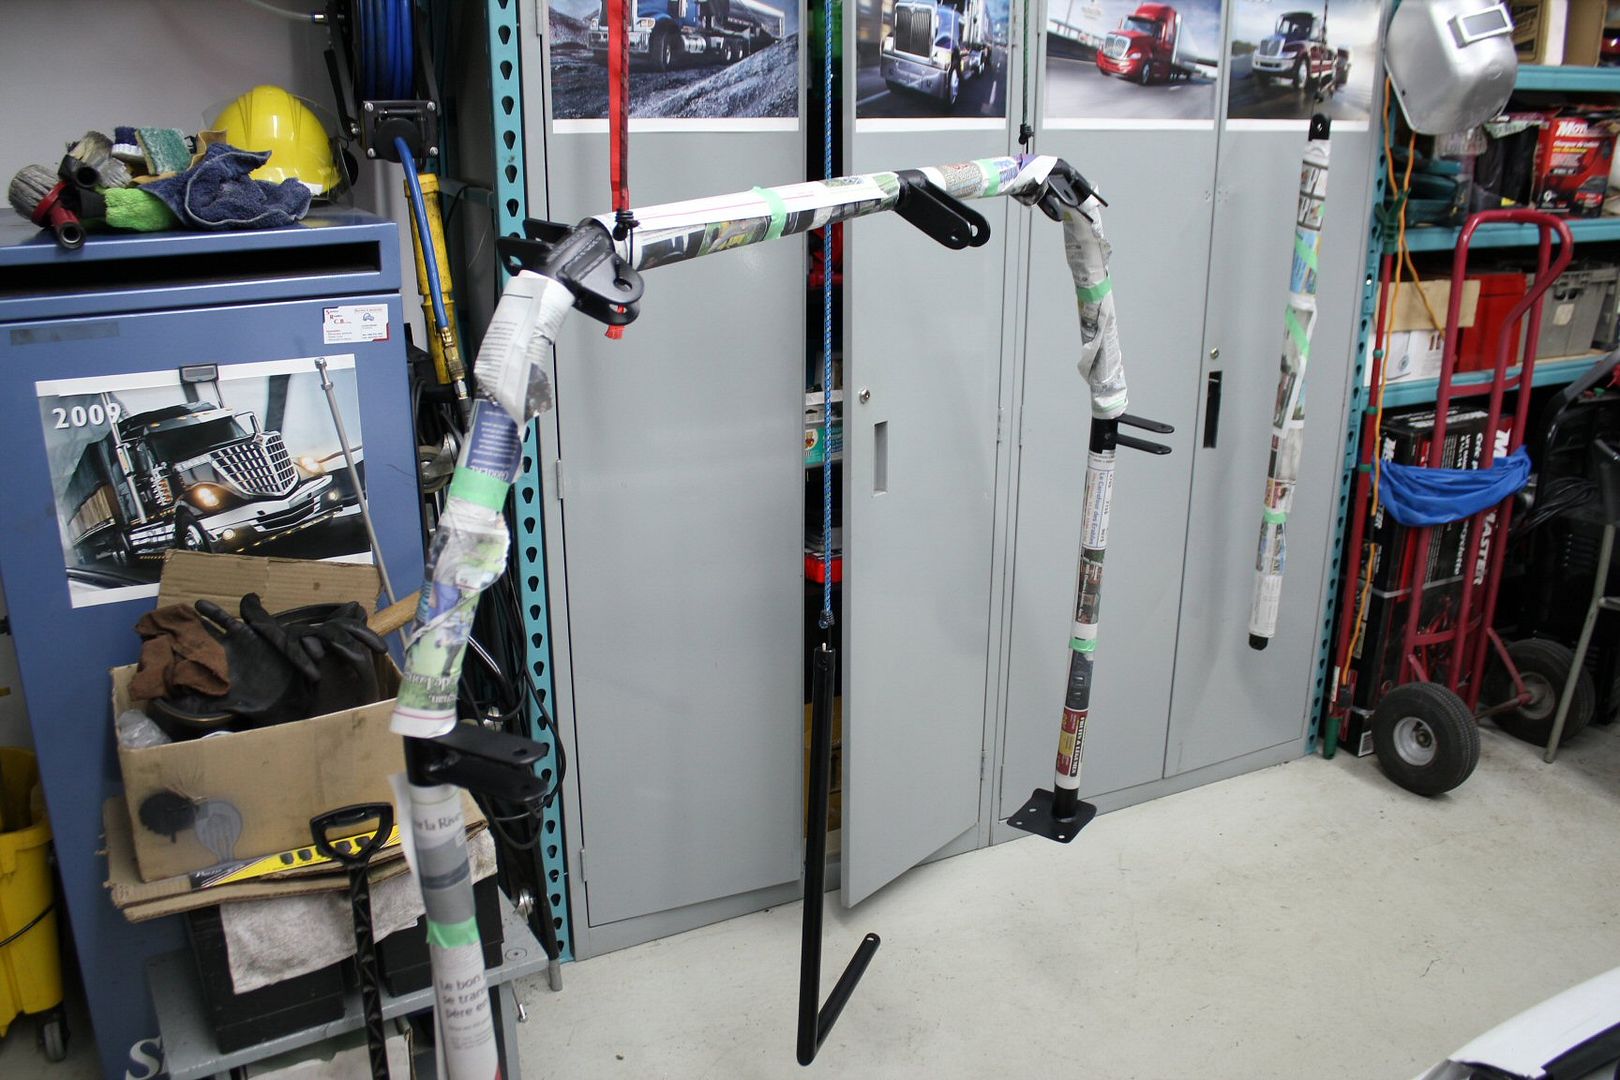
when i got the chance to work on it again, it was 2 days later, so the paint was perfect,
but since its semi-gloss paint with no clear coat, it was still very vulnerable to scratches,
so i wrapped it all in newspaper before putting it back into the car;
but now none of the holes had been drilled in the floor and fenders to bolt the cage in,
so i placed all the pieces where they would be,
and using a super practical Mastercraft right angle drill in got from the in-laws, i was able to drill in the sheet metal through the mounting holes of the cages bars while beeing very uncomfortably twisted working in a tight environnement,
thanks drill;

with the fabric, it looked seamsless;
this is the hardware i would use, high grade bolts with nylon locknuts,
and rubber washers on the underside to make it water tight,
i wouldn't want water comming it from the fenders now would i?
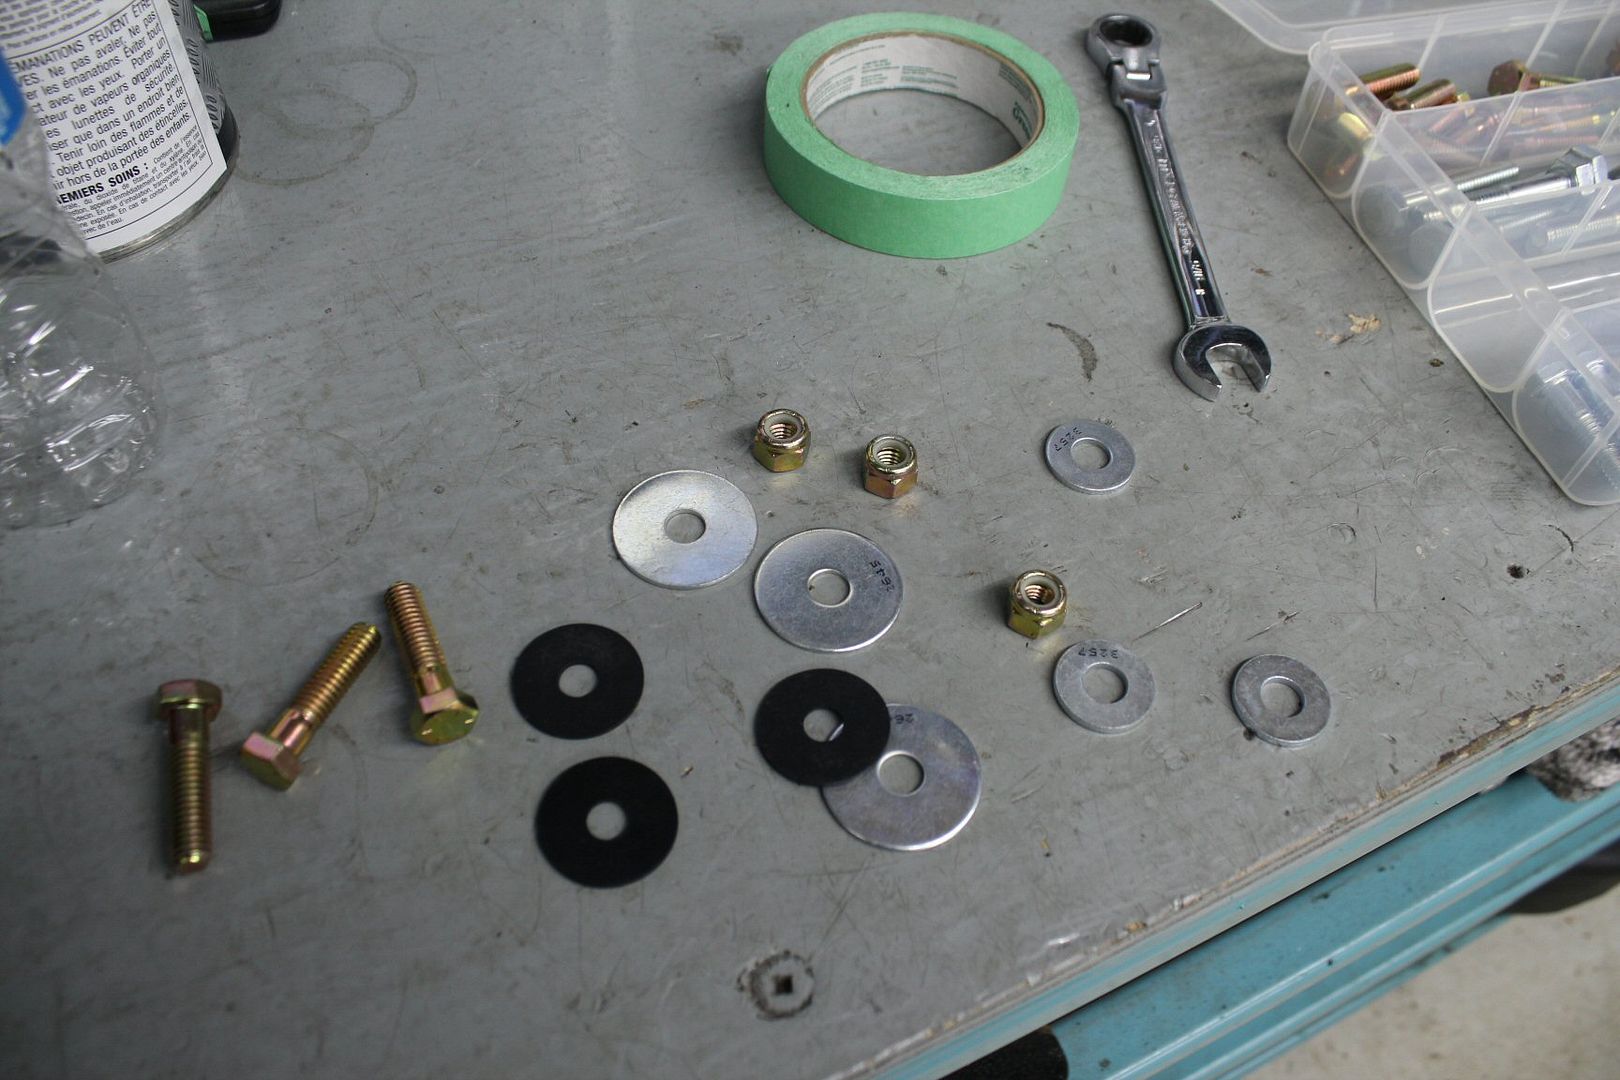
the bolts would obviously be upwards, with the bolt heads sitting just over the rear tires inside the fenders;

the floor it was easy to drill through, was since its an uneven surface because the sheetmetal is ondulated for ridgidity,
its hard to drill exactly where you want to since the drill bit always wants to go into a crevasse,
and there is alot of insulation material that gets stuck in the drill bit too, even stopping it from spinning,
but finally, holes were done and the hoop was bolted down...
with the large backplates underneath;
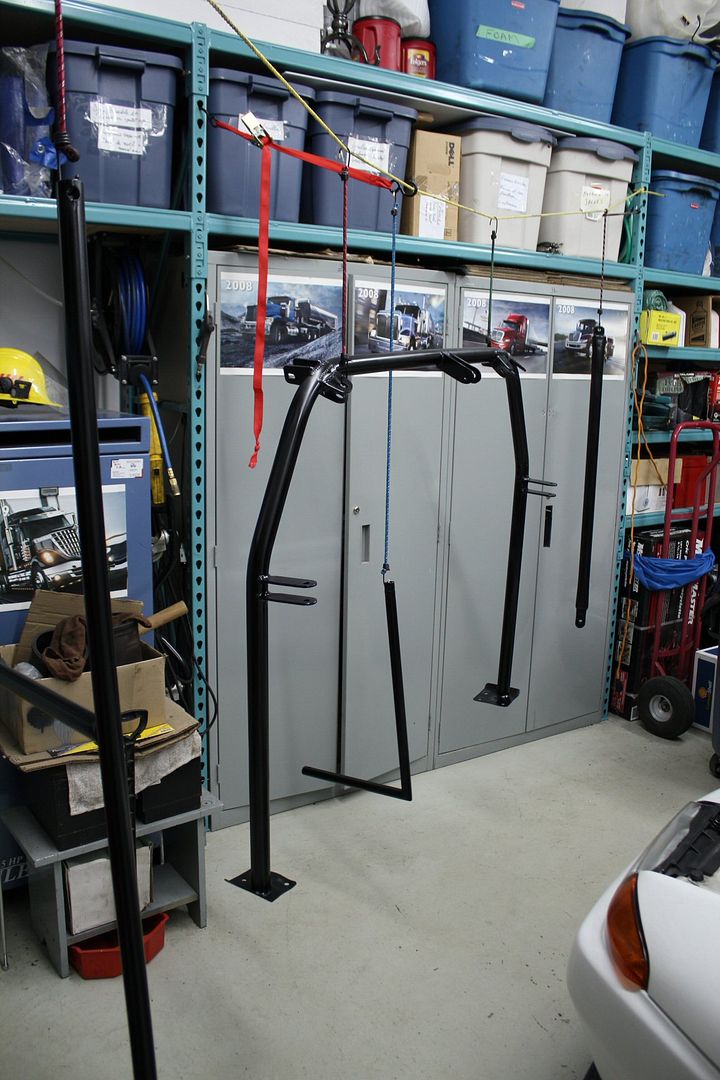
then the newspapaer wrap came off and all the main parts were bolted to each other;

this was the final result,
(the driver-only harness bar idea was later dropped because of its lack of ridgidity in favor for the full width bar,
it looked so great, and the way i made it you can't see any sheet metal, not even the holes where the harness go through;
after that i added the strap bar, now its much easier to understand my vision of this bar
i glued a little rubber pad on the inside of the U bracket to make sure the bar wouldn't slide up and down the hoop,
with both the lower and upper rods, i can strap any big object in the back seat while making sure it doesn't move using straps;
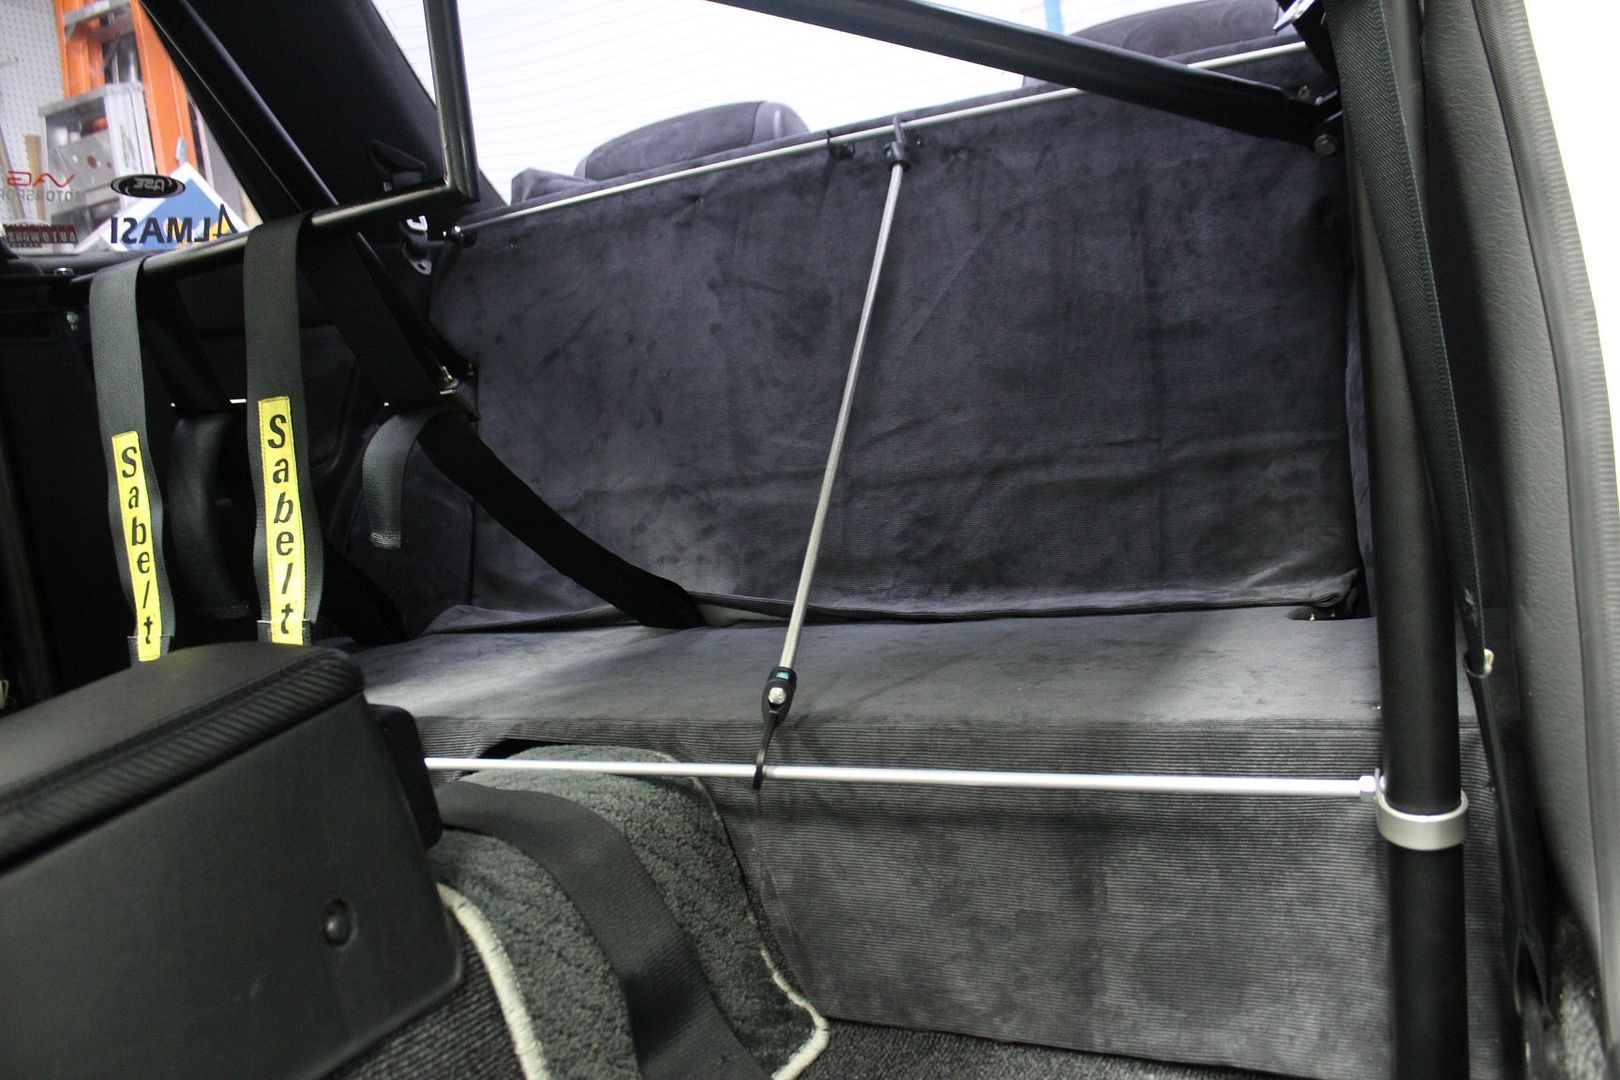
for example, heres a crappy picture i took with my cellphone much later in the summer during a roadtrip with my girlfriend,
we put a cooler, bags of food, pillows and blankets back, it was very useful;

i later changed the bolts inside for pure Ti ones, for obvious reasons;

that was that for the cage install
keep reading for more --->Last edited by frankiman; 03-19-2012, 11:01 PM.Leave a comment:


Leave a comment: