-
What Tires ya gunna run this year Franki?
Sent from my BlackBerry 9700 using TapatalkLeave a comment:
-
karel chladek
i ressemble � �a maintenant;
MB battle bronze trop large

Leave a comment:
-
My friend here in saguenay (quebec) bough a Mark2 with the same color but MB battle bronze wheels, is this the same car ?
There's not 10 mark2 in Quebec.Leave a comment:
-
Chapter 39 - That good ol' feeling of hard work
week2 - 2011
disclaimer :
the following story depicts actions that occured between May 1st and 8th 2011
information is recalled purely from memory, endure with me
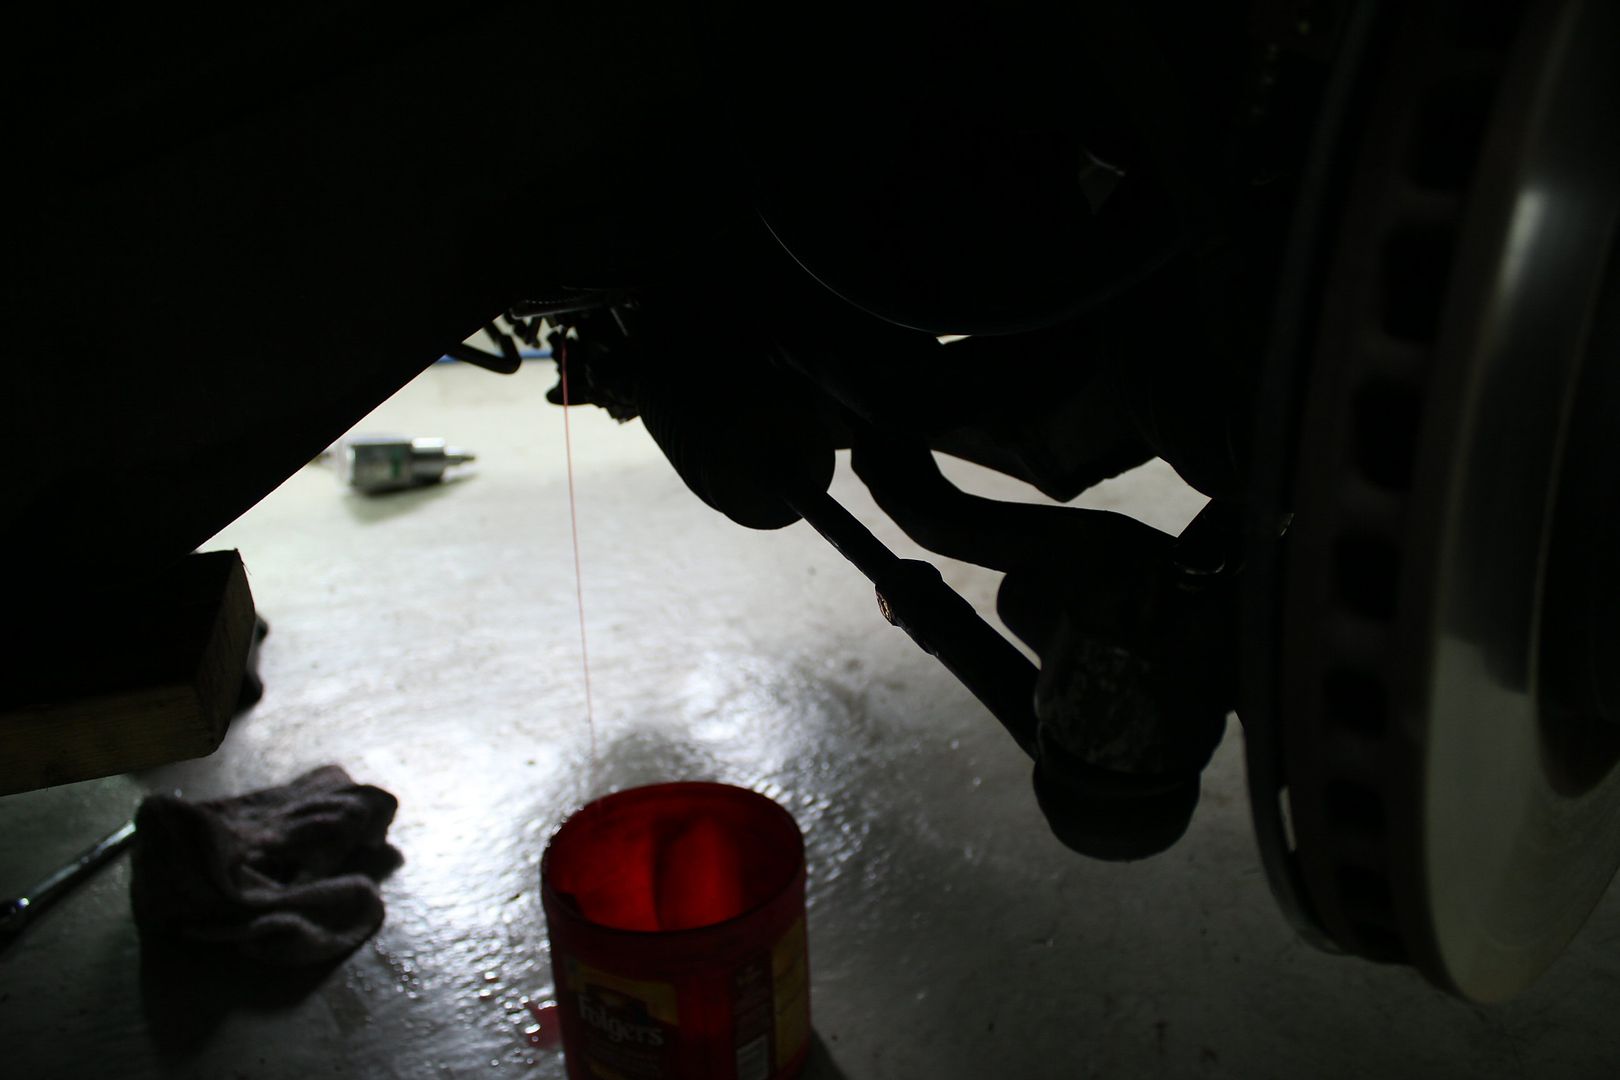
on week 1, the old oil had been emptied when the turbos were removed,
but it wasn't actually, not all of it,
since some oil was still stuck between the filter relocation plate and the oil cooler
but it was all thought out in the design of my oil cooler setup,
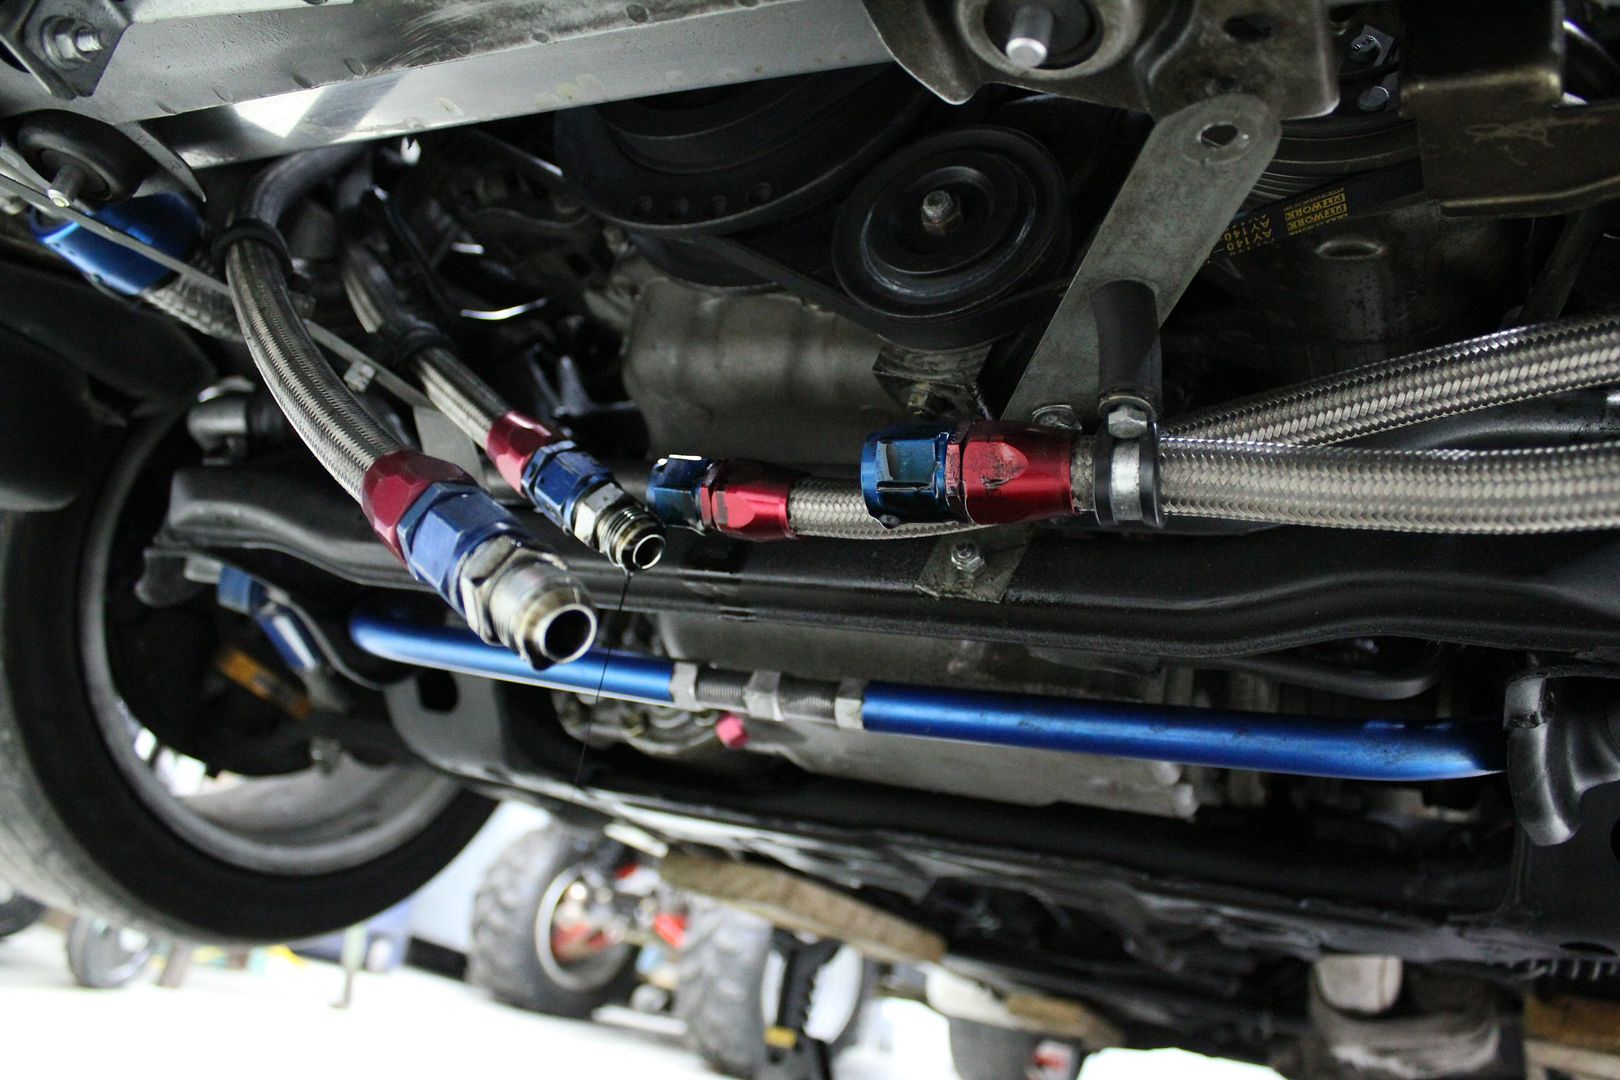
you see, the -10AN lines that join the filter to the cooler aren't whole
i made them in two sections each, that join directly underneath the car, almost in the same spot, where they are easily accessible
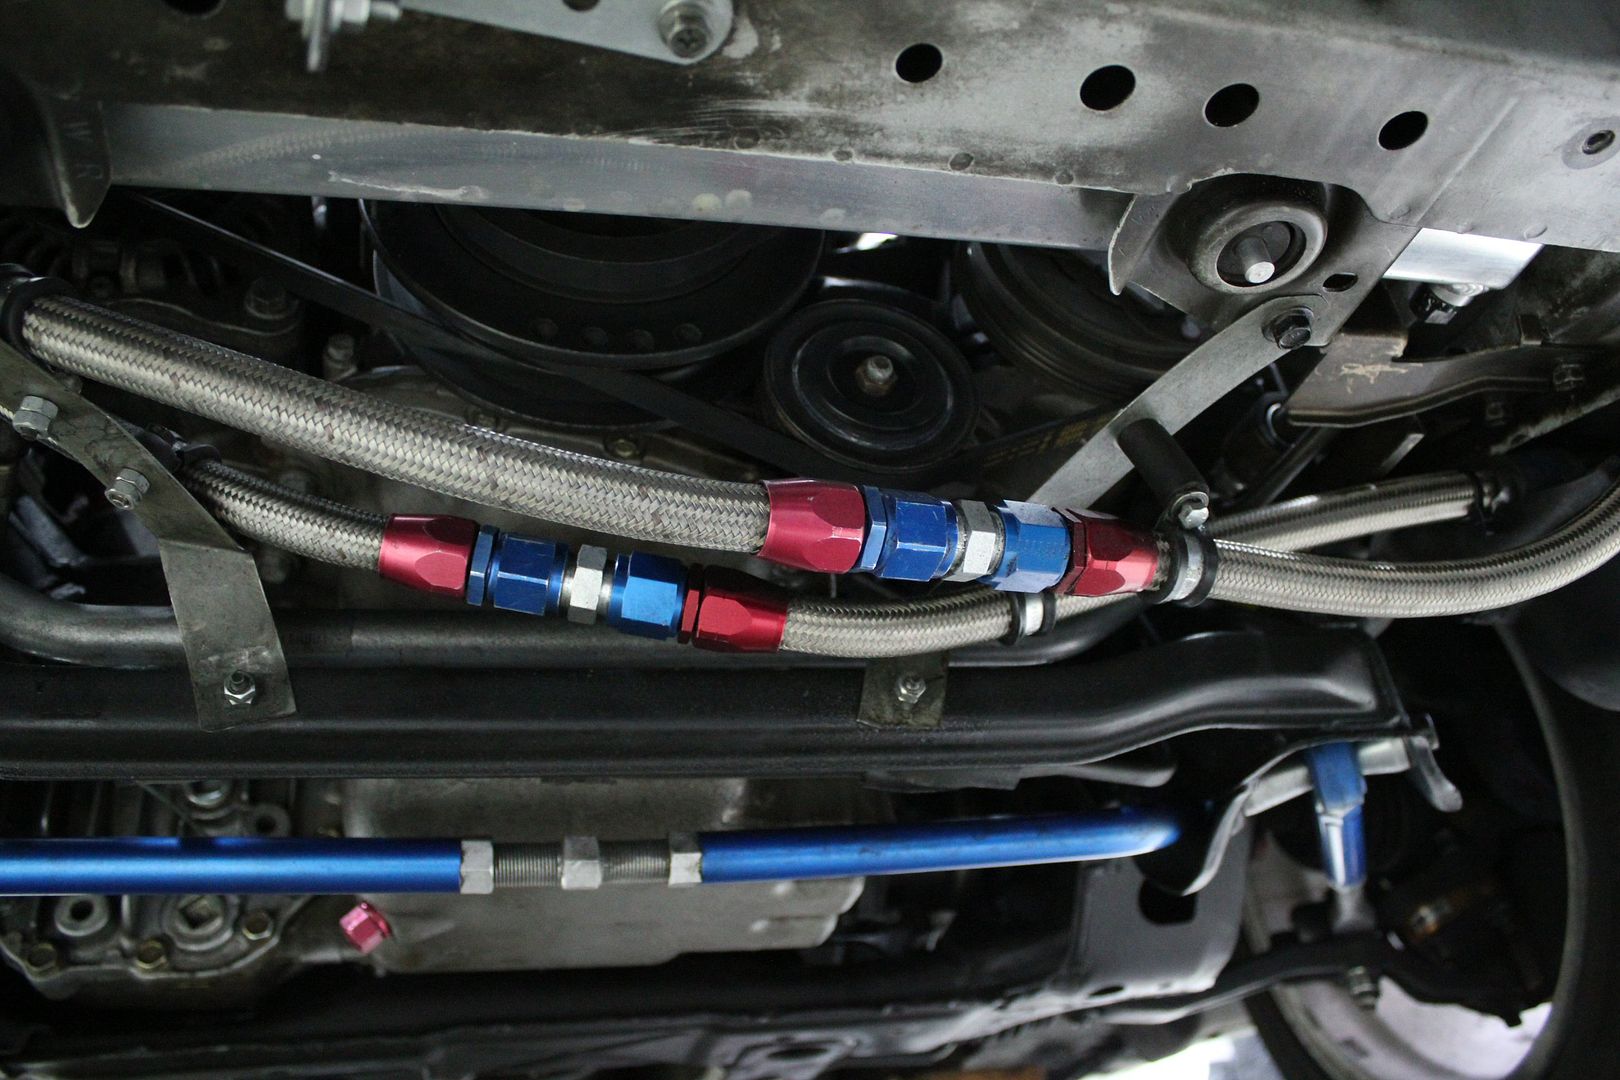
because of this, the lines could simply be seperated in the middle to empty for remaining oil,
you just let gravity work its magic (because gravity is magic, Newton was wrong )
)
but the cooler is pretty slow since the passages inside it are so small, it creates small pockets of suction,
so i found that pushing a low amount of air (~40psi) in one side of the cooler helped tremendously;
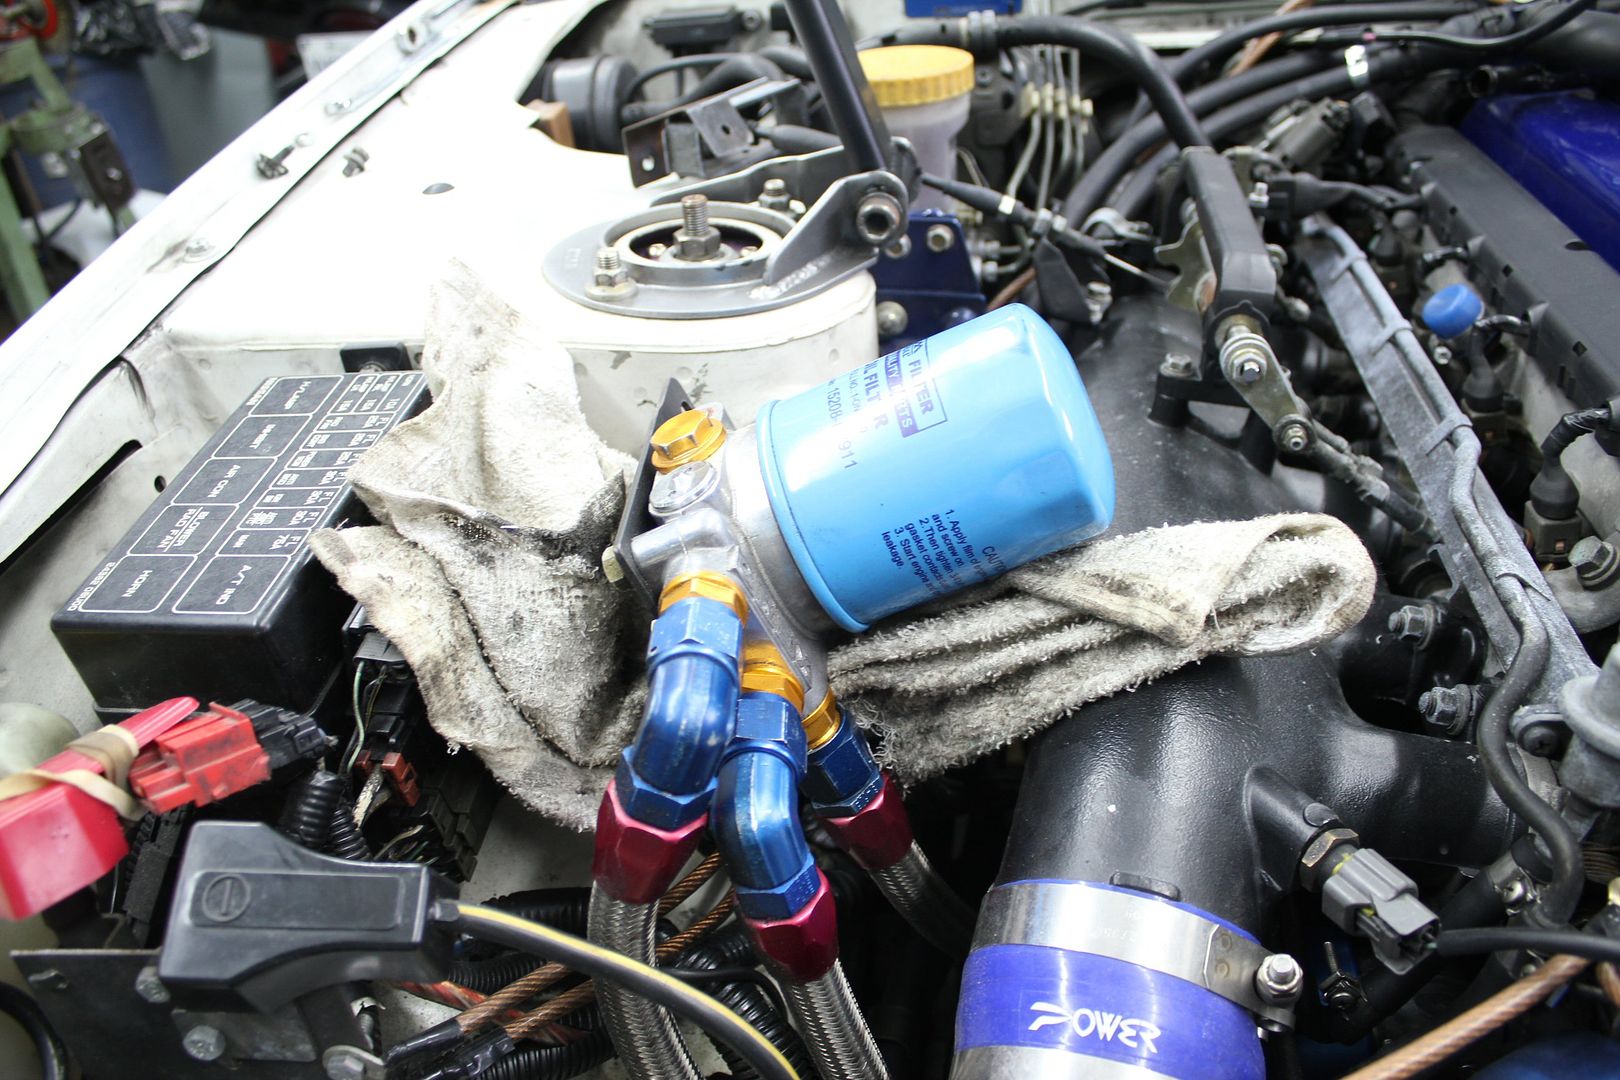
after that i could get on with the dreaded removal of the oil filter,
why dreaded?
because of the relocation kit is, i could only set it up at a ~45deg angle,
which means it never completely empties itself from gravity so there is always a small amount left in it,
and because of that 45deg angle, its almost certain that small amount will drip out as soon as the filter is unscrewed;
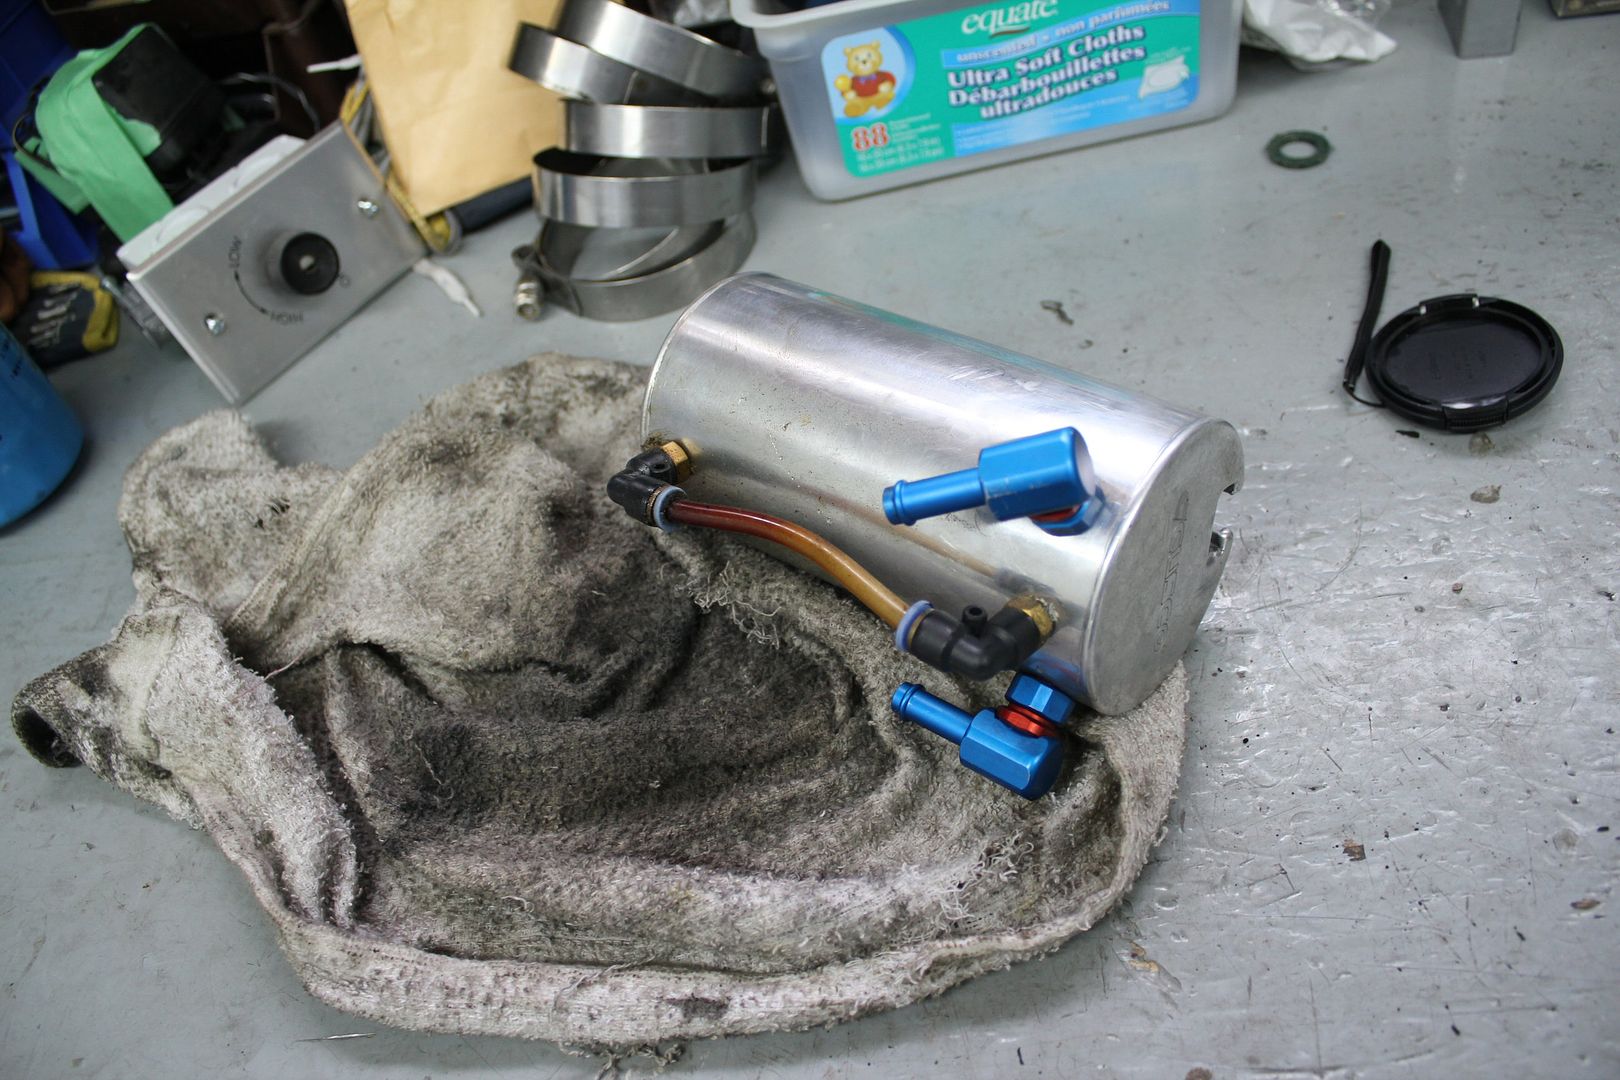
also, for the last portion of the 2010 season, i always small drips coming off my took how, but could nerver figure out where it was coming from
that question was answered when i took the catch can out,
as soon as i tilted it, it pissed all over me... wtf...
it was completely full !!!
remember this is a 600ml catch can, full after 3000km
can you say breathing problem?
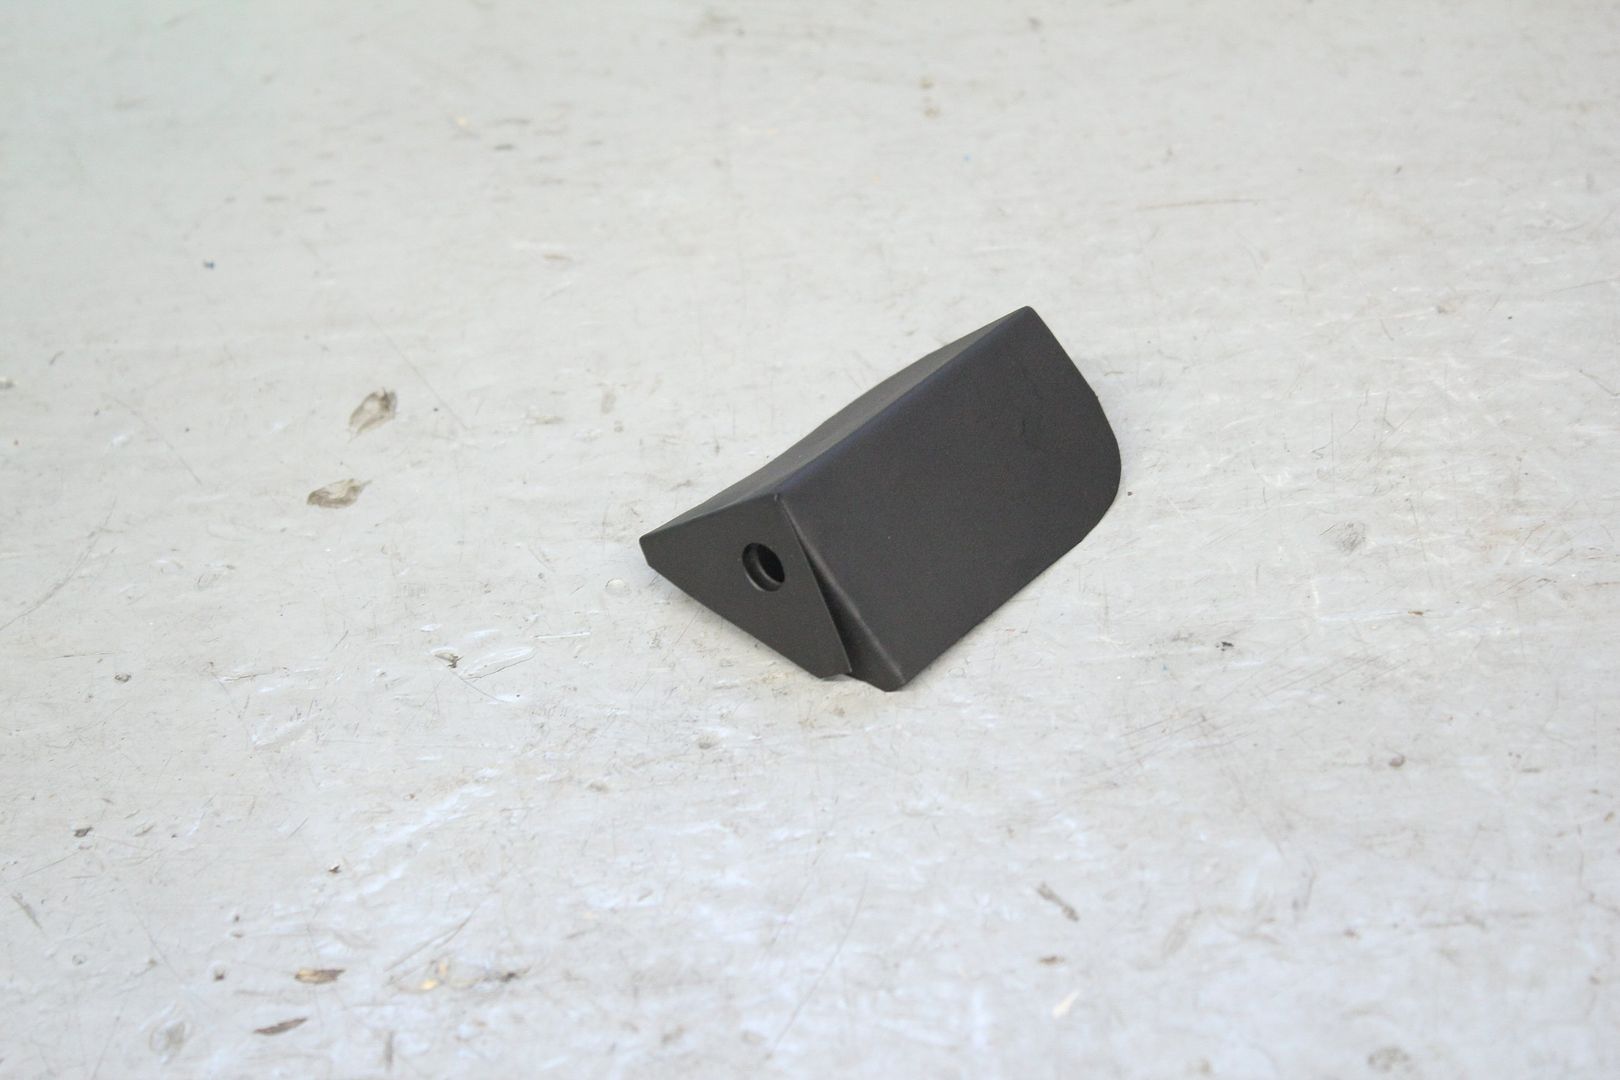
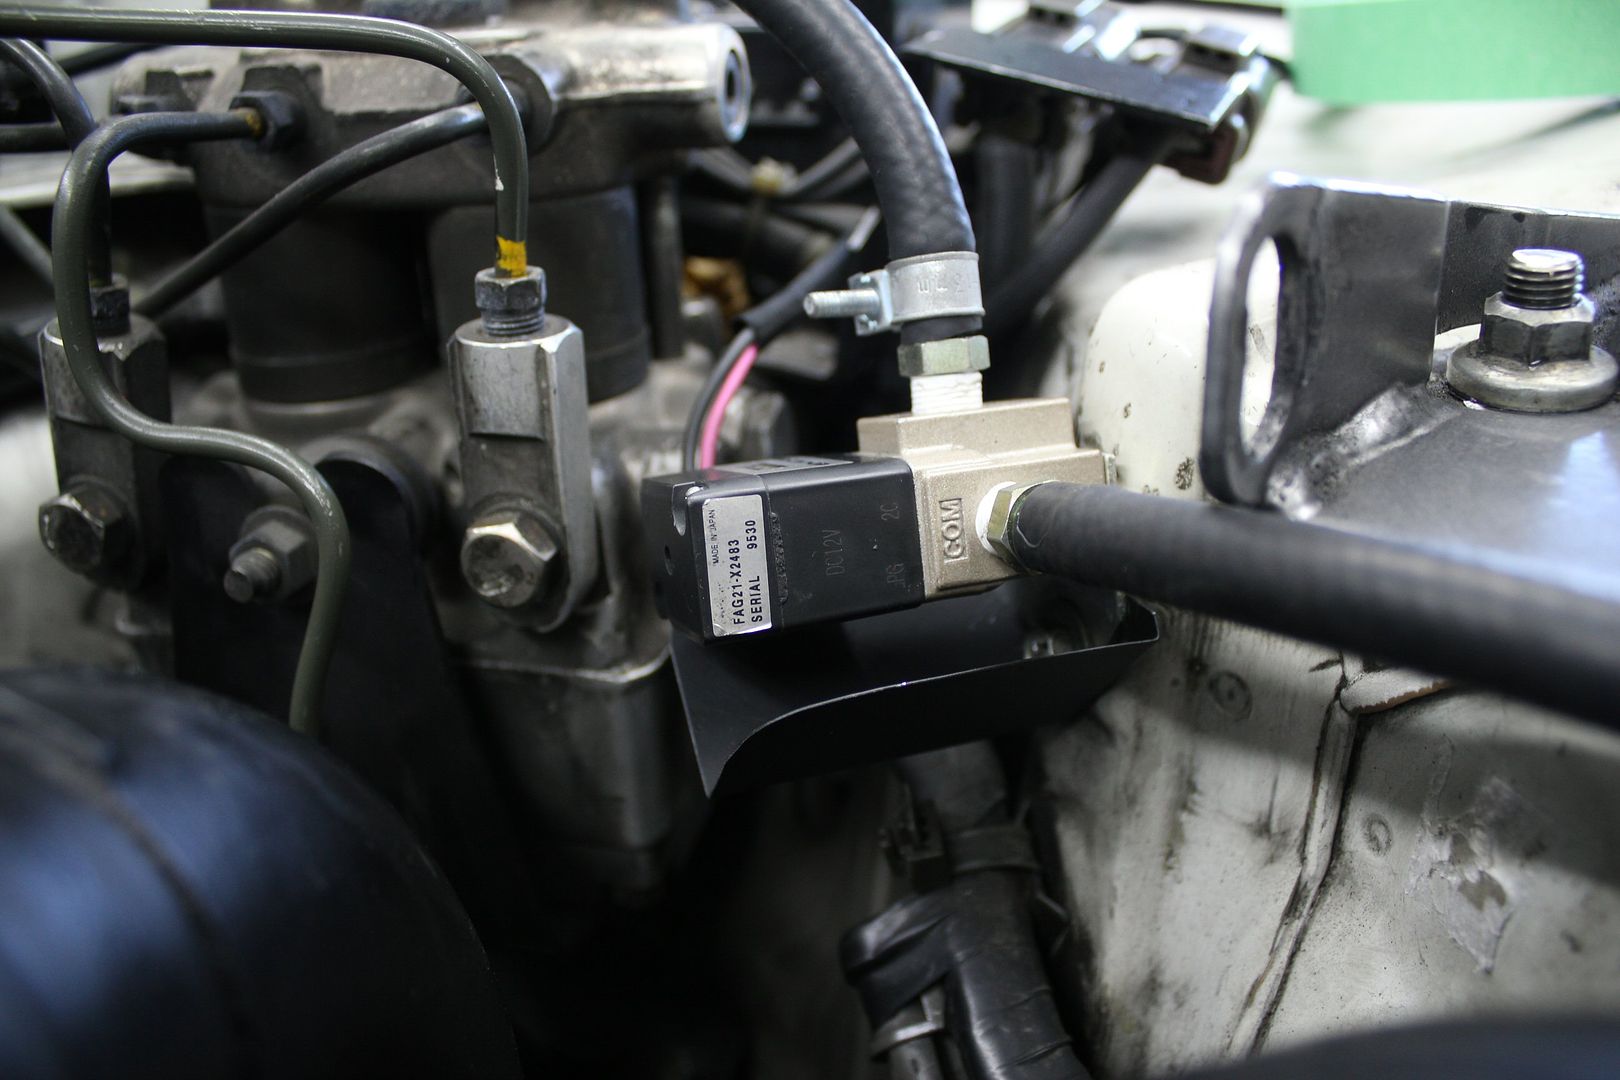
after looking around the engine bay a bit, i decided to make this,
a small sheild for the boost controller selenoind from the heat of the exhaust manifold and such
a 10 min fab-up really;
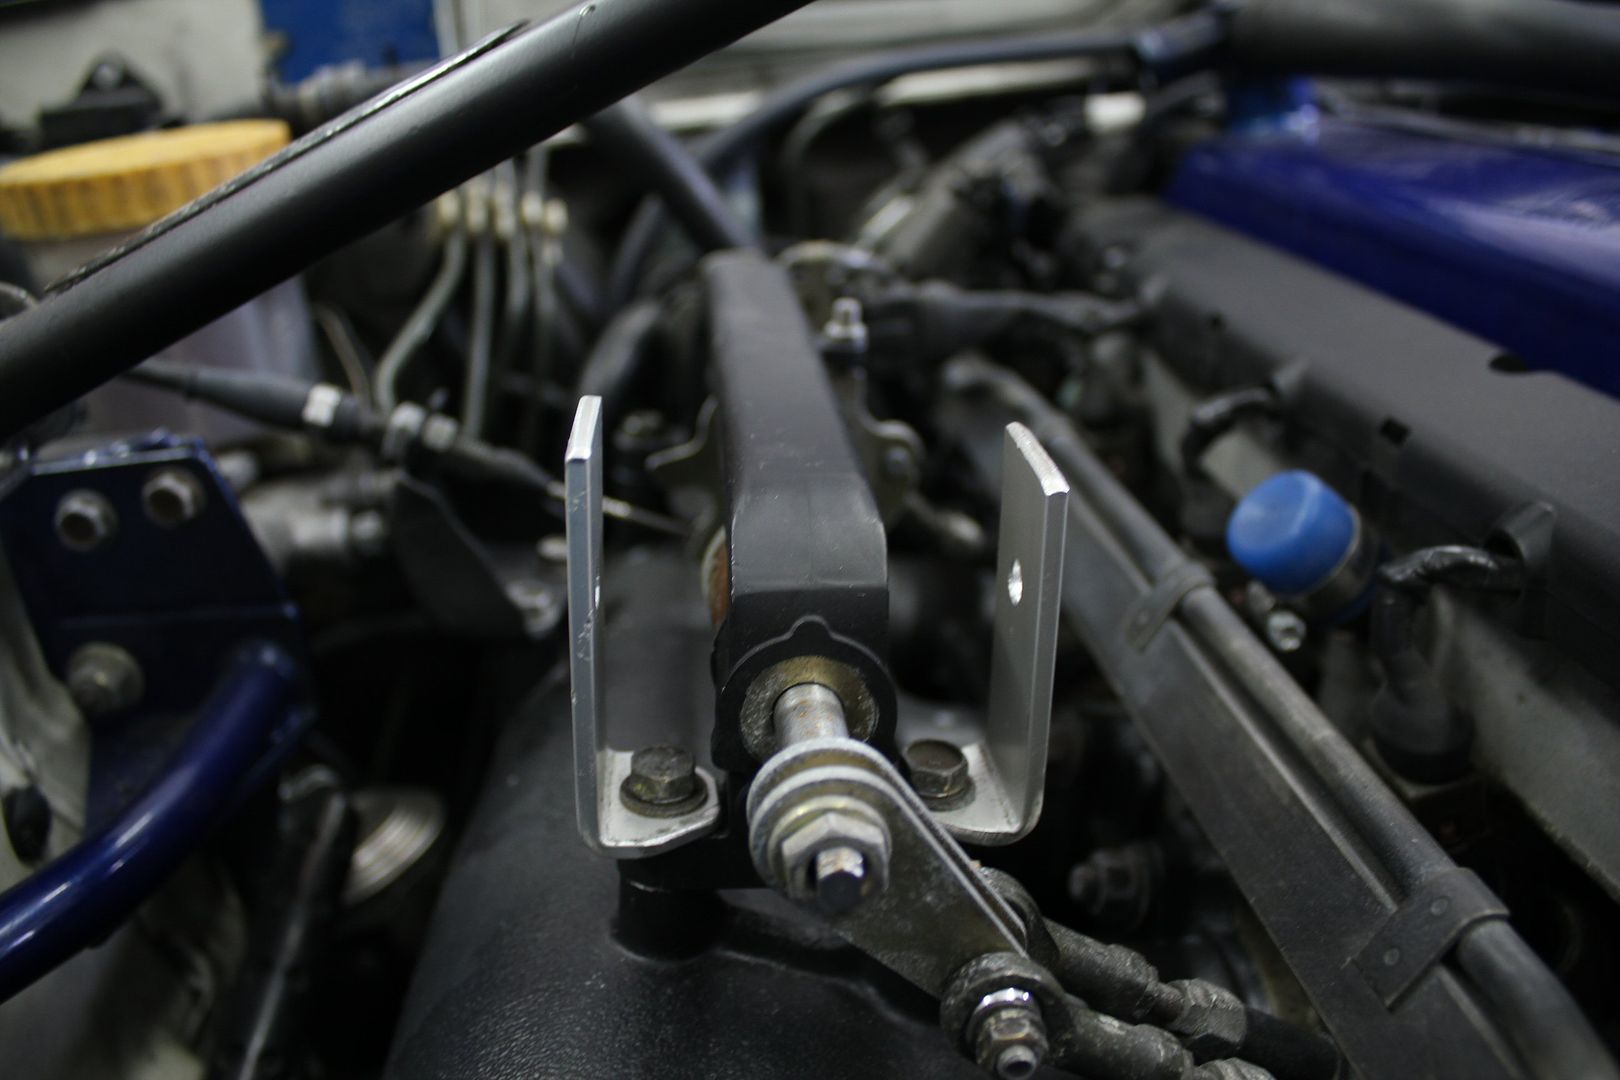
since i was in the mood to fabricate small pointless items,
i made some brackets to hold the new catch can hose,
and found a good spot to put them;
this is some of the stuff i'd be using for the improved oil catch can setup,
some P clamps, stainless 3/4'' barbed connectors, and imagination;
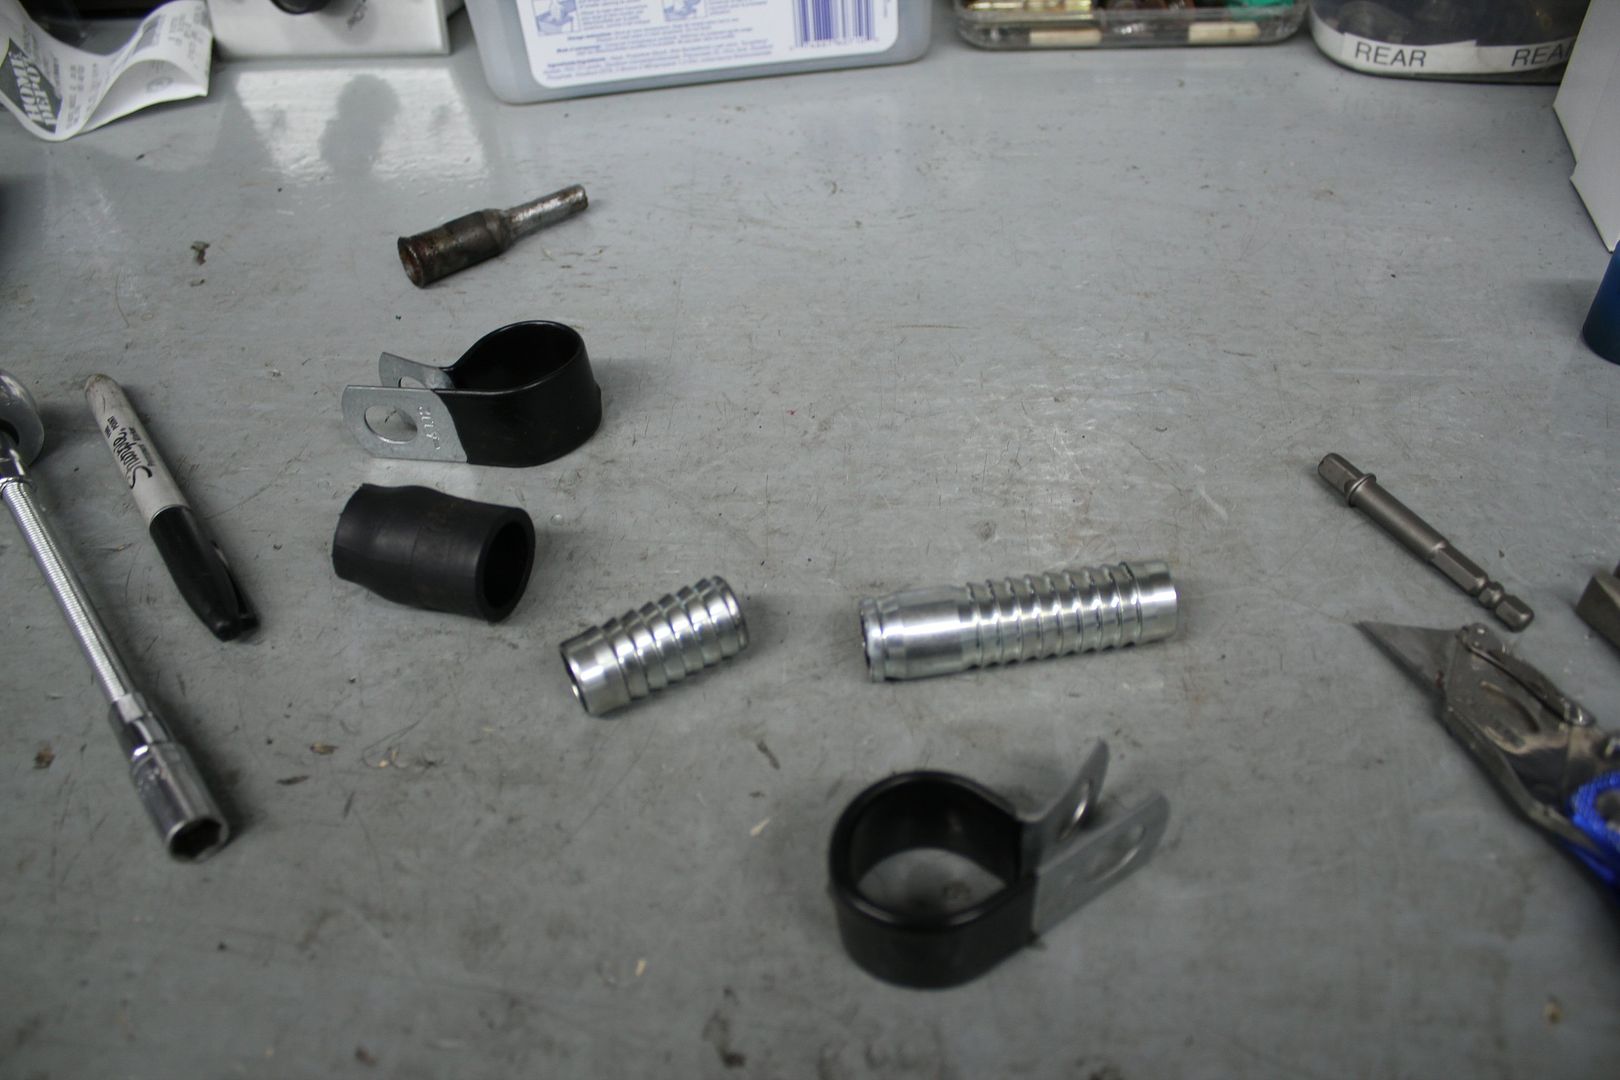
since the fittings off the valve covers are 7/8'', i'd have to use a small portion of the old hose with a small tube to reduce it down to 3/4'',
i know clamps are ugly and it doesn't look clean
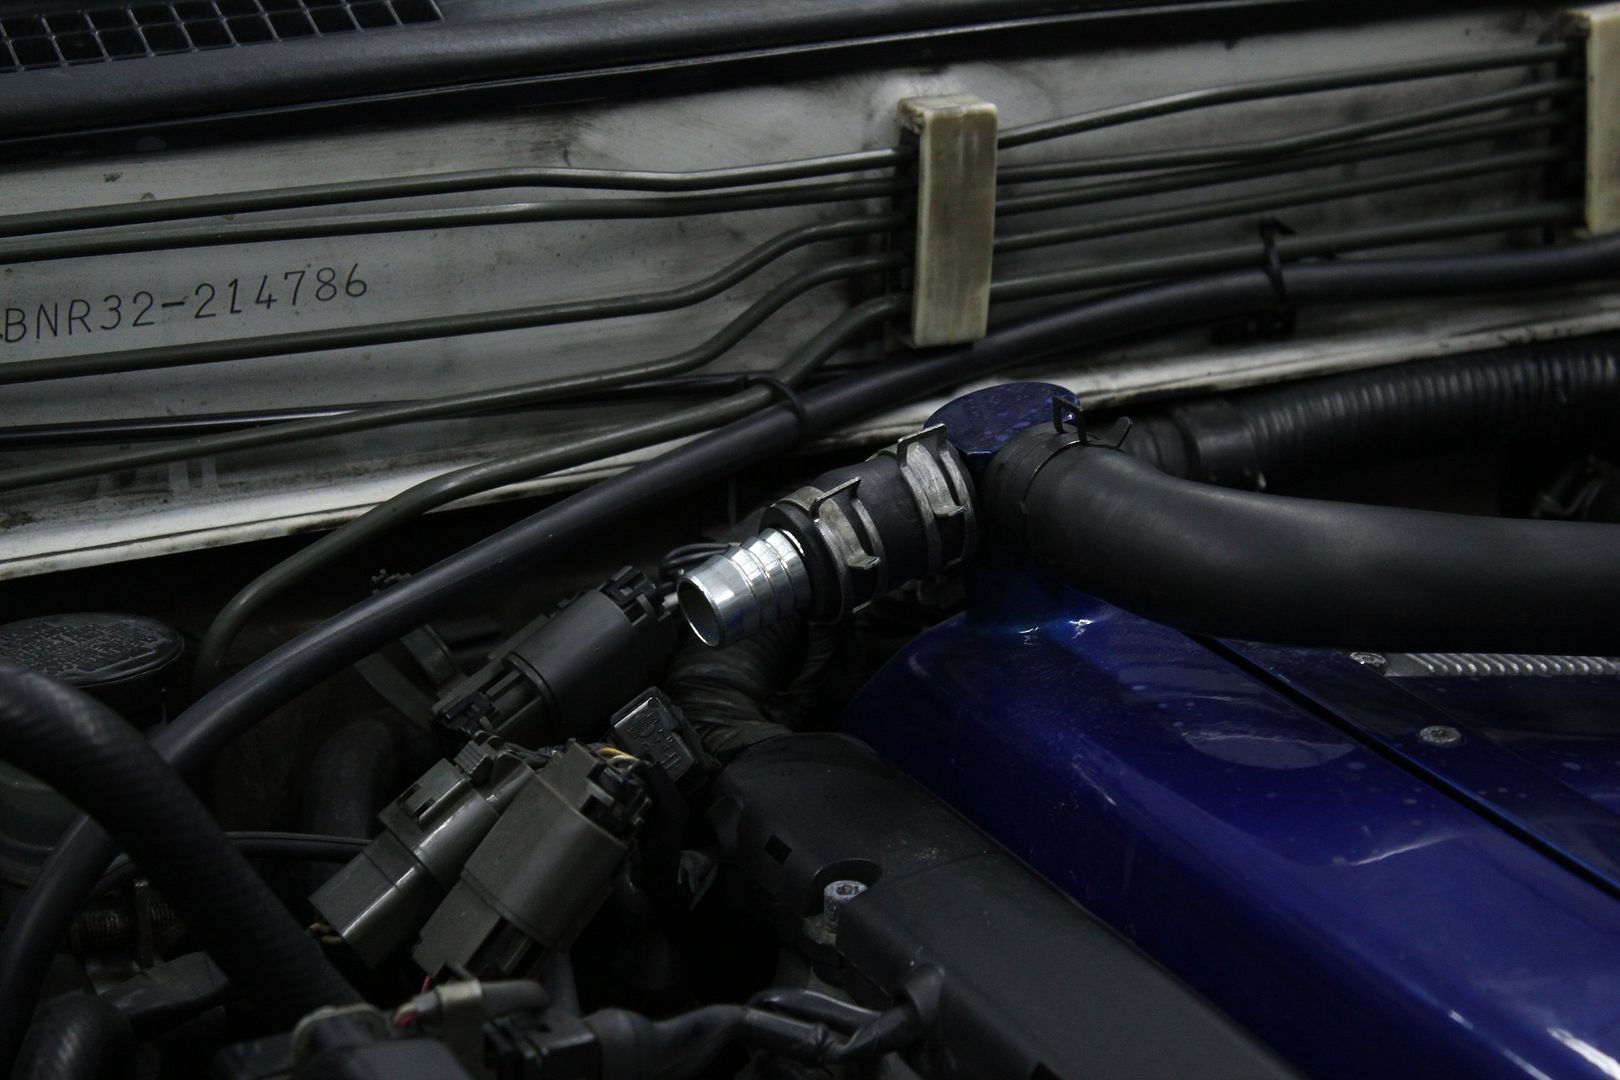
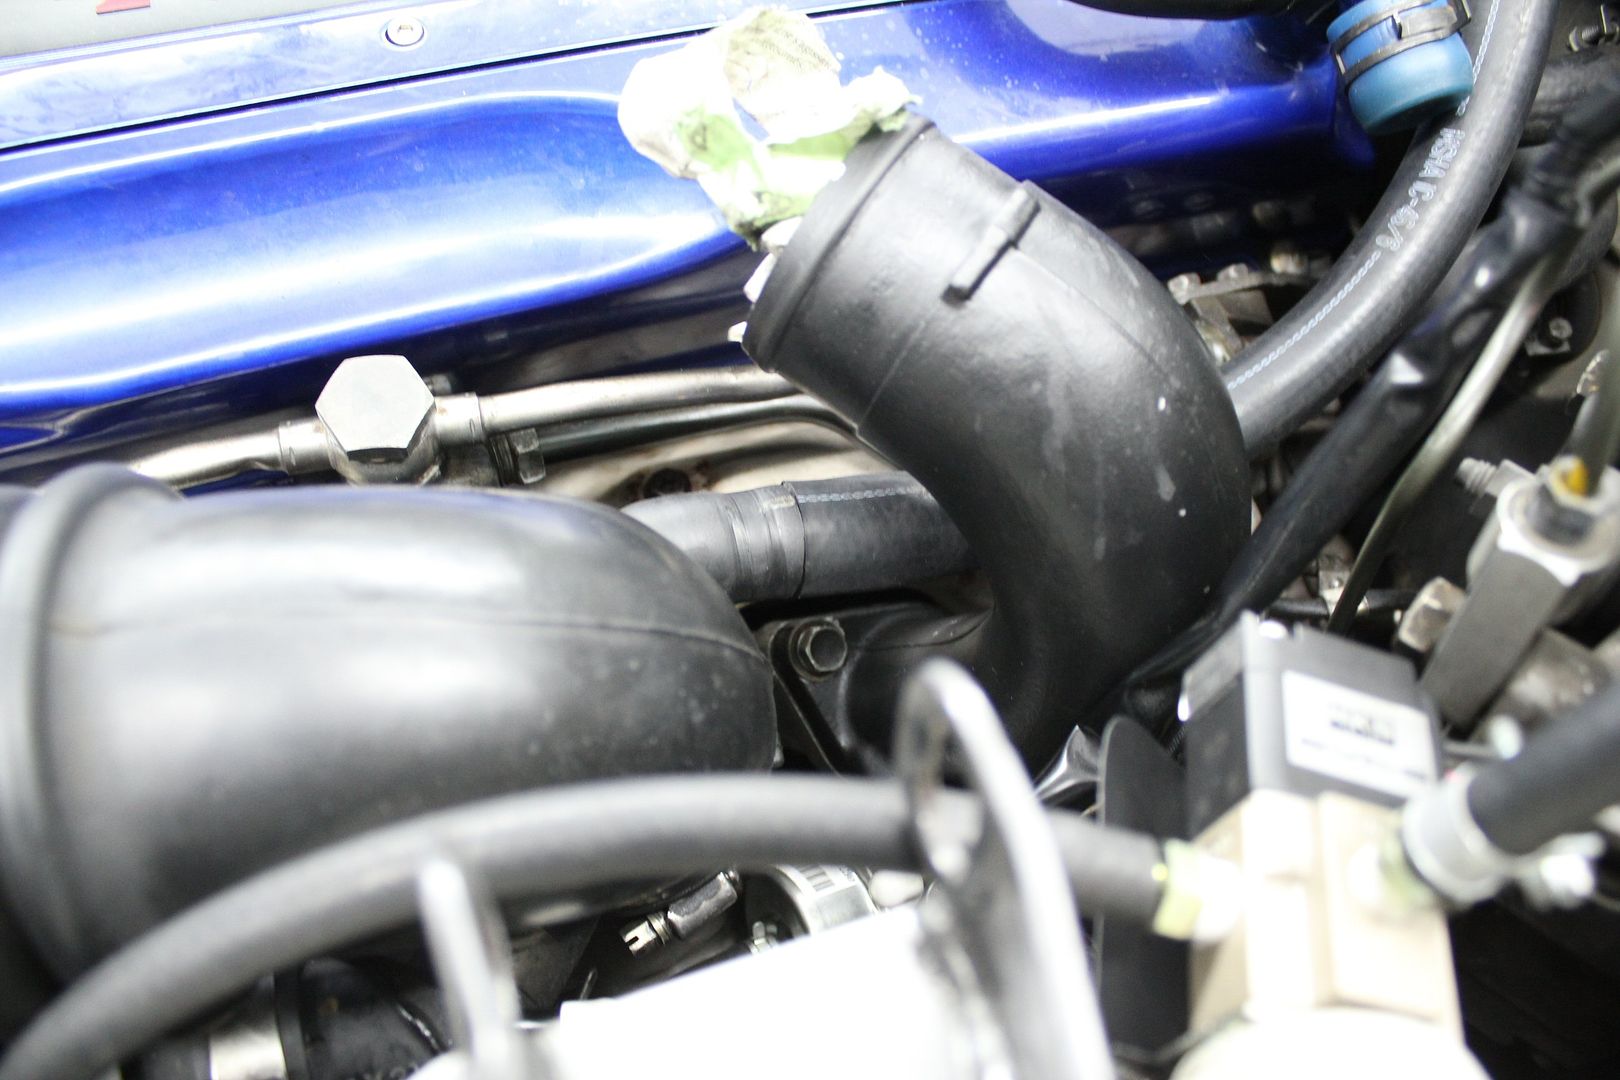
one 3/4'' hose was connected to the big induction hose for the rear turbo, in the OEM spot,
using the longer barbed tube which was inserted just deep enough into the induction hose
this, looked clean
because a barbed tube was used, no clamp was needed, this is a low pressure application after all;
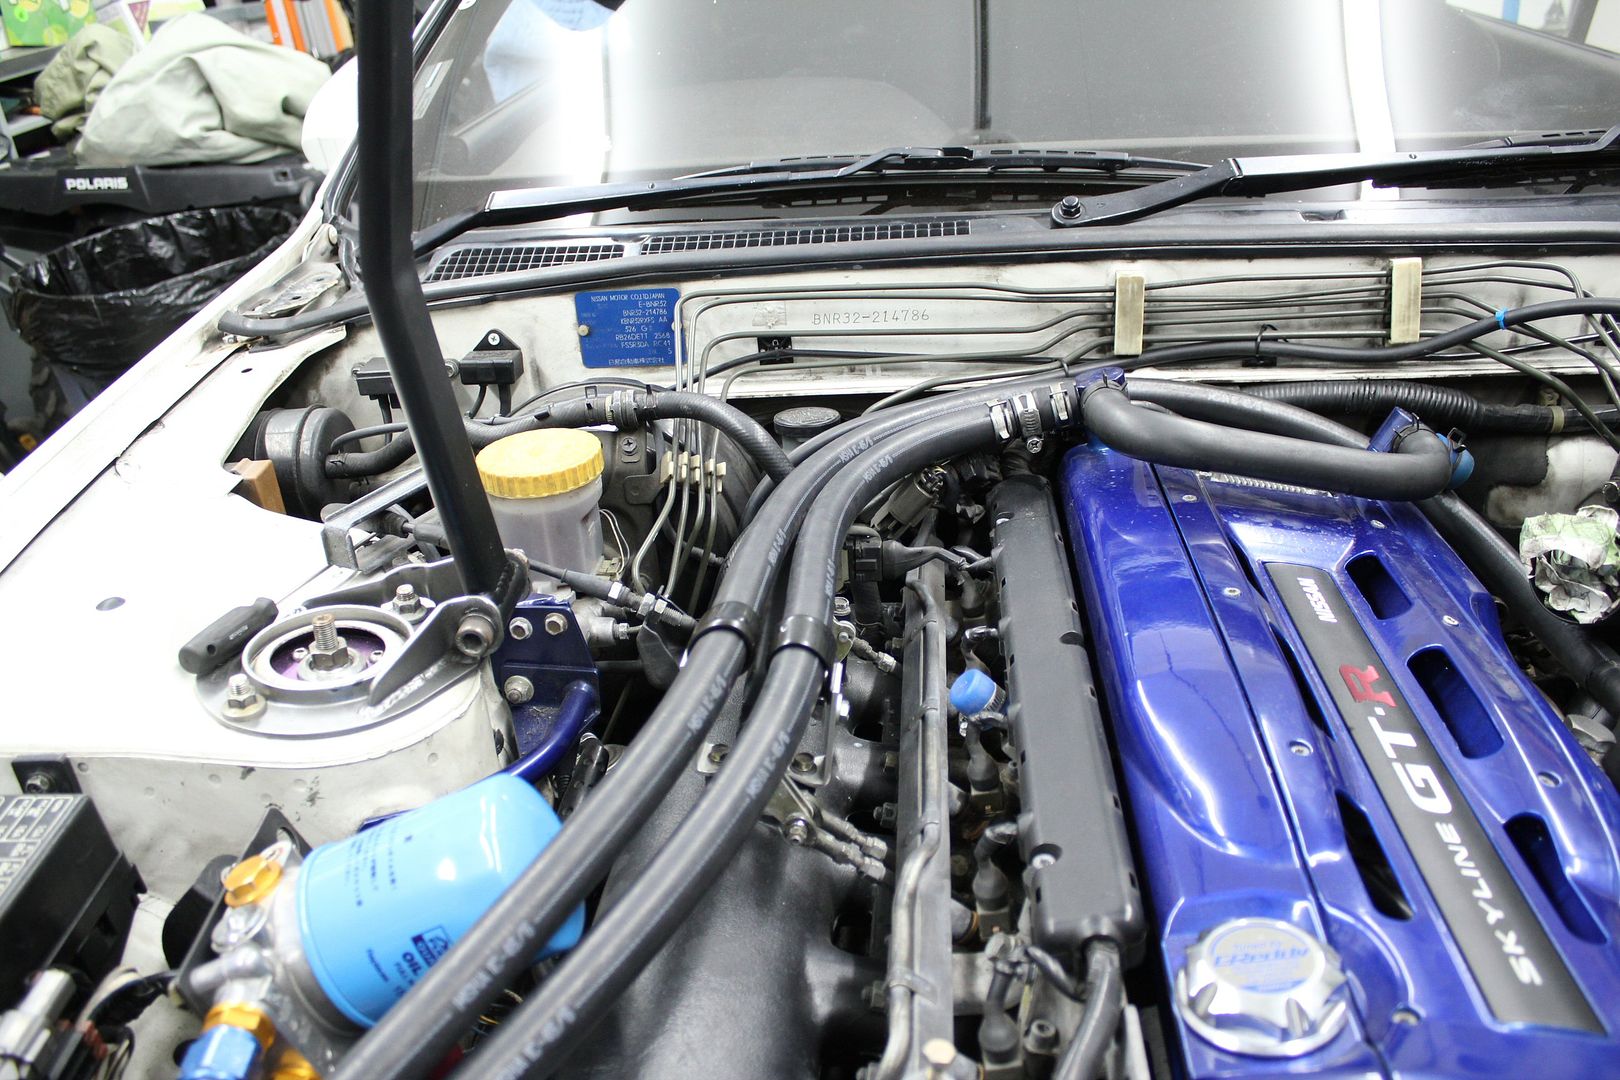
i placed the long 3/4'' hose approximatly how i'd want them to be,
and clamped them on the small brackets i had just made;
(if anyone has a good idea how to make the 7/8 to 3/4 reduction look more appealing, please say so)

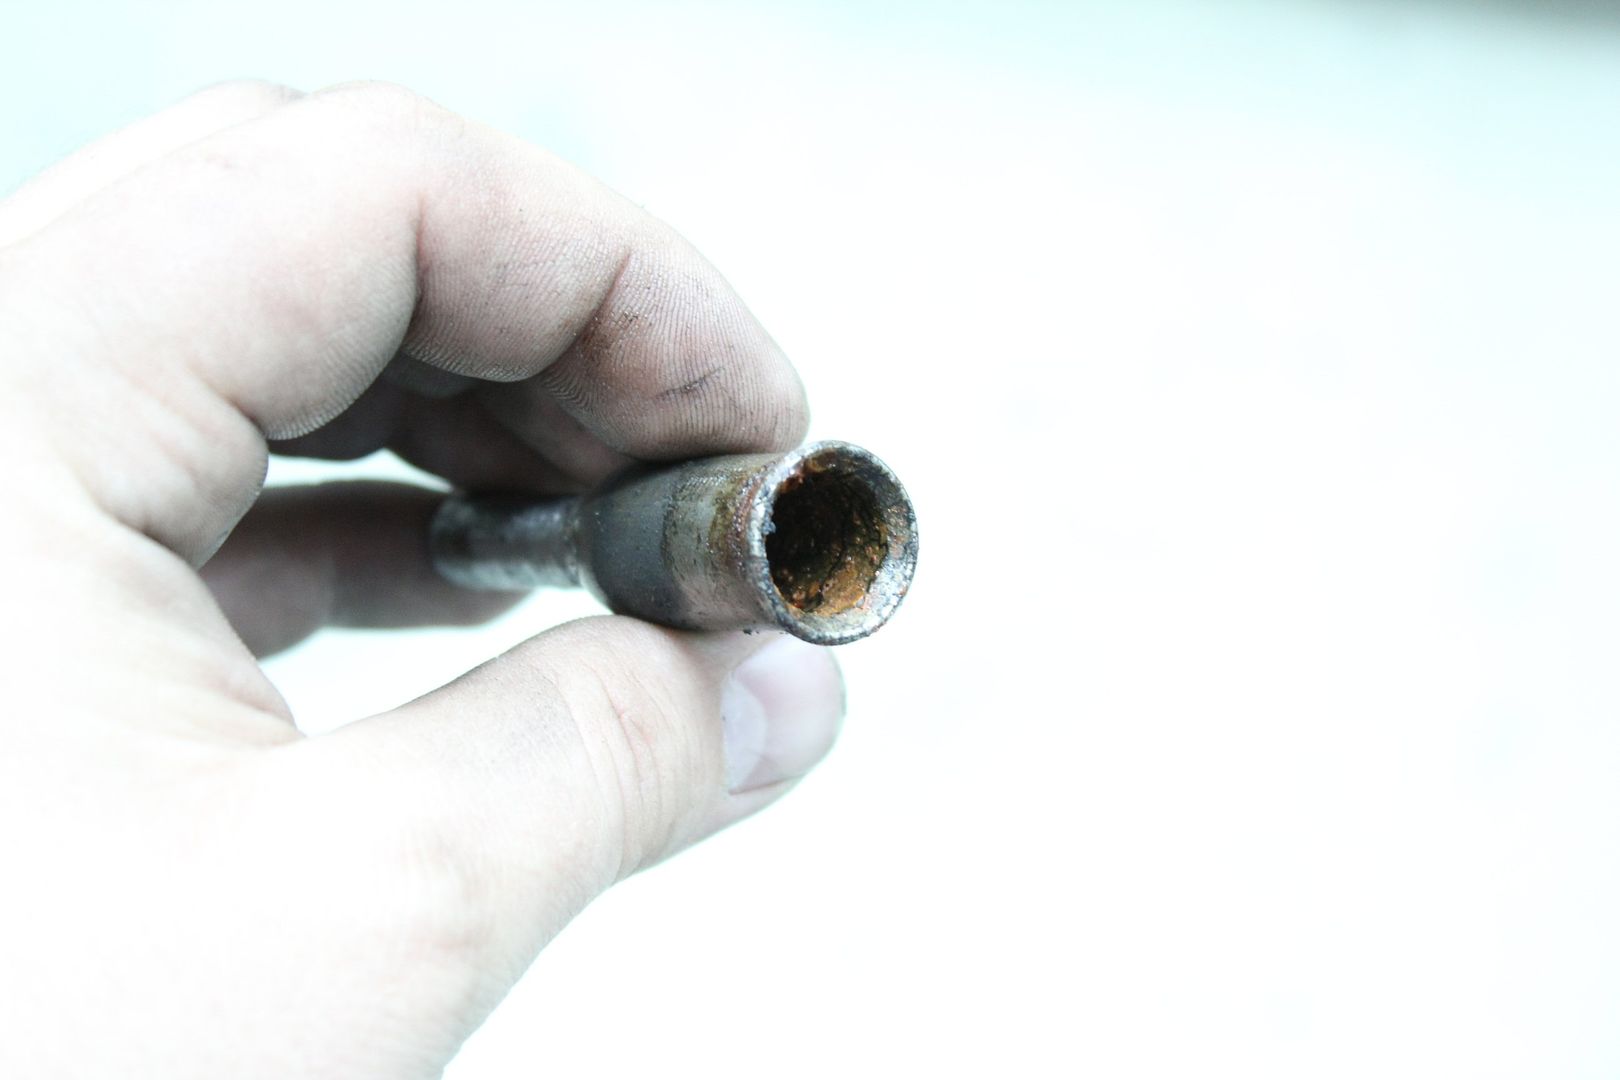
this is the old 3/4'' to 3/8'' i used on the old setup, gummed up with oil or whatever,
restriction much?
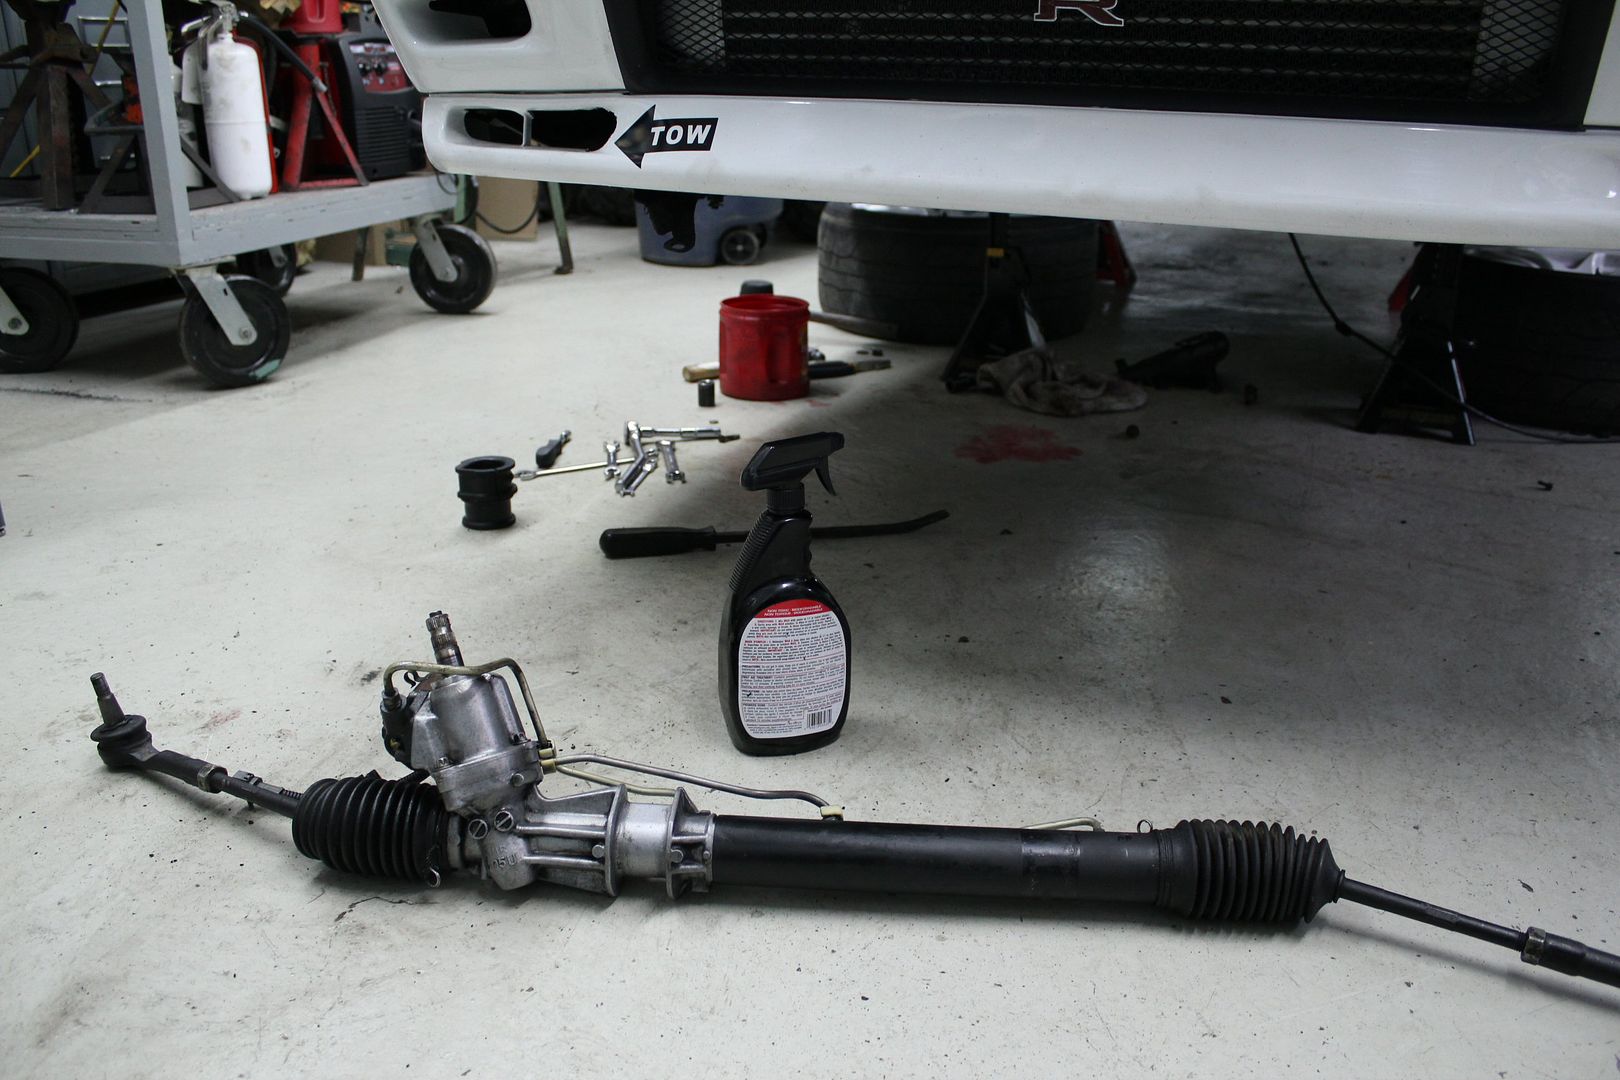
something else that had been bugging me for a while was my steering rack,
it had been leaking for the longest time,
changing copper washers and over-tightenin fittings never cured the problem
the only thing left to do was to take it out, send it for a rebuild;
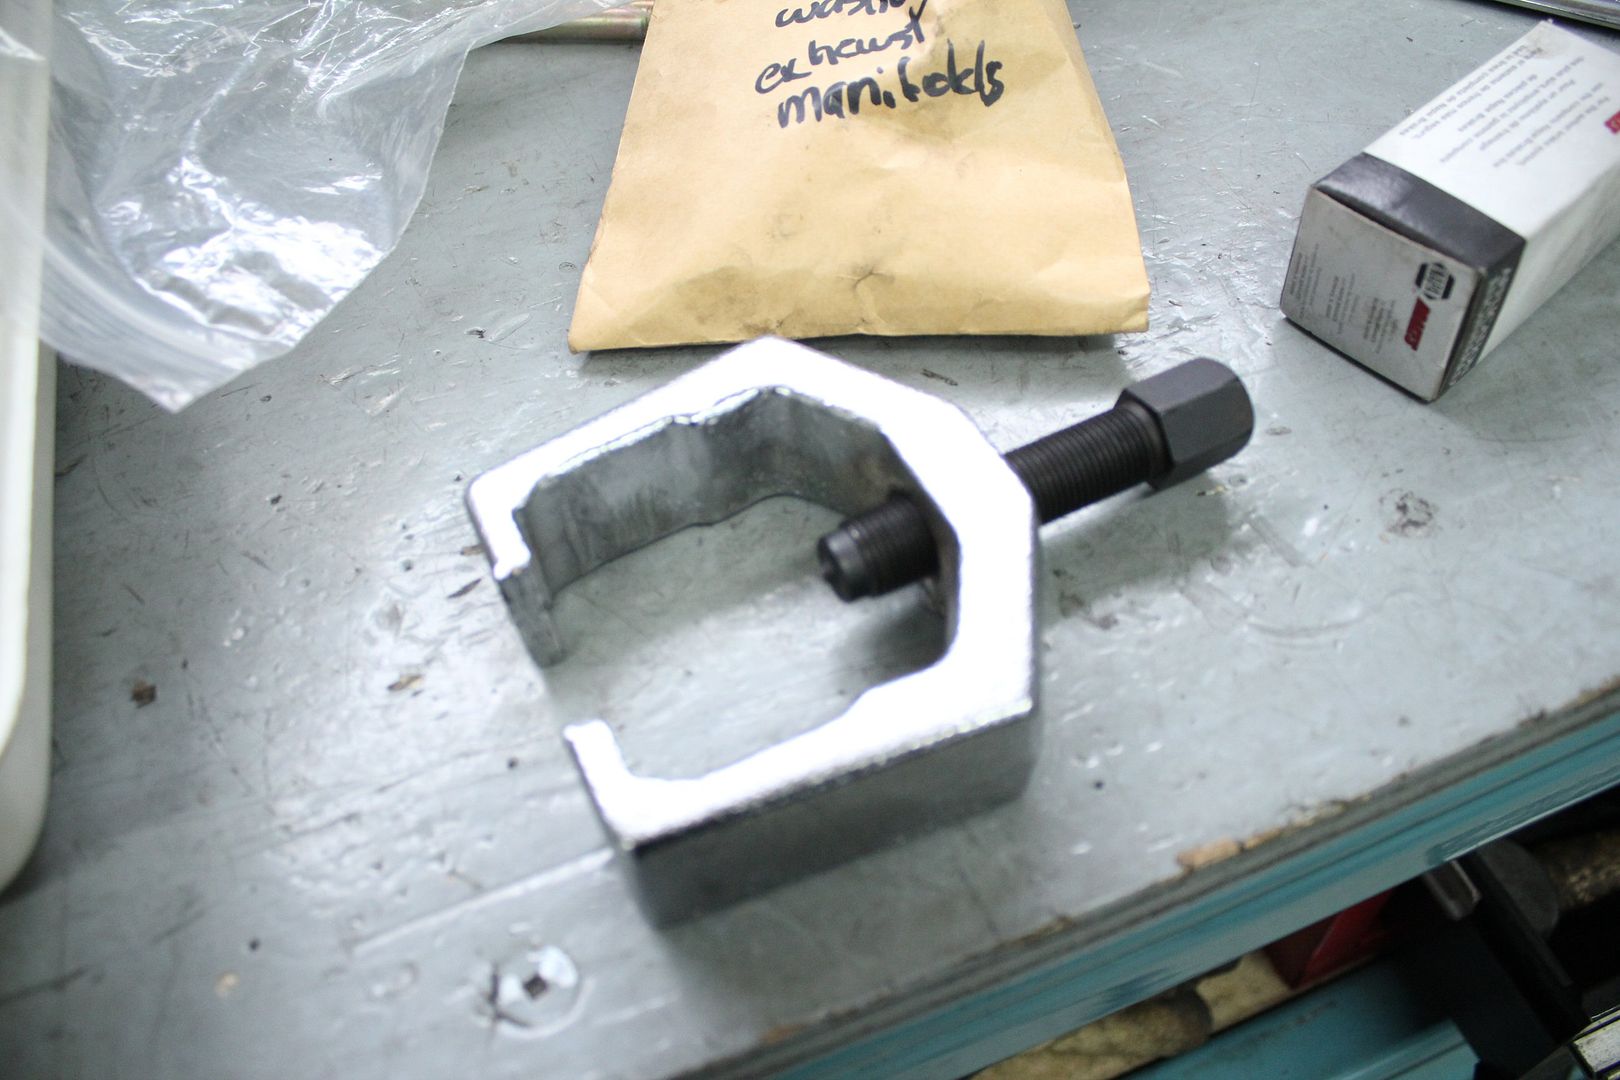
having a tool like this makes the seperation of the tie rod ends a hammerless breeze;
the worst part of removing the steering rack is getting it out of the tight space its in after the bushings holding it in place are untightened,
also, there is always a bit of p/s fluid leaking everywhere thats get on you, your hands, your tools, which makes it dirty business,
the whole ordeal was a 2 hour job (remember, i'm slow and meticulate)
the following picture was taken after spending about 30 minutes clean the rack with degreaser and a wire brush, it was incredibly dirty beforehand;
the culprit of the leak was the seal of the imput shaft,
which because of the position of the rack when in place, caused a stream of fluid to come down directly in line withthe fittings,
which originally led me to think they were the problem;
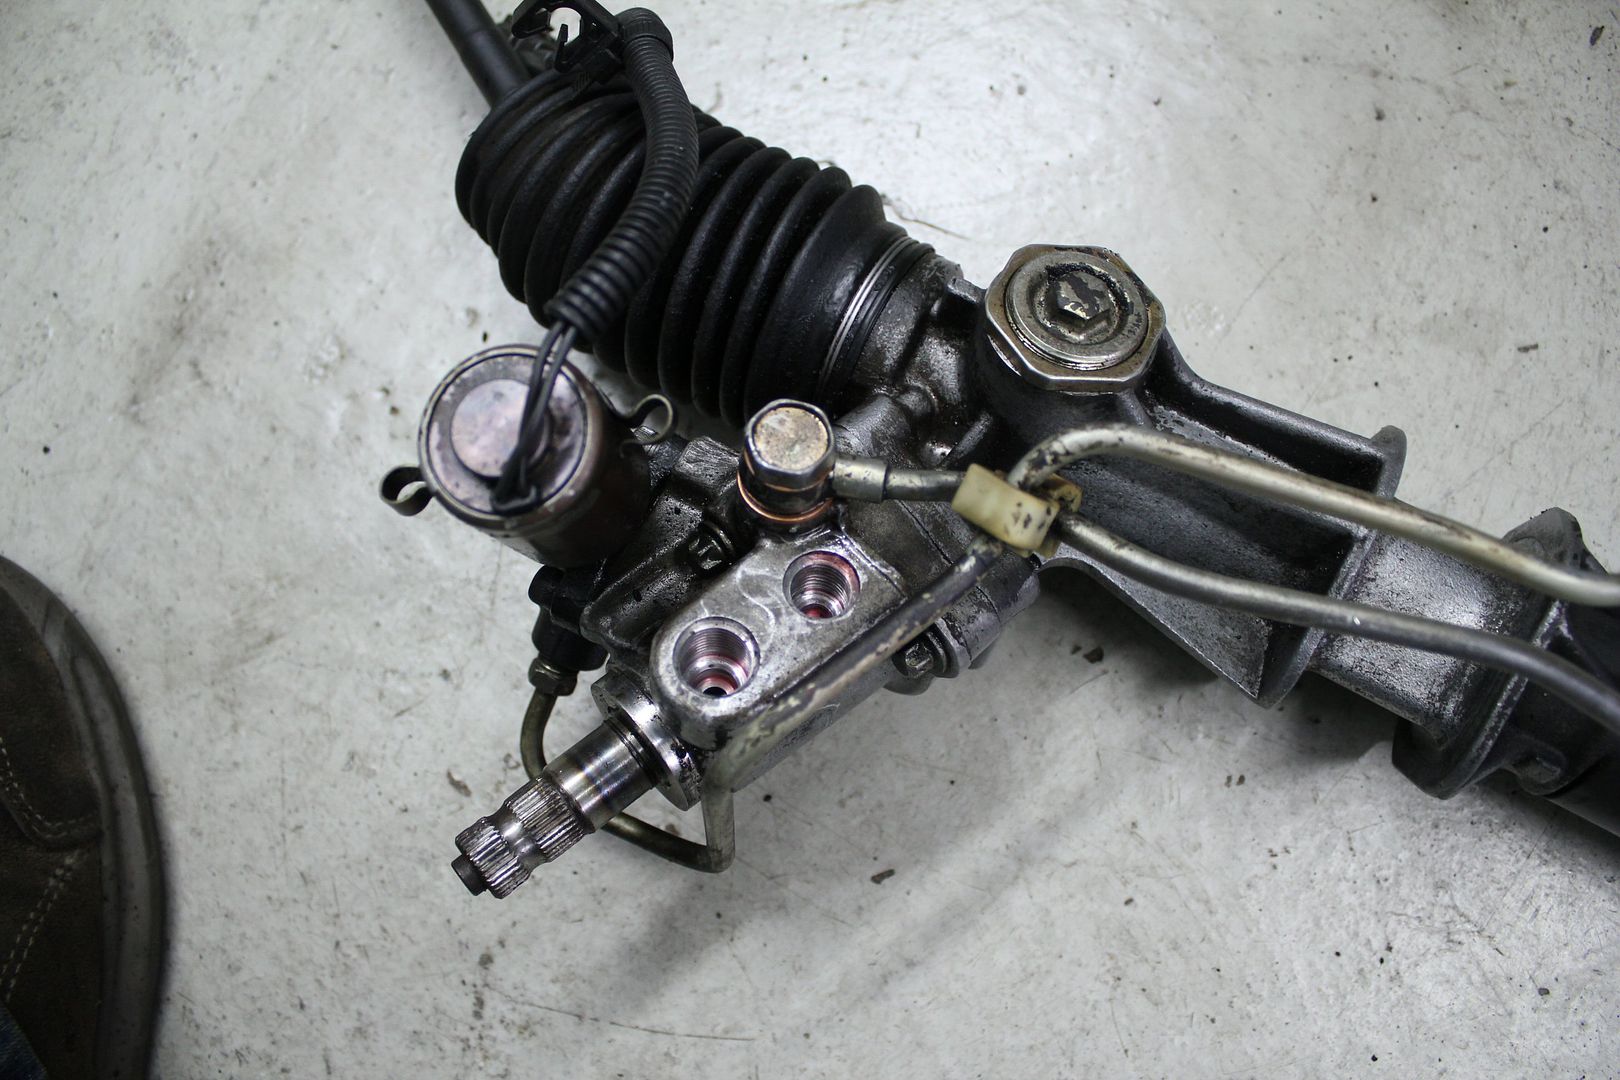
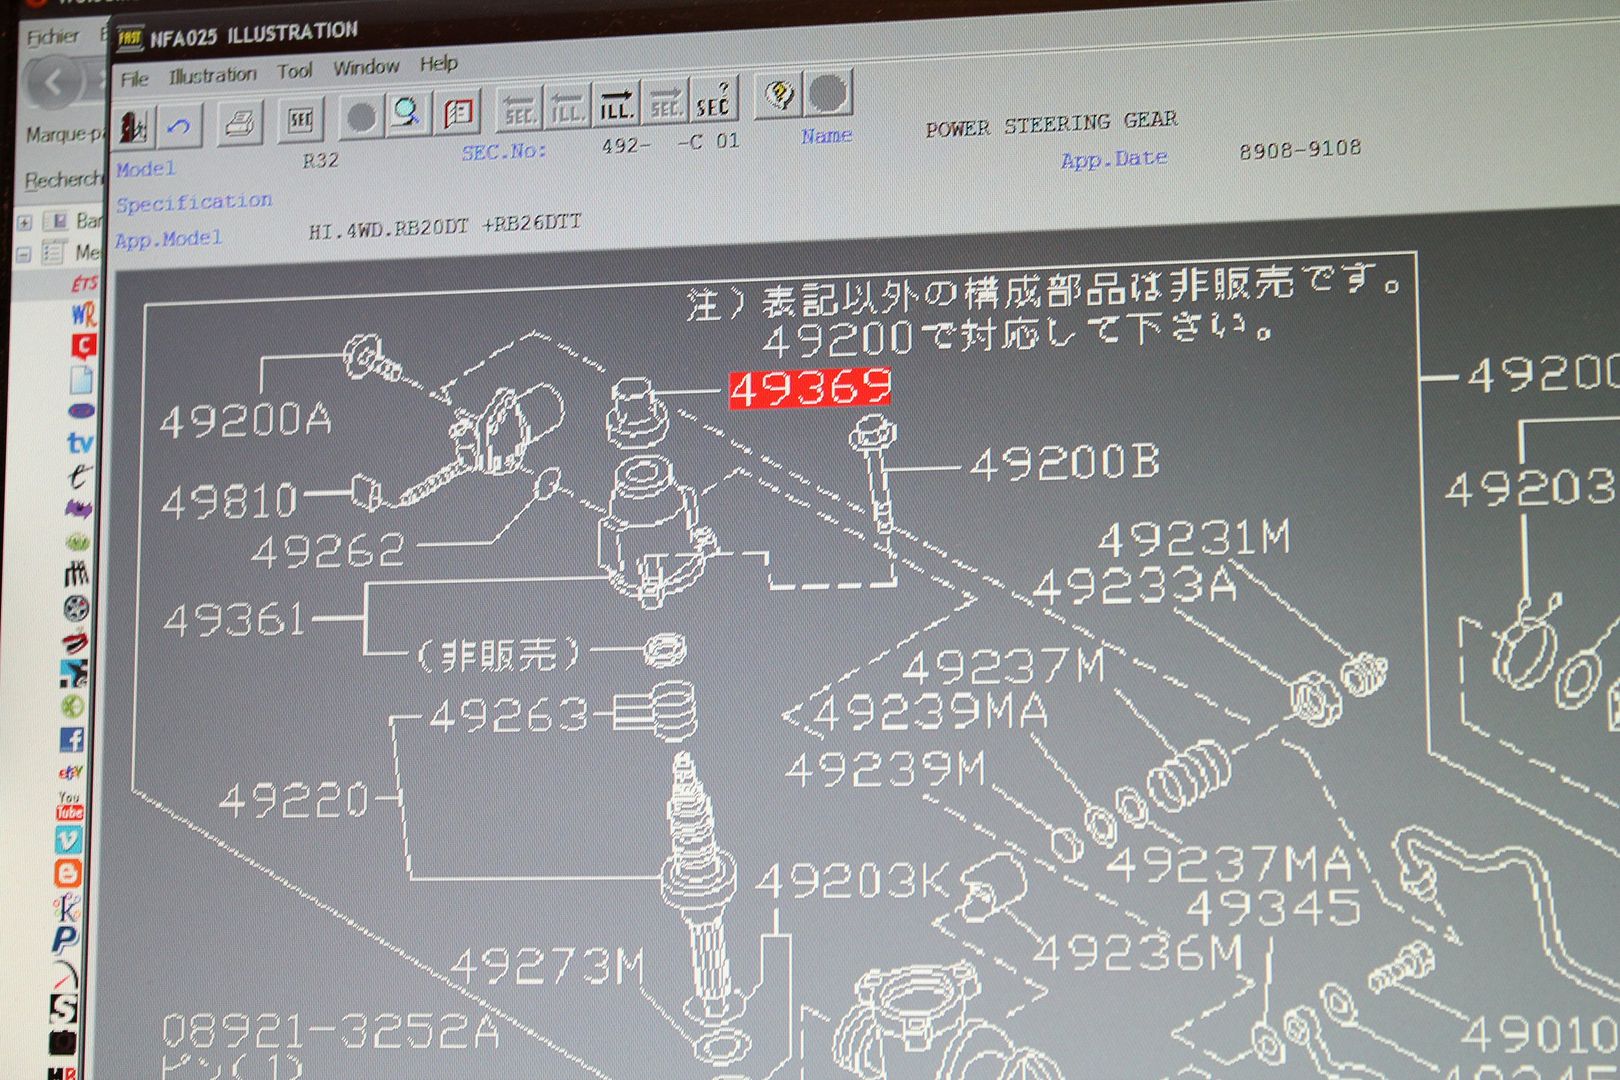
i later checked for the part number of the input shaft dust cover,
since mine had been destroyed in quite a while,
thx FAST;
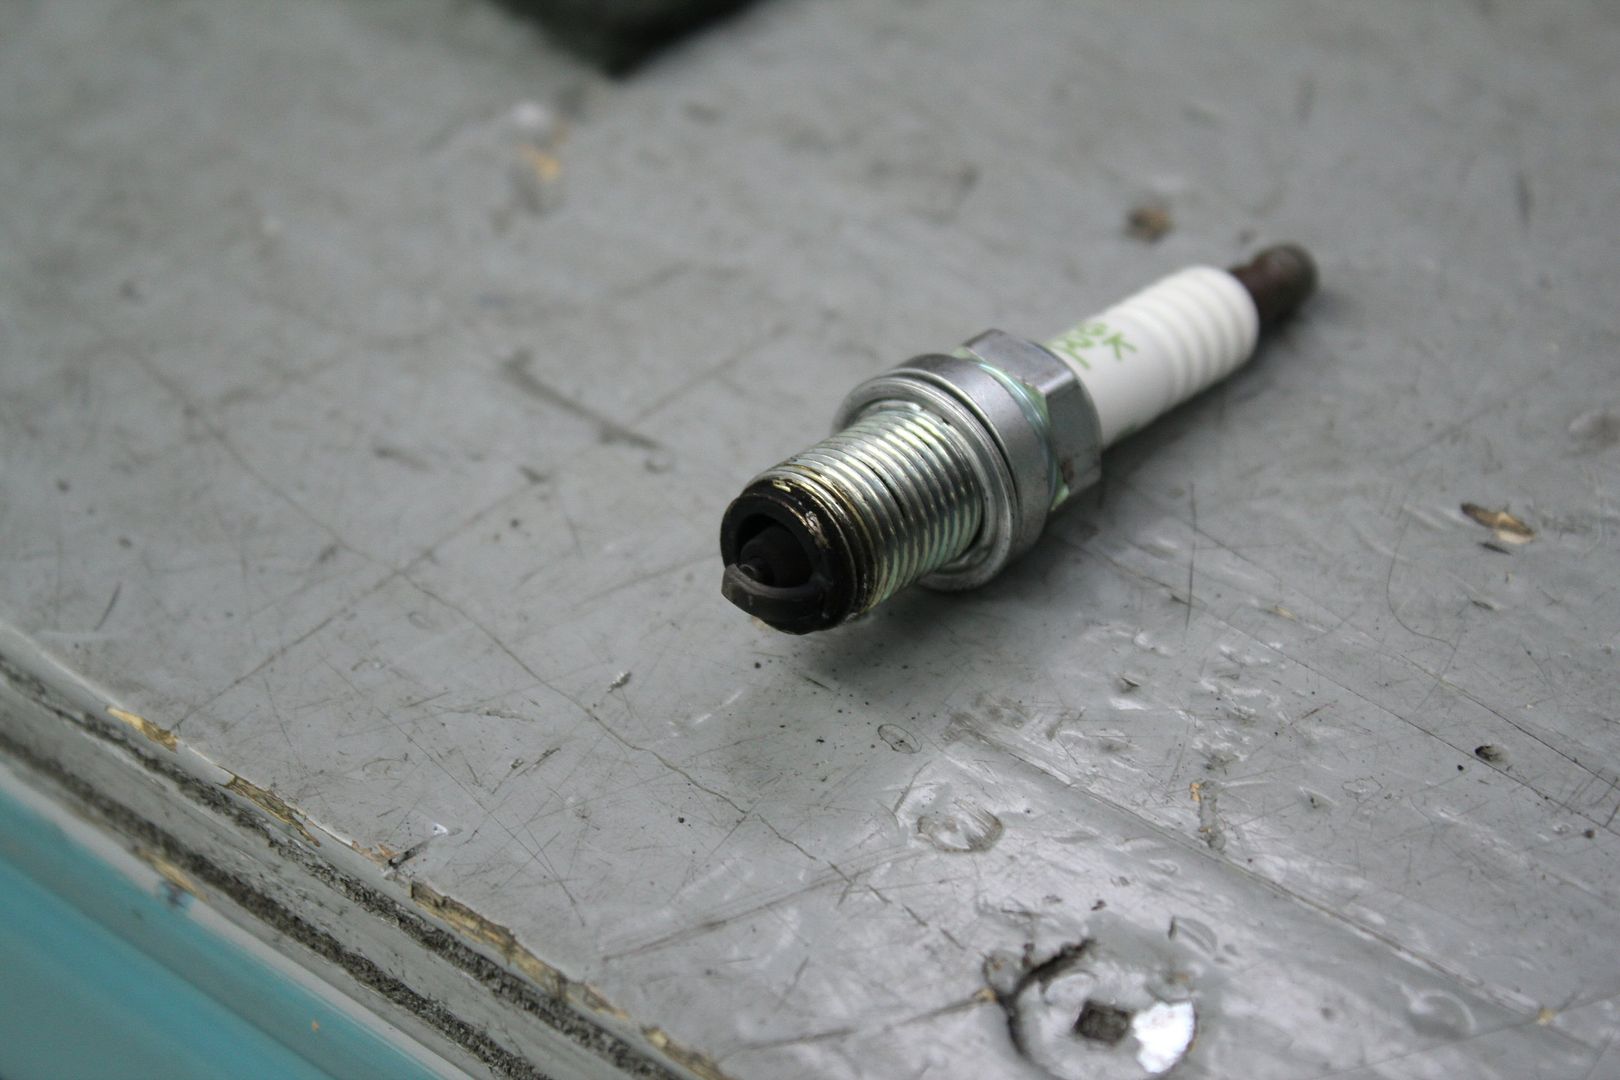
after that, i checked the spark plugs after a winter's rest,
they seemed to have some carbon build-up, but nothing too crazy,
so they were cleaned and put back in their hole;
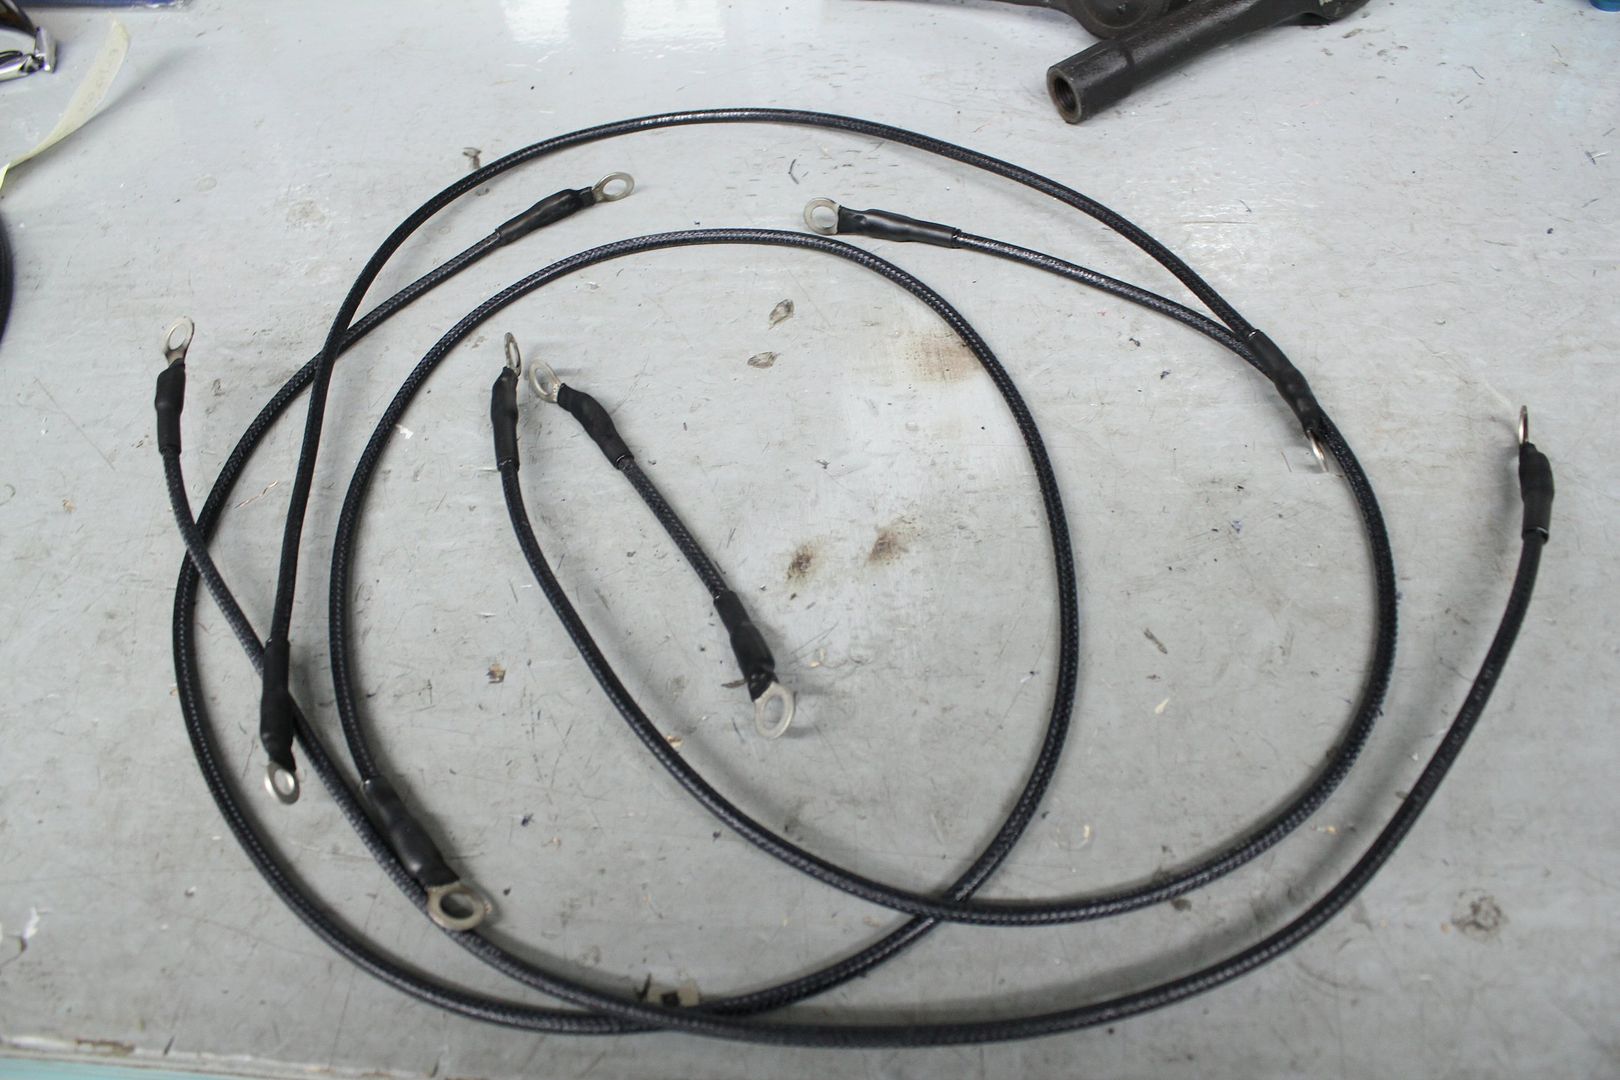
then it was time to cleanup the grounding wire kit i had made the prior summer,
so i found some smaller - better looking cable at an electronics/electric supply store;
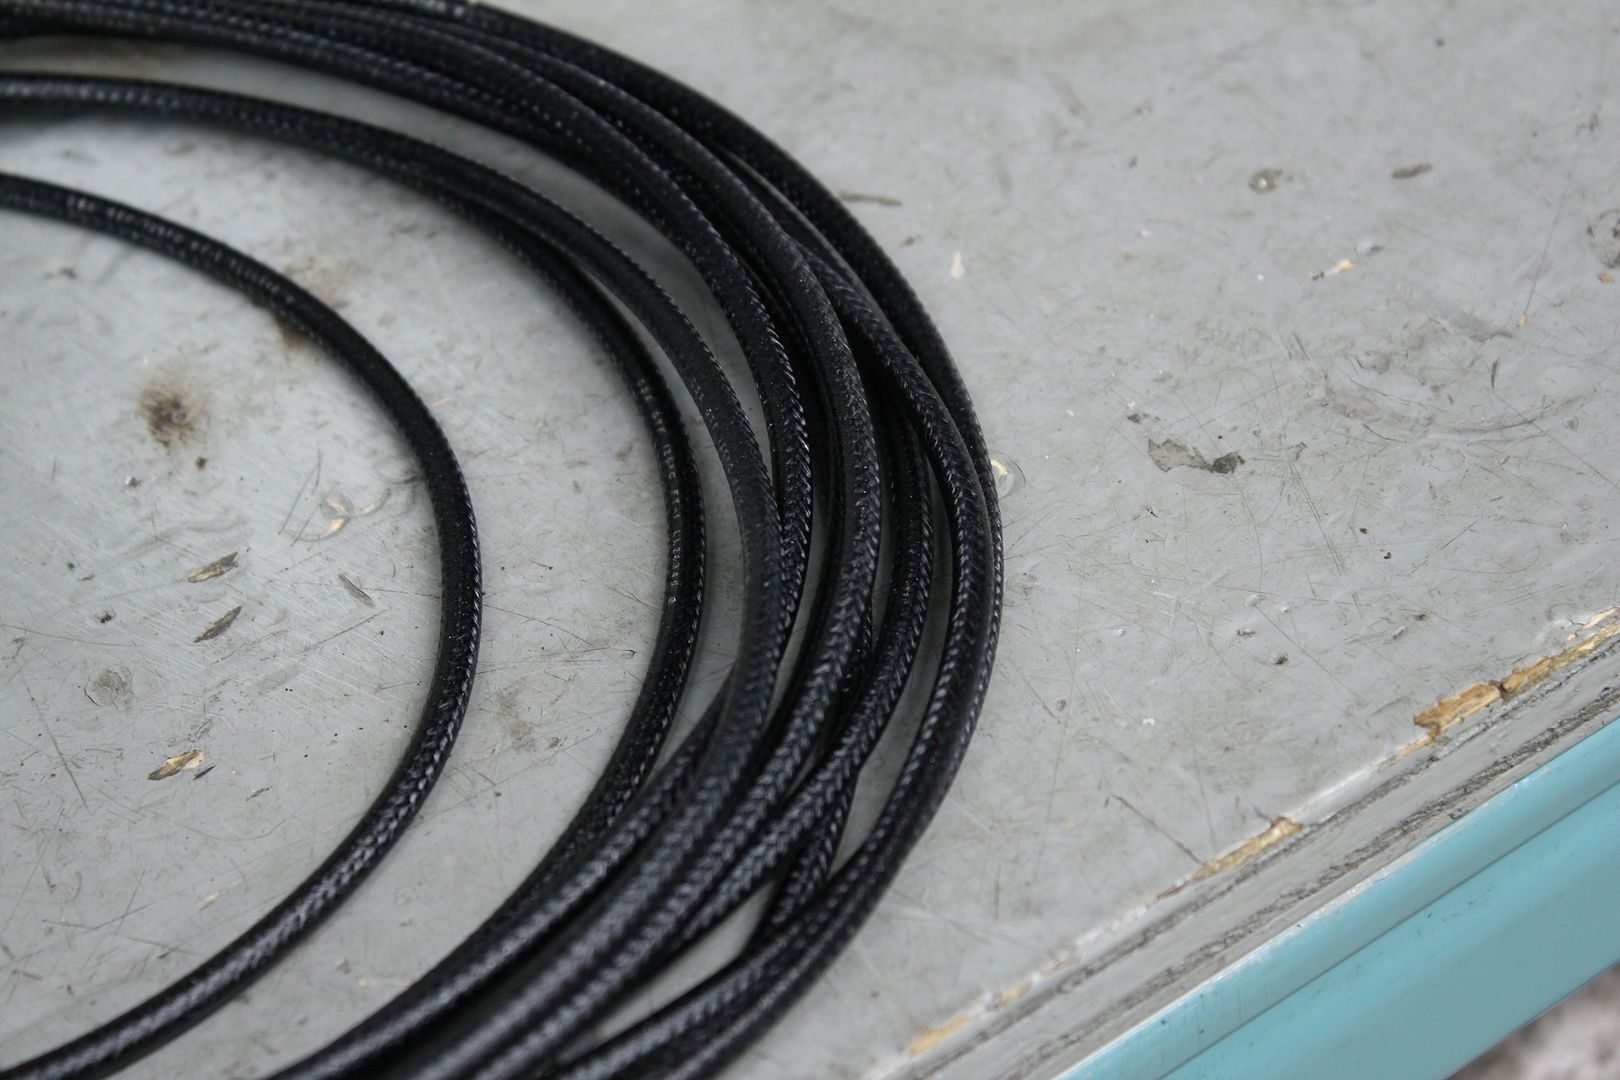
i re-made each wire with smaller connectors and using shrink tubing instead of ugly tape;
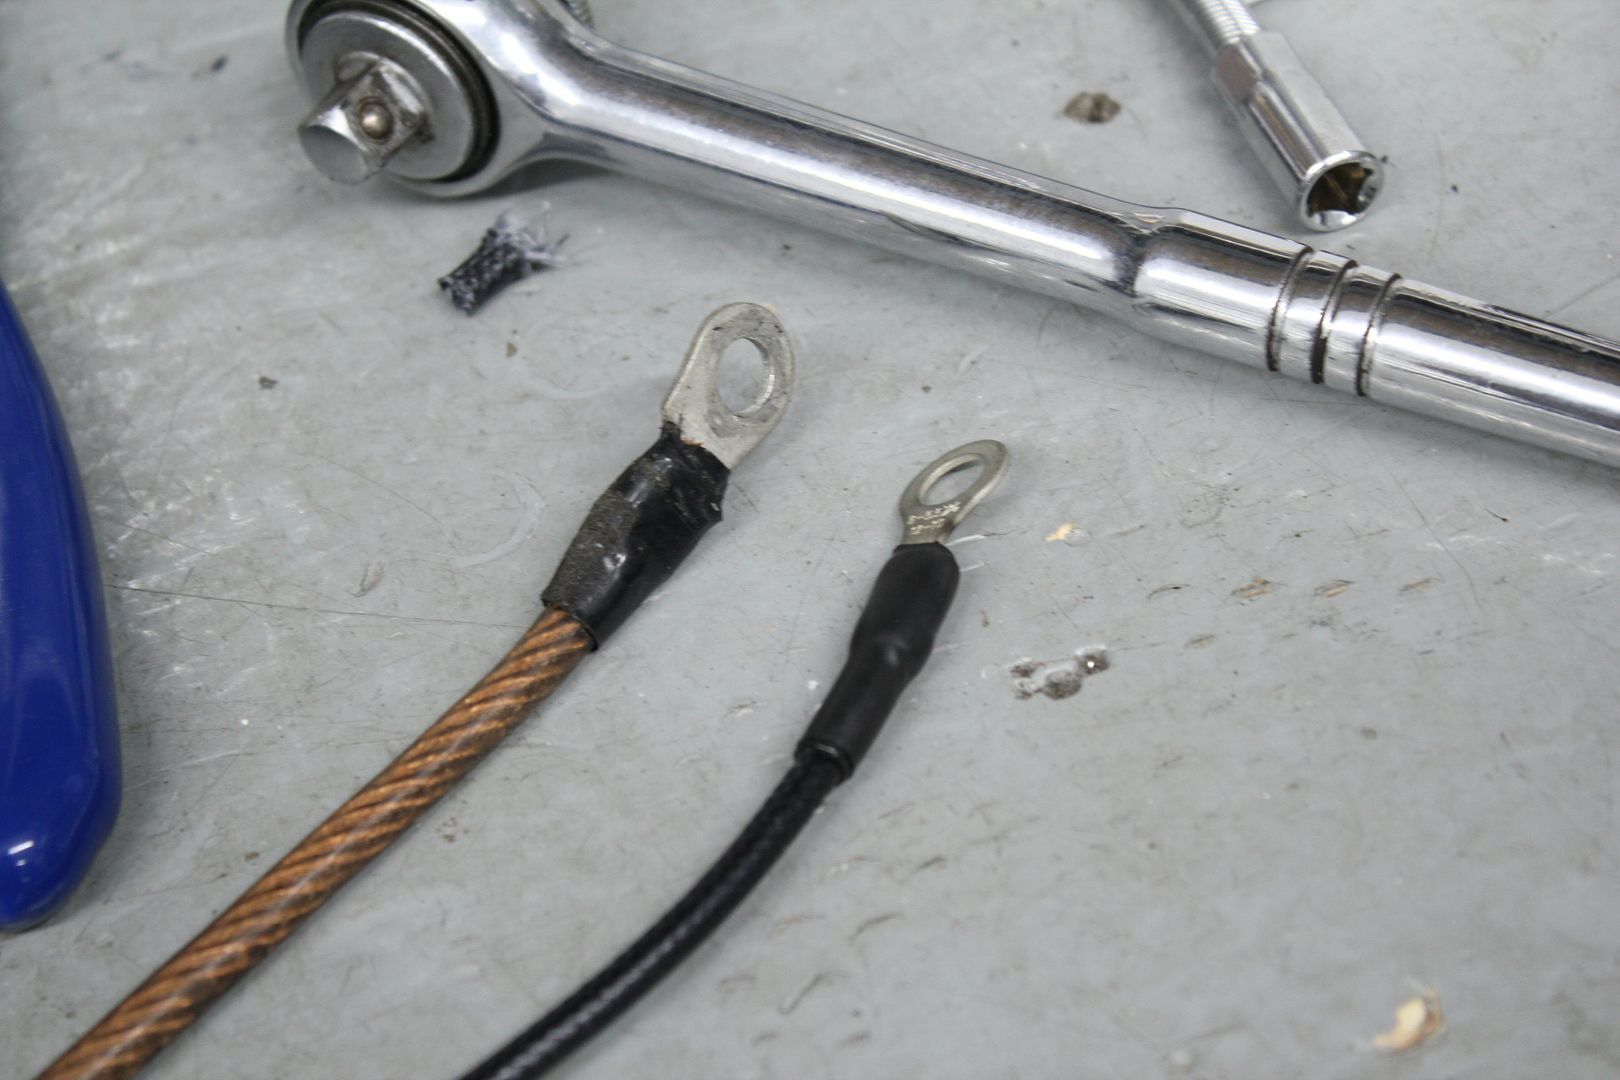
this would be much more subtle;
during the winter, i had bought a set of standard OEM GTR projector headlights,
but i didn't know if i really wanted to swap out my N1 headlights to go back to stock
during one of those days of work, the decision took itself,
a friend of mine came by to get some minor work done on his GTR,
then i saw that his driver's side headlight was cracked, a GTR projector headlight
so i asked him if he wanted to purchase my set of mint projector lights, and i would change his broken one on the spot free of charge
he was more than happy
while i was changing the headlight, which isn't a job i like, i pretty much hate it, another friend called me,
he had just got his car out of the body shop with a brand new paint job, and asked me if i had headlights for sale, since he had a broken one
...
really? what side i asked him ; passenger's side he replied ; come by my friend, its your lucky day i said
so friend #1 sold the un-needed passenger light to friend #2
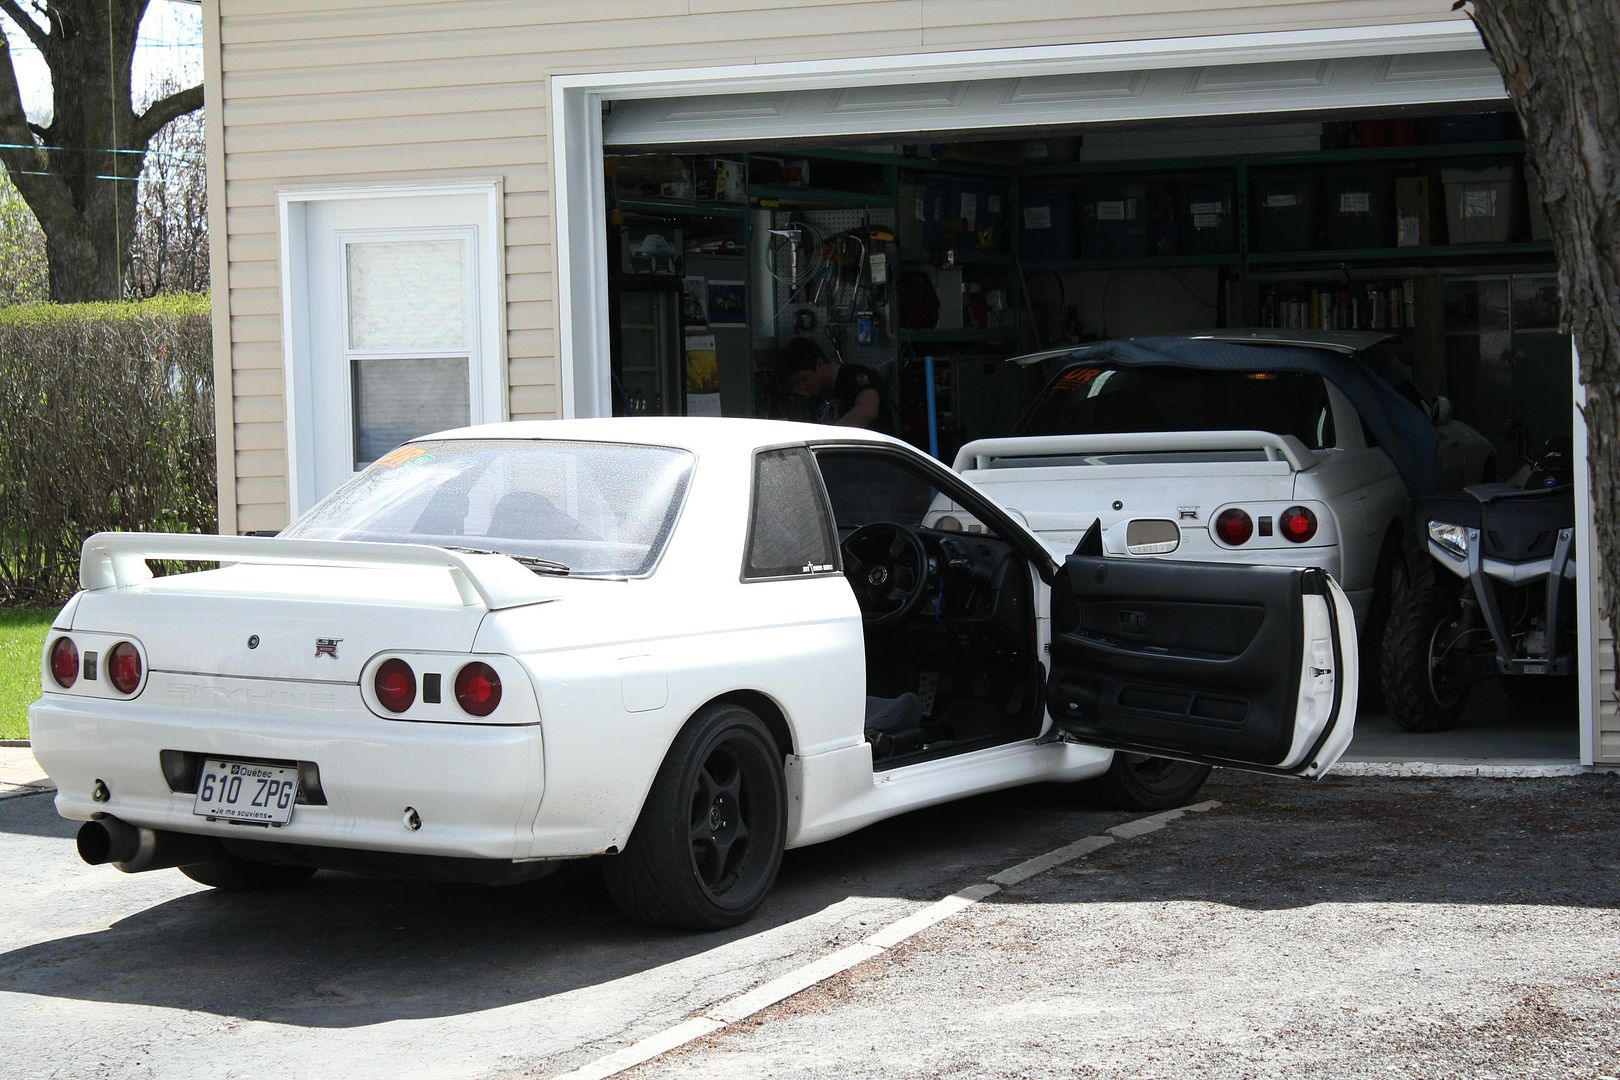
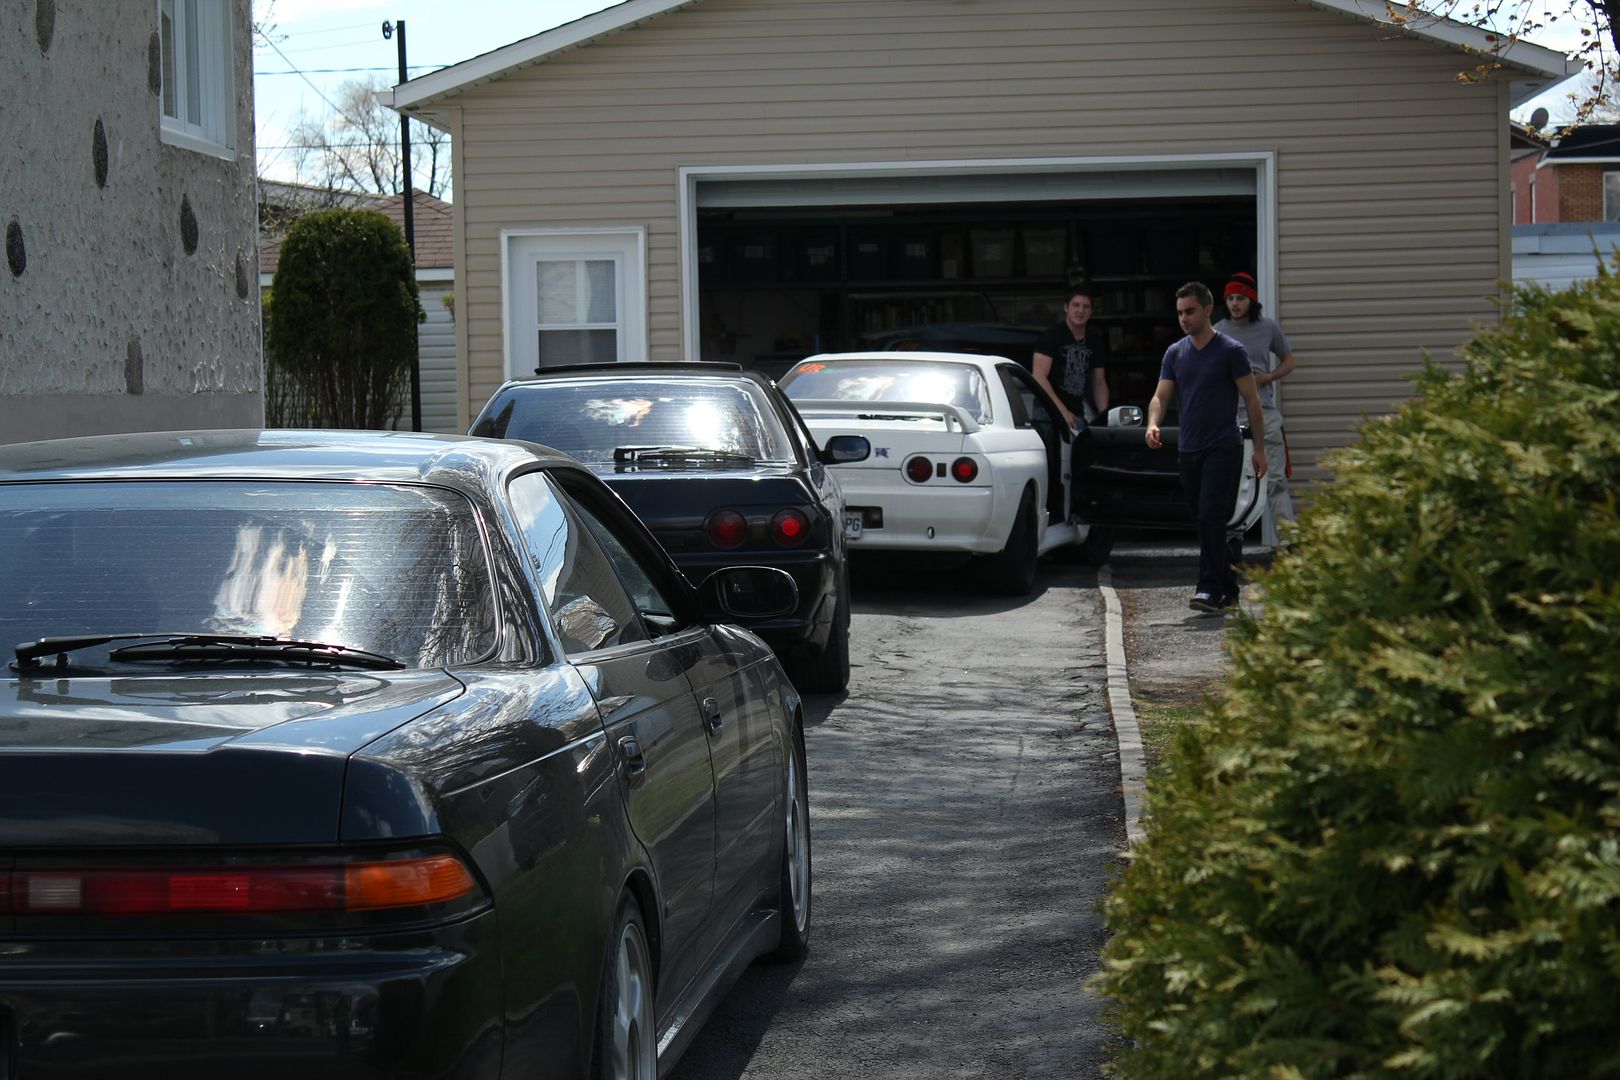
he arrived with another friend that gave him a lift to the body shop,
my driveway quickly became a JDM parking lot
3 skylines, 1 toyota MarkII
so i changed the broken light on the GTR-headlight-equipped black GTS-T
and made 2 guys happy that day
and made a bit of money, so 3 happy guys after all
thats all for that particular week
more to come soon
work really kicks up during week numero 3Last edited by frankiman; 03-10-2012, 12:20 AM.Leave a comment:
-
If you look, the plate on the turbo has both the r34 n1 turbo part number, along with the -7 number. But on that website, it says they have different compressor housings??? They do have the same hp rating though.Leave a comment:
-
Are those n1 turbos? That's the number on the plate for the -7 (dash seven) turbos. Are R34N1 turbos the same as the -7's?Leave a comment:
-
I know what to do now to fix my backfire problem. Could you send me the way you did your seafoam by pm?Leave a comment:
-
i wish my turbo had no shaft play!
after there was no shaft play at all, the turbos looked in order
Leave a comment:


Leave a comment: