 Tweet
Tweet
Originally posted by M13
View Post
-
I used to think that way as well, but after a few engines I'm pretty confident that it should be fine. There are different grades of scotch brite for honing use. Green is incredibly abrasive and has metal properties, red is not and can be used quite vigorously without any real dramatic turnouts - basically it's a safe bet. As for the decking portion, a straight blade, exacto etc works just as well to get excess junk off from the previous gasket. Lead leaves a terrible mess and atop that it indents both decks with small specks of corrosion which can only be removed with a good amount of scotchbrite elbow grease and light (400 grit) sandpaper. There is really no room for error here; if scotchbrite could take off that much material, i'd use it for sanding :PCheck out the GTST Projects page and keep up to date with my build!
www.nelsonmx.wordpress.com
Like us on Facebook! www.facebook.com/NelsonMX
Any part inquiries can be forwarded to marc@nelsonmx.com -
----------------------------------
Have acquired some goods today!
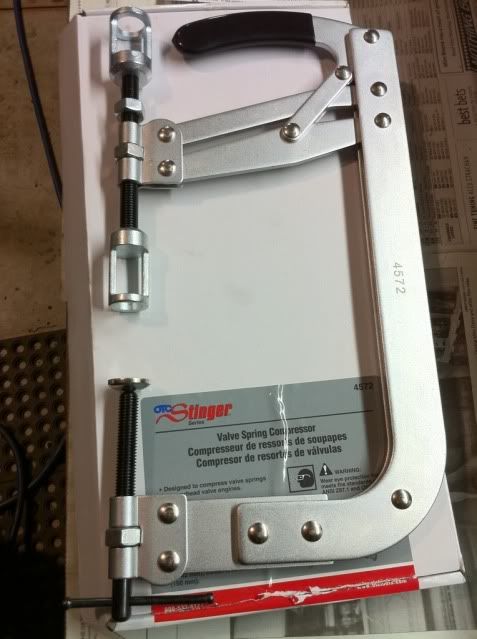
Ordered my valve spring remover and piston ring compressor, should be here at 8 am tomorrow.
Picked up a valve lapping kit;
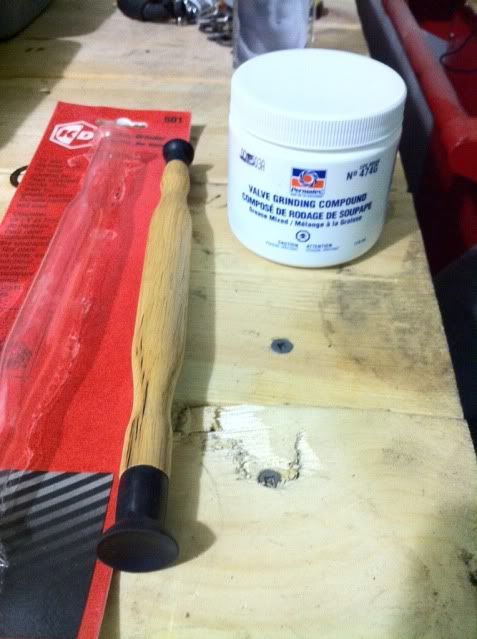
Paint;
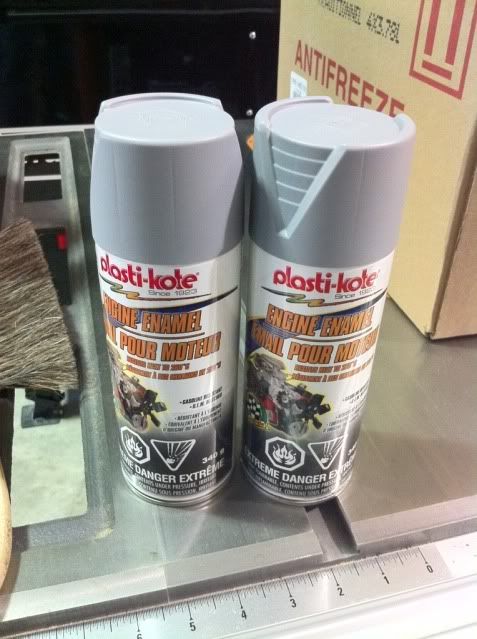
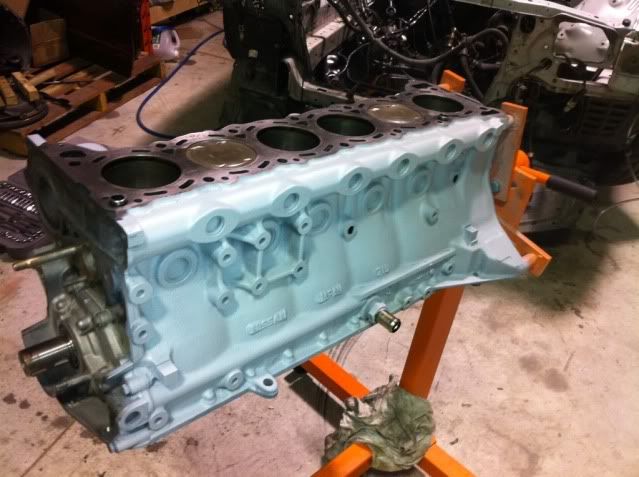
For this;
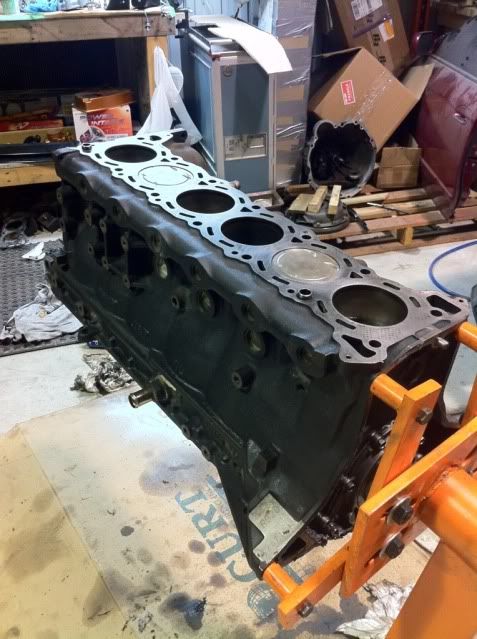
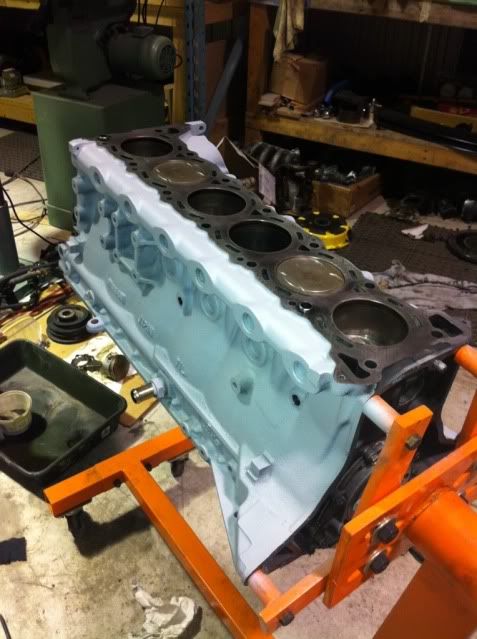
Which ended up looking like this;
 Check out the GTST Projects page and keep up to date with my build!
www.nelsonmx.wordpress.com
Like us on Facebook! www.facebook.com/NelsonMX
Any part inquiries can be forwarded to marc@nelsonmx.comComment
-
that looks hella sharp manThe SkyLife Community & News Website --> http://www.skylife4ever.comComment
-
lol you should see the shape of my oil pump pulley and mine still isnt even off yet. urs came of nice and easy eh. lucky lol- Adam
 :
:
http://forums.gtrcanada.com/gts-project-cars/44846-project-nashzilla-r32-gt-t-neo.htmlComment
-
LOL i totally forgot to post that on your thread! Lol sorry man, ya, it literally just slid right off.. :POriginally posted by amnash View PostCheck out the GTST Projects page and keep up to date with my build!
www.nelsonmx.wordpress.com
Like us on Facebook! www.facebook.com/NelsonMX
Any part inquiries can be forwarded to marc@nelsonmx.comComment
-
What a junker!
Comment
-
Hahah Bringing the old account back to life Pat!Check out the GTST Projects page and keep up to date with my build!
www.nelsonmx.wordpress.com
Like us on Facebook! www.facebook.com/NelsonMX
Any part inquiries can be forwarded to marc@nelsonmx.comComment
-
damn you and your easy ways. look at what i went threw tonight. what a nightmare lol, anyways..moving on
- Adam
:
http://forums.gtrcanada.com/gts-project-cars/44846-project-nashzilla-r32-gt-t-neo.htmlComment
-
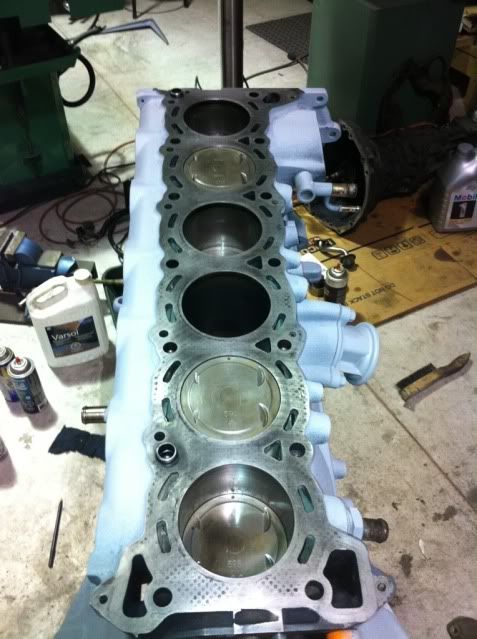
Wow, I had no idea the rb20 had so much meat between the cylinders. No wonder they never crack!
Comment
-
That's why you don't overbore a RB20DET block. Stock RB20DET pistons are only 78mm vs RB26DETT, RB25DET, RB30DET with 86mm pistons. The mark / ring just bigger than stock bore is where the 82mm, 1.2mm headgasket goes. So you can see it gets close to the watergalleries, etc (where it cracks). If you do overbore a RB20DET block , sleeving block (like you do when turbocharging Honda's) should reduce heat transfer to block, fitting balanced crank damper, balanced flywheel, balanced crank, can reduce the chance of harmonics cracking the block. Also fitting custom CNC mains caps, girdle, block brace (1 x piece of metal plate that connects mains caps to bottom of block), etc helps with harmonics. Look at R.I.P.S RB30 to see what I mean about using a block brace, custom mains caps, etc.
Sometimes cracking is due to people filling a hot block with cold water (not letting block, coolant cool down before flushing block, etc) -
Last edited by Skym; 01-18-2011, 10:54 AM.RESPONSE MONSTER
The most epic signature ever "epic".
Comment
-
Originally posted by Skym View Post
Right, you DONT want to bore-over the RB20 too much. 2.2 is likely the safest bet, but in all cases a nikasil or sleeve is going to be required for reliability purposes.Check out the GTST Projects page and keep up to date with my build!
www.nelsonmx.wordpress.com
Like us on Facebook! www.facebook.com/NelsonMX
Any part inquiries can be forwarded to marc@nelsonmx.comComment
-
-------------------------------------------
Received my valve-spring compressor, along with my piston ring compressor this morning. I have all the necessary equipment to reassemble and reinstall my motor, minus a new rear main seal, and top end gaskets (aacv/intake manifold etc).
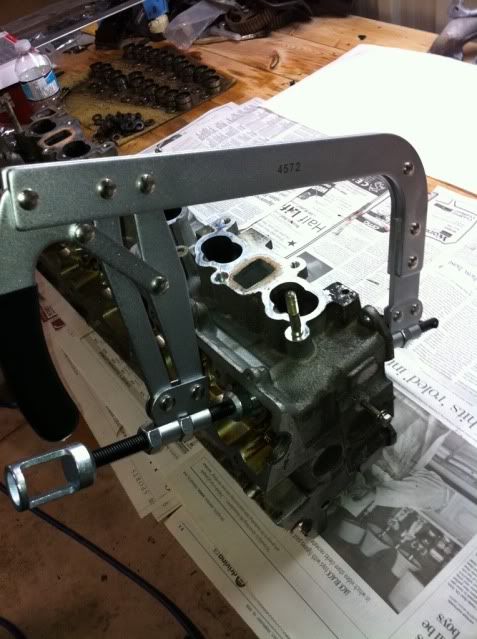


I finished the remainder of my porting;
If you're going to be tackling this job yourself, you're going to need these;
1. Dremmel
2. Diamond carbide bits
3. Green scotch brite
4. Red scotch brite
5. Metal polish
6. Buffer-dremmel attachment
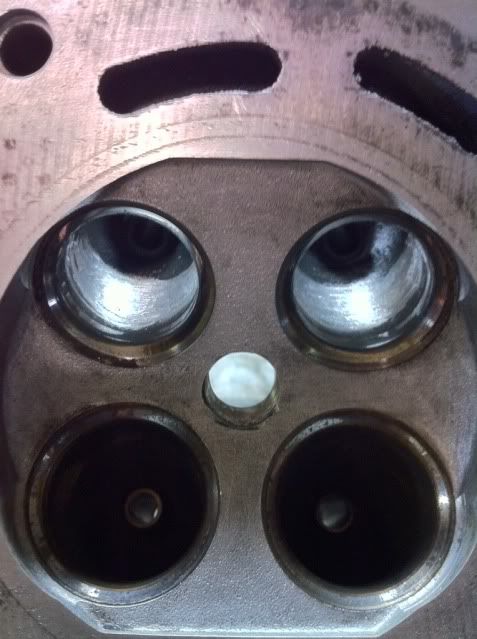
First thing you'll notice after cleaning and prepping the head is that Nissan left numerous casting flaws. The biggest issue with these is that they create turbulence, making the air that's passing through these channels less efficient. You want to reduce turbulence by porting and polishing. Porting is the physical removal of metal, and such castings, by using a carbide bit attachment on a dremmel. After that's complete, take your scotch brite pad (green 1st) and clean the surface you just dremmeled to a smooth finish. The Red scotch brite will create an even smoother surface before continuing on to the polishing phase. Polishing is not necessary, and is sometimes classified as insignificant. The velocity of air on the wall is always considered 0. This is because at this psi, air becomes viscous and thick, as opposed to our normal 'breathing air'. The air will cling to the walls and create a sort of duct, contradicting the myth that a polished surface will enable more air to move more vigorously. That being said, i do it regardless because it's something i'm accustomed too, and the step only takes 20 or so minutes...
The greatest loss of air is typically downstream of a valve, so its crucial to follow the air path in, and make sure there are no castings creating obstructions of the sorts. This is basically what i've done here;

After;
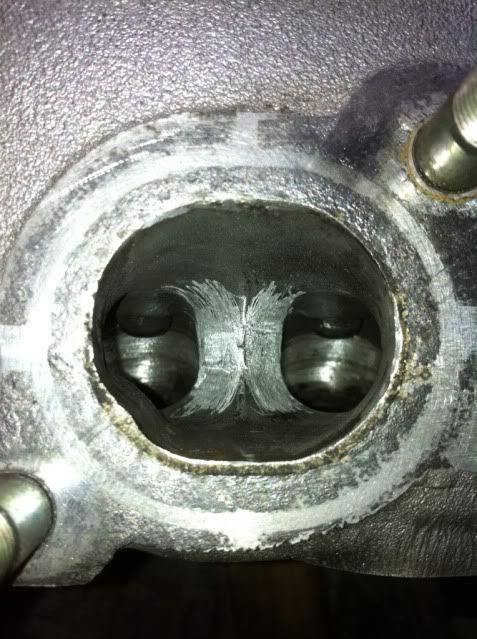
The oem castings just past the seats were rough. This roughness was a collecting a great deal of carbon, which is typical of any motor. To reduce these deposits, smooth out the areas as much as possible.
Cleaning the castings on the exit port help as well to increase flow. I also removed a great deal of material to open the mouth as much as possible as well, interested to see how it does on the dyno.
Before;
 ]
]
After grinding;
After polishing etc;
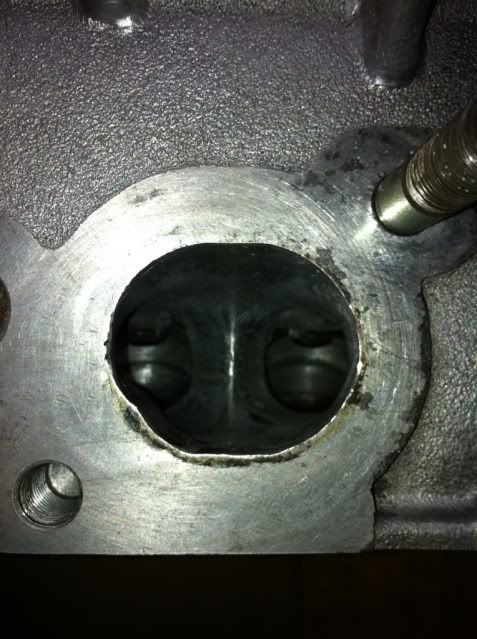
Cleaned head;


These will be done tonight;
 Check out the GTST Projects page and keep up to date with my build!
www.nelsonmx.wordpress.com
Like us on Facebook! www.facebook.com/NelsonMX
Any part inquiries can be forwarded to marc@nelsonmx.comComment
-
Lookin gooooood.
can't wait to see what it puts down.1/1_Scale
パーソナリティは、1つを得るComment
-
damn this is looking good!
keep it upMarc-Andr�
_________
2.2L RB20 GTS-T
ECU modification enabled - PM me for detailsComment
-
doood. nice. damn i really need to get my head assembledI've been brushing my teeth with jack but it's resulted in terrible amounts of tooth decay.Comment


Comment