 Tweet
Tweet
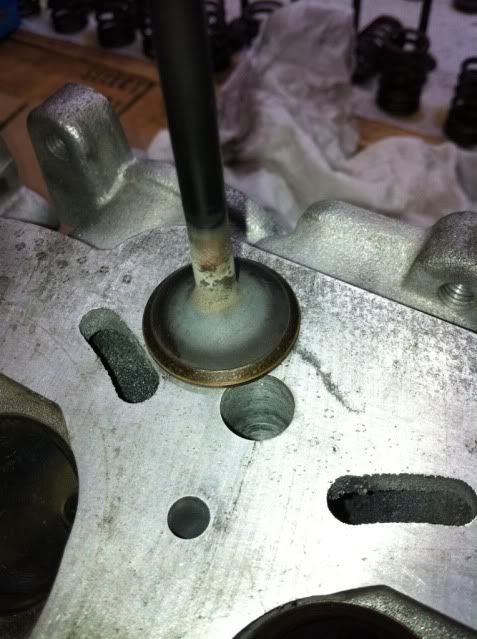
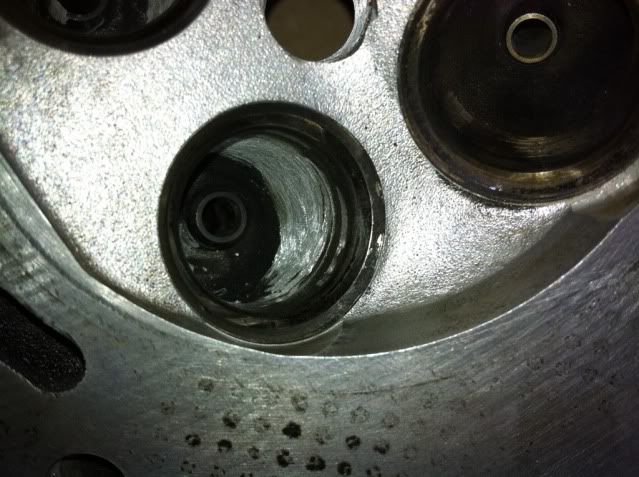
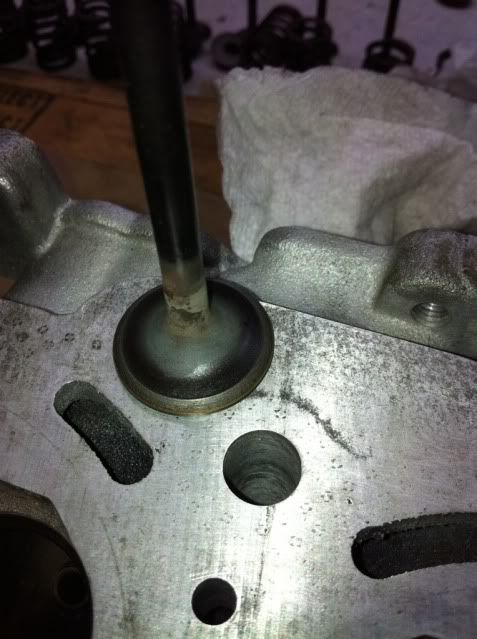
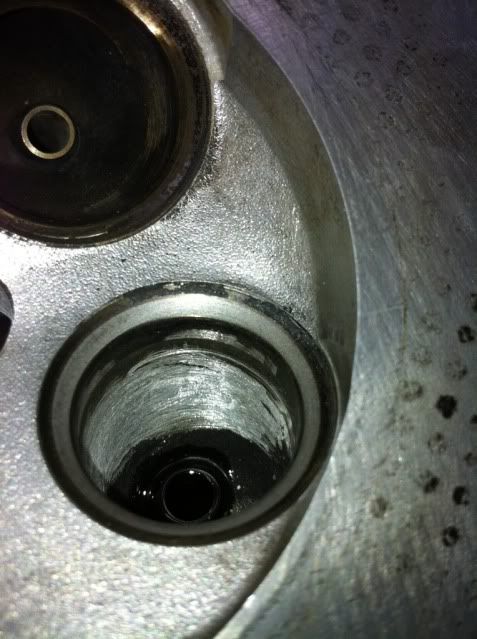
Check if your valves have excessive play in the guides. Use the intake as reference (intake usually is good since the air cools the valves/guides).
Nice good job, it's a good project...
BTW you don't need the polish the ports too much as being rough is actually better, not too rough but rough none the less. The roughness allows the air to slow down around the edges and creates a boundary layer, then on top of the boundary layer the air will flow smoothly and less chance for turbulance. Josh can back me up on this one!!!

 )
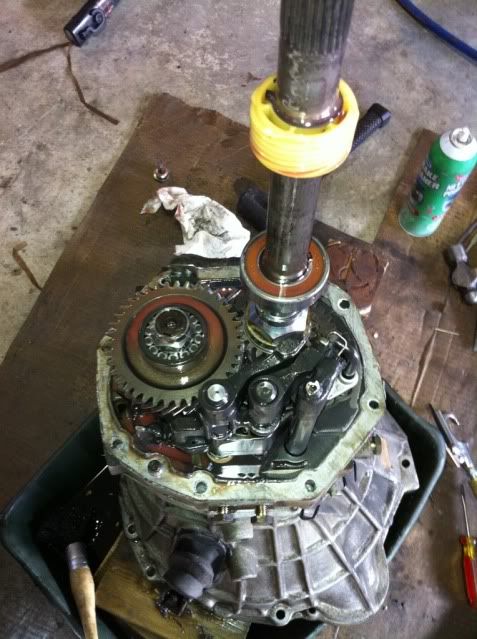
) But yes, one hell of a transmission..!
Comment