Hey I just noticed, what happened to the valve covers?
Announcement
Collapse
No announcement yet.
Jordies '93 GTST Type M... Progress Thread
Collapse
X
-
I still have them , just took them off to prevent them from getting scratched. I am still waiting on a couple things to come in and then the car should be ready to have the bay painted and get re assembled.Originally posted by SkylineCris View PostHey I just noticed, what happened to the valve covers?
 Jordie Lewis
1993 Skyline Type M
Comment
-
Picked up a new daily for the Girlfriend. 2015 Nissan Micra SR. Its great on gas lots of fun and you cant really go wrong with the price.
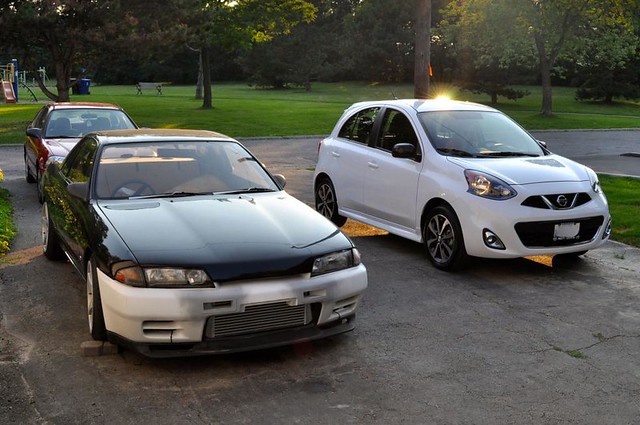 DSC_0020 by R32Jordie, on Flickr
The Skyline is headed to my friends shop to have the wiring done, bay painted and to be re assembled. Having to walk 100ft to the shed to get tools gets tiring fast so lots of progress to come over the coming weeks Jordie Lewis
1993 Skyline Type M
Comment
-
So lots has changed since I've updated last (by my standards anyways)
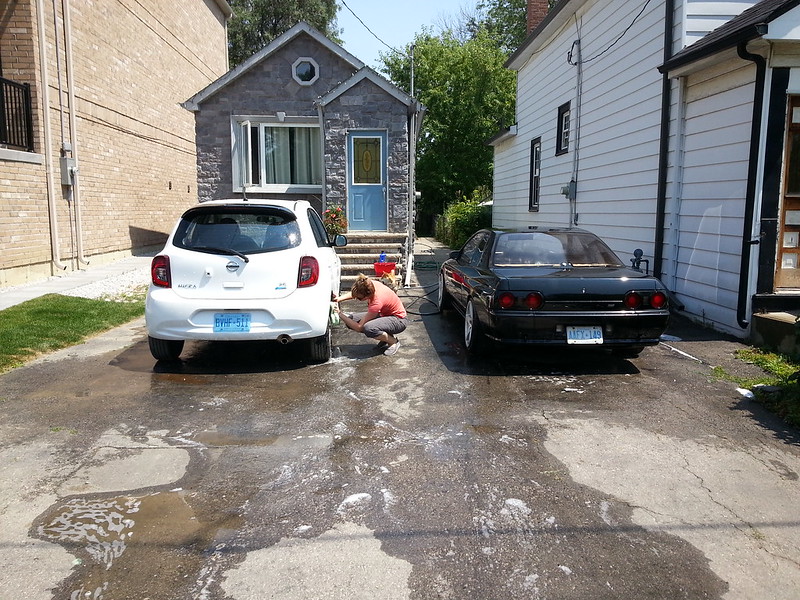
His and Hers.
Here is the last driveway shot for a while. I test fitted the side skirt so I could take dimensions for the graphics and did them up in Adobe Illustrator. They have been sent to the vinyl shop to be cut. Priorities I know.
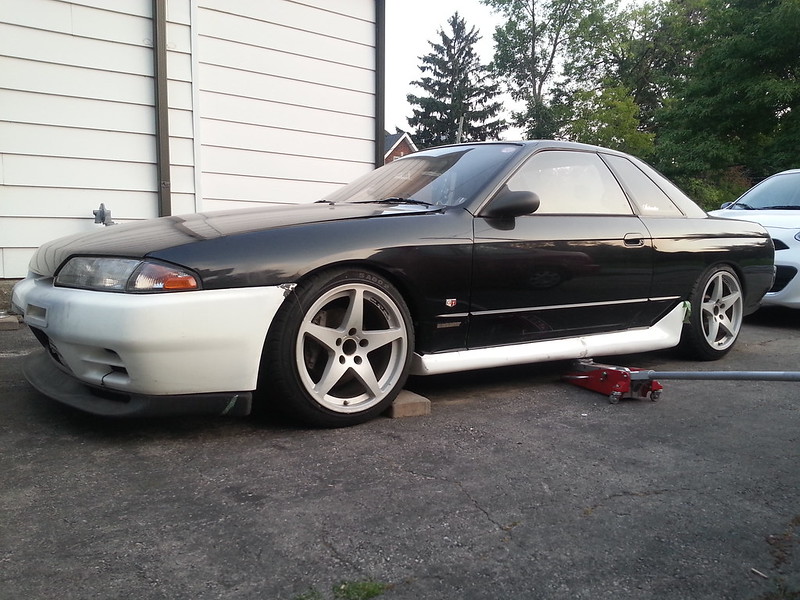
I finally got fed up walking from the front of the house to the shed to get tools and the lack of shade meant it was time to move the car so I could actually make some progress.
I had a good buddy trailer the car to a friends storage unit which is fully equipped with everything needed to finish the project. Its a little cramped but it beats working in the driveway. These storage lockers are rented out as workshops so they are perfect.
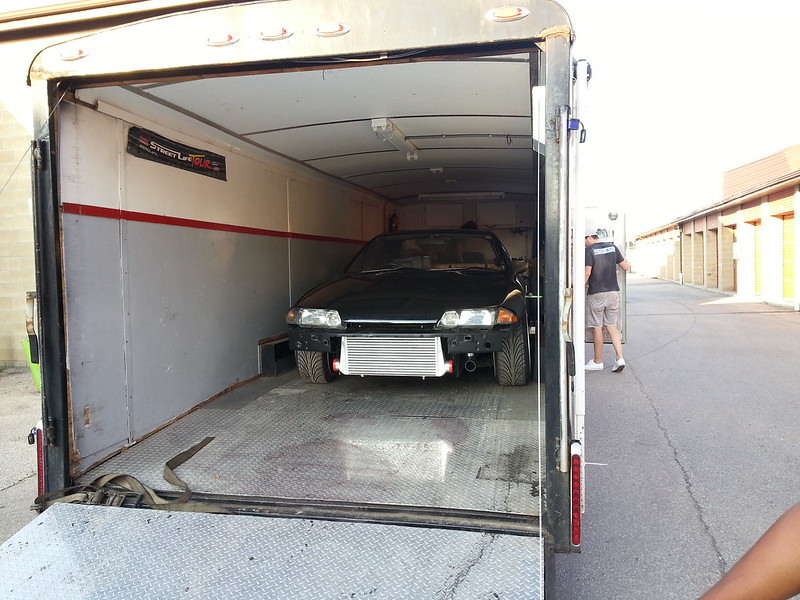
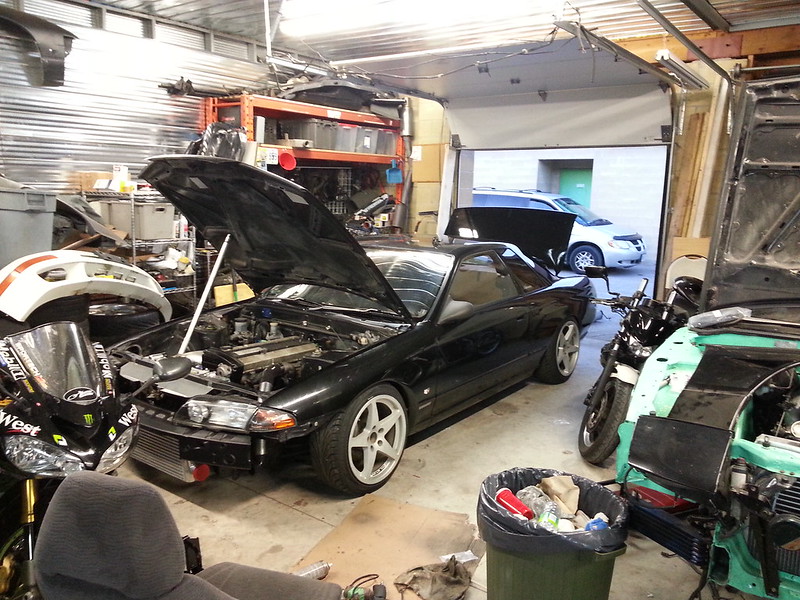
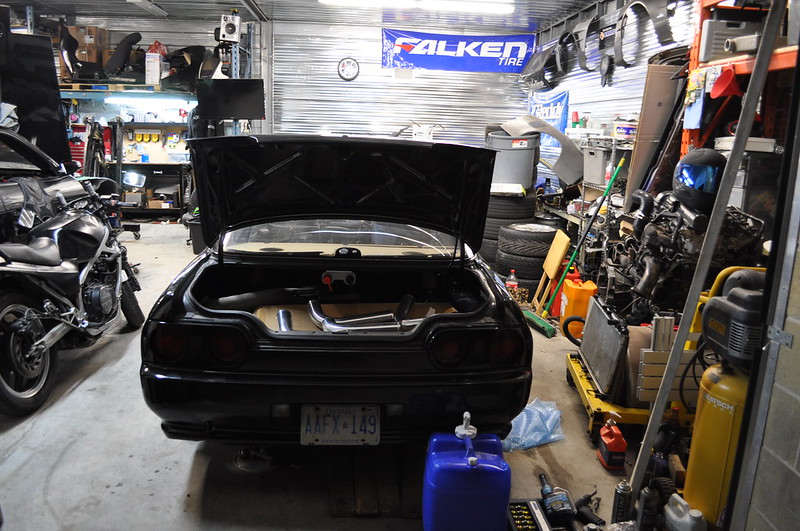
On our row of units there is one that does autobody, another for fabrication and a host of people building cool projects. All the resources are in one place to get the project done. I spent most of last week there until all hours of the morning and got all my intercooler piping tacked up as well as made the intake.
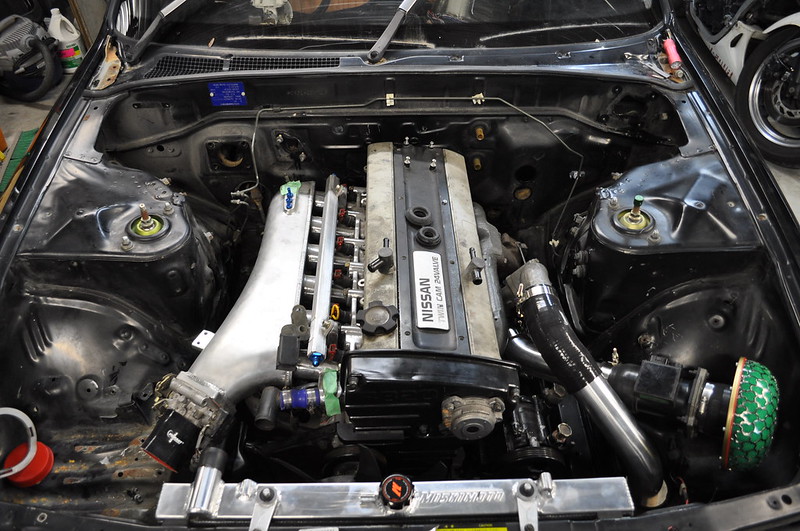
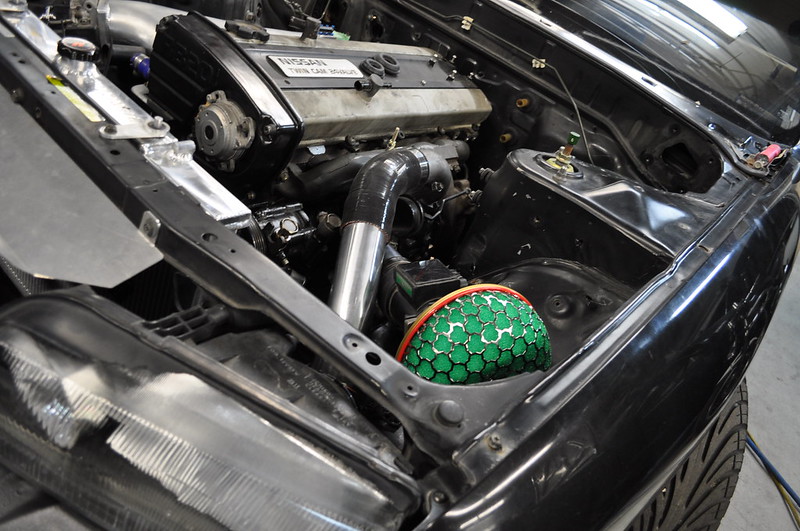
The firewall has been stripped of the brake booster/ master cylinder, clutch master, wiper motor for cleaning and paint. Now the intercooler piping is all mocked up the engine can come out to fill all the unused holes, smooth the bay and paint. I am on the fence if I should buy the lava mat head shield as its not needed but will completely set off the look of the bay.
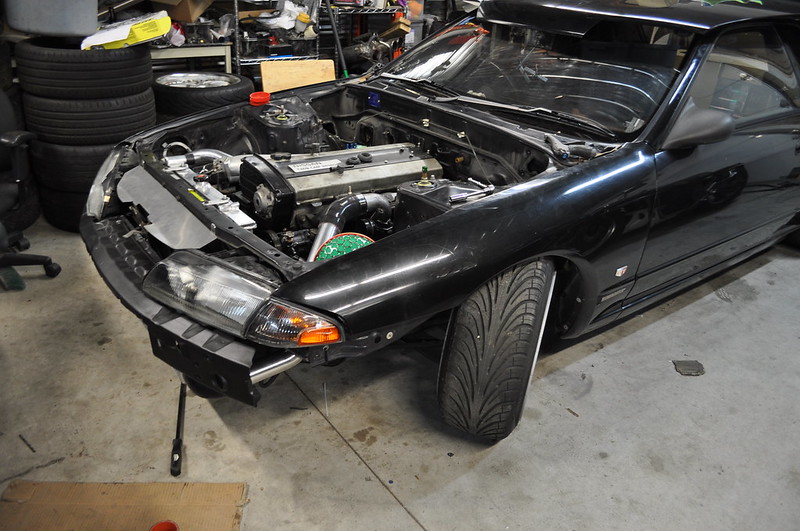
Finally I test fit the wheels on the car. My friend had a pair of 245/40/R18s sitting in the corner so I threw them on. The side wall is a little big and will rub the back of the front fender once the wheel is turned. I think I will end out running a 255/35/R18 and rolling / pulling the rear fenders so they fit and have the biggest contact patch as possible.
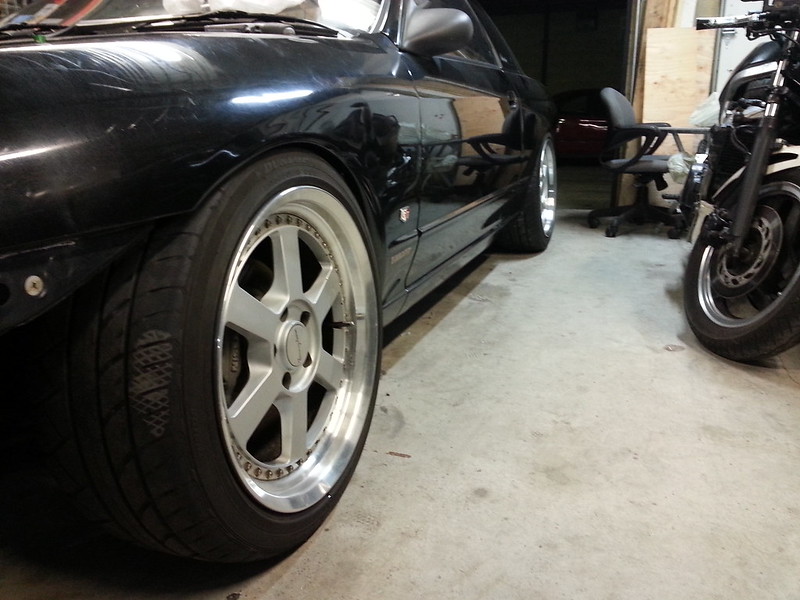
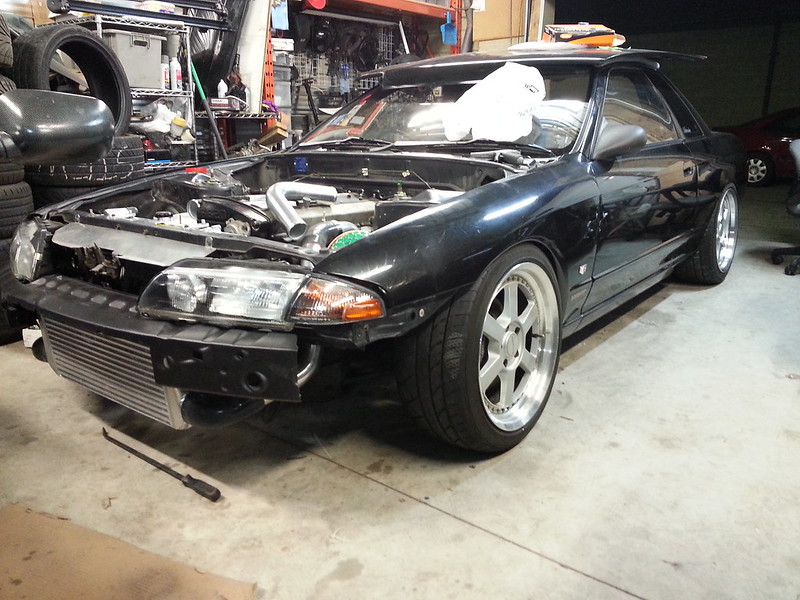
I love the look. 18's suit the car way better which leads me to believe that the old Nismo wheels will be up for sale soon.
Thats all for now. Thanks for reading.Jordie Lewis
1993 Skyline Type M
Comment
-
Its coming along now, The engine bay is stripped (save for the motor which will be out tonight). Thought I'd wheel it outside one last time.
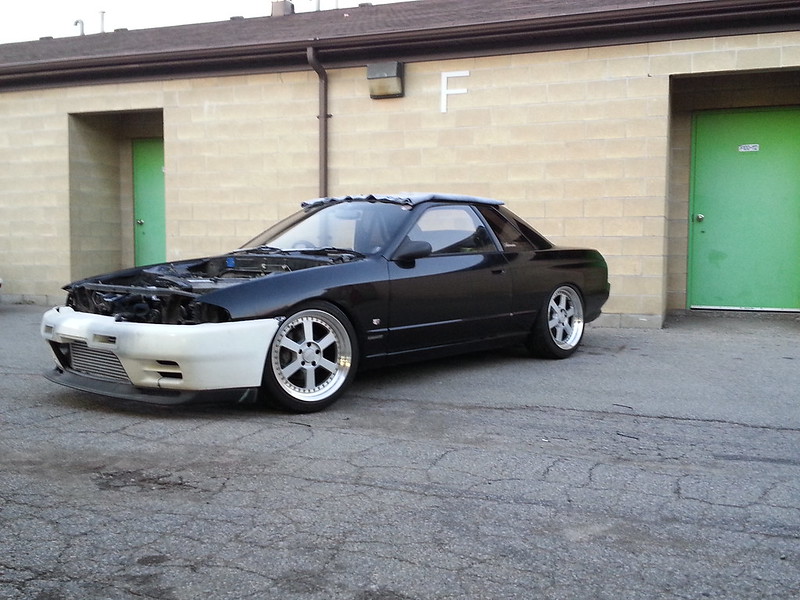
Unfortunately I did not have my camera with me so this cellphone picture will have to suffice. I love these wheels.Jordie Lewis
1993 Skyline Type M
Comment
-
Got the motor out and started Cleaning up the engine bay. First to go was the battery tray as it was a little corroded and dented.
Cut it out and made up some sheet metal pieces to replace the factory metal
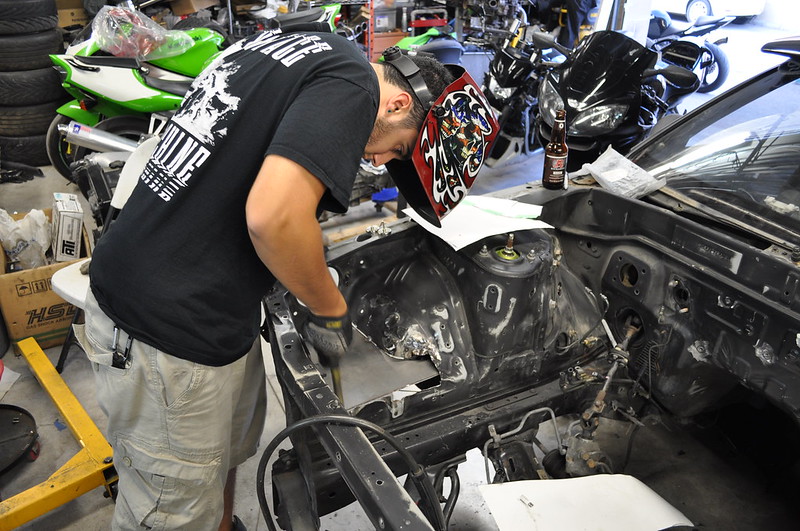
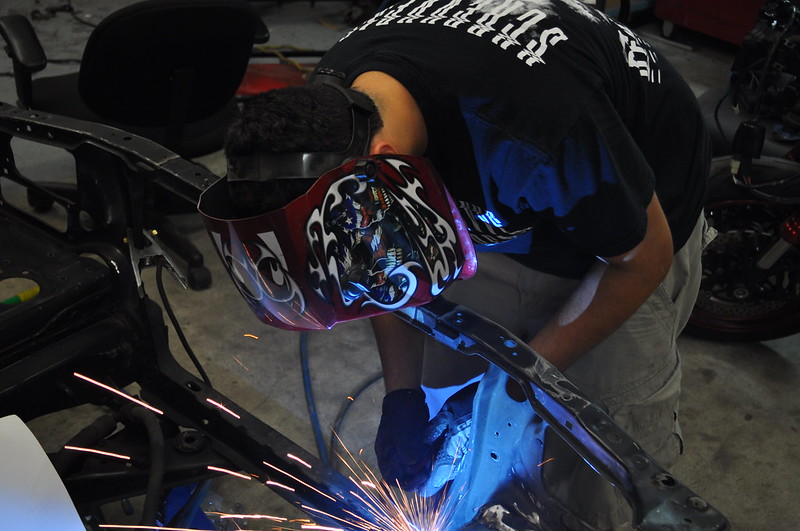
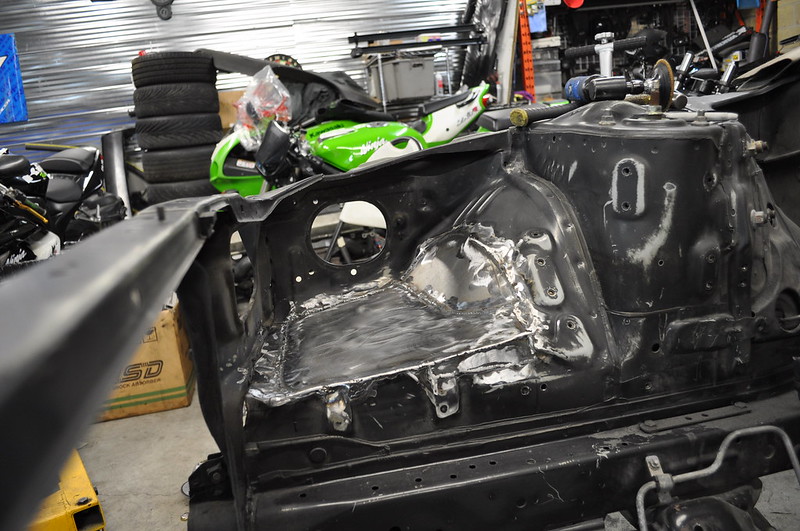
The metal under the battery tray is stamped for strength to take the weight of the battery. The new metal gives it a cleaner look and a little extra room for wheel clearance.
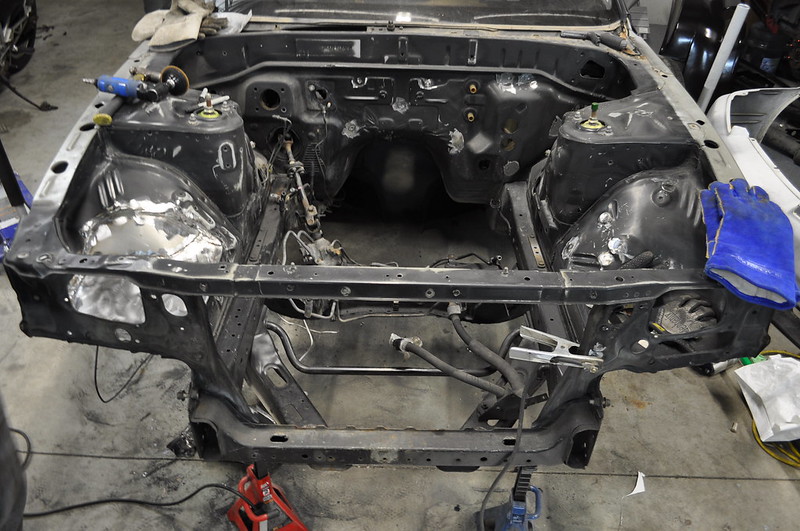
I also ground down and welded up all the unnecessary holes on the firewall and elsewhere in the bay. Everything was ground down smooth and touched up bondo glass.
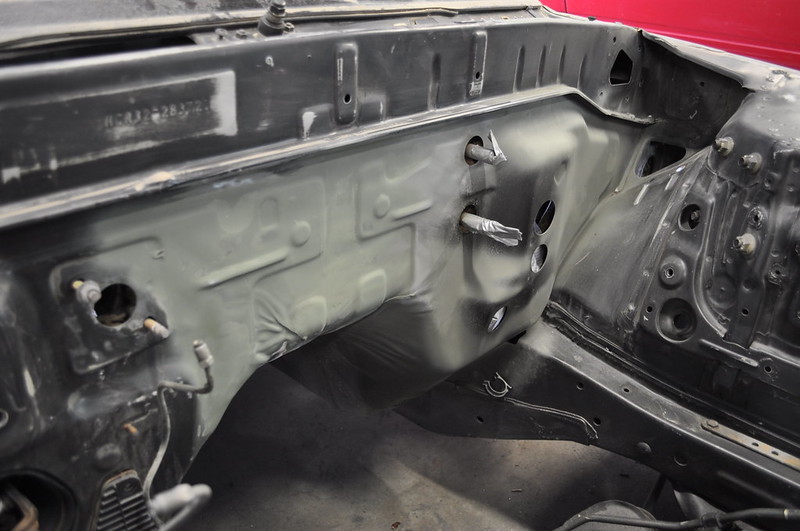
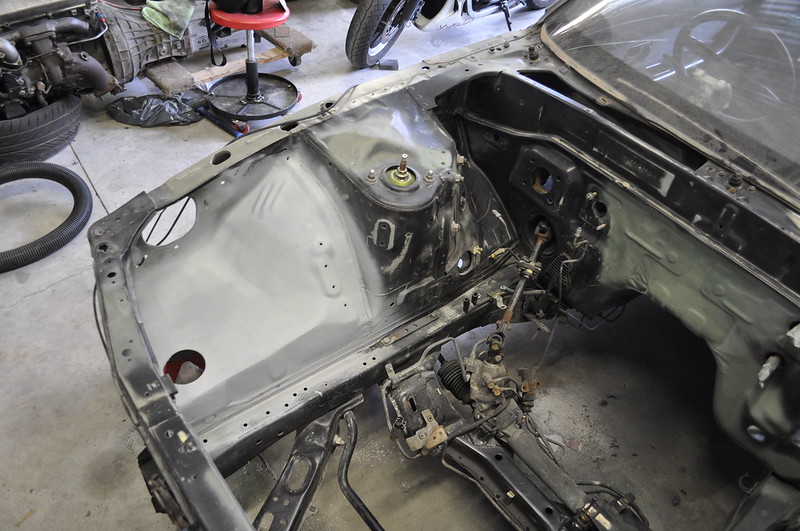
I wheeled it out to clean up the sanding mess under the car.
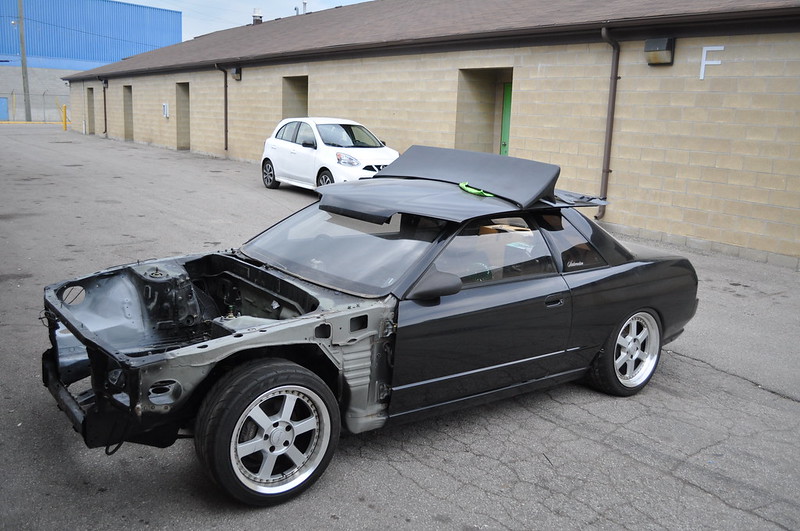
I threw some tires on the 17" Tommy Kaira wheels to roll around on (which need some serious cleaning), and will probably run a 17/18 stagger until I get my other 18" wheel fixed.
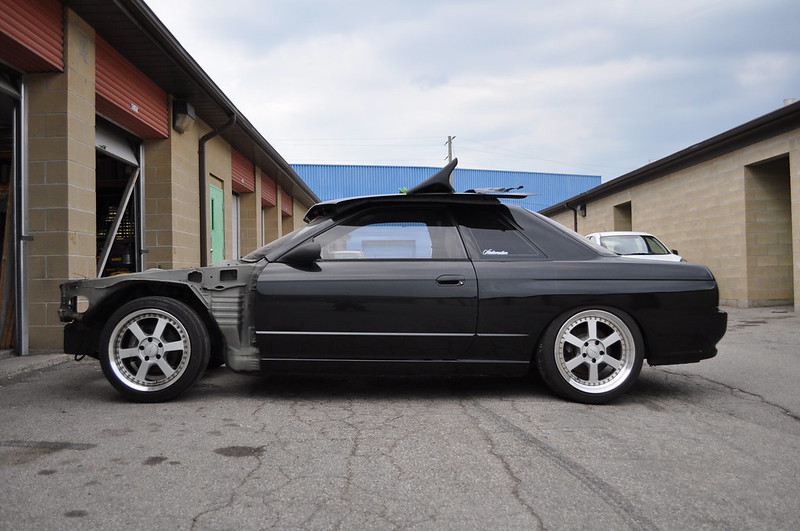
Tomorrow Its time to drop the front subframe and continue priming and prepping the bay for paint.
Thanks for reading
-JordieLast edited by S13Jordie; 08-31-2014, 01:00 PM.Jordie Lewis
1993 Skyline Type M
Comment
-
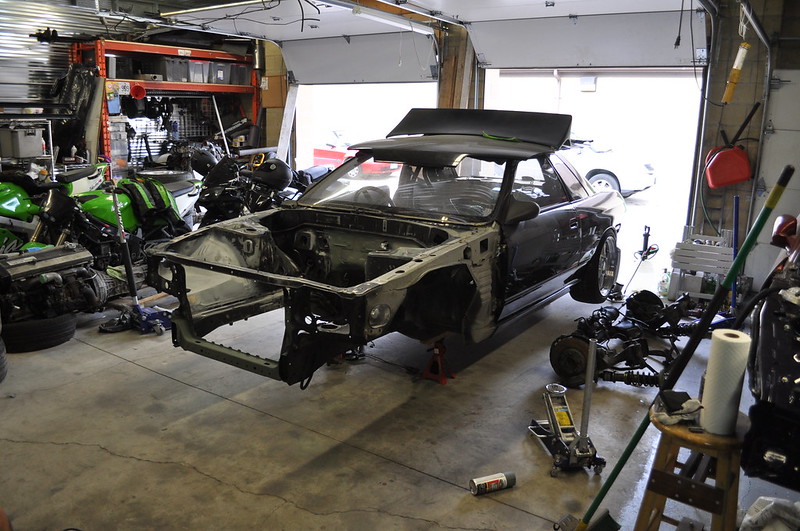
I made some good headway today. My friend came by and we started by dropping the front subframe in which I absolutely smashed my finger when the upper control arm swung down. Other than that It came out nice and easy.
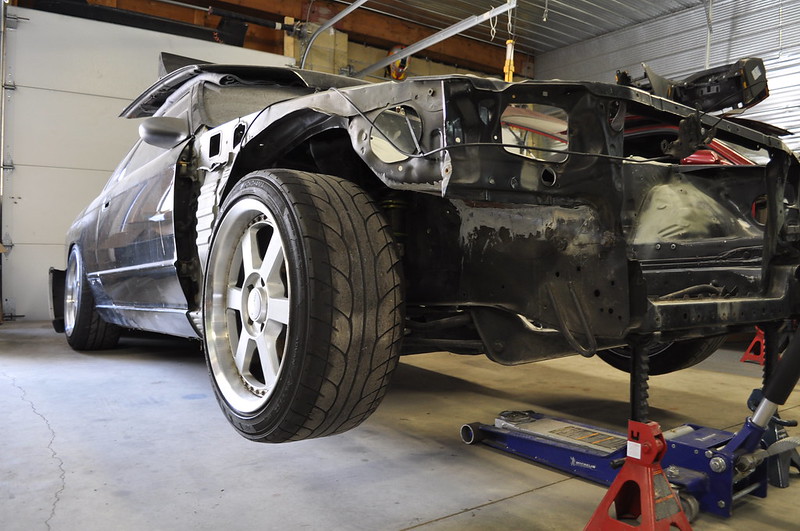
Dont mind the seam sealer. I apparently got a bad tube or something as it just wont dry 100%. I keep putting off the awful job of scraping it all off and sealing it up again.
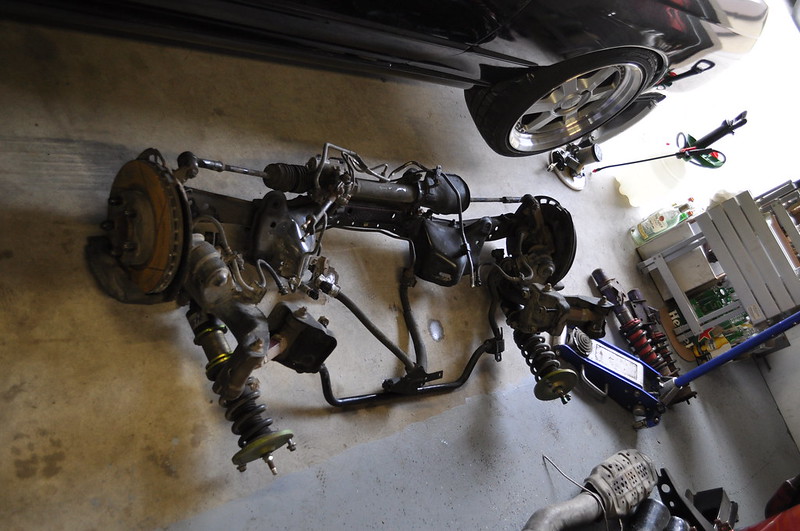
This mess will all be taken apart, cleaned, powder coated and installed proper.
Next up was a final light scuff and wiper down with wax and grease remover. I cant help thinking that I missed some of the 20 year old dirt and grime but it will have to do.
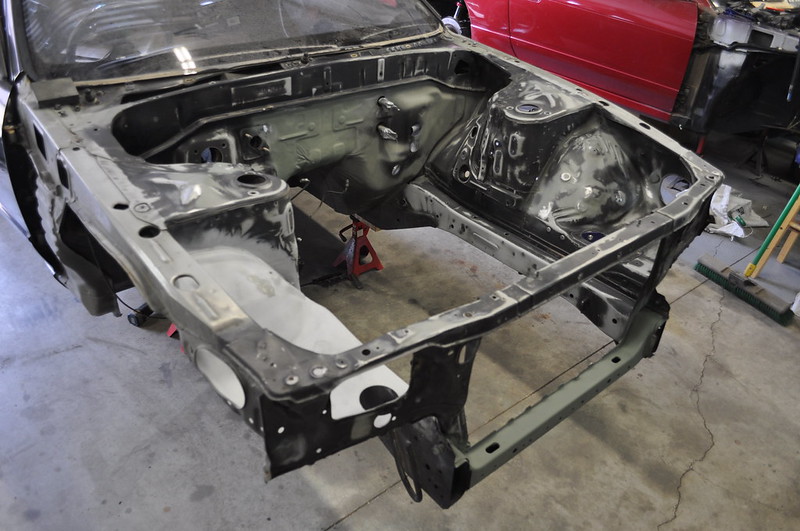
Ready for battle! after masking and cleaning, I gave it a few coats of etching primer.
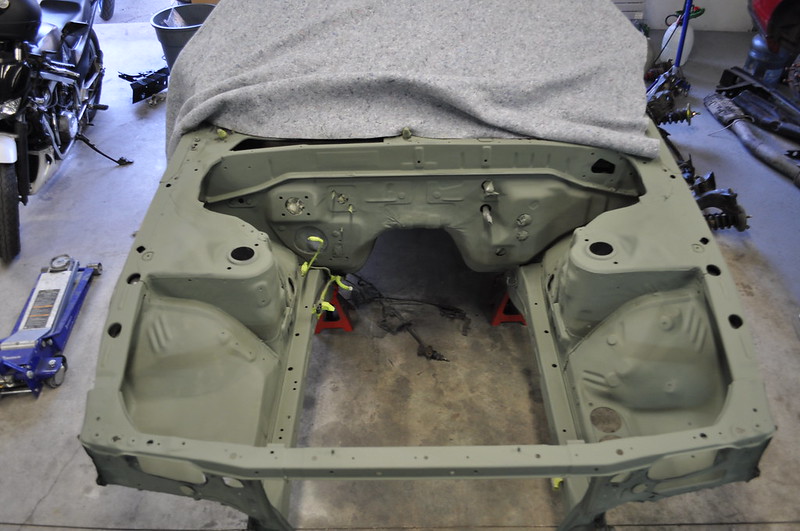
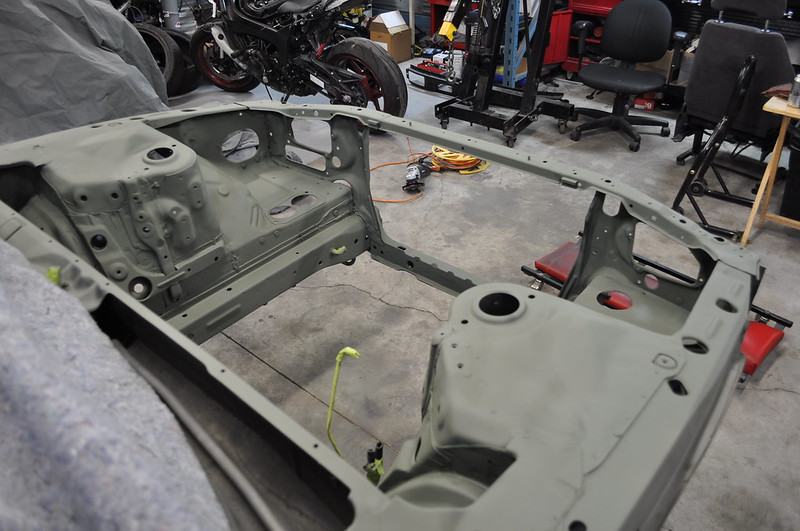
And there you have it. Im going to let it dry over night (although its pretty dry now) and give it a coat of filler primer tomorrow. Bay paint has been ordered and should be ready for pickup later this week
Thanks for reading
-JordieJordie Lewis
1993 Skyline Type M
Comment
-
I spent most of last week sanding, cleaning and prepping the bay for paint. It was getting to be a hassle getting the actual paint as most stores are 9-5 and I work in an office and cant really leave. I had initially planned on getting colour matched paint cans and doing it myself but opted to make use of my resources and call on the painter a couple units down from mine.
We settled on a price and he would grab the paint. Perfect. The first challenge was to move the car as It had no front subframe. With some spare wood and good quality casters, I quickly whacked together a dolly to wheel it around.
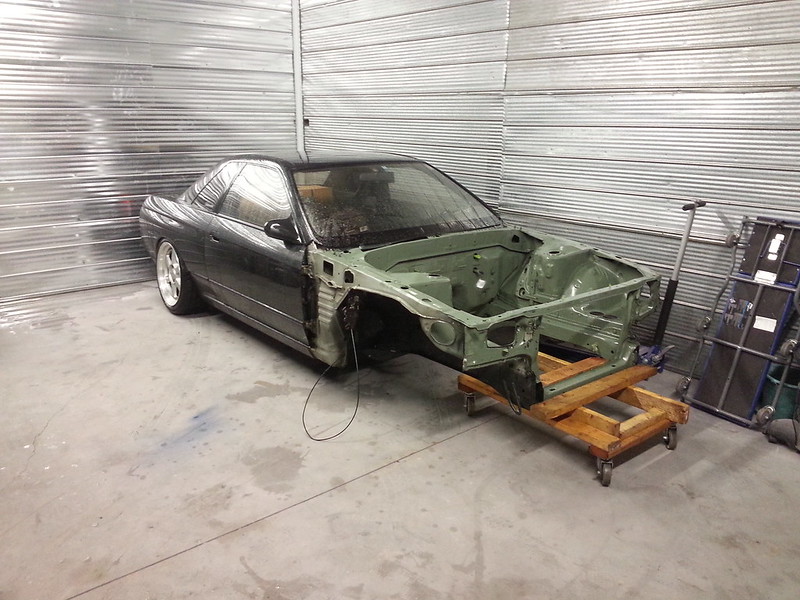
Our deal had me do all the prep work (under his eye) So I scuffed the bay down again, washed it and then scuffed it down with Wax & Grease remover. Taped it all off and we were off to the races.
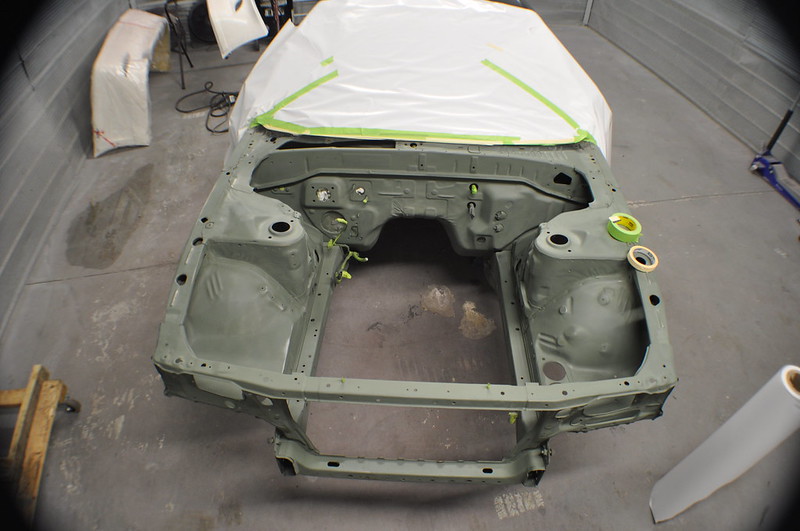
I settled for Ford UH Black. I was undecided for a while but noticed my Co-workers Lincoln in the sun and had to have it.
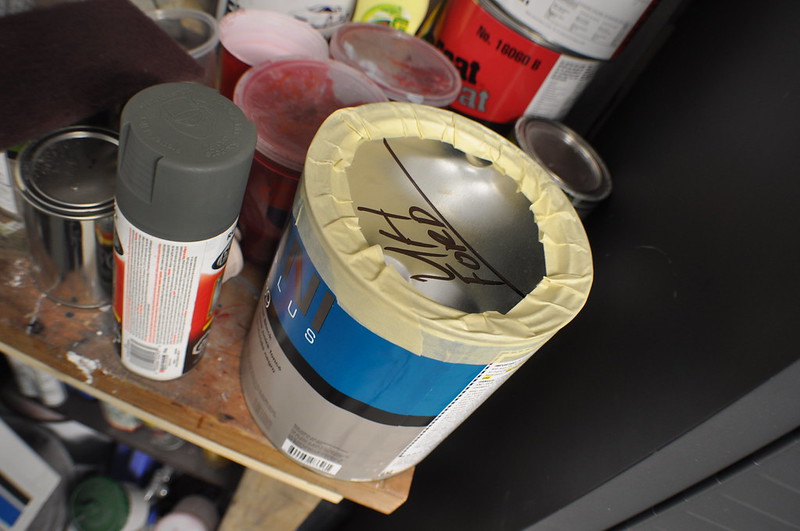
Paint Can Pic.... Exciting
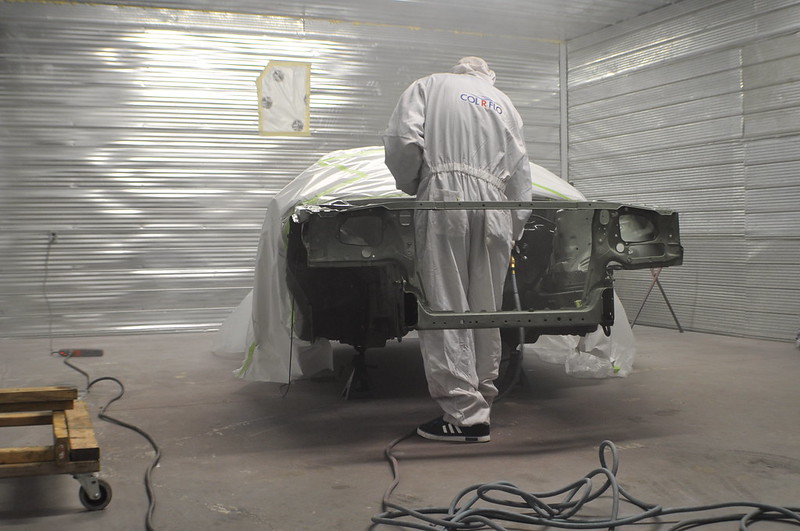
Party Time.
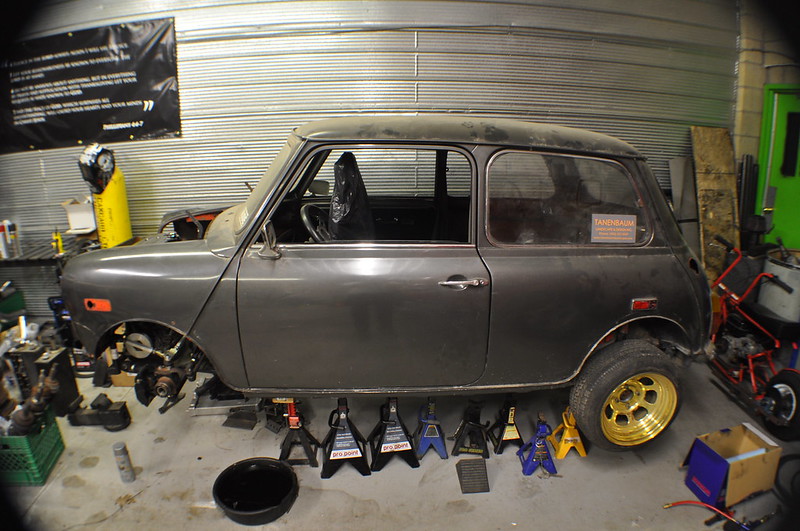
Anxious and with my good camera in hand, I thought Id snap some pics of my friend Peters mini project
How many axle stands does it take to hold up a mini?
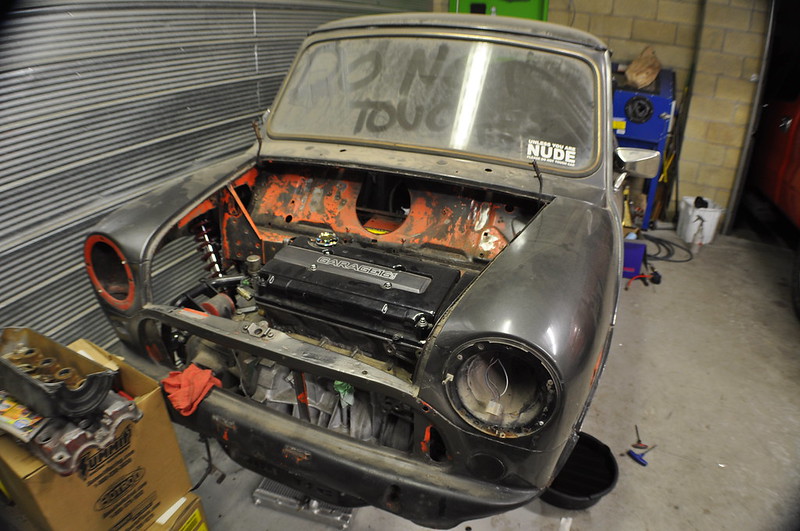
Full minitec subframe swap to accomodate the Honda motor. Should be fun when its finished.
A few coats of paint and 2 coats of clear later, it was finally finished
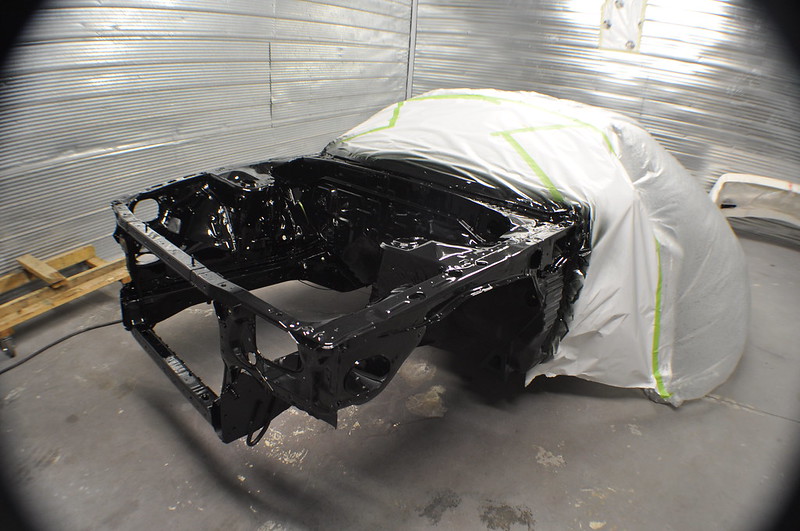
It looks so good, Not overly flashy at first glance but up close in the sun it will look amazing. The metallic colours will really compliment
the Valve cover paint job and the whole HKS livery theme.
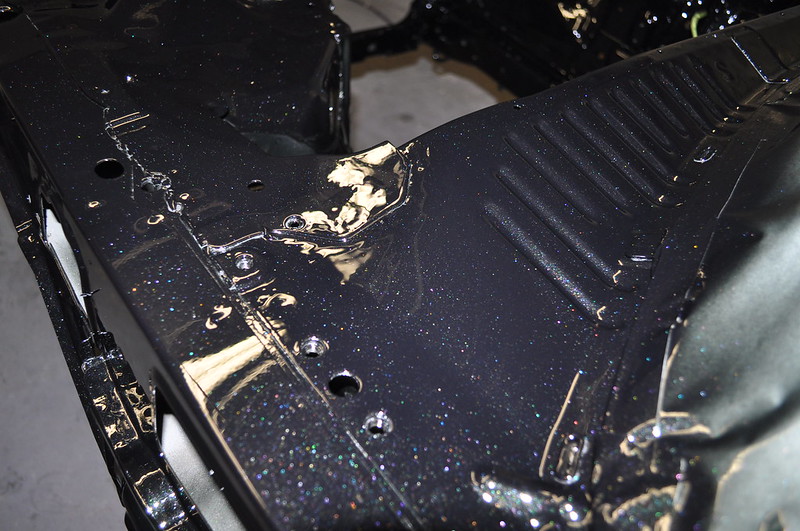
Now its time to clean up and spray the front subframe and CAREFULLY reassemble it all.
Cheers,
JordieJordie Lewis
1993 Skyline Type M
Comment
-
Thanks Ryan.Originally posted by RWD_GTR View Postseen a couple updates on fb. looks really nice. cant wait to see this thing all put together.
So not any major progress on the car. I've started cleaning up and re-assembling the engine bay. Now that the engine bay is painted, everything else is starting to show its true age.
I started off by removing the oil pan because I was skeptical of the sealing job it did a year ago in my shed. Having the right tools helps out a lot and the pan could use a fresh coat of paint anyways.
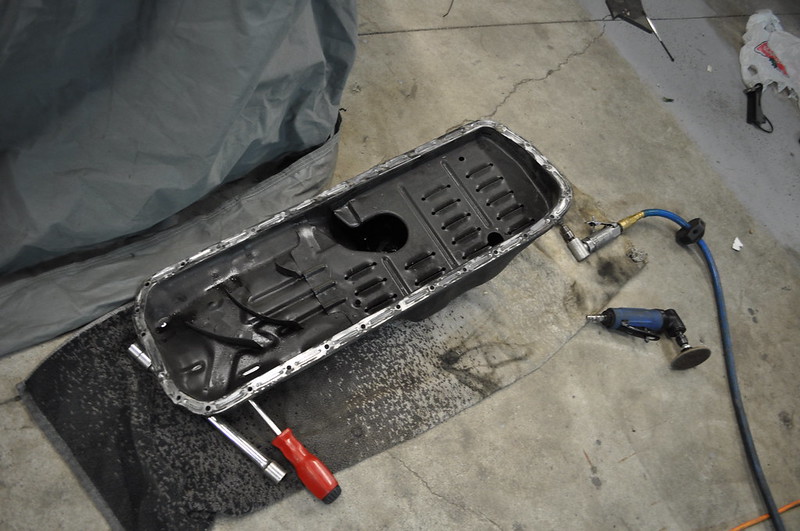
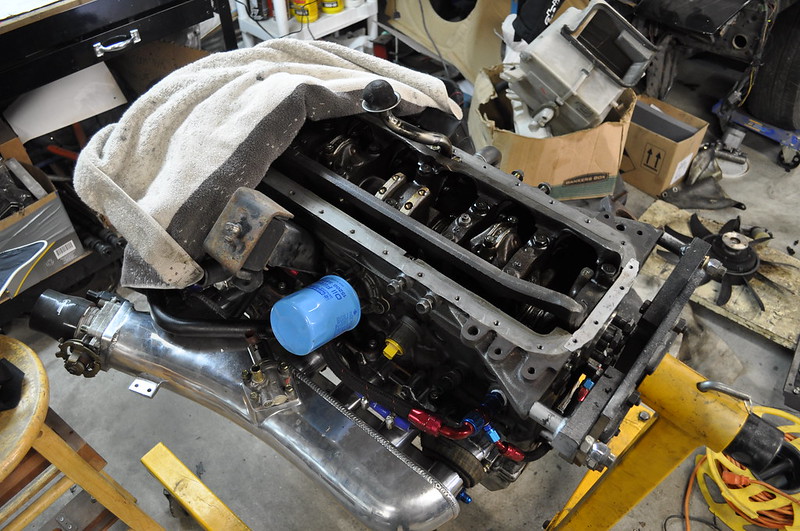
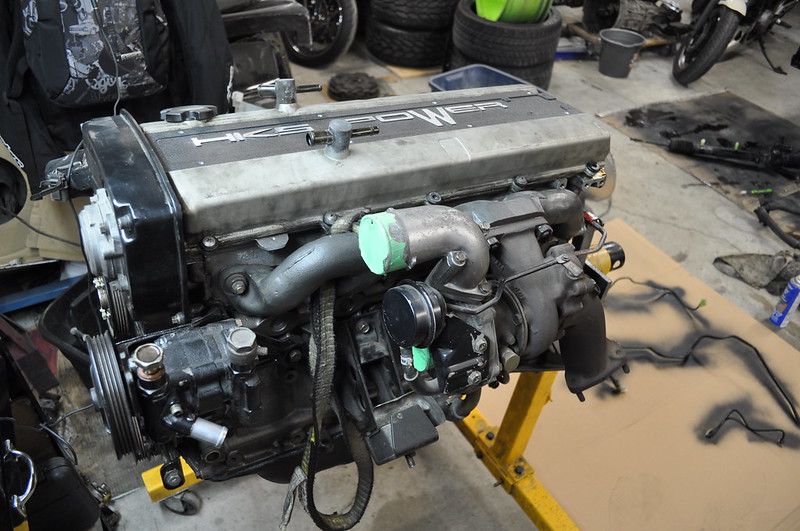
The motor was ready to go in until the last exhaust stud broke on the exhaust side. Thats sidelined putting the engine in the car until I can get it out. Hopefully I can carefully heat it up and work it out with an easyout.
Next I tackled the steering rack. I Disassembled everything, cleaned primed and painted everything. The boots got replaced as well as the tierod ends. New front lower balljoints came in as well and will be pressed in this week. Suspension wise, all the bushings have been replaced so the car should feel much tighter than before.
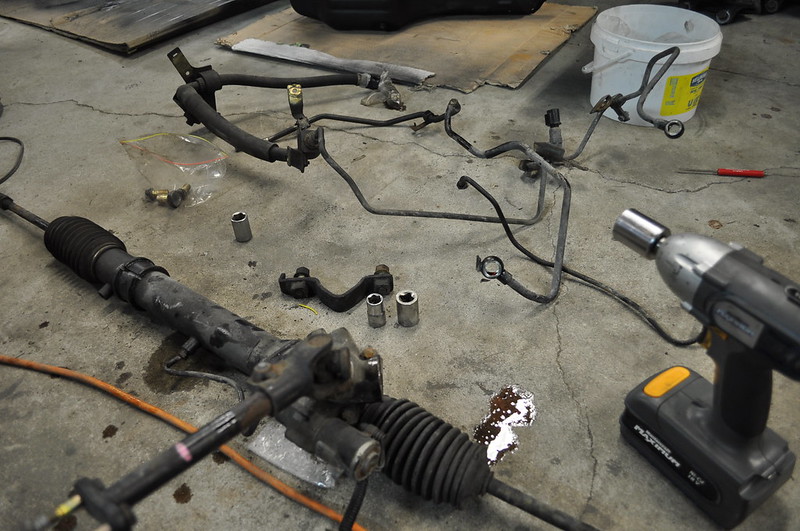
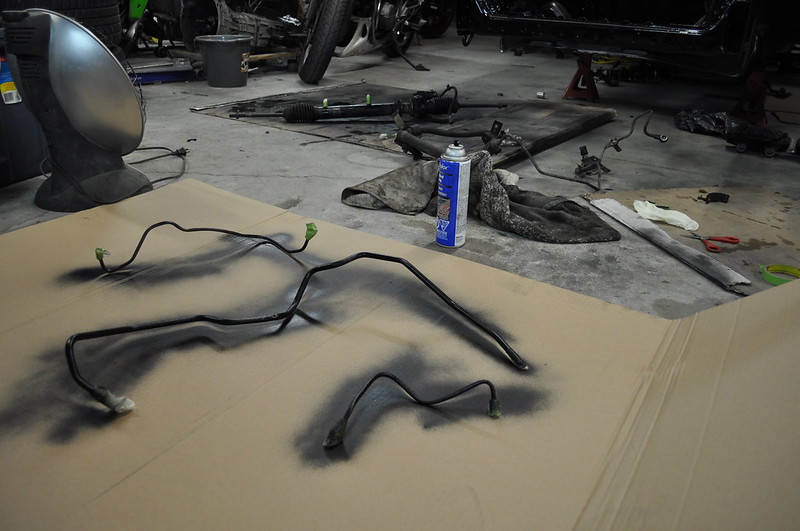
I am pretty happy with how the rack came out, It looks new.
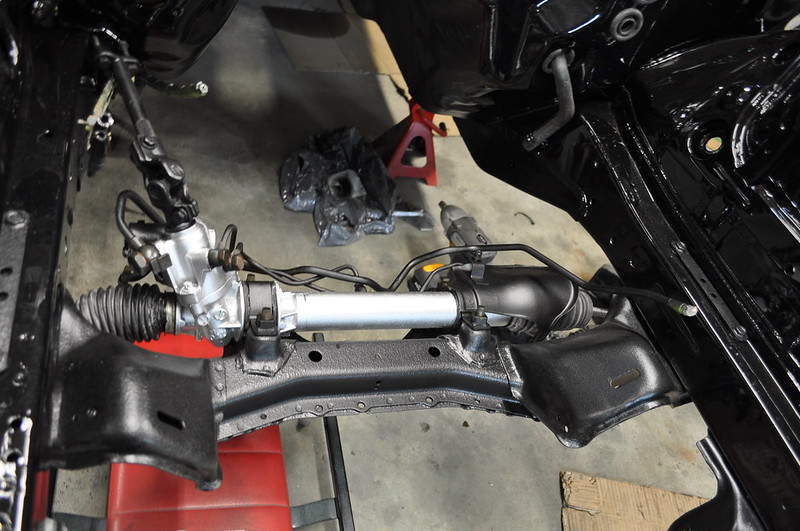
Excuse the left steering boot, it put up a good fight but I finally got it on.
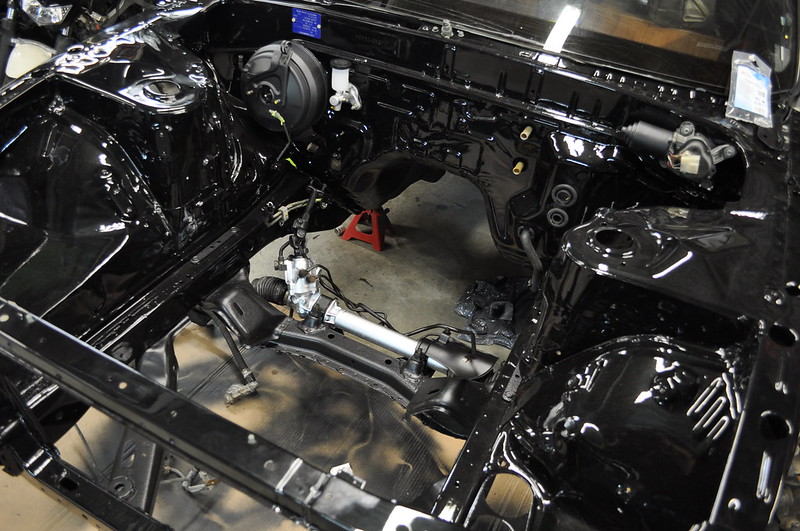
I wire wheeled the brake booster and wiper motor and gave it a fresh coat of bedliner. I have a feeling there will be a lot more textured/ wrinkle black paint in this engine bay. it compliments the glossy metallic ford paint really nicely.
My solid steering rack bushing and braided clutch line should be here this week, Hopfully I can get that broken stud out so I can start final assembly and finish the wire tuck.
Cheers
-JordieJordie Lewis
1993 Skyline Type M
Comment
-
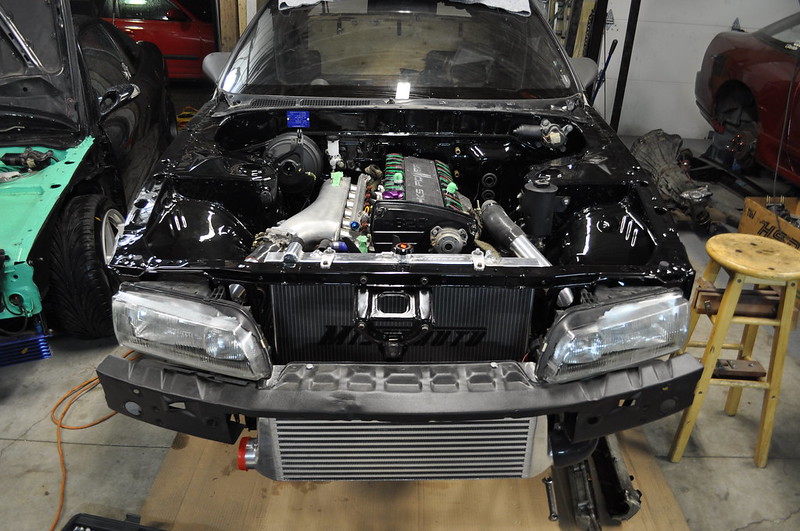
So ive been super busy carefully painting, cleaning and reassembling the engine bay. I got the motor in on Thursday Night and I have to say It looks Fantastic.
First a quick trip down memory lane, This is what the car looked like when I first picked it up

So ill let the pictures do the talking:
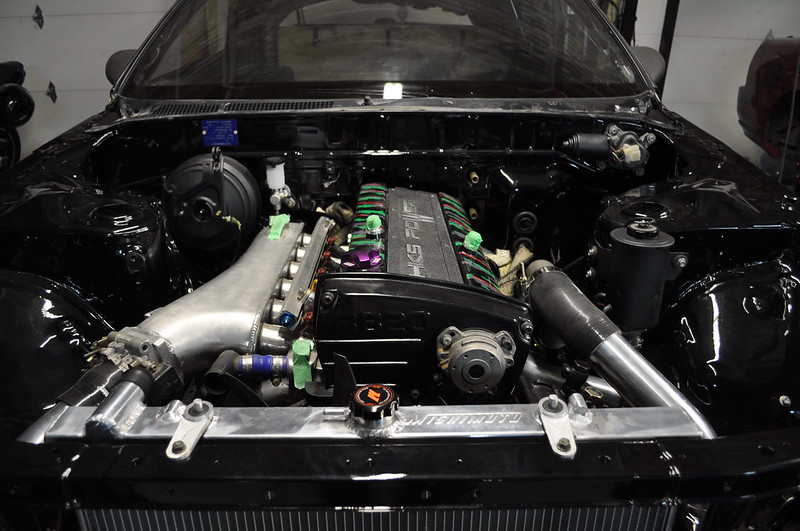
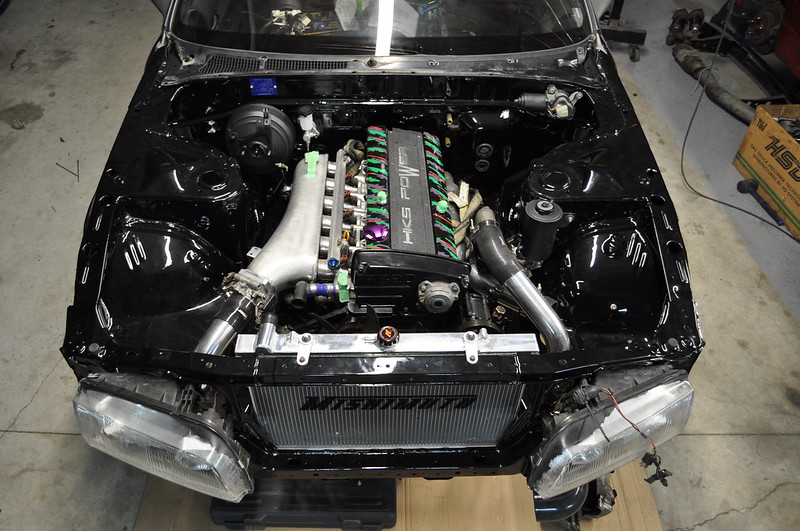
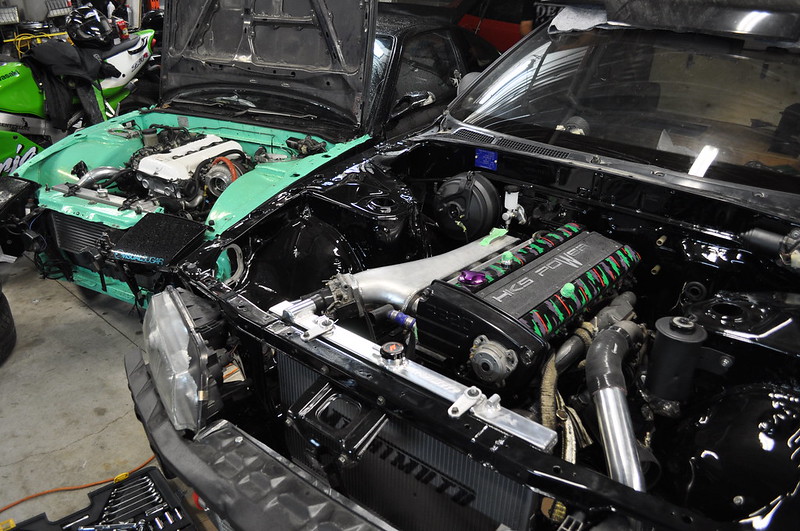
I also had the turbo elbow re welded so the wastegate is plumbed back into the exhaust. The car doesn't make enough power yet to warrant an external dump at the moment.
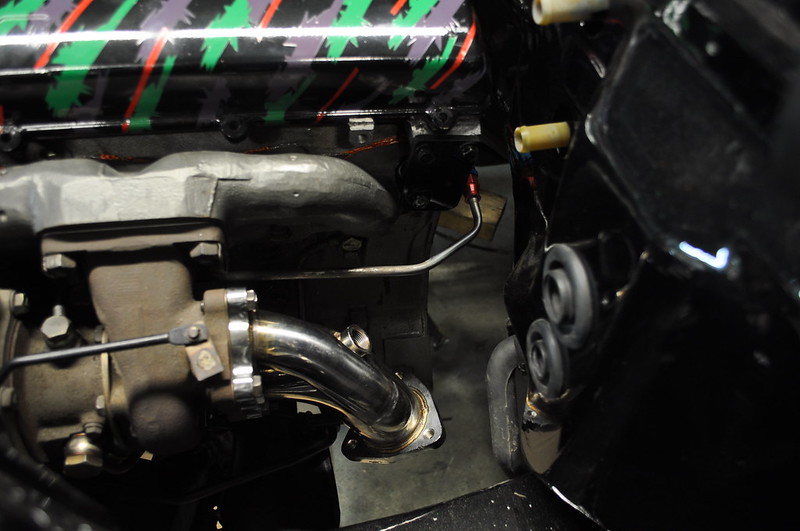
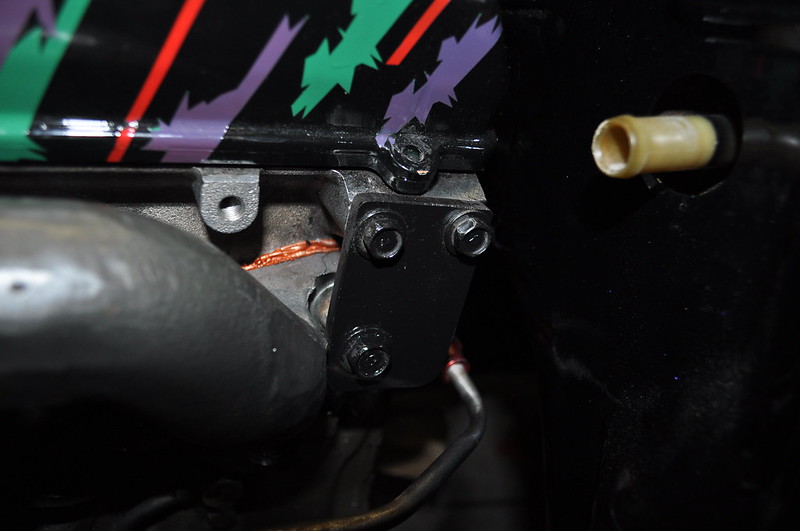
Unfortunately, I was unable to remove the broken stud from the head. I tried my best but no luck. due to the time constraints, I made a simple bracket with a bolt and lock nut to put pressure on the manifold to ensure it doesn't leak. Its kind of a ghetto fix but it really isnt that noticeable unless you know what youre looking at. I will most likely build my spare head over next year as the missing stud and quick fix bugs me a lot.
I hope to have most of the wiring tucked and finished by later tonight and will have my blowoff valve and intercooler piping welded up tomorrow.
Thanks for reading
-JordieLast edited by S13Jordie; 10-04-2014, 12:58 PM.Jordie Lewis
1993 Skyline Type M
Comment
-
I like.
Split dump / outlet pipe is worse restriction wise than the cast stock dump / outlet pipe when the boost level is increased. You need a bell mouth dump / outlet pipe to relieve the pressure. More power, torque with a lower boost level.
HPI in Japan sells a bell mouth dump / outlet pipe for stock turbo (or aftermarket turbo that uses the same flange), but it isn't cheap -
Last edited by Skym; 10-04-2014, 07:53 PM.RESPONSE MONSTER
The most epic signature ever "epic".
Comment


Comment