 Tweet
Tweet
Now that it has warmed up a bit and the snow is slowly going away (lightly snowed today dammit) I had a chance to go out into the car tent last weekend and check out where i left things off at and where to continue... ended up spending a couple hours taking more of the front suspension apart and compiling a list of parts to purchase in the near future... so i removed all ball joints, upper control arms, tension rods & lower control arms. I found out i have the wrong type of tension rods (straight type) so i'll need to add that to the list. I had the upper control arm replacement bushing from whiteline in my trunk waiting patiently to be pressed in so I took them to a shop to get done in town here and i was charged $50 for them to press the old ones out and new ones in which i gladly paid. One thing I didnt like about the whiteline kit was that one the bushings didnt press in all the way in on the outer side they ended up bottoming out on eachother which wasnt a huge deal cause the fit was snug on the car but the other problem i saw was that on both sides of both control arms the inside cylinder that the bolt goes through wasnt long enough to come out of the bushings and touch the ears where they are mounted... meaning the rubber will be moving and binding against the inside of the ears. So after the grease I apply wears off the rubber will bind against the ears... i didnt like that, the stock cylinder touched the ears... anyways moving along... I'll take some pictures of the new steering rack all rebuilt it looks pretty nice now john stuart did a great job getting it done, it took a bit longer then they said but they had to send out some parts to be rechromed and that guy was away for a bit. I'll go snap some pics right now.
-
Last edited by curtisgoodman; 05-03-2014, 01:02 PM. -
Gtr's home, The front boards were to keep the snow out... worked great

List of parts next:
Tie Rod Ends

Door Side Weather Stripping

Tension Rod Comparison

Dust Cover that i need for the other side.. Anyone have one?


Used CAT

Steering Rack Bushings

Rear Subframe Bushings

Diff Bushings

Rebuilt Steering Rack

Front Upper Control Arms; you can see how the bushings didnt press in all the way

Control Arm Pins not flush


Comment
-
I regret not rebuilding my steering rack... that thing is clear! Where did it get done, how much was it and did you have to source parts for them?
Have fun changing your subrame bushes.........
What's the part number on the door seals? Does that include the lower outdoor ones or just inner window seal?No build thread.
1991 nissan
El terror
"Built not bought" sooner or later = "broken not running"Comment
-
the door seals are the ones for just the lower door side i originally wanted the inner side u mentioned but got the wrong ones... they needed replacing anyways aswell... John Stuart Power Brake, Stoney Creek, Ontario... Over 5 Bills not including shipping and they did everything I didnt have to order or find a thing... i sent it out as it looks rebuilt in the pic came back with new boots and everything minty and painted. Im going to get the shop that pressed my control arm bushings to do the subframe lol hopefully they dont hate me afterwards or charge me a kidney
Comment
-
Long weekend and some nice weather gets me in the wrenching mood... had to do the entire front end of my 99' Silverado 4x4 it hit the 170k km mark on the stock front end and it was time... So picked up 4 shocks, inner and outer tie-rods, upper & lower ball joints, pitman arm, idler arm and frame bracket, also did both front axle shaft seals. Anyways now to the good stuff I still had some time to drop the rear sub-frame, strip it down into a box of parts and pressure wash everything to remove the grime... pictures to follow after work stay tuned.Comment
-
Going to price out powder coating in Winnipeg but not sure if it's in the budget the truck repairs killed me this month... Also I will be deleting or locking out the rear steering so I removed everything on the top side of the rear diff except the two sensors and their bracket of course. Whats the best plan of attack, removing the lines all the way back to the pump and modifying the PS pump itself or just using a fitting to loop the fluid back to the pump... Is there a kit for modifying the PS pump or do you just remove the impeller like I've read on some other threads?Comment
-
Rear subframe out, wasnt to bad, now onto the bushings

Rear Diff all steering crap removed

Box of dirty parts, i will take pics of the clean ones later

Stripped subframe still dirty

Comment
-
So getting quotes on powder coating in the city and thought i'd drop the front sub-frame as well to get everything powder coated at once and ran into a bit of a problem. One of the front passenger side nut seized onto the stud that goes into the body and then broke the tack welded nut off inside the frame rail so the nut and stud is loose and I'm having trouble removing it... tried heating the nut with map gas, and locking two nuts together on the smaller threaded area below the seized nut and i can't get it to move... if i cant get it off after i heat it with the oxy/acet torch then whats next... drill a hole into the frame to get access to the top of the stud/tacked nut and re-tack it to the frame? Kinda looking for some input here let me know if i have any other options...
Thanks,
CurtComment
-
Ah that sucks. Had a buddy do a similar thing and snapped a rear subframe stud... Luckily you are in the front rail area. It's gonna suck to fix this but you have some options.
-You can drill out the hole enough to fit the head of a bolt in it's place and use a nut on the bottom end, then weld the bolt into the rail.
-or use a hole saw, drill a 2-3" inspection hole in the rail so you can remove the damage part and weld it back in. You could even weld the inspection hole shut again but it wouldn't affect the chassis much if at all. Just fill with dirt.
-The other option, if I'm understand right is make a hole in the rail so you can put a wrench/pliers on the loose fixed nut and keep using it. It'll still clamp tight however you'd need to hold the top end when you tighten or loosen.No build thread.
1991 nissan
El terror
"Built not bought" sooner or later = "broken not running"Comment
-
Hey thanks for the info... hrmmm... all good options I'll have to go over this with my welder friend and old man he's been helping my along the way... will keep you guys updated.Comment
-
Whats this!?!?!

Driftworks Arm Kit

Comment
-
Haven't updated in a awhile... it's summer and have been busy with work, family and friends... time to put my nose to the grinder and get some wrenching in... As you can see my driftworks arm kit has arrived I also have a large list of parts ordered from Daryl @ Rightdrive which includes:
HSD Mono Pro Coilovers
Front & Rear Ball Joints
Front & Rear Whiteline Swaybars w/End Links
Door Seals
New HKS Air Filters
Nismo Rear Lower Control Arms
Hope they show up soon I would love to get my wrench on...
I have lots of prep work to do... i still have to sand blast my front, rear subframes and a bunch of other misc. parts and prep for paint. I also have to press in the new nismo rear subframe bushings (probably after paint) then get ready to bolt things back together.
I'm waiting to hear on a couple parts I'm trying to get from a member on here i need a hicas delete fitting to re-route the fluid back to the front and a solid steering bushing...
How hard is it to remove all the hicas lines to the back anyways? Do I then require a different PS Pump? I remember some sort of post about taking apart the PS Pump and removing a piece to stop it pushing fluid to the rear... I'll search for it again...Comment
-
From what I understand, the HICAS powersteering pump is a two stage powersteering pump. So yes you can remove the inside of the back of the HICAS powersteering pump.
There's a Non HICAS (single stage) R32 powersteering pump (need mounting bracket to suit). Some use a R33 powersteering pump, powersteering resouvoir, etc, as the HICAS, front powersteering setup are separate on a R33. But be aware some powersteering pumps have different mounting brackets (length of the pump). The wheel on front of powersteering pump has a different amount of grooves which suits certain powersteering belts with similar amount of grooves as the wheel. This affect's the damper on front of engine that has to have similar amount of grooves.
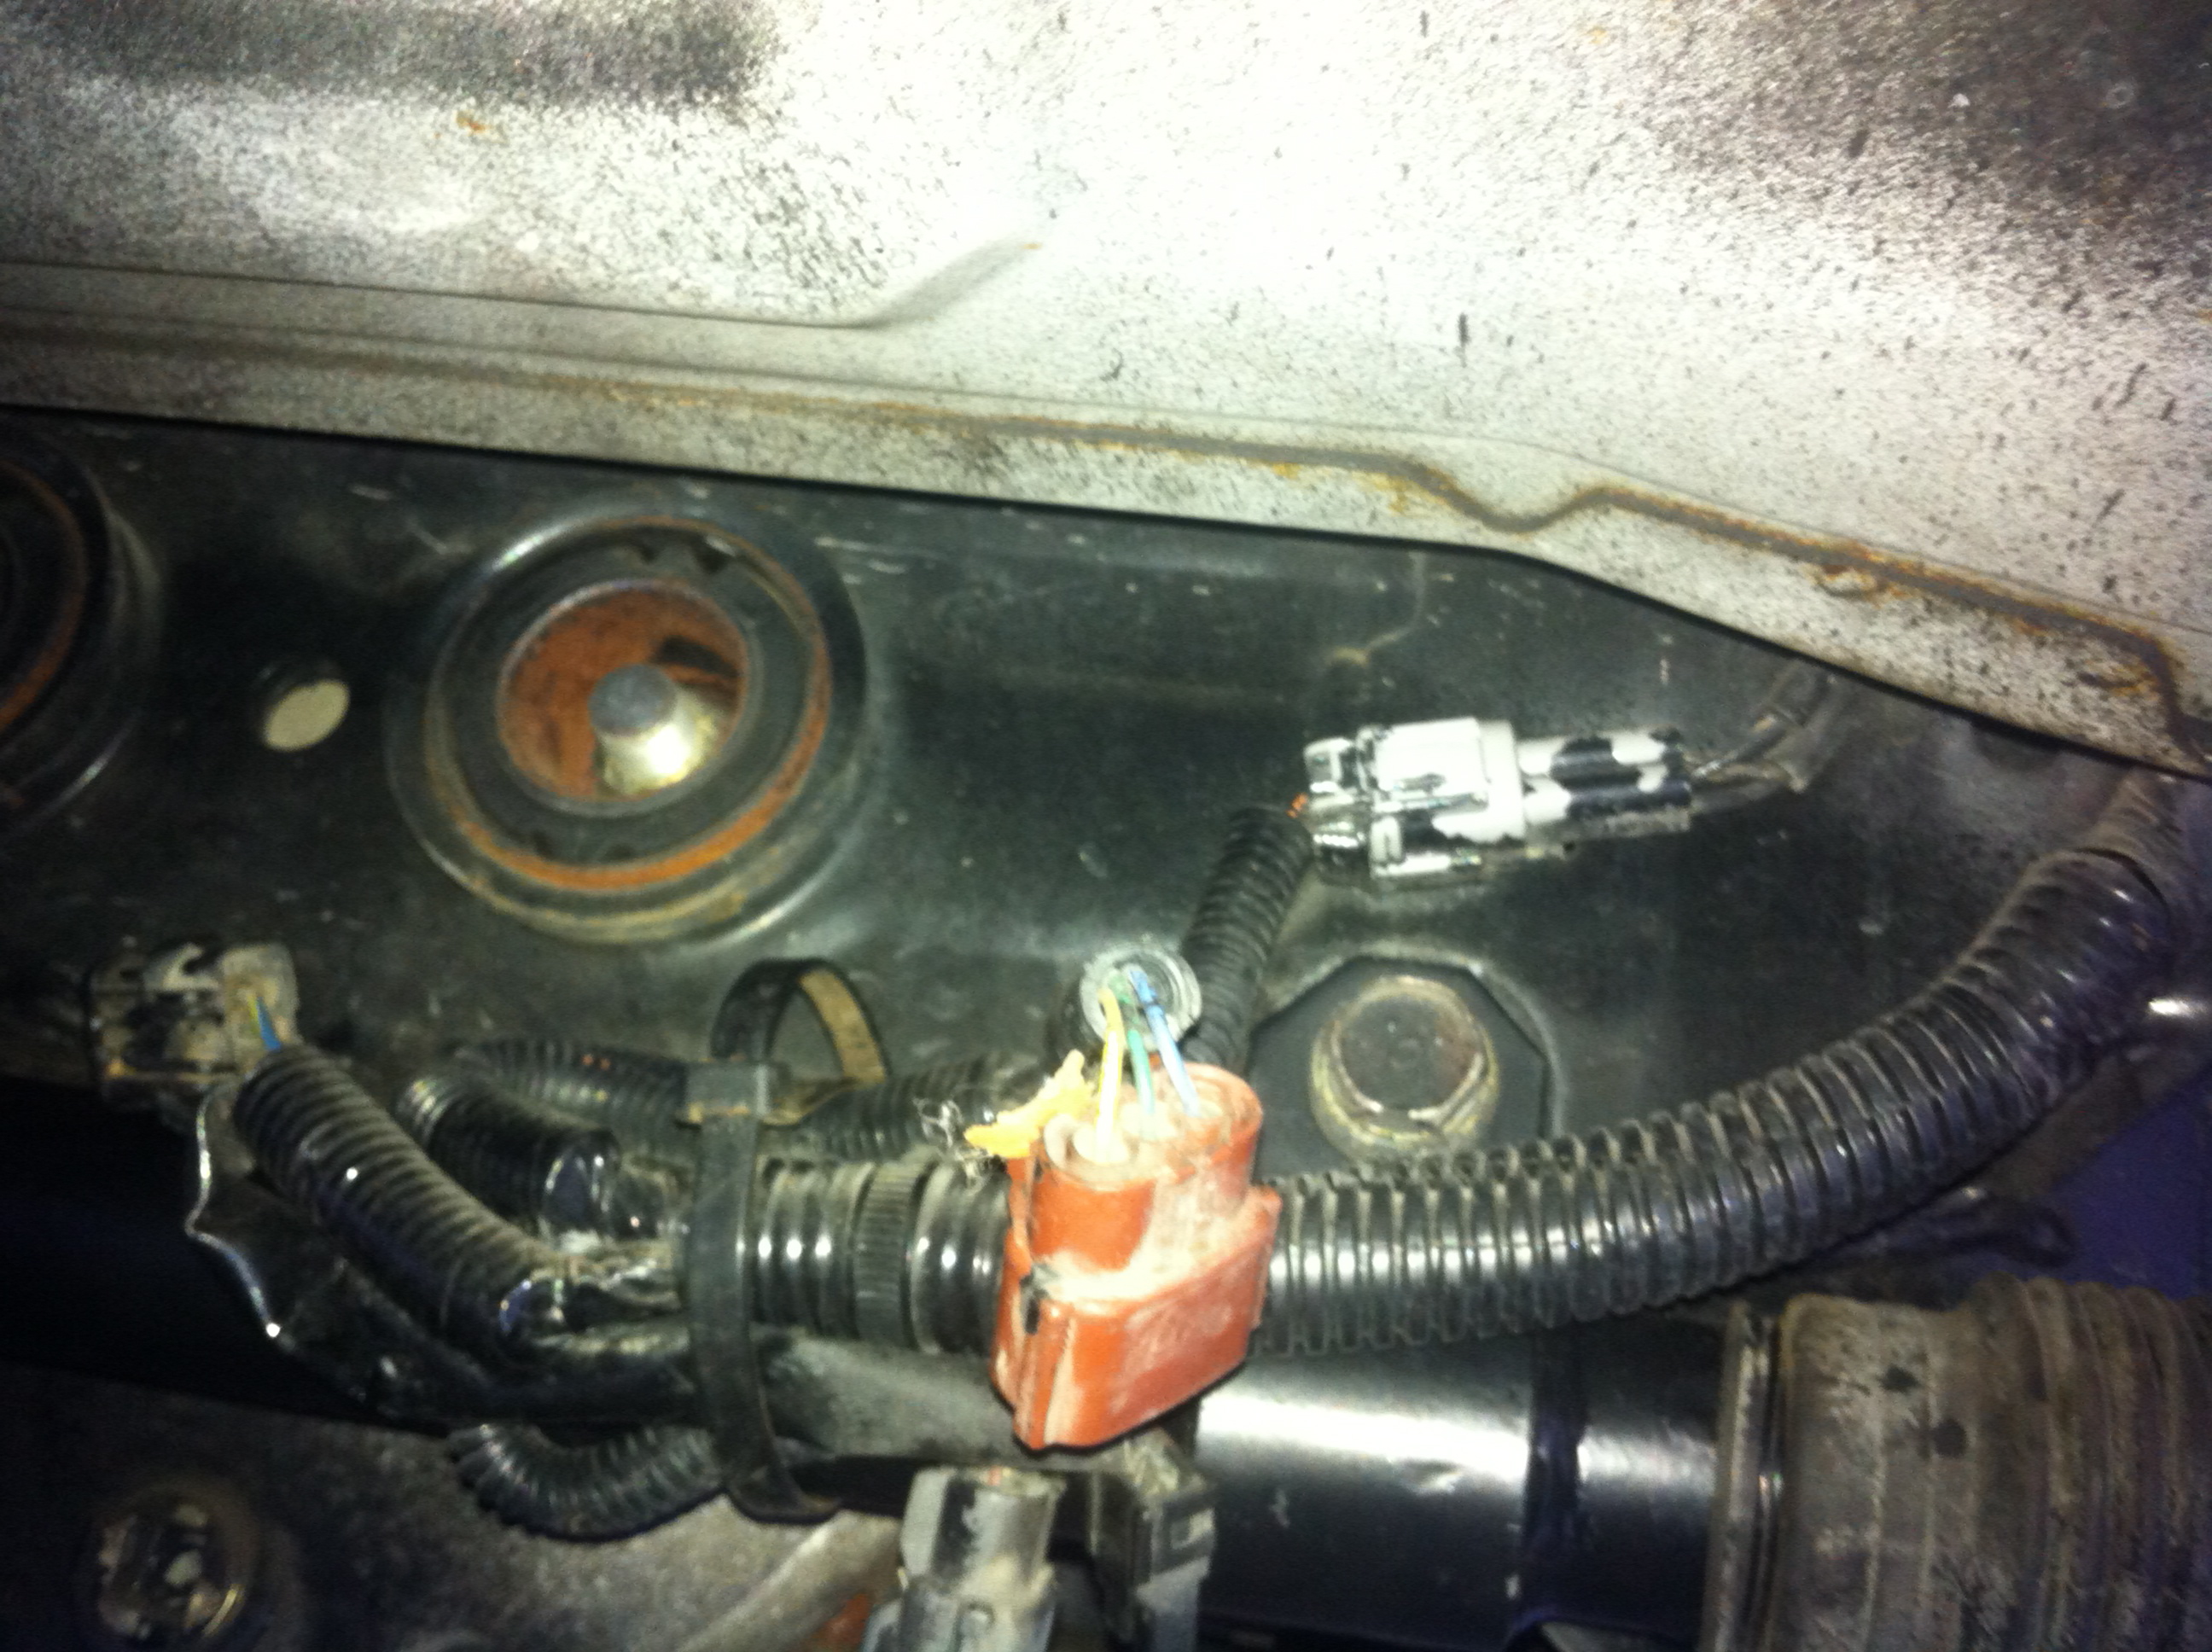
Can remove HICAS piping to solenoid looking thing next to battery. If remove that solenoid next to battery, the HICAS light most probably will light up on dash, so need to earth the wiring to turn it off (fool HICAS ECU into thinking the solenoid looking thing is still there). Then from the solenoid looking thing it goes to back of car via hard piping on drivers side chassis rail. Then there's a machined looking block near rear wheels with bolted on rubber hoses and then hard piping to HICAS rack (bolts into HICAS rack).
You need the HICAS ECU to control the solenoid looking thing on the front steering rack (next to where steering wheel connects to steering rack and has wires to this solenoid). The solenoid looking thing opens up and adds assistance / pressure to help turn the steering wheel. You'll probably need the piping diagram to understand where the piping goes and what direction the pressure goes in to reroute the piping. Or could figure it out based on pump to steering rack piping (pressure side).
The HICAS ECU opens that solenoid on front steering rack based on speed of car to change powersteering weight. Unless you can come up with another way (a device to replace HICAS ECU) to do the same job.Last edited by Skym; 07-23-2014, 08:54 AM.RESPONSE MONSTER
The most epic signature ever "epic".
Comment
-
Thanks for the reply Skym I've been digging into the skylinesaustralia website and found a good link
It describes how to remove the hicas properly as well as taking apart the powersteering pump and removing the impeller on the rear hicas part of the pump. Then the hicas PS ports can be blocked off and you can remove the PS cooler up front and all the lines to the rear...
Grounding the solenoid wiring to prevent the hicas light coming on was not mention in the link above which is a great piece of info cause i dont want to have to remove the cluster if its not necessary.Comment
-
Just make sure if you're following Duncans directions on that forum page that you DO remove the rear impeller in the PS pump... then the pressure and return ports that goto the hicas system can be blocked off on the PS Pump.
Someone did mention that the fluid would heat up a lot more and could fail your PS pump based on that the PS fluid no longer runs the length of your vehicle (cooling it) and does not run through the HICAS cooler up front...Last edited by curtisgoodman; 07-23-2014, 11:32 AM.Comment


Comment