Thanks guys! I’m really trying to fast-track it now, losing valuable summer driving time!
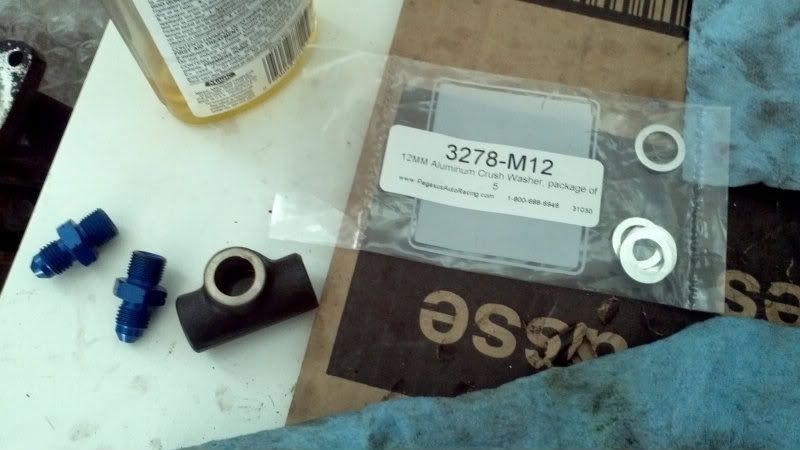
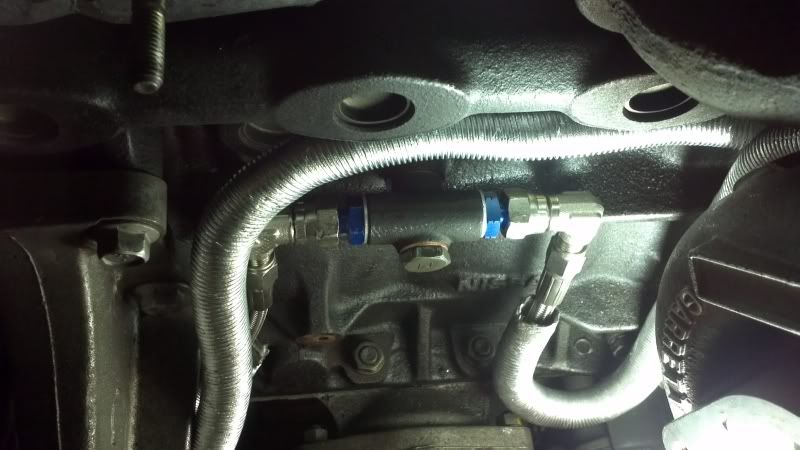
It didn’t help that I accidentally ordered the wrong oil feed fittings (convex seat instead of concave) which meant I had to wait another 10 or so days for the new fittings to arrive. What I ended up getting were aluminum concave seat to AN adapters. Threaded into the stock tee, they don’t so much seal against the flare so a shoulder gasket is still required. Oh well, at least this matches the other fittings! It sits much closer to the block and fouling with the dump tube appeared to be no longer an issue. In the end, the overall routing of the braided lines is tolerable, however it would have been nice if the kit had included some long radius elbows; this would be handy for the fittings coming off the bearing housings.
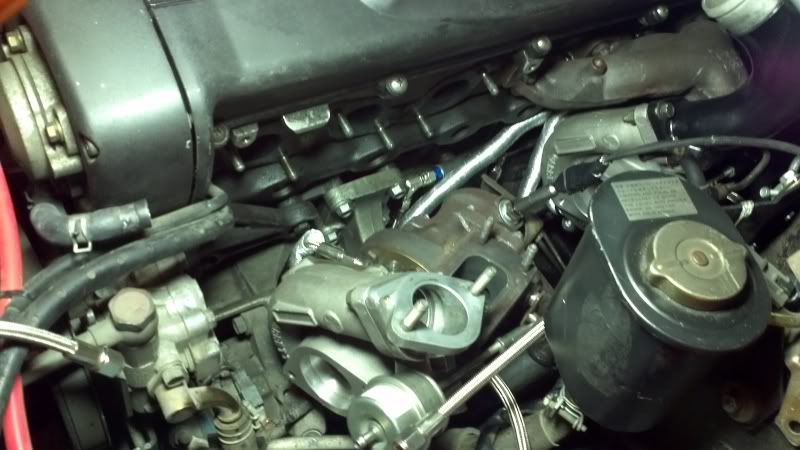
After this, everything started to fall in place. I would love to say a few words to the guy who chose to run the AC line so close to the front turbo. It is impossible to get the turbo to sit low/ far enough away so that the manifold can be placed on the studs and torqued. So, I had to bolt and partially torque the manifold to the turbo, and then install the manifold to the head. It’s far more cramped than the rear, but still doable. After the manifold nuts were torqued, the same goes for the turbo to manifold nuts and doing up the lock plate claws as much as possible. Once I finished this, I could then reinstall the rear compressor suction pipe.
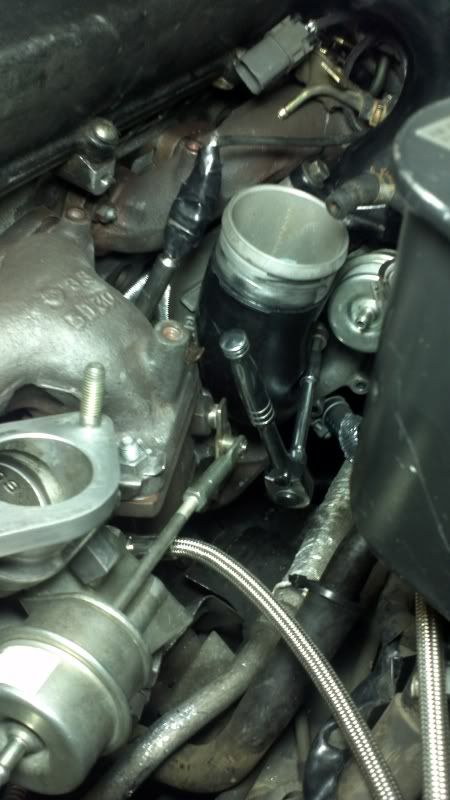
The rear turbo oil drain hose and the turbo supports went on next. I really should have installed the hose on the turbo drain fitting outside the car; there is very little room to slip the hose on and tighten the clamps. There’s a bit of a kink in the hose, but that’s because the hose won’t go any further up the turbo drain fitting due to its proximity to the compressor housing. It’s still not a huge restriction regardless. I could not do it with the heat shielding on, so I slit it open and tied it on after the hose was fully secured in its final position. The turbo supports were no problem at all; the curved bracket goes on the rear turbo, and the straighter bracket goes on the front turbo.
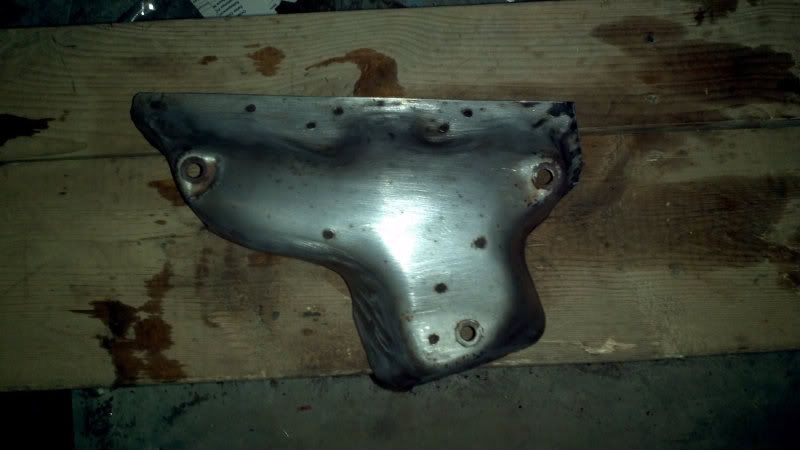
The heat shields went on next. I cut off a section of the rear heat shield so it would slip on much easier; this is due to the proximity of the bracket for the coolant and air tubing. I also sanded them lightly to clean up some of the surface rust. Some of the bolts for the shield sheared off during removal, but enough remain for adequate fastening. I also secured some heat sleeve around the O2 sensor butt connectors to keep them from melting.
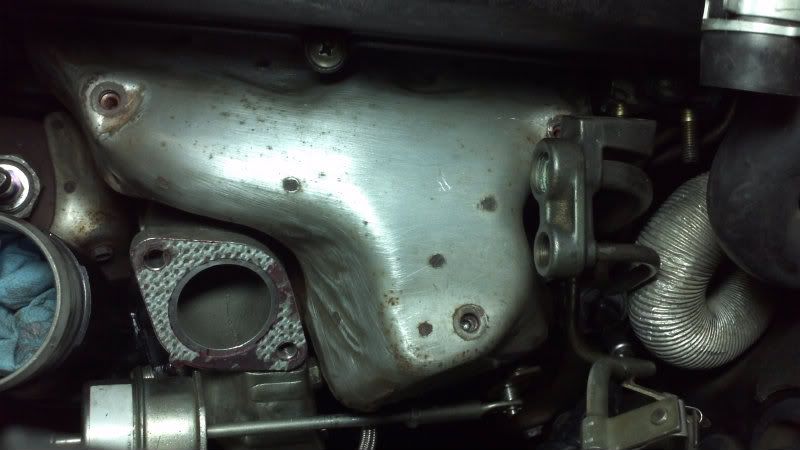
Next came the bracket for the coolant/air tubing, installing the coolant return tee fitting and its associated lines, and the stock air tube for the actuator. I prefer this look to that of the previous owner’s red hoses, which I scrapped. (EDIT: This is actually incorrect routing for thsi setup; please see later sections)
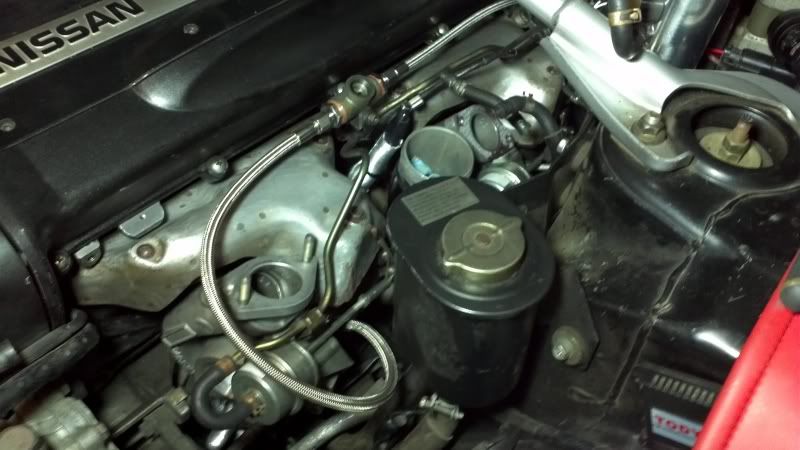
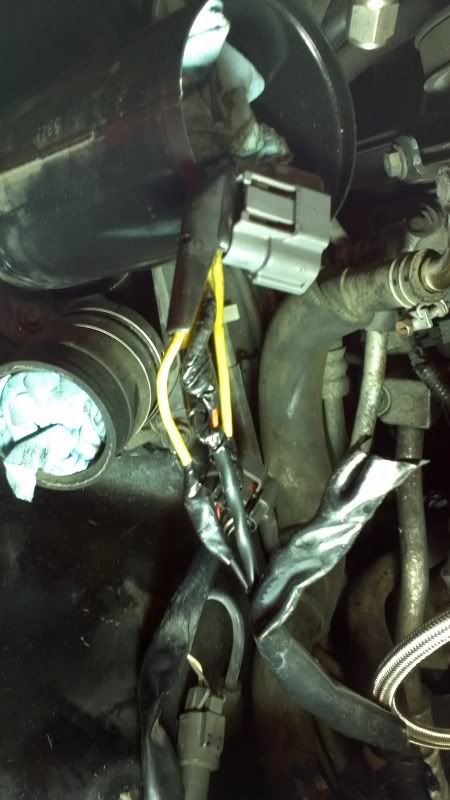
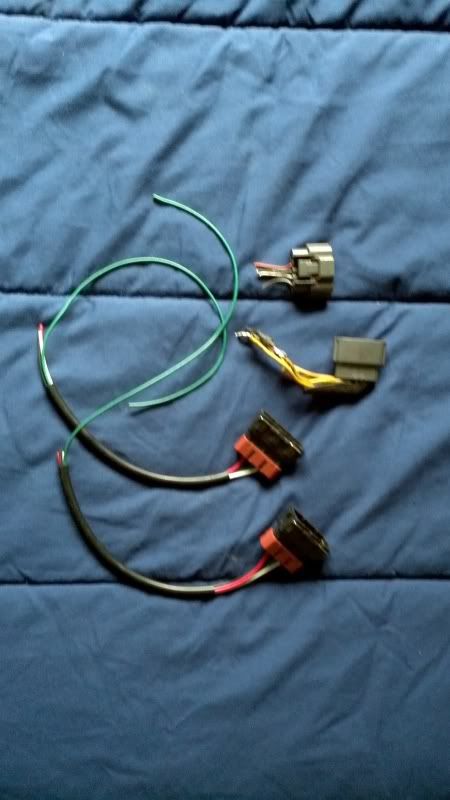
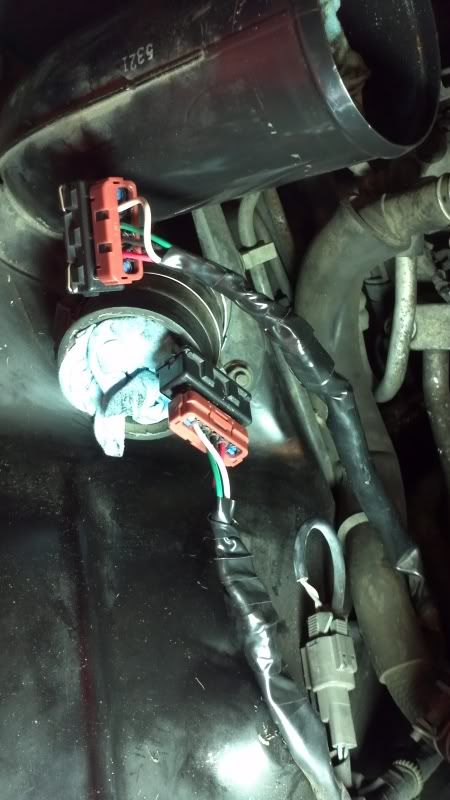
I then installed the Z32 MAF pigtails. For some reason, one of the stock connectors had been replaced! Oh well. The wiring sequence is the same; this is what I came up with for the R33 GTR from my googling. Should be no issue.
Next came the installation of the Trust suction piping. Pretty straight forward. First you ensure that the stock neck going through the sheetmetal into the intercooler piping is removed. Then on goes the front turbo suction (bolted) and stock recirc valve Y-pipe.
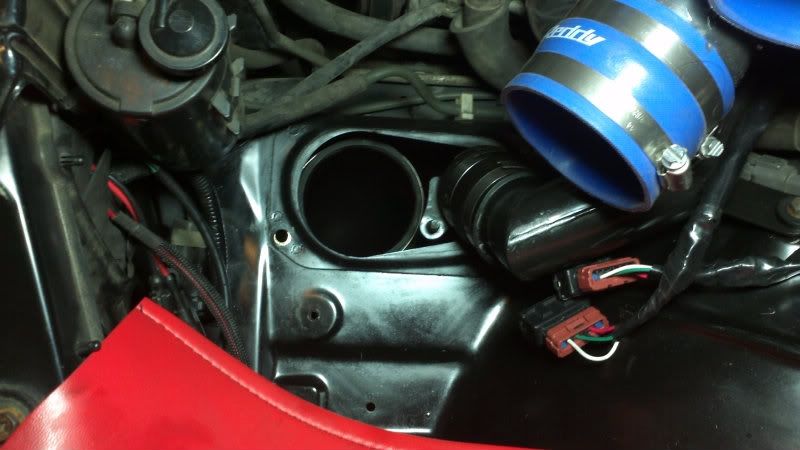
The stock hose goes between the Trust front turbo suction pipe and the recirc Y-pipe. The included silicone elbow can be placed on the other outlet of the Y-pipe for placement of the Trust rear turbo suction pipe.
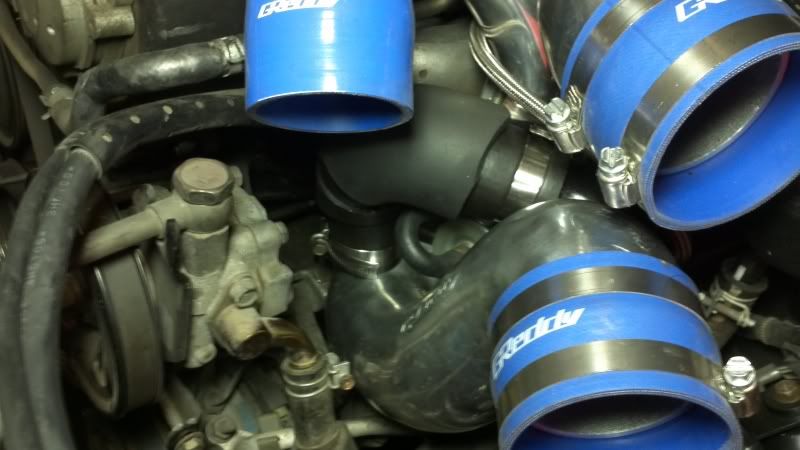
The Trust front outlet pipe (flanged) and the rear turbo suction pipe (coupling) can be installed.
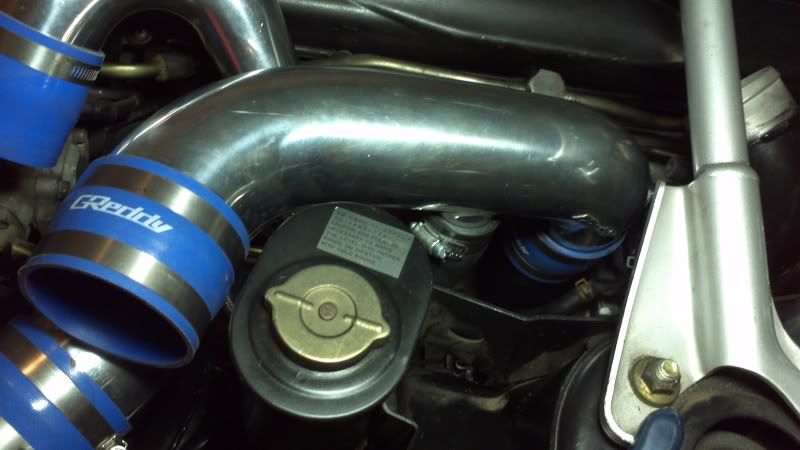
Next, the Y-pipe going into the intercooler can be placed with all its couplings. The last part that remains is the Trust connecting pipe going from the stock rear compressor outlet to the Trust Y-pipe. This was bit of a squeeze for me but worked in the end.
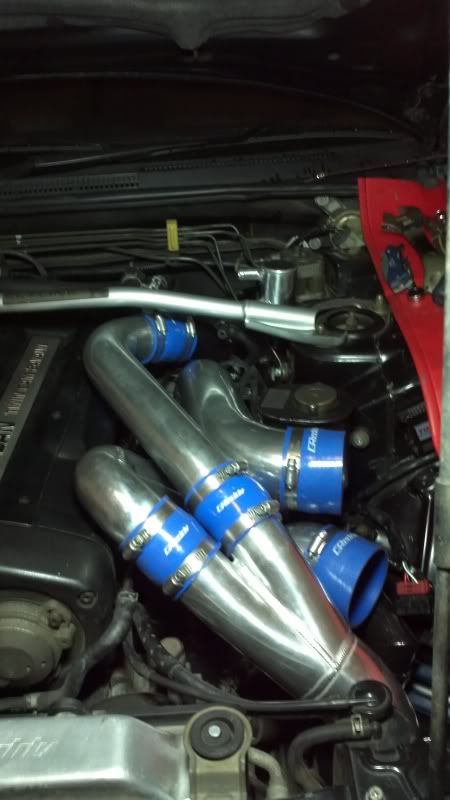
With all the couplings tight, the Y-pipe can be secured to the intercooler piping with the stock hose clamp.
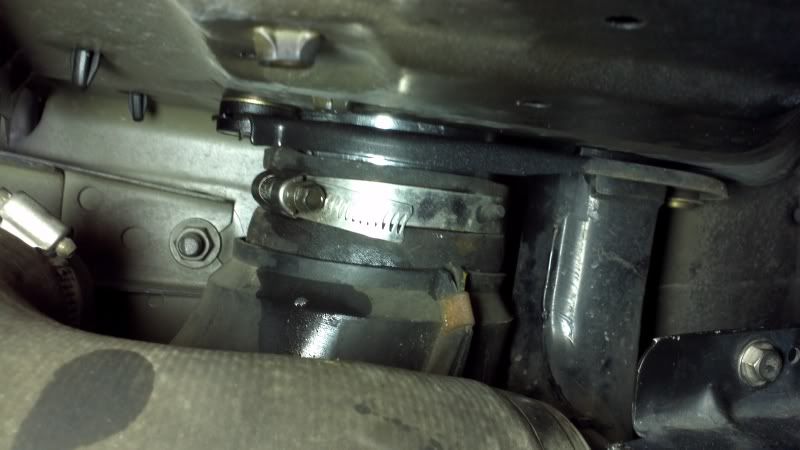
Then the Z32 MAFs can be installed with the Airinx filters. There were some brackets included with the kit but I cannot find any holes that will properly line up with the filter bolts. I’m not a big fan of the foam filters as they let in a lot more dirt than a dry mesh type filter. I will be going with some Z32 MAF pod filter adapters in the future.
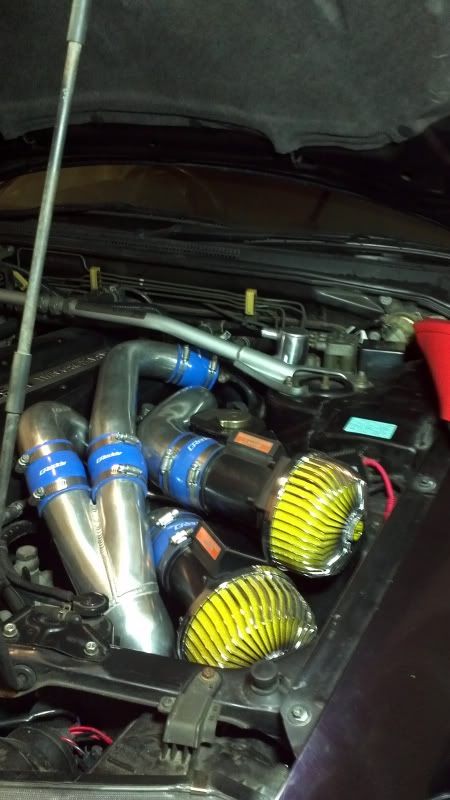
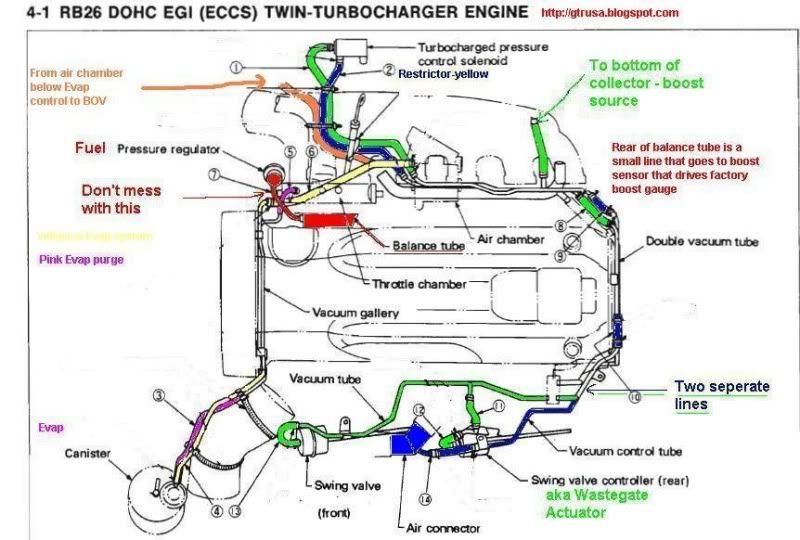
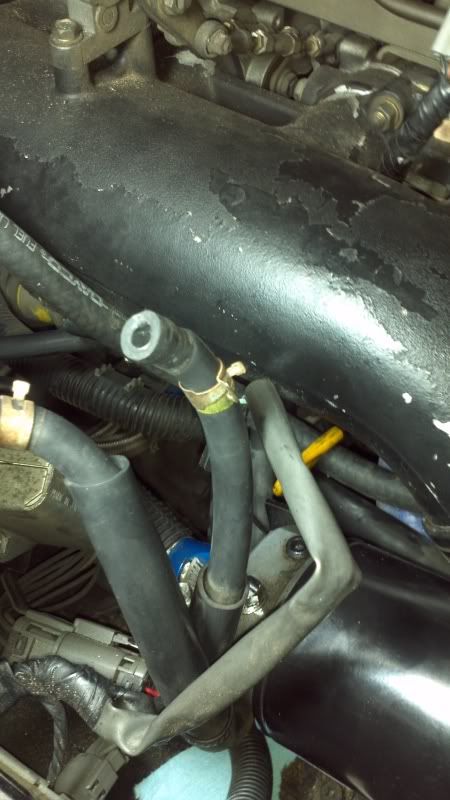
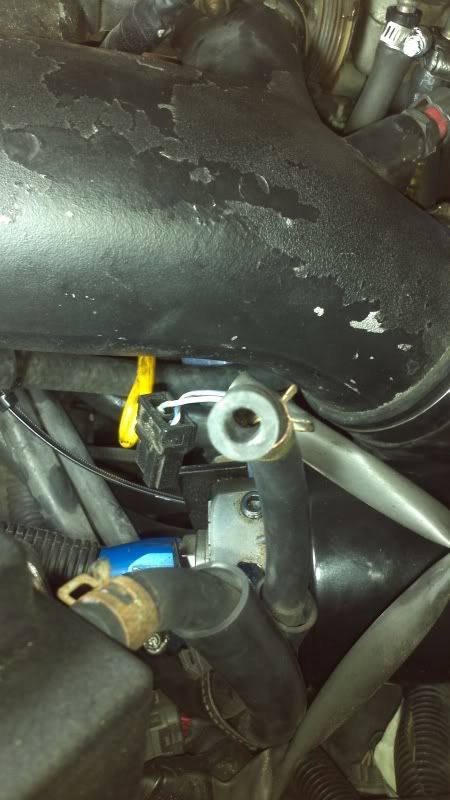
PS Does anybody know how to take these connectors off?? (EDIT: Pull out the metal clips from the connector body) Also, there is a air hose that goes into the stock recirculation hose fitting (that connects the recirc Y-pipe to the rear turbo suction). The Trust kit has no means to connect this fitting. Does anybody know what this hose is for?
I then bolted on the downpipe, I used the crappy gaskets from the original eBay pipe I had purchased, with tons of copper gasket maker to boot. The downpipe fits well, although I had to make some adjustments to the hanger that goes on the flange between the downpipe and cat.
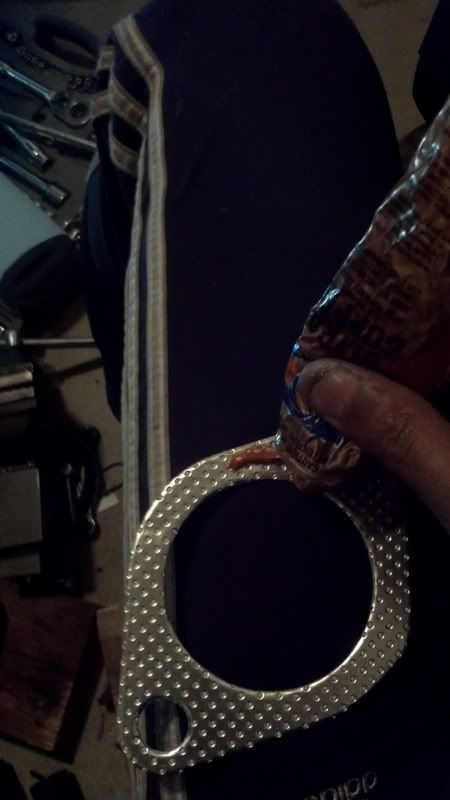
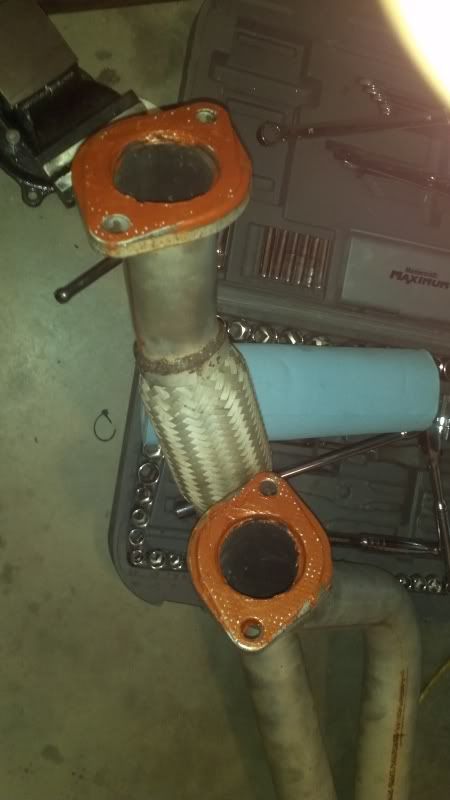
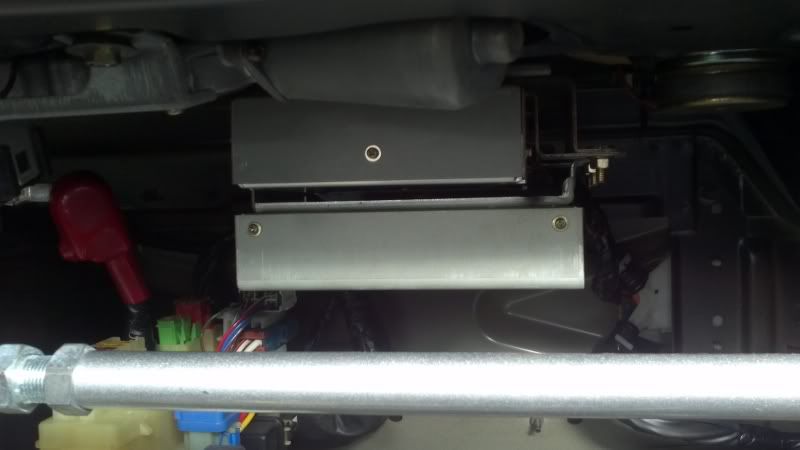
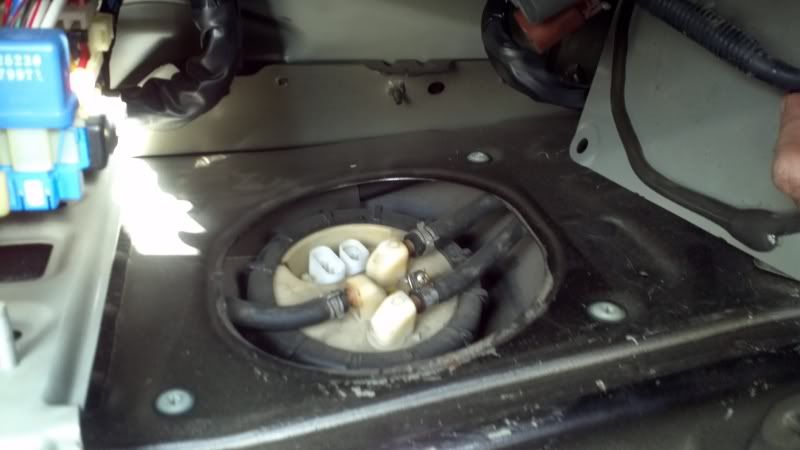
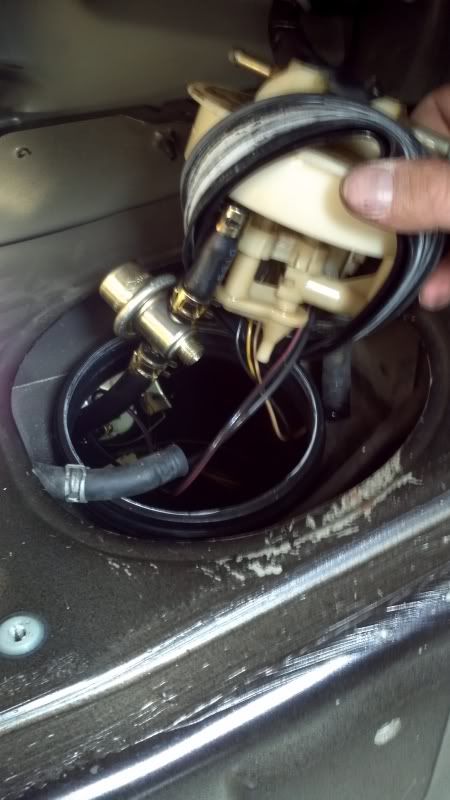
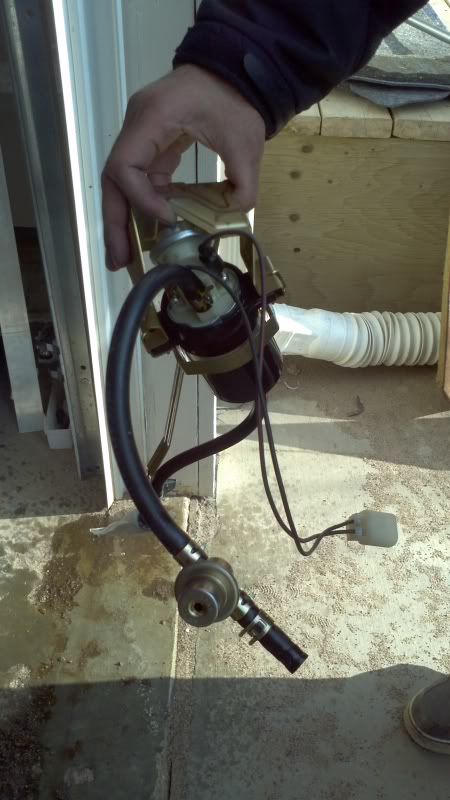
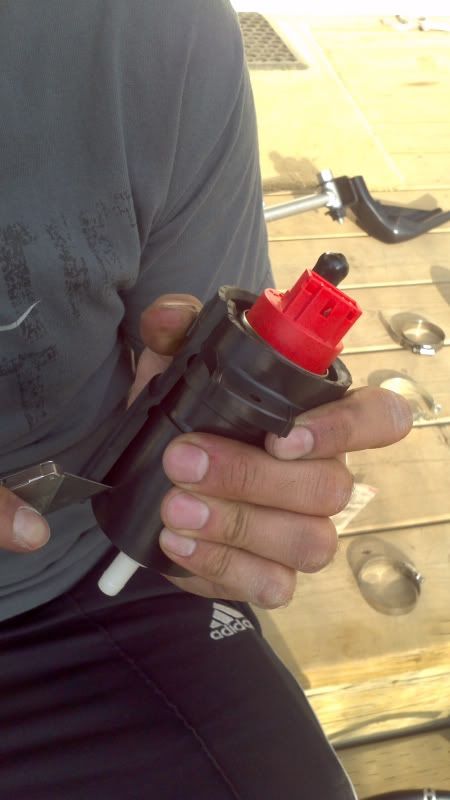
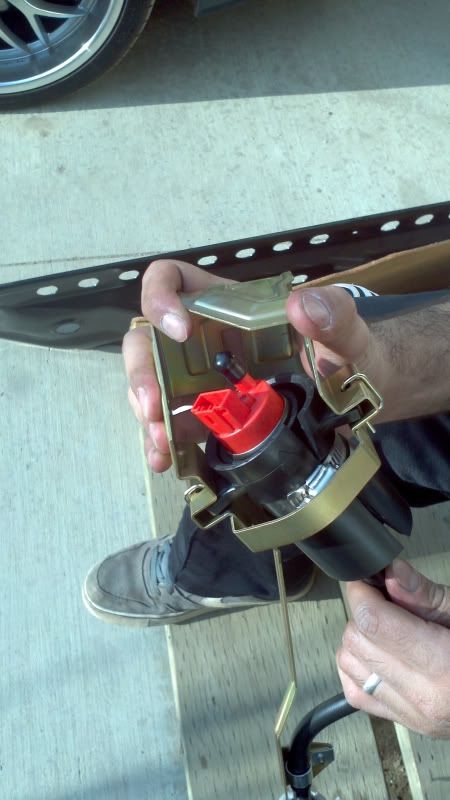
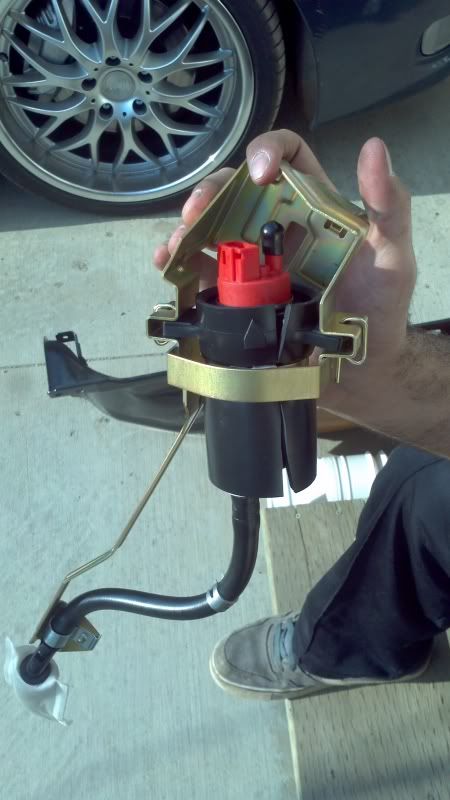
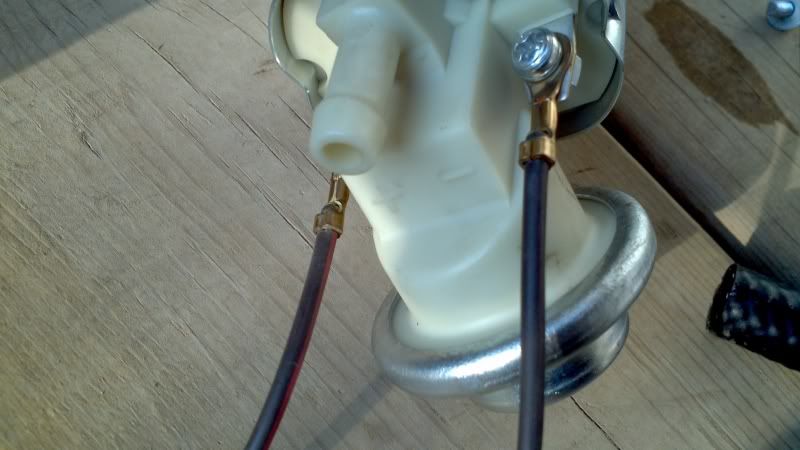
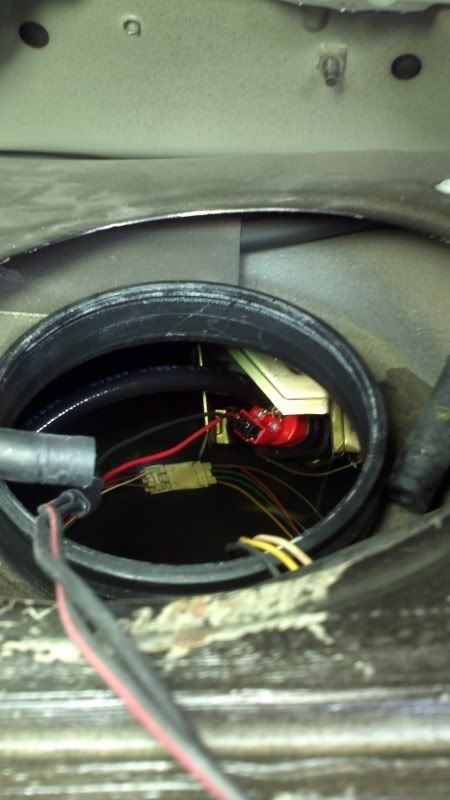
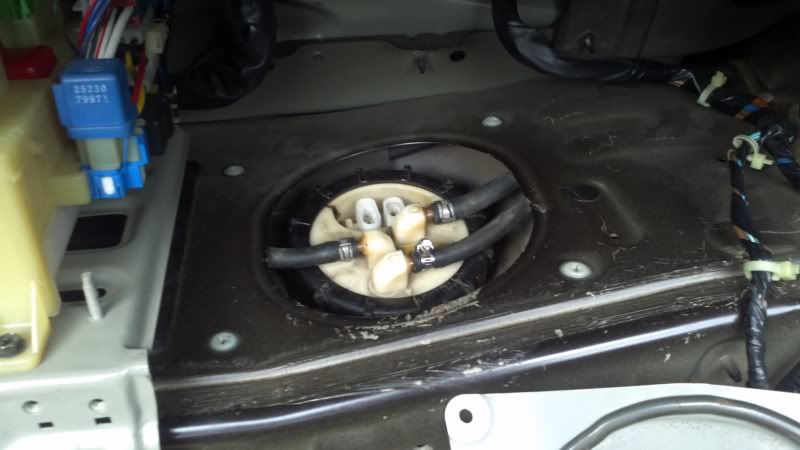
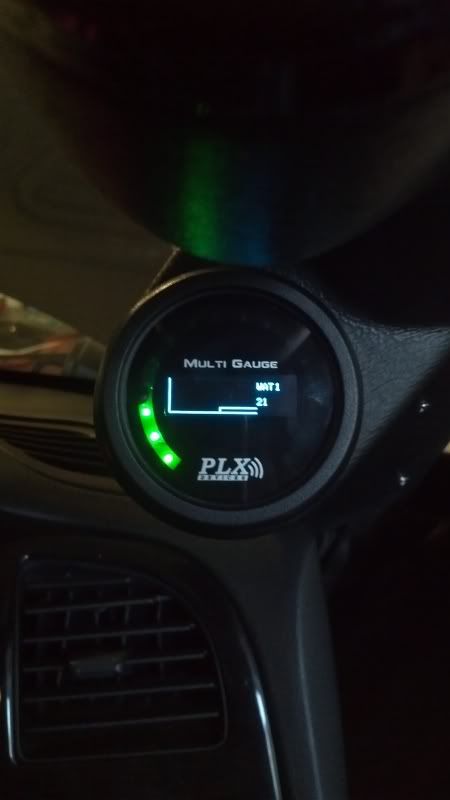
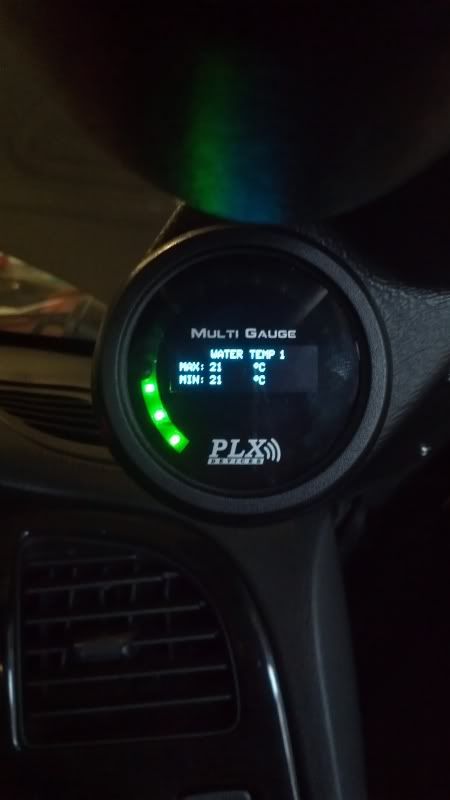
All that’s left is gauges, fuel injectors, and fuel pump, and fresh fluids, and she can be fired up!
It didn’t help that I accidentally ordered the wrong oil feed fittings (convex seat instead of concave) which meant I had to wait another 10 or so days for the new fittings to arrive. What I ended up getting were aluminum concave seat to AN adapters. Threaded into the stock tee, they don’t so much seal against the flare so a shoulder gasket is still required. Oh well, at least this matches the other fittings! It sits much closer to the block and fouling with the dump tube appeared to be no longer an issue. In the end, the overall routing of the braided lines is tolerable, however it would have been nice if the kit had included some long radius elbows; this would be handy for the fittings coming off the bearing housings.


After this, everything started to fall in place. I would love to say a few words to the guy who chose to run the AC line so close to the front turbo. It is impossible to get the turbo to sit low/ far enough away so that the manifold can be placed on the studs and torqued. So, I had to bolt and partially torque the manifold to the turbo, and then install the manifold to the head. It’s far more cramped than the rear, but still doable. After the manifold nuts were torqued, the same goes for the turbo to manifold nuts and doing up the lock plate claws as much as possible. Once I finished this, I could then reinstall the rear compressor suction pipe.


The rear turbo oil drain hose and the turbo supports went on next. I really should have installed the hose on the turbo drain fitting outside the car; there is very little room to slip the hose on and tighten the clamps. There’s a bit of a kink in the hose, but that’s because the hose won’t go any further up the turbo drain fitting due to its proximity to the compressor housing. It’s still not a huge restriction regardless. I could not do it with the heat shielding on, so I slit it open and tied it on after the hose was fully secured in its final position. The turbo supports were no problem at all; the curved bracket goes on the rear turbo, and the straighter bracket goes on the front turbo.

The heat shields went on next. I cut off a section of the rear heat shield so it would slip on much easier; this is due to the proximity of the bracket for the coolant and air tubing. I also sanded them lightly to clean up some of the surface rust. Some of the bolts for the shield sheared off during removal, but enough remain for adequate fastening. I also secured some heat sleeve around the O2 sensor butt connectors to keep them from melting.


Next came the bracket for the coolant/air tubing, installing the coolant return tee fitting and its associated lines, and the stock air tube for the actuator. I prefer this look to that of the previous owner’s red hoses, which I scrapped. (EDIT: This is actually incorrect routing for thsi setup; please see later sections)

I then installed the Z32 MAF pigtails. For some reason, one of the stock connectors had been replaced! Oh well. The wiring sequence is the same; this is what I came up with for the R33 GTR from my googling. Should be no issue.


Next came the installation of the Trust suction piping. Pretty straight forward. First you ensure that the stock neck going through the sheetmetal into the intercooler piping is removed. Then on goes the front turbo suction (bolted) and stock recirc valve Y-pipe.

The stock hose goes between the Trust front turbo suction pipe and the recirc Y-pipe. The included silicone elbow can be placed on the other outlet of the Y-pipe for placement of the Trust rear turbo suction pipe.

The Trust front outlet pipe (flanged) and the rear turbo suction pipe (coupling) can be installed.

Next, the Y-pipe going into the intercooler can be placed with all its couplings. The last part that remains is the Trust connecting pipe going from the stock rear compressor outlet to the Trust Y-pipe. This was bit of a squeeze for me but worked in the end.

With all the couplings tight, the Y-pipe can be secured to the intercooler piping with the stock hose clamp.

Then the Z32 MAFs can be installed with the Airinx filters. There were some brackets included with the kit but I cannot find any holes that will properly line up with the filter bolts. I’m not a big fan of the foam filters as they let in a lot more dirt than a dry mesh type filter. I will be going with some Z32 MAF pod filter adapters in the future.

PS Does anybody know how to take these connectors off?? (EDIT: Pull out the metal clips from the connector body) Also, there is a air hose that goes into the stock recirculation hose fitting (that connects the recirc Y-pipe to the rear turbo suction). The Trust kit has no means to connect this fitting. Does anybody know what this hose is for?
I then bolted on the downpipe, I used the crappy gaskets from the original eBay pipe I had purchased, with tons of copper gasket maker to boot. The downpipe fits well, although I had to make some adjustments to the hanger that goes on the flange between the downpipe and cat.


All that’s left is gauges, fuel injectors, and fuel pump, and fresh fluids, and she can be fired up!



 The new WRX is a great car for sure! If I were you, since you have the resources, I'd tough it out for a couple of years and get the GT!! The WRX will hold you over till then I'm sure


Comment