Originally posted by leeaspin
View Post
Announcement
Collapse
No announcement yet.
Work Log: R33 GT-R
Collapse
X
-
Yeah, I don't think there will be too much but if a turbo is bigger than it should be (say a guy uses a turbo rated at 550whp and runs it at 400whp, I imagine it'll be laggier than a 400whp rated turbo...?)Black 1991 GTR. Serious garage stand mantle/parts car.
Black 1990 Pulsar GTiR. Sold
Silver 1989 GTR. Sold
Black 2010 Subaru WRX. Weekend warrior. Sold.
Black 2013 F-150 FX4 ecoboost. Daily driver.
White 2012 Ford Explorer Limited. Family wagon.
Sorry for my offensive comments, I r socially retard.
lolstart by having A ROLLING GTR then we talk u ******* mofo funzy little *****
-
Both of you are right. I looked for a while and I couldn't find a turbo that was perfectly size to deliver 500 whp with great response (doesnt really exist without fantastic tuning and good fuel). The GT30s would be peaked at 500 whp even with E85, but will hit it with meth inj, and the GT35s are a little too big, but deliver the power with ease. I went with the tried and tested 6262 for the what I saw as the best of both worlds. If I start seeing positive pressures in the mid 3s and can get full boost by 4-4.5k, I will be satisfied, and there is plenty of room to grow with this turbo. I also got some optimistic promises from Mr. 6boost which I am keen on testing.
I wanted something drop-in ready for the cams; these have worked well in single turbo - stock valvetrain applications. Granted, a more ideal Procam exists for this setup, but I don't want a tradeoff on idle and driveability, and dont want to upgrade springs and lifters either.
Certainly, I'm already getting an extra transmission though!
Comment
-
haha, all good.
What did you decide for an engine? Tomei long block?Black 1991 GTR. Serious garage stand mantle/parts car.
Black 1990 Pulsar GTiR. Sold
Silver 1989 GTR. Sold
Black 2010 Subaru WRX. Weekend warrior. Sold.
Black 2013 F-150 FX4 ecoboost. Daily driver.
White 2012 Ford Explorer Limited. Family wagon.
Sorry for my offensive comments, I r socially retard.
lolstart by having A ROLLING GTR then we talk u ******* mofo funzy little *****
Comment
-
Unfortunately my money tree hasnt produced a good crop this year, so Tomei long block is out. C-unit is sending me a RB26 with stock internals, but will have an HKS HG, ARP head studs, and some oil mods. I will be installing the cams and pan baffle once it gets here. The plan is to run a very conservative tune prior to meth injection. Goal will be NO detonation or knock of any manner.
On a side note, something else has been distracting me from the GTR. The GTR has an older brother!
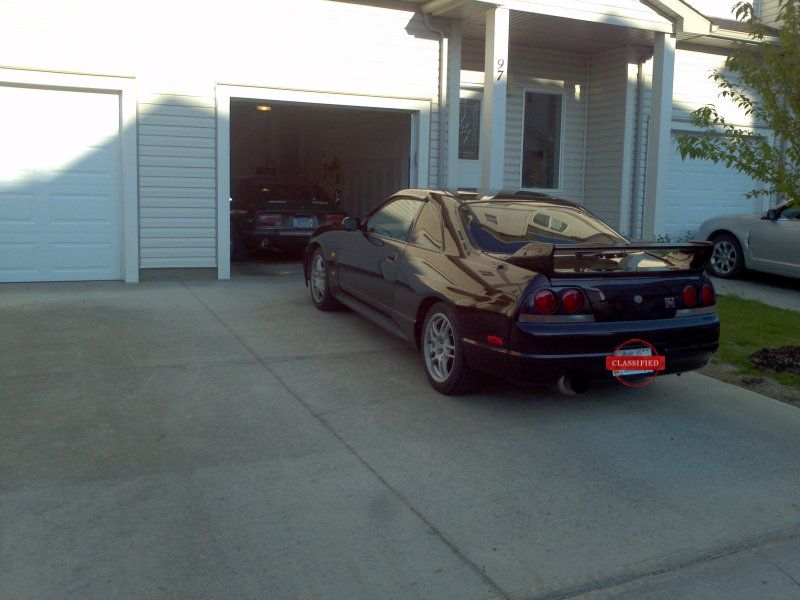
Comment
-
Just read through your thread from the beginning, nice work! Lots of good info here. I'm also looking at going single turbo so I'm very interested to see how this turns out. I'm just curious, were your -5 turbos used when you got them? It seems strange that proven/quality turbos like that would fail so quickly. Also congrats on the Datsun! I've been looking at picking up a 240z for the last couple years, test driven a couple but never ended up bringing one home. Very very different to driving a R33 GTR thats for sure
Comment
-
Thanks!
Yes the -5s were used. I seem to have done everything right. The seller is being very cooperative though which is nice.
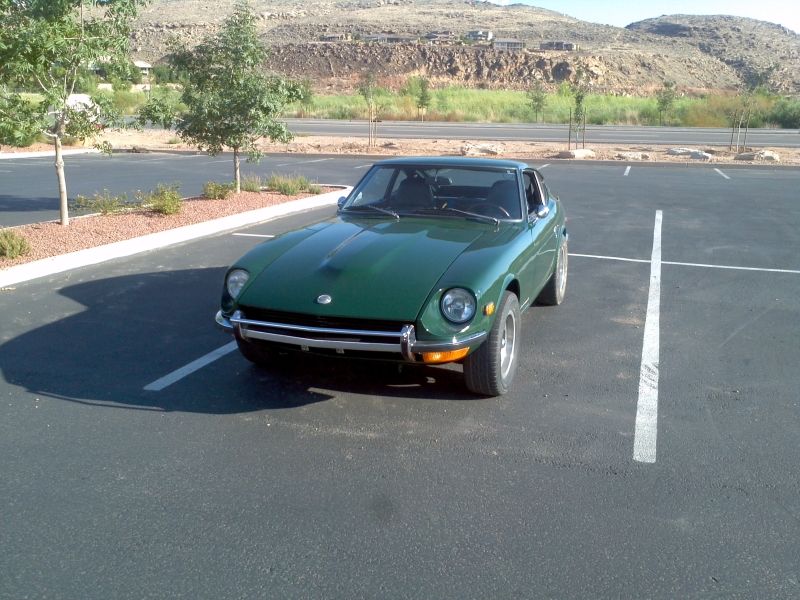
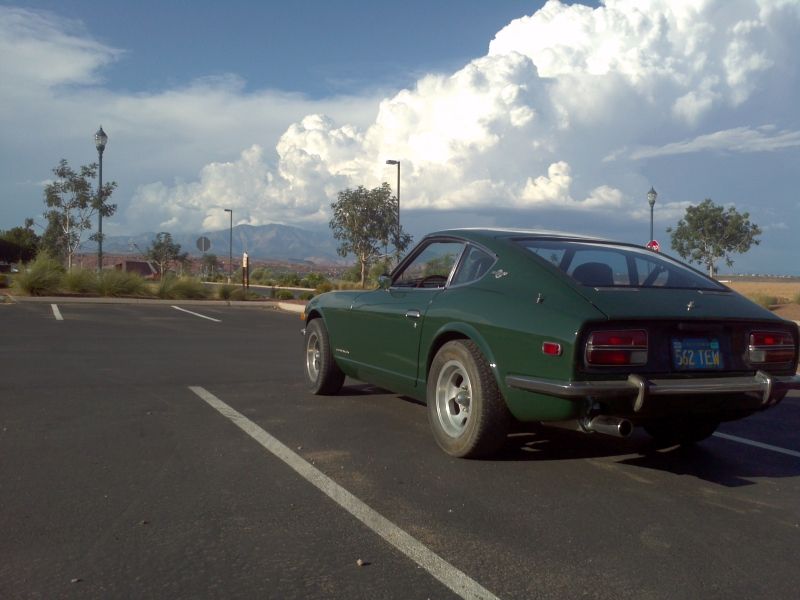
And the 240, yes its such a blast to drive. No A/C , no power steering, which results in a very raw driving experience. The car loves to run, effortlessly tackling the straight highway miles liek a grand tourer, and wanting to be pushed harder in twisty bits like a sports car. I actually picked up mine in California and drove it back! Left Los Angeles on a Friday morning, got to Fort Mac Sunday afternoon.
Here are some shots of it before it got its fresh paint.


Interior is actually much better than it looks in the pics


And here is the L24 in all its glory


Its got a header, electronic ignition and electric fuel pump so it ran like a dream.
The first 1500 miles passed by uneventfully, with the Z logging 15 and 17 hours driving days with no issues whatsoever.
The Z 2 hours from Vegas
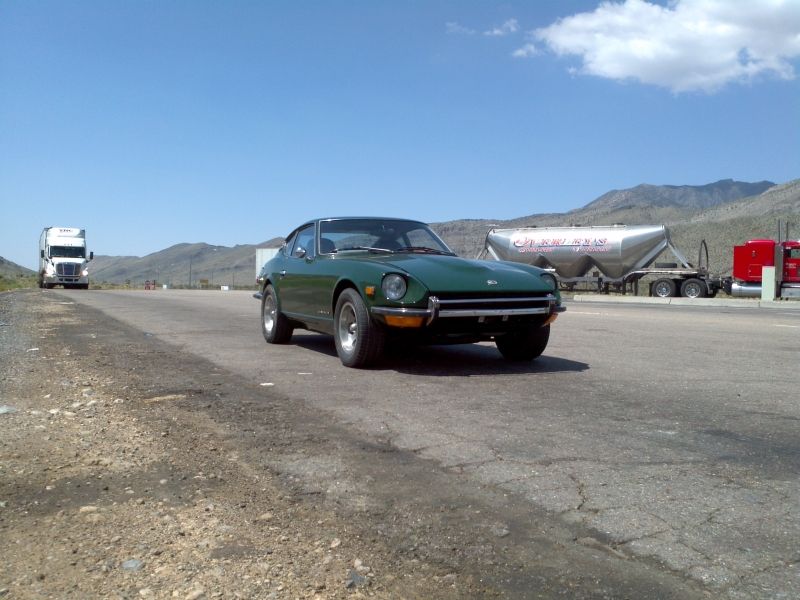
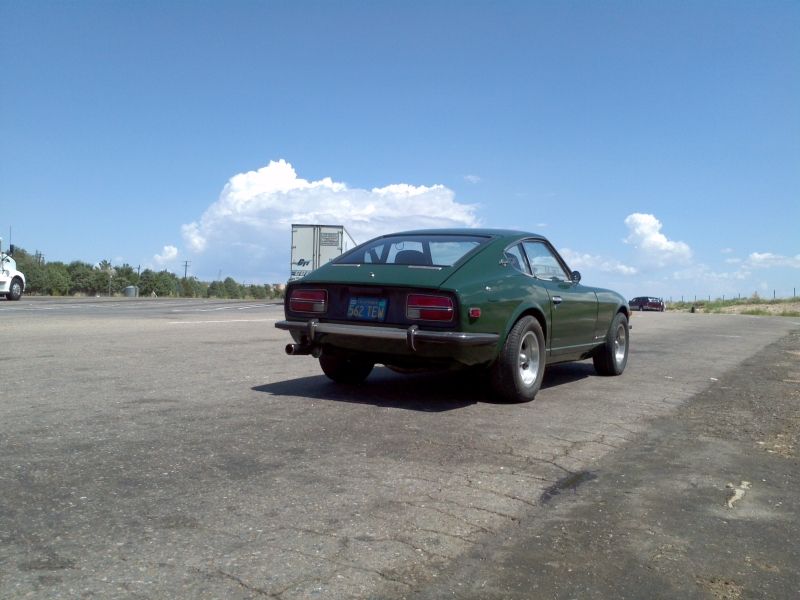
Nevada
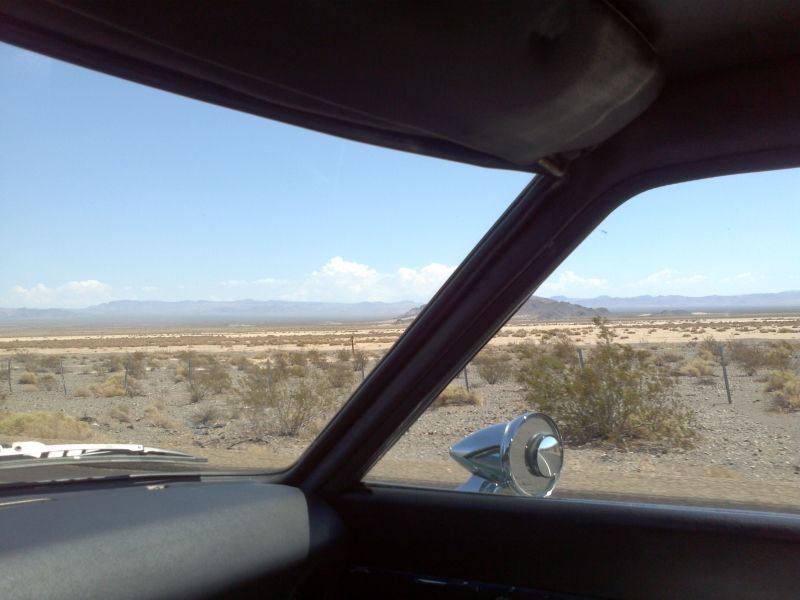
The little bit of I-15 near the Arizona-Utah border
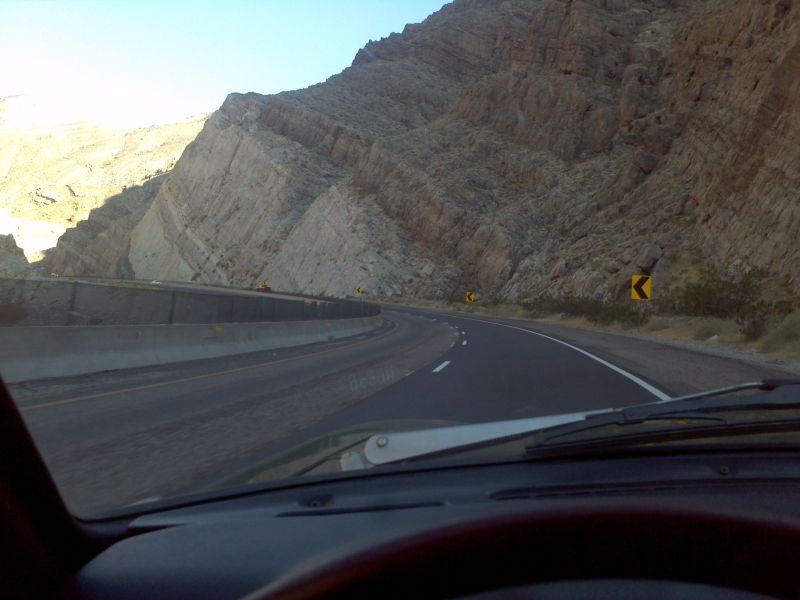
St. Georges Utah
Gettign across the broder was more of a cinch that expected, jsut had to get the title stamped by US exports, after which Canada Customs takes the title and gives you the Form 1. All that was due was GST.
The Z didnt seem to like Alberta that much, because the key got stuck in the ignition near Airdrie and the car wouldnt turn on. Oh well, lets just say 1970s anti theft technology wasnt the best haha. About 15 mins later, we were on our way again.
The car then refused to start in Grassland, AB. Not sure if the starter jsut went bad or its the common starter not getting enough power issue, but a push start was possible due to a sub 2300lb curb weight!
Almost home, note the non-functional tach
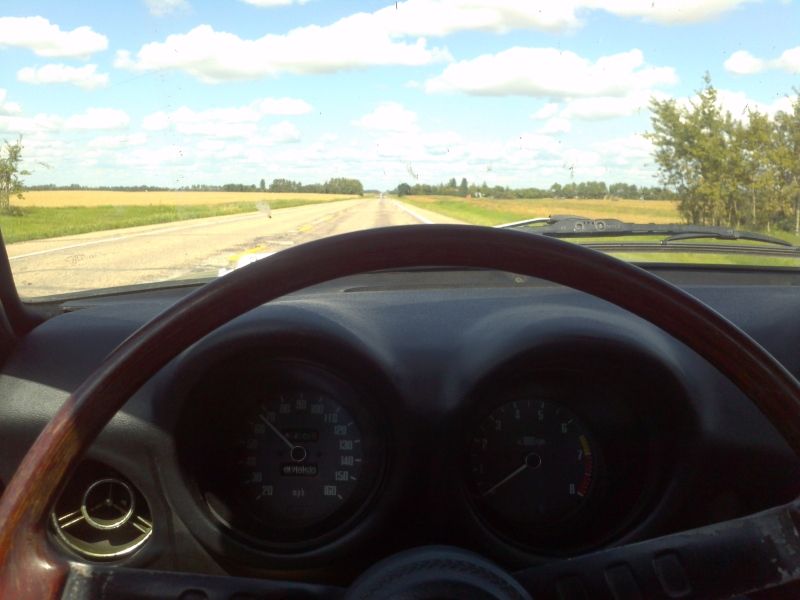
Home sweet home
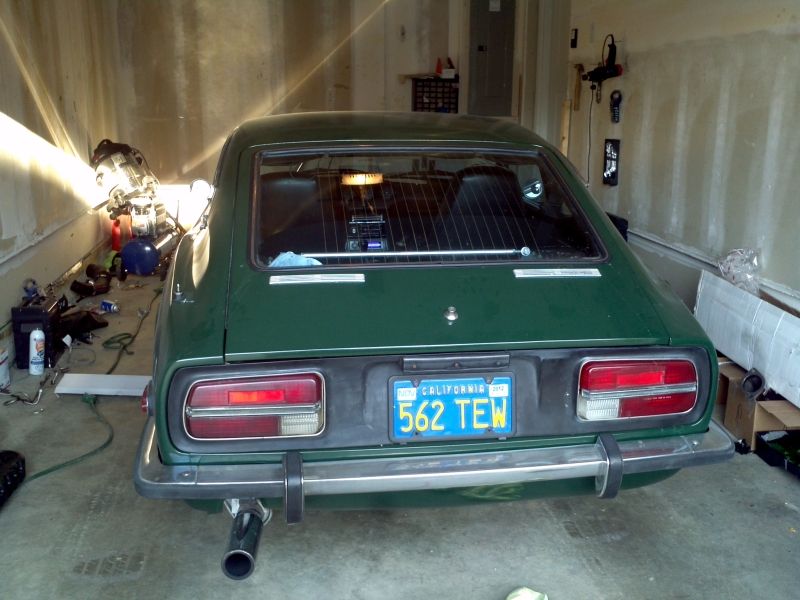
The car is just waiting on a new starter, ignition tumbler and horn relay, before changing tires and attempting an OOP.
Sorry for the side track from the R33, but I guess some of you may be interested
Comment
-
It's going to be another long winter..parts are trickling in..like this Nismo Twin courtesy of Feast
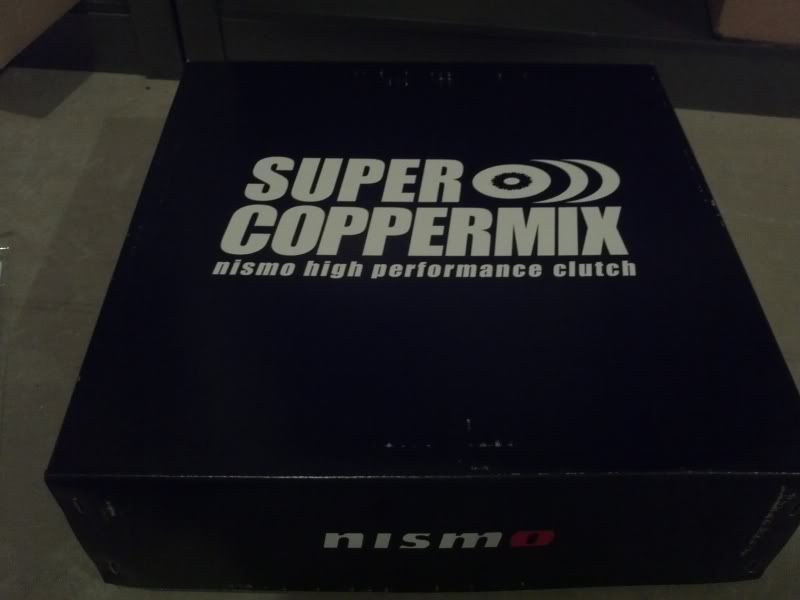
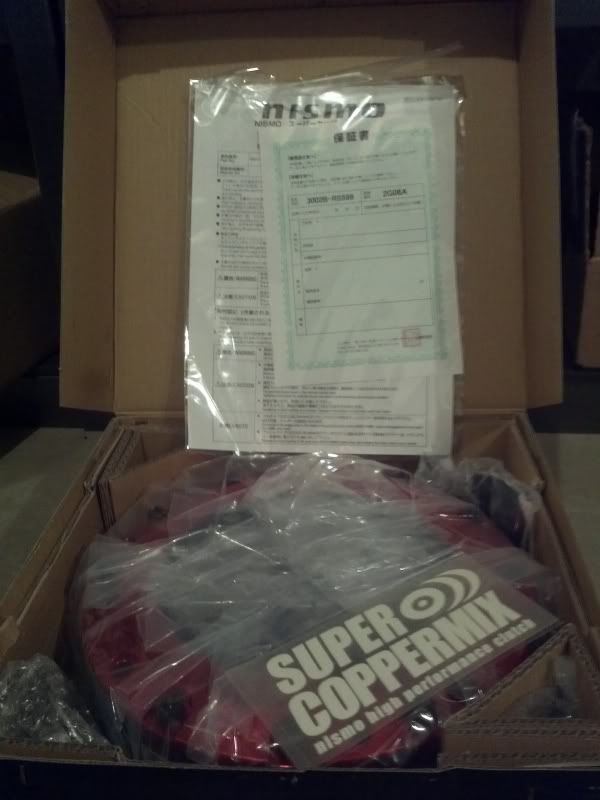
As for the new engine it isn't here, but I have a ton of other stuff to do. Here is the to-do list:
On car:
Mock up compressor inlet and outlet piping, and BOV recirc
Mock up downpipe and dump tube(s)
Tie in Nismo oil separator to rear turbo oil drain
A/C Delete
Power steering reservoir relocate
Replace FUBAR'd O2 sensor
Purchase and install MAP based EMS
Change CV Boots
Aftermarket ECU A-LSD fix
All engine pull related items (the car should be ready to have its engine pull come spring)
New Engine:
Clean up/optimize vacuum and water lines
Install Tomei oil pan baffle
Install Tomei Poncams
Install Manifold/Turbo/Oil lines
Change Oil Filter Block
I had already pulled the Greddy turbo piping to sell off before. As of now, I first pulled the bumper, undertrays and headlights. Then I drained the radiator, removed the fan shroud and attempted to remove the radiator. It was difficult with the thickness of the Greddy radiator, but it was doable.
Look at all the crud in the cooling system
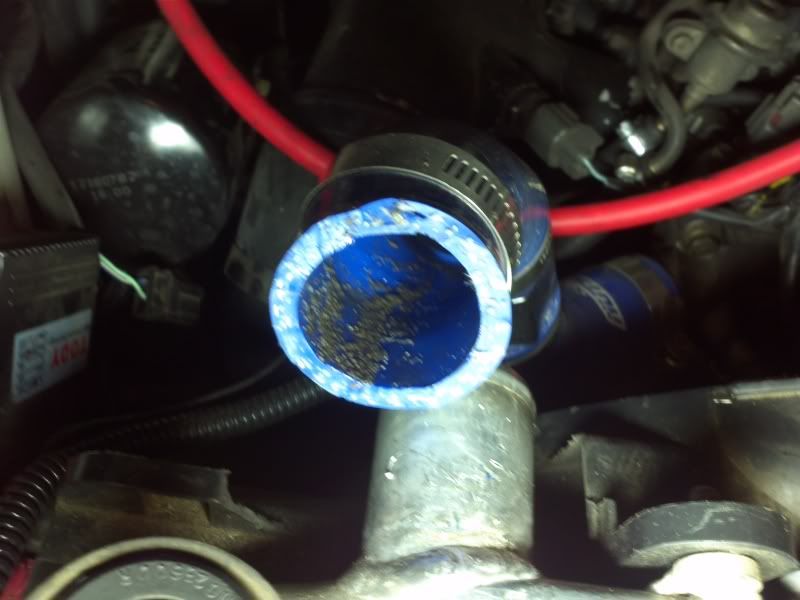
Once I pulled the P/S pump off the block, I then went after the stock turbos for an afternoon.
I'm not sure how coolant became this way. This was typical of most of the coolant lines. Looks like the crimp is starting to fail on these cheap braided lines. The bends on these lines were non-existent or well within norm. Oddly, the oil lines, which were bent way below their bend radius, emerged unscathed.
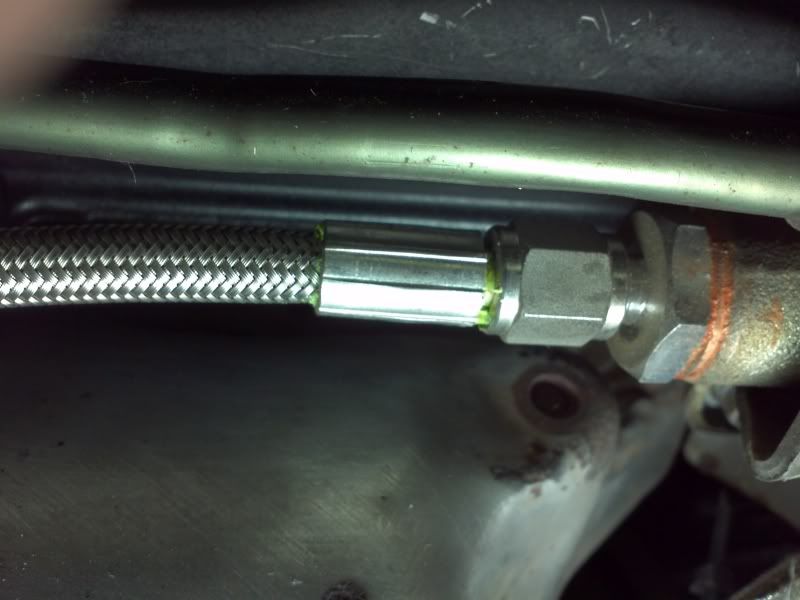
I was left with a familiar sight
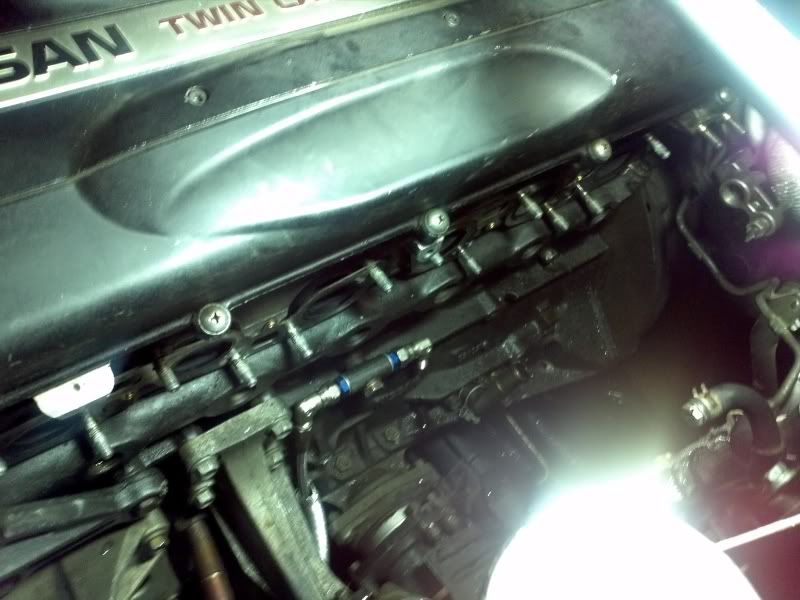
I would not recommend anyone to install braided lines the way I did. It just makes manifold removal more difficult, although it does make avoiding a coolant pool on the floor easier.
At this point, I was eager to check the fitment of the 6boost manifold in the bay.
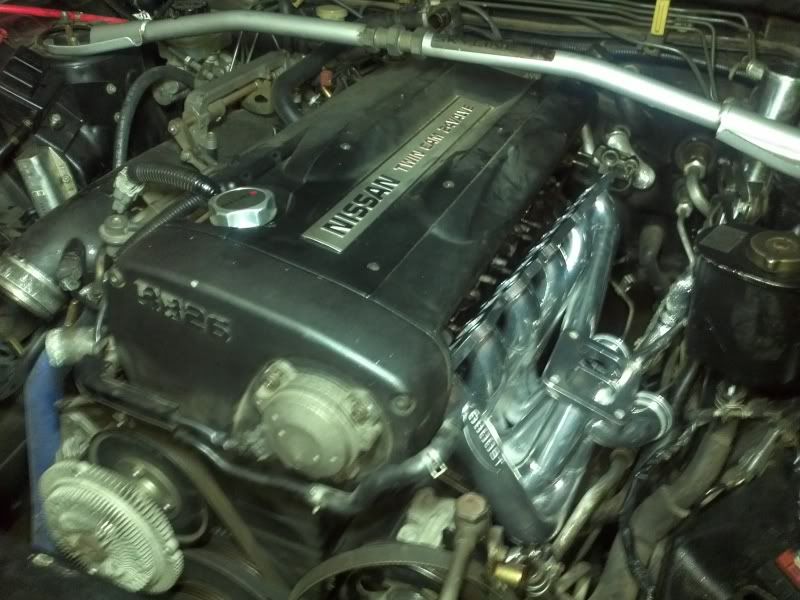
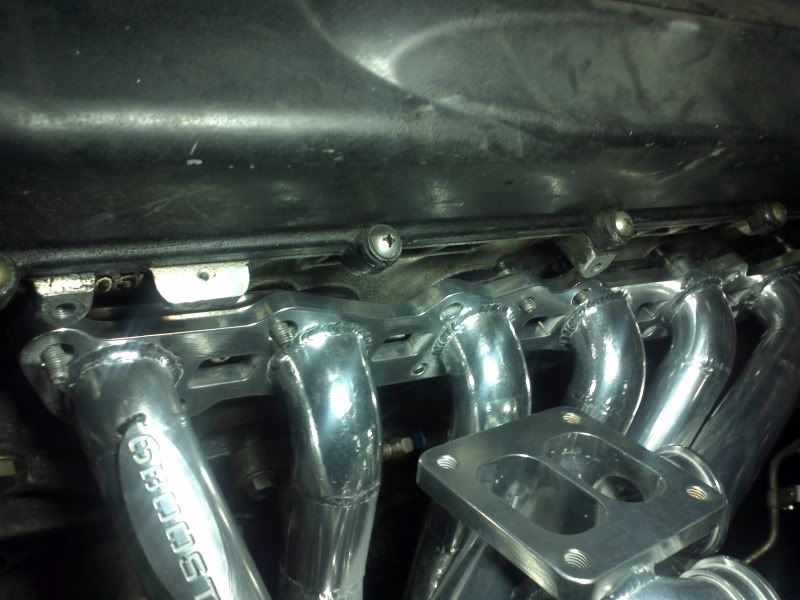
Wait a minute..
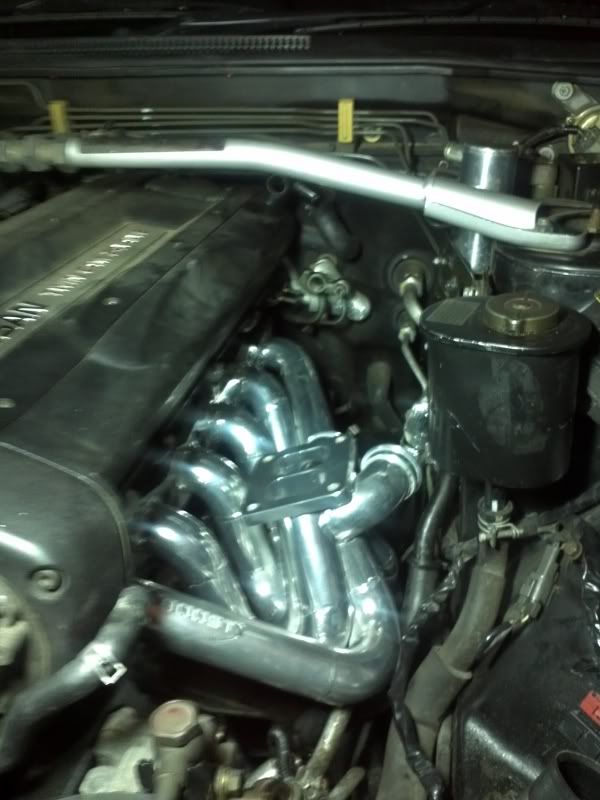
Oh noes..
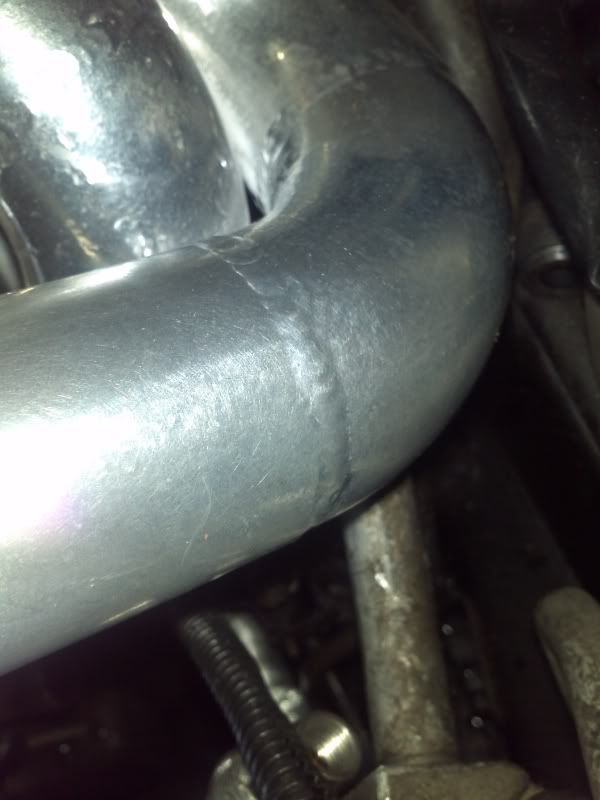
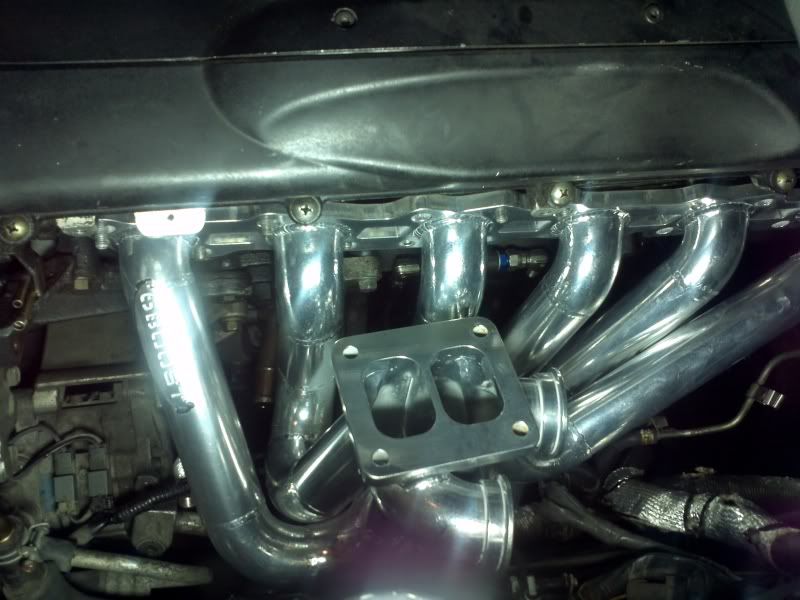
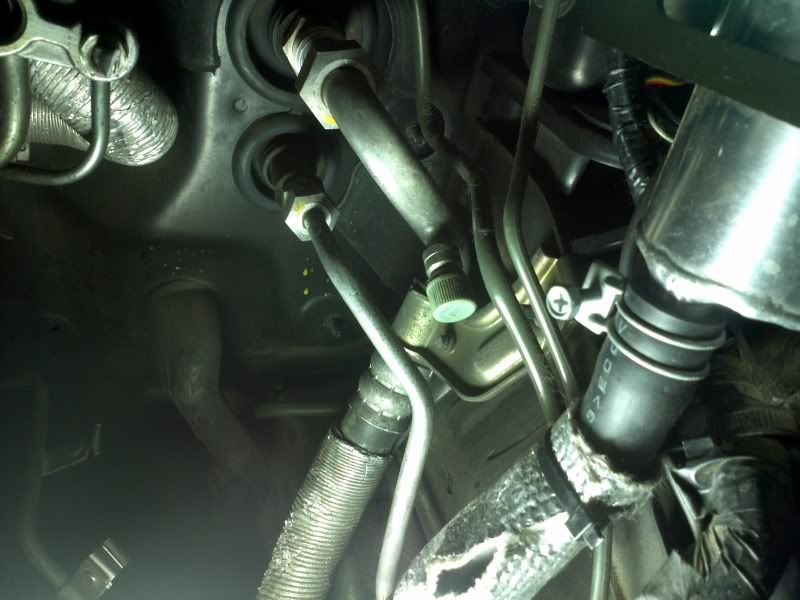
The AC line interferes with runner #1. EDIT: The AC line has to manipulated about the connection on the compressor, and the bracket holding the AC line close to the firewall connection has to be removed in order to attempt to fit the manifold. I won't bother with any of this since I am planning on an AC delete anyway.
Otherwise, the manifold looks like it going to fit well in the bay. I will continue with the mocking up once I get the AC delete done and P/S reservoir relocated.Last edited by PurpleStreak; 11-04-2012, 06:05 PM.
Comment
-
R33 GTR A/C Delete and Power steering reservoir relocate
On this beautiful Sunday in Fort Mac, I went about the A/C delete and starting the P/S reservoir relocate.
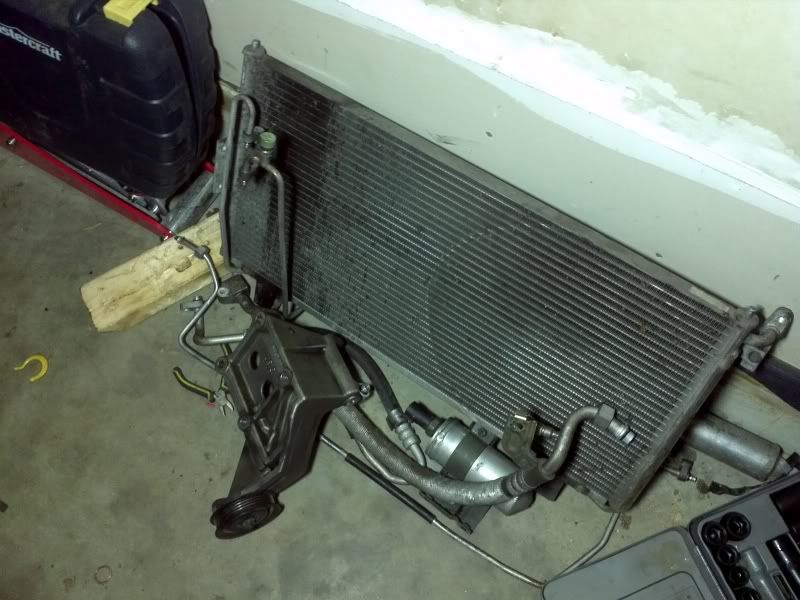
The A/C delete itself is very simple, only taking about an hour to remove all the components in the engine bay. I'm not dealing with deleting anything inside the cabin, as that would require removal of the dash. Everything in the FAST image below will be removed.
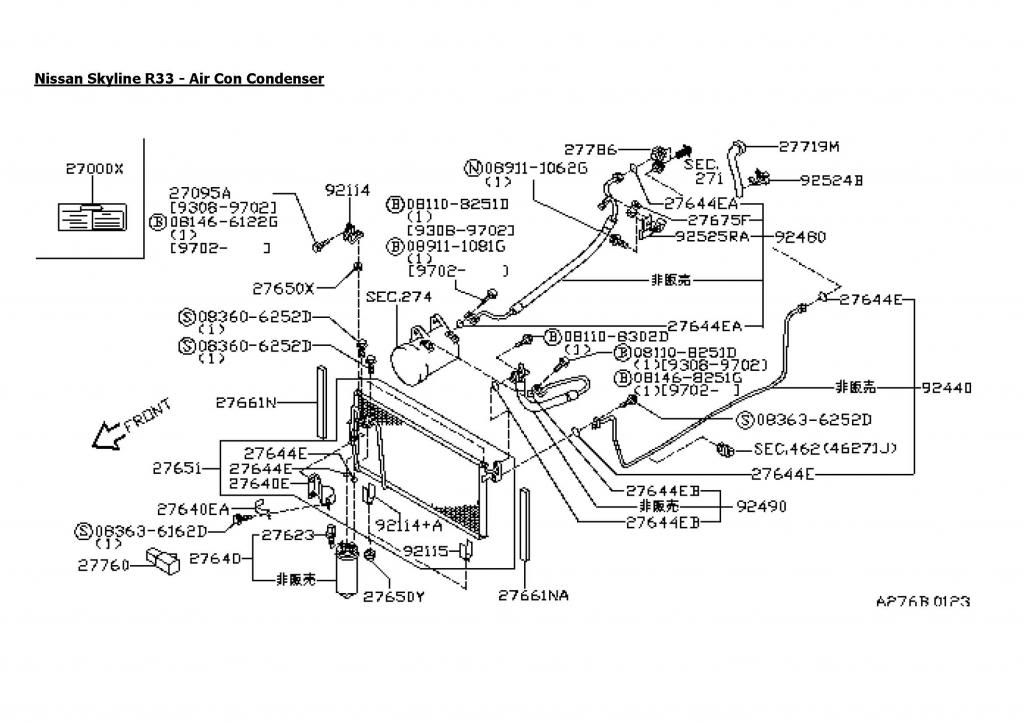
Step 1 is to get rid of the refrigerant in the system. You can have the shop completely drain the system, or the illegal method would be hold down one of the needle valves on the system and purge the lines till no pressure is left. Wear eye protection and gloves (to prevent frostbite) if doing the latter. In fact, even after this step you should wear your PPE. R-134A is much safer than previous refrigerants, however its best to avoid contact if possible.
Next, the various bolted connections on the system can be unbolted. This lets out any remaining pressure. Be sure you are in a well ventilated area when doing this.
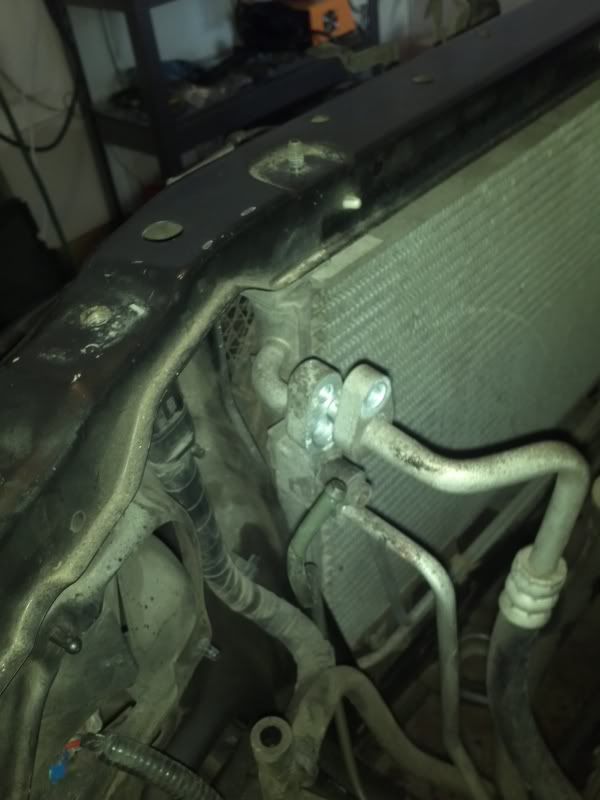
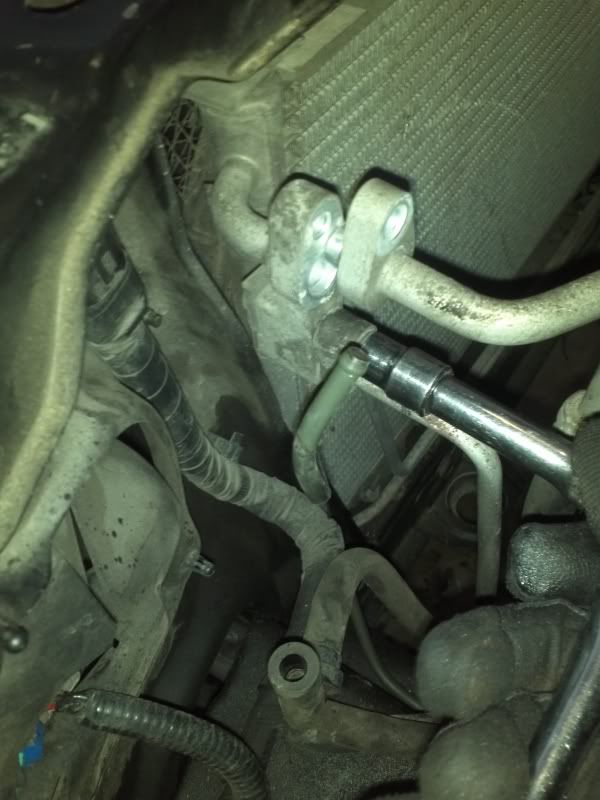
Next you can start removing the components, I started with the accumulator.
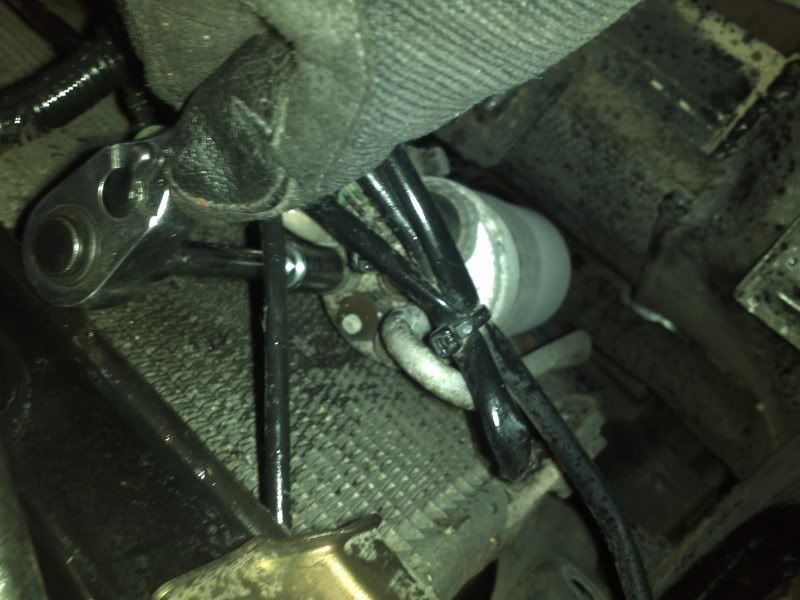
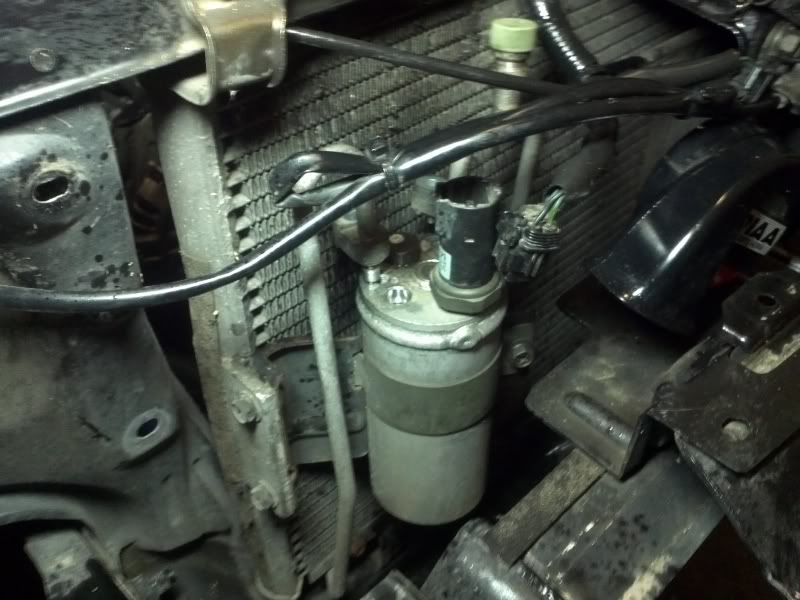
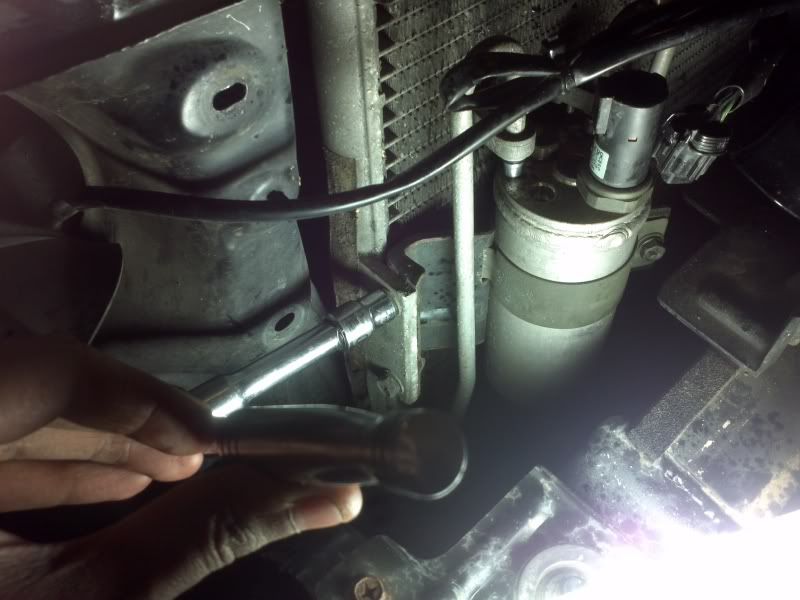
Once the bolts and connector are removed, the accumulator can be chucked. Next, the condenser can be removed. In the following picture, the two brackets on the far left and right are the only thing holding the condenser, to the rad support.
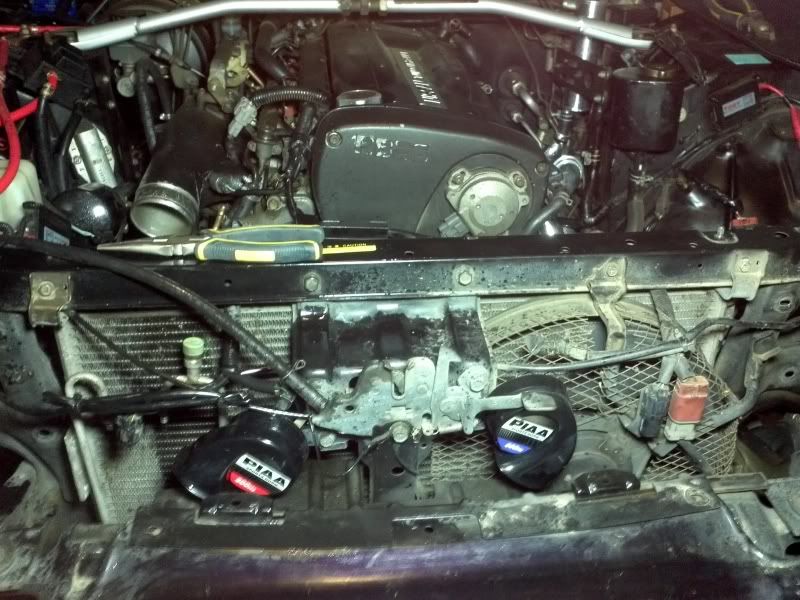
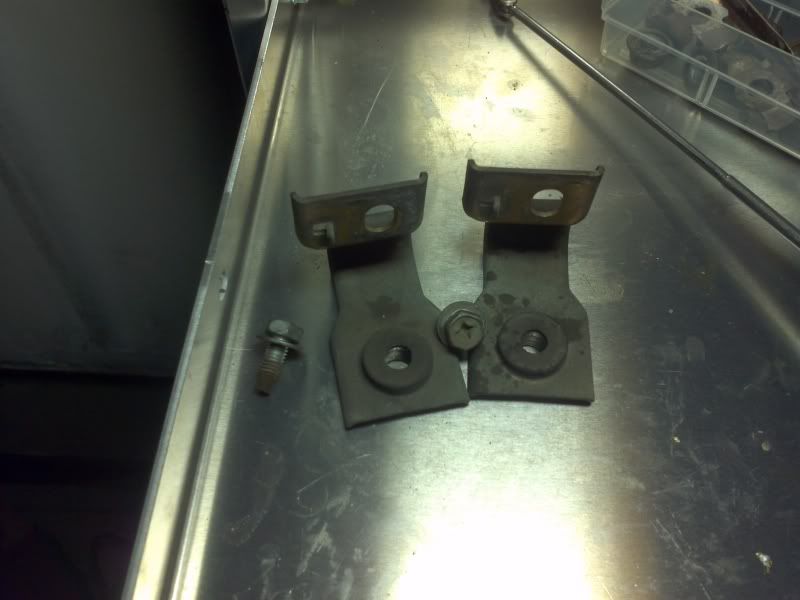
The condenser can them be removed. I then started on removing the lines off the compressor itself. I chose to end my delete at the fittings going into the firewall. Note that the bracket in the picture below is the one that needs to be removed if movement of that AC line is required.
The compressor itself can then be removed. First, the belt is slackened by means of the tensioner bolt at the bottom of the idler pulley.
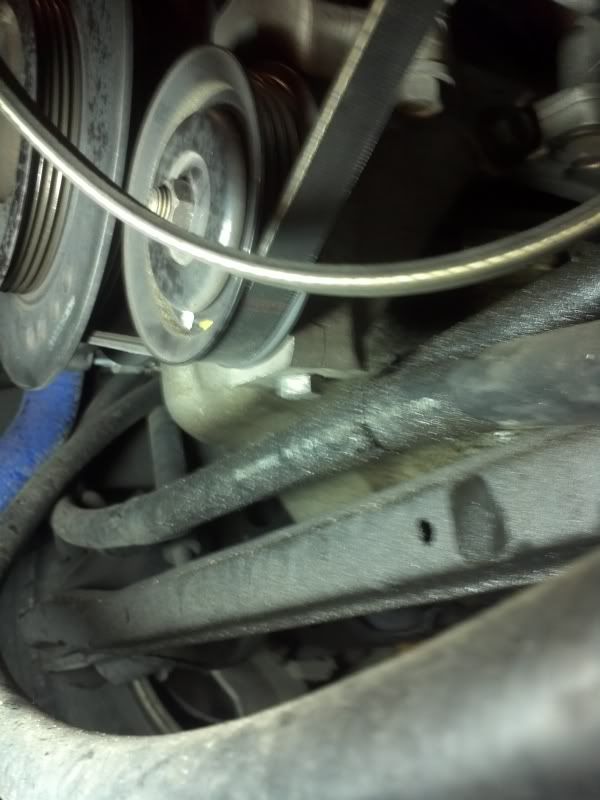
With the belt removed, the compressor can be removed from its bracket.
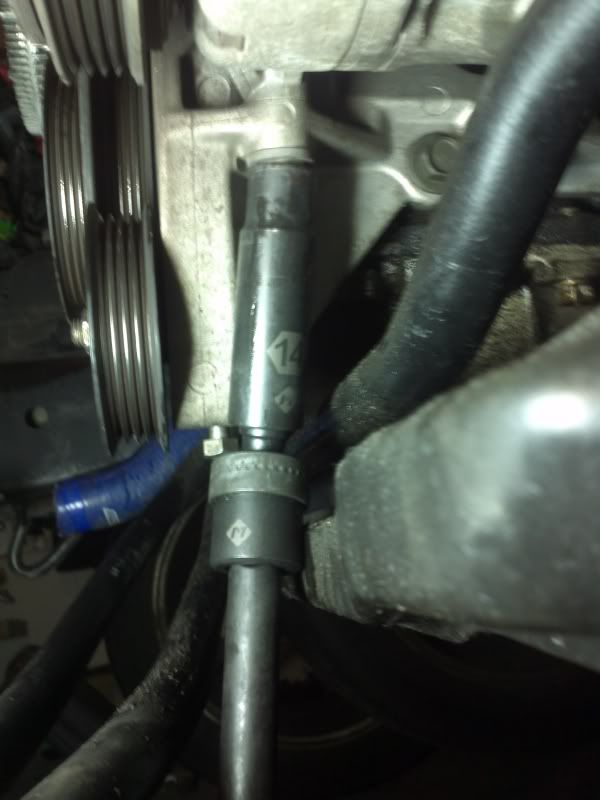
The compressor is now out.
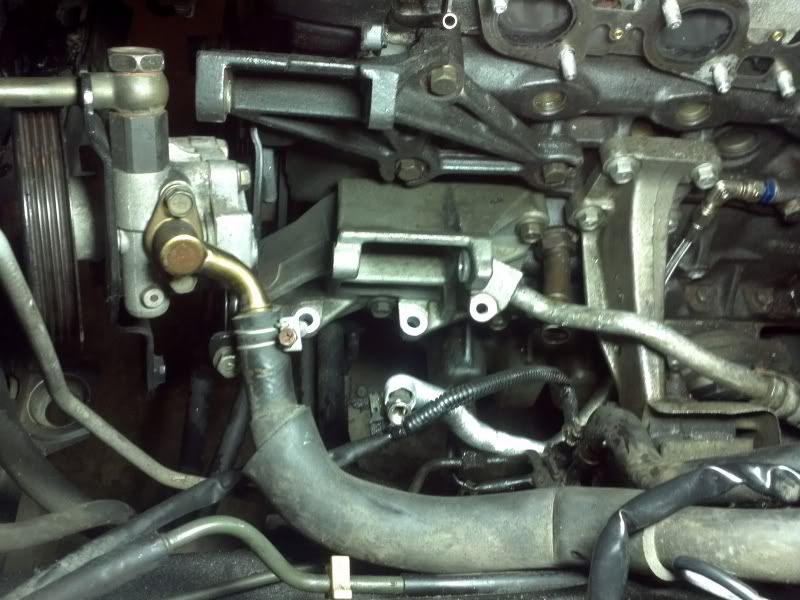
For good measure, I took out the compressor bracket, although I don't need to in my case. Look at all the space!
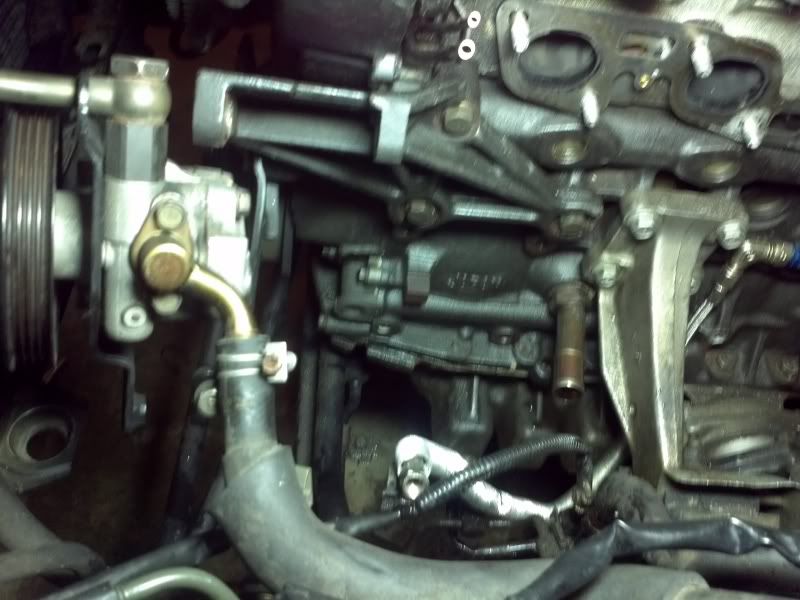
I will measure the weight of how much A/C stuff that came out and post it later.
 Last edited by PurpleStreak; 11-08-2012, 03:59 PM.
Comment
-
R33 GTR A/C Delete and Power Steering Reservoir relocate
Next, I decided to start the P/S reservoir. I'm going for the standard carbon canister location. I already delted this, however I have not cleaned up all the lines connecting to it.
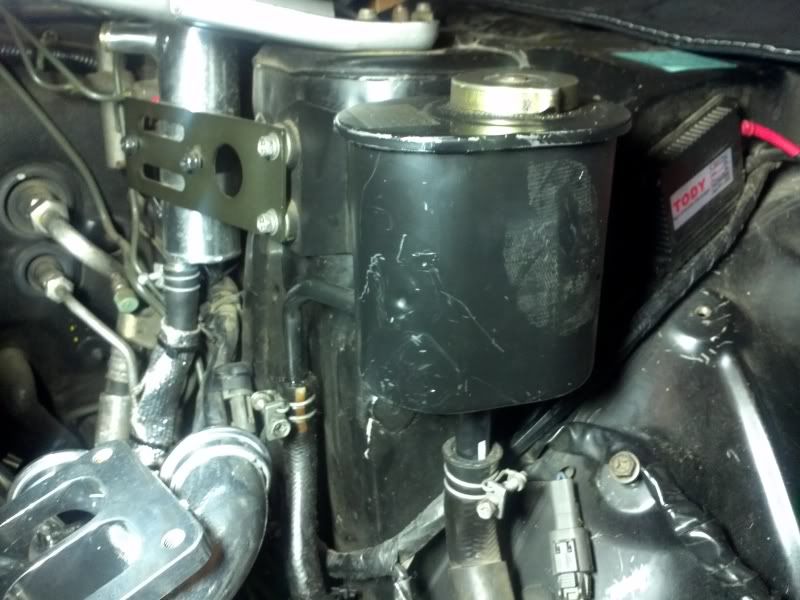
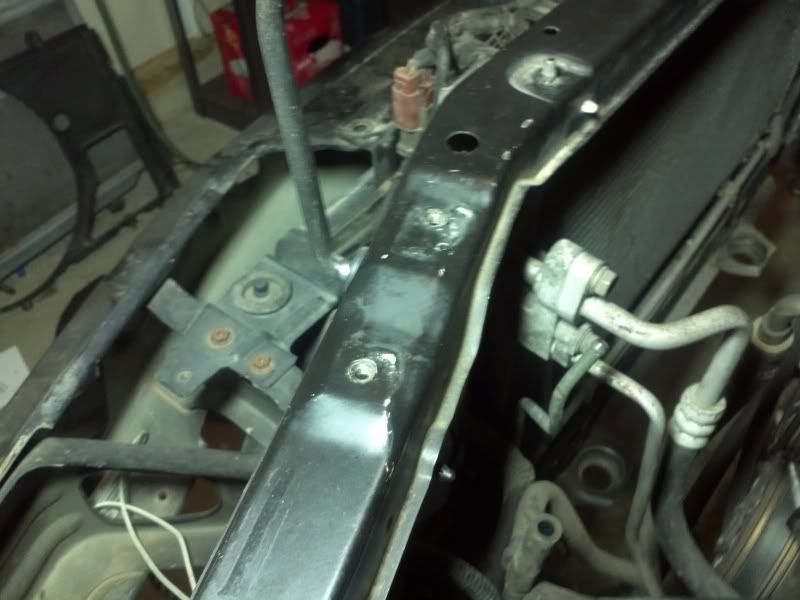
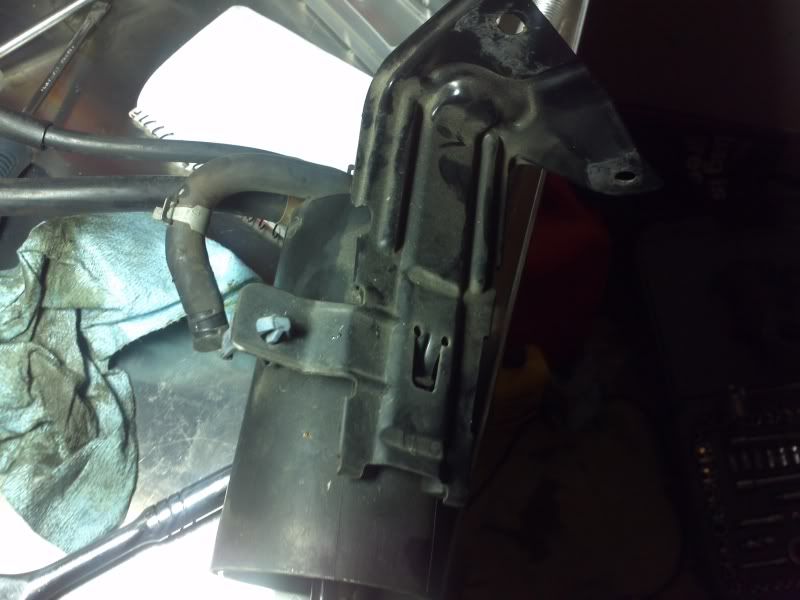
The bracket can be slipped off from the canister with one good whack.
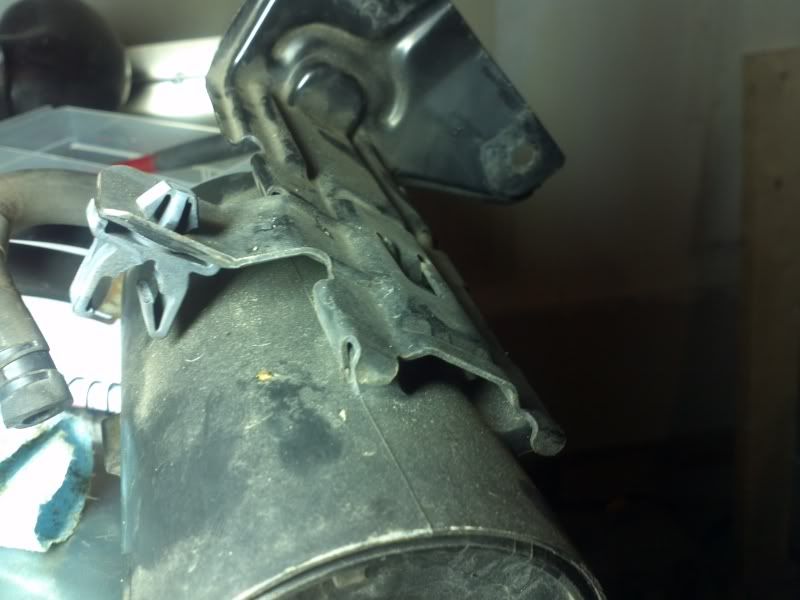
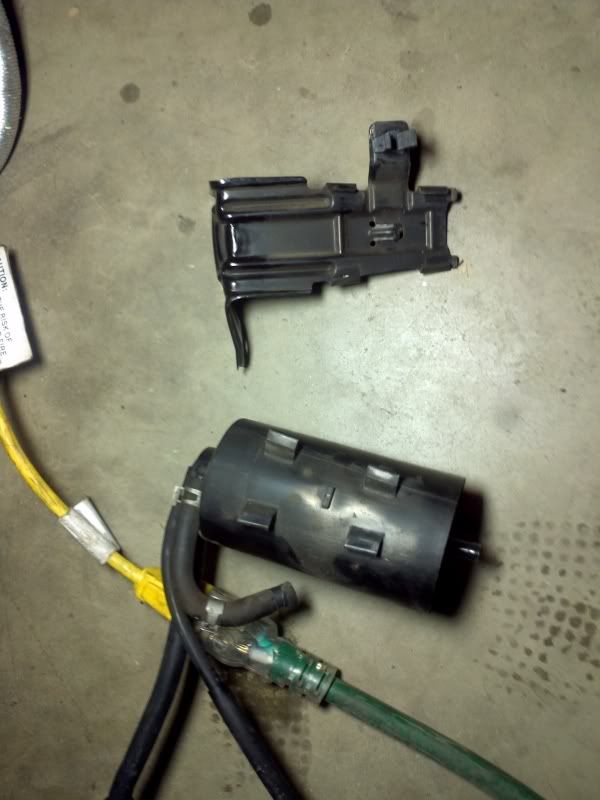
Moving the reservoir to the front is simple, the line to the pump from the reservoir is the right length; only the jacket can be cut off if needed.
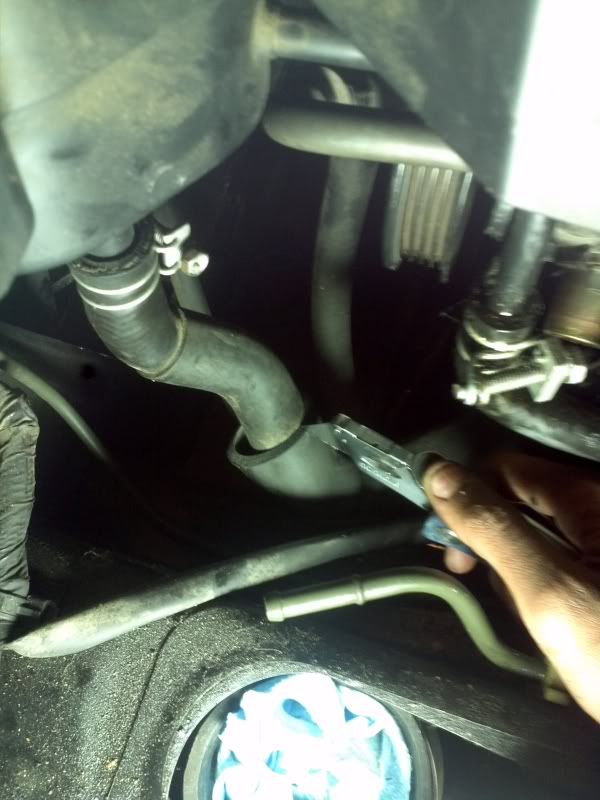
However, the line from the rack return is too short and required replacing.
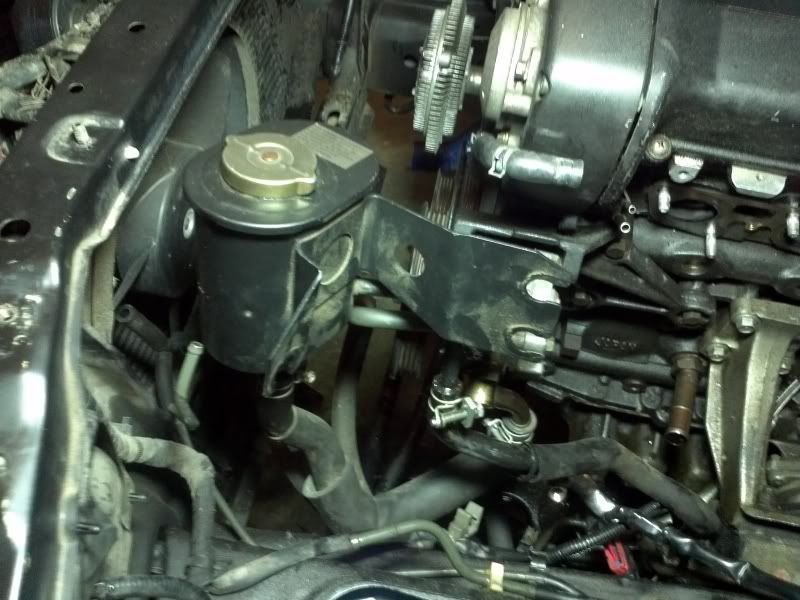
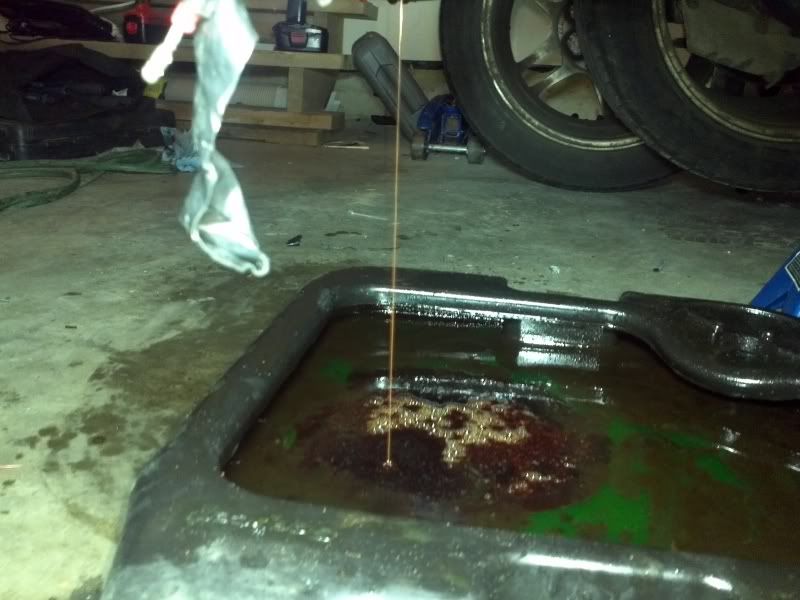
I drained whatever P/S fluid in it into my lovely RB26 cocktail..
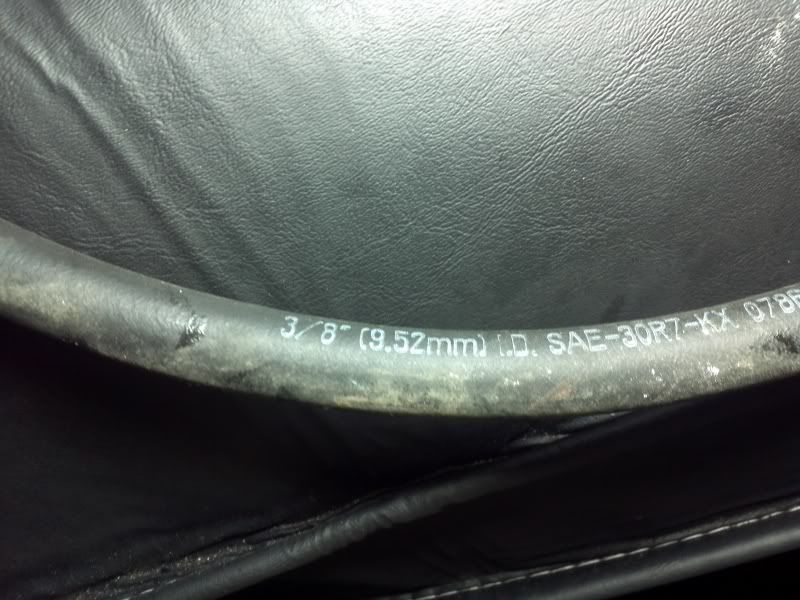
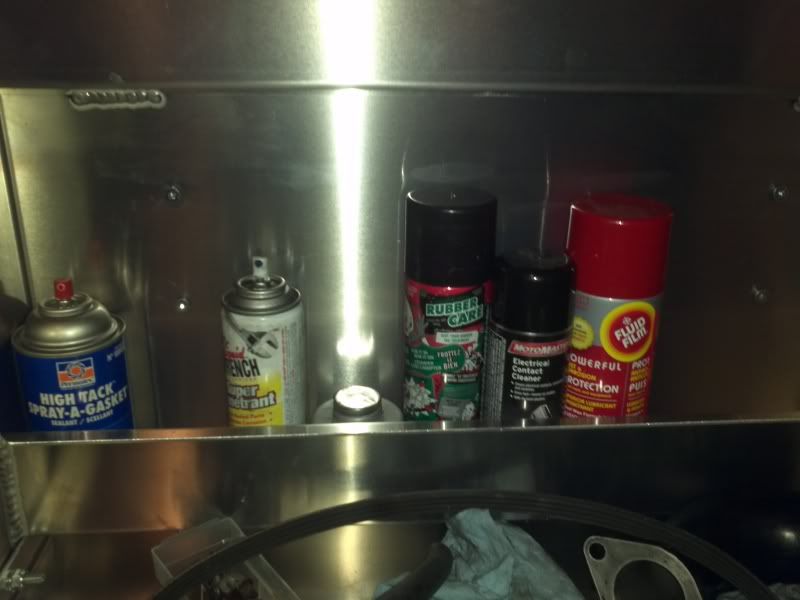
I found a length of 3/8" fuel line I had lying around and cleaned it up with some Honey Goo Rubber Care
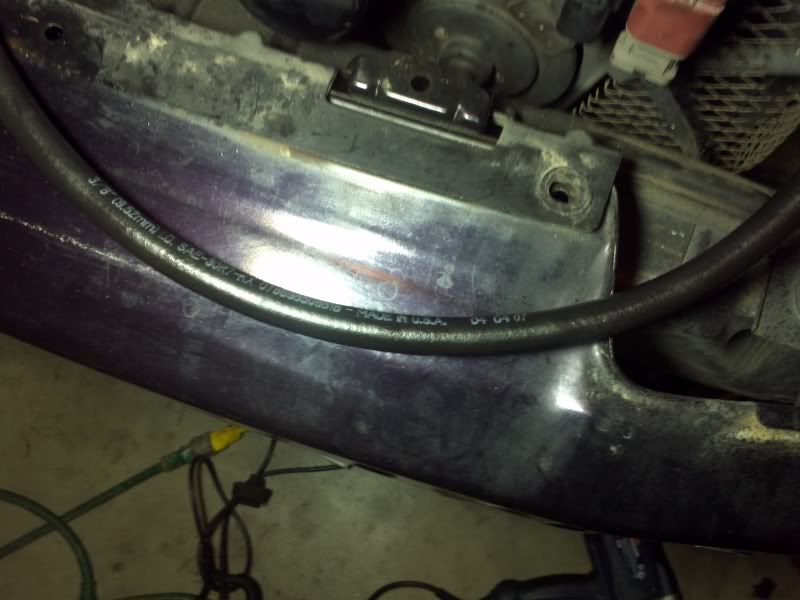
I installed it and later slid the jacket on to protect it from the manifold..
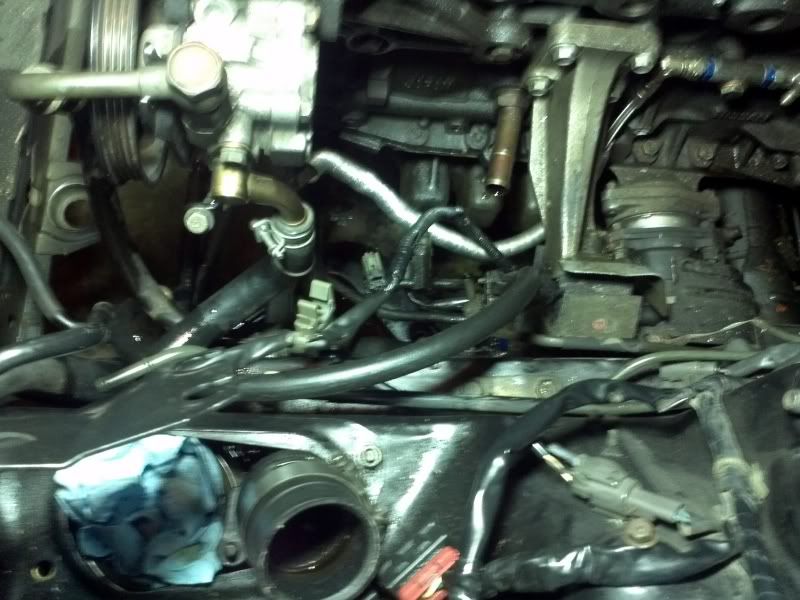
All that's left is to attach the reservoir to the canister bracket and it can become a permanent fixture.
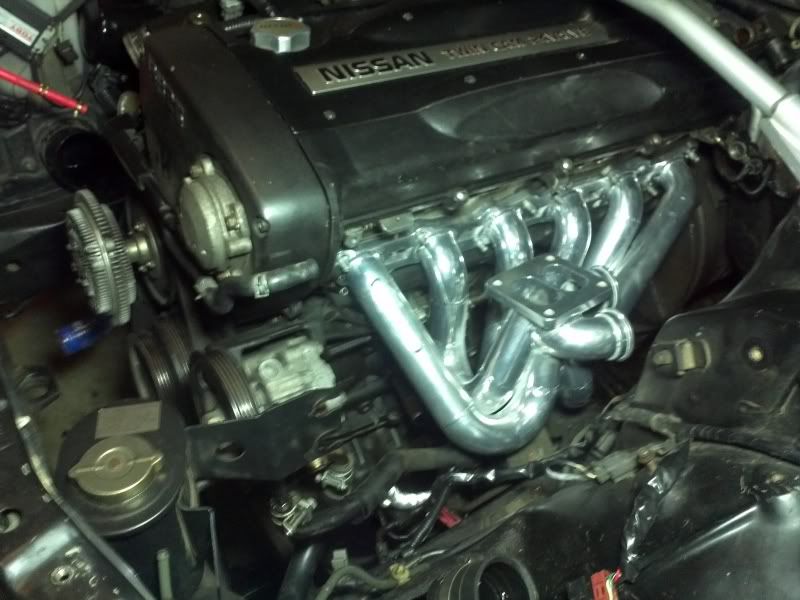
Without the A/C line and reservoir in the way, the 6boost fits wonderfully. It's amazing how much room there is now on this side of the usually crowded engine bay.
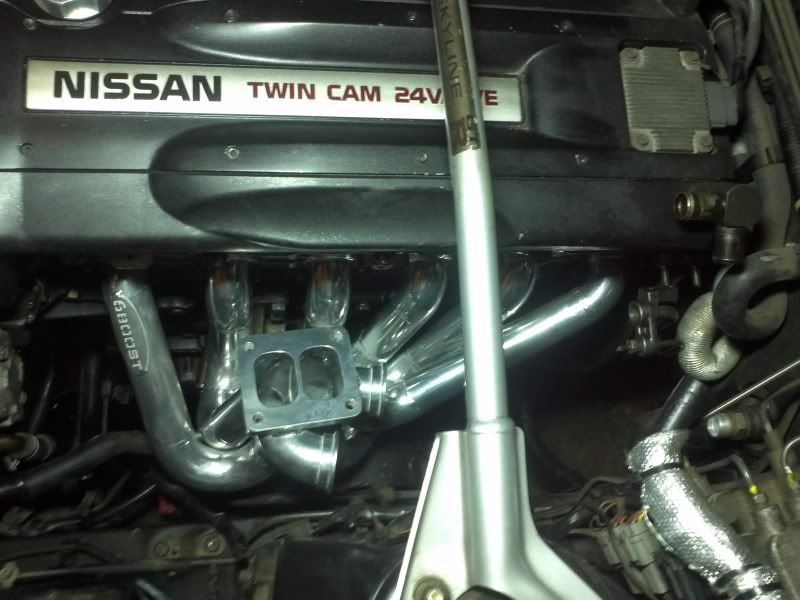
I also test fitted the Lovefab manifold I have for sale..It takes up a bit more space but fits ok..
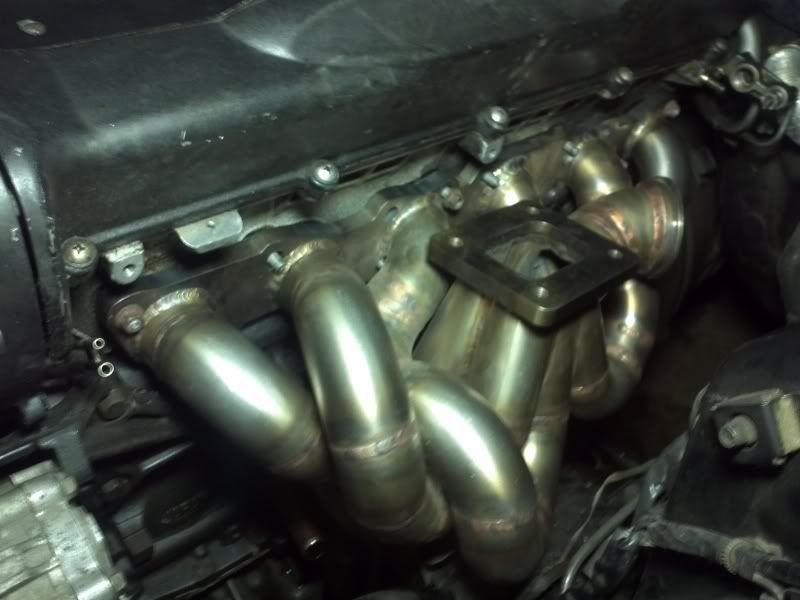
I should be able to mock up the inlet piping and downpipe soon. I have already procured an assortment of components of the inlet piping..
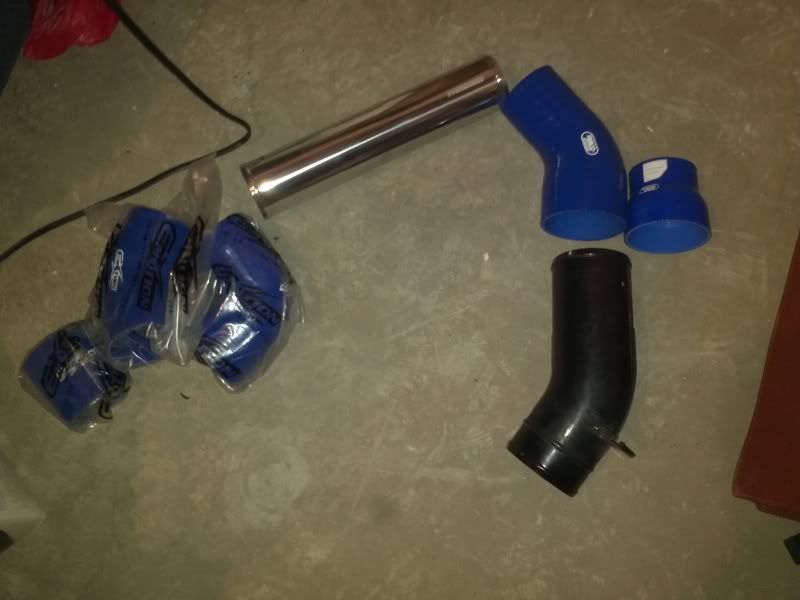
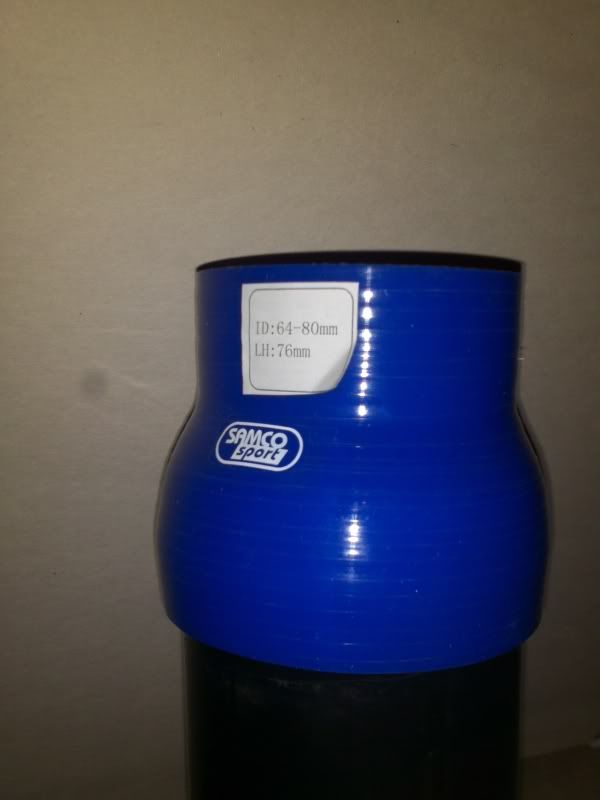
I am retaining my stock intercooler, so I will be reusing the stock elbow that goes into the engine bay. 80mm is the size of this piping.
I also got a CXRacing RB25 Top Mount Downpipe as a base to start my downpipe. Apperance wise, it looks like not too much re-work to make it fit.


Comment
-
To continue with the mocking up, I started with the studs into the T4 flange, with the usual double nut till seated method, with anti-seize.
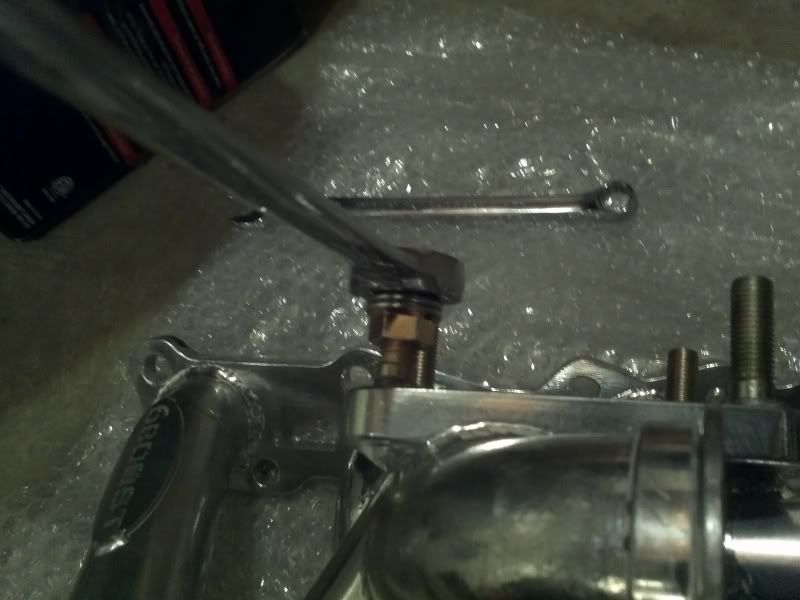
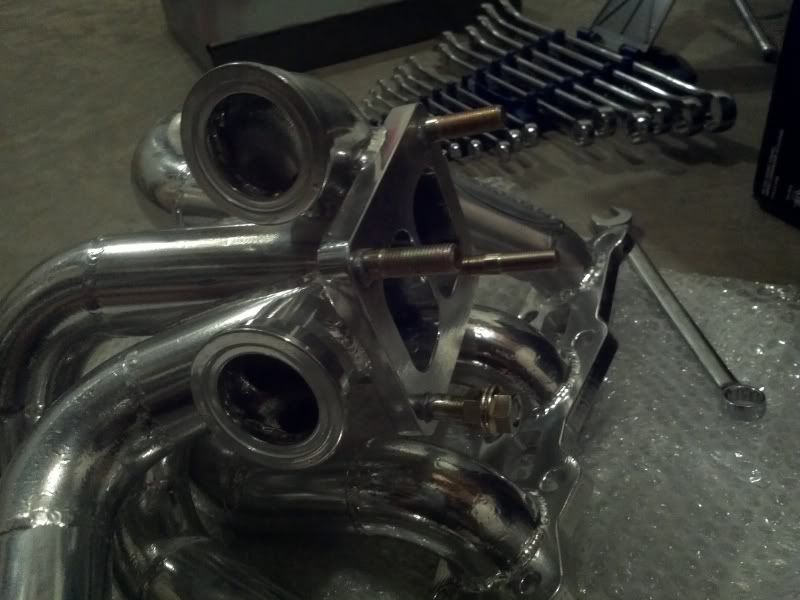
I also cut two of the studs where I expected to have clearance issues with the housing. I left enough room for a couple of threads to show from the nuts.
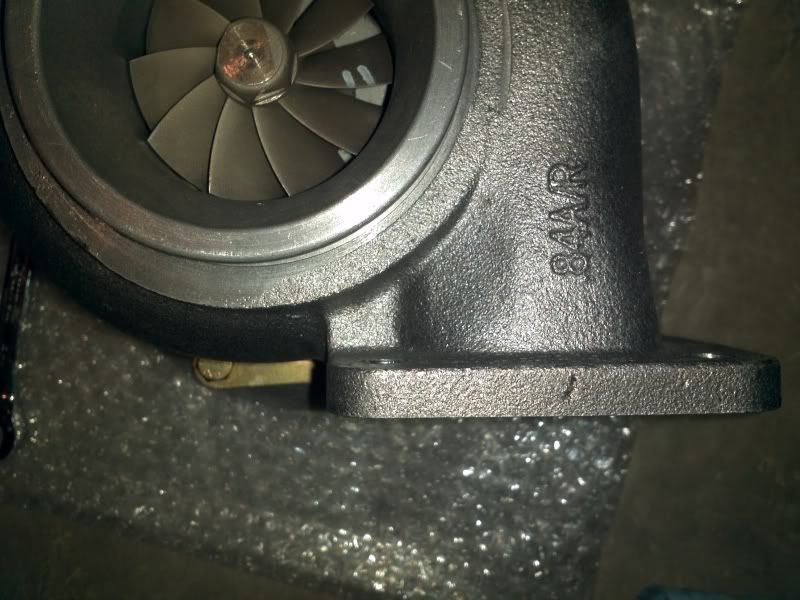
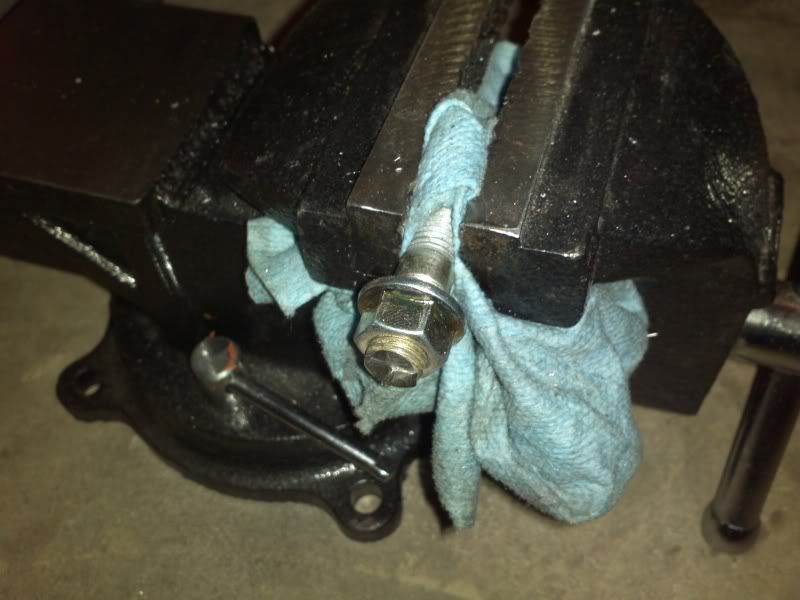
Then I ran into an issue I did not expect.
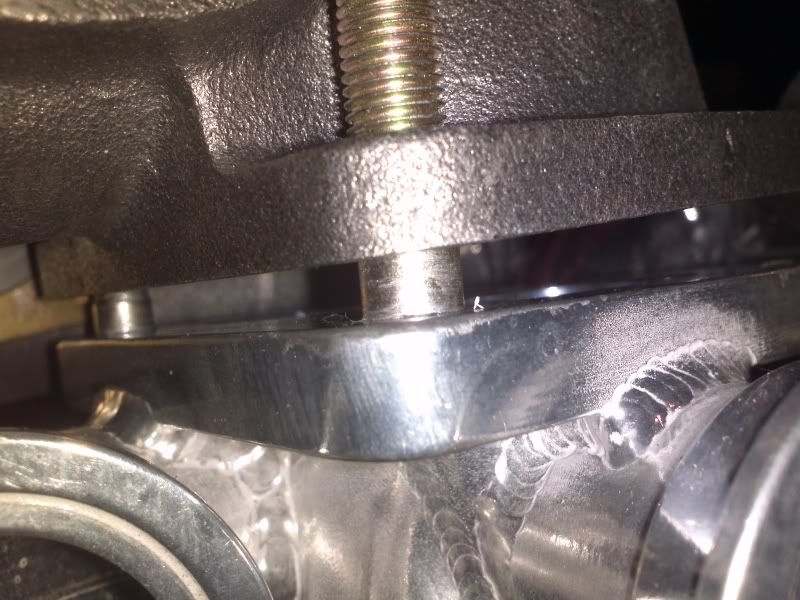
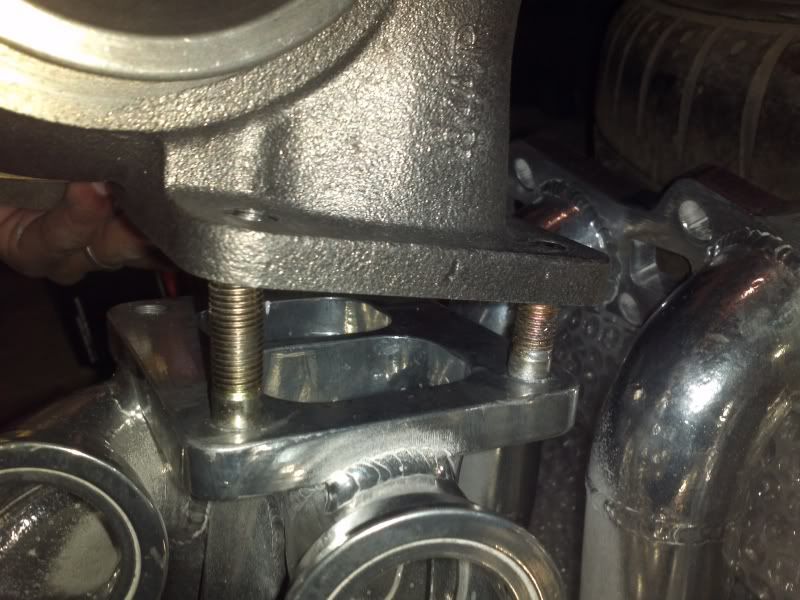

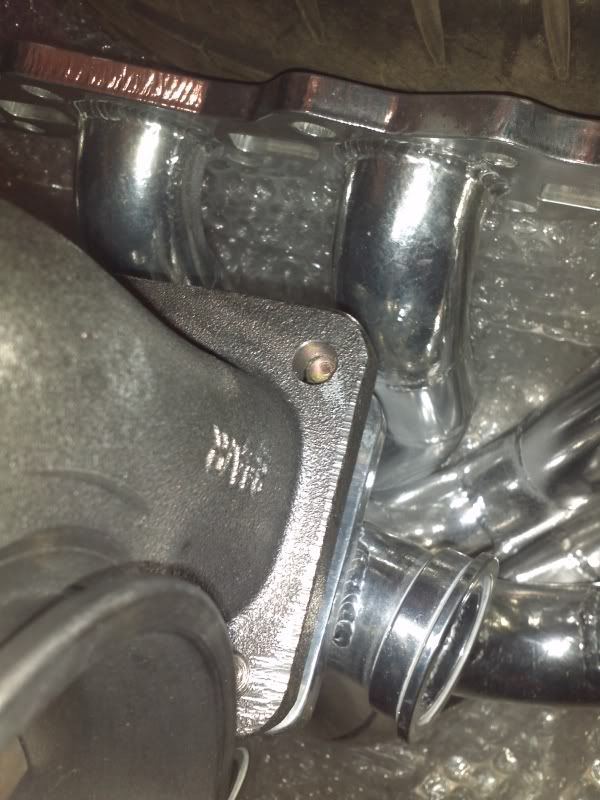
The studs are out of square, so the turbo cannot be placed on the manifold. I got in touch with Kyle@6boost. He suggested that due to the manufacturing process of the studs, they can be a little bent.
He suggested to insert all the studs and turn them 1/4 at a time till they all lined up.
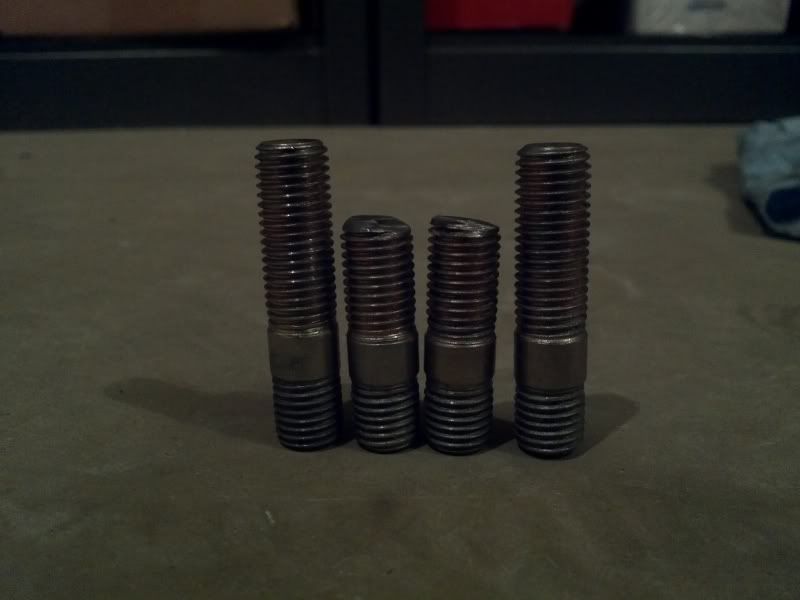
It appears this is true to a certain extent. So I gave this a shot for a bit. It worked too a certain degree but still did not allow the turbo to sit on the flange. It appears the hole/thread is out of square from the mill itself.
Kyle was willing to exchange the manifold for a new one, and offered a whole other host of options. Top notch guy.
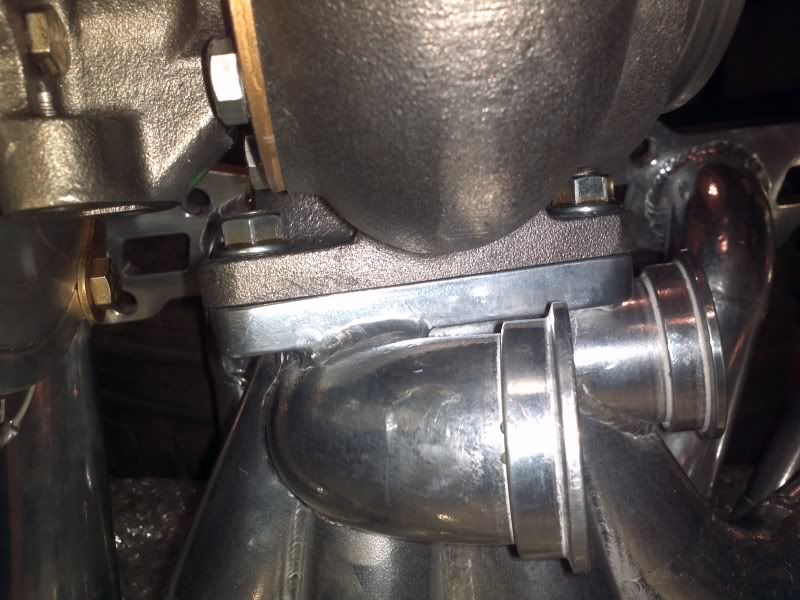
However, I'm not one to take advantage, especially for an easily resolved issue. It was still going to cost me shipping the manifold back to Australia (not cheap). I rather elected to drill out two of the flange holes on the turbine housing to get the clearance I needed.
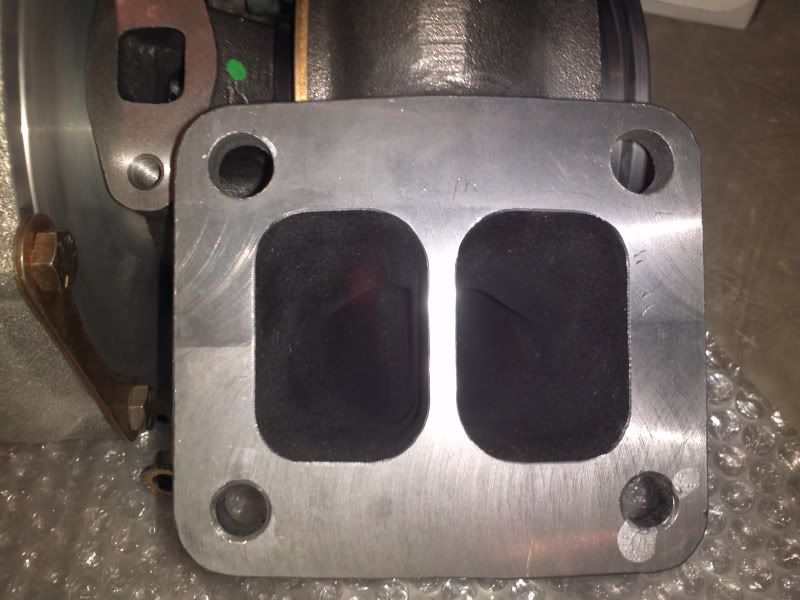
With the two holes enlarged, the turbo slips on easily. Alignment is still maintained with the two correct size holes. The gasket still pinches on the studs. Kyle is sending me a couple extra, I'm going to try and enlarge the holes on those as well because I don't want to remove the studs from the flange everytime I go to remove a gasket..
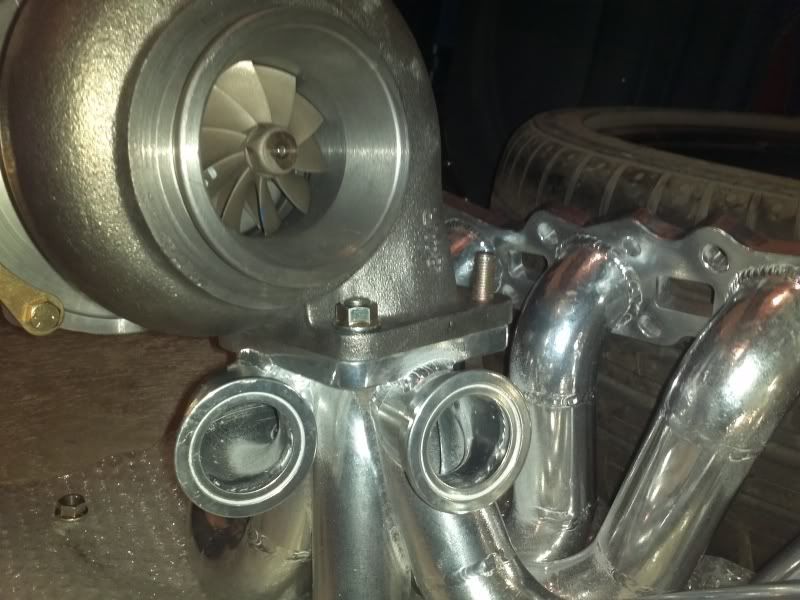
May have cut the studs a little shorter than my liking, oh well
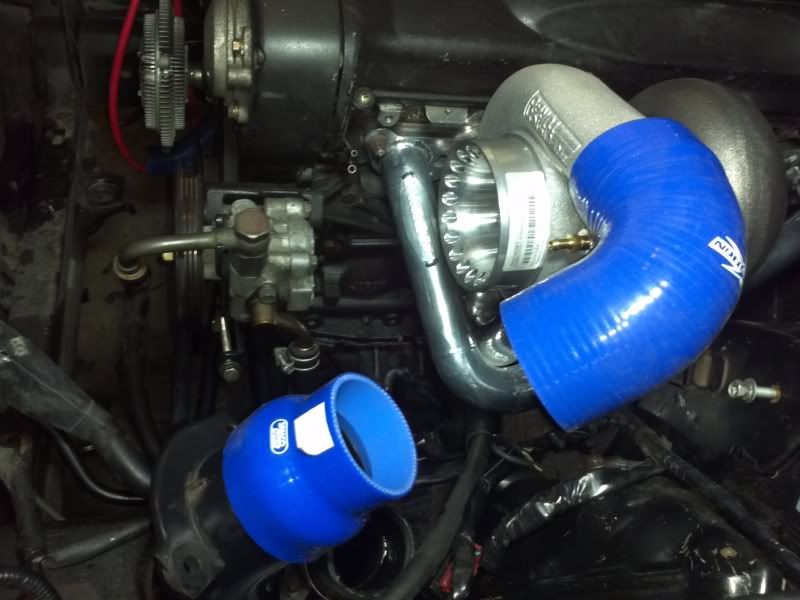
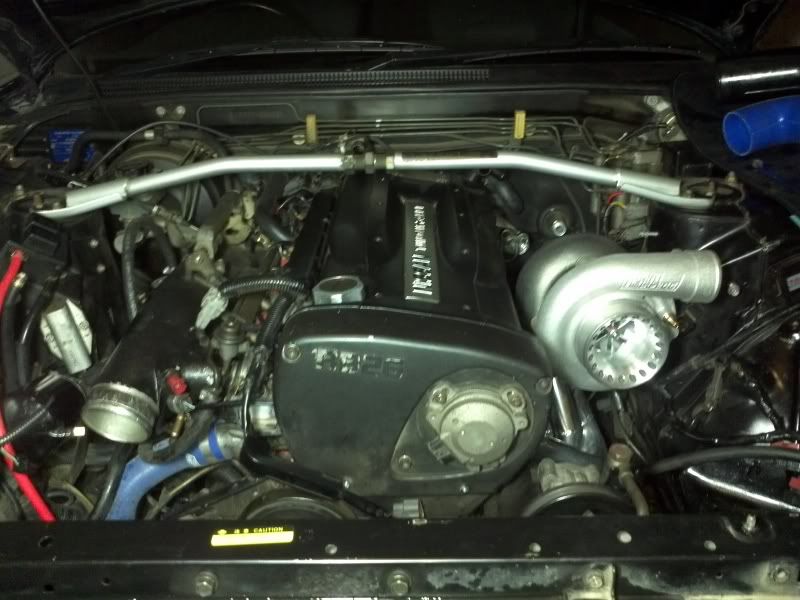
I put the manifold and turbo back on the car to get an idea for the charge piping. This looks like it will work.
I noticed the ever present oil pool in the charge piping, I decided to get rid of it. I am also scrapping the recirc lines in favor of a BOV.
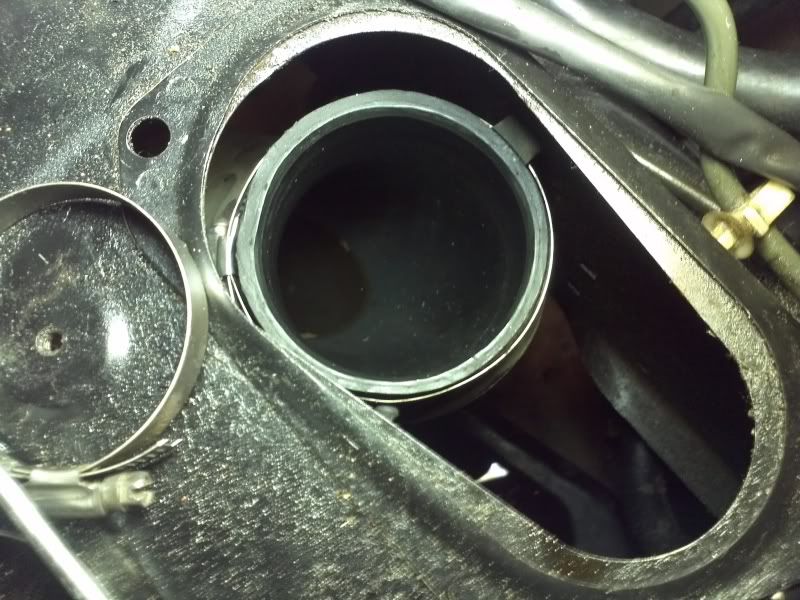
Started with removal of the recirc hose, oh my..
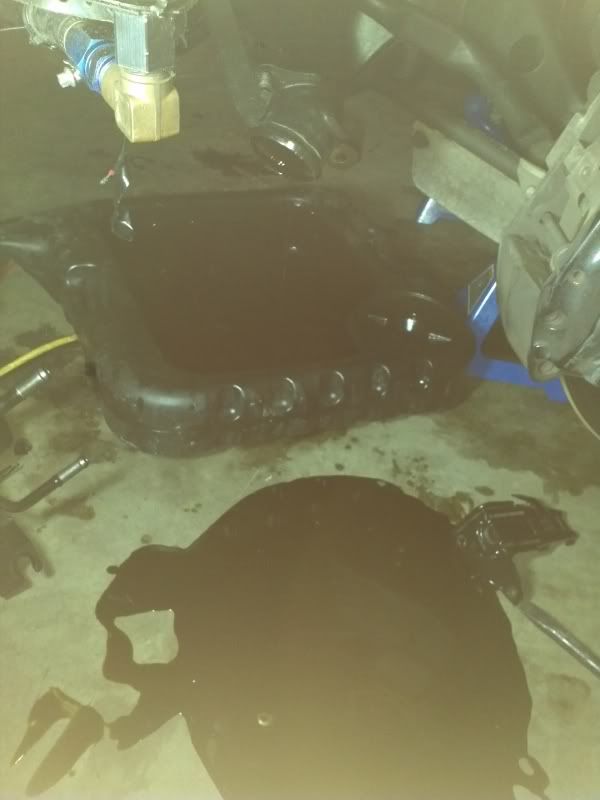
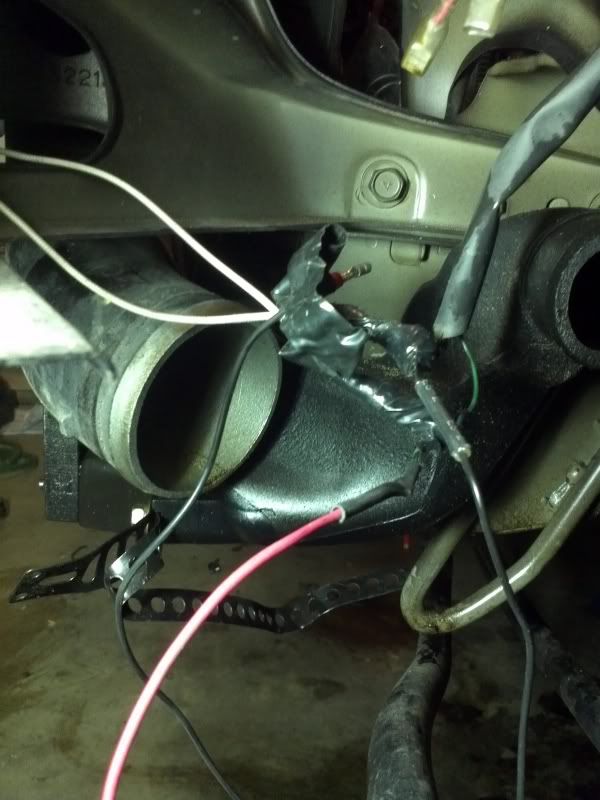
Then pulled off the recirc line, intercooler, and connections to the stock recirc valves. I made sure to mark the intercooler hoses for alignment purposes.
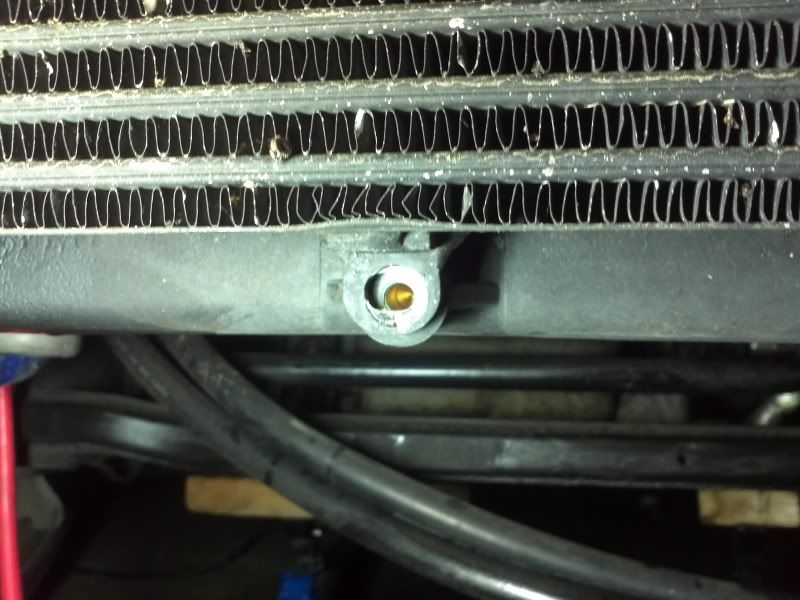
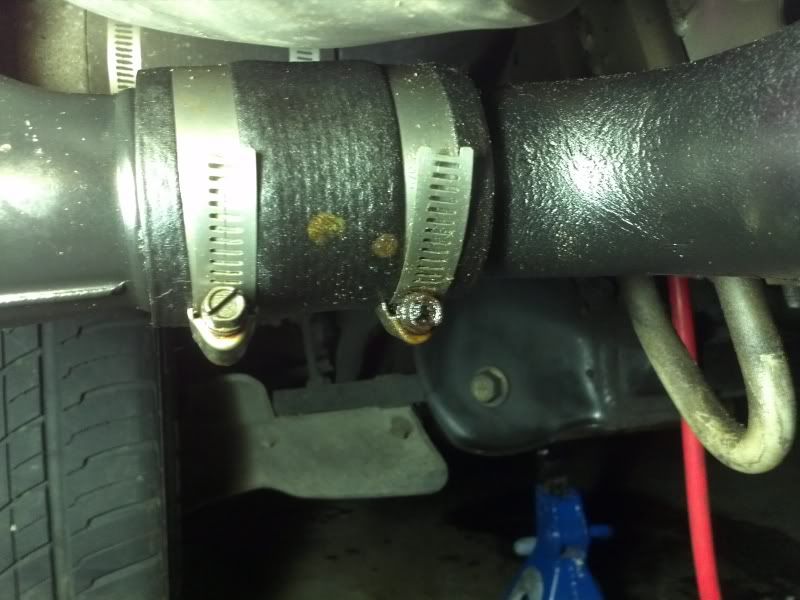
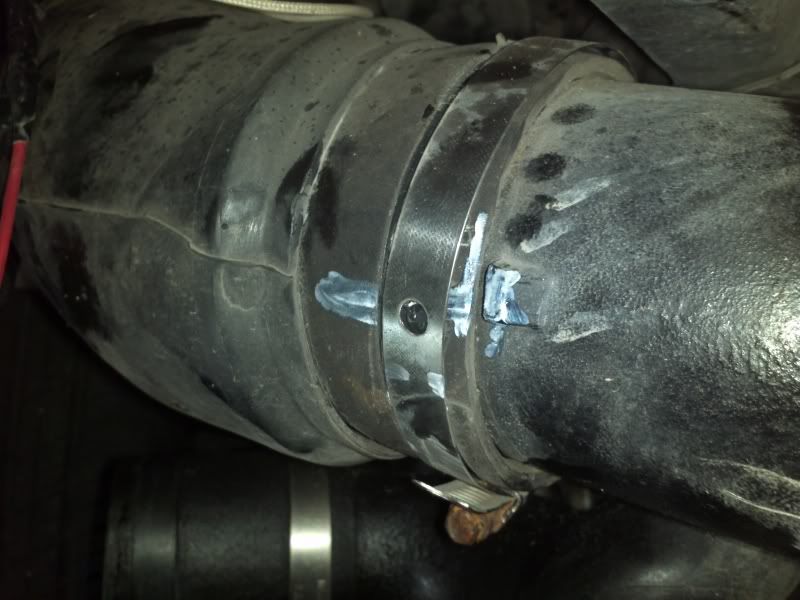
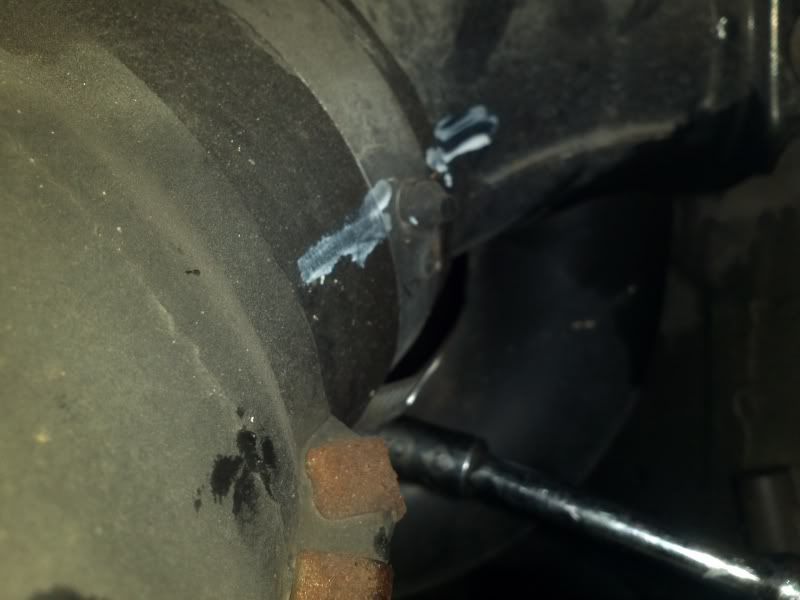
I figure there was a liter of oil in all the charge piping..It's a wonder the car ran at all..
Very rough looking, but you get the idea..
Comment

Comment