Announcement

Collapse
No announcement yet.

Frankiman's street/track GTR project

Collapse
X
 
  • Filter
  • Time
  • Show
Clear All
new posts

  • well, it if the thermostat is on the return side from the cooler than it could still be there
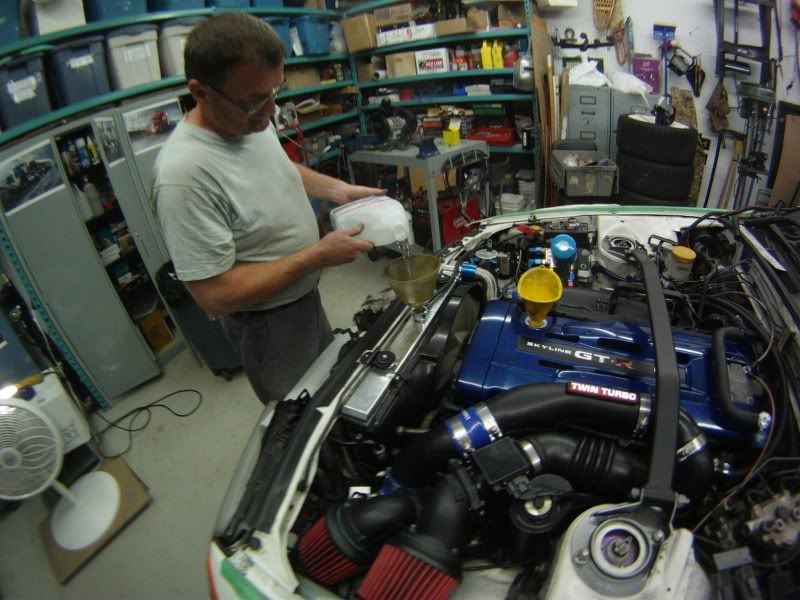
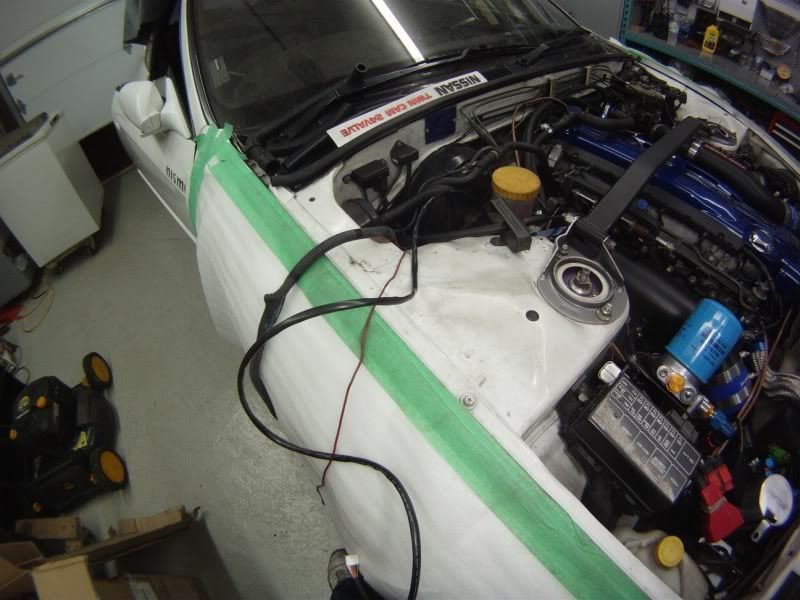
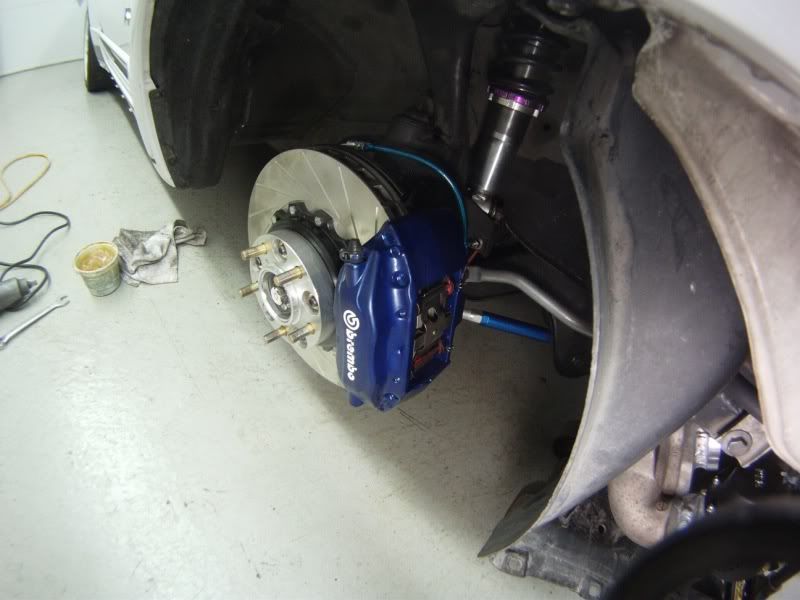
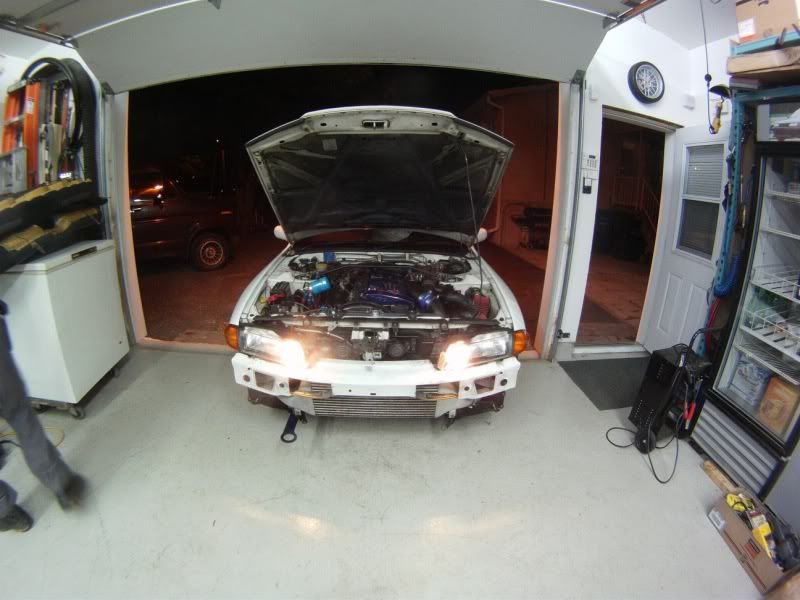
    because, after starting it, 4-5 seconds later when pressure built in the oil lines going to the oil cooler, oil spewed out of the little holes on the fittings, because i forgot to tight them,
    it the thermostat was on the little coming out from the block to the oil cooler, then there wouldn't have been any oil in those lines till the thermostat opened

    so i'm guessing my thermostat might still be in there and working
    sigpic

    [links to all chapters in first post]

    Comment


    • Originally posted by frankiman View Post
      well now i'm seriously considering having the book made..

      and yes the UltraRide will be held on Sunday September 12th,
      click the link in my sig for more info, and please signup in that thread too

      edit; a new video was made using last year's footage to promote this year's ride


      check out 0;21
      I was bored yesterday, and randomly made up a draft for what could end up being the title page for Frankiman's build book.
      It's 3 quarters done, and i need some input regarding what i could place above the text saying "Frankiman's Street/Track Skyline".
      The area is quite empty right now, and I would like to fill it in.
      kngofrandomspam@gmail.com

      Comment


      • for the cover art, i've already asked a buddy of mine,
        heres "some" of his stuff
        http://forums.gtrcanada.com/f25/incr...-friend-39896/


        Last edited by frankiman; 08-15-2010, 12:17 PM.
        sigpic

        [links to all chapters in first post]

        Comment


        • Originally posted by frankiman View Post
          for the cover art, i've already asked a buddy of mine,
          heres "some" of his stuff
          http://forums.gtrcanada.com/f25/incr...-friend-39896/

          i believe you posted the rest of his stuff under the media.
          oh well =S. If you ever need help with the "book" email me at my email in my sig
          good luck with the build.
          kngofrandomspam@gmail.com

          Comment


          • so epic dude... when do you have it all ready to go? Im planning a little bbq / meet before UR and ill try to plan it for after your car is rolling

            Comment


            • i'll be done before the end of august
              sigpic

              [links to all chapters in first post]

              Comment


              • VAG Motorsport - Alignment/Corner balance appointment ; booked
                Almasi Tuning - Dyno tuning appointment ; booked
                Autoworx - body parts paint and stuff ; kinda-booked
                CobrAaAaaAAlex - exterior detailing ; done

                the money pit deepens
                Last edited by frankiman; 08-17-2010, 03:03 PM.
                sigpic

                [links to all chapters in first post]

                Comment


                • AGTRONIC FTW!!!!! Mark did a few of my buddies cars, sooooo awesome!!!


                  that hood right there, what is that? top secret? i have looking for one for a while!!
                  Last edited by greddytrustGTR; 08-21-2010, 05:58 AM.
                  Check out my RB30 build at
                  http://forums.gtrcanada.com/gt-r-pro...b30-build.html

                  Comment


                  • Took some messing around but they're done! First interior trim i've tried with this new 3M wrap.. Looks damn good though, which sucks, because now i'll probably end up doing it for my car which means another 6 hours.. lol
                    Check out the GTST Projects page and keep up to date with my build!
                    www.nelsonmx.wordpress.com
                    Like us on Facebook! www.facebook.com/NelsonMX
                    Any part inquiries can be forwarded to marc@nelsonmx.com

                    Comment


                    • I did mine with my gf.. took me like 3 hours x2. so yeah. it's very long to do but look nice at the end.
                      Need detailing done to your car? I'm open to travel to detail your car :

                      http://forums.gtrcanada.com/group-buys/54899-ontario-cobraa-detailing-group-buy.html

                      Please follow my works and latest news/promotion at : https://www.facebook.com/Waxxonspa || Waxxon.com ||

                      Comment


                      • Hey Frank when will the chapter about your brake ducting be up? Very curious to see how your set up will look like.
                        Heart rate 160, I'm goin 260, RB26 run me past you in a jiffy

                        GT-R

                        O O SKYLINE O O

                        Comment


                        • Originally posted by bellis_GTR View Post
                          Hey Frank when will the chapter about your brake ducting be up? Very curious to see how your set up will look like.
                          same!
                          Victory is on the horizon..

                          Comment


                          • not sure,

                            it won't be before the 12th (the ultraride) since i still got lots more to do to the interior

                            for now, i'm about 3~4 chapters late, ALOT as happened since the last chapter
                            for now the car is sleeping @ Autoworx, so i don't have anything else to do and write and write
                            sigpic

                            [links to all chapters in first post]

                            Comment


                            • Chapter 26 - And she lives, week16


                              ------------------------------
                              Day 55

                              i'm super late in my updates, but i worked really hard on the car in the last weeks

                              since i couldn't find my "twin turbo" emblem after i got my parts back from powder coating
                              so... i ordered a brand new one


                              but then eventually found the original one 2 weeks later, but it was all f'ed up

                              so i started assembling my rear brake calipers

                              Brembo rear STI calipers
                              HAWK HP+ pads
                              super custom TuboQuip made stainless steel teflon lined brake lines


                              i had a bit of a hard time with the pins because of thick paint in every holes

                              fully assembled and lubed;


                              since i was really running out of time for my dyno day and i really had to get the engine running to make sure everything was fine

                              so my dad asked if he could help, and after he'd done the oil change on his truck, he filled my radiator and crank case with, simple water and cheap oil, just for test


                              finally got it on, and managed to nicely fit the totally custom brake lines


                              then everything in the back was now done


                              but while i was doing that, i adjusted the tension of the handbrake
                              and a while i later realized i had put it much too tight, which cost me almost a whole evening


                              ------------------------------
                              Day 56

                              so the following day, i assembled my front brakes


                              now i worked really hard to make it all fit, because of the paint being really too thick in some places

                              again my dad came around to land a hand, and told me we had a full dremel type kit,
                              wuhh?! why am i learning this now??


                              so i had to grind the paint off some spots inside the caliper,
                              also had to re-drill the holes for the pins, twice


                              and finally on


                              i couldn't get my AMS rotors on, because i had been waiting for over a month for AMS to get their R33 GTR rotors back in stock, and made sure with Vuk that i would get a message as soon as they got them in,
                              so i was supposed to get them on "day54" but while at work during that day, i got a pm from Vuk saying that they weren't sure they sent me the right rotors because they now had their new R32 GTR sized rotors

                              so as soon as i got home that day, i measured the AMS box i received, the R32 rotors are 296mm and the R33 and 324mm
                              and sure enough the box was only 310mm large, yey

                              so i sent them back, and had to wait till the next week to get my right rotors


                              after i filled the brake fluid with Motul RBF660 dot4 racing fluid


                              last year, i used RBF600 i think, but didn't bleed the brakes properly, so ended up using about 700ml
                              but since the Brembo calipers have 2 bleeders, one for the inside piston and one for the outside piston
                              so this time we bled the system the right way; by starting from the furthest calipers to the closest from the brake master cylinder

                              but since i didn't have seats in the car, i was laying down on the floor awkwardly pressing the brake pedal, while my father was going around openening and closing all the bleeders

                              we ended up using less than a 500ml bottle


                              then, i finally found my clip for the foglight buld for the driver side headlight,
                              but there was obviously something missing (or broken) that kept the spring from poping out


                              so i had the awesome idea of putting a dab of silicon right on the pivot of the spring,
                              after it dried, it was perfect, it could still use the clip and having it still solidly attached to the headlight


                              ohh yeah... we finally had the engine turn over for the first time in months


                              it was really funny at first, because with my small lightweight battery being in my trunk now, with 16 feet of cable to the front, my dad was positive it wouldn't have enough power to start the engine

                              the battery wasn't even at full charge and the engine just started within 3 revs


                              another fun fact
                              right after i first started the engine, it took a while (5-6 sec) for the oil pressure to go up, because of all the filter relocation and cooler lines and stuff took some time to fill before getting pressurized
                              but then, oil spewed out need the filter relocation, so i emmidiatly stopped the engine,

                              haha, i loosened and tightened the fittings for the filter plate (to the cooler lines) so many times, that they were loose,
                              and those earl's fittings have small holes on them, where oil will first leak if the fitting isn't tight enough
                              at that moment, both fittings had their holes exactly parallele and aligned to spew oil right accross the whole front of the engine all the way to the pod filters
                              those fittings actually needed a full rotation to get them tight, oups


                              anyway, i let the engine run for a total of 20 minutes, and everything was fine
                              idle was stable at 950rpm
                              Last edited by frankiman; 02-14-2011, 08:15 PM.
                              sigpic

                              [links to all chapters in first post]

                              Comment


                              • Chapter 27 - And she drives, week17


                                ------------------------------
                                Day 57

                                now that the driver side headlight was fixed, i got to install it and fit all the wiring for the HID around my new custom brackets


                                PIAA fog lights work wonderfuly and are my new DRL


                                then i fitted my wiring for the new boost controller, using the harness for the old one, then cut the old one and trashed it


                                and finally got my AMS R33-GTR 2-piece rotors, yey


                                for the remainder of the day i simply fixed some loose wiring stuff


                                ------------------------------
                                Day 58


                                on day 59, i had Alex (CobraA) come around for a step-1 exterior detail job

                                thing is, he was supposed to arrive at around 7;30,
                                but the car was still on jack stands, without wheels, with all the body parts and rear seats on top of the car,
                                and the hood was also on top of the car, which was under all the stuff just mentionned,

                                so before he arrived, i cleaned all the stuff on top of the car, threw some of it into the car, then quickly put the wheels on the car, and dropped it on the ground

                                when alex go here, we only had to put the hood back on the car

                                and thats when i found out my hood didn't clear the oil filter because of the way i mounted instead on the oem boost selenoid


                                so first to do was to clean the car, outside the garage,
                                we tried to push it outside, but the handbrake was set REALLY too tight and the front wheels were so crooked (alignment) that we could push the car for more than 2 feet

                                so i jumped in the car, my ass on the floor, started it, worked the clutch and slowly got it out, without a steering wheel
                                i looked f***cking stupid

                                and since i didn't want any water on my BOV (both sides of the car), i took my front bumper of the top shelf it was - and accidently knocked my GTR grill from that shelf and cracked it in half - and using zip ties quick-mounted the front bumper on


                                while Alex was cleaning it and was working the claybar, i left to get something to eat because i hadn't stopped working on the car since i got home from work


                                after the car was super clean, it was dark outside, and i drove the car back into the garage

                                then Alex took his products out (which is about 5% of all of his stuff)


                                Alex clean/waxed the wheels


                                and did a full compound / wax / sealant on the car,

                                freaking amazing


                                THX CobraA


                                ------------------------------
                                Day 59

                                the next day, i wanted to fix my wheels, and mount the wheel spacers

                                so first thing i did was i took off the rear wheels, and cleaned the inside with ArmorAll wheels cleaner,
                                then painted the spots around the wheels' bore that were missing paint, and also paint the chip on the front of the wheels

                                i bought white wheels paint at canadian tire, then sprayed a puddle of it on a piece of cartboard, then used a small brush to apply the paint


                                like new,


                                did that to both rear wheels and let them dry,


                                then when i mount the 15mm Ichiba spacers, i found out the wheels were hitting the oem studs that were sticking 8~9mm out from the spacers

                                so i used my dremel kit again to grind down the spots hitting the wheels studs

                                before


                                after


                                then i worked my ass off for more than an hour, with my dad's help to realign the f*cking holes in the rear brake rotors to adjust the handbrake because it was so darn tight,
                                it was so tight, we couldn't turn the rotors at all
                                i finally jumped in the car, pulled the AWD fuse, started the engine and played with the clutch till everything was aligned, then adjusted the handbrake properly

                                then after mounted the wheels properly, using the proper aluminum hubcentric rings

                                these rings are truly necessary to transfer the load of the wheel directly to the hub instead of the studs, so all the studs do is attach the wheel to the hub

                                in my case, i used 63x72,1 rings, aluminum instead of plastic (my old plastic ones got really brittle from track heat and snapped)
                                cost of rings was 17$/set, heh

                                never forget to apply a thin coat of all purpose automotive grease between all metal mounting surfaces, wheel - hub - spacer - rings - studs, so that nothing sticks and binds together from the heat

                                and took my brand new Rays long type Duralumin wheels nuts out to install them


                                ------------------------------
                                Day 60

                                the next night, the day before my dyno tune, i really really had to test drive the car to make sure shiit wouldn't blow up everywhere

                                so i swapped the front rotors for the AMS ones and mounted the 25mm Ichiba wheels spacers


                                them put the wheels on
                                (my parents had my uncle over for diner, hes a profesionnal mechanic, yey)


                                and quickly ran inside the house to grab the driver side seat and bolt it in


                                and filled and bled the power steering fluid, let everything heat up, checked for leaks, then took the car for a spin around the block

                                OMG

                                the brake squeal was incredibly loud !!! (brand new everything)
                                and the HKS SSQV BOVs were even louder, it was crazy,
                                it was 10pm, if anyone was already asleep, they weren't anymore

                                the car pulled great, but died a couple times when coming to a stop, after a pull, because of the atmo BOVs

                                then brought the car back, my uncle checked everything, which was all ok

                                test drive - passed !


                                full of win
                                Last edited by frankiman; 09-07-2010, 11:02 AM.
                                sigpic

                                [links to all chapters in first post]

                                Comment

                                Working...
                                X