
 Tweet
Tweet
Franc you can't do that! After seeing that, Im gonna be itching to see the full cover now lol
-
Victory is on the horizon.. -
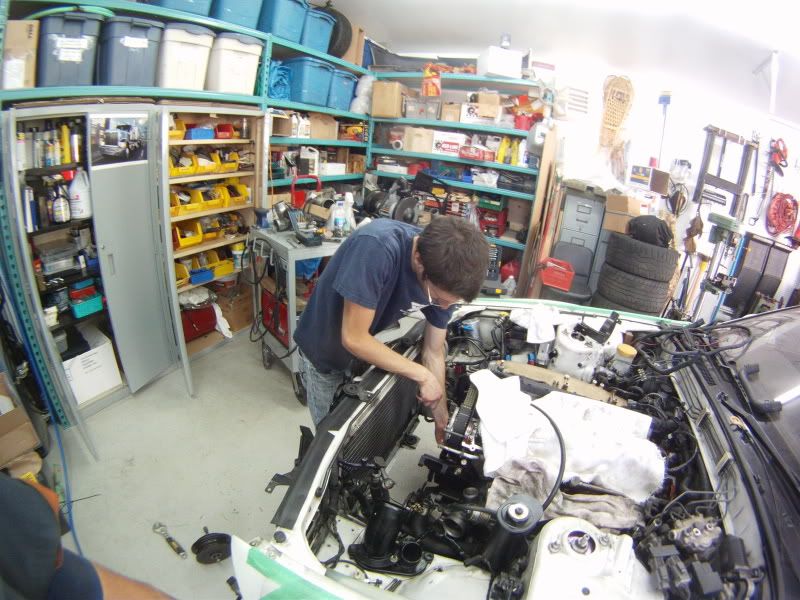
Chapter 20 - Theprojectthatshouldbedonebutstillinprogress, week8, part1
(sorry for the jumbo sized pics, i messed up a setting when uploading them, and photobucket kept them the same even after having re-uploaded them, pff)
------------------------------
Day 28
so the paint shop was waiting on me for the remaining parts to be powder coated
but i still had the coilpack cover to get machined,
a friend of mine, who works in a machine shop, told me a couple month back that he would do it at his job since it was uber simple
so i've been pressing him the last weeks or so to do it, but he was waiting for an OK from his boss
but finally, at the last minute he told me that the shop had just gotten a big contract so there was too much work to be done, i was fawked
then i remember my cousin also worked in a machine shop about 5 minutes from where i work, so i go there, talk with his boss, and he tells me that because they only have CNC machines, it would cost me ALOT to have it done by them, but it could be done no prob,
the guy ws super nice, and gave me the adress of another, very small, machine shop 10 minutes away;
so i get there, and its super ghetto, small dirty and cramped (thats what she said),
anyway the its a father-son type of place, and they are apperently very well known around there,
so he told me he would do it first thing next morning and that i could come pick it up after work, and for a good price
NICE
and i also got another small thing done by them, which i'll cover in the next chapter
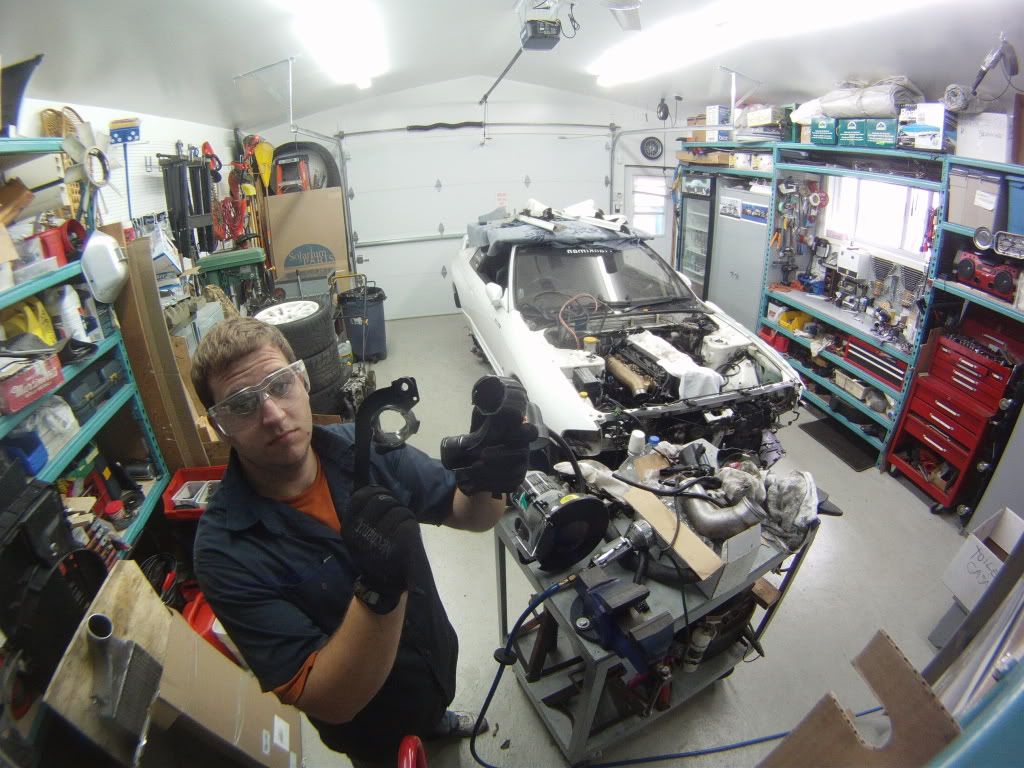
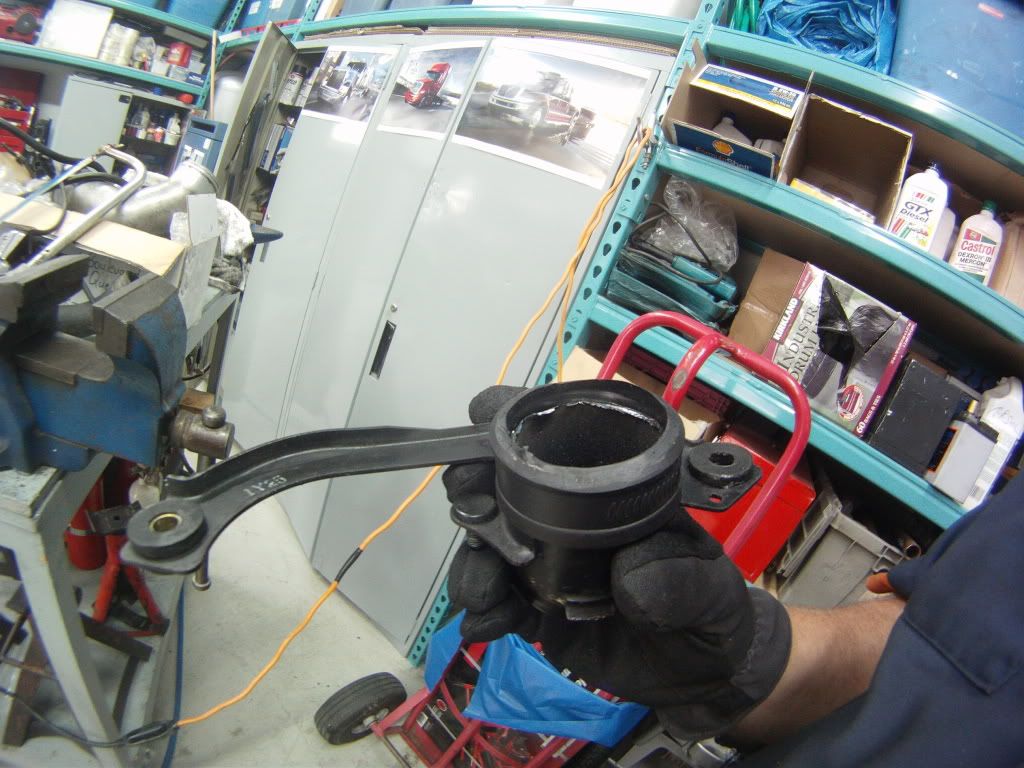
so heres what it looked like when i picked it up

i can't show more because my camera phone bugged when i transfered the file and its the only part of the image that isn't pink (weird)
so the same day, i rushed to get to the painter before he closed at 5pm to drop him everything that was left; all 4 brembo calipers freshly sand blasted, the coil pack cover and the rear turbo pipe i had forgotten
everything should be done early next week
oh and i picked a pair of hard-to-find nylon locking nuts, at work, to properly mount my fender braces
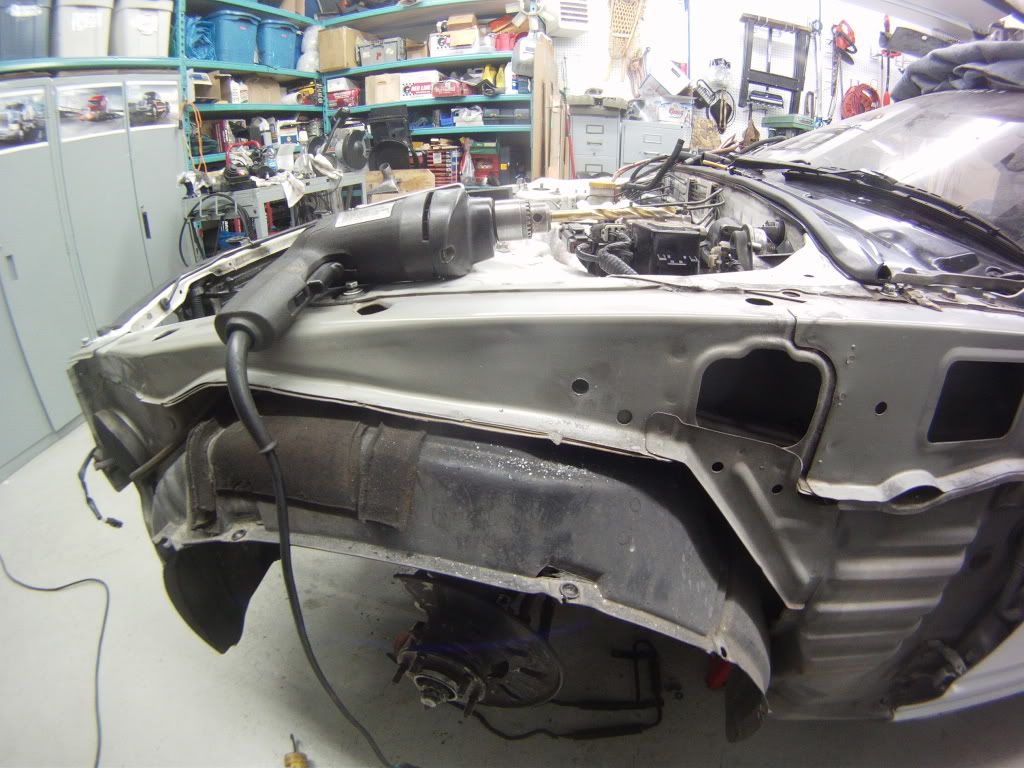
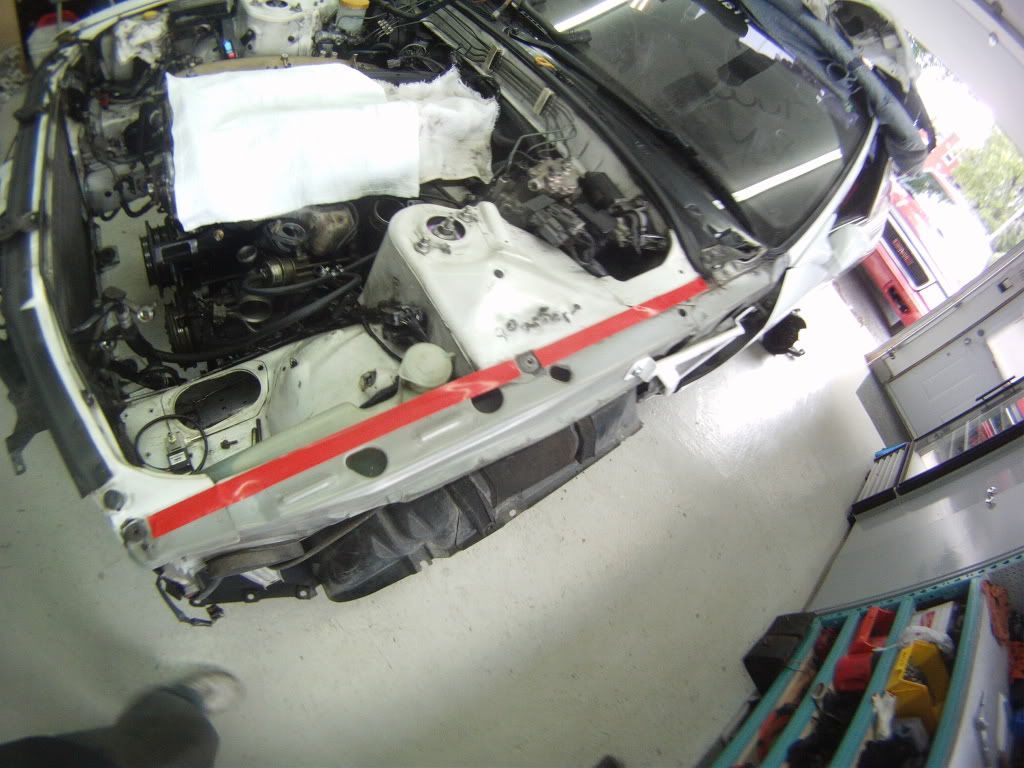
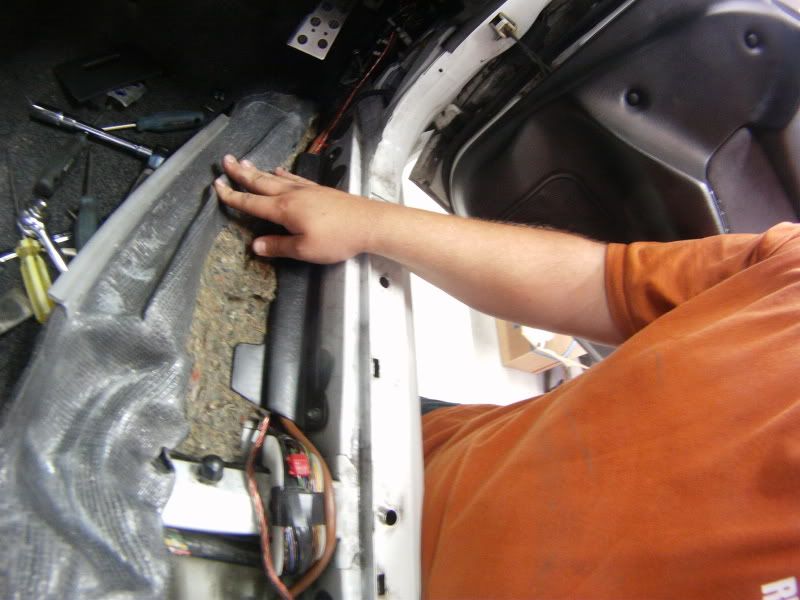
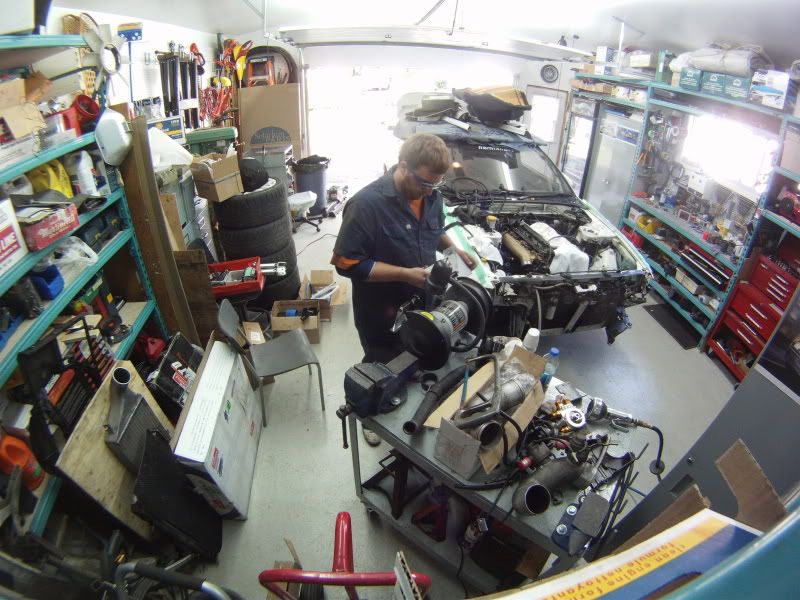
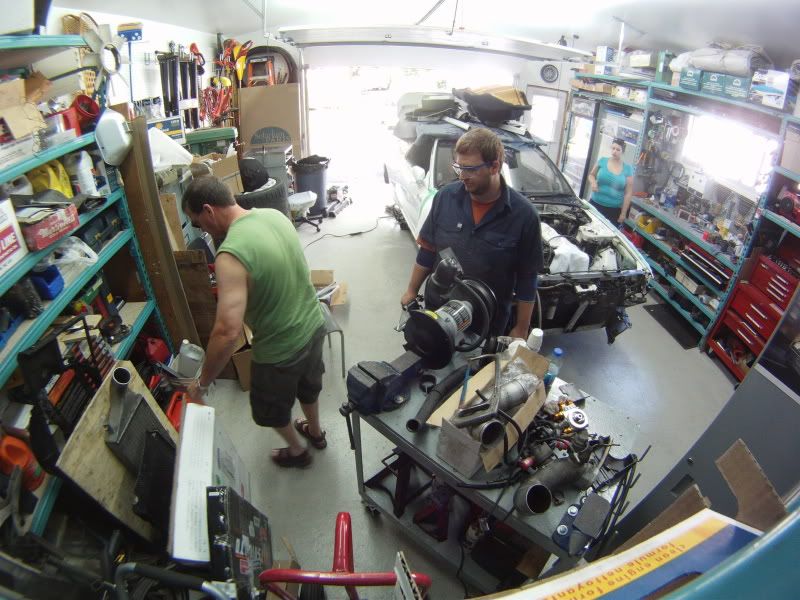
so, that evening i started working on installing the passenger side fender braces;
the driver's side brace took me over 2,5 hours because it was a real PITA, and that was with the fender already removed
i got the passenger's side brace installed within 1,5 hours, including fender removal
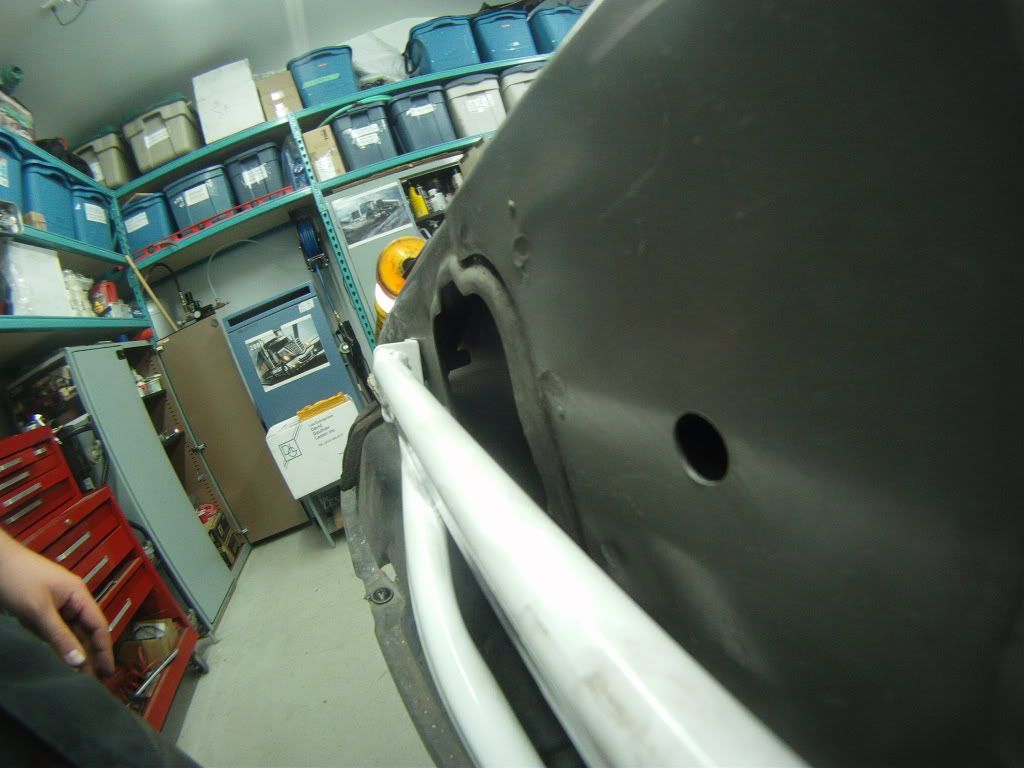
cleaned the frame
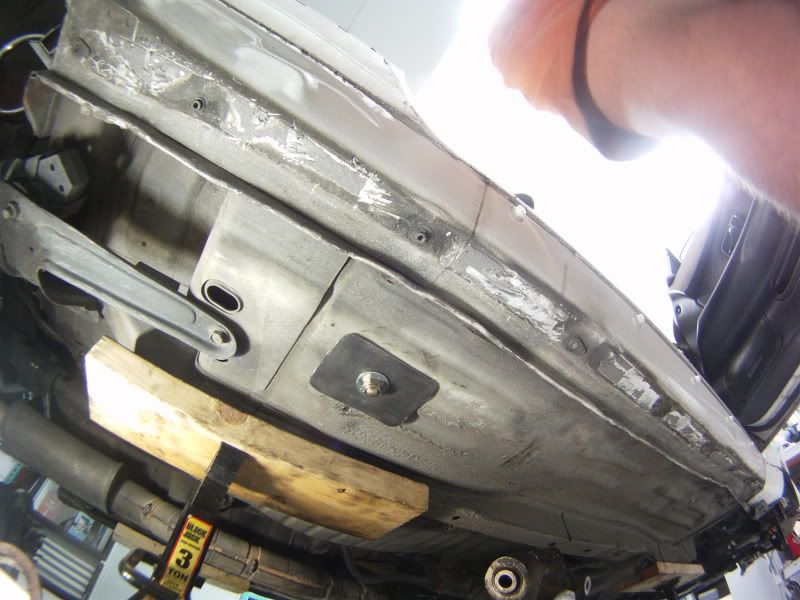
punched and drilled the hole, with much more conviction this time, still managed to break another bit (when you hit the second layer of sheet metal that is at an angle), and i made the hole 1/16 bigger this time to have more freedom to align the bolt
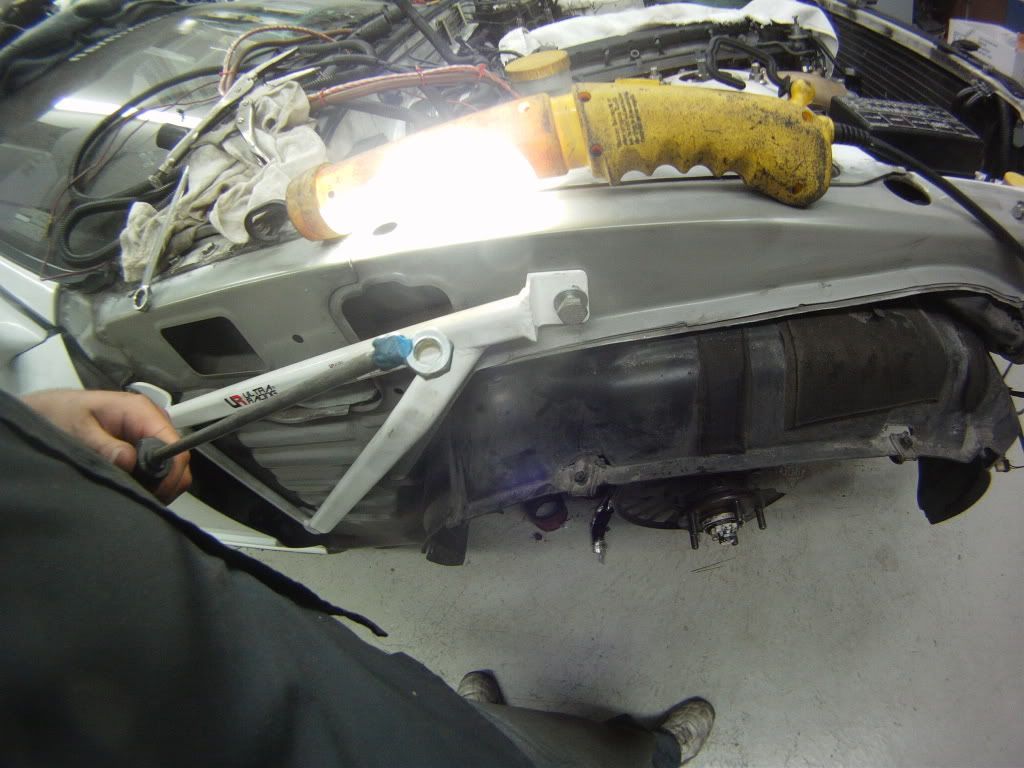
again, i used my wheels to keep the door from falling out while i unbolted the hinges
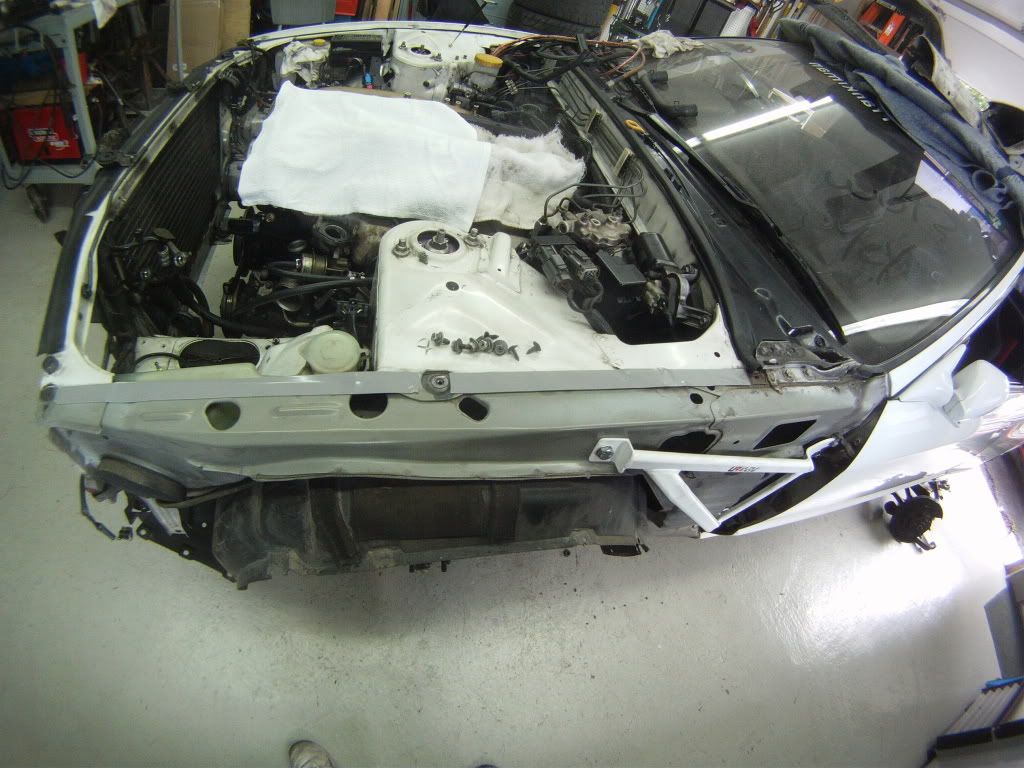
then i saw this brace didn't fit quite as well as the other, the bracket wasn't perfectly flush with the surface
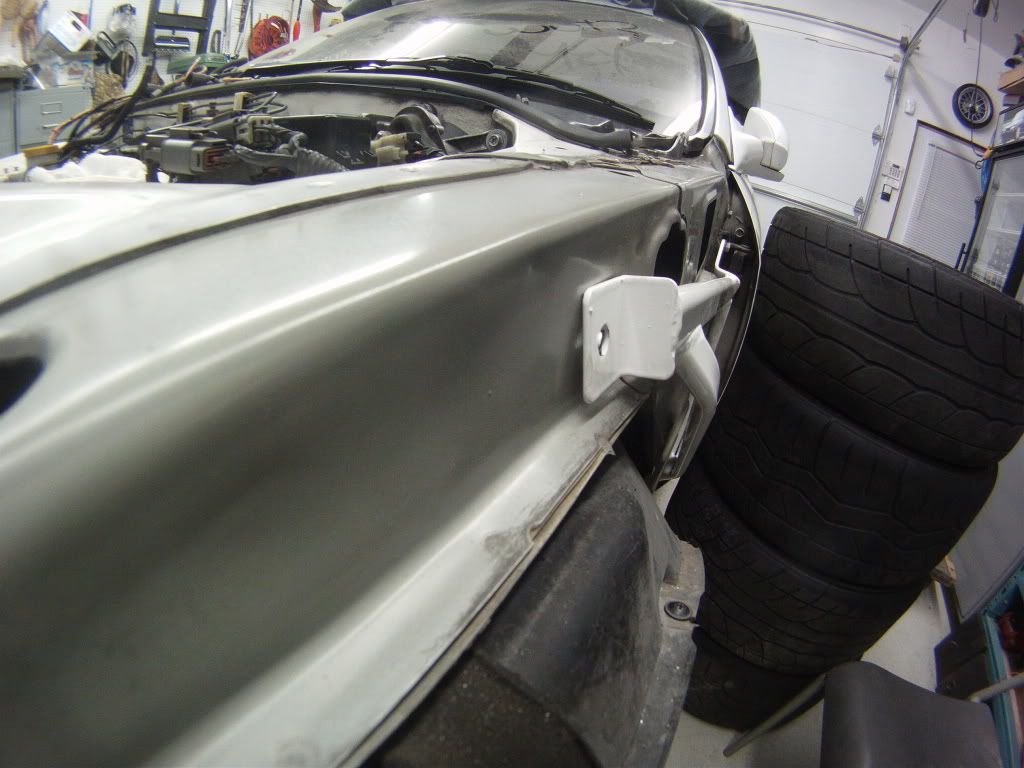
and you can see here that the inside of the frame is different then on the driver side, theres much more room which made it super easy to get the washer and nylon nut onto the longer-than-provided bolt
i tightened it like a mother fawker, and with the nylon lock nut there, its never getting loose
then, maybe it was a bad idea, but i went back to the driver side and undid the nut and bolt, to swap the nut with the nylon locking one
then, after yelling for an hour, i used a piece of gum to get the nut in there, which finally worked, 20 minutes later,
anyway, now its done and solid
/day28
------------------------------
Day 29
i got my new rad and rad shroud in the mail, thx JNS
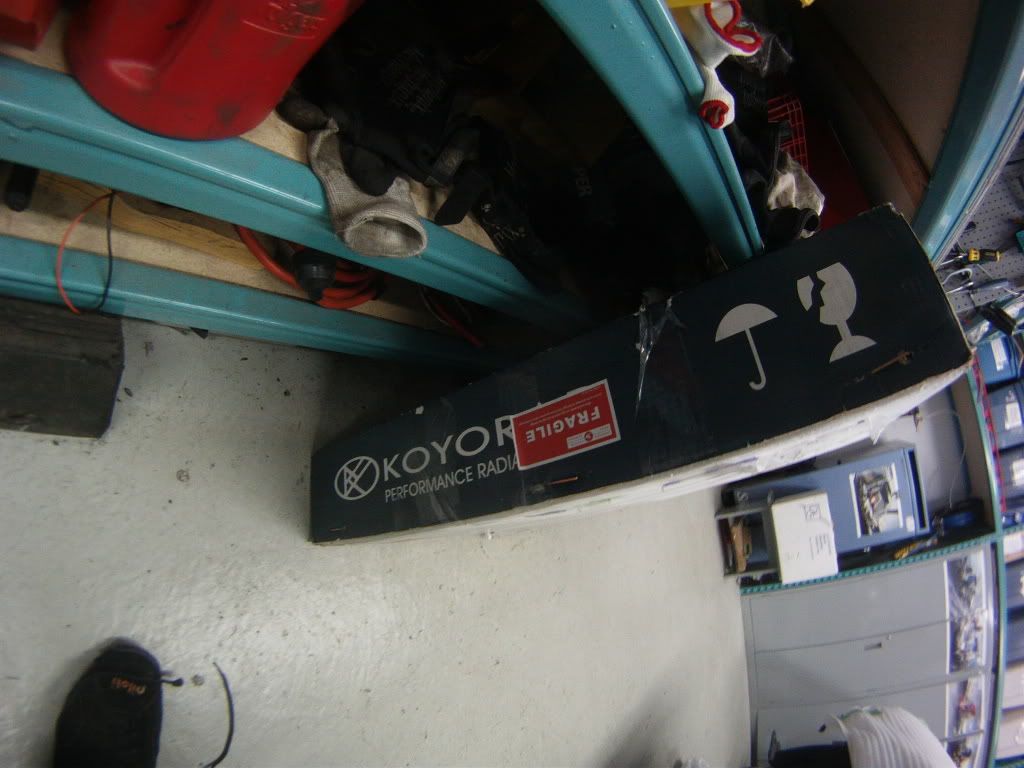
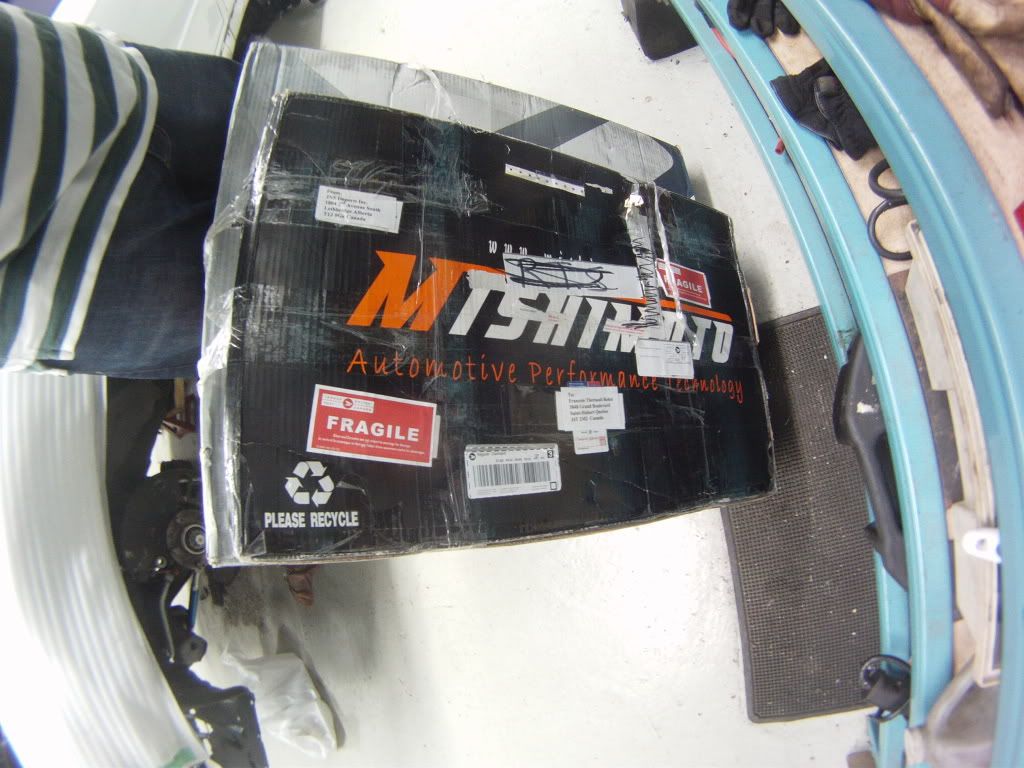
i haven't unpacked it yet, but braden told me there was a crooked bracket on the shroud, for which he gave me a good discount,
it will probly only be a little propane torch and vice job
so i got to putting the fenders back on, which wasn't as straight forward as i though it would, i had a little trouble aligning all the holes and fender liner brackets at the same time
anyway, i gave it a good clean while i was at it,
but then i saw there was a big gap between the inner edge of the fender and the frame
but everything else is where it should be and well bolted and the fender is aligned with the door...
i really have no idea wtf is going on there
so when i got to the passenger side, i whipped out the 3M double sided tape and put down a 1,50$ worth strip (dam that tape is expensive)
forgot to take a pic of, but even if i pressed down on it, the inner edge would just kink up thus leaving a gap, again
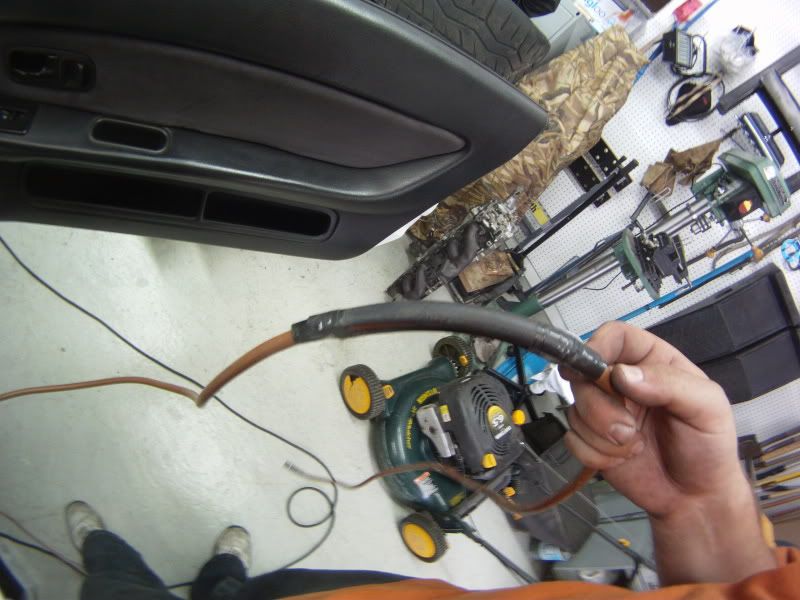
then i had a bit of fun modifiyng one of the recirculation piping,
since i'm going atmo with my BOVs, i don't need this piping anymore and it takes up usefull space
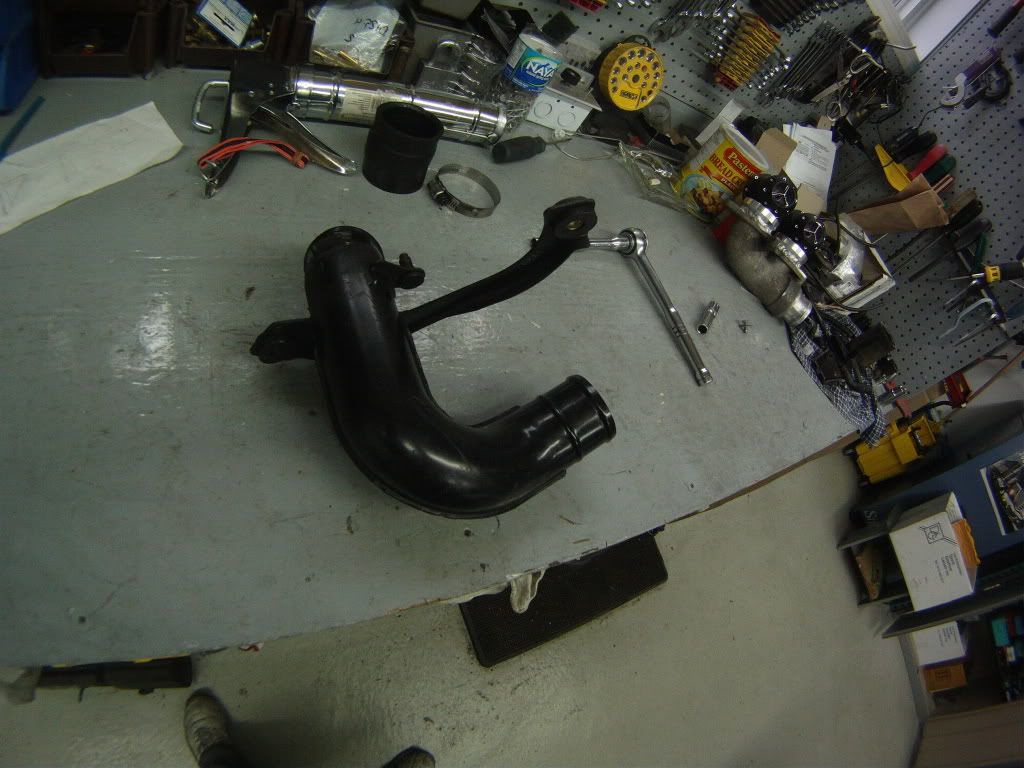
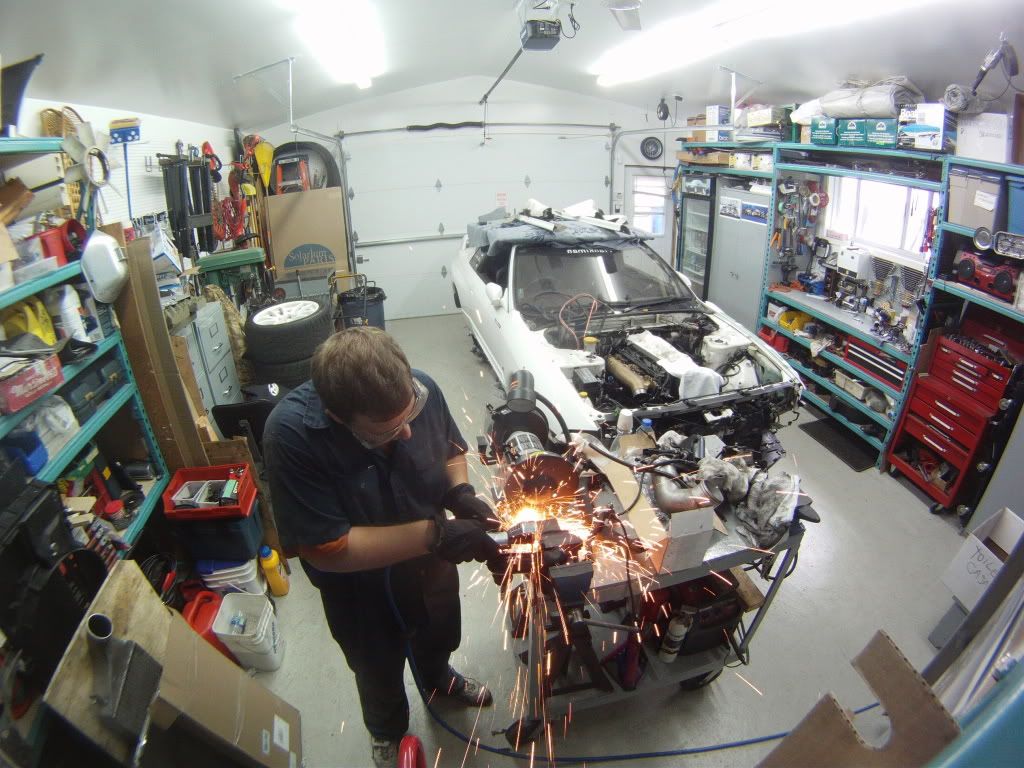
air pressure cutting wheel FTW, hehe
i was harder to cut than i though, the metal was thicker and the weird shape of the pipe made it difficult to cut evenly all around, so i finally resorted to the soda can cap poping method
win
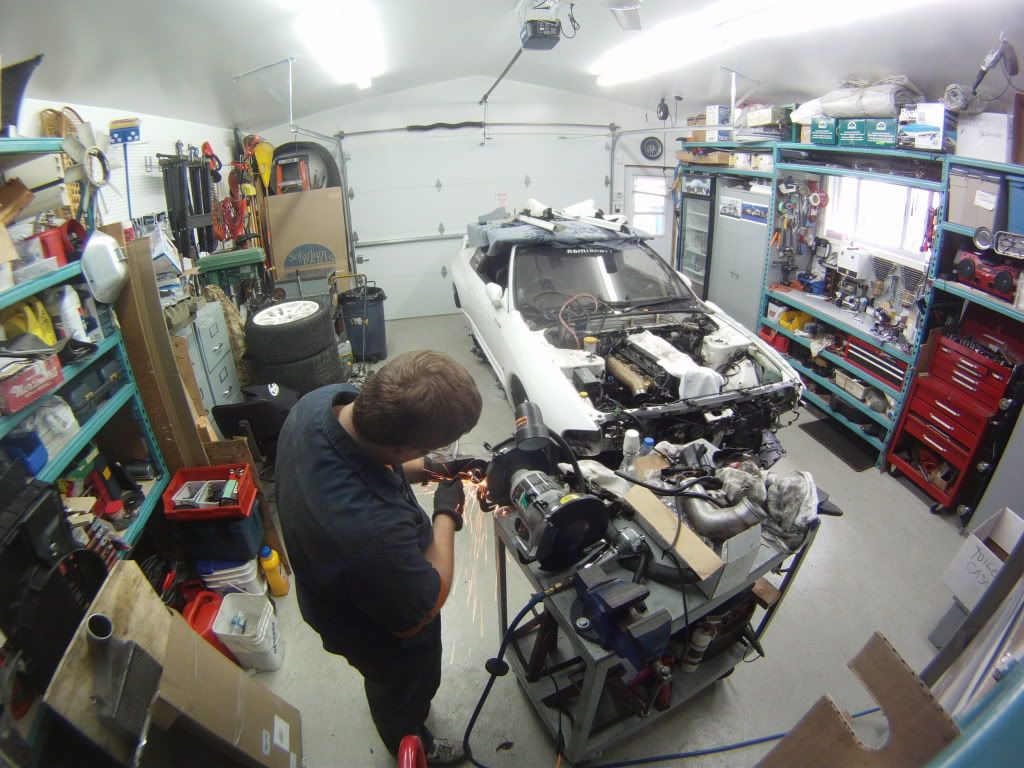
then grinded the sharp edges
then i cut a piece of the old rubber coupler, and grinded its edges soft, and put it back on the pipe, just to make sure that nothing ever comes in contact with the still-sharp-edged pipe
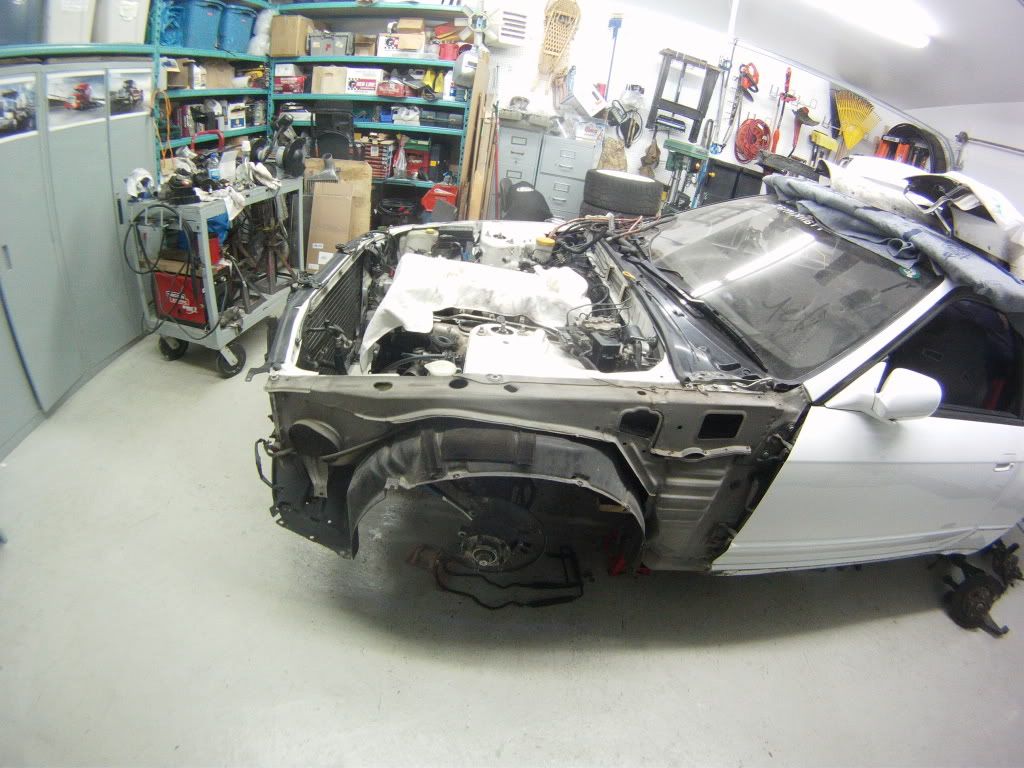
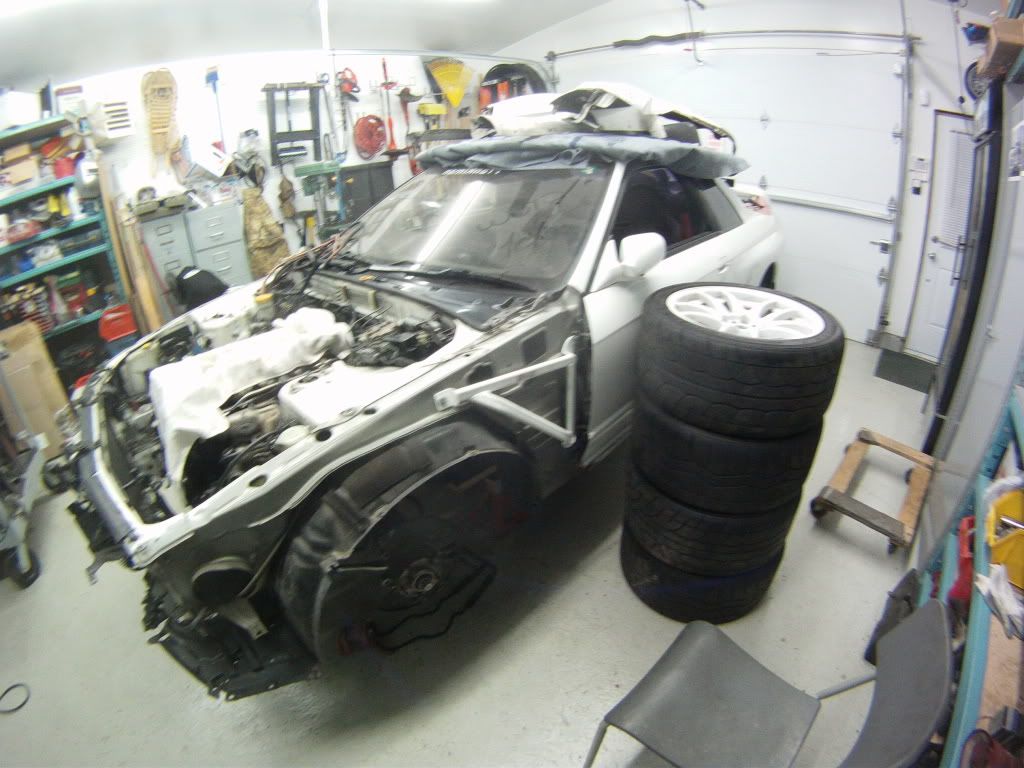
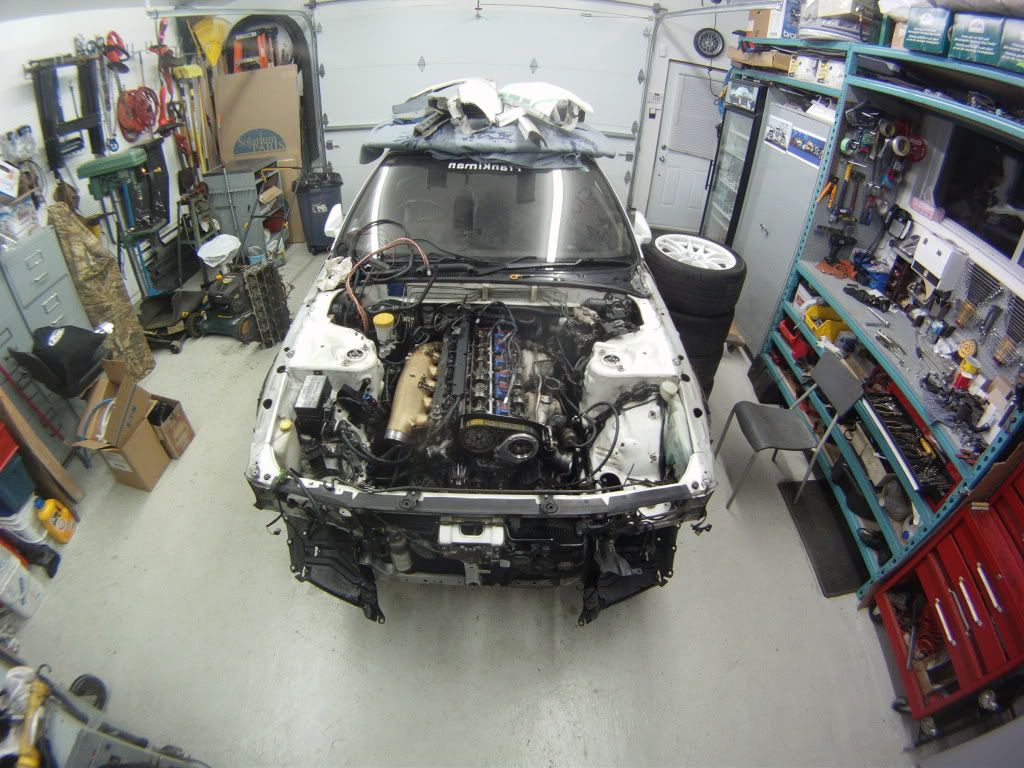
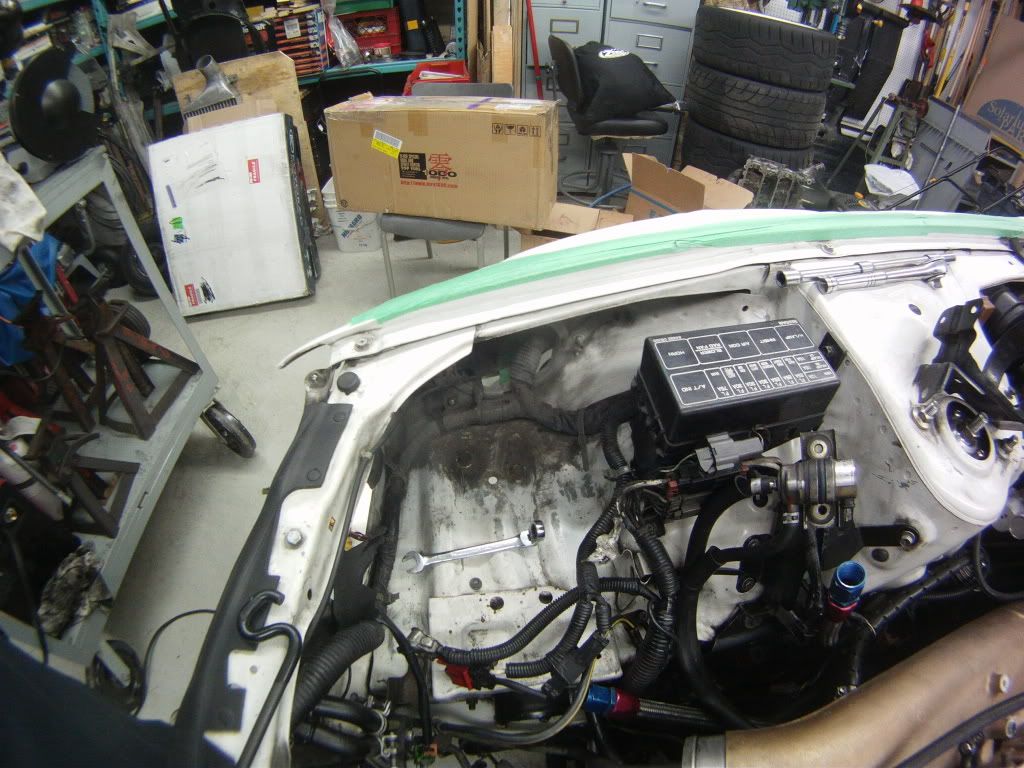
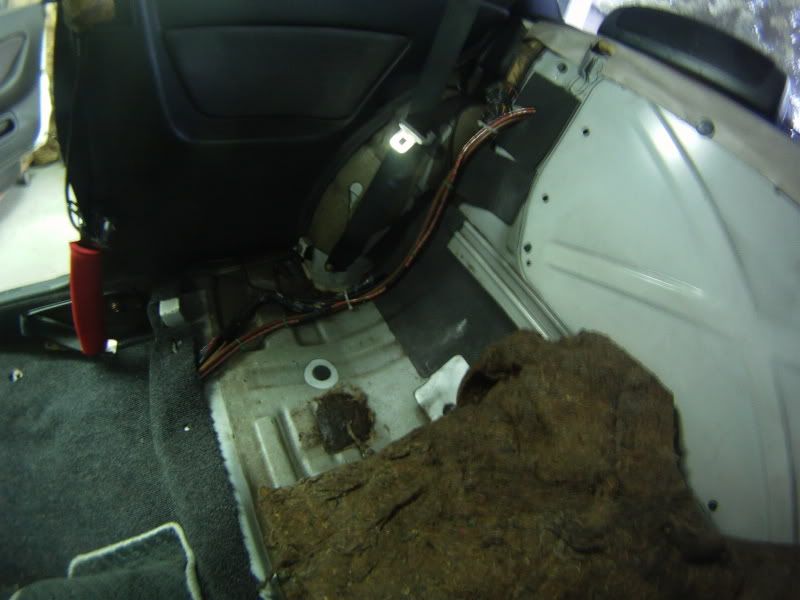
after that i decided to start taking the interior apart,
its incredible what can be acheived in 30 minutes, a philips screwdriver and a 12mm socket
lotsa leg room
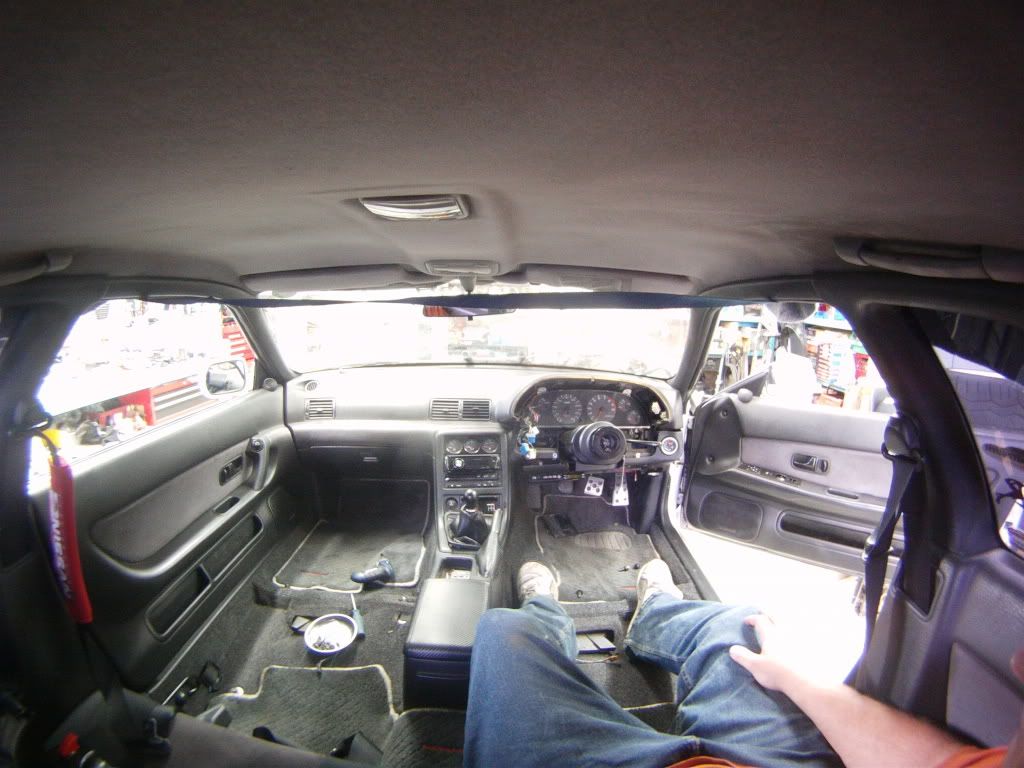
the seat are sitting in my basement, theres just no more room in the garage


and can anyone tell me how to take the cigarette lighter off the console trim ?!
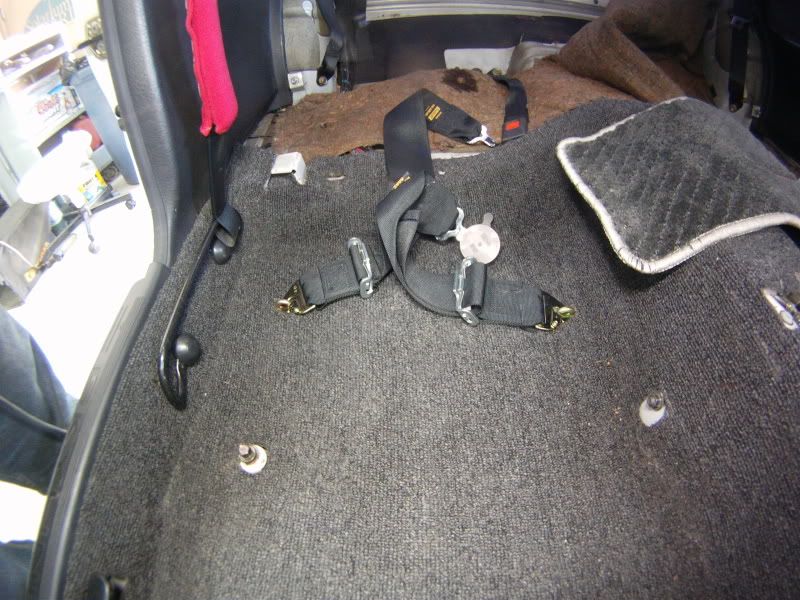
and then i messep around for a while trying to figure out where to mount the lower belts of my harness
i think i finally figured it out by looking trough pics on the net
oh and found a 2$, i'm rich MUTHER FAWKER
/day29Comment
-
Chapter 20 - Theprojectthatshouldbedonebutstillinprogress, week8, part2
(sorry for the jumbo sized pics, i messed up a setting when uploading them, and photobucket kept them the same even after having re-uploaded them, pff)
------------------------------
Day 30
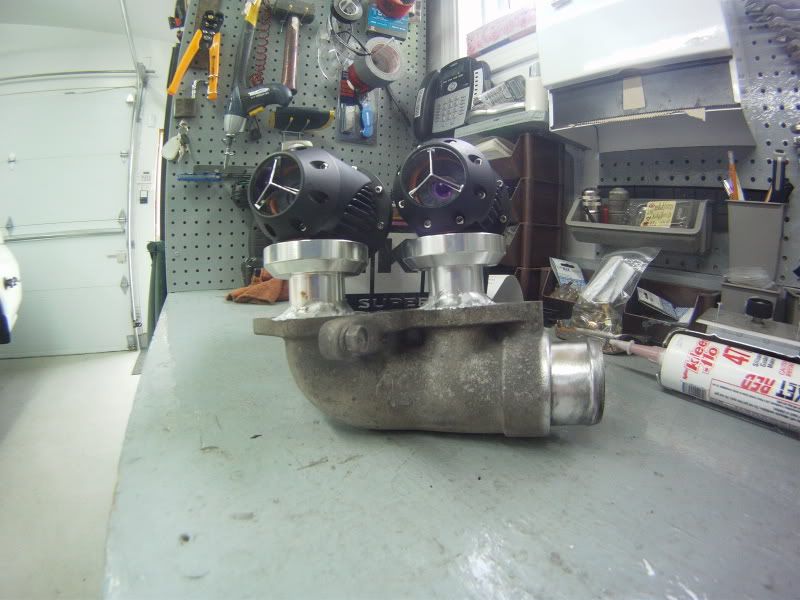
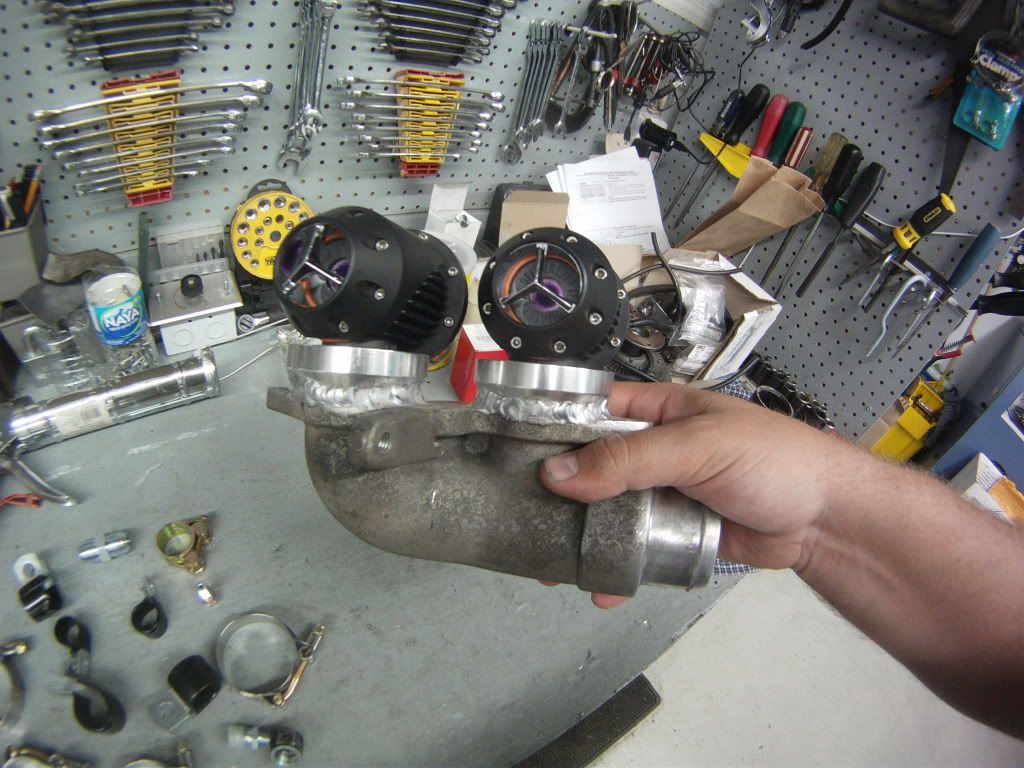
i picked up my BOVs from autoworx again, JR had welded the flanges prefectly, but i didn't think the BOVs would sit as high as they did, which didn't quite fit in the stock location without having to mod the brackets and such,
so i sent them back to JR and asked him to cut the flanges as short as possible and re-weld them,
he charged me really just a minimal fee for it
heres the before/after
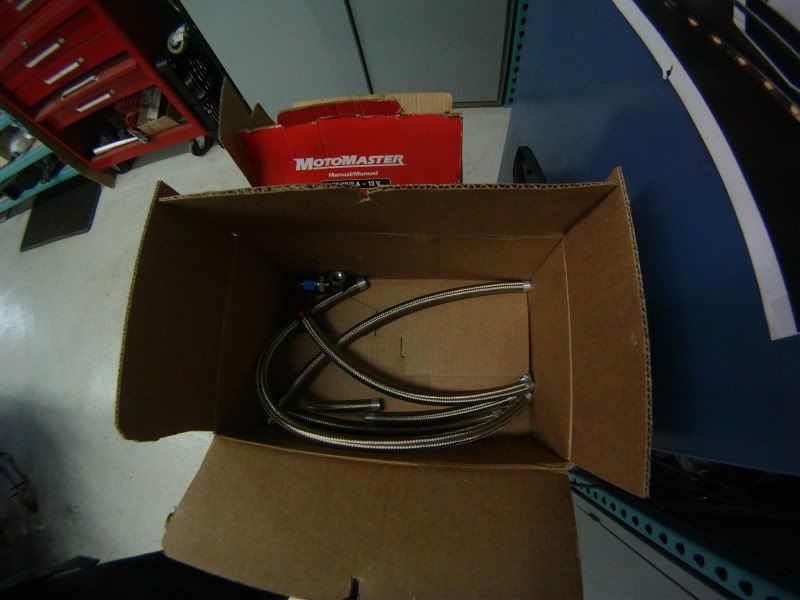
i picked up some more supplies @ tuboquip
i finished designing my p/s oil cooling system, so while i was there and they were closing, i made a big 180$+ order of stainless braided lines and fittings and such, which was delivered yesterday, but obviously no one was there to receive the package so Dicom will be back tomorrow (i really wanted to show off all the lines and design)
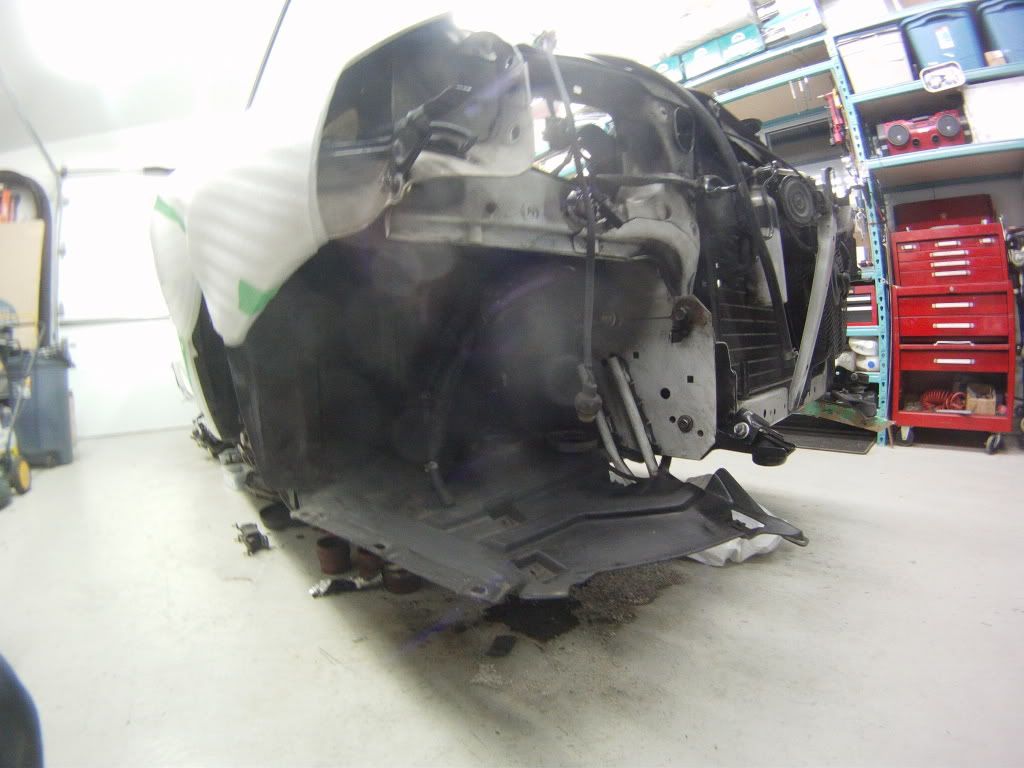
and now that i had everything i needed to mount the SSQV in place, i did exactly that
huge hole to be filled
first i connected all the vaccum lines off the back of the BOVs

then, after trying desperatly to bolt the BOV bracket back into place, i had the right idea (this time) to simply take the coolant reservoir off to easily access the bolts
dirty
i cut a 4" long piece of 2" industrial silicone tube, put T-bolt clamps on there, tightened nicely the BOV pipe to the bracket and made sure everything was solid
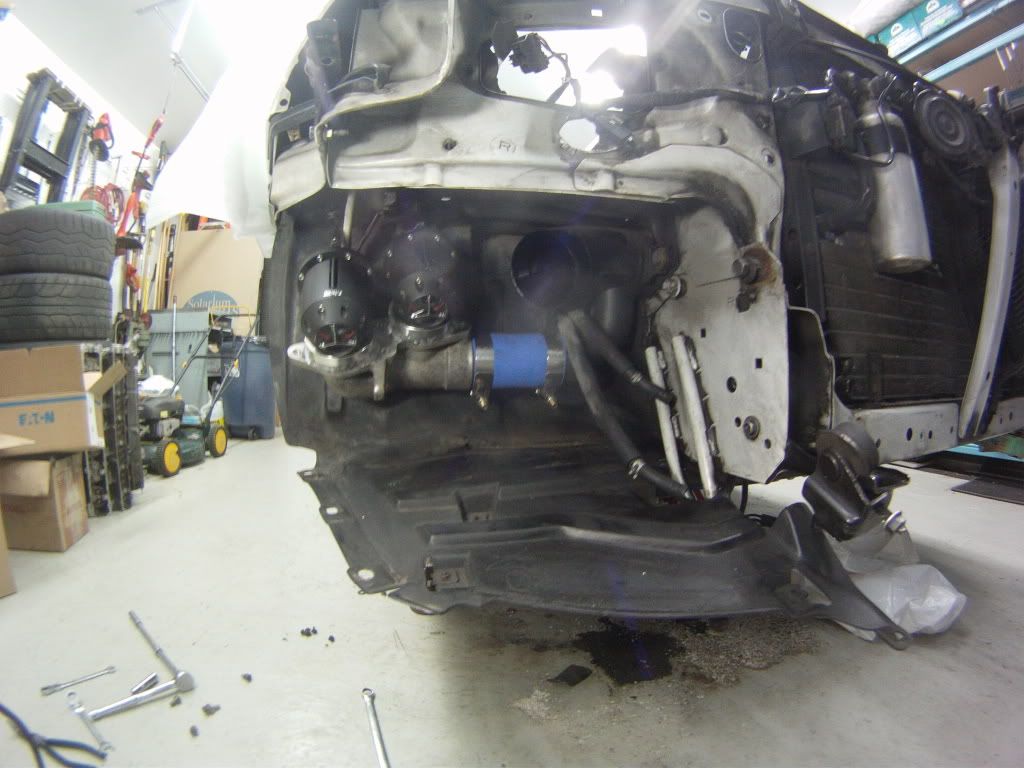
then reconnected the stock vaccum lines
done !

/day30
---------------------------------------
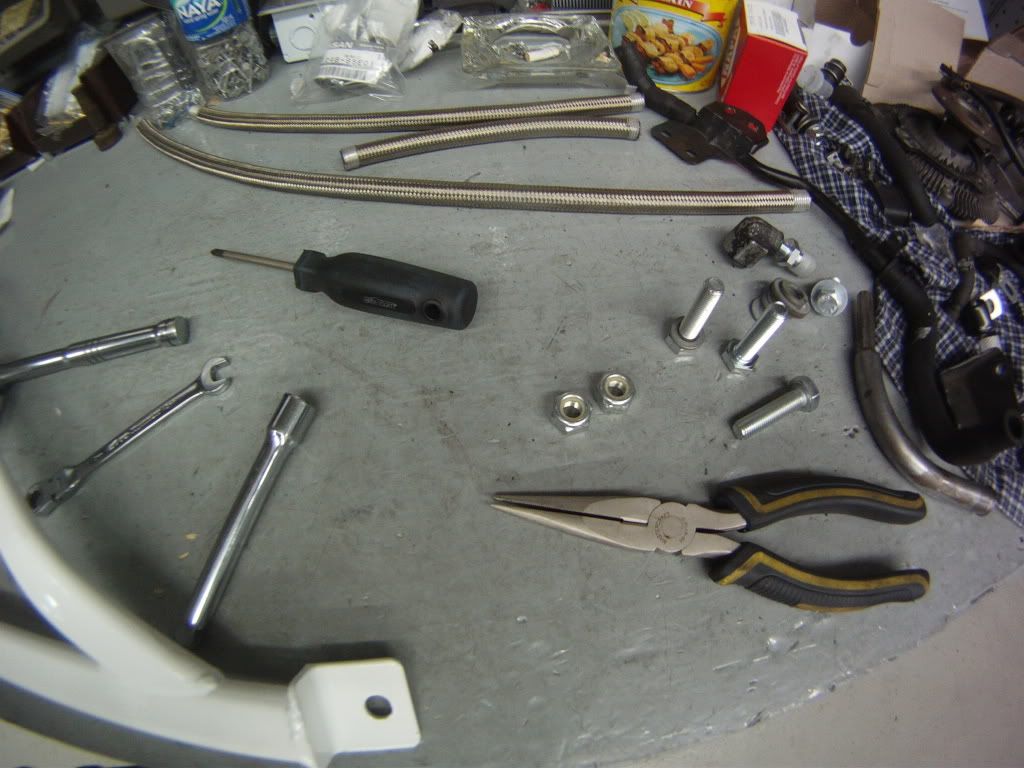
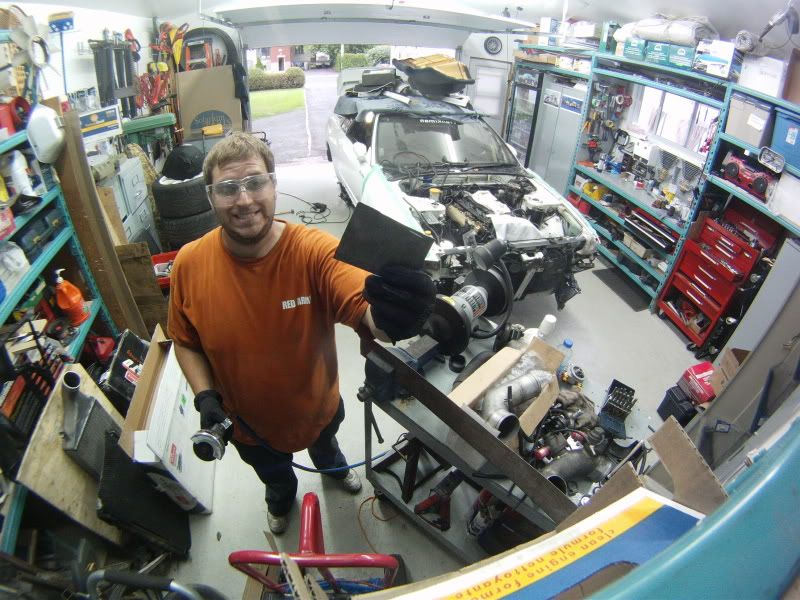
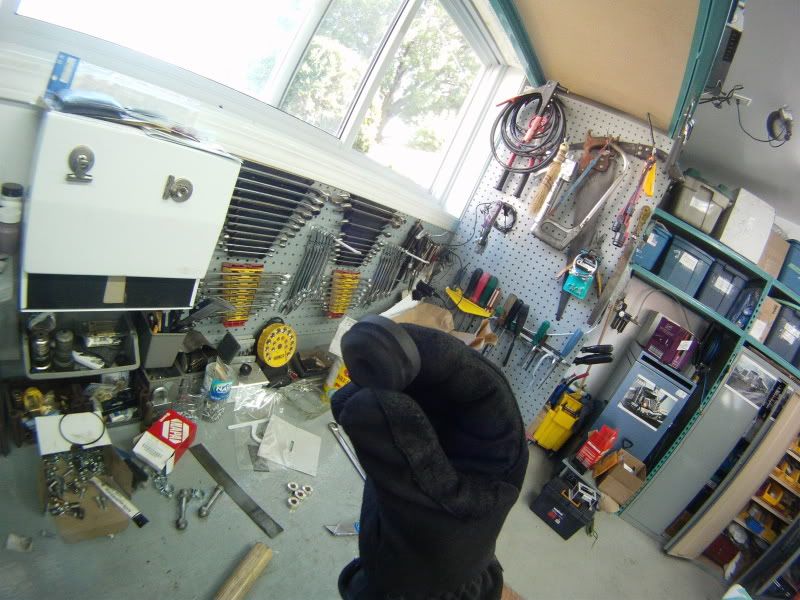
so yesterday was my birthday, and again my parents gave me a super present
TOOLS
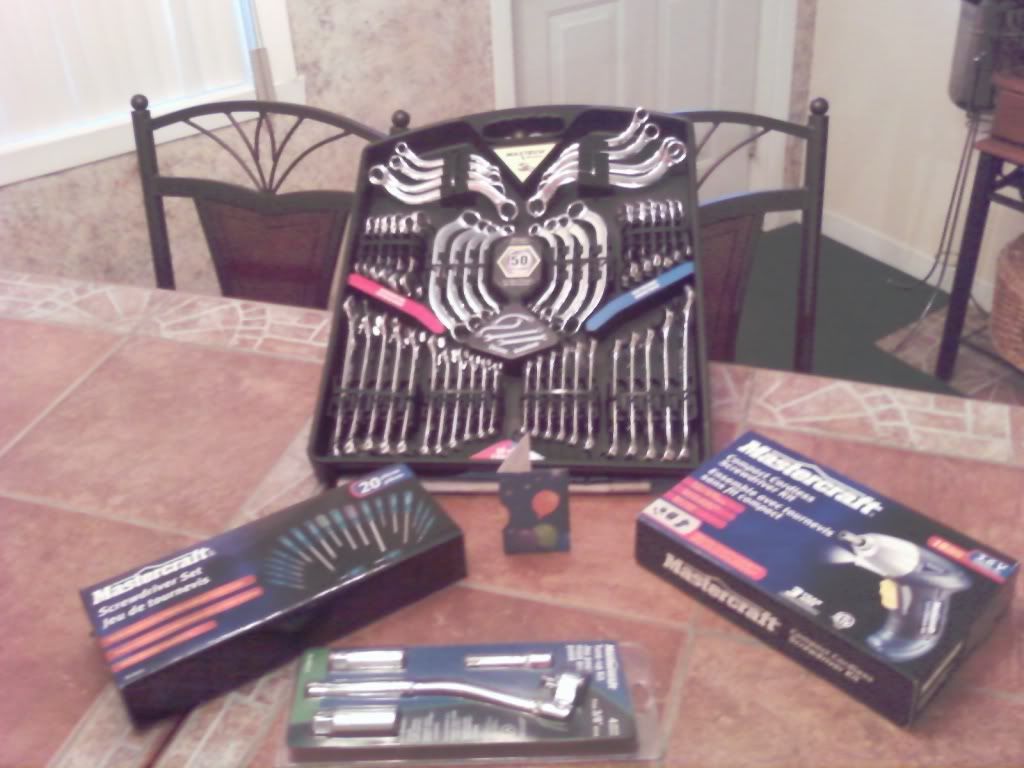
and this is what they gave me for chirstmas, :P

so there won't be a "week9" because i'm leaving for my chalet for the next 4 days, and i'm already 3 days later at the moment of writing this
but week10 should be interesting, i should receive many many parts next week, and i'll have 3 consecutive days off, and mitch should be back to help me a bit
can't waitComment
-
wow a LOT of work there. what are those steel briaded lines for?
Edit: and this thread has confirmed that those fender braces are poorly made. that left side one completely failed at lining up.GTRC-OGComment
-
This thread is truly EPIC. I love how you document everything you do, and am insanely jealous of your garage/tools/project. Great work! It also comes in handy as a good reference for things I eventually want to do!Comment
-
Yo sir have a very cool parents!Comment
-
amazing work so far! i love how the car is looking
and love you camera lense too!RightDrive Inc. Parts Manager
http://www.rightdrive.ca :: http://www.rightdriveparts.com :: http://www.rightdriveusa.com
1970 Highway 7 West, Vaughan, ON :: 1-877-398-8220

Comment
-
Chapter 21 - The Epic CustomWerks week, week10, part1
------------------------------
Day 31
In my last chapter i talked about all the parts that i should have received during the last week, well I didn�t..
The Driftworks kit still hasn�t arrived from JNS yet, its only 3 weeks late�
The 45� AN-10 fitting that I need for my 2nd oil cooler extension line has been back-order from Aeroquip for 5 weeks, then UPS lost 11 of 30 boxes it should have been in in transit, still got no word from Tuboquip about it
My power steering oil cooler, I though I was going to receive it last week, but it was only shipped Tuesday, 15 days after I bought it from an eBay store, he�s getting bad feedback believe me!
And all my powder coating was supposed to be done on Tuesday, I call the shop and they hadn�t even started, the guy told me to check back on Friday, I call, no answer, I show up at the shop at 4pm (it closes at 5) and It was already closed, wtf
And I e-mailed Forge Motorsport about the set of couplers I ordered from them 3 weeks ago and still don�t have, the guy tells me that because I didn�t accept the shipping charges via e-mail they never shipped my order, even worst they deleted the whole thing, wow, so fawk it, I went on RHDjapan which has never let me down yet, and ordered a set of Power Enterprise couplers, which will end up costing me more than twice has much, but its guaranteed 4-7 days EMS shipping, so I told the Forge rep to F-off with his crappy service
I�m tired of counting on people for my build, good service is so hard to find
Anyway, knowing that I still didn�t have all my parts, I made a quick list of all the �small� stuff that still needed to be done;
Lets just say the list ended up being pretty long�
So I had Thursday night (day31) and all of Friday Saturday and Sunday (days 32-33-34) to work on those small things
DAY 31 / ~32
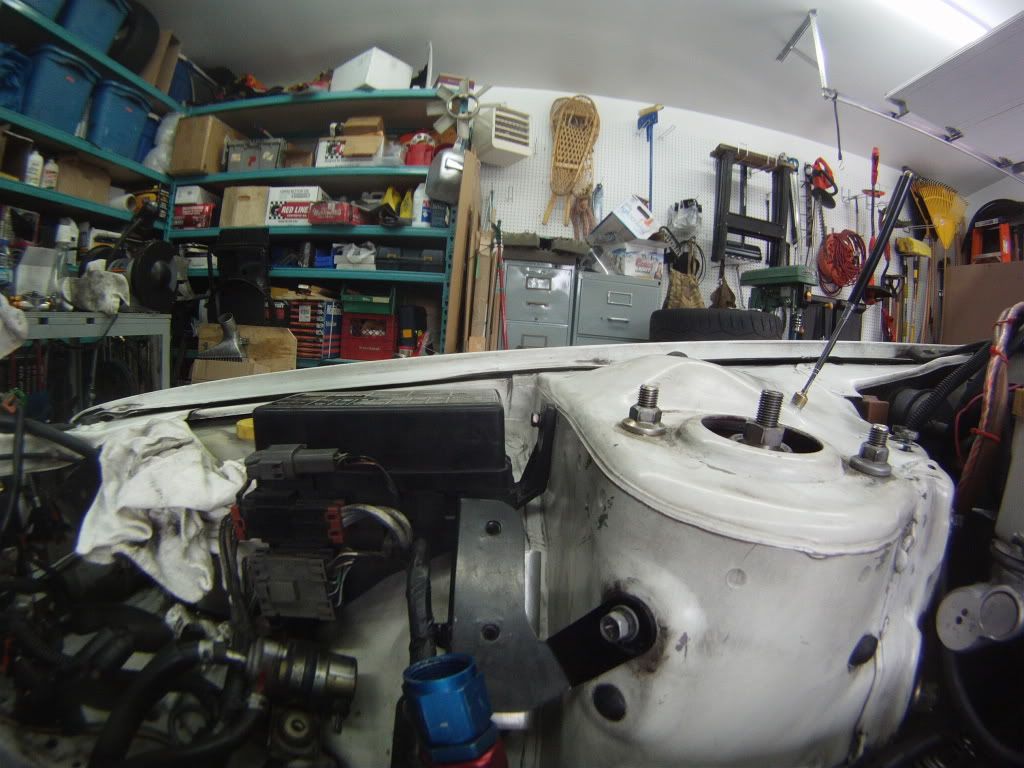
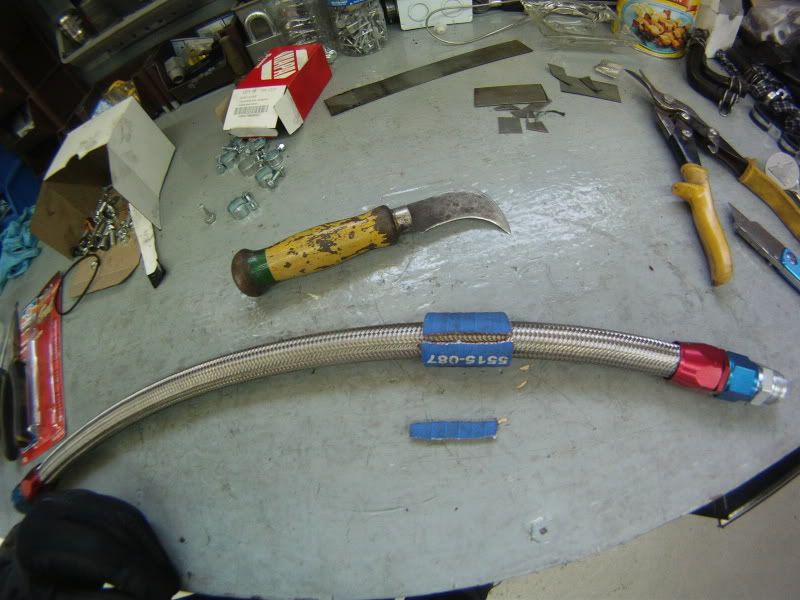
So during the previous week, I at least got most of the 240$ worth of hoses and fittings from TuboQuip
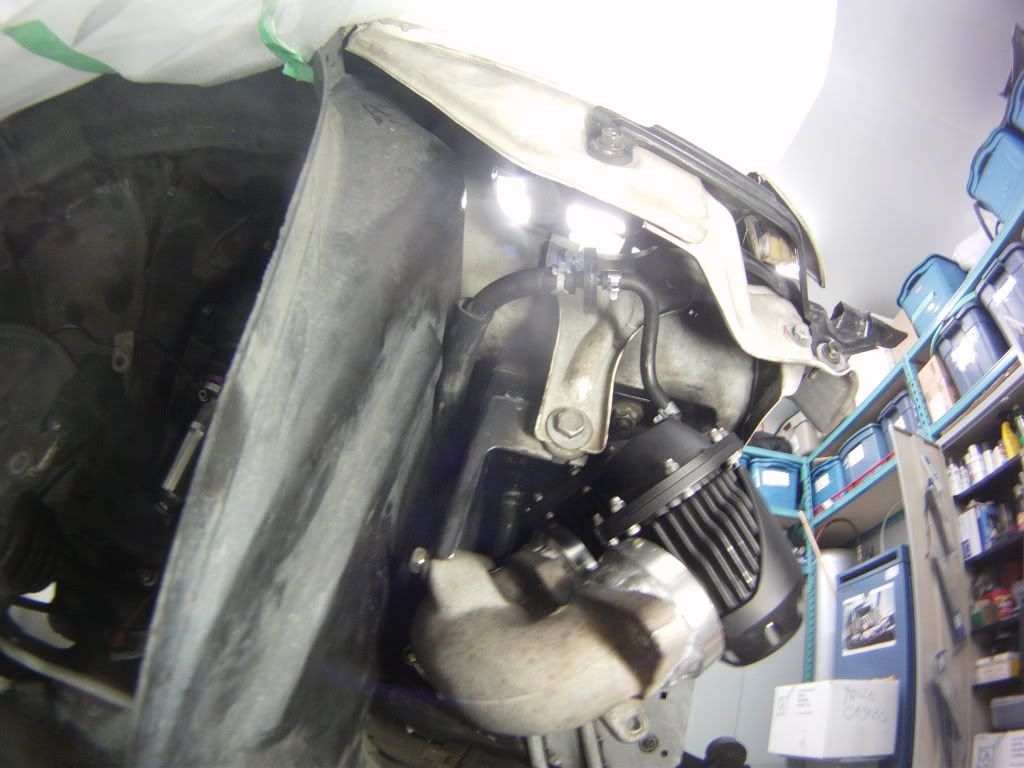
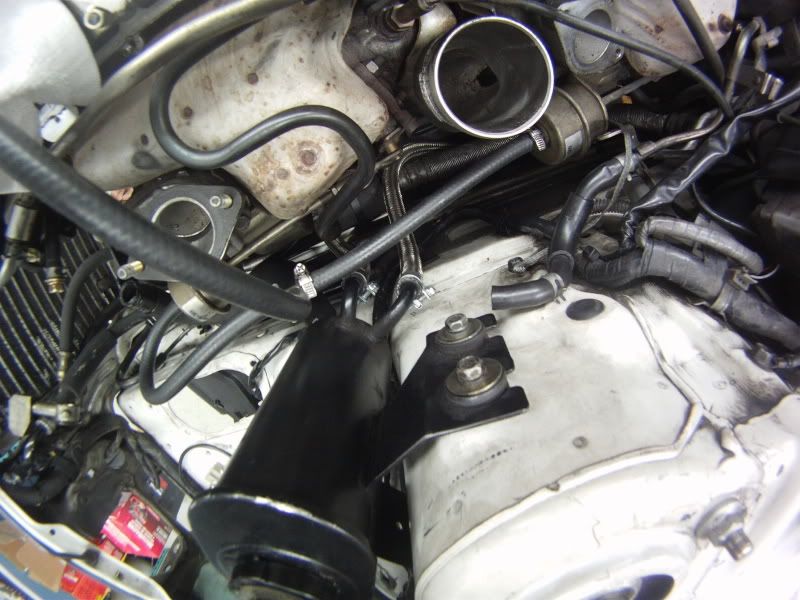
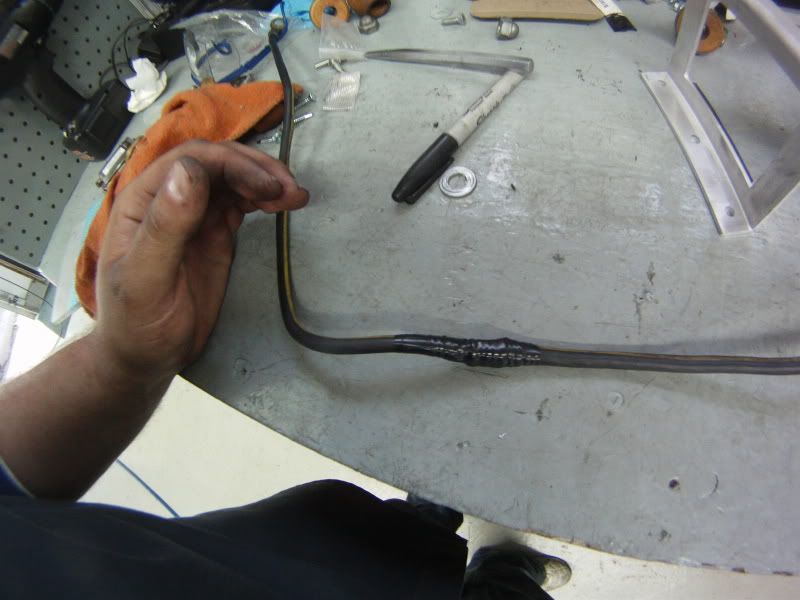
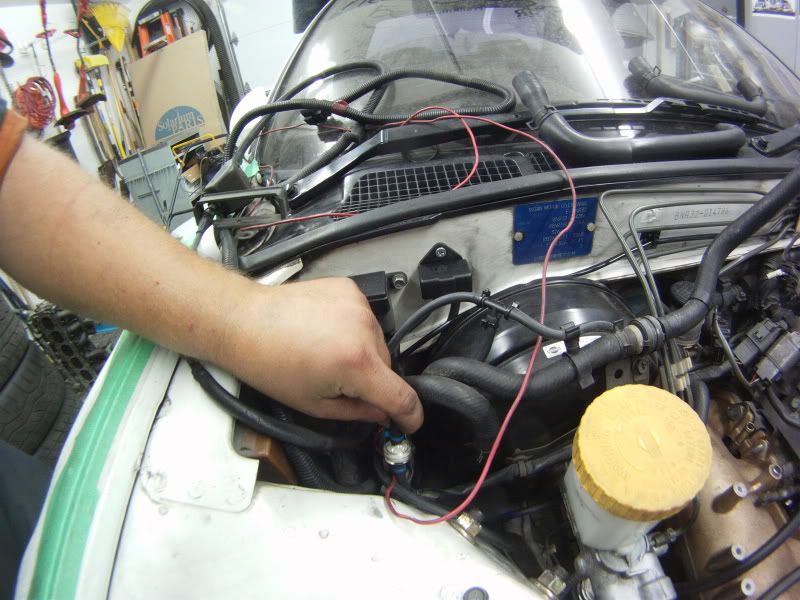
This is the super line I designed to recirculate my Hicas side of the p/s pump that I wanted to show off in my last chapter
Basically, when Autoworx deleted my Hicas system, they blocked the return line (to the p/s reservoir) using the original fitting, cut and welded at the end,
I brought it to the same machining shop I got my coil pack cover done, they milled flat the end that was welded, then drilled it and tapped it 1/8 NPT, they guy even had to break his tap in half the get the thread deep enough into the fitting, and he only charged me 10$ for it
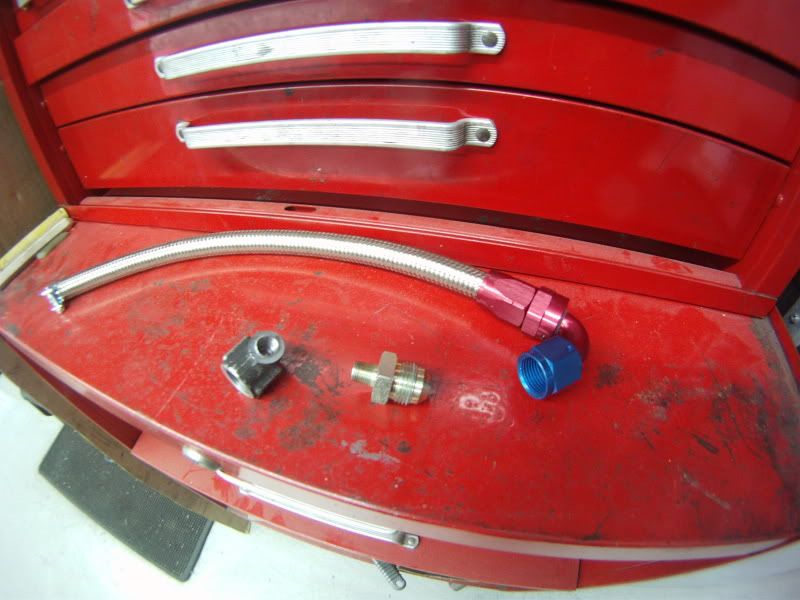
Then I got a 1/8 NPT to AN-6 steel adapter and a 135� AN-6 fitting fitted to 14� to rubber/steel braided -6 line
Then before putting it together, I had to use a bit on Teflon tape on the 1/8 NPT thread because it doesn�t seal surface/surface like AN fittings do, with pipe thread, it�s the thread that actually creates the seal, so a bit of Teflon tape is needed

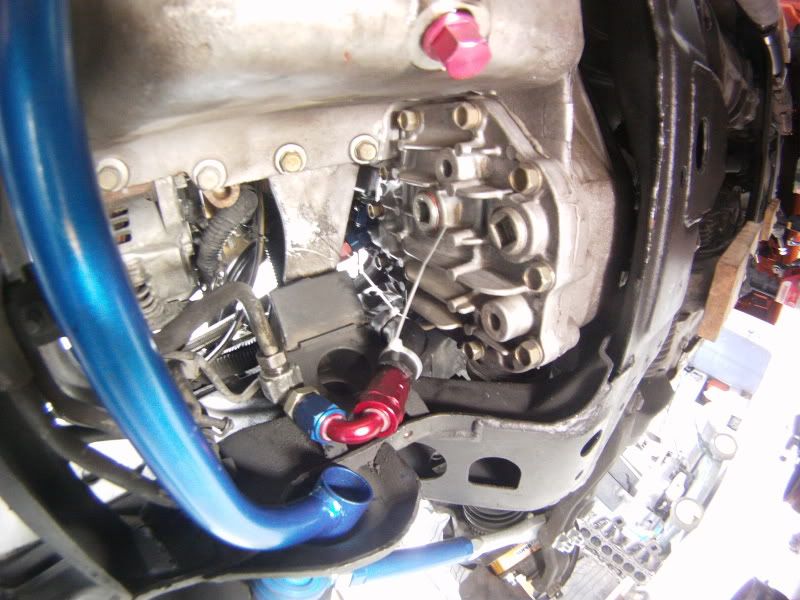
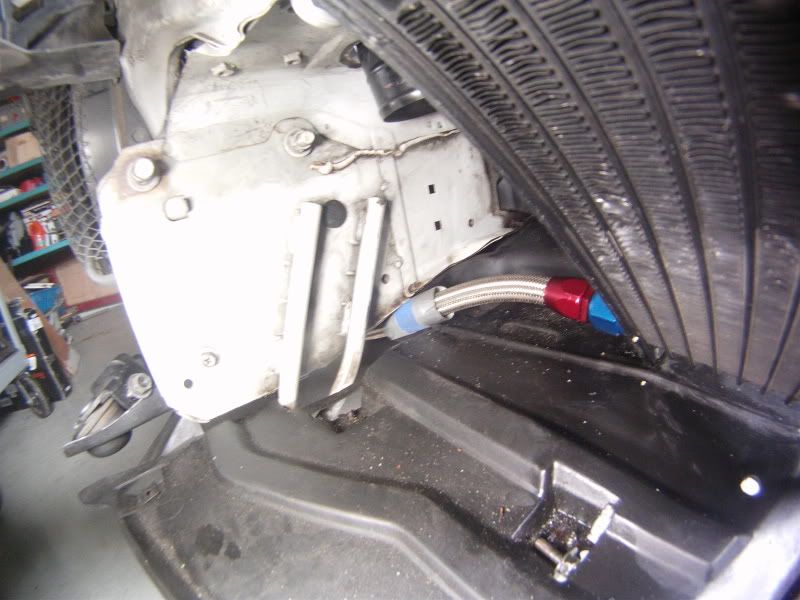
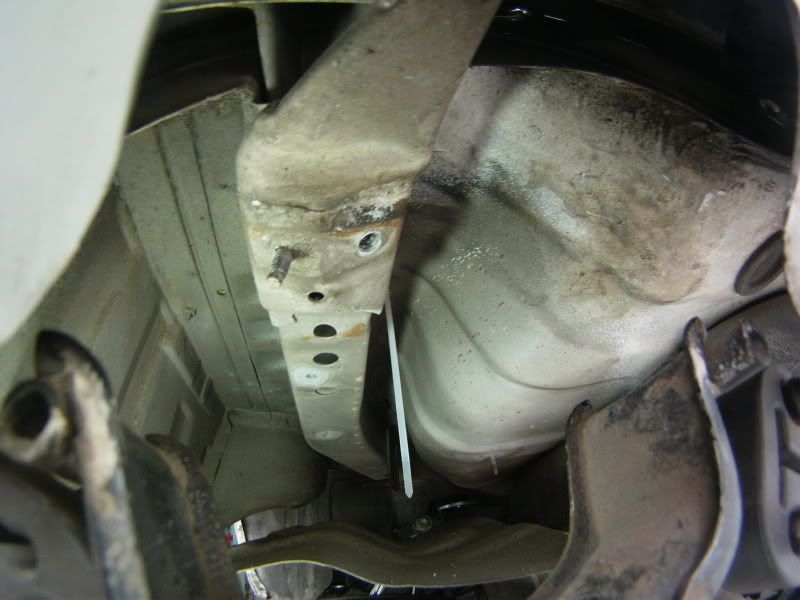
As you can see, the line goes around the engine mount, and plugs into the hard-line that goes to the p/s cooler
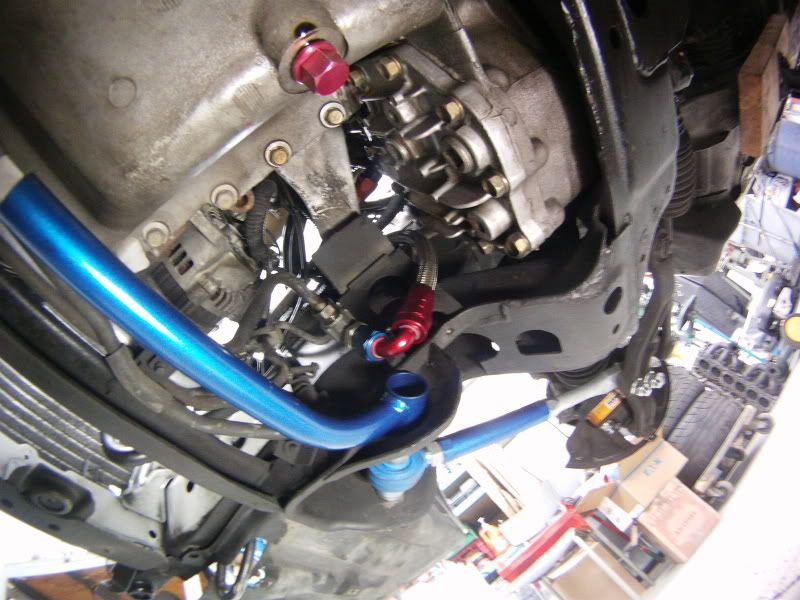
(look directly in the center of the picture)

The idea here was to lower the speed of the fluid (pressure) going back to the reservoir, to make sure it doesn�t blow in my face if I ever have to take the cap of the reservoir while the engine is running
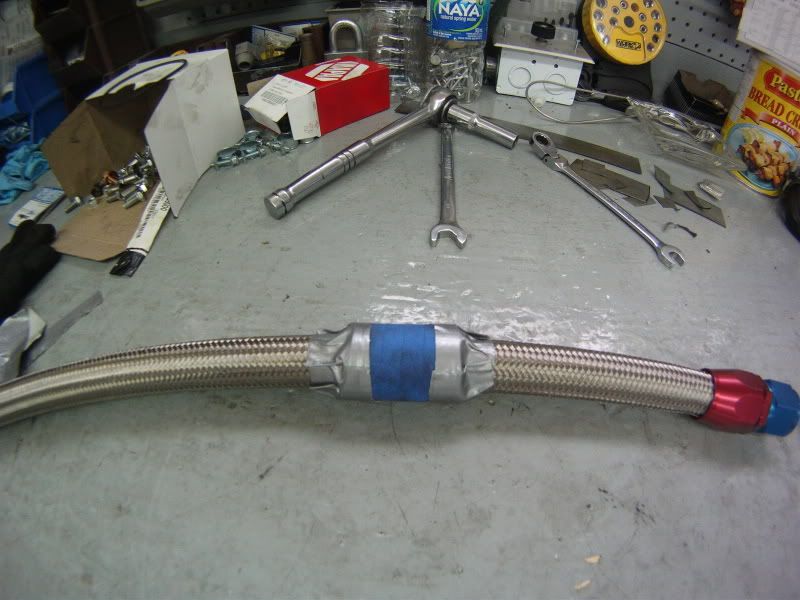
So this was, the braided is barely bent, so it doesn�t create stress points along the soft line,
And the fluid has to make a 45� U-turn, then a 90� turn in another plane, which should significantly drop the pressure (by the way, that fitting was 52$)
Then I grapped an old piece of 45� 5/8� rubber hose, sliced it open, wrapped it around the SS line and zip-tied it, just to make sure the line doesn�t rub against the engine mount
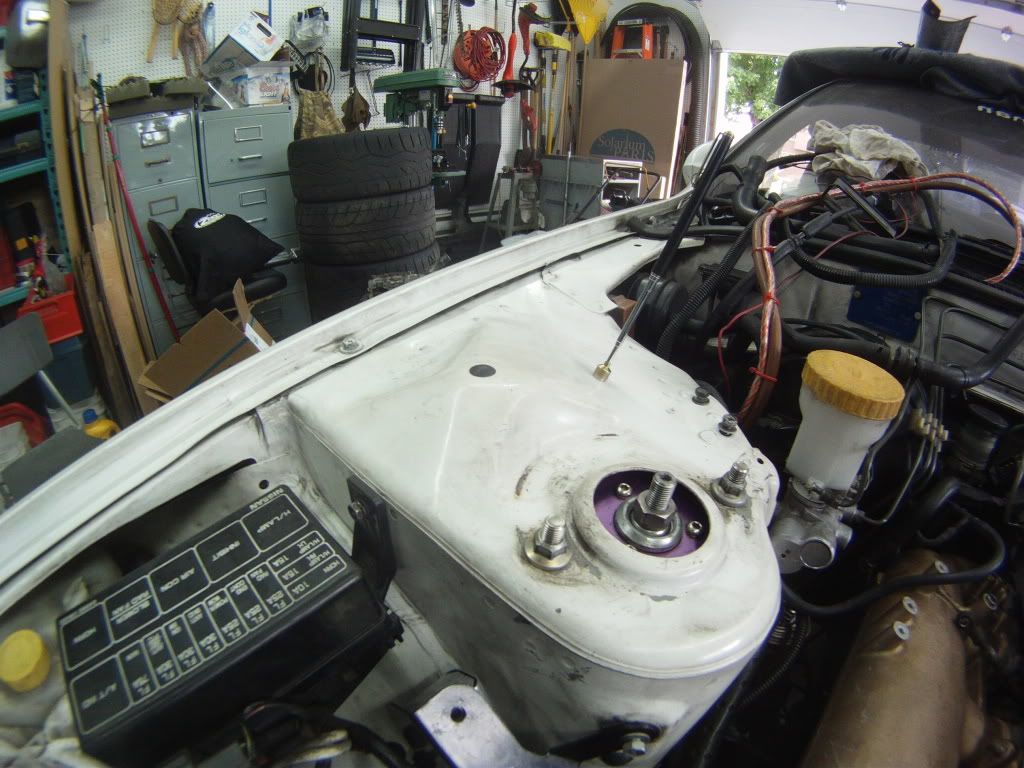
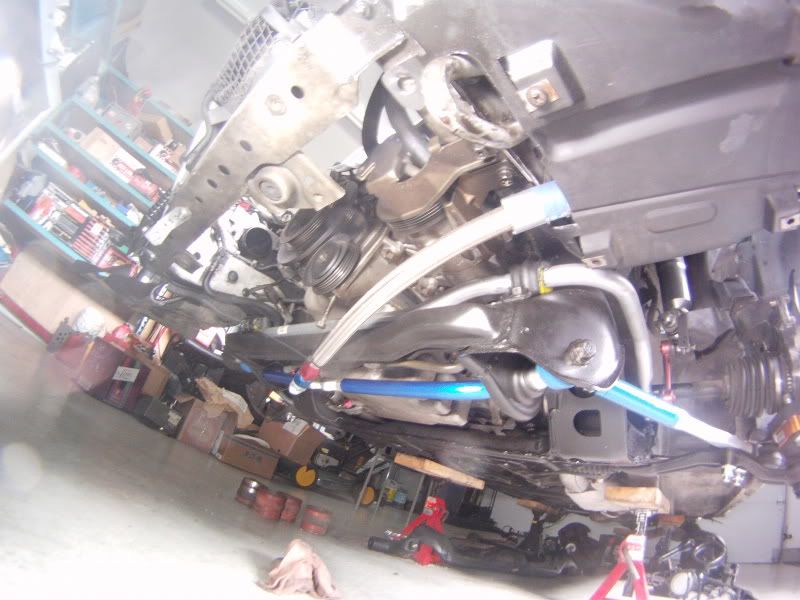
Then I decided to replace the last rubber return line going to the p/s reservoir with an SS one, because Autoworx blocked it off with a bolt and cracked the rubber a bit
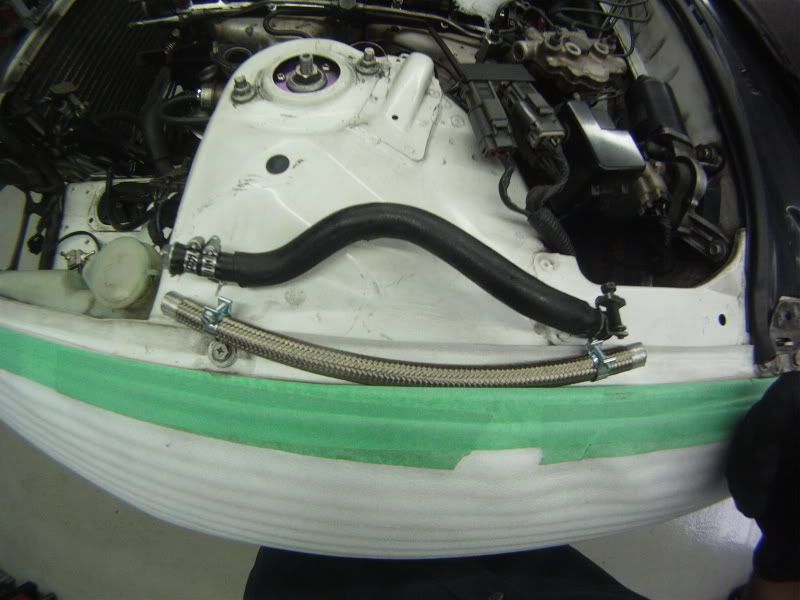
At first, I thought the line was going to be just long enough, but it was actually �� too long, so I had to cut it
Now if I had the bench saw used to do this, it would be easy, but I didn�t so I used my disc cutter which did a crappy job.
Anyway, I got it the exact right length, then tightened it in place with small T-bolt clamps I got from NAPA, its pretty hard to gauge how much to tighten them with this type on line..
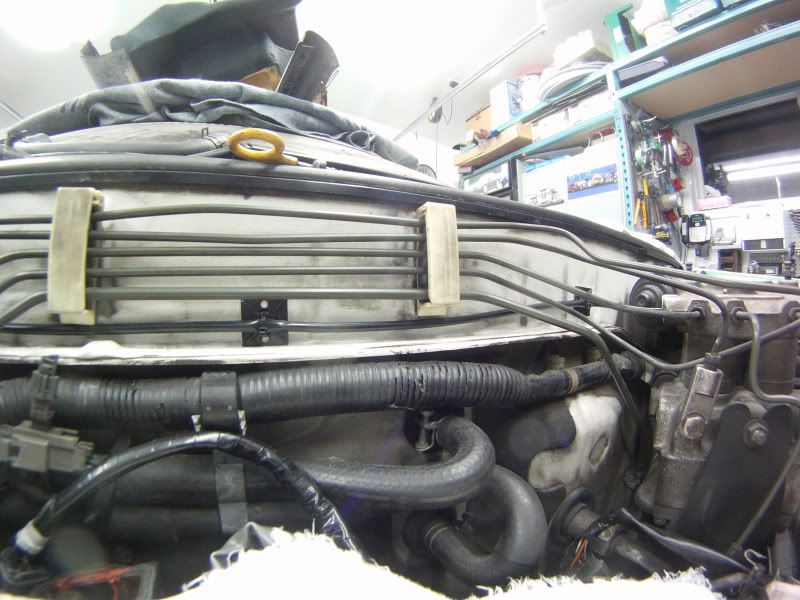
Here it is all done (it�s the one on the left)
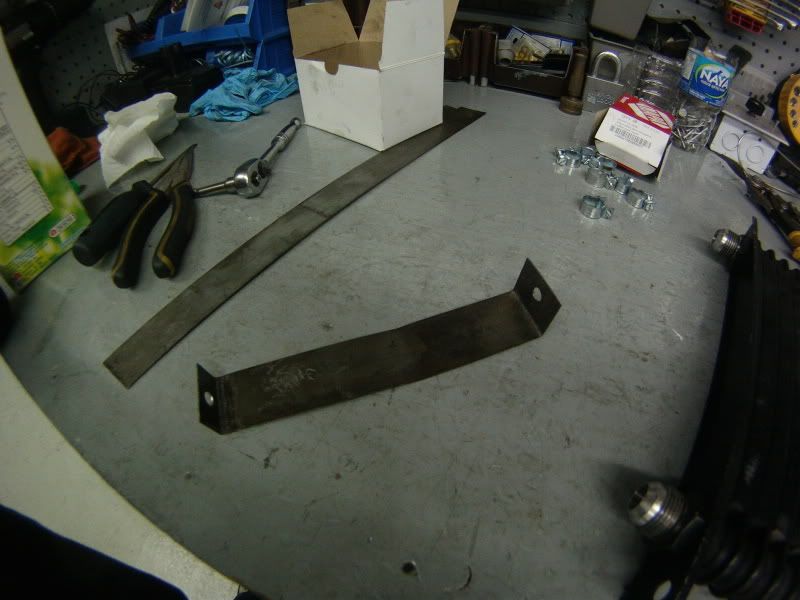
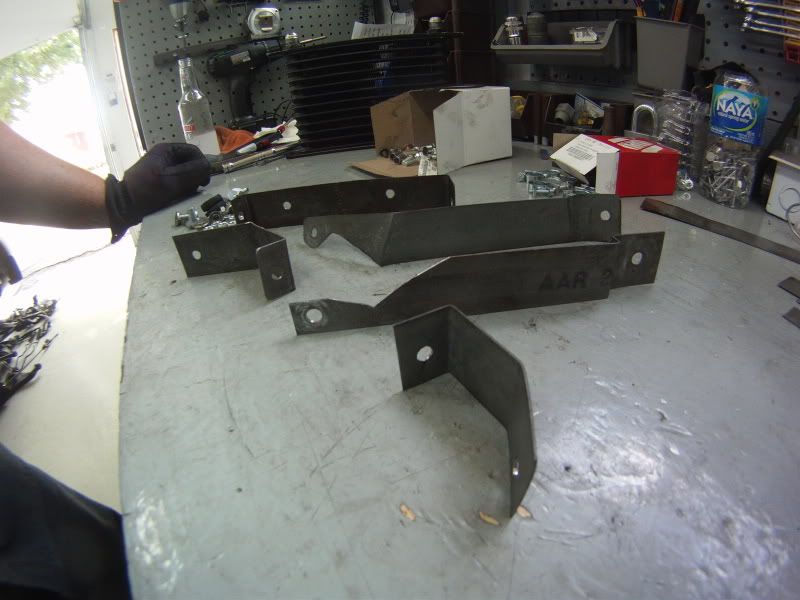
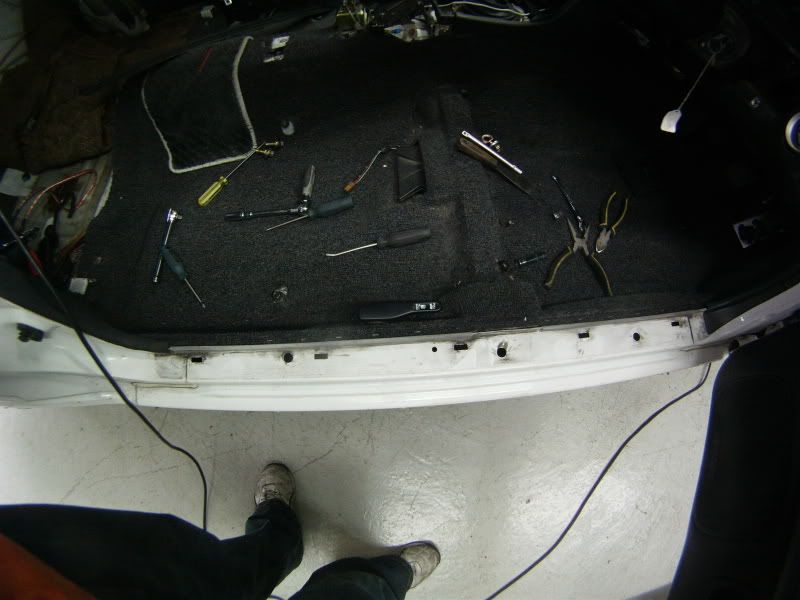
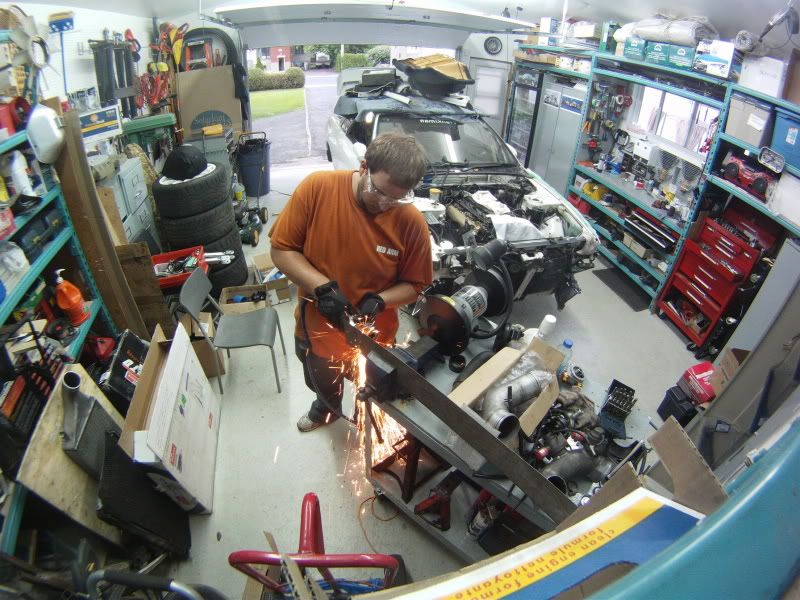
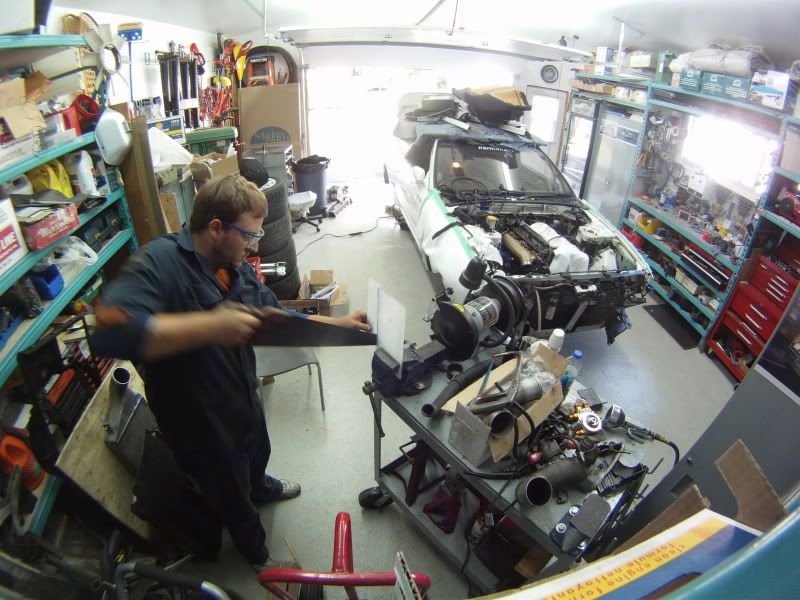
After that I started fabricating supports for my oil cooler,
I found some galvanized strips of sheet metal in the garage and it was thin enough so I could bend it however I wanted and cut it with my sheet metal scissors, but still thick enough to have so rigidity
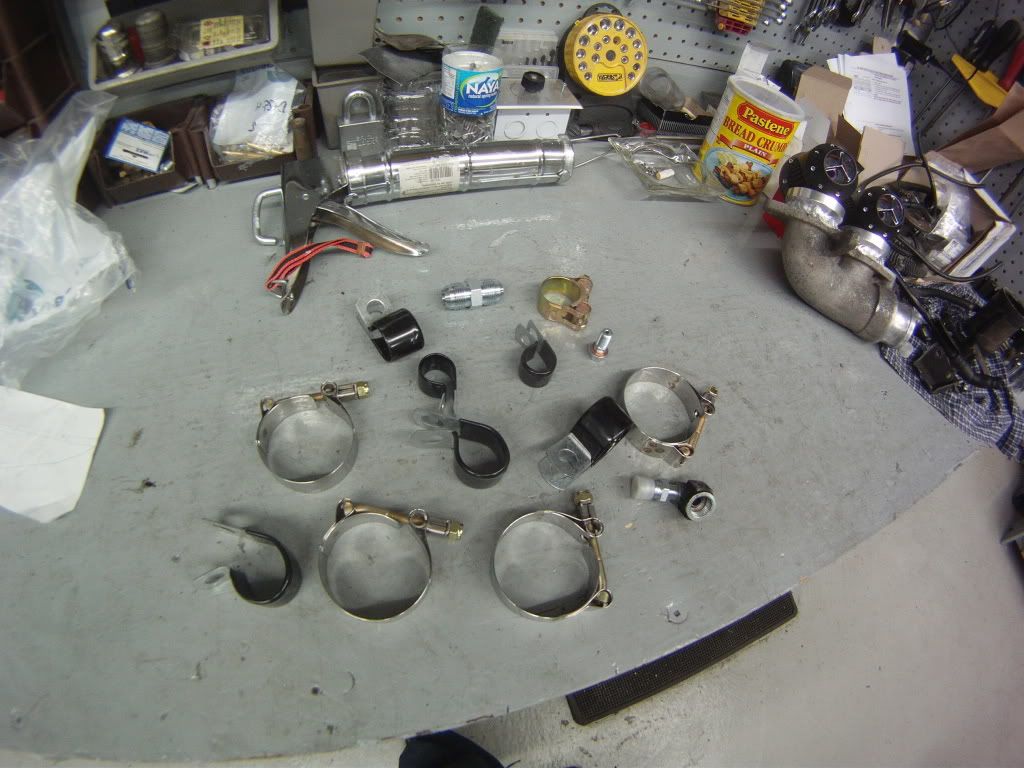
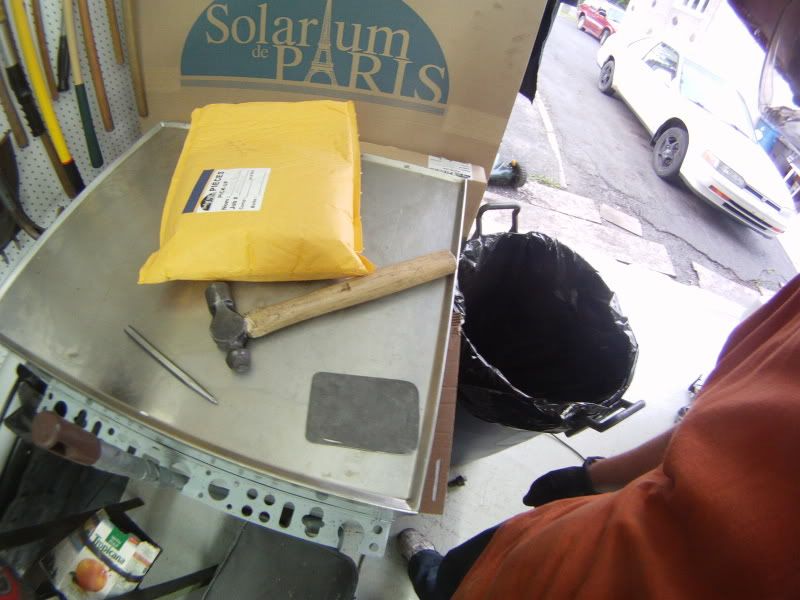
These are all you need to make custom brackets;
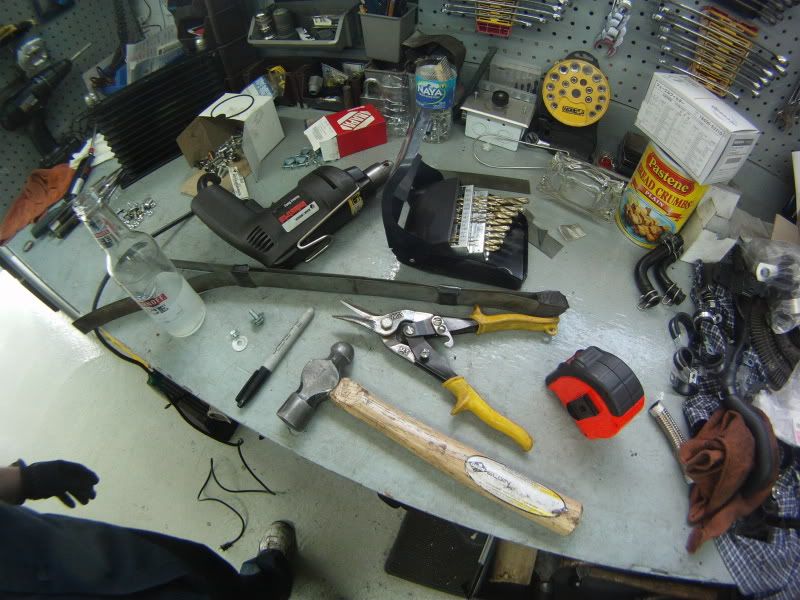
Sheet metal, duh
Sheet metal scissors,
A tape measure,
A hammer,
A hand drill,
A small Sharpie or other marker,
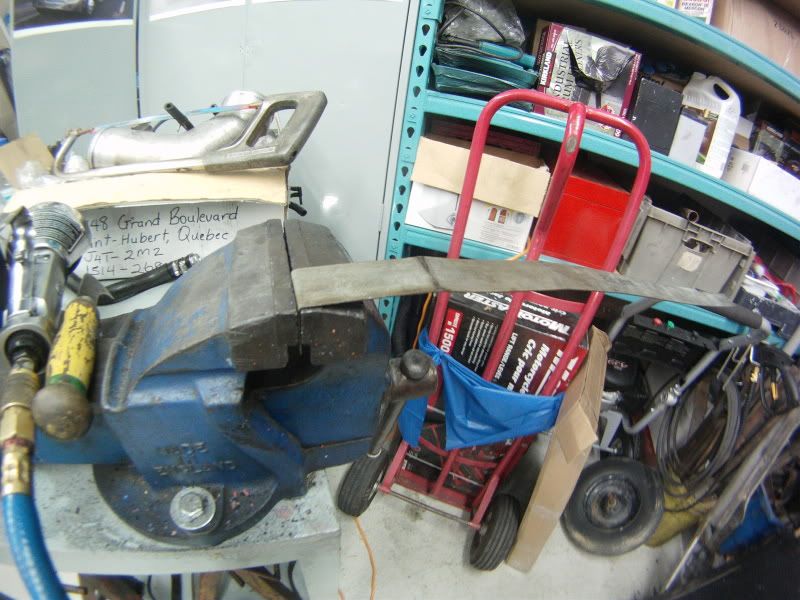
A bench vice, a bench grinder, a press drill (not pictured)
And the most important, an alcoholic beverage, any will do, but I Smirnoff Ice is my weapon of choice (its more expensive / hour, but hey, I barely ever drink at all)
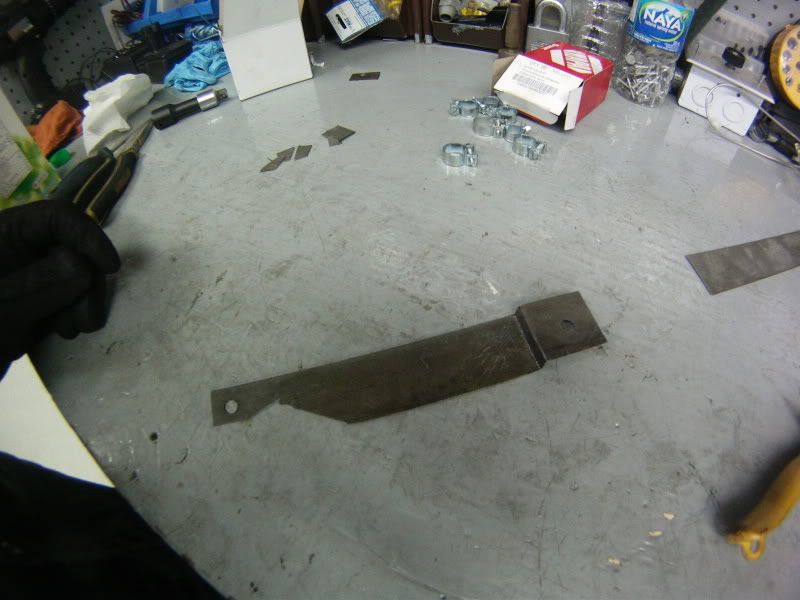
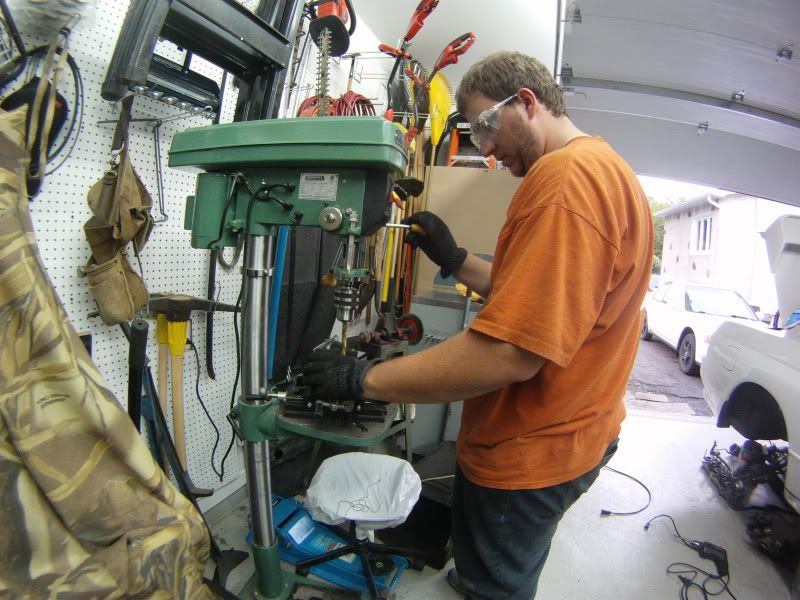
Basically, you just use a vice, the hit the metal with a hammer where you want it to bend while putting some pressure on it, this way you get clean sharp 90� bends
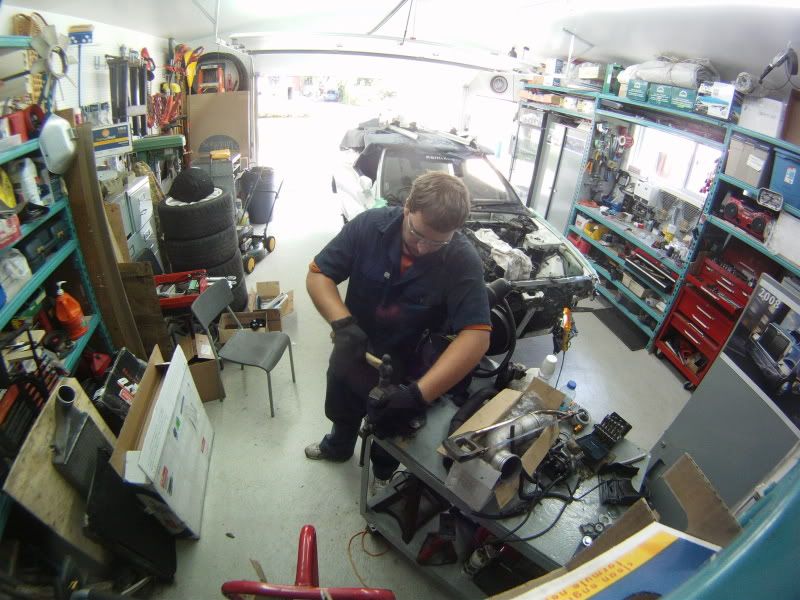
And shape the metal and clean the sharp edges with a grinder/buffer
And use a press drill with a vice for the holes, I suggest drilling the holes before doing any bends
These are the first one I made, after a good session of trial and error (I had to get into the groove you know..)
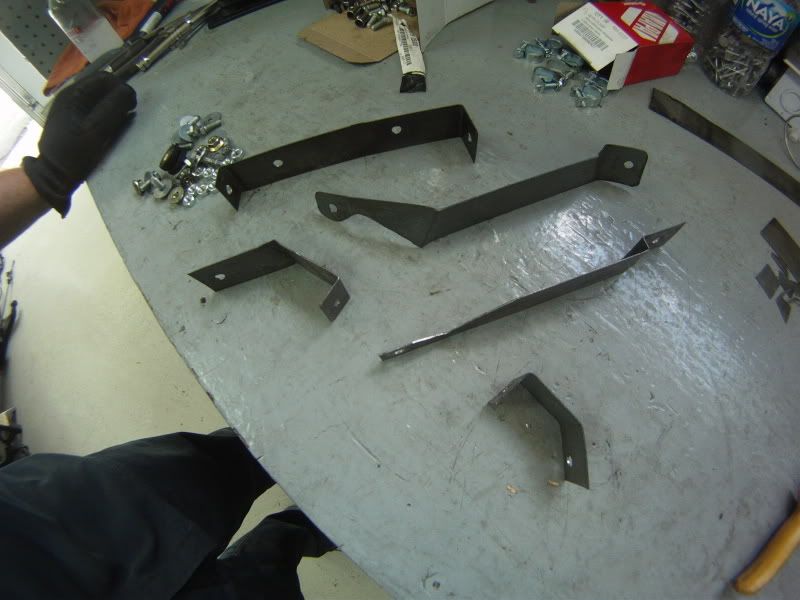
Eventually at the end of the night (1am) it looked like this
Then I picked it back up the next morning (well.. at noon)
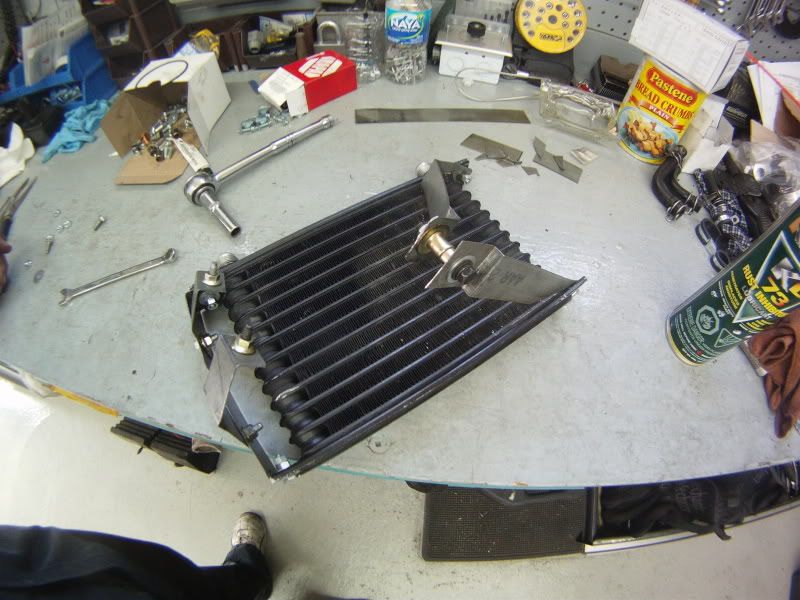
Eventually got all the pieces done, which looked cool
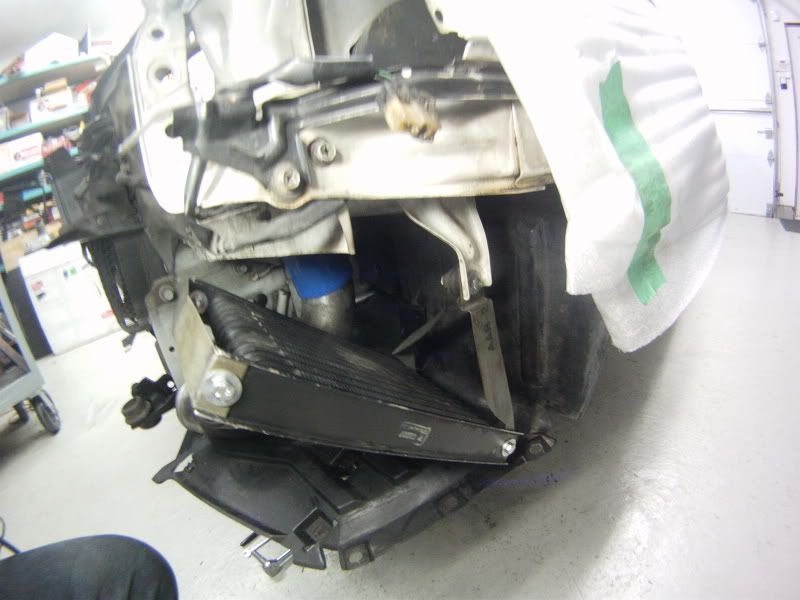
All bolted to the oil cooler
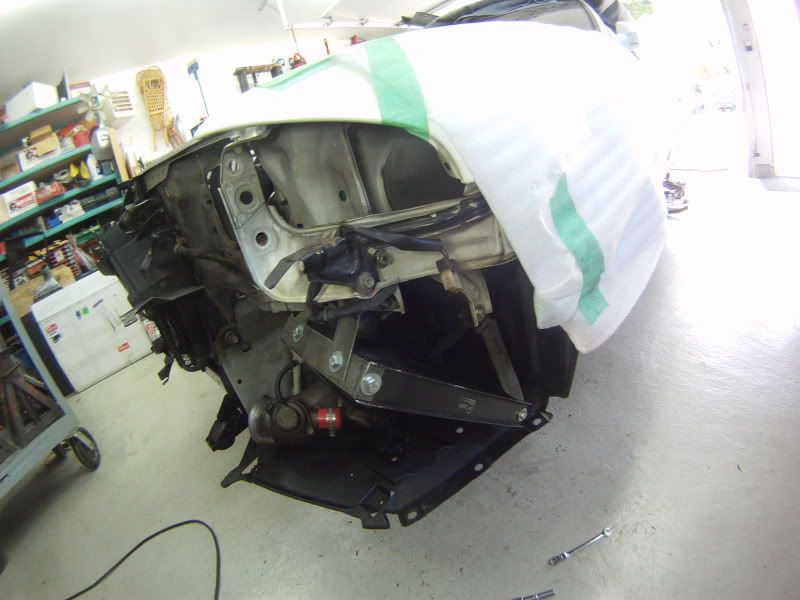
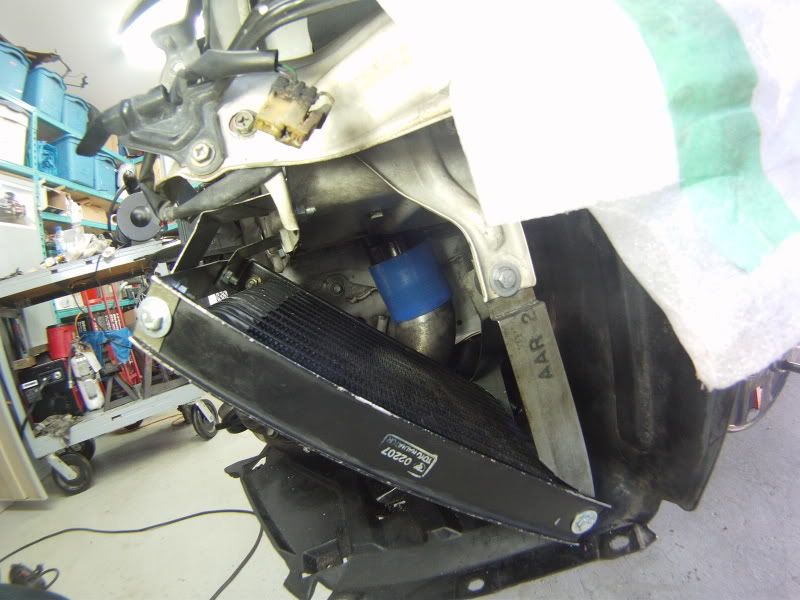
And that�s how it looks when its all bolted in place, using the double nut locking method
Holes had to be drilled underneath the headlight for the two upper brackets
Its really solid, that oil cooler is never going to move (note; the intercooler piping is only there for mock-up)
Also, I should mention (honestly) that I had an incredible dumb-tastic moment where I tried to drill holes in the body, but it just wasn�t drilling at all, and I thought I was in a spot weld, and 5 minutes later I saw that I accidently put the drill in reserve, yeah�
Then i fitted the one oil cooler extension that was done,
i cut a short piece of �" silicone tude, sliced it open, and slice a small bit to make it smaller, so i could wrap it tight around the -10 line,
and taped it in place
 Last edited by frankiman; 07-10-2010, 03:23 PM.
Comment
-
Chapter 21 - The Epic CustomWerks week, week10, part2
------------------------------
Day 32
I finished the oil cooler brackets early during day 32,
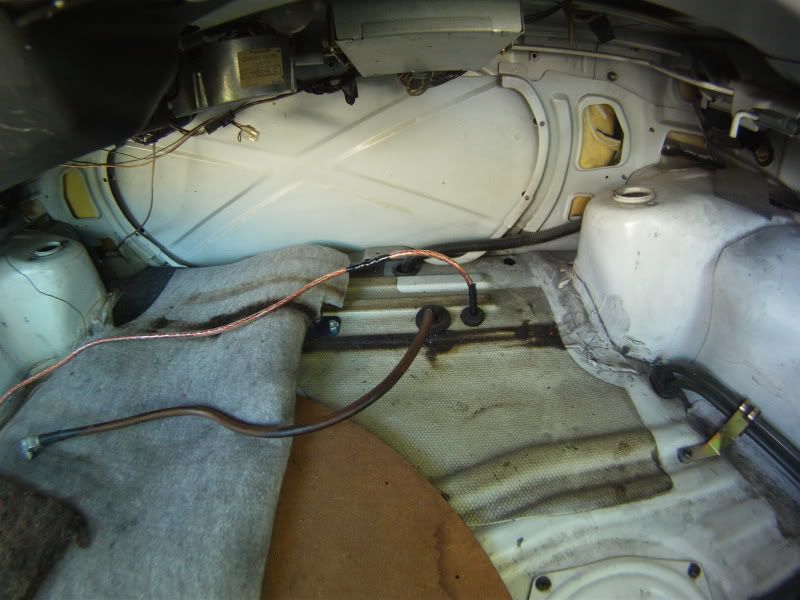
Right after I attacked the interior of the car with a vengeance,
Last year, even though I didn�t really detail that work, I actually took all the carpeting off the driver side of the car, and the rear seats, just to run my battery cable to the back off the car
It was an absolute pain in the ass to do, because I had to do it outside the garage, in the dark, with only a work light,
I had to get the cable through the firewall via the smallest hardest-to-see hole
In the end, I never finished the relocation, and the huge cables left a couple of bumps in the carpet, and it wouldn�t let gas cap release lever work properly,
Basically, it was a big waste of a good 5 hours (I have the kick plate�s plas-tastic screws with a passion)
But this year, because I didn�t have any Hicas hydraulic lines running underneath the car anymore, I could use their holders for my battery cable, having them under the car now (which is the best way to do it on a street car, you don�t want your carpet to accidently catch on fire now do you?!)
Soooo, I had to do it all again, but reverse
I started by fighting with the damn rear seats again, I can never remember how to take them out..
After half an hour, I gave up and asked my good friend the internet
Basically, you should remove the back rest first, by pushing down on the rearward edges of the seat you�ll find a bolt (on each side) that hold the back, take it out, then slide the back upwards
Then for the seat, behind each individual seat, theres a bolt right in the center of each seat holding it down, take them out, then with your fingers grab the underside of the seat and try to �feel� where the clip is on each side, its closer to the outside of the car then the middle, once you find the clip, put 2 fingers on each side of it and pull HARD upwards, that�s it
You can see the cables going underneath the rear seats
Then I battled against the devilish kick plates, 3 of the five screws were stripped, because they are fawking plastic, and I�m sorry but I don�t have plastic screwdrivers
I ended up using needle-nose pliers and pulling hard
It looked like a damned war zone
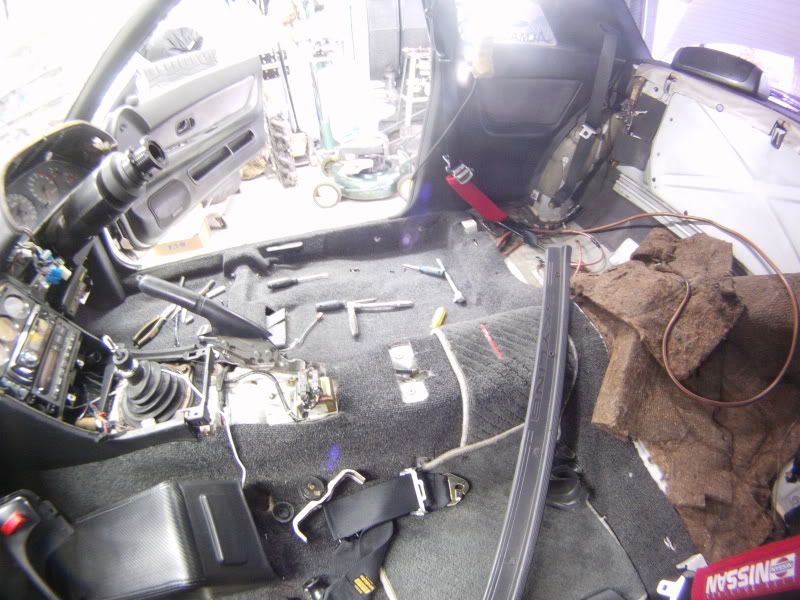
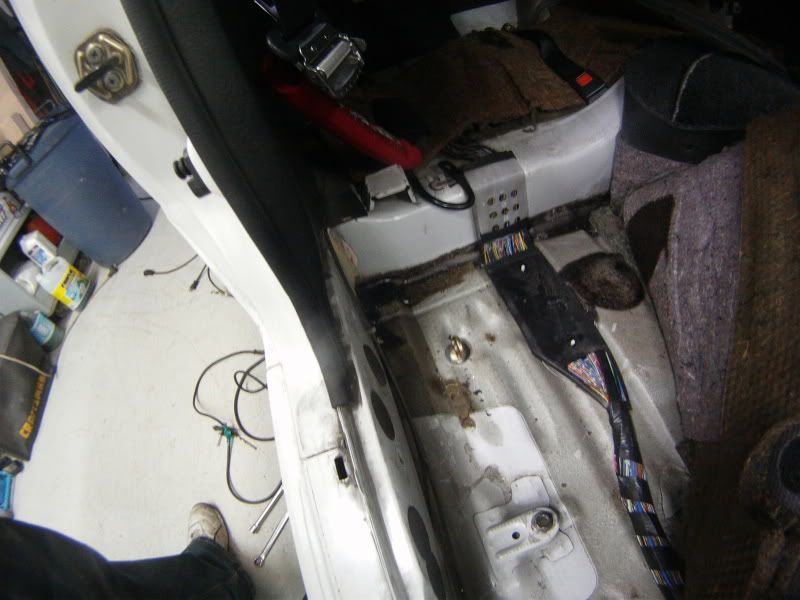
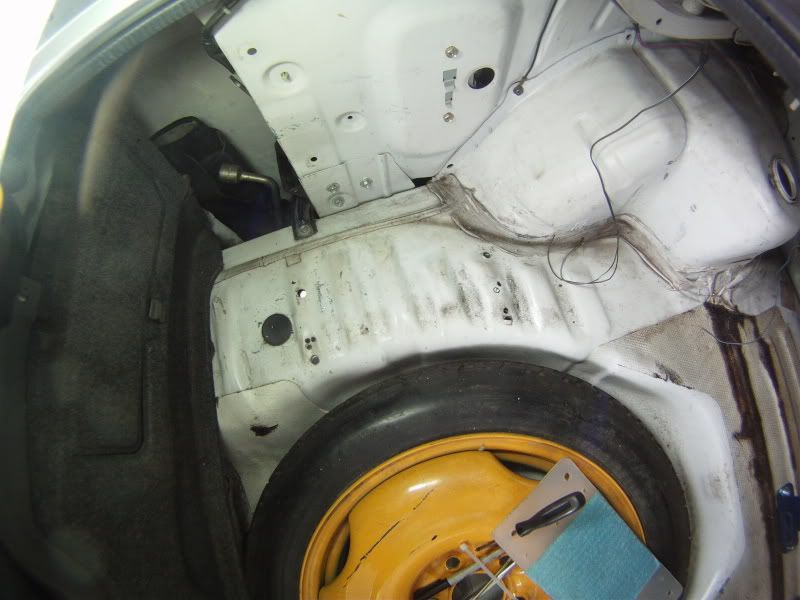
Then pulled the carpet and looky looky, cables
Then I pulled the cables through the firewall, I had taped a piece of rubber around the cable so it wouldn�t rub against the hole in the firewall, but it didn�t help pulling the cable out of it that�s for sure
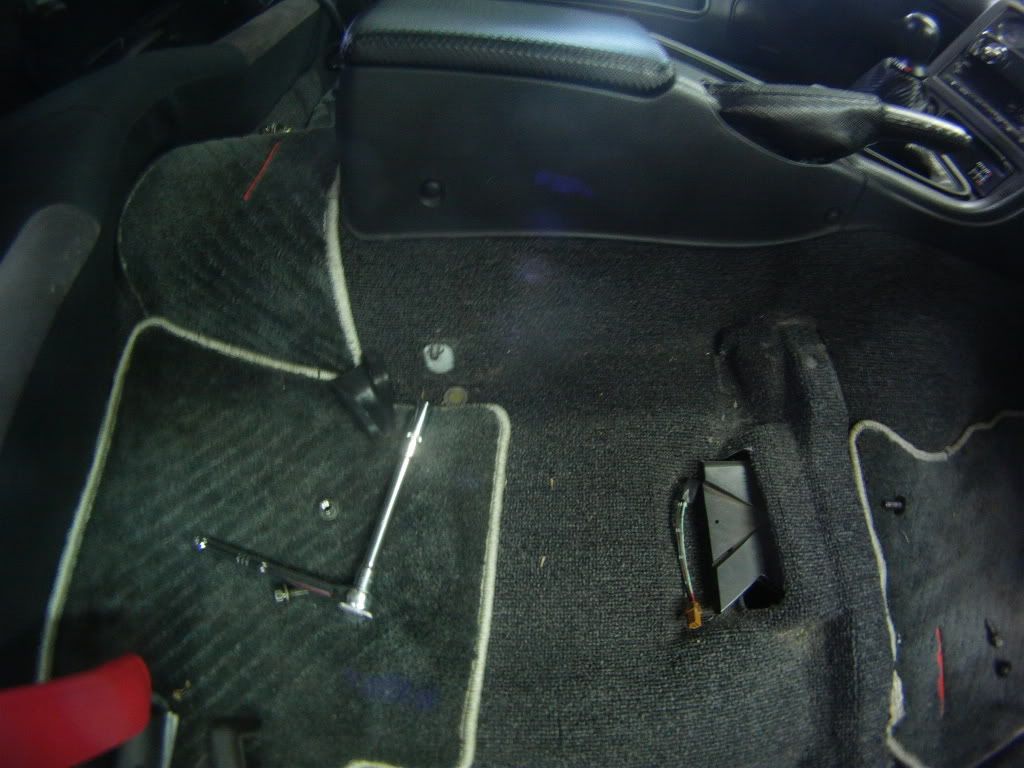
After that I proceeded to install the eye-bolts for my harness
The floor is pretty soft and easy to drill through, just don�t forget to punch a good starting dimple
The drill bit I used was a tad smaller than the size of the bolt, because I wanted to thread the bolt through the floor instead of having it loose
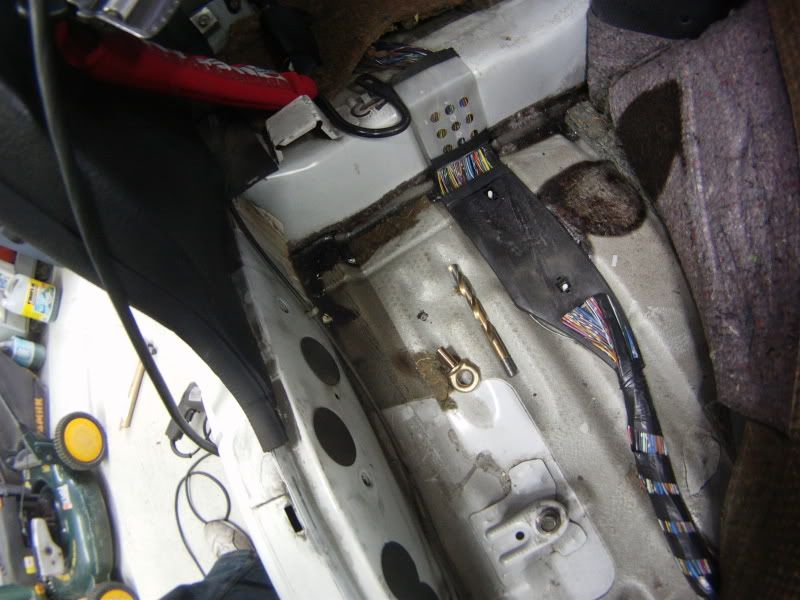
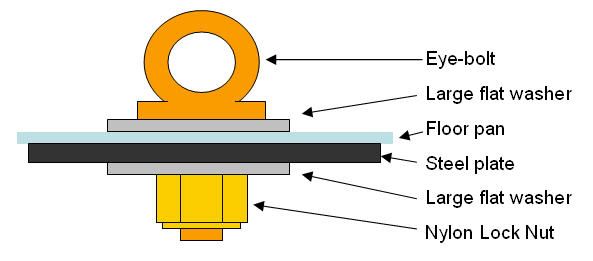
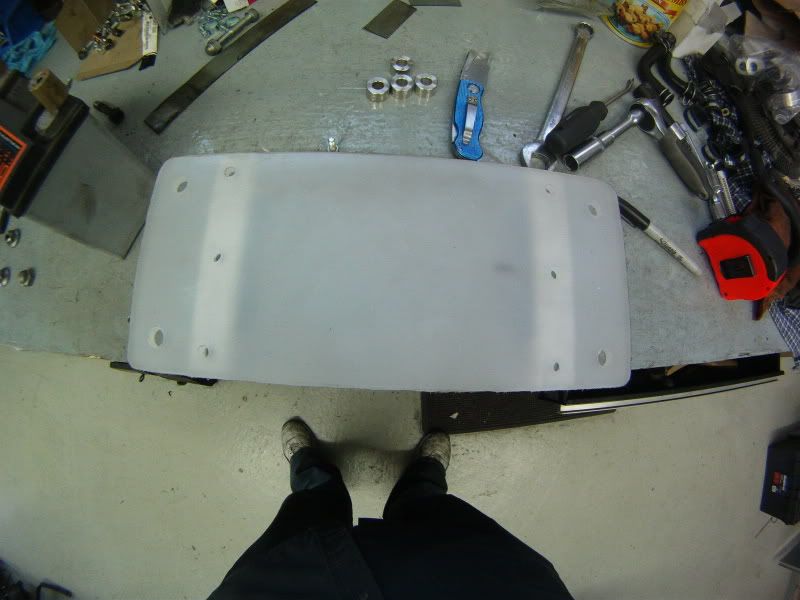
If you plan on using an harness, you cannot simply put a washer underneath the car and a nut, you have to use a thick metal plate, some racing organization specify the dimensions of those plates
So I had a quick looksy on the internet and decided to make mine just a bit bigger than most regulations require it to be
Again I used some of my father�s left over metal pieces and cut it to my dimensions
Its 1/8� normal steel plate
Then round all the edges with the grinder

Then buffed the surface and edges clean and punched the center of the plate
Then drilled the center of the plate with a 15/32� bit, slightly bigger than the 7/16� eye-bolt
Then, since I didn�t have the patience to paint the plate and it is rust-friendly steel, I simply coated the plate with a thin layer of all purpose grease which should keep it from rusting
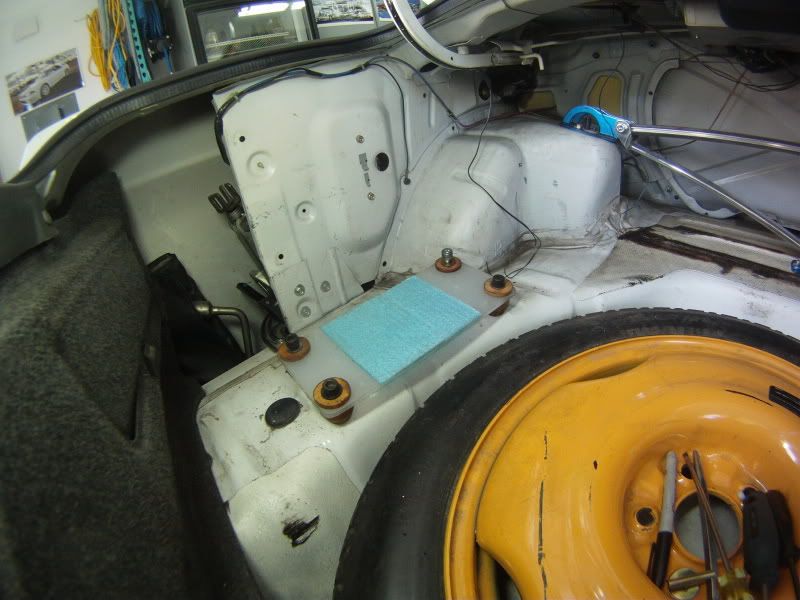
Then assembled it, torqued it really really thight, till the floor pan stopped deforming
Basically, this is how I set it up
Then repeated the exact same steps for the second eye-bolt nearer the center of the car
After that I put the carpet back and everything else together (hammer vs kick plate, hammer wins) and with a sharp knife I cut holes in the carpet for the eye-bolt to protrude, I say sharp knife because the carpet in actually pretty hard to cut through
When everything is done, the eye-bolt only comes out about ��, which is prefect
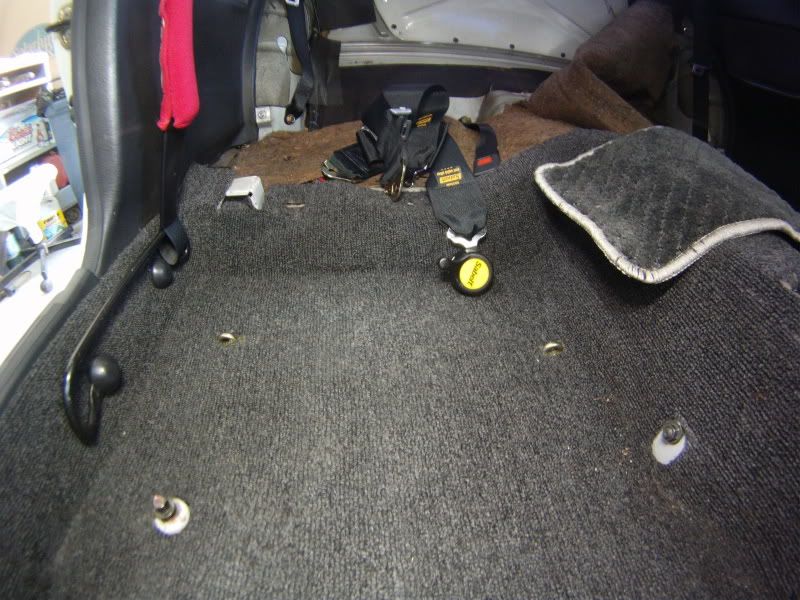
The harness belts simply click onto the eye-bolts
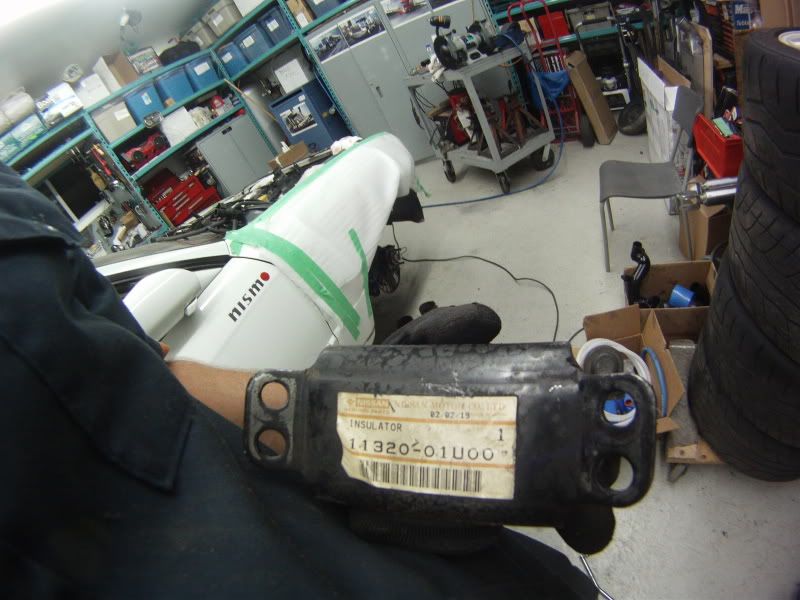
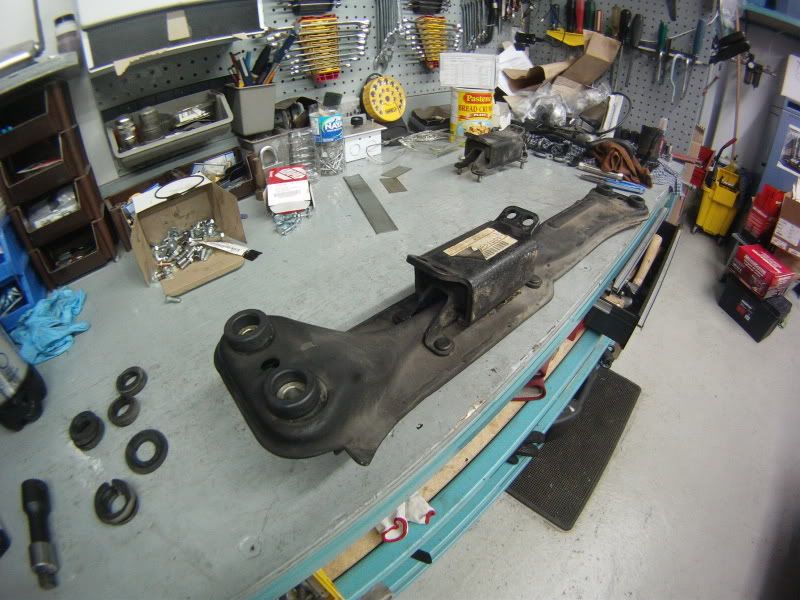
After I put my attention on changing the transmission cross-member bushings,
And I found the tranny support from my old GTR just kicking around, took a look at it, and wow, manufacturing date February 19th 2002, its almost �new�,
So I decided that since I was already going to take the cross-member off, why not swap the support too
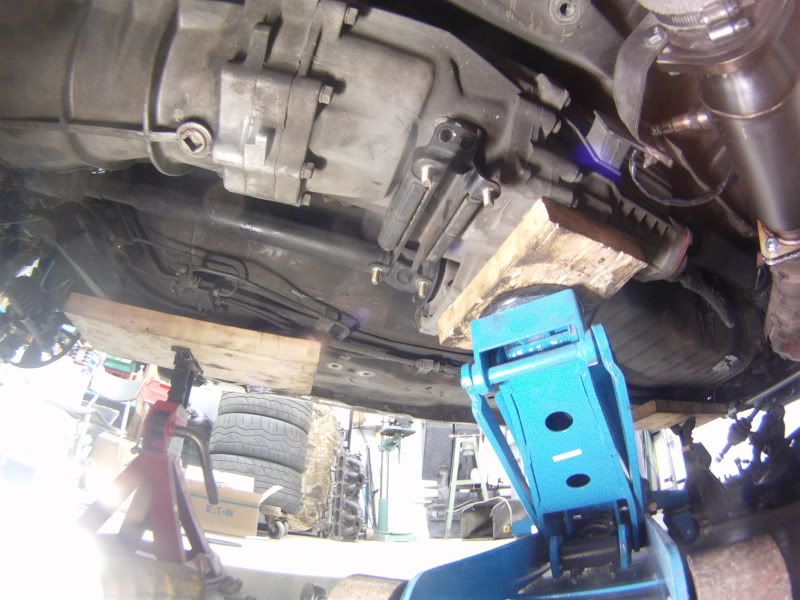
So put a jack on the transfer case, just enough lift to support the transmission at its normal height
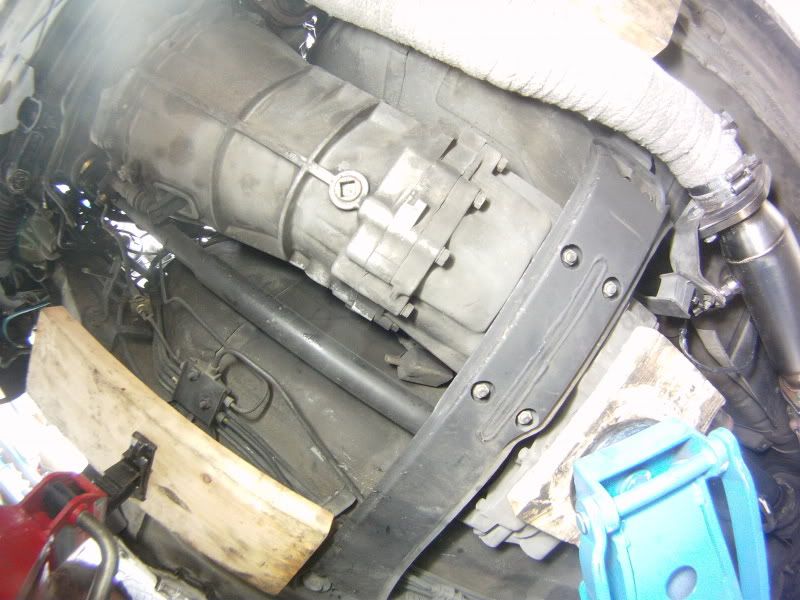
Then simply unbolted everything,
Dropped the cross-member, and its easy to see some the bushings are completely torn,
And to take the other ones out, I simply sliced them up length-wise then pressed them out
Then I took out the new bushings I got from Nissan at 11,45$ a pop
They don�t even look the same, but they really are the same, these bushings are pretty soft and deform a lot when you tighten the bolts back to spec
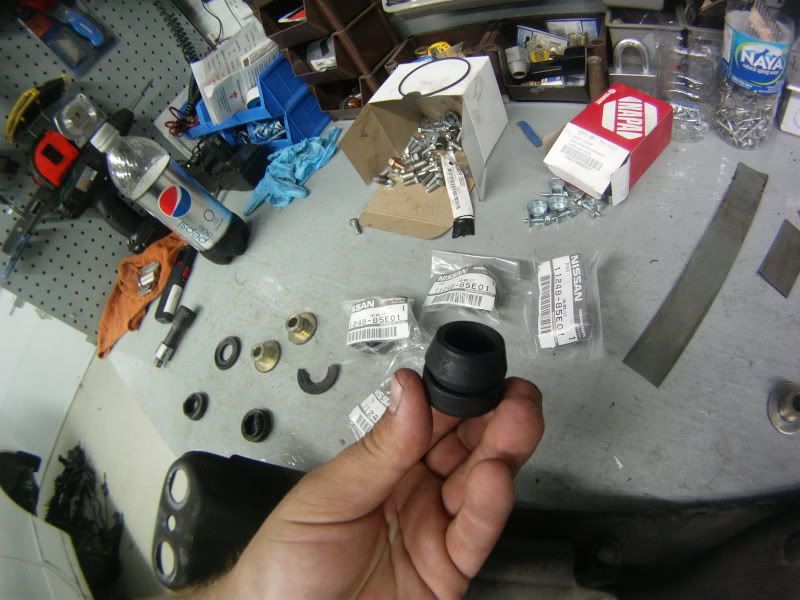
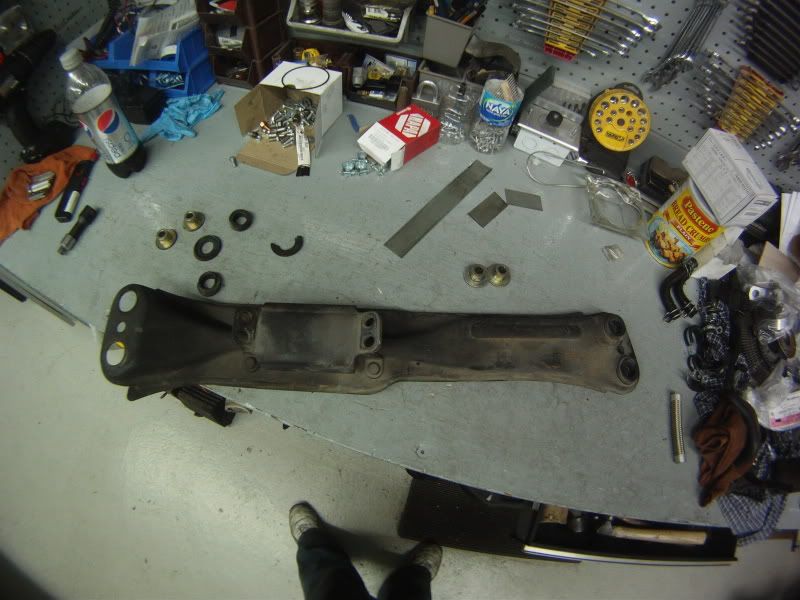
Then I simply pushed them in place and the cross-member was ready to go back
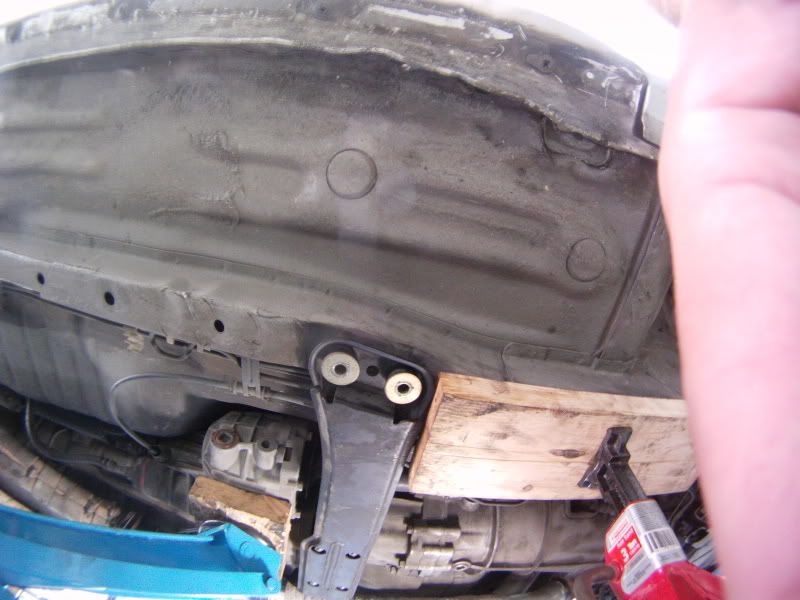
I started by bolting the new�er� support back onto the transmission case and for some reason I hard a bit of a hard time lining all the bolts and torquing them well, couldn�t get the specs for these so I just torqued them by feel
At that point it was getting pretty late, and I was having a really hard time holding up the cross-member and lining up and threading the bolts by myself while underneath the car where I barely fit because I didn�t jack the car up just enough, so I went to bedLast edited by frankiman; 07-10-2010, 03:23 PM.Comment
-
Chapter 21 - The Epic CustomWerks week, week10, part3
------------------------------
Day 33
So with a refreshed body and soul I slid back under the car and in no time got the get a few bolts and nuts one a time ,
But like an idiot, I tightened the tranny support nuts and the pass side x-member bolts all the way,
Then when I got to the driver side, the x-member holes didn’t line up at all with the holes in the frame,
But the bolt’s first �” is just a straight cylinder, to center it in the hole,
Long story short, I put the bolt in there, start tightening it, and halfway in it got stuck, I somehowe fawked up the thread
So I tried switching bolts from holes, but too late I messed it up
I took my dye and tap kit, and re-threaded the bolt, but I didn’t have the right tap for the hole in the frame
So a quick drive to NAPA later and I had it
But I didn’t want to take the x-member off again, so I taped the threads through the bushing,
Then I loosened the bolts on the others side and the bolt went in super easy,
But this was my second mistake; I used the freshly threaded bolt in the freshly tapped hole, which you should always avoid because I just shaved a lot of metal from each and made it all too loose,
So I torqued the left bolt to spec (55 ft.lbs) and tried to do the same to the right bolt, but before I got to 55 ft.lbs I felt it getting less tight, fuuuck its stripped
Anyway I’ll try something else
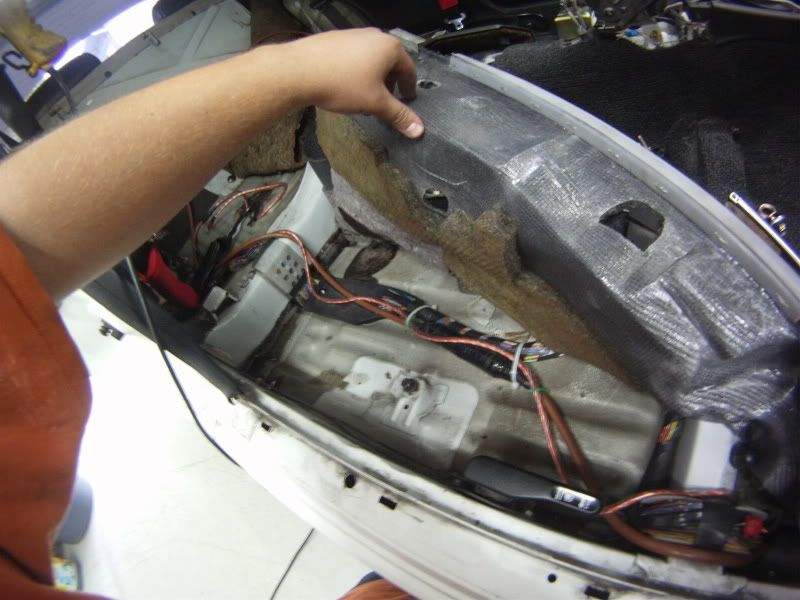
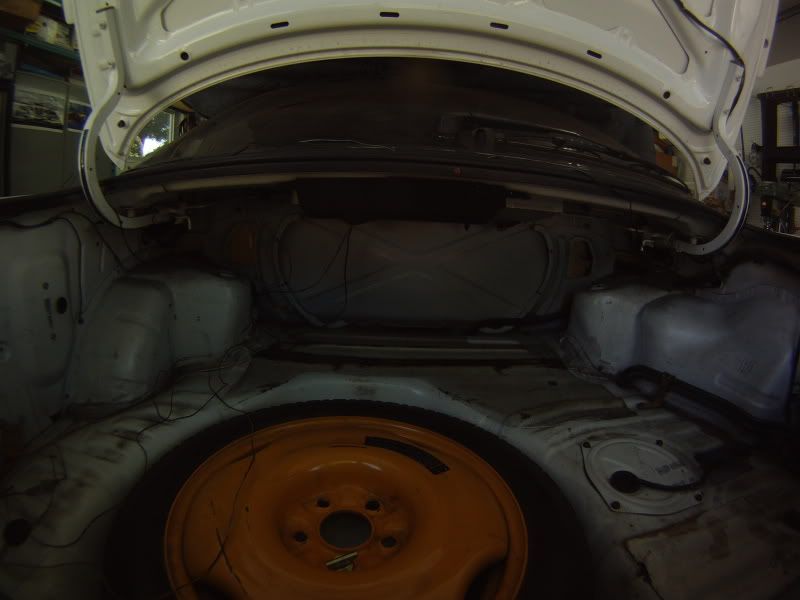
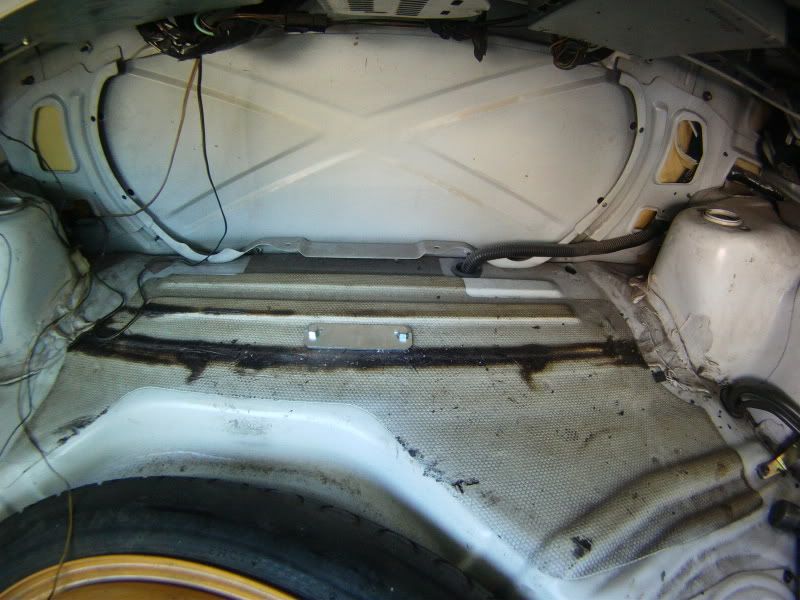
Then I decided to start working on the trunk
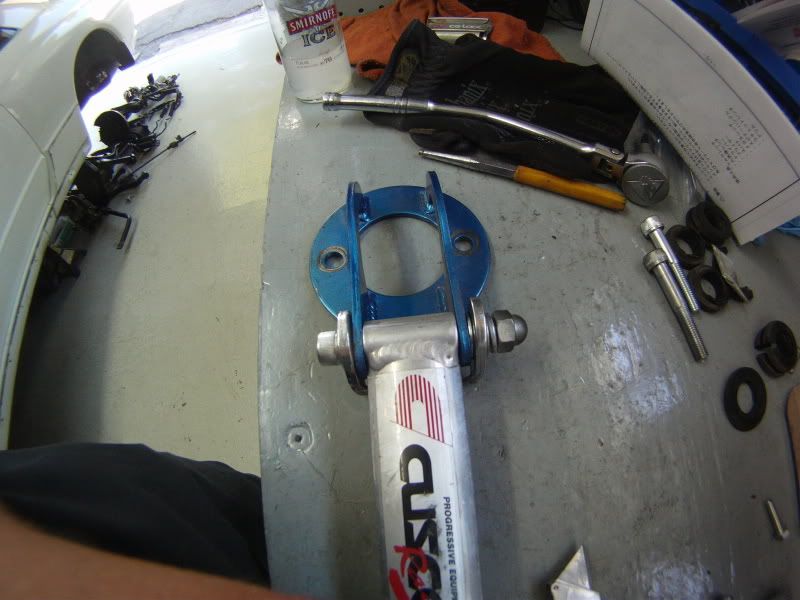
I took out my new Cusco rear strut brace add-on kit
I love Cusco, their stuff is always crazy well packed, air tight
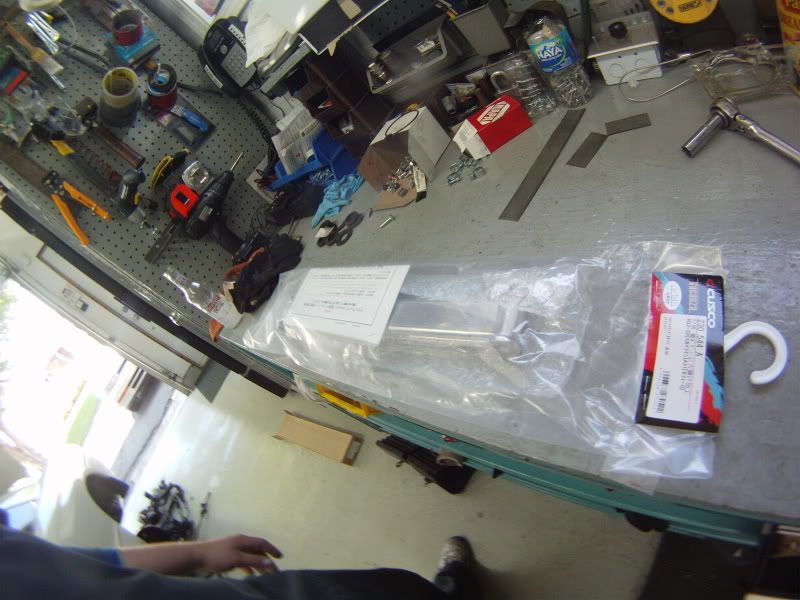
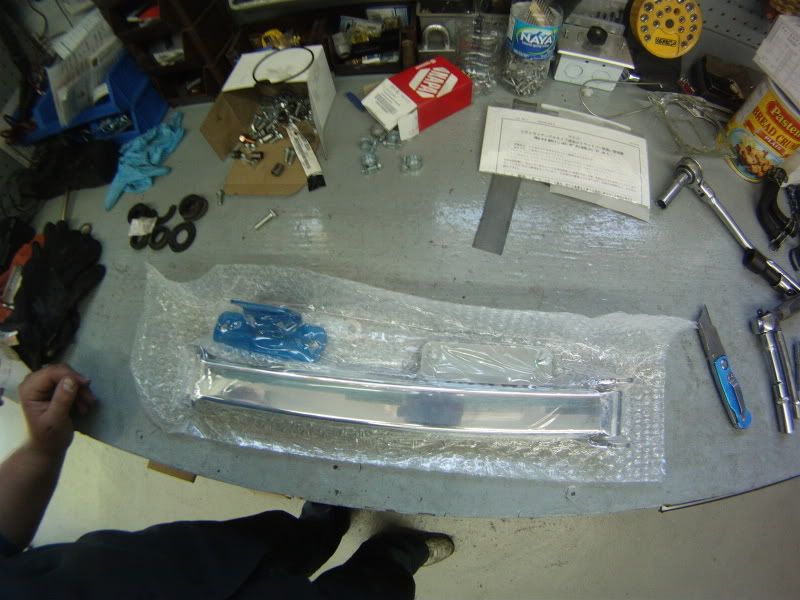
This kit looks super nice, and everything needed is in the kit, even 4 spacer bushings in you have the tube type adjustable rear strut brace that cusco also makes
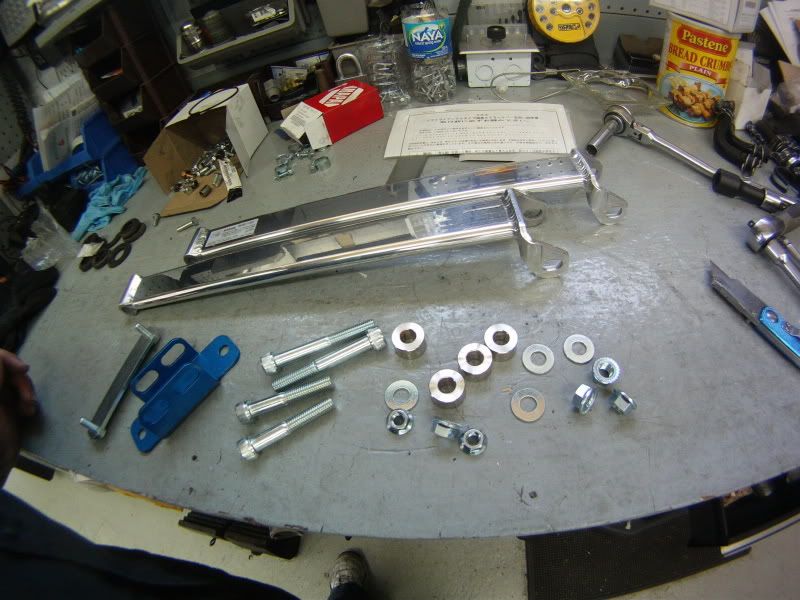
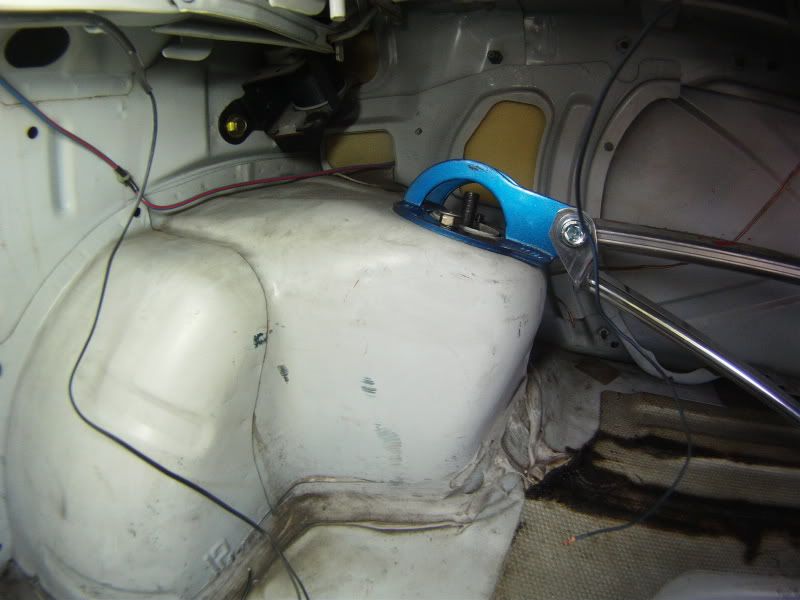
This is how it bolts together
And how it should look like when fitted
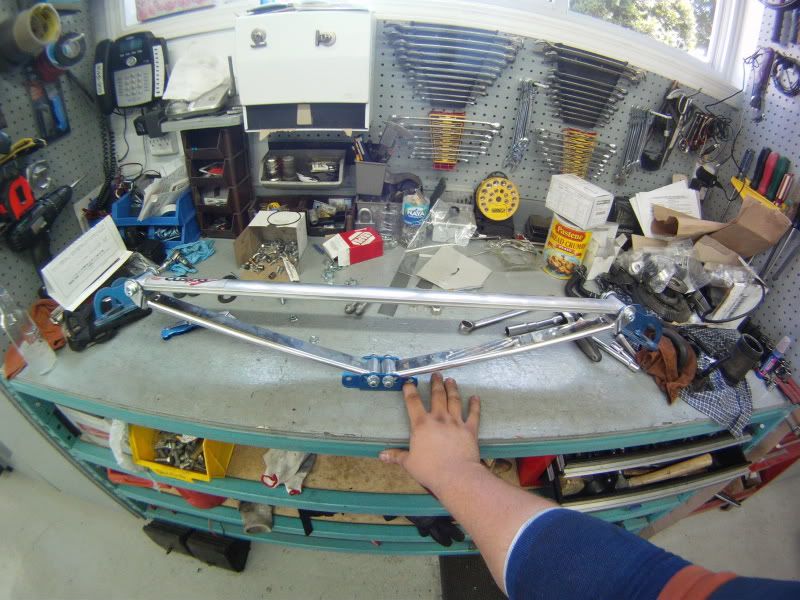
I put it in to mock where the holes would need to be for the bracket
The bracket is pretty well made, its angled exactly like to spot it fit on in the trunk, I <3 cusco
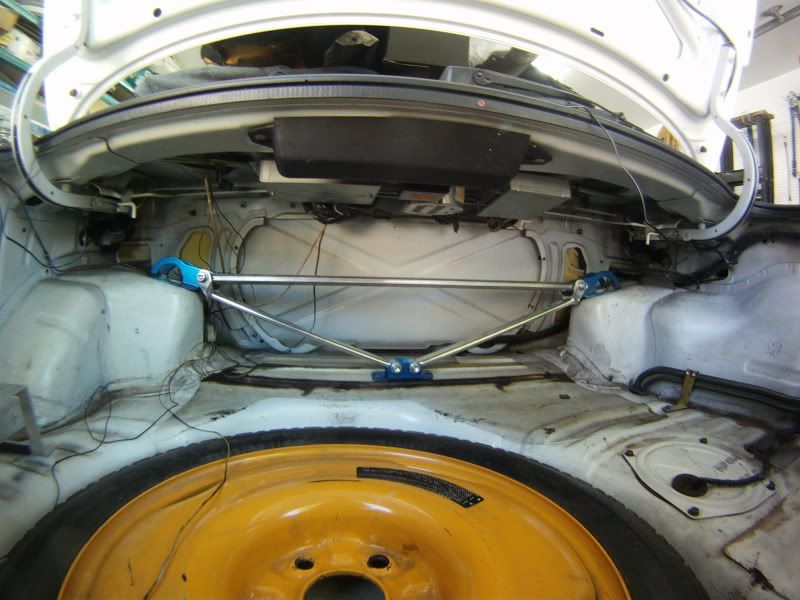
Used a sharpie to mark the center of each holes, punched them, then grabbed the electric drill and made both holes, pretty easily because like the floor of the car, its pretty soft to drill though
Then verified my work by testing the back plate
Then my mother came out at a super clutch time, to do some BBQ, so while I was holding the back-plate in the holes, underneath the car, right over the ATTESA pump, she got both nuts onto the bracket
Then I stole 2 pieces of chicken, and 2 shrimp brochette, right off the BBQ
After that, I add the right idead to fit the trunk mat before I went further,
I simply cut a square into the mat, and sliced it to the end so I could take the mat out without problems
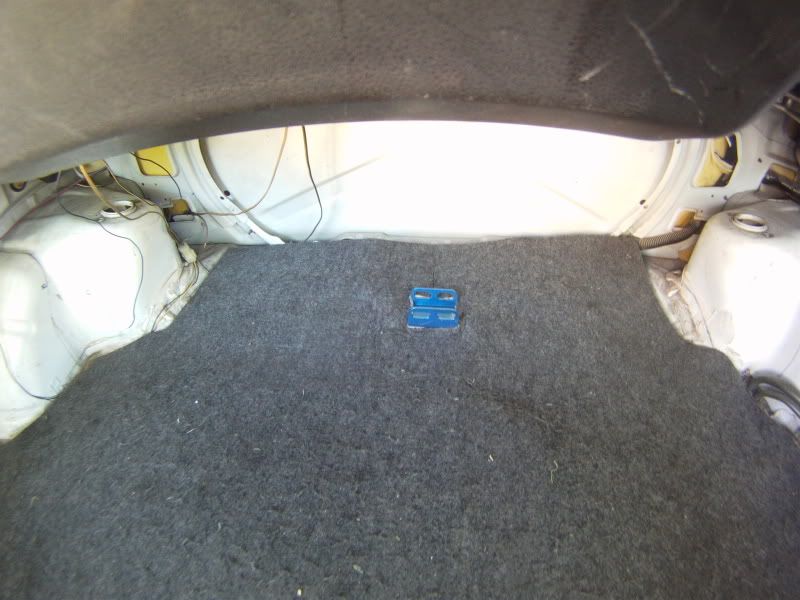
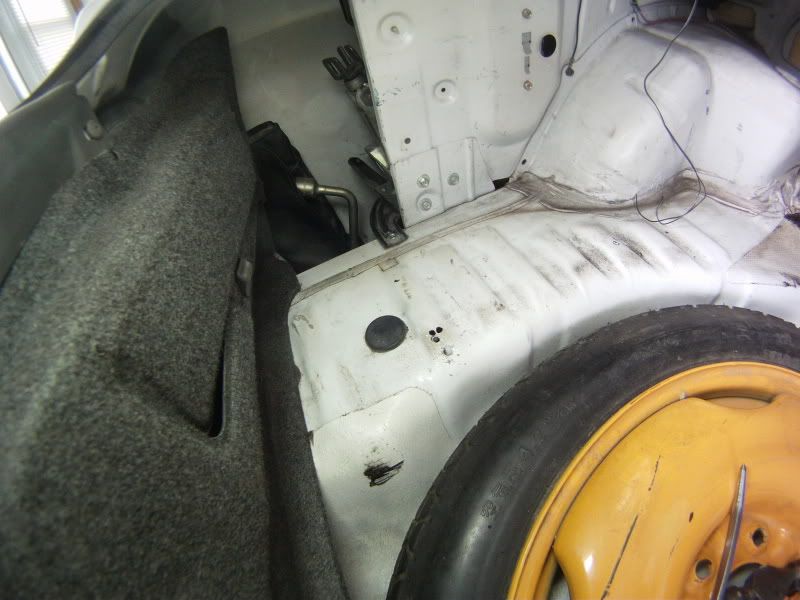
Then while I was there, I decided to drill the holes for my battery relocation cable,
So I took out my hole-saw kit and zing!
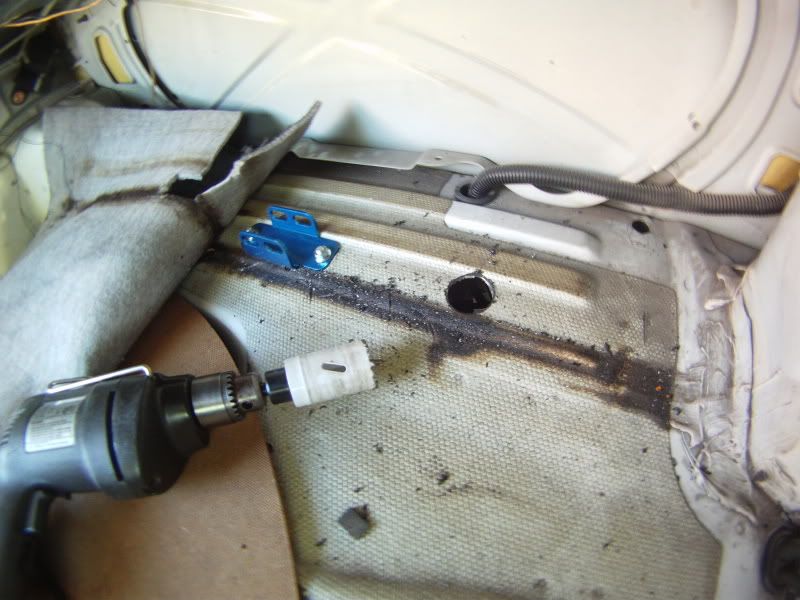
Then I used an lower radiator bushing from my old car, buffed it to fit right in the hole, and sliced it up to insert the cable and it fitted absolutely perfectly, with a little help for MR hammer
Actually the center hole of the bottom of that bushing is a bit smaller so it seals quite well around the cable
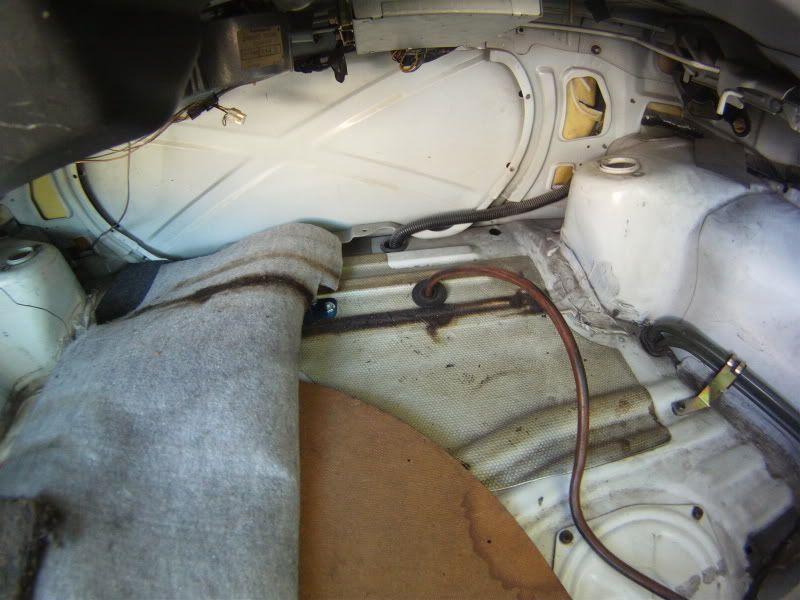
Then I drilled another hole, a bit smaller, then grappeb another bushings from my box of old bushings, carved a groove in it, sliced it open too
the groove is there to get the bushings stuck on the floor, i needed a couple wacks of hammer to get it in
Then I unboxed my battery bracket, and it fits prefectly (thanks to franc (nismo s-tune) for the heads !!)
by the way, UPS sucks
the brackets is worth 70$, and i payed the shipping charges from the states, and got charged 43$ for brokeage.... WTF !!!!
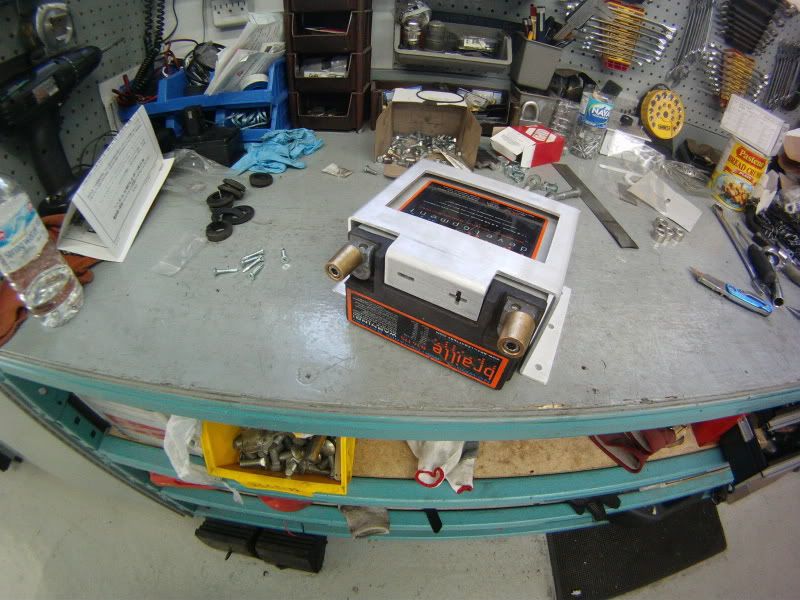
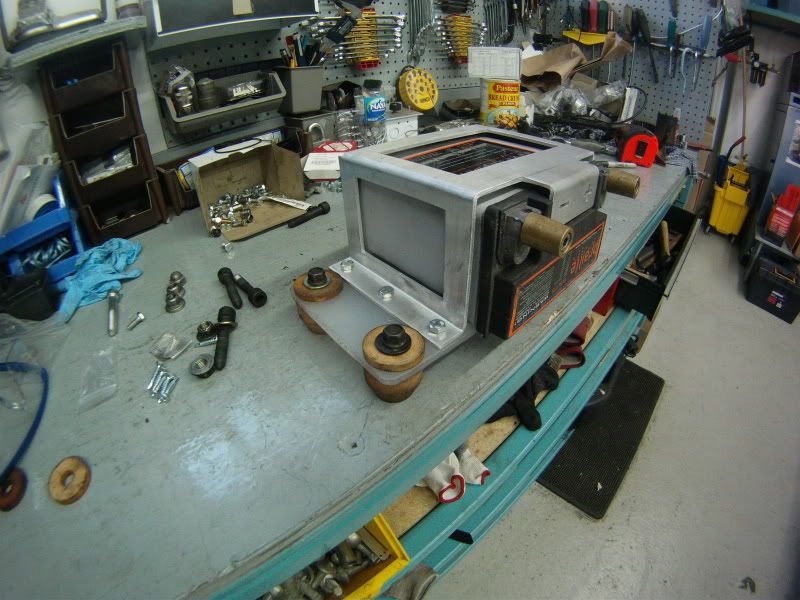
i got the idea to make a custom mount for the box, so i took out the old bump stops from my coilovers from when i got them rebuilt

then i cut up a piece of very thick plexis-glass,
then, again, rounded all the edges and the corners
then my dad came in to grad the battery charger, because my parents were leaving for the chalet up north, but my mom left the truck's ignition "on" for the last 2 hours and killed the battery, my dad was pissed because he really wanted to leave asap, rofl
then i mocked all the holes i'd need to mount the plexis, and drilled them on the press drill
this is how it should look
then i cut up small pieces of foam, and with 3M spray on adhesiv, i stuck it on really good
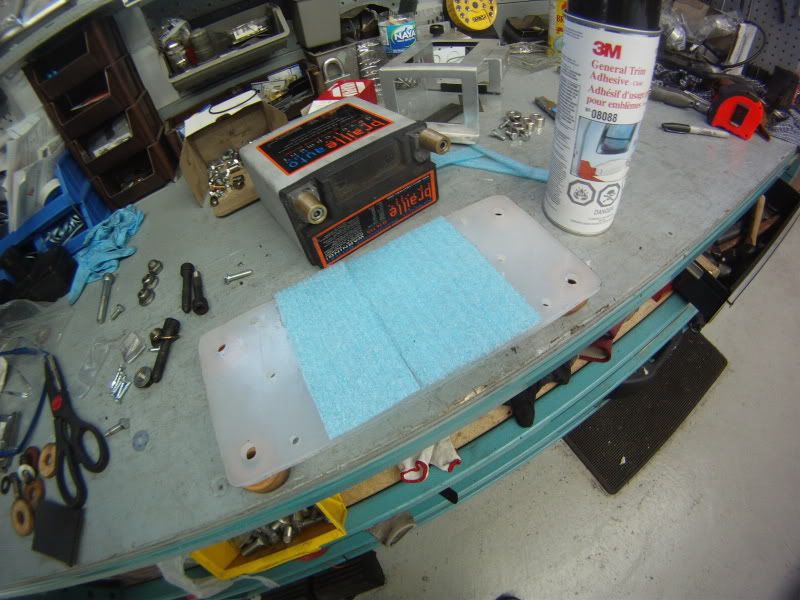
and left it to settle, and went with my girlfriend to go see the fireworks at LaRonde, sweetLast edited by frankiman; 07-10-2010, 03:23 PM.Comment
-
Chapter 21 - The Epic CustomWerks week, week10, part4
------------------------------
Day 34
on sunday morning, i checked out the plexis, and the foam was fully bonded
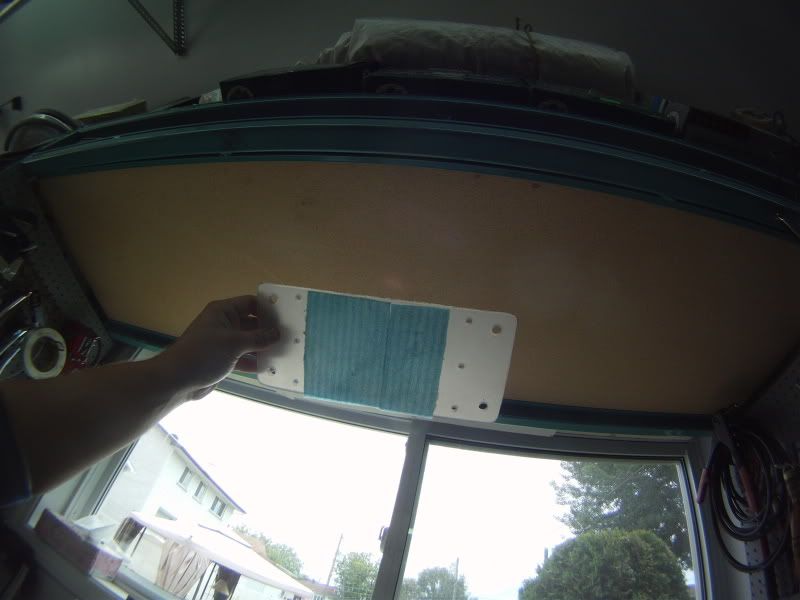
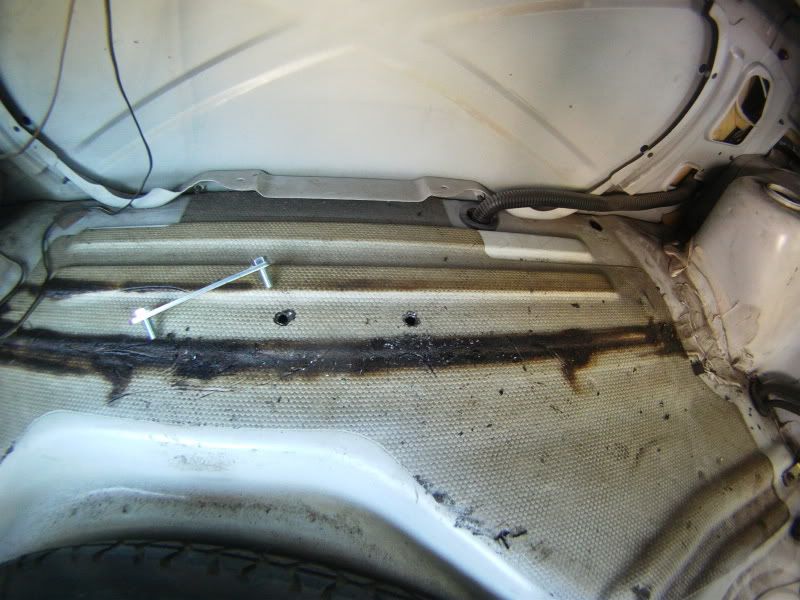
then i marked where i should drill the holes in the trunk floor
but it was hard to guess where i needed to drill the holes since thats exactly where the frame rail is
so.. trial and error
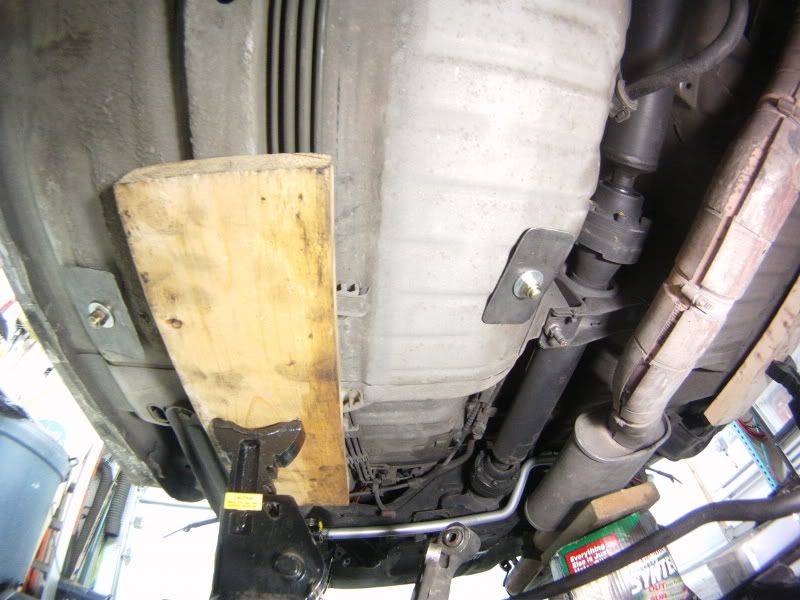
then unhook the cat back, pushed it down, and took the heat shield off, just to see where the holes were
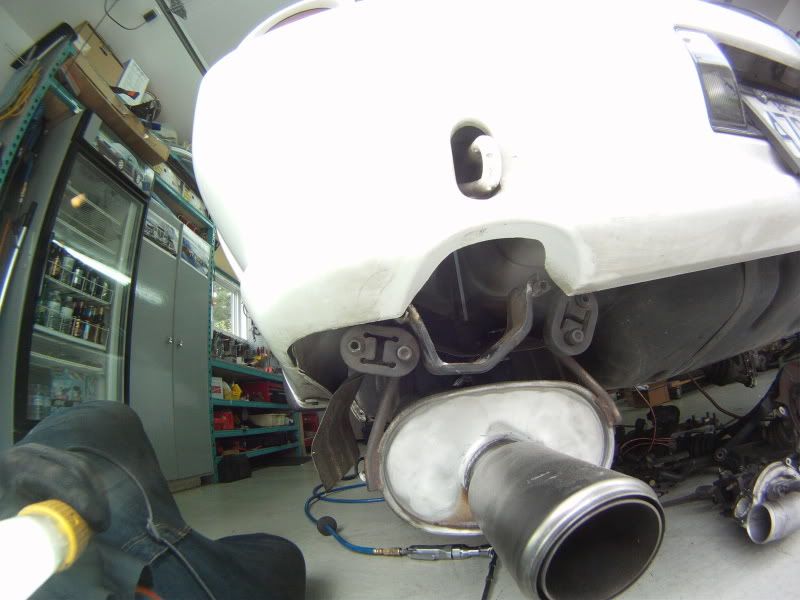
then drilled the rest of the holes
then test fitted the plate, but couldn't finish it because the bolts i had weren't long enough
so, since i couldn't do anymore on that, i put the whole cusco strut brace kit in, to test fit it,
at that time my girlfriend came around, right on time, so i asked her to help my put my coilovers on,
while i was holding the coilover from underneath, i simply asked her to get the nuts on there
she did something i still don't understand how she could do it,m see pic
so just look at the nut, she put it upside down, but the thing is that nut is a swivel flange nut, the flange part spins indepently from the threaded center,
and how did she think that was how it should go on,
i've been with my girlfriend for more than 5 years, and thats the first time ever i've asked her for help, i diidn't know she had absolutely nooo mechanical abilities, even then... its just basic logic... anyway, big LOL
so i decided to do it on my own, with man's best friend...what rhymes with improvise? zip ties !
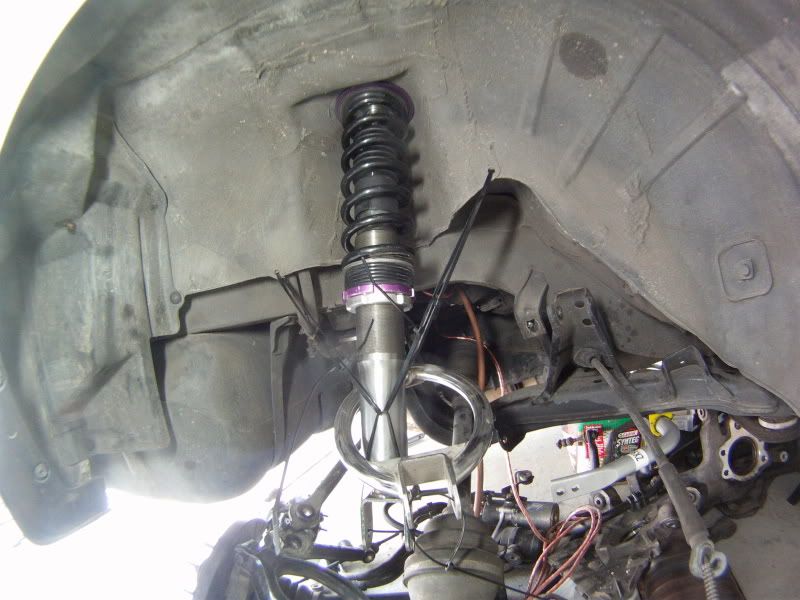
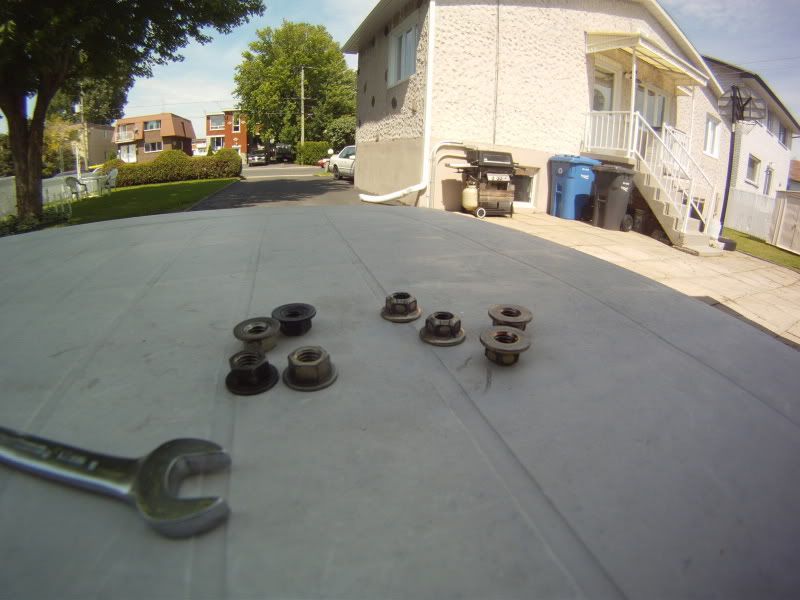
also, i decided to swap all the stock crown nuts with swivel ones, because they have much more socket contact surface, and i remember how much the old nuts made me angry
then i took out my trunk panels, that were already cut up from the old car,
but i guess i sold them because all i found were the un-modified panels from this car
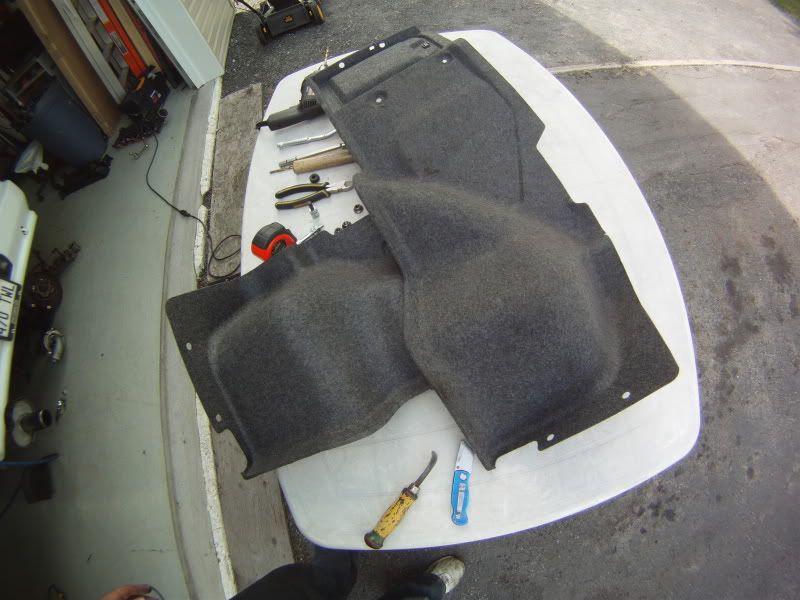
took some measurements and started cutting it up with a sharp knife
a couple more cuts needed
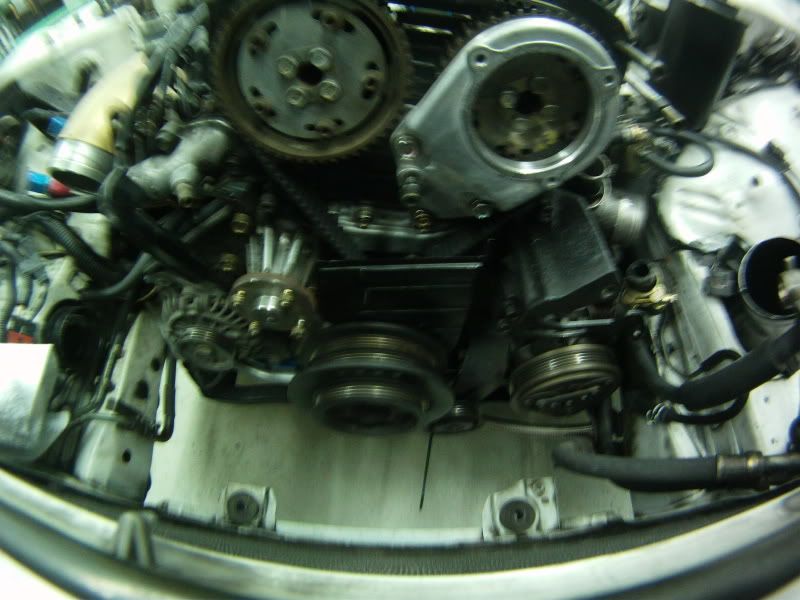
while i was doing that, Mitch came by, and put the timing belt cover back on, because we had totally forgotten
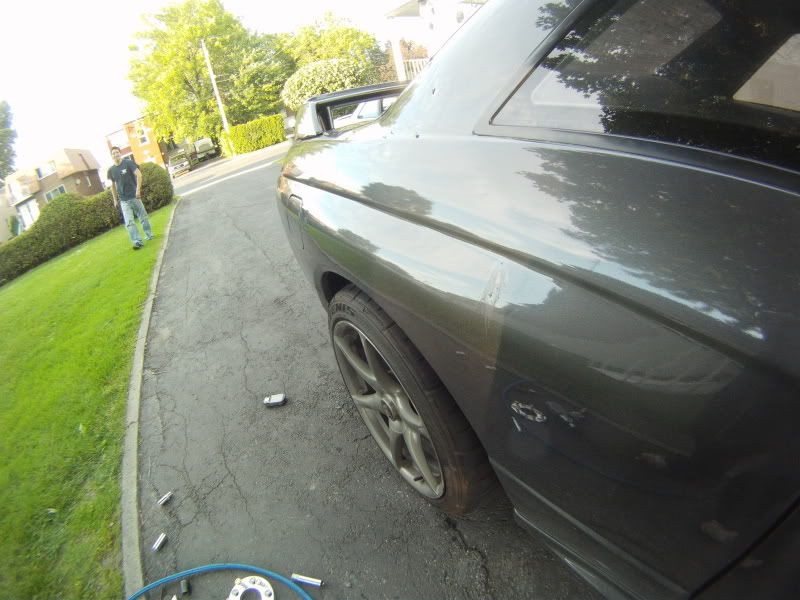
then Mitch asked me to try on my Ichiba spacers, no problem,
so hes starts taking his wheels off, and wanted to try the 25mm spacers, but because hes got similar sized (width) rims and tires, i knew they would stick out, so i suggest trying the 15mm first
but then we found out that the R34 GTR rims have an almost fully flat mounting surface, so you can only use 25mm (length of the studs) bolt-on spacers
thats what it looked like with the 25mm spacers, F-ing agressive
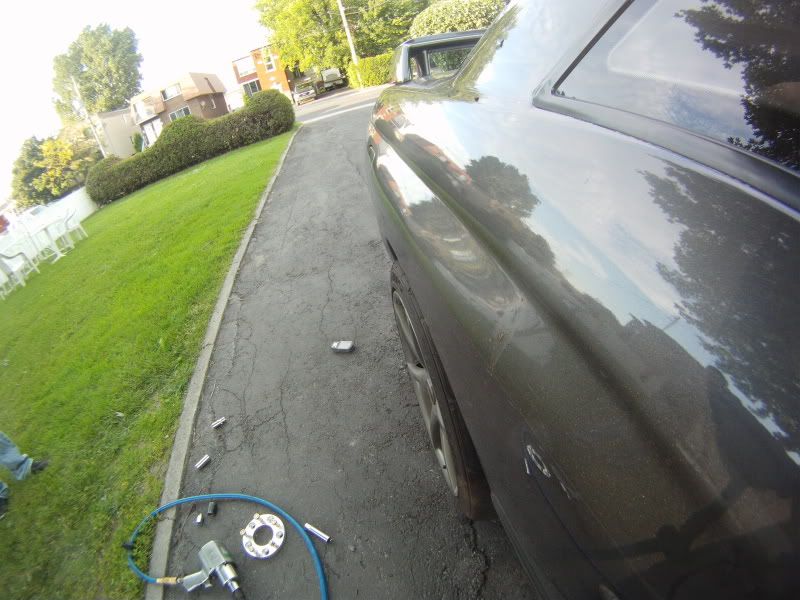
compared to normal offset
so Mitch is going to order 2 sets of 25mm spacers... lol
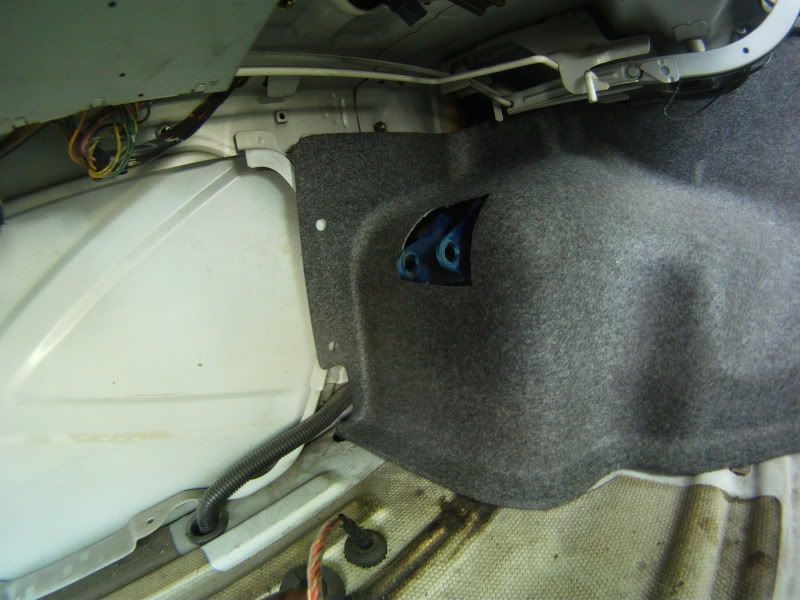
then i went back to work on the trunk,
i took out the old stock negative battery cable from my old GTR
and i cut off the small bracket that normally bolts to the body

and taped it
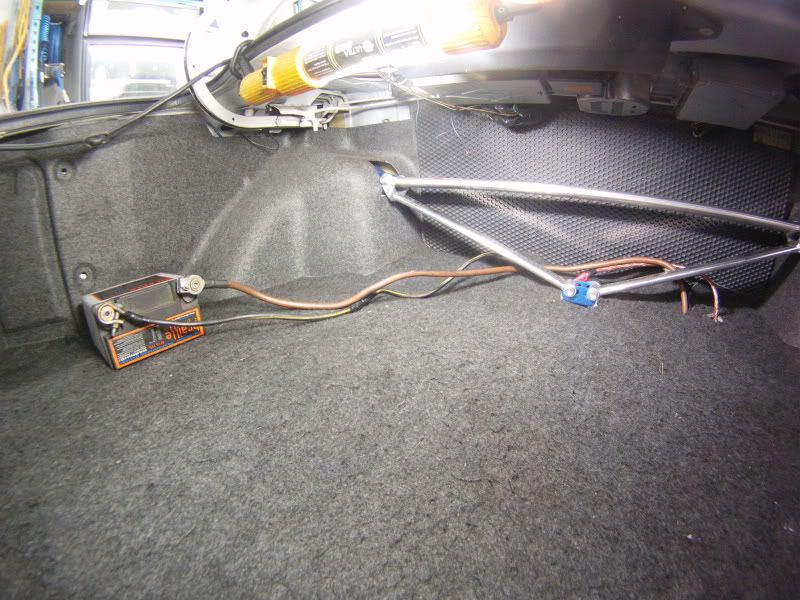
so the neg cable coming from the front of the car bolts to the cusco bracket, then the other neg cable goes from that spot to the battery
and i cut up silicon hydraulic caps to fit over the battery posts
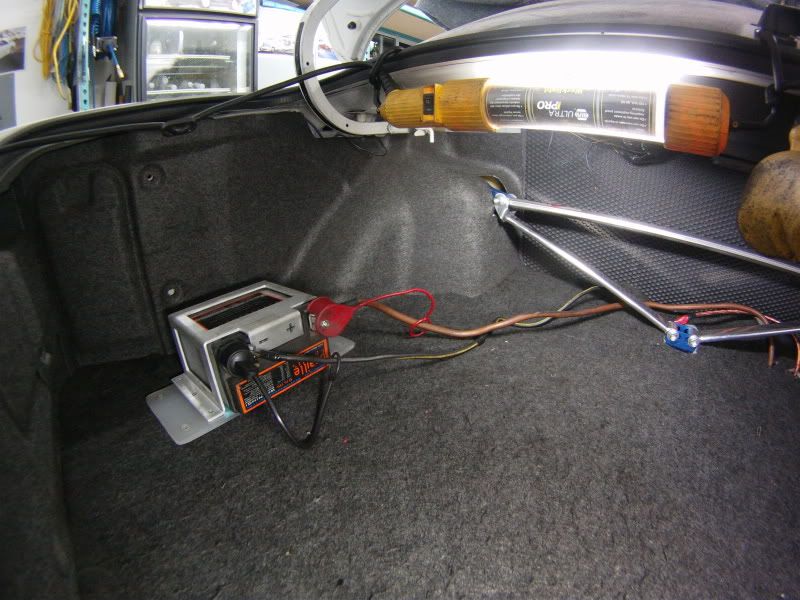
then the next day i grabbed some bolts from work, and finished installing the battery mount
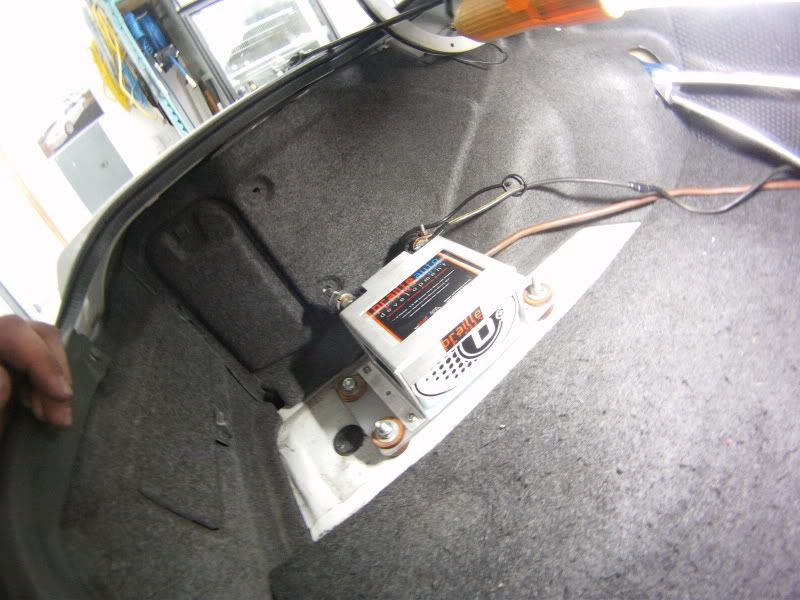
but, i originally designed it to make much simpler, but it ended up beeing much more complicating in the end, and looking like crap
so i bought more supplies to make it look much more professionnal, and i'll simply screw the Braille bracket down with the supplied 6 self-taping screws
it will look better next week
anyway, Mitch almost finished the installation of the boost controller, and i fitted the harnesses onto the firewall
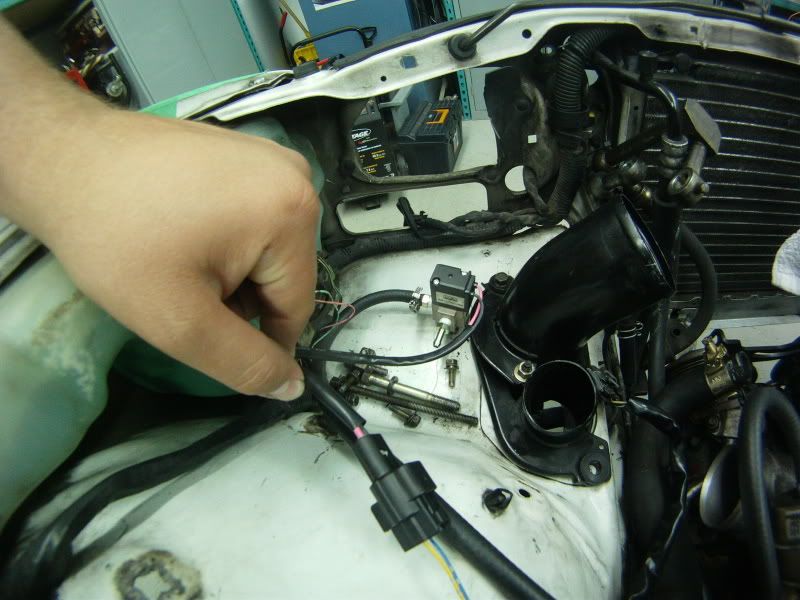
/week10
this week was epic, i prooved to my dad that i could actually fabricate stuff on my own, that fitted perfectly
alot of small stuff as gotten done, things are moving along..Last edited by frankiman; 07-15-2010, 02:14 PM.Comment
-
-
Good progress!!! Loving how well you document!03 lancer dead
68 gmc w/355 cid rice killer
05 chevy silverado L33
2010 crv Wife's ride
1987 Harley Softail customComment
-
Looking good Franc!
and Mitch that wheel setup with the 25s looks UNREAL. I love the look of those rims on 32s, nevermind its flushnicity!Victory is on the horizon..Comment
-
I love reading your build thread Frankie, which eyebolts did you use for your harness? and are you planning to keep the rear seats? cause the Takata ones just replace the regular bolts that would hold the seatbelt bracket close to the door and the bold that holds the seat belt latch (i think its called a latch or clip or whatever) near the center console. and for the shoulder belts you use the bolt holes of rear seatbelts.Check out my RB30 build at
http://forums.gtrcanada.com/gt-r-pro...b30-build.htmlComment


Comment