congrats franki! and just wanted to tell you i admire your thread
Announcement
Collapse
No announcement yet.
Frankiman's street/track GTR project
Collapse
X
-
the next chapters will probly be summaries of the each week for the next... i dunno.. 6-7 weeks or so
in reality, i'm starting actual work on the car tomorrow, starting with a nice seafoam treatment
and my internship is in a steel and titanium foundry
Comment
-
congrats!
Comment
-
sounds good, I'll be awaiting them...Originally posted by frankiman View Postthe next chapters will probly be summaries of the each week for the next... i dunno.. 6-7 weeks or so
in reality, i'm starting actual work on the car tomorrow, starting with a nice seafoam treatment
and my internship is in a steel and titanium foundry
and I wonder if you can skate the foundry like in tony hawks pro skater 3... Victory is on the horizon..
Comment
-
dude cmon, thats so 2002Originally posted by Oakville View Postsounds good, I'll be awaiting them...
and I wonder if you can skate the foundry like in tony hawks pro skater 3...
in other news, go my contract for my intership, and i'll be making 5$/hr MORE than anticipated, woot woot
just ordered fender braces and a bunch of T-bolt clamps
and got my rear Type-M pods in the mail
and got my grade from my last trimester, i got an A+ !!!!! in my mec329 class (résistance des matériaux / strengh of materials) which is claimed by most students as one of the hardest classes
also, work is continuing on the sky, lots of ''weight reduction''
and just had a quick lookthrough the skyline service manual, wow that thing is my bible from now on !
if only i had a laptop in my garage..
Comment
-
66 hours? EW time and a half blowsOriginally posted by archaeic_bloke View Posthey, ya frank sorry i dont have time this week, im working 66 hours this week.... hopefully next week, also i don't know your phone number and address could you PM me? I'm semi retired
  I work half the year
Black 1991 GTR. Serious garage stand mantle/parts car.
Black 1990 Pulsar GTiR. Sold
Silver 1989 GTR. Sold
Black 2010 Subaru WRX. Weekend warrior. Sold.
Black 2013 F-150 FX4 ecoboost. Daily driver.
White 2012 Ford Explorer Limited. Family wagon.
Sorry for my offensive comments, I r socially retard.
lolstart by having A ROLLING GTR then we talk u ******* mofo funzy little *****
Comment
-
Chapter 13 - Theworkinprogress, week1, part1
so this beeing my first week off from school in a very very long time, i had a couple full days to work on the car, so i did, to my girlfriend's dismay :P
my deadline is my birthday, june 23rd, giving me 8 weeks to do it all (which is describeb here)
so everything has to be installed/modded/painted and the car has to be tuned within 2 months
----------------------------
Day 1
so the car has been parked since april 1st, outside the garage, poor little thing
i took things slow, to get back in the groove of working on the car regularly
started by removing the front bumper,
couldn't figure it out on my own, so i gave mitch32 a quick call, he explained to me where all the screws and clips were, which made me come to the conclusion i was missing about 6 screws, argh
and i fawking hate the grill, hard as **** to take off, i hate plastic clips with a passion
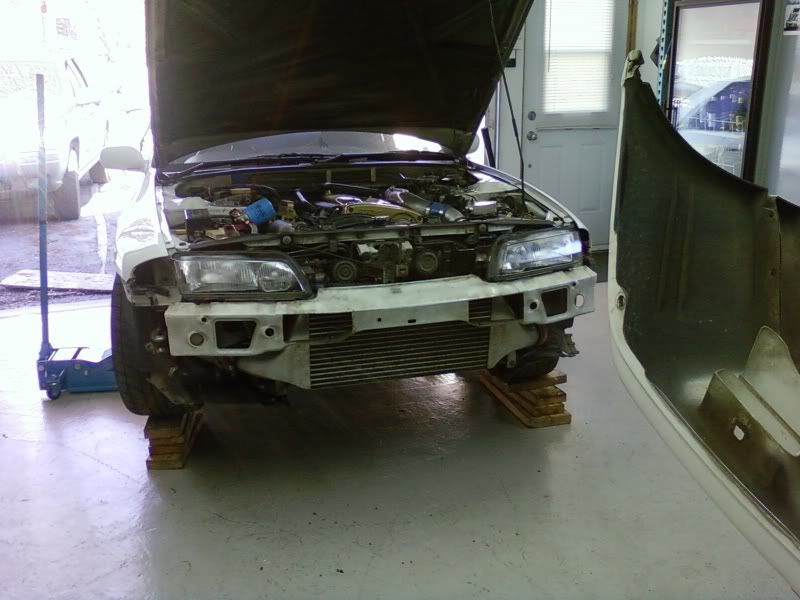
and i realiazed i was missing a little rubber trim on the driver side, if anyone knows where i can get something similar THX !
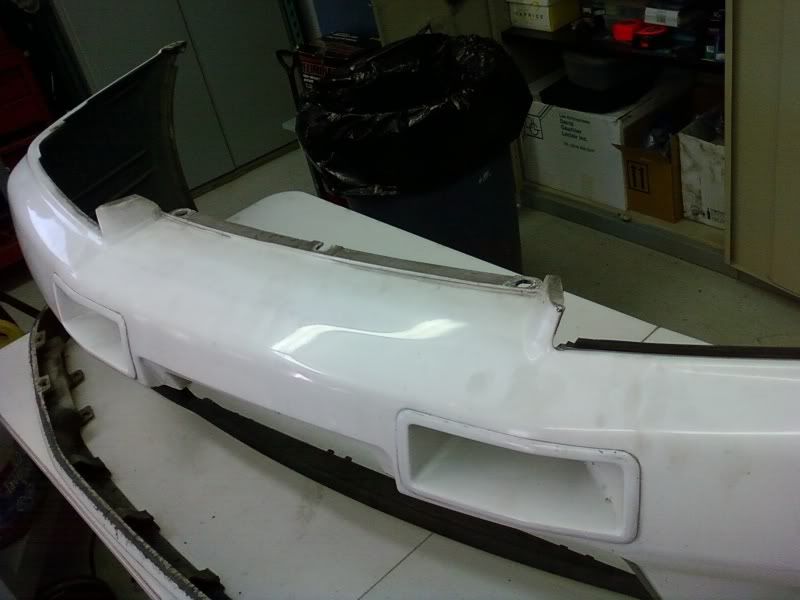
and as mentionned in chapter 10, my front bumper was sagging on the drive side, which made it look crooked,
i had asked autoworx to fix it last year, but they said they would have to bend the bumper support blah blah, basically they didn't want to take to chance of breaking it
so using a small jack and a 2x4, i raised the bumper where i wanted it, where the gad between the headlight and bumper on the driver side would match the passenger side
then i simply loosened the bolts holding the bumper to the frame and re-thightened them and voila, the bumper is exactly where i want it to be
wow autoworx, that was sooo hard,

also, the small metal supports right under the corner lights were loose, since they use a metal-screw-in-pastic-nut system, and sure enough, the plastic were all broken
so i changed them all with much more solid metal bolts nuts and washers
then i attacked the headlights and because i had practically no room to get to its fasteners and my oil cooler lines were in the way AND all my HID wires were tangled as hell, it took me well over 2 hours to take the darn things off

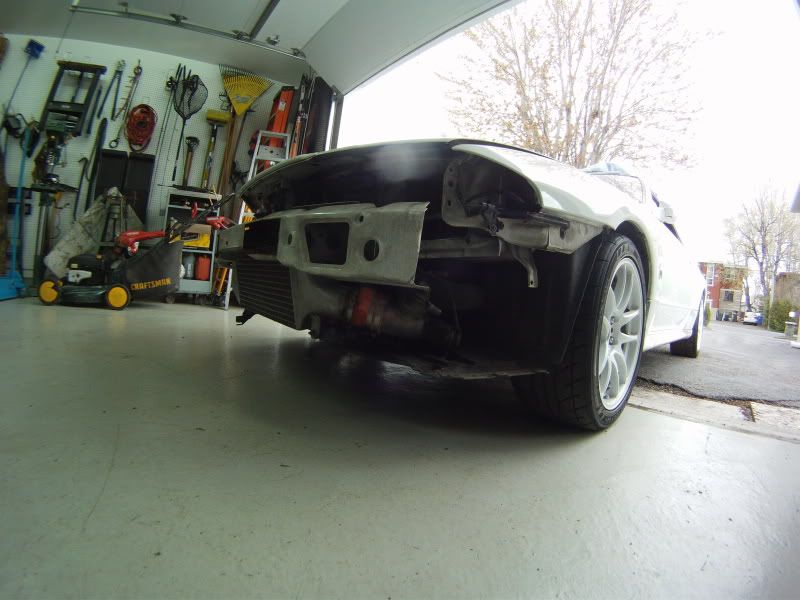
then i found out i had 4 blow off valves
all 4 valves seem to be hooked up,ok so i was working on my car today, took off the fron bumper and such
and my dad came in, looked down and said; ''are those the blow off valves?''
and i'm like; ''no, thats the passenger side, theres nothing there''
him; ''then what the hell is this?''
so i look and had a WTF look on my face
apparently i have 2 HKS old school atmospheric blow off valves on the passenger side, and still have the 2 OEM recirc valves on the driver side
WTF

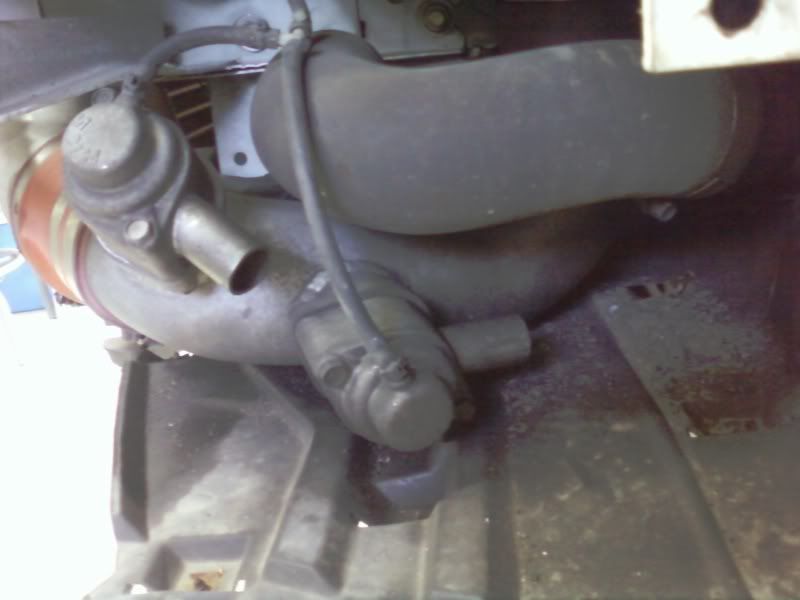
i later tested them, and they didn't seem to work, so i'm going to take them apart to see what's what, and probly sell them, alone or with the whole pipe
next i took the nismo side pods off, wasn't really hard as all the adhesive had come undone, so i used a thin blade to cut through the remaining glue/tape and pulled gently
i finished to day by test fitting my new wheel spacers
+25 in front to bring my +38 wheels to +13
+15 in the rear to bring the +28 wheels to +13
to have an exact square setup
WITH / WITHOUT

WITHOUT / WITH
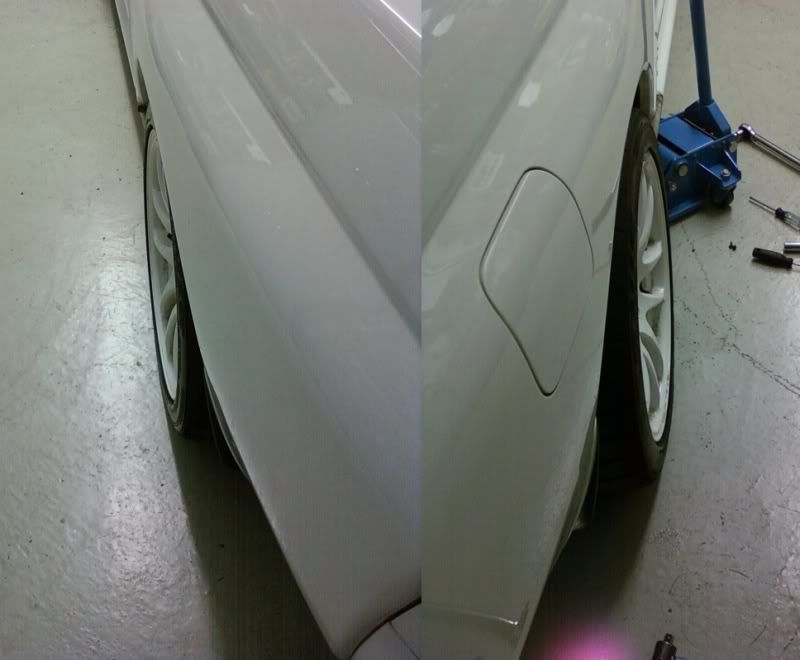
looks like i'm going to need a good fender roll, maybe even a gentle pull
seems straight forward for the rear fenders, but i'm not so sure about the front fenders since the fender linings attaches to the edge of the fender, where it needs a roll
----------------------------
Day 2,1
we've been having very warm wether for the last 2 weeks or so,
so i woke to this.... WTF
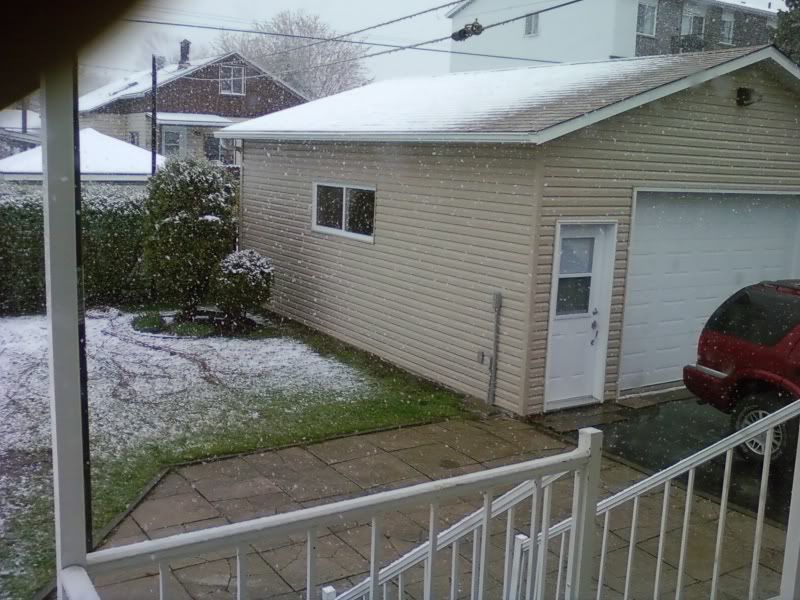
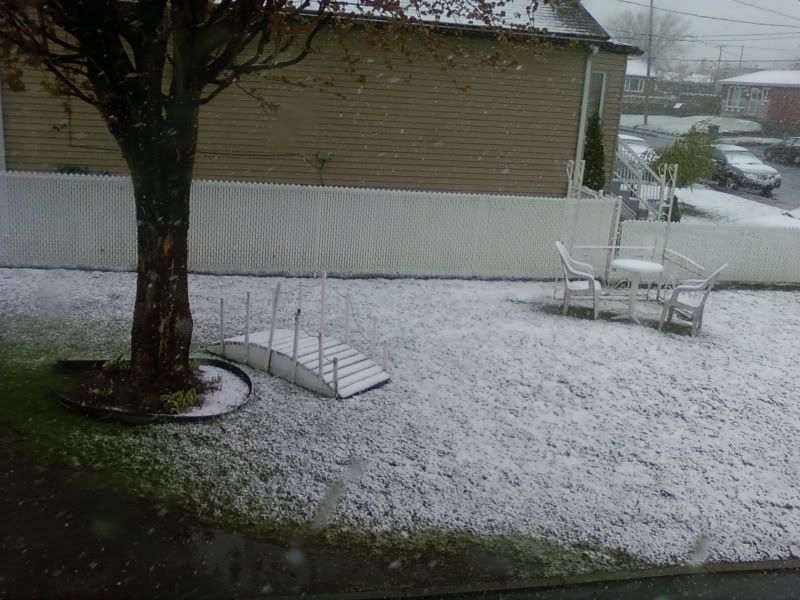
for some reason i didn't have the moral to go outside, even if i only have 30 feet to walk to the garage
i stayed in, wasting the whole day watching Doctor Who and playing Halo3 / Forza3
----------------------------
Day 2,2
on wednesday, when i got home from work, i grabbeb my dad to help me out for a couple minutes to do a Seafoam treatment on the car

this stuff is 100% petroluem, so it doesn't harm the car in any ways
poor 1/3 of the can in the fuel tank
1/3 in the crank case (by the oil filler cap)
and slowly poor the remaining 1/3 in the intake manifold by using the brake booster's vaccum hose
then thick white smoke comes out the exhaust
in my case the ribbed rubber tube caught most of the grimme
[YOUTUBE]<object width="480" height="385"><param name="movie" value="http://www.youtube.com/v/lW9jLKVI0WQ&hl=en_US&fs=1&"></param><param name="allowFullScreen" value="true"></param><param name="allowscriptaccess" value="always"></param><embed src="http://www.youtube.com/v/lW9jLKVI0WQ&hl=en_US&fs=1&" type="application/x-shockwave-flash" allowscriptaccess="always" allowfullscreen="true" width="480" height="385"></embed></object>[/YOUTUBE]
took of the hood
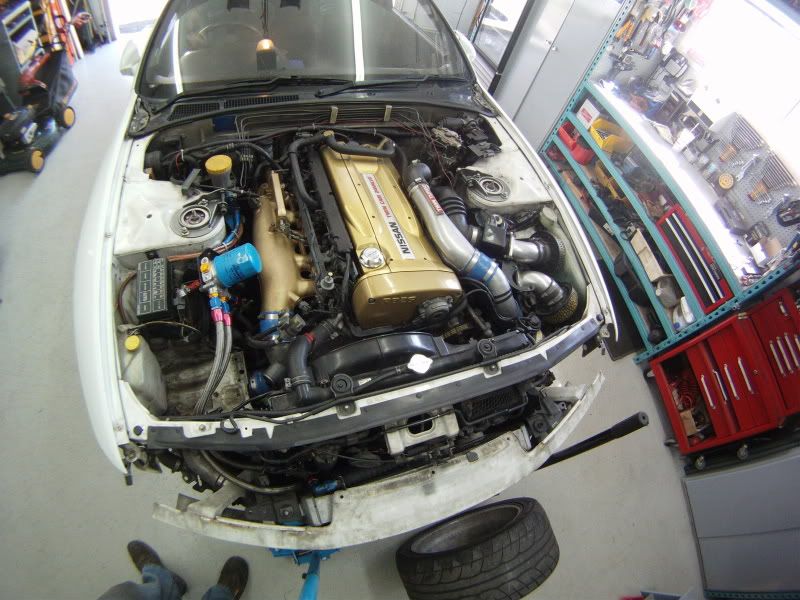
and since i had no-where to put it, i grabbed some of my dad's compagny transport padded sheet, and put the hood on the roof of the car, wrapped it nicely and strapped it there to avoid any sutpid accident
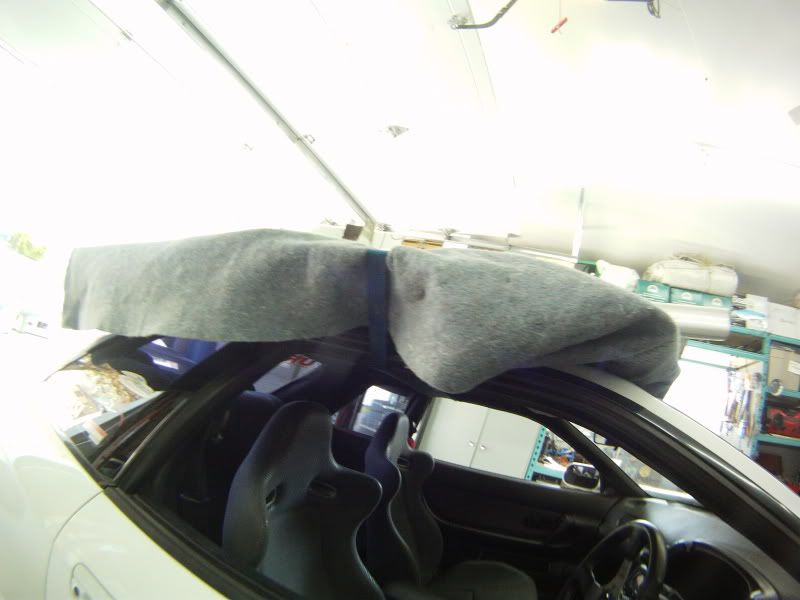
then for the rest of the evening i worked like an idiot trying to remove the side skirts
this week, i'll measure the exact lenght i need to cut the side skirts to fit the nismo pods the right wayshould have used a heat gun to soften the glue, but didn't so i cut threw it with a very thin blade
and you can't use the ''dental floss'' method because theres 7 or 8 little plastics clips all along the side skirts,


on the first side, i didn't know so i pulled hard broke them all off
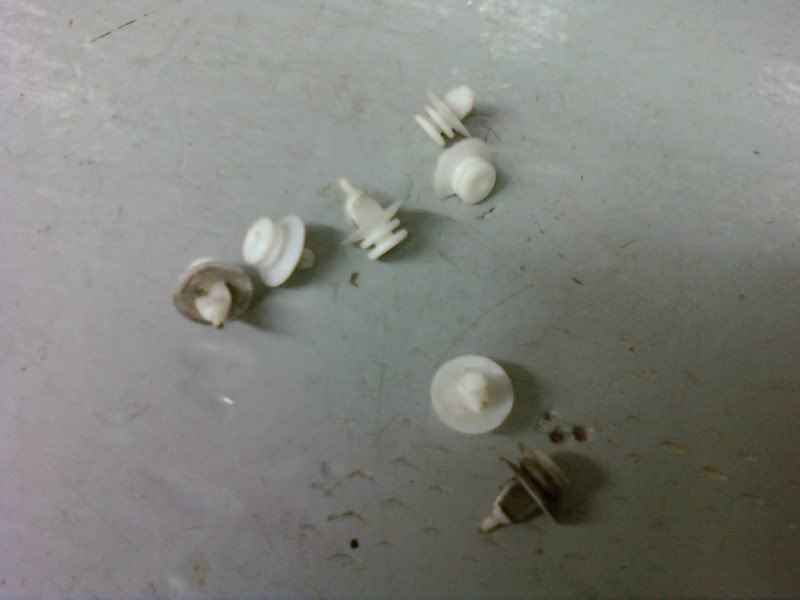
then i figured out, you just need to remove (or break) the first one (the one nearest to the front wheels) then tap the whole side skirt towards the rear of the car with a rubber mallet, and the side skirt will simply unhook from the clips
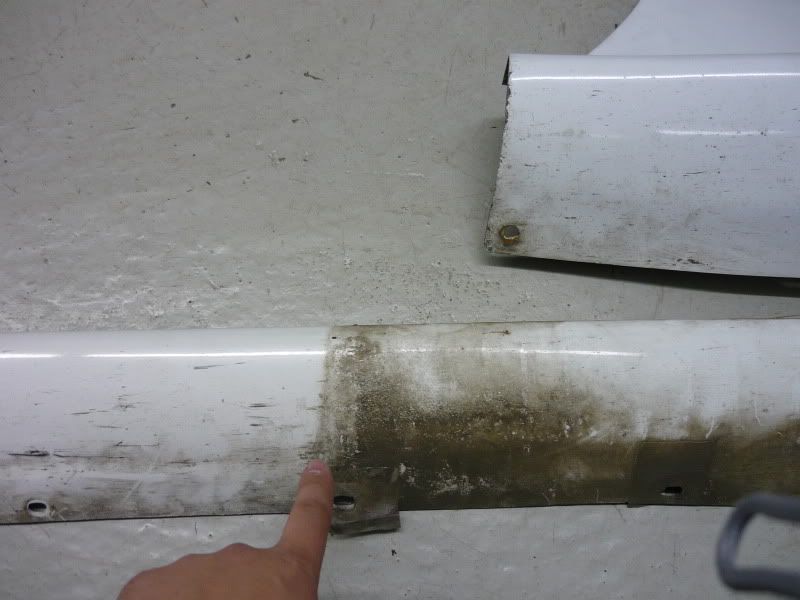
also got in the mail Type-M rear mudflaps/pods

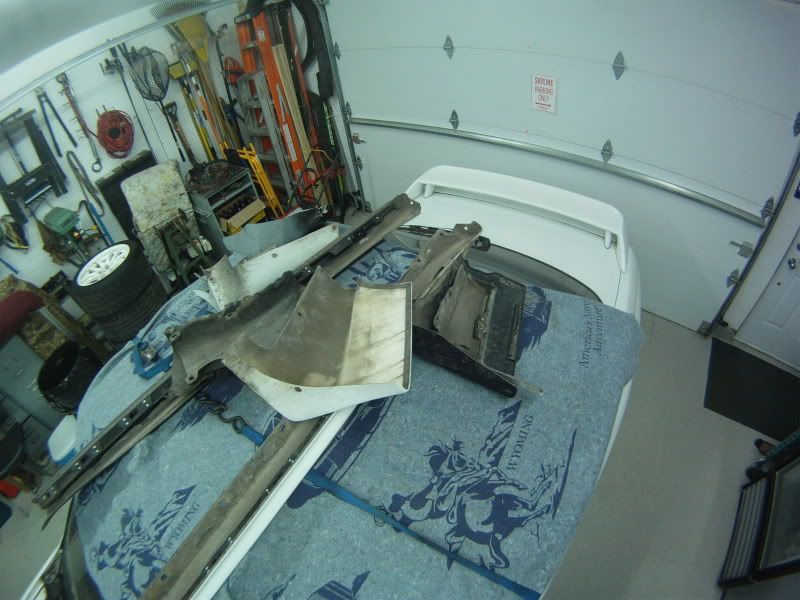
all this is eventually going to paint, as soon as i got some cash coming in
for now its stored, on the roof
also, while i was under there, i saw that, my wideband bung was welded at the appropriate place after all, oops
right before the cat
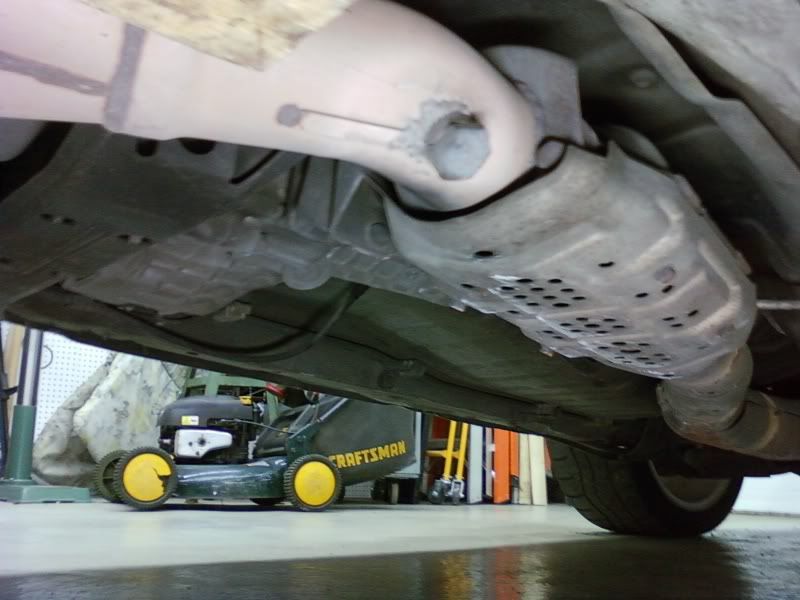
also saw this sticker under the passenger side mirror, wtf does it mean?

at the end of day2

Comment
-
Chapter 13 - Theworkinprogress, week1, part2
----------------------------
Day 3
on thursday, i had to take off all the stock brakes, since a buddy of mine was coming to pick everything up in the evening
but he called me at 1pm saying that he would come at around 2;30pm, ohh crap
but the car wasn't even on 4 jacks stands yet,
so i put them all on the frame rails, using big pieces of 2x4 to distribute the weight
working with 2 3½ ton jacks at the same time is quite usefull
40 inches high of rubber, yey!
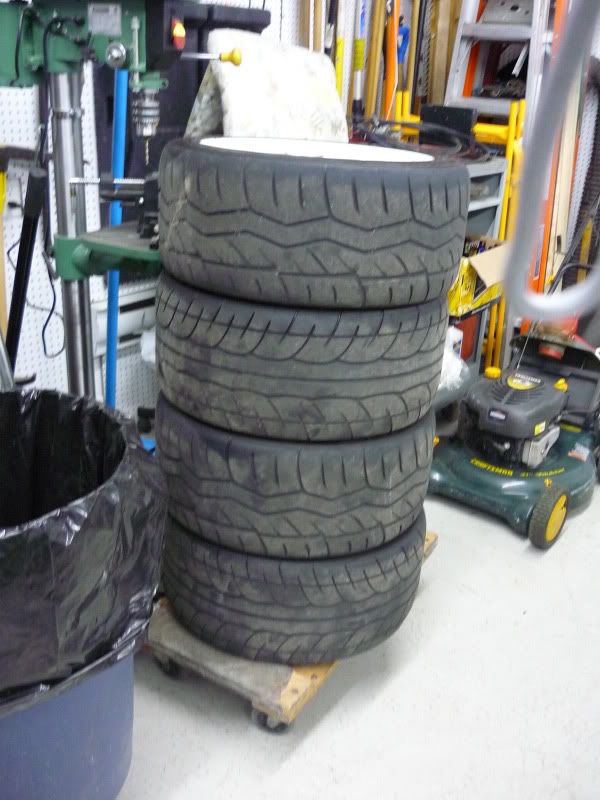
so i worked as fast as i could, but hit a couple problems, like stripped fittings and snapped bolts
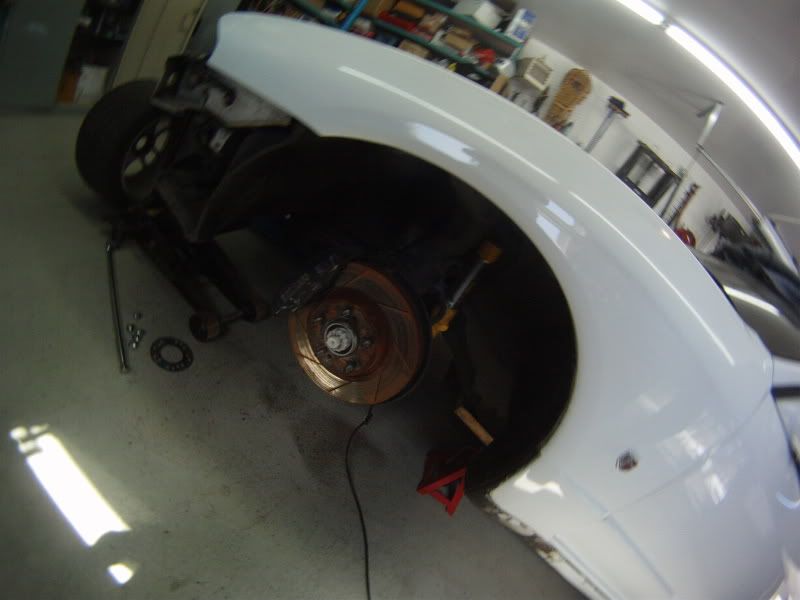
so when he arrived, he helped me taking to rear brake off, which was much faster
he didn't even remembered the deal we had made
he suddently thought that my asking price was a bit too much for 4 used calipers and pads..
i'm like... well thats not what we agreed on..
then i opened a couple boxes and stuff... this everything he was getting in the deal
front calipers,
front BNIB OEM shim and seal rebuild kit
front rotors, need resurfacing
rear calipers,
almost new HP+ rear pads
BNIB AMS rear pads
rear rotors
complete handbrake mechanism parts
handbrake cables
after i put everything in his car, he was like; o.....k its a good deal finally
DUH
before he left, i test fitted my new Brembo calipers and found out they didn't use the same bolts as the OEM calipers which are fine thread,
the Brembos use coarse thread bolts
so i went to Quebec Bolt Industries, which is a big warehouse that distributes all kind of fasteners, and they have a service counter
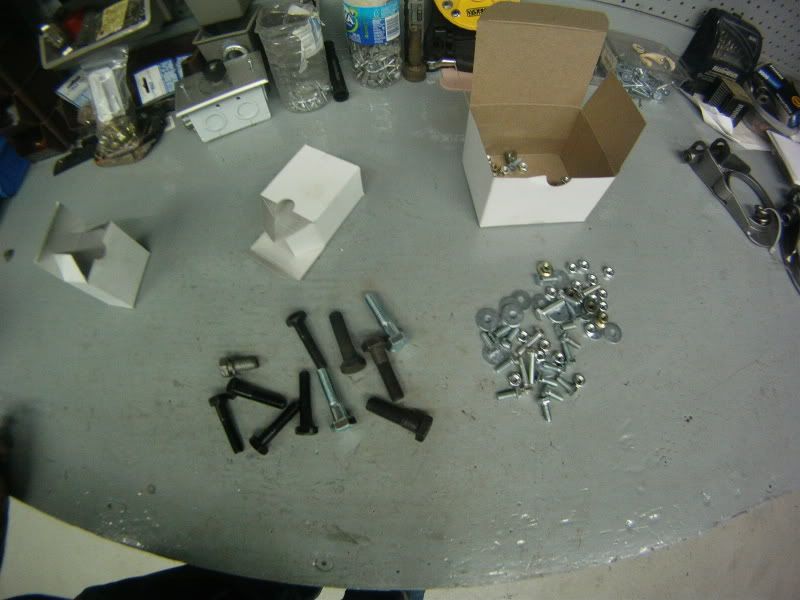
the stock calipers bolts are grade 8, so i bought all the grade 9 bolts they had left, and some grade 8 ones
and i got longer-than-stock bolts for the rear calipers to fit with my BBK conversion brackets, again, grade 9
at 1$/bolt i don't see the point of getting grade 8 or 7 bolts for a couple cents less
and also got a lot of different lenght M6 bolts with nuts and washers, since this is the type of bolt moslty used by nissan, and i'm swapping alot of them for new ones, and also alot of darn plastic fasteners for these
cost me about 45$ total, for nuts and bolts
then for the rest of the day, i worked on getting all the front suspension/wheel assembly off
my office for the evening
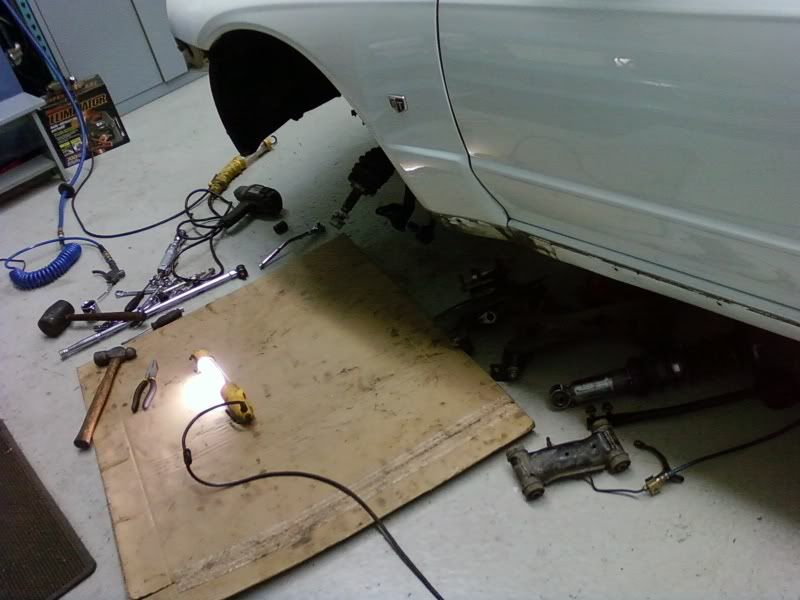
ohh la la
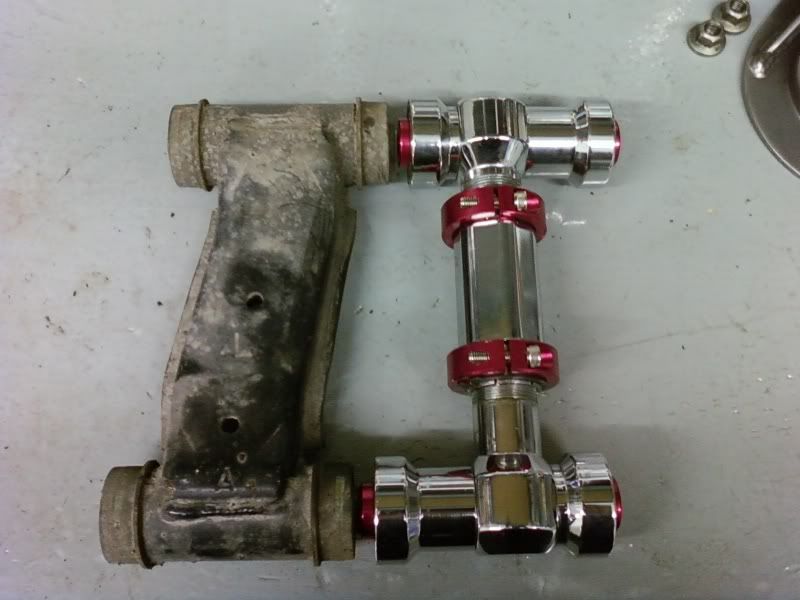
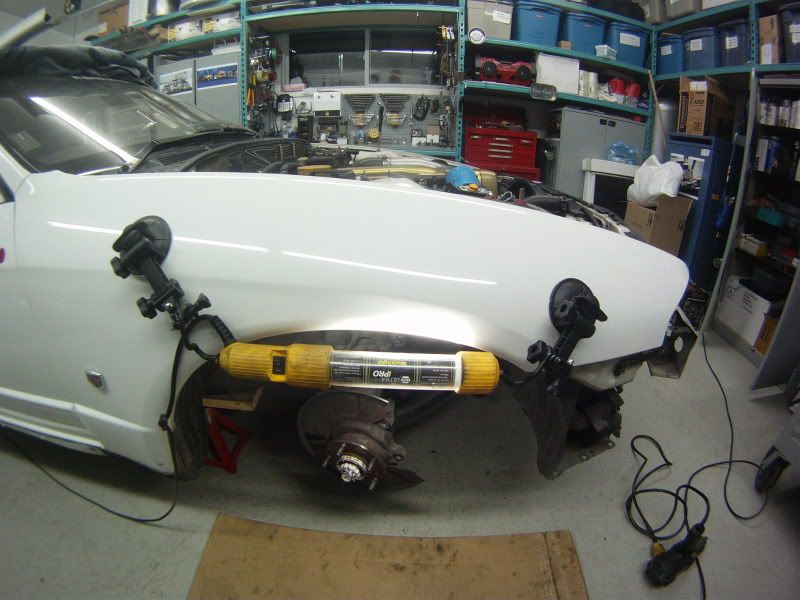
then, when i got to the second side, i was getting really tired of fighting to get some light inside the wheel well, i devised this clever way of holding my work light in place using 2 GoPro suction cup mounts
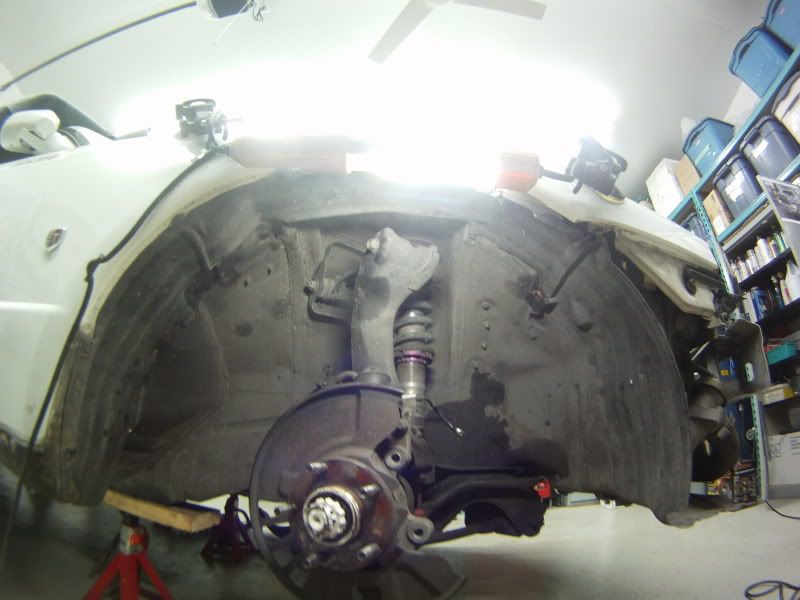
using a couple zip-ties to hold everything while the FUCA are off was another crafty idea
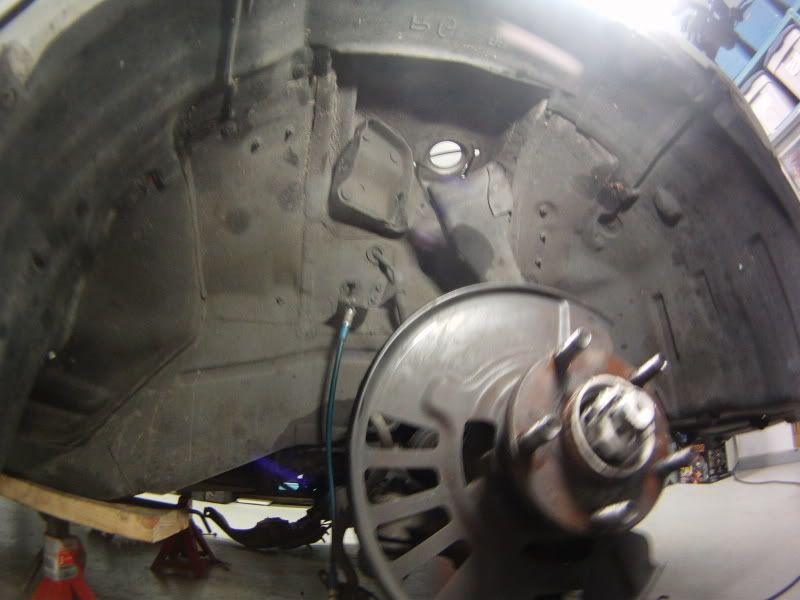
after everything was off
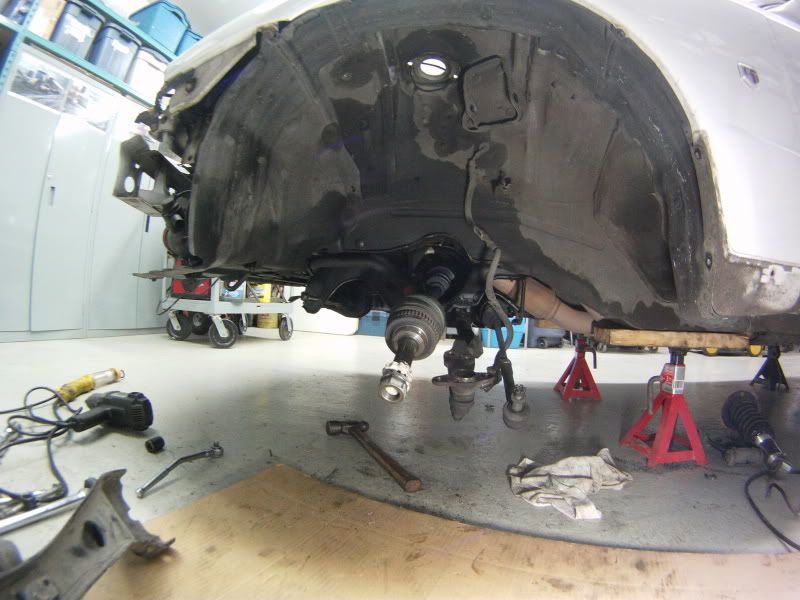
and finished the day by removing the front sway bar, which was a bit tight to get out
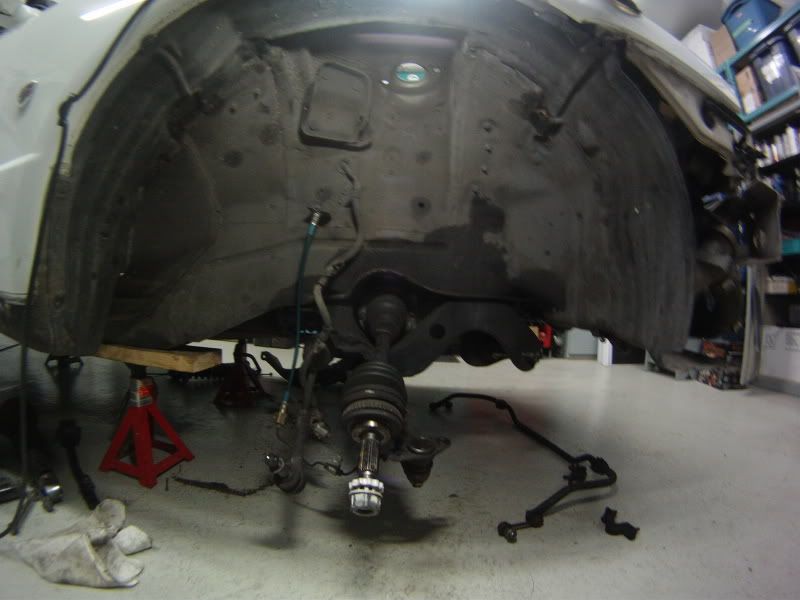
remember the snapped bolts i was talking about,
well i snapped all the cheap ass grade4 bolts holding the little brackets that holds the brake line in place behing the knuckle
probly also due to the fact that i over tightened them
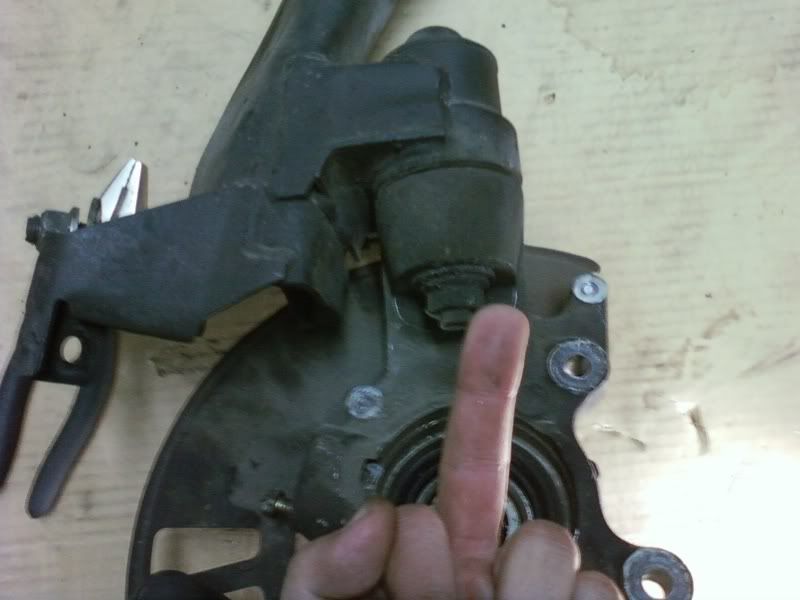
my dad gave me a little crash course on how to remove them the other day, and showed me where the tools where, should be straight forward enough
to conclude week1, i'd say that alot of progress was done, more ''weight reduction'' than anything else,
and i didn't work quite as fast as i would of, mostly due by 3 things;
i hurt my back the other week moving my sister into her new 2nd floor appartment
i kept watching the montreal canadians playoff games instead of working, couldn't stand just listening to the game in the garage
i still have trouble finding tools since me and my dad last did our big cleanup this winter
anyway, the more i work, the faster i'll get
and i don't have alot of free space to put the old parts, so now some new parts are going to find their way onto the car
Comment
-
good work frank, keep up the hard work bud, you'll get there soon enough.
to answer your question about the "A6" sticker on the mirror. my car has/had the same, i asked someone about it once, they told me its used by nissan during assembly to tell which mirror goes on which side.The SkyLife Community & News Website --> http://www.skylife4ever.com
Comment


Comment